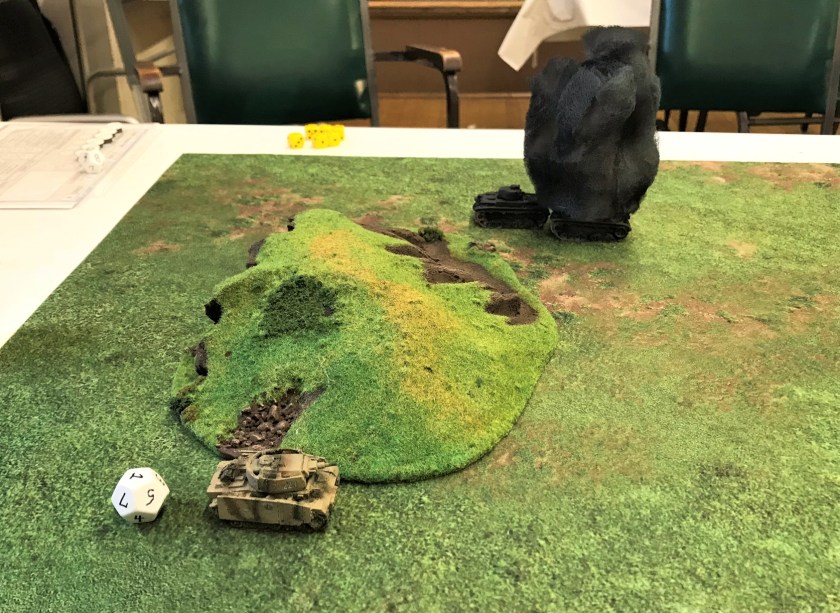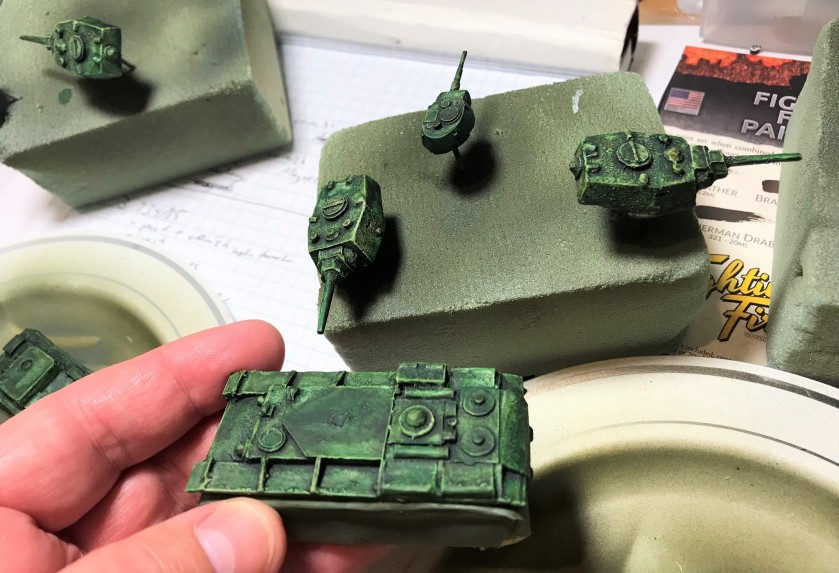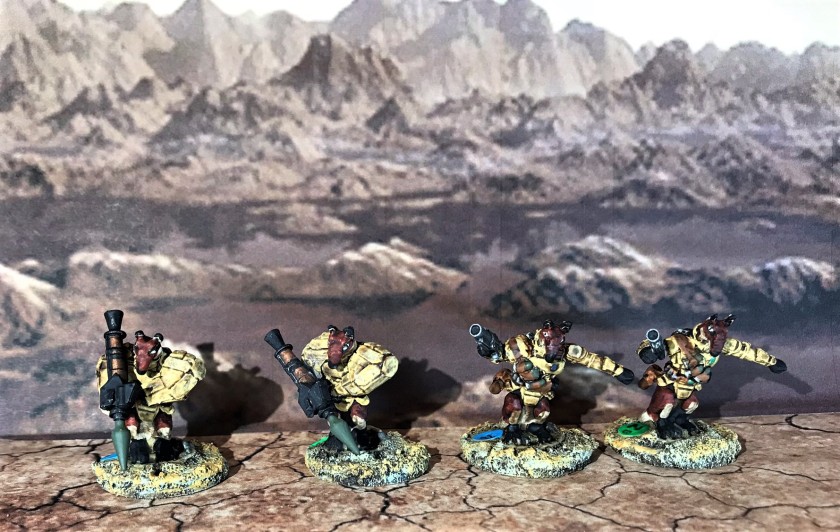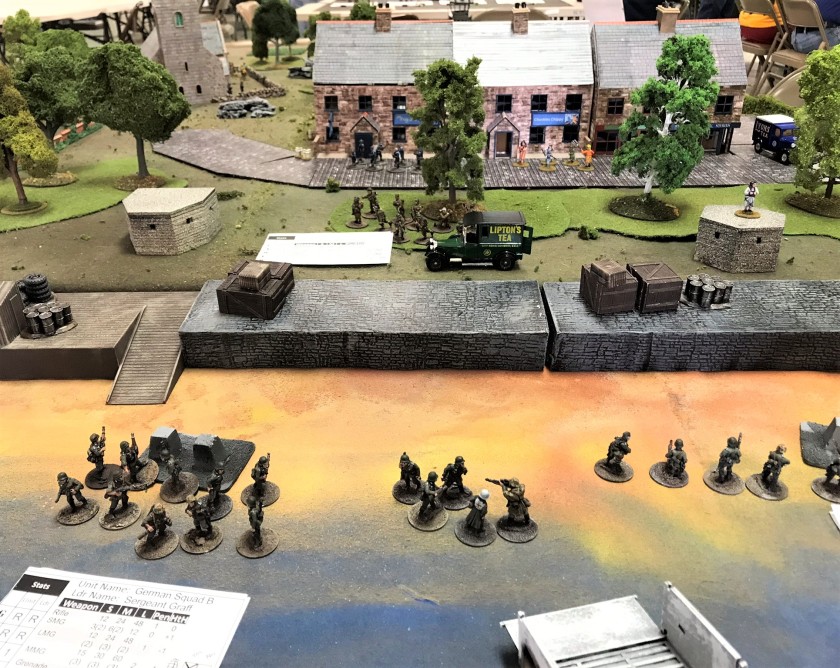
November 2018 for me has been a month of armor, culminating in a fine “Tanksgiving” – a fine output for me of early WWII 15mm (1:100) scale armor. I intend for these to be used in What a Tanker© games. Certainly, my mid-November visit to the American Heritage Museum played a role in spurring this direction in my hobby efforts. You can see my current 2018 production here, and there are a lot of tanks.
My focus continued to be on early war vehicles. I had enough forces for an early Eastern Front game between the Axis (Germans and Italians) and the Soviets, but I wanted to have more variety in terms of tanks available. My KV-1 platoon needed some help, so I added some BT-series tanks.
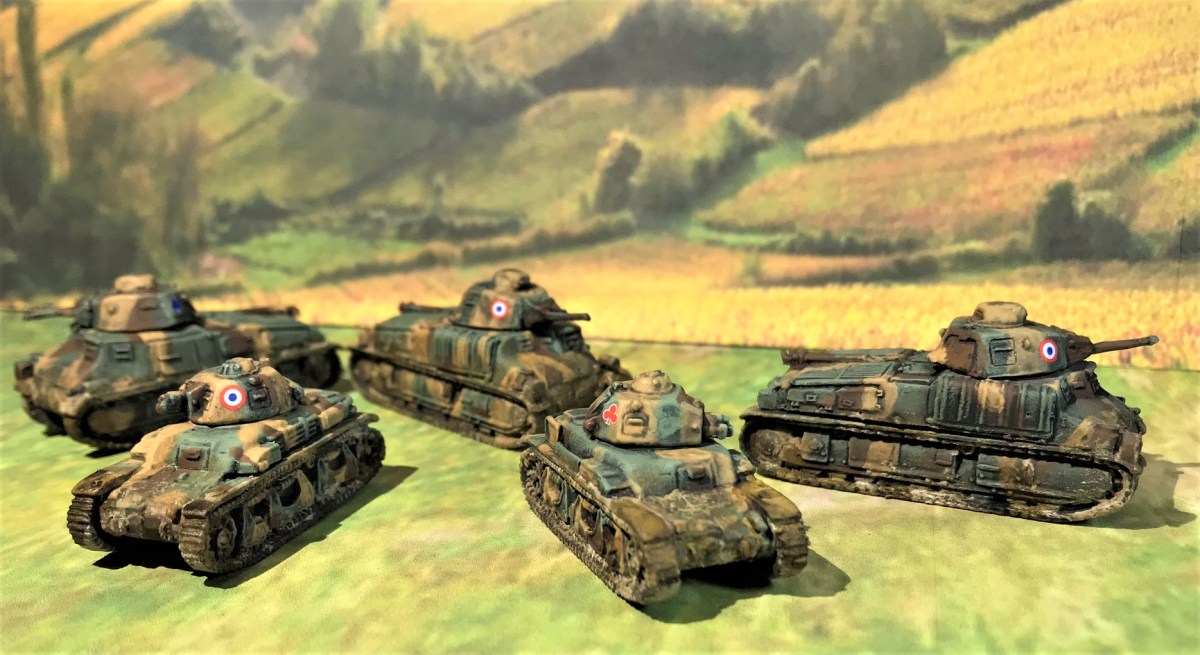
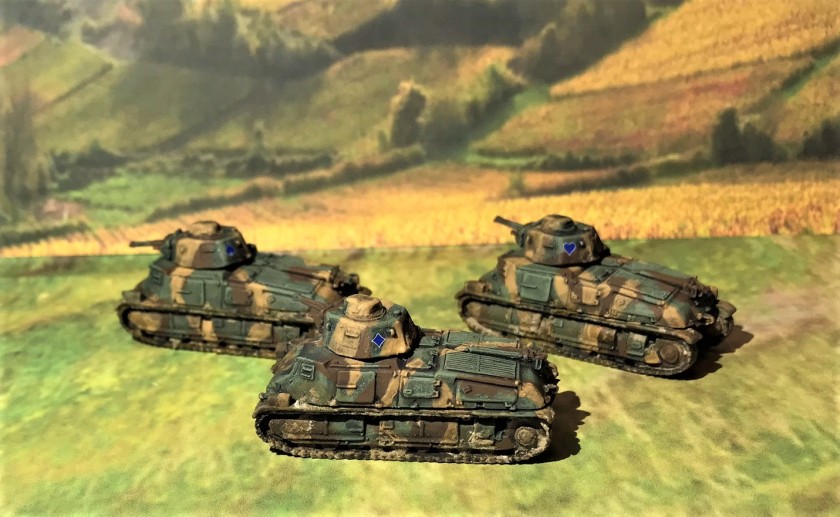
My other goal was to build German and French forces for a France 1940 scenario. For the Germans I added a Panzer IIC, a Panzer IIIE, and three StuG Ausf A assault guns to my fleet. For the French, I added two Renault 35’s and three SOMUA S-35’s. All of these came from the Flames of War line from Battlefront Miniatures. I really like their tanks, even though I don’t play Flames of War! I think that I can get some crossover between the early-war German forces for such a scenario and use some on the Eastern Front. Long term, I am also planning on designing a North Africa scenario for the British and the Germans, and some of the figures I got from Battlefront will serve nicely after I paint them in desert colors.
Regarding colors, I also acquired some of the Battlefront paints so as to understand the colors that they recommend. The current Battlefront “Colours of War” line mixes sets of 20 ml and 12 ml dropper bottles, as compared with Vallejo’s 17 ml bottles. It appears that at least some of their paints may have been made by Vallejo, at least in the past. I found them to be good paints that worked well either thinned in an airbrush or a regular brush. At the end of this post, I will share the paints and materials that I used for those interested.
In this post, in order I will discuss the Soviets, the French, and the German models I worked on in November. I also am submitting these as part of a Mechanical November community painting challenge run by Azazel (which is very fun to be a part of – check him out!).
Soviet


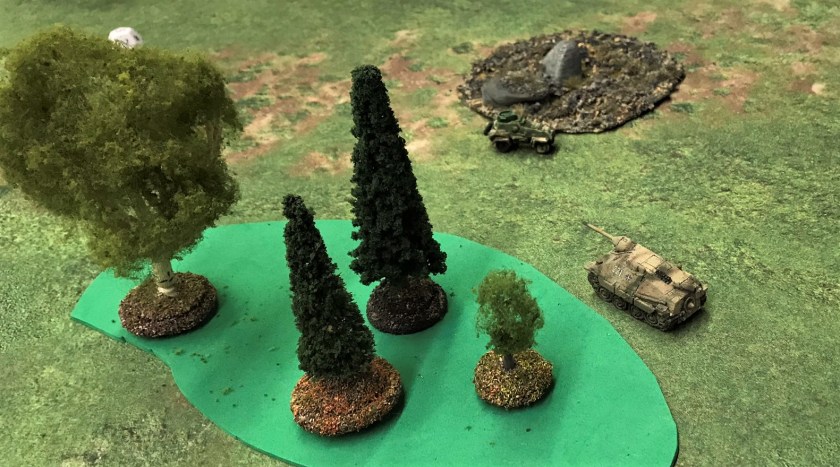
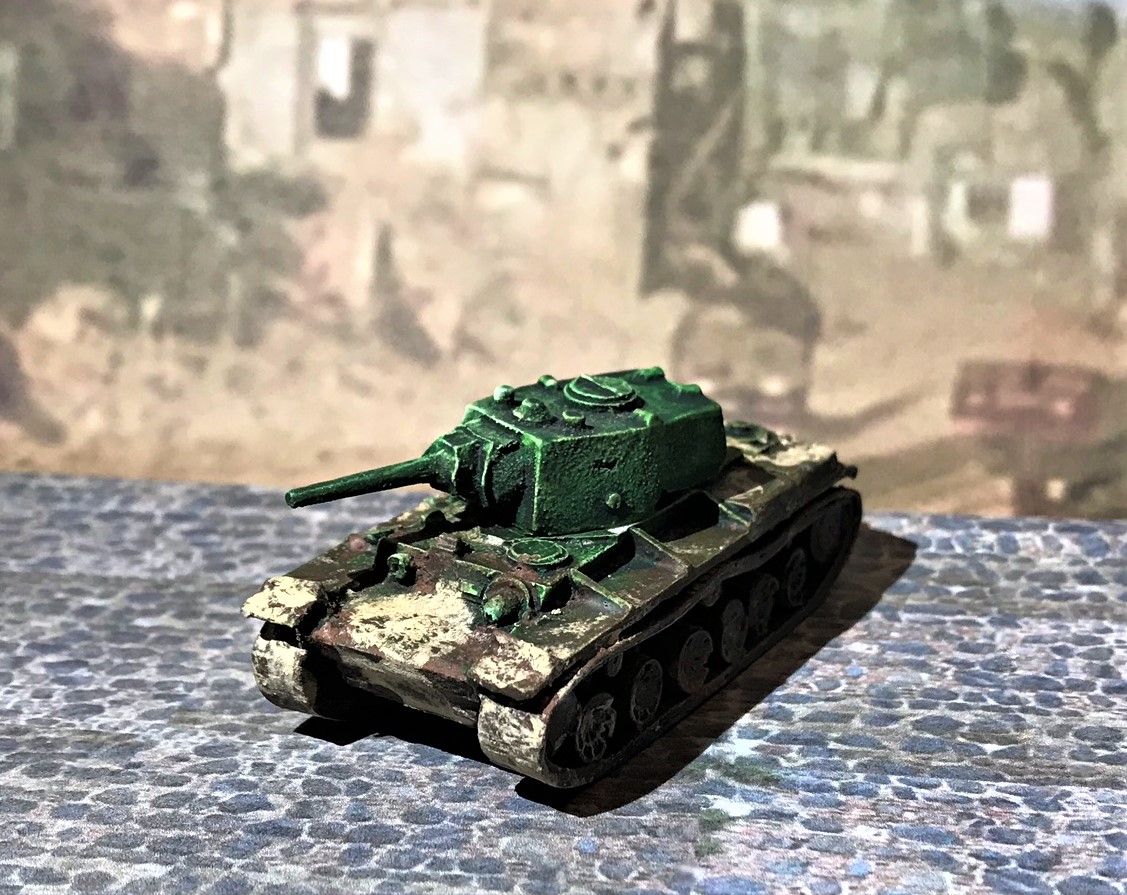
The two Soviet tanks that I added were the BT-5 and the BT-7. An advantage of adding these will be that they also were used against the Finns in the Winter War and against the Japanese at Nomonhan in 1939 and during the Soviet Invasion of Manchuria in 1945. So, I can use them in different scenarios for sure. I followed the same procedure to paint these as I did my previous early war Soviet tanks.
For assembly, I again chose to magnetize the turrets by drilling out the hulls and the turrets and using rare earth magnets. I weathered all of the tanks, as I prefer my tanks to be muddy. I also left the crews out, as I did not like the way they fit in the turrets. Of note, their Christie suspensions (an American invention) would be reproduced with the T-34 series.
Overall, I am happy with the way these turned out. In What a Tanker© their fighting characteristics are exactly the same.


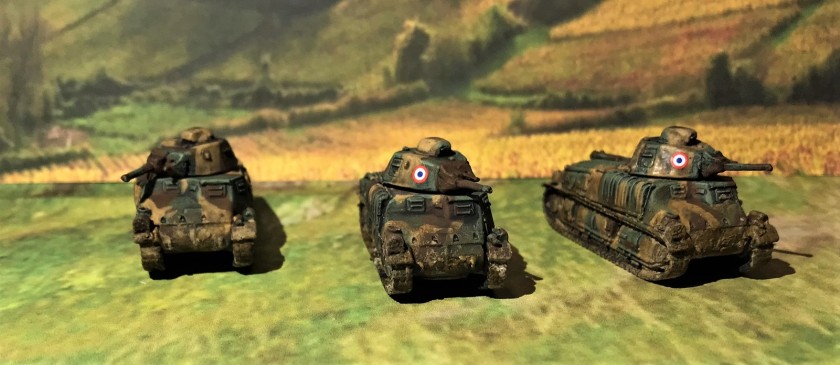
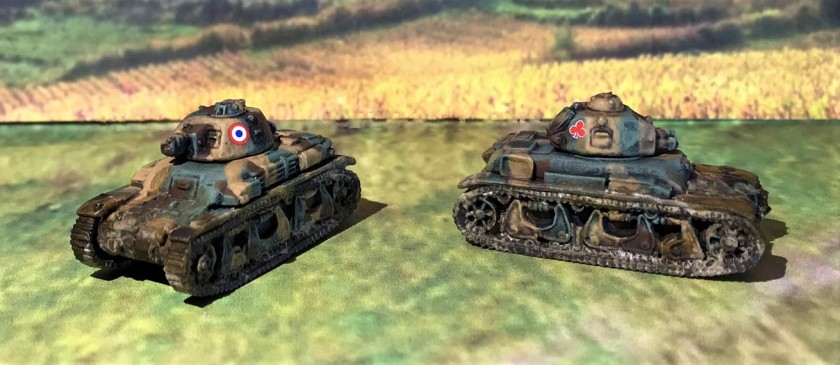
French
I have always had an affinity for the French Army, as I have a French name (albeit of French-Canadian extraction), speak French, and spent time with three different Regiments du Genie (Engineer Regiments) back in the 1980’s.
For my France 1940 scenario, I already had two resin Char B1 bis tanks from Wargame Models in Ohio. I added two light infantry tanks (Renault 35 or R35) and three SOMUA S35’s for a balanced group.


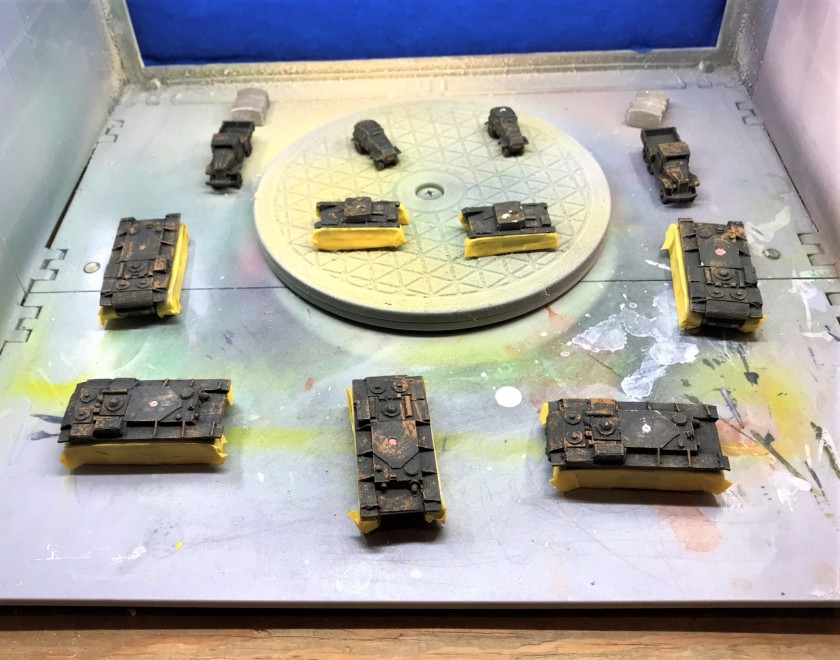
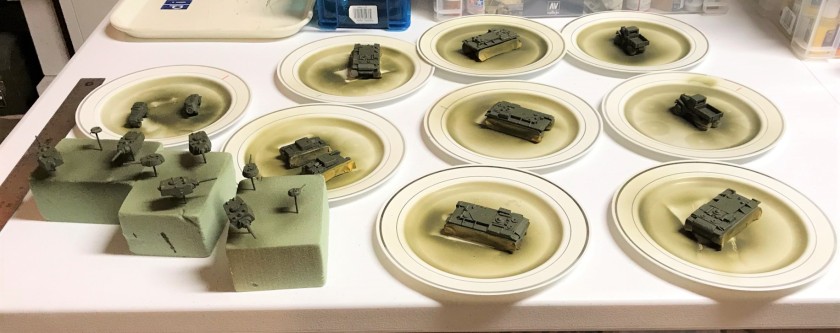
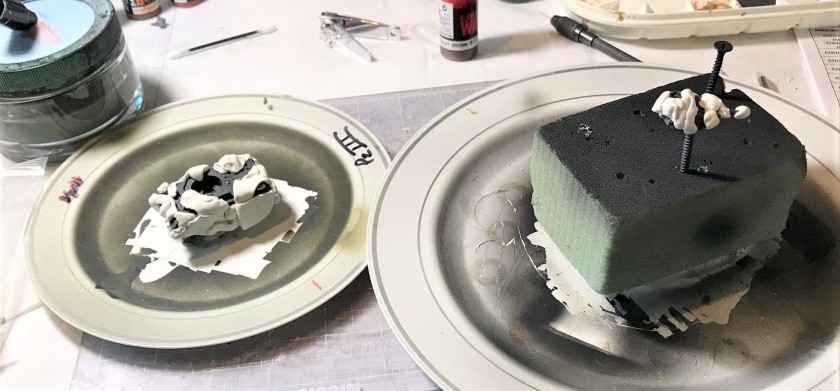
Assembling and painting these would require new uses of poster tack, plastic plates, and wood screws. This allowed me to both safely handle the tanks in production but also to get the right look of the camouflage. I decided to leave the crews out, as I had little confidence that they would survive the tabletop for very long as the models were designed.
I also got to play with some decals from Battlefront. These did require retreatment with Liquid Decal Film from Microscale Industries before I used their other products to affix their decals. I could not believe that the French roundel decal came in two pieces (the blue dot was separate and had to be affixed after and onto the red-ringed white circle). That was annoying!


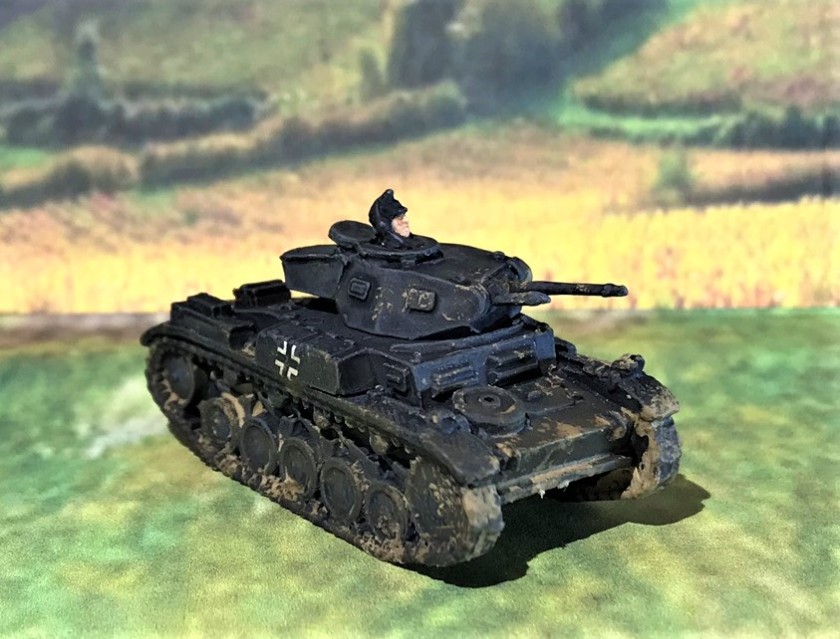
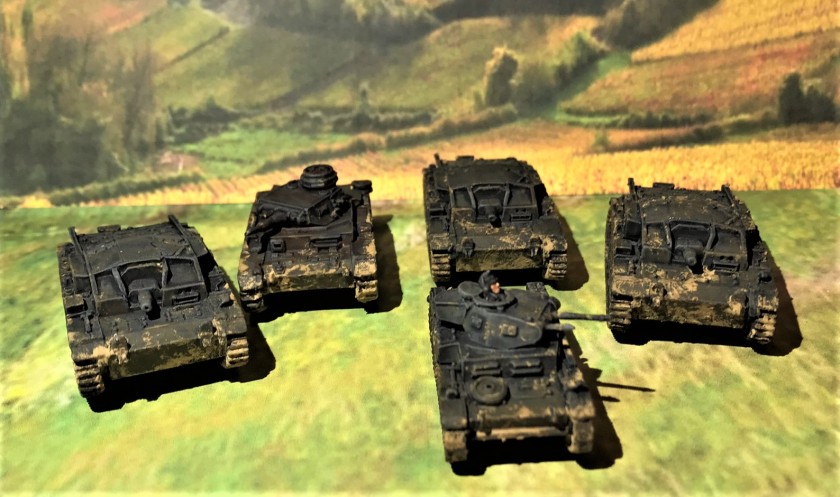
German
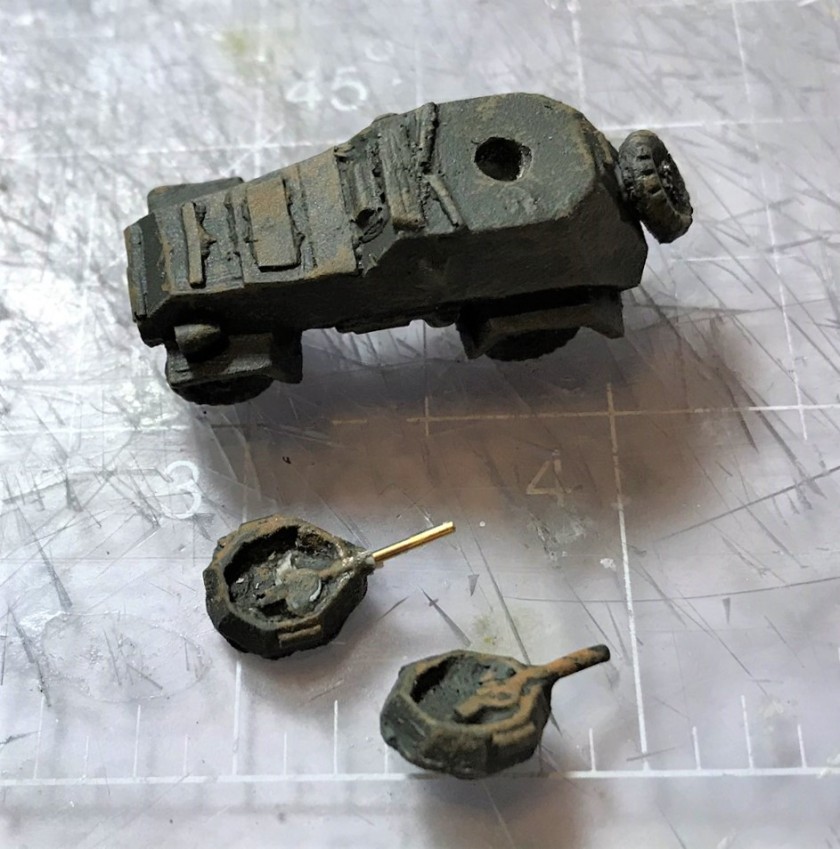
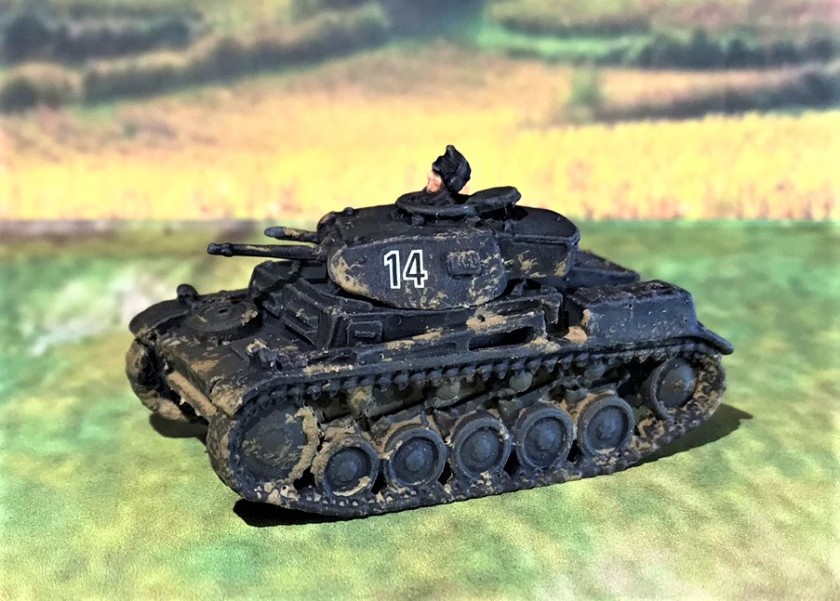
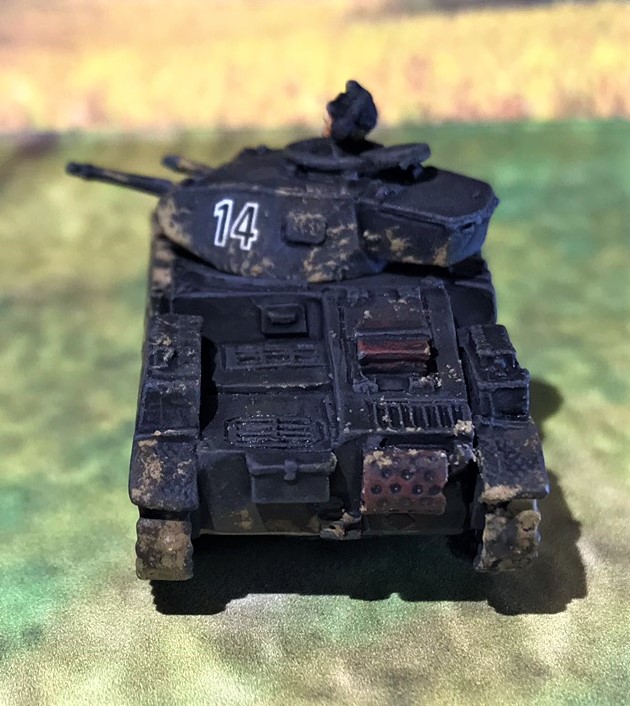
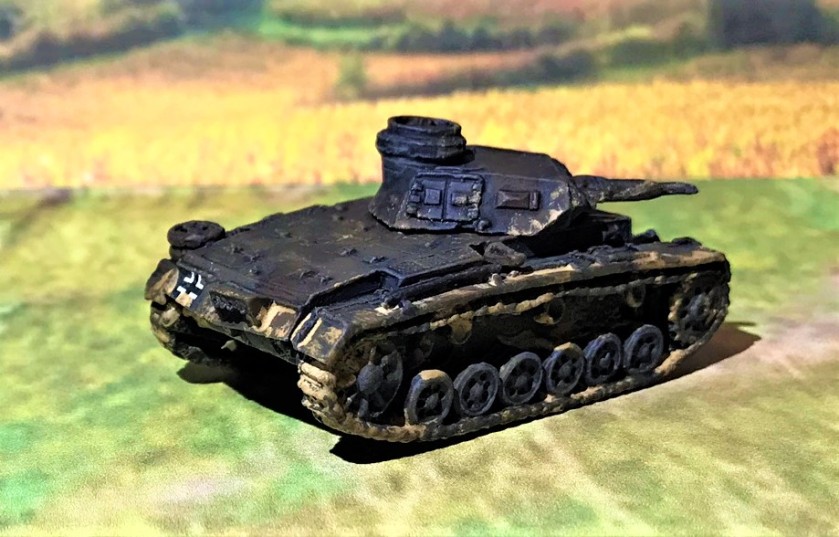
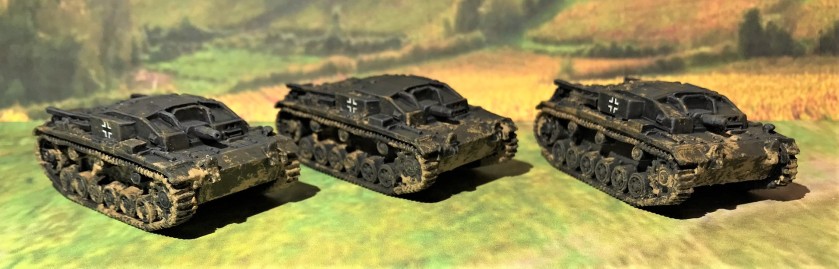
For the Germans, I chose to use the Panzer IIC, the Panzer IIIE, and the Sturmgeschutz Ausf A. The Panzer II’s came in a box of 5 – but was missing one tank gun. Battlefront has promised to make this good (and I expect it soon). I chose to make one of the Panzer II’s a France 1940 candidate, saving the other four for a North African scenario that I will complete later on. The Panzer IIIE came in three separate blisters. Ironically, the Panzer IIIE was the worst of the Germans to assemble. One gun was almost split, and the turrets were nearly three different sizes. There were a lot of mold lines to correct as well, especially on the tracks.
I repaired the one gun with green stuff, and chose it for the France 1940 group, saving the other two for North Africa. Lastly, historically it seems that very few StuG III’s made it to North Africa. Therefore, I added all three of the assault guns for my France 1940 scenario.


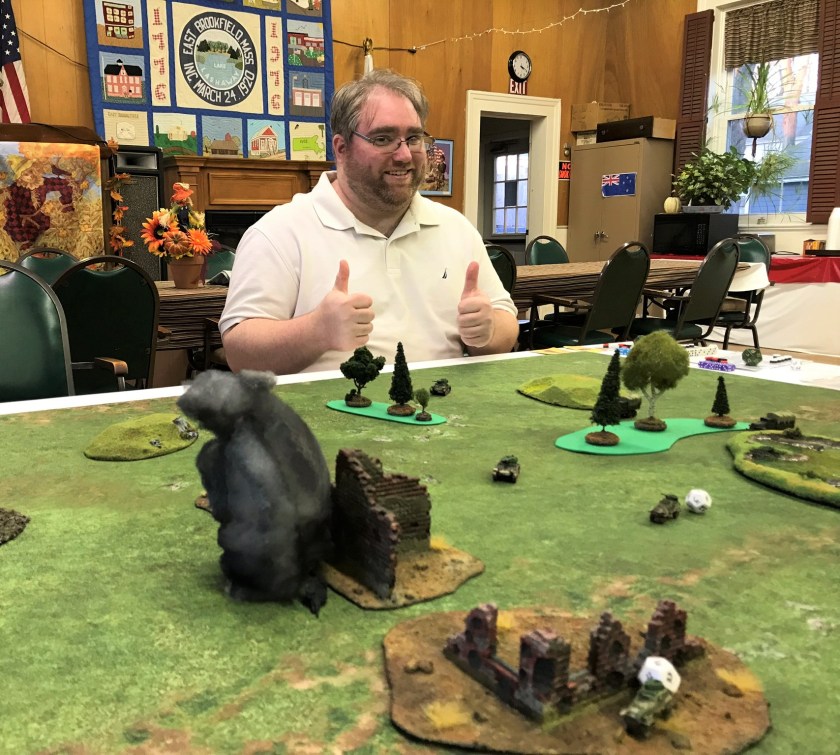
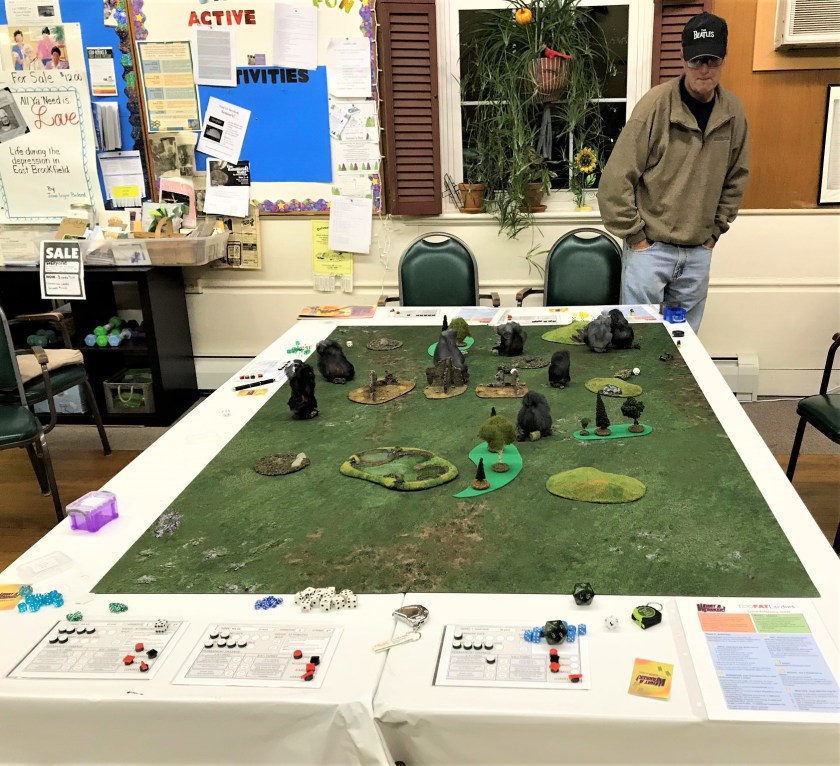
I was glad to have finished these in time for our club’s monthly session (which I will post about shortly). I will be adding more to my fleet, but in the meantime, I hope you enjoyed these. Do you have a favorite?
I appreciate hearing your thoughts and feedback in the comments section below. Thanks for looking!
PAINTS, INKS, GLAZES, WASHES, AND FLOCKING USED:
COMMONLY USED ON MULTIPLE TANKS:
- Vallejo “Flow Improver”
- Vallejo “Airbrush Thinner”
- Testors “Universal Acrylic Thinner”
- Battlefront “German Camo Black Brown”
- Battlefront “Dark Gunmetal”
- Vallejo Mecha Color “Green”
- Battlefront German Camo Black Brown
- Vallejo “Surface Primer – Black”
- Vallejo “Burnt Umber” (pigment)
- Vallejo “Light Sienna” (pigment)
- Vallejo “Light Slate Grey” (pigment)
- Vallejo “Natural Umber” (pigment)
- Vallejo Mecha Color “Light Rust Wash” (weathering)
- Vallejo Mecha Color “Oil Stains” (weathering)
- Battlefront “Oxide Red”
- Gorilla Glue
- Vallejo Mecha Varnish “Gloss Varnish”
- Microscale Micro-Set
- Microscale Micro-Sol
- Microscale Liquid Decal Film
- 1/8″ rare earth neodymium magnets
- Citadel “Nuln Oil” (shade)
- Citadel “Nuln Oil Gloss” (shade)
- Appropriate decals from Battlefront
- Vallejo Mecha Varnish “Matt Varnish”
UNIQUE TO THE SOVIET TANKS:
- Vallejo “Surface Primer – Russian Green”
- Vallejo Panzer Series “Camouflage Olive Green”
- Vallejo Mecha Color “Light Green”
- Citadel “Biel-Tan Green” (shade)
- Citadel “Athonian Camoshade” (shade)
- Secret Weapons Washes “Sewer Water”
- Citadel “Agrax Earthshade”
UNIQUE TO THE FRENCH TANKS:
- Battlefront “GI Green”
- Battlefront “Flat Earth”
- Battlefront “Sicily Yellow”
UNIQUE TO THE GERMAN TANKS:
- Battlefront “Panzer Gray”
- Battlefront “Rommel Shade”
- Battlefront “Chocolate Brown”
- Battlefront “European Skin”
- Battlefront “Skin Shade”
- Vallejo “Medium Skin Tone”
- Battlefront “Black”
- Green stuff
Thanks again for looking and for your feedback!