I have been very busy – too busy to effectively write blog entries lately. I have been working on terrain and game support for the two games I will be running at HAVOC on April 5th and 6th. Each will support 10 players – and its my goal that all have a blast! So, in the interim, please enjoy these two announcements – hopefully I get some other stuff painted and blog-worthy for you dear readers! The link for the convention is here.
I am looking forward to seeing a number of friends – including my old USMA classmate (and HAWKS member) Dave Wood who is also running a couple of games – so that’s exciting too.
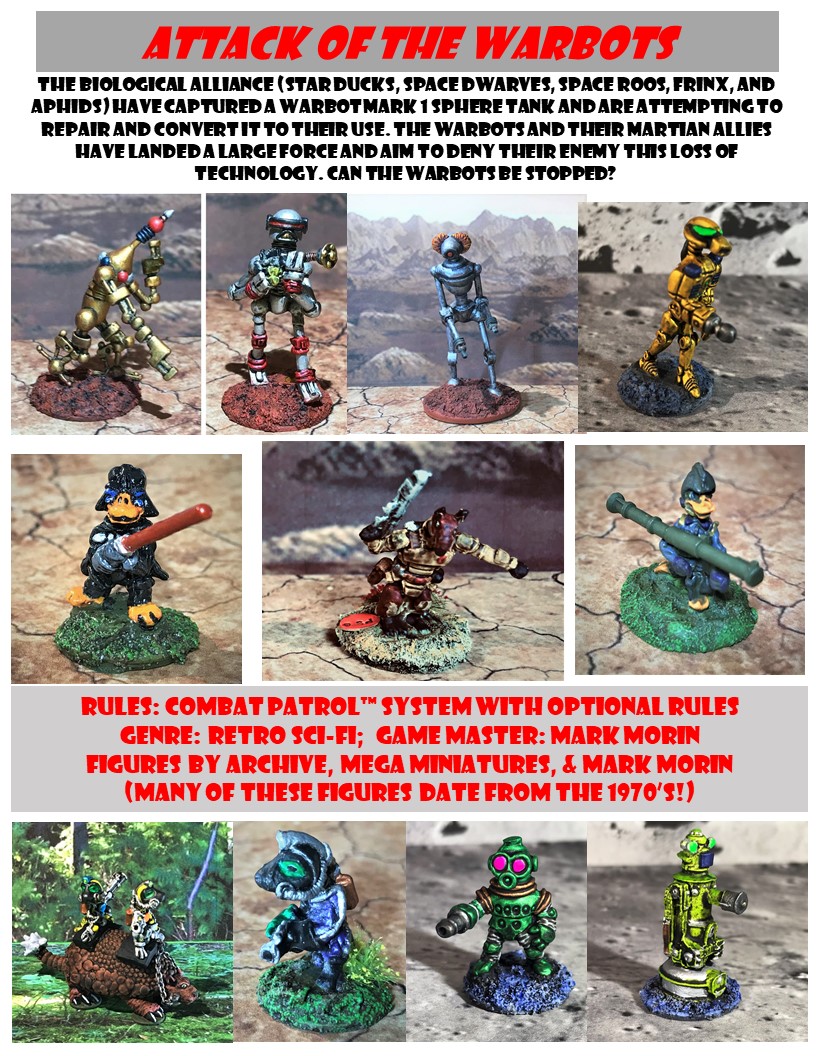
I’ll be running these two games!
I updated this game with my Space Roos and have new terrain!
This overall North Africa project has been documented in this blog in five previous posts, (which you can read about here, here, here, here, and here) and I plan on a summary post as well in the near future. There I will detail more about the game scenario and how I run it. These 5 tanks brings me to a total of 46 tanks since December for this scenario.
I decided to try a different source for the tank models, and found that I could get three from Old Glory for $25, which seemed reasonable. I also bought a few other vehicles for other scenarios. I was surprised to see that they were completely made of metal – even with a lead warning on the package! As a metal aficionado, I was pleased.
A bag of early war Italian tanks
Wow – still making with lead!
I did have however a concern with the quality of the castings. They all had significantly problematic mold lines on the machine gun turret, and the details on the hull were much less clear than Battlefront models. Still, the price reflected that, so it was up to me to make it work. Which I did.
Two of these would be for the Italians, and one would be an Australian-captured M11/39 tank. While technically not a squad, they certainly could have started out that way in the Italian Army! For that reason – and because my good friend Azazel runs a fun painting challenge each month (and is an Aussie) – these three will constitute a submission from me for March’s“Squad March” painting challenge.
The turrets needed a good amount of surgery and filing.After assembly and a lot of filing. I glued the machine gun turrets as it made no sense to have them be movable for What a Tanker games..The three M11/39’s assembled.
For priming, I went with a brush, as these seemed to be very smooth castings. I worried that it would be difficult to get the paint to “bite”. They also were hollow at the bottom, so I needed to devise a way to mount them for painting. I ended up using a small square dowel and poster tack on small plates.
I brush primed these
The hollow bottom of the model
I did not take as many pictures during the process as I wanted to get these done for a game this weekend, but unfortunately some snow took care of that, and they will get a chance next weekend. I list all the paints I used at the end of the blog for those interested.
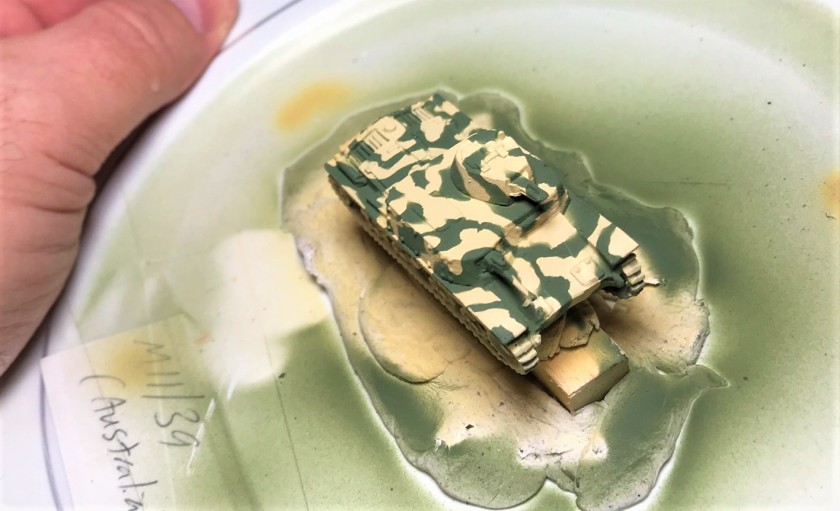
Poster tack on the M11/39’s as they are prepped for camouflage paint. I use gauze on the spray booth filter to extend the life of my spray booth filters.Close up of the poster tack before painting.This is not a fine Italian meal by any stretch!After the poster tack was gently removed, I got this result.
Then I used washes, pigments, decals, and other paints to finish them all up. There will be an eye-candy section following the sections on the tanks.
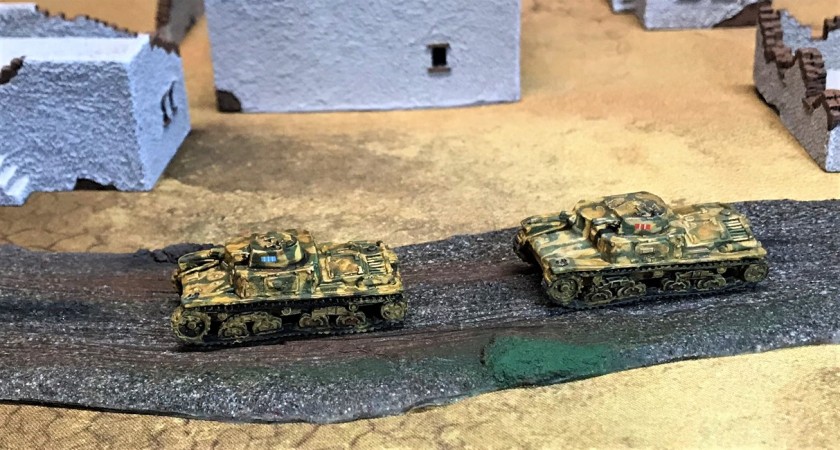
My Italian M11/39’s with the model I used. I ended up with more green, but I still liked the results. In any case, I always want my tanks dusty and dirty.And here is the M11/39 the Aussie’s captured that will join the 8th Army forces.A nice comparison with a photo of the actual Aussie M11/39’s used. I love the ‘roos.
I read that the Aussies used these until they ran out of diesel (their tanks had gasoline engines so diesel was rare). Then they blew them up. I believe that there are no surviving examples of the M11/39 in the world.
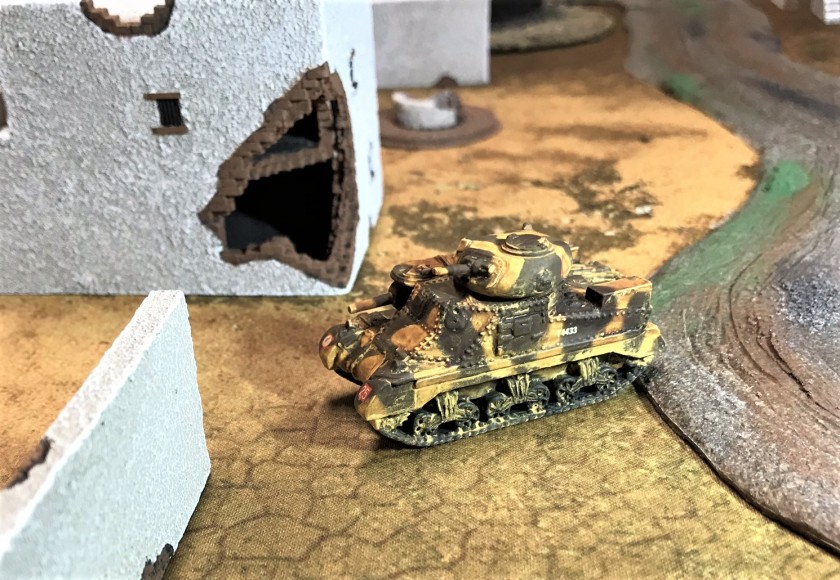
M3 Grant
I already had one M3 Grant painted, but with the Germans having a Panzer IVF2 and a Tiger I in the DAK inventory, I wanted to augment the 8th Army’s later war desert forces with another Grant and a Sherman.
My Grant in the blister
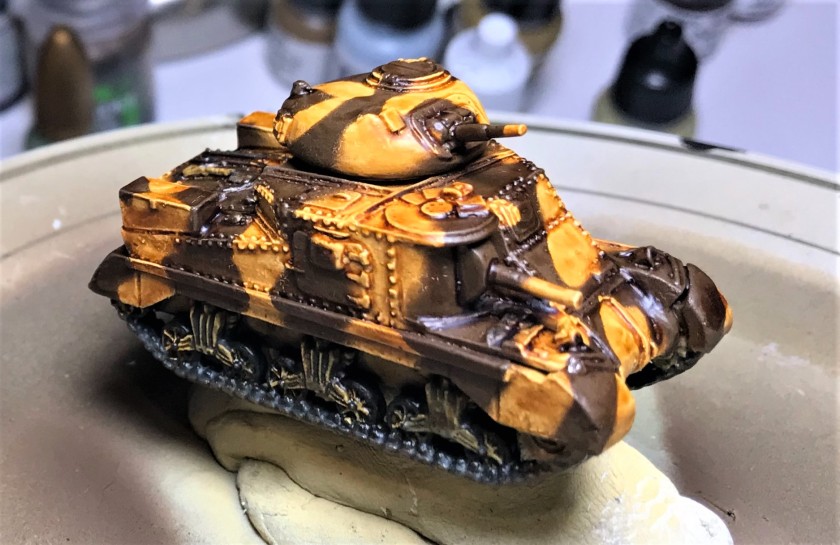
Assembled Grant
Awaiting decals, pigments, and varnish.The completed model with the one I used as a guide. There was no way I was going to be able to pull off the white and black outlines here on such a small model. I do like how it came out – again dirty and dusty.
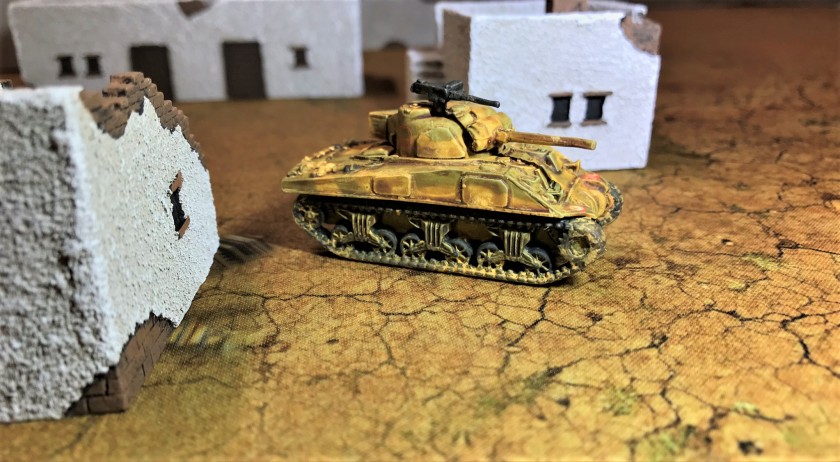
M4 Sherman
My Sherman in the blister
Assembled Sherman
The major difference in painting here from the M3 Grant was the camouflage pattern I used.
M4 Sherman awaiting decals, pigments, and varnish.The completed model with the guide in my research material.Here are the two with images I printed out from Battlefront’s web page.
Please let me know any feedback in the comments section, I do appreciate your thoughts. Now it’s time for…
Eye Candy
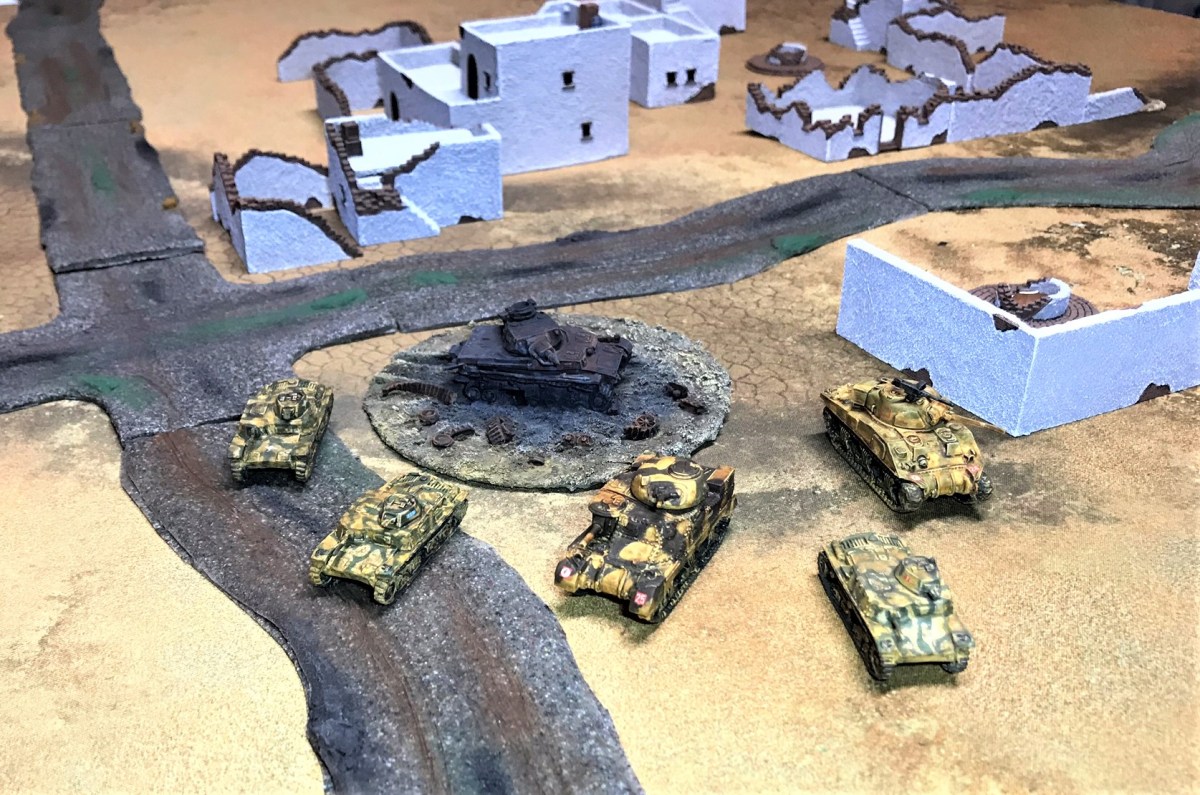
Here are the three M11/39’s, with the Aussie on the far right.Right front view of one of the Italian M11/39’s. The main gun is the antitank weapon, and can only be moved with the tank itself as the turret had only machine-guns.Left side view of the M11/39.The two Italian M11/39’s hit the road.Rear view of the two Italian M11/39’s.The Australian M11/39 with ‘Roo markings so as not to attract friendly fire.Gotta say I love the ‘Roo.Other side.Aussie M11/39 driving by a wrecked Panzer IVD.M3 Grant with Desert Rat markings.Nice left side view of the M3 Grant.Coming at ya!Rear view.The M4 all dusted up. I also gave the M4 Desert Rat markings.M4 Sherman moving out.I don’t want to end up like Heinz!Rear view of the M4 Sherman. I had to pin the bustle rack, and at certain angles it looks off, but at a distance its unnoticeable.The 8th Army additions all assembled.All the tanks that were completed for this post.
PAINTS, INKS, GLAZES, SHADES, WASHES, PIGMENTS AND FLOCKING USED ON THE M11/39’s:
Vallejo “Flow Improver”
Vallejo “Airbrush Thinner”
Vallejo “Surface Primer – Black”
Vallejo “Dark Sand”
Battlefront “Dry Dust”
Battlefront “Army Green”
Vallejo Game Air “Black”
Battlefront “Monty Shade” (shade)
Army Painter Quickshade “Soft Tone” (wash)
Army Painter Quickshade “Strong Tone” (wash) – on Australian version only
Battlefront “Dark Gunmetal”
Vallejo Mecha Color “Light Rust Wash” (wash)
Testors “Universal Acrylic Thinner”
Vallejo “Dark Yellow Ochre” (pigment)
Vallejo “Light Slate Grey” (pigment)
Vallejo “Light Yellow Ochre” (pigment)
Vallejo “Desert Dust” (pigment)
Vallejo “Natural Umber” (pigment)
Gorilla Glue
Vallejo Mecha Varnish “Gloss Varnish”
Microscale Micro-Set
Microscale Micro-Sol
Microscale Satin
Microscale Liquid Decal Film
Appropriate decals from Battlefront
Vallejo Mecha Varnish “Matt Varnish”
Aleene’s poster tack
Sponges
PAINTS, INKS, GLAZES, SHADES, WASHES, PIGMENTS AND FLOCKING USED ON THE M3 GRANT AND M4 SHERMAN:
As for research materials, I used the same ones as I cited in previous posts plus Google searches and Battlefront’s website. Here the books are in case you are interested – you can find them on Amazon and I highly recommend them all:
Jean Restayn:WWII Tank Encyclopaedia, 1939-45
Smithsonian/DK: Tank: The Definitive Visual History of Armored Vehicles
Michael Green:Axis Armoured Fighting Vehicles of the Second World War (Images of War)
Robert Jackson:Tanks and Armored Fighting Vehicles Visual Encyclopedia
I would again easily recommend all of these books as really good resources for gamers and modelers. Thanks for looking and for sharing your feedback in the comments section.
Now I might go back to retro sci-fi for a bit! Still have many more tanks to do, but those will be for other scenarios.
Do you have a favorite tank of the ones here? Why? Let me know!