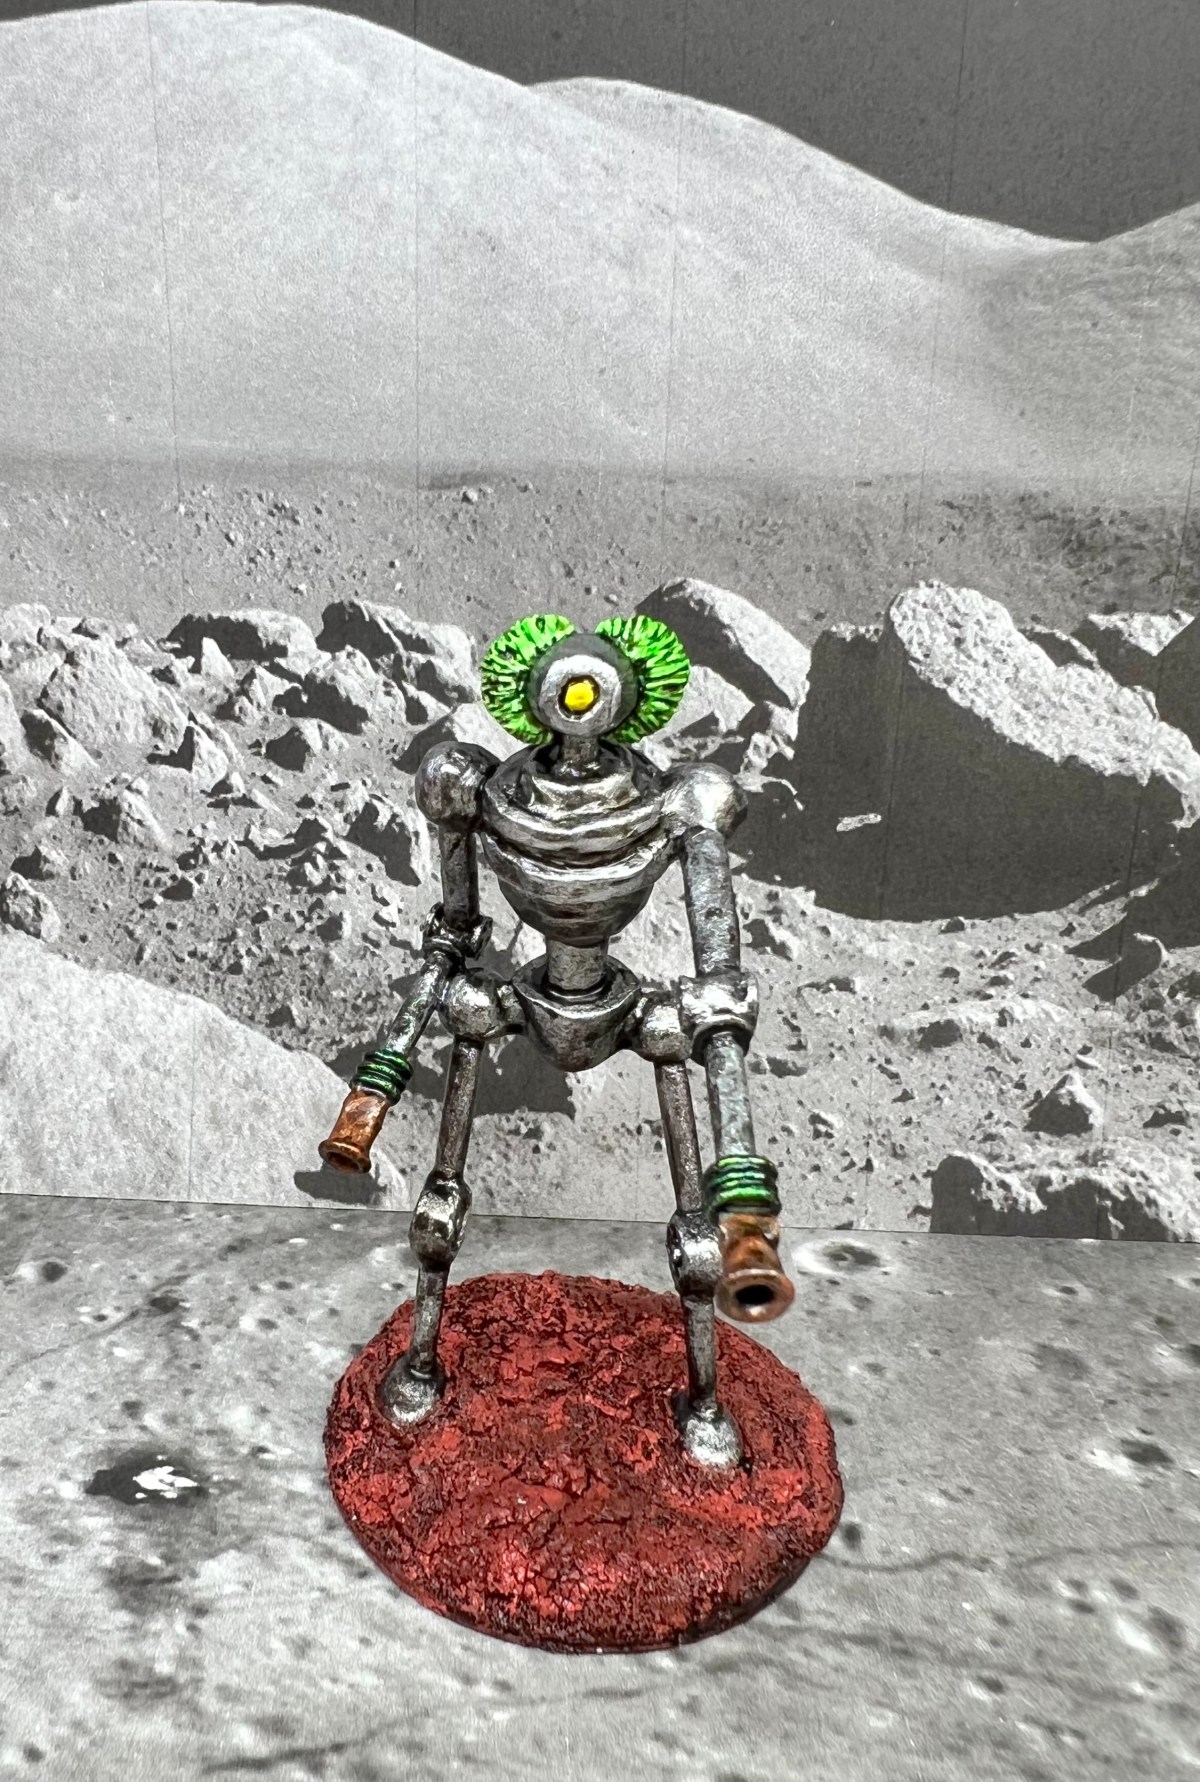
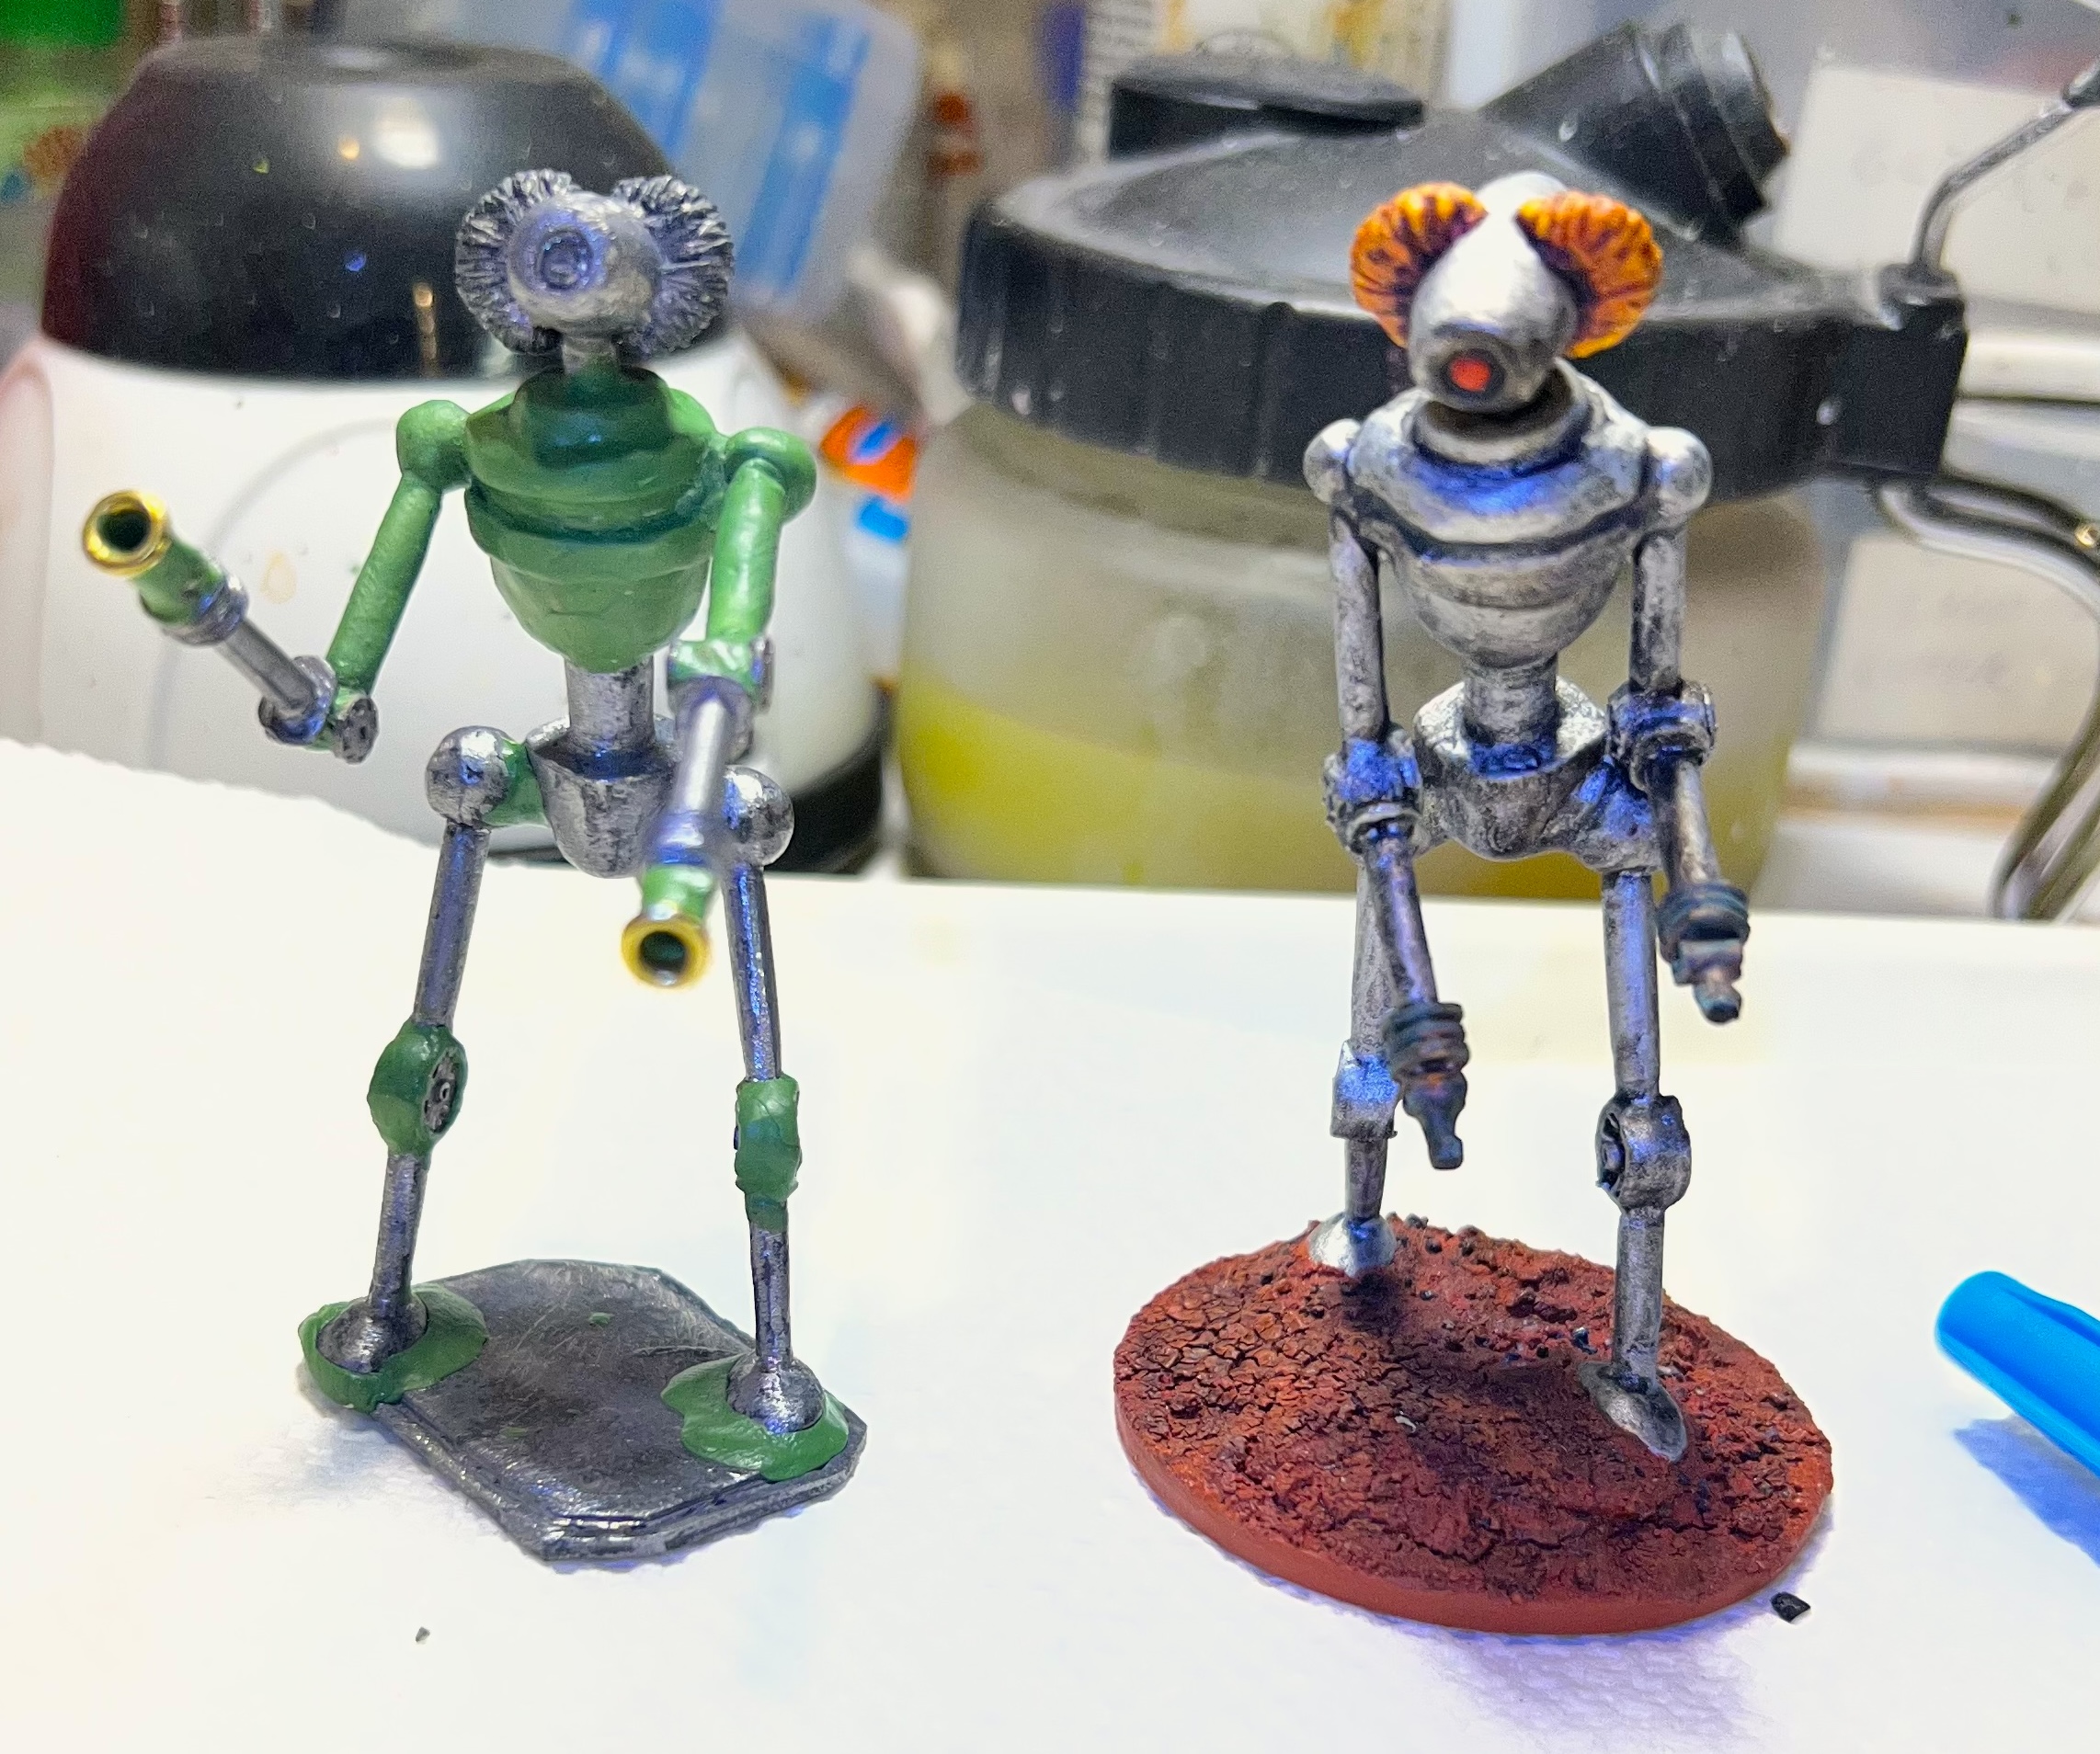
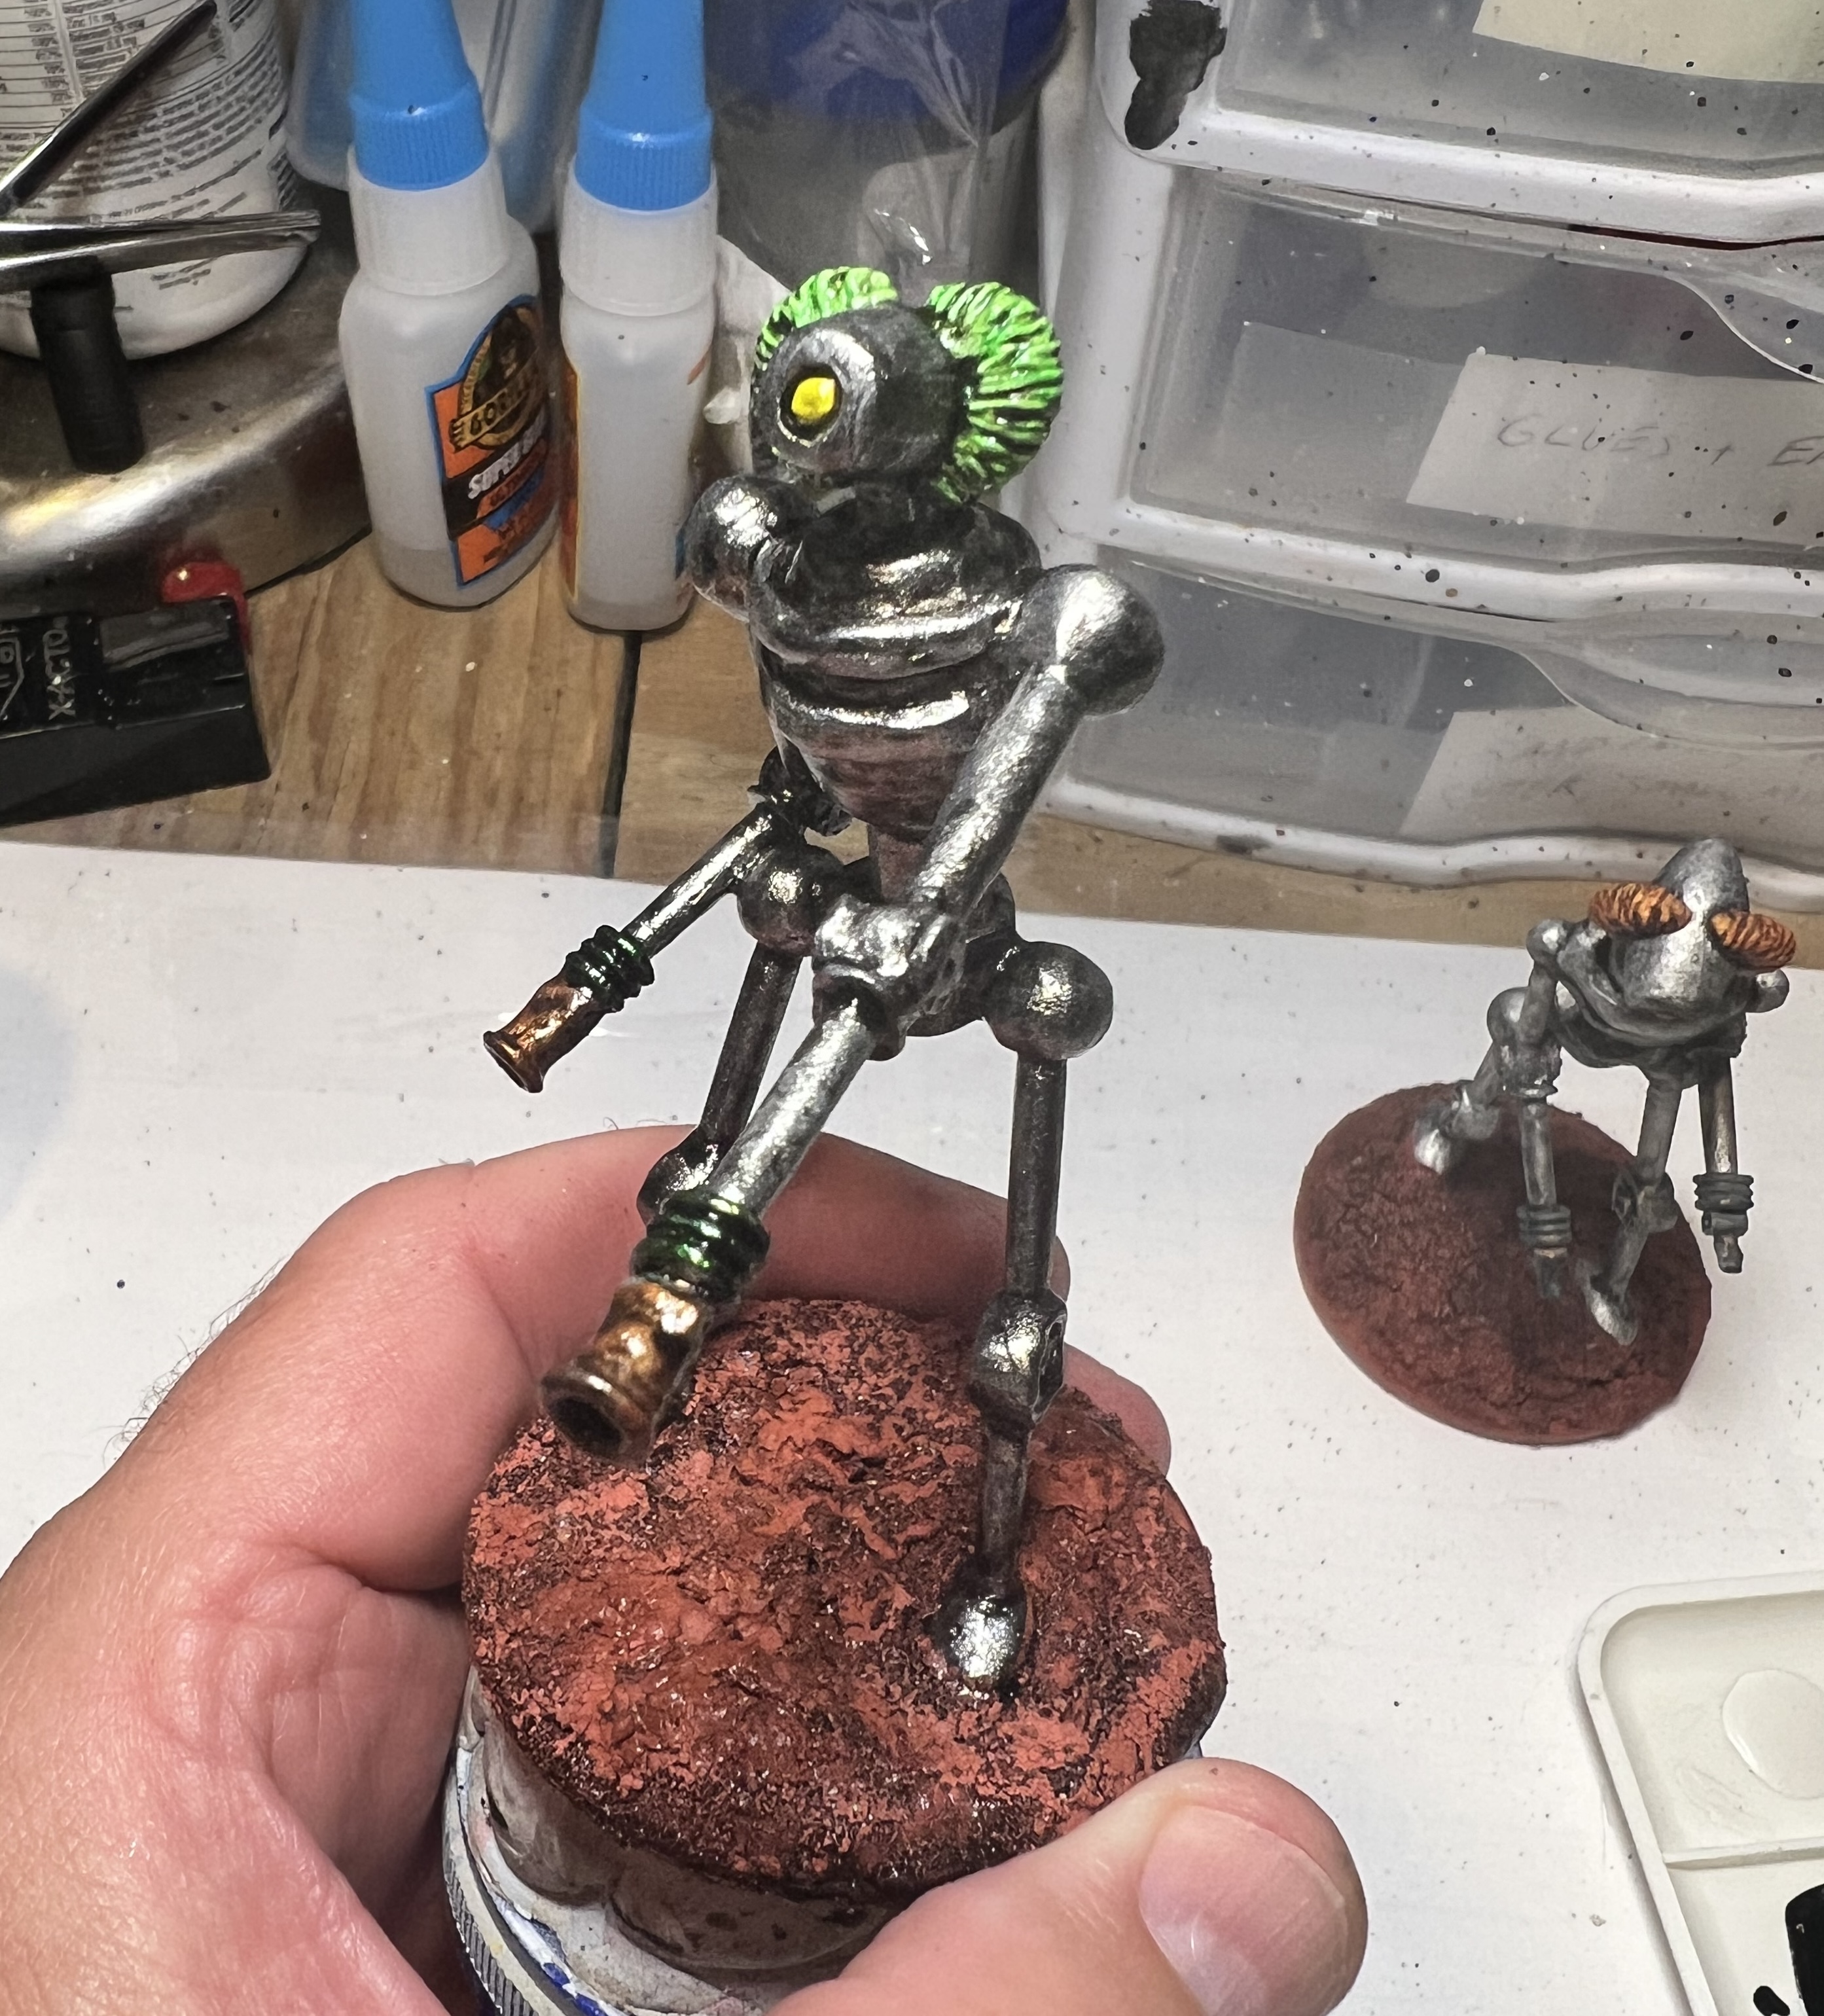
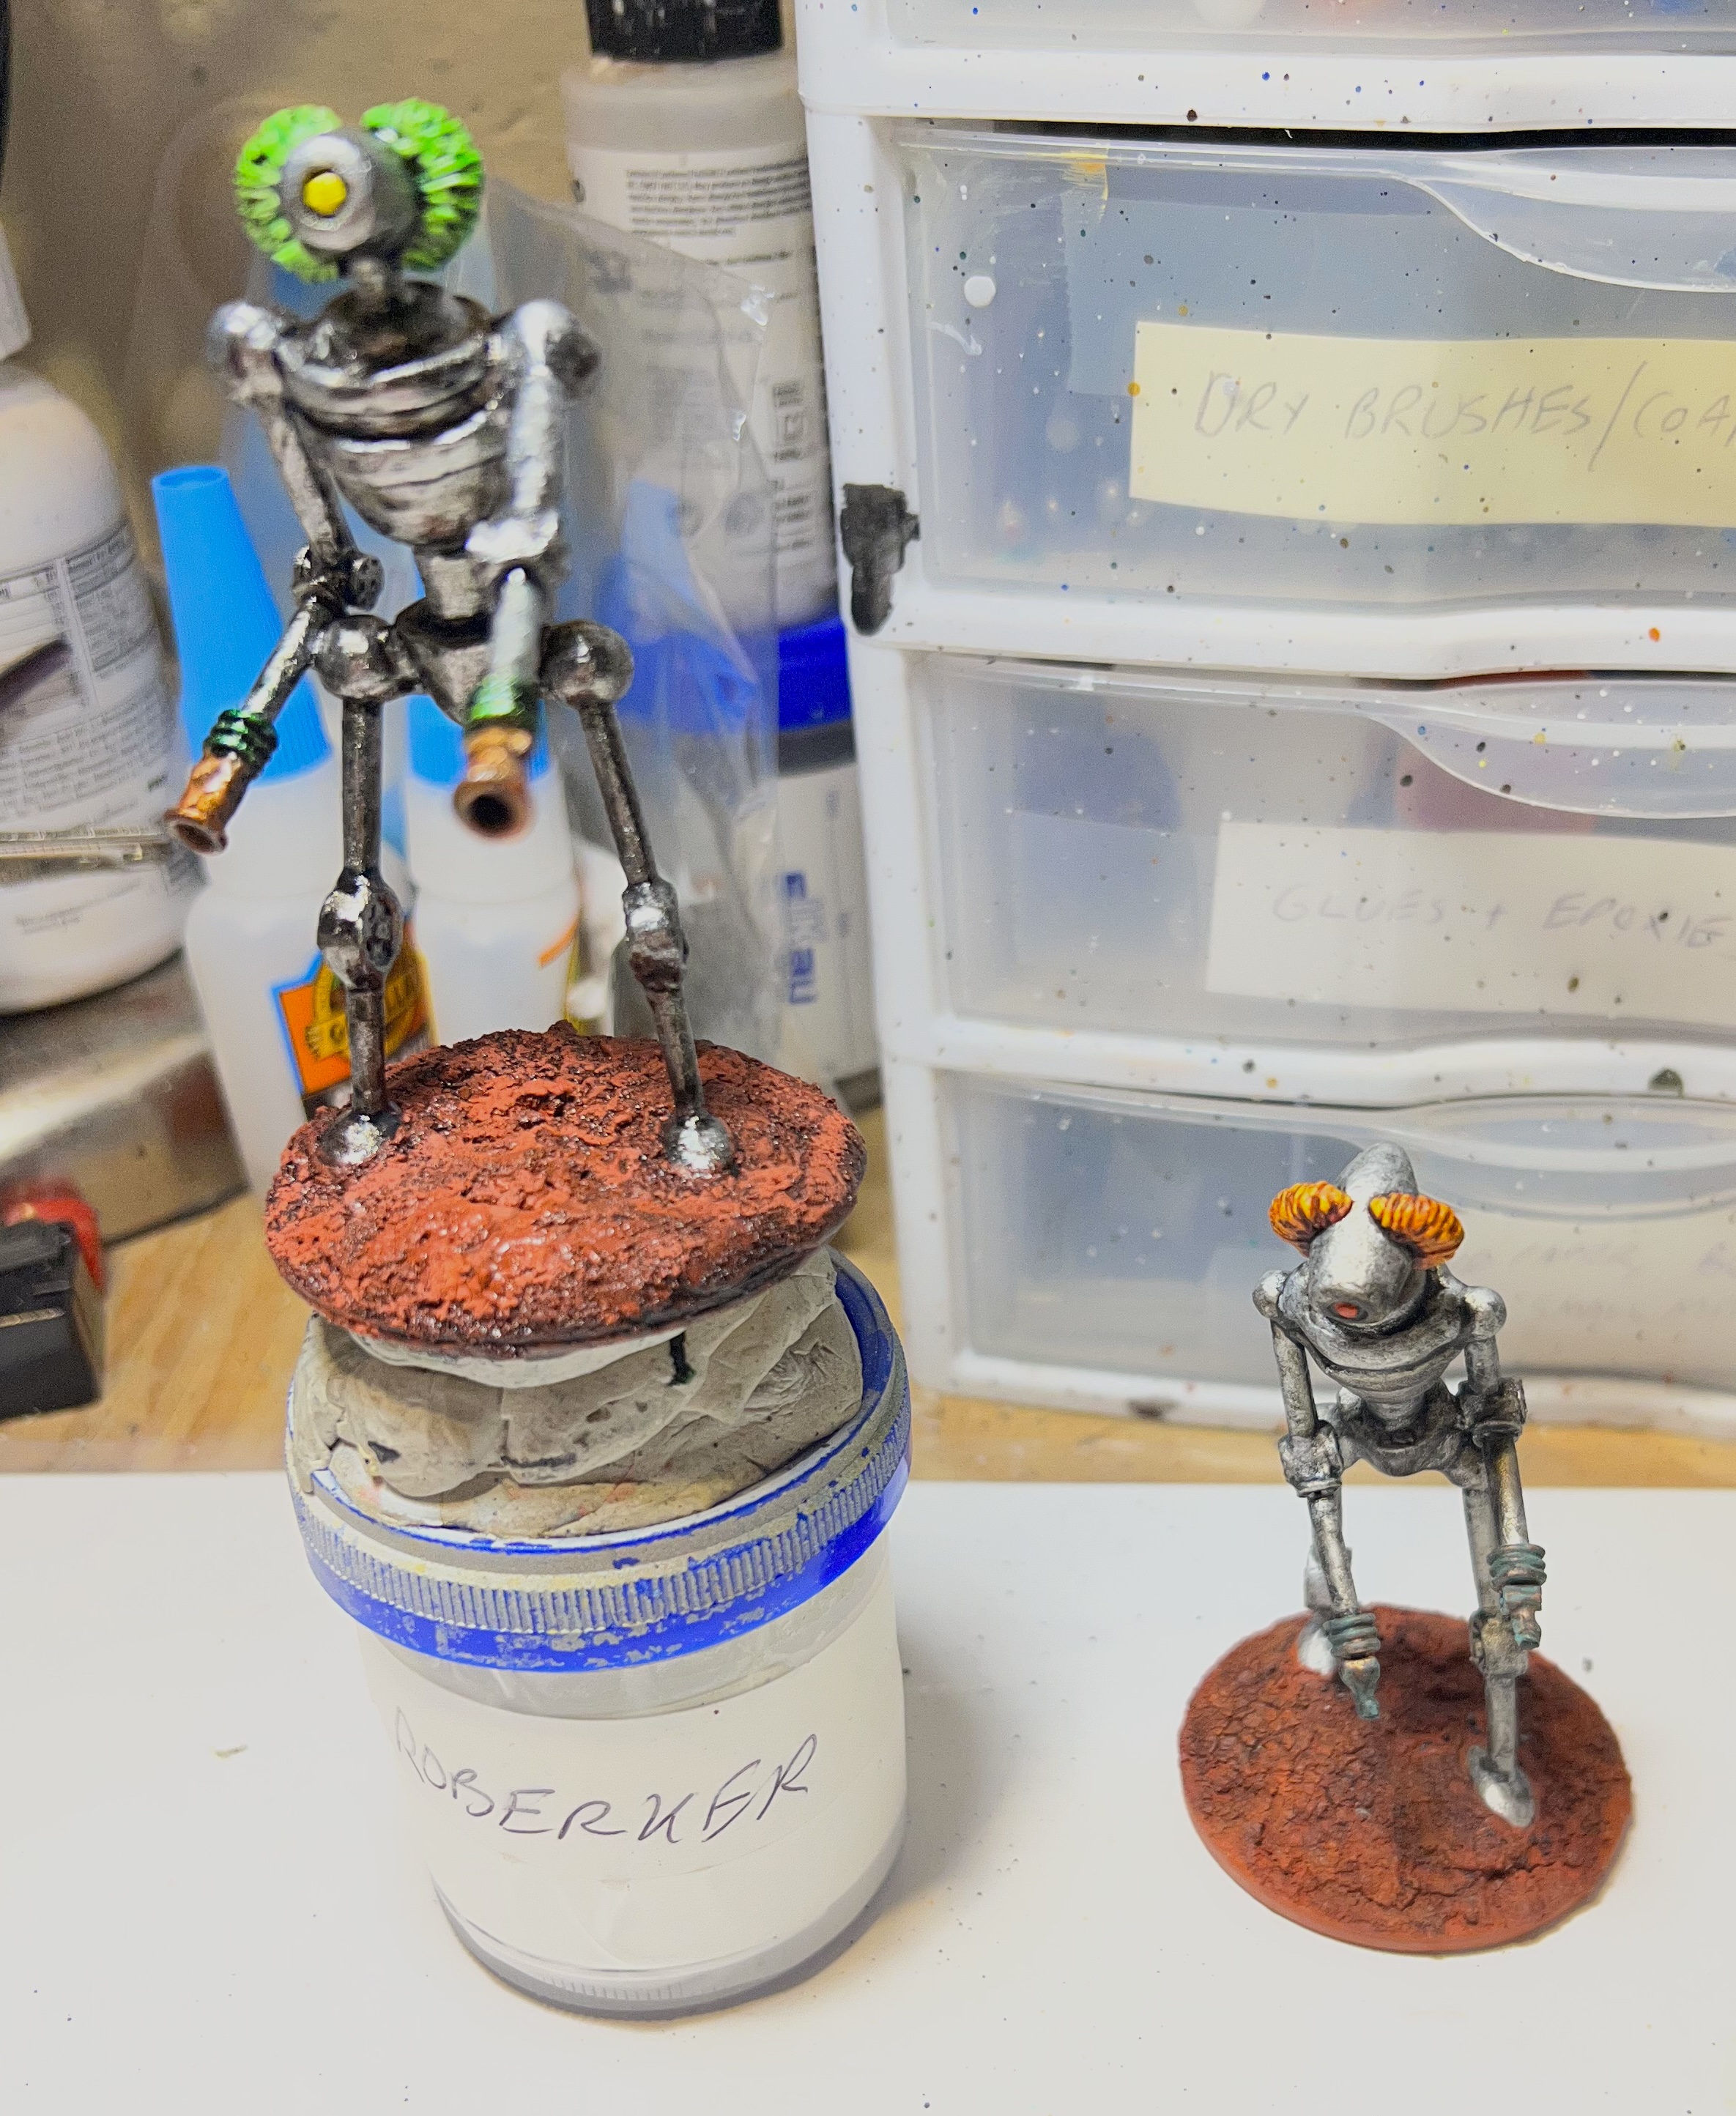
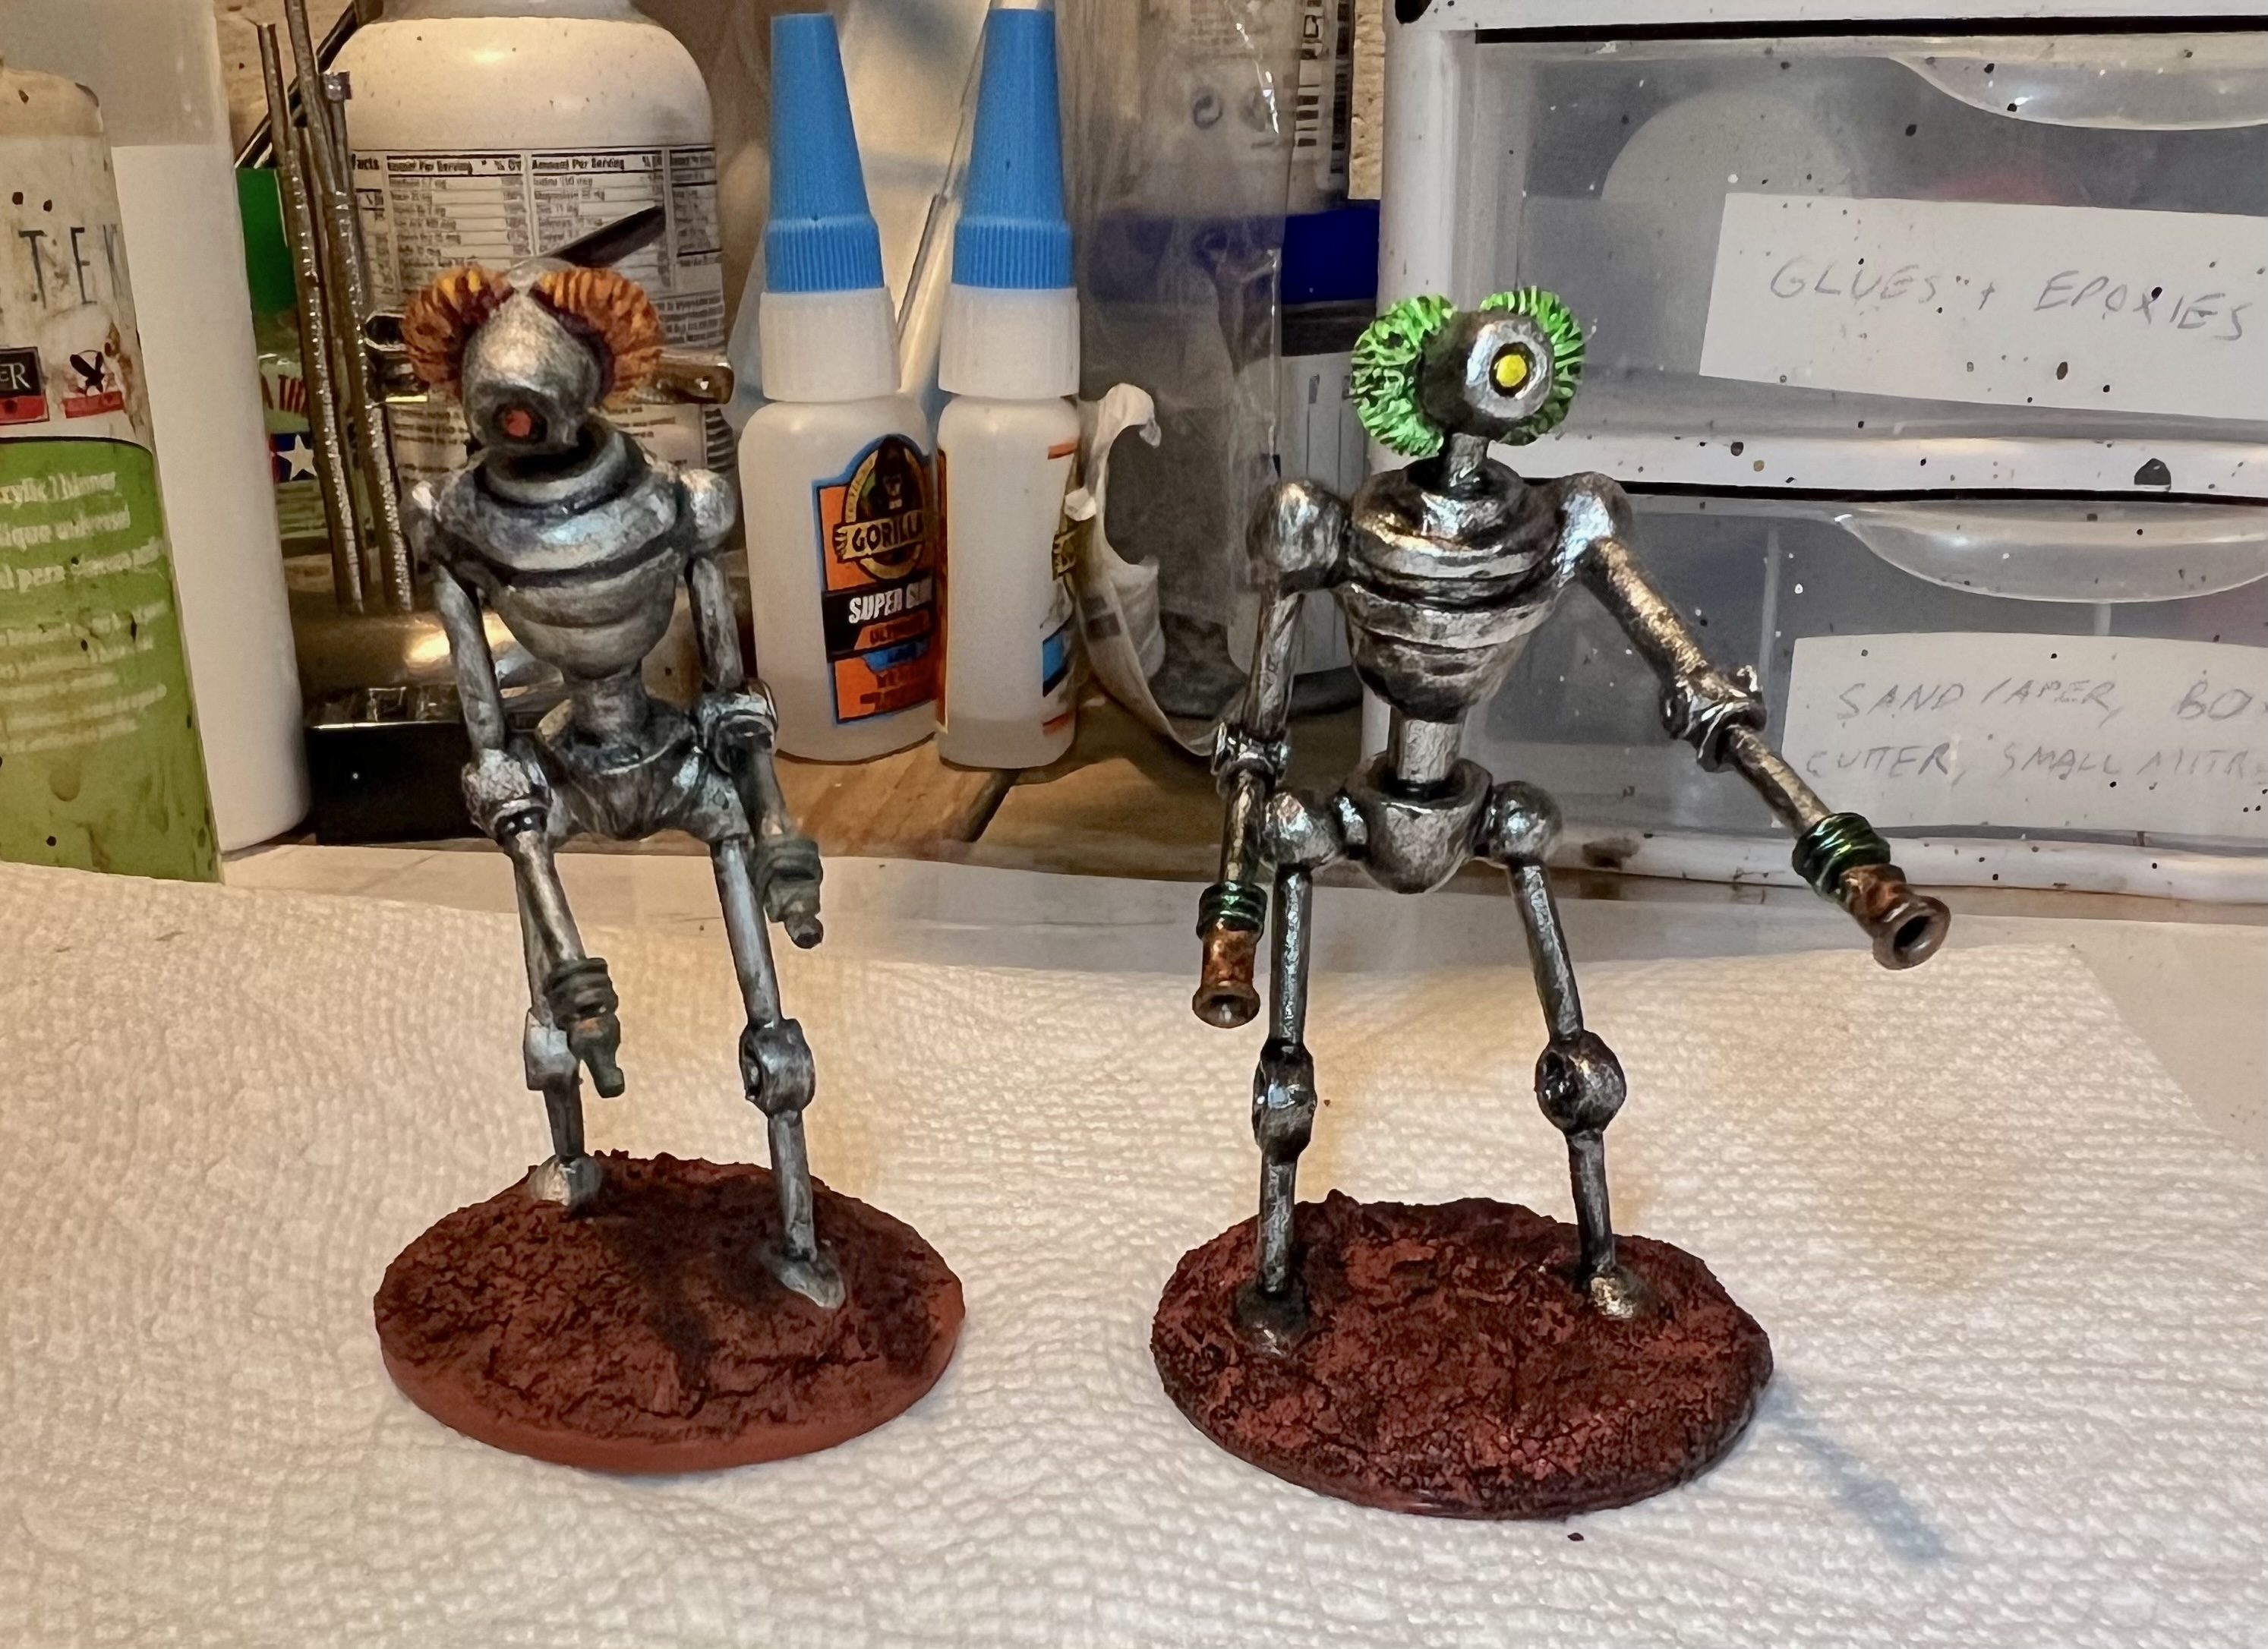
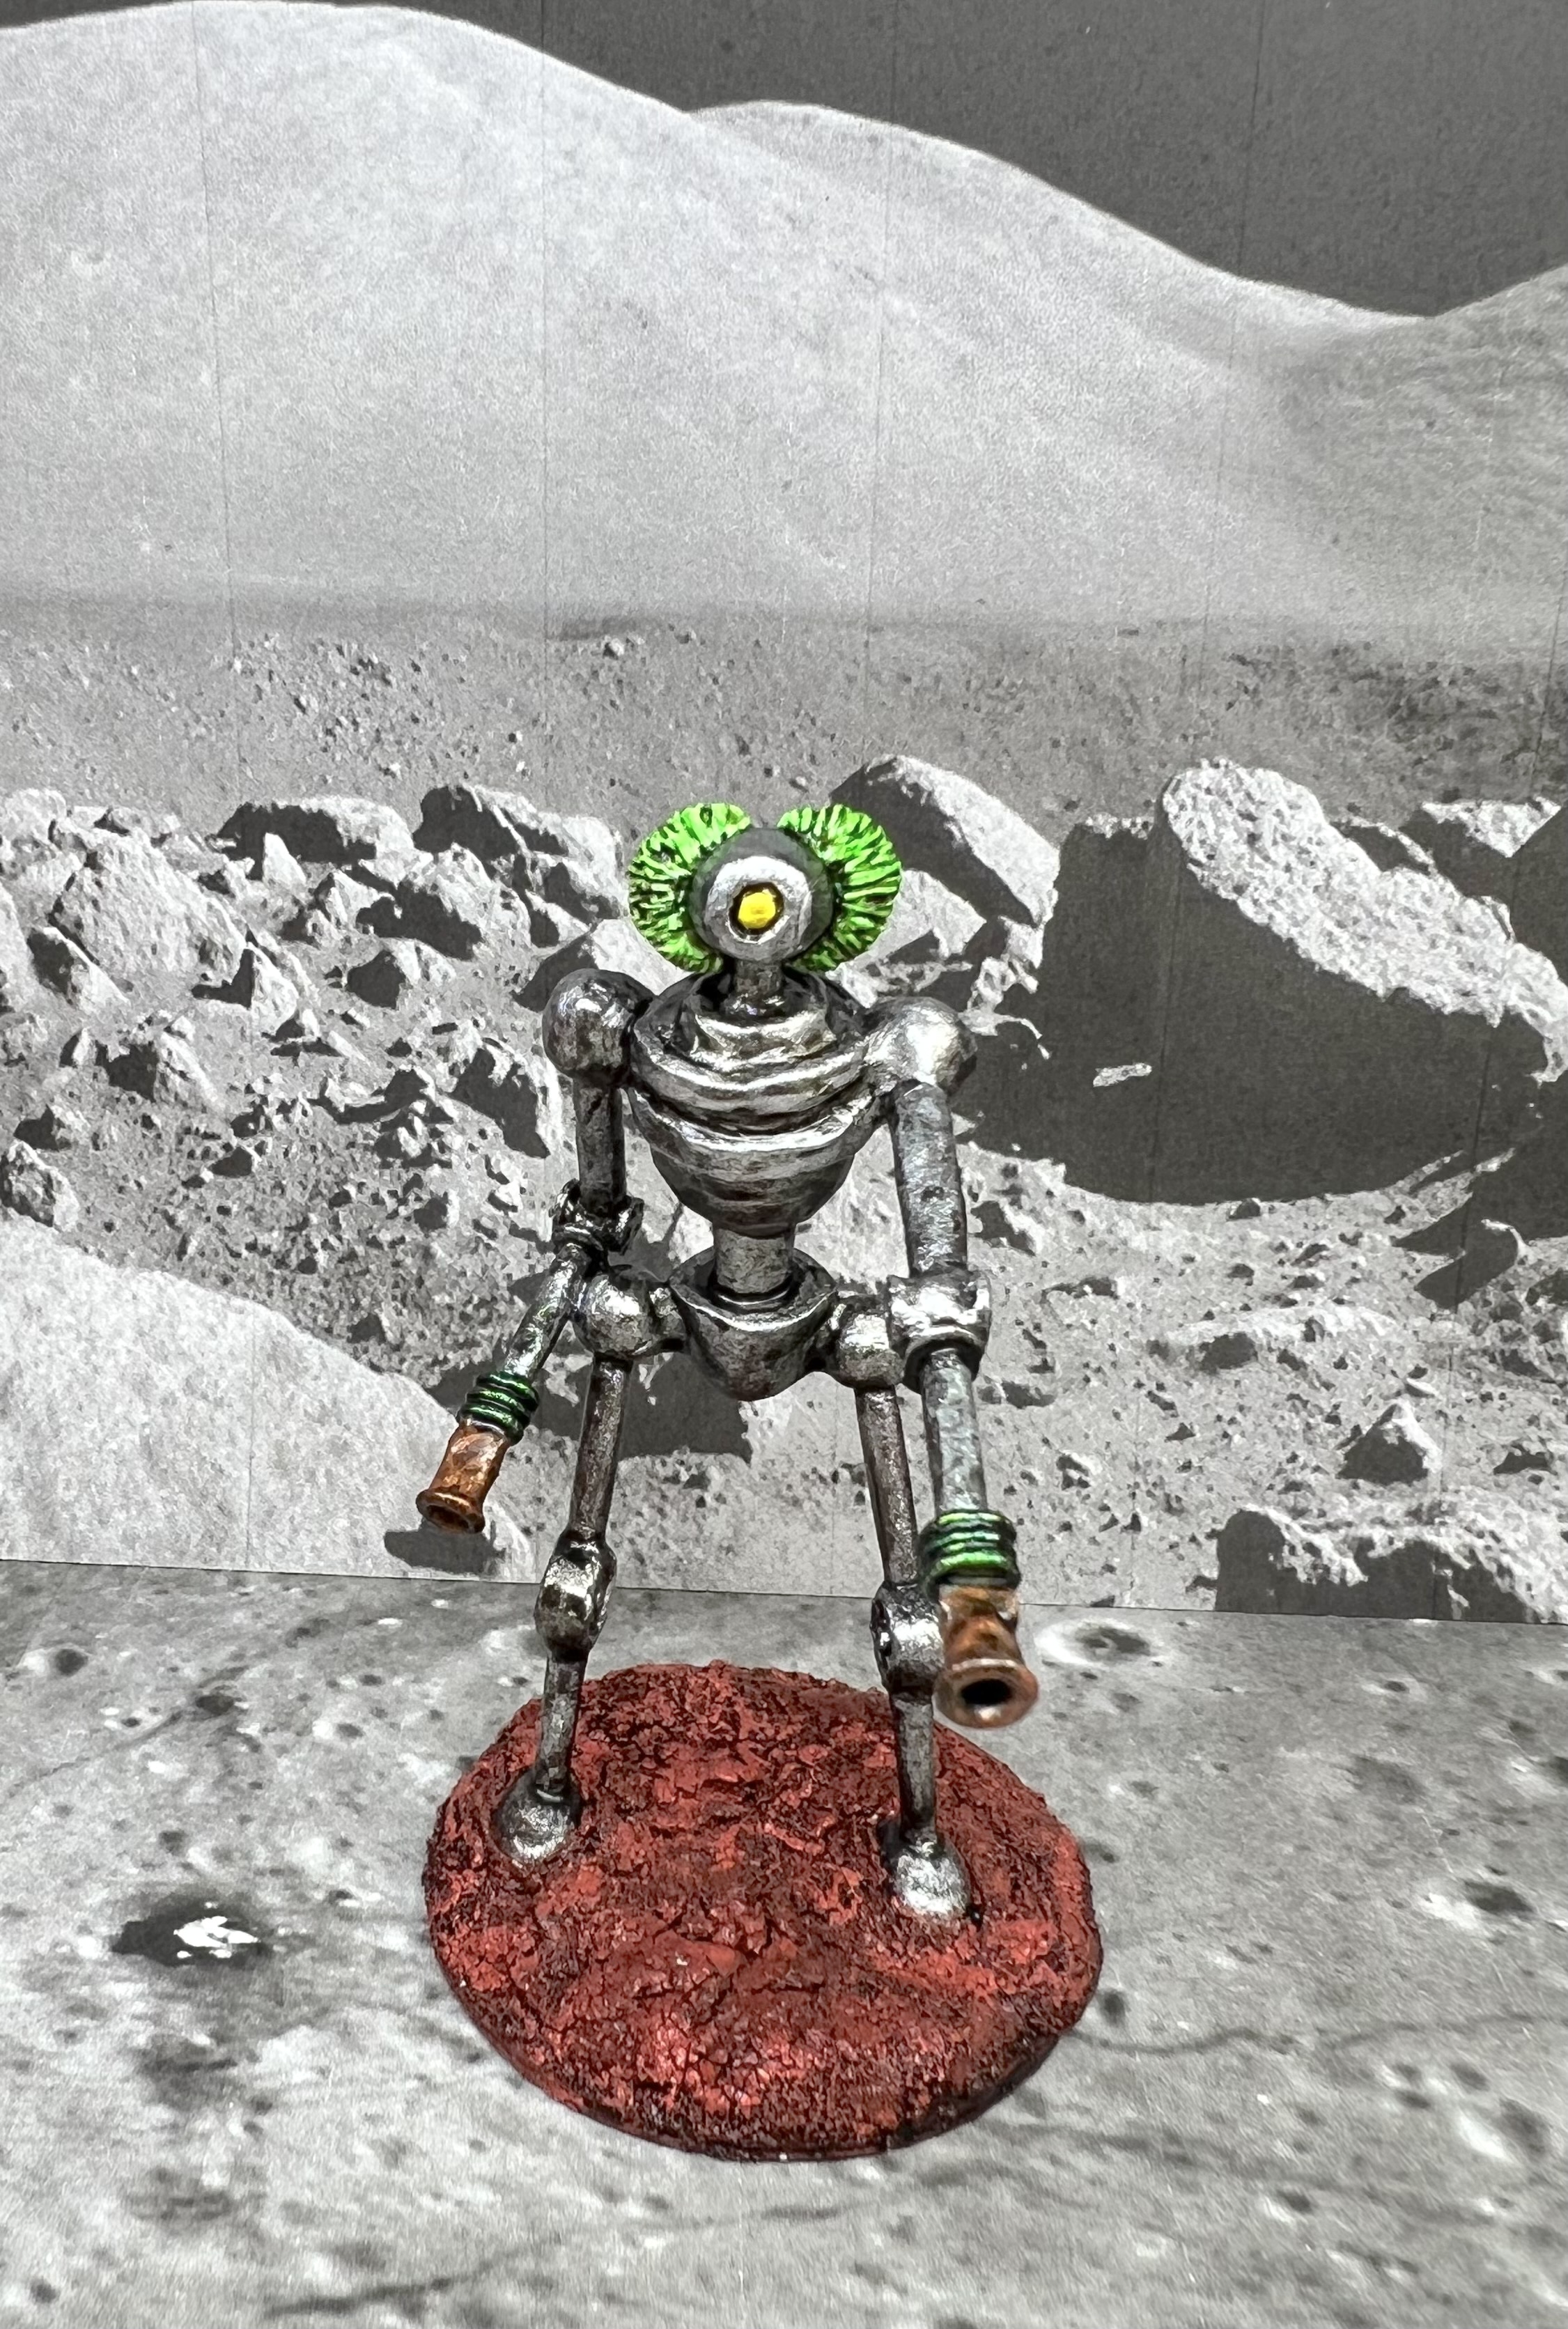
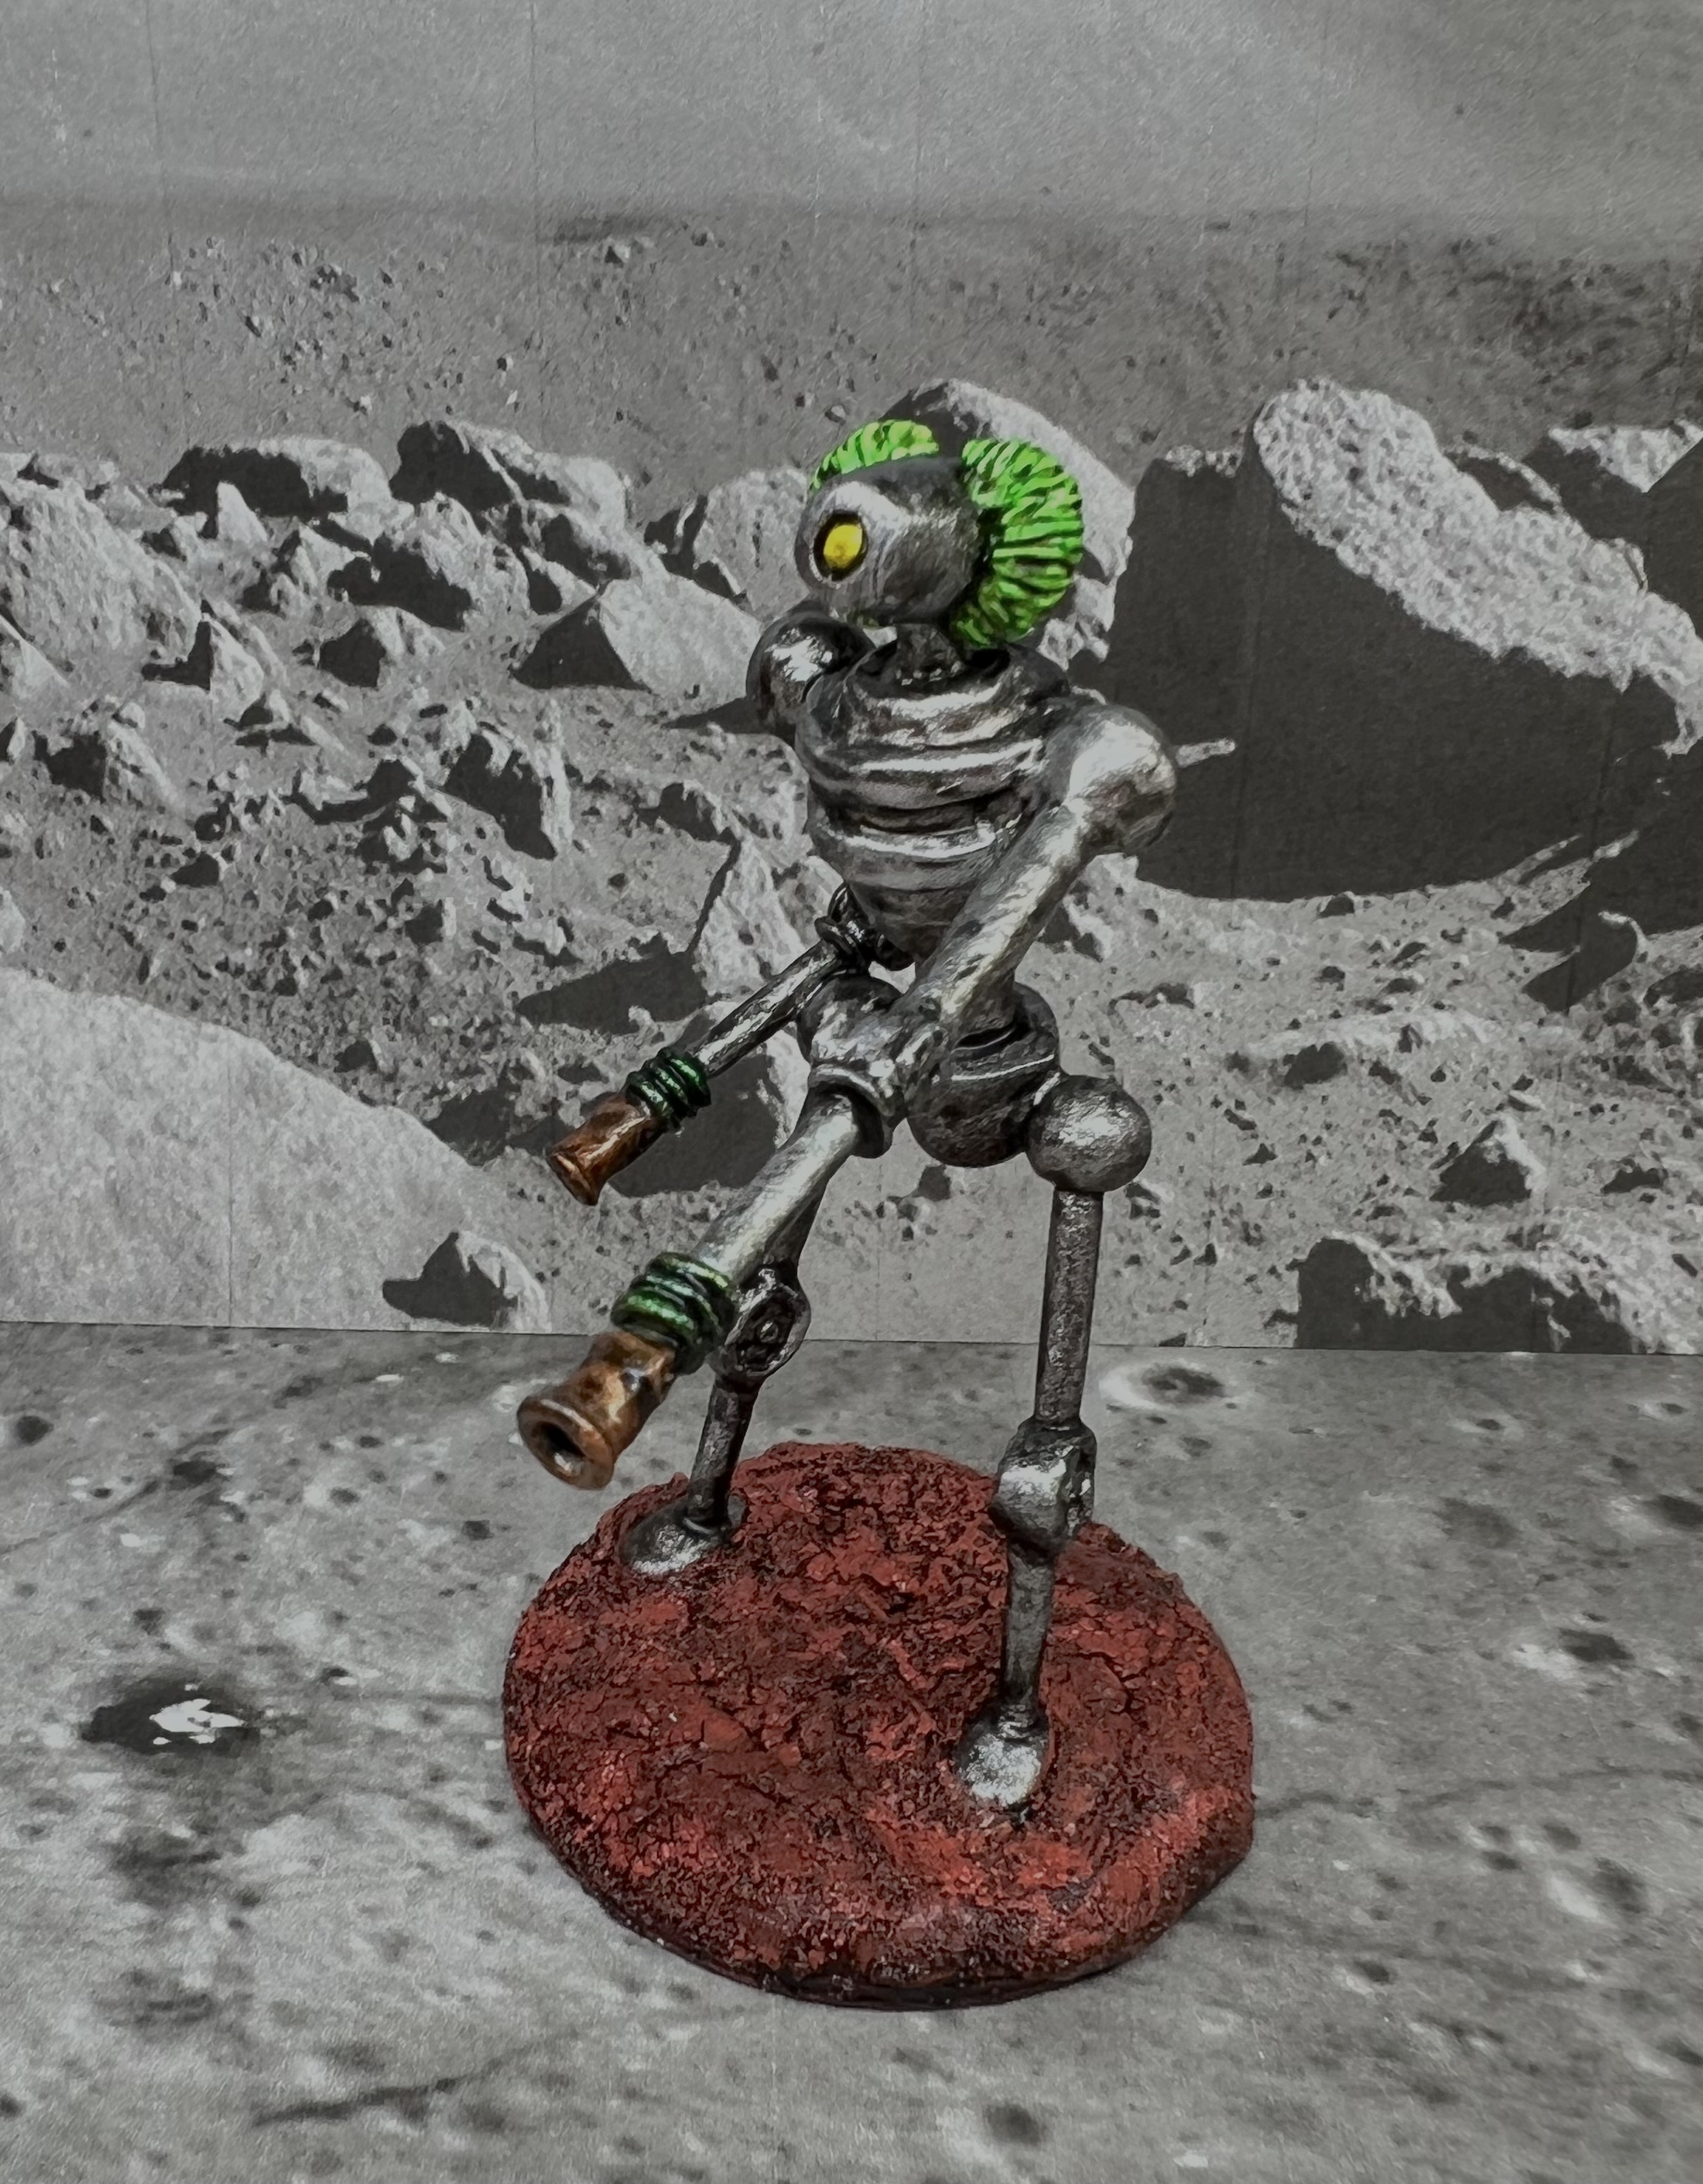
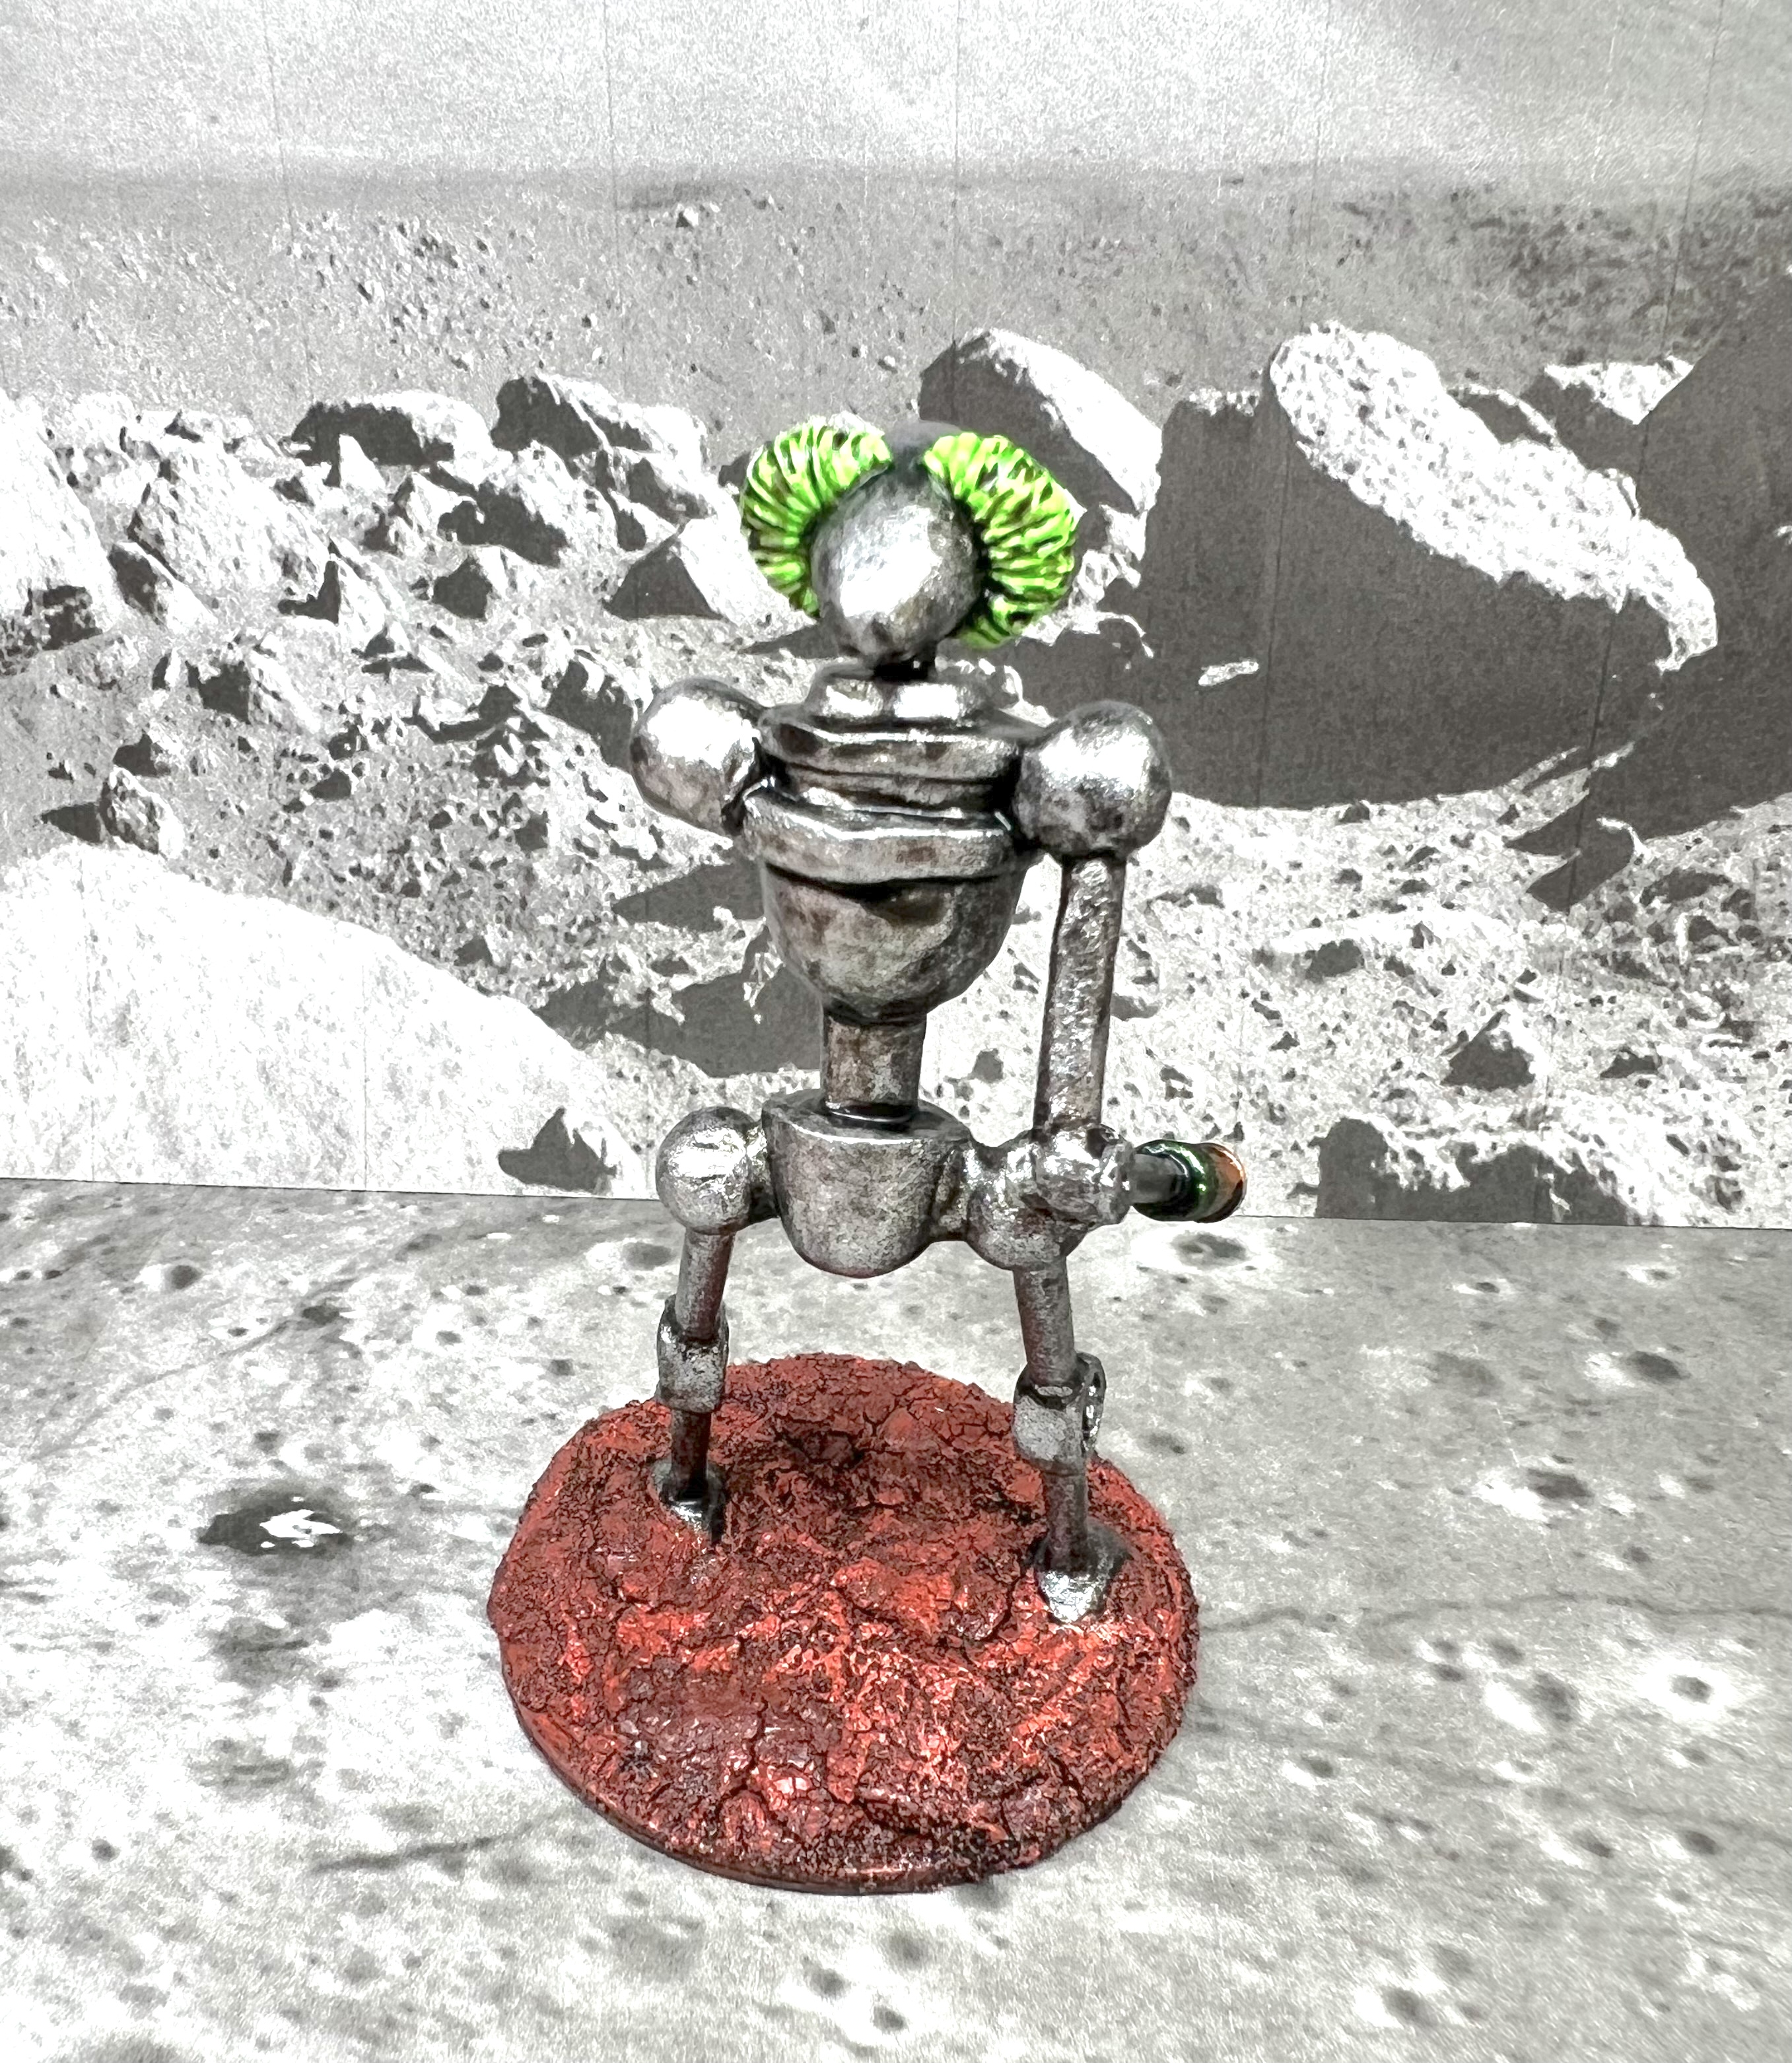
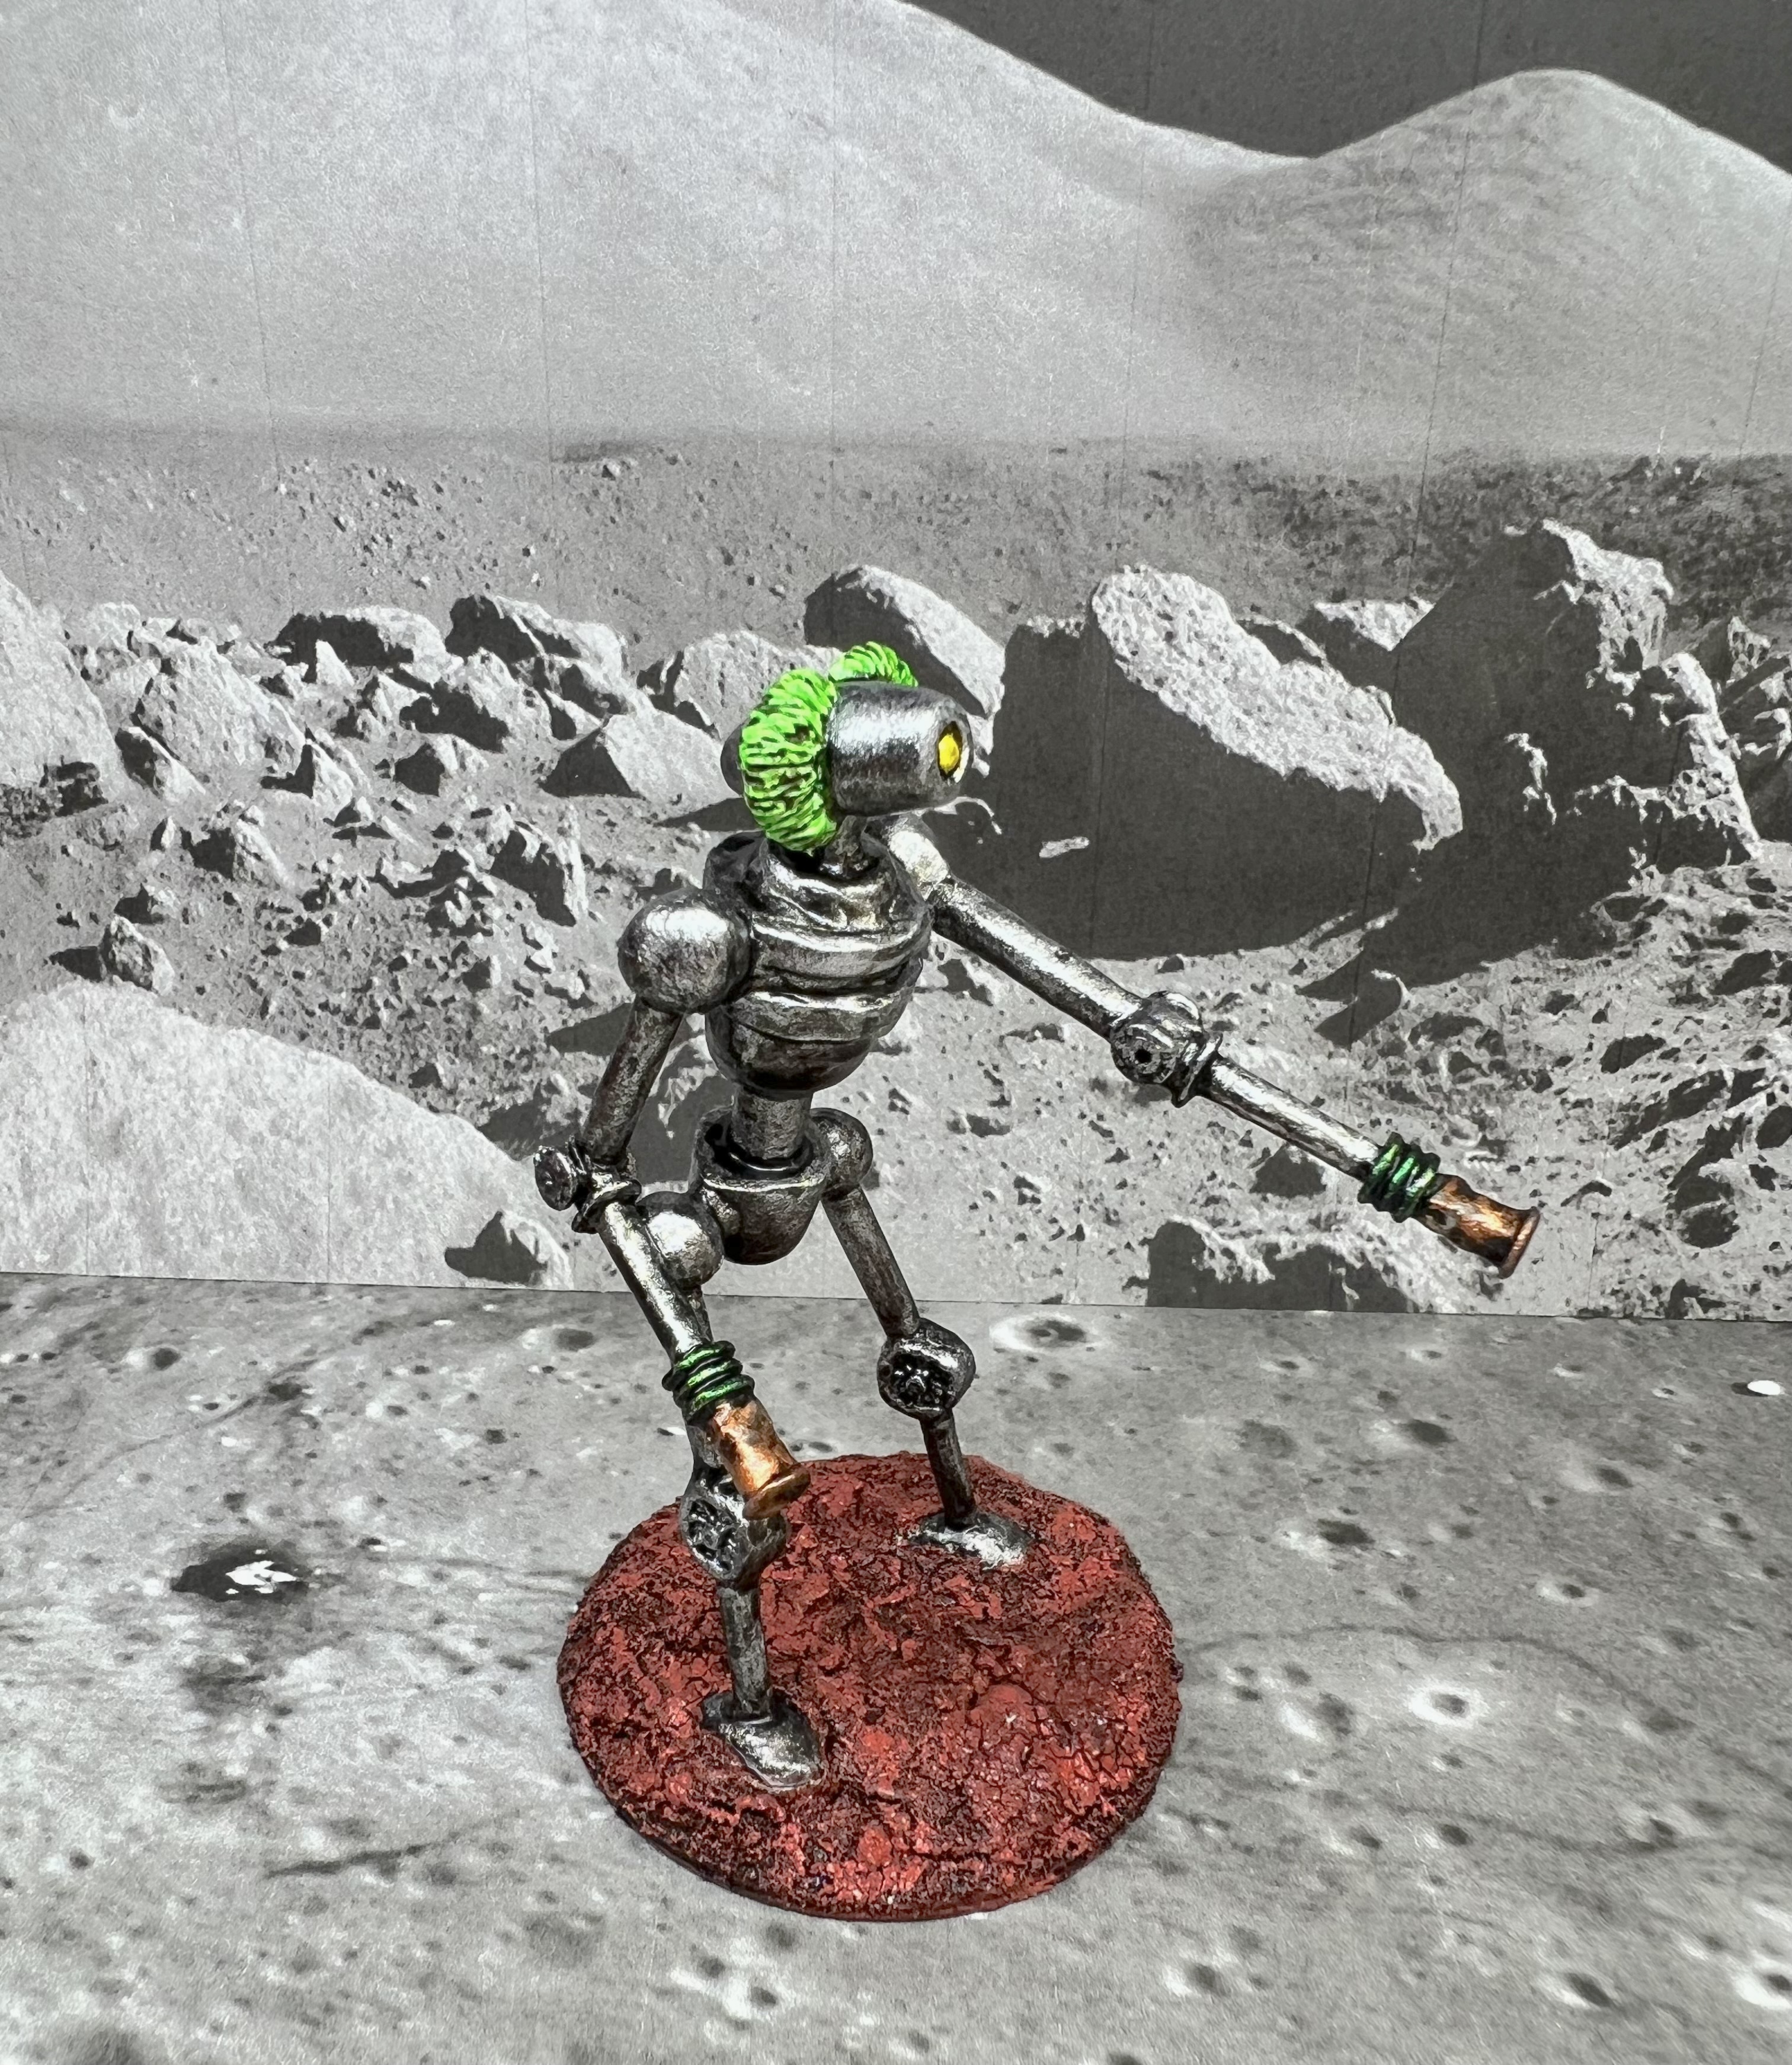
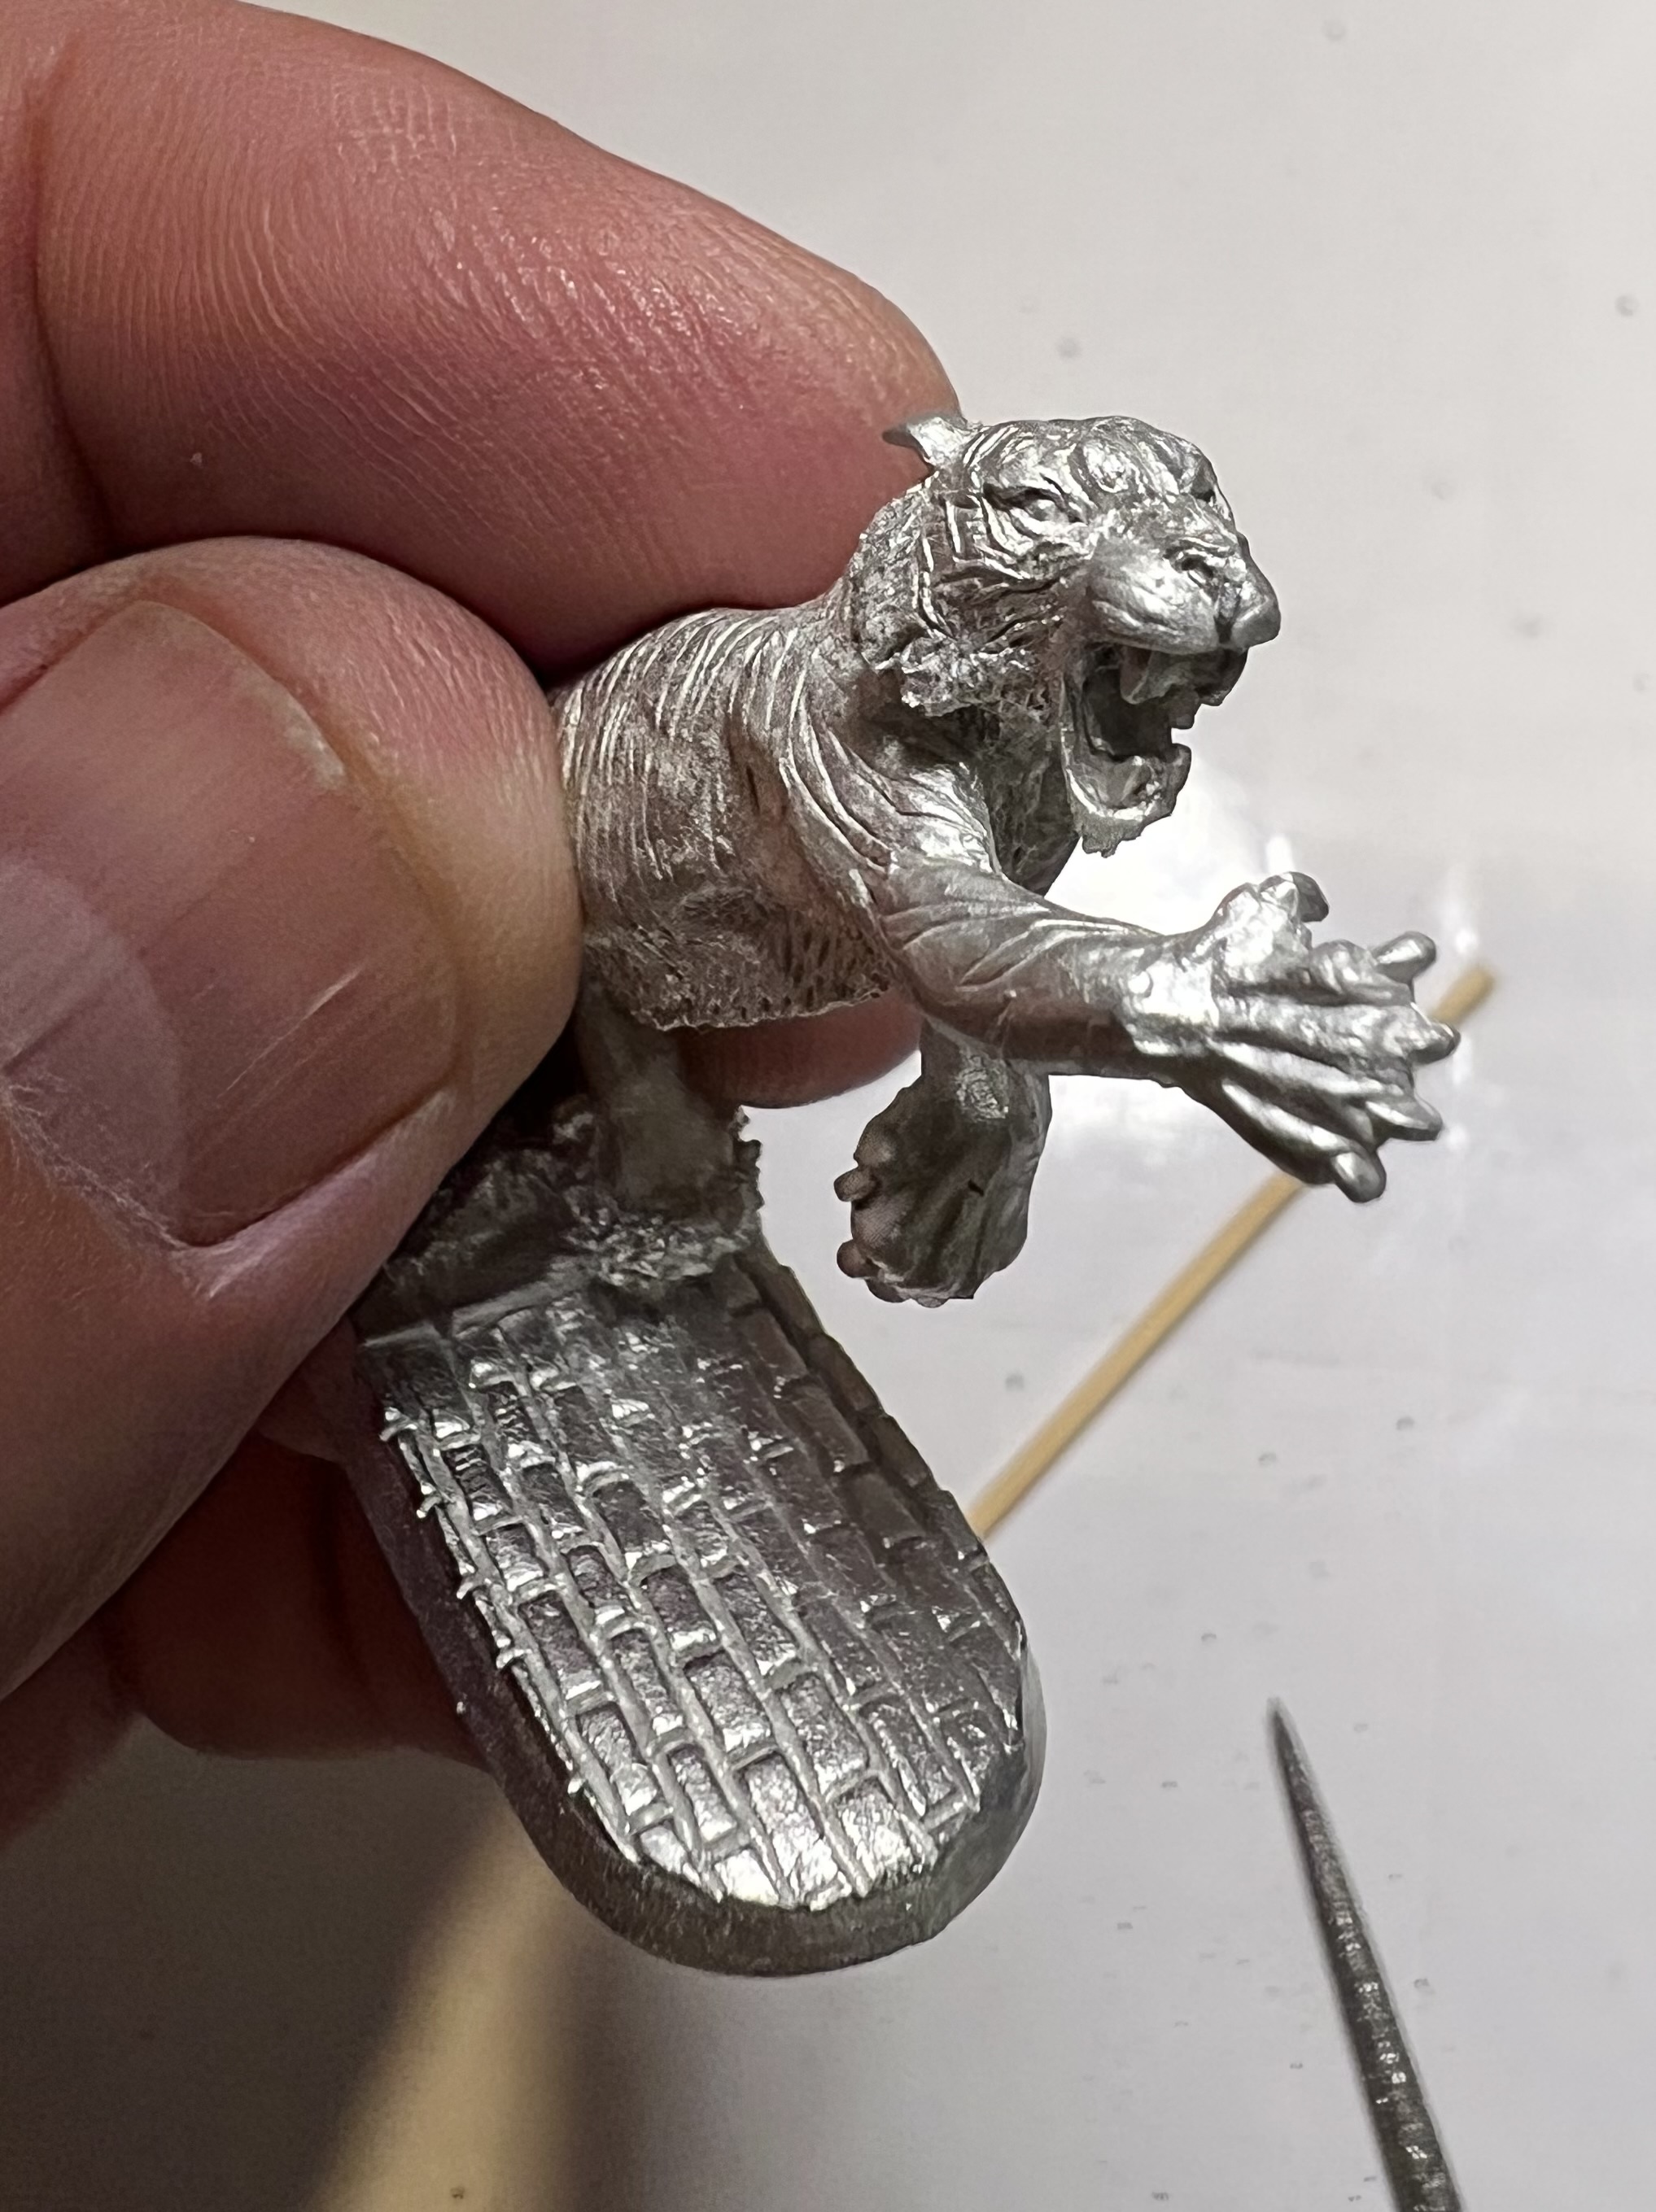
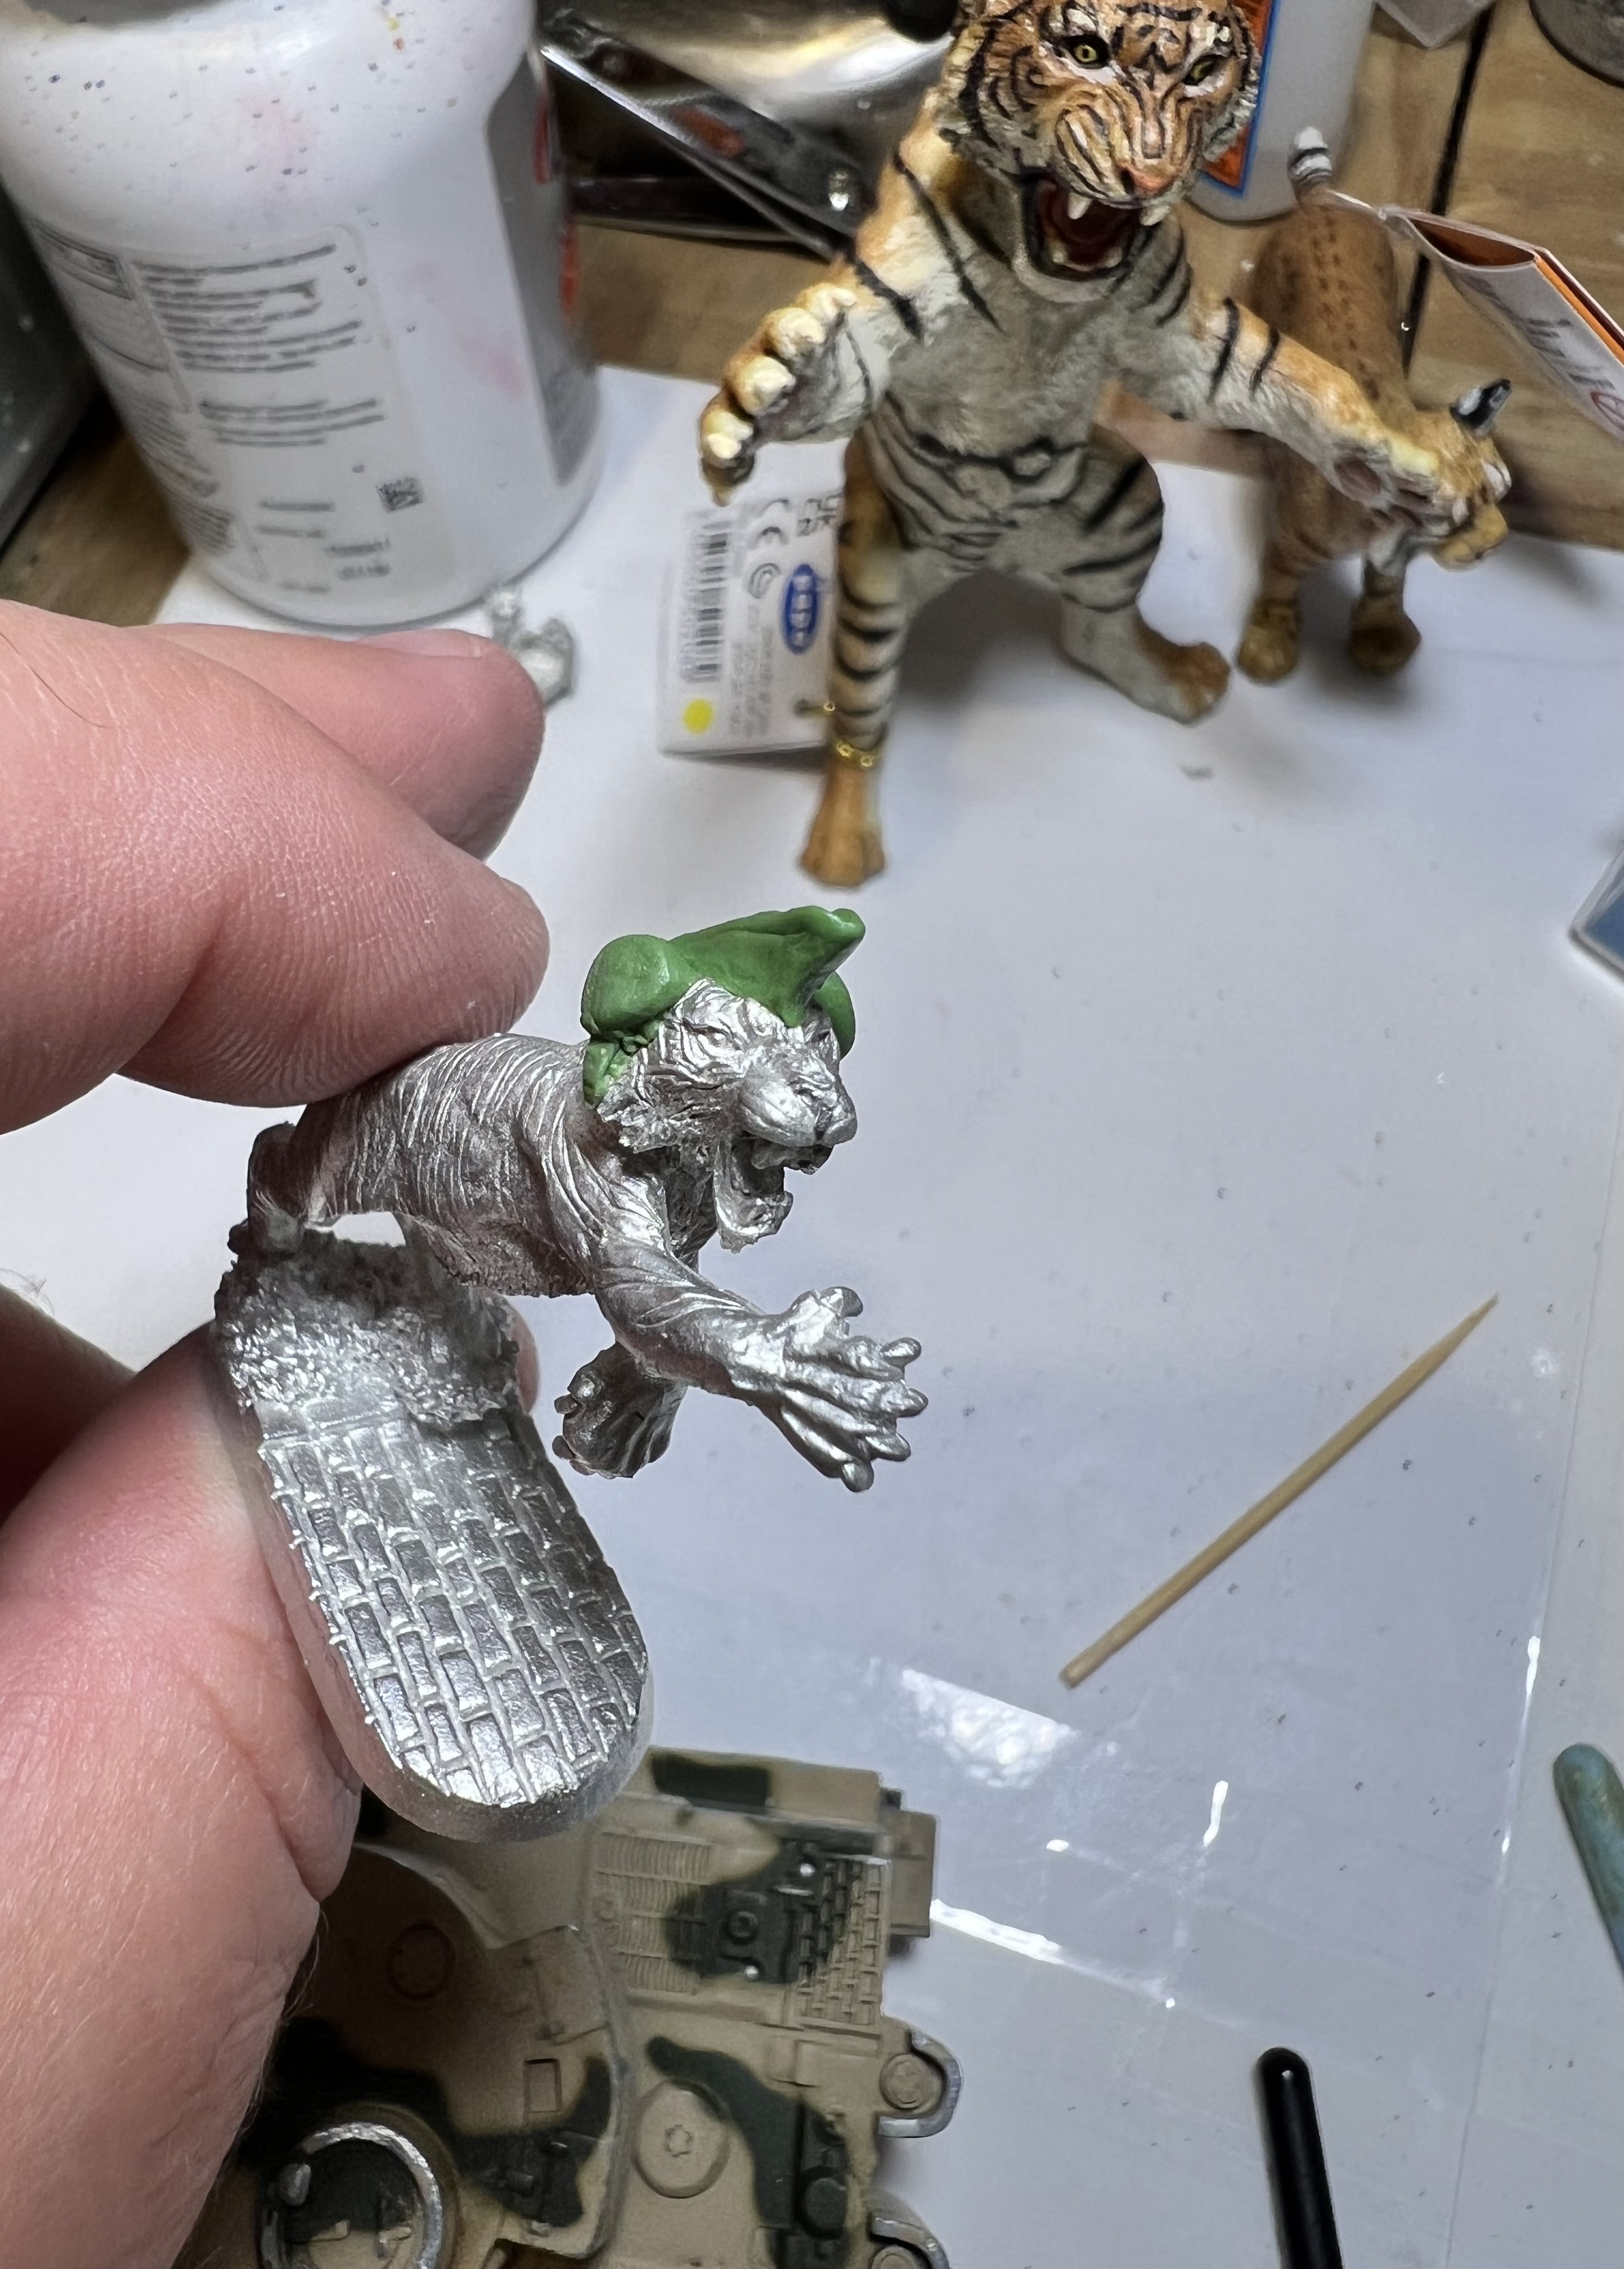
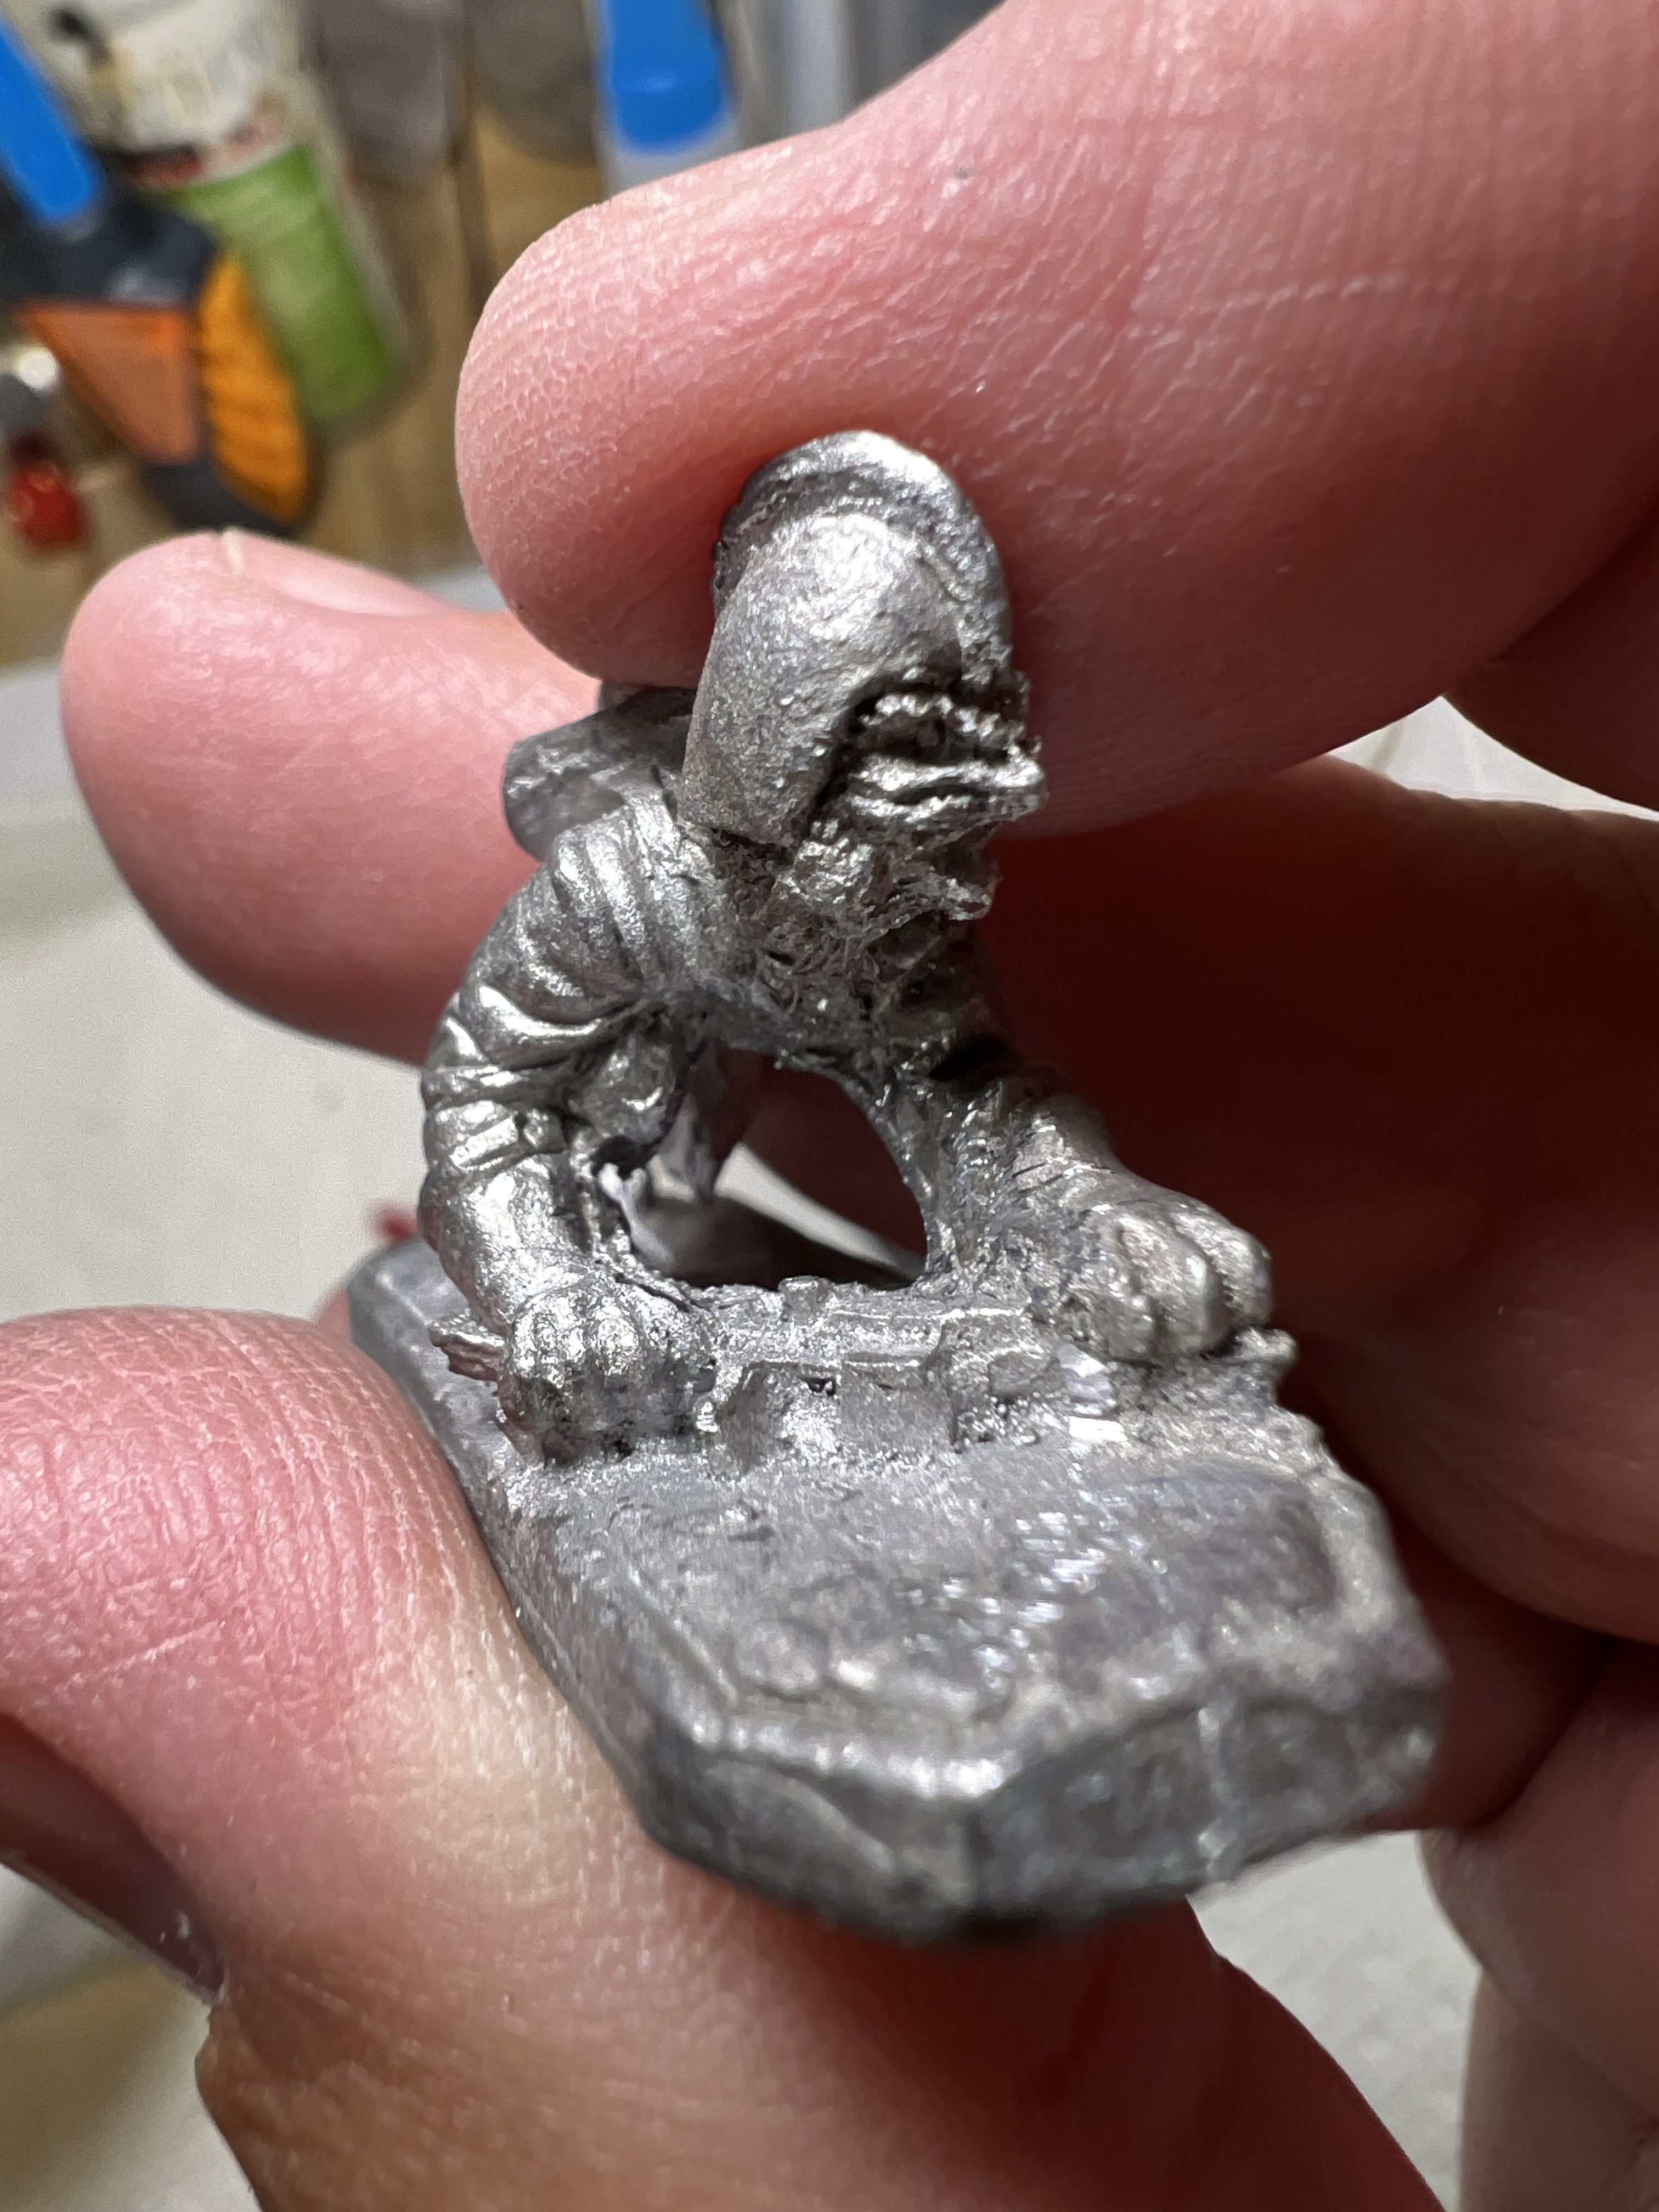
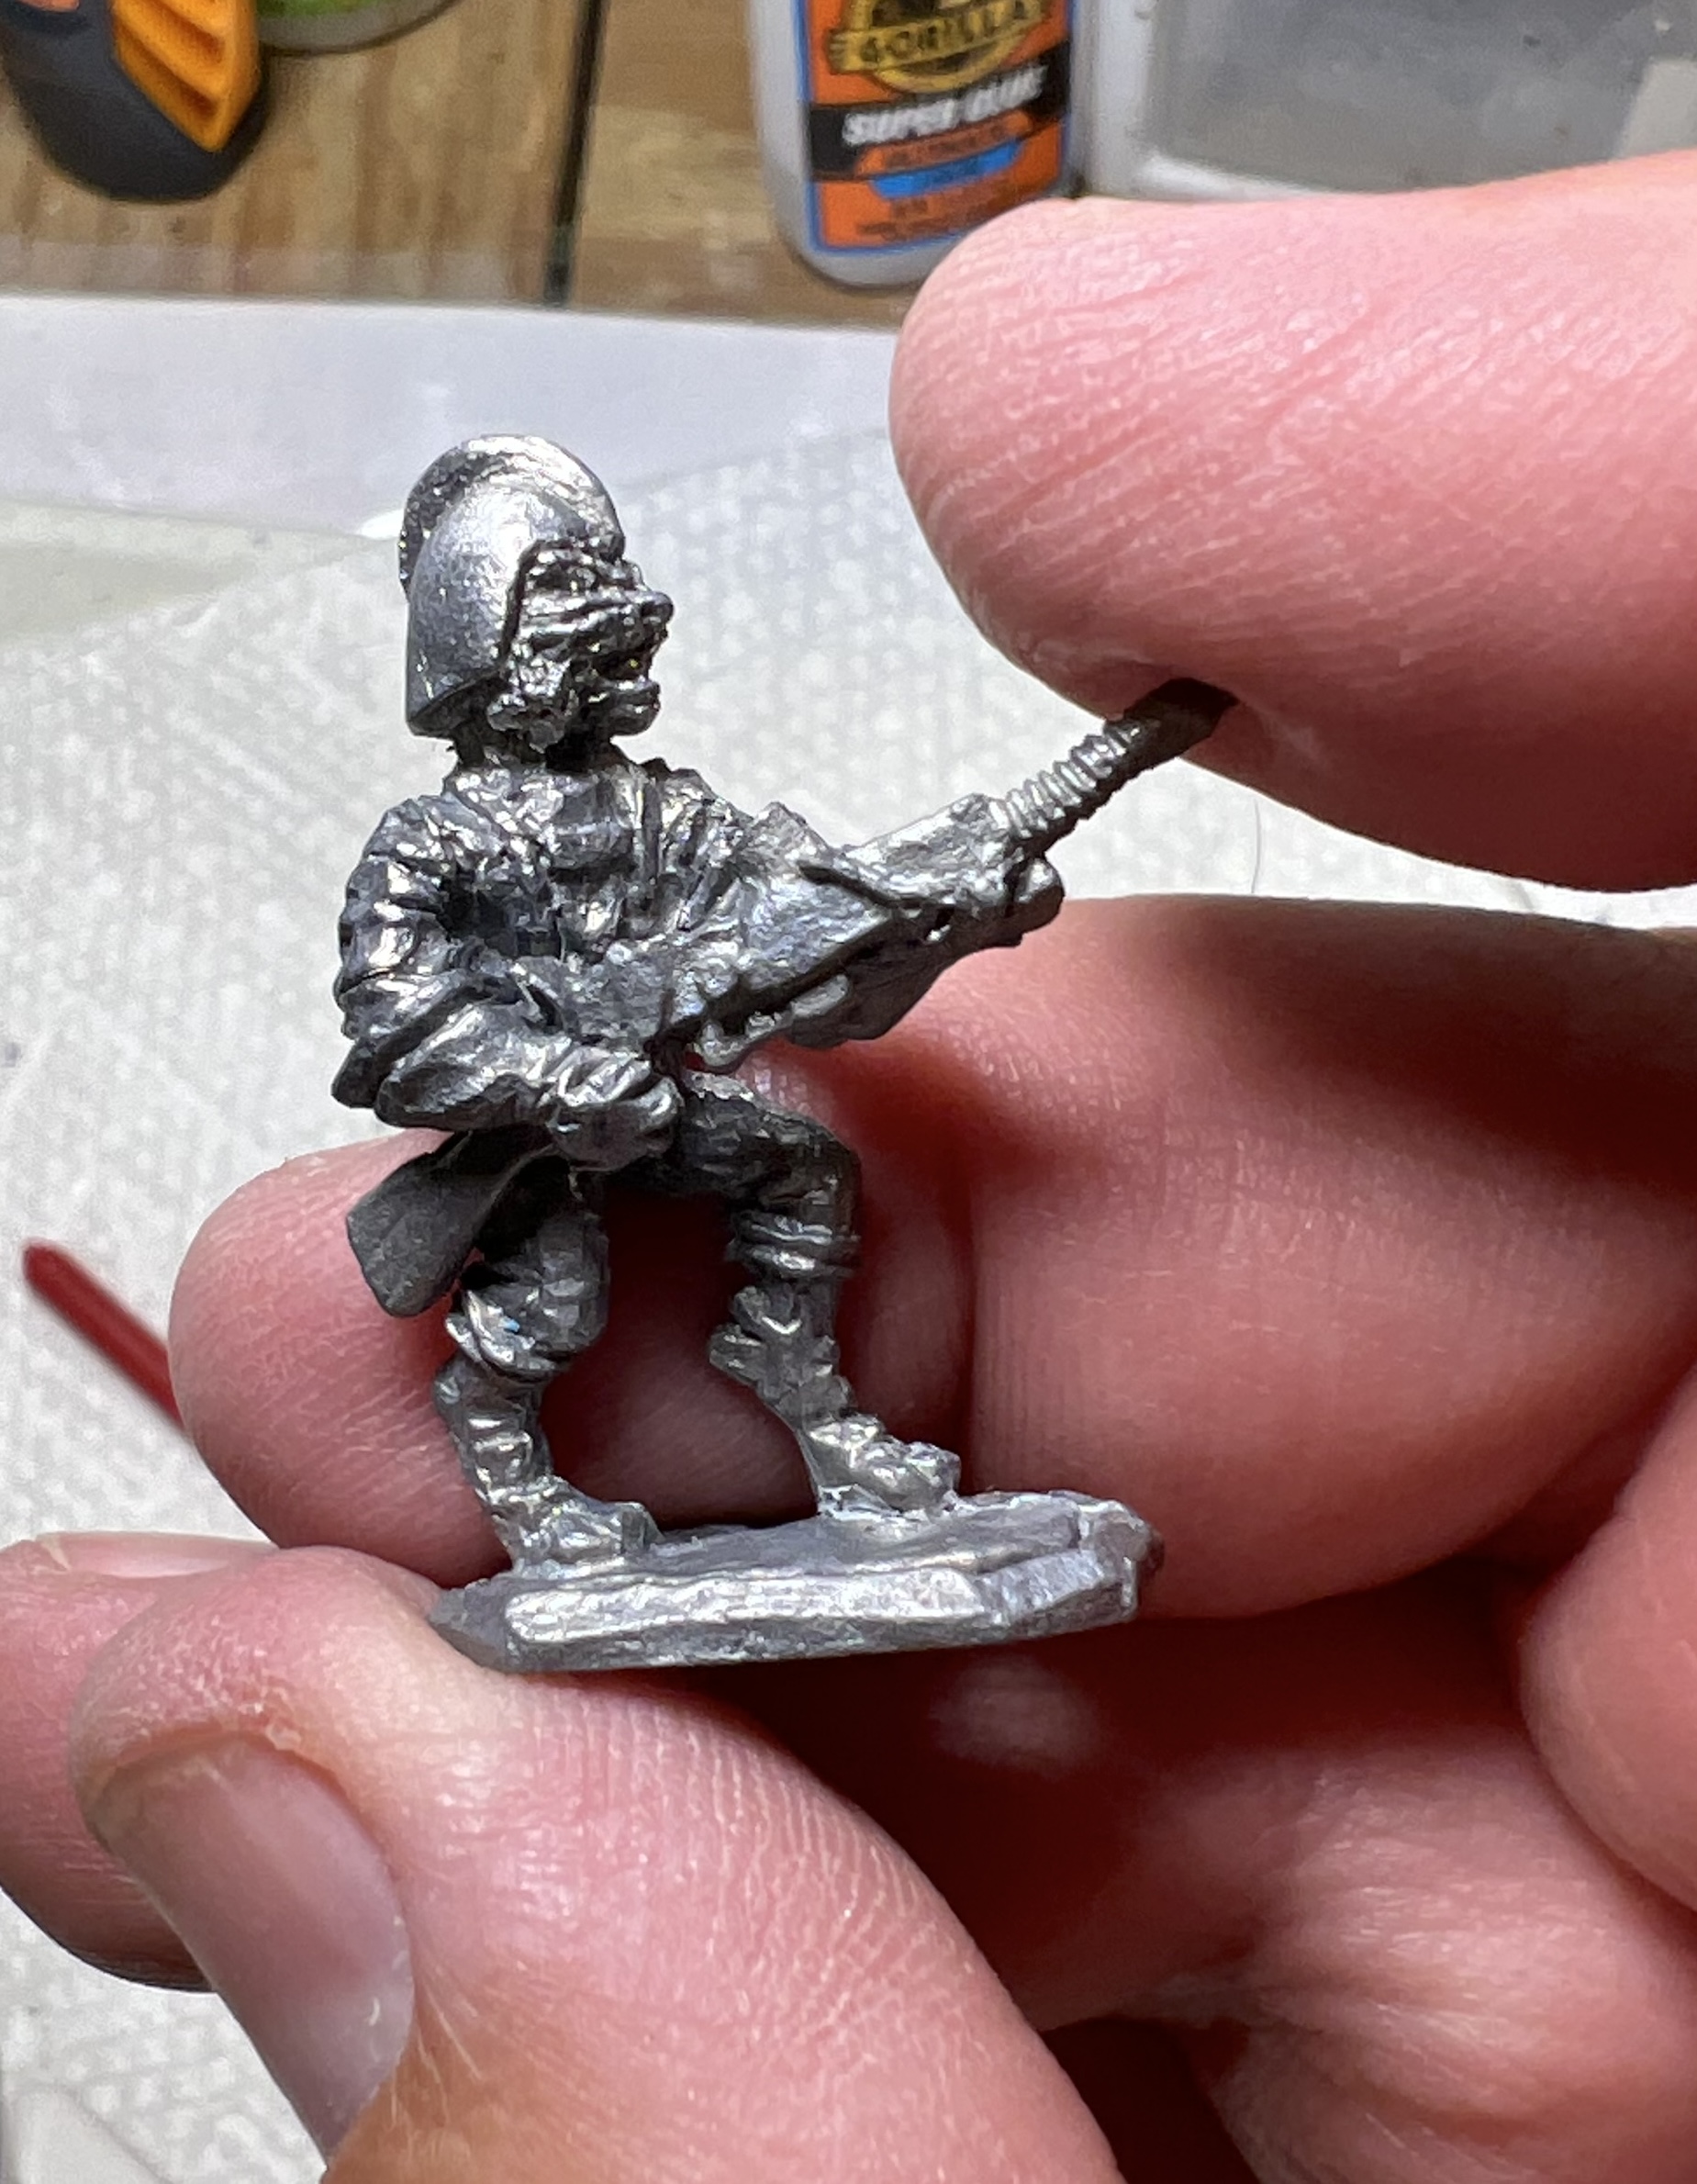
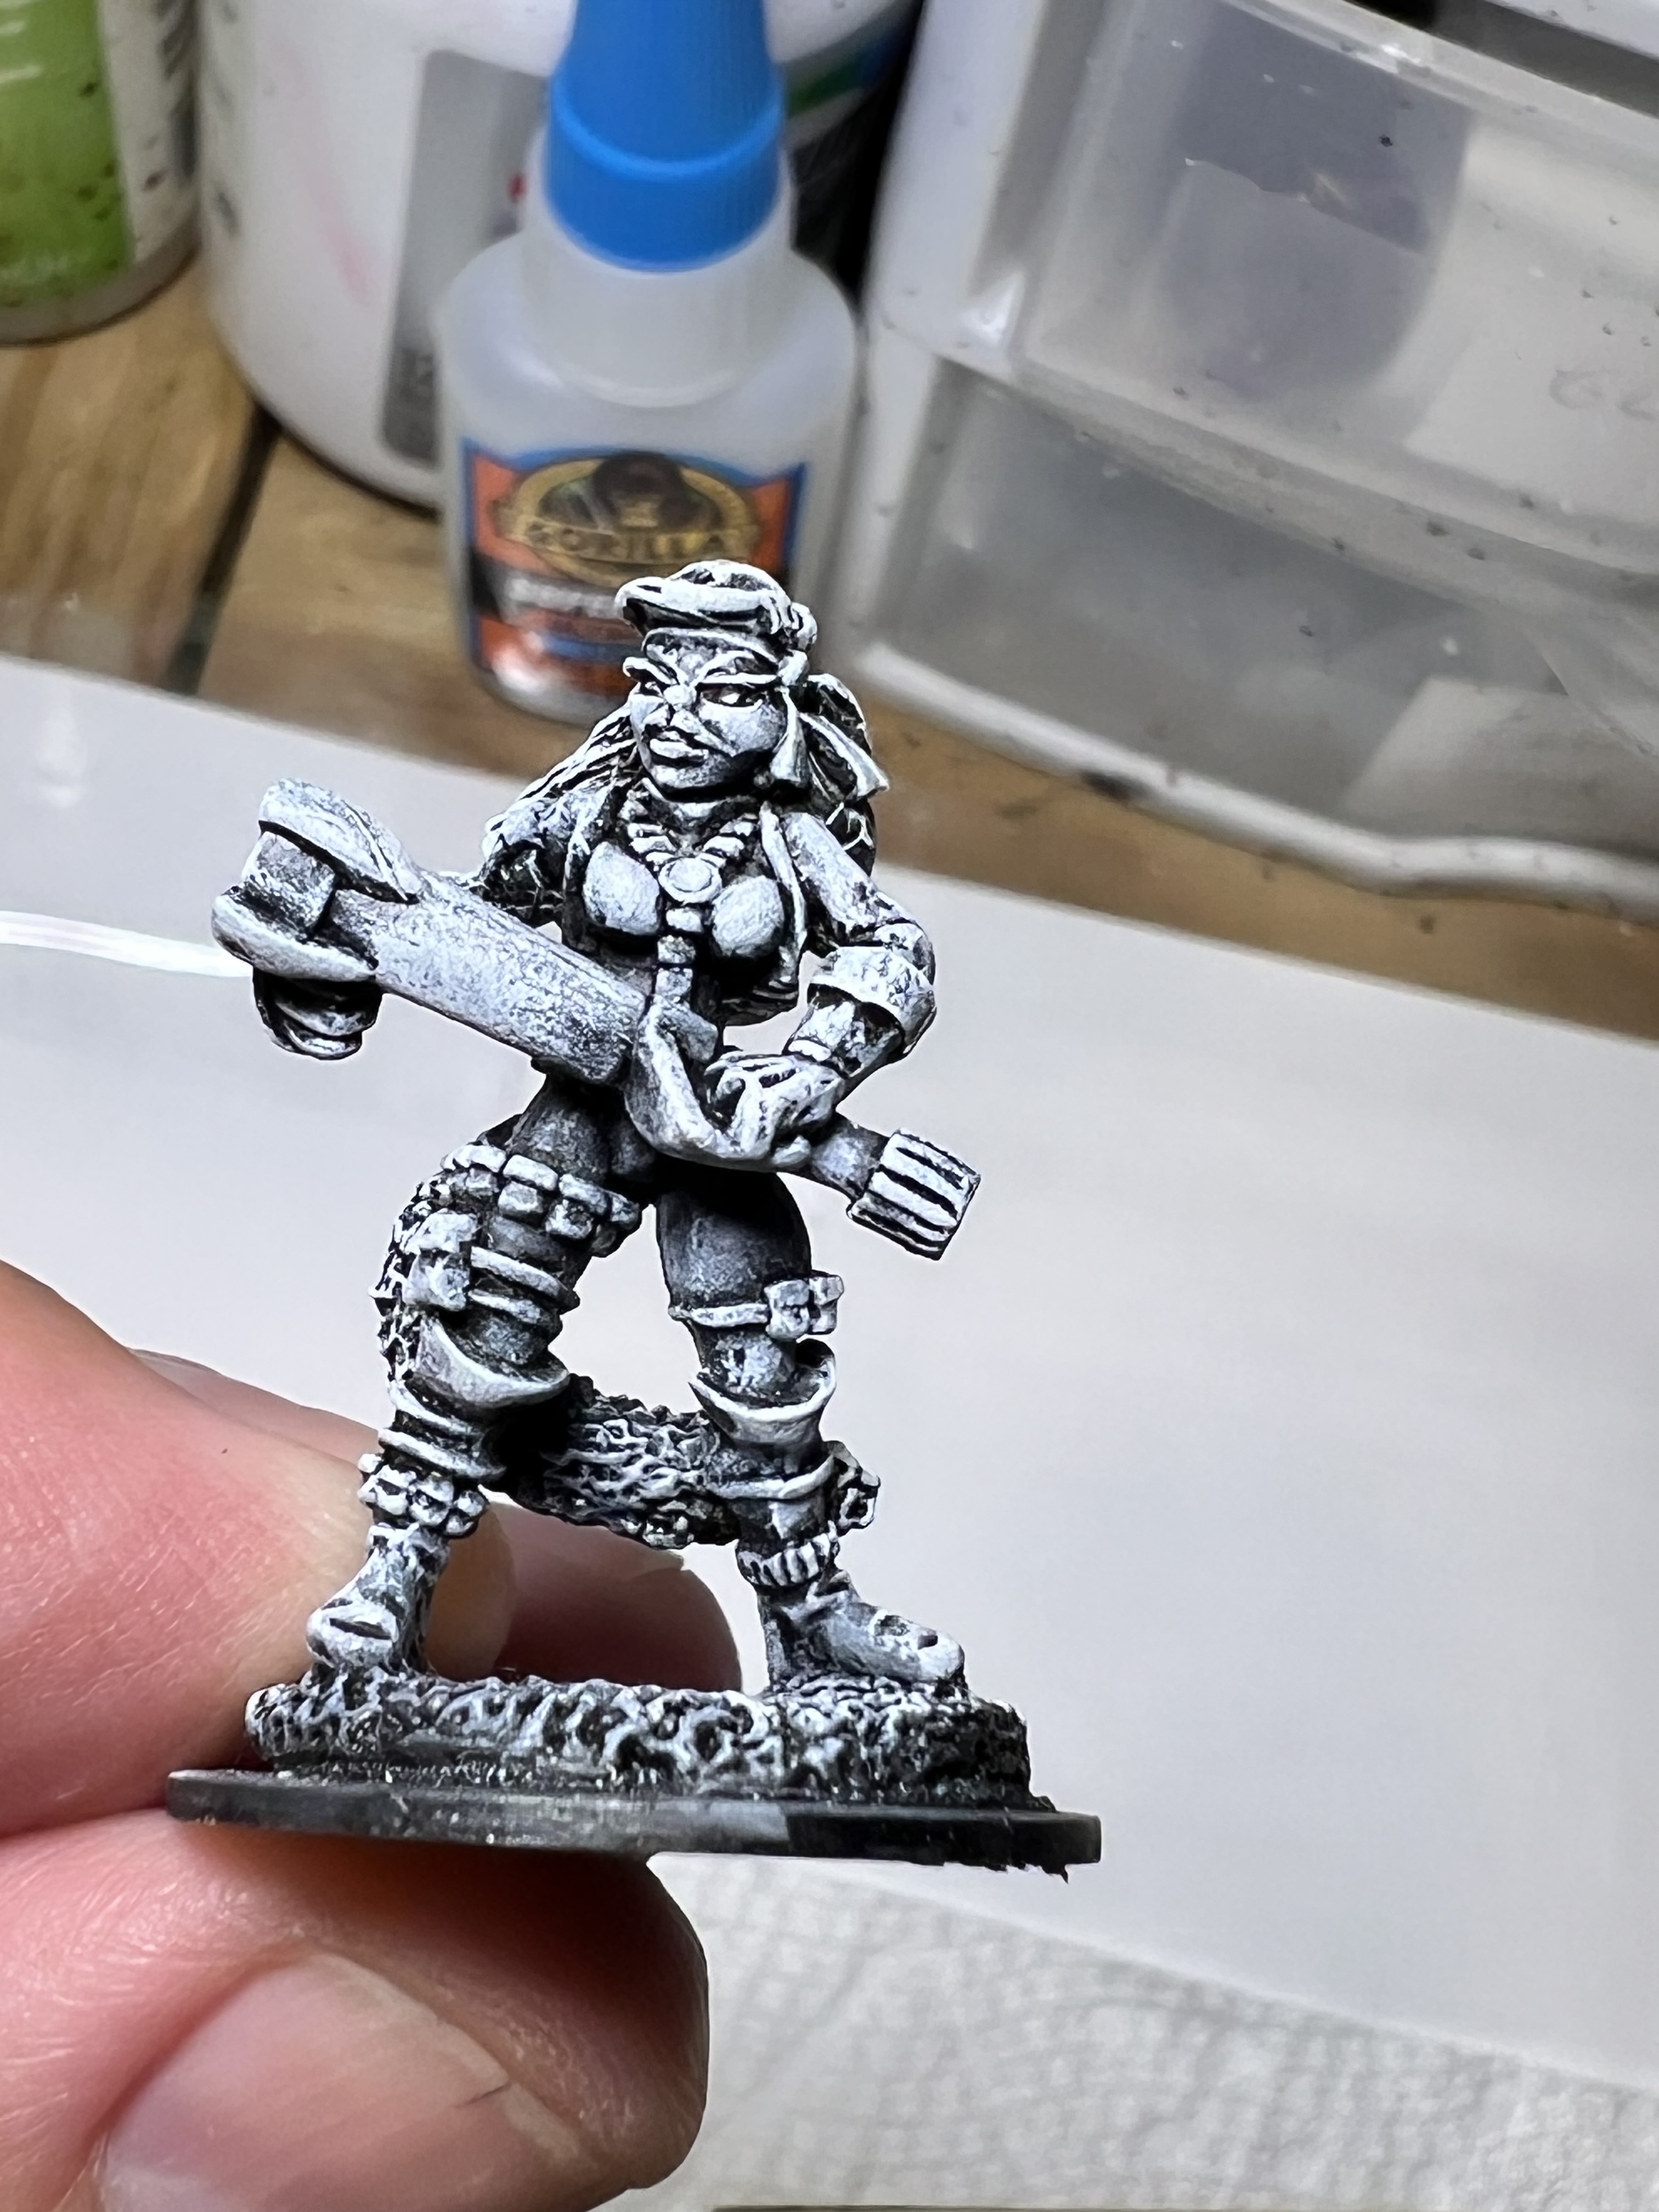
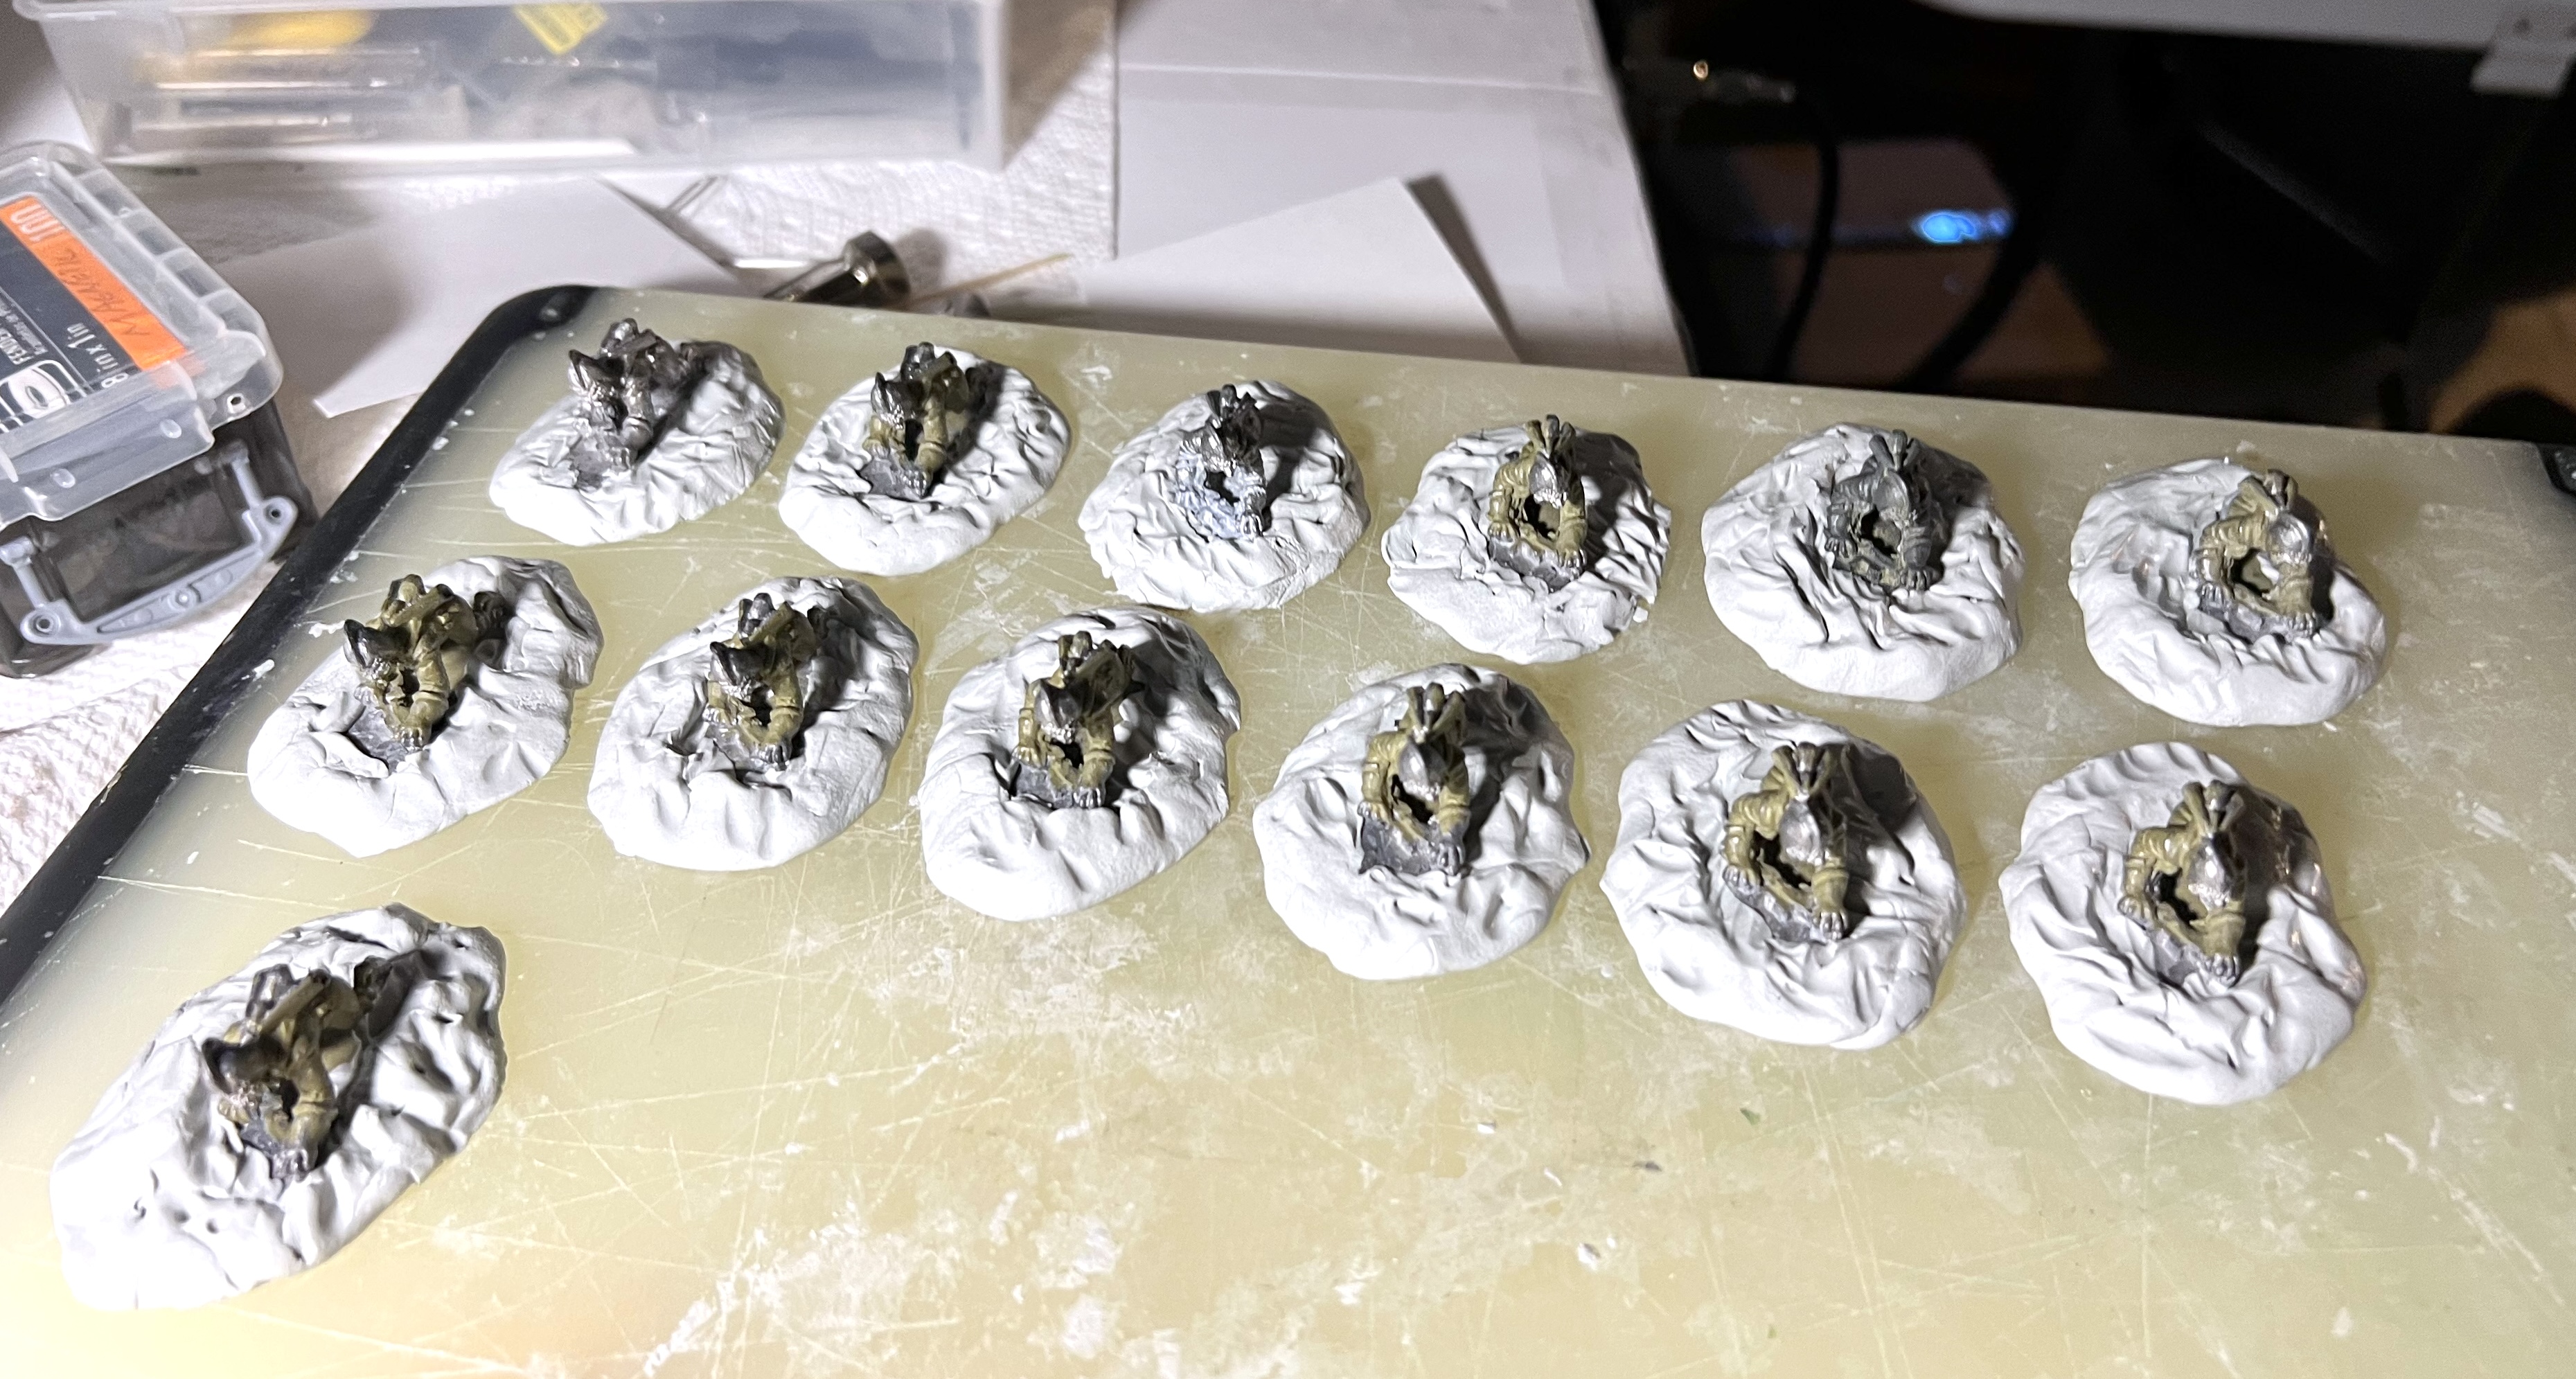
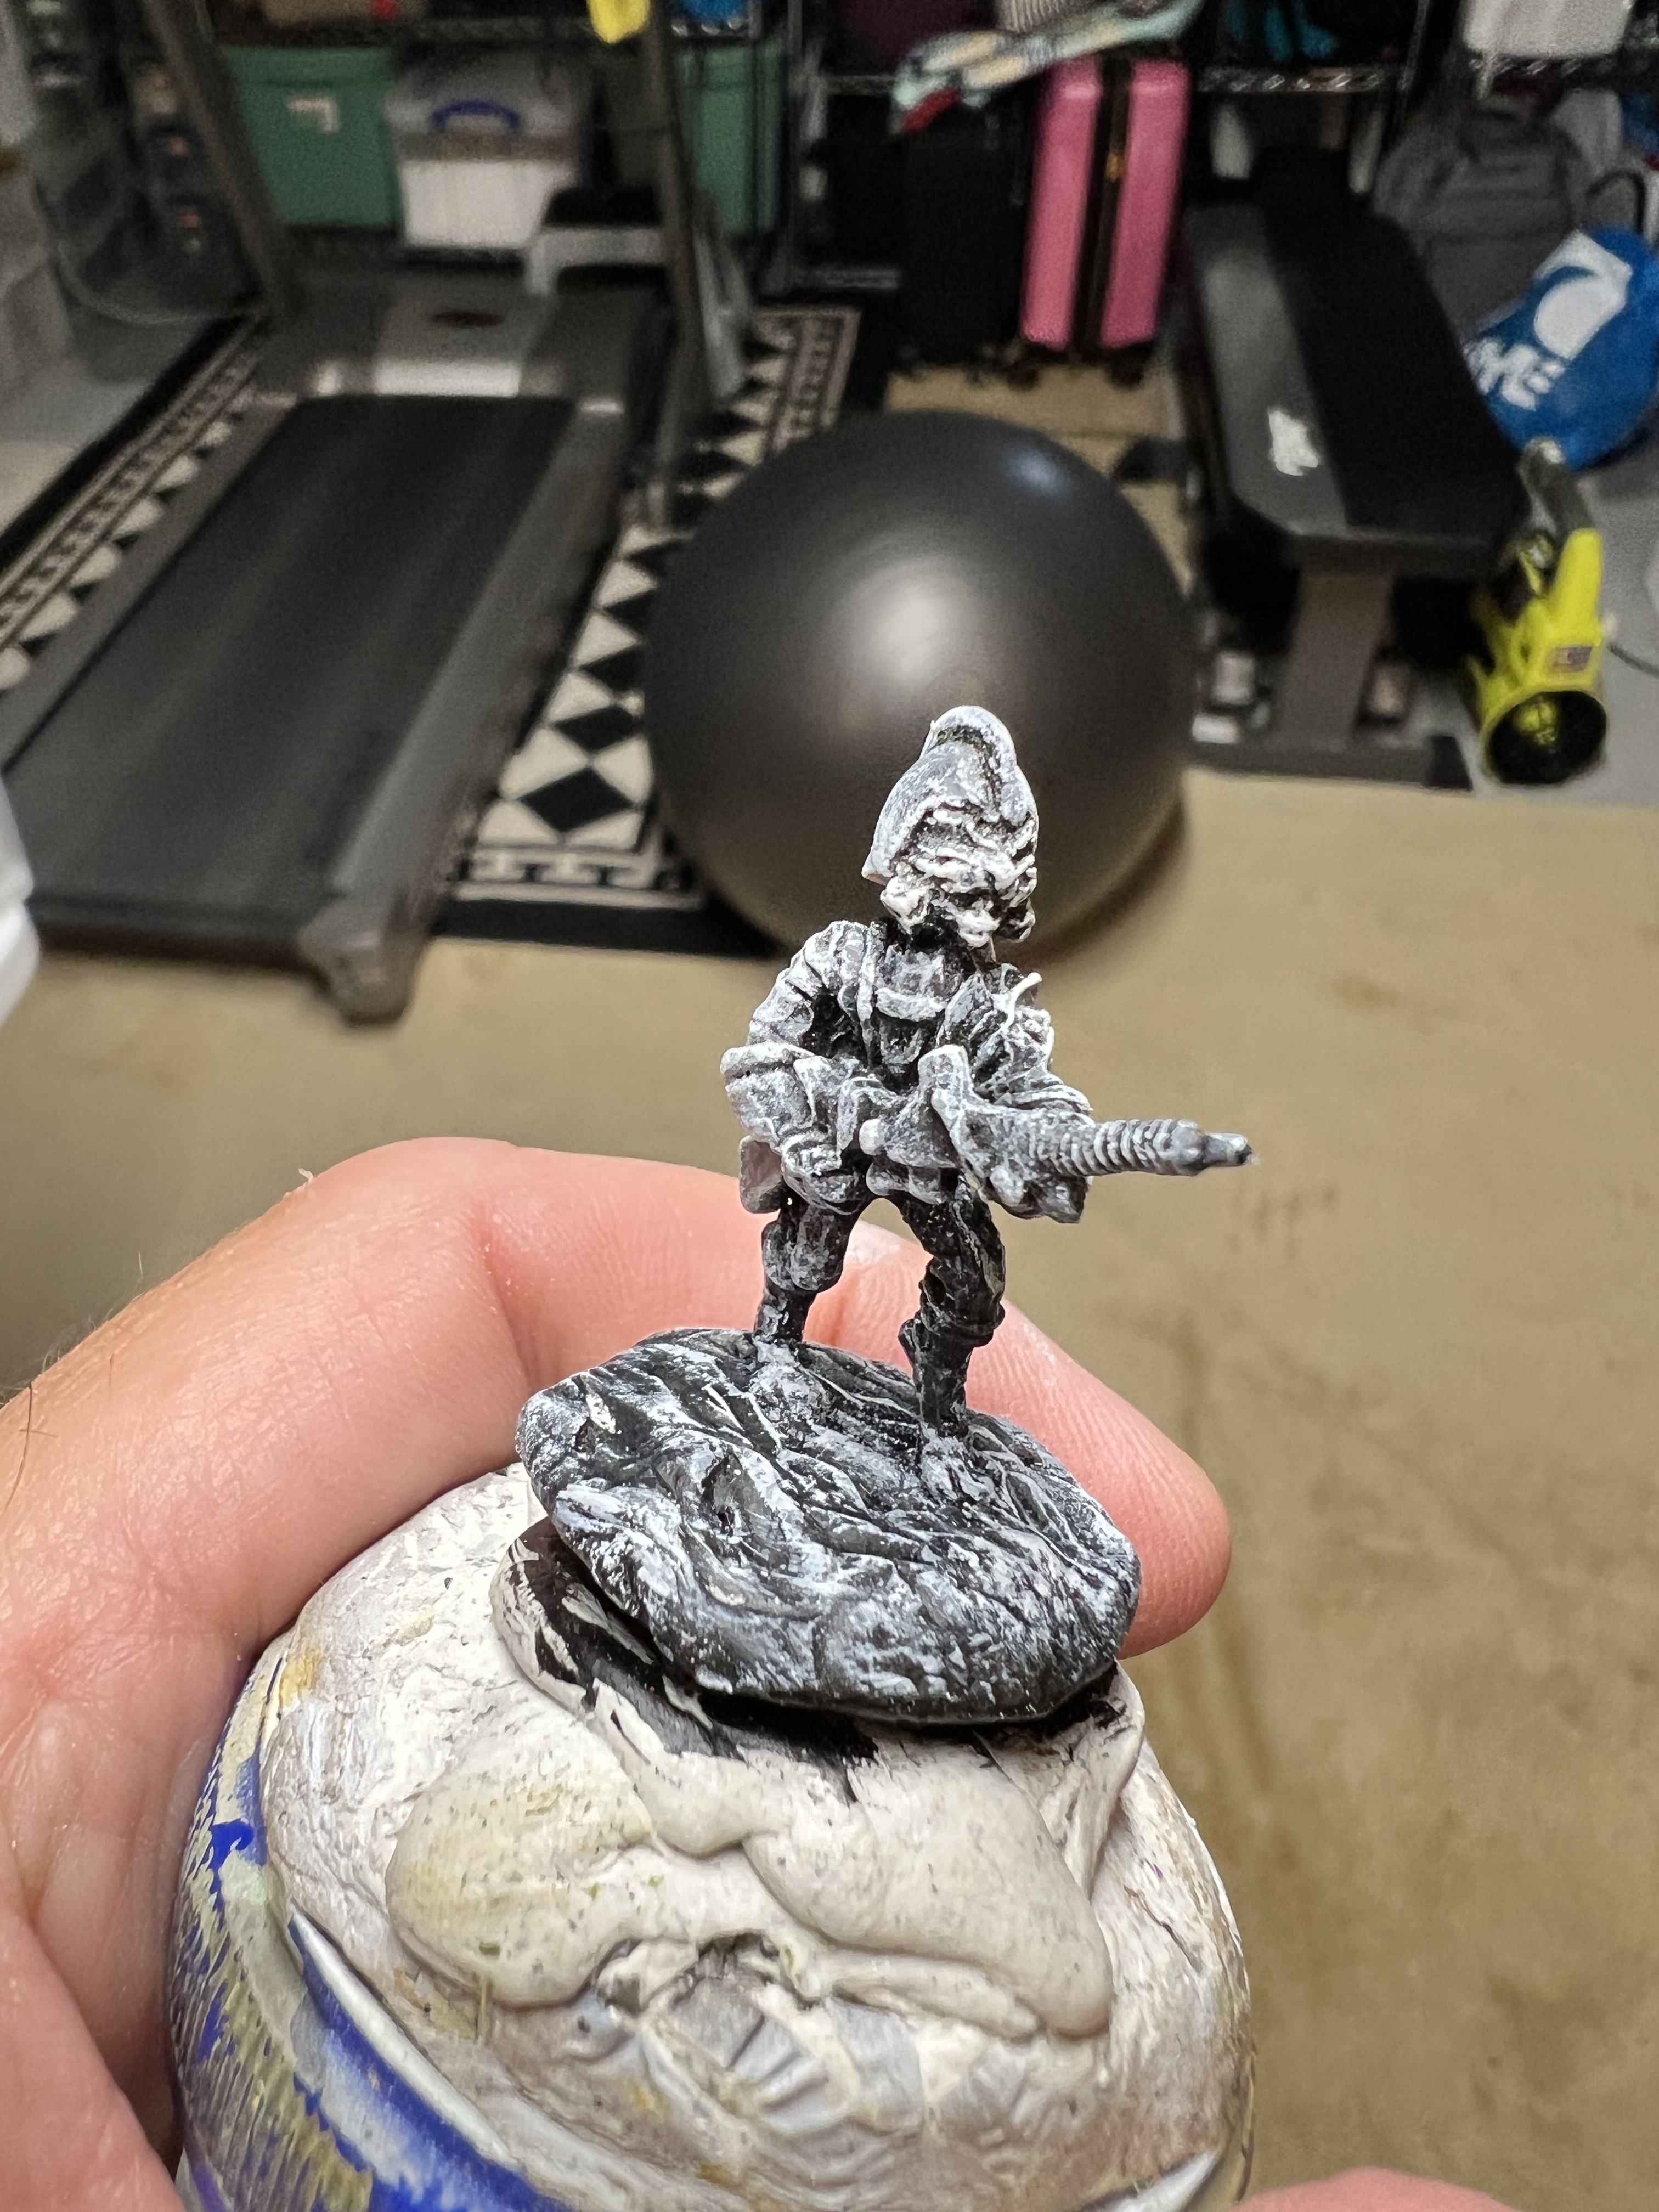
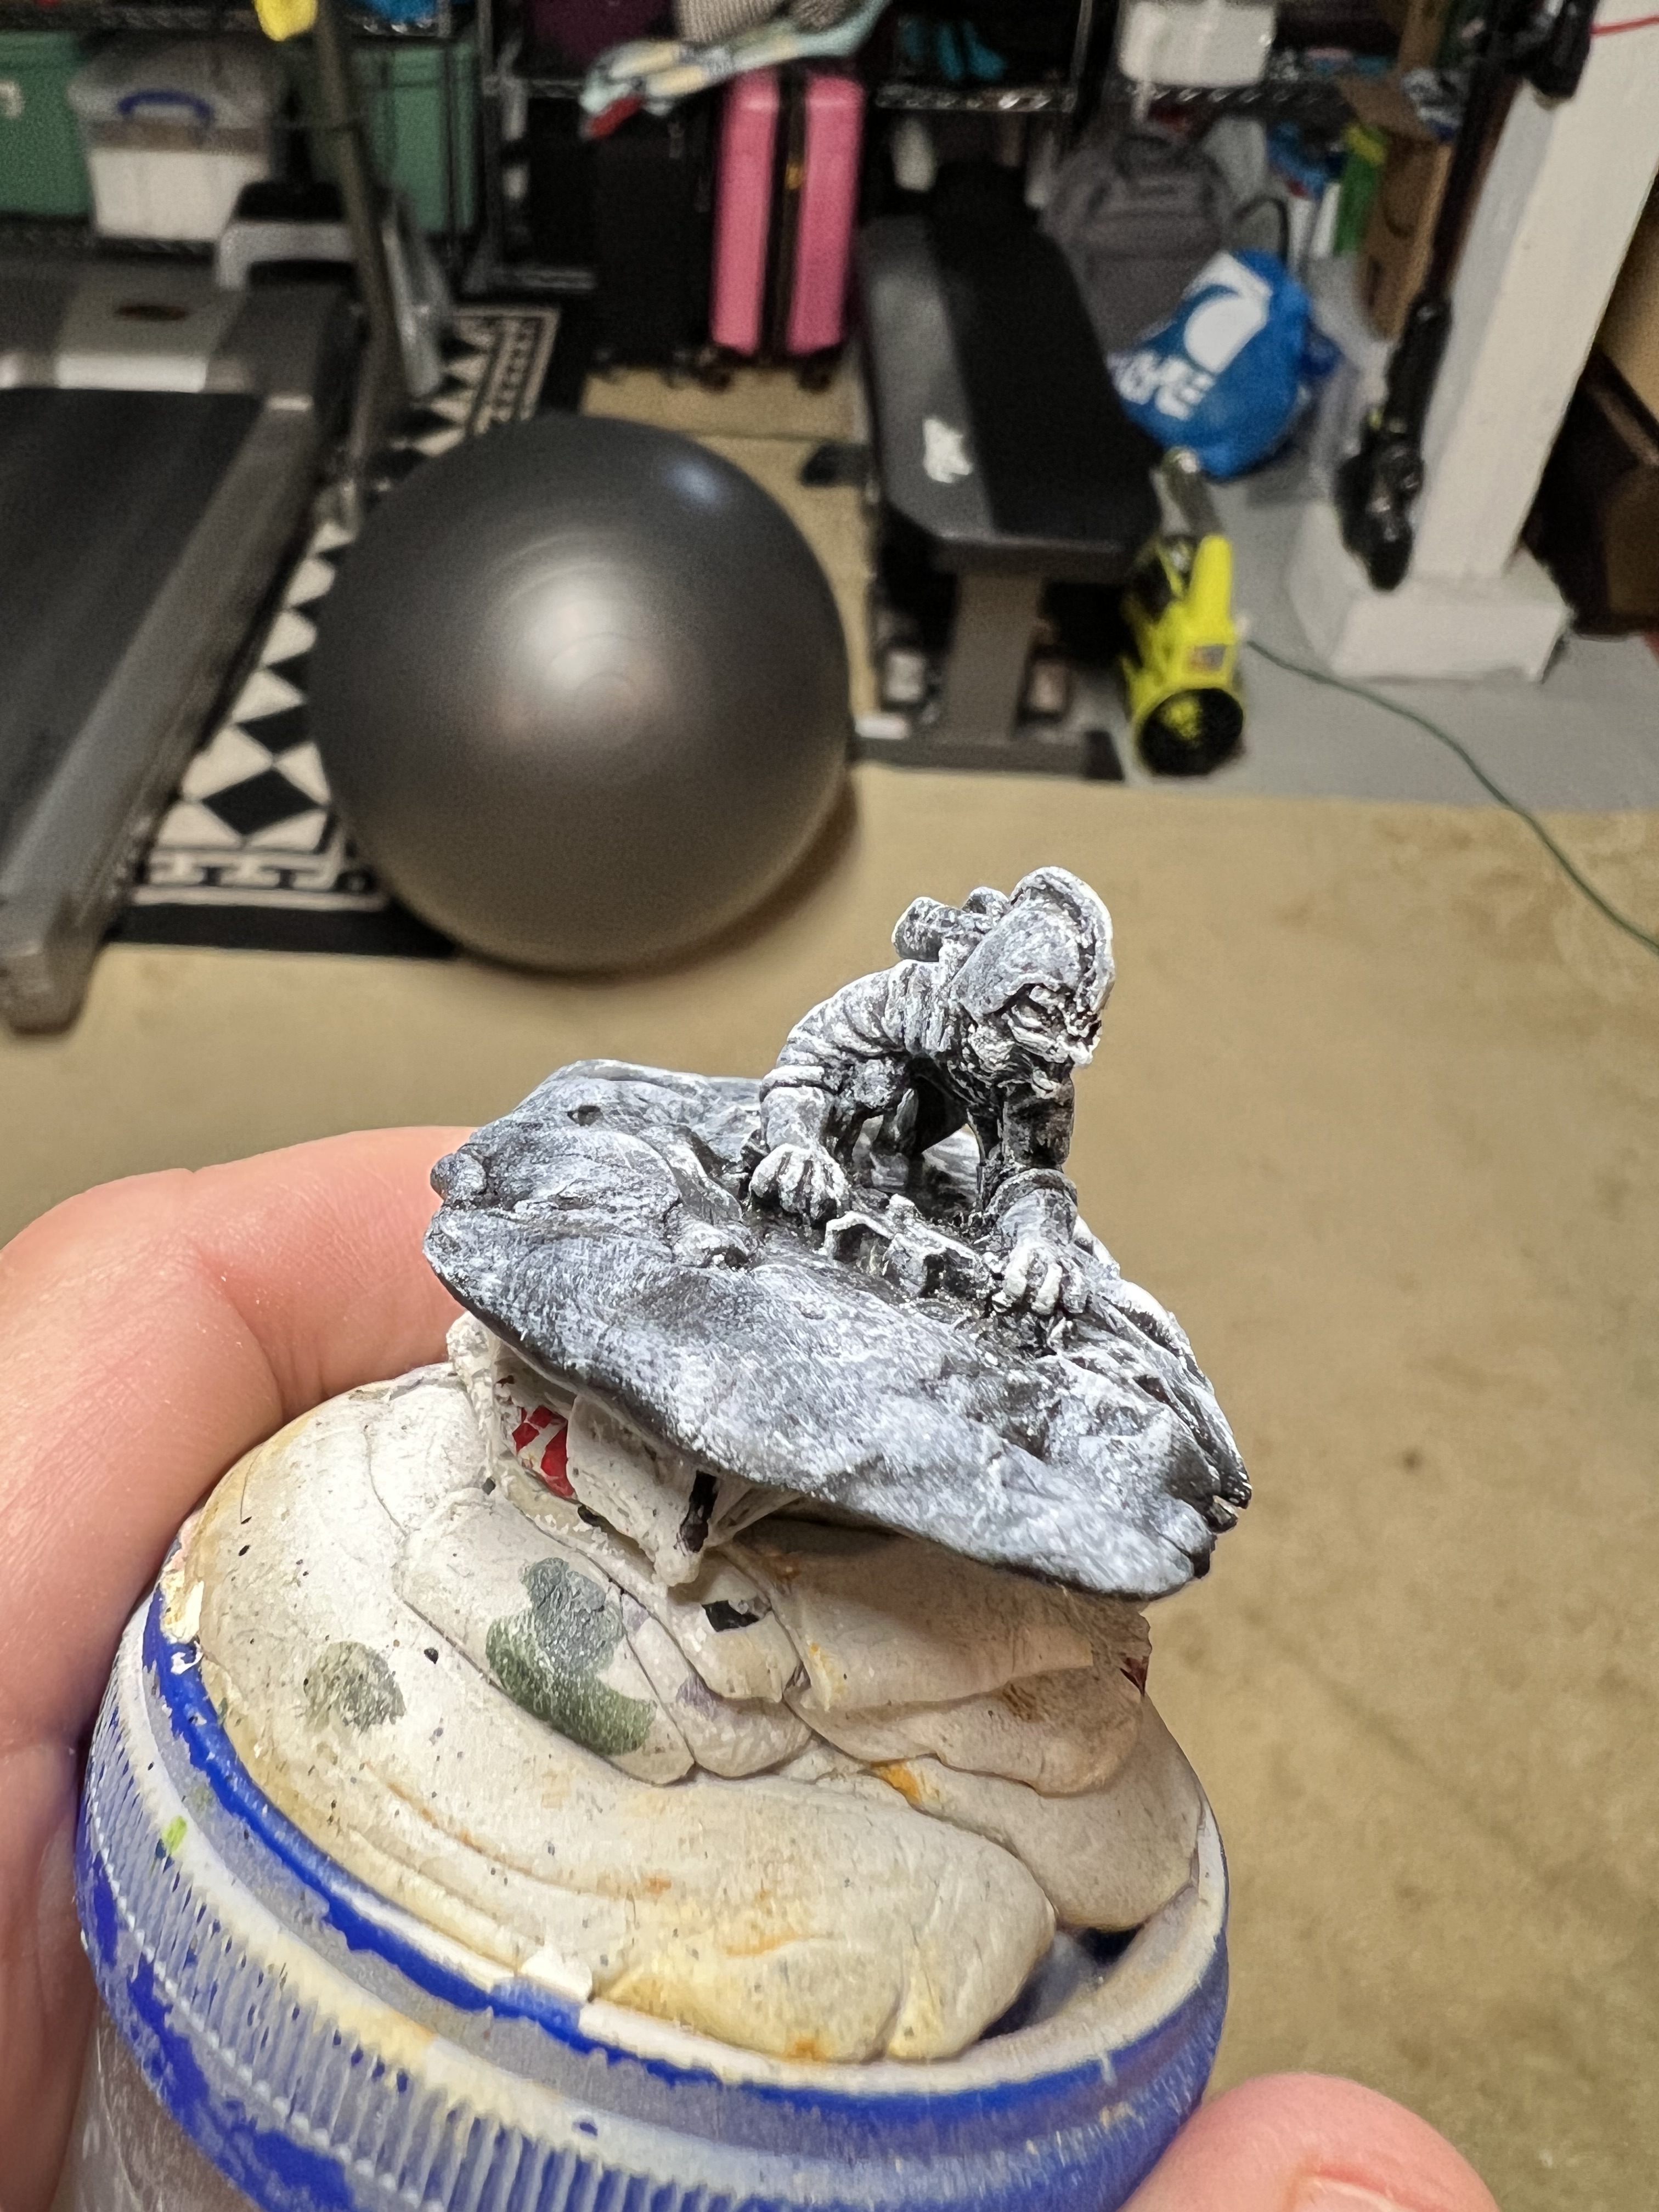
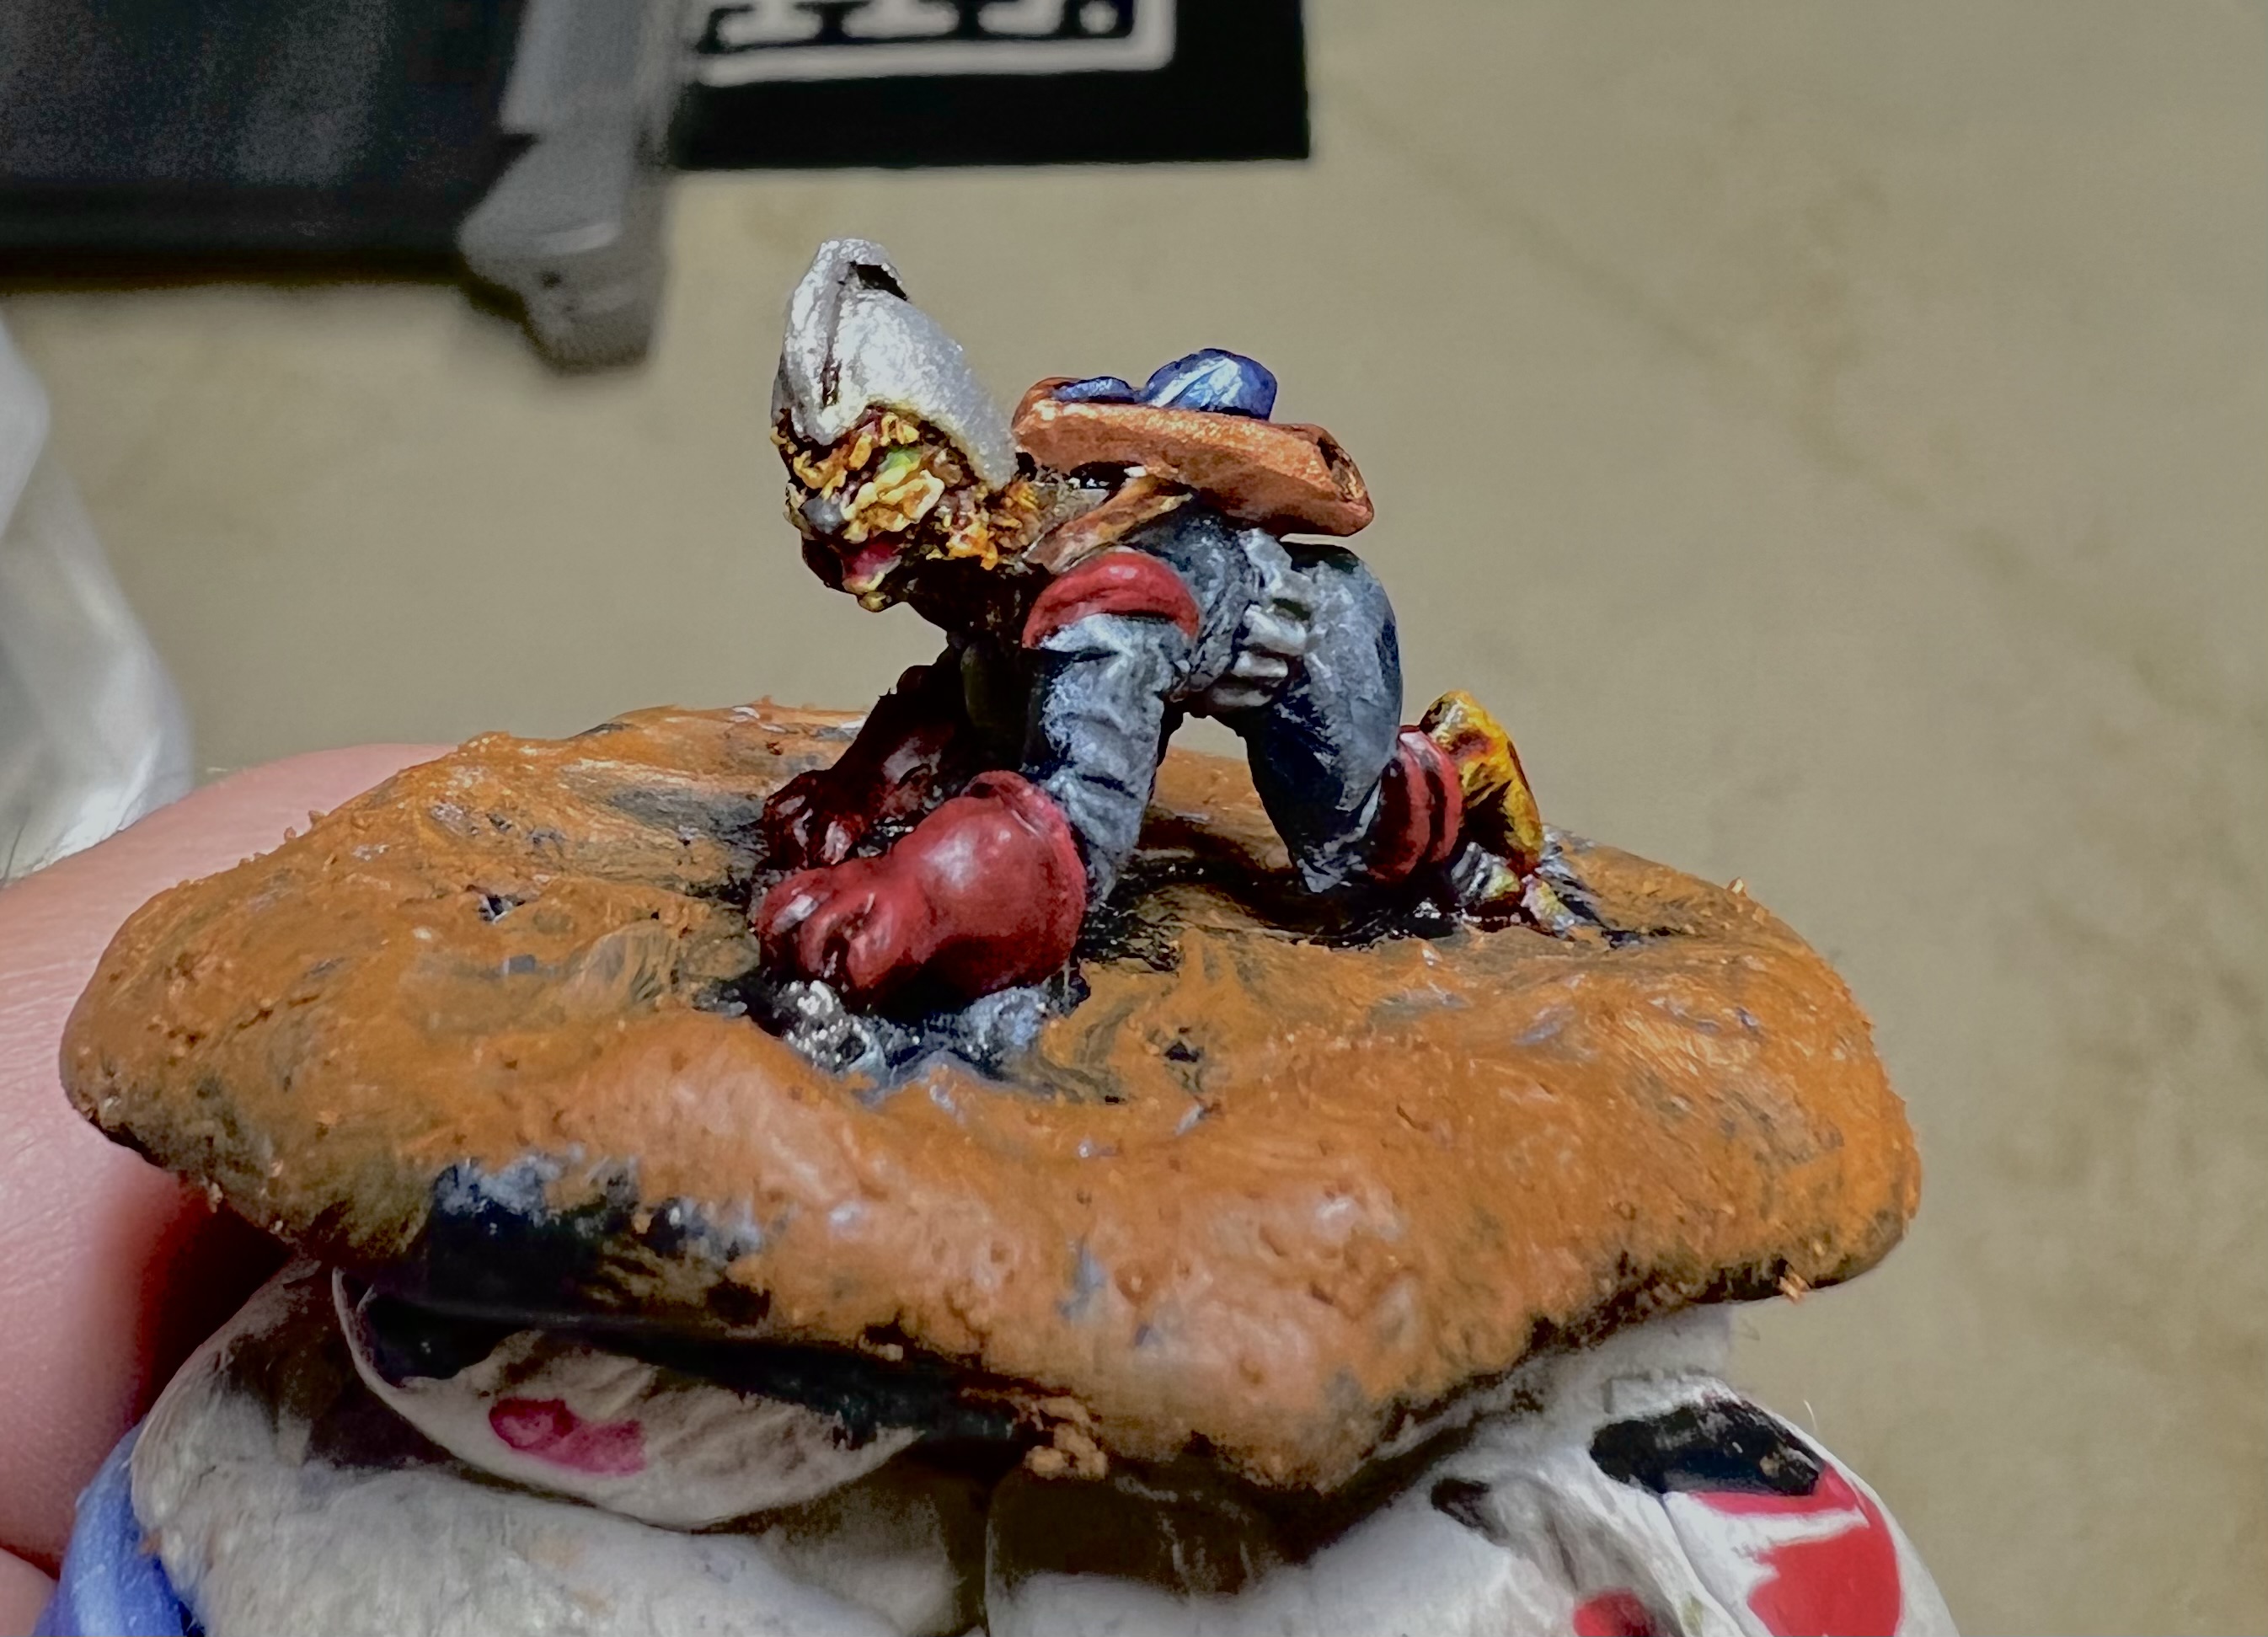
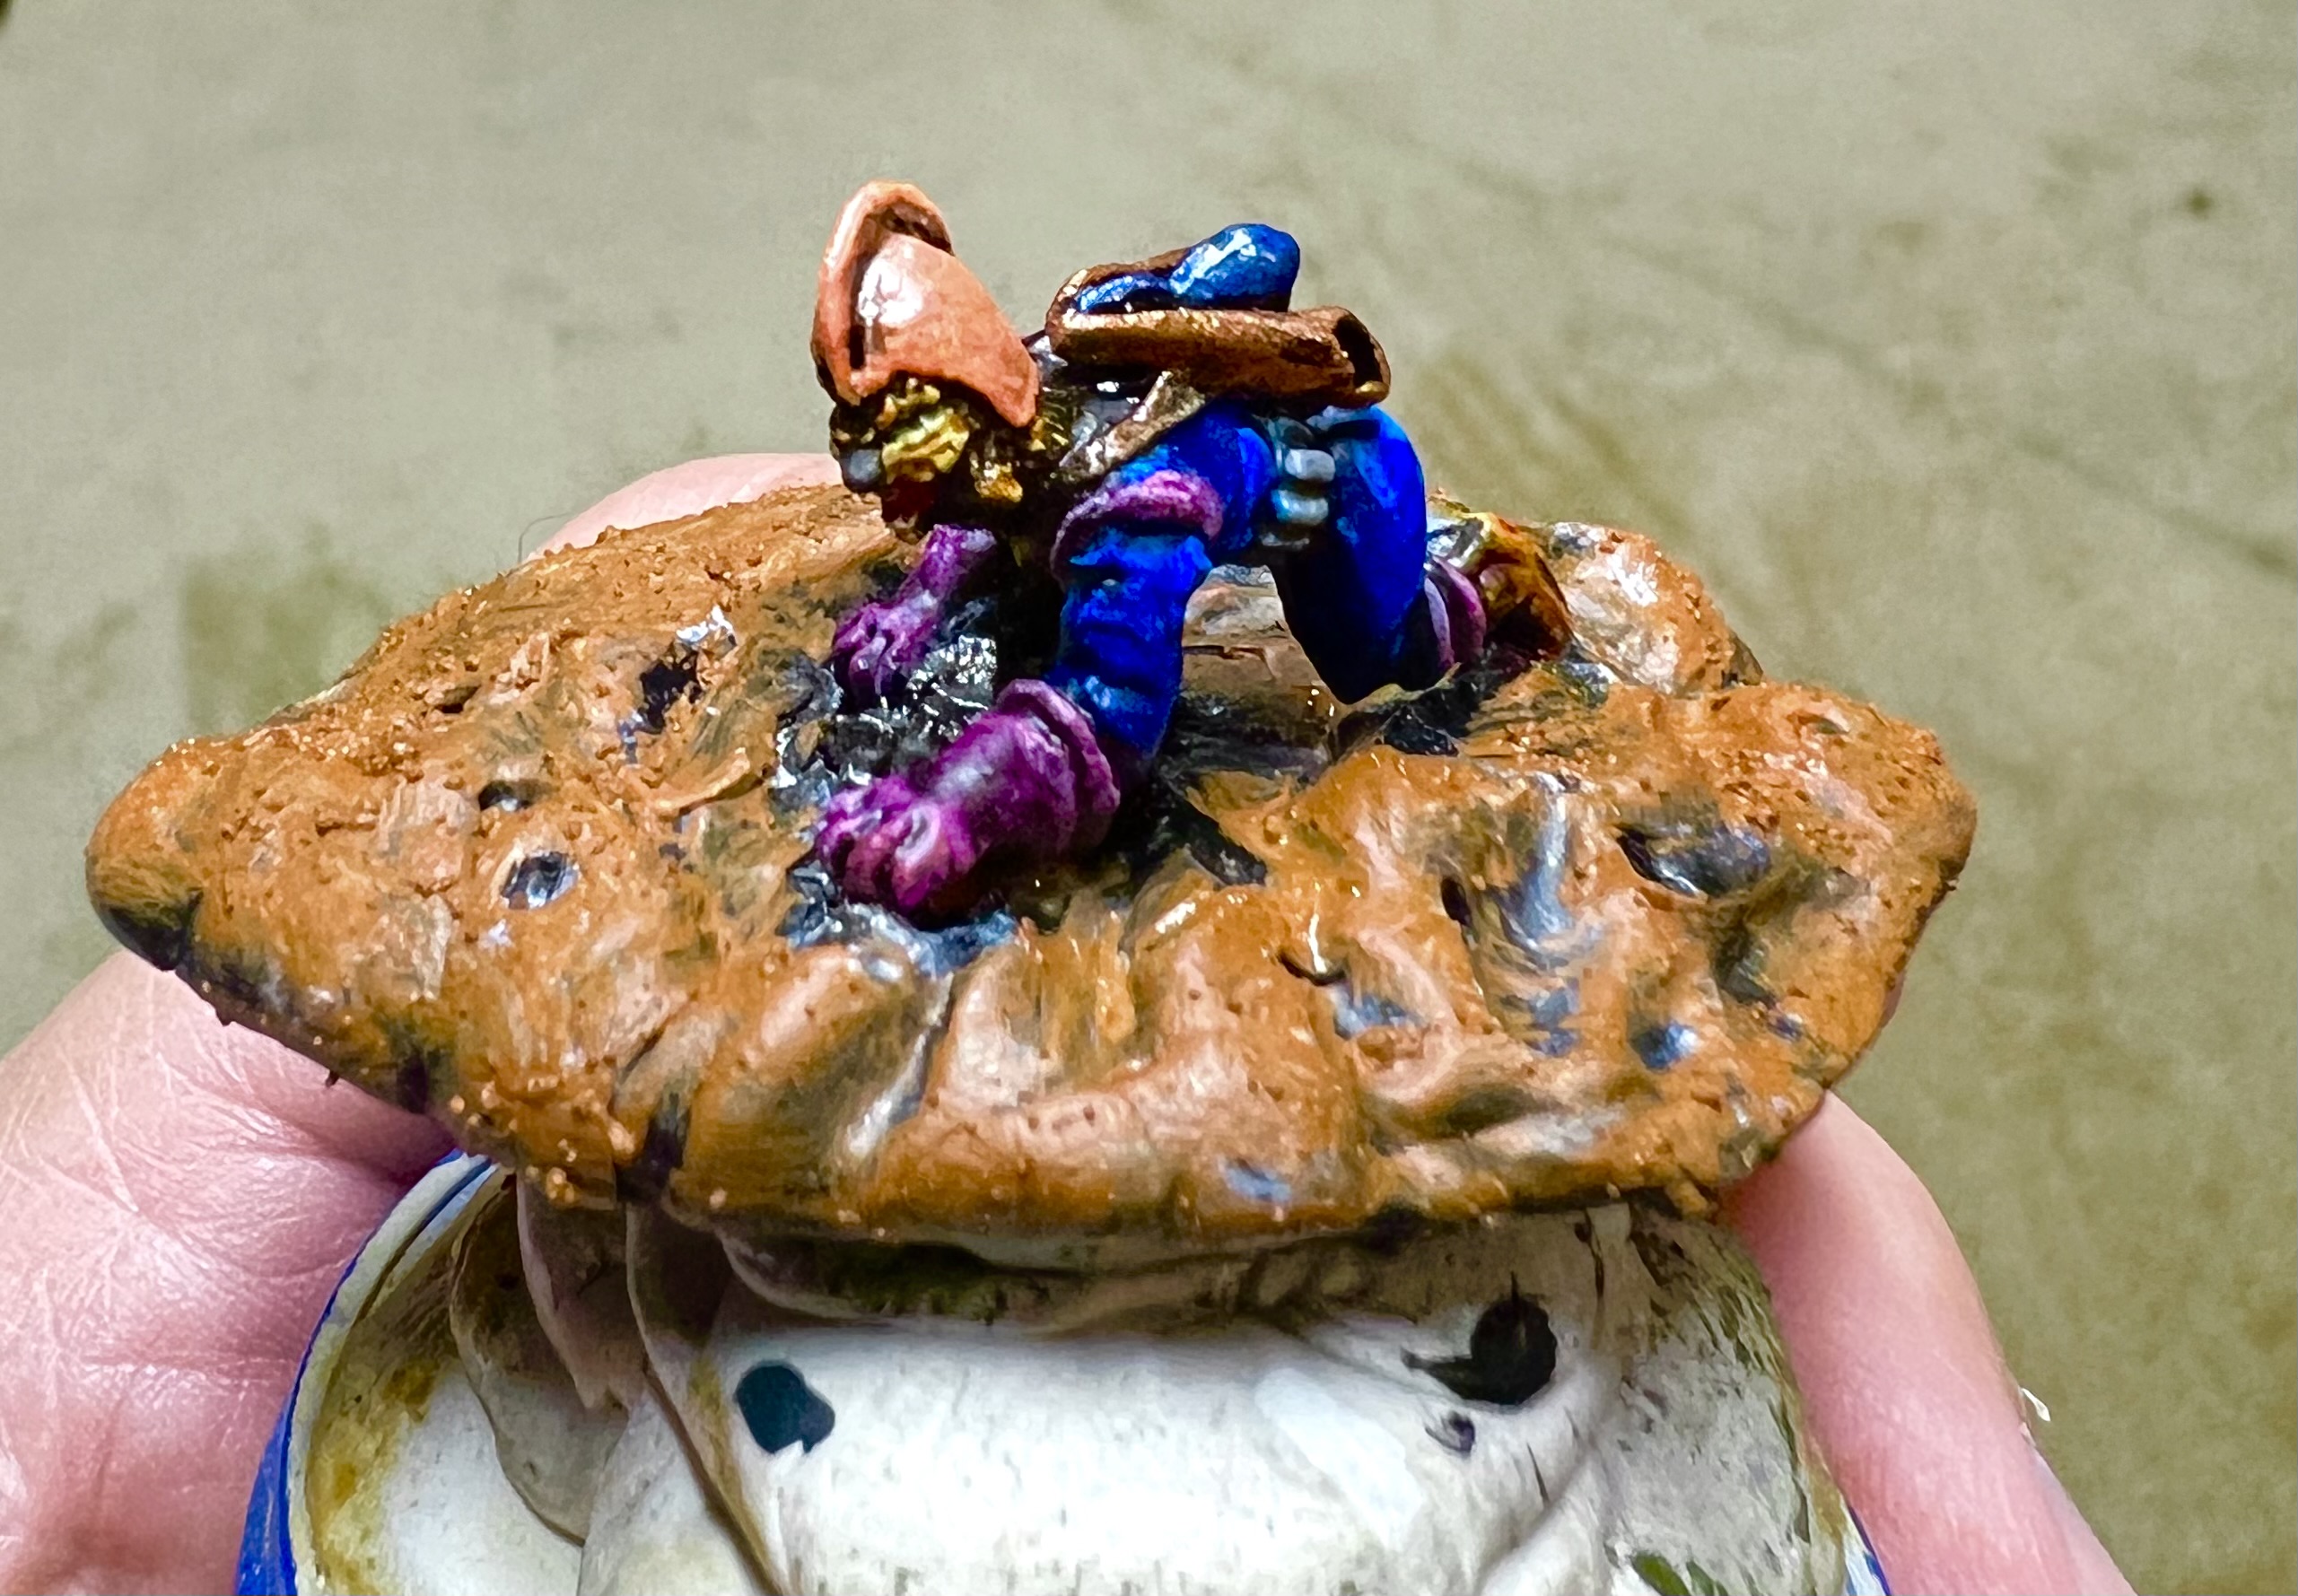
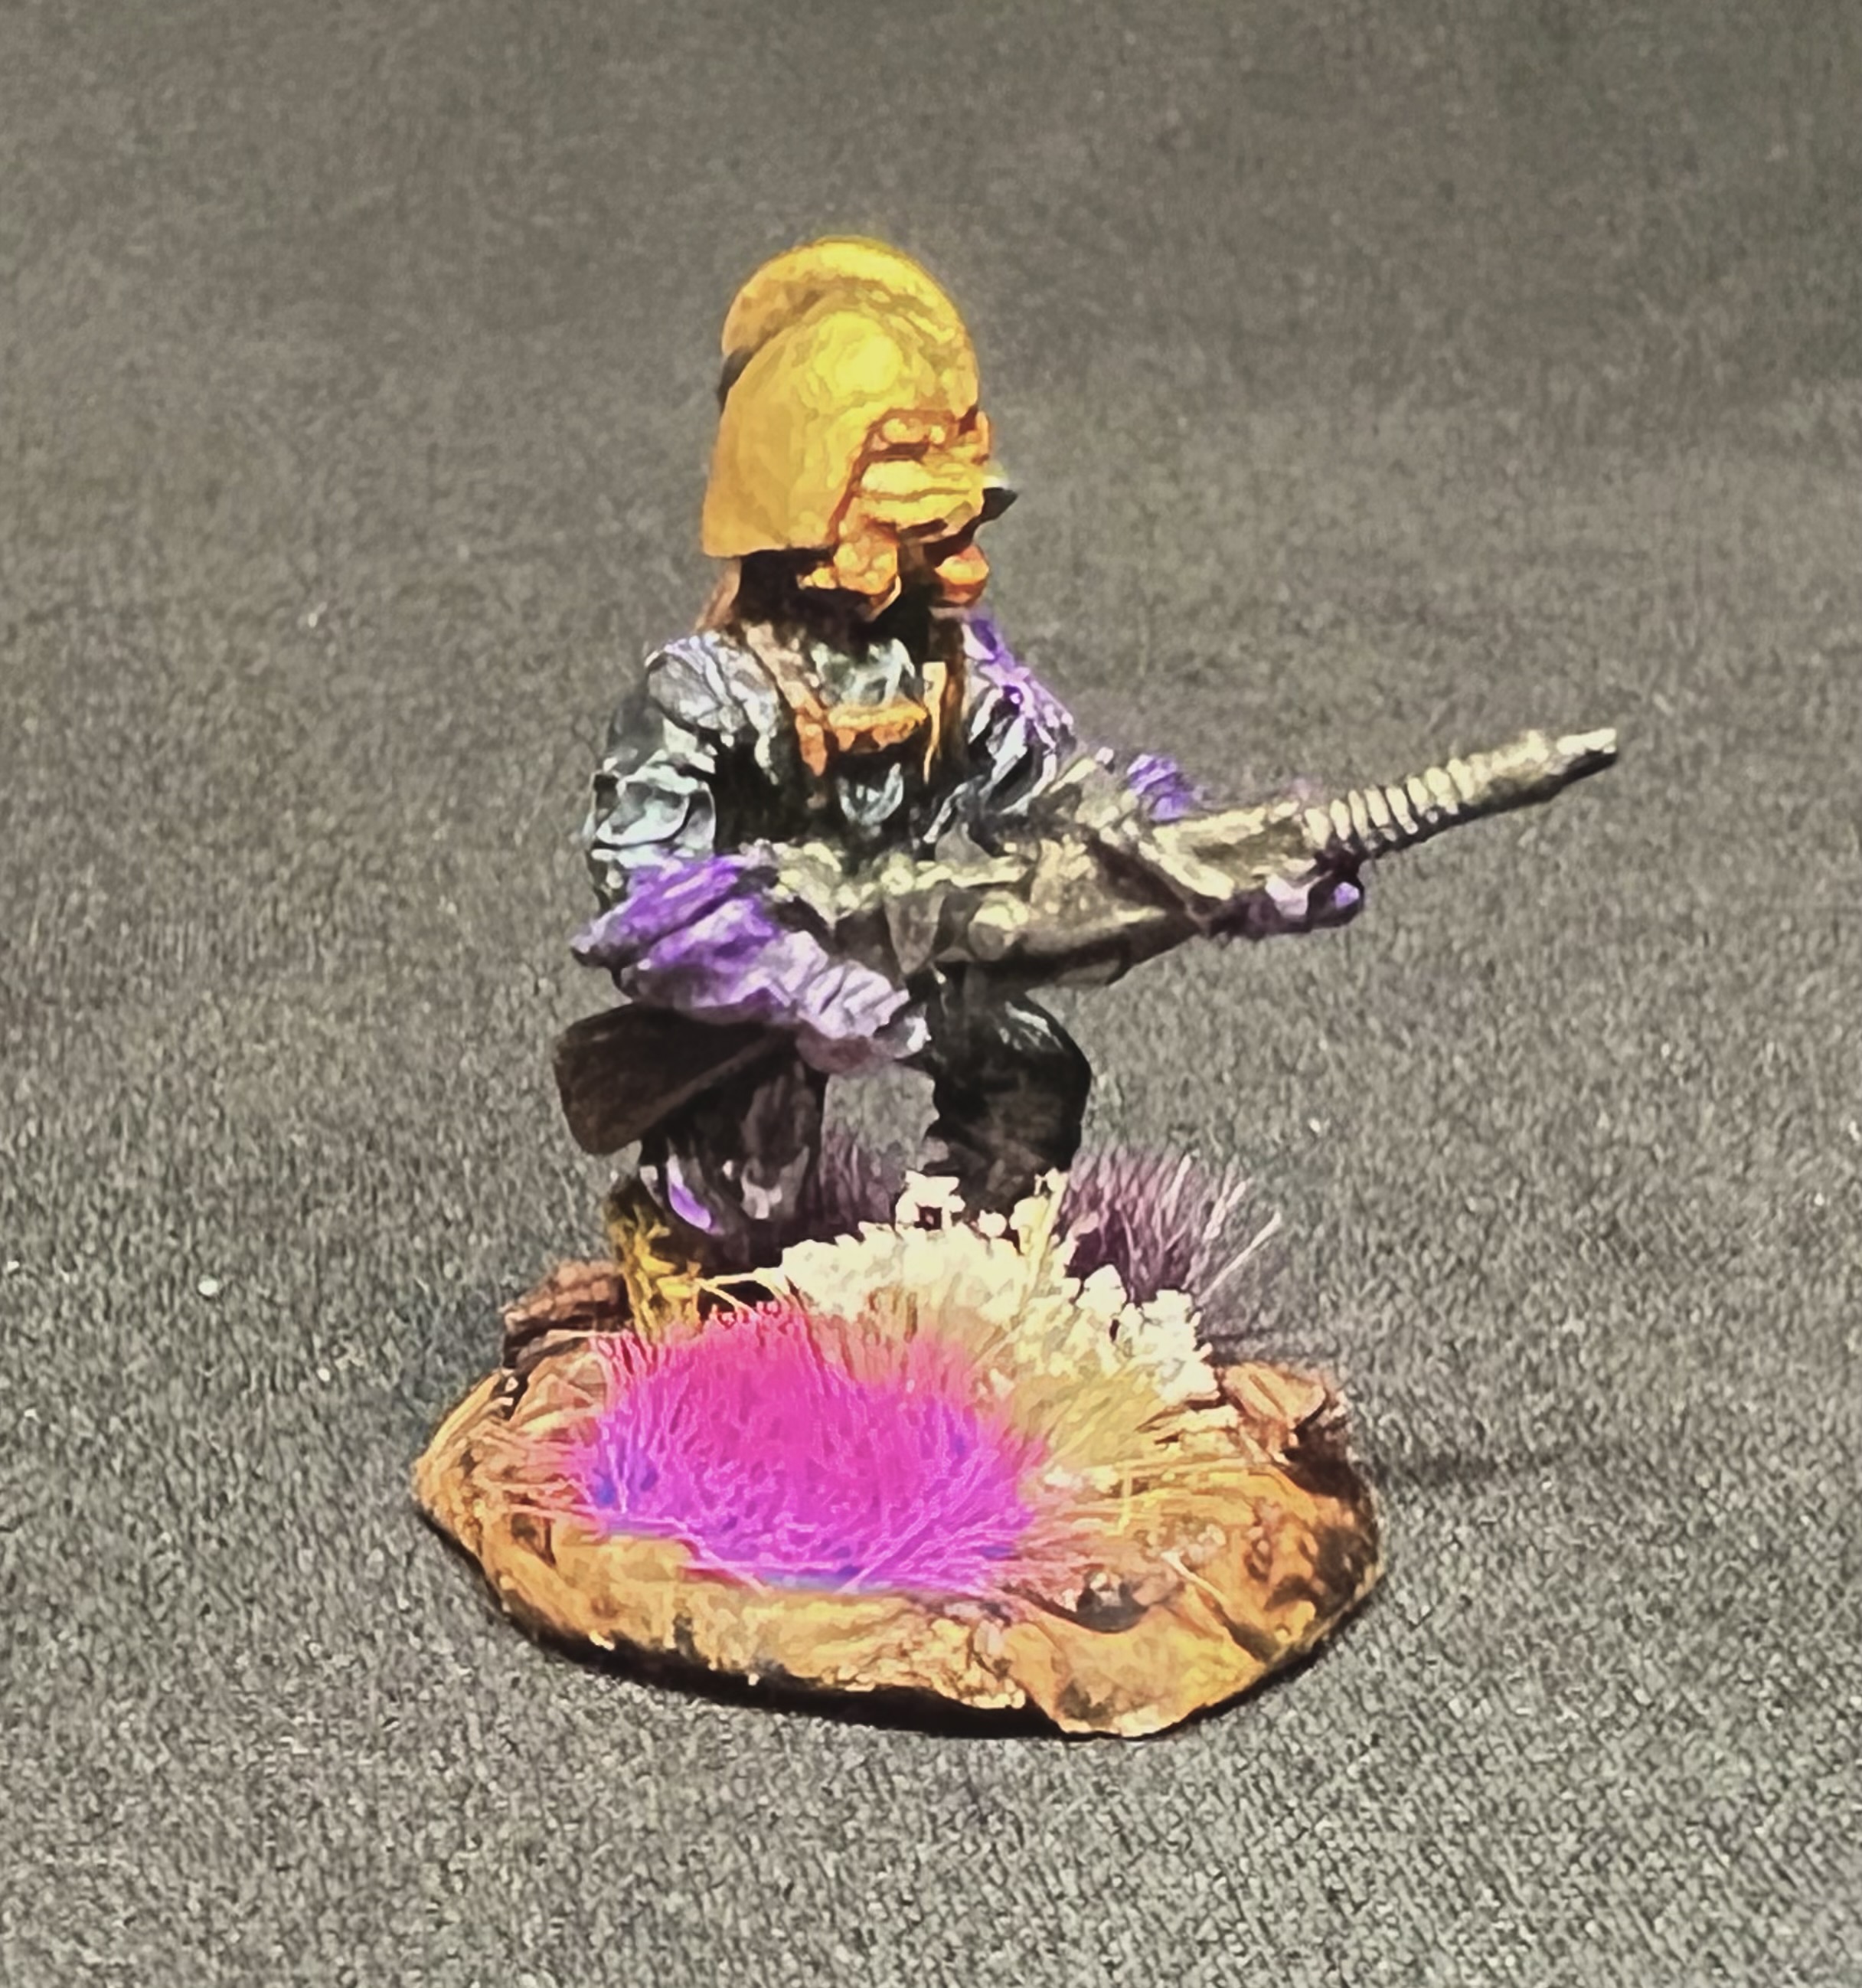
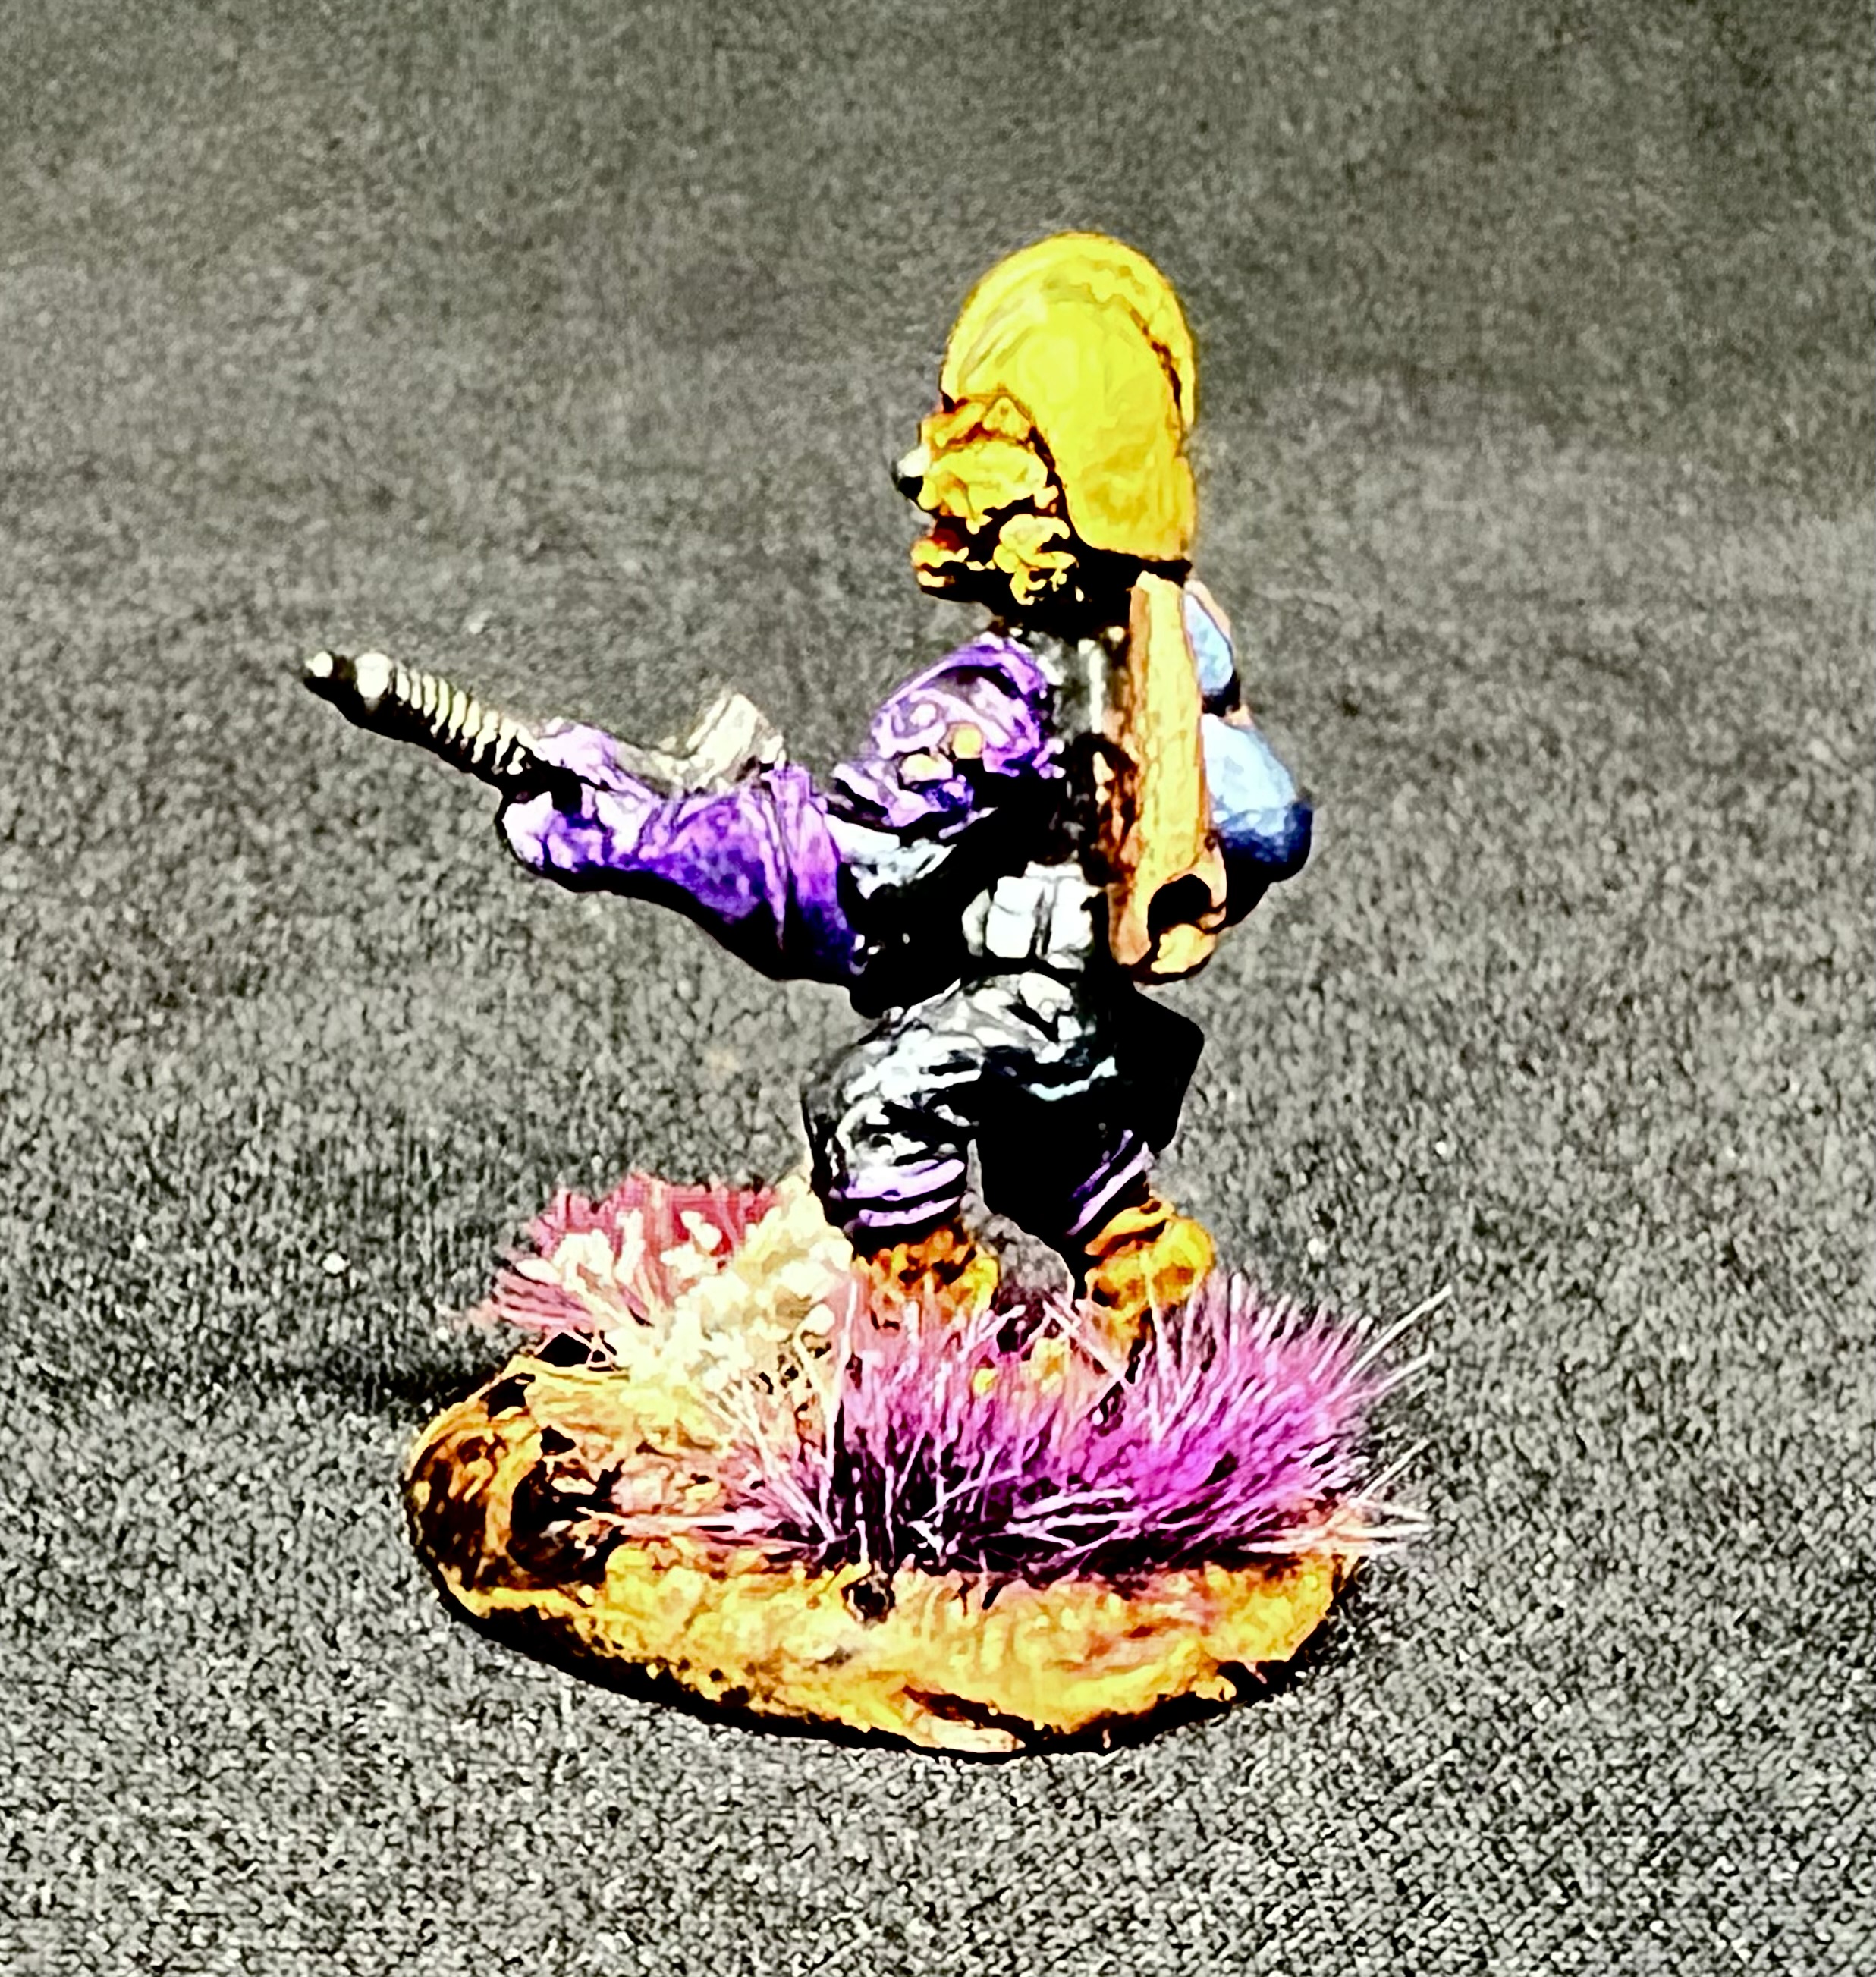
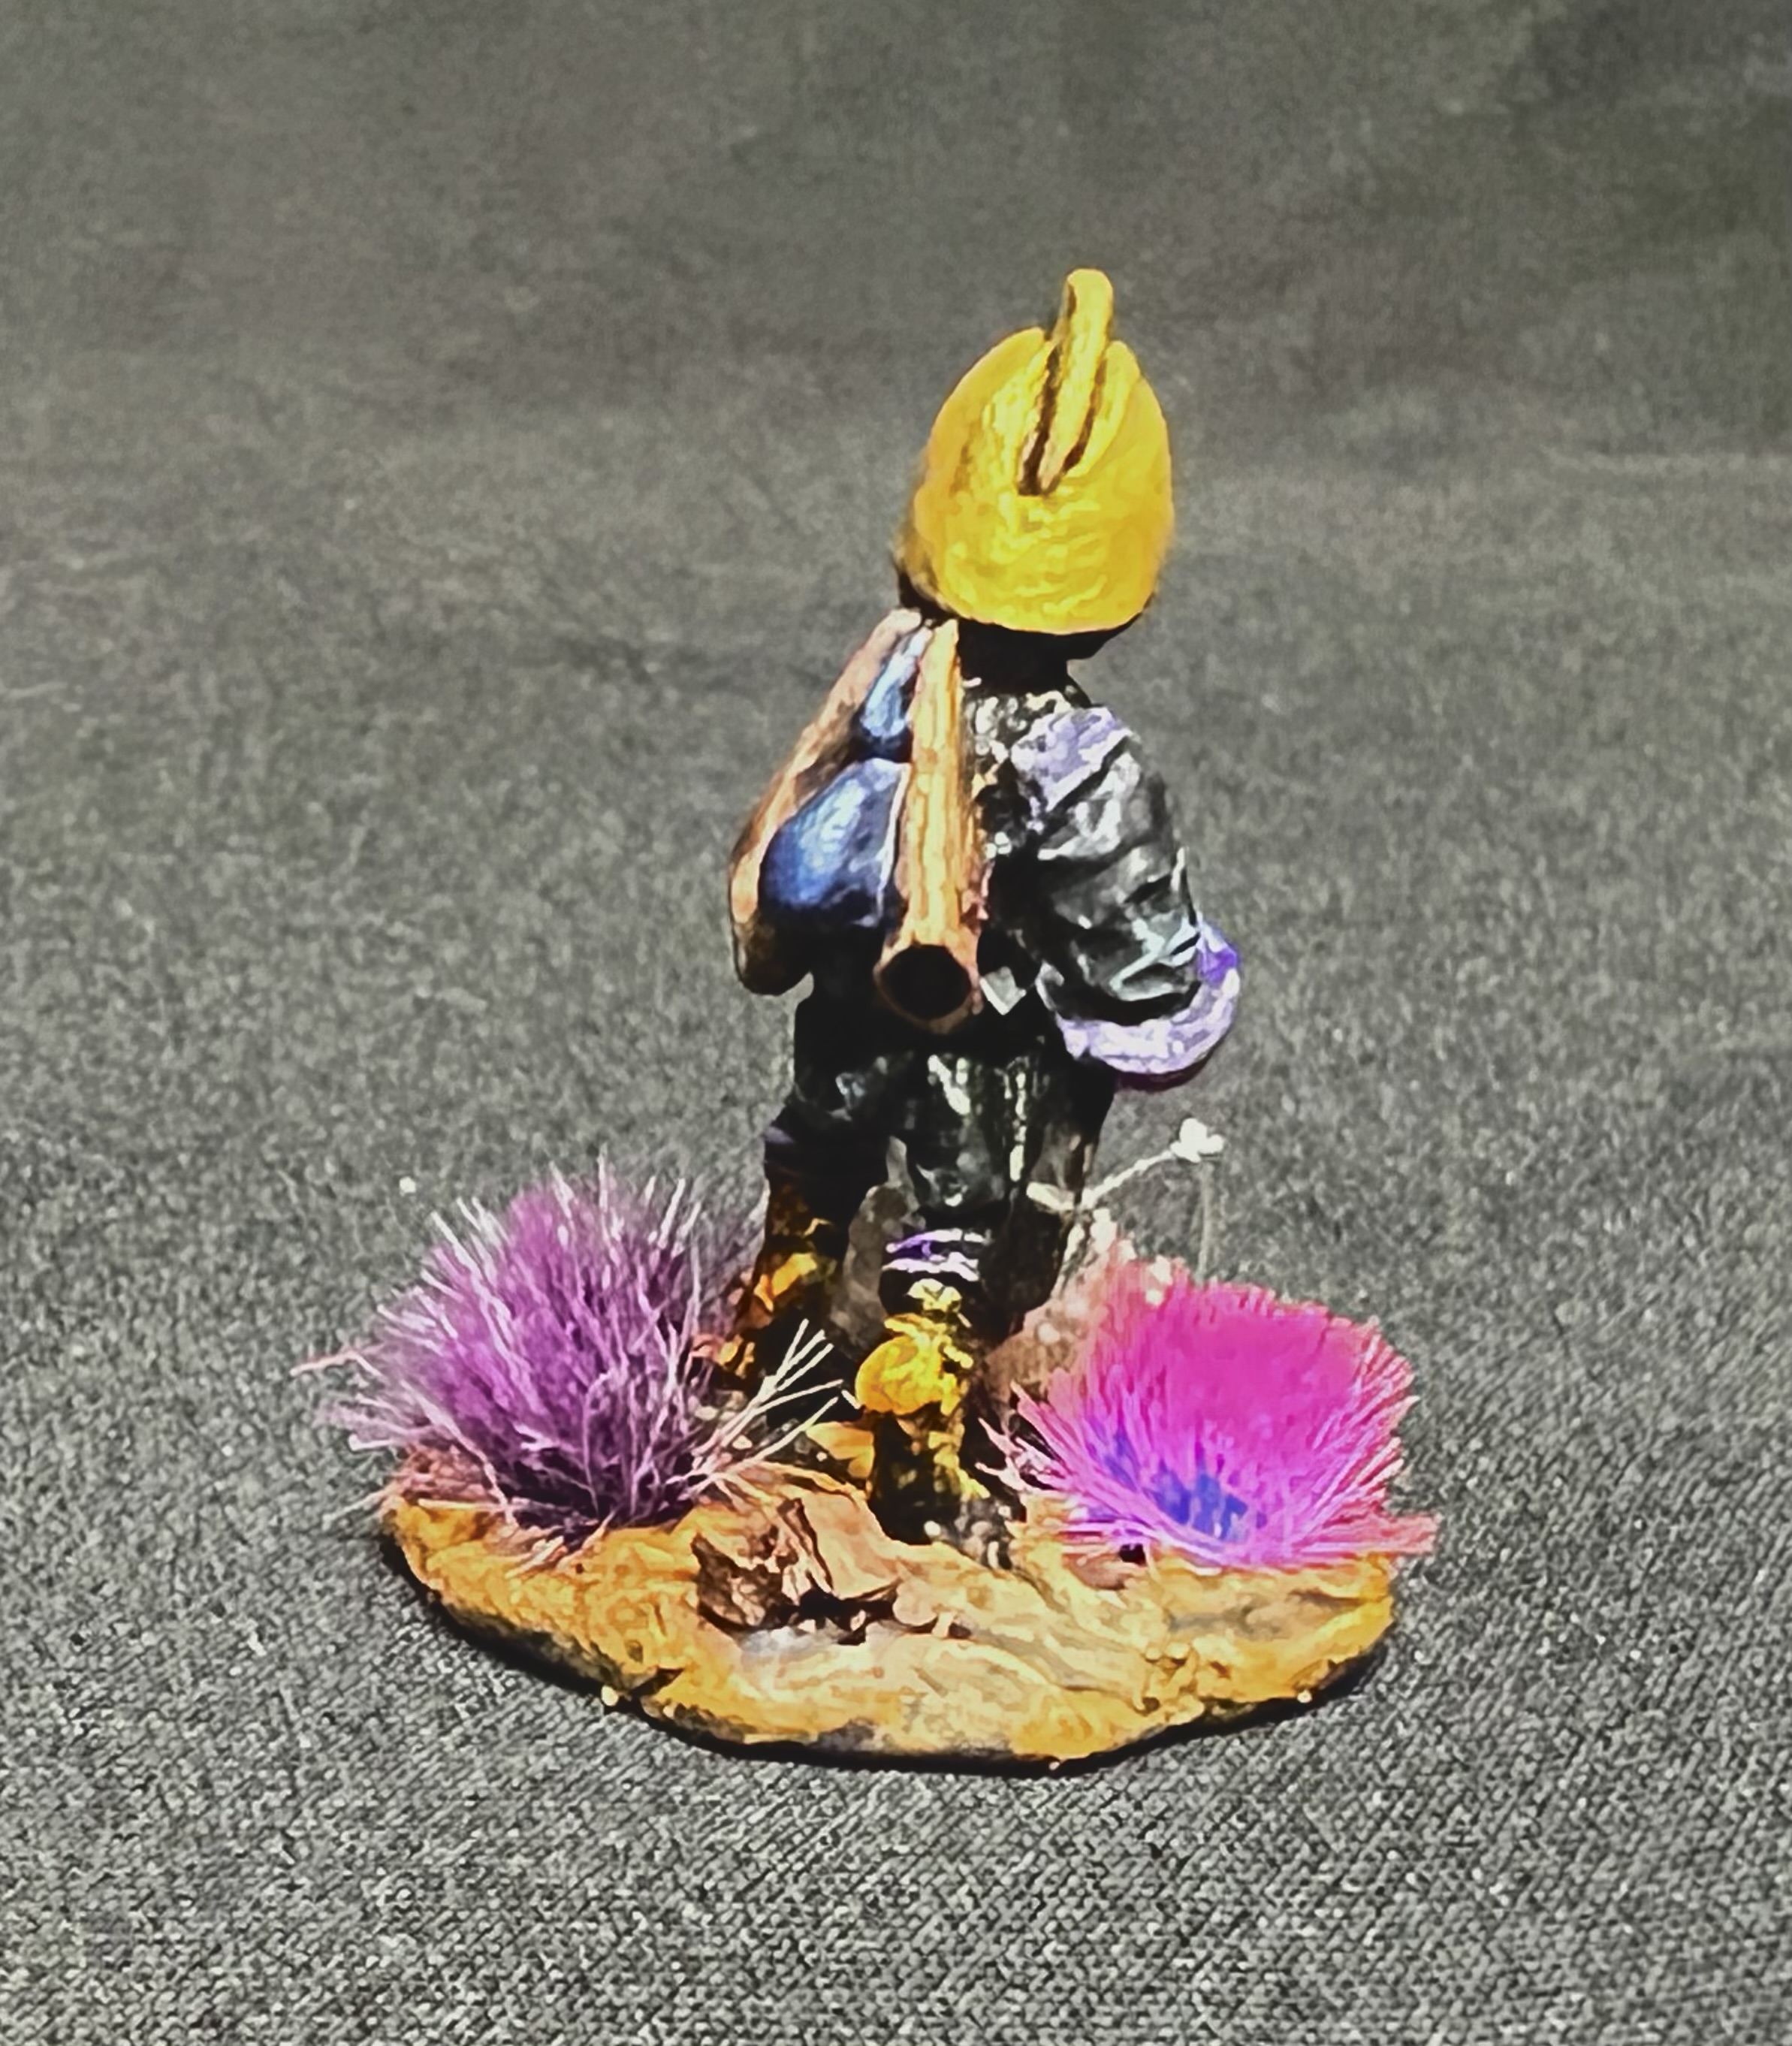
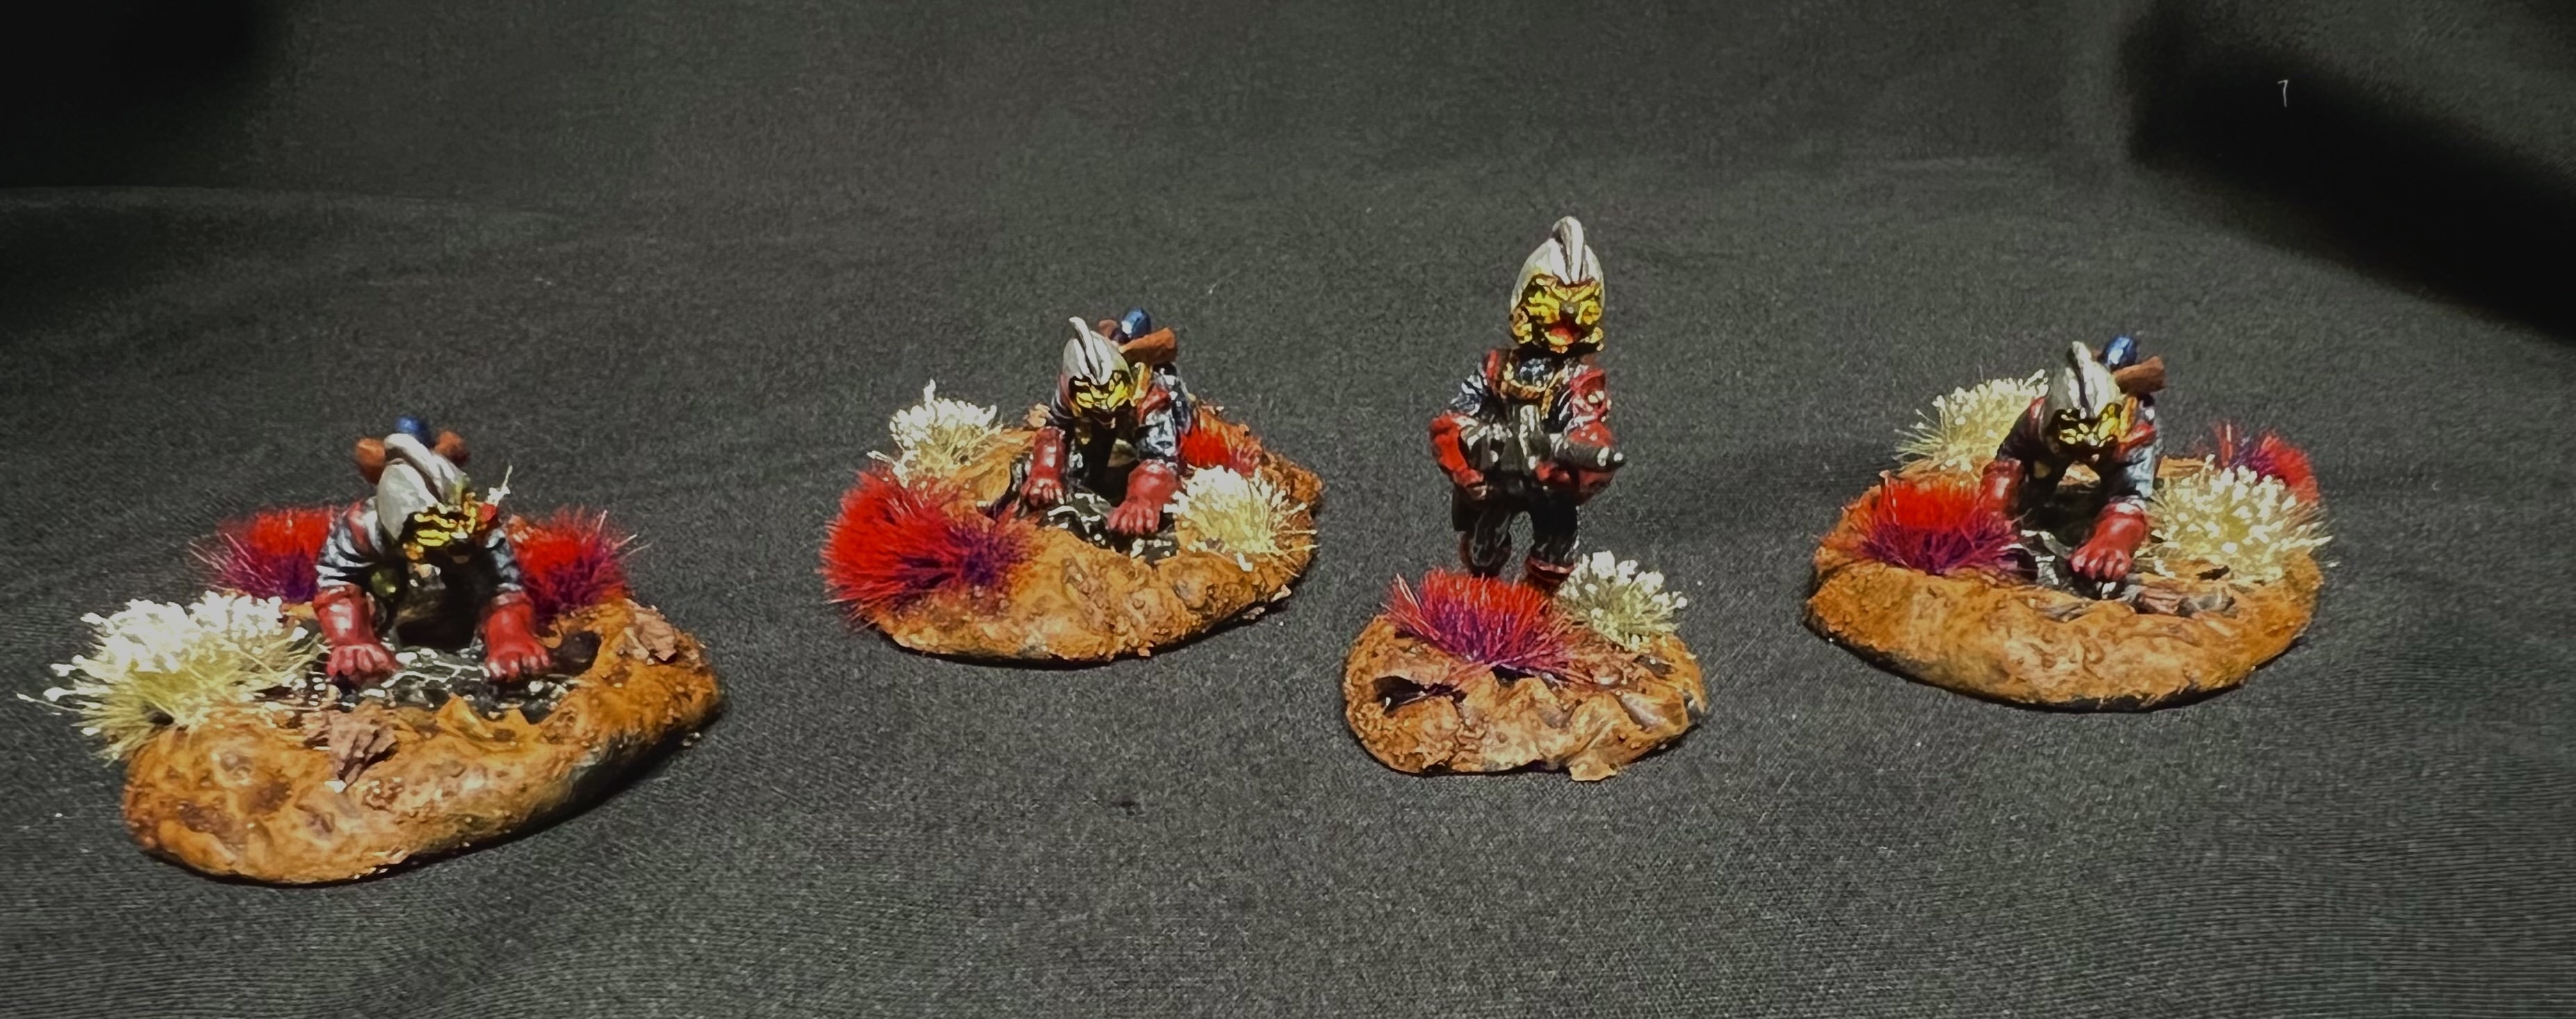
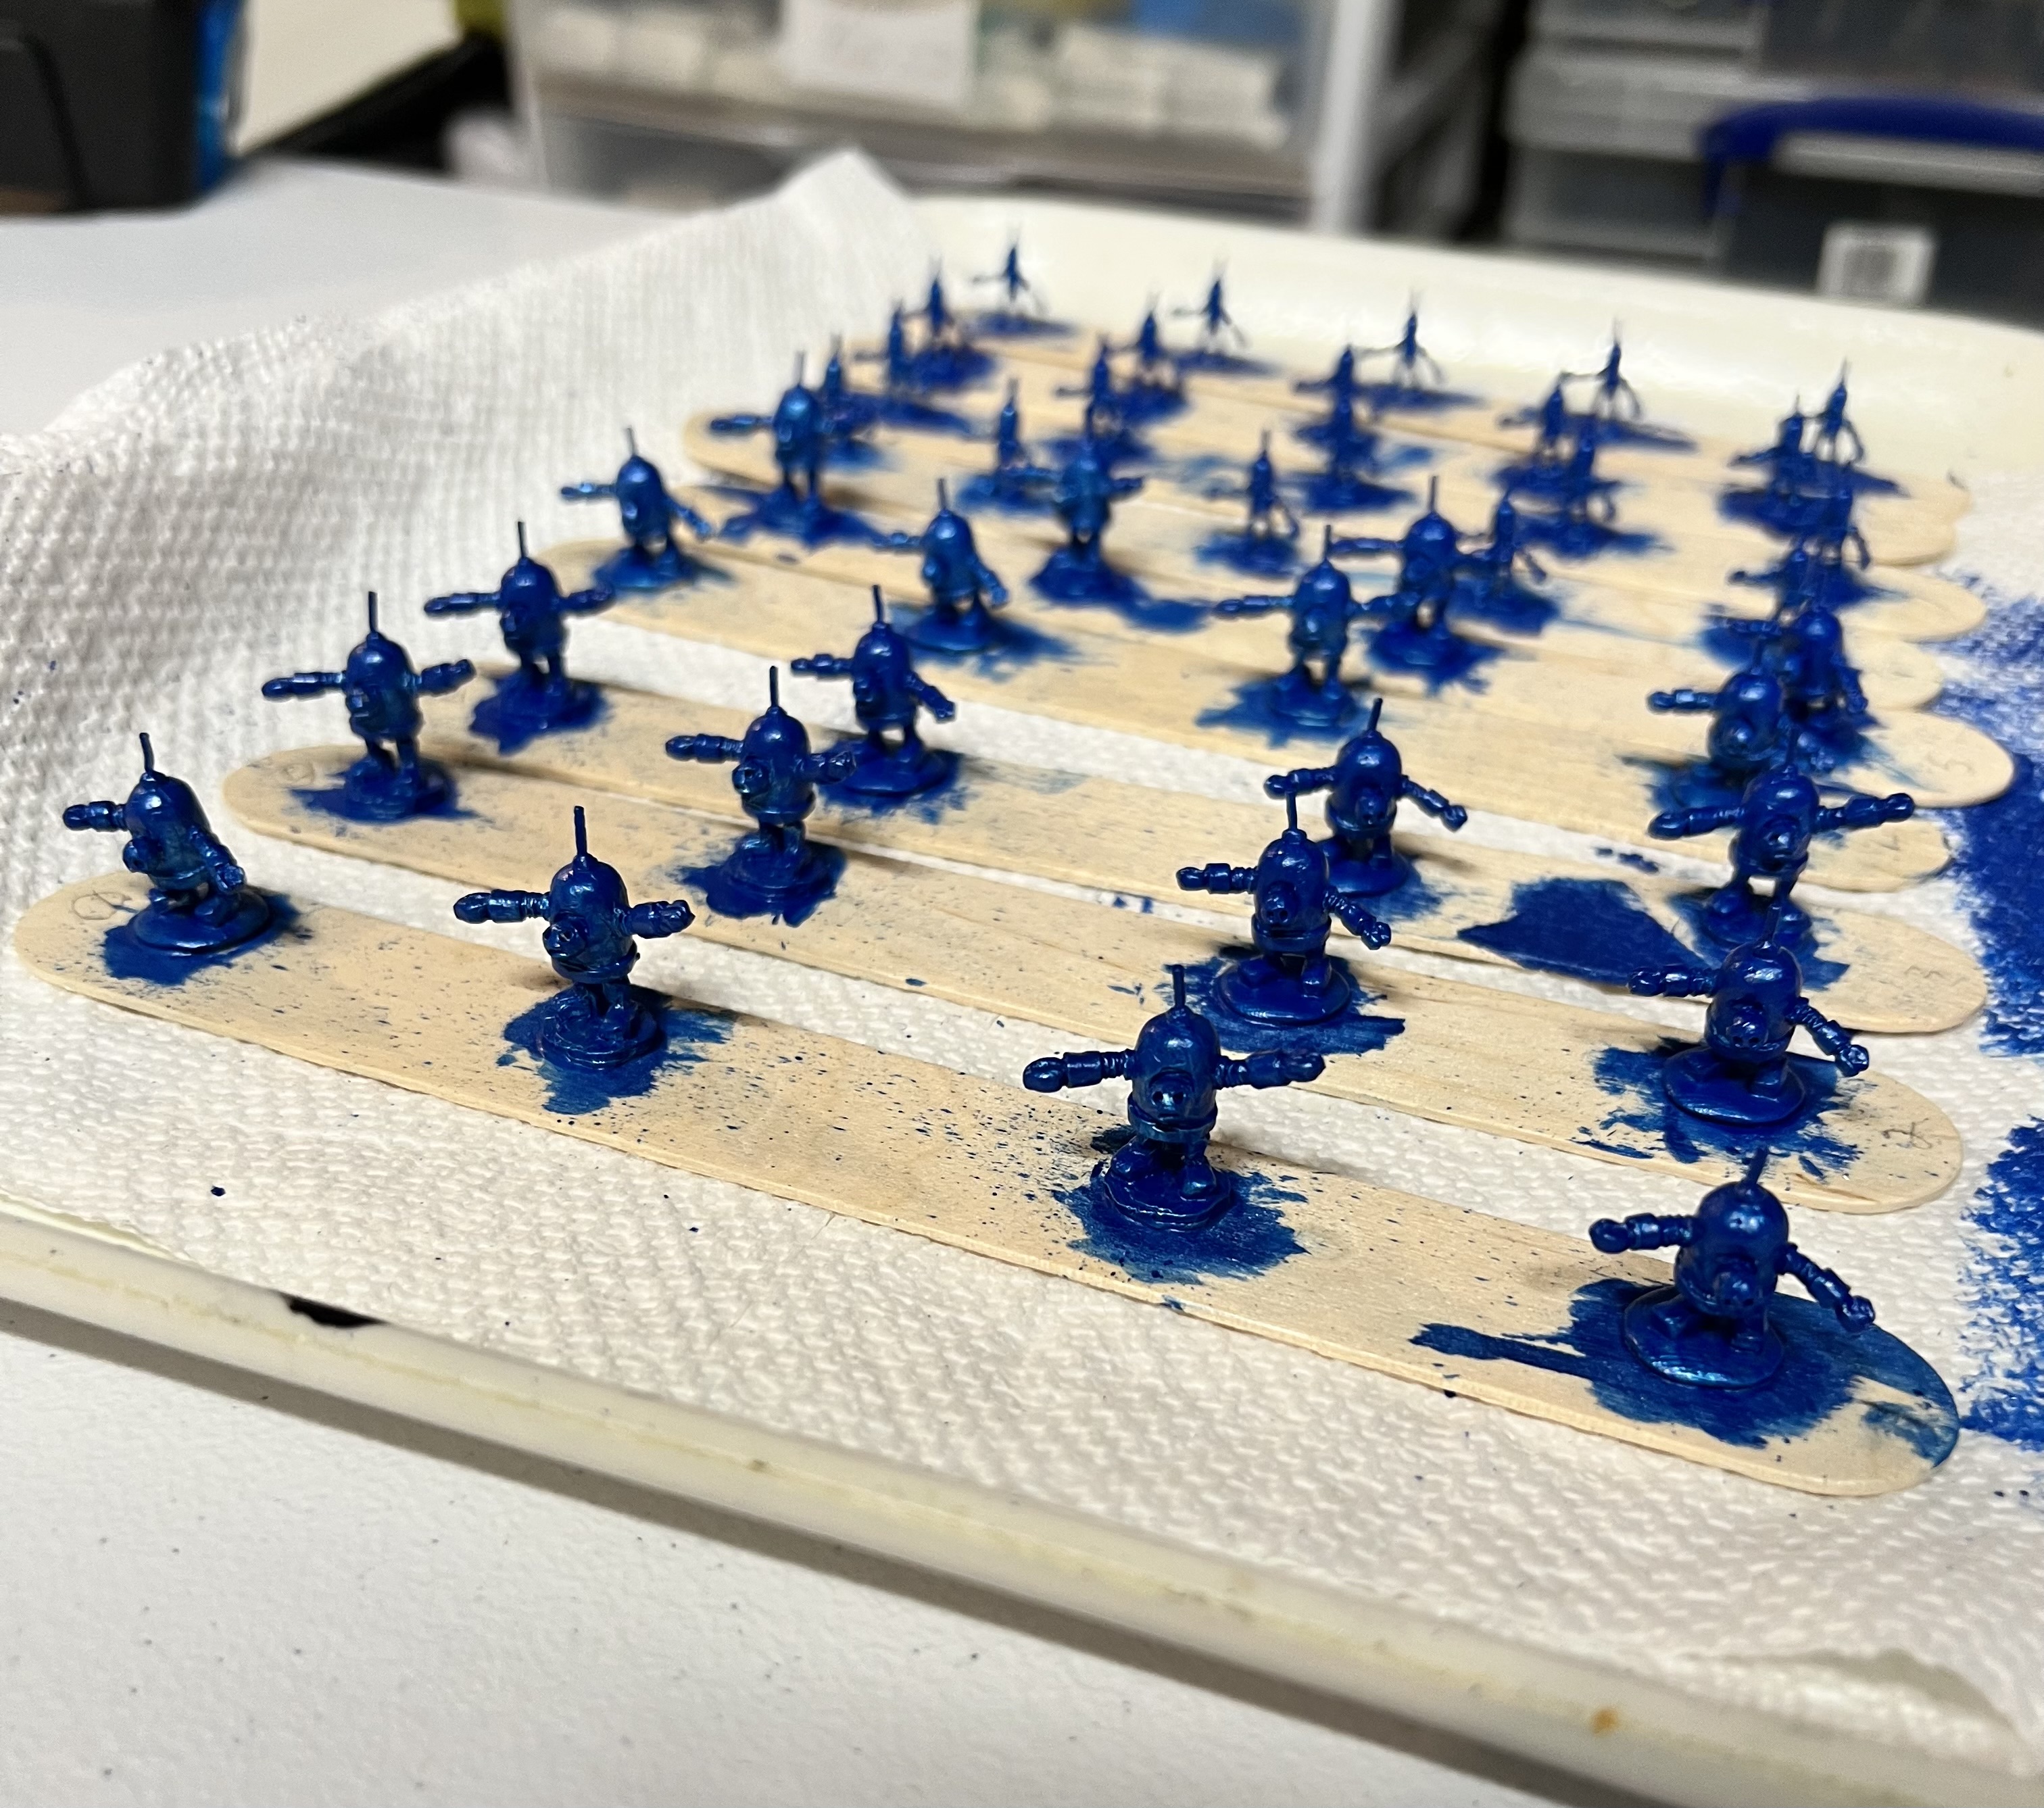
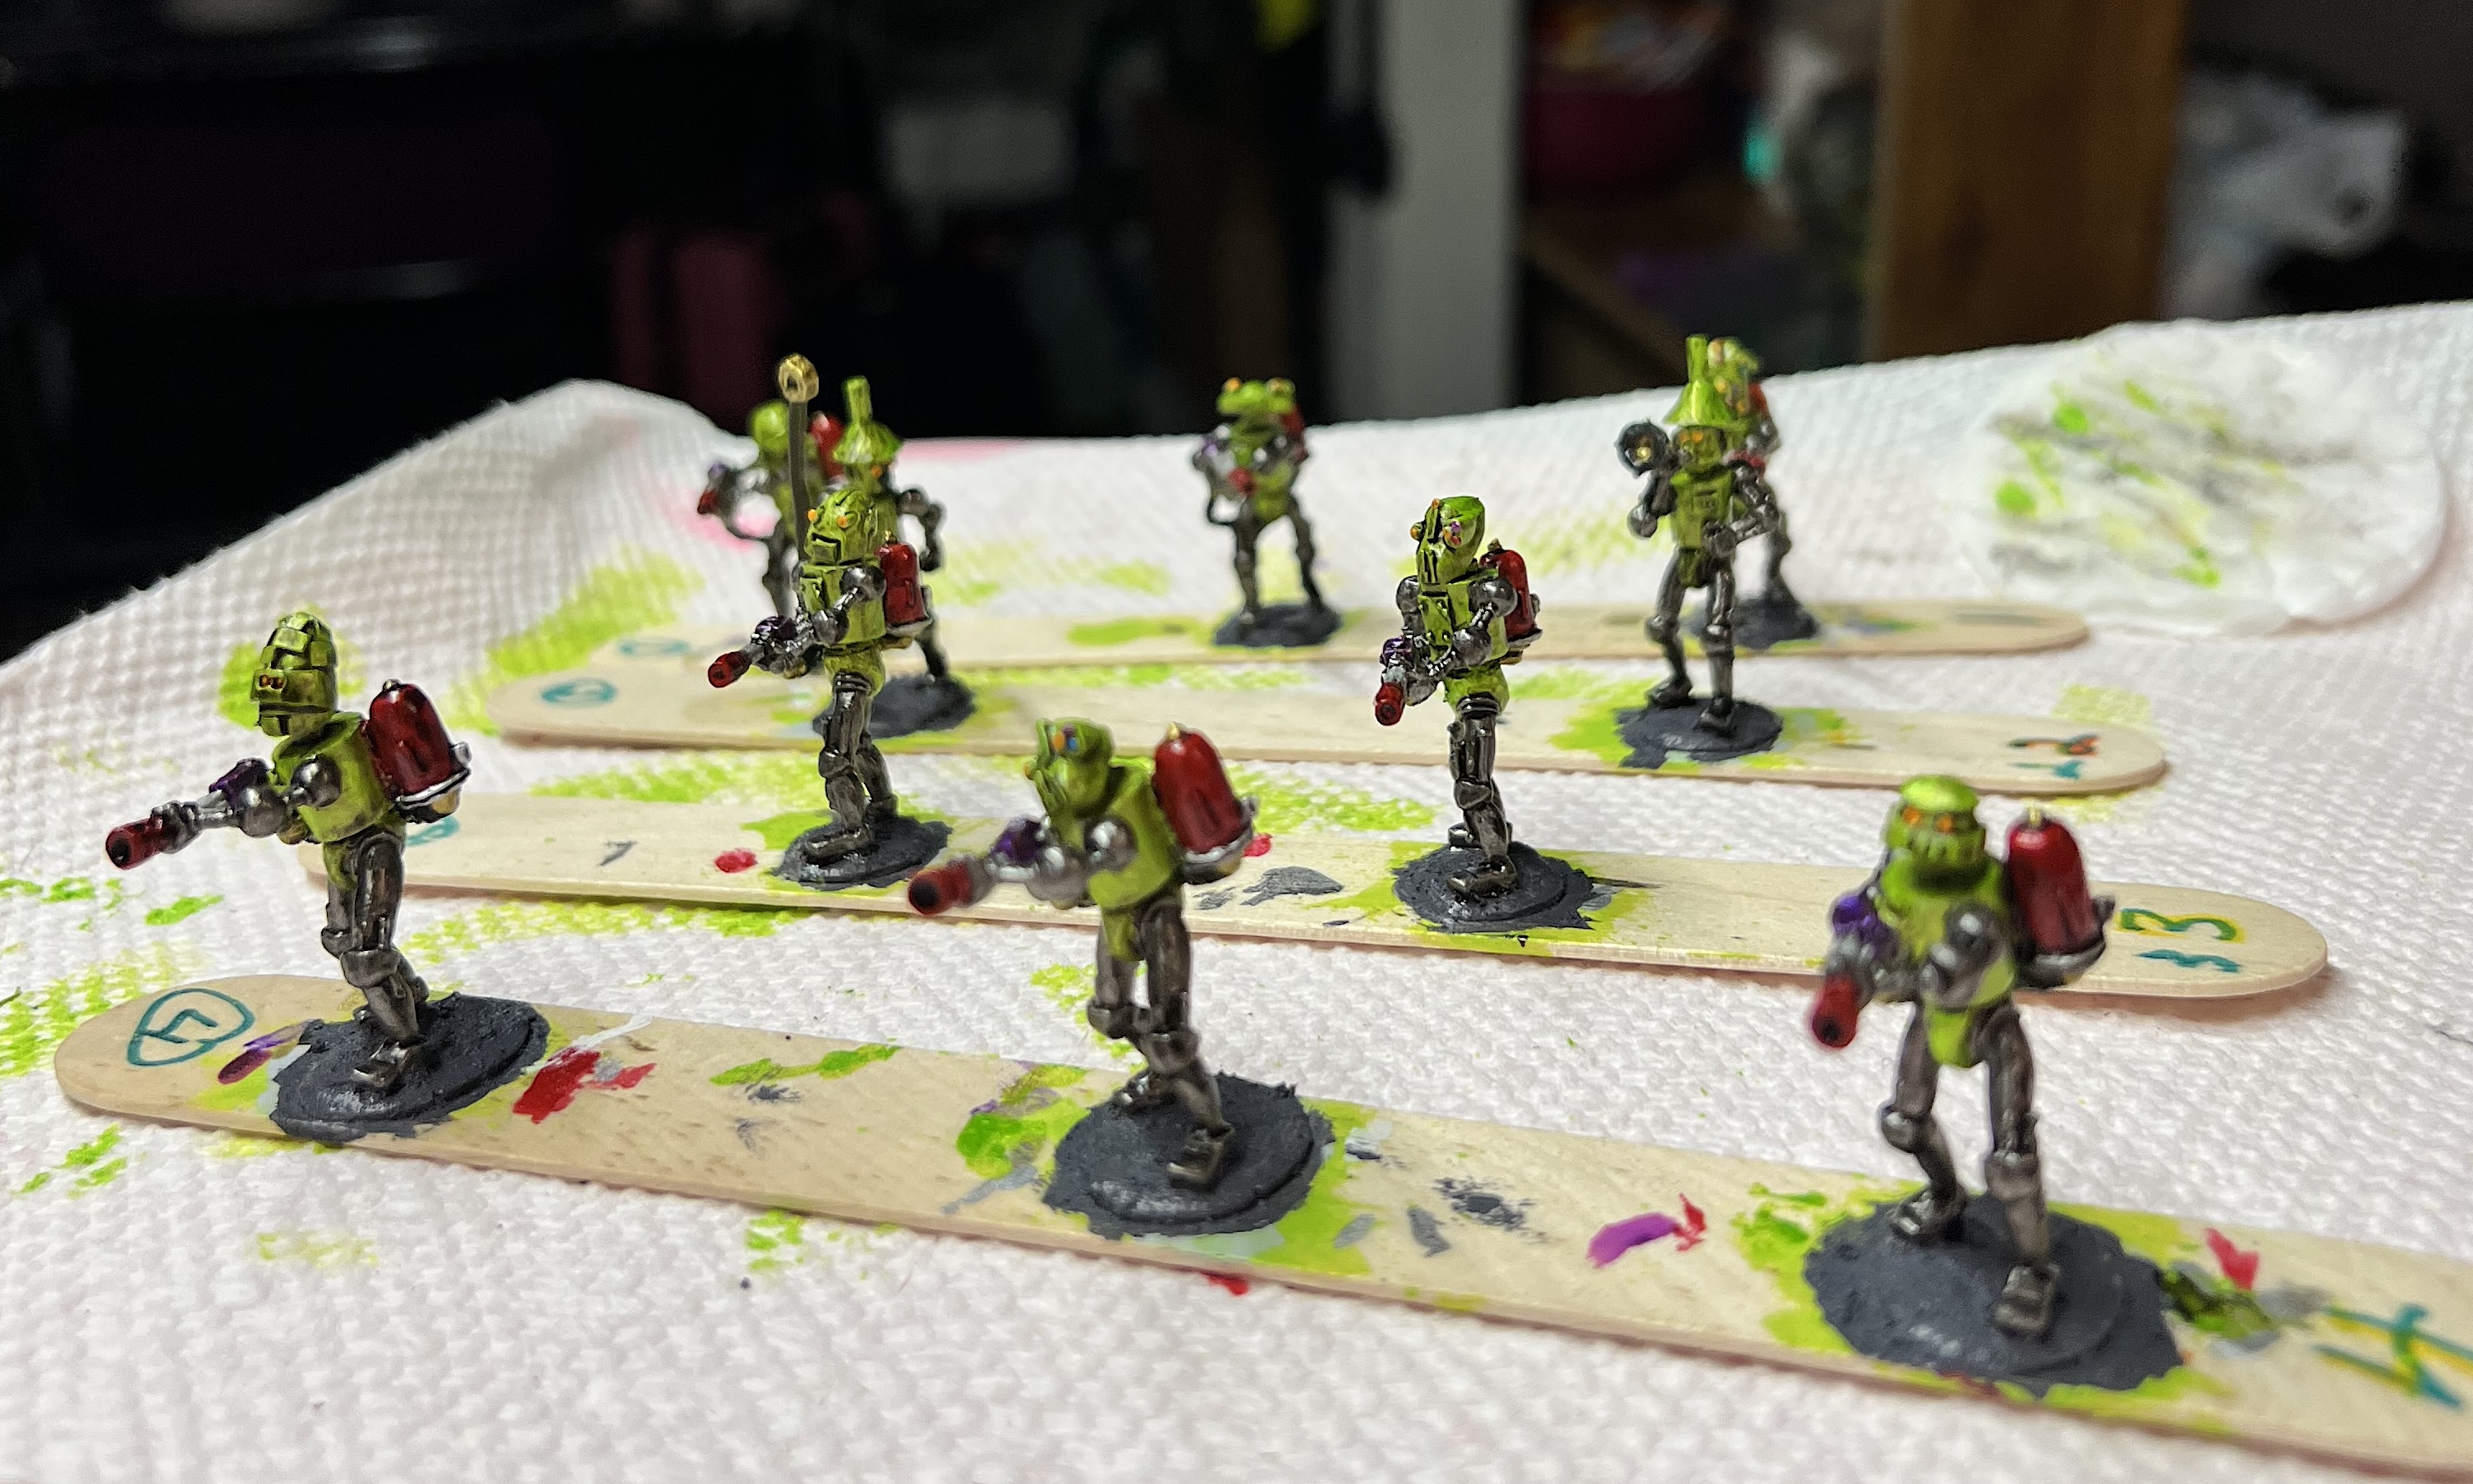
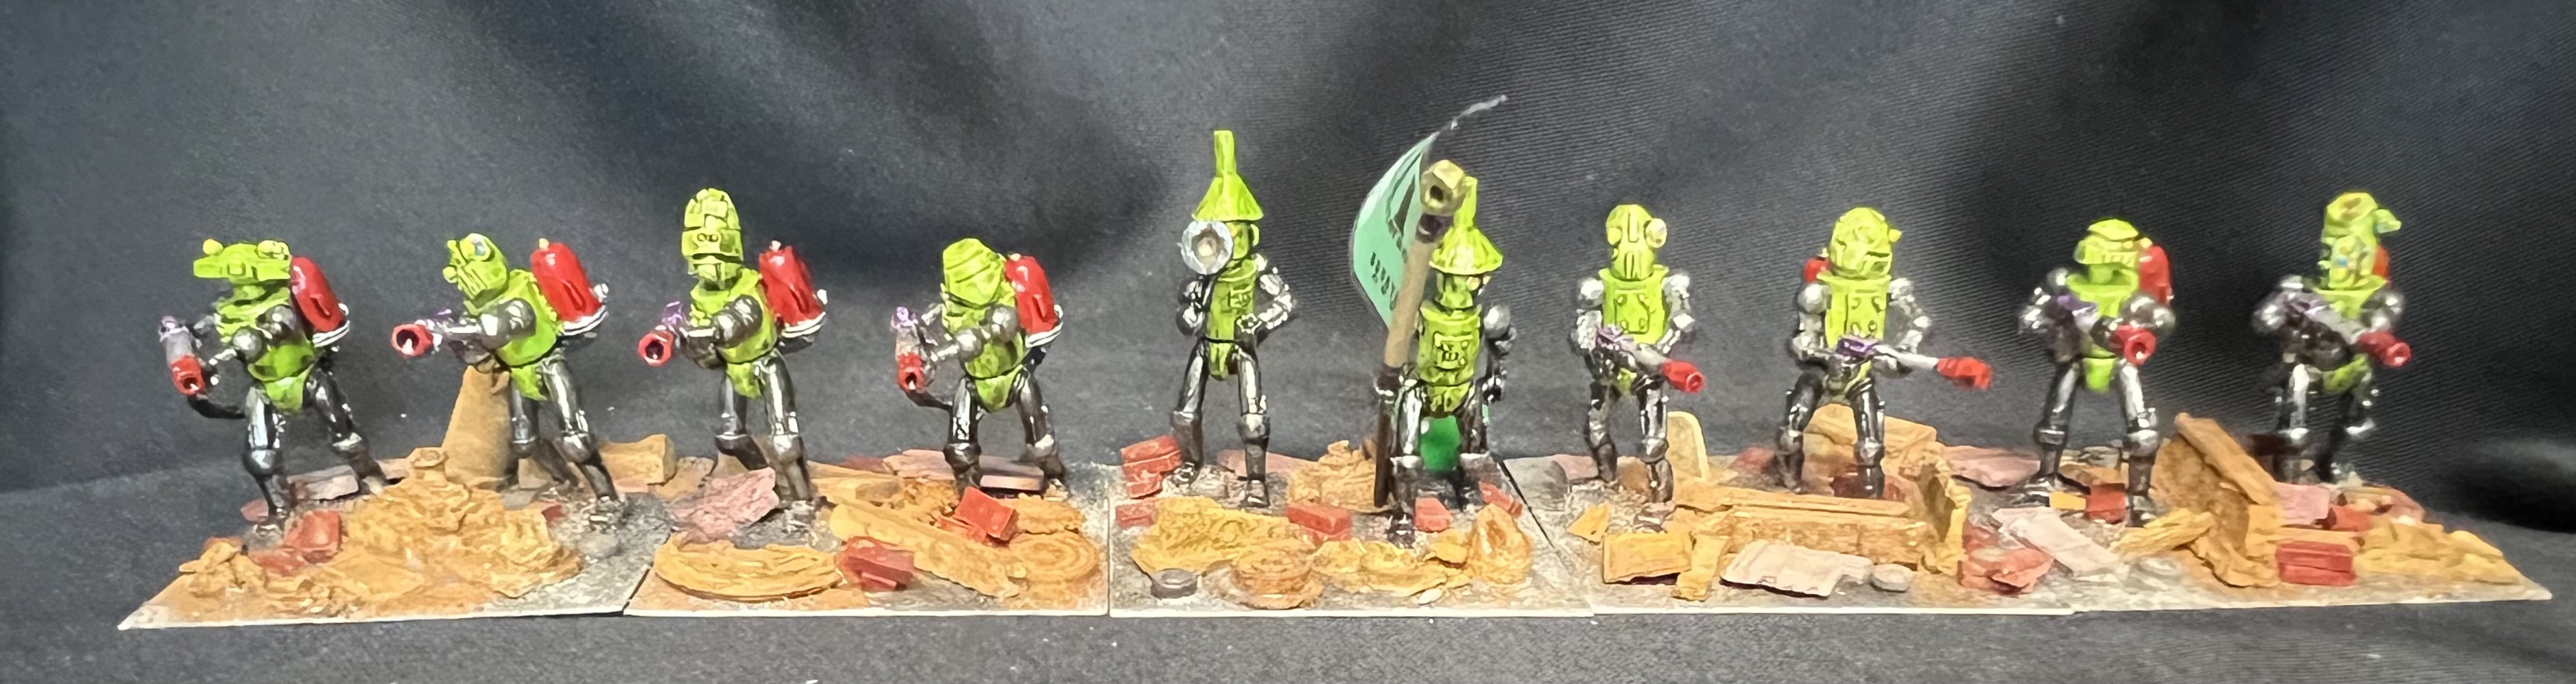
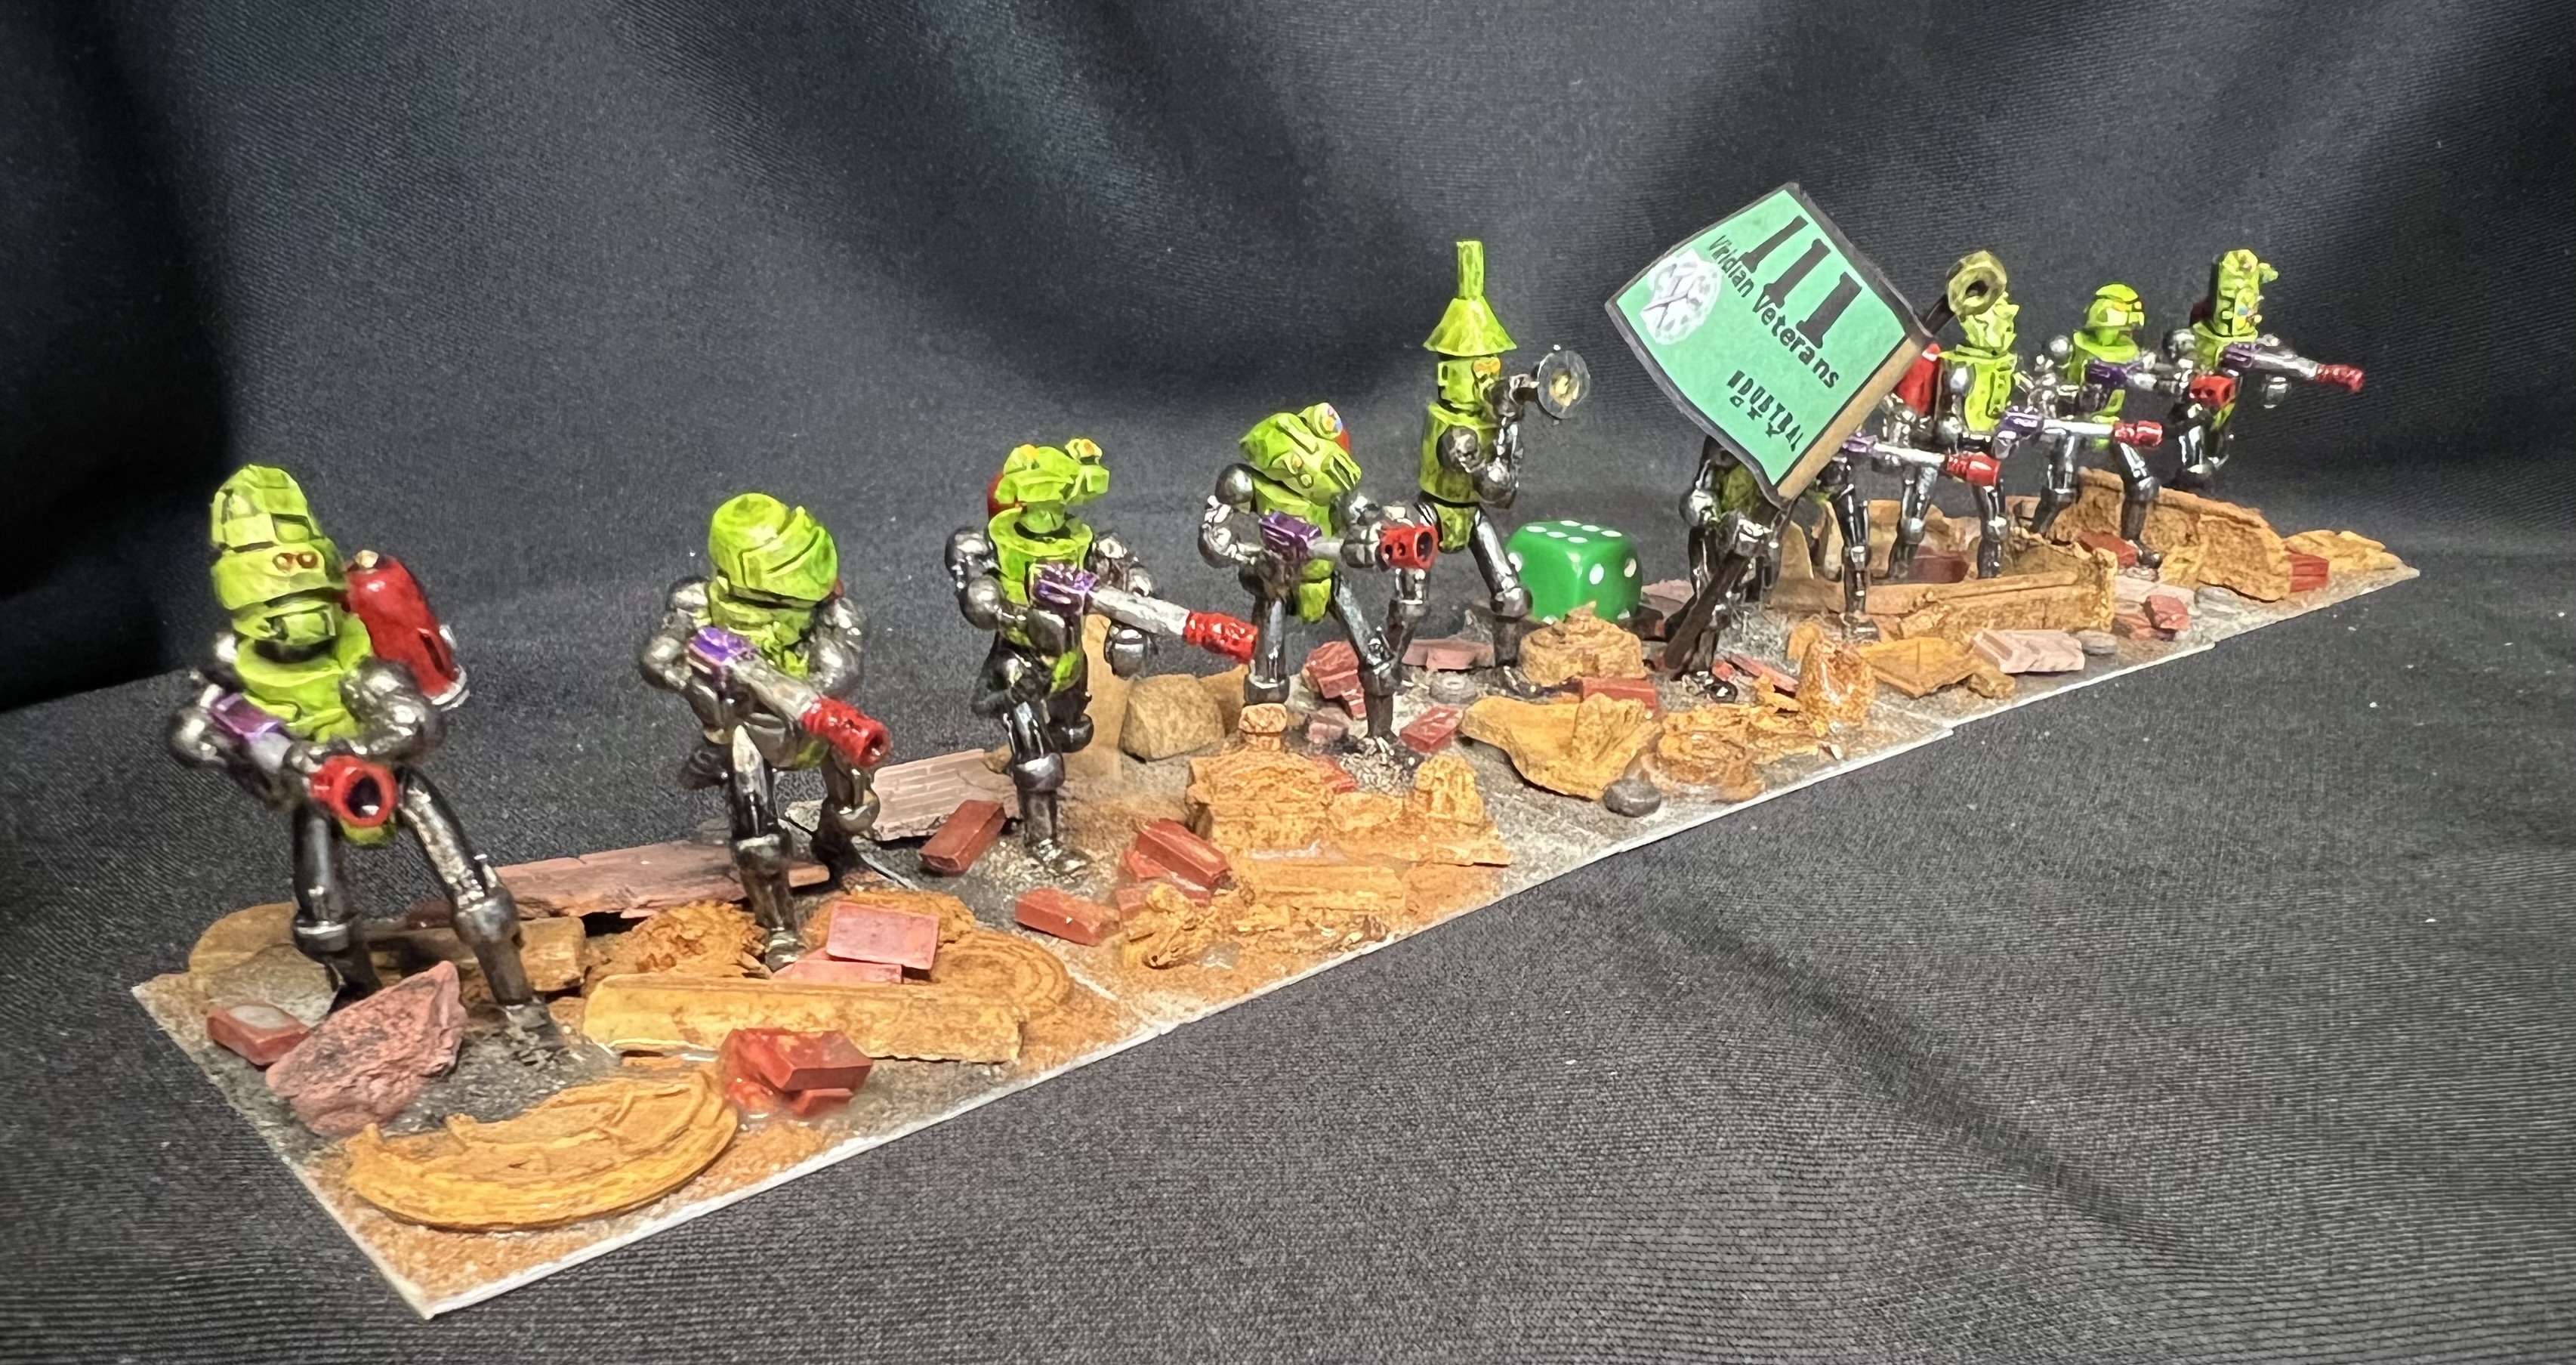
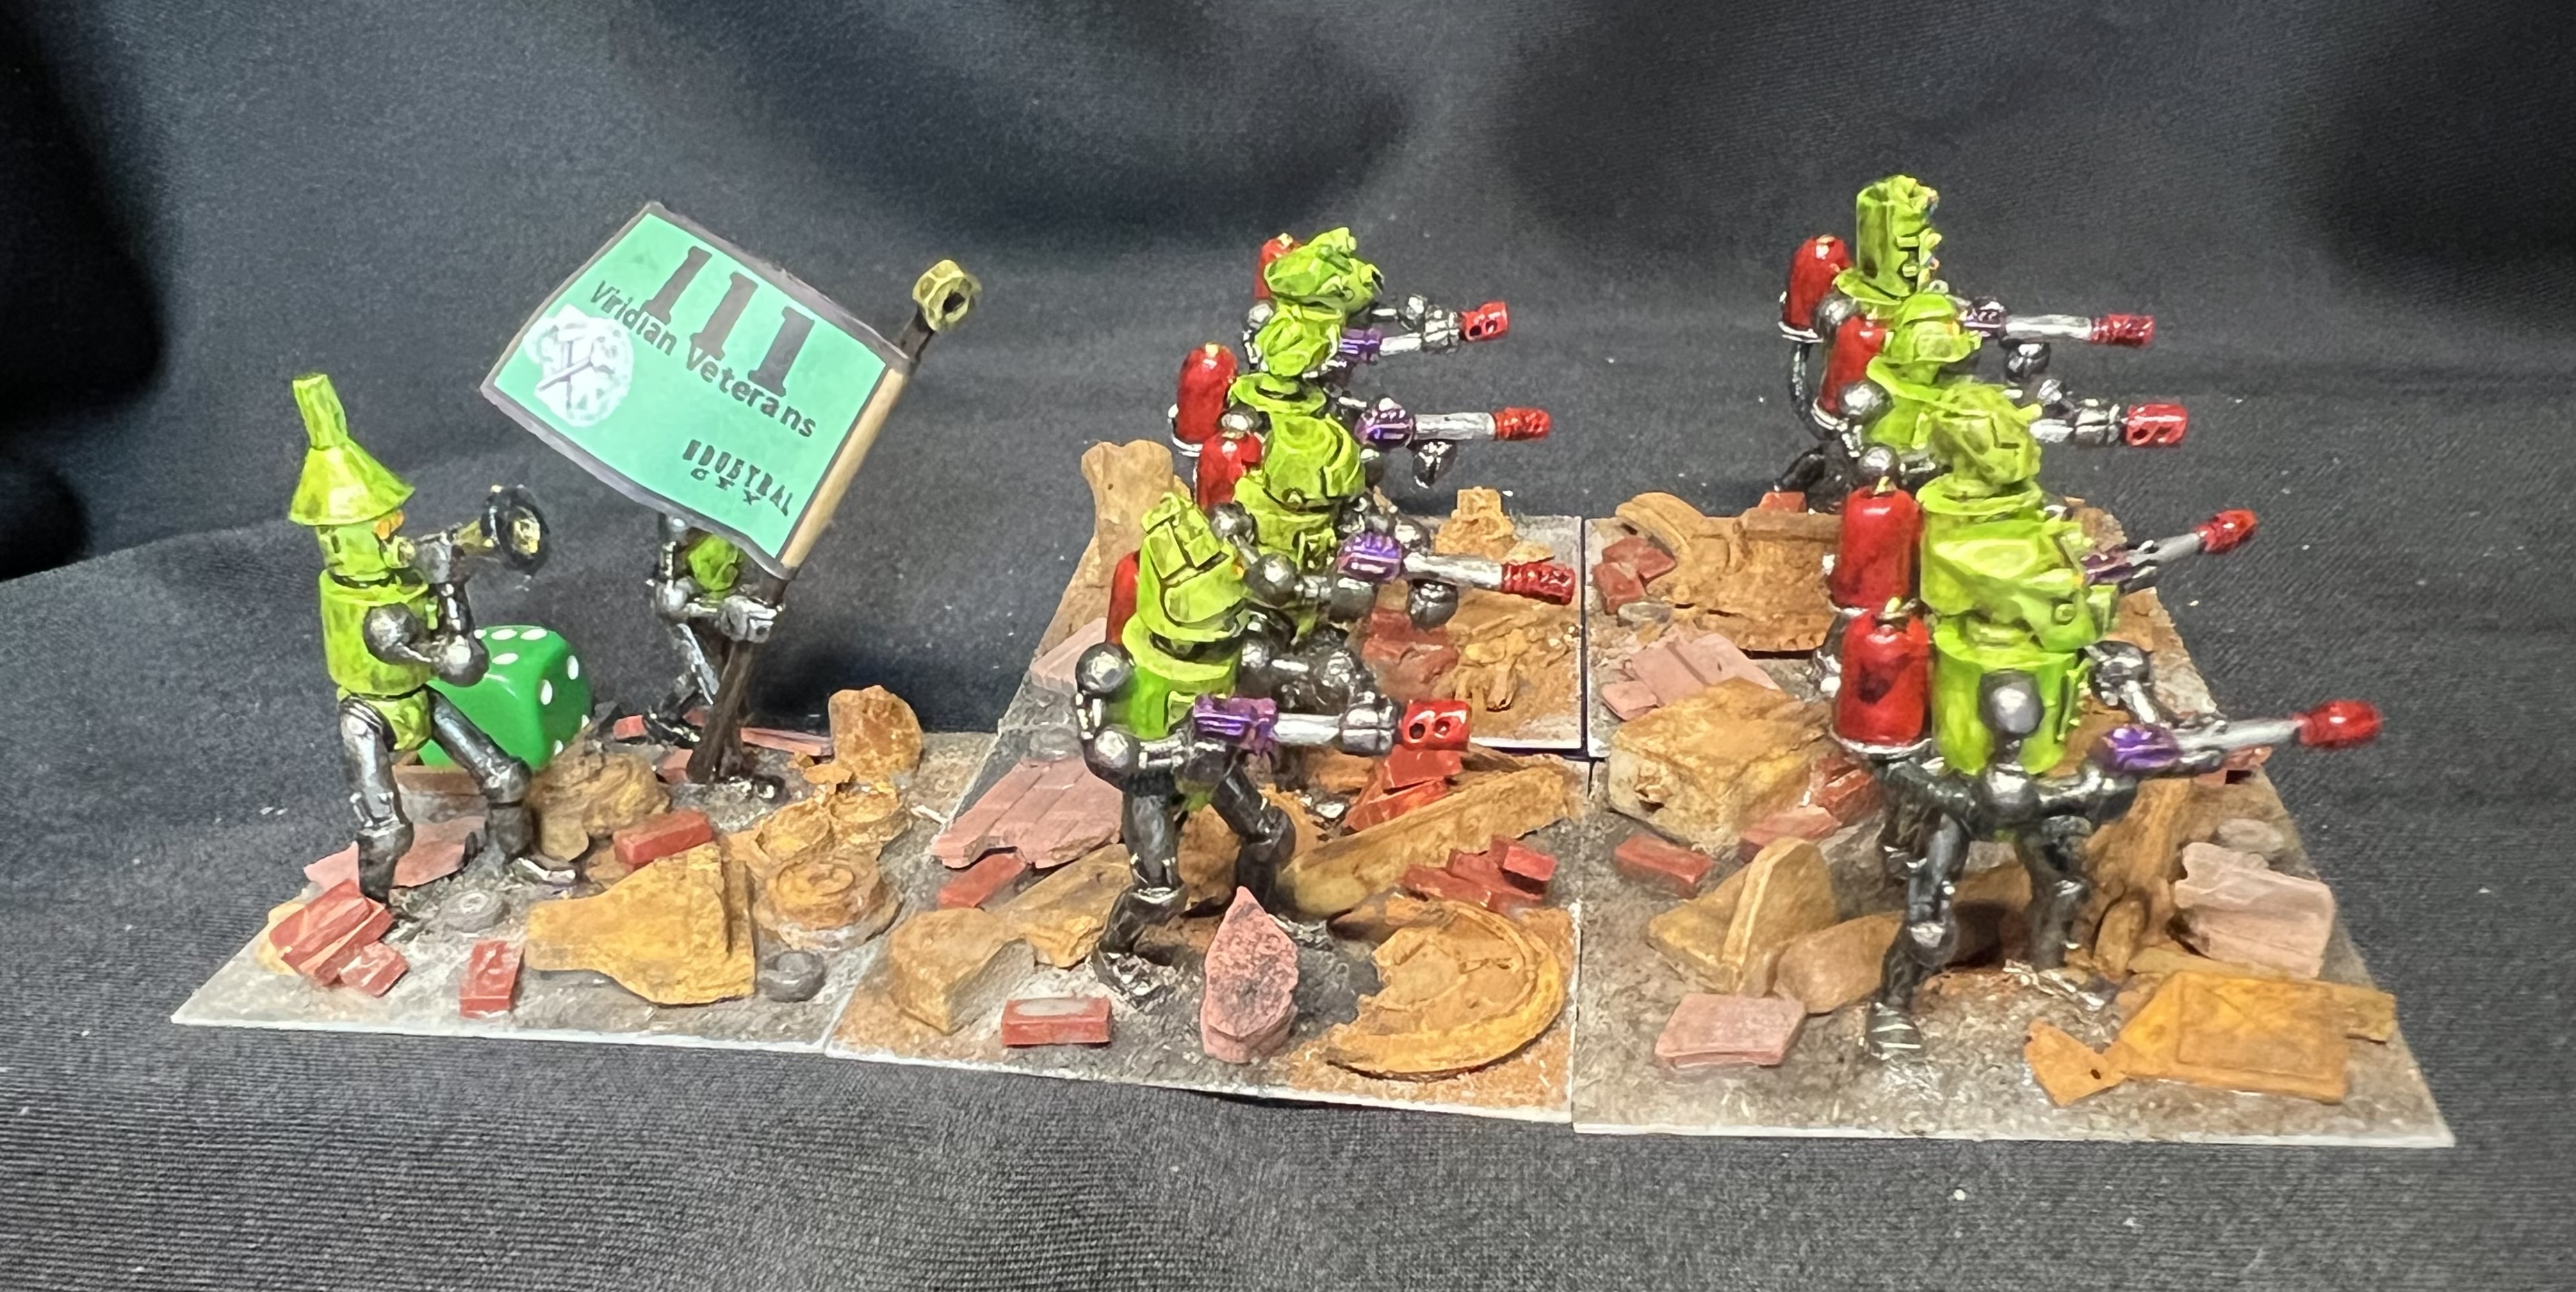
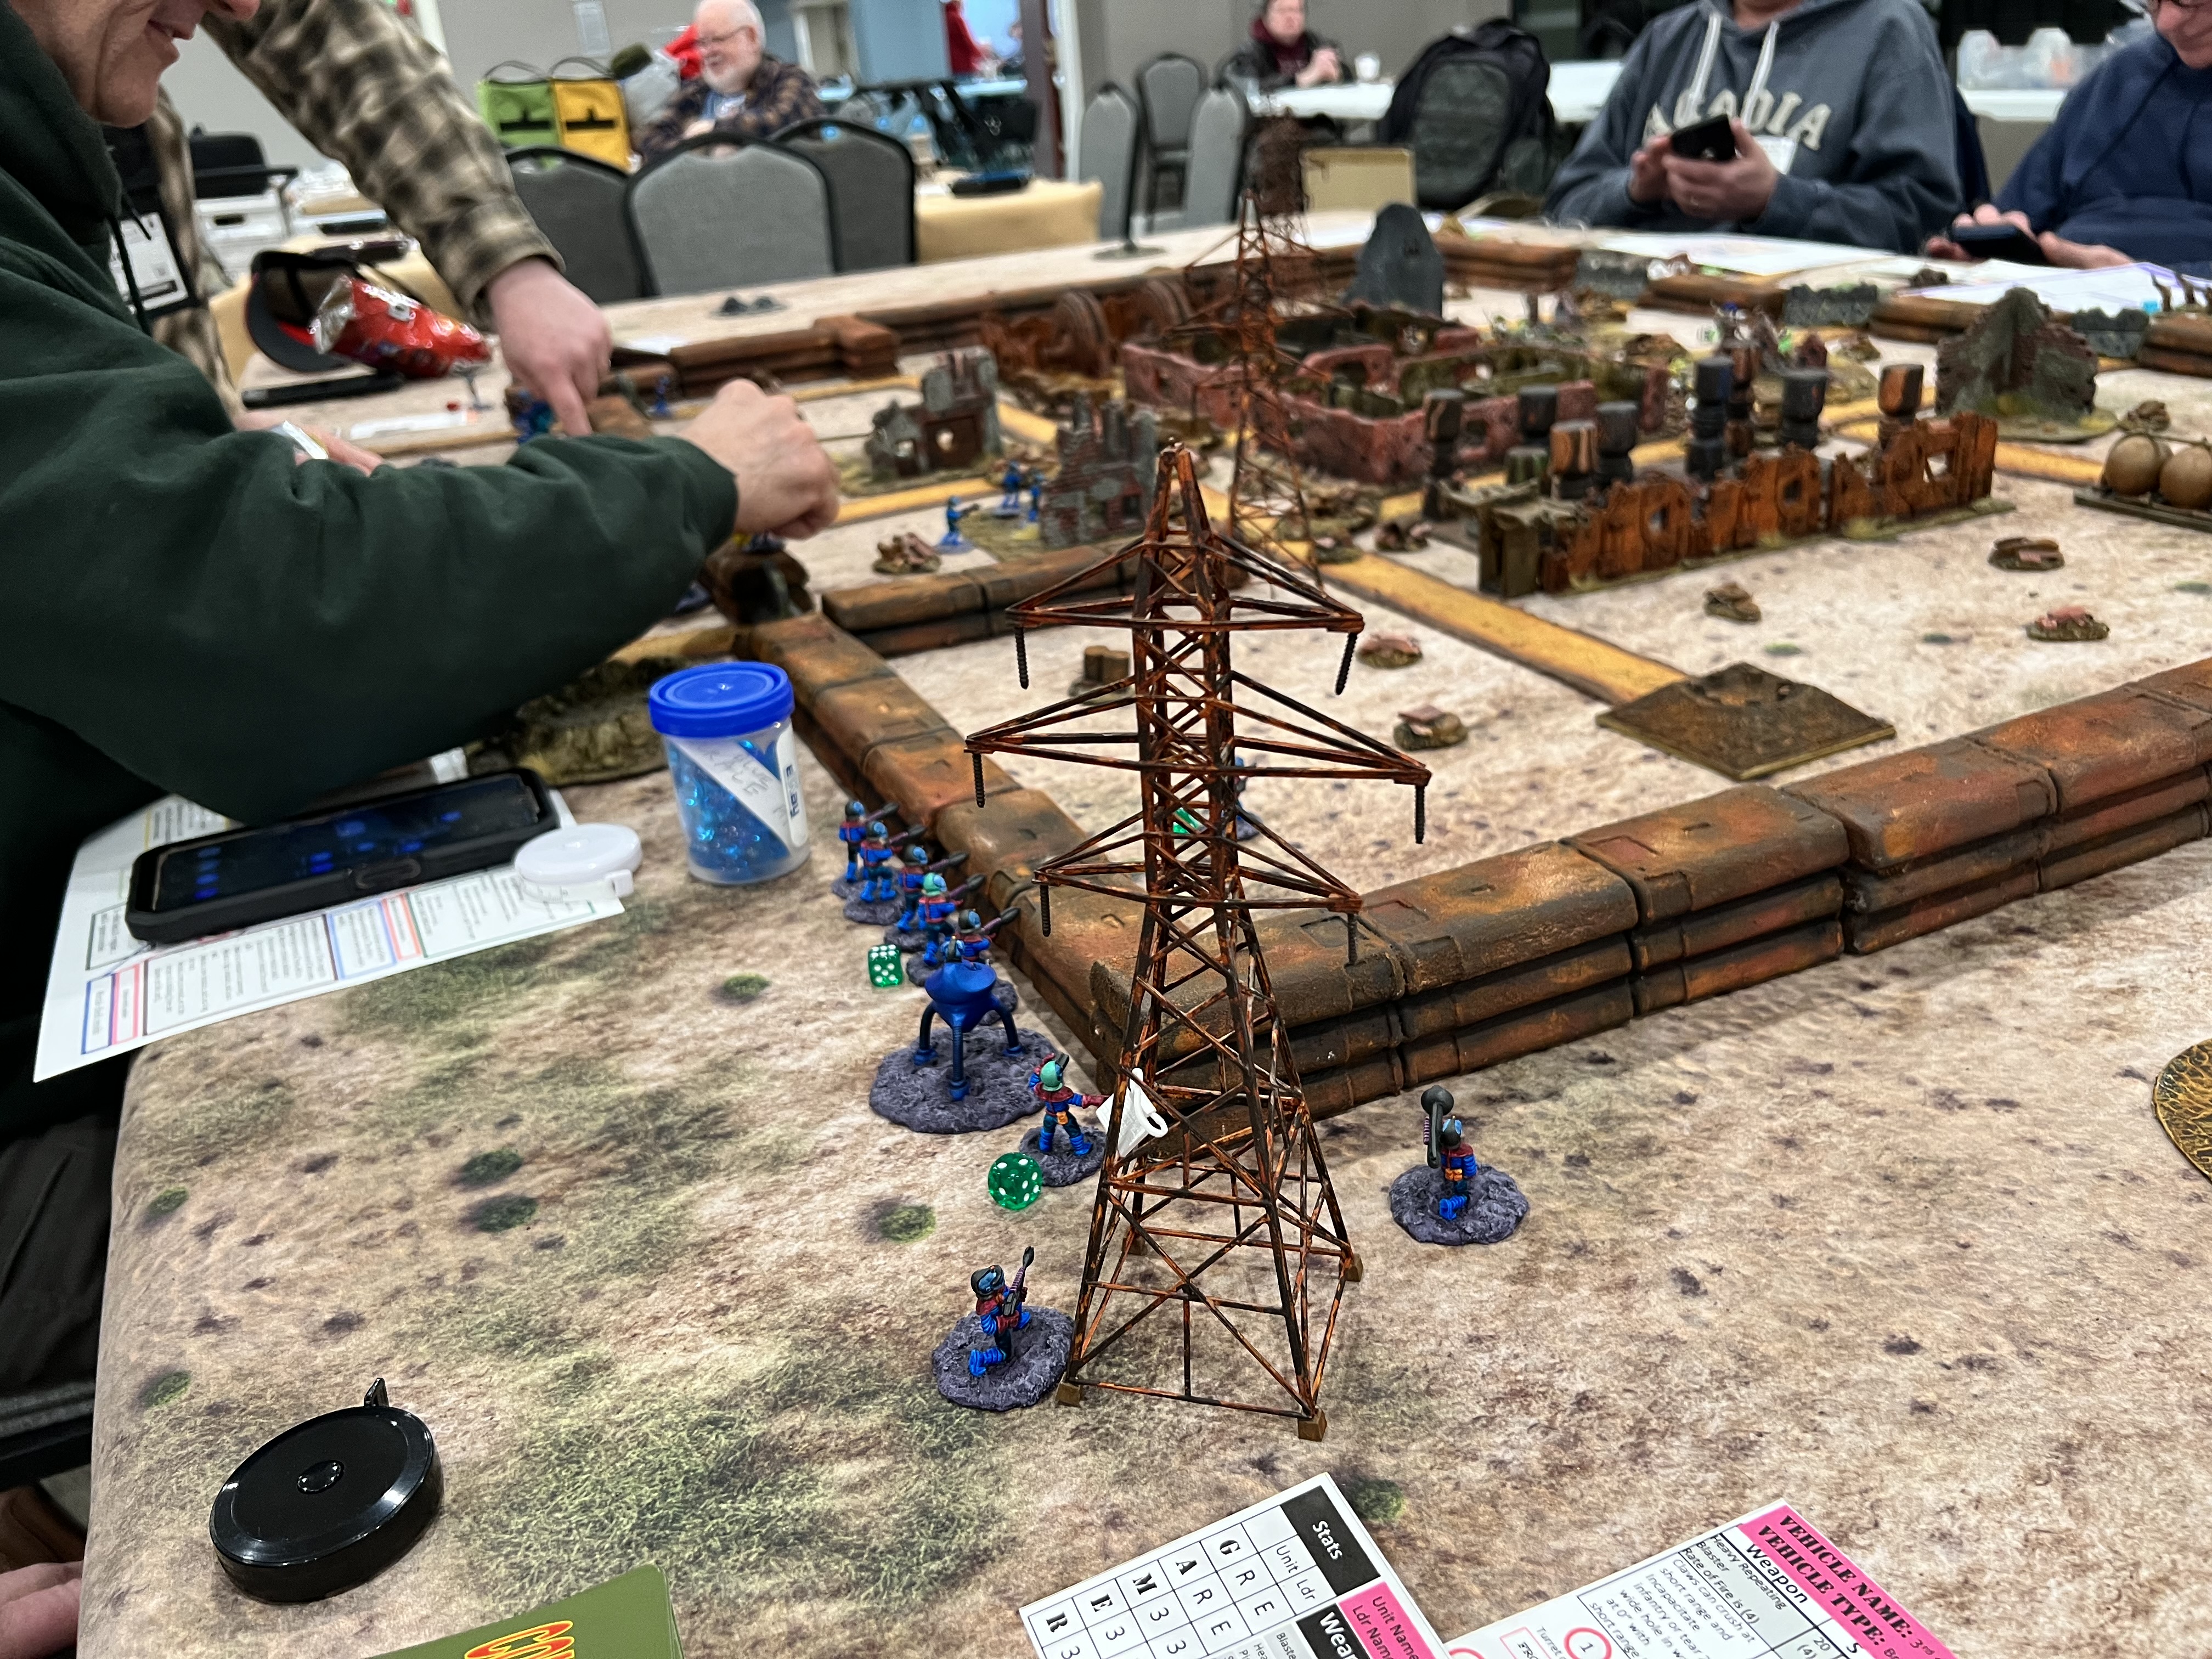
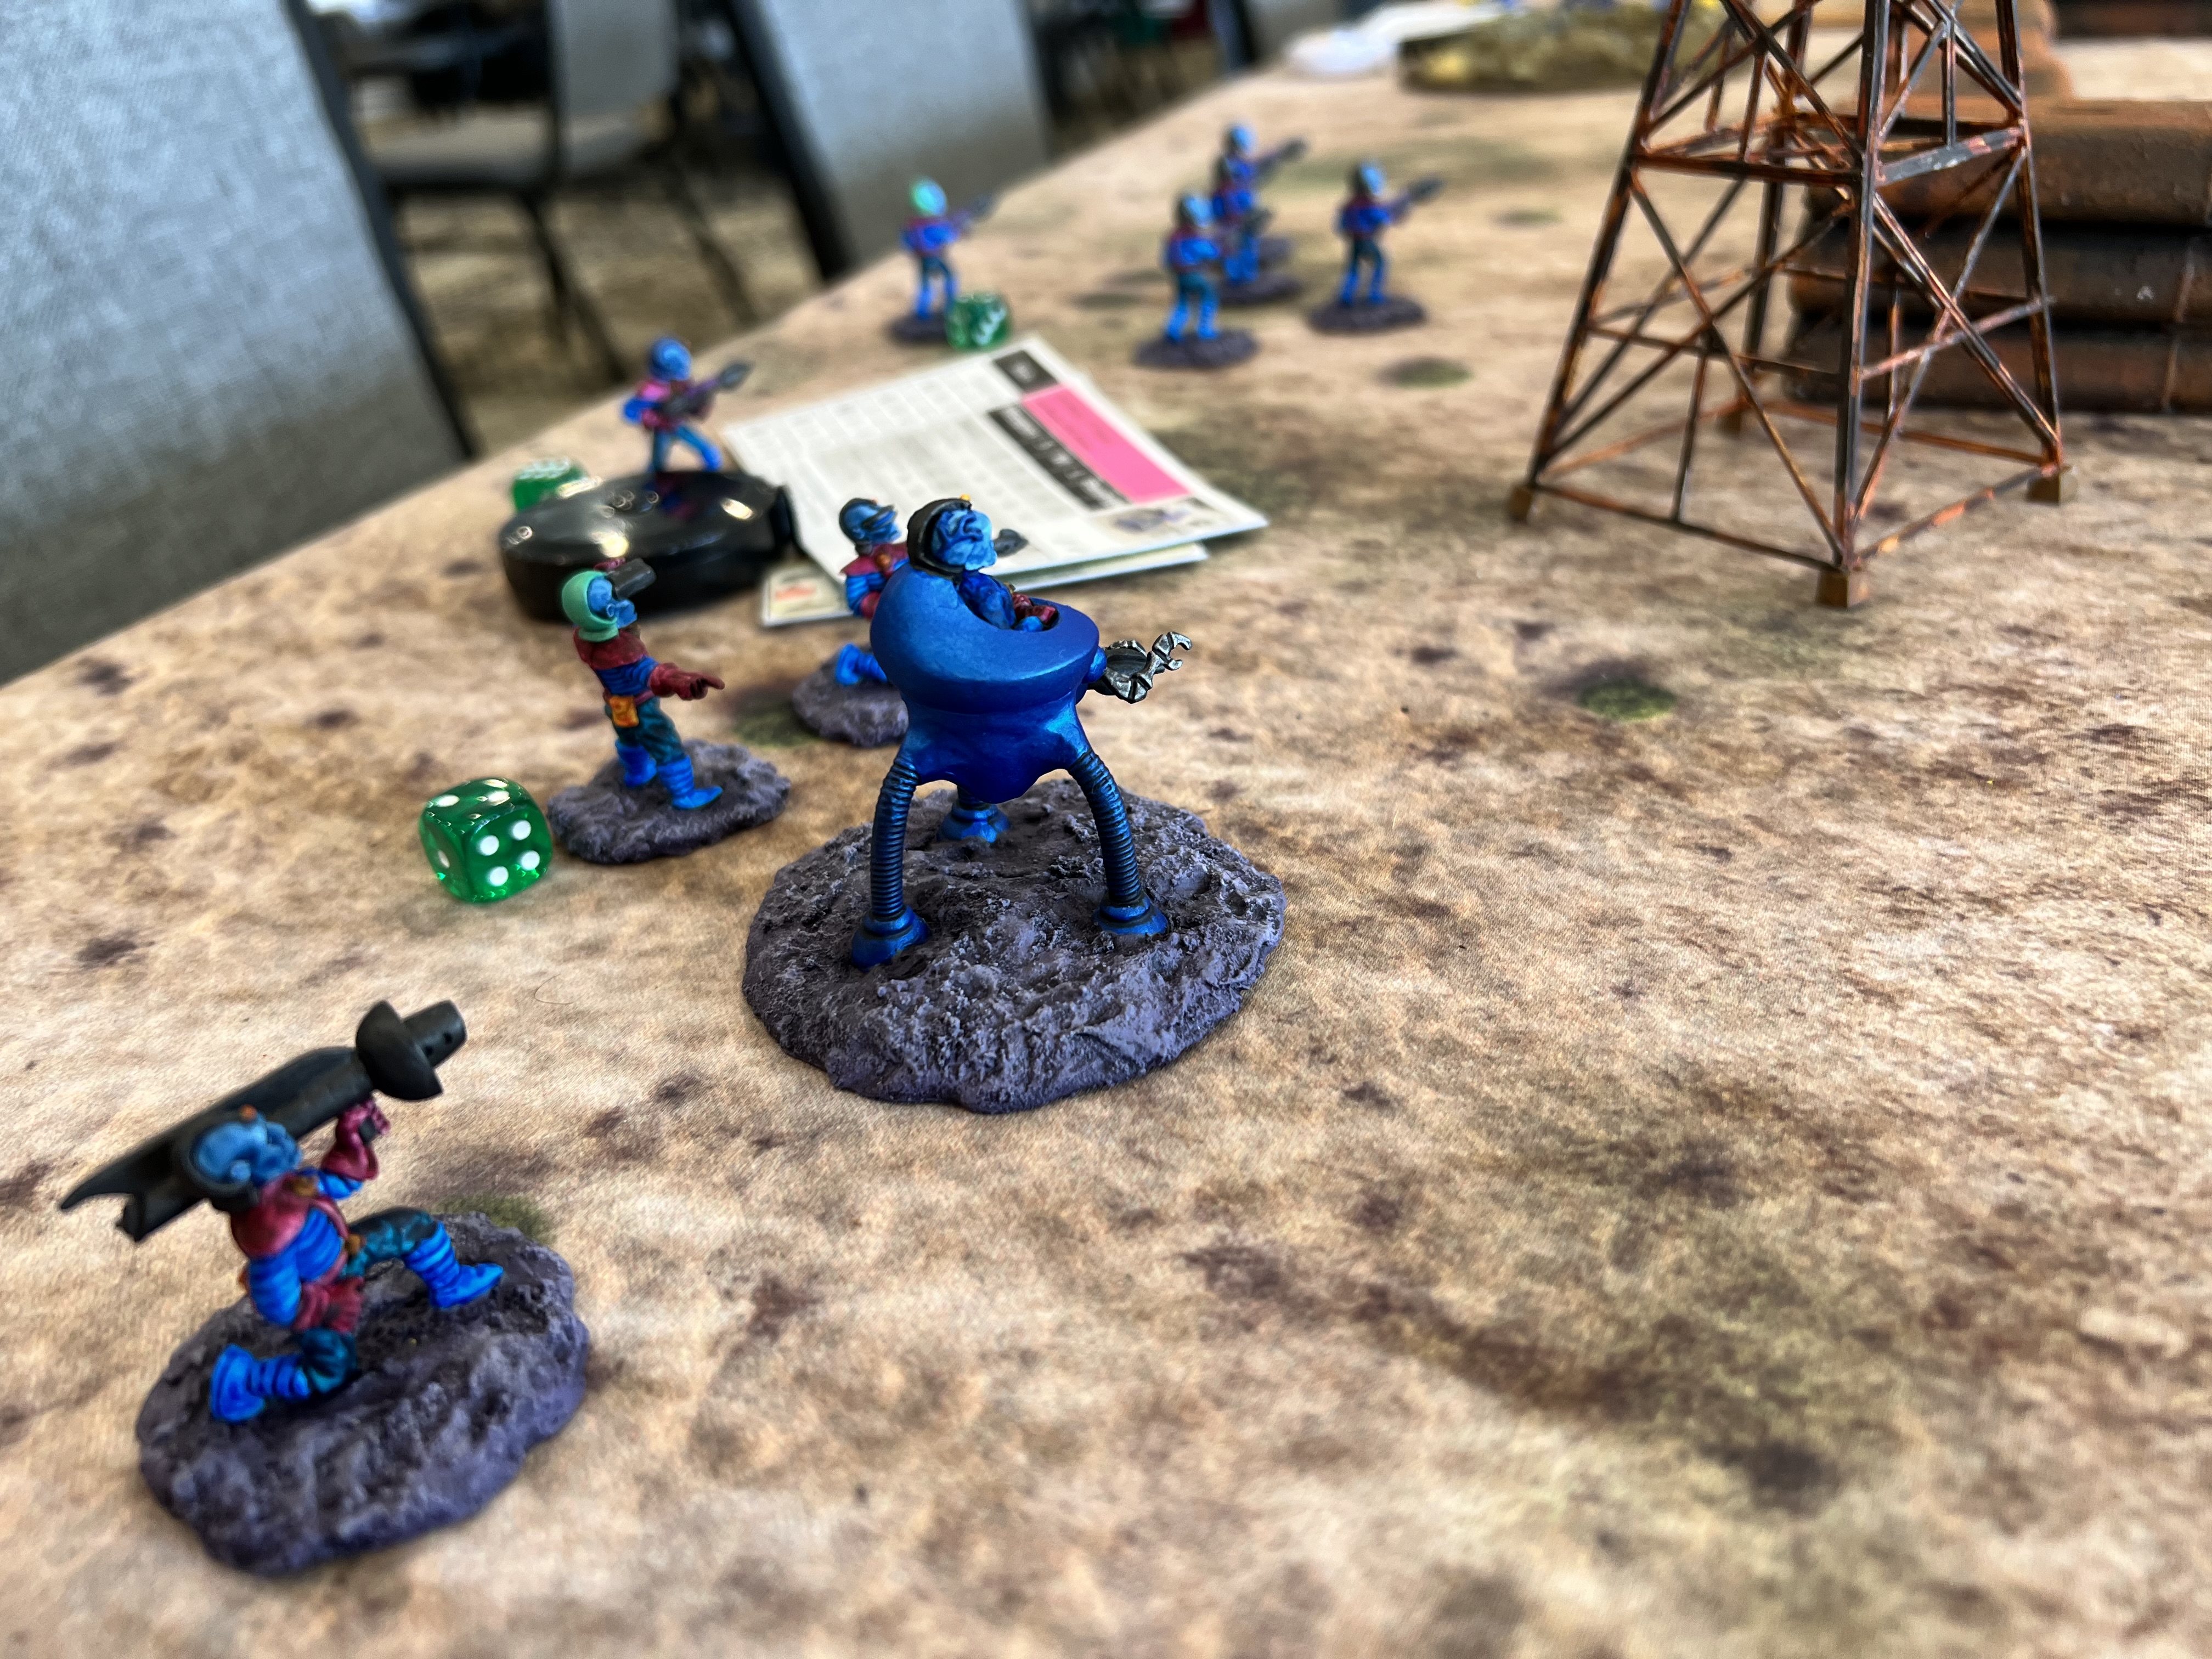
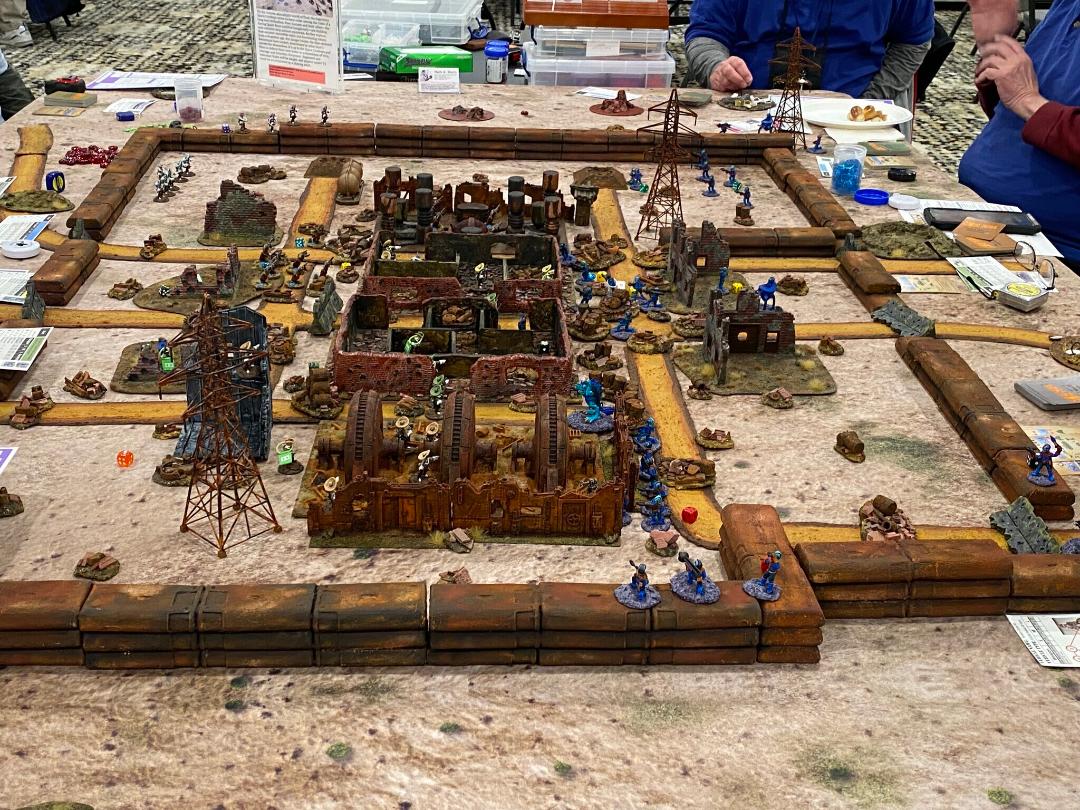
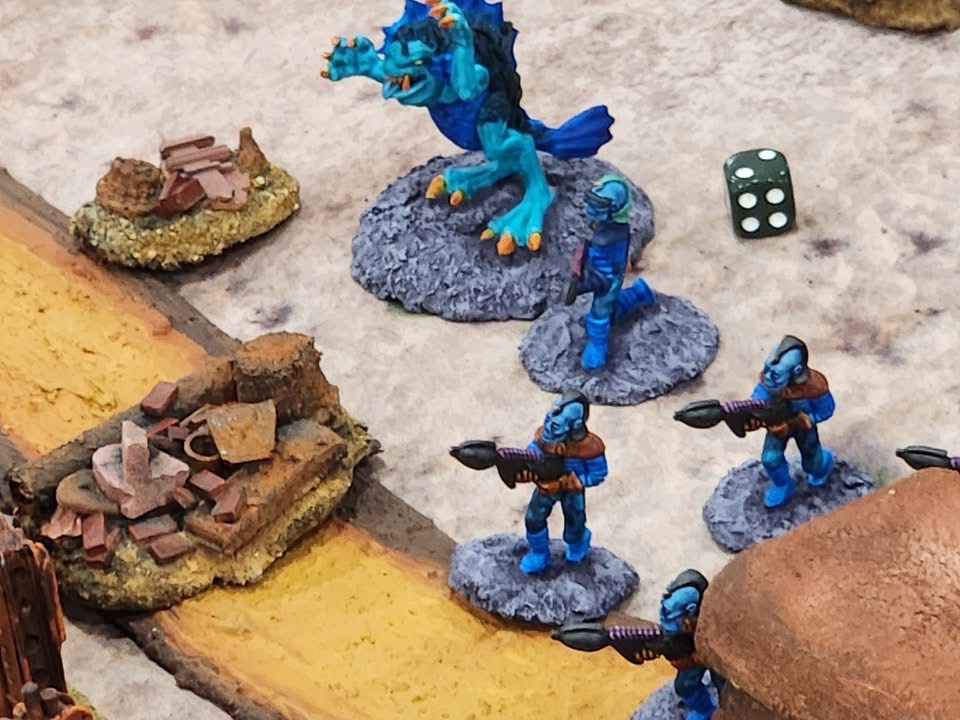
Back in 2018, I was lucky enough to receive a very rare “Roberker” figure. It is an Archive Miniatures figure circa 1978. It comes from the “Star Rovers” line.
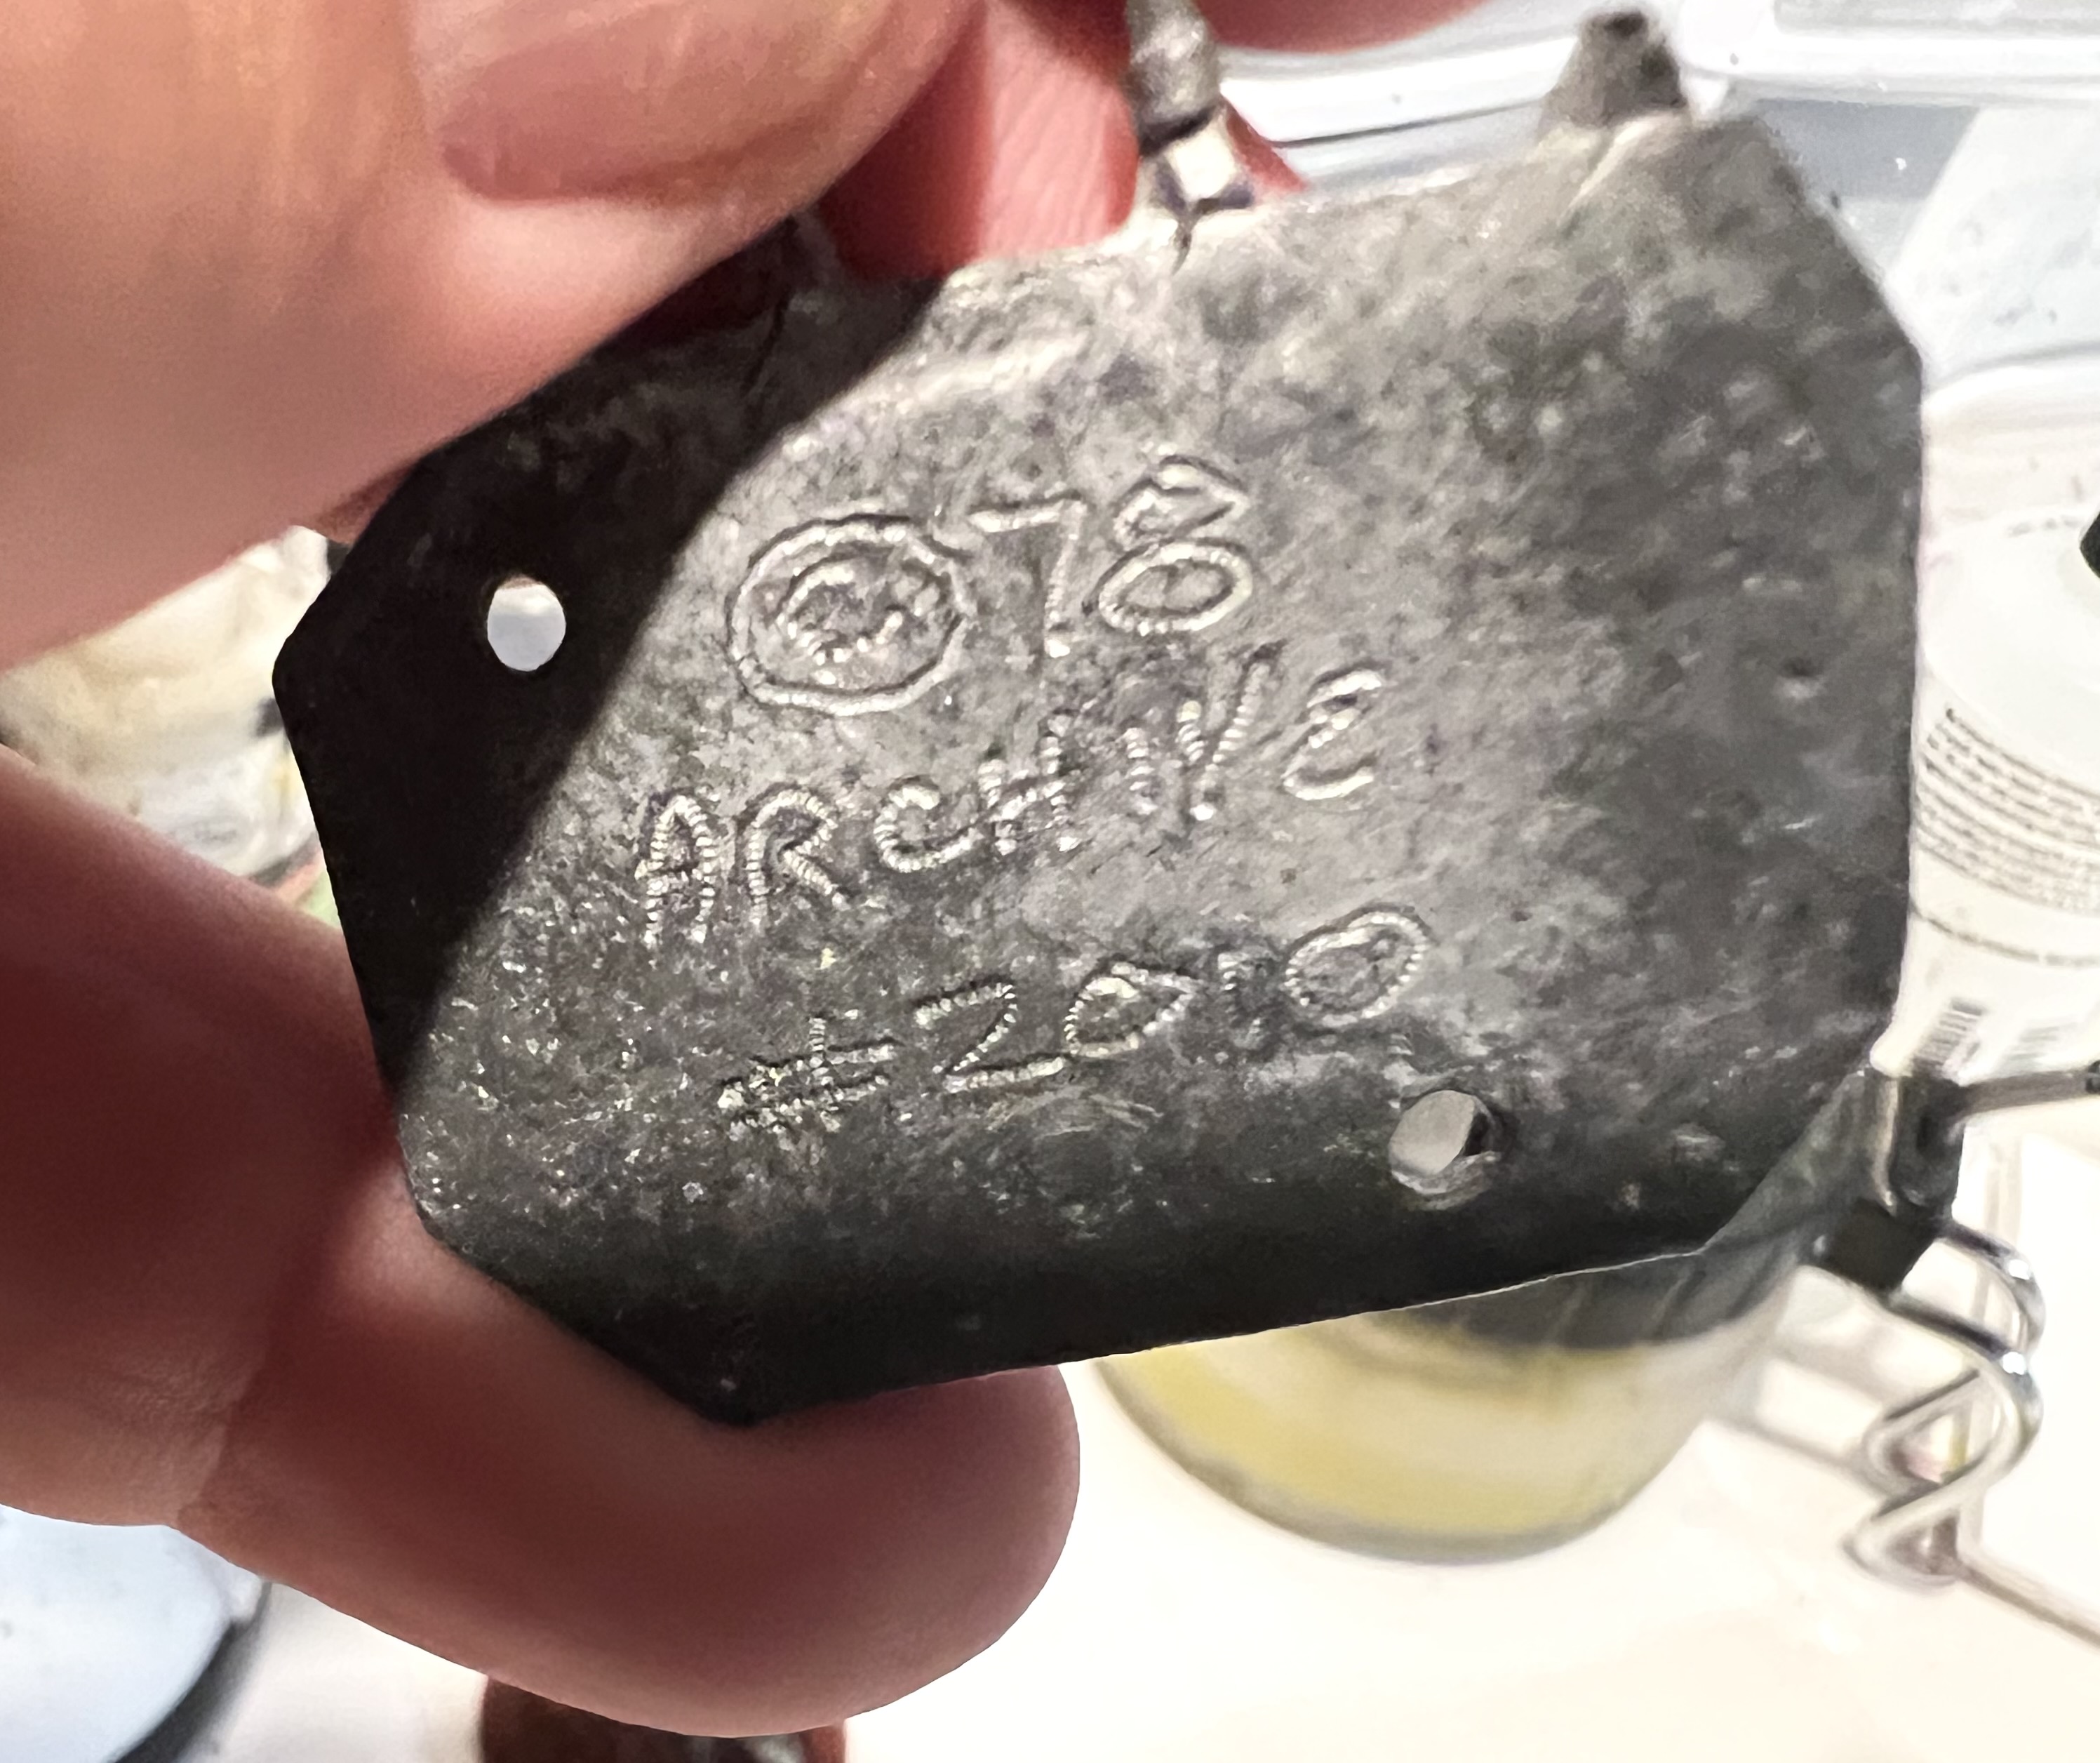
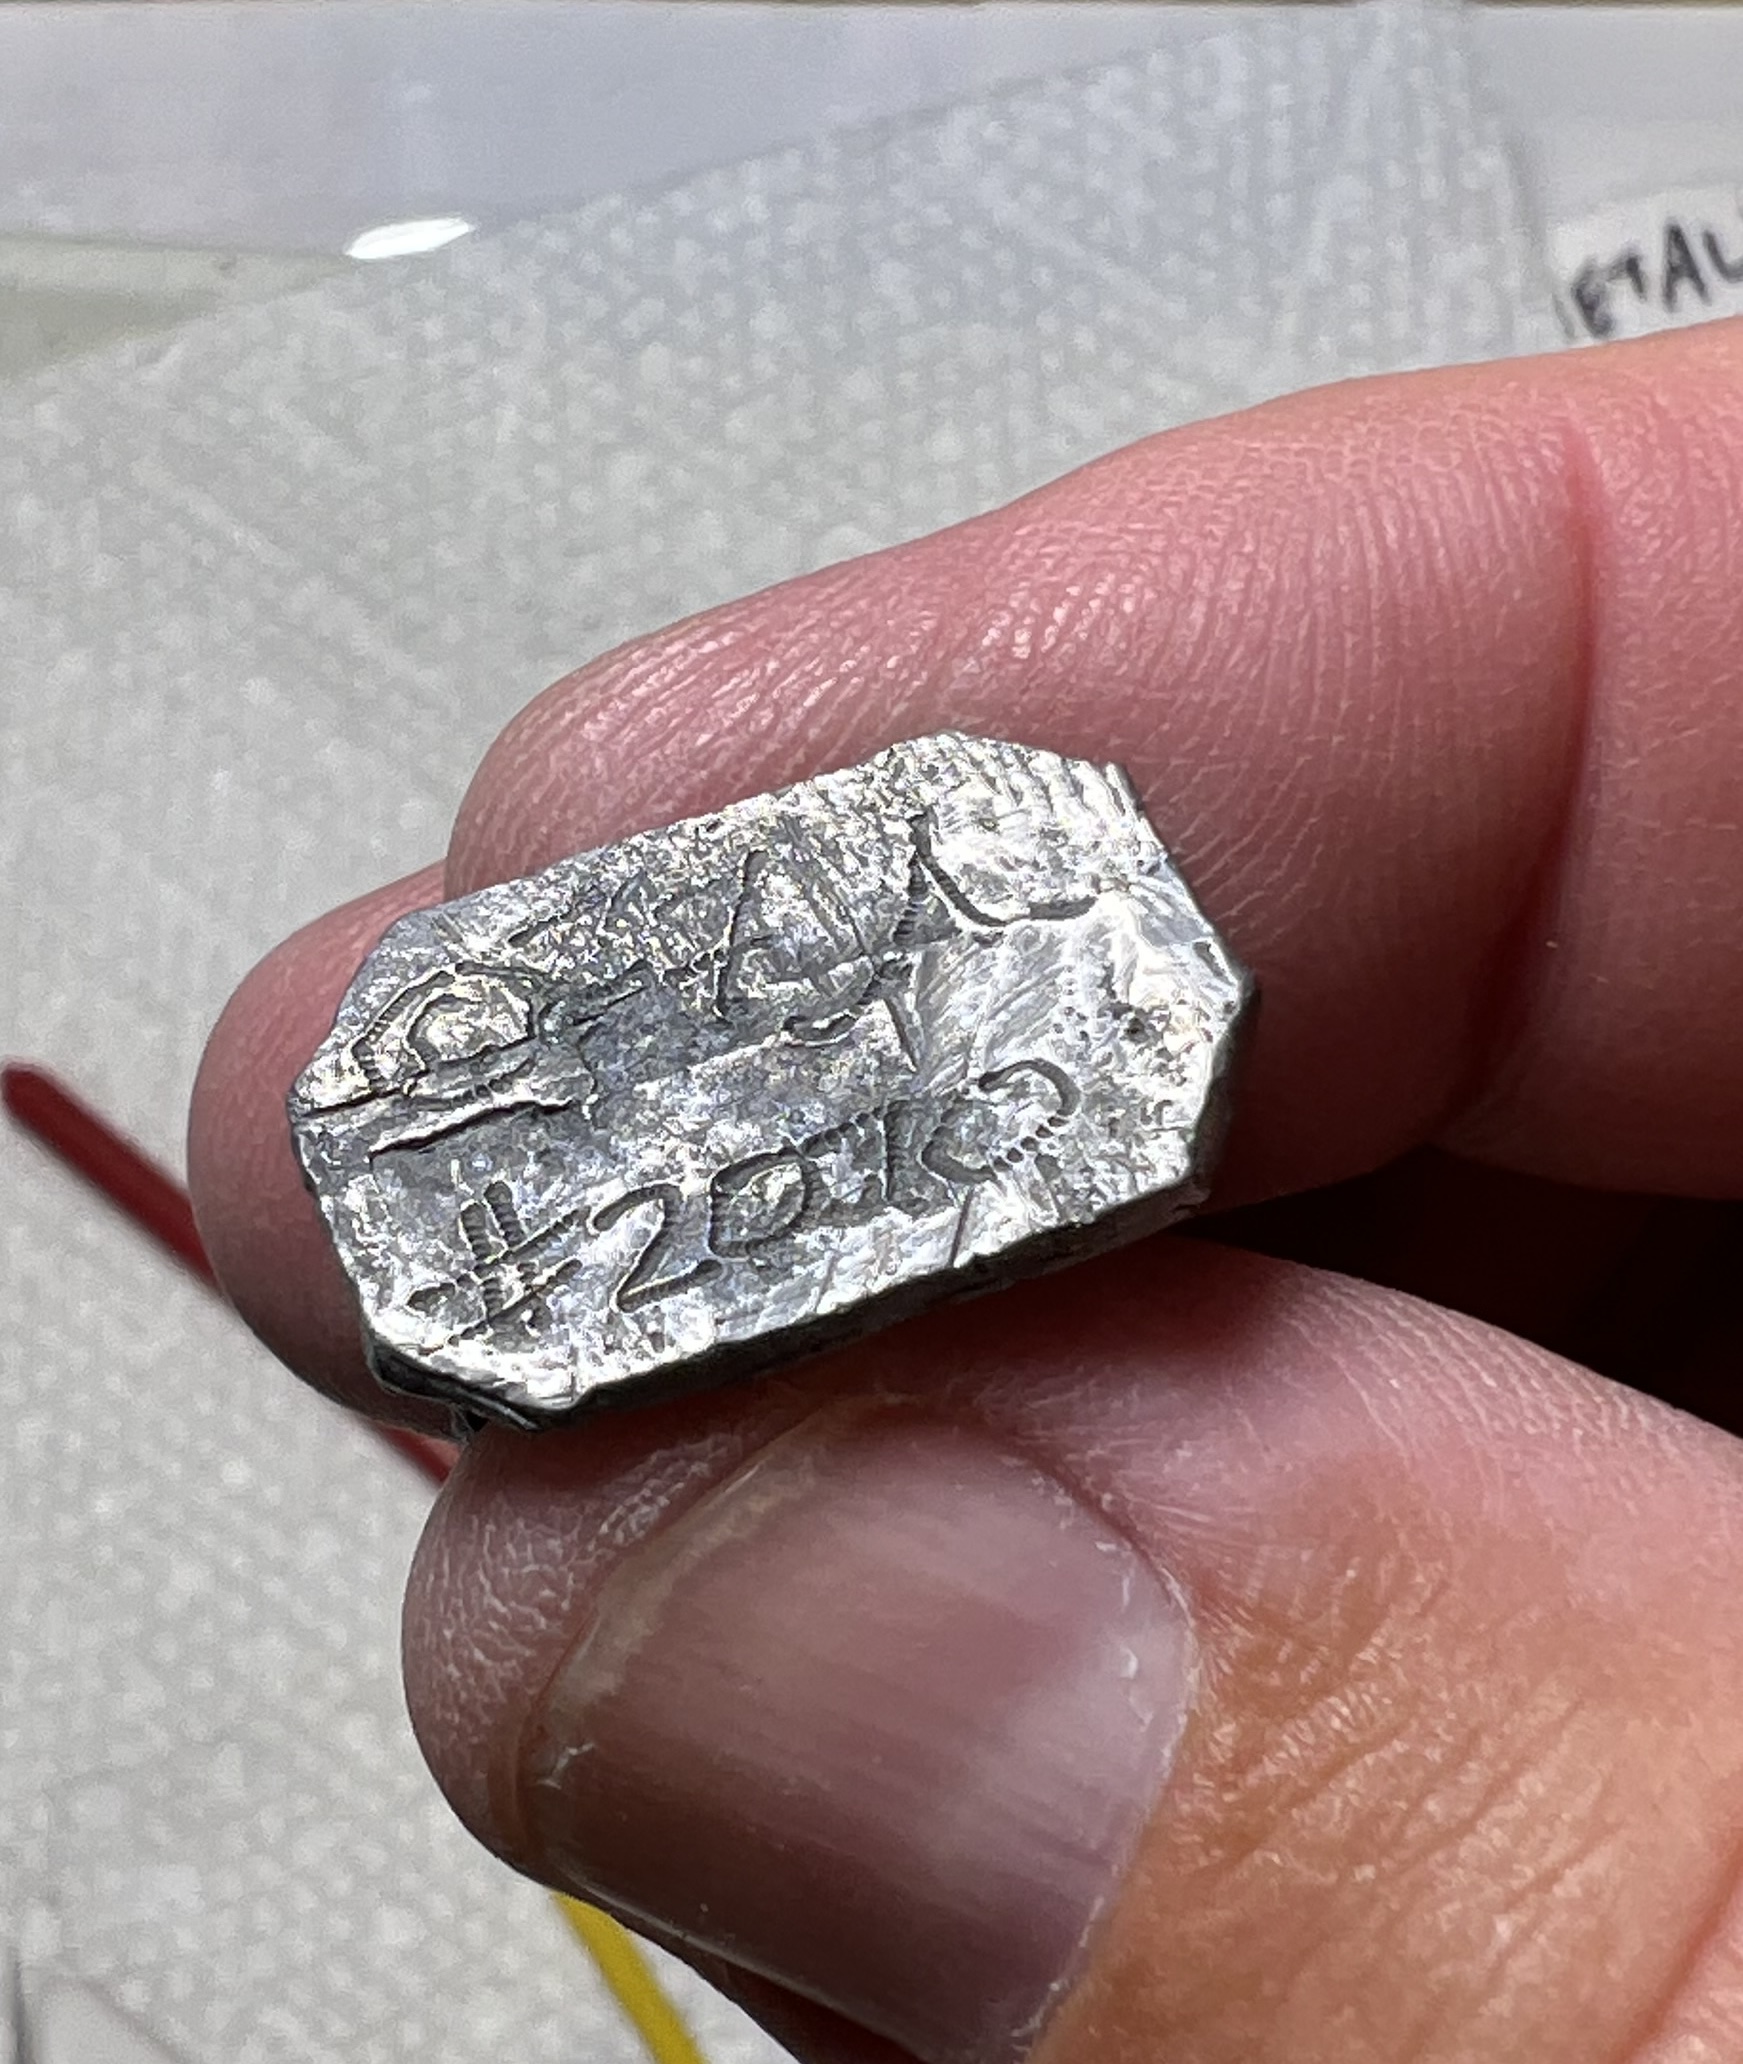
Roberker is a giant flame-throwing robot (Archive #2010). It is nearly 3½”/85mm tall, and was supposedly one of the largest robots on the market back then. Its arms end with flamethrower nozzles. Archive’s creator, Nevile Stocken, commented on FaceBook that it was his creation, and inspired by Fred Saberhagen’s Berserker novels. I wrote about it back in 2018 here and you can check it out.
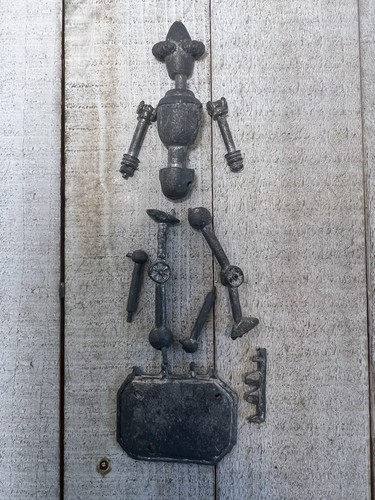
I did not think I would ever see another one – but thanks to an open search on eBay, I managed to see an incomplete one that I bought in 2024.
I’ll describe how I built the model and share some finished photos and a video link.
Work in Progress Shots
The photo from the eBay listing
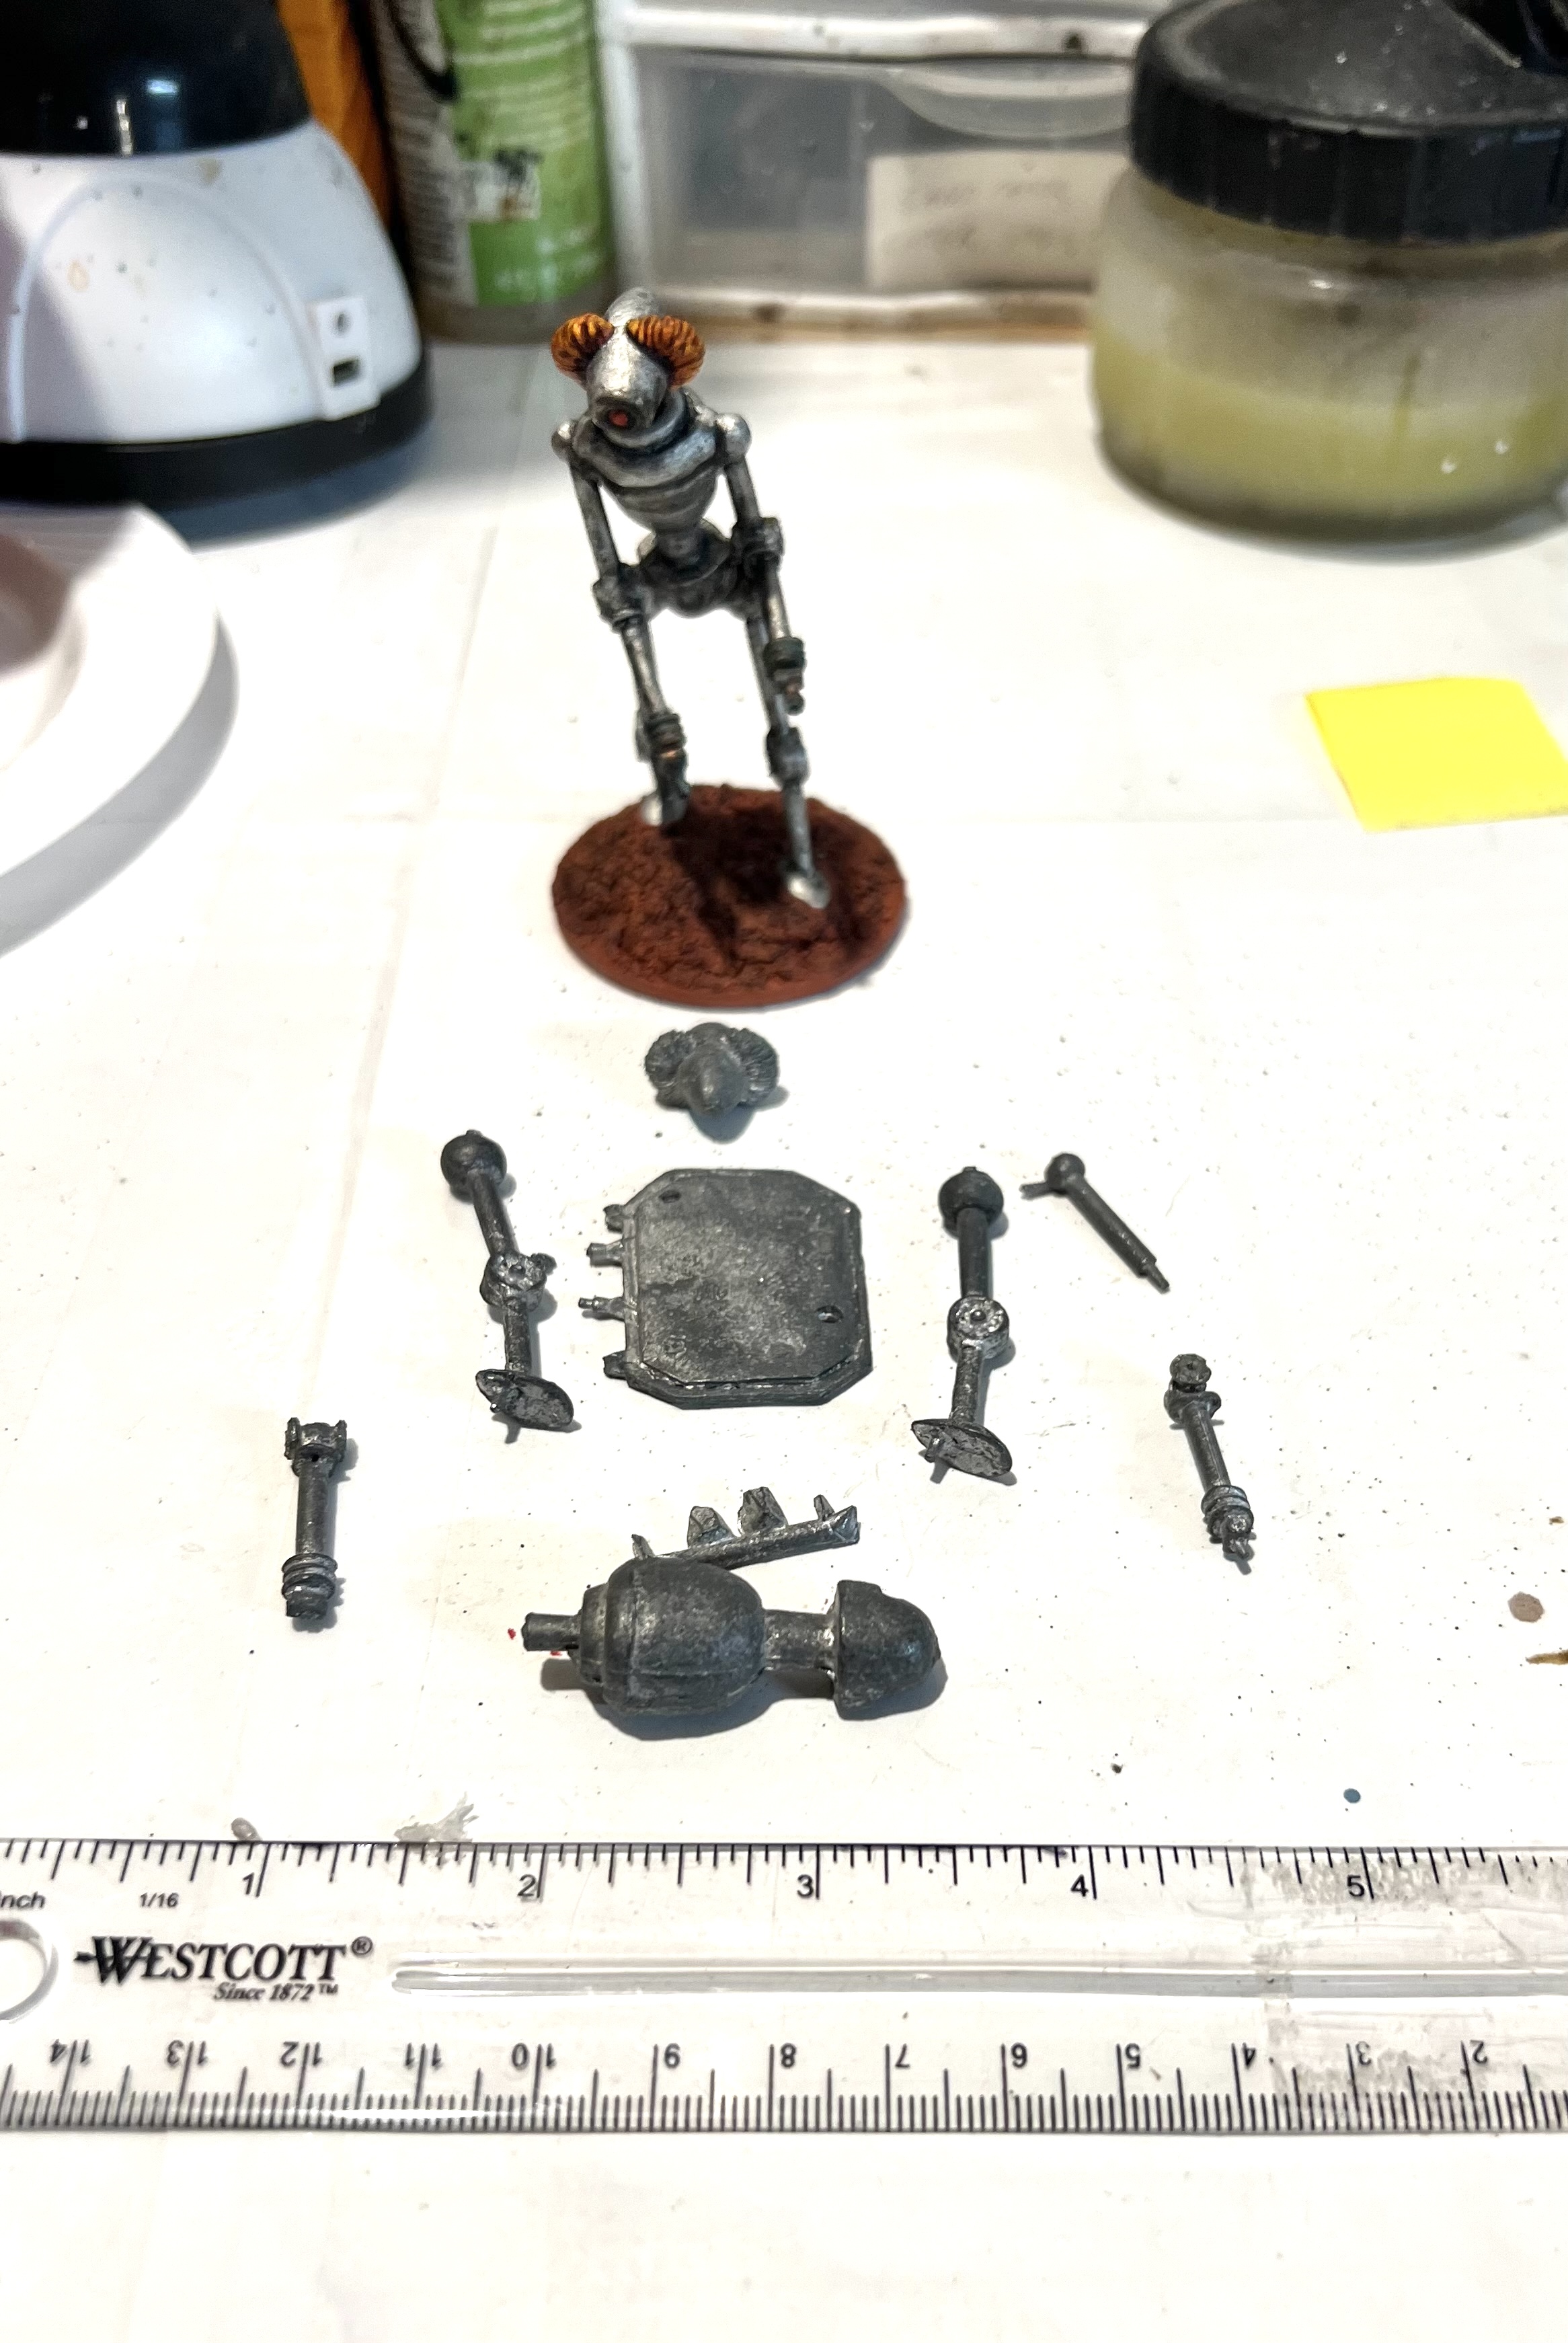
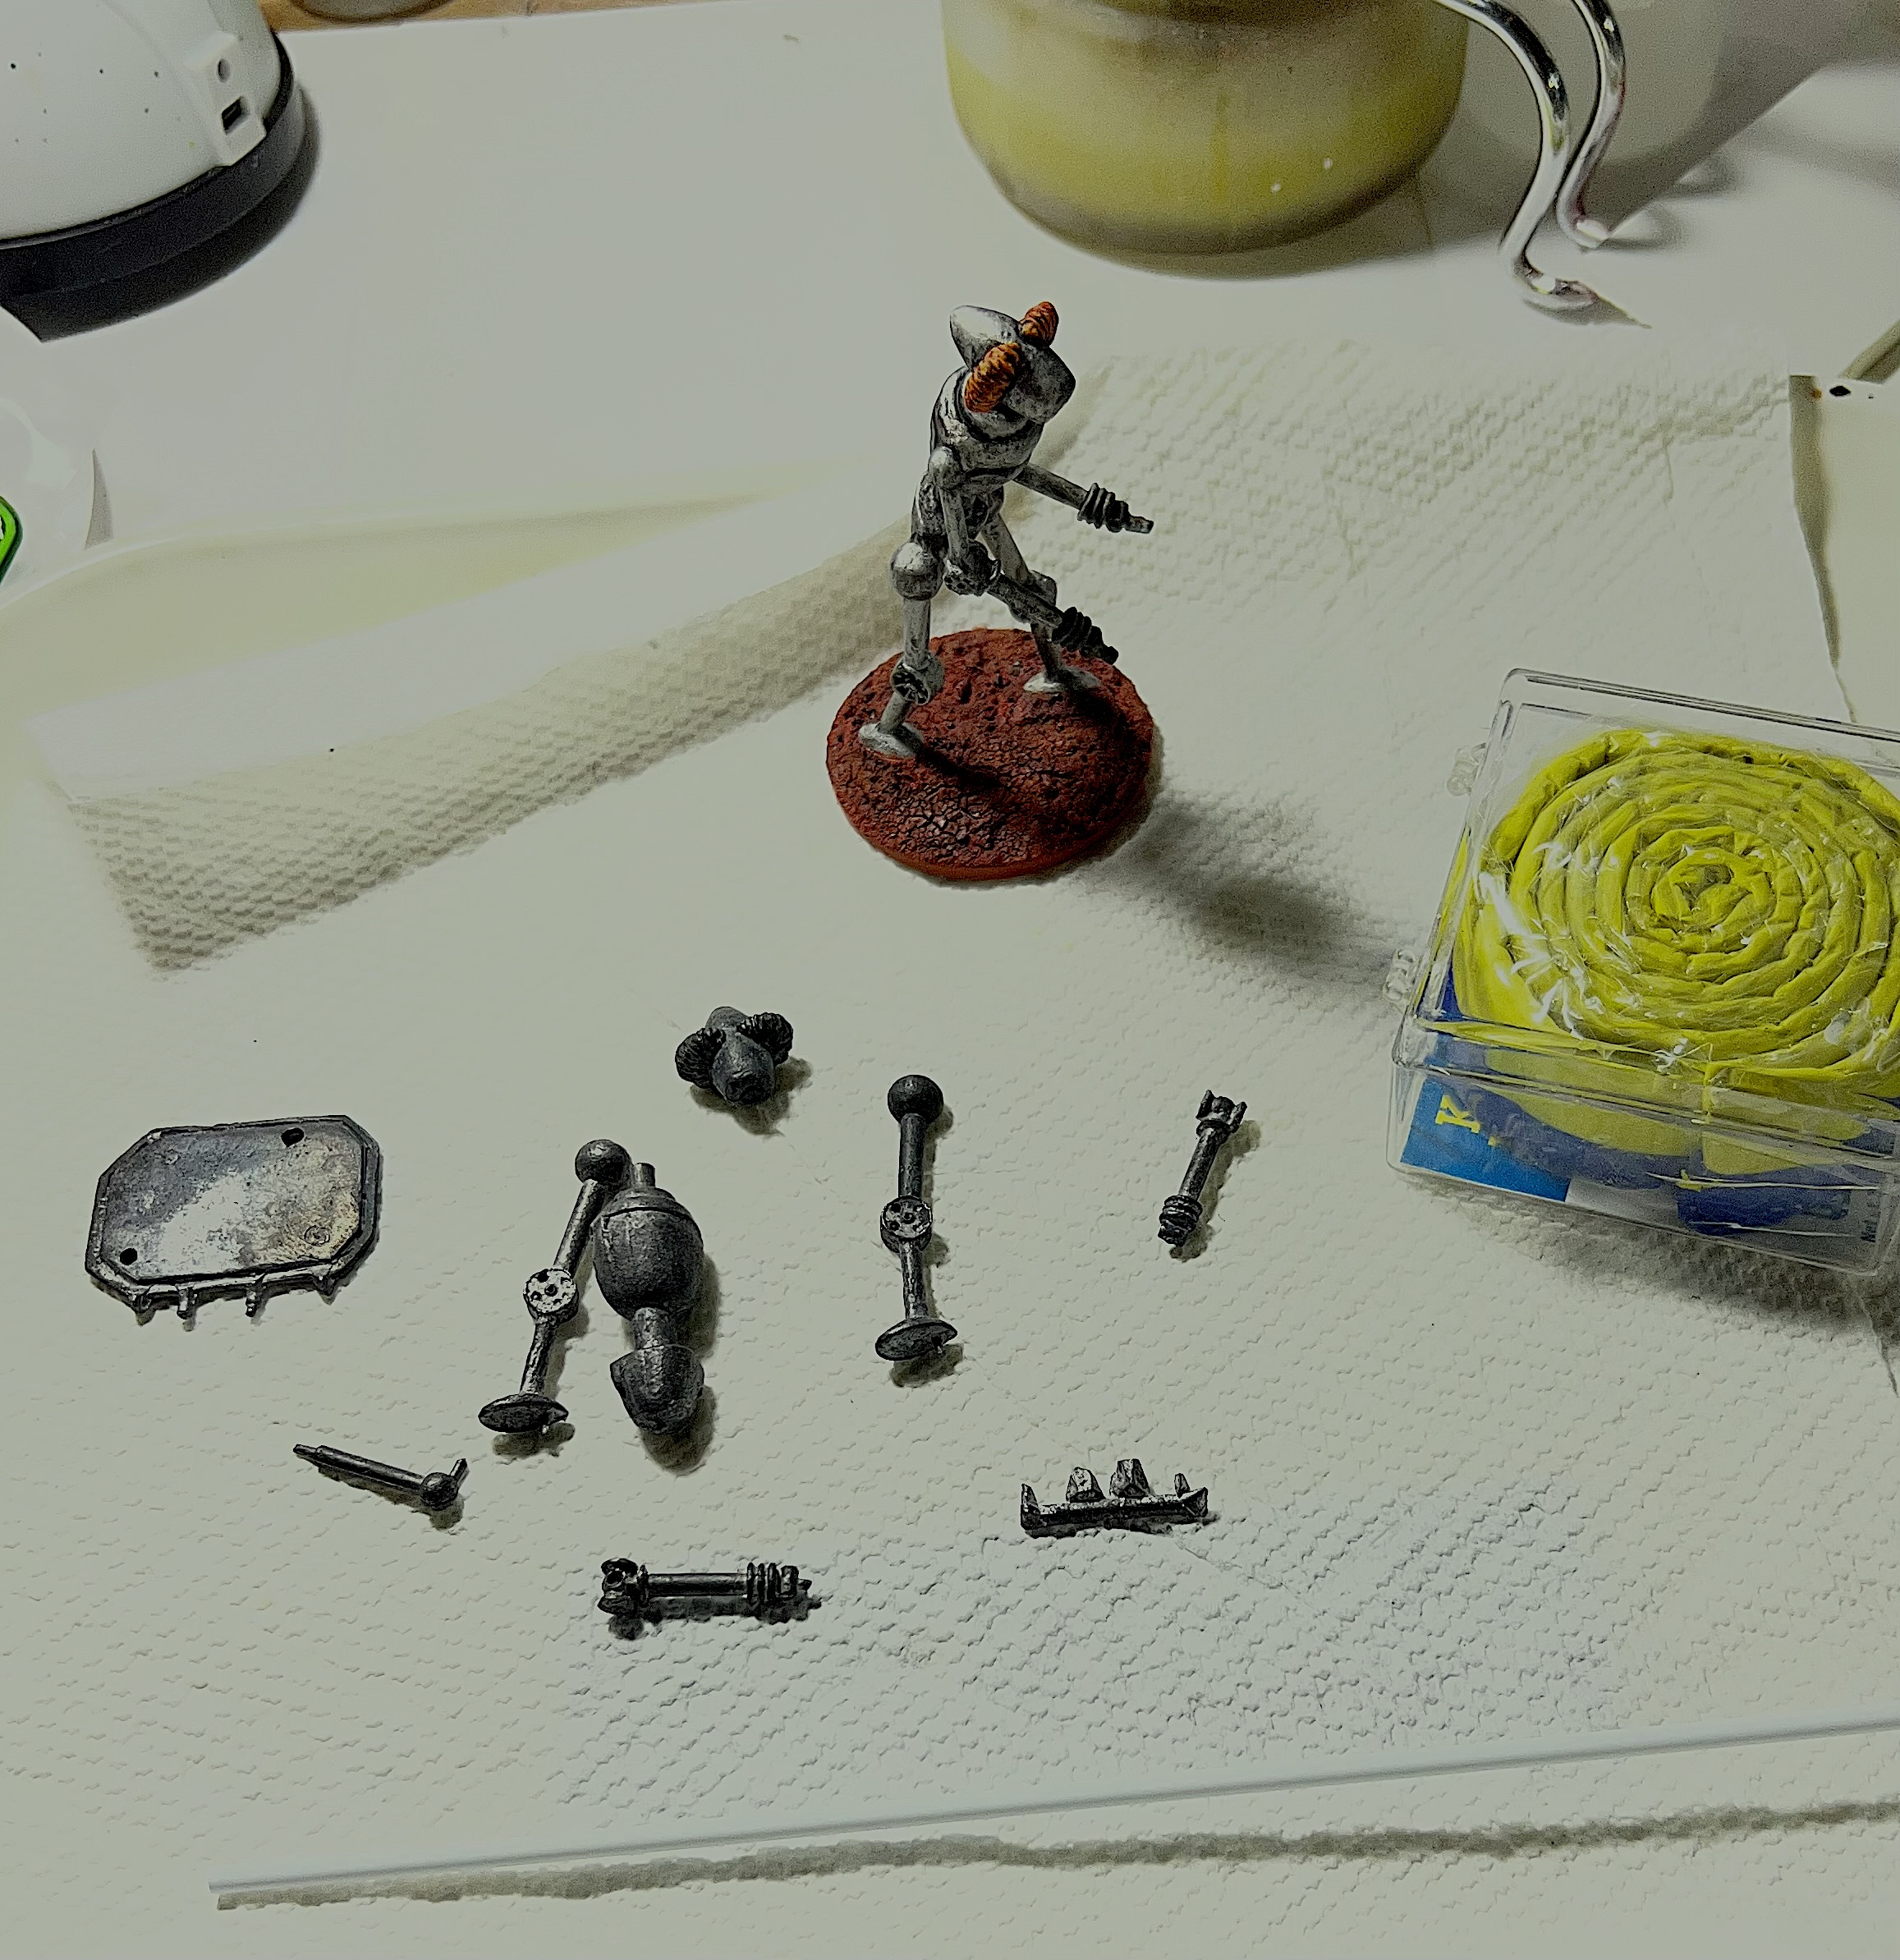
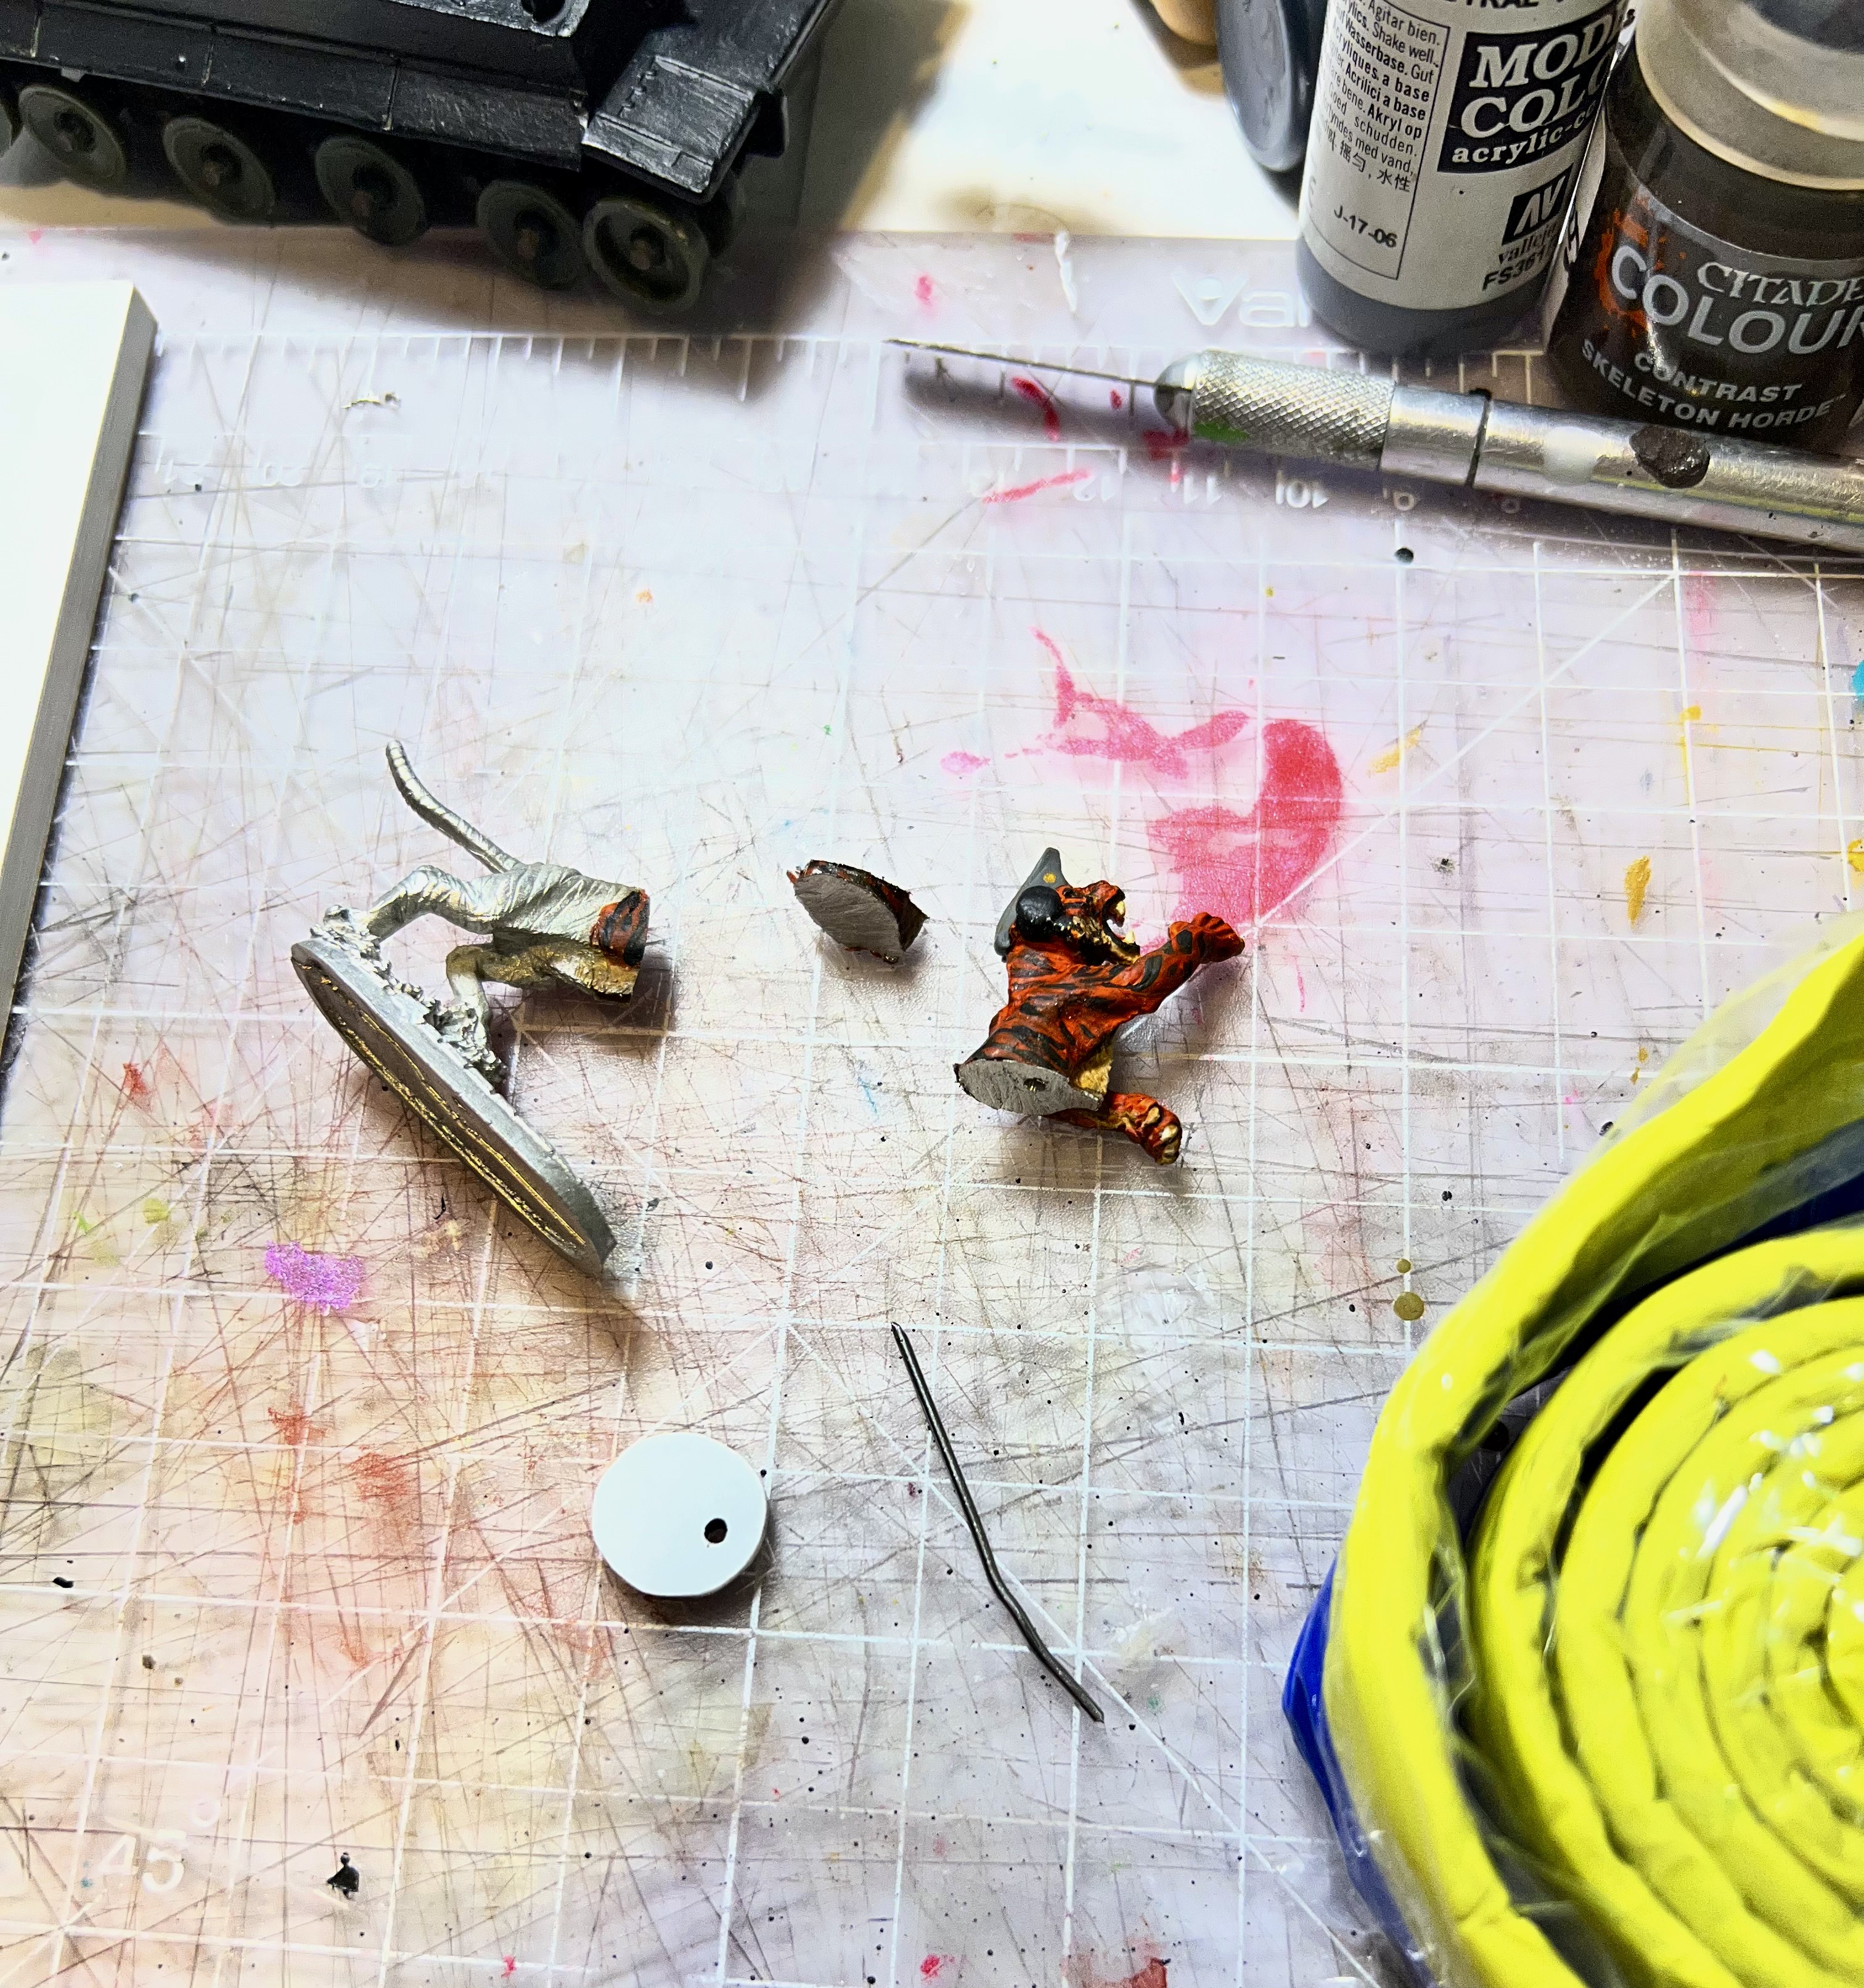
It was missing an upper arm, and I knew that like the last one I built, that this would be a challenge of construction more than painting. The build would be the tough part – specially as this one was incomplete. The photo below shows the pieces I got plus the old Roberker that I had previously completed. I needed to look at it often to remember how to rebuild this one.
The old Roberker looks plaintively at the remains of an incomplete kit.The model’s base underside showing its date and SKU number.
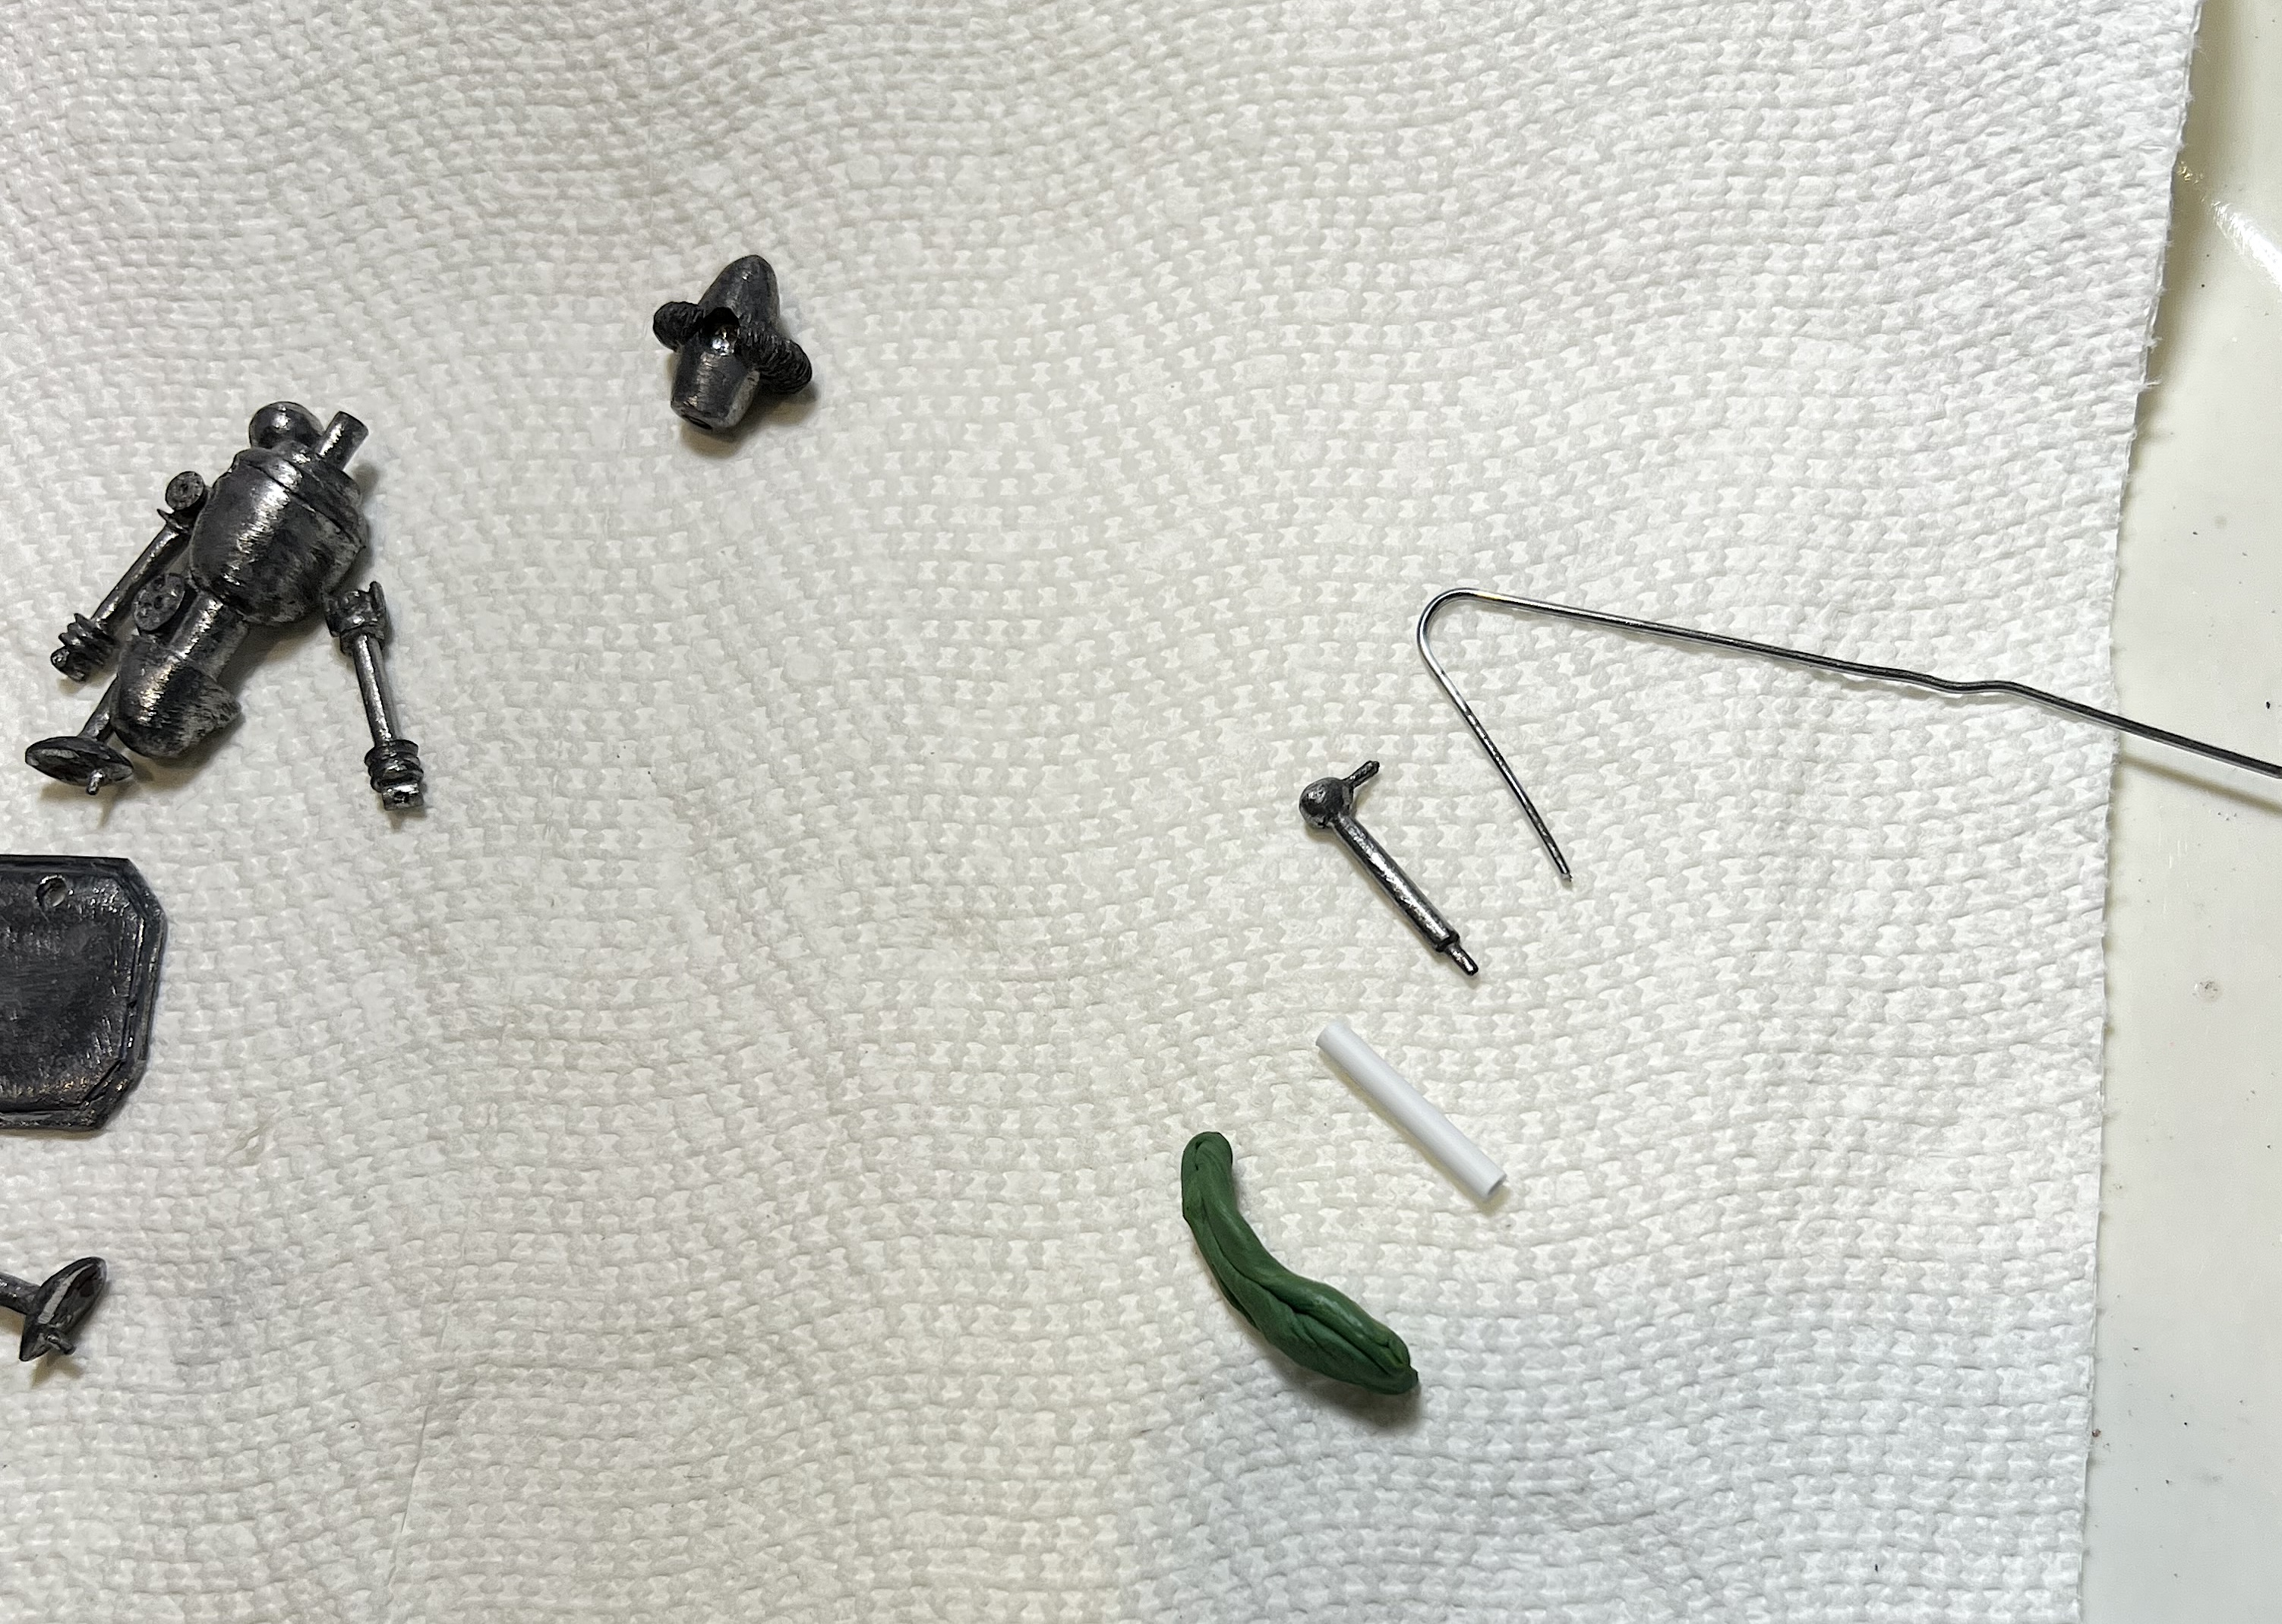
Of course, green stuff, paper clip wire, and polystyrene can be shaped in many ways. To rebuild the upper arm, I took polystyrene tubing, and sized up the appropriate length using the one other upper arm piece that I did have. I sculpted green stuff for a shoulder, as well as to thicken and strengthen the PS arm.
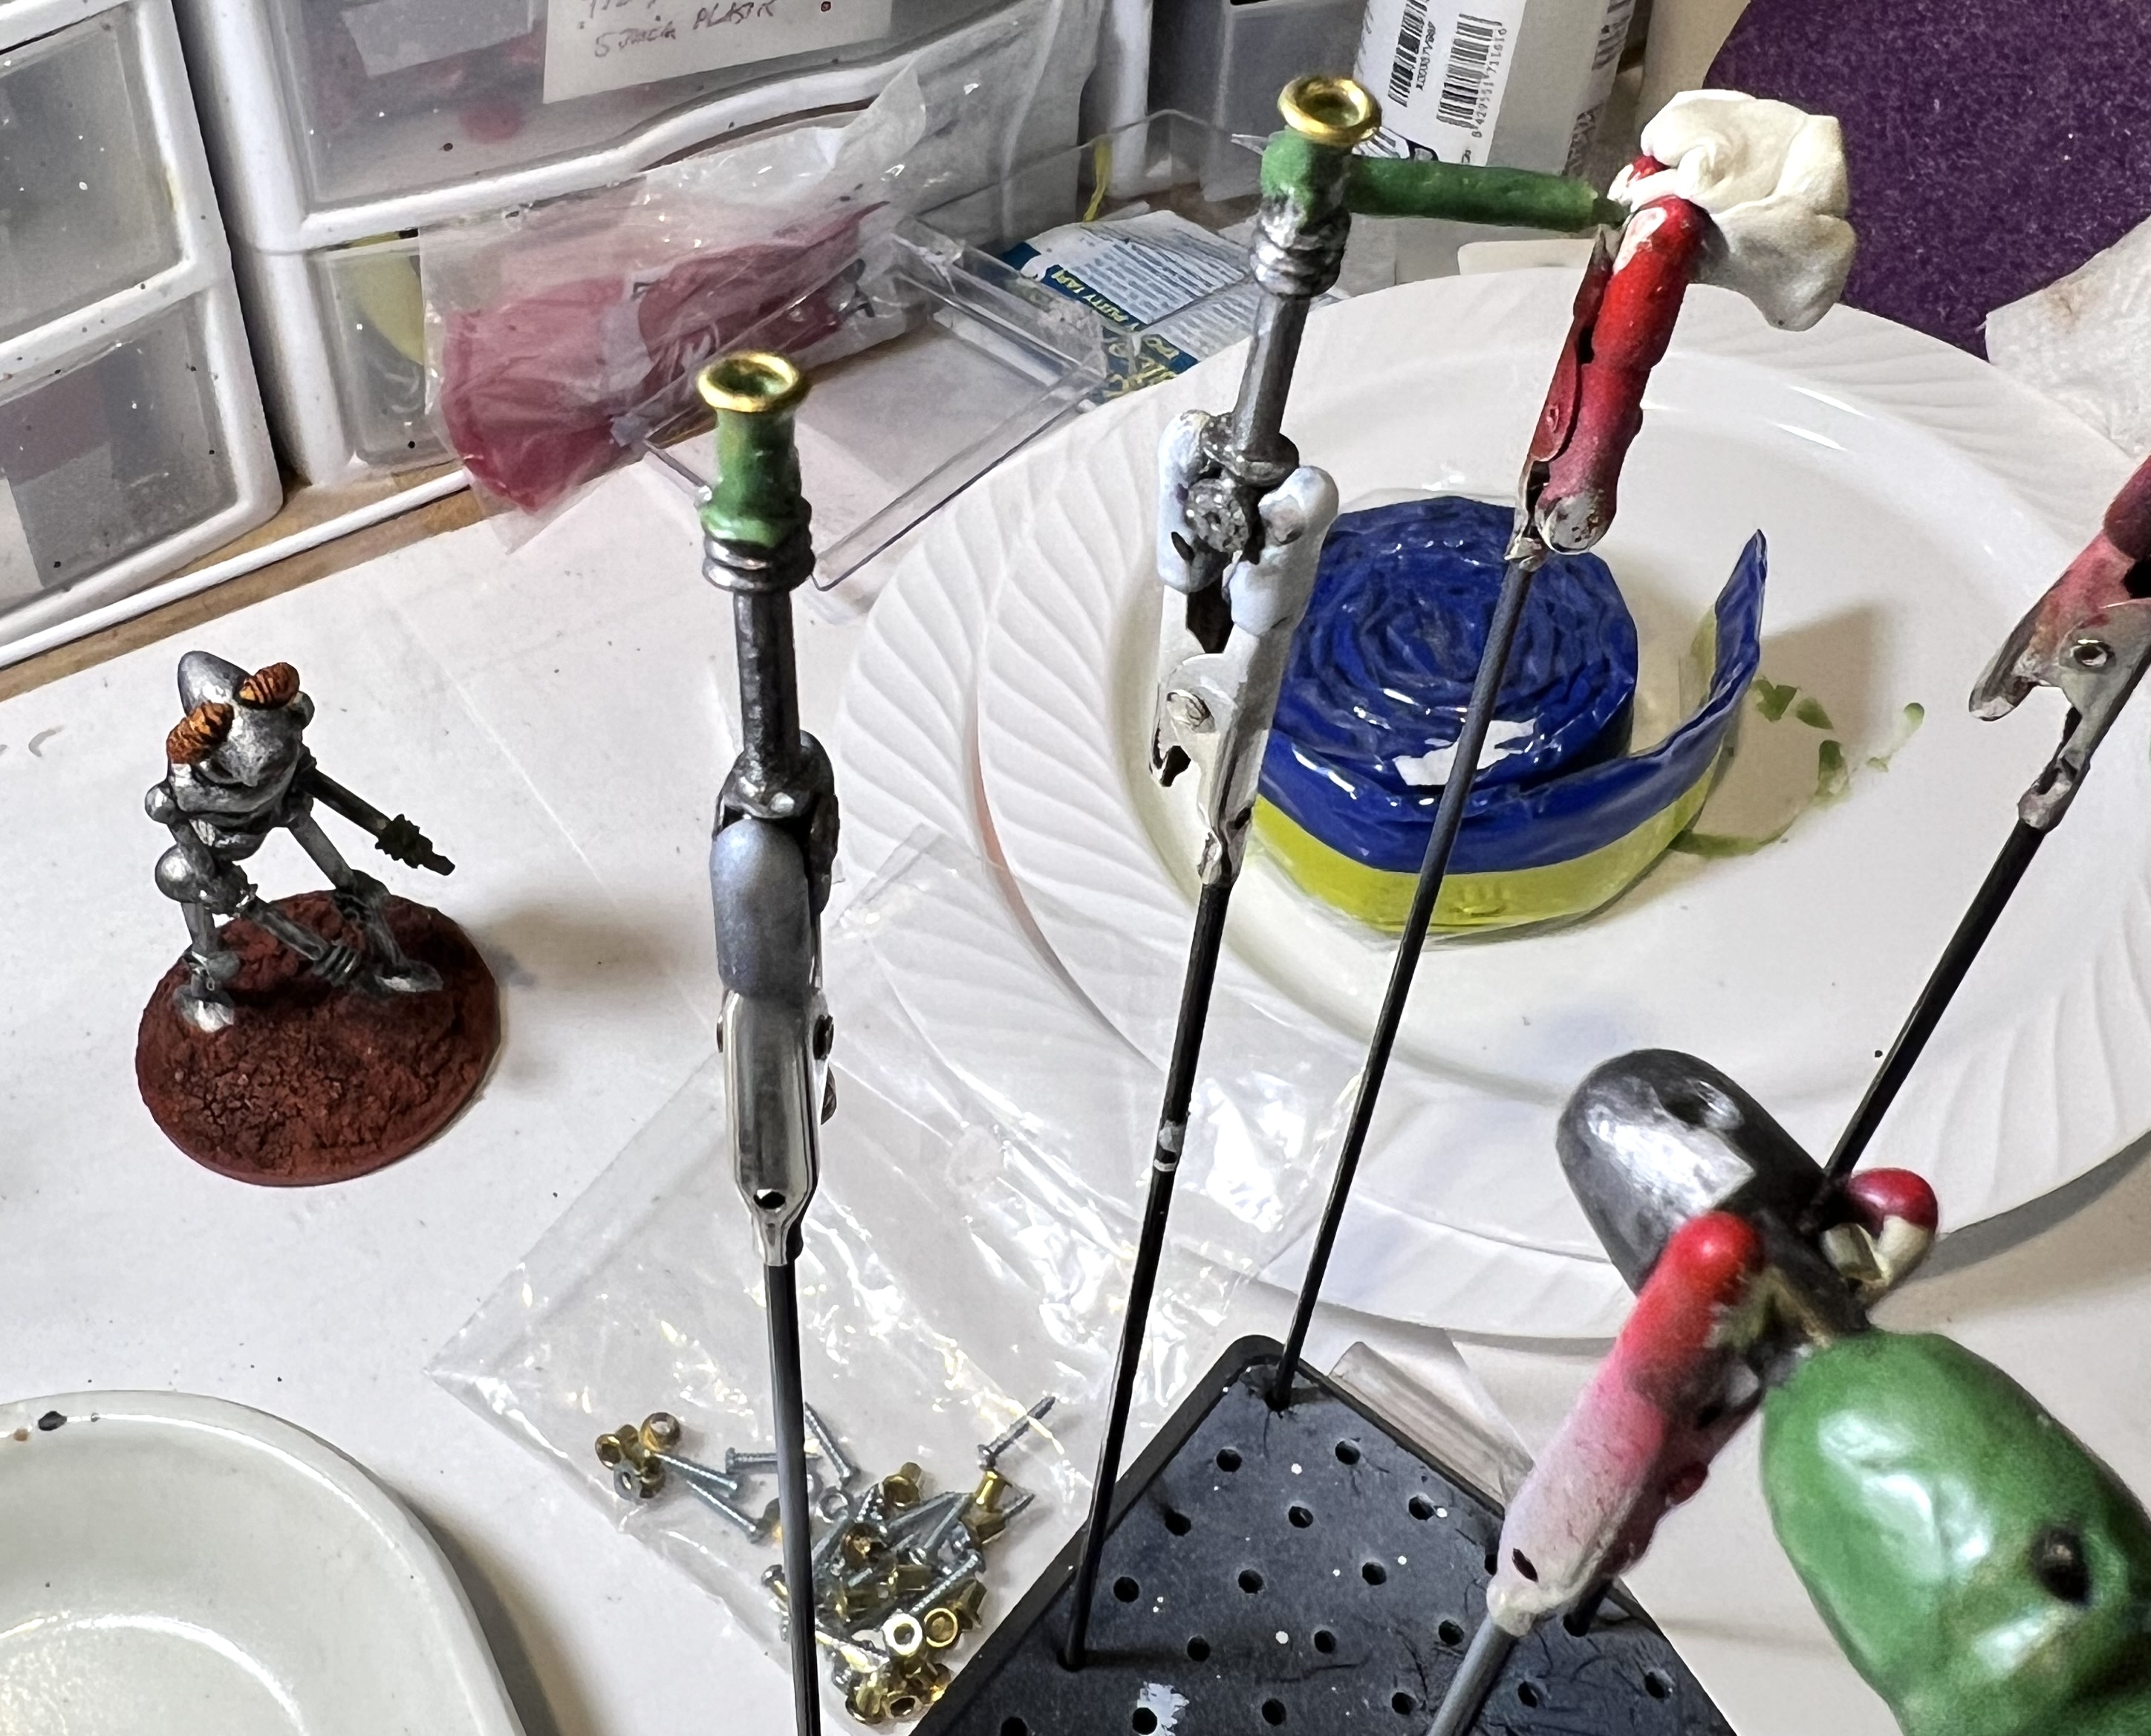
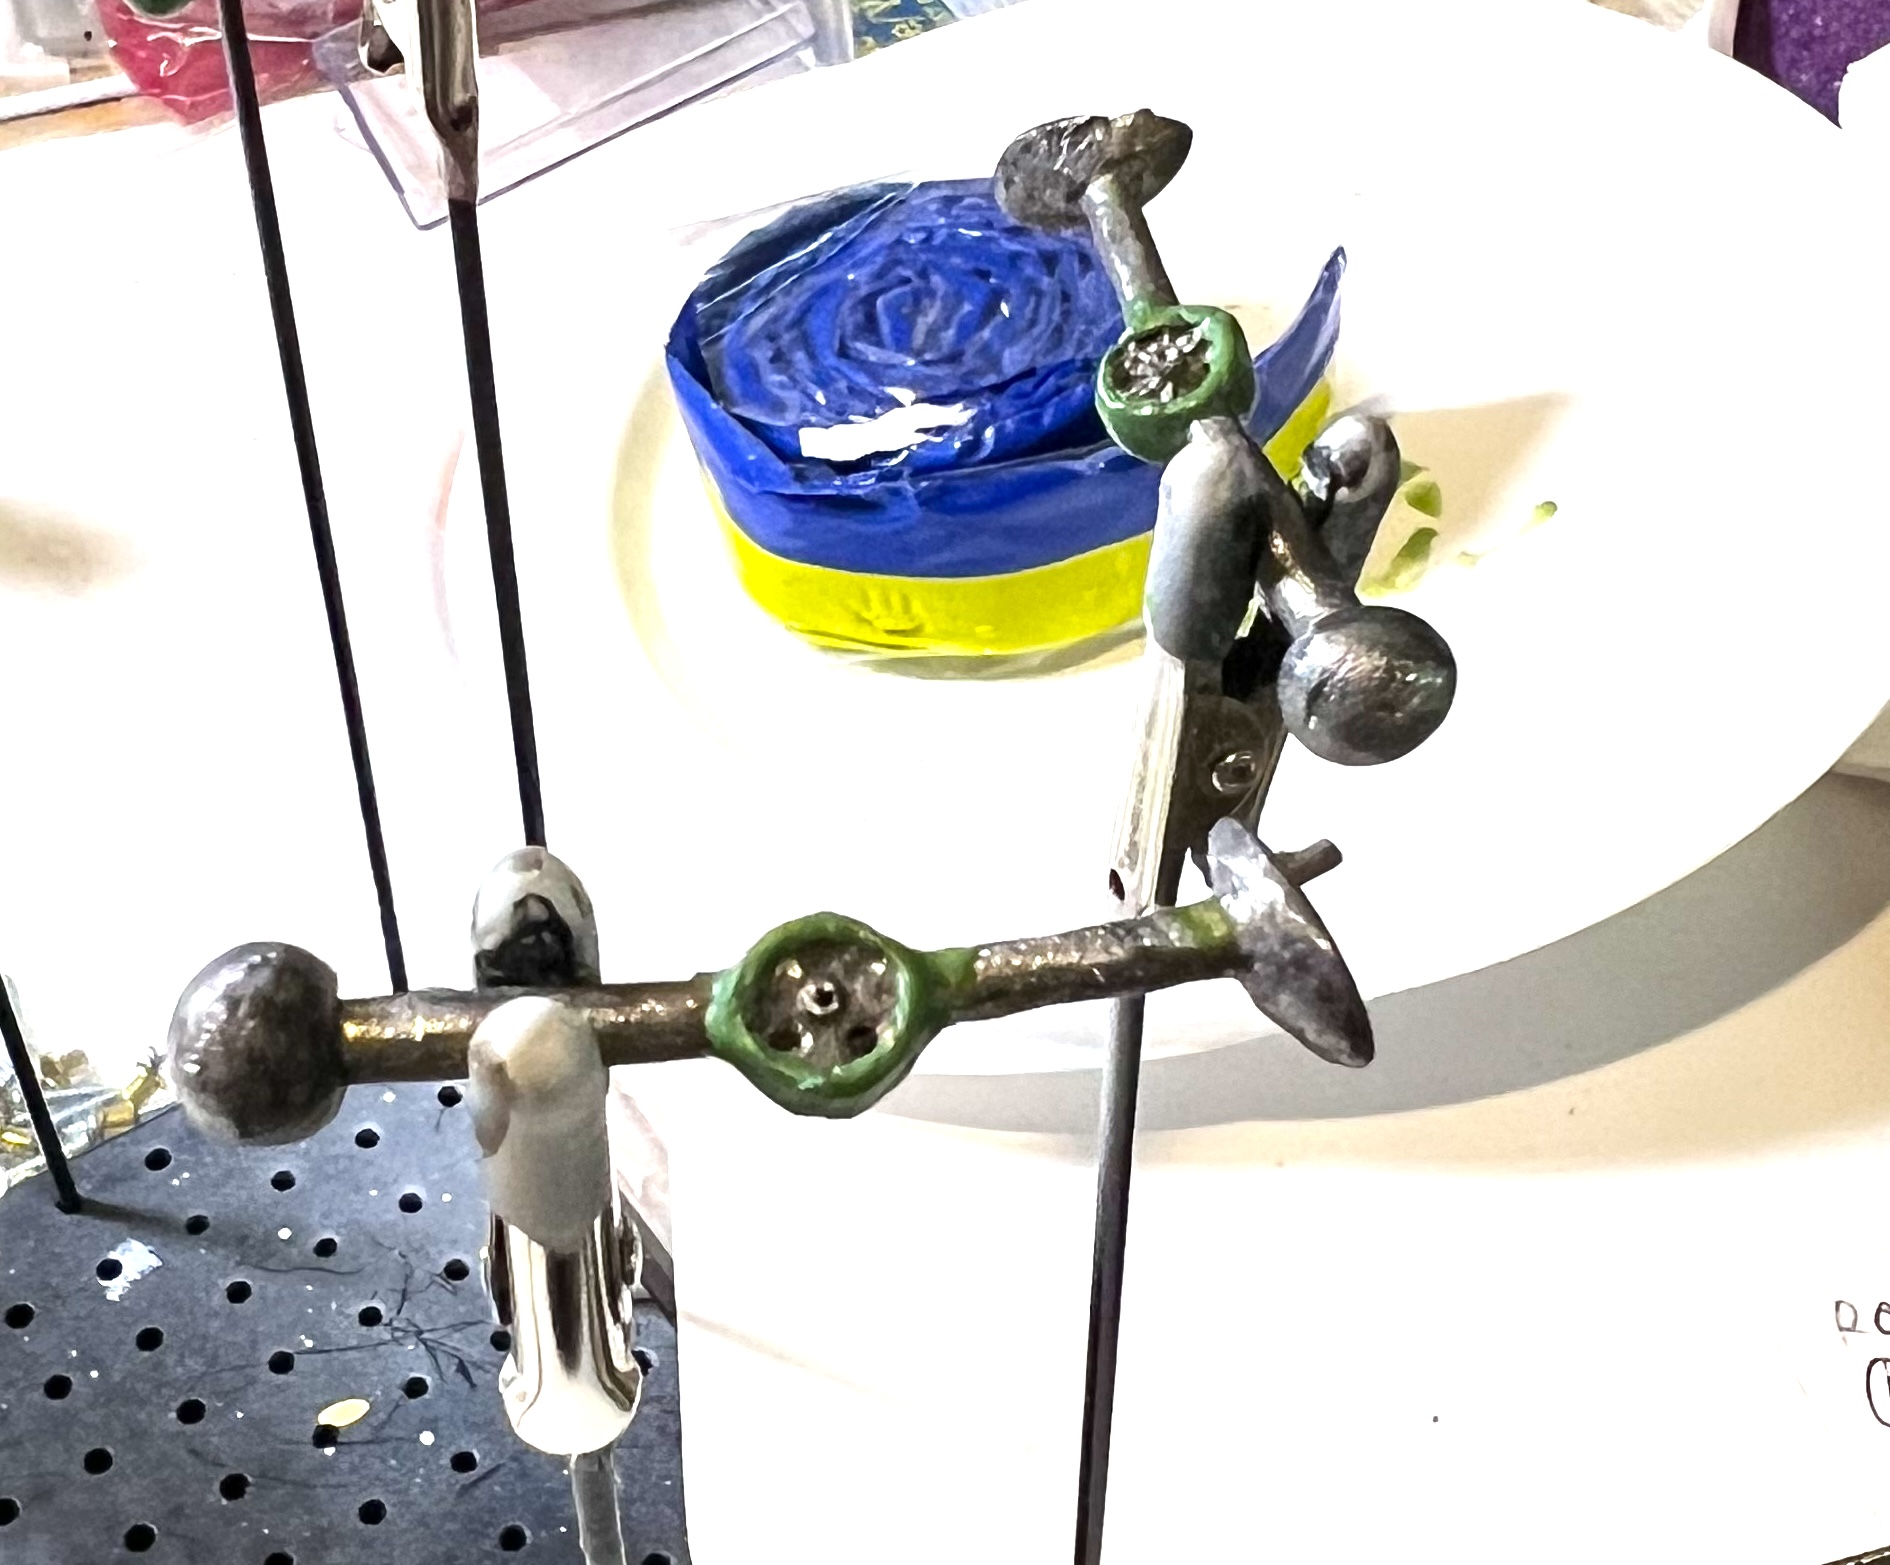
Green stuff was a big part of the project. On the new arm, I needed to let it cure, then I could drill it out for the paper clip wire pinning attachments. Meanwhile, I took some small brass collars I had and added them to the ends of the arms to better approximate nozzles. I also repaired many depressions and gaps in the old lead. Lastly, I sculpted over the body parts so that later I could have better structural integrity with this bad boy.
Green stuff time!Green stuff, polystyrene tube, original opposite upper arm, and paper clip wire.Good shot of nozzle modificationsLeg repairs
Once all that had cured, I drilled out pin holes for the legs, shoulders, and arms. I used a combination of Gorilla Glue and green stuff to assemble the model. First, I used glue to get an initial bond, then green stuff to firm that up.
Of course, then more curing time.
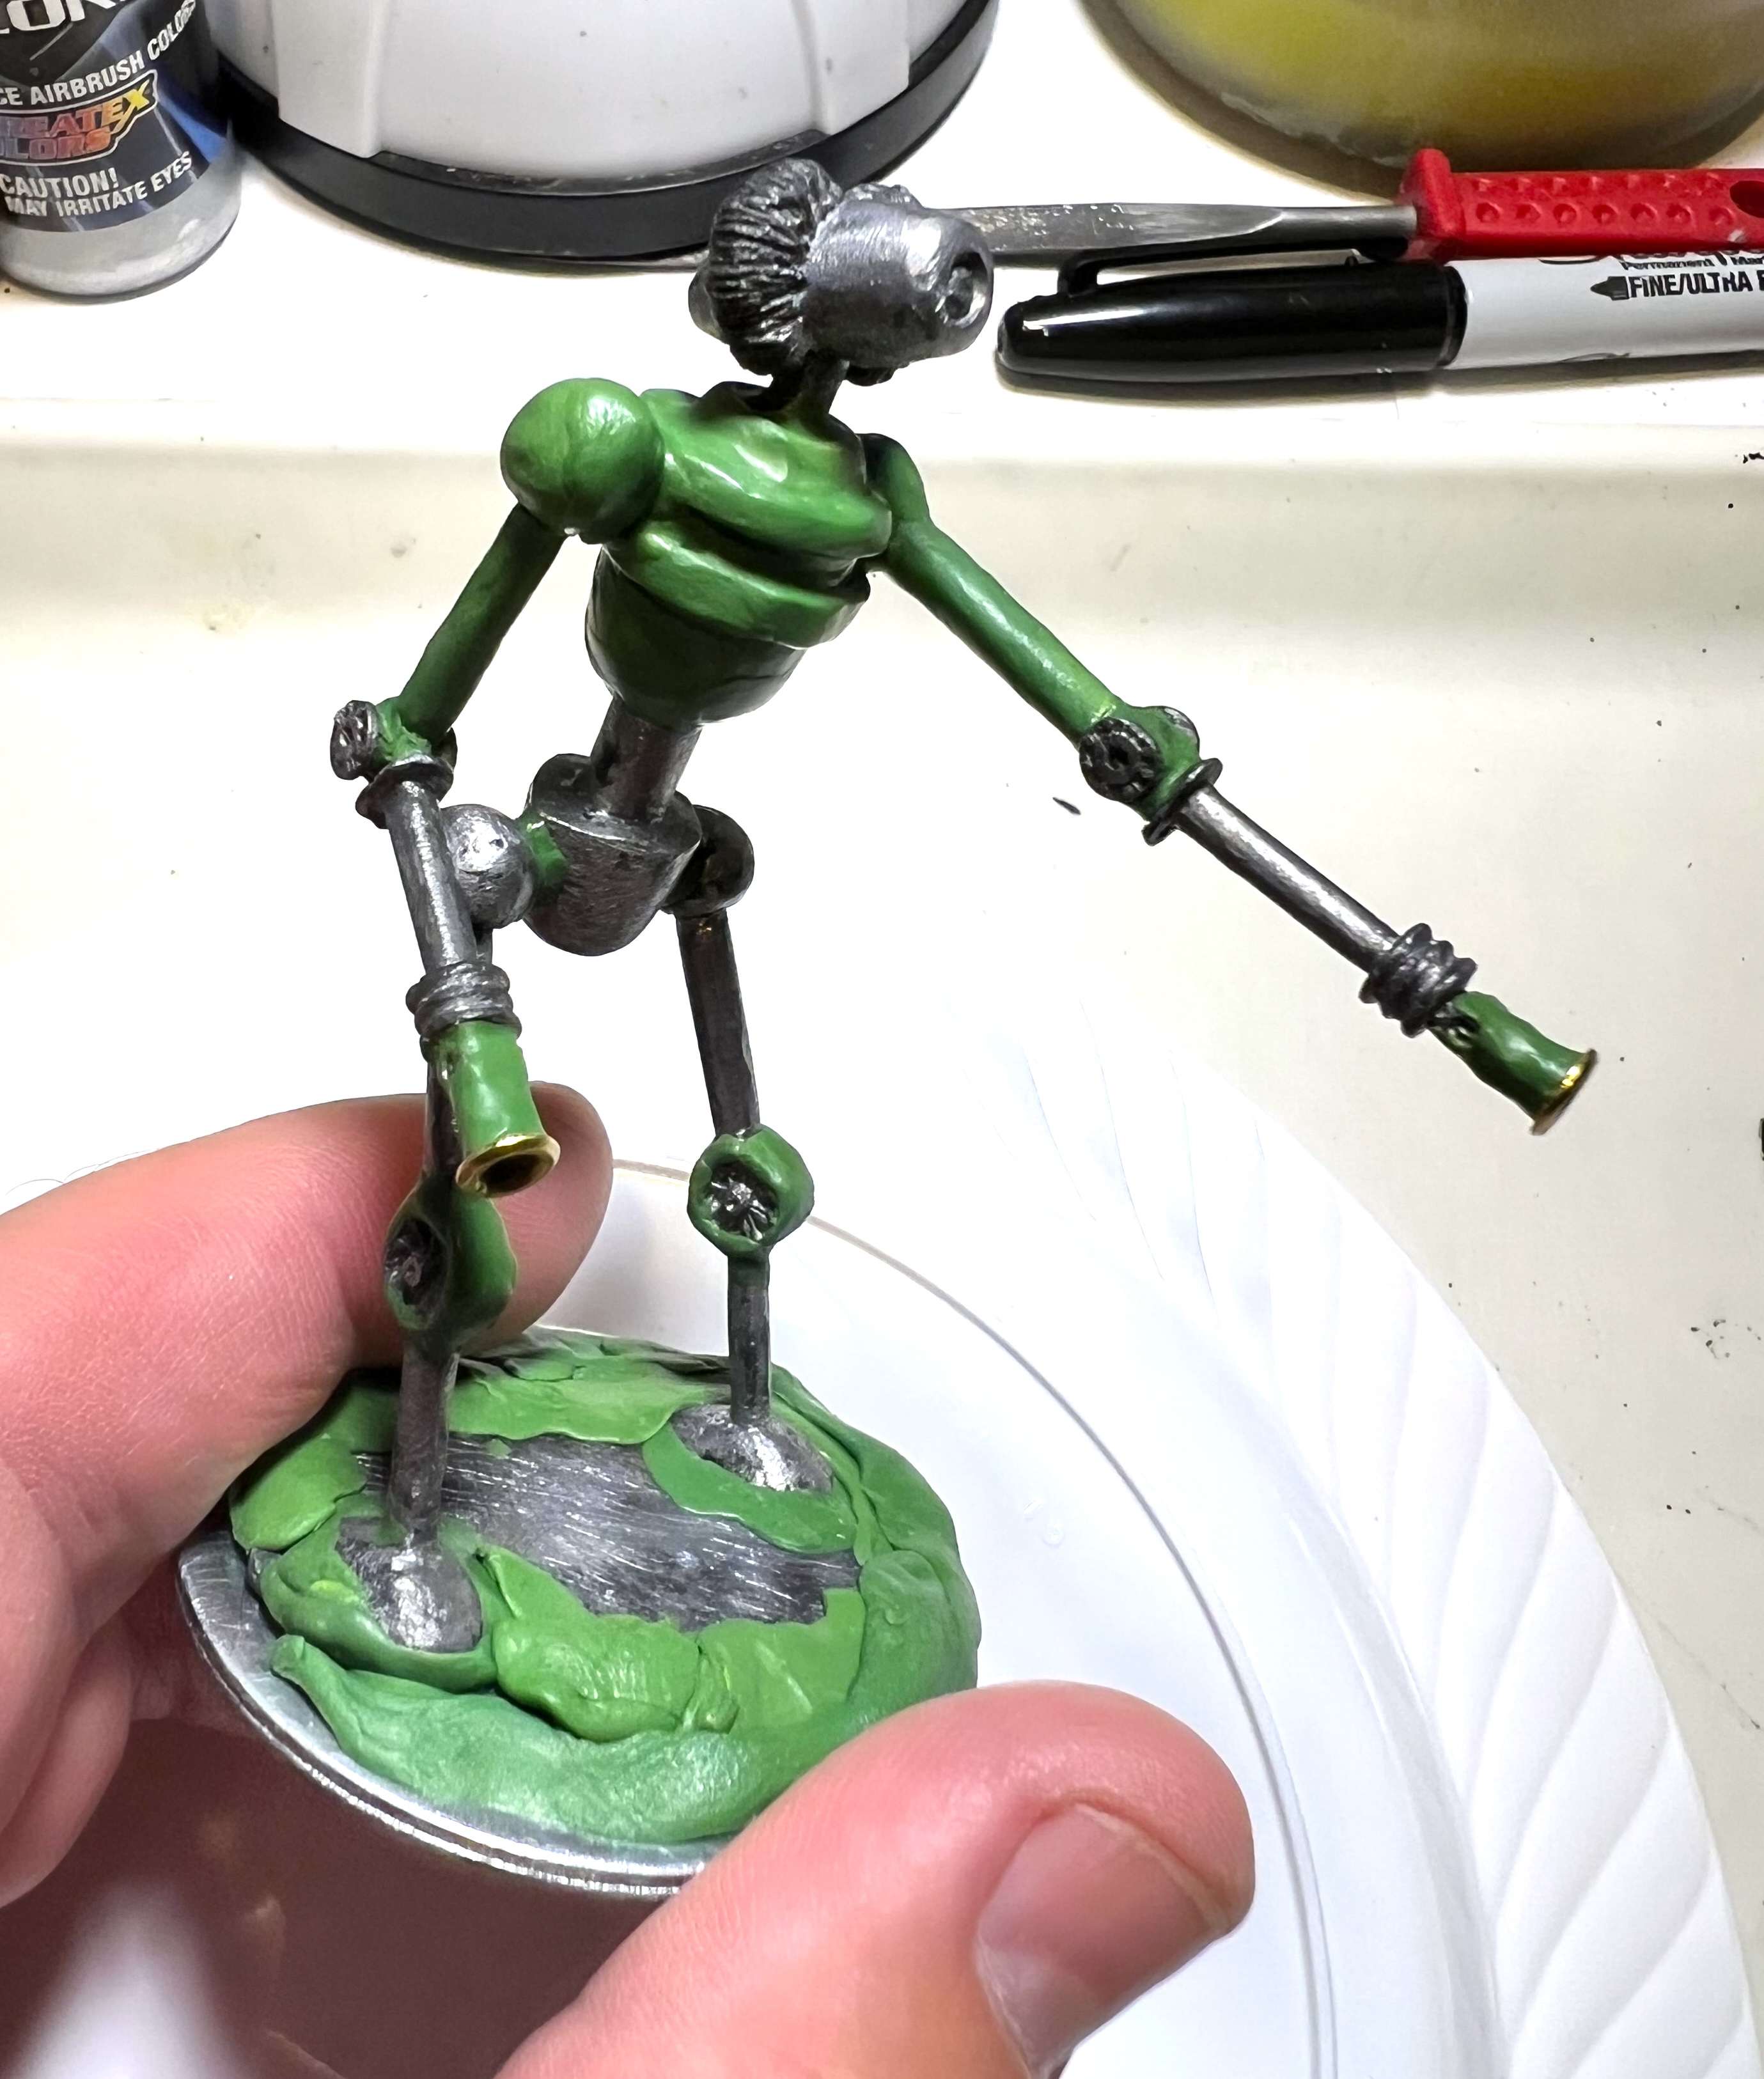
The green stuff modifications are clear here – but the right arm kept drooping. To remedy, I affixed it to the right hip.
To keep the model upright, I then used two 2″ steel fender washers as a base.
Here the right arm is affixed to the hip – and the model is well-bonded to the steel fender washers.
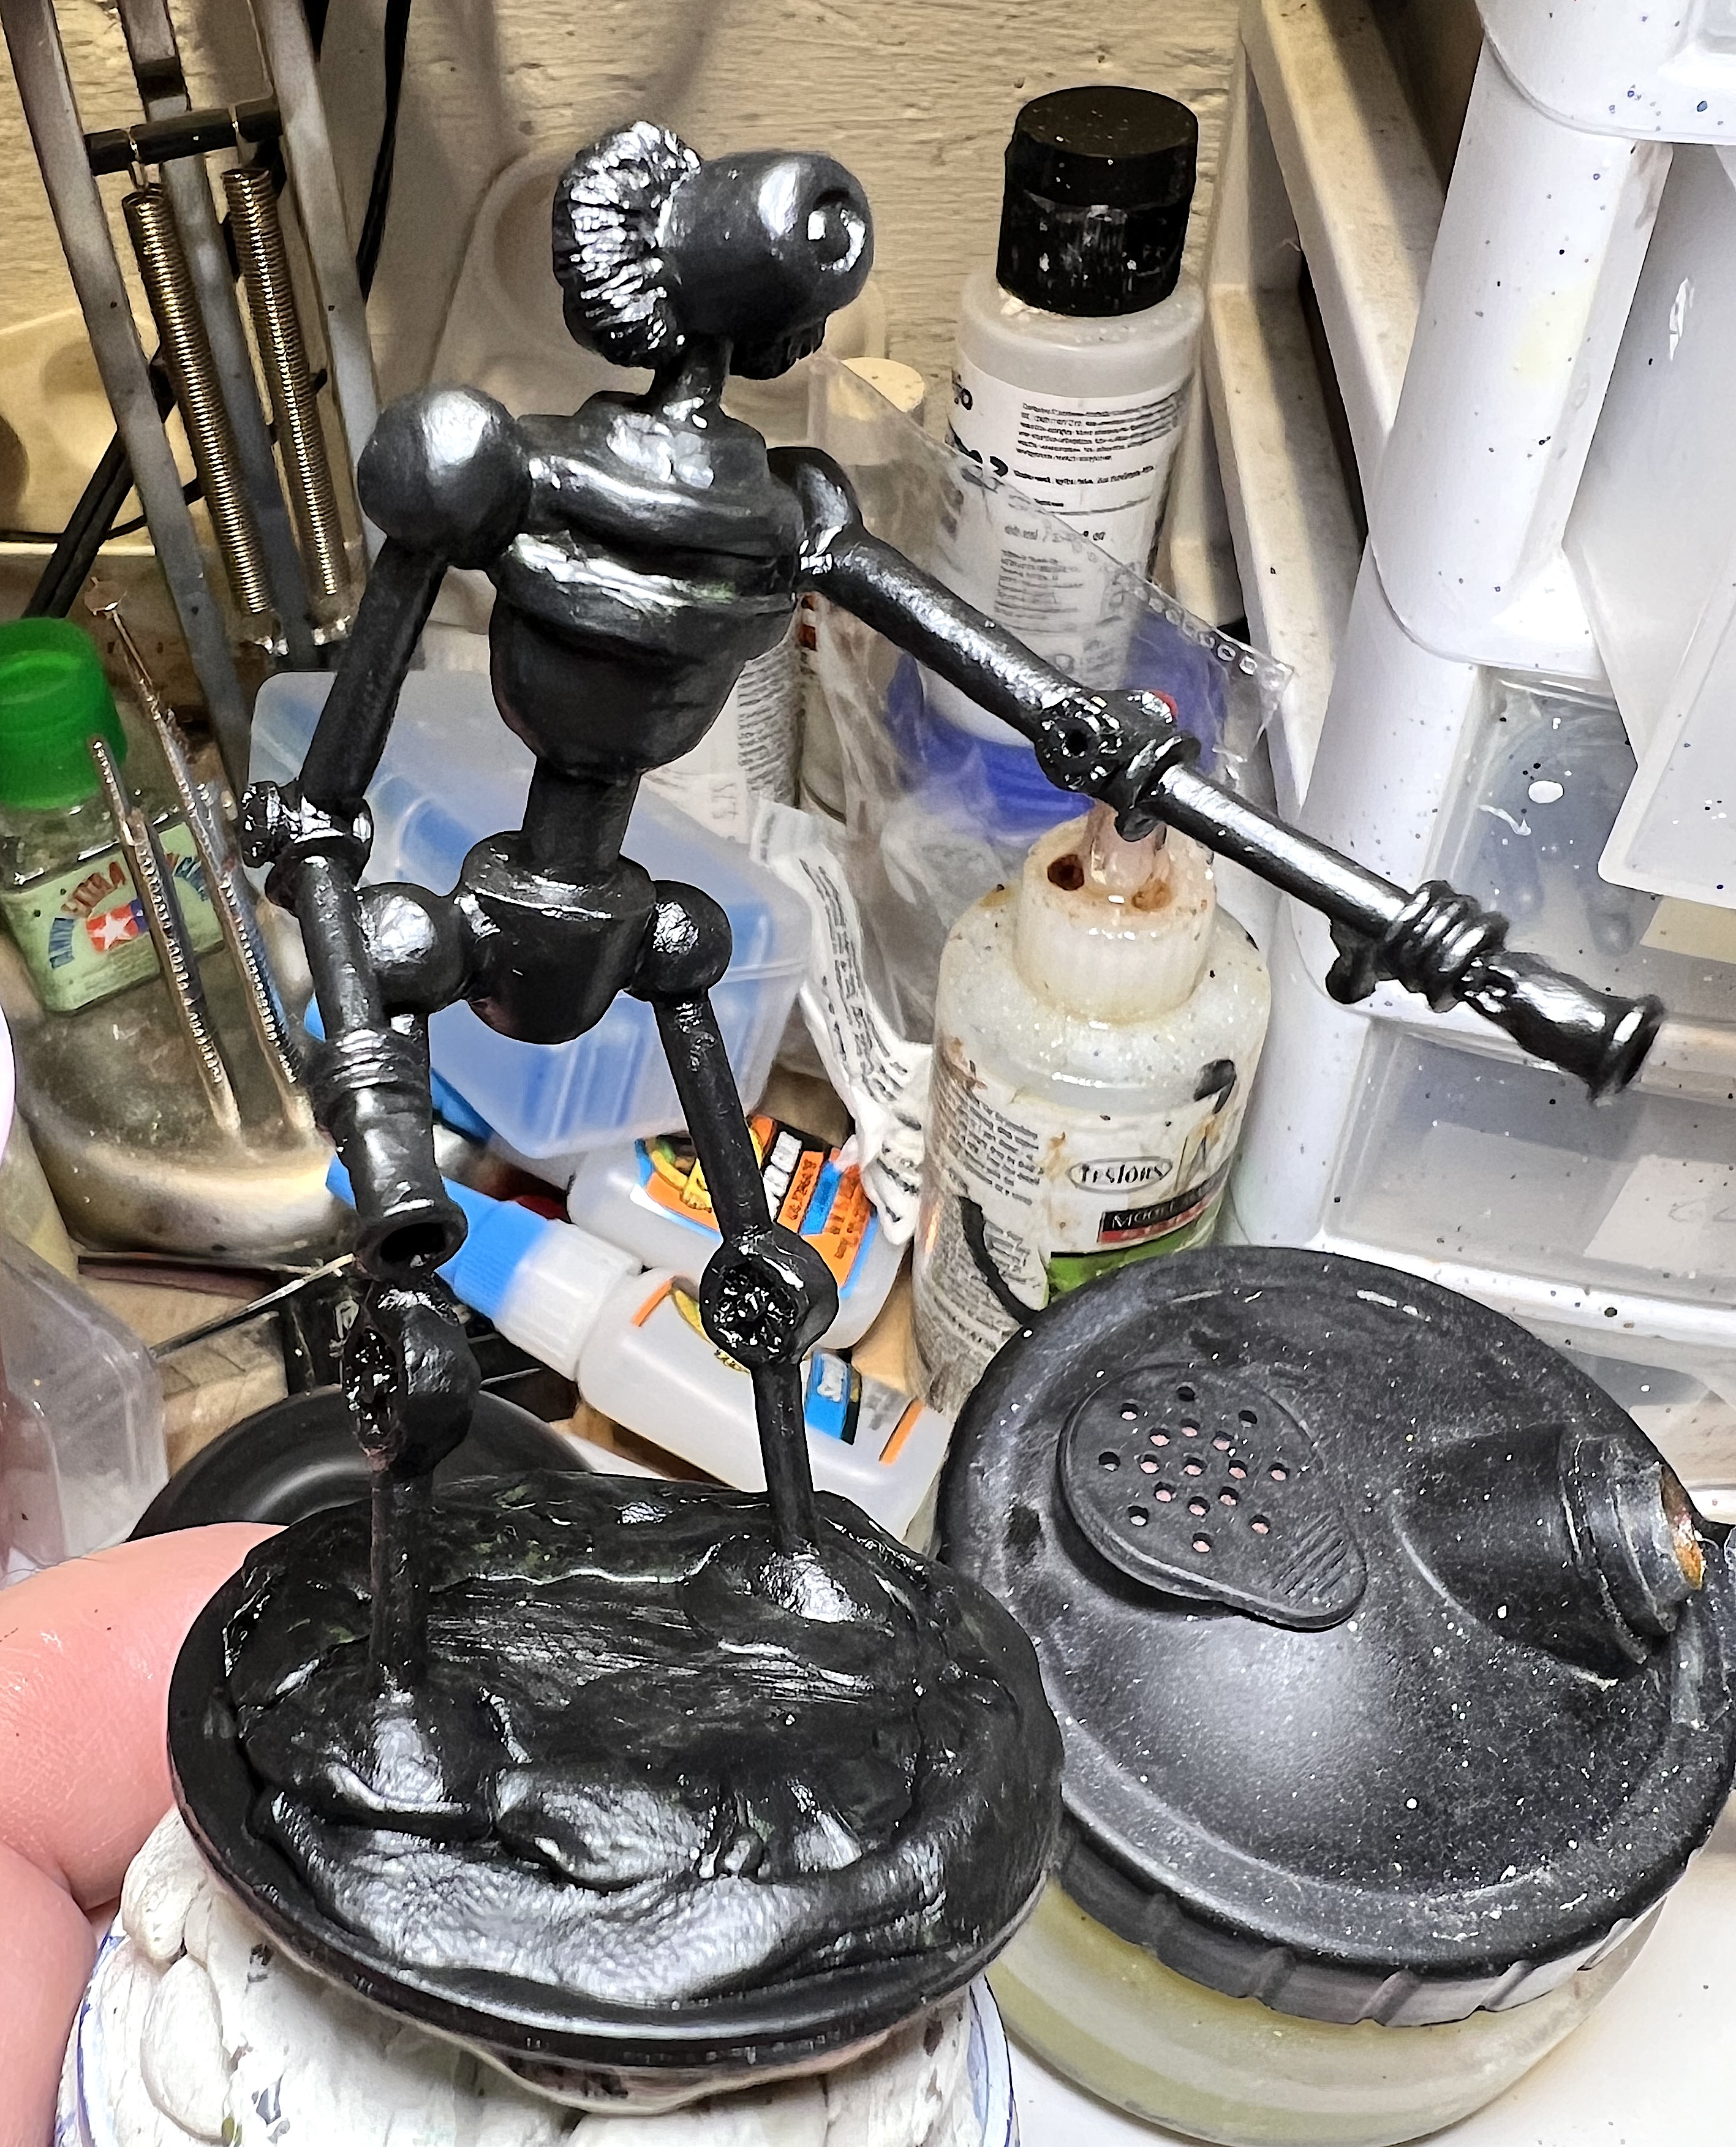
I hand-primed the model with Vallejo Primers “Black” because the airbrush was on its last legs and clotting a bit.
Primed black.
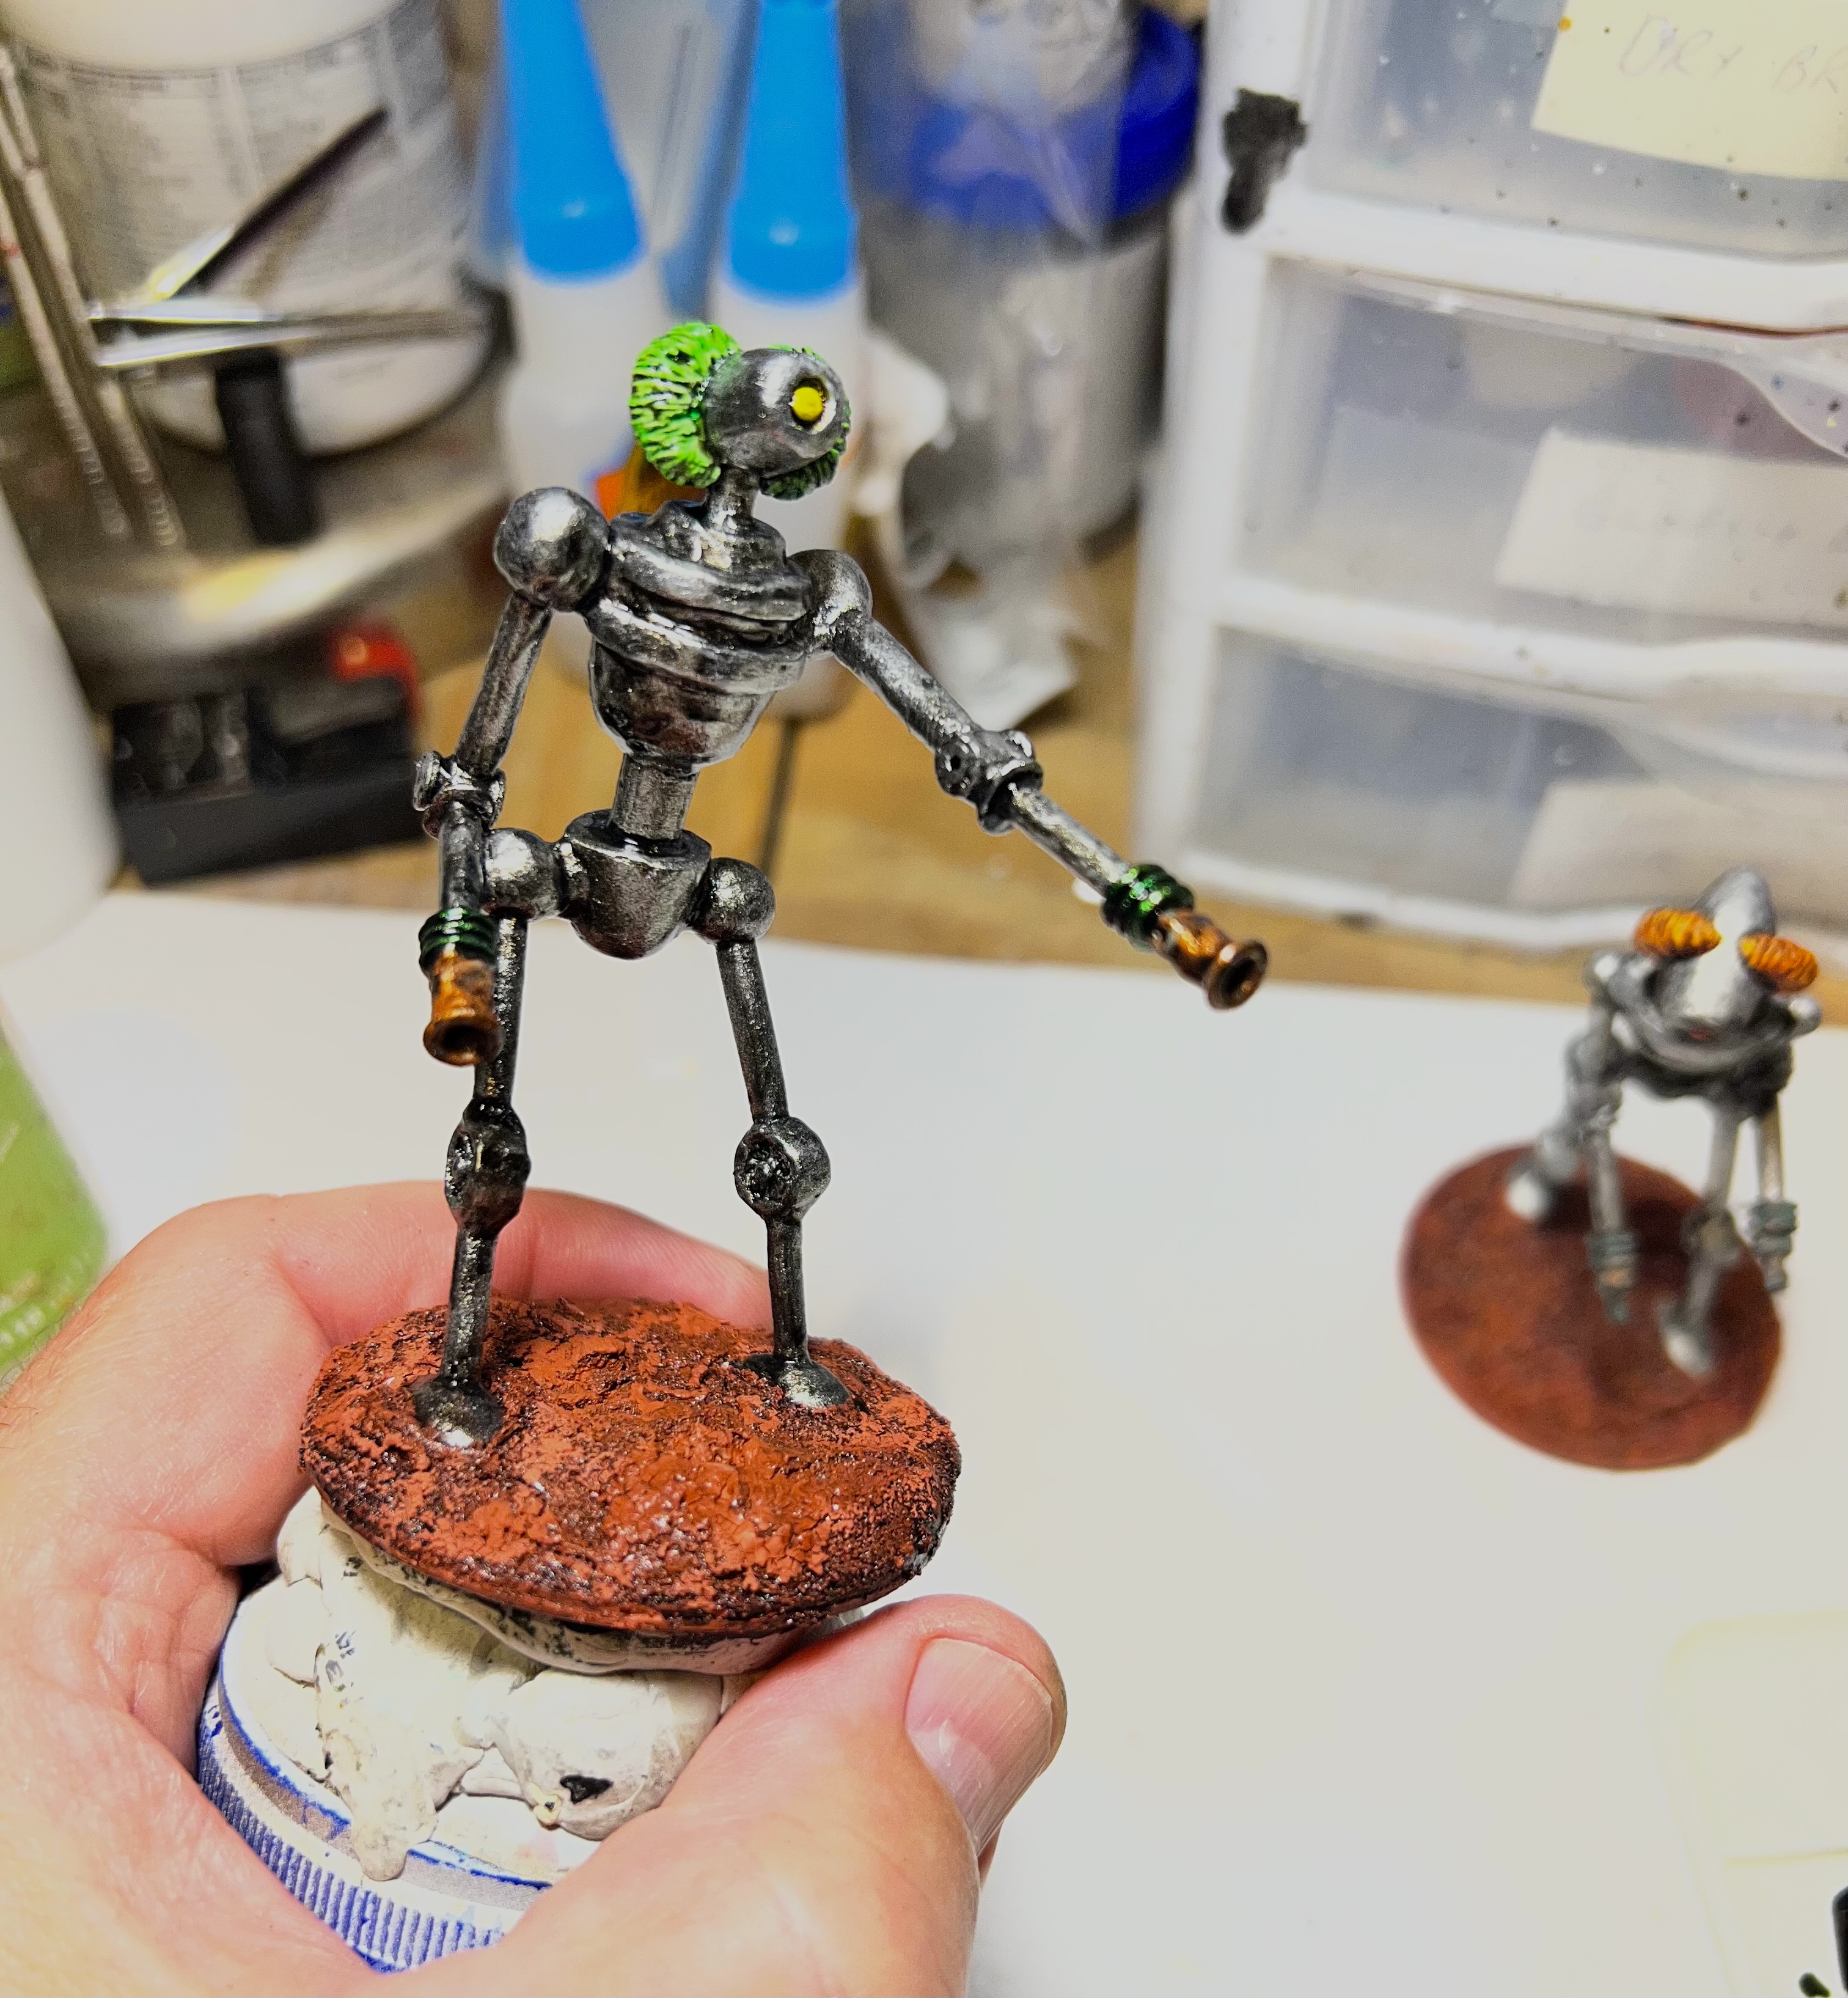
The Createx “Wicked Aluminum” airbrush paint I had dated from 2017 – and definitely was not useable in my airbrush after 9 years. Luckily, while the name of the product had changed from “Wicked Aluminum” to “Wicked Aluminum – Medium”, the SKU was still the same (W354). The new bottle worked well. After the aluminum paint had dried, I decided that this Roberker needed differently-colored flames coming out of his head versus the previous model’s orange. A nice plasma-green seemed appropriate. Similarly, I painted the eye with a metallic yellow eye to better match the green flames. I tried to match the previous model’s base with a reddish combination of Citadel “Martian Ironearth” and “Martian Ironcrust”. Once that dried sufficiently, I shaded up the model.
All painted up and awaiting final varnish.Another view of the unvarnished figure.Varnished!
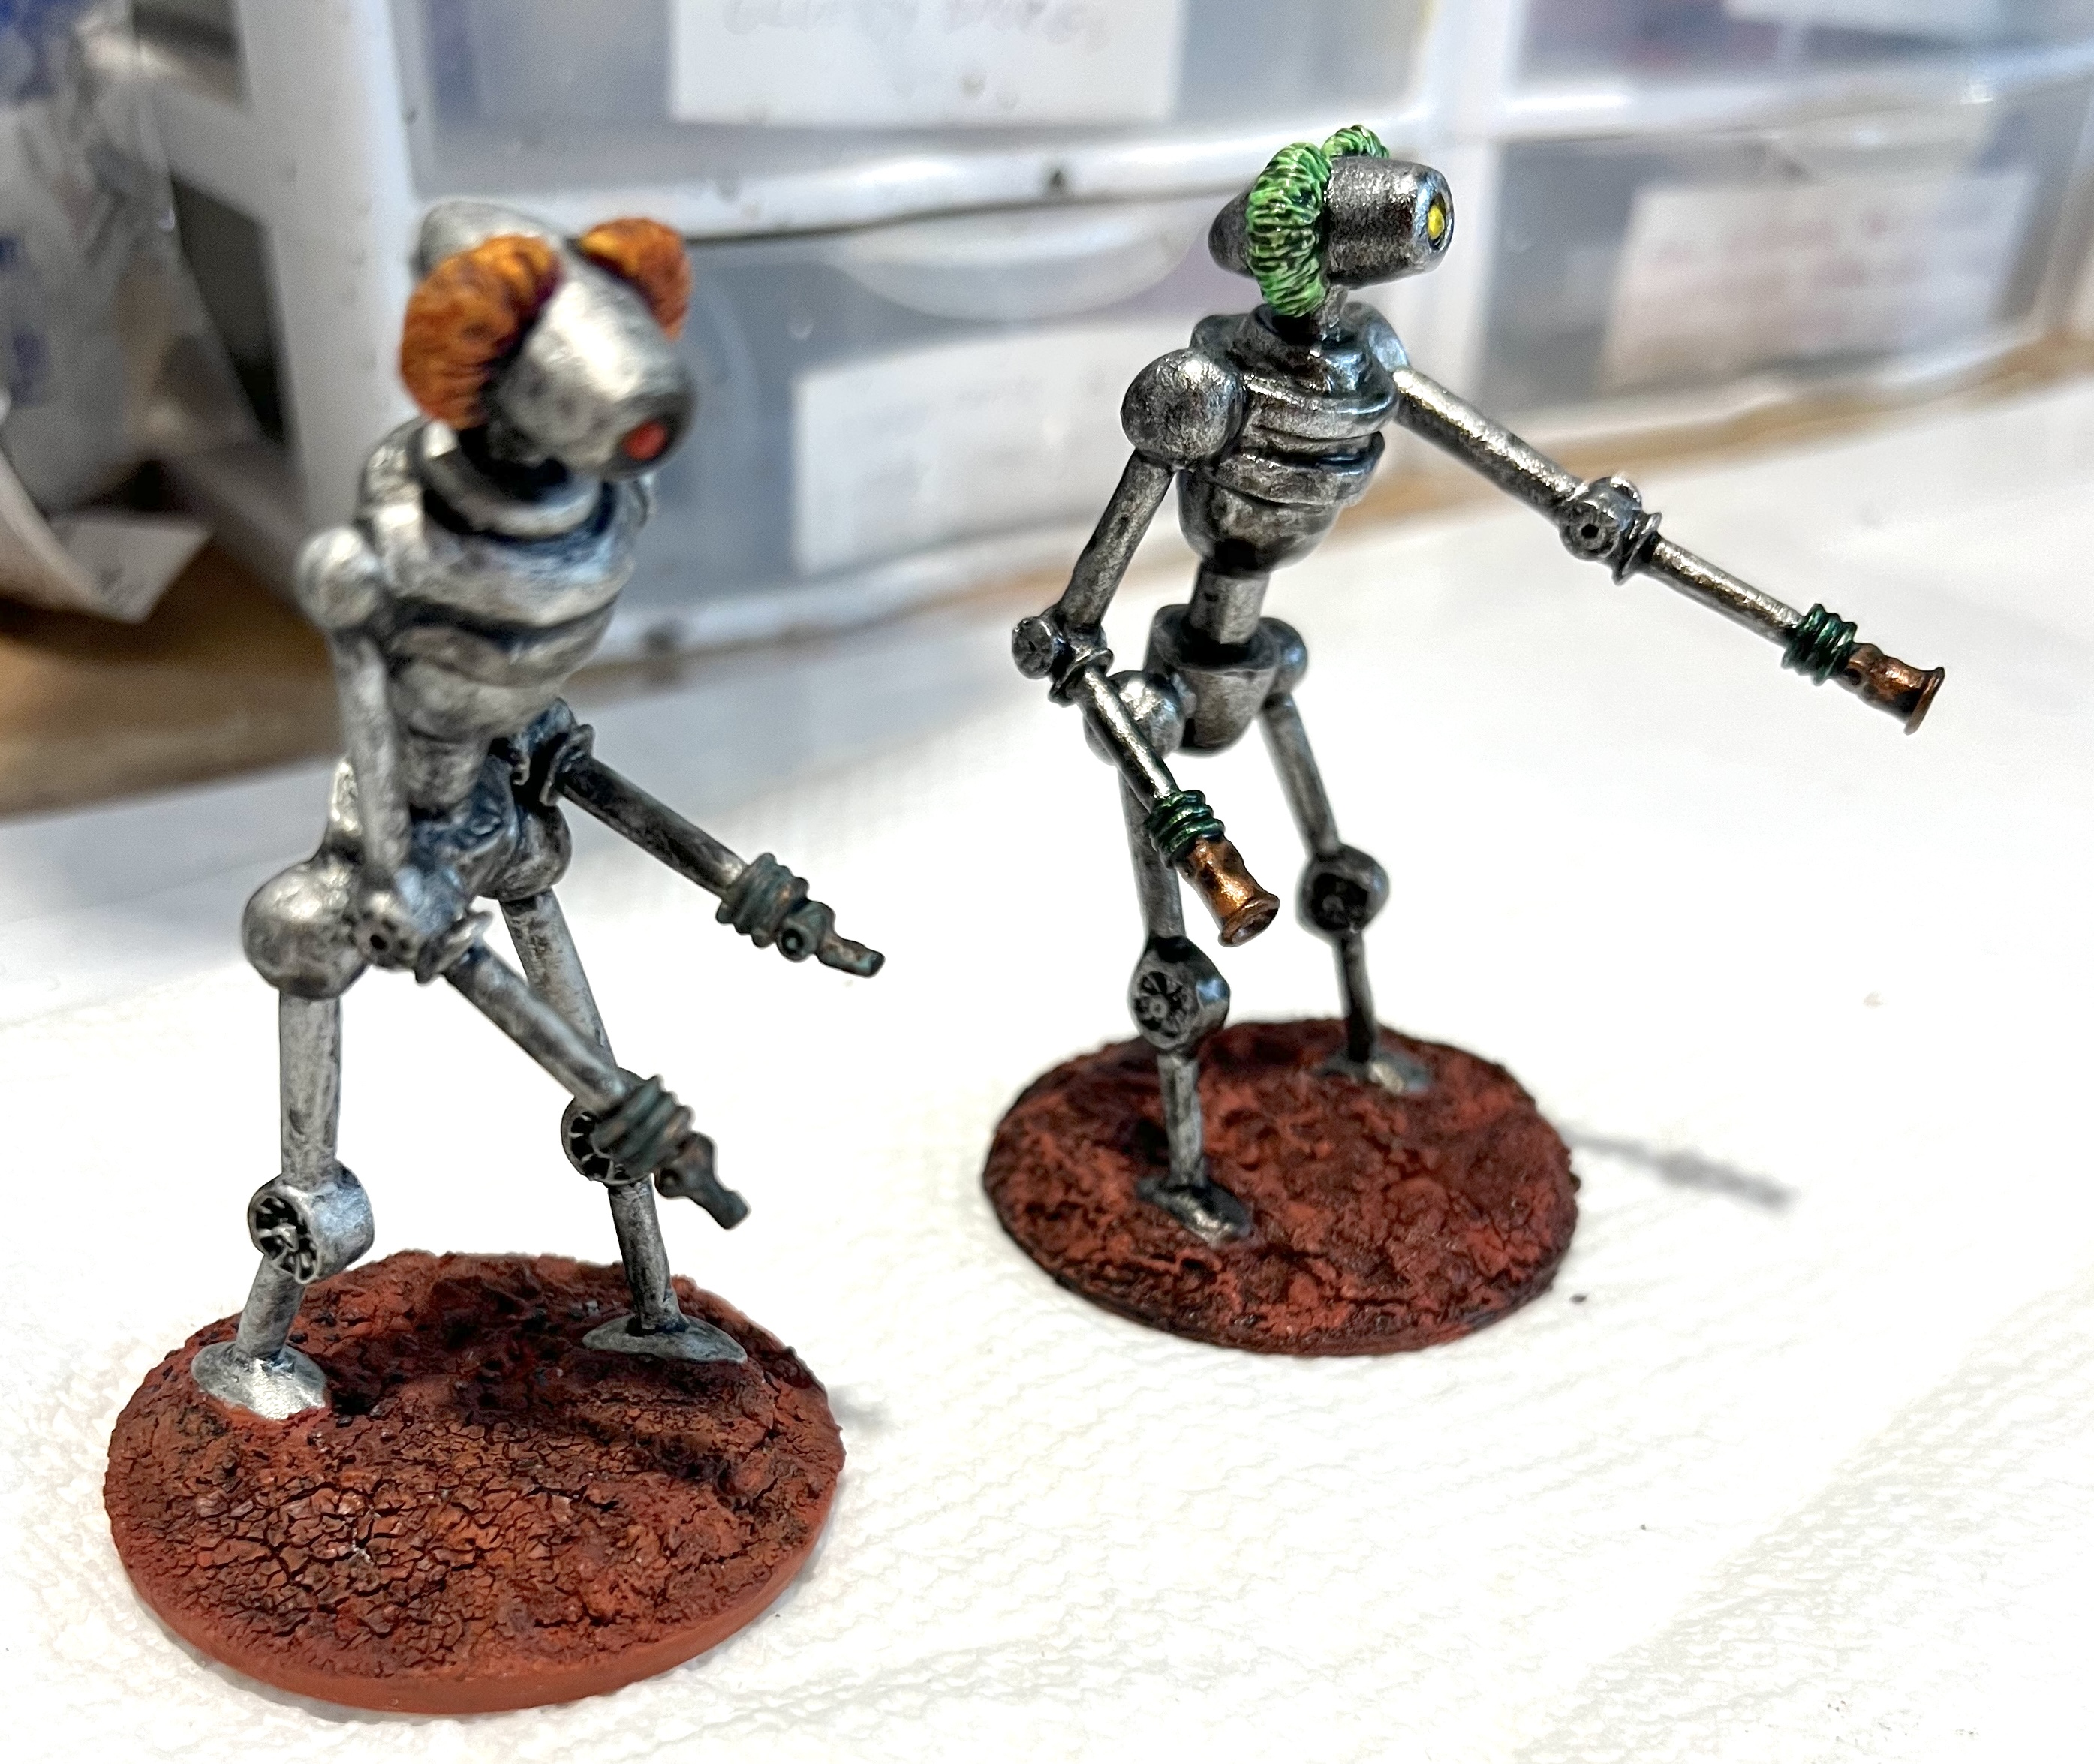
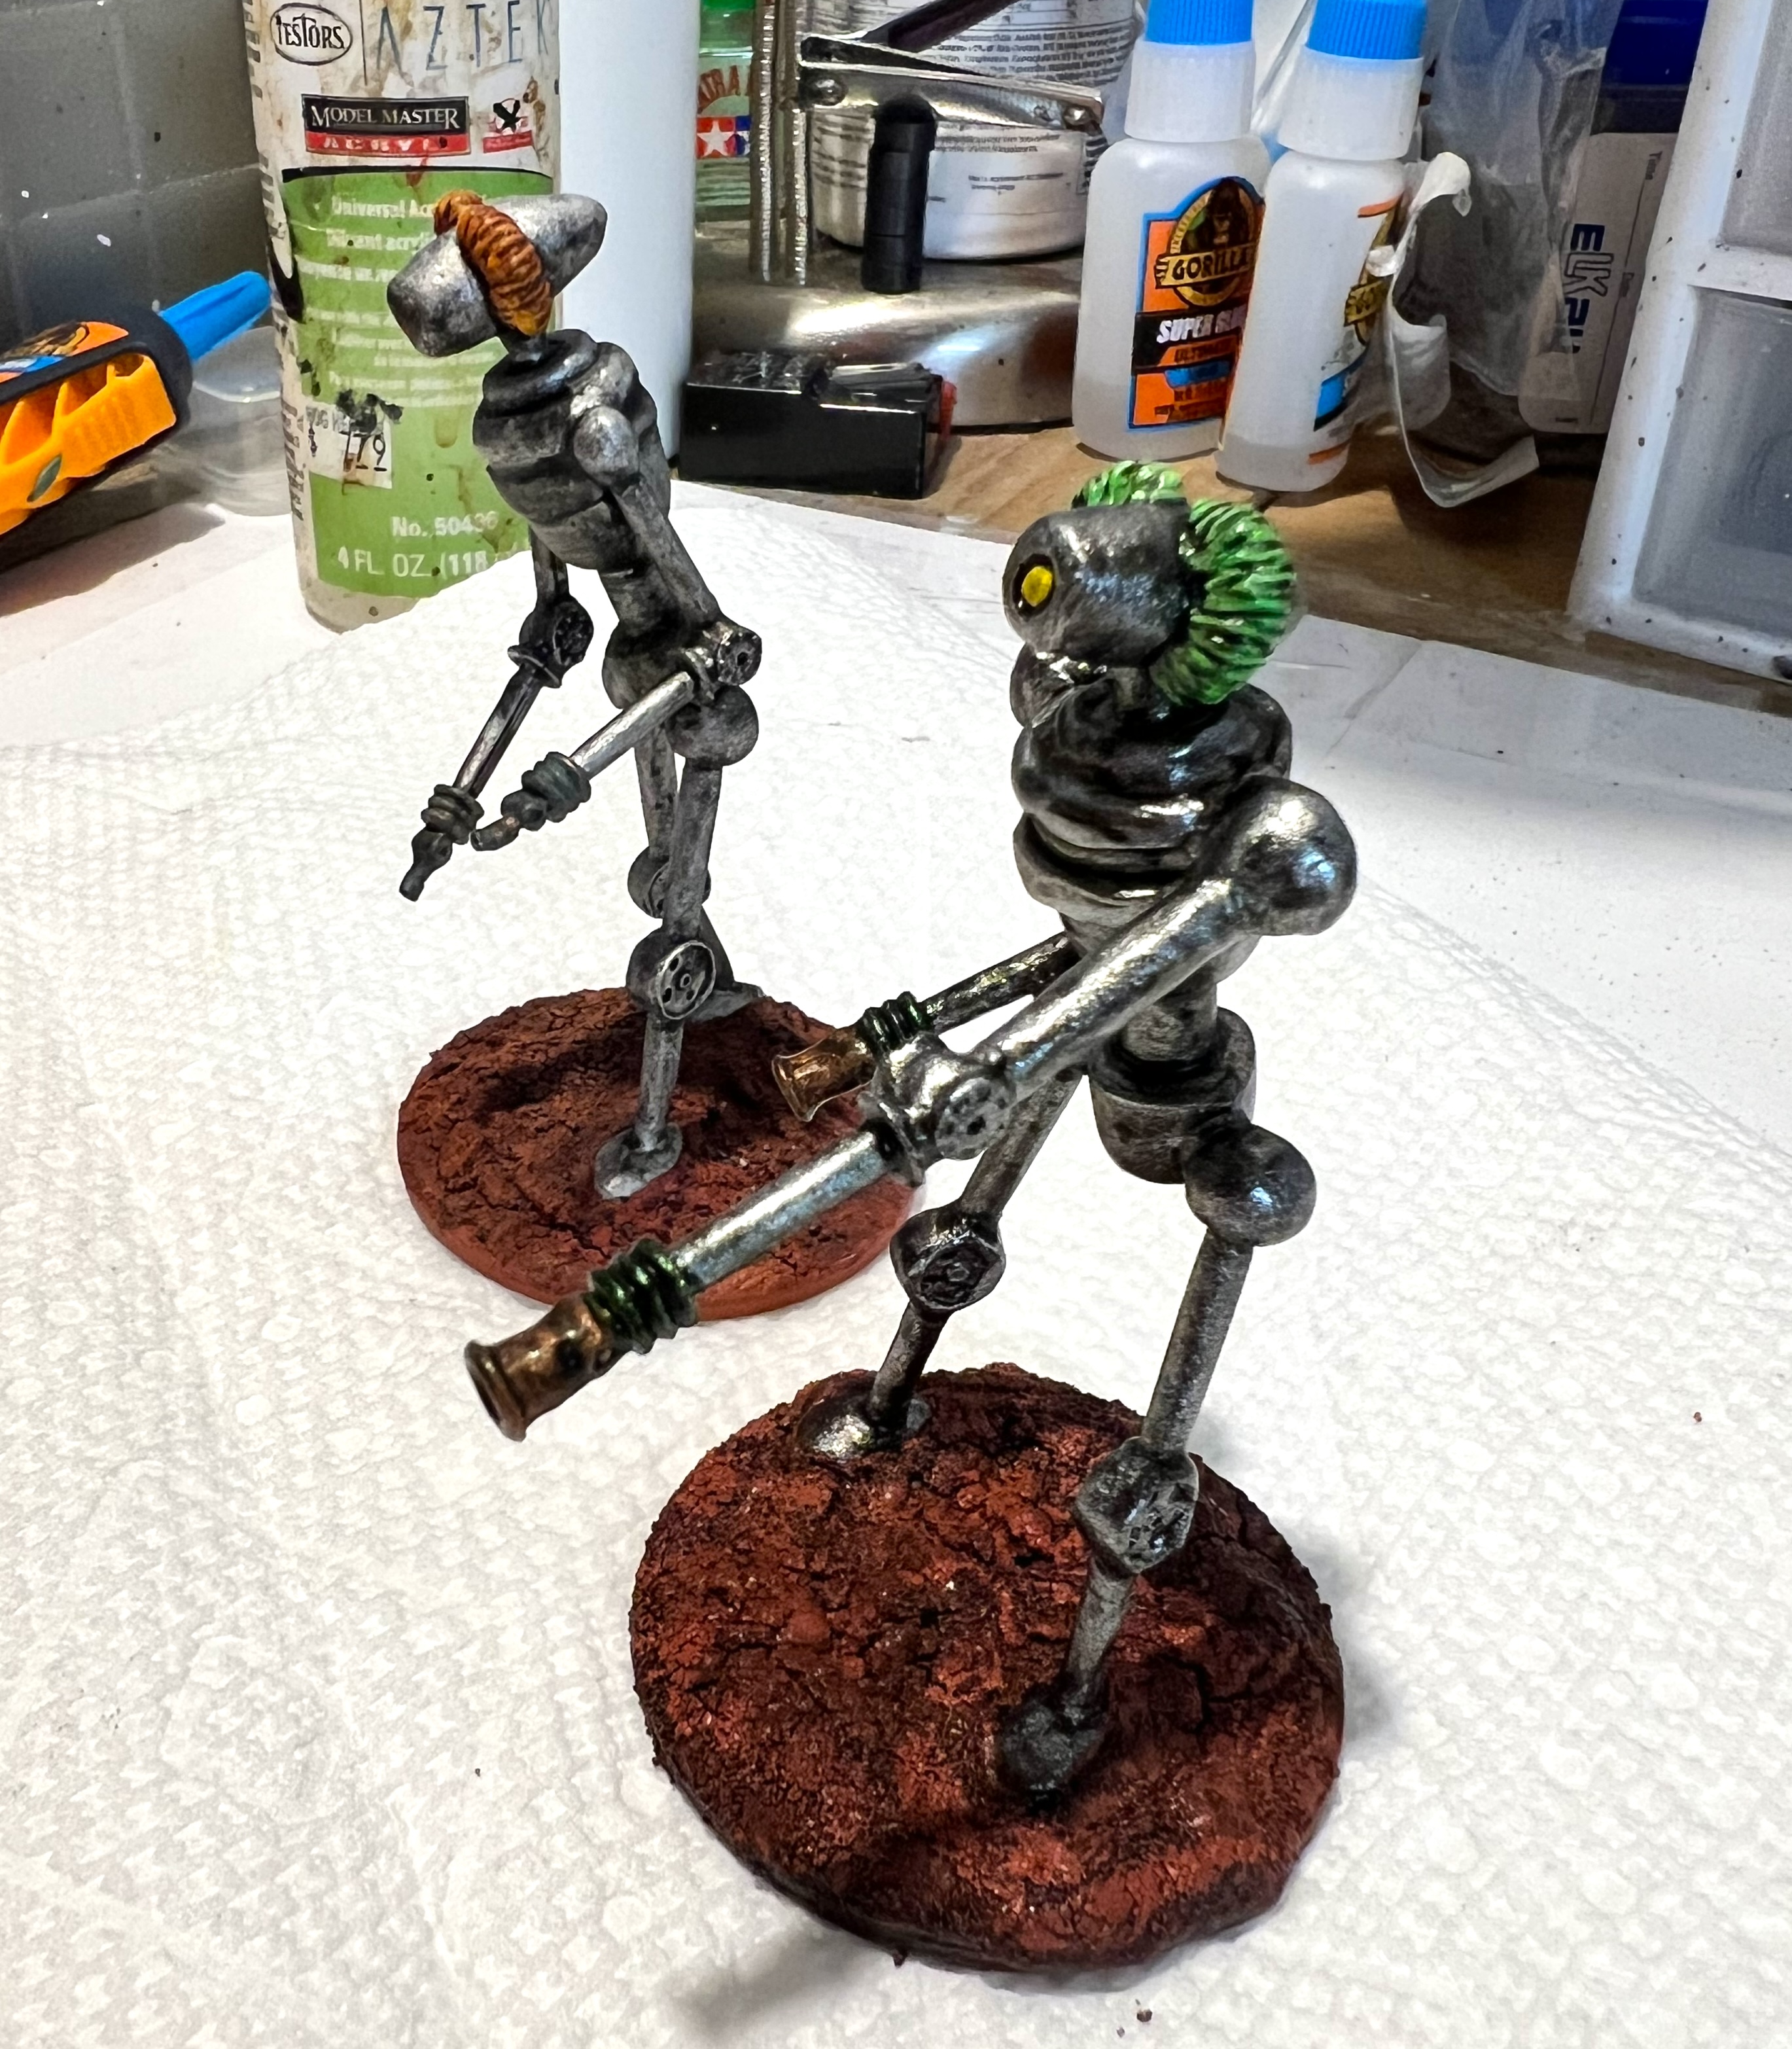
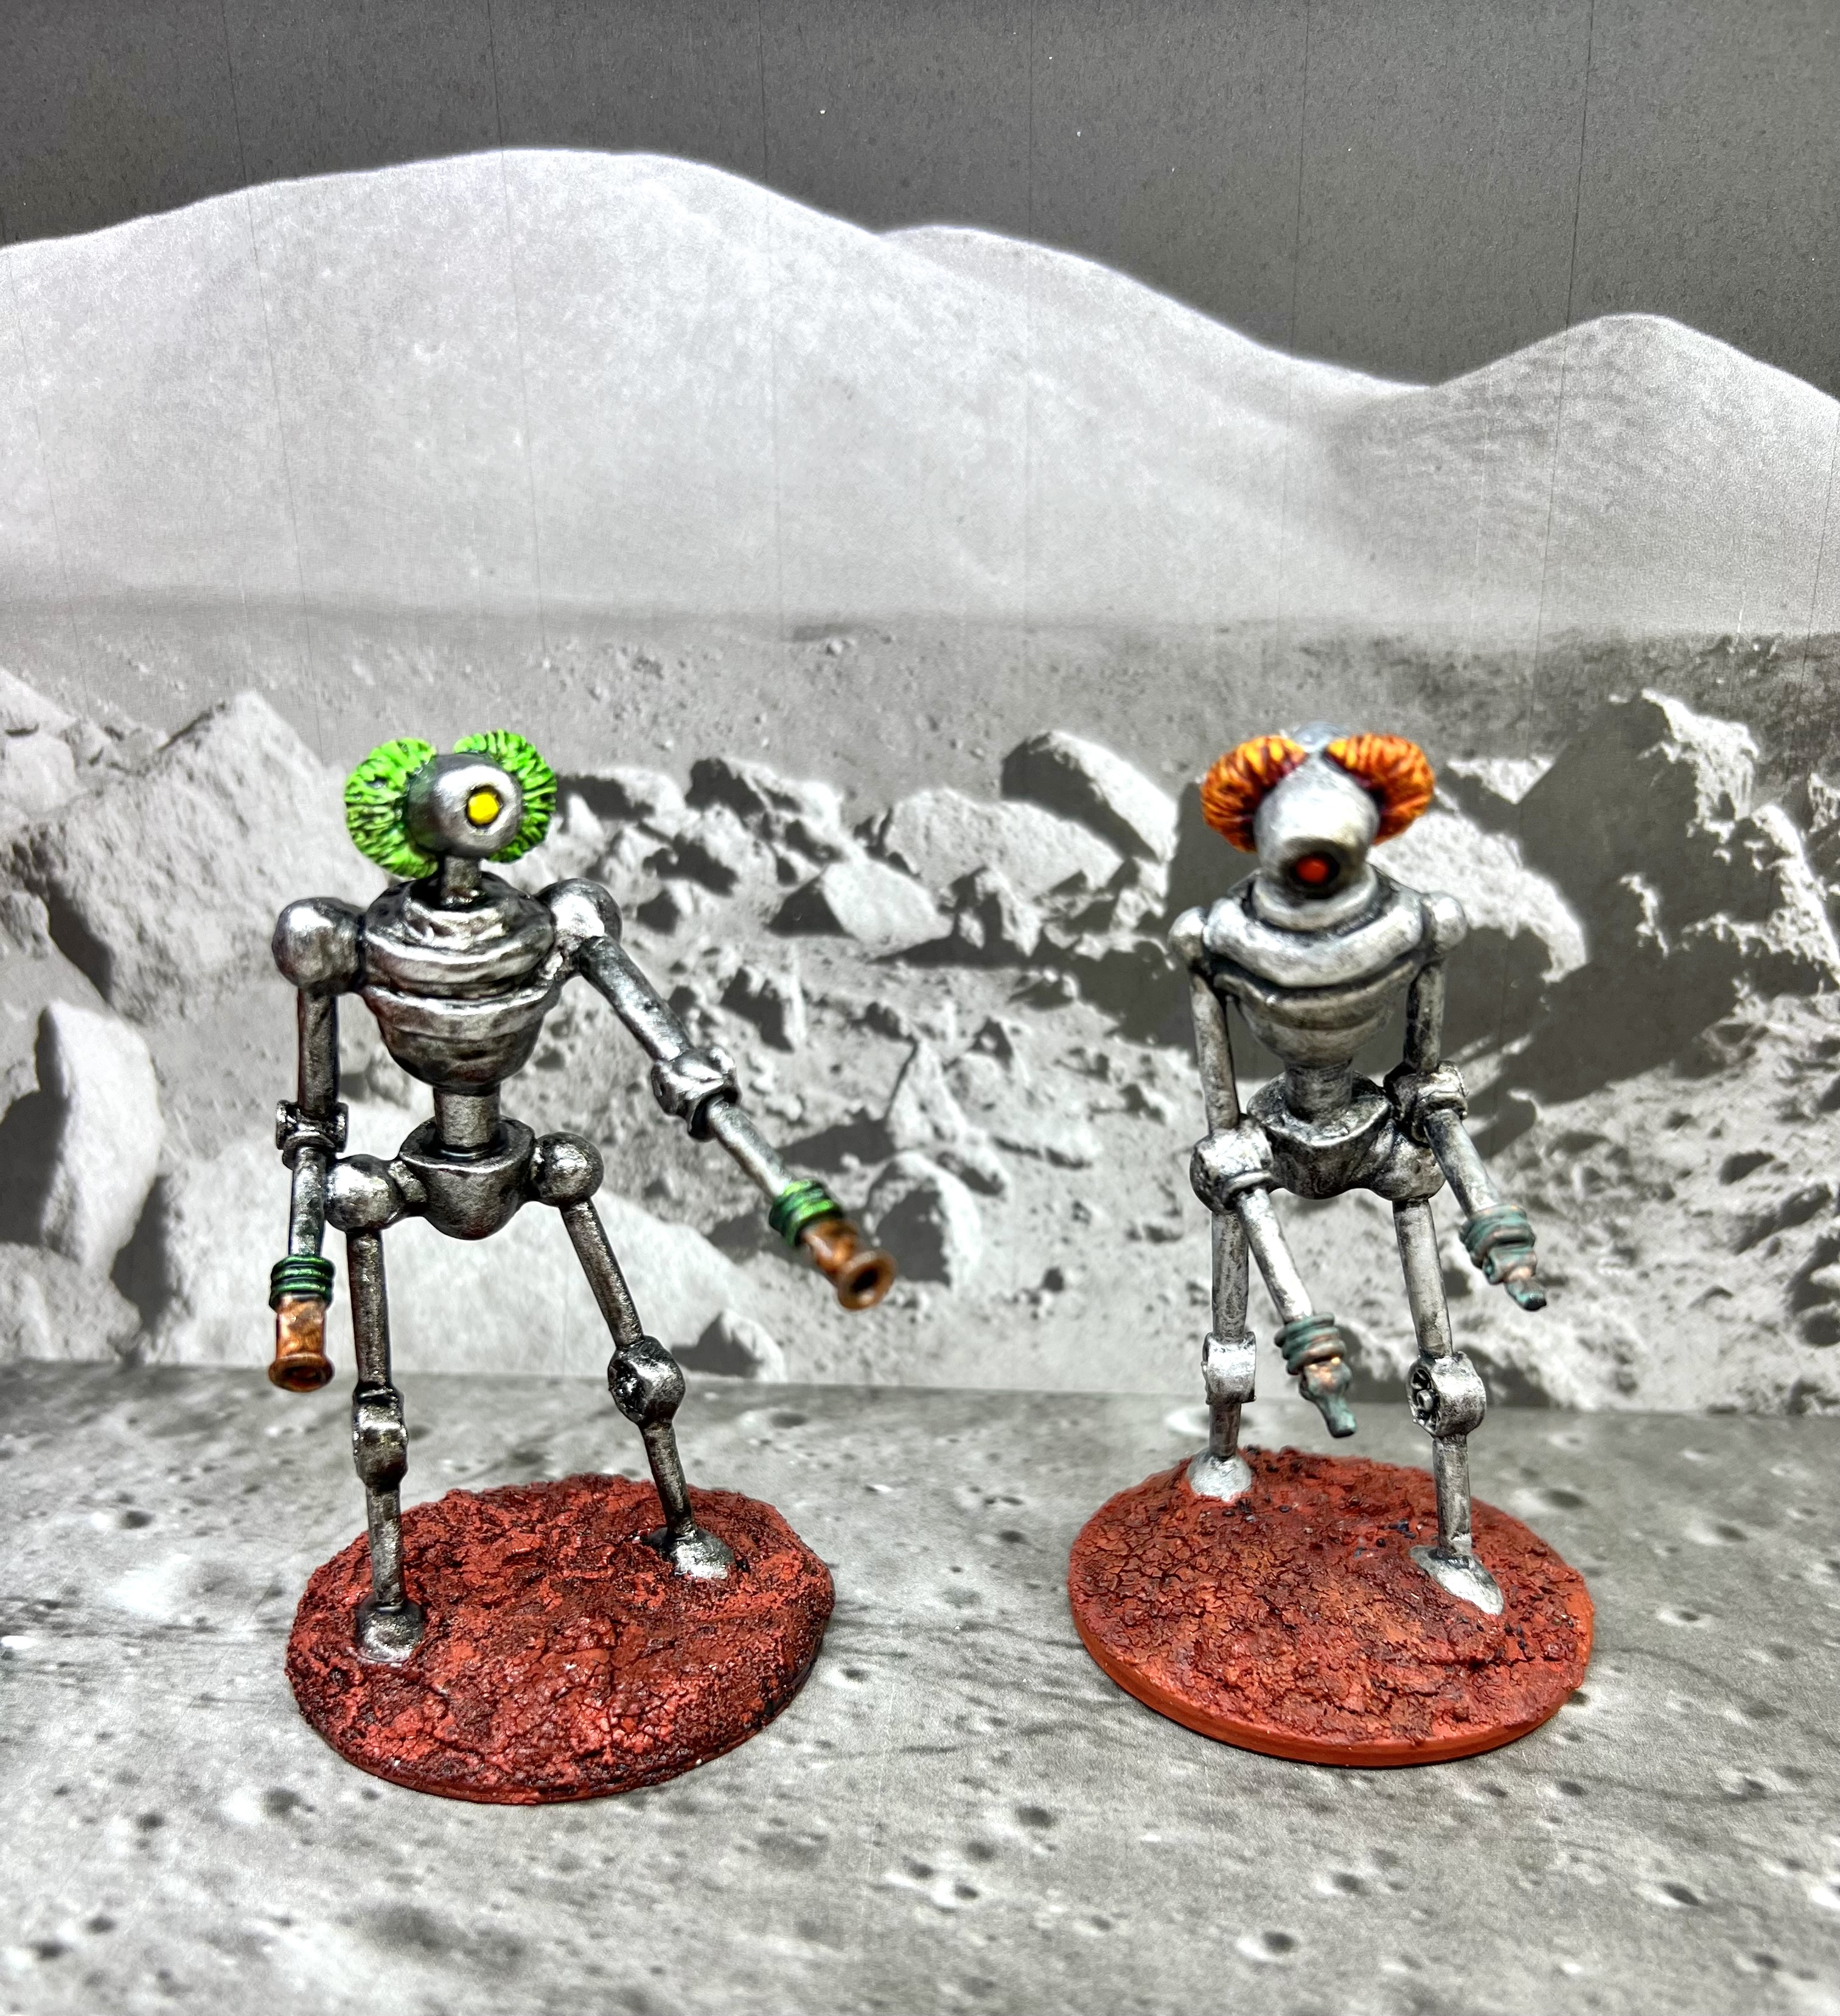
I removed the figure from the poster tack-covered specimen jar. Below some comparative shots of both Roberkers.
Eye Candy
Here are some eye candy shots on a moon landscape.
And a shot of the pair:
Oh yeah, I did promise you a video!
I love the old J. Geils Band song, “Flamethrower” – which I chose as a theme here. I did see the band in 1982 at Eisenhower Hall at West Point before they broke up at the height of their success.
Once again, I have to say that my inspiration to work on retro-sci fi stuff again came by way of the Combat Patrol WWIITM Retro Sci-Fi games that I ran at 4 conventions earlier this year. You can see those games at the following blog links: Cold Wars 2026, TotalCon 2026, and Huzzah 2026. They are really fun and a nice return to a genre that I really enjoyed.
Background Information on the Figure
Archive stopped producing figures in the early 1980’s and sold off its molds. According to Lost Minis Wiki:
Archive was probably run by Barbara and Nevile Stocken[1], this American company produced a wide variety of figures, many of which have been kept in production through other companies down the years. In the early 1980s they closed up and were superseded by R*kiiv.
I don’t know how many Roberkers are still out there – but I have two!
As always, I would love to hear your thoughts on this rehab – reconstruction-resurrection project. What do you think or know about Roberker?
The comments section awaits your opinions! Join the conversation!
Finally, below are a list of some references and links that might also be of interest. I use them to refer to when I forget painting schemes that I want to replicate – like Roberker’s!
References:
For a consolidated list of links for any of my previous “Old School Miniatures” blog posts, please see this page here.
This project was a lot of fun! It allowed me to be creative and model something a bit different than just painting up a standard vehicle or unit of miniature troops. Retro sci-fi is a great genre to do just that.
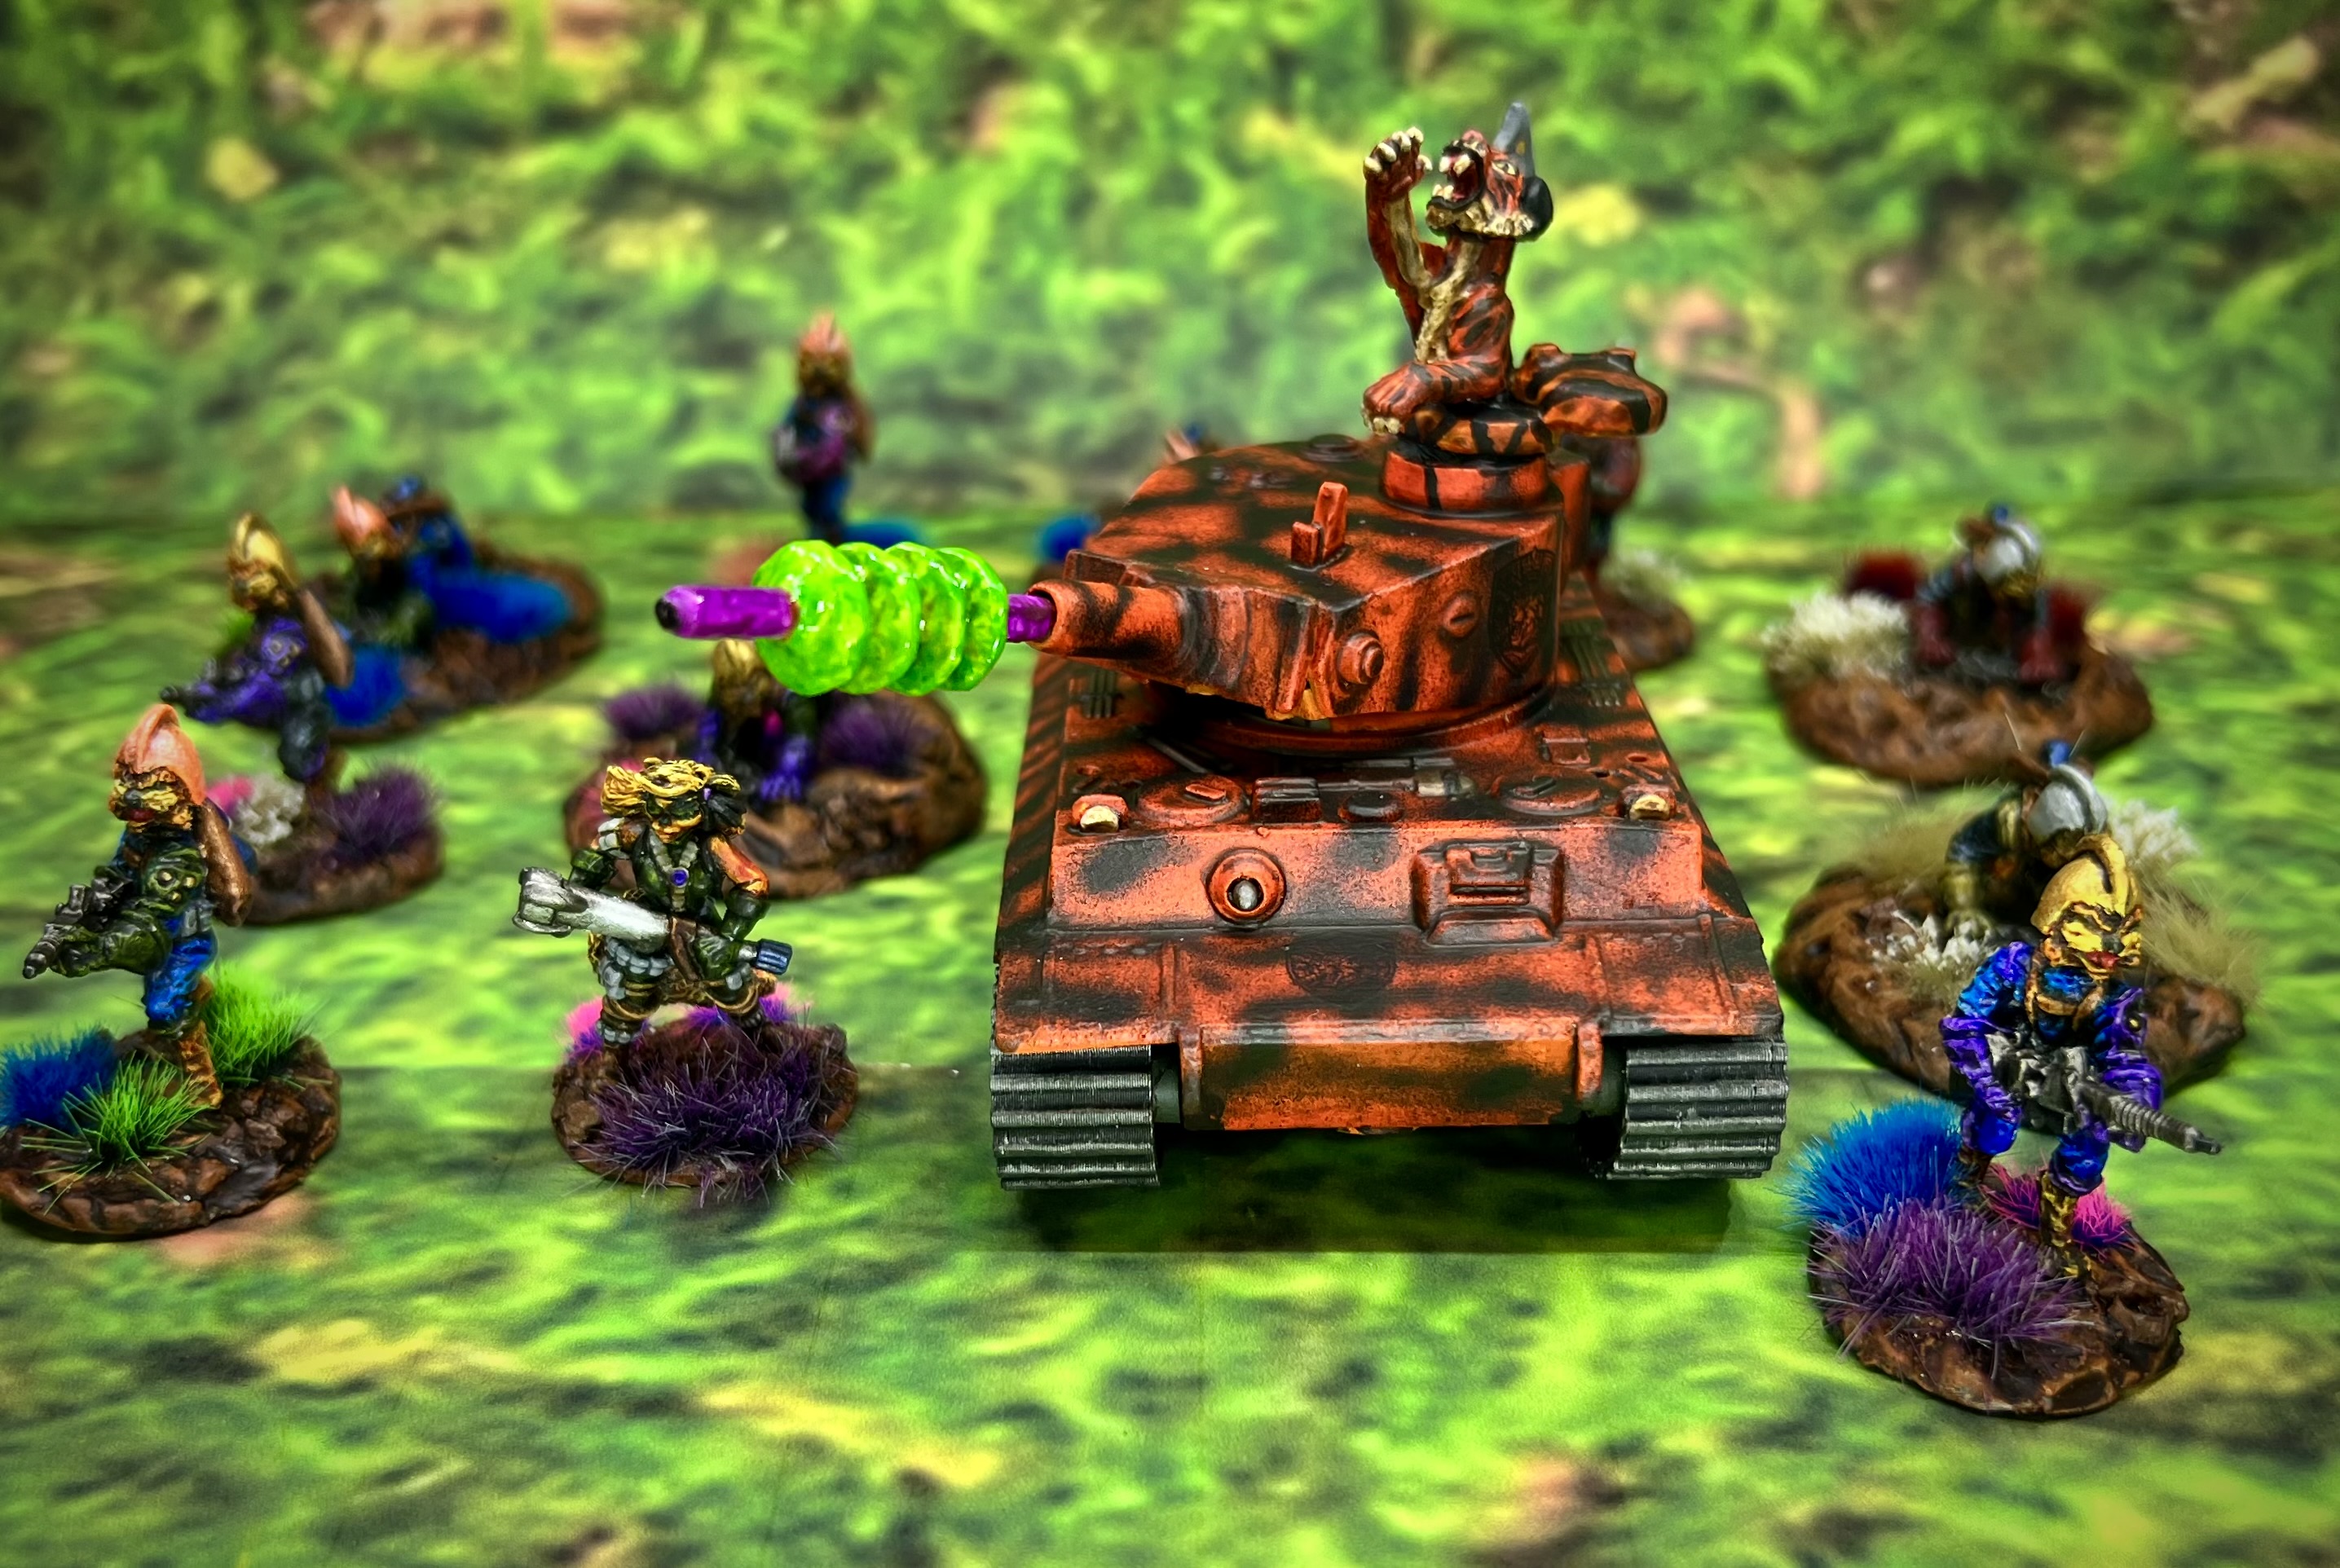
Infantry need armored support in the retro sci-fi universe! I mentioned in my blog post on the Felynxii Imperial Scouts that I had a concept of adding armor to their force. I use Buck Surdu’s Combat PatrolTM WWII rules with my retro sci-fi modifications for these tabletop games. But, how to add an armored element?
First, let’s look at obvious inspirations – many vehicles have been given cat-like names. The US had the M10 Hellcat tank destroyer, The Germans have had many from the Luchs (lynx), Puma, Leopards, Panther, and … two types of TIGER!
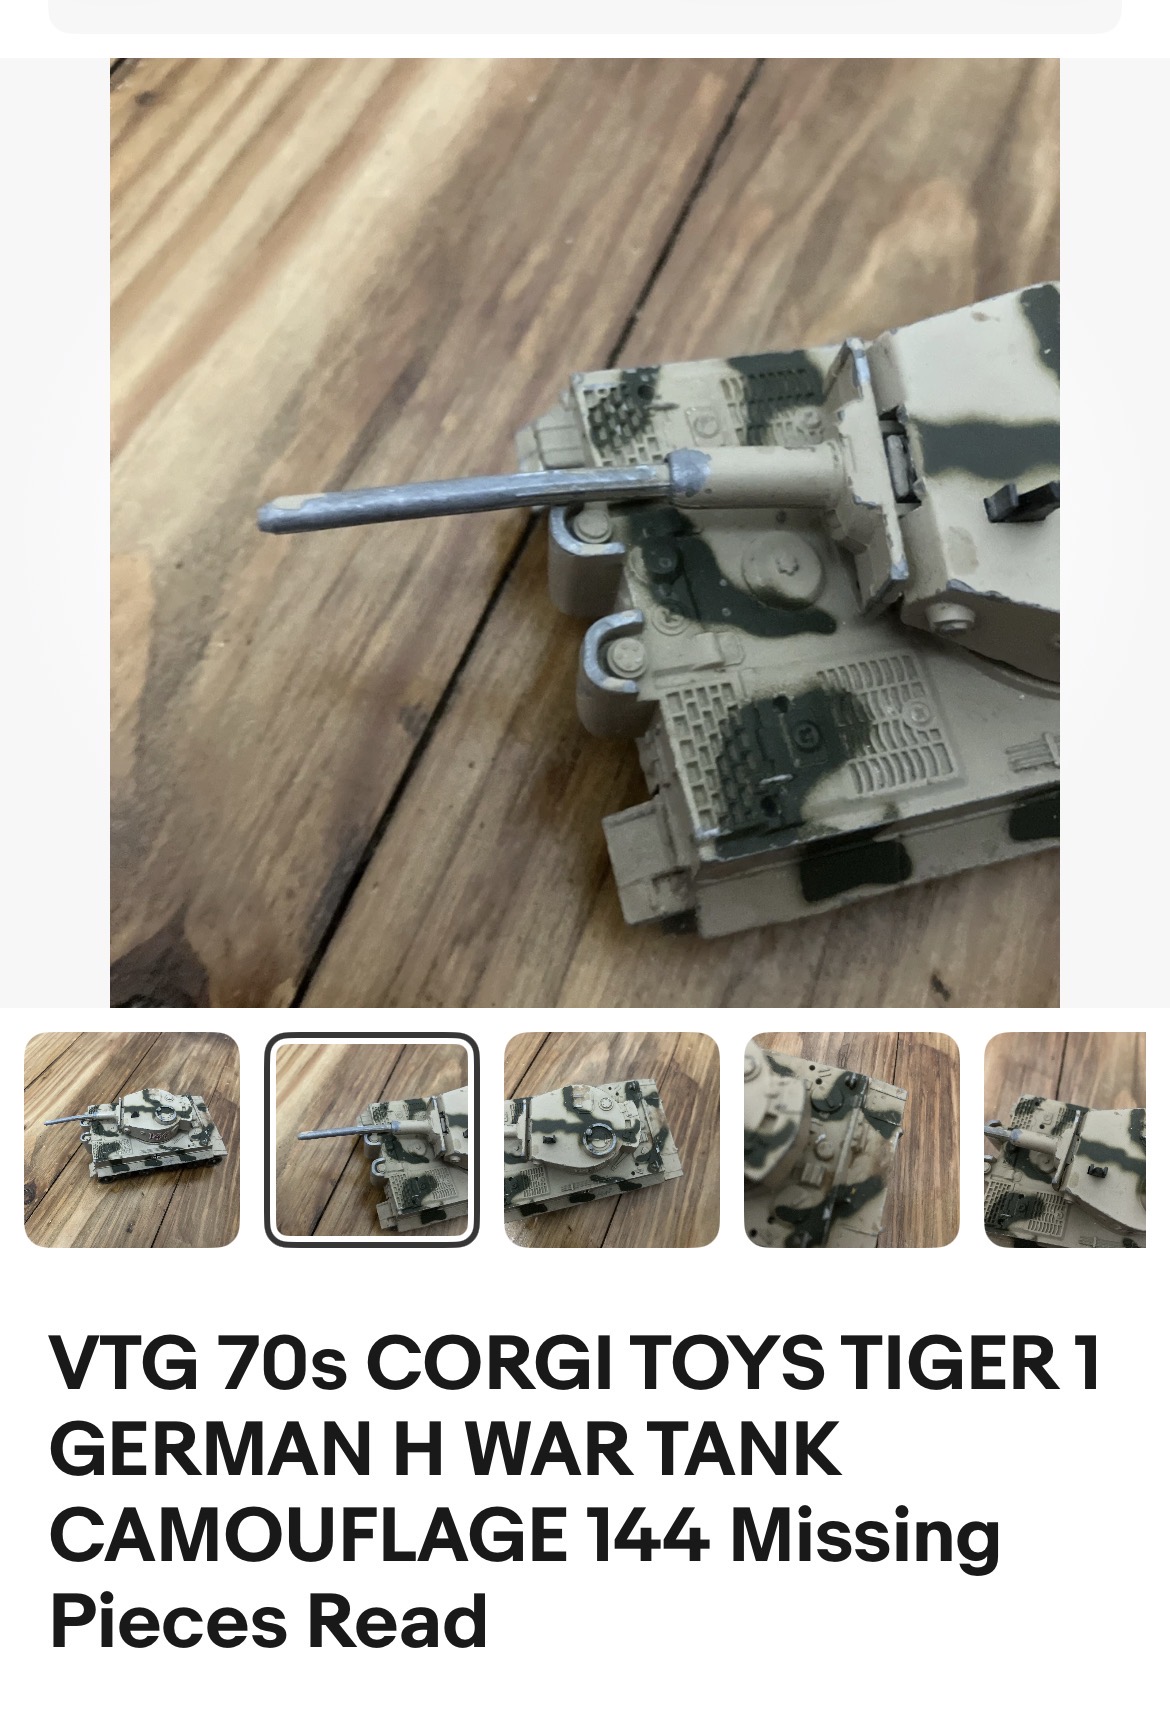
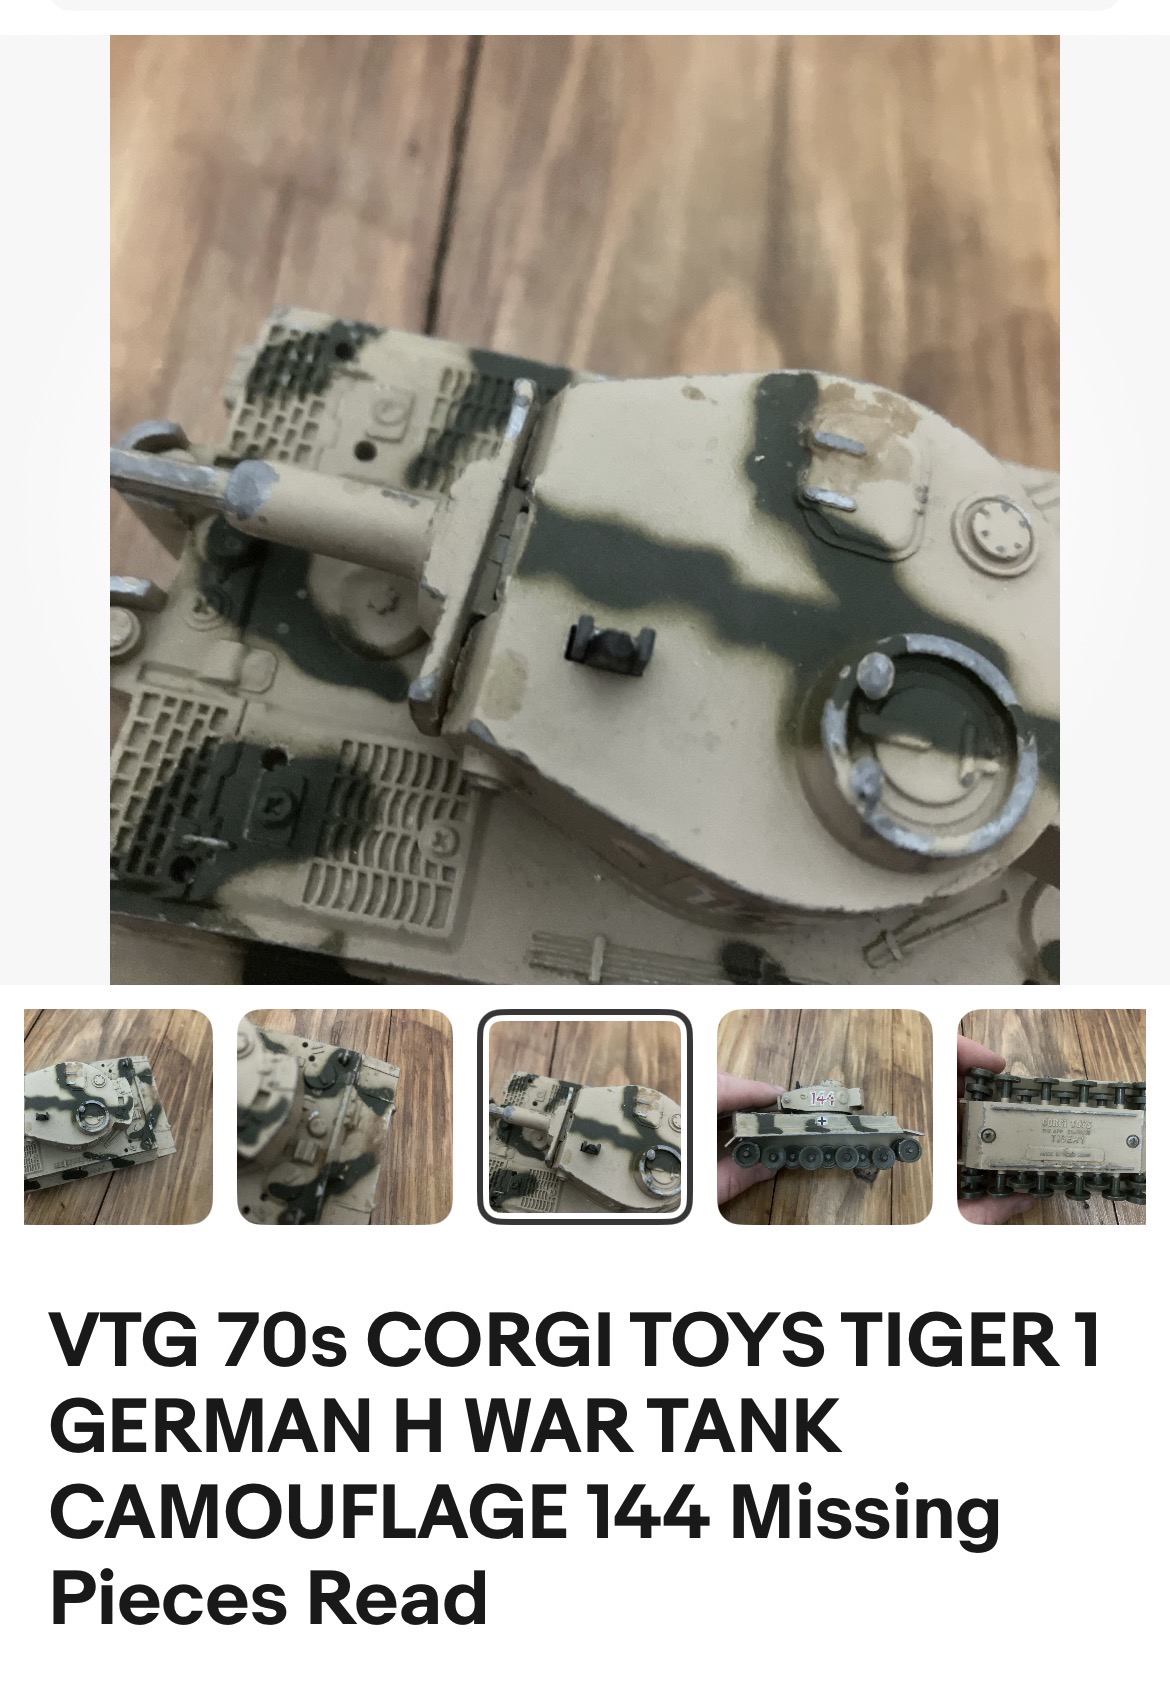
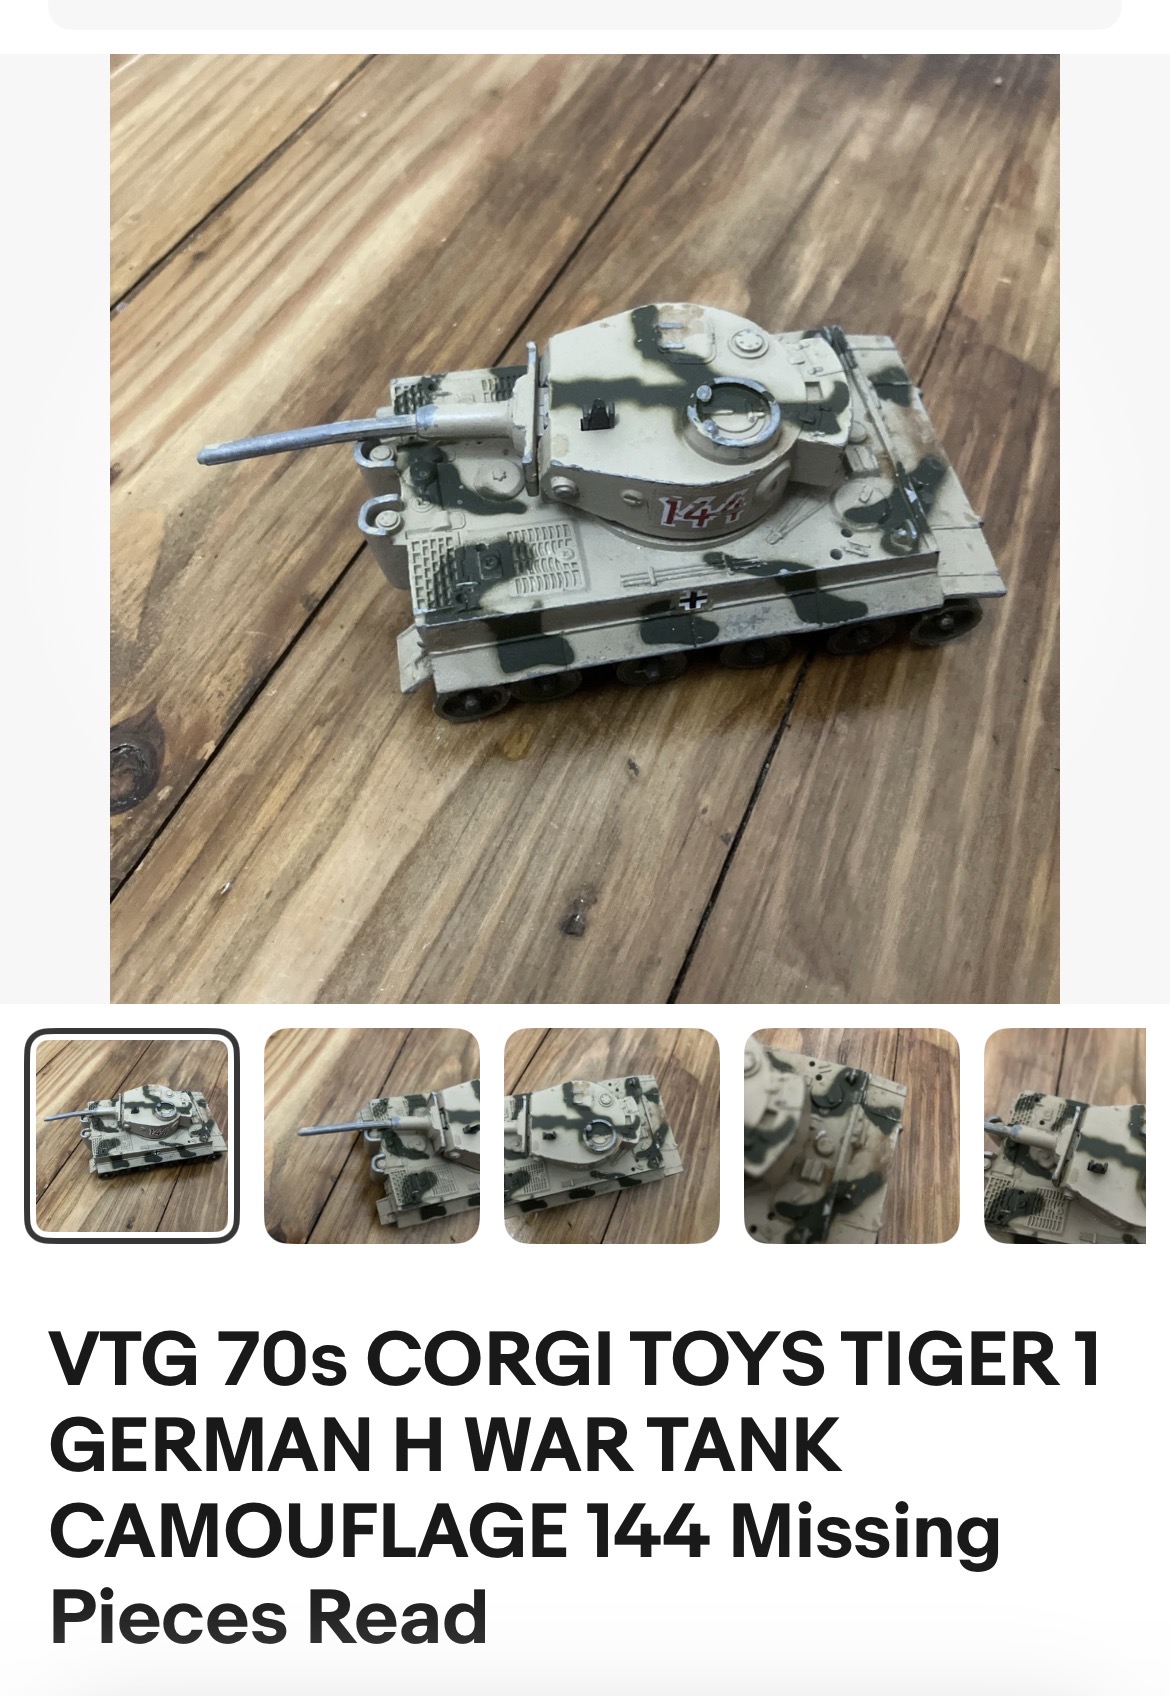
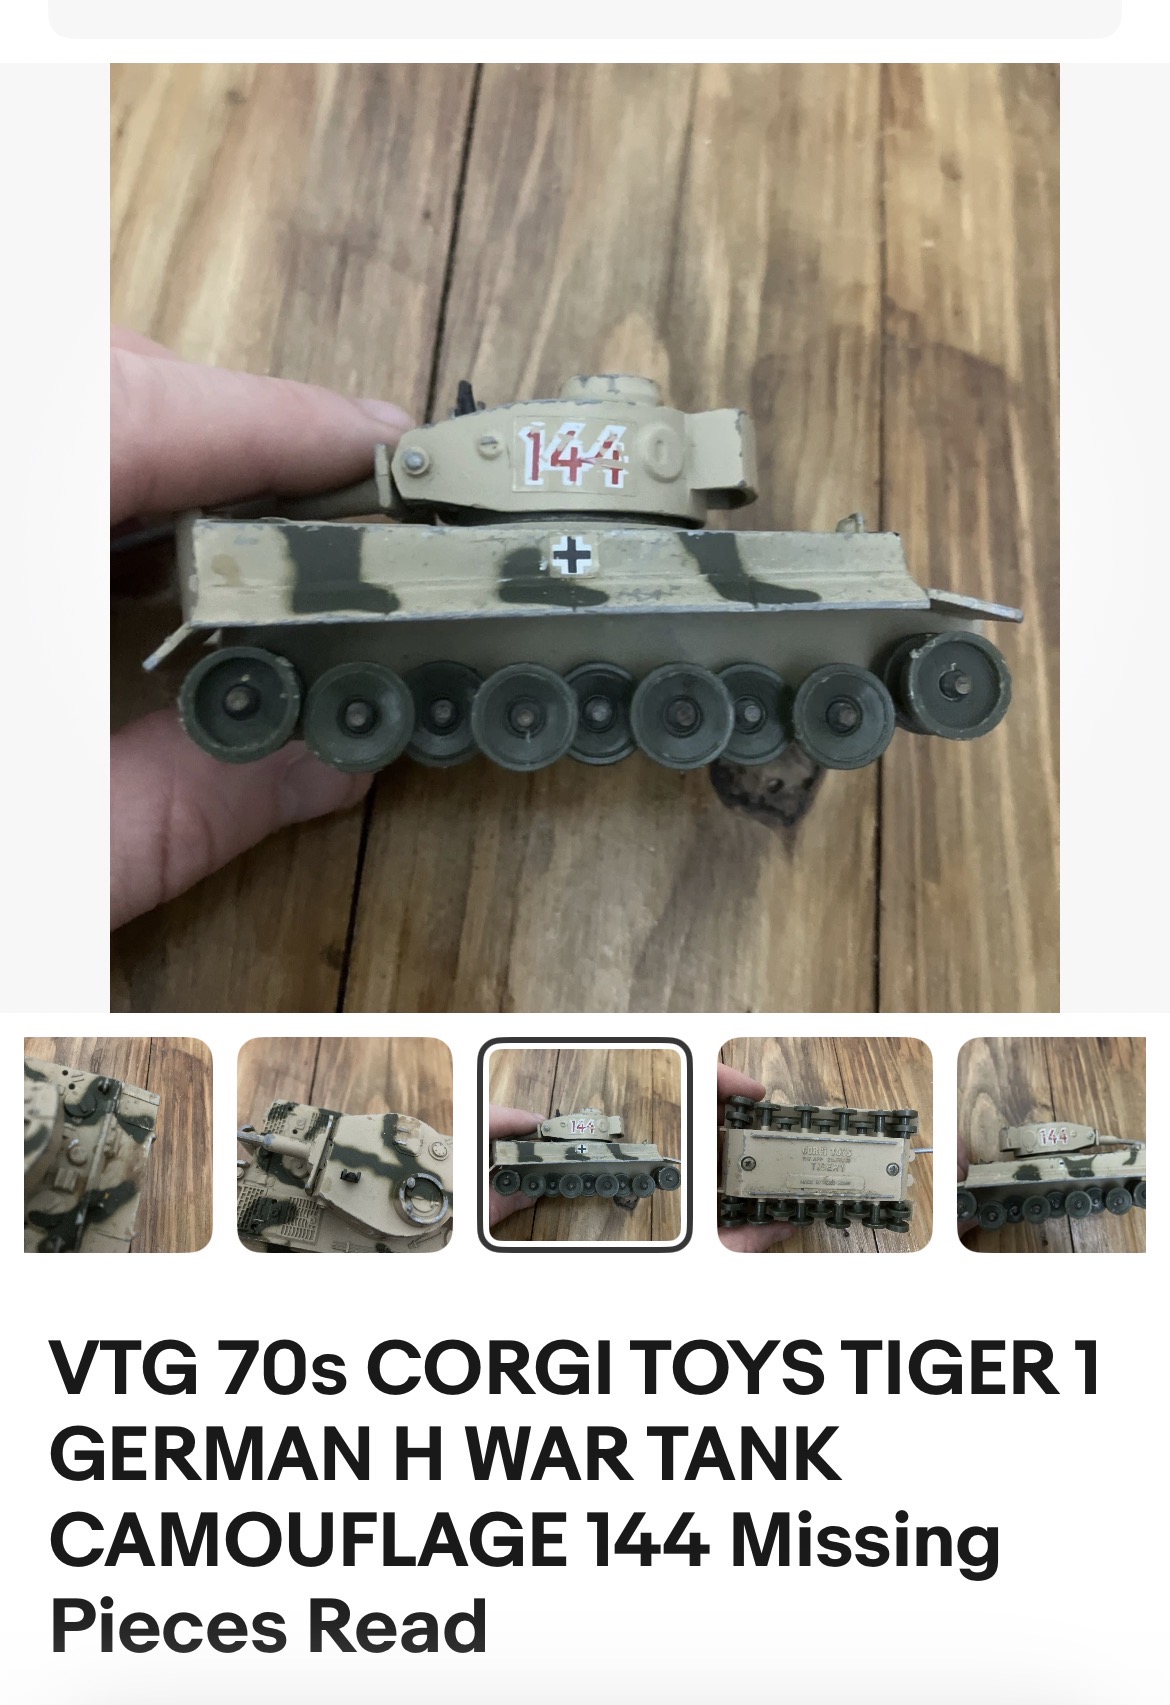
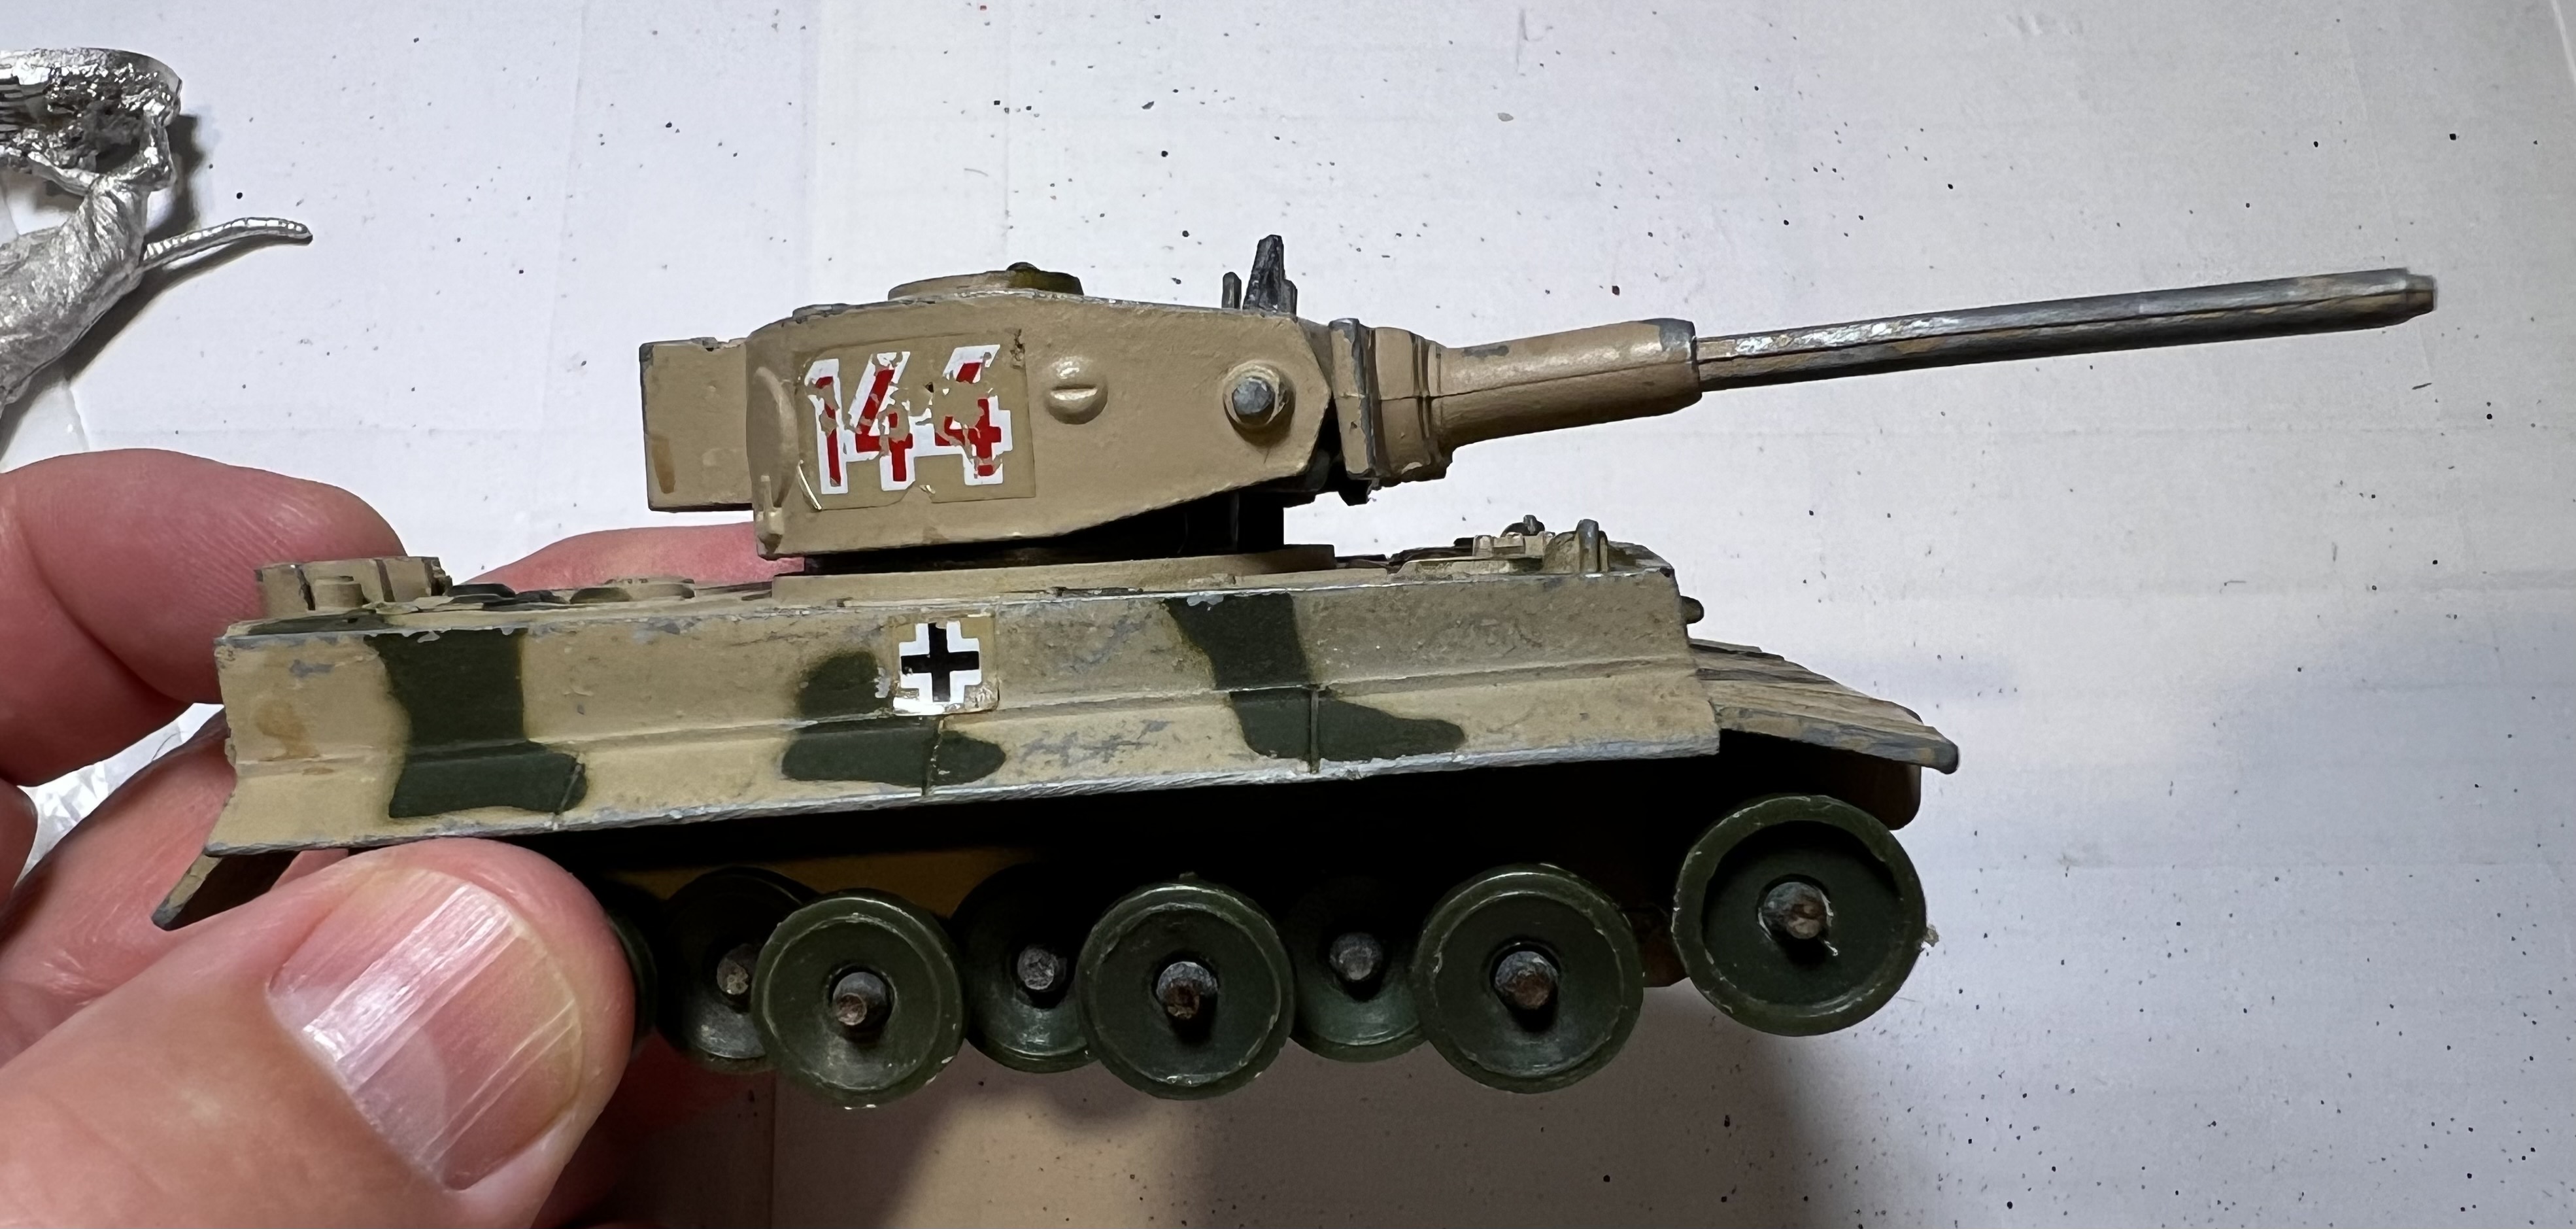
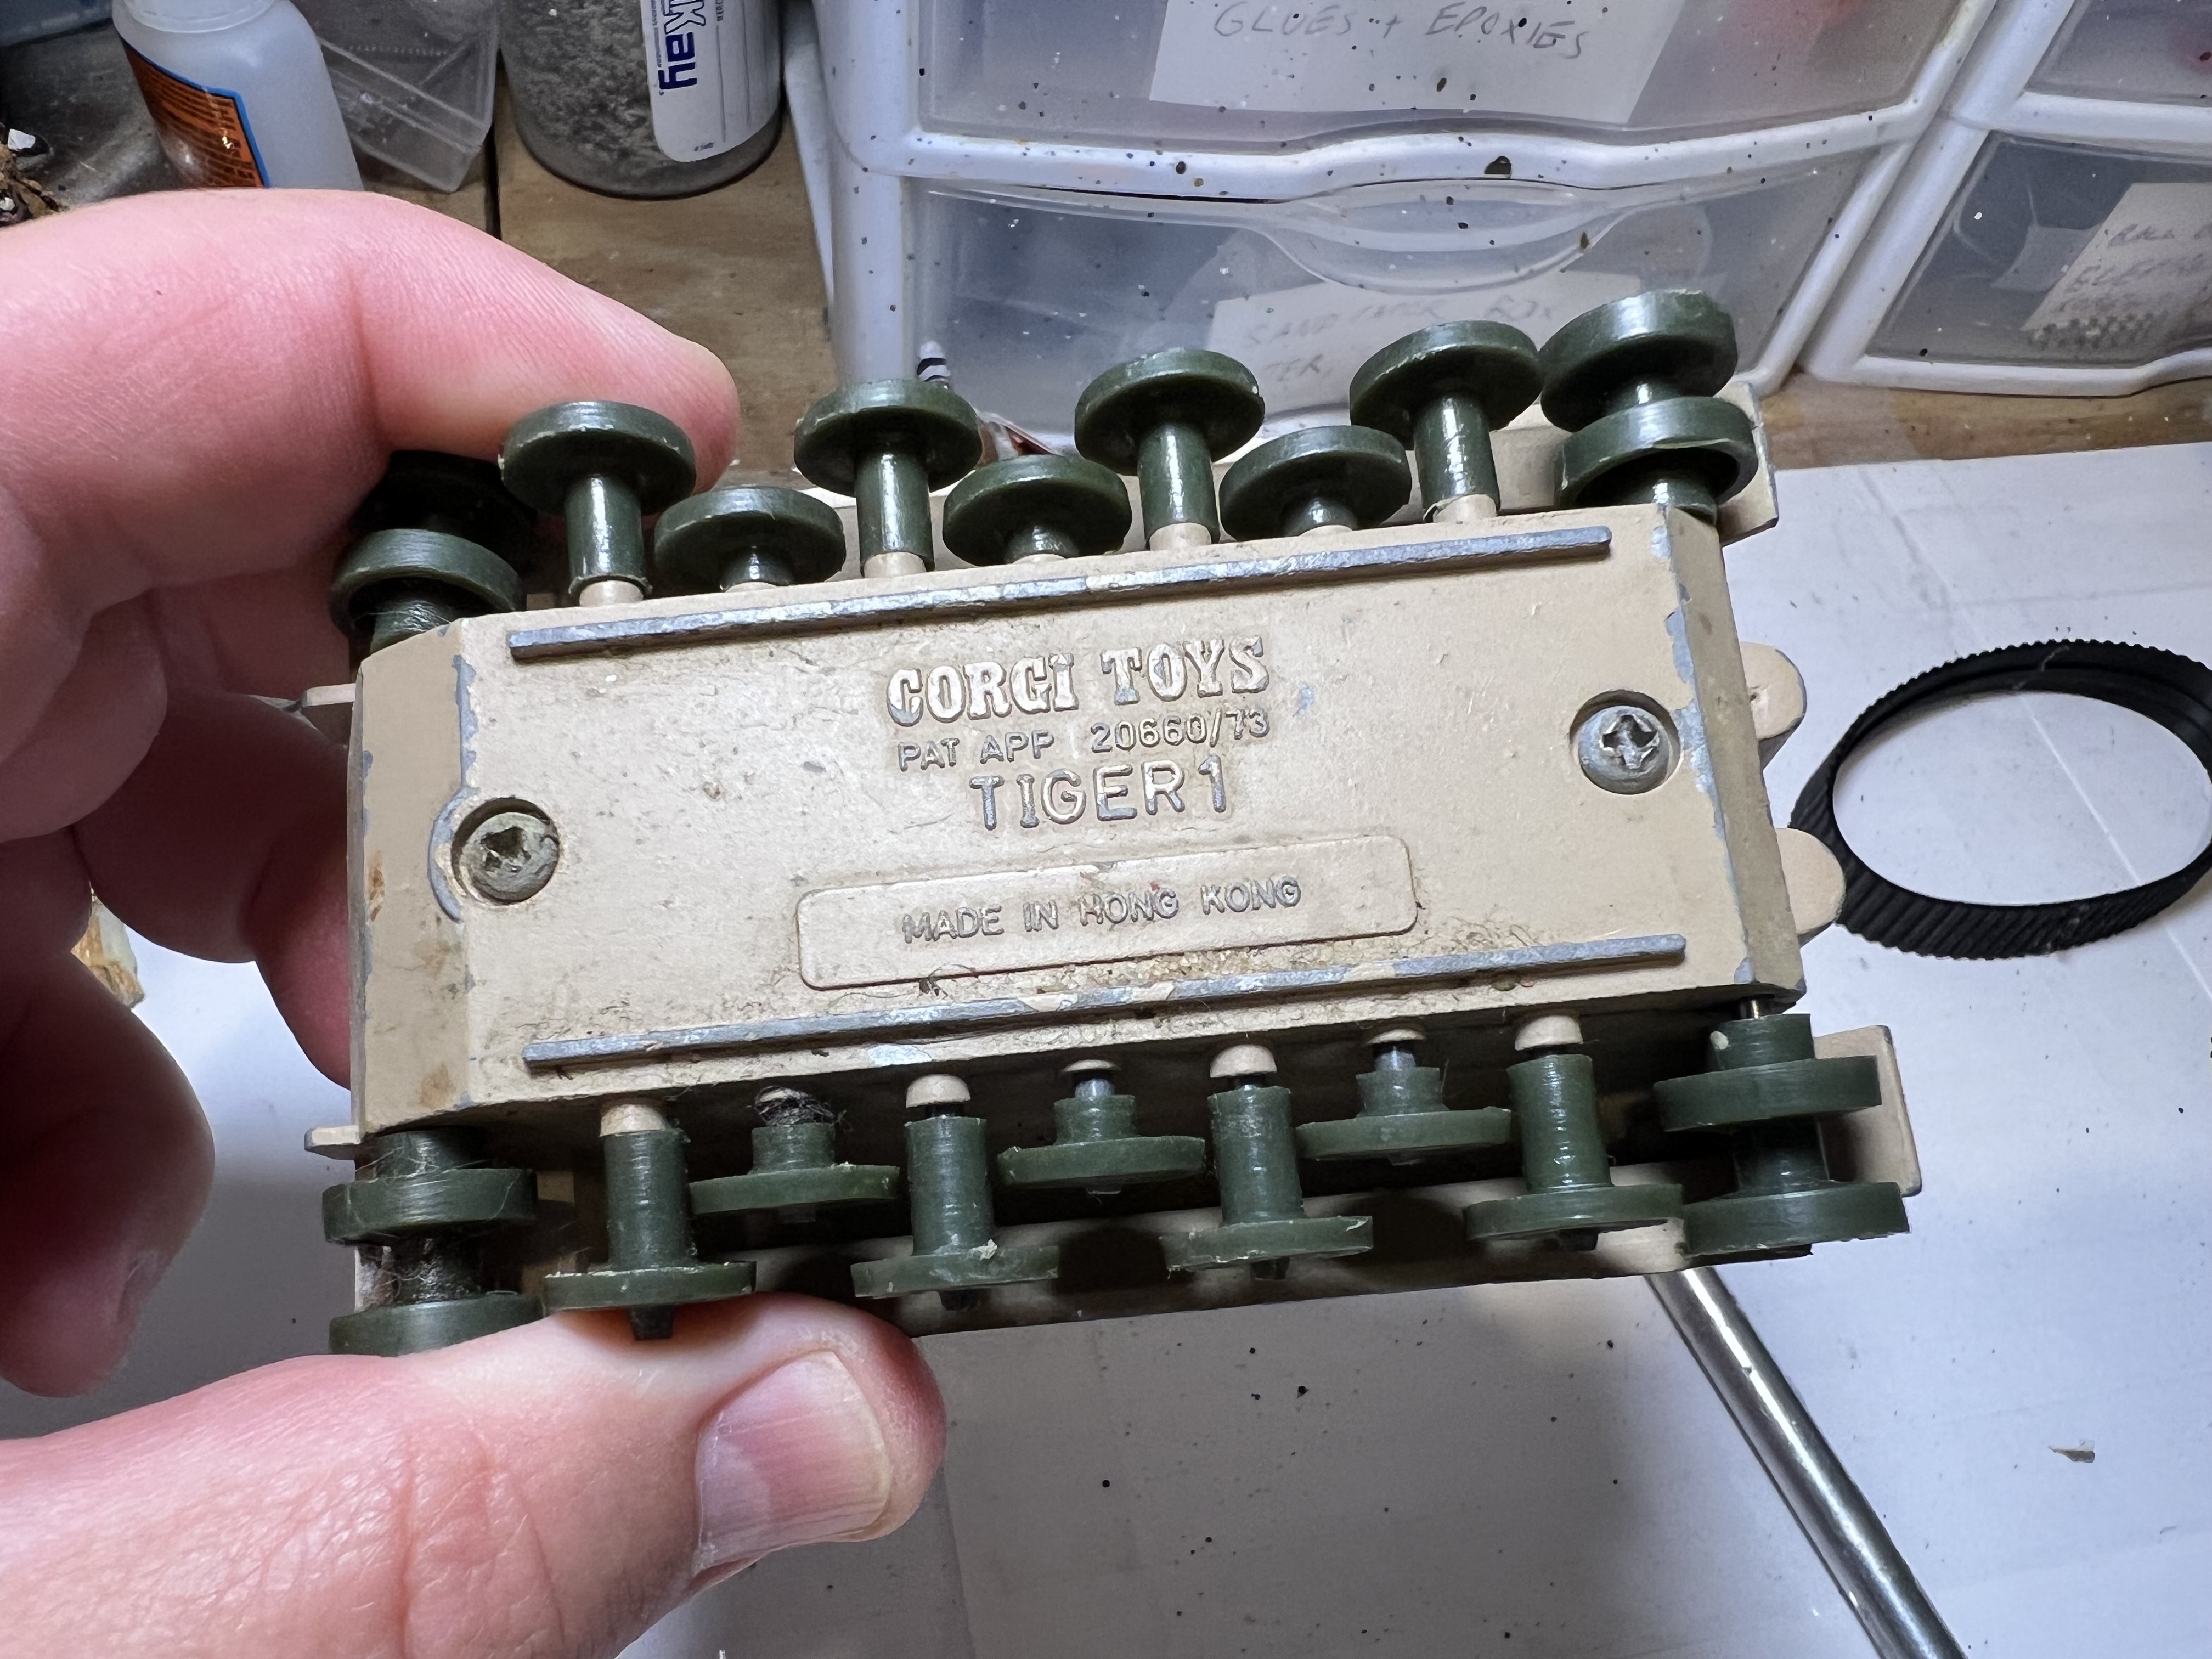
So I began my search for a suitable toy tank or model to use that was of a workable scale. I have read often that some gamers prefer 1:48 scale or 1:56 scale for 28mm game vehicles. I was agnostic on this debate – I just wanted a good feline-inspired tank. Then I saw this old and somewhat beat-up Corgi toy from the 1970’s on eBay.
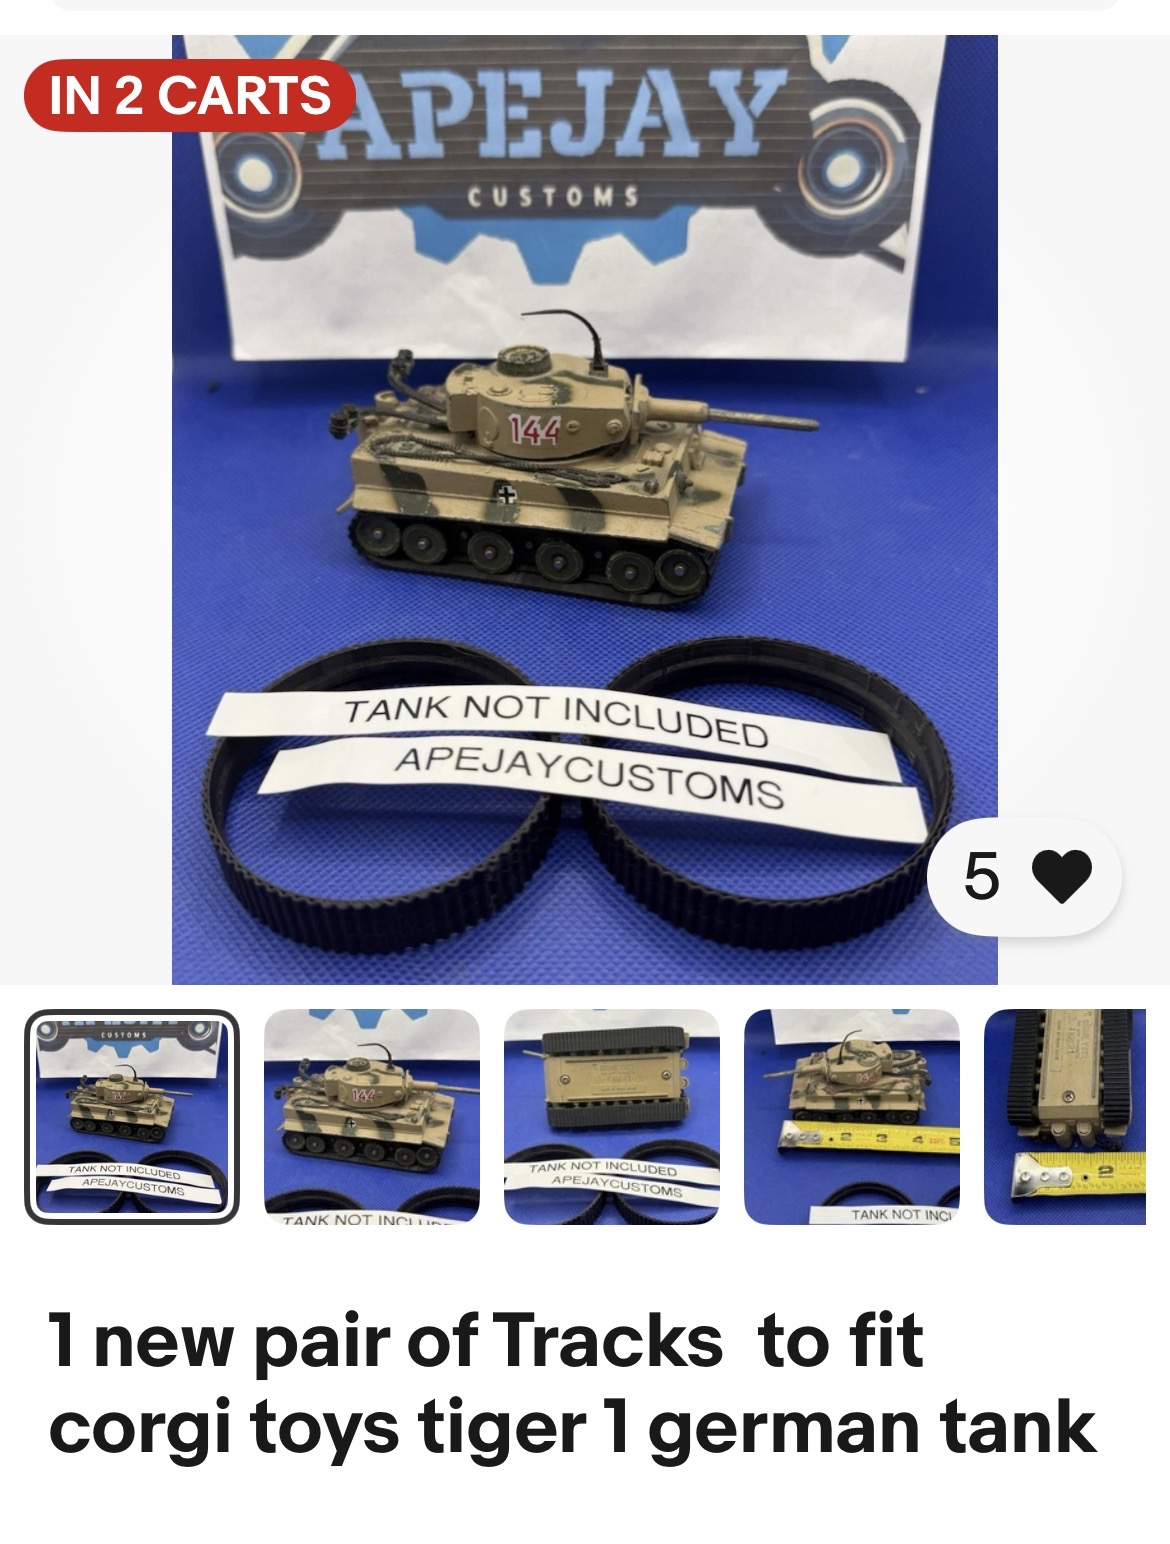
I thought this might work. The Corgi Tiger tank scale was about 1:50 (right in the middle of the two common scales). But I didn’t want to fabricate tracks. Luckily eBay had a seller (apejaycustoms) that 3d-printed tracks for a toy Corgi tank! That’s amazing!
Including shipping, I bought the tank for $12.30 and the tracks for $13.15.
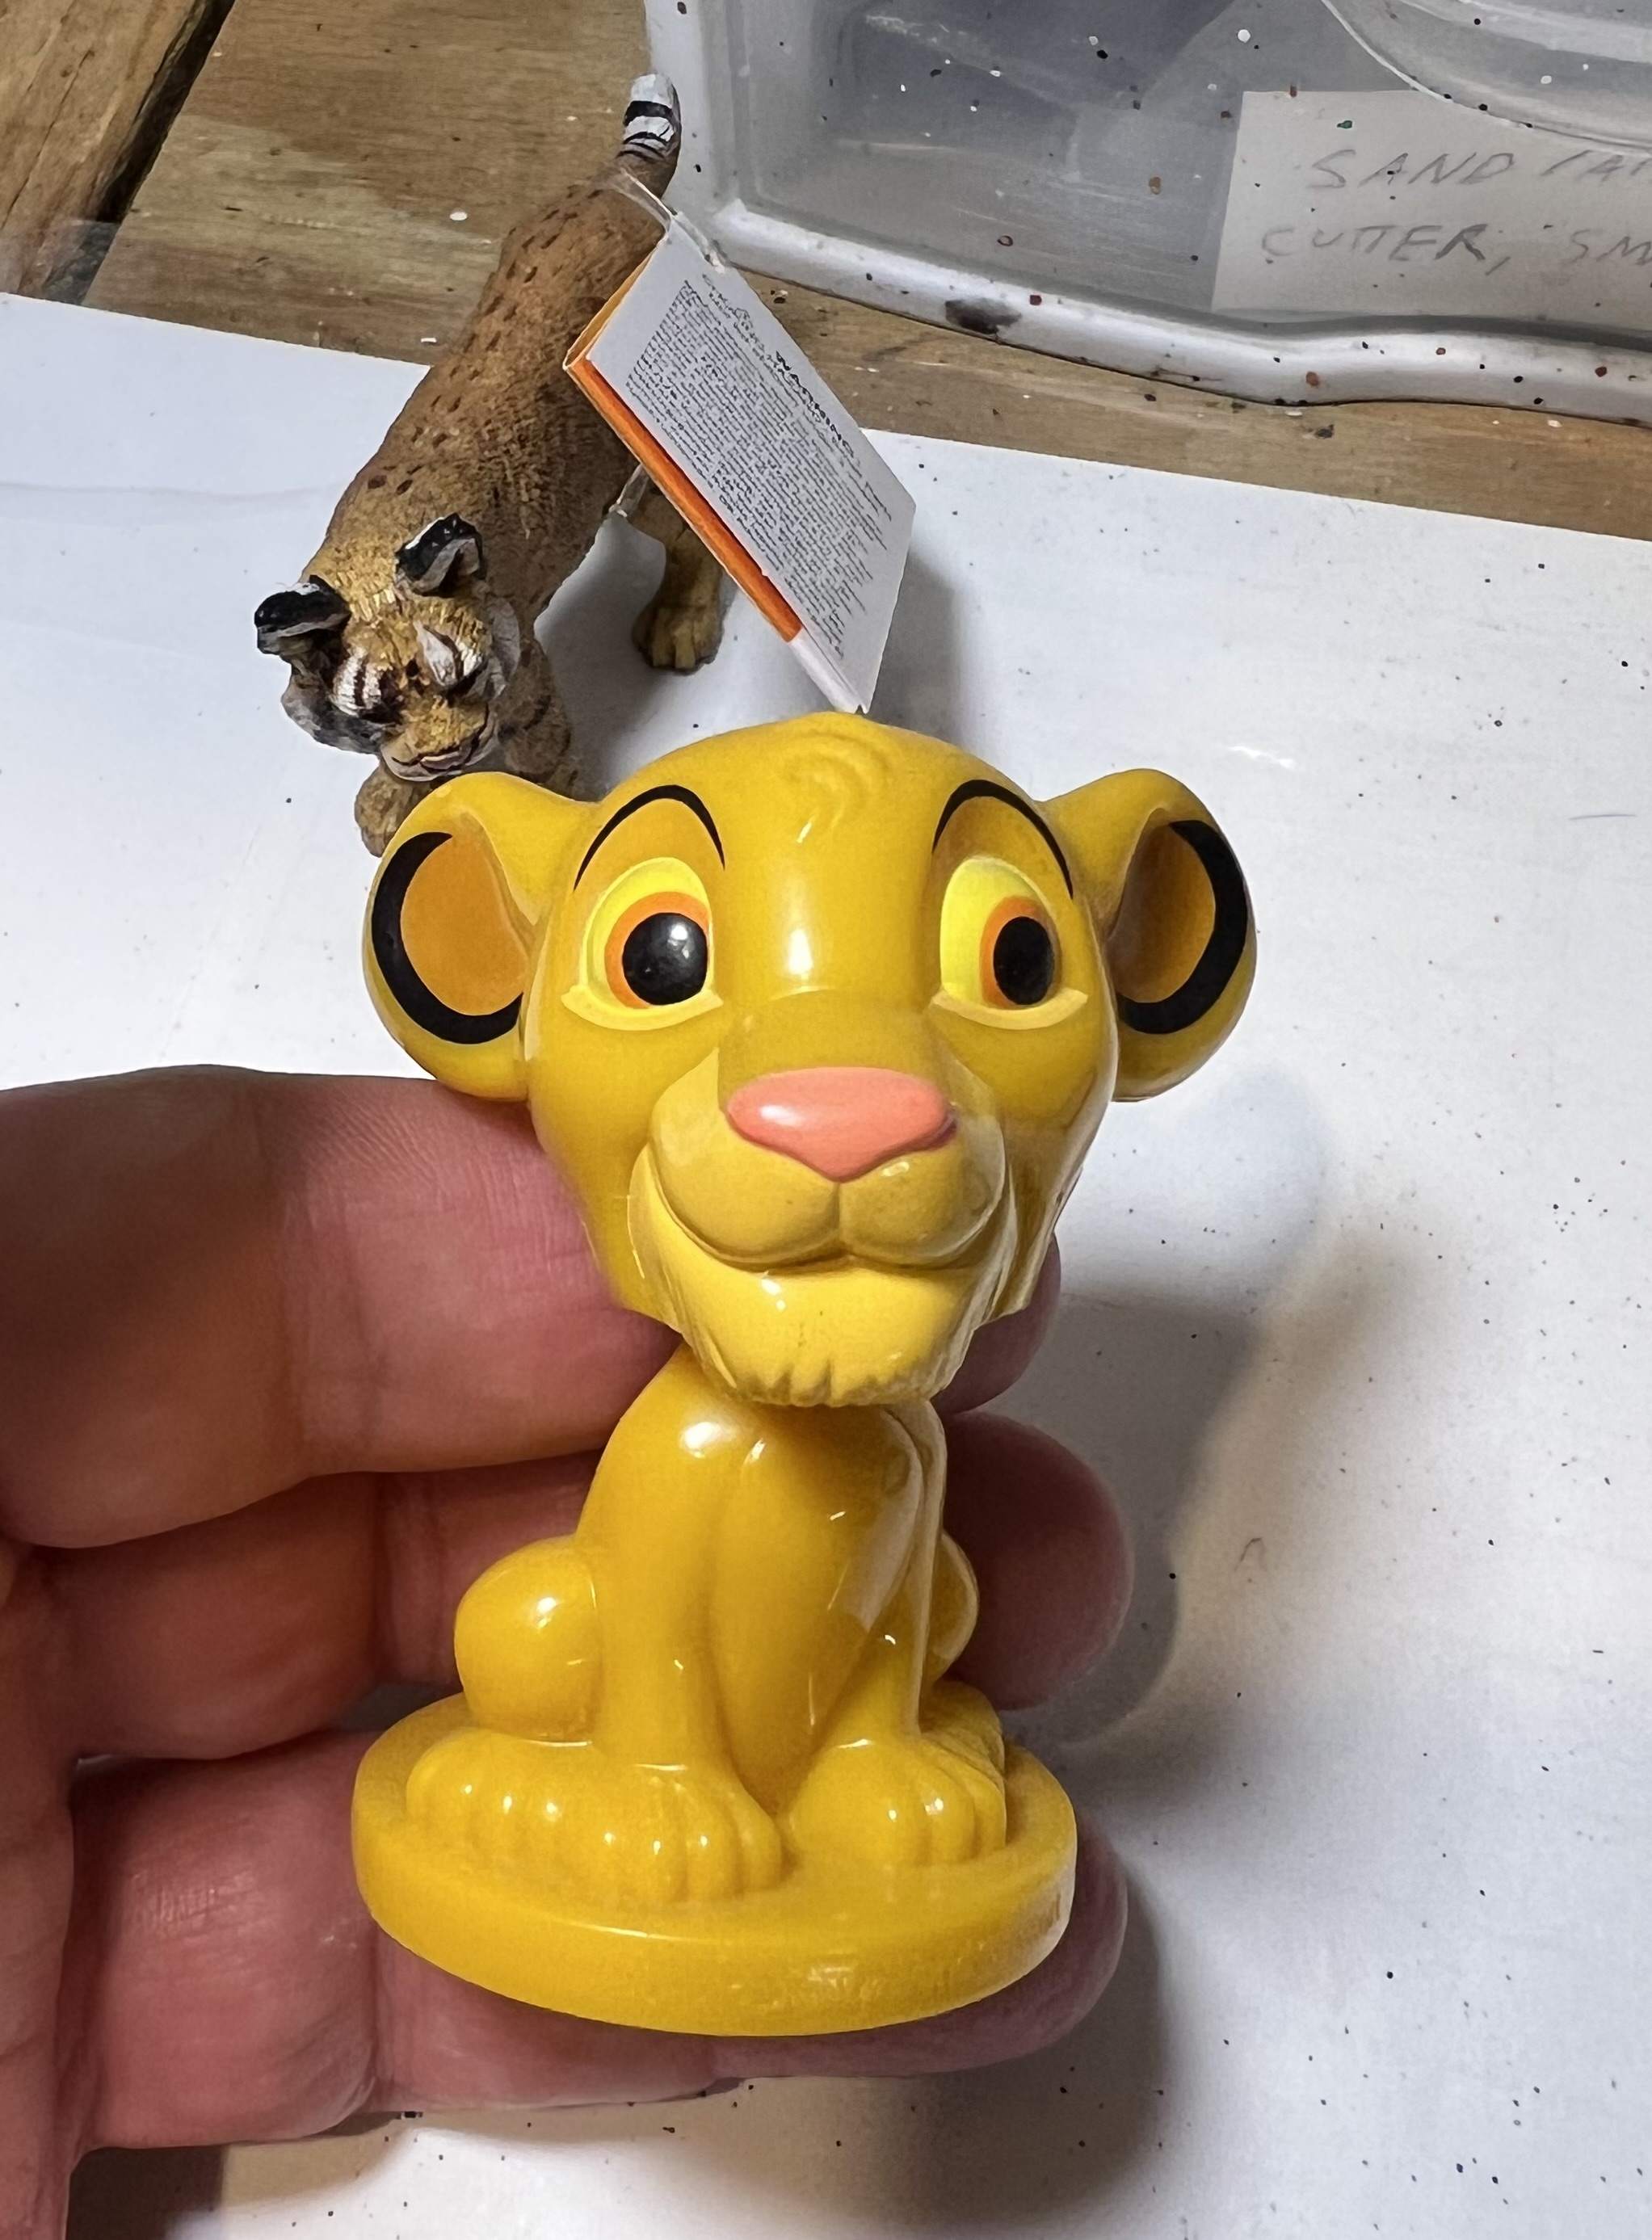
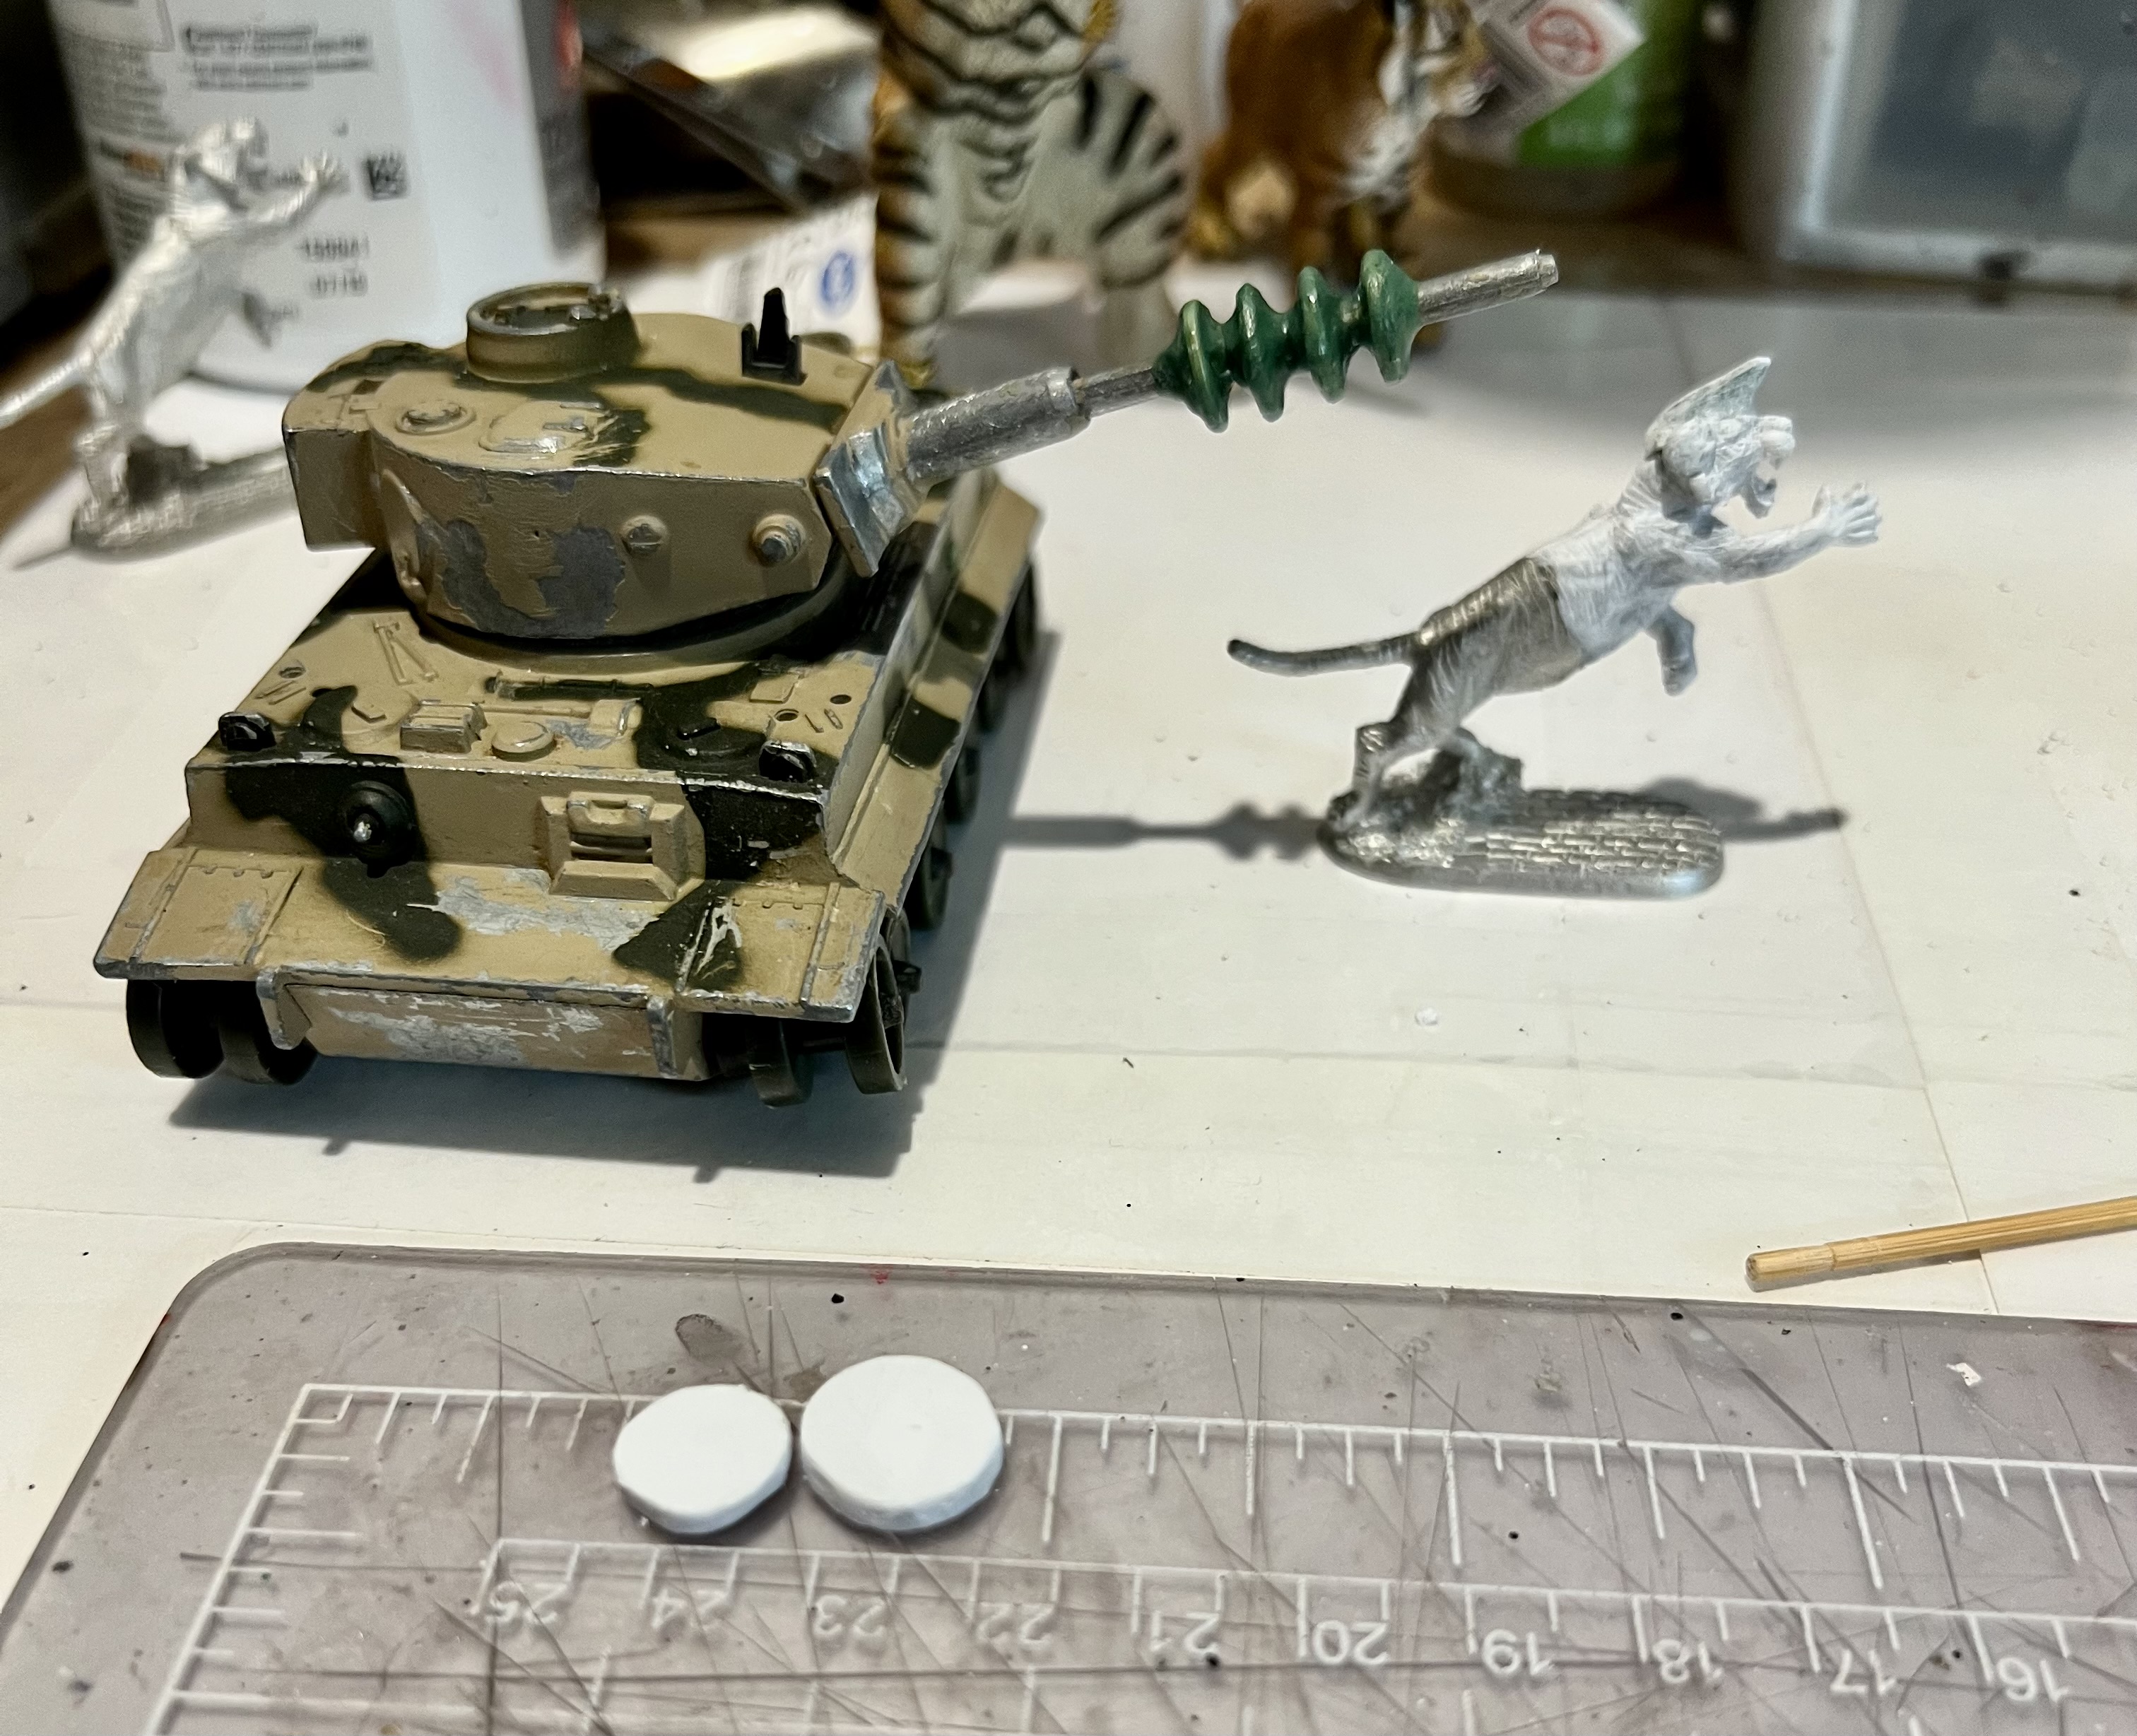
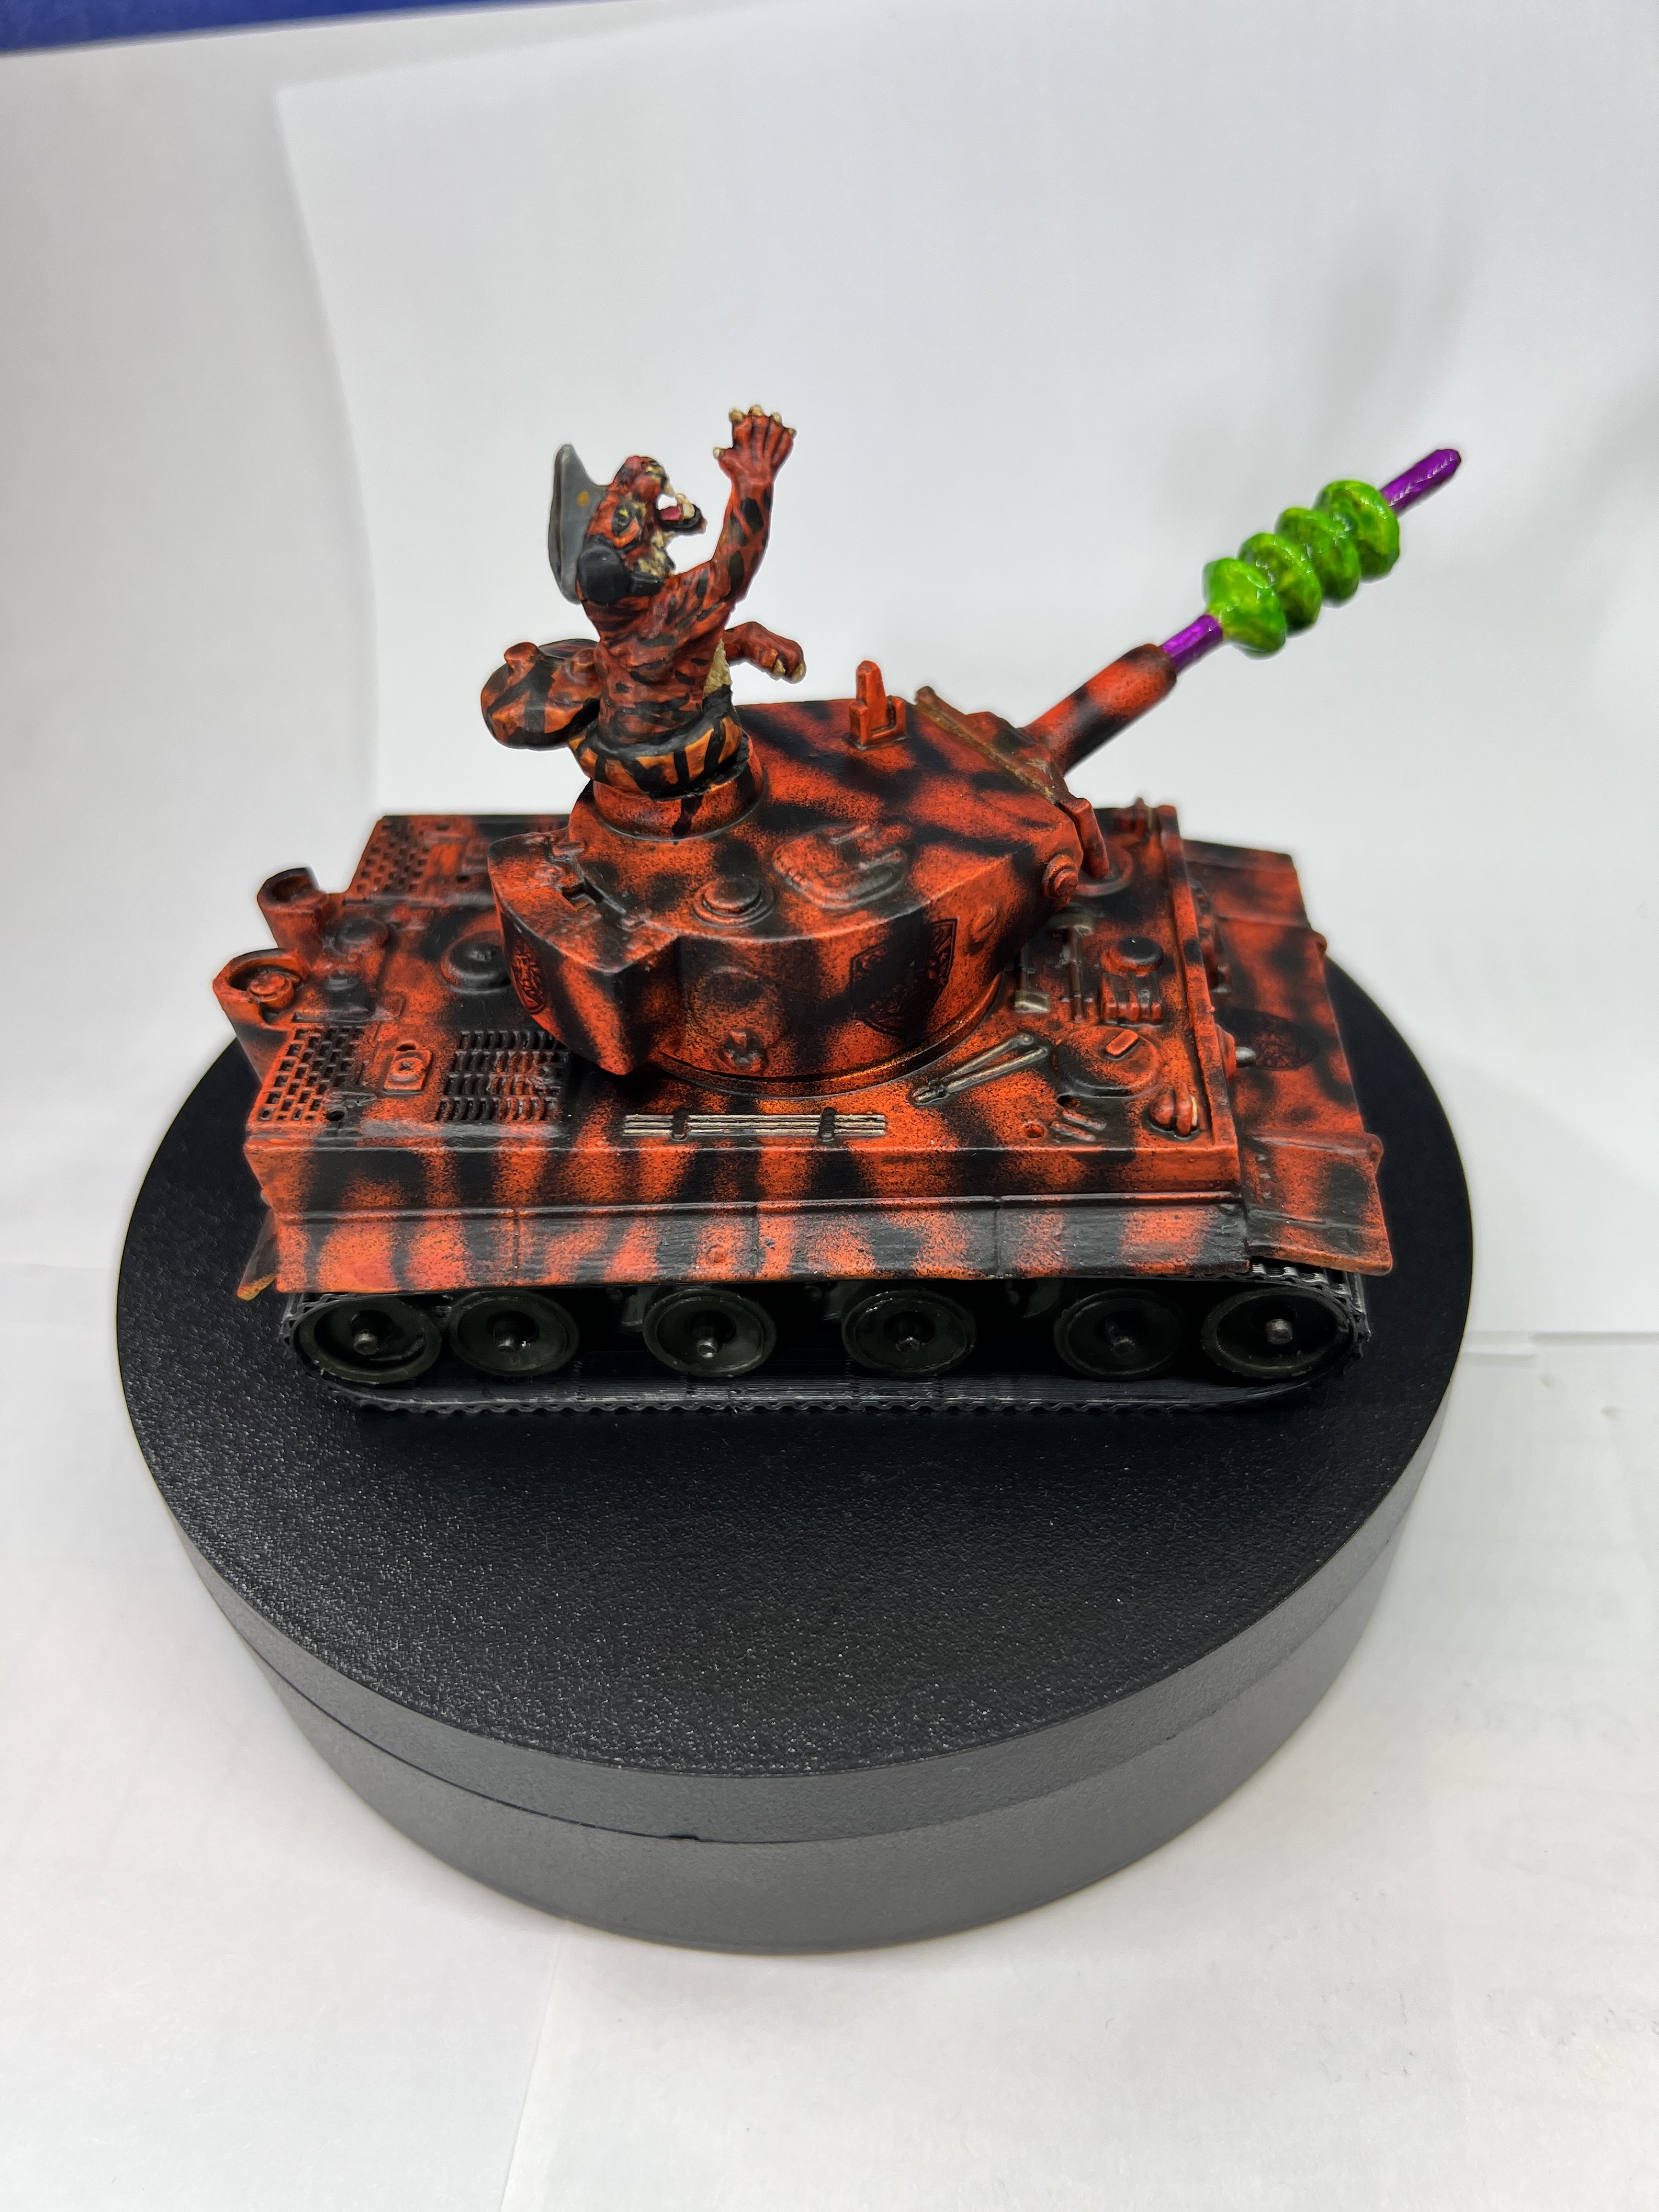
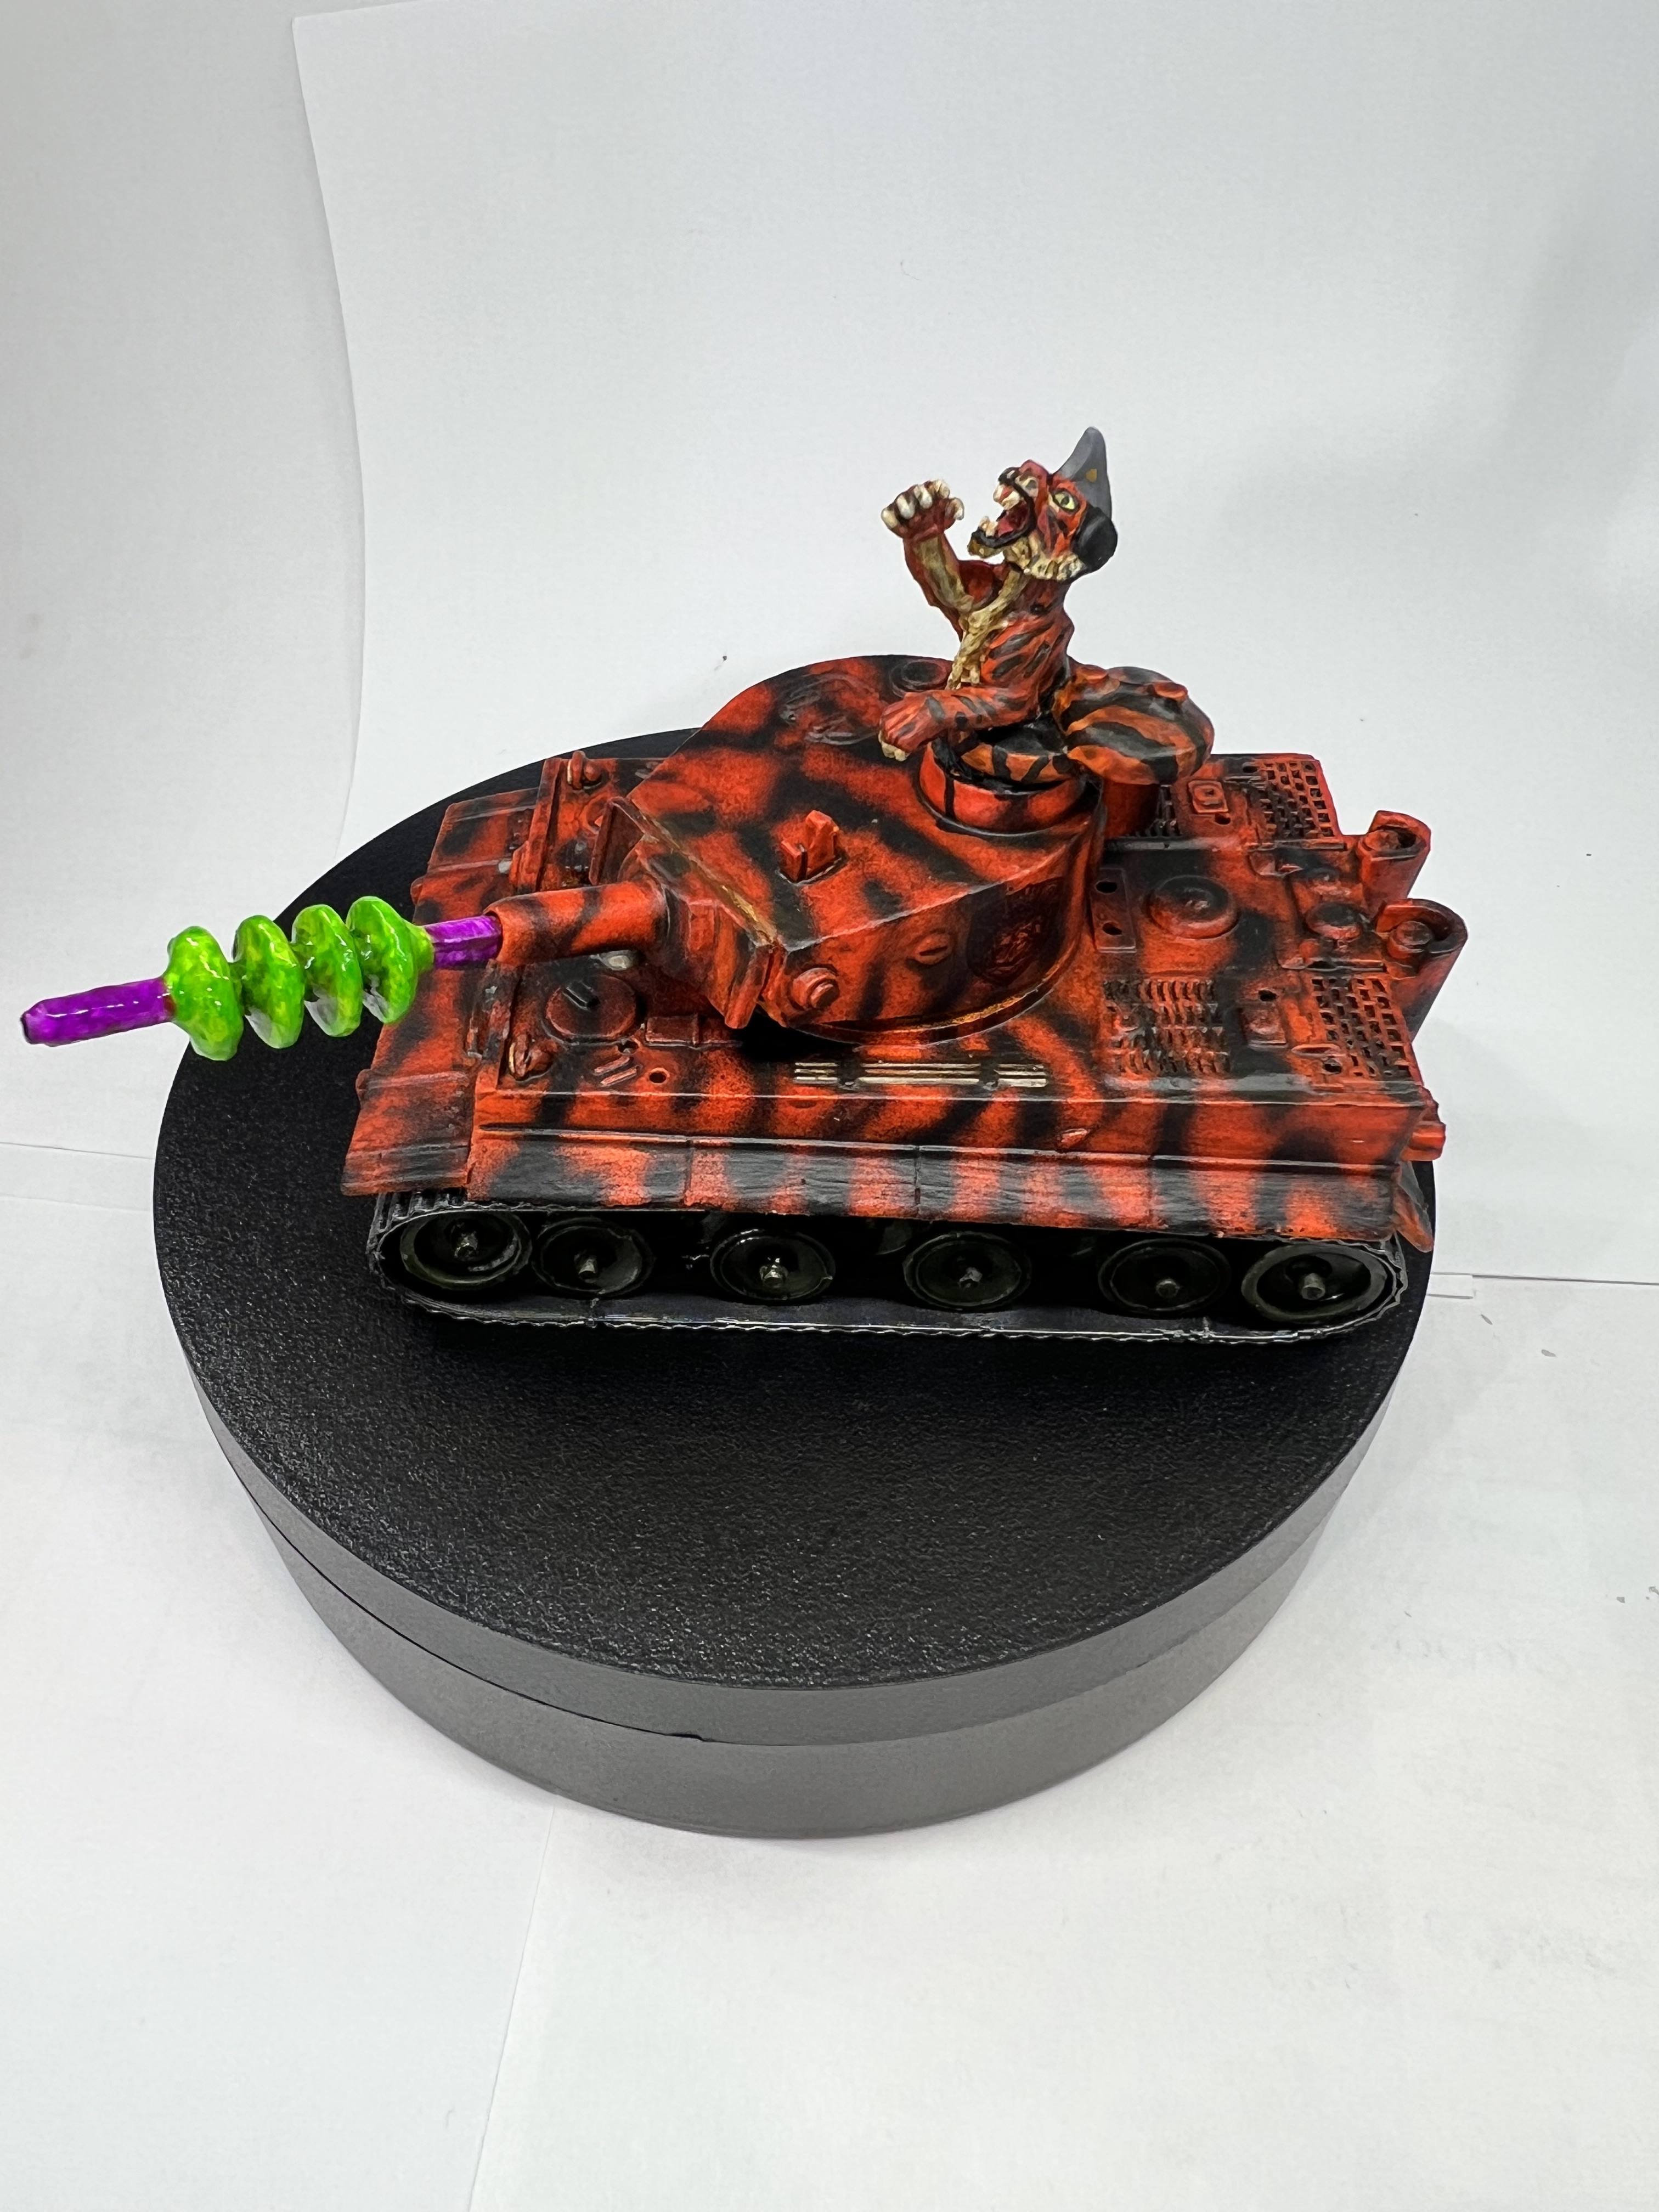
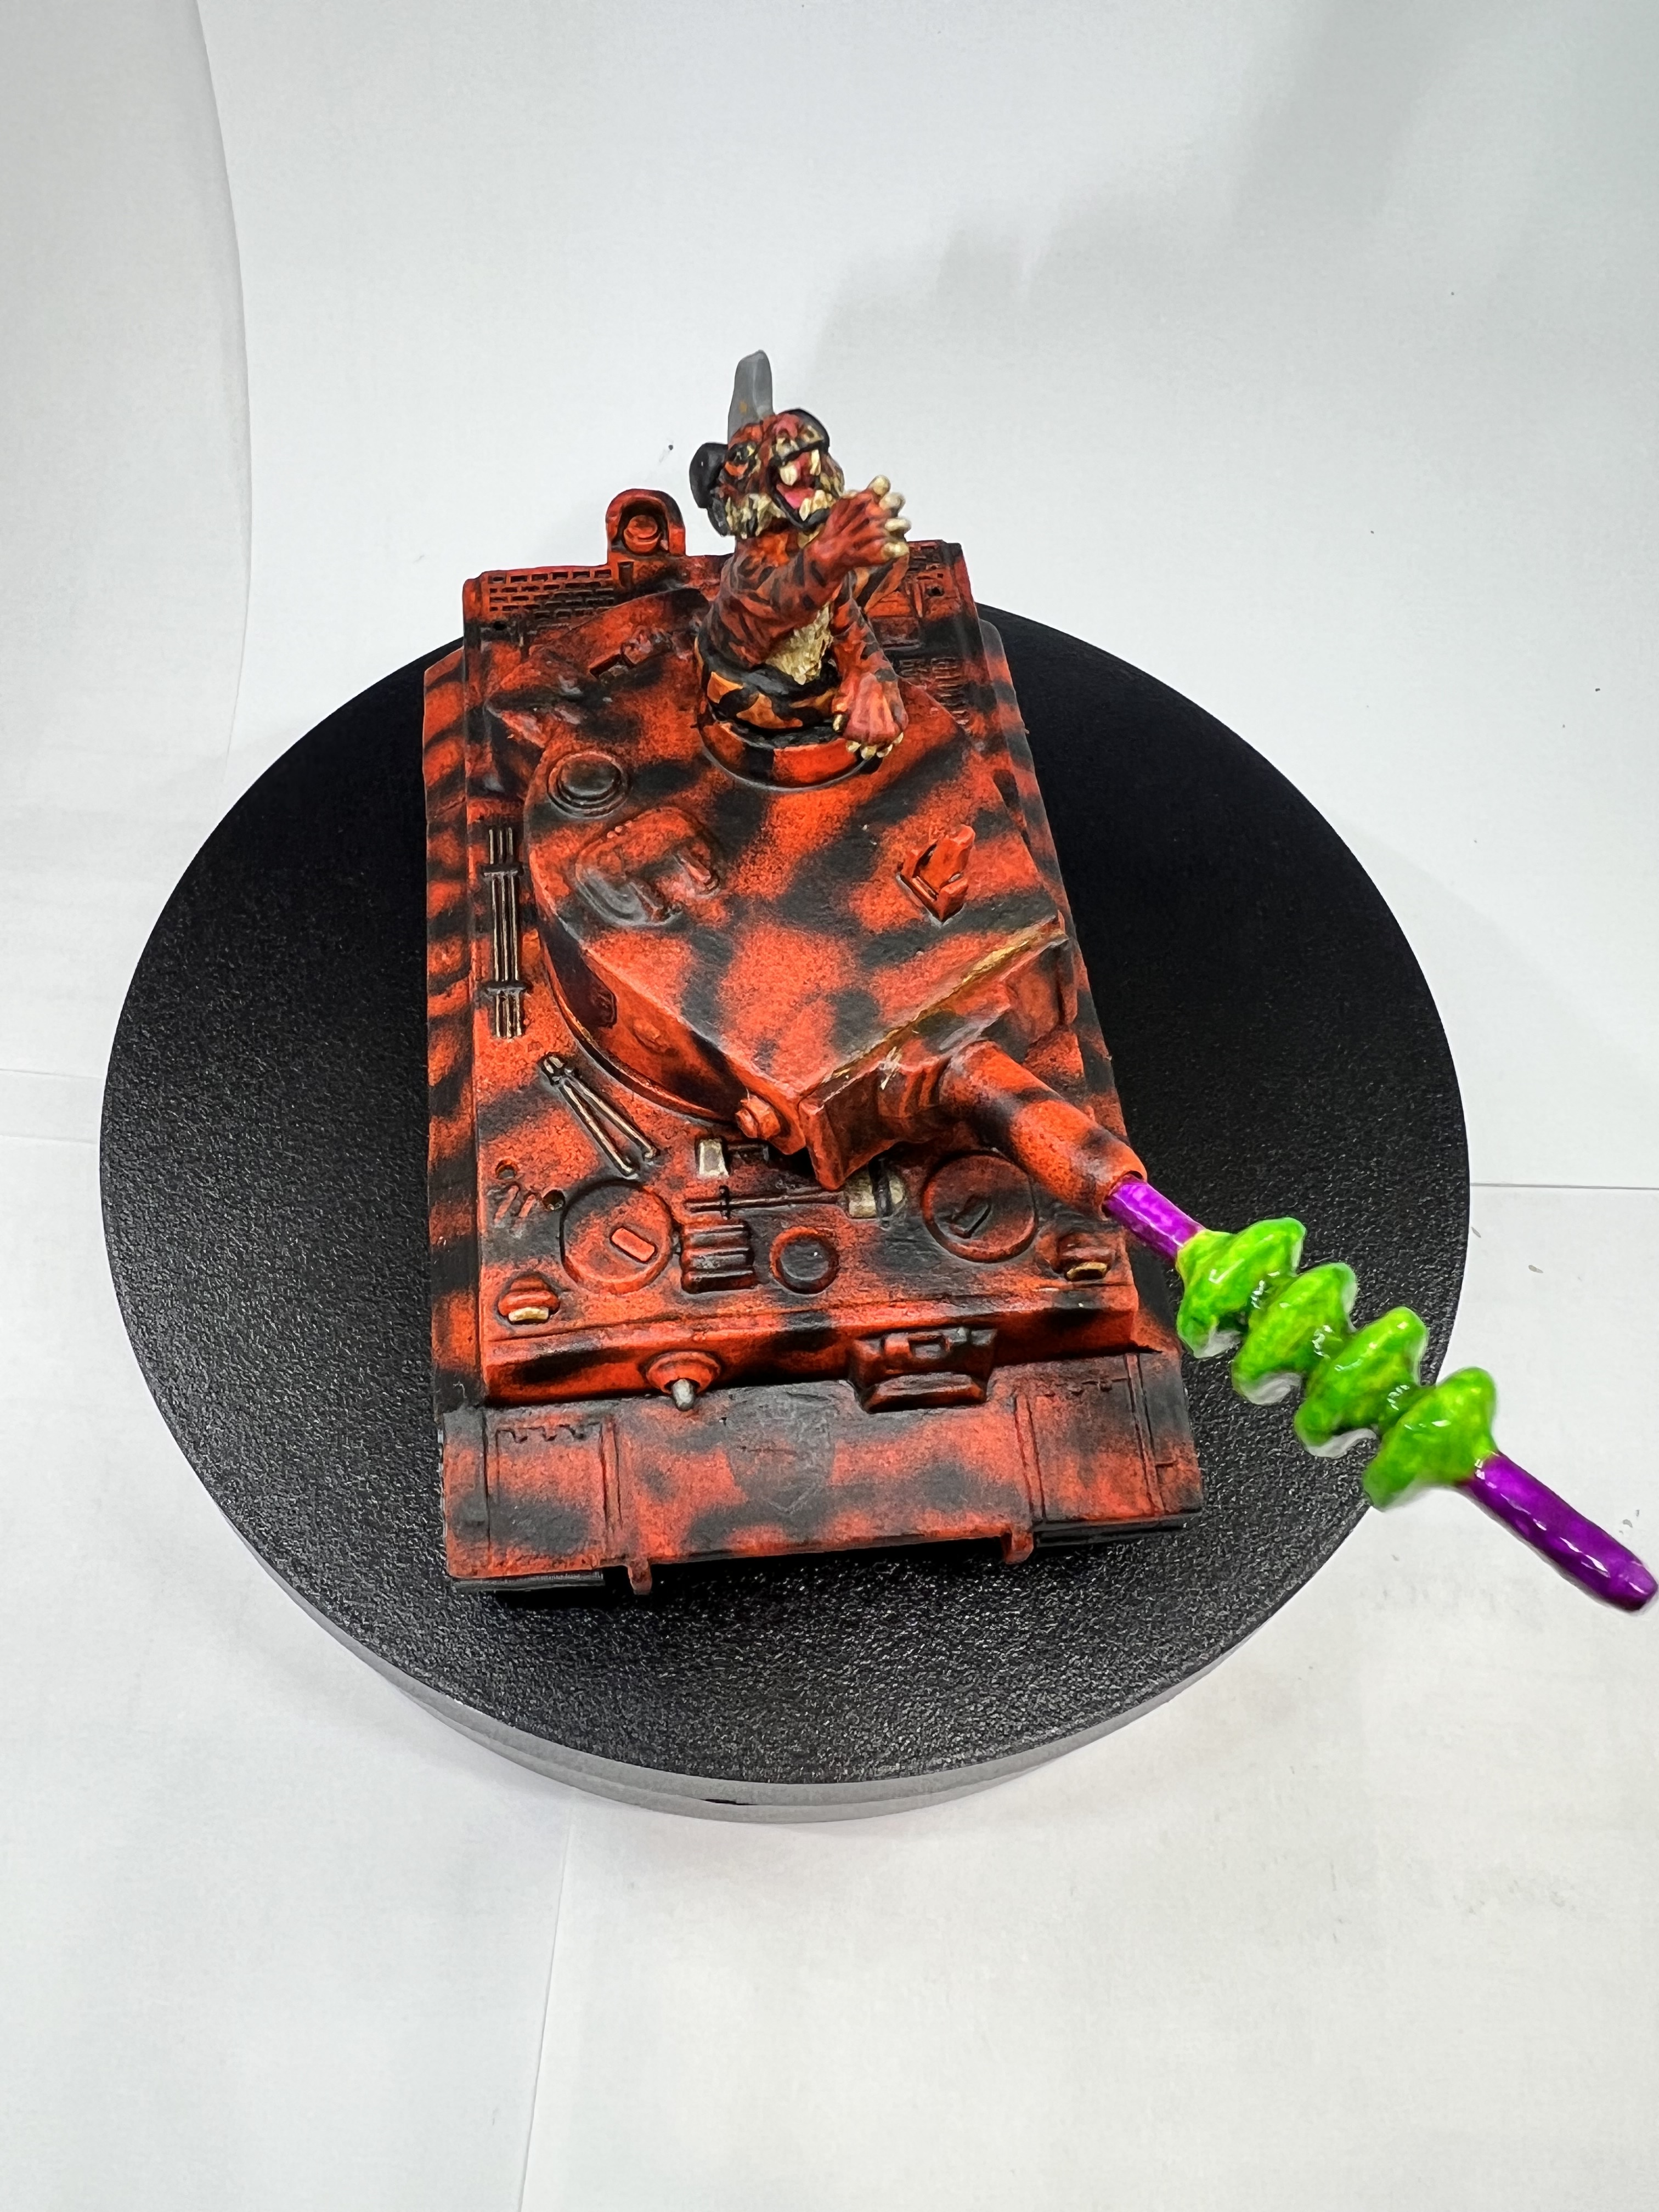
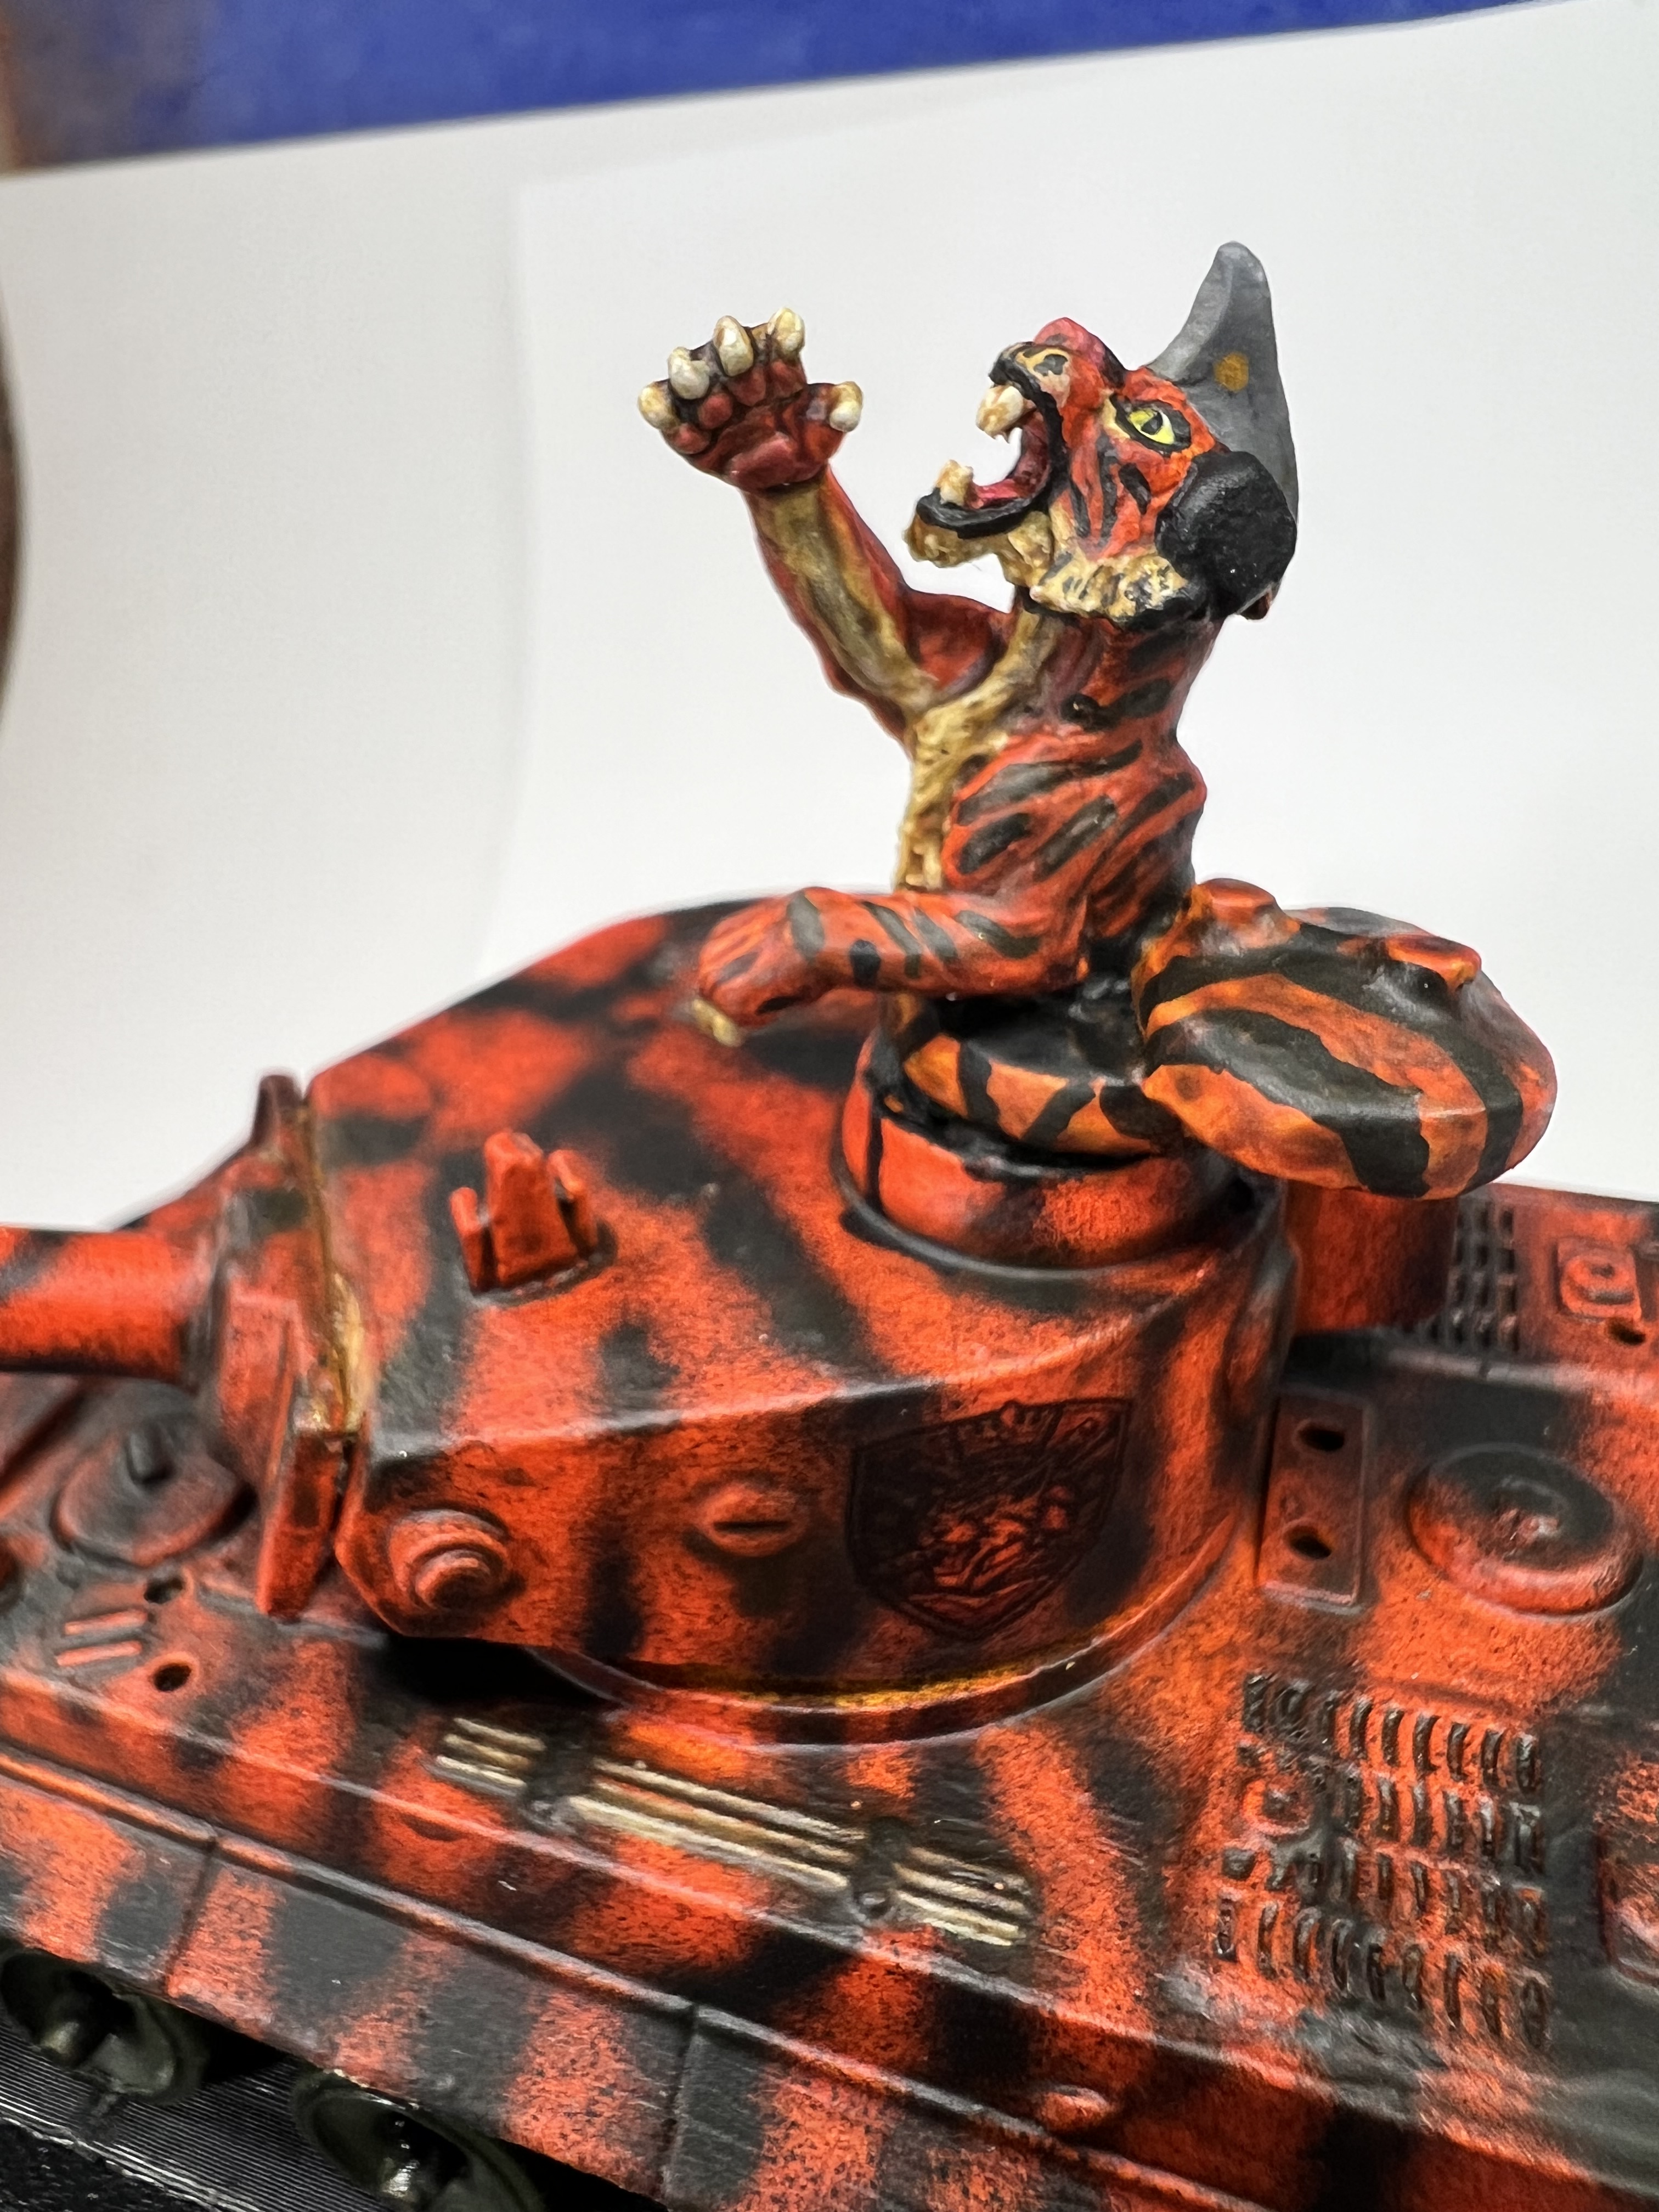
I could have stopped there – but as most of you know that I usually don’t. What if the Tiger could be commanded by – A TIGER! That would certainly mesh with the feline Felynxii army.I looked at a few options on eBay and in local stores – and bought the following options with the idea that I could possible remove the head and put on the top of the tank in the commander’s cupula:
A resin LynxA Lion King plastic bobbleheadA resin tiger
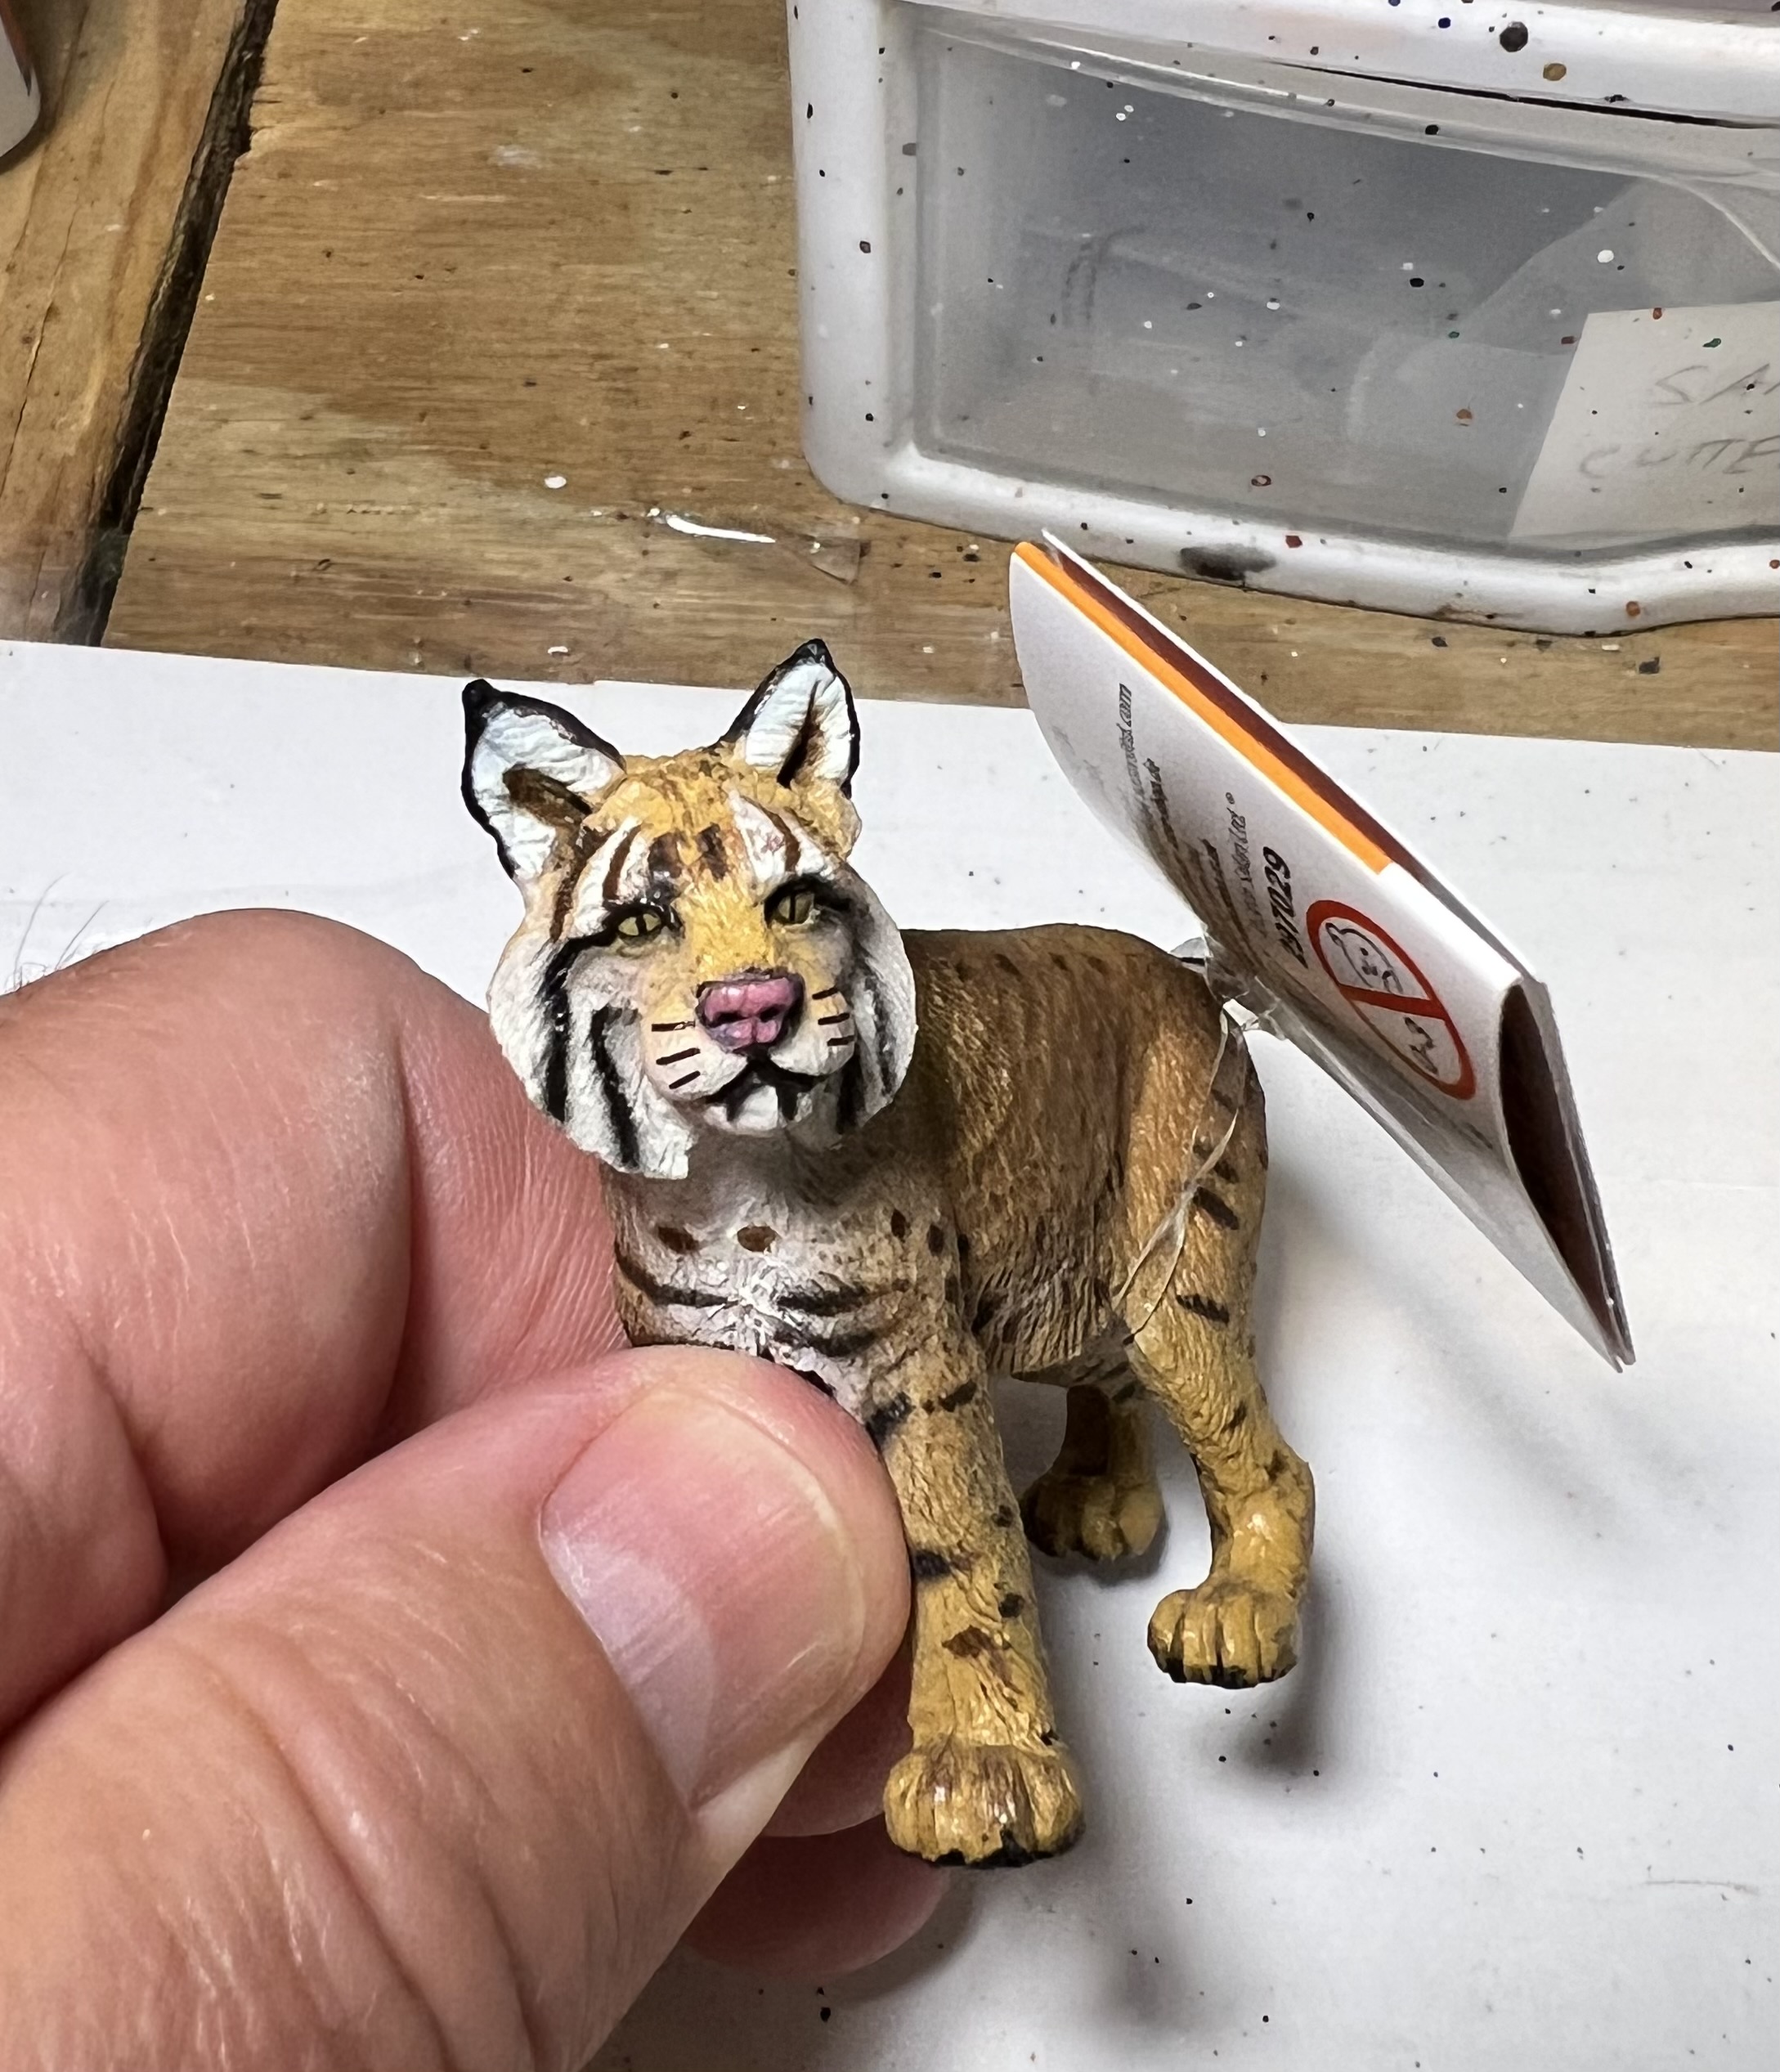
All of these were too big – though the tiger figure was in the end useful to help me pattern tiger stripes. All ended up as gifts to my grandaughter post-project.
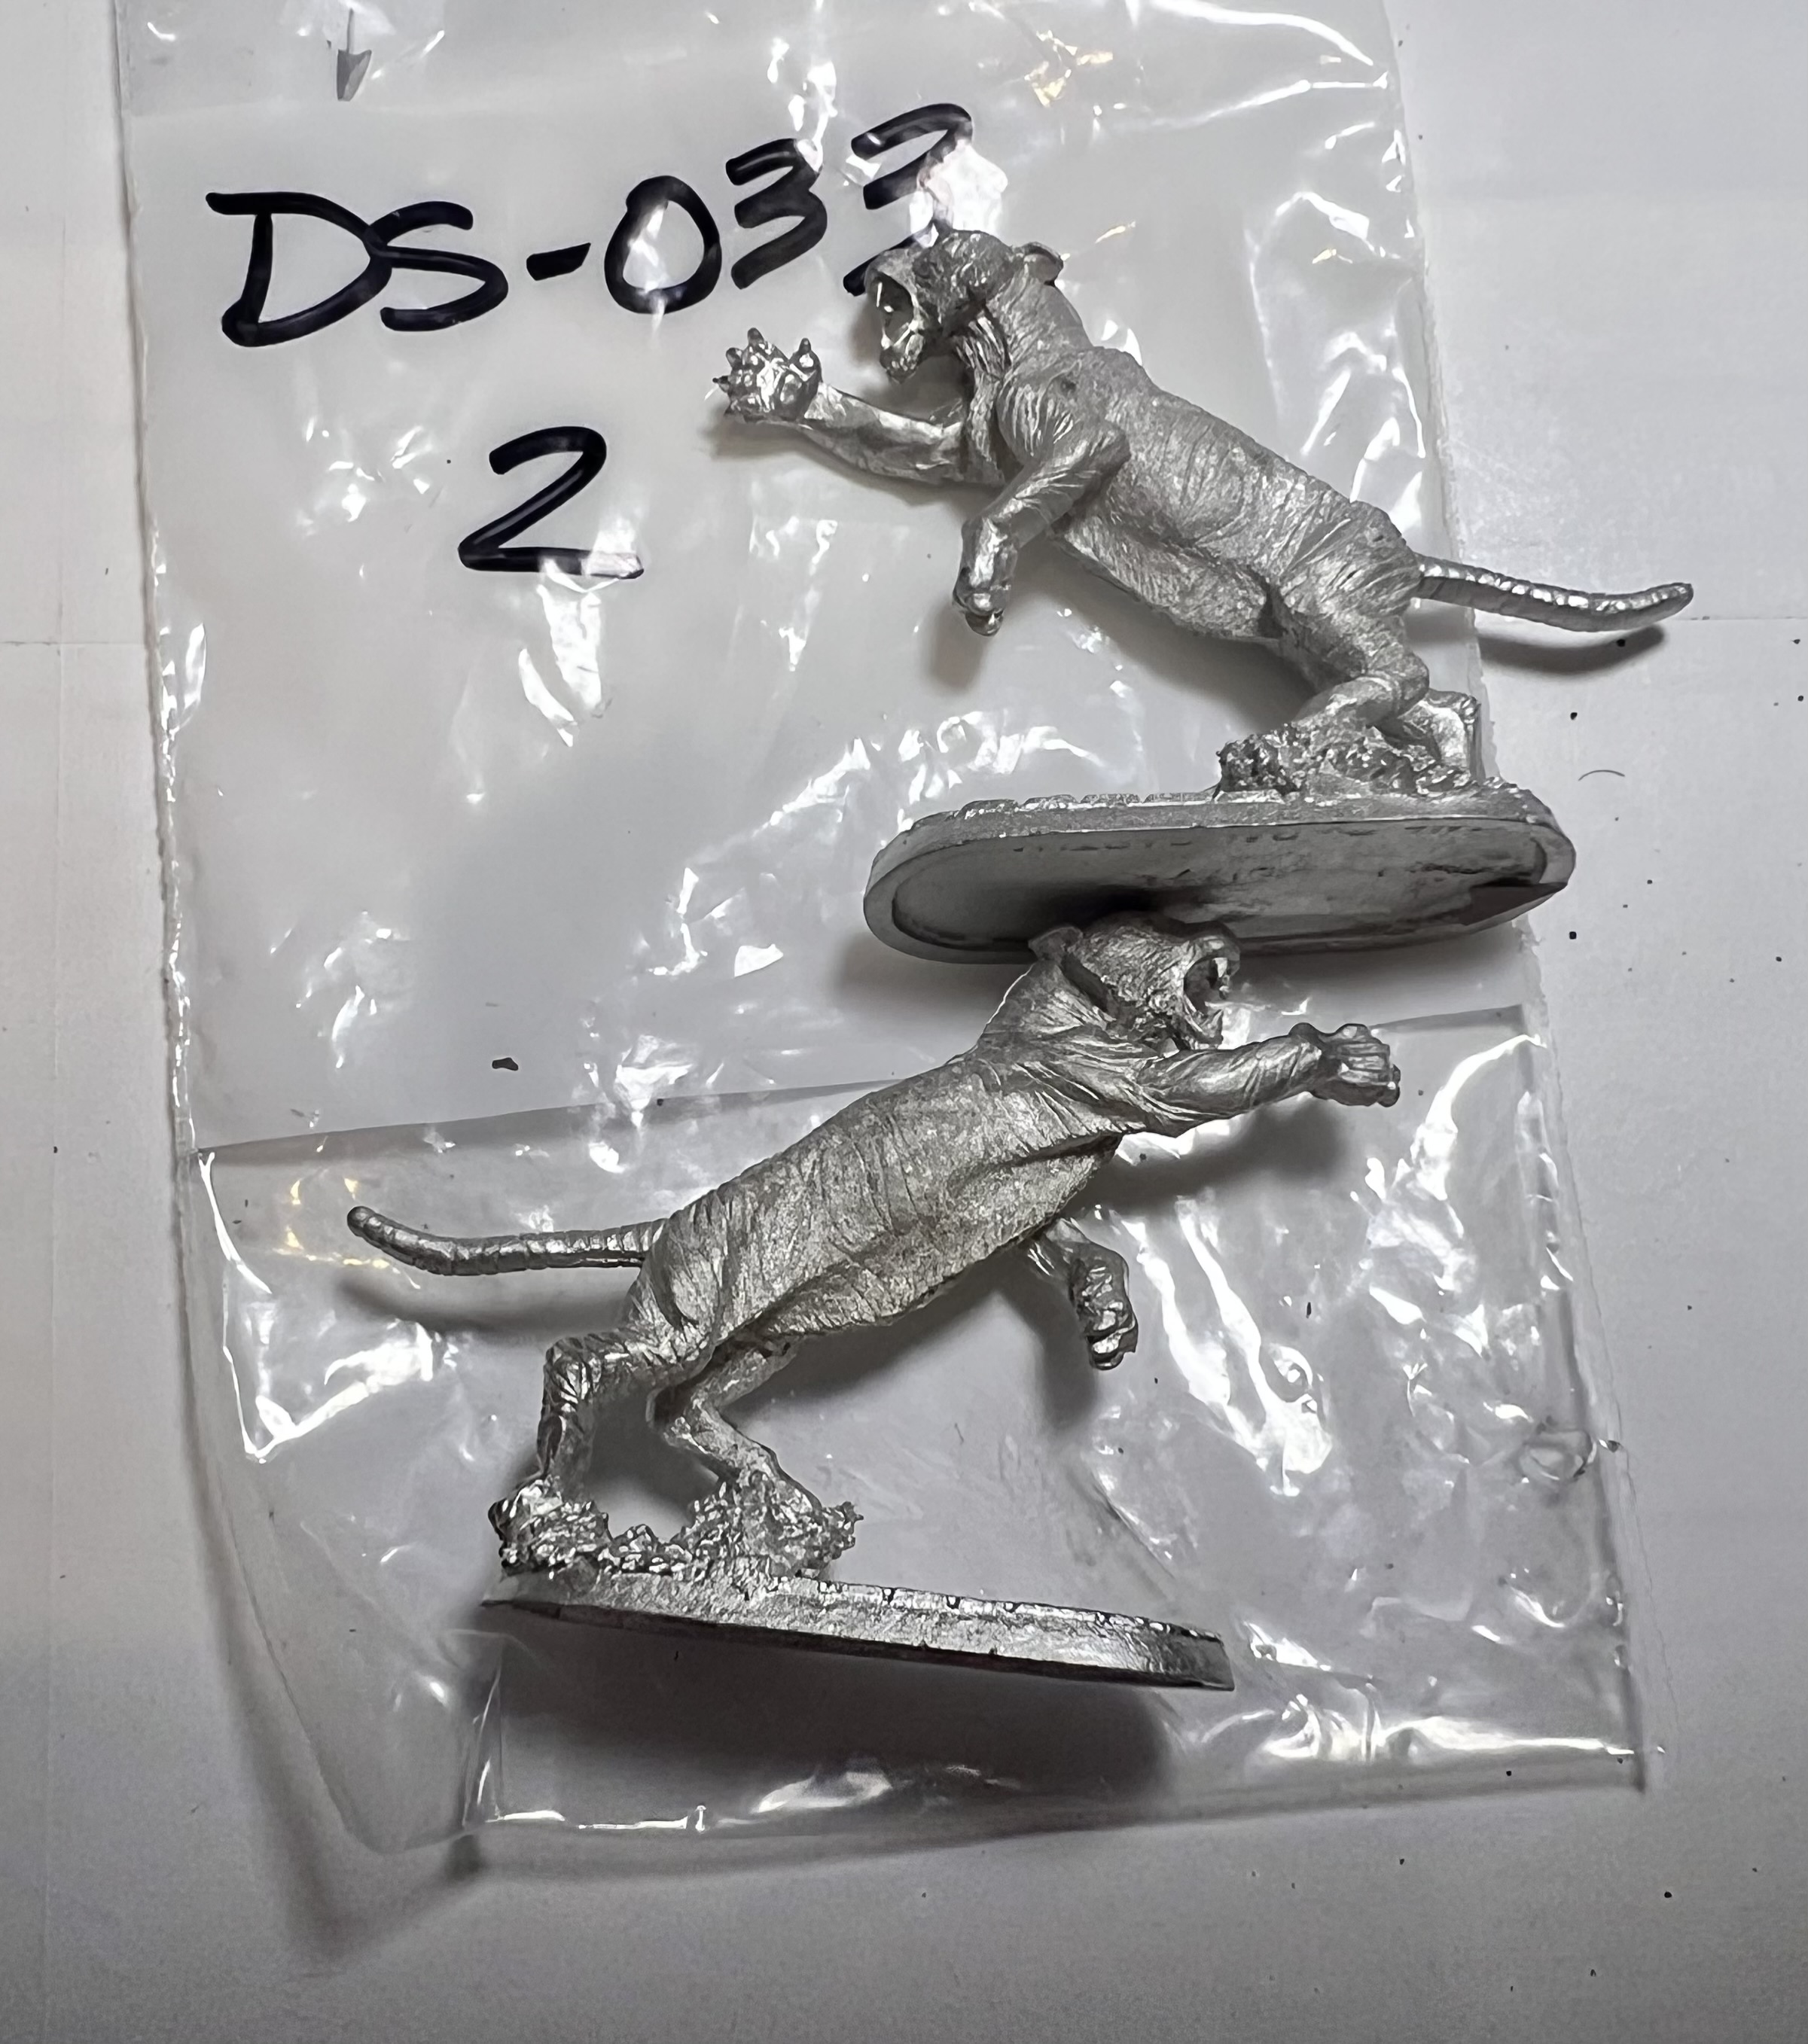
My ultimate tiger solution came with my finding a 25mm scale figure from Iron Wind Metals. It was – “Male Shape Shifter (Tiger Form)”, SKU DS-033. I’m pretty sure it was originally a Ral Partha figure, so in my mind it qualifies as an “Old School Mini”.
I thought I could modify it to work as a tank commander. I ordered two just in case for $28.90 including shipping. While 25mm is a bit smaller than 28mm – it was close in size to the Felynxii infantry from 1977. So all of them are 1970’s-era products.
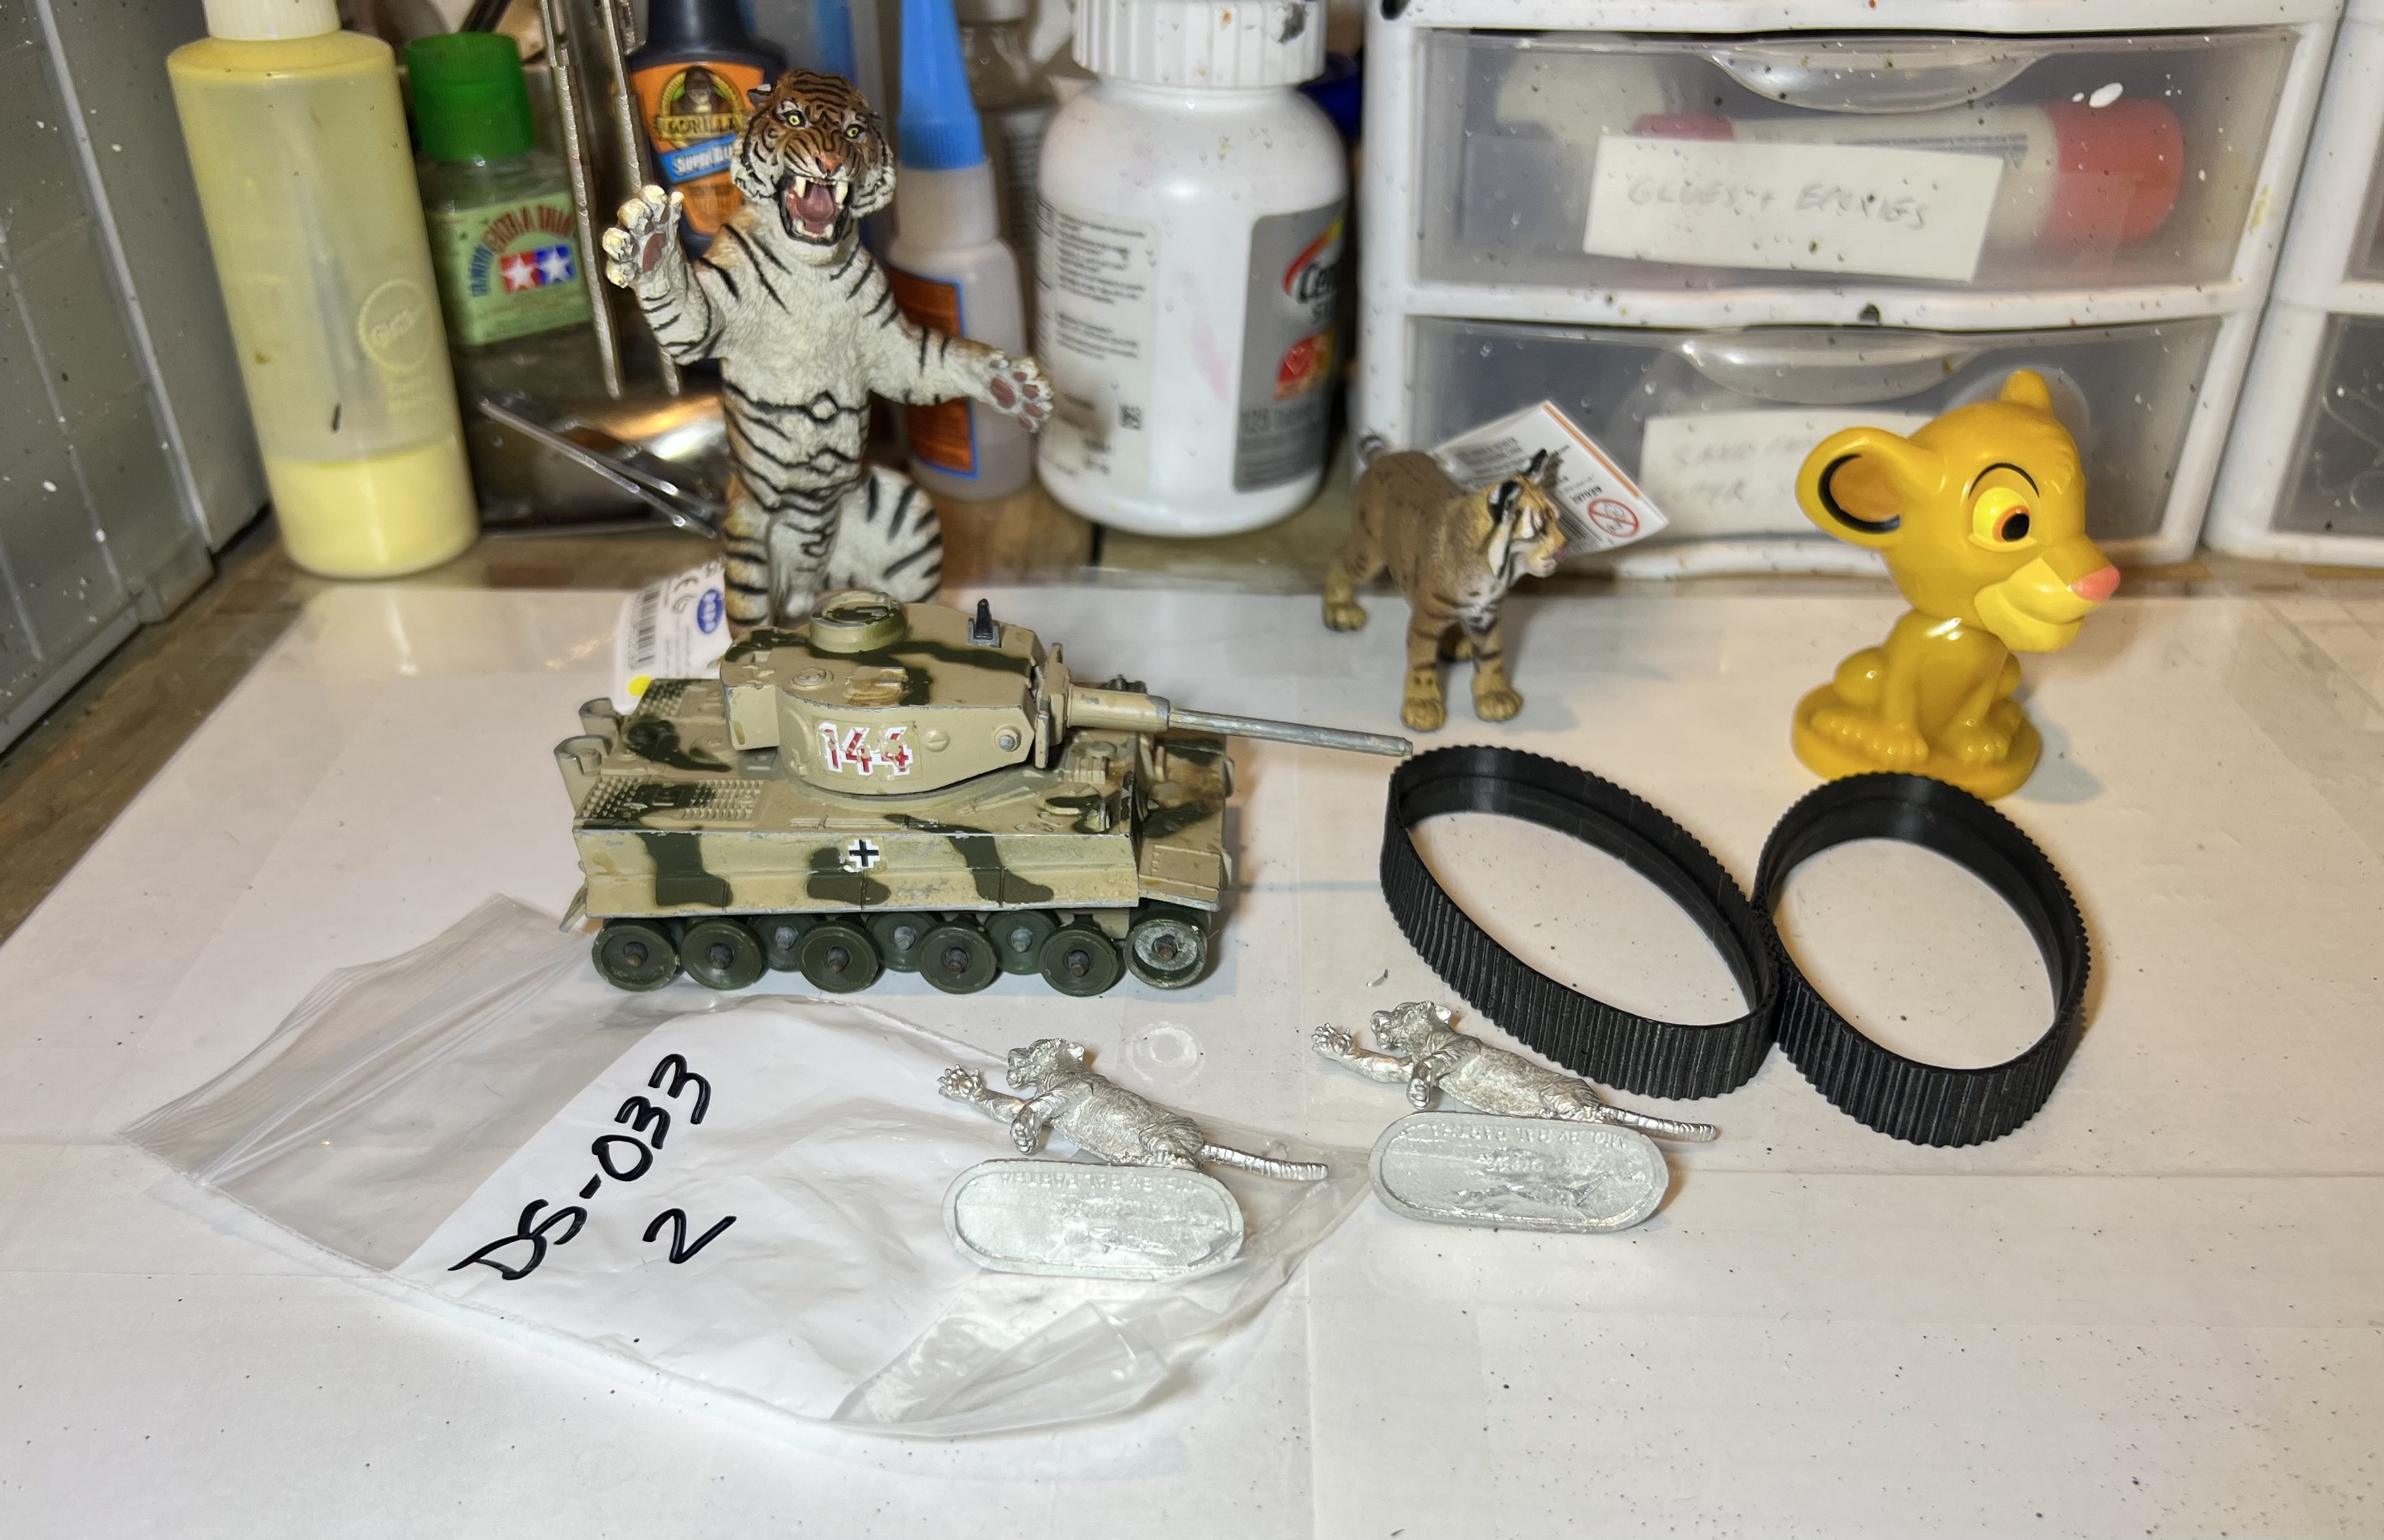
Materials assembled for consideration and planning!
The Corgi tank needed work!
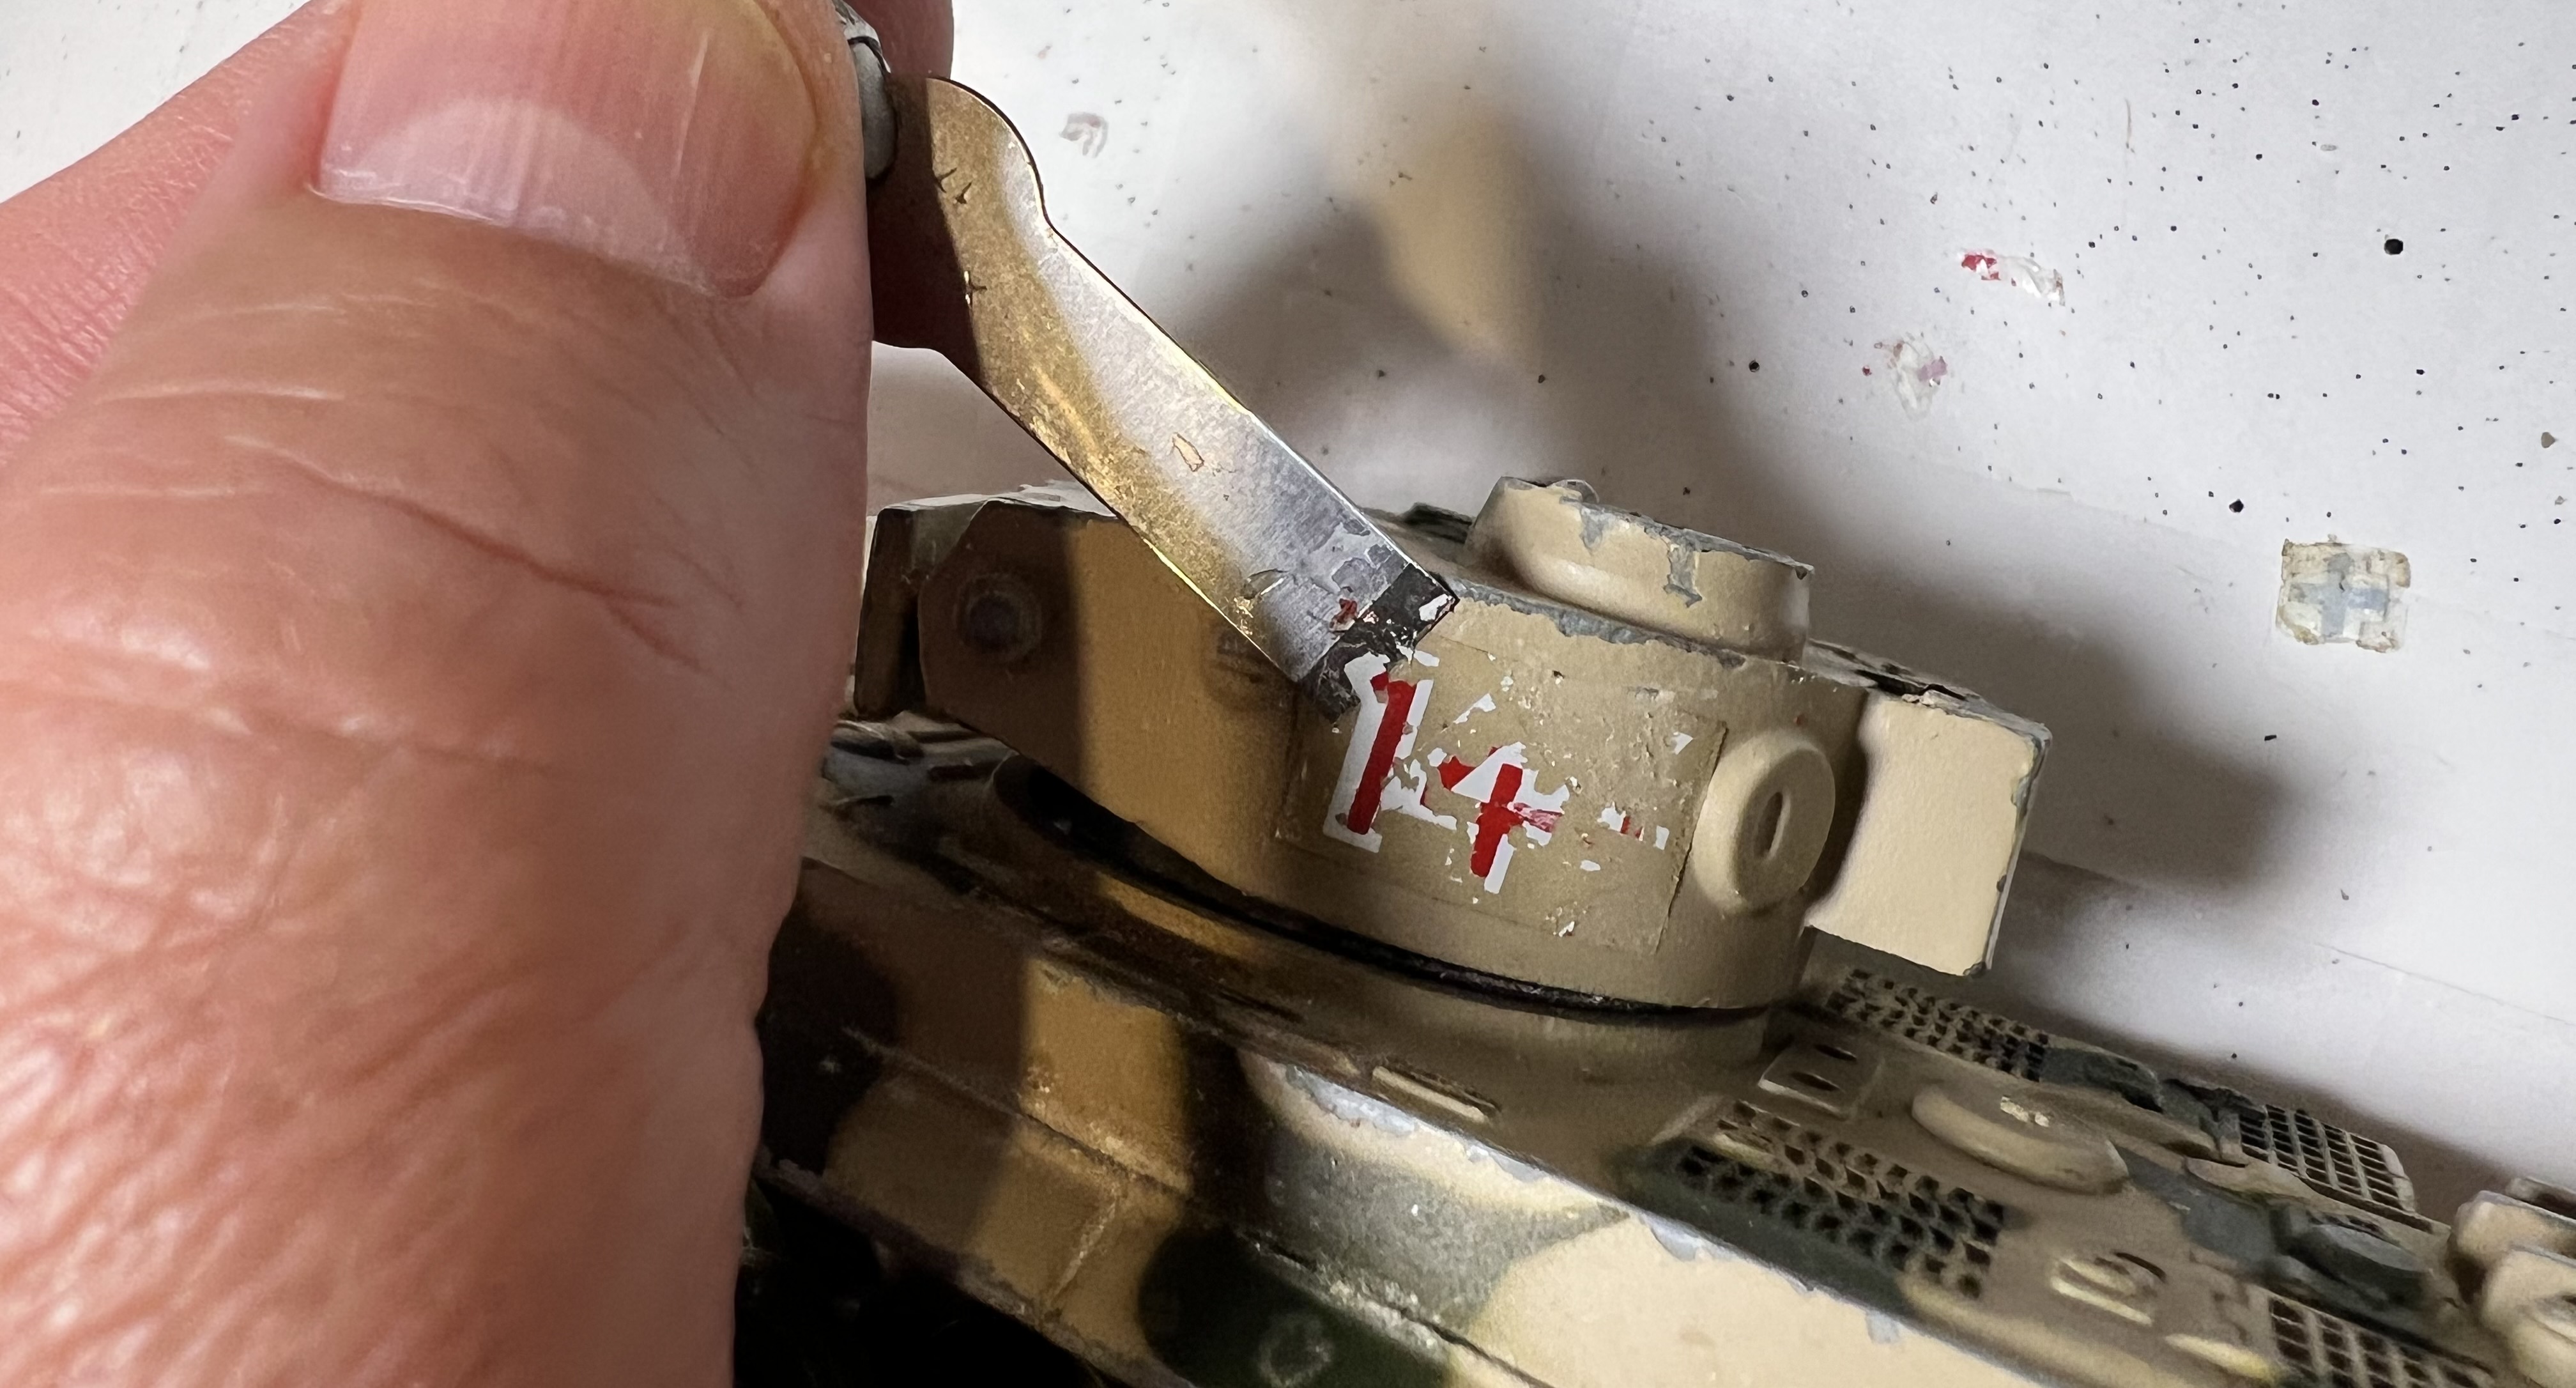
Need to remove decals and chipped paint! The barrel was also bentStill see rug fibers in the roadwheels from old play.
As to making this old toy a retro sci-fi tank, a few additions and modifications were needed. First, some clean up of the old decals and chipped paint.
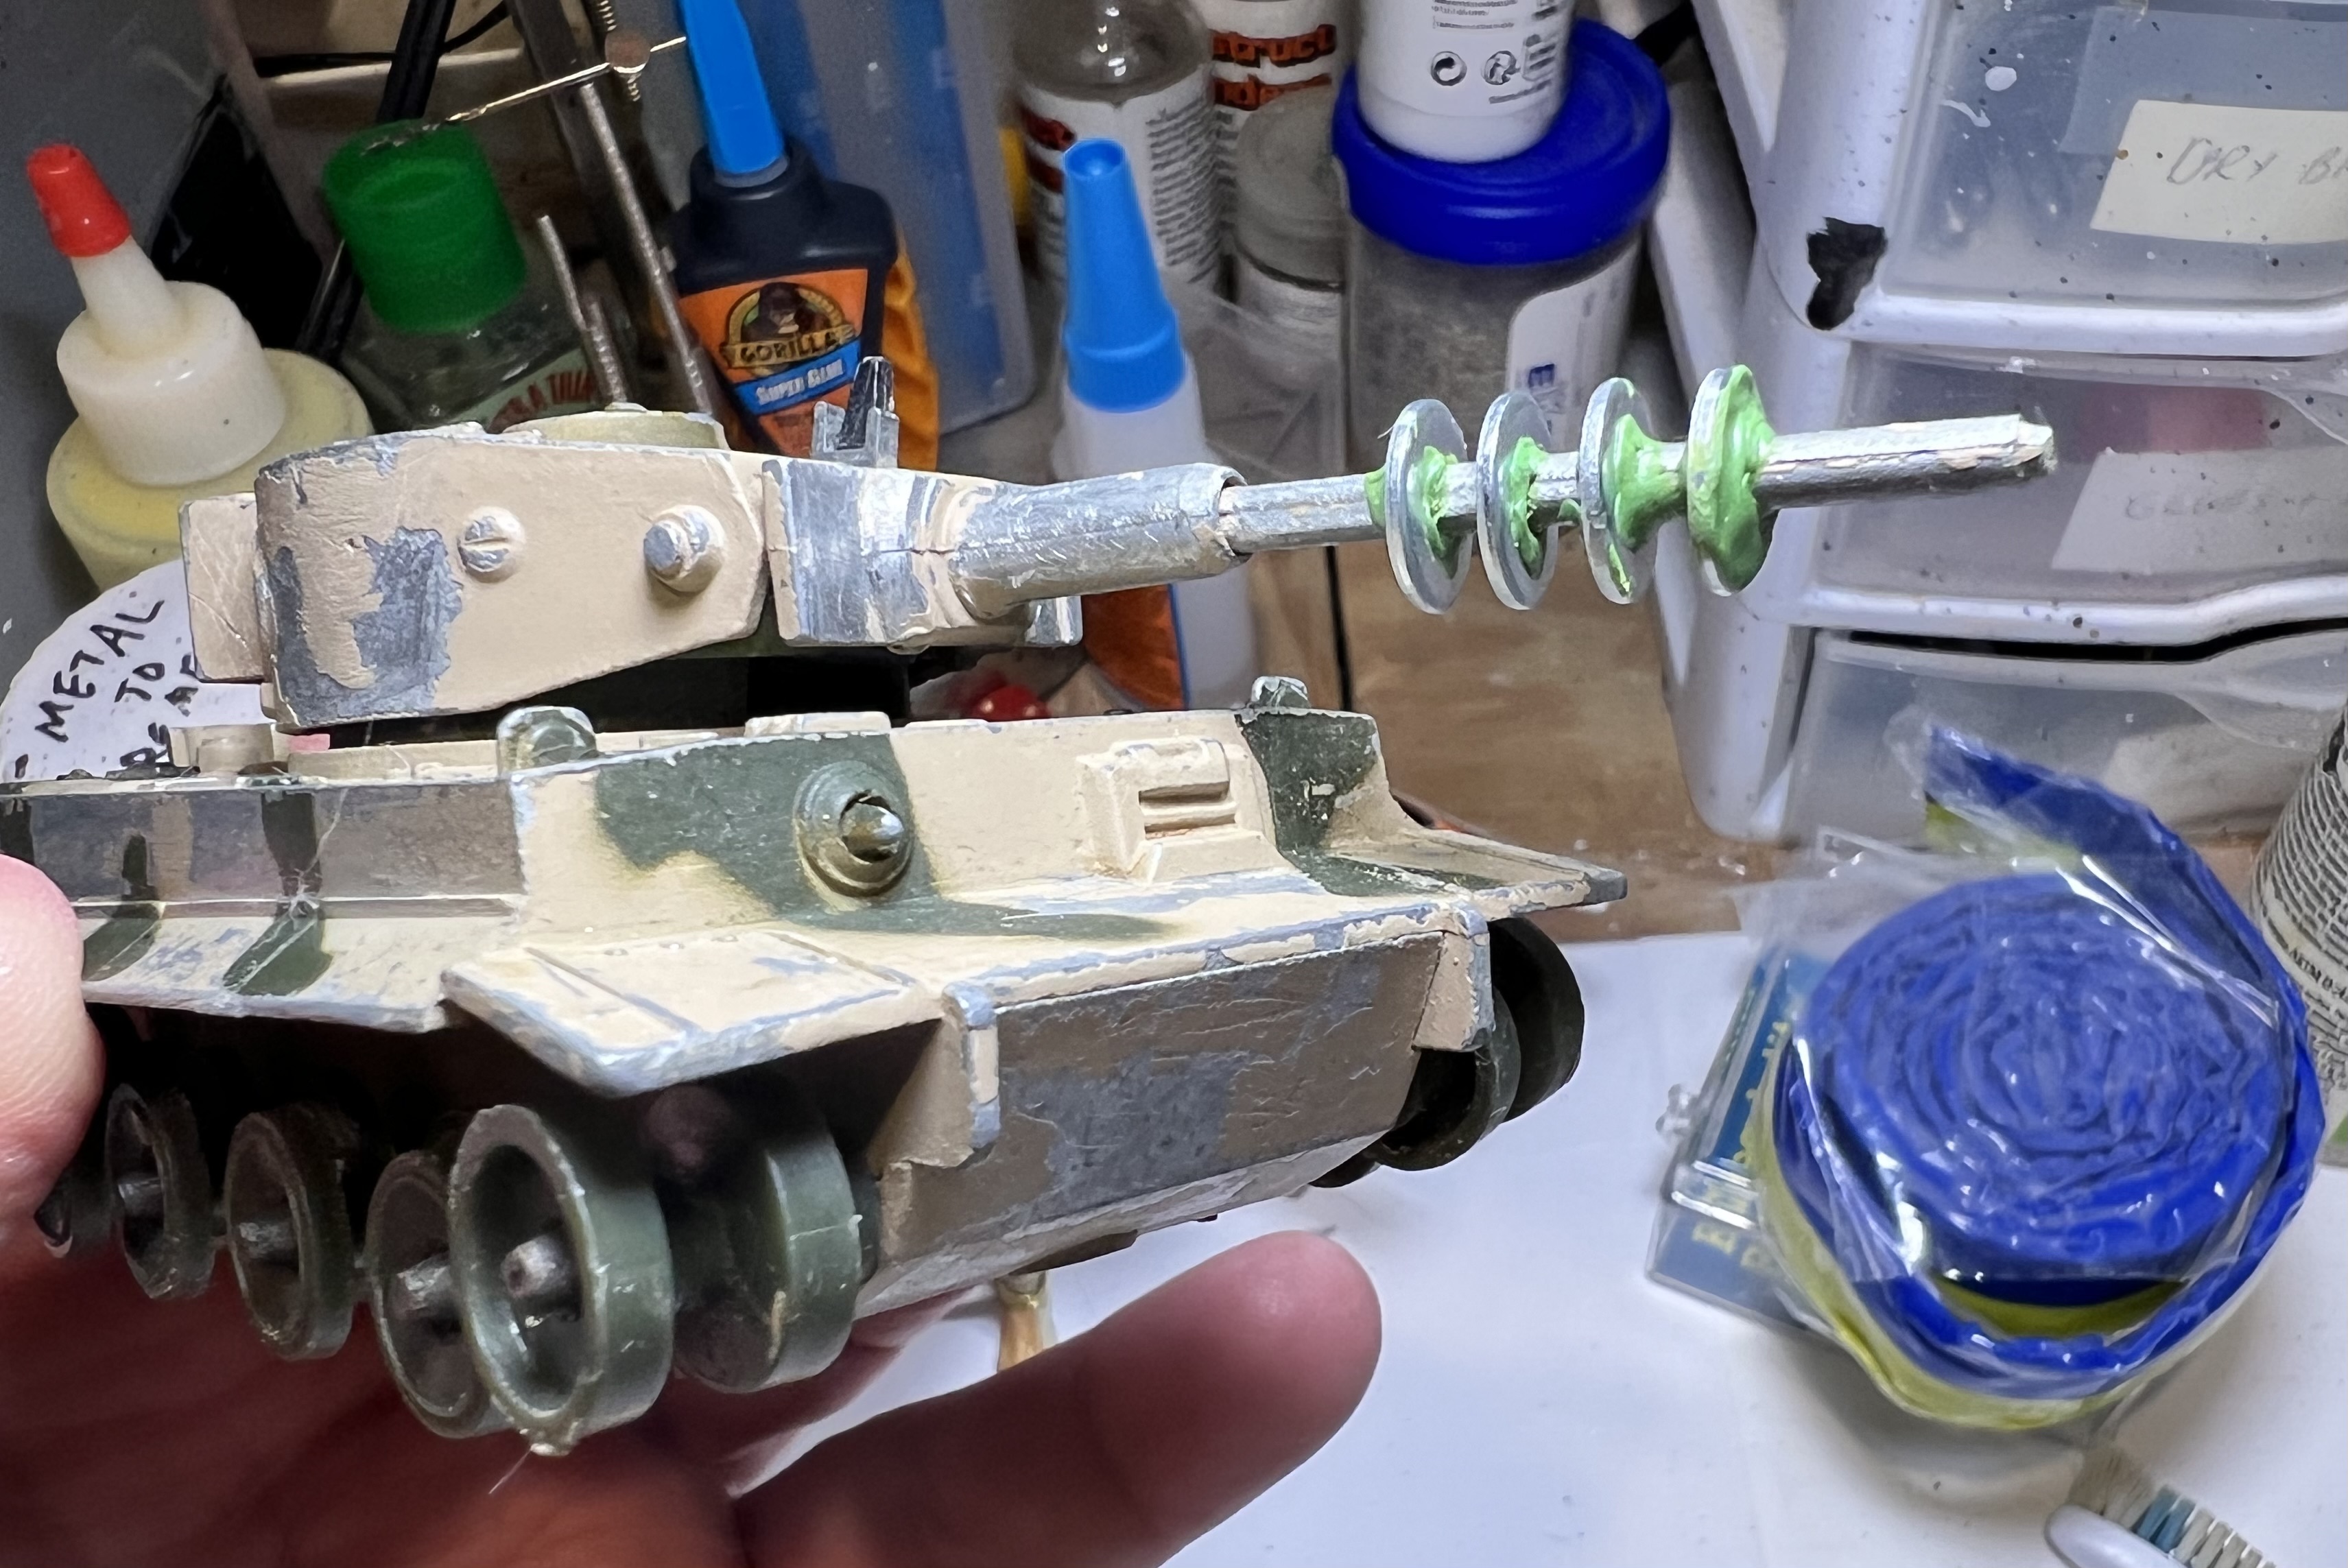
Of course, I thought it needed a big ray gun. After doing my best to straighten the gun I used a file to remove (as much as possible) its pot metal mold line. Using green stuff I added some number 6 Everbilt steel fender washers to the gun. This step was inspired by the fantastic efforts at kneadatite sculpting shared by two of my blog buddies – Roger (of Rantings from Under the Wargame Table – and Dave Stone of Wargame Terrain Workshop – check them both out). While I could have gone here with the thin look of the washers as they were – looking like a 1960’s TV Lost In Space weapon – I wanted them to be more retro sci-fi looking. Addditionally, I did worry that using the washers as initially secured would not be as secure as tabletop play might demand. That necessitated a two-step sculpt to give the main gun a more hefty look.
Step 1 was to get the washers fixed in place for 24 hours – before going on to further sculpting.Another view of step 1.
While that cured, I went to work on planning out work on the tiger commander figure. I planned to have the figure’s head – or preferably its torso – coming out of the tank’s hatch. I realized that drilling out the Corgi tank commander’s hatch to insert a figure was impractical due to the thickness of the metal and the size of the hatch.
Doing a bit of research gave me insight into the different types of cupola’s that WWII Tiger I tanks had. One type swung up vertically, while another rorated out on a lateral swing arm. That would be my solution – build a cupola/hatch to mount the commander. It would also enable me to work on the cupola/hatch/tiger assembly separately from the toy tank.
Inspiration from eBay yet again. This would be the basic orientation of my cupola.
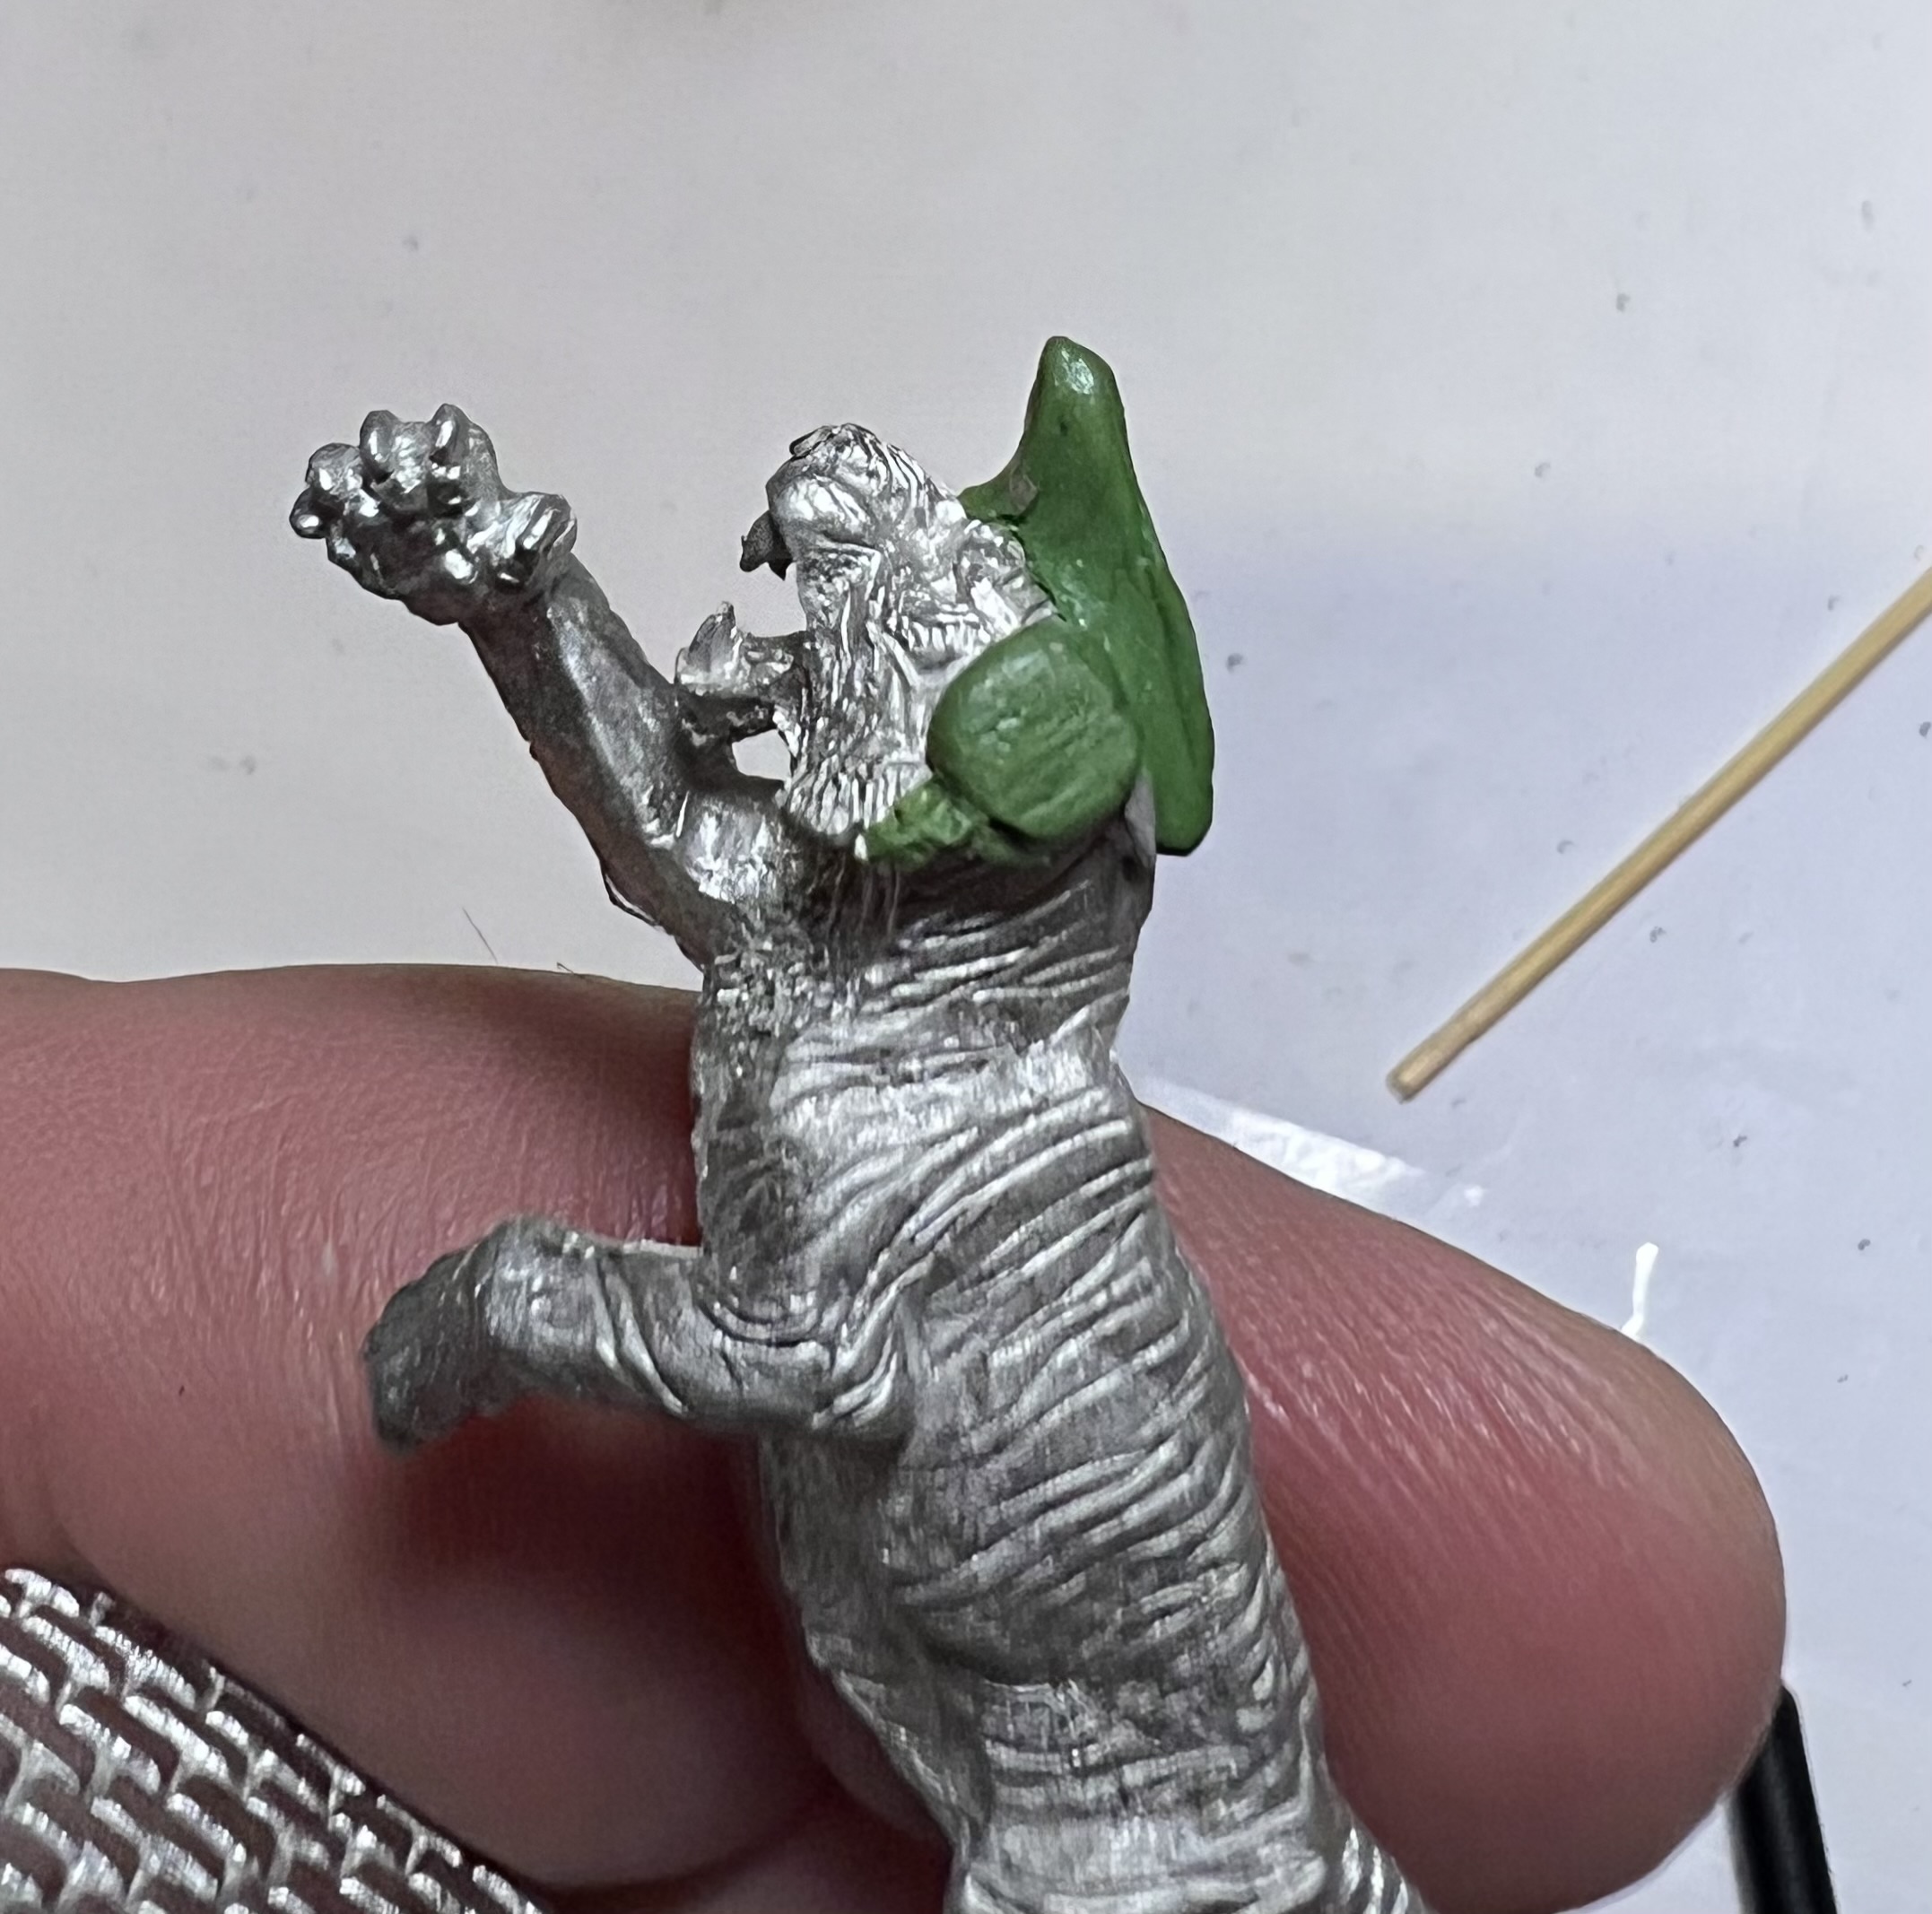
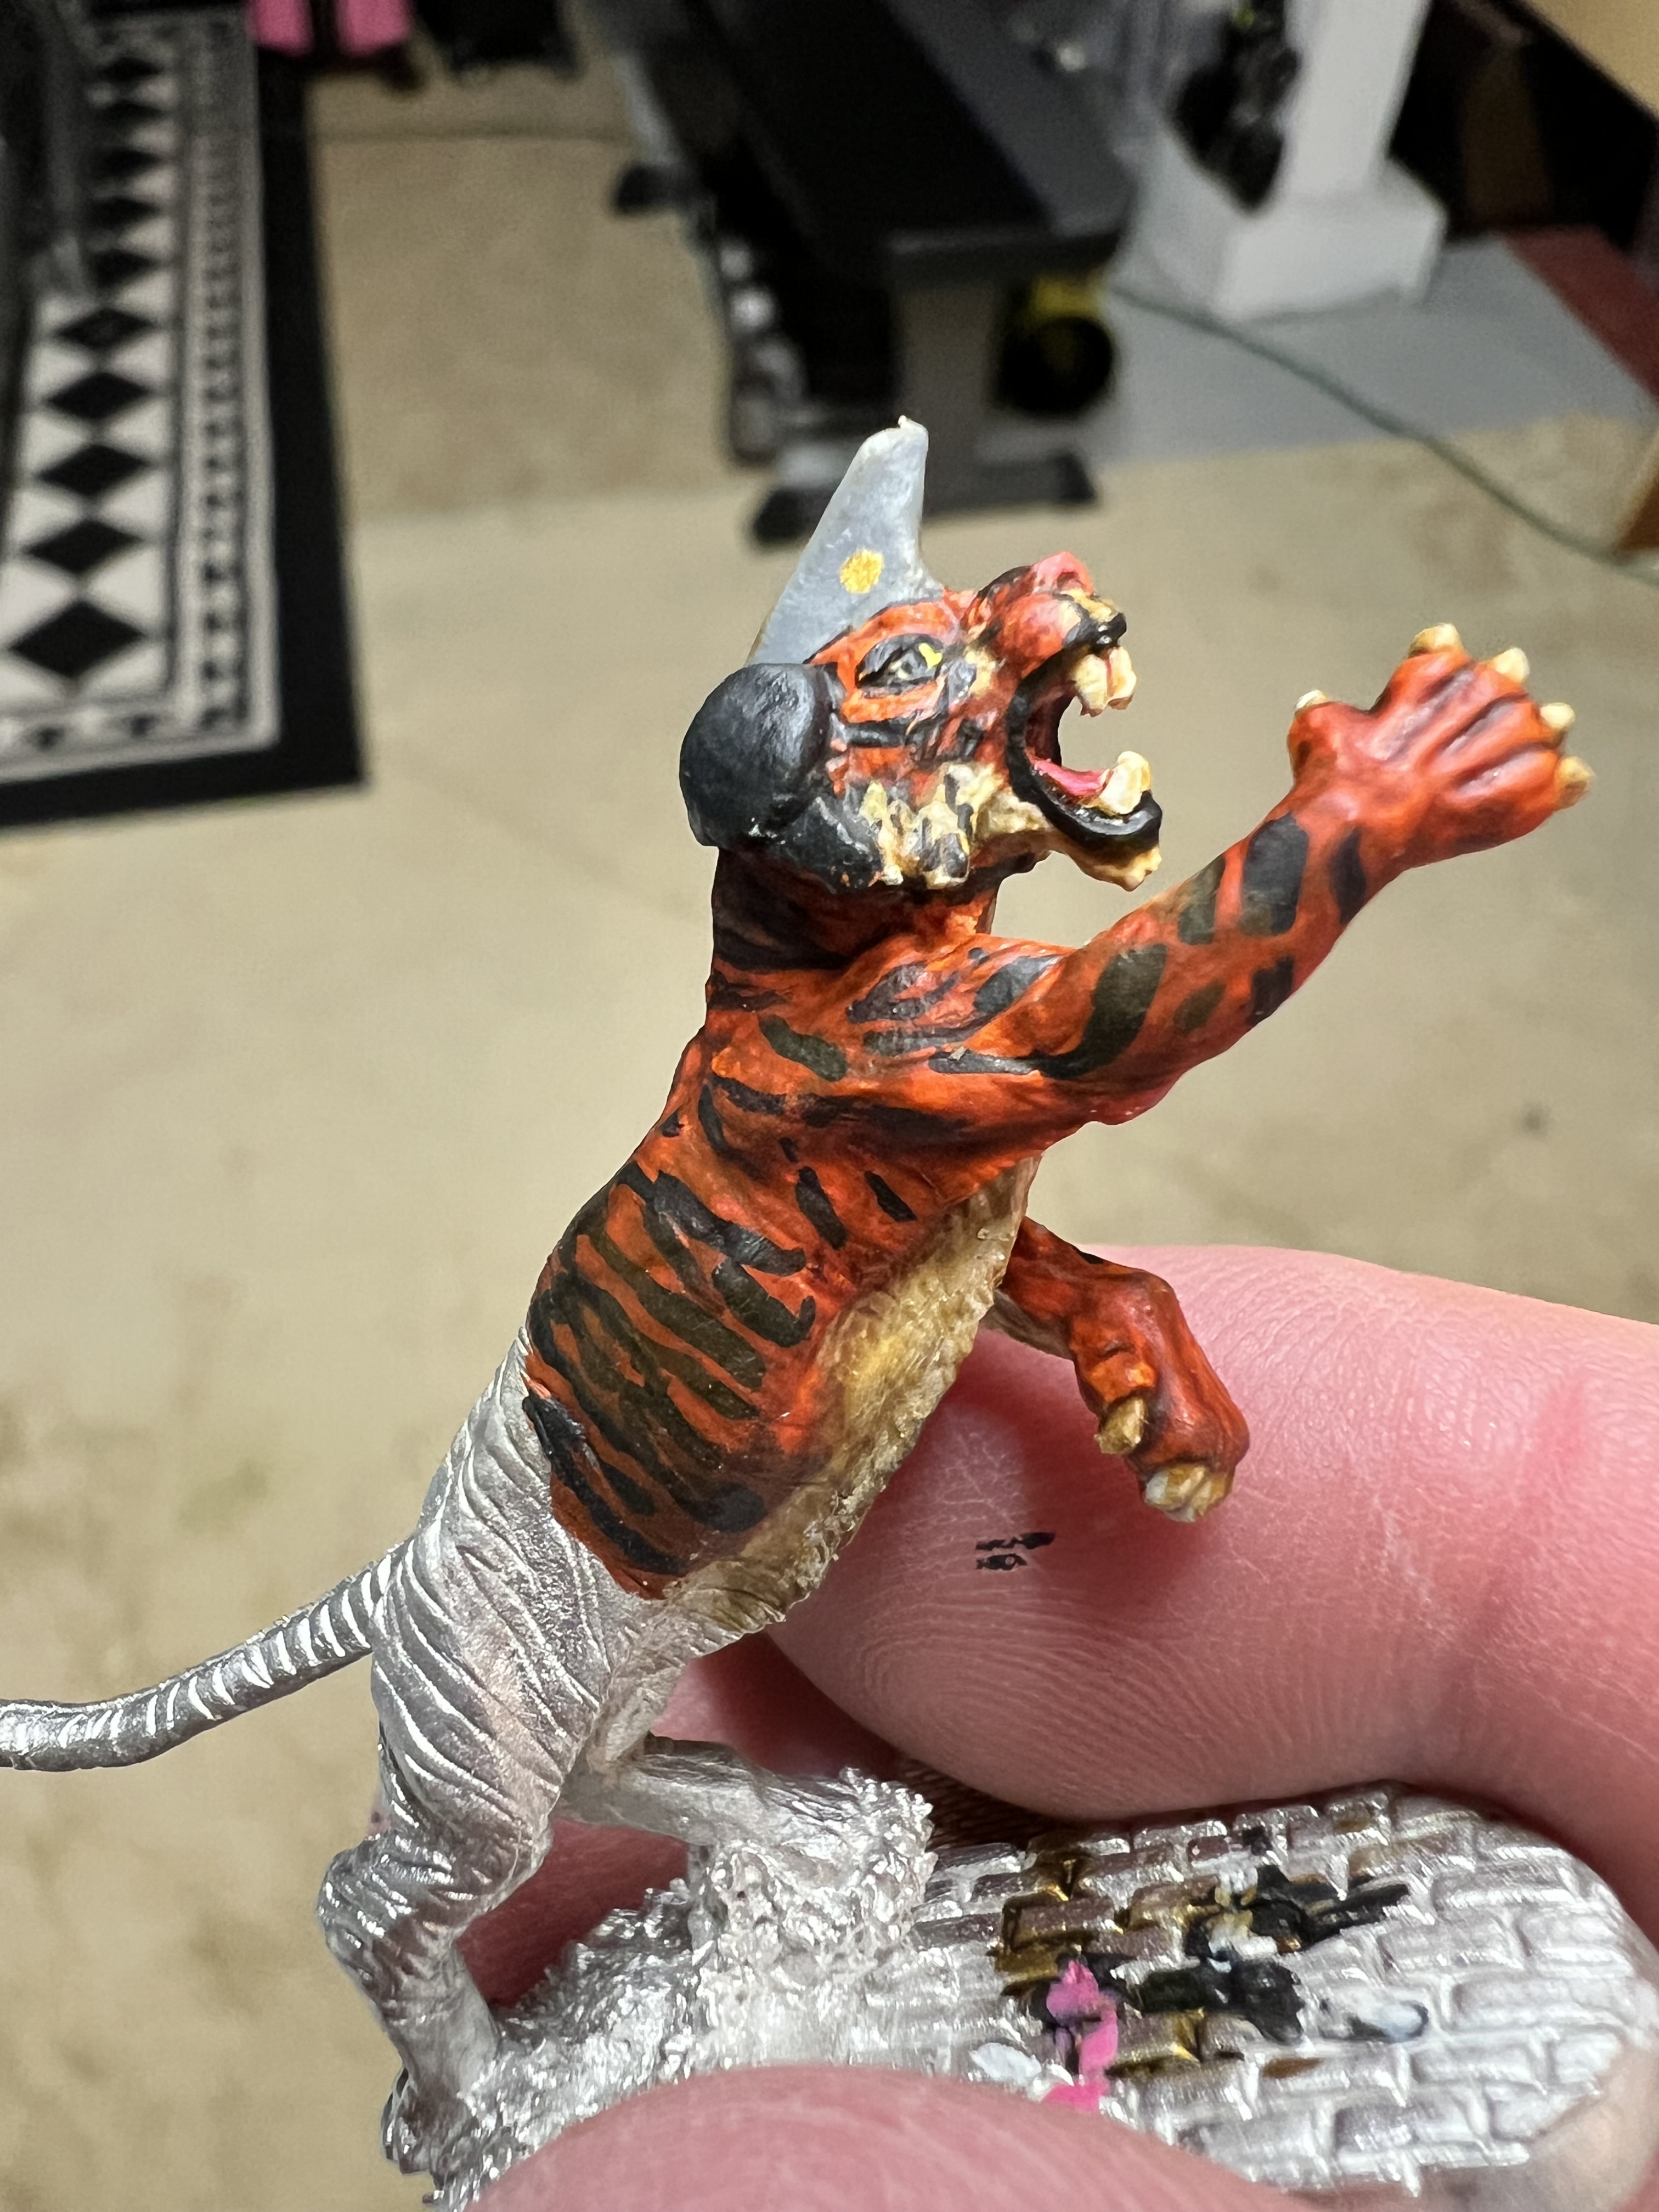
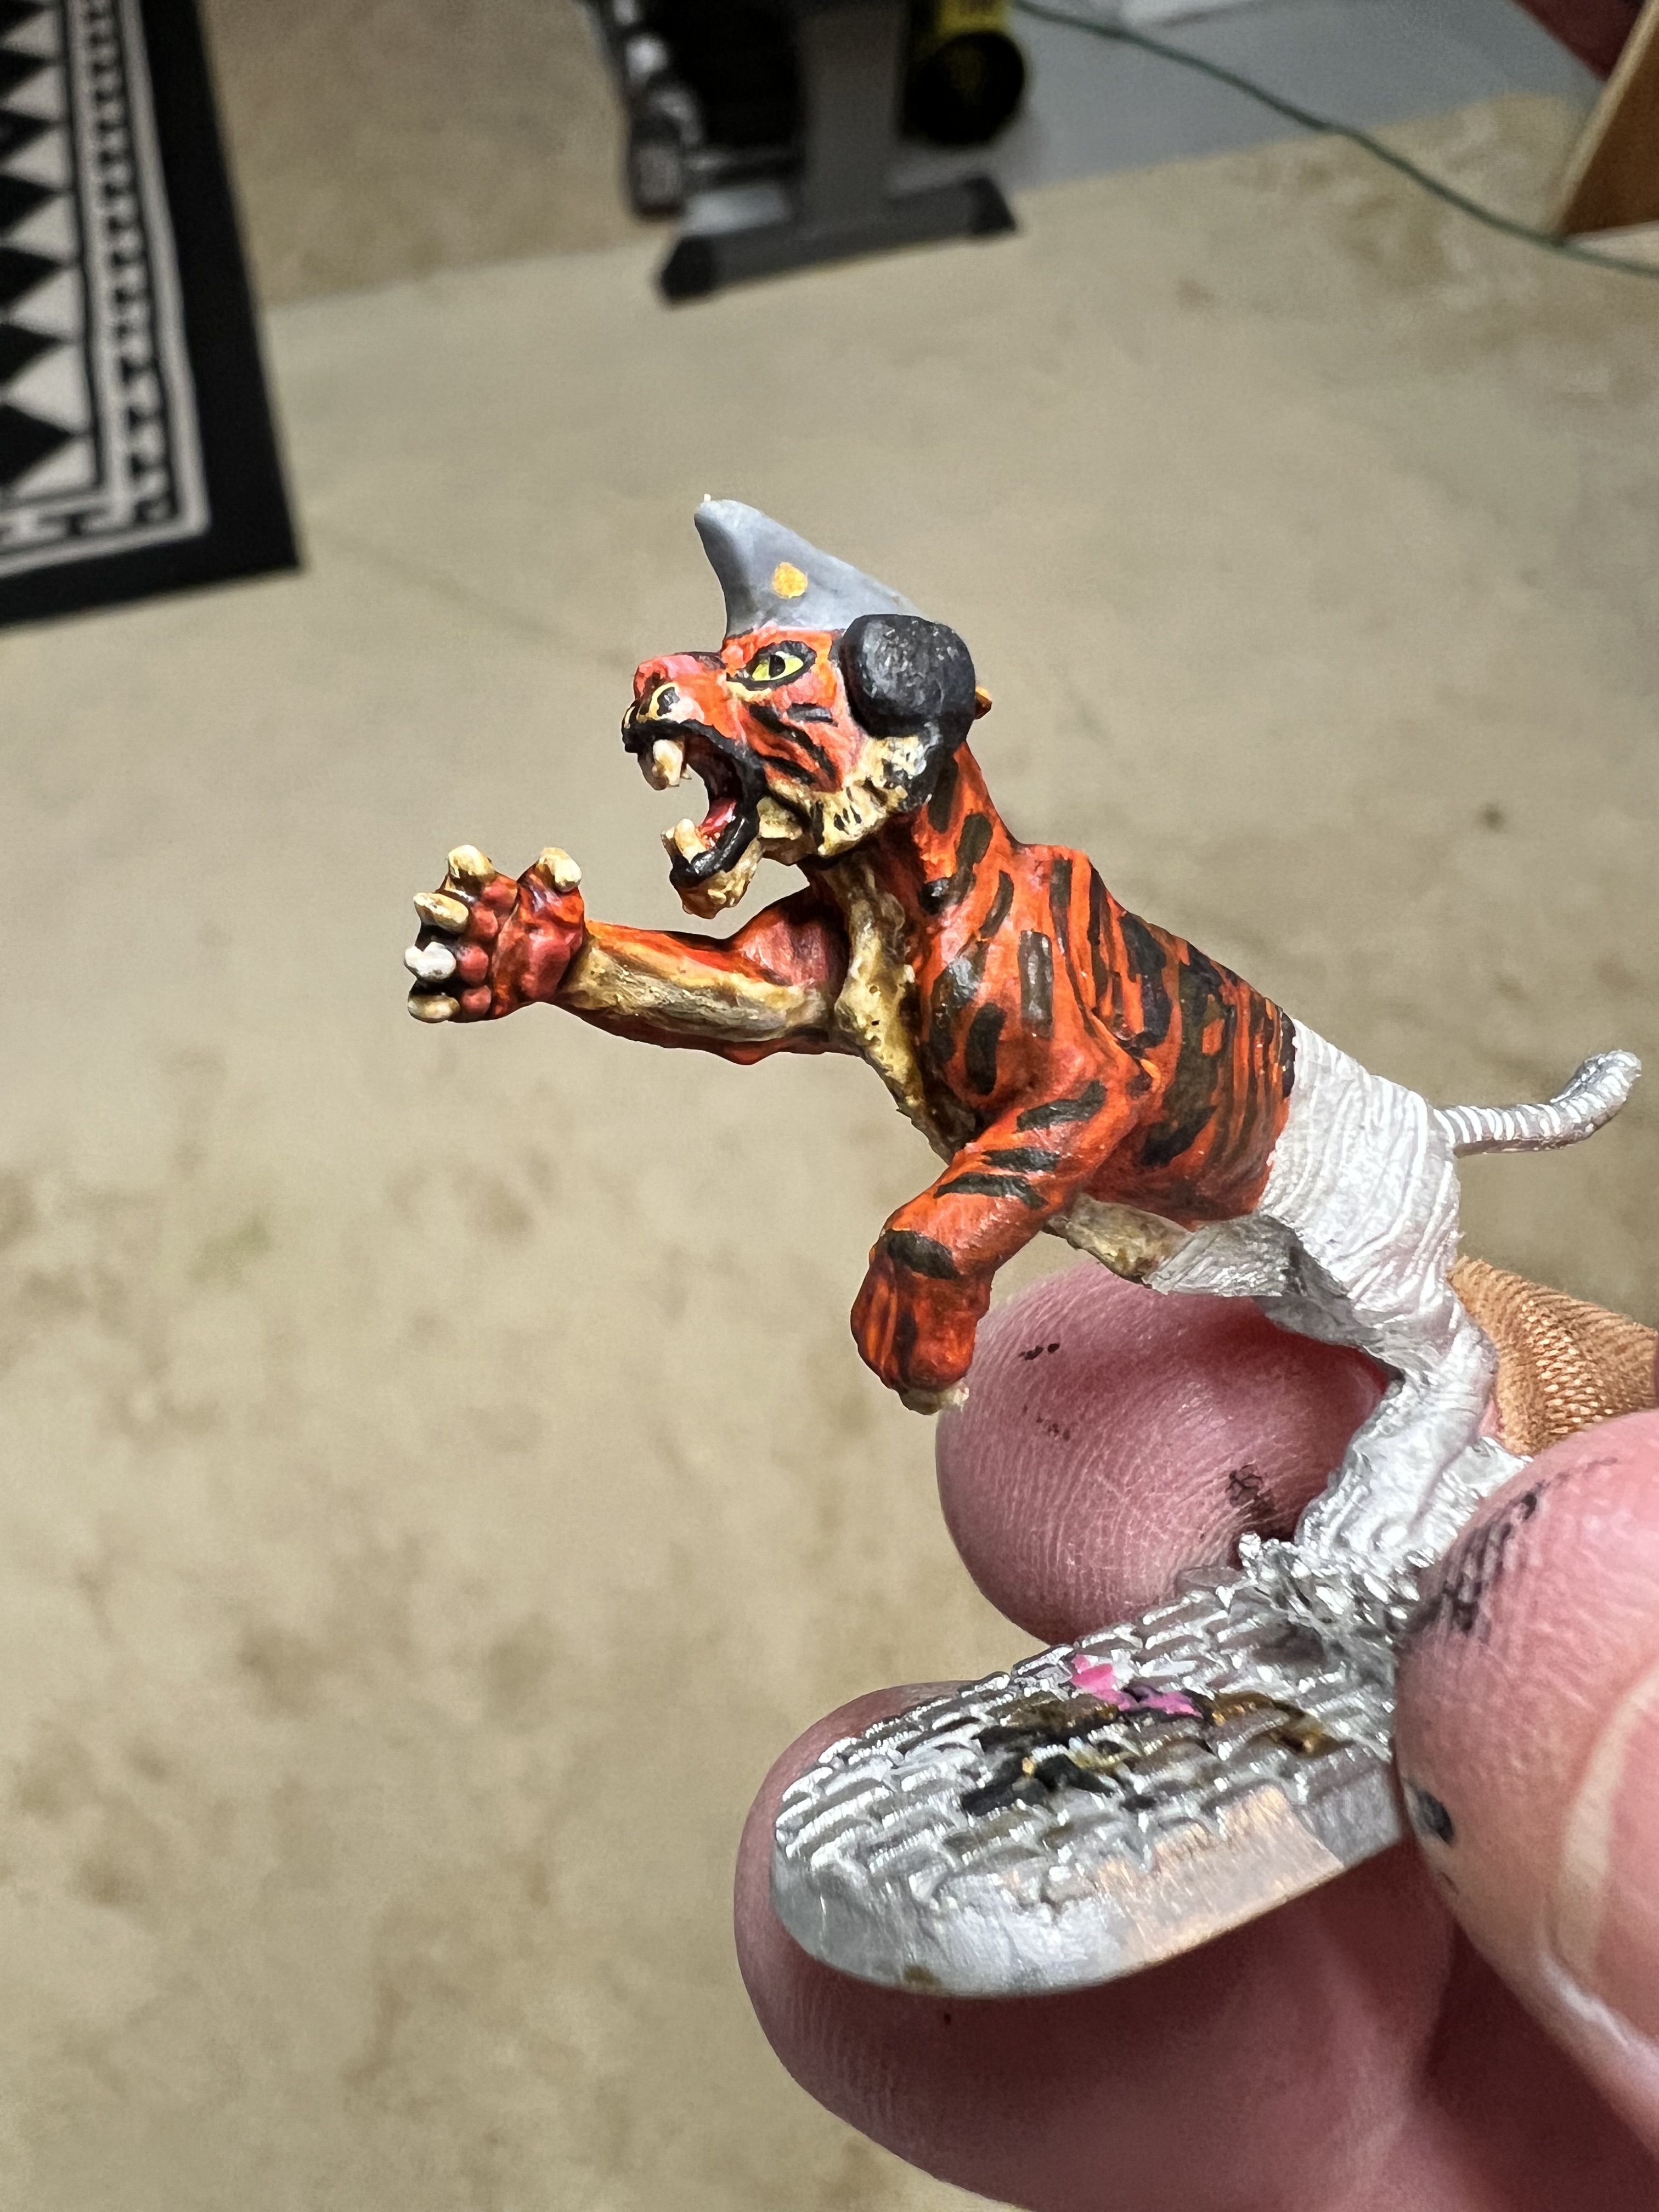
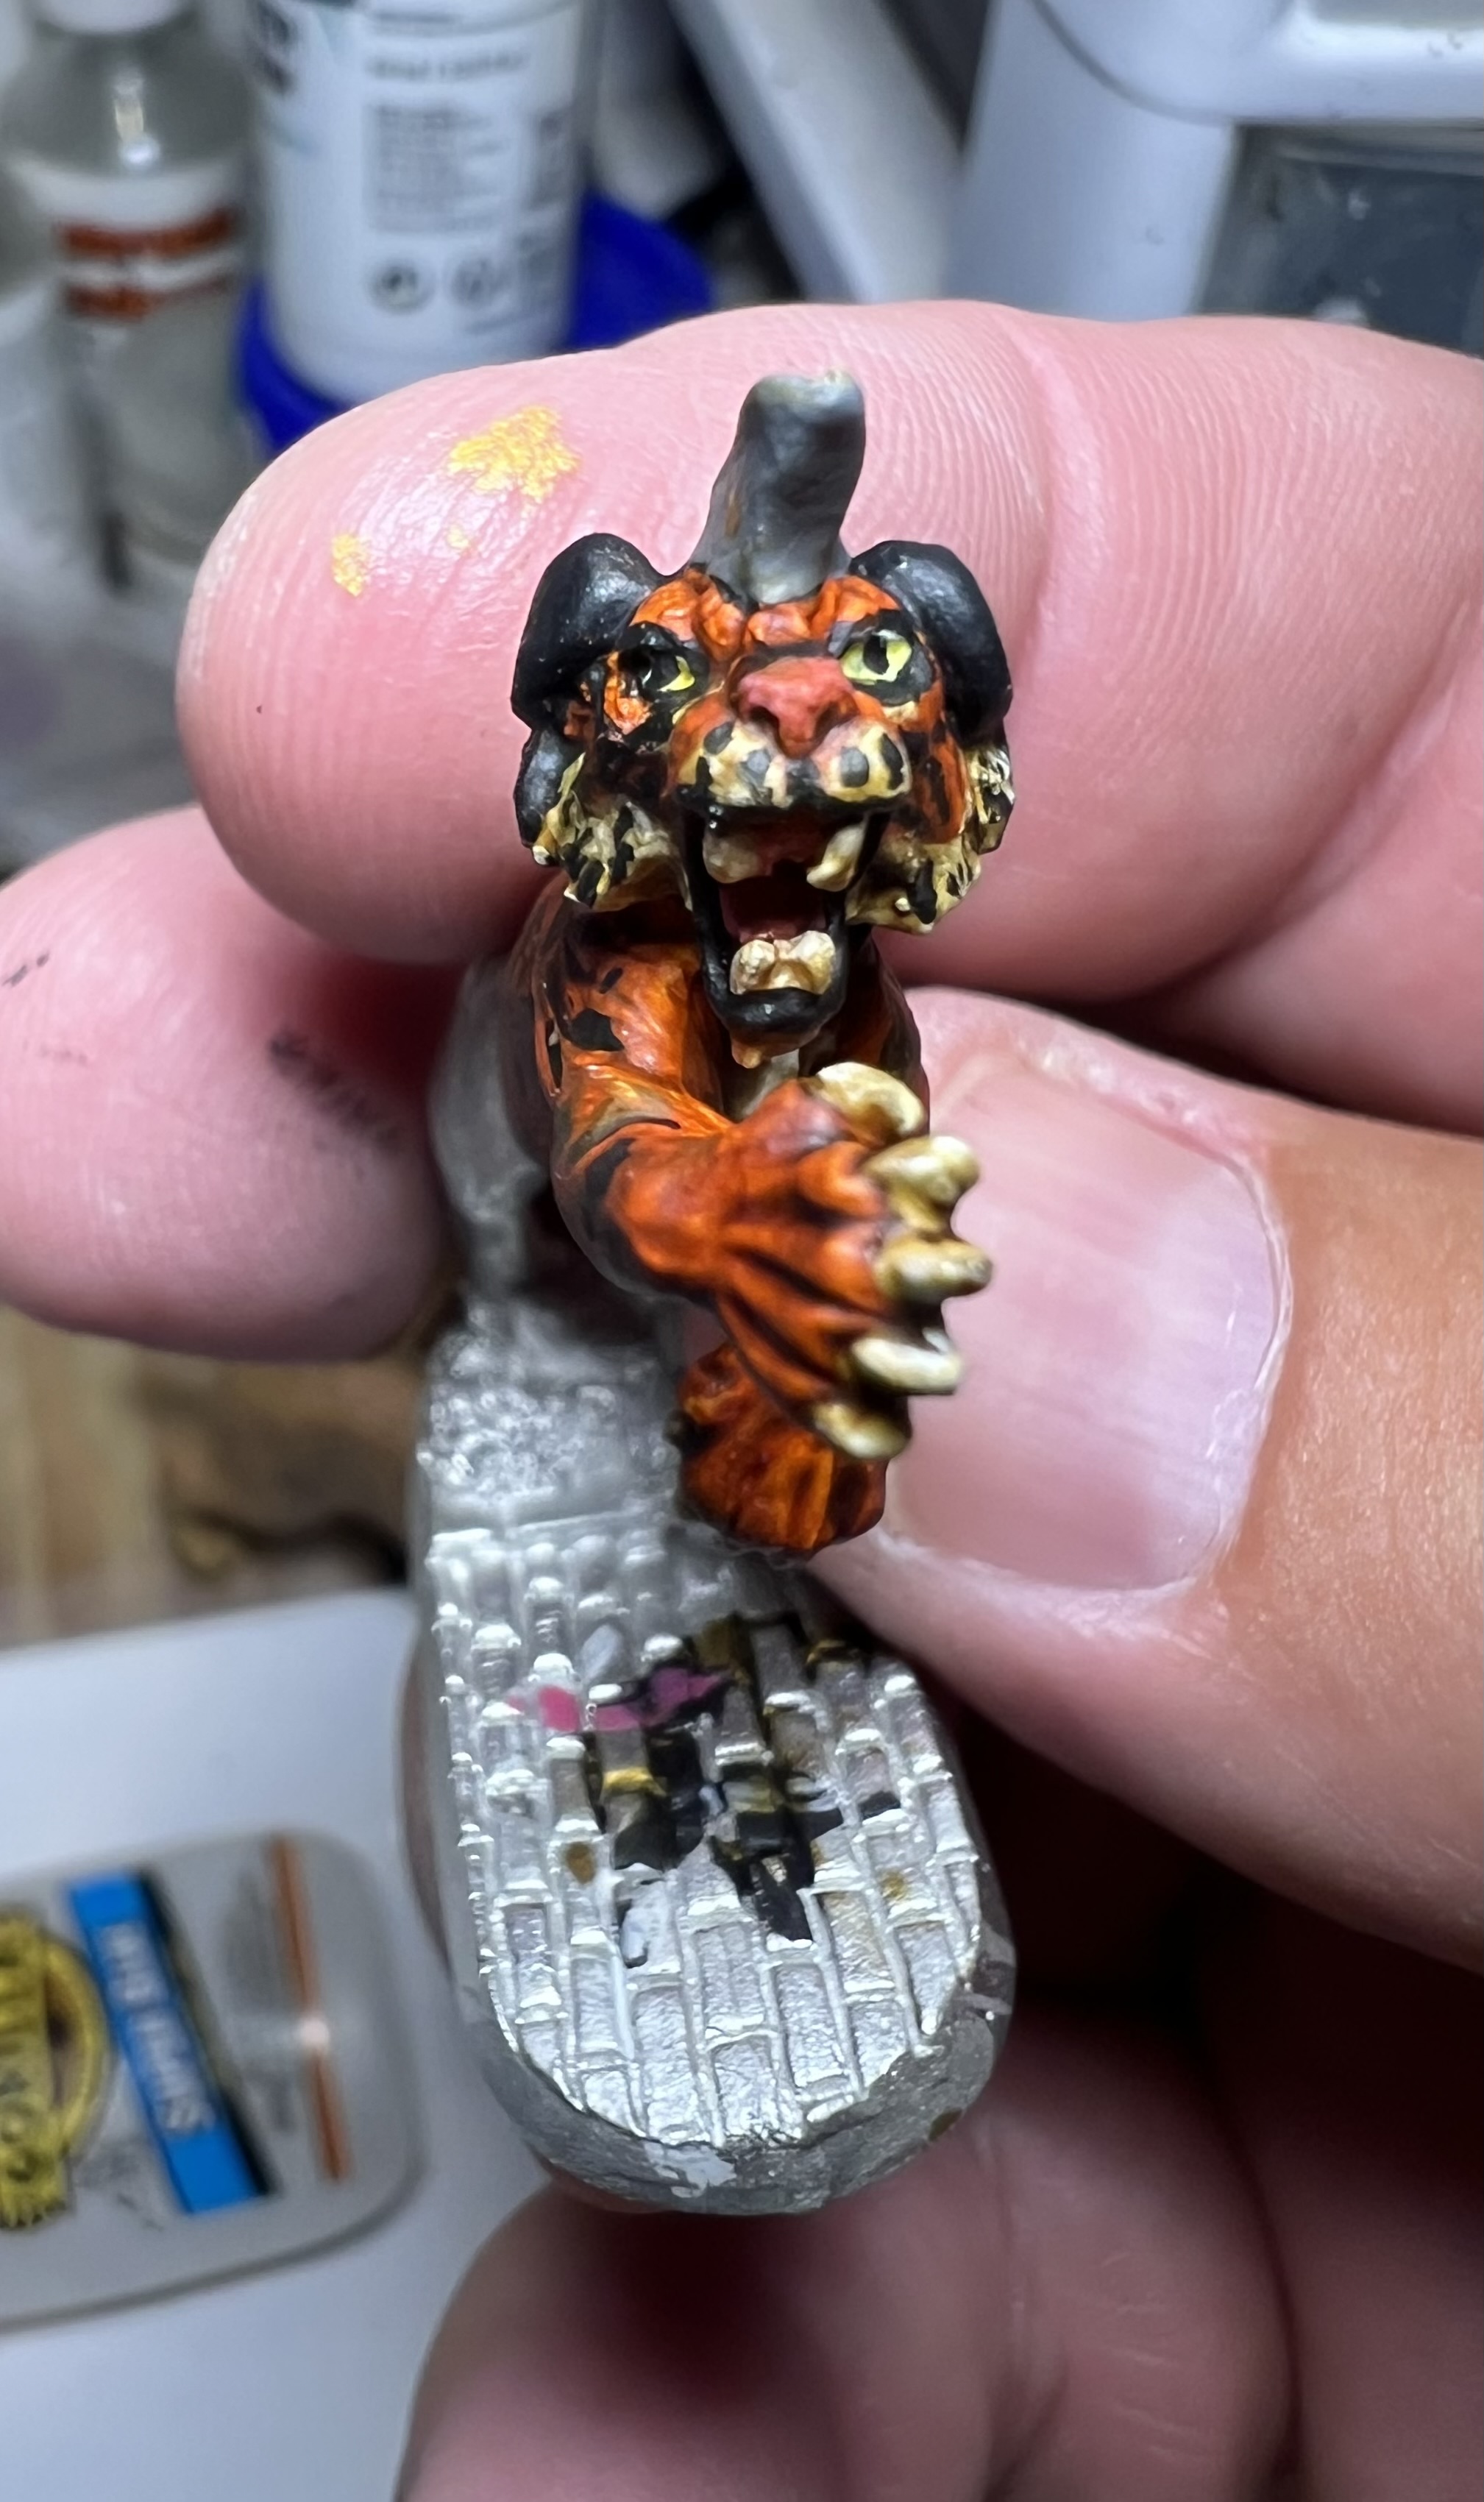
Now that I knew what I would do with the tiger figure, it was time to prime and paint it. However, I before I got to that stage – I chose to modify the figure as a tank commander with a green stuff-sculpted set of headphones and a garrison cap.
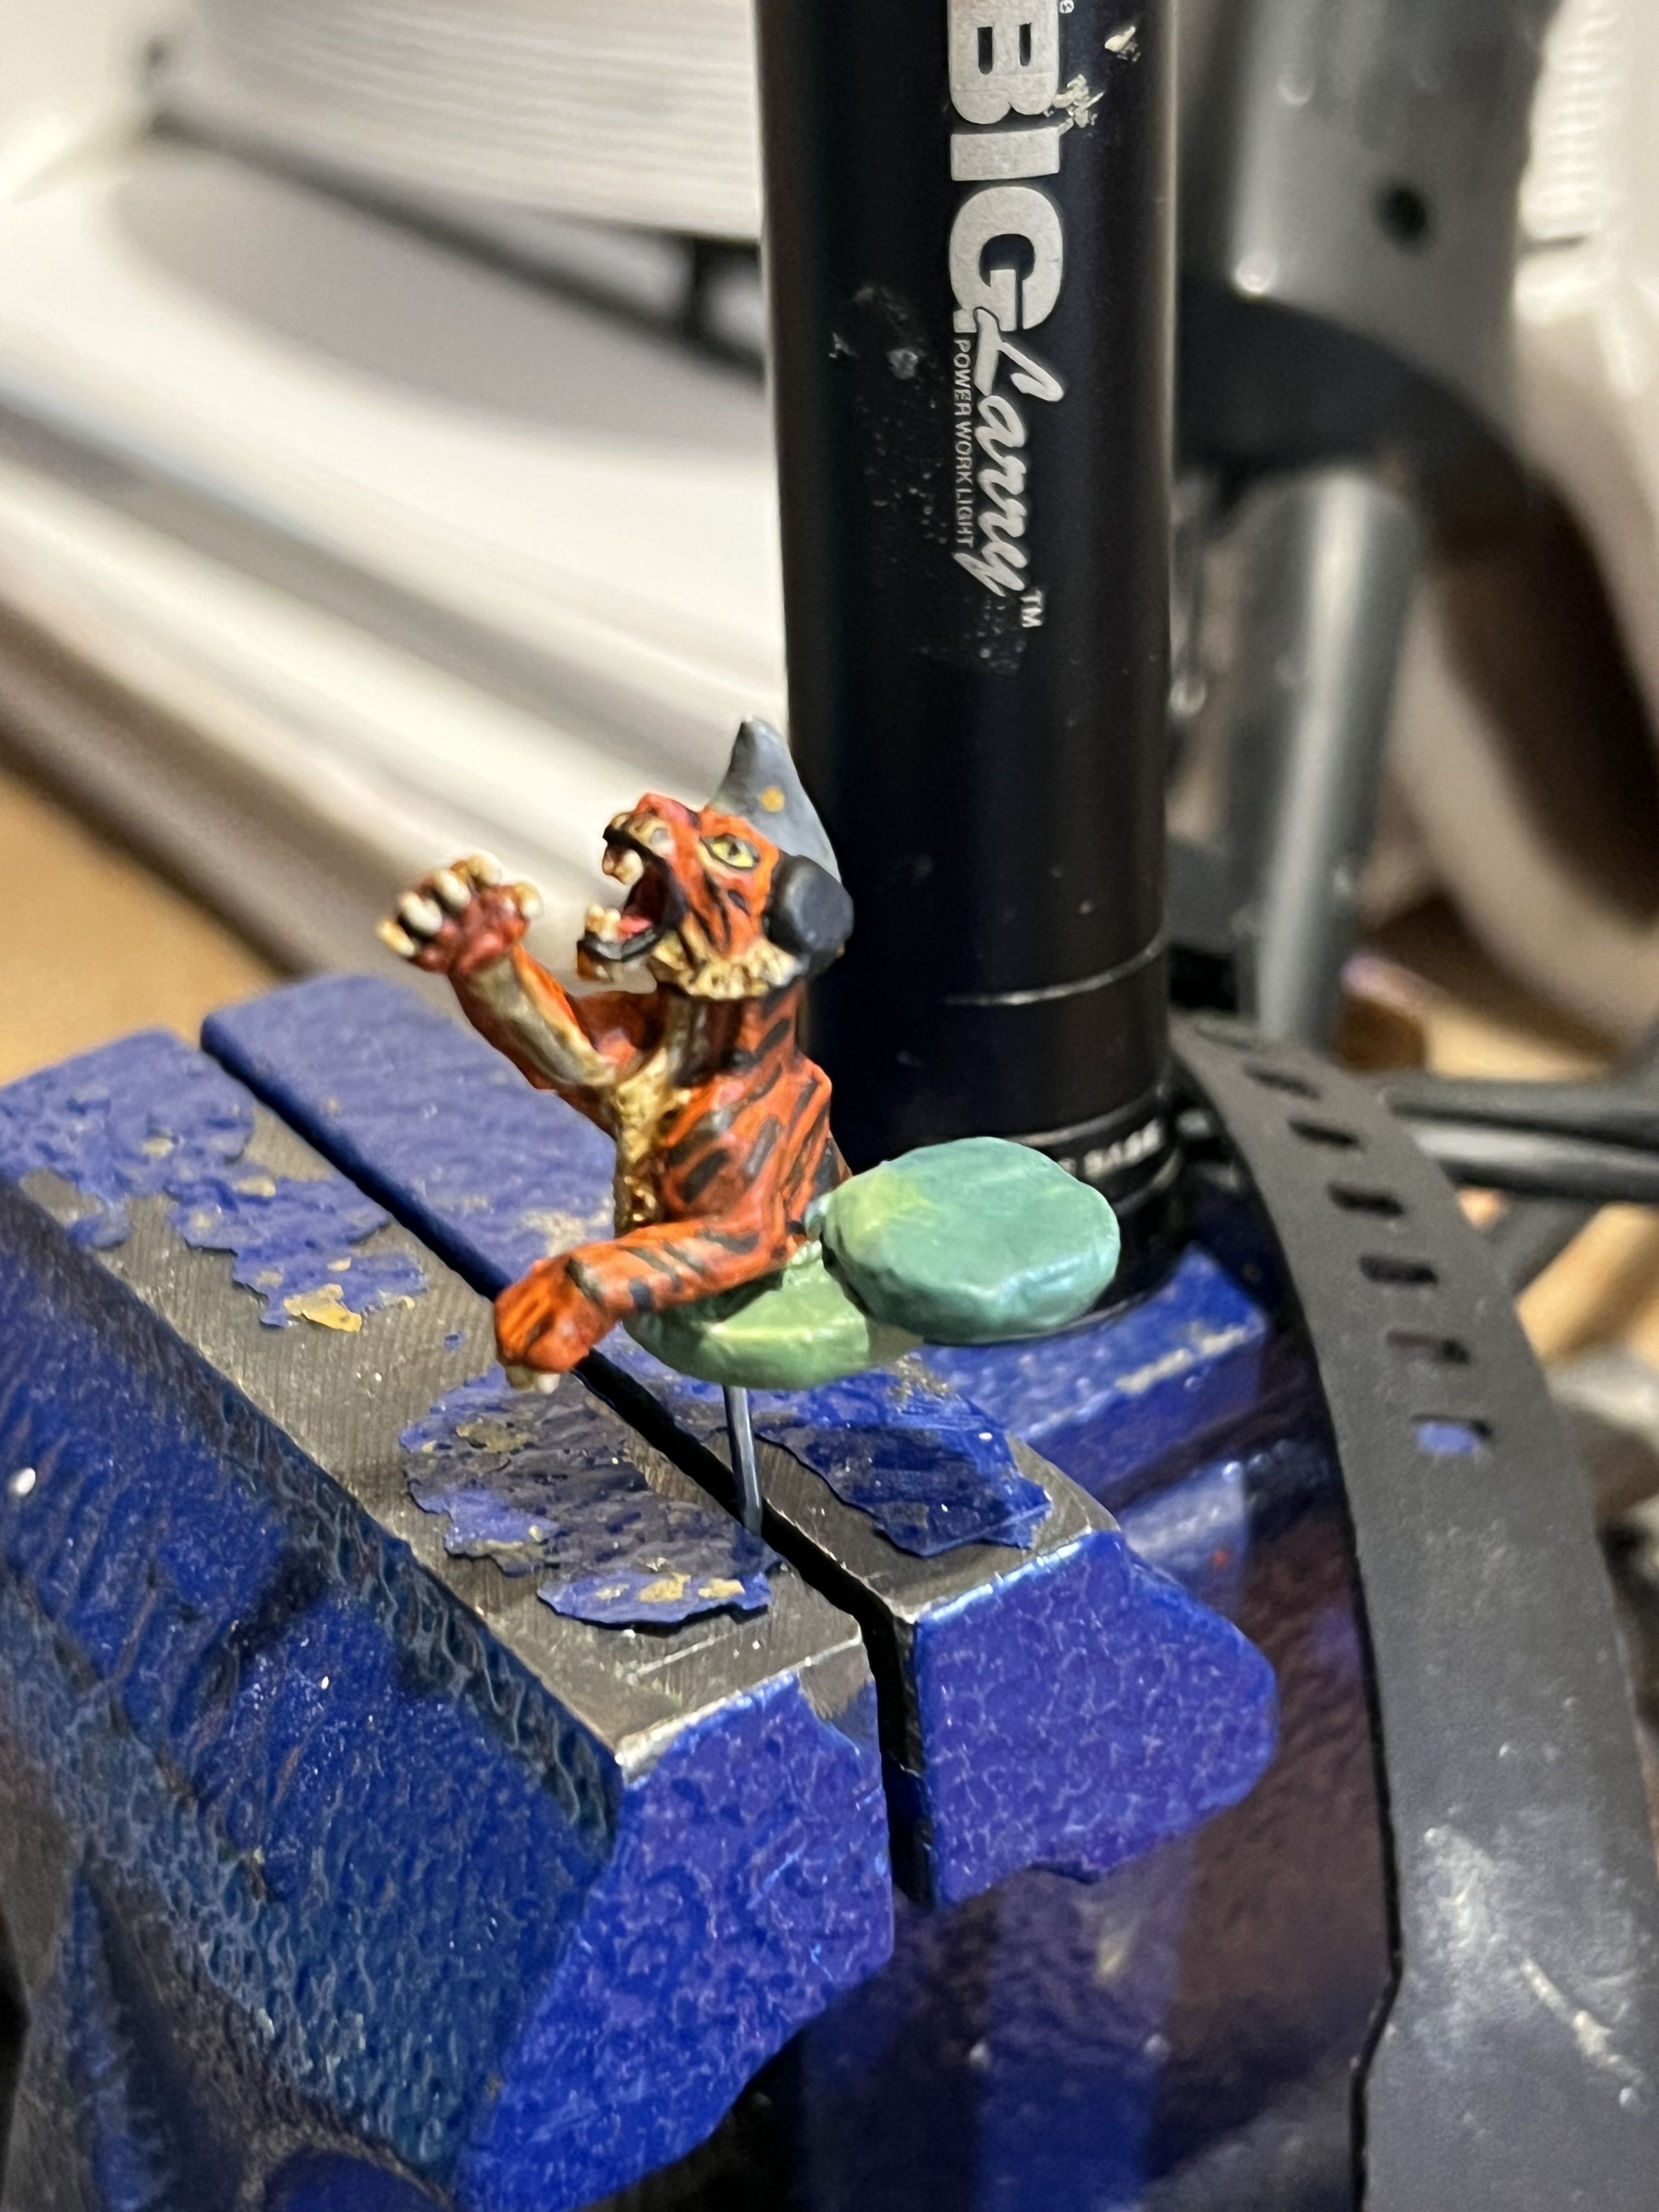
As received.After cleaning up the figure.Headphones and garrison cap added
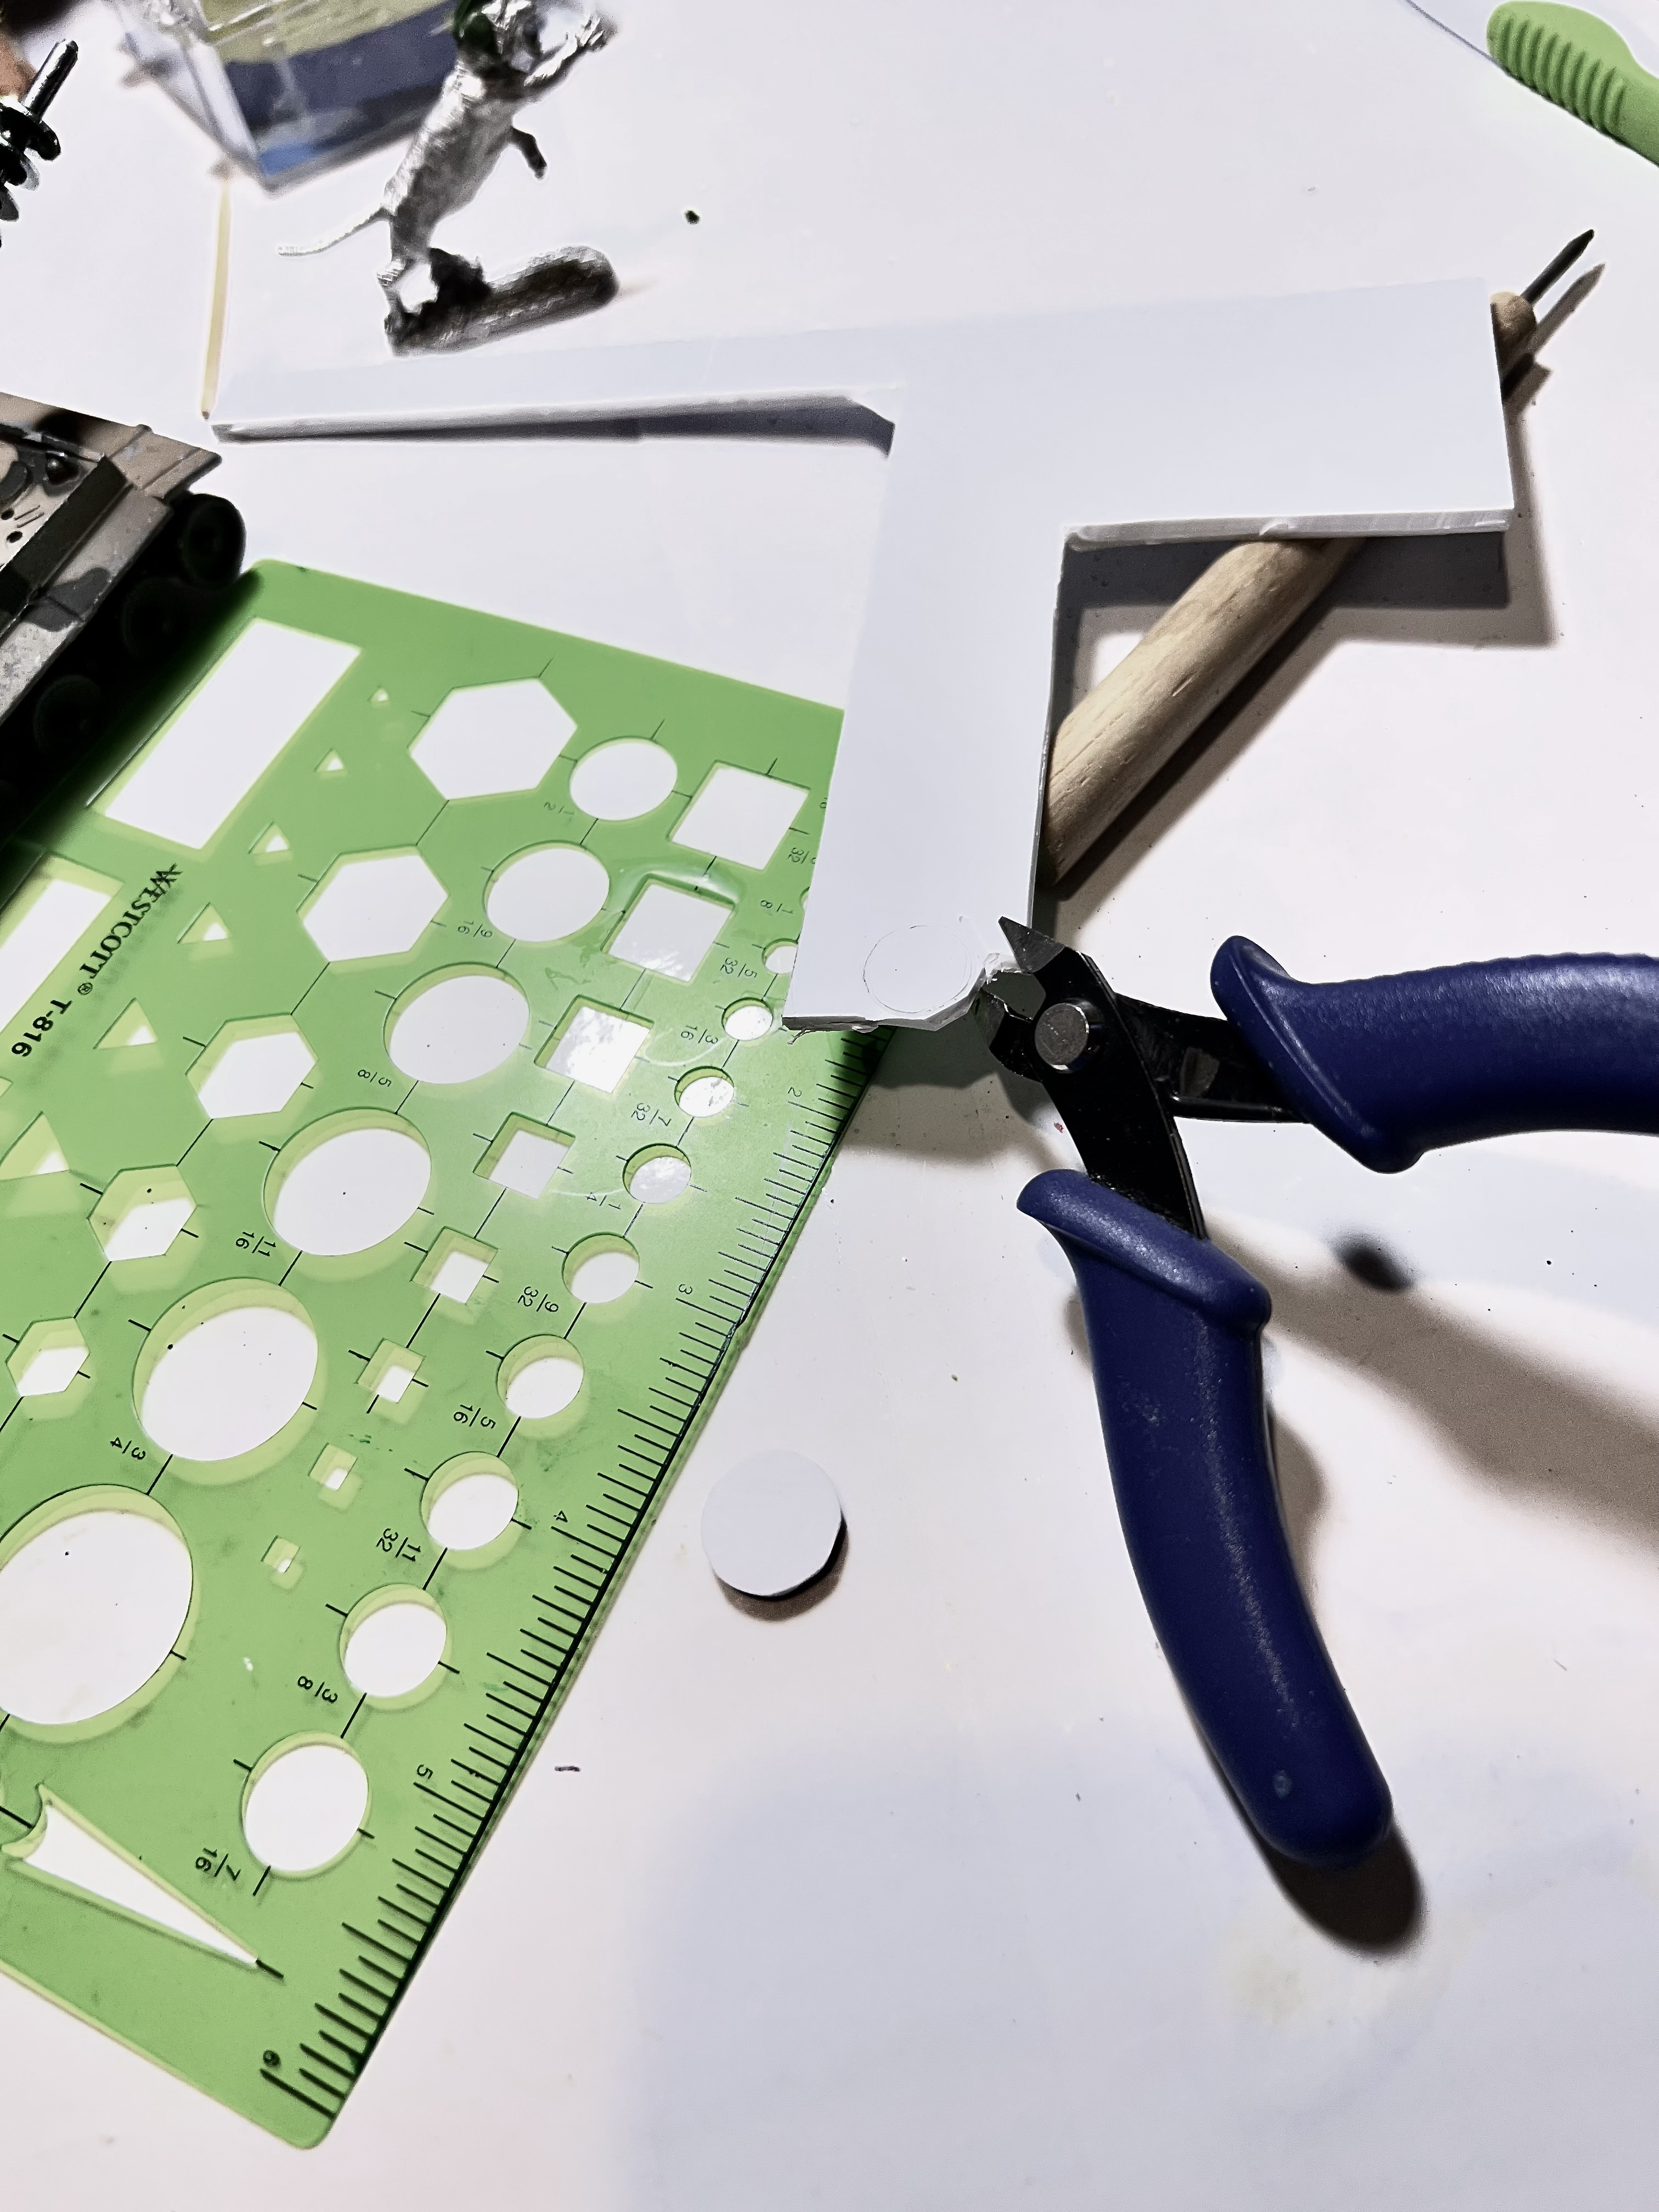
While that green stuff set up, I cut out the cupola/hatch pieces from plasticard. There were 2 differently-sized pieces used. I sized them with a plastic drafting template. Then I cut them with a sprue cutter and sanded them as round as I could. Then I went back to the tiger commander and primed the top half so that it would cure.
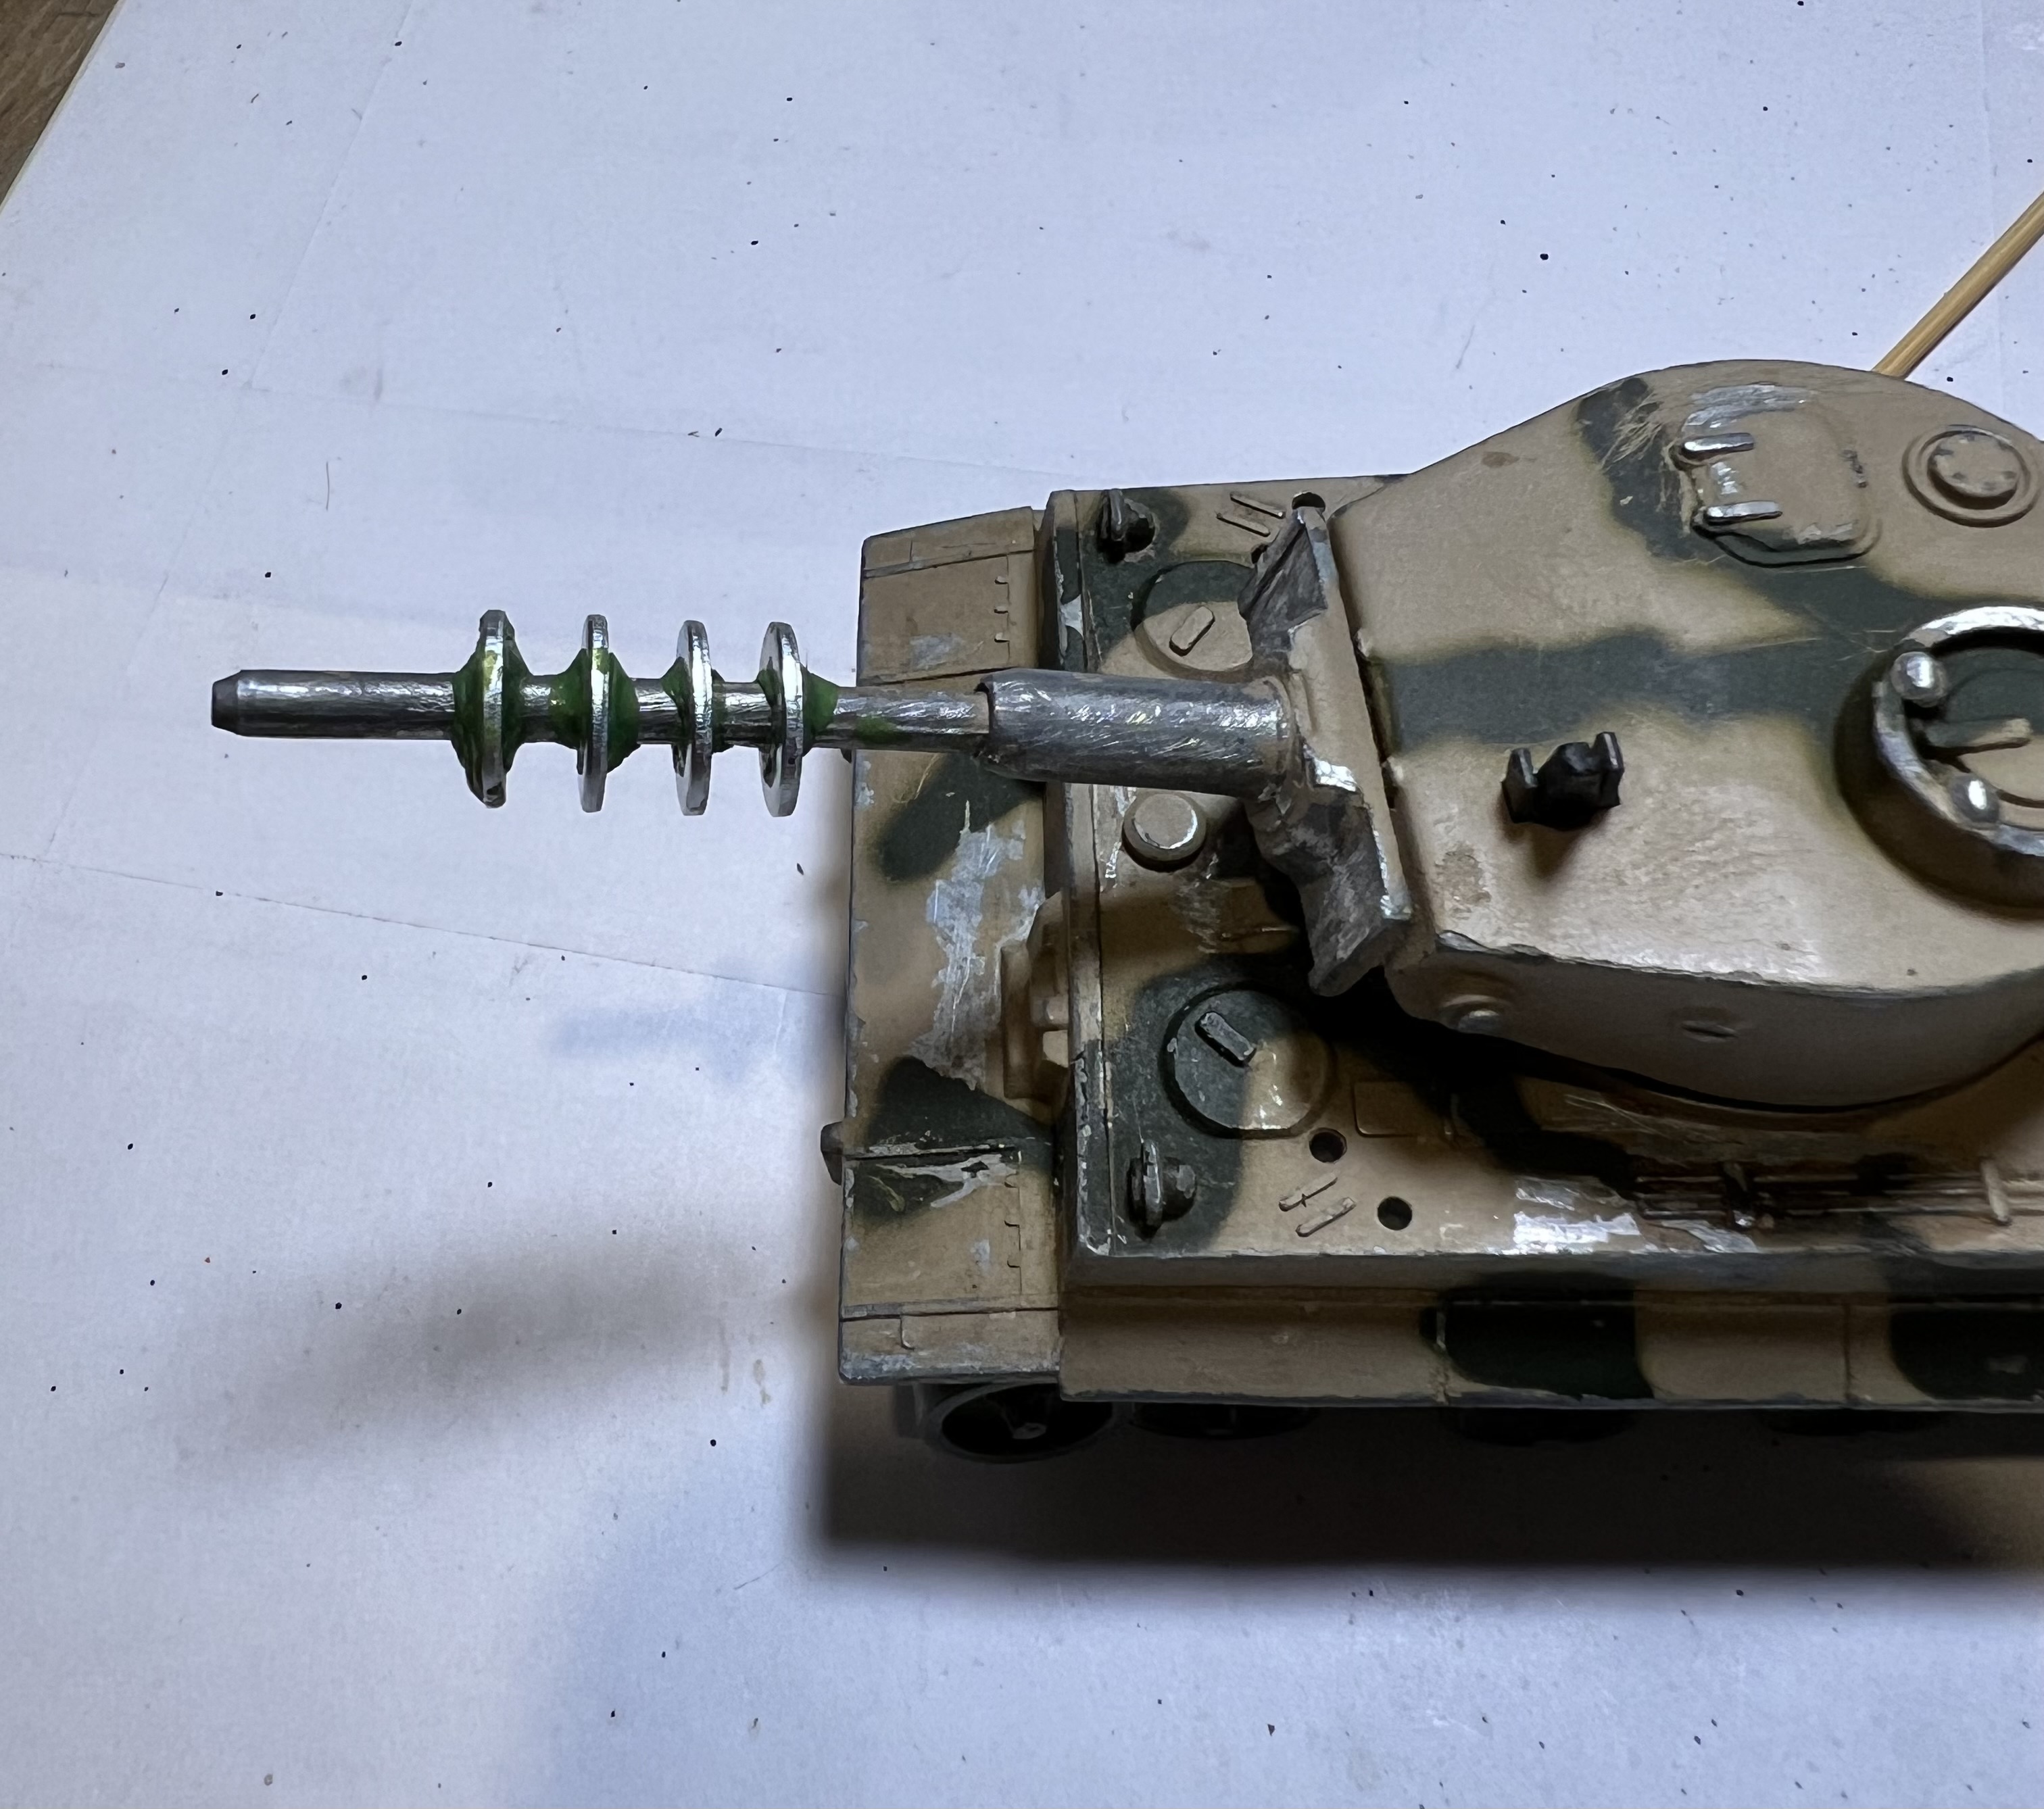
The next day I moved on to “Step 2” of the main gun sculpting. This way I could smooth out the “insulator” shapes over the washers on the gun and be assured that they were structurally stable and durable enough for play.
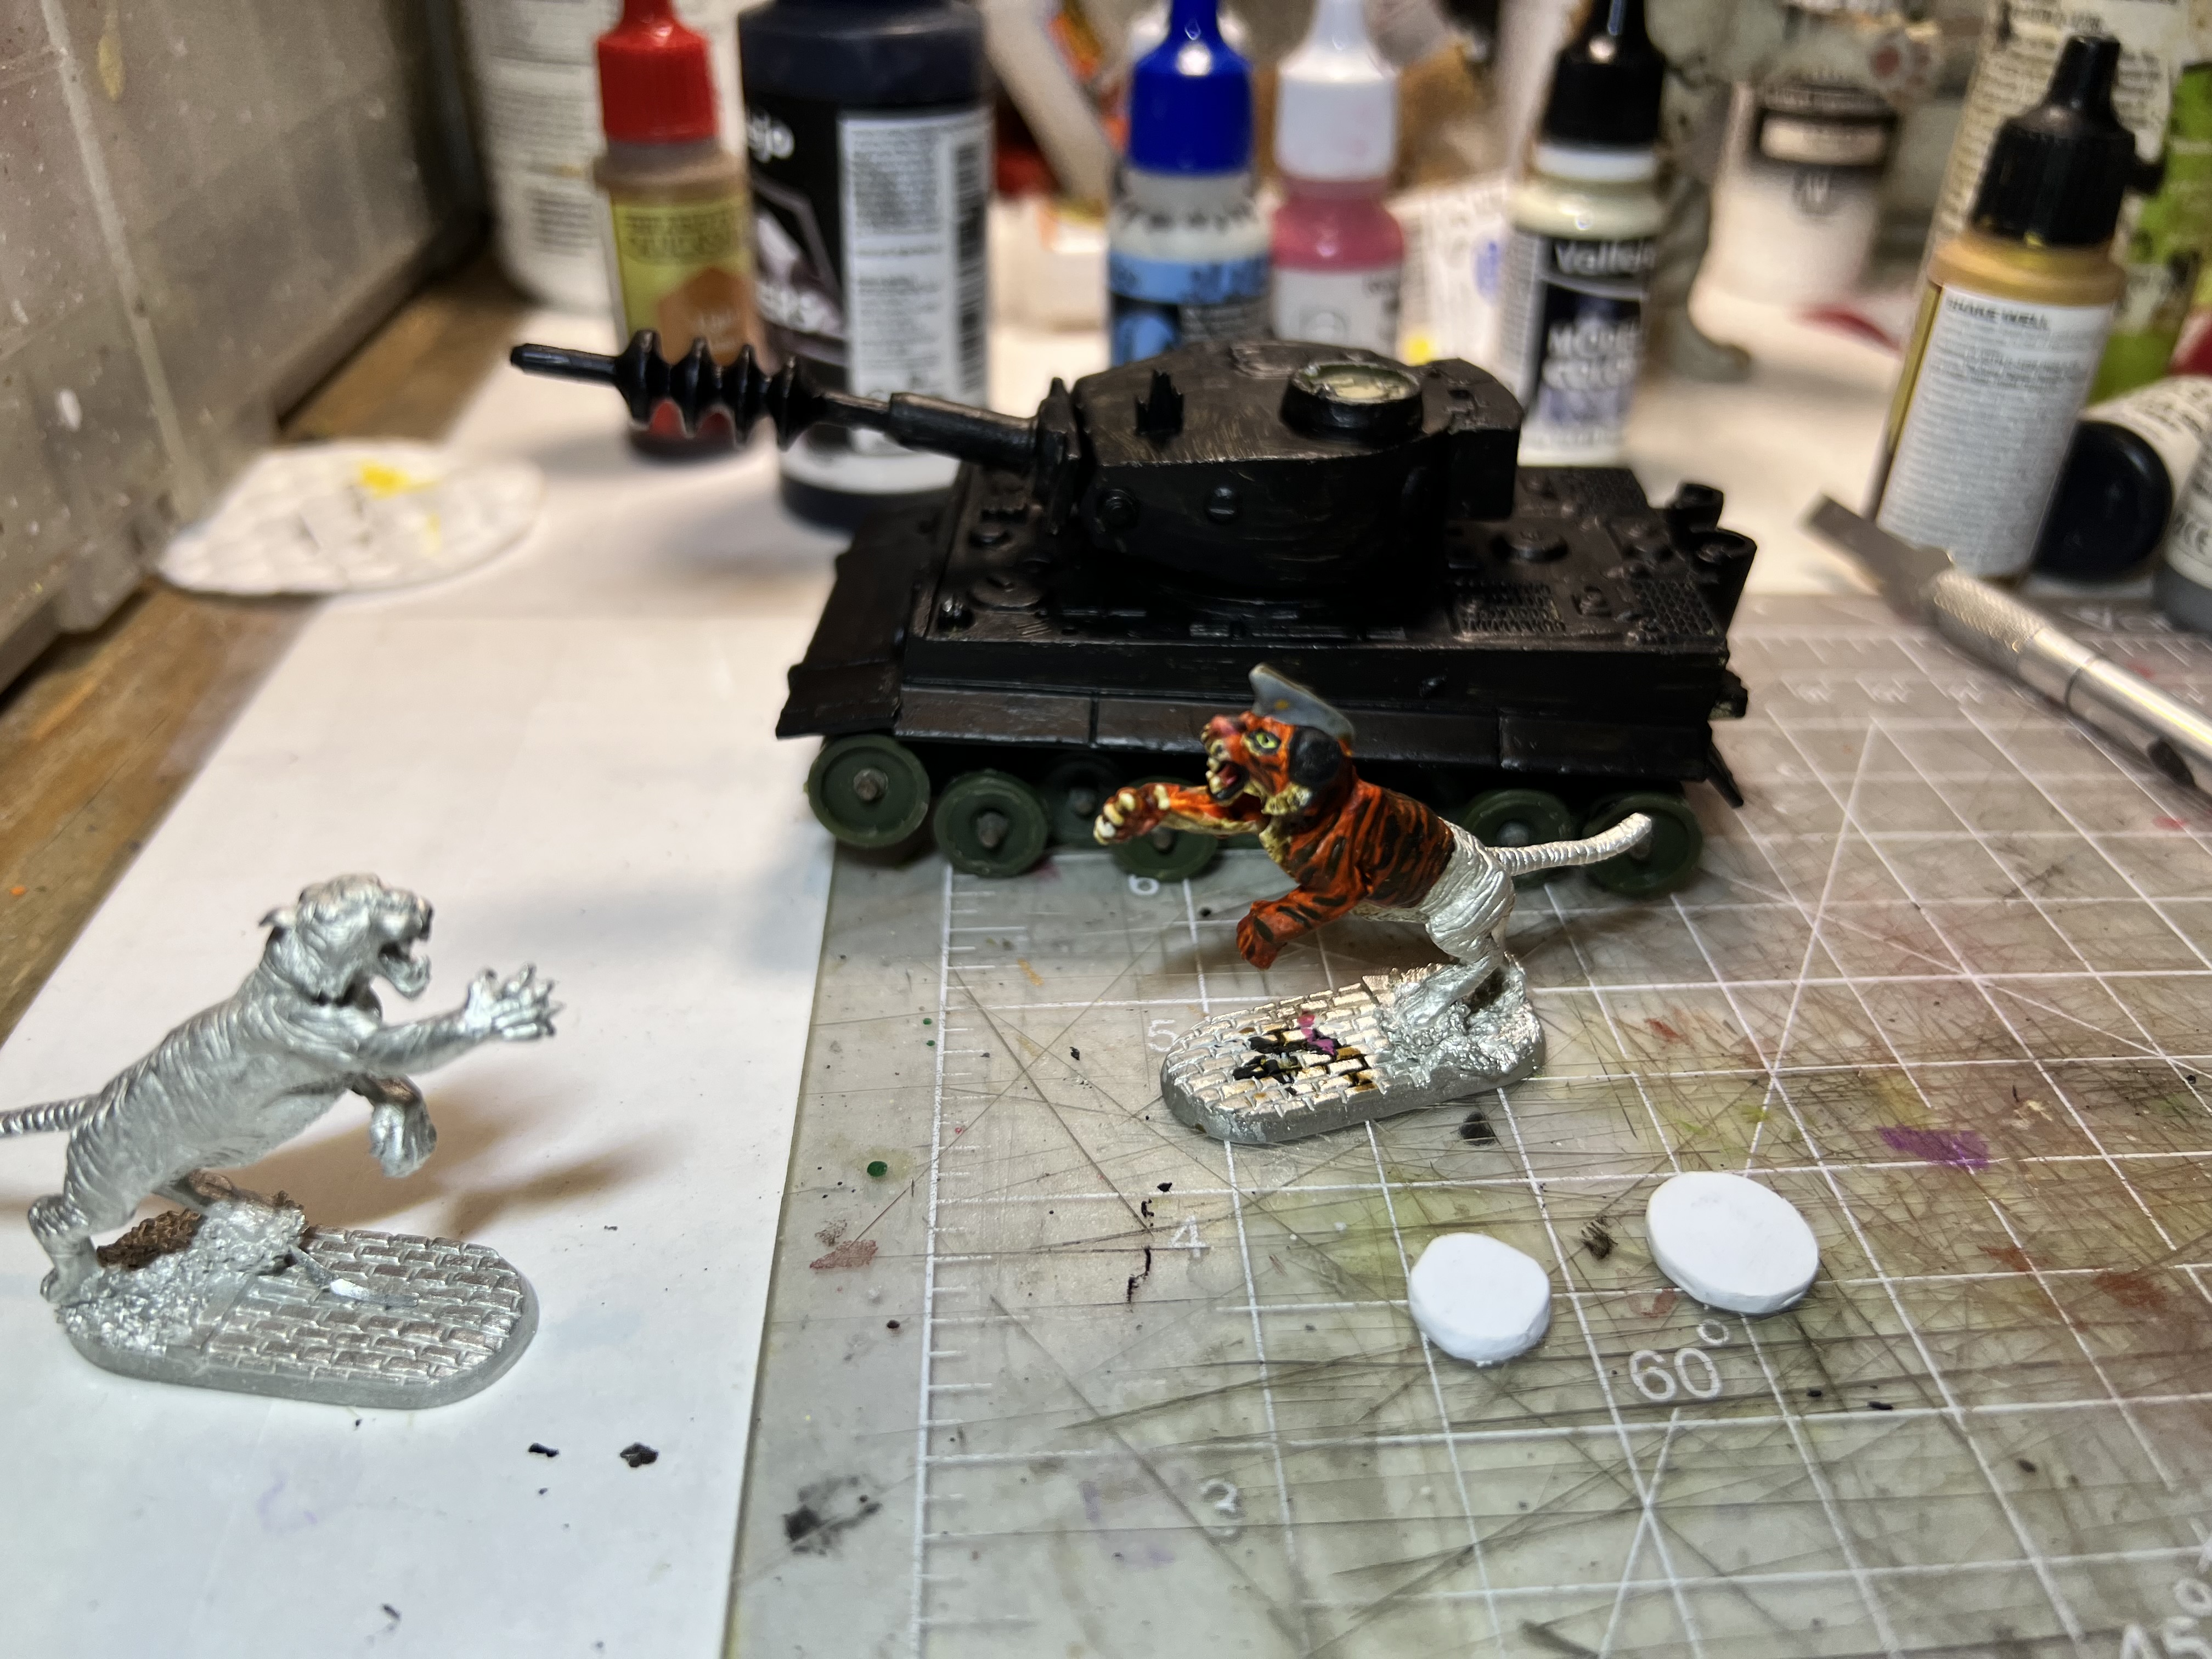
Here you see the results of the step 2 sculpting of the main gun, the primed top half of the modified commander, and the two hatch pieces.
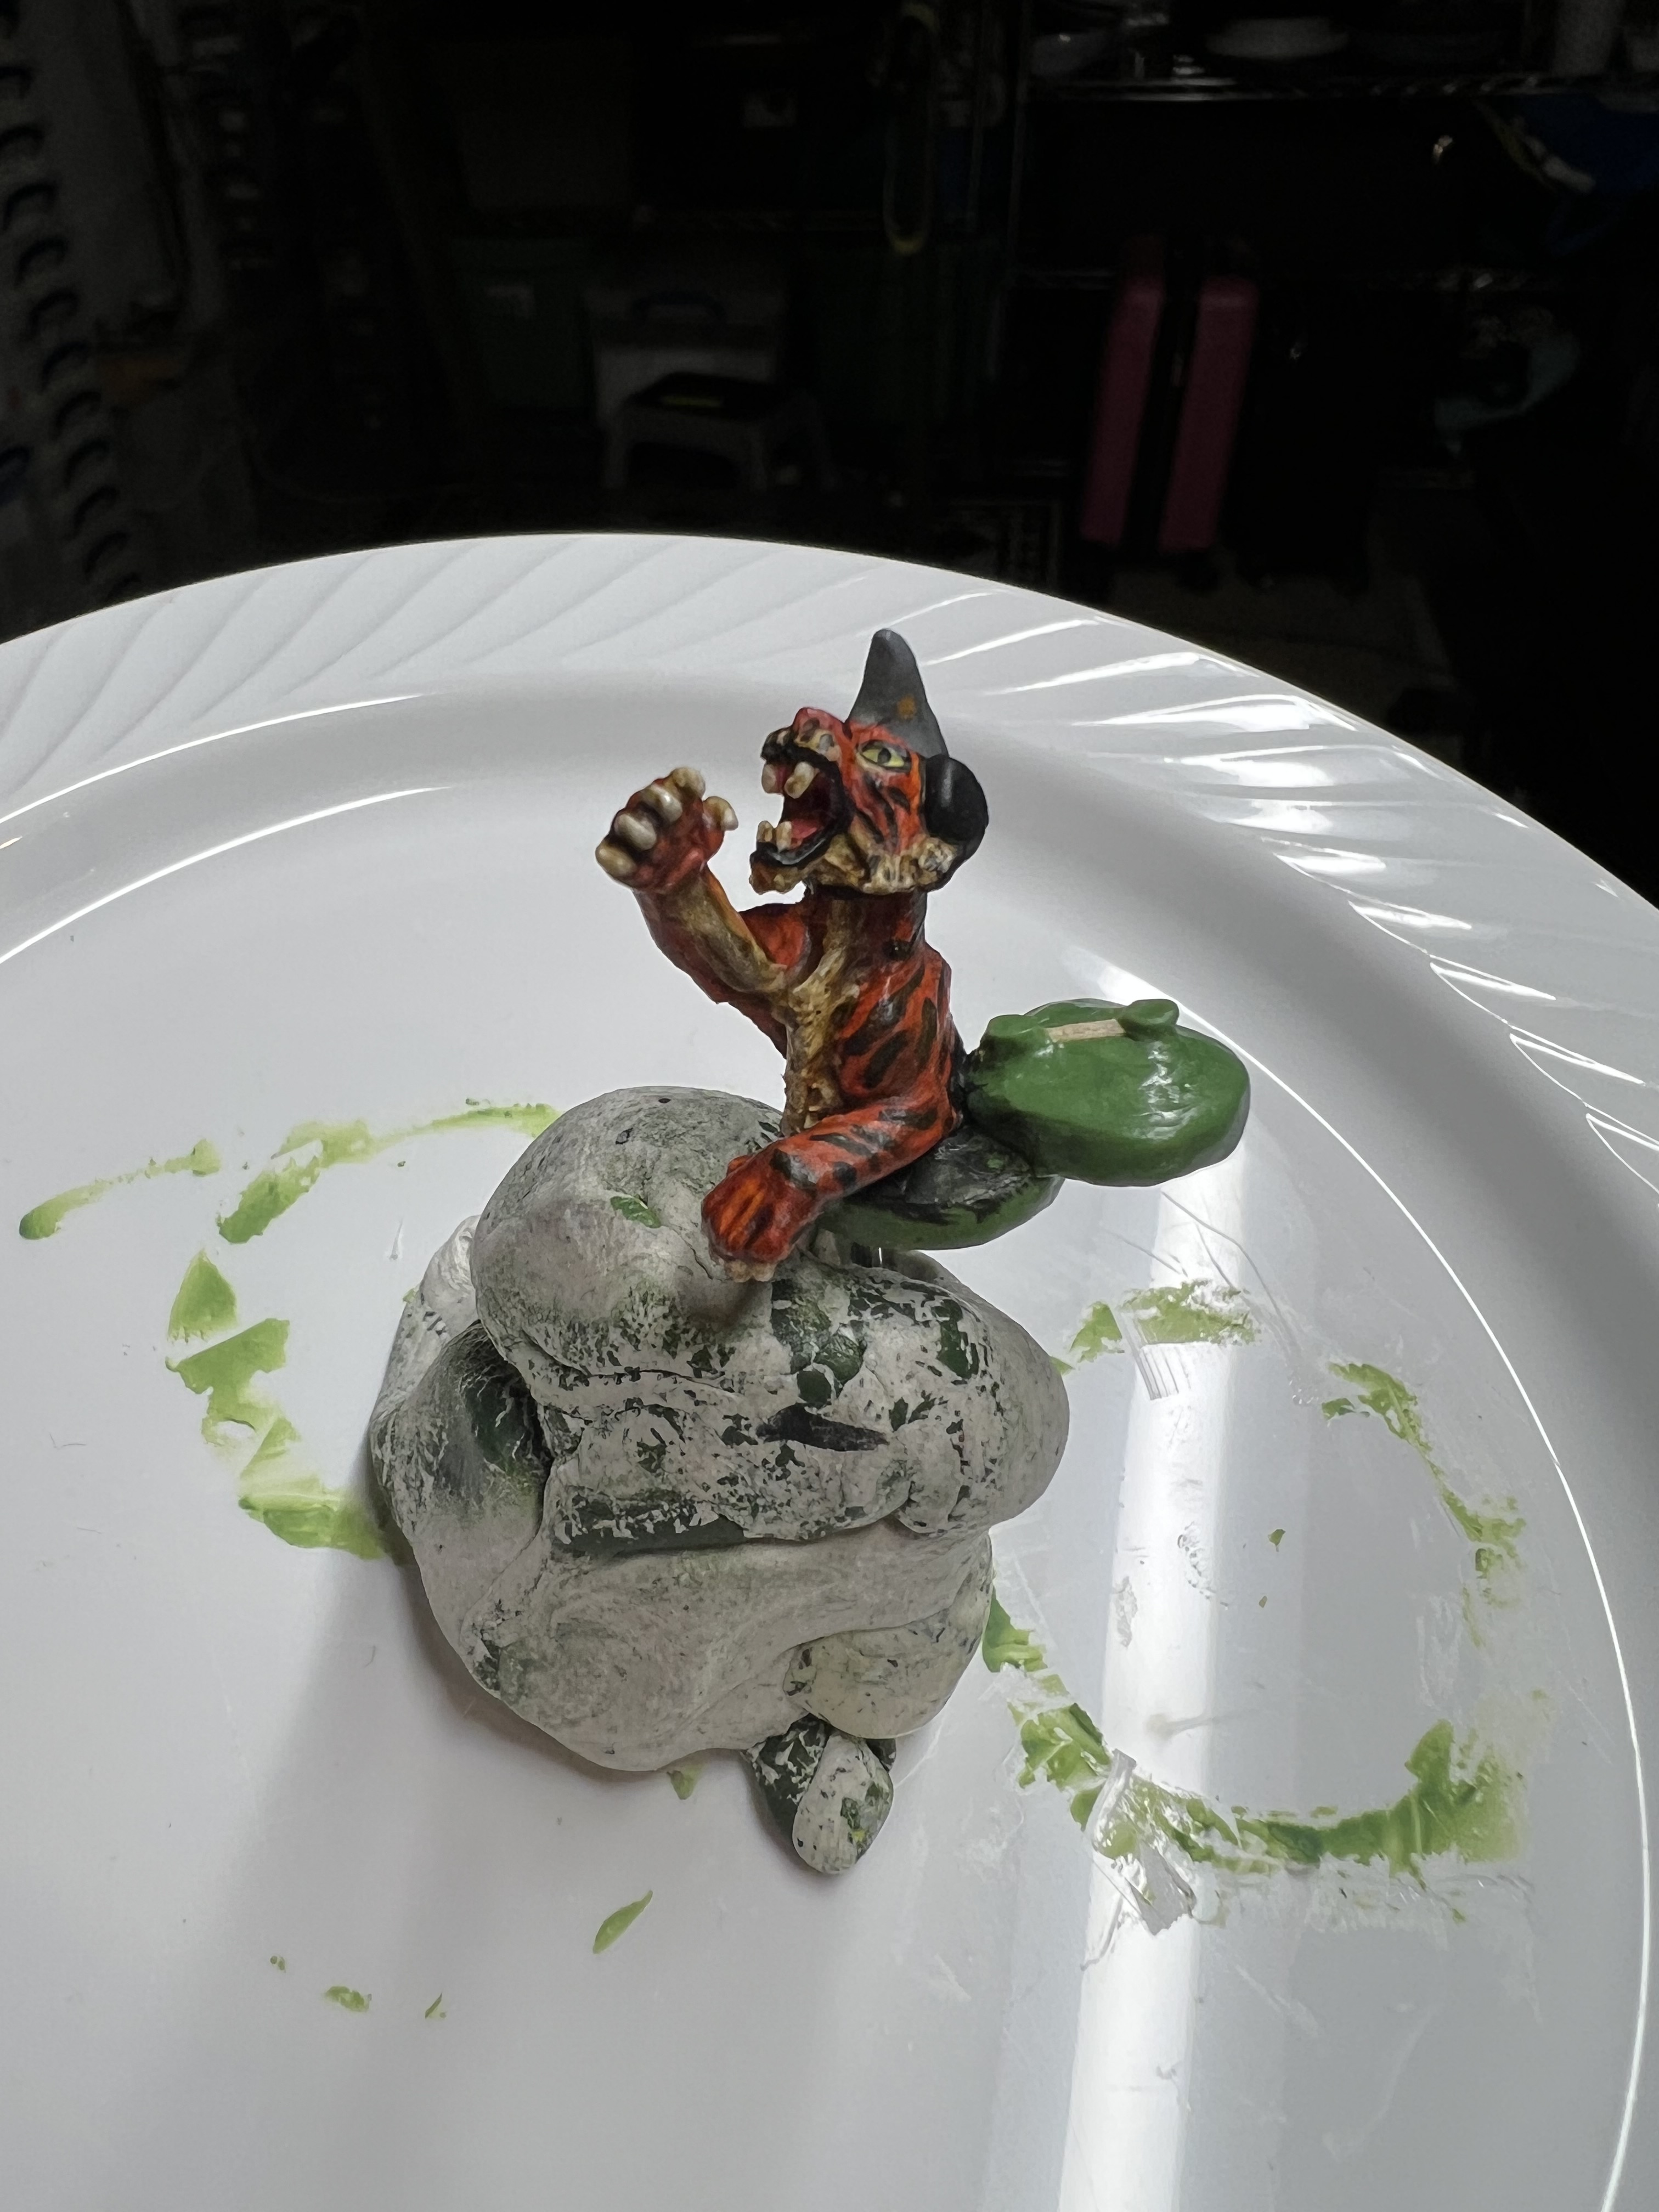
Leaving the bottom half of the figure unpainted helped me with ease of holding it for painting. The big resin tiger figure was a good model for patterning the stripes. Below are some images of how the painting went.
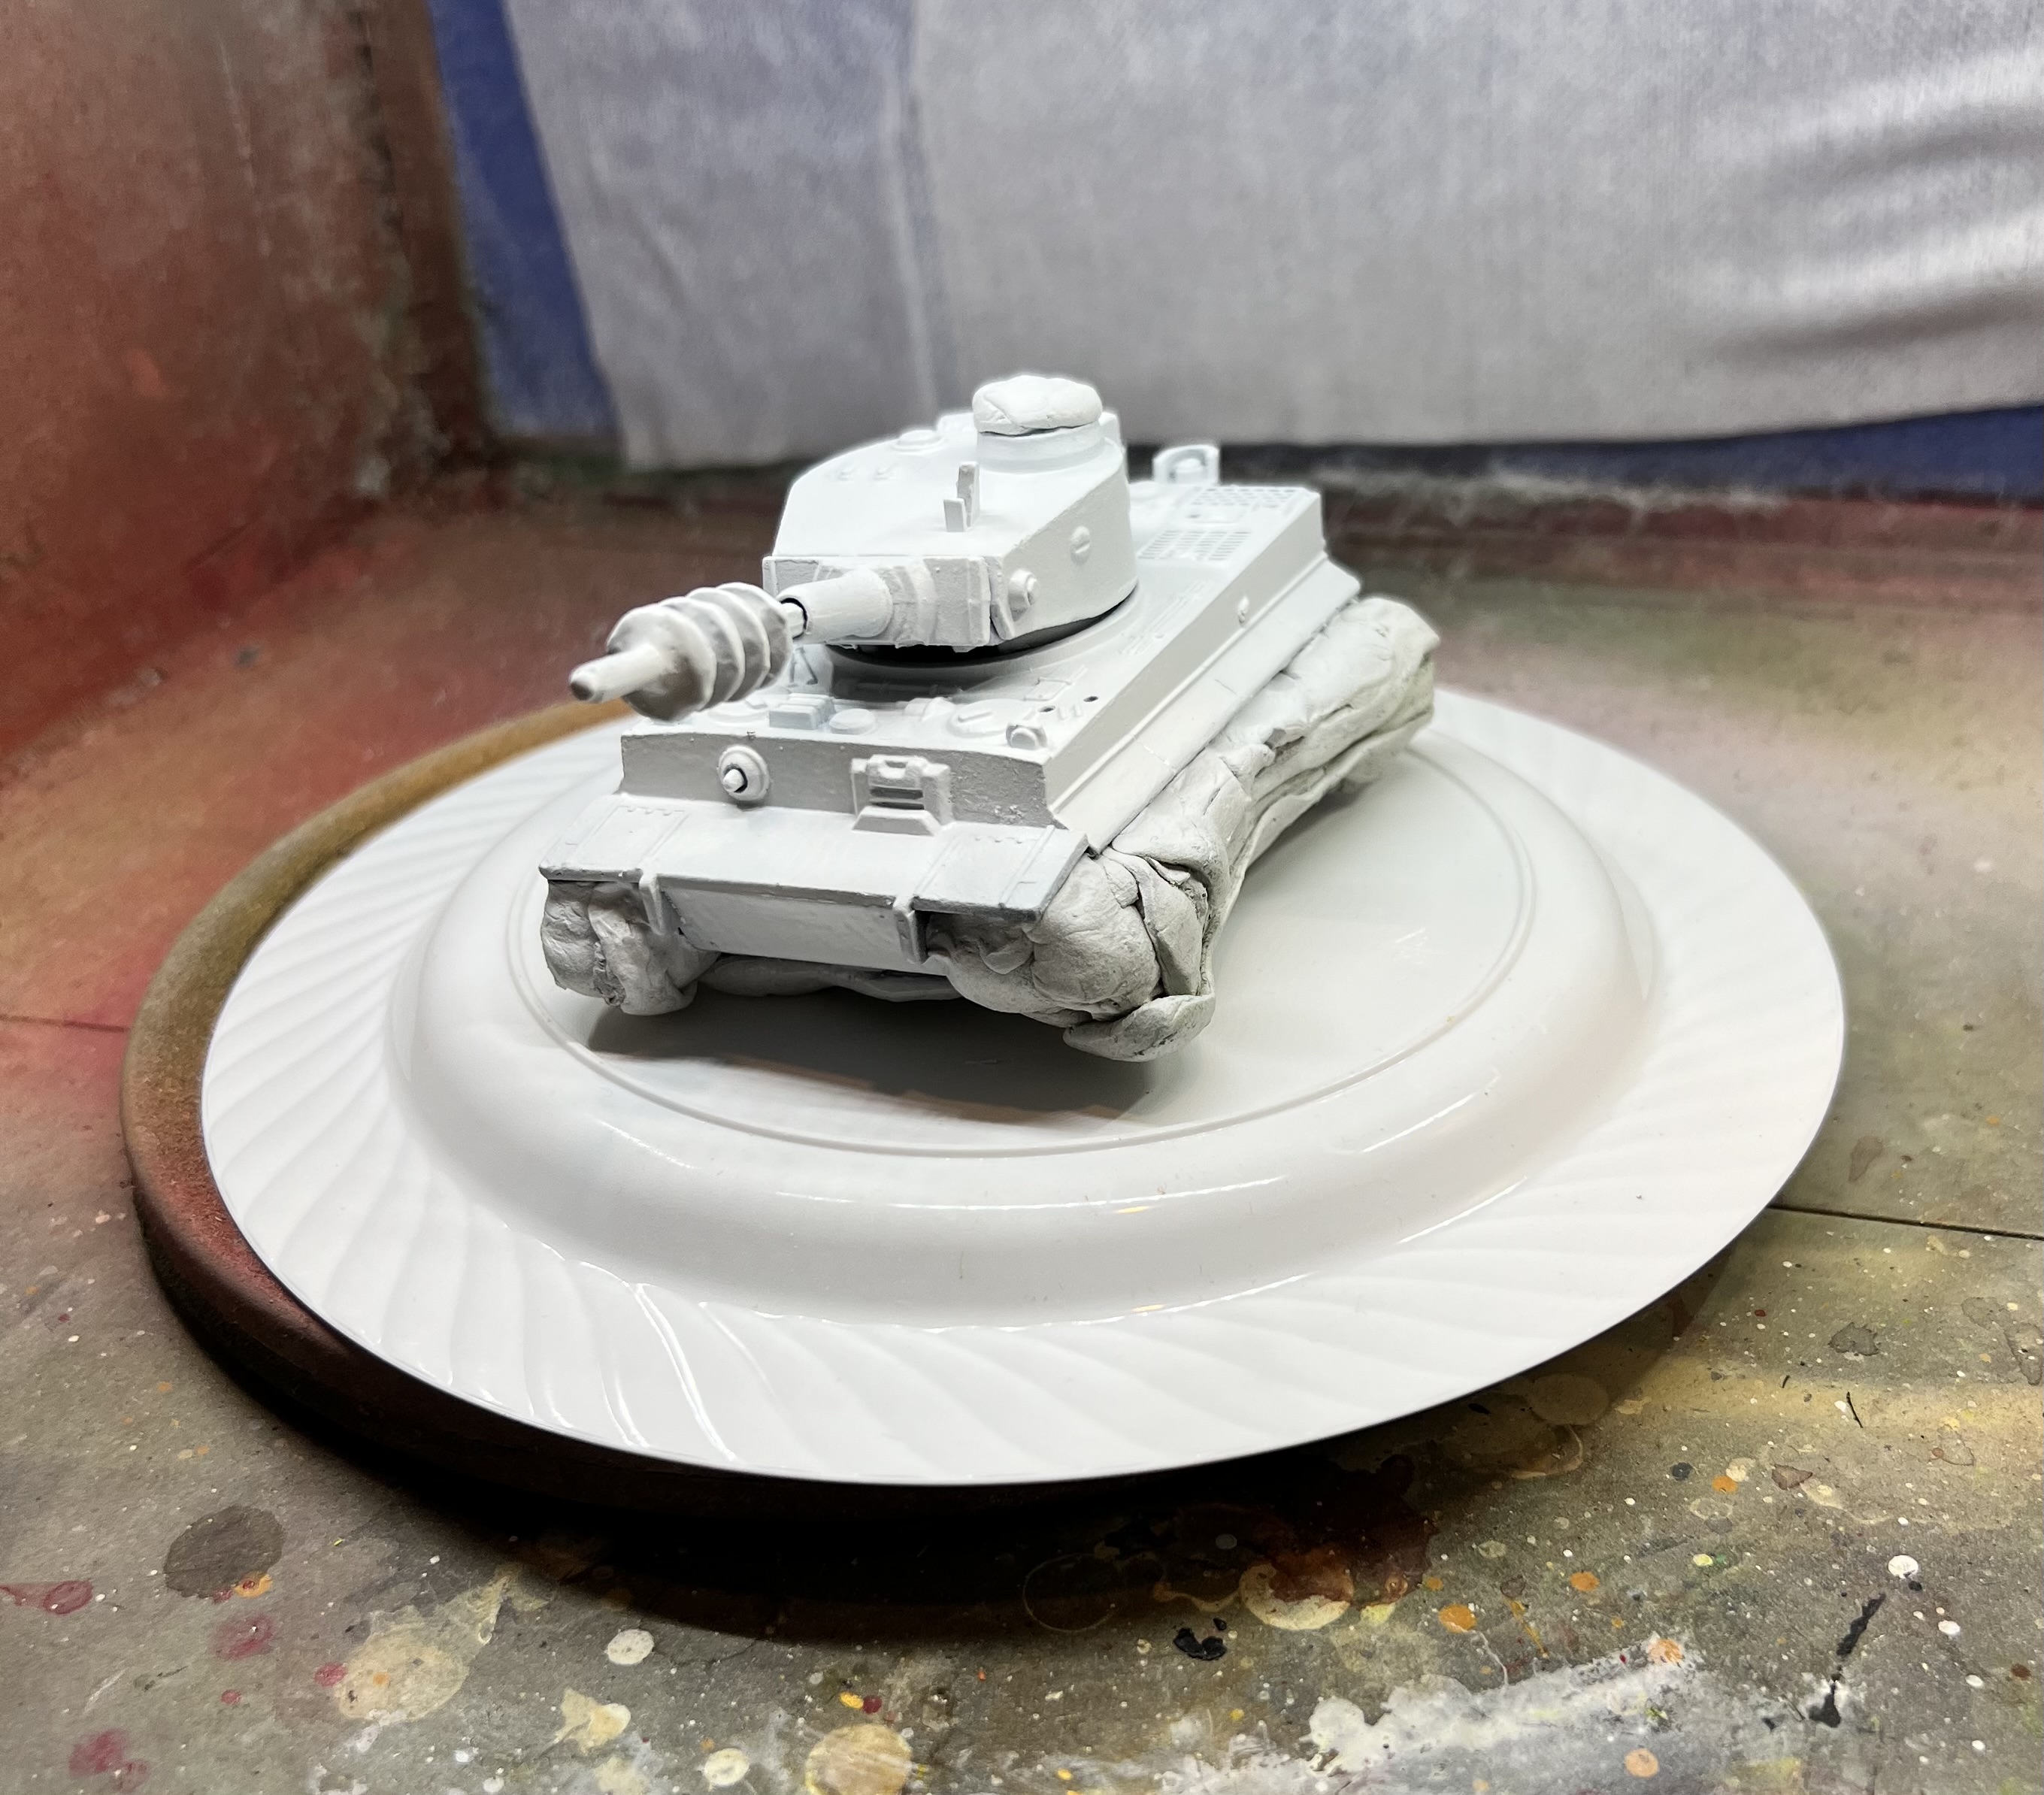
Switching back to the tank, it was time to prime it. Wanting to make sure that it got a good prime over the old factory paint job, I double-primed the tank. First, I applied a black coat, covering everything except the cupola area, the very bottom of the toy tank, and the plastic road wheels. I let it cure for 24 hours.
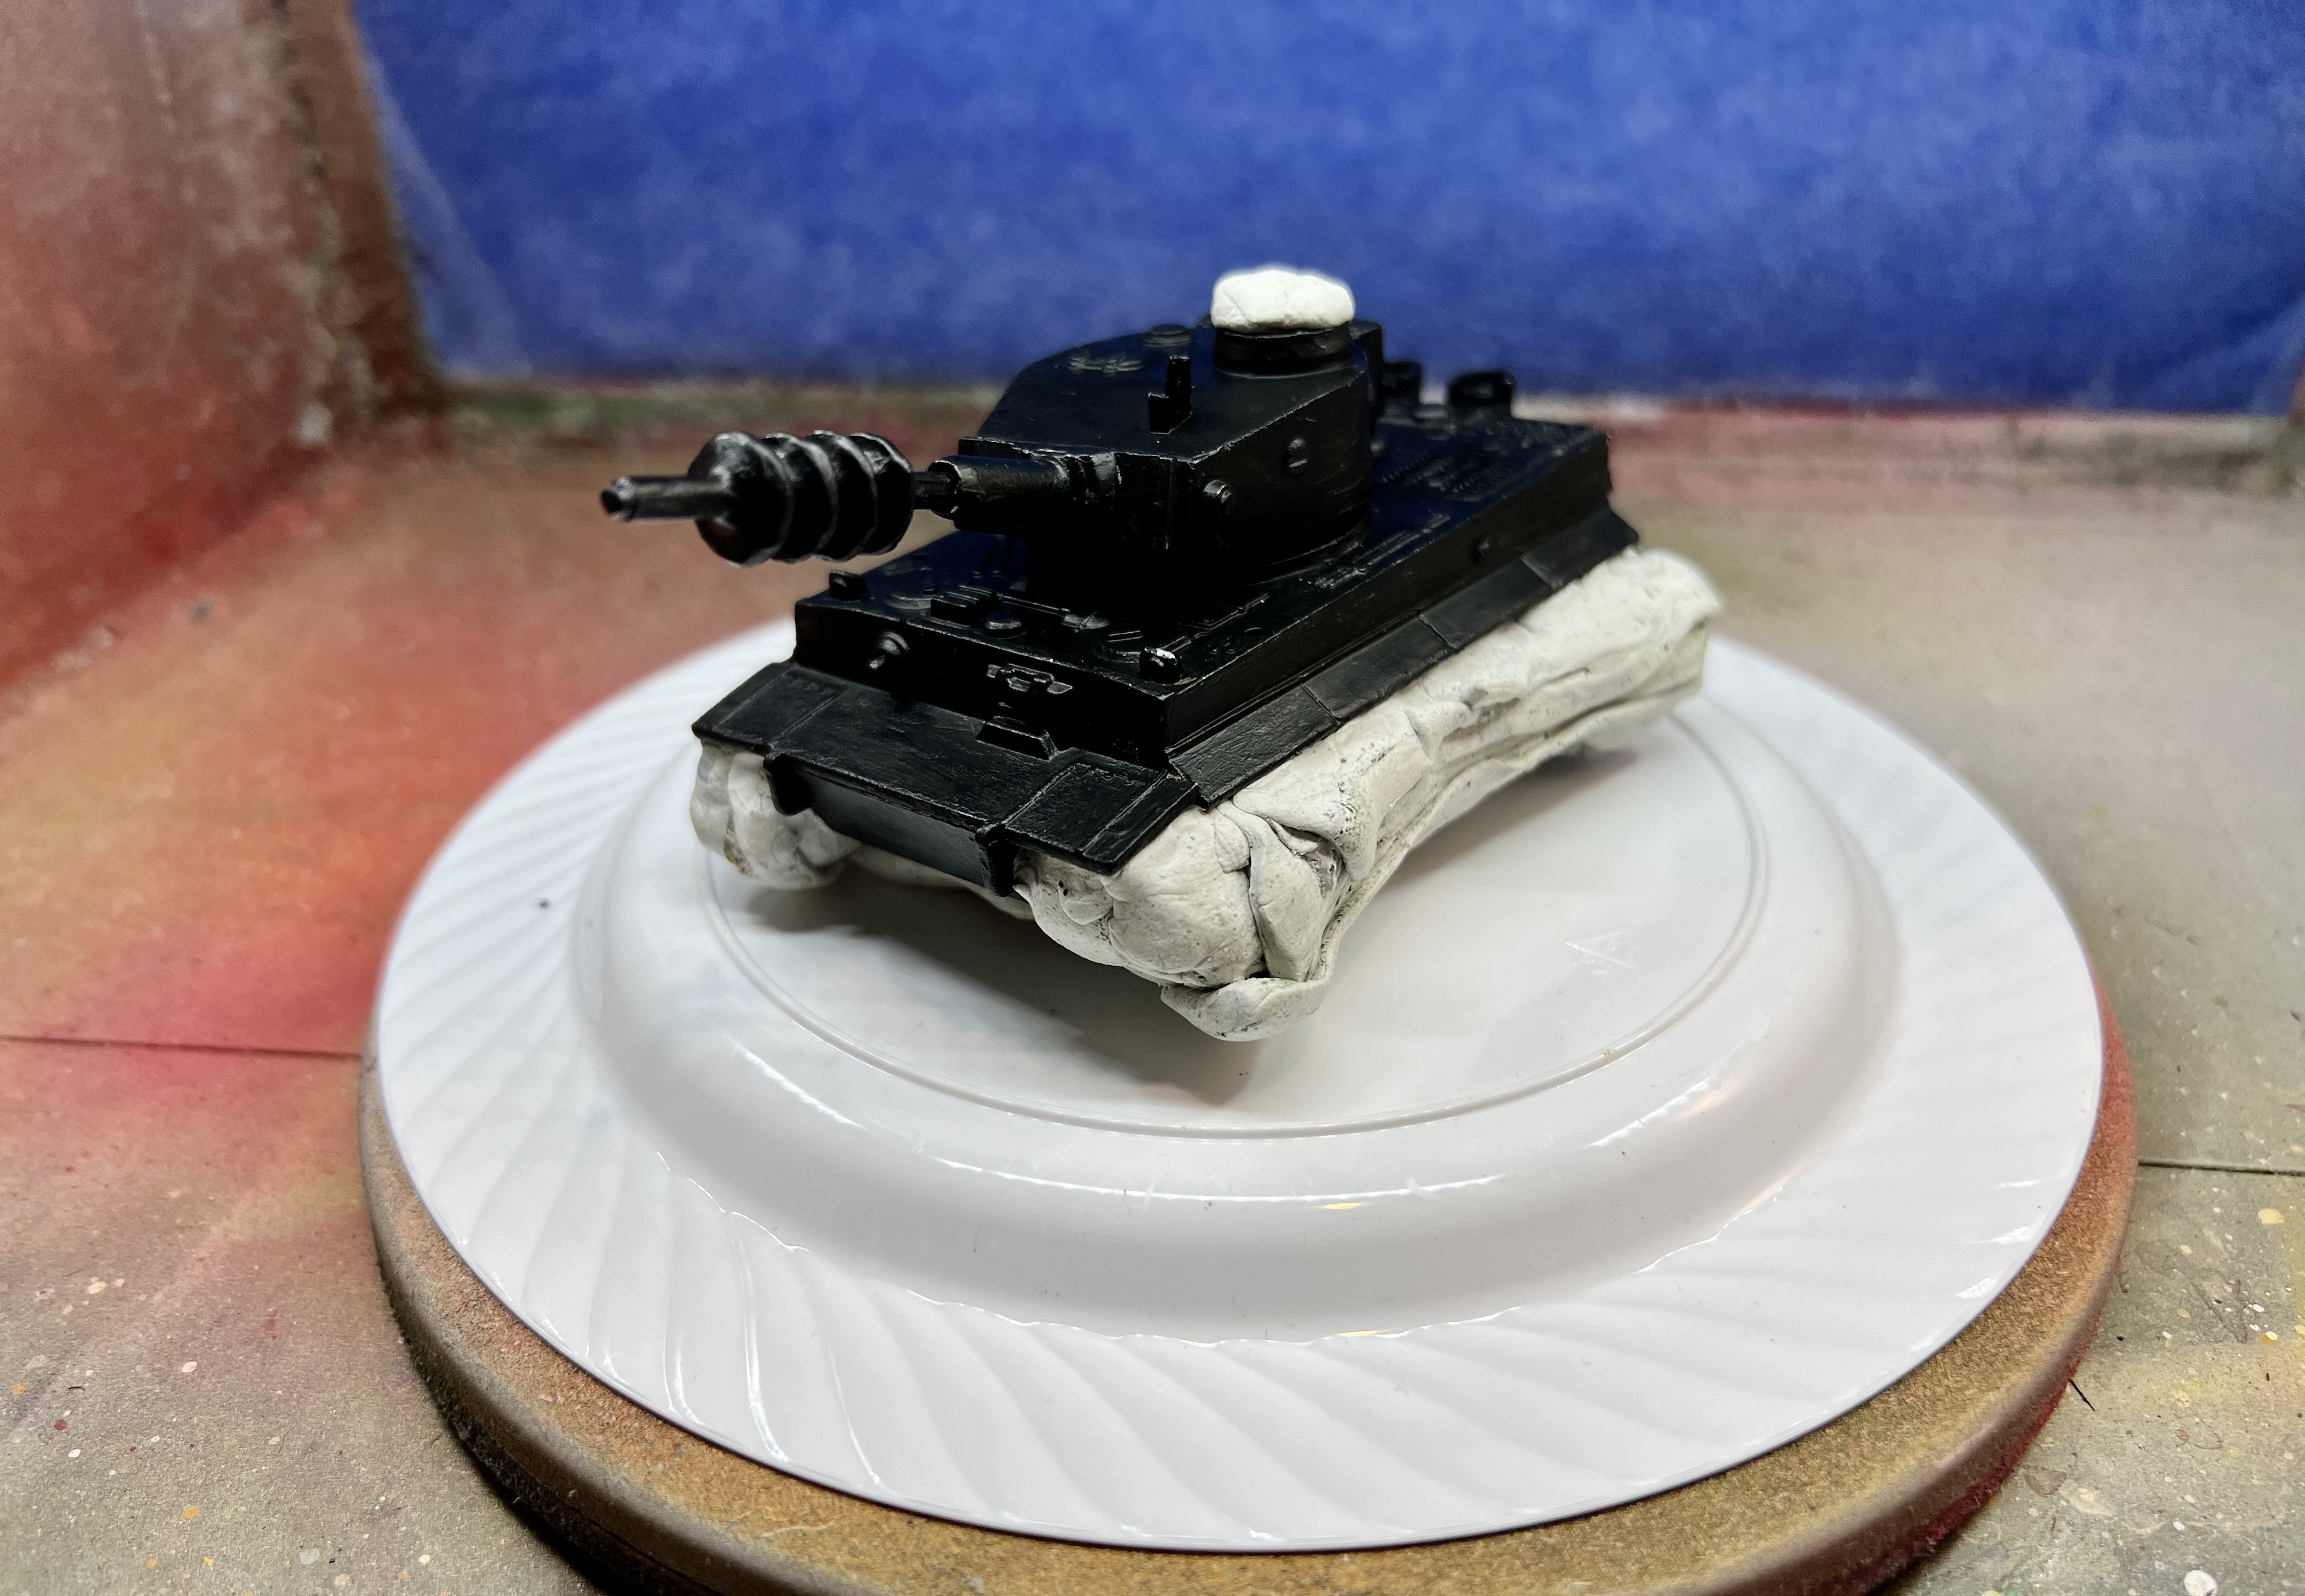
Then, I needed a second coat of white. Note that after the black coat was brush-applied to the toy tank, I blanked off the road wheels and the top of the existing hatch/cupola with poster tack. I did that for the wheels so as to keep the plastic green color intact – plus I thought that any paint on them would be very fragile and prone to rubbing off easily. For the cupola, I wanted to leave a somewhat bare surface so that the tiger commander assembly (when completed) would be easily attached with green stuff.
The tank primed black (I avoided the wheels), next to the painted commander, the cupola parts, and the unpainted tiger figure.Wheels and cupola masked with poster tack before adding white primer.
It was now time to return to the tiger commander and the hatch/cupola assembly.
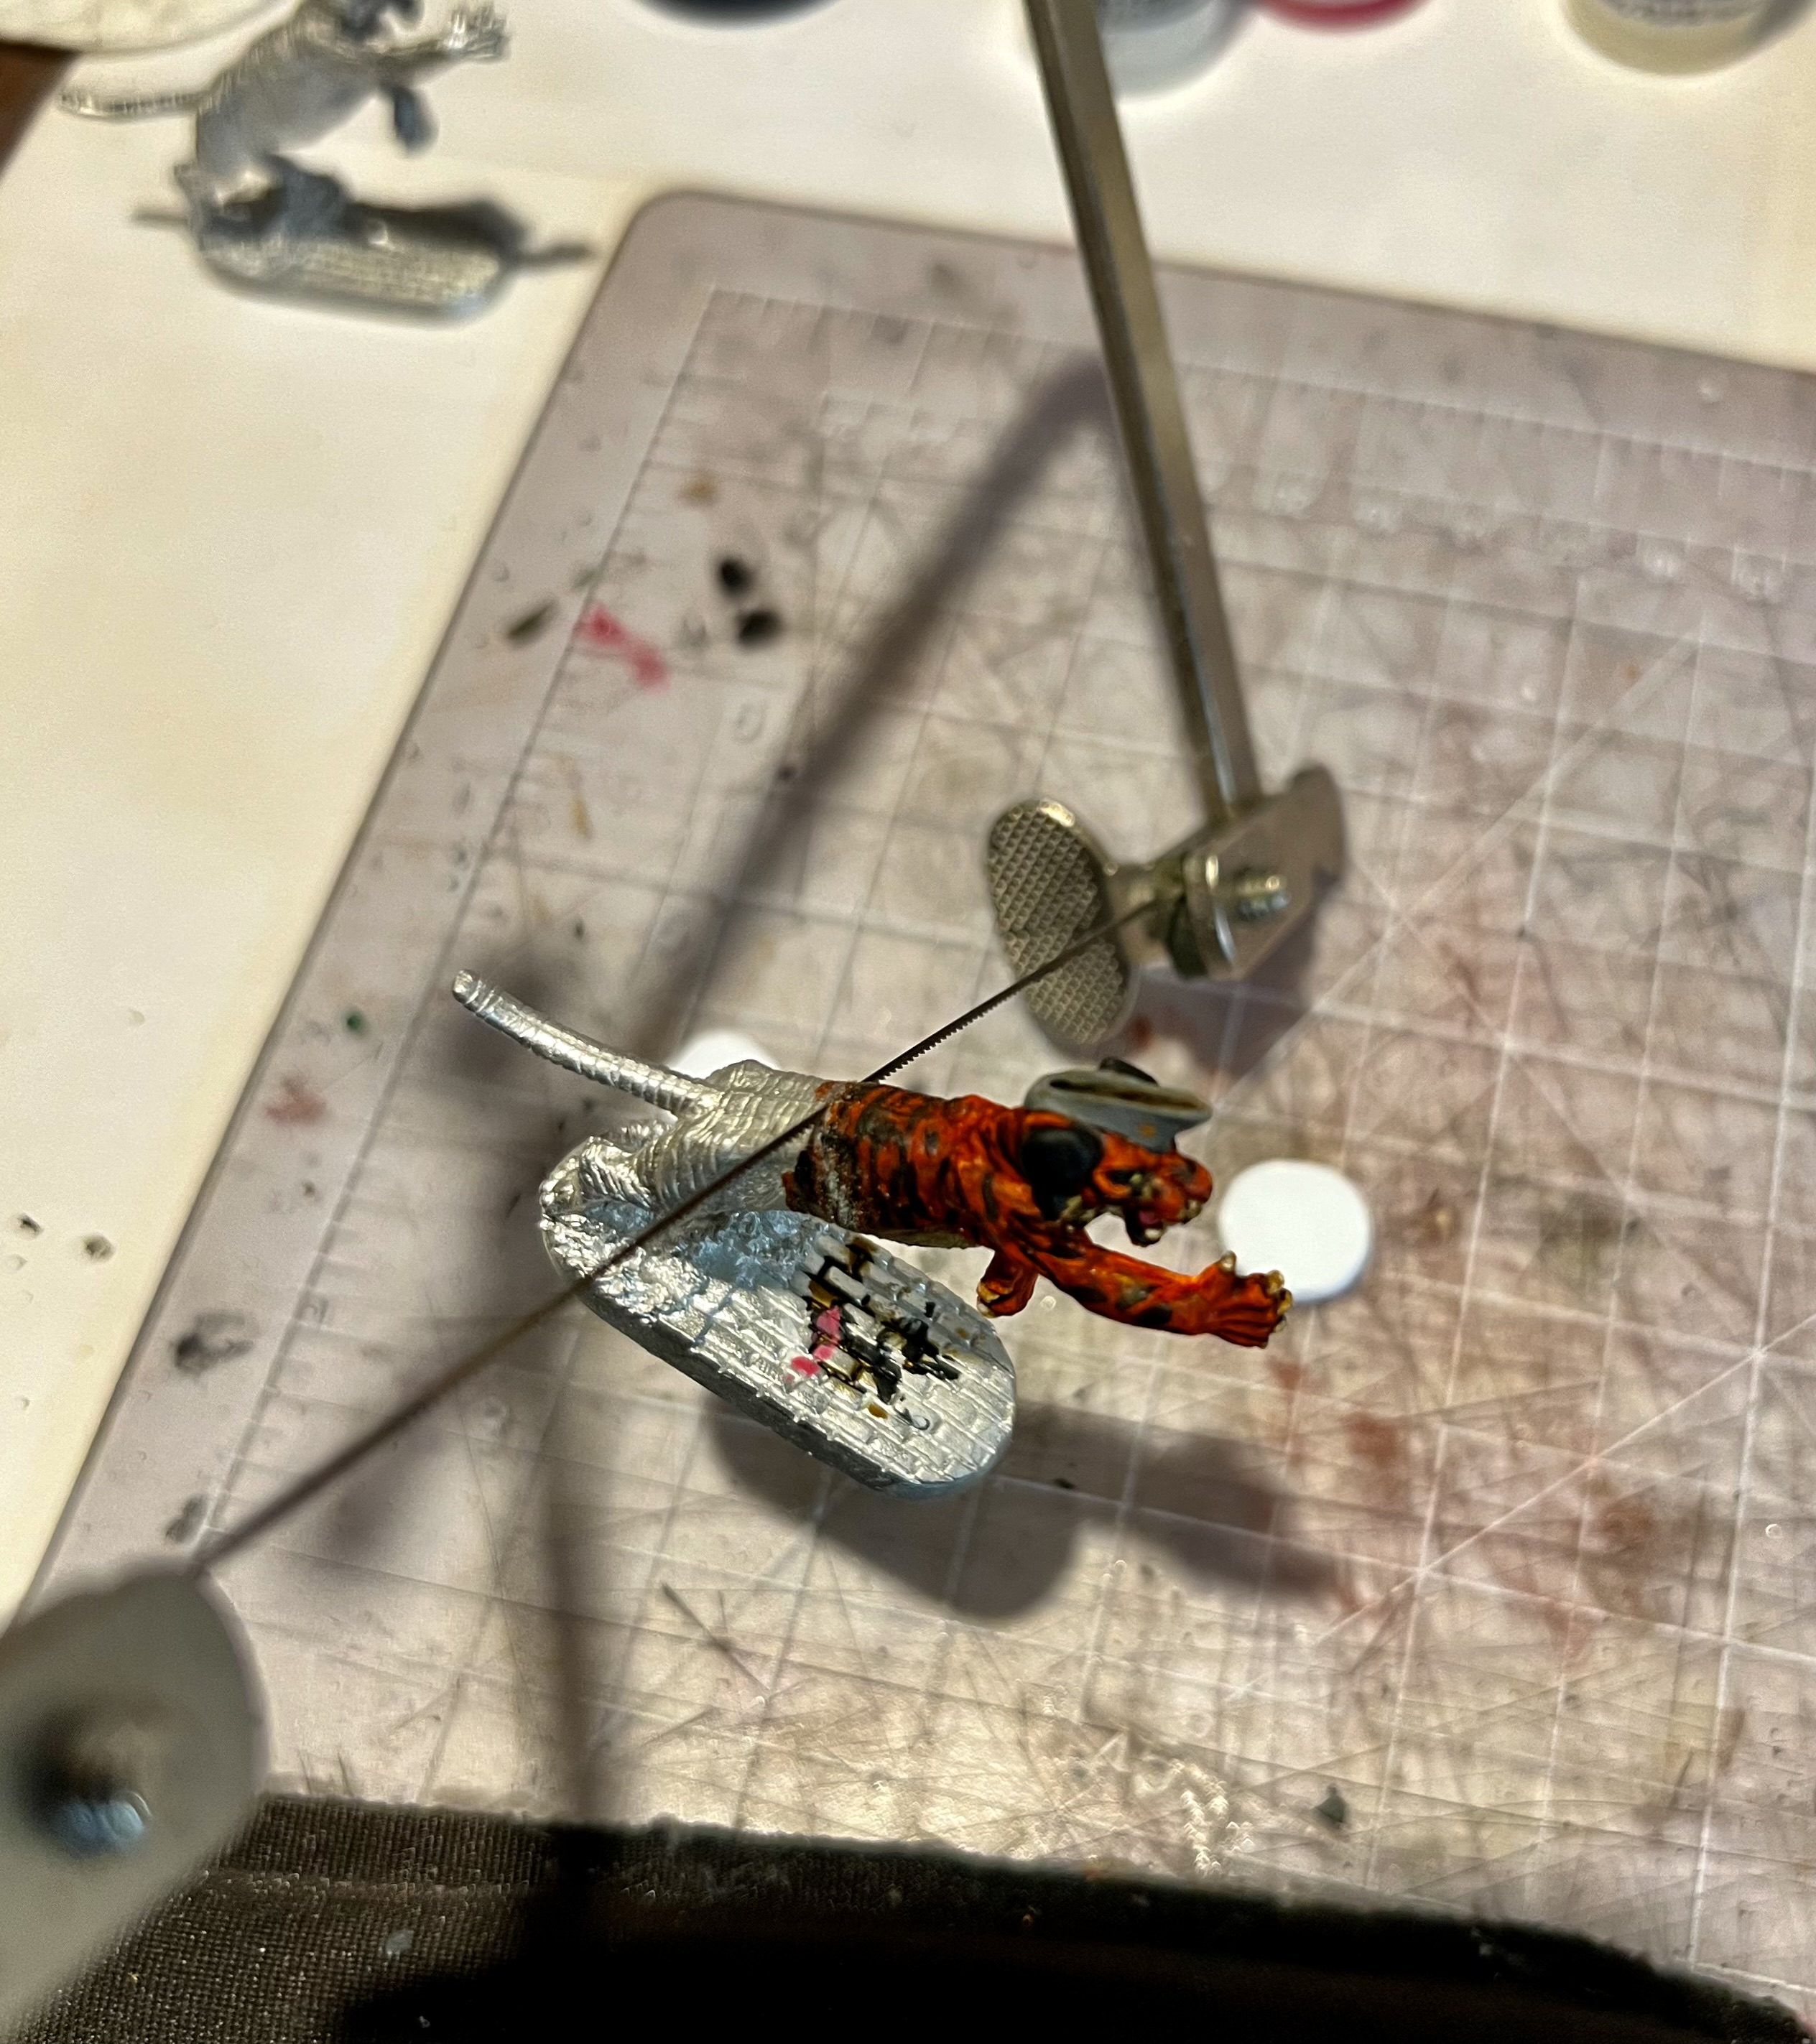
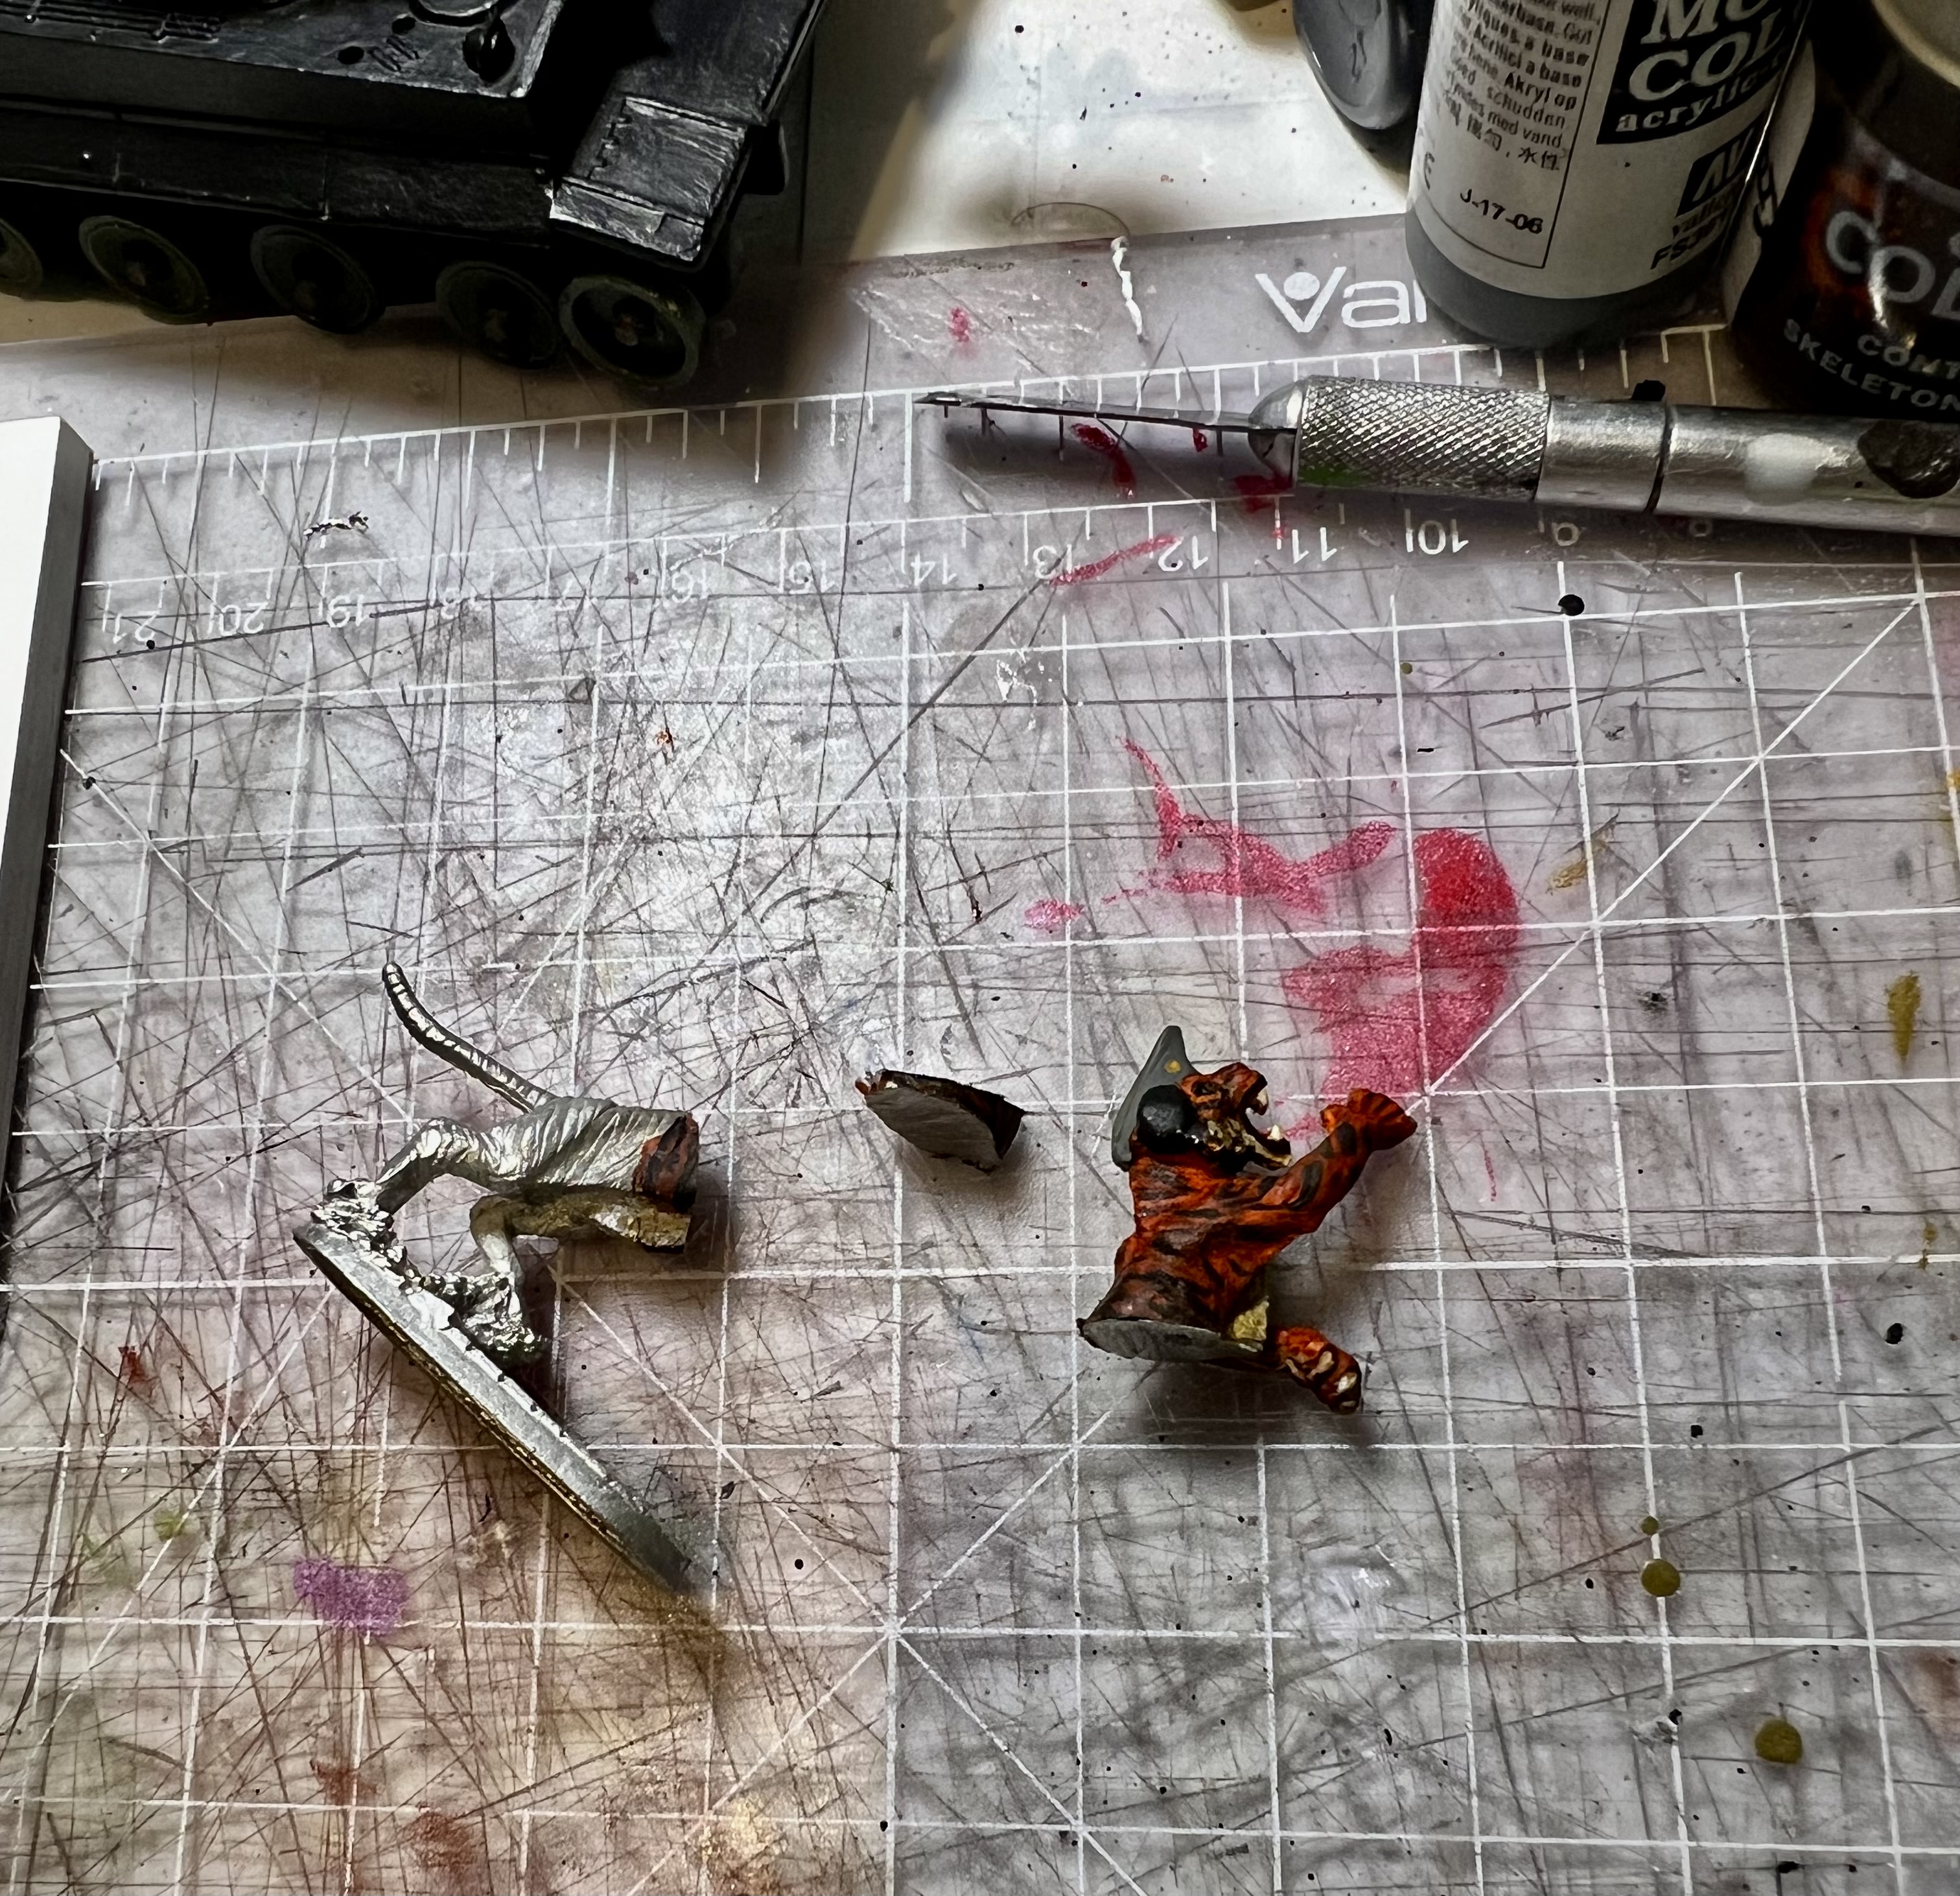
The tiger commander got a coat of varnish which I let cure. Then it was time to saw the figure in half. I was not sure of what angle to take with my jewelry saw. In the end, it took two slow cuts. I needed some minor touch-up work on the figure afterwards.
The larger cupola piece (the base part) was drilled out as was the bottom of the tiger figure. This allowed me to embed a paper clip wire through the bottom of the plastic disc and into the hole I drilled into the base of the figure. I secured this combination with green stuff over both sets of plastic and let it set. By doing this, I was able to do a couple of things. First, this allowed me to construct the hatch top in the swung out position as you will see below. Also, later I did eventually drill more holes into the bottom of the plastic disc in a honeycomb fashion – which provided more surface area when I used green stuff to attach the commander/hatch/cupola assembly to the Corgi tank.
First cut!The results of the second cut showing the slice removed after the first cut.The drilled holes, hatch base, and paper cut wire.I set the hatch.cupola/tiger assembly into my vise using the extended piece of paper clip wire – and once that had set I added more details.
Those details included adding the swing arm (a toothpick shard) and some green stuff detail to the top. After this cured, I primed and painted it.
The hatch details added and the beginning of priming and painting.
Let’s now go back to my progress on the Corgi tank. I had the priming completed with the tank now primed white.
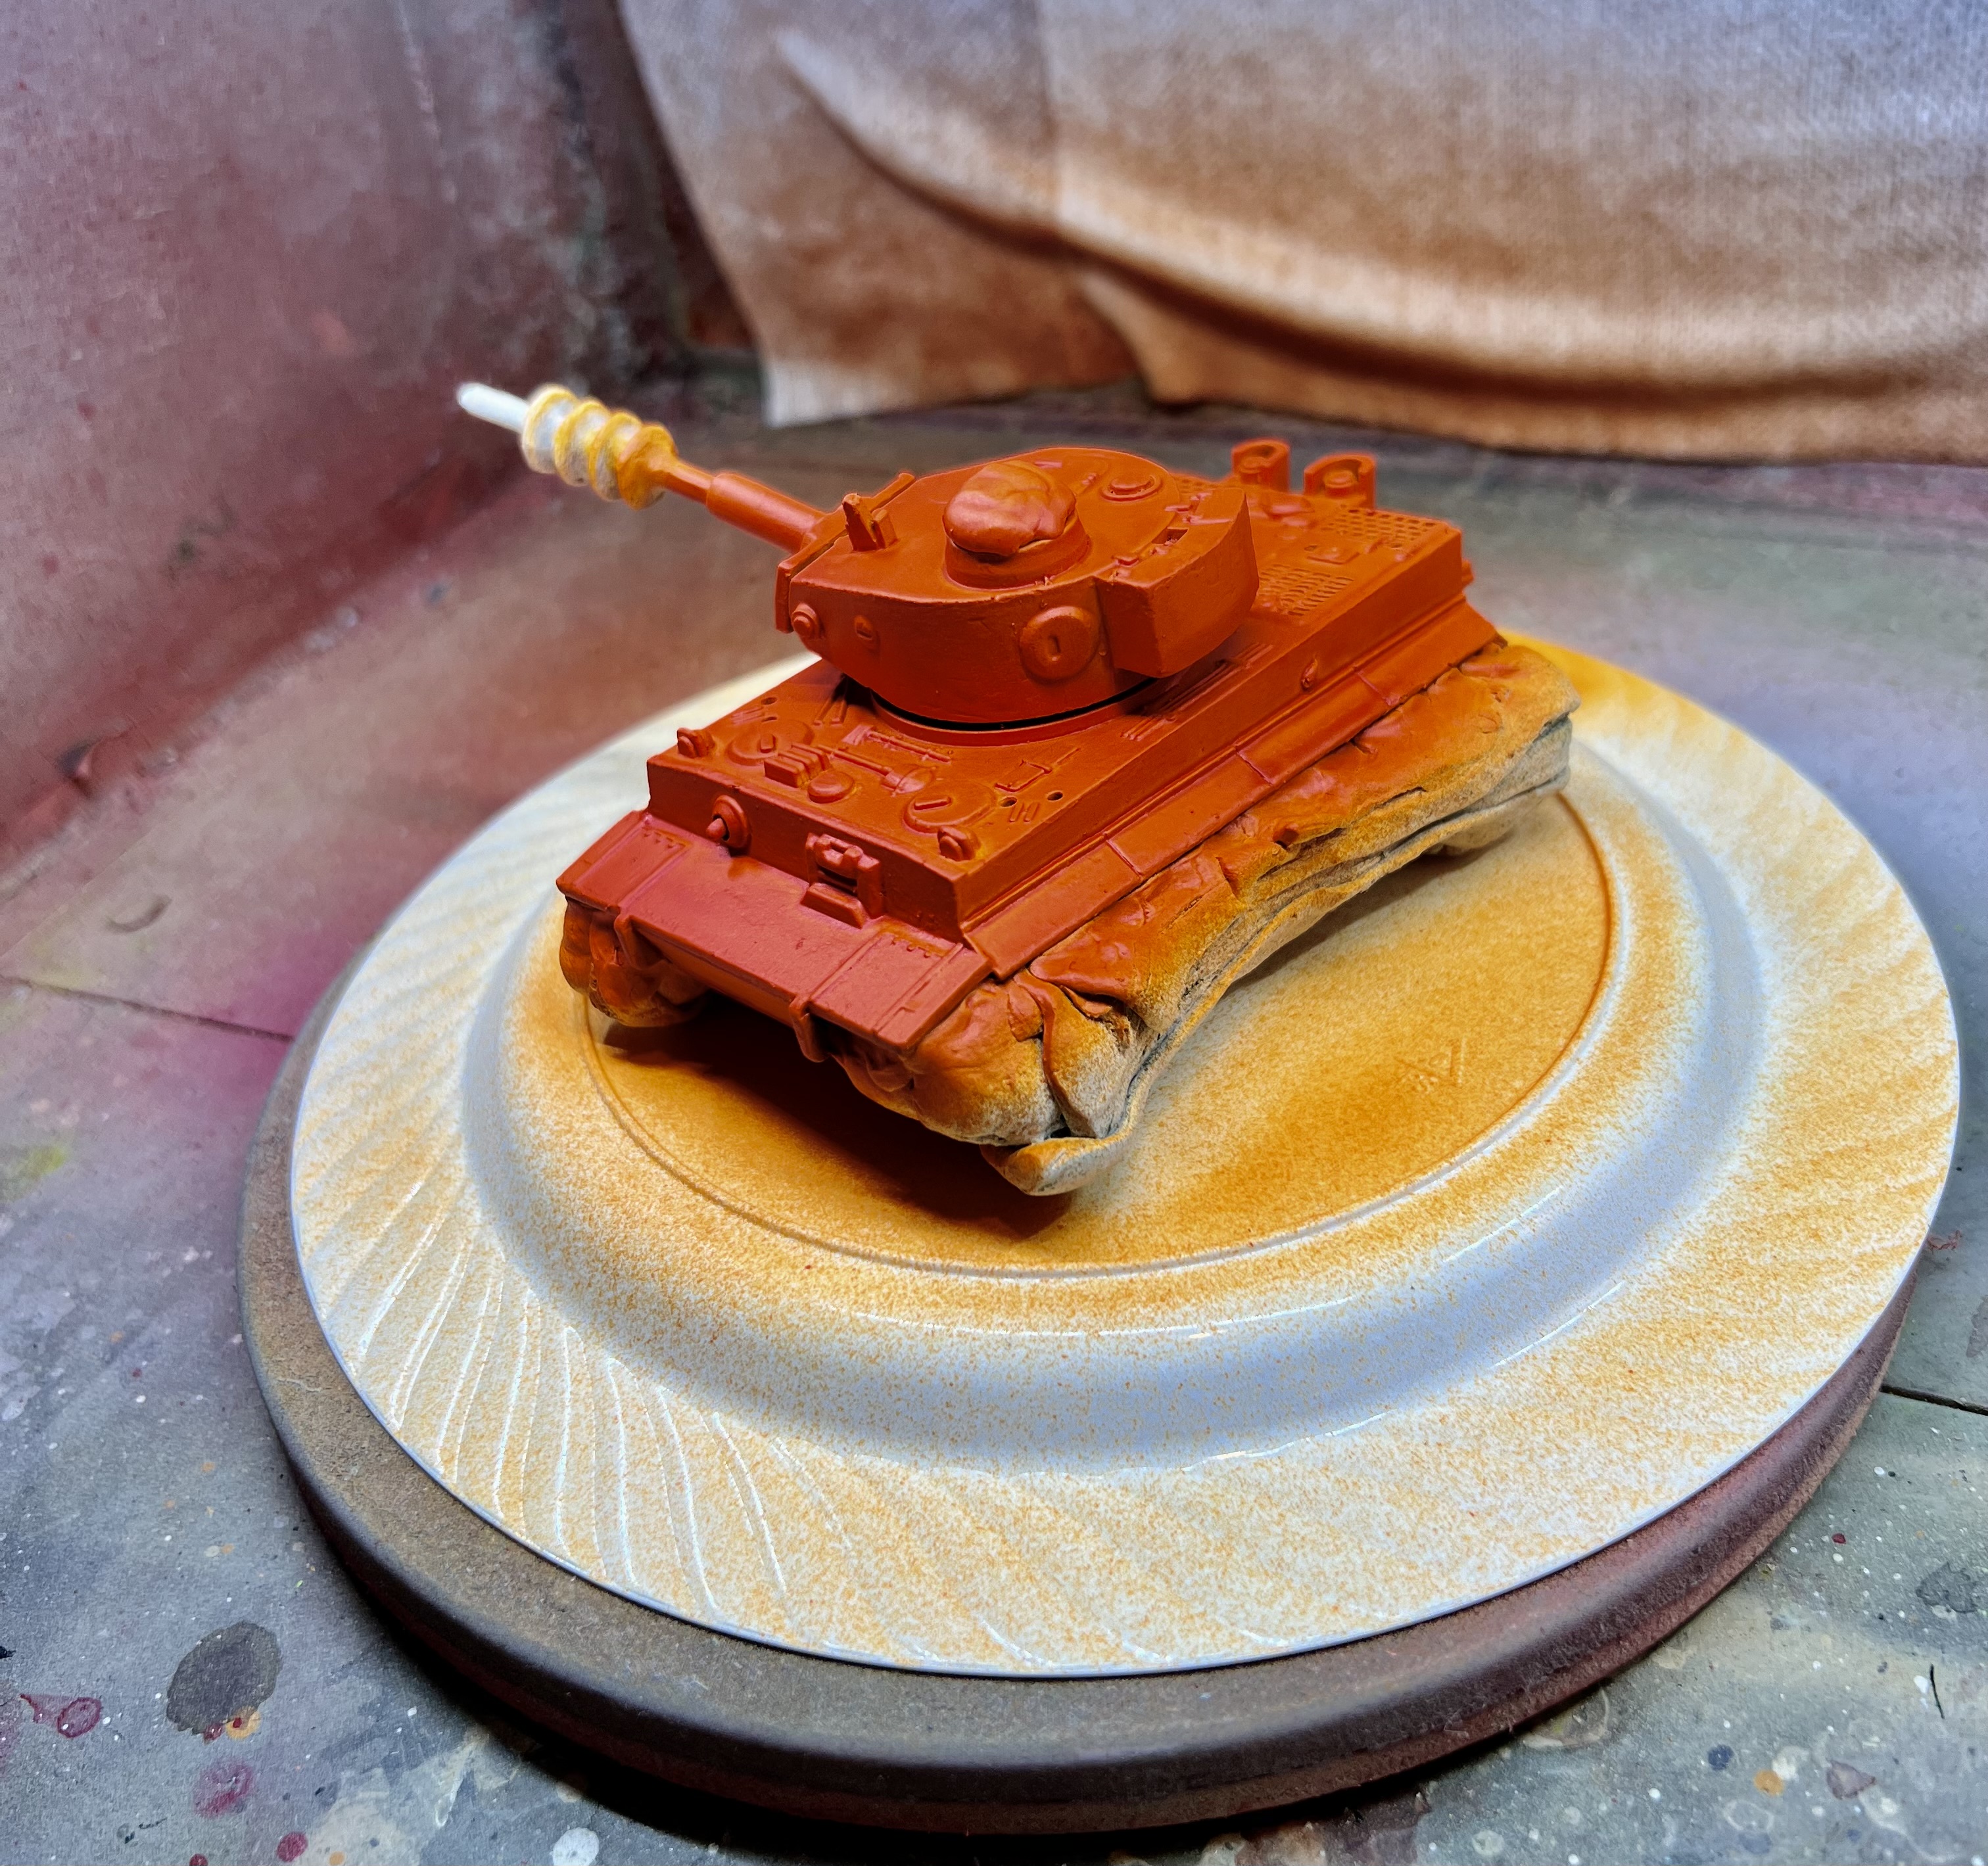
It was now time to make it really a “Tiger”. First some hot orange:
Added orange with my airbrush.
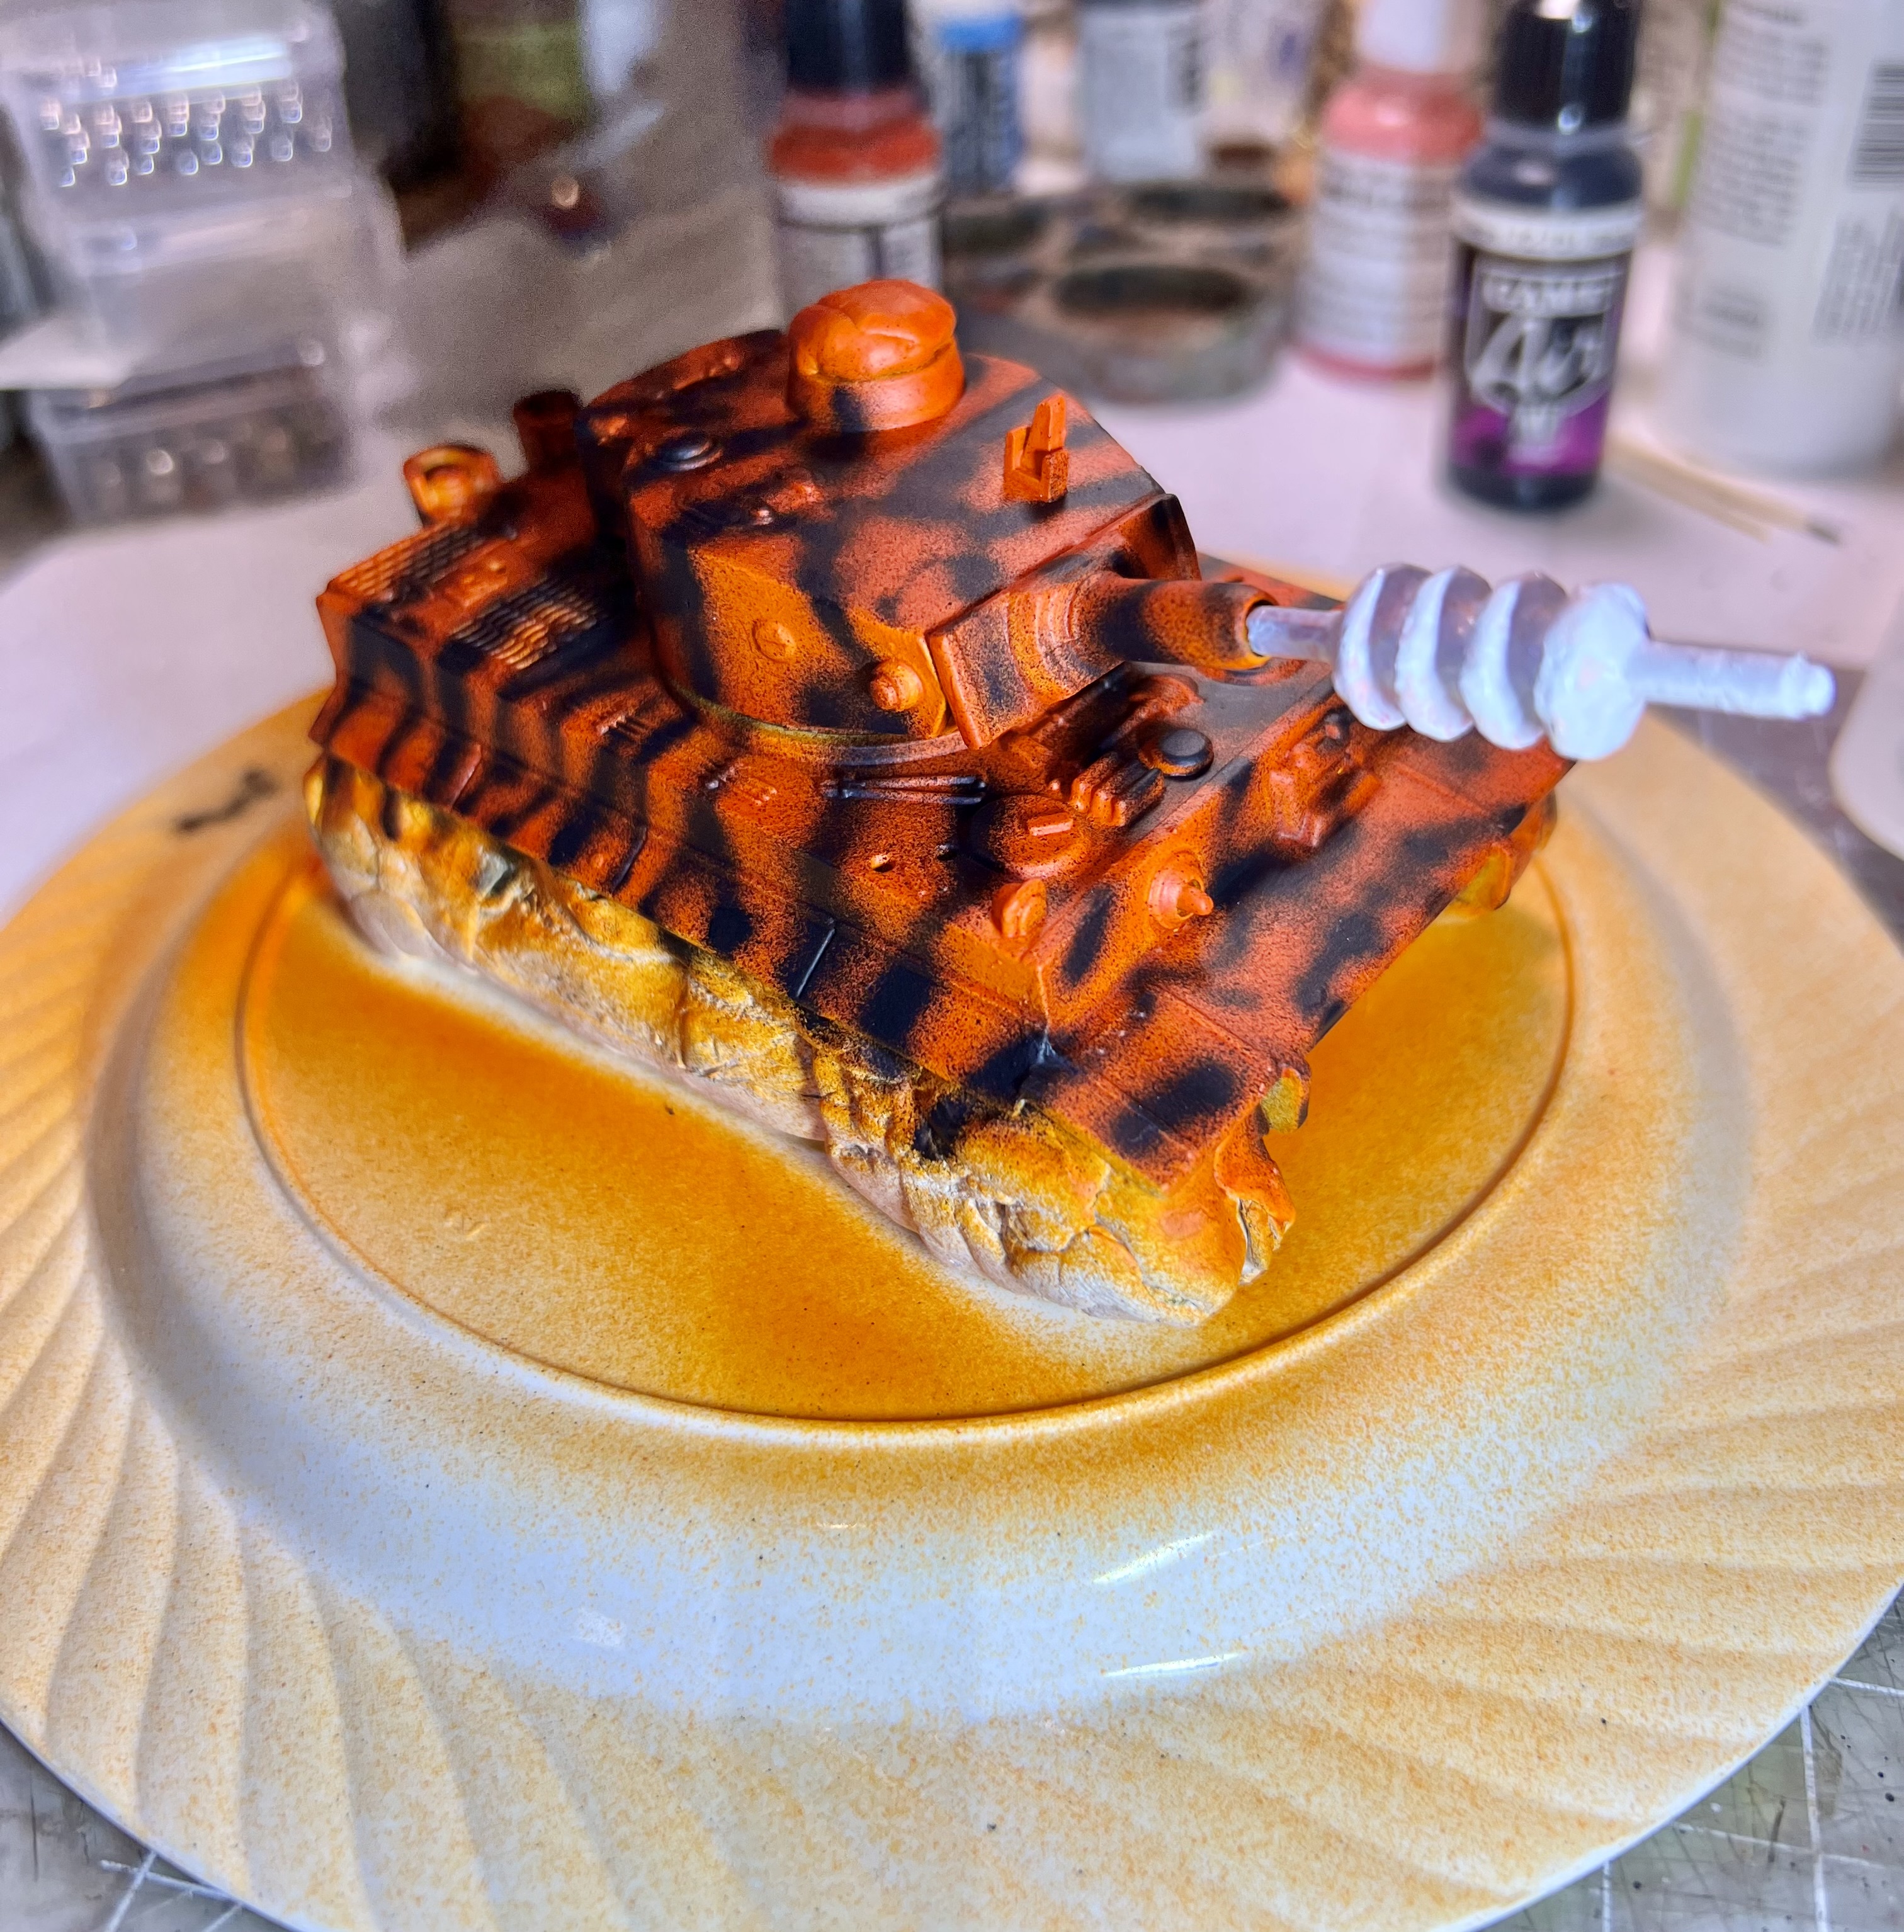
Then airbrushing some black stripes!
Looking tiger-y.
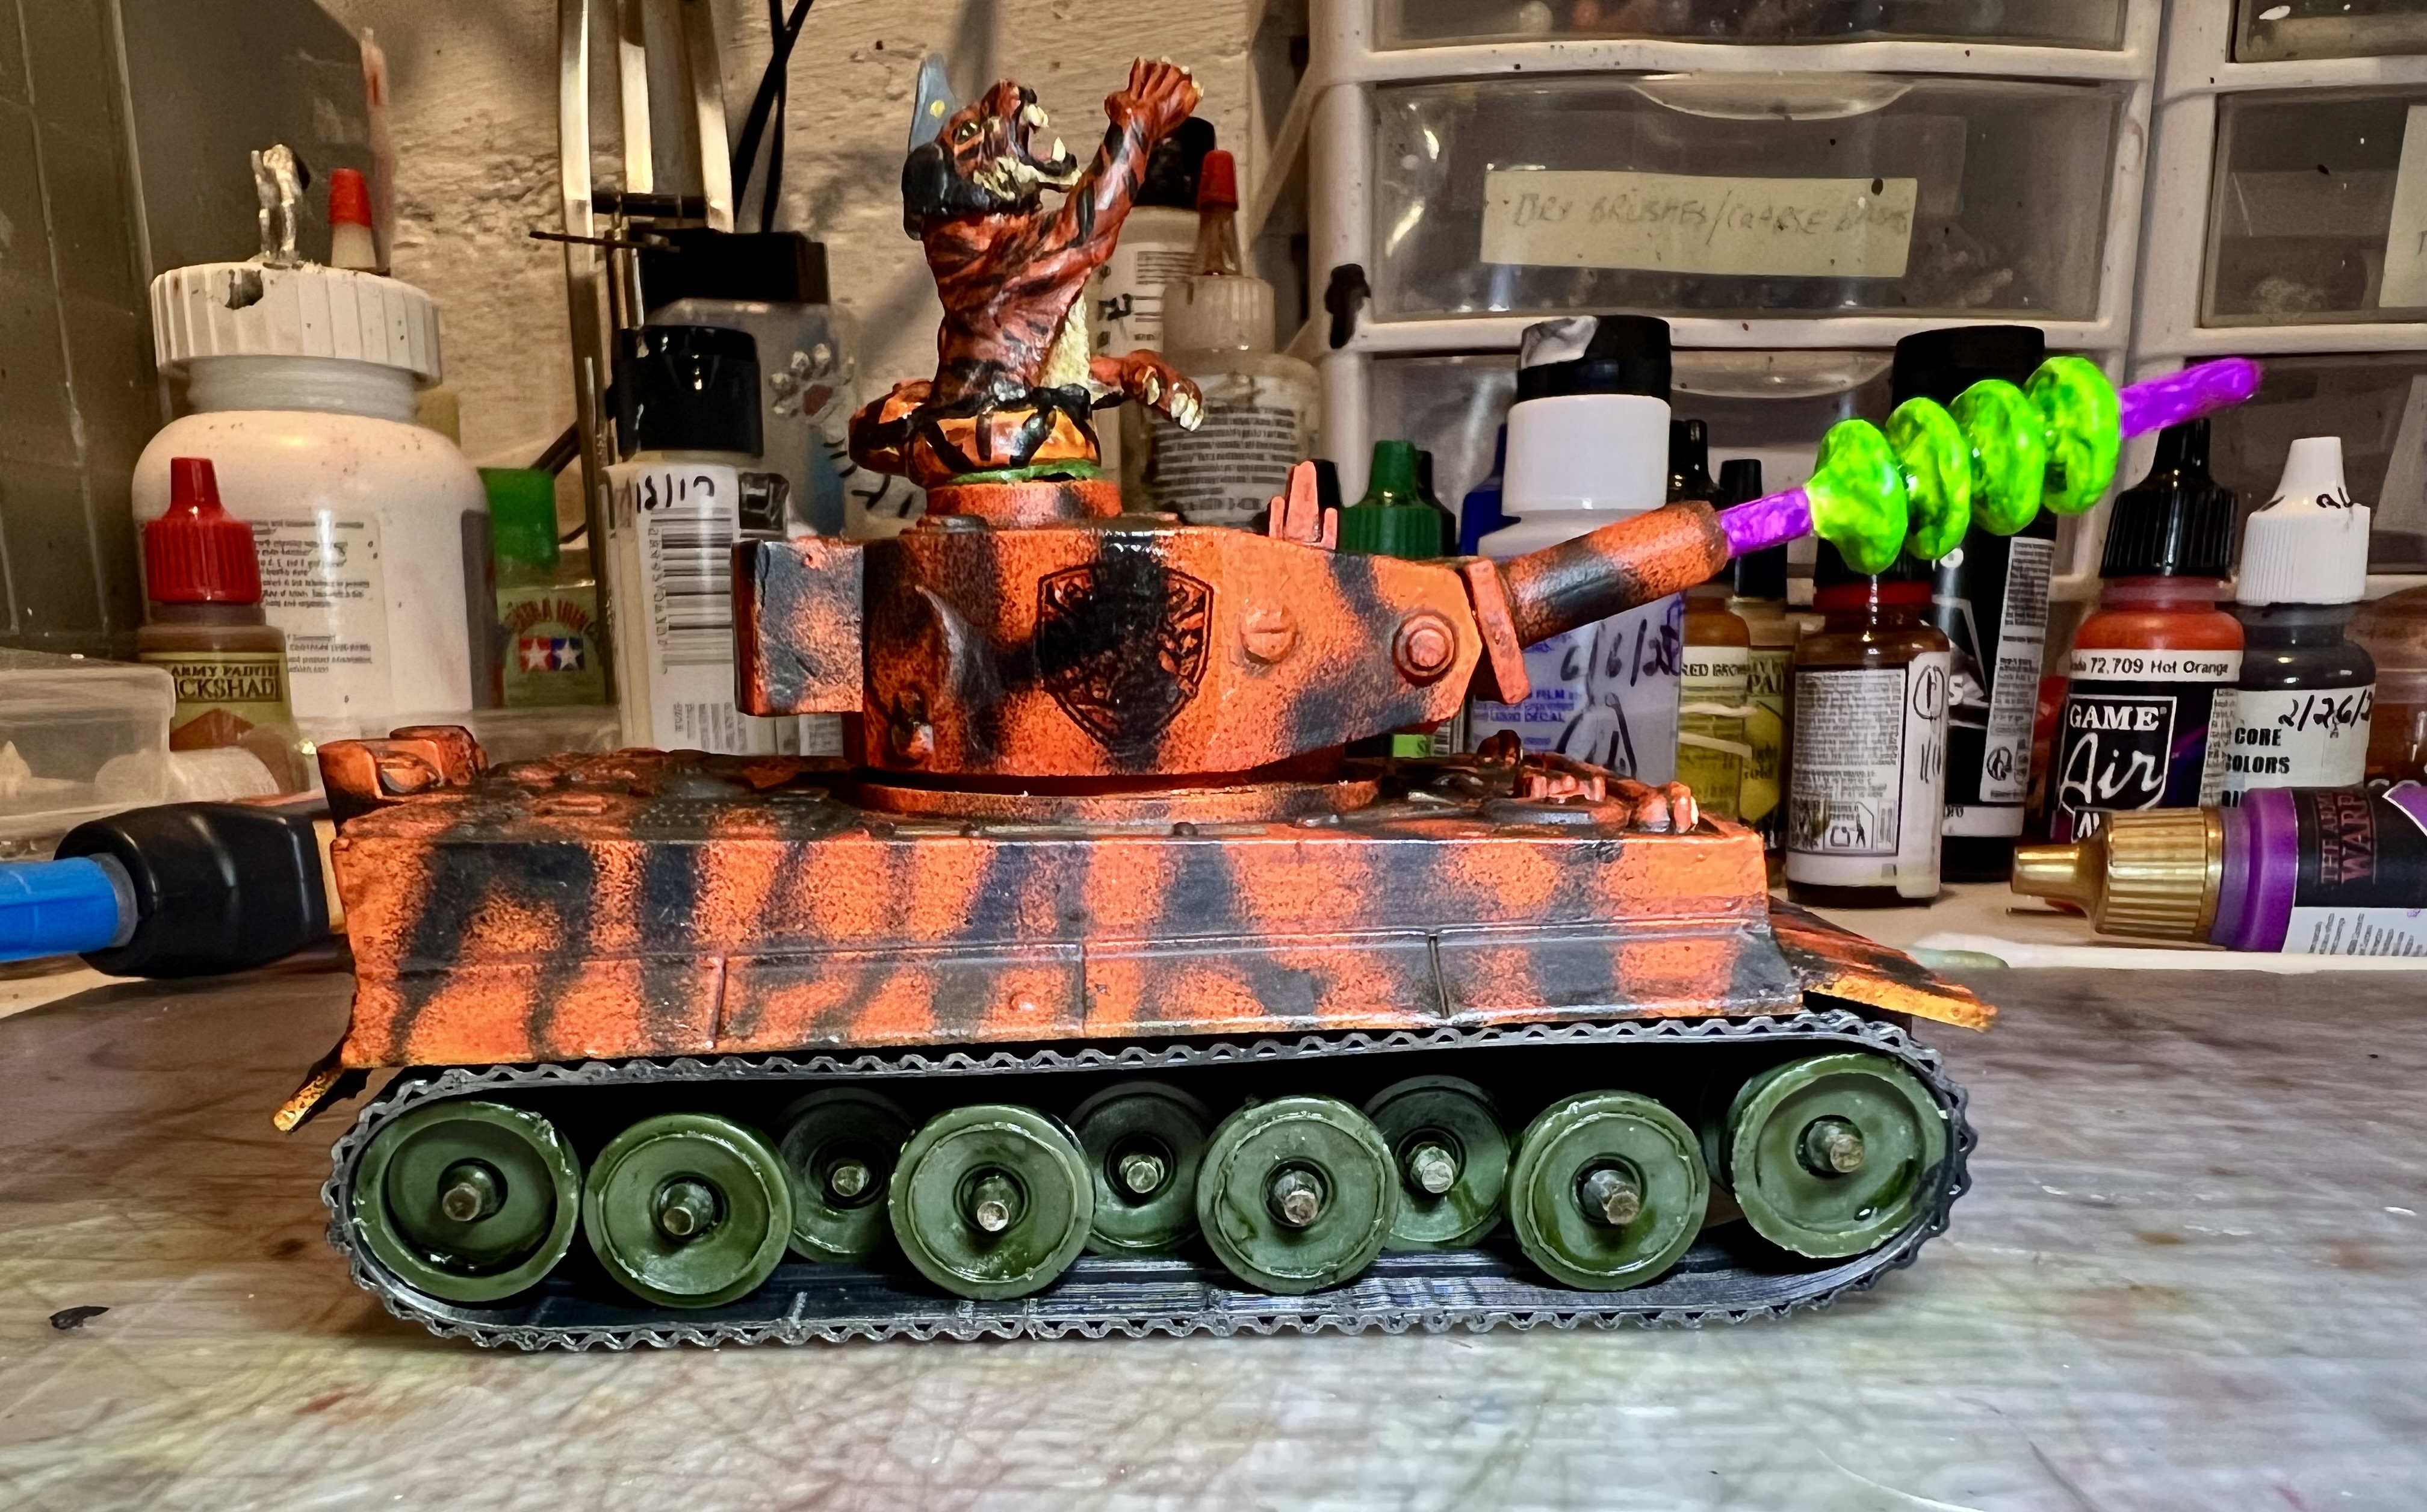
Keeping the tank on the plate, I painted up the detailed parts. The gun I wanted to glow green and purple. After removing the poster tack and more touch up work, I attached the previously dry-brushed tracks.
At this point, I wanted to give the tank a few decals – but what? I told CoPilot what I wanted for a design, and it came out perfect.
It says Imperial Felynxii!
When printed on decal paper, the design is less obvious and more black.
Felynxii design for insignia decal.
As for the attached decal looking black and less obvious – that frankly helps in my view and not hurts. It blended nicely with the stripes, and is subtly visible. I attached two decals on the side of the turret, one on its back. I also put one on the front of the hull.
The weight of the sci-fi addition to new main gun kept pulling itself down. To remedy this, I secured the gun in the elevated position.
The roadwheels got a light coat of green tone to dull the plastic. Here’s what my work area was looking like:
This particular post is just what I did – could I have done something differently? Sure. But, I thought the sequence of events was worthwhile to share. Please let me know what you think in the comments section.
Eye Candy
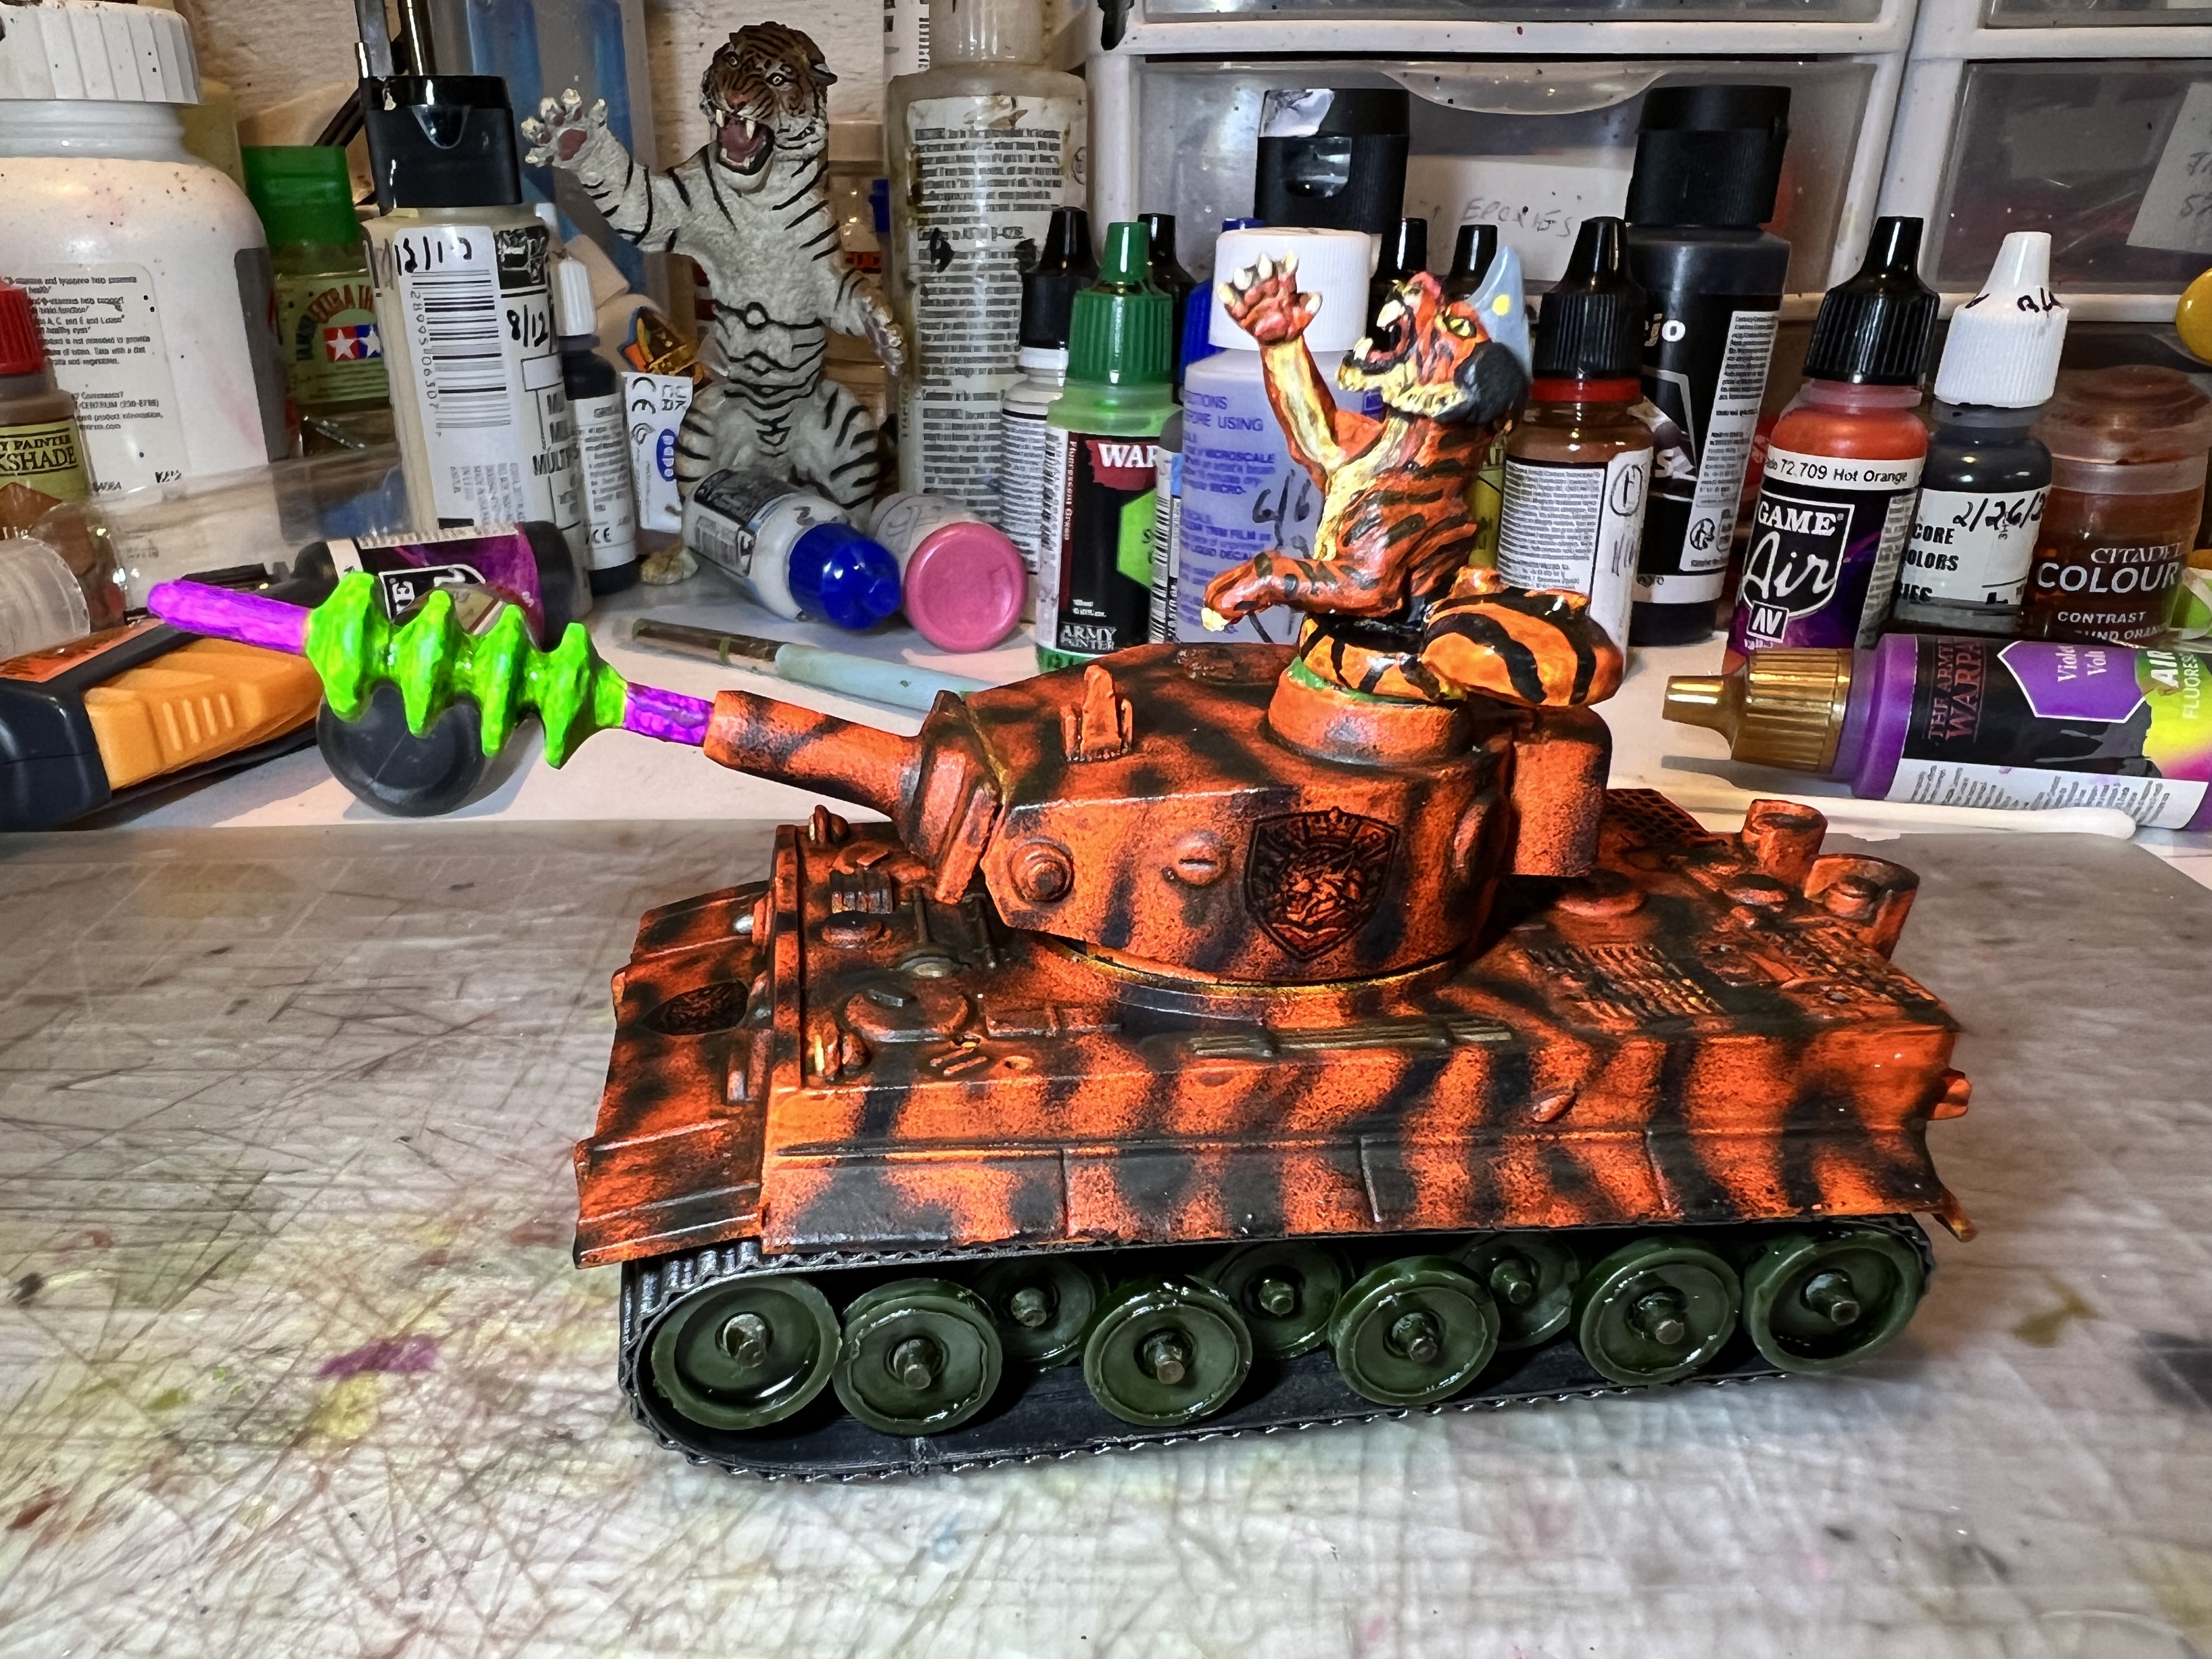
Last but not least, I’d now be honored to share with you some eye candy – AND my first try at a movie of the finished work that you can check out – with an appropriate sound track. Then I’ll list all the paints etc. that I used here as a reference. The other references will be links to my pages on these types of projects.
Right side view.Left side view.Front top view.Close up view of the cupola/hatch with the tiger commander.Imperial Felynxii attacking!
Below are a list of some references and links that might also be of interest. I use them to refer to when I forget painting schemes that I want to replicate.
References:
For a consolidated list of links for any of my previous “Anthropomorphic Figure Project Posts”, please see this page here.
For a consolidated list of links for any of my previous “Old School Miniatures” blog posts, please see this page here.
For a consolidated list of links for any of my previous “Figure Conversions” blog posts, please see this page here.
For a consolidated list of links for any of my previous sci-fi/retro sci-fi blog posts, please see this page.
For a consolidated list of links for any of my previous “Scratch-build Projects” blog posts, please see this page here.
PAINTS, INKS, GLAZES, SHADES, WASHES, PIGMENTS, FLOCKING, GLUES AND MORE THAT I USED ON THIS FELYNXII TIGER TANK:
Poster tack
Vallejo Primers “White”
Corgi Toys Tiger I metal toy tank
3D-printed replacement tracks for Corgi Tiger I from eBay
I decided to take a break from painting up Wars of Ozz figures and terrain for a bit. Yes, golf still happily monopolizes a lot of my free time – ok MOST of my free time (winter eventually does come and no golf here then).
But even though we here in Massachusetts are in a minor drought, it does rain from time to time – and the sun even disappears for the night. No surprise there…so I could get some summertime hobby work in…
But what should I jump into?
Inspirations and Motivations
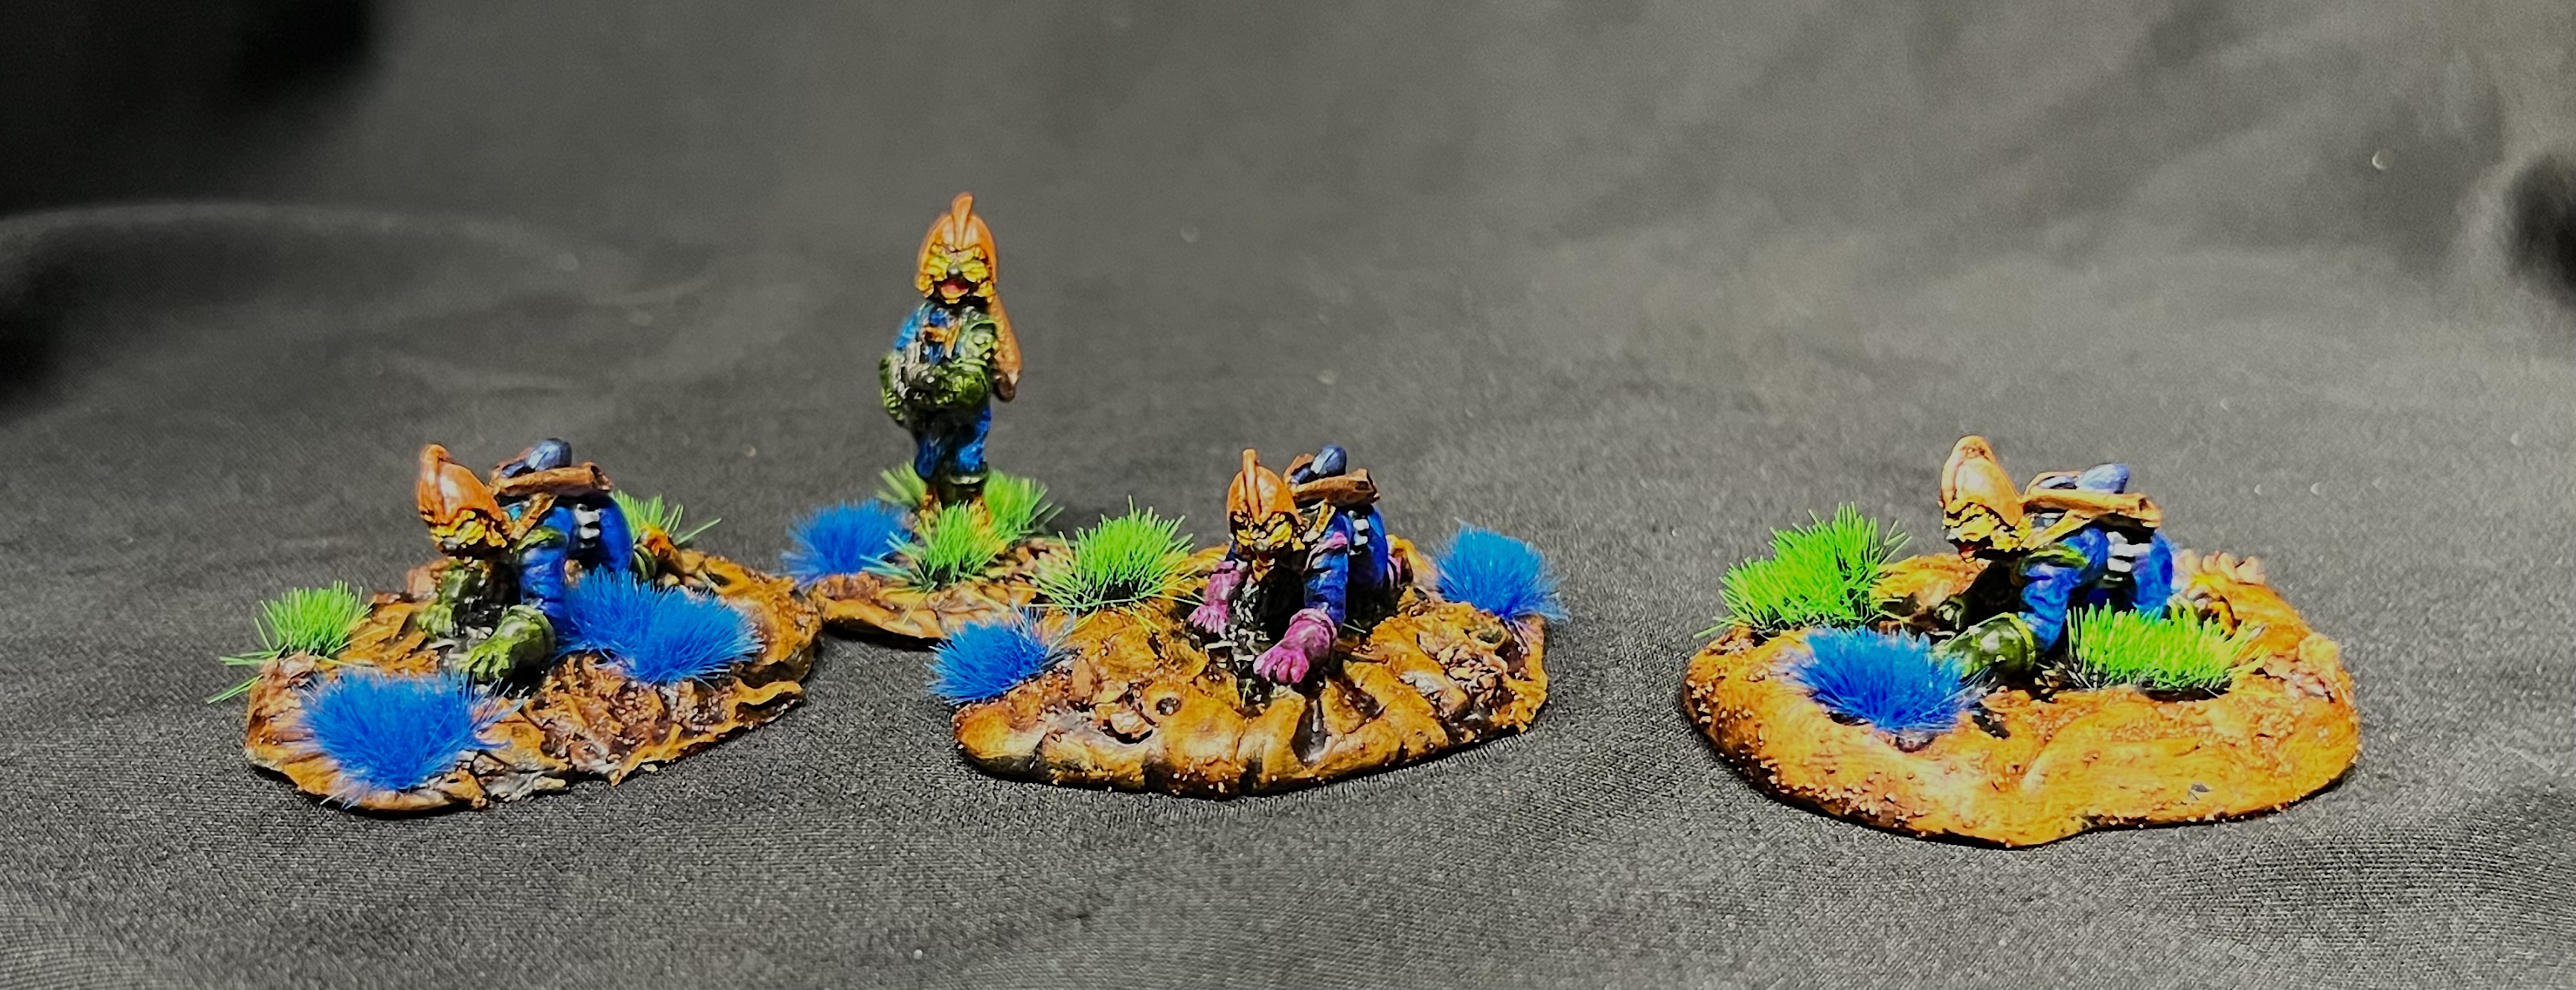
For me, inspiration came by way of the Combat Patrol WWIITM Retro Sci-Fi games that I ran at 4 conventions earlier this year. You can see those games at the following blog links: Cold Wars 2026, TotalCon 2026, and Huzzah 2026. (I also ran games at HAVOC 2026, but did not get to a blog post on that one). They were fun and a nice return to a genre that I really enjoyed.
As to which faction to get into – well, its a bit sad to say how I was motivated to do something feline. Why? Well, my daughter Ellen and my granddaughter Tabitha (Tabby) lost their pet cat Izzy a short while back. Also, our good blog buddy Roger from “Rantings from under the Wargame table” has lost another cat (Amy) not too long ago. This was in addition to a young cat named Flash a while back and a dog as I remember. Losing pets is tough. Therefore, in these kitties memory I went with the Felynxii from long-defunct Archive Miniatures. More about these retro sci-fi cats in a bit, but first some background stuff.
Background Information on the Figures
I have written many blog posts over the years about these old school miniature projects and companies – to include some information on their origins. I have two pages that catalogs my efforts that might be of interest to you:
For a list of my Old School miniature posts click here.
For a list of my Retro Sci-Fi and Sci-Fi miniature posts click here:
As you probably would notice on these pages, the majority of figures that I use for these projects and games are long out-of-production – to state it mildly. Most have come from two sources – Archive Miniatures(specifically the Star Rovers Line) and Crunchy Frog Enterprises (specifically the Critter Commandos line). The last time I painted an Archive figure was back in October of 2019. As for Critter Commandos, my last group was painted in March of 2018 – so its been a while.
Archive stopped producing figures in the early 1980’s and sold off its molds. According to Lost Minis Wiki:
Archive was probably run by Barbara and Nevile Stocken[1], this American company produced a wide variety of figures, many of which have been kept in production through other companies down the years. In the early 1980s they closed up and were superseded by R*kiiv.
All sourcing of original Archive Star Rovers figures for me has been from eBay. Years ago I did recast some for personal use.
As for Crunchy Frog Enterprises, the Lost Minis Wiki says:
Team Frog Studios was founded in 1987 by Paul Arden Lidberg. They are a game publisher using the imprints Crunchy Frog Enterprises and Nightshift Games. They produce games with supporting lines of miniatures. They acquired the Living Legends & $tar Corp$ lines from Lance & Laser in 2009, and they ran some unfulfilled Kickstarter projects in 2012 & 2013.
The Crunchy Frog Enterprises website is still around. However I had some issues ordering Critter Commandos figures from them in the past. Perhaps it could be better now. As a result, I have only sourced their metal miniatures from eBay and Noble Night Games when I can find them reasonably priced. I still have a good number of them awaiting a paint job. The Critter Commandos line dates from the late 1980’s. According to Lost Minis Wiki:
Lance & Laser originally produced this Critter Commandos & Crittertek range of figures. [1] It is now owned by Team Frog Studios. The game Critter Commandos was created by Paul Arden Lidberg and first published in 1989 by Crunchy Frog Enterprises (now a “Team Frog Studios” imprint). The CFE codes on this page are those used by the imprint Crunchy Frog Enterprises; the figures have been renamed and recoded several times. Sculpted by Steve Lortz
Note that the late Steve Lortz was involved in sculpting both of these lines that I love. Until I began this post, I was unaware that according to Wikipedia, Paul Arden Lidberg passed away in 2022. RIP for both.
The two lines of figures mesh well for my purposes – as one would expect from the same scupltor like Steve Lortz – who also worked in a similar genres. It appears that Jim Johnson also sculpted for Team Frog.
Who Are the Felynxii?
For this particular project I chose to work on the Felynxii. Who are they?
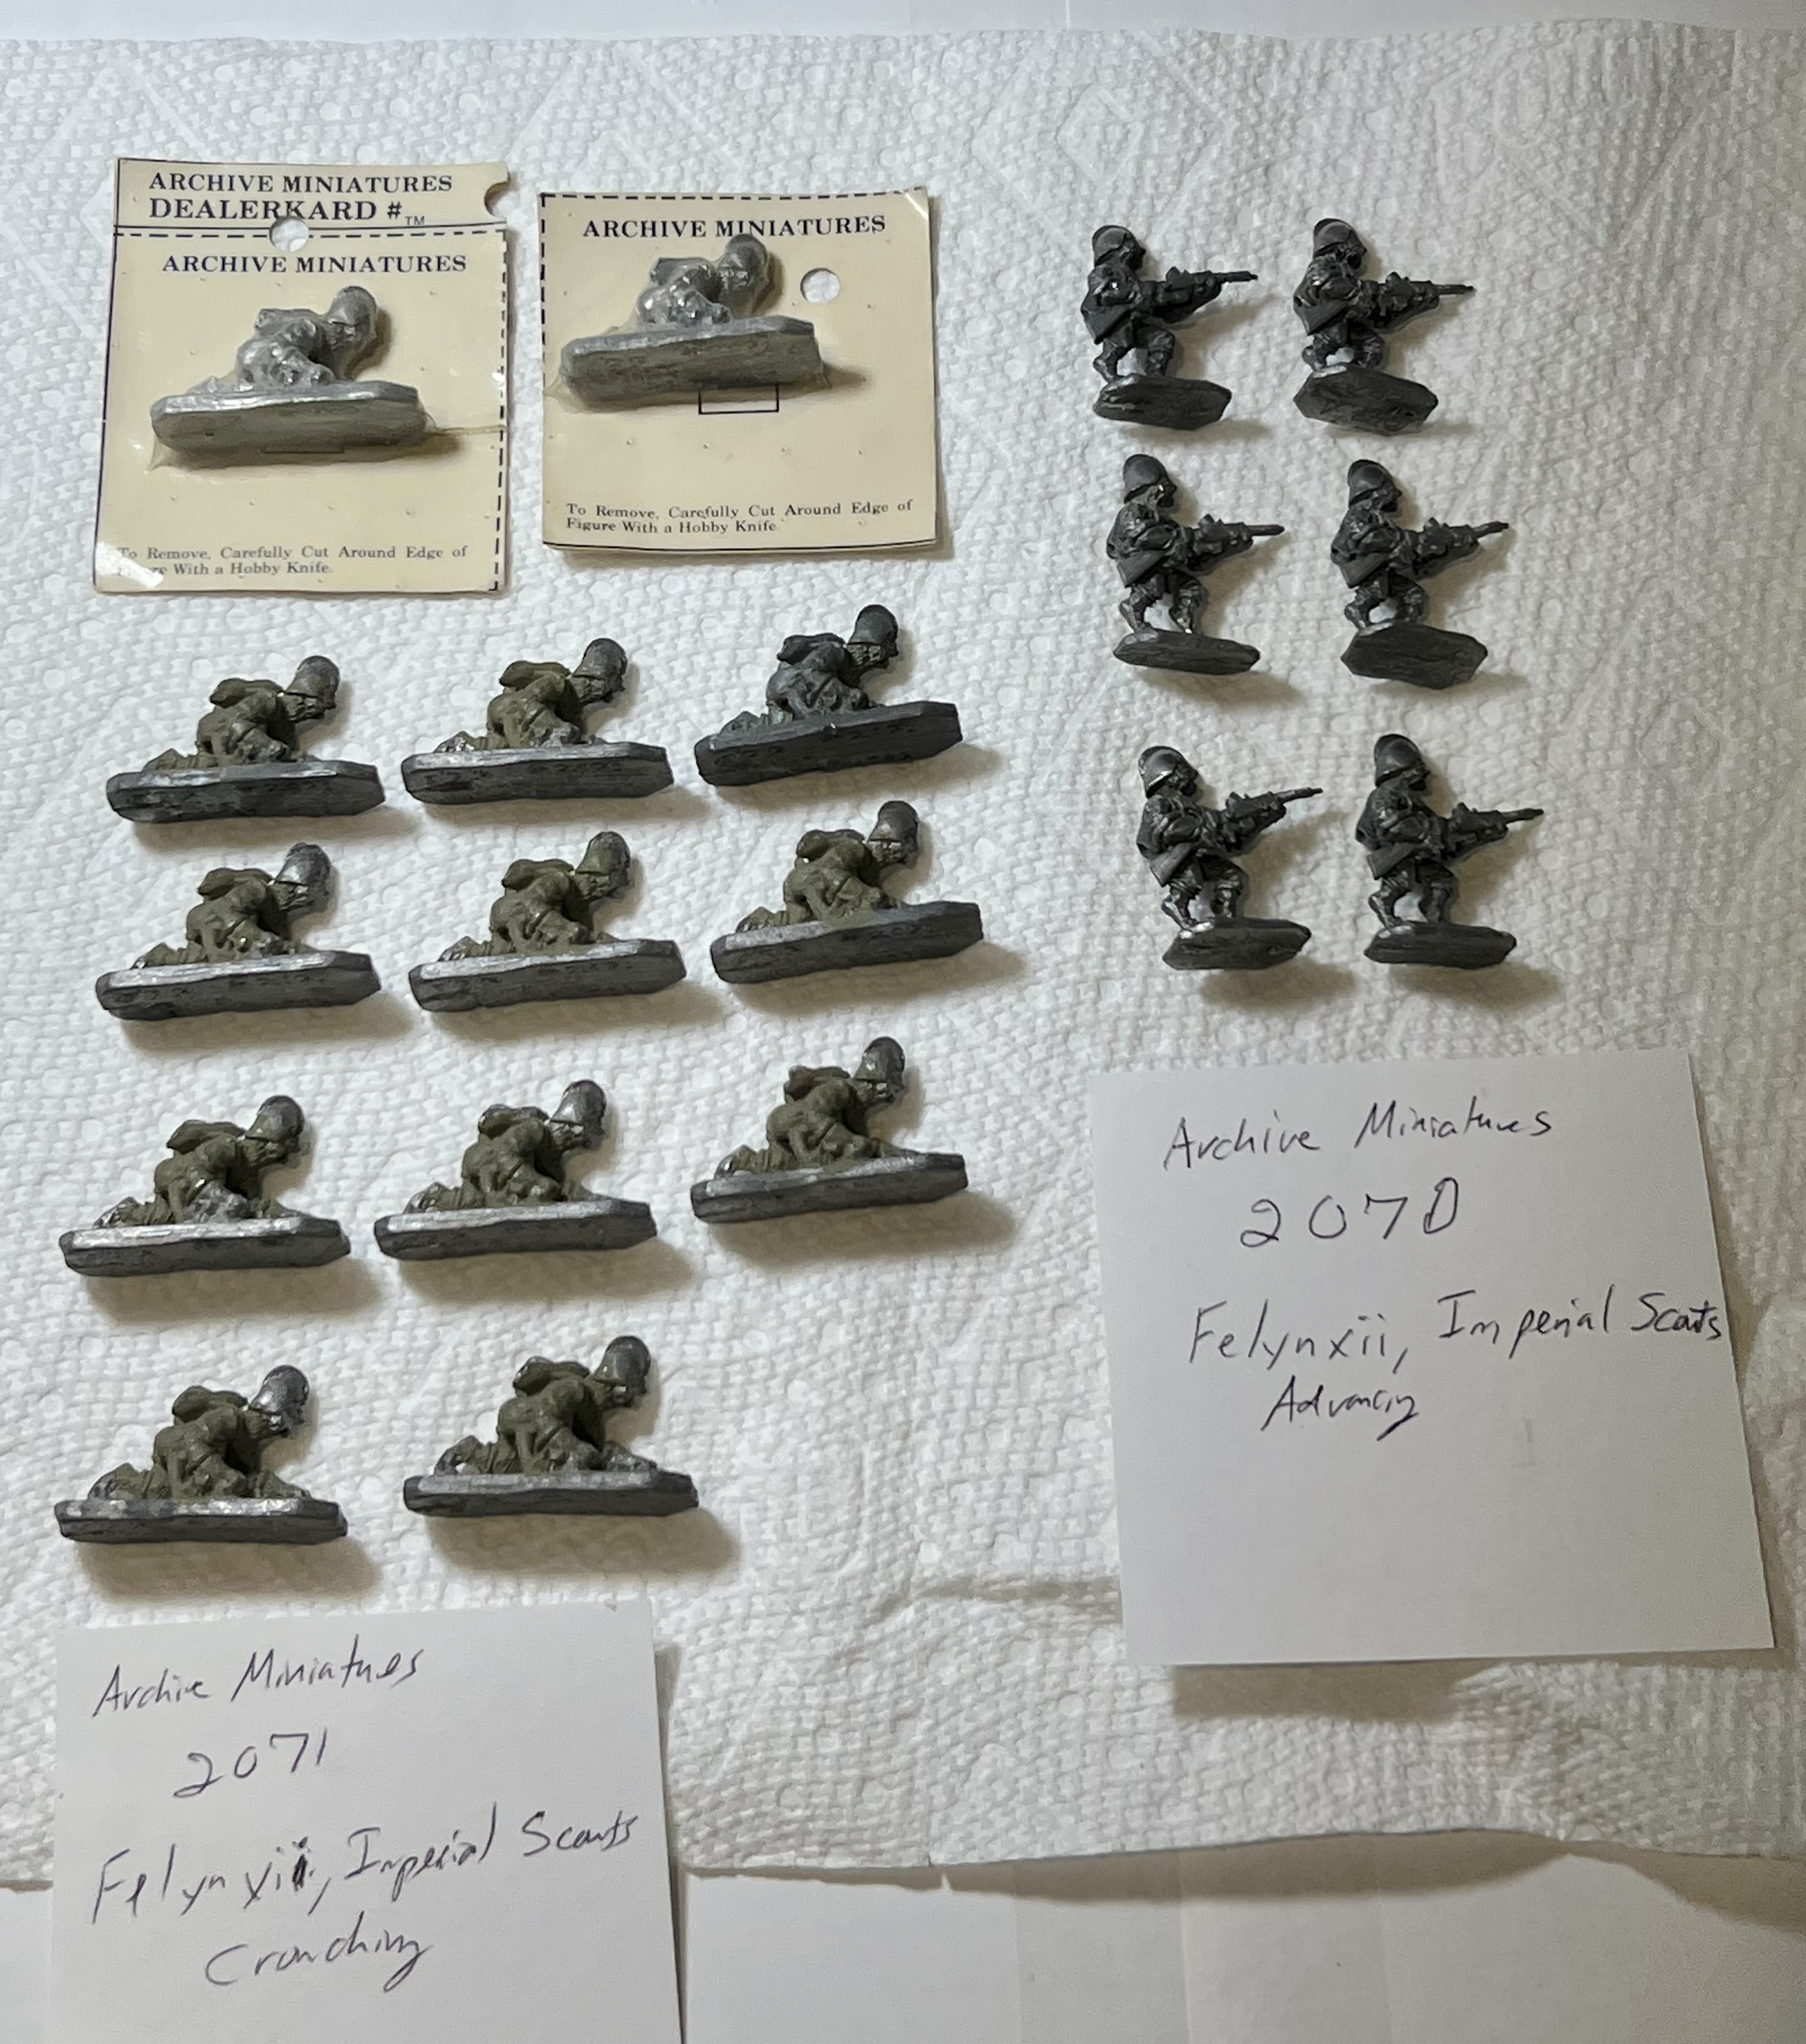
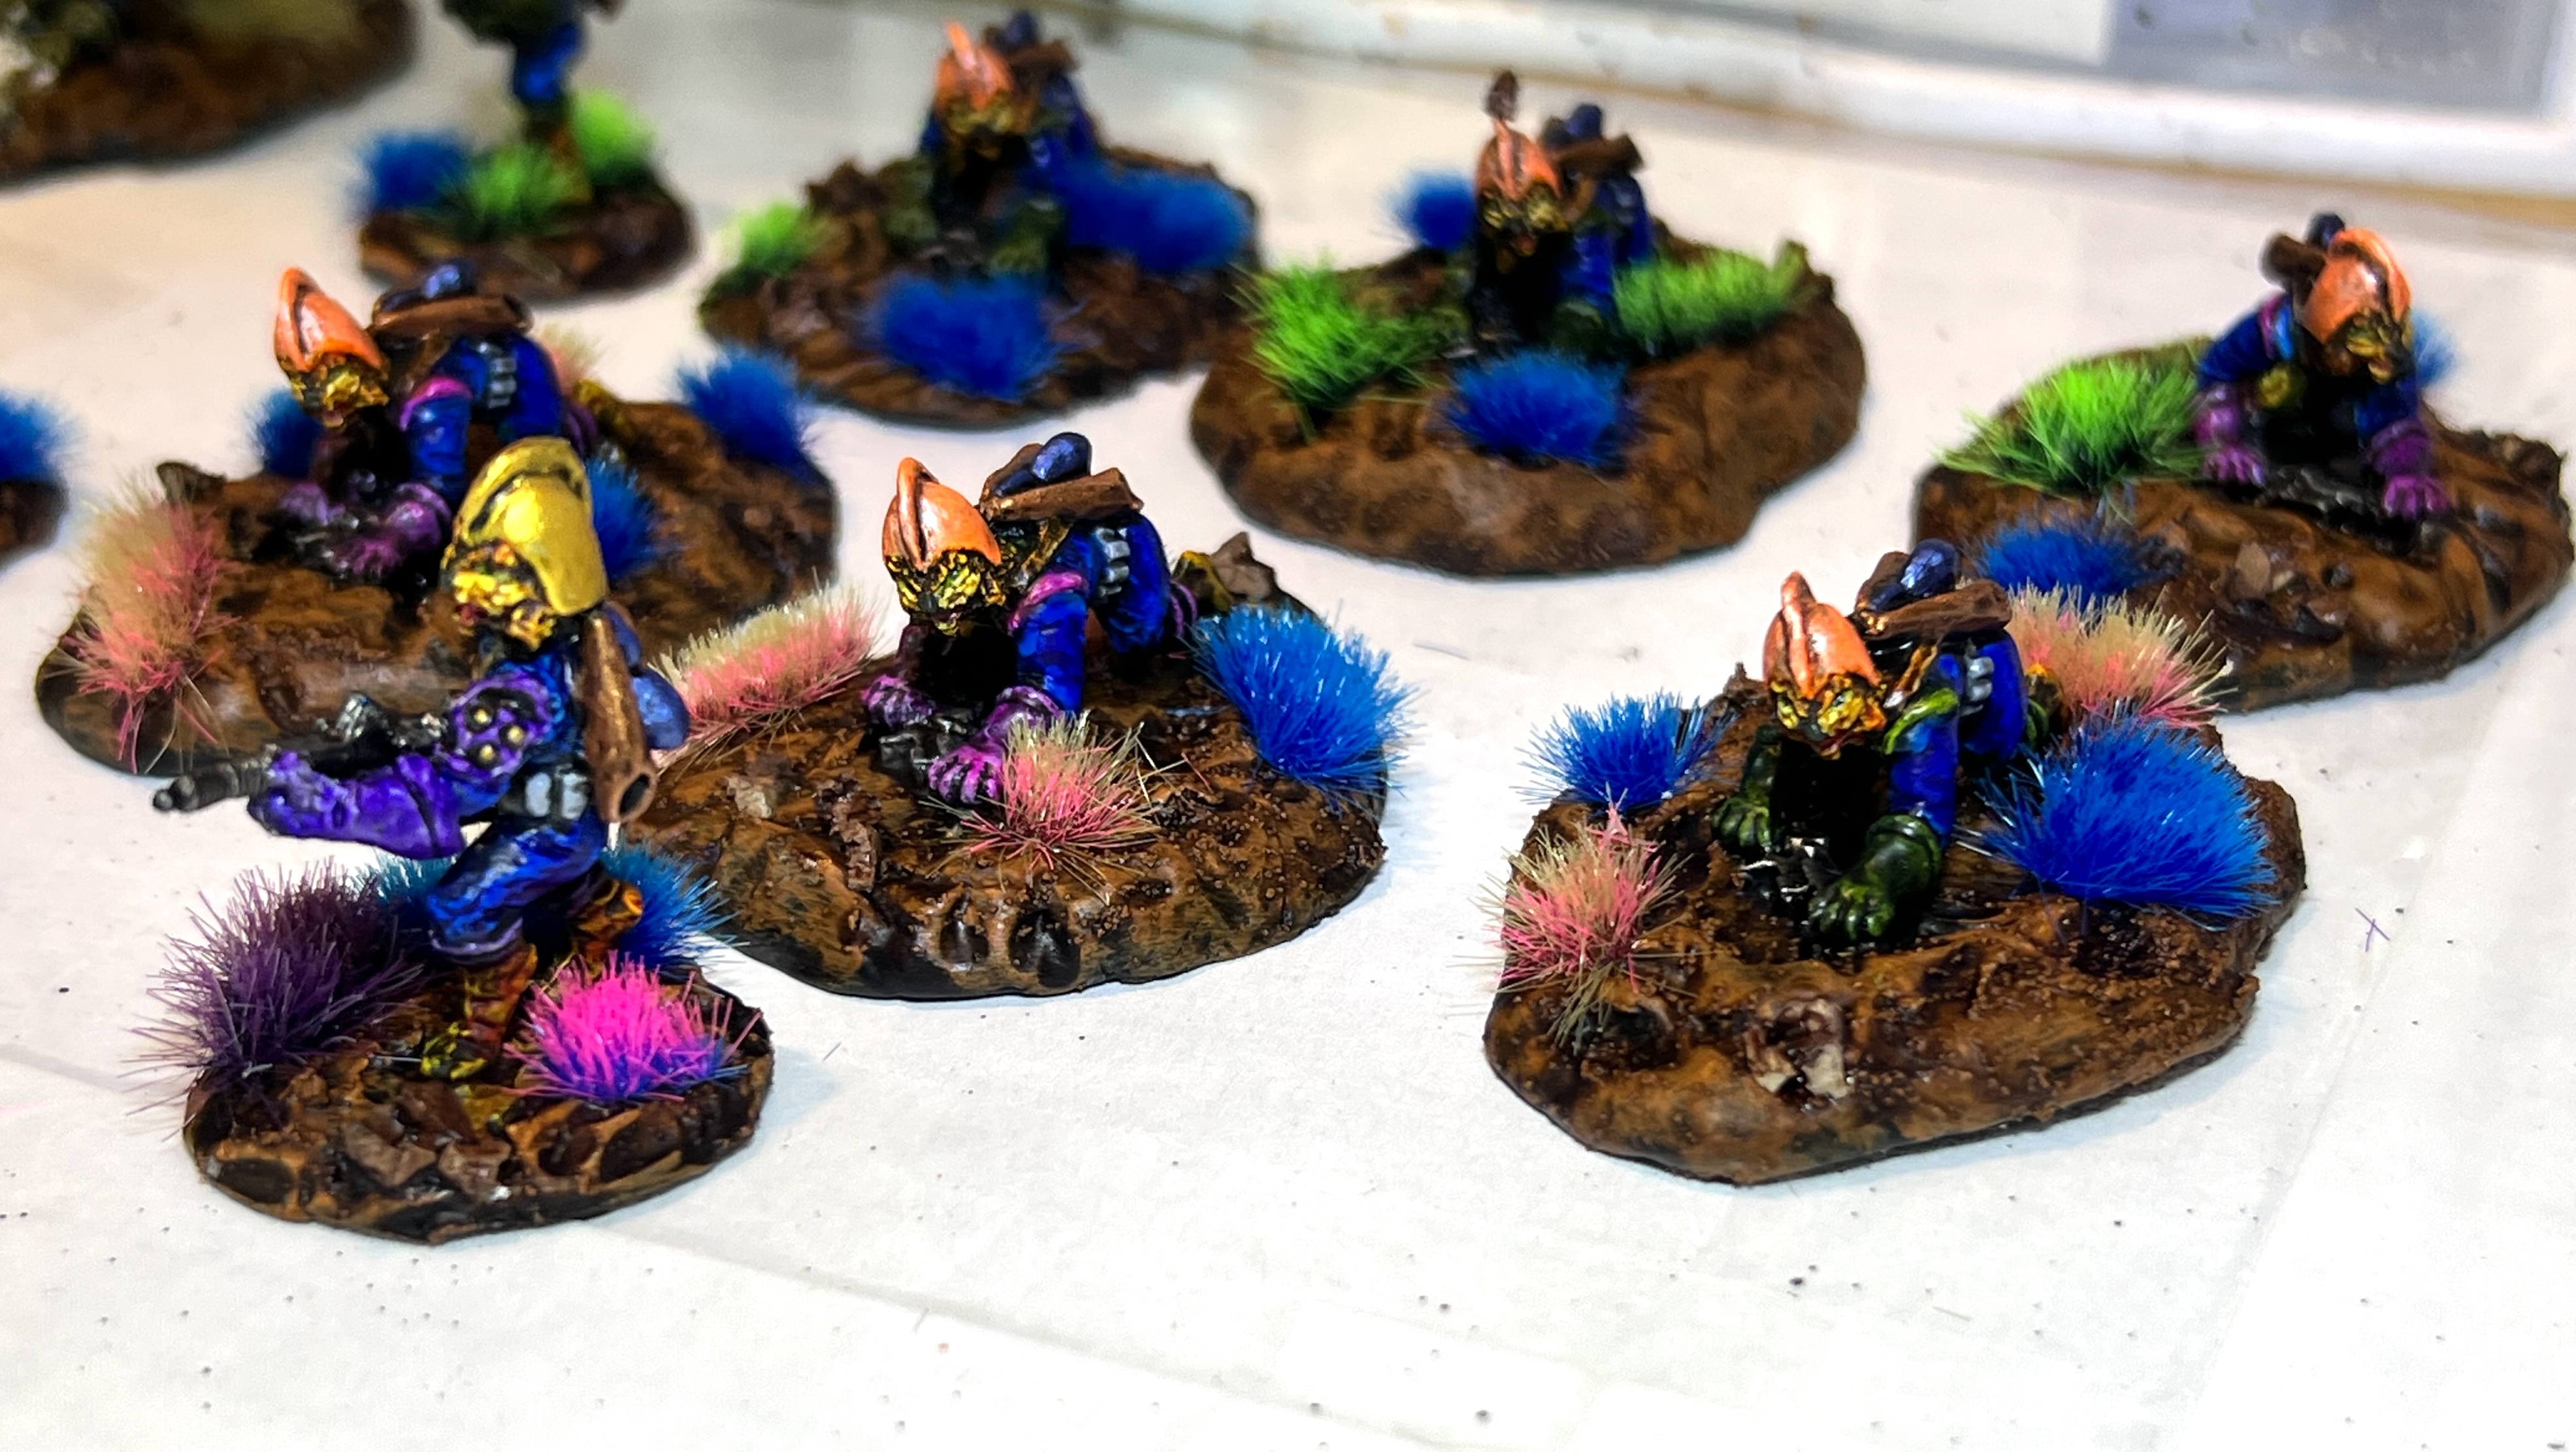
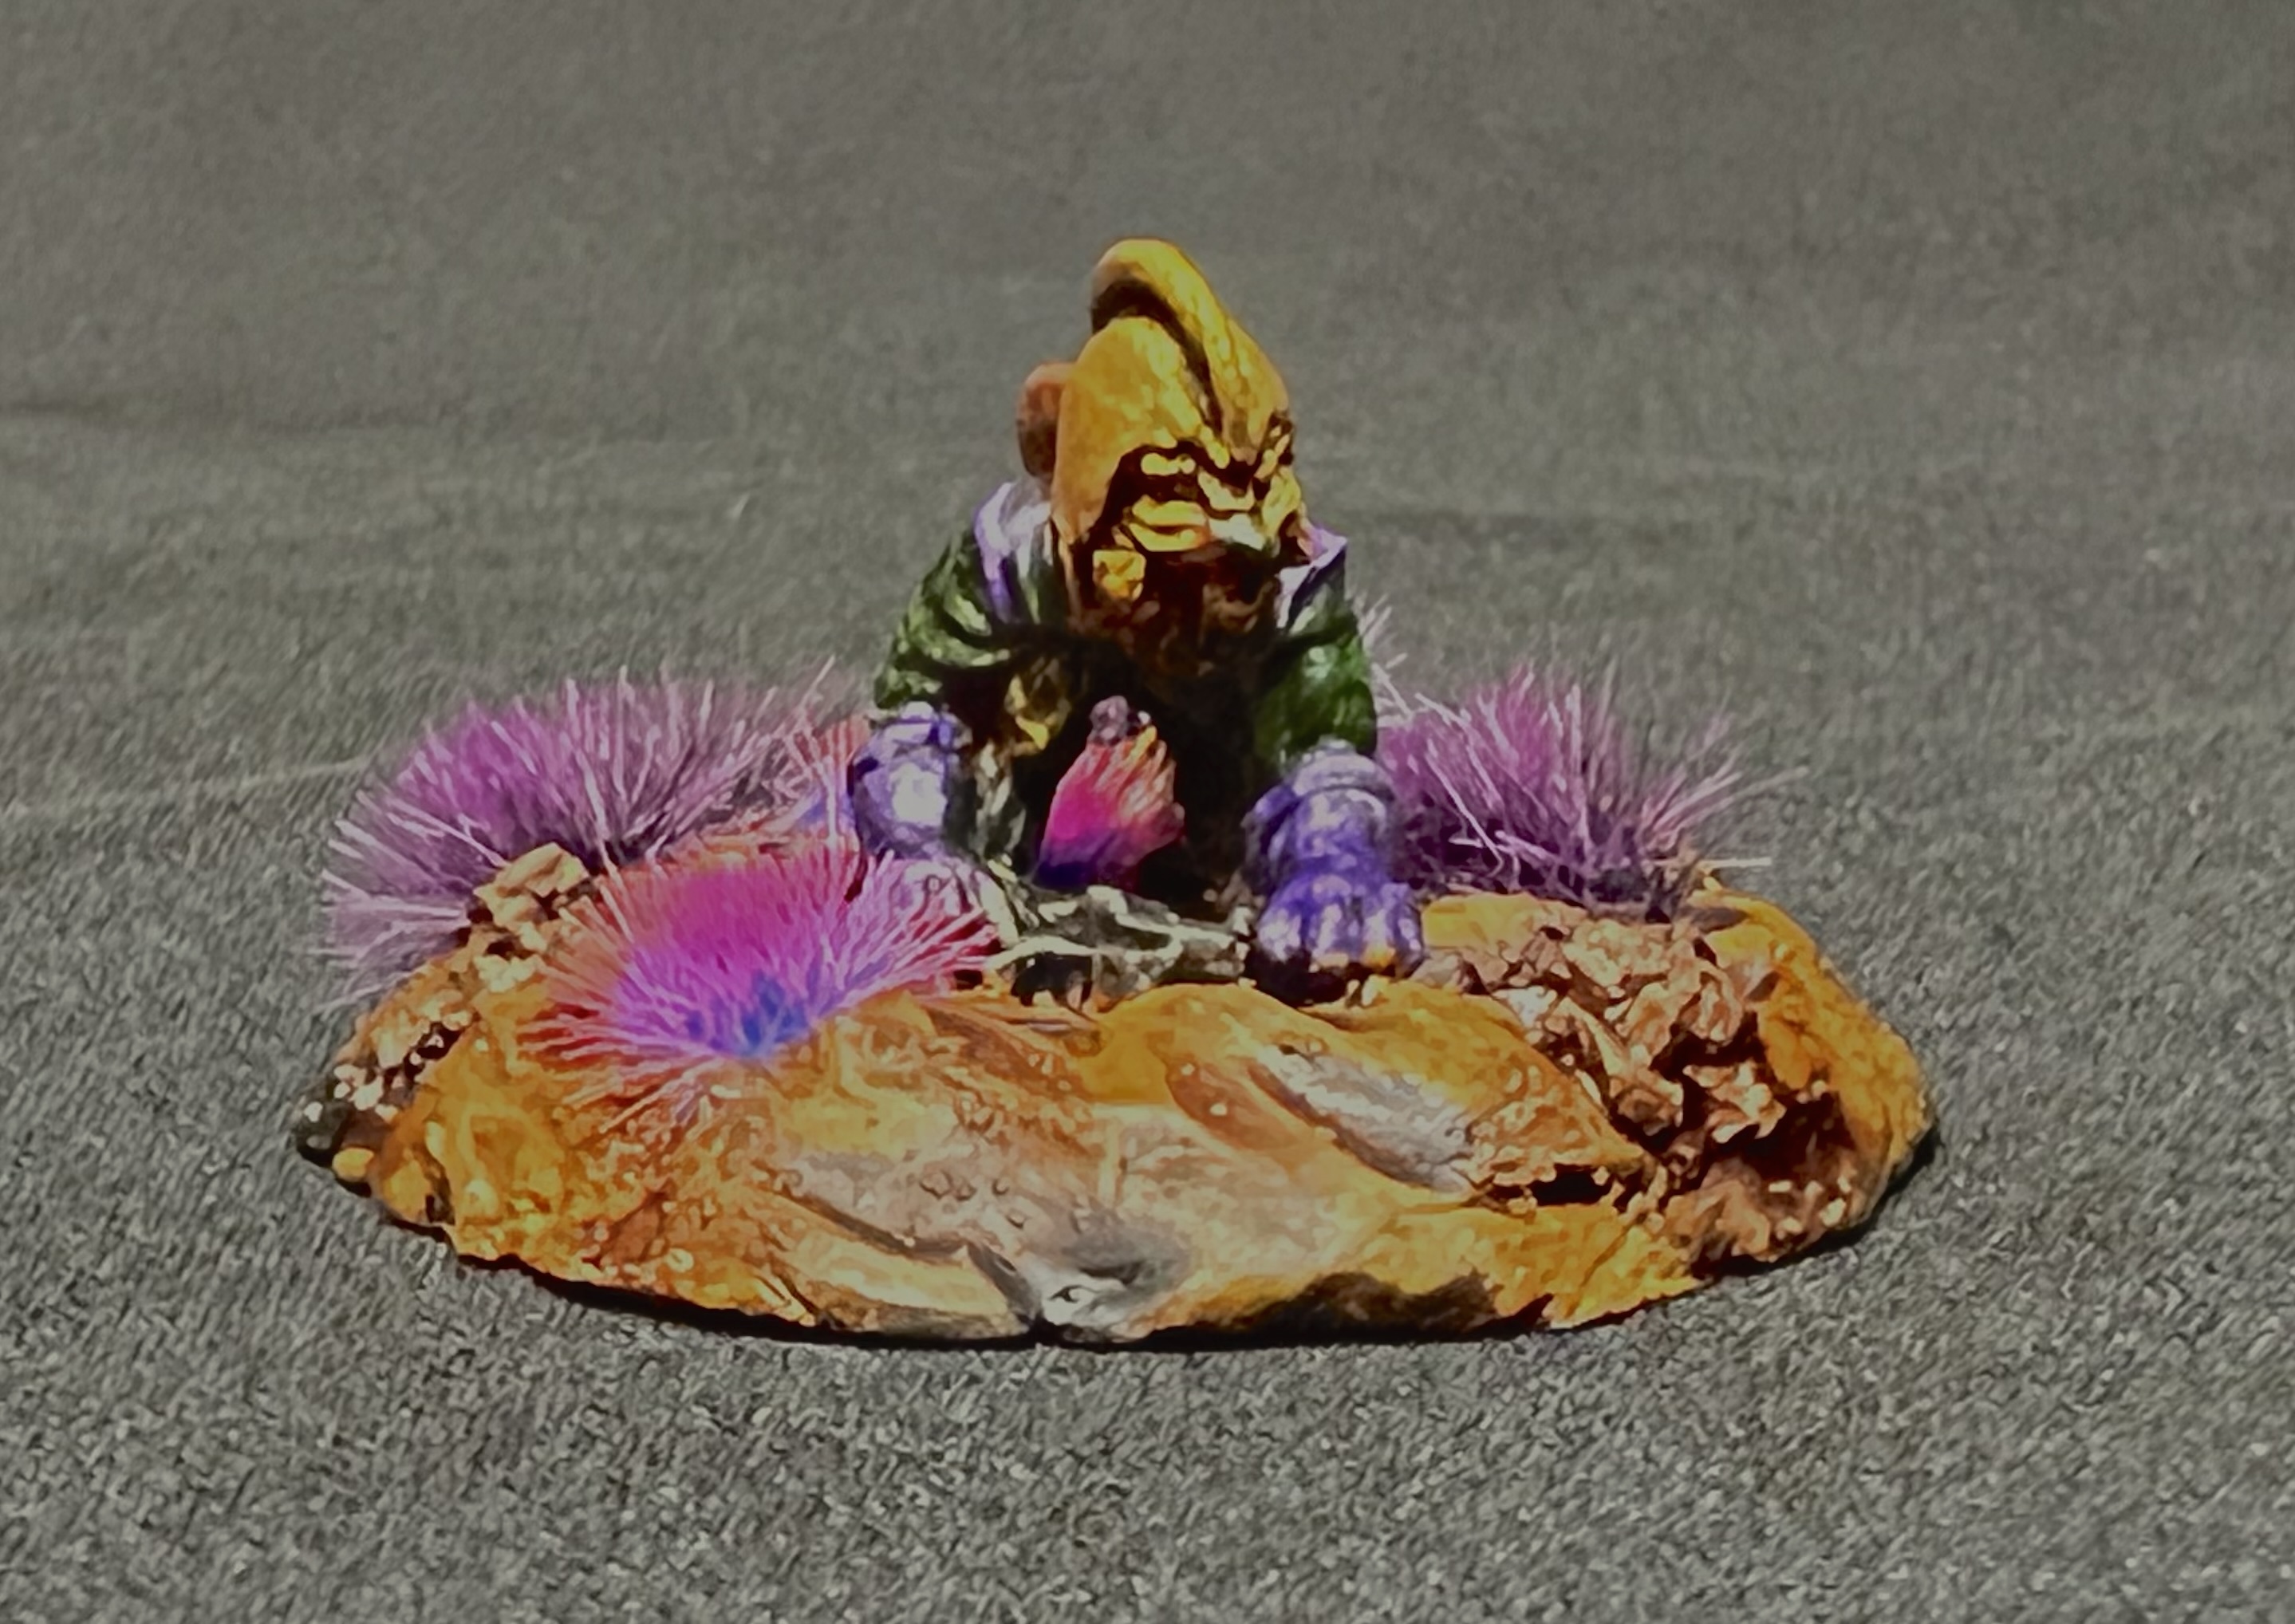
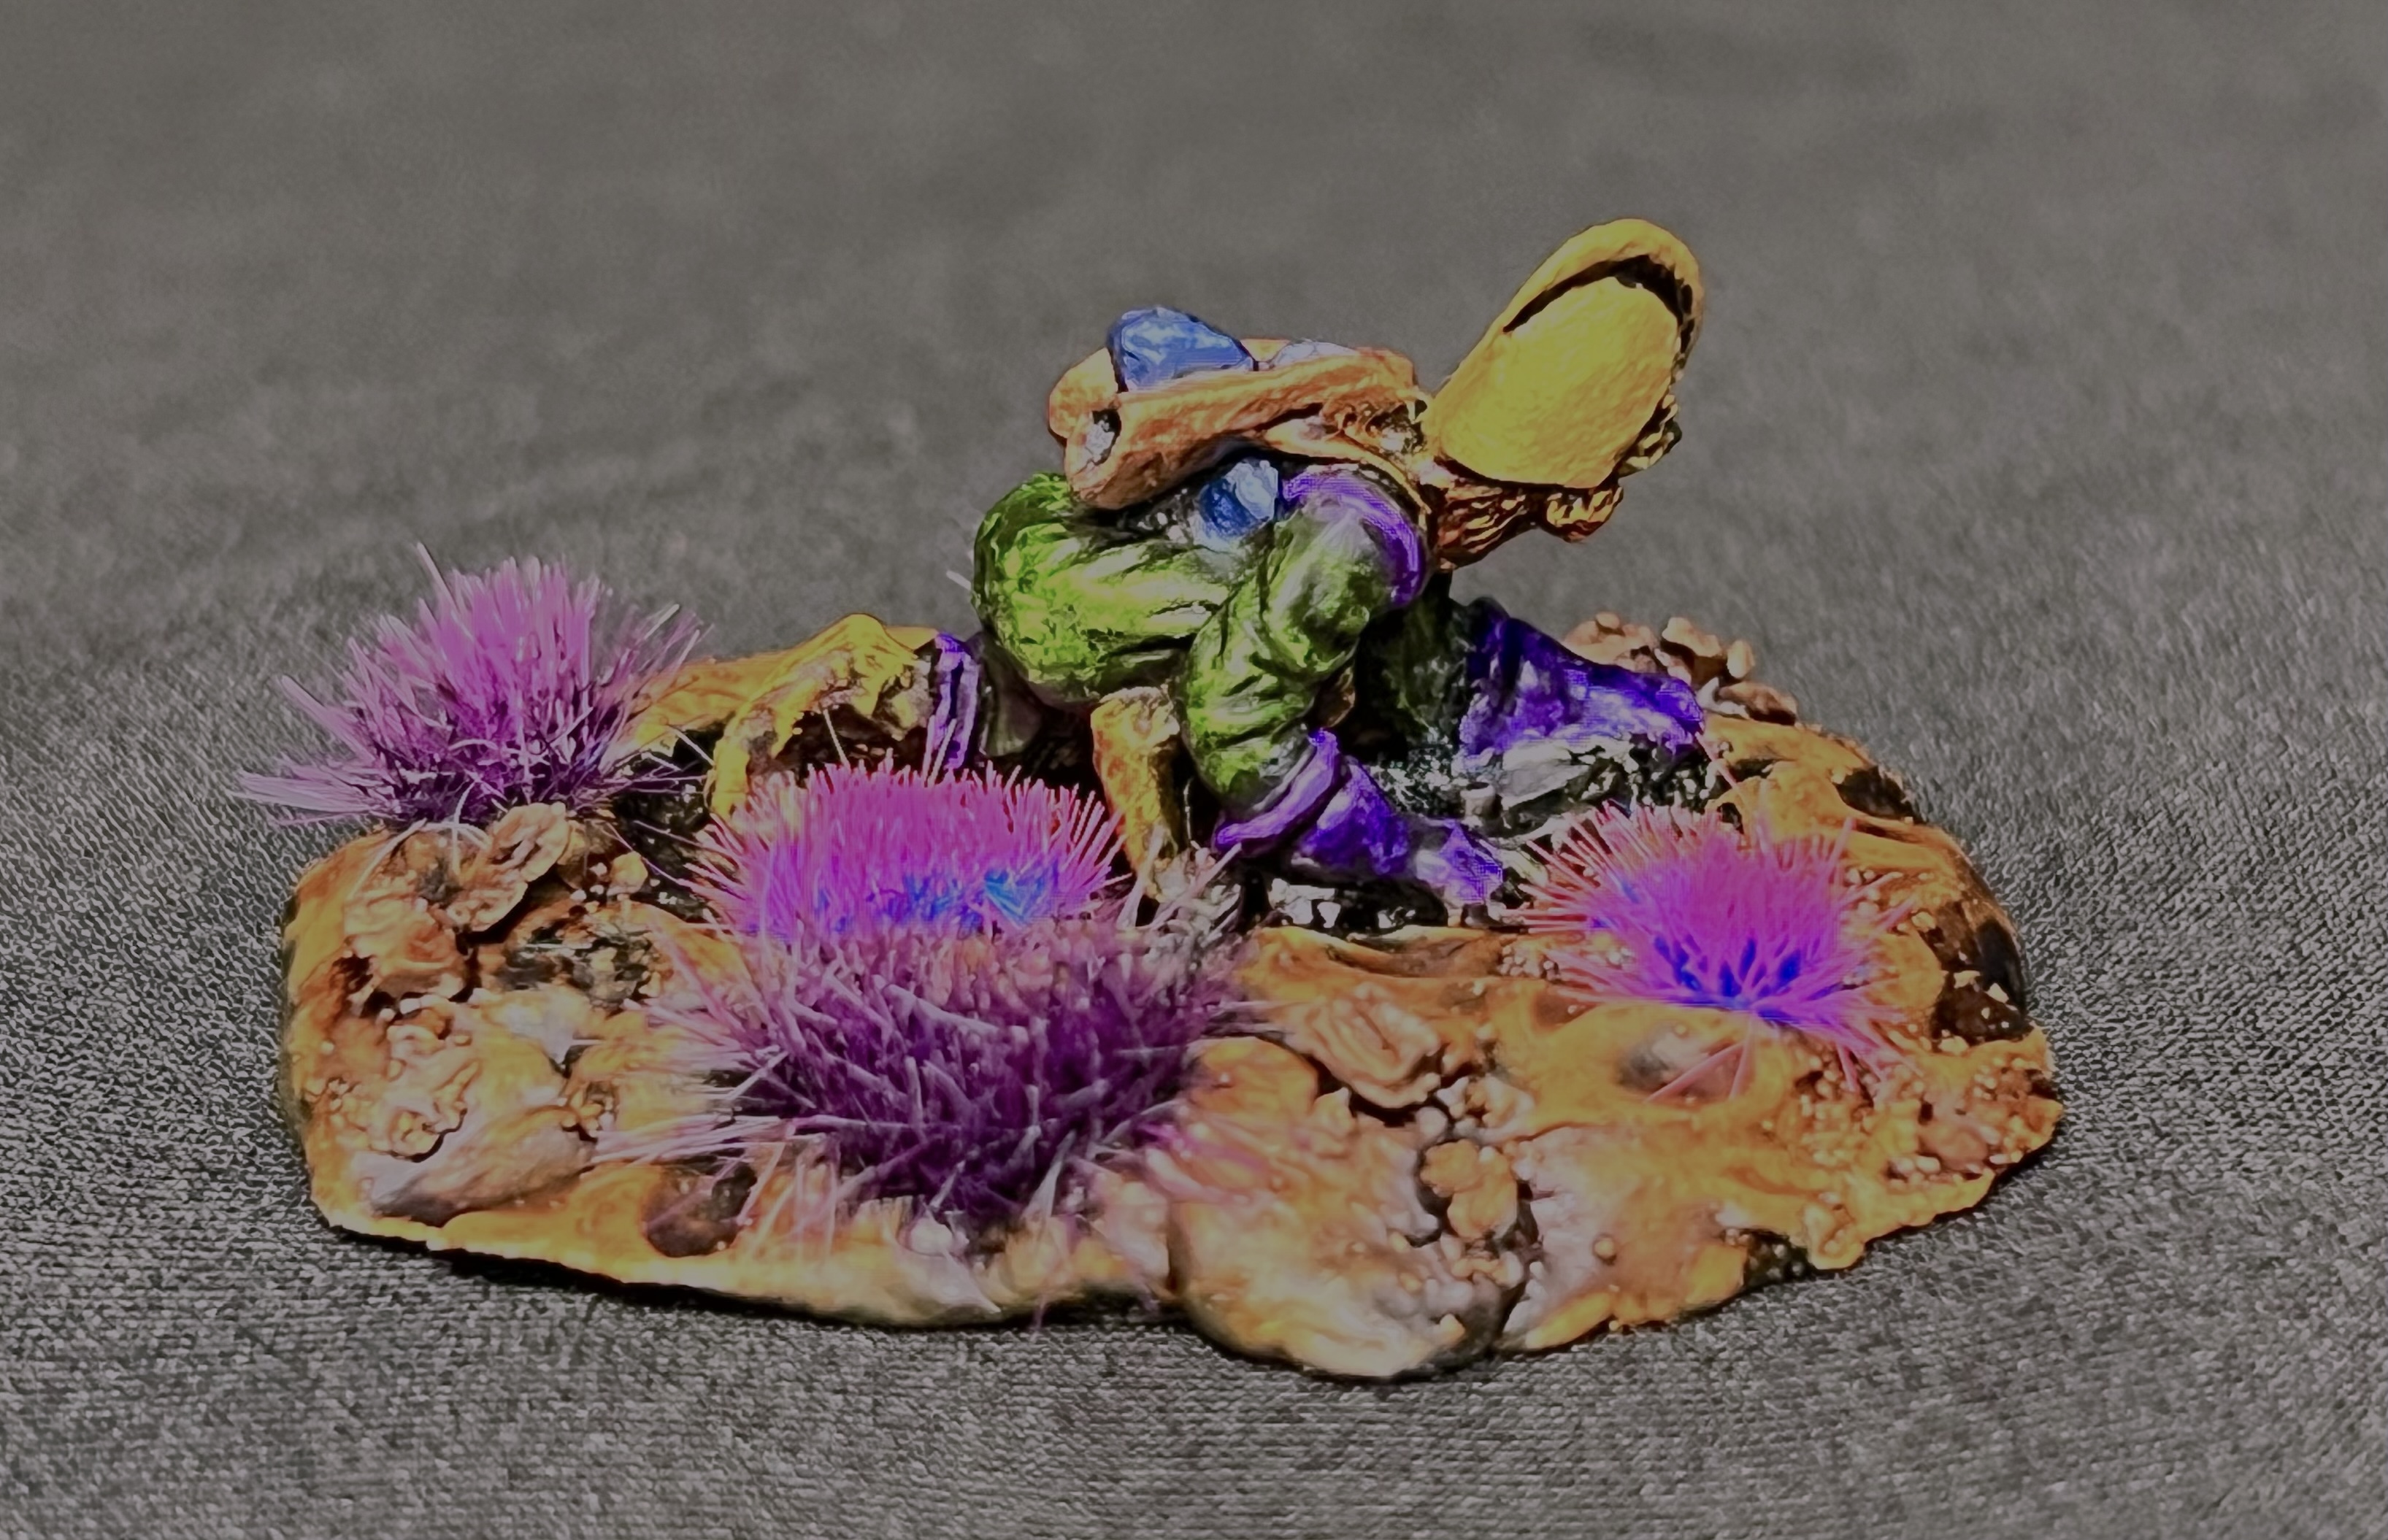
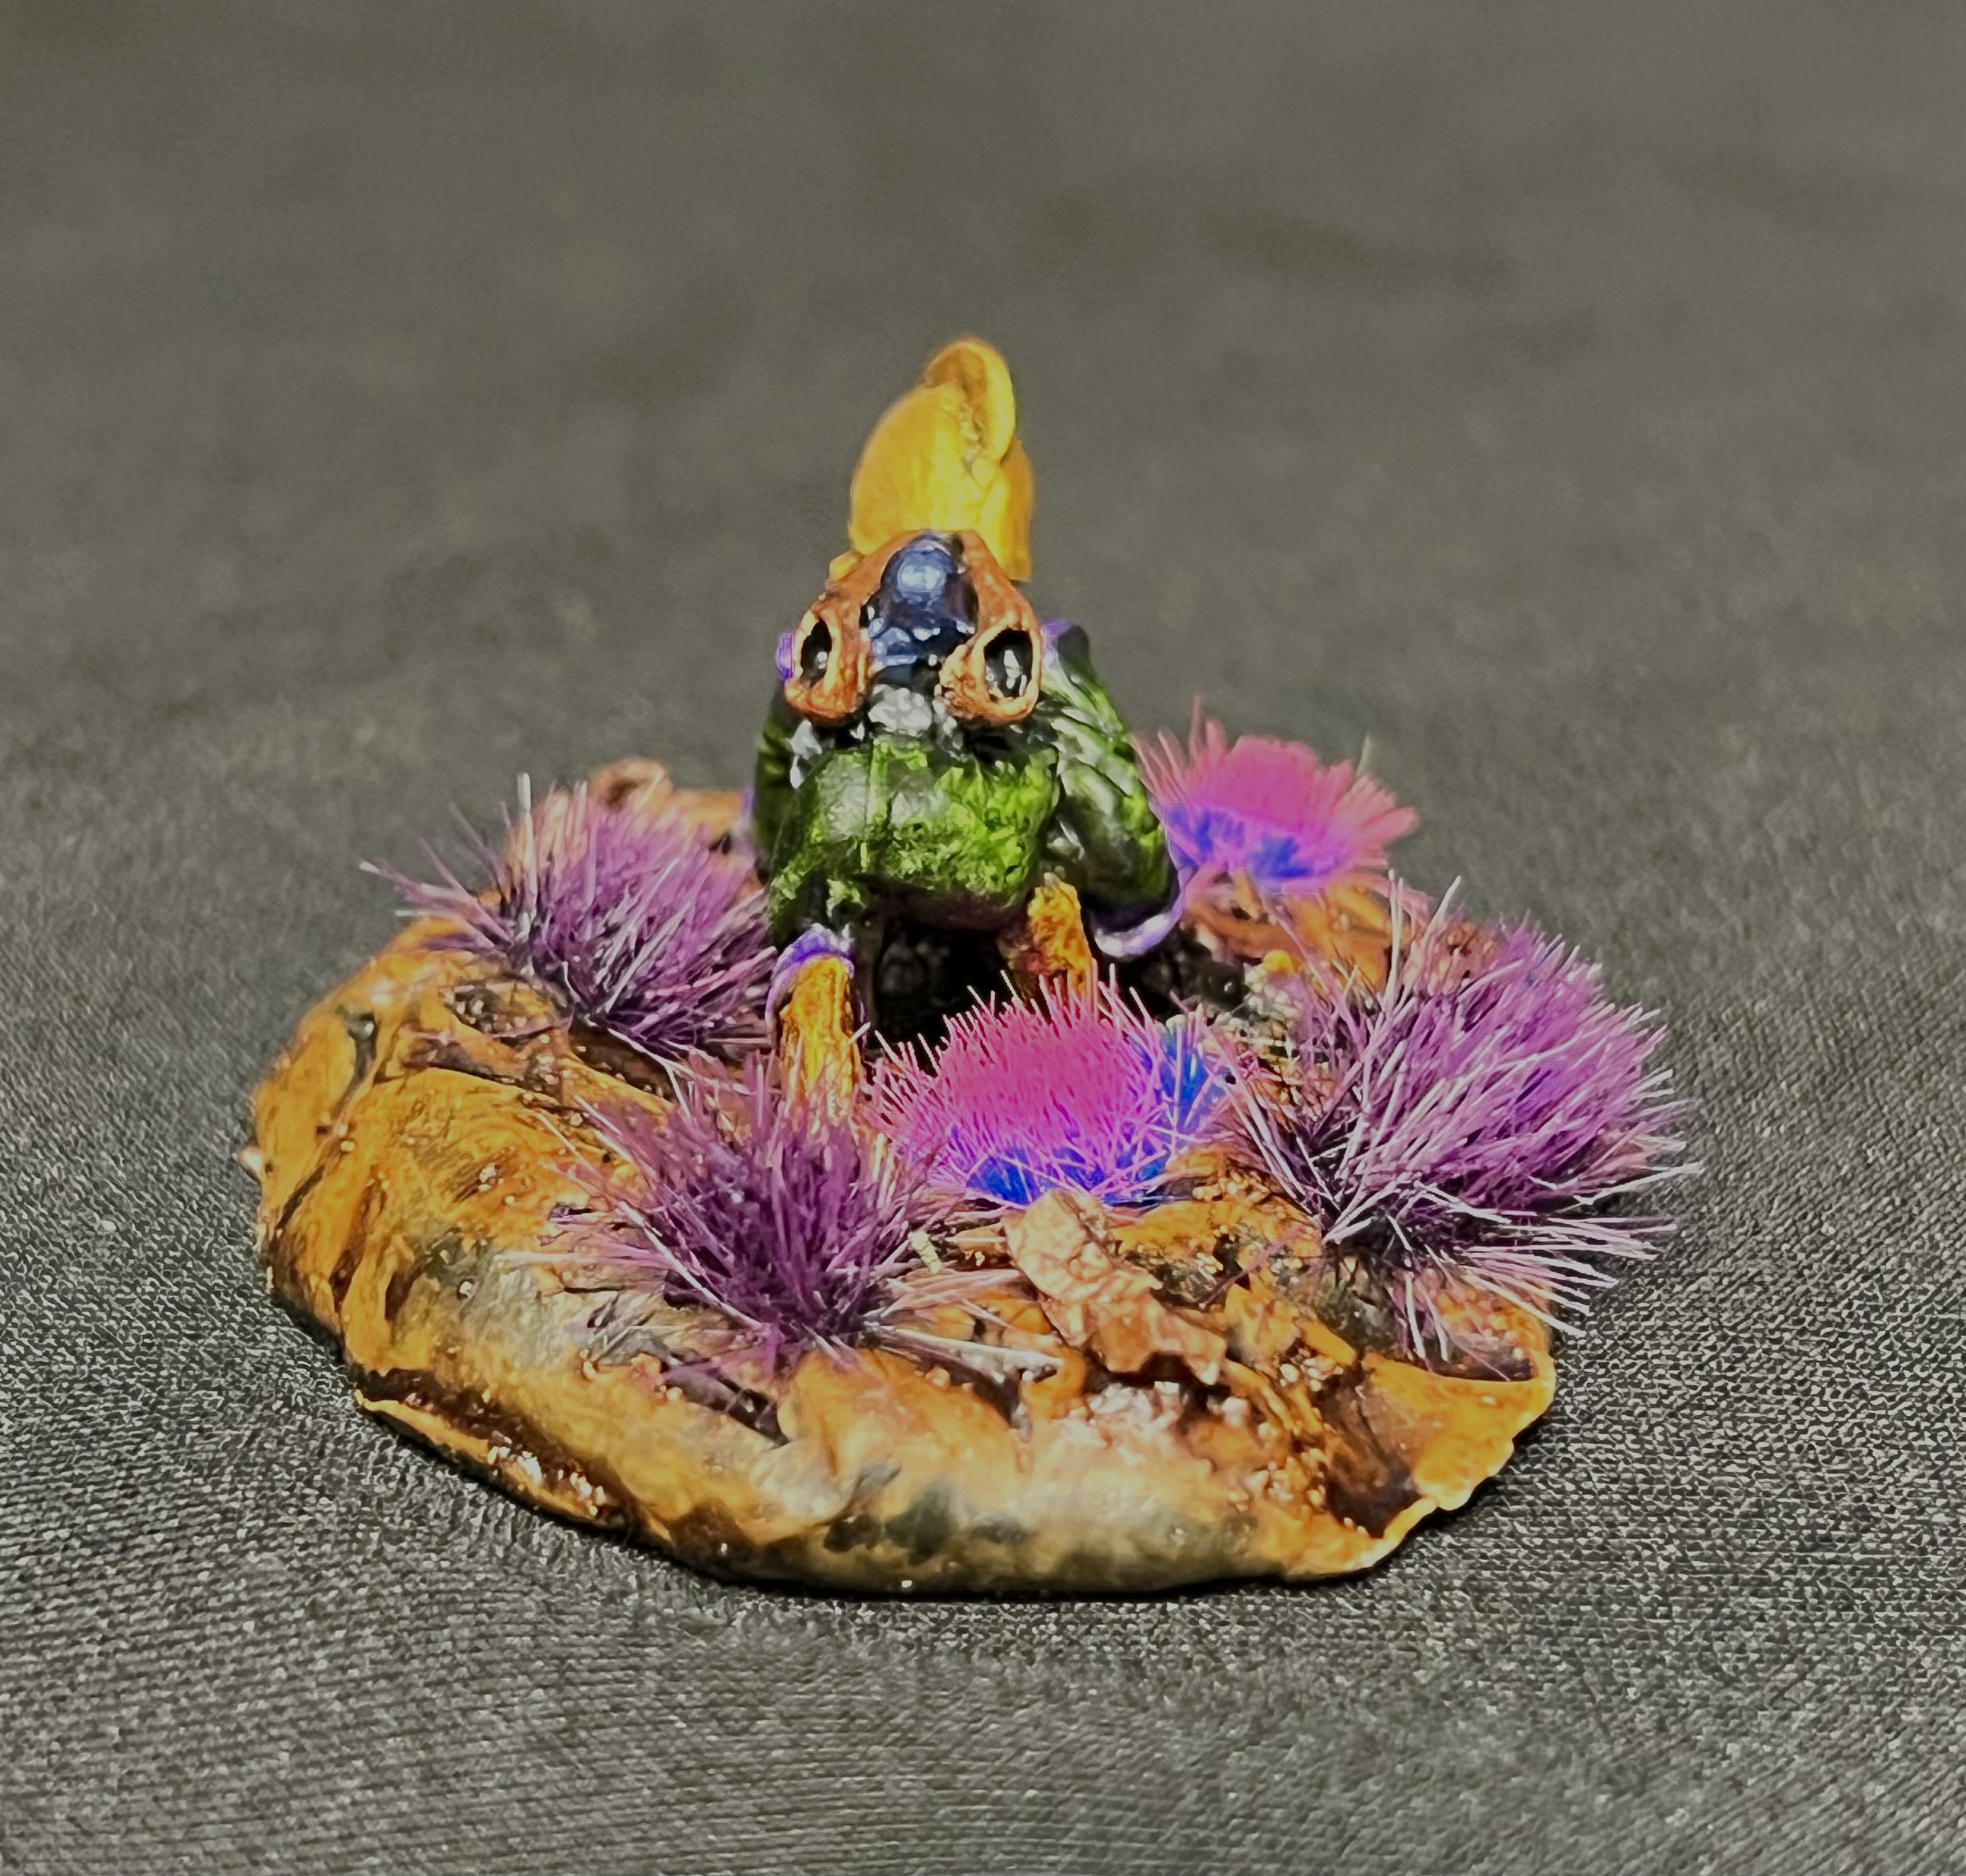
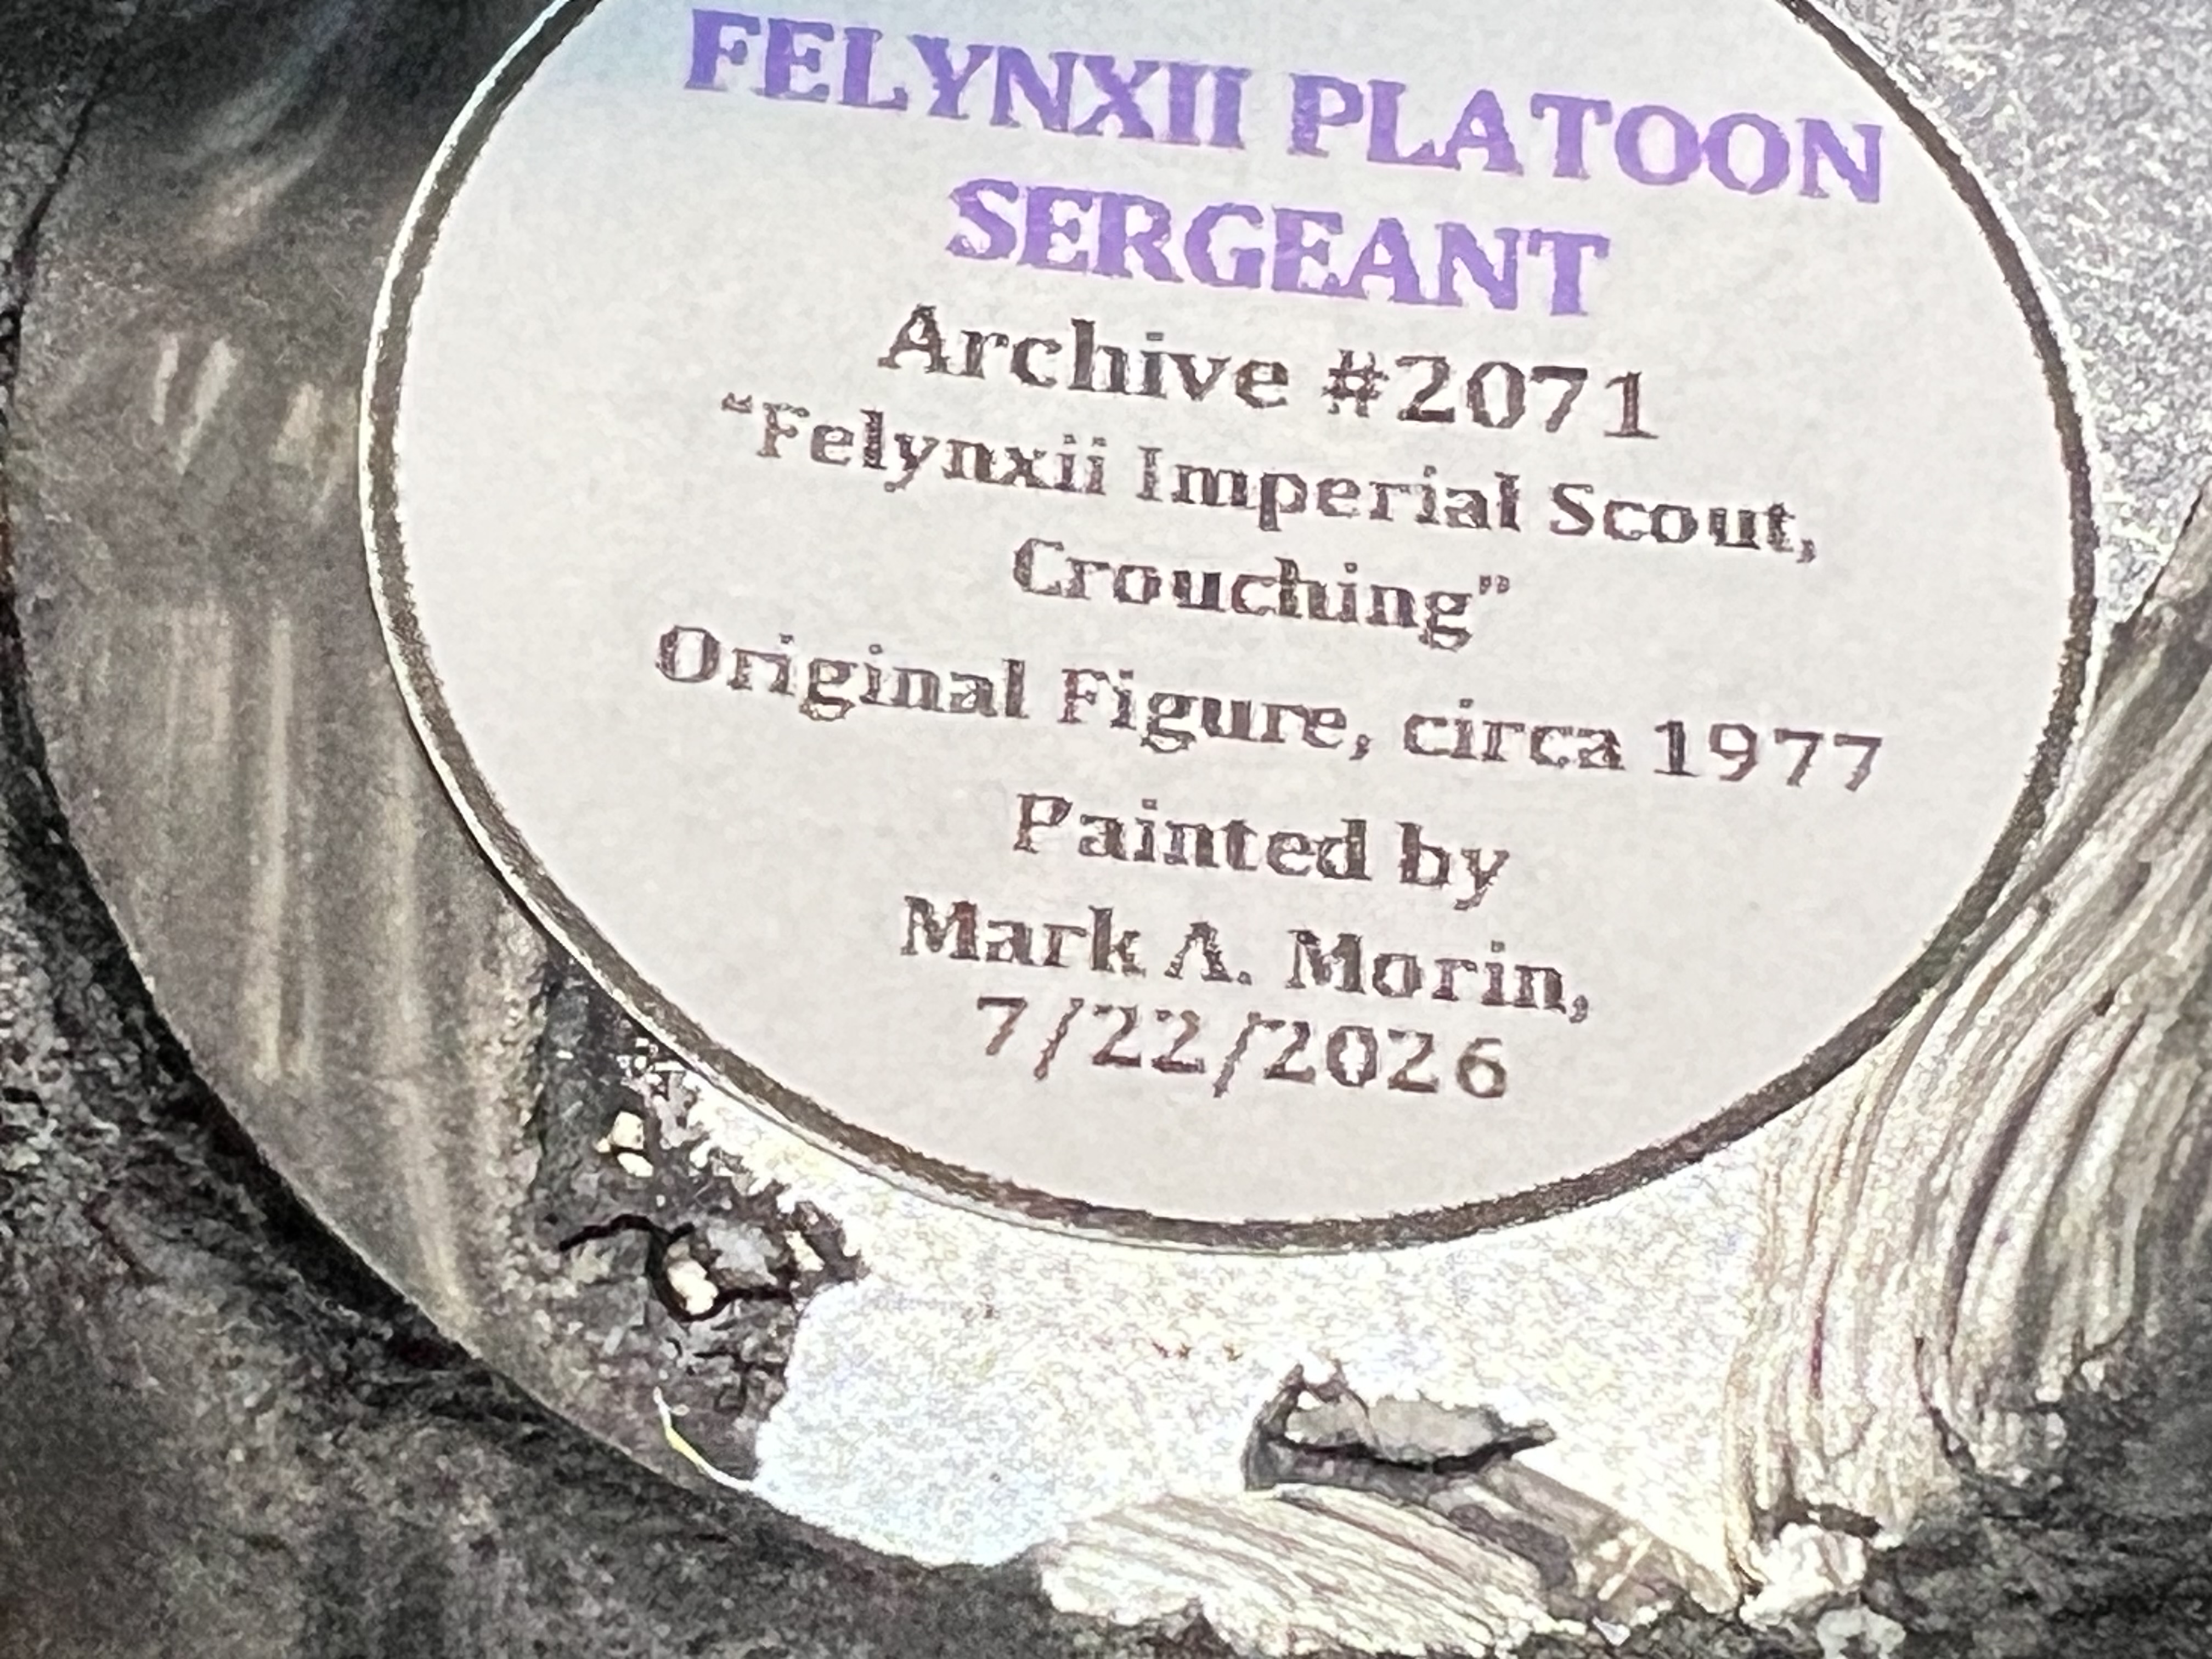
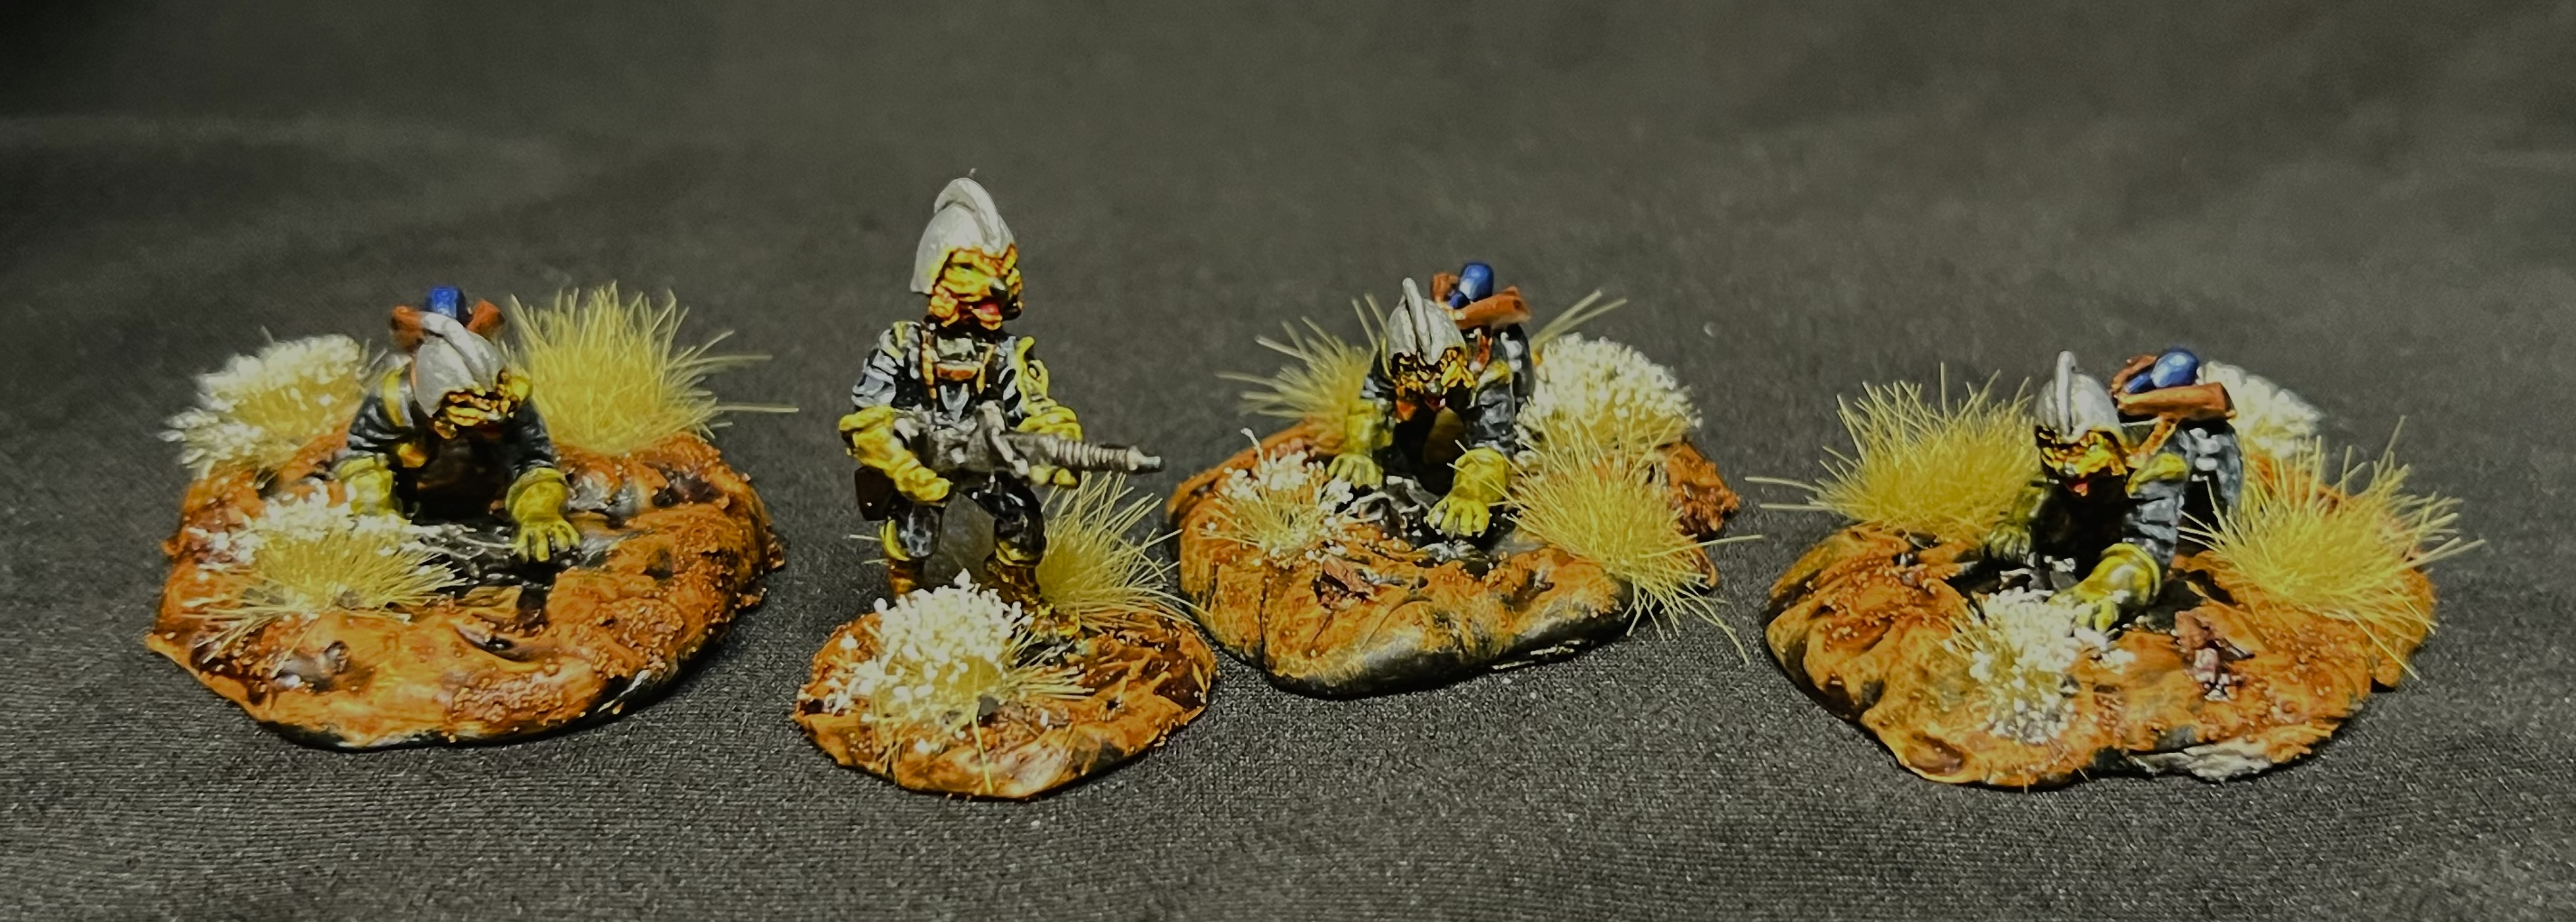
The Felynxii are a race of bipedal anthropomorphic spacefaring Imperial felines from the Star Rovers universe. Archive made two distinct poses of these cats. The first figure was Archive #2070, “Felynxii, Imperial Scouts, Advancing”. The second was Archive #2071, “Felynxii, Imperial Scouts, Crouching”. I had 19 of these old metal figures, 7 of the “advancing” and 13 of the “crouching”. I’m pretty sure these are Steve Lortz sculpts, though they may be Nevile Stocken creations.
I decided one of these would be the platoon sergeant (a “crouching” figure), and two “advancing” figures would be squad leaders. Each squad would have an A and a B team. Each team would have a team leader (“advancing”) and three troopers (“crouching”). Some of the figures were in packages and some were loose. One or two had signs of early lead rot so I cleaned it up thoroughly before working on it.
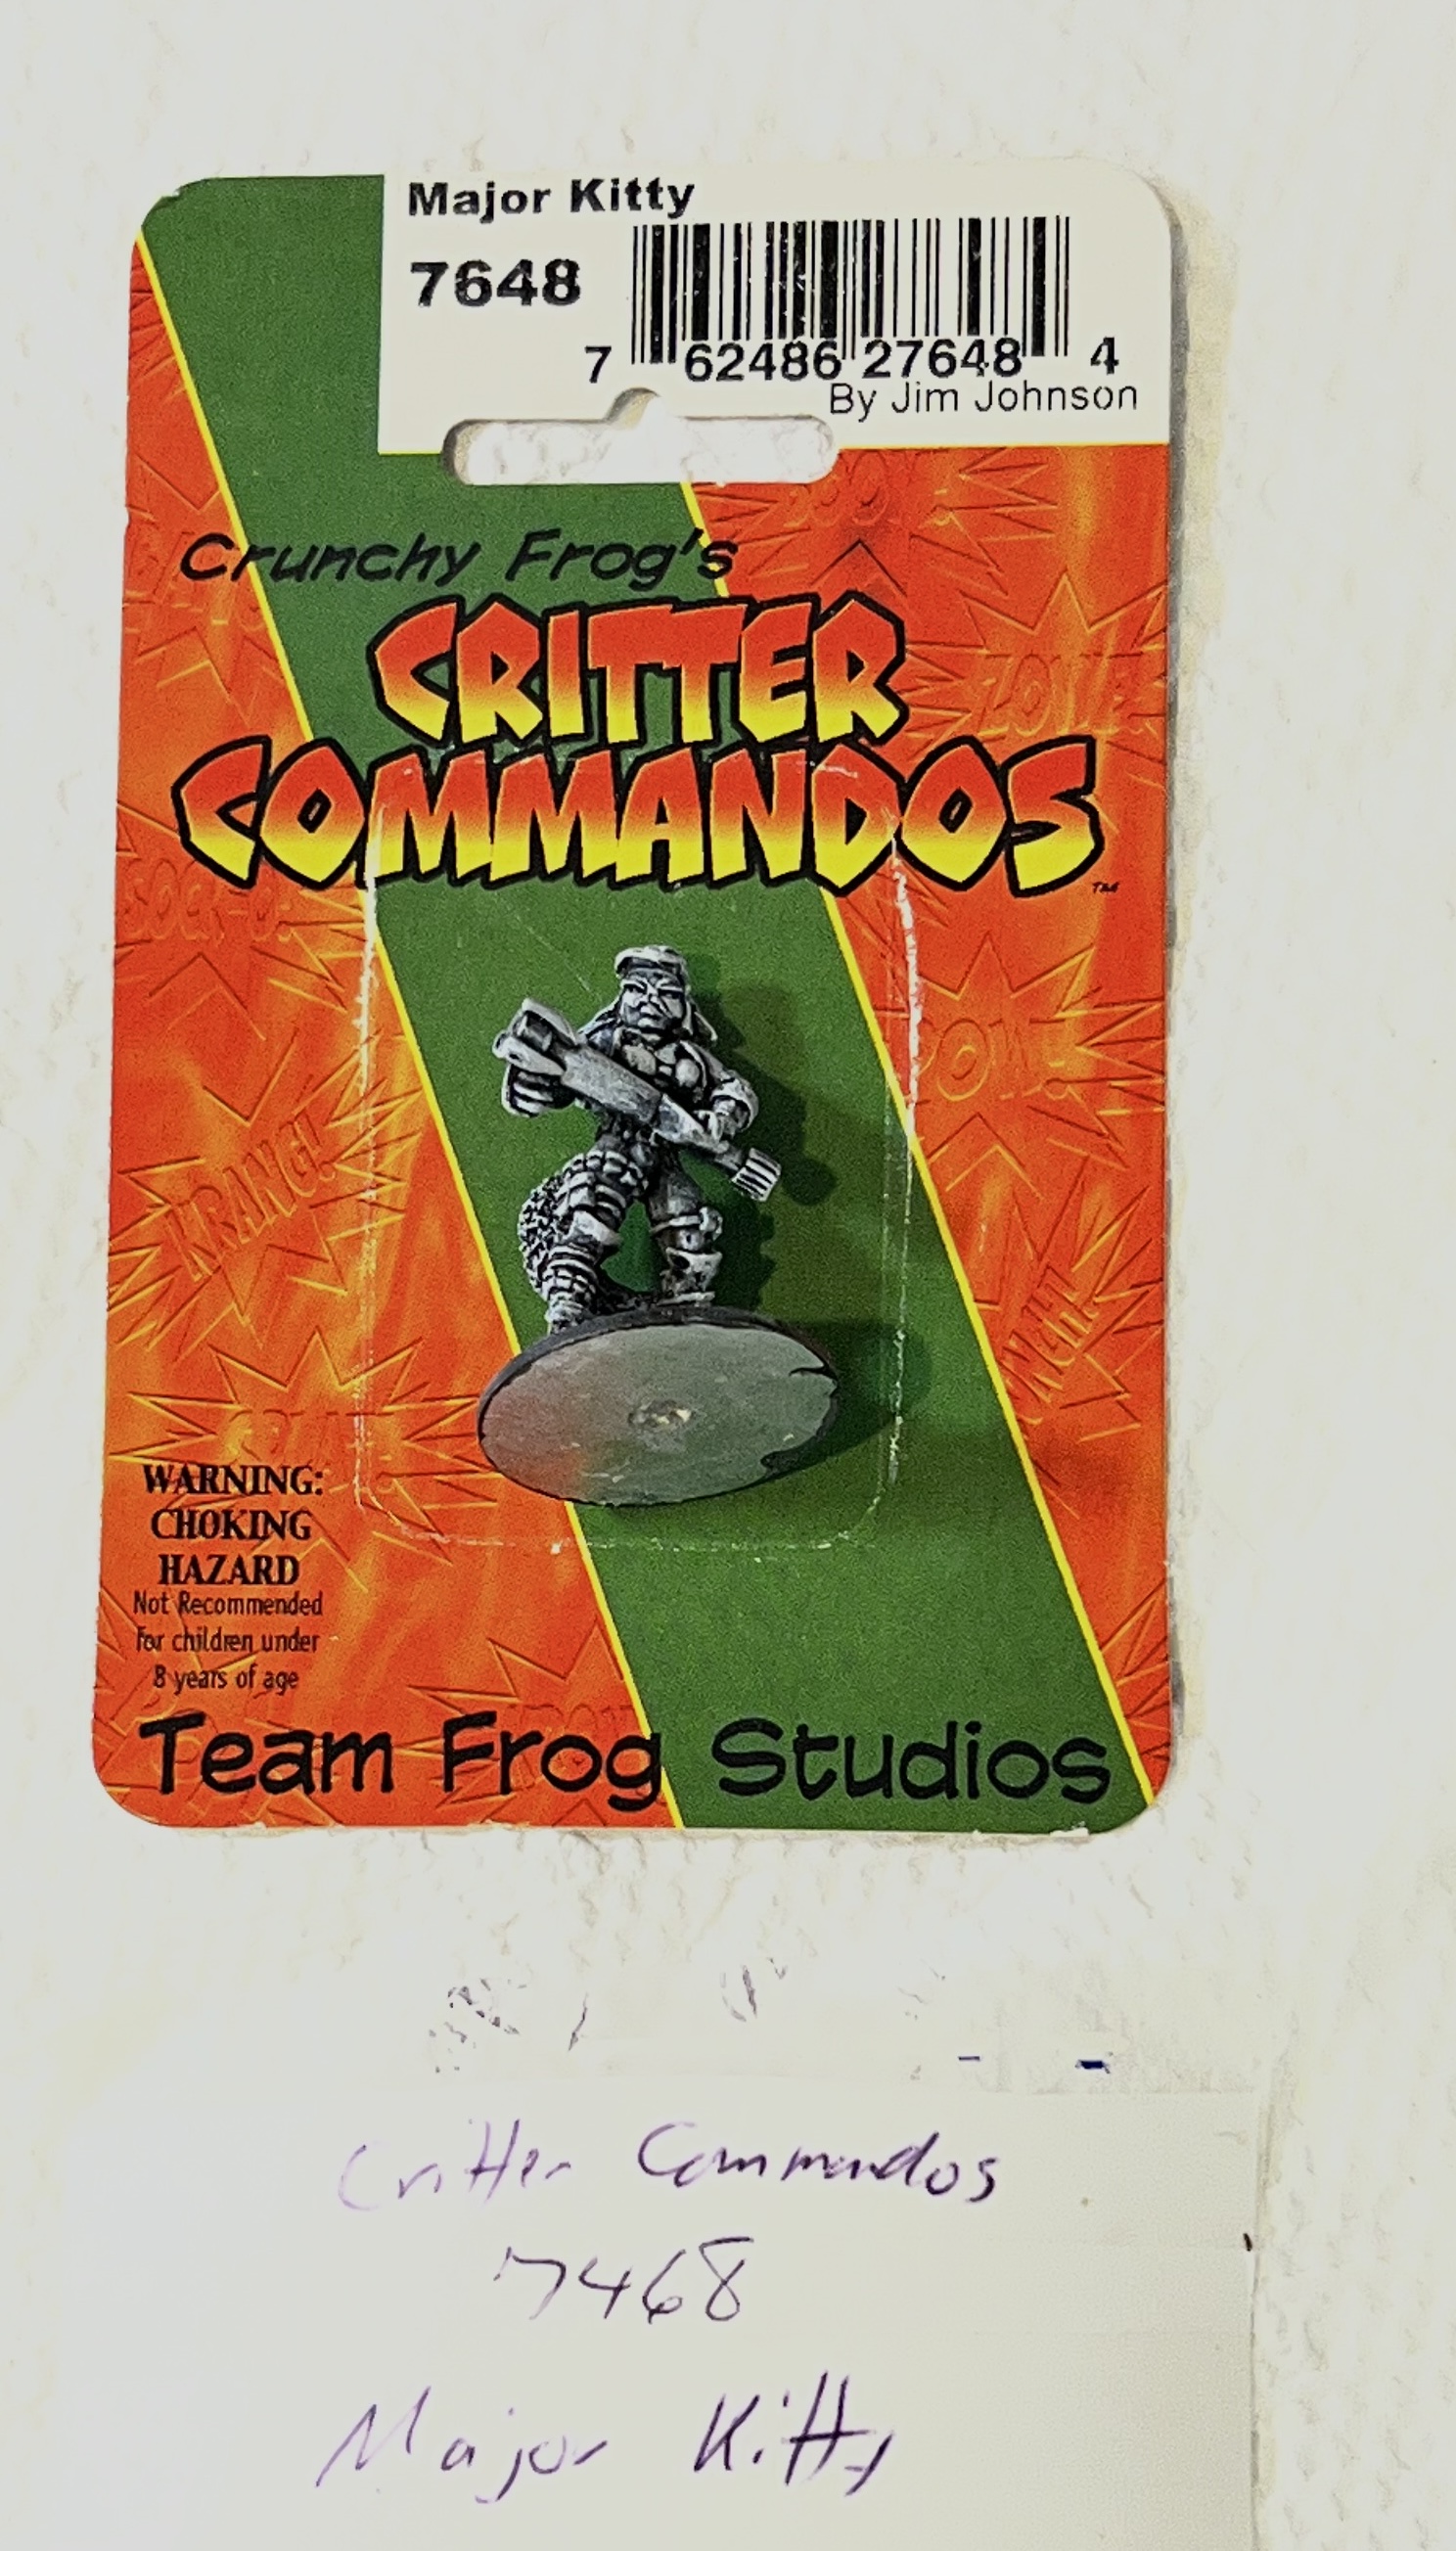
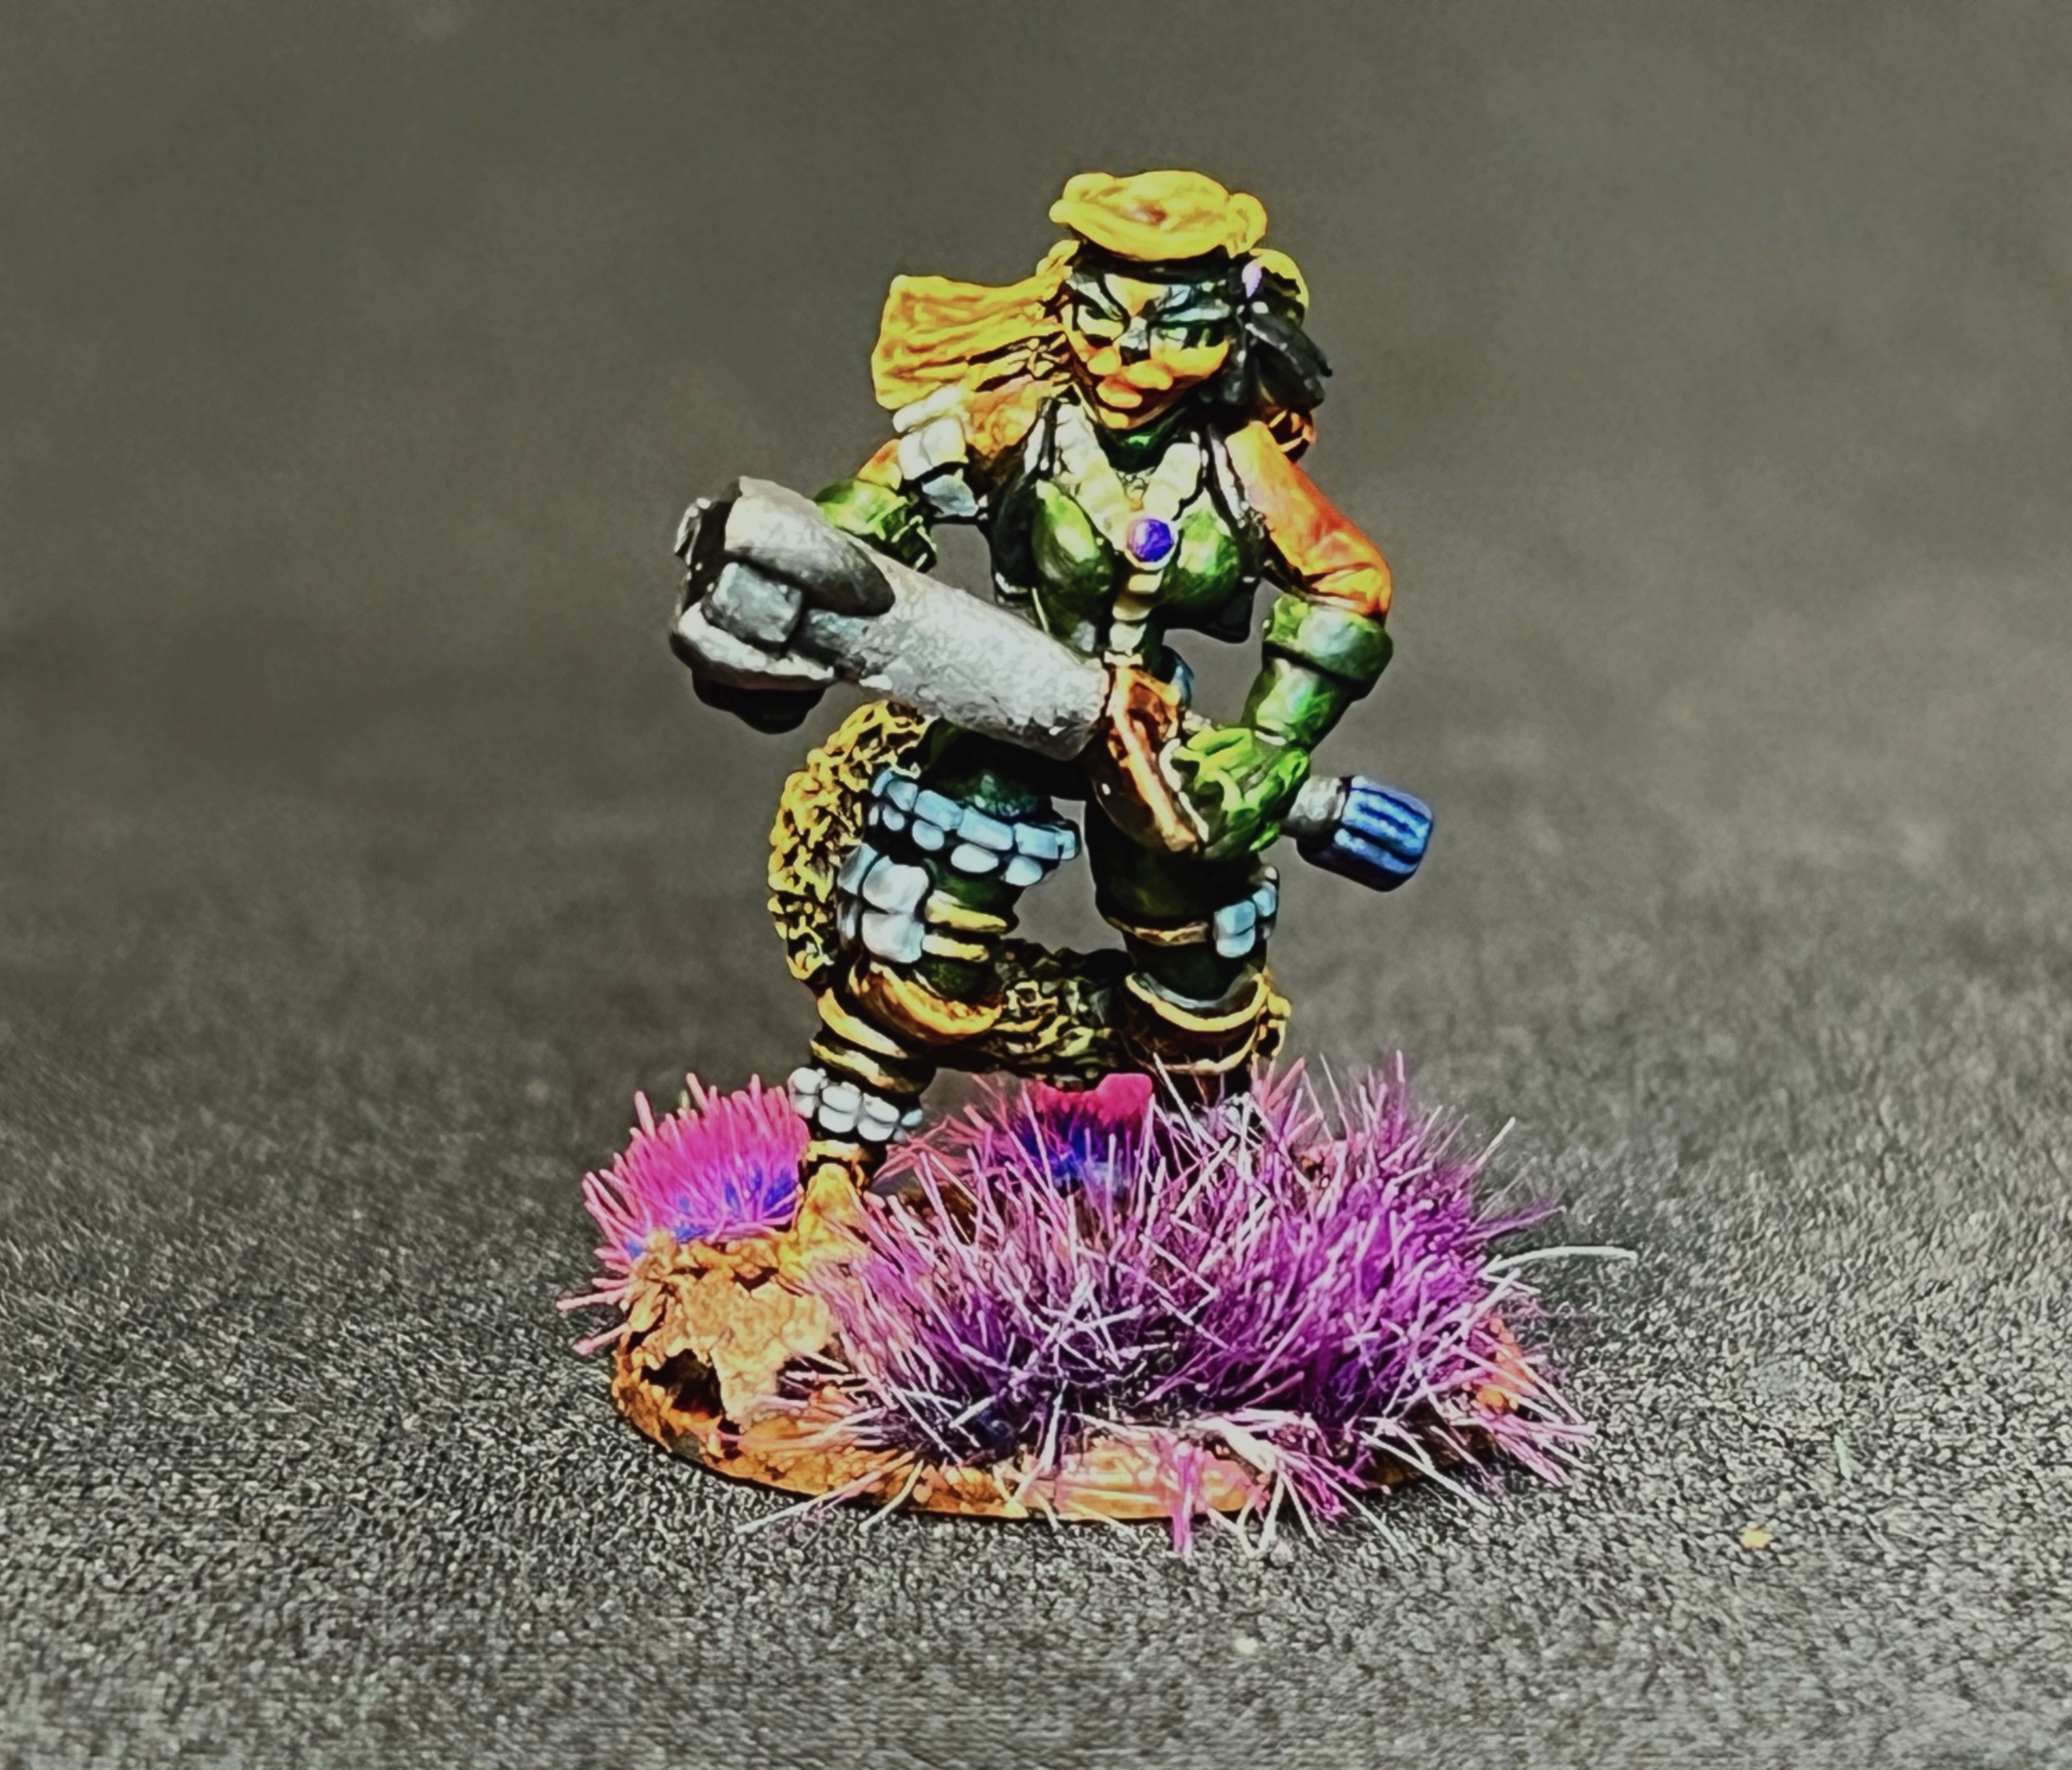
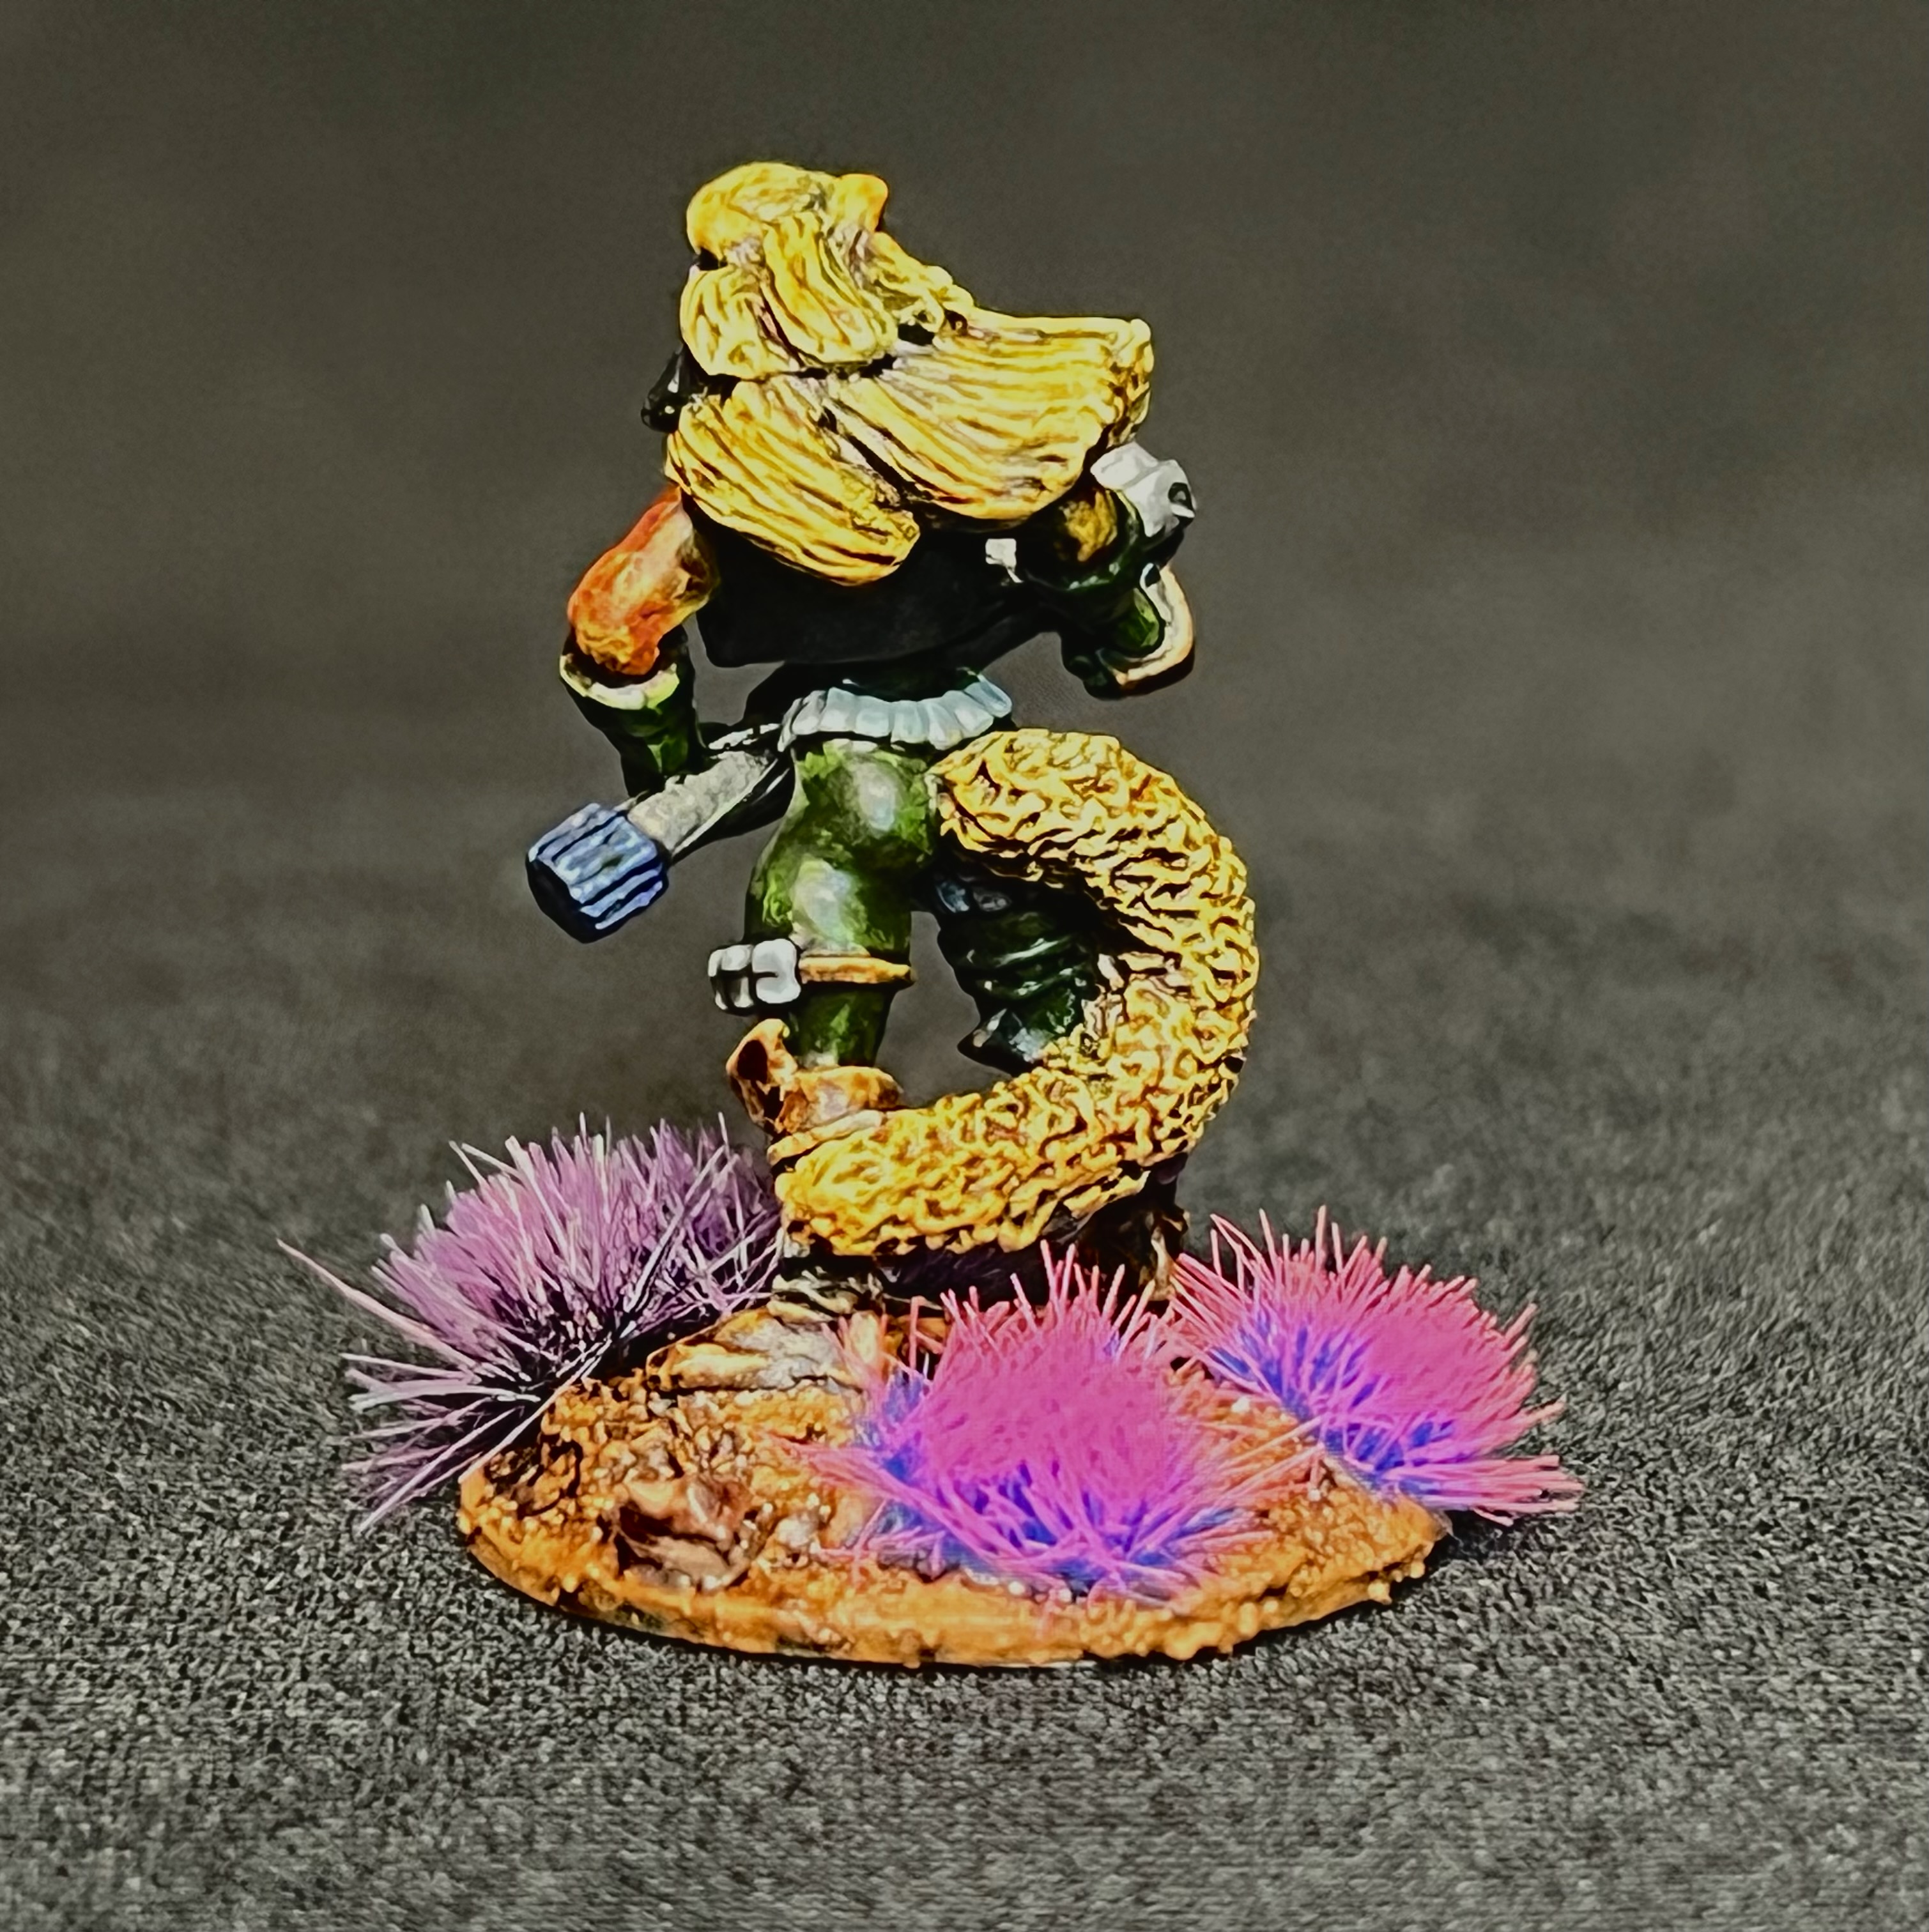
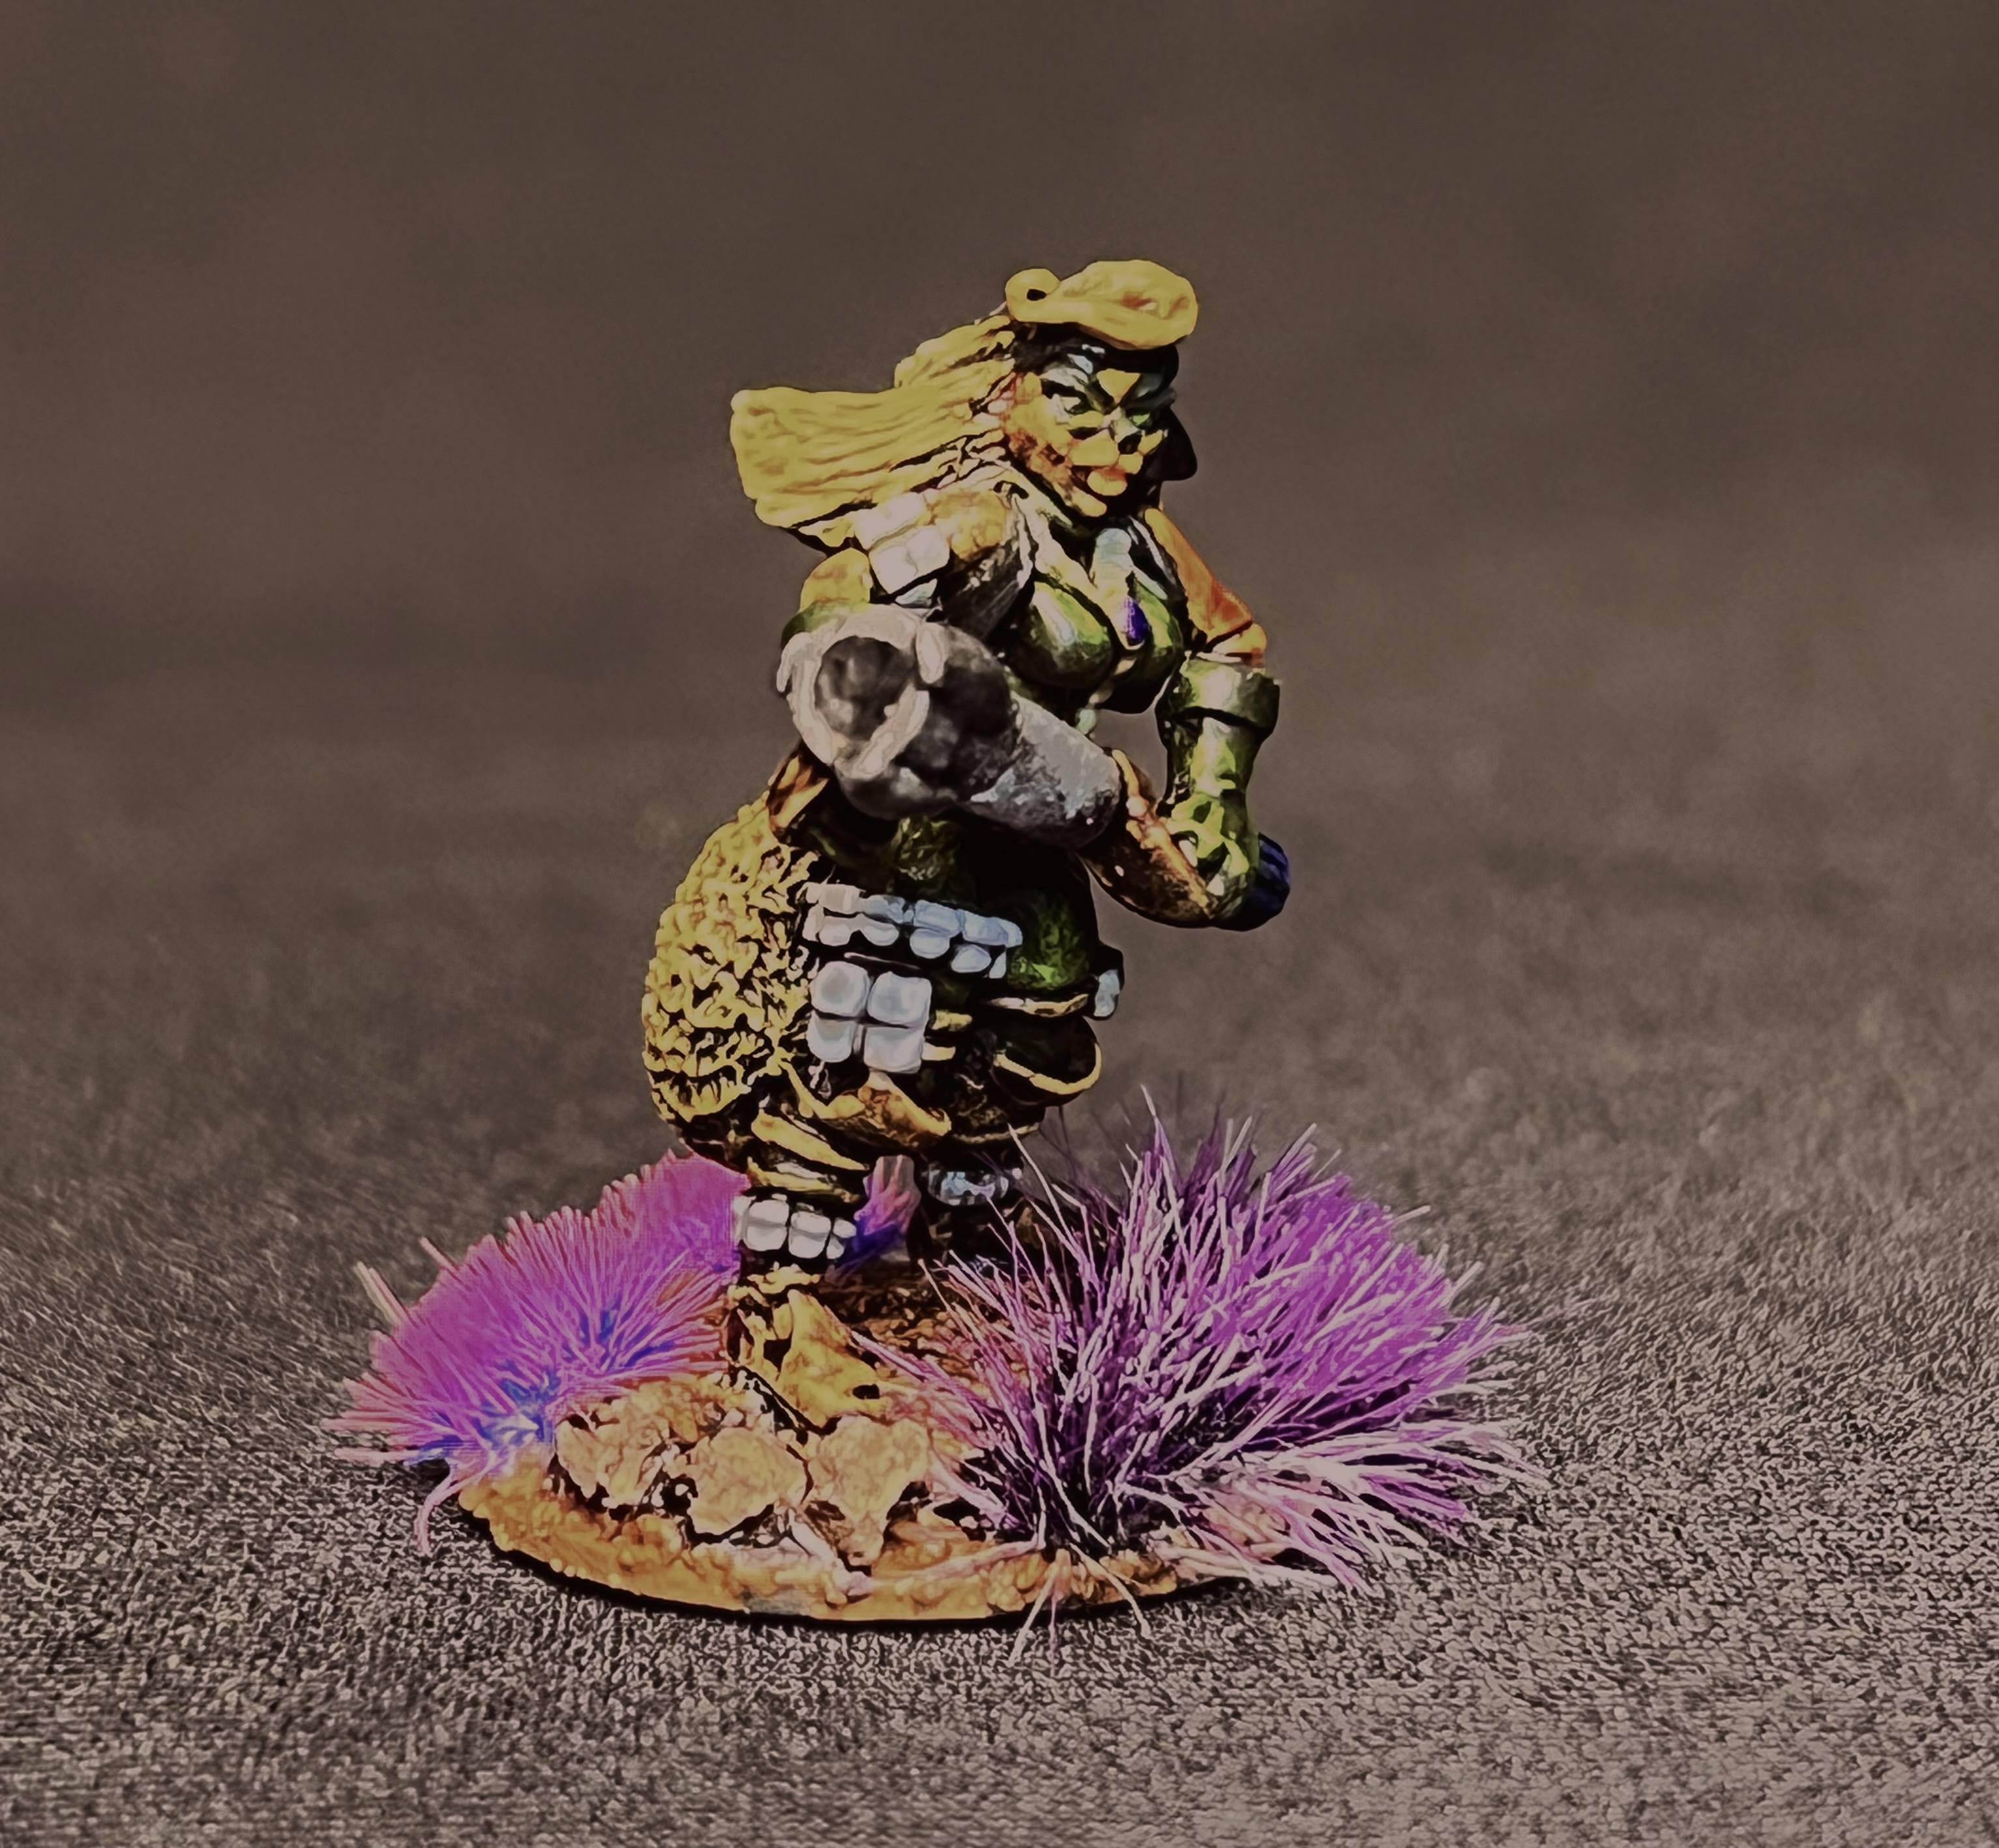
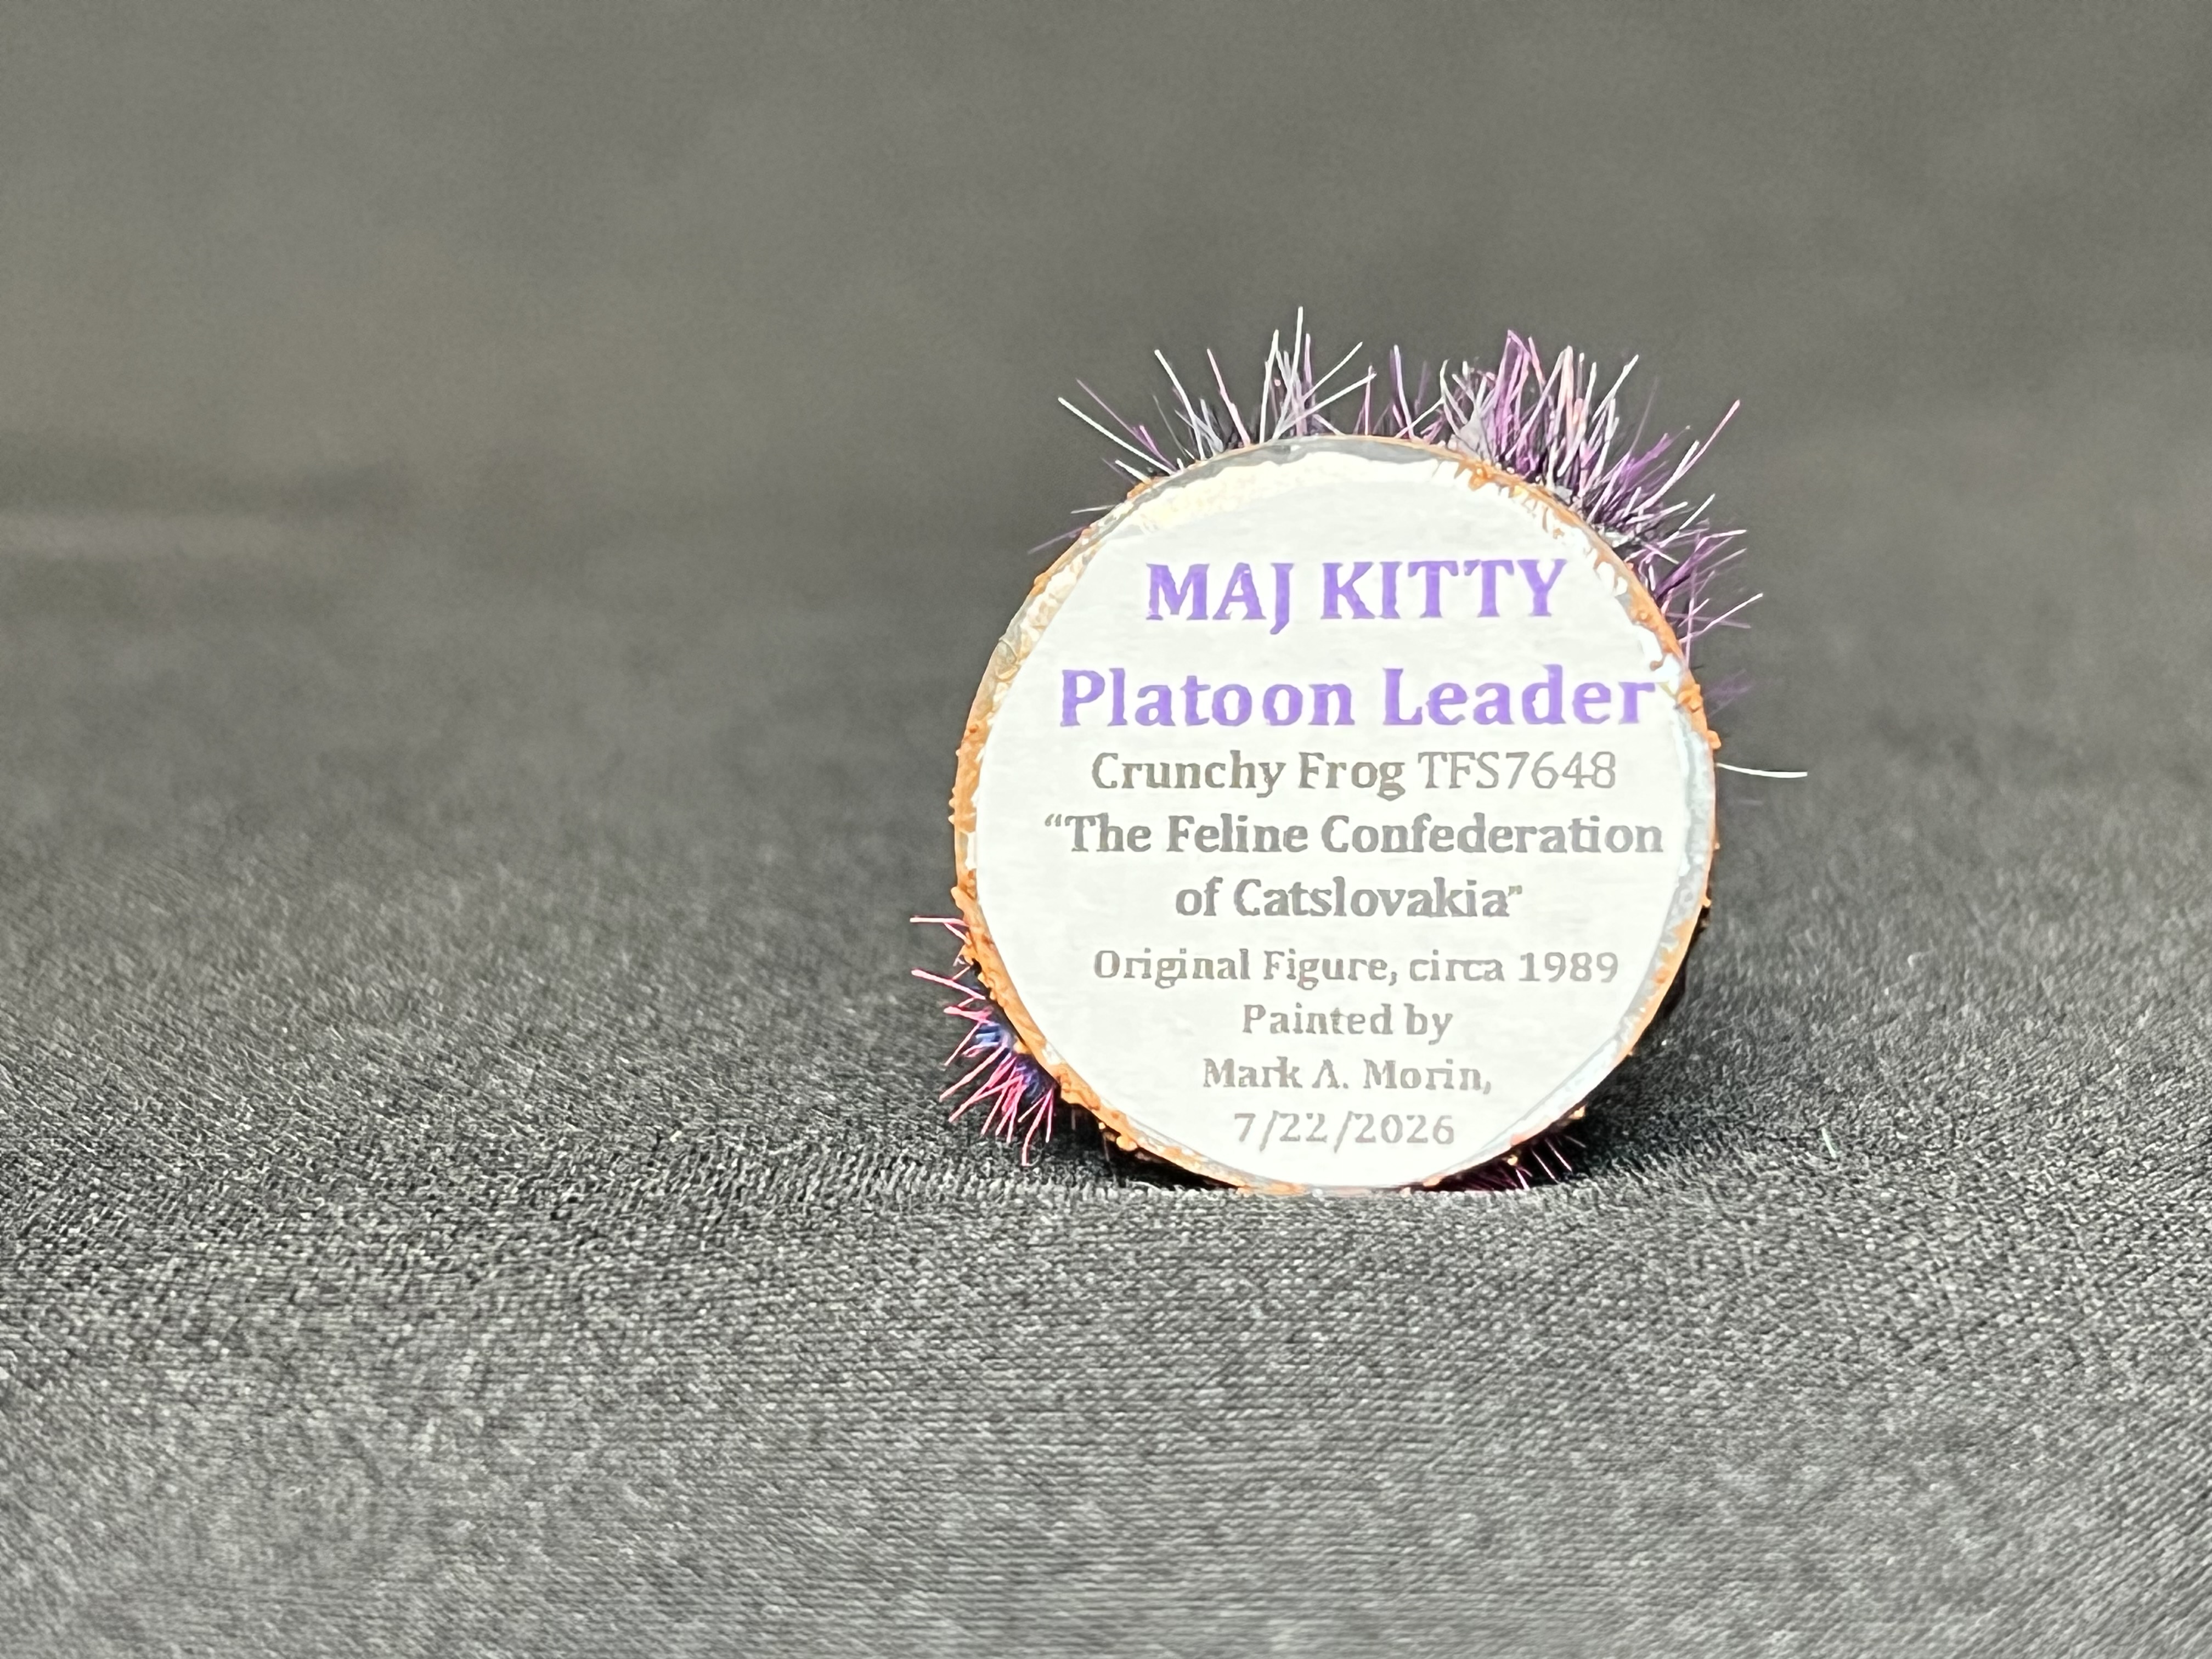
That left me with a need for a platoon leader. I had a Critter Commandos figure called “MAJ Kitty”. I thought she was also a Lortz figure but is attributed to Jim Johnson on the blister card. Her Team Frog Studios SKU is 7648. I think I primed and dry-brushed her years ago. I decided that while her rank overqualified her to lead a platoon, she would do fine for my needs. As she is the sole representative figure made in the Critter Commandos line for “The Feline Confederation of Catslovakia”, she needed a job. Apparently unlike other Critter Commands factions, her kitty people were never properly fleshed out with other troops. Now she has a unit to lead on the tabletop. Meow.
The Figures
All of the figures I worked with here are definitely old school metal and 28mm. The Felynxii are armed with assault rifles, and MAJ Kitty looks like she has some sort of an anti-tank weapon. I’m calling it a “Katzooka”.
The Felynxii were sculpted back in 1977, and probably cast way back then as well. MAJ Kitty is probably from 1989-90 or so. All of the Felynxii figures are stamped on the base with their number and “1977”. It only took 49 years to get them painted! Almost all Archive figures were sculpted with a narrow rectangular base, whick doesn’t meet my needs for gaming. Therefore, I used Apoxie Sculpt and steel fender washers of different sizes to sculpt bases that would blend better on the tabletop. I did the same for MAJ Kitty’s base as well.
Let’s see the projects progress.
Project WIP
I had bought these figures years ago, so this diminishes my unpainted lead horde…
My starting supply of Felynxii figures. Some of the crouching figures had gotten some green paint on them but nothing like a priming coat. One had some minor lead rot. The advancing ones had been cleaned up by me years ago – and may have also had some paint on them back then. Note the 2 ones in the blister!
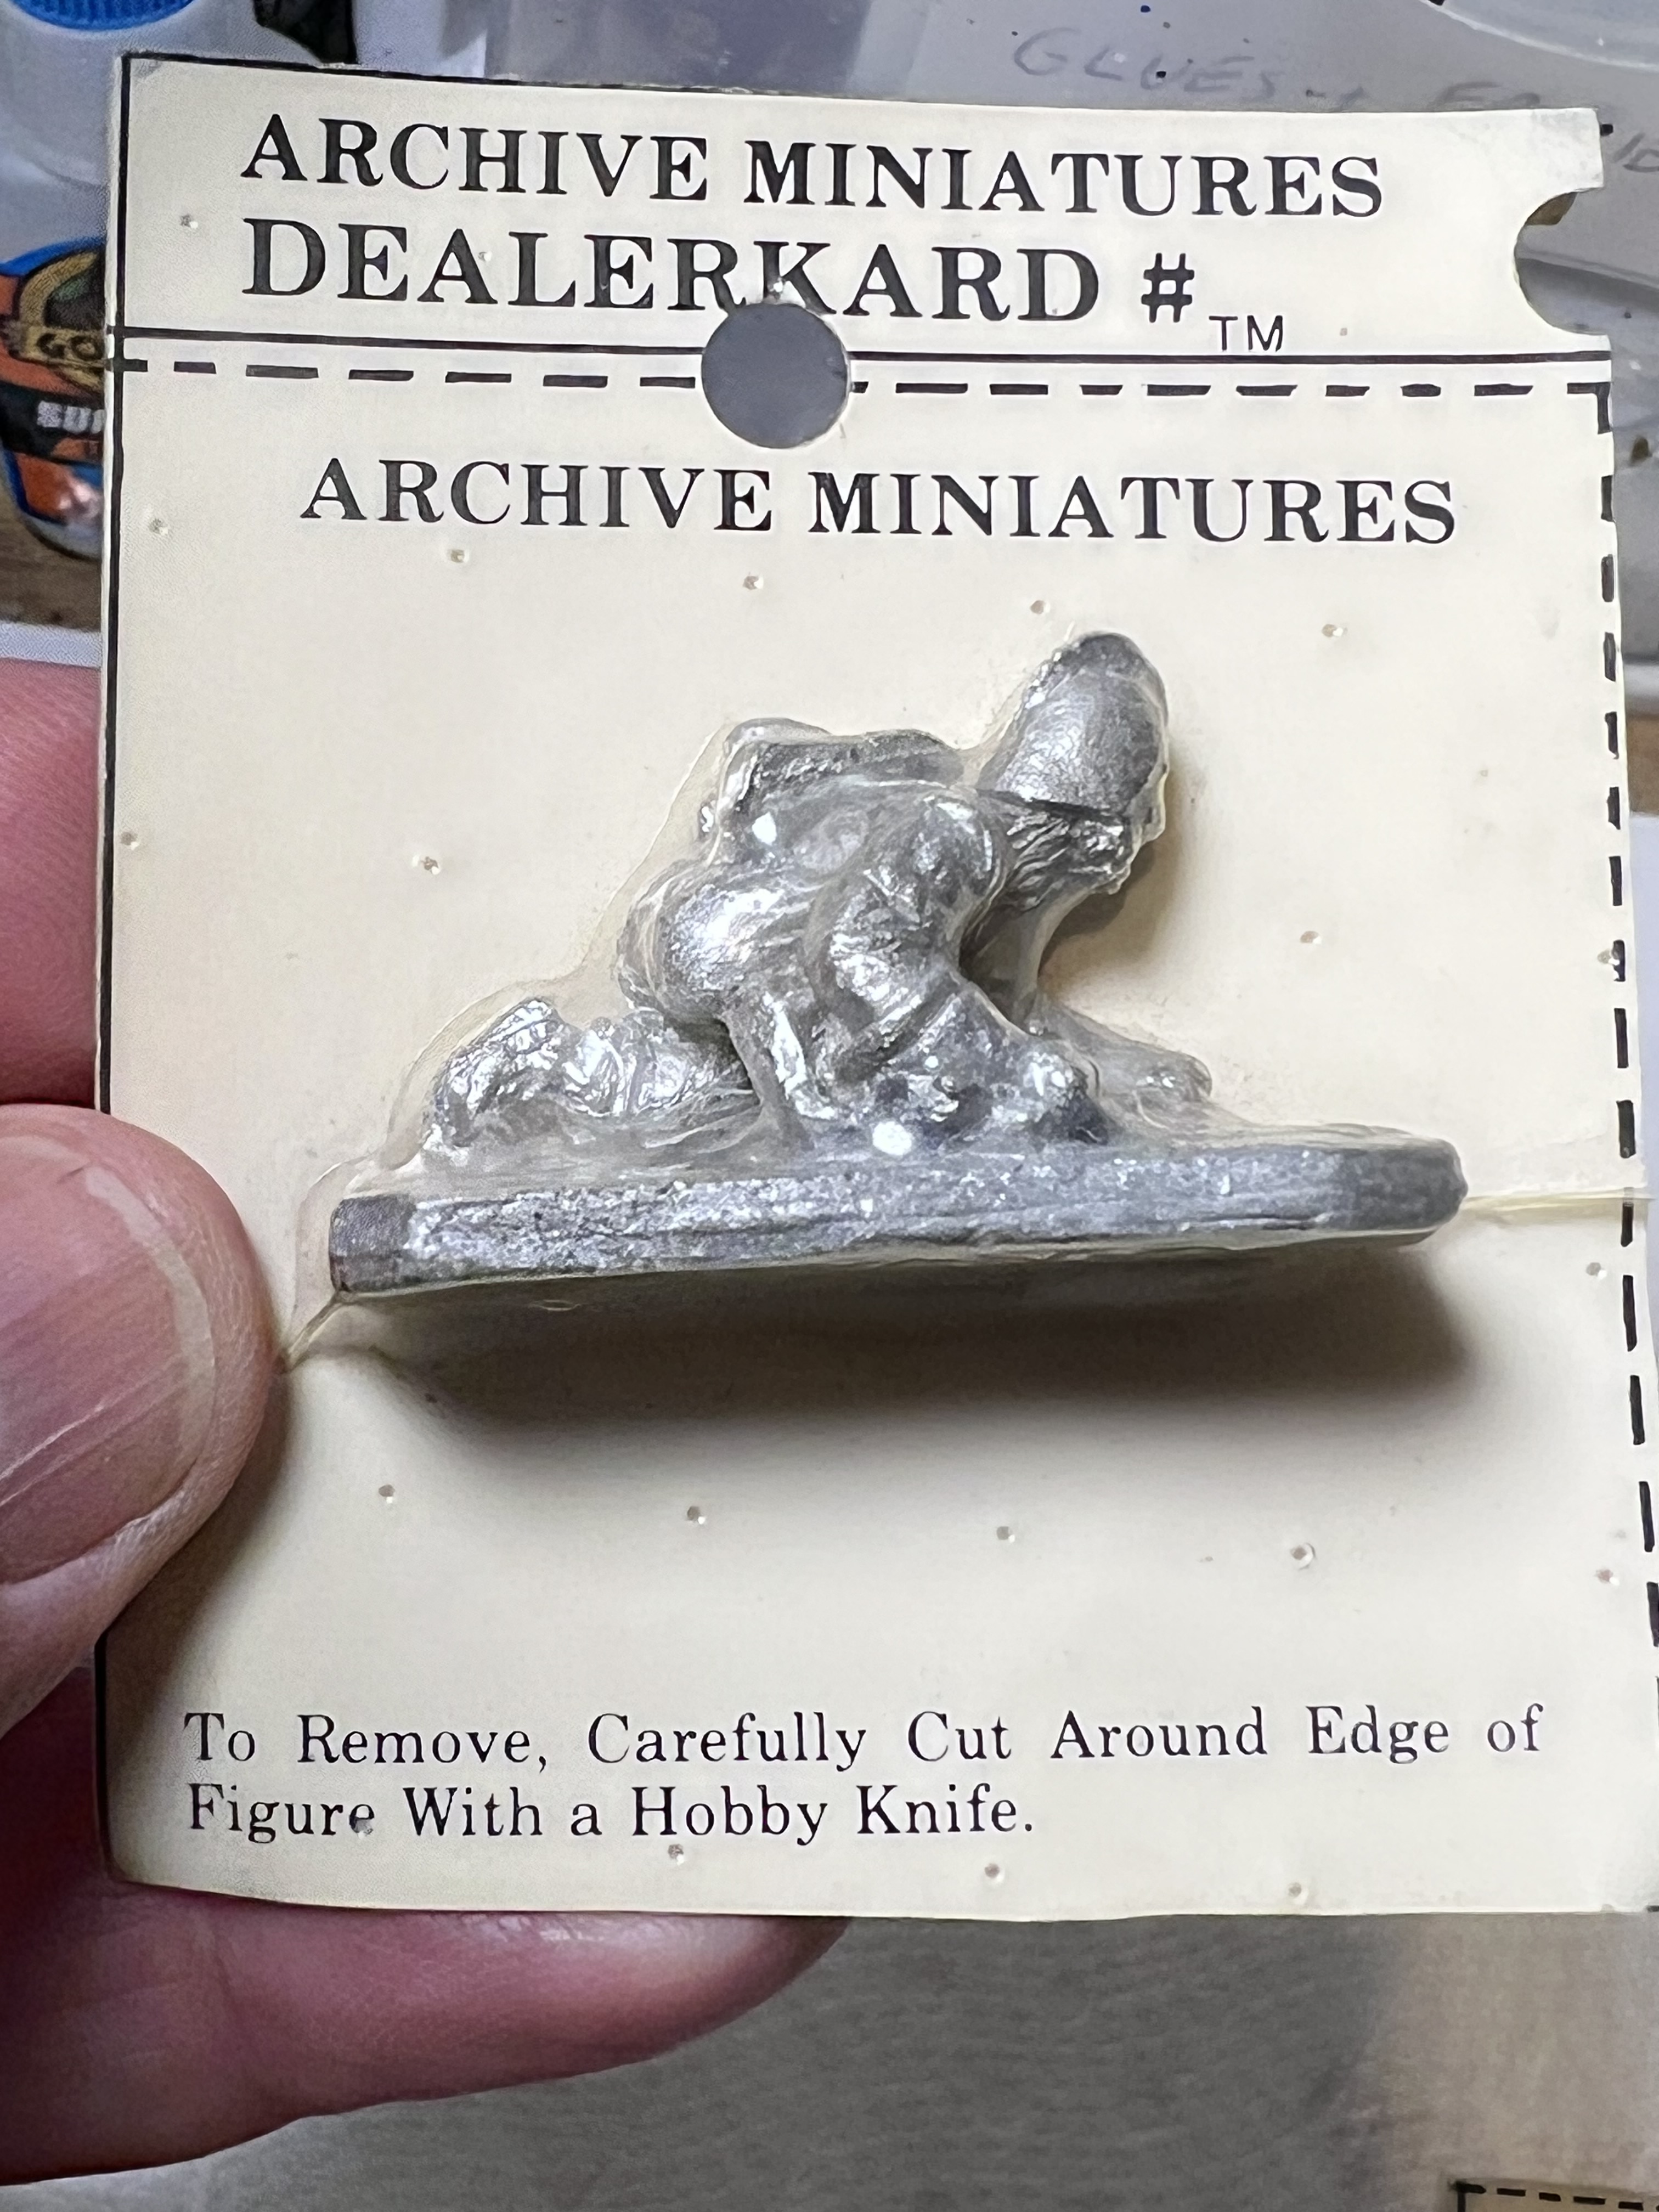
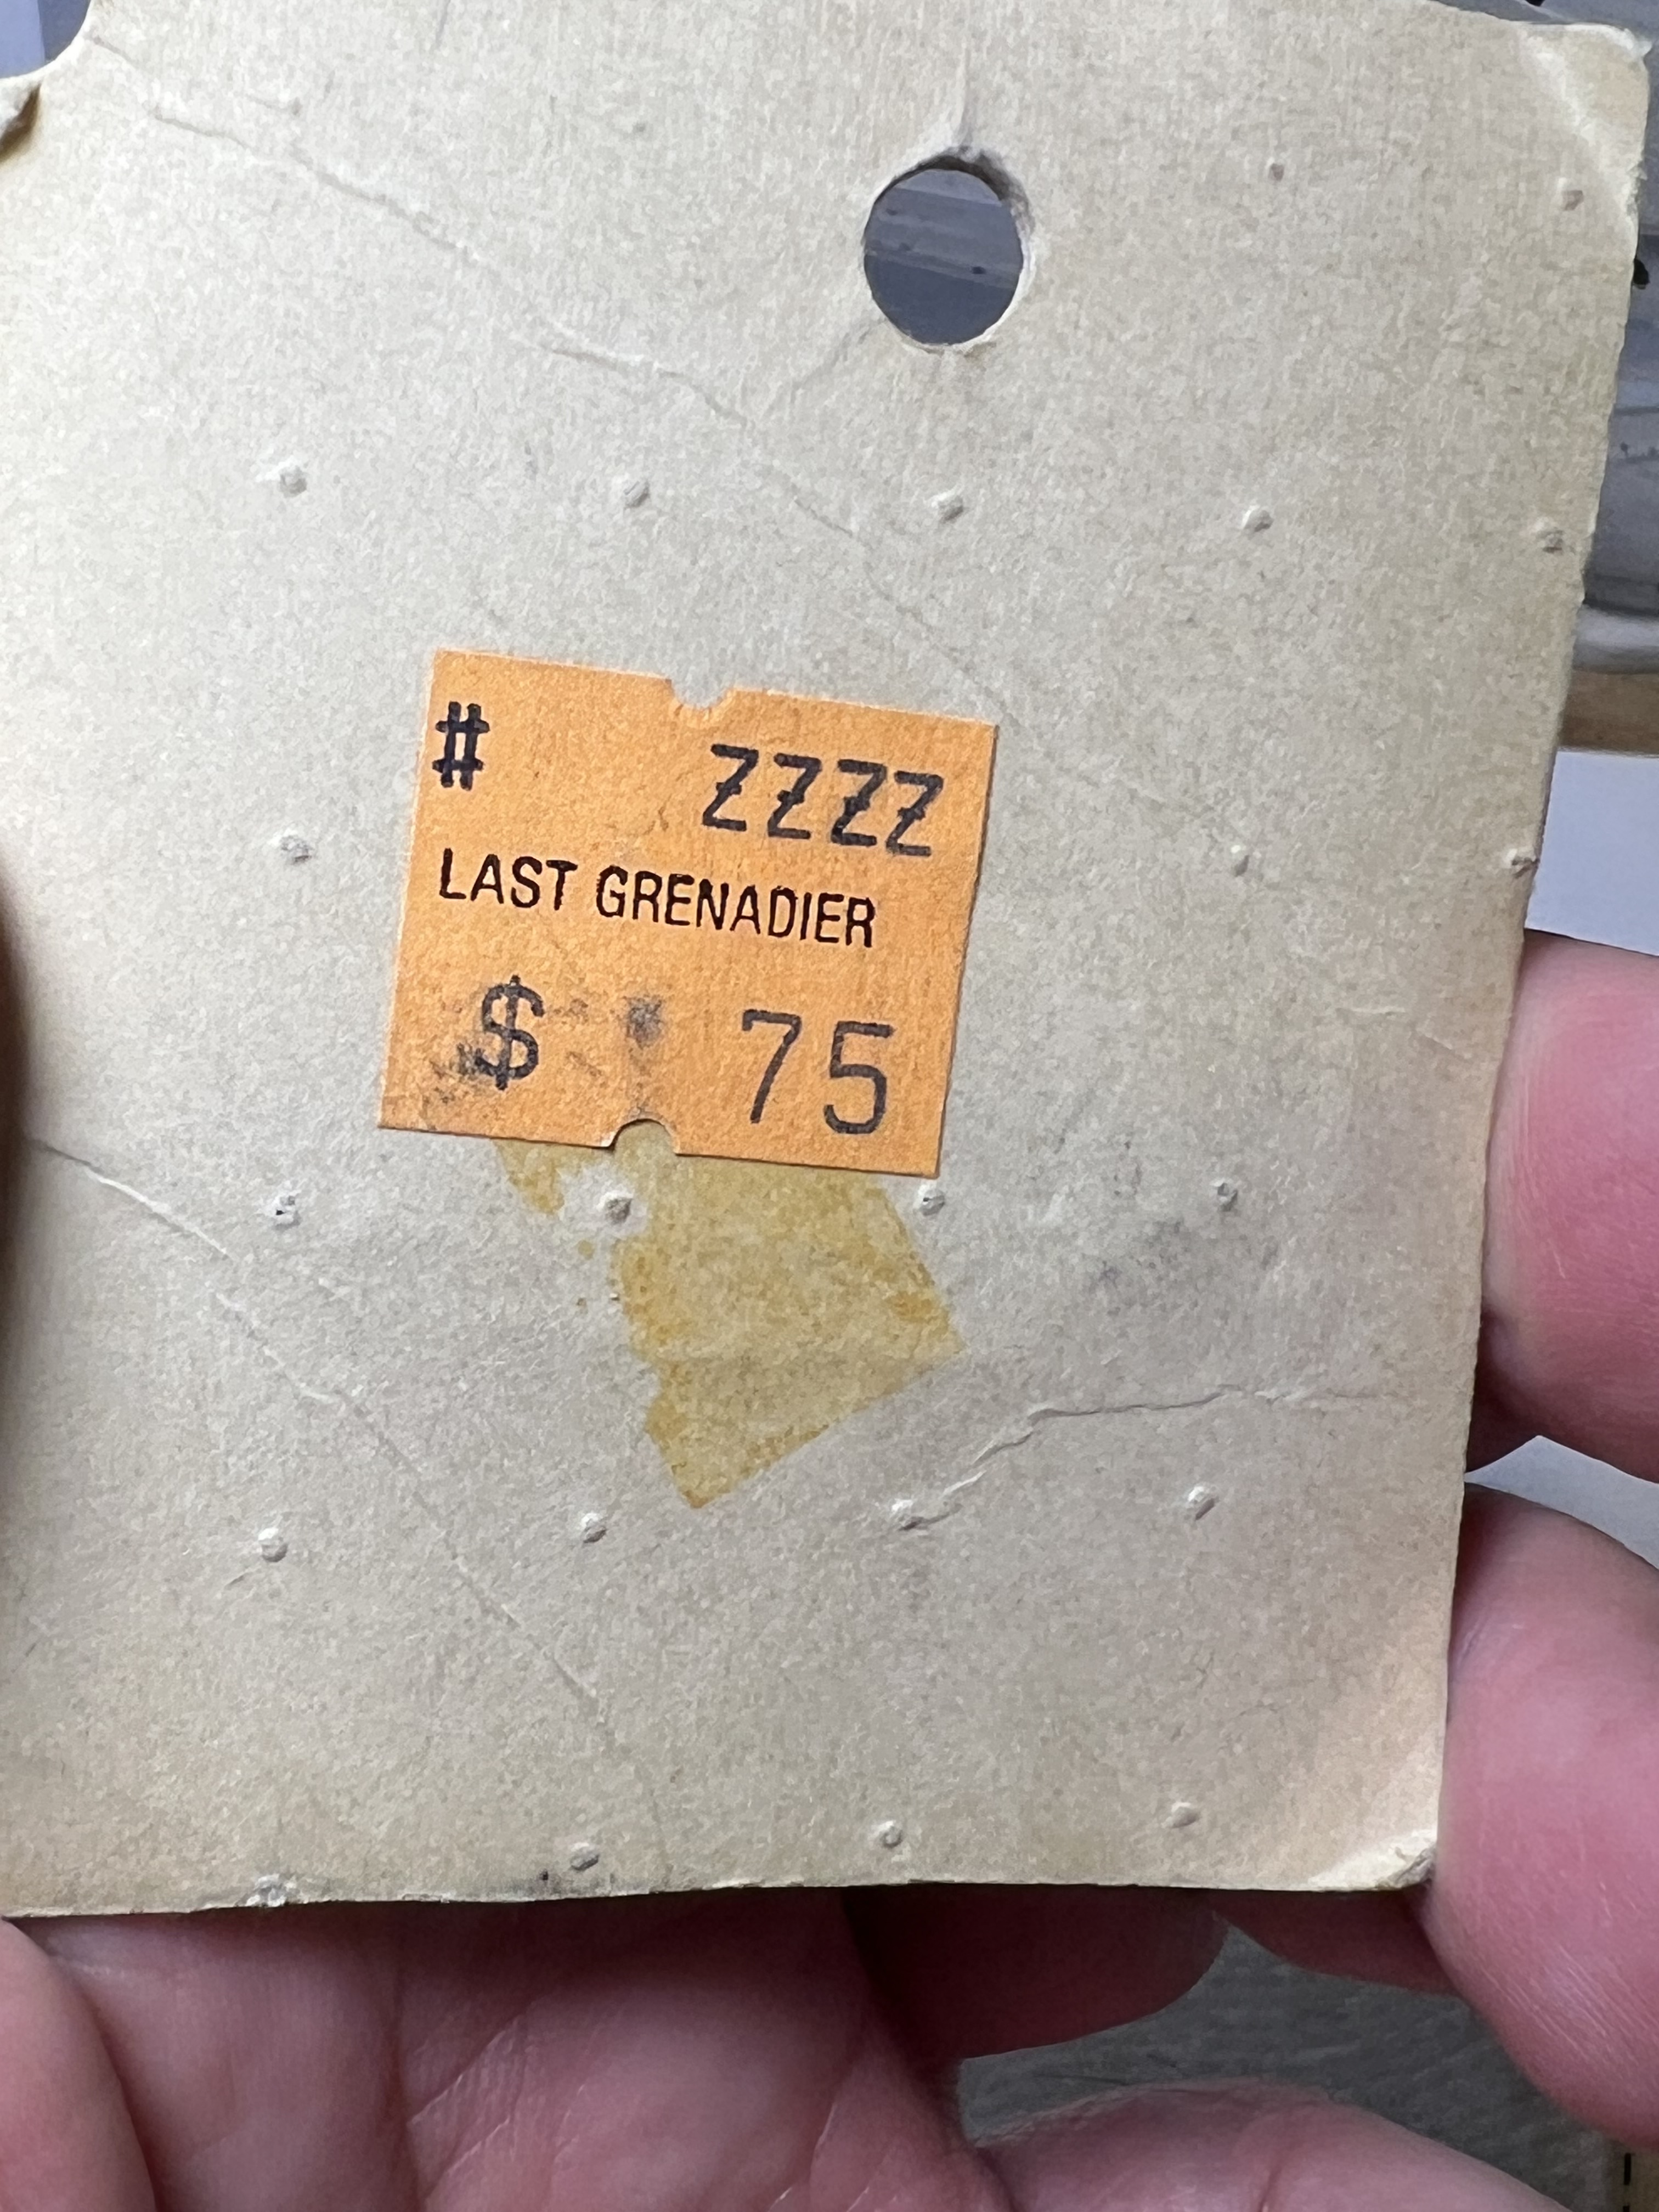
Below is a close up of one of the blister packs. 75 cents is a good deal!
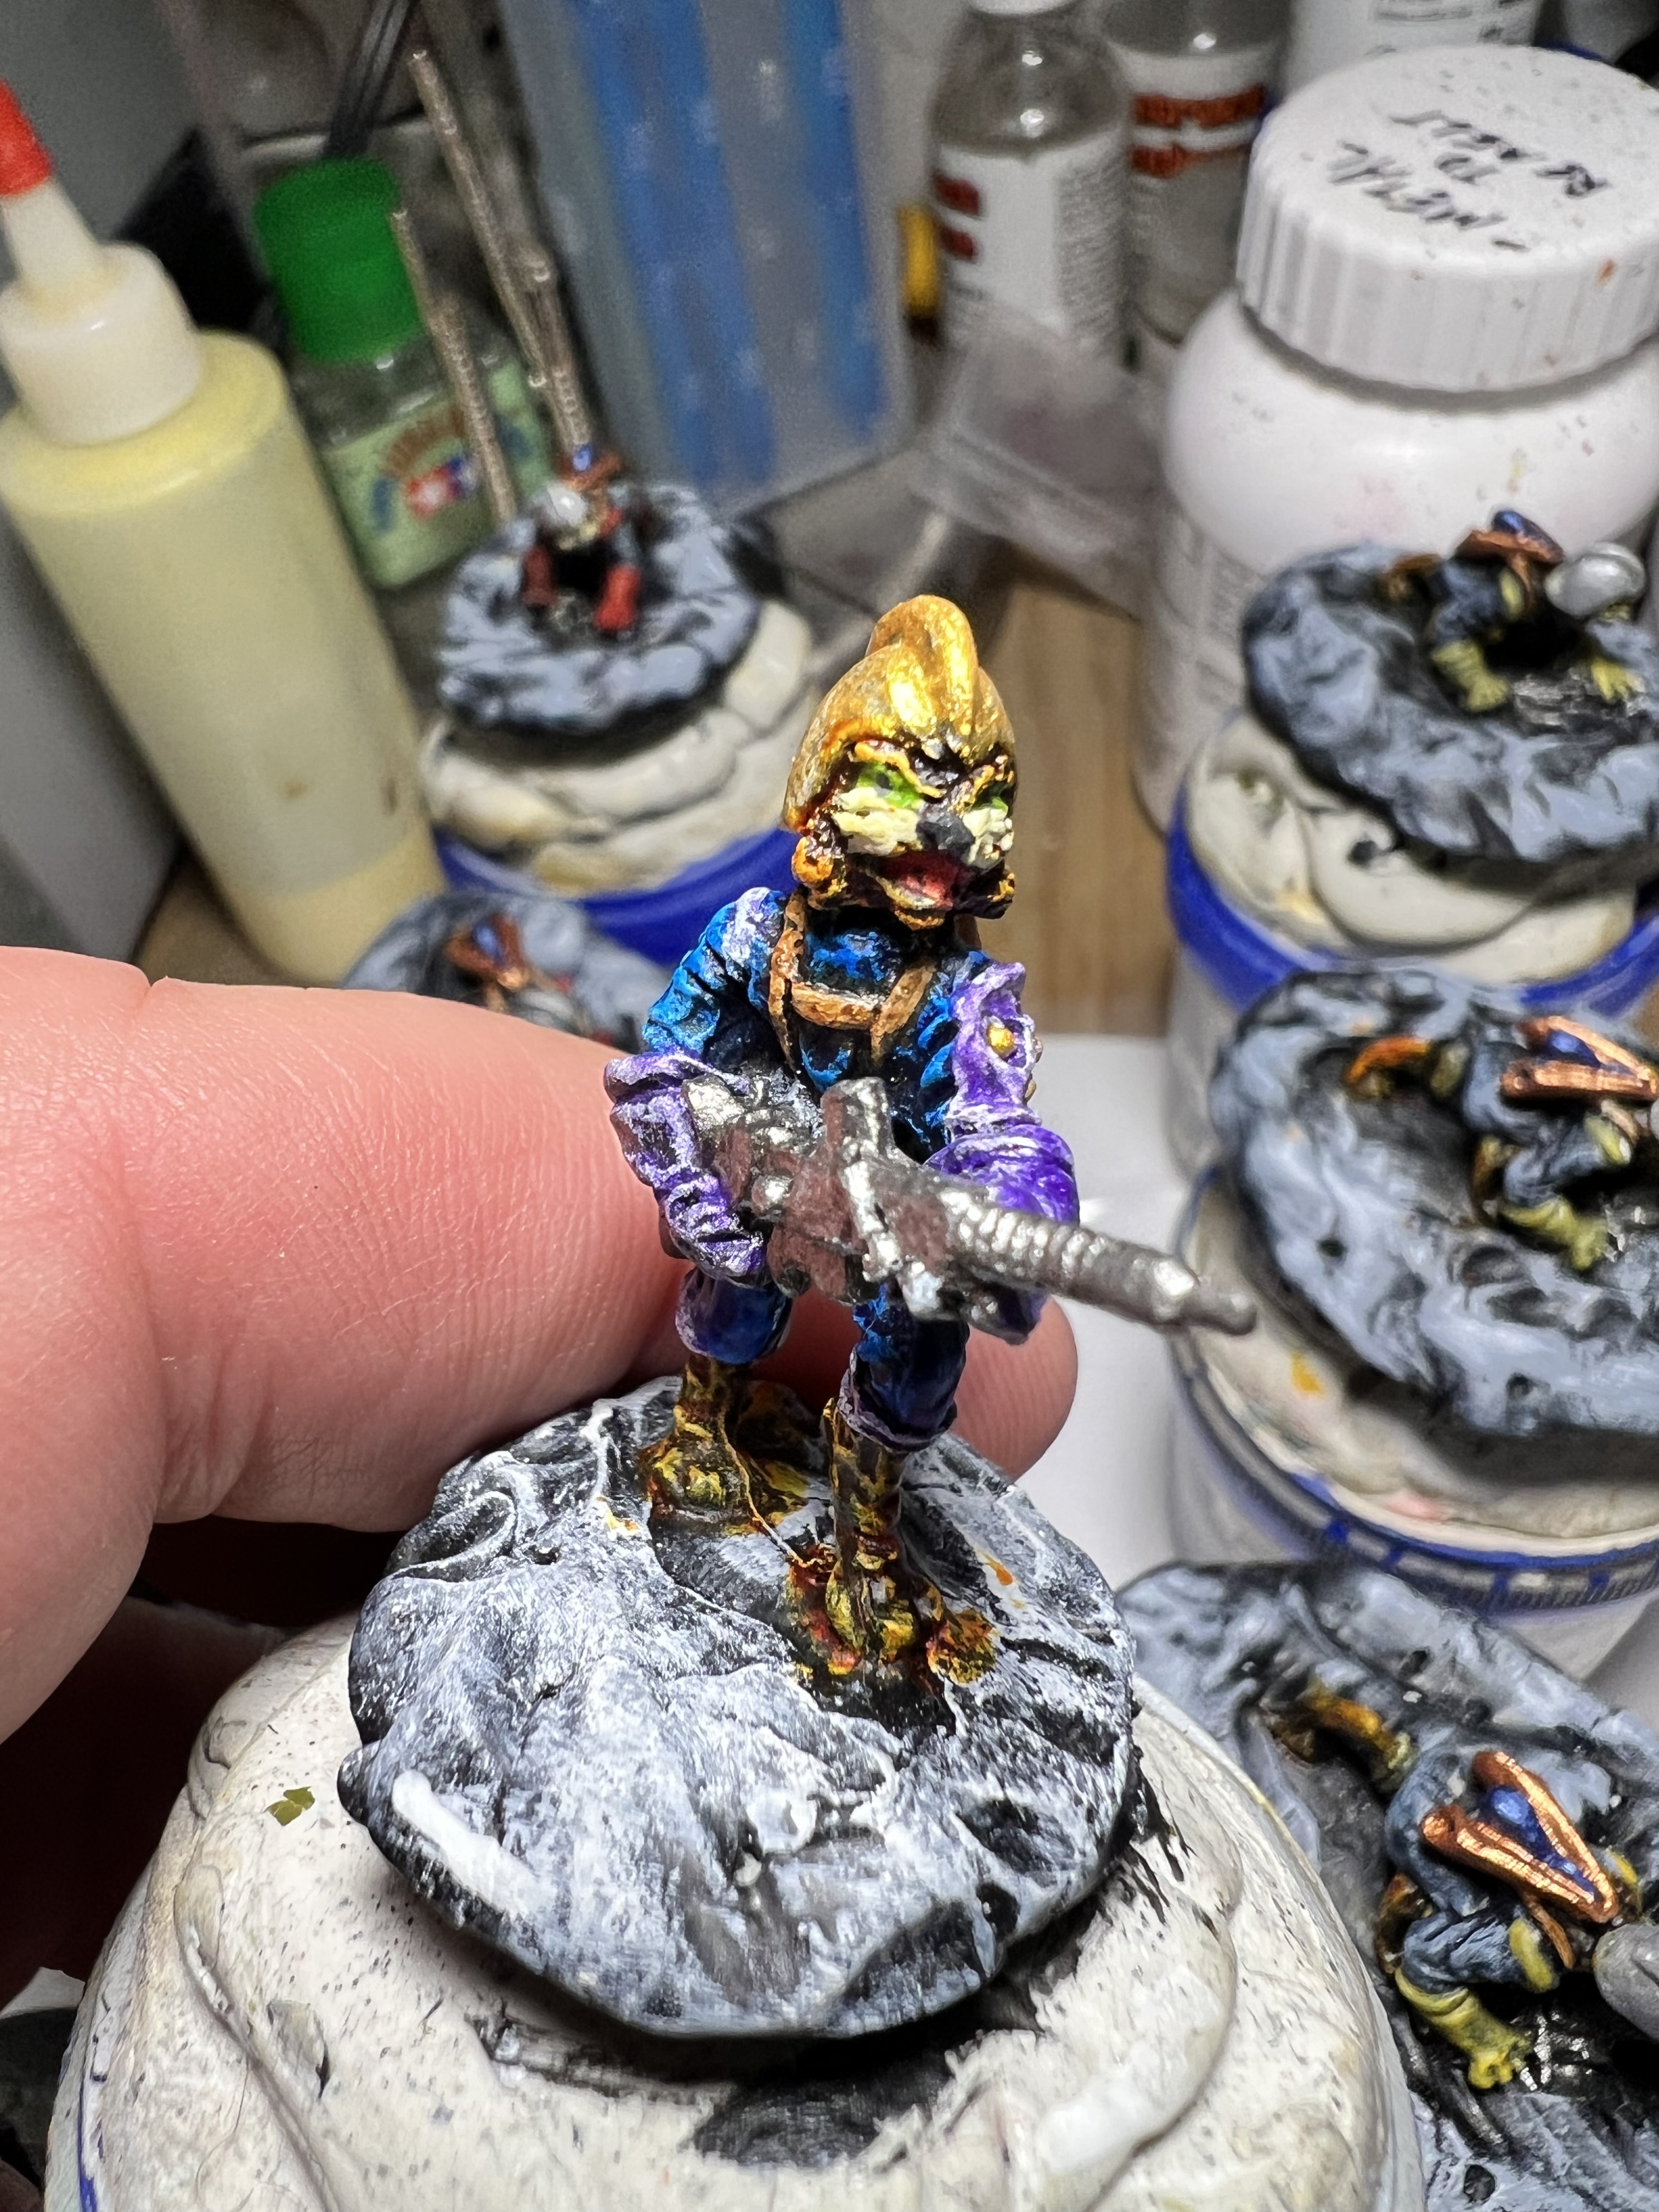
Close ups photos of a crouching figure before painting:
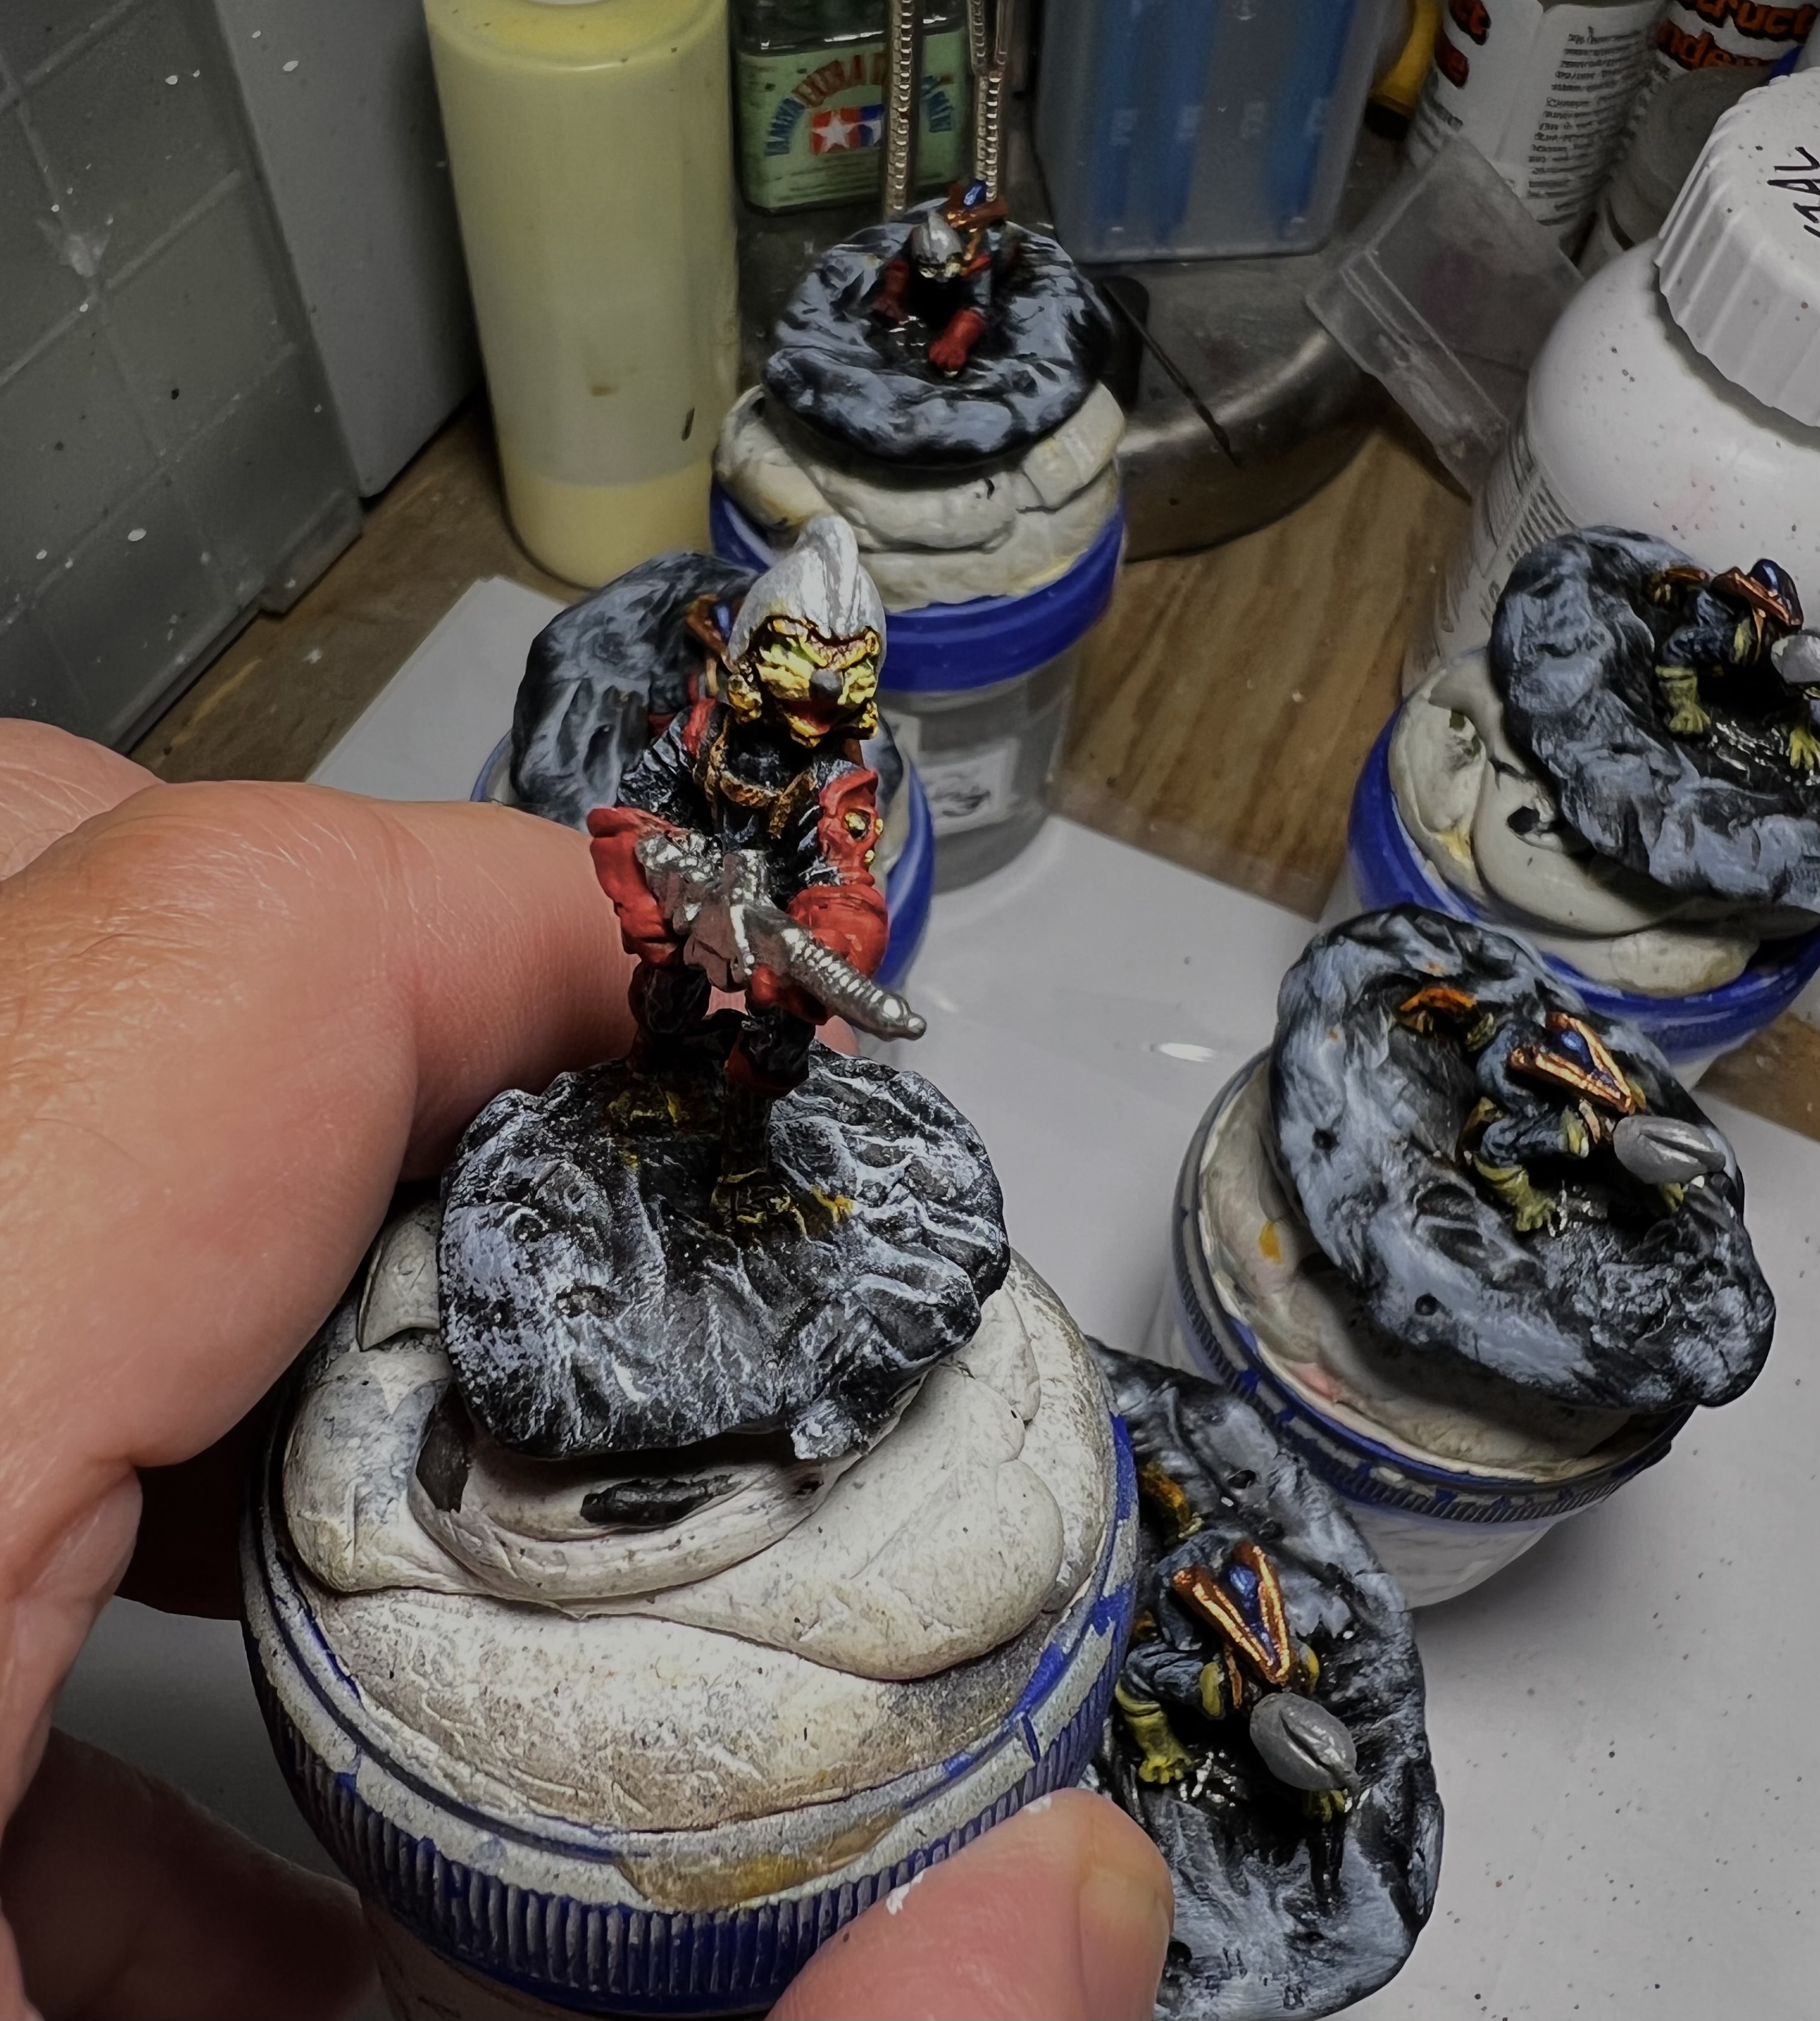
Below are close ups of an advancing figures before painting:
The MAJ Kitty blister card with the already primed and dry-brushed figure.
The next step was to sculpt around the metal bases with a two-piece epoxy (in this case Apoxie Sculpt).
Once the epoxy had cured, I mounted the figures with poster tack to specimen jars and primed any that needed priming in black. After the primer cured, I dry brushed all to match MAJ Kitty’s state.
After dry brushing, it was time to start painting. Here are some shots before I got to adding any distinctive flocking.
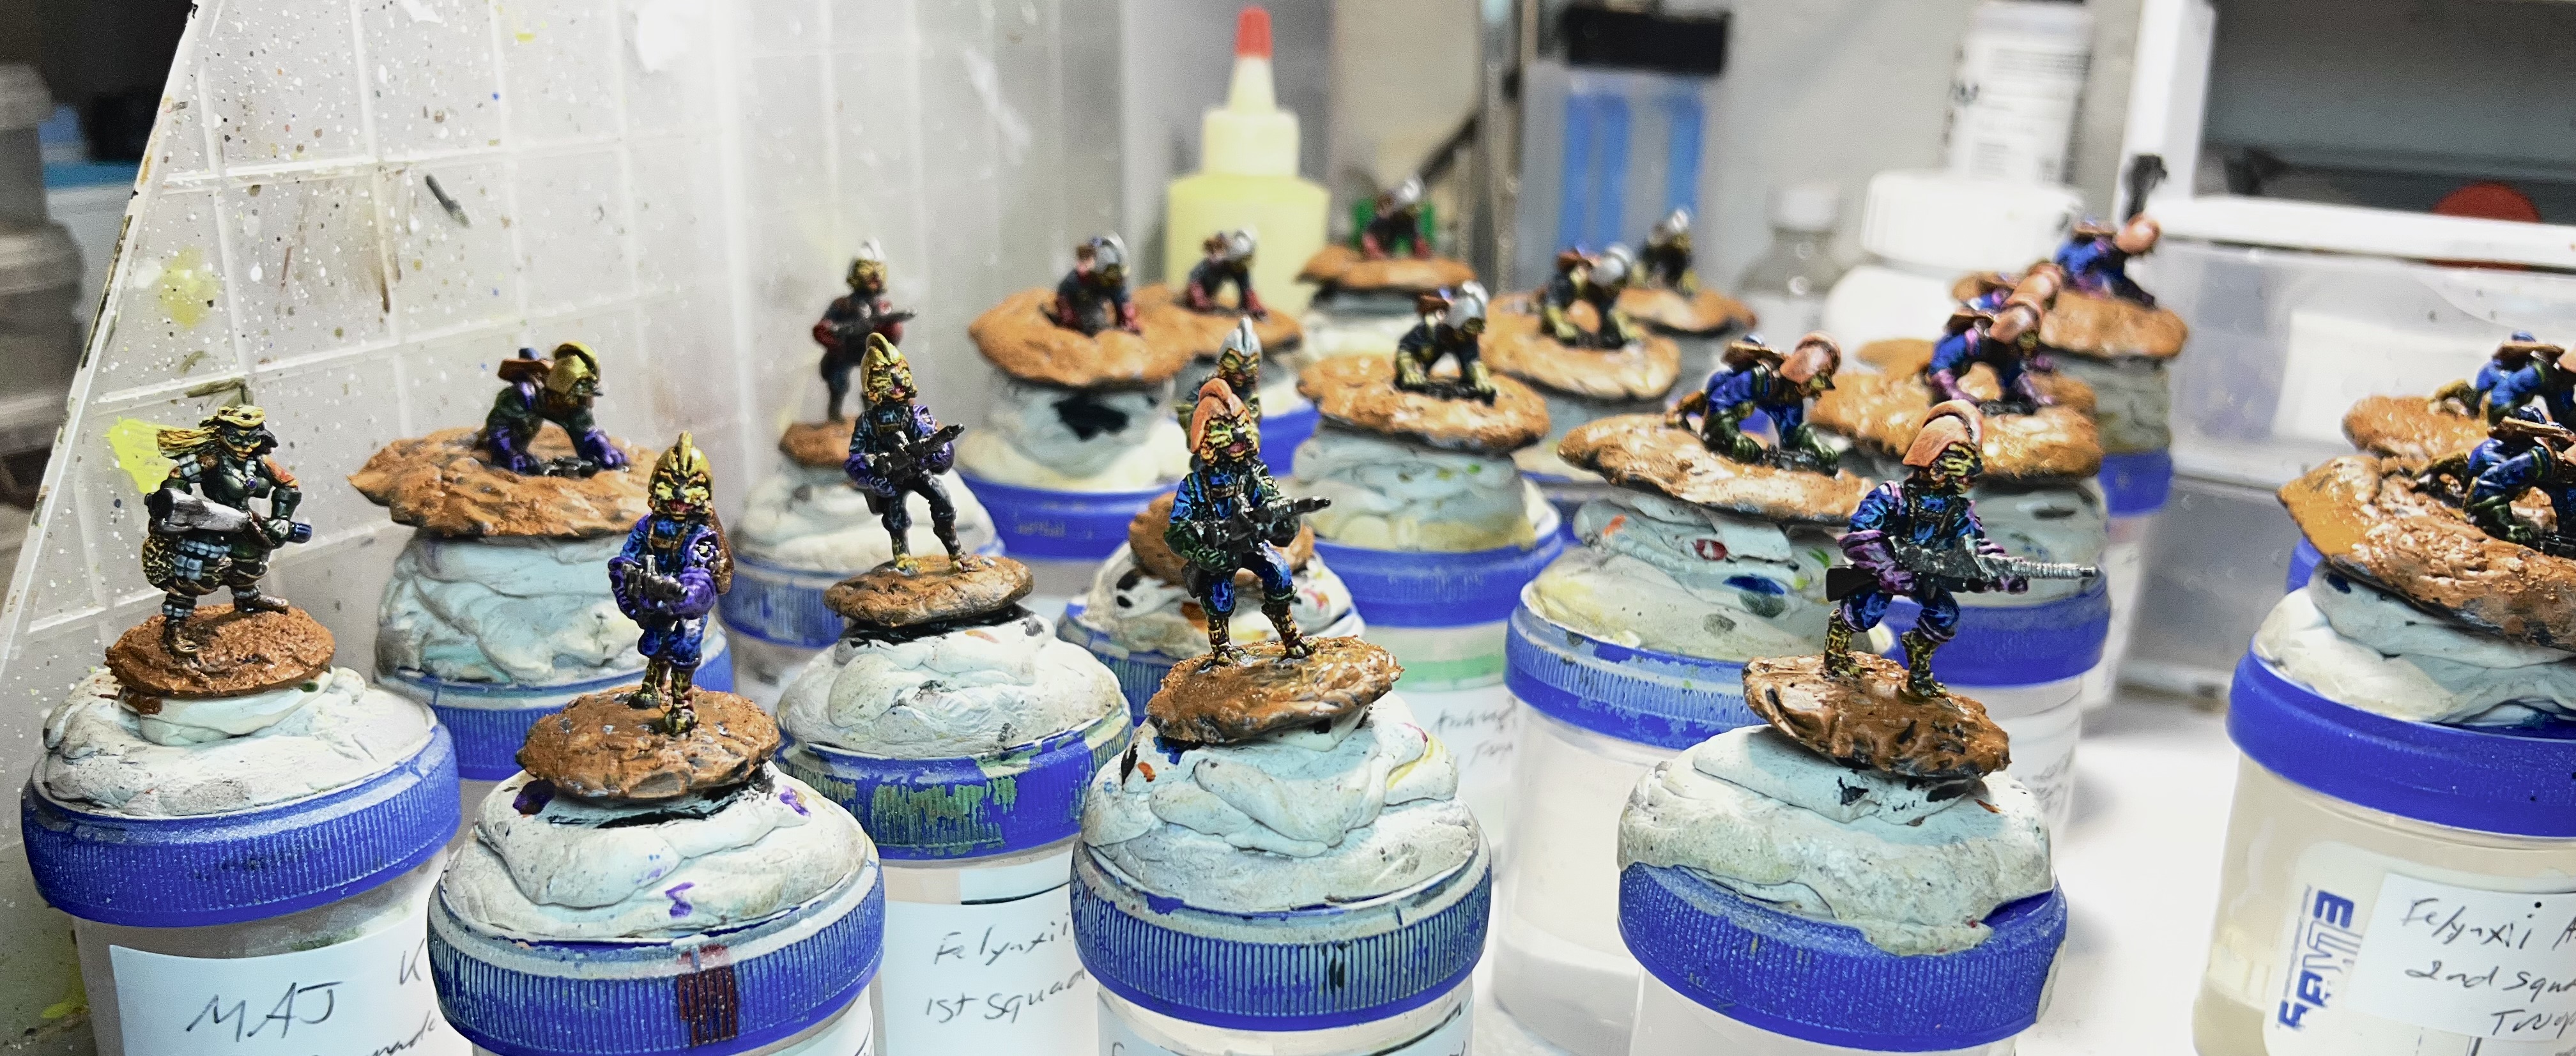
The figures painted minus any base work or varnish.
For the bases, I wanted to have a deep brown clay-like look with Citadel’s now-OOP “Blackfire Earth” texture paint that would give a bit of granularity as well as contrast with the planned use of alien tufts.
Once the texture paint had dried on the sculpted bases, I added shading before varnishing the lot.
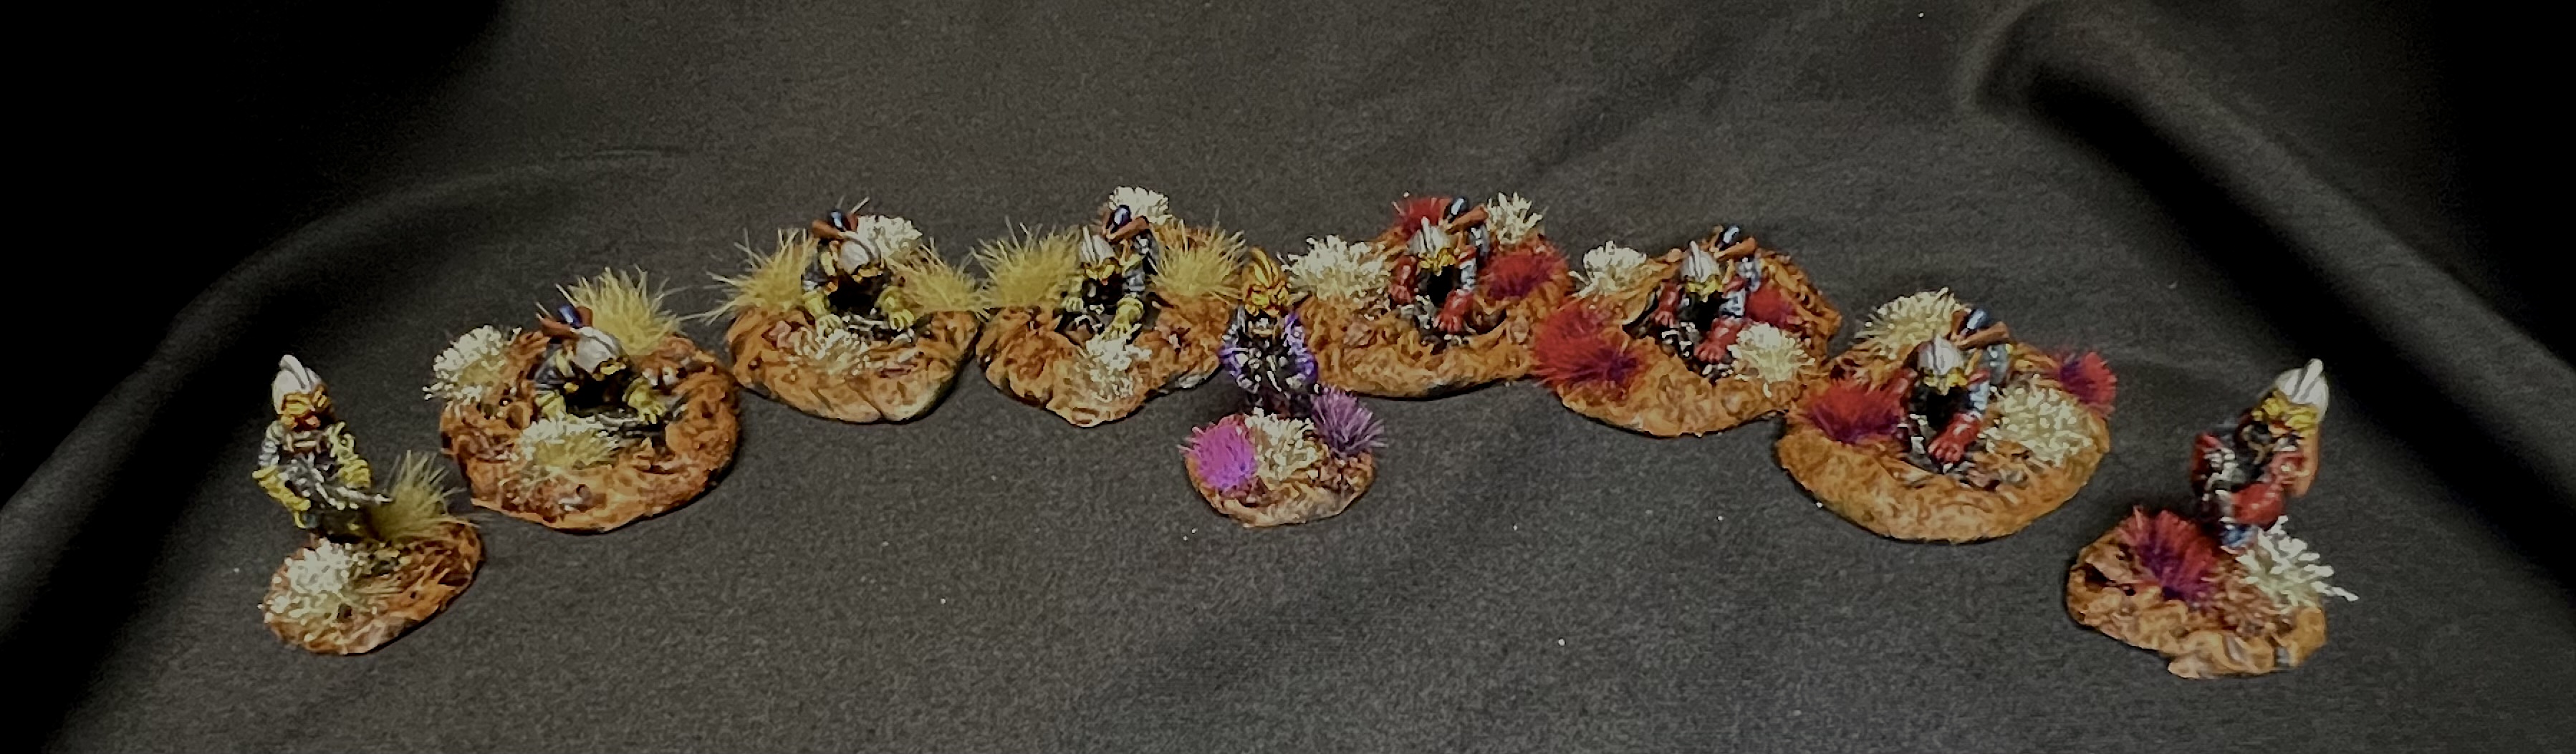
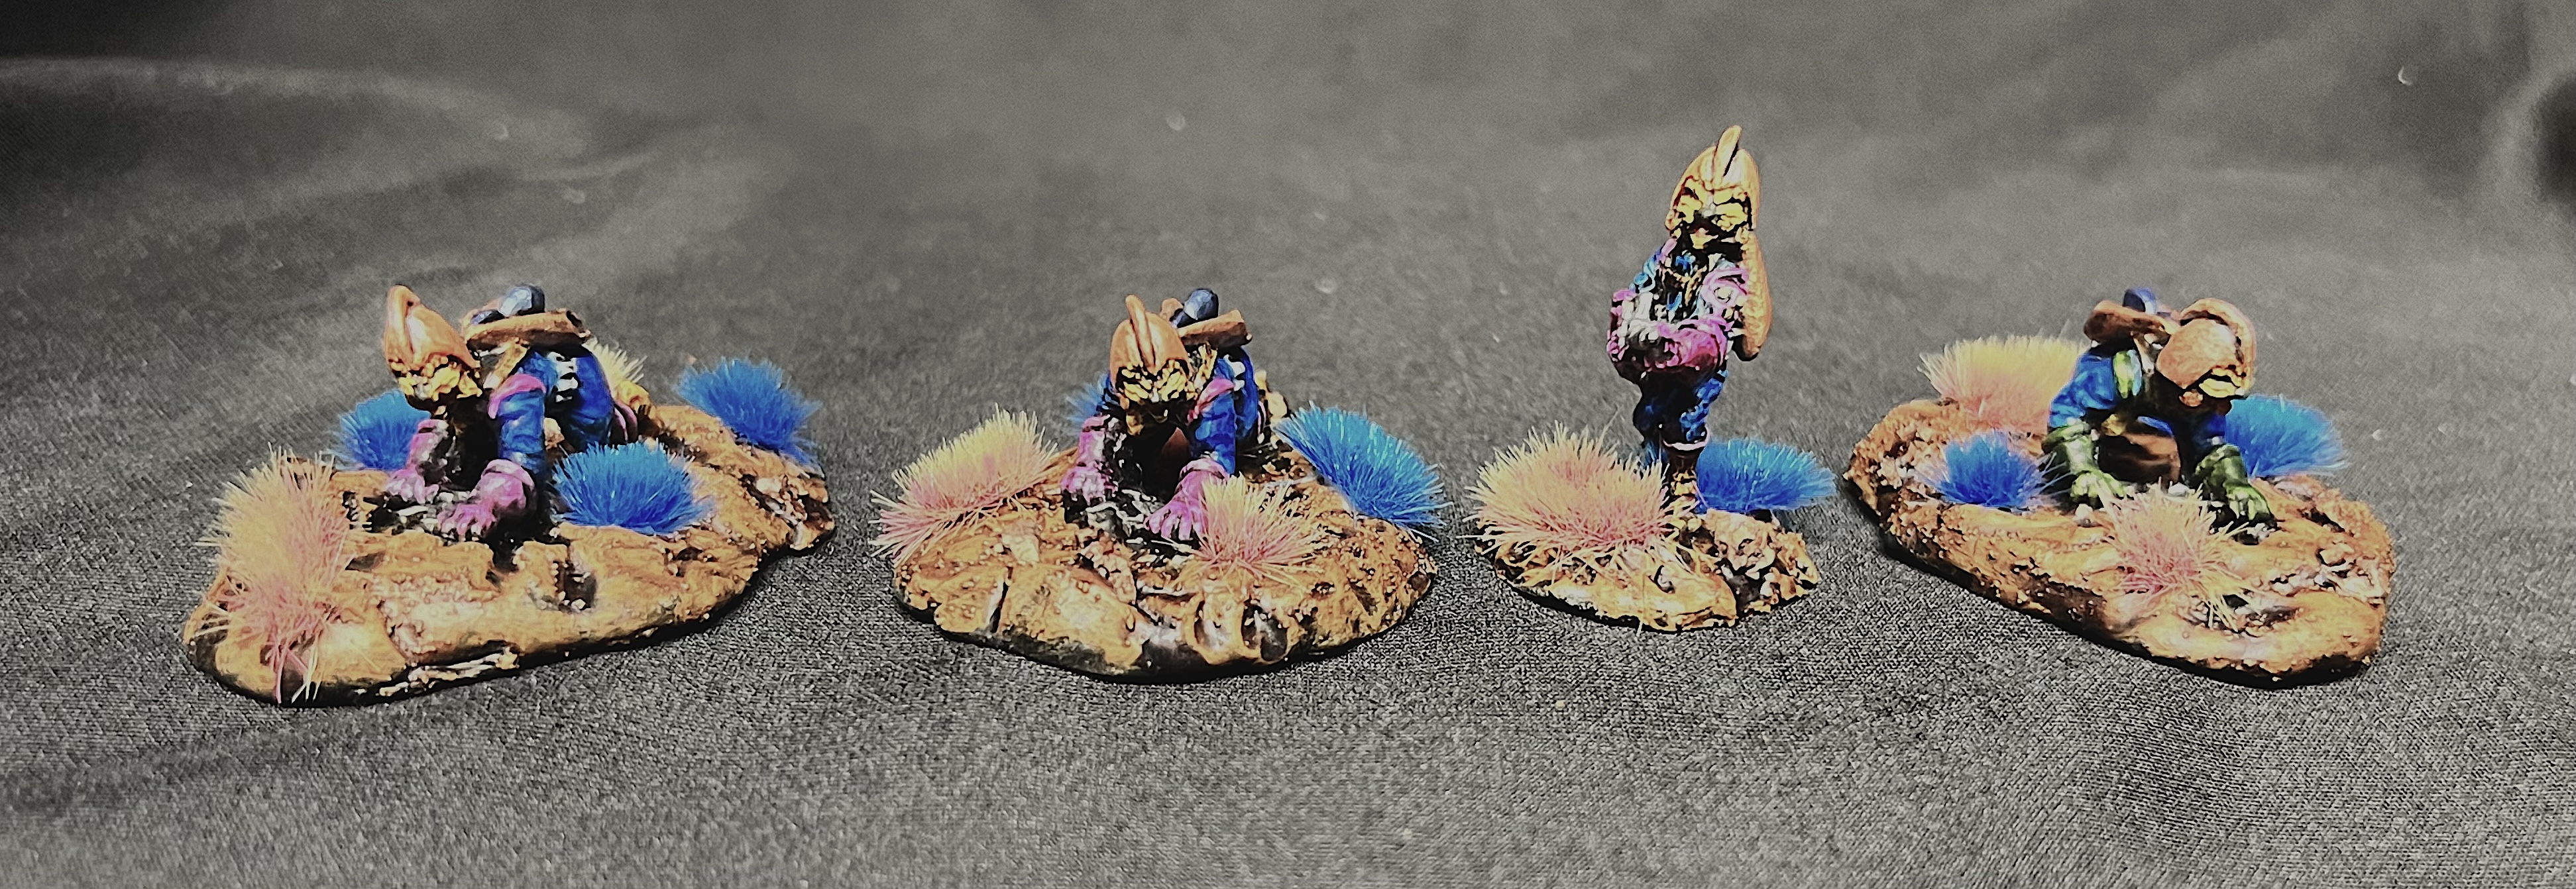
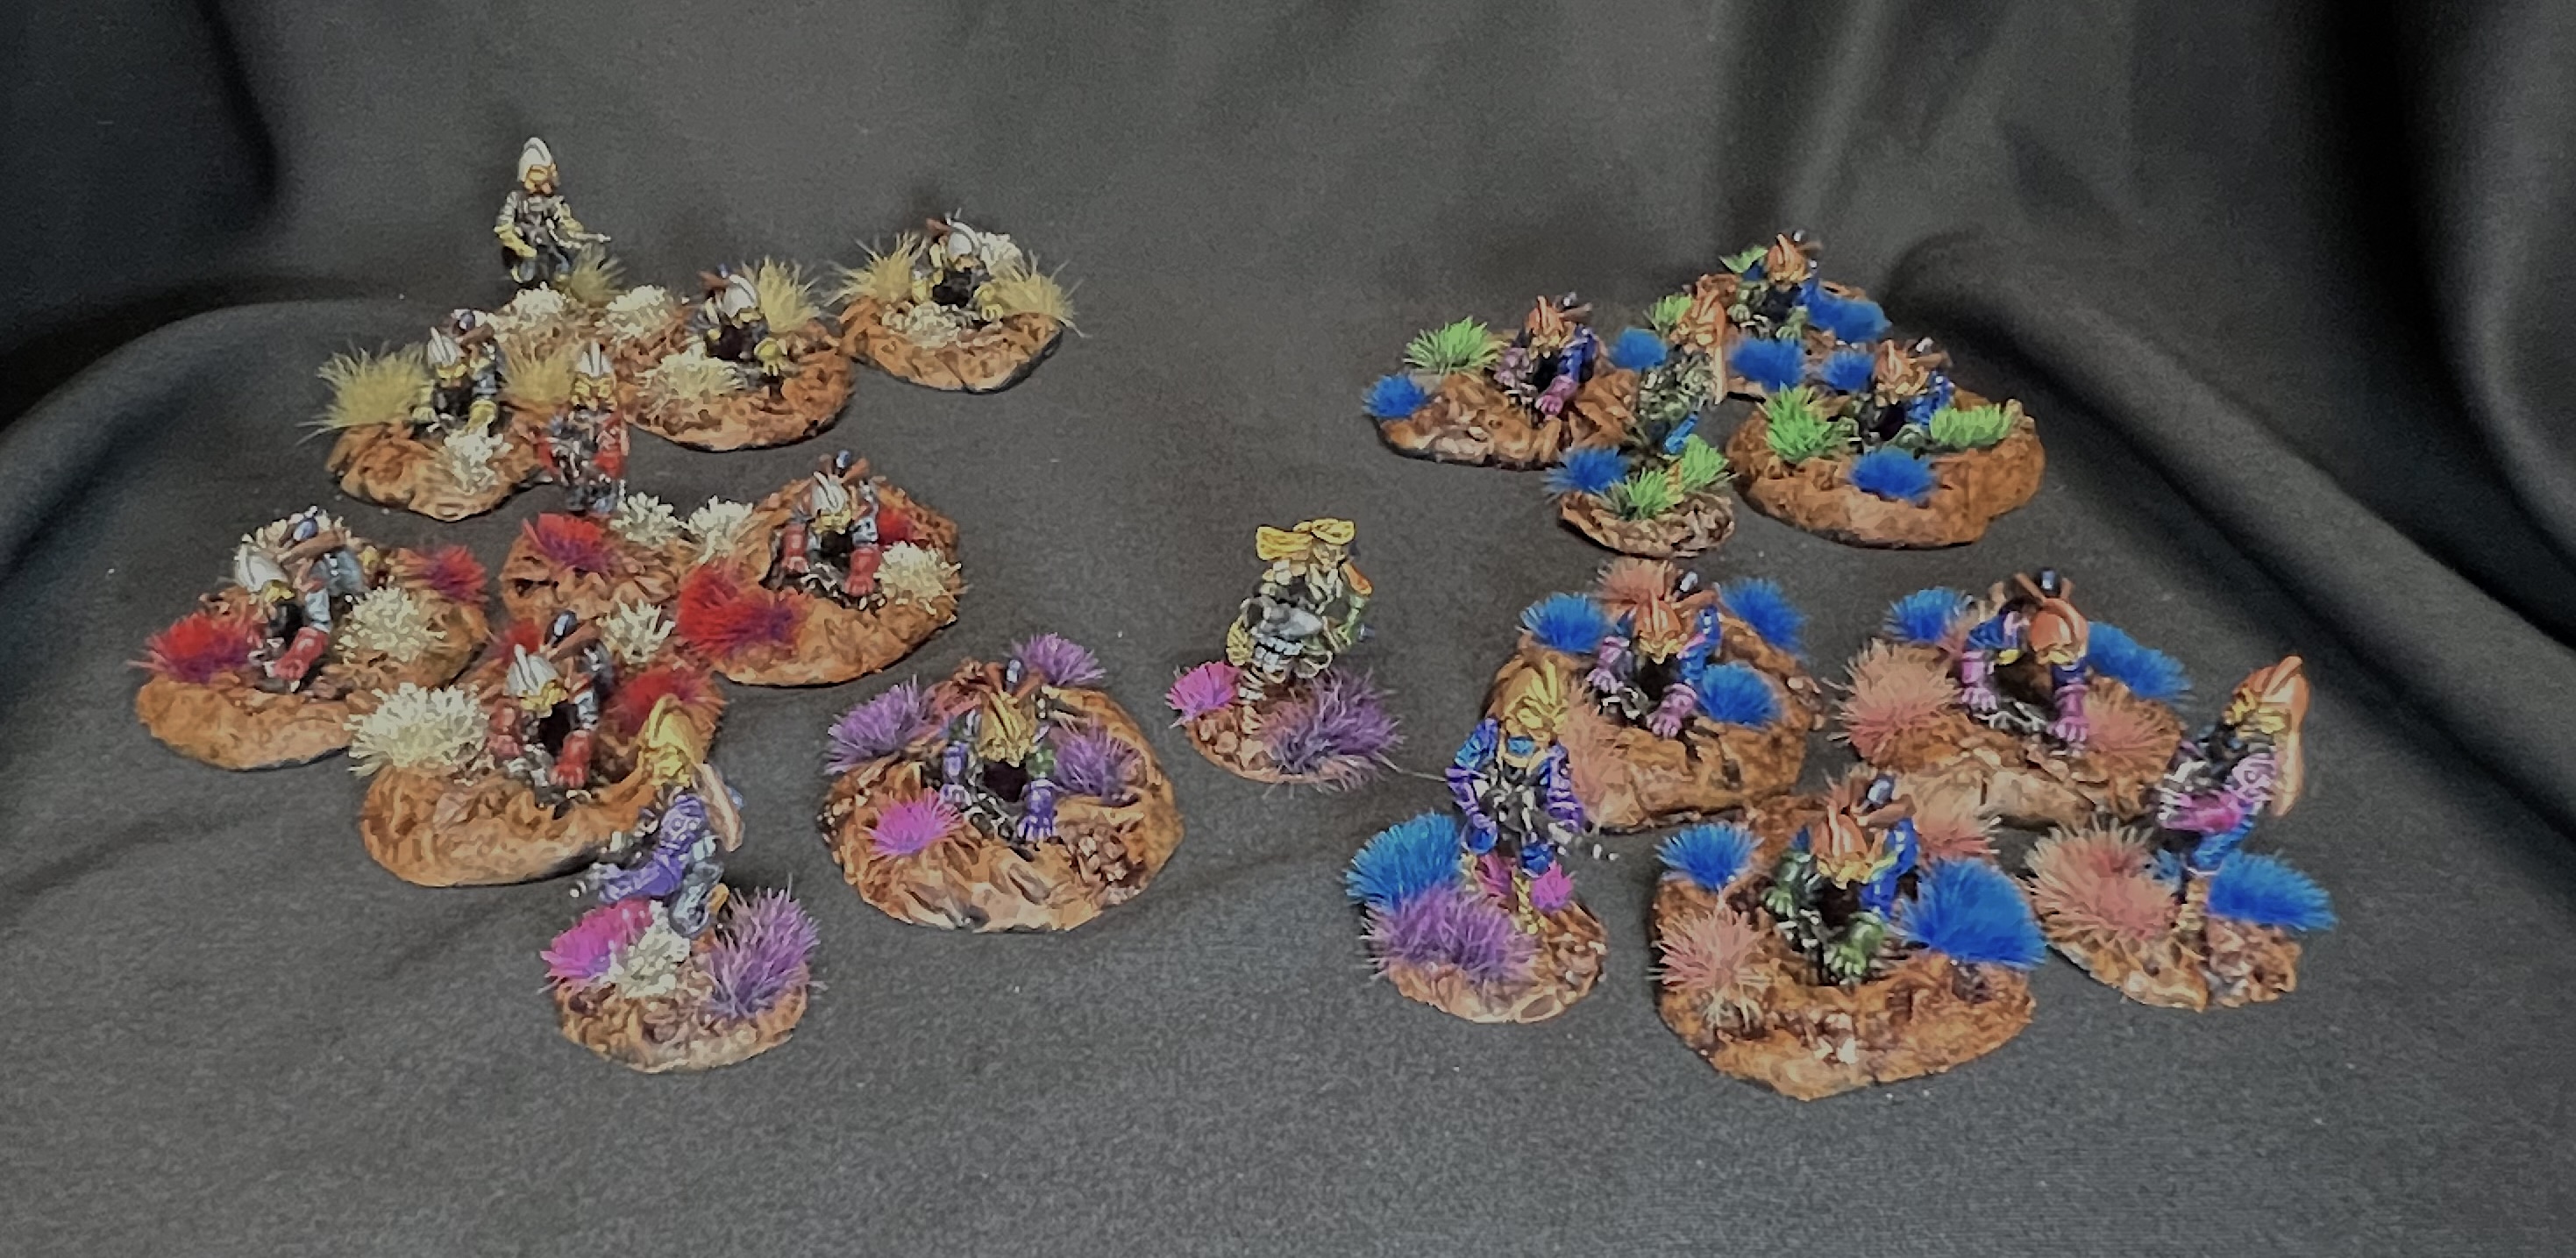
After varnishing, I added lots of differently-colored flocking. This will aid in tabletop recognition for players, as well as to add a lot of alien colors to the mix.
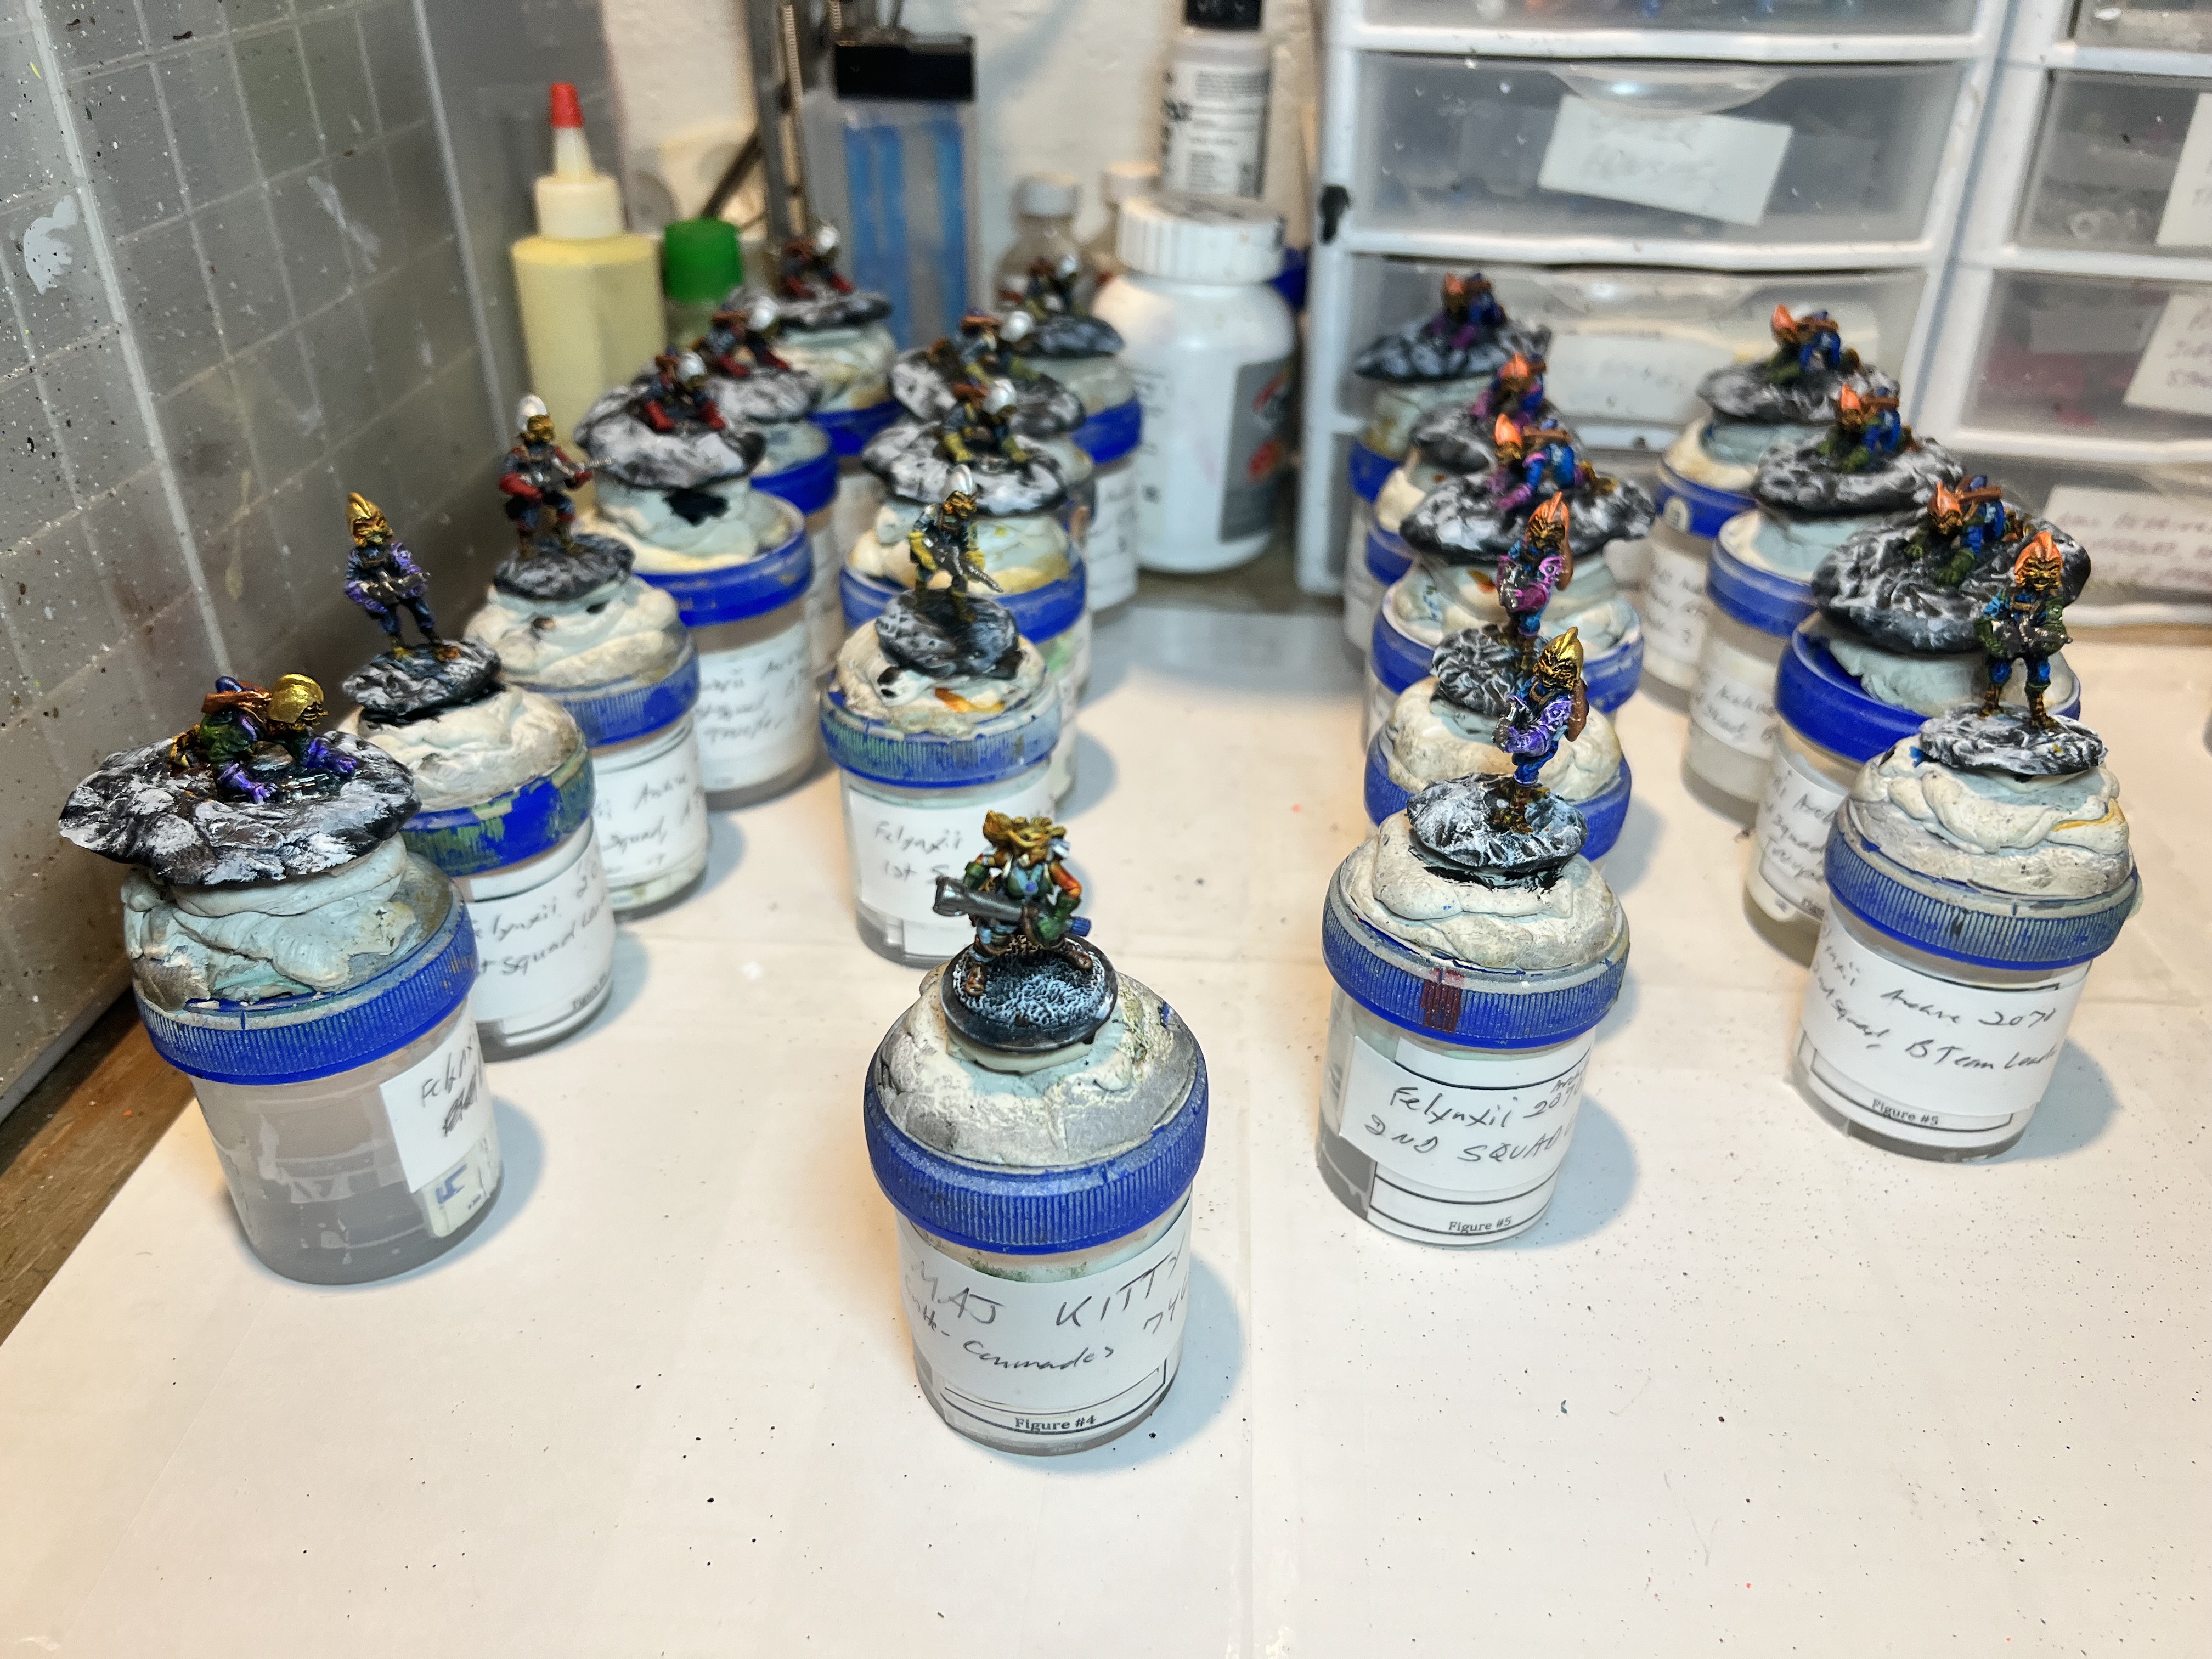
Let’s see some eye-candy. These shots are not as good as the ones you will see in the Instagram post at the end, but they will do. My lighting was challenging.
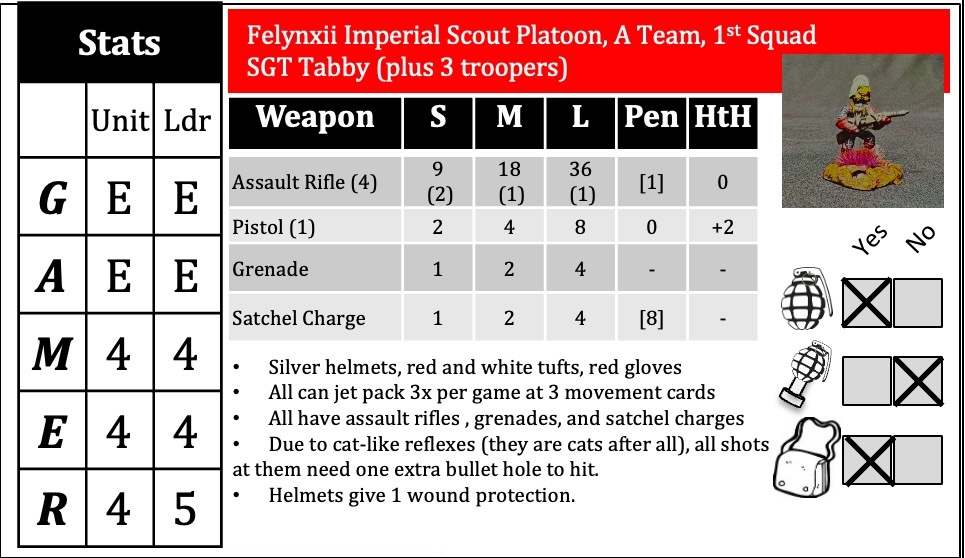
I also show the data cards that I made for my convention games – they are 3.5″ by 5.5″, with the reverse side (not shown) being the common Combat Patrol WWIITM quick reference card. Note that the data cards are color coordinated with the units to an extent. There’s also those kitty names…
The Felynxii Imperial Scout Platoon
MAJ Kitty, Platoon Leader
Base label
Platoon Sergeant – SFC Izzy
Base labelData card for the Platoon HQ
1st Squad
1st Squad Leader -SSG FLASH
1st Squad Leader Data card
A Team, 1st Squad
A Team, 1st Squad data card
B Team, 1st Squad
B Team, 1st Squad data card
1st Squad Group Shot
2nd Squad
2nd Squad leader – SSG AMY
2nd Squad Leader data card
A Team, 2nd Squad
A Team, 2nd Squad data card
B Team, 2nd Squad
B Team, 2nd Squad data card
Felynxii Imperial Scout Platoon Group Shot
For a quick live (and perhaps better lighted) overview please check out my Instagram link:
In the future, I have some plans to potentially add some feline-themed armor to their ranks. Stay tuned.
Thanks for taking a read about this project. My hope is that you found it interesting and informative about some figures that you never heard about before or maybe just forgot about. While I do not own a cat (I am currently allergic), my daughter Ellen and granddaughter Tabitha like them a lot, and did not replace Izzy, so I hope they like the project too.
As always, I would love to hear your thoughts on the Felynxii here – did you find any aspect more interesting than another? Did I make the right choice to jump into as a project? Do you have any favorite figure or team?
The comments section awaits your opinions! Join the conversation!
Finally, below are a list of some references and links that might also be of interest. I use them to refer to when I forget painting schemes that I want to replicate.
References:
For a consolidated list of links for any of my previous “Anthropomorphic Figure Project Posts”, please see this page here.
For a consolidated list of links for any of my previous “Old School Miniatures” blog posts, please see this page here.
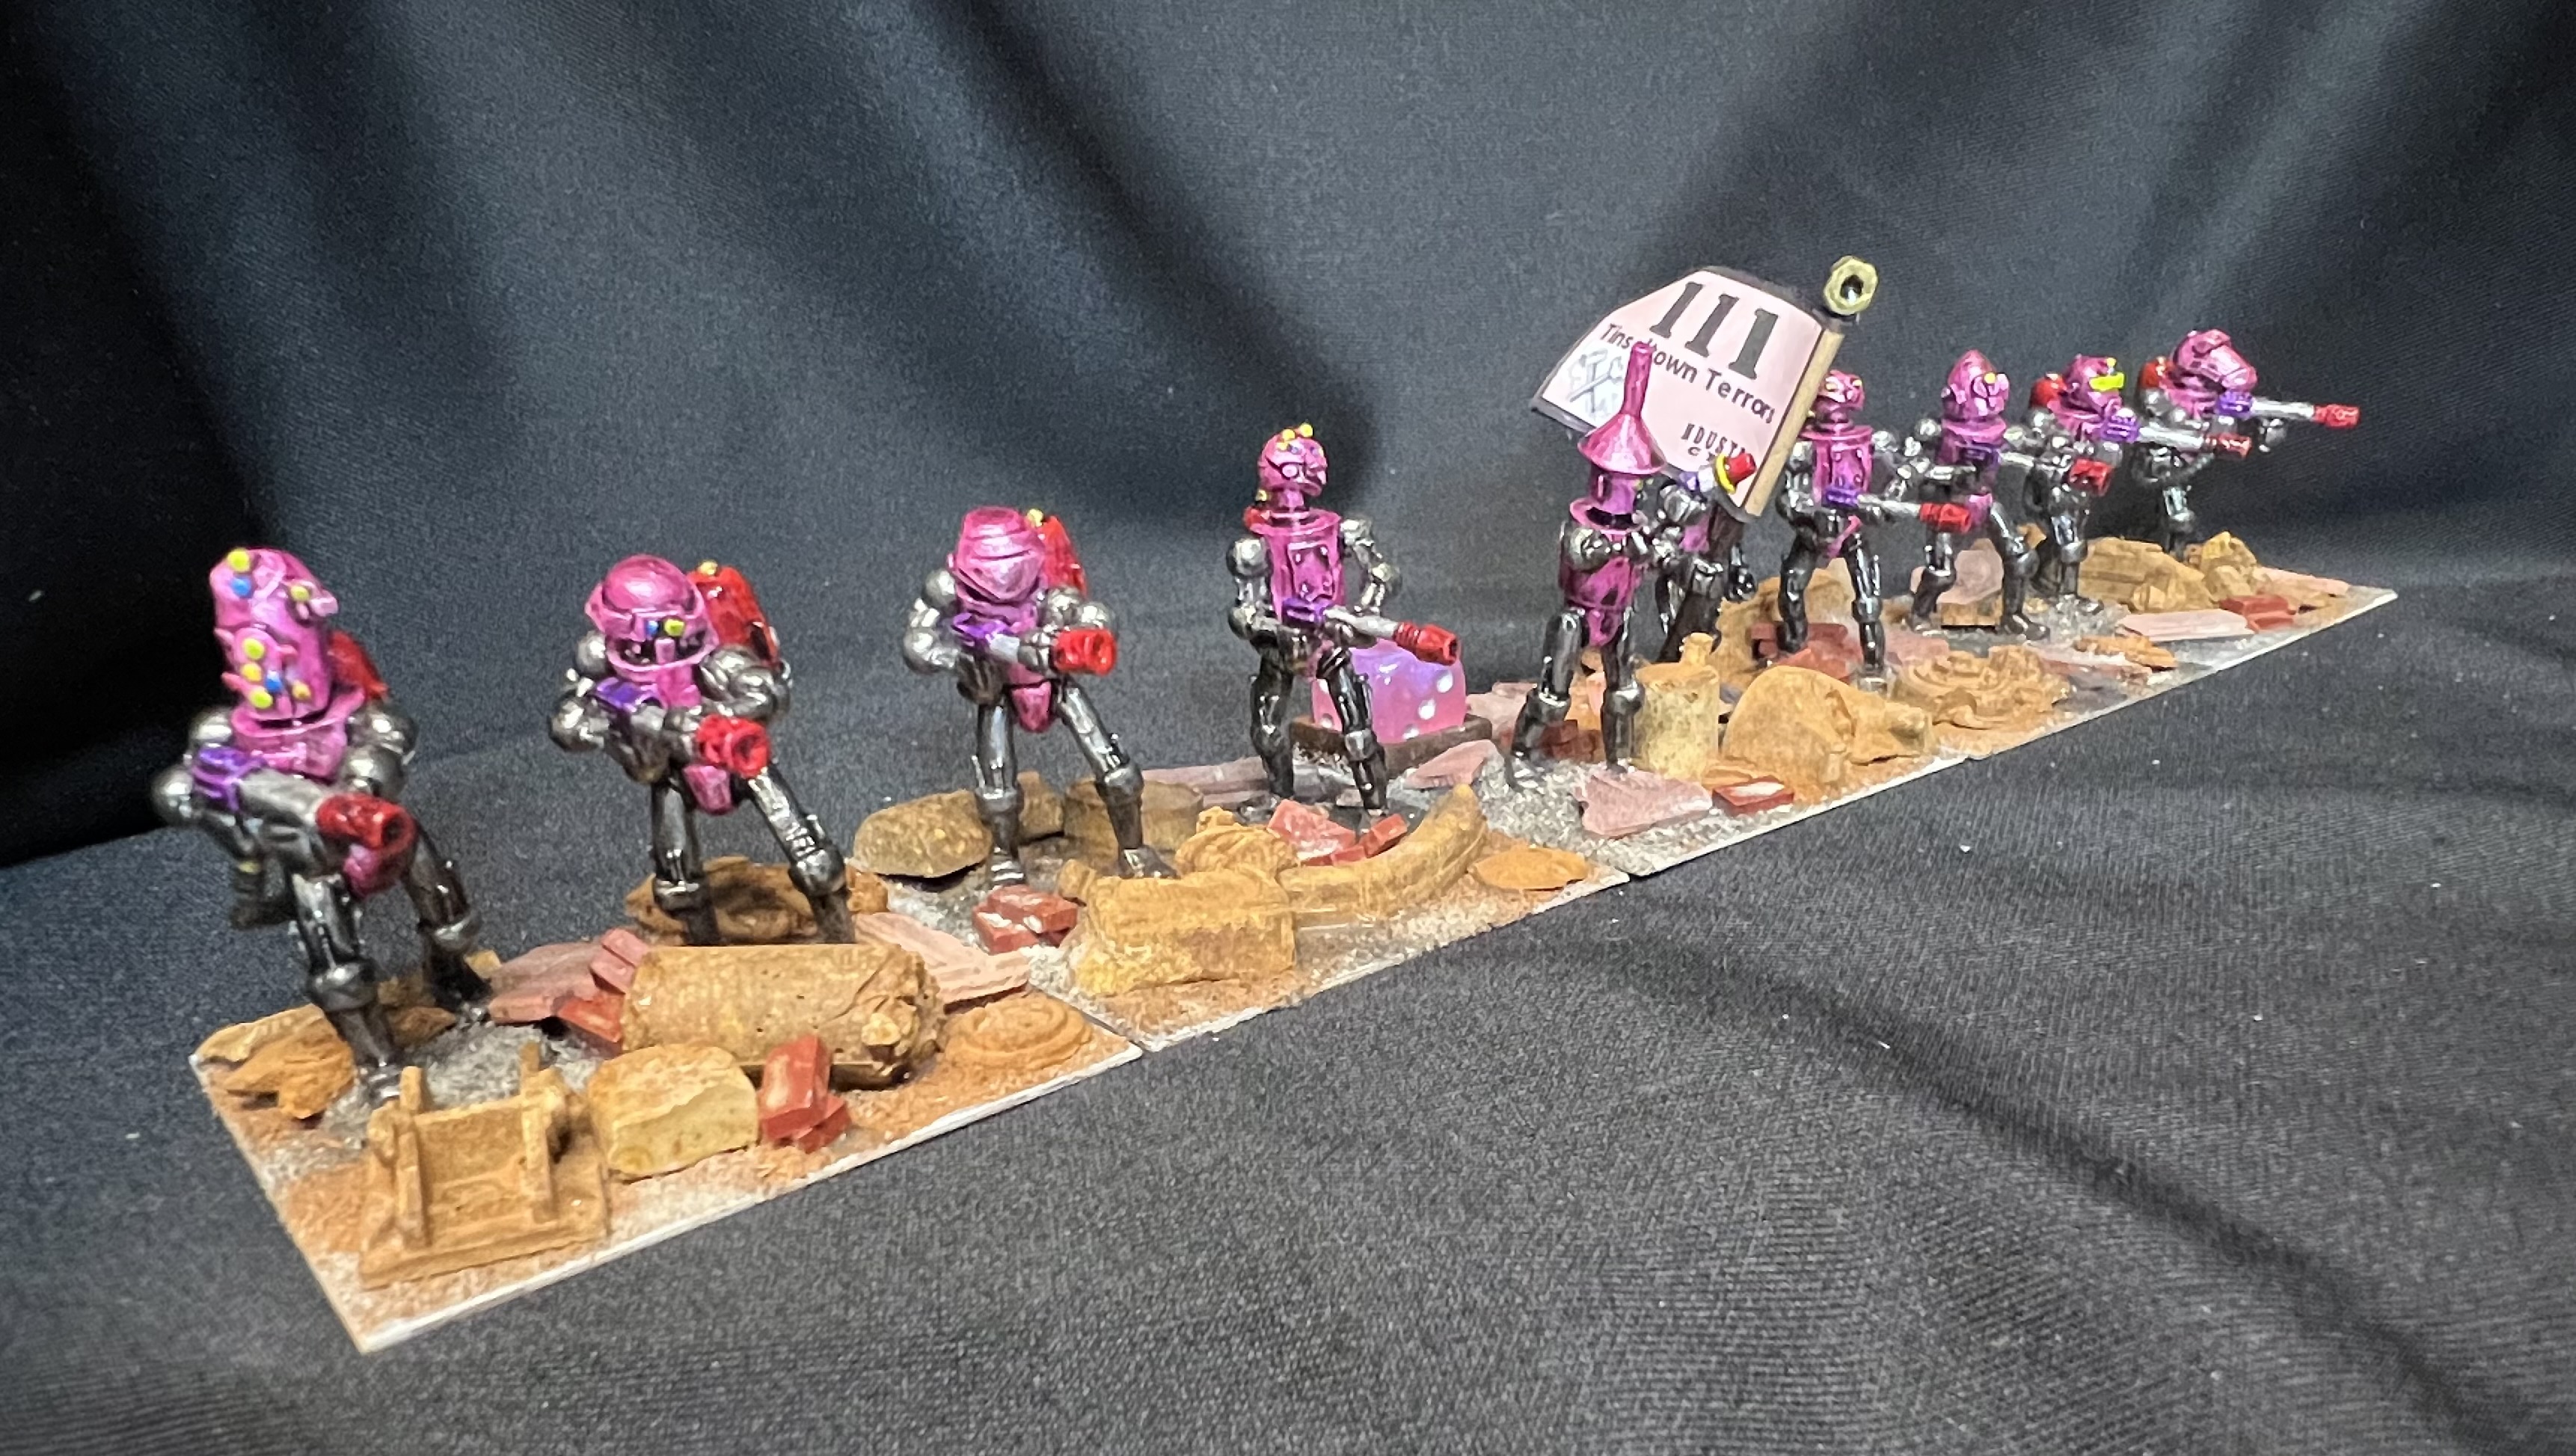
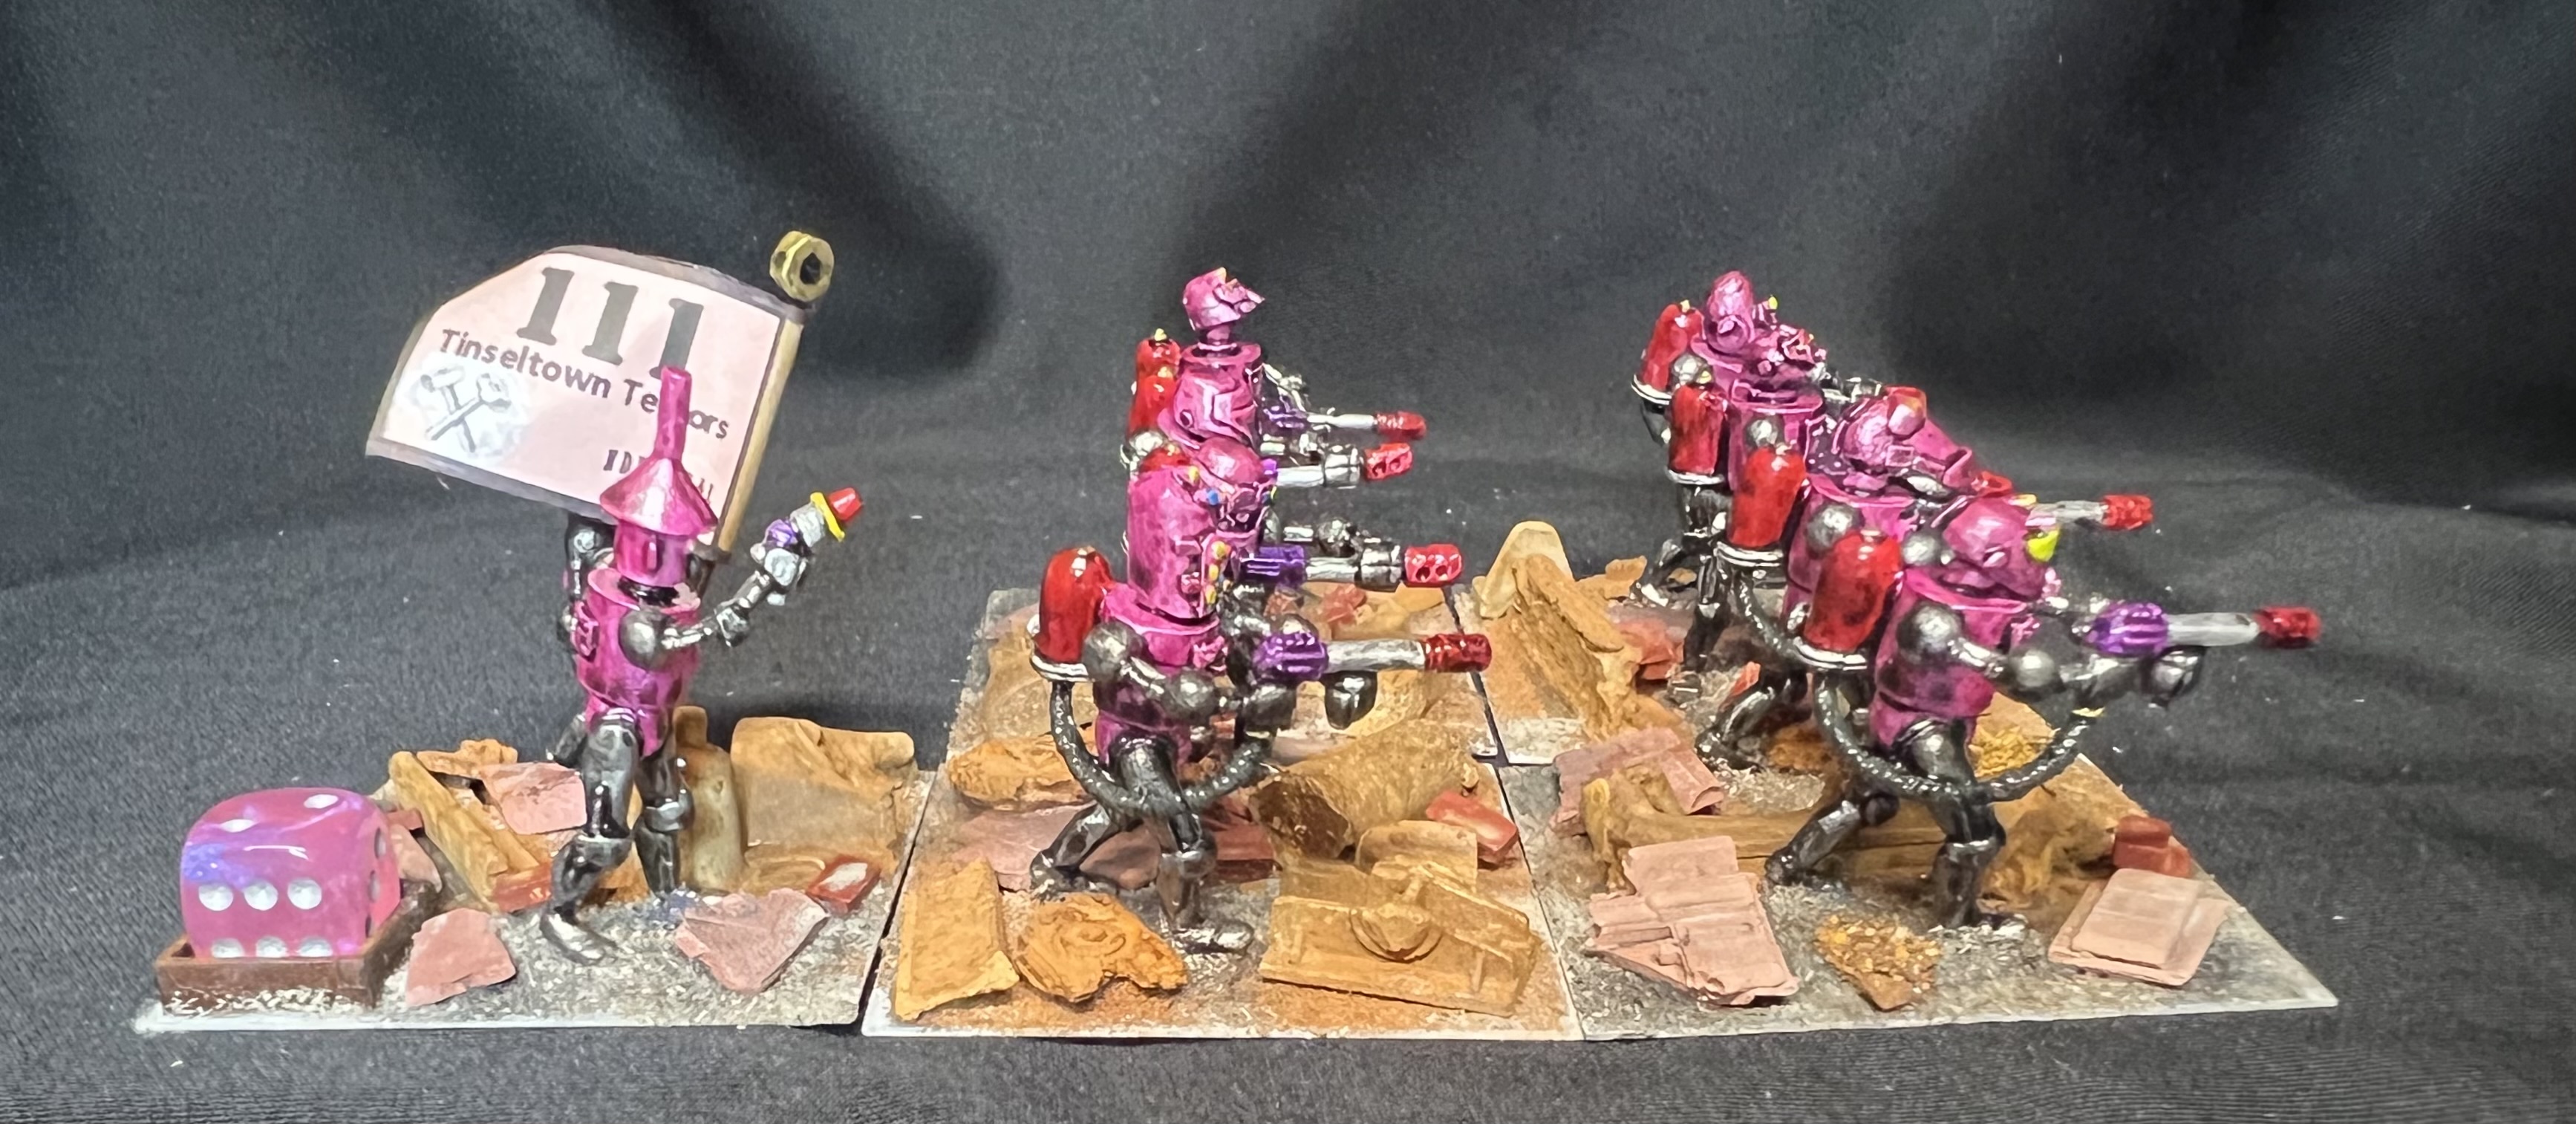
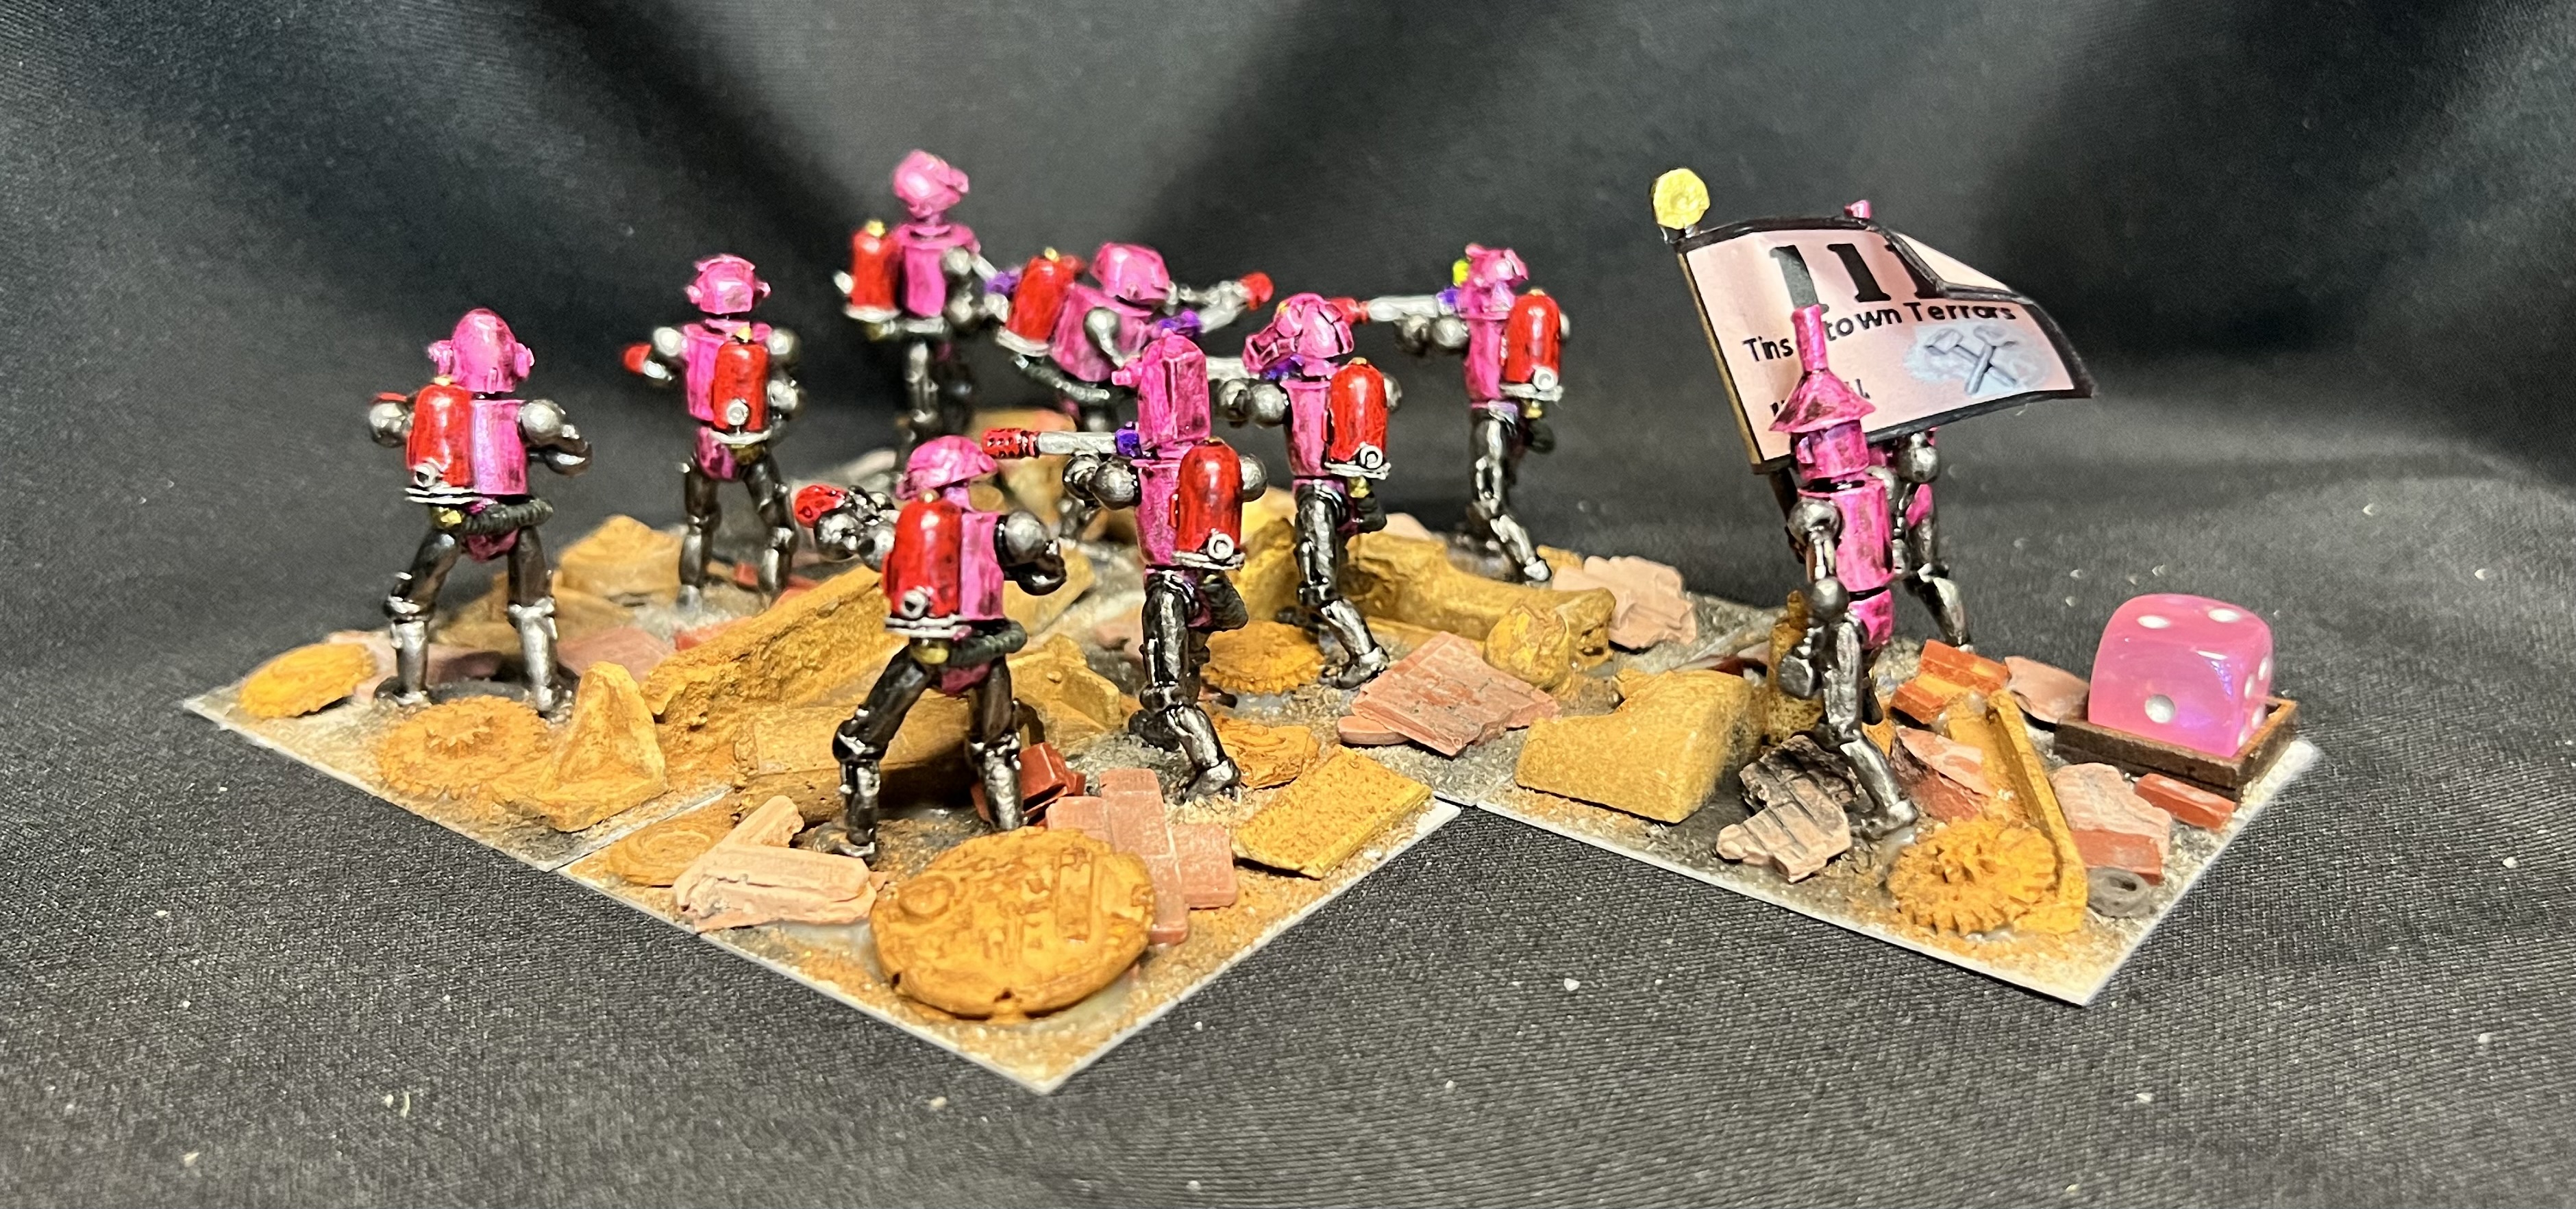
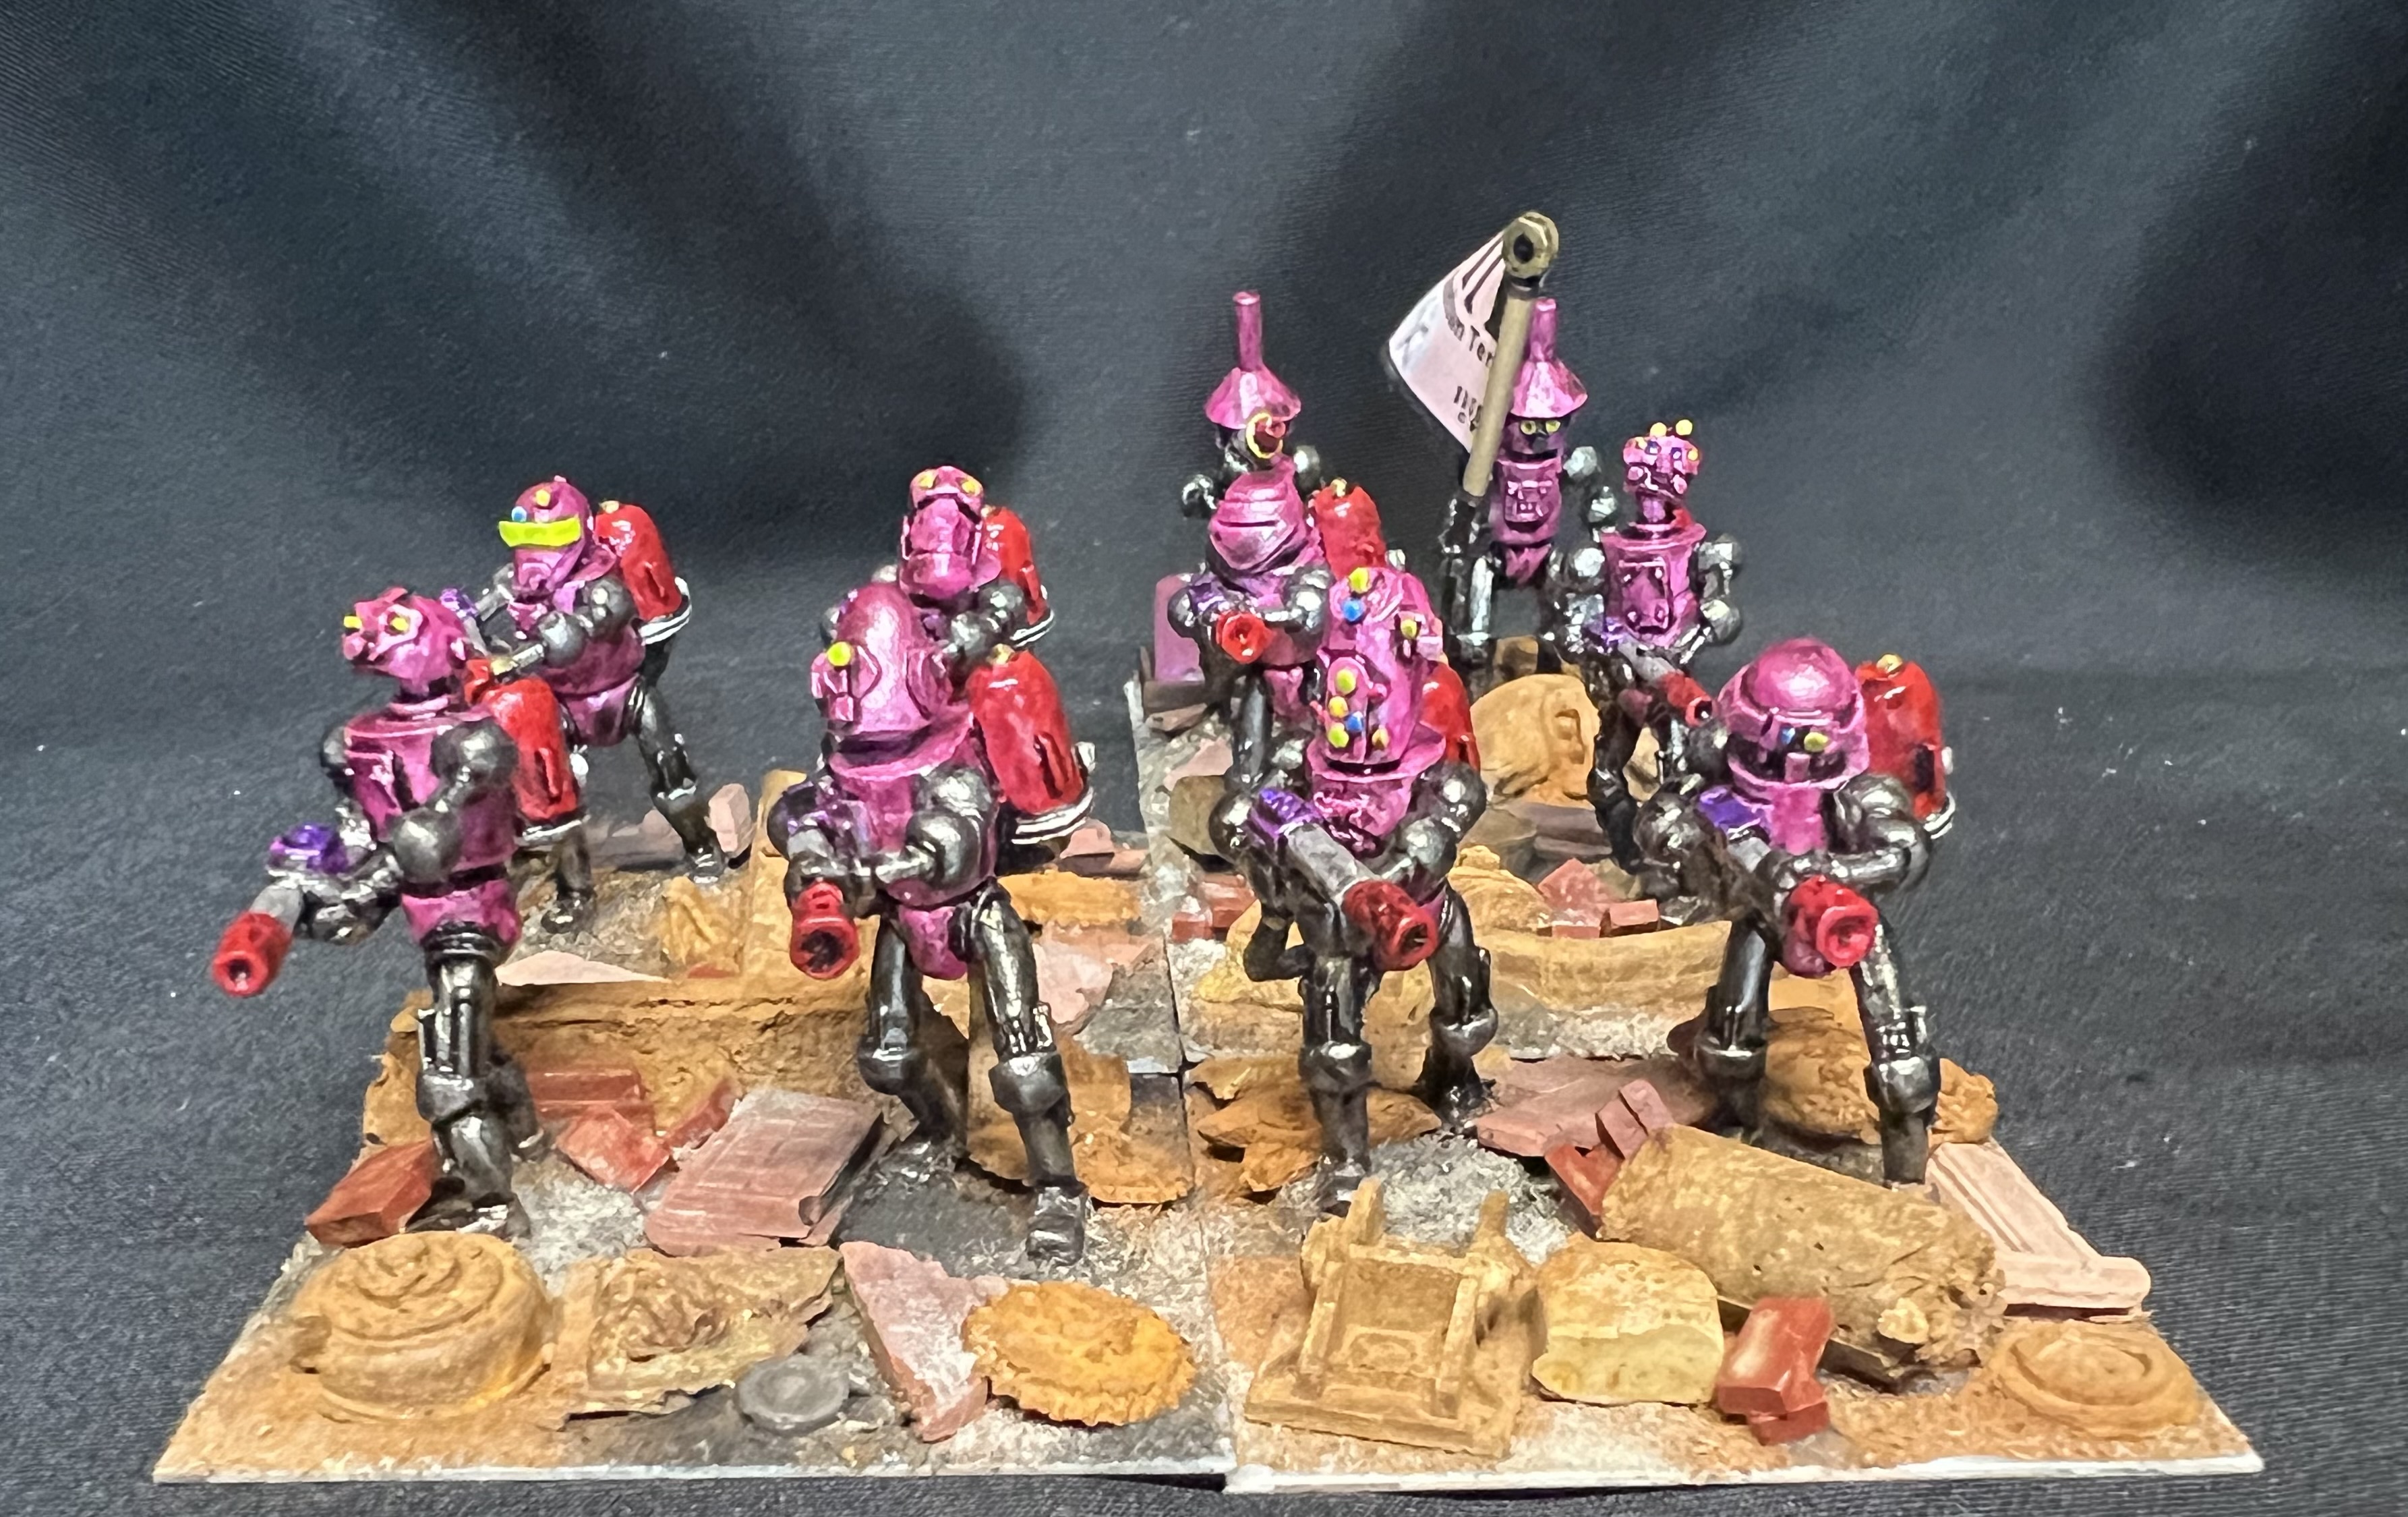
Greetings wargamers and hobbyists! Yes, I do actually have a post for you that is not golf-related! It’s been a while as my last hobby post was back in March, and now its mid-June. Mea culpa, mea maxima culpa…but I do love golf so…and its summer…
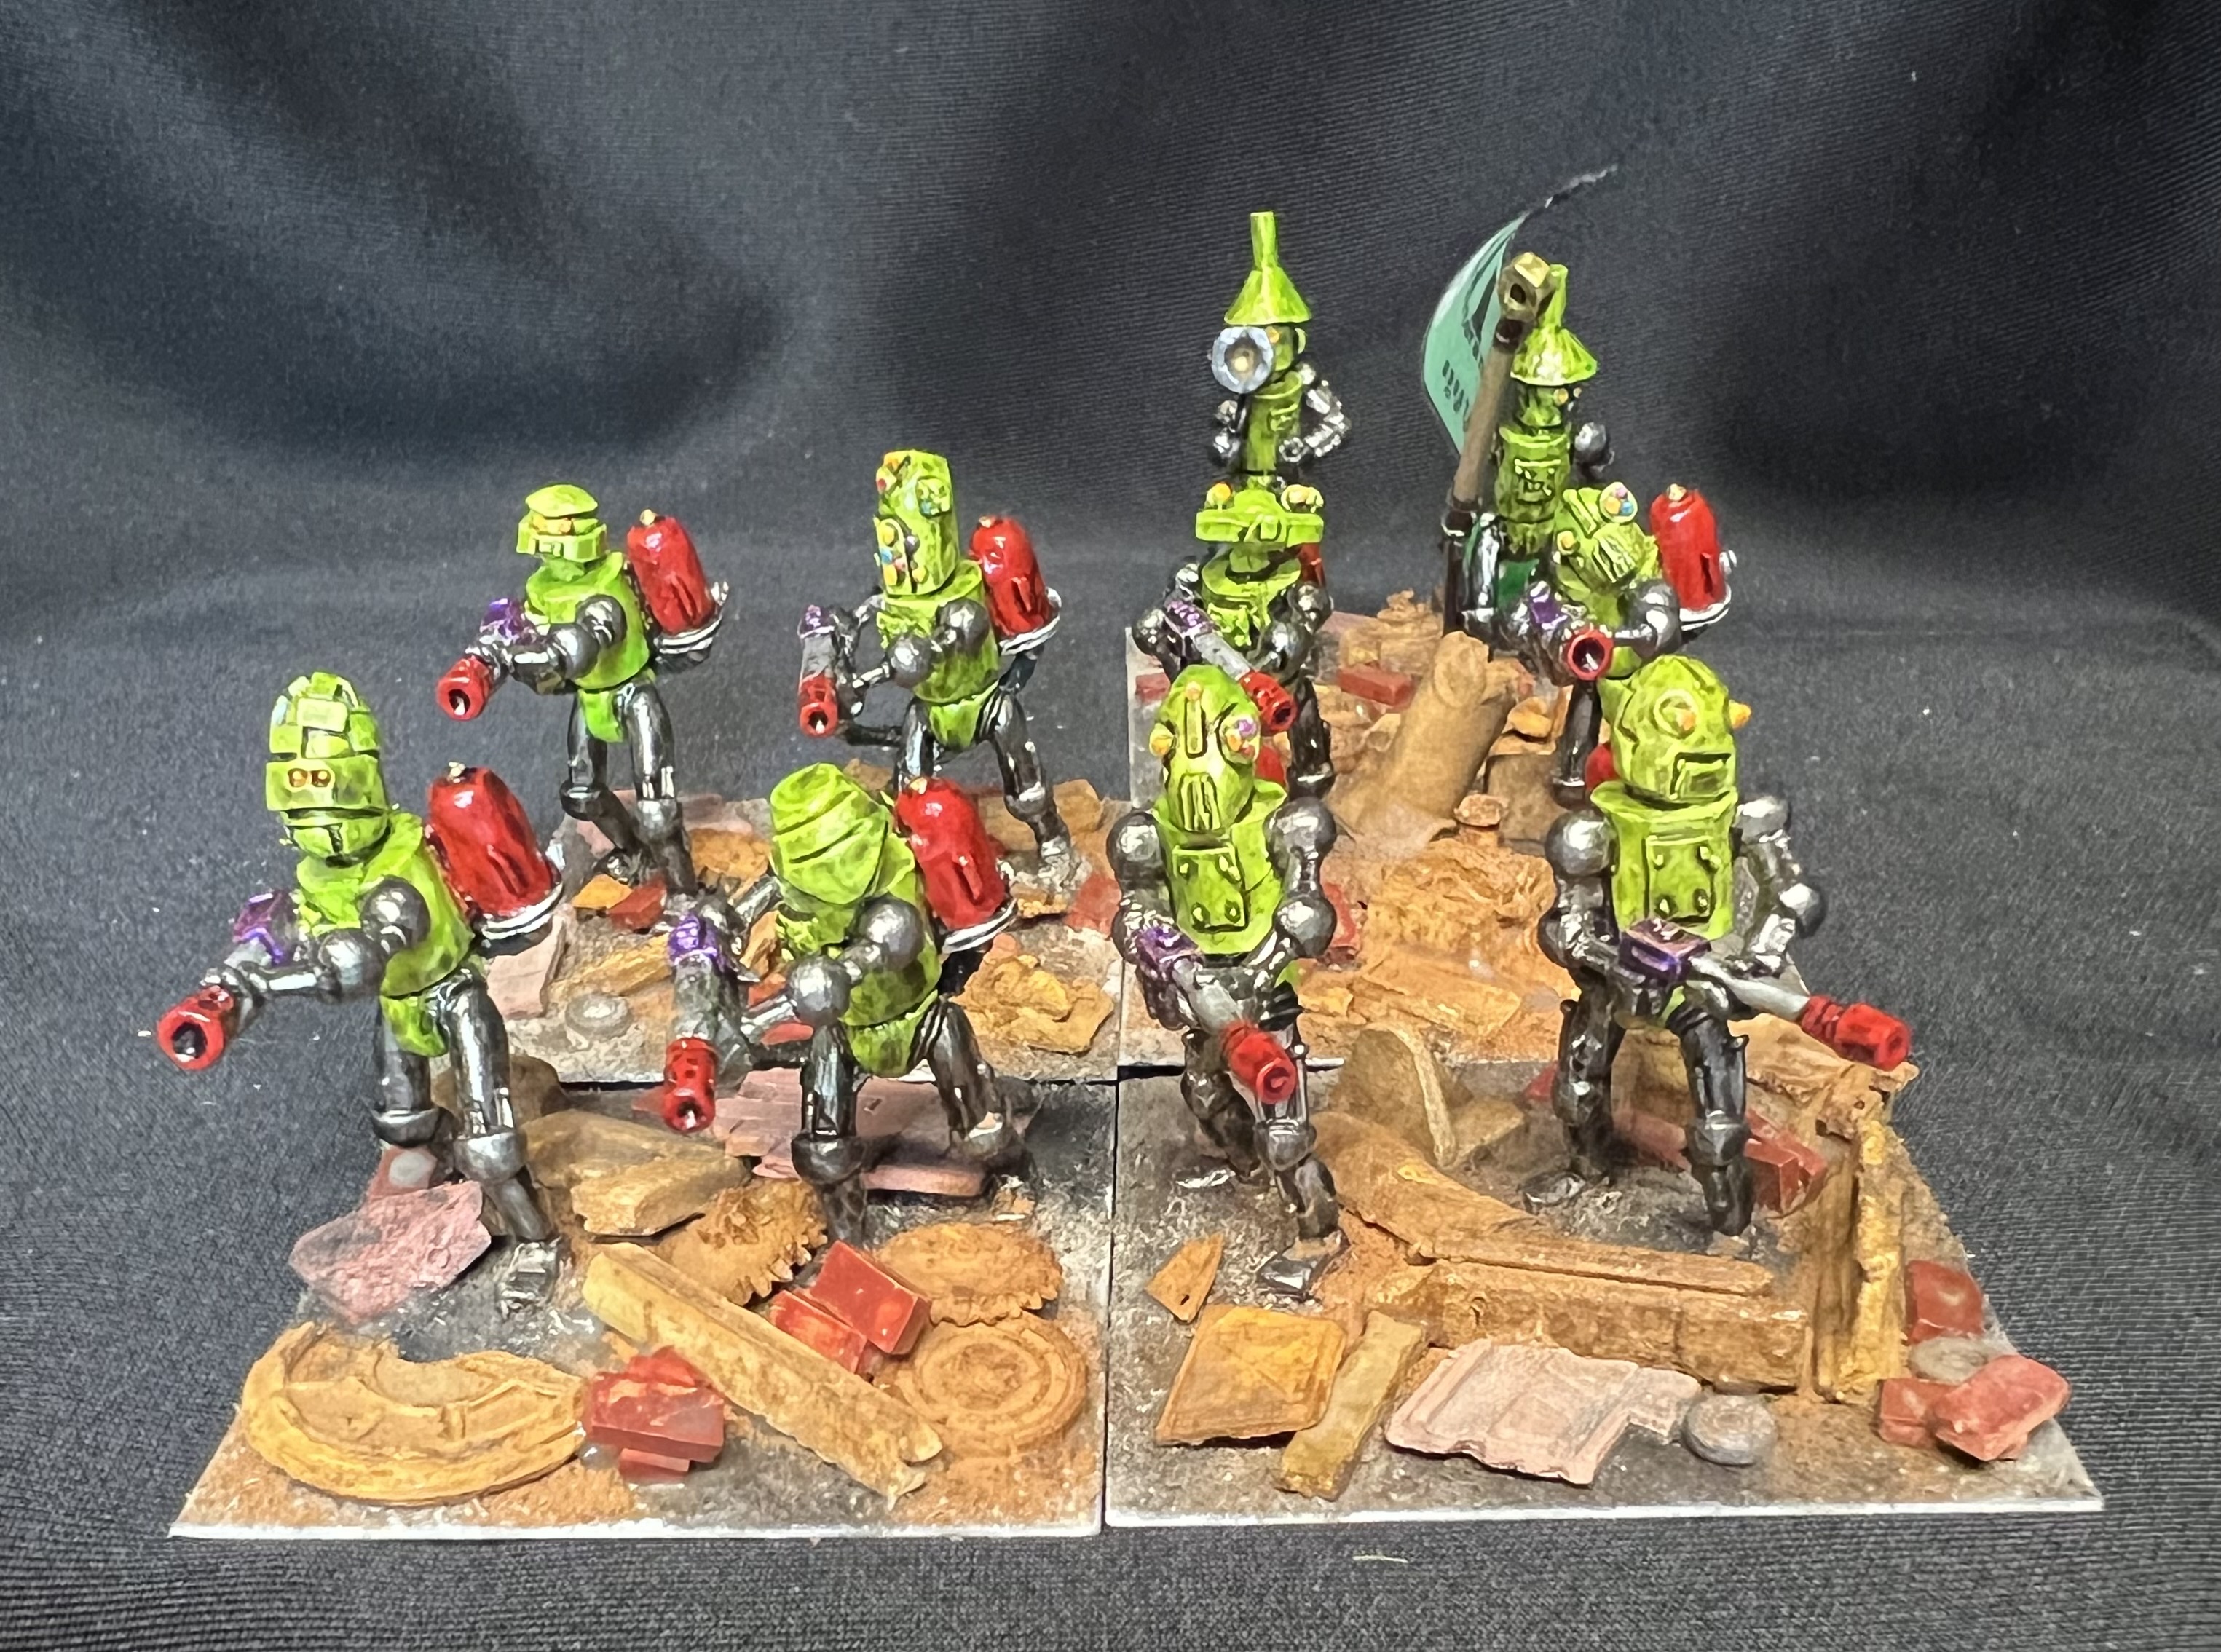
In any case, back in April, I did actually paint up several regiments of Professor Nitpik’s Tin Men. I made these to use at the MHWA HUZZAH! convention in May up in South Portland, Maine. My total production was 80 figures in 5 regiments. As you might expect, painting up that quantity in a month took a lot of time – and that left blogging in the lurch.
I’ll be sharing each regiment below in turn, plus some shots of the HUZZAH! games that I ran in May. Of course, I’ll also share details of the paints, flocking, etc. that I used on the figures.
All of the Tin Men figures come from the Wars of Ozz website. All are 28mm in scale, and metal. The bases that I used are 2″ square for size reference. Five bases make up a regiment. Most of the Nitpik regiments come in sets of 20 figures. However, I only base two figures per base – so one SKU is good for two regiments of either the ones armed with axes or the ones wielding plasma blasters.
The exception would be the mini-swarm, which has 40 tiny robot/tinmen figures. Those I based 8 figures to a base.
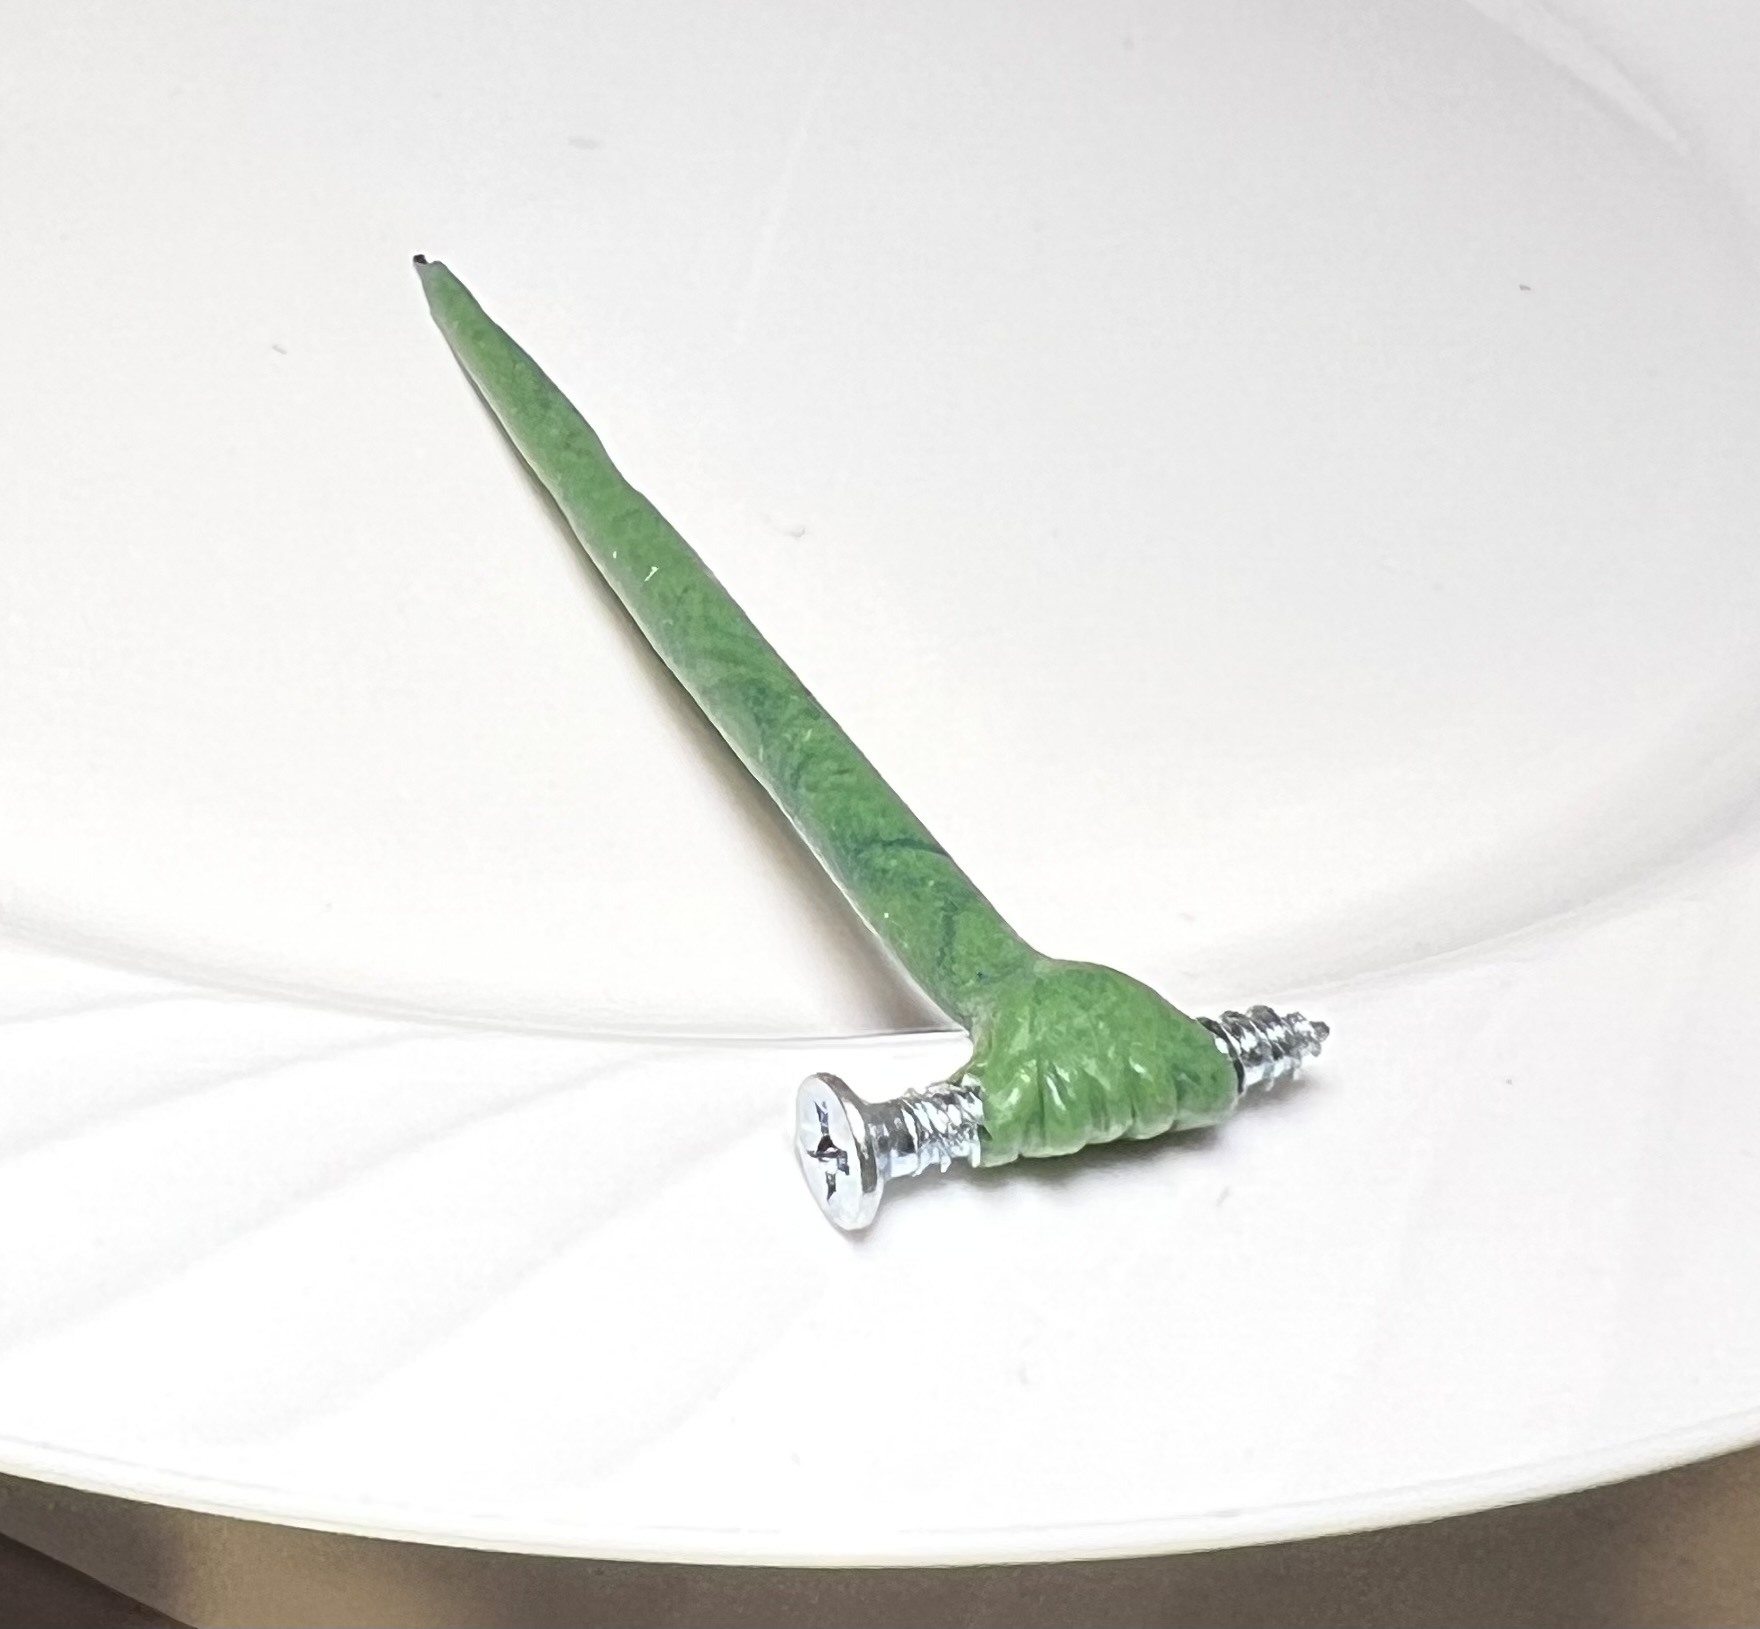
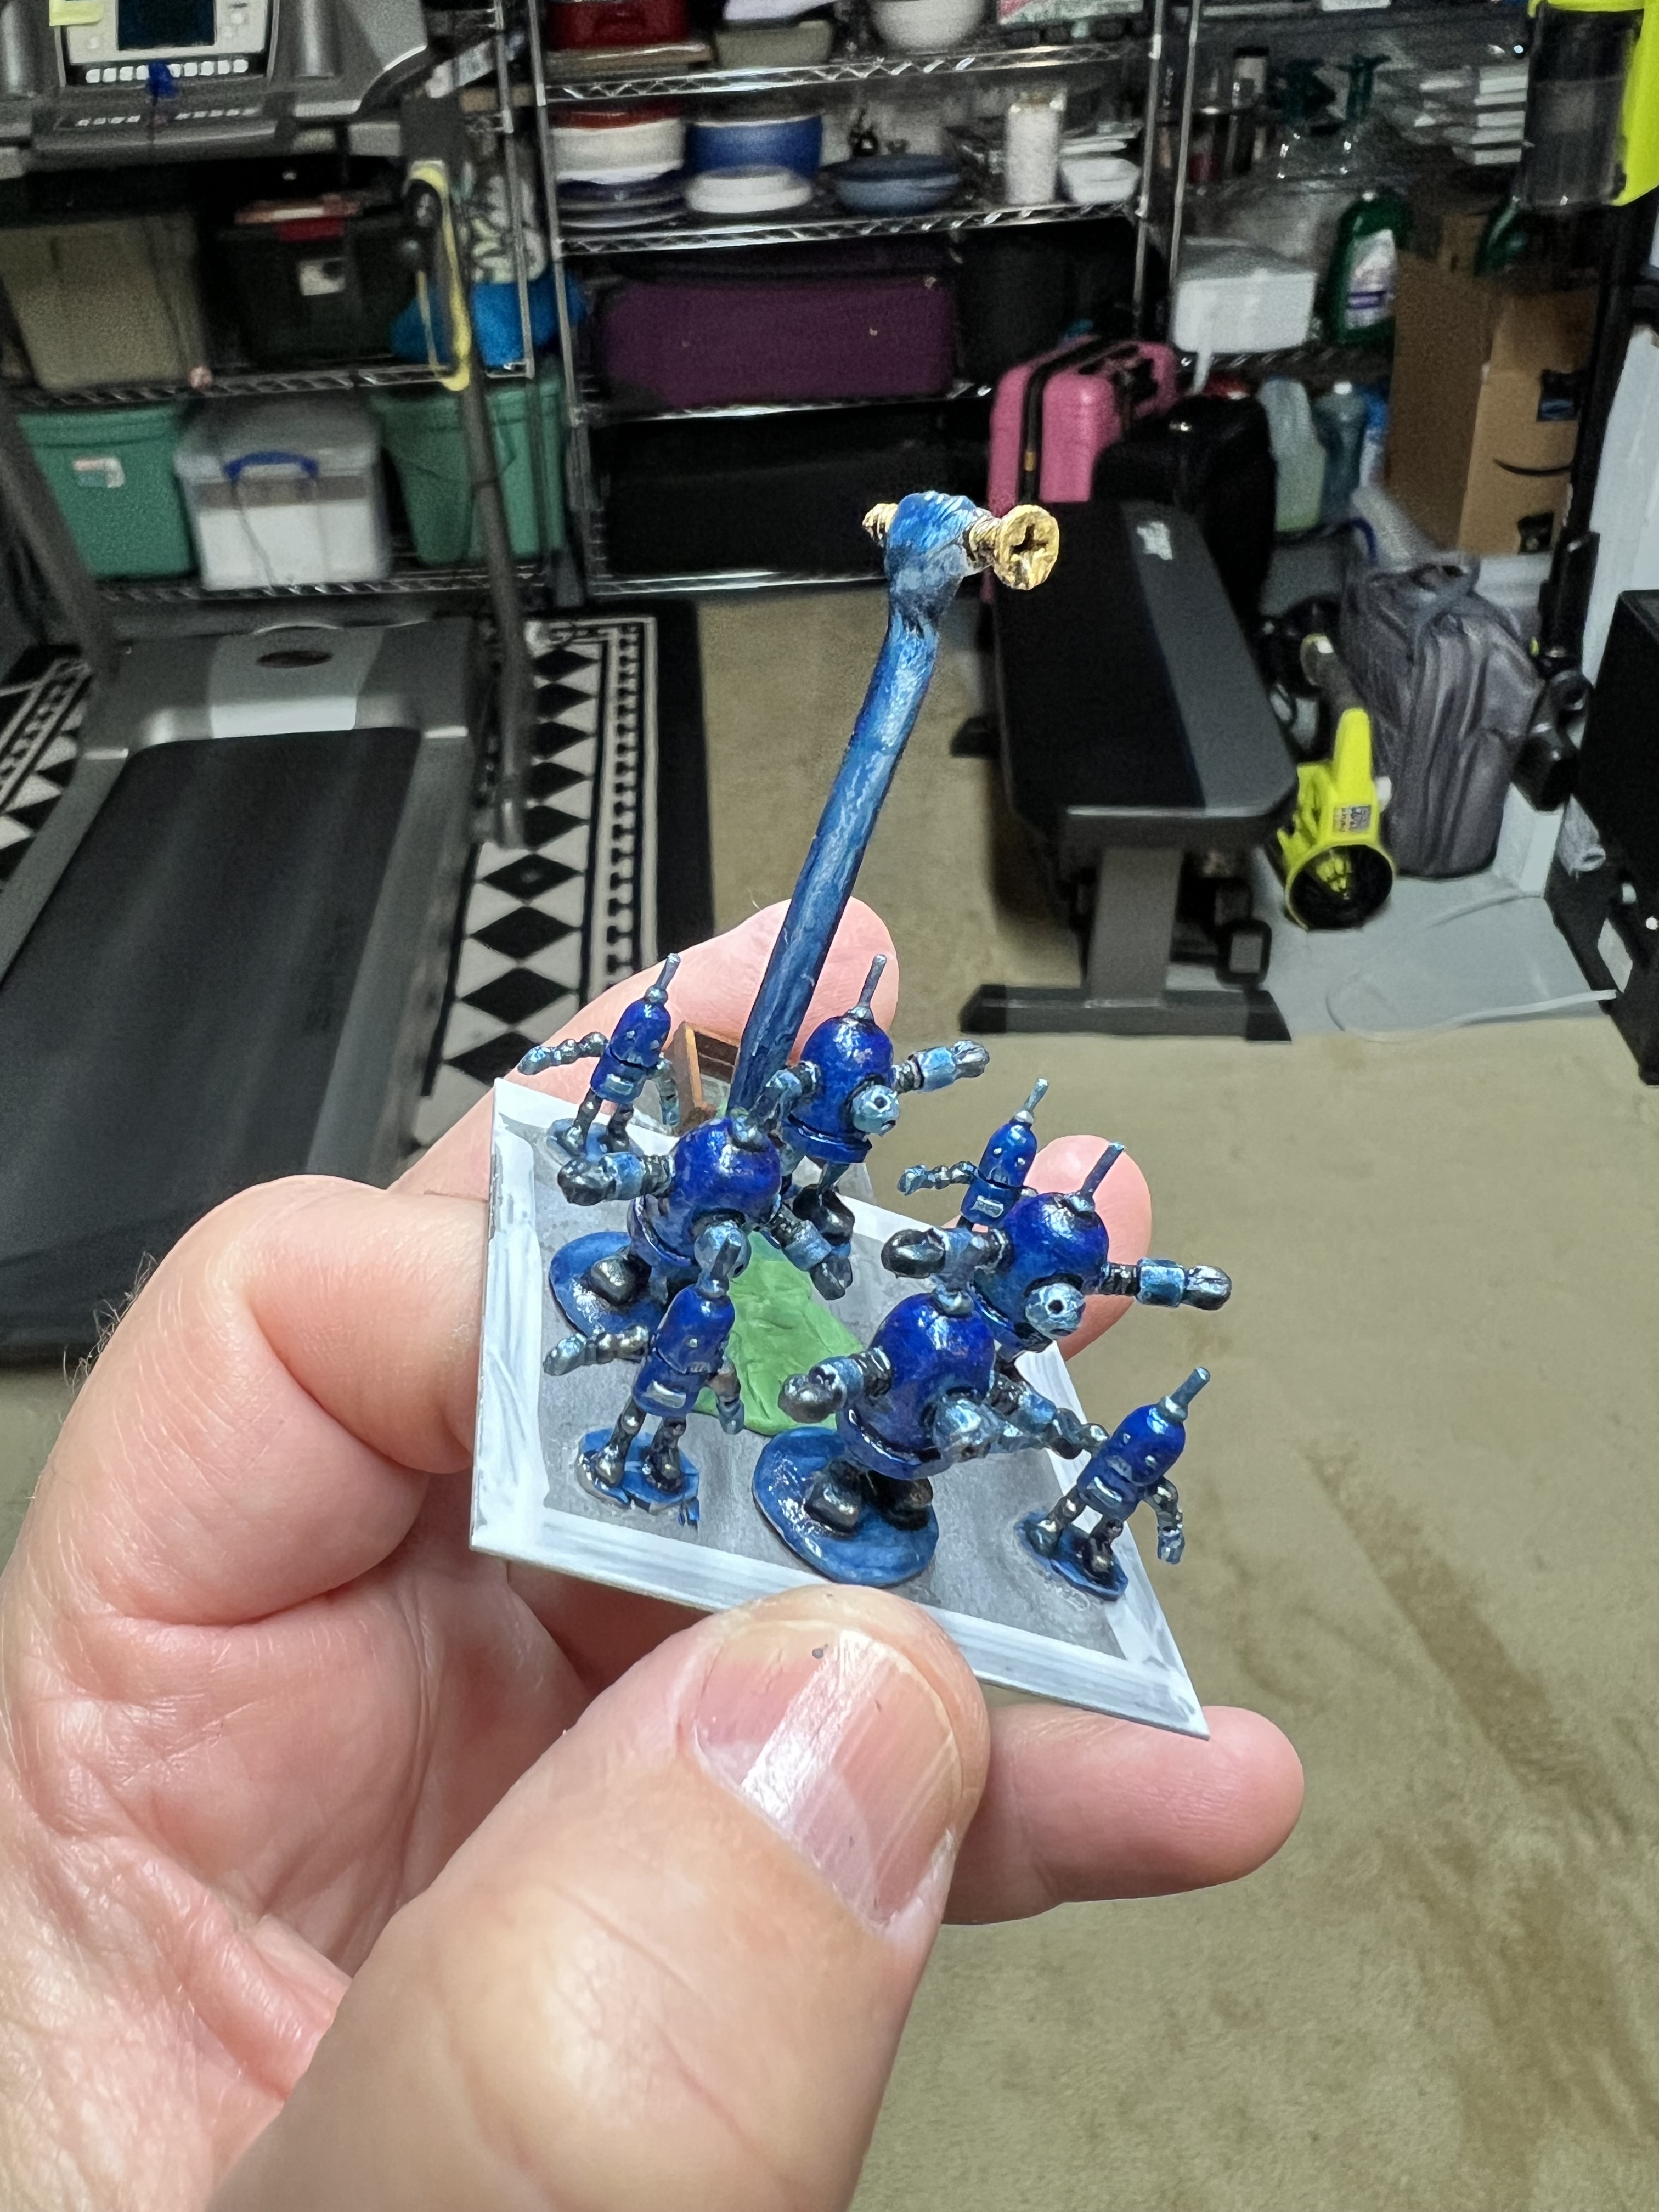
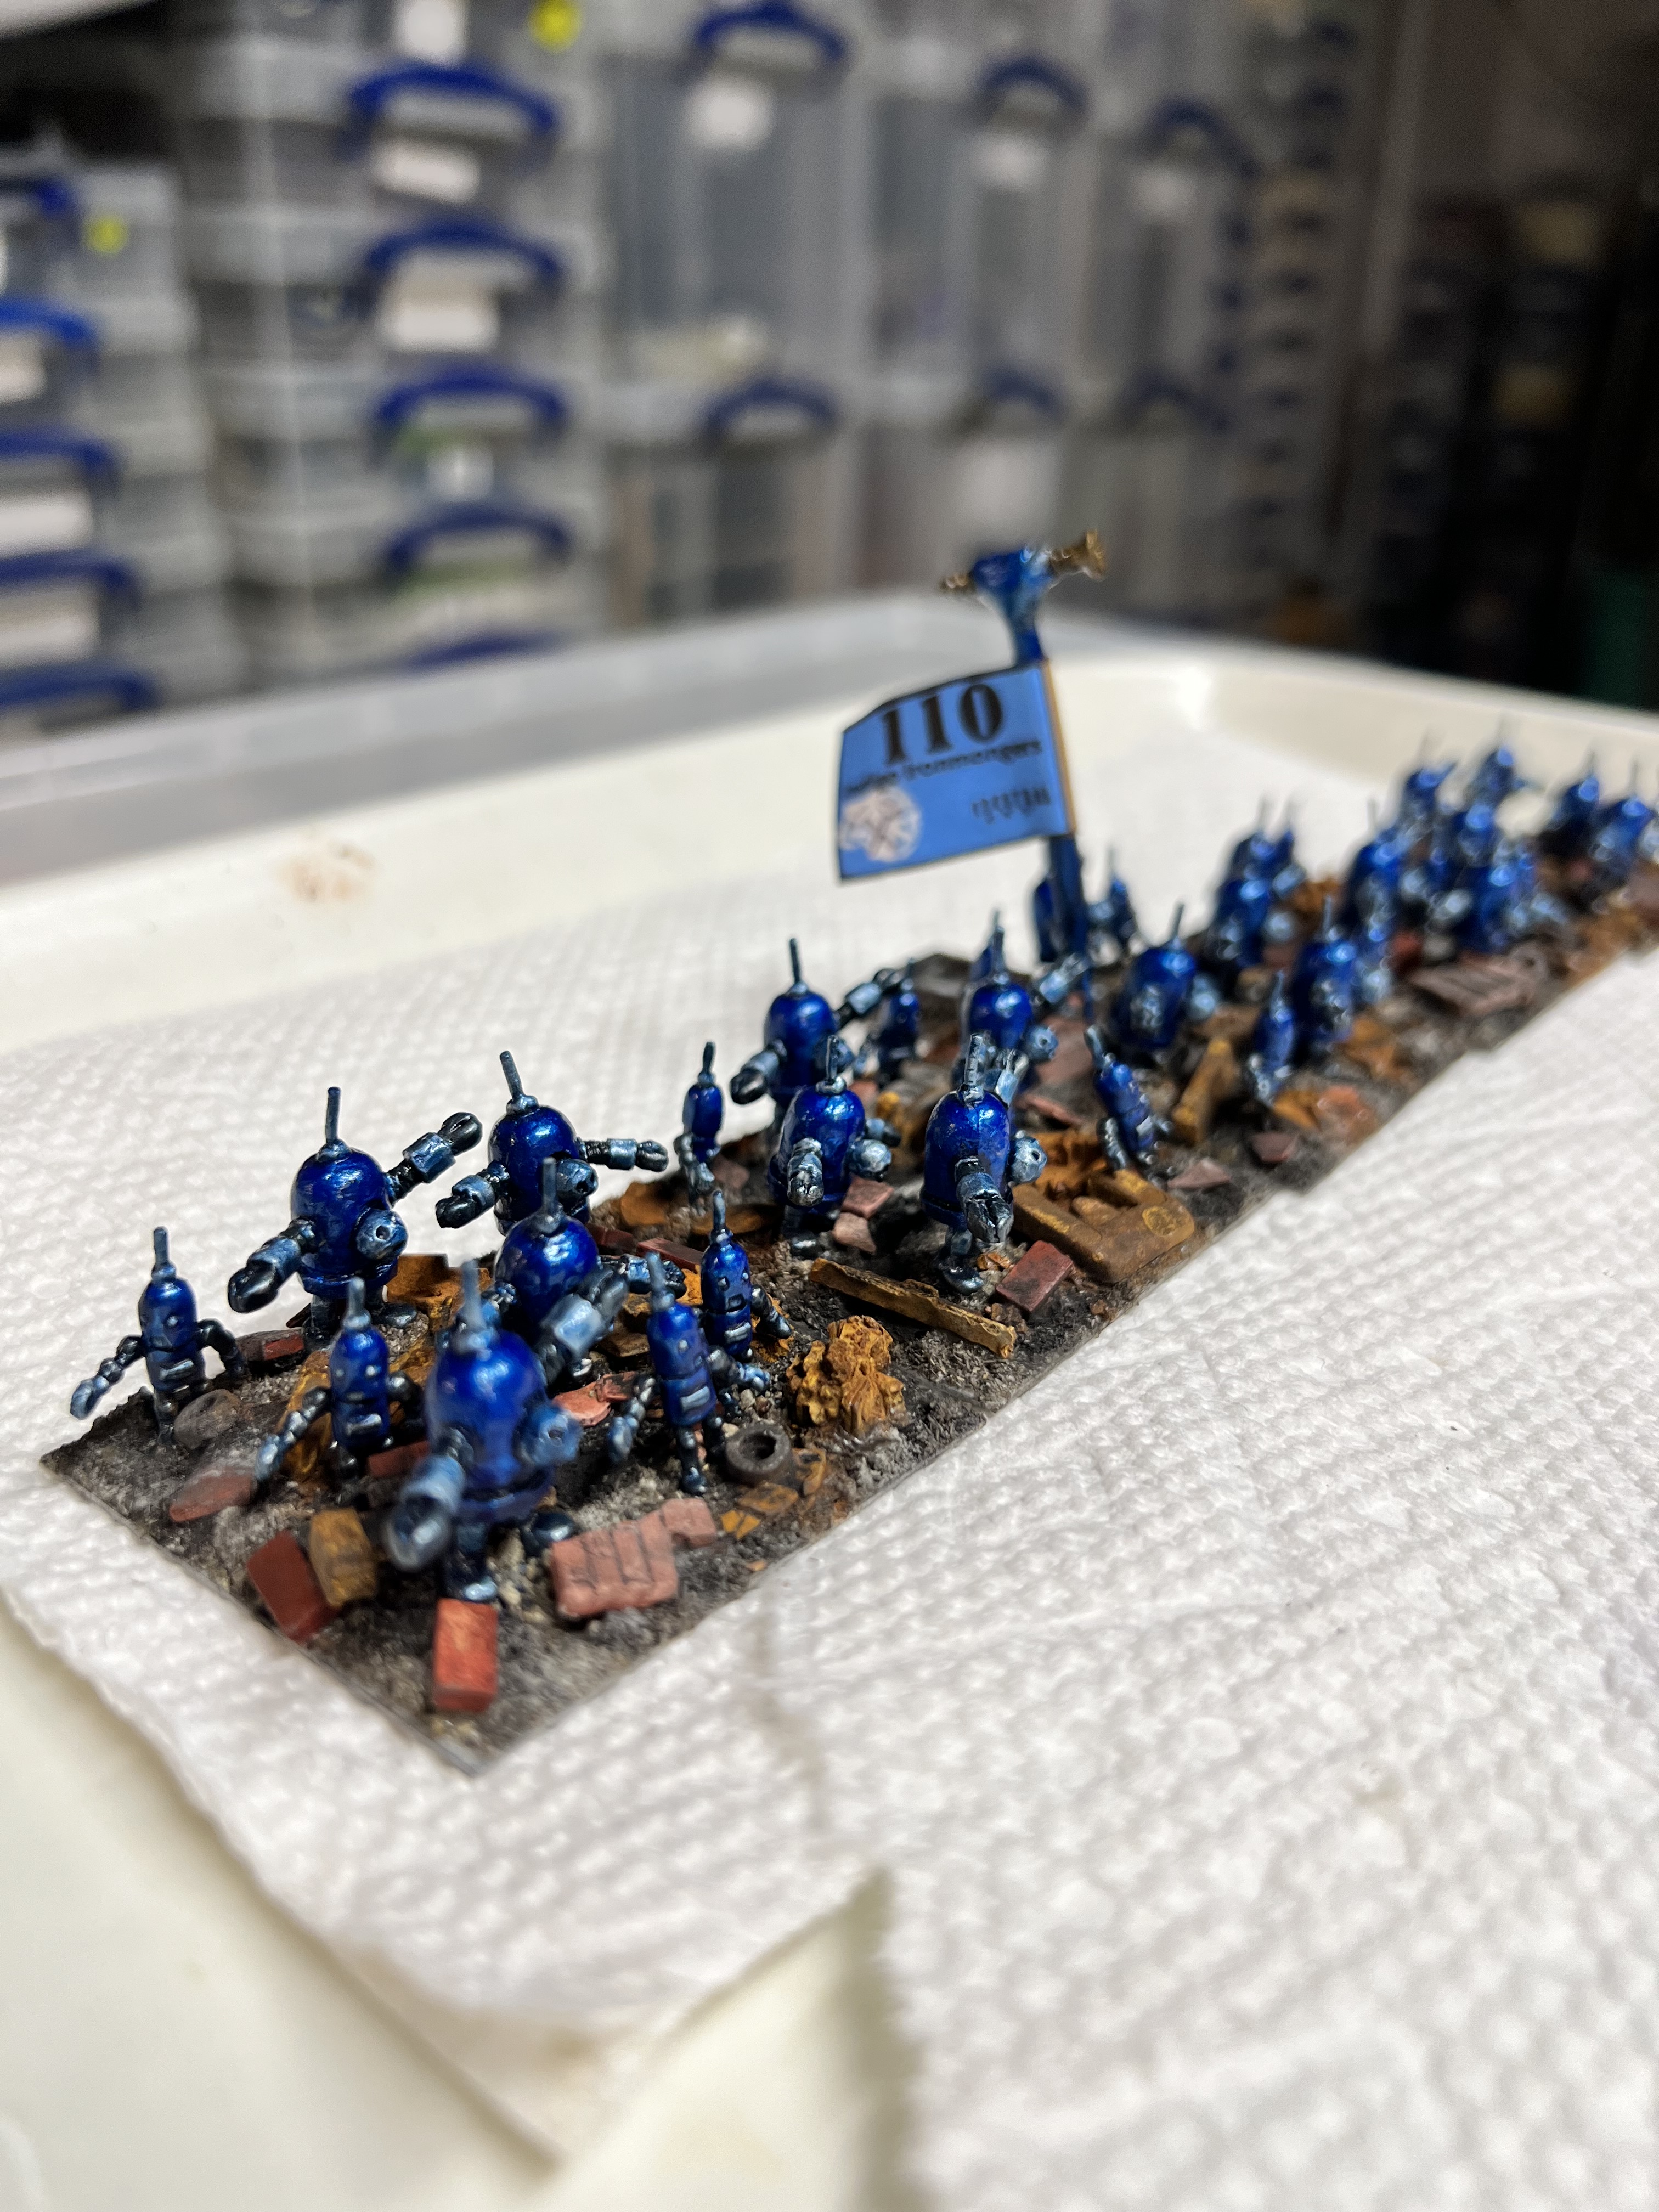
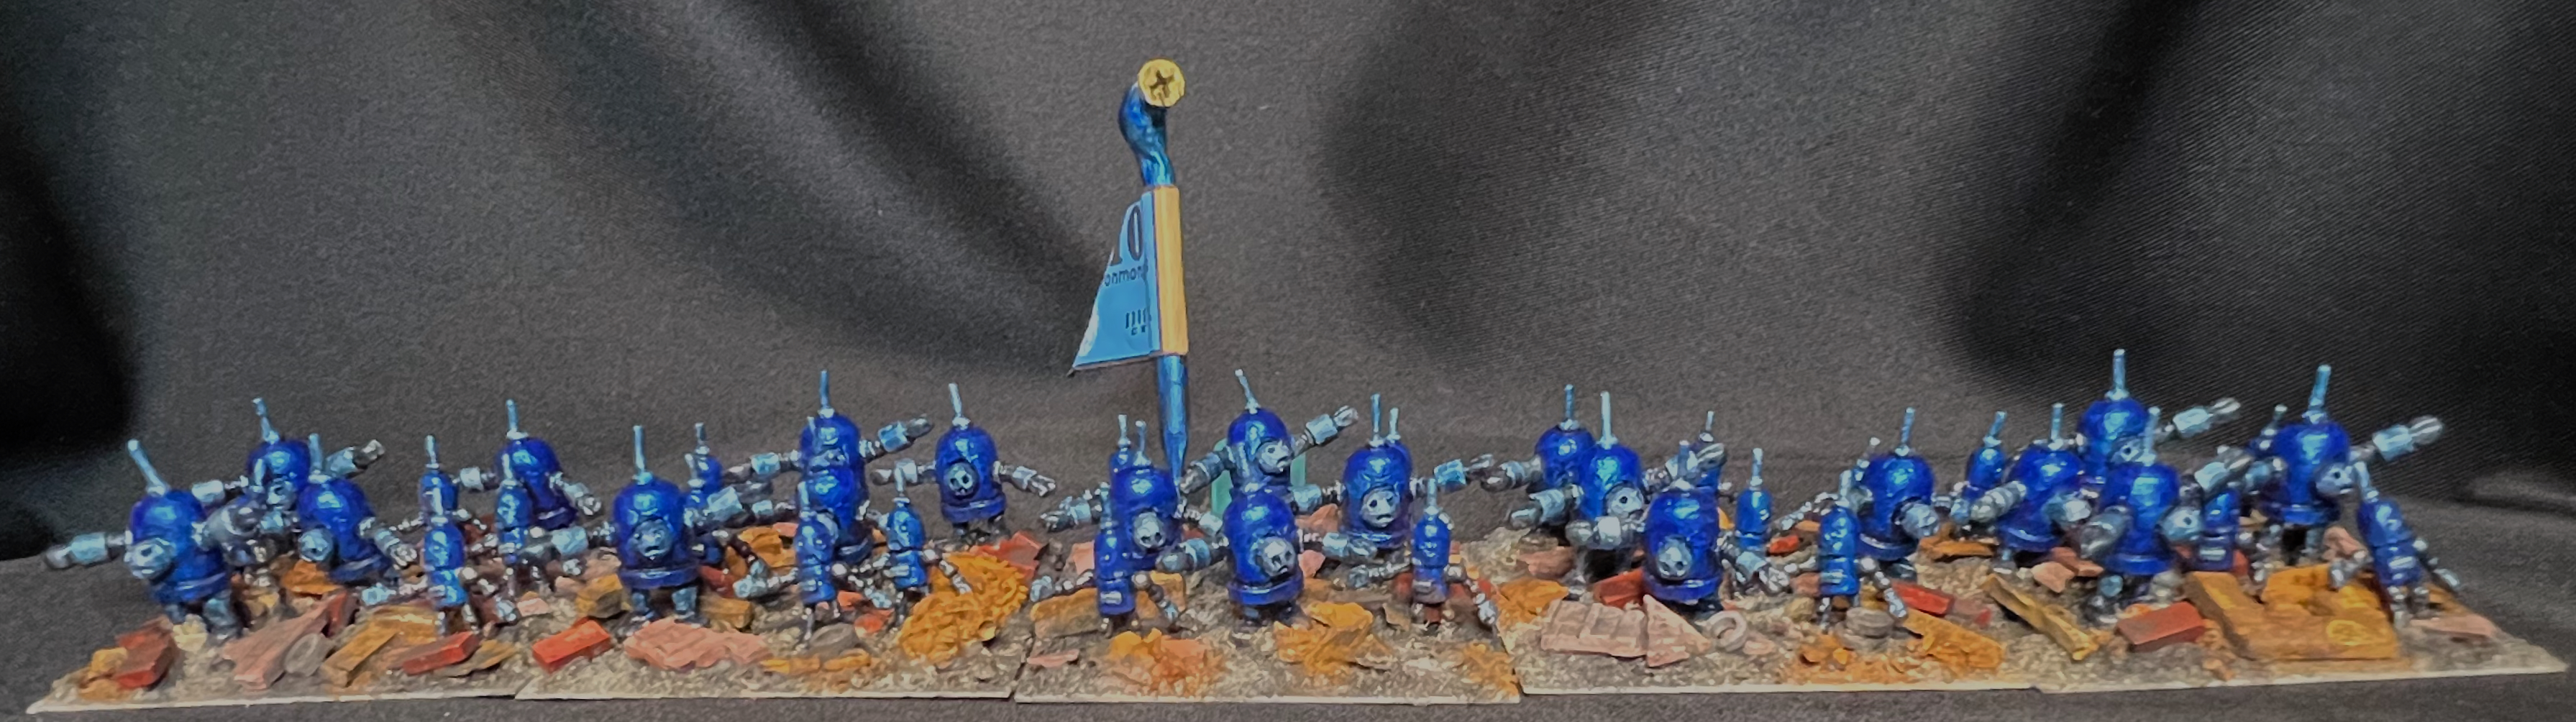
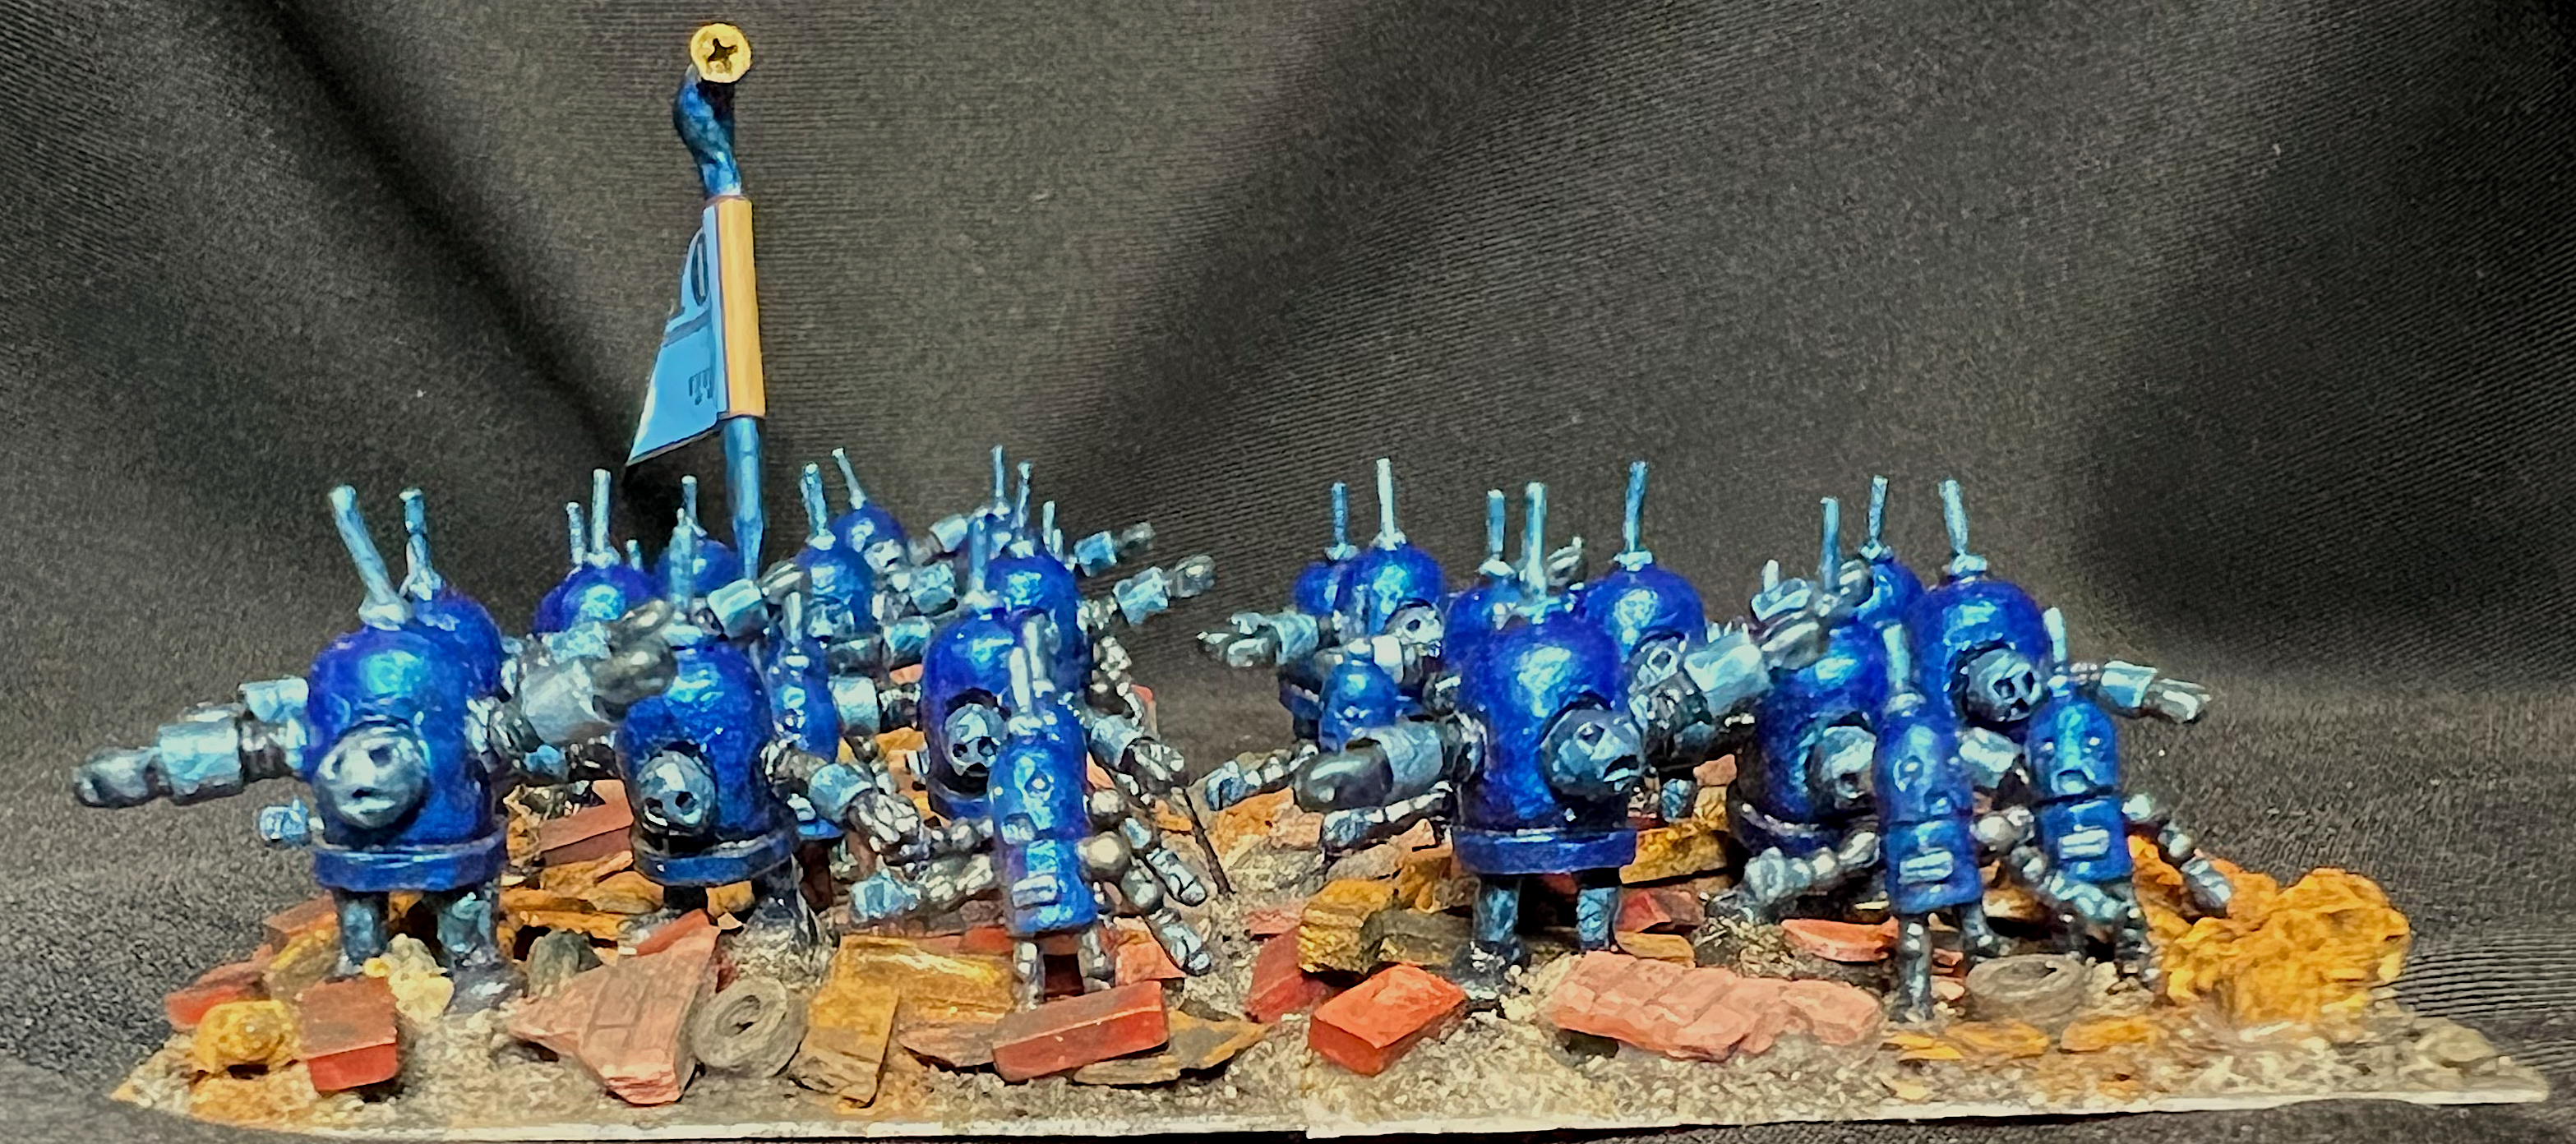
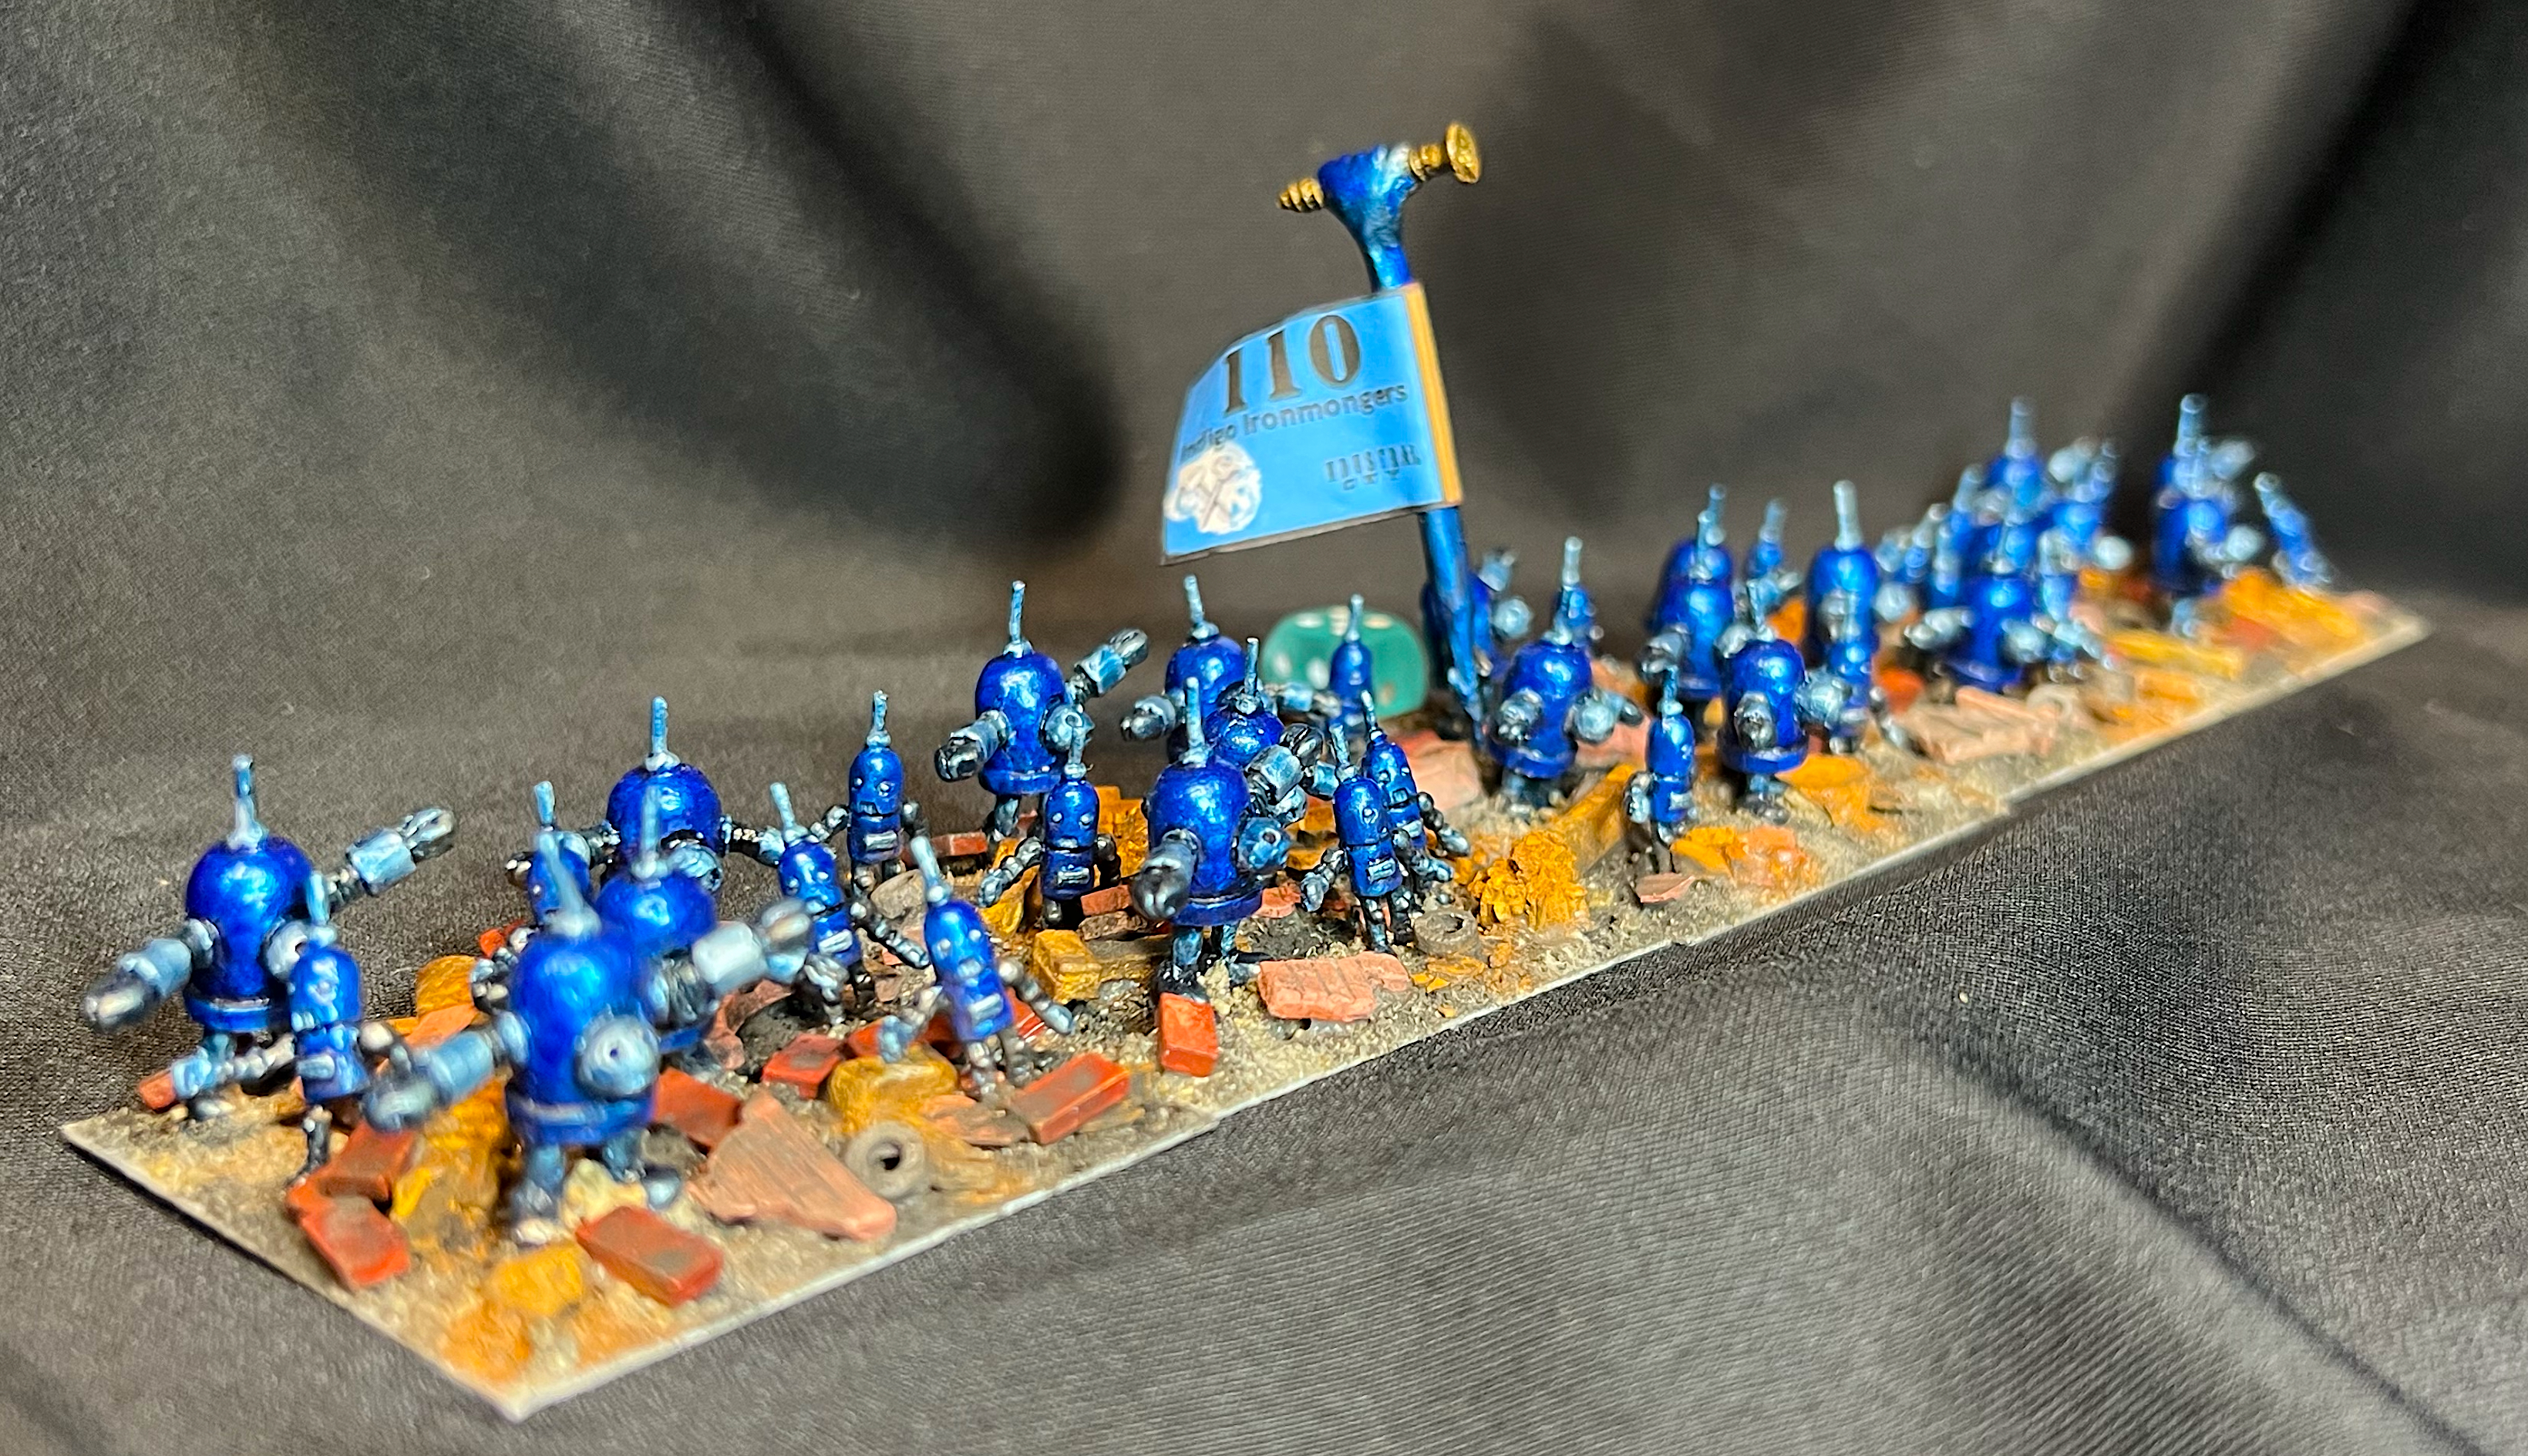
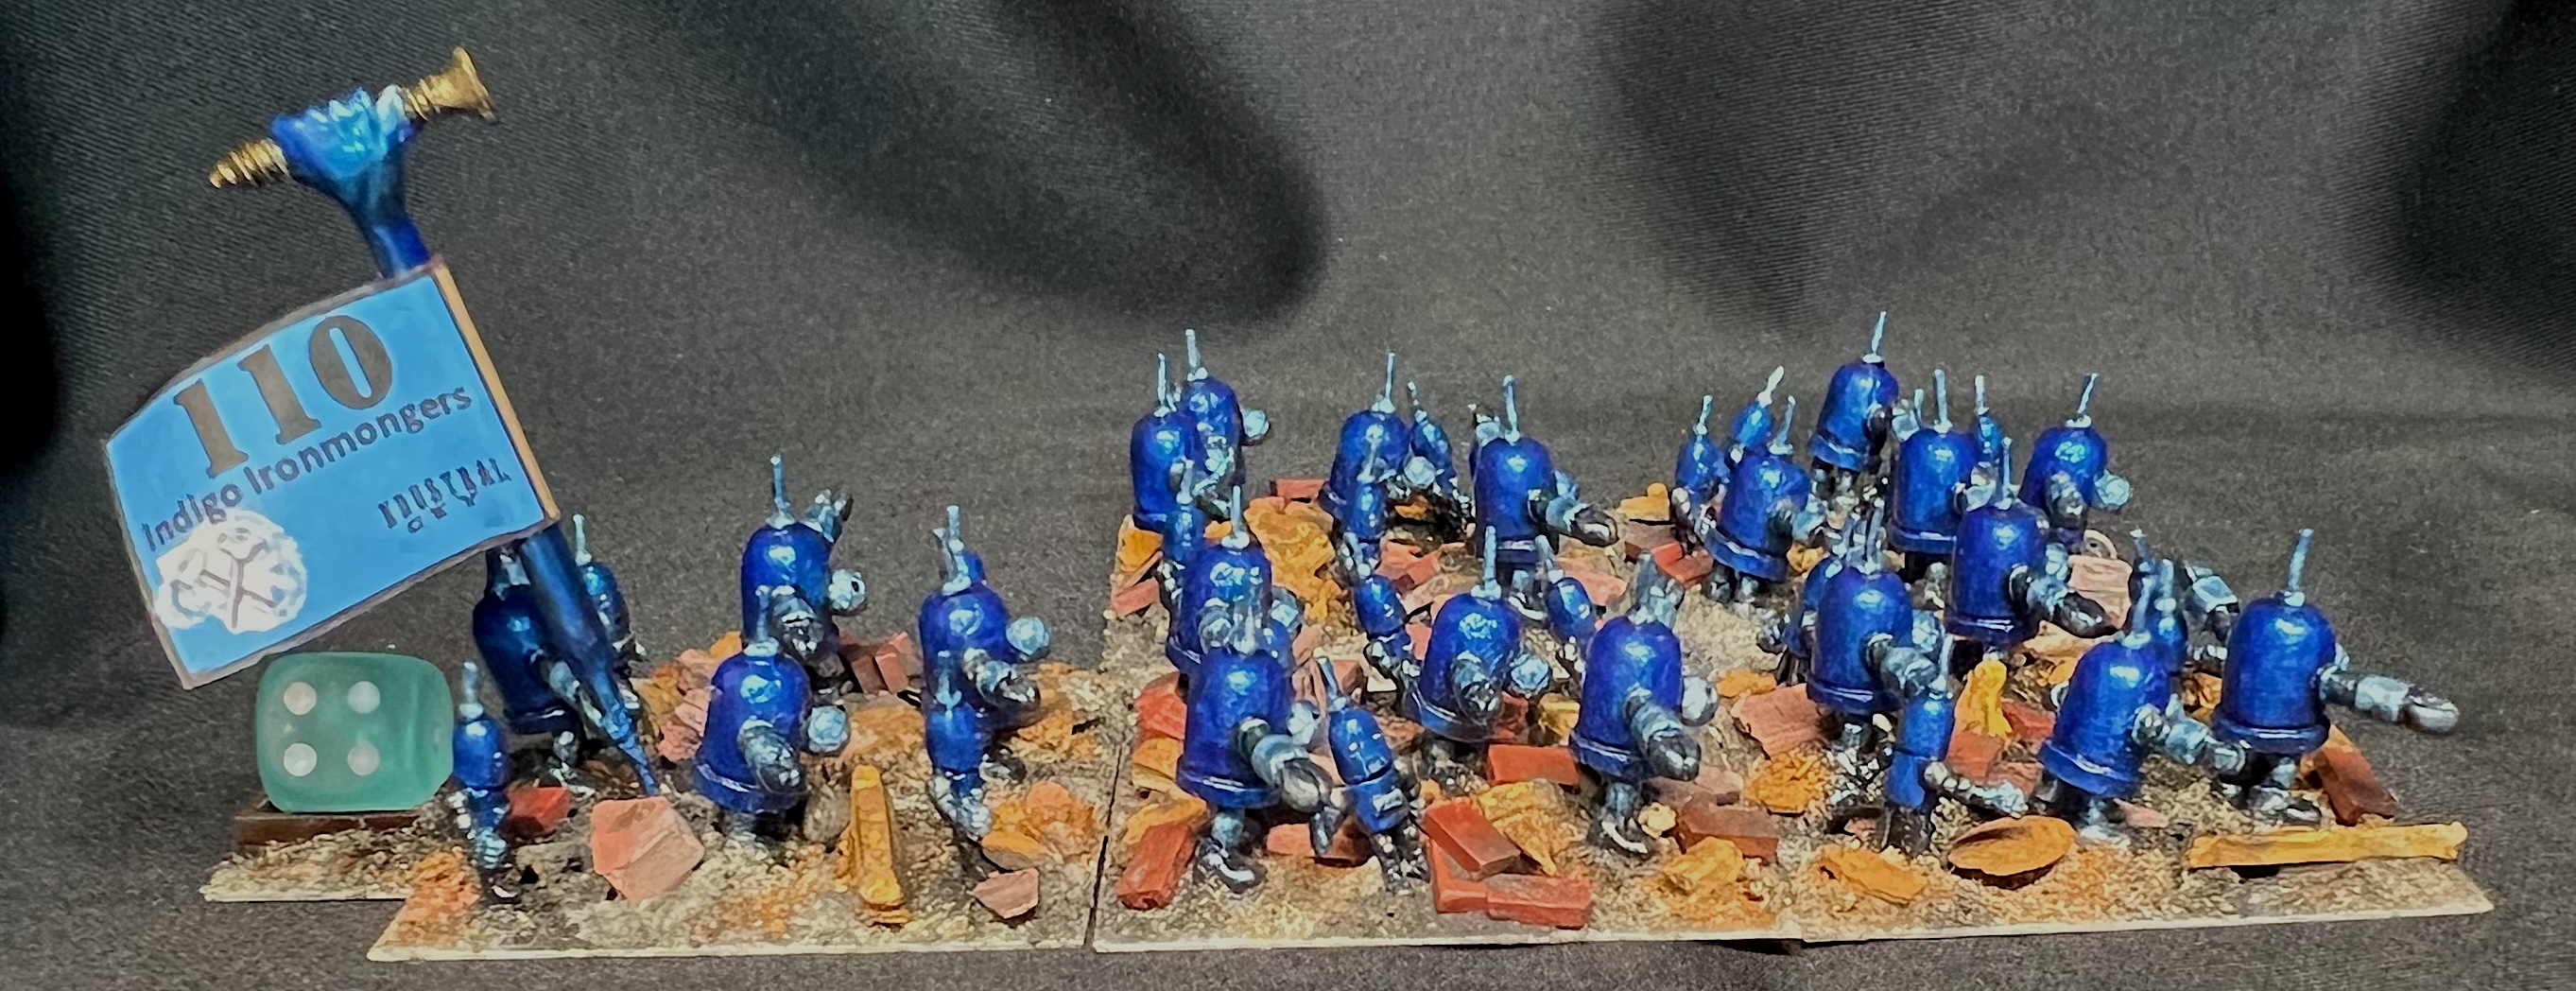
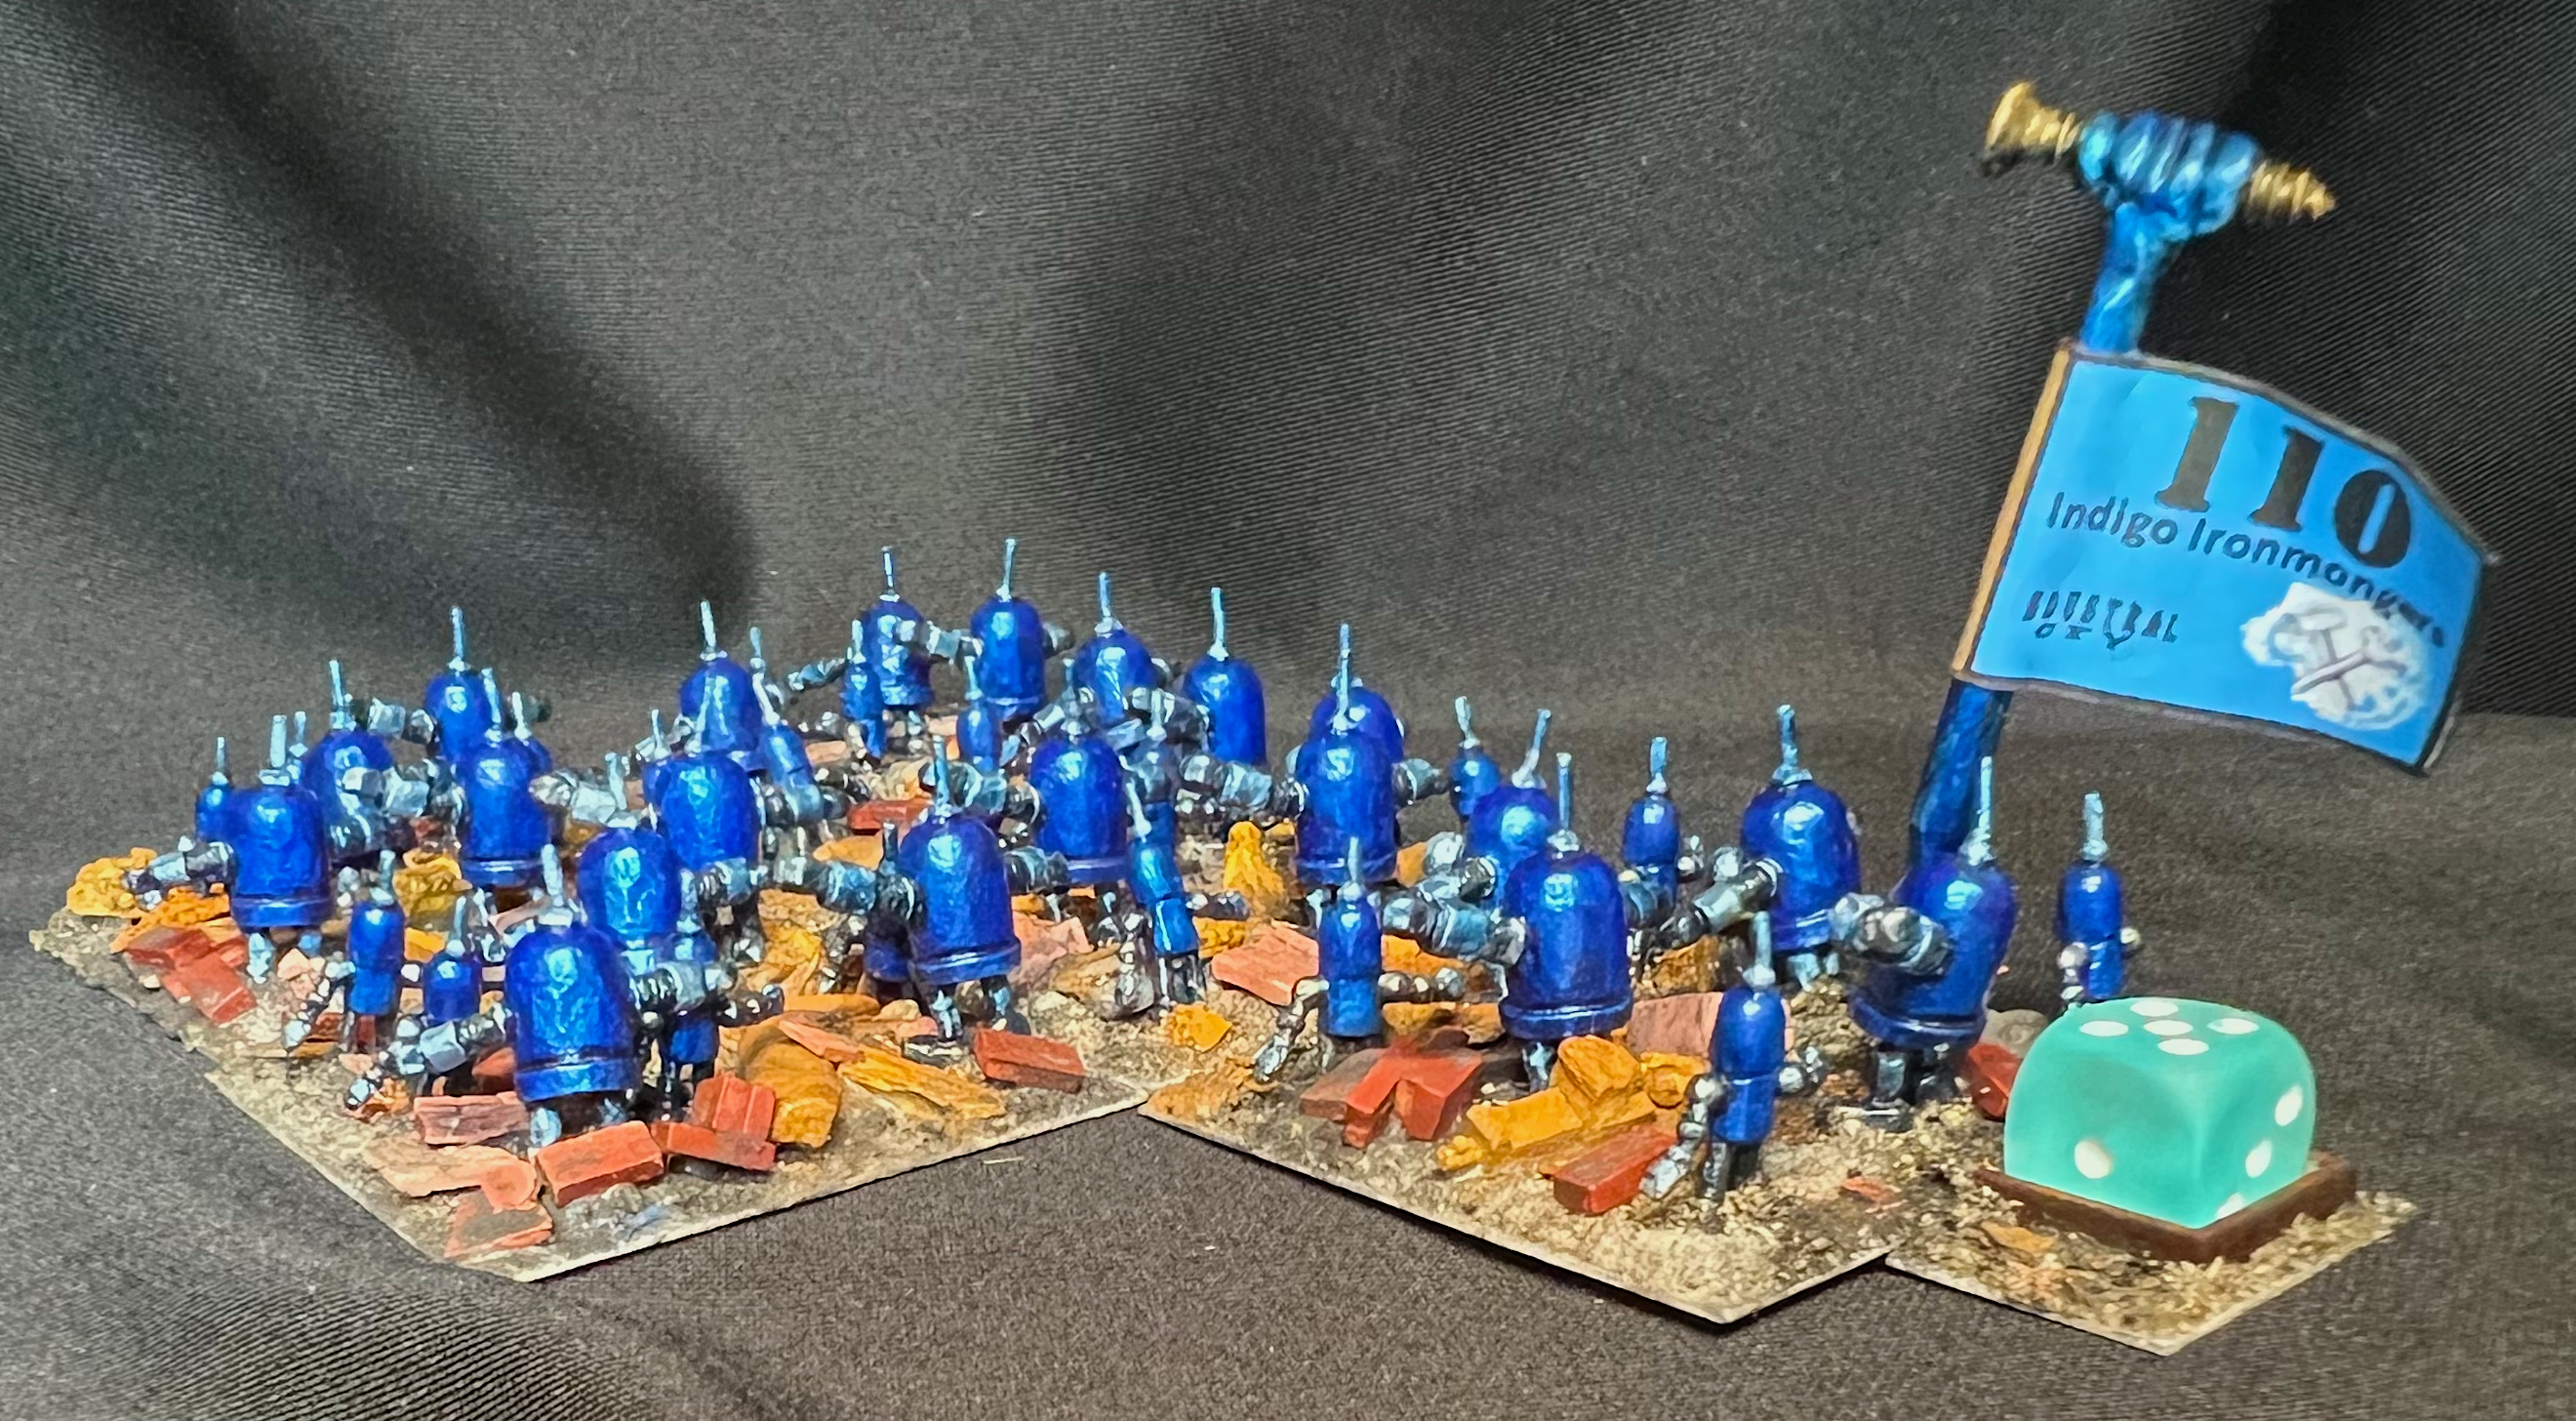
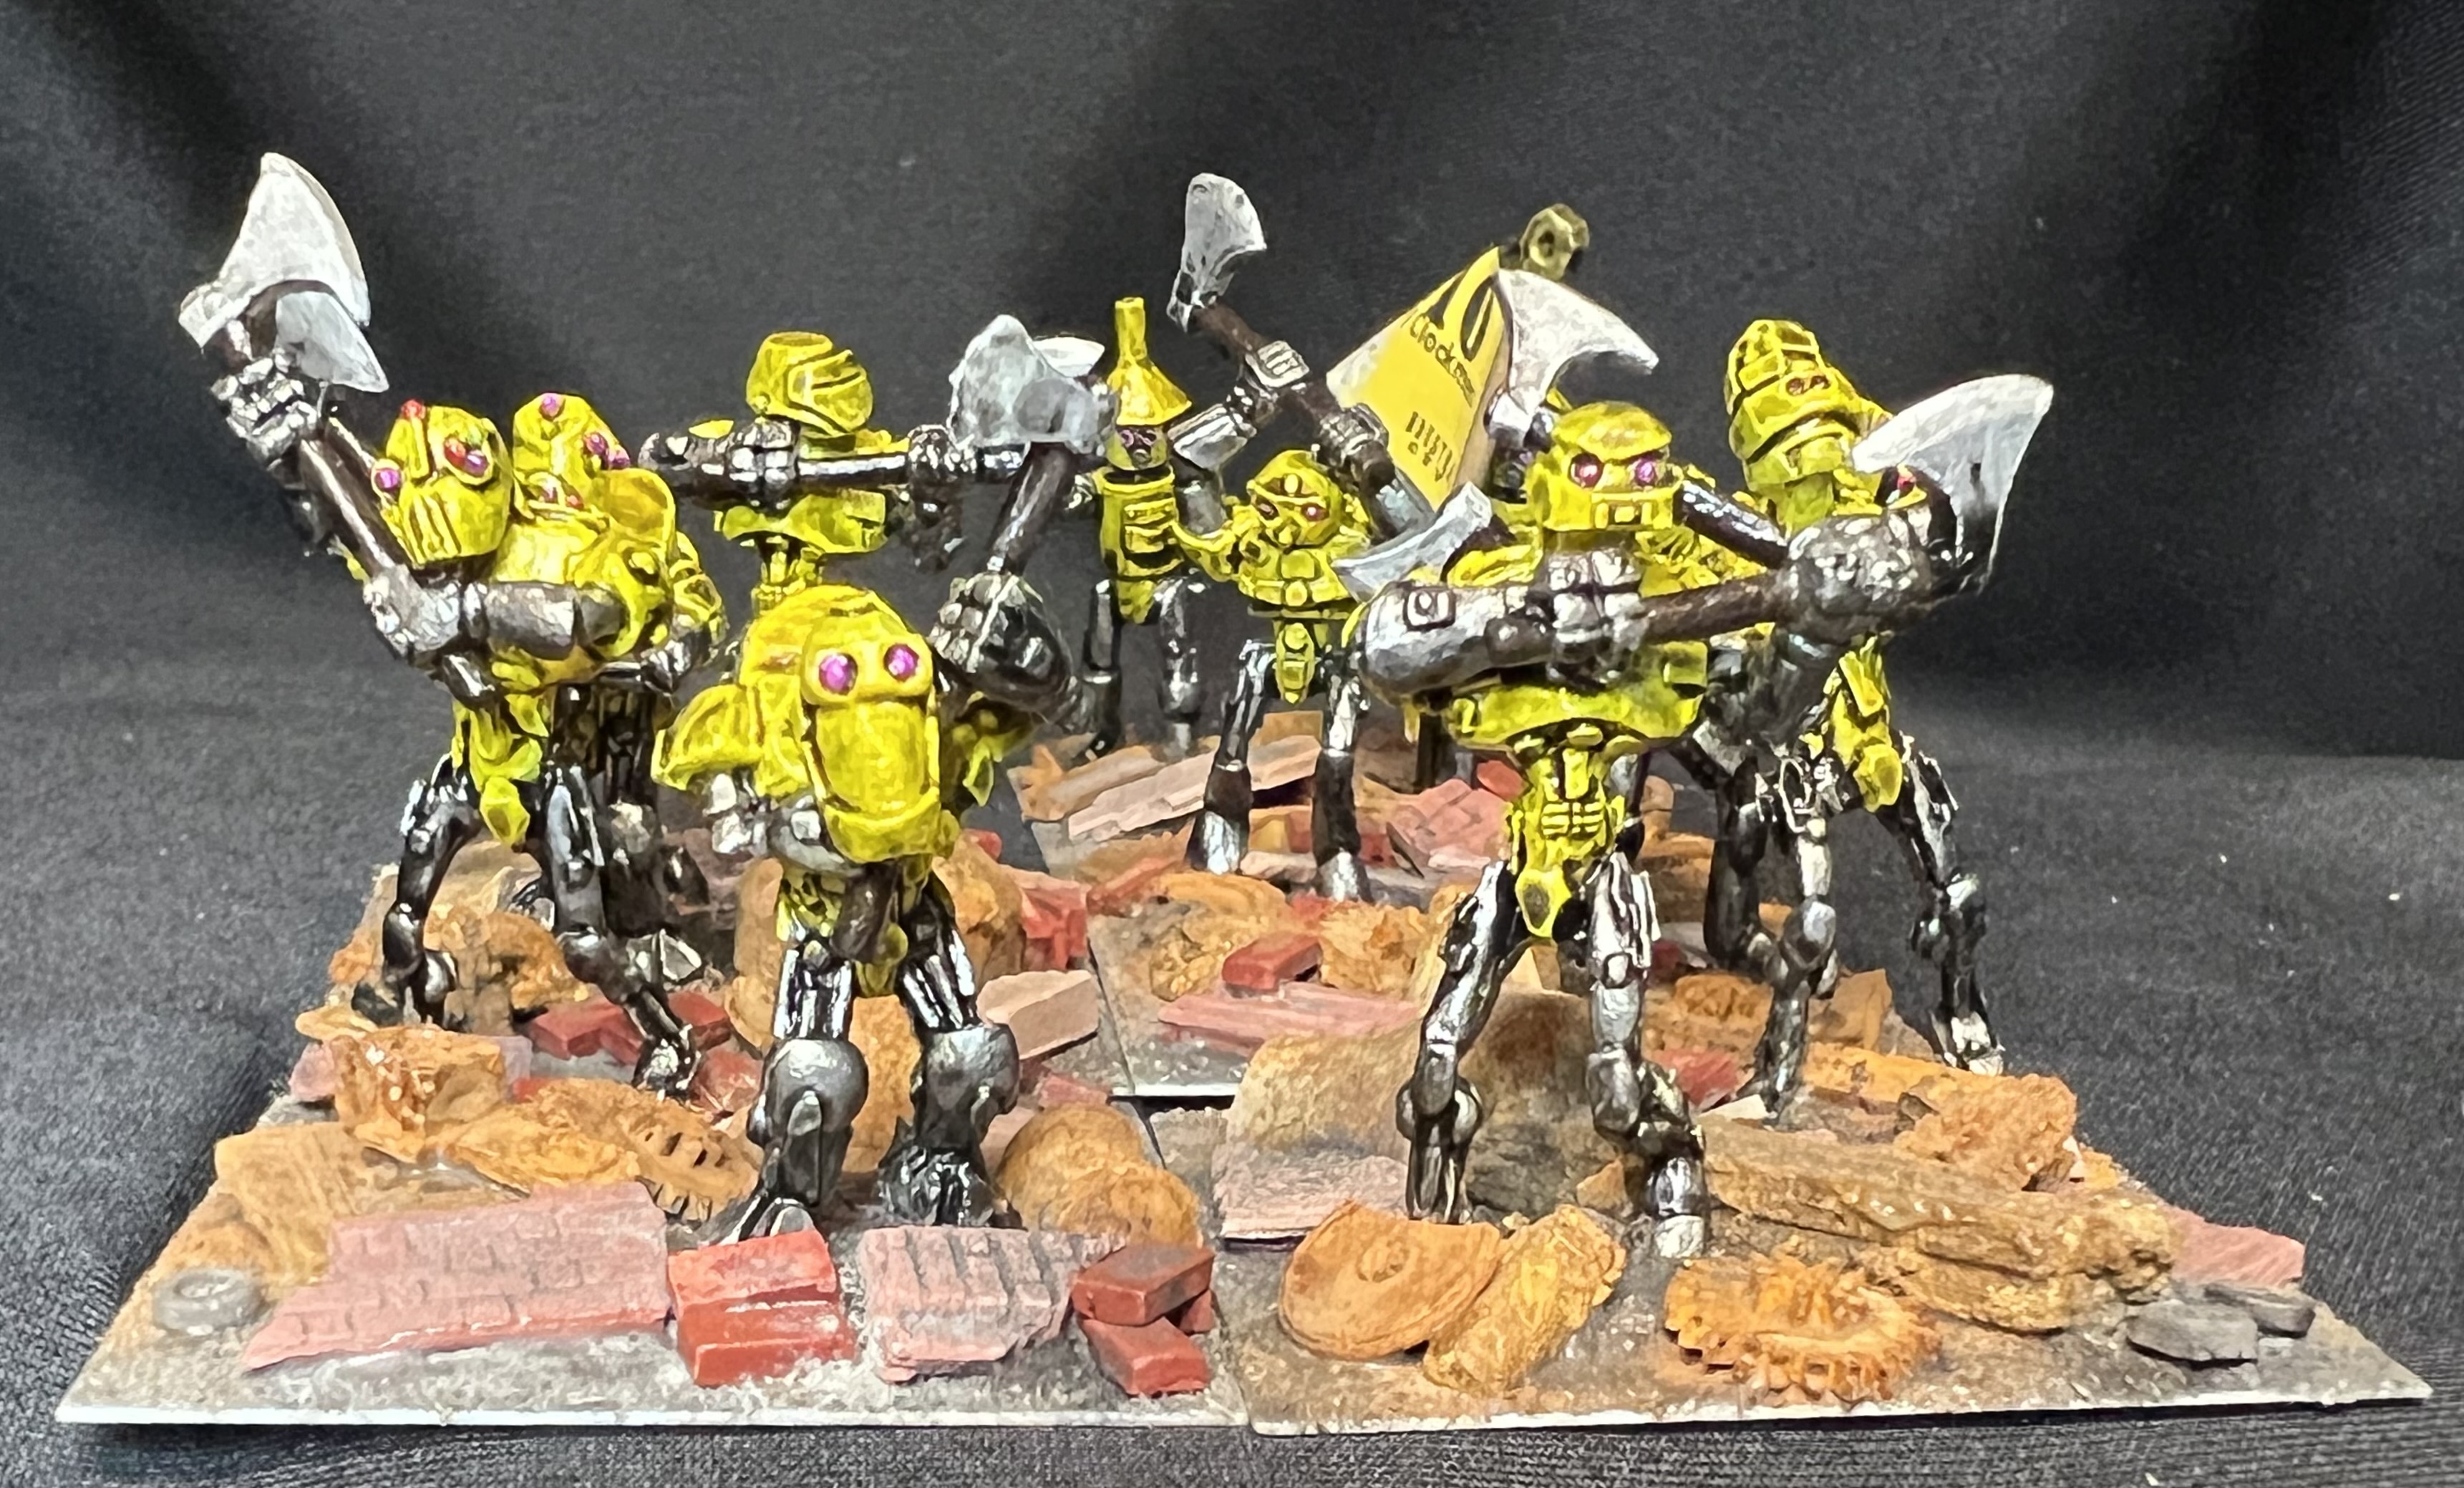
So on to the Tin Men! The first up I’ll share is a regiment type that I previously completed in a red/gold theme and posted here. I finished that one in April 2025, and did not assign it a name other than “001”. I had another one to paint up in a different color. It is the 40-figure “OZZ-542, Mechanical Mini Swarm with pulse blasters”. I went with a blue and chrome look to differentiate the regiment from 001. I also gave this one a name instead of a number as Buck Surdu had been kind enough to provide me with personalized regimental battle flags to match my names. I also made the flagstaff’s top with a screw instead of a nut. He did that for all of these. The name I chose was “The Indigo Ironmongers”.
The Indigo Ironmongers
First, some WIP photos:
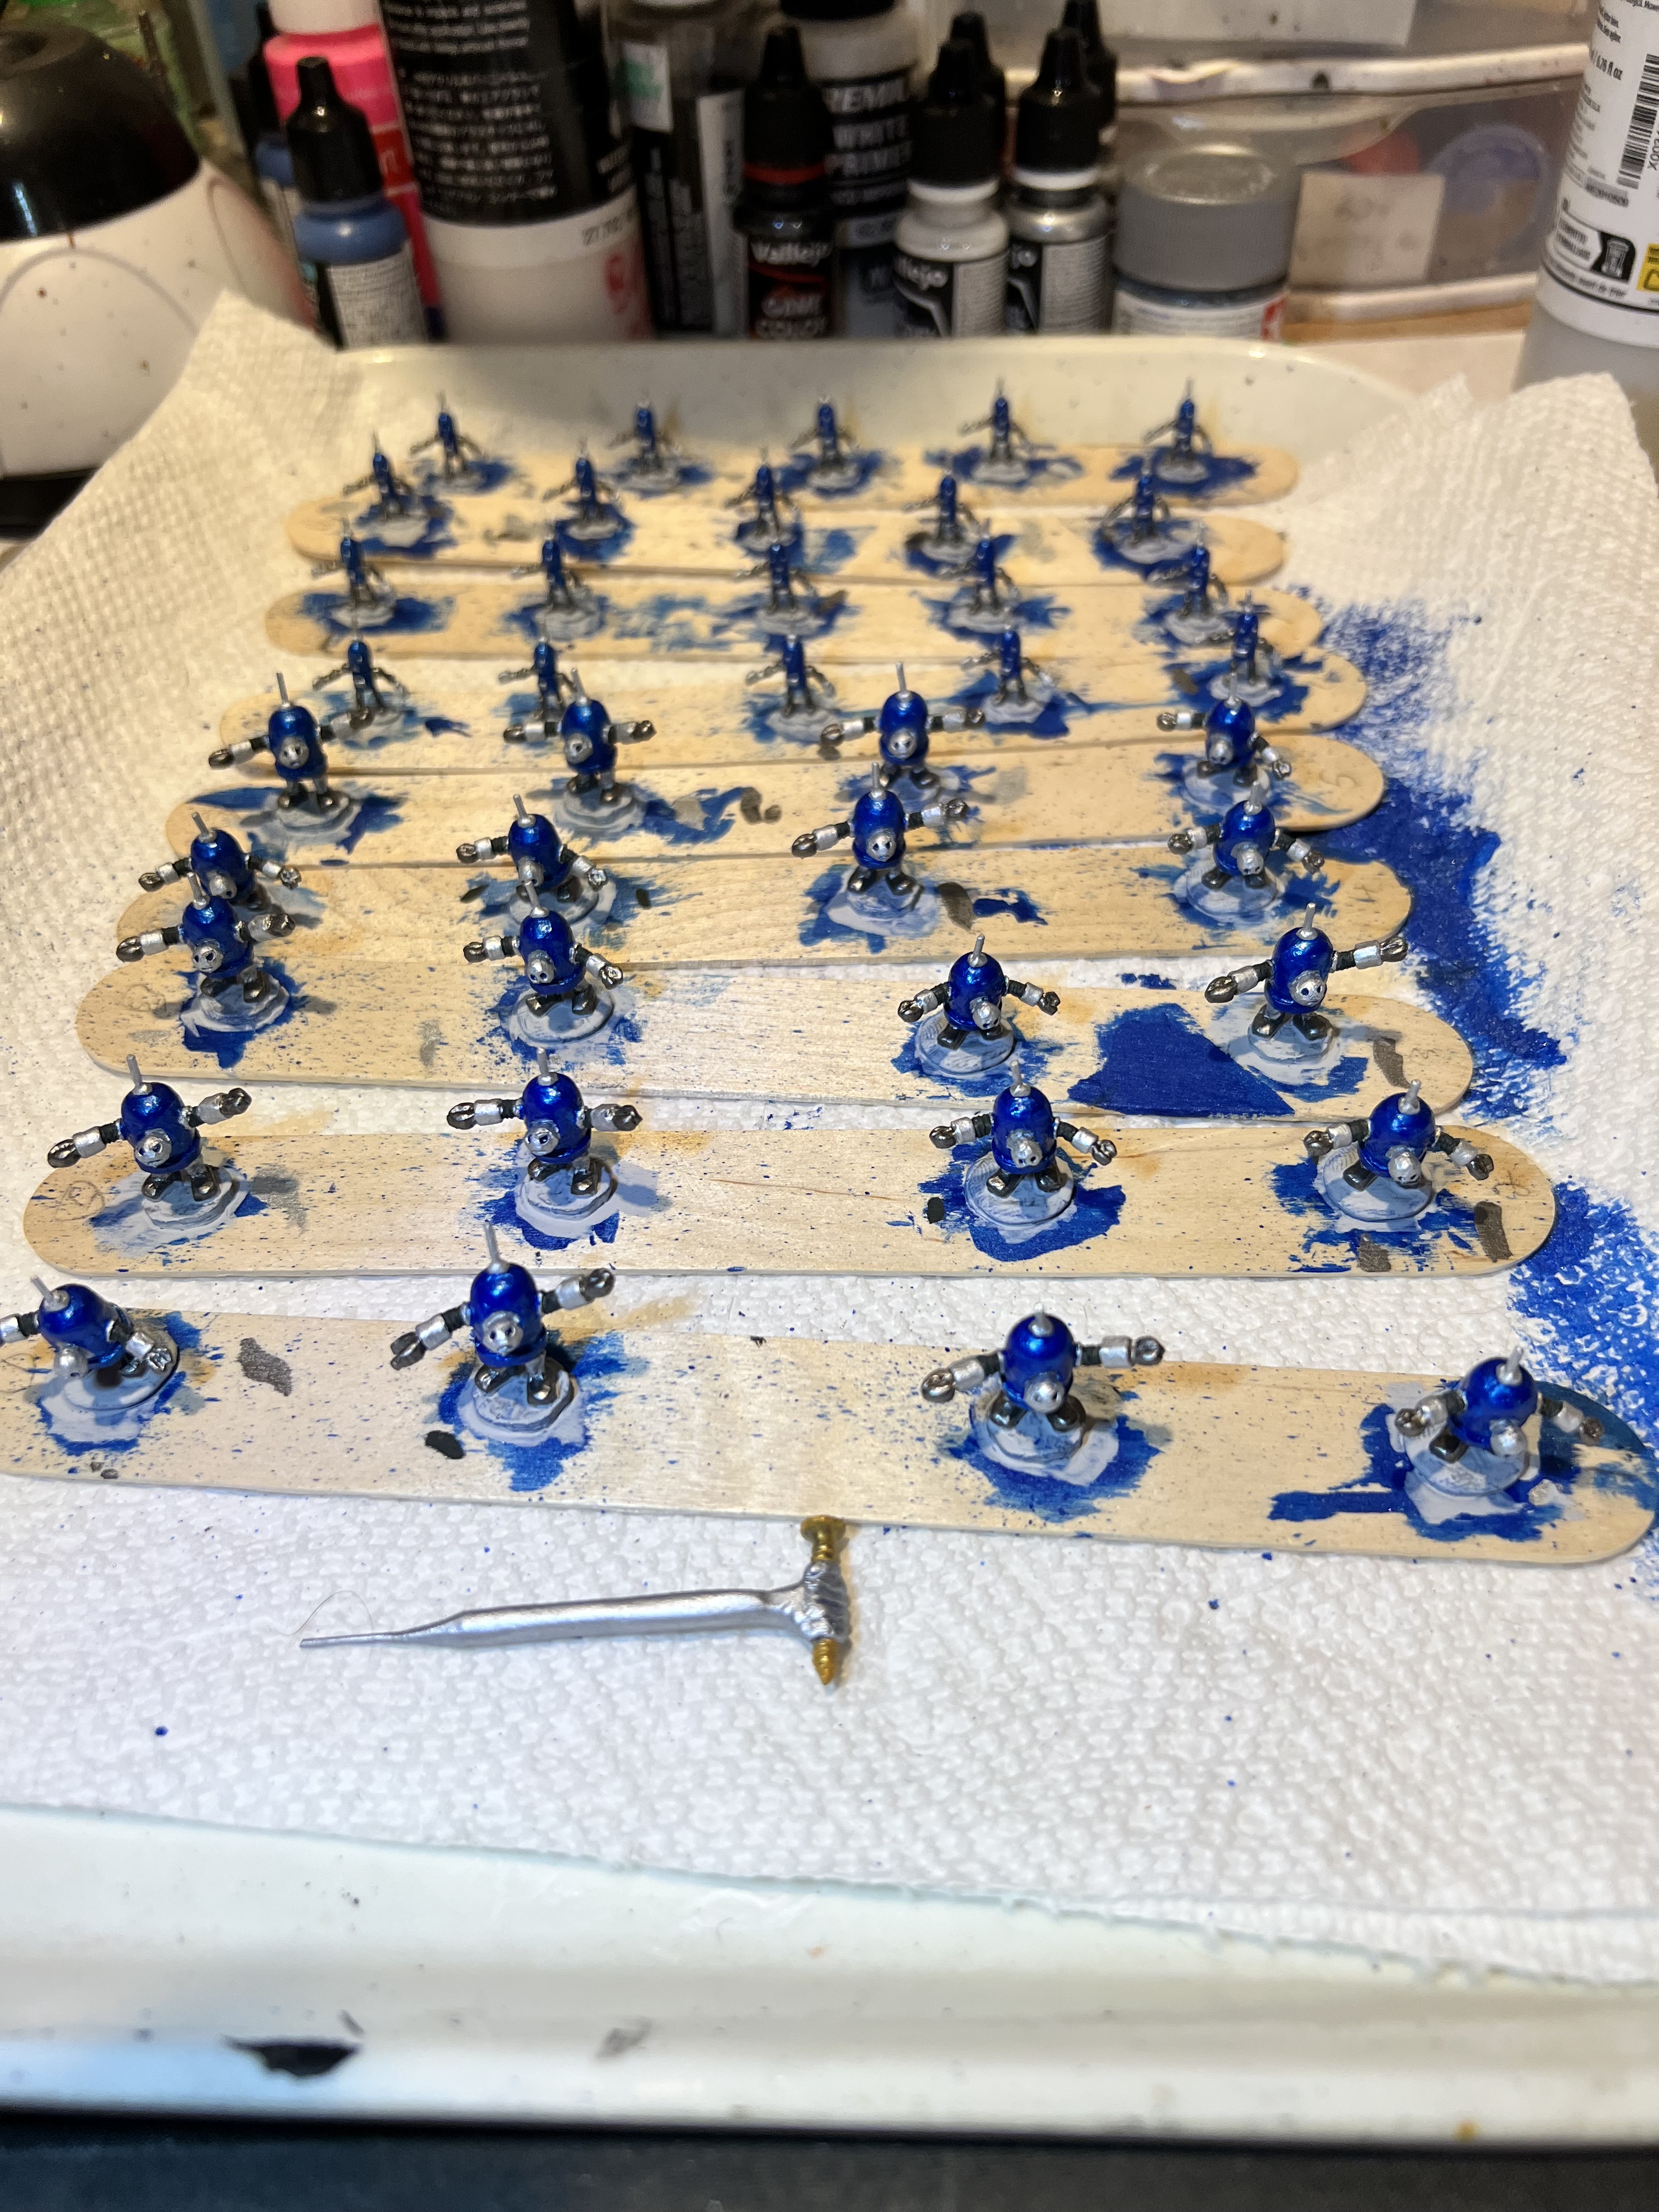
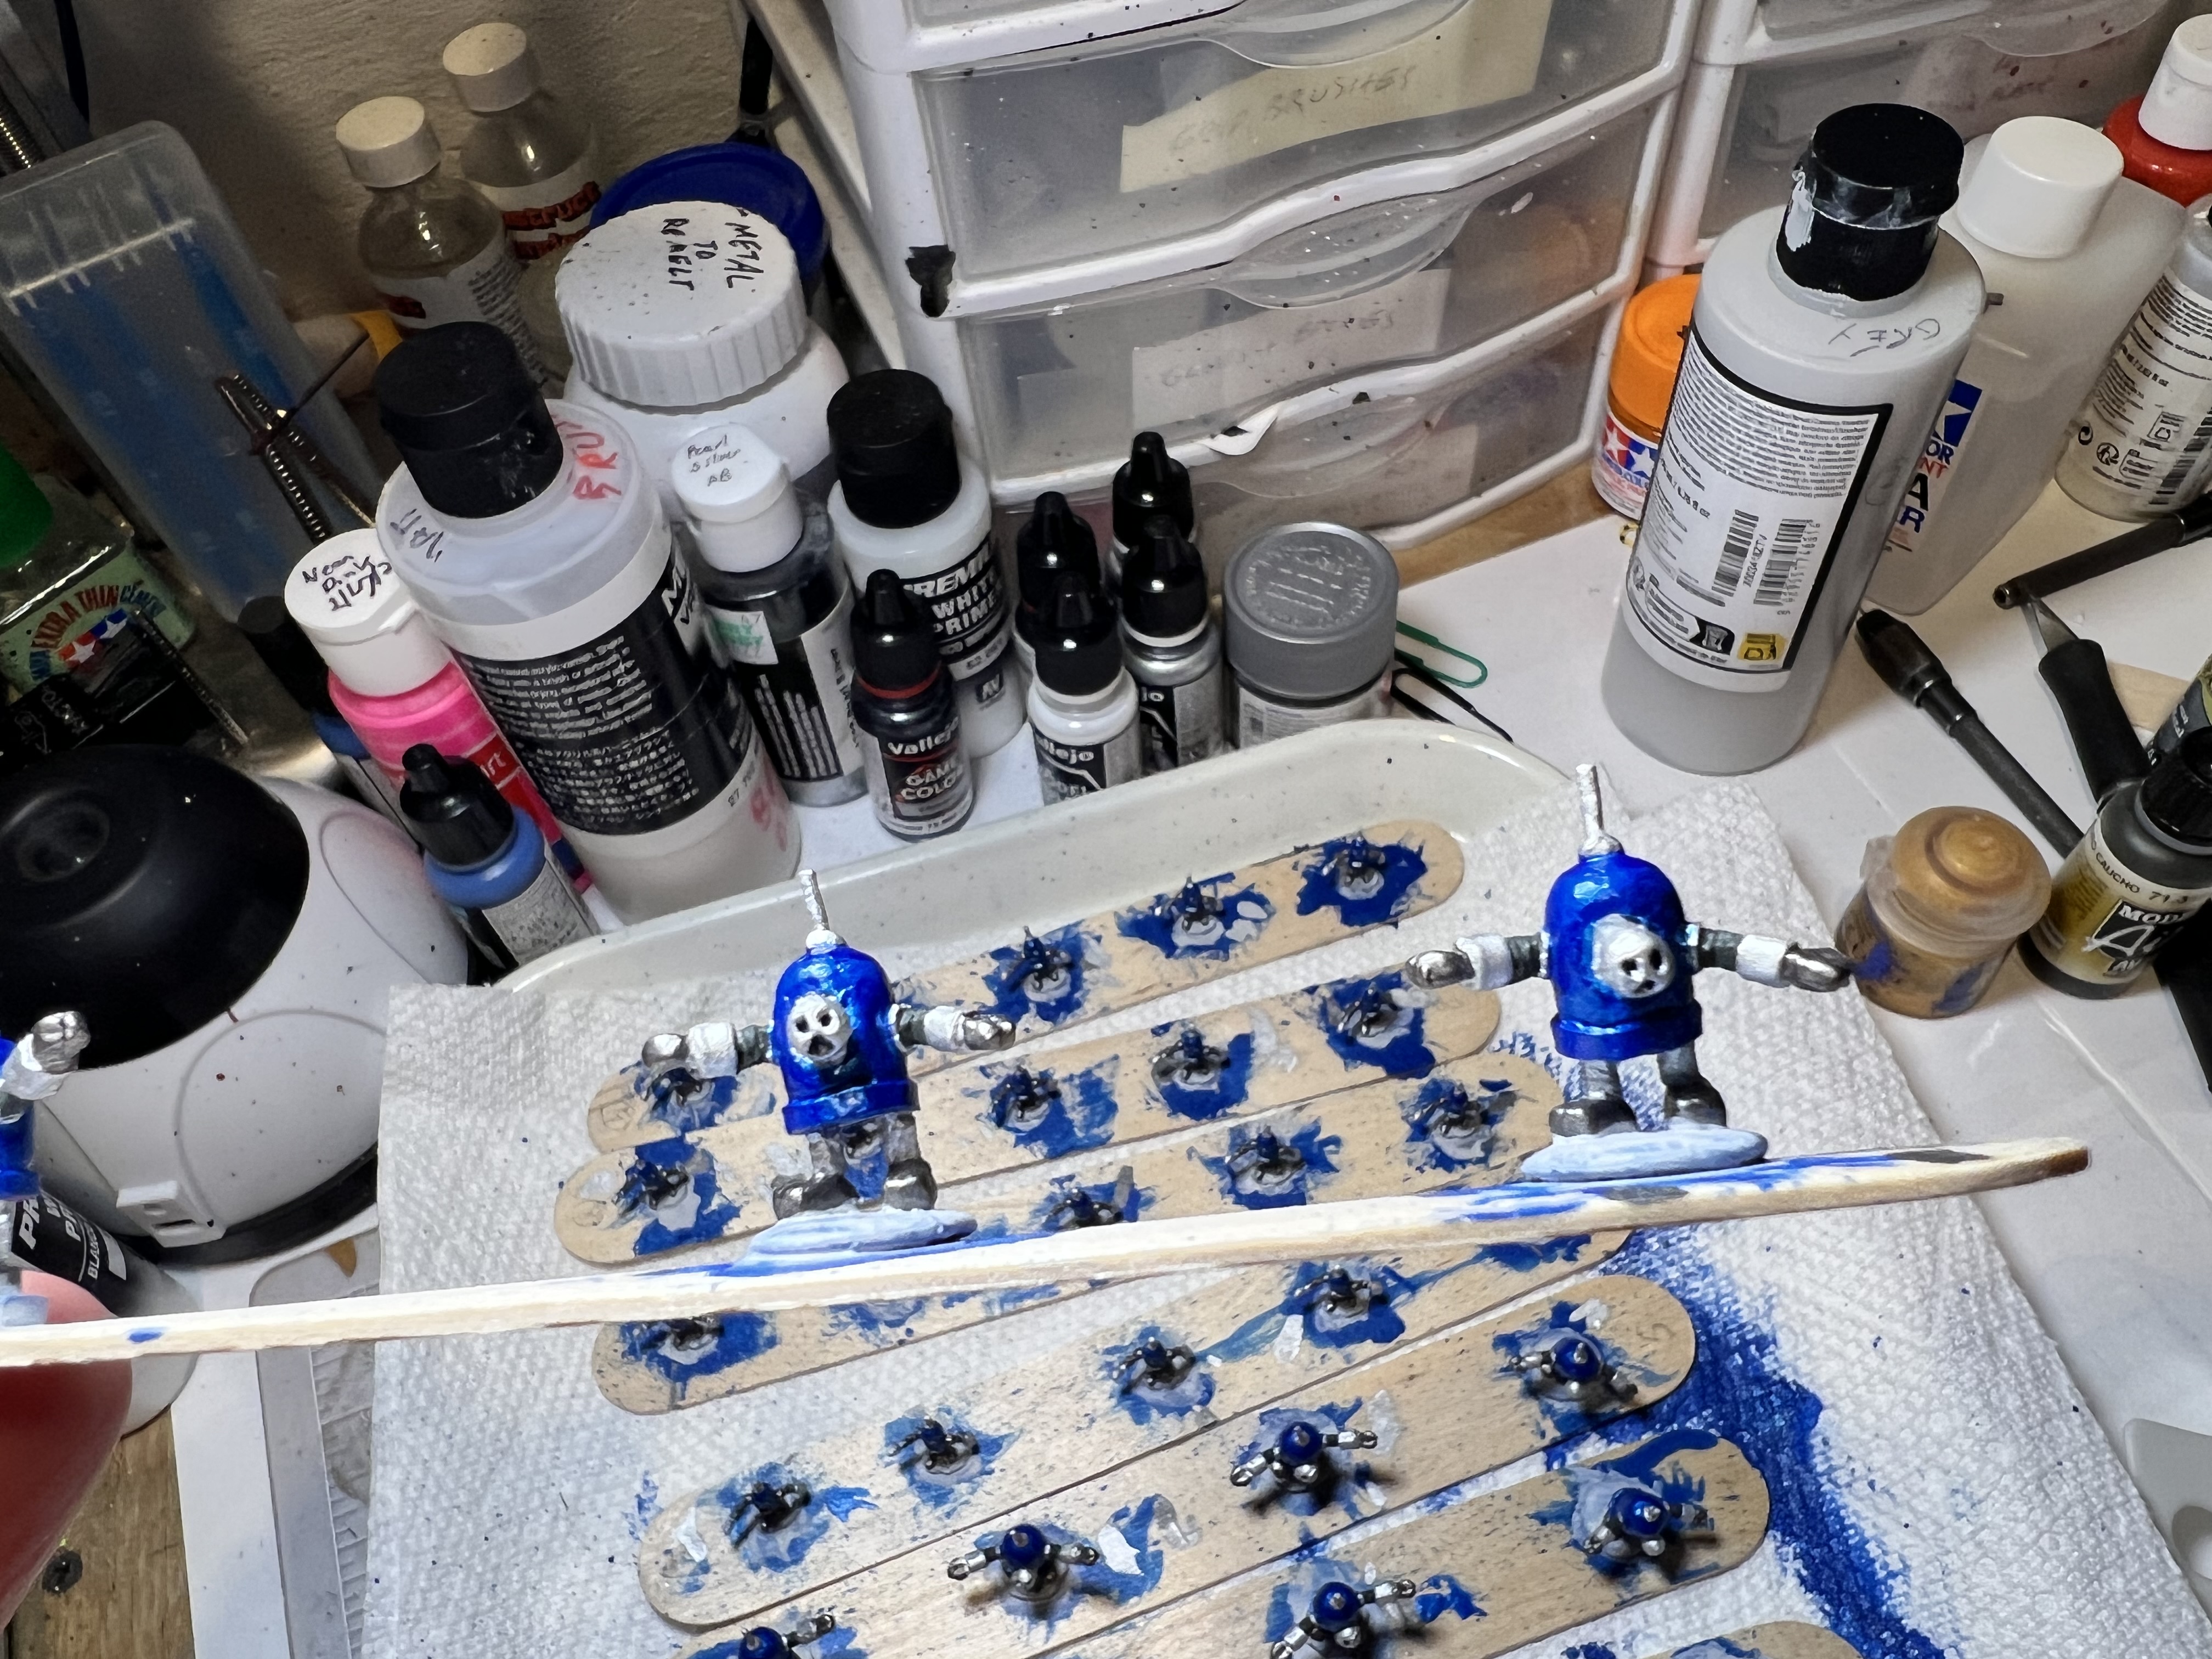
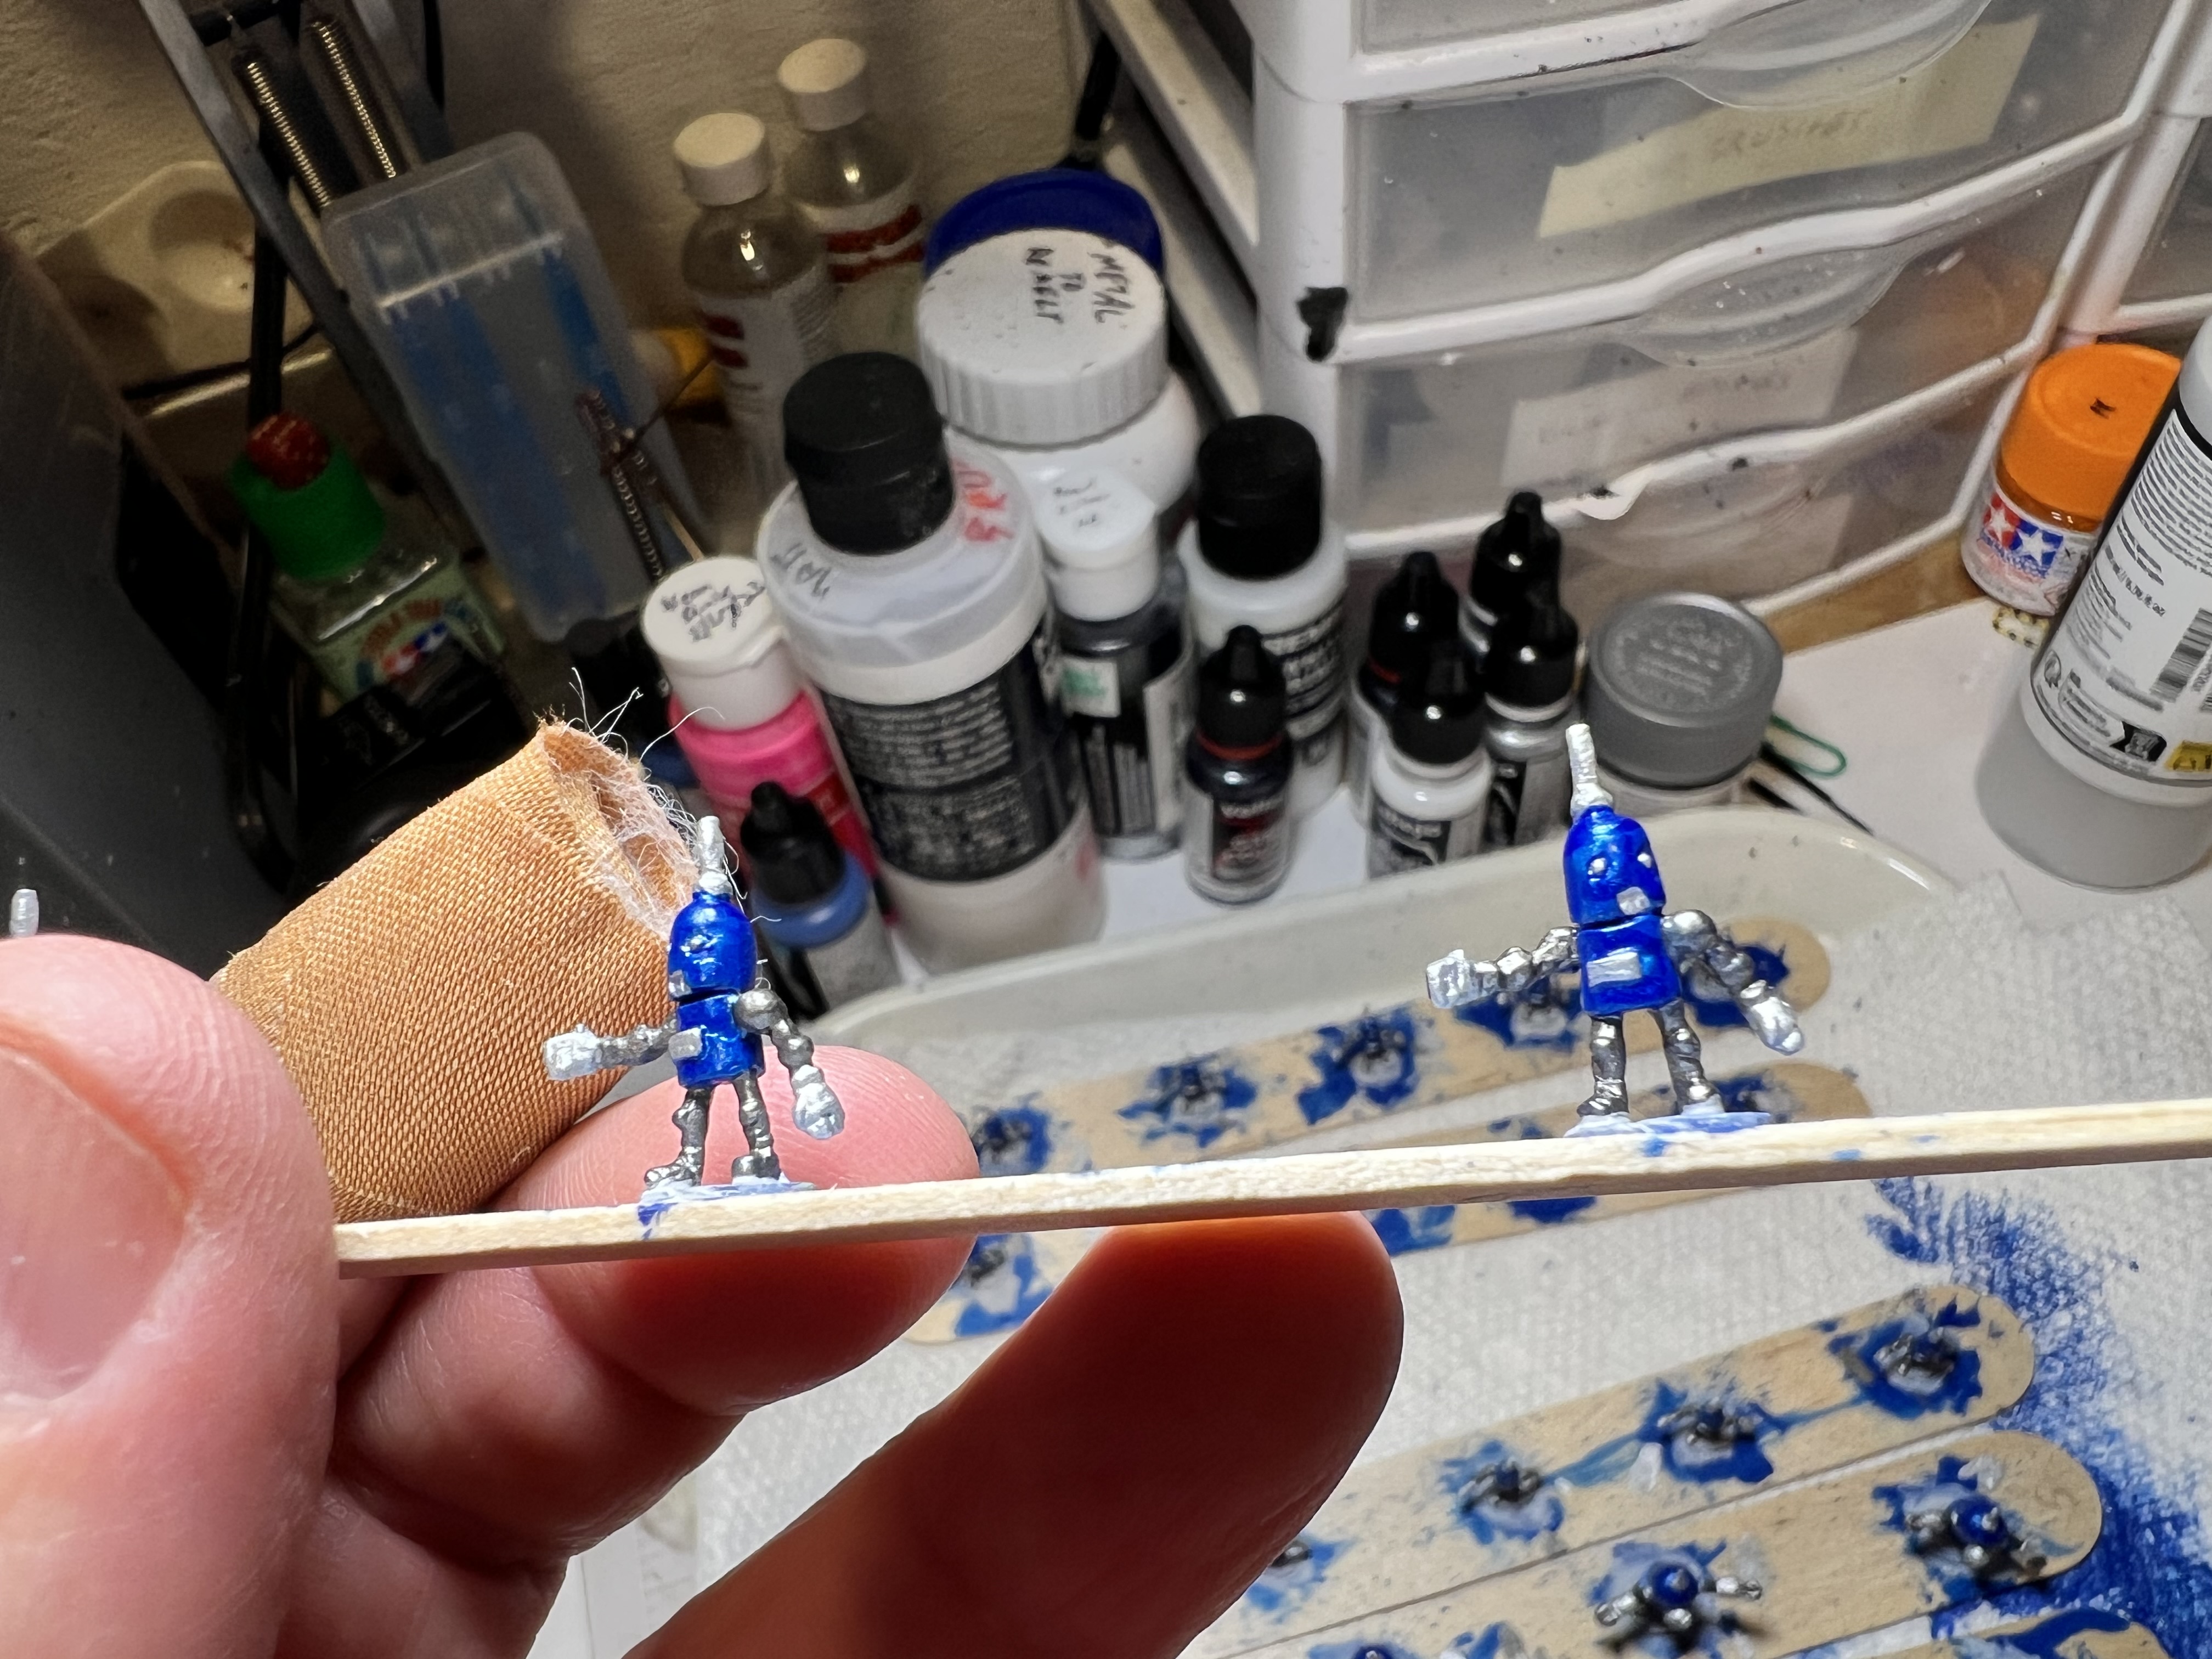
My flagstaff I made/sculpted.An easy dark blue prime followed by pearlized blue paint.Adding the chrome and gunmetal paints to the limbs and “faces”.WIP close up. These are the larger robots.These are the smaller ones. Very tiny.Command stand WIP.Based!
Here are some eye candy shots of the Indigo Ironmongers from a few differnt angles:
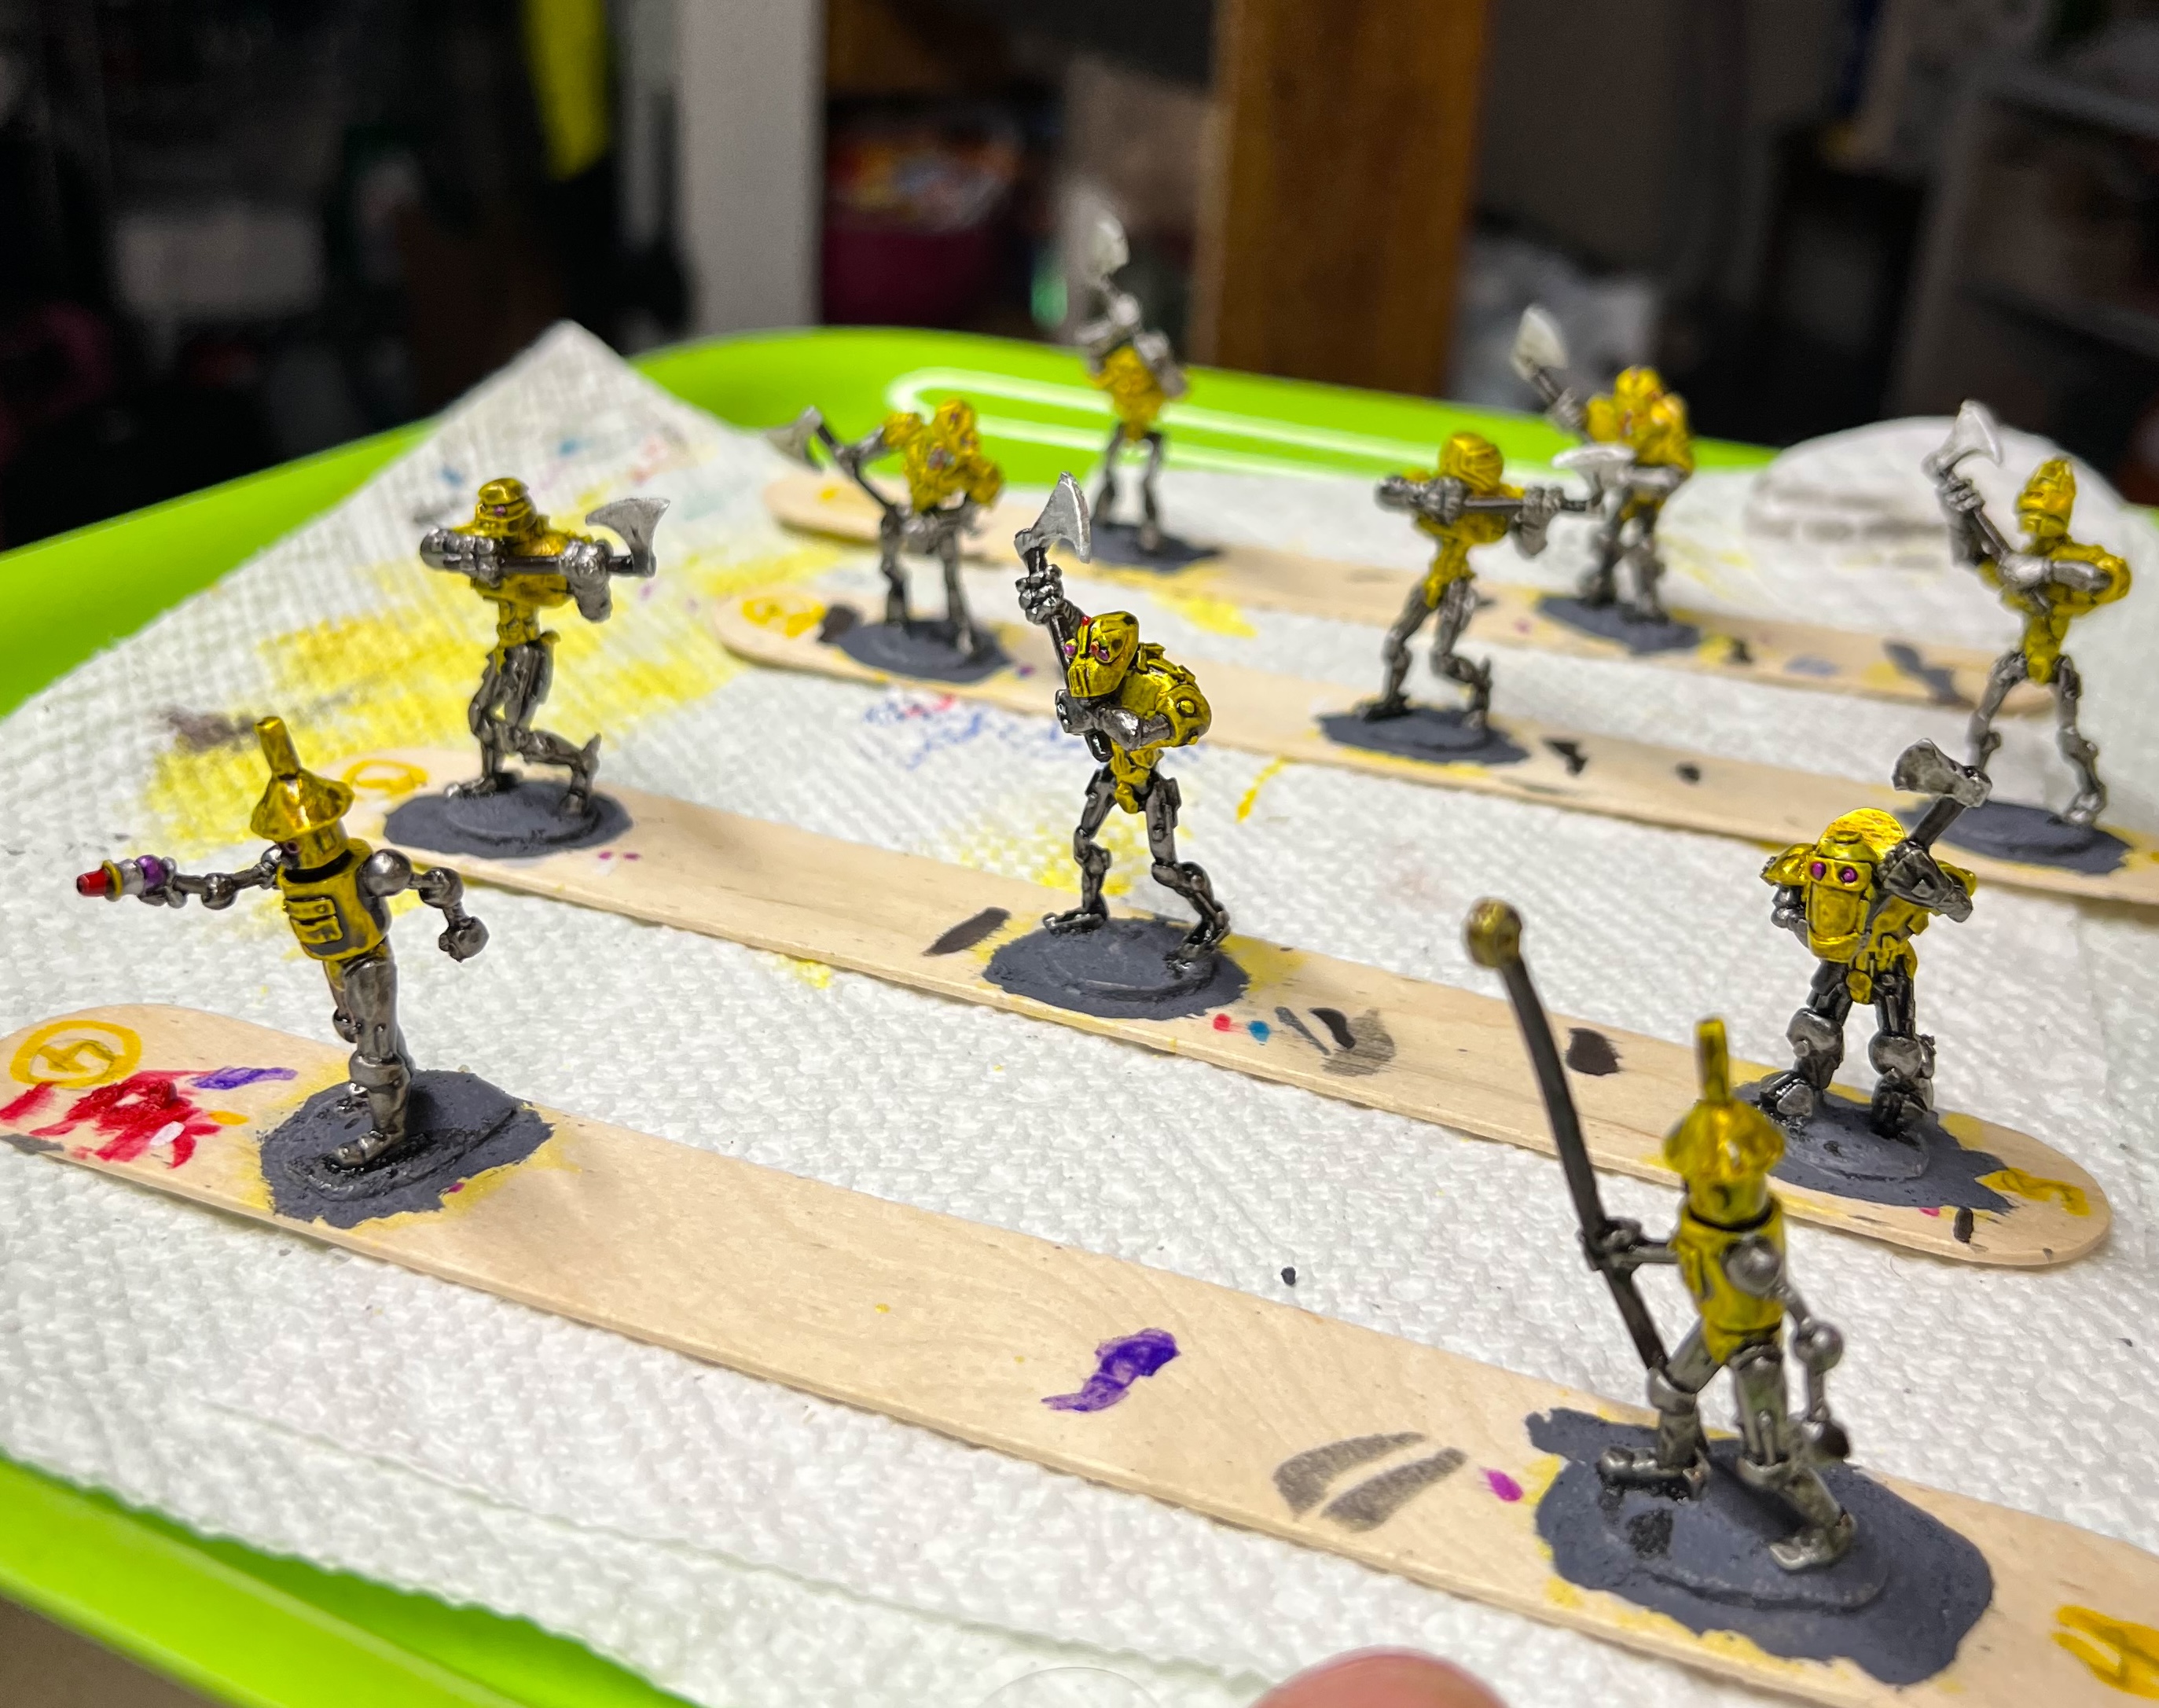
Next up are the two regiments of mechanical axemen. These are OZZ-511, “Professor Nitpik’s Mechanical Axe Army with Command“. I already had three previously painted axemen regiments that you can see here and here. The first of these is:
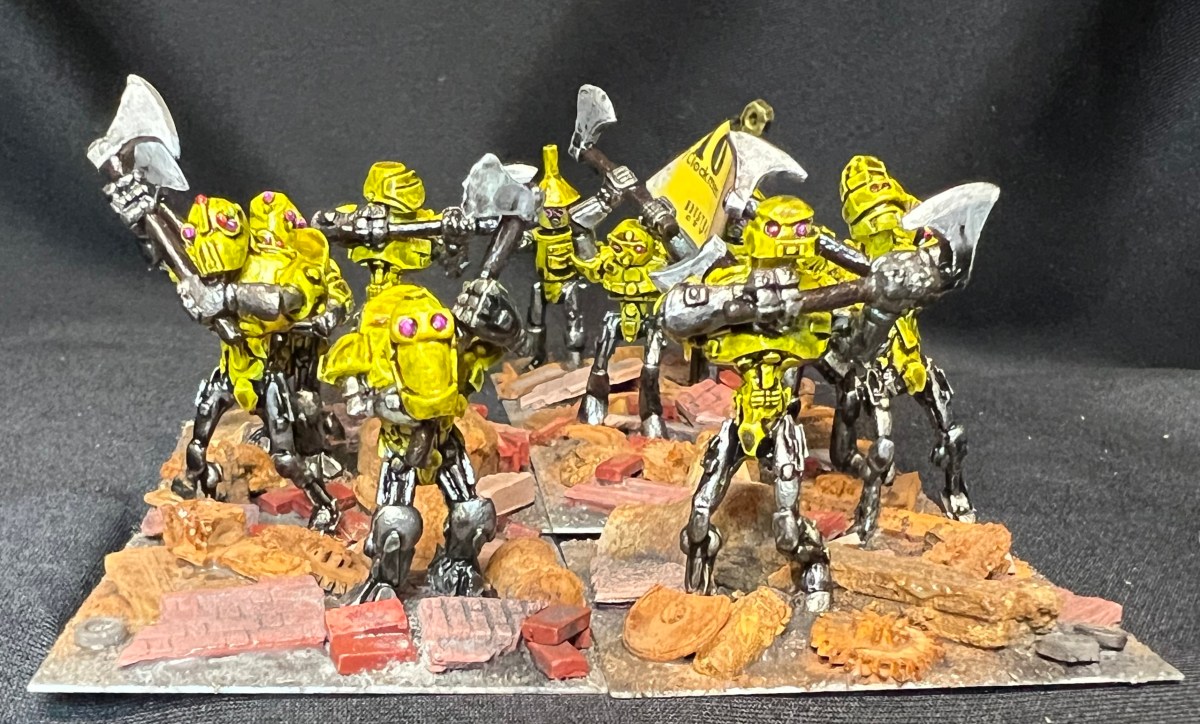
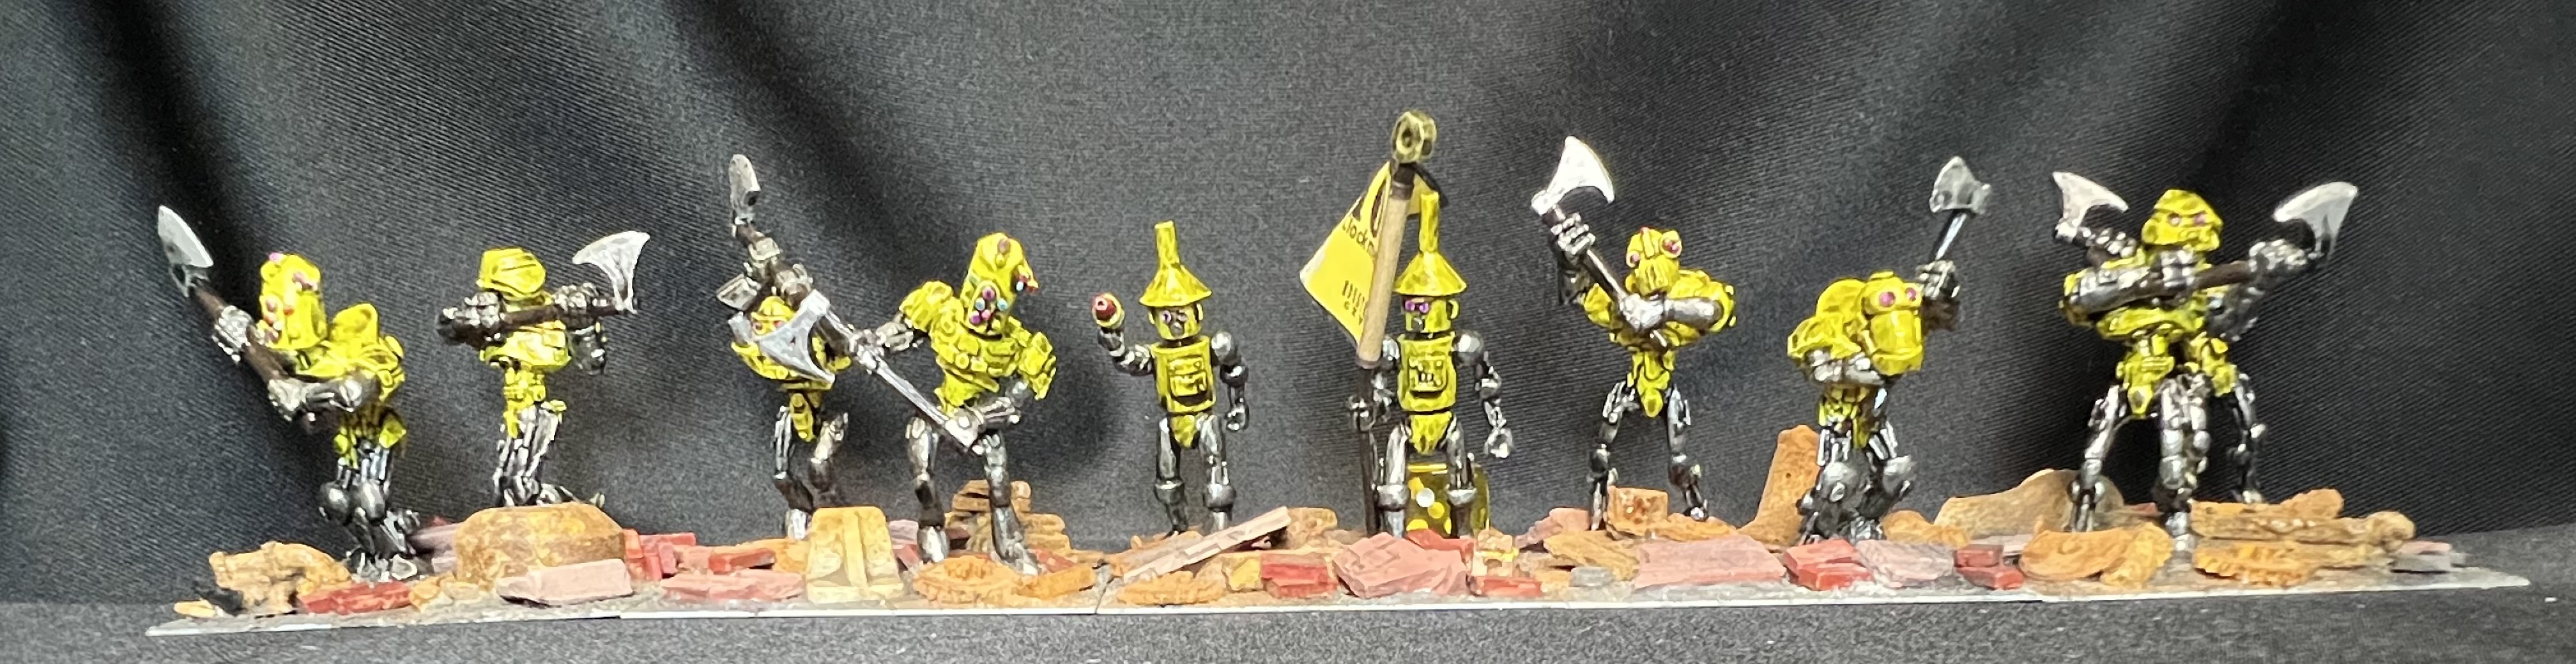
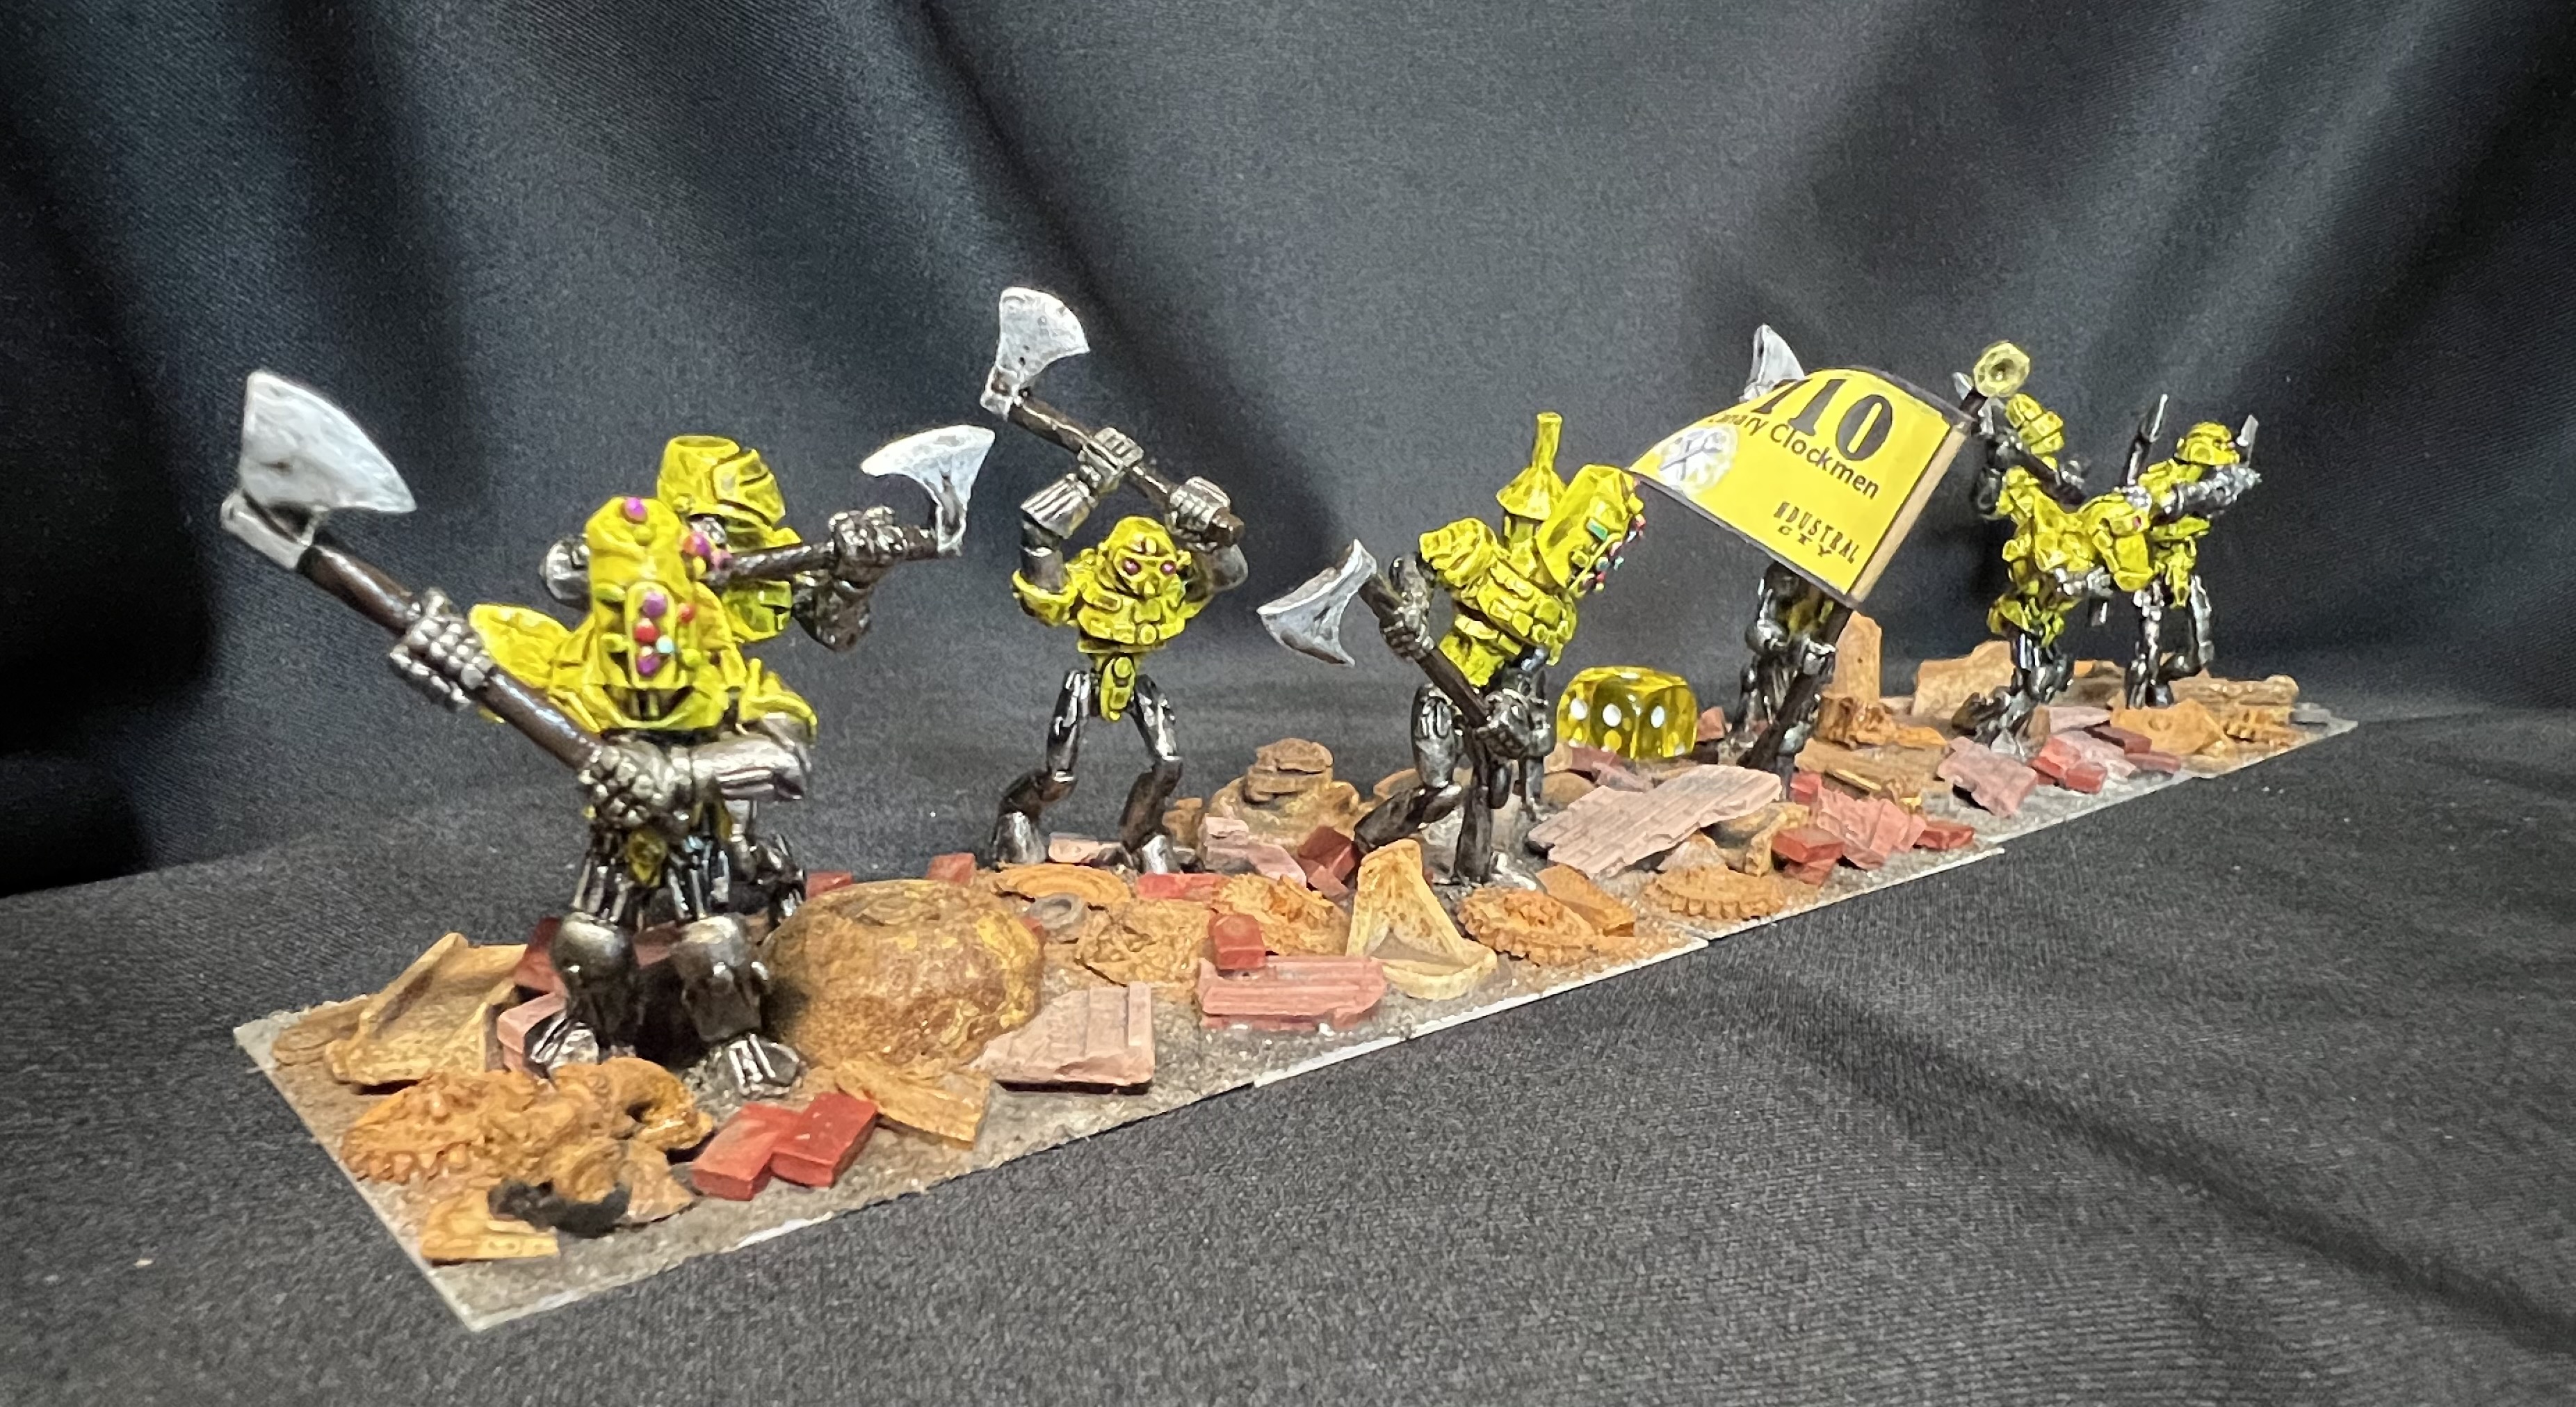
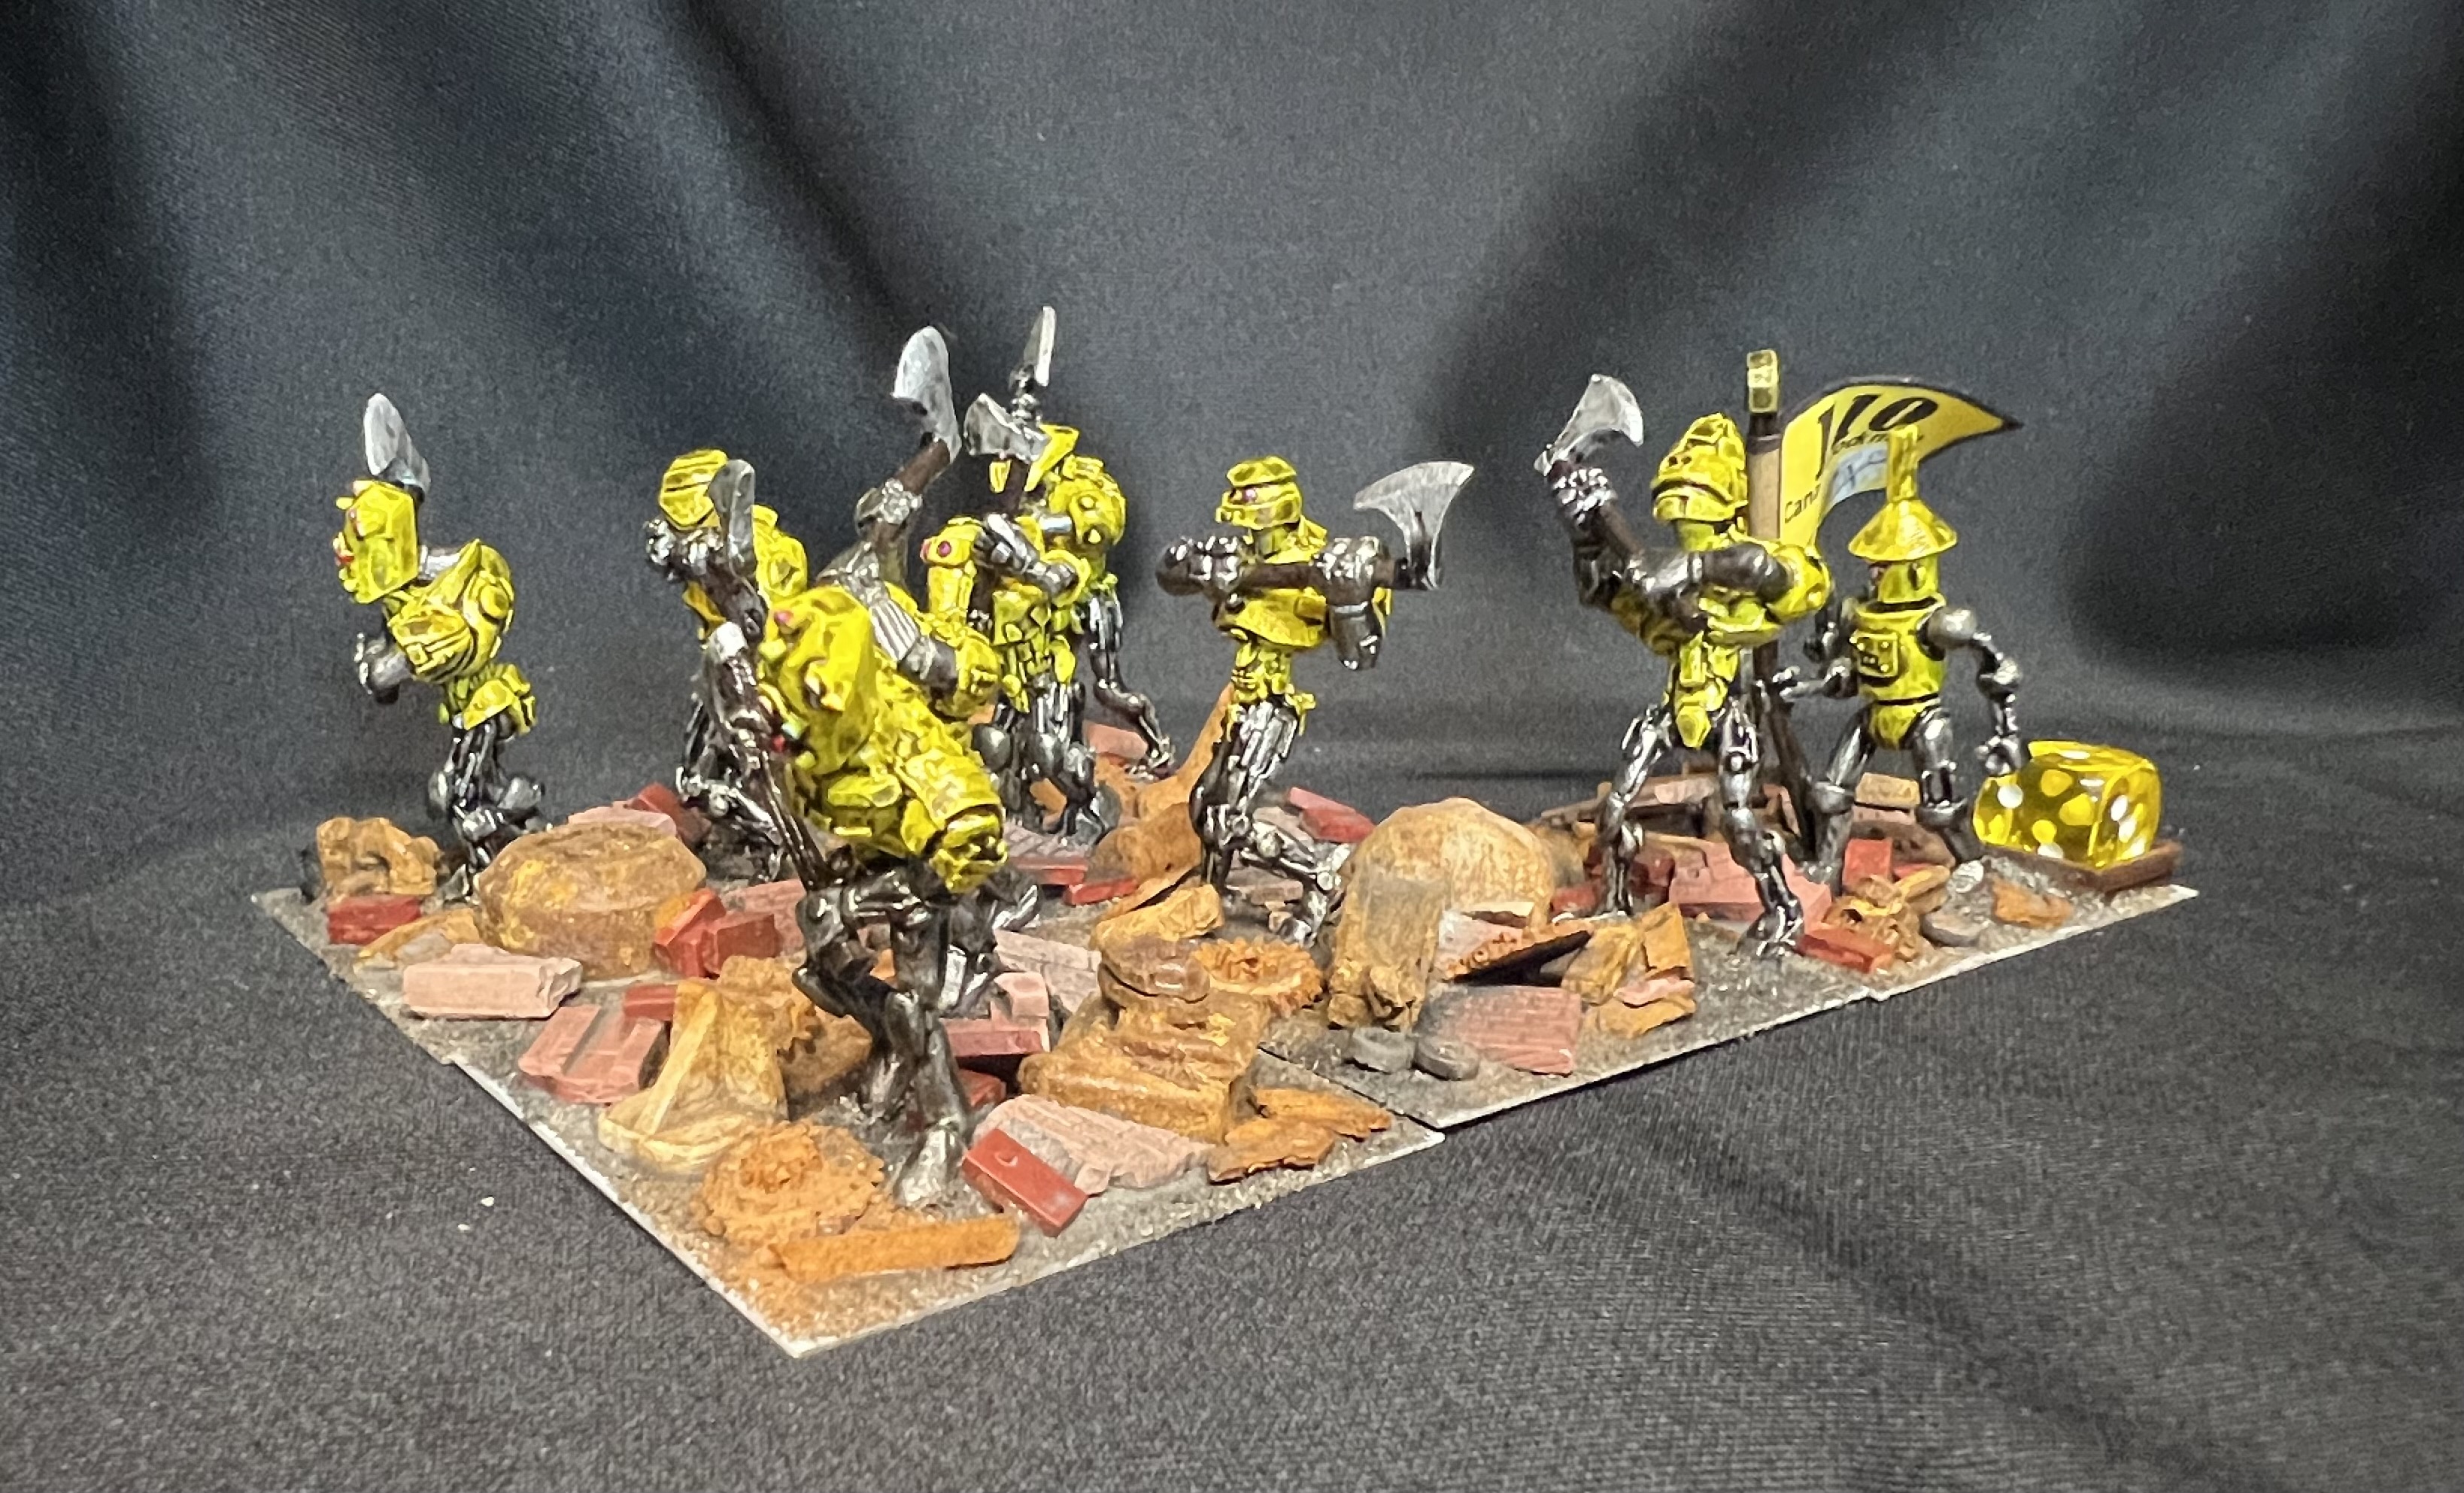
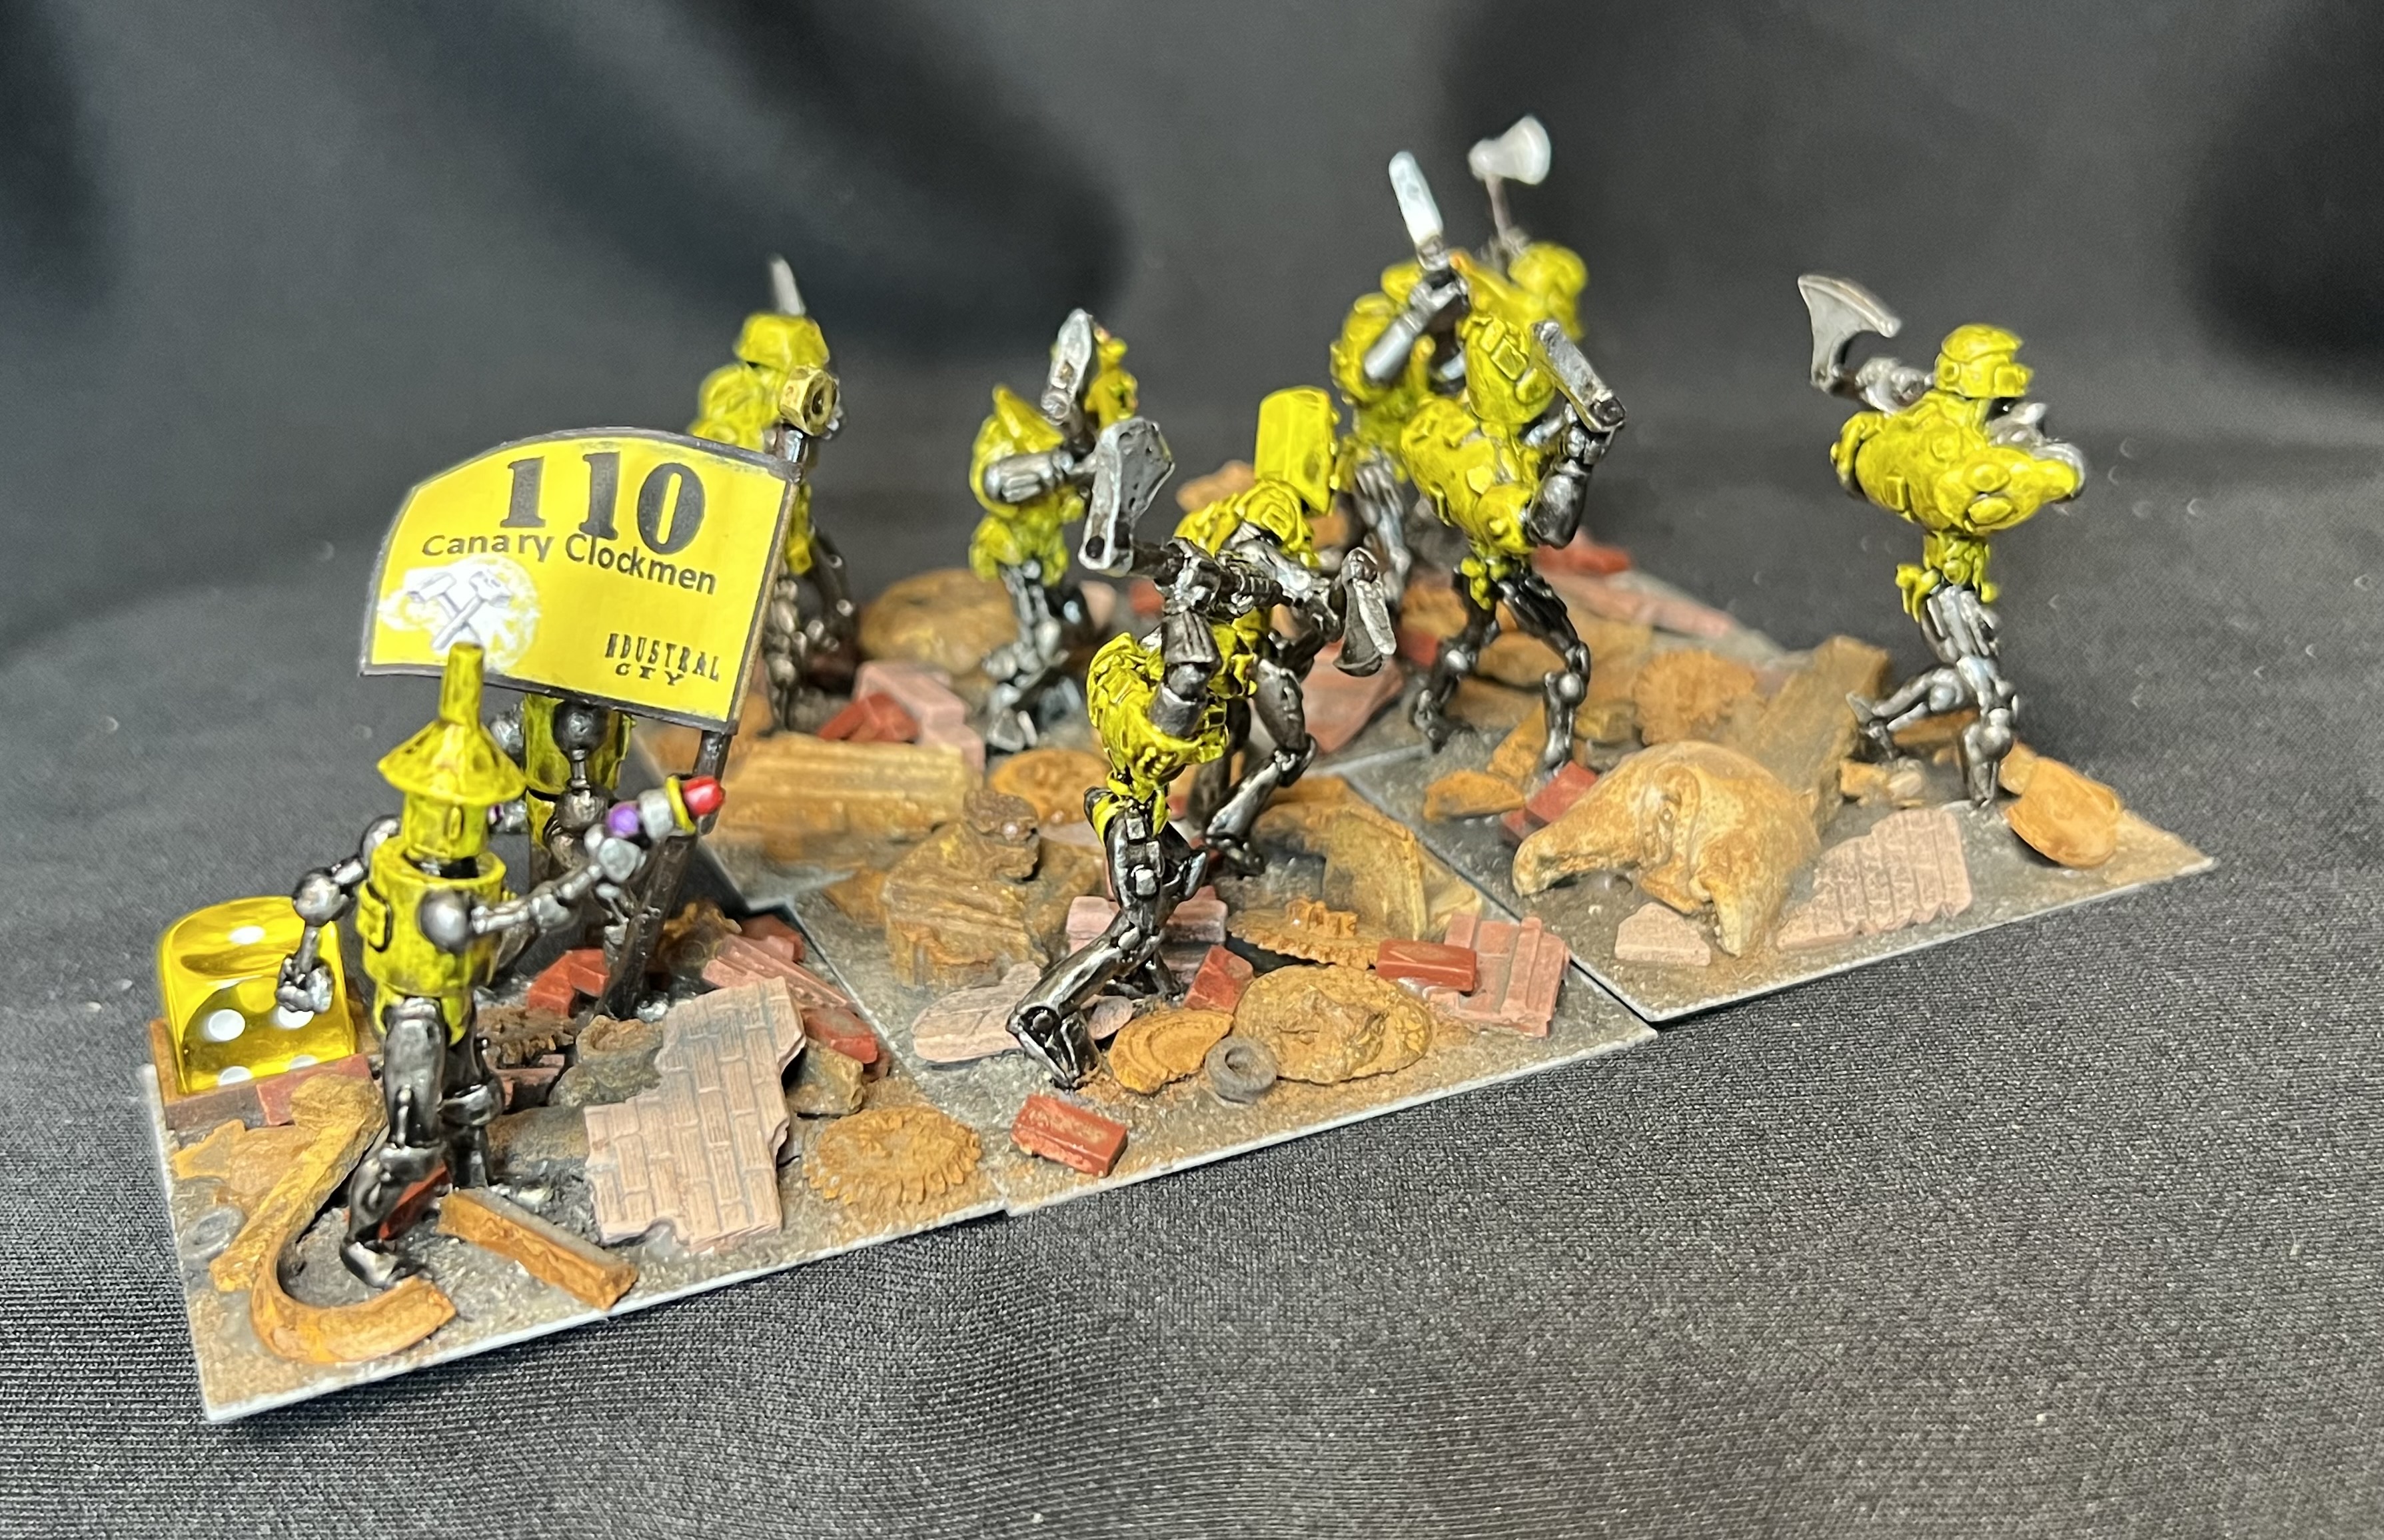
The Canary Clockmen
I just have 1 WIP shot below. Again, I went with pearlized paints, with an oily wash (seals must be bad!).
WIP shot.
Now some Canary Clockmen poses:
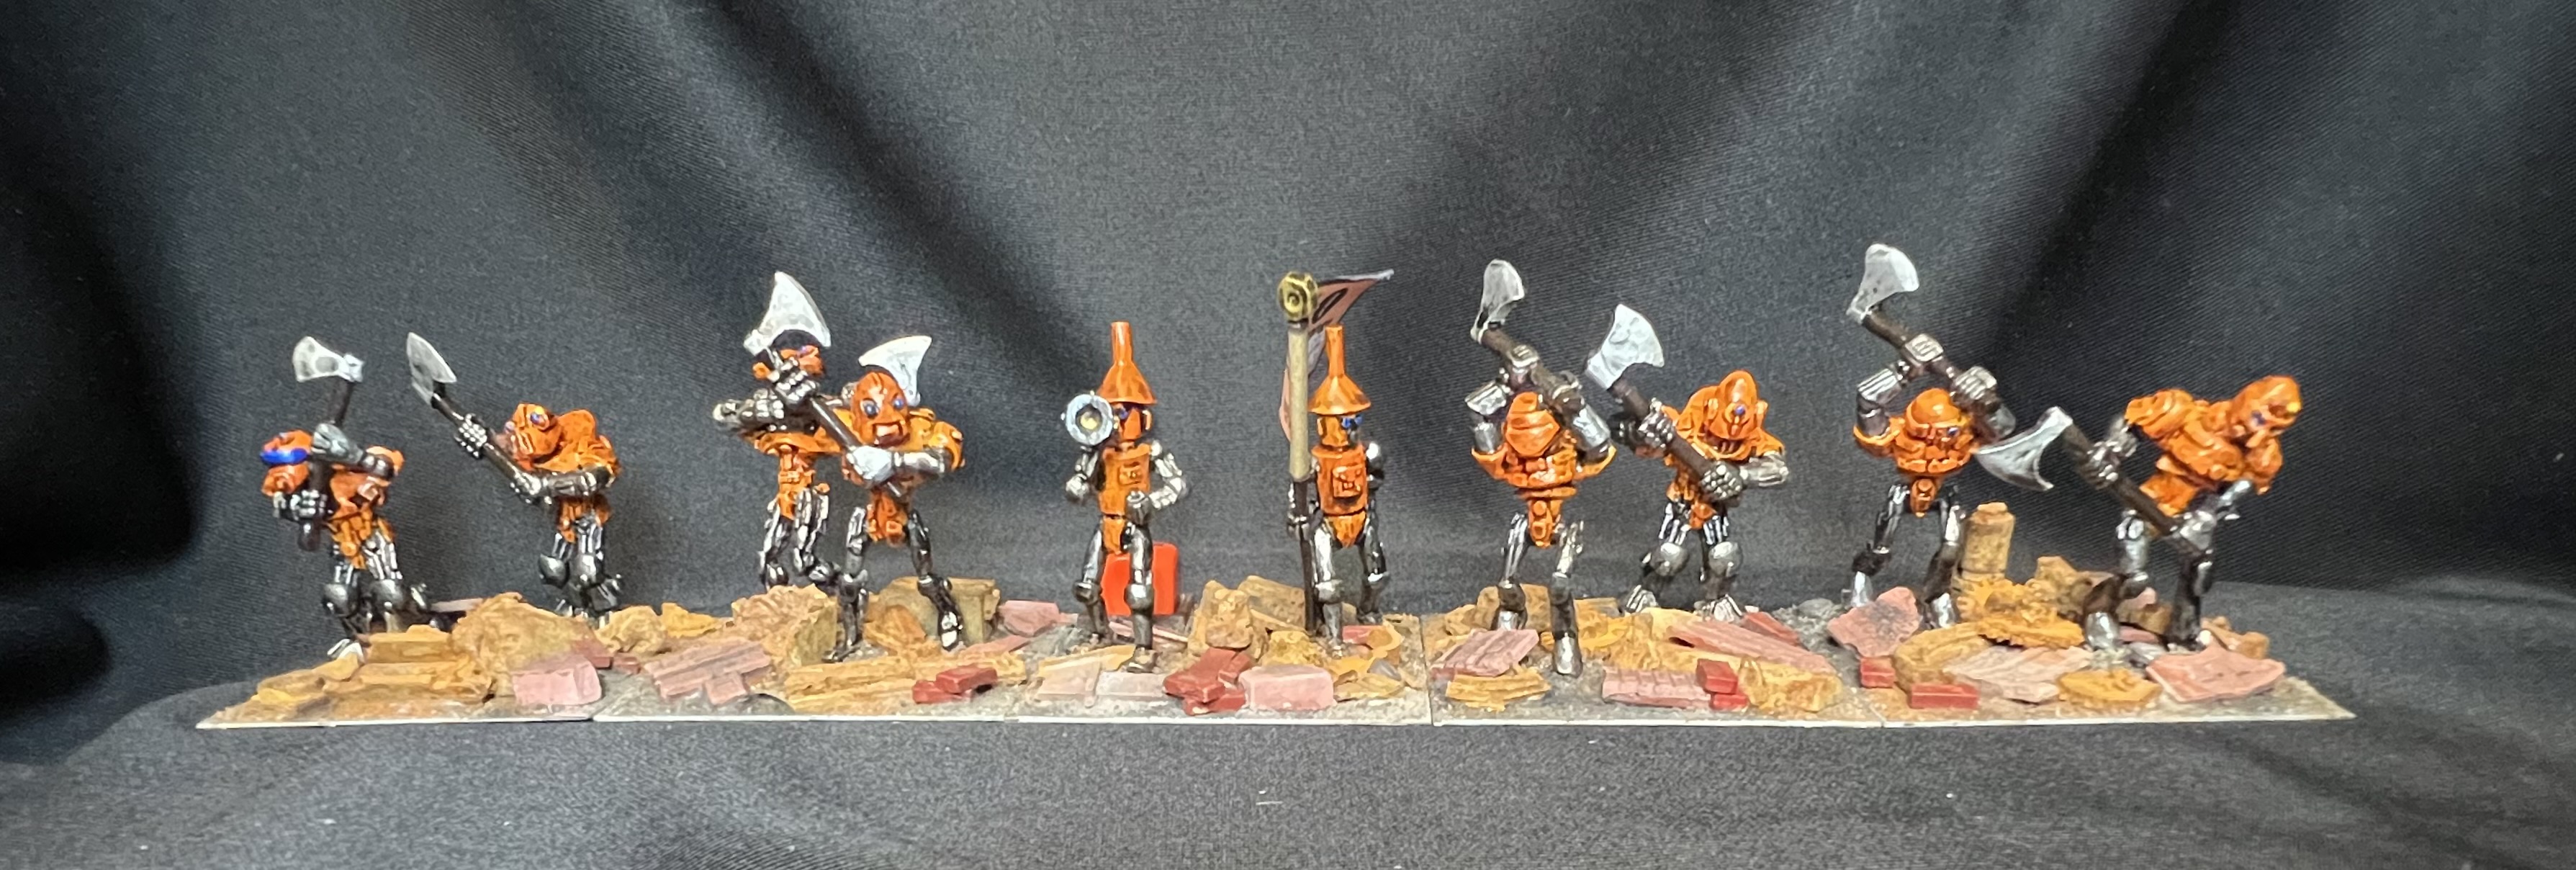
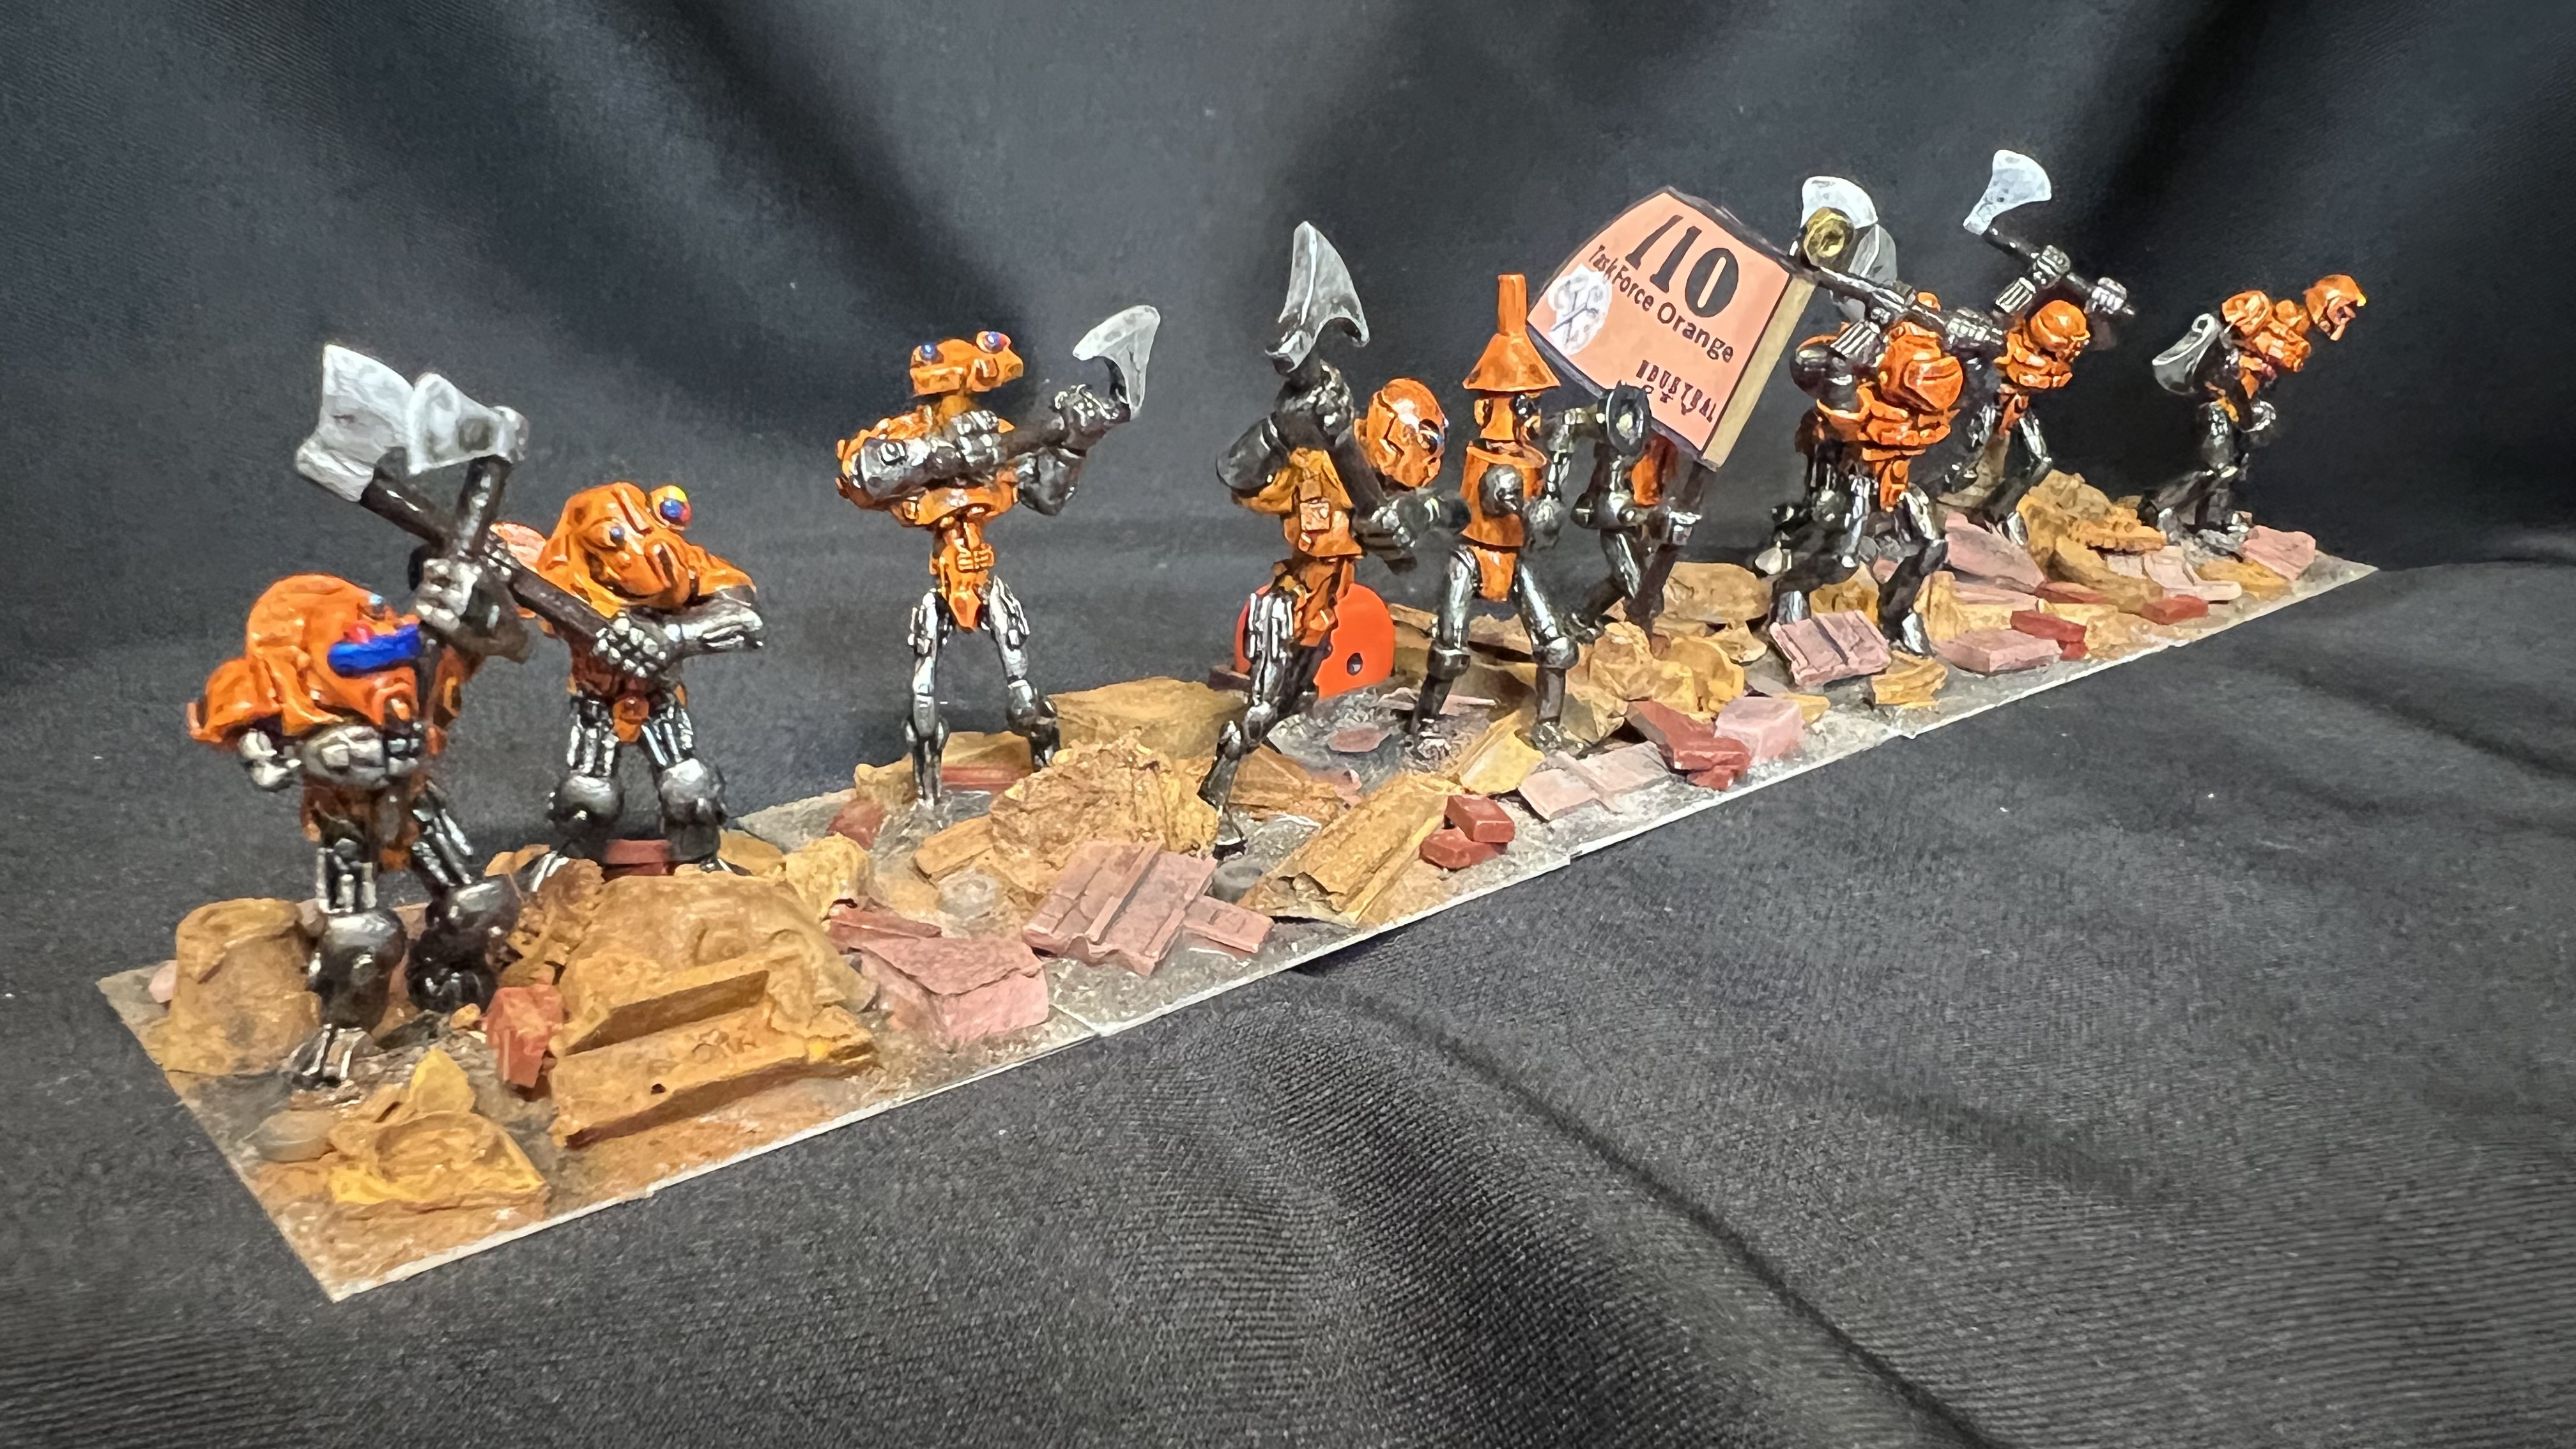
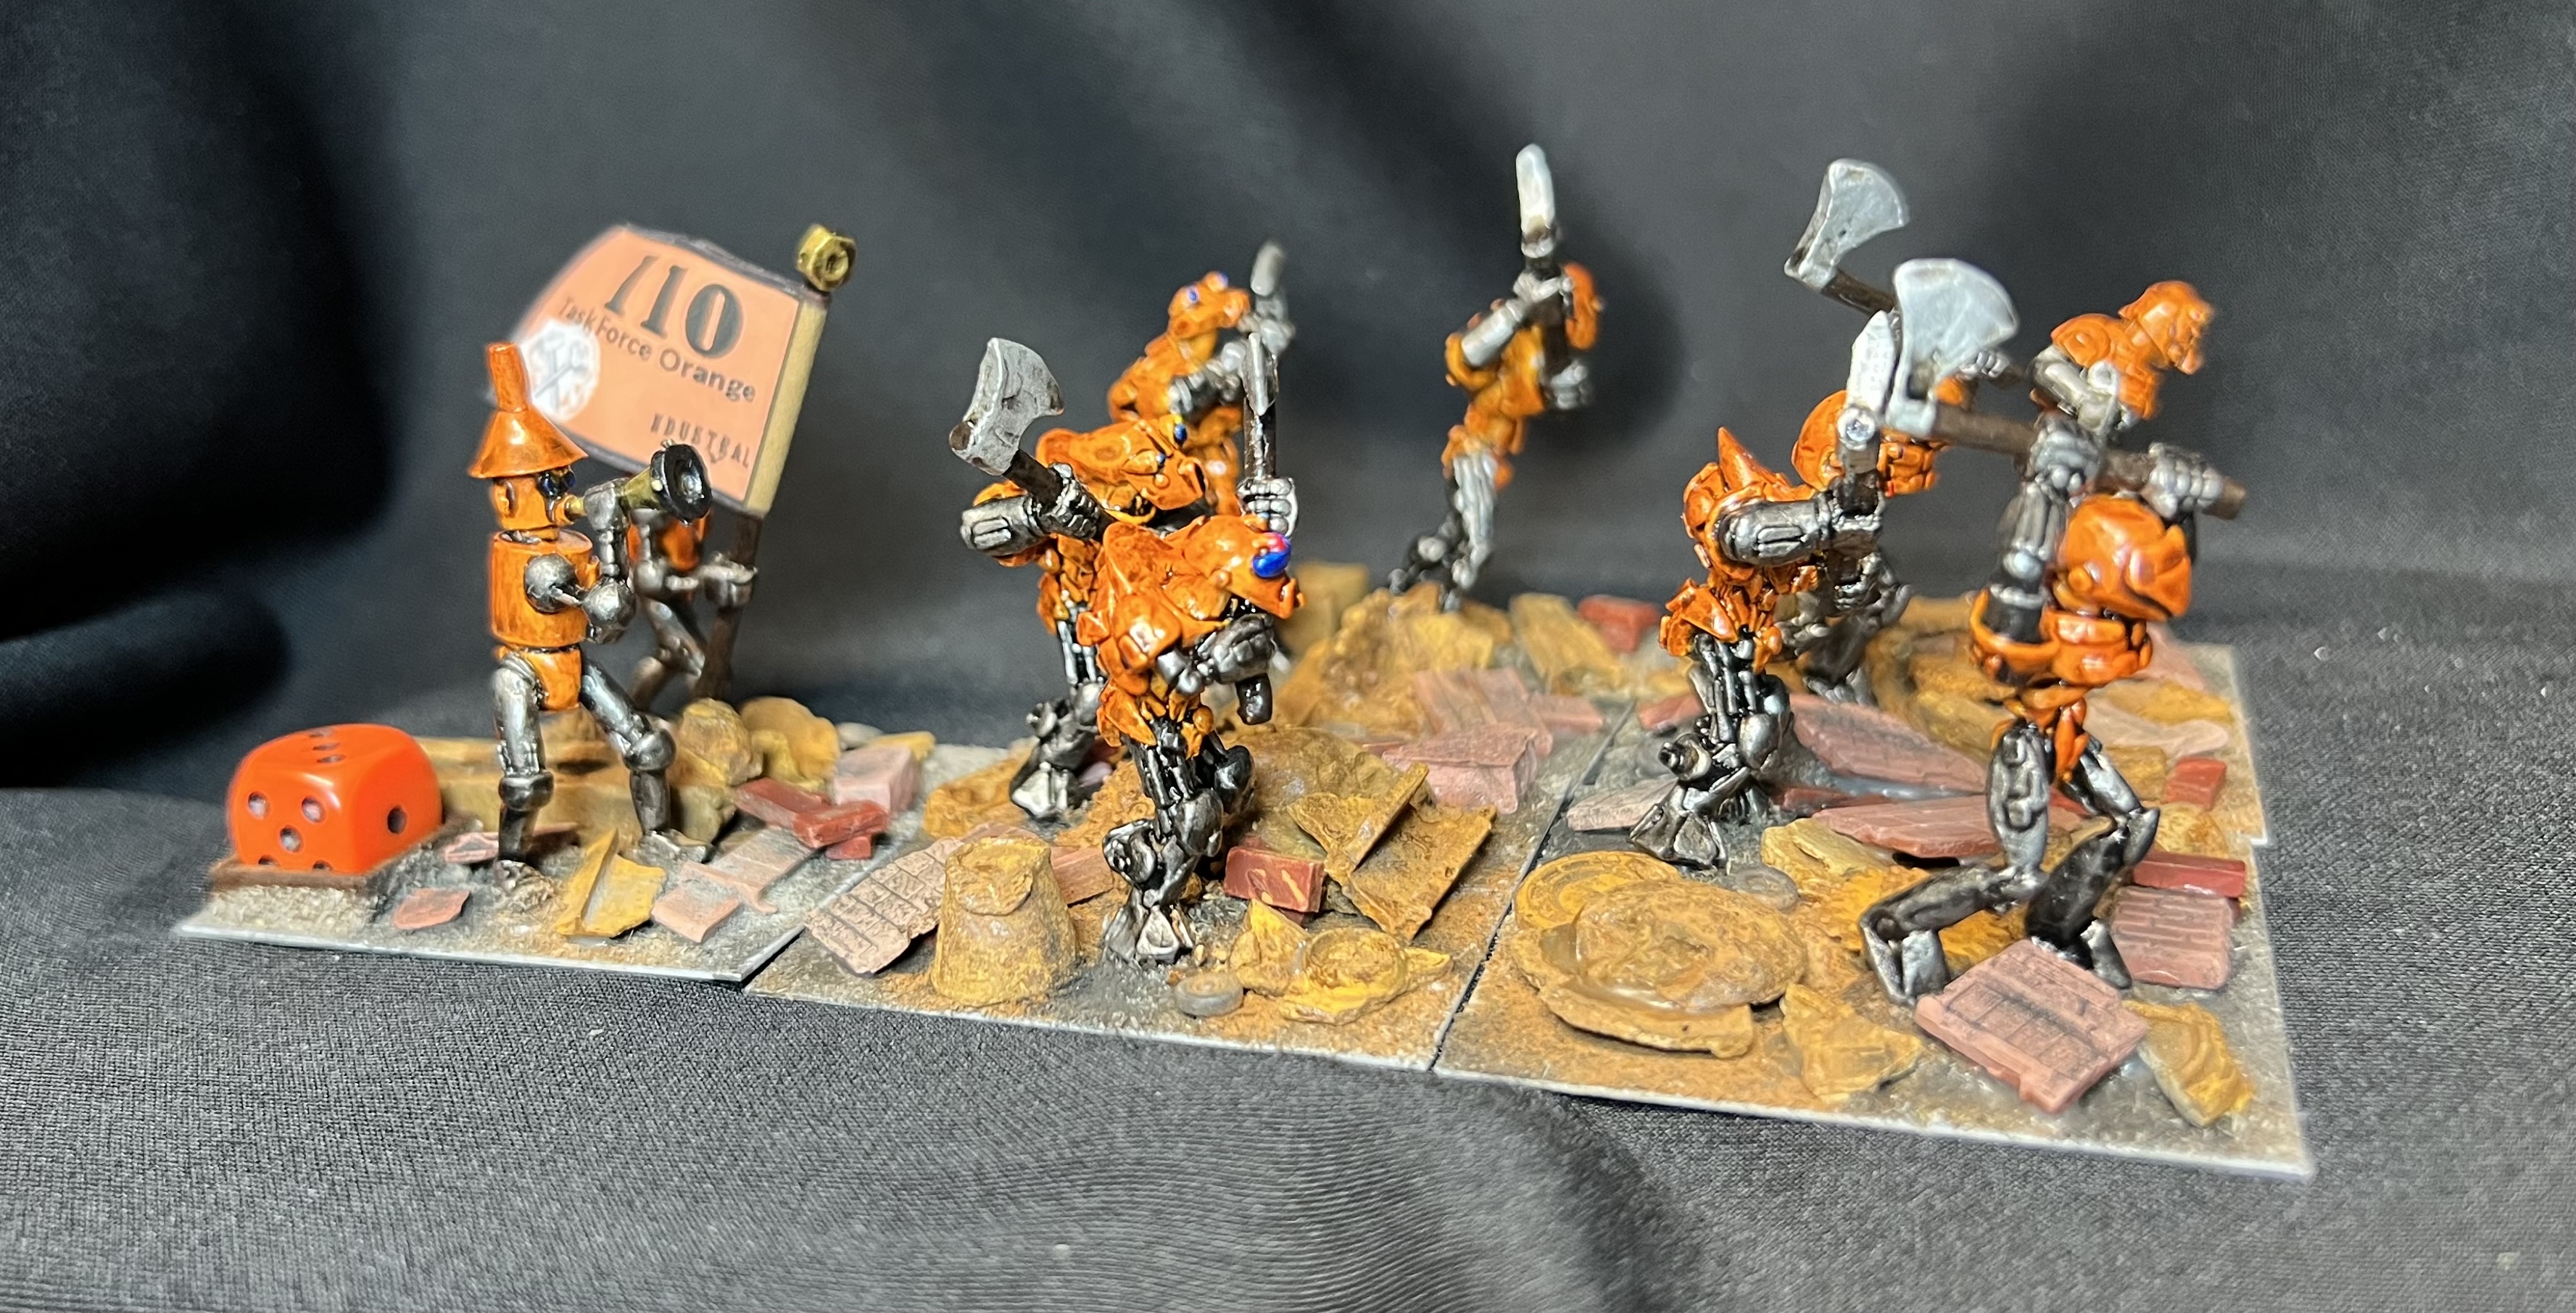
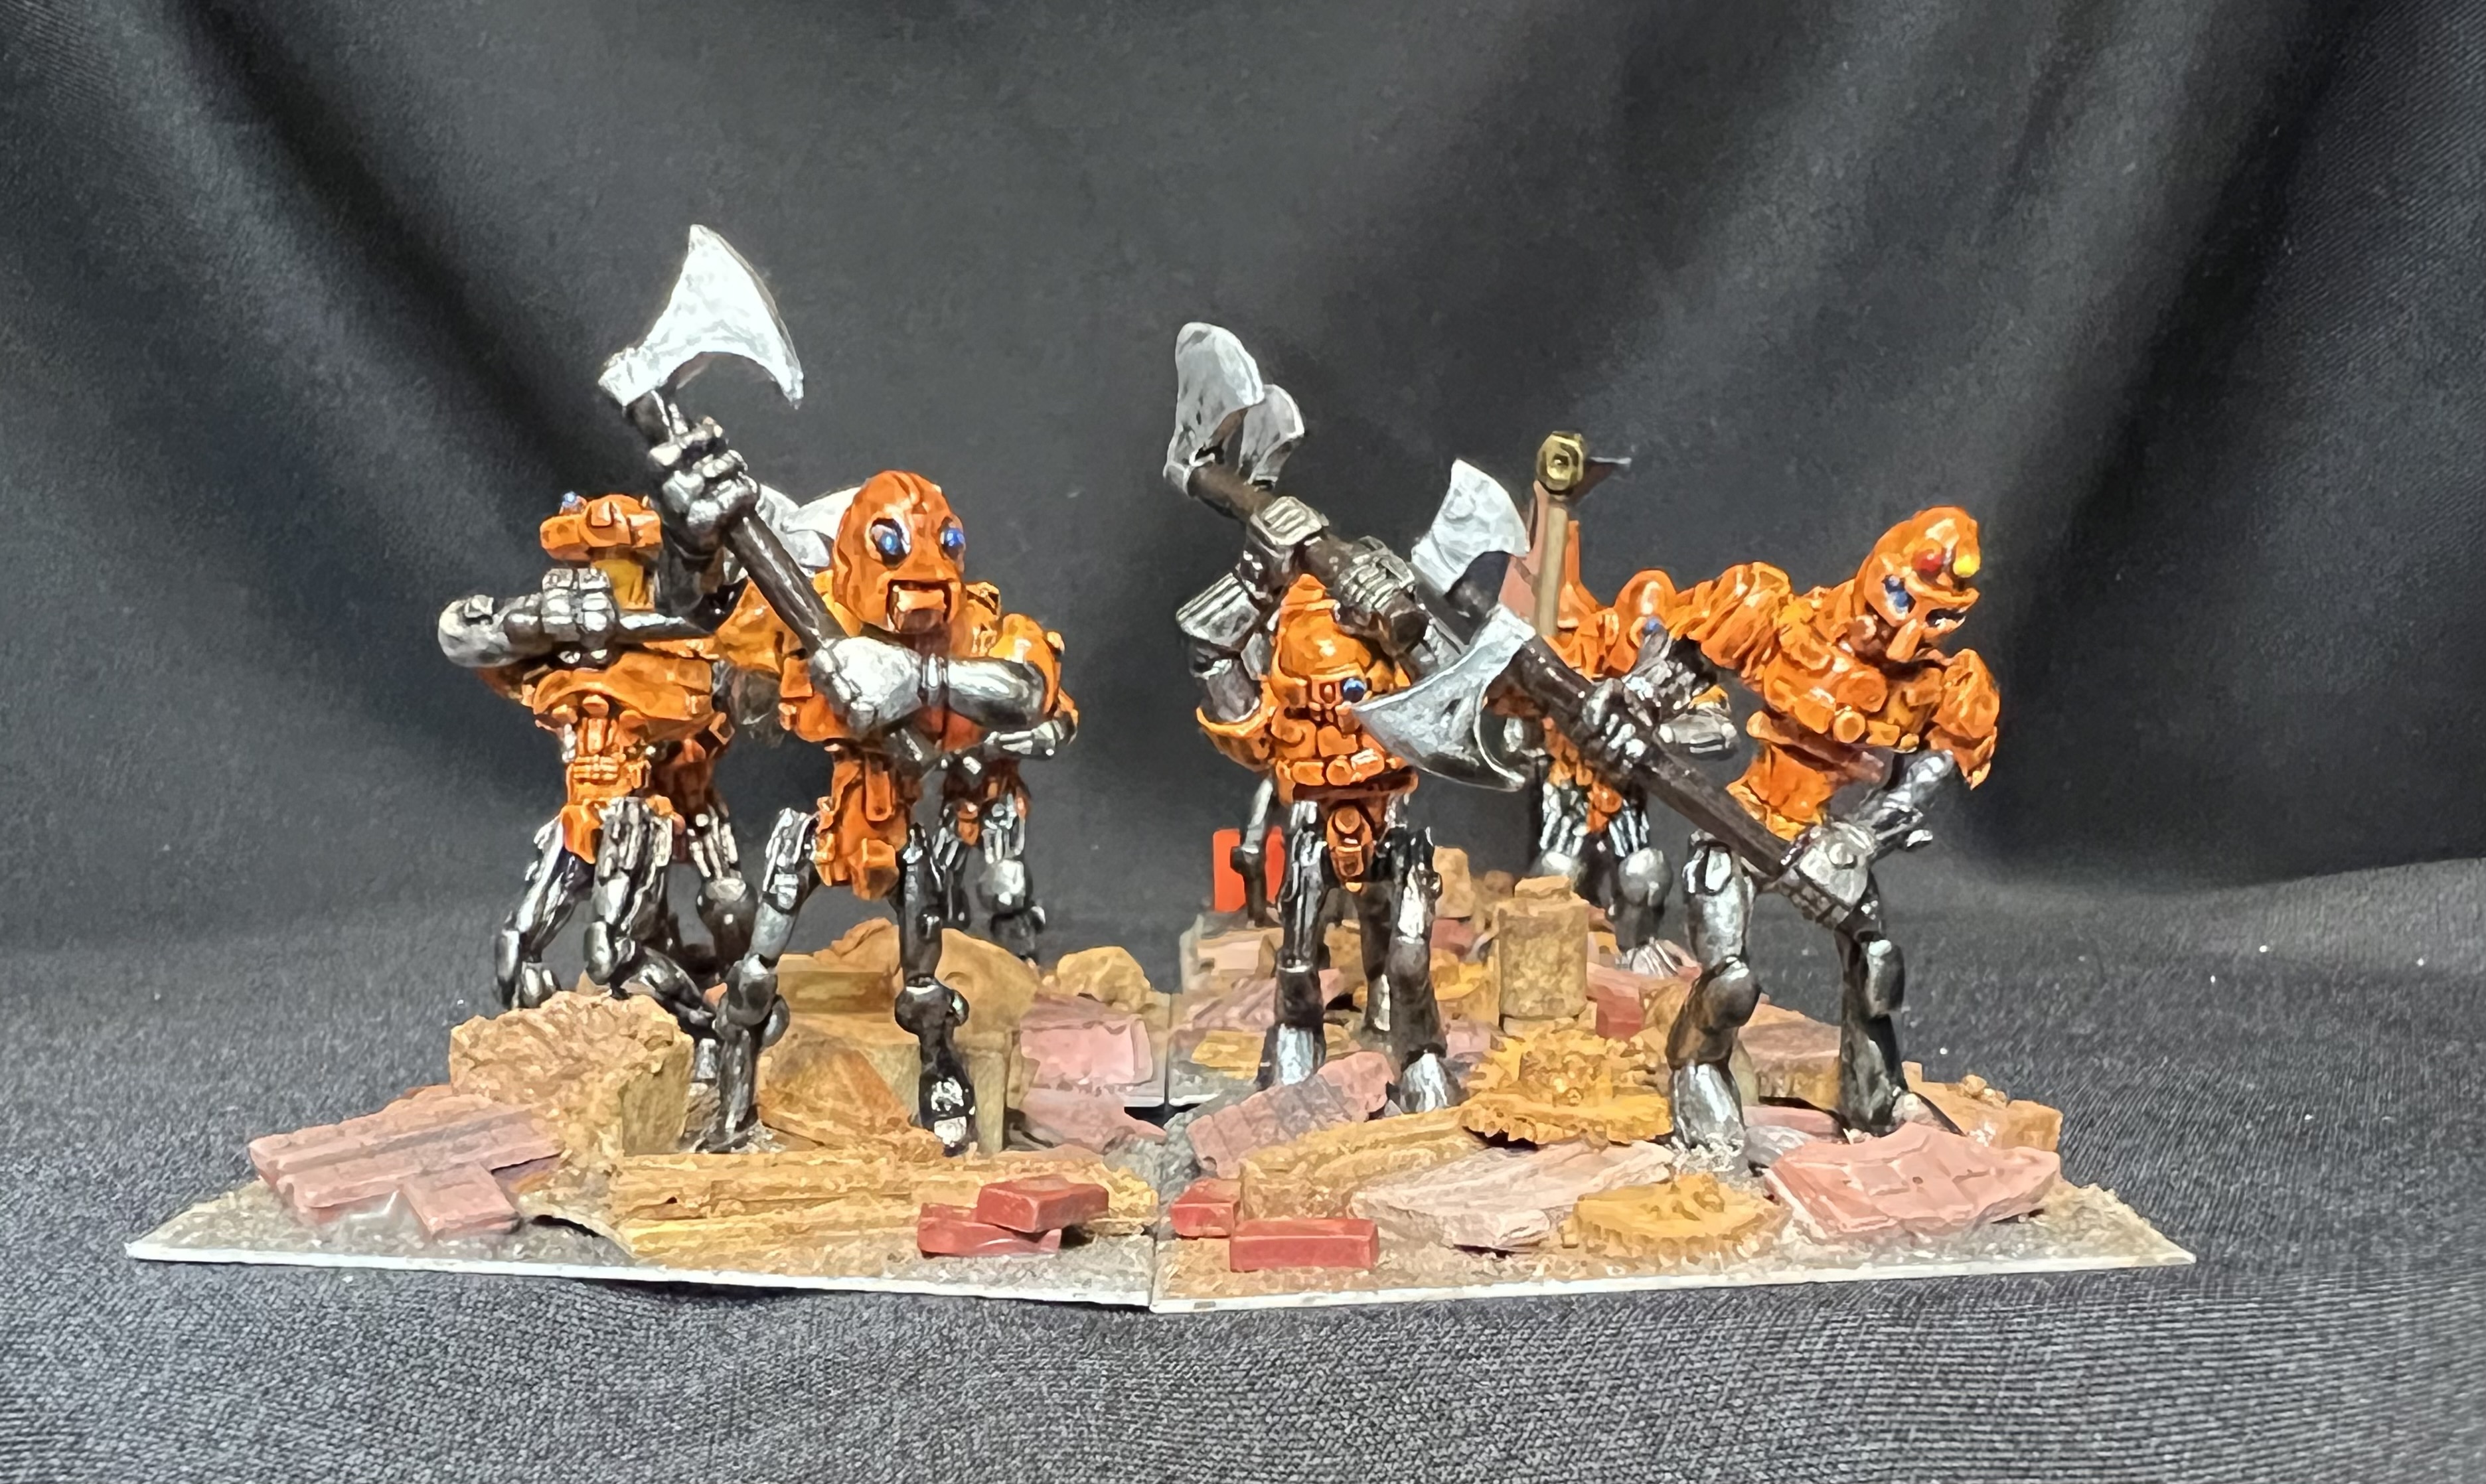
The other regiment is an orange-themed melee unit, also armed with axes.
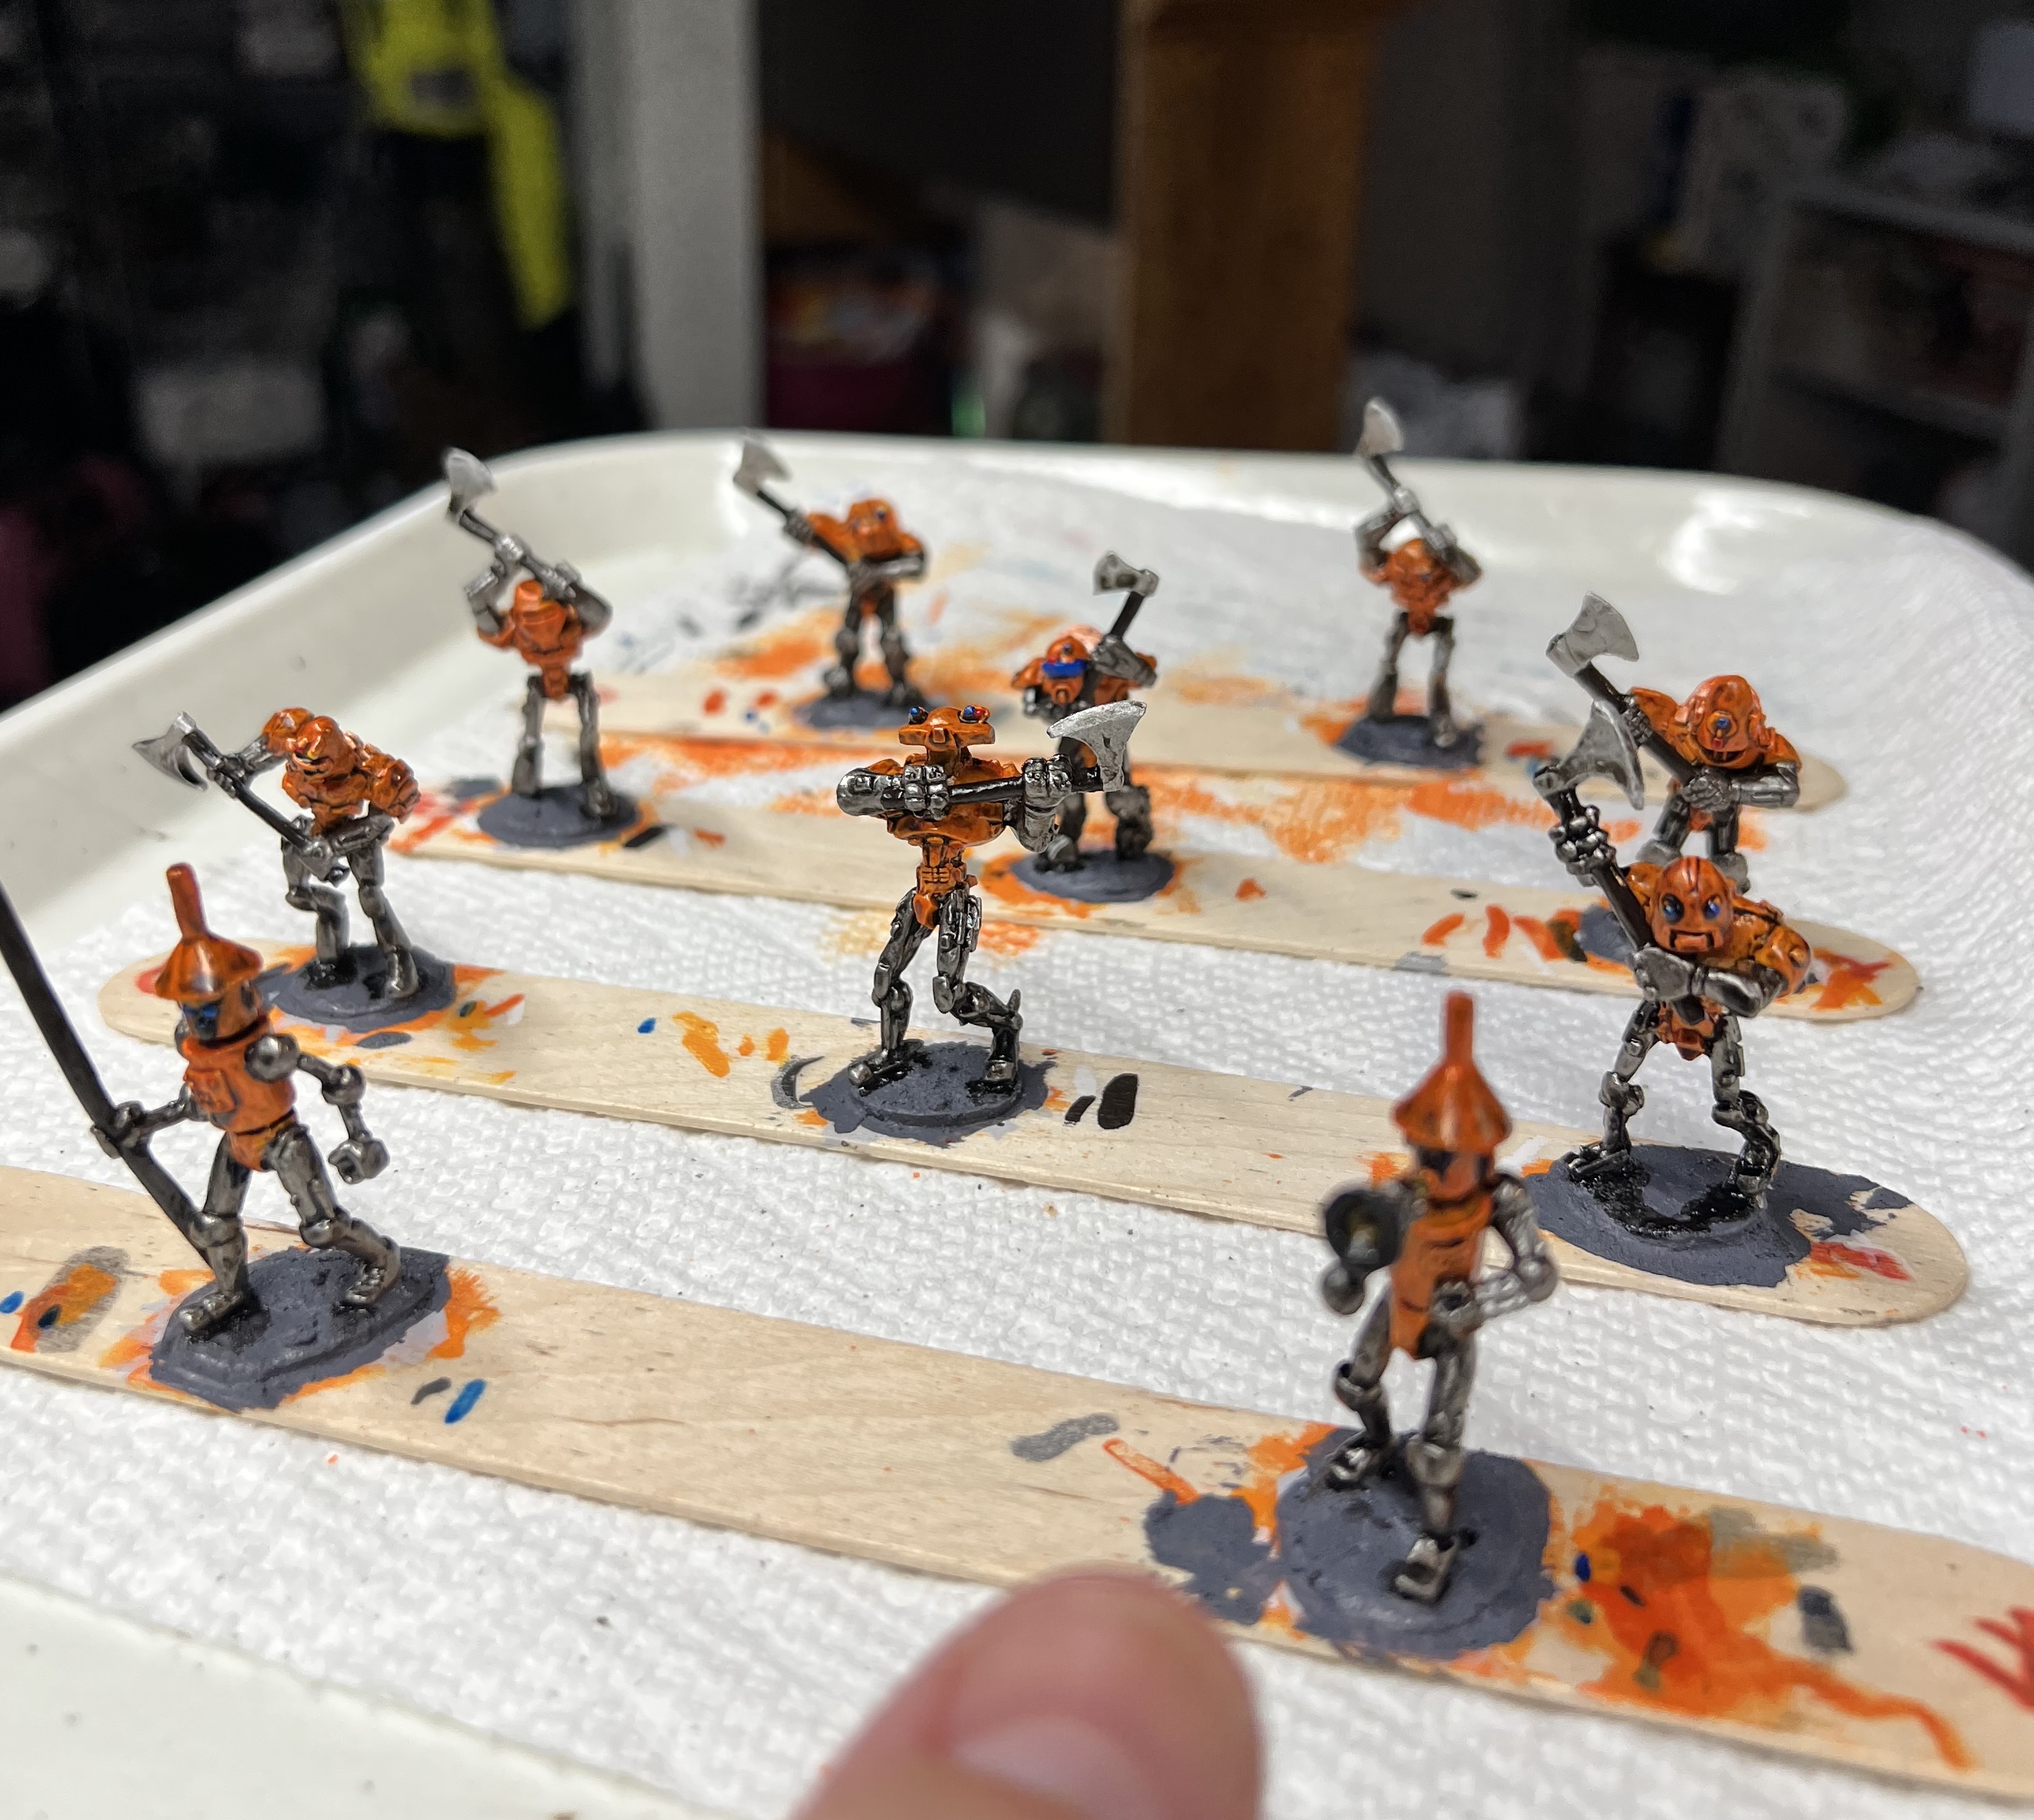
Task Force Orange
Also just one WIP shot for these guys.
WIP – still used a pearlized look with a sooty/oily sheen.
And some group shots:
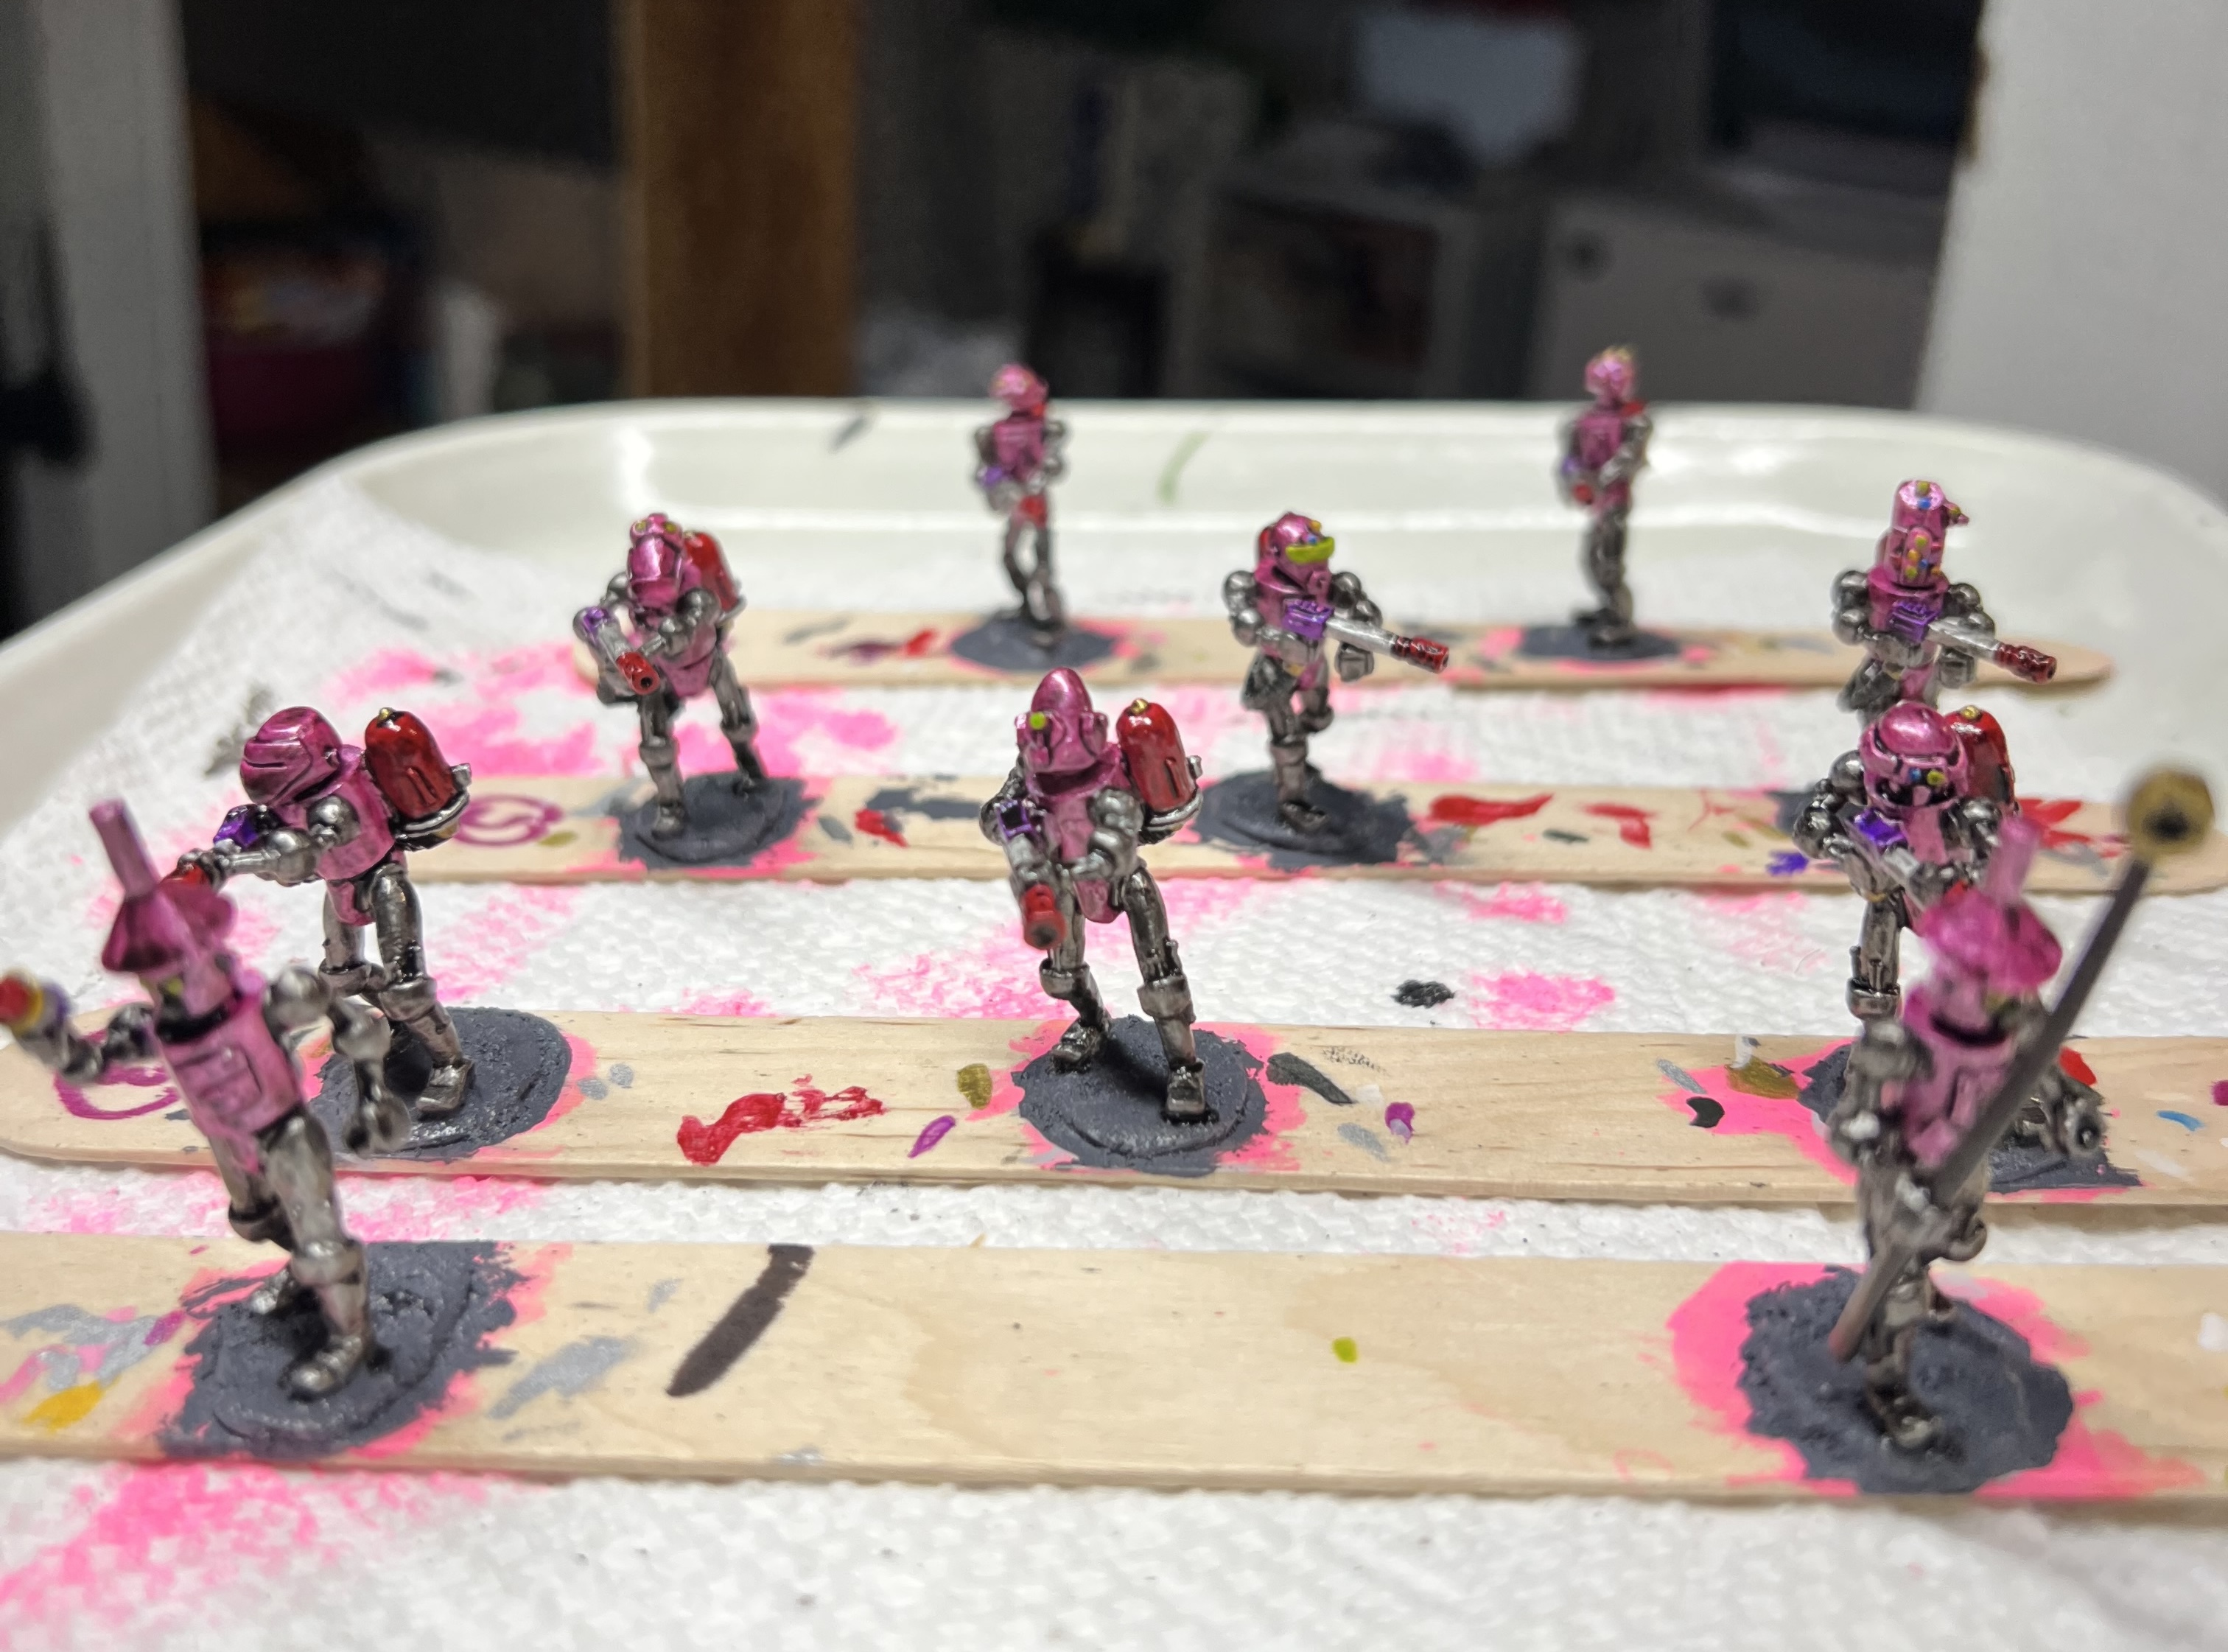
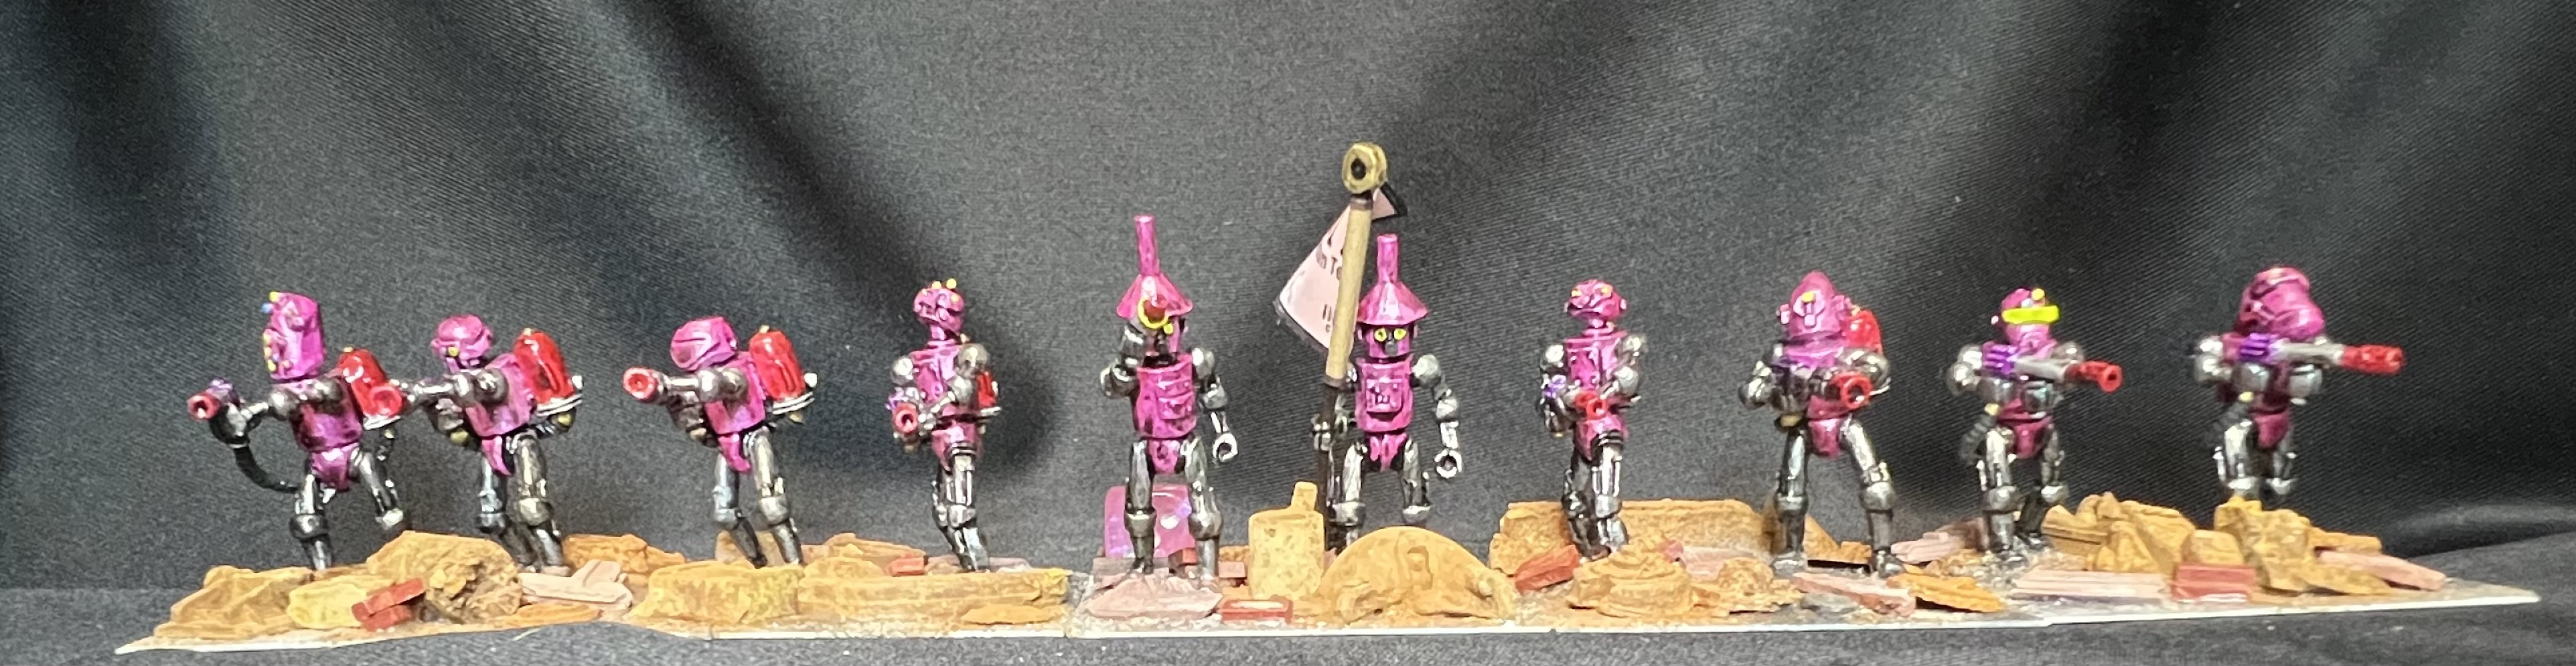
The other two regiments are armed with “plasma blasters”. They are OZZ-539, “Mechanical Men with Napalm Blasters”. The first one is magenta-themed:
The Tinseltown Terrors
WIP Shot.
And some poses:
The last regiment I painted up was also a plasma blaster regiment. This time lime green-themed:
The Viridian Veterans
WIP shot.
And some poses:
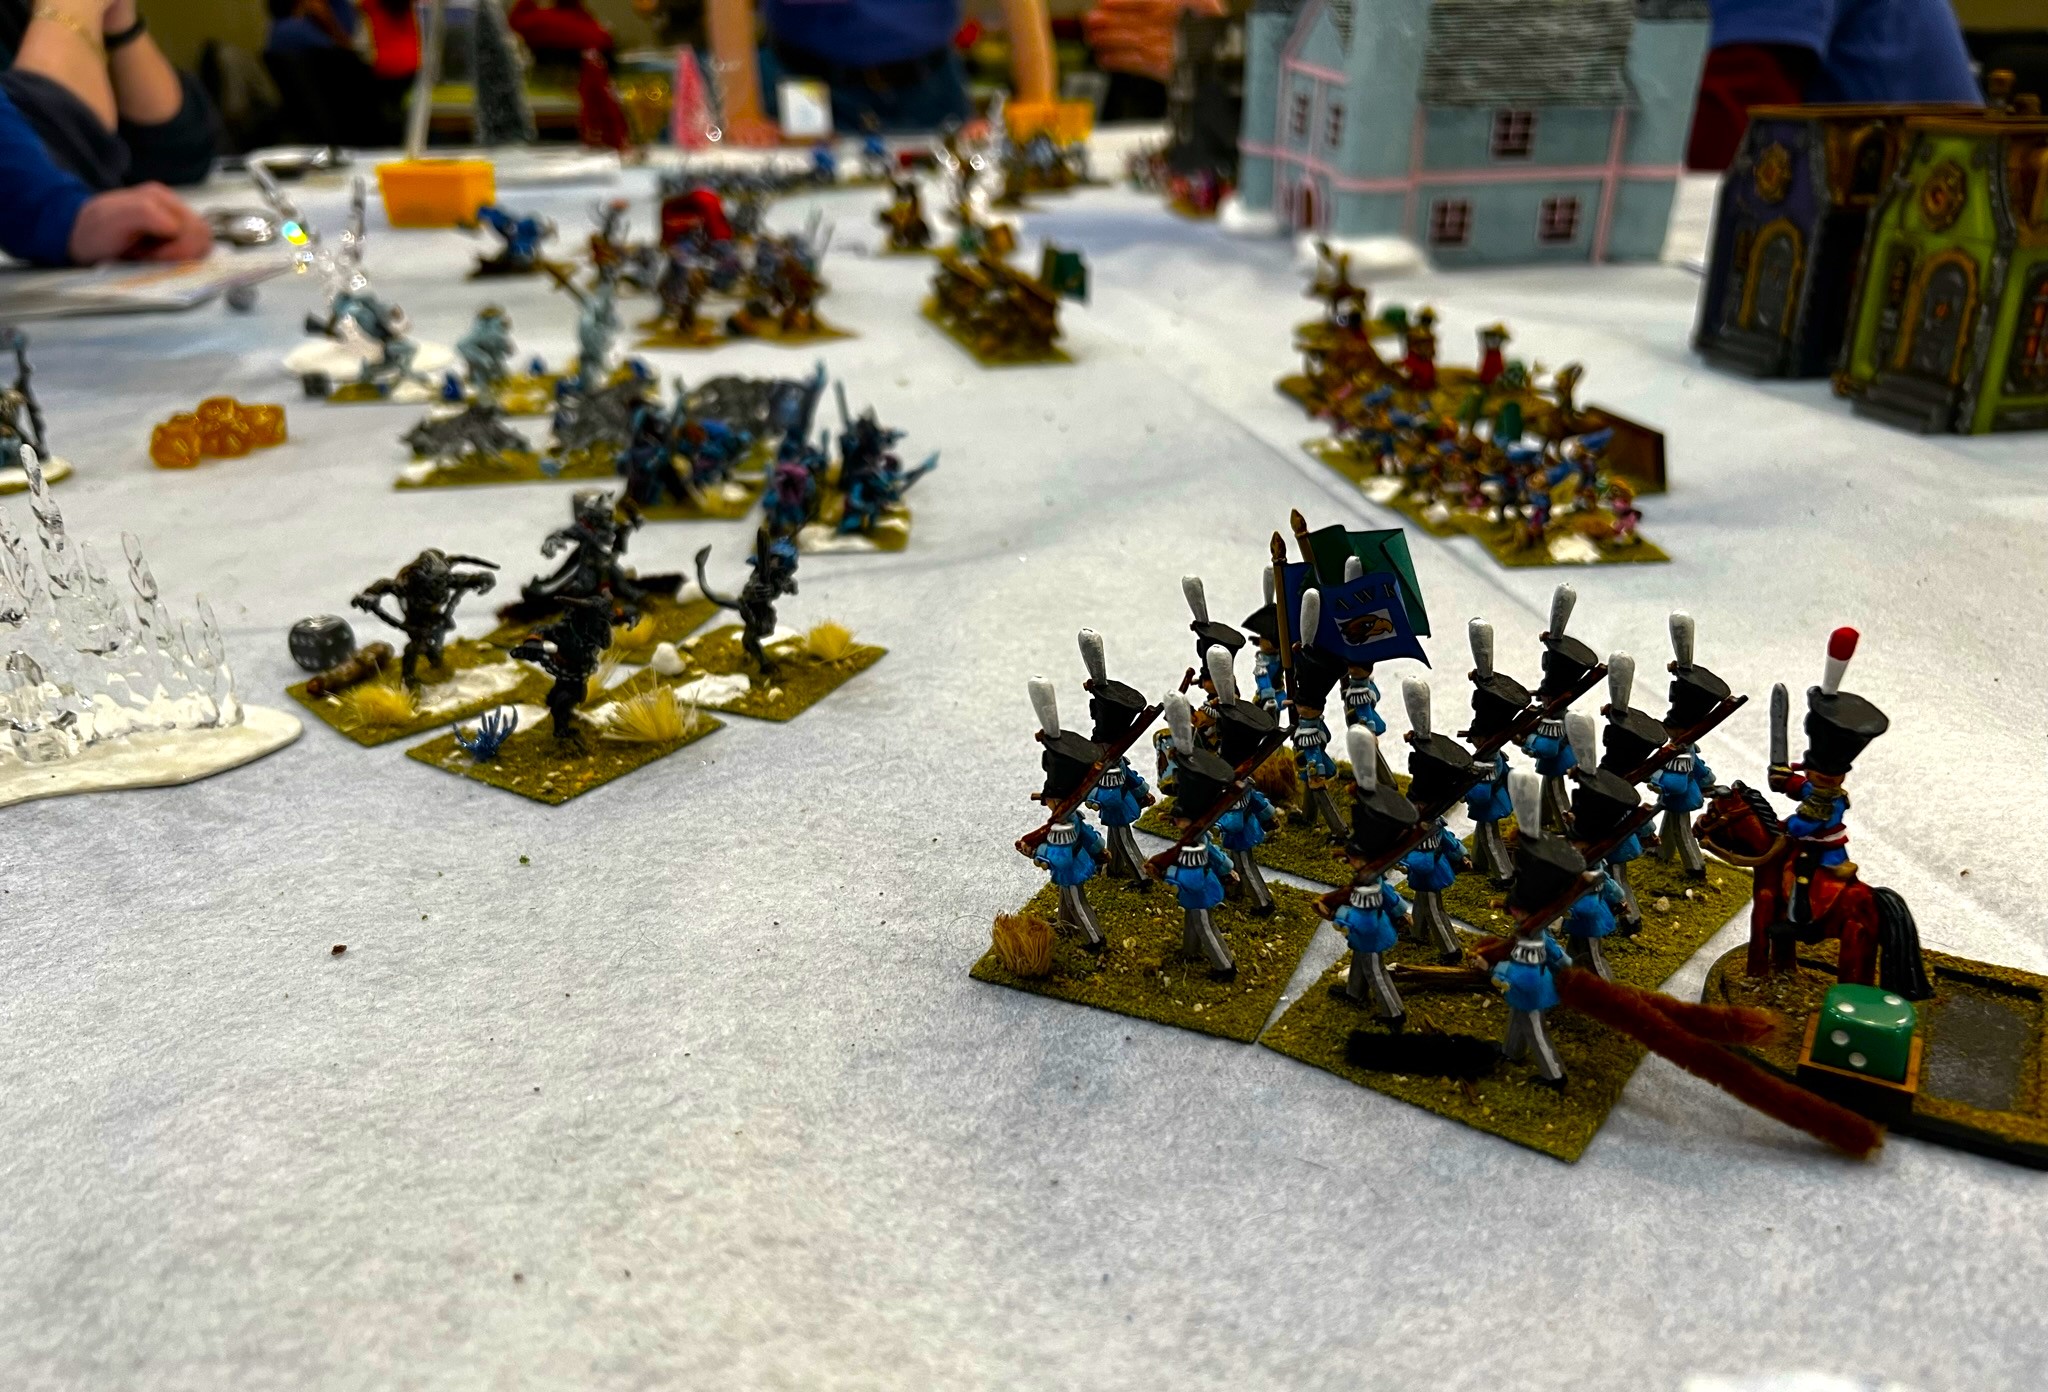
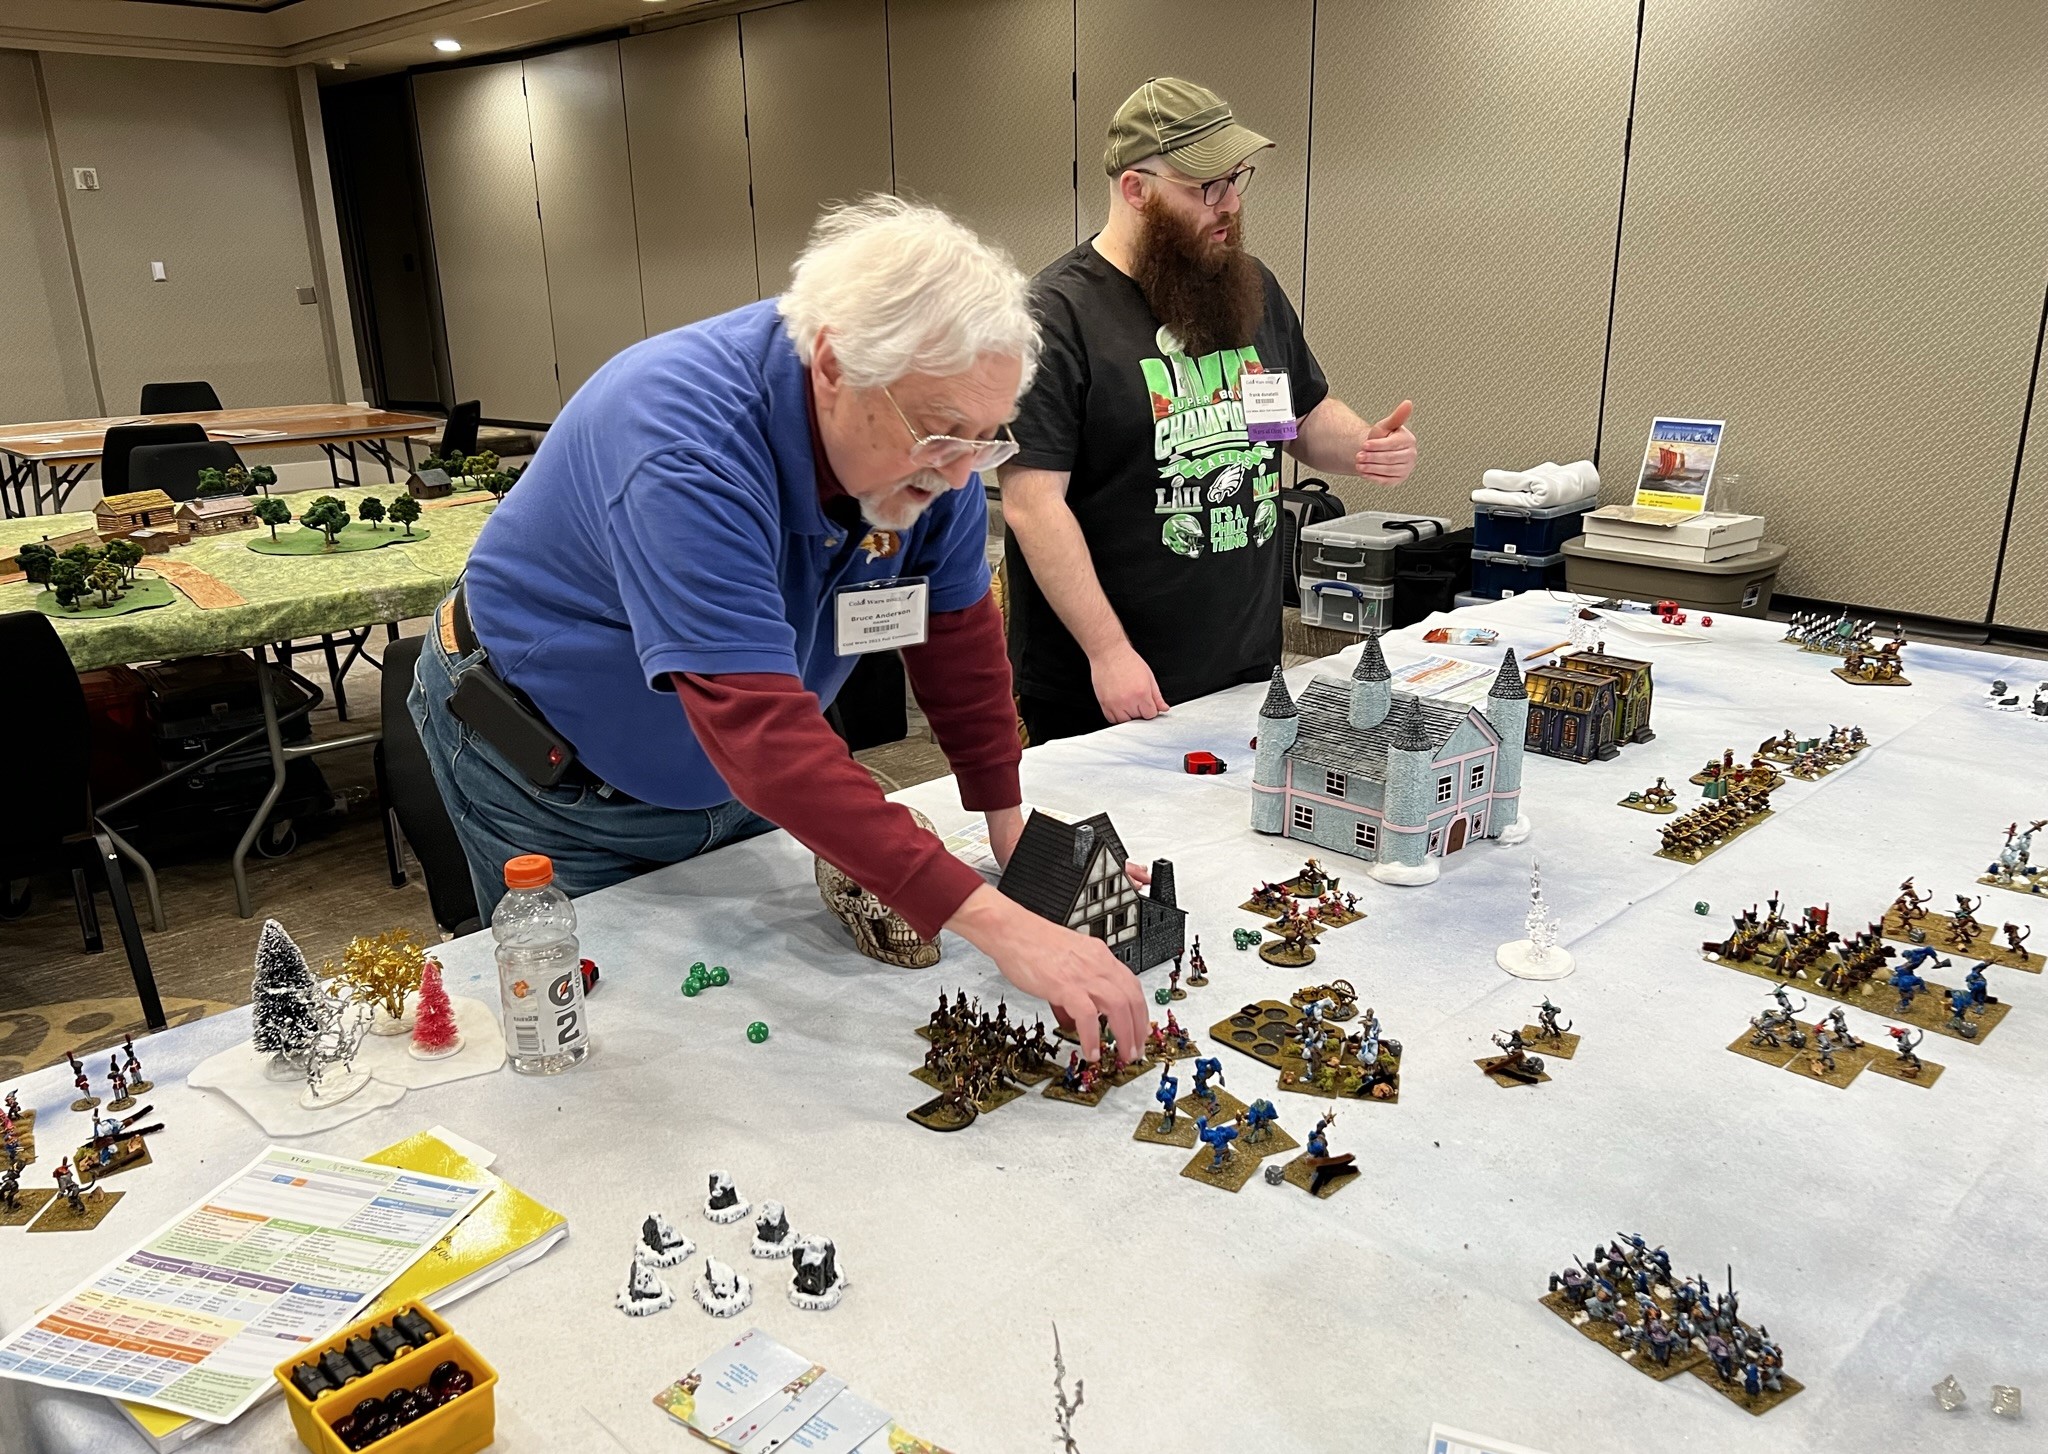
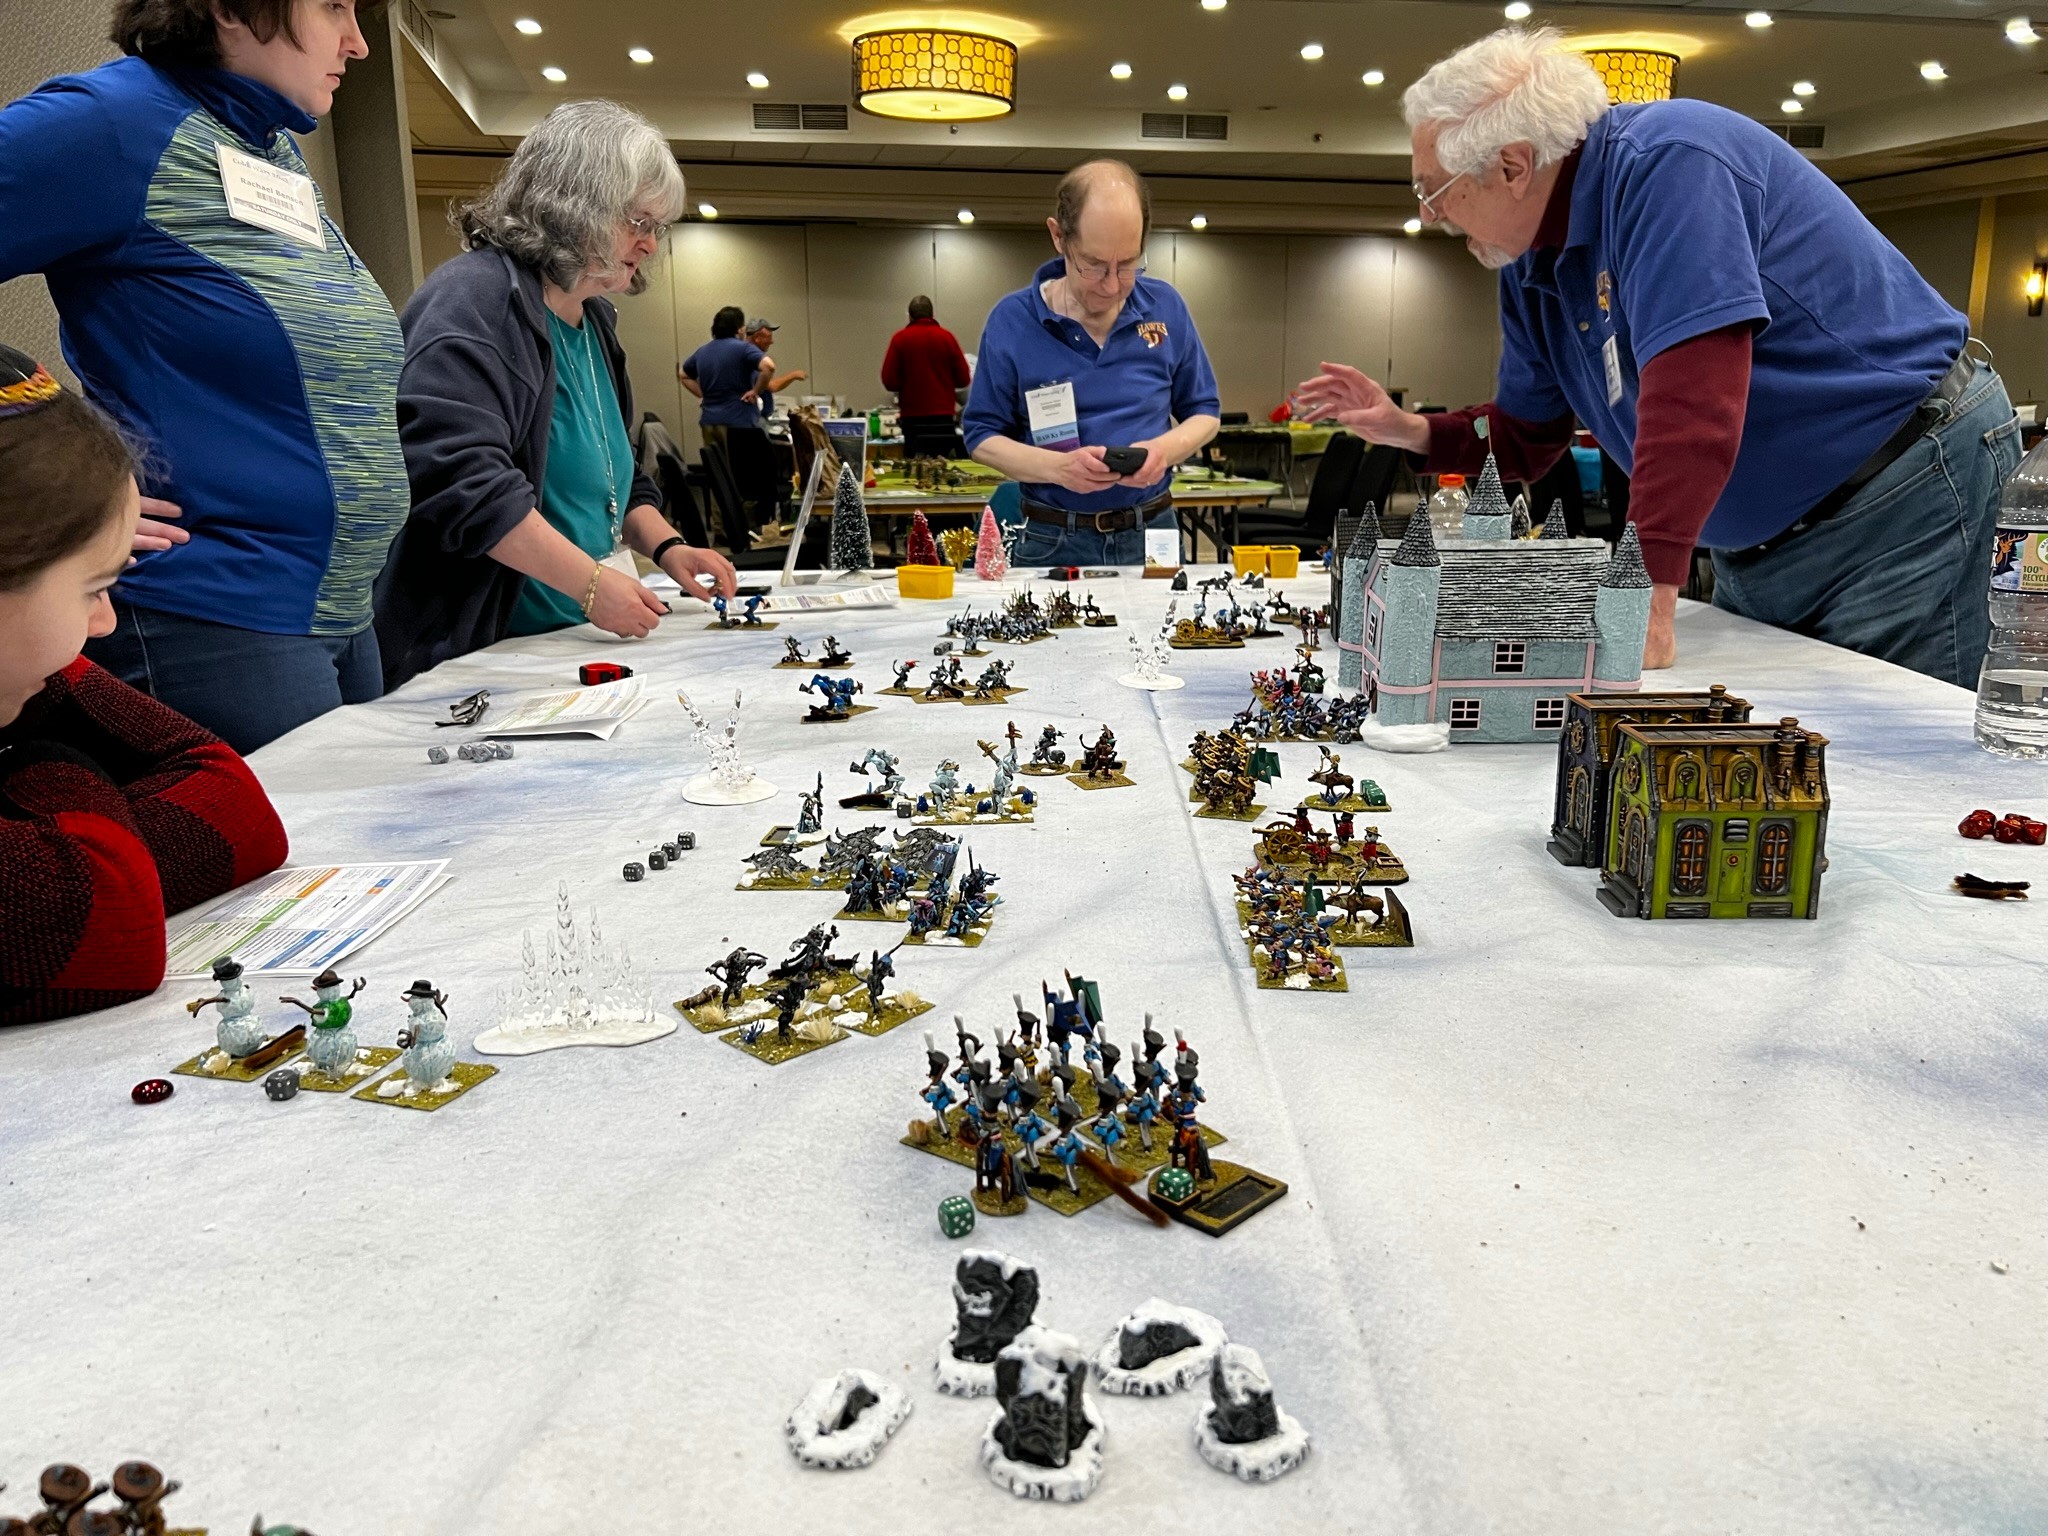
These 5 regiments were used in two of my Wars of Ozz games at HUZZAH. I also ran a retro sci-fi game using Combat Patrol rules and a What a Tanker game. Here are some game shots:
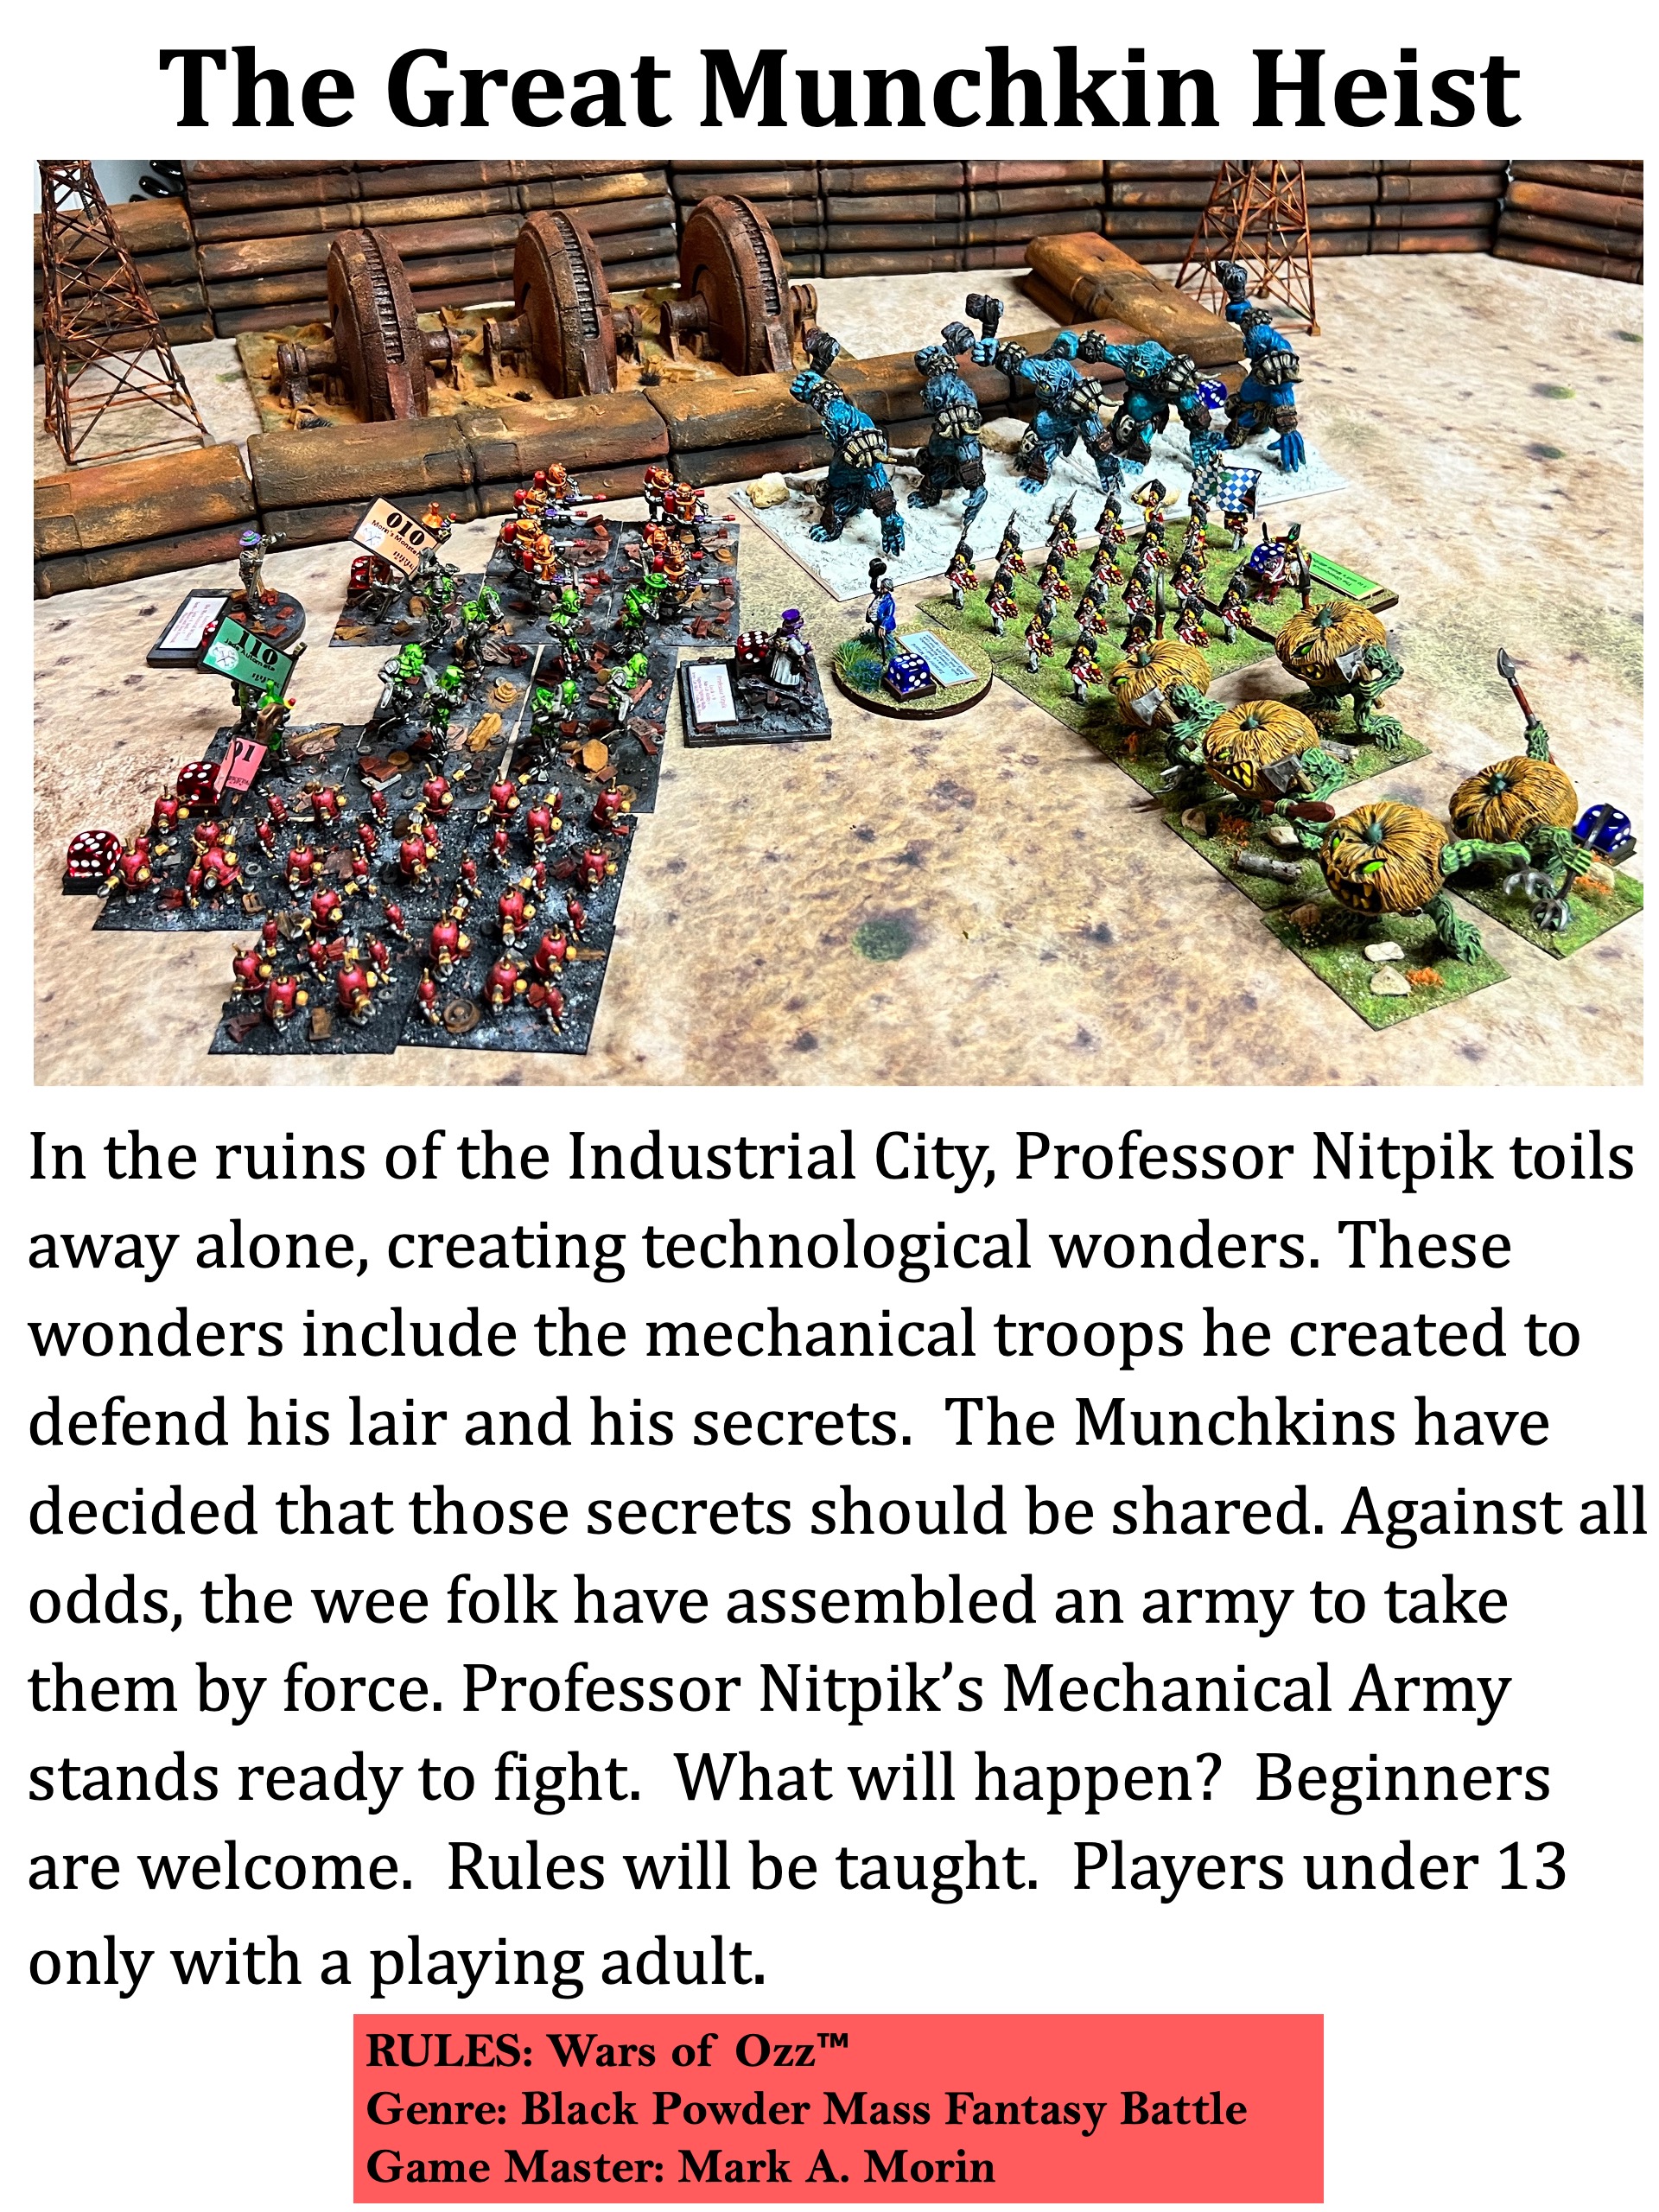
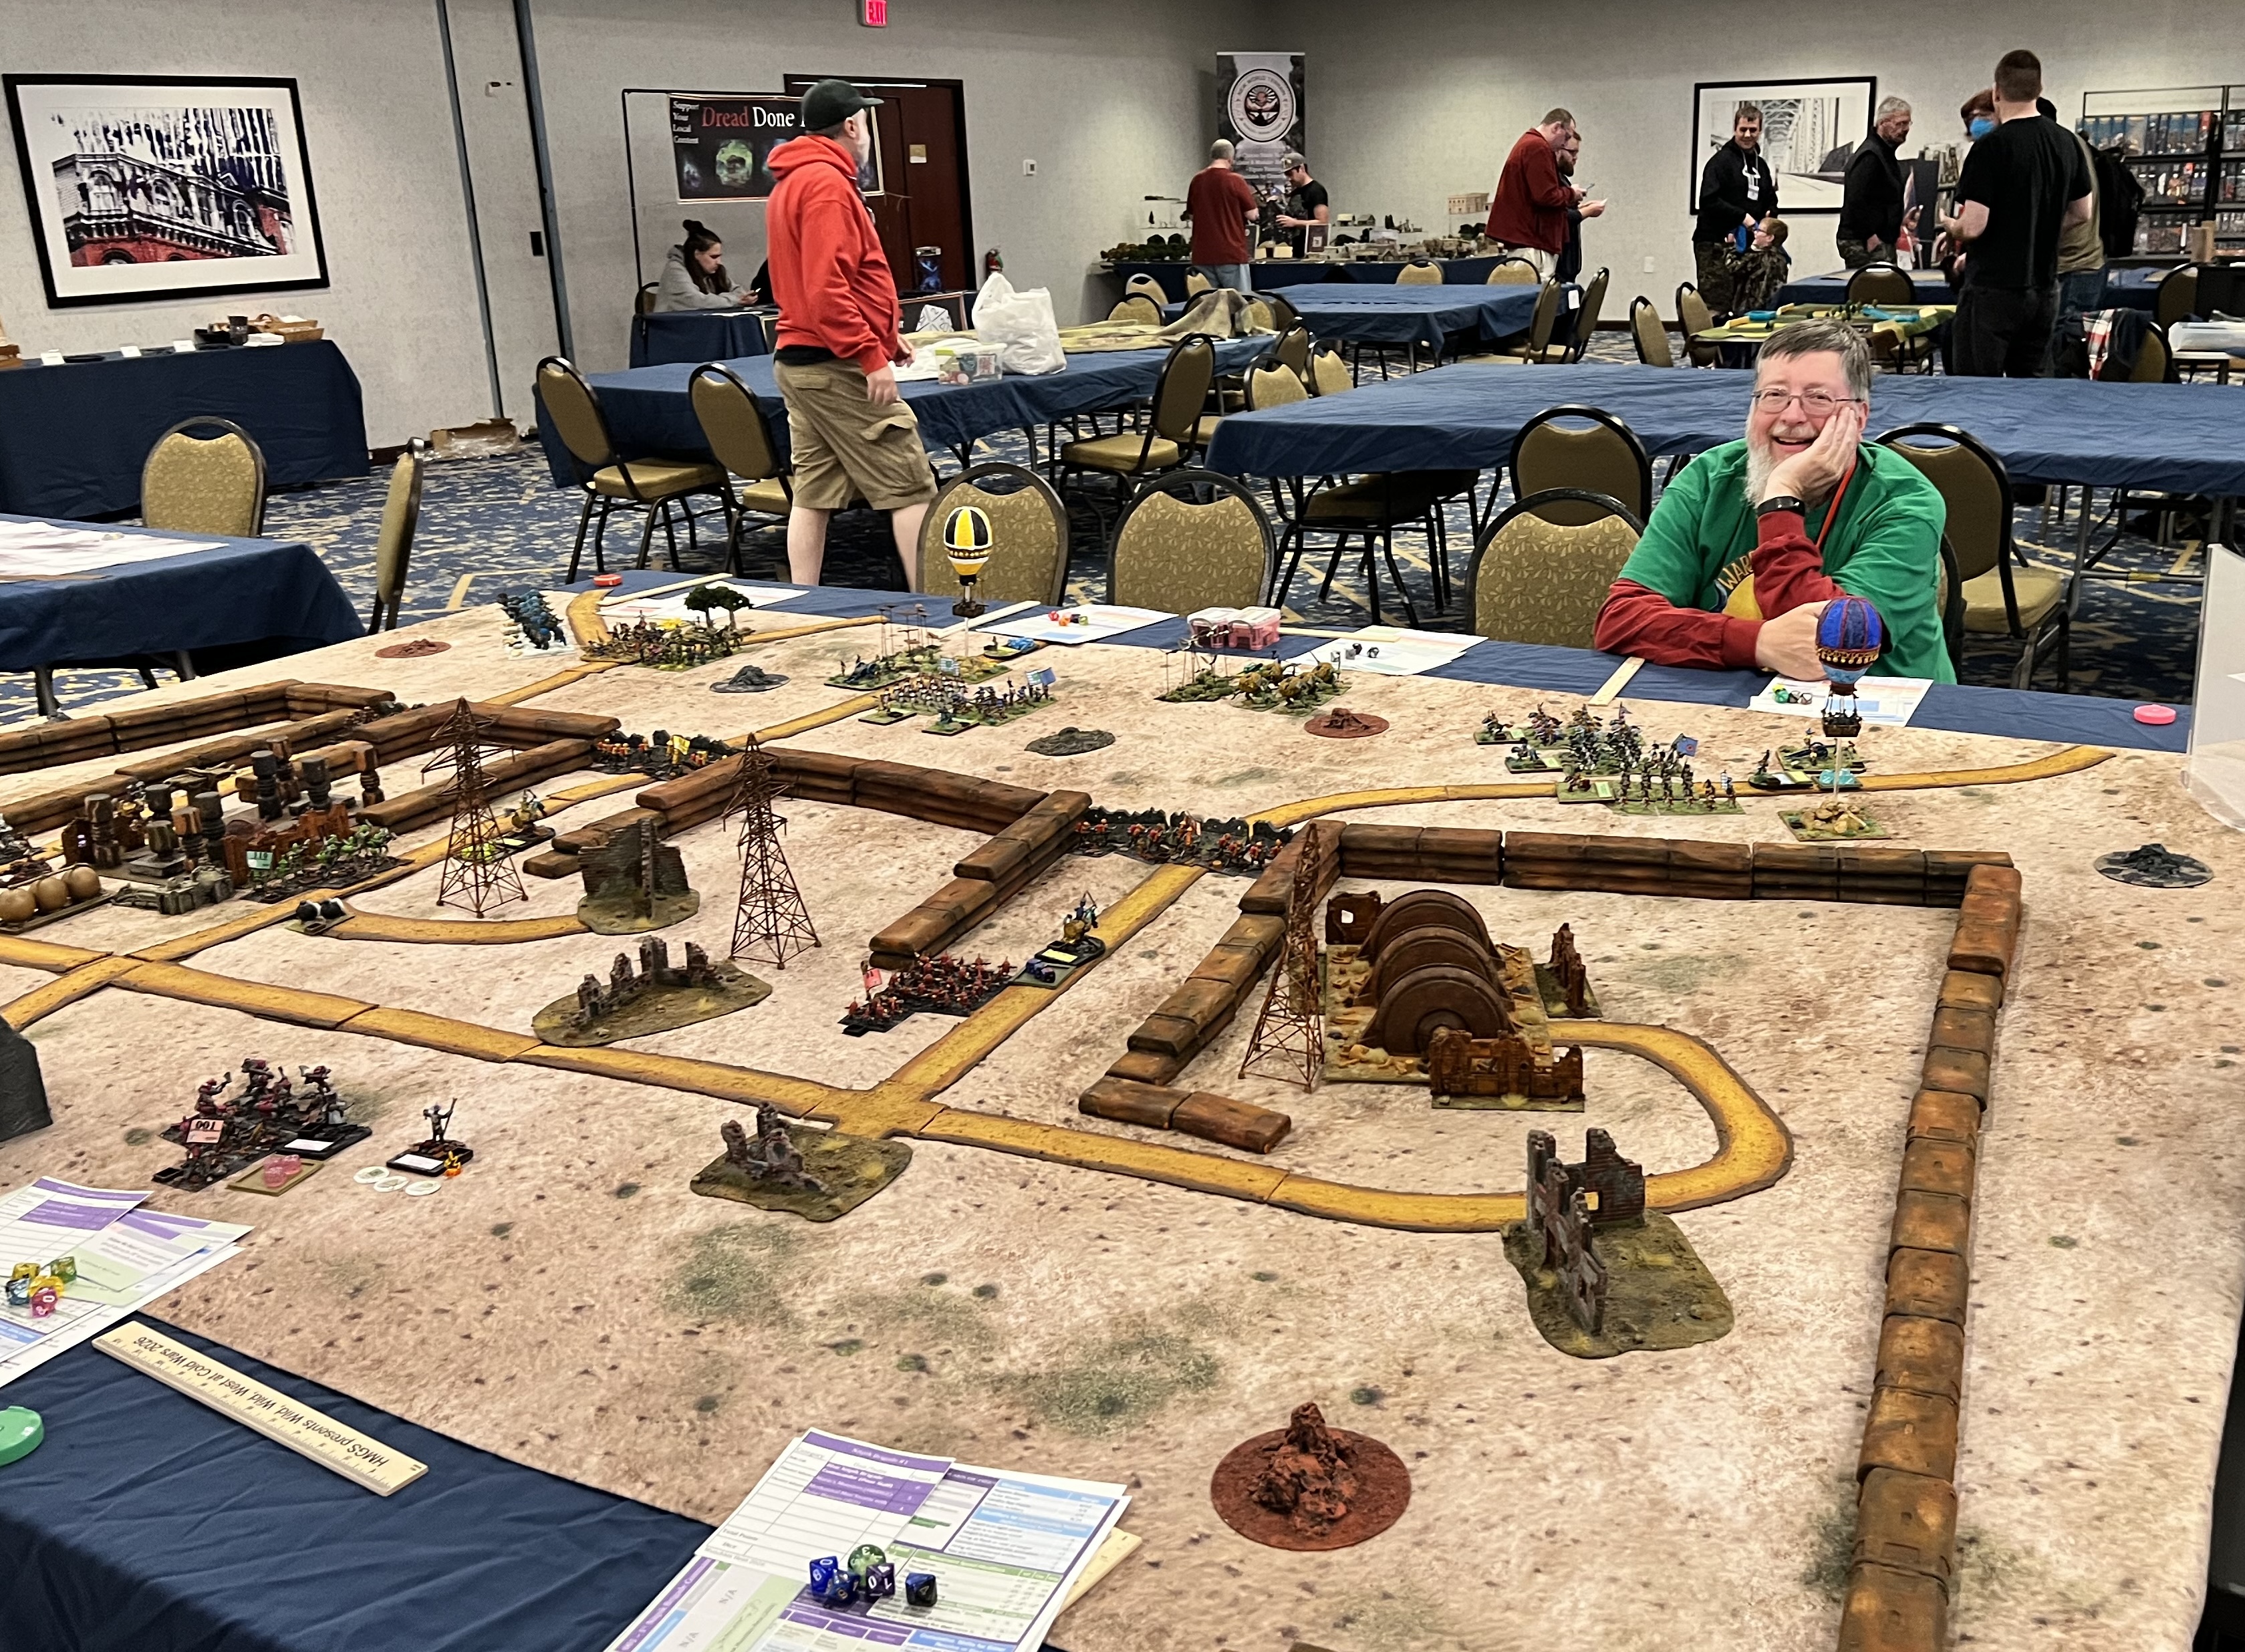
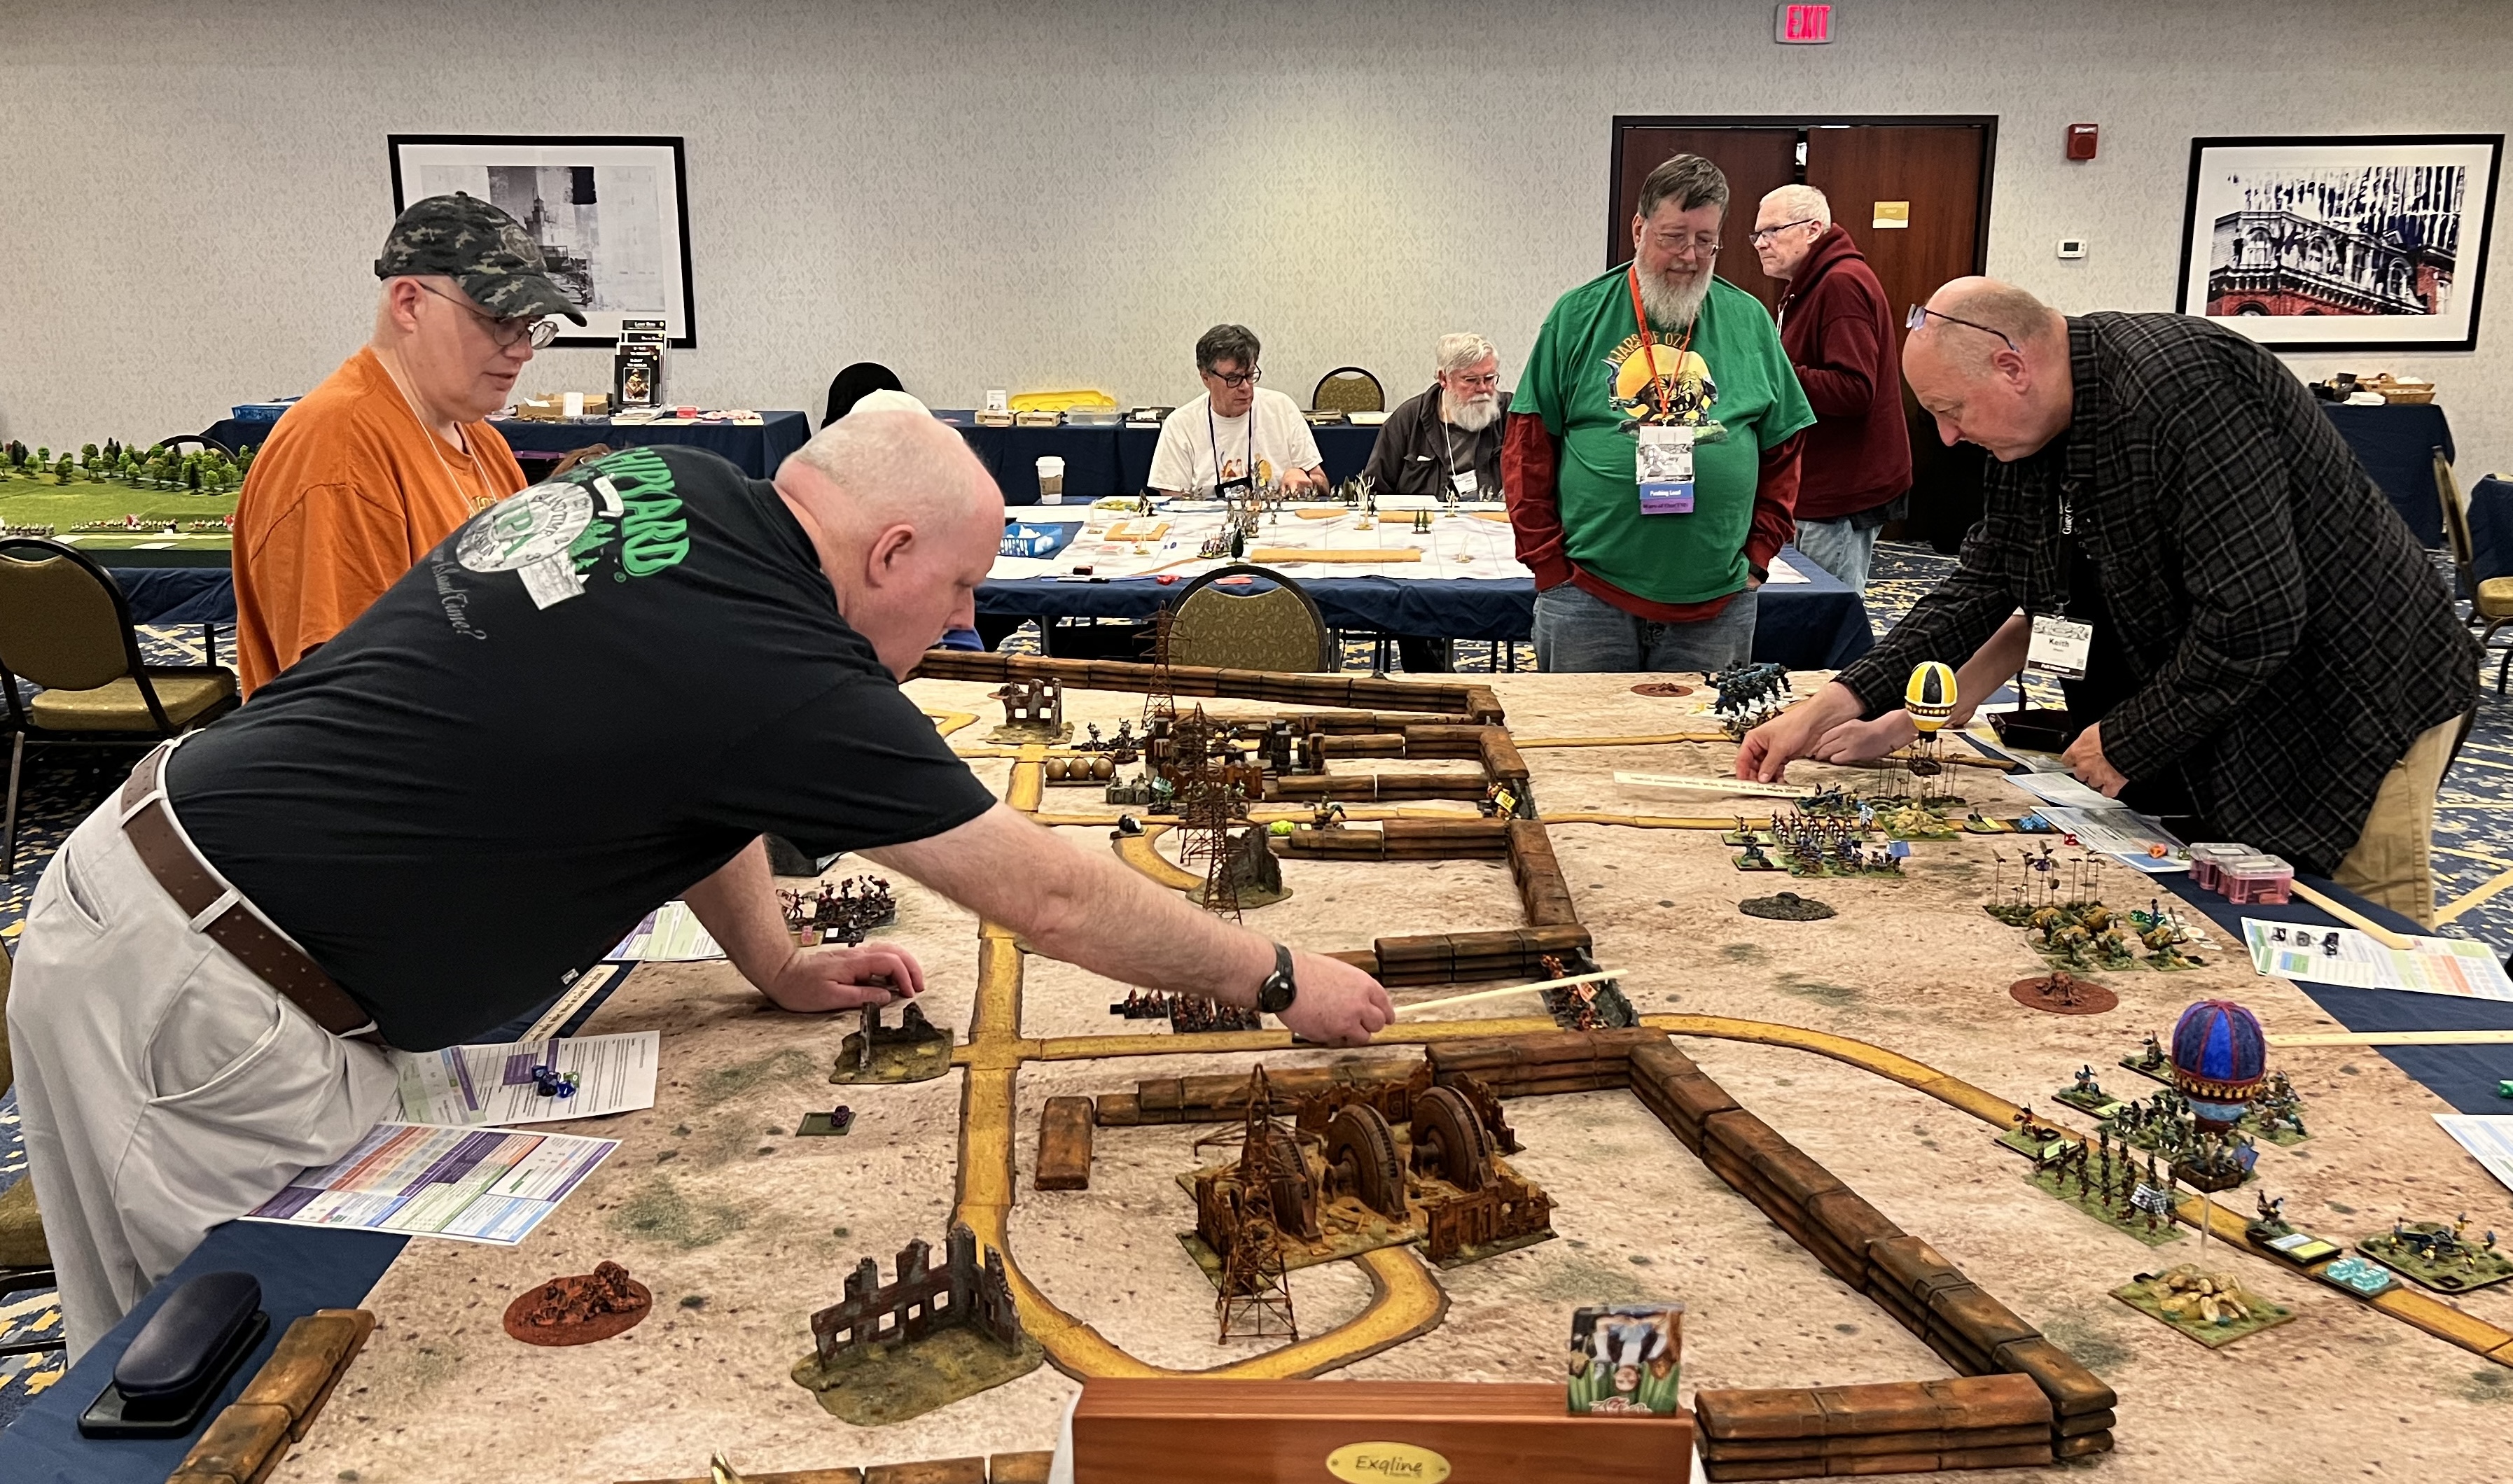
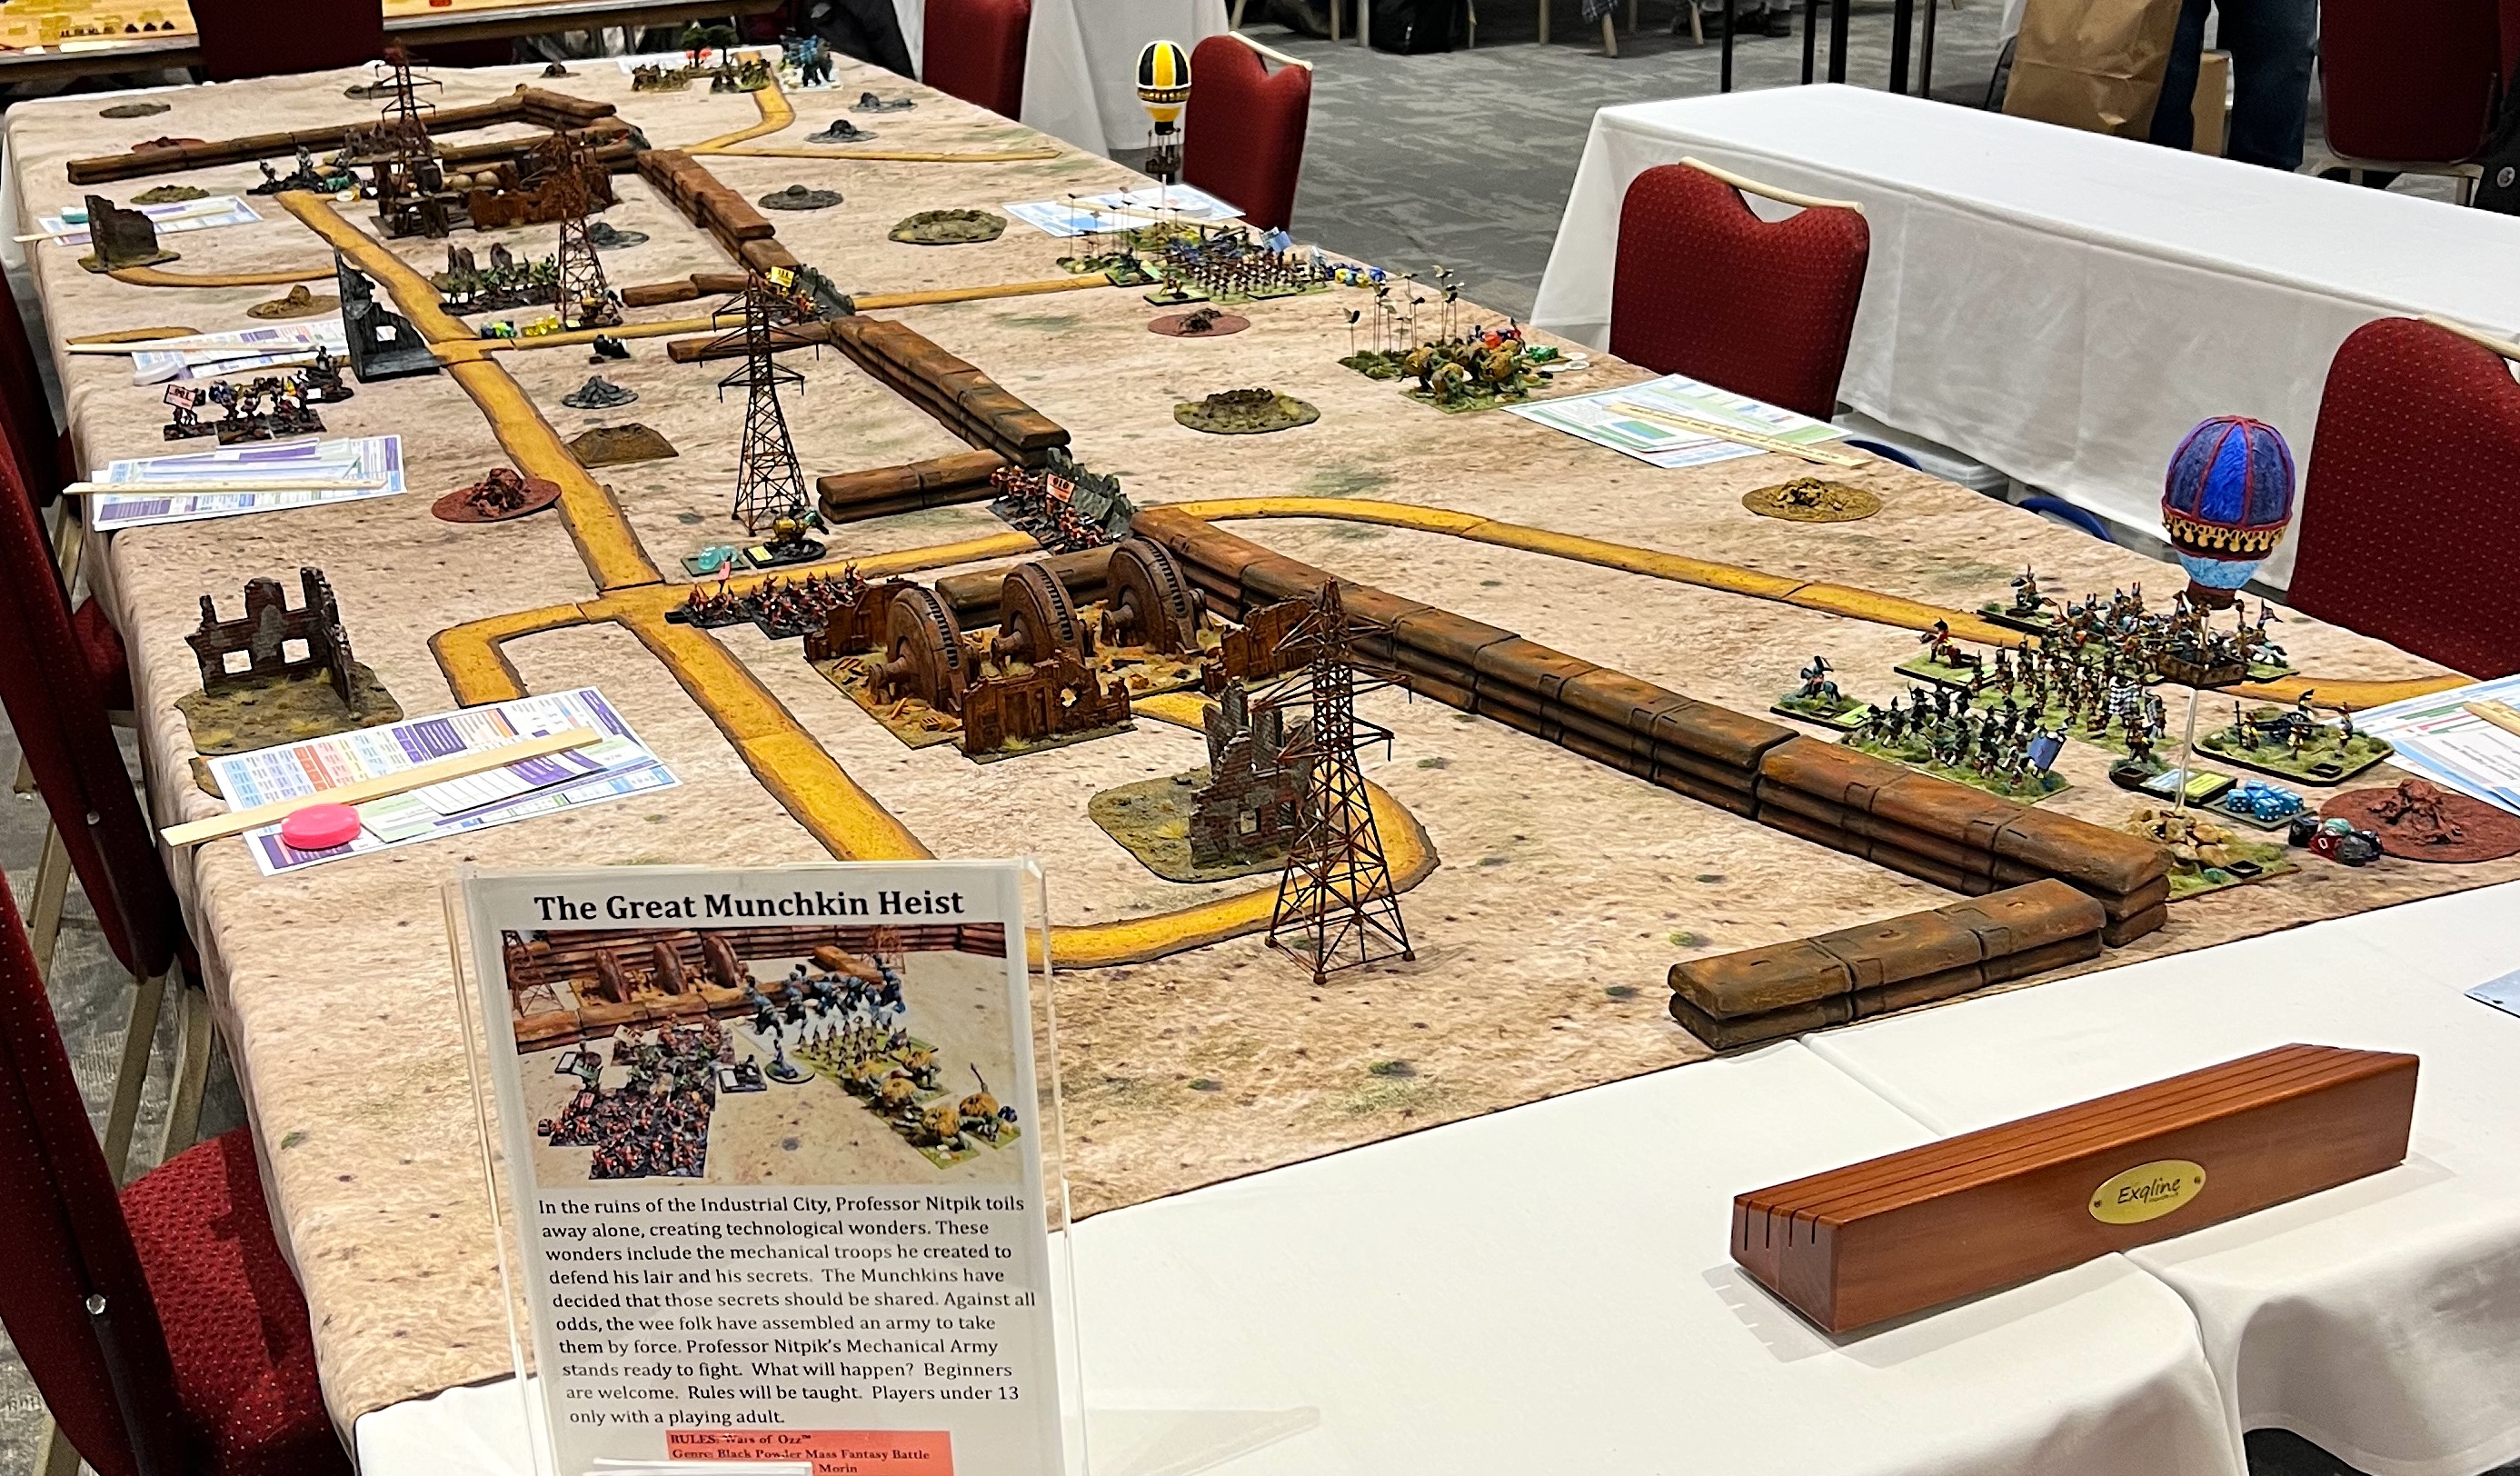
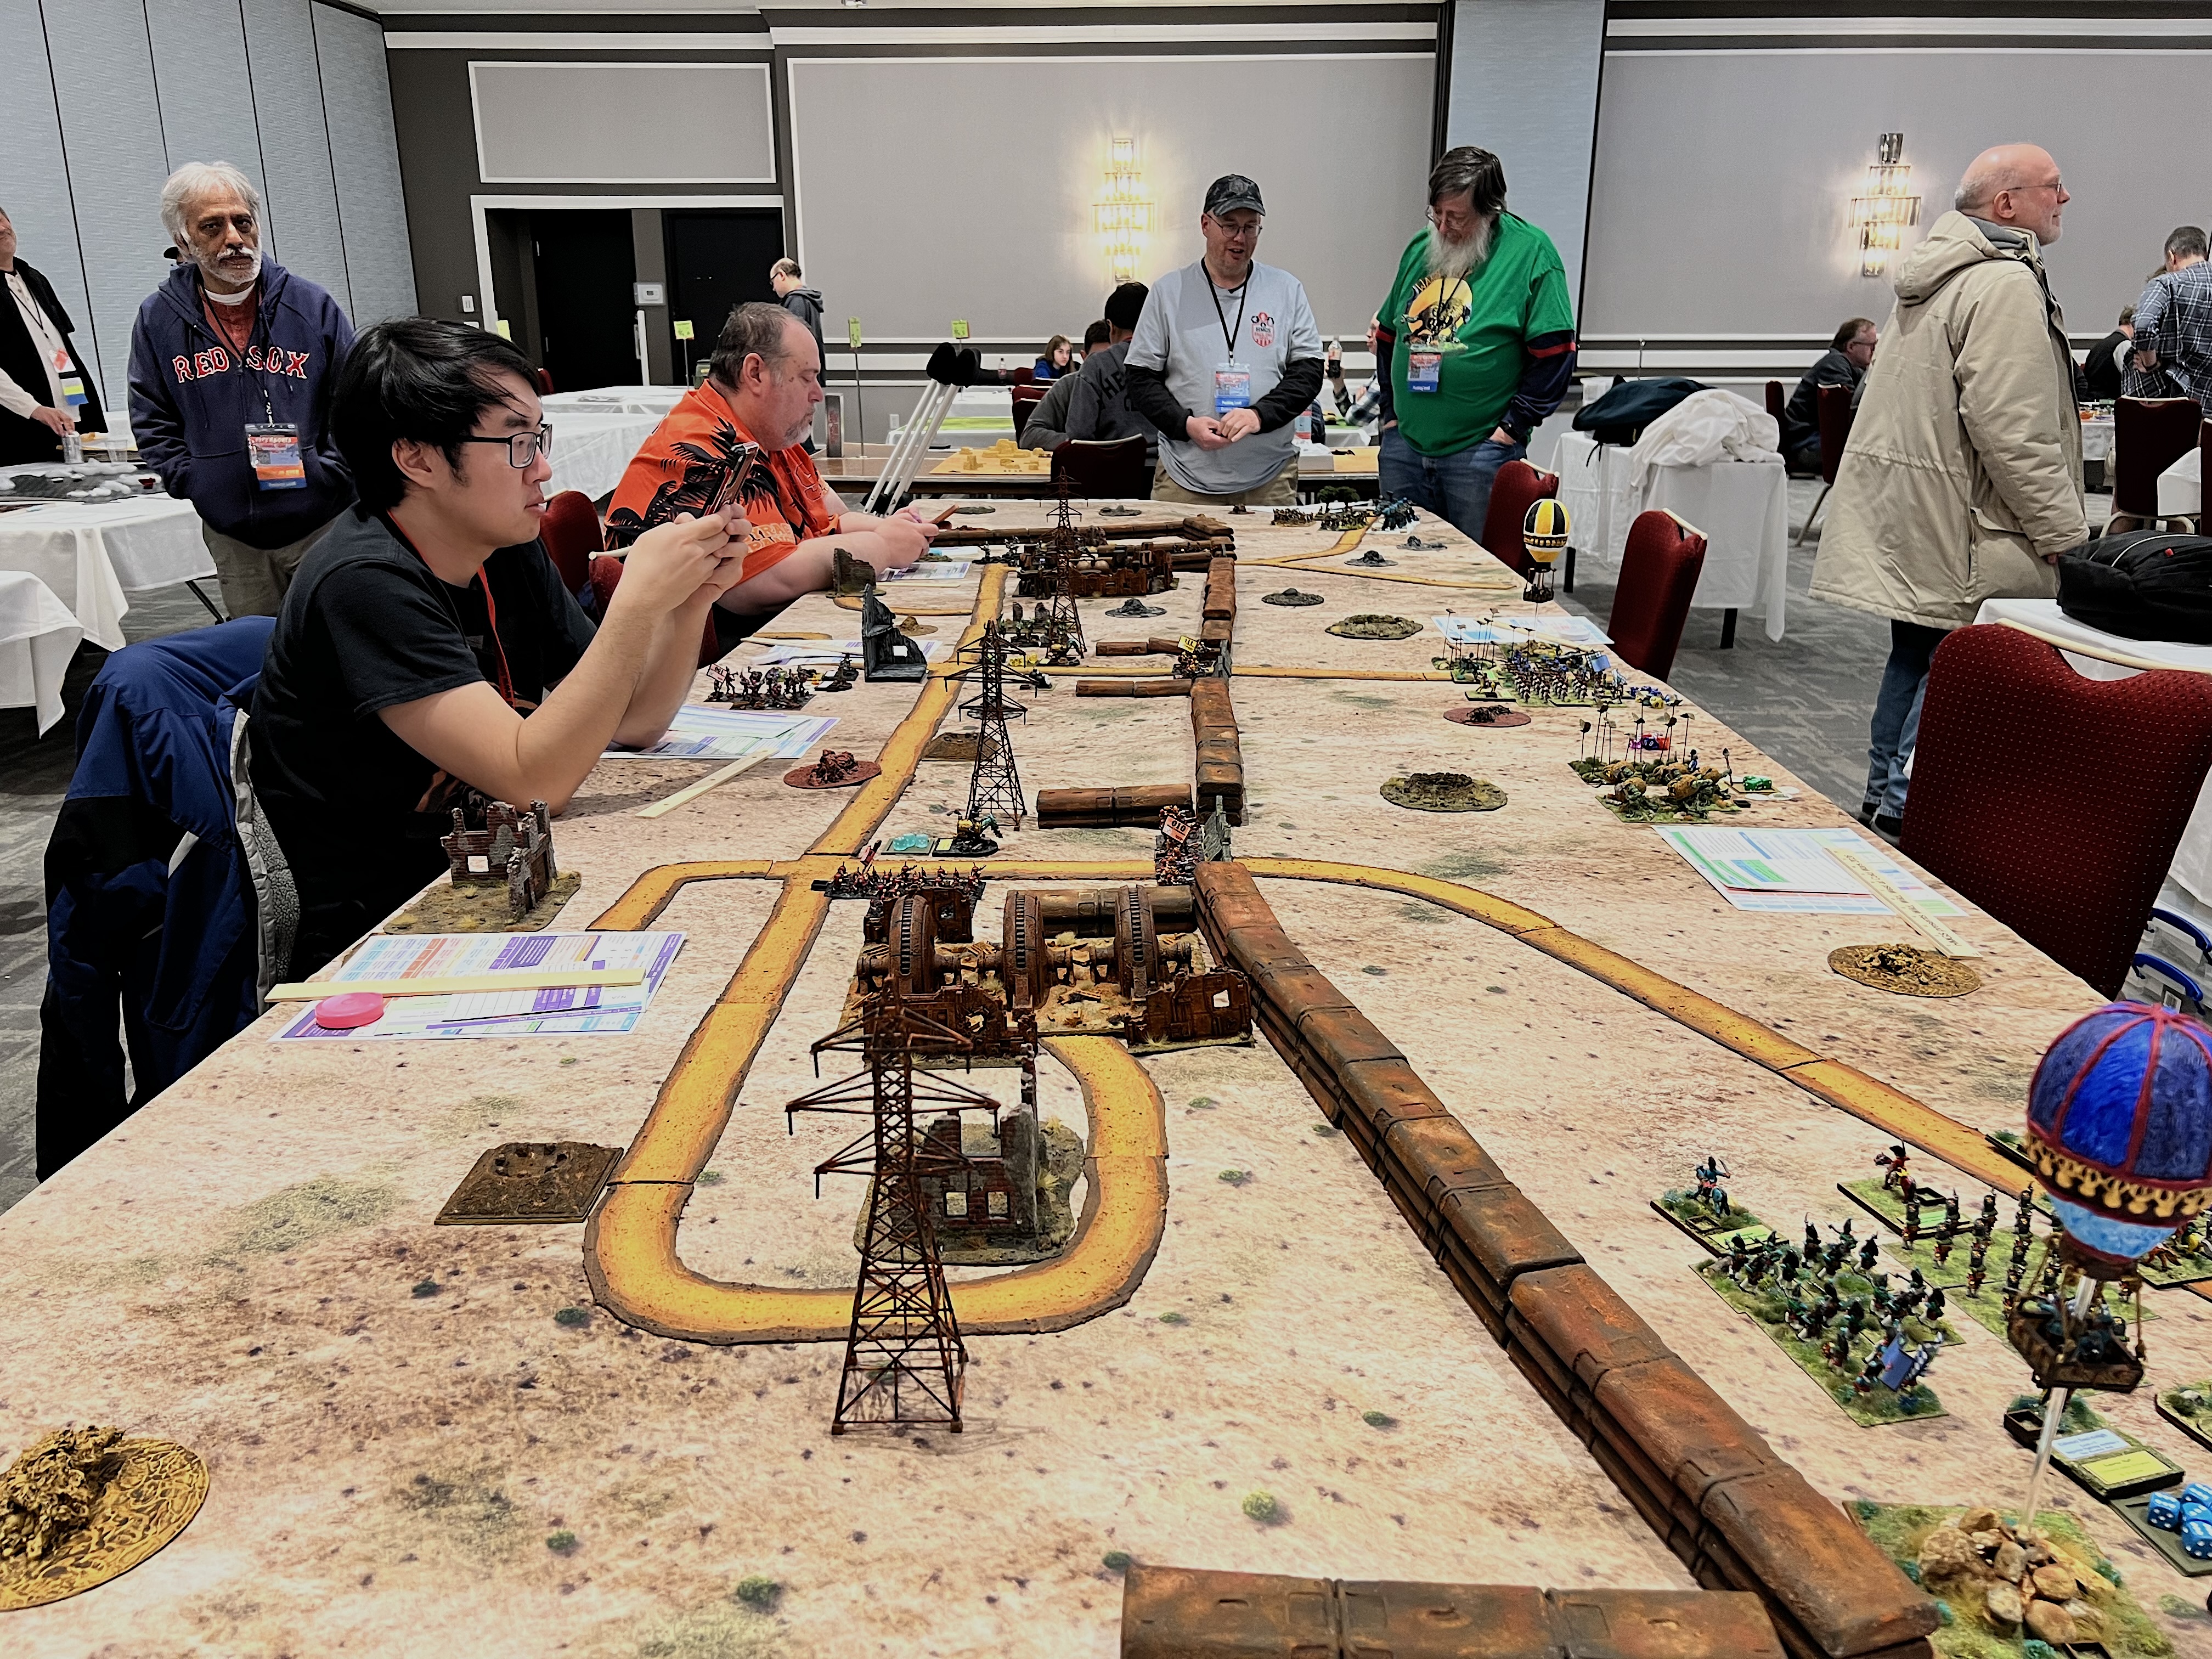
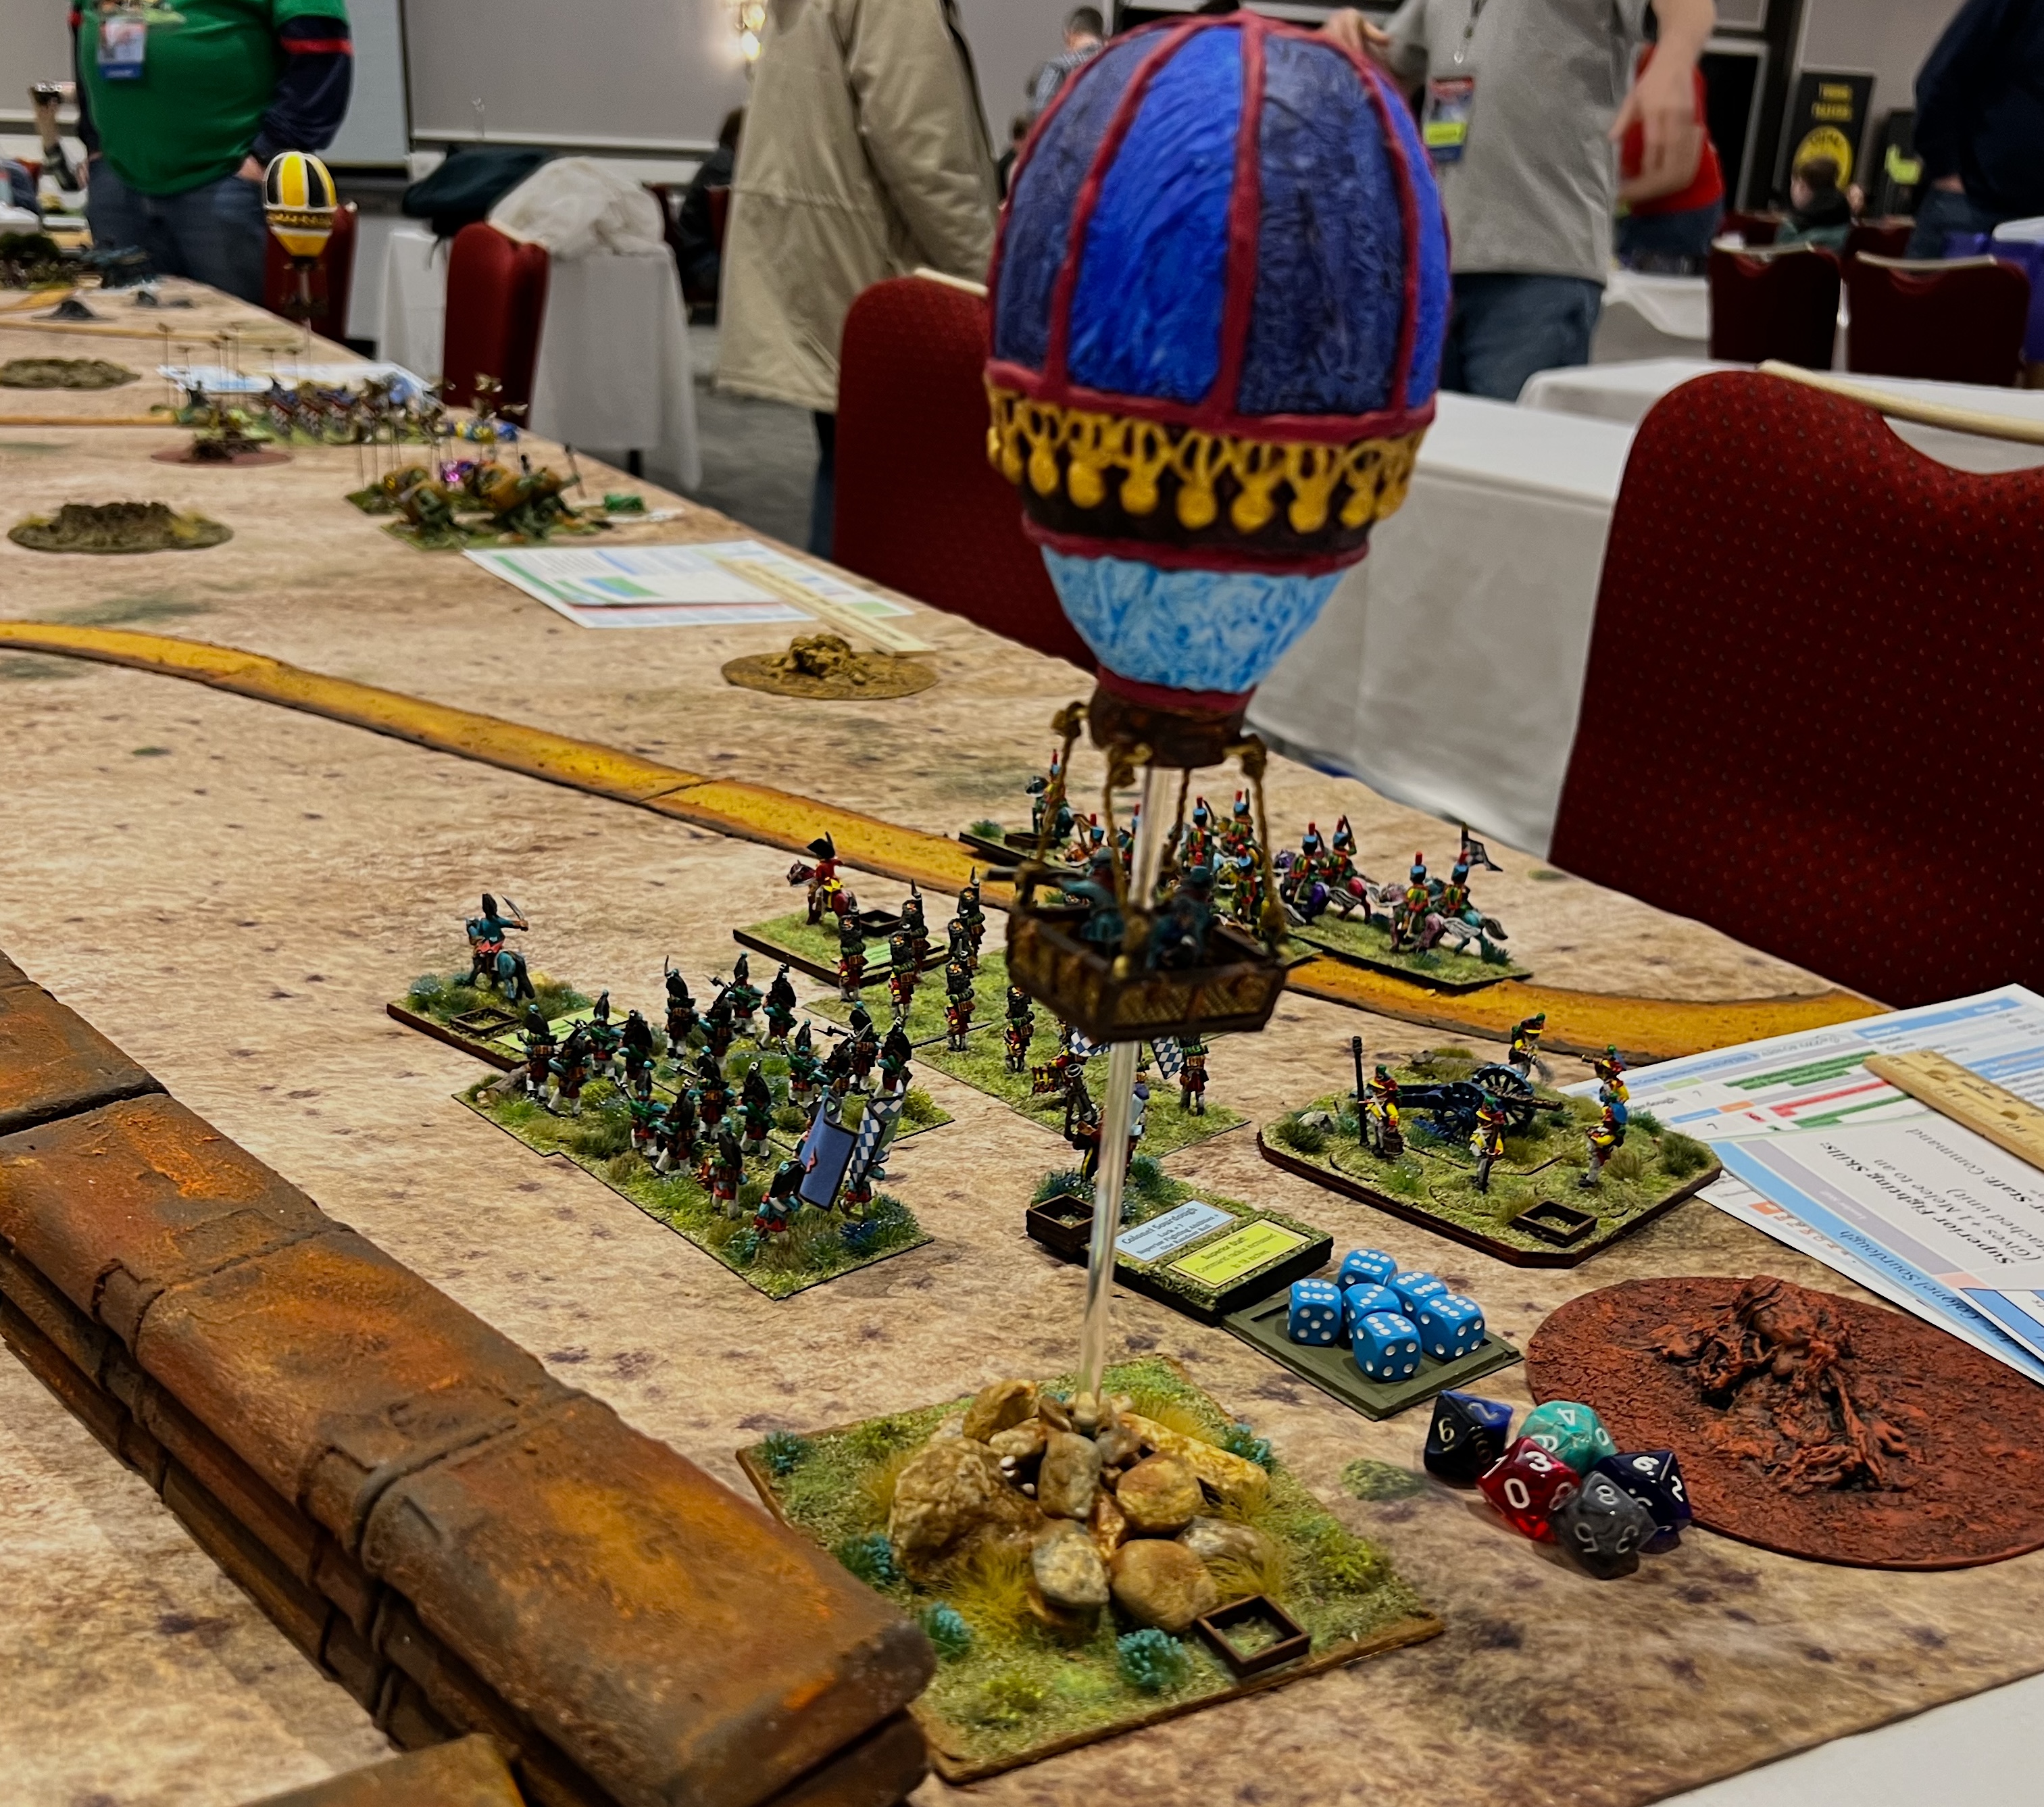
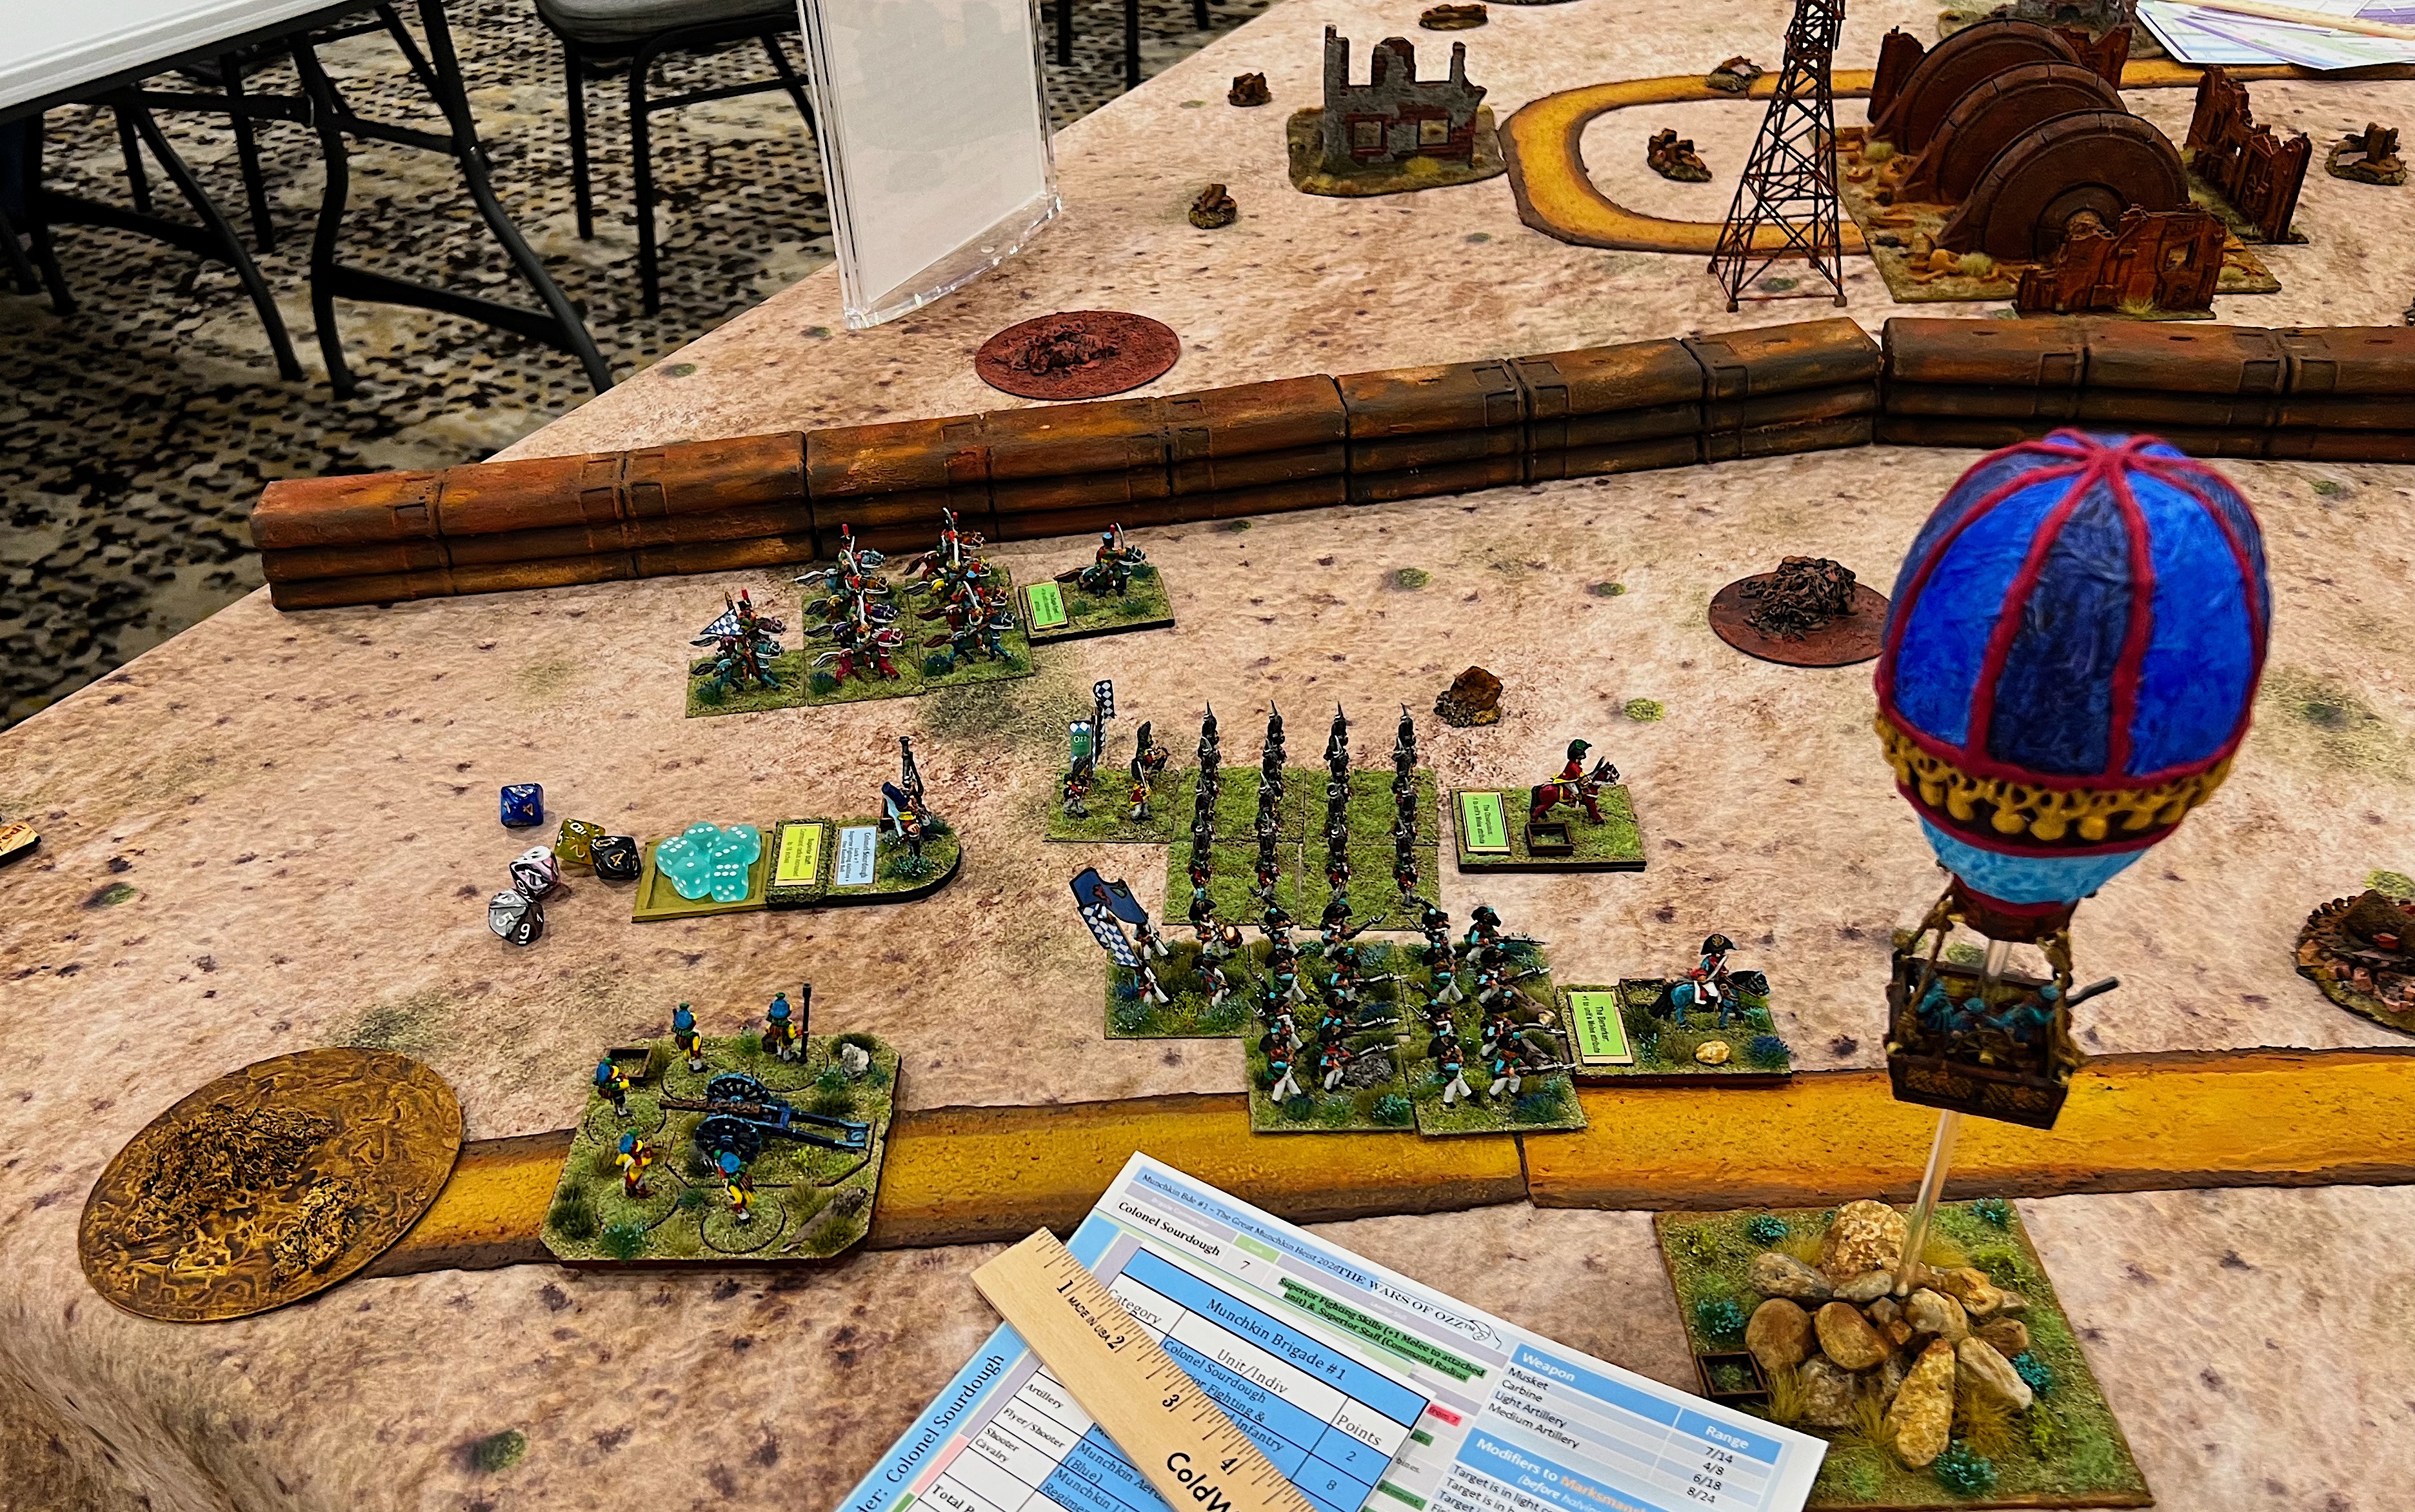
My first Ozz game was another iteration of “The Great Munchkin Heist“.
For the first time, the Munchkin players had really bad luck while the Nitpik/Mechanical Men side was very lucky. The coup de grace was the arrival of the Nitpik cavalry in relief – which arrived at the worst place for the Munchkins – in their rear. The cavalry got the initiative and quickly routed two Munchkin regiments and then an artillery battery, ending any Munchkin hopes. It was a major victory for the defending Tin Men.
Here are some game shots:
Brad waiting to play!The finishing blow – Nitpik cavalry in your forces’ rears is never a good day.
Check out the links above if you missed these older posts!
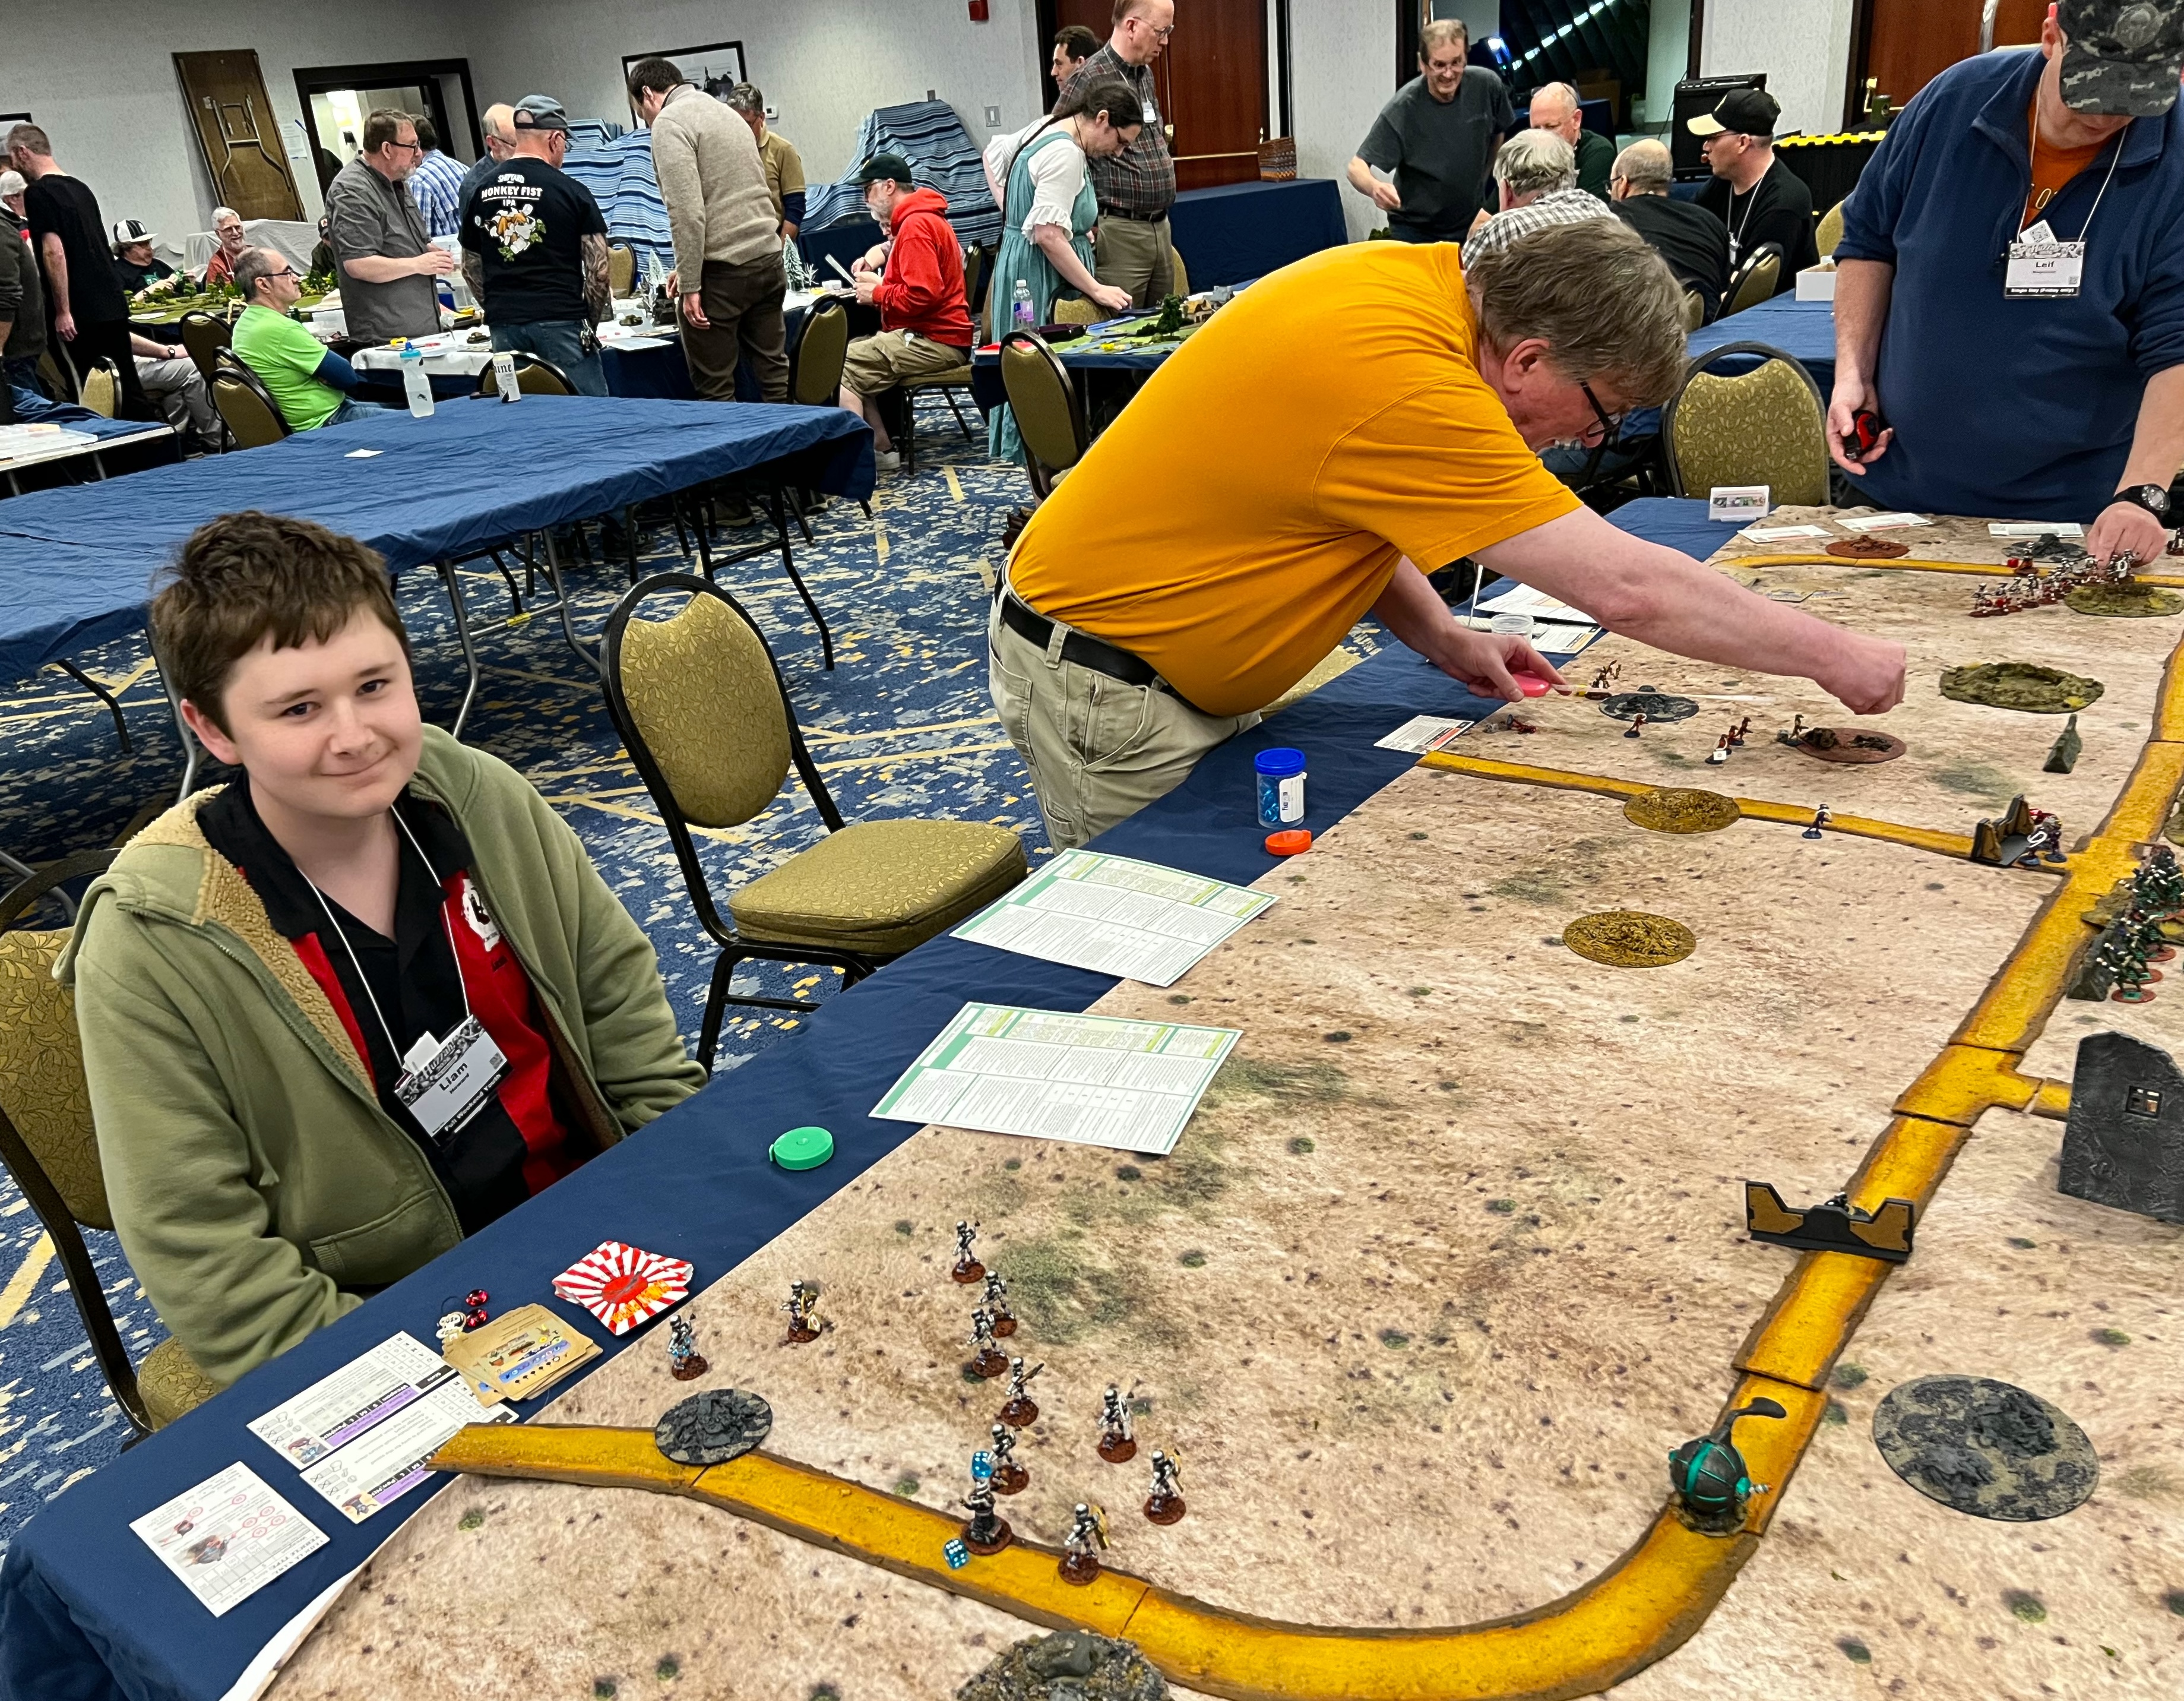
The Warbots barely did enough damage to win the battle, though not without casualties. Here are some game shots:
Liam moves up his tank and Warbots.Bruce and Brad are happy gamers.
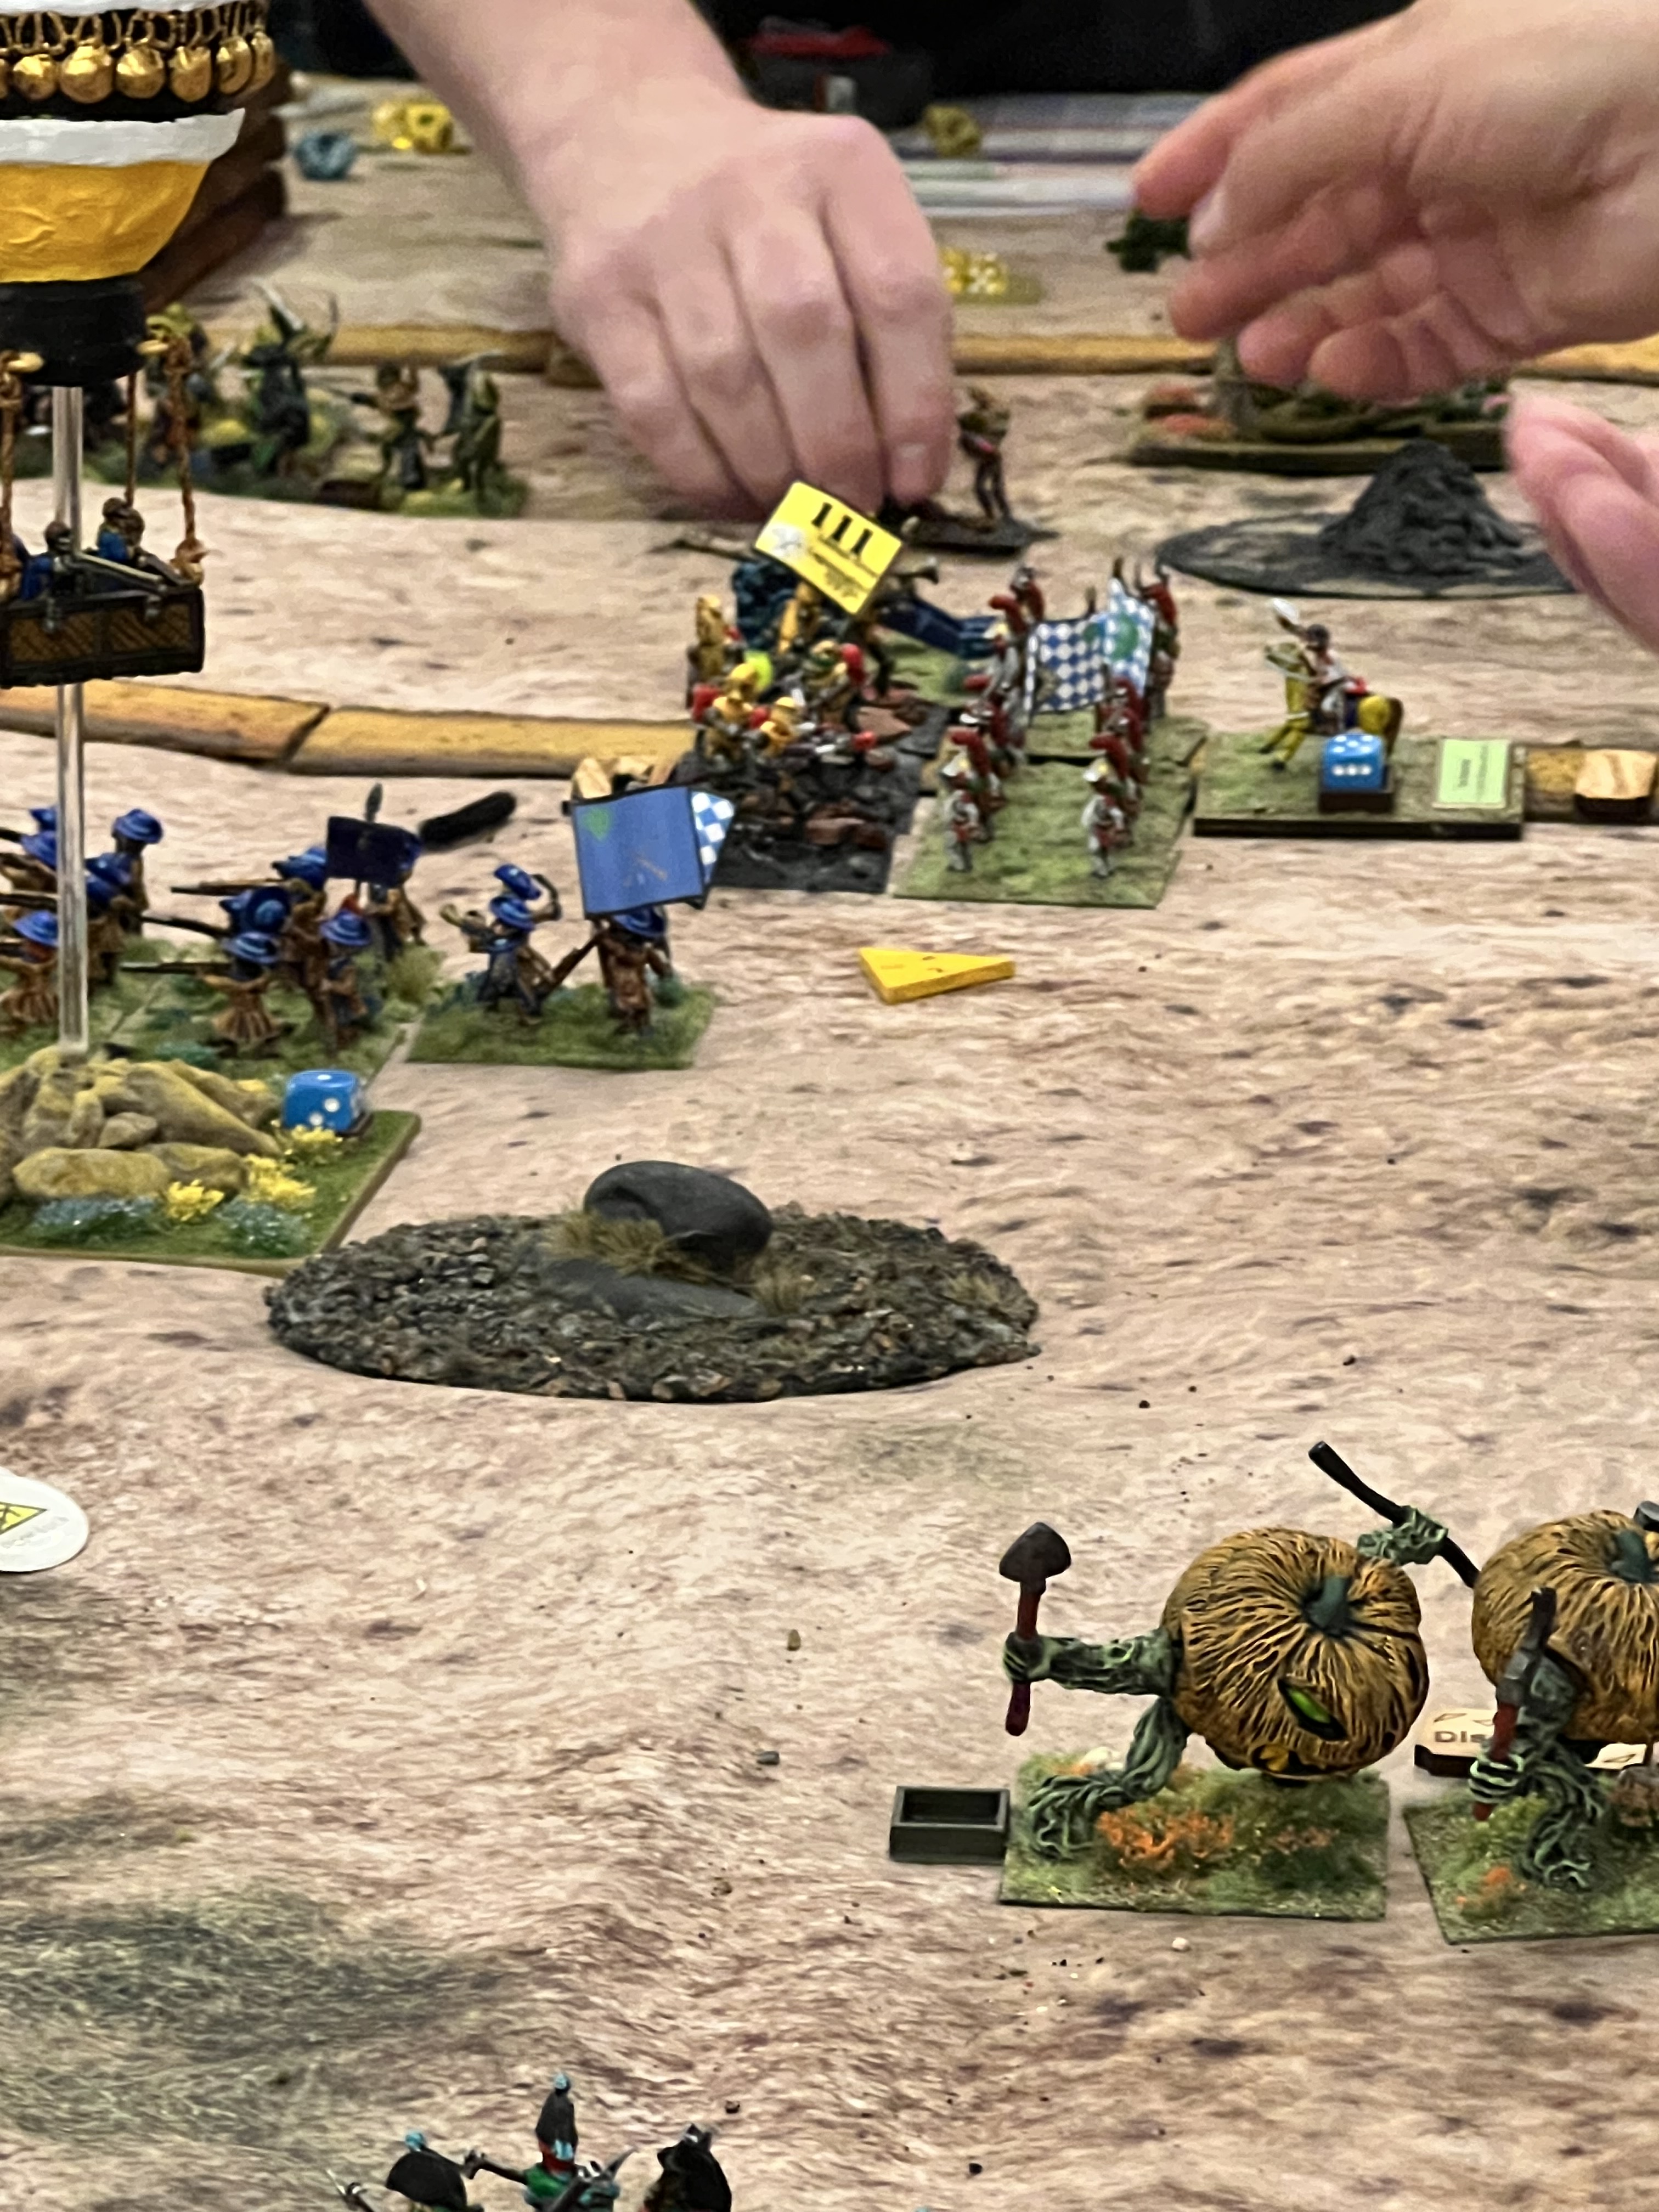
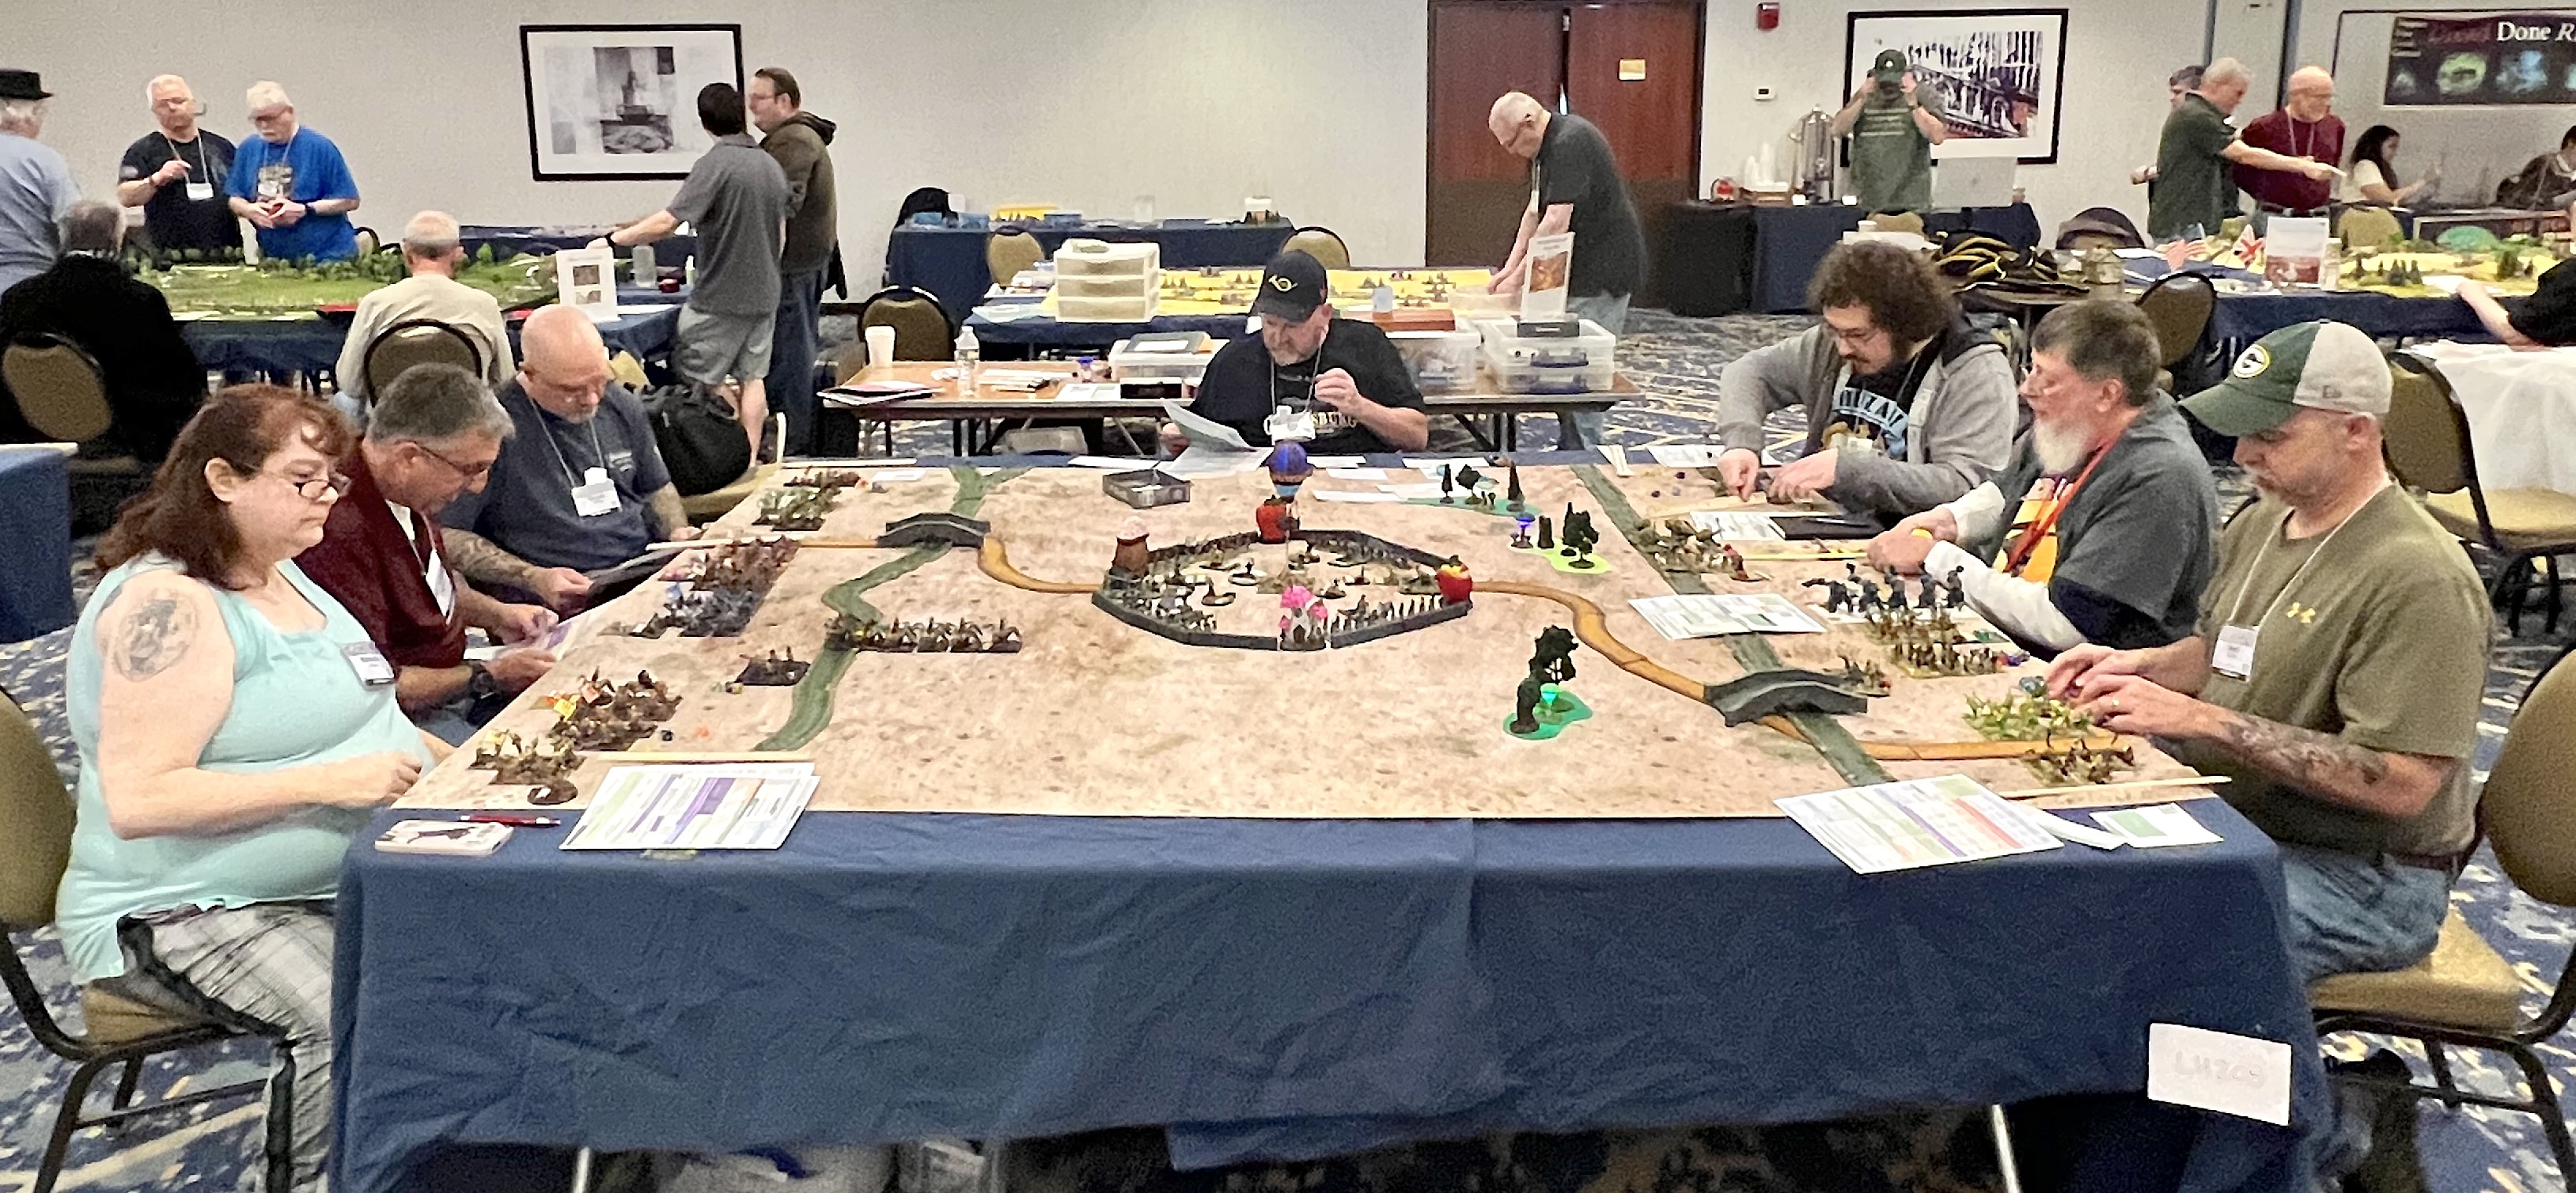
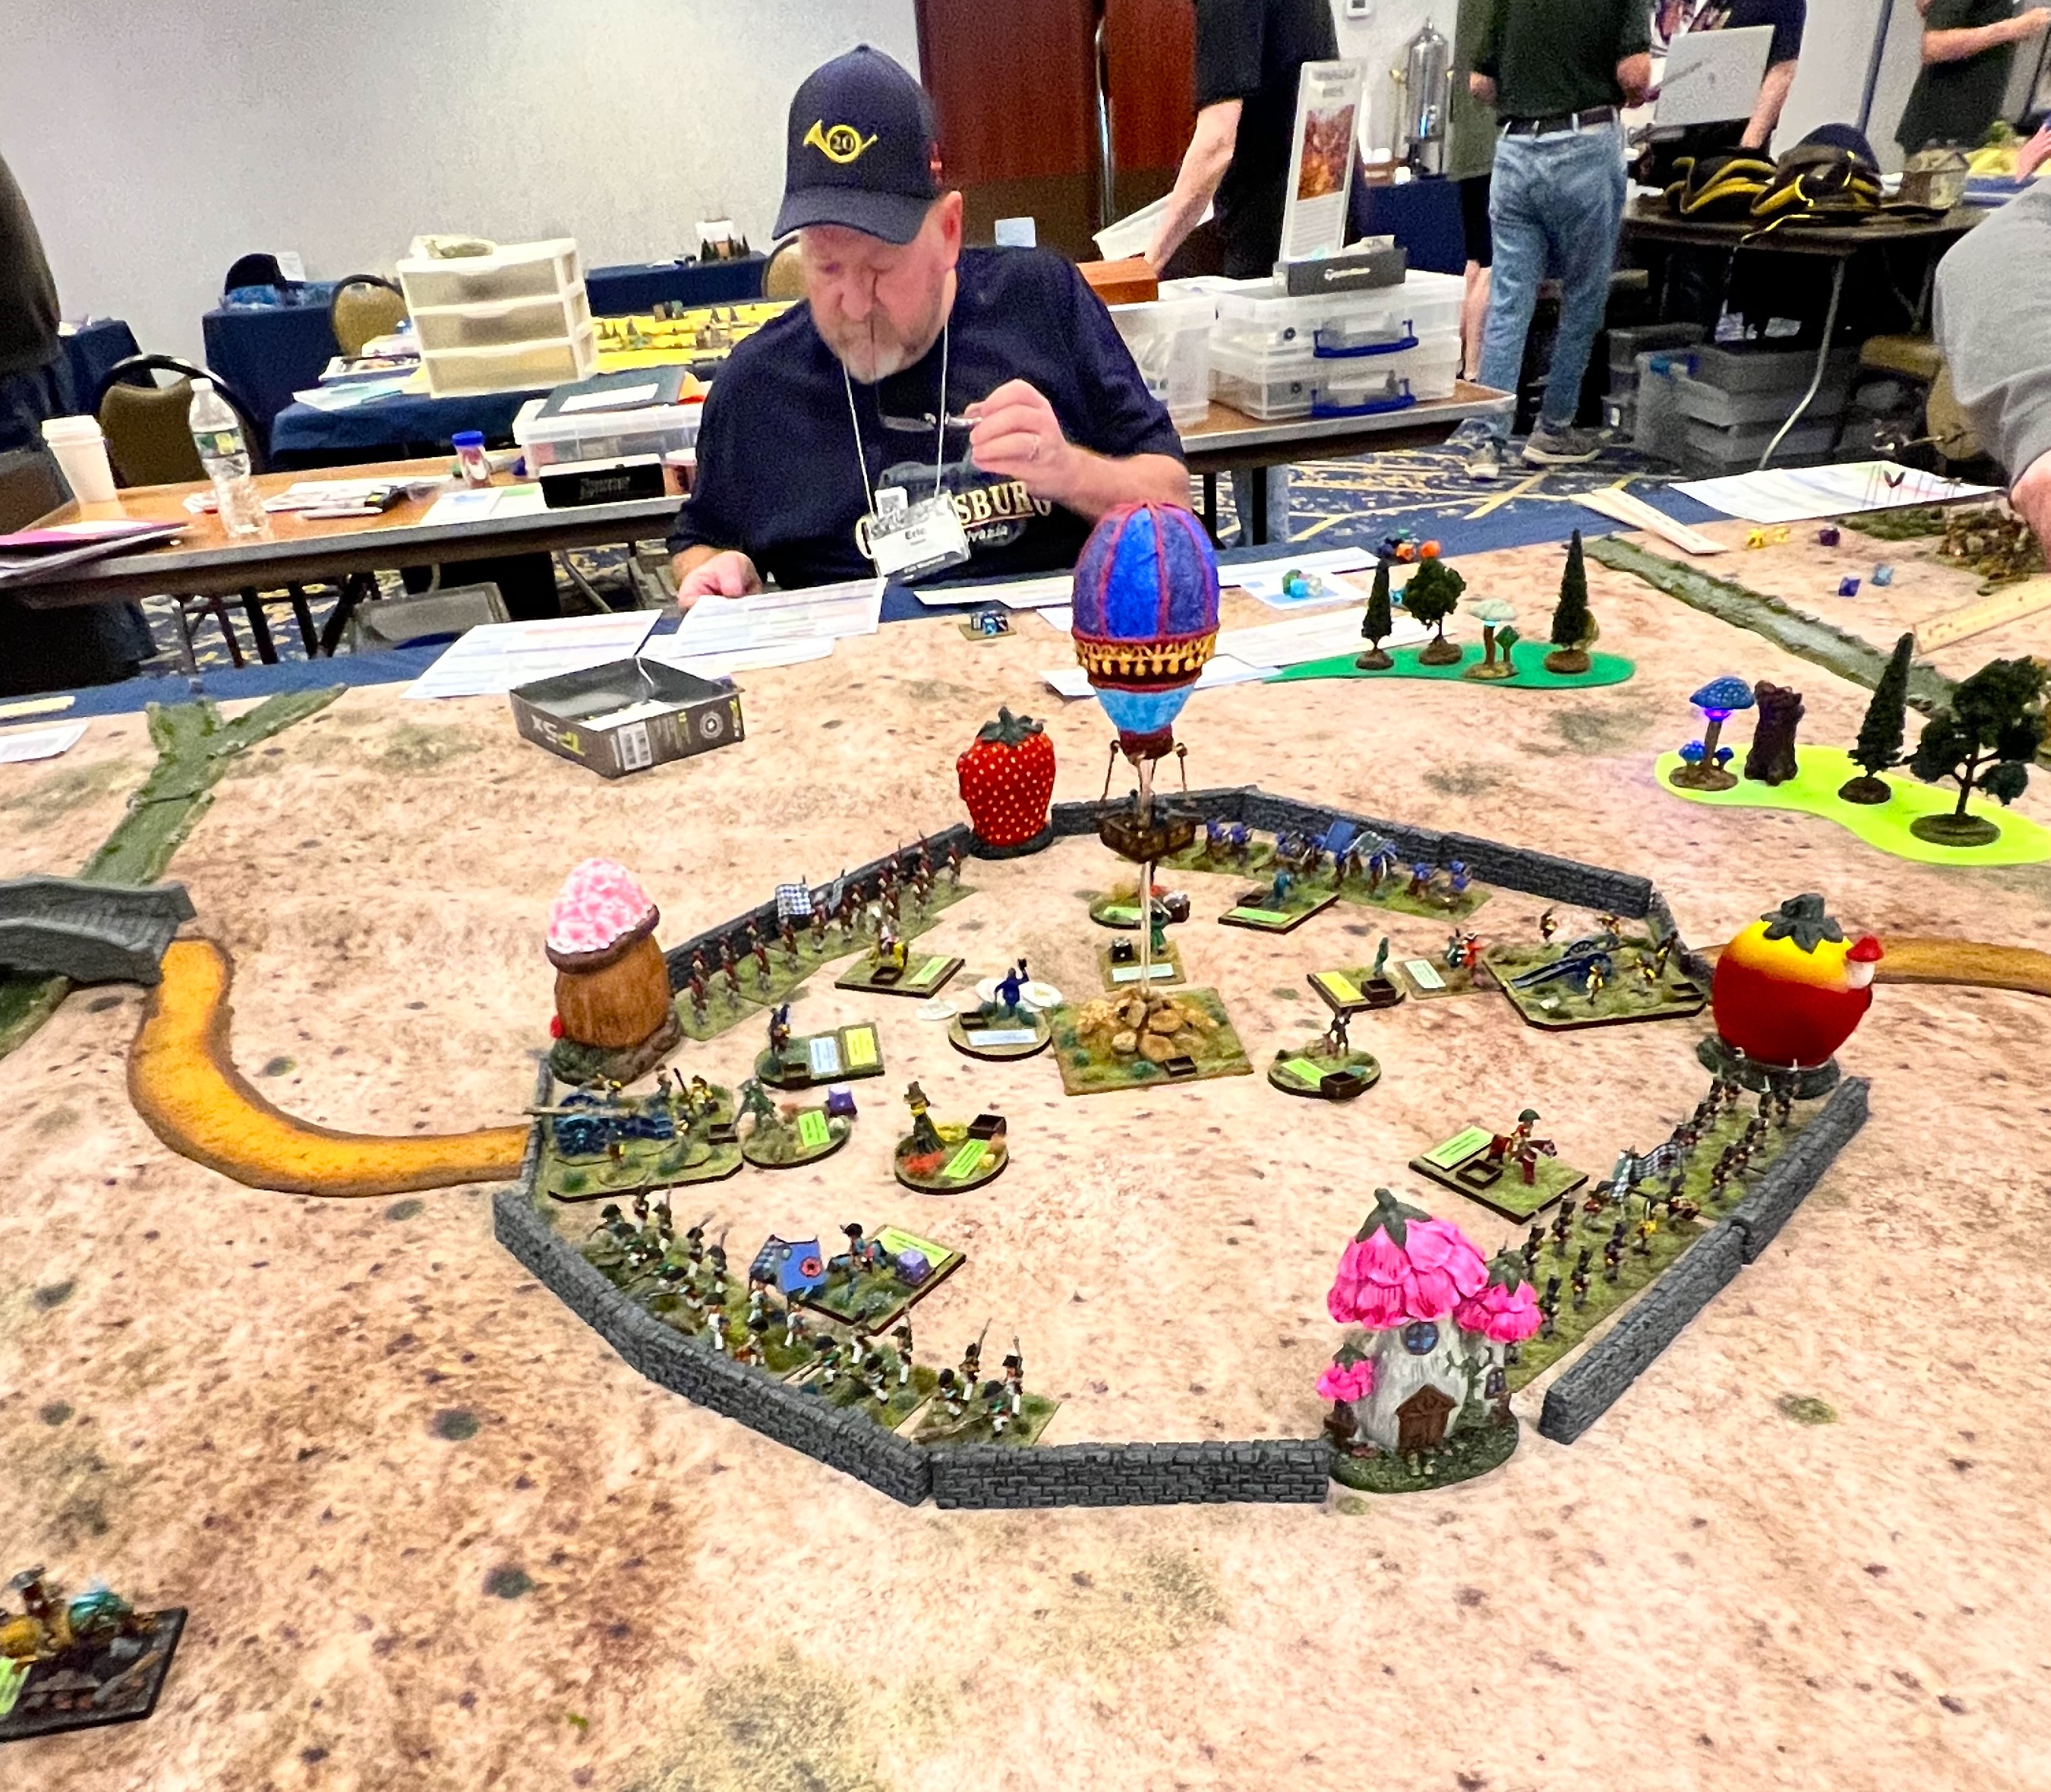
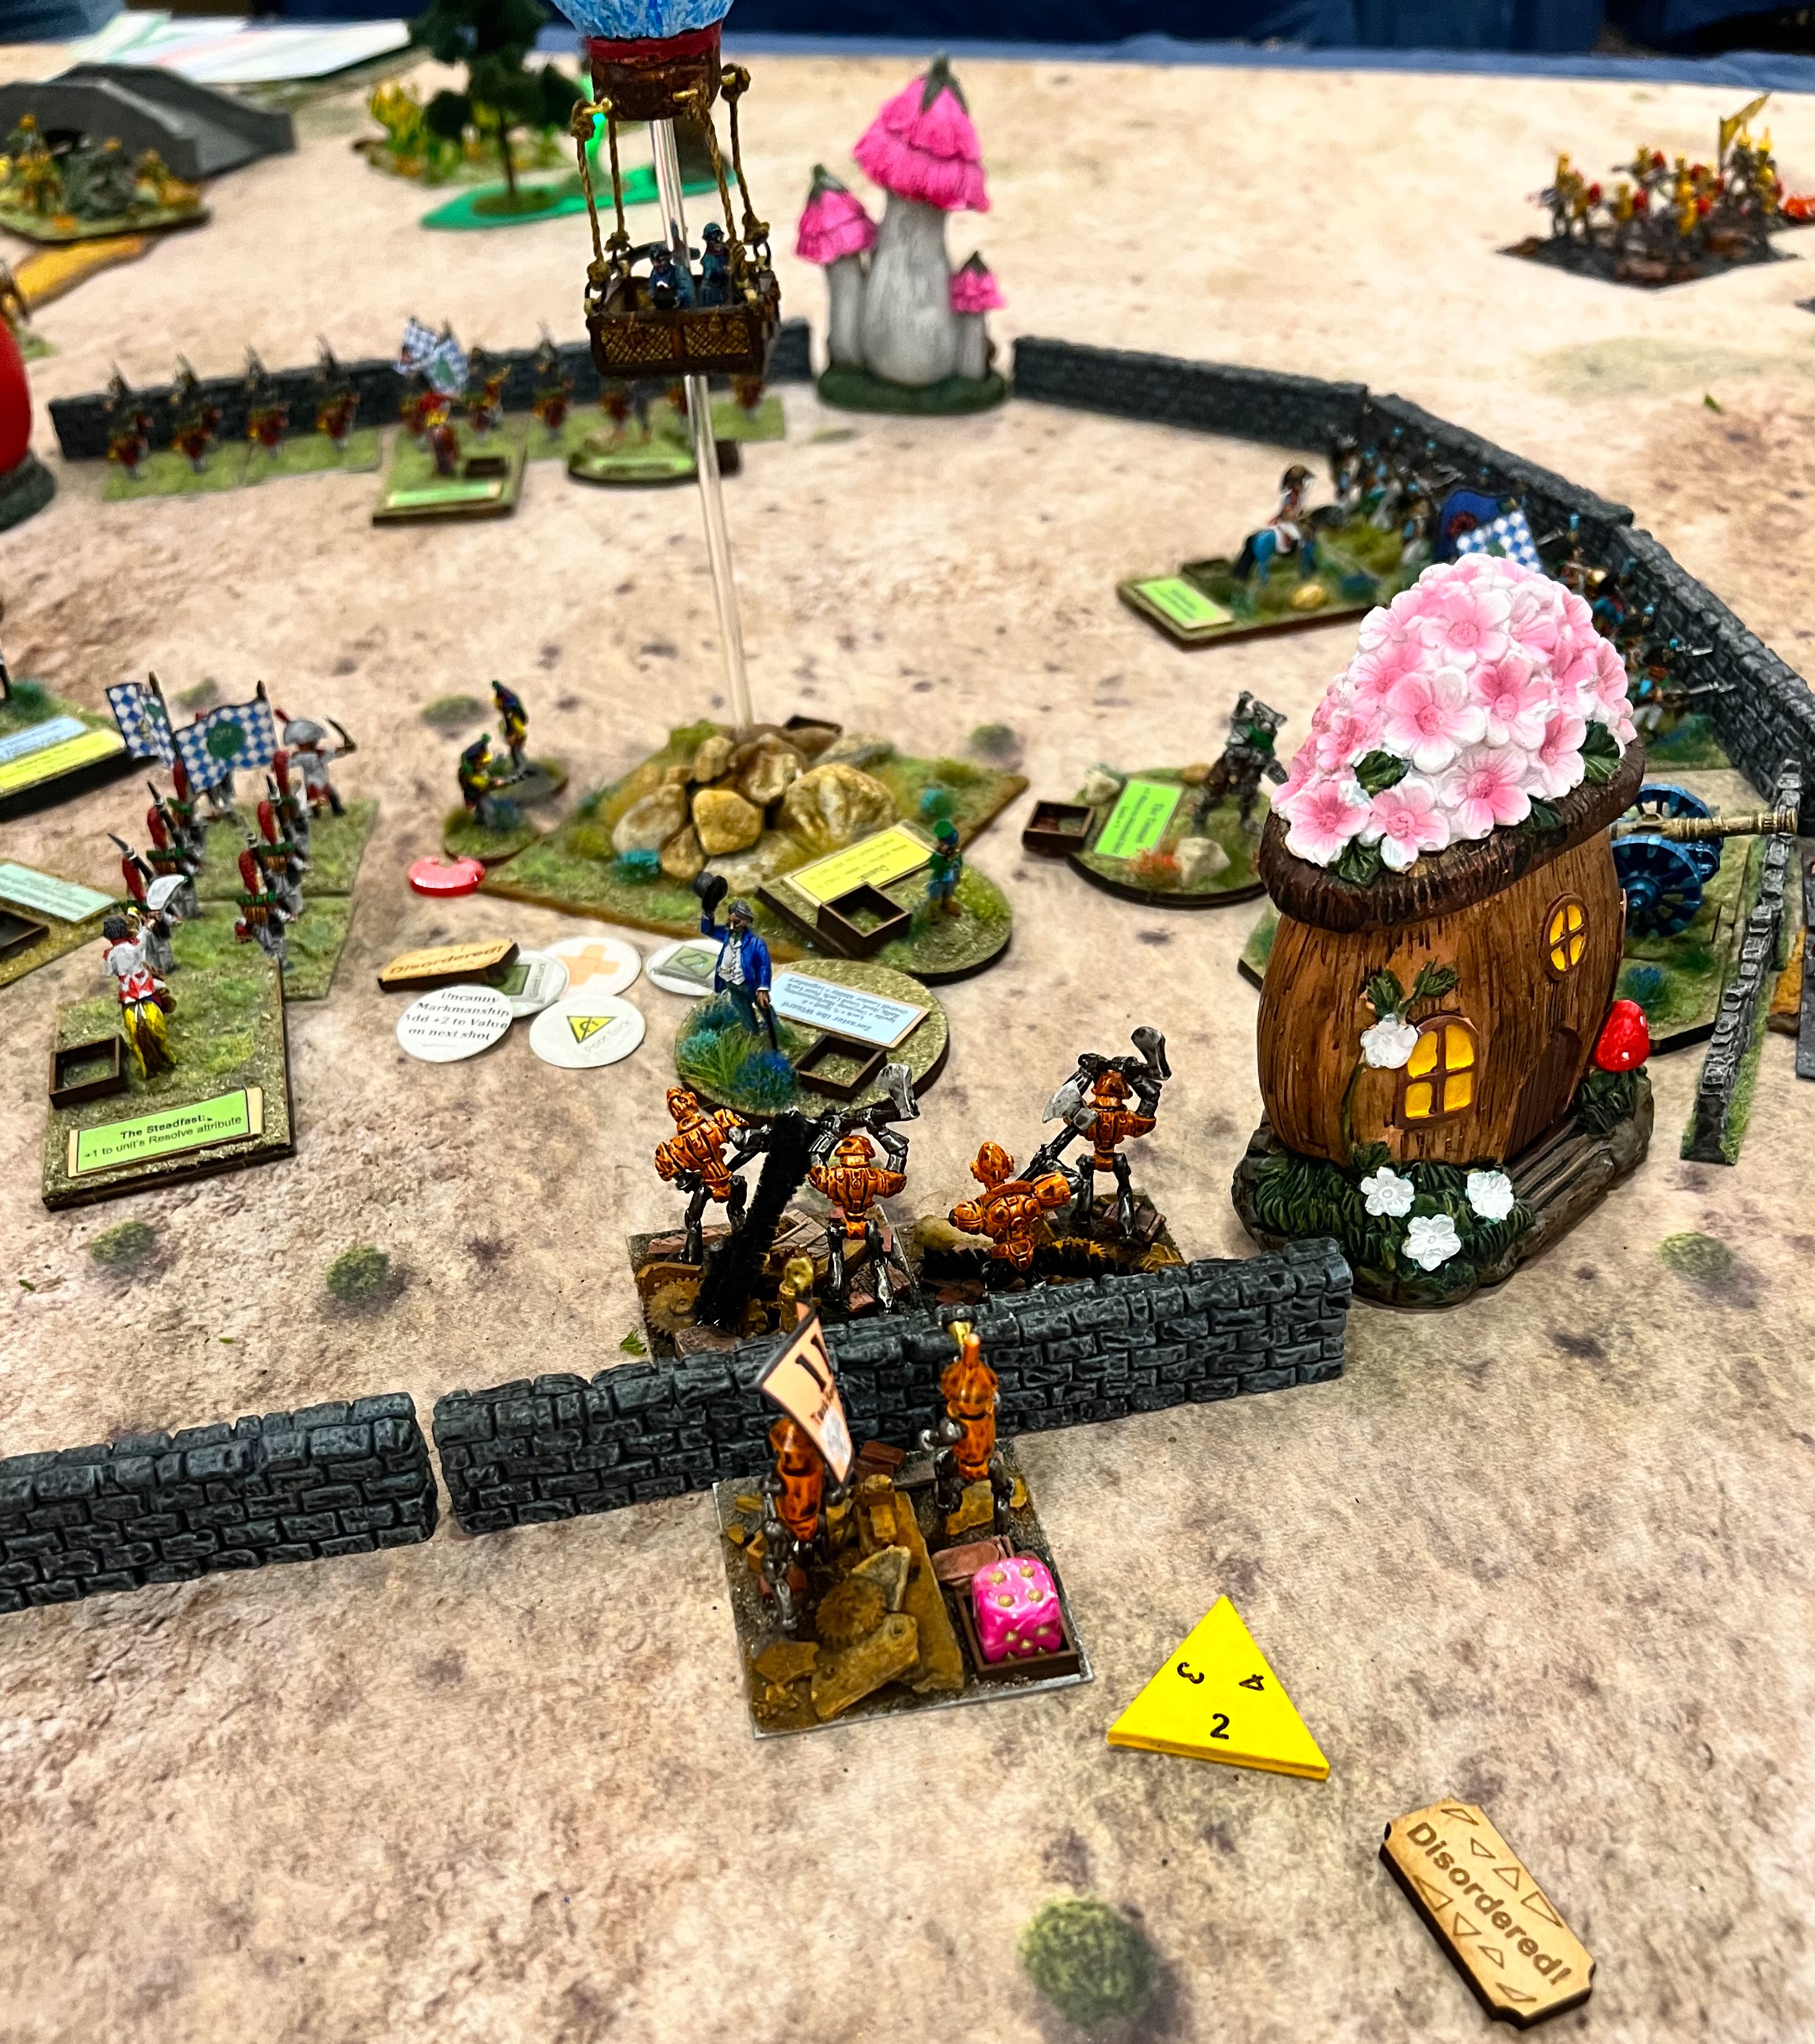
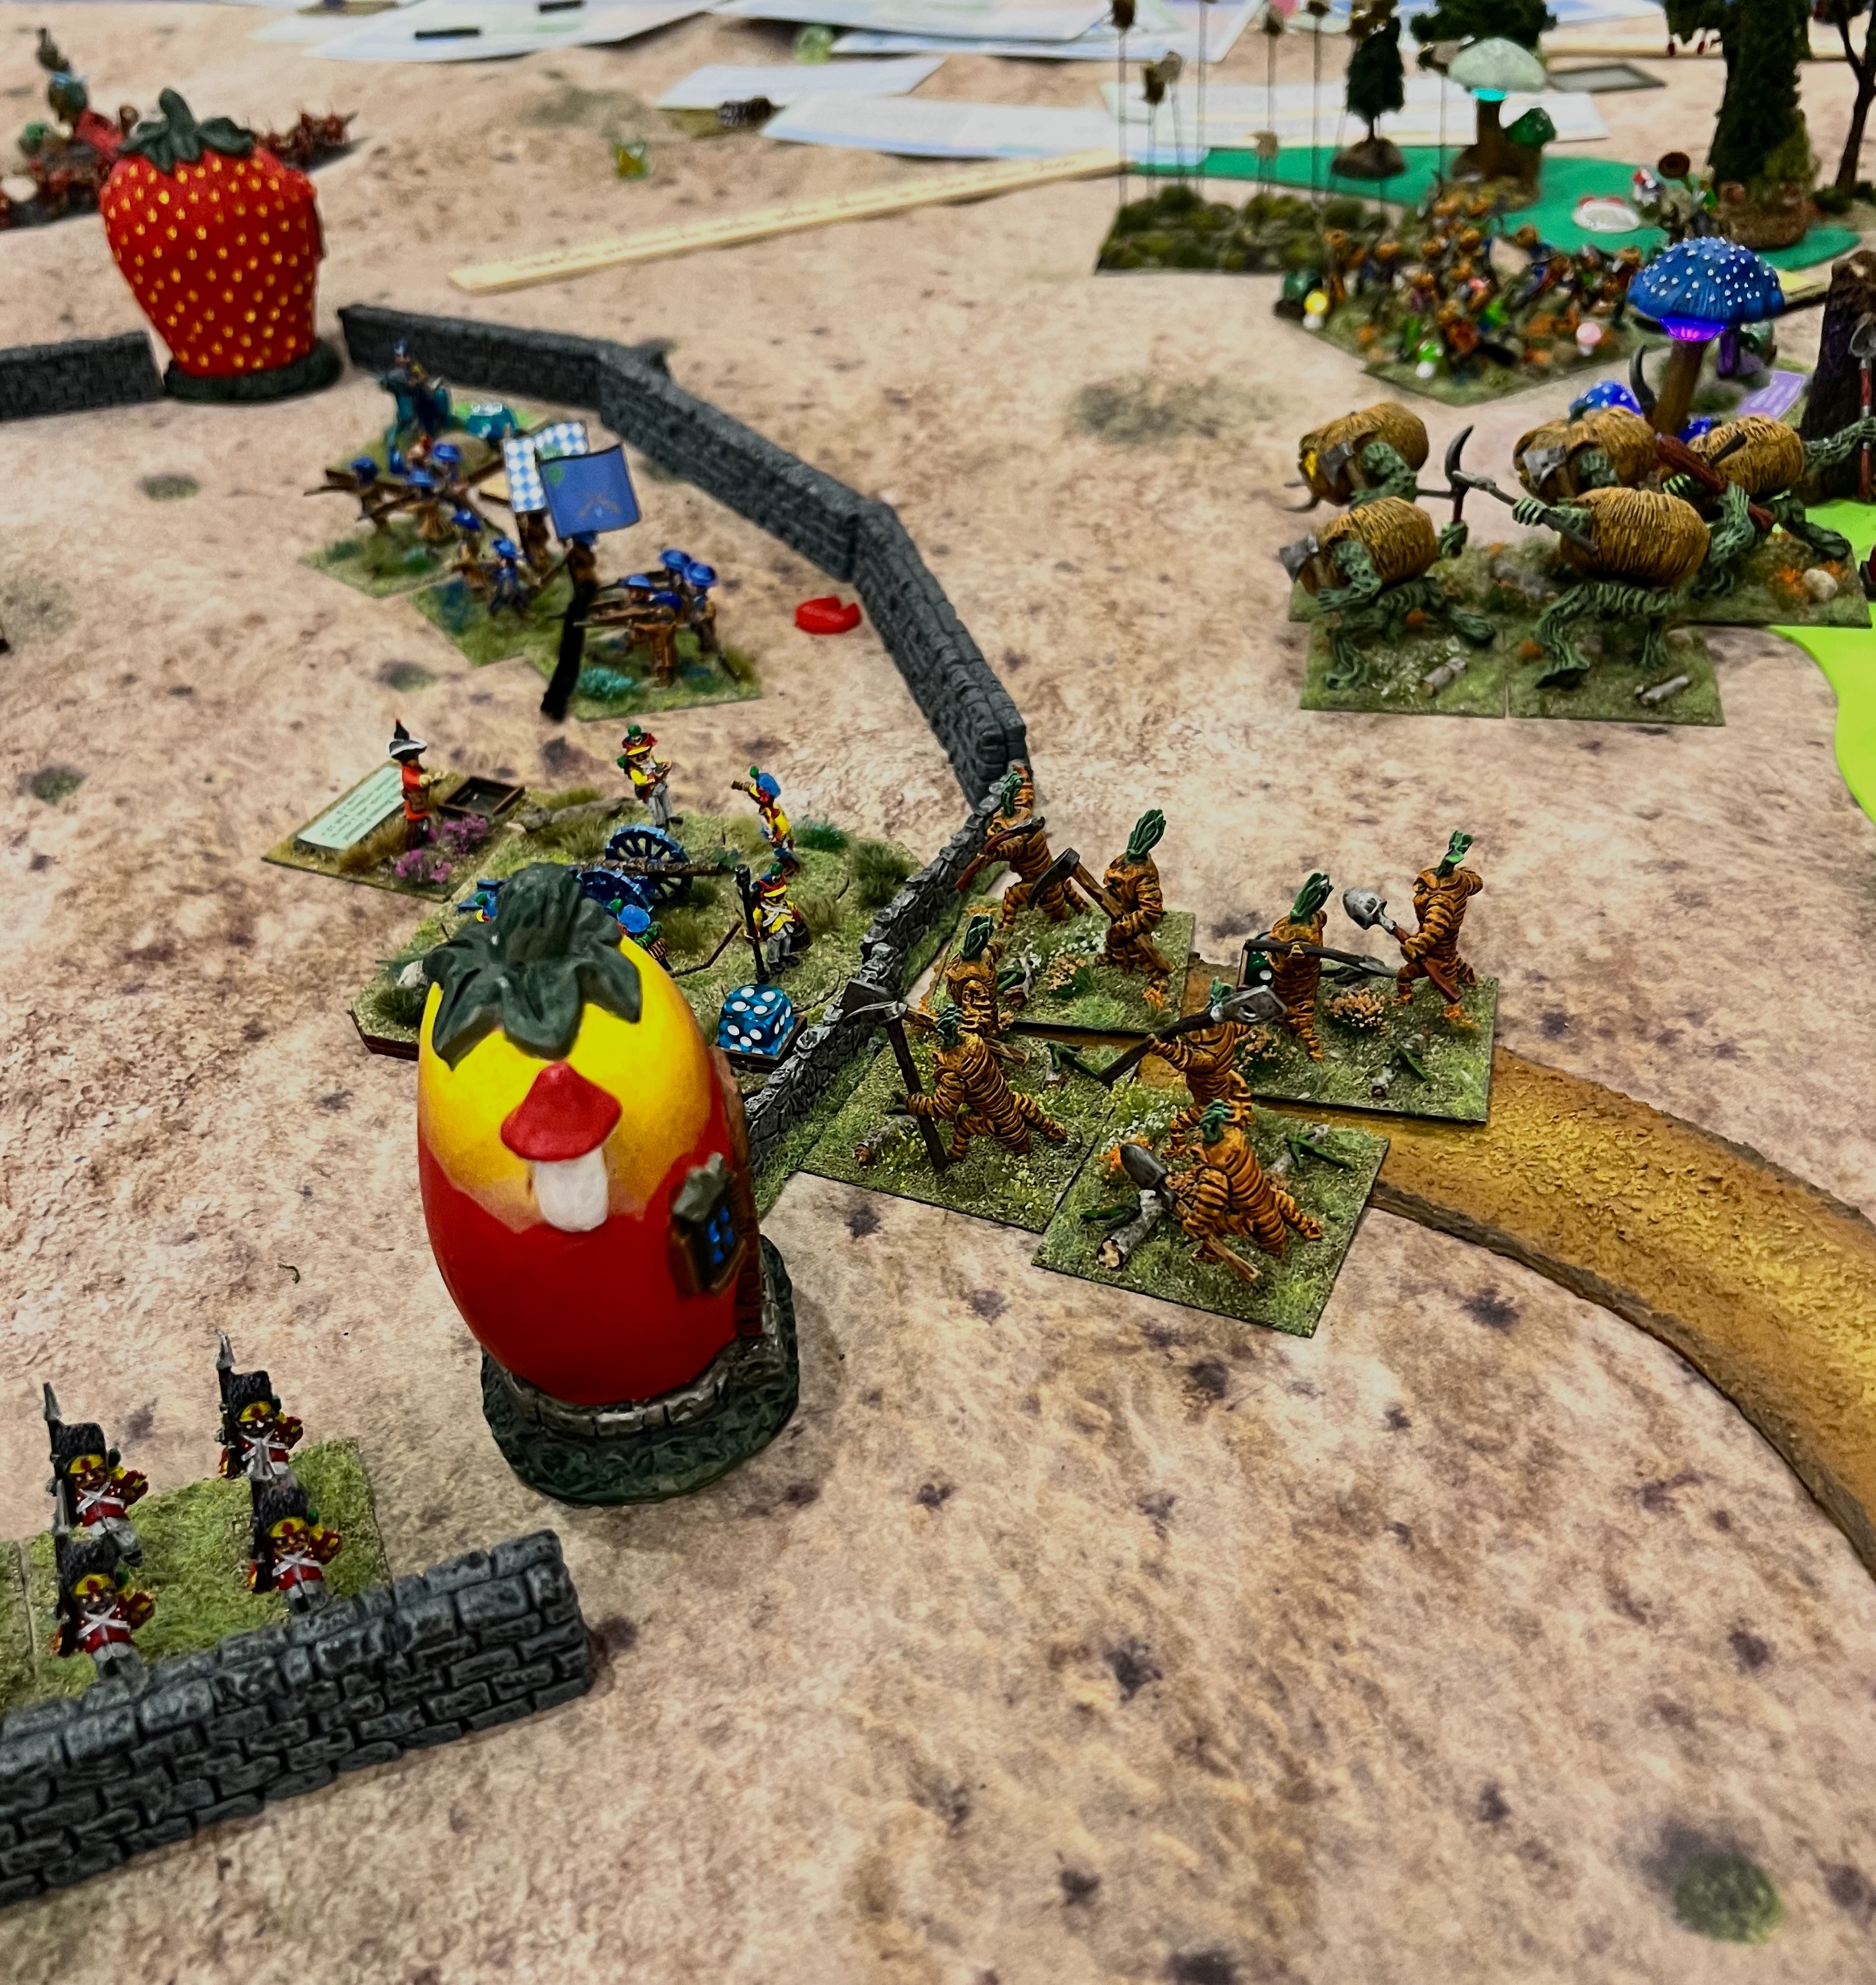
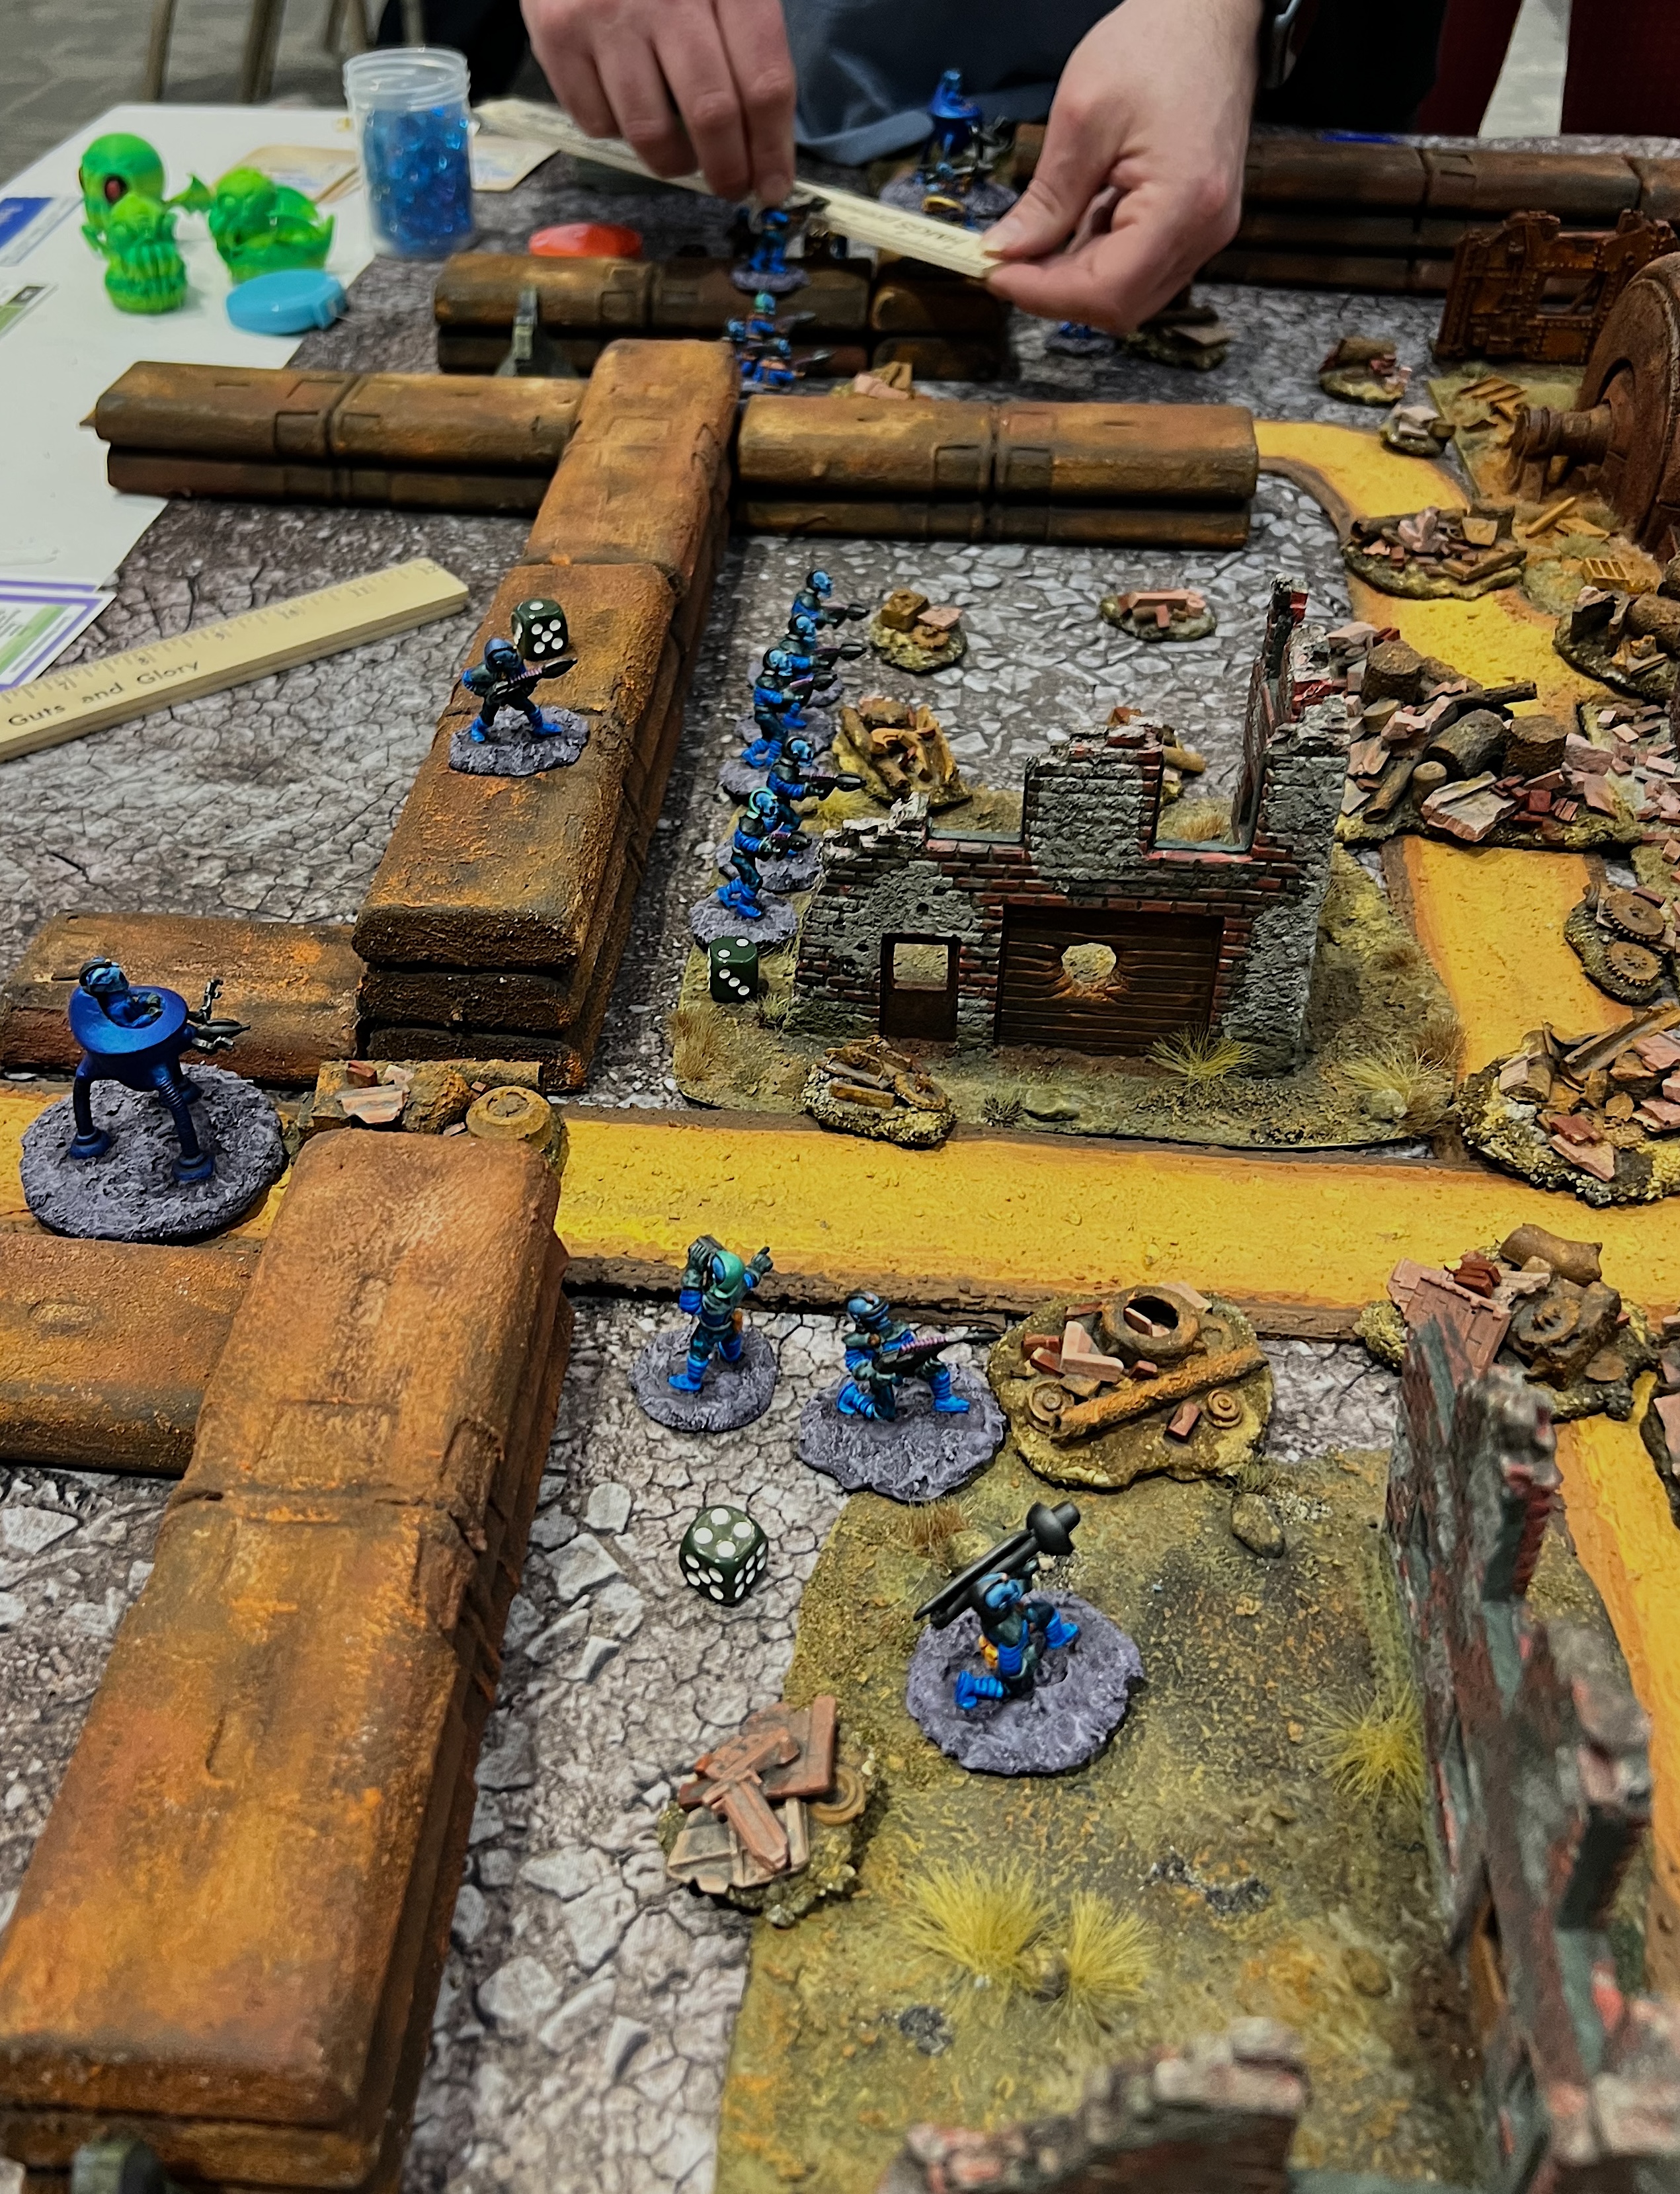
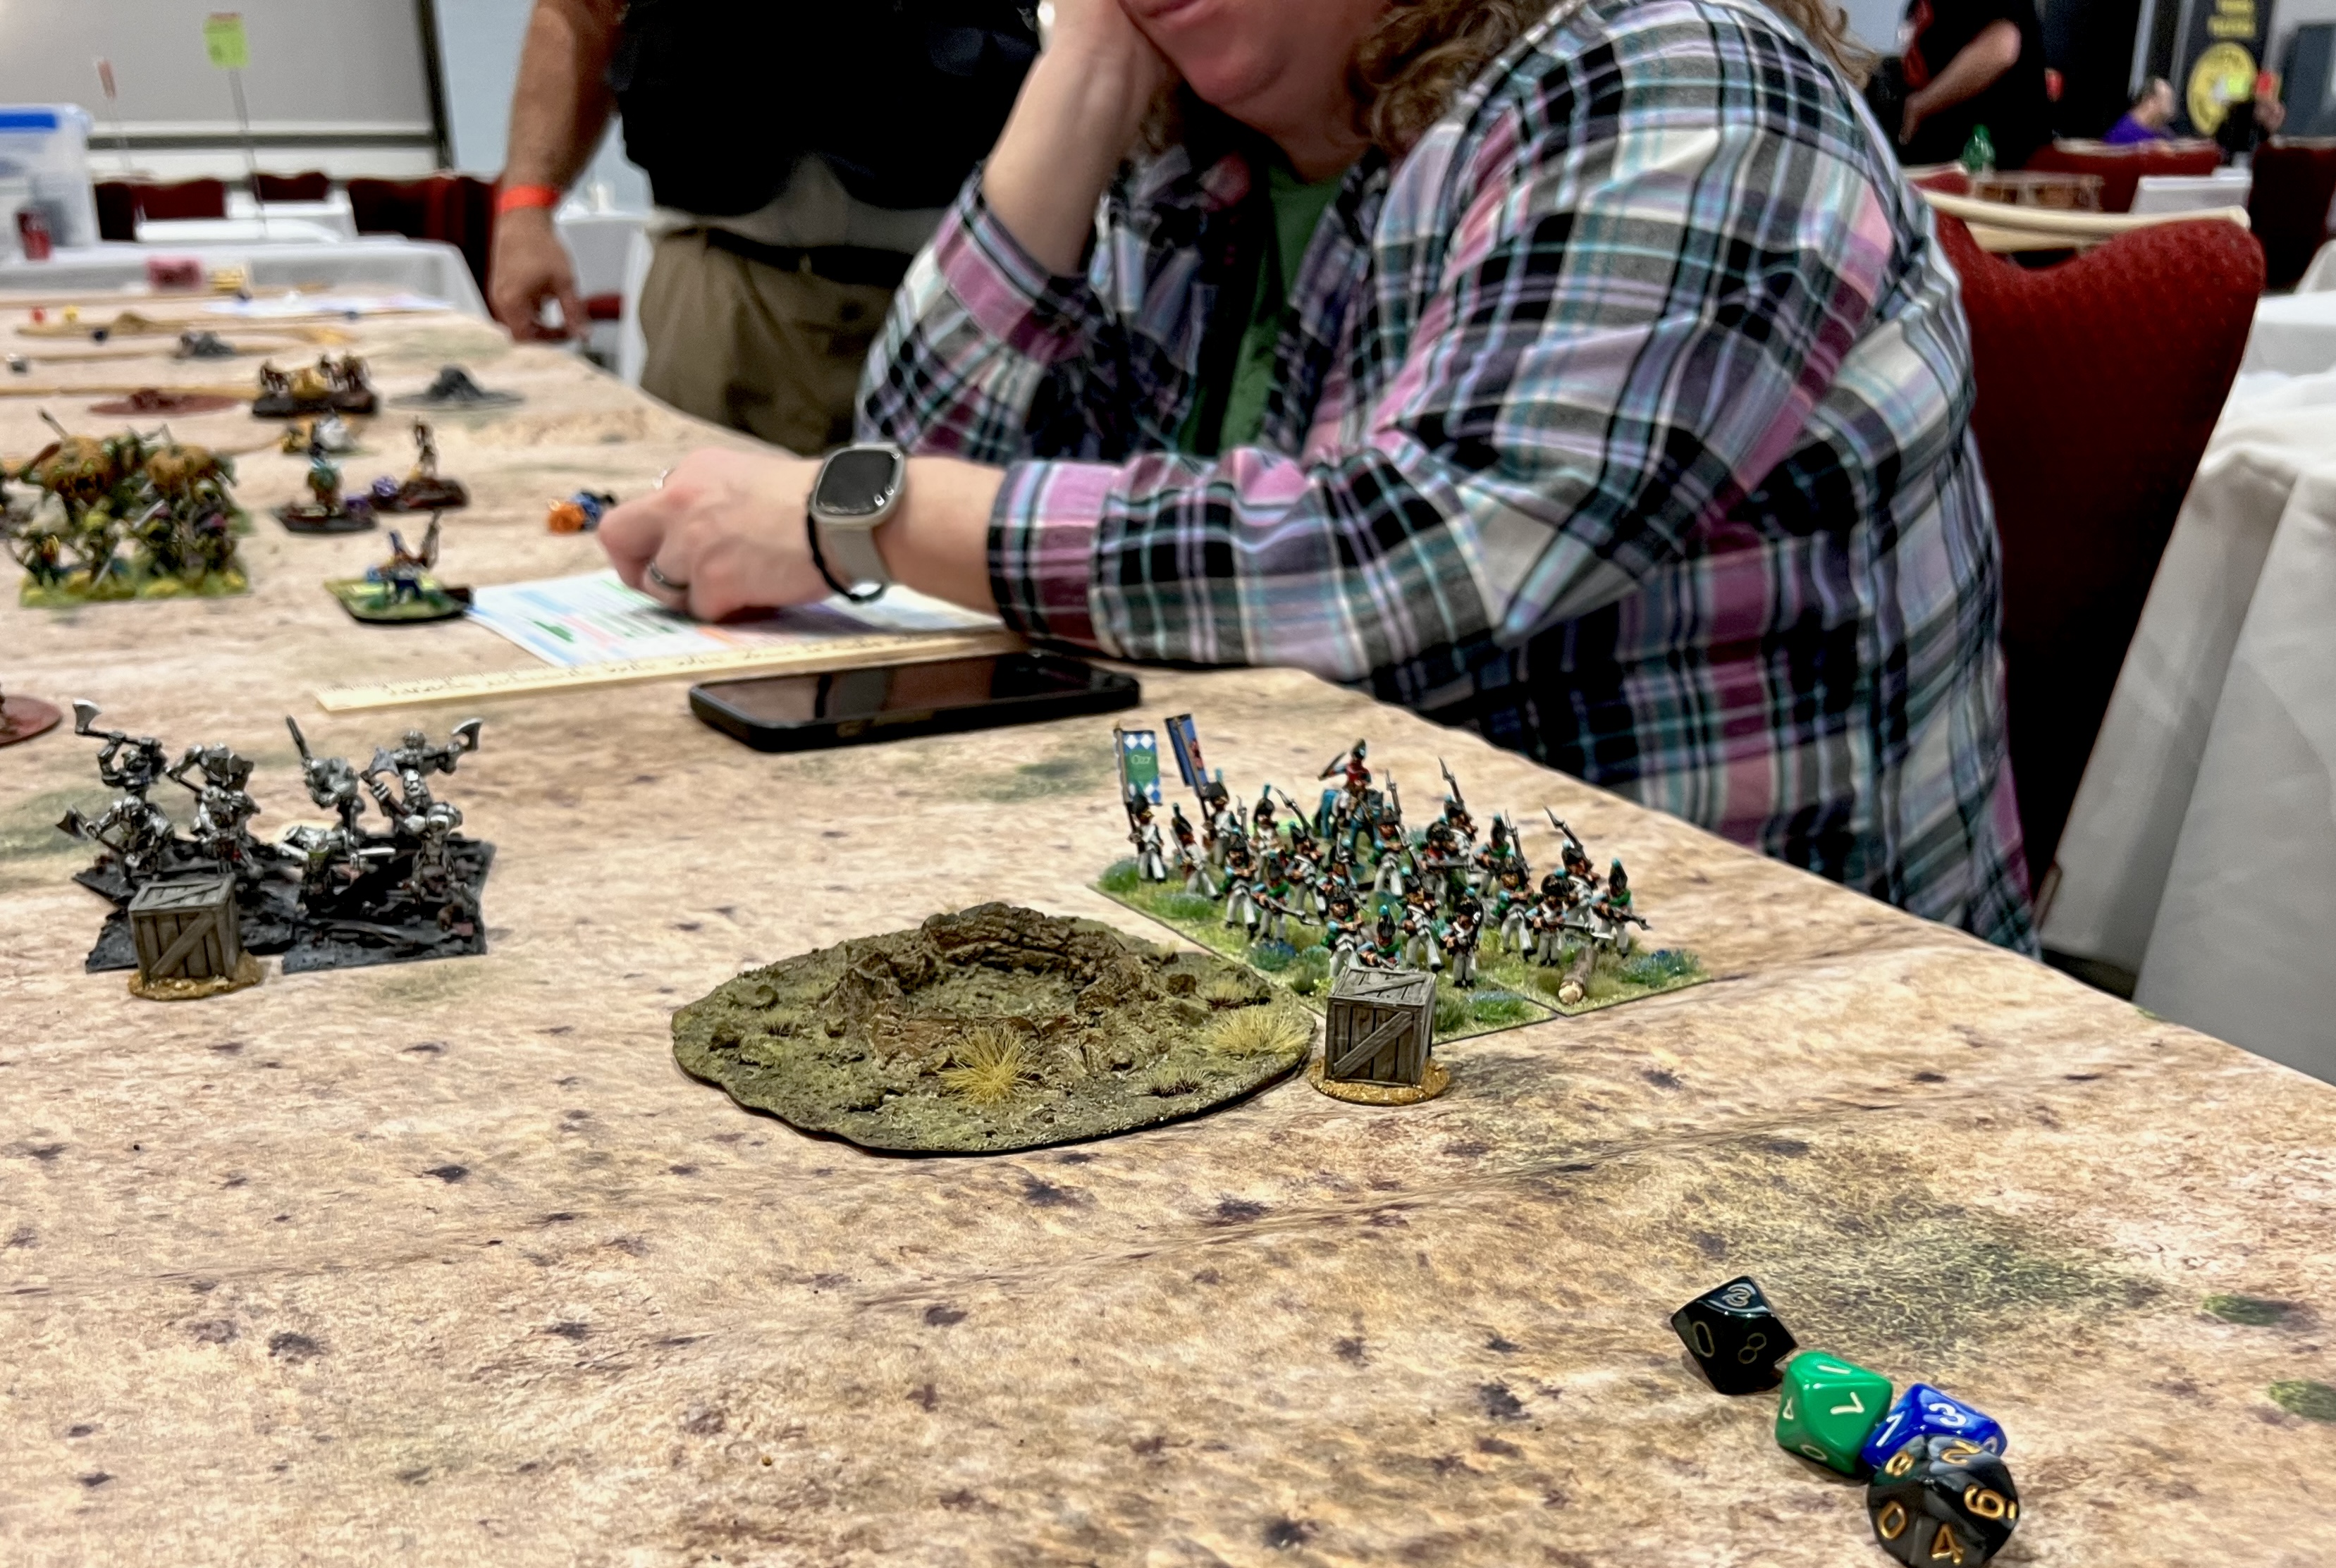
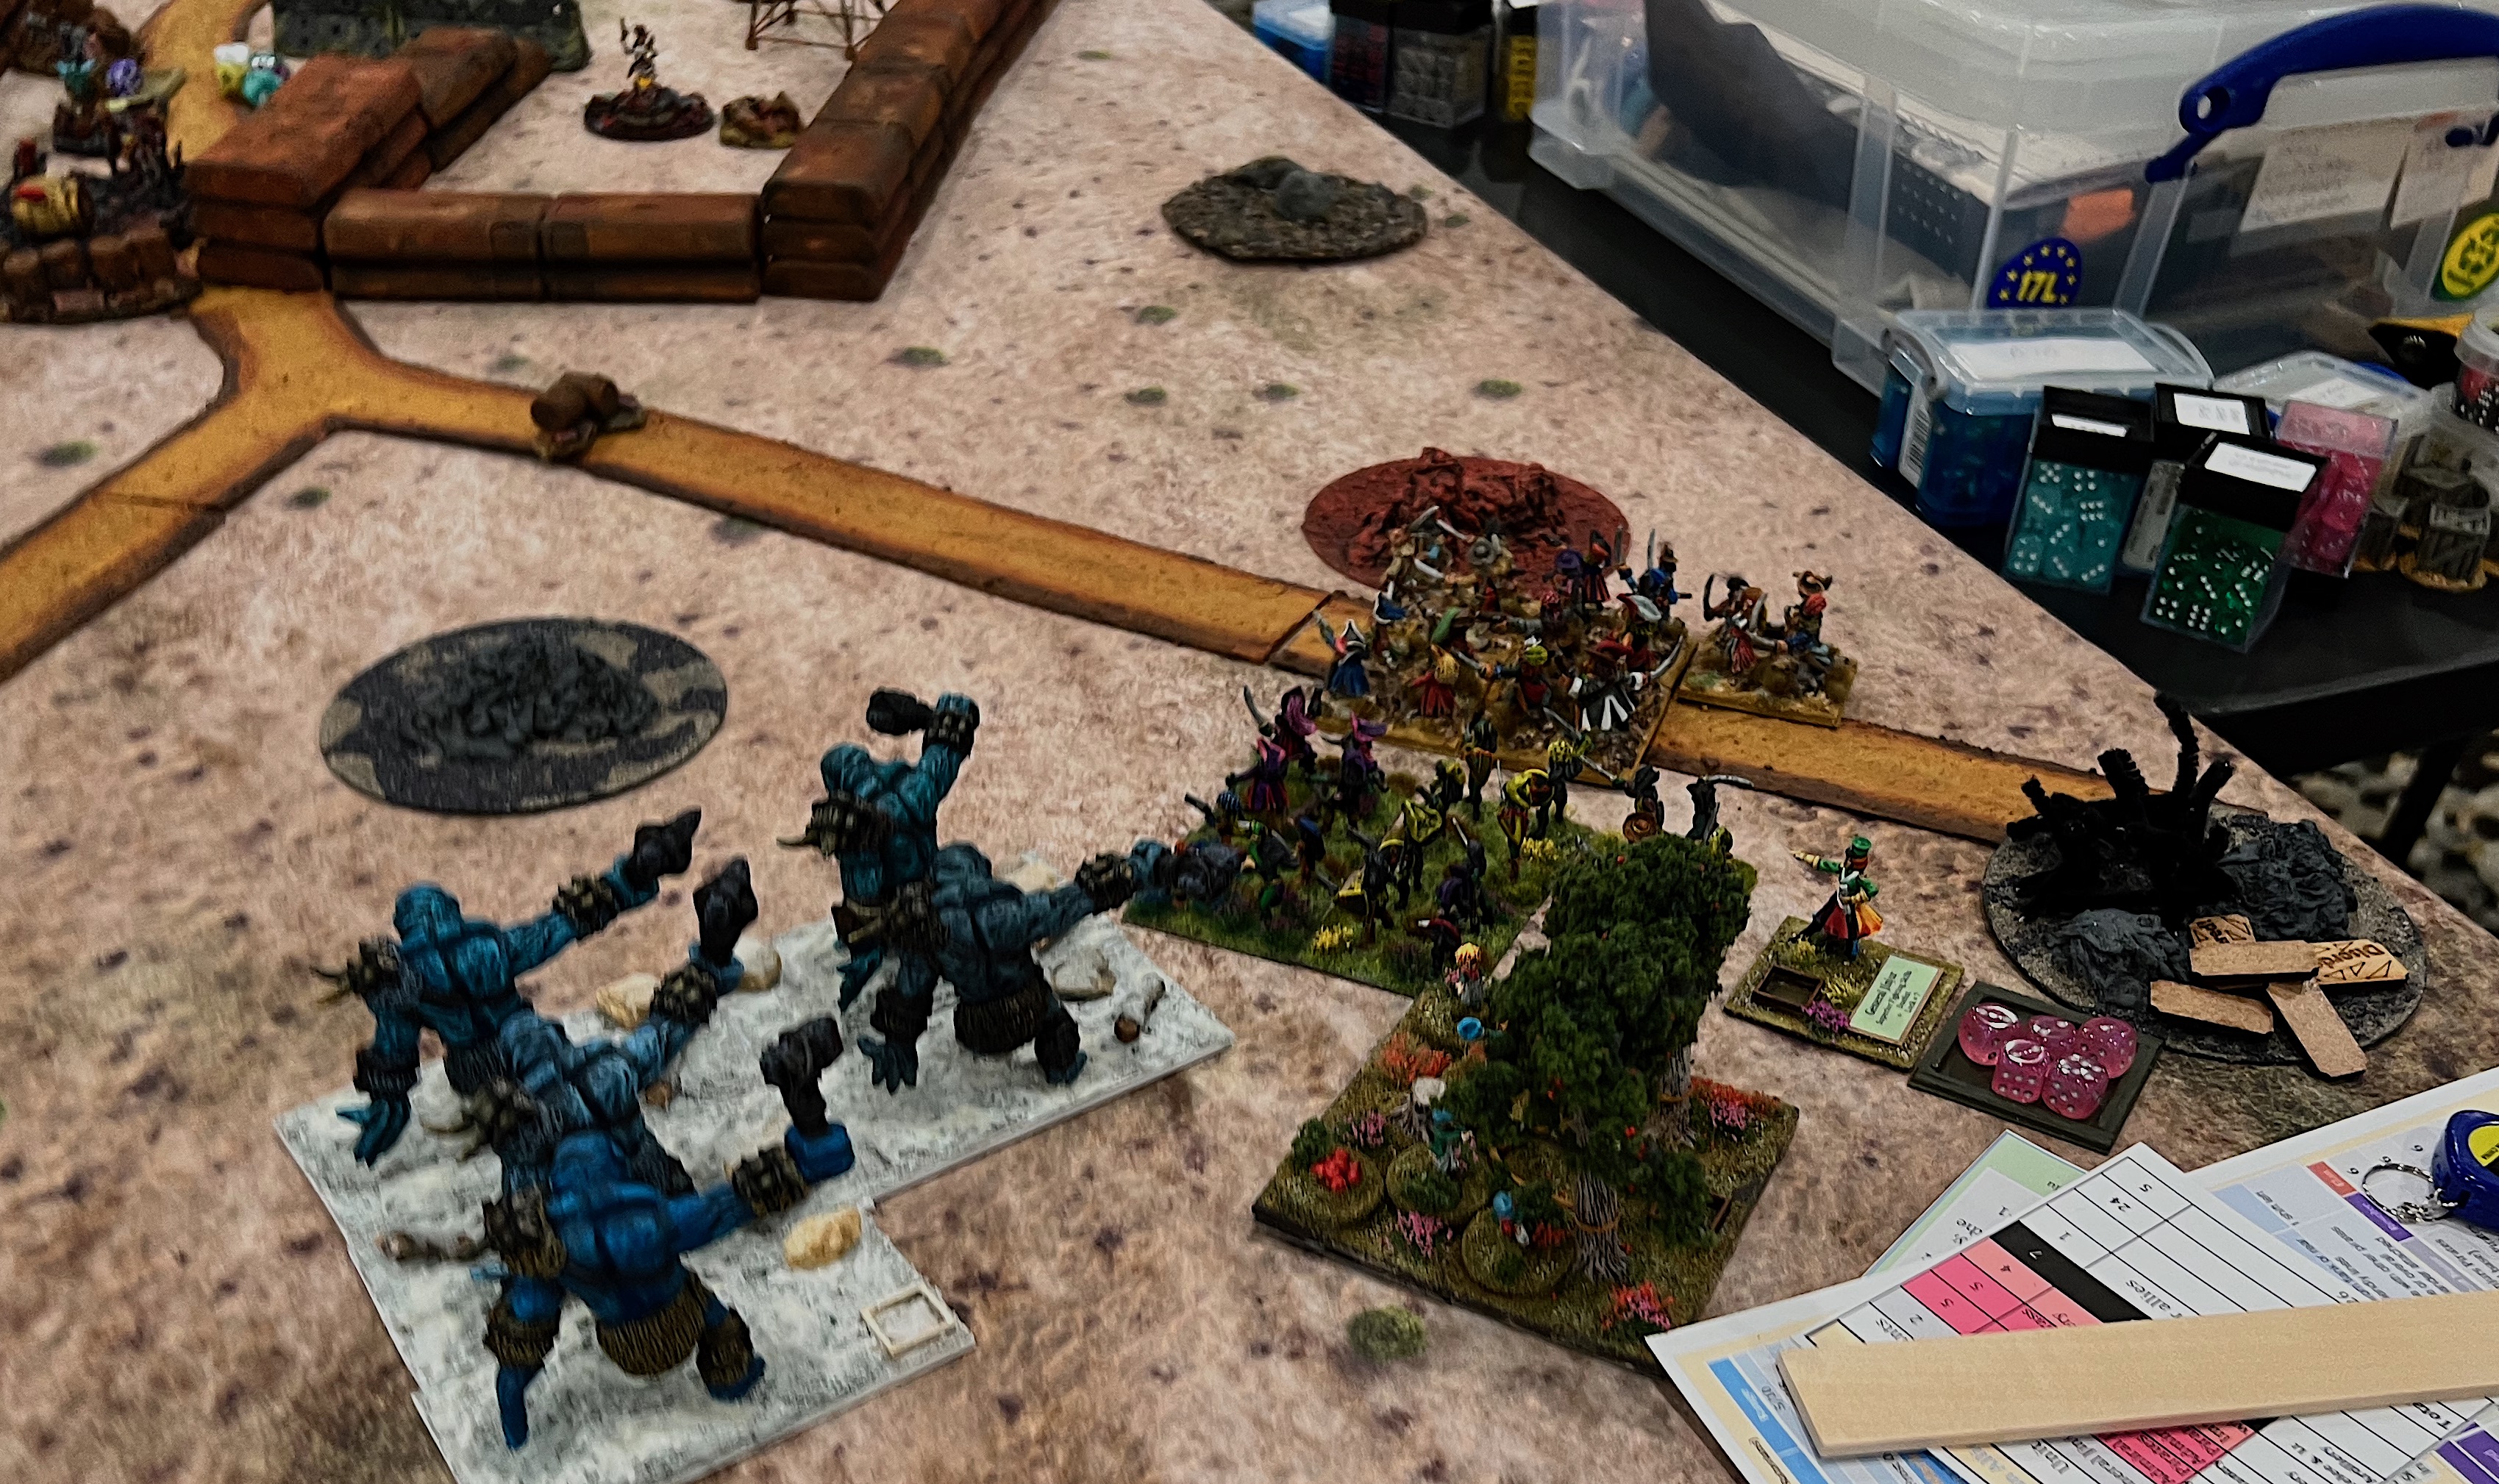
My second Ozz game simulated a revolt of the Harvest veggie folks against an intrusive walled Munchkin outpost. The theme of the 2026 HUZZAH! convention was “Revolution”. Harvest enlisted the help of Nitpik (apparently still aggrieved against the wee folk’s attempted robberies). The Nitpik and Harvest players successfully breached the Munchkin defenses and threw them out, though at a cost. Here are some game shots:
The players make their plans.Eric ponders his defenses.The Nitpik players prep for attack.Harvest players are ready too.The Savage Apple Tree regiment storms the walls while Munchkin Sharpshooters defend.Munchkin musketry trims the trees.Task Force Orange routs a defending Munchkin battery and breaches the walls as well.Carrot Creatures go face-to-face with another Munchkin battery.
After the Veggie revolt game, I also ran another edition of my What a Tanker scenario for Operation Torch. I did not get any pictures, but one of my players, Arofan, did, and wrote a nice AAR that you can see on the Monadnock Historical Wargaming page https://www.facebook.com/groups/405278298850709. Scroll down to May 17th, 2026.
Thanks again to all at MHWA for yet another great convention!!
That’s it for now – and lastly here are the paints listings and Ozz information.
Final Notes and Informational Links
Want to learn more about Ozz and its world? If you want to check out the excellent Wars of Ozz figures’ range, there are two places to get them. You can also get the rules there. (I make no money from this.) The game rules and the figures are available from the next two places:
TotalCon 40 is an annual gaming convention that is held in Marlborough, MA at the Best Western Conference Center. There are events for miniature games, board games, RPG’s, and much more. Attendance is well over 1,000.
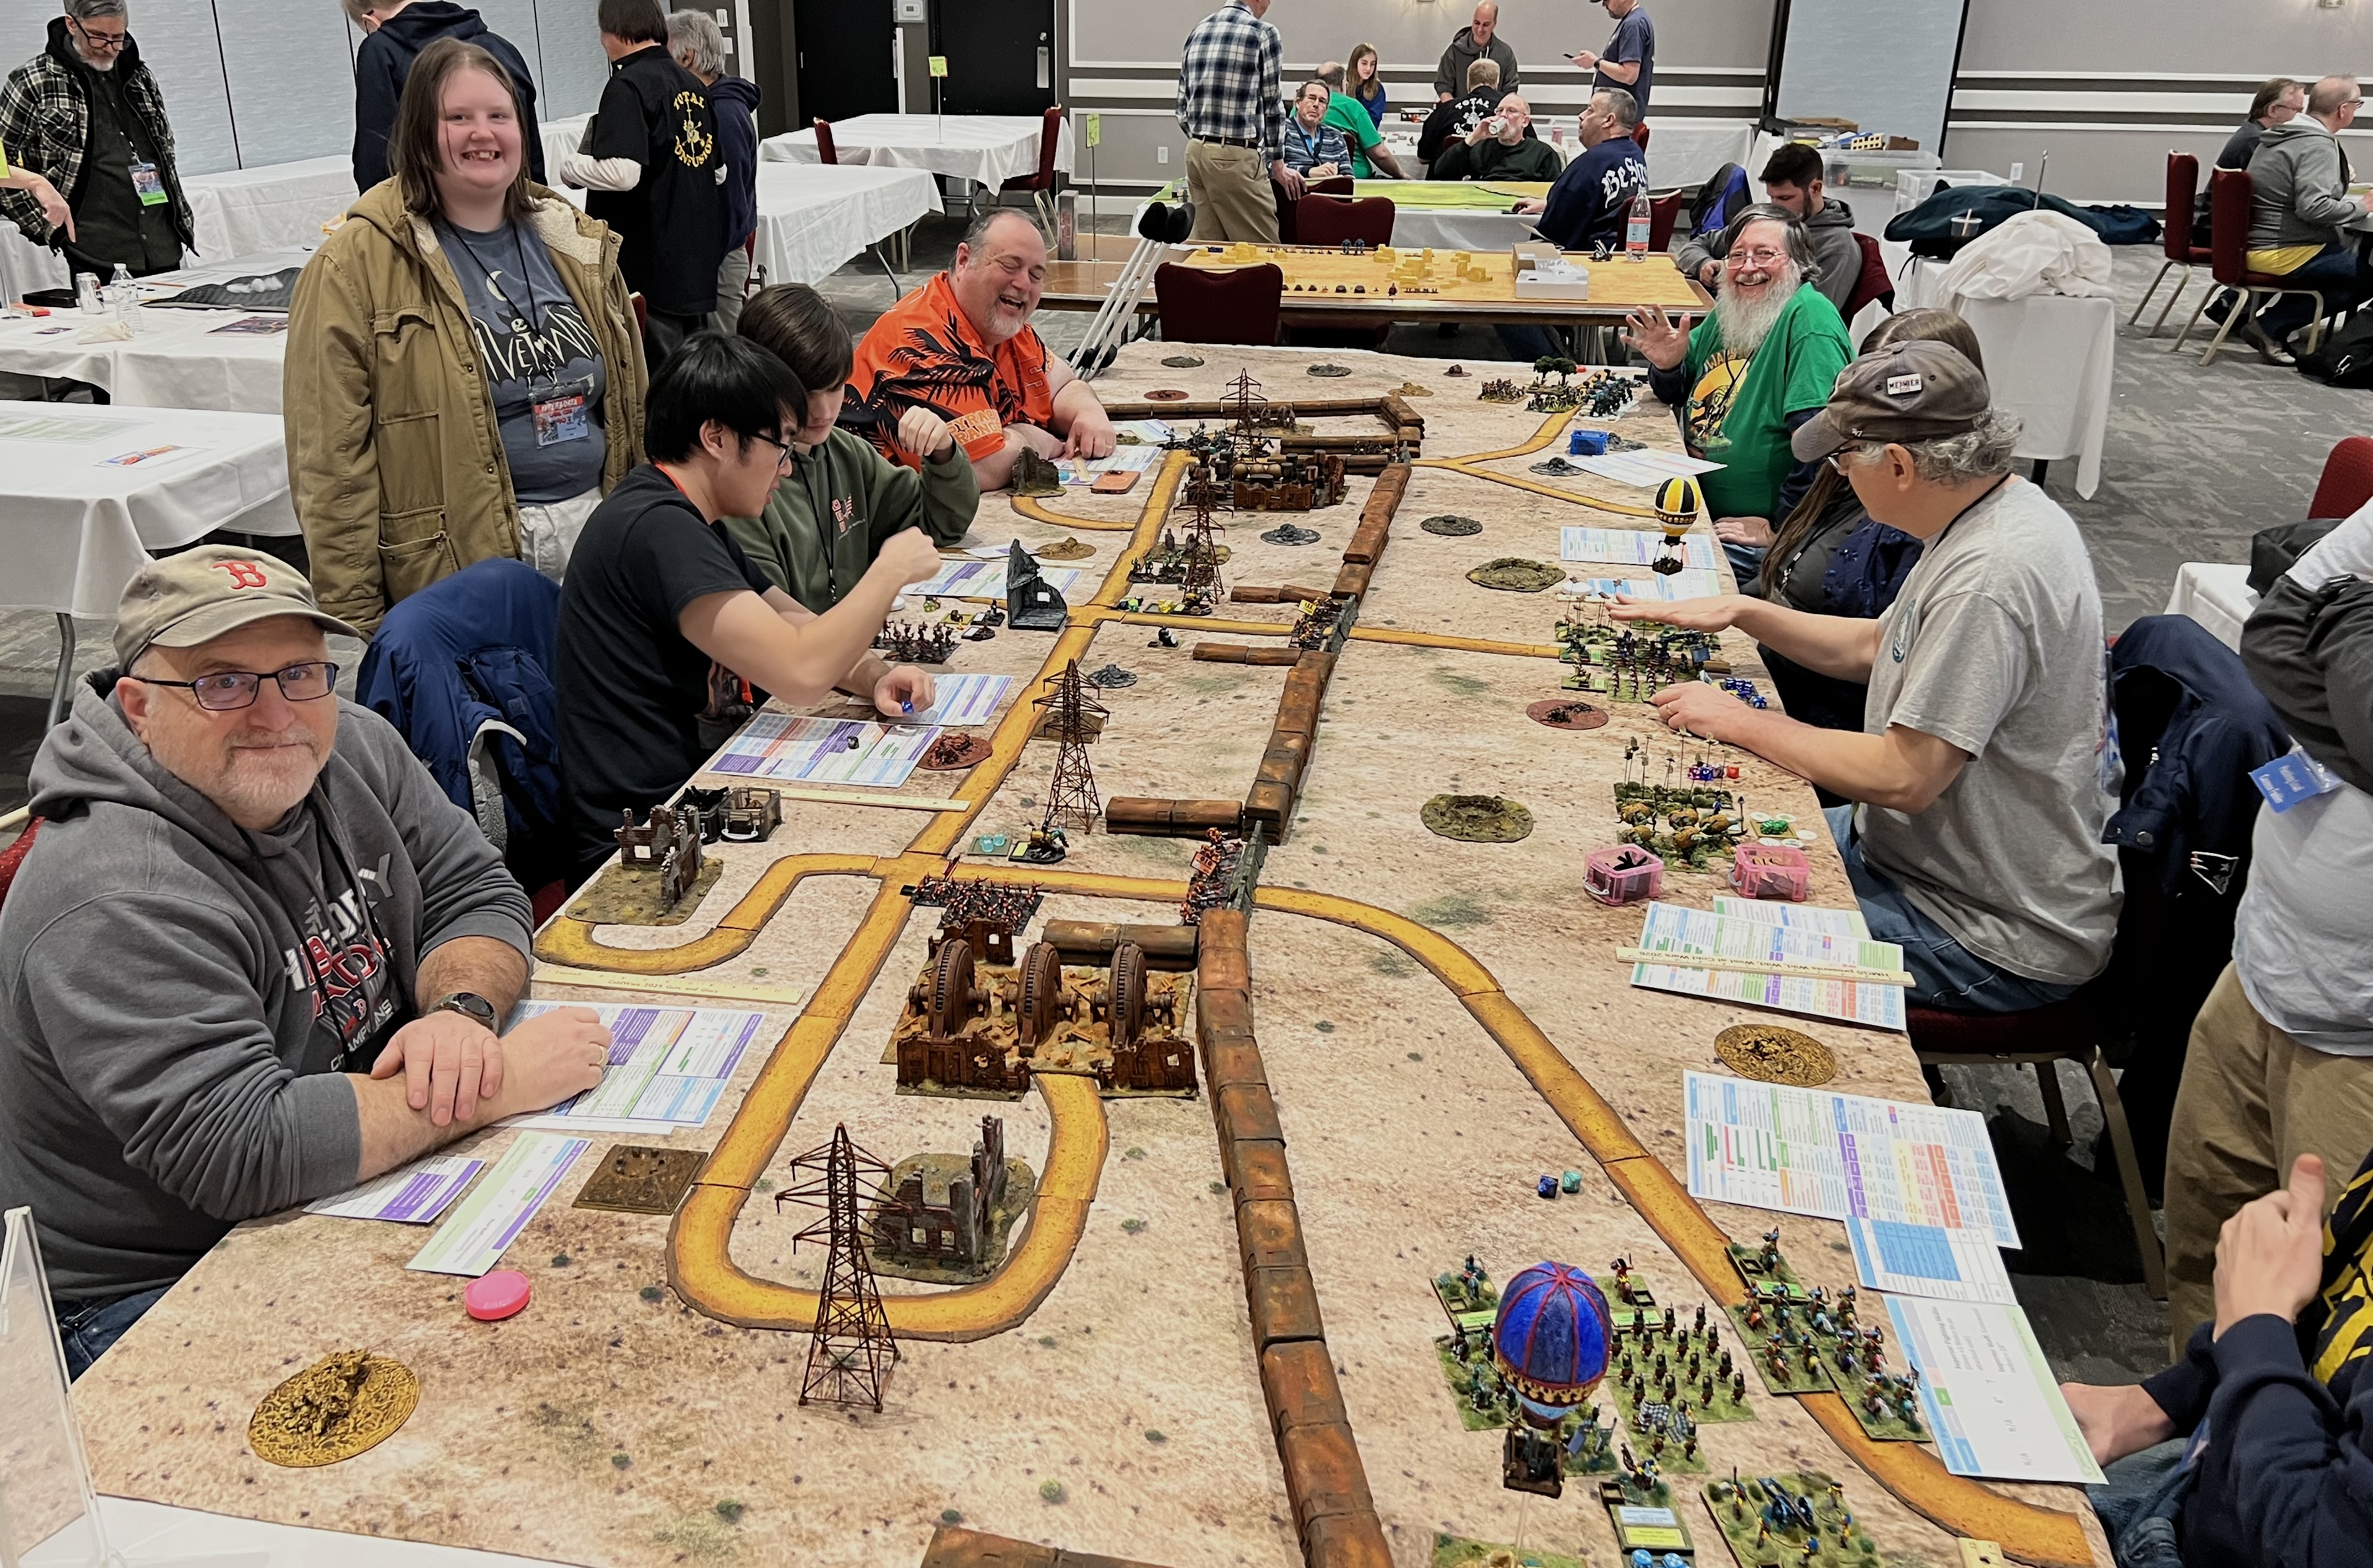
This year it was held between February 19th and 22nd of 2026. I usually run several tabletop miniatures games there. This year was no exception. I ran eight 4-hour games across the 4 days.
Several players who participated in my games are eager to see some game shots. Not to disappoint, his post will be picture heavy and text light!
On Thursday of every TotalCon, there is a large flea market in an adjoining room to the main hall. From Friday to Sunday, I get a very big table in that room. Because of the flea market’s need for space, I settle for a smaller footprint on Thursday. That smaller table was fine for two games (afternoon and evening).
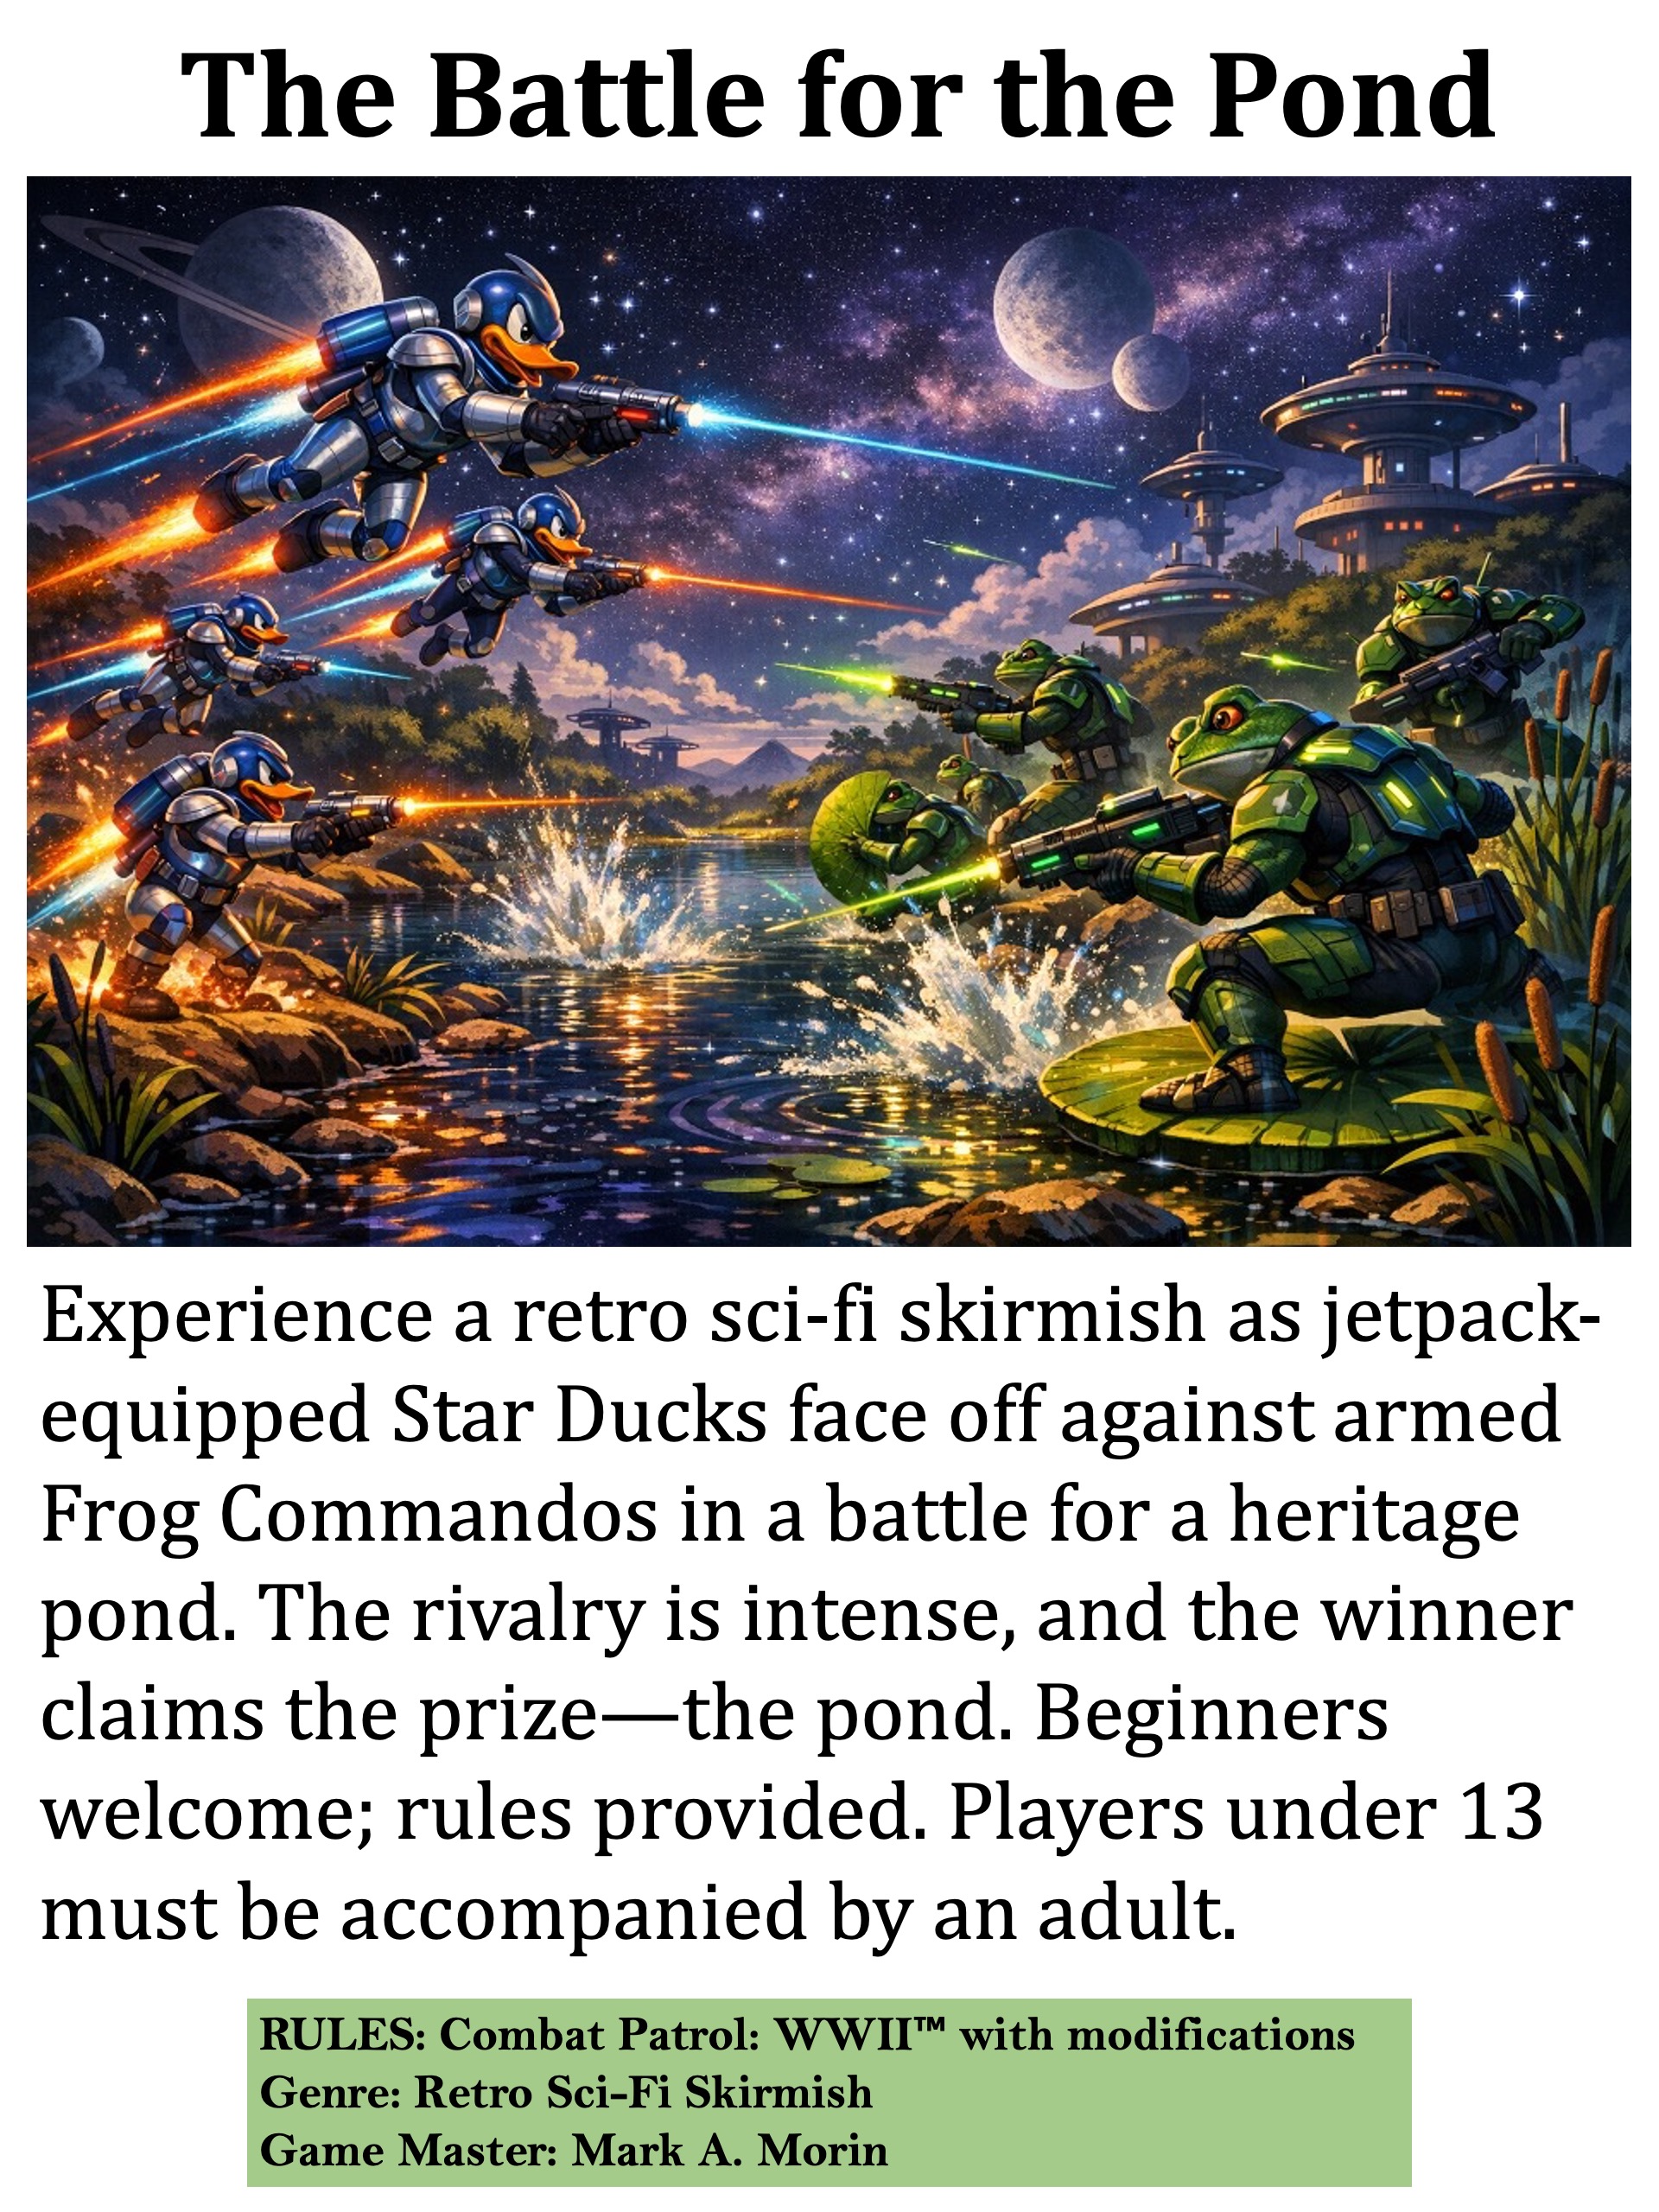
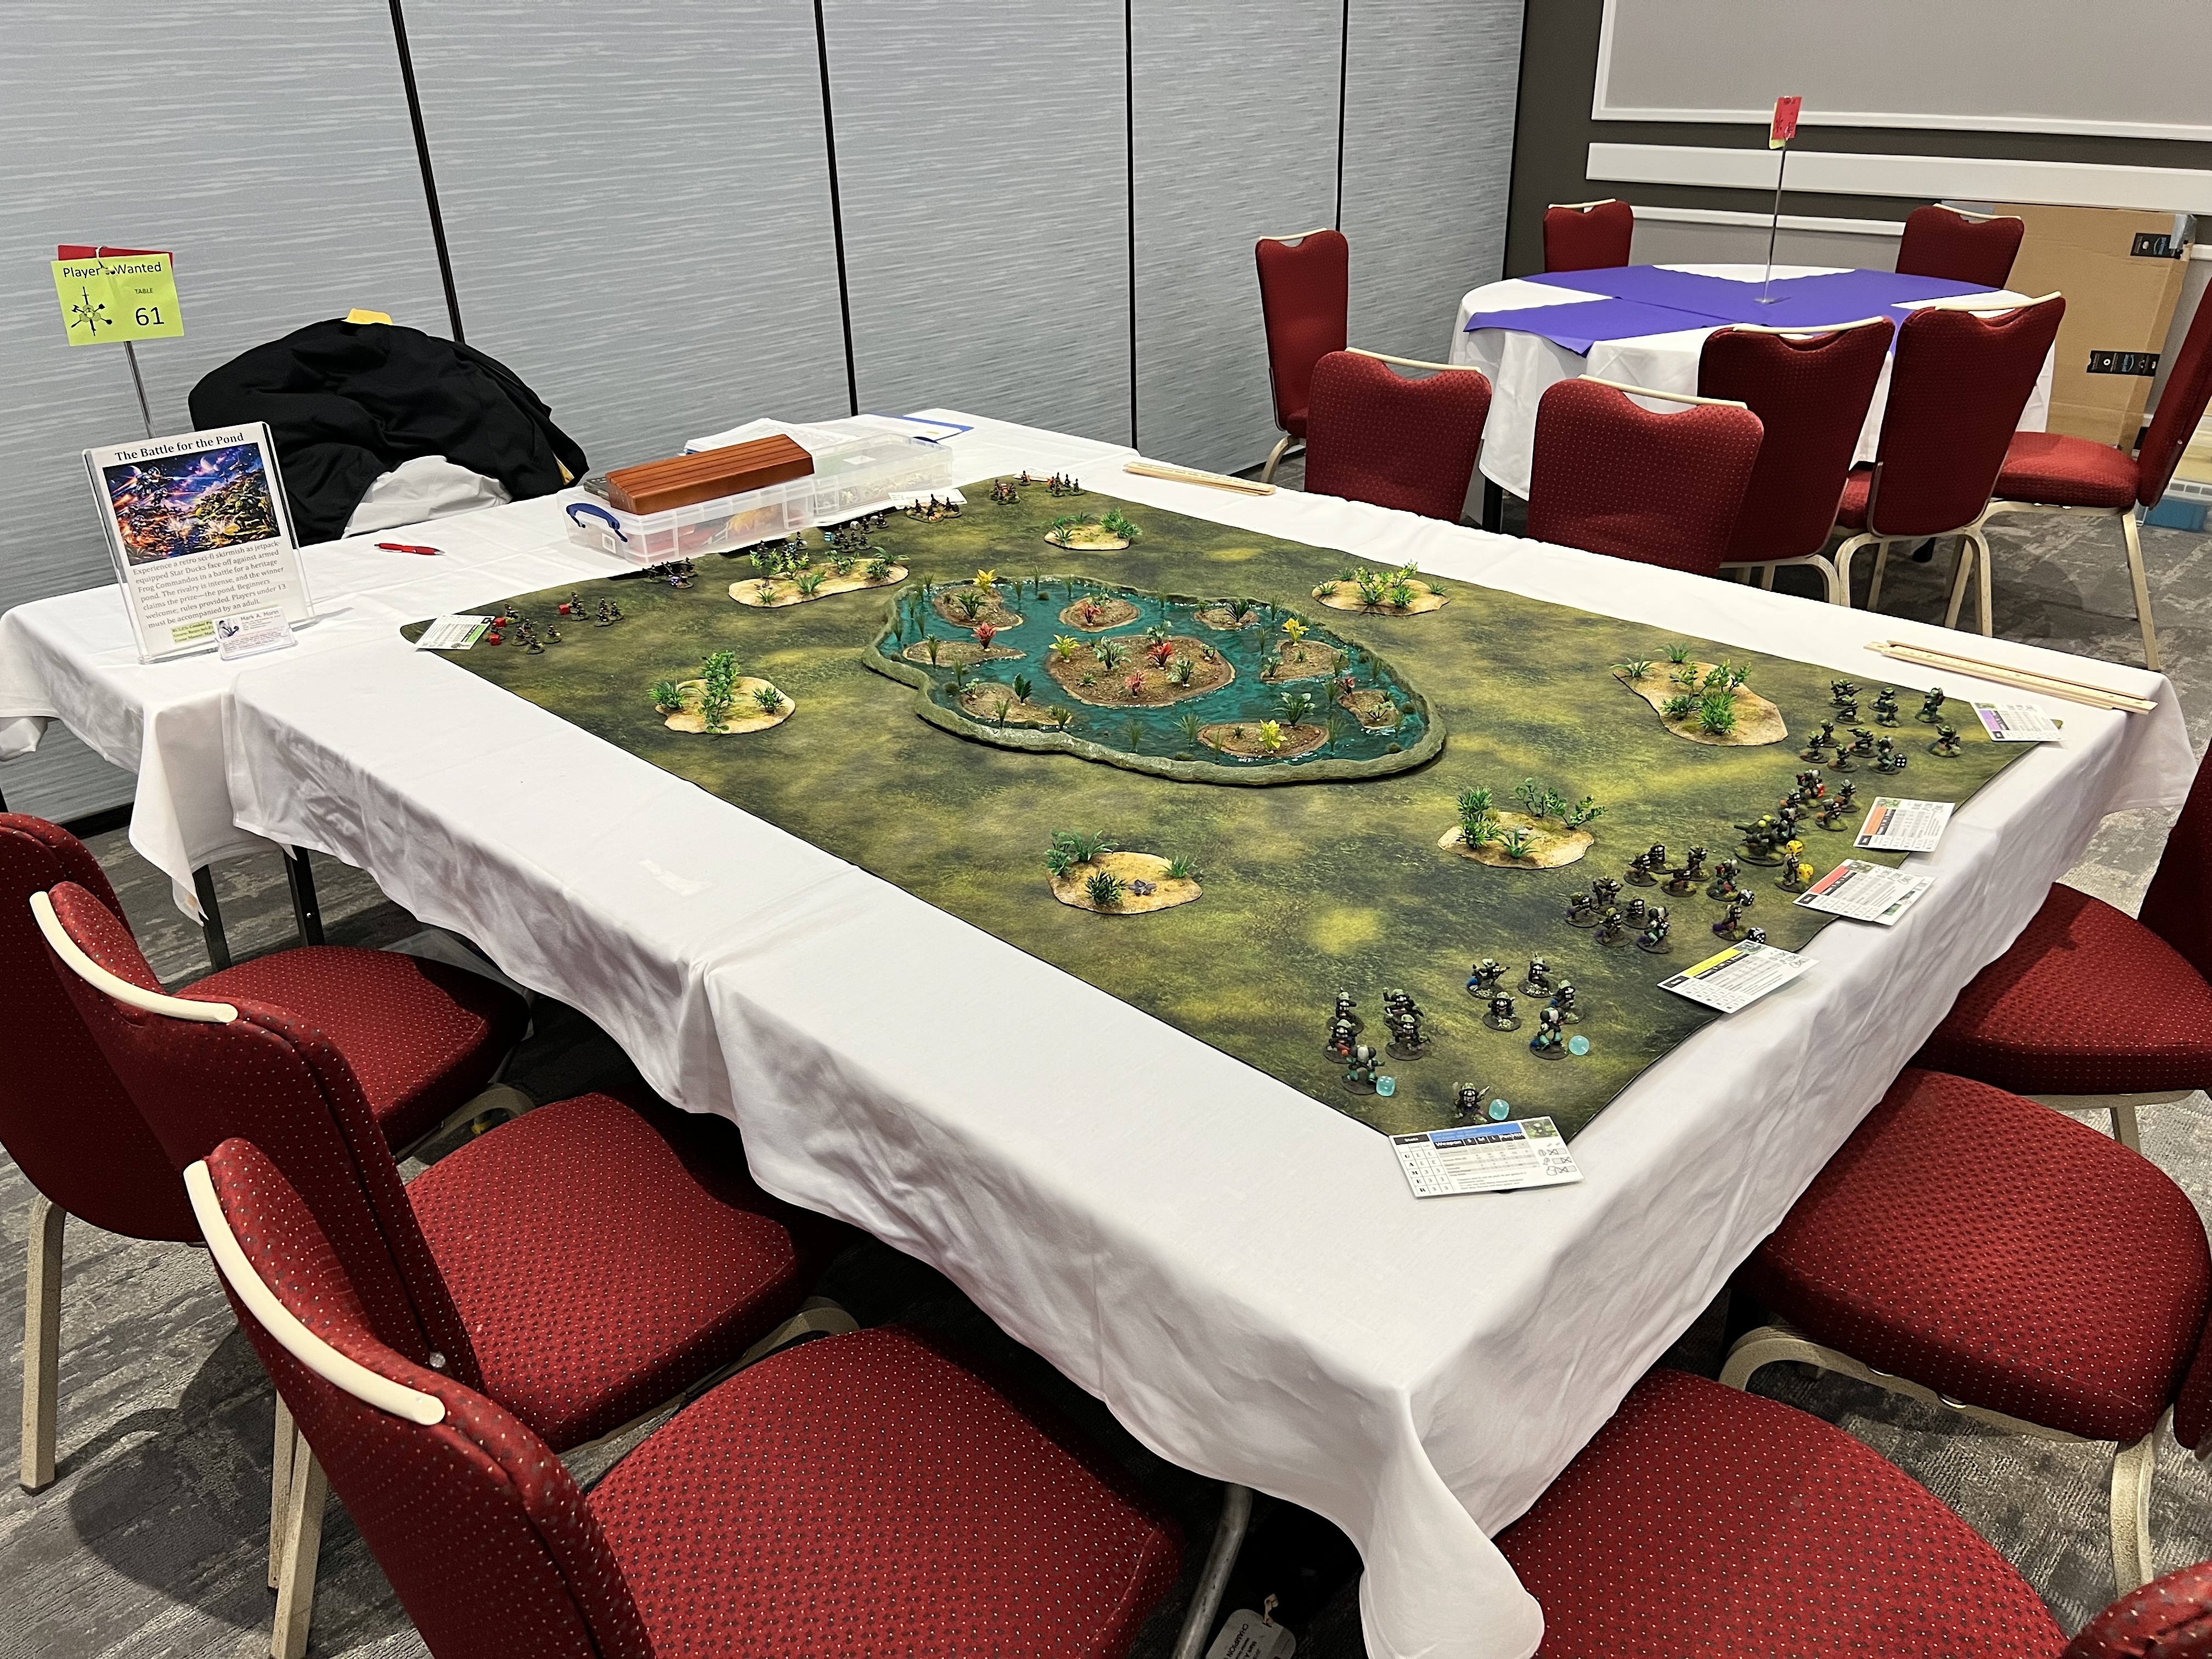
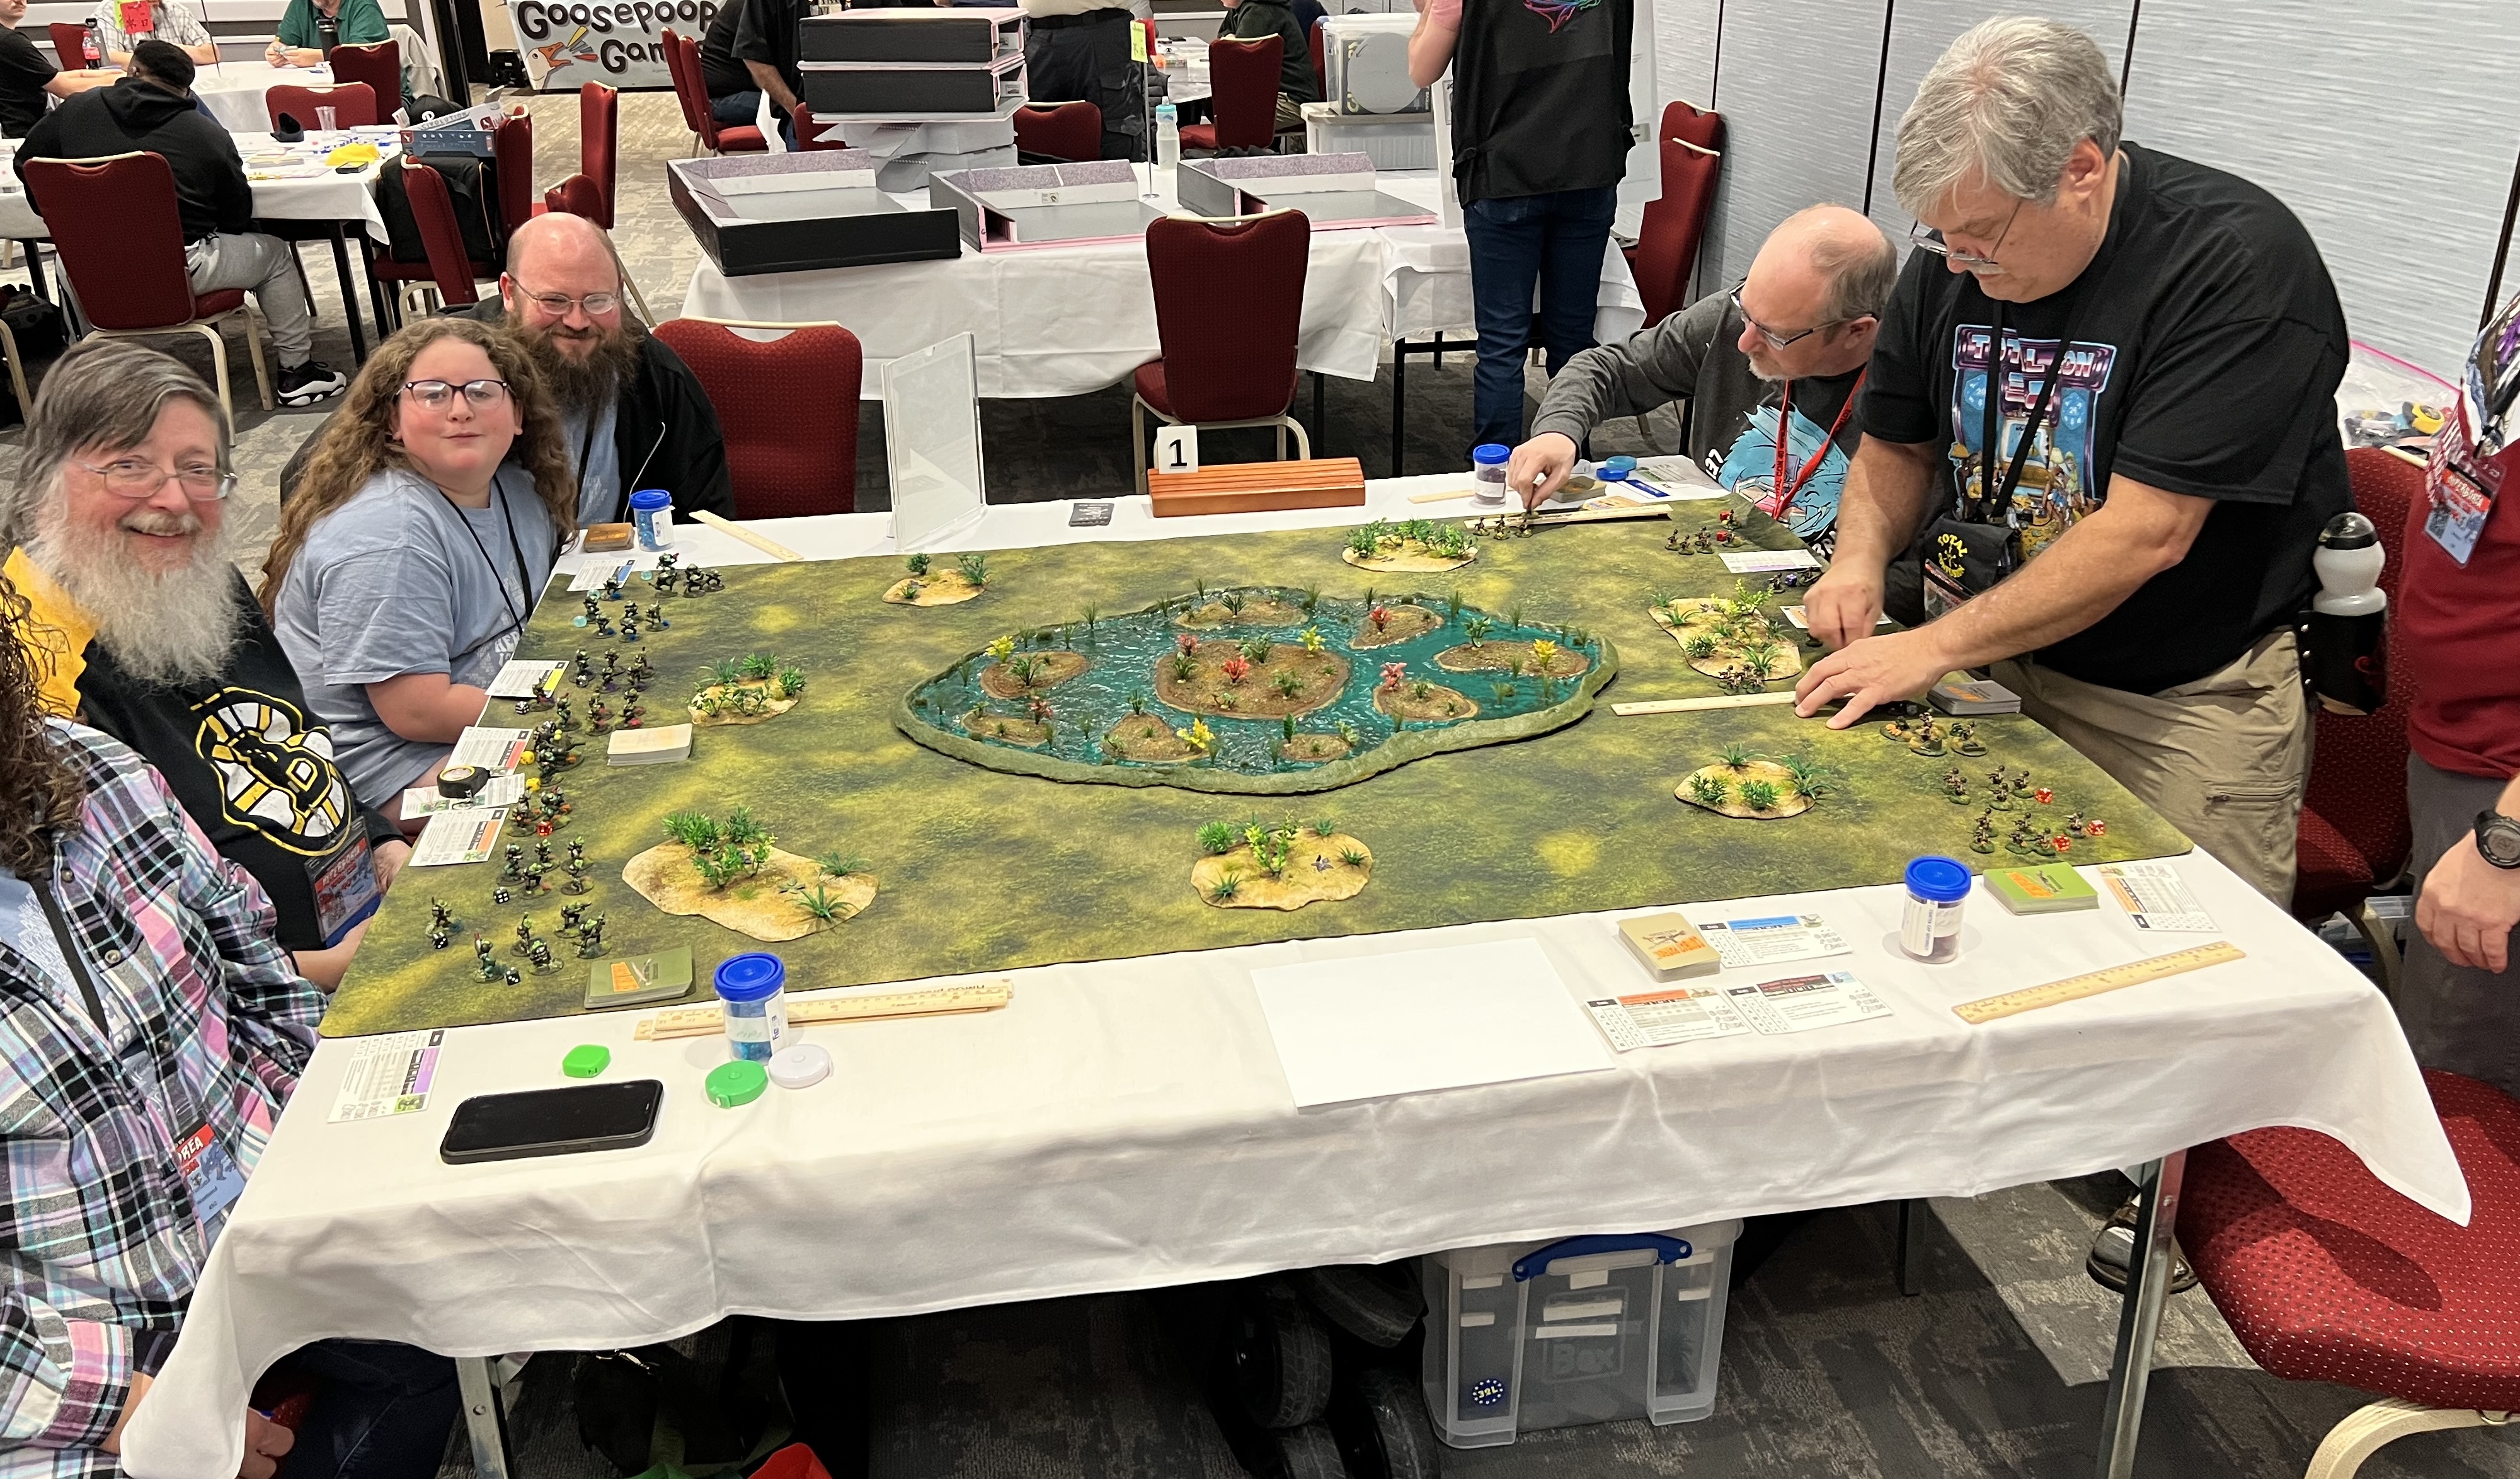
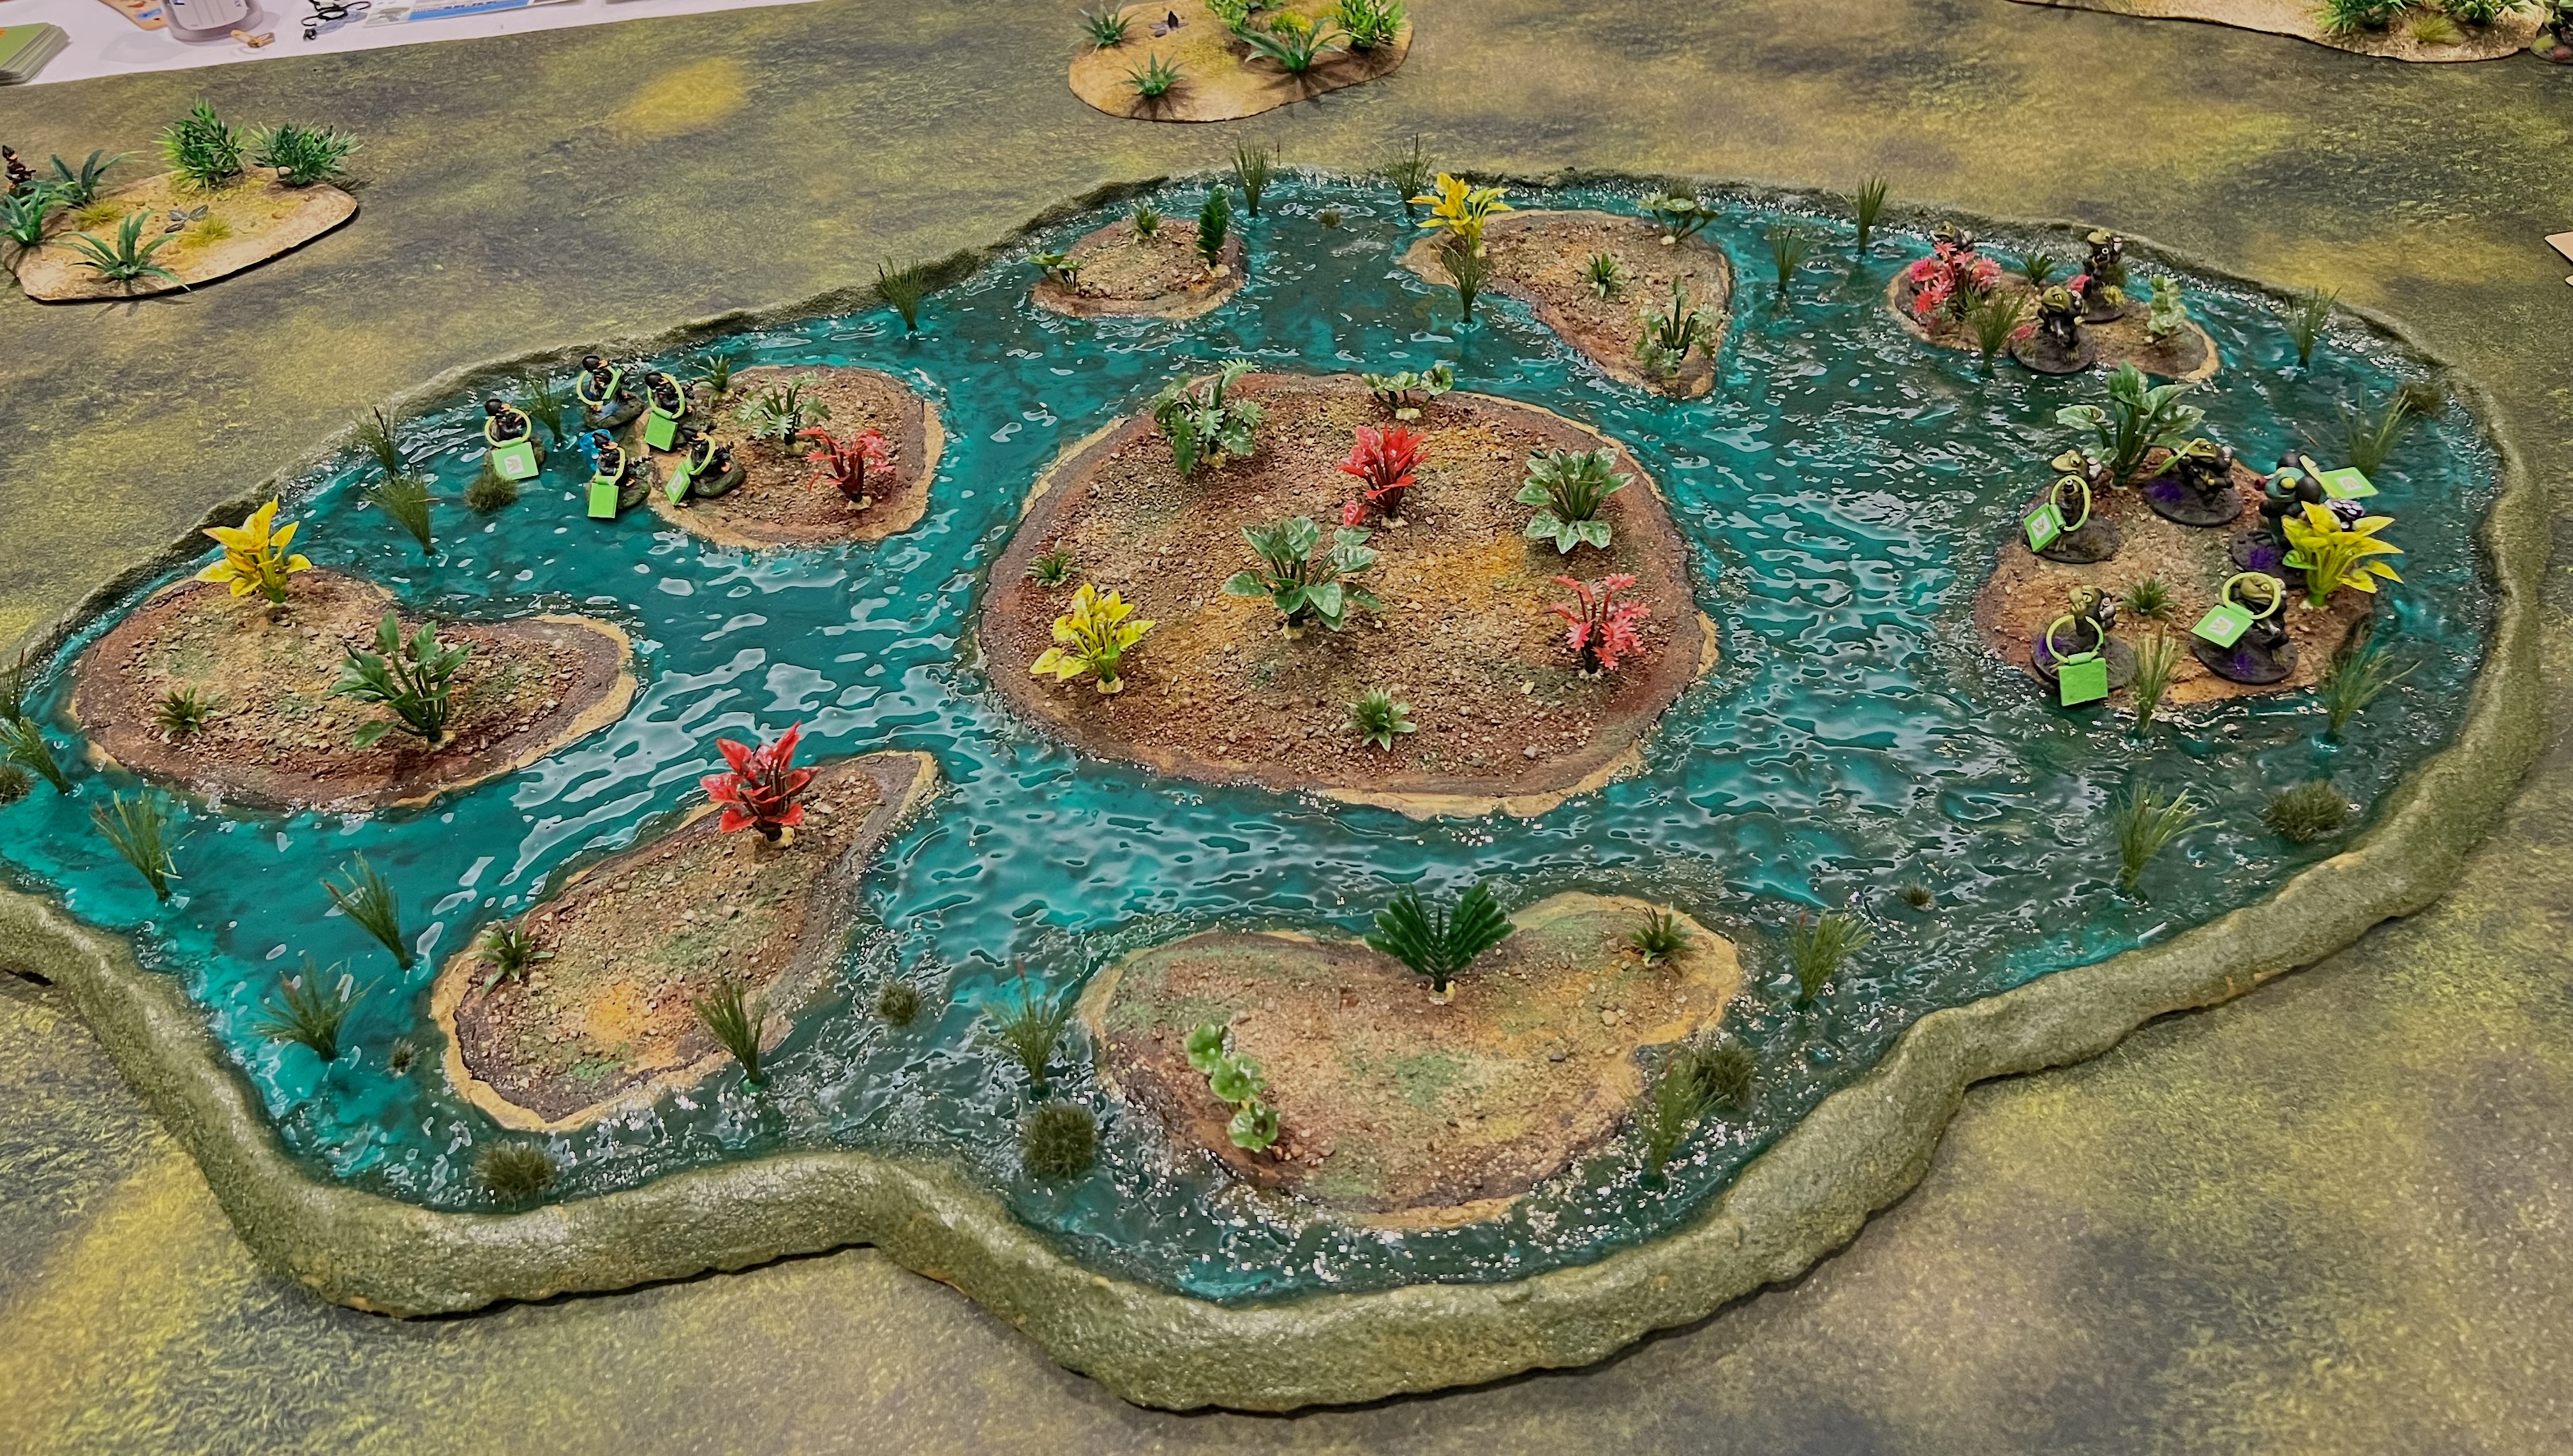
Battle for the Pond
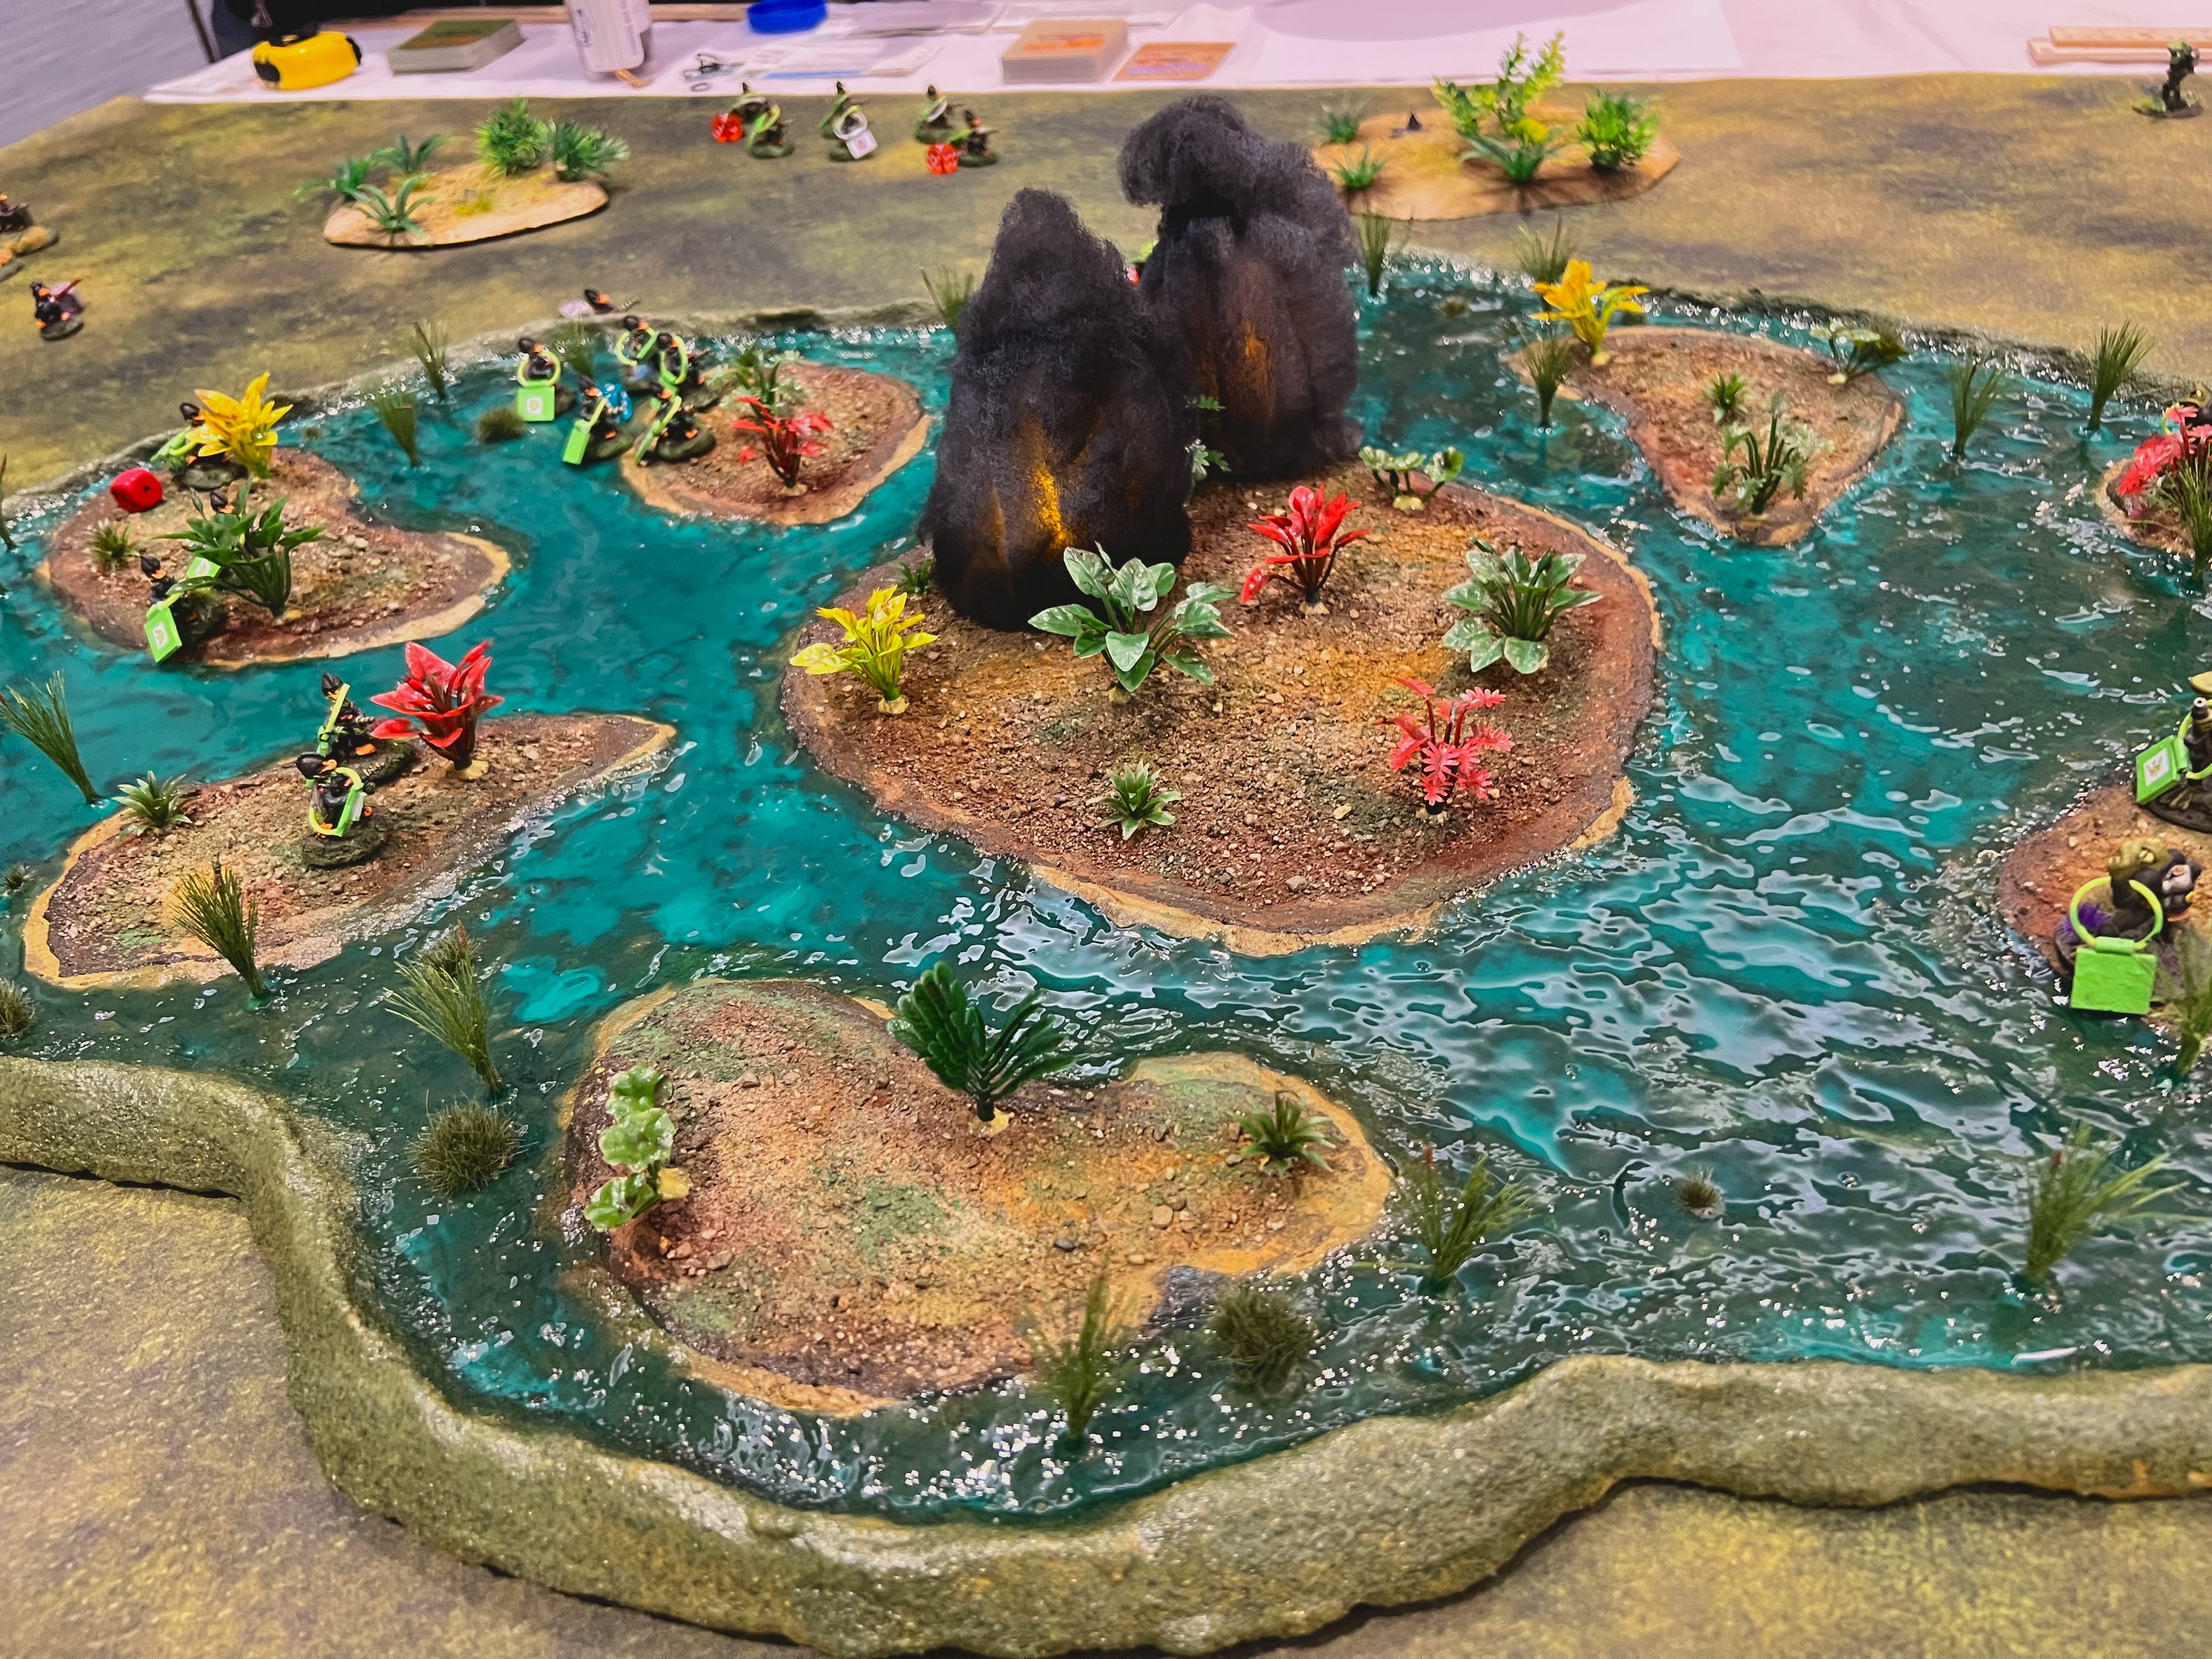
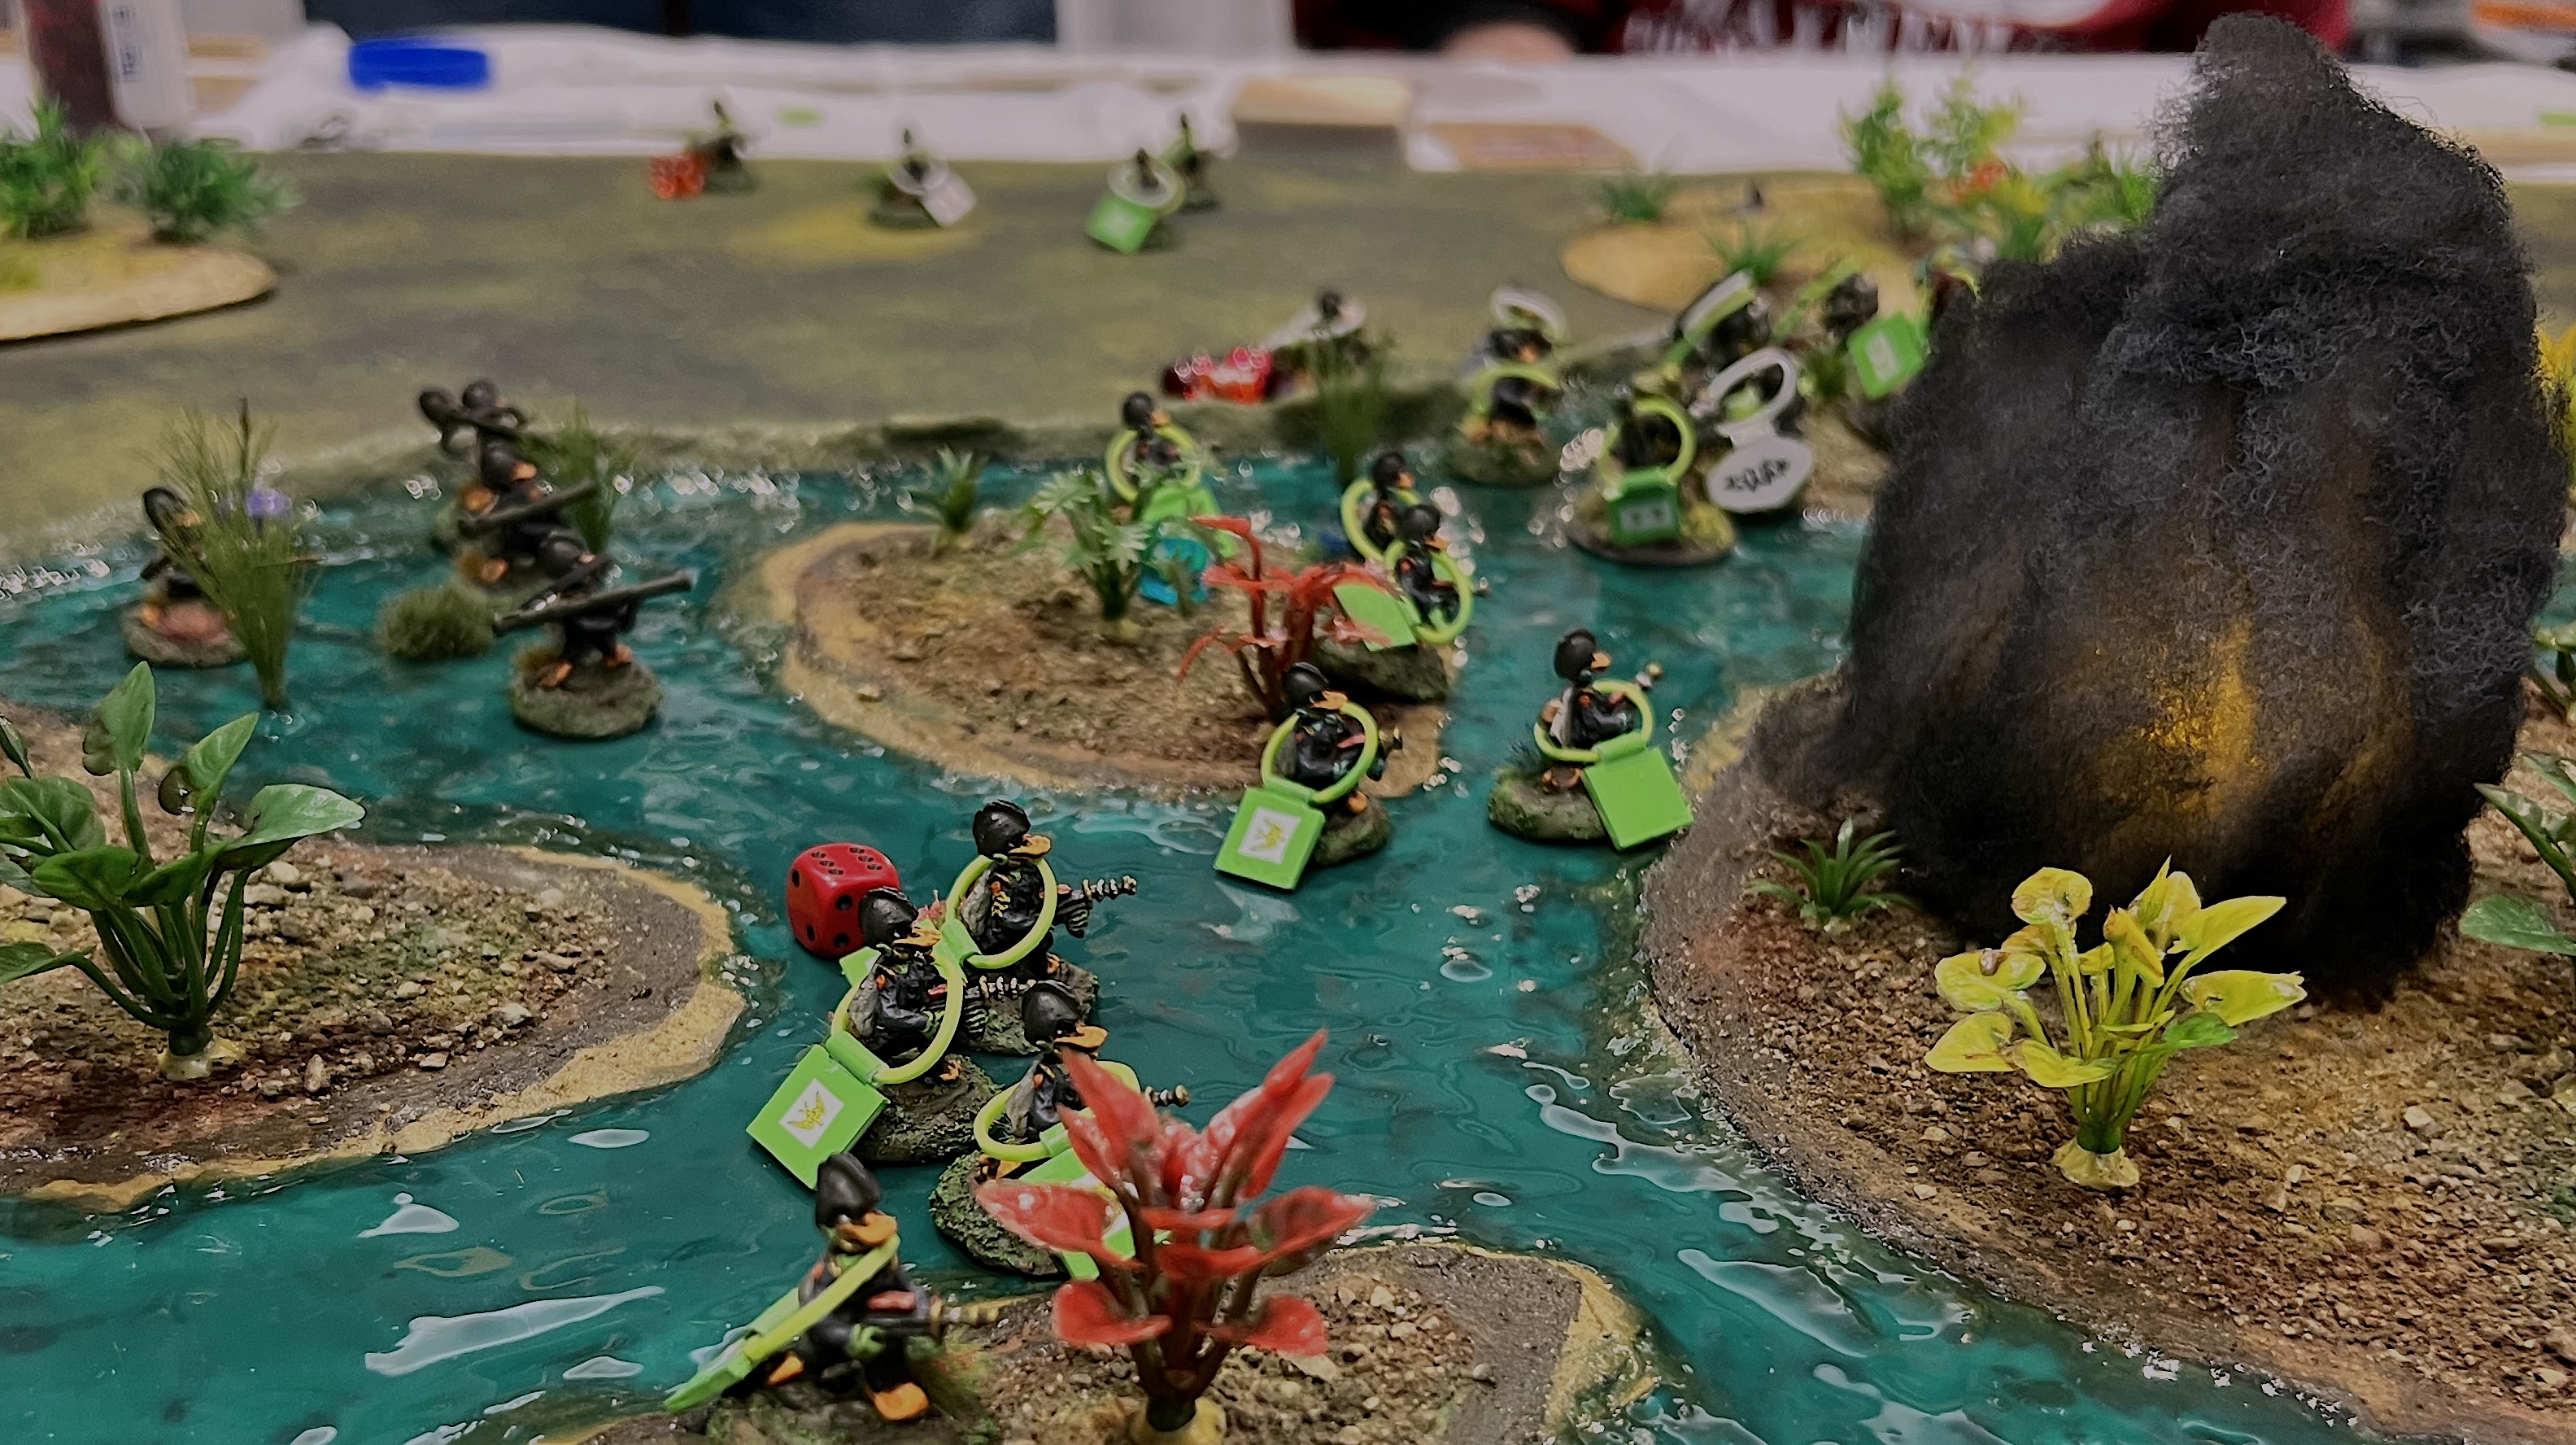
This was a Combat Patrol:WWII retro sci-fi game using the pond that I described in my last post.
My game flyer.The tabletop set up for action. The F.R.O.G. Commandos are on the near side, with the Star Ducks on the far end. The Star Ducks are Archive Miniatures Star Rovers figures from the late ’70’s/early 80’s. The Frogs are Critter Commandos figures from the early 1990’s.The Star Duck players move up.The Star Ducks use one of their two jet pack moves to occupy islands. In the game, control of the smaller islands was worth 5 points. Controlling the largest island earned players 10 points.The Frogs were also jet packing. The Star Ducks used mortars to lay down a protective smoke screen against their automatic weapons fire.In the end, the luck of the cards deserted the Frogs, with almost every island in Star Duck control.
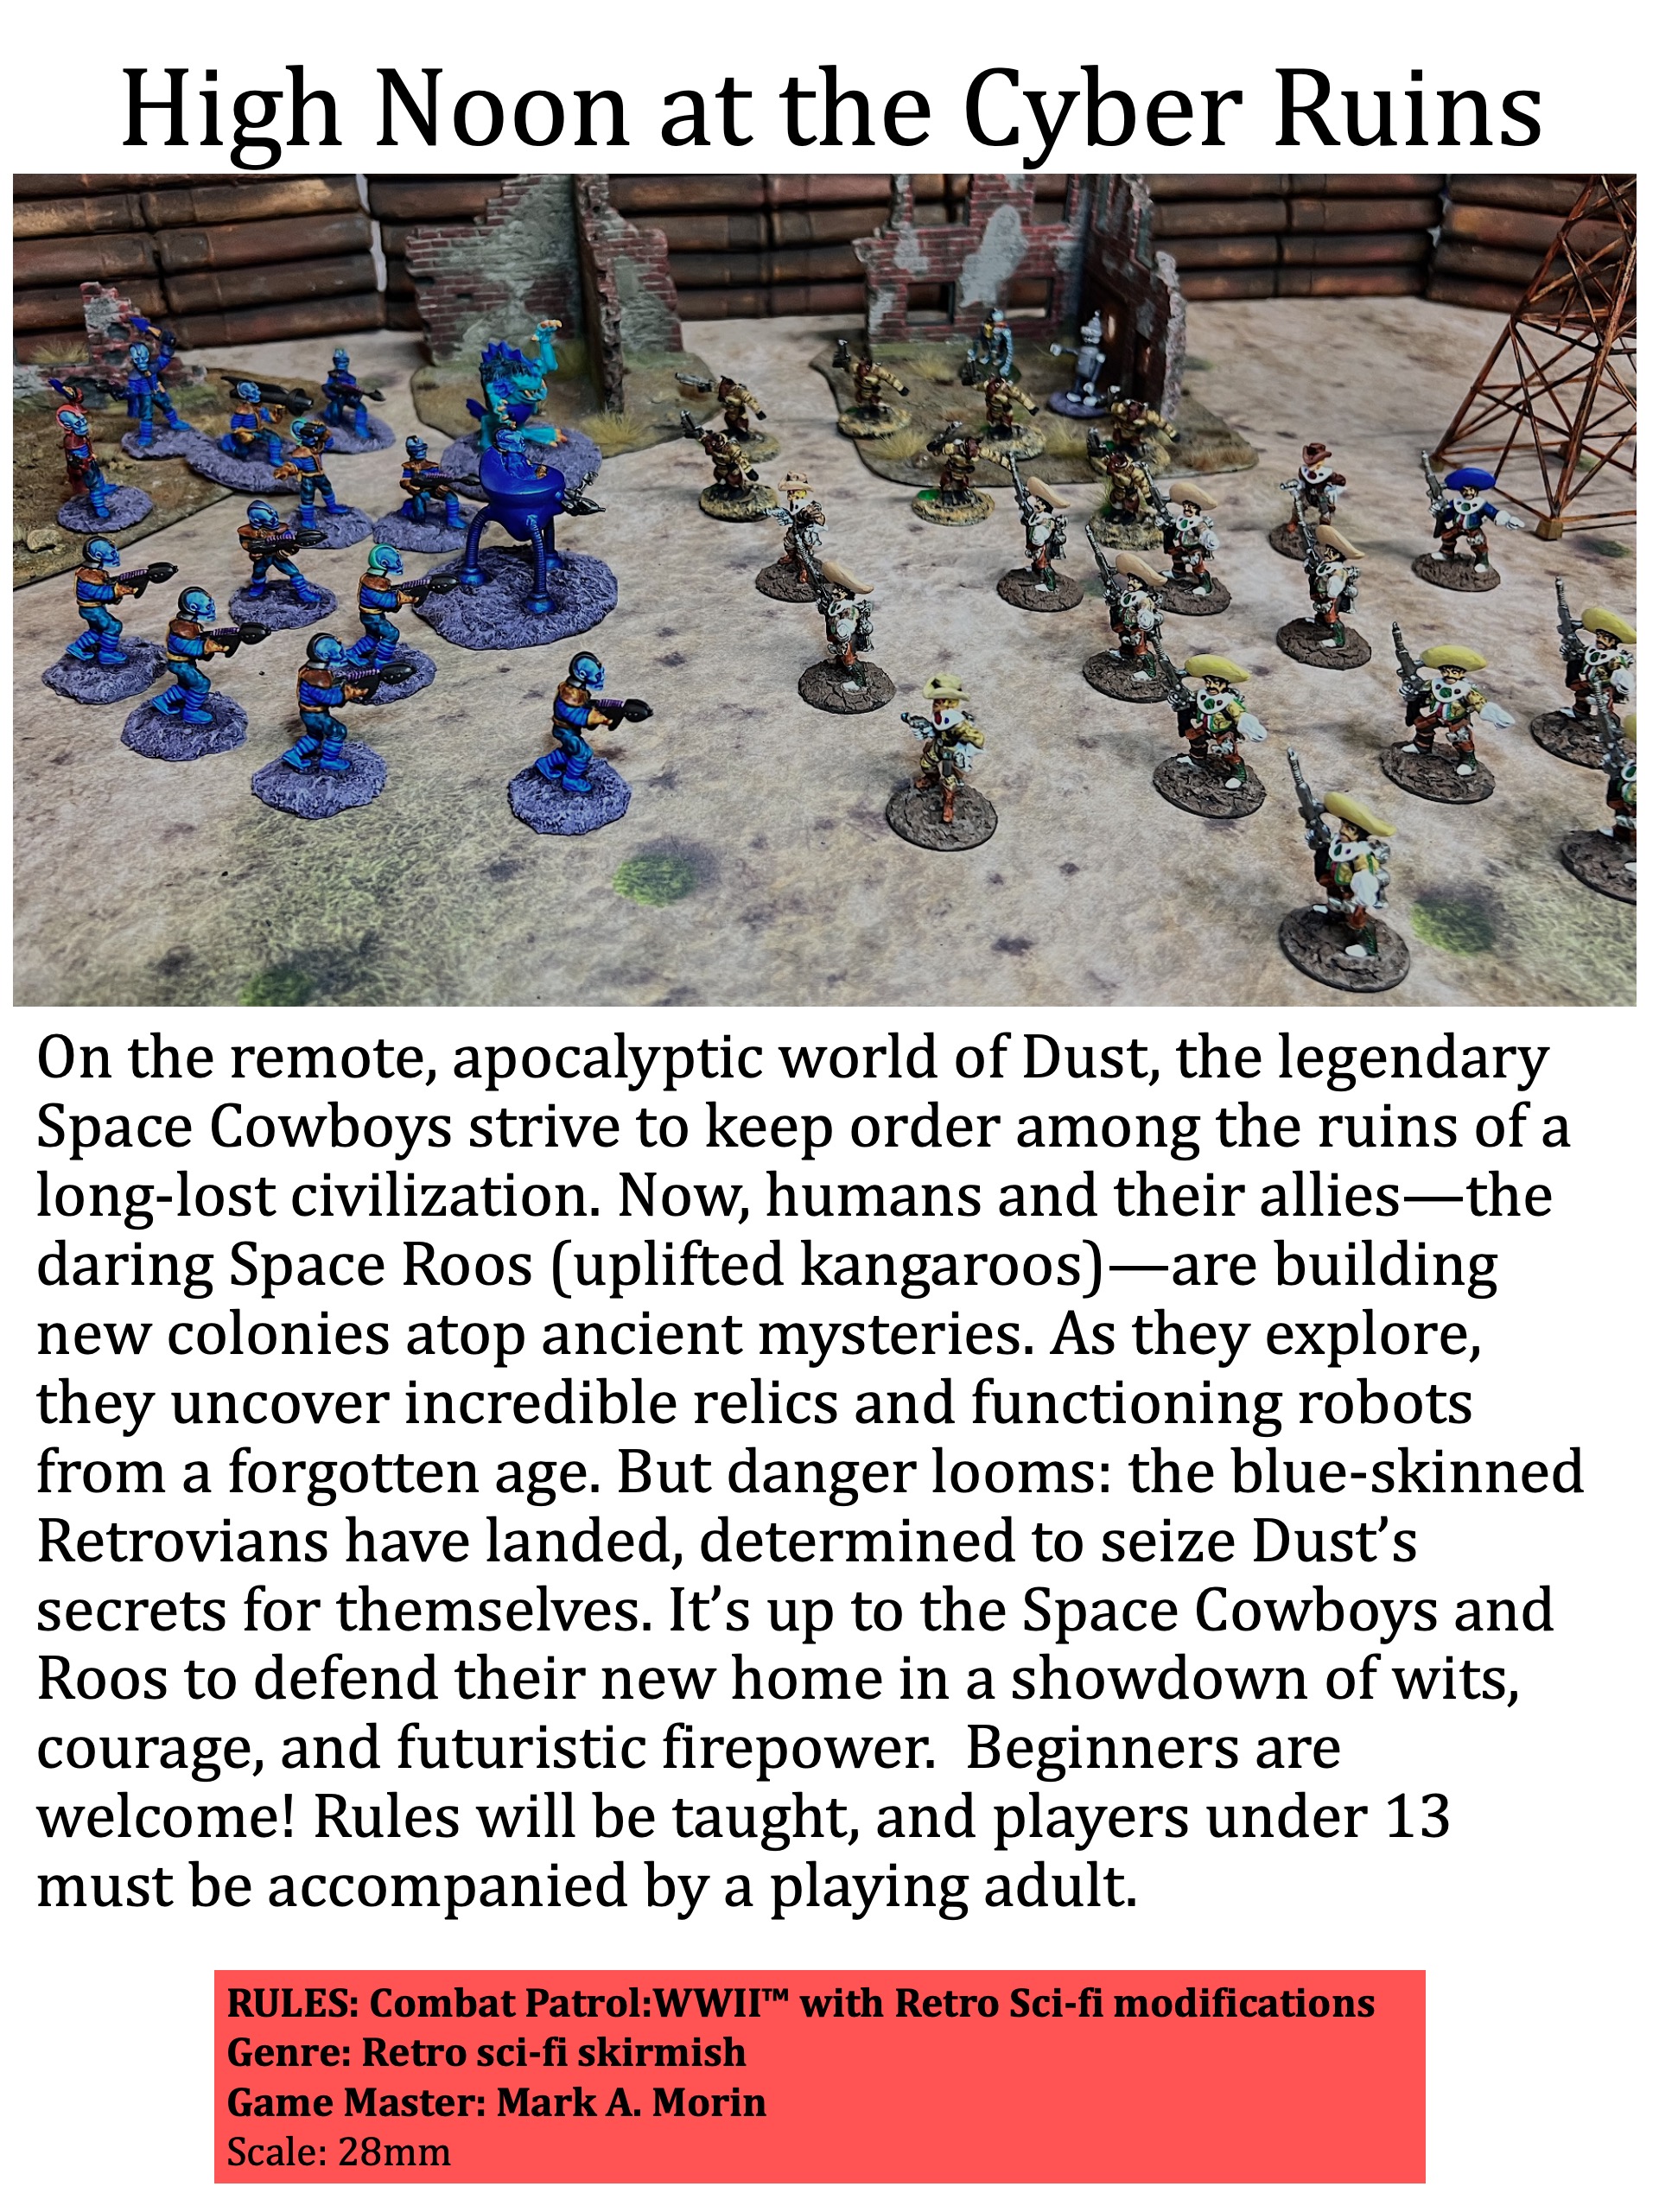
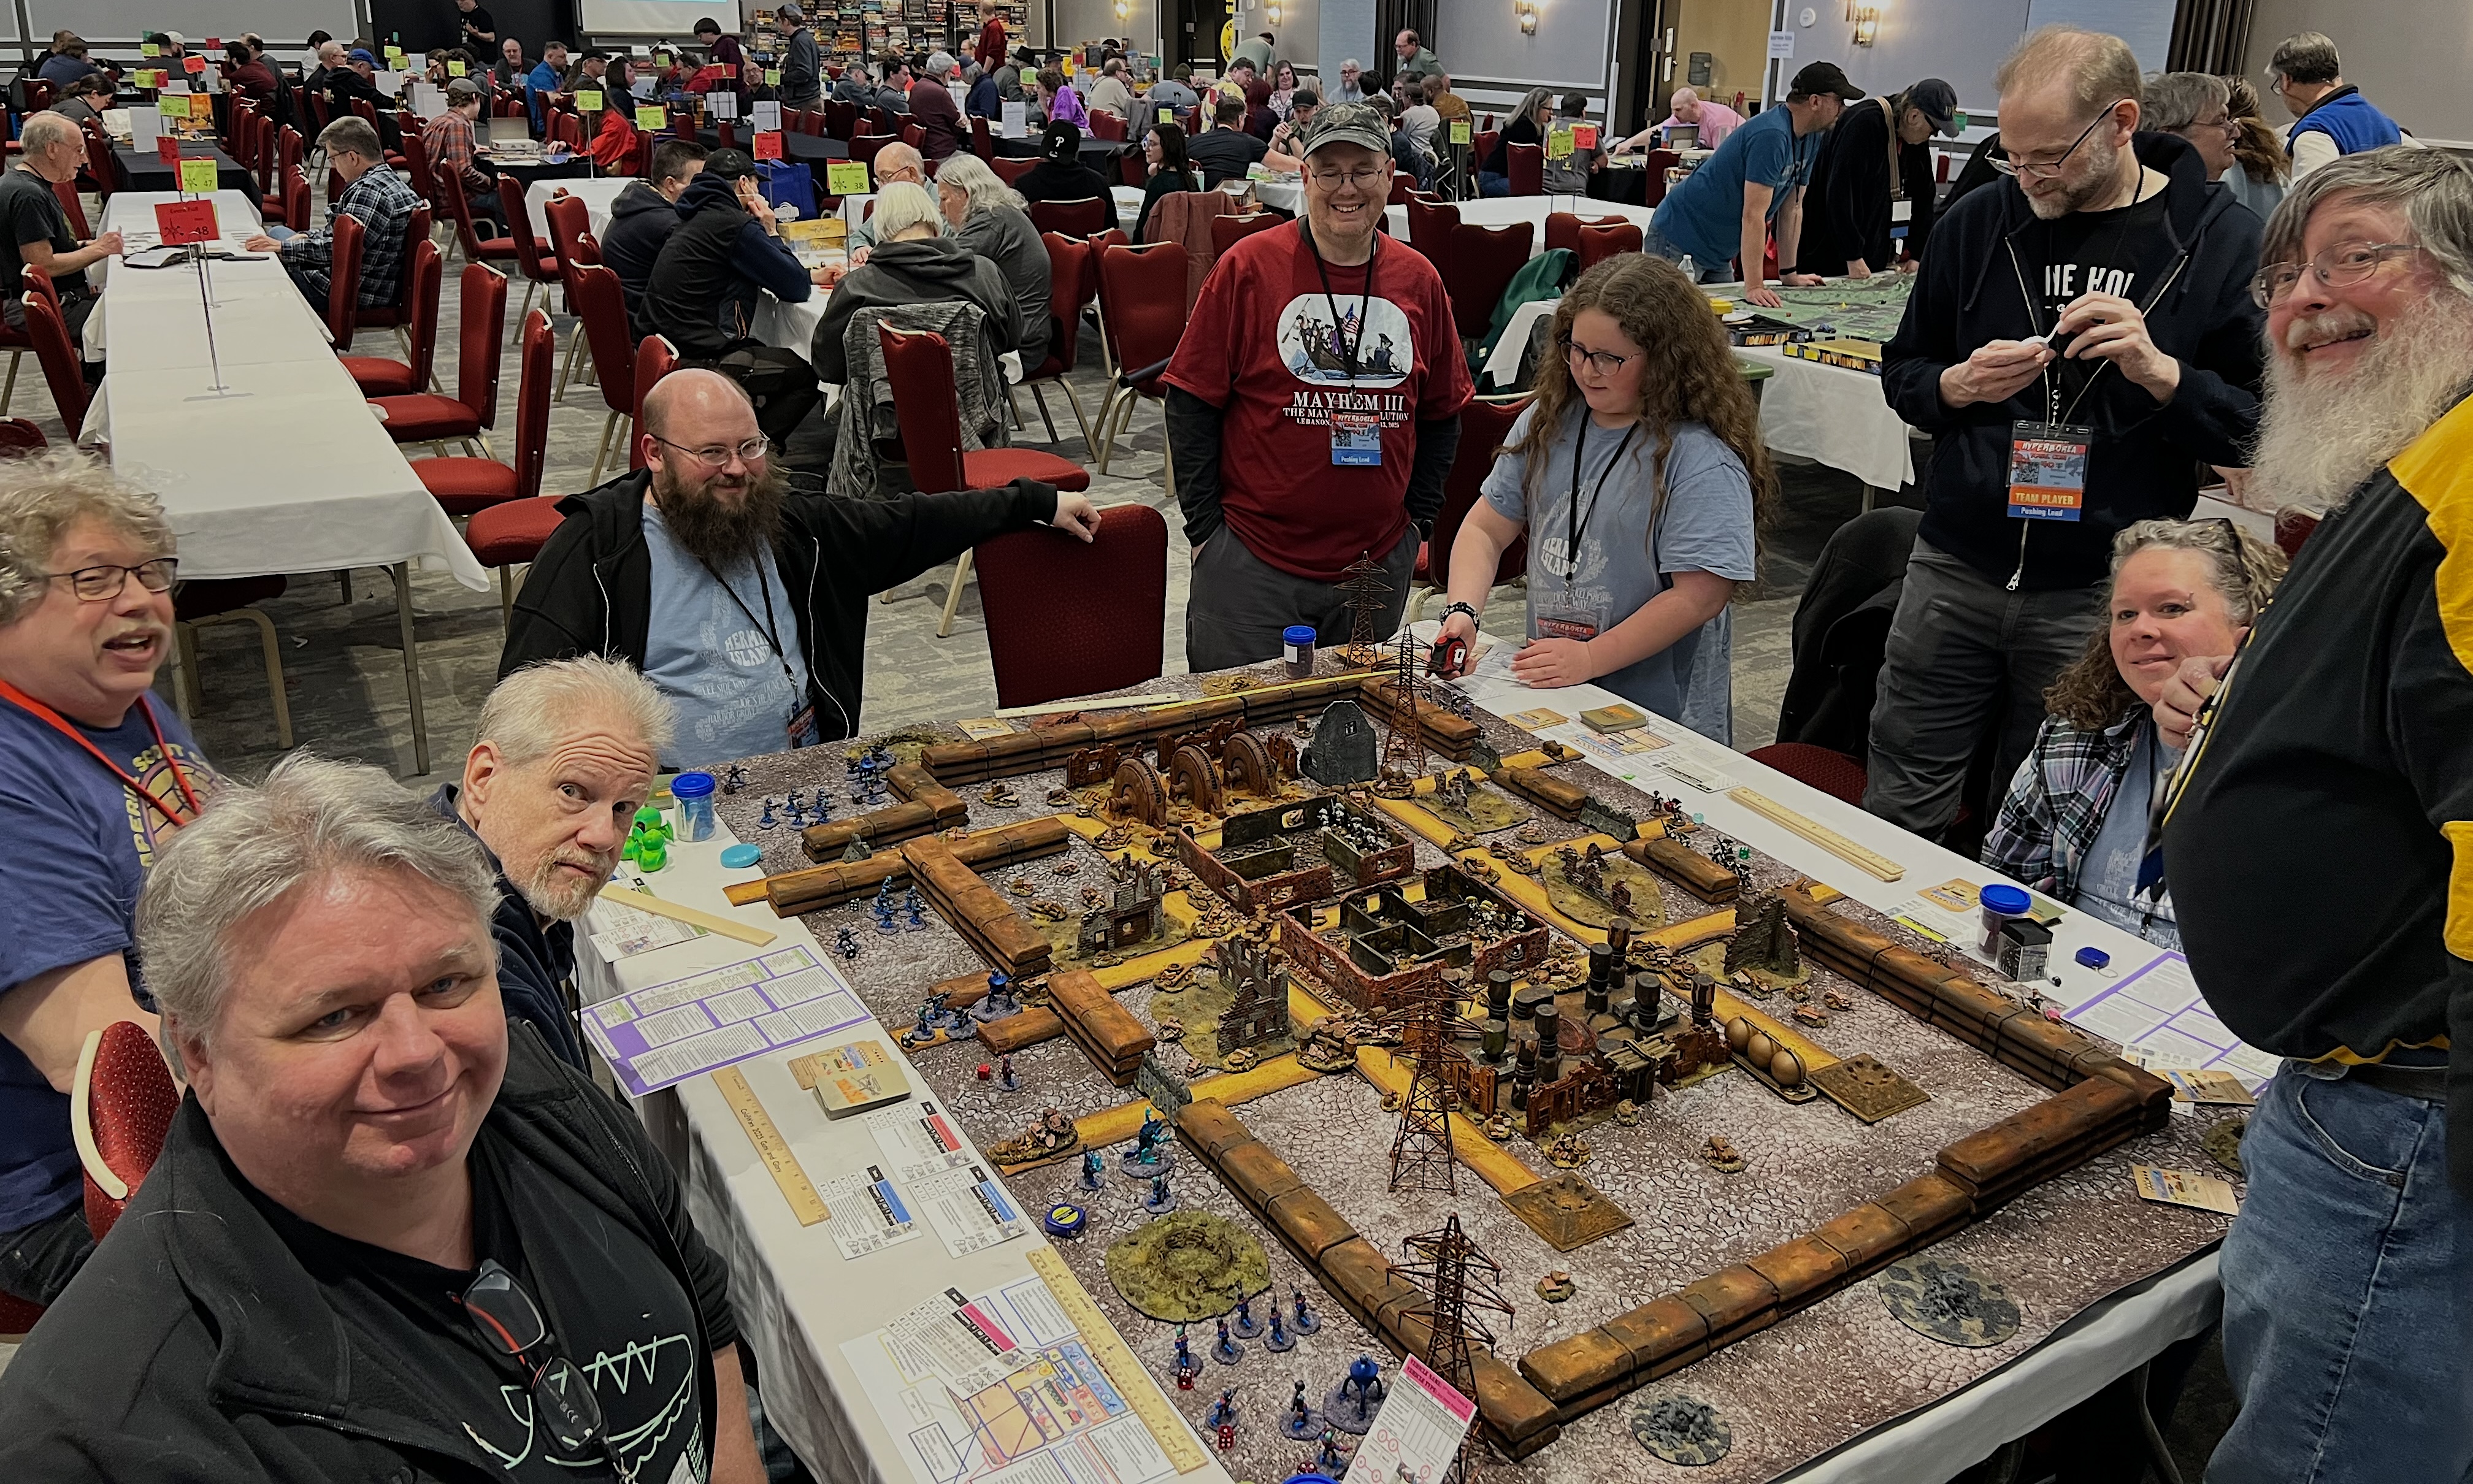
High Noon at the Cyber Ruins
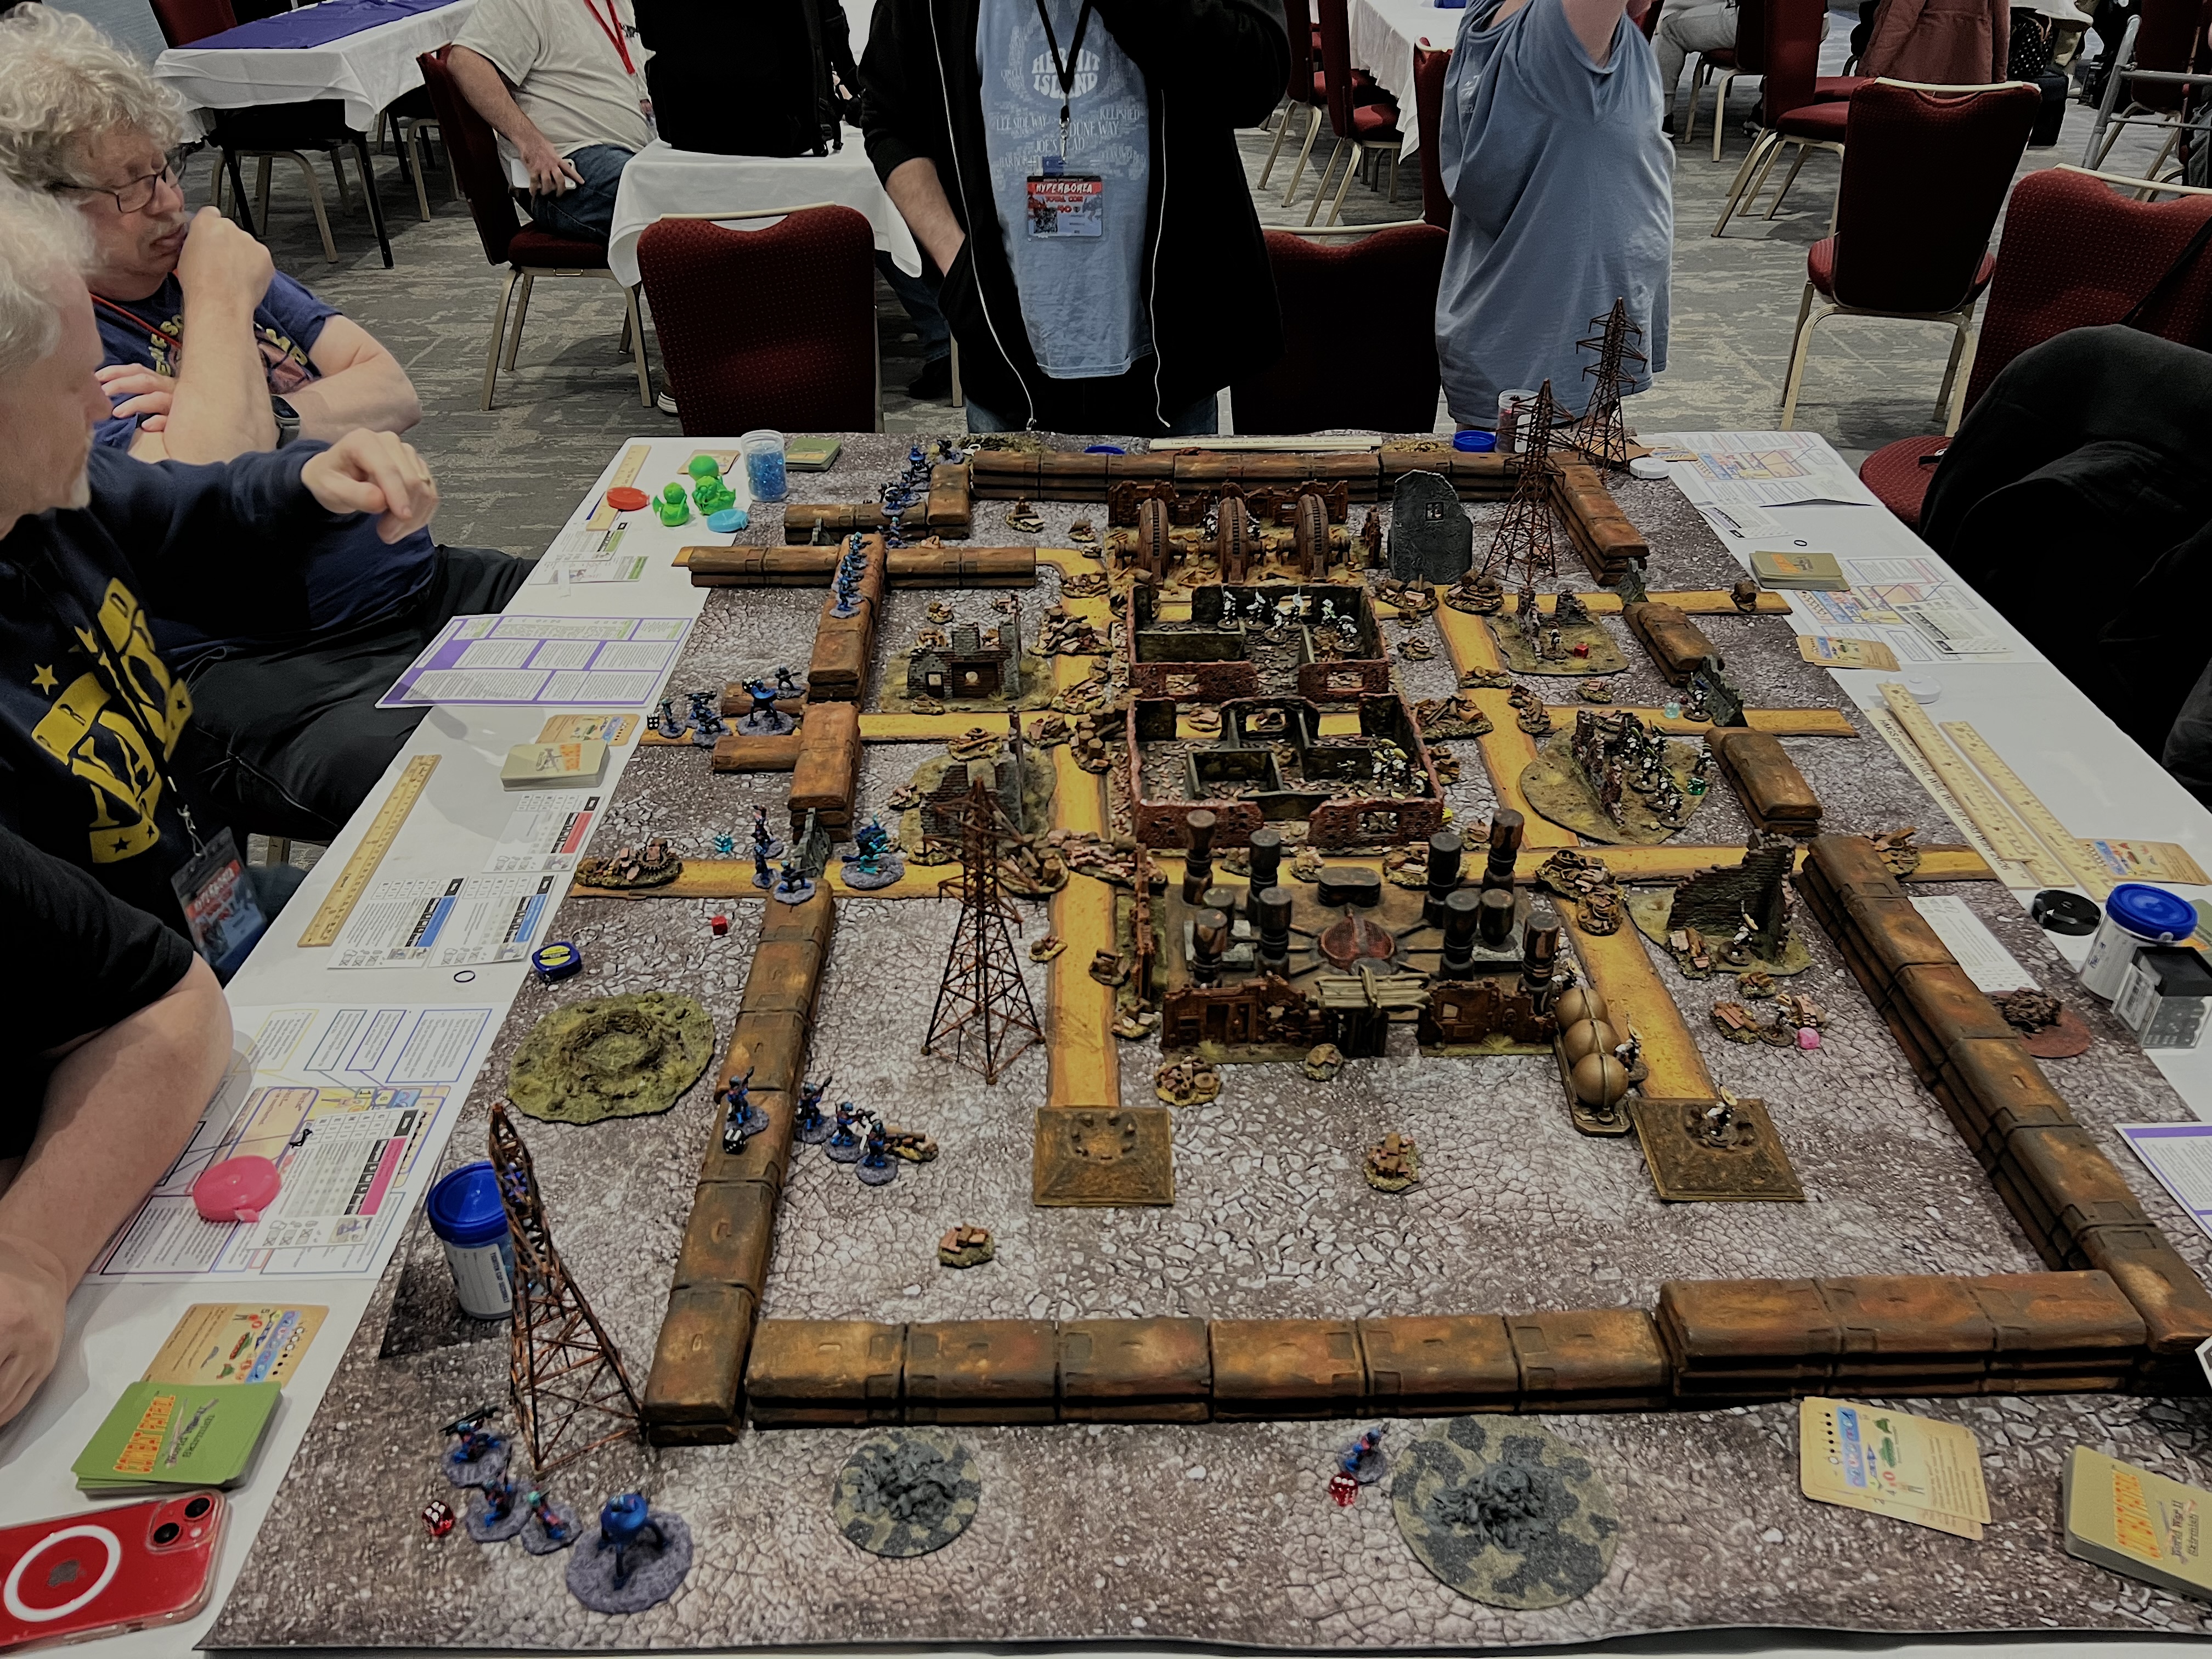
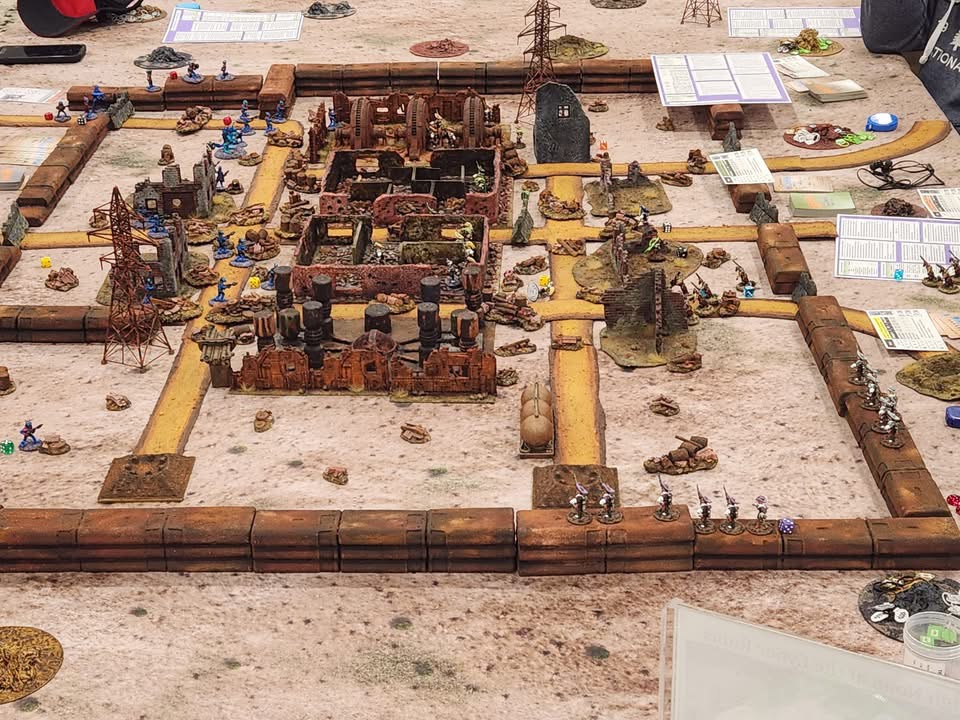
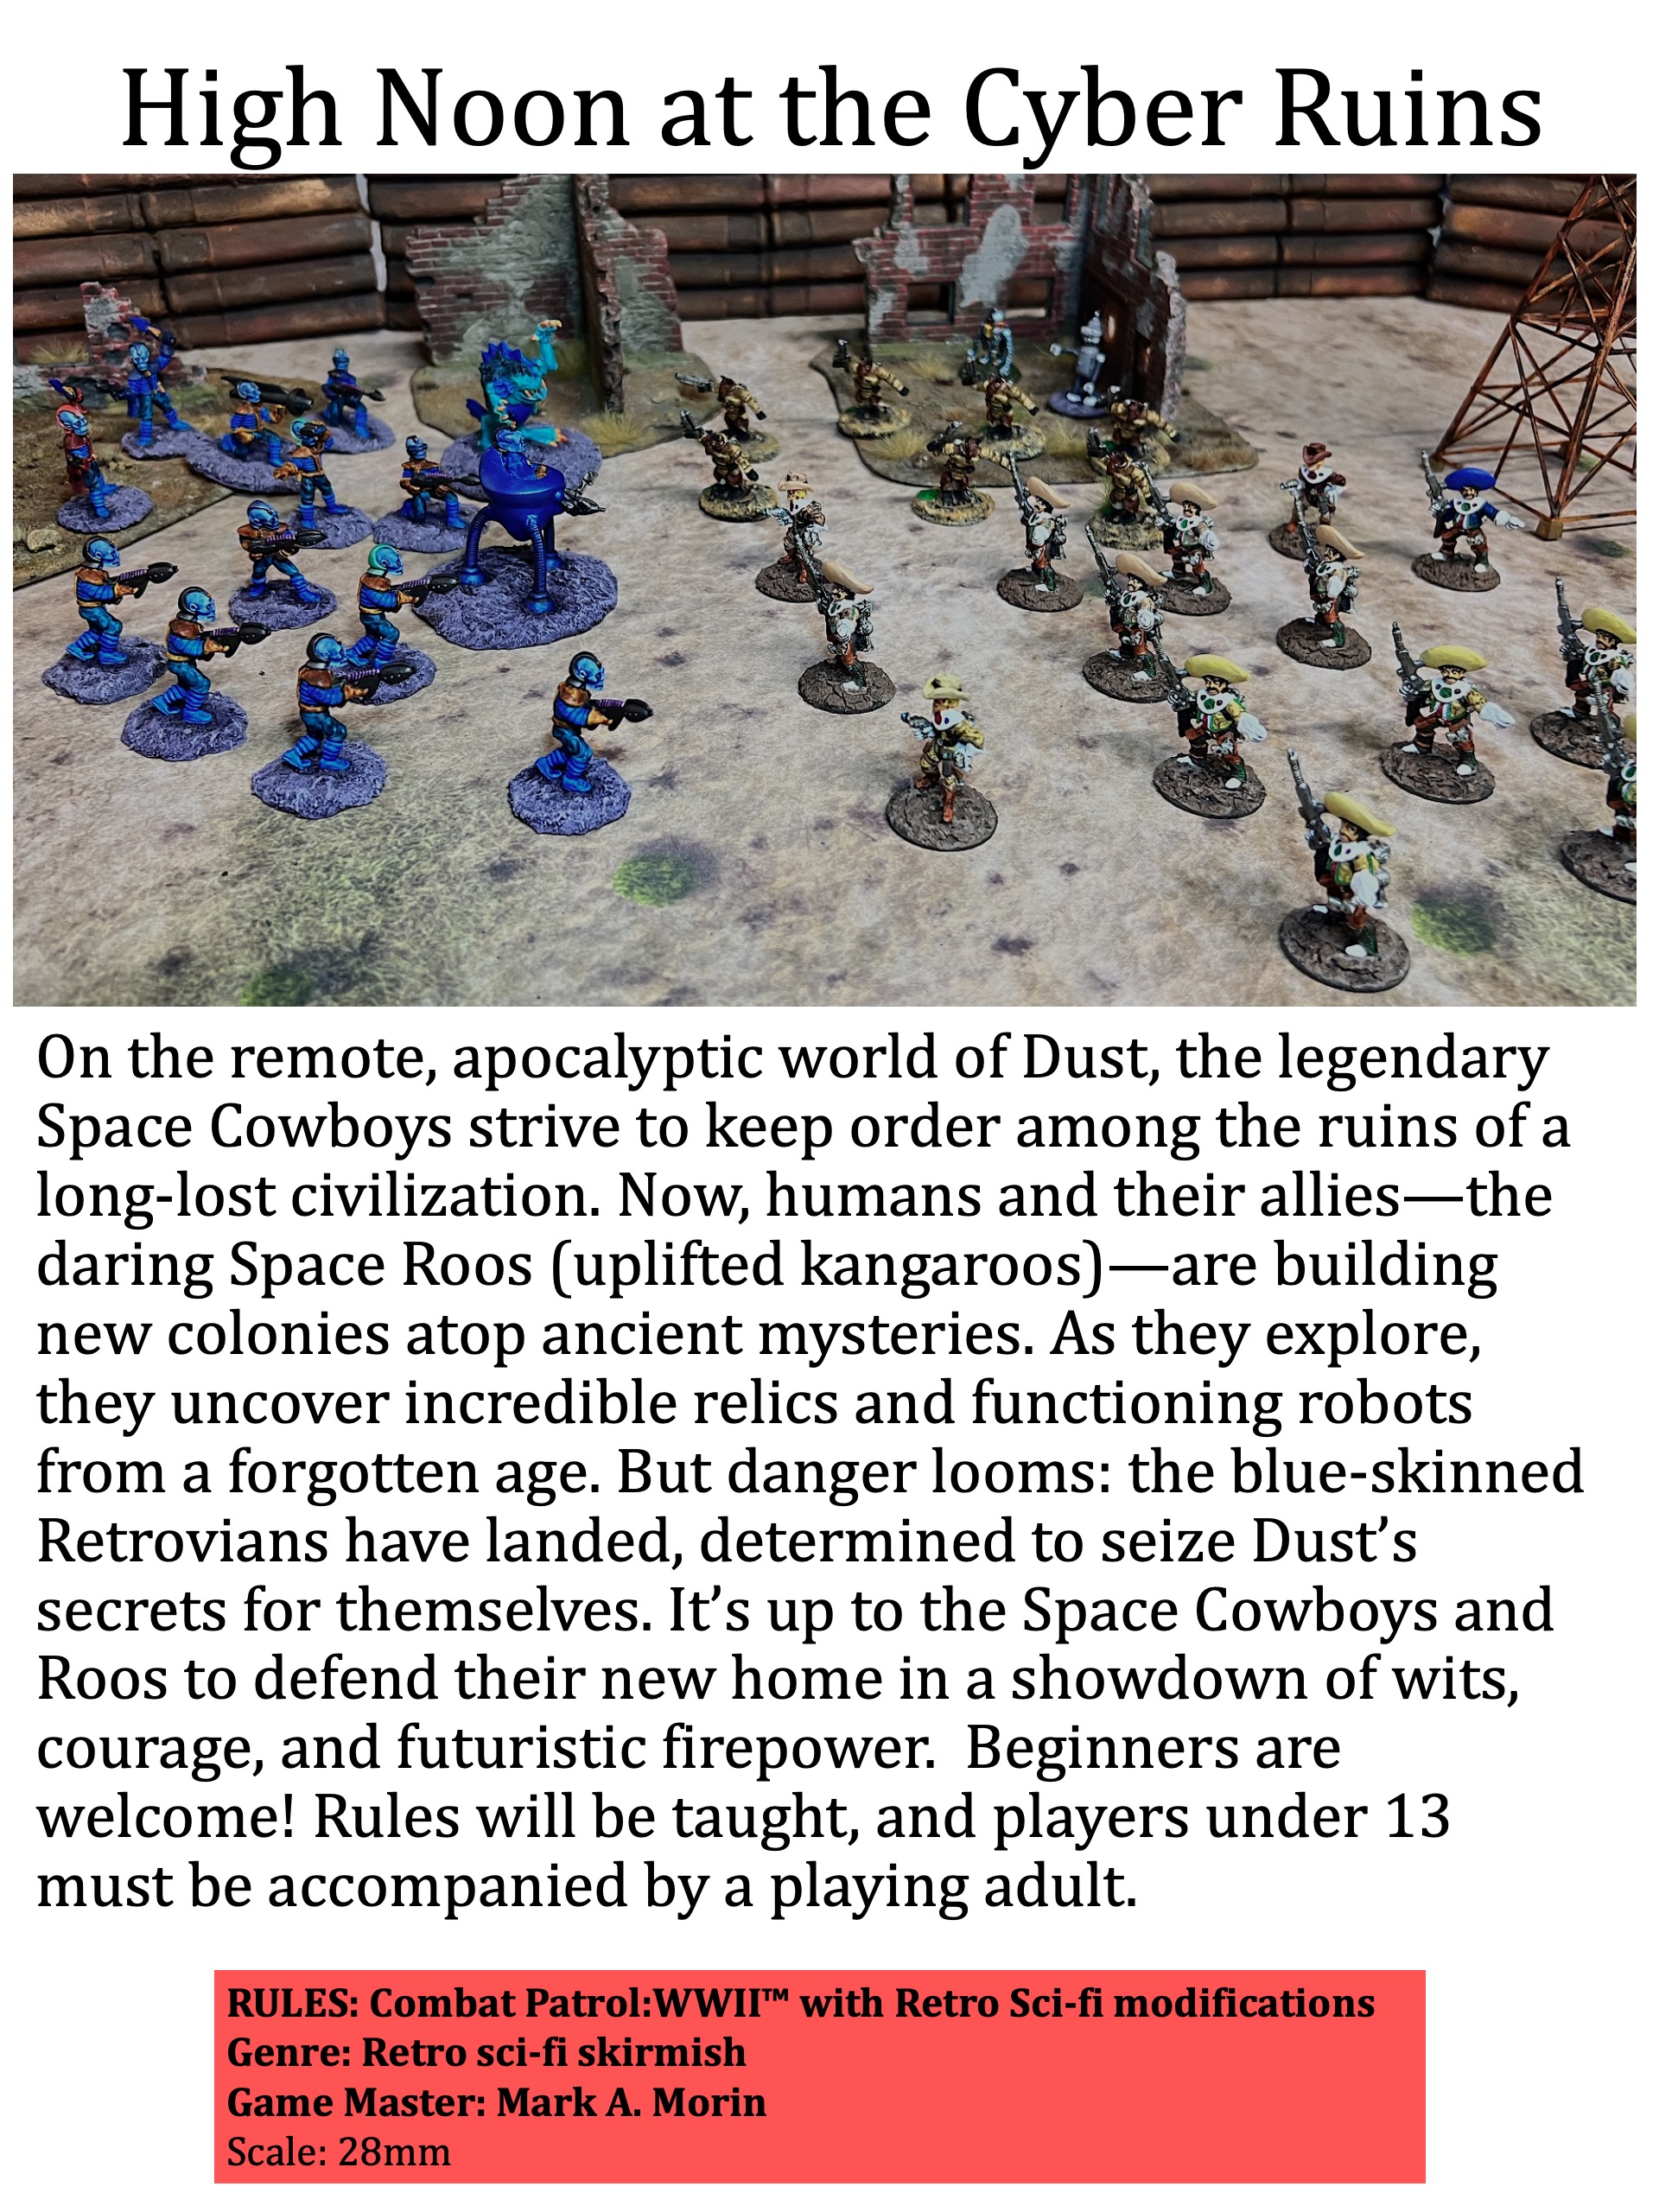
I ran this Combat Patrol retro sci-fi game at Cold Wars, but on a bigger table. I used a different mat and adapted the game to a smaller footprint.
Game flyer.
To win the game, both sides get credit (victory points) for inflicting enemy casualties and finding hidden ancient robots.
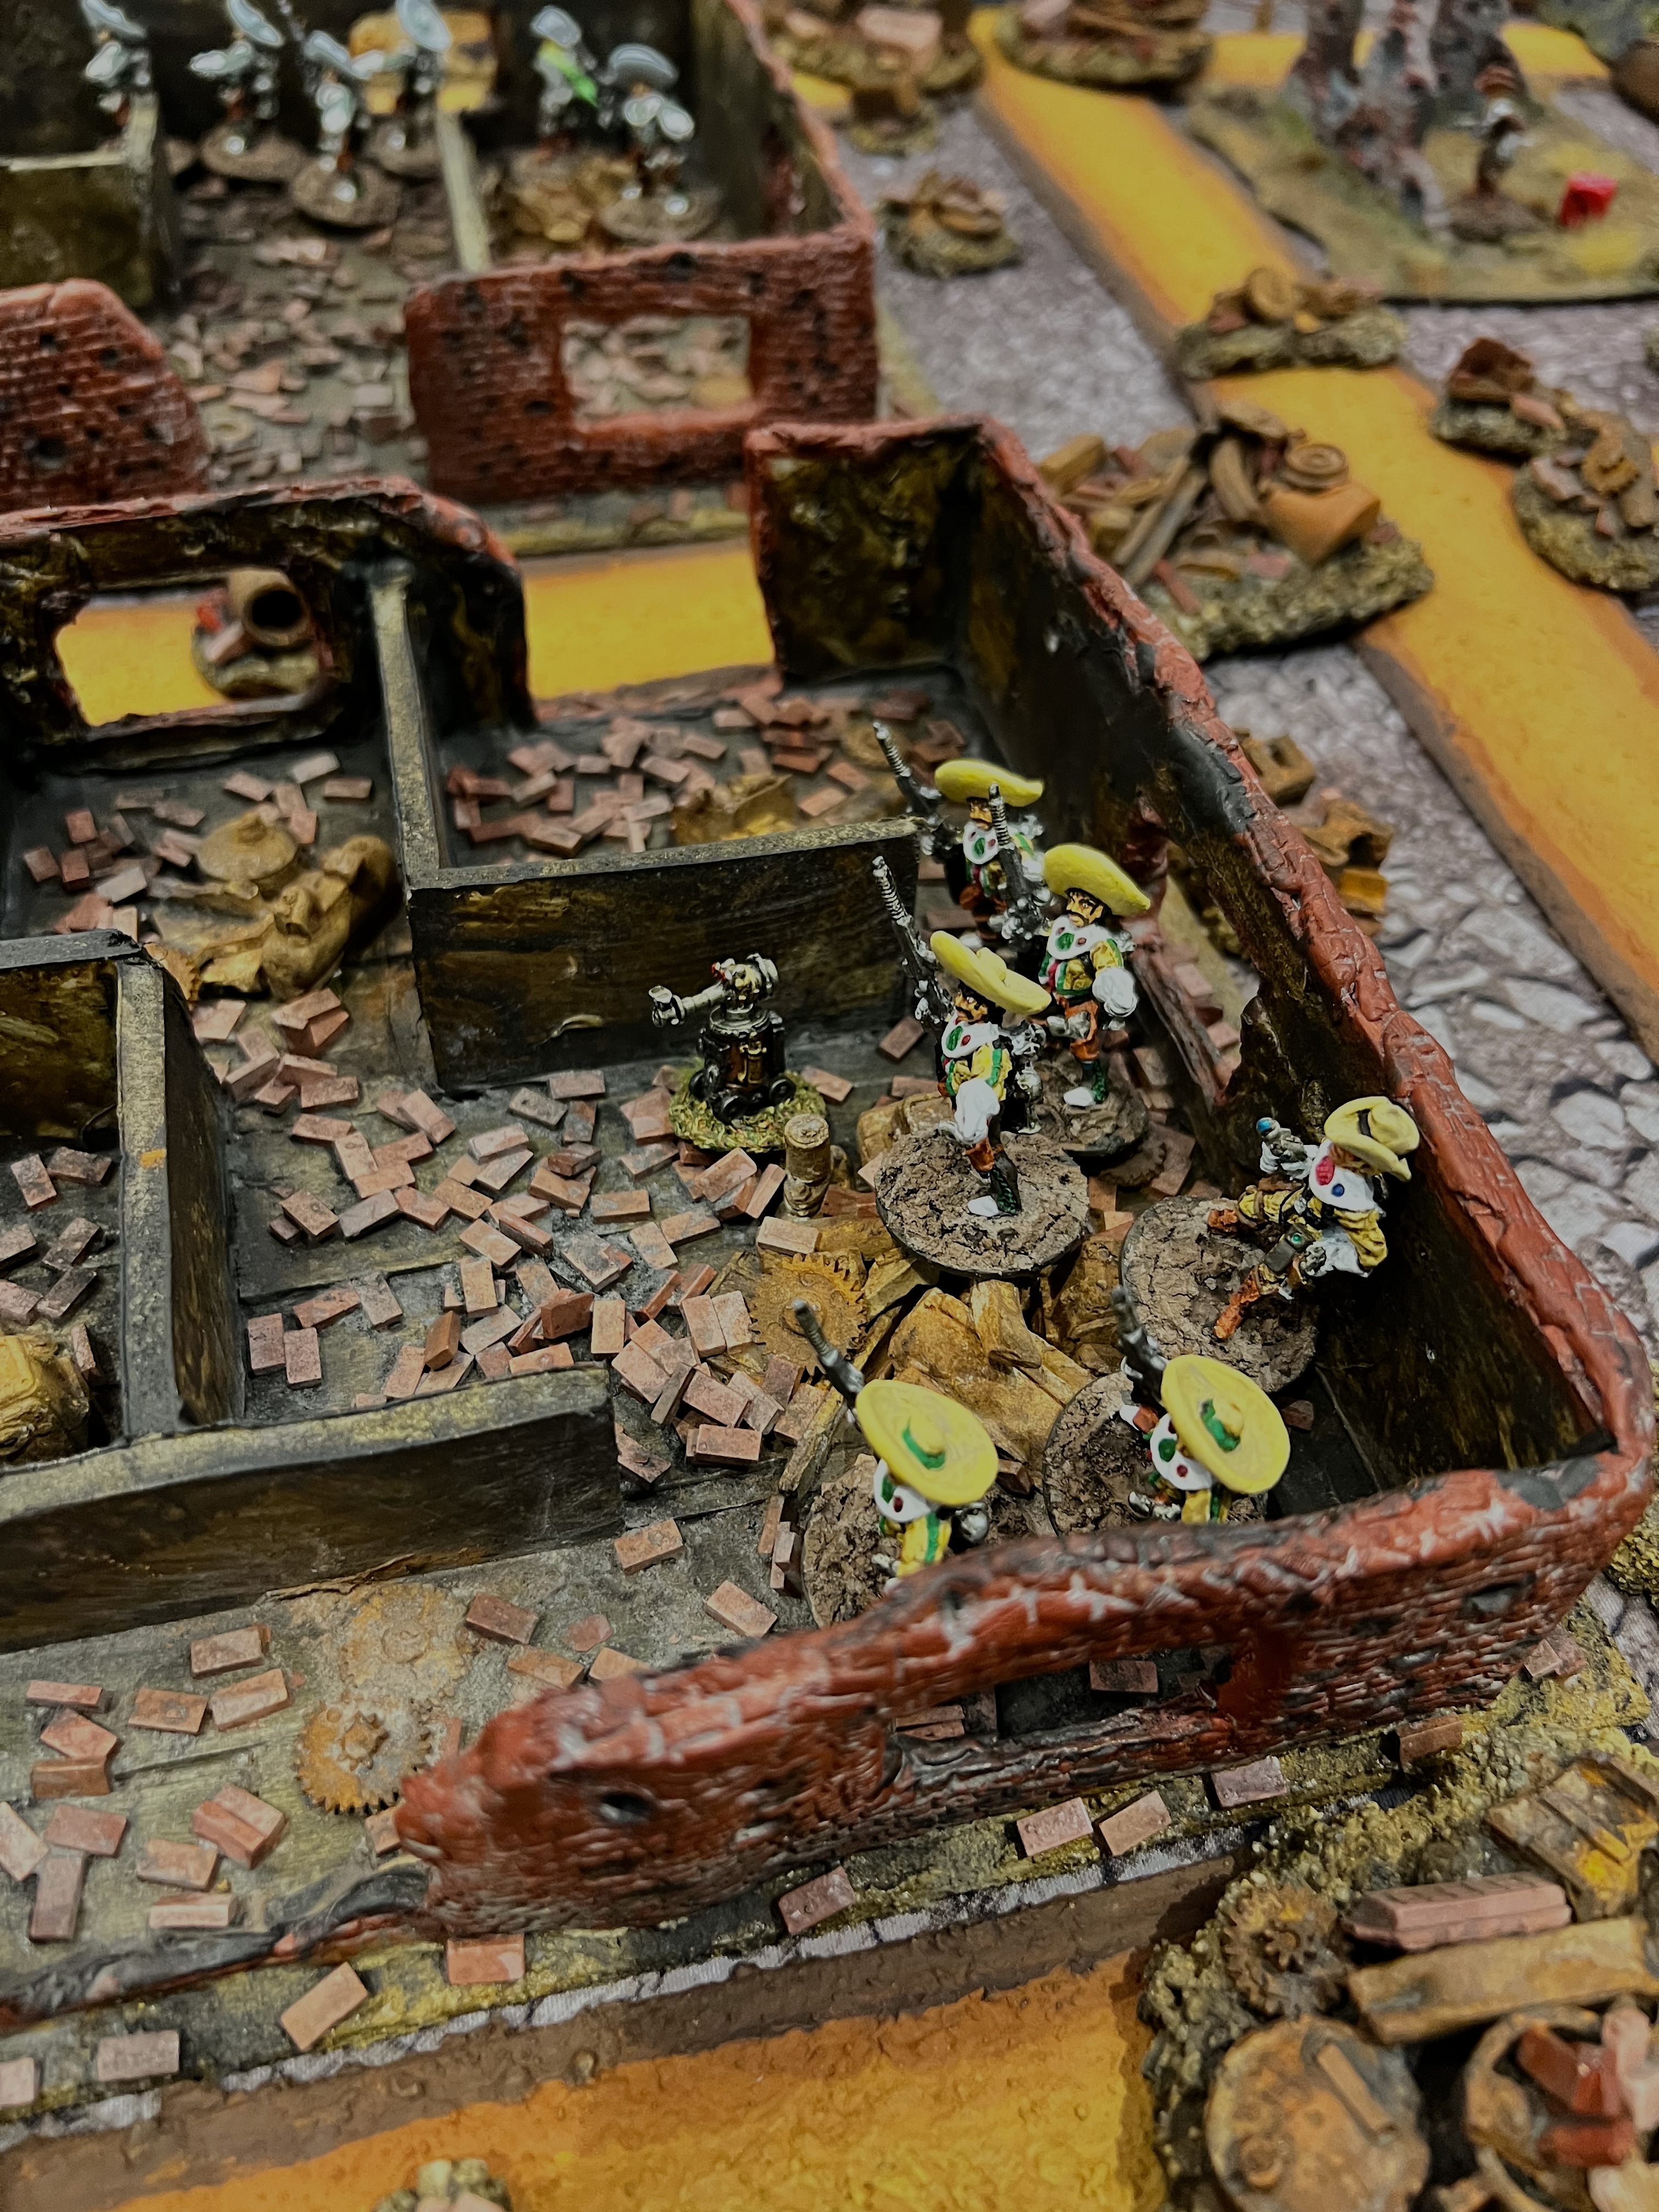
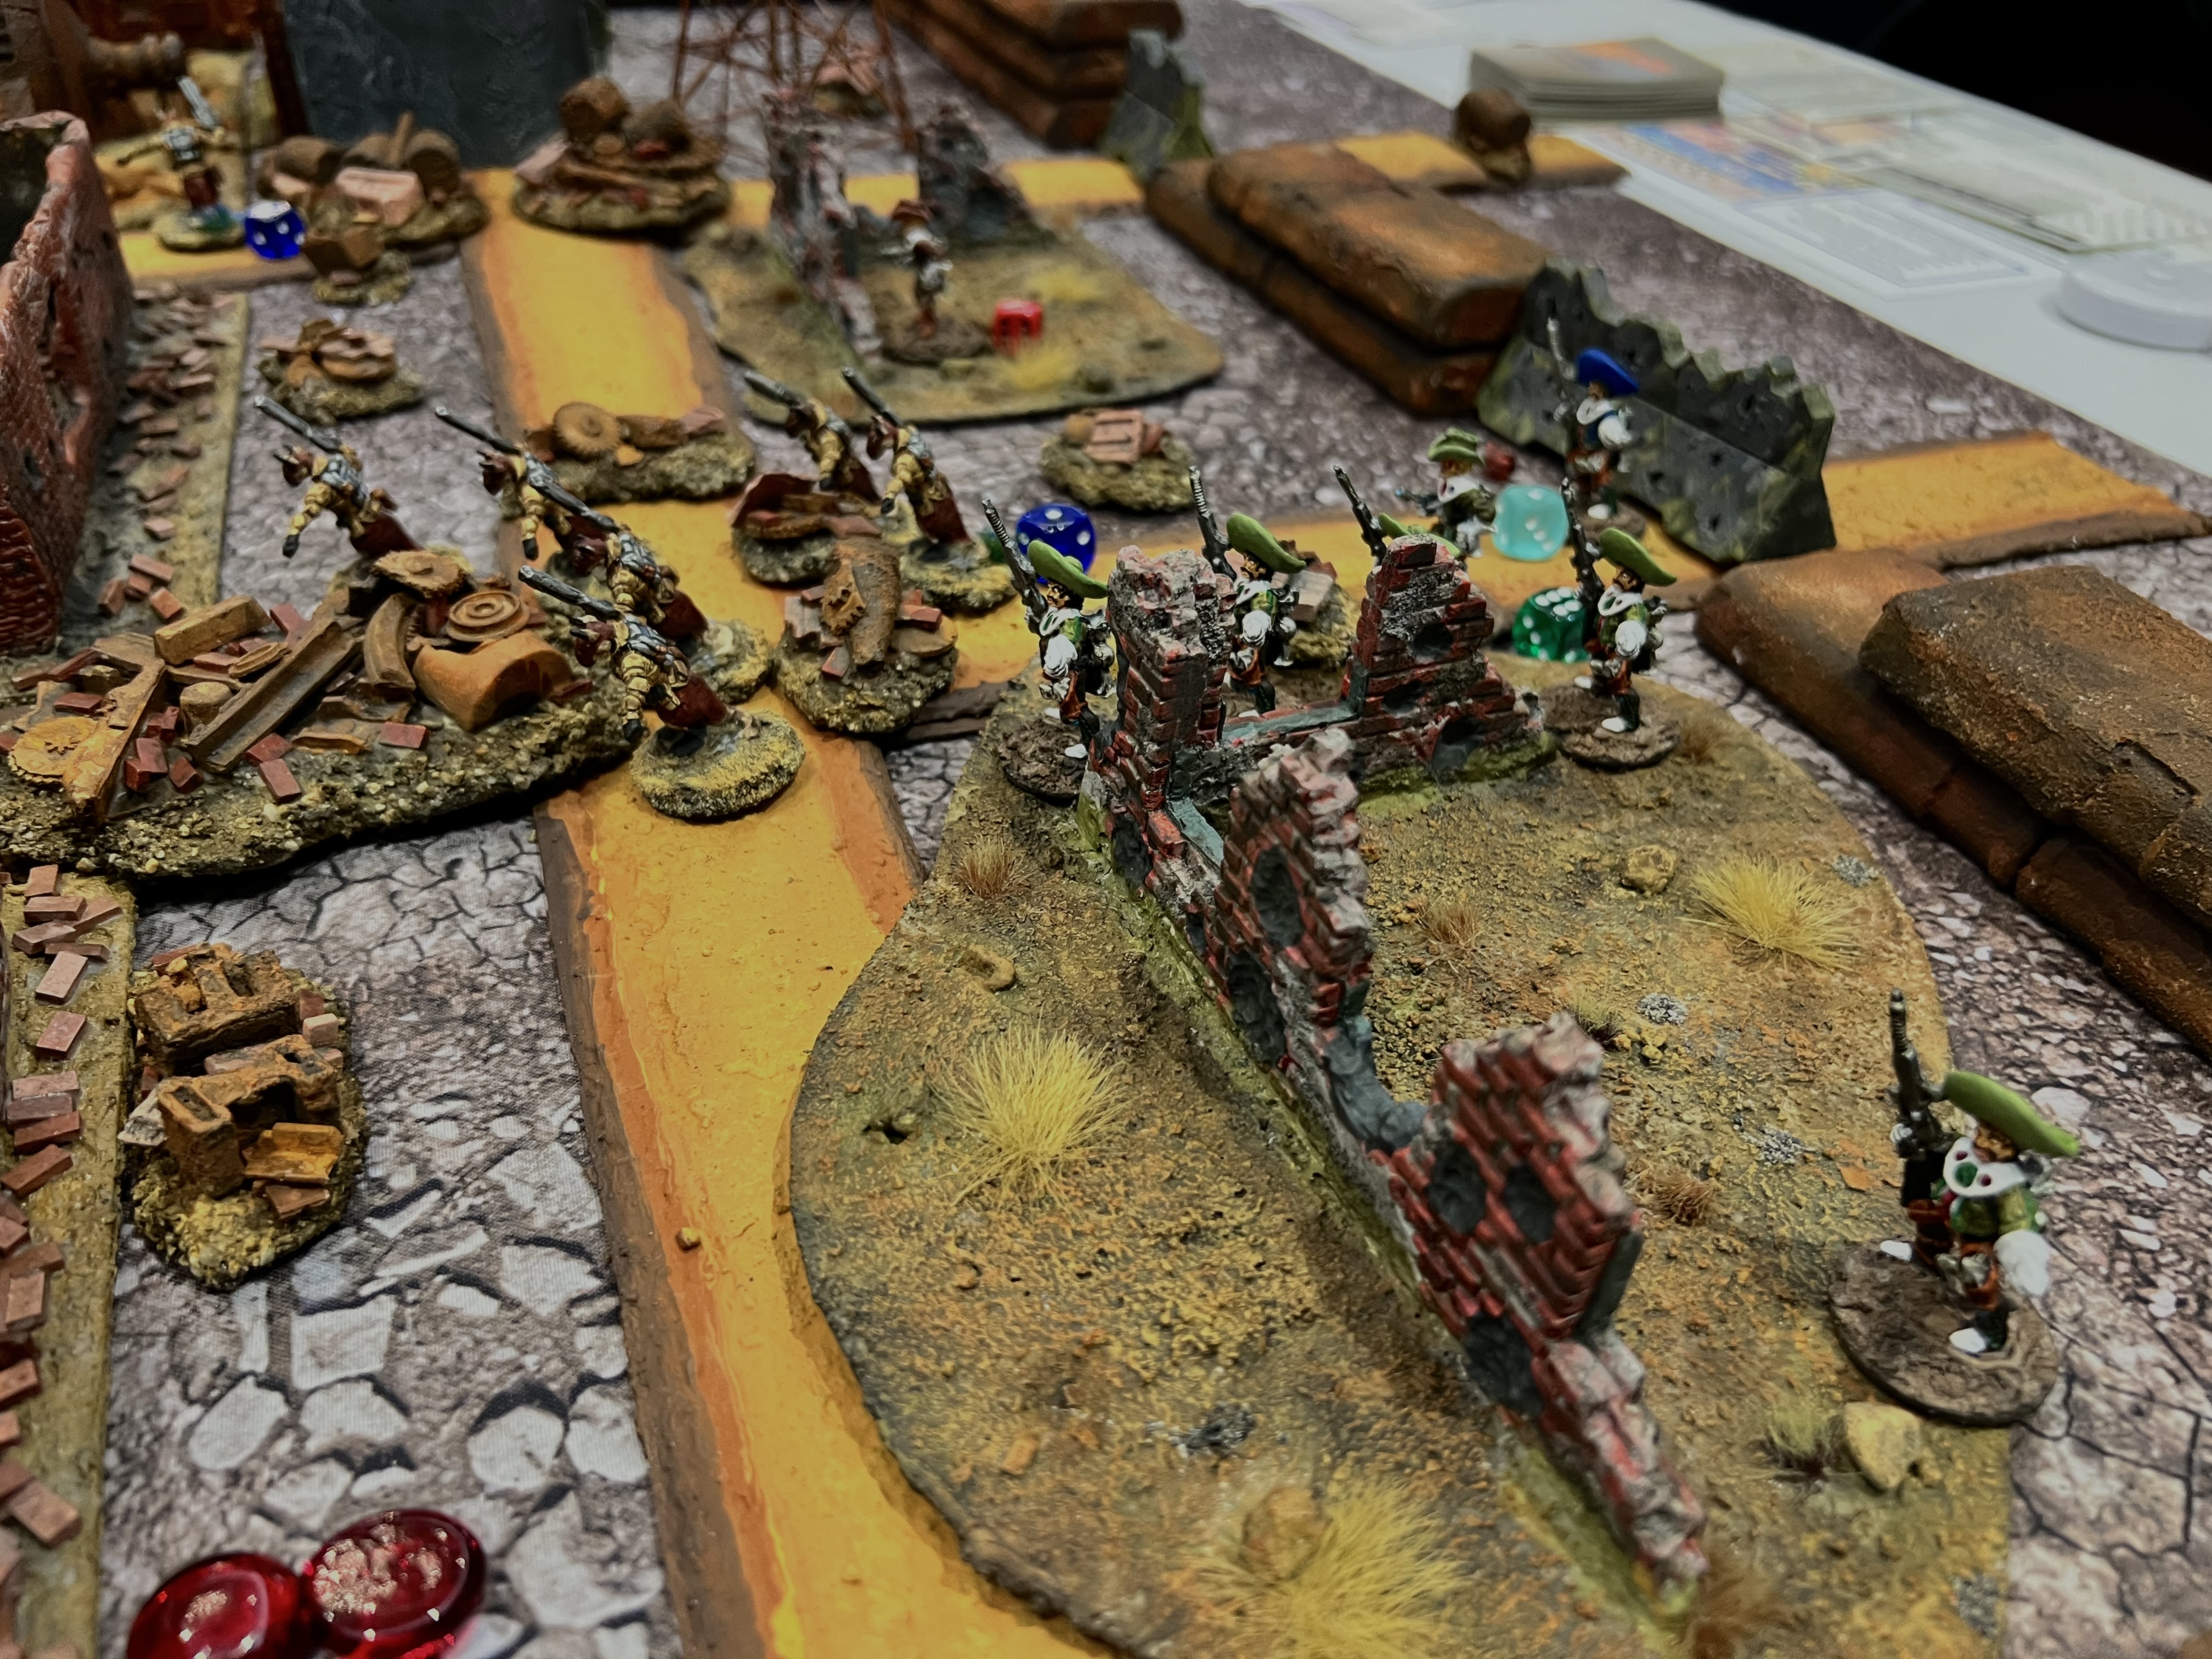
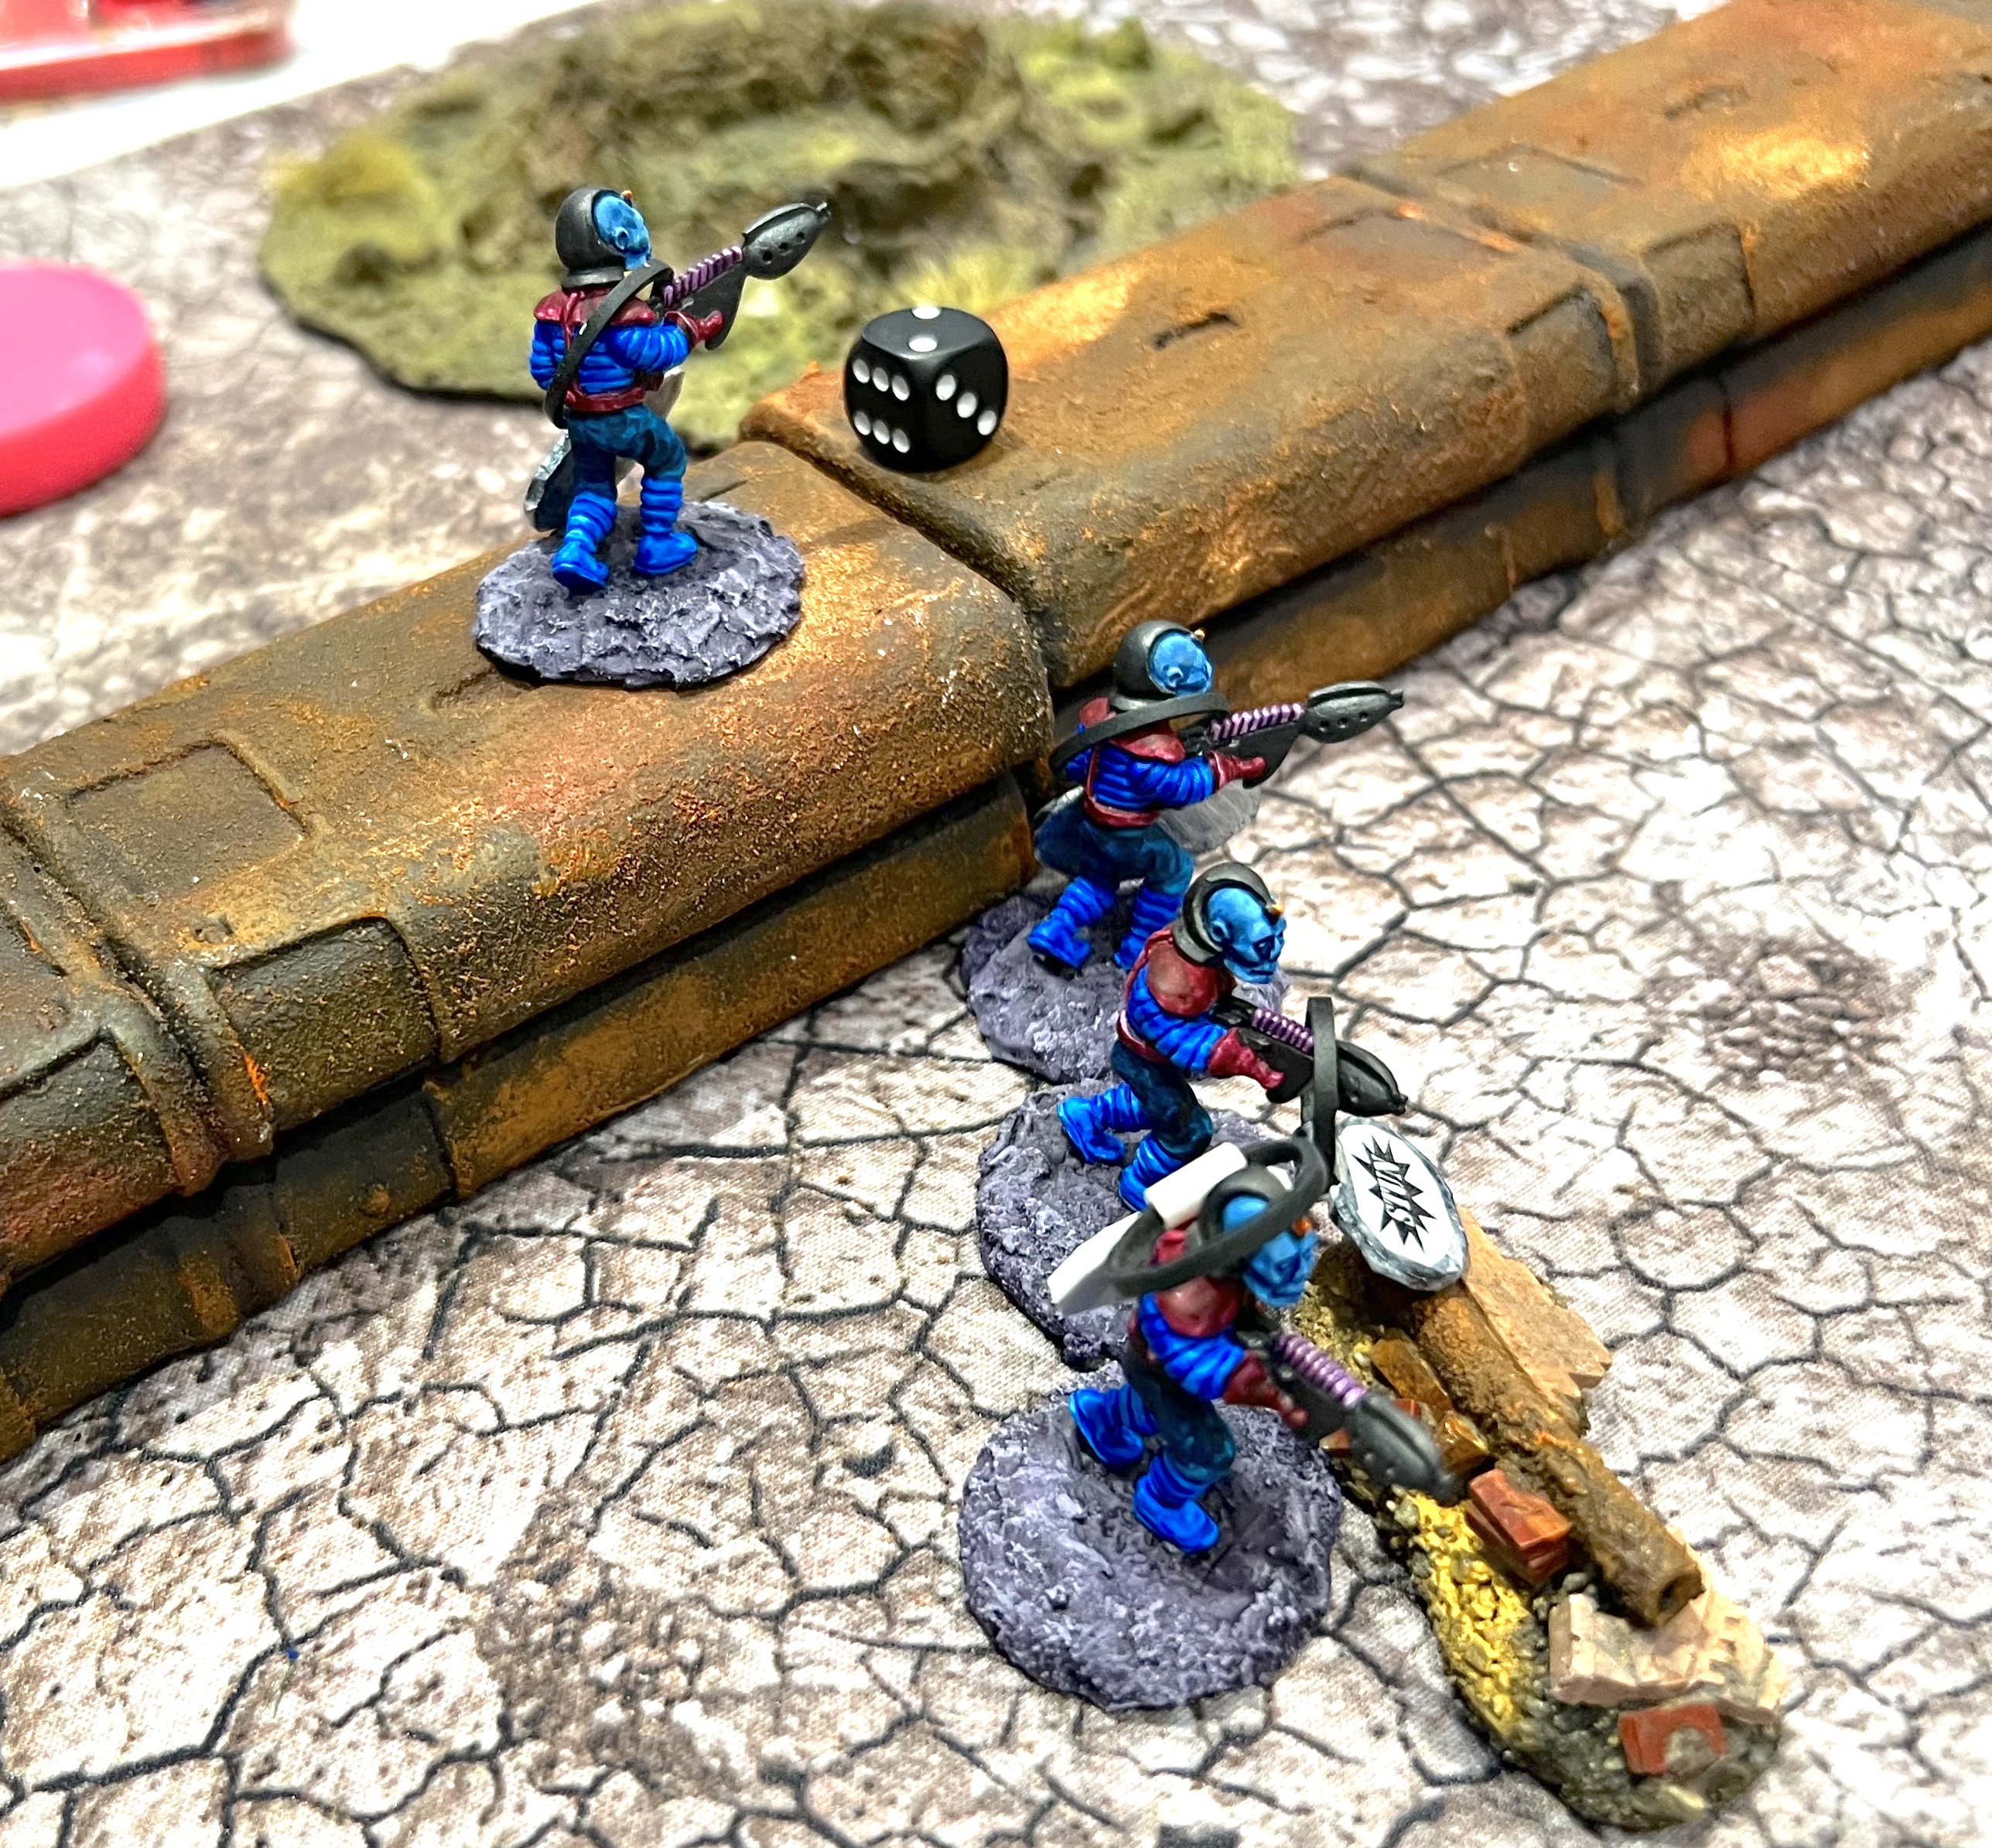
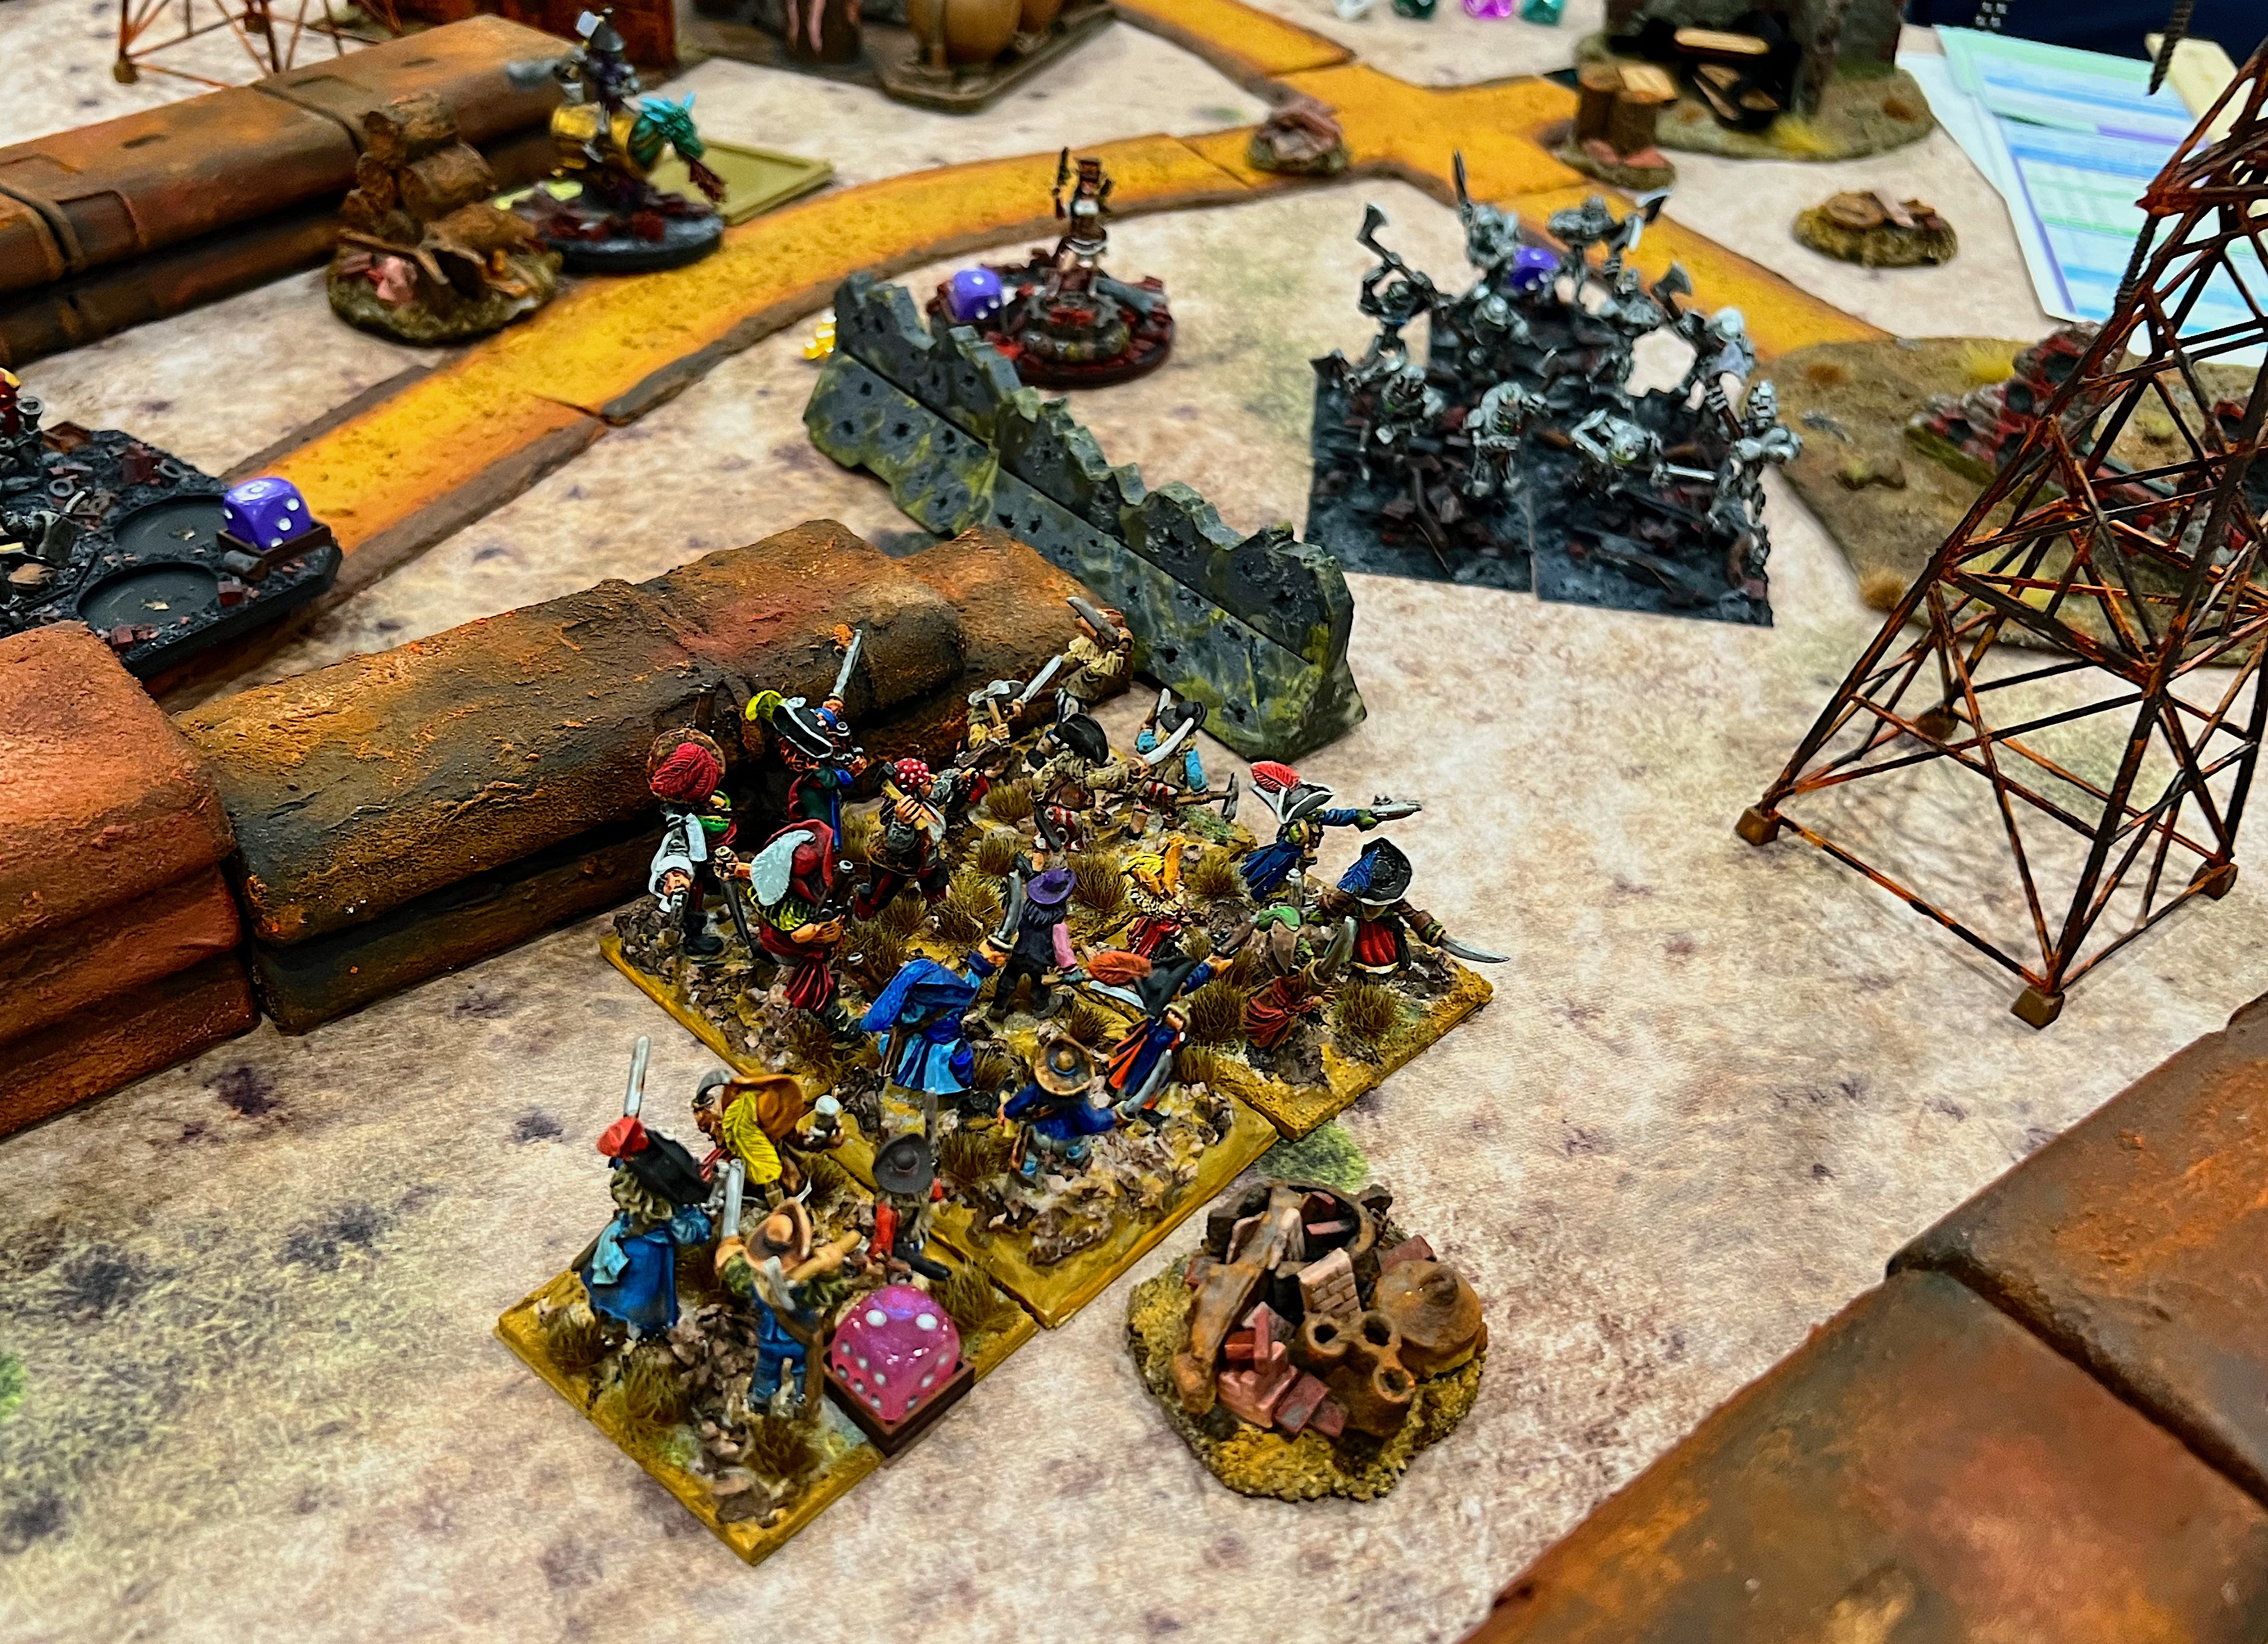
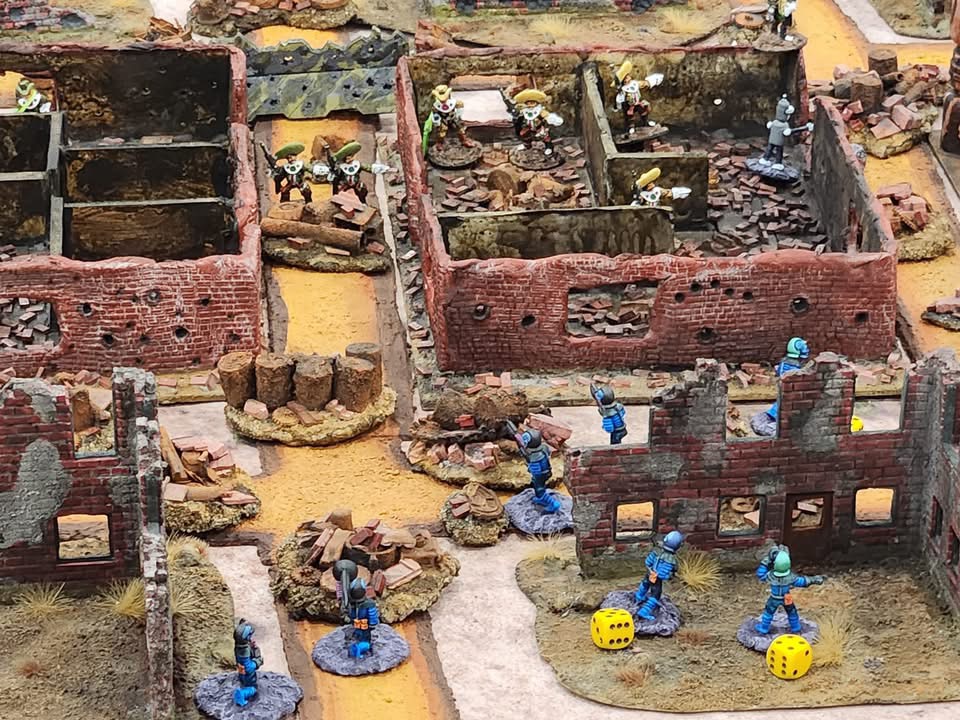
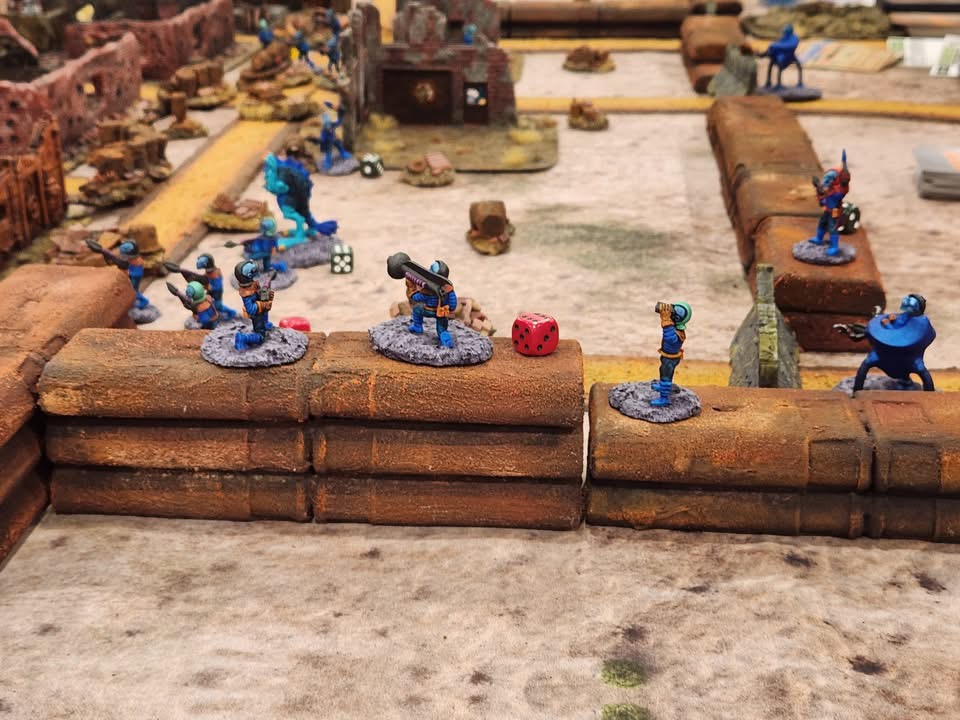
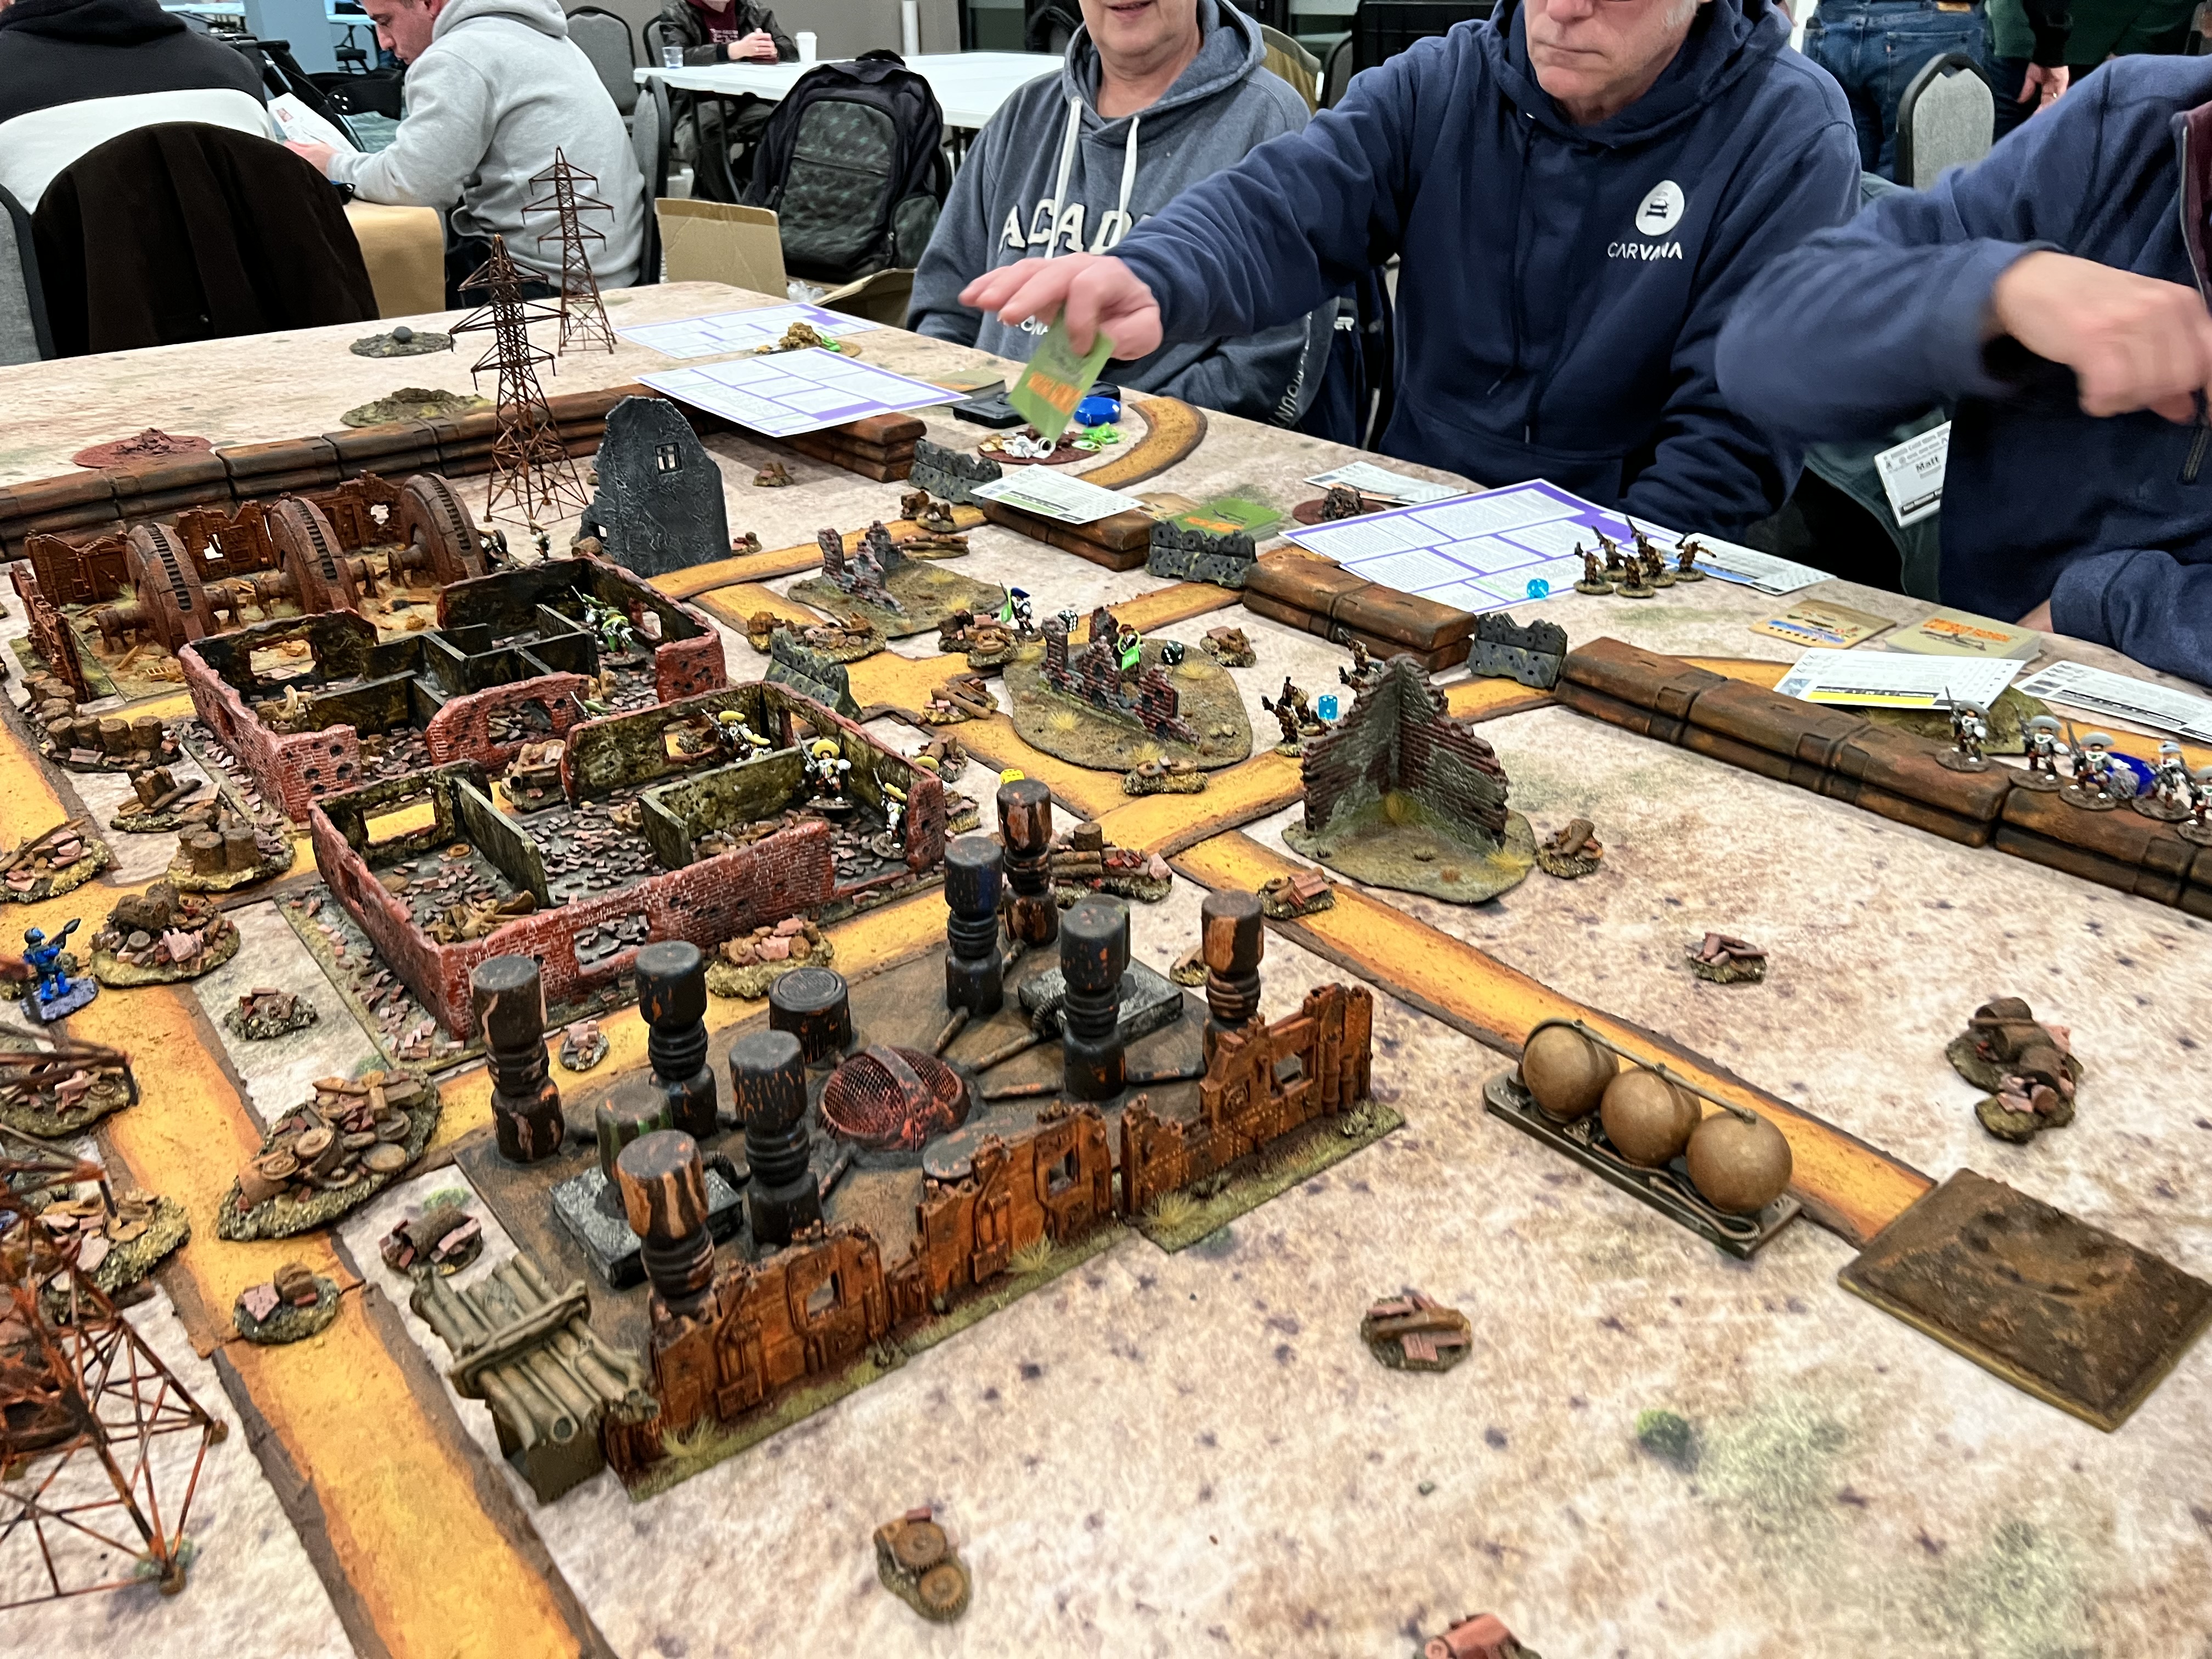
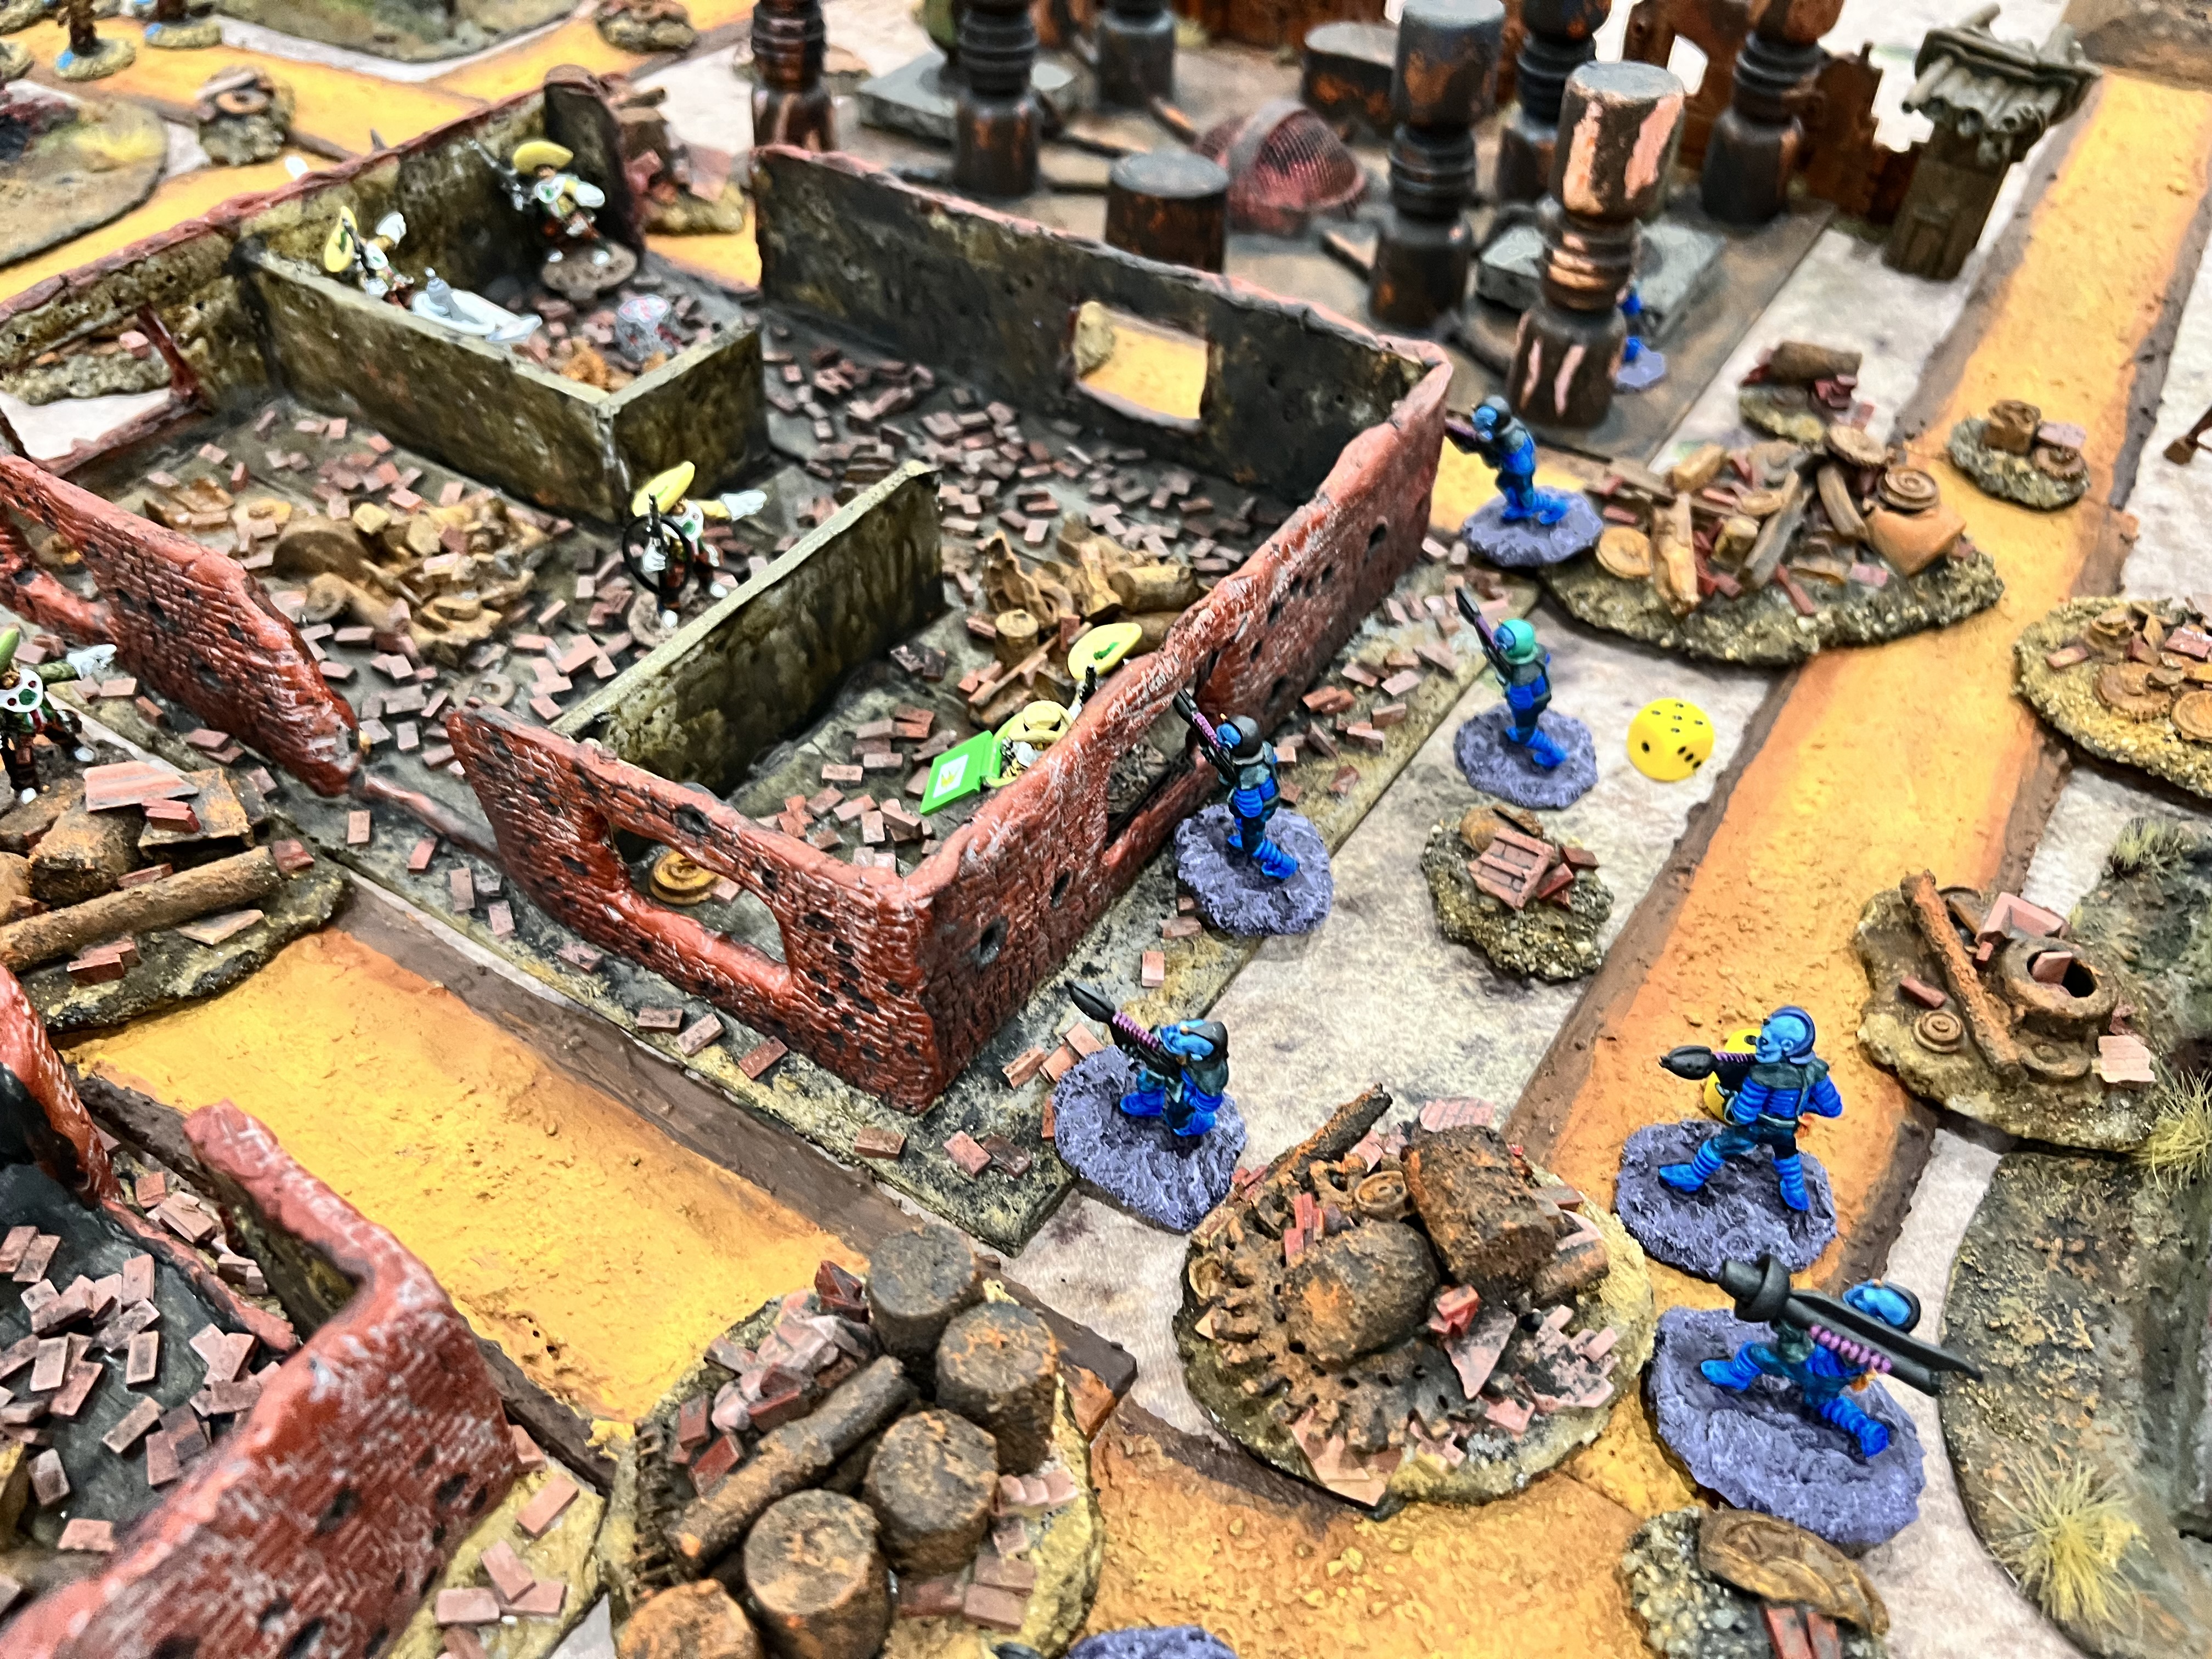
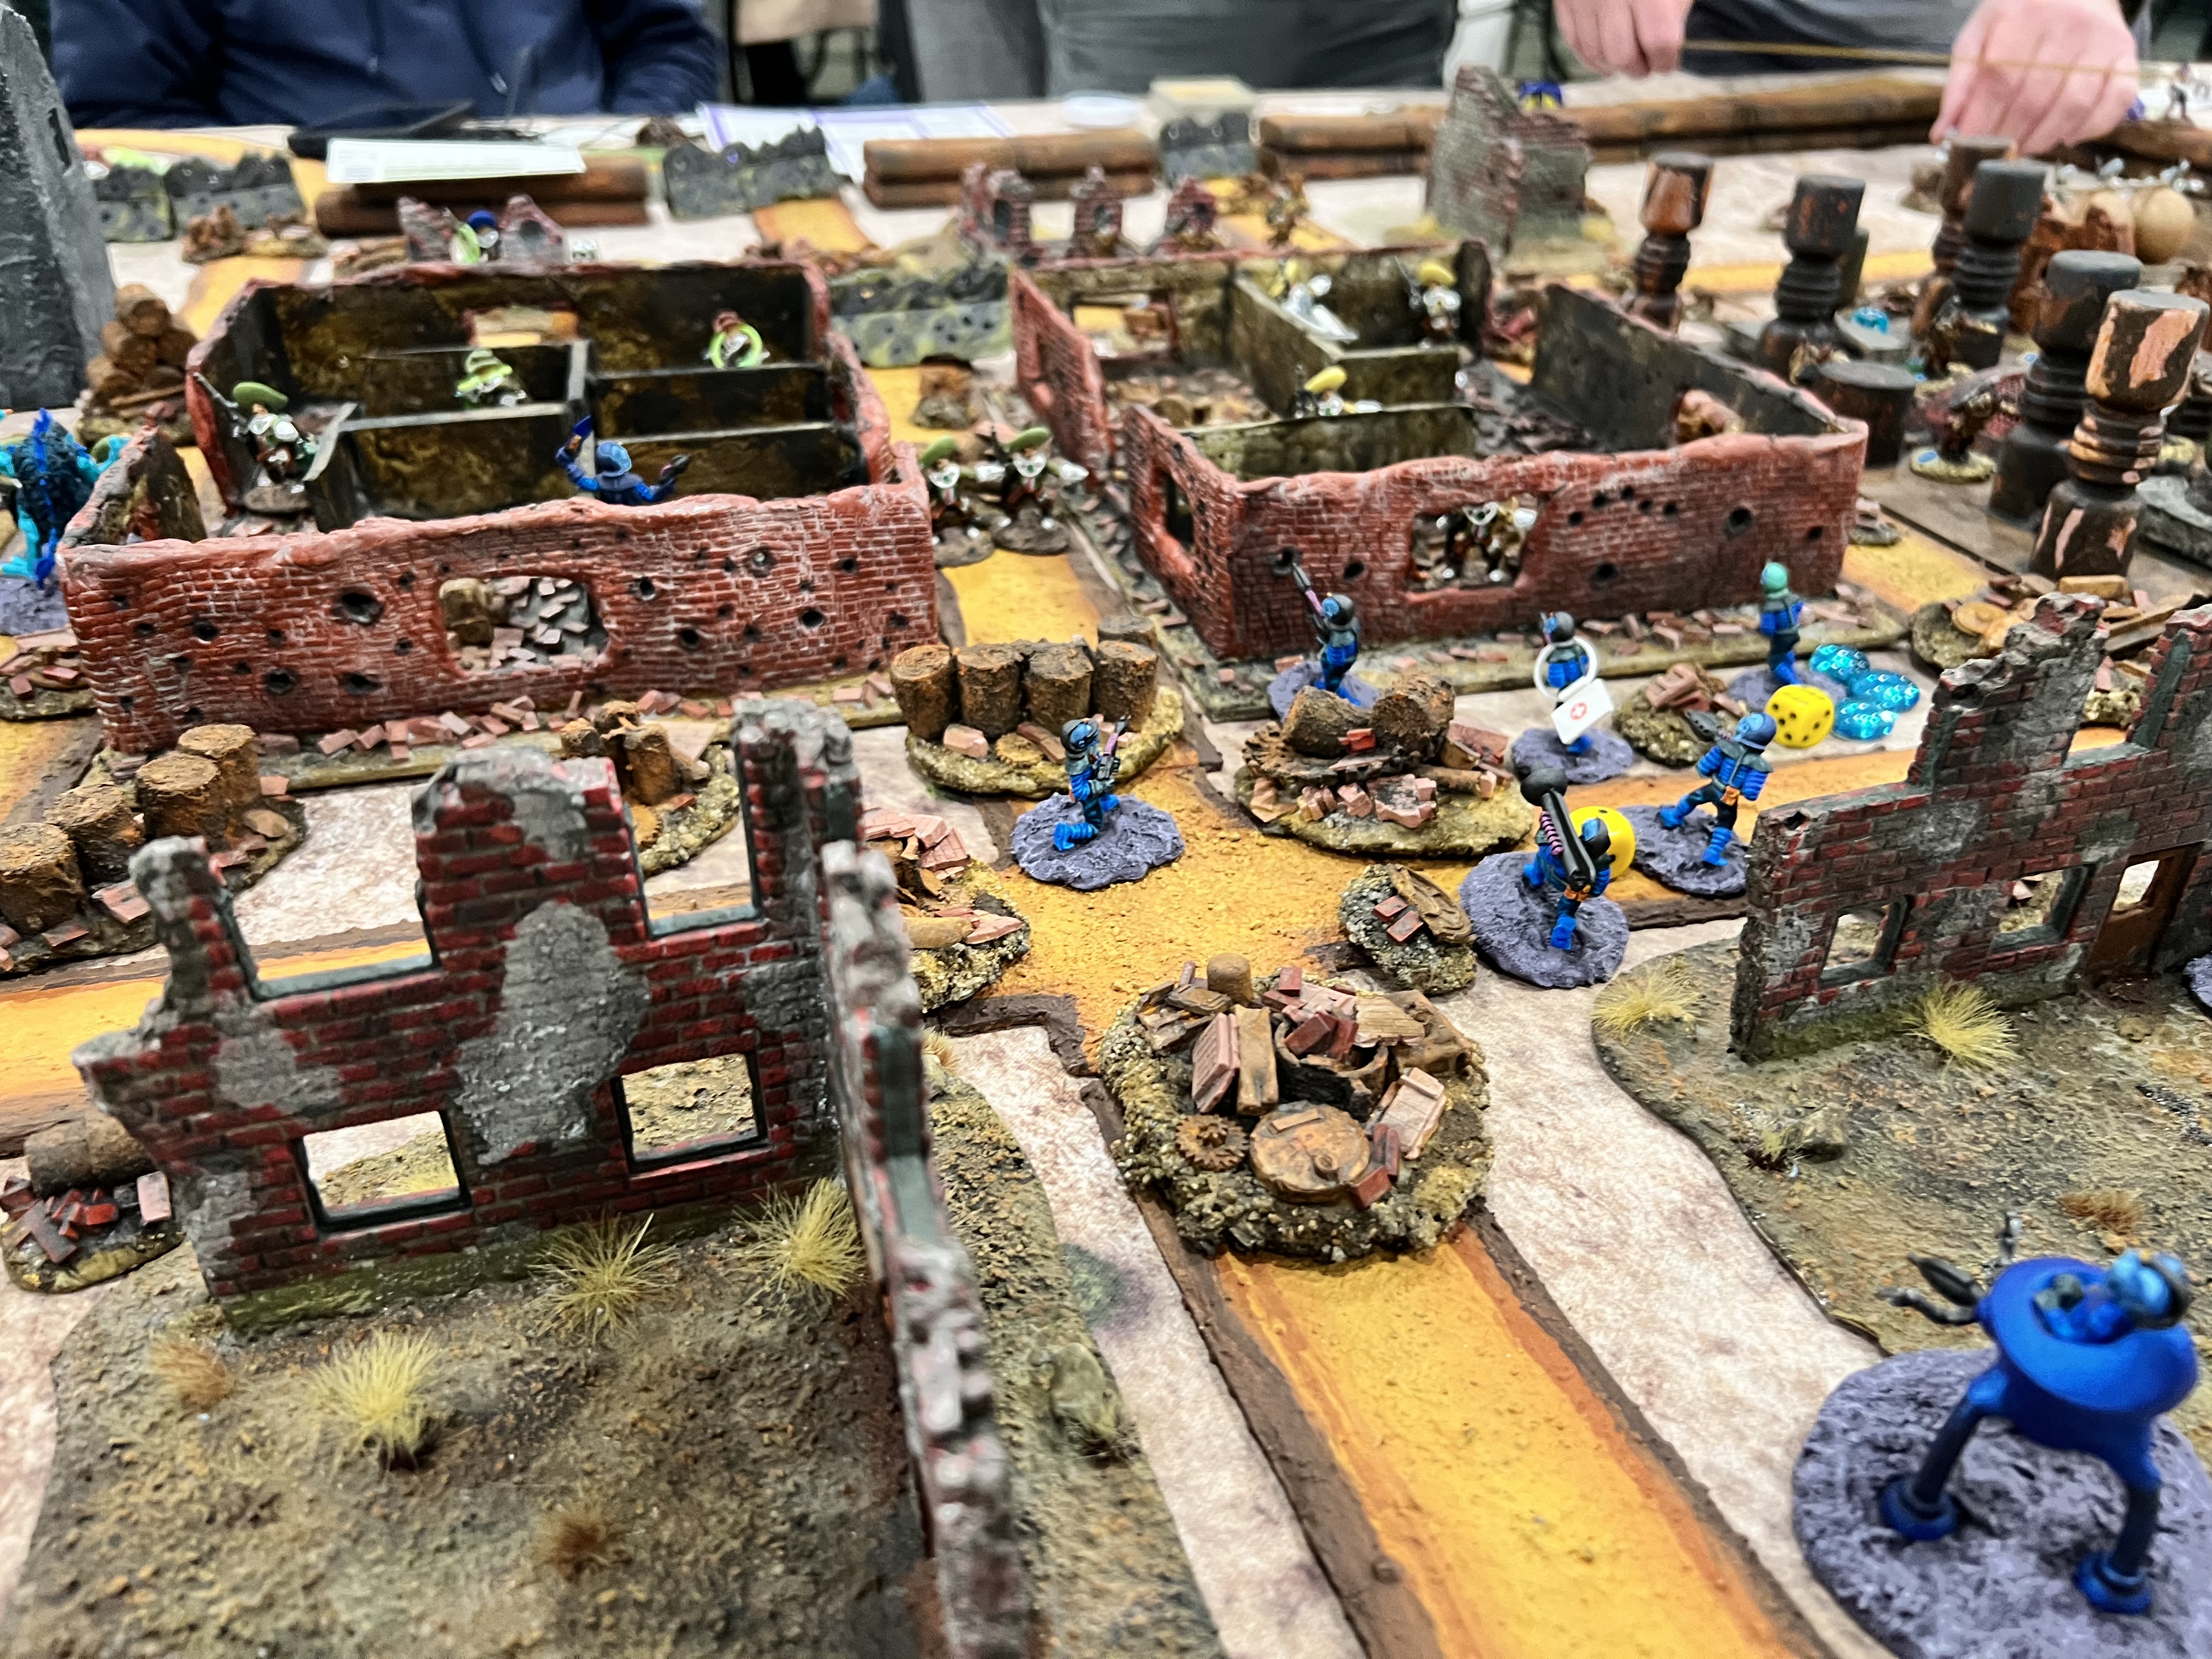
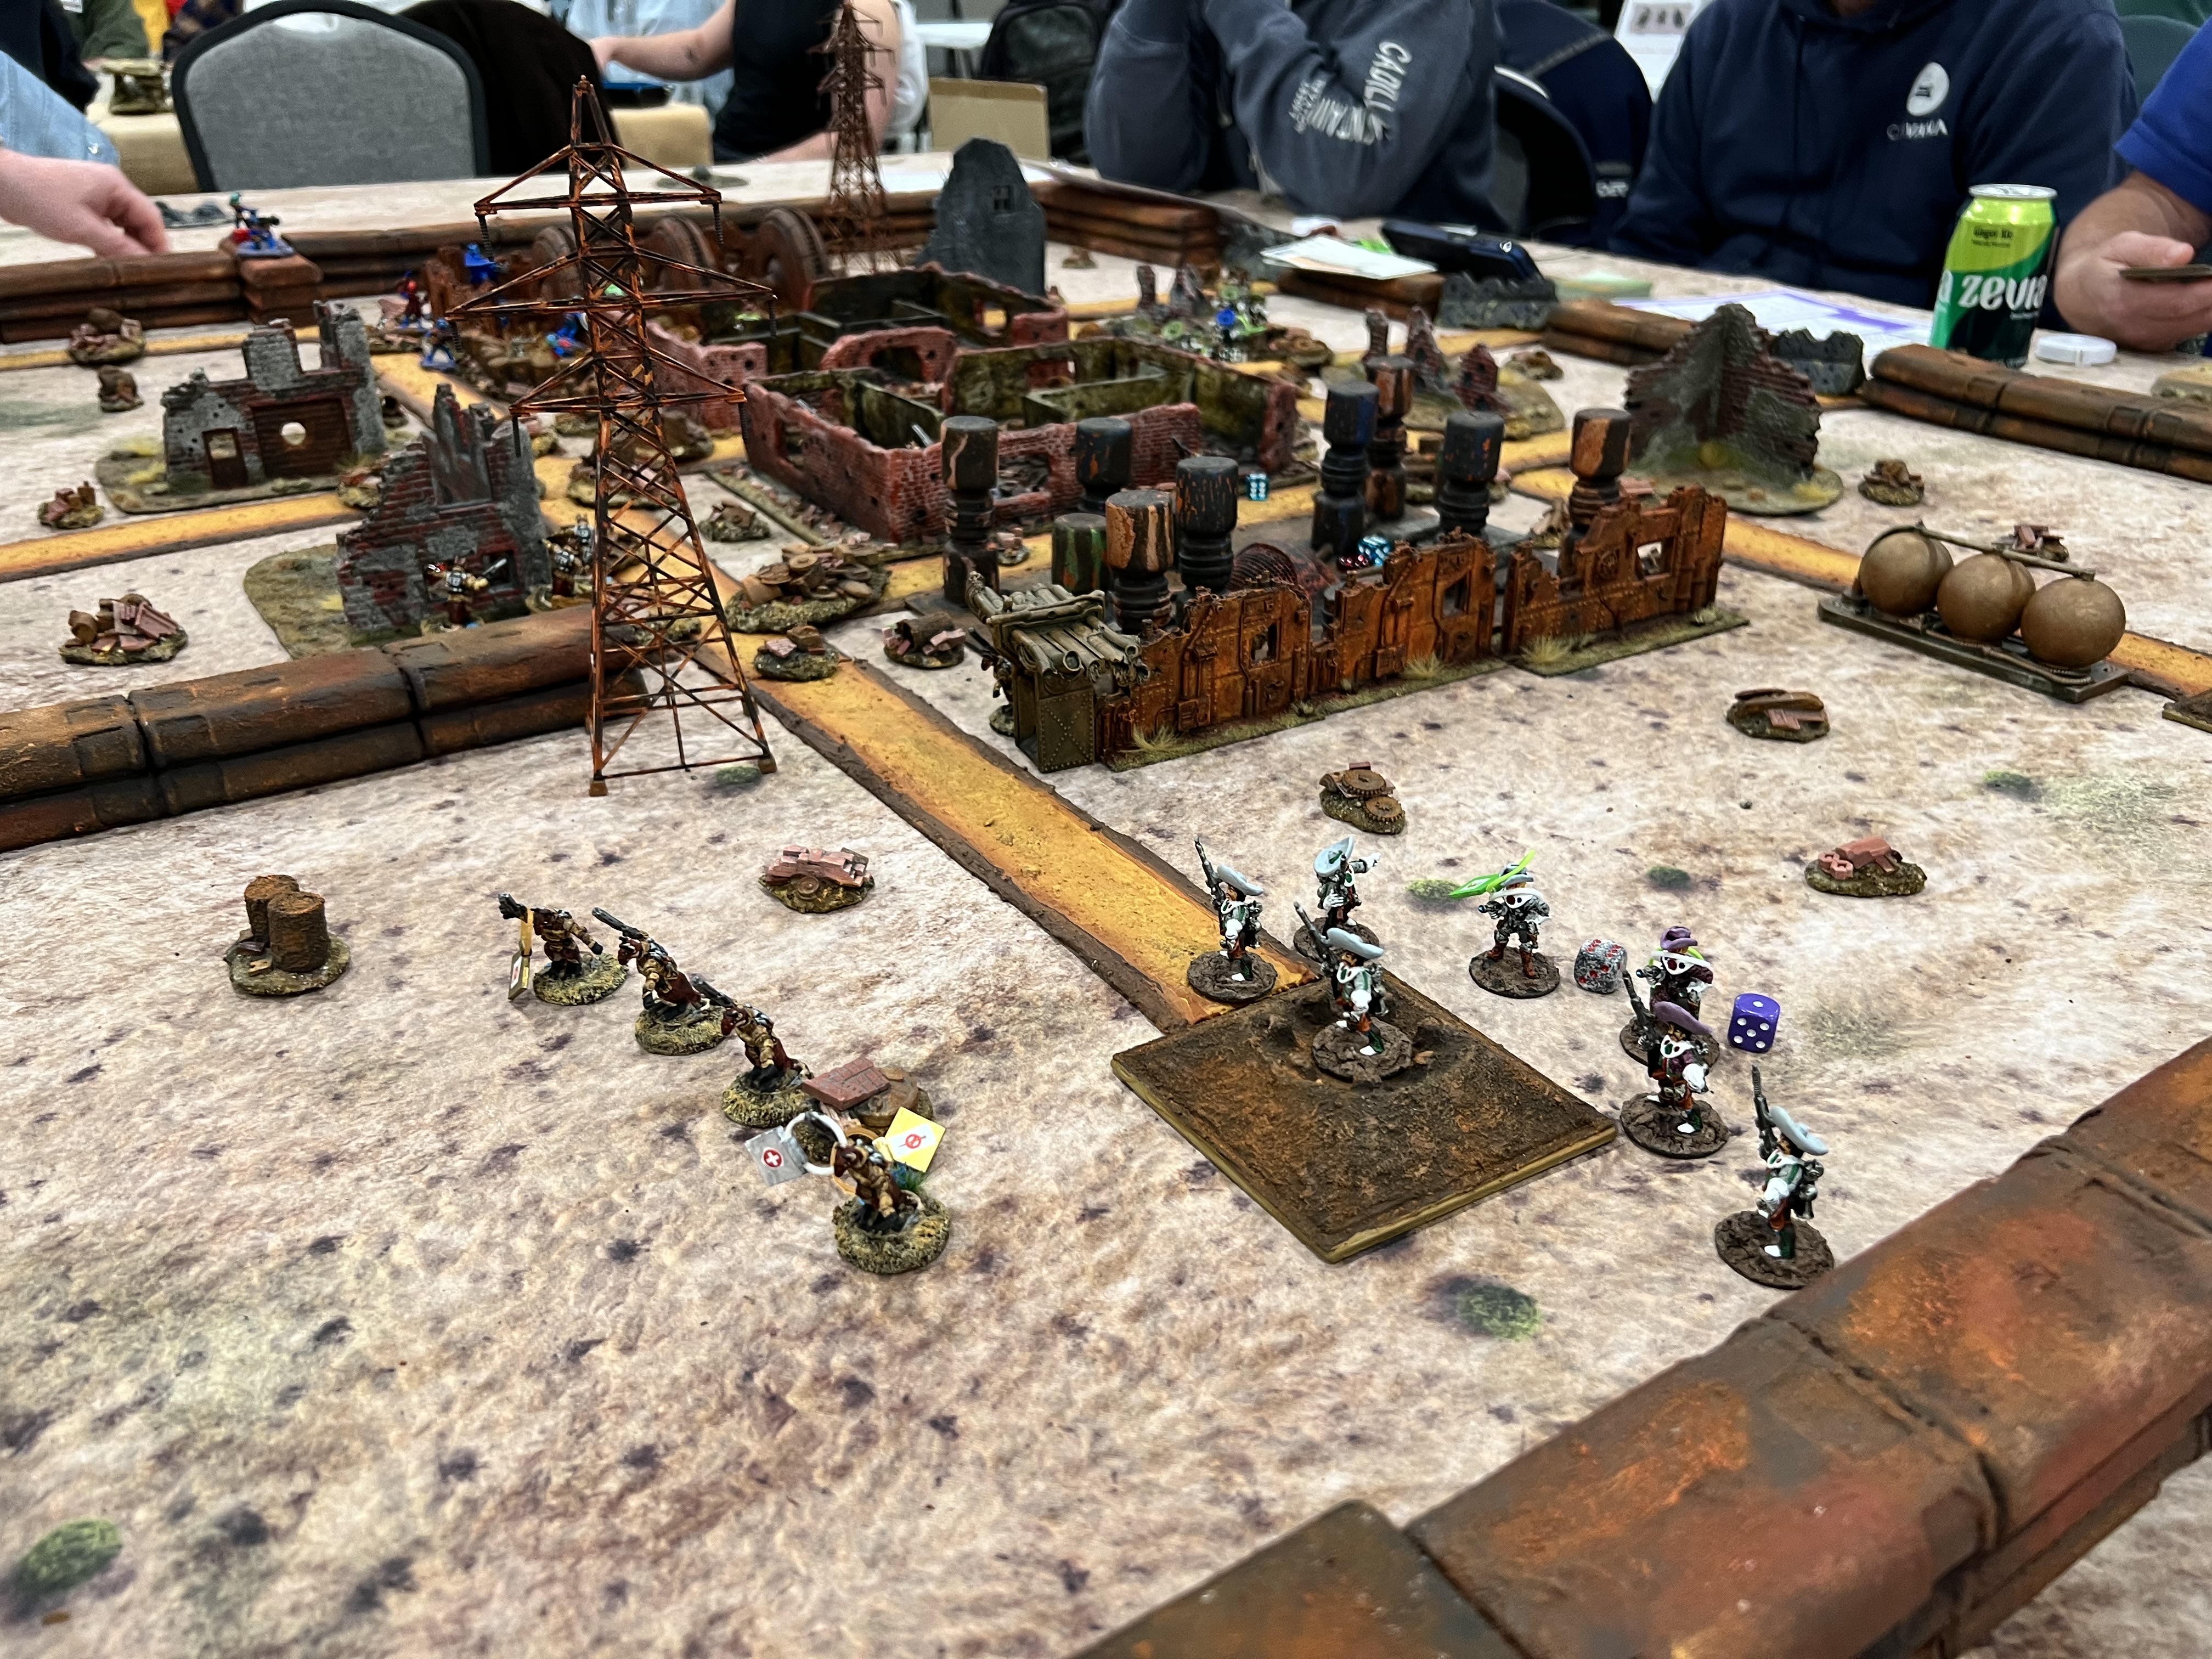
The game was definitely full!Retrovians and Space Cowboys move into the ruined city.The Space Cowboys find a robot (an Archive Robot Cook) and get it to join their side.Reinforcements arrive! Here come the Space Roos.Retrovians take cover under fire while trying to clear the walls.Retrovian infantry move into the city.
In the end, the casualties on both sides were high. But, the Space Cowboys possession of robots allowed them a narrow 15-10 victory. That wrapped up Thursday’s games.
I decided not to run a Friday morning game this year. Last year, resetting the flea market room took too much time. It interfered with my morning game setup. Instead, I had plenty of time to move everything into the “big room” and set up on the “big table”. My first game was a Wars of Ozz game. It was titled “The Great Munchkin Heist”. I had also run it at Cold Wars. This time I had an even bigger table than I had there!
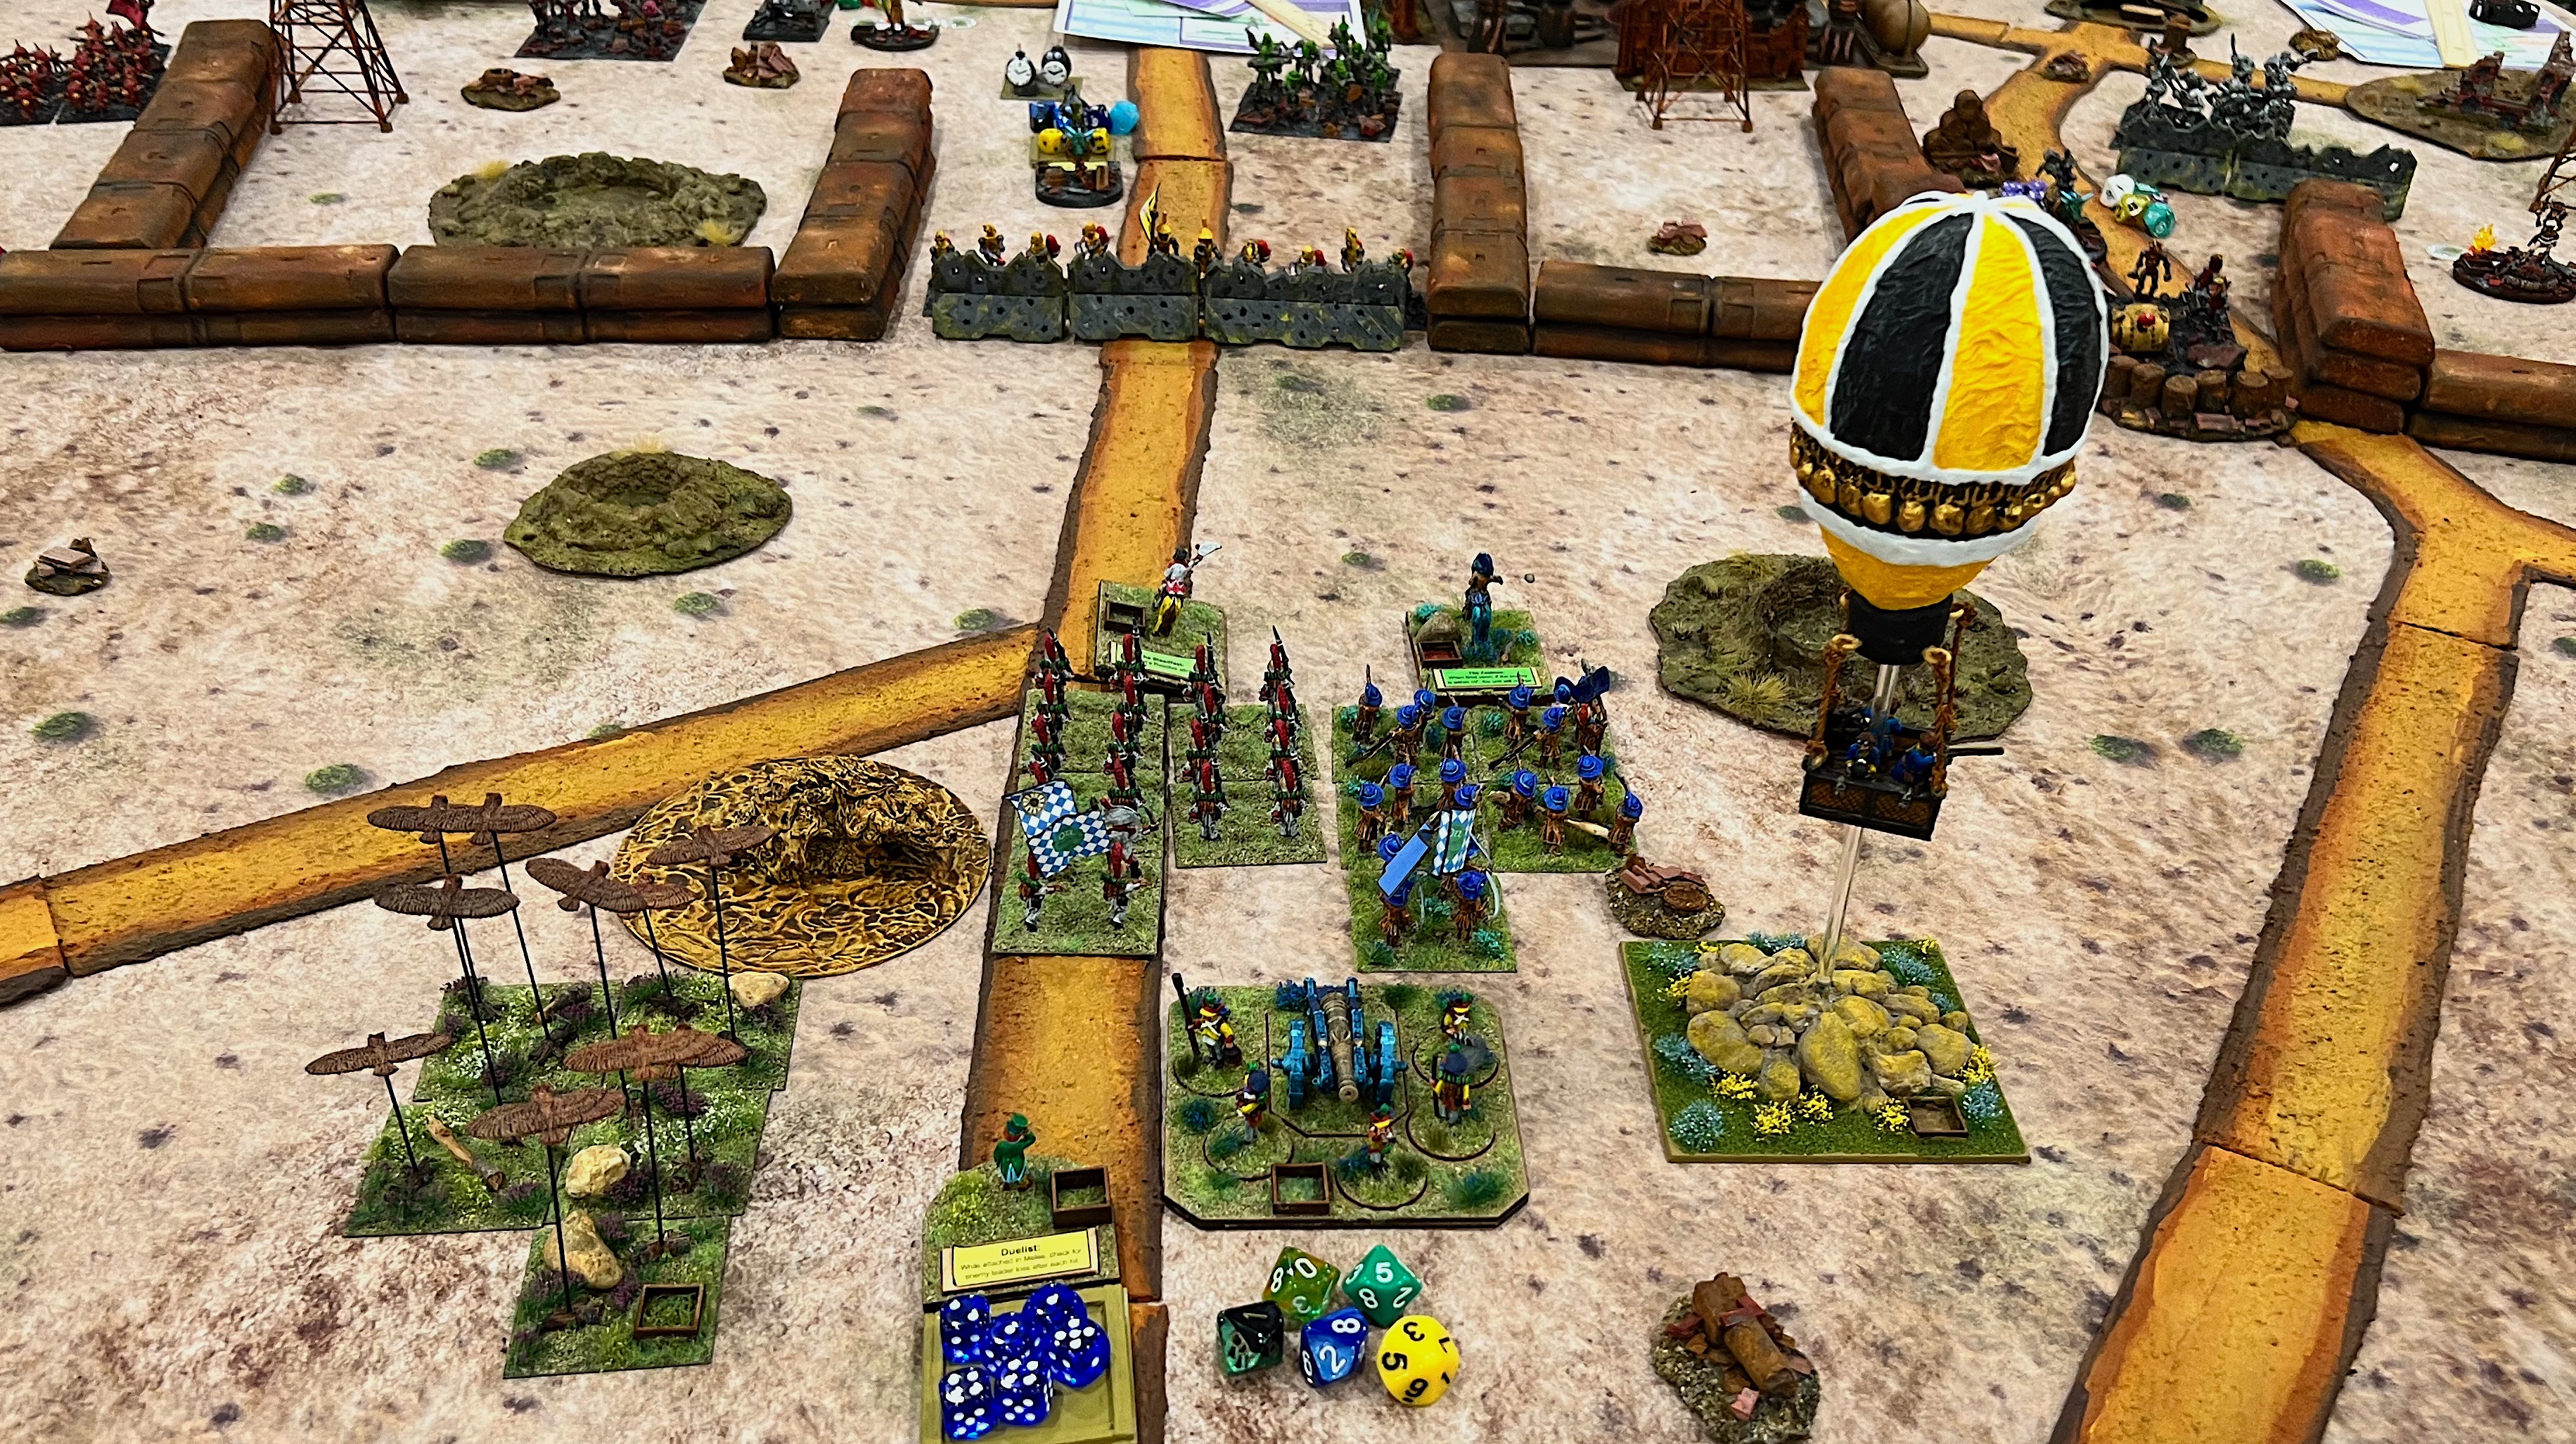
The Great Munchkin Heist
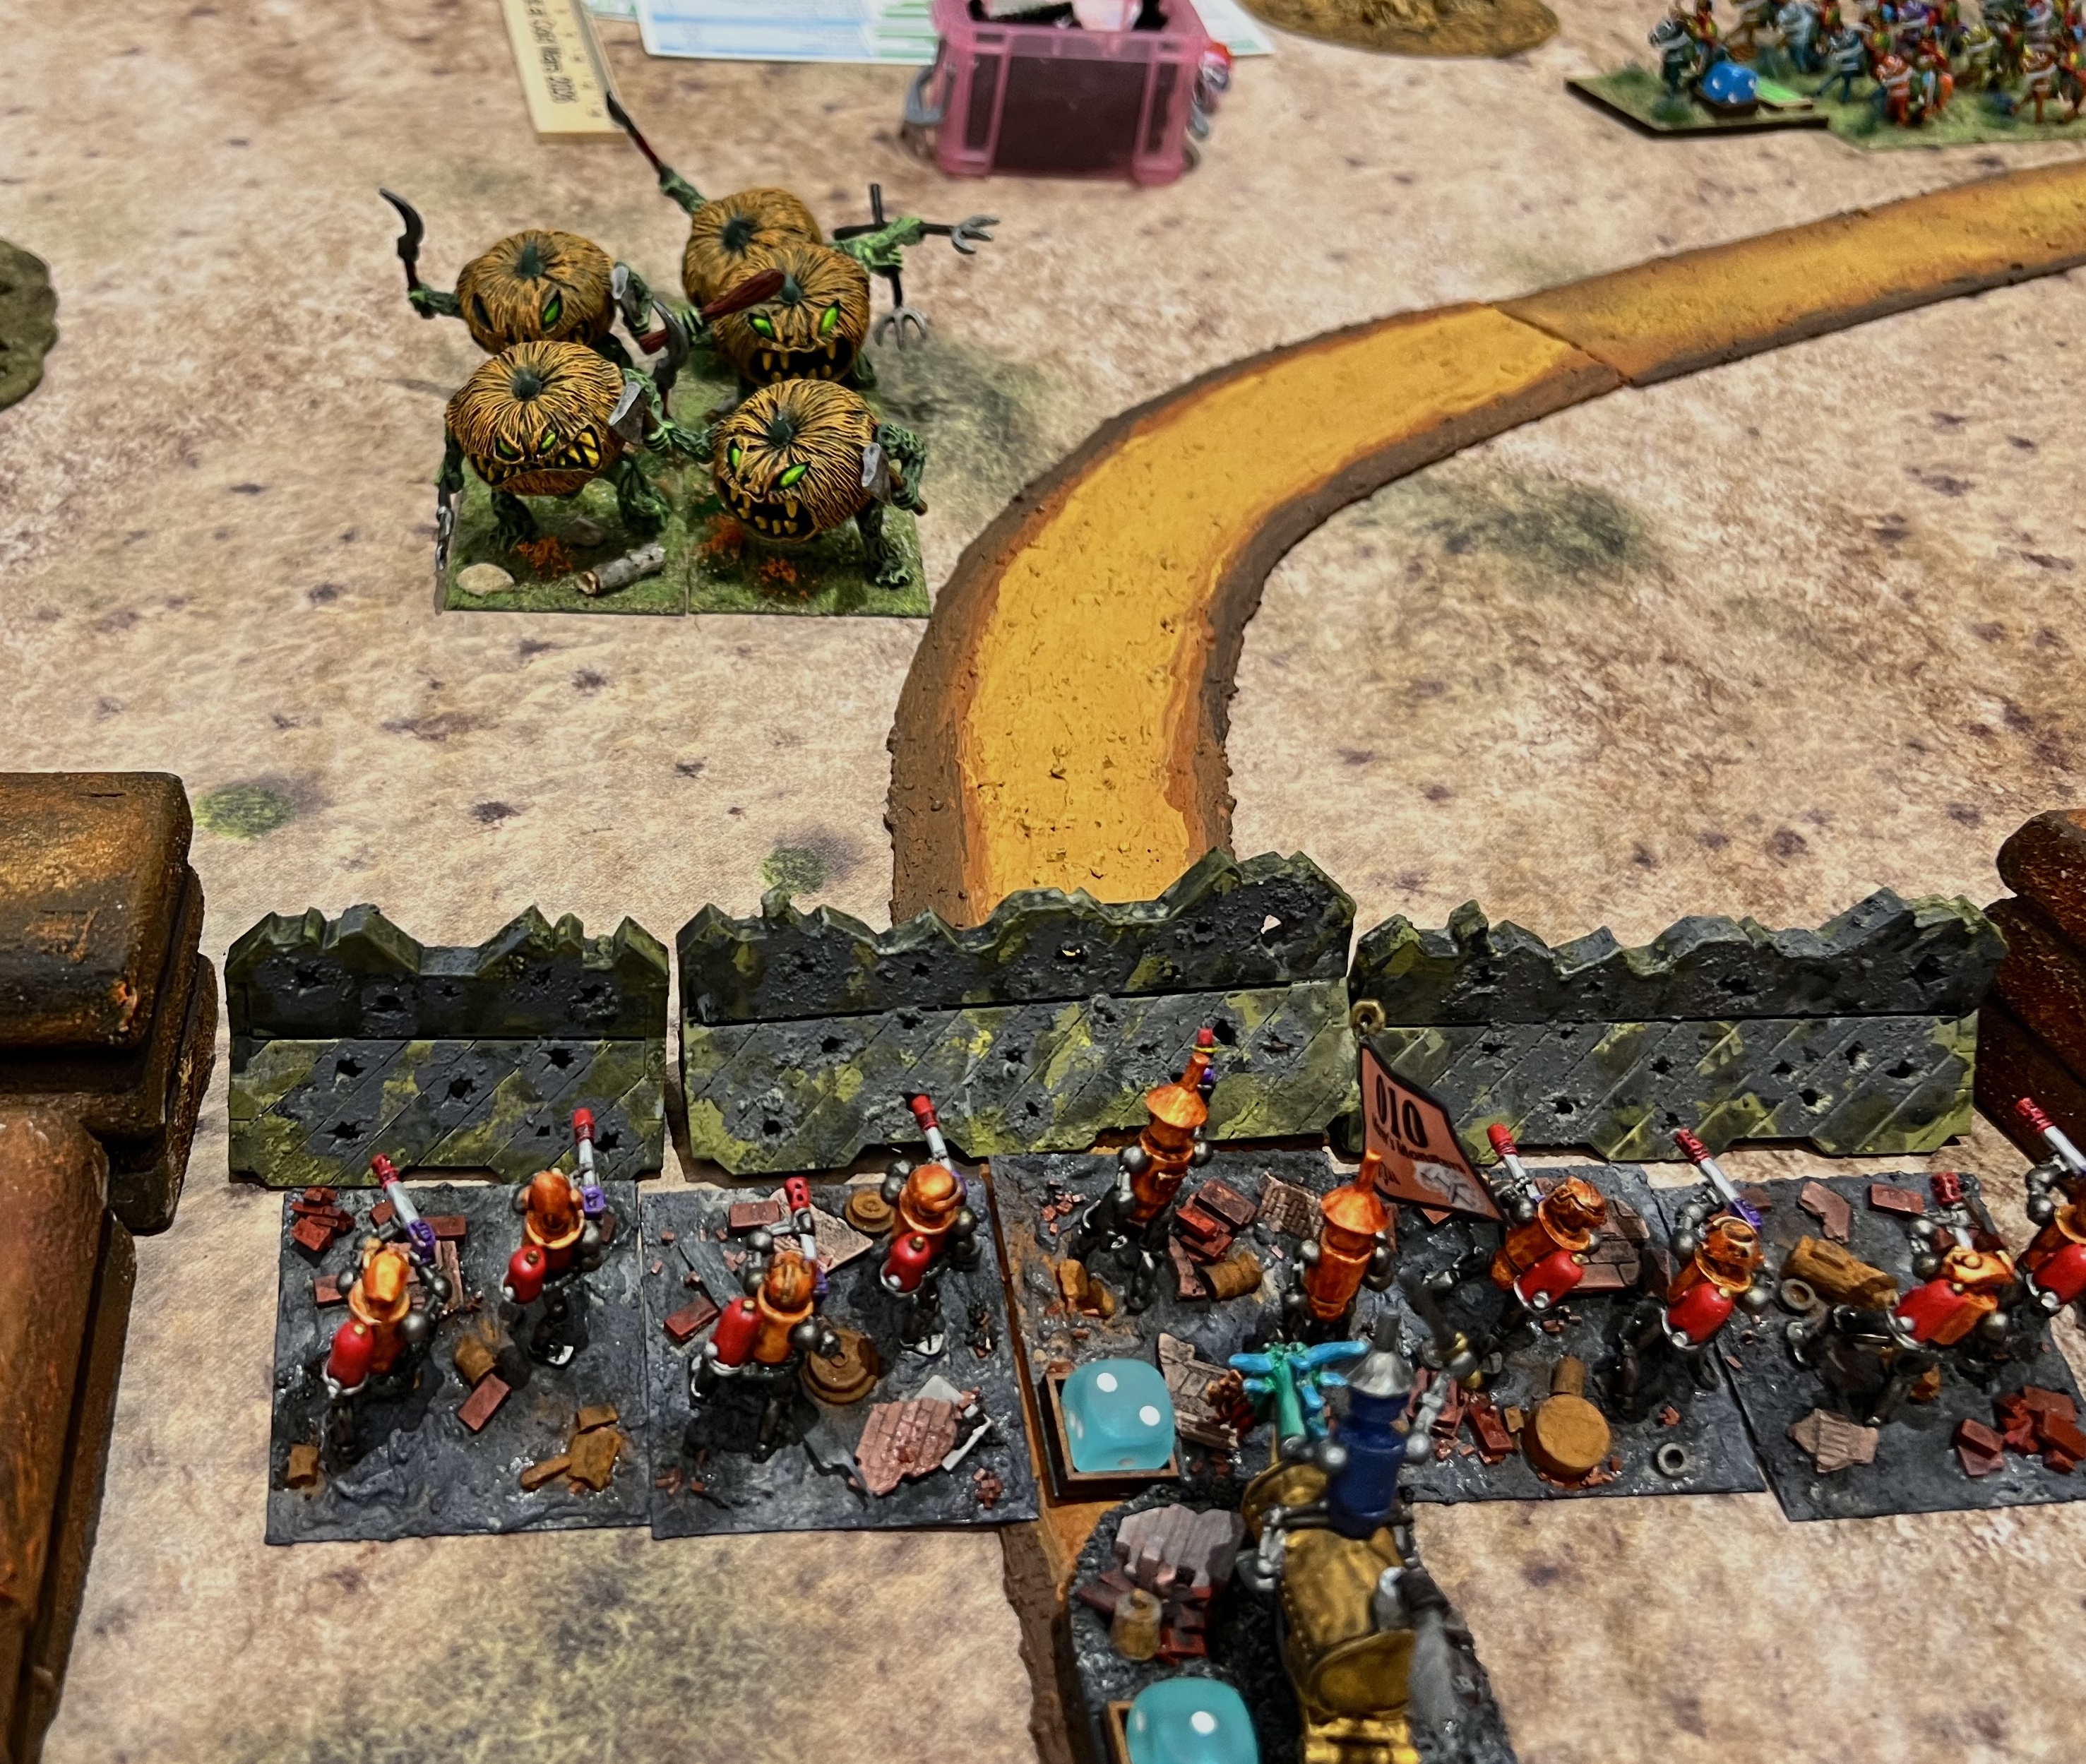
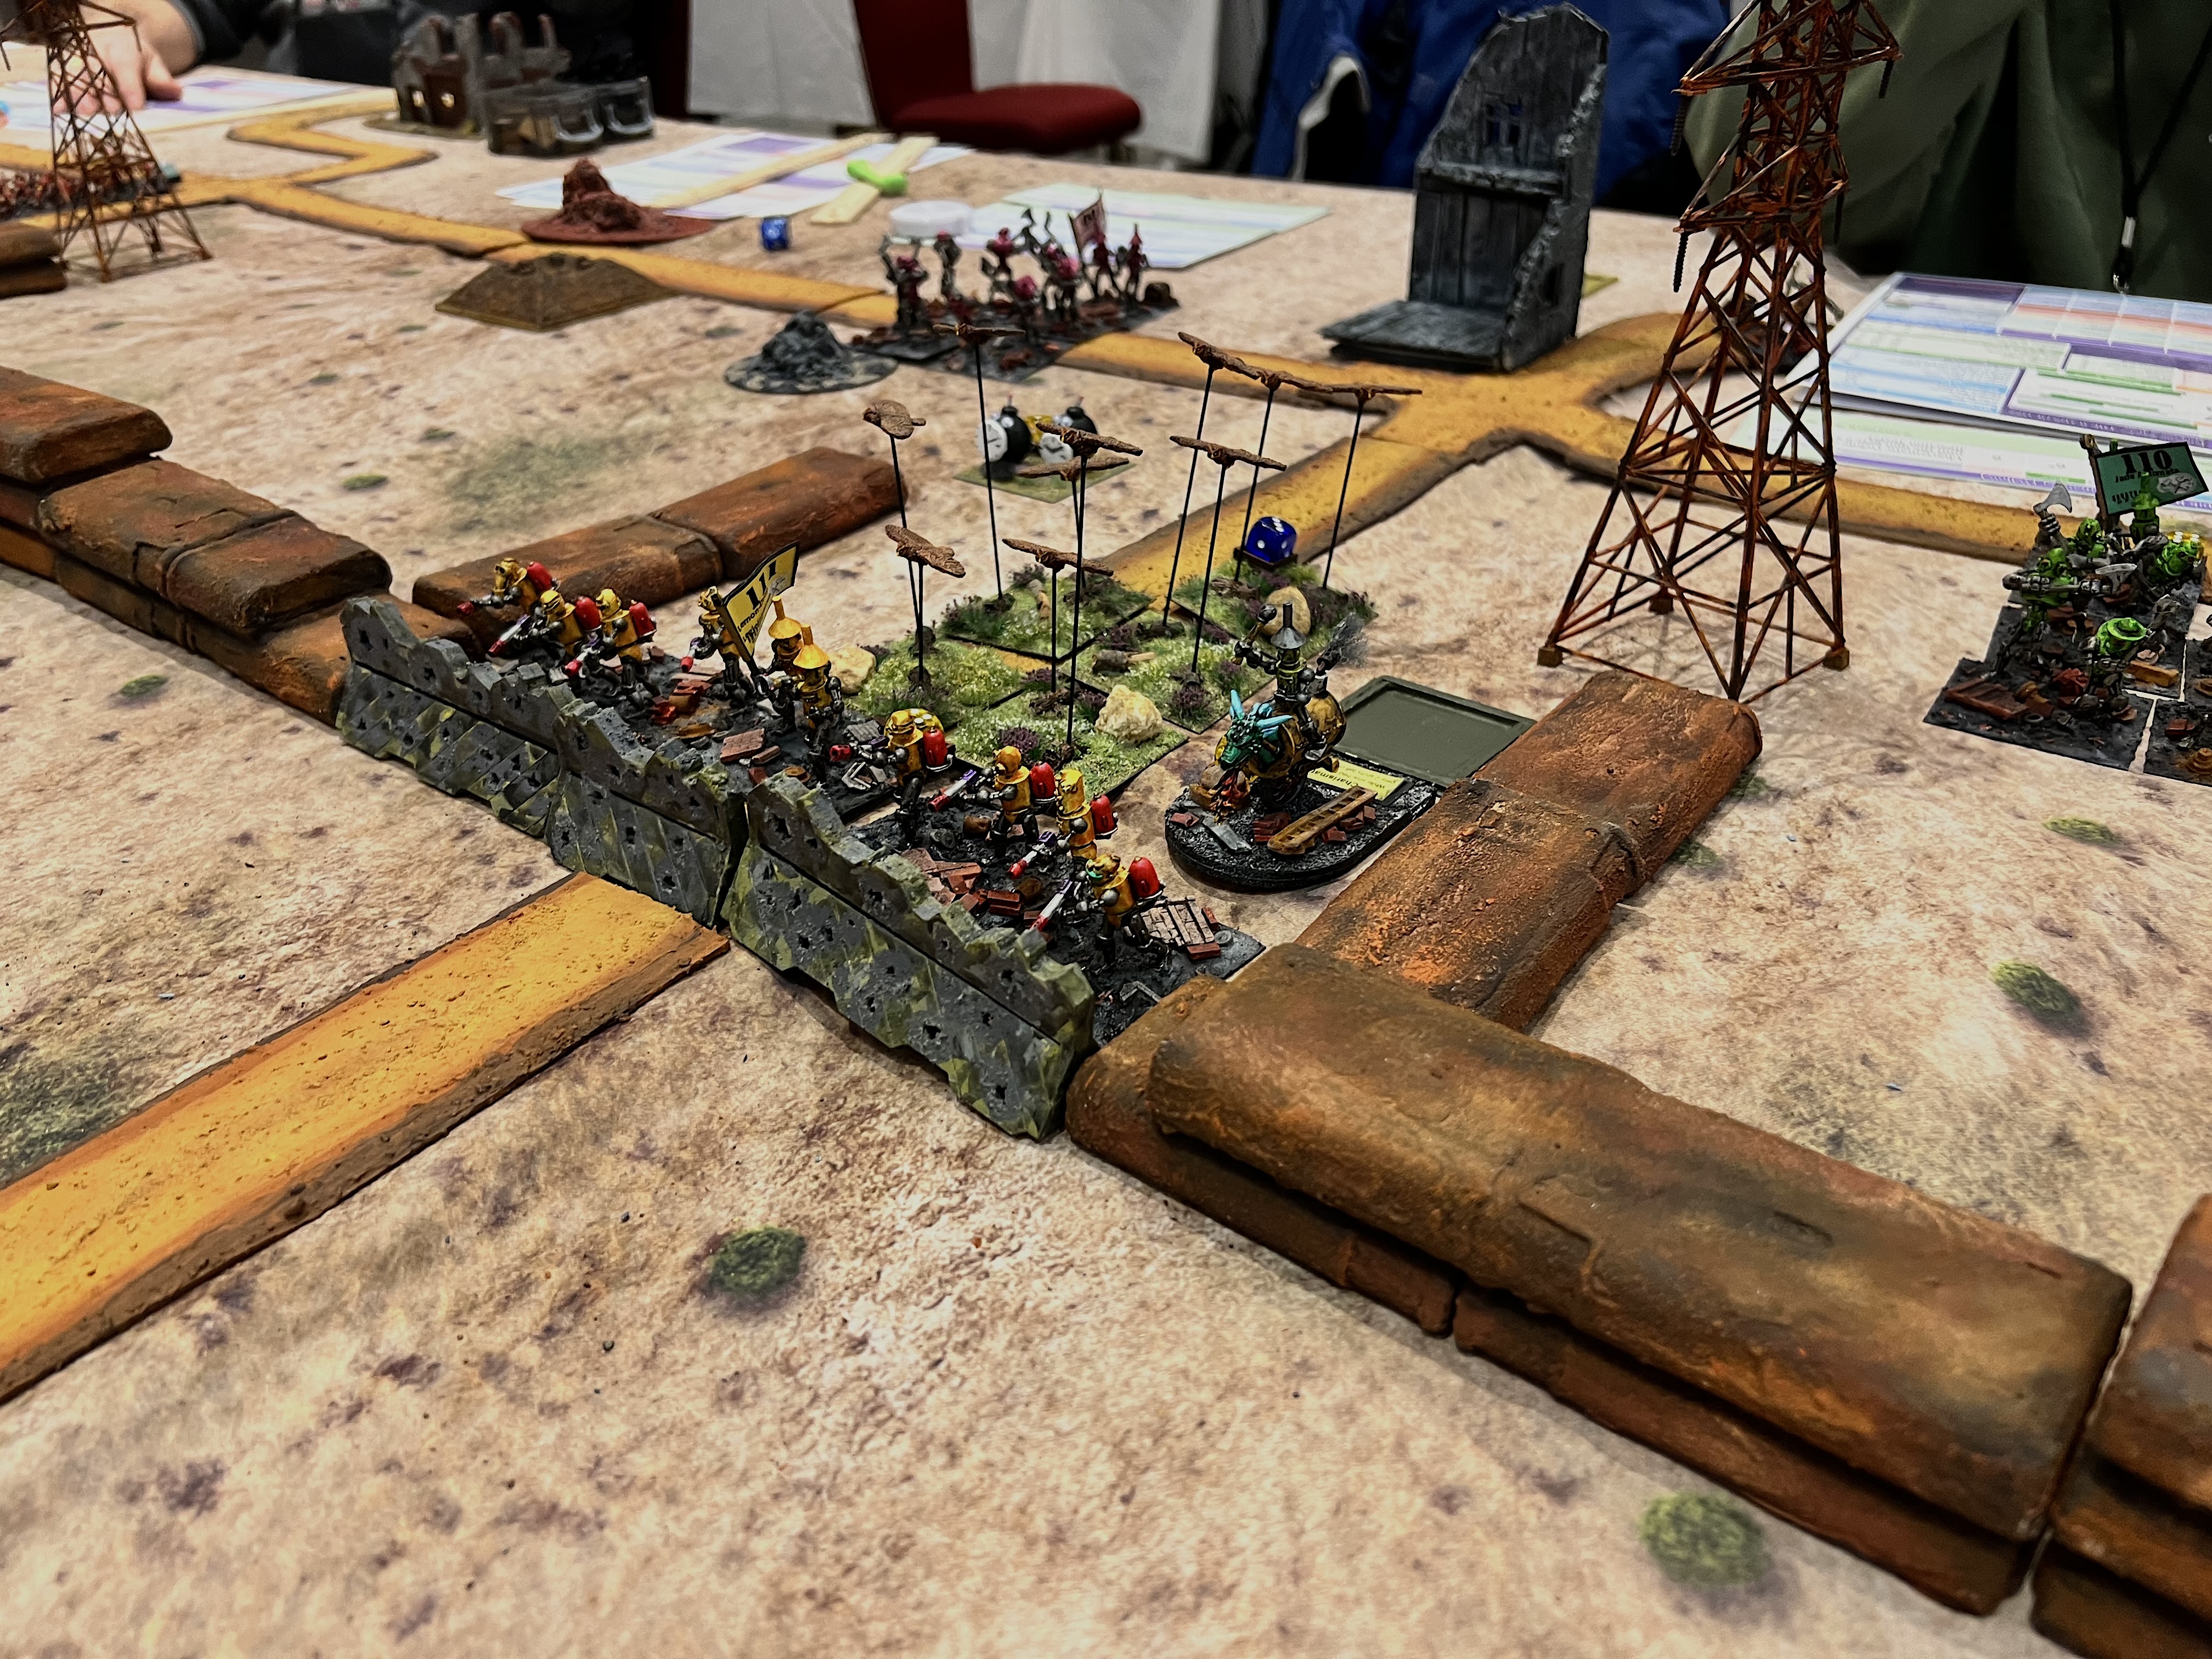
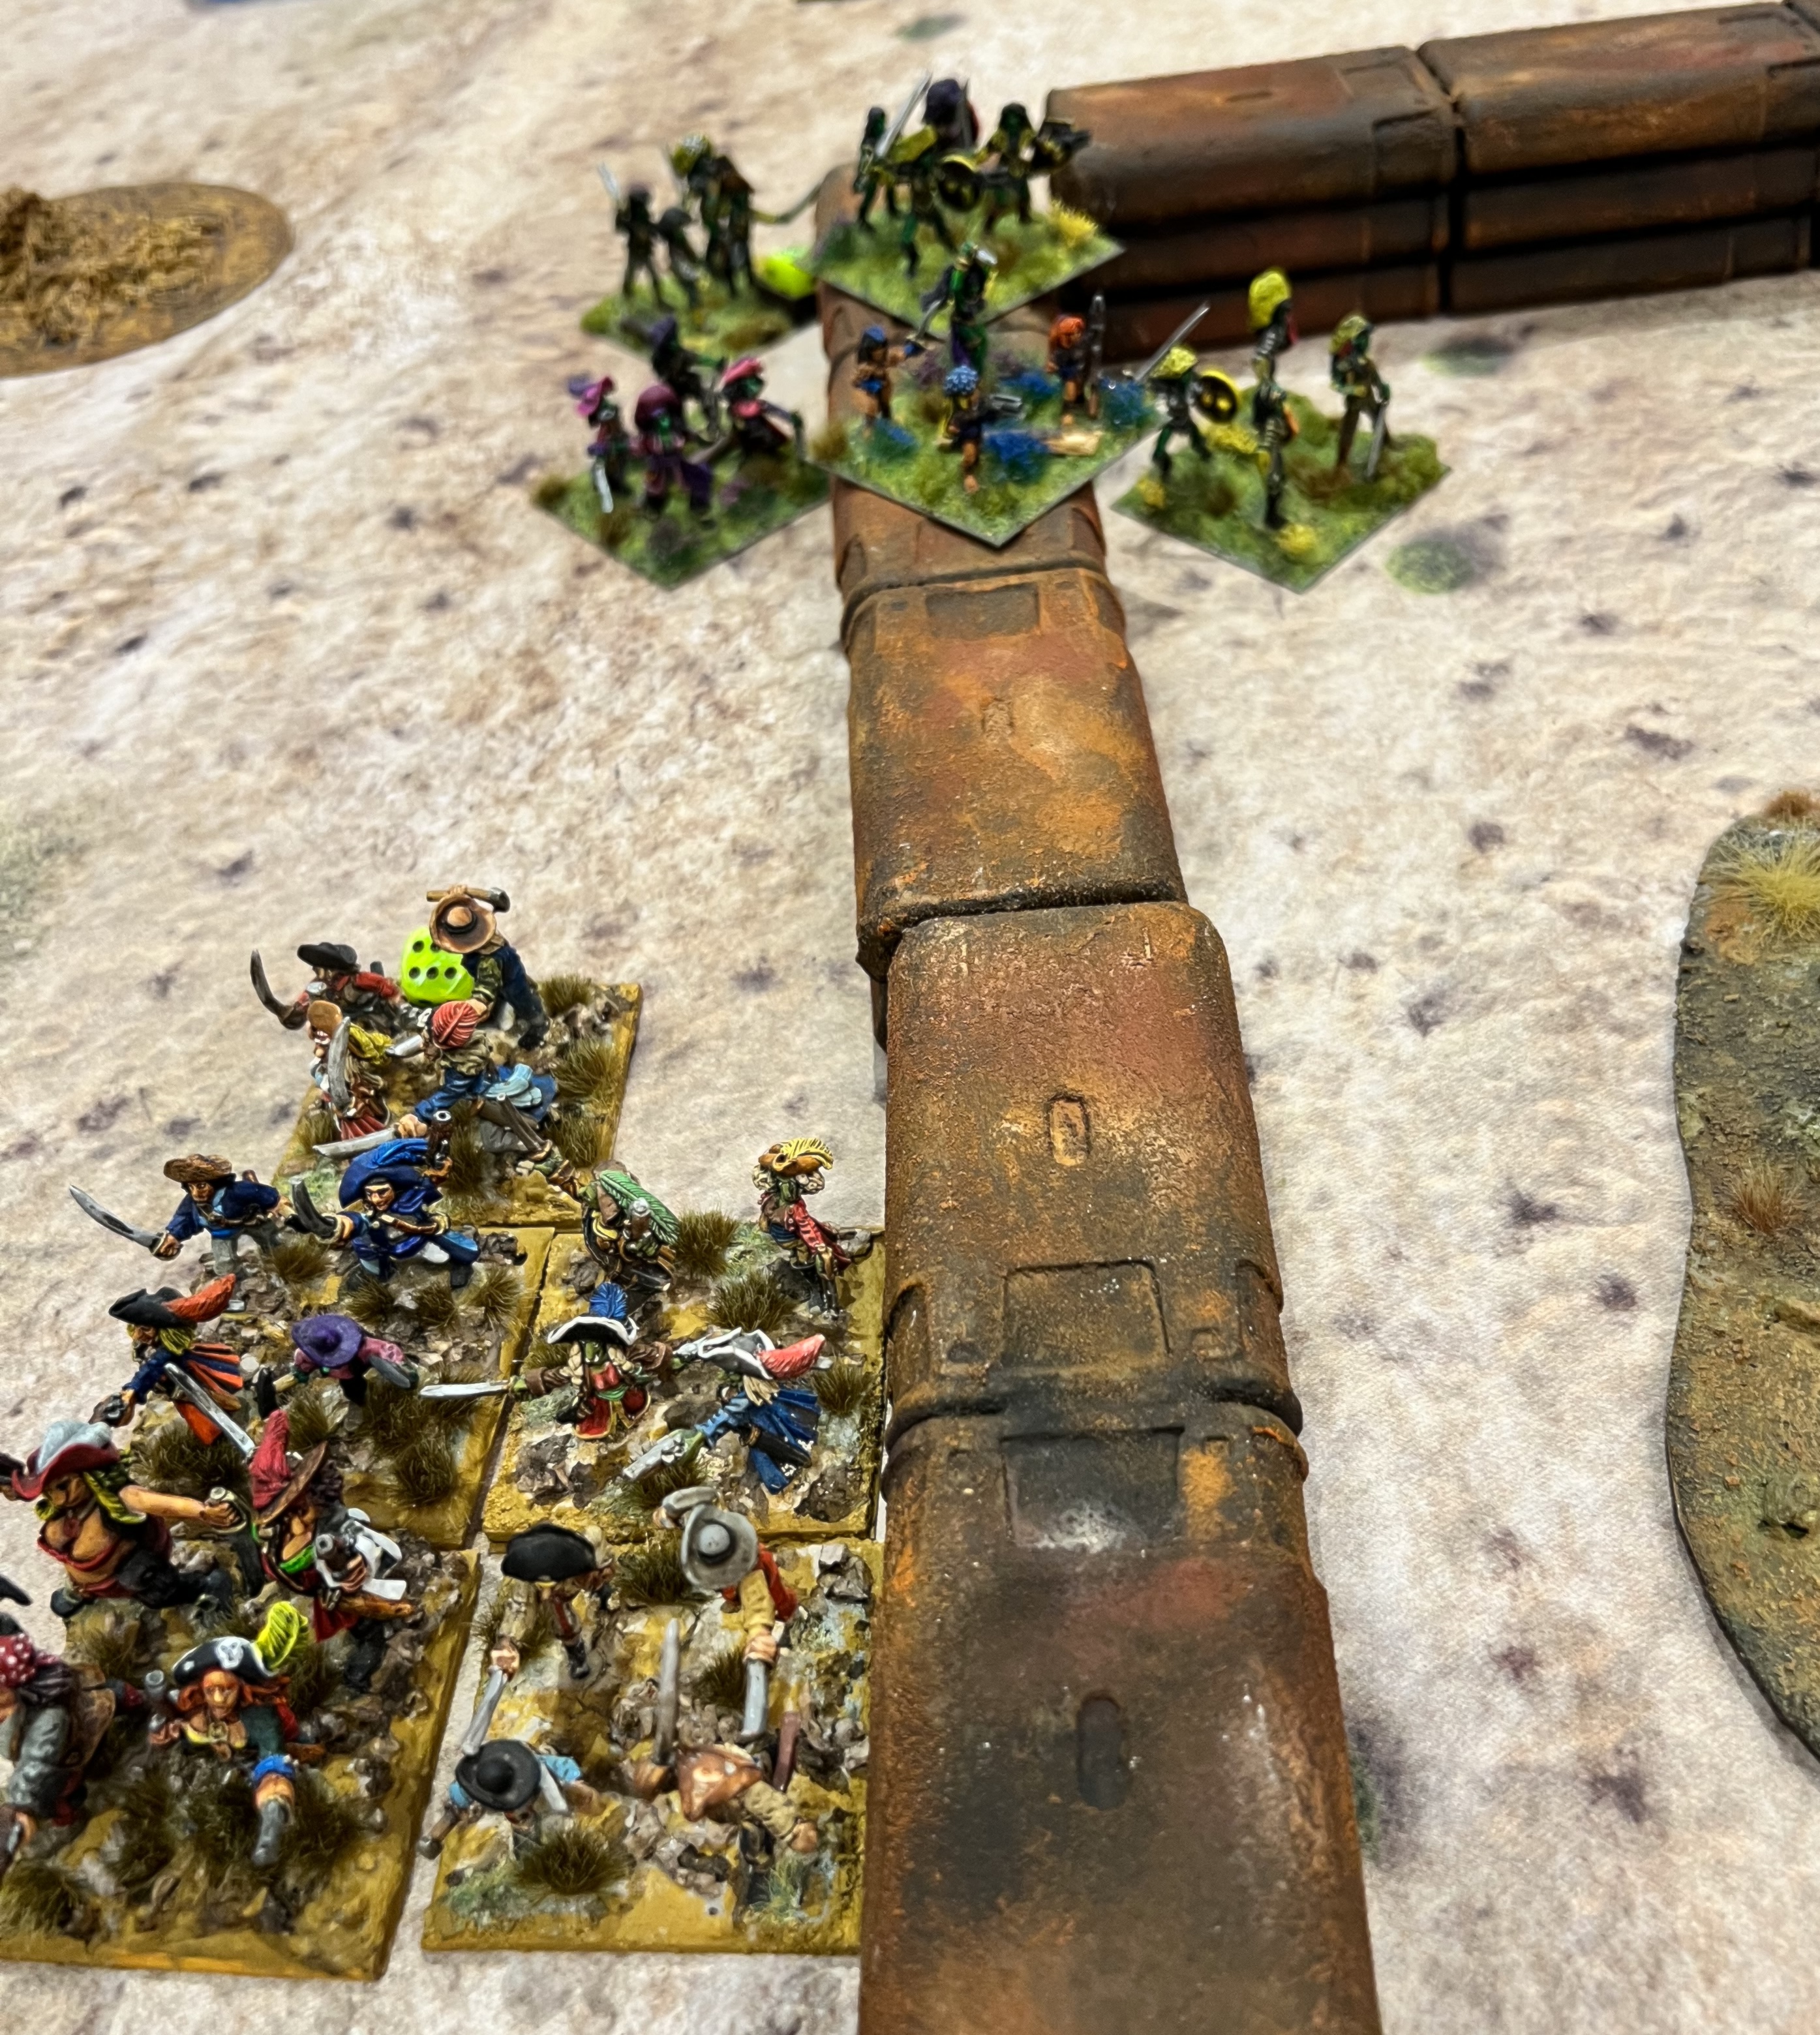
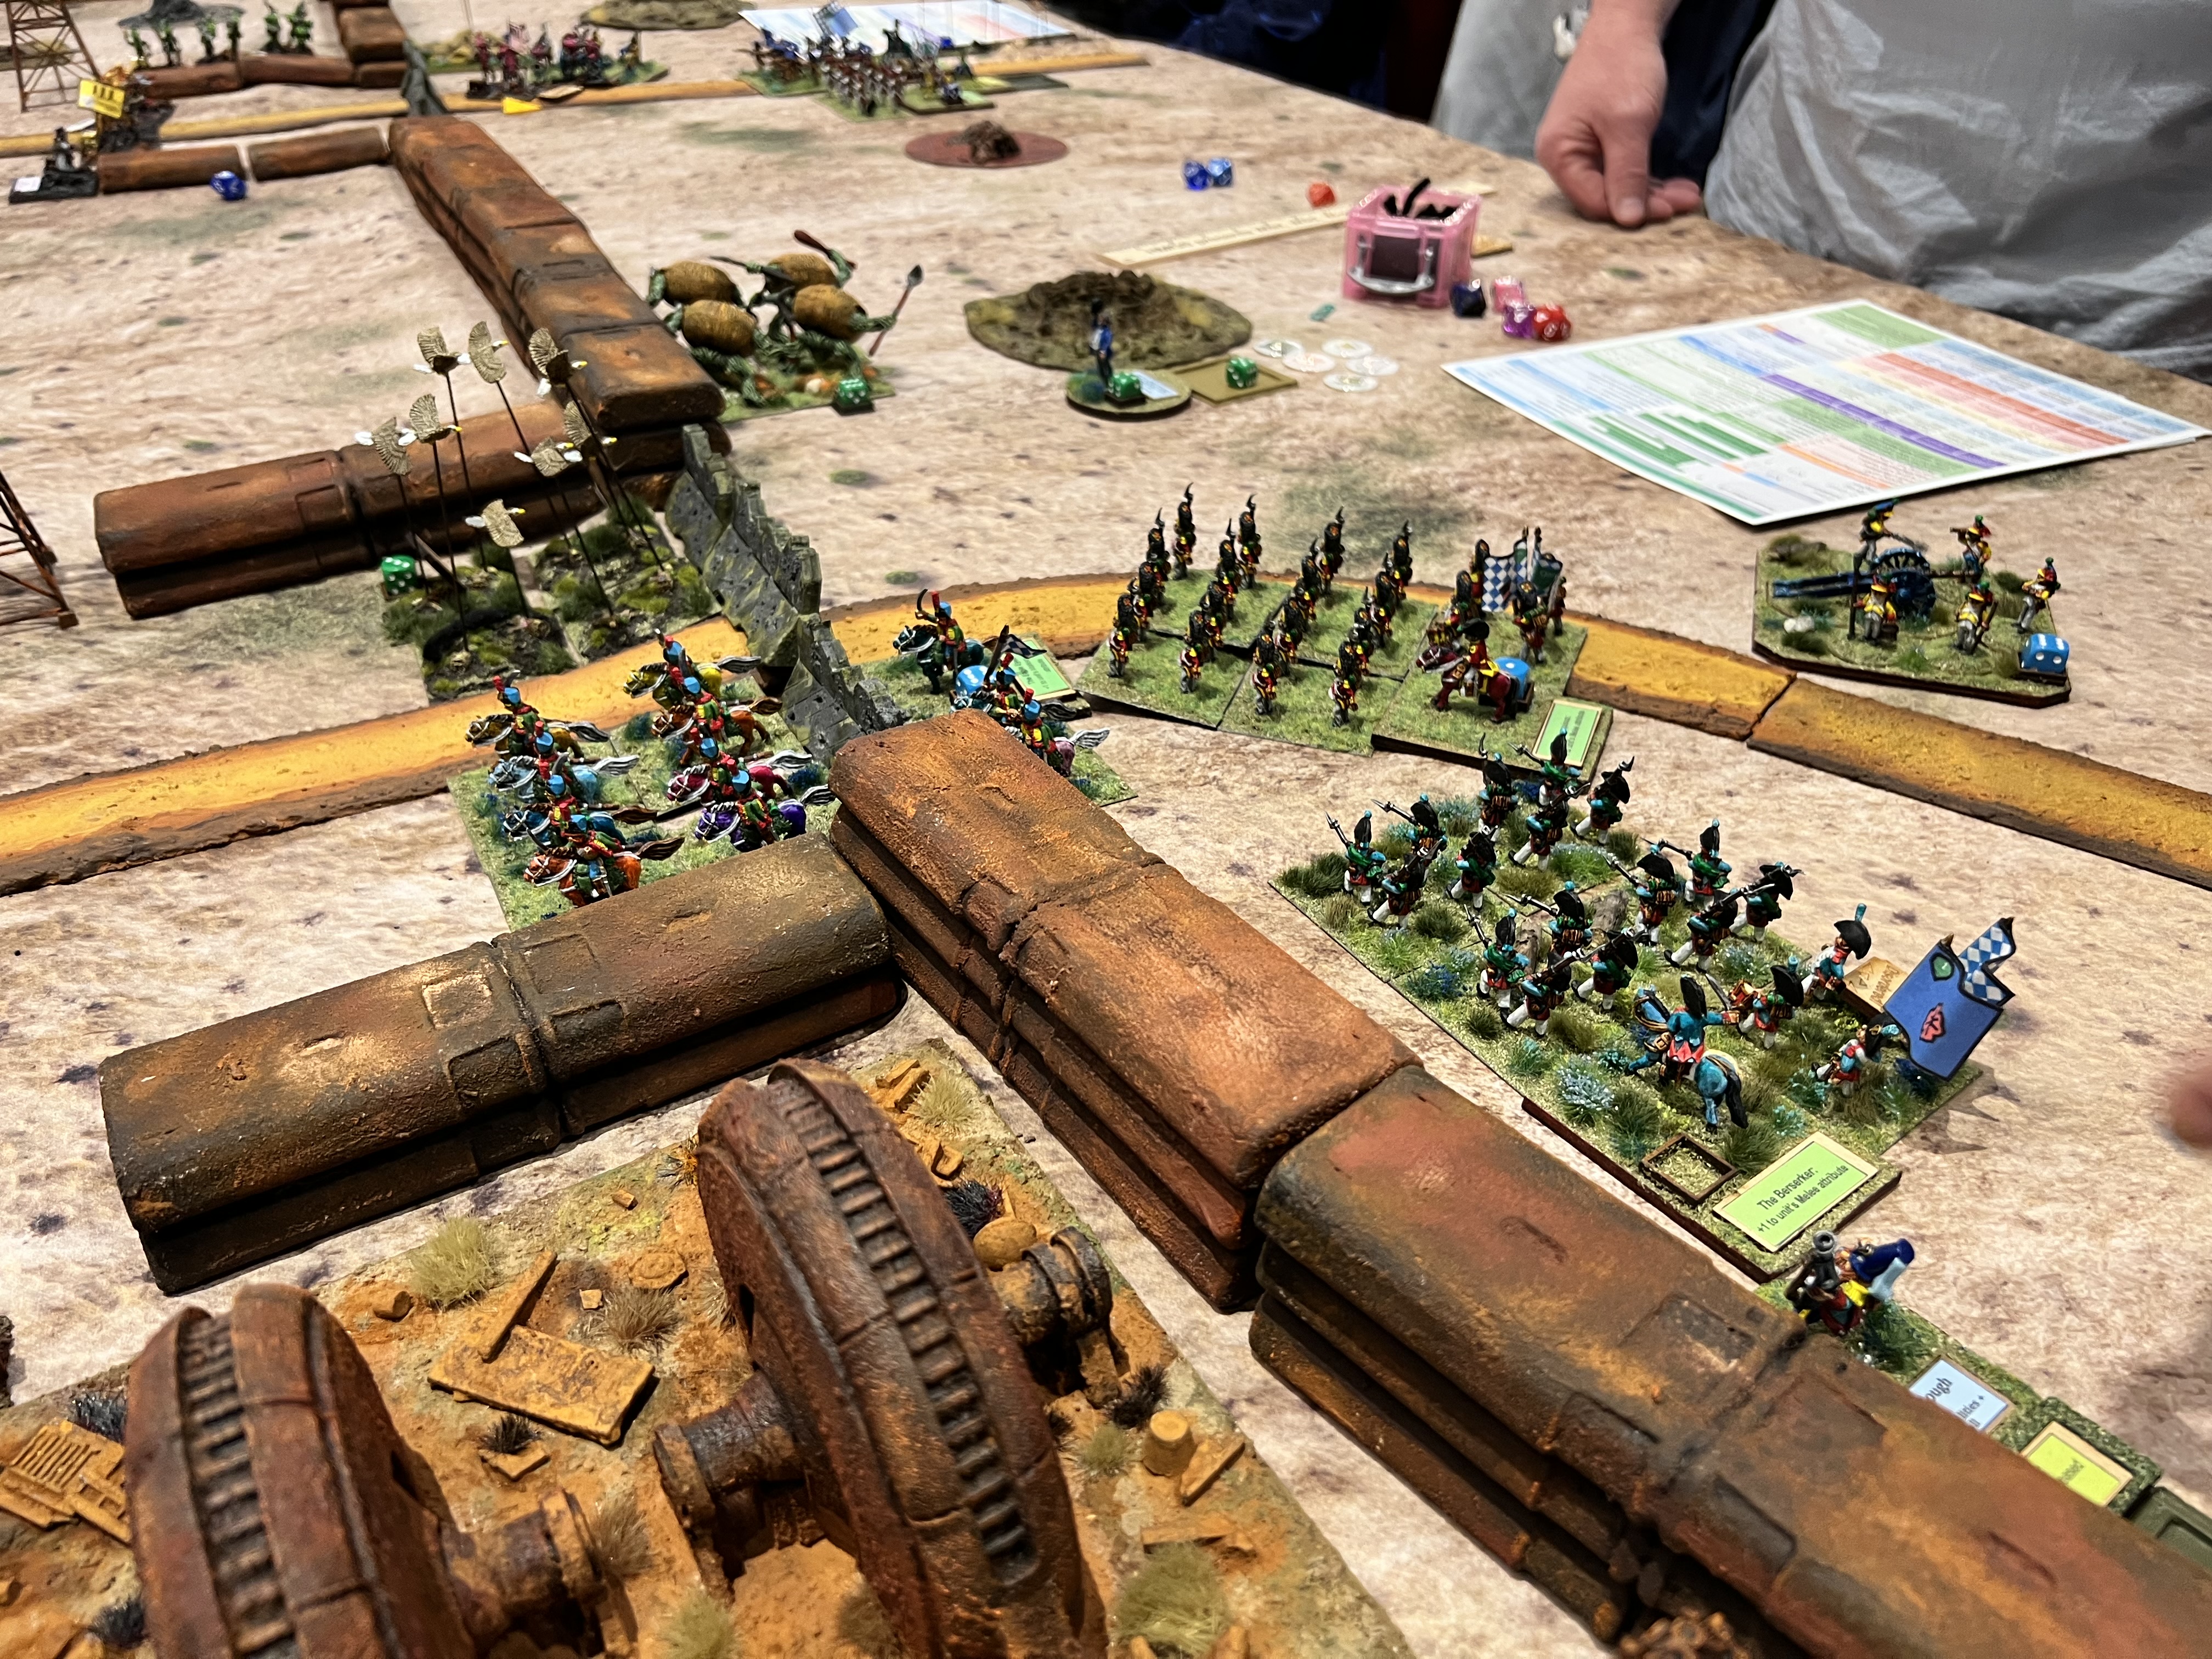
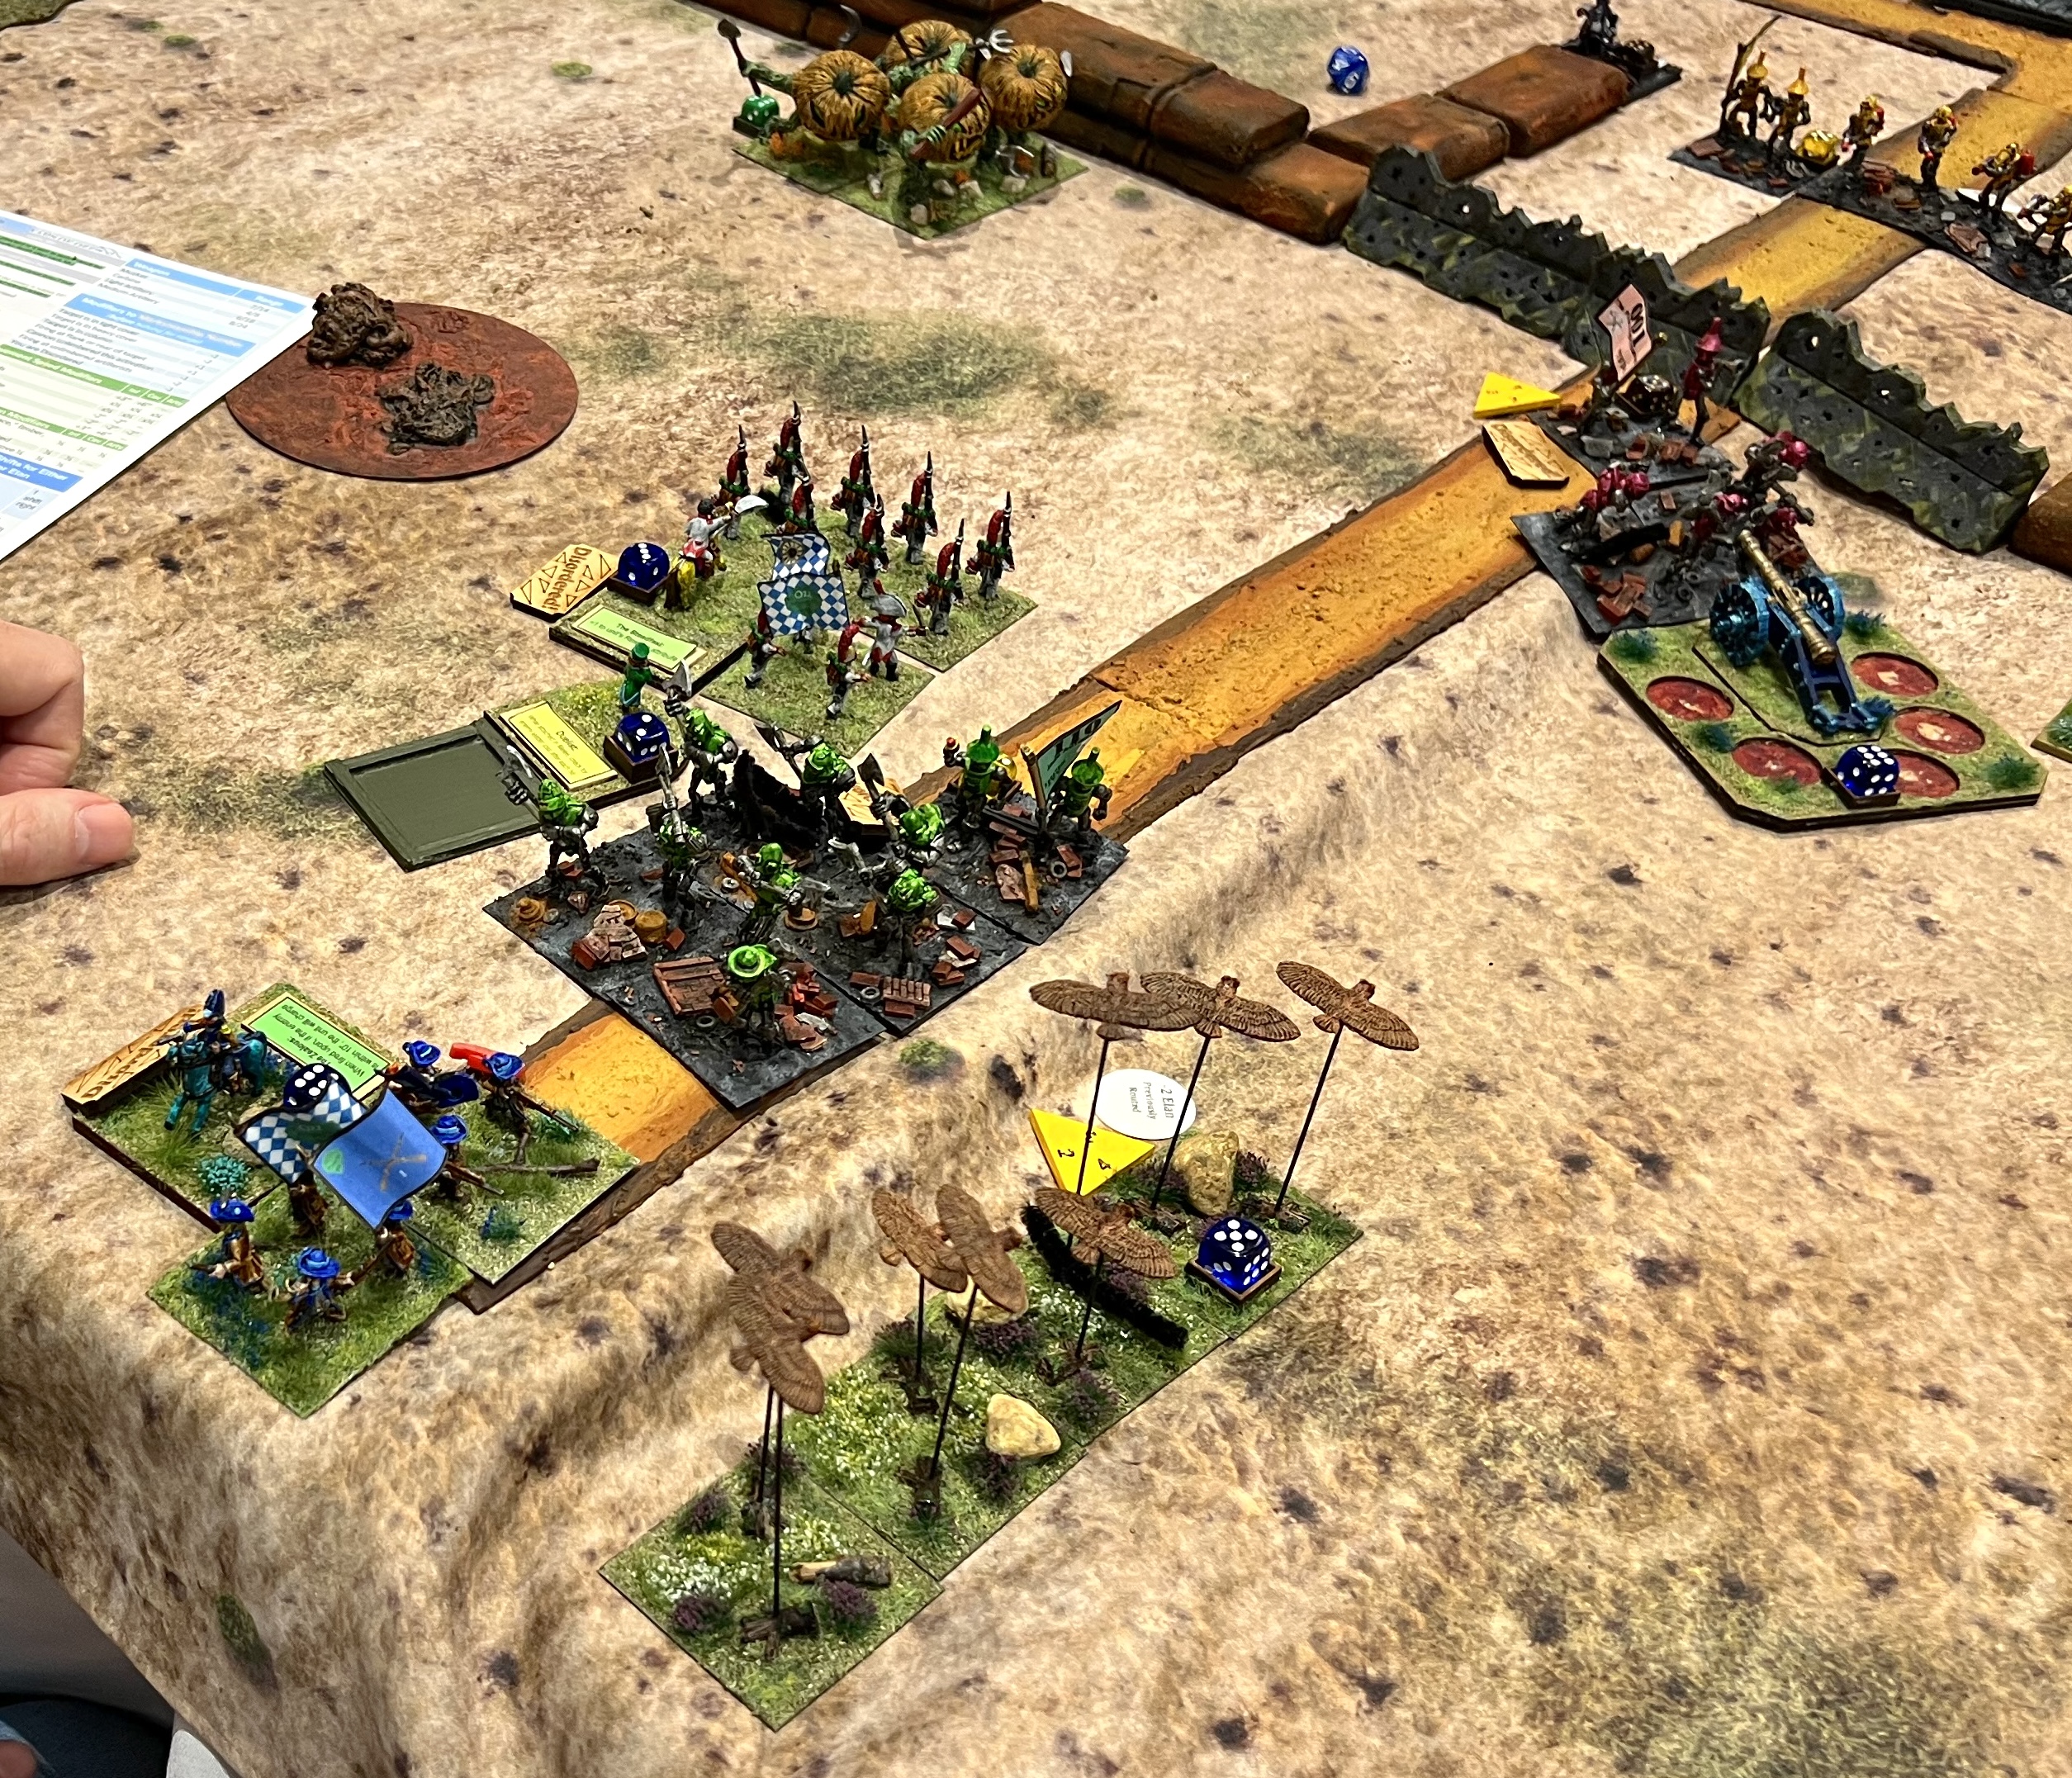
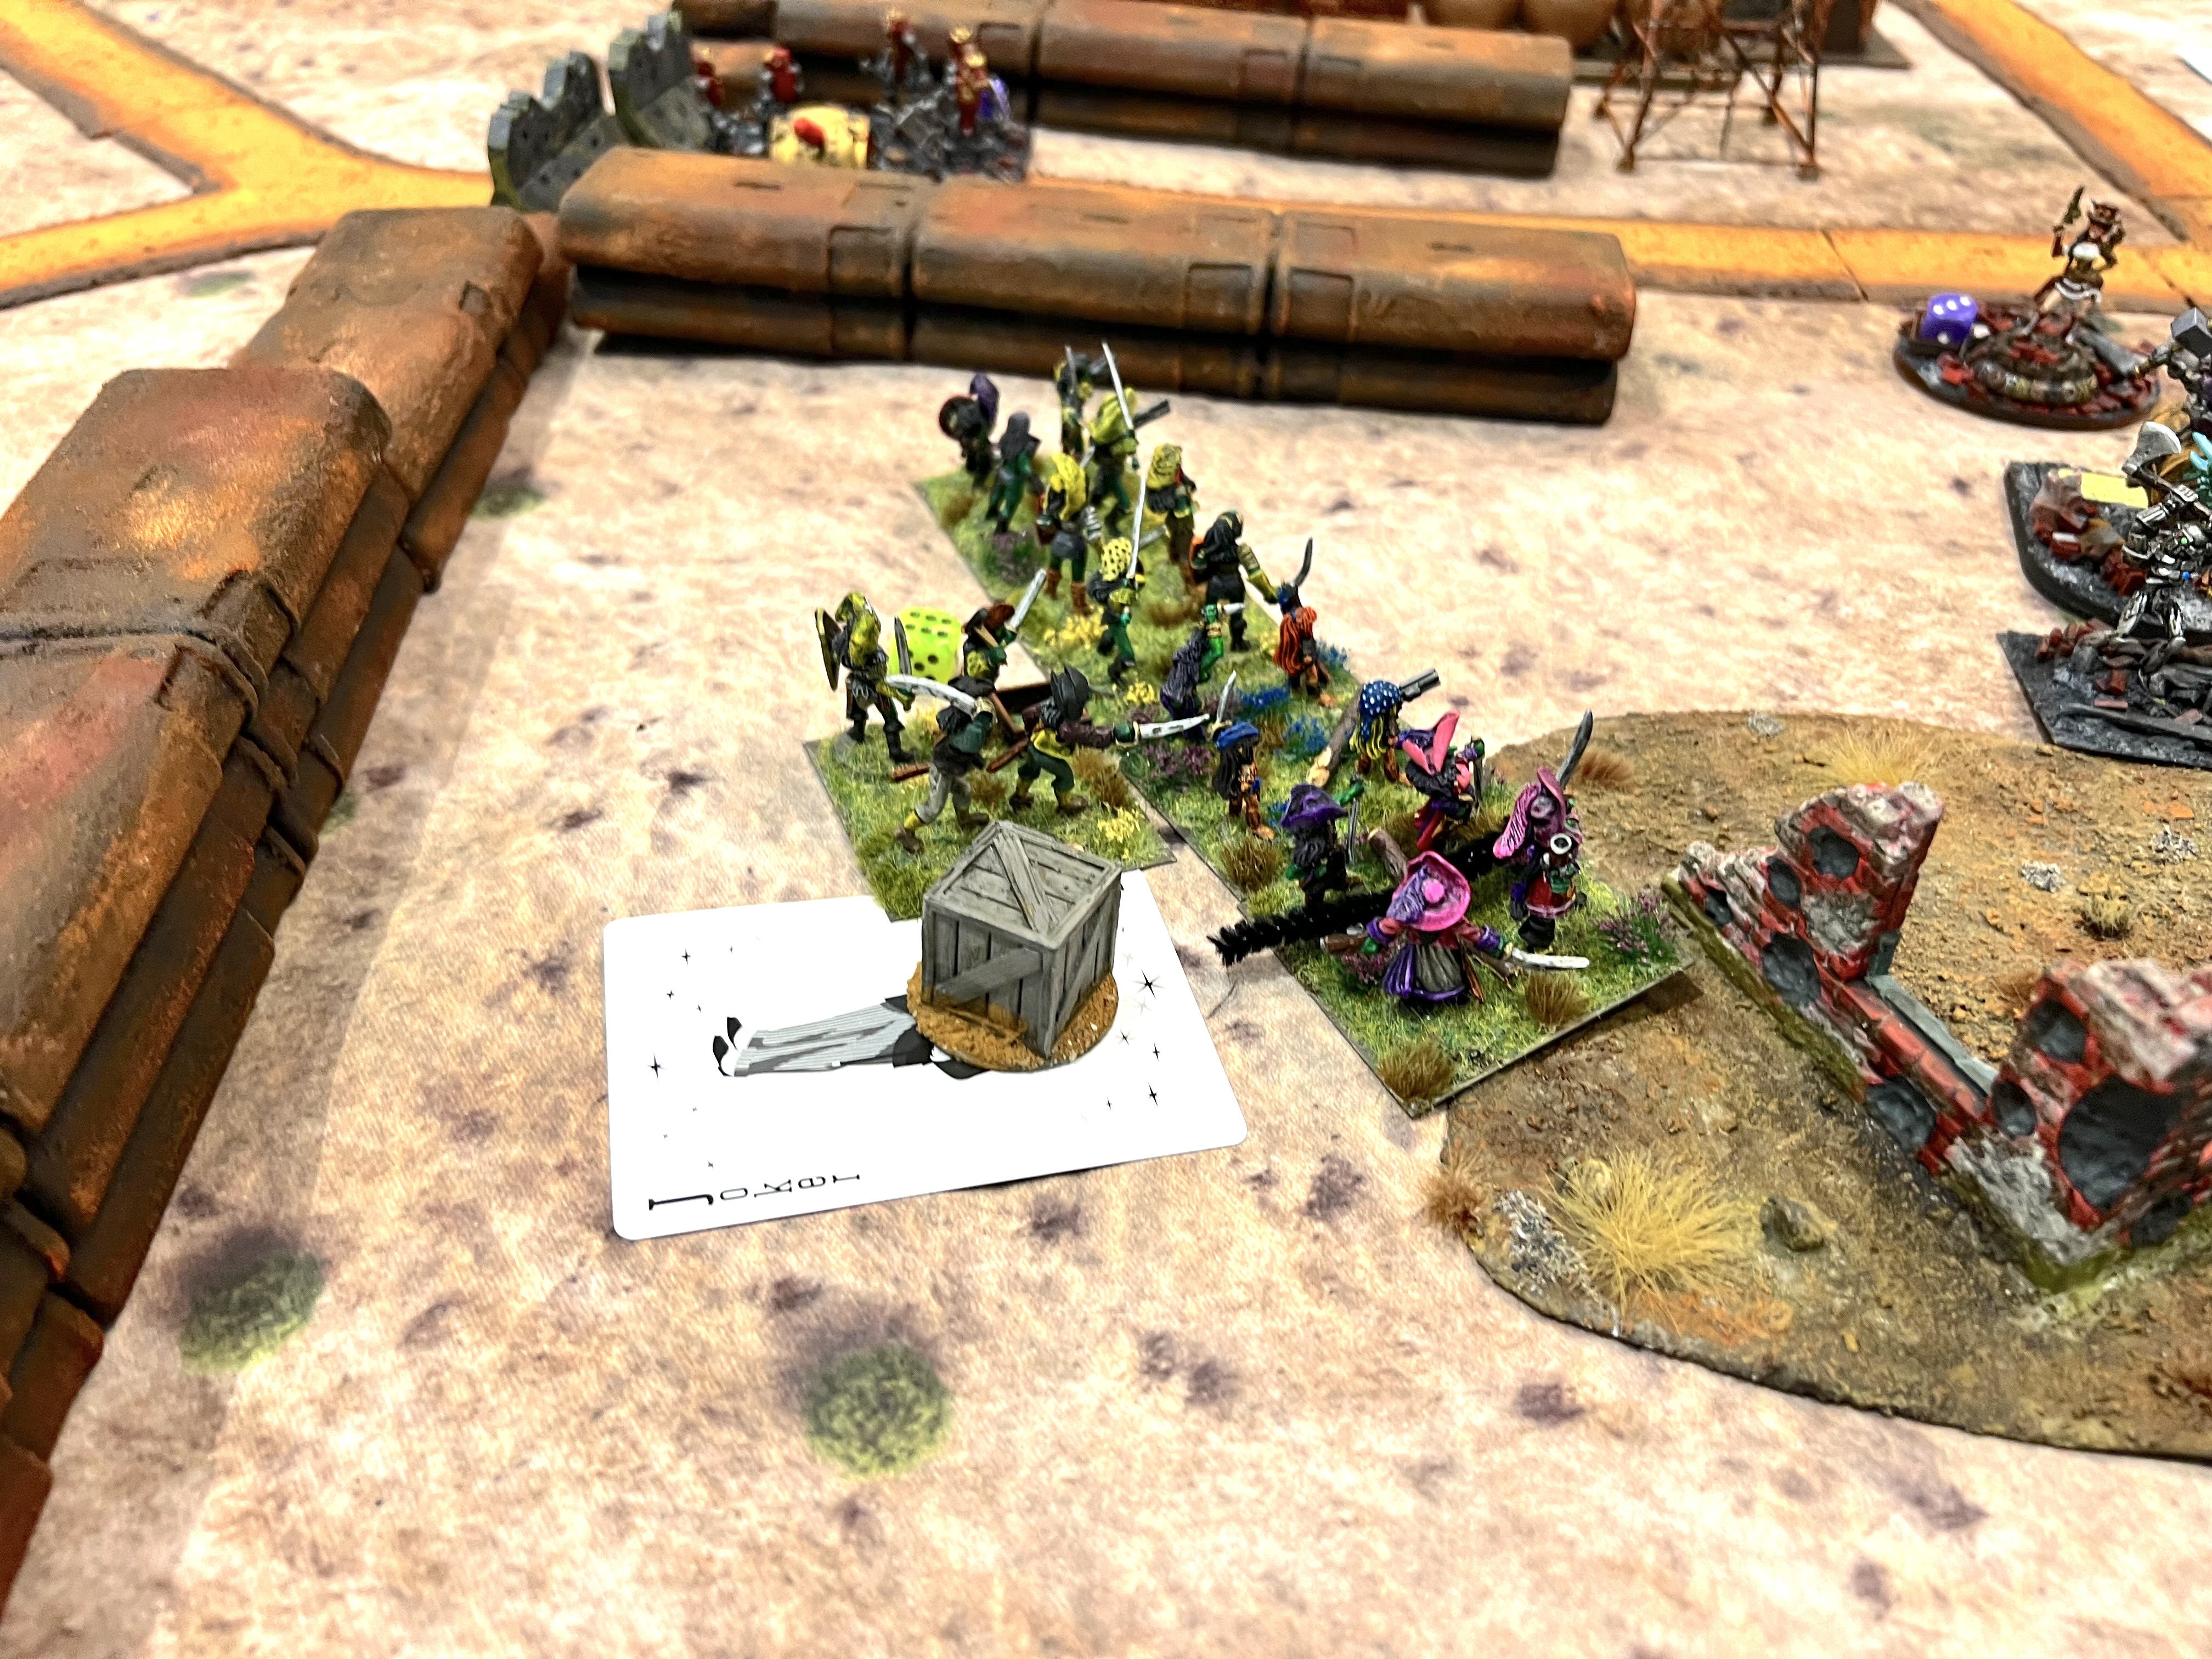
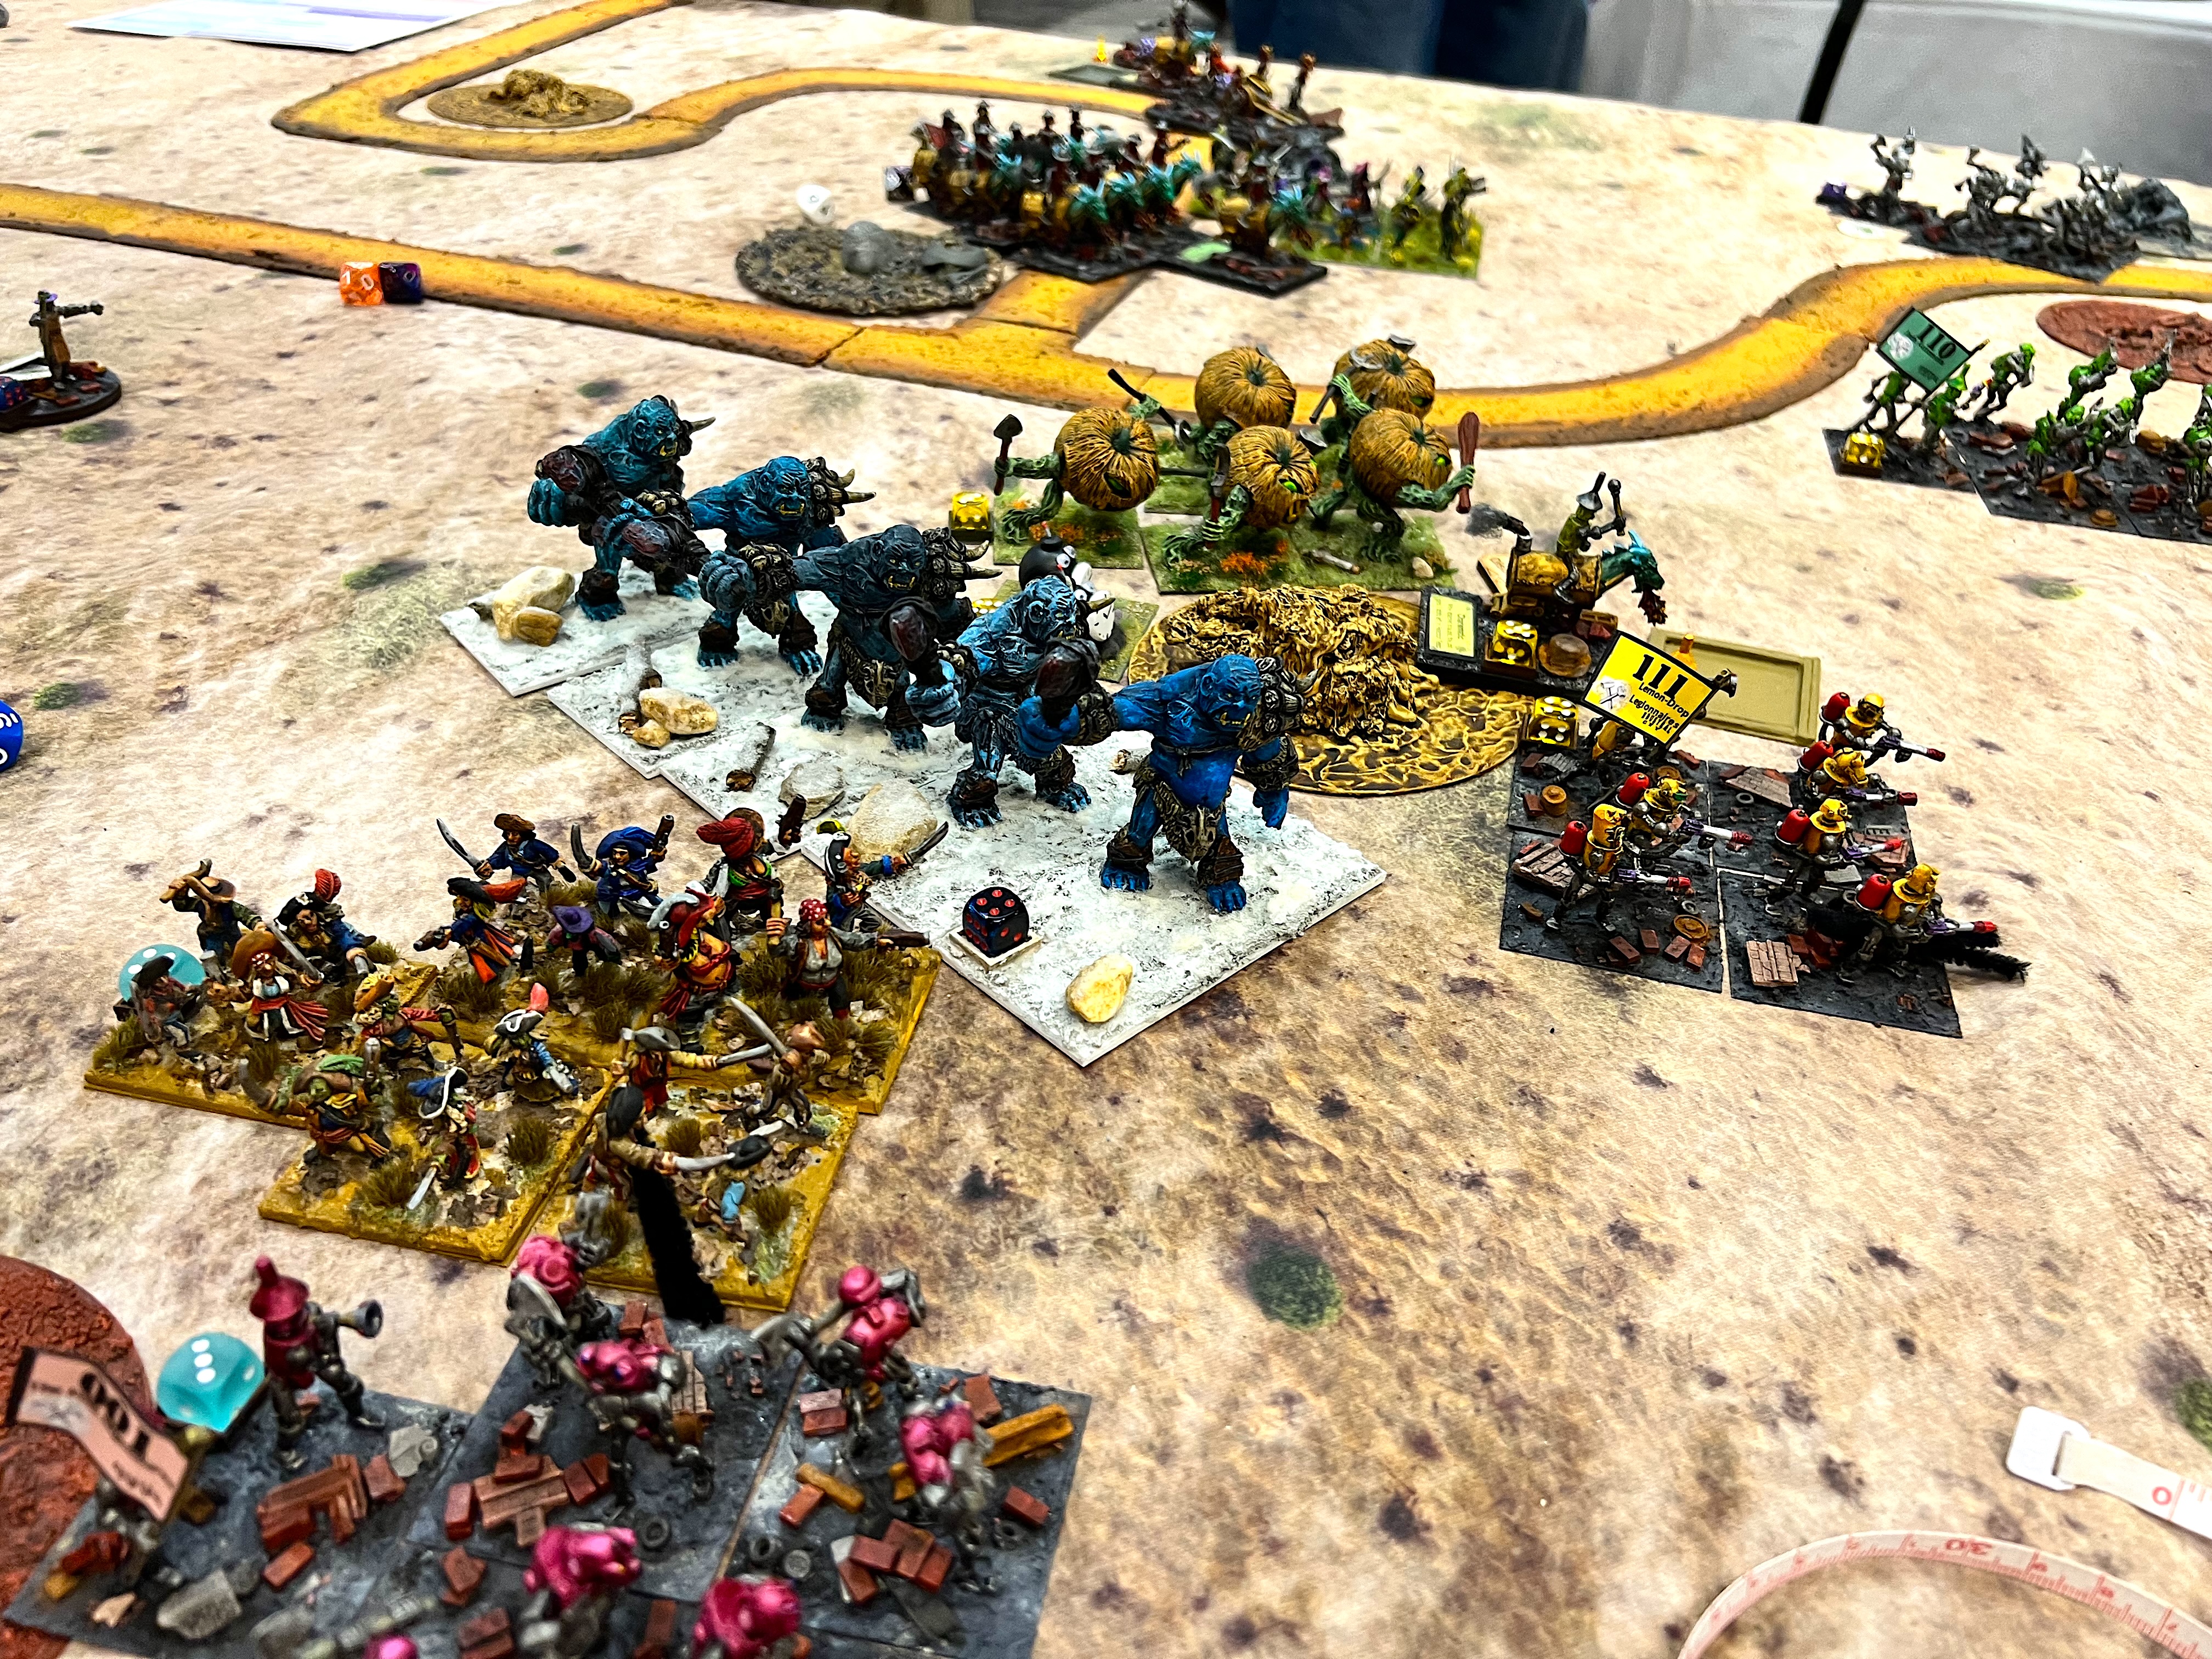
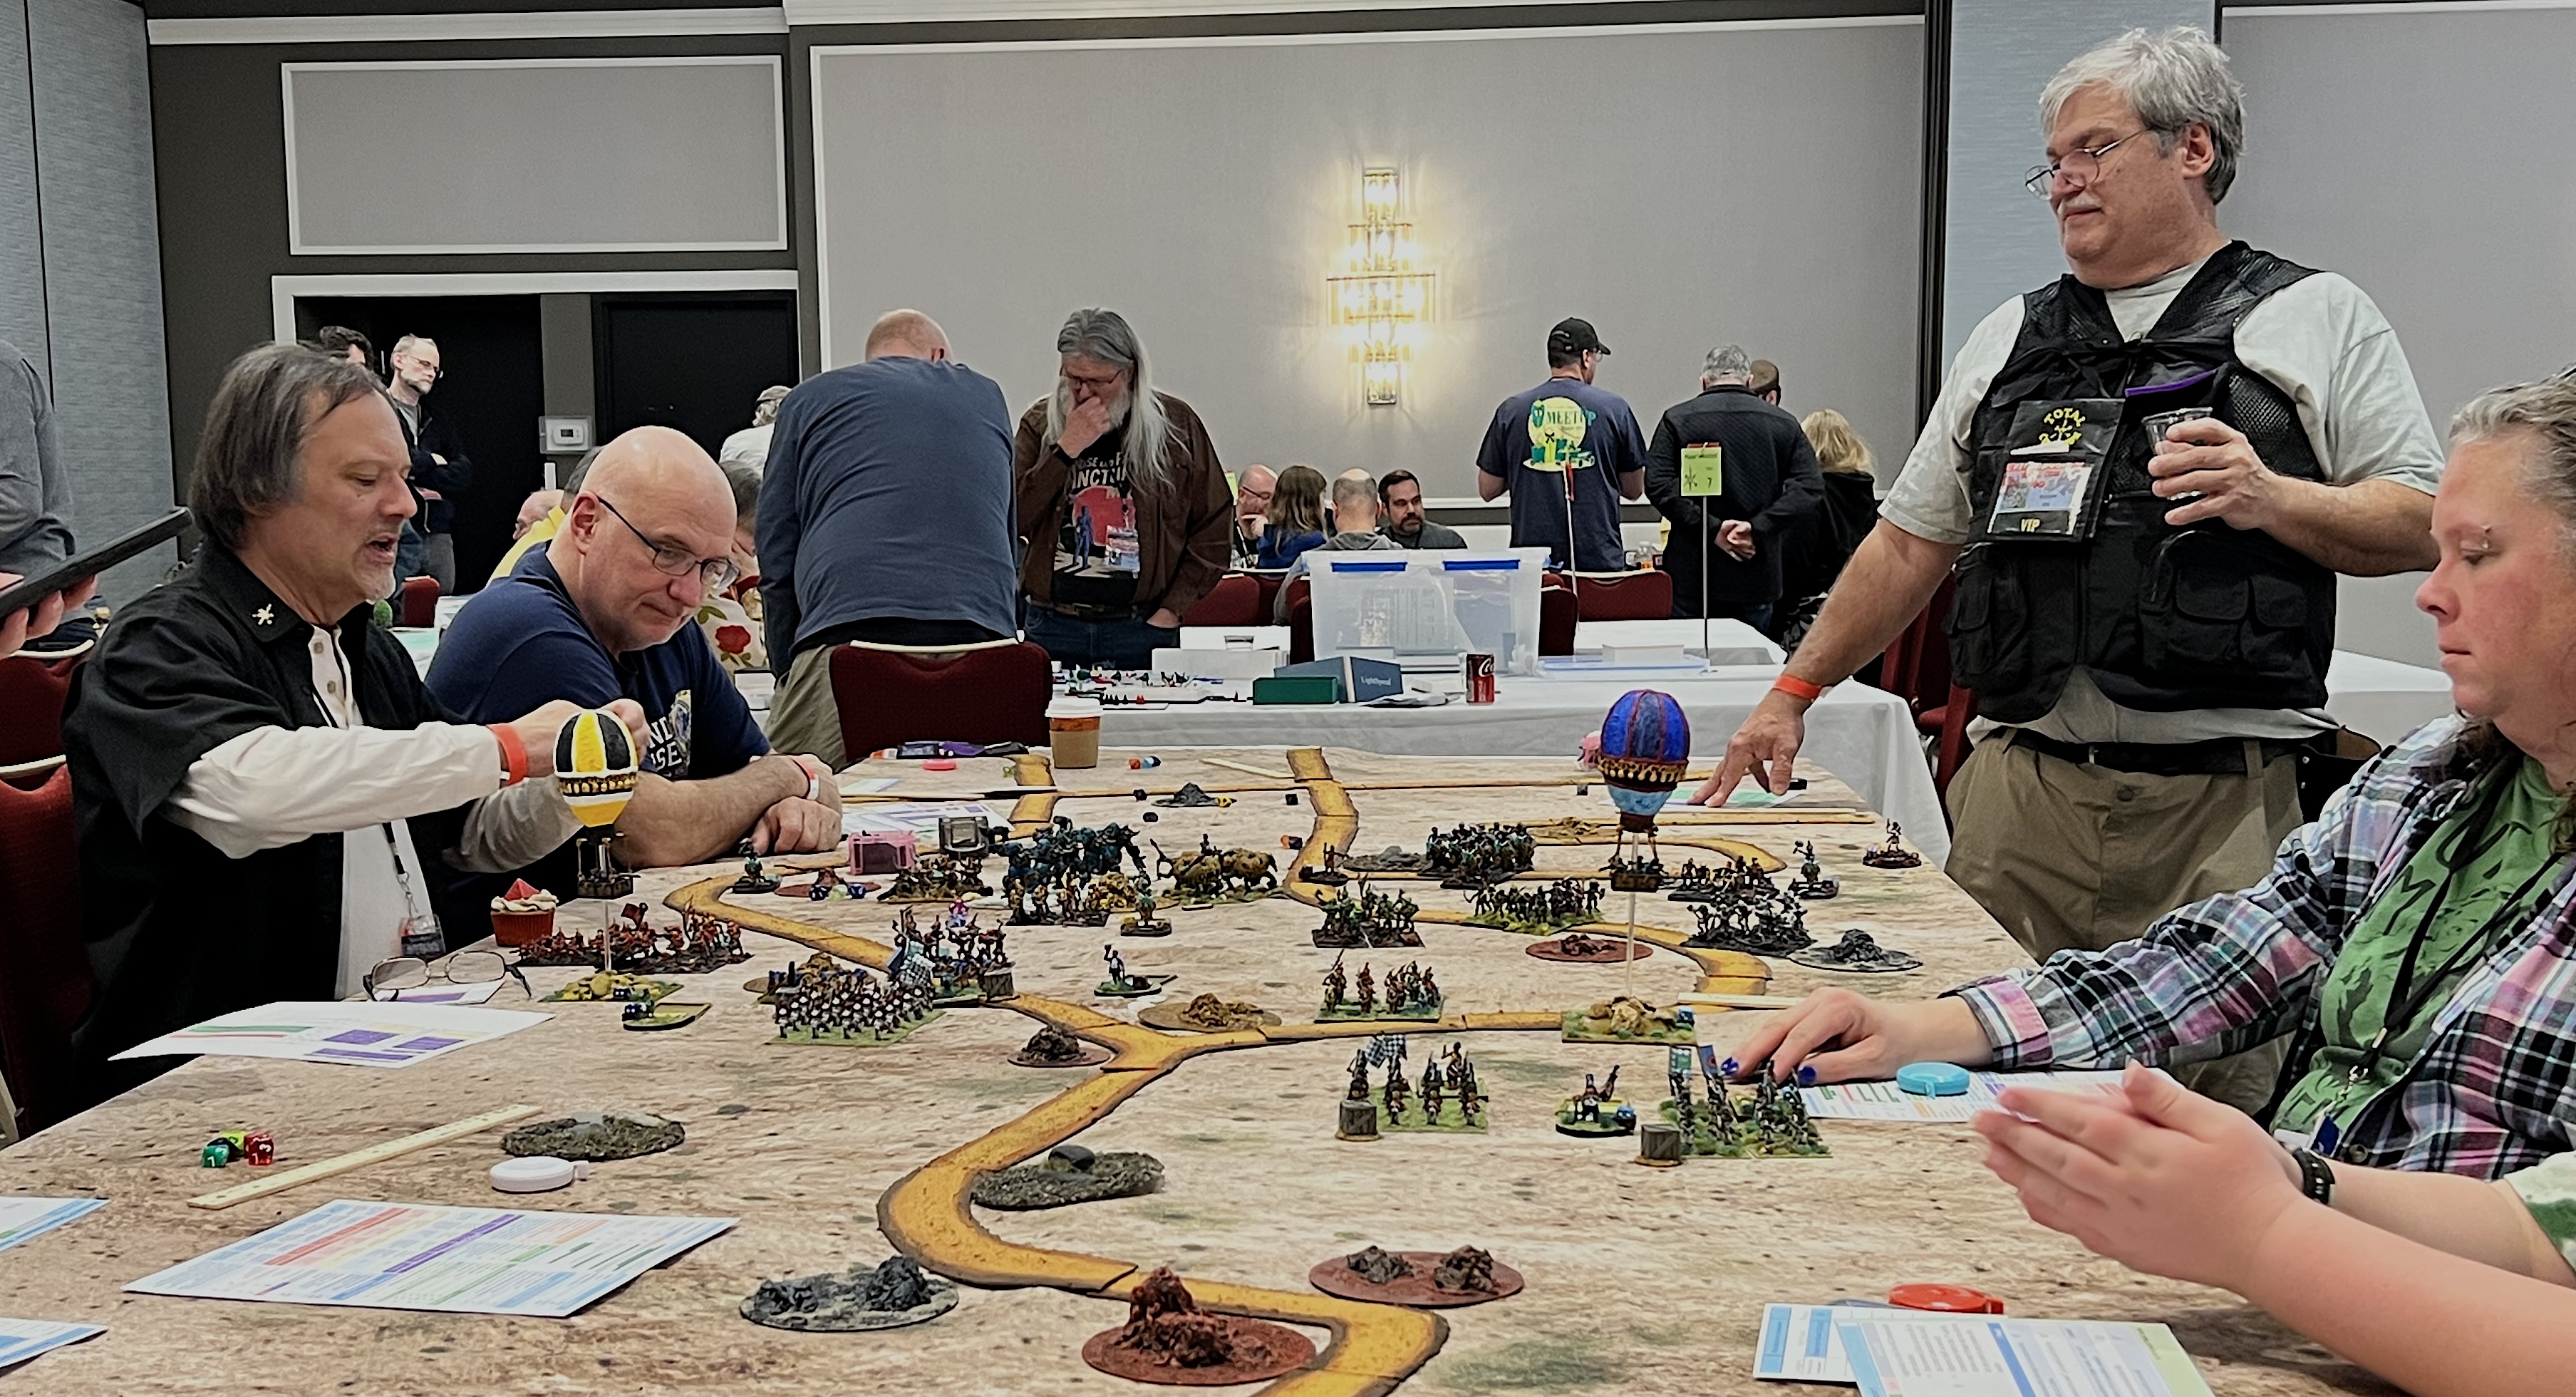
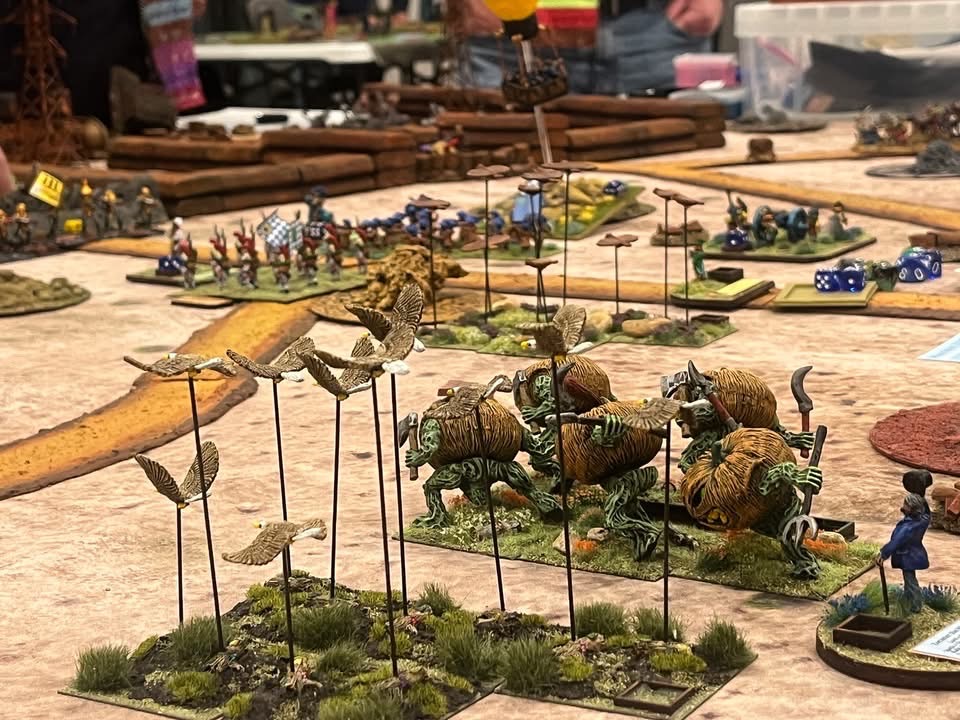
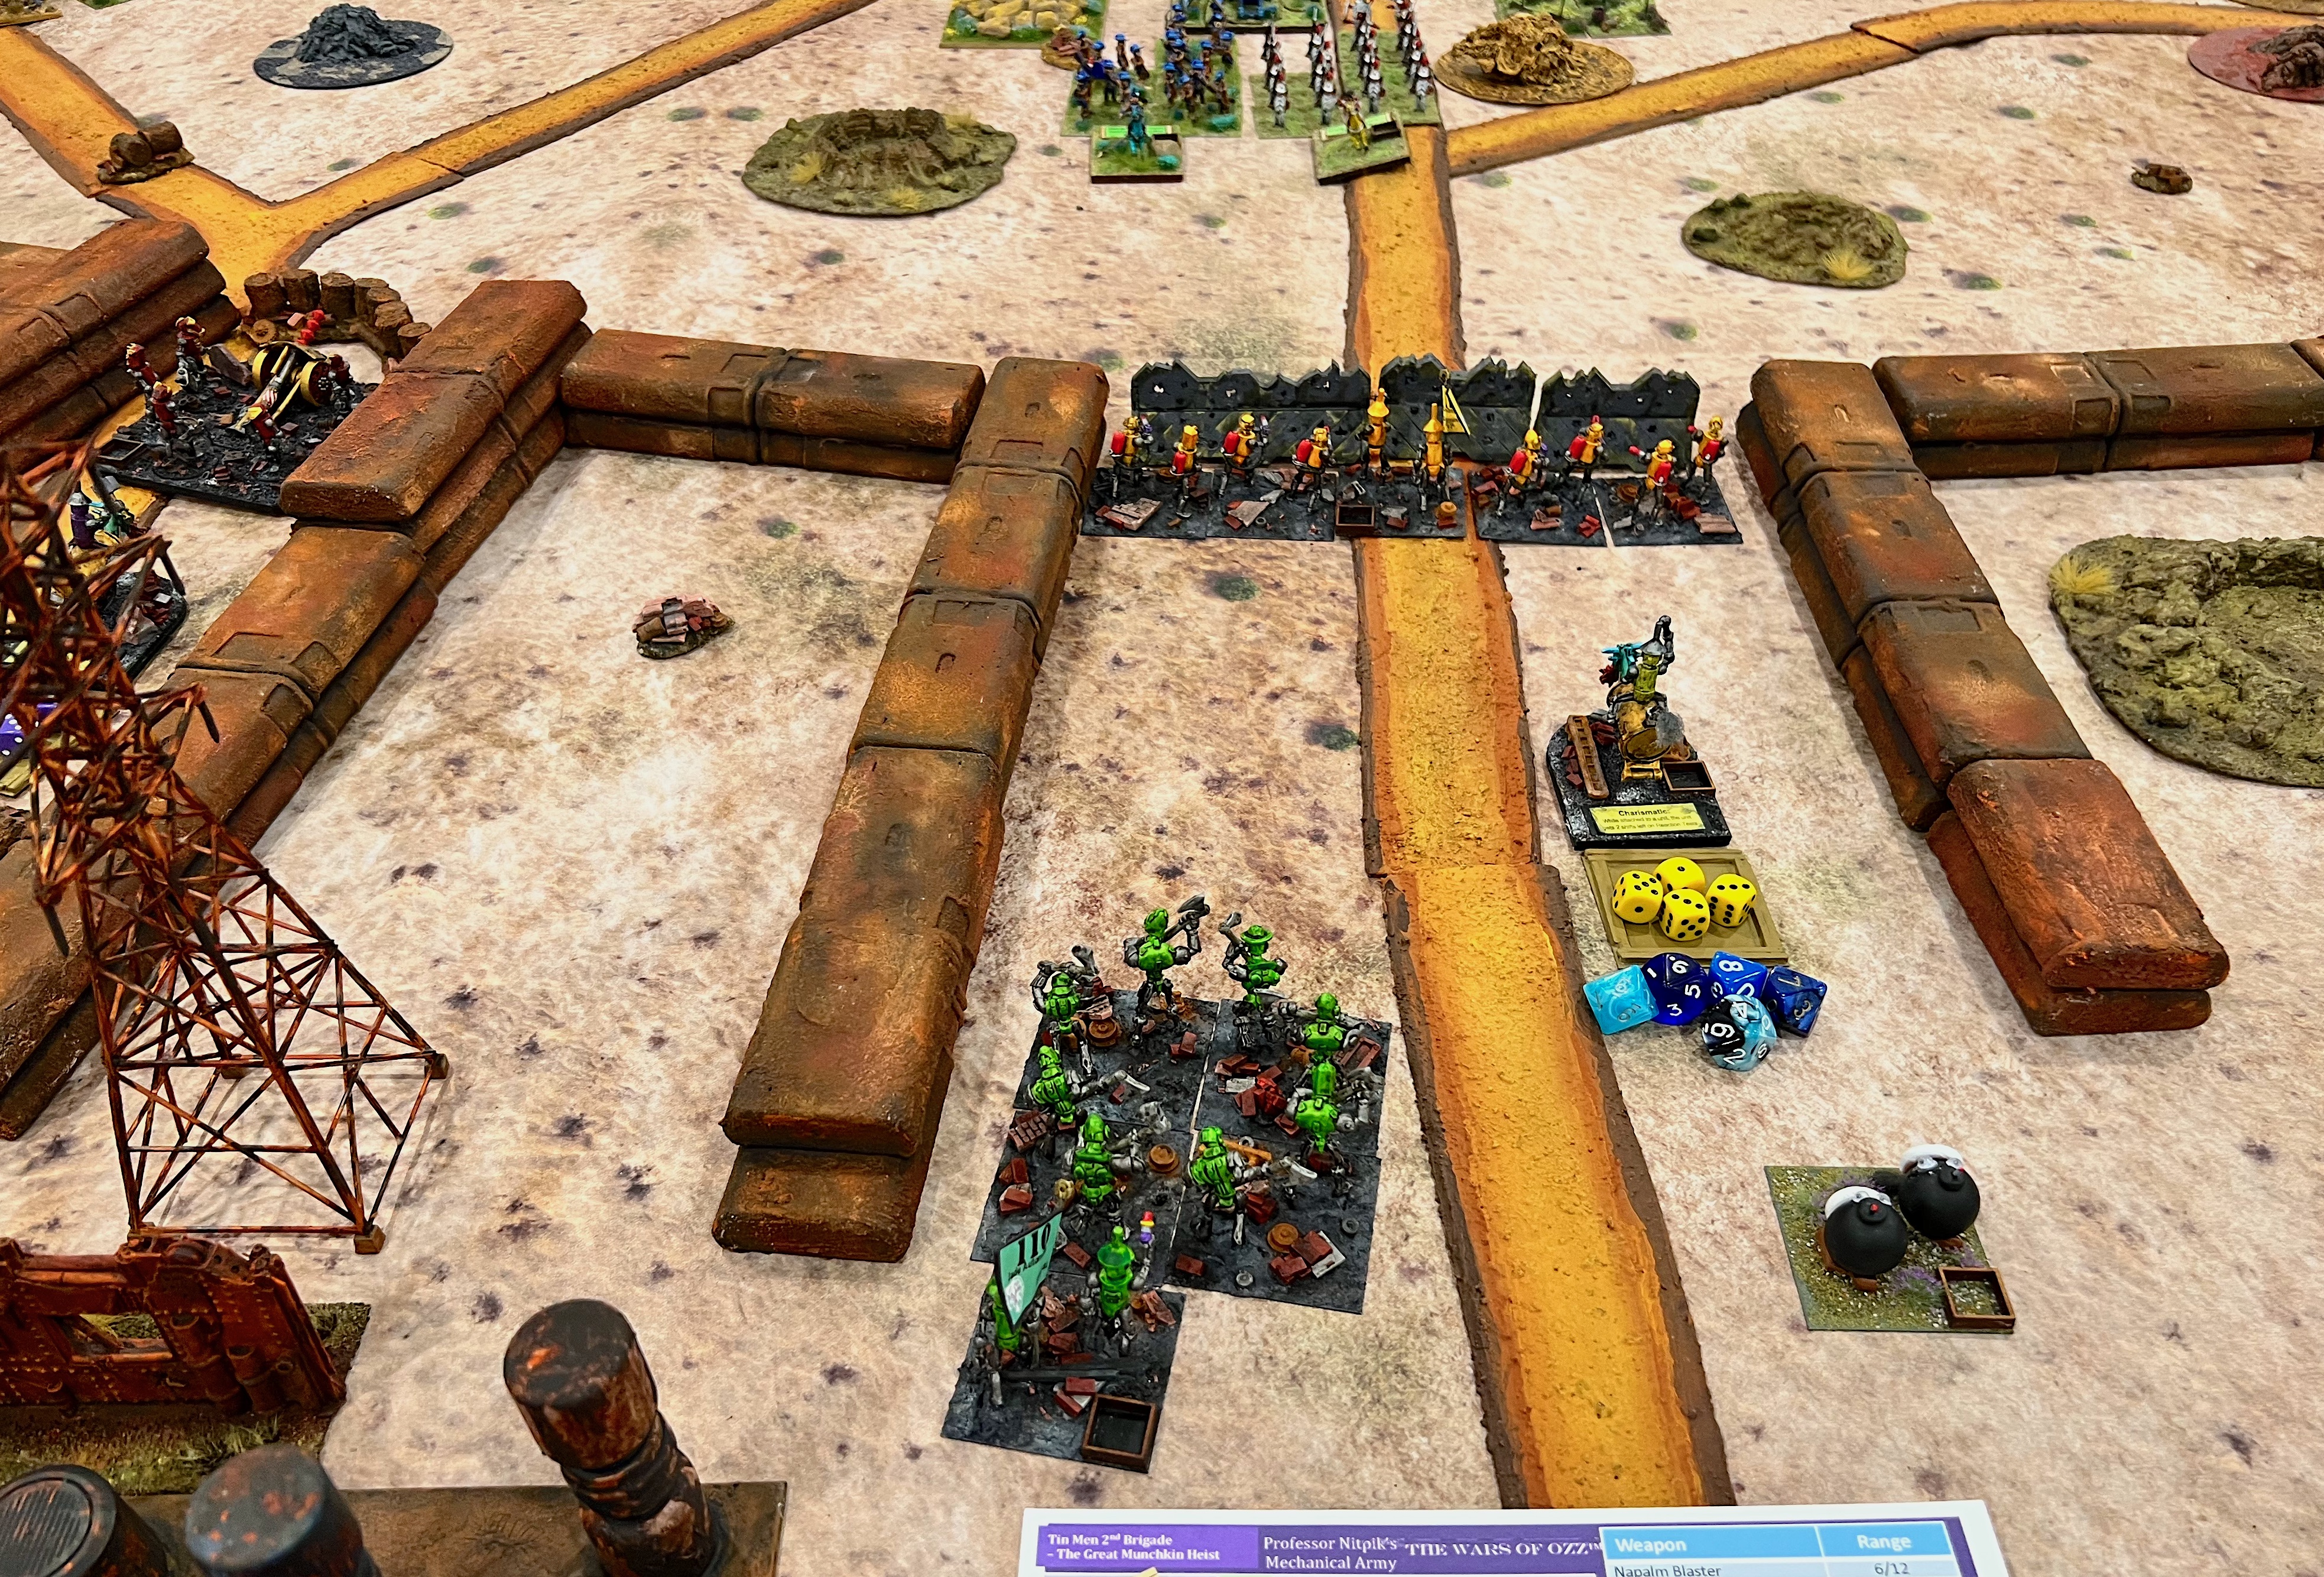
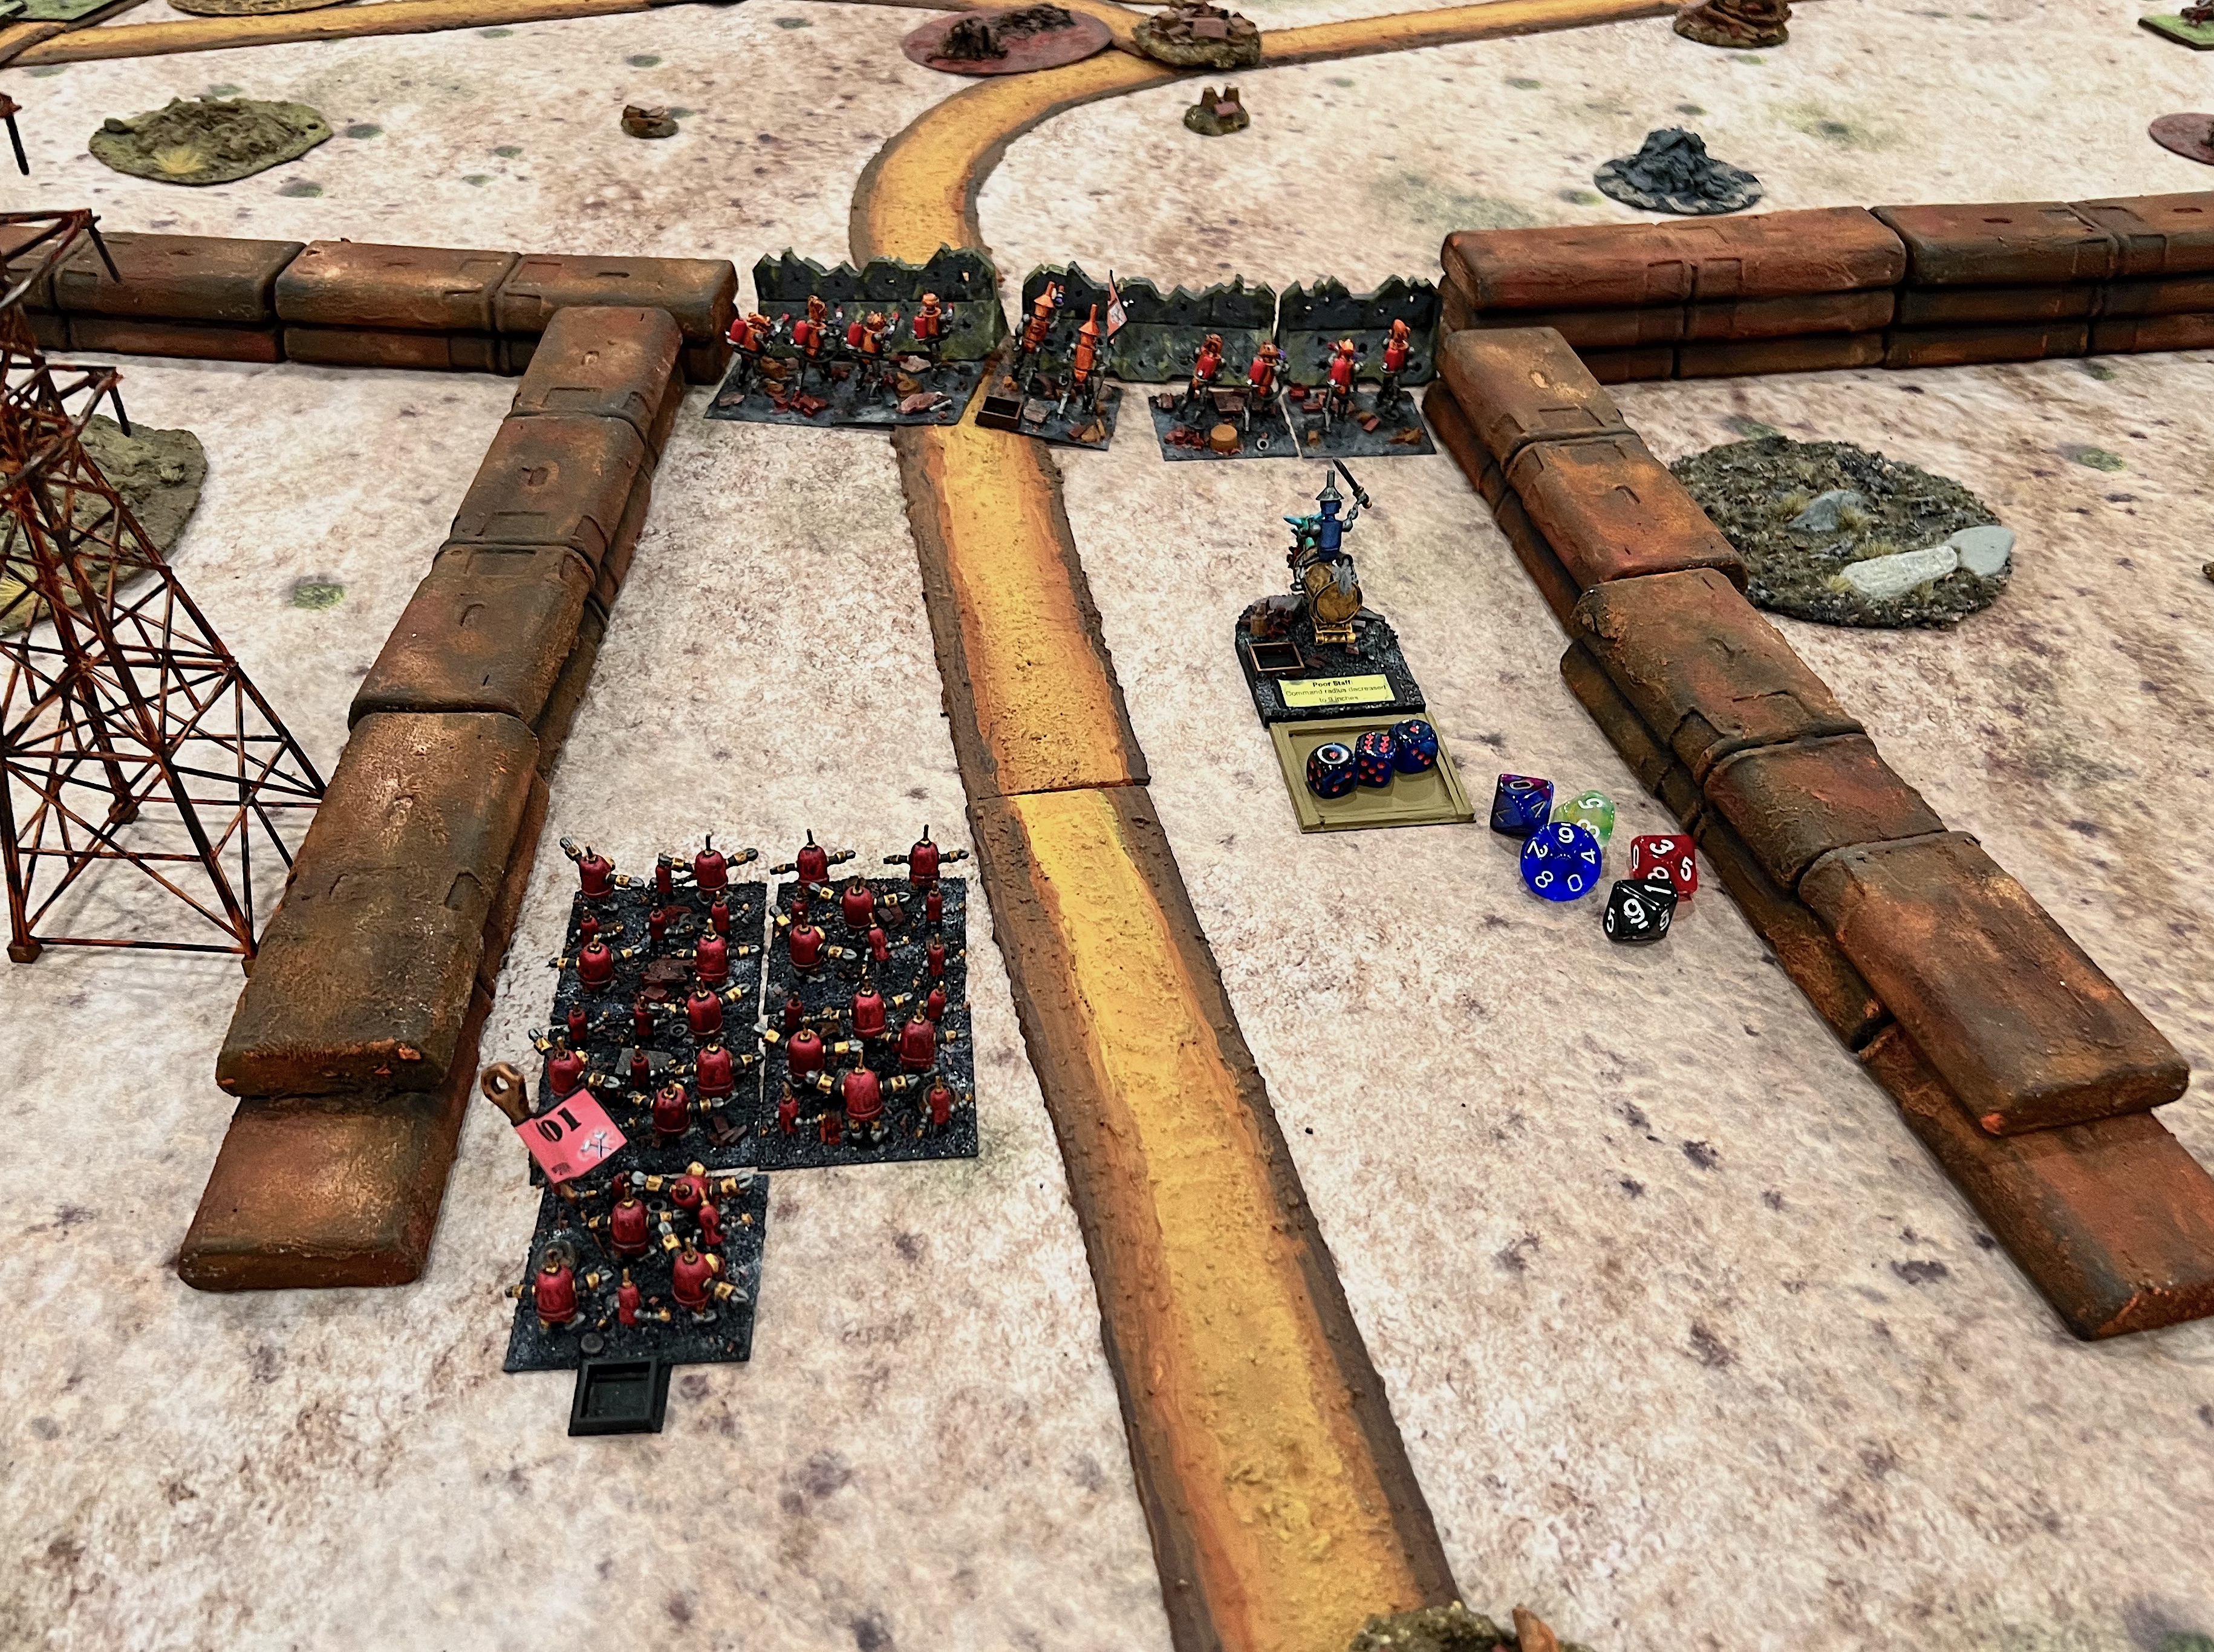
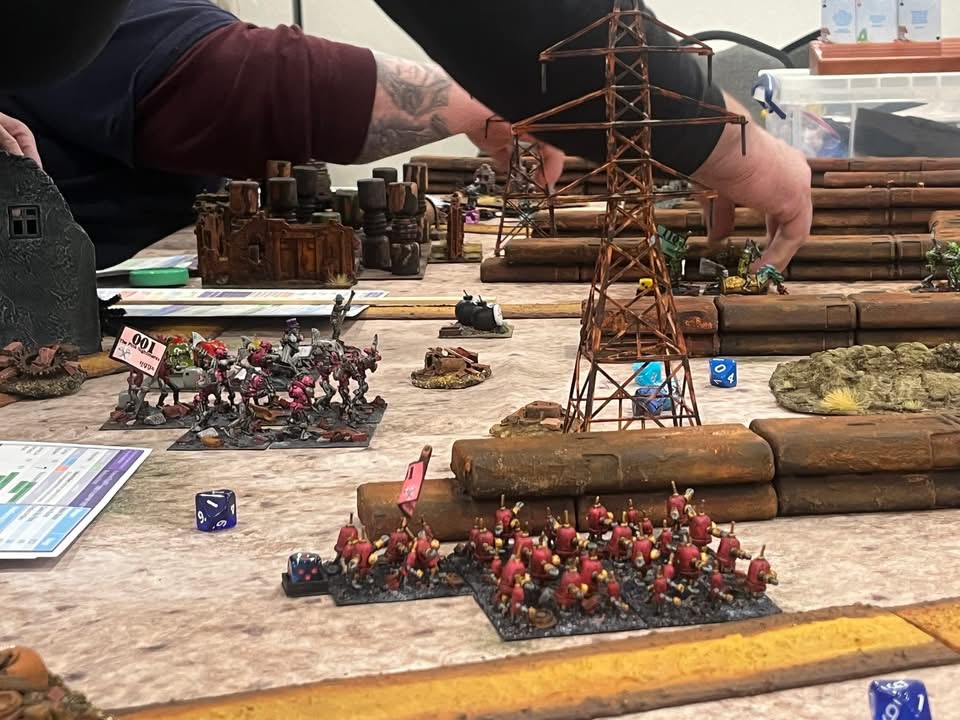
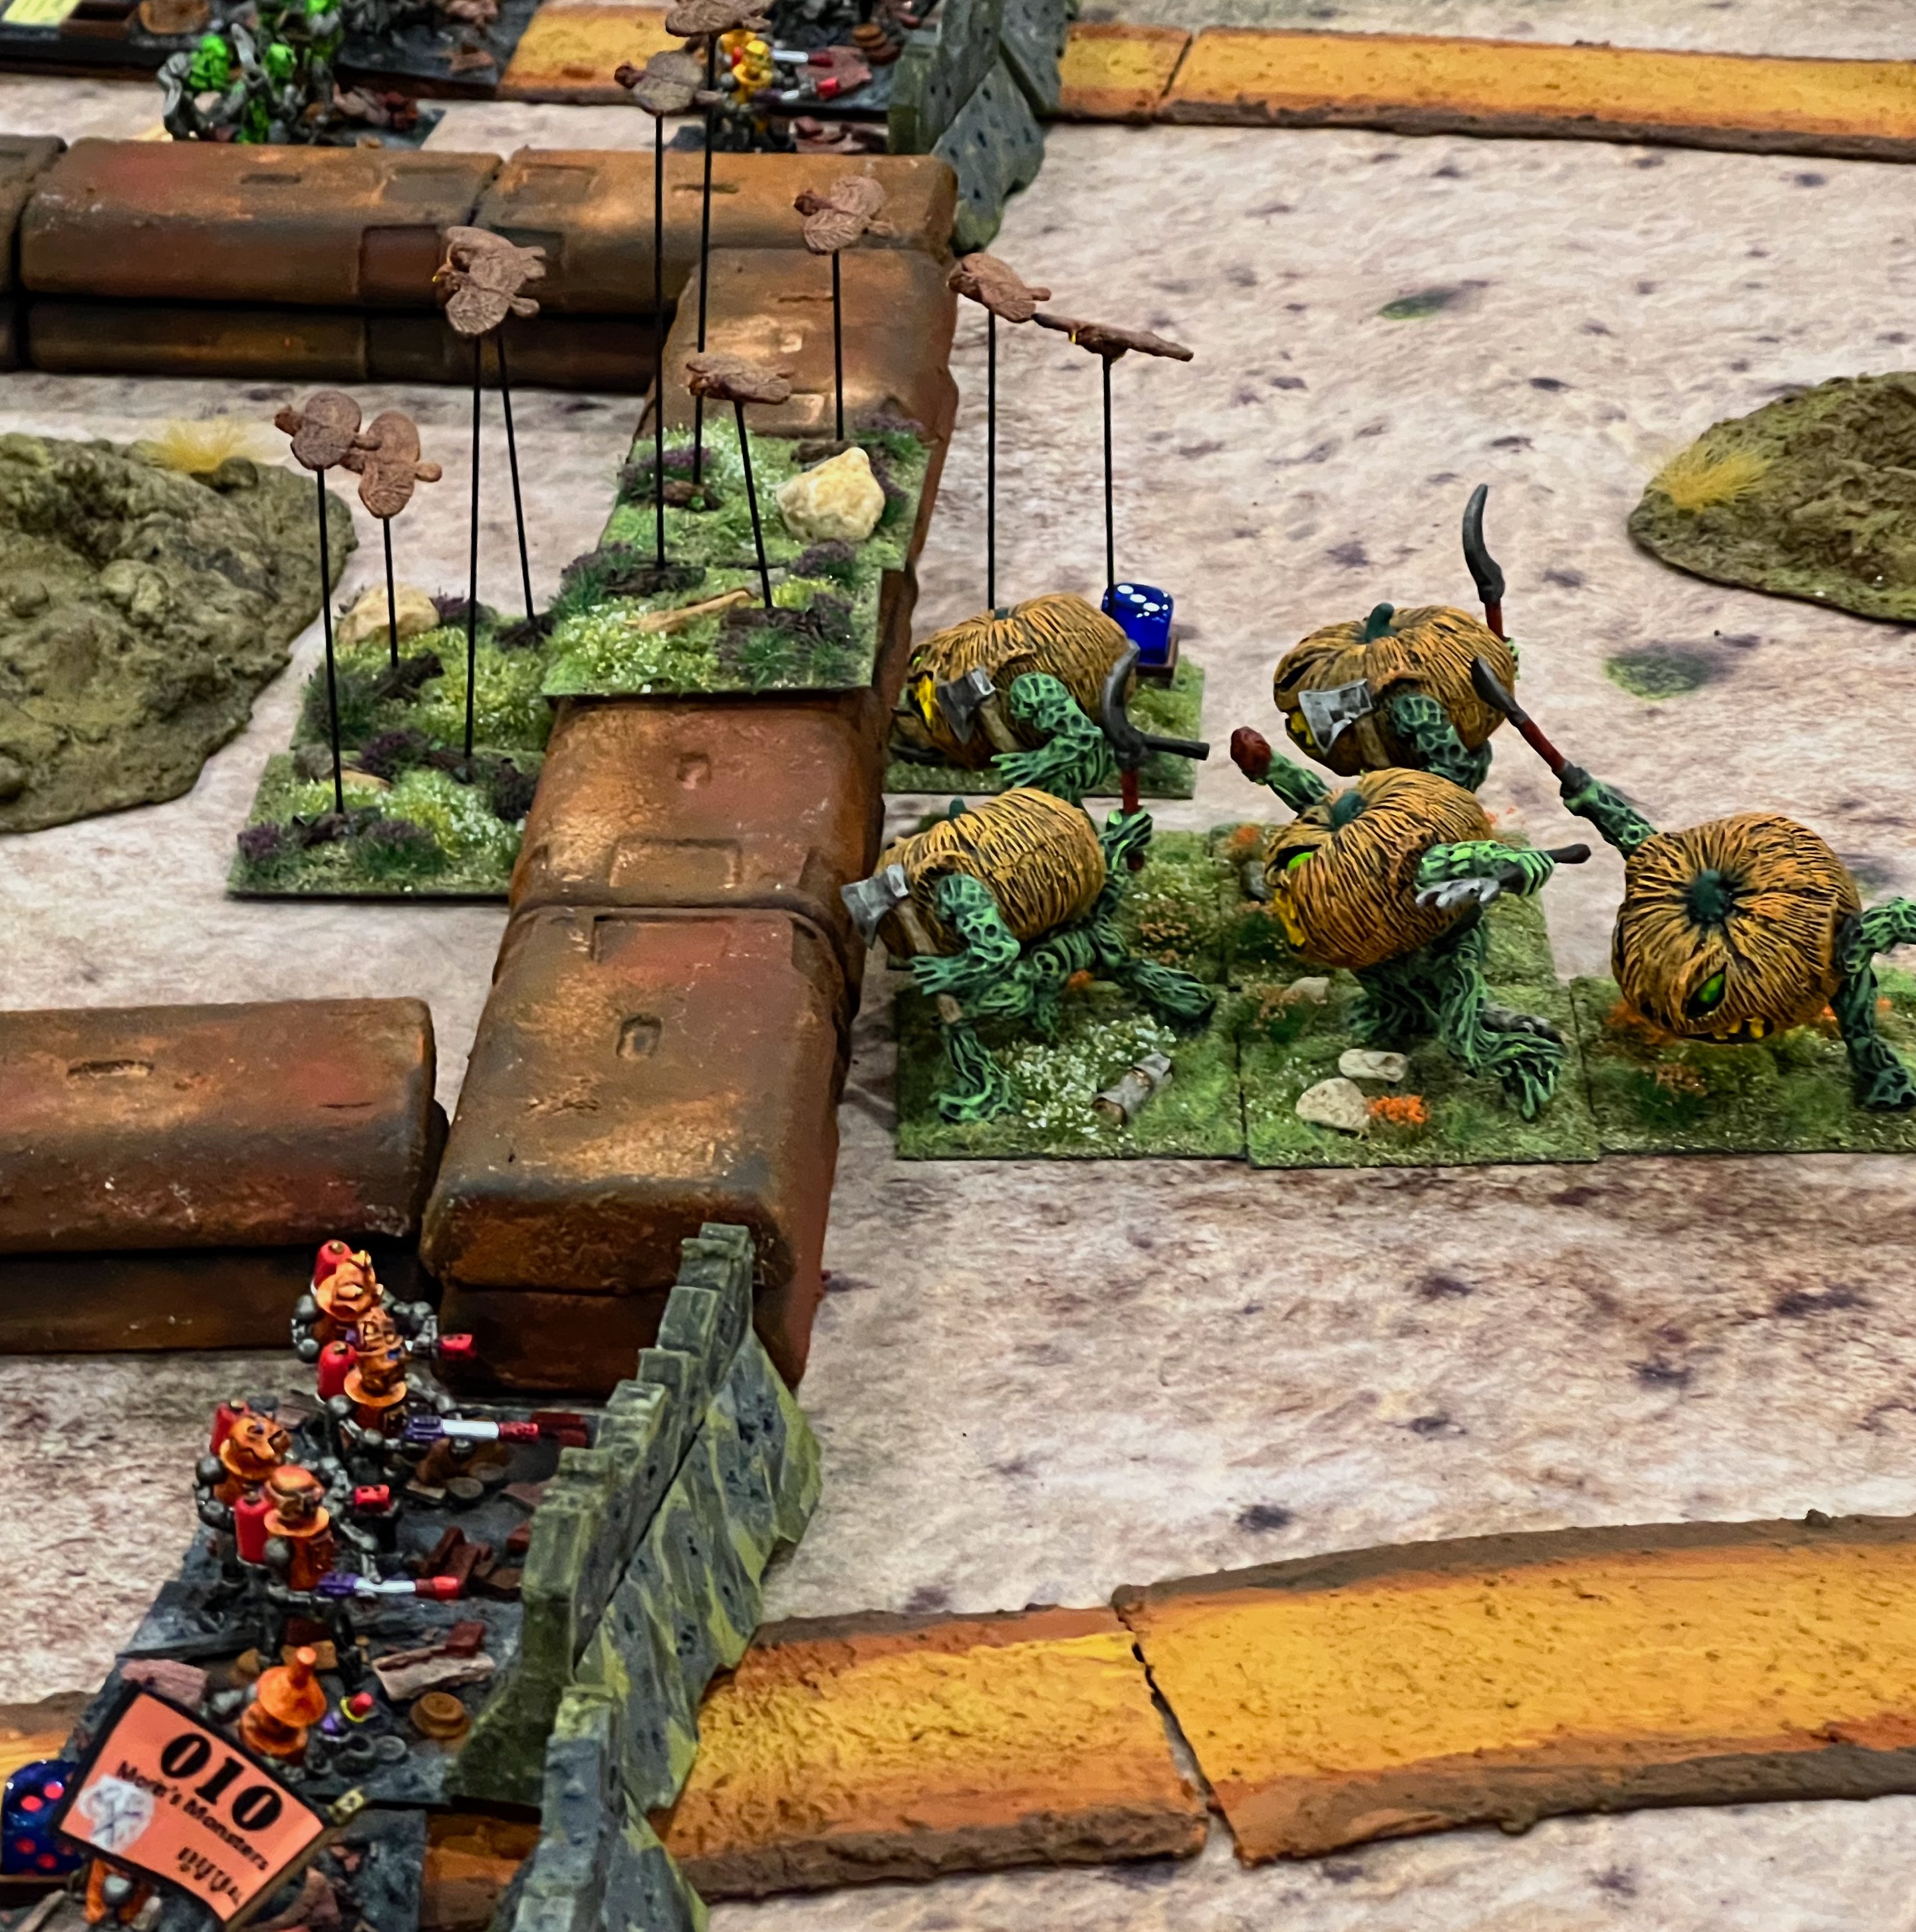
The game set up – I loved creating this panoramic expanse!Players arrive – once again demand to play was high!1st Munchkin Brigade set upThat’s a full game!Nitpik’s “Morin’s Monsters” armed with napalm blasters hope to cook up some Great Pumpkinheads.A regiment of Great Owls (Munchkin allies) overflies the Lemon Drop Legionnaires and hits them in the rear!Jinjur regiments (female pirates and Munchkin allies) breach the wall.The Munchkins breach the western gate and their light cavalry pours through to look for technological treasures.In the center, two axe-wielding Nitpik regiments have had enough of the Munchkins. The Jade Automata and the Pink Nightmare regiments charge over their defensive wall. Their counterattack wipes out the Munchkin artillery and drives two Munchkin infantry regiments from the game.Another view of that mechanical counterattack.Meanwhile, the cleaver Jinjur pirates locate some of Nitpik’s technological wonders in a wrecked building.
The game ended – in a dead tie 23-23! A real nail-biter to be sure!
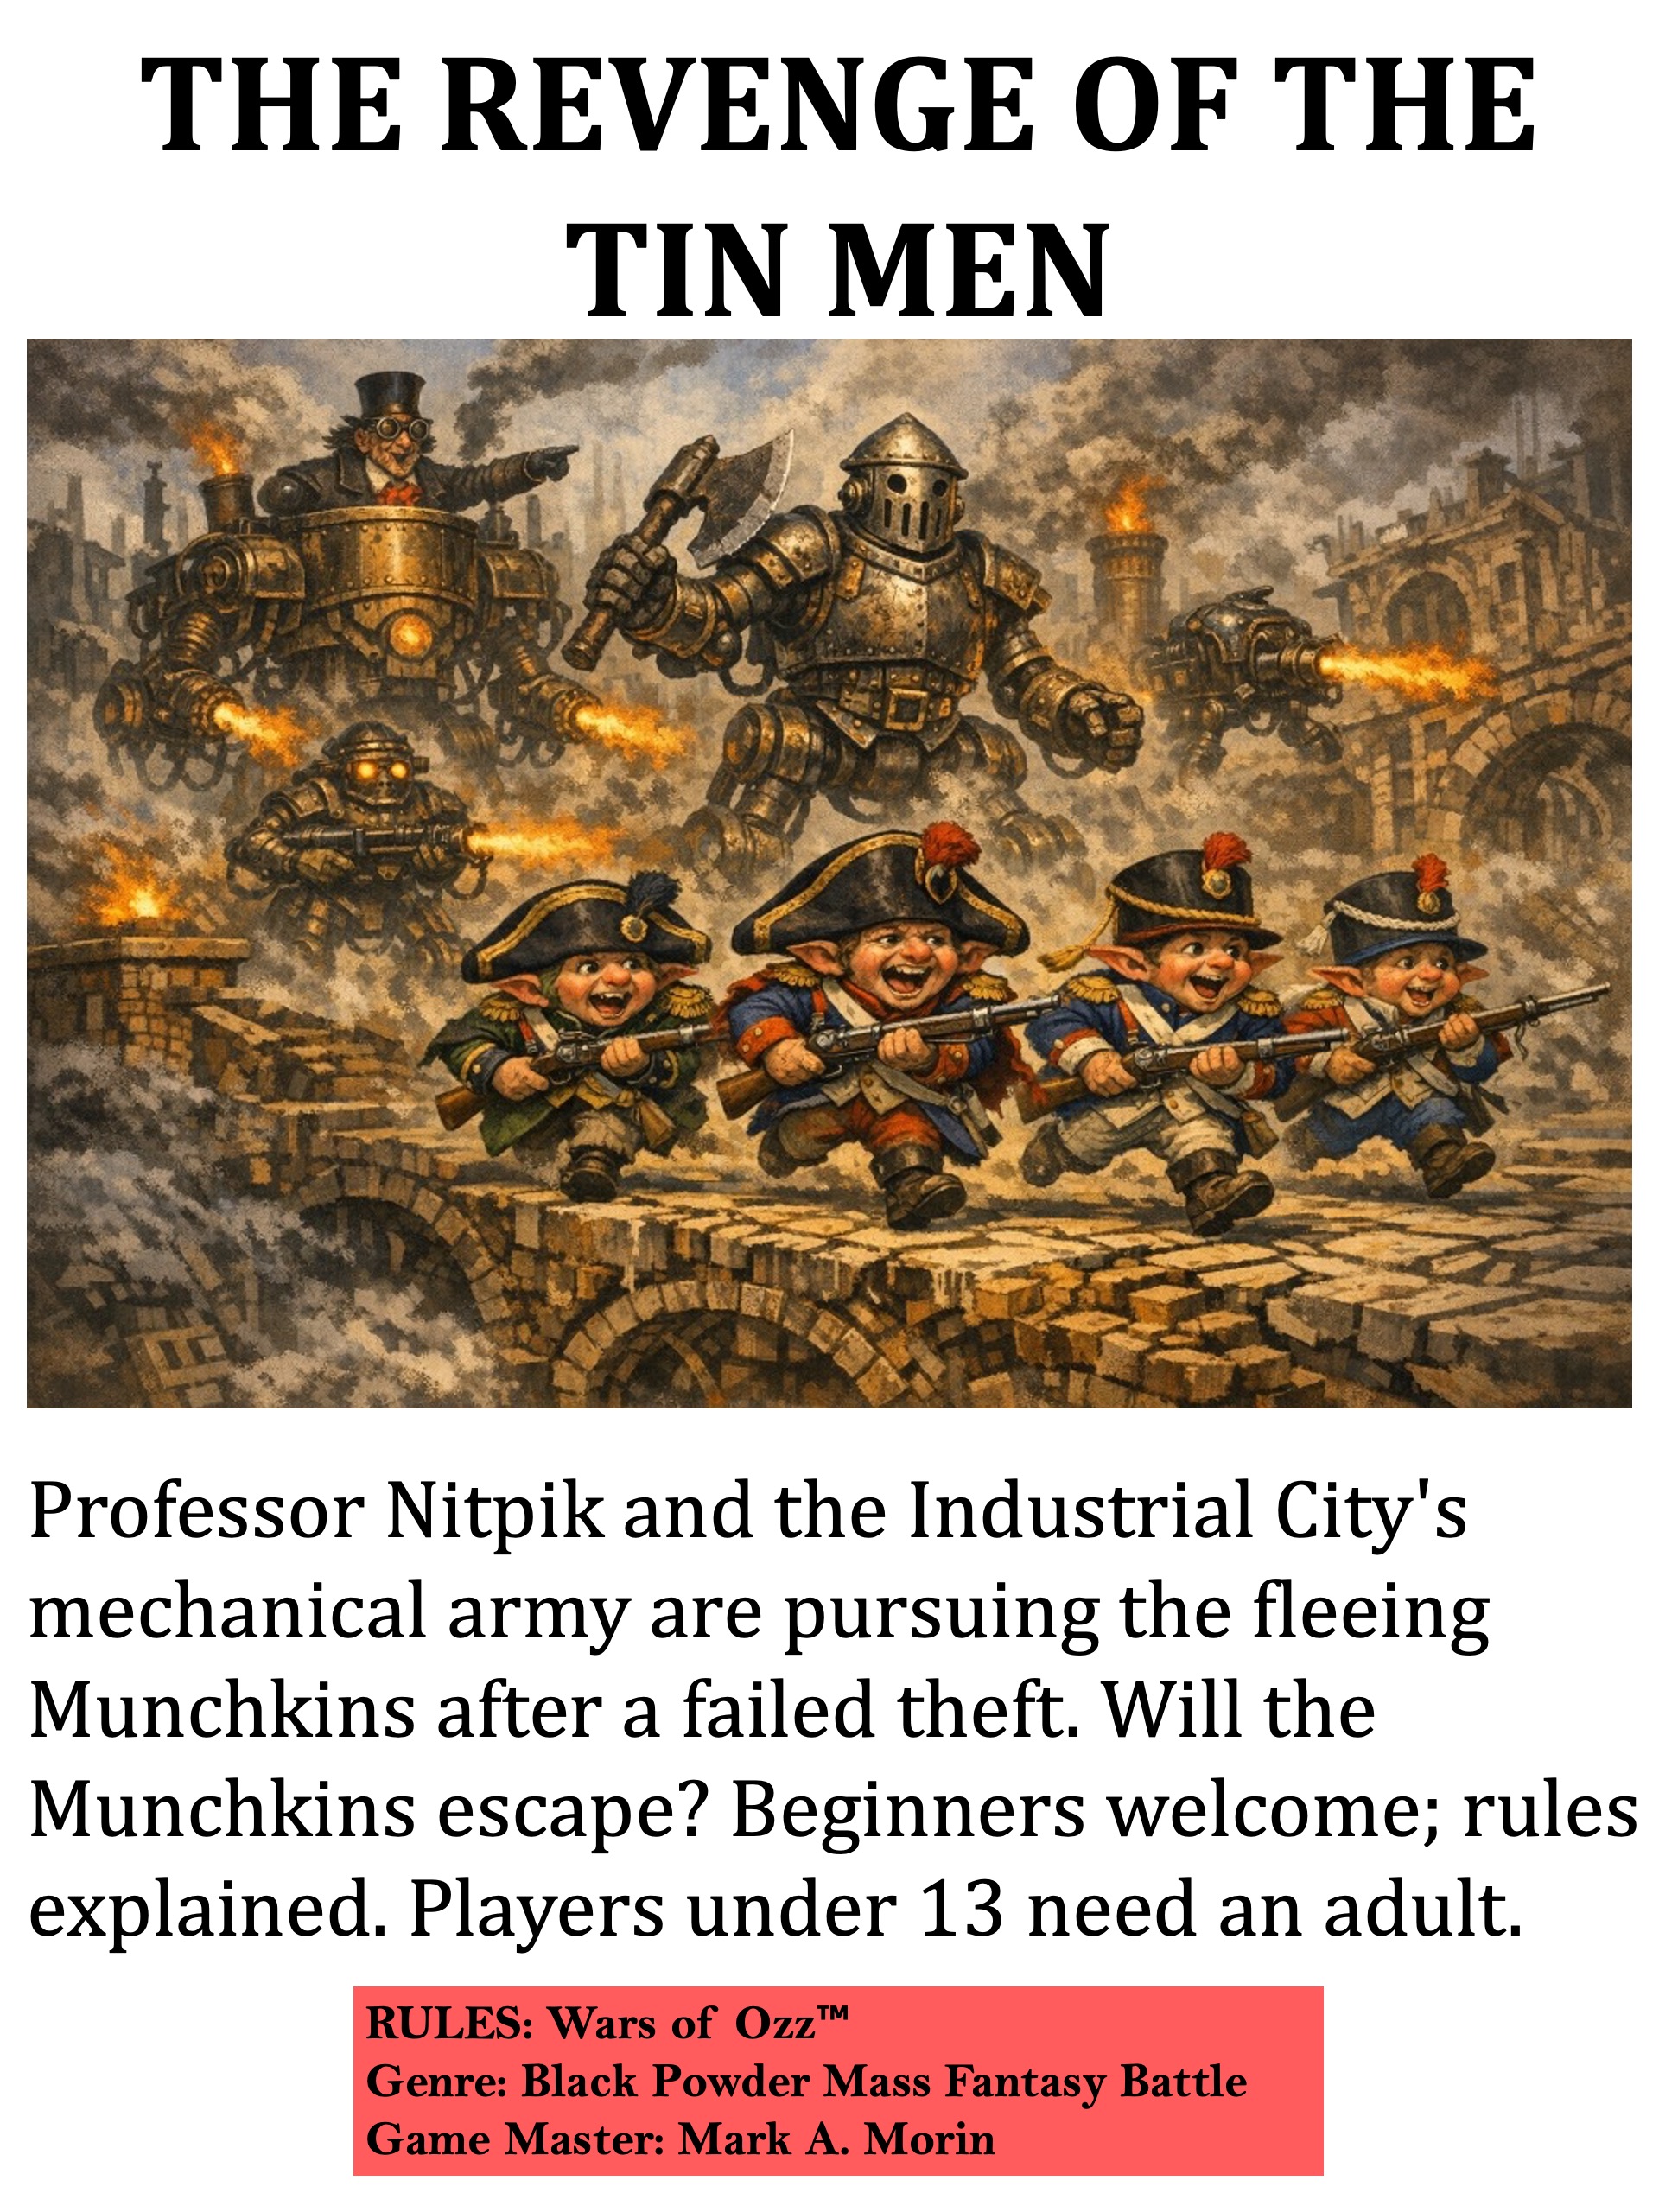
The next game builds on this one. The Munchkins have found technology, but welshed on their agreement to share! Thus, they betrayed their allies. As a result, their former allies have jumped over to the Nitpik side. The Munchkins are fleeing to safety, with Nitpik in hot pursuit.
Revenge of the Tin Men
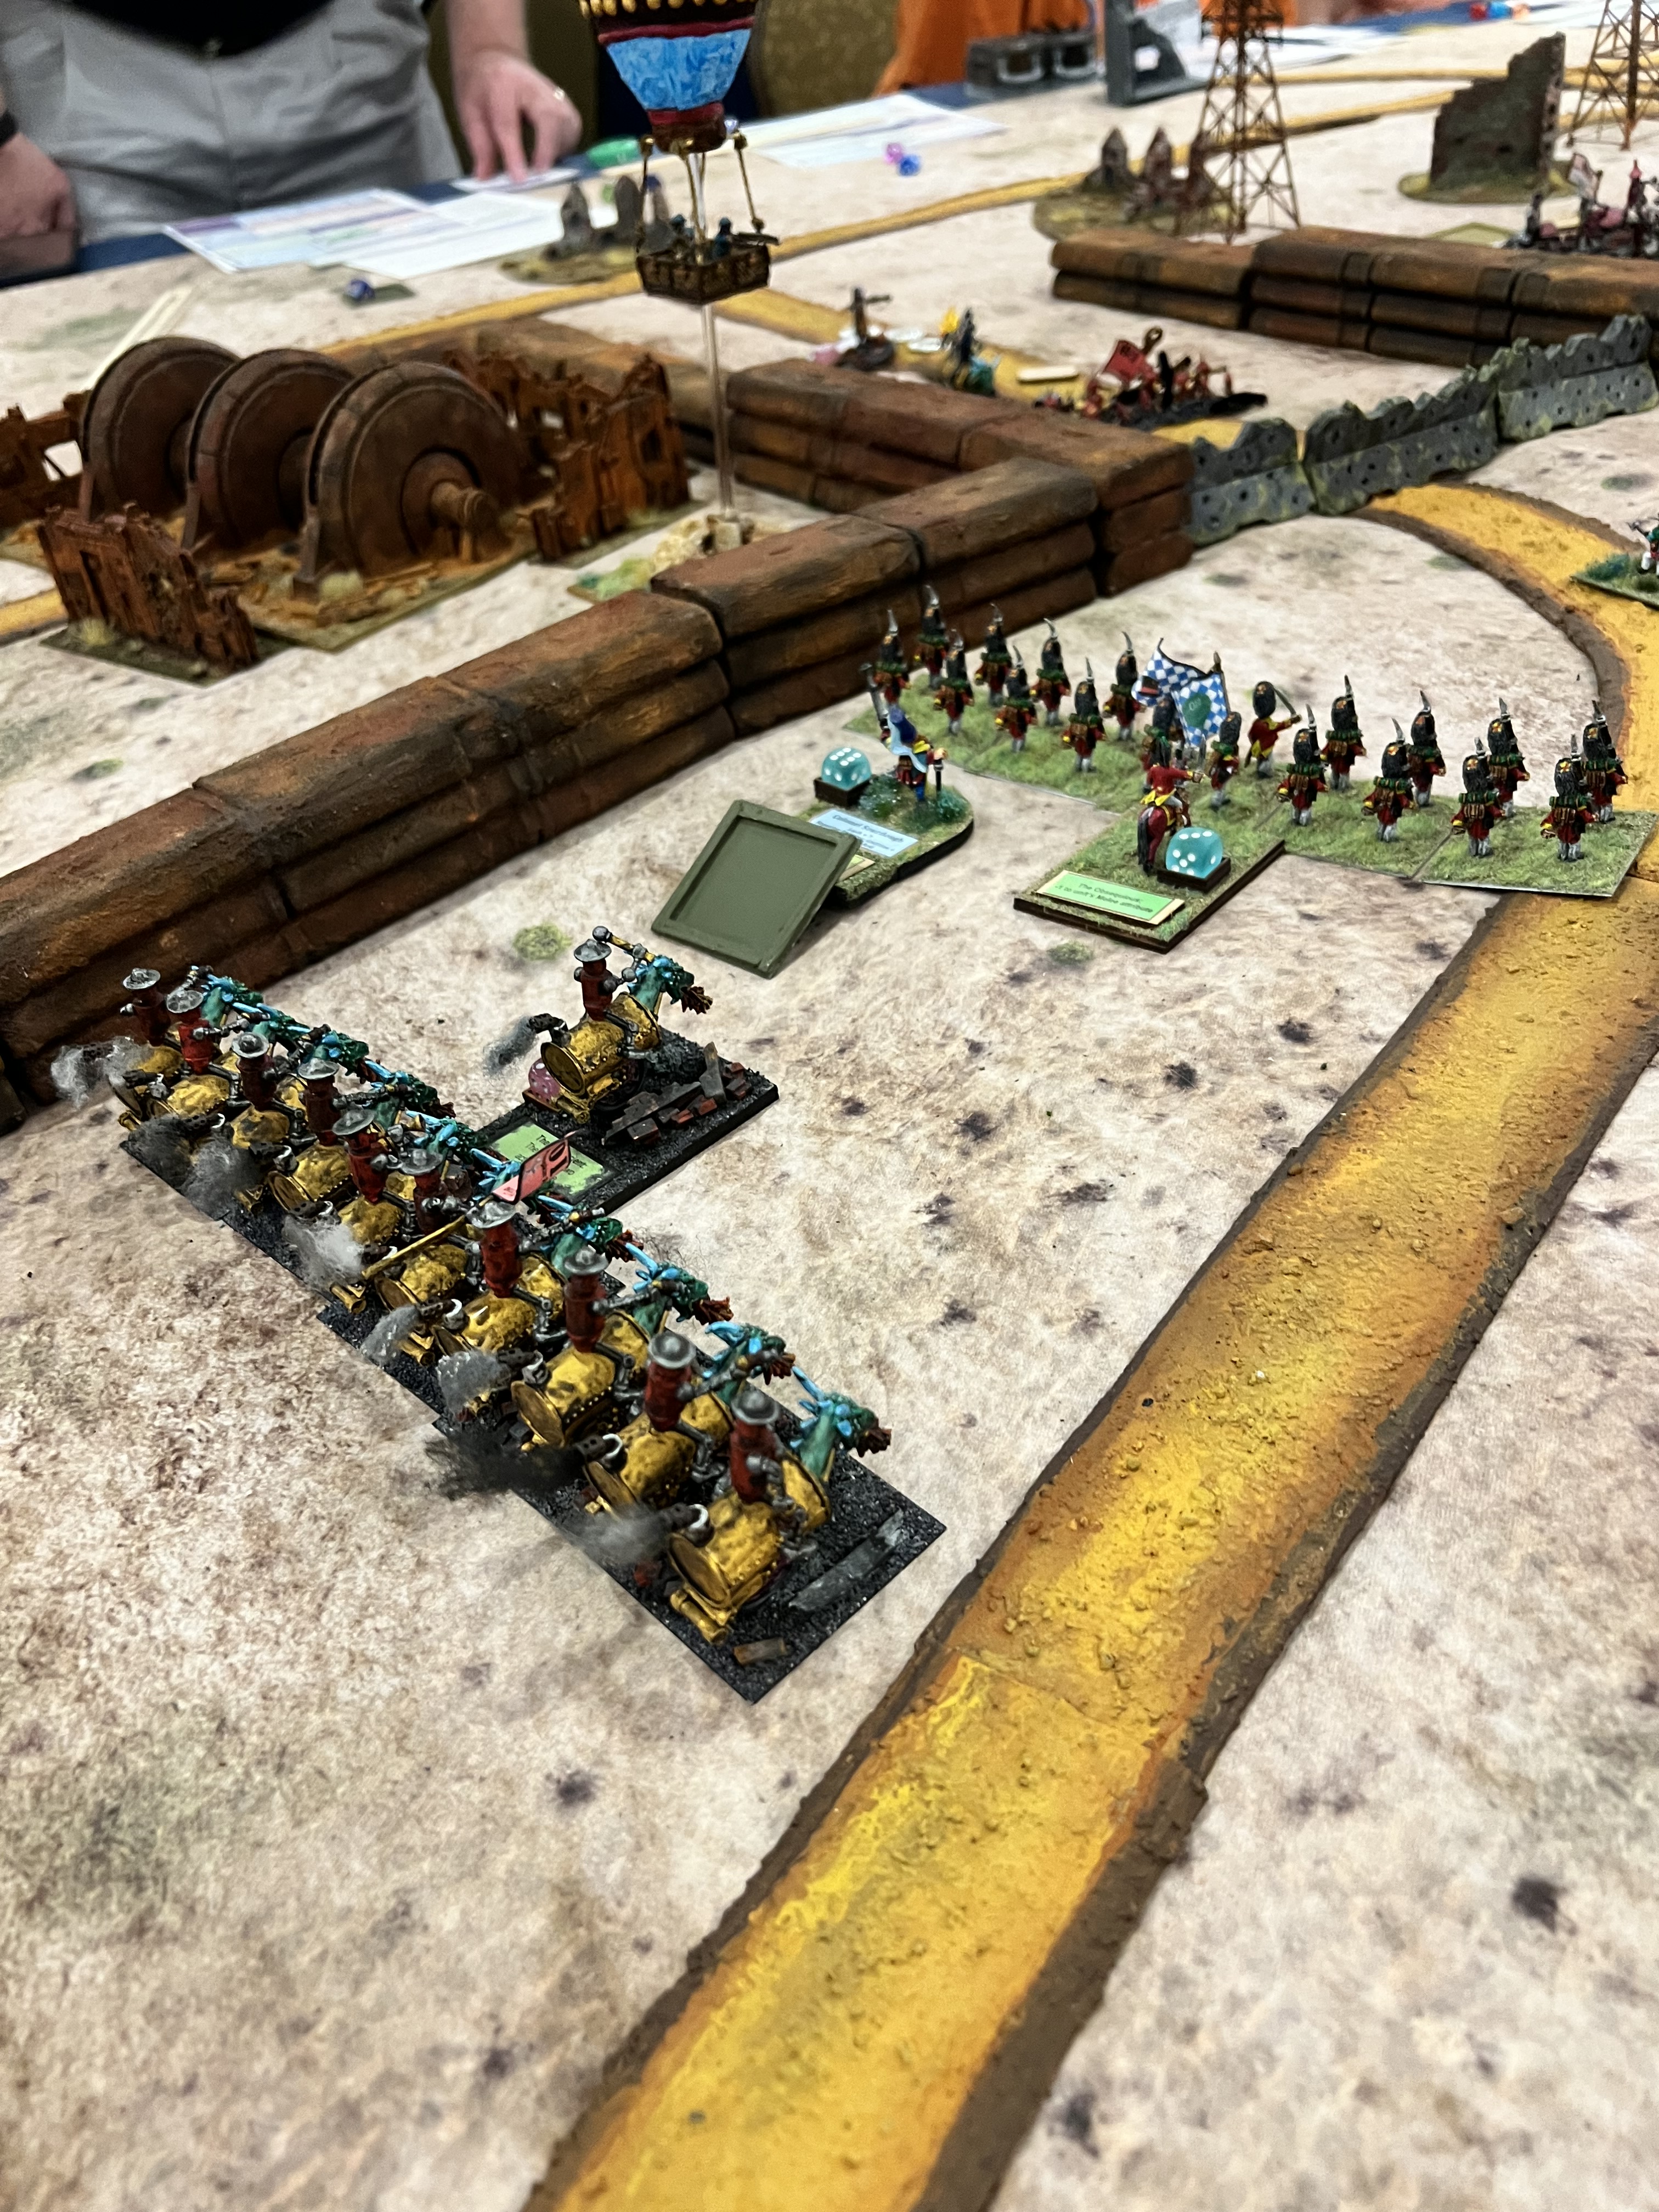
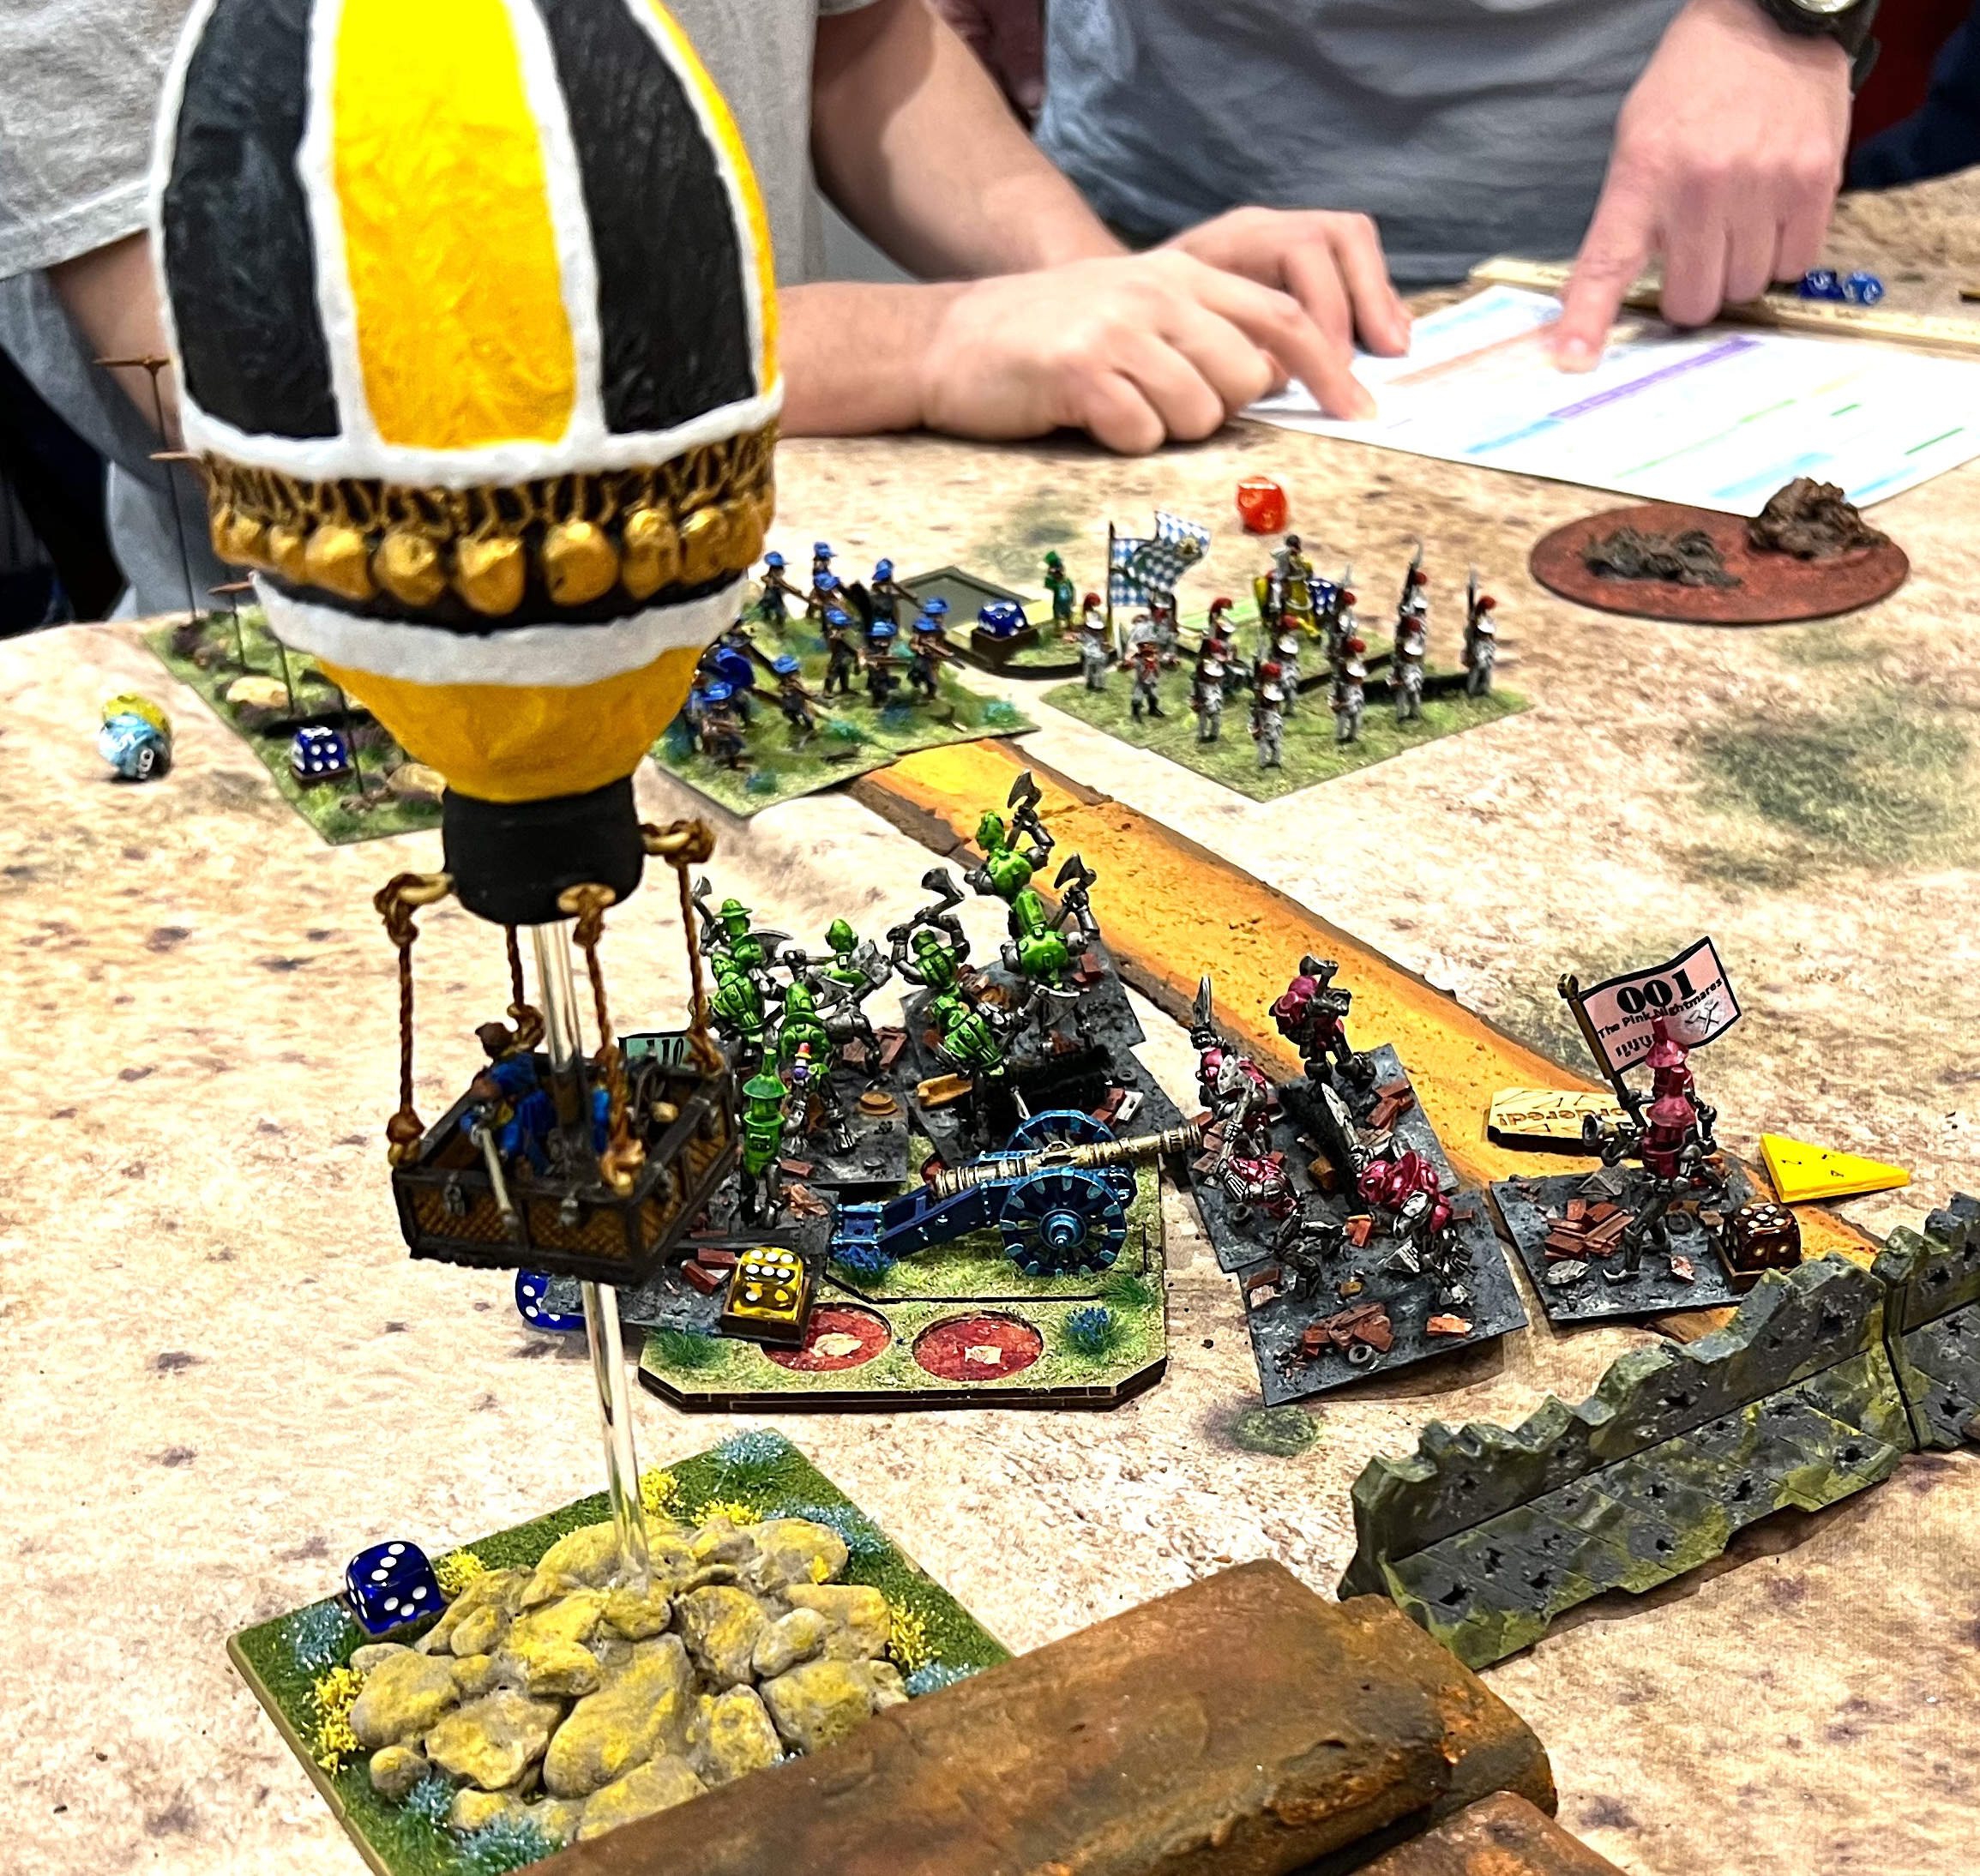
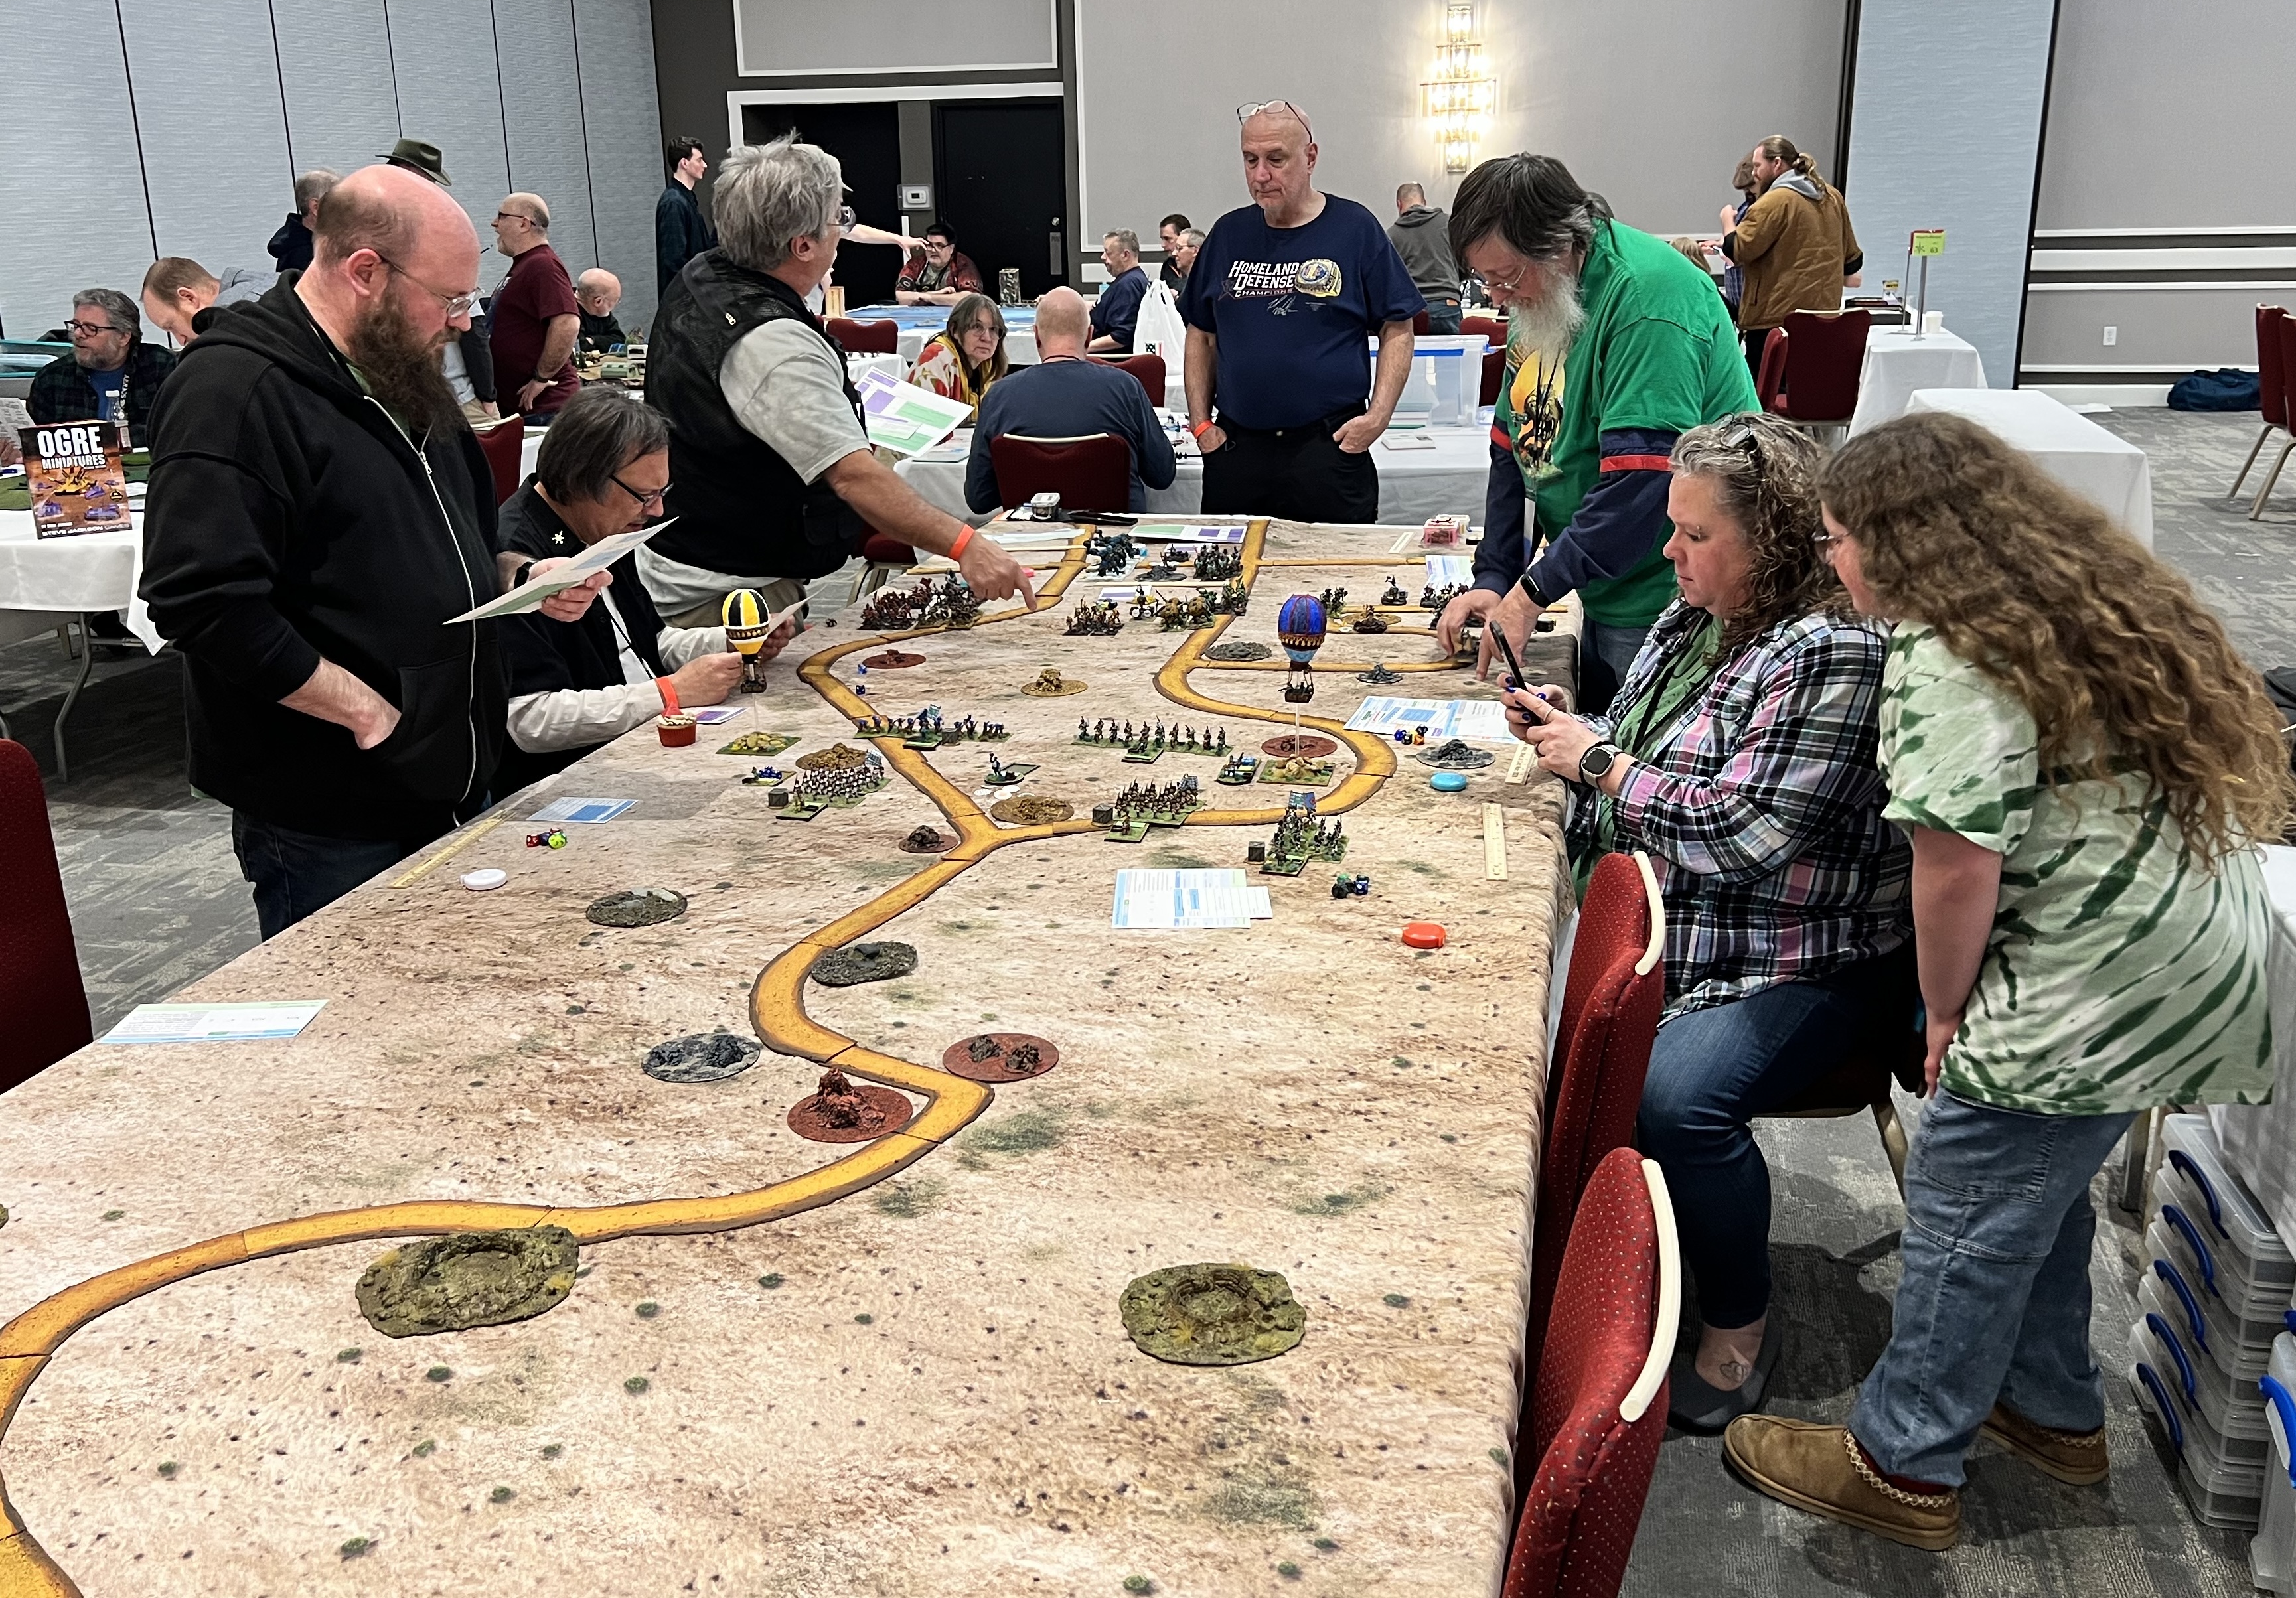
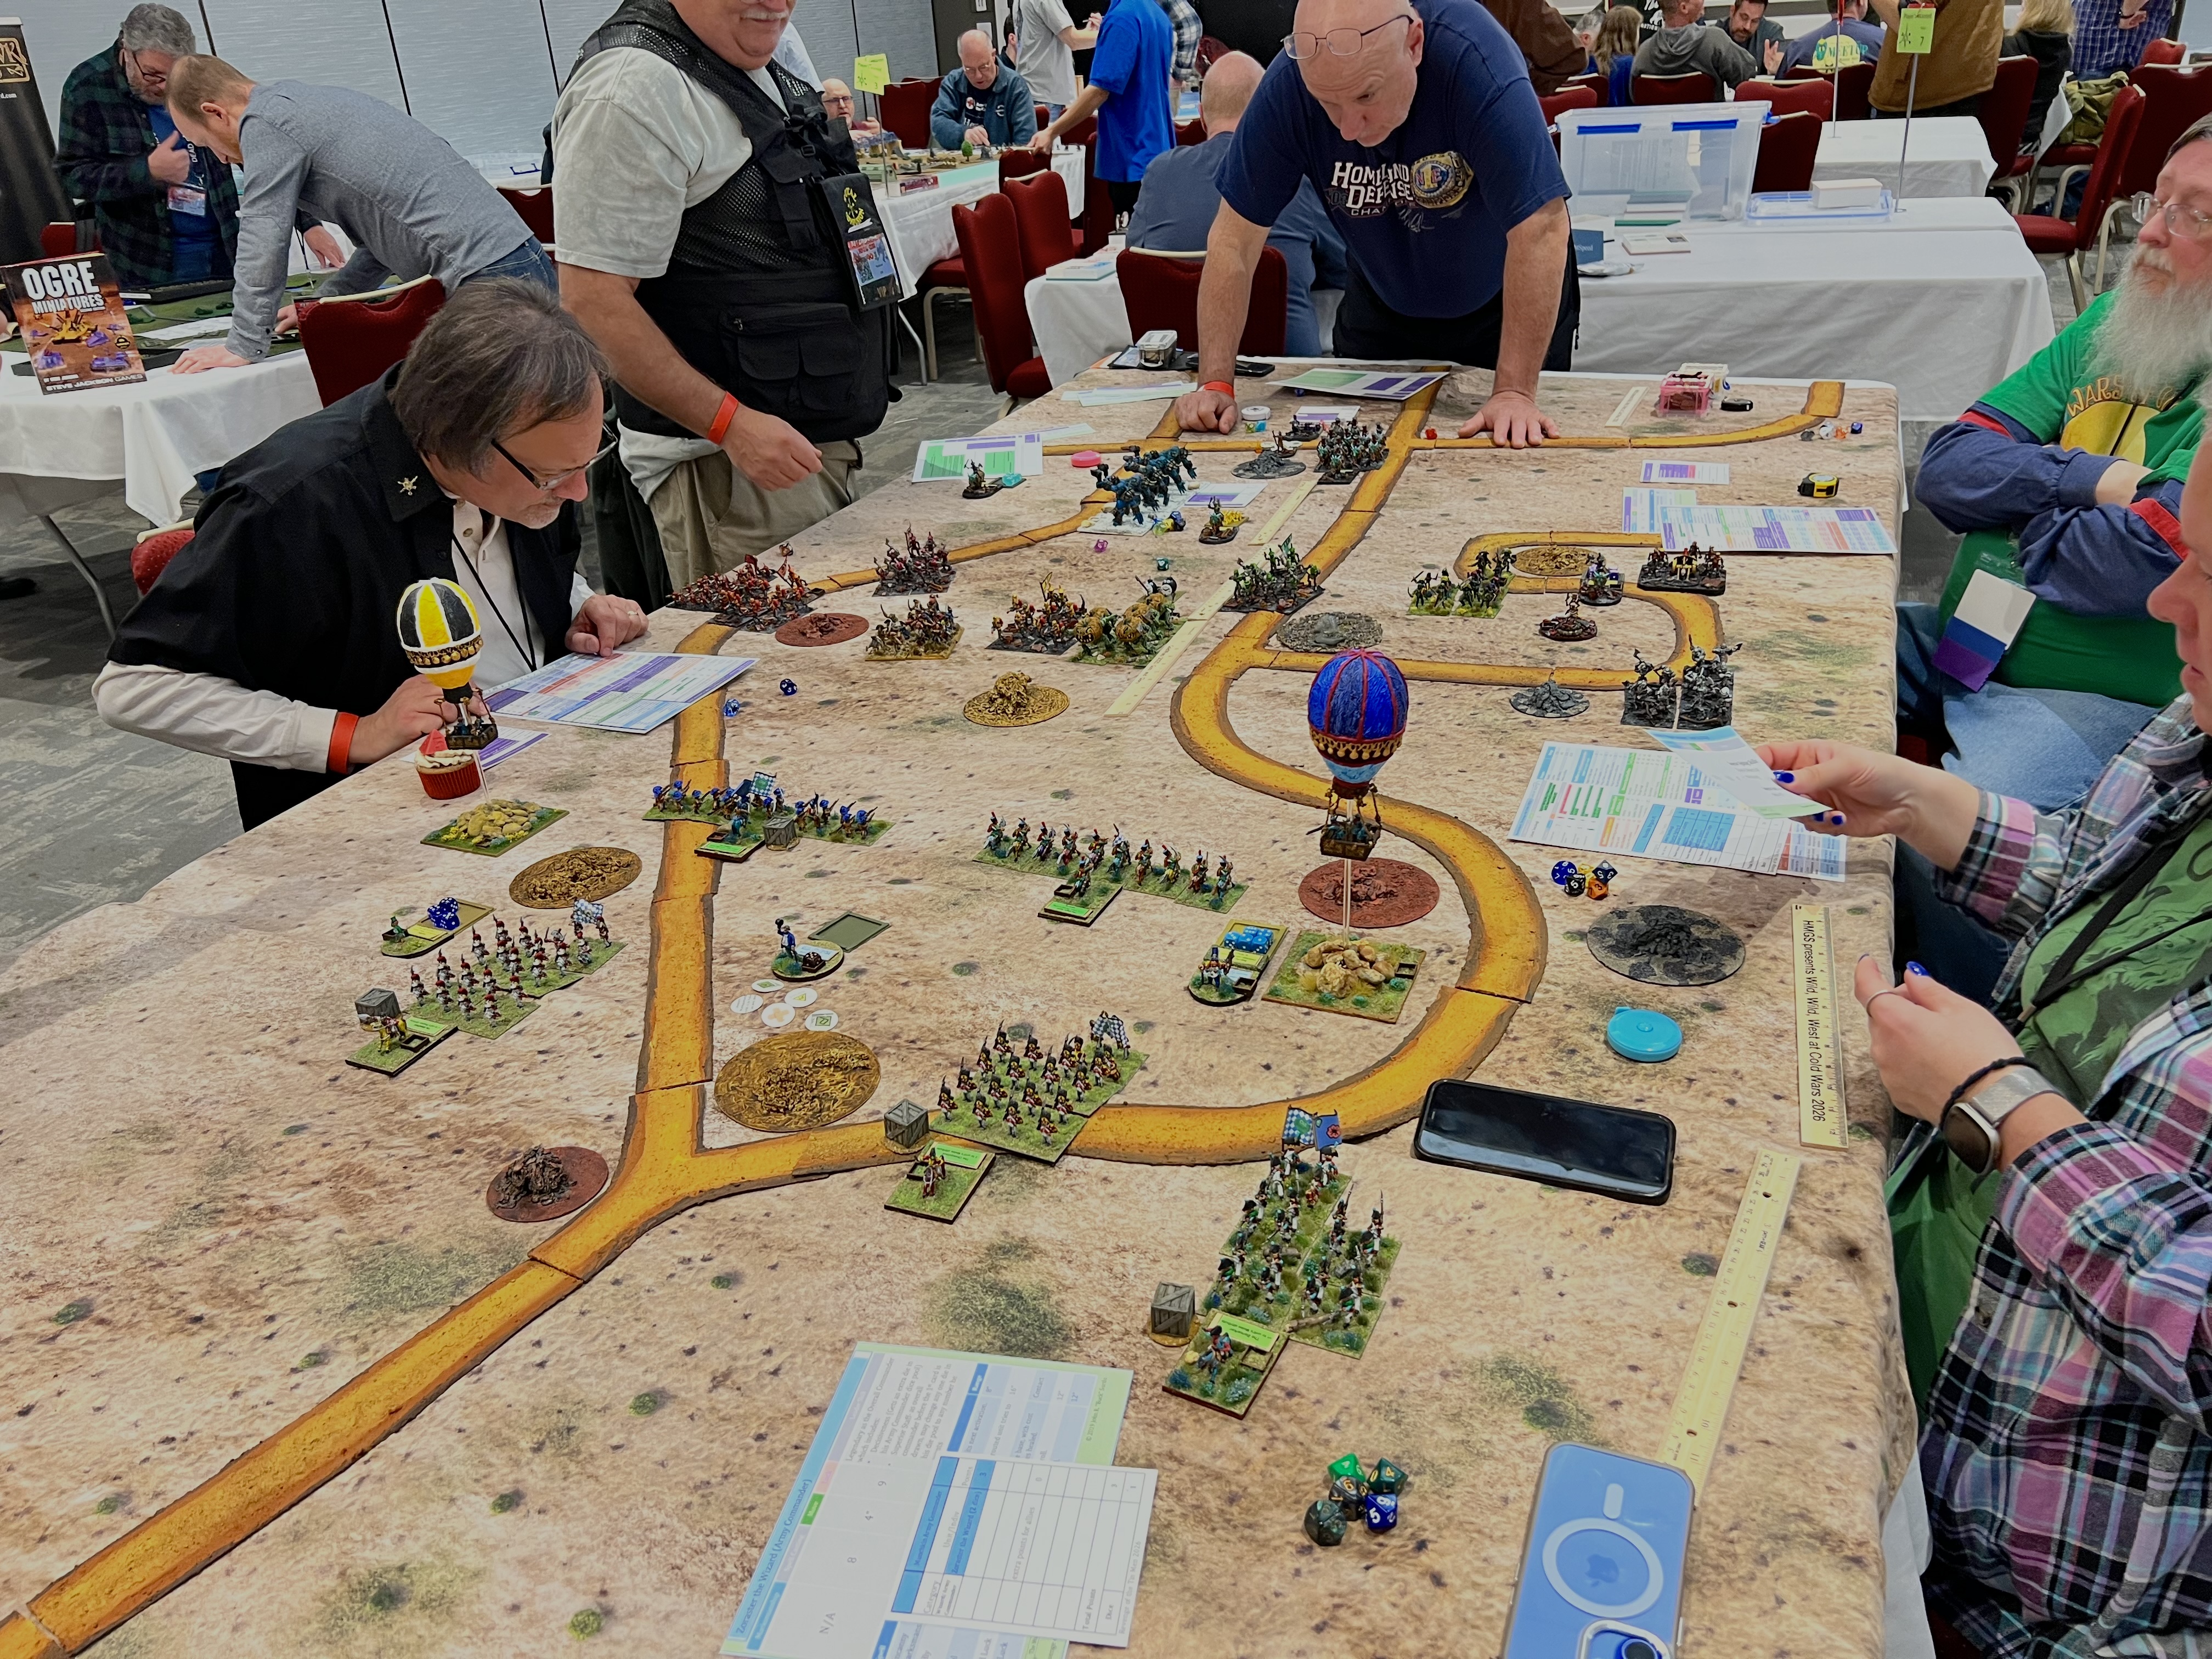
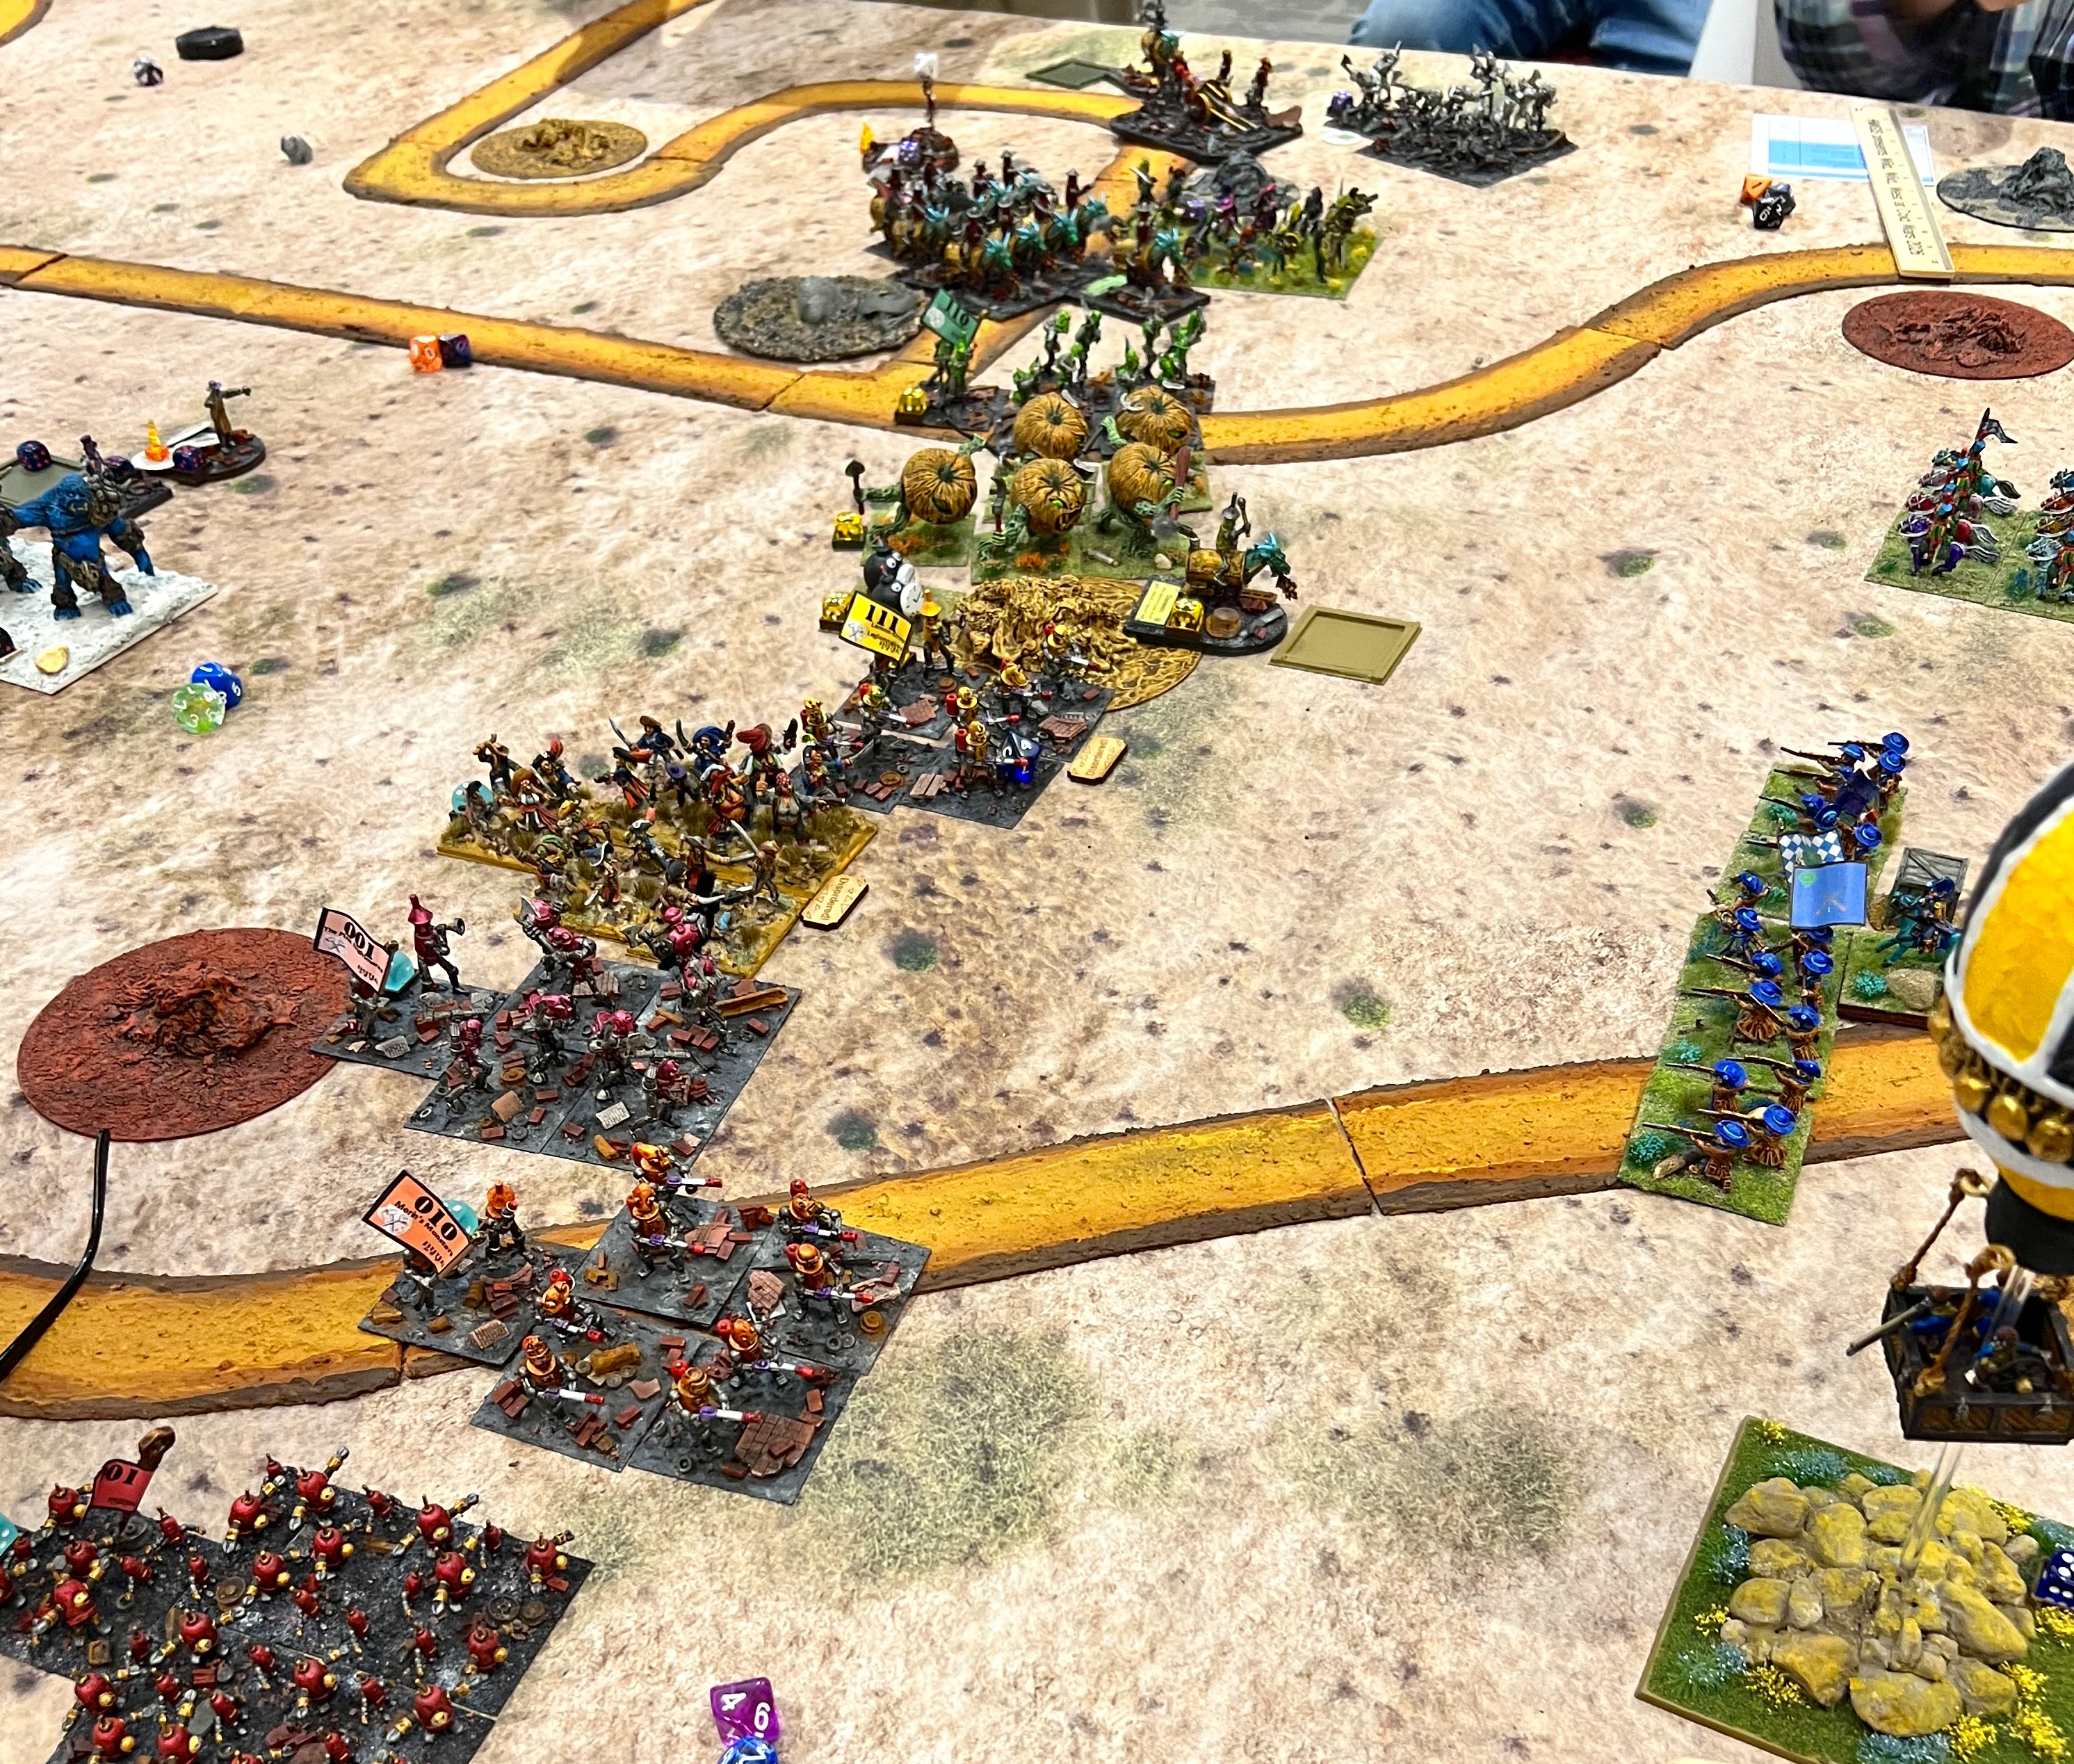
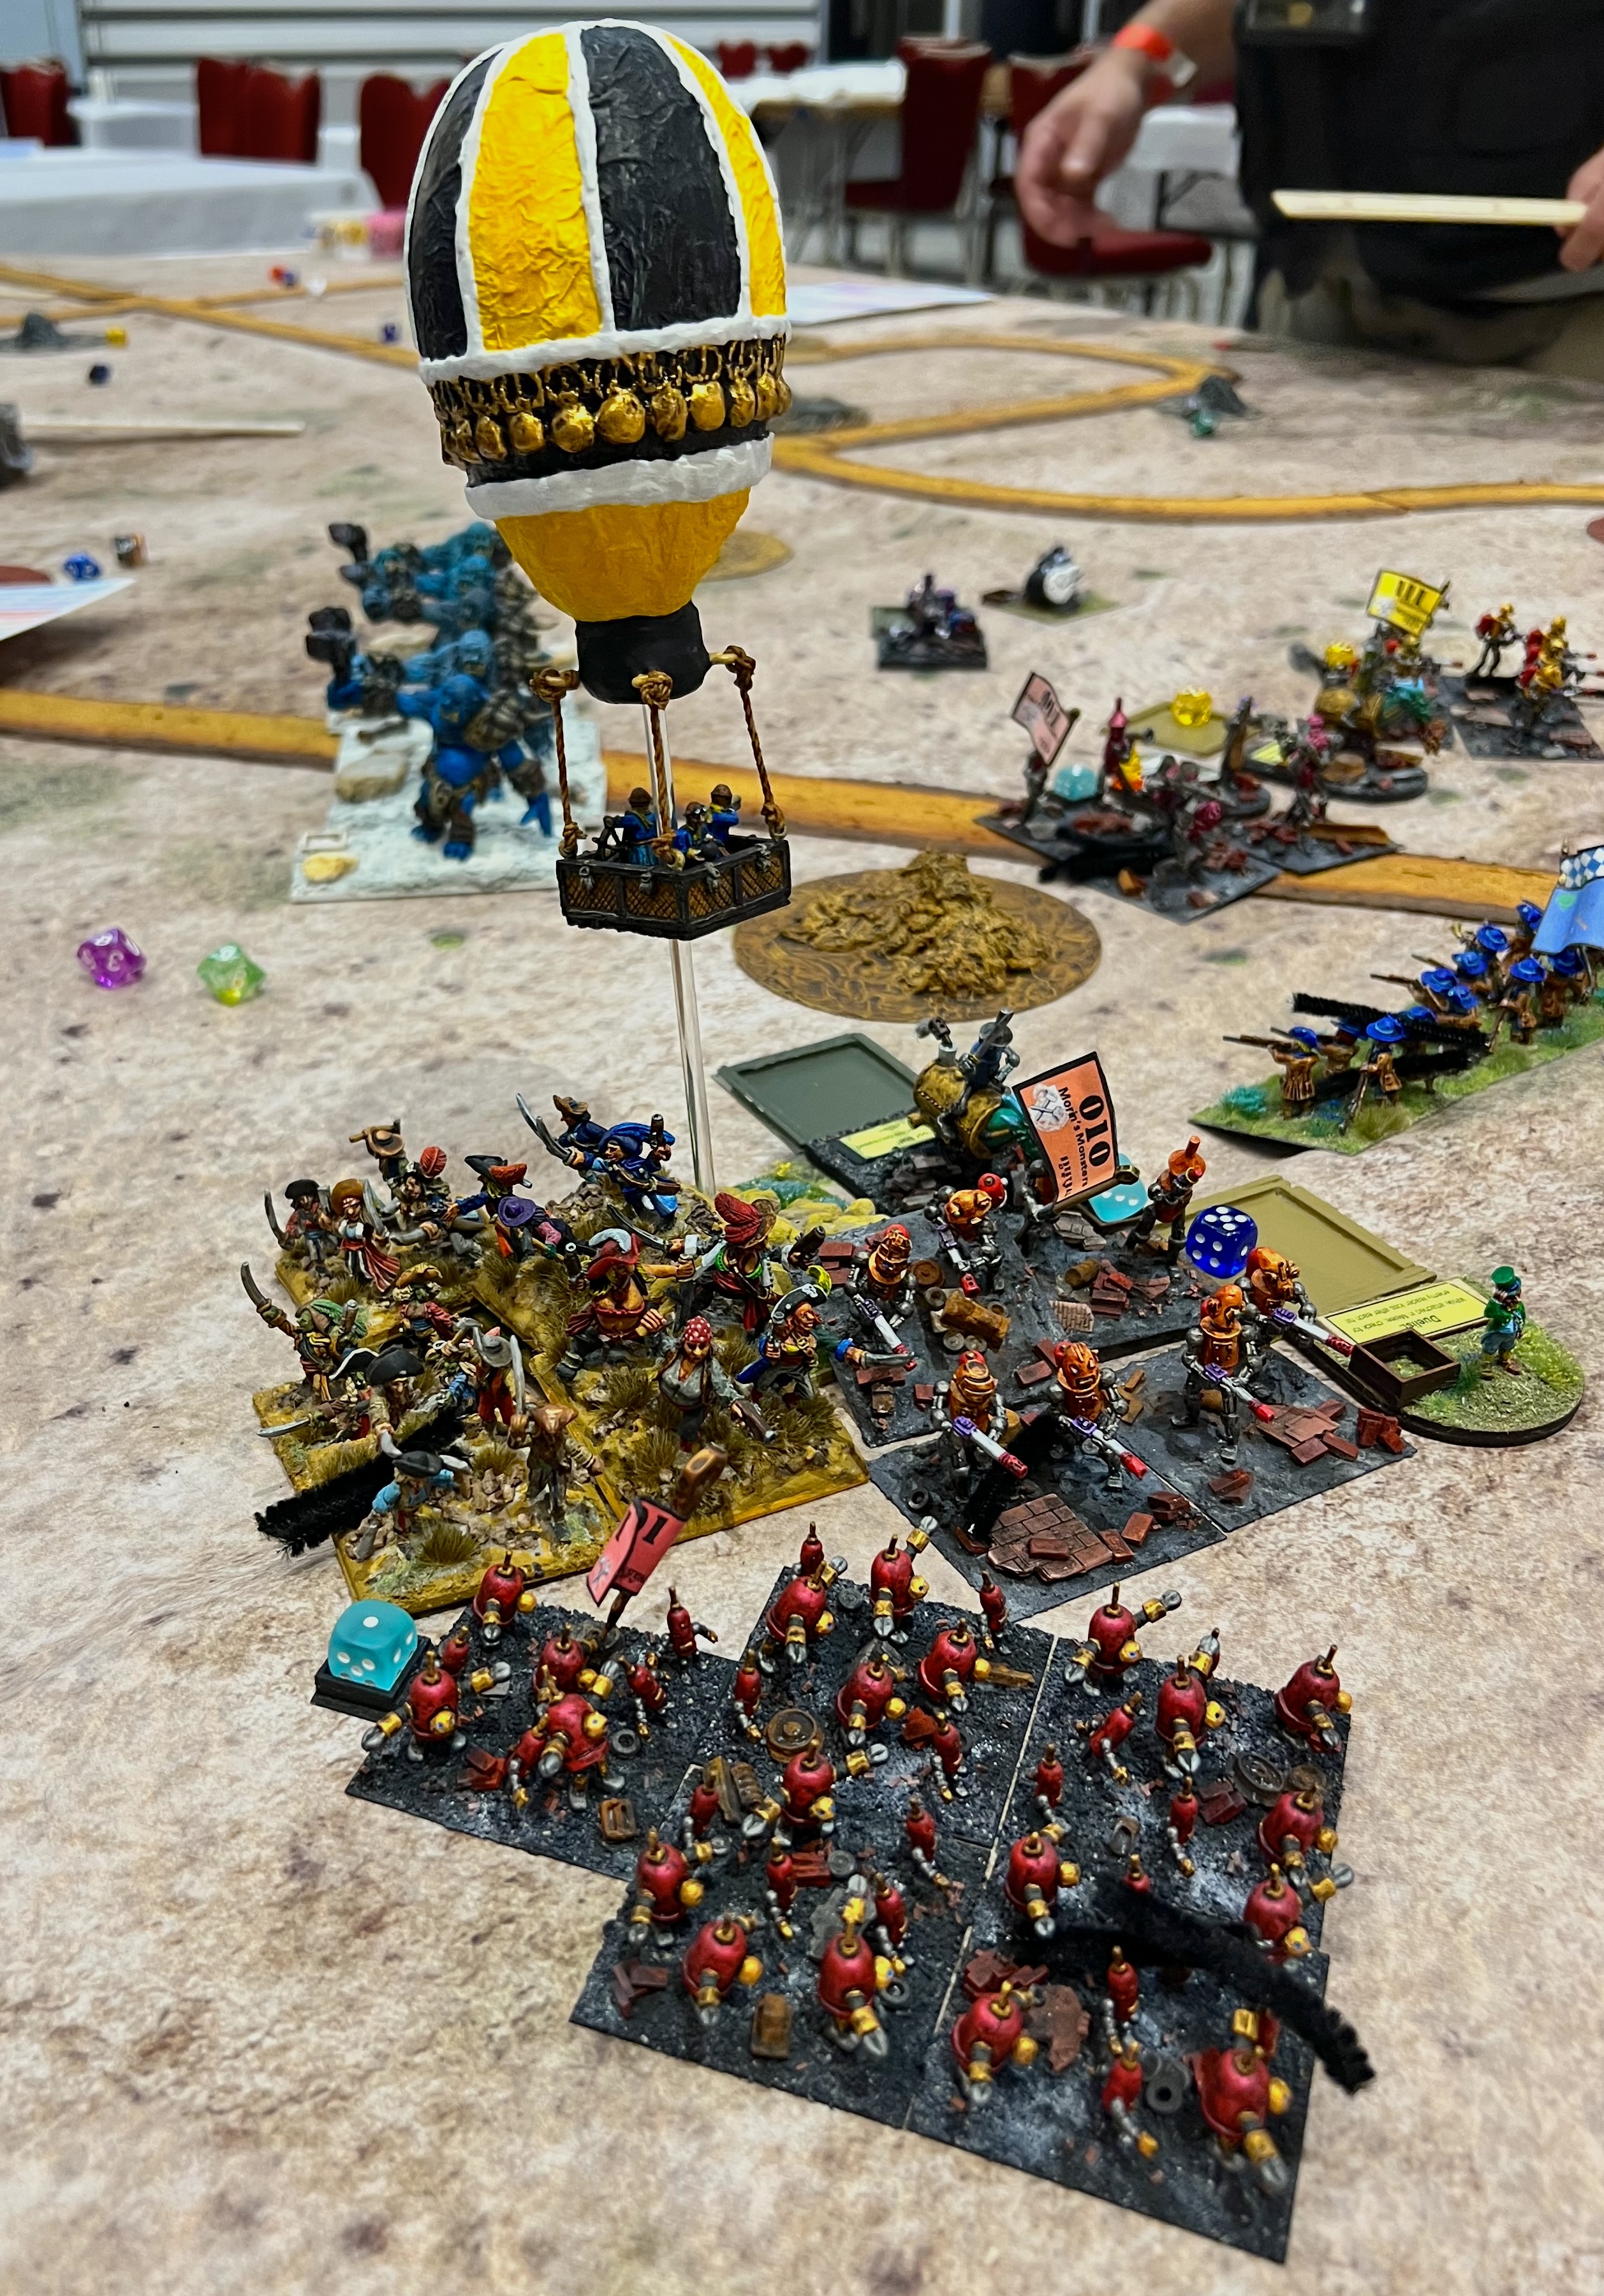
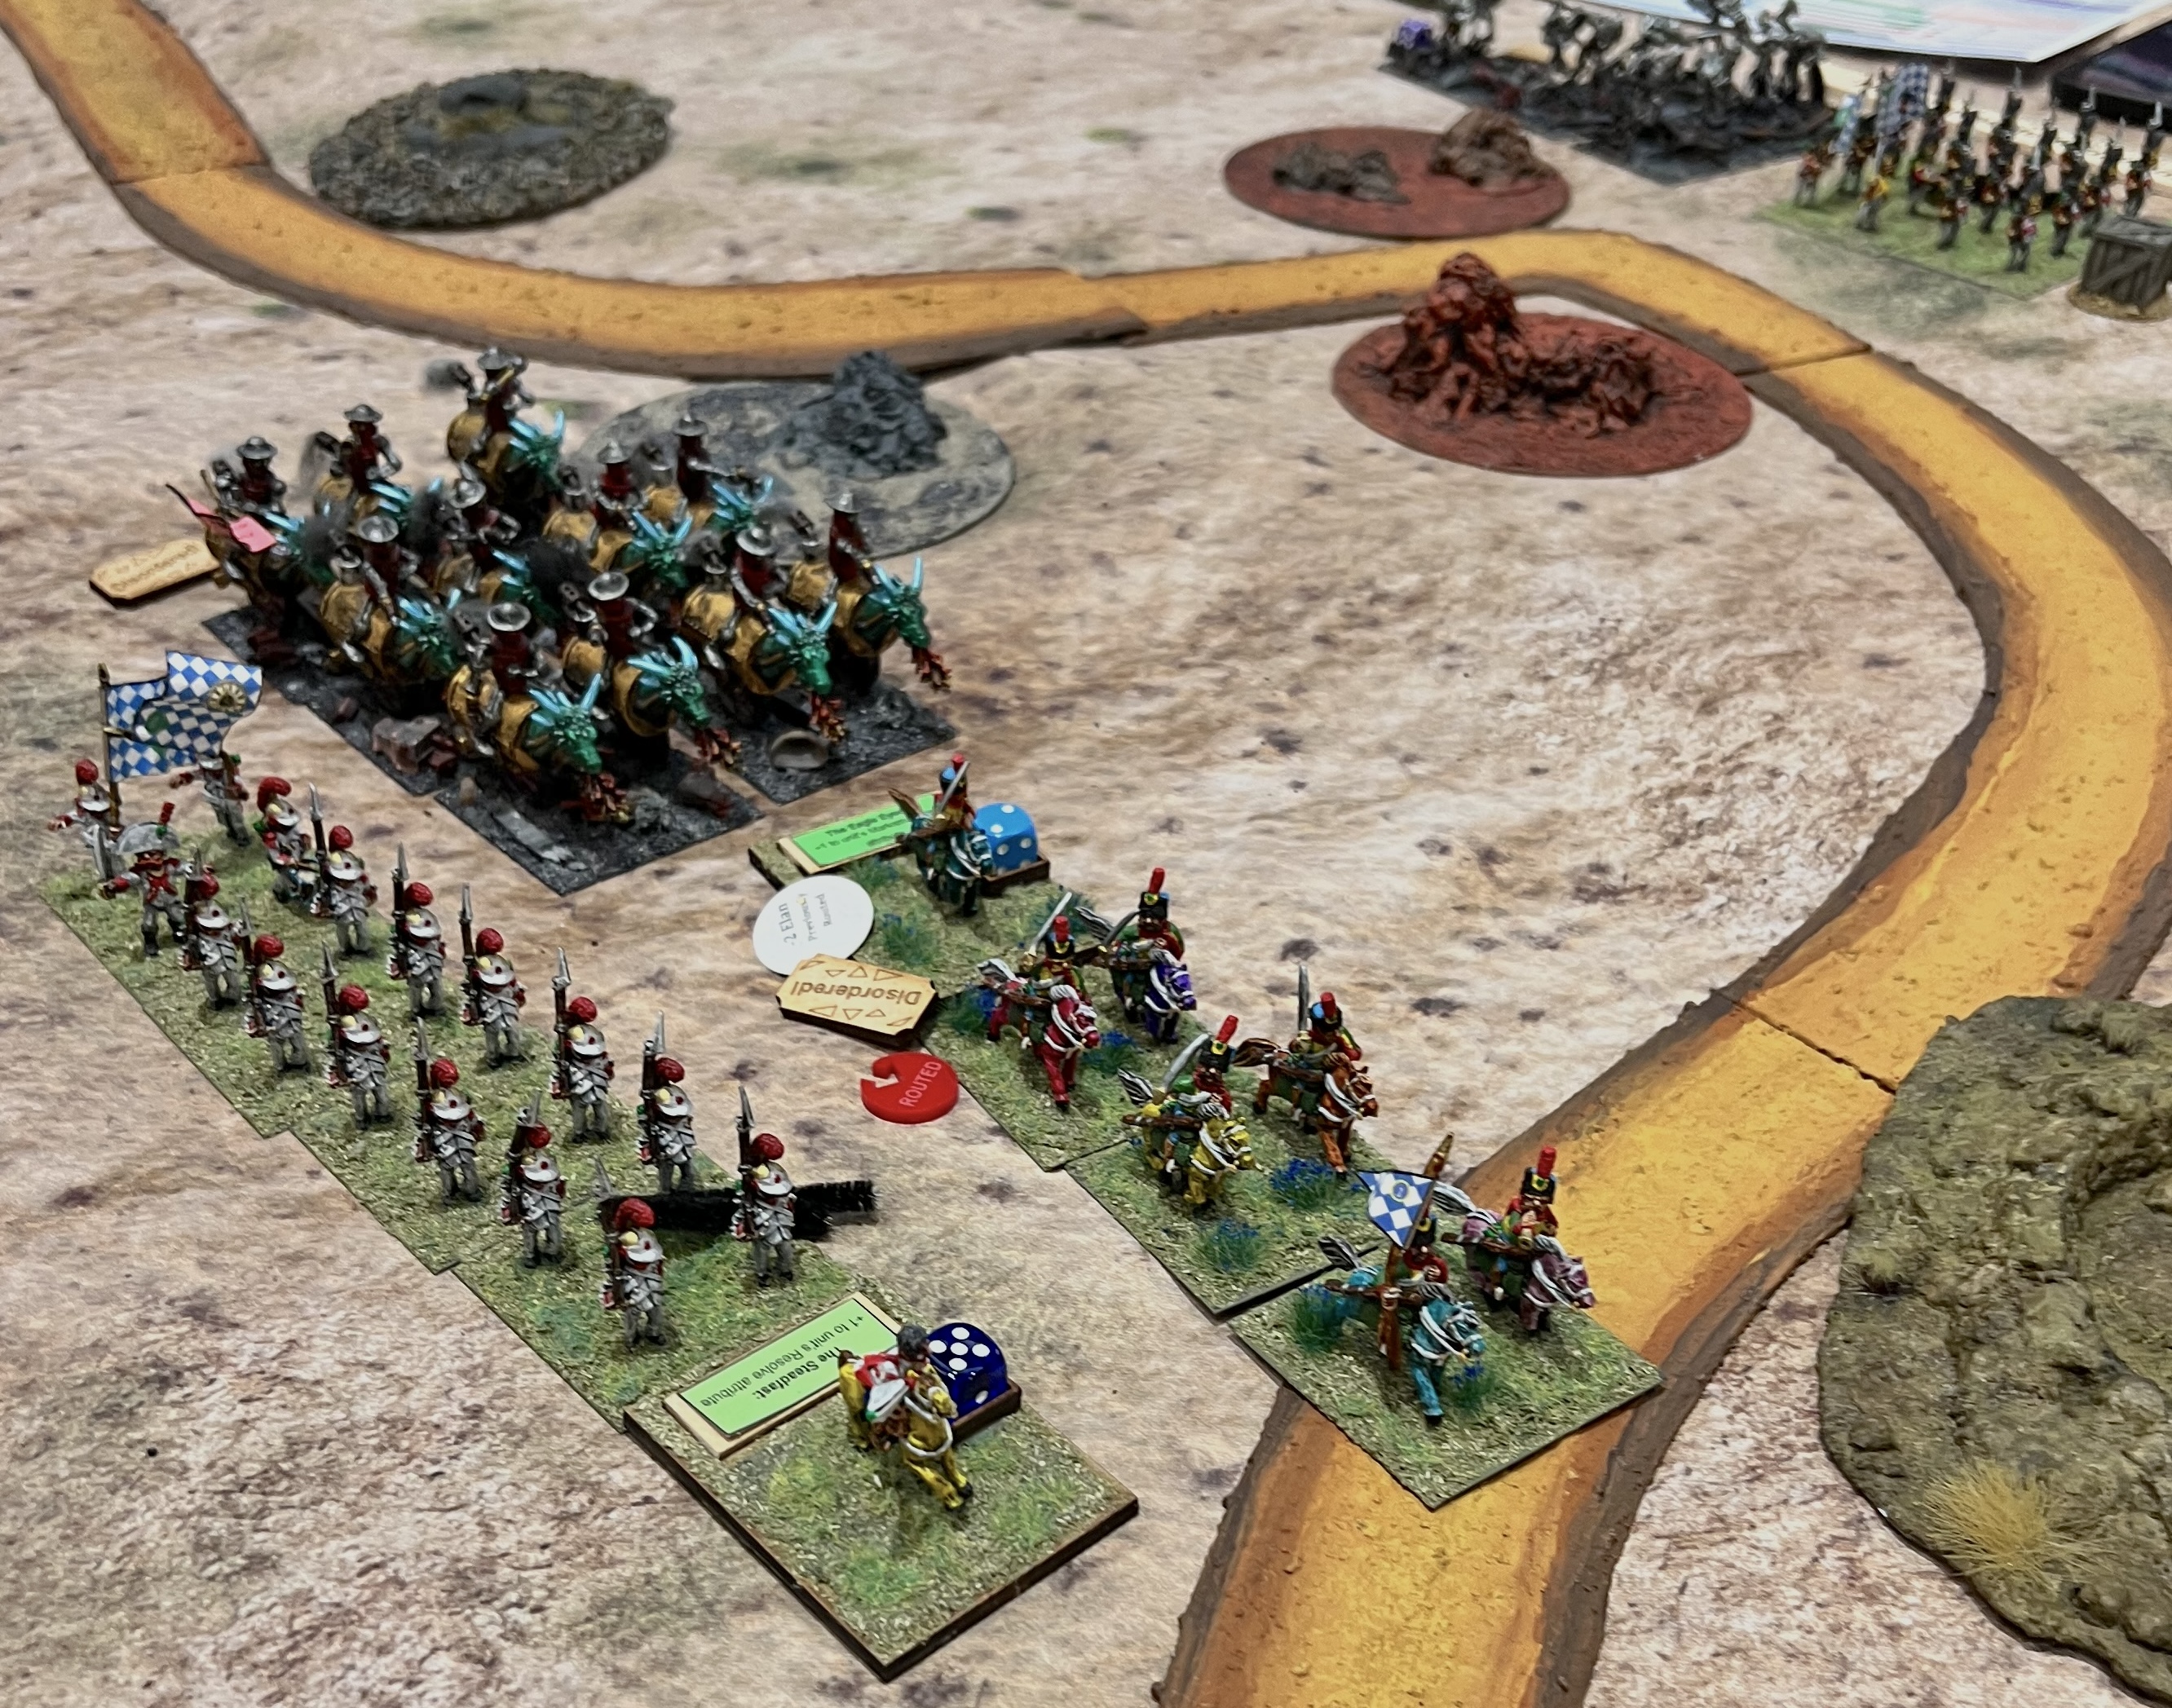
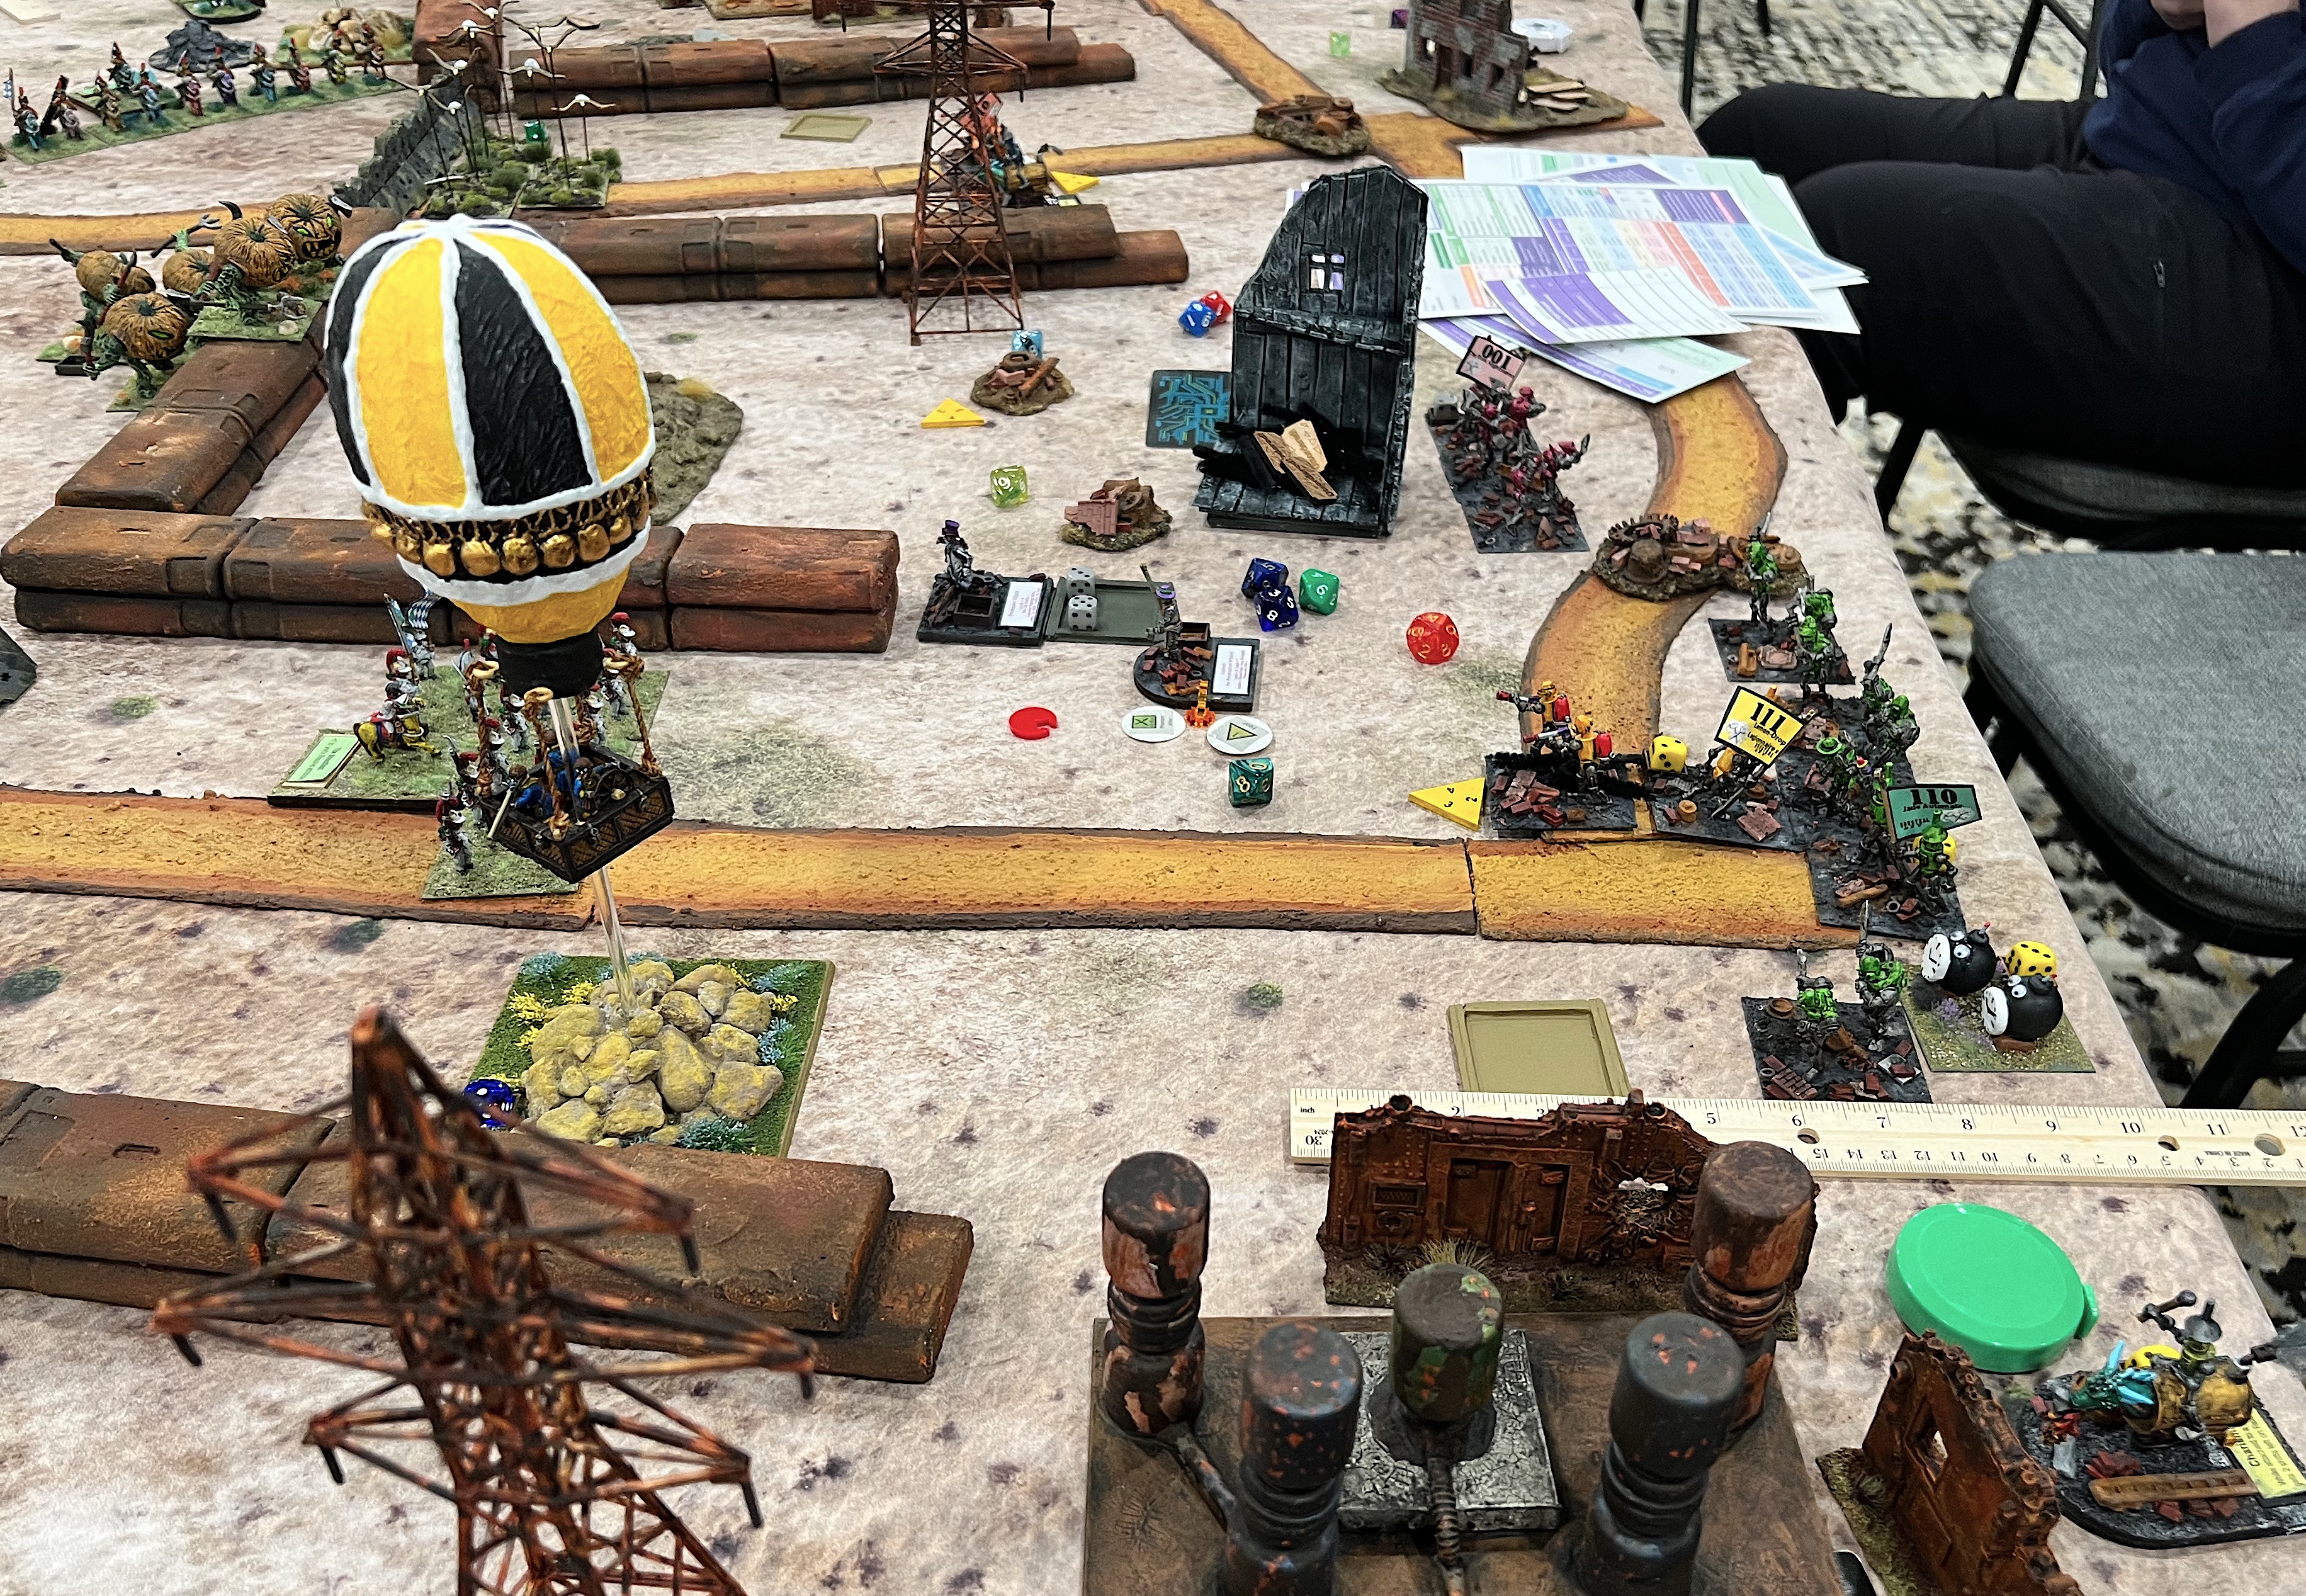
Another big game! The players plan.The Munchkins have 4 heavy crates of technology carried by 4 regiments. The crates slow down the Munchkins. The little folk need to cross a line with the crates safely to gain victory points. Additionally, each Munchkin base that escapes the Nitpik pursuers gets a point. Nitpik gets points for recovering crates and for eliminating Munchkin bases. The Munchkins have set up a delaying picket line of light cavalry and sharpshooters between the two balloons. This is to give those fleeing a chance to escape the Nitpik and allied horde.On the right, the Munchkin picket line. On the left, the pursuers!There were many Nitpik pursuers. This included those who switched alliances, like Frost Ogres, Great Pumpkinheads, and Jinjur pirates. Traffic control became a challenge as they tried to catch the Munchkins.The pursuers coordinate their movements.The Munchkin Aerostat frustrated several Nitpik regiments. As they tried to advance, the Aerostat laid down effective disruptive musketry on the mechanical men. Nitpik cavalry broke through and tried to run the Munchkins down. Several crates were lost as the Munchkins routed in disarray.The game ended with this scene showing Sam disappointed. The Munchkins nearly won the game. Her unit only needed 1 more inch to cross the line of the crater with the crate. So close! (well played though Sam!!) In the end, Nitpik won a VERY narrow 12-10 victory.
That wrapped up Friday night. The next game would happen Saturday morning set in North Africa.
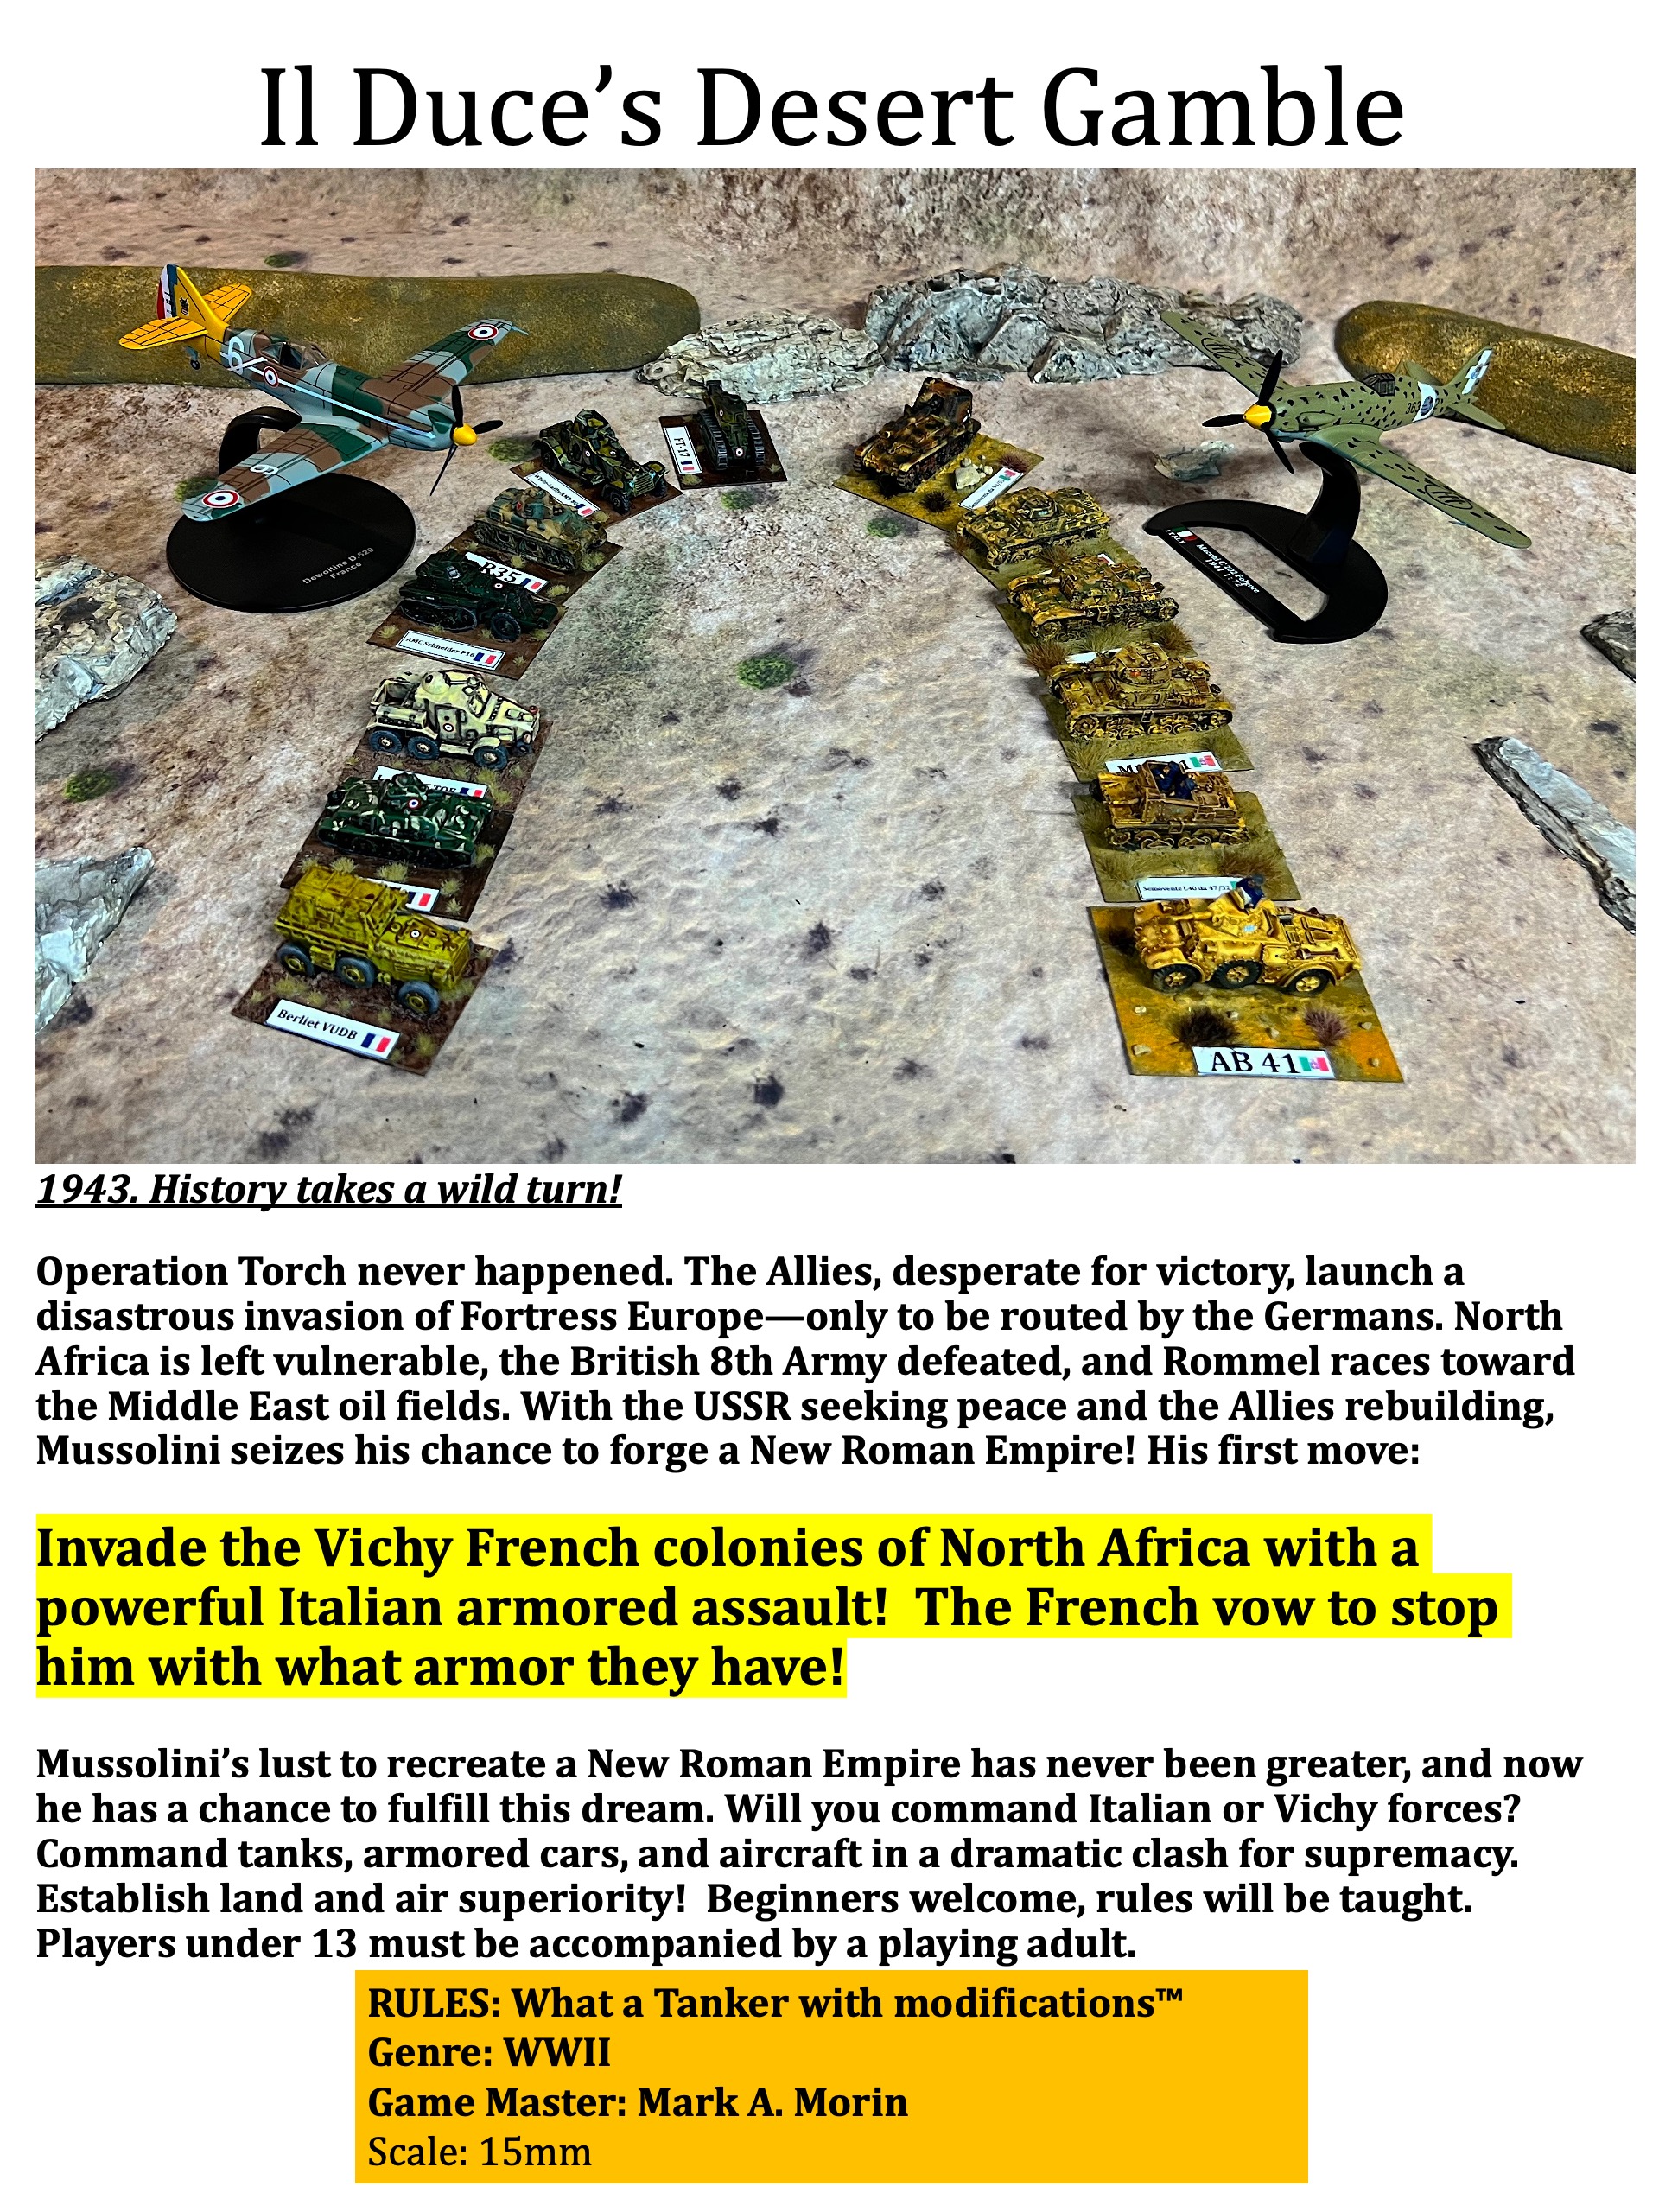
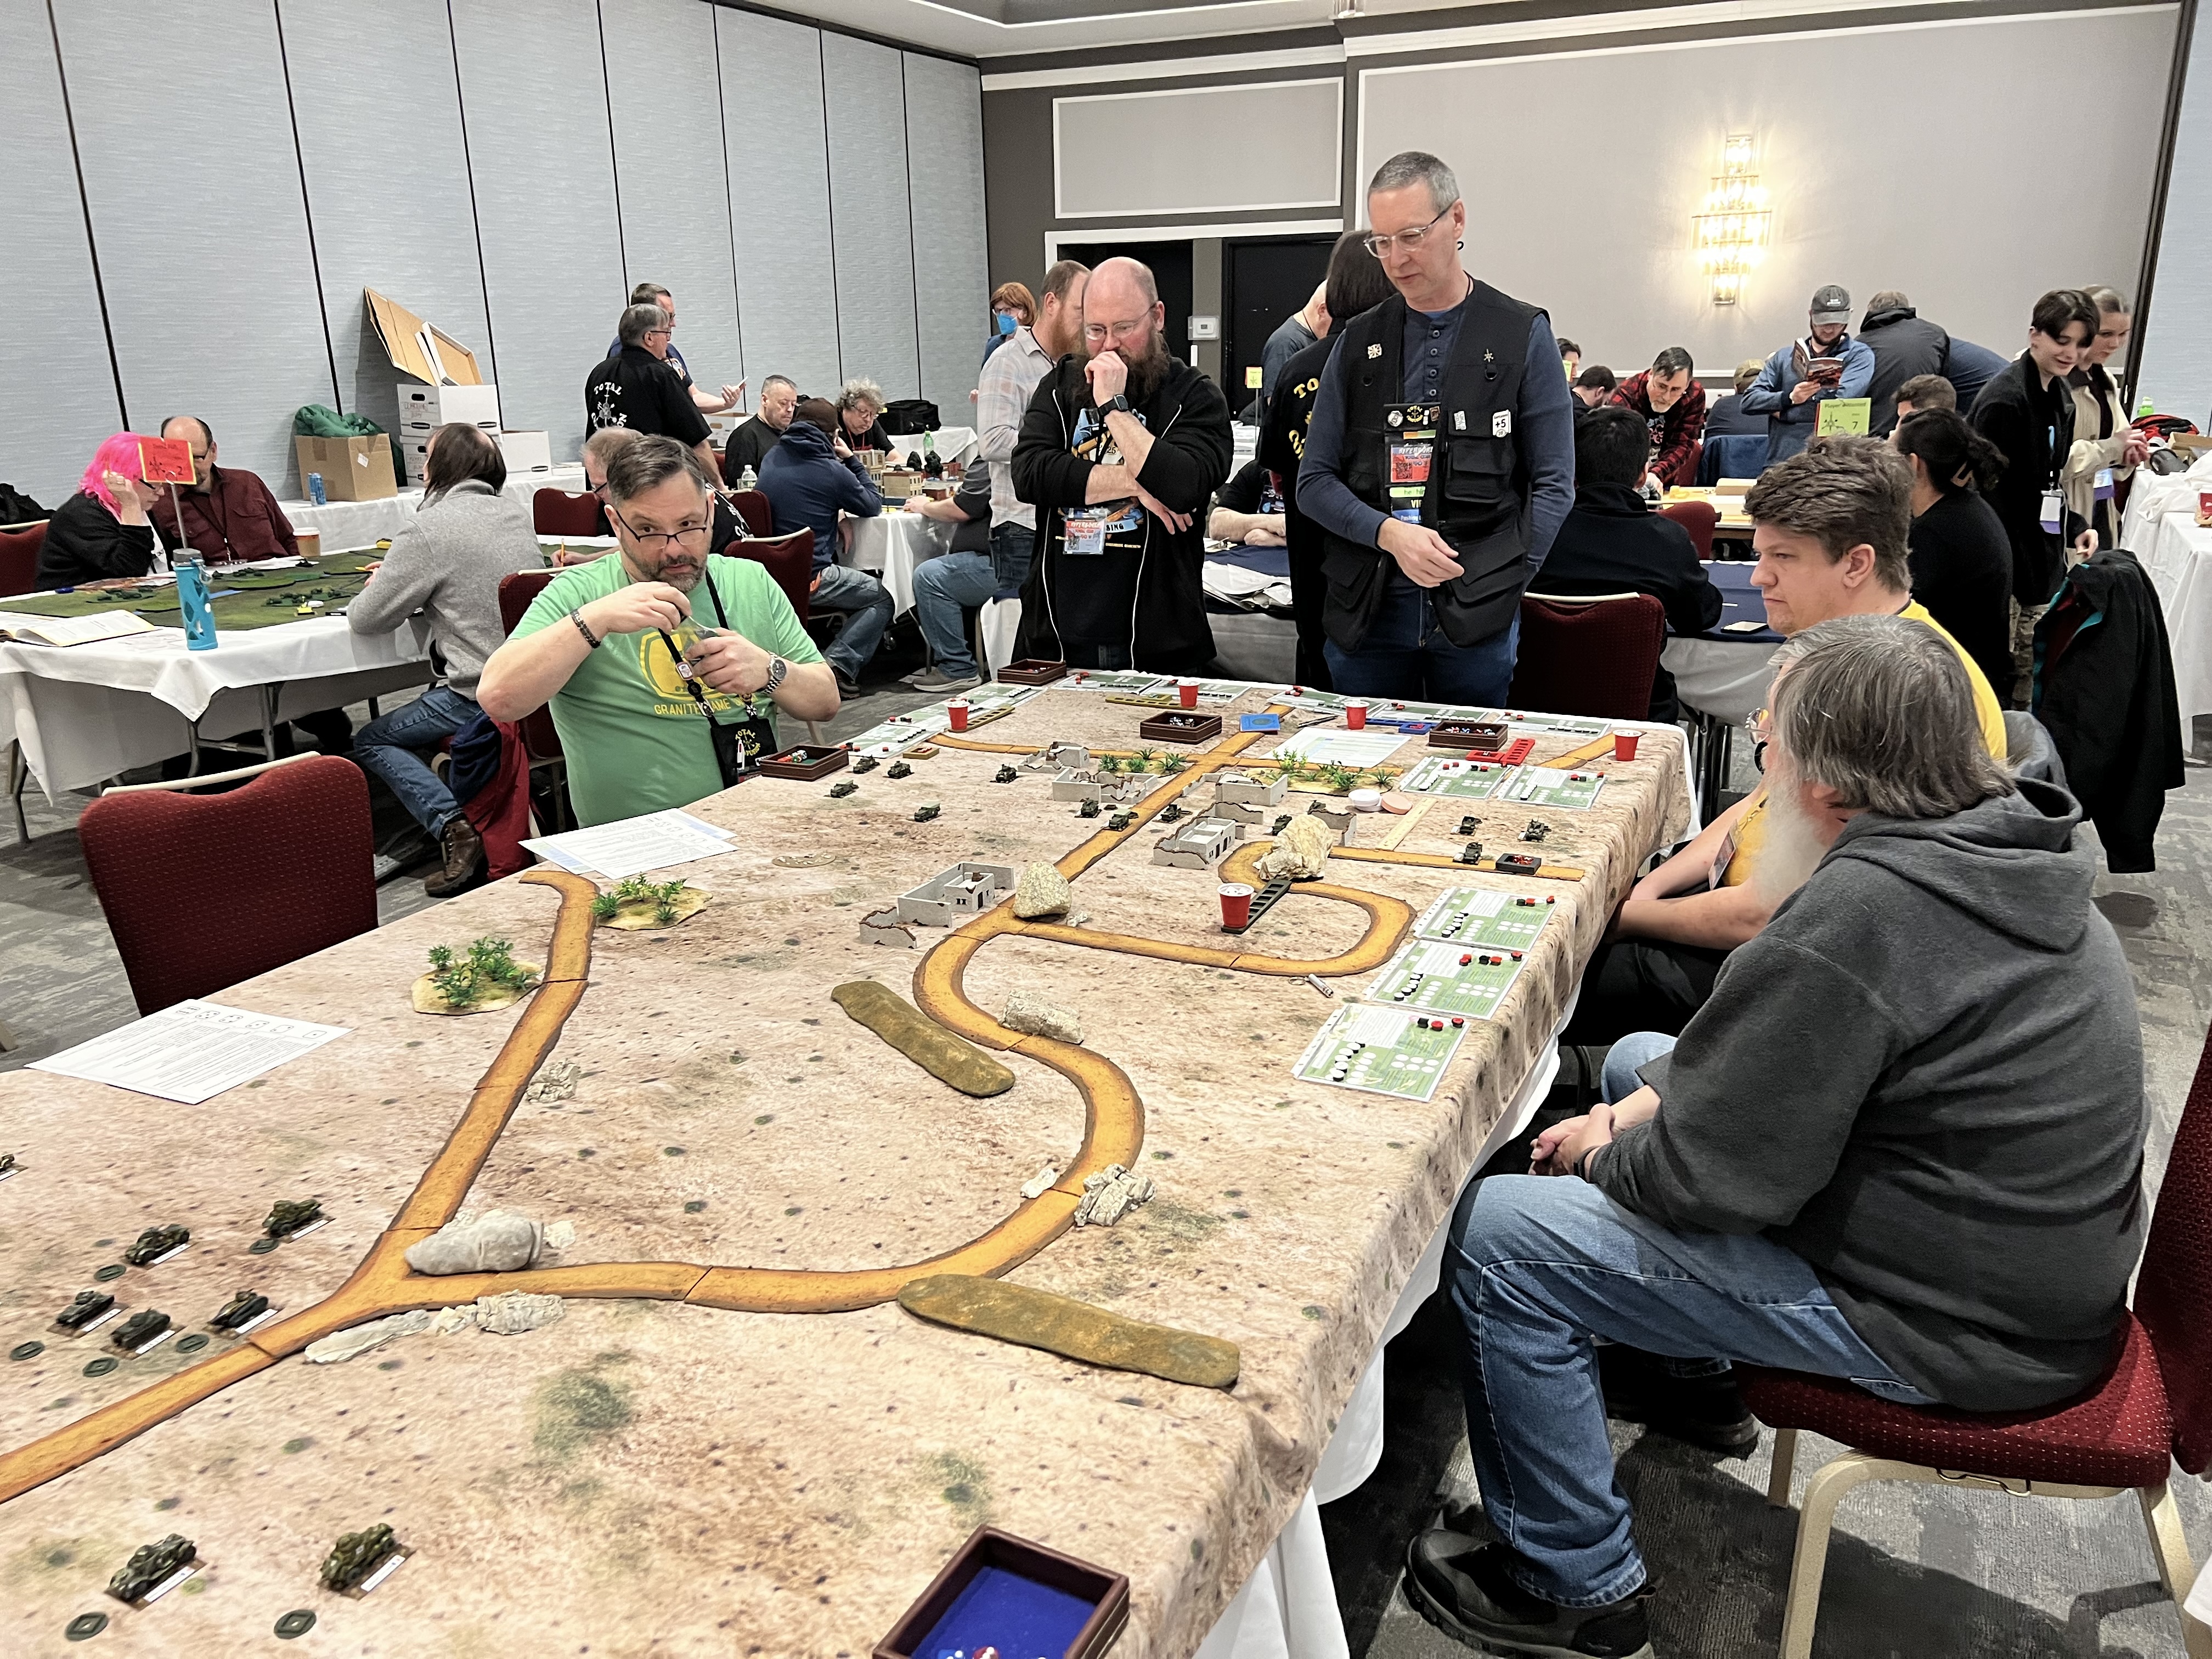
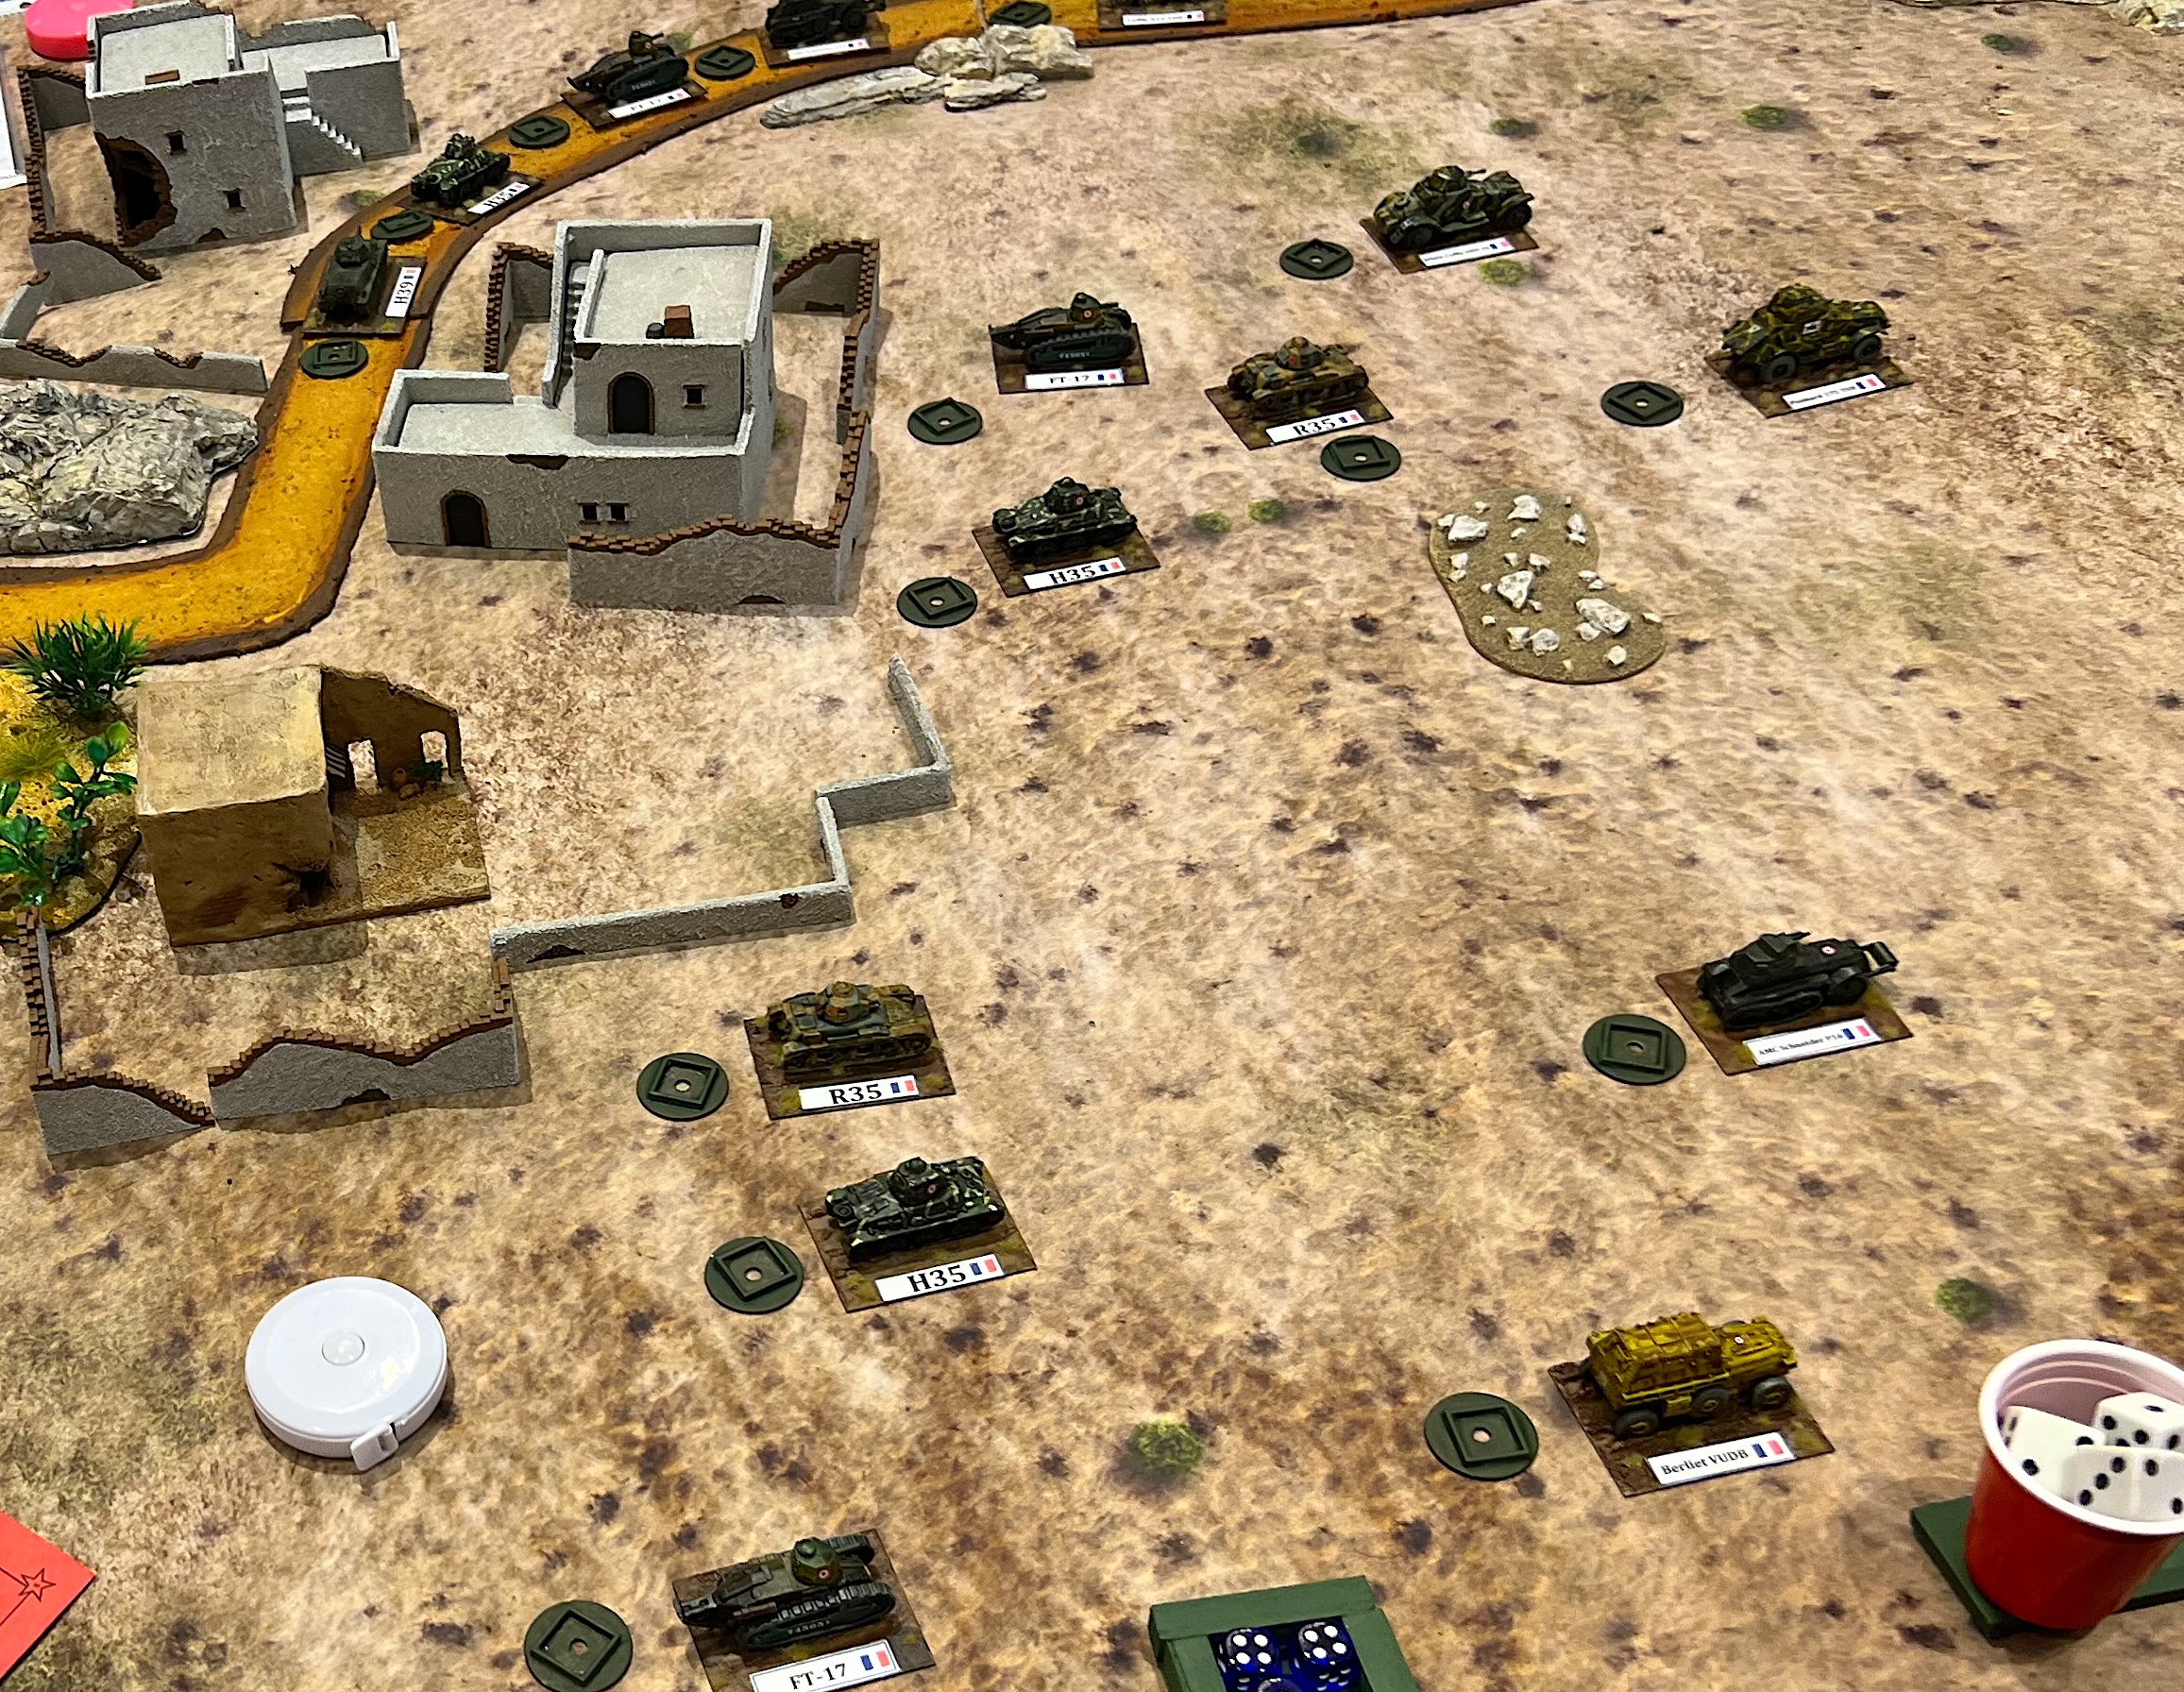
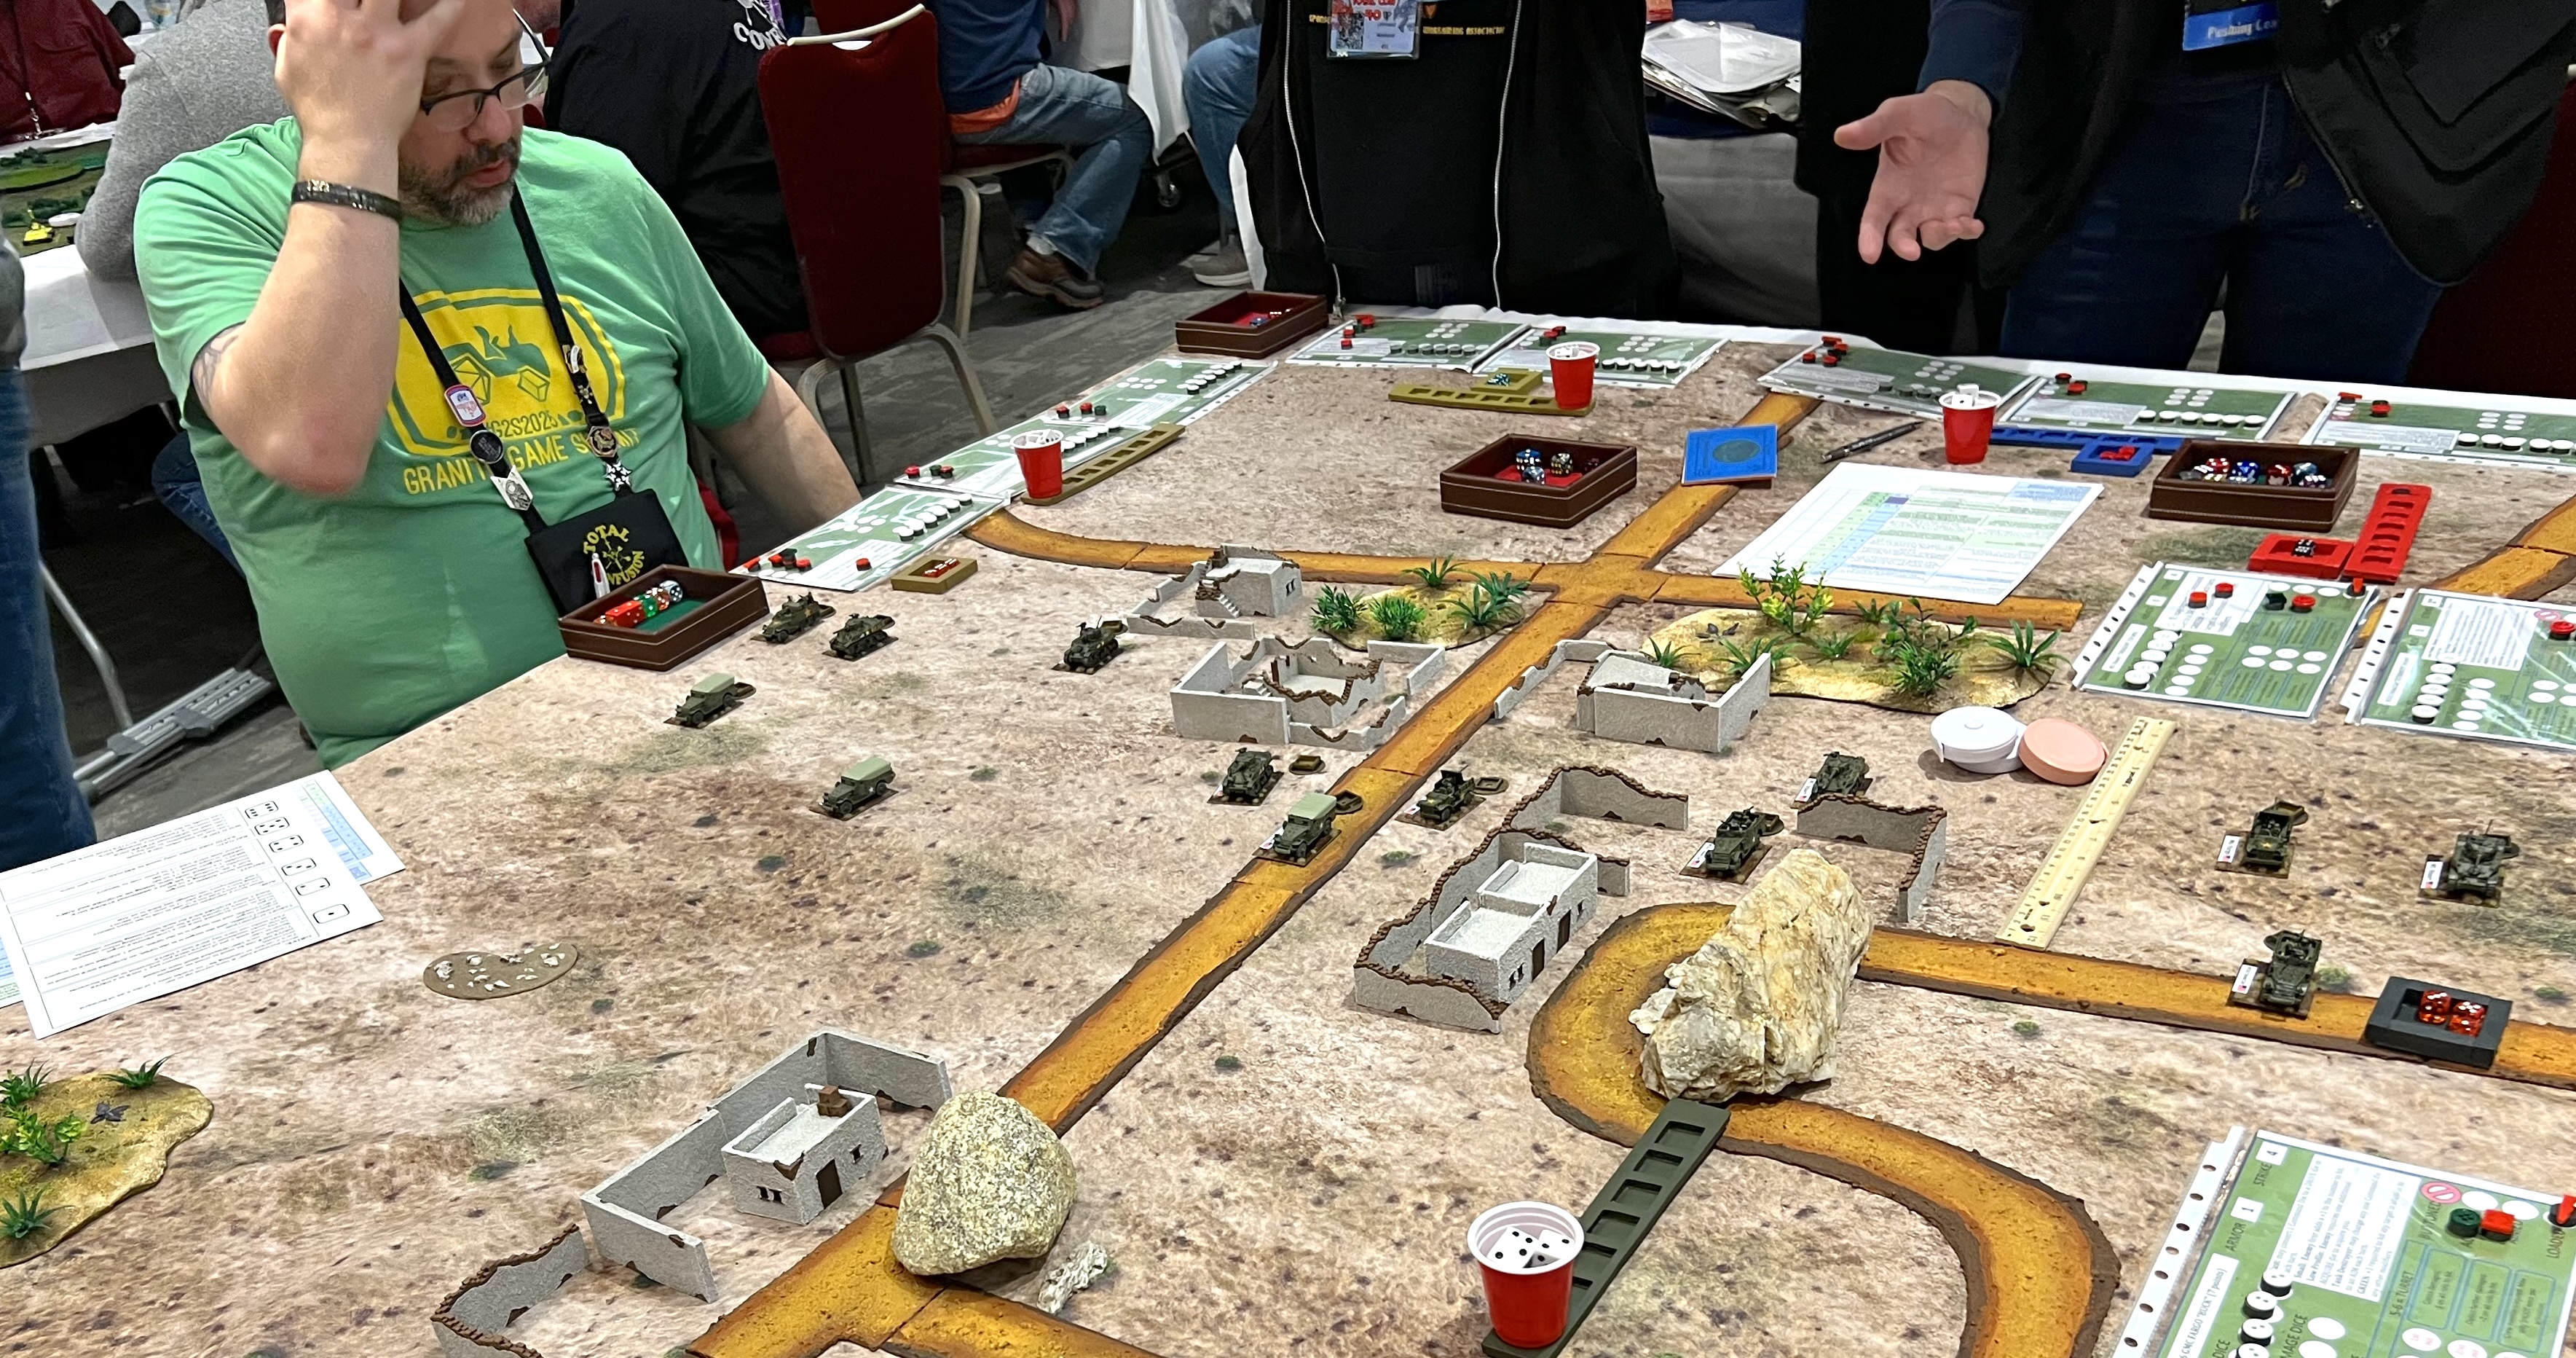
Il Duce’s Desert Gamble
This what-if modified What a Tanker scenario also filled up quickly as well.
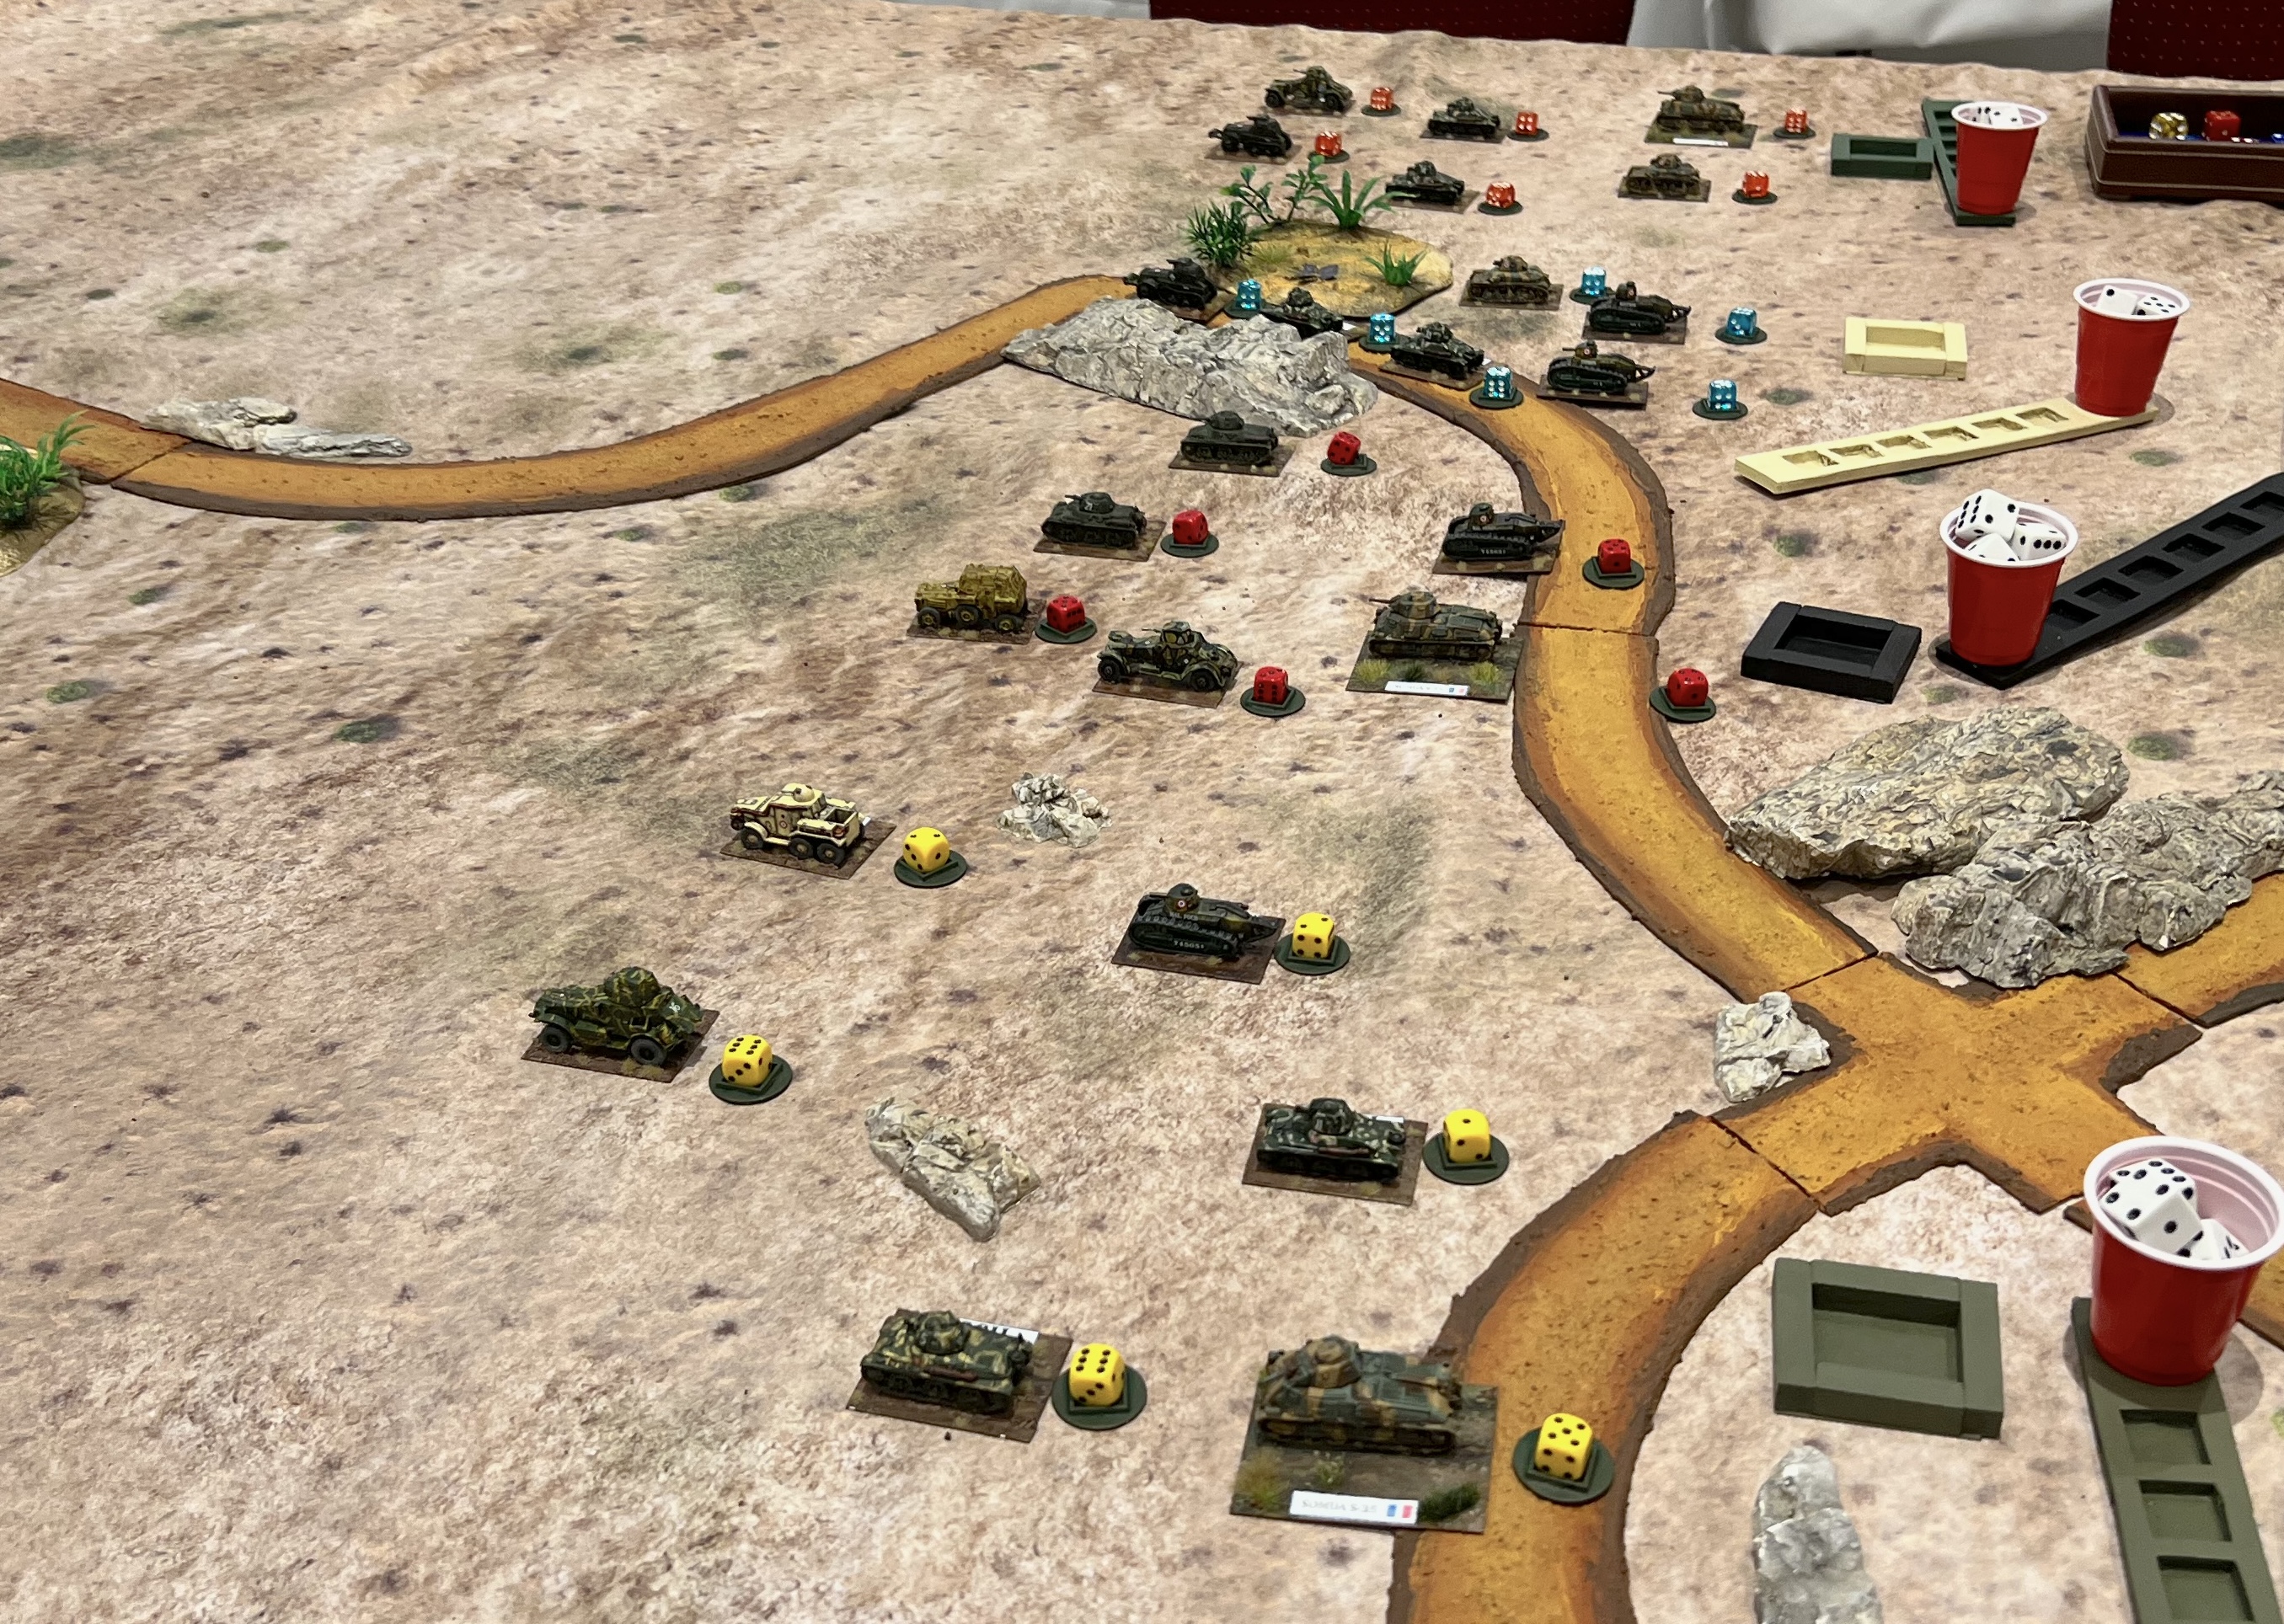
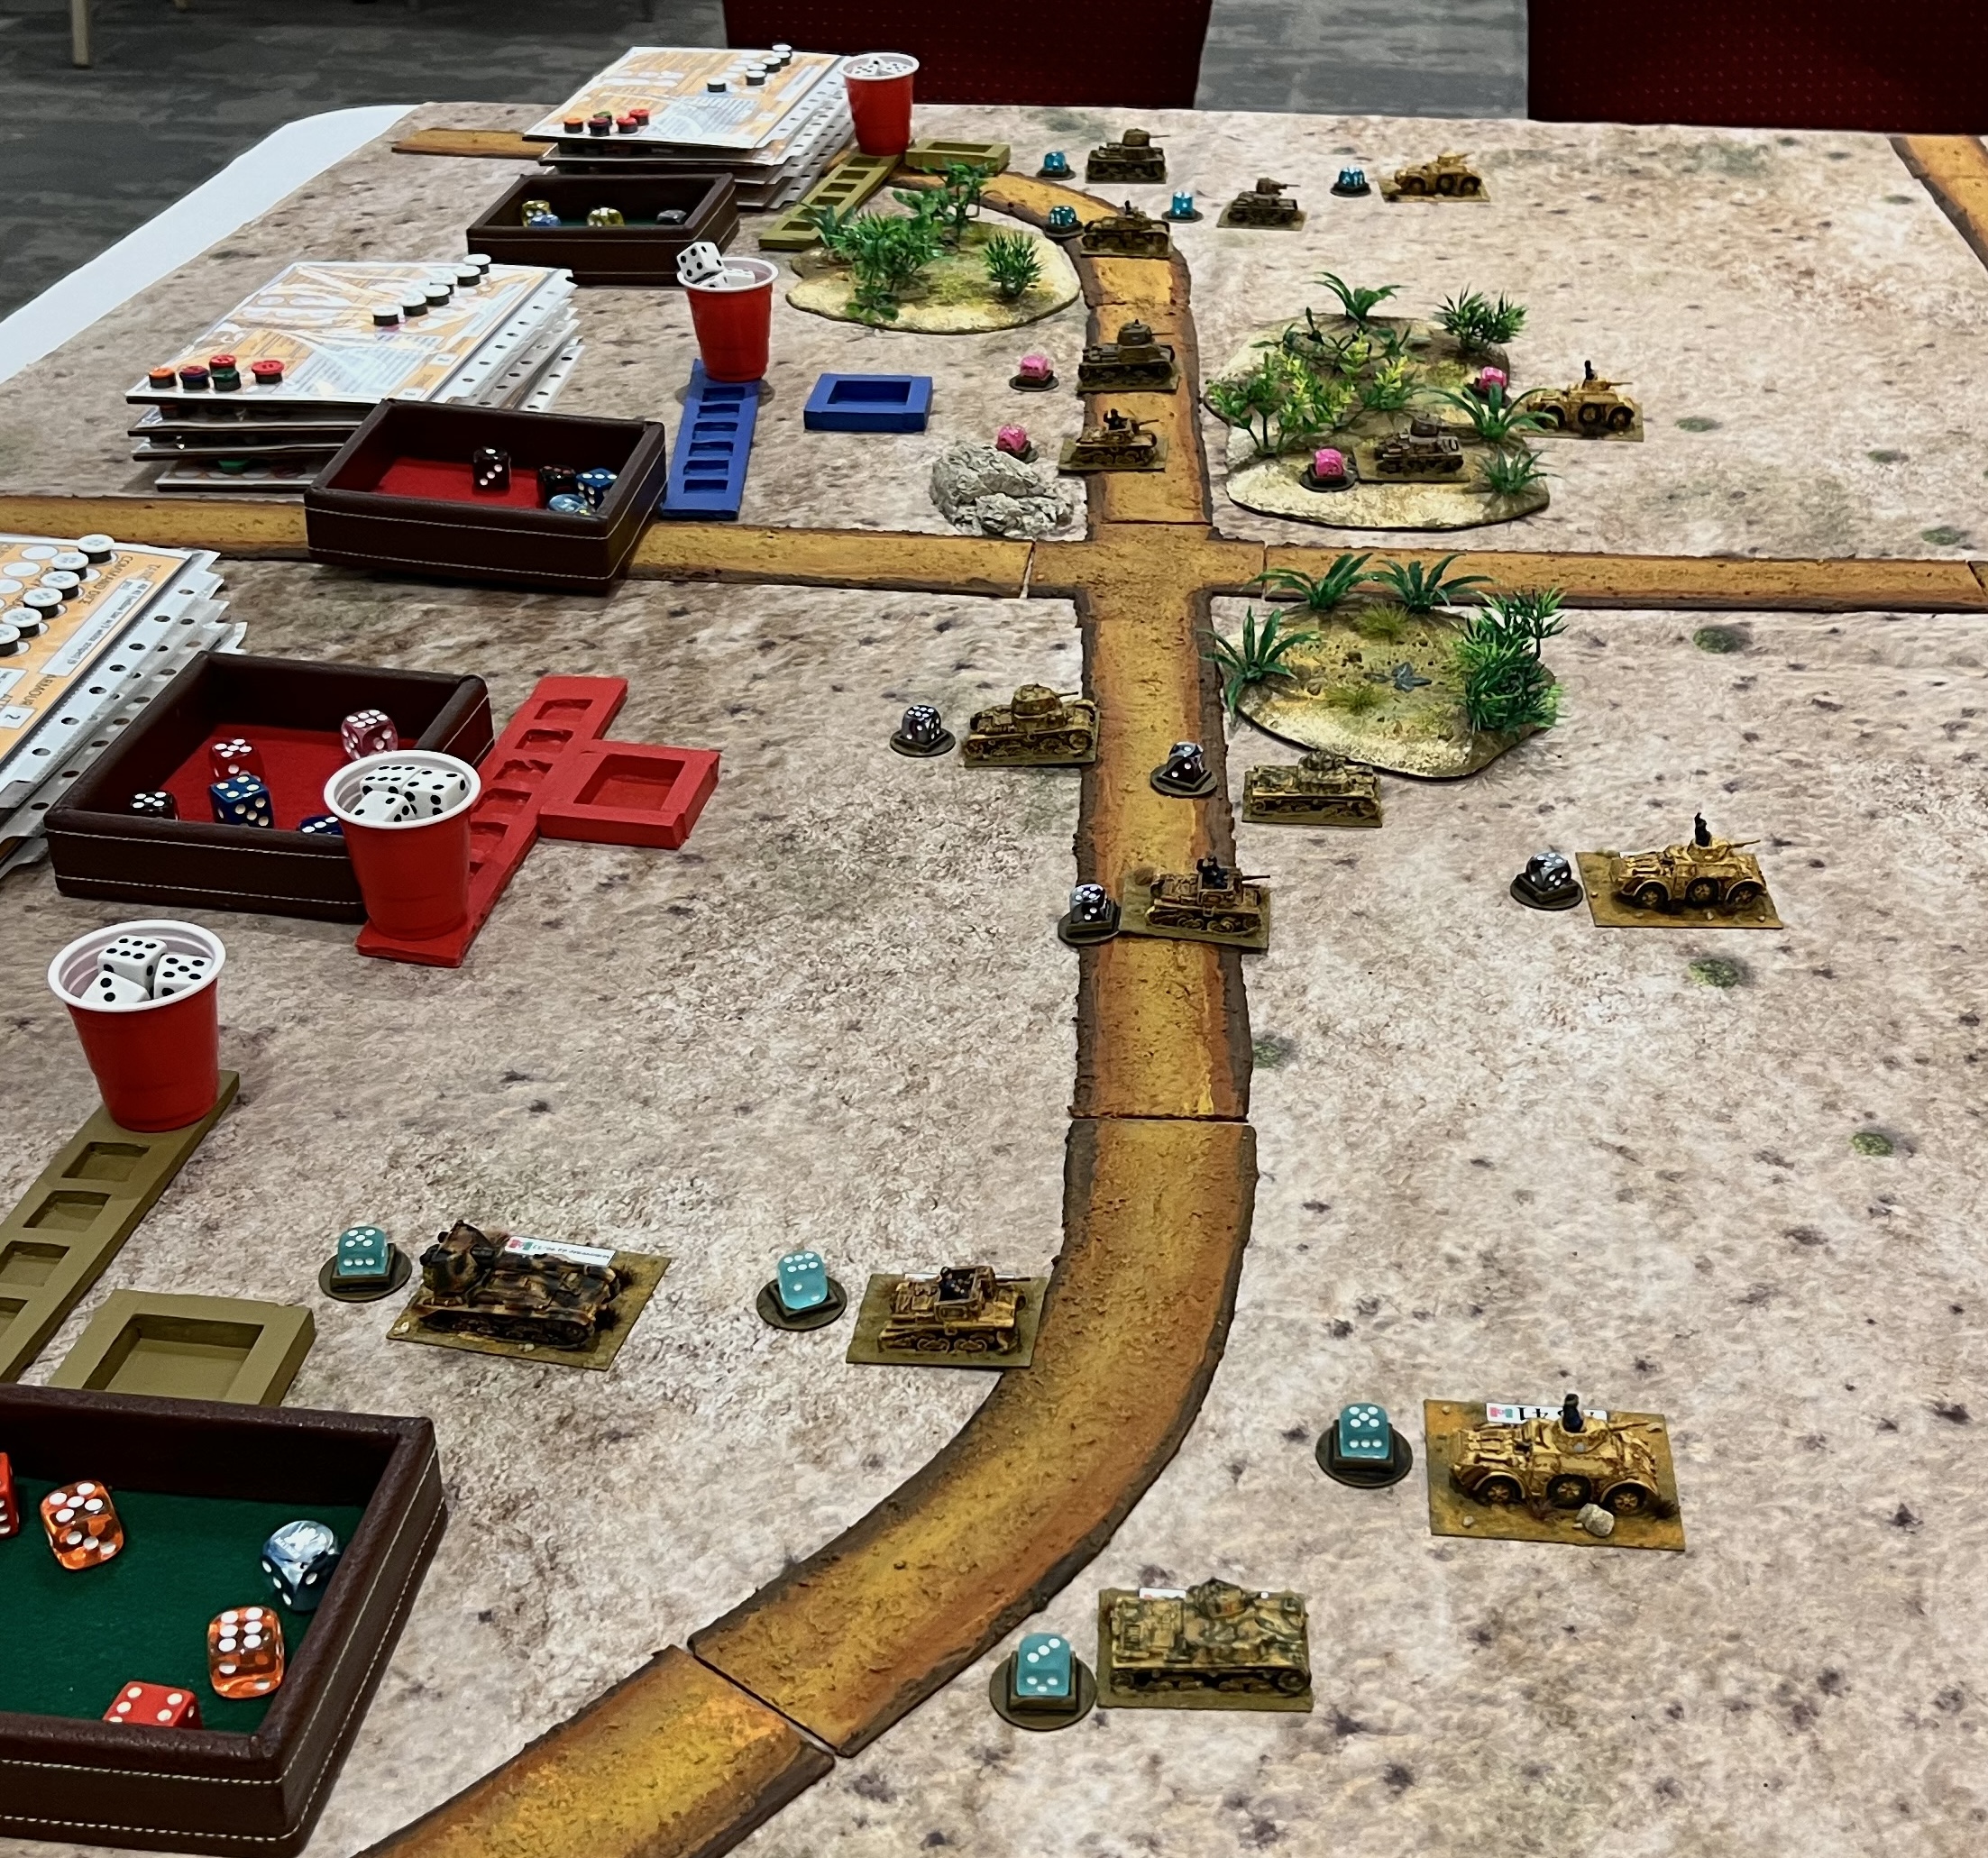
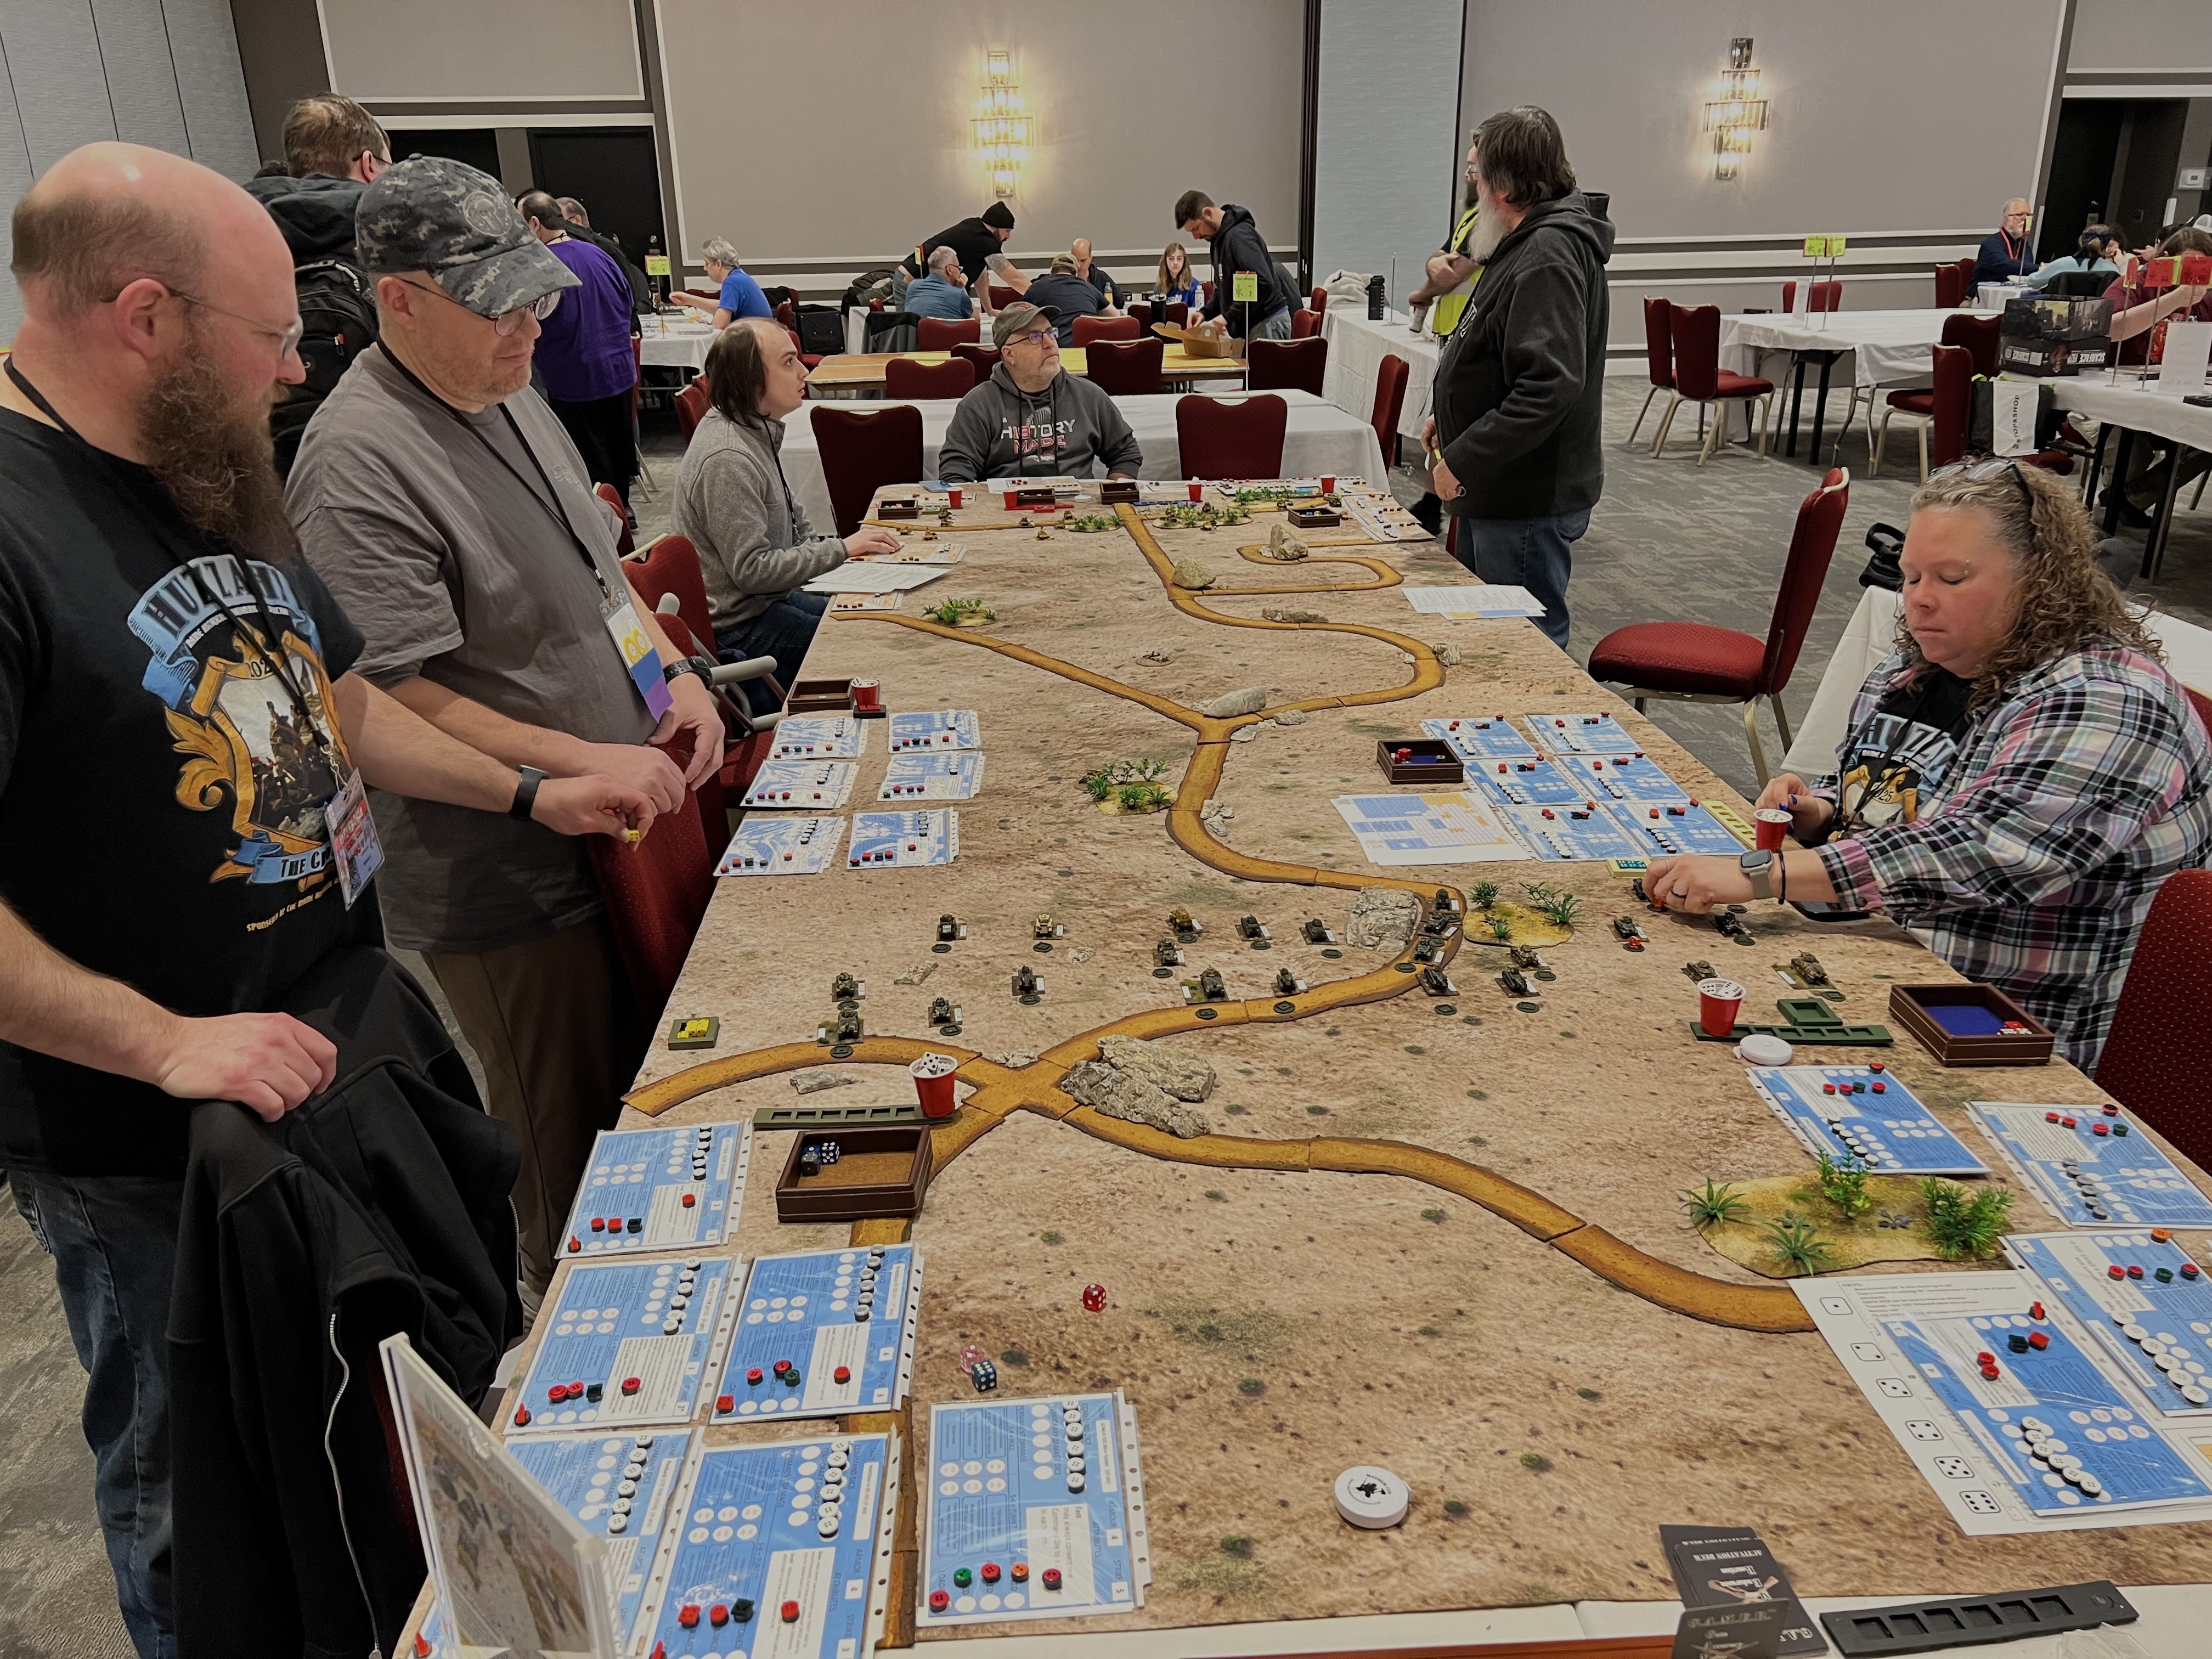
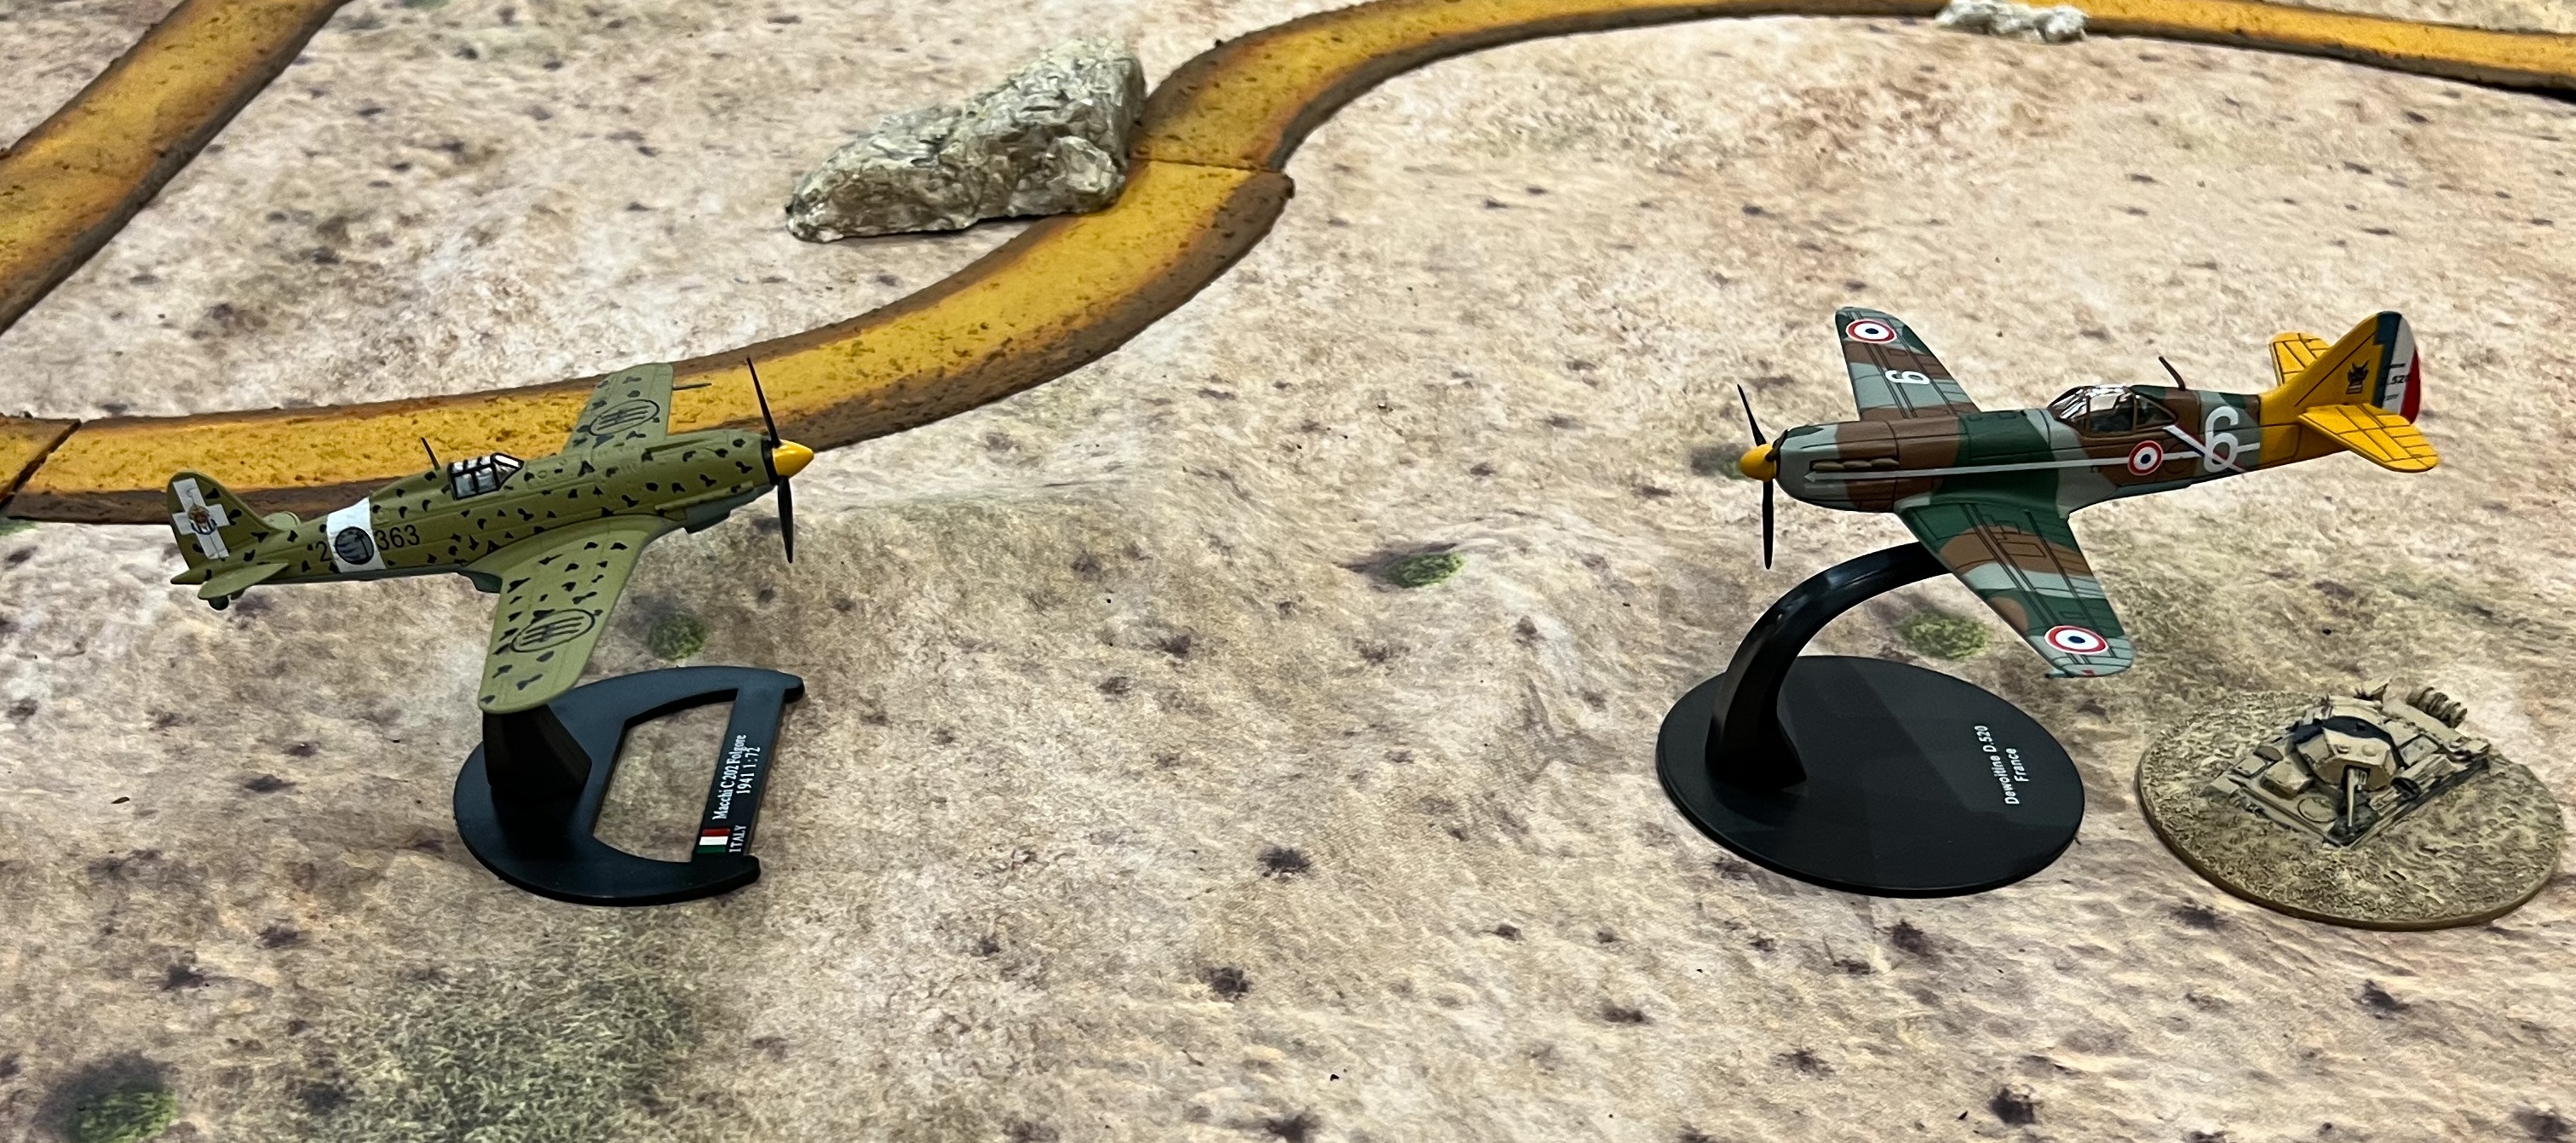
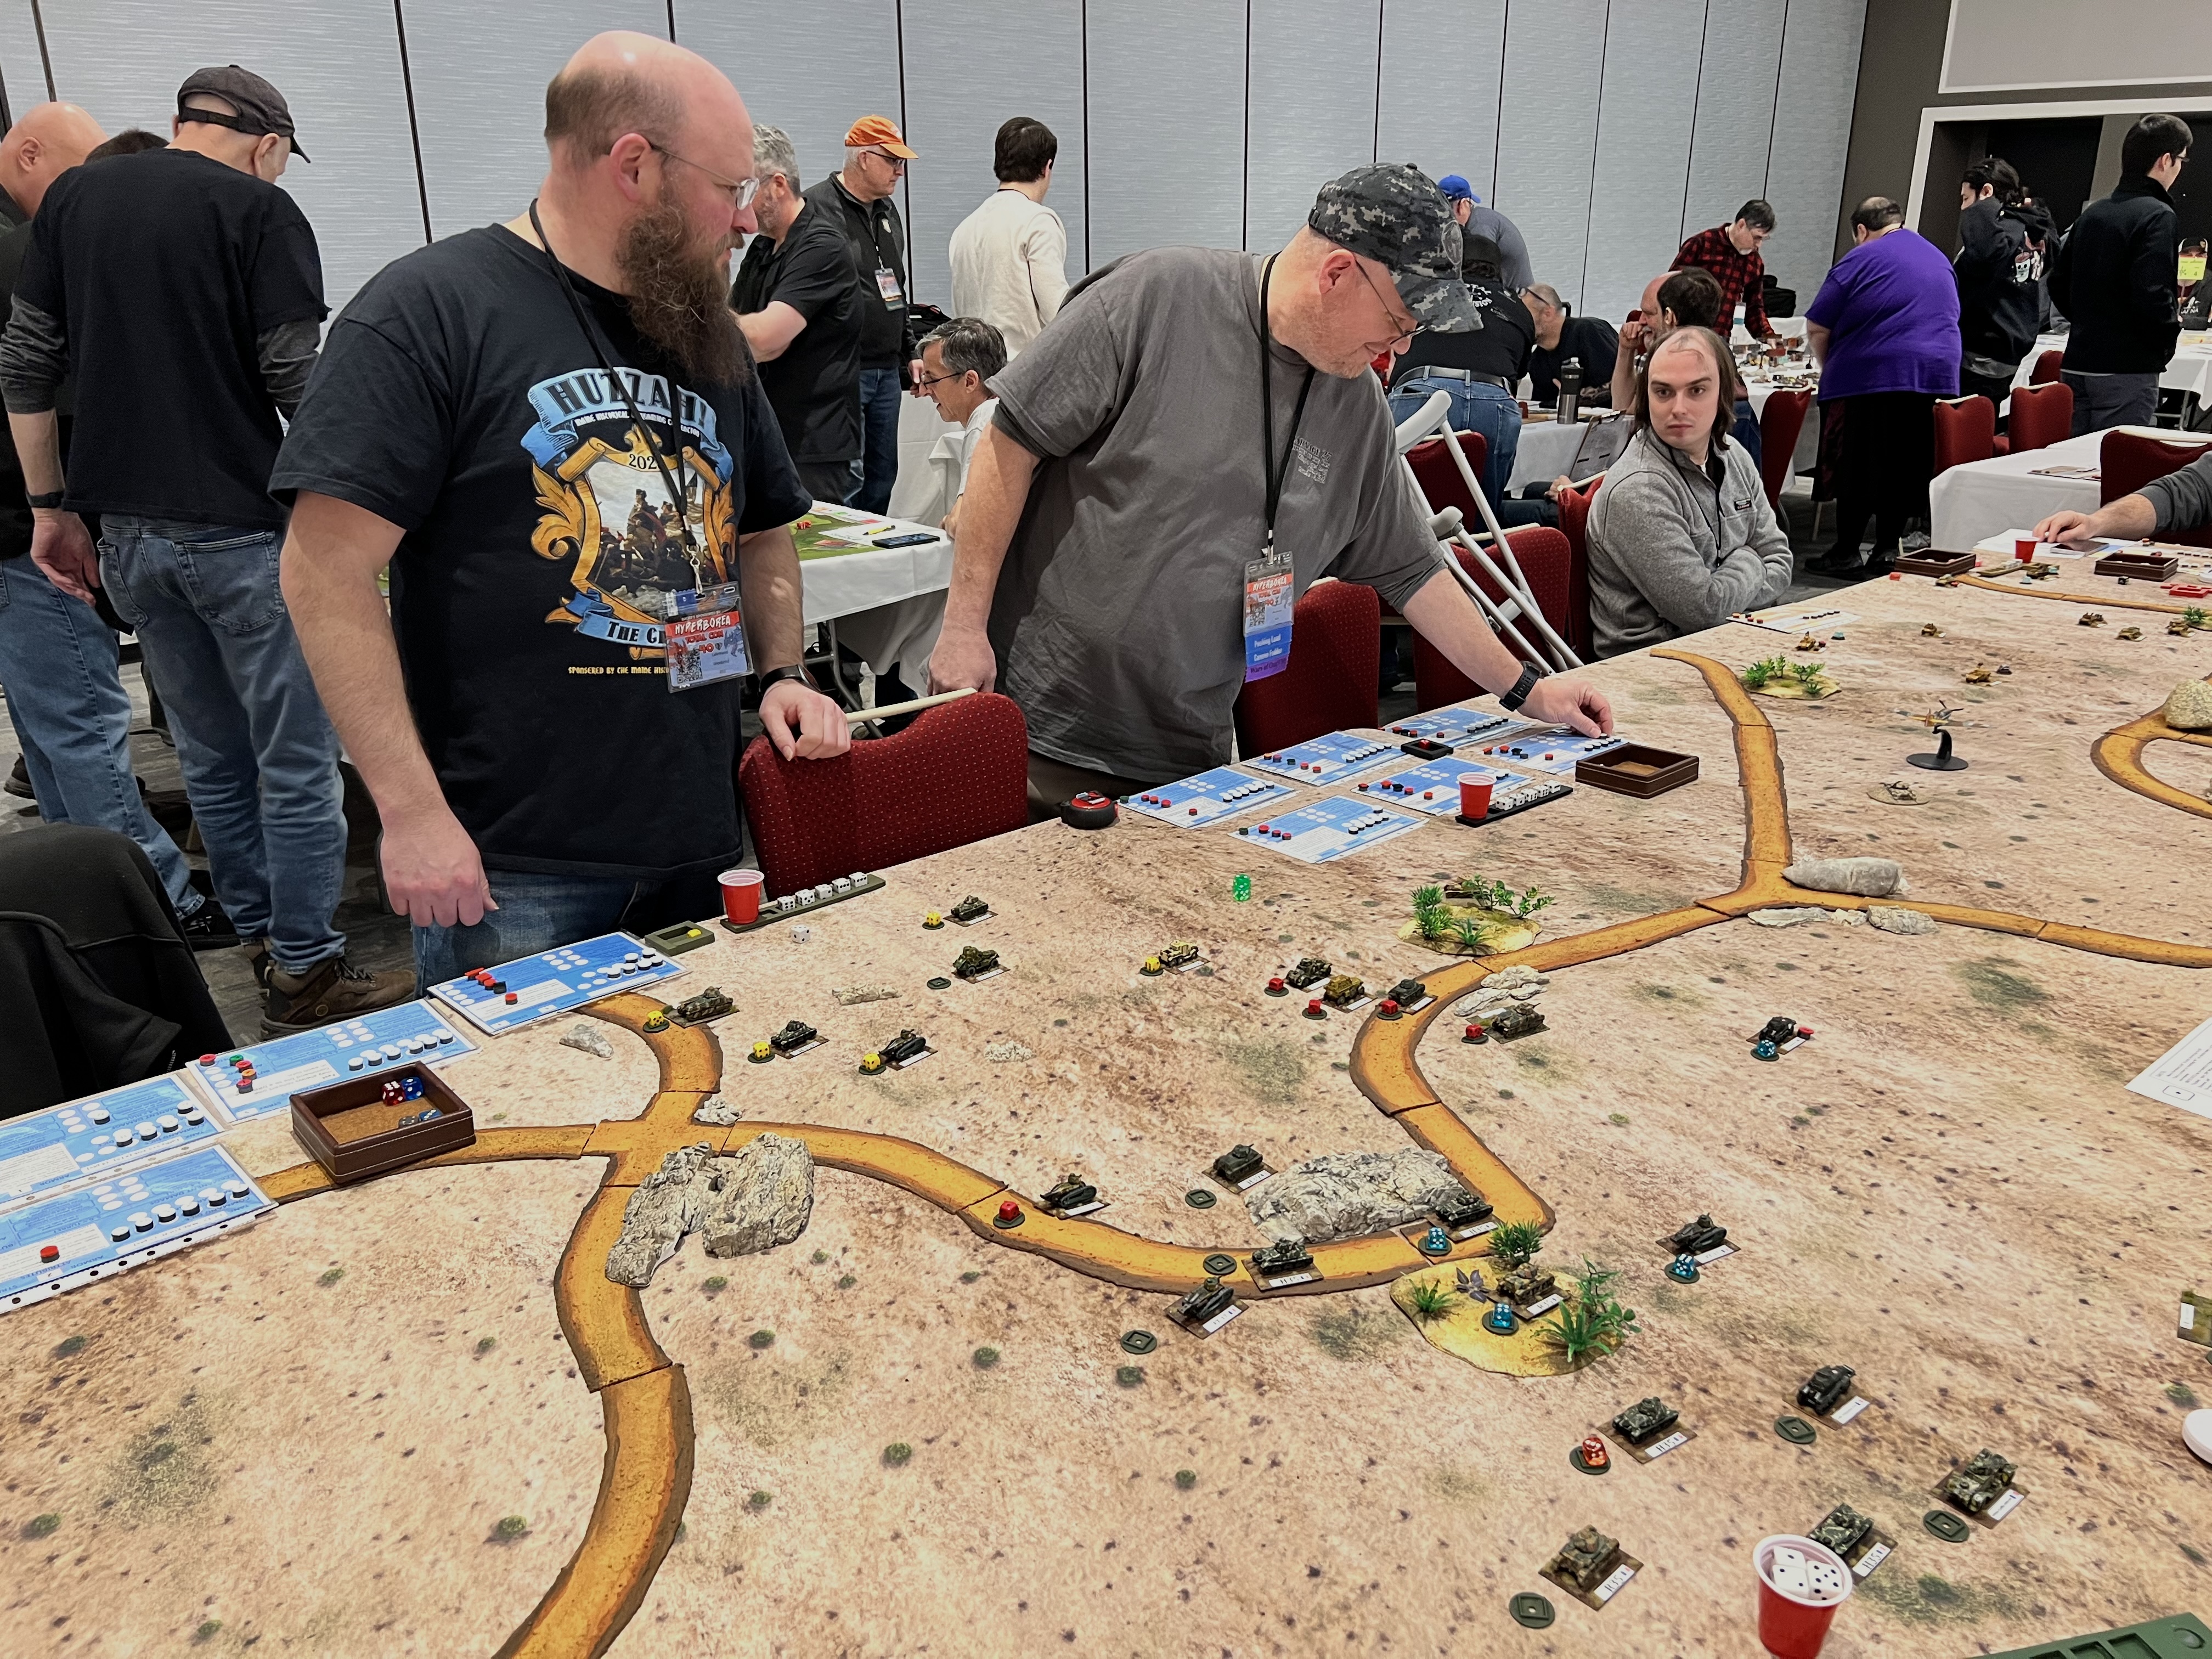
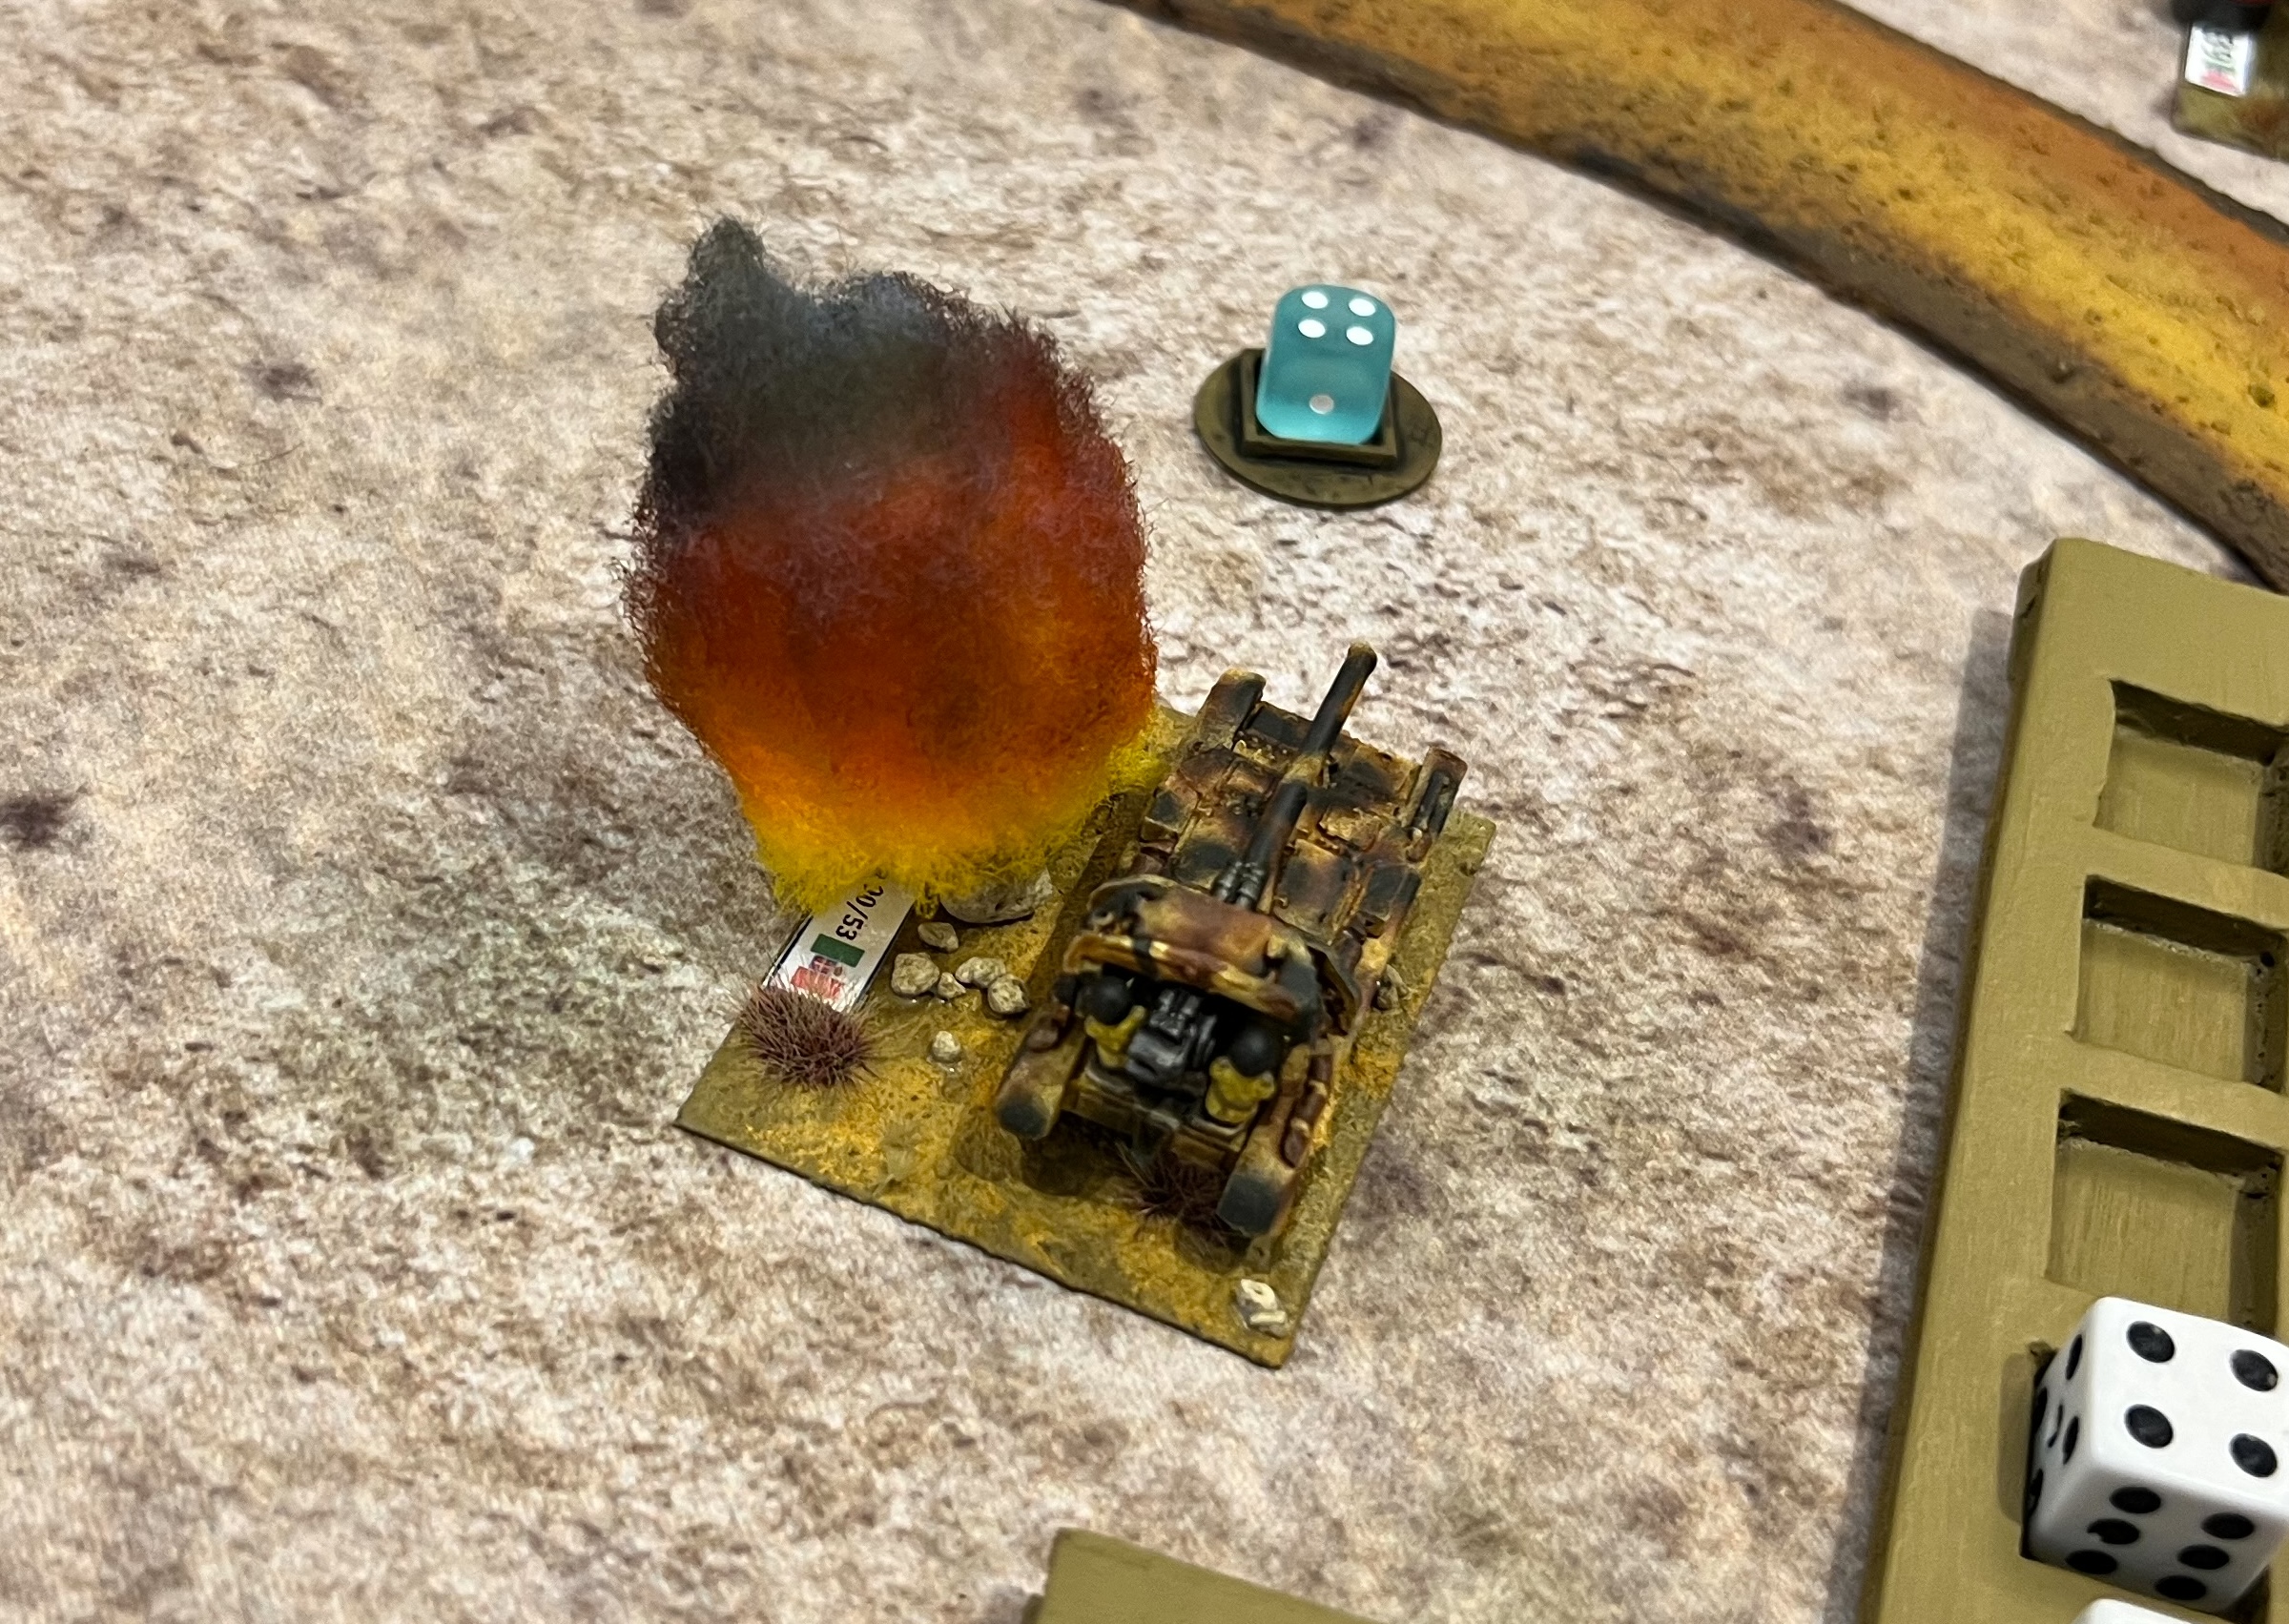
Vichy French armor facing the Italians.Royal Italian Army armor facing the French.The players plot their moves.An Italian Macchi C.202 Folgore (Italian “thunderbolt”) dogfights a Vichy Dewoitine D.520.Leif smiles as he records temporary damage on his tank. The damage was caused by Leif’s very bad dice rolling for a very old and worn out French FT-17!A Vichy SOMUA S35 knocks out an Italian Semovente 90/53.French forces advance.
The game ended with Vichy winning 540-440.
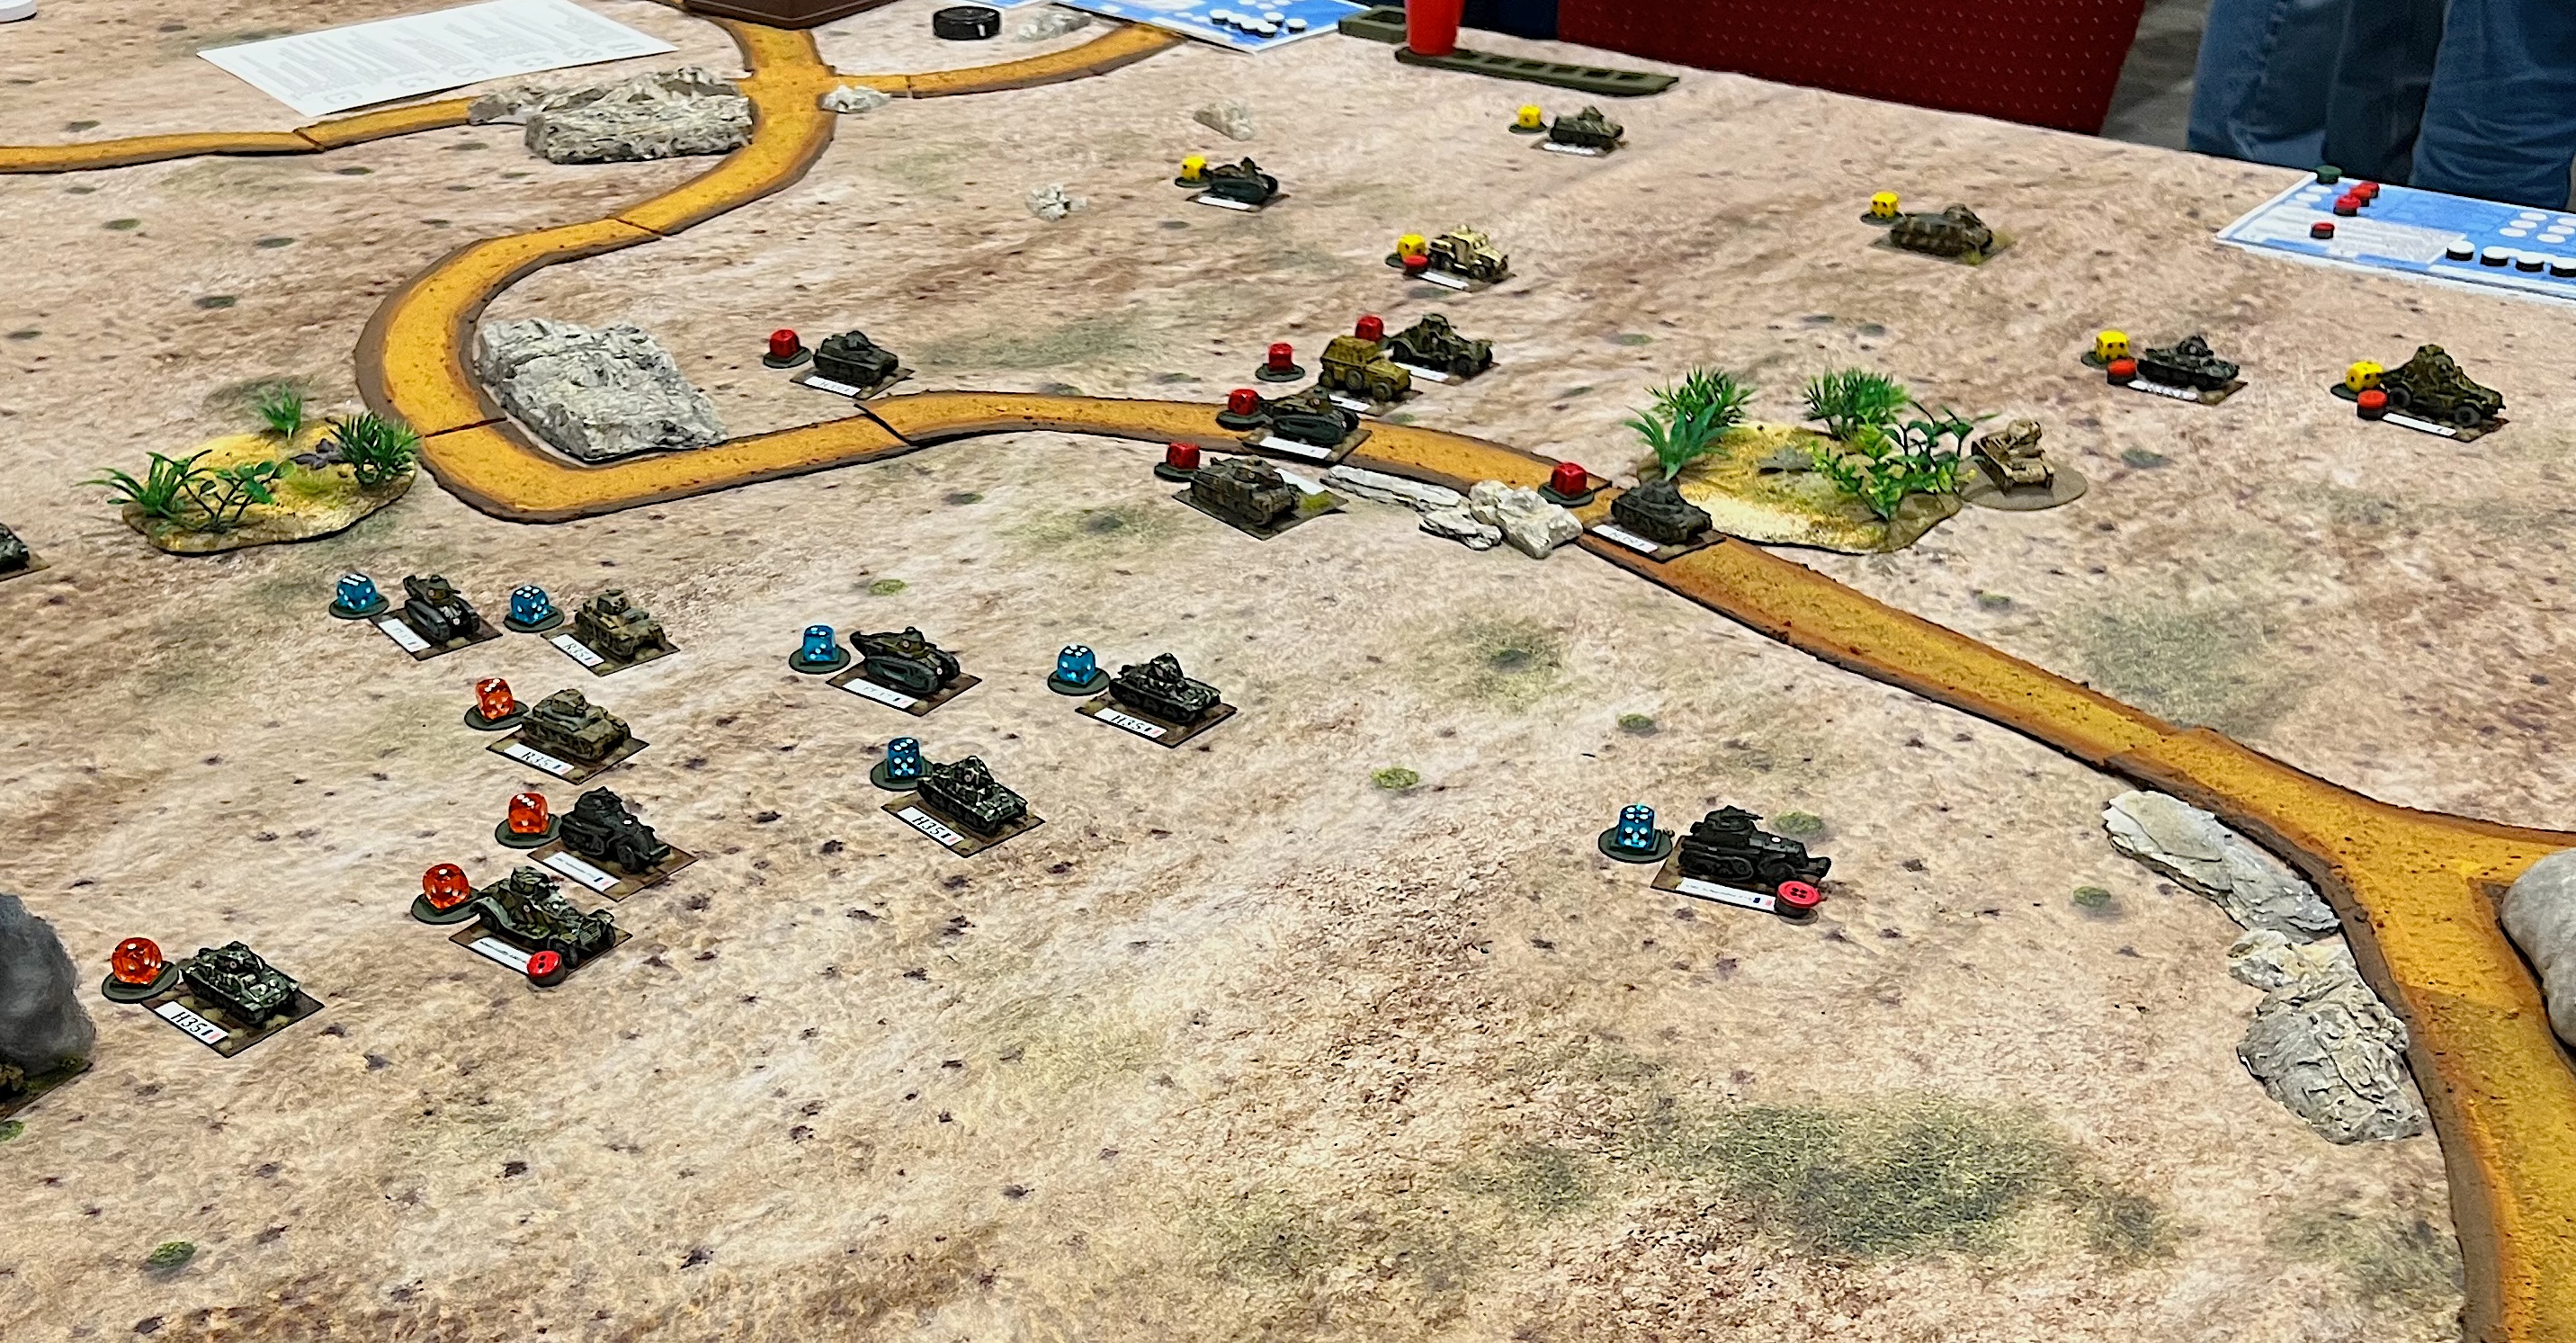
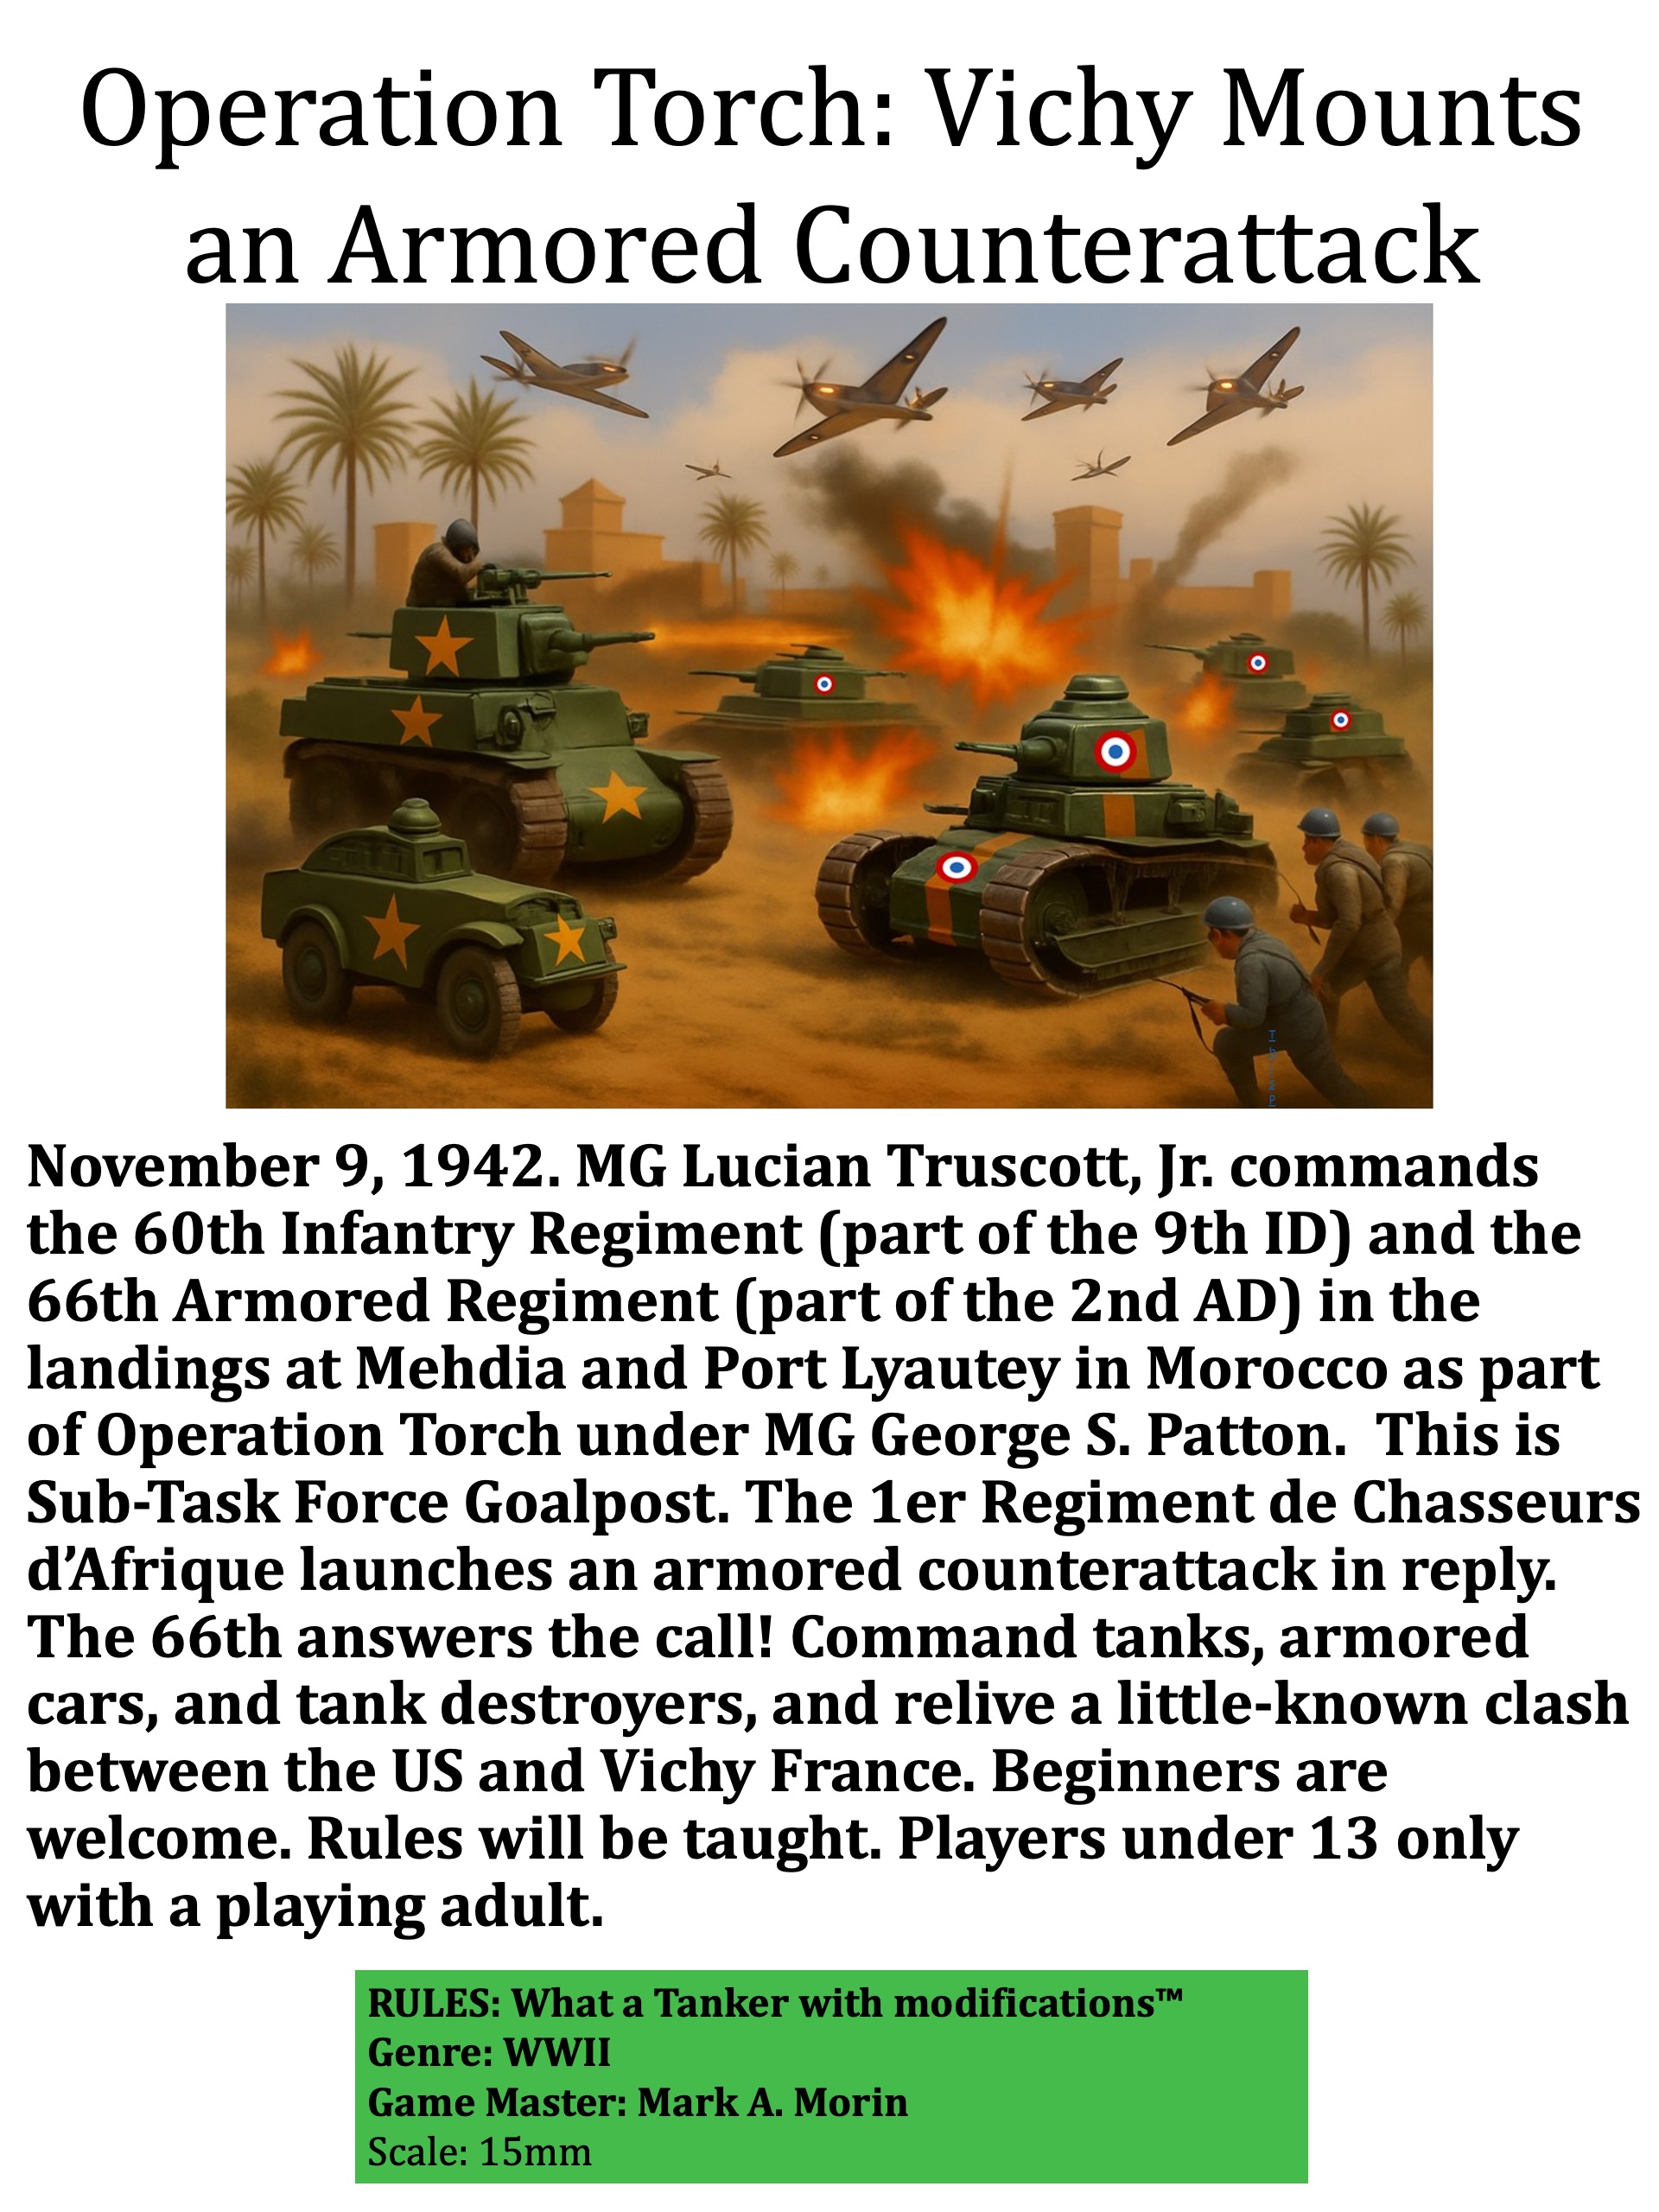
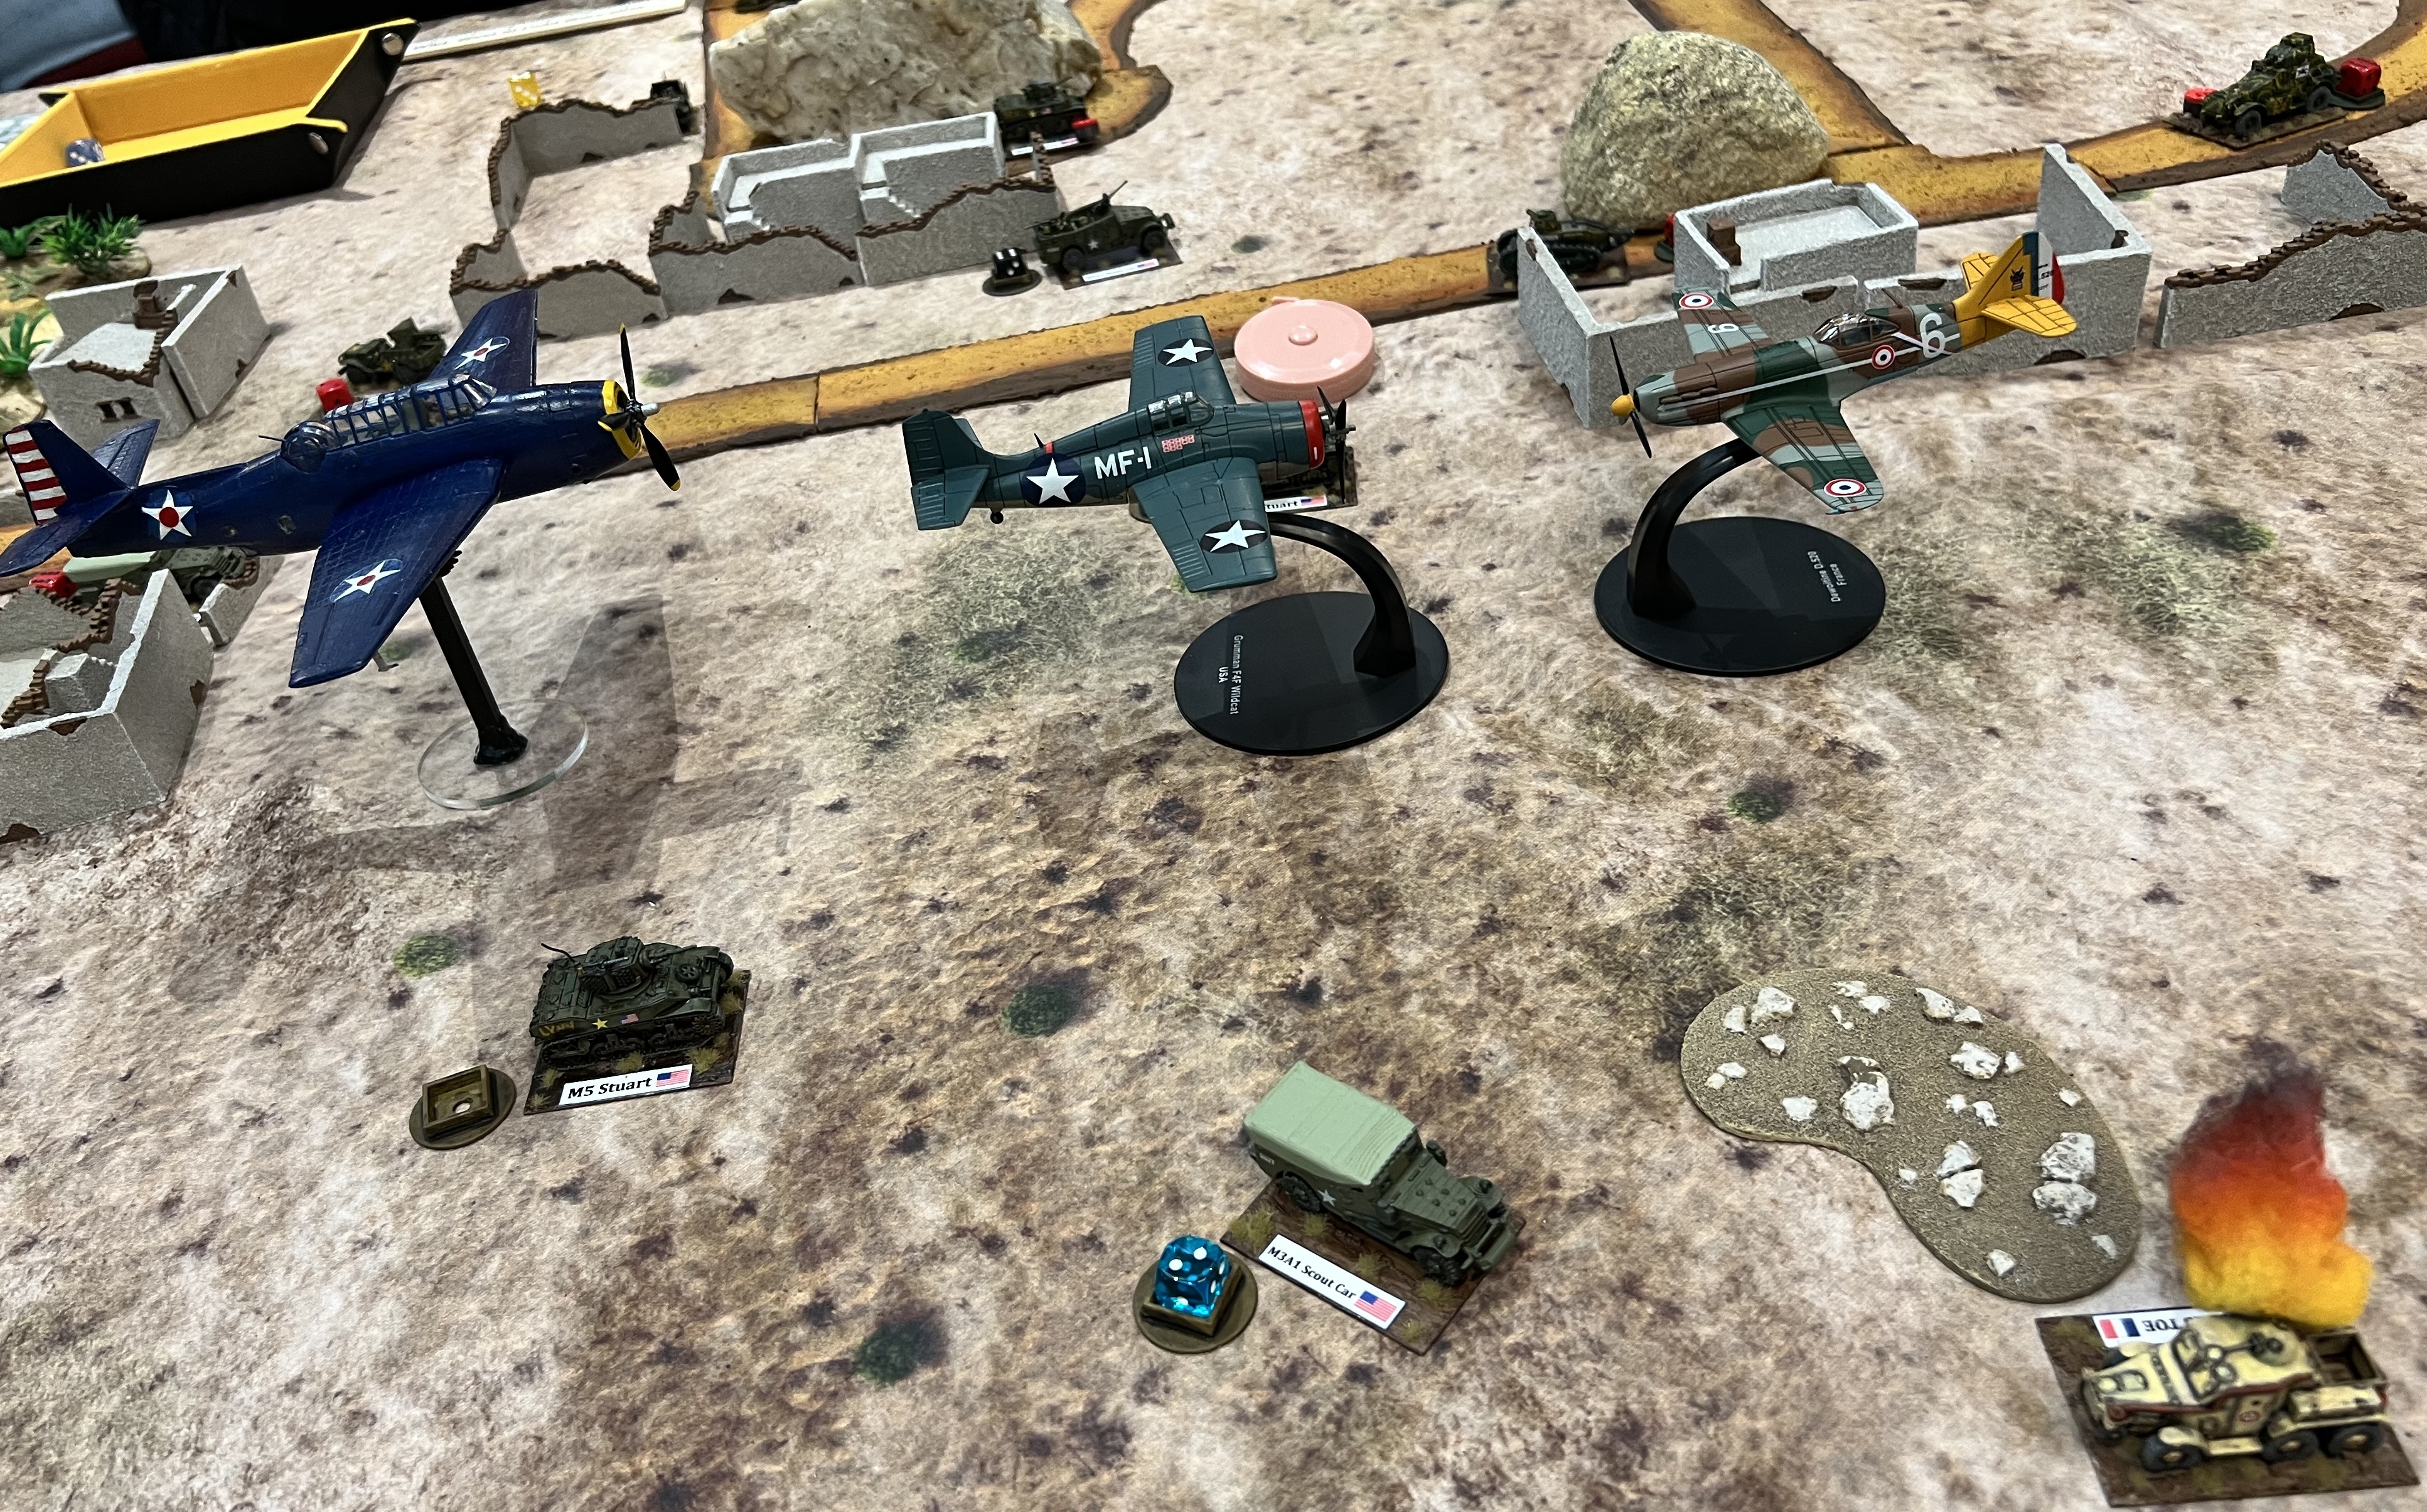
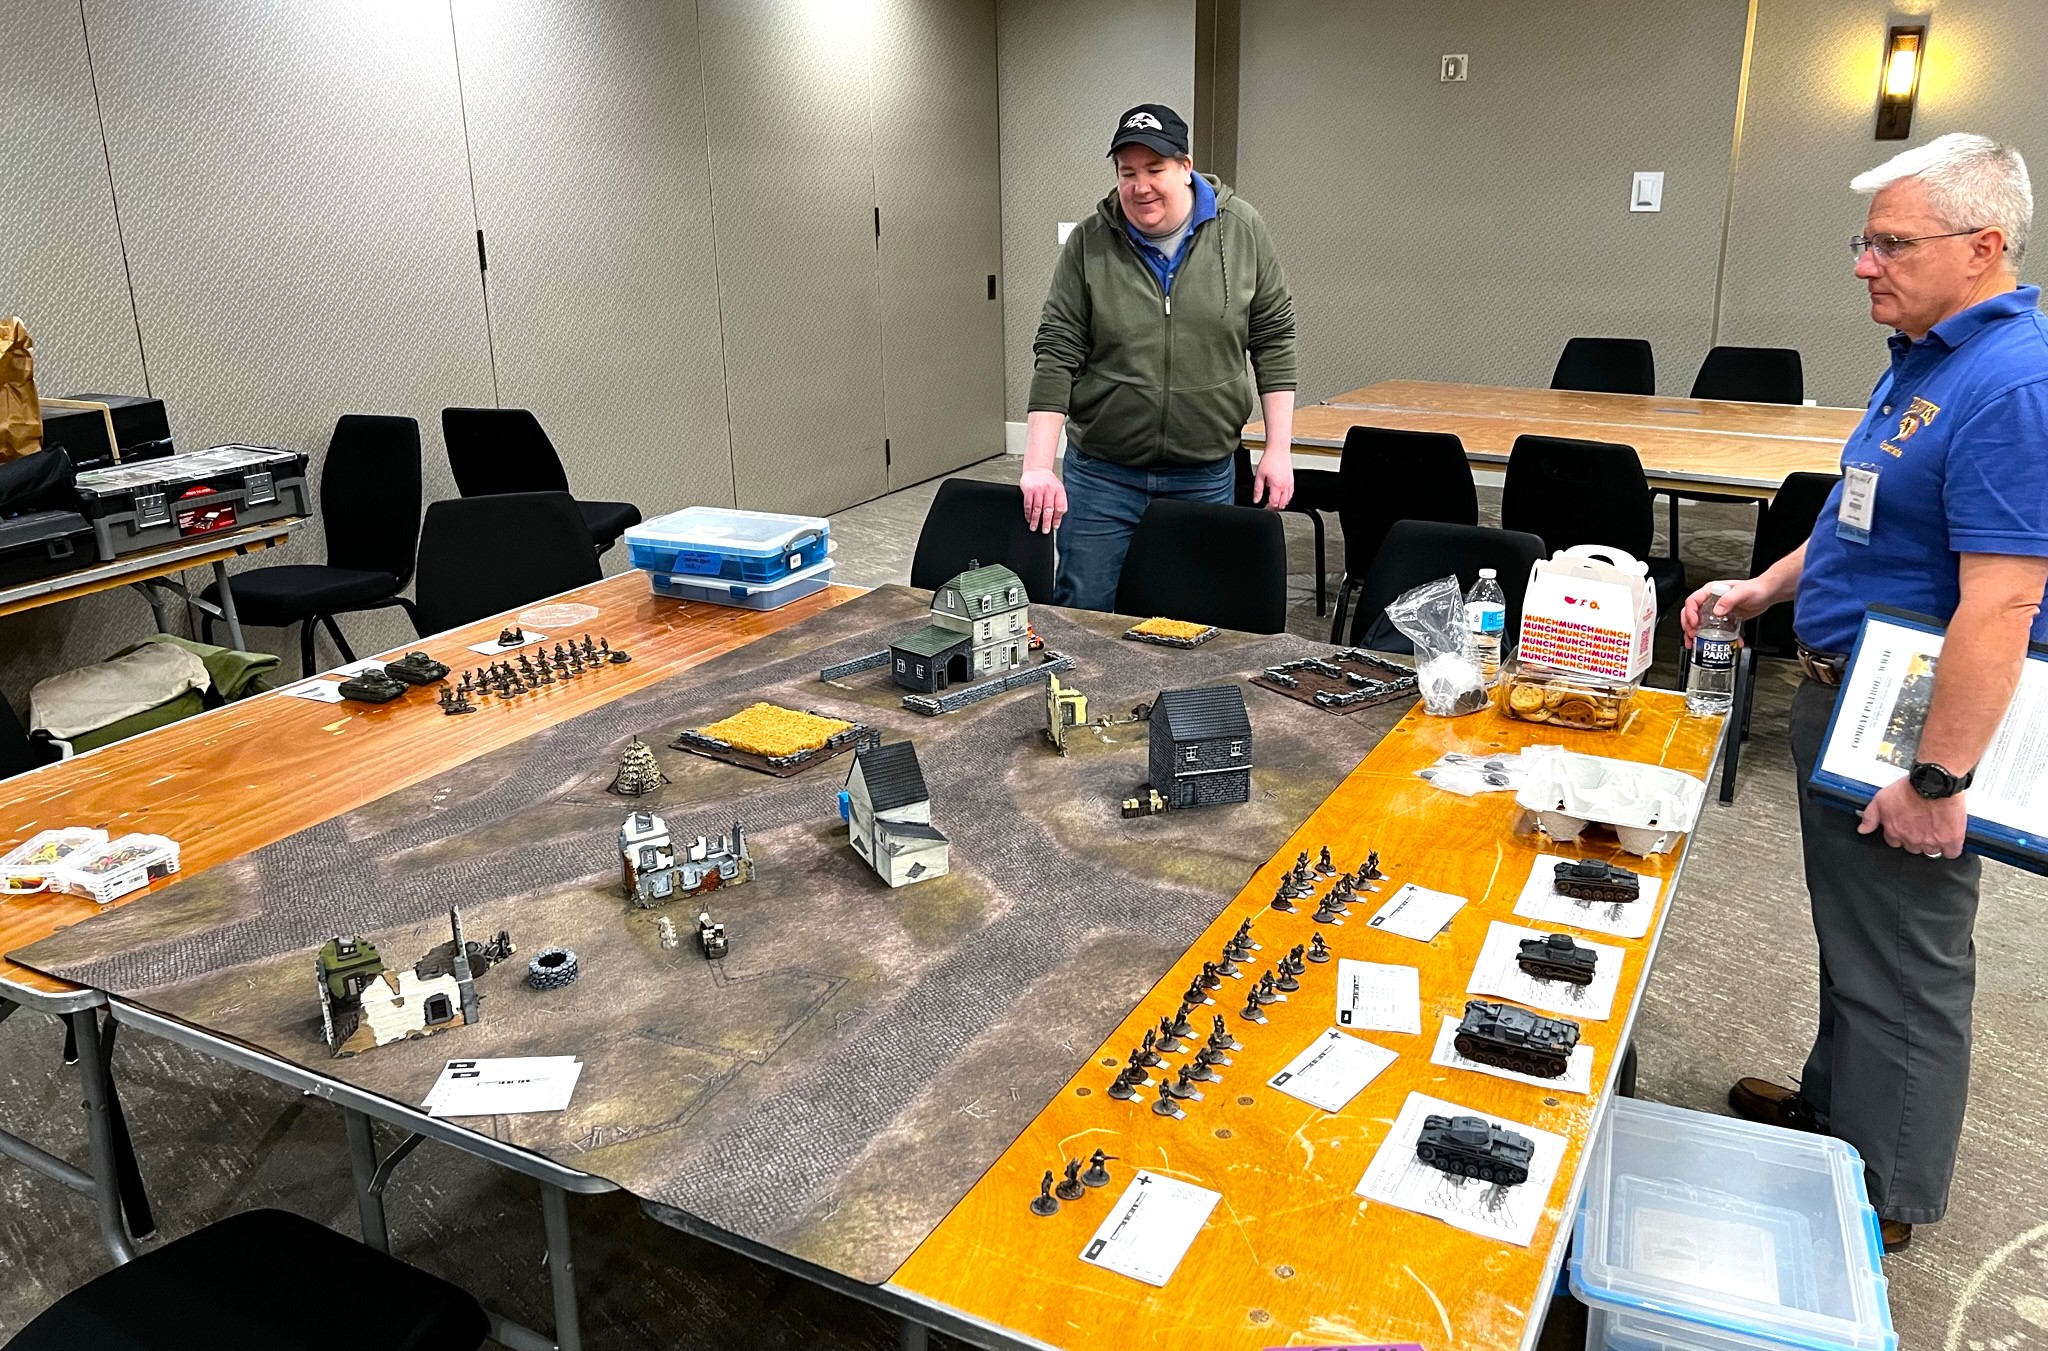
For Saturday afternoon, I ran Operation Torch: Vichy Mounts an Armored Counterattack. This was also a modified What a Tanker game.
Operation Torch: Vichy Mounts an Armored Counterattack
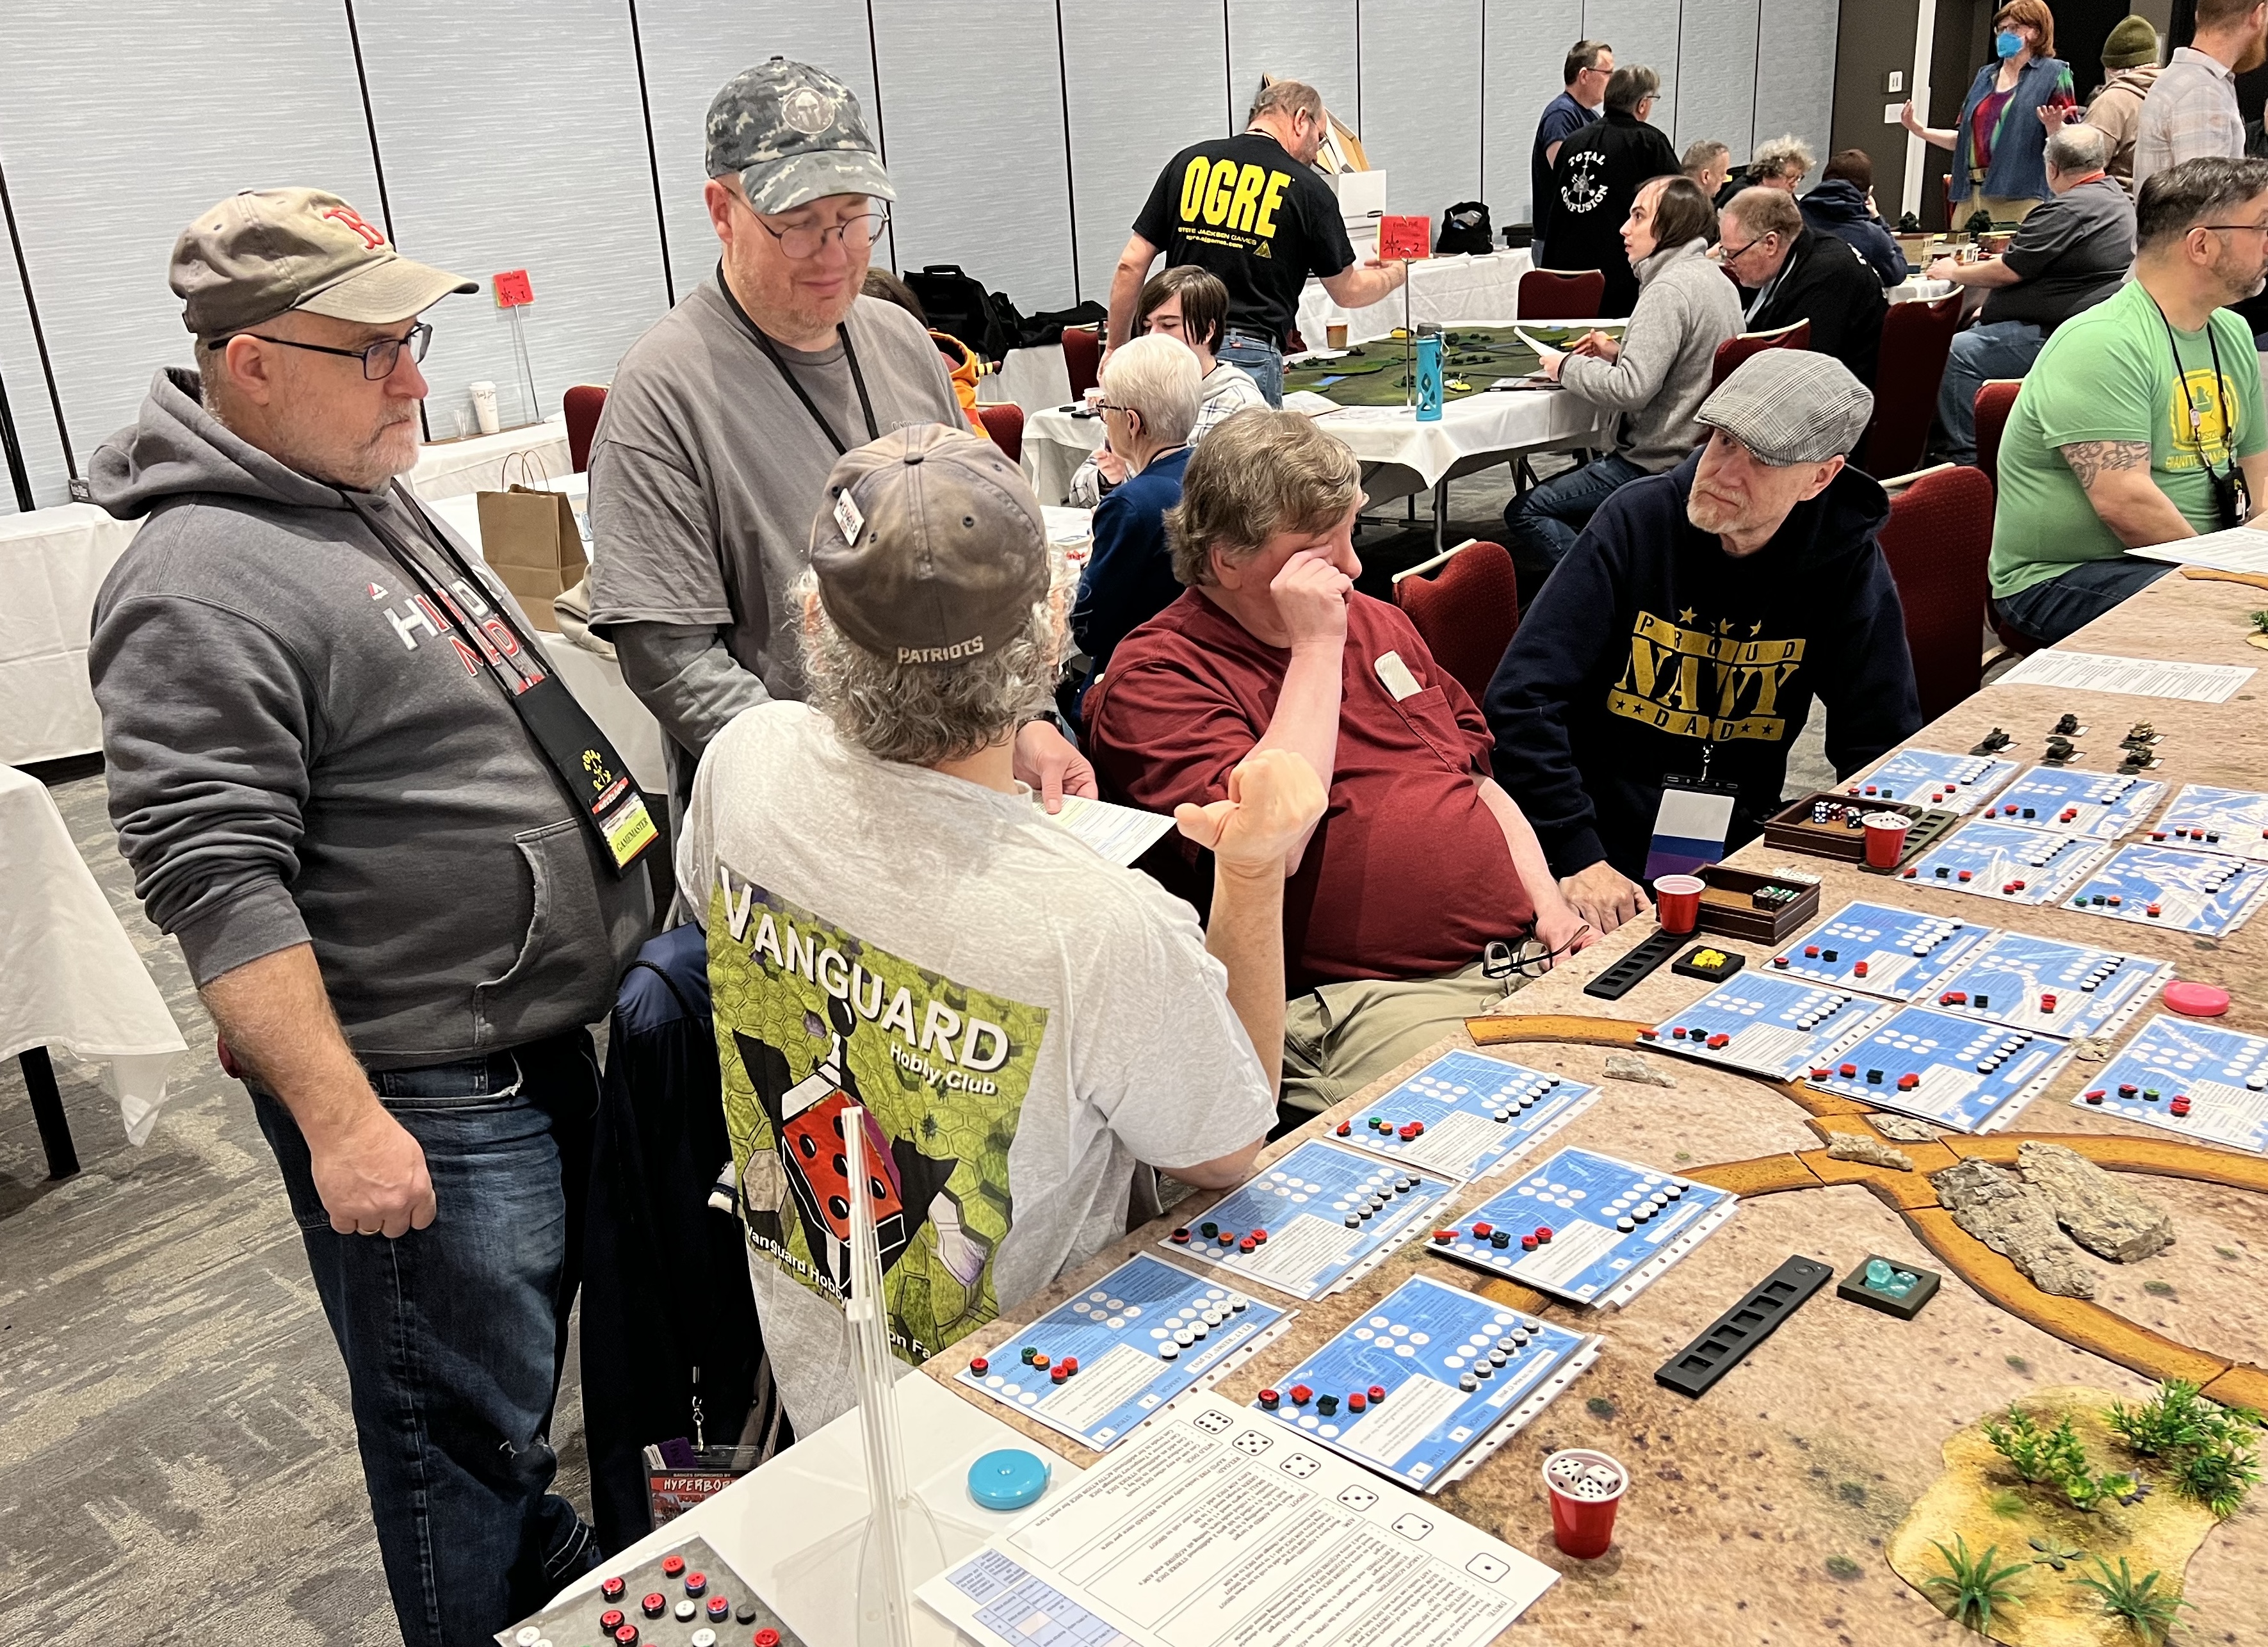
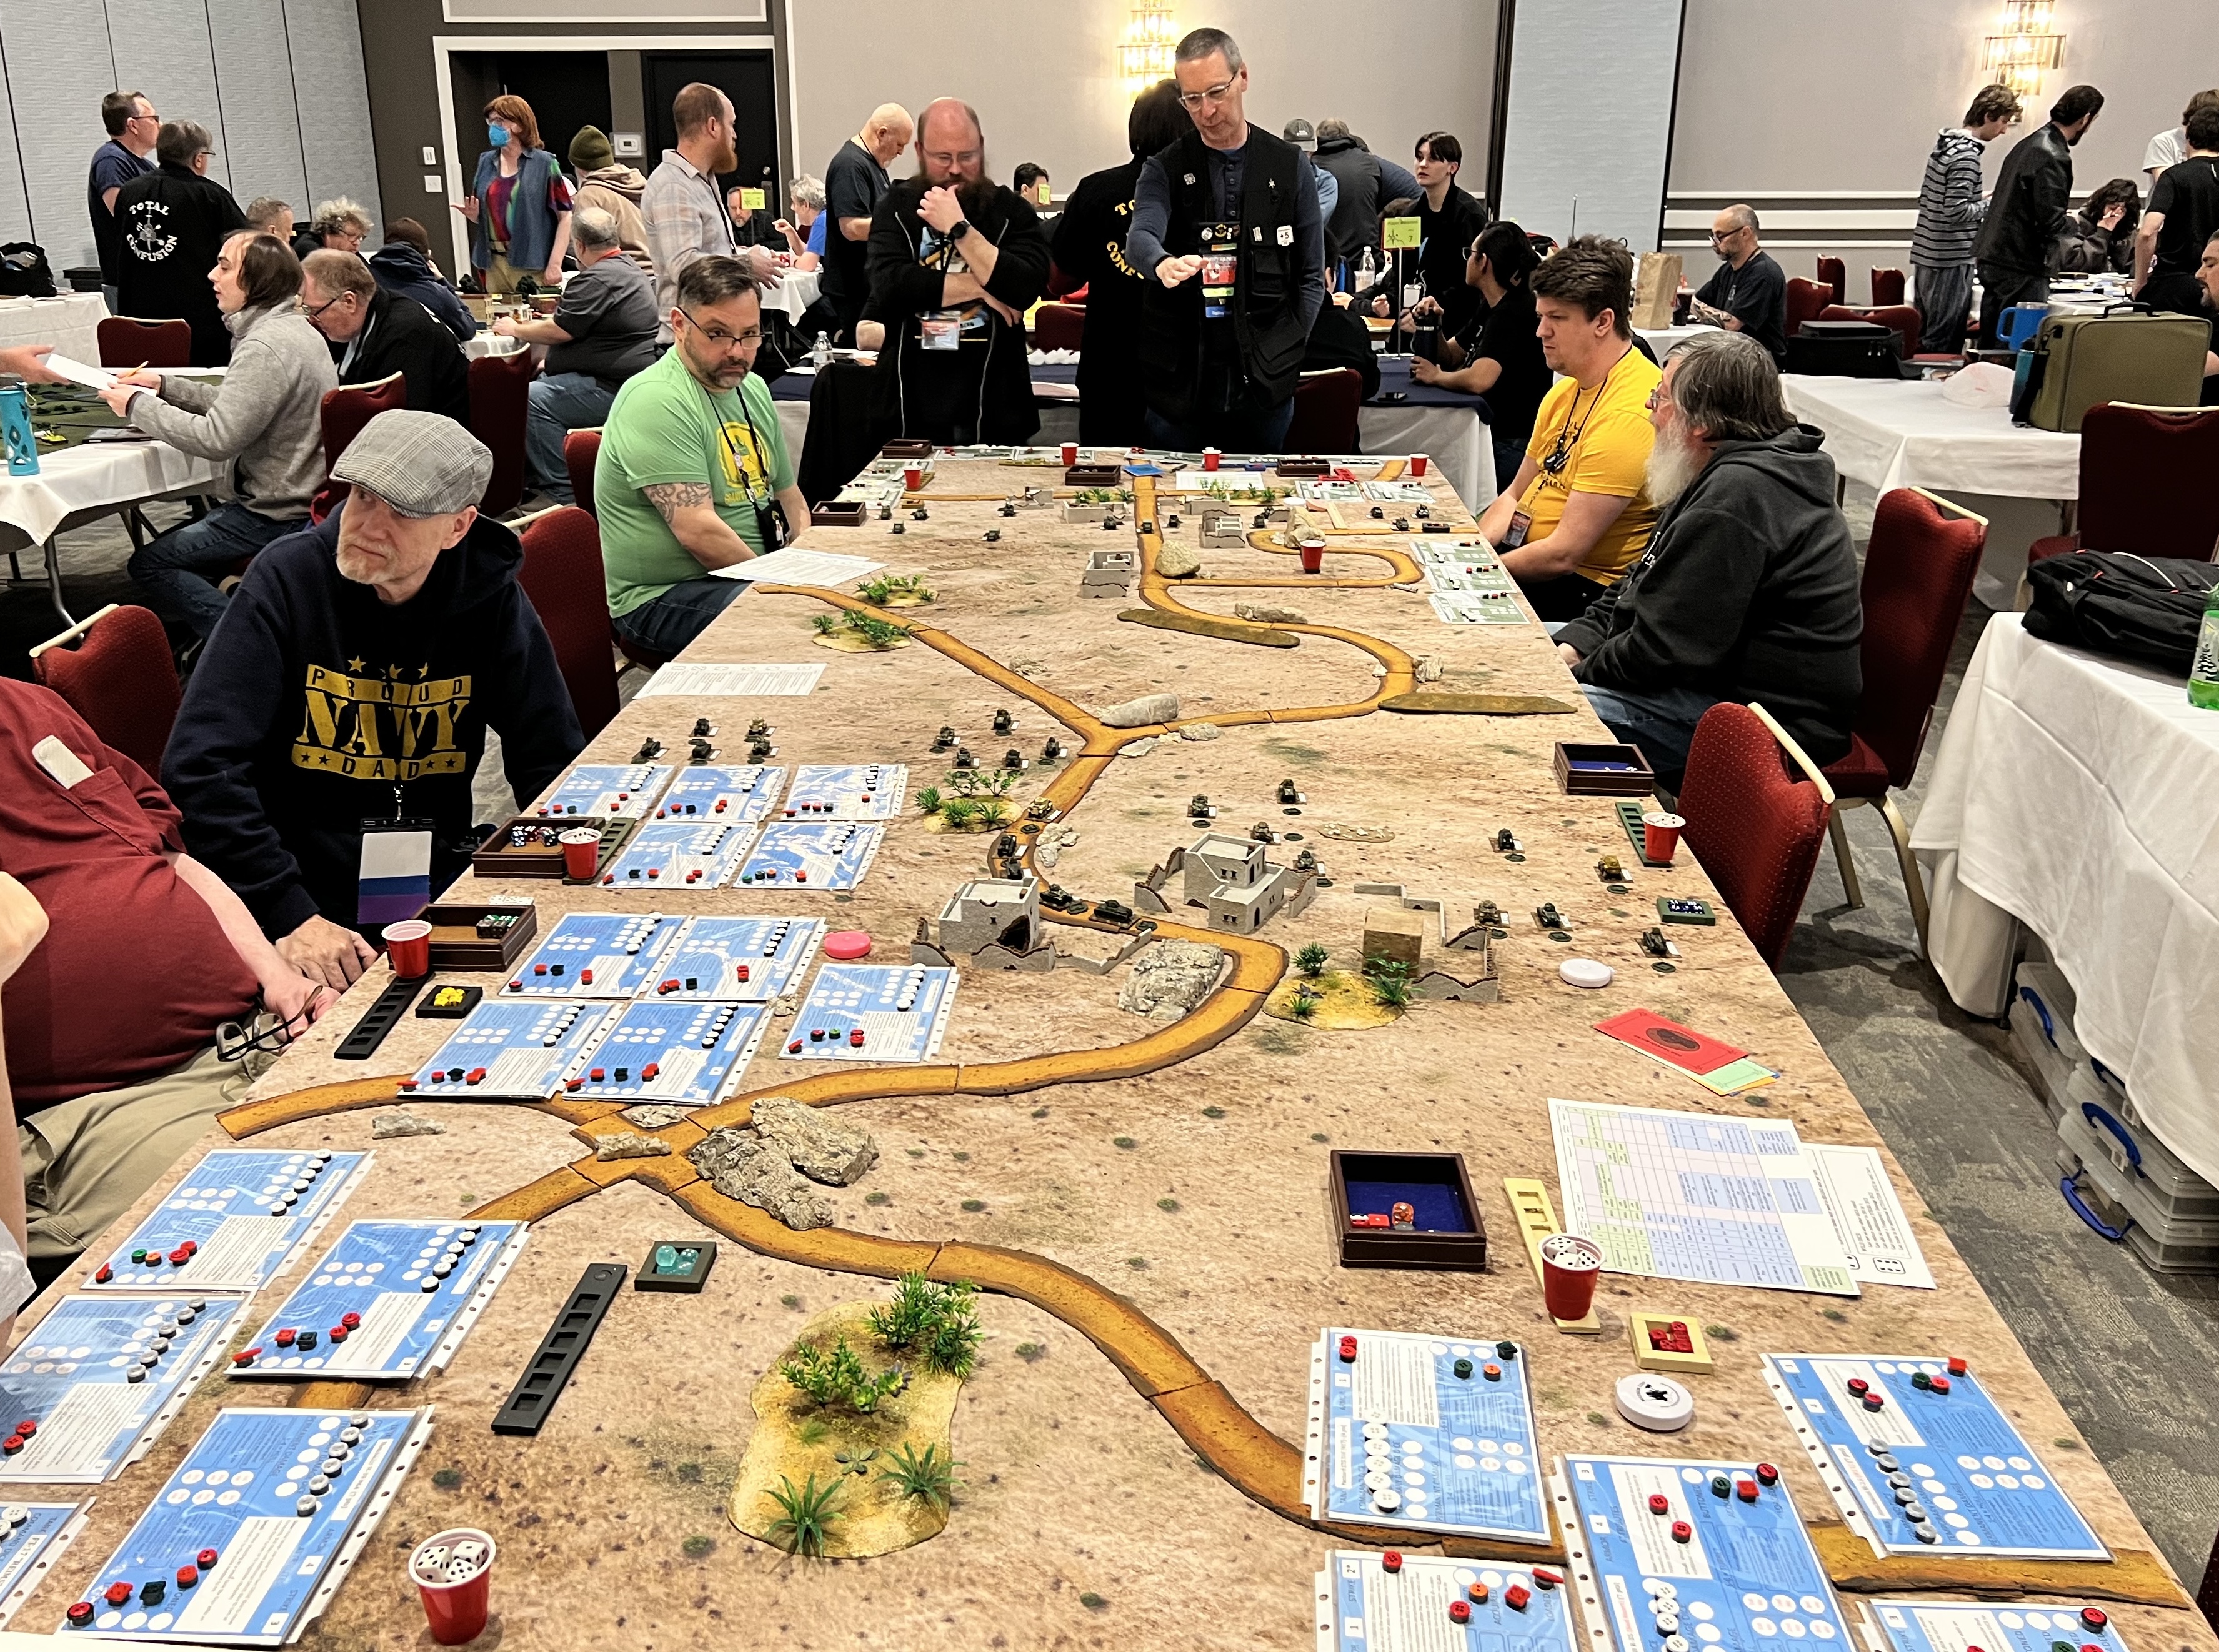
The Vichy players plan their assault.The American players are ready!The Americans watch as the Vichy French get closer. They have plans of getting air cover and naval gunfire on the French!Knowing this, the French spread out to avoid massing a big target.Mal considers his next move.Aircraft are deployed, but the US Navy rules the skies. This allows for the Avenger to call in naval gunfire from the USS Savannah. This destroys multiple Vichy vehicles.
The US air superiority and naval gunfire carried the day – with the US winning a significant victory.
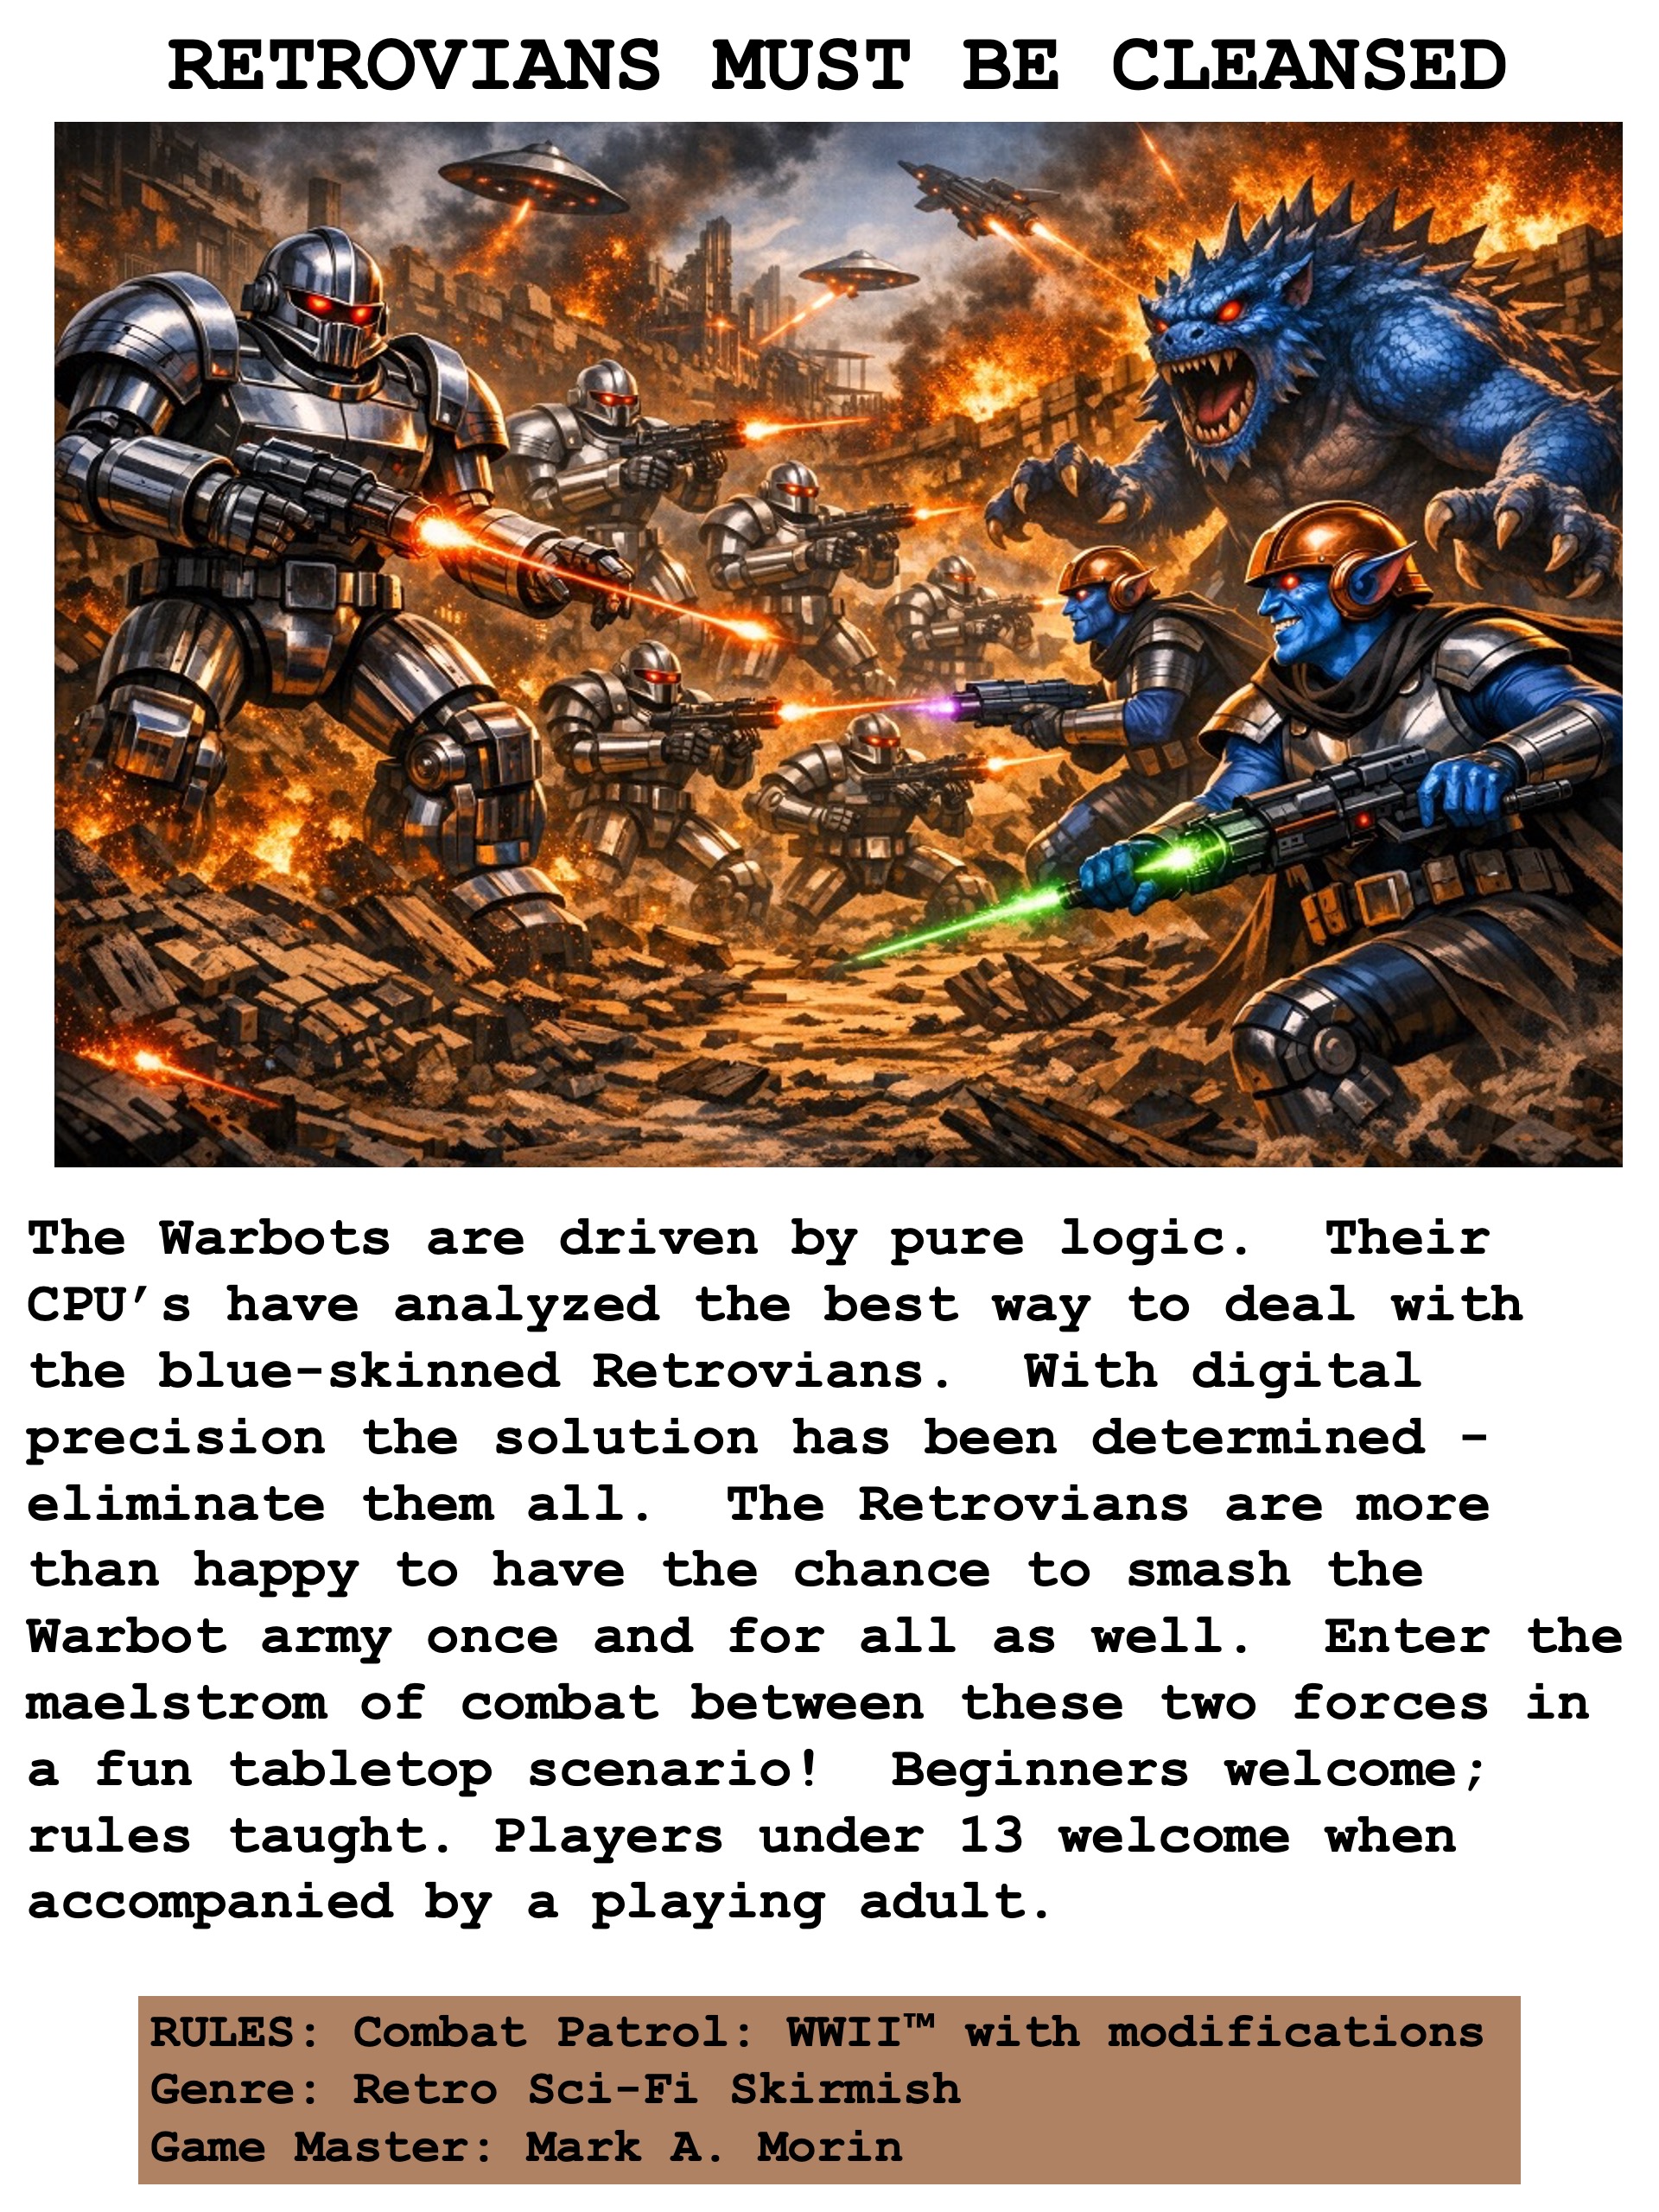
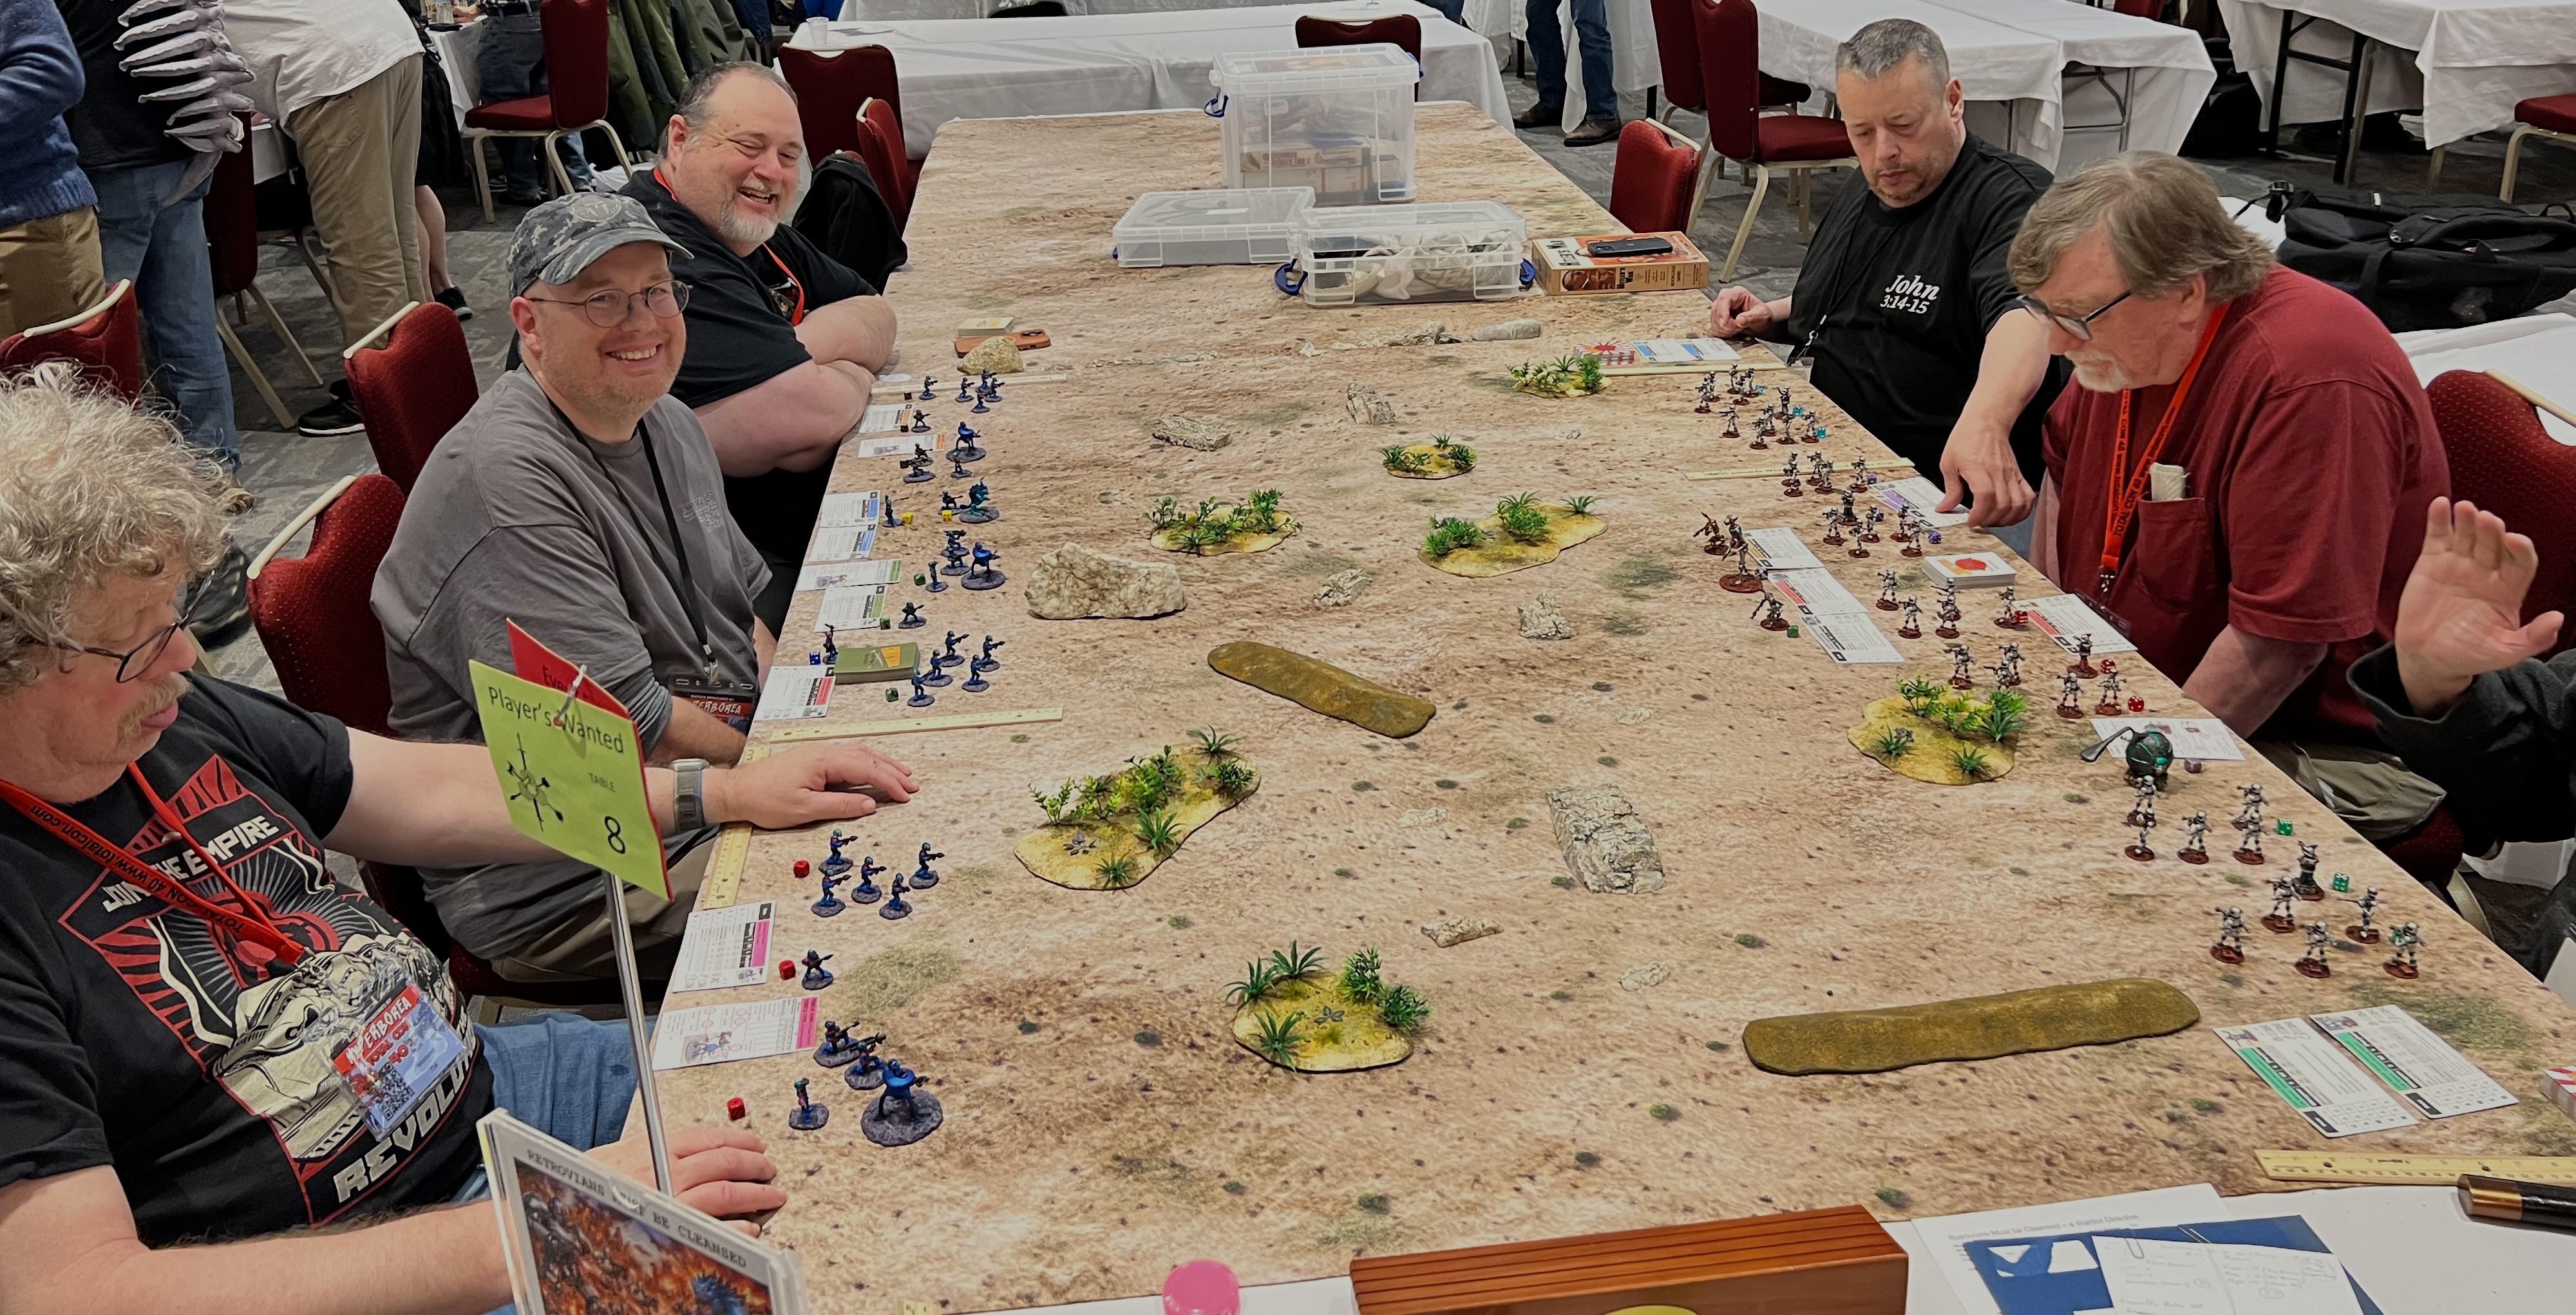
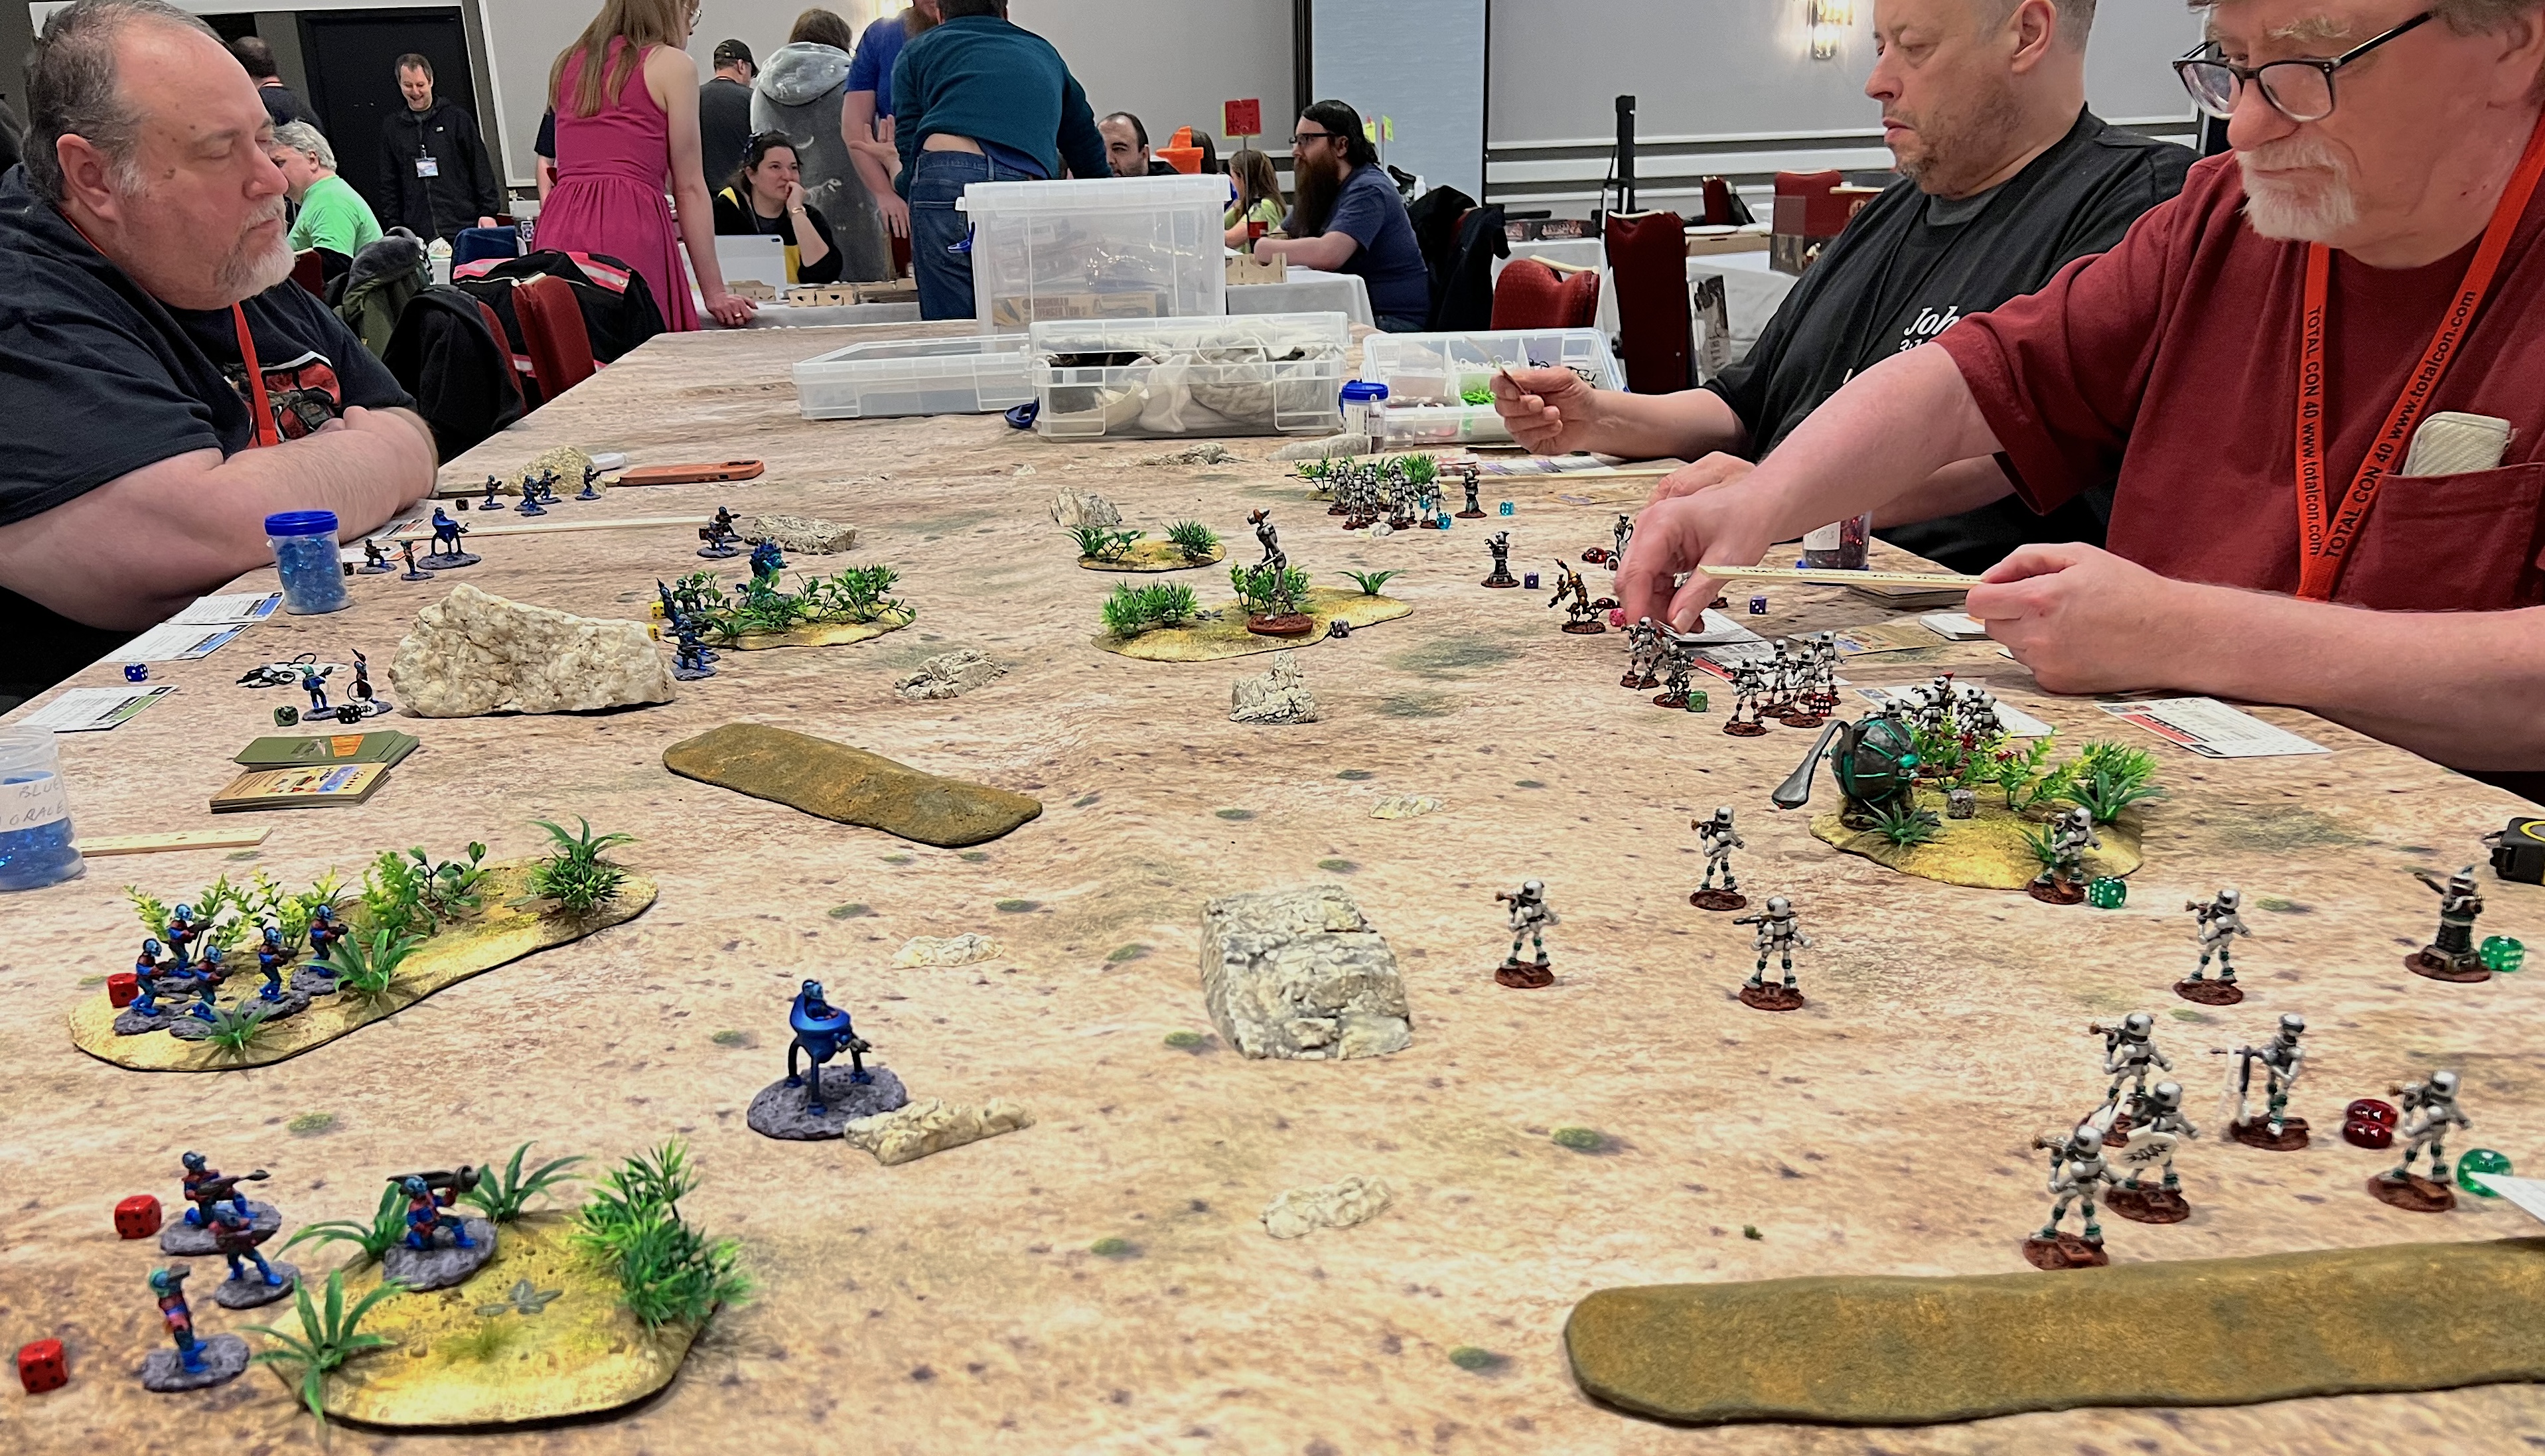
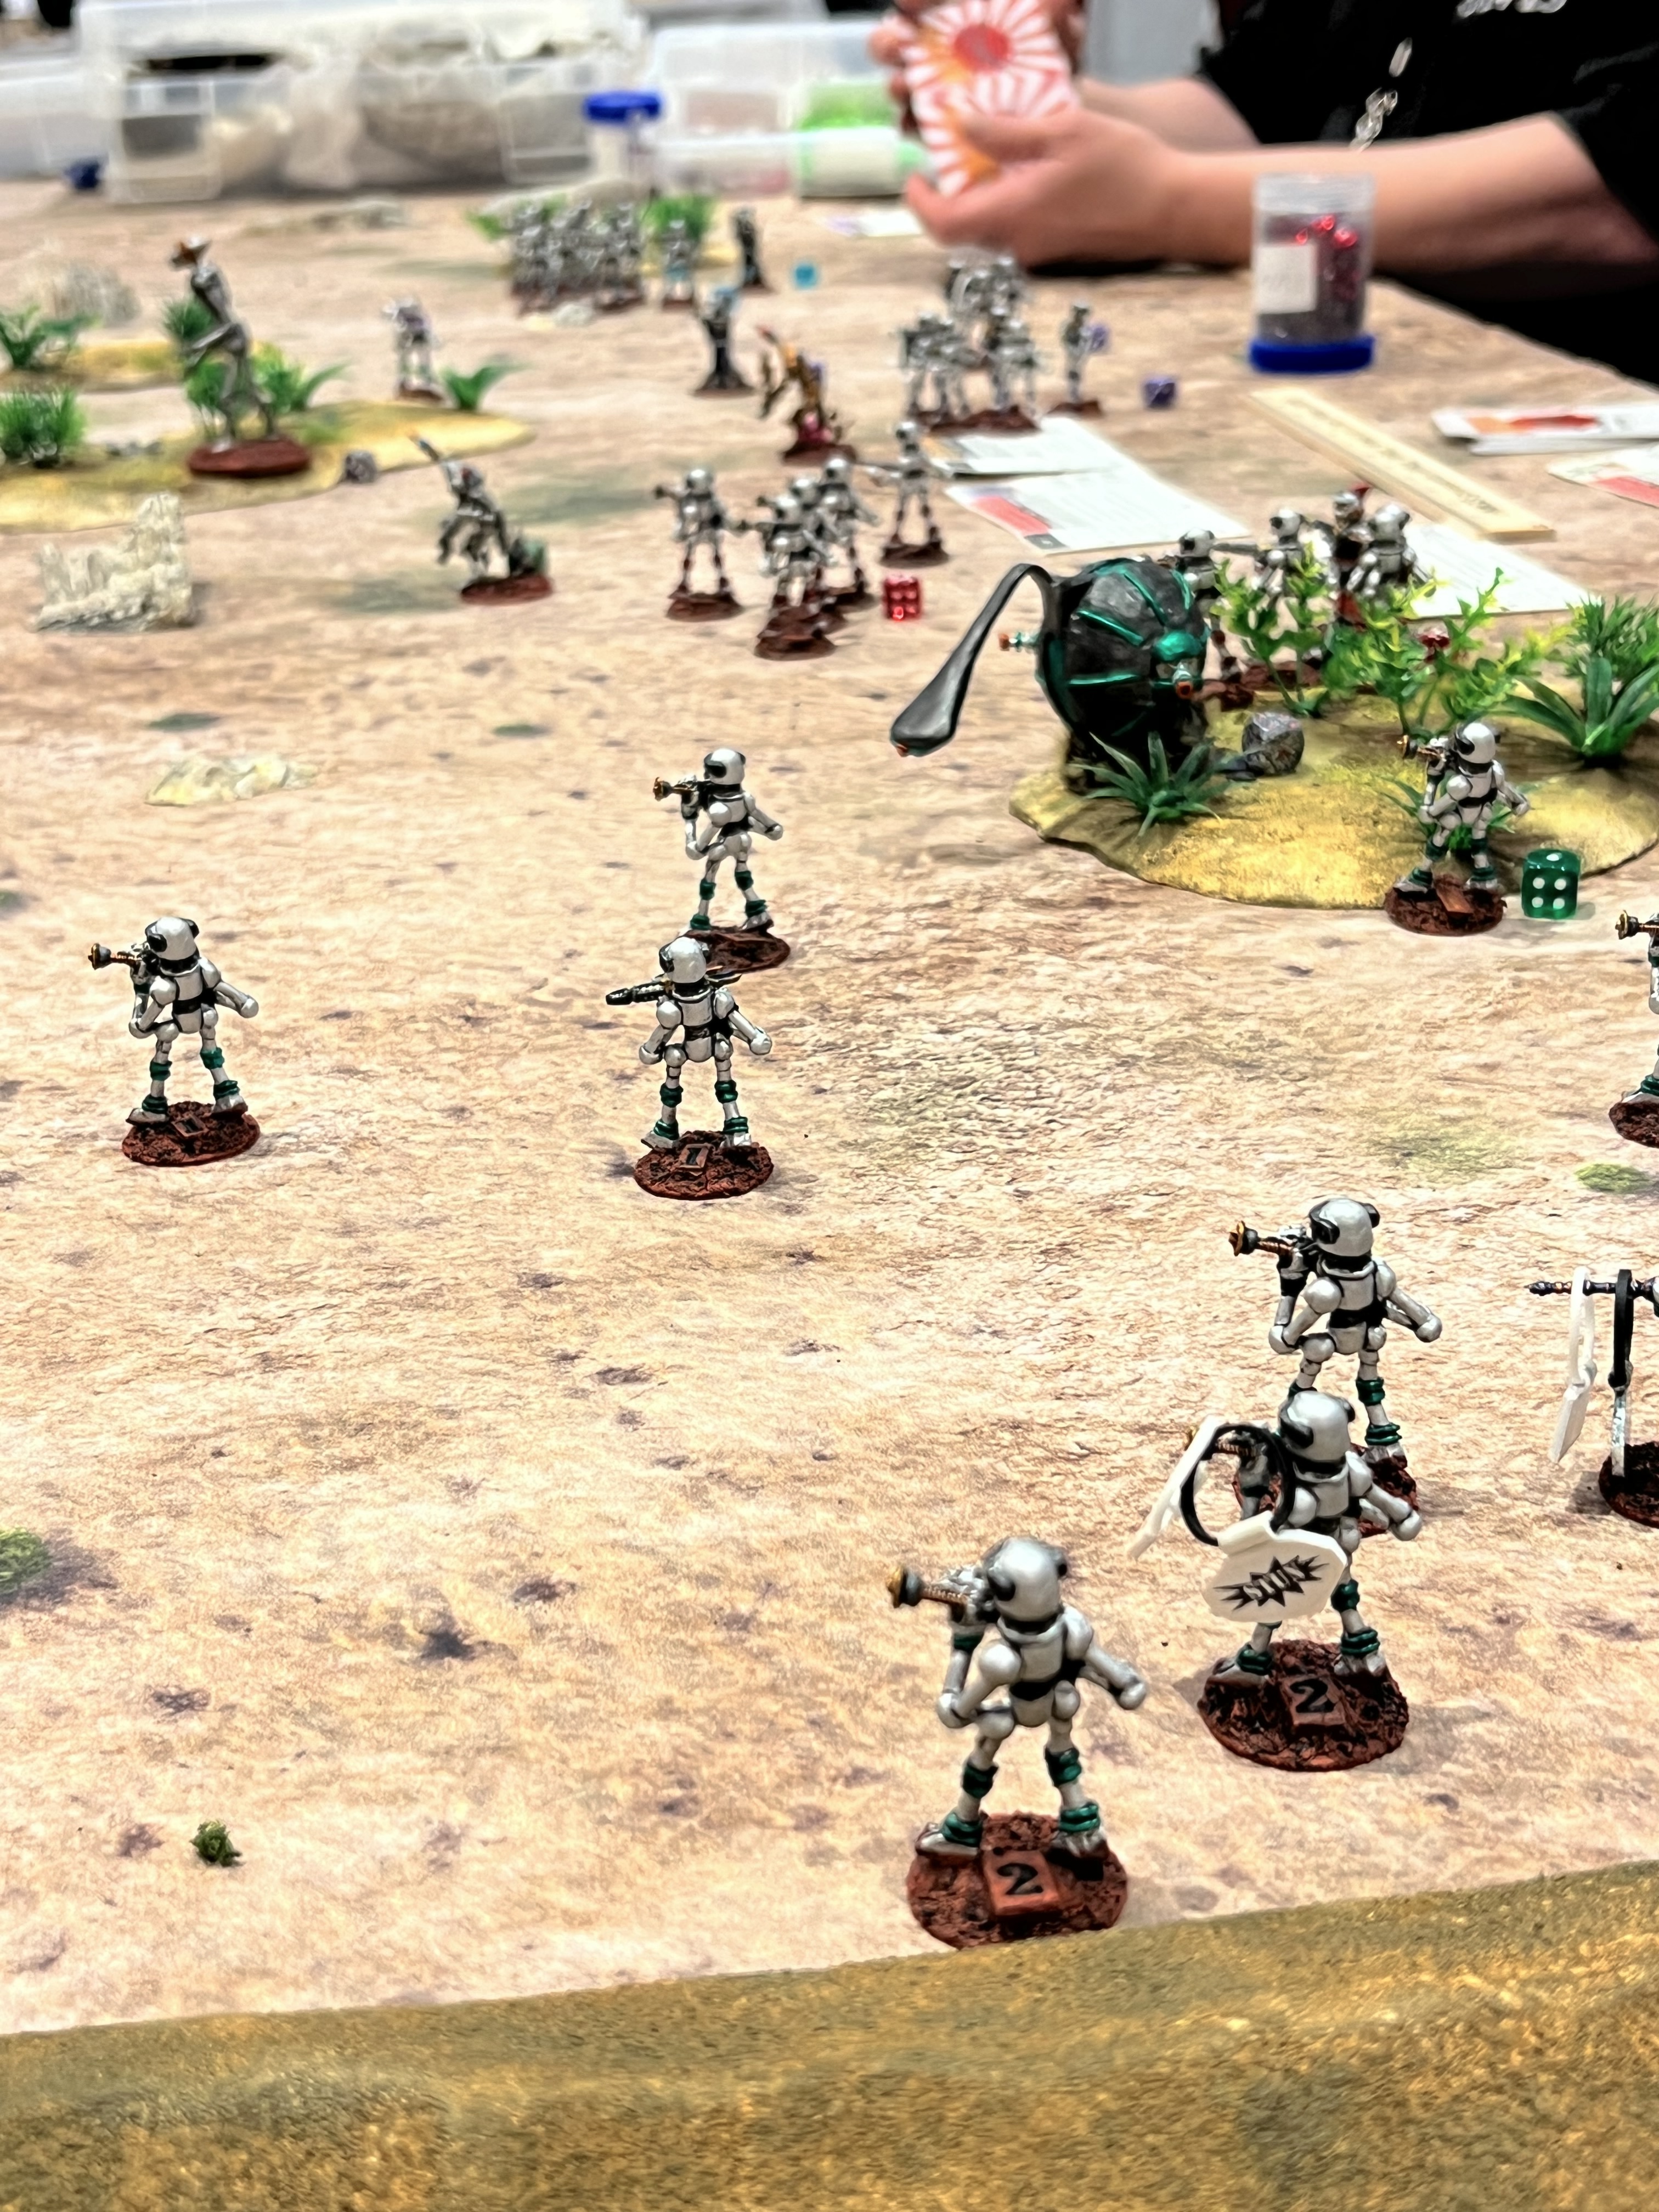
RETROVIANS MUST BE CLEANSED
Saturday night’s game was upon me, and I had decided to run another Combat Patrol retro sci-fi game. This time, the Retrovians would face the Archive Star Rovers Warbots. They would also confront my own creation – the Mark 1 Sphere tank.
Happy Gamers at the start! Retrovians are on the left, Warbots on the right.A Retrovian Bra’sheer tripod moves out front of its infantry. The Mark 1 takes up a supporting position as the Warbots march forward to glory.The Mark 1 safely delivers machine gun fire from its sponsons. Meanwhile, the Warbots also take fire and are stunned.
I did not take many pictures of this game. I do believe that the Warbots wore down the Retrovians. Yes, they were “cleansed”. It was nice to see these figures back on the tabletop.
This was the penultimate game for me of TotalCon 2026. I headed off to my room. I was ready for the 2026 TotalCon “Tournament of Ozz” on Sunday morning.
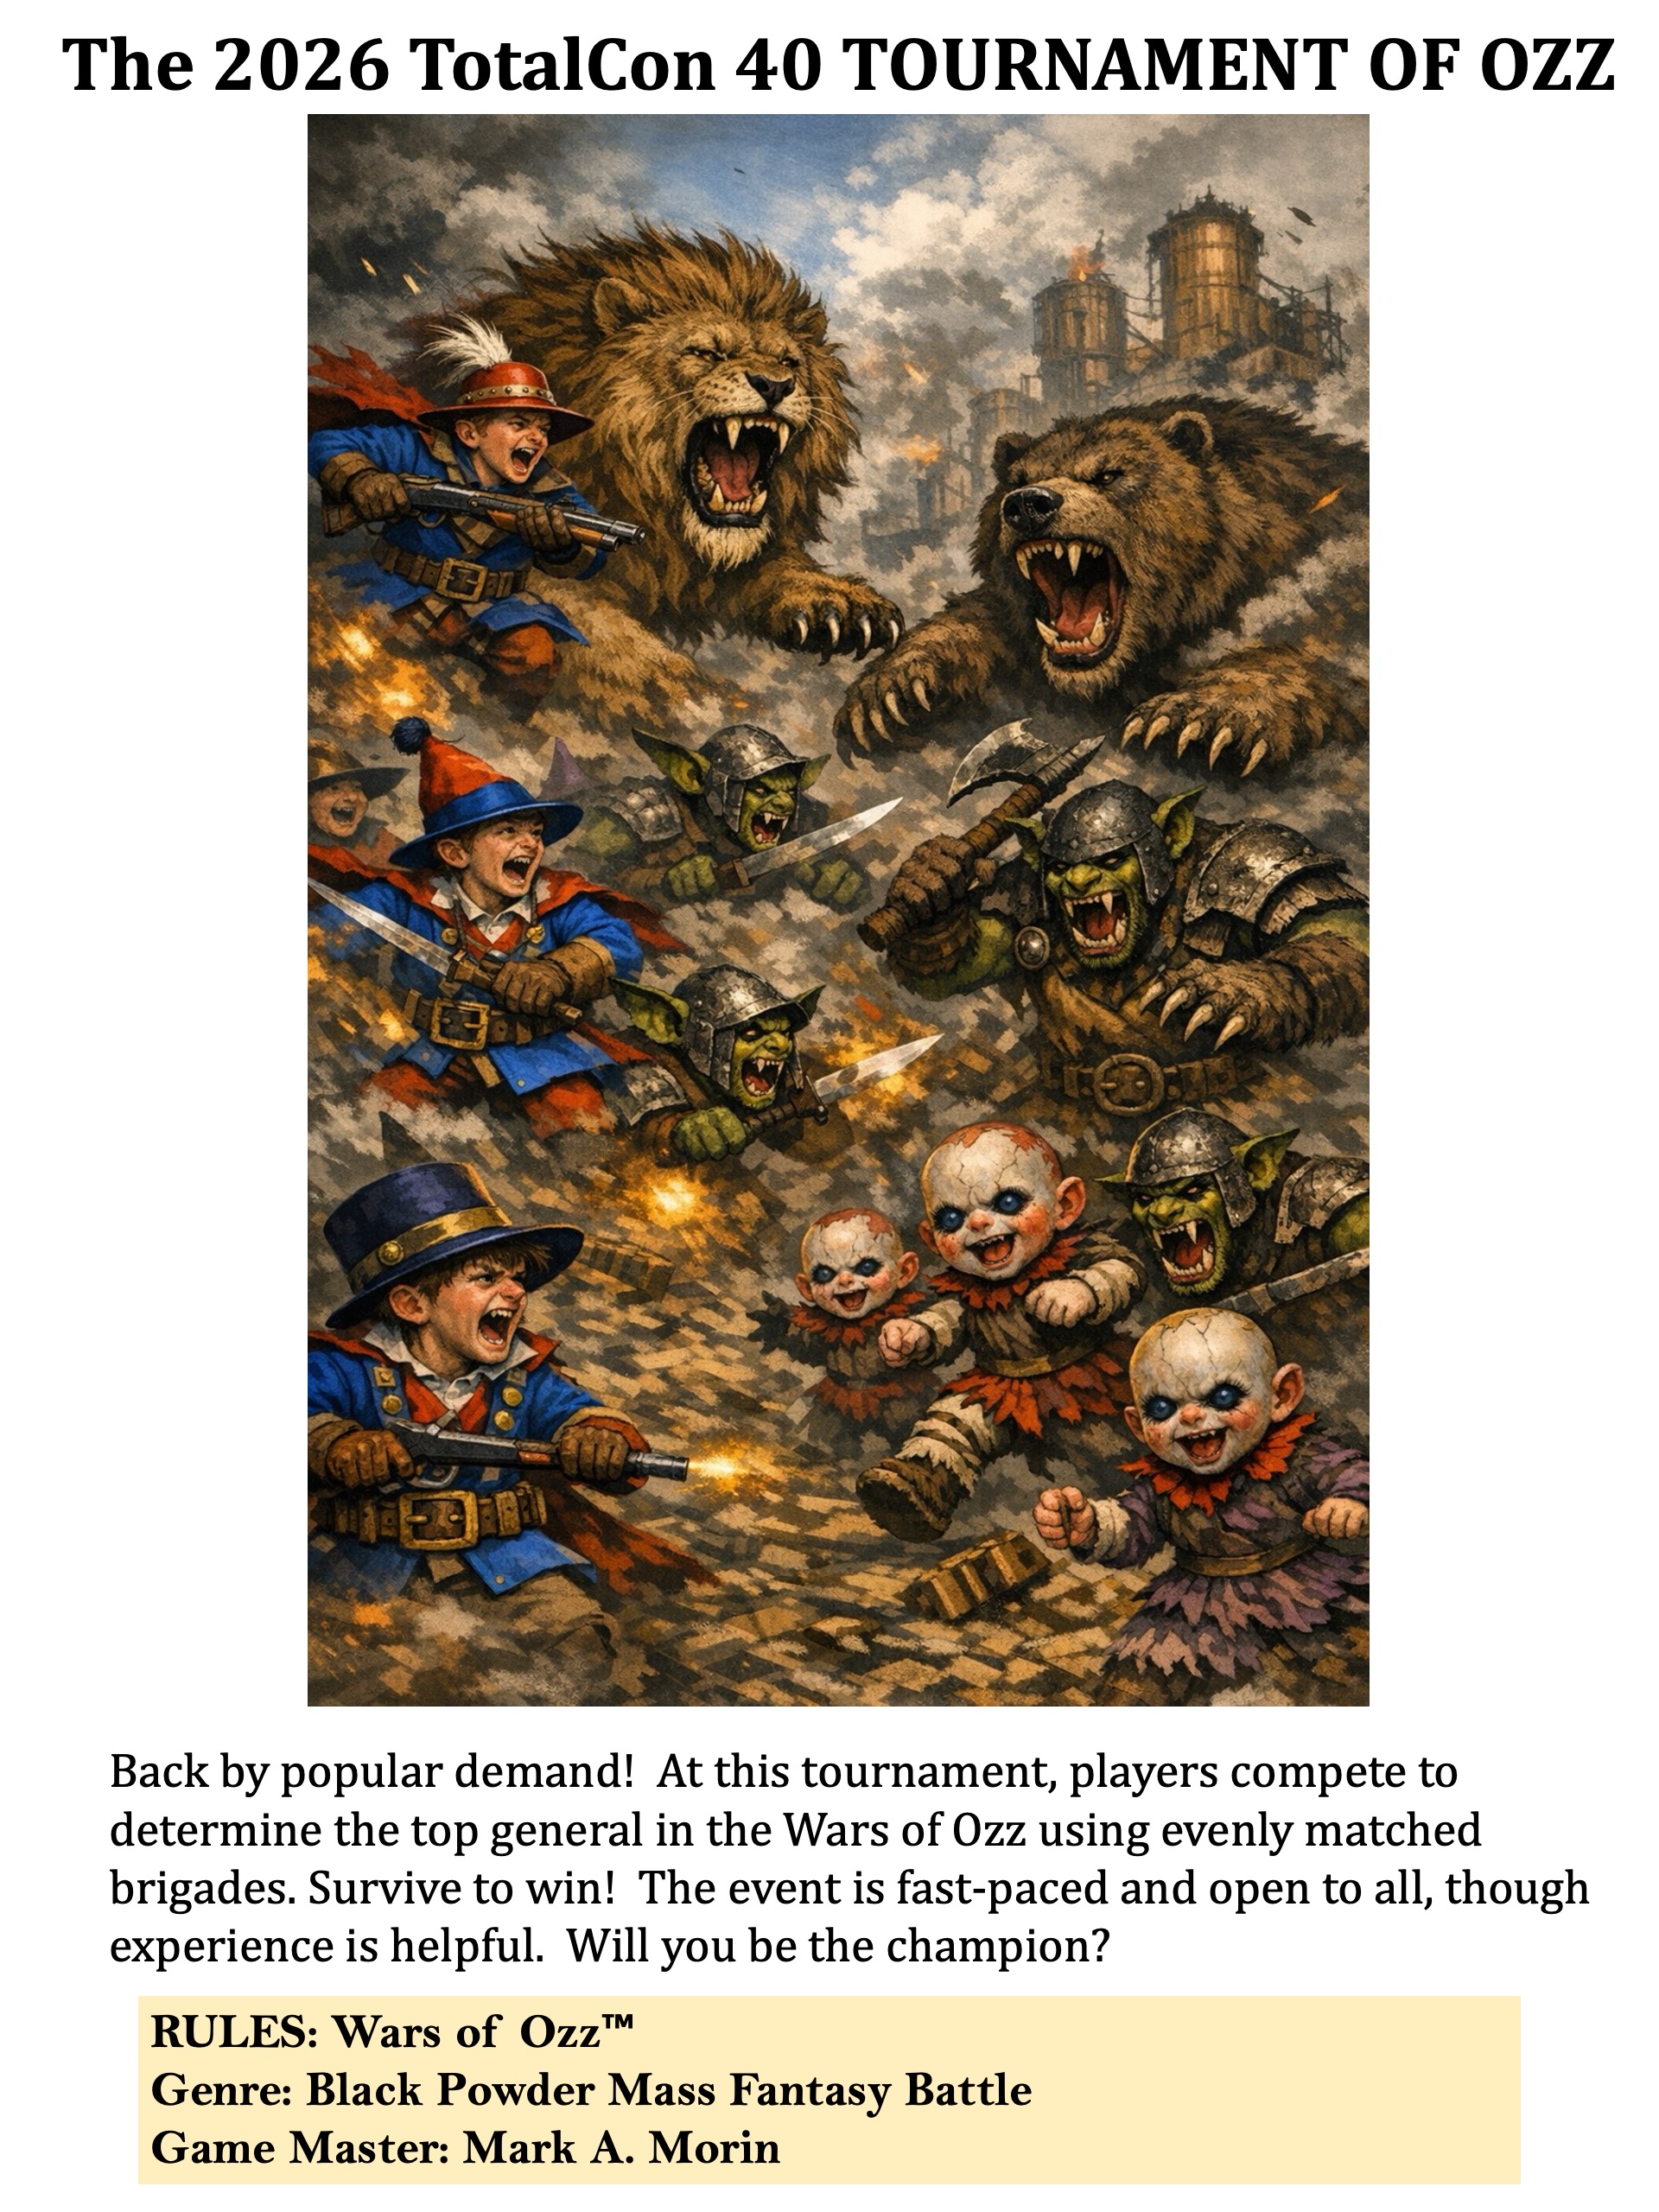
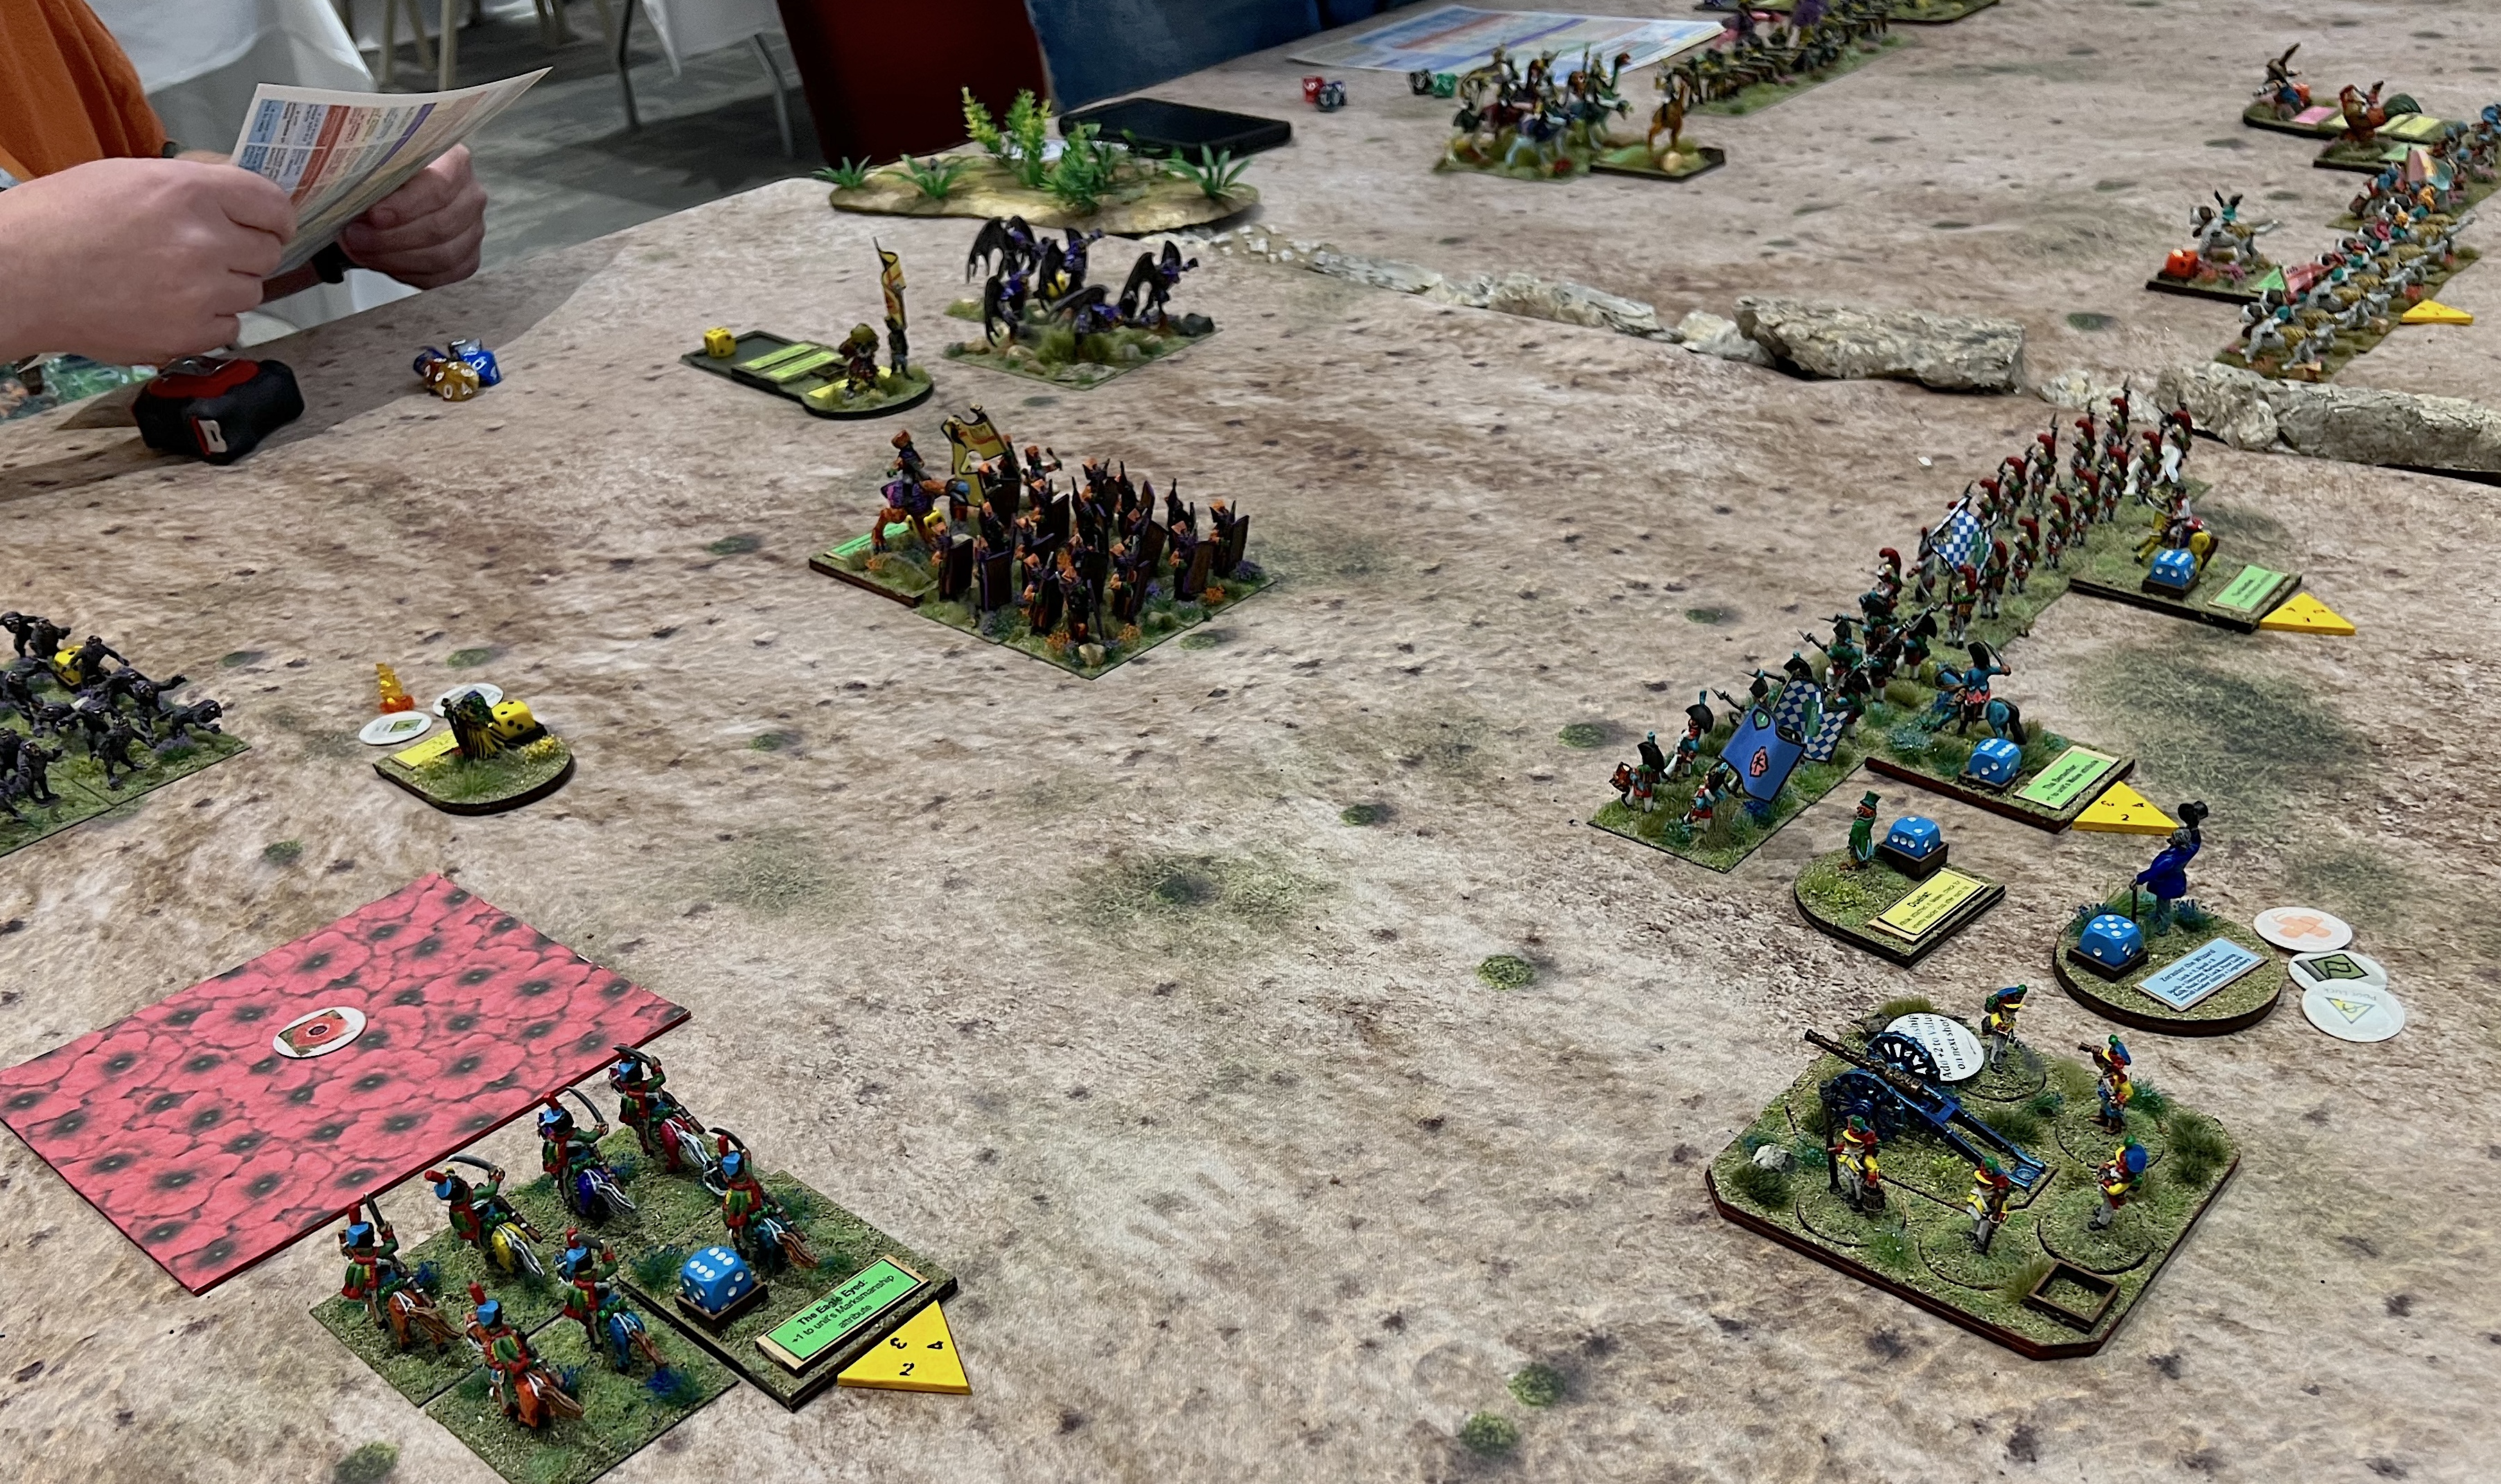
I had 7 out of a possible 8 players. At random, one player got a “bye” in round one. The match-ups were done at random and 7 different 21-point brigades were assigned at random. Inflicting the most damage on the enemy was the victory condition to move forward in the tournament. Tie breakers were also in play if that was needed.
Glory on the Line!
In Round 1 – the match ups were:
Impkins (Ken) versus Munchkins (Eric)
Munchkins (Bob) versus Gillikins (Dave)
Winkies (Brad) versus Gillikins (Jacob)
Winkies (Leif) got the round 1 bye
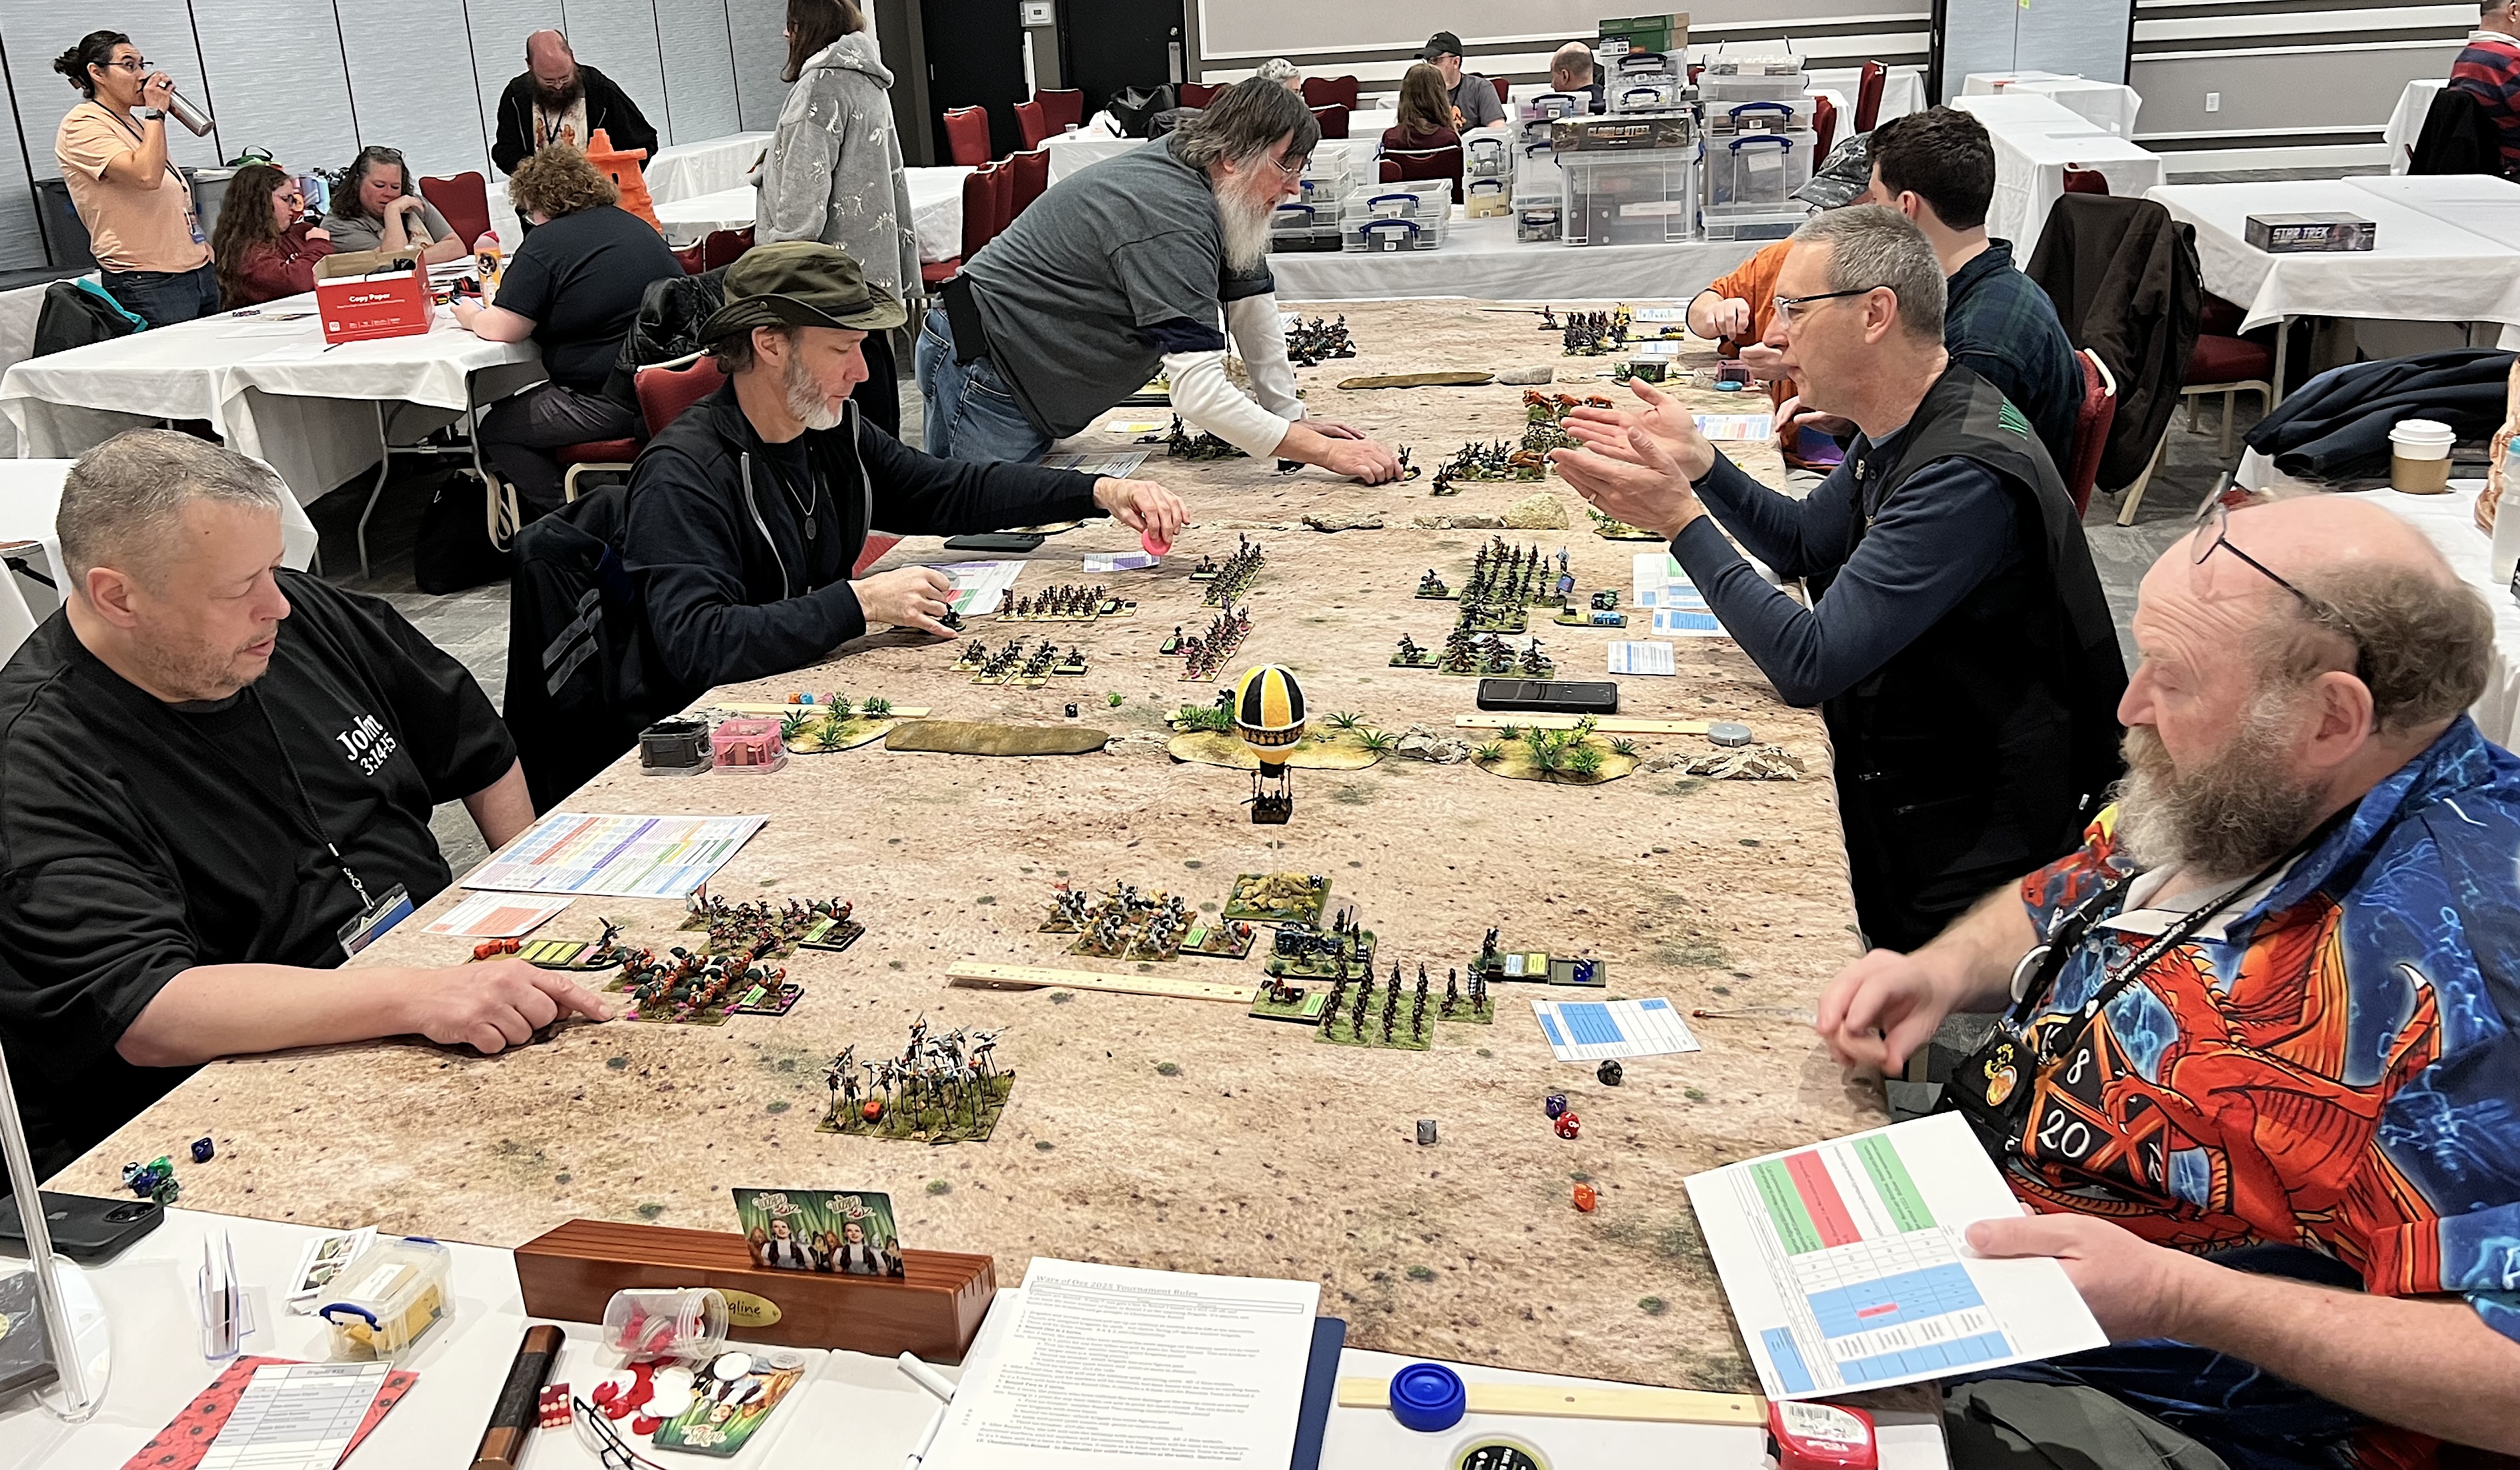
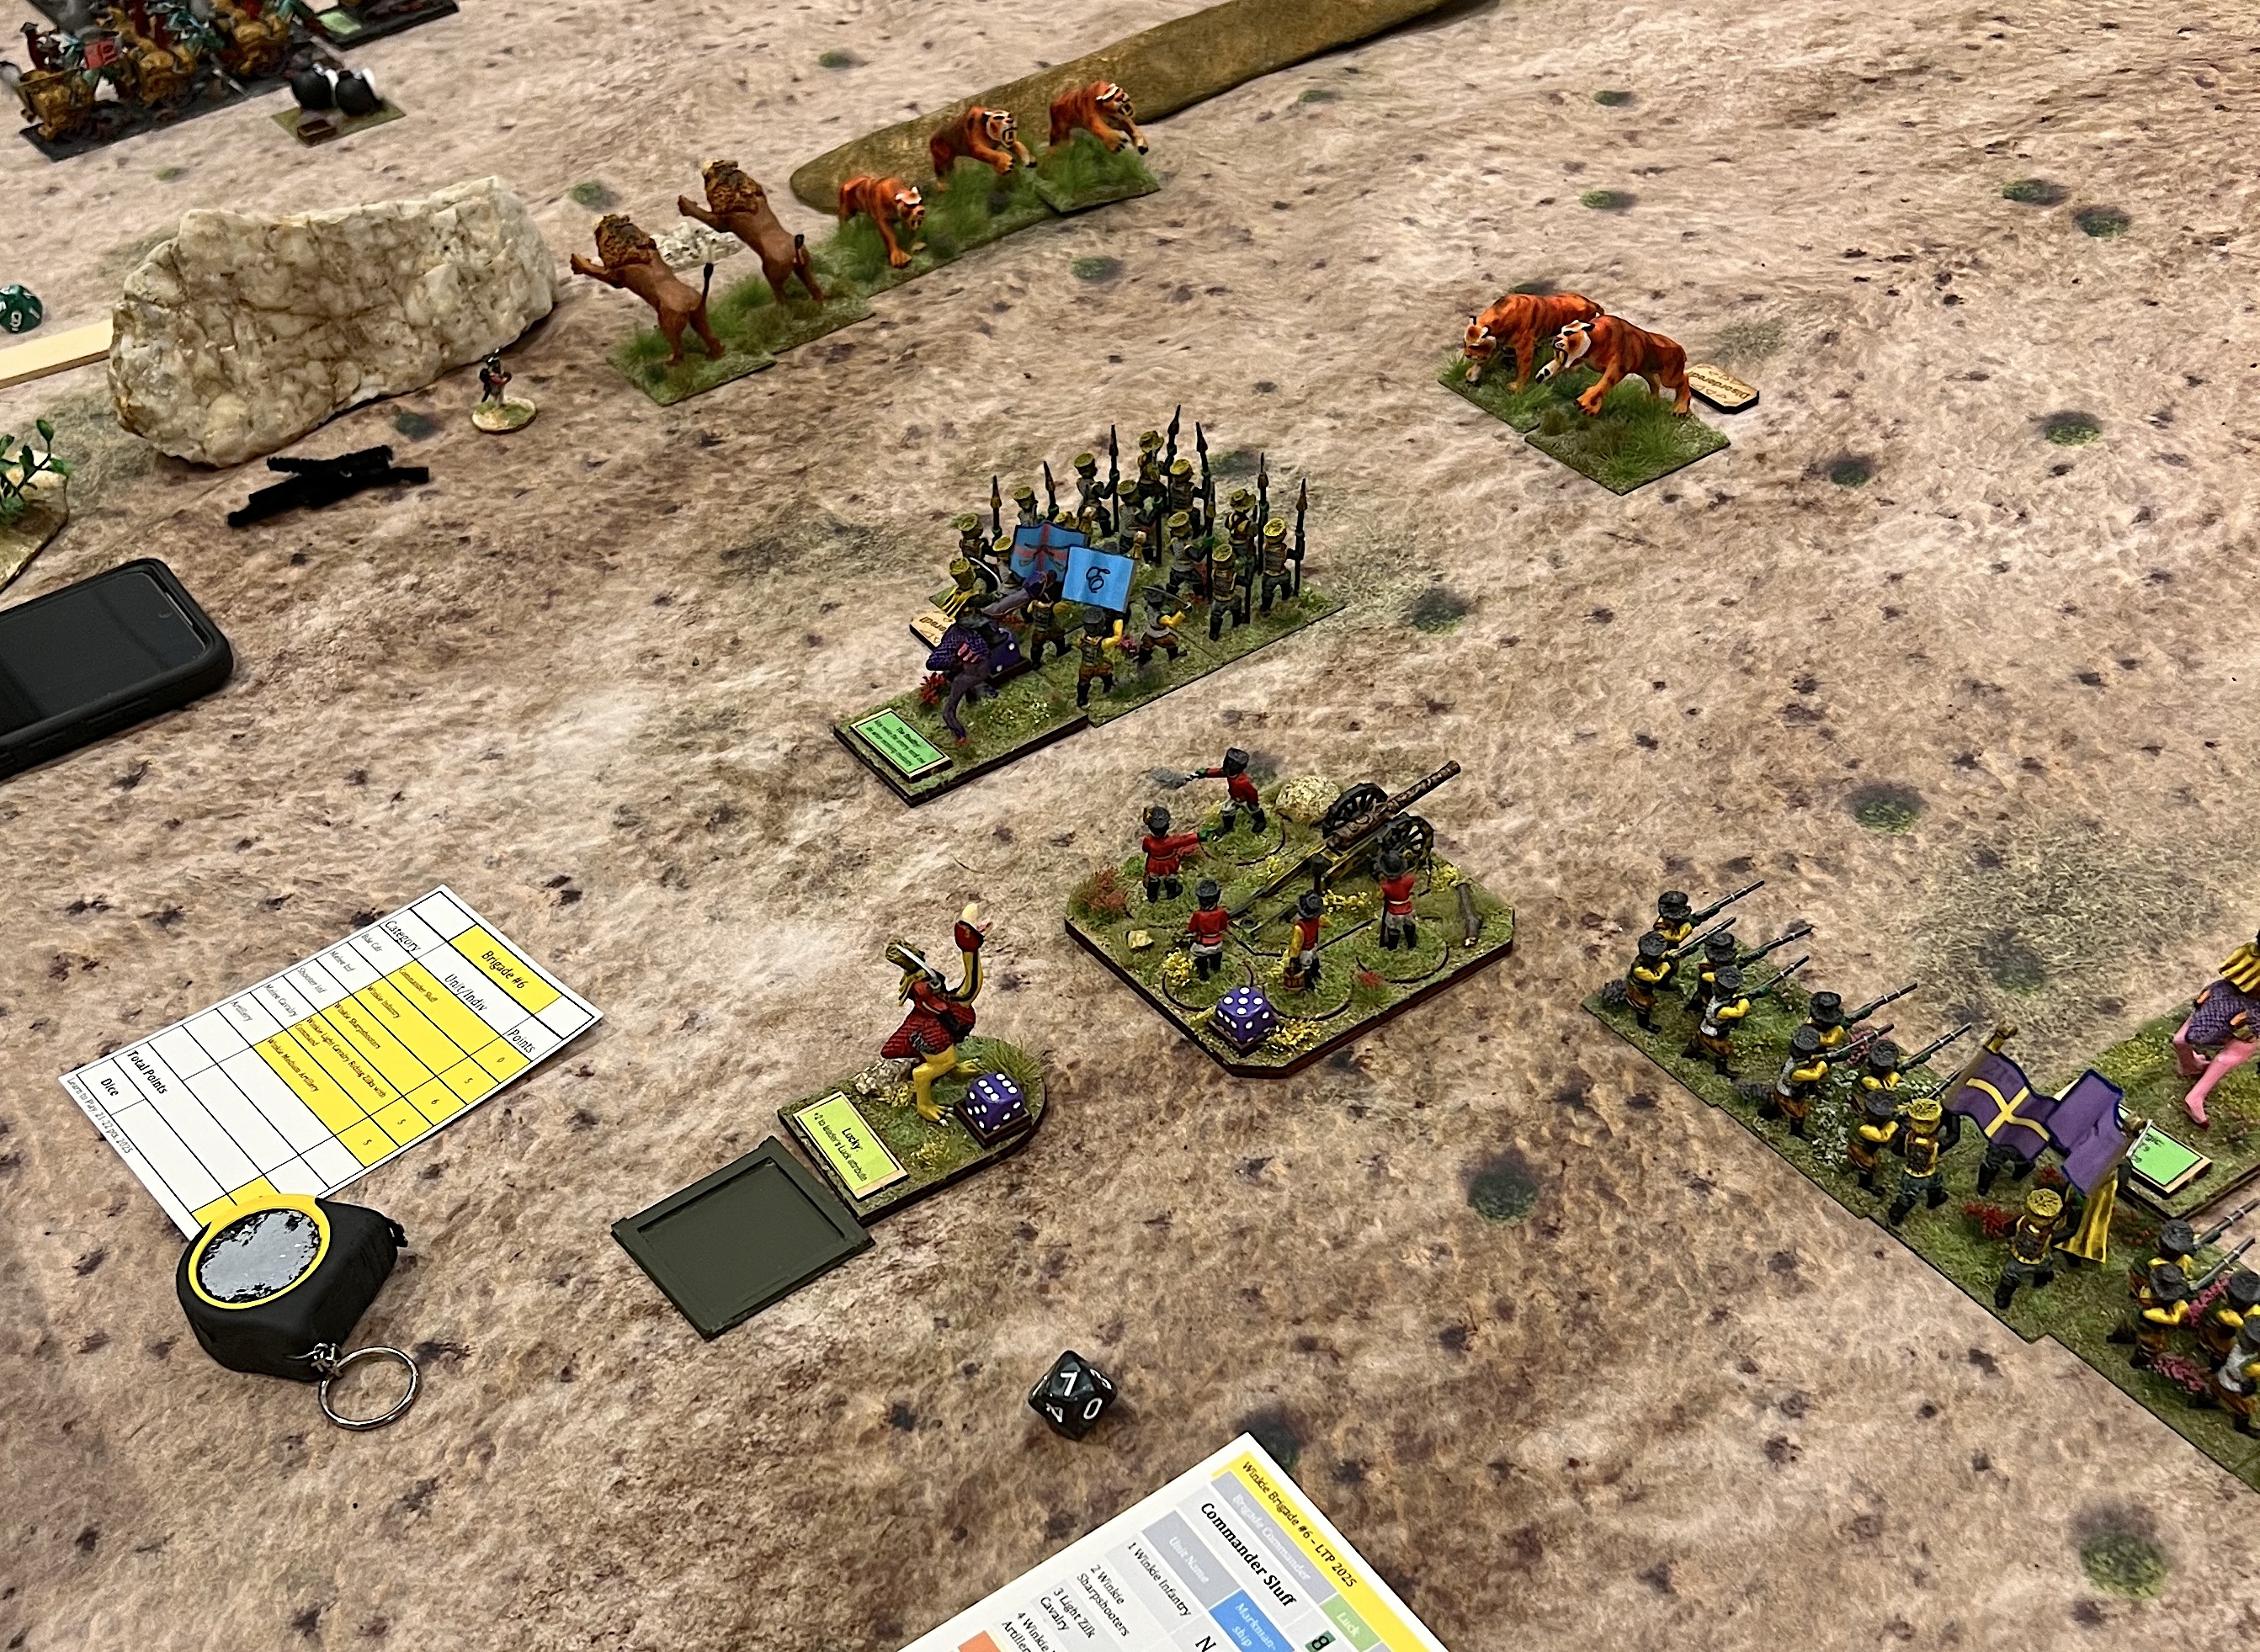
Round 1 begins!Brad’s Winkies devastate Jacob’s GillikinsBob’s Munchkins get into a shooting match with Dave’s Gillikins.Round 1 winds down.
The Round 1 results were:
Impkins (Ken) defeated Munchkins (Eric)
Munchkins (Bob) defeated Gillikins (Dave)
Winkies (Brad) defeated Gillikins (Jacob)
Winkies (Leif) got the round 1 bye
Yielding the semifinals as:
Impkins (Ken) versus Winkies (Brad)
Munchkins (Bob) versus Winkies (Leif)
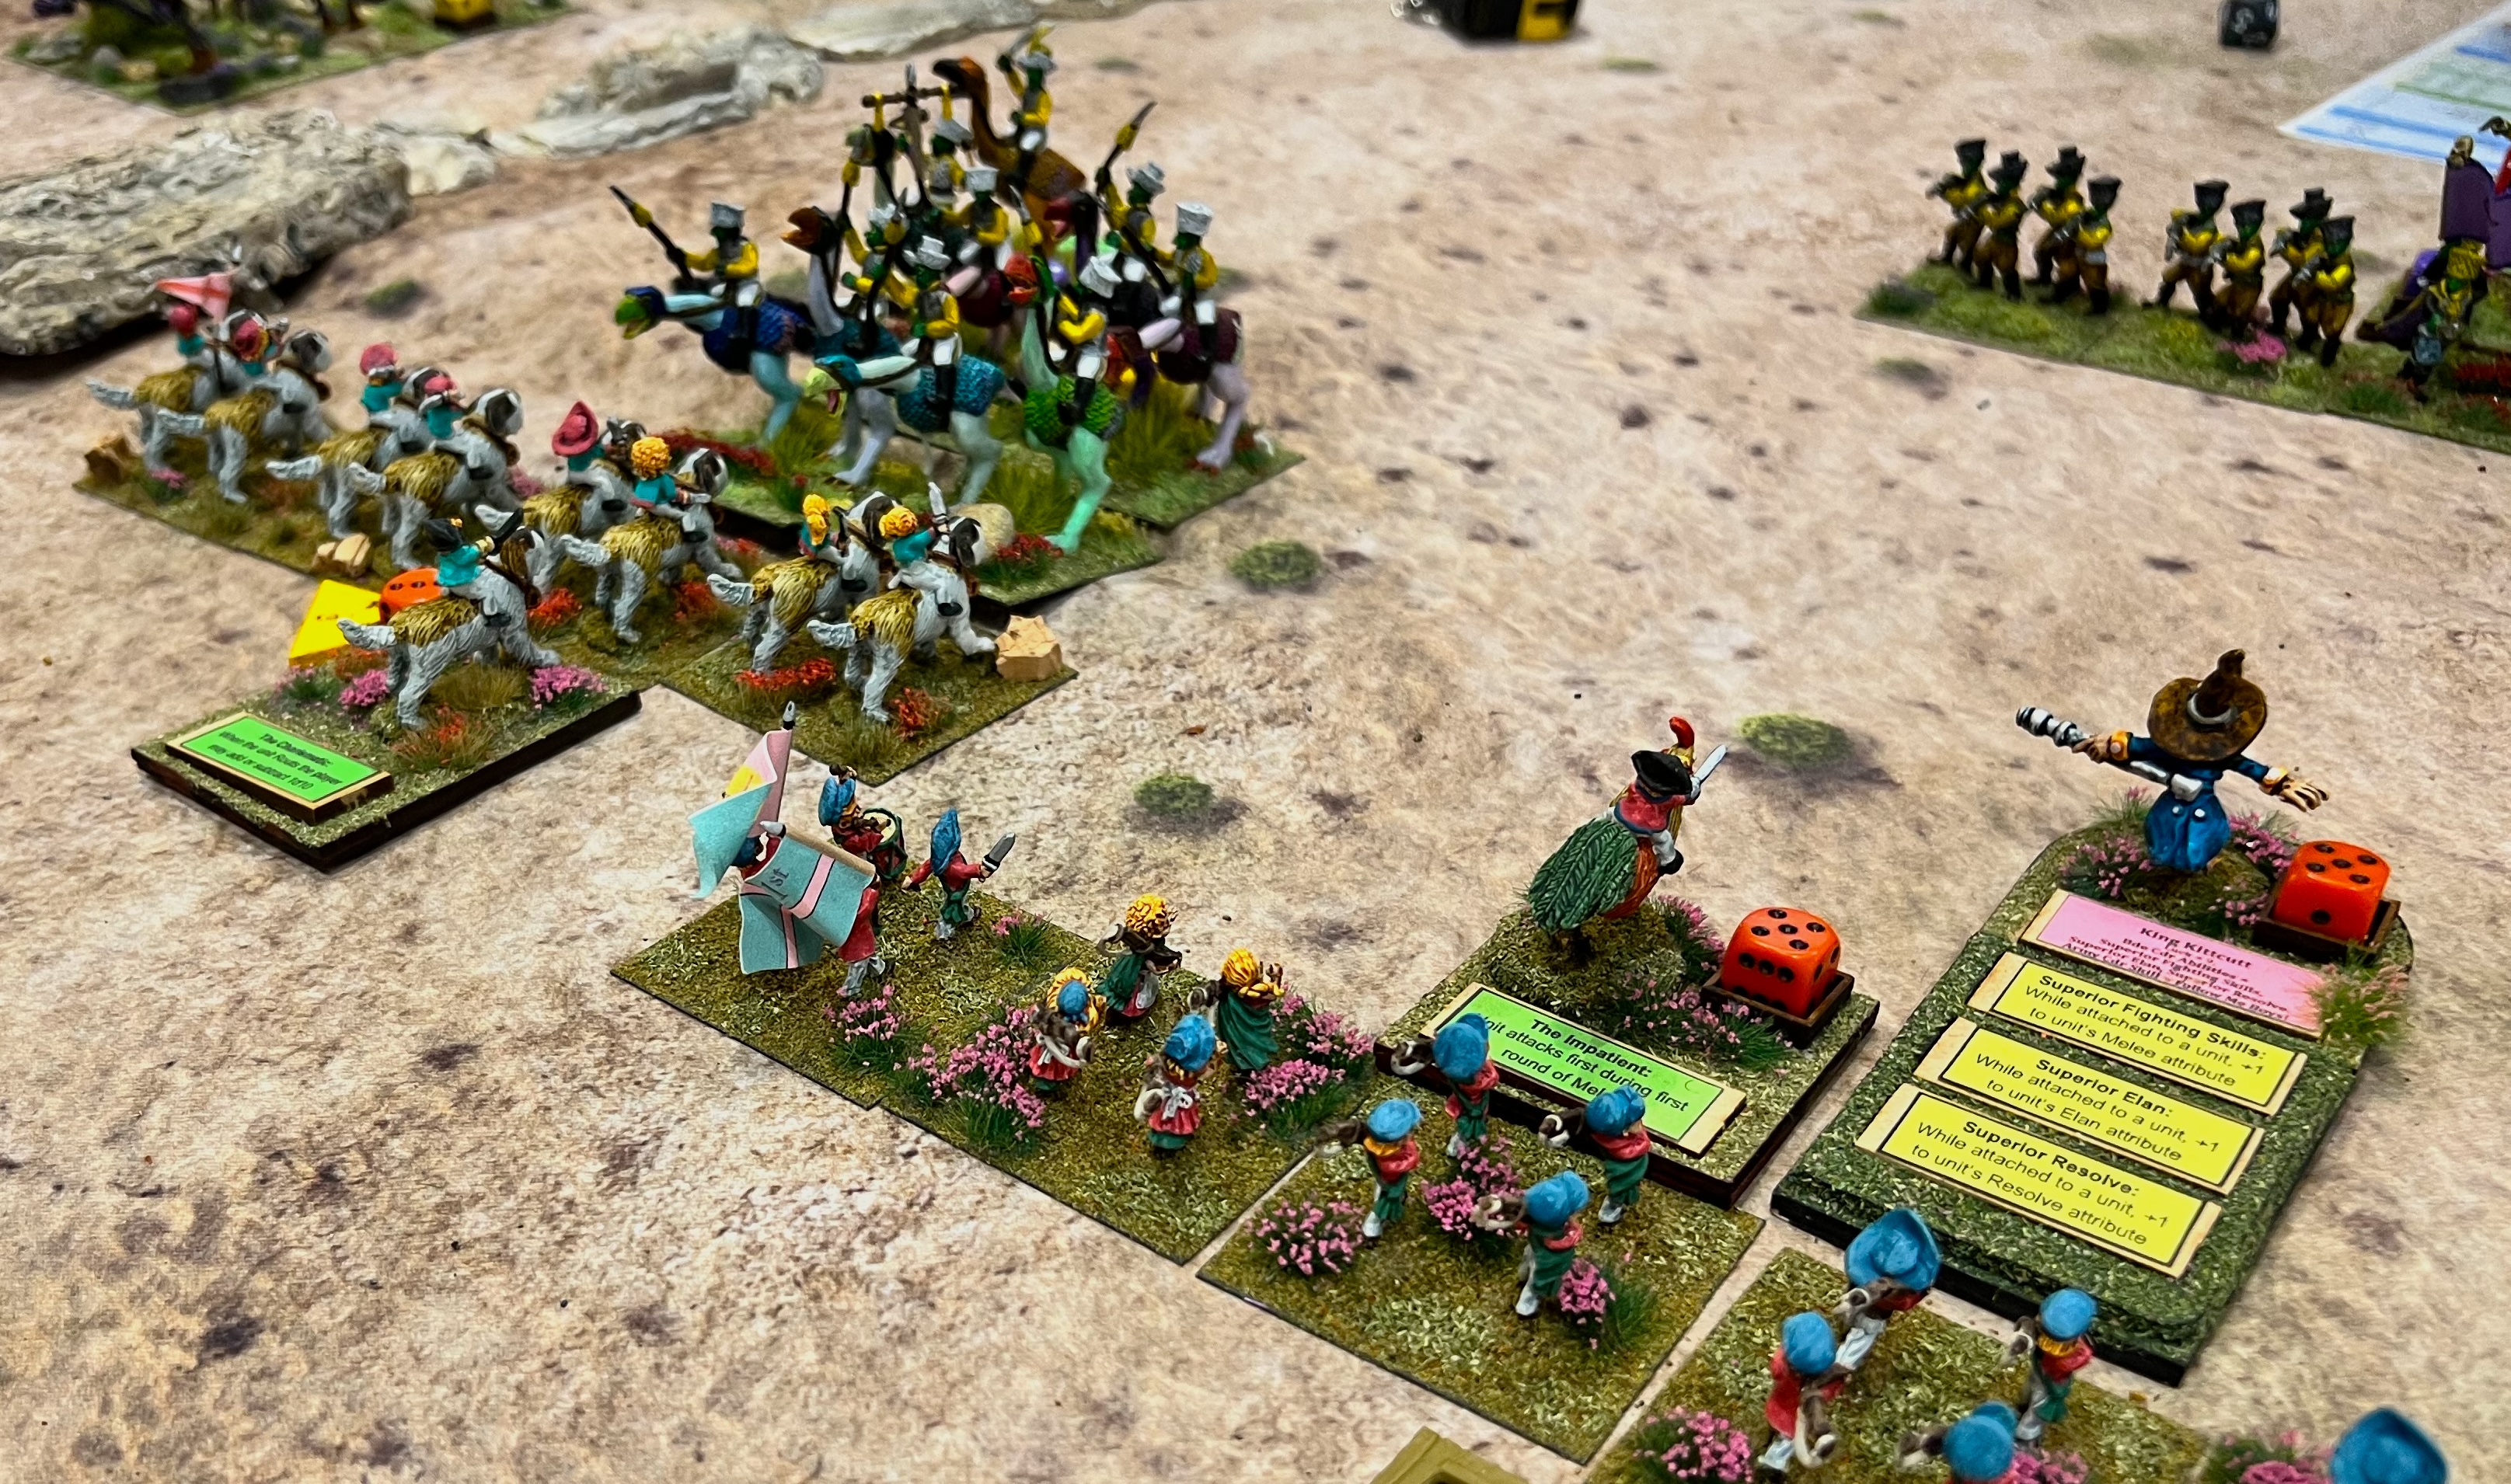
The semi-finalists!Leif casts a poppies spell to thwart Bob’s cavalry,Bob’s Munchkins prepare to unleash musketry on Leif’s Winkie Guard. They would rout!Meanwhile, Ken’s Impkins got hit hard by Brad’s Winkies.
The Round 2 (semifinals) results were:
Winkies (Brad) defeats Impkins (Ken)
Munchkins (Bob) defeats Winkies (Leif)
Yielding the FINALS as:
Munchkins (Bob) versus Winkies (Brad)
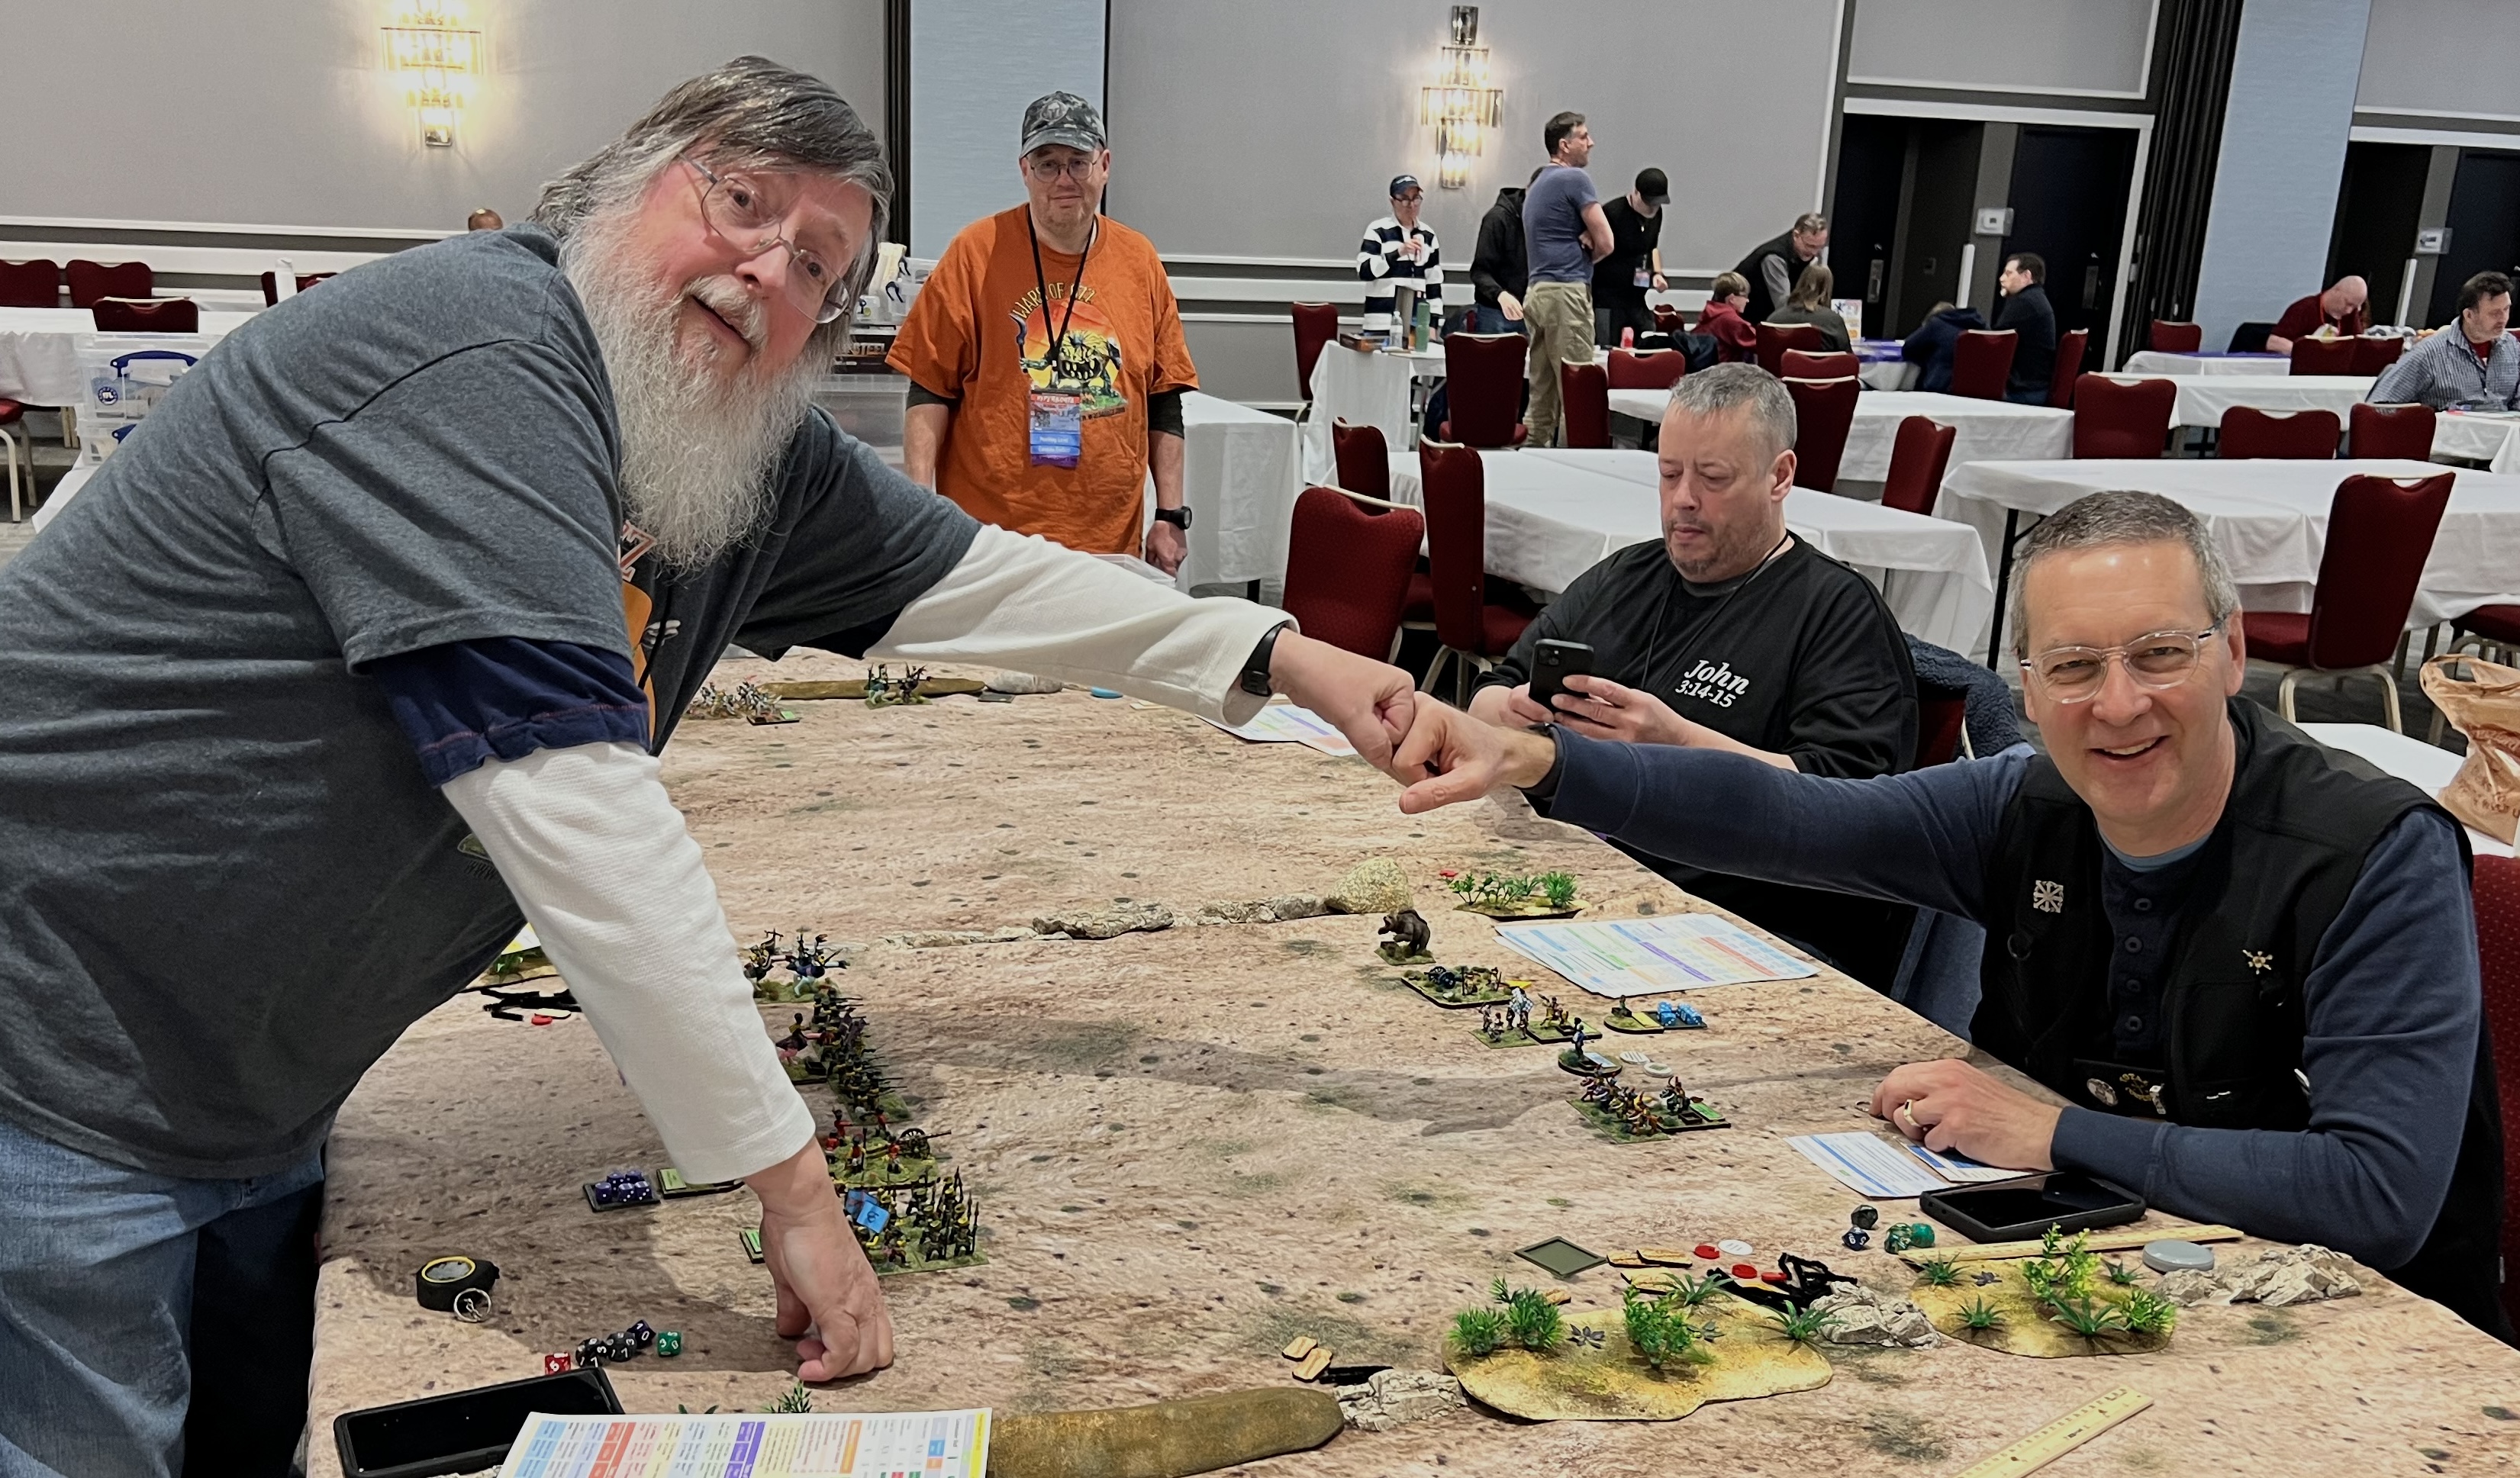
Brad and Bob get ready to rumble!
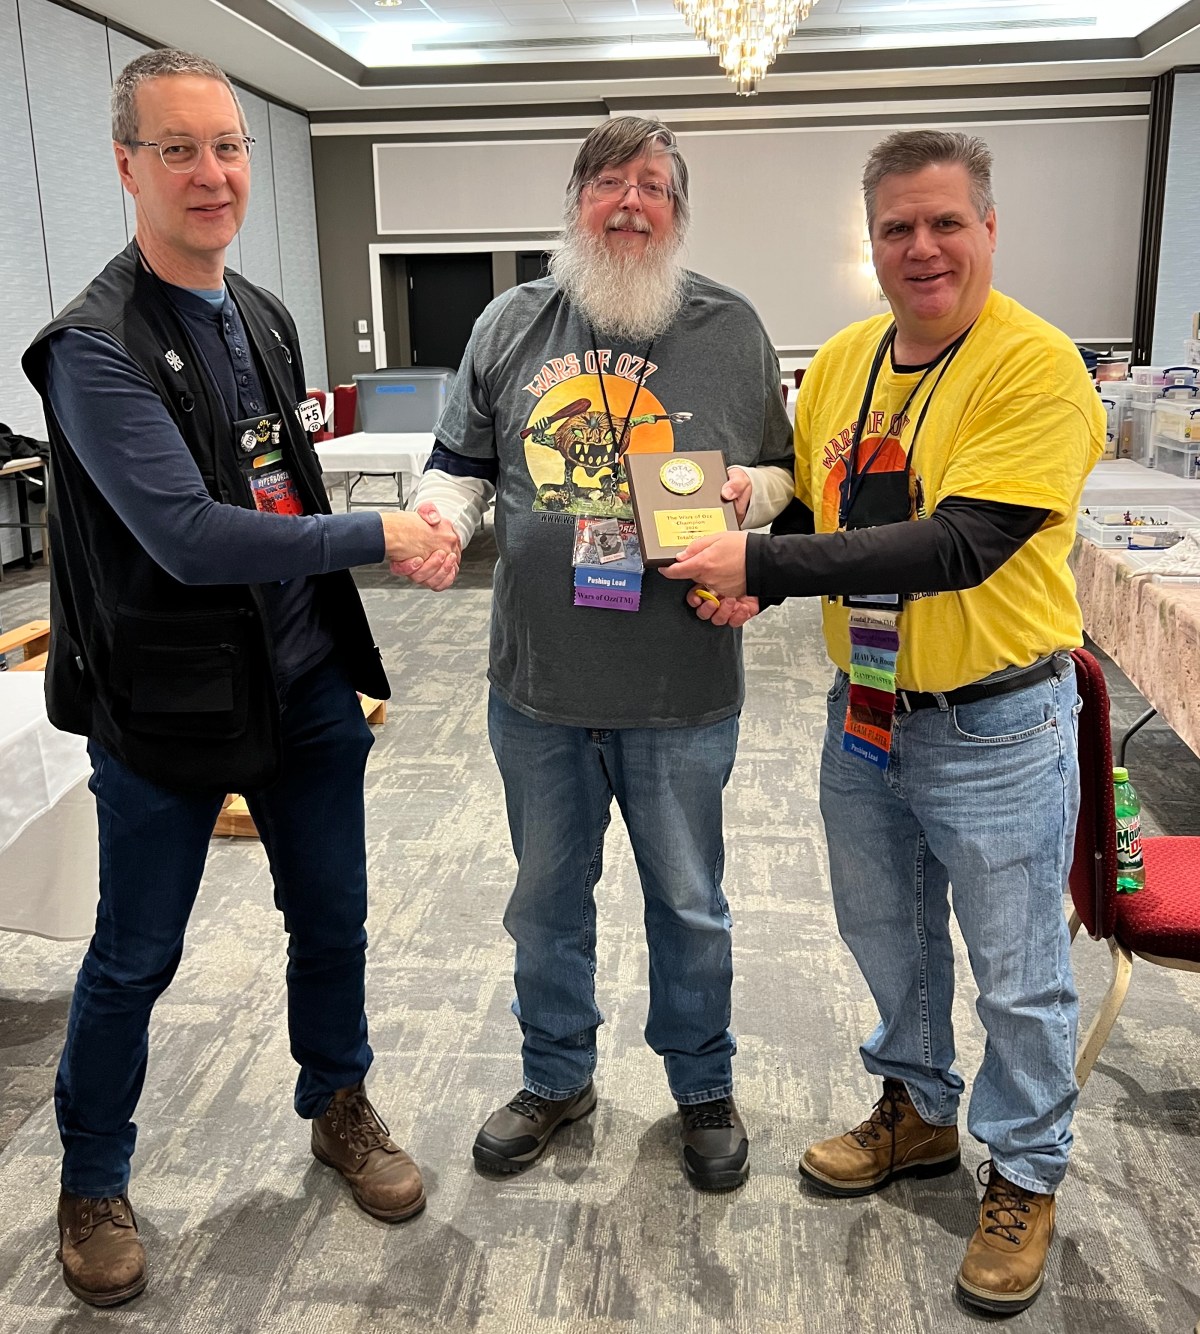
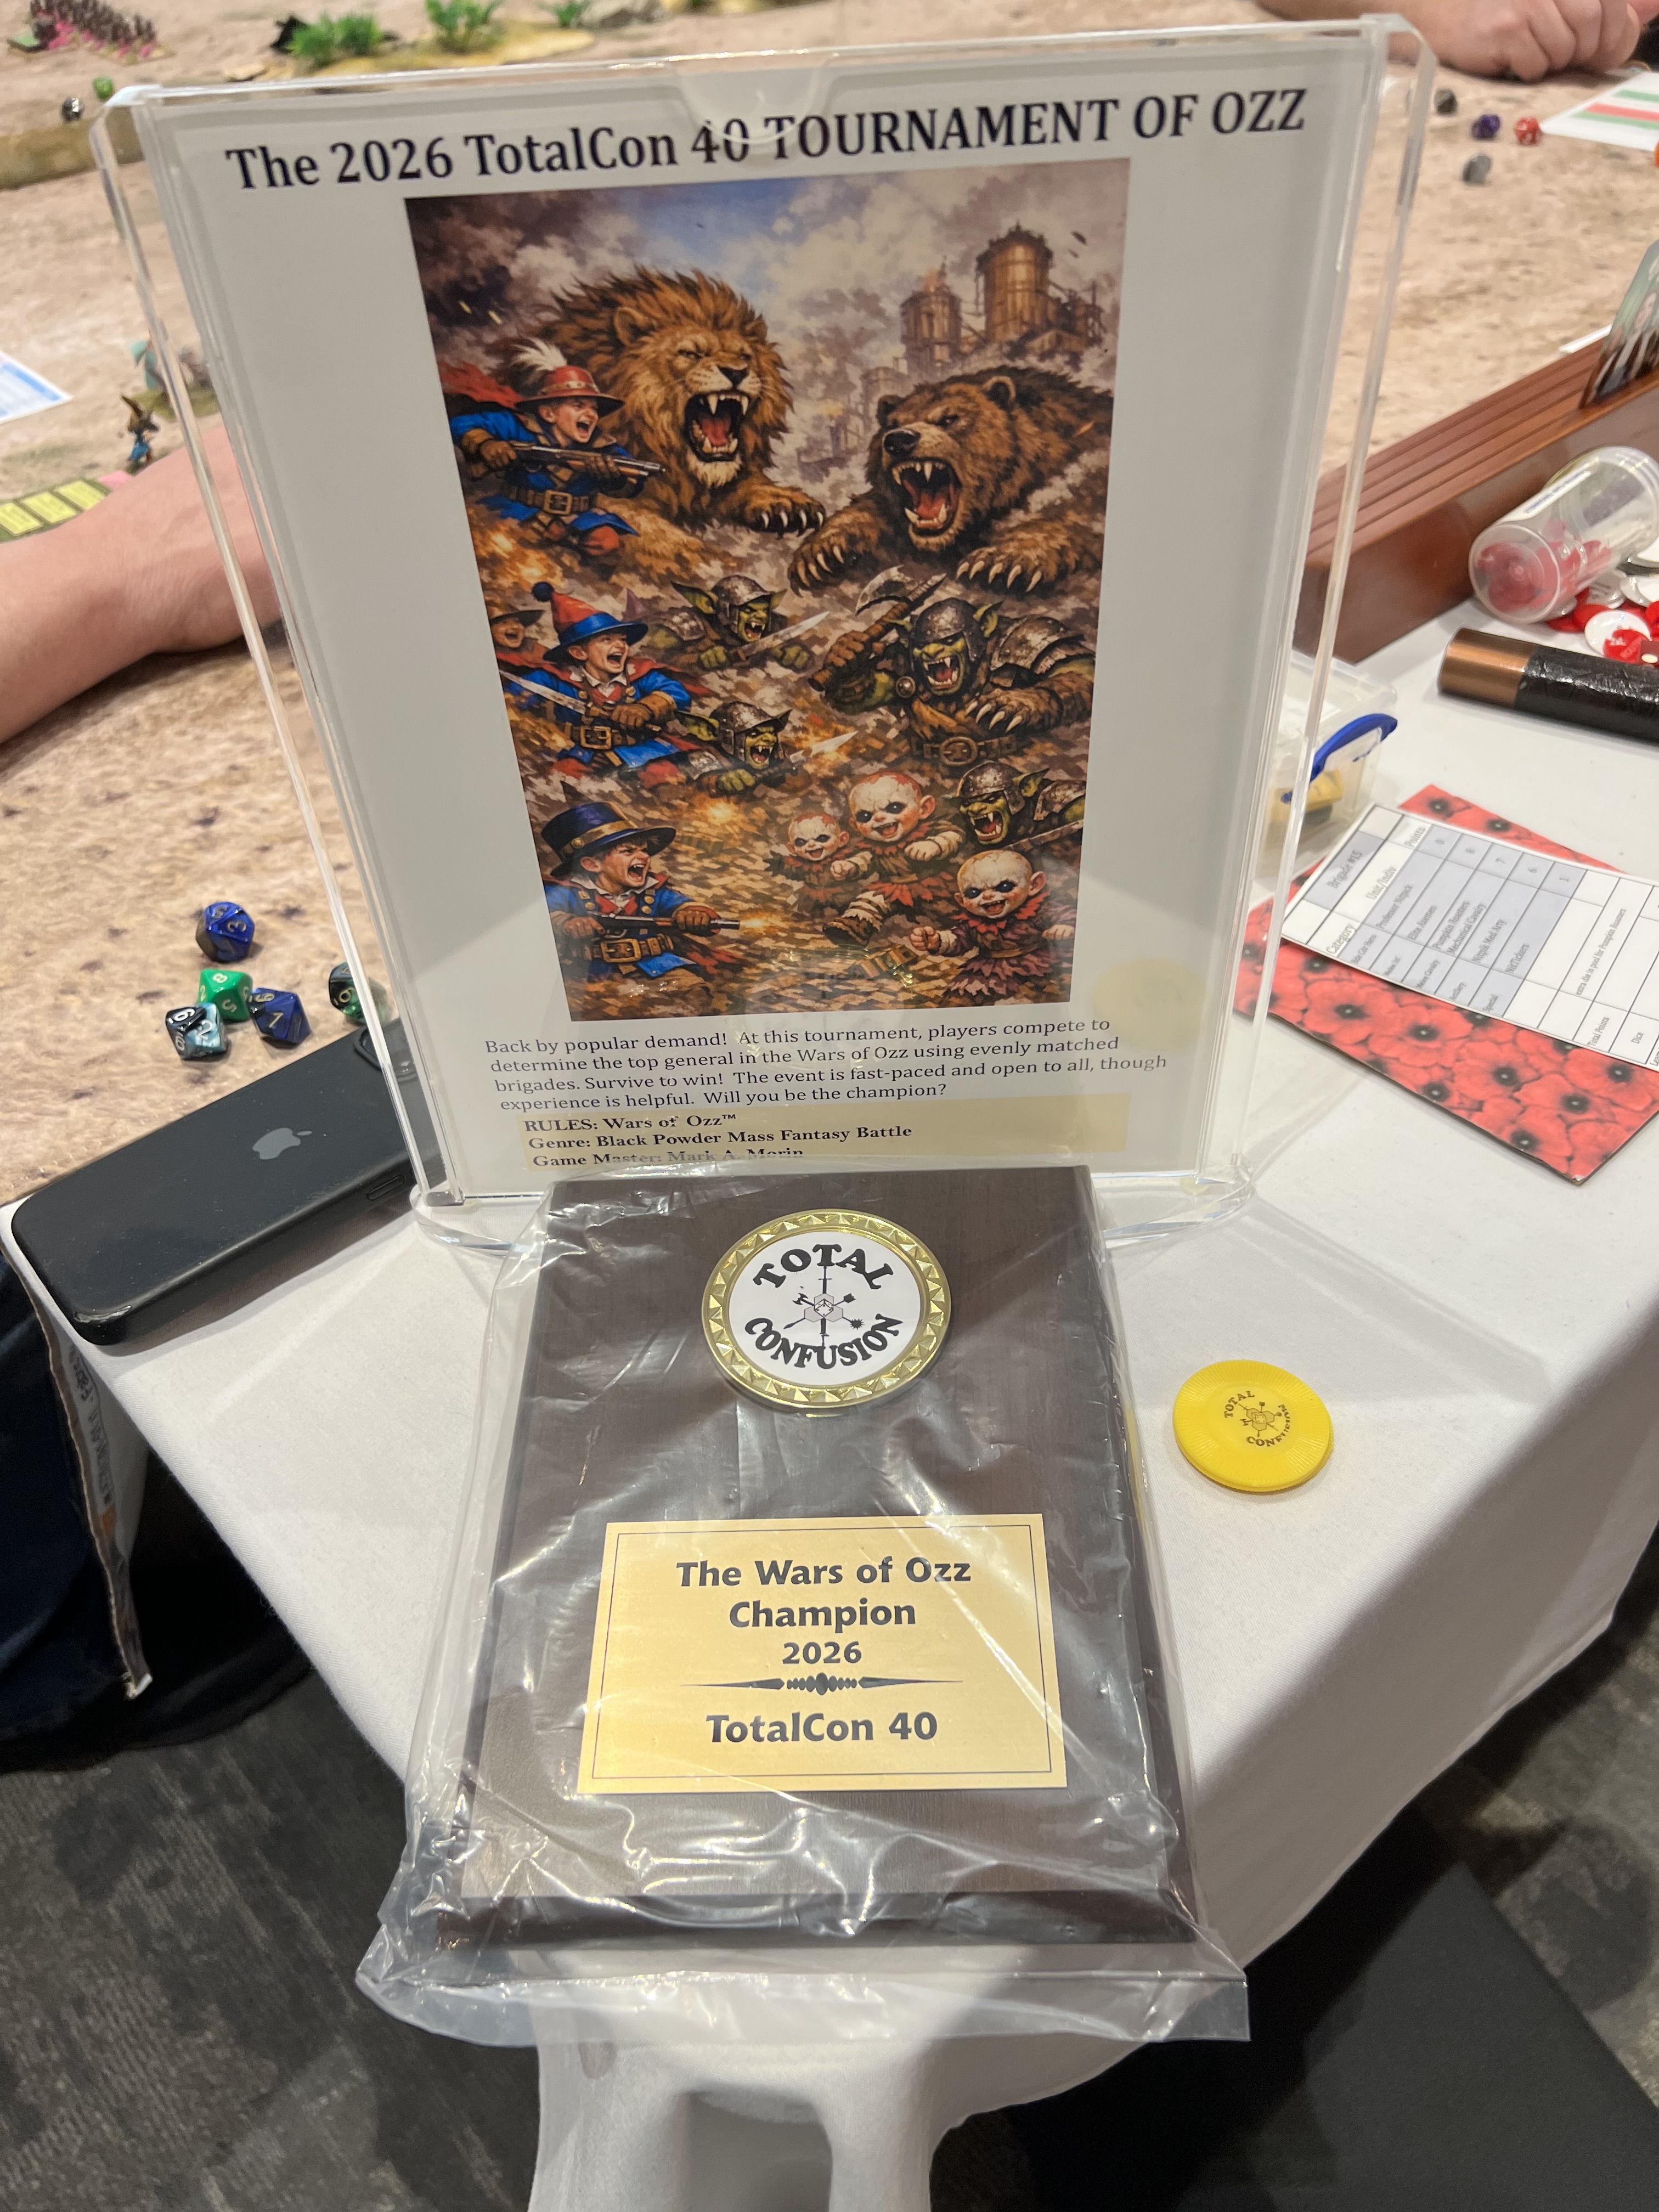
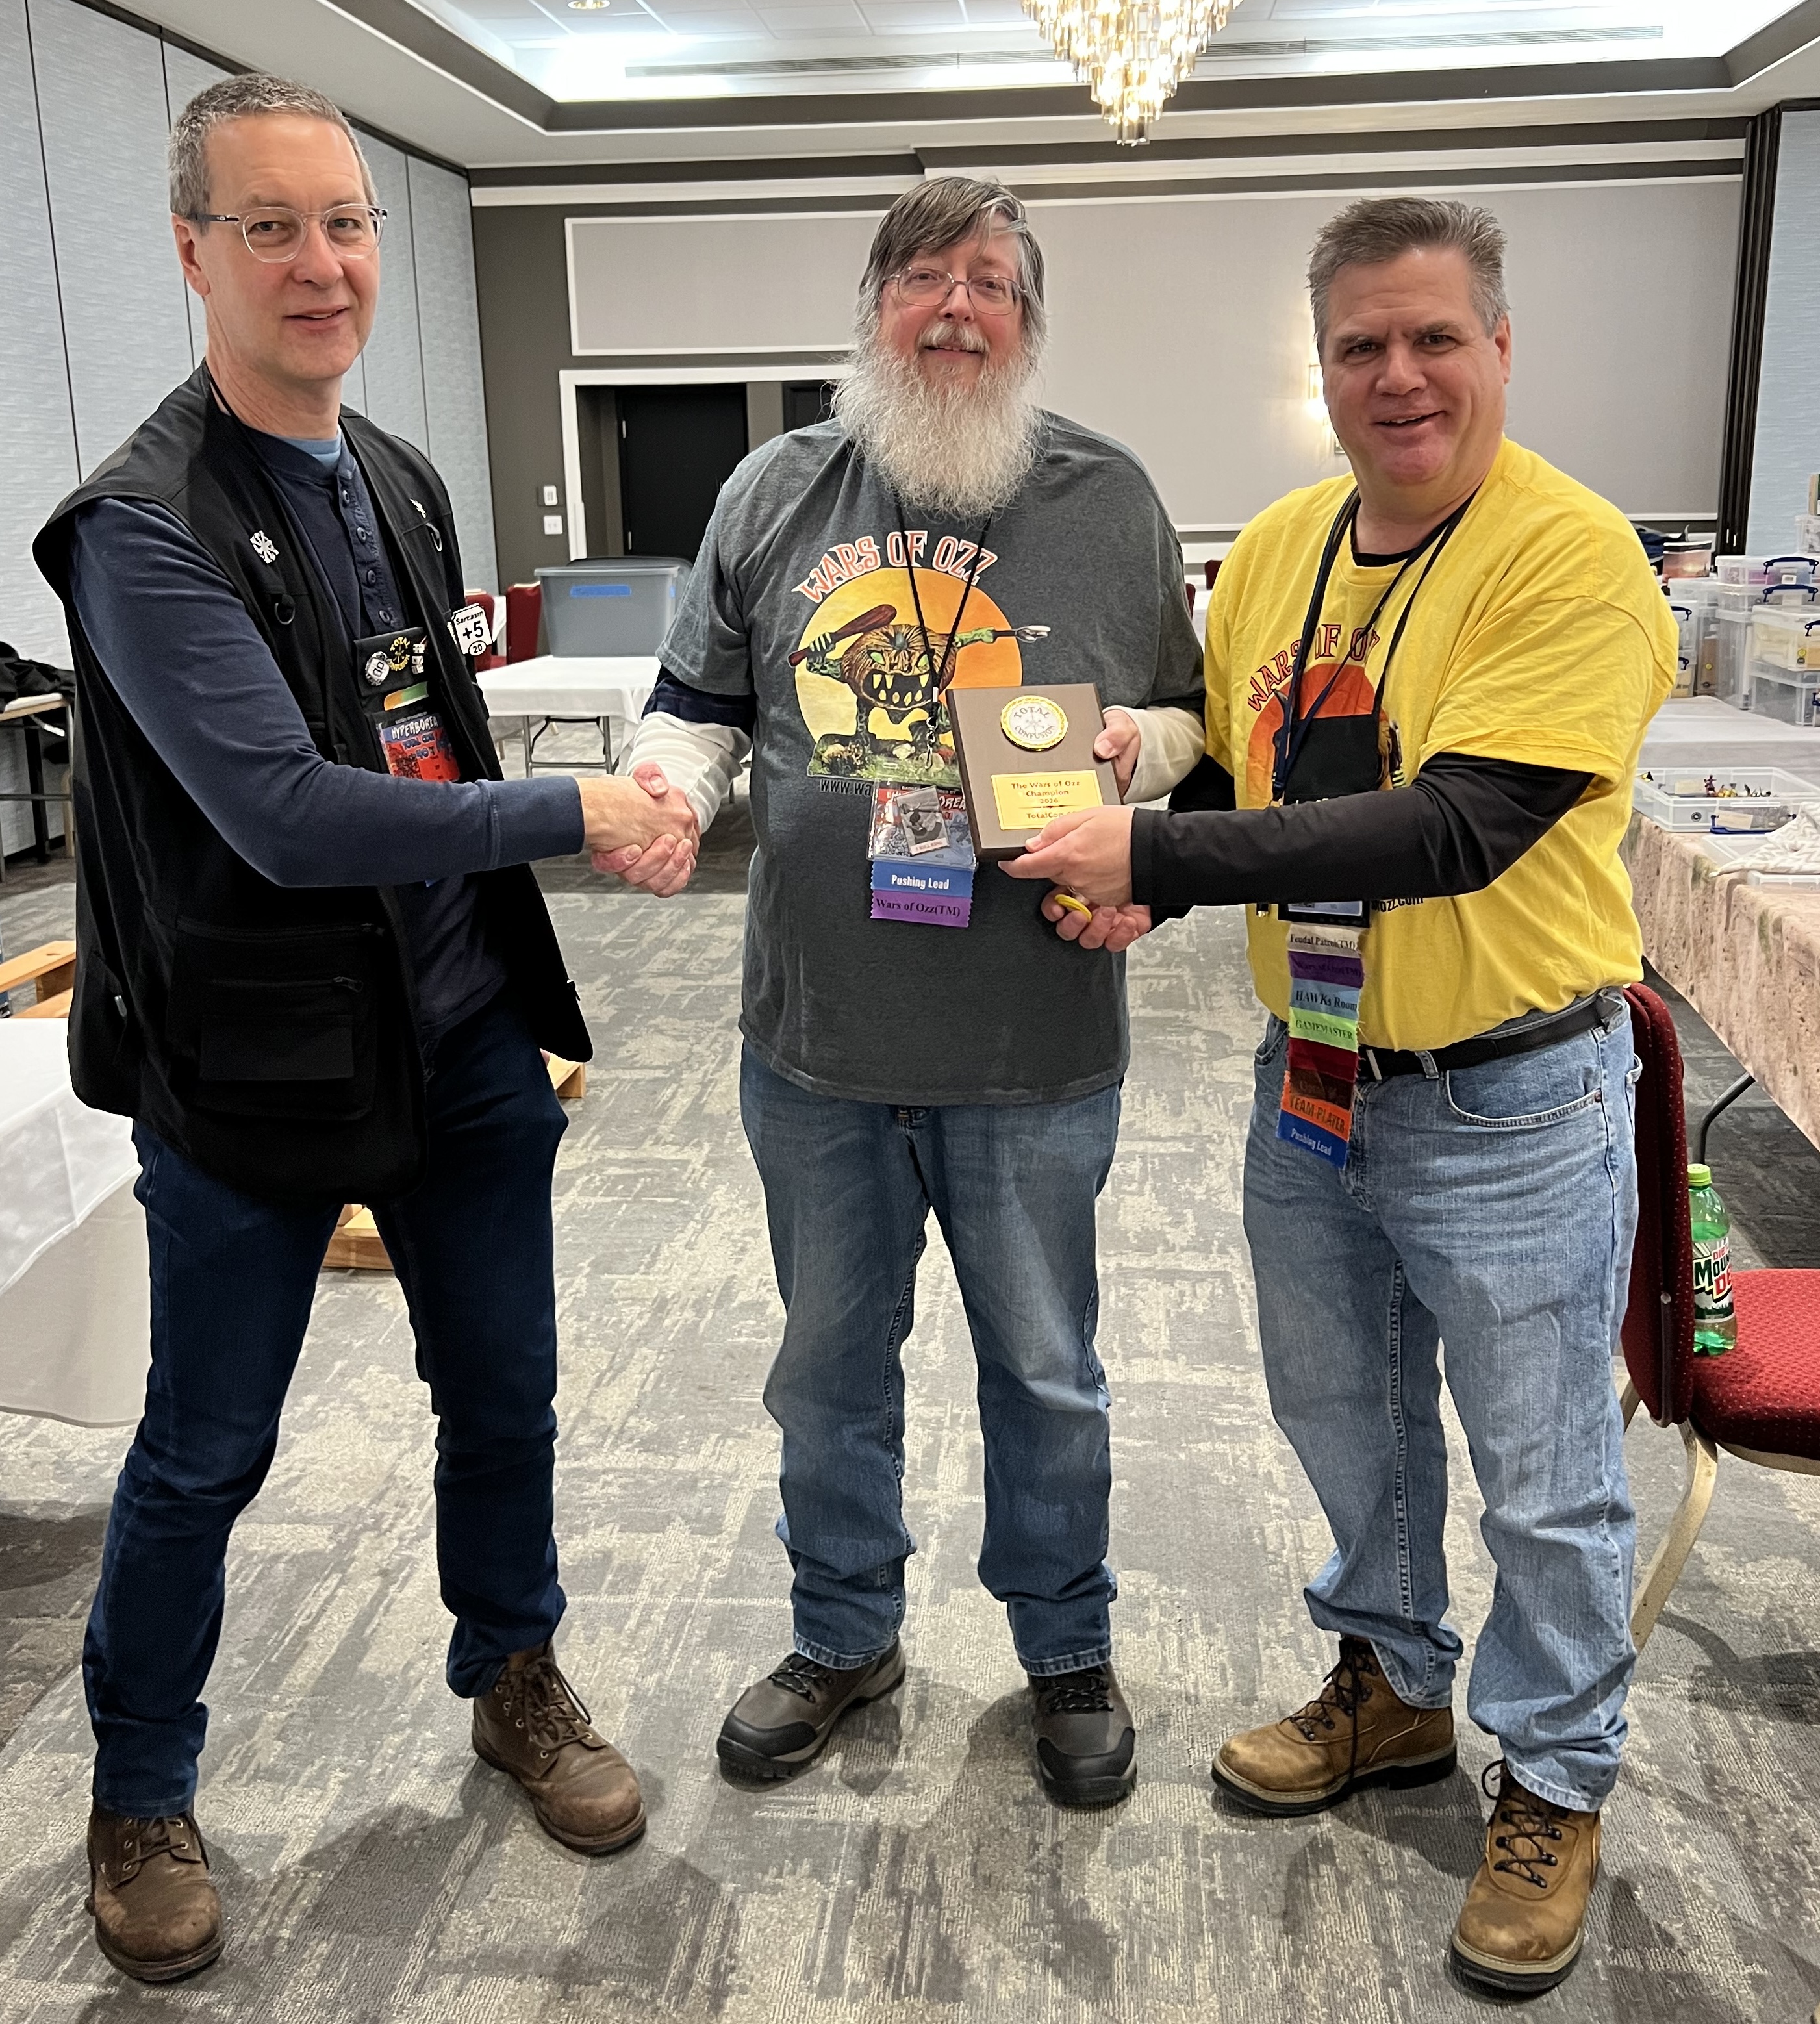
In the end, Brad outlasted Bob – though it was close! Congratulations to Brad as the 2026 TotalCon Wars of Ozz Champion! Congrats to Brad!
The 2026 runner up Bob, the 2026 champion Brad, and your happy GM.
Thank you to all who helped me at the convention. Special thanks to Leif and Brad.
I also want to extend a very special thanks to Bryan Clauss, Steve Parenteau, Kevin Baumann, and the entire TotalCon staff. They do a magnificent job running a great convention! BIG THANKS!!
Lastly, a few areas that you can check out if you dare:
Not just any pond, but one they both claimed as part of their cultural and historical heritage. I would run the game with Buck Surdu’s Combat Patrol: WWII rules modified for retro sci-fi skirmish.
With that said, I needed a suitable pond for the tabletop. I did not have a lot of time to build it. The period from the end of Cold Wars on February 8th to the start of TotalCon on February 19th was short. It did not allow for much preparation.
This is the story of that pond build! There are a lot of WIP shots. Additionally, you will find a few videos. They will give you a better flavor of the project.
My flyer for the game – now I needed a pond!
Like most of my projects, I think a good deal about it, design it and plan it, then get it done. I wanted the pond to be big enough to really be a spectacle on the tabletop – and to be very functional for a game.
I sketched out a concept on February 9th – the pond would have several islands for the players to fight to control. Additionally, I needed to have a plan to use Vallejo “Still Water” on the pond. Those initial design concerns that I had were:
Dealing with the effective application depth of “Still Water”. The depth is supposed to be less than 3mm per application. How would I make that work?
What type of pond “structure” would hold the “Still Water”?
I read online that “Still Water” could be acidic and/or destructive to acrylic paint, even a primer. I did not want to get to a stage in the project where I needed to restart or acquire more supplies. How could I deal with this issue?
How could I build island structures onto the pond and how could I integrate them into it?
As is my habit, I got out the graph paper and drew an initial concept with 6 islands. I did end up building 8 islands in the end. The size I wanted was approximately 36″ x 24″.
Initial design drawing of the pond as it would sit on a 6′ x 10′ tabletop on February 9th.
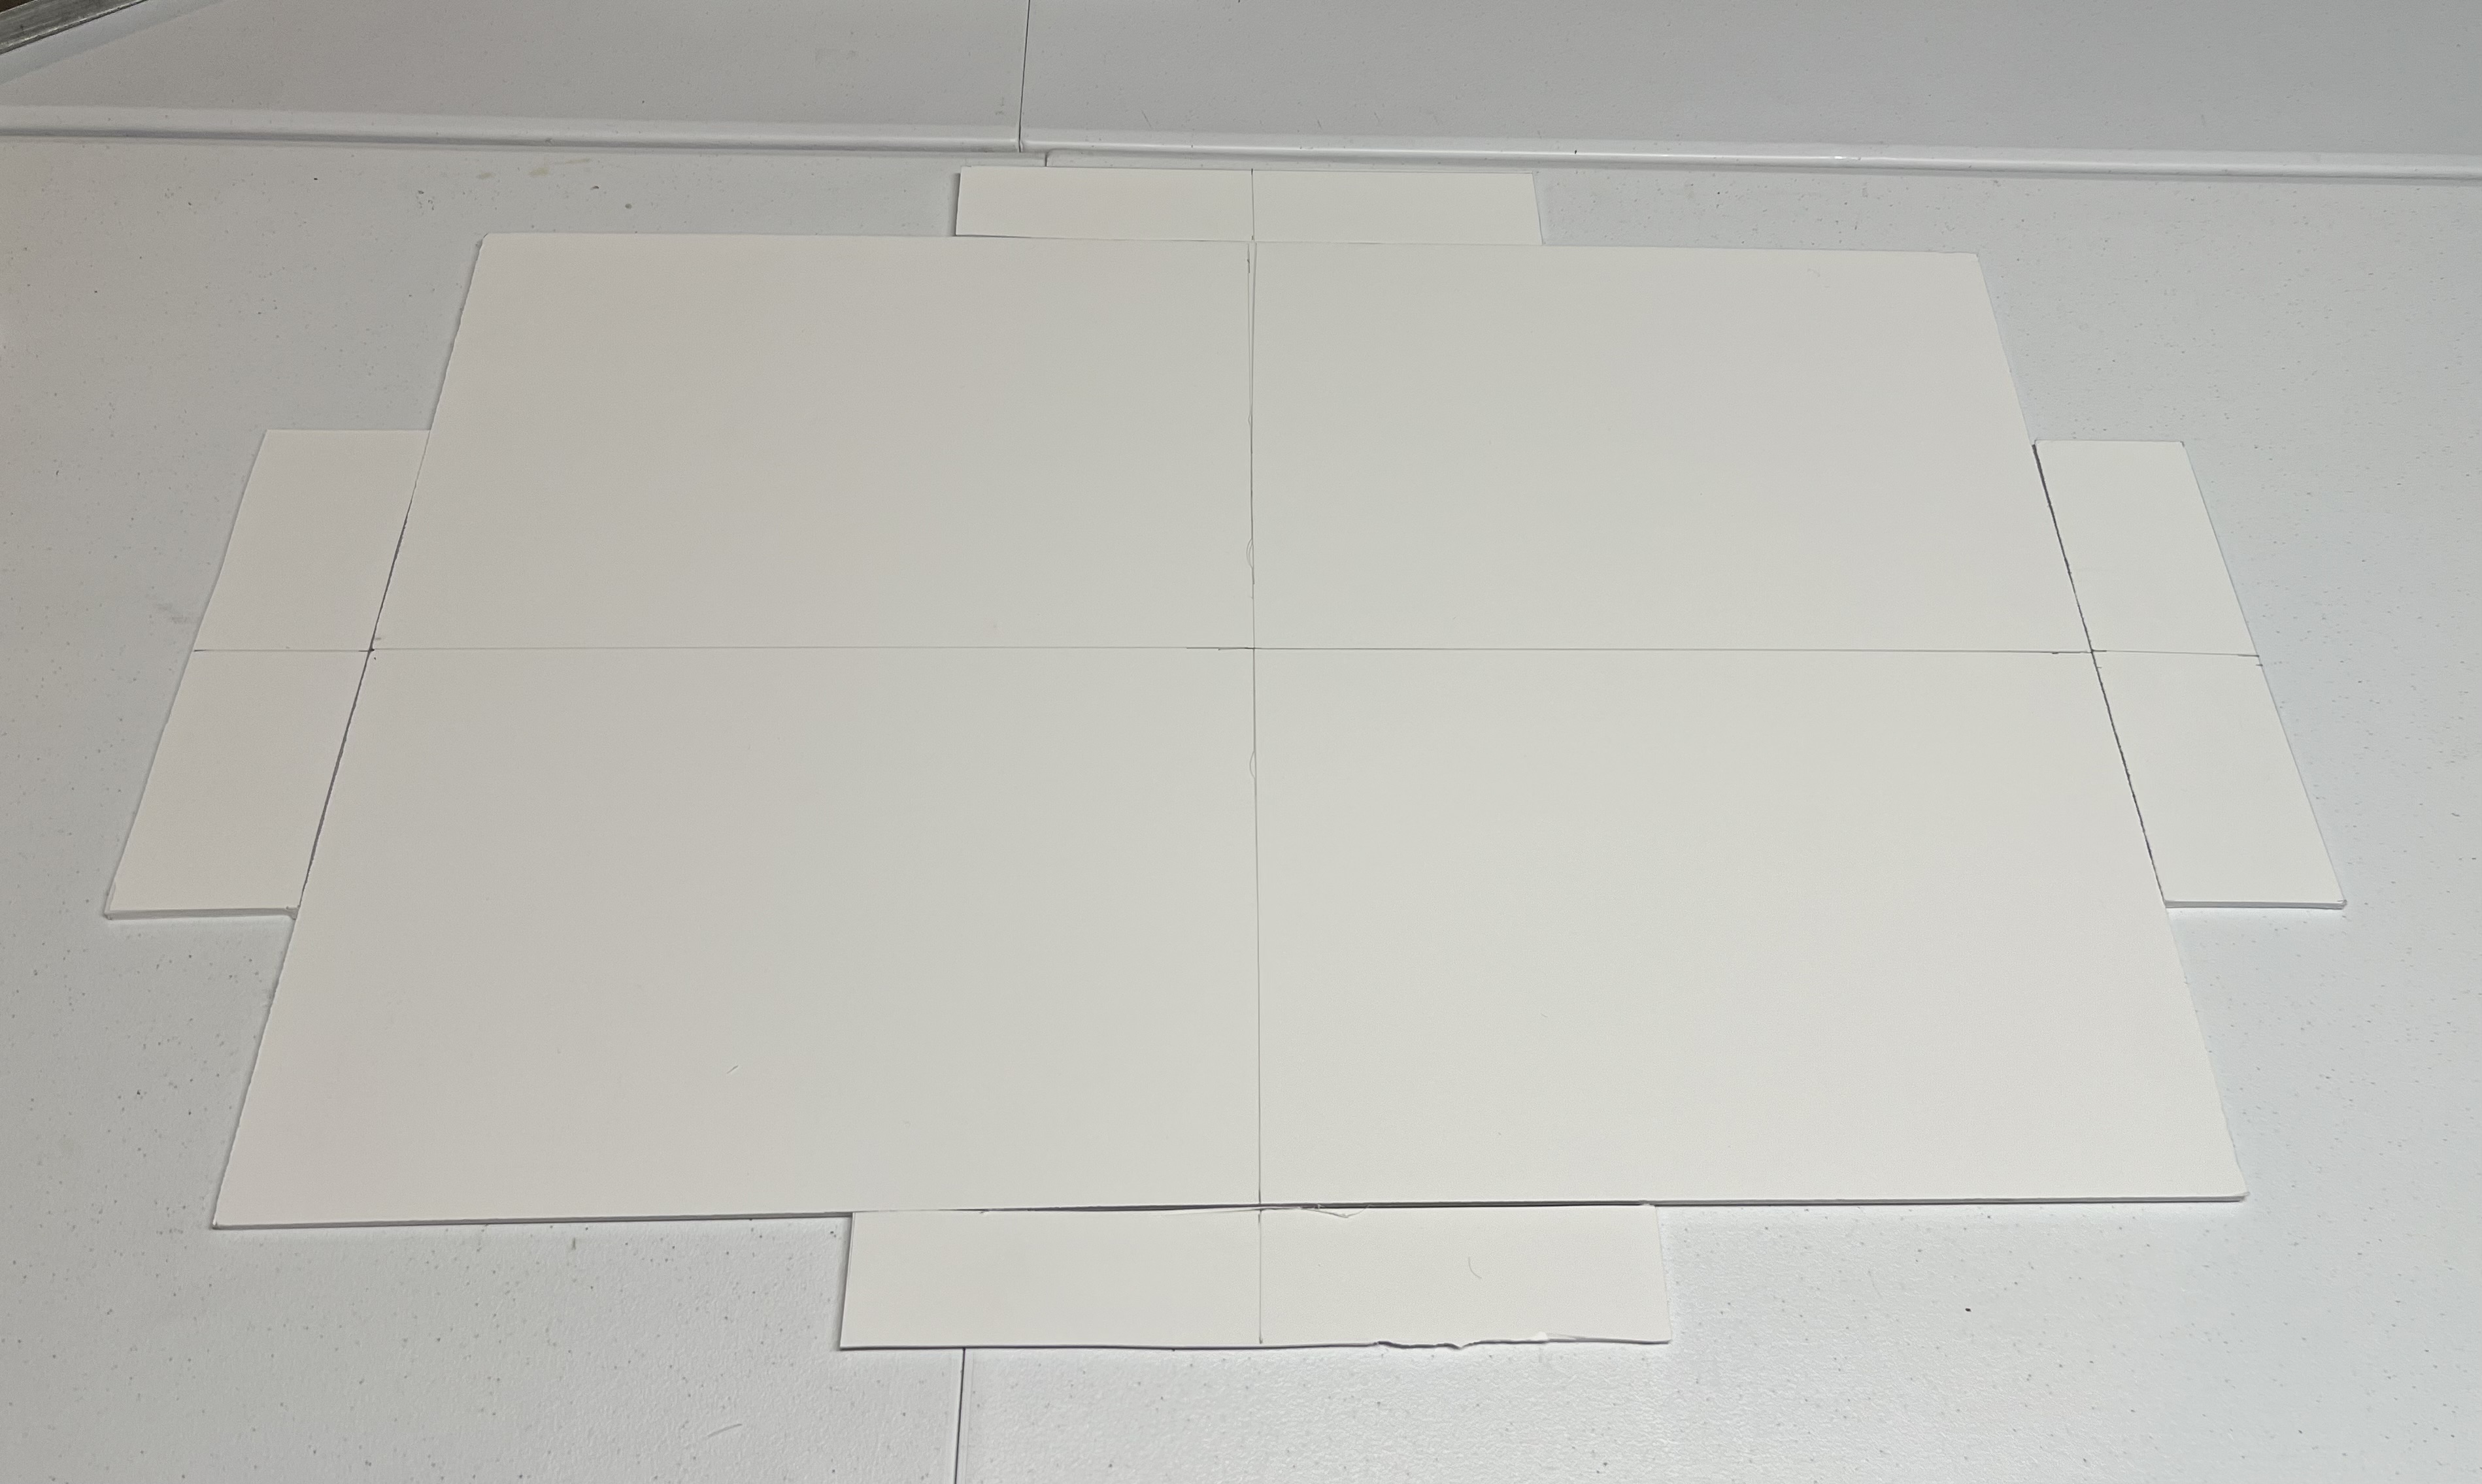
I chose to use foam board as the base. However, the foam board from Michael’s is 30″ x 20″. I added extra pieces of foam board to augment the base. I hot-glued them to the main board as you see below.
The foam board with the extra pieces before gluing.
Once the glue had cooled, I shaped the base irregularly with an Exacto knife.
At this point, the base would not have a lot of strength in resisting any shearing forces. To solve that, I hot-glued thin polystyrene sheets to the base to conform to its shape. These sheets would be on the bottom of the terrain piece.
The base showing the polystyrene sheets hot-glued to the bottom.
Once that cooled, I flipped it over. I cut out pieces of foam board and made 8 islands of different sizes. As the foam board thickness is .47 cm, I believed that they would not get inundated by any of the “Still Water” later on. They did act usefully as guides to depth application, helping to deal with concern #1. These were hot glued to the base.
Islands affixed to the base.
Regarding concern #2, I decided to go with Apoxie Sculpt to build around the islands and to make the pond’s edge. Once cured, I had my basic structure to hold the pond.
Early edging around the pond.After all the Apoxie Sculpt was applied by February 10th. Note the entire base is covered except for the islands.
I did not want any white edges to show underneath the terrain piece. So, I flipped it over and primed the bottom edges brown.
Priming the bottom.
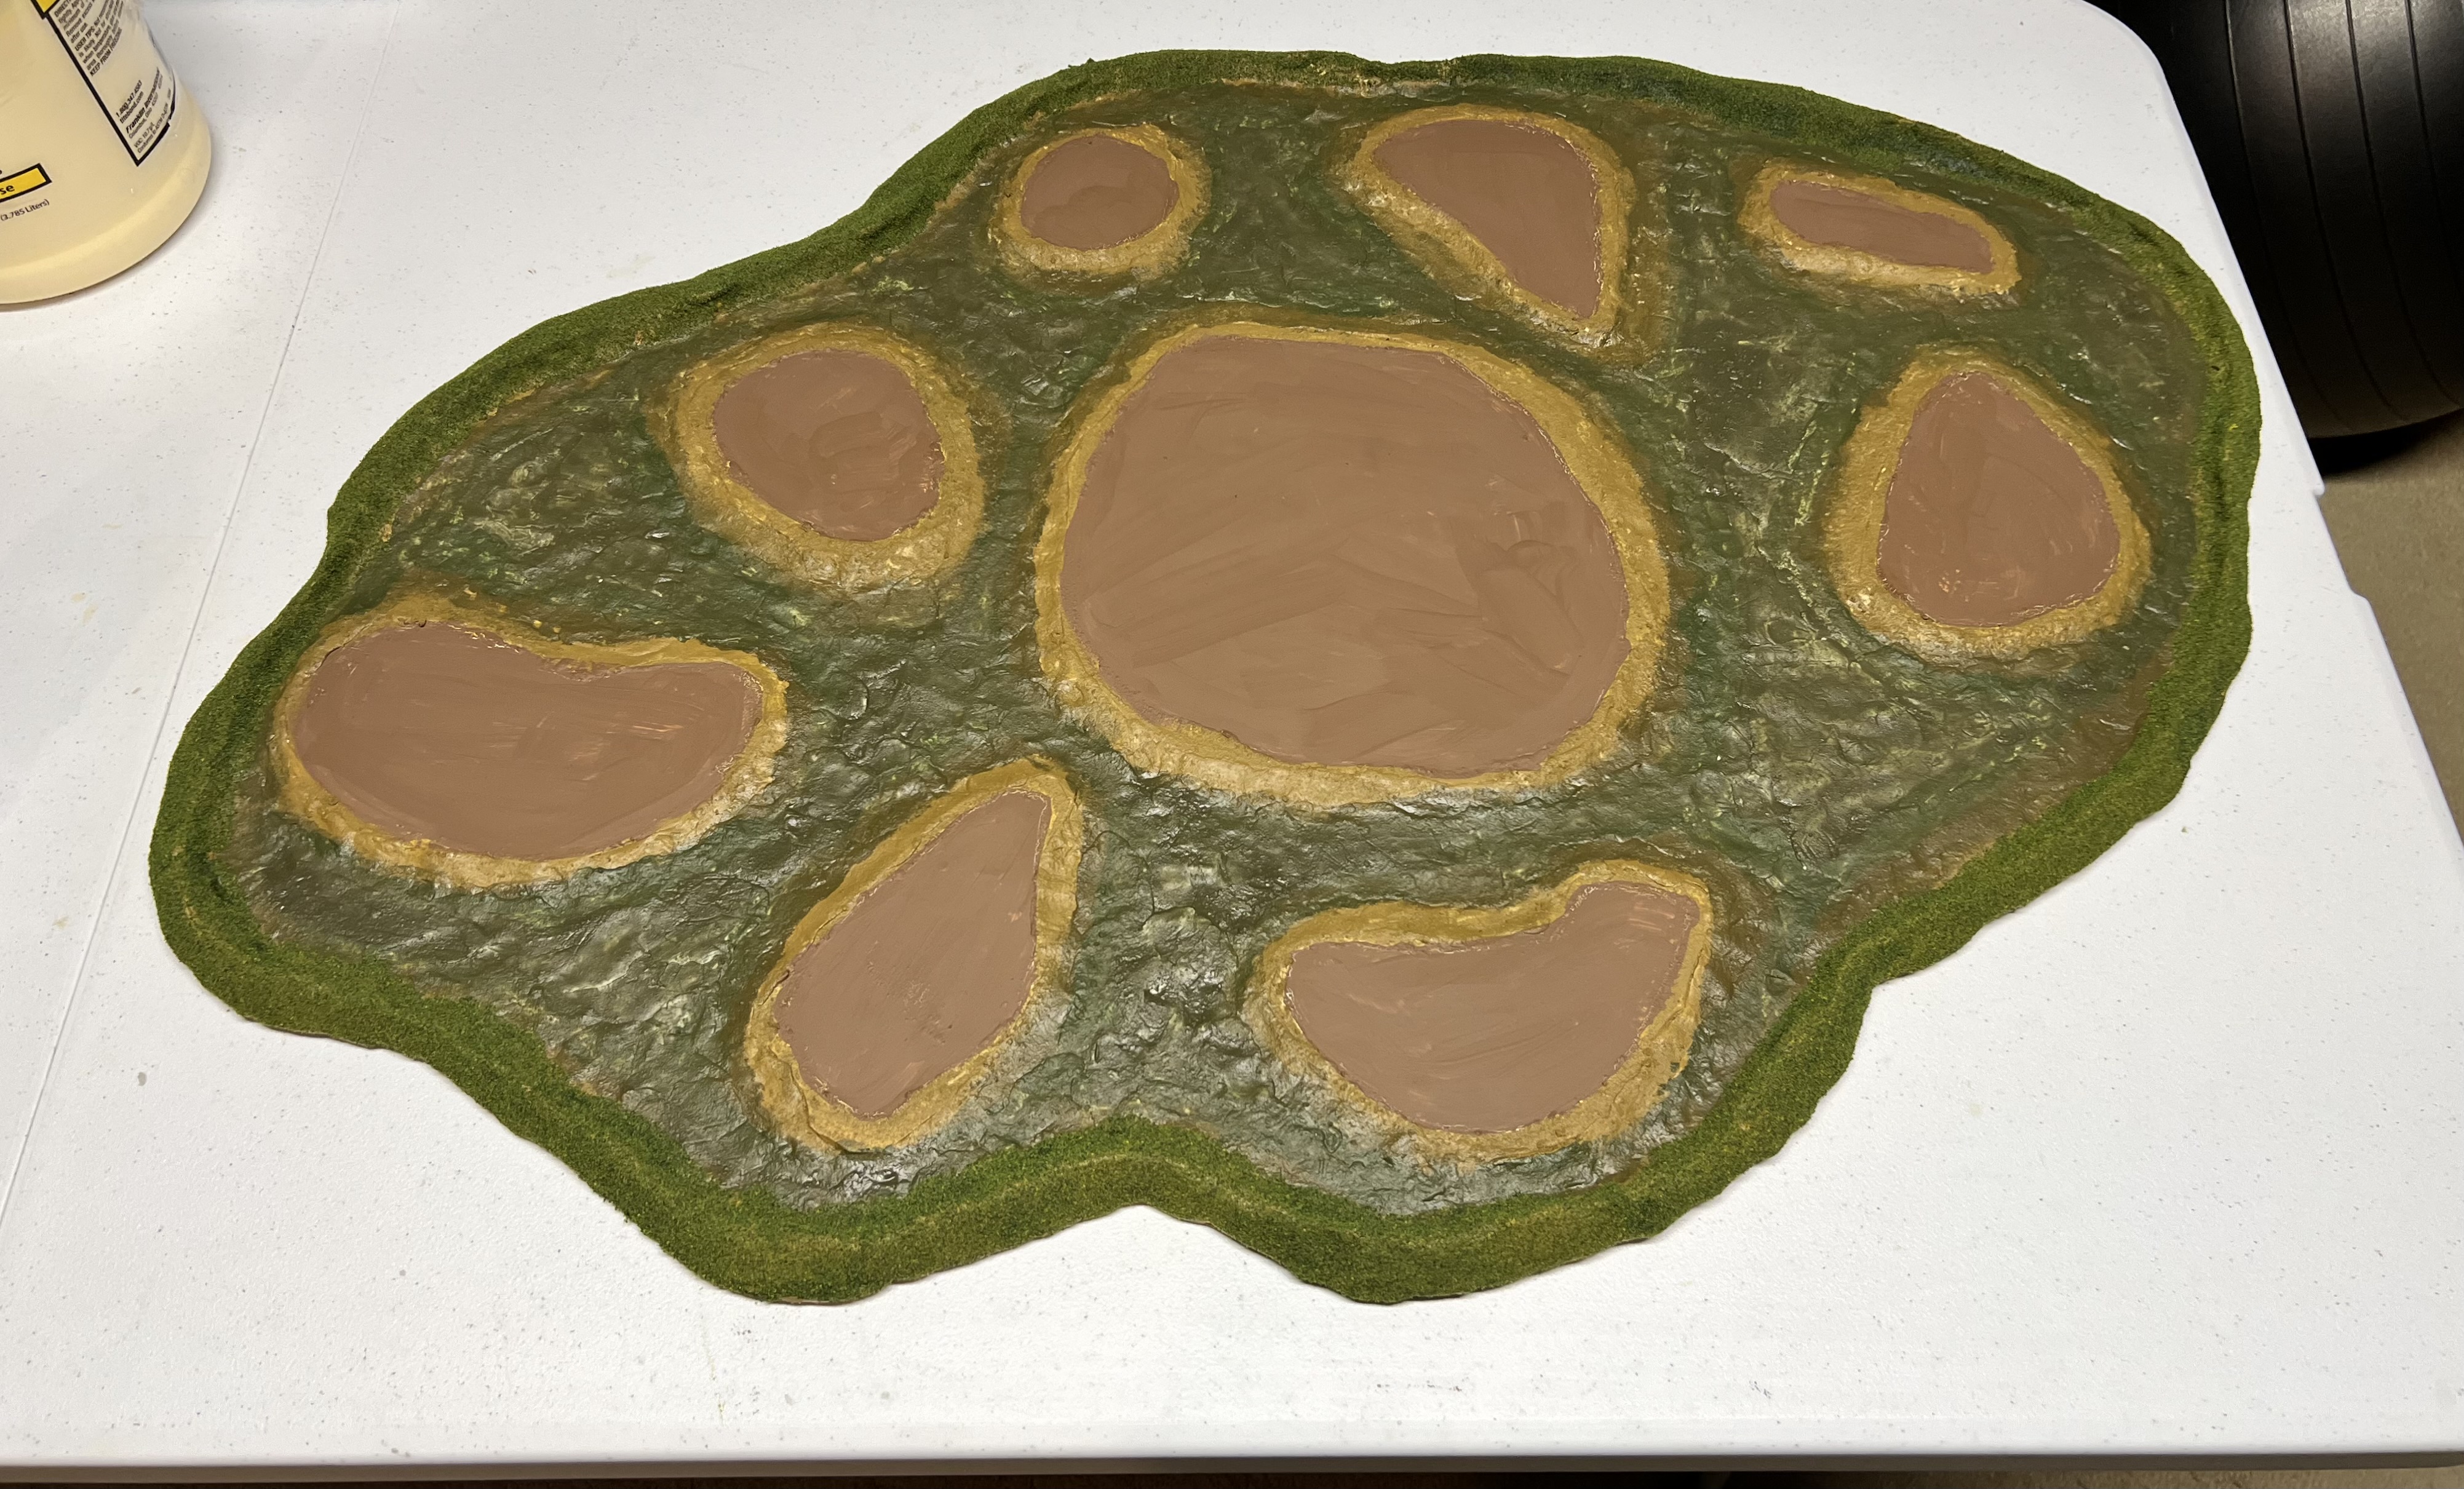
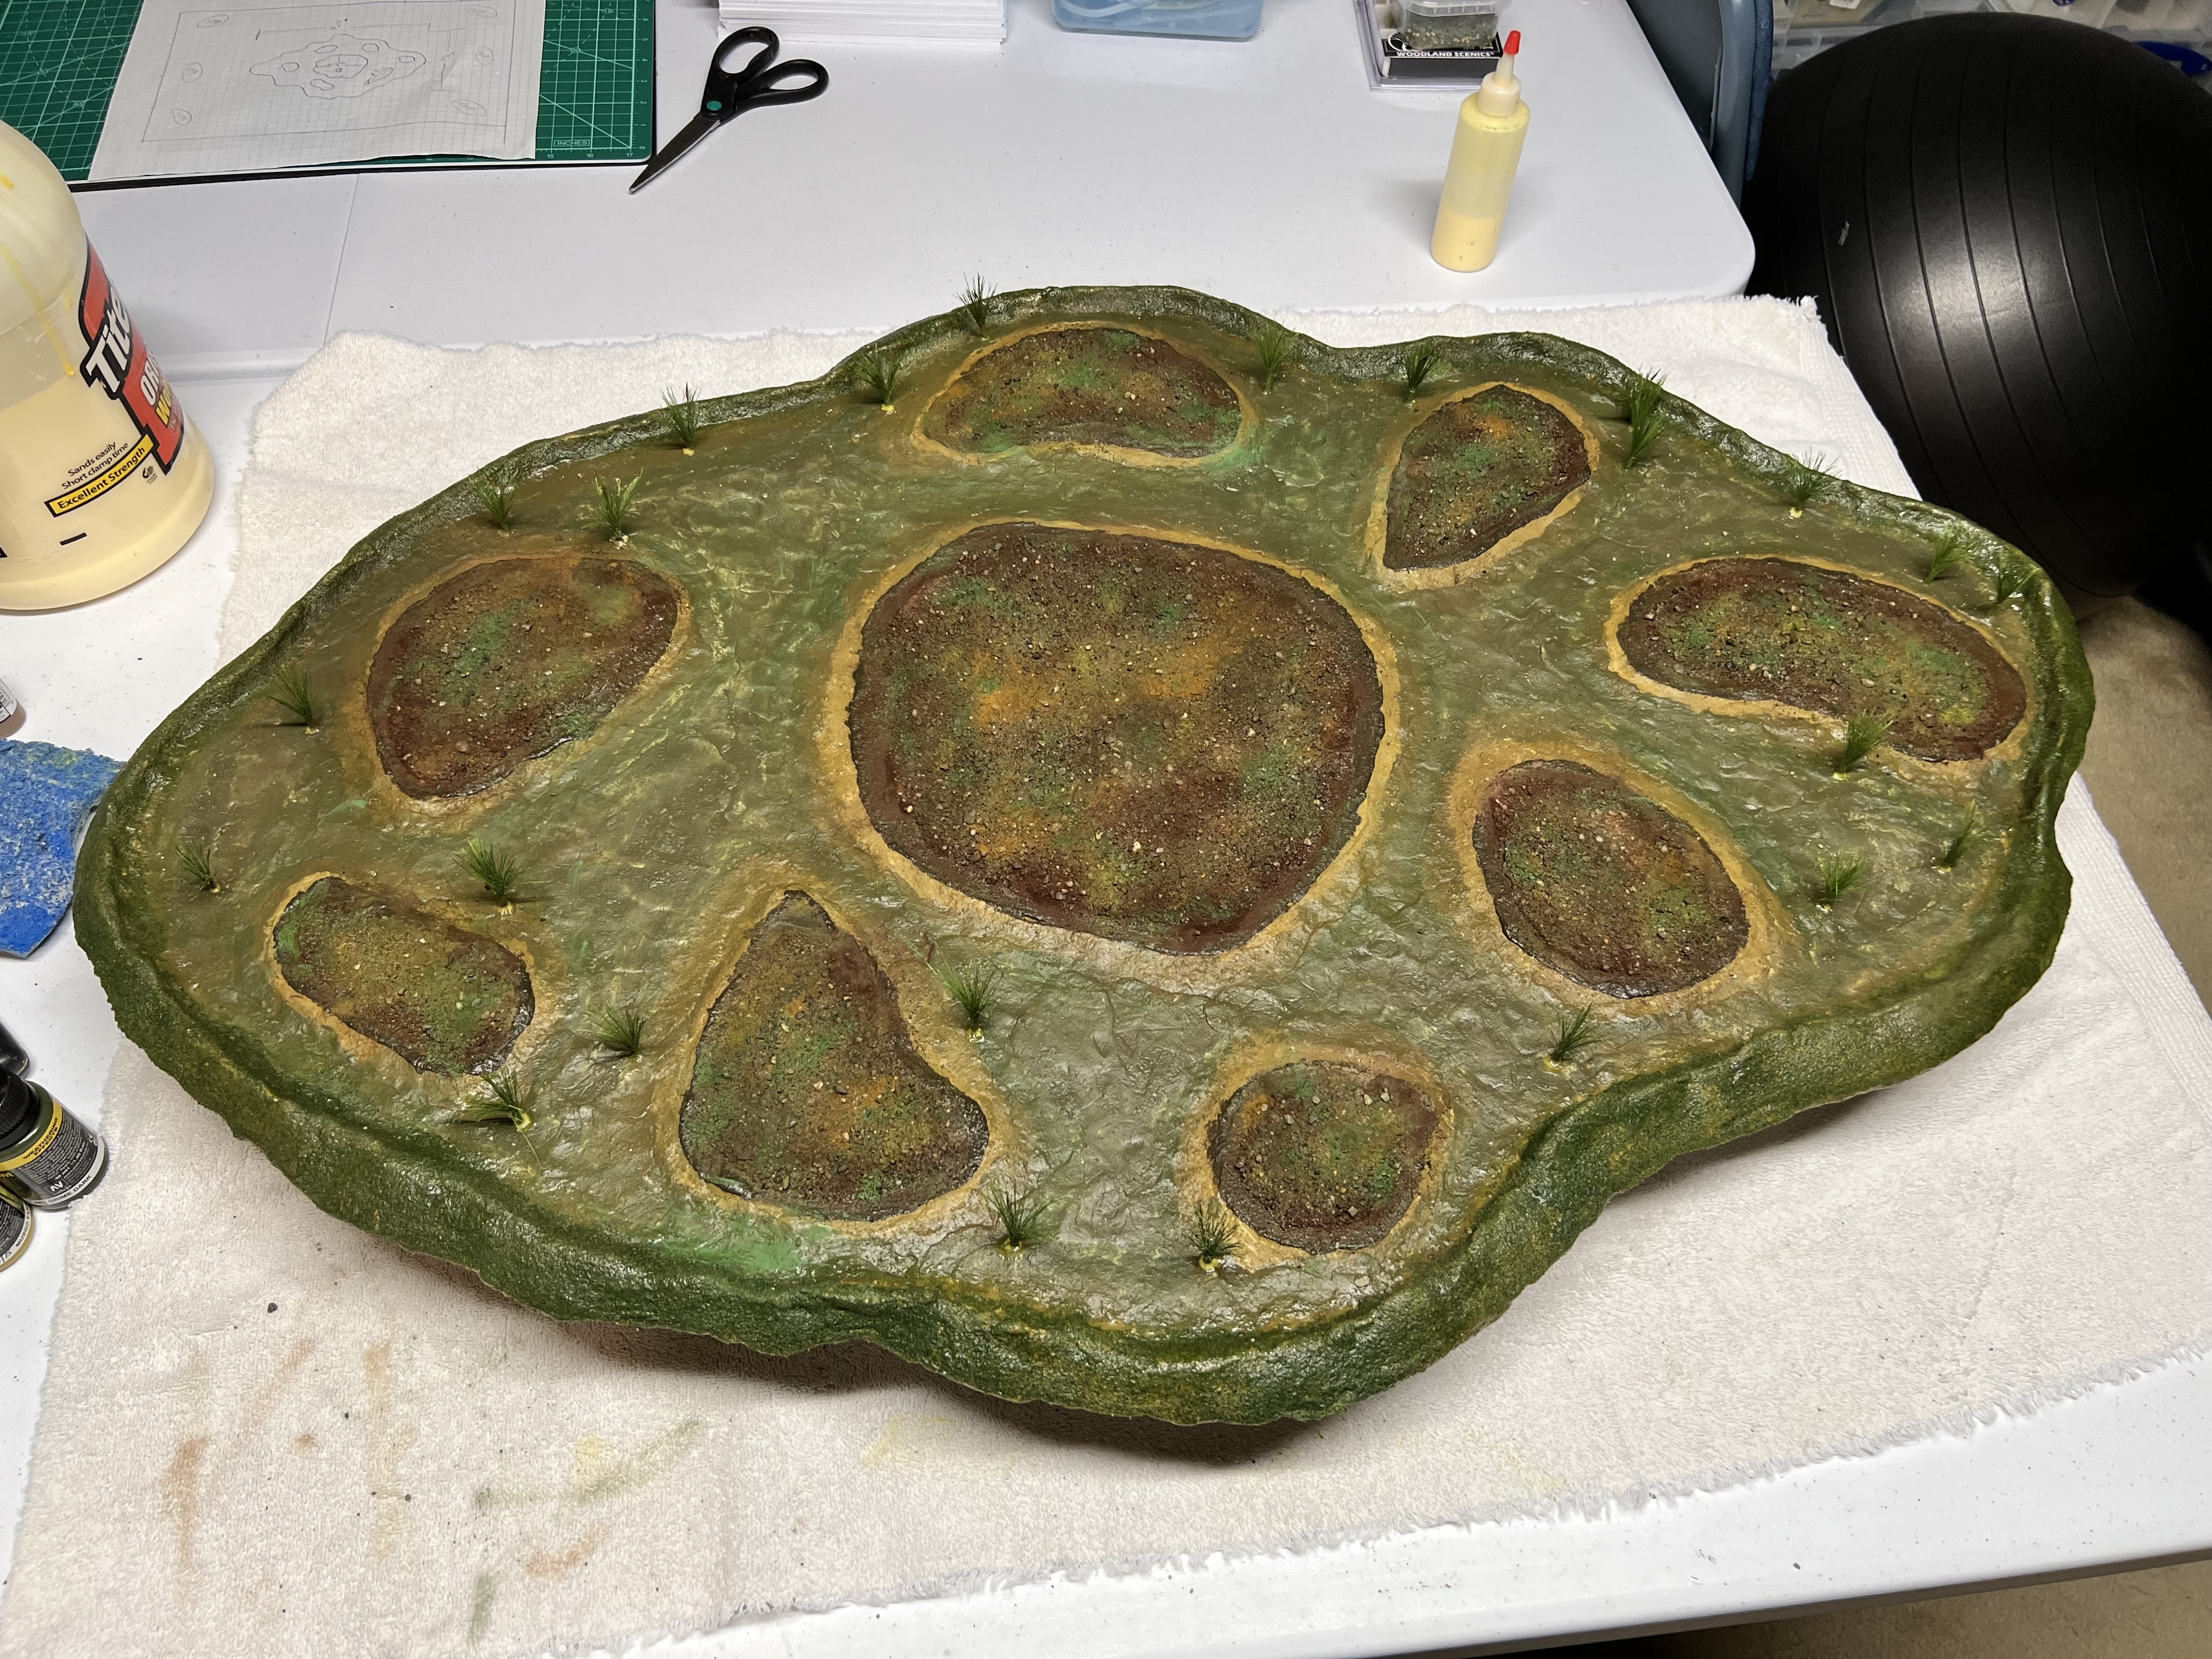
I flipped it over again so that it rested normally on its bottom. Concern #3 still loomed. My solution was to mix equal parts of wood glue and primer and paint the piece with that slurry. I used four different primers and the glue to paint the pond bottom and island edges. This helped to create a shoreline to depth look. Then I flocked the pond’s edge with Woodland Scenics blended turf and the wood glue.
My mixing supplies to seal the pond base.
The primed structure is shown below. I hoped that this would work and protect against the “Still Water”.
Apoxie sculpt painted with the primers and wood glue mix – on February 11th.
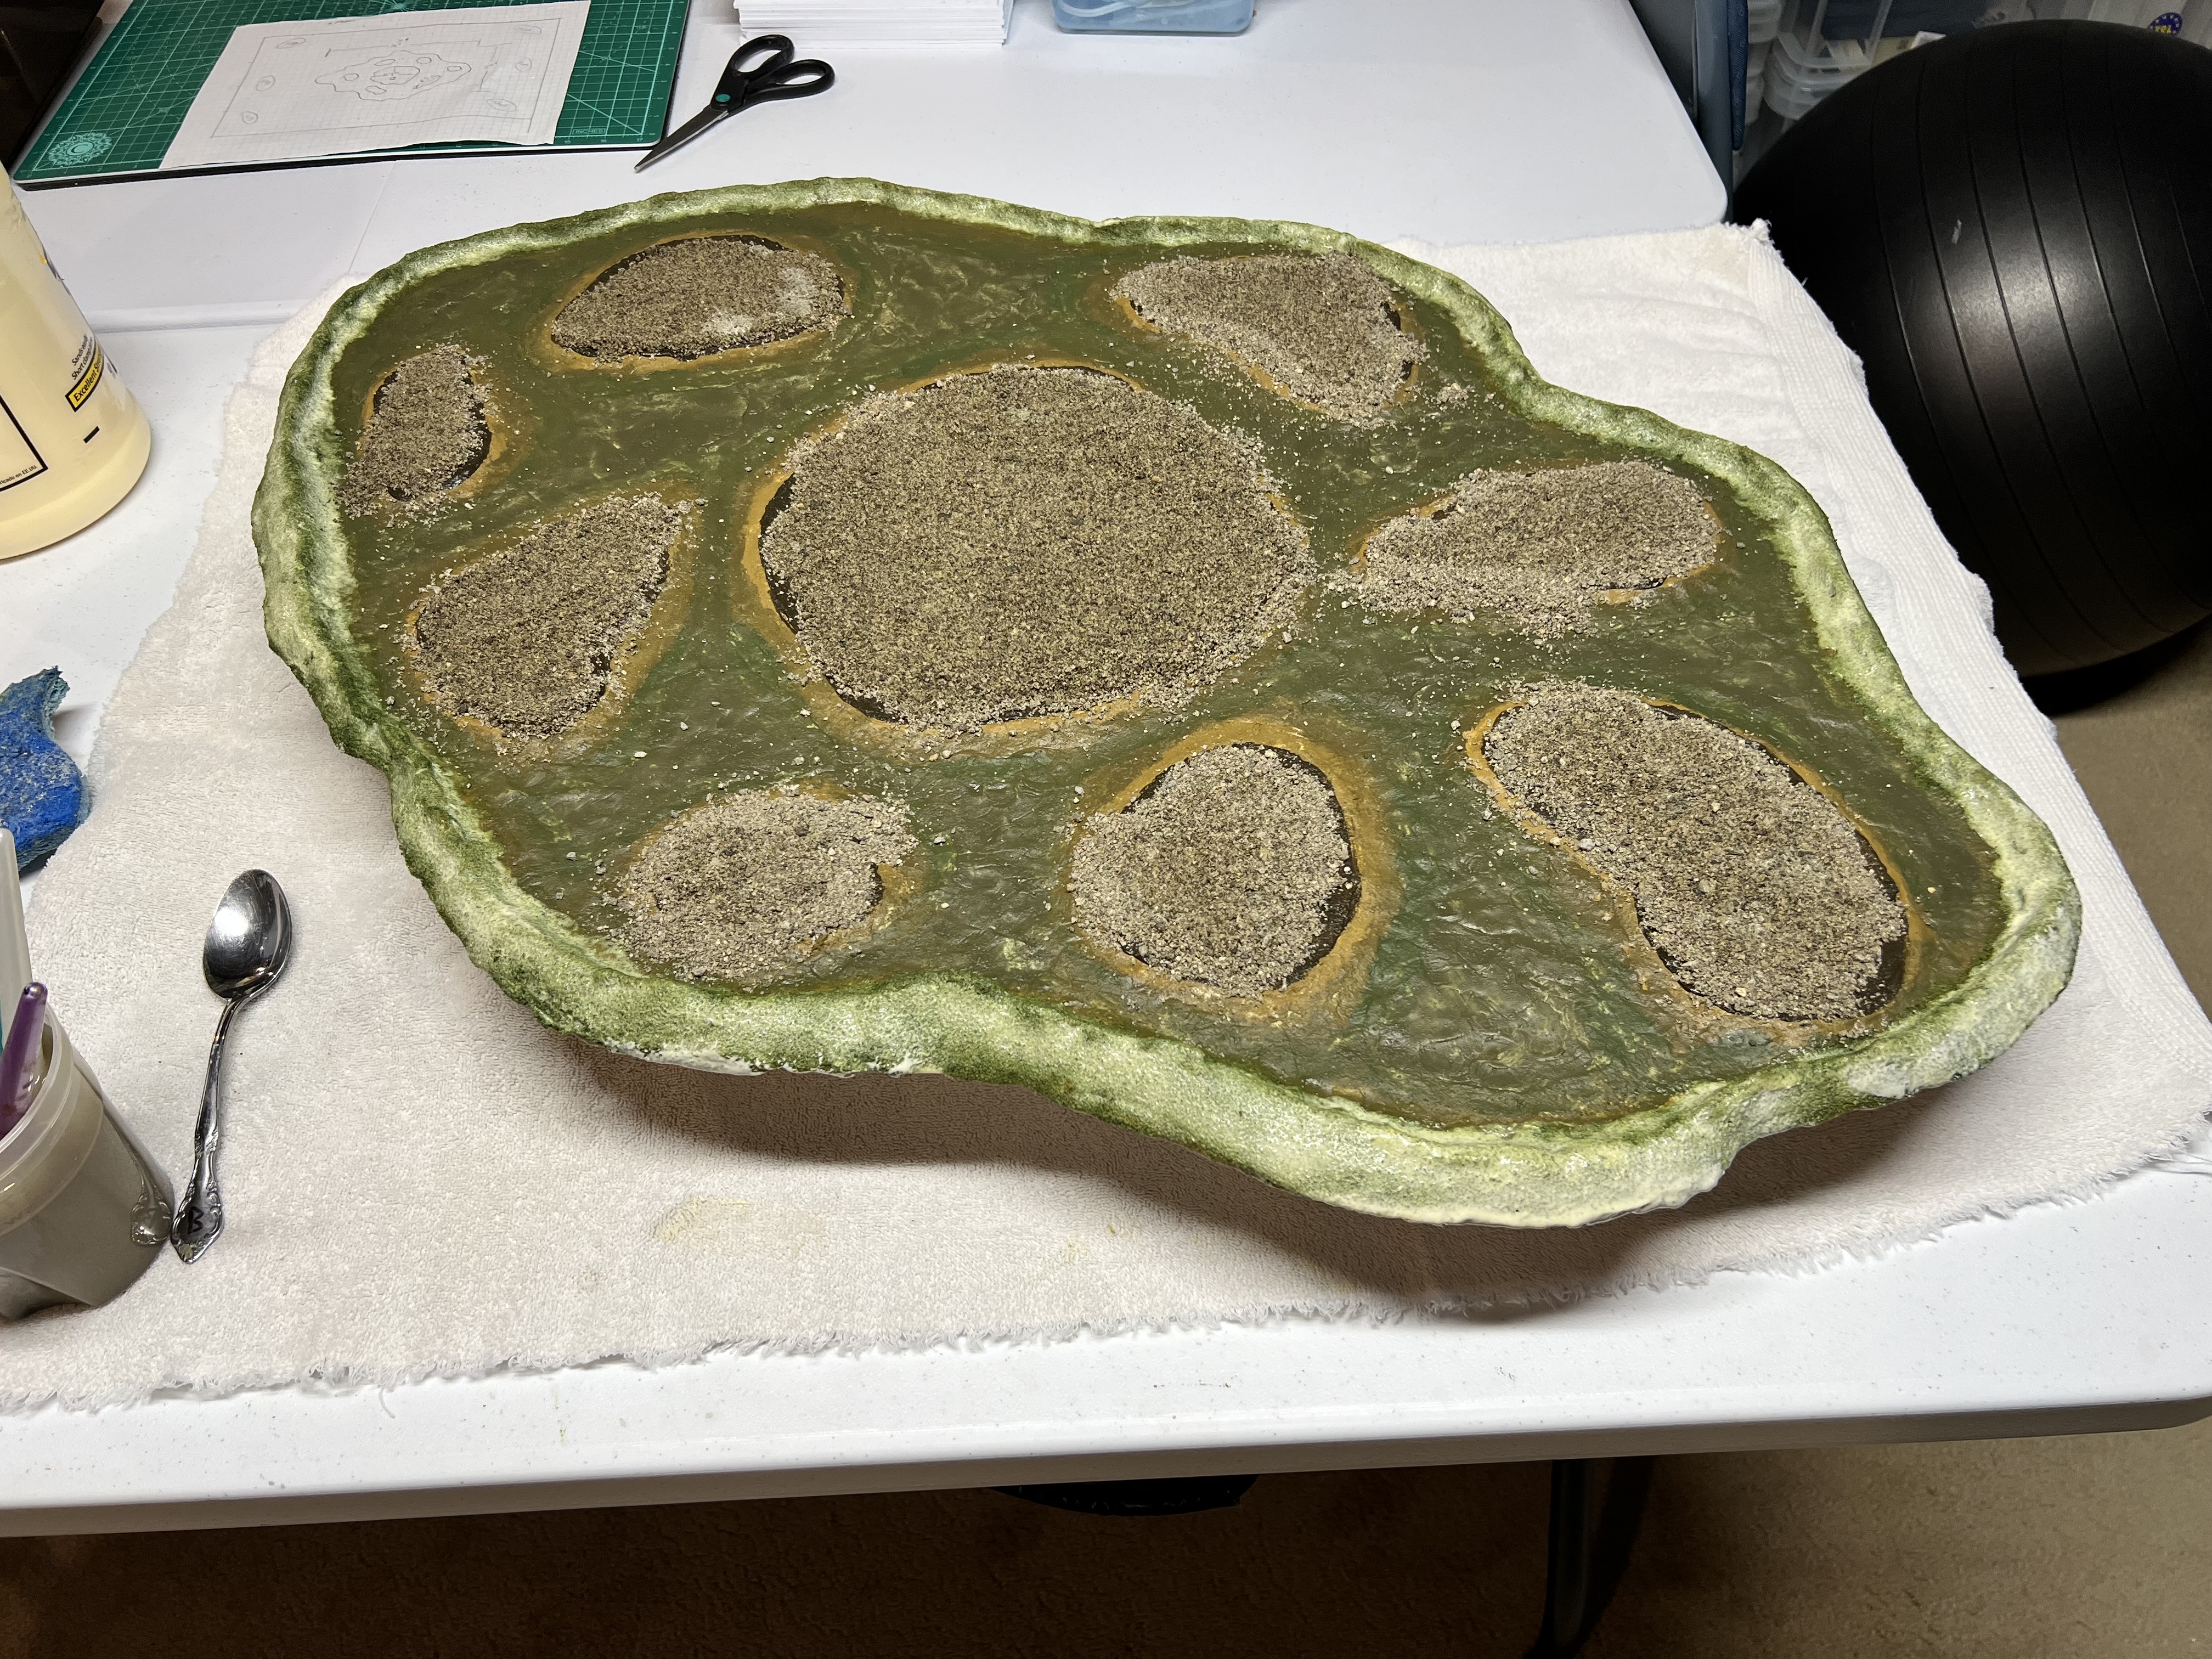
Once it all dried, I reapplied a coating of wood glue over the pond’s edge flocking. This helped to harden it up. It also kept loose flocking from contaminating the future water surface. I then added all-purpose sand to the islands with the wood glue. I let that dry before I extensively vacuumed the surface and edges of the pond. This was to remove all loose materials, again to protect the water.
Applying the sand and extra wood glue.And more drying time!The islands sand is dry here on February 14th – and the edges would continue to darken (thankfully).
It was time to apply the cattails into the base. Luckily, it was easy to use an awl to punch holes through the Apoxie Sculpt and into the foam core board underneath. I did that, and used more wood glue to secure the cattails. Then I had more drying time to wait out…
Cattails inserted.Close up of the cattails in the base.
The sand on the islands dried and was ready for adding pigments, so I did that. Meanwhile, I washed my plastic foliage for the islands. This removes any residual oils. This step allows me to throw some brown ink on them as a wash to add realism and some depth.
Washing plastic foliageDrying plastic foliage before adding inkPigments added and drying on February 14th..
Here is a short video showing my progress at this stage on Valentine’s Day:
It was time to add the foliage to the pond – as I wanted the water to be added close to the end. The process of adding the foliage was the same as adding the cattails, except that I needed to also go through the sand.
February 15th – foliage added, short view angle……and long angle.
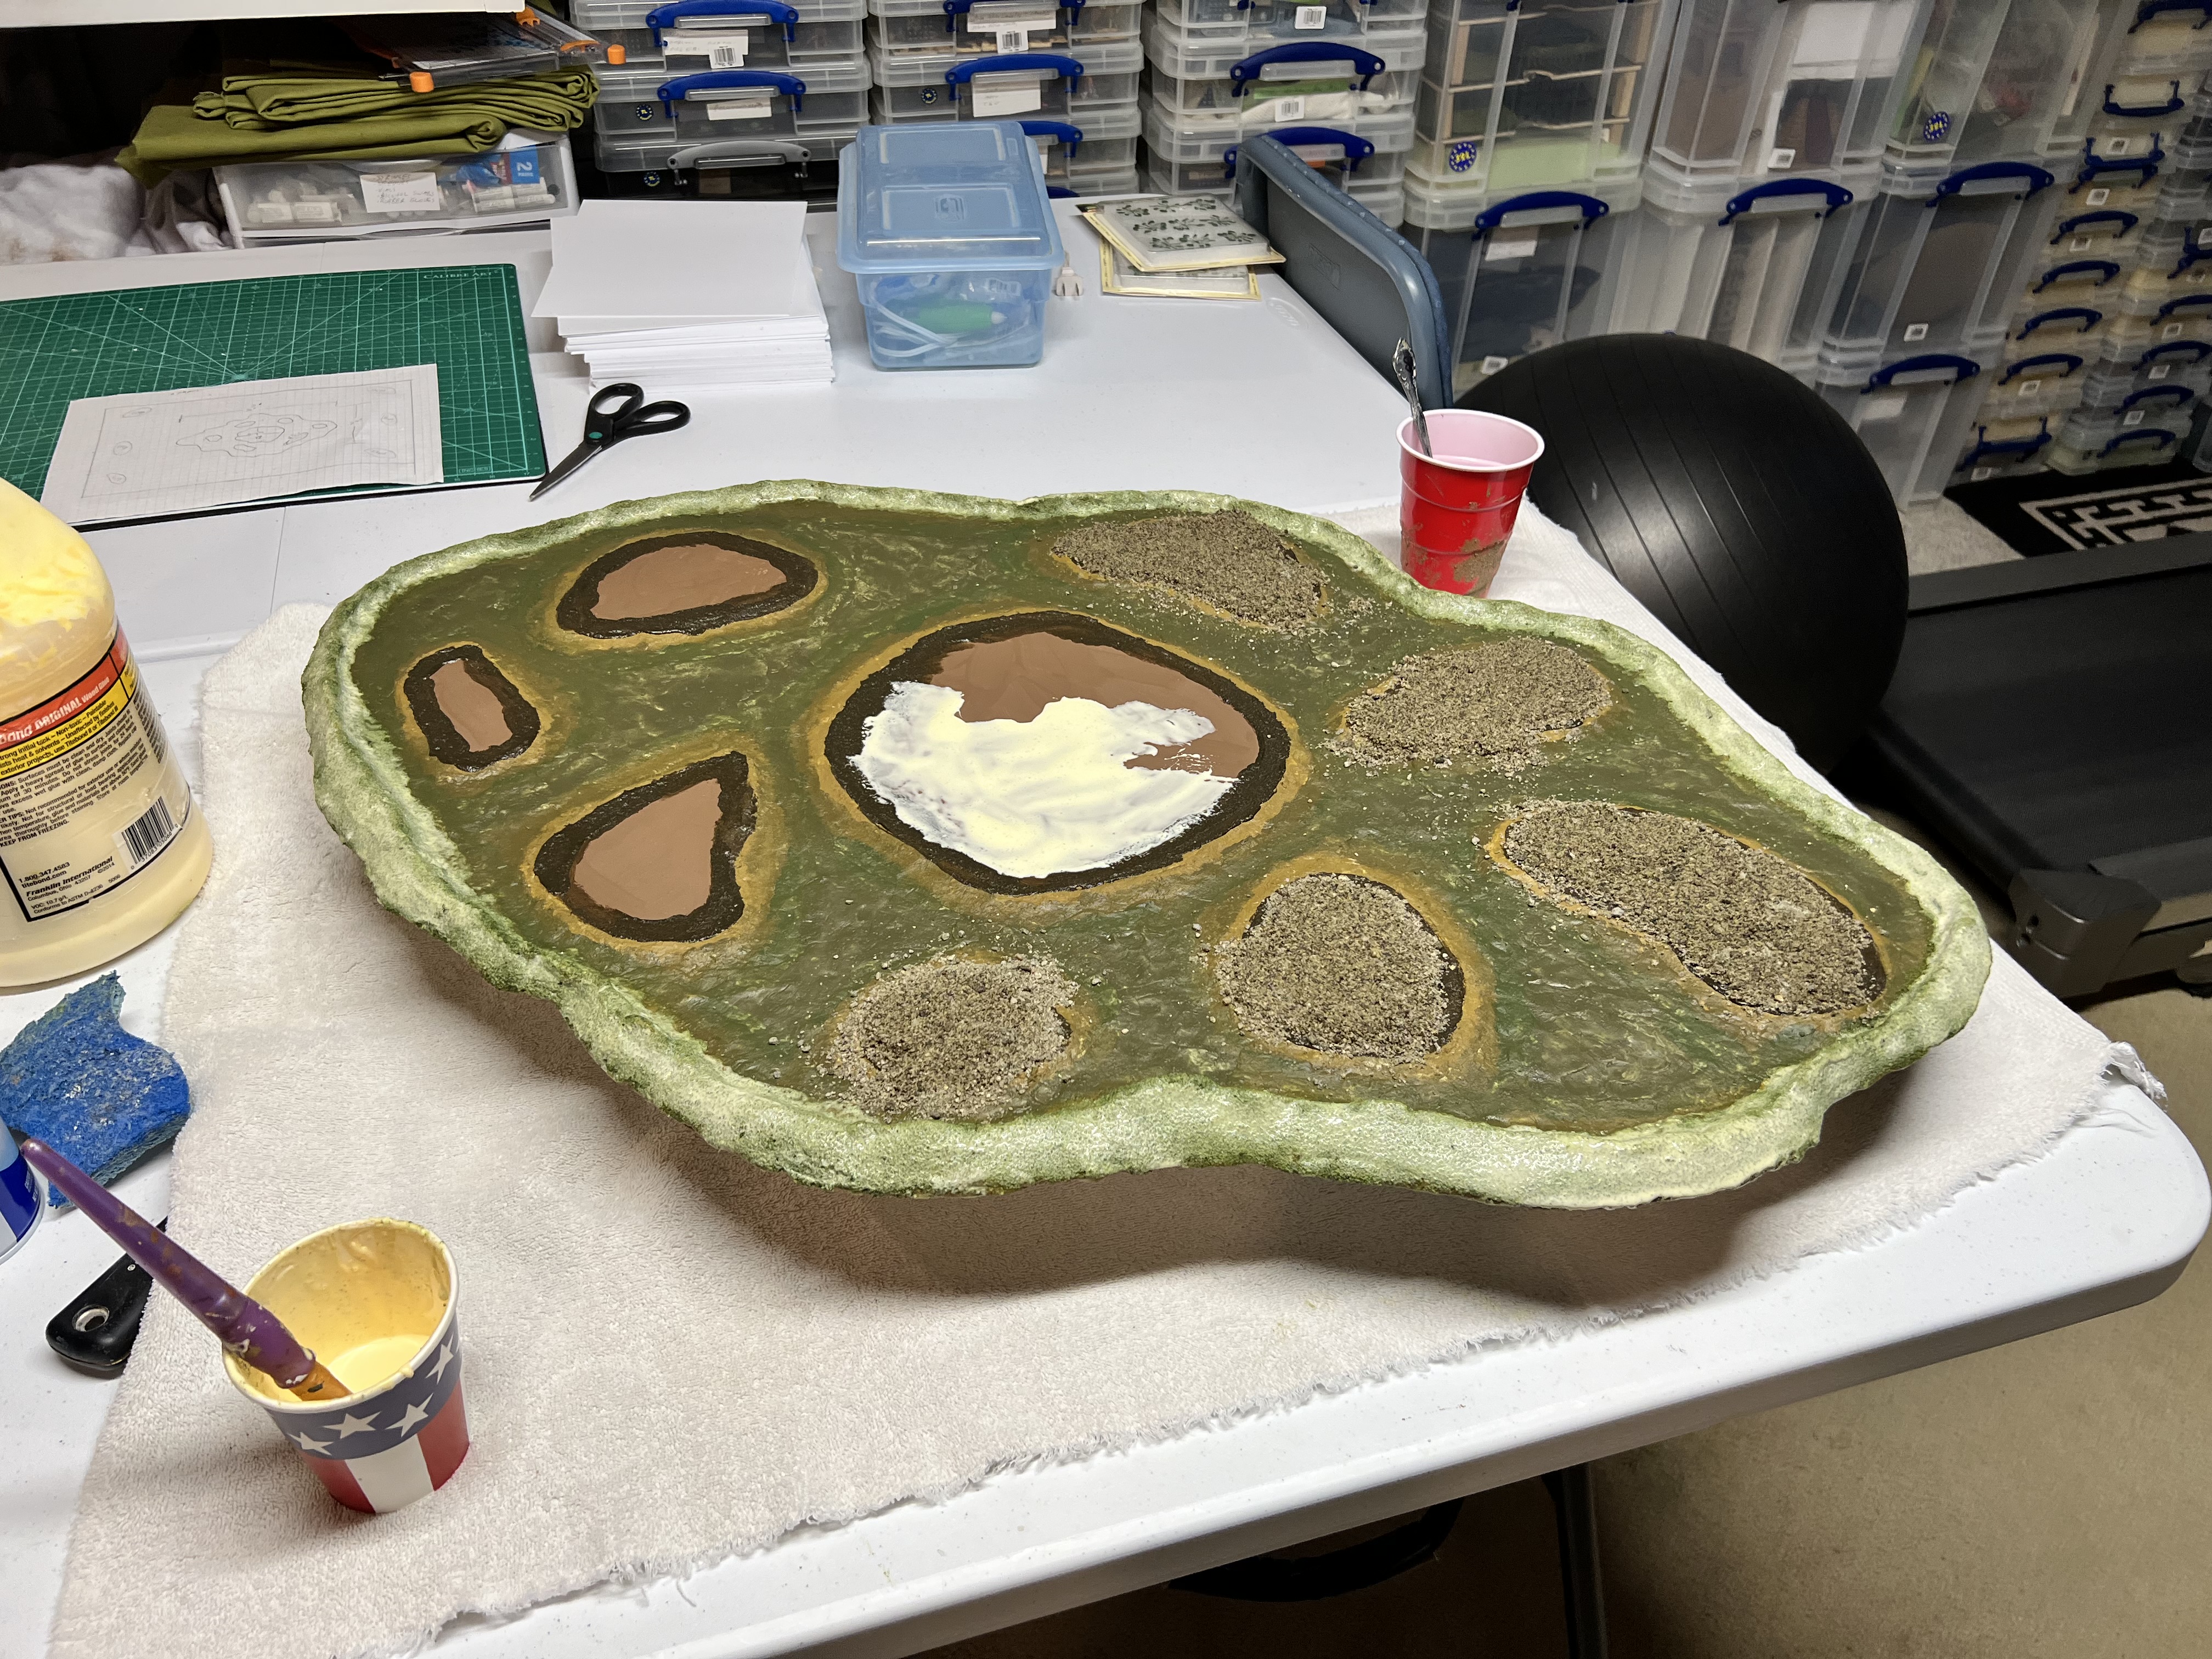
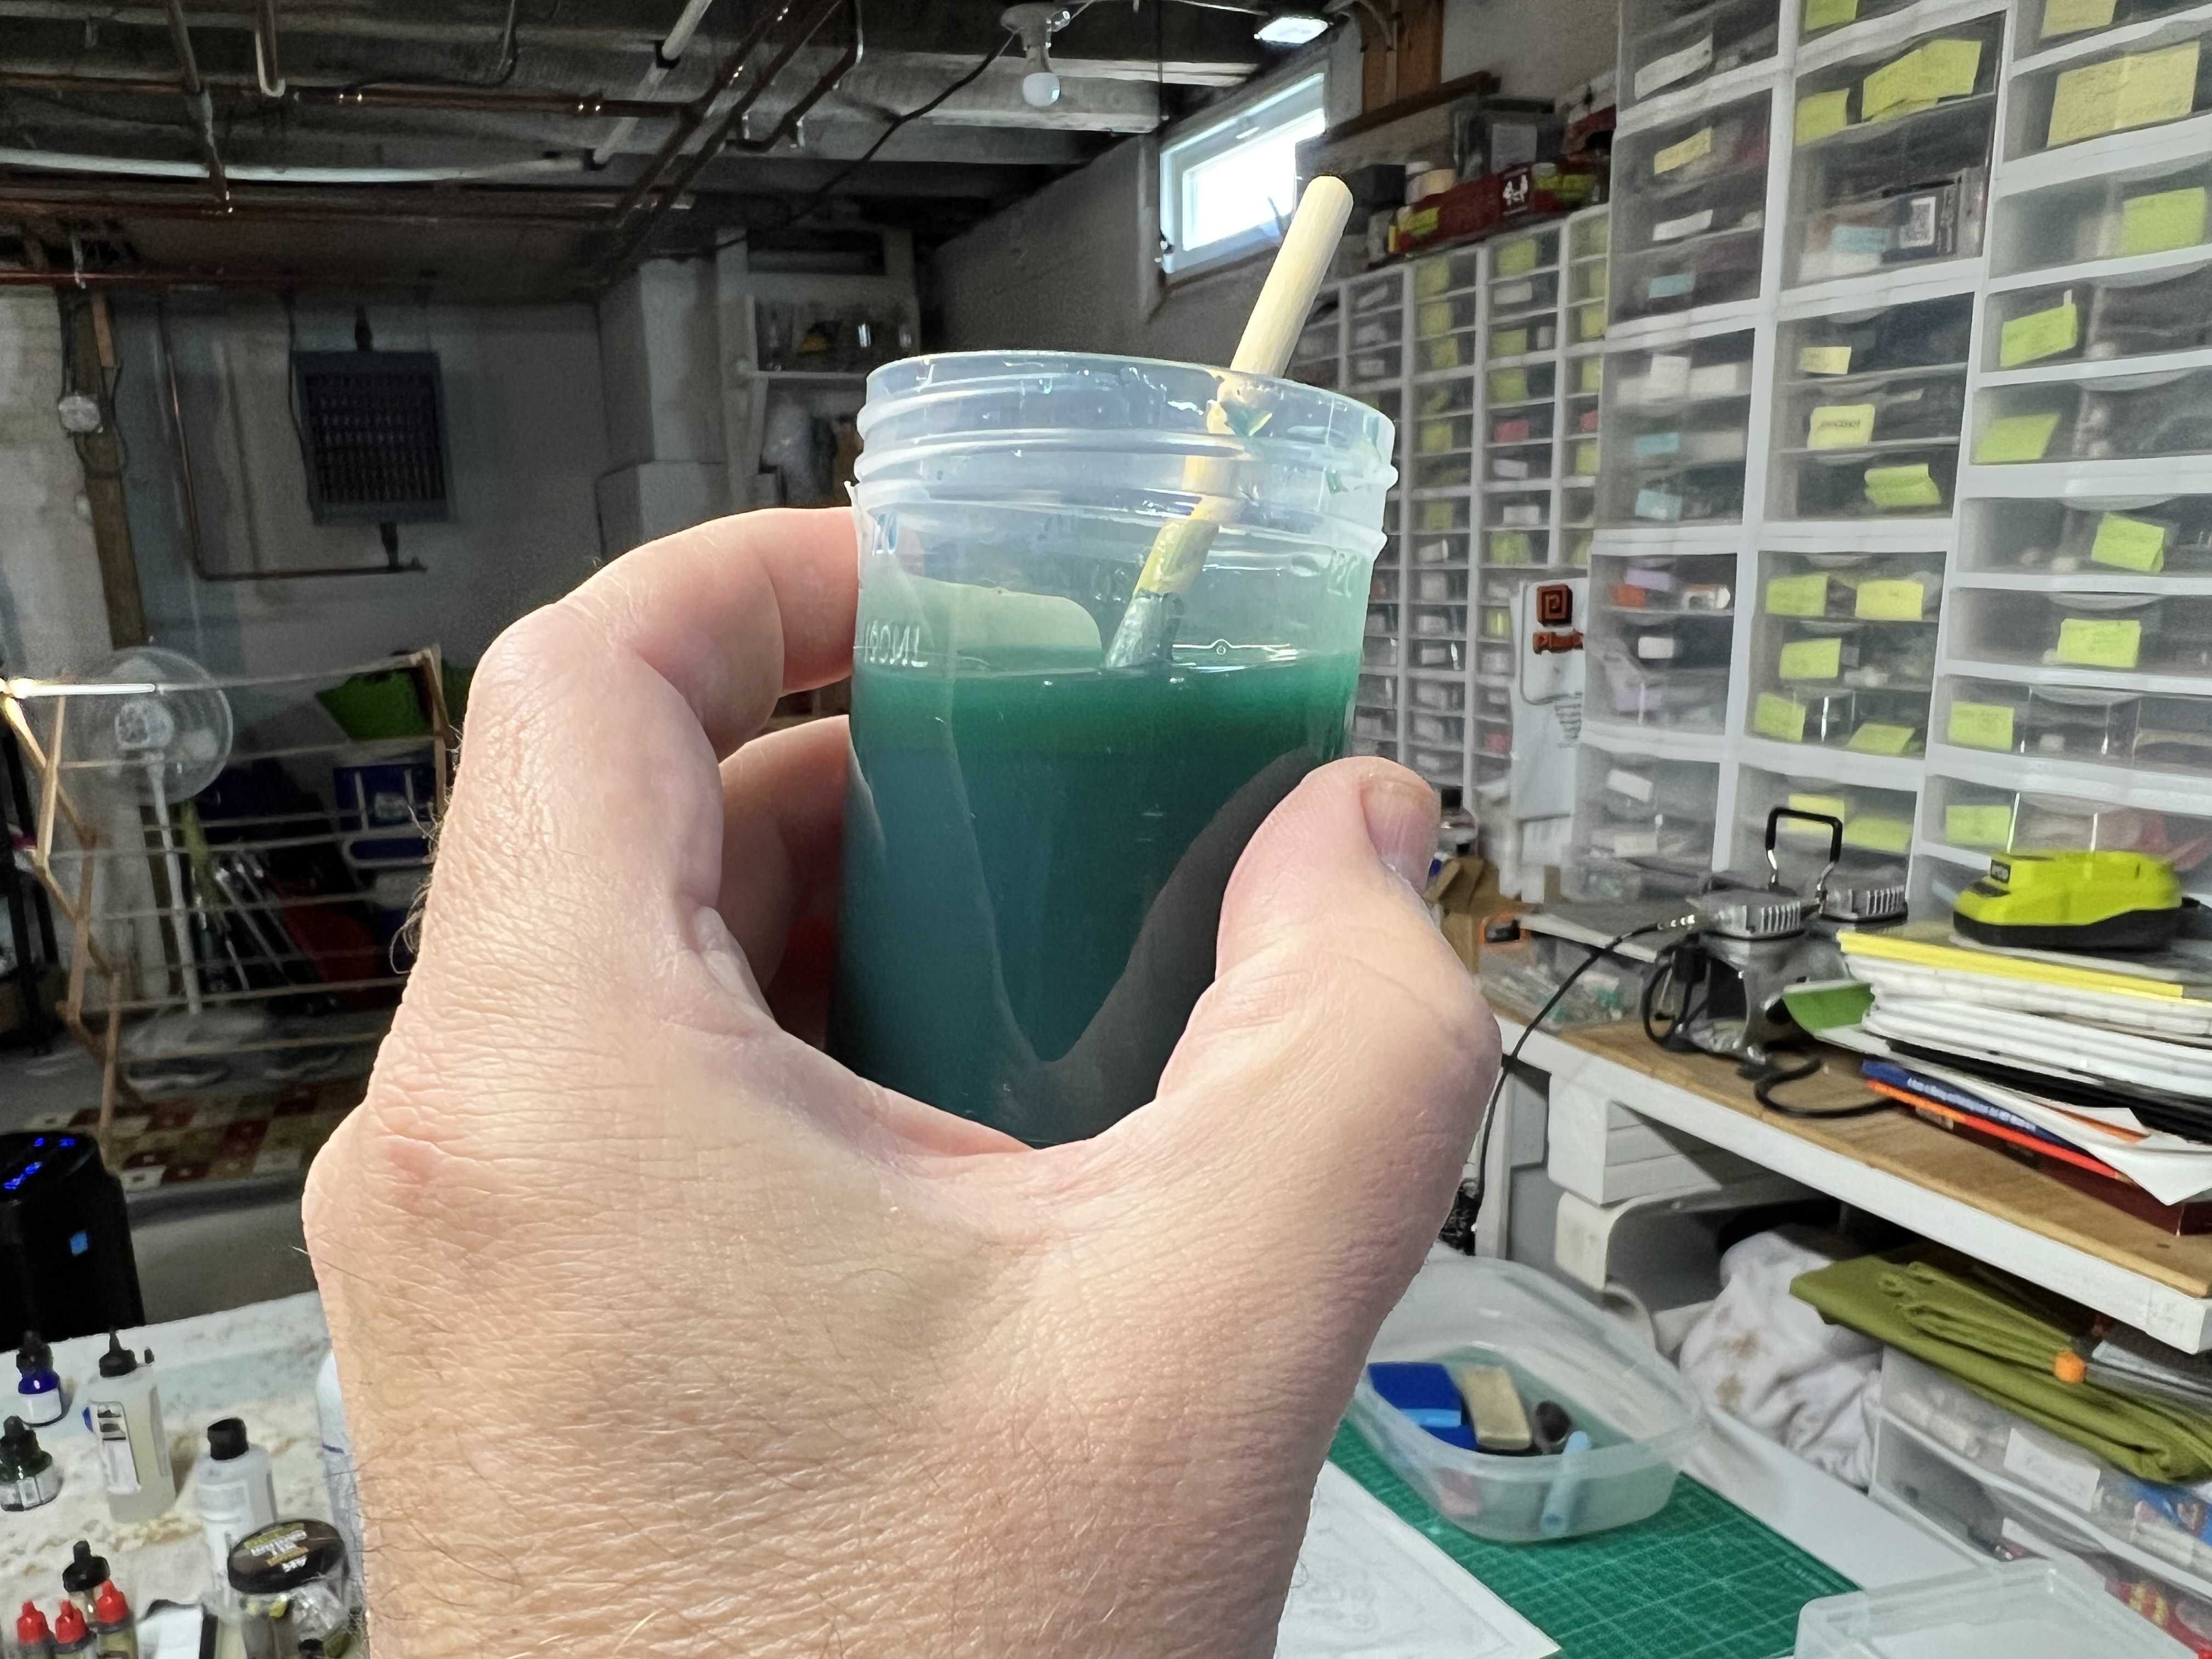
Finally, it was time for the “Still Water”! I mixed it with two different inks. I continued mixing until I got the color that I wanted for a somewhat swampy pond (shown on list at the end of the post). The pond took two full 200 ml bottles of “Still Water” (not including ink). To maneuver it evenly around the pond without swamping the islands was like the ball maze game where you try to get a ball to fall in a hole on a table. Until it dried I was a bit anxious.
Color mix achieved!I used two of these!
Setting up on February 15th!
Concerns #3 and #4 dealt with!
The slow set up of the “Still Water”.
You can see in the next video from February 16th that I needed to ball-maze-move the “Still Water” around. I did this for a while before it finally set. I did look out for bubbles as well and popped the ones I saw.
I did not use the lily pads that you saw in the video. When I tried to drill out to place them, the water surface gripped the bit. It started to torque a bit, so that was a no-go. Besides, these lily pads are basically wound wire and come apart when you try to clip them shorter. Instead, I went with adding some other swampy tufts from Green Stuff World.
Once this set up on February 17th, I was very happy with the result.
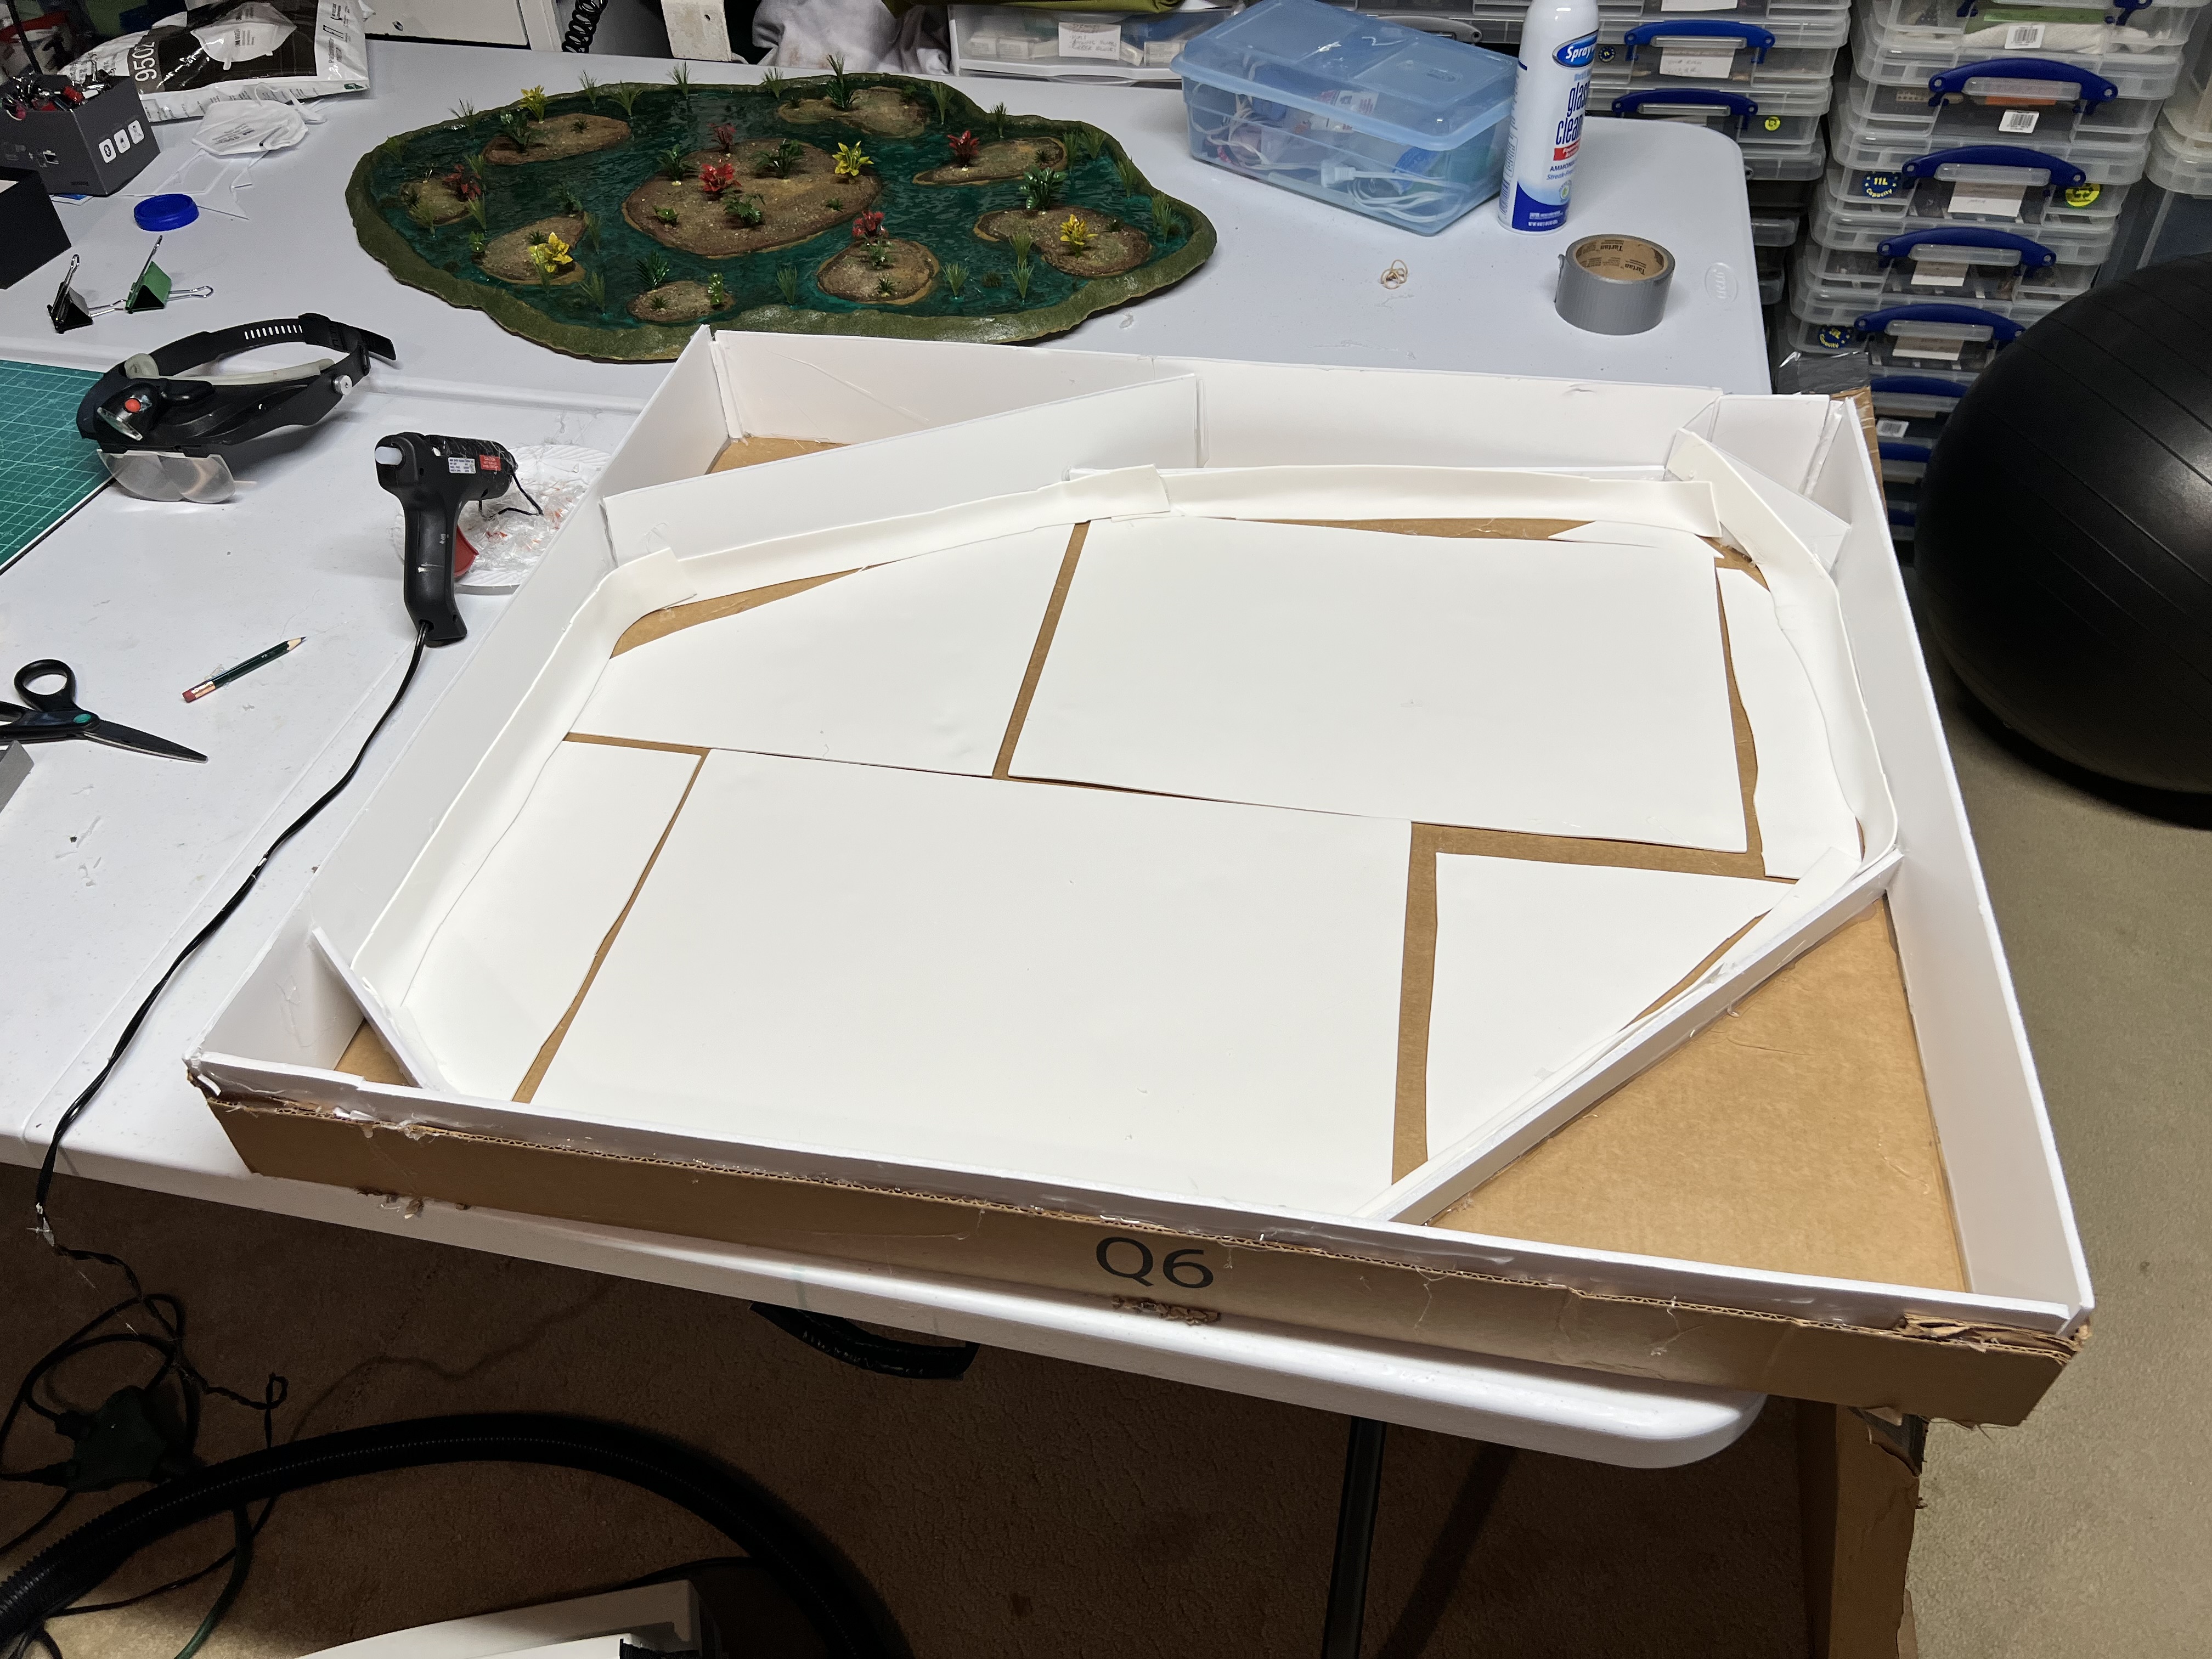
I now needed a box to transport this big piece! Luckily, I had earlier ordered a large rotating cutting mat from Amazon and saved the box that it came in. I used some foam board and hot glue to make a decent travel box that would protect the pond on the way to conventions.
February 17th – got a box!And it fits!
I will be posting about TotalCon soon. Before doing that, I wanted to write this WIP post about the pond. From concept to travel box it took 8 days!
Hopefully, the lessons I shared here will help you if you are considering a similar project. My main takeaways are clear (I hope!).
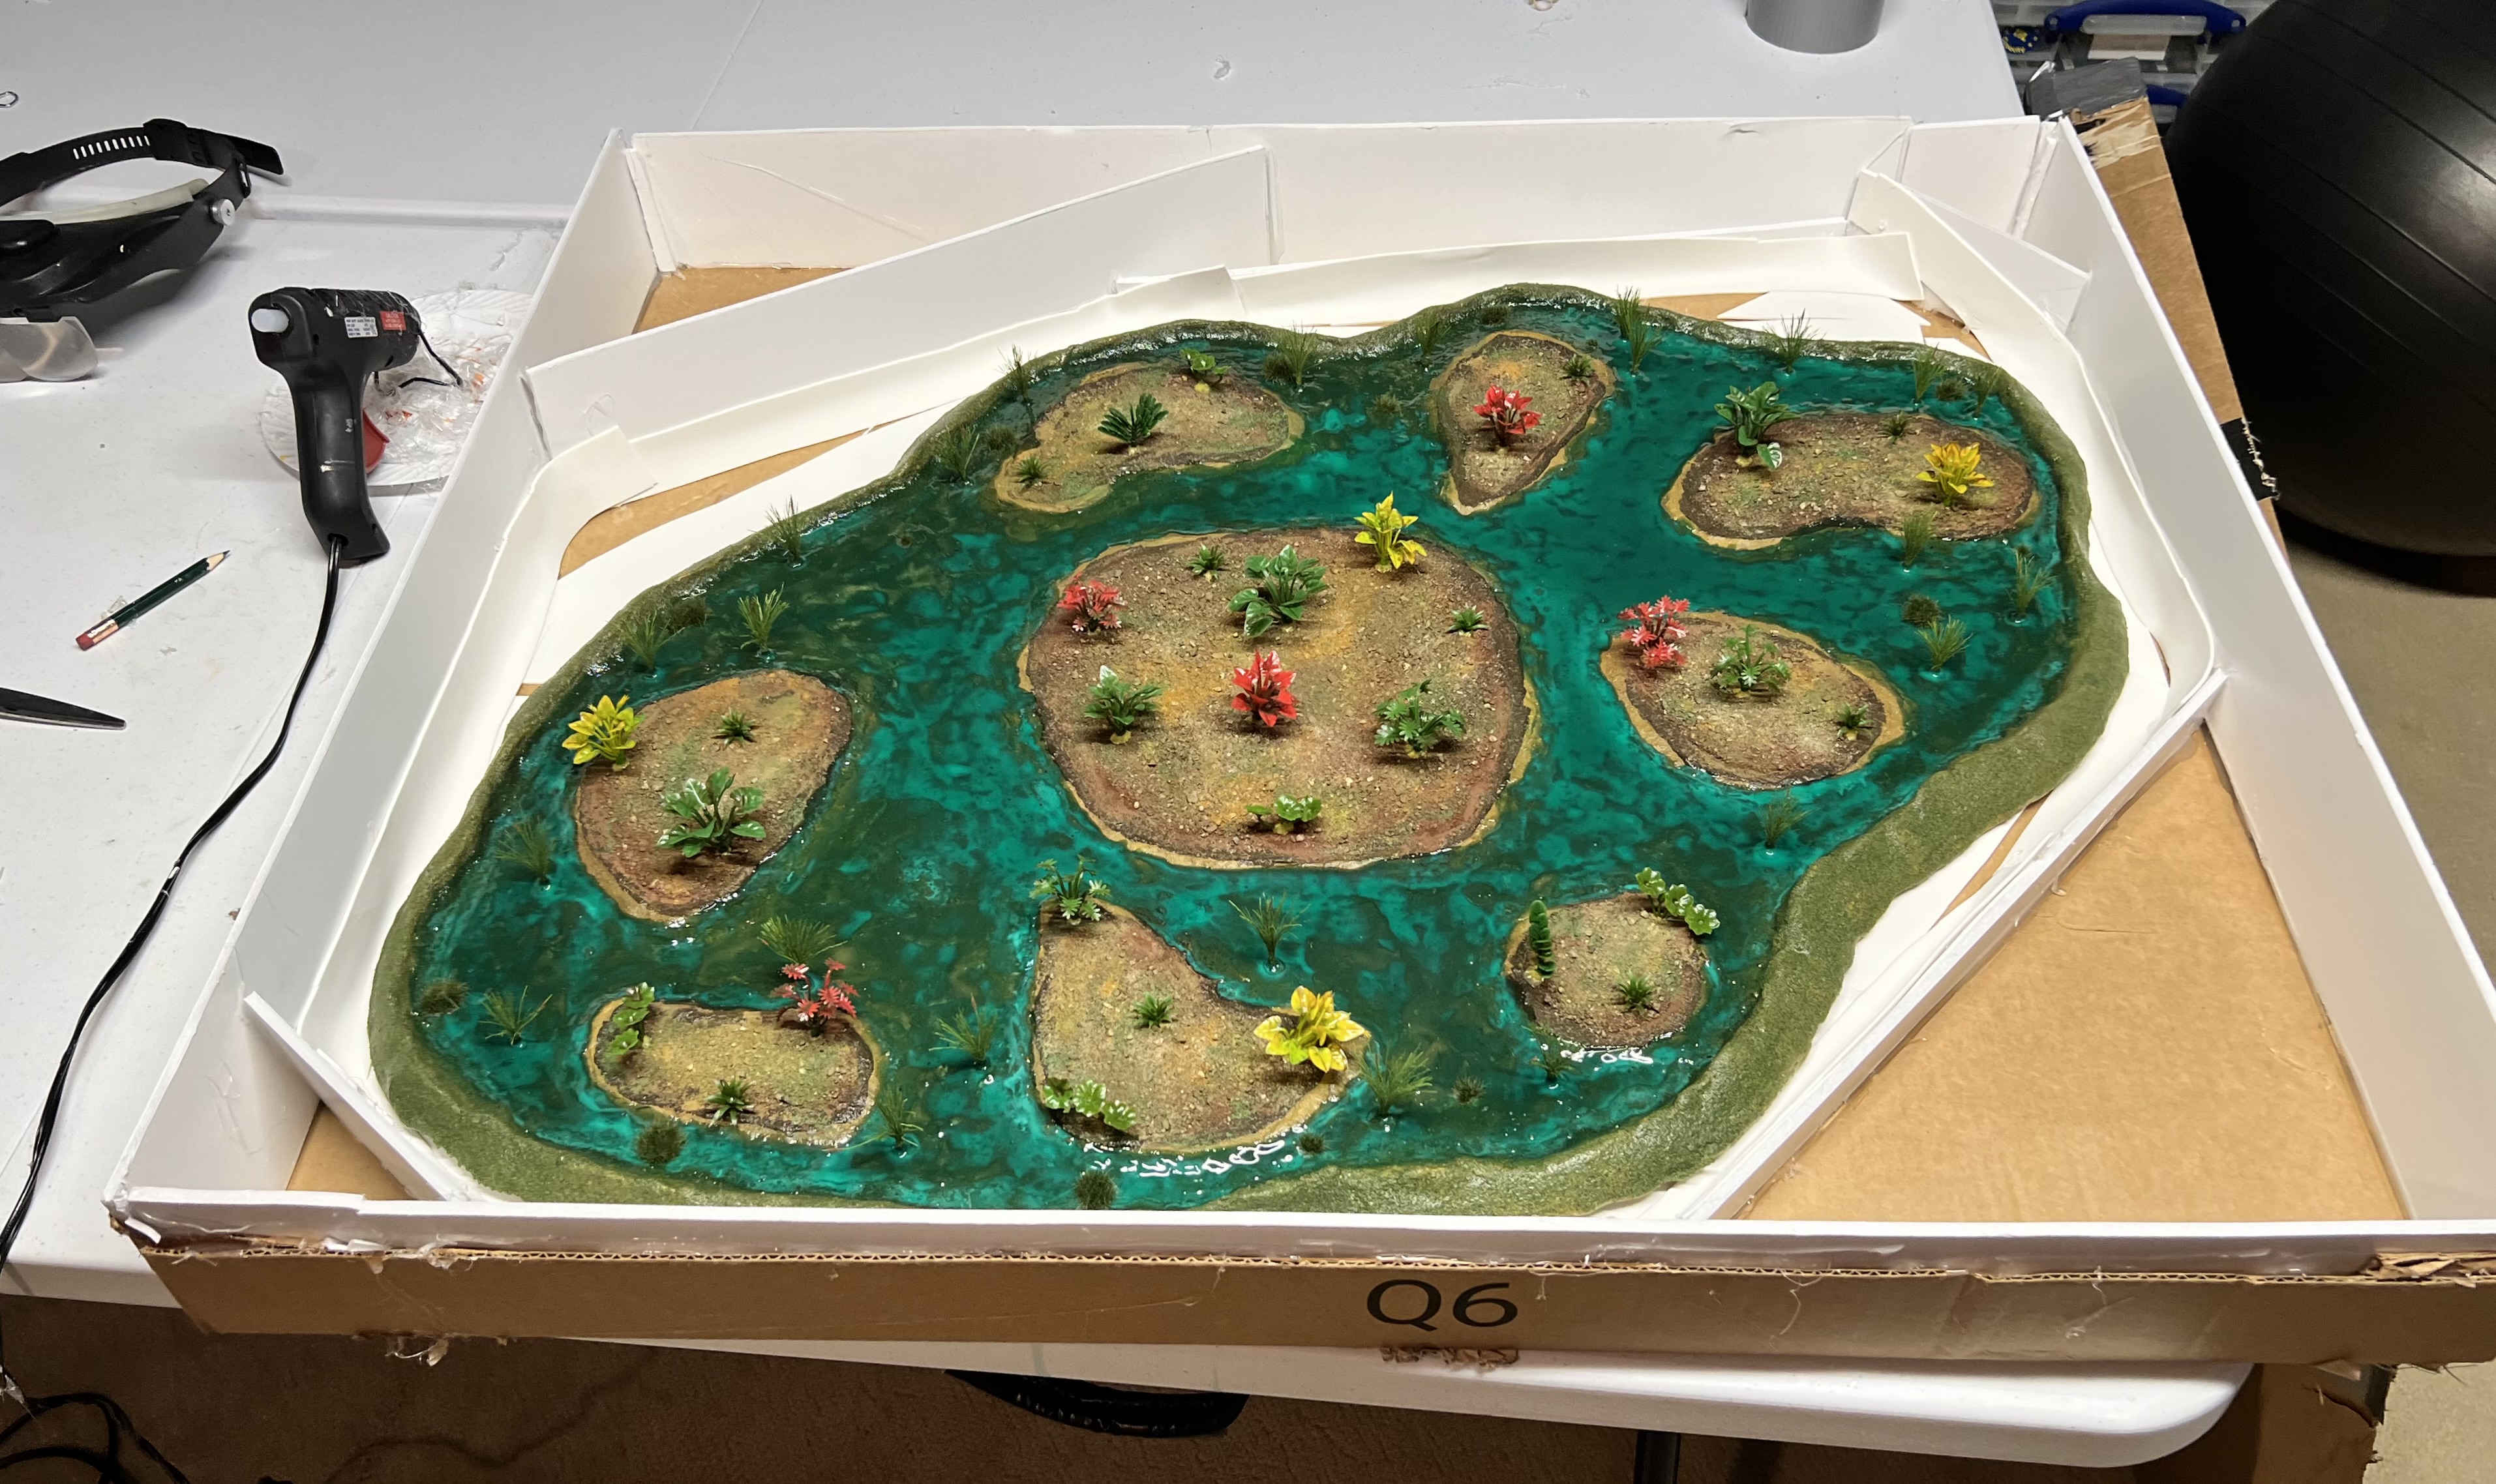
Below I will list the materials I used in the project as well as some links that you might want to explore, but first a sneak preview of what the pond looked like on the tabletop on a 6′ x 4′ mat:
Next up, hopefully, will be a TotalCon 2026 recap.
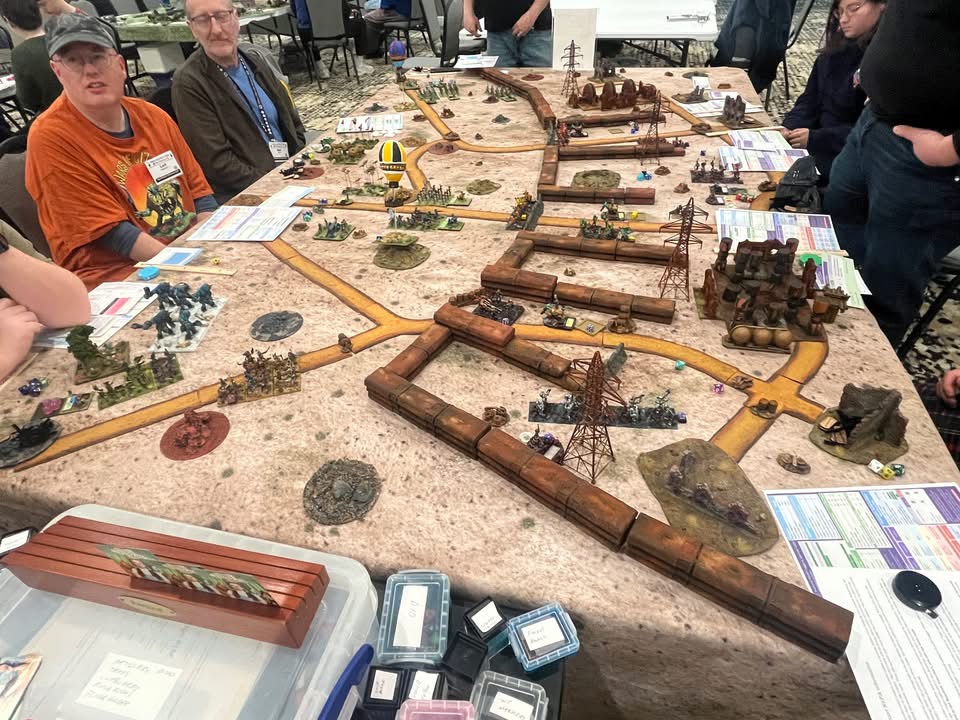
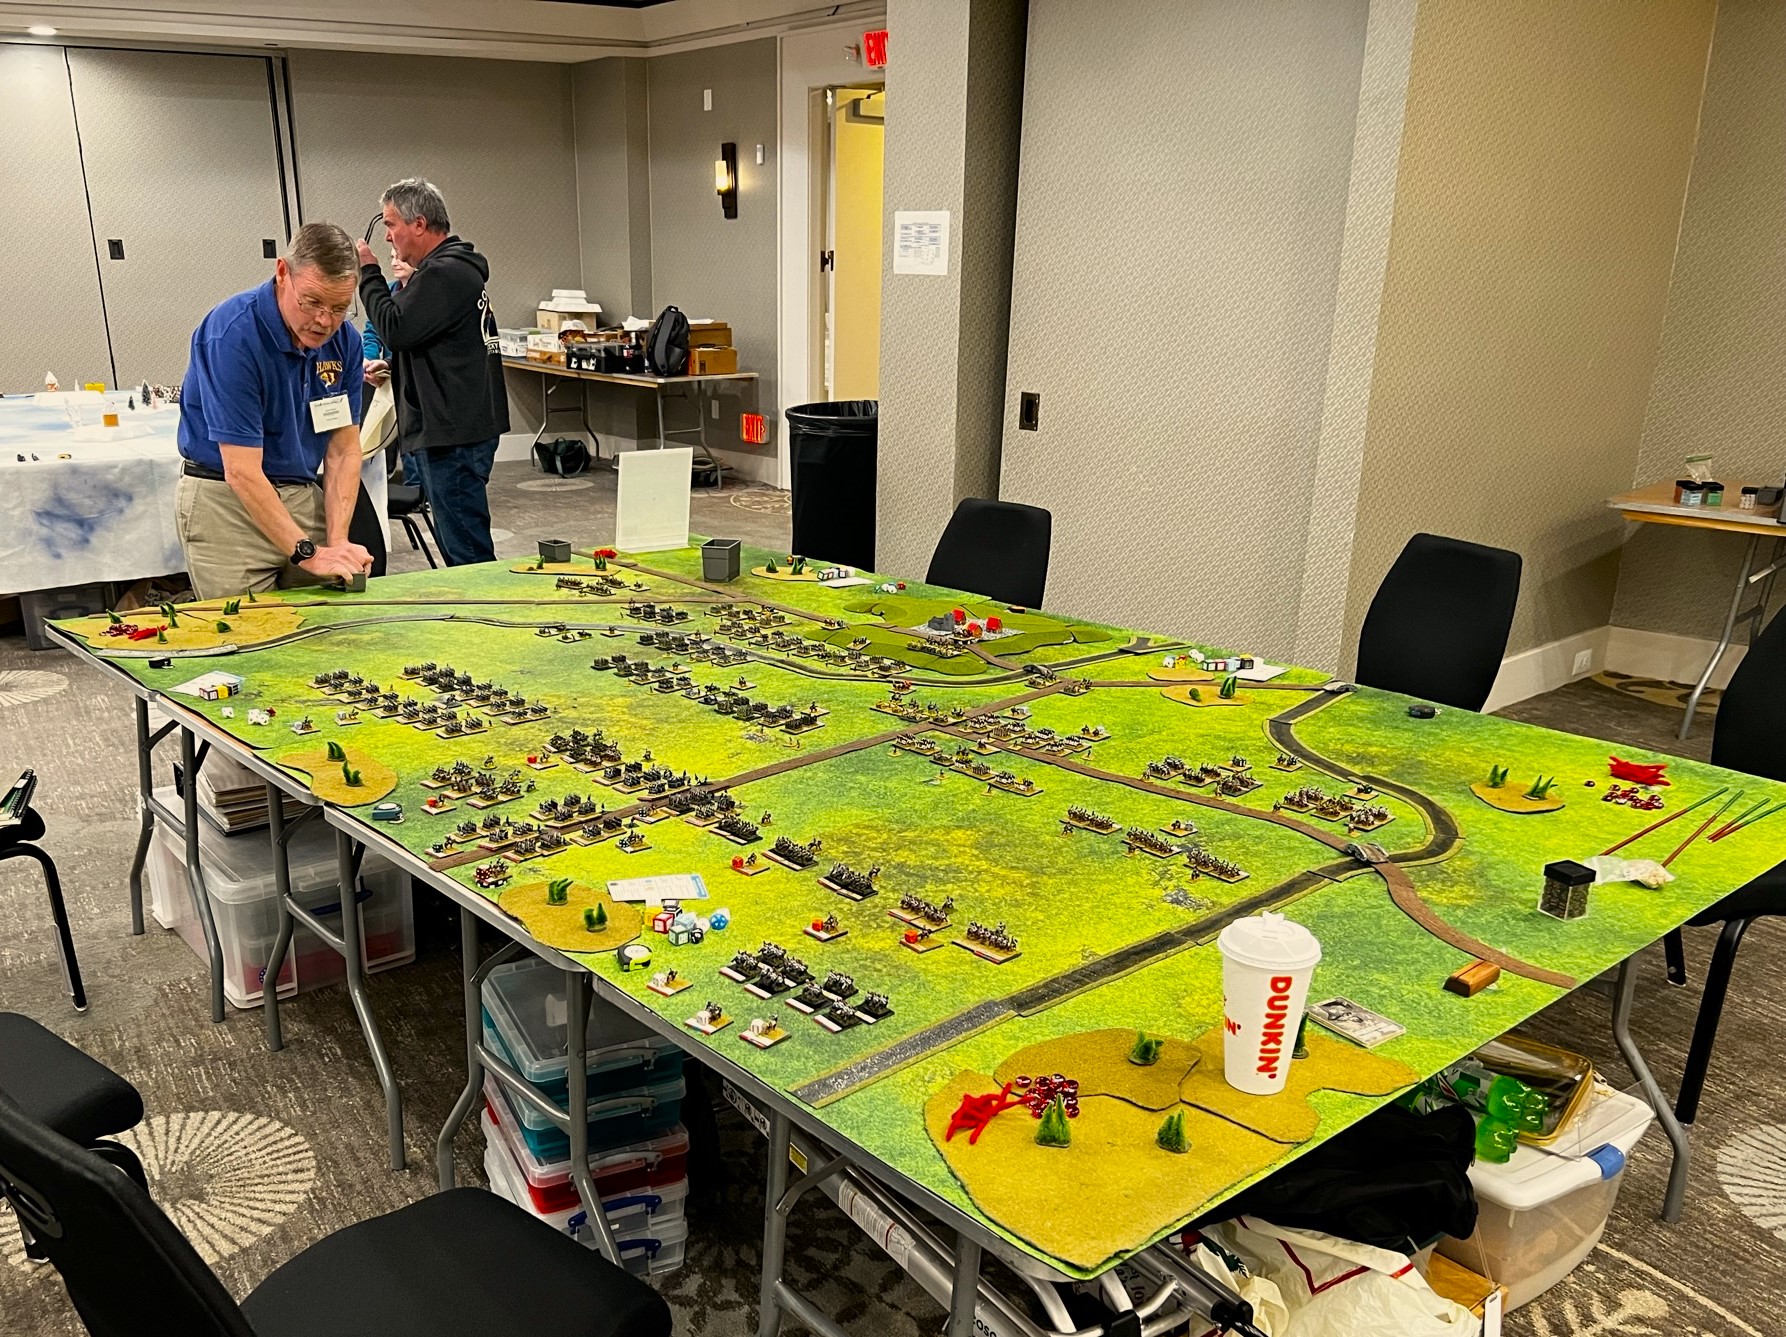
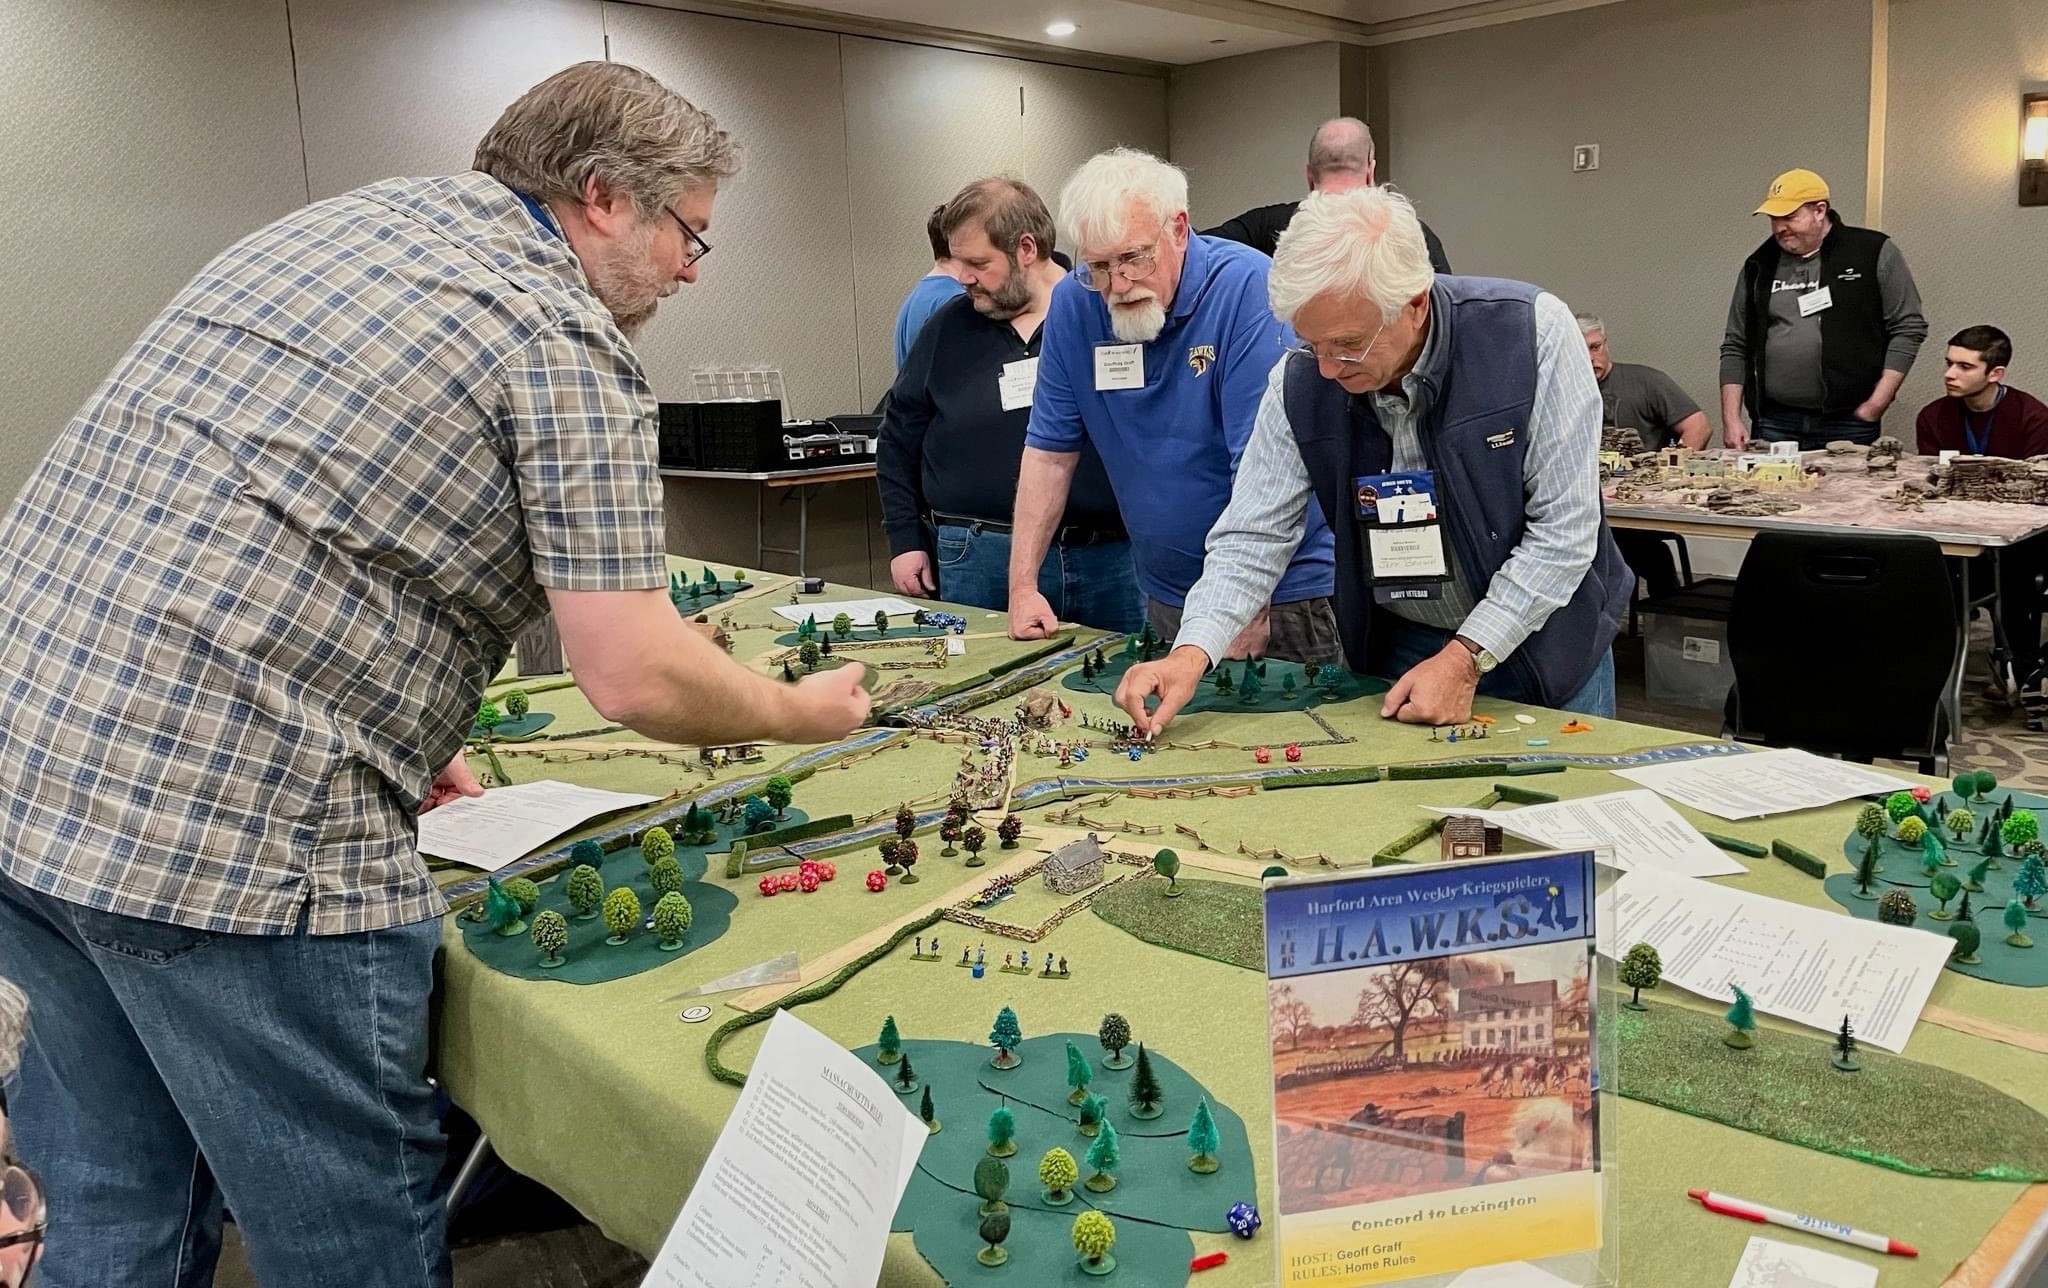
Back in early February, I attended the 2026 HMGS Cold Wars convention in Lancaster, PA. The theme was “Wild, Wild, West”. this is not one of my usual game themes, but as you’ll see shortly I adapted for one game anyways. As I write this now it is already mid-March, so I thought it was about time to finally got around to sharing some of the games I played in and ran in the H.A.W.K.’s room.
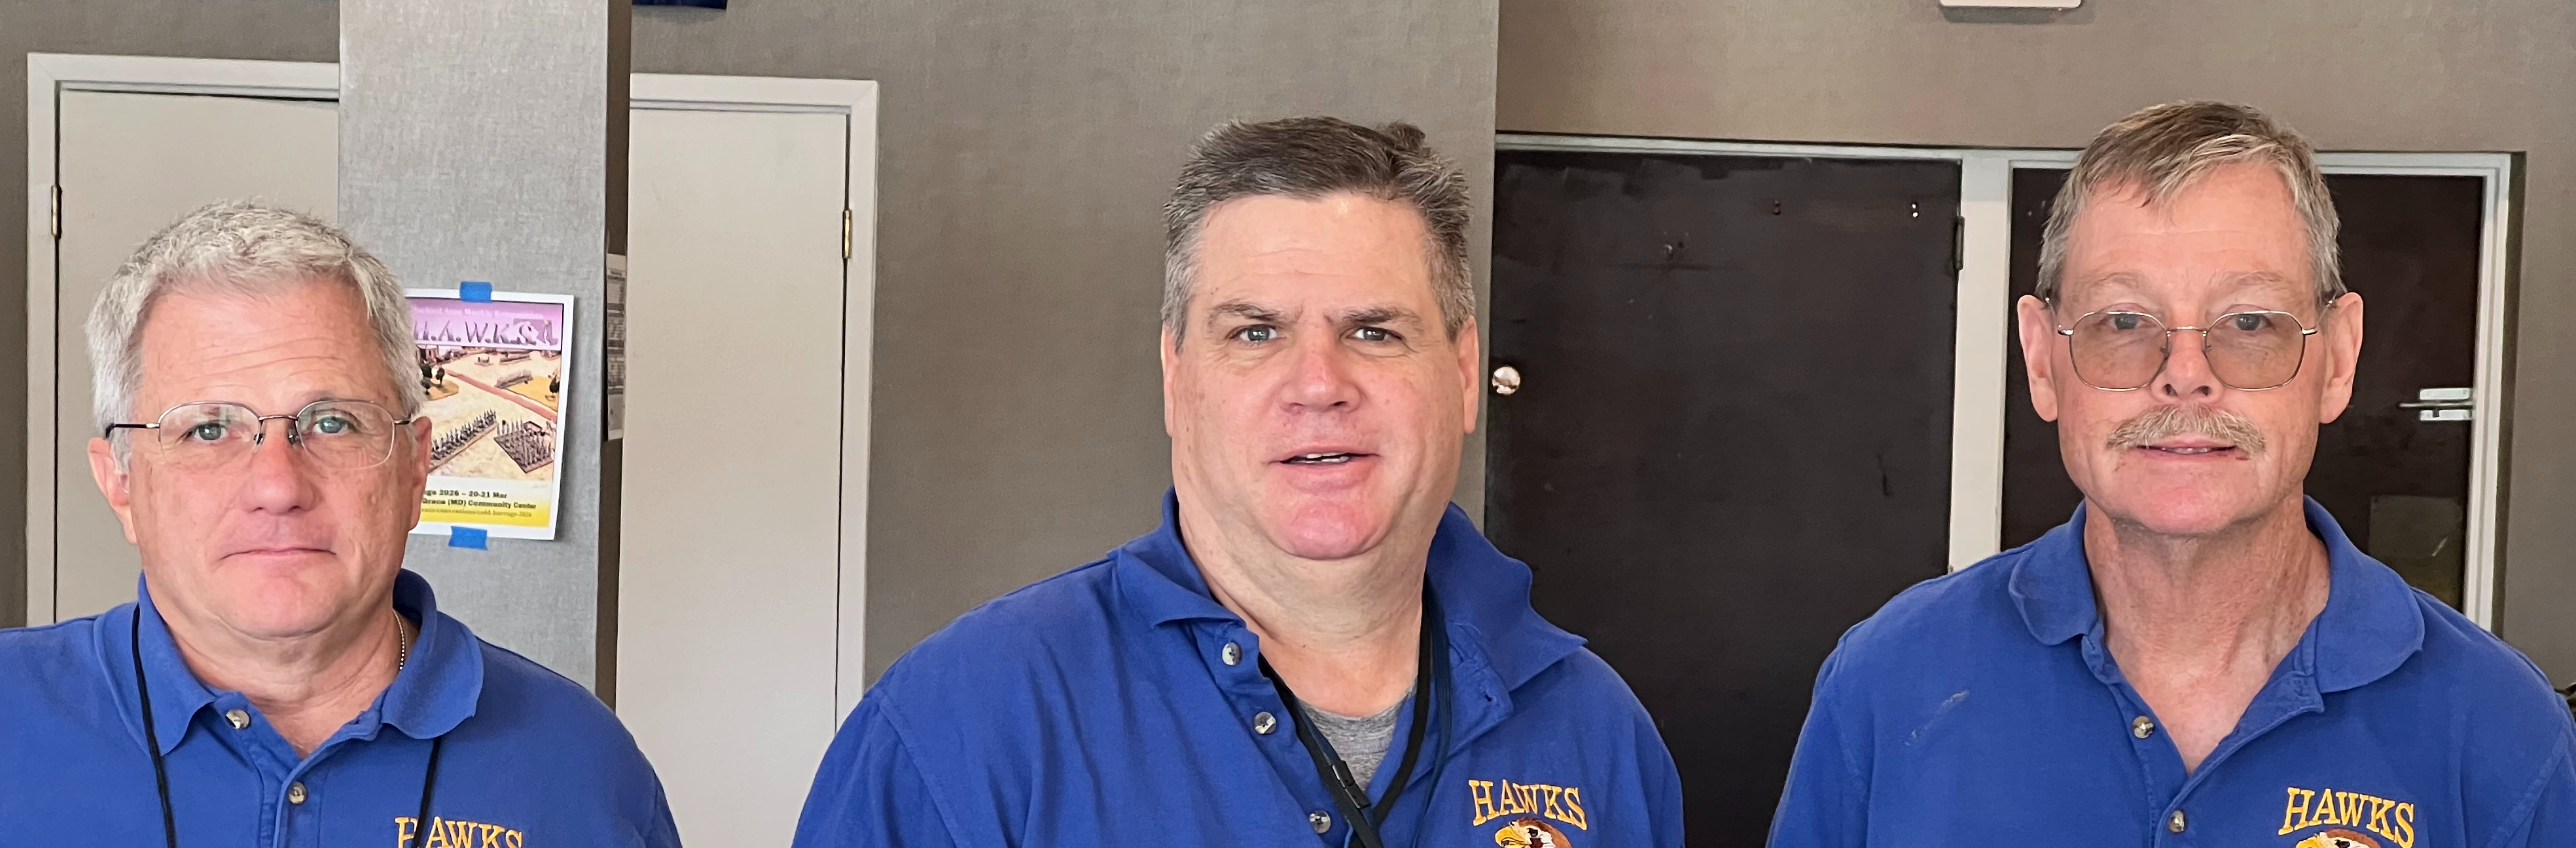
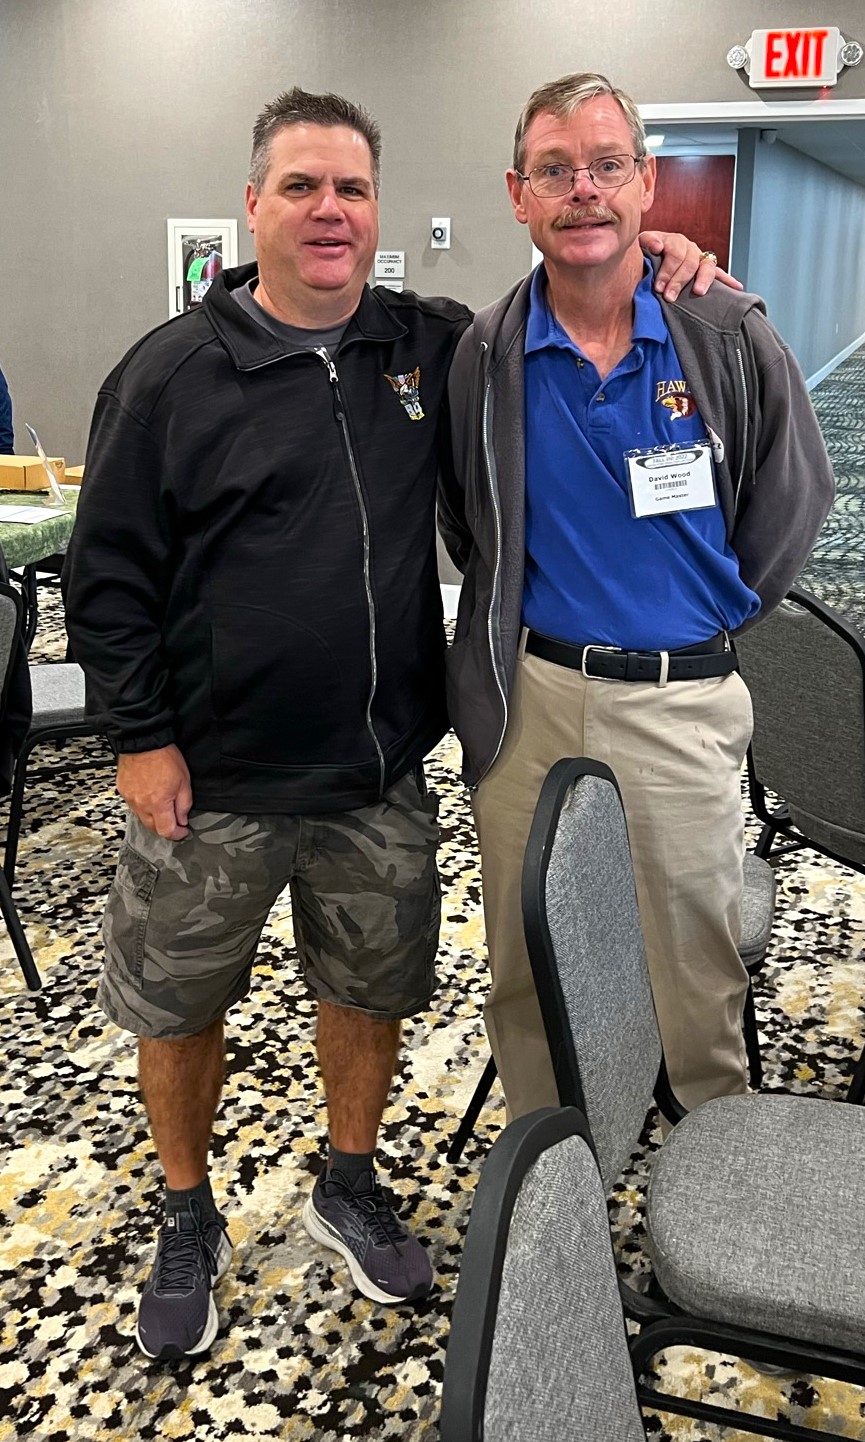
The H.A.W.K.’s are a great club from Harford County, Maryland. Two of my good West Point buddies (Buck Surdu USMA ’85 and Dave Wood fellow USMA ’84) have been members for years, and I have been fortunate enough to be their New England carpetbagging GM for a few years now.
Buck, yours truly, and Dave
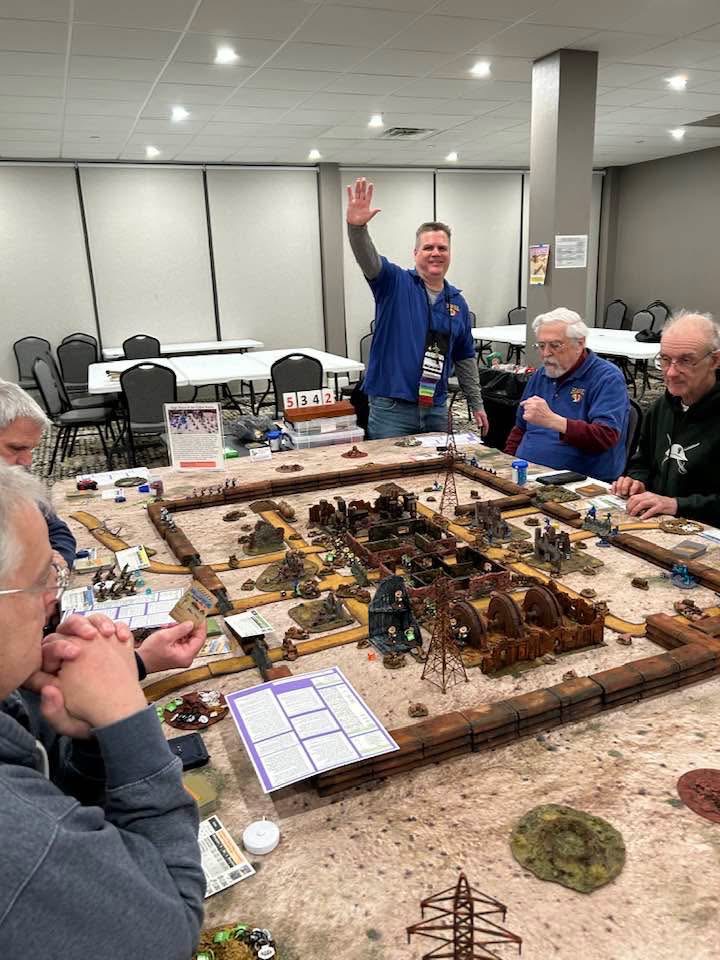
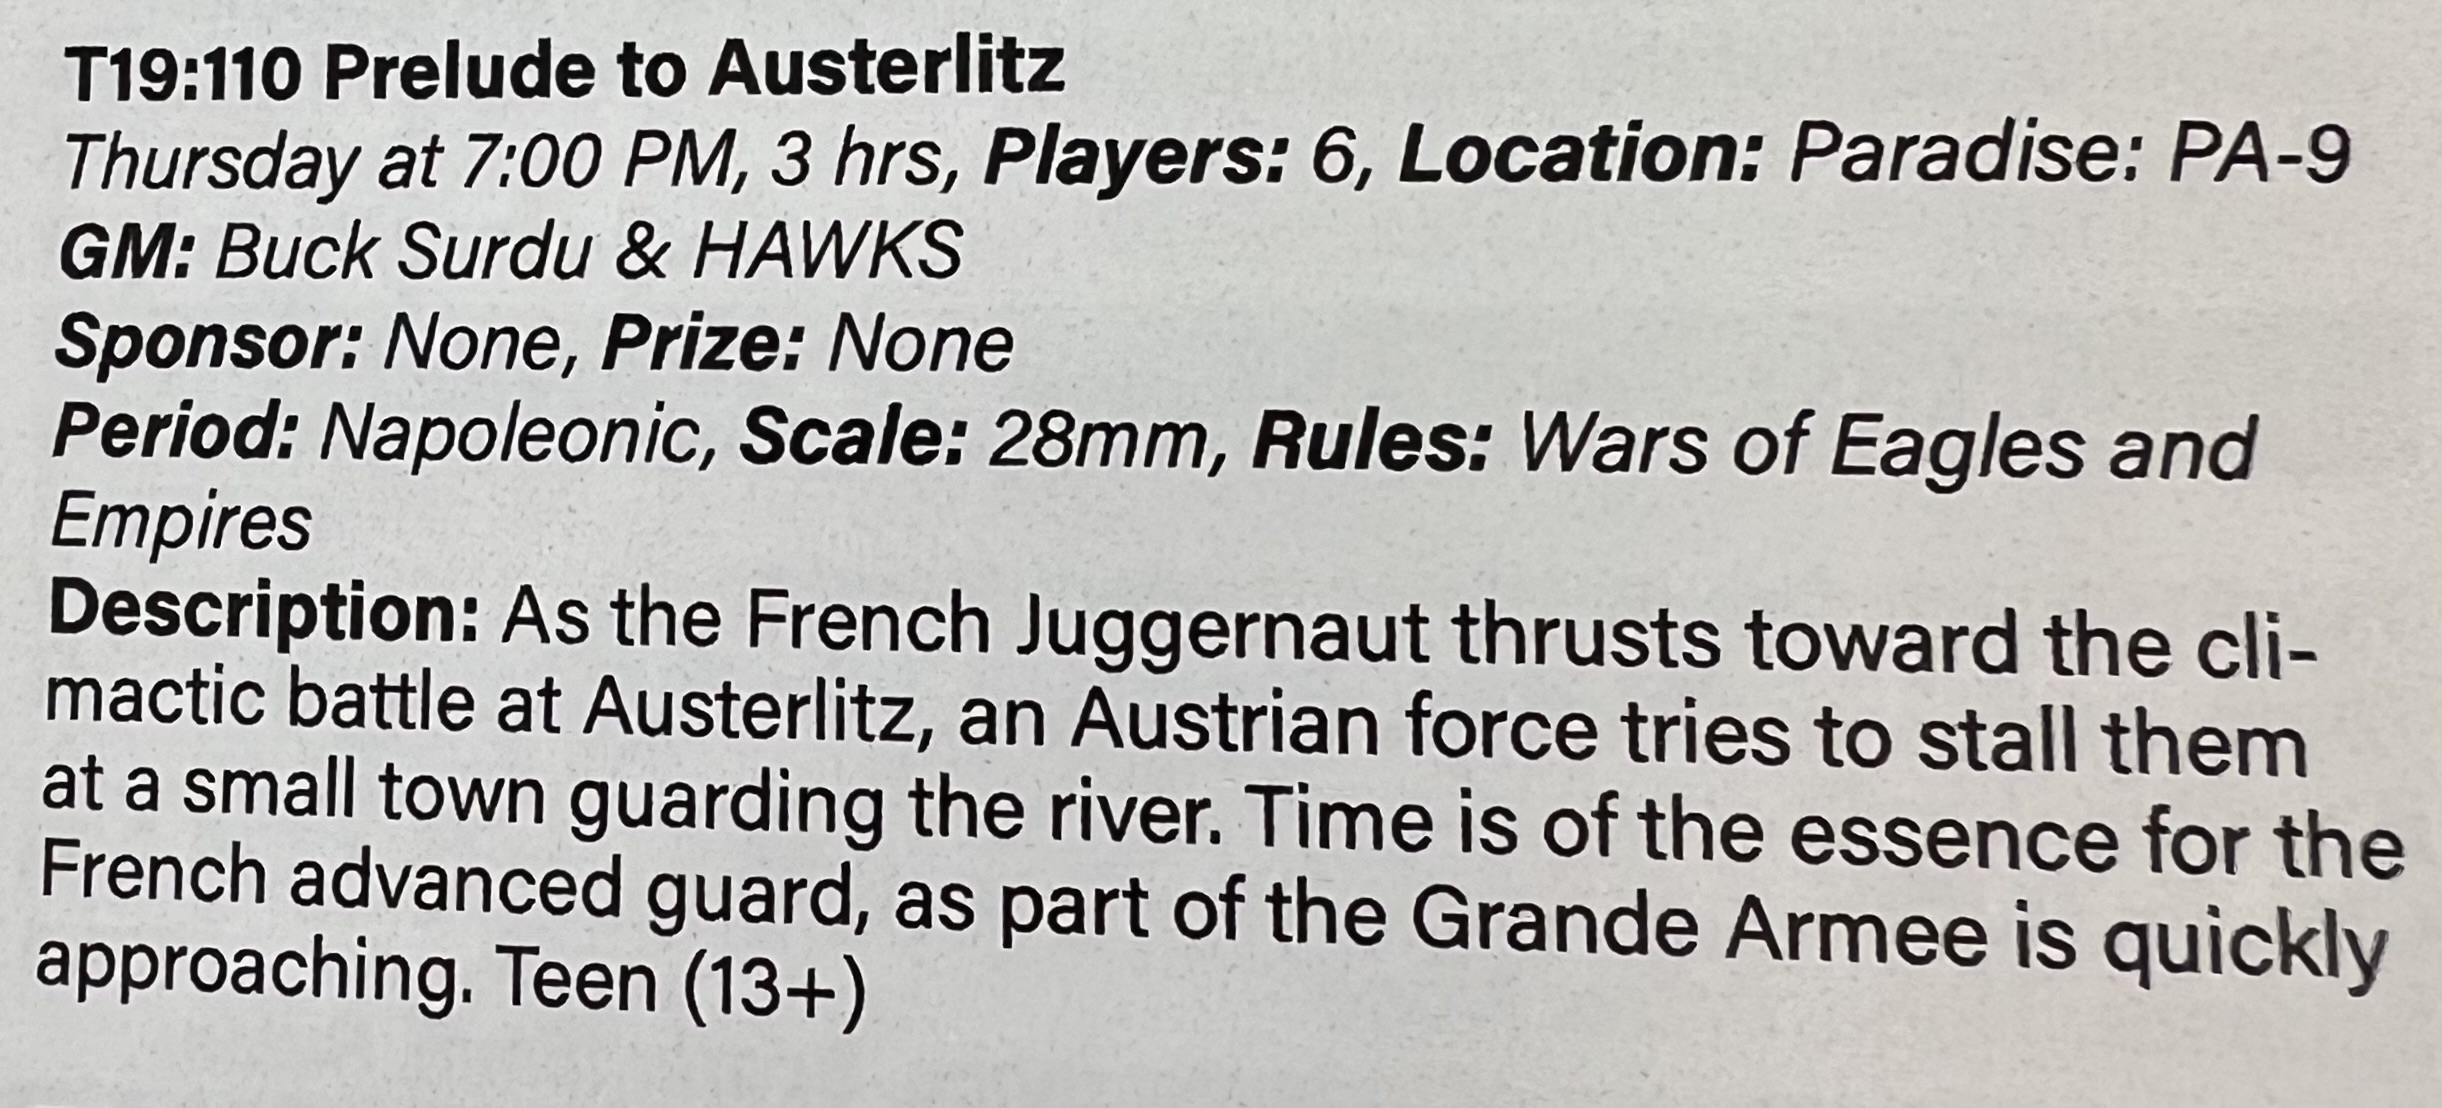
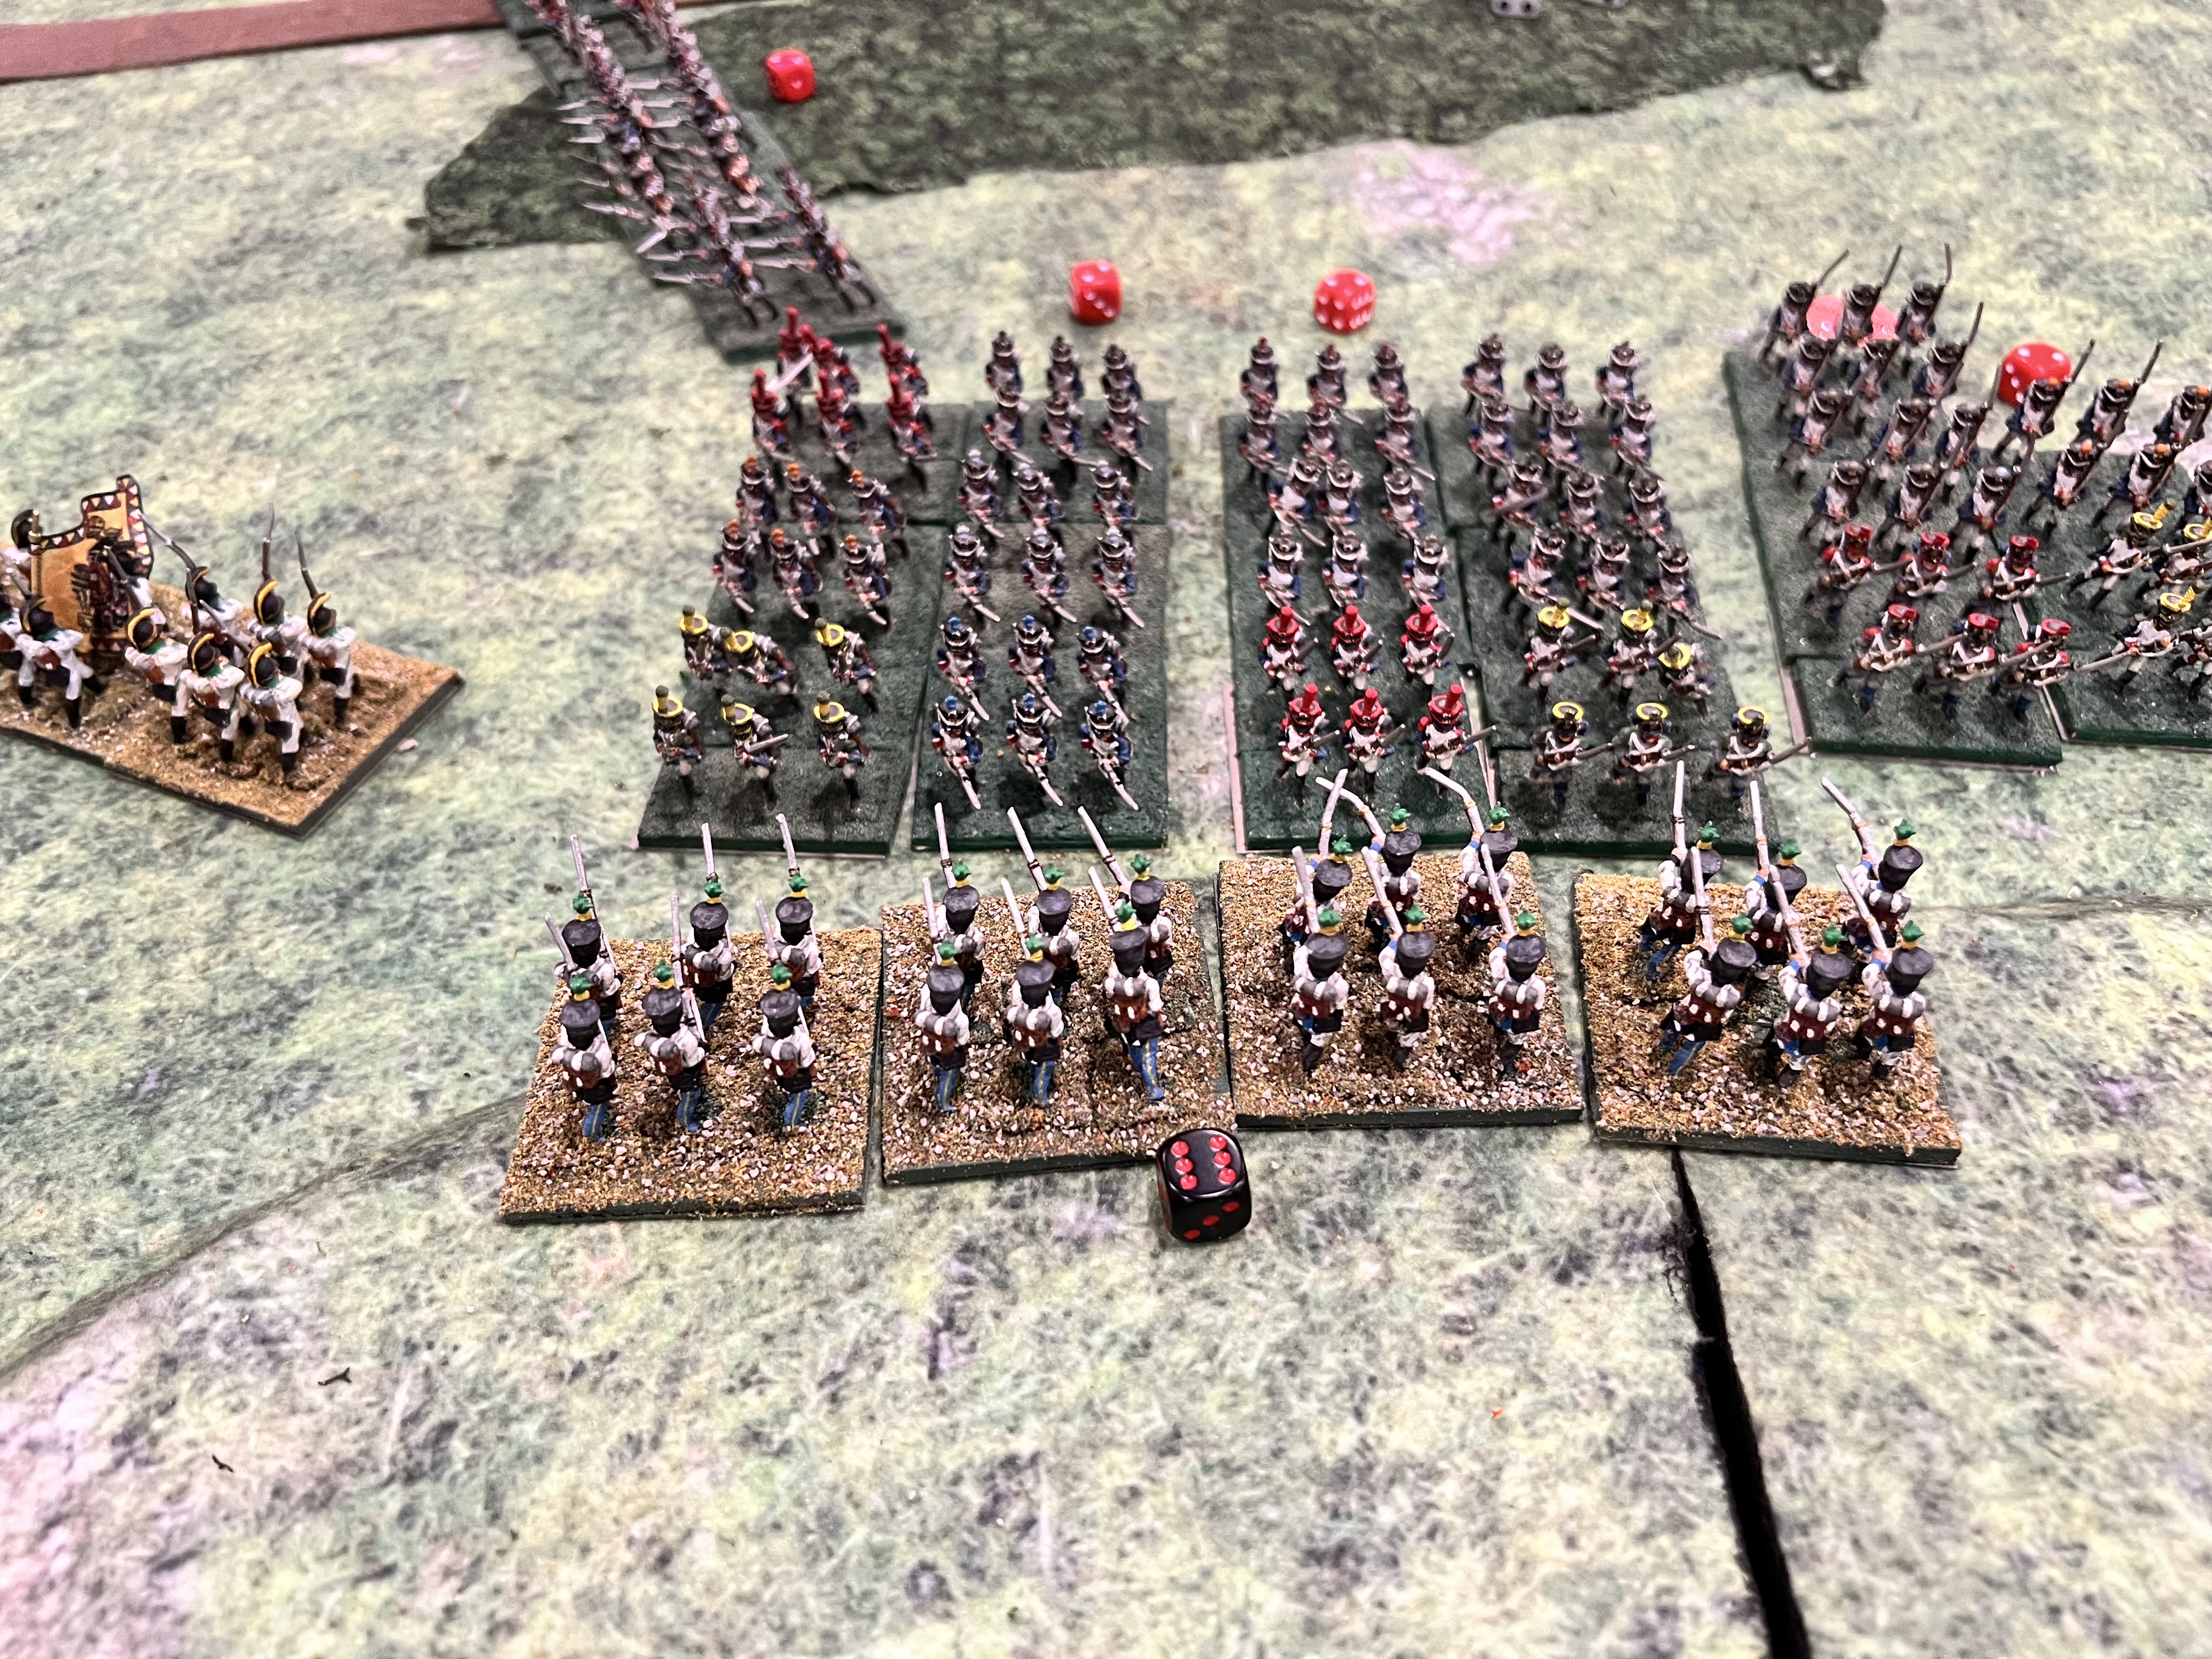
Prelude to Austerlitz (Wars of Eagles and Empires)
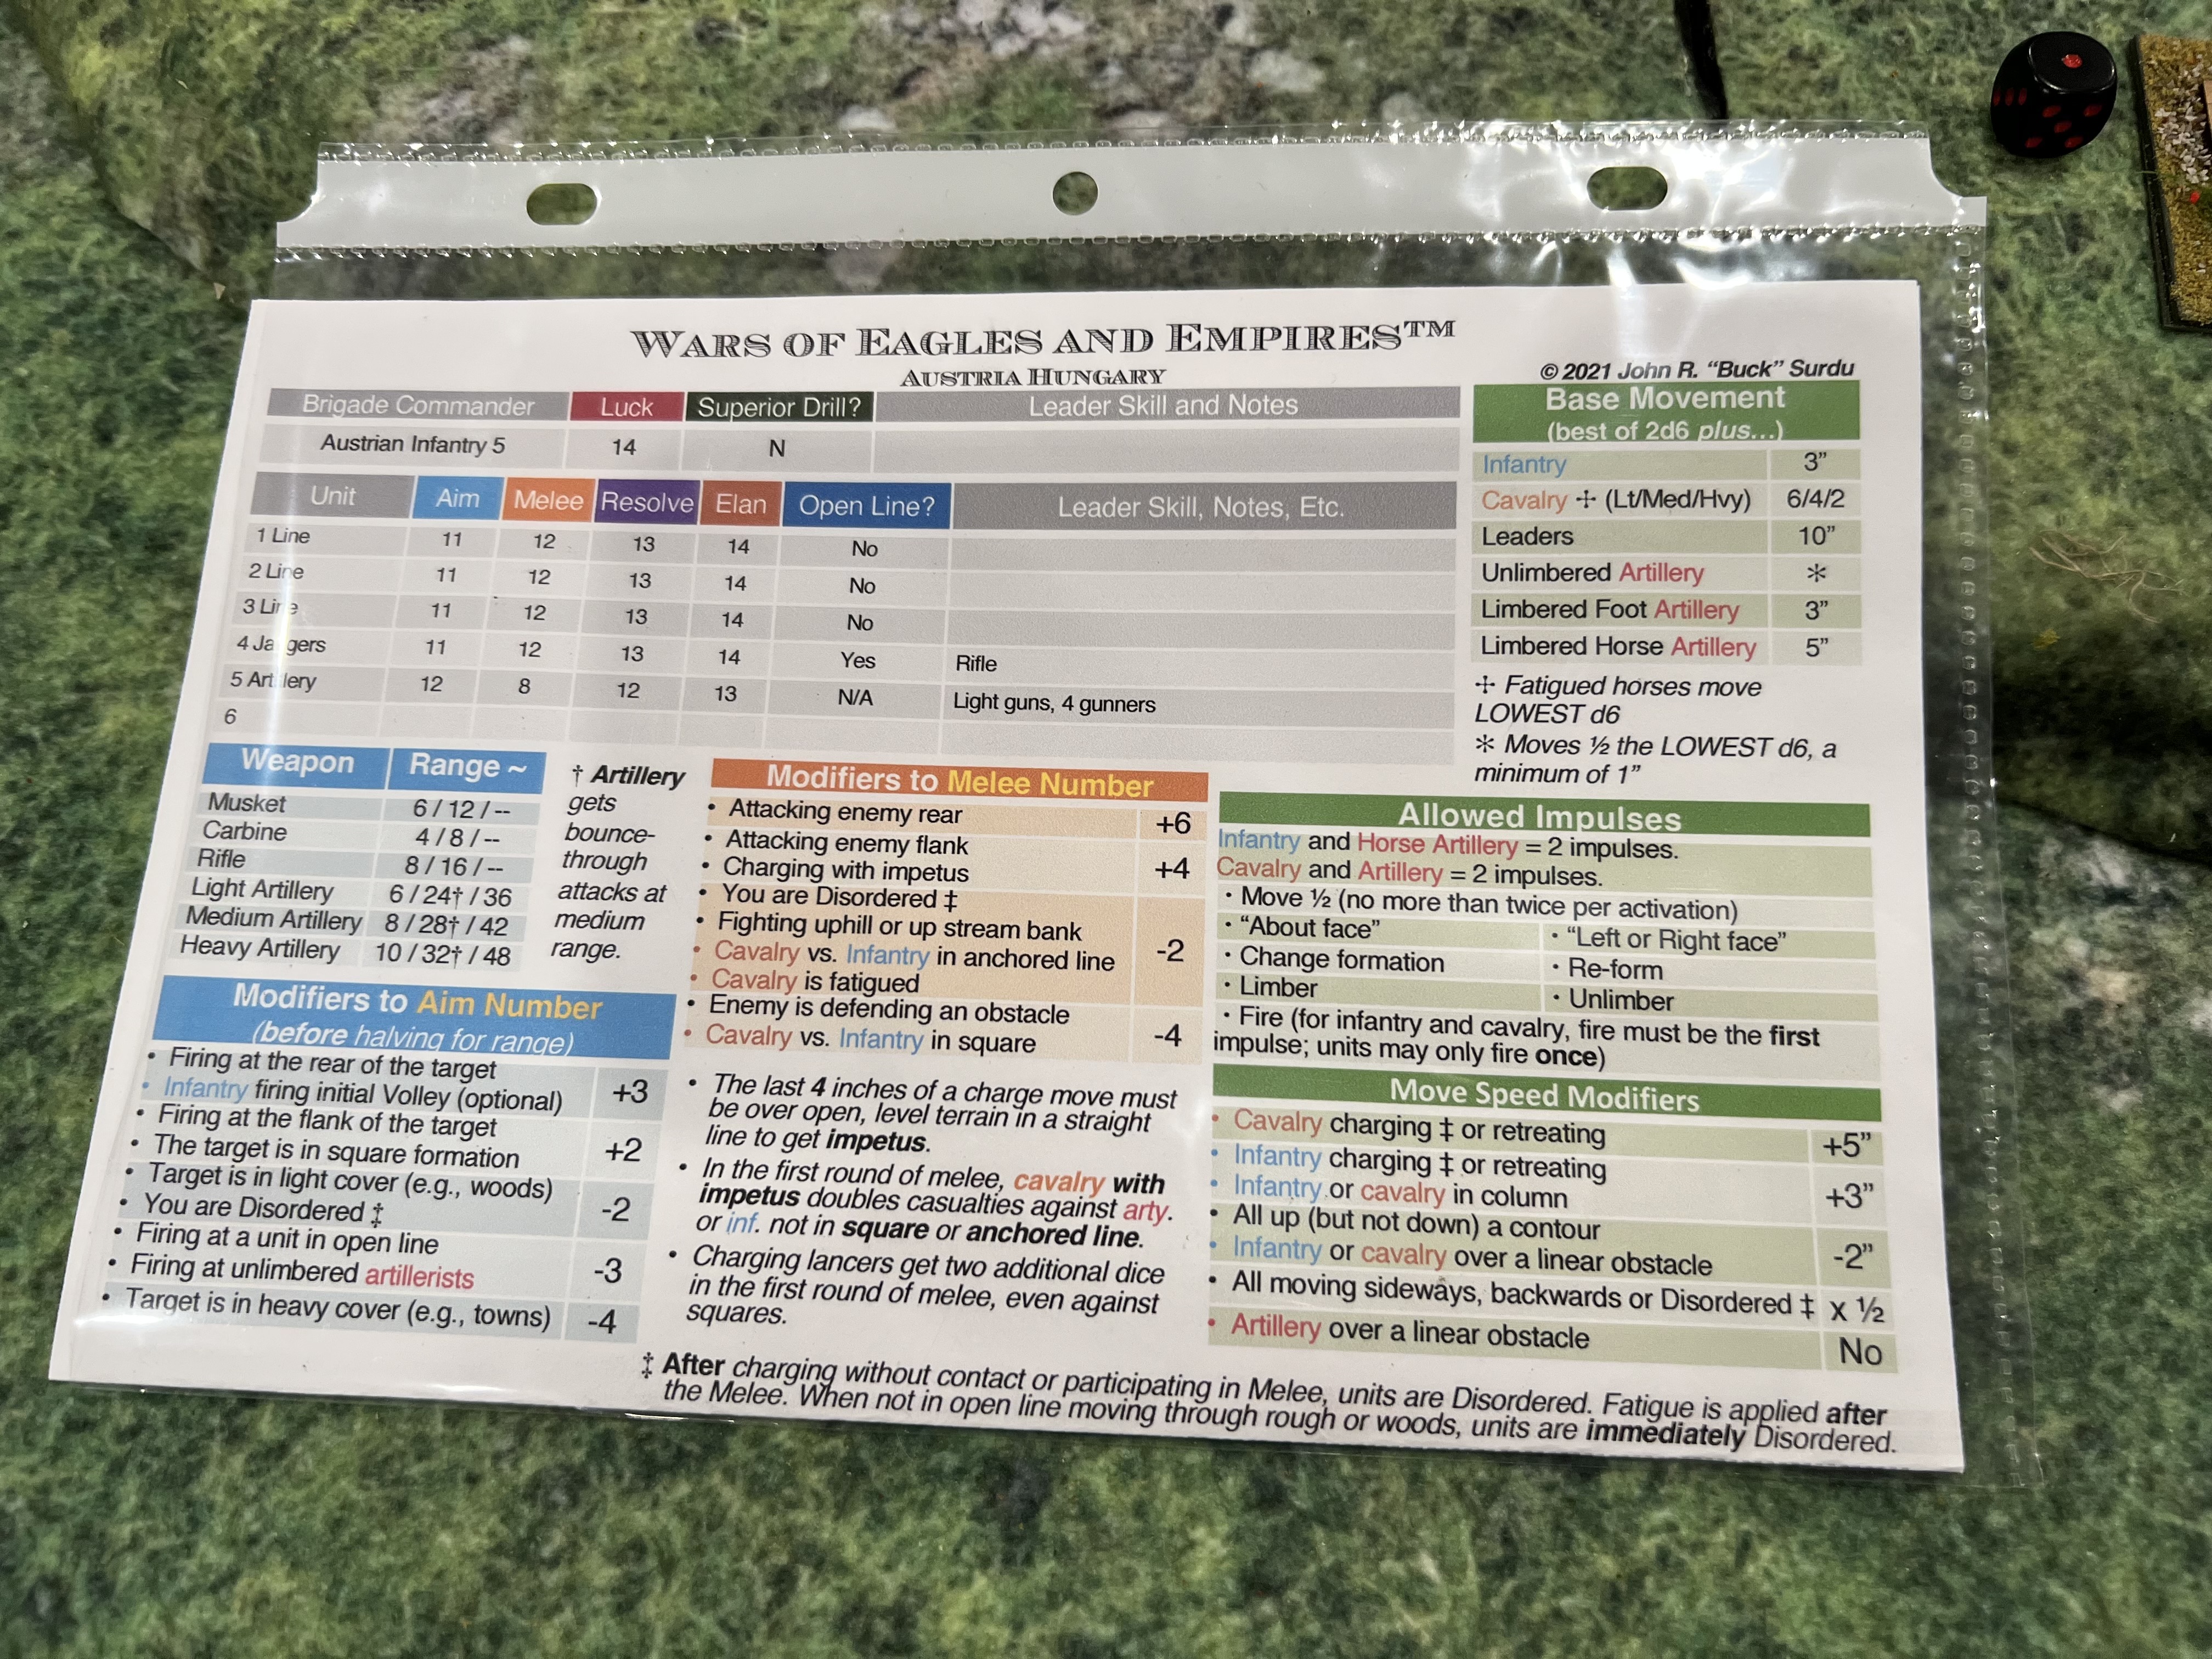
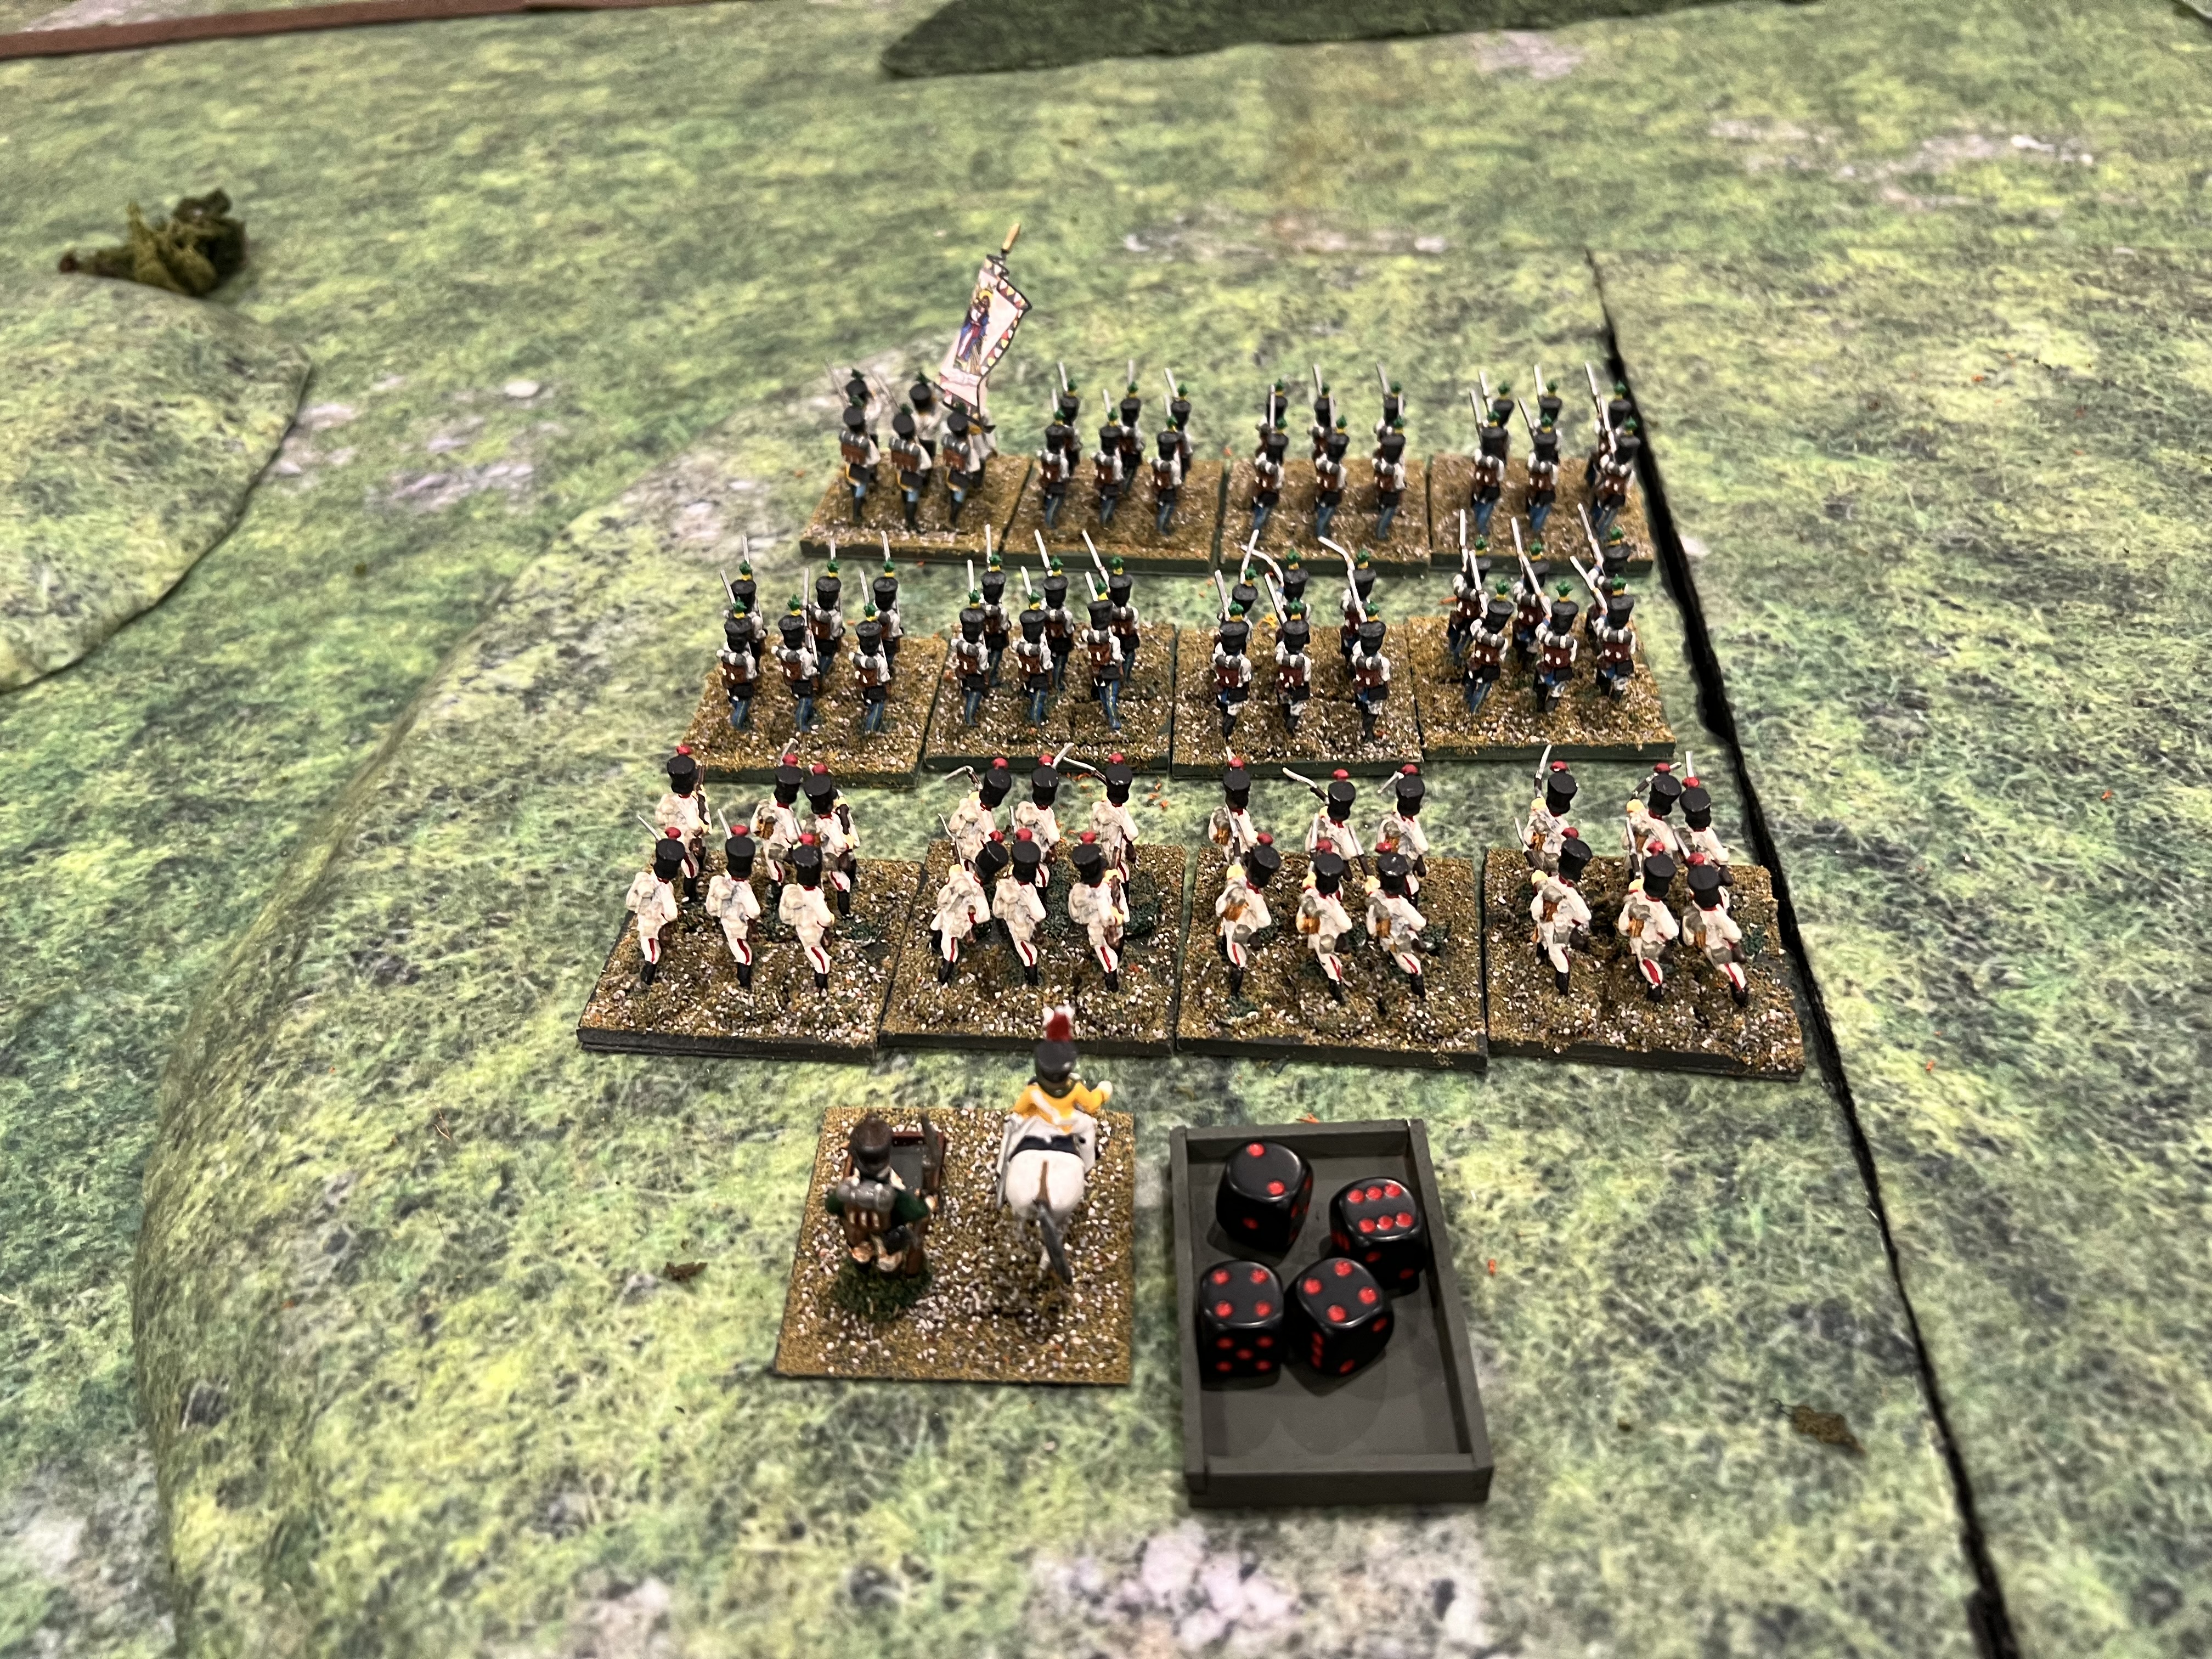
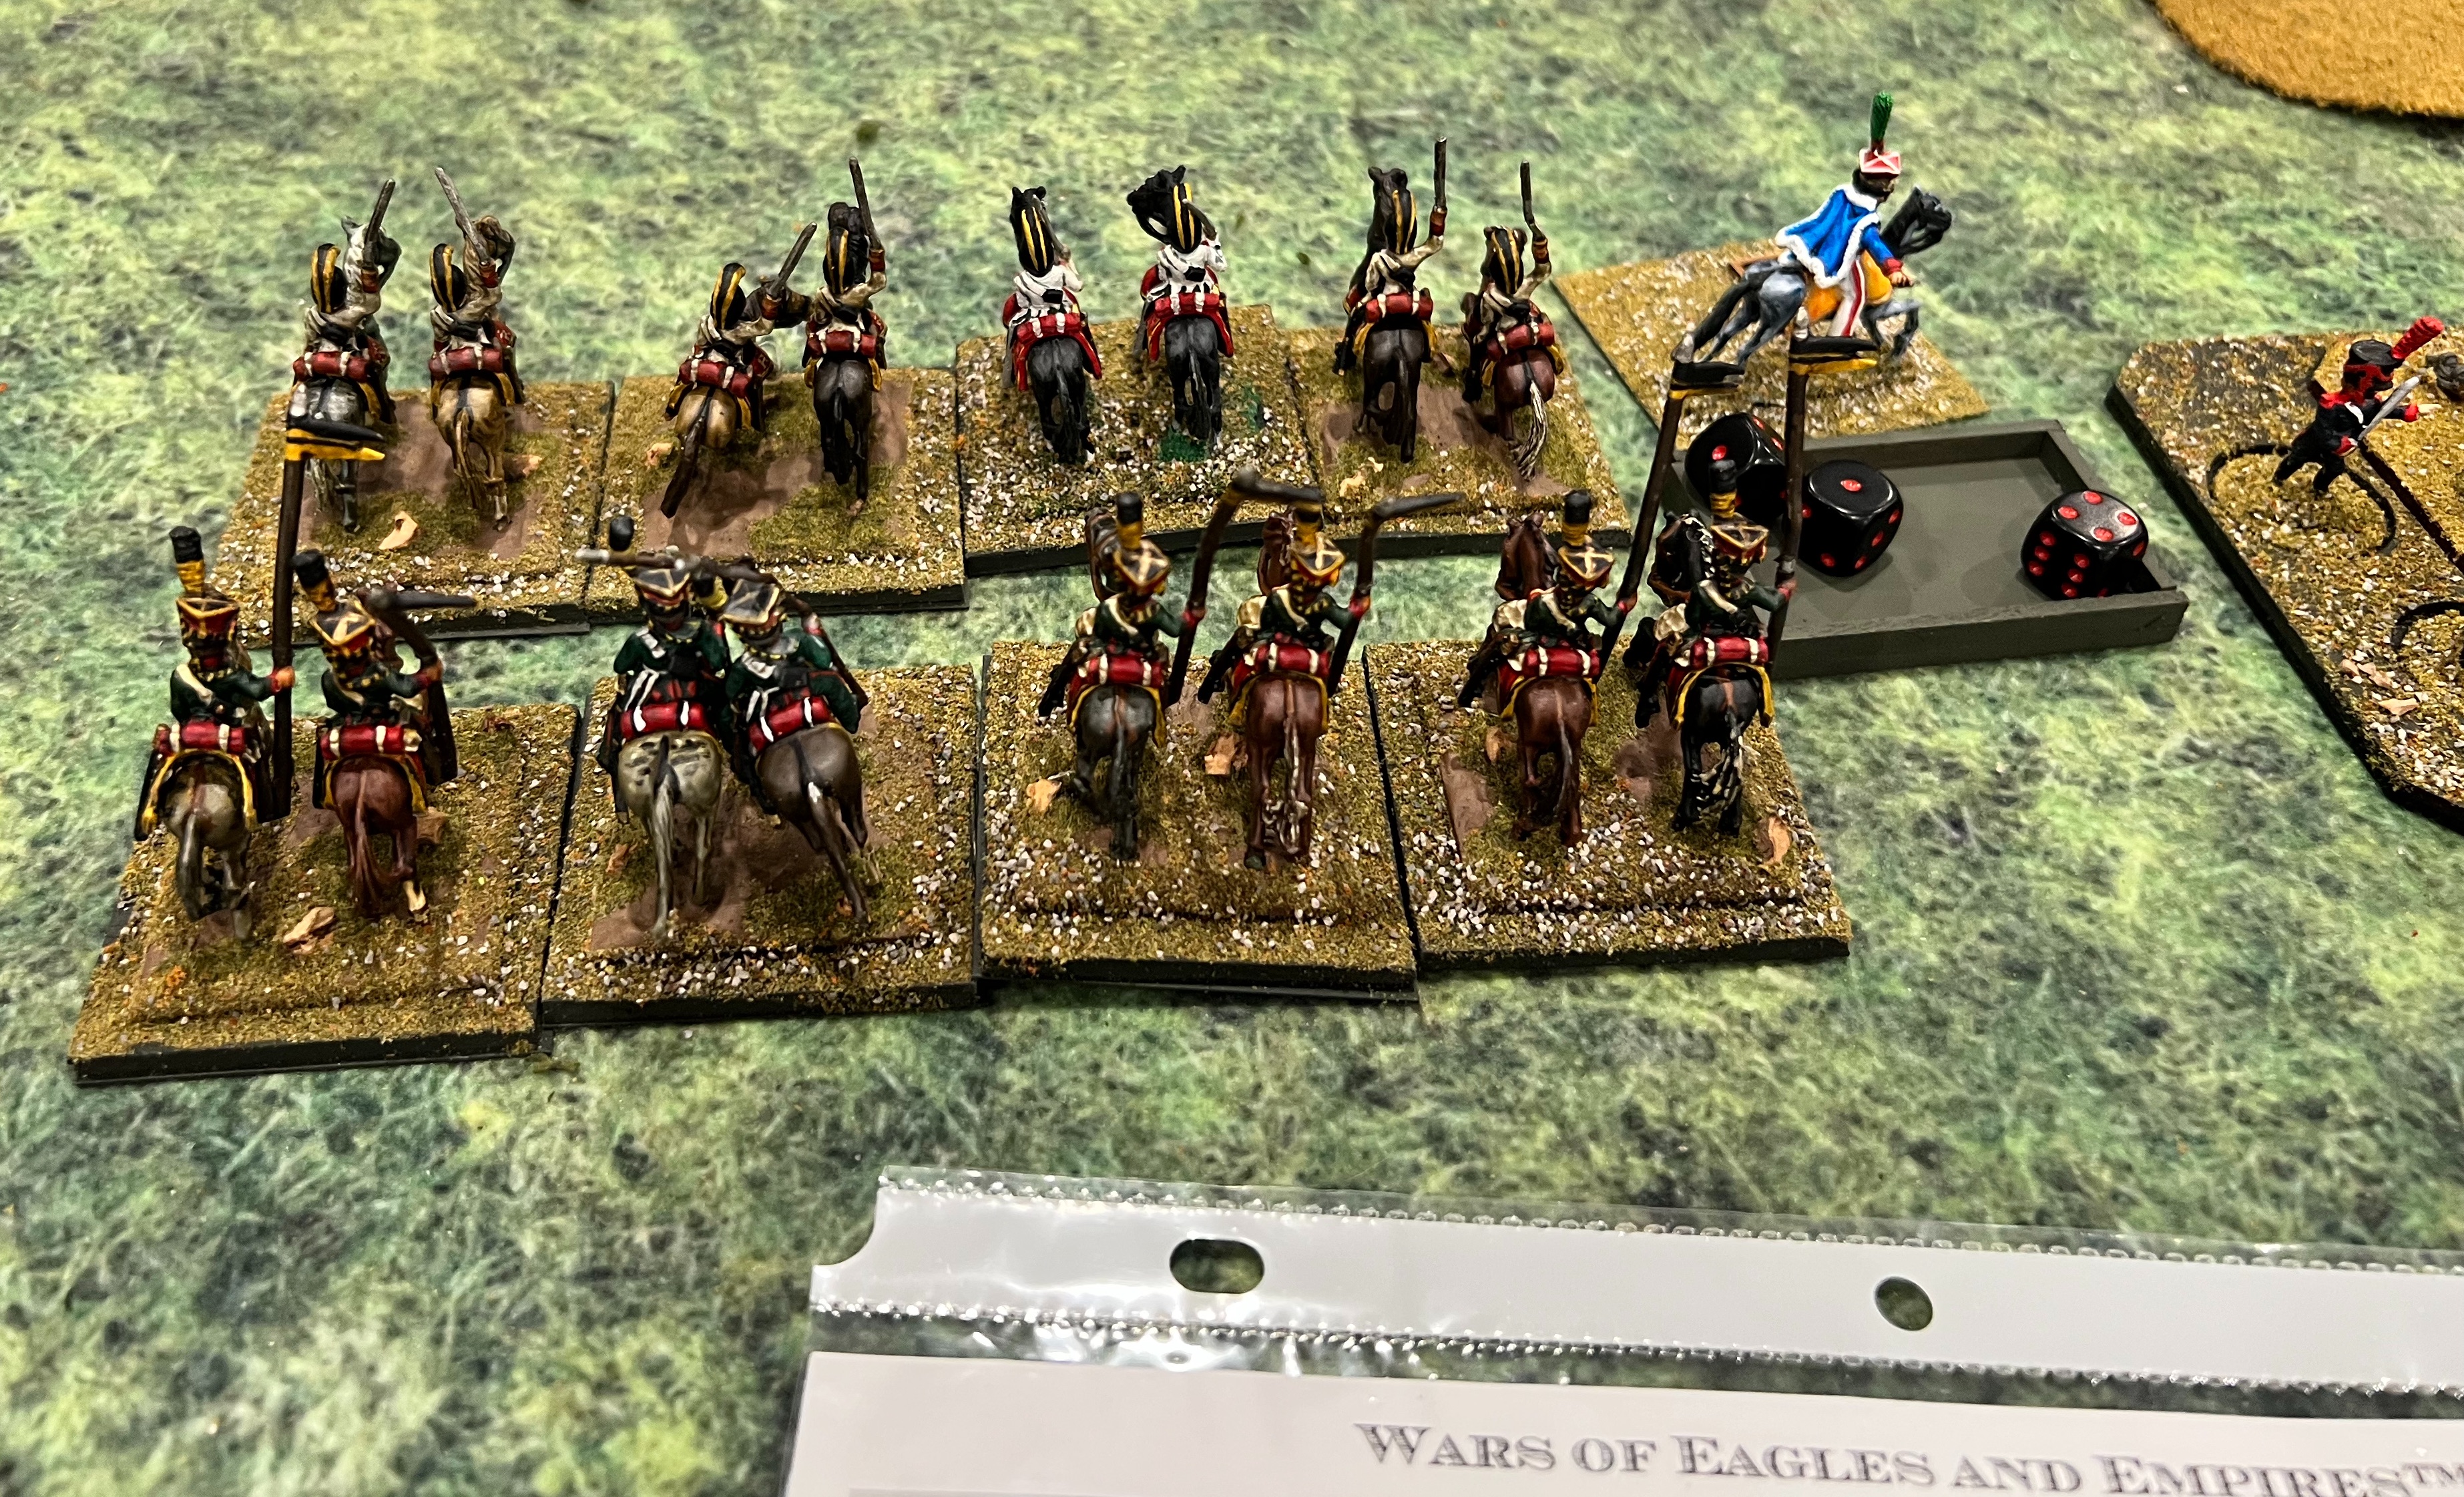
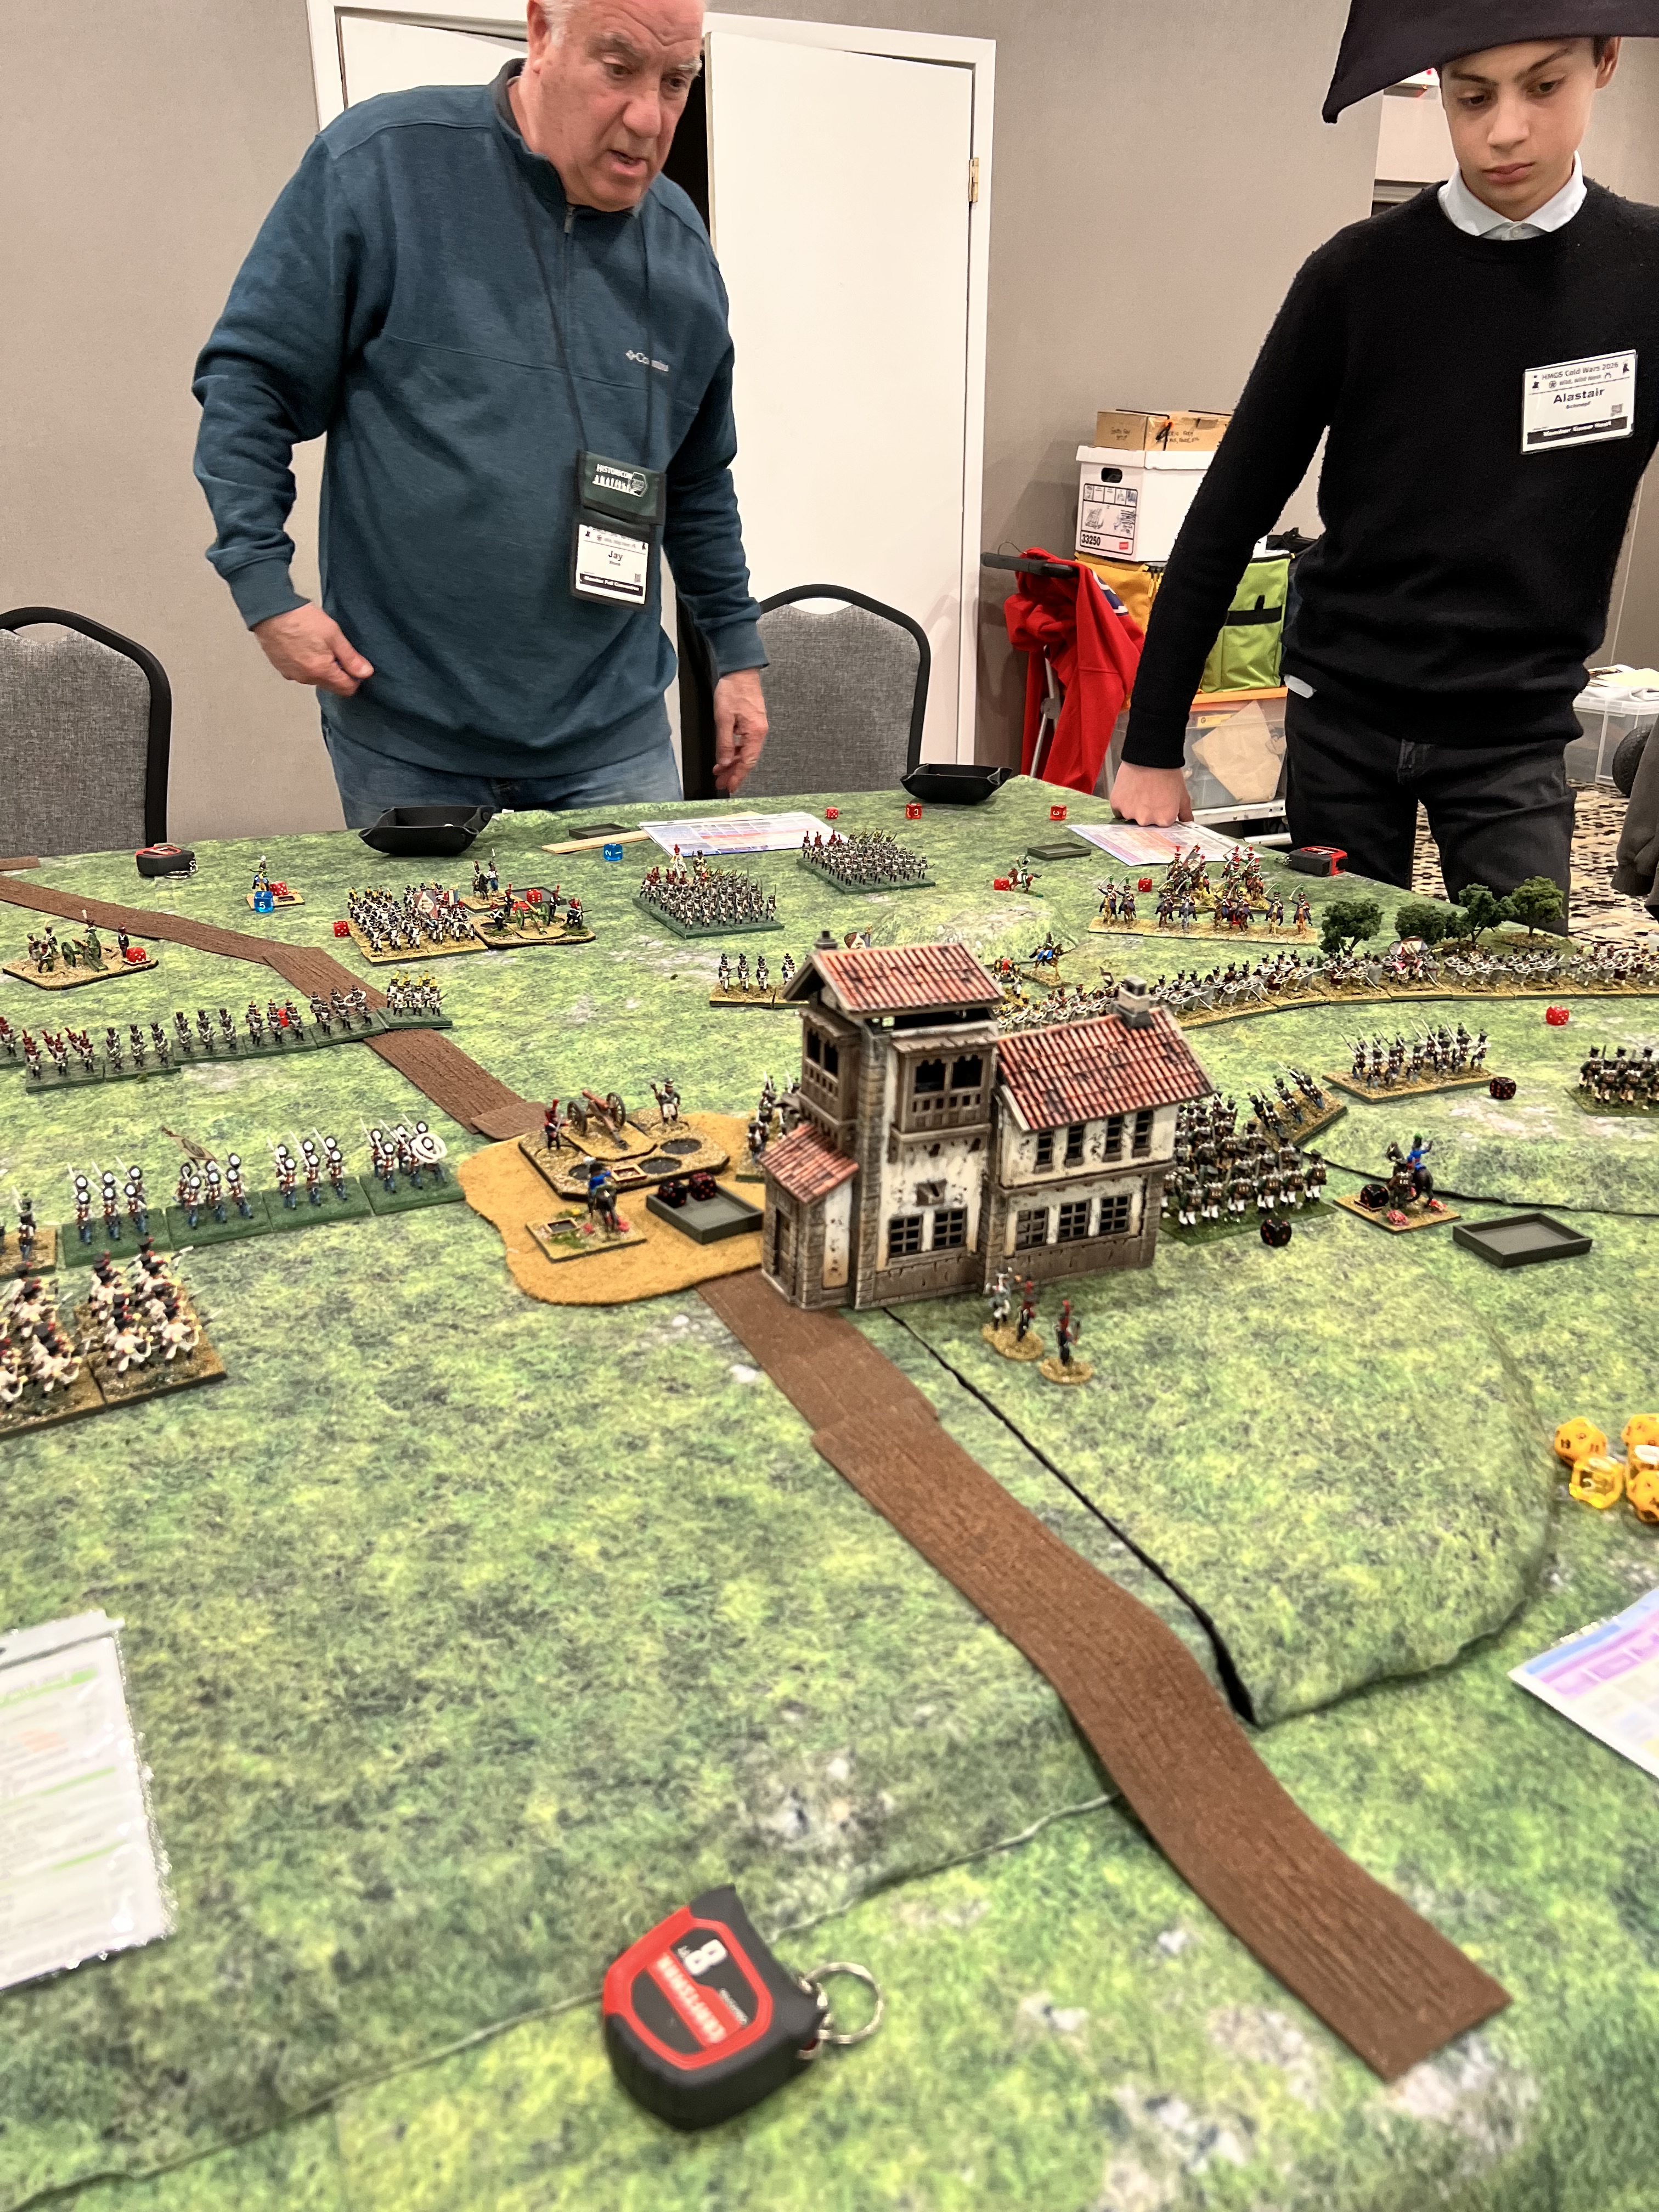
Thursday night I jumped into a Napoleonic 28mm game run by Buck, “Prelude to Austerlitz”. It used his Wars of Eagles and Empires rules.
It was a fun game and I was on the Austrian side with two other young players (they were young anyways). The French players were not as aggressive as they probably had wanted to be, which allowed us to successfully defend the town.
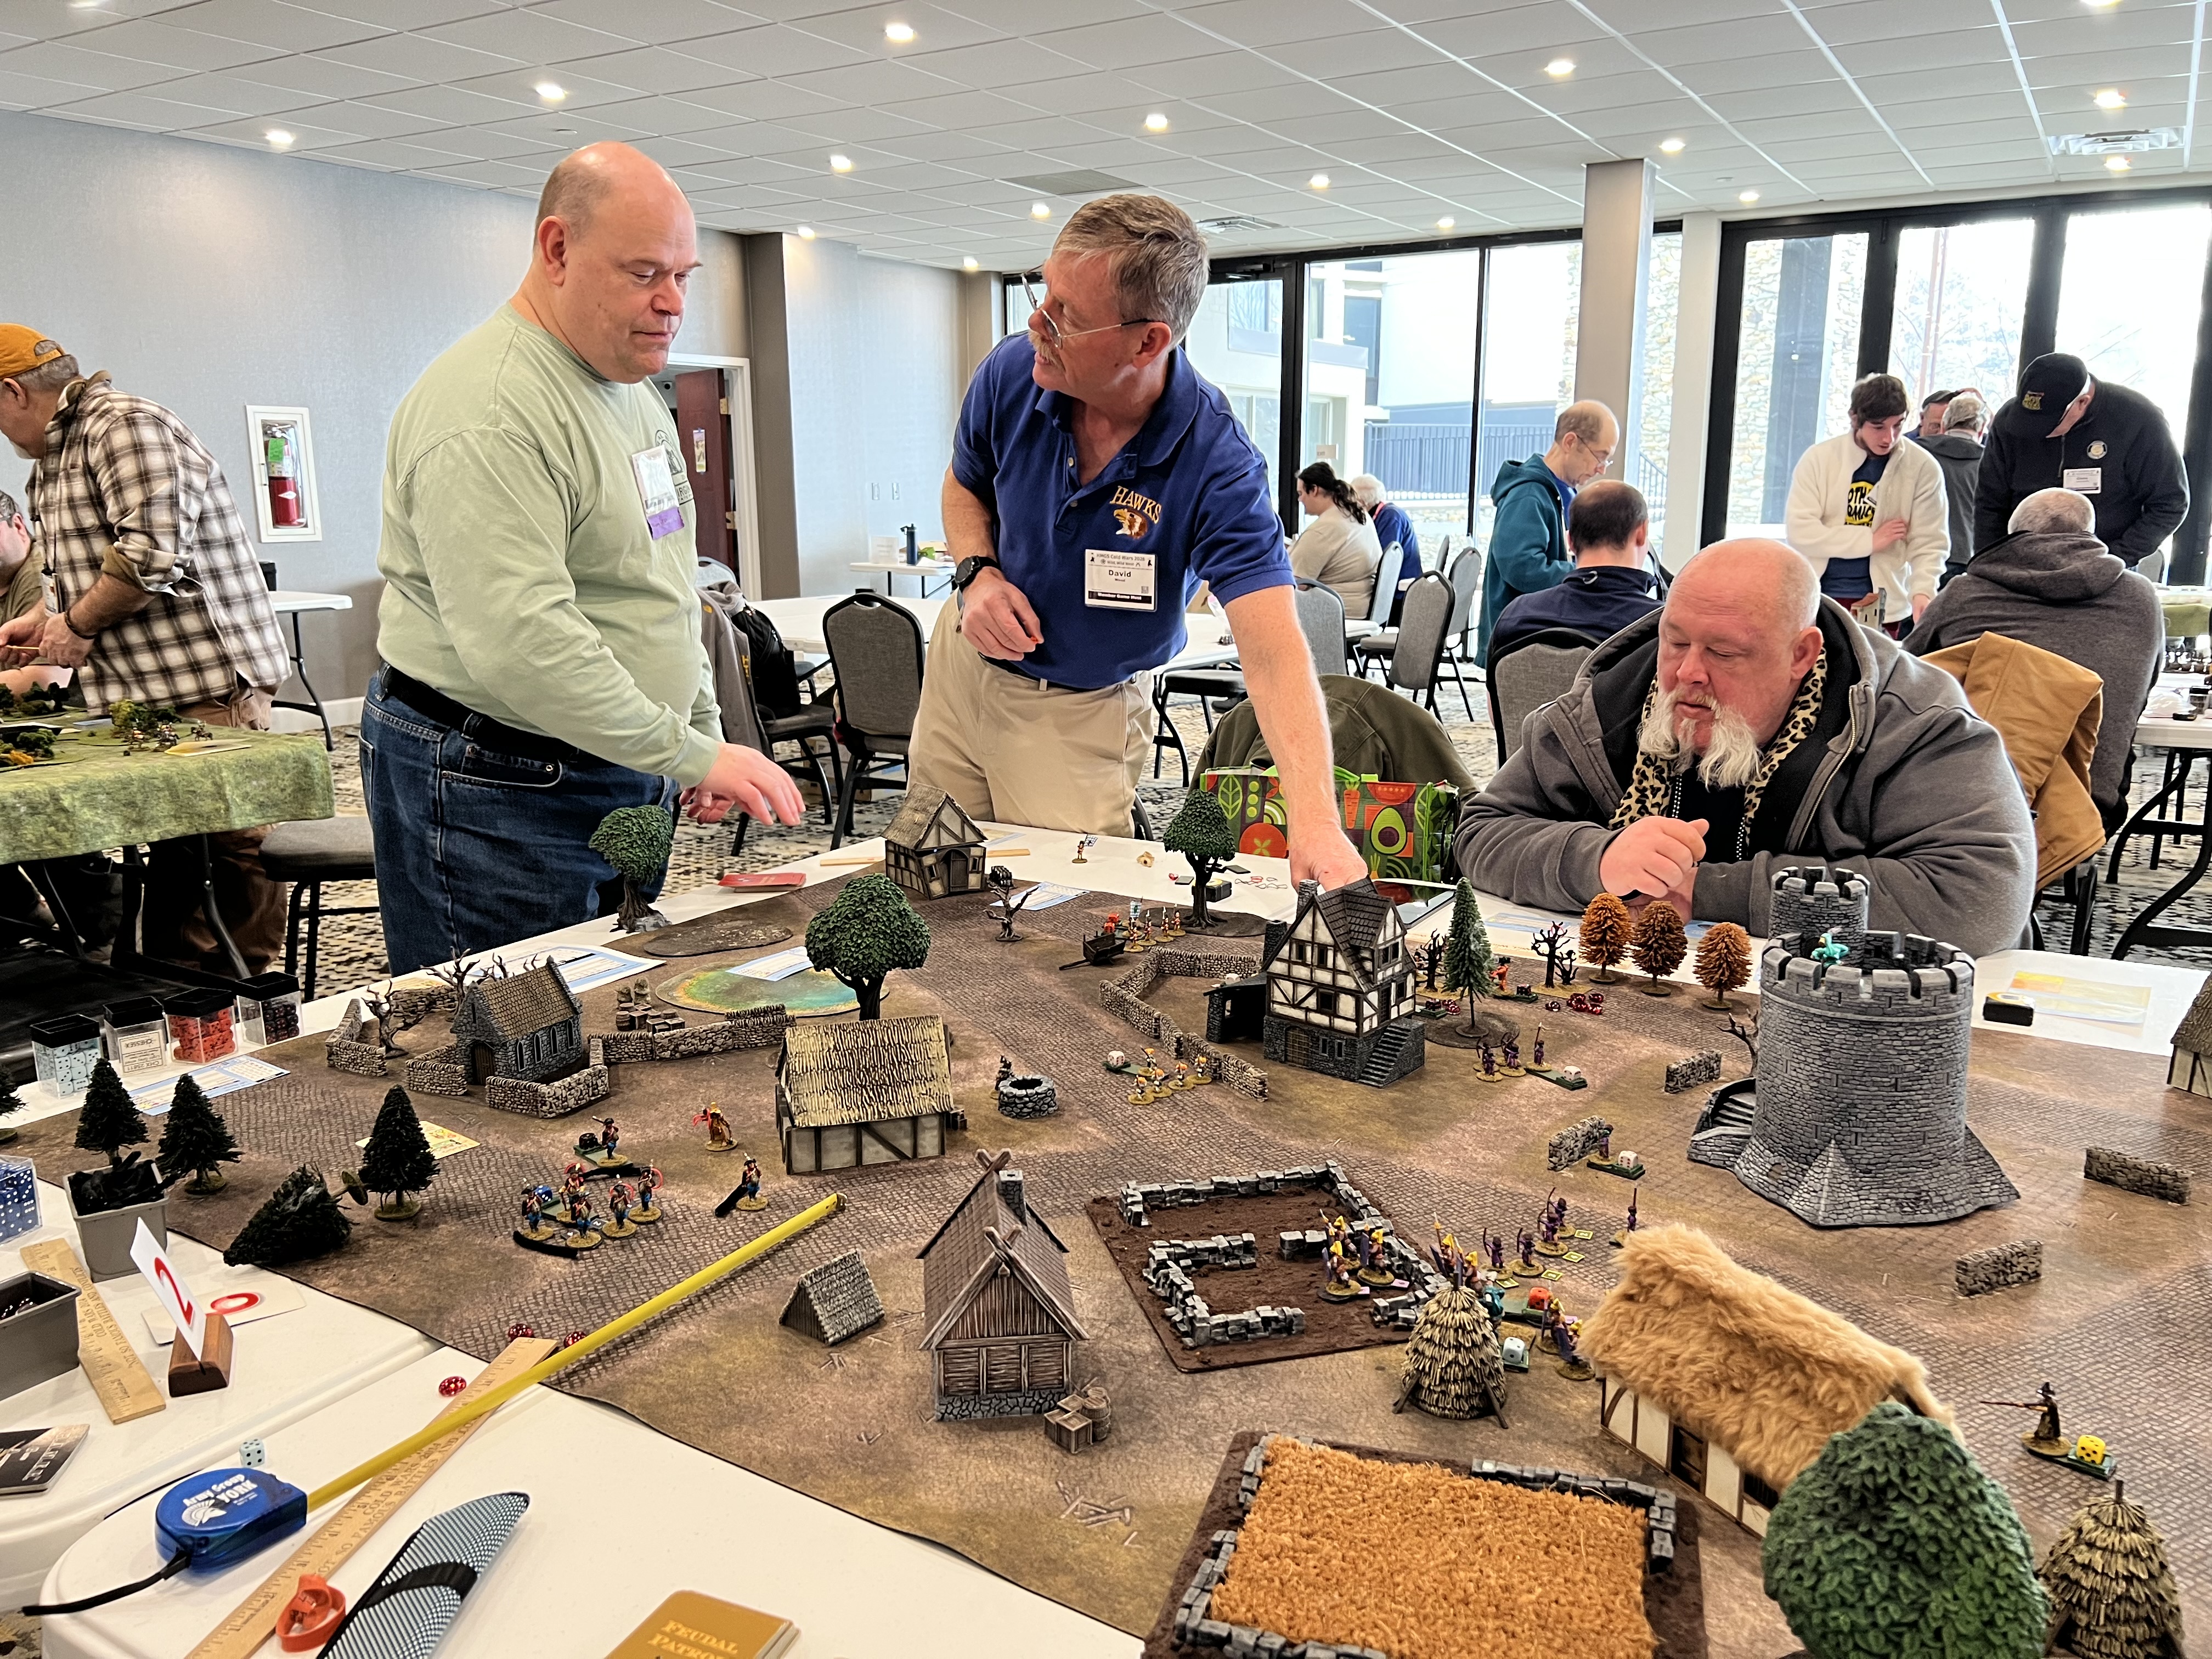
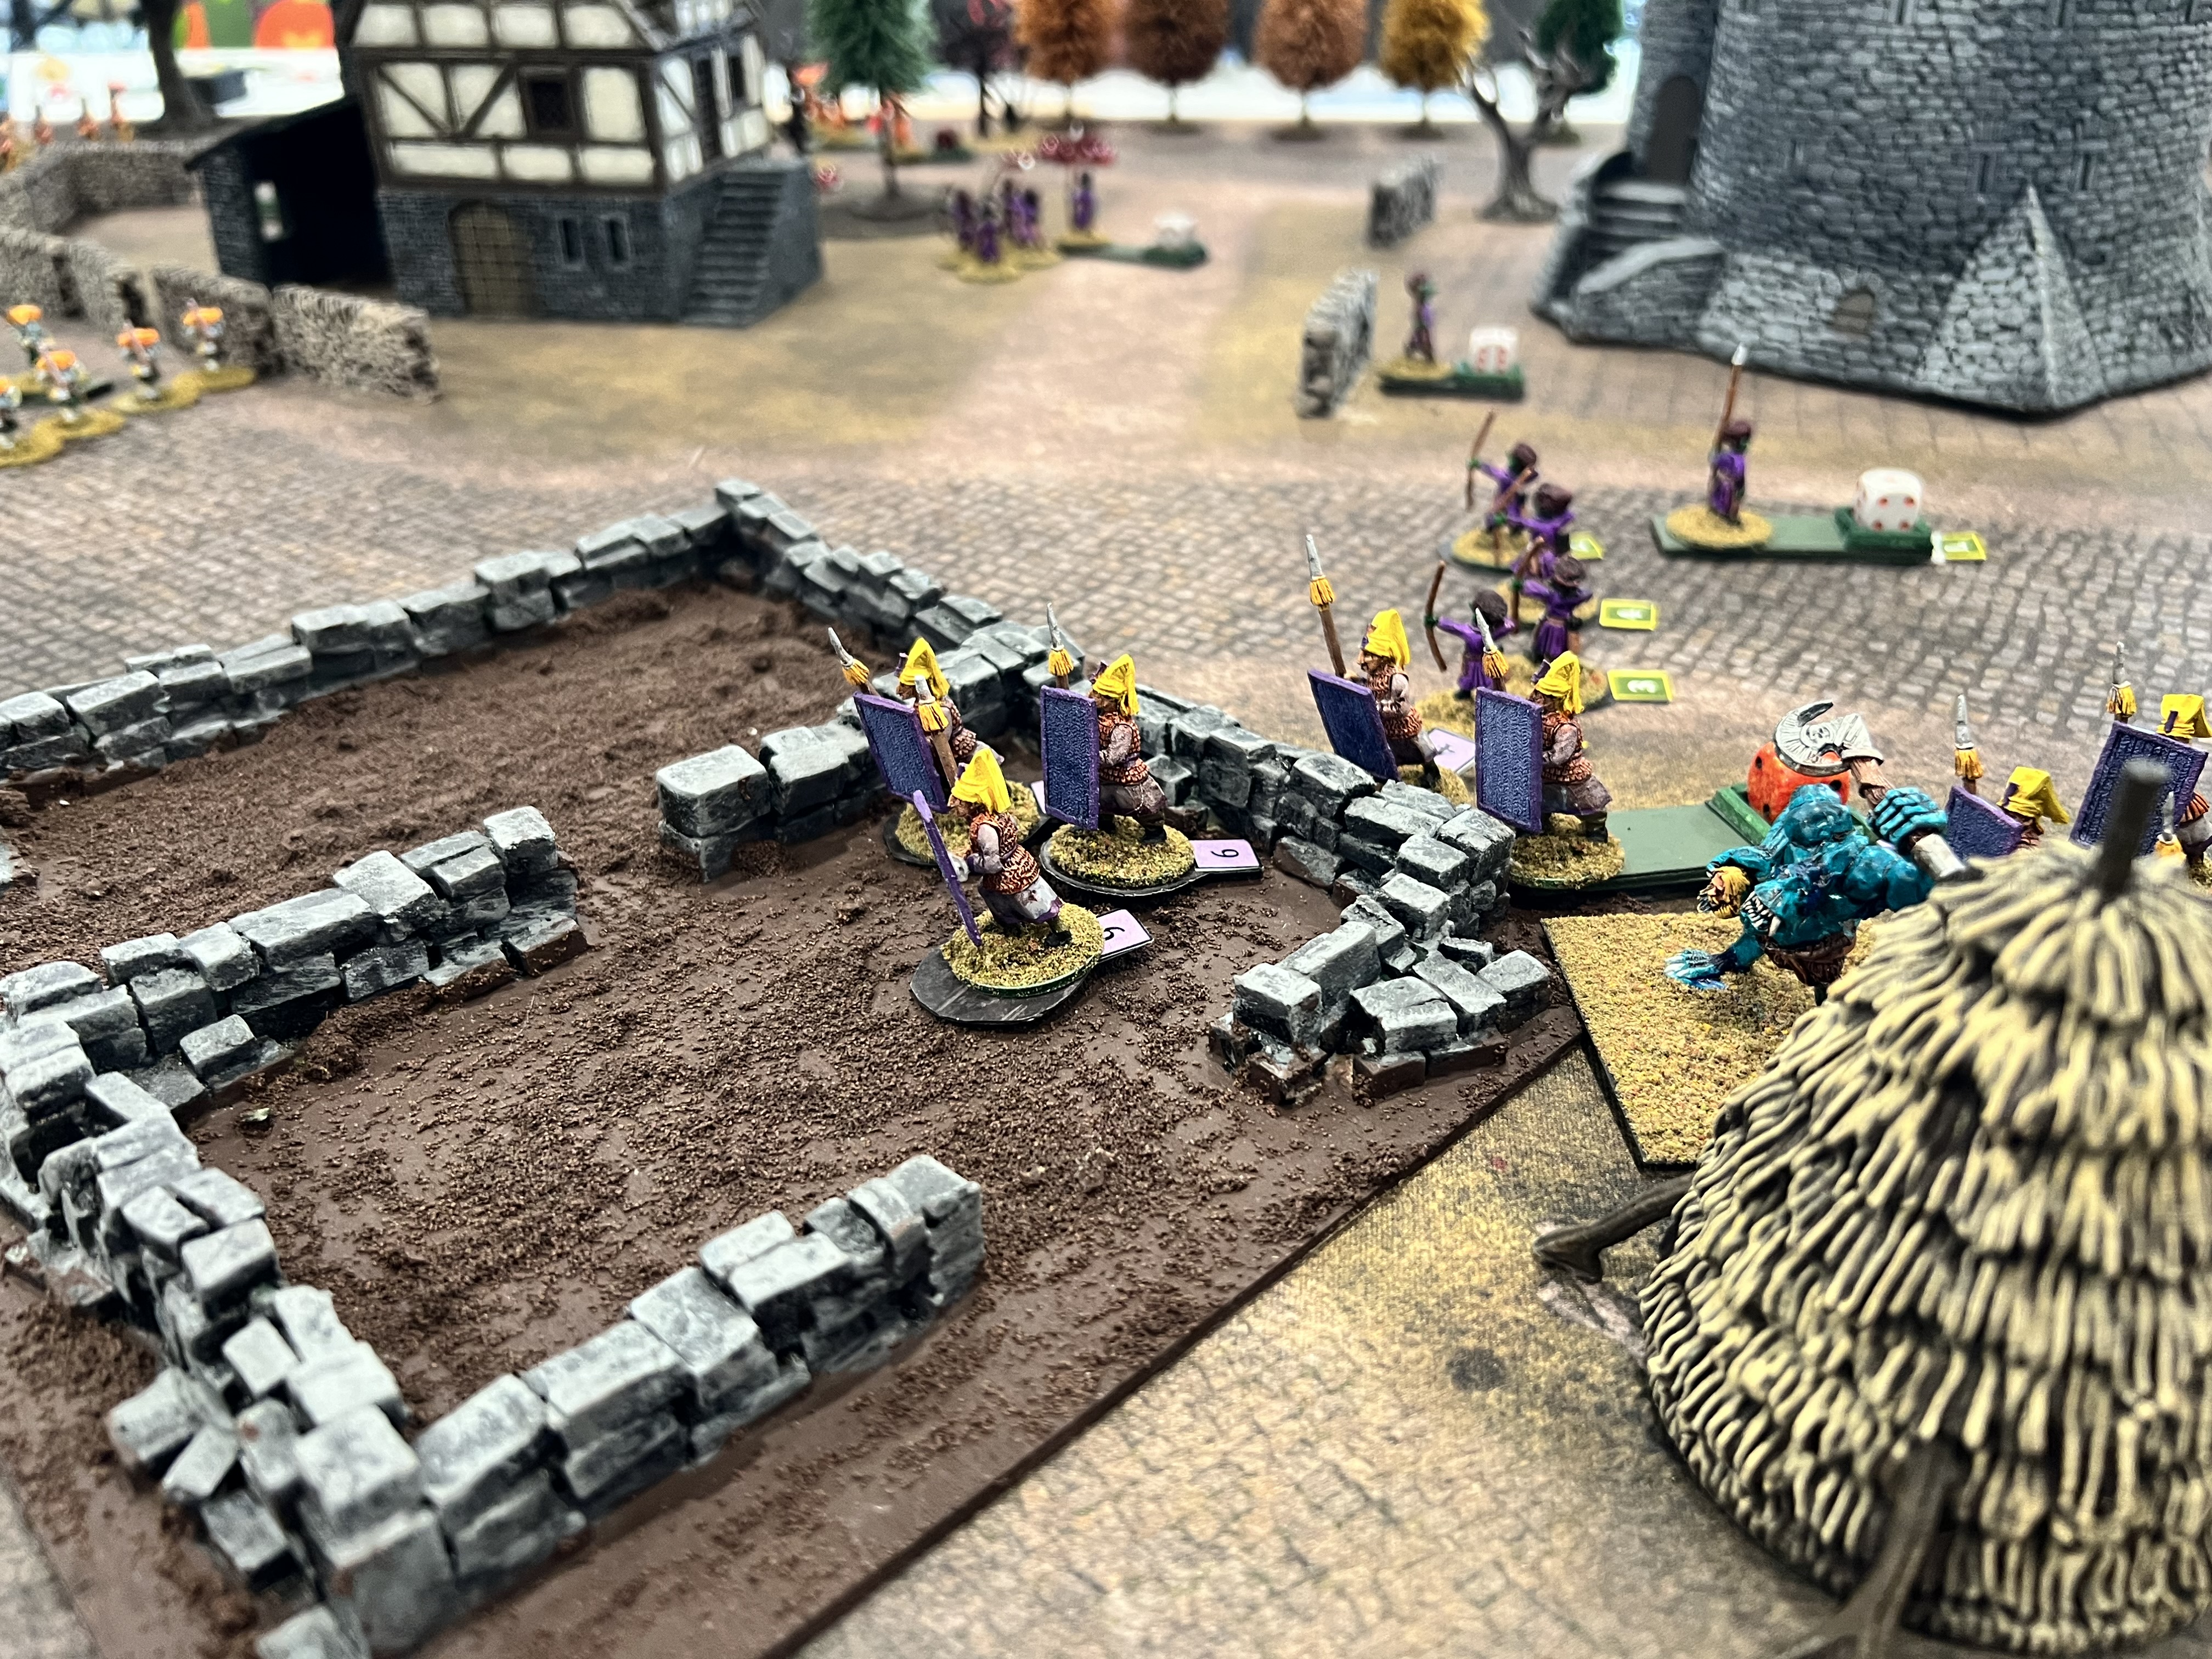
The Wicked Witch is Still Trying to Get Dorothy’s Slippers (Feudal Patrol using Wars of Ozz figures)
This was a fun opportunity to jump in a Feudal Patrol game with my old USMA roommate Dave. Dave does a great job as a GM and even won a PELA award at Cold Wars for his Zulu game. Dave uses 28mm Wars of Ozzfigures in a skirmish game using Feudal Patrol rules. I played on the Winkie side and we were able to take Dorothy down and get those valuable slippers!
Dave as GMMy Winkies advance
After this game, I hit the vendors hall and got some lunch. Then I took the rest of the afternoon time to set up my Friday evening Wars of Ozz game. – “The Great Munchkin Heist“.
The Great Munchkin Heist (Wars of Ozz)
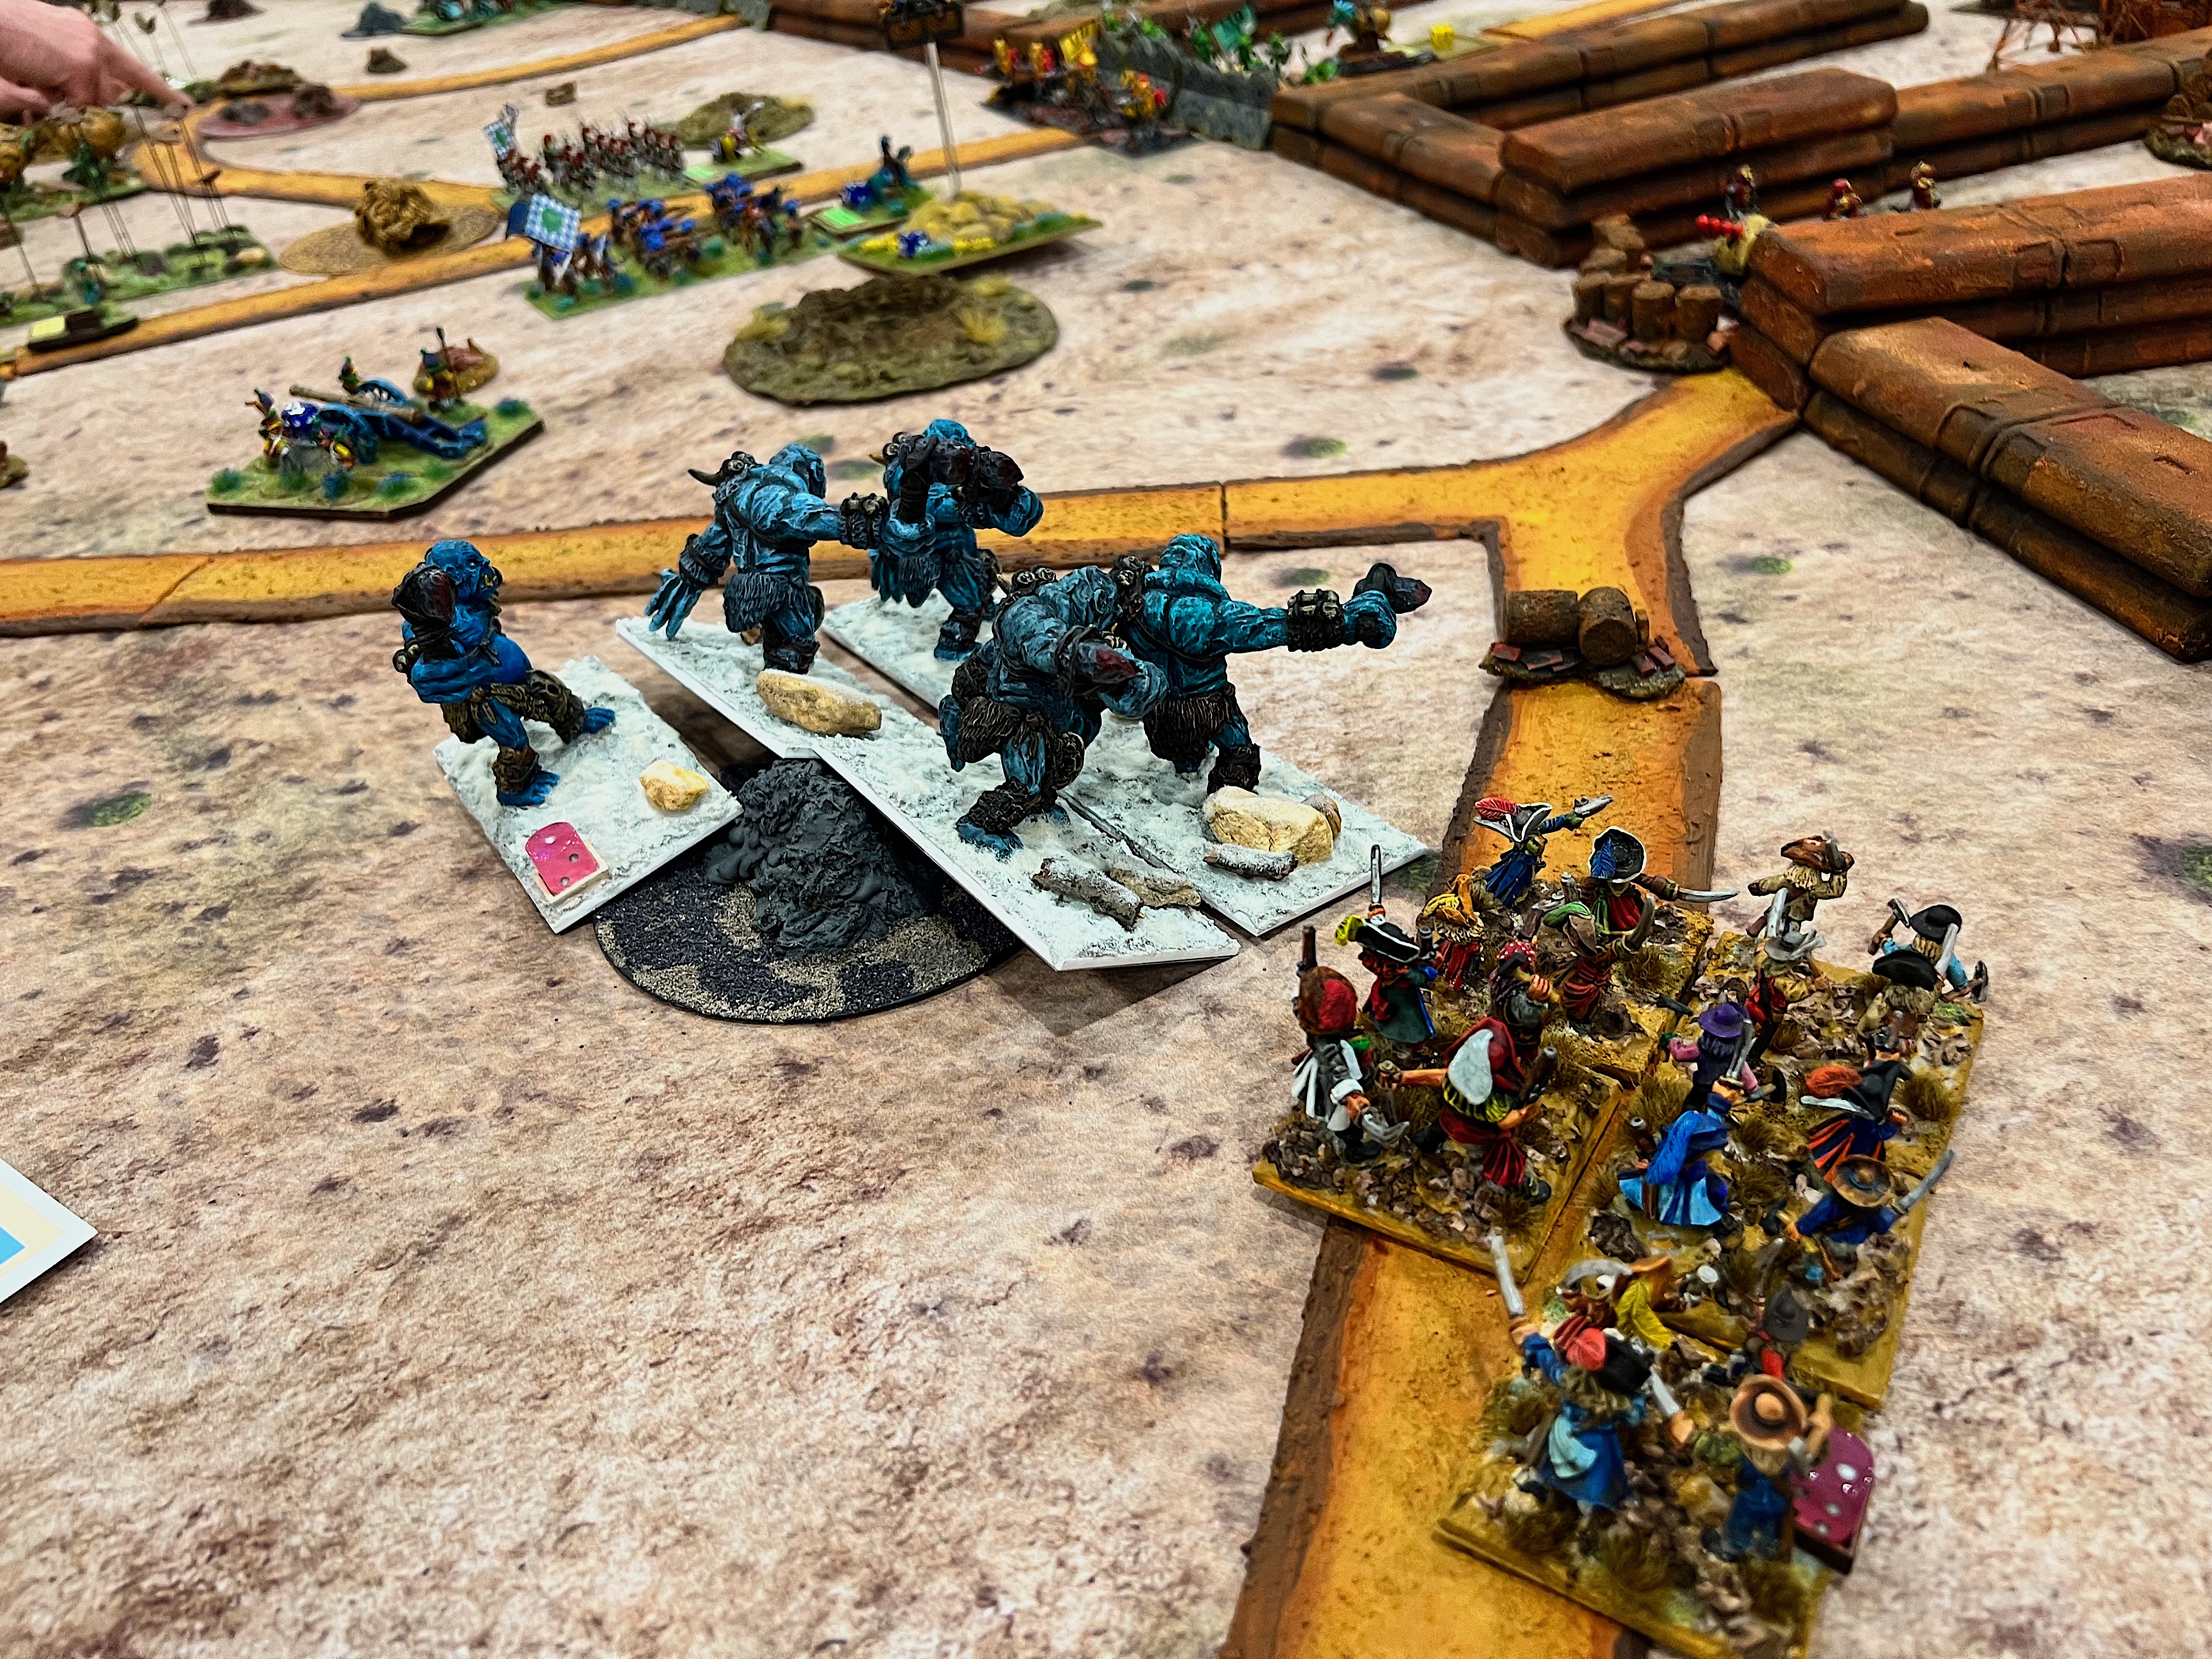
This was an epic back and forth Wars of Ozz battle, which really was great to see! Three brigades were on the attack (two Munchkin, one allied brigade, and an army reserve). The allied brigade was composed of two regiments of Jinjur female pirates, an Impkin slingshot battery, and a regiment of Frost Ogres (that Dave Stone will recognize!). The reserve came from the Land of Harvest – Great Pumpkinheads and regiments of eagles and owls. these allies hoped to share the loot with the Munchkins. Technological “secrets” were hidden in buildings throughout.
Three small but potent Nitpik mechanical men brigades and a small reserve force defended the formidable rusty steel walls of the Robotic Sanctum – a.k.a. the Industrial City. A small infantry reserve remained in the city, and there were rumors of a Nitpik relief force coming…
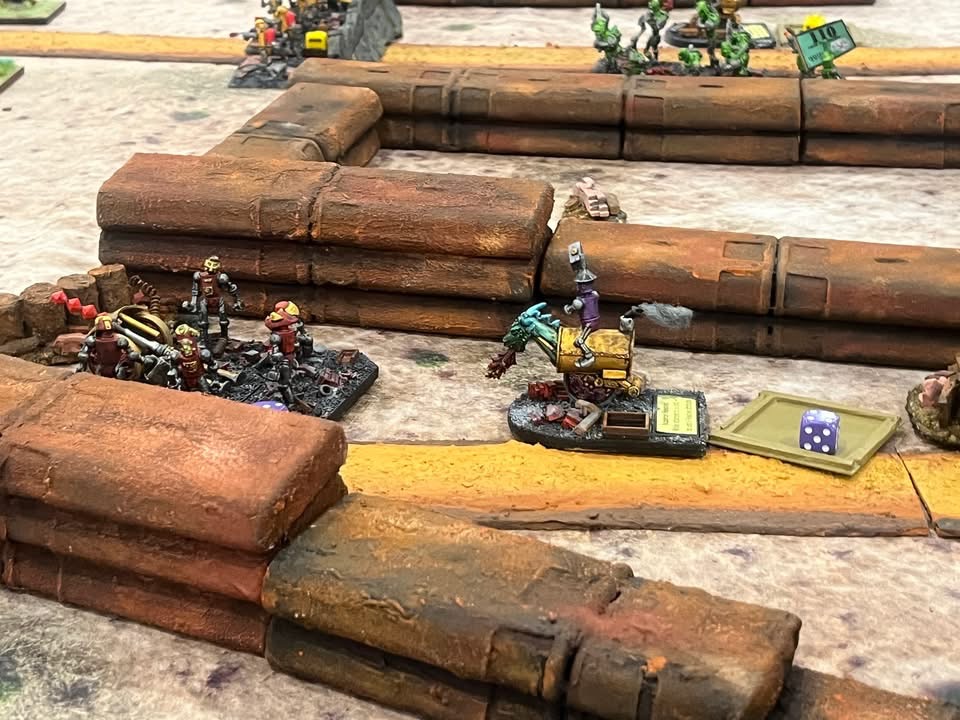
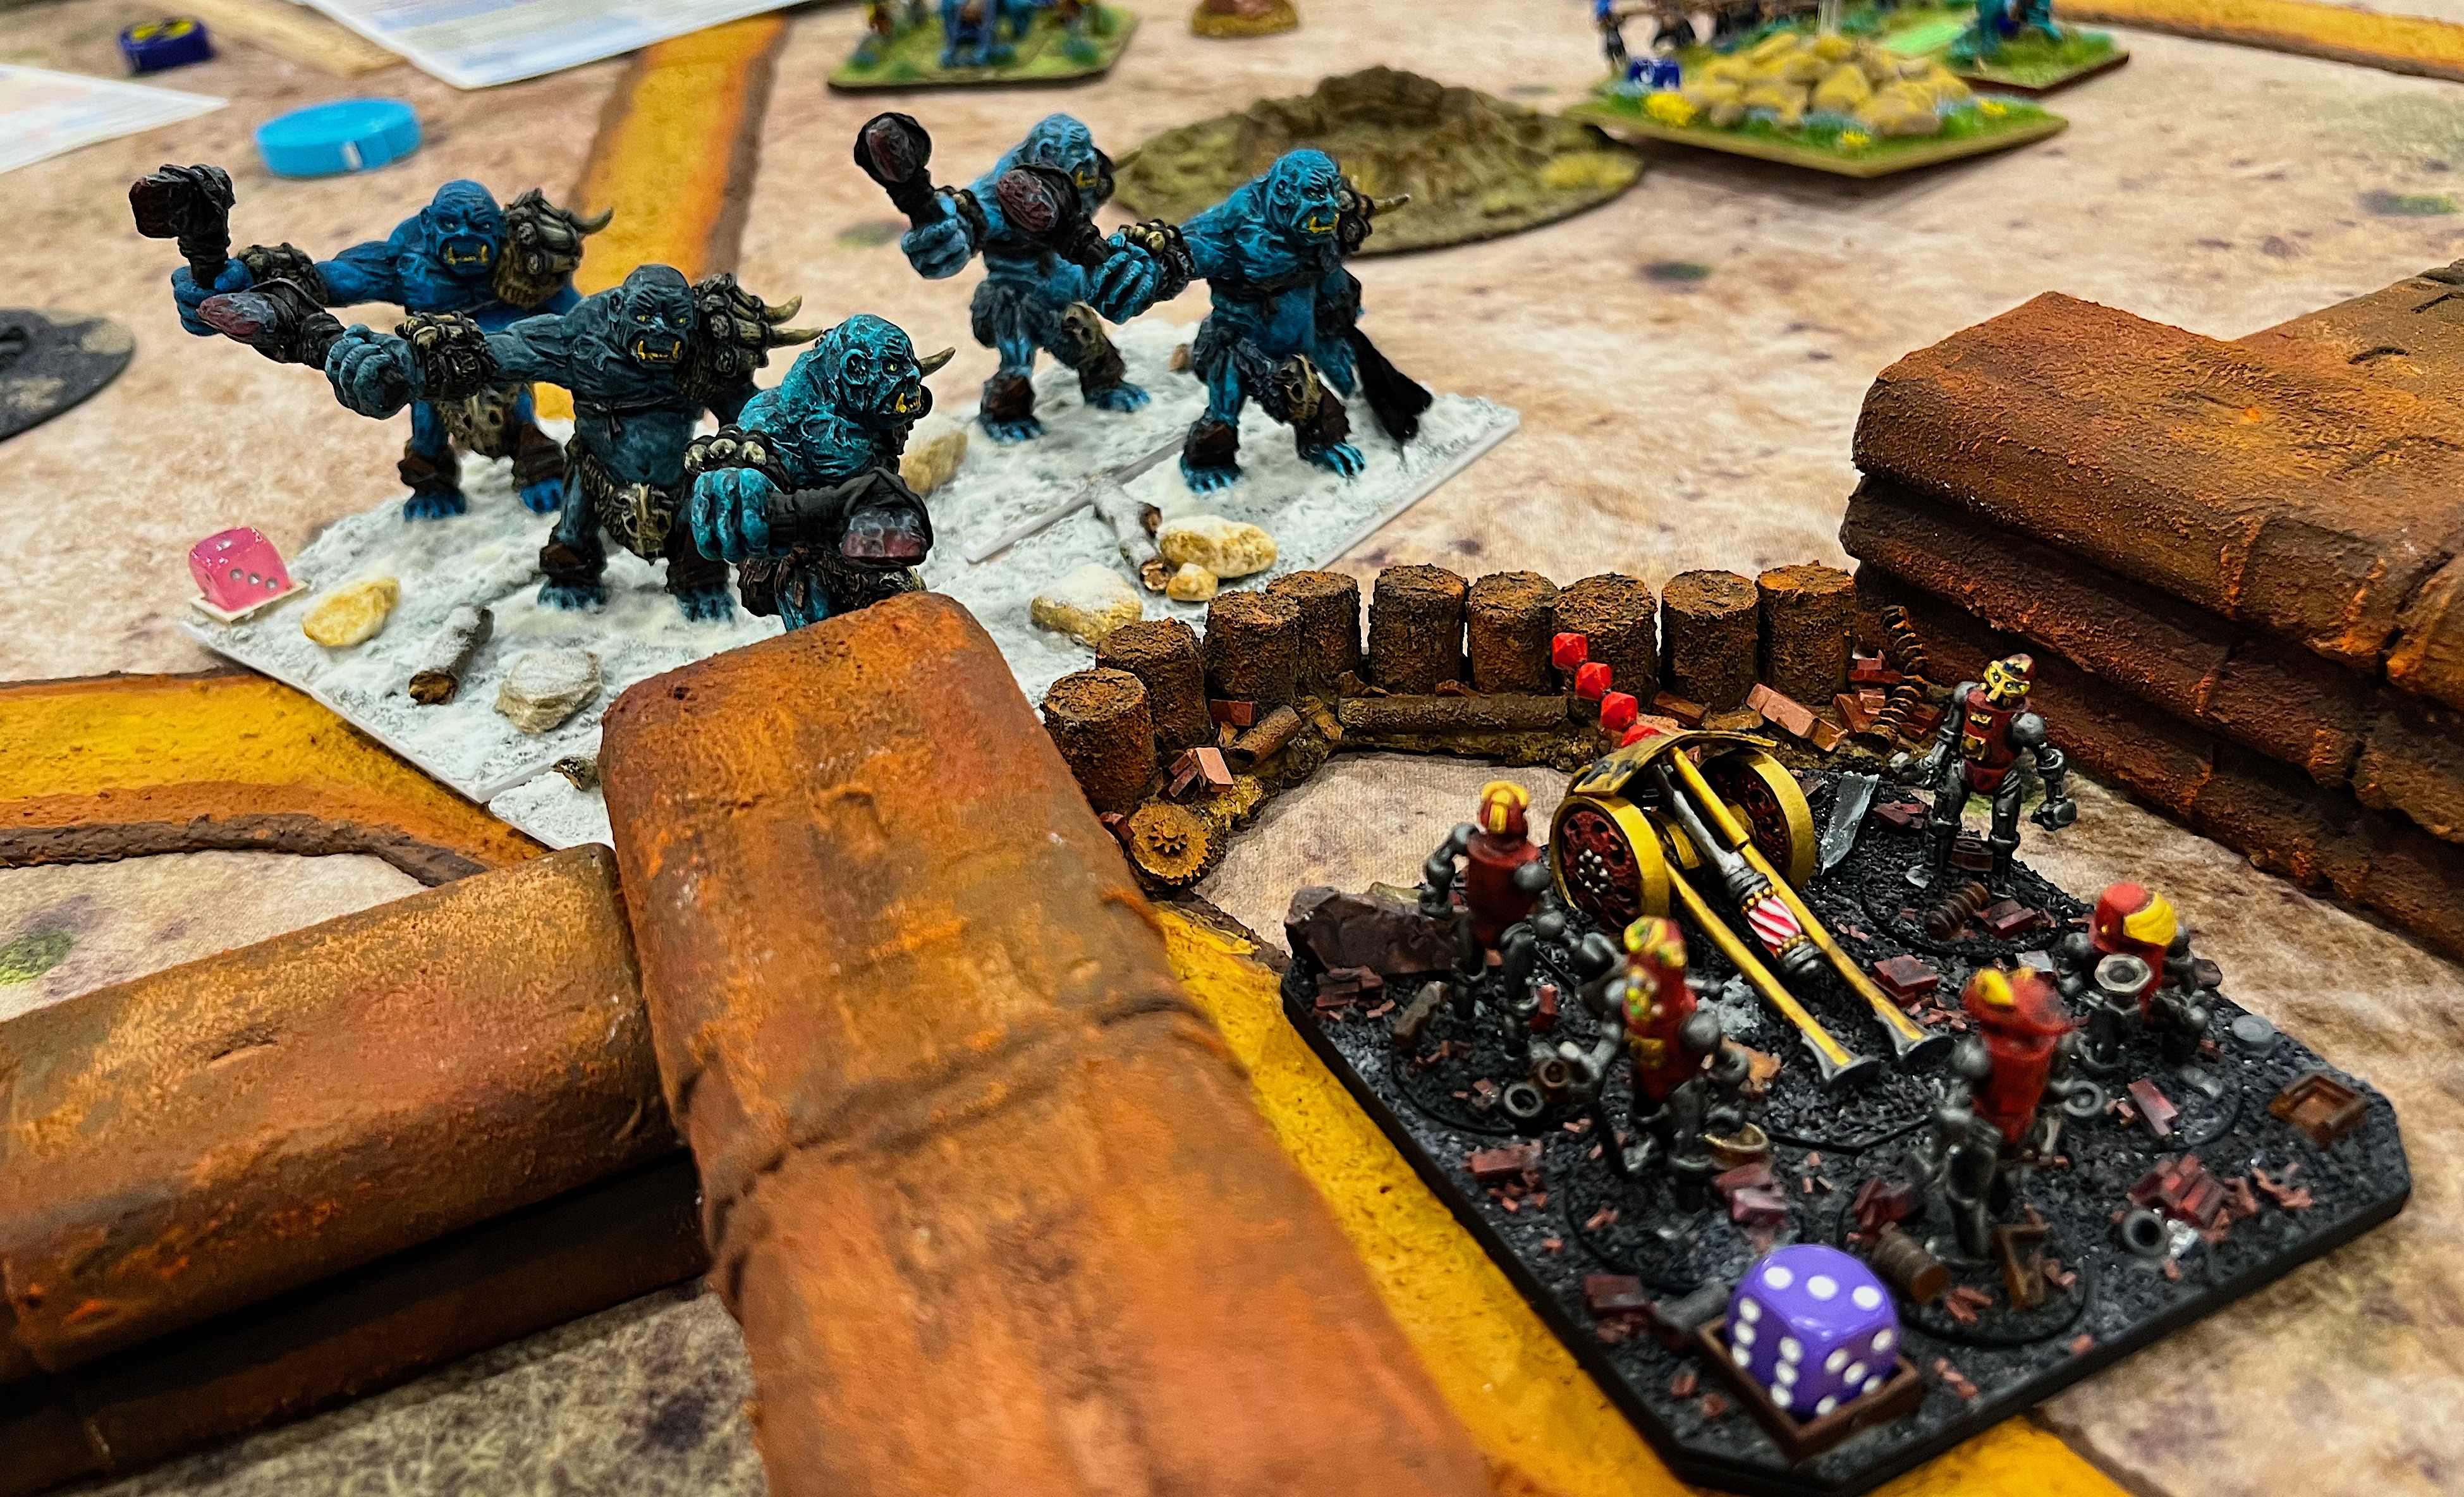
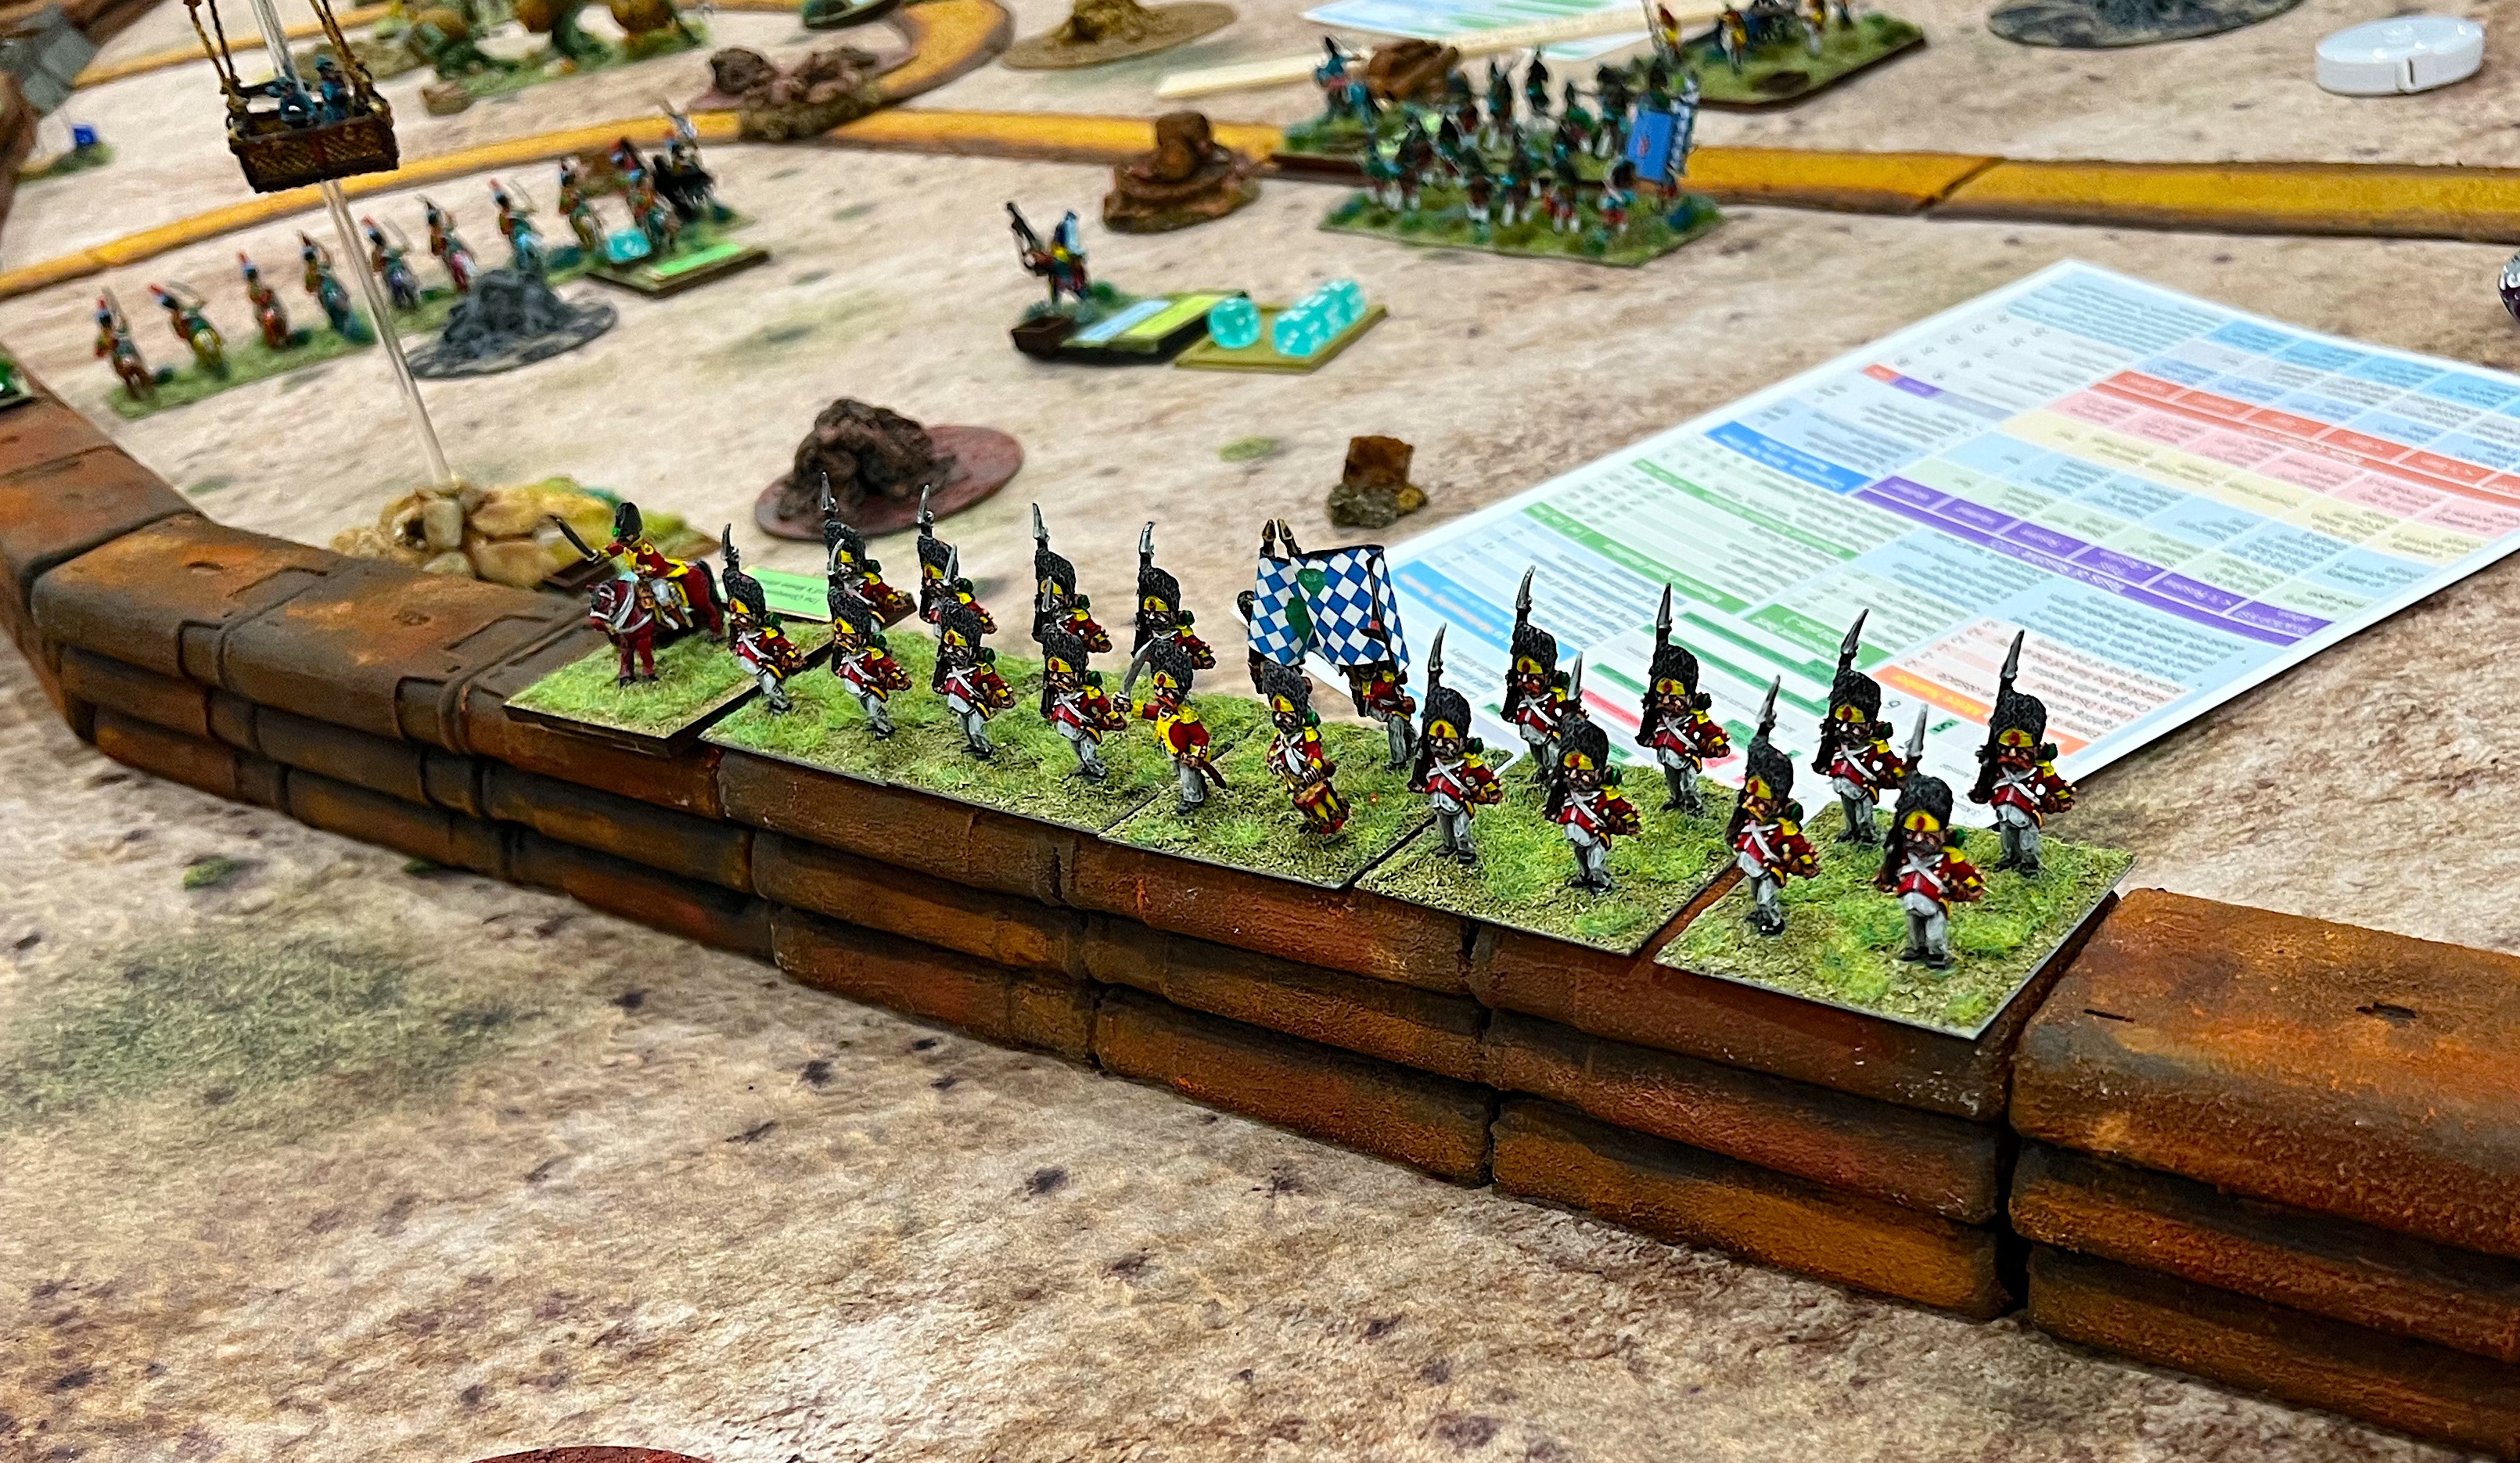
The Munchkin 1st Brigade advances on the left.The Munchkin 2nd Brigade advances in the center.The Allied Brigade ready for battle.In the center was the Munchkin Army Reserve of Harvest troops under the command of Zoraster the Wizard.The Nitpik Medium Artillery defends the left flank, with Elite Axemen behind ready to deal with any penetrations of the walls by the allied brigade.Defending the Nitpik center against the Munchkin 2nd Brigade was the Lemon Drop Legionnaires at the wall (also with napalm blasters) and the axe-wielding Jade Automata.Defending the Nitpik right was the 3rd Nitpik Brigade. They had Morin’s Monsters with napalm blasters and a mechanical mini-swarm.A side view of the start of the battle behind the Nitpik lines. The Mechanical mini-swarm is in the foreground, while the sole regiment in the Nitpik reserve – the Pink Nightmares – is in the back left.The battle begins. The Allied Brigade moves up on the right.The Nitpik Artillery prepares to fire at the Frost Ogres…….who take casualties and rout in the face of withering fire.Overzealous Lemon Drop Legionnaires take fire from the balloon and an unlucky reaction test causes them to jump over their protective walls towards the enemy!This unlucky reaction subjected the Lemon Drop Legionnaires to Munchkin musketry at short range.Morin’s Monsters hold the line.Munchkin Light Cavalry and Landwehr move up on the left flank..The Munchkin 1st Brigade moves towards the gate – somewhat stymied by the ominous rusty steel walls – their solution……climb the wall !! Assault Munchkins! (or Ranger Munchkins?)…they were soon in the town searching for technological secrets.The Munchkins commit the Great Pumpkinheads and Great Owls and bypass Morin’s Monsters.A female pirate regiment breaches the right wall and faces the Elite Axemen. The Munchkin Center is breached as well.
The Munchkins searched in vain for any technological secrets. They did manage to inflict slightly more casualties on Professor Nitpik’s forces, resulting in a narrow 18-15 point victory.
Little Wars TV actually showed a snippet this game on their Cold Wars video – you can see it at minute mark 12:31. My players look happy!
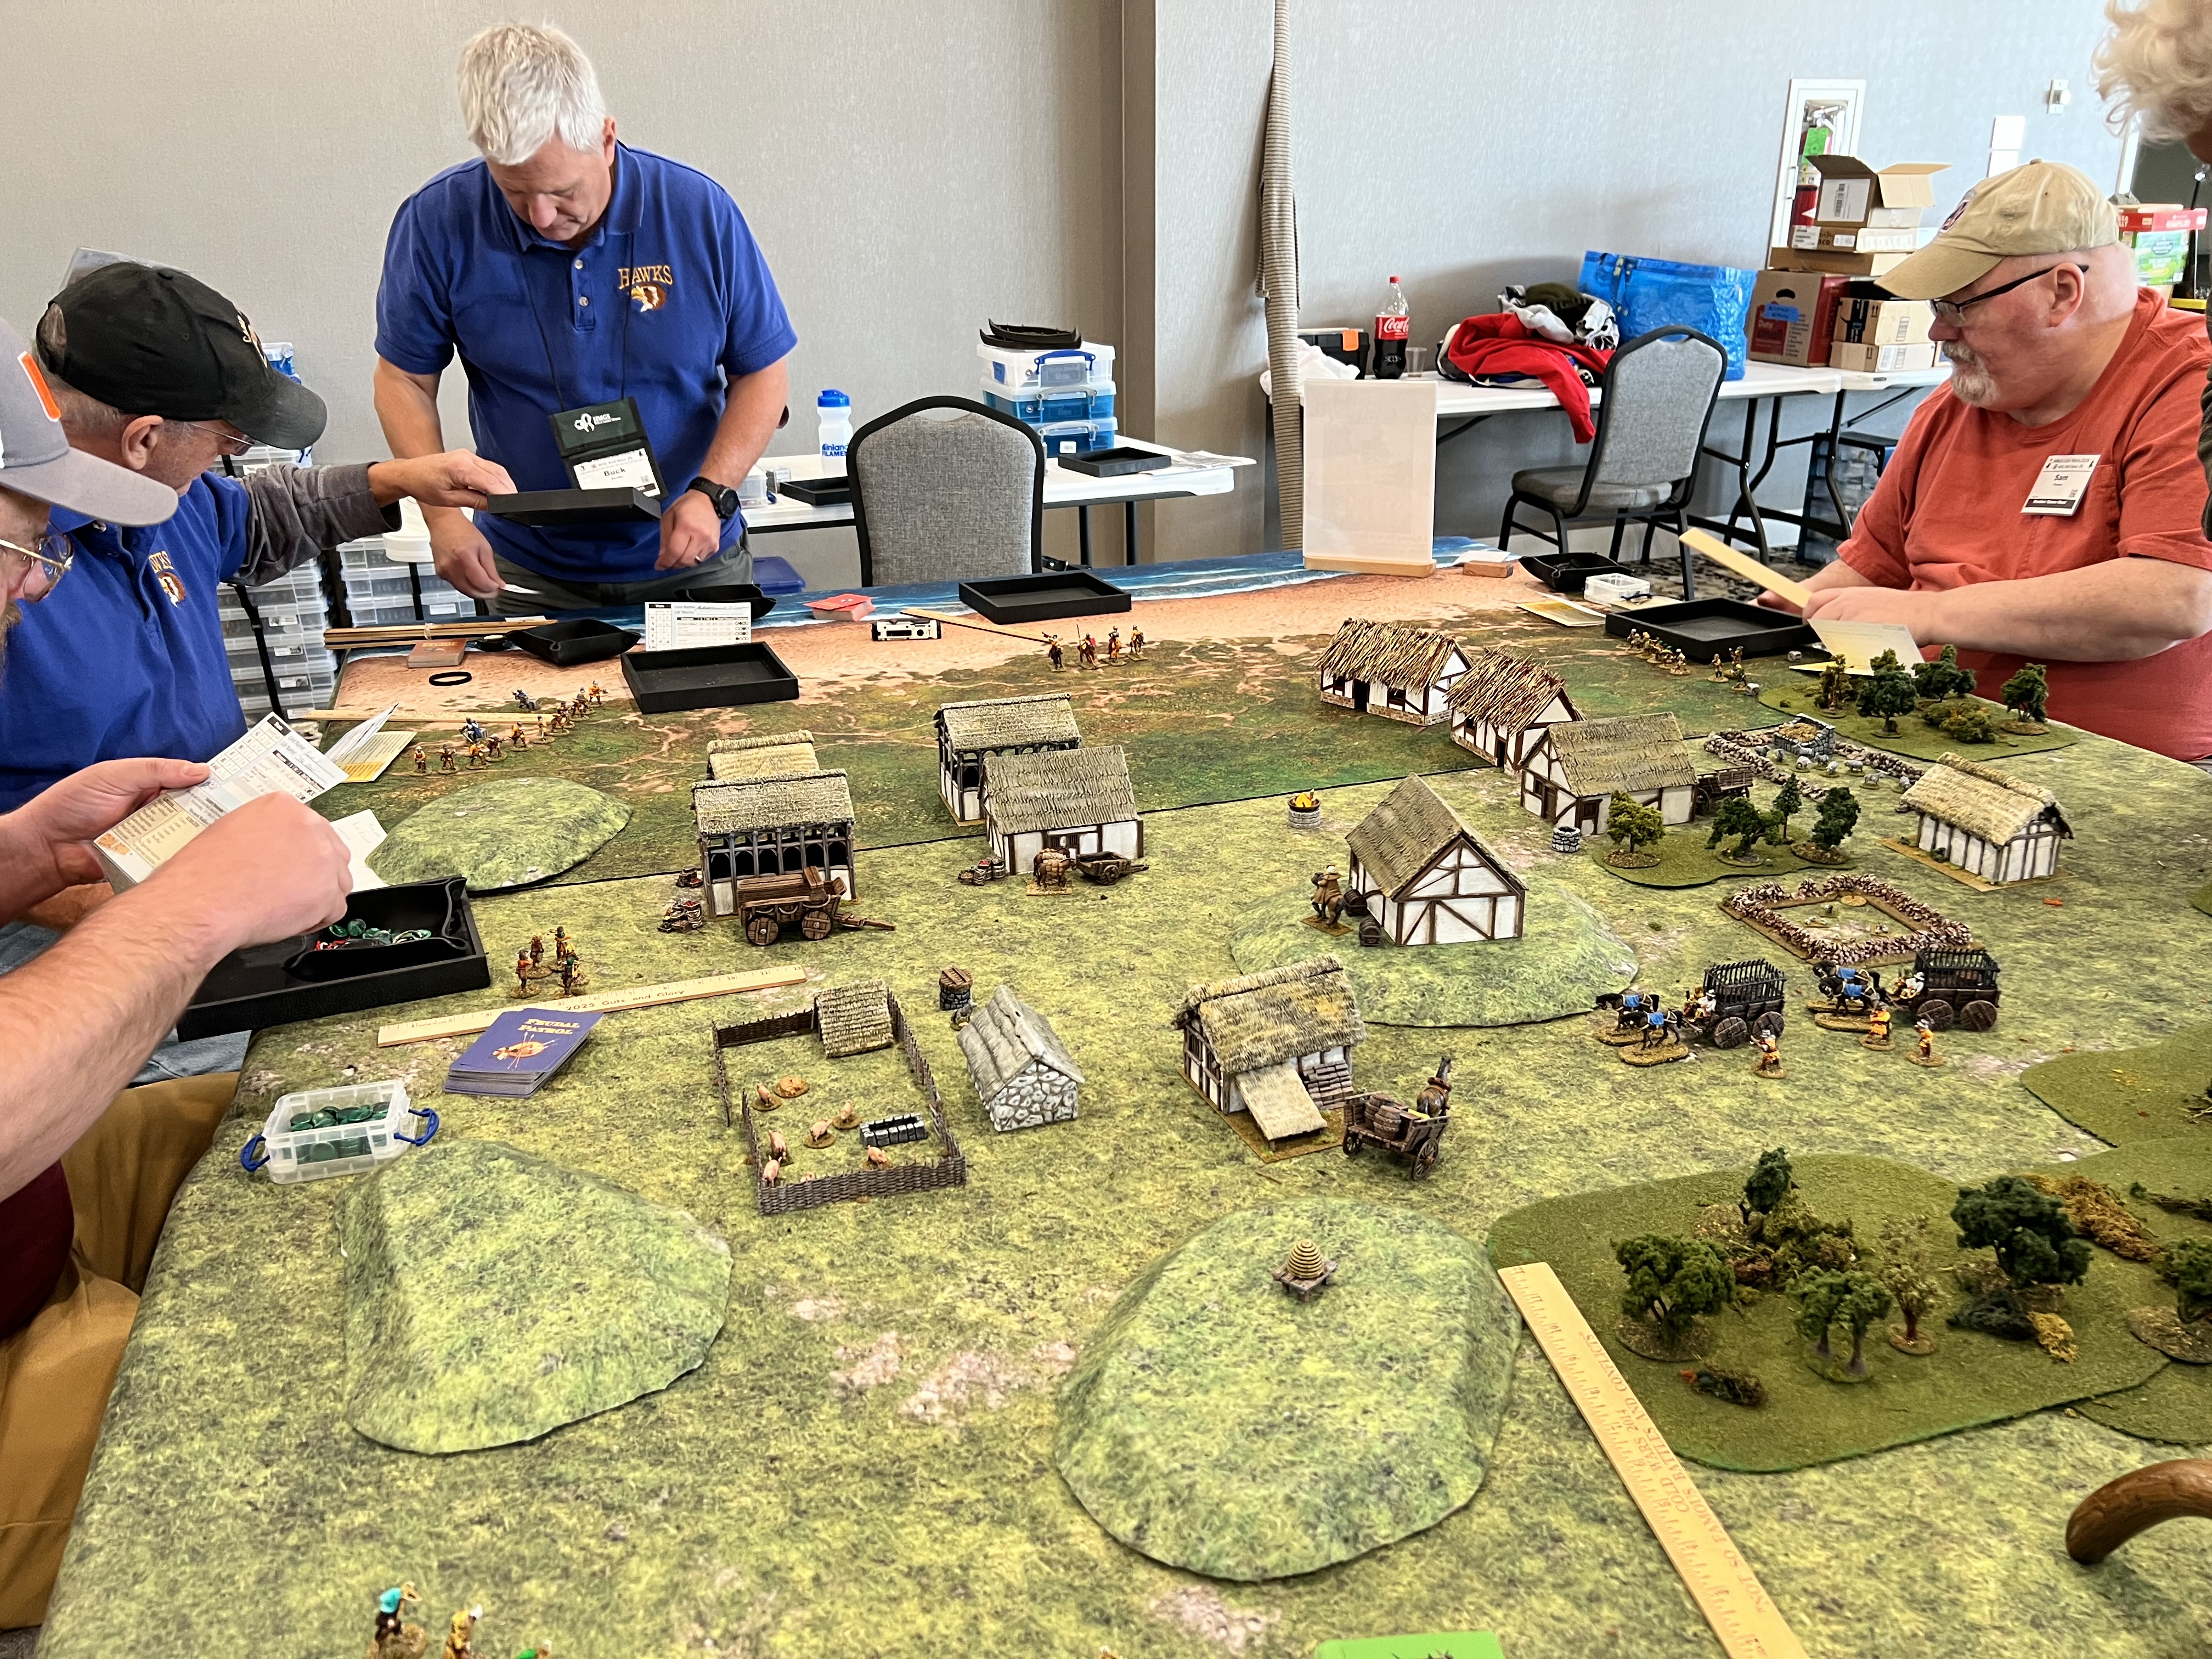
That wrapped up Friday – and Saturday I had two games scheduled. The first was a What a Tanker “what if” scenario between Vichy French and Italian armor. I had to cancel it due to lack of players. That allowed me more time to set up my evening game and to play in another Feudal Patrol game run by Buck. It was a scenario based on a William Tell TV show from the ’60’s that I have no memory of! It was fun, we freed the good guys from the Austrians, and had a good time.
Tell Me the Truth! (Feudal Patrol/William Tell)
Buck prepping at the game start. I spent a lot of time in the game moving that bee hive on the hill!
At last it was time for Saturday night’s game.
High Noon at the Cyber Ruins (Combat Patrol:WWII – modified for retro Sci-fi)
This was my “western-themed” game.
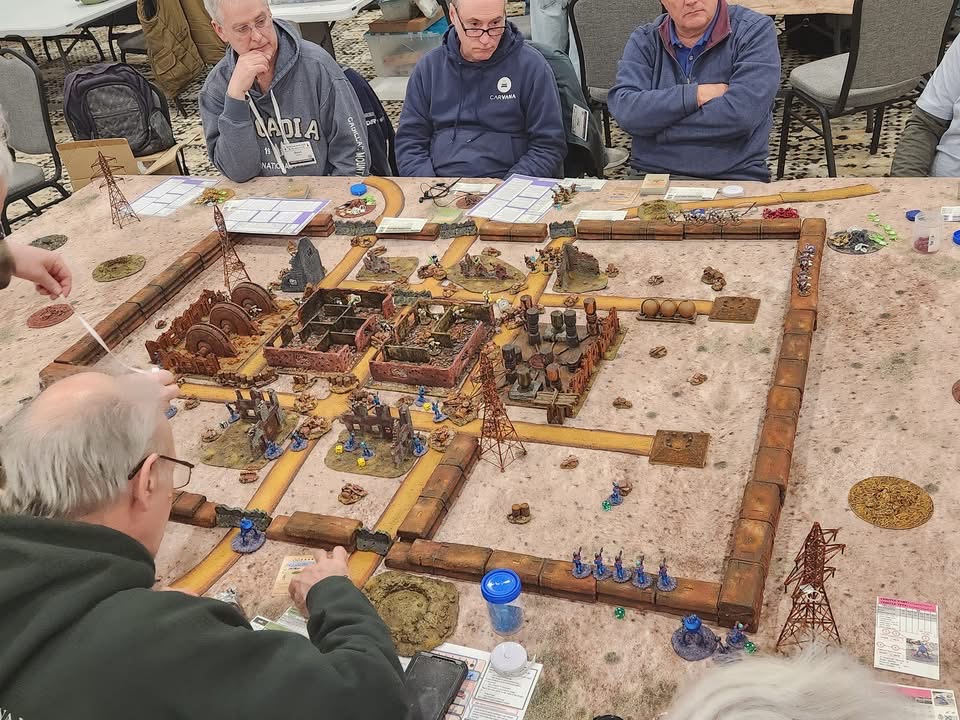
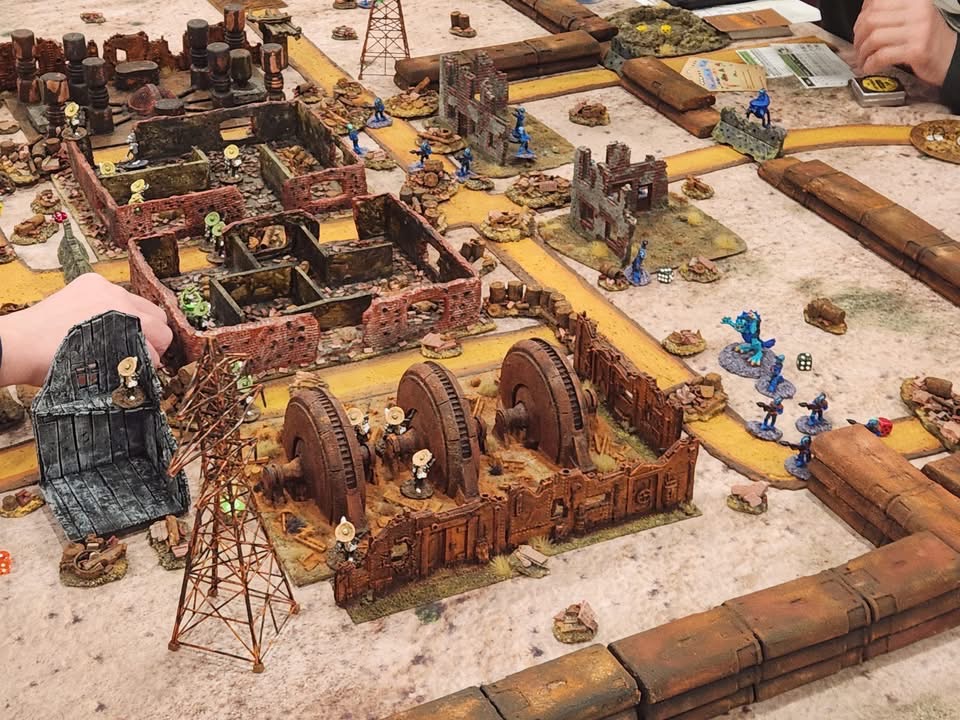
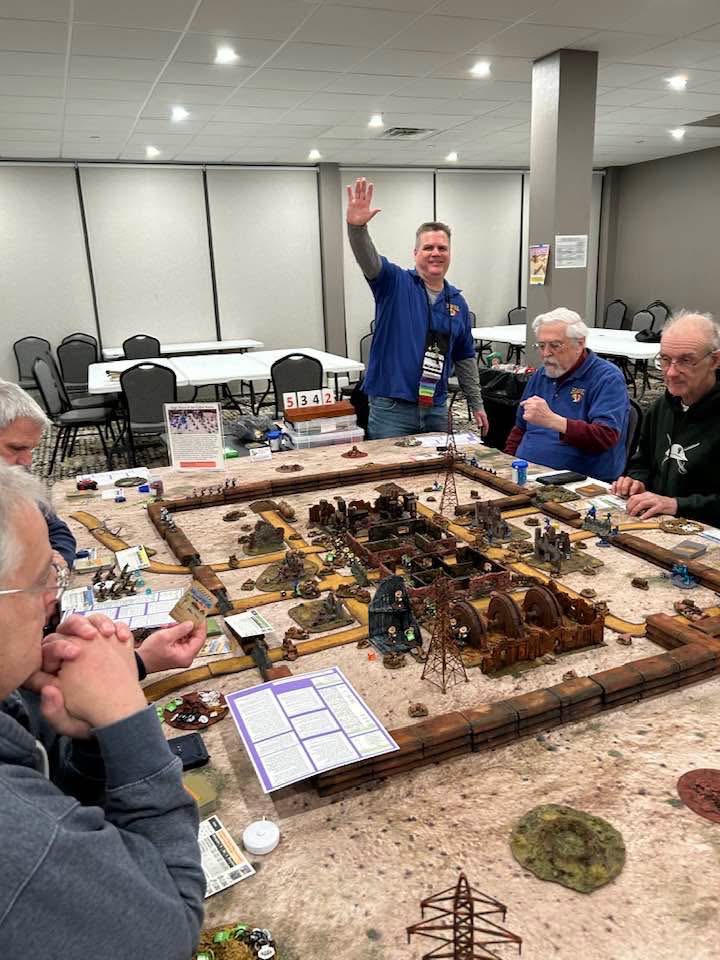
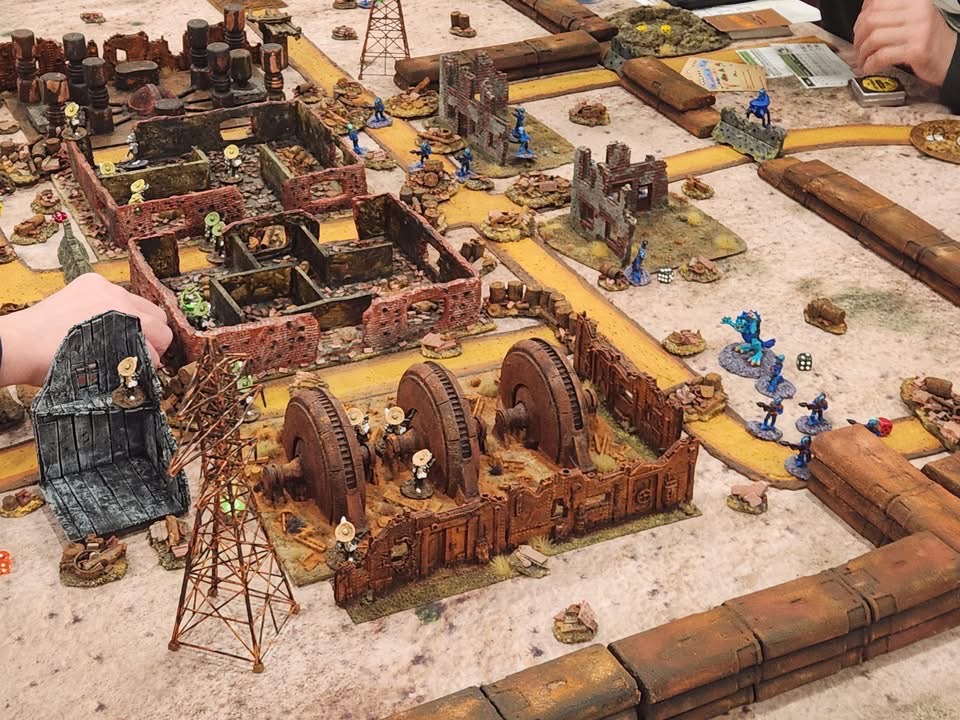
I was really looking forward to this one as I got to use all of my rusty wreckage and ruined buildings that I have posted about here in this blog. It did not disappoint. The battle was full of action, with jet-packing cowboys (Texican Space Rangers) and Space ‘Roos engaging the Retrovians (Roger’s own). (More about Roger here.) Ancient robots were found and lost, some even getting violent when found. Buck got to play and channeled his inner paratrooper in the attack.
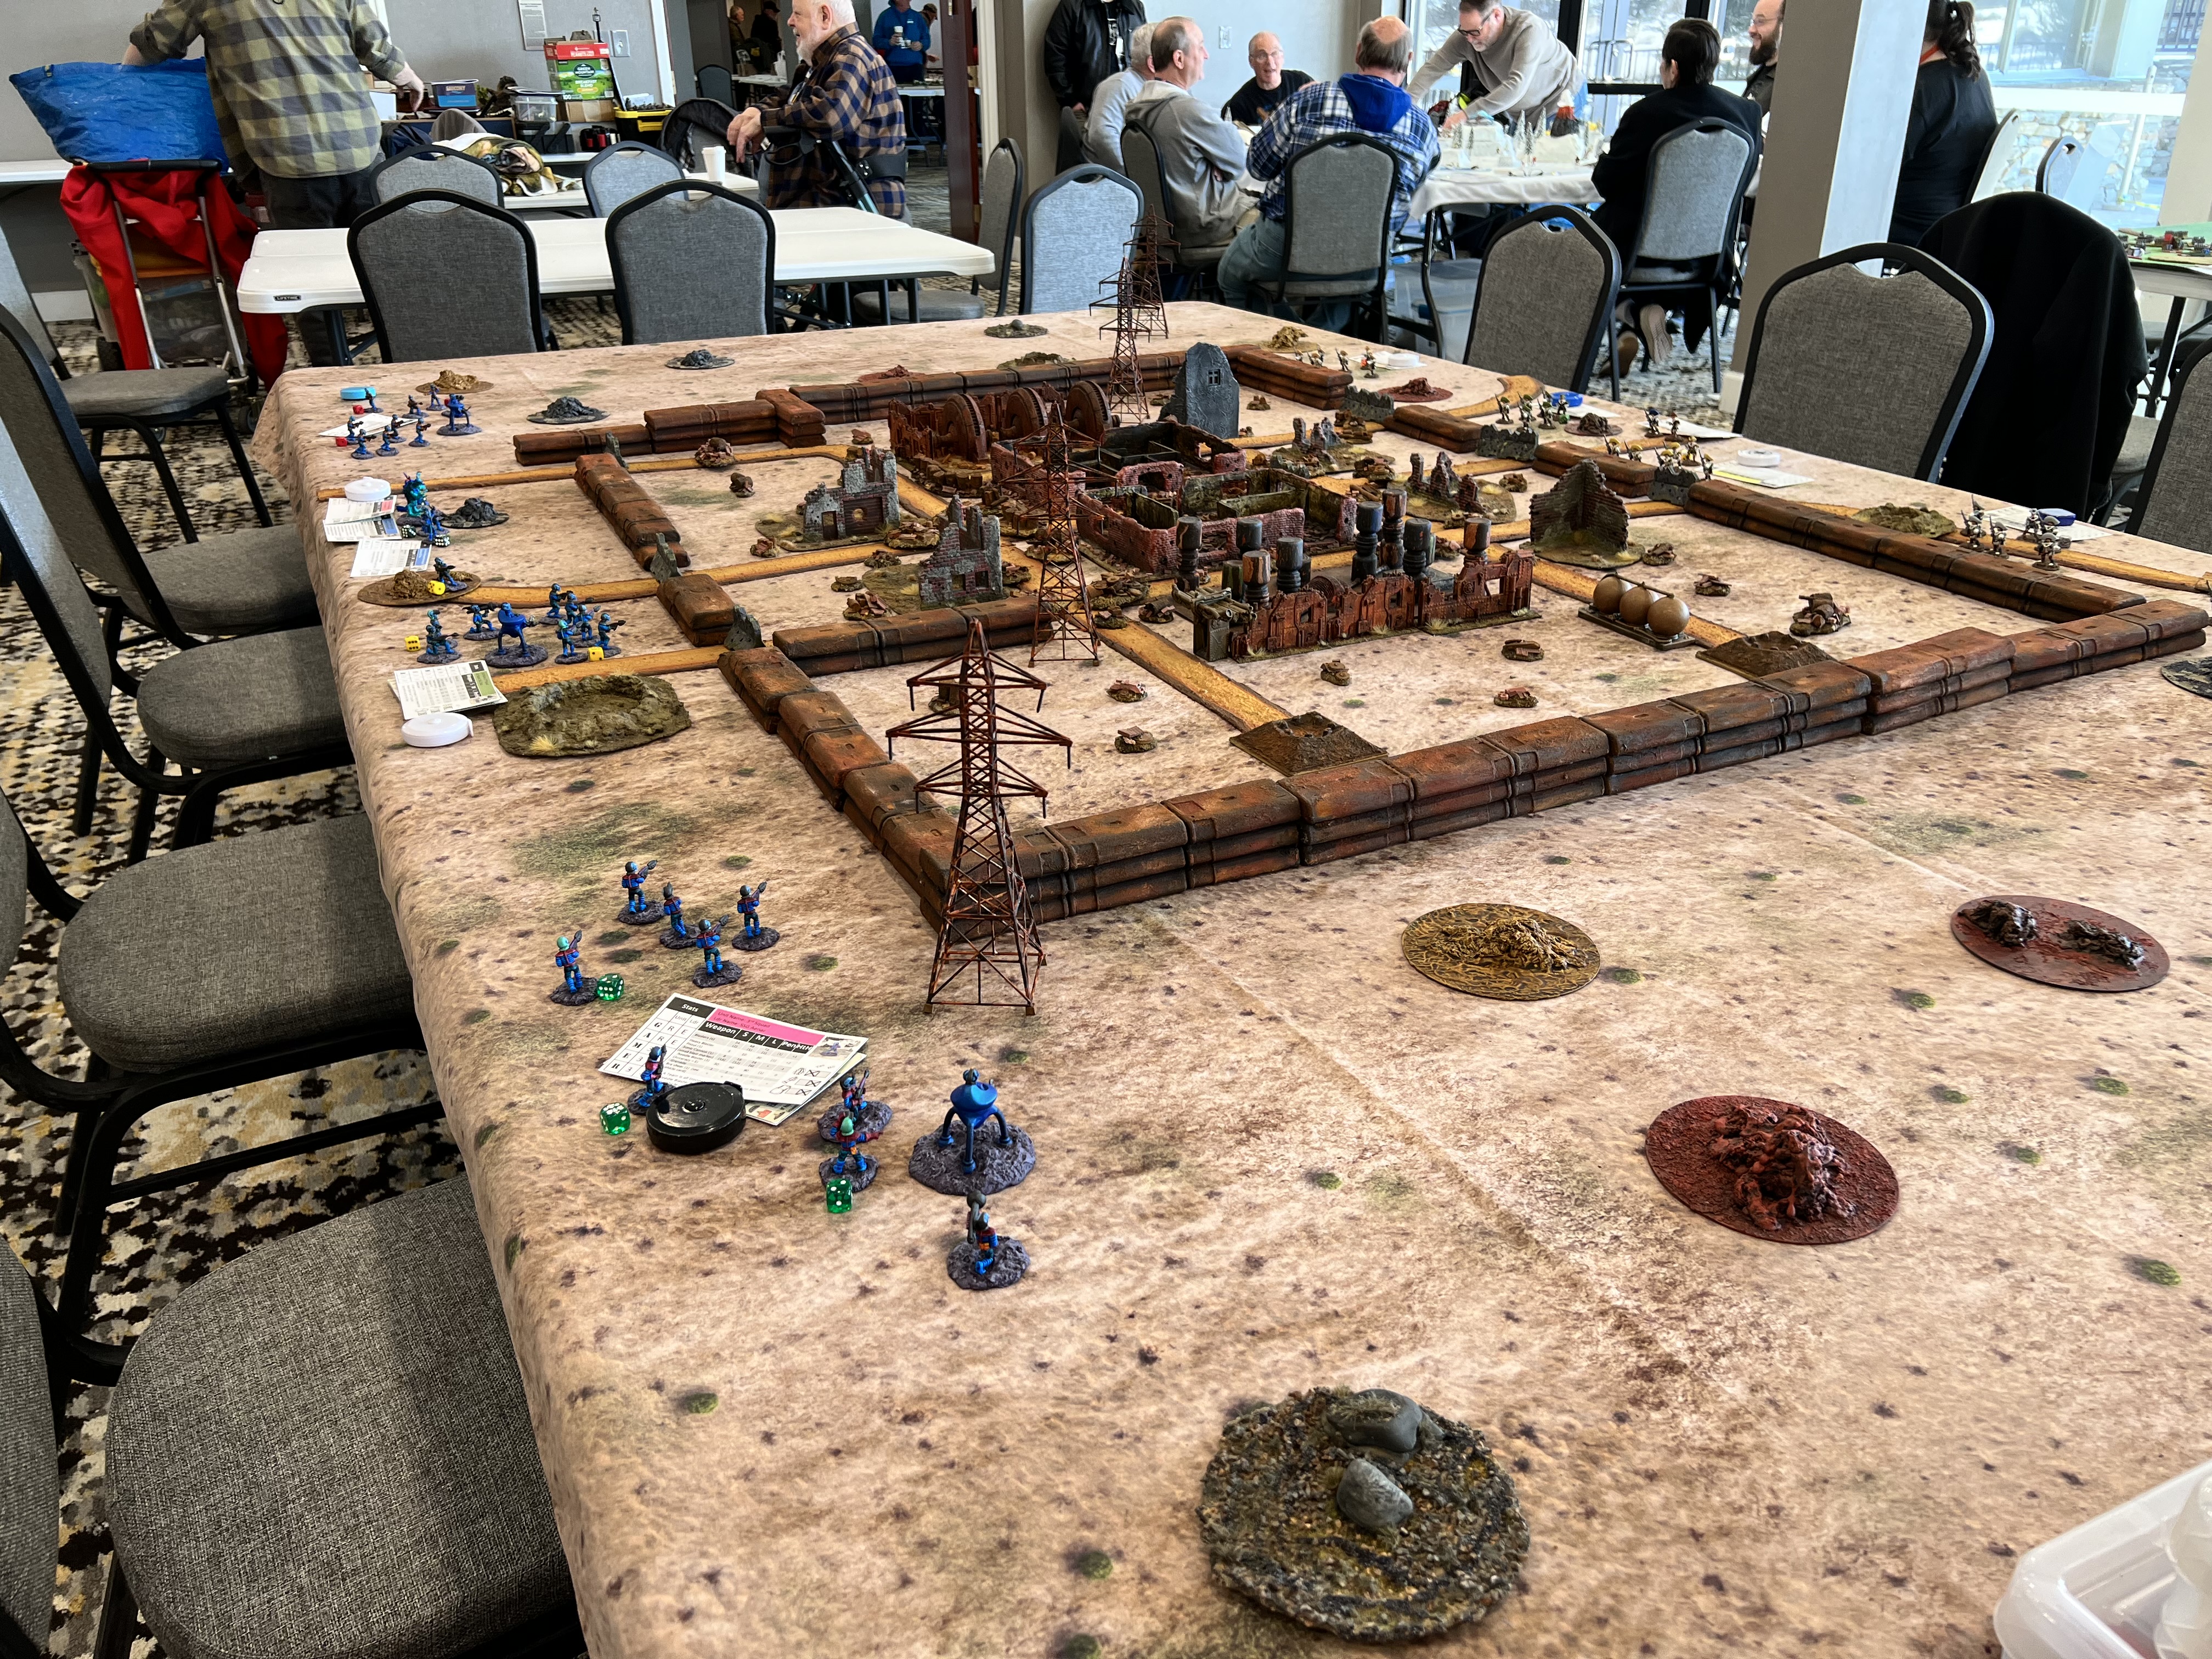
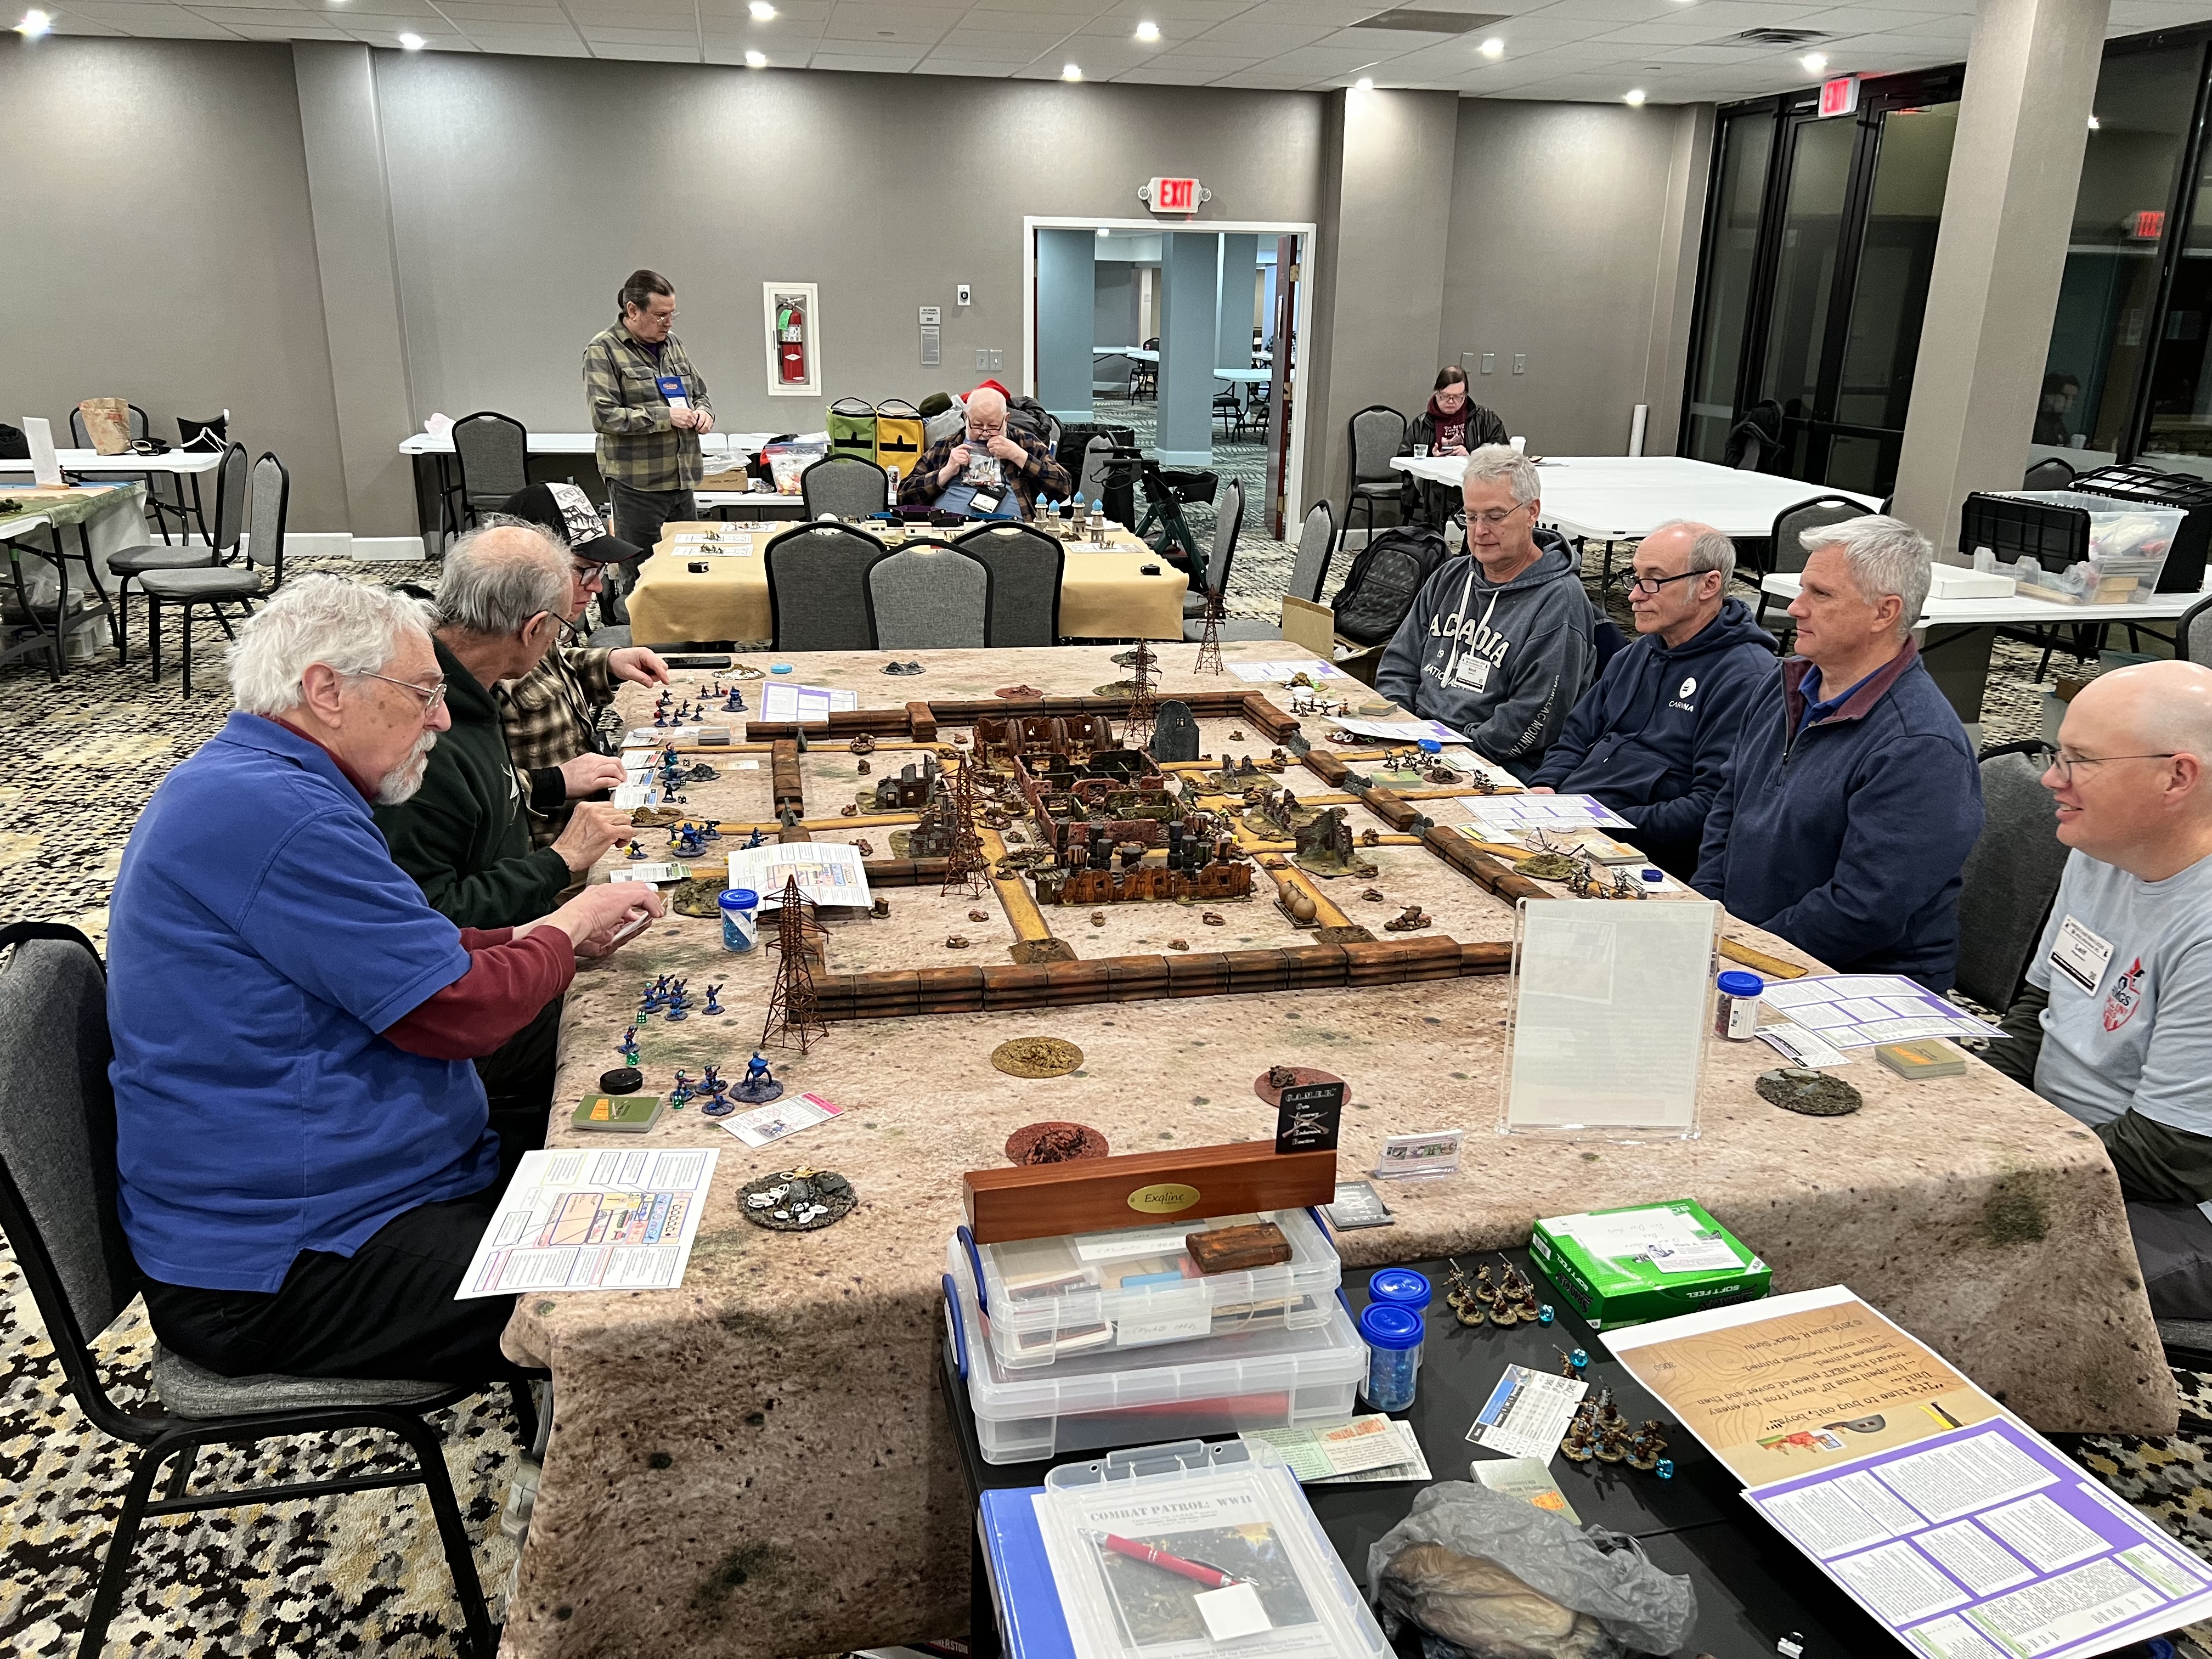
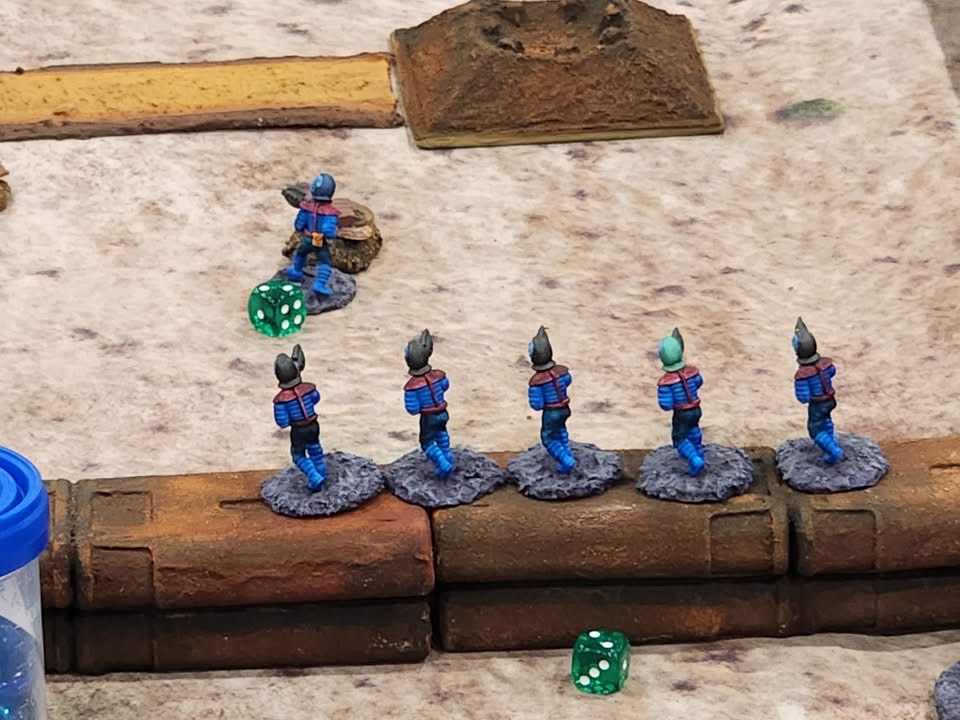
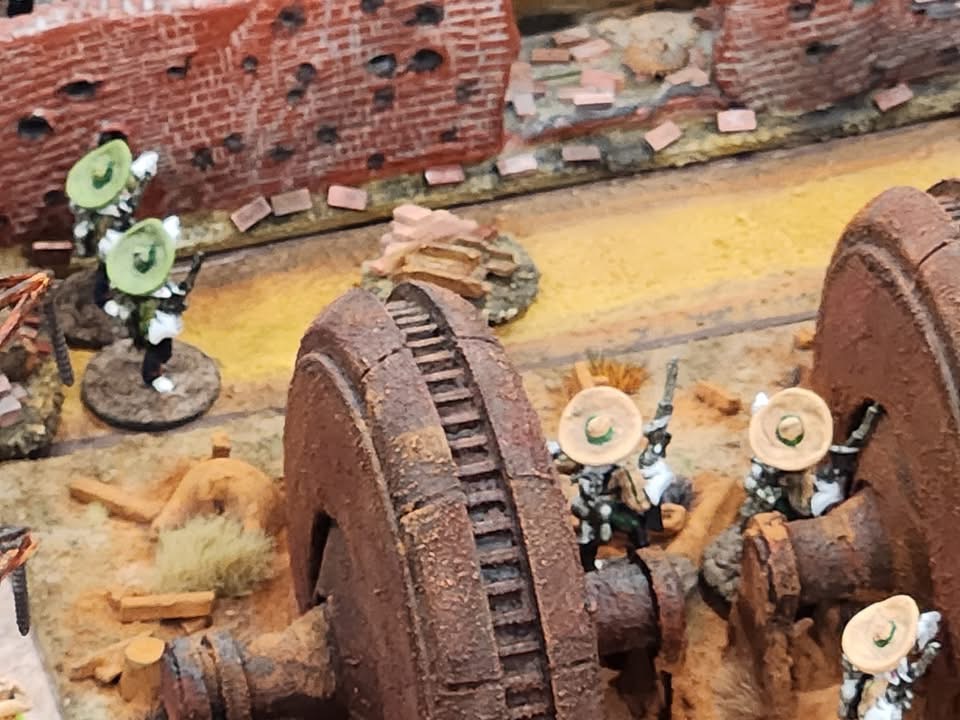
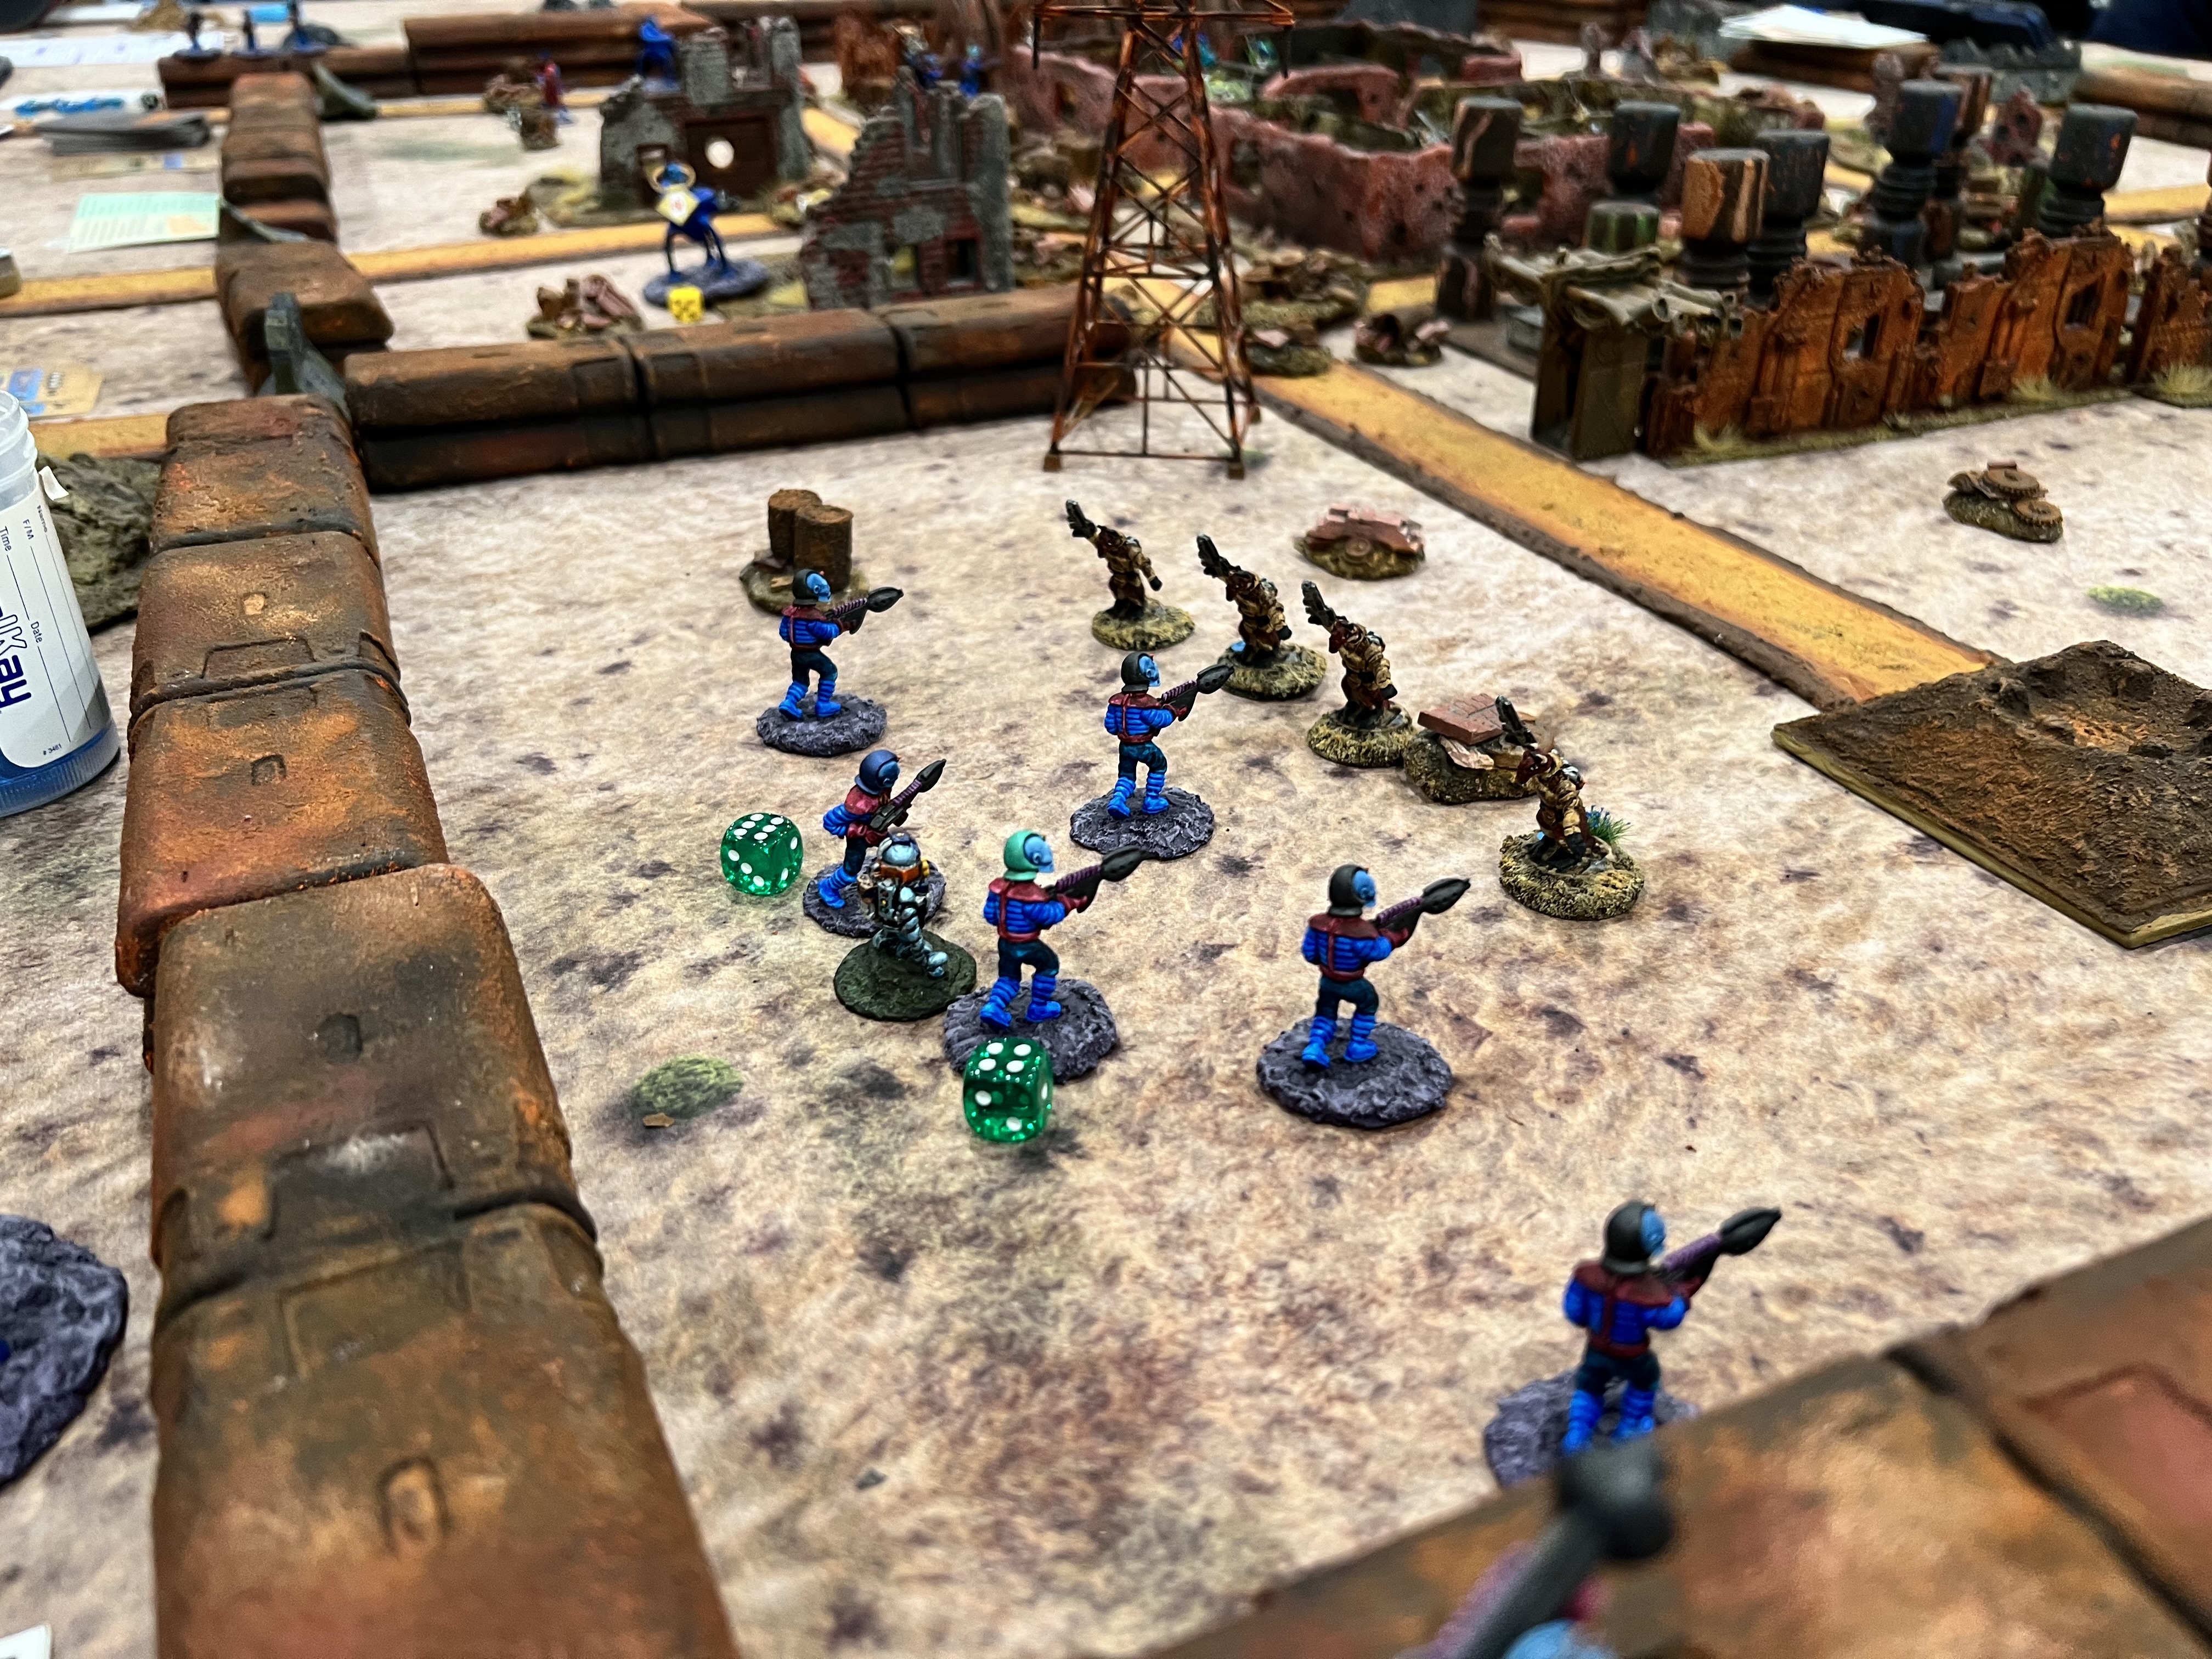
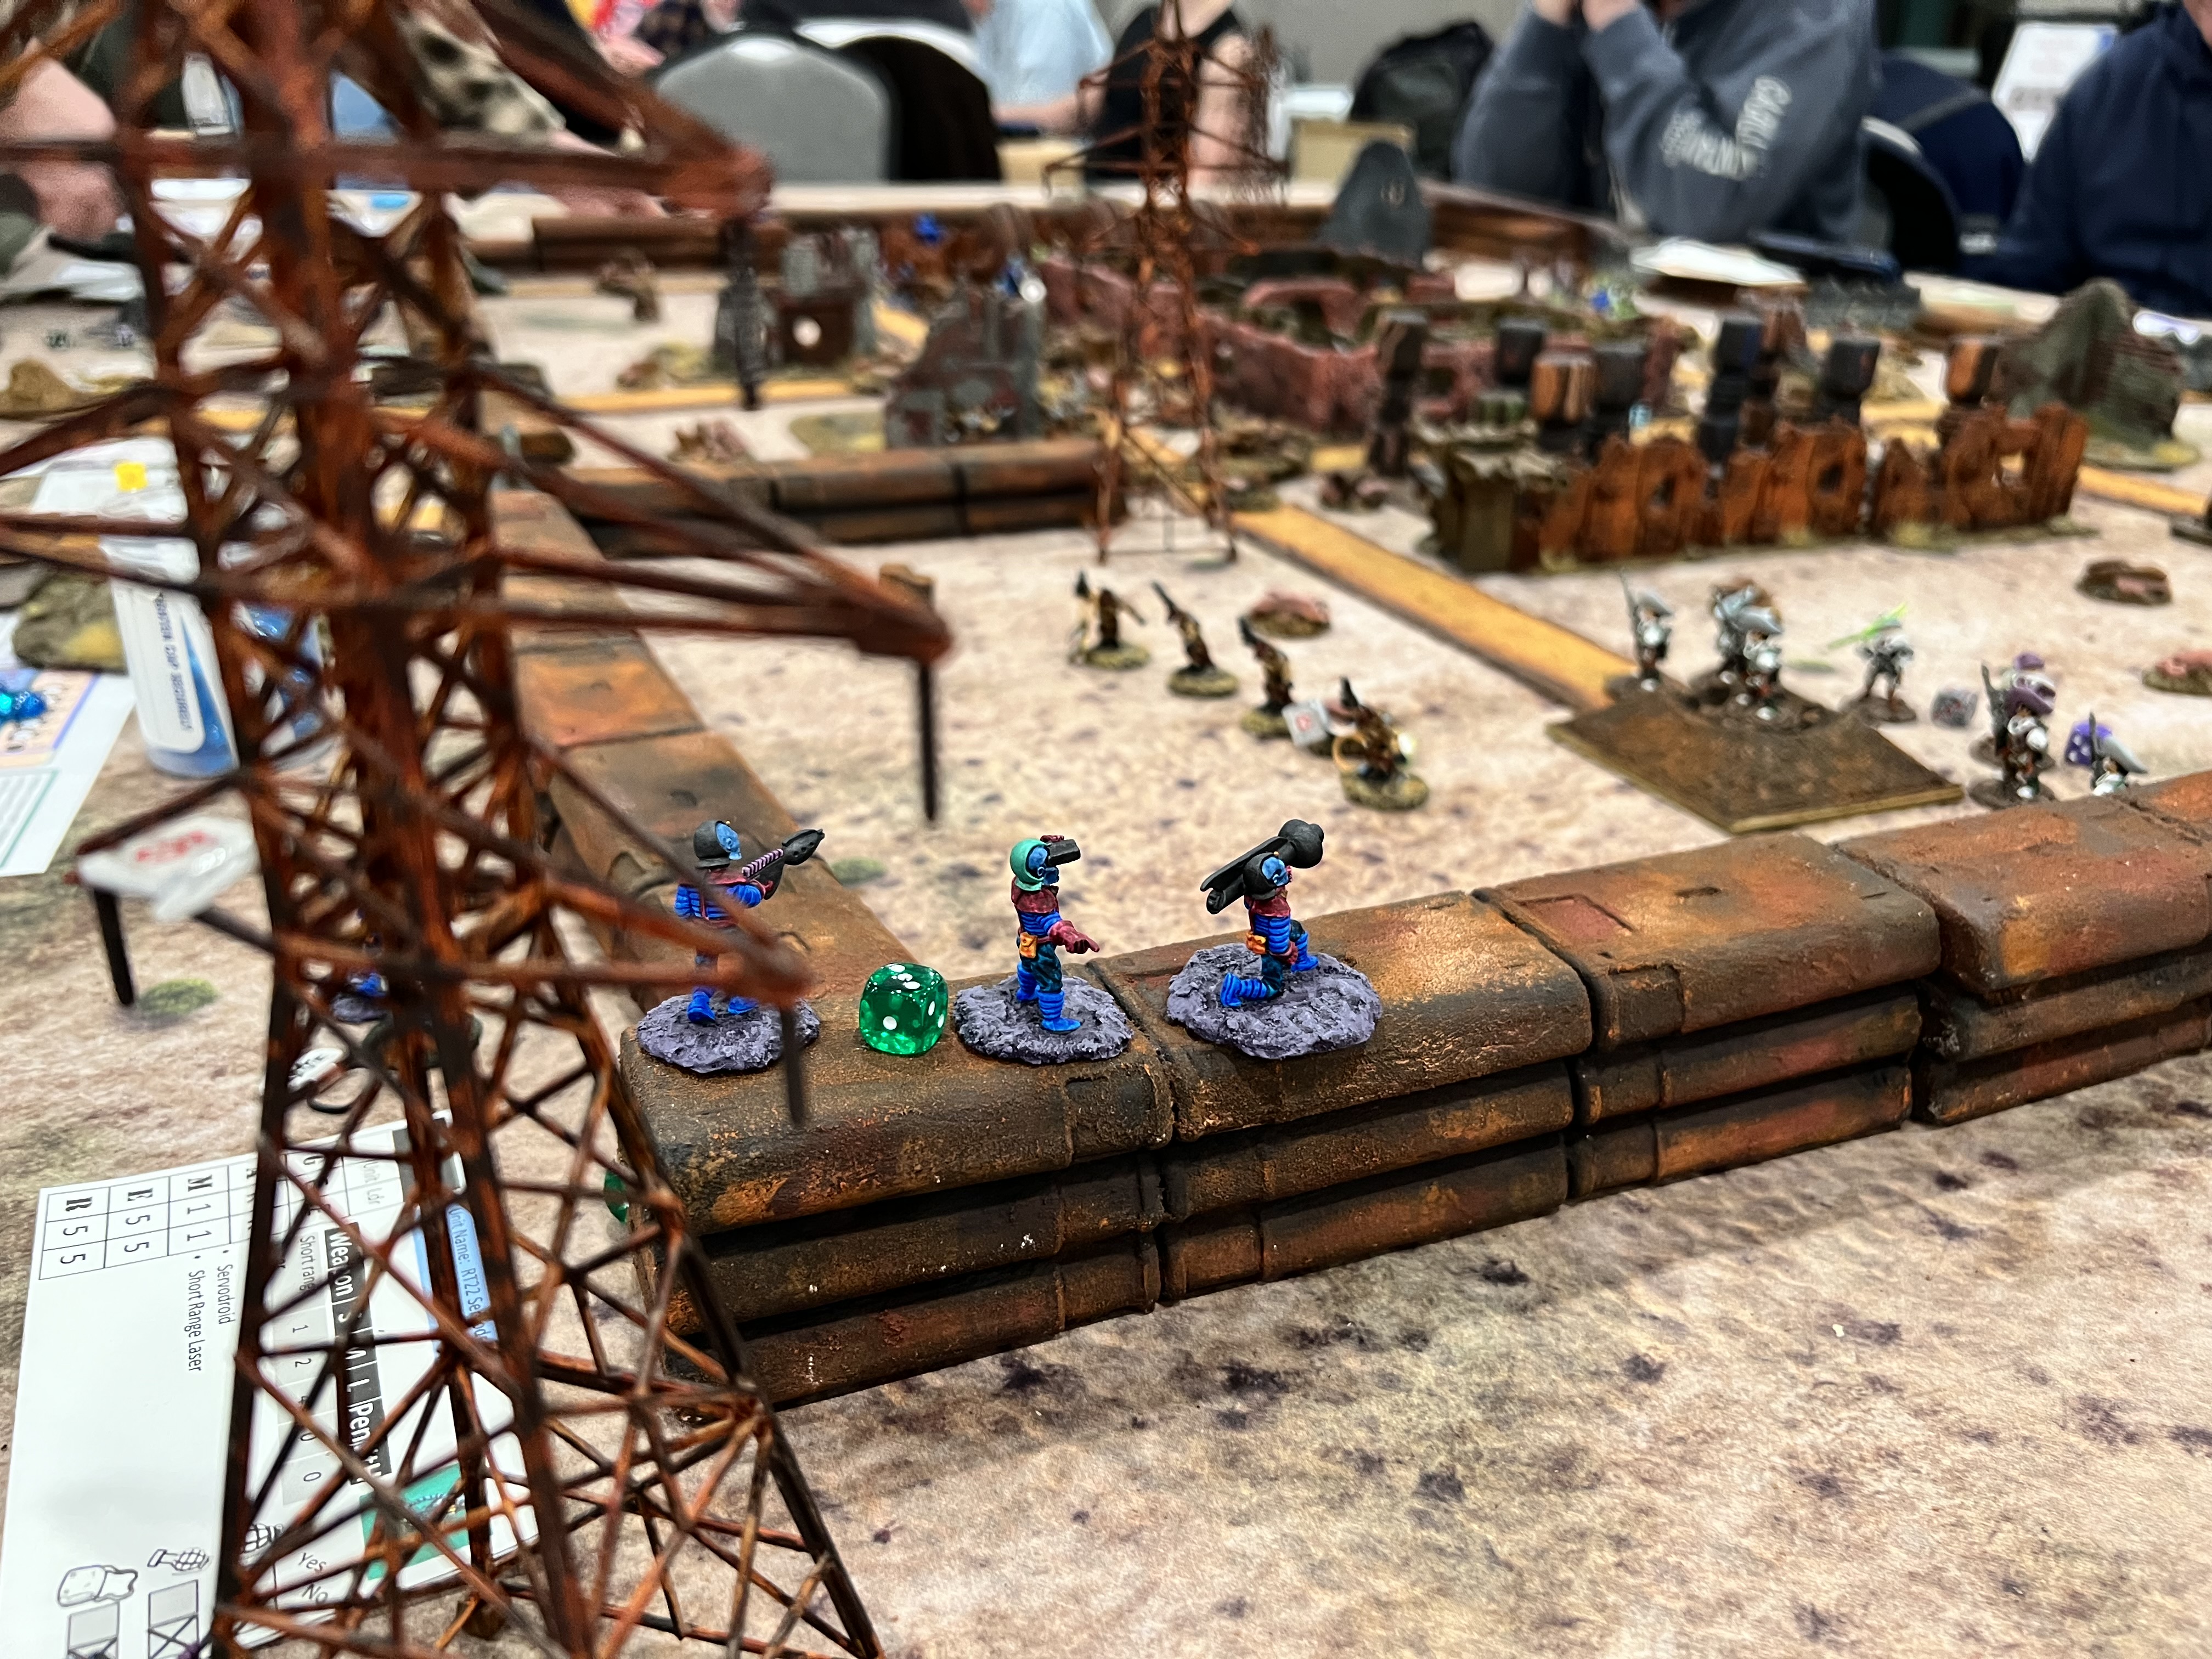
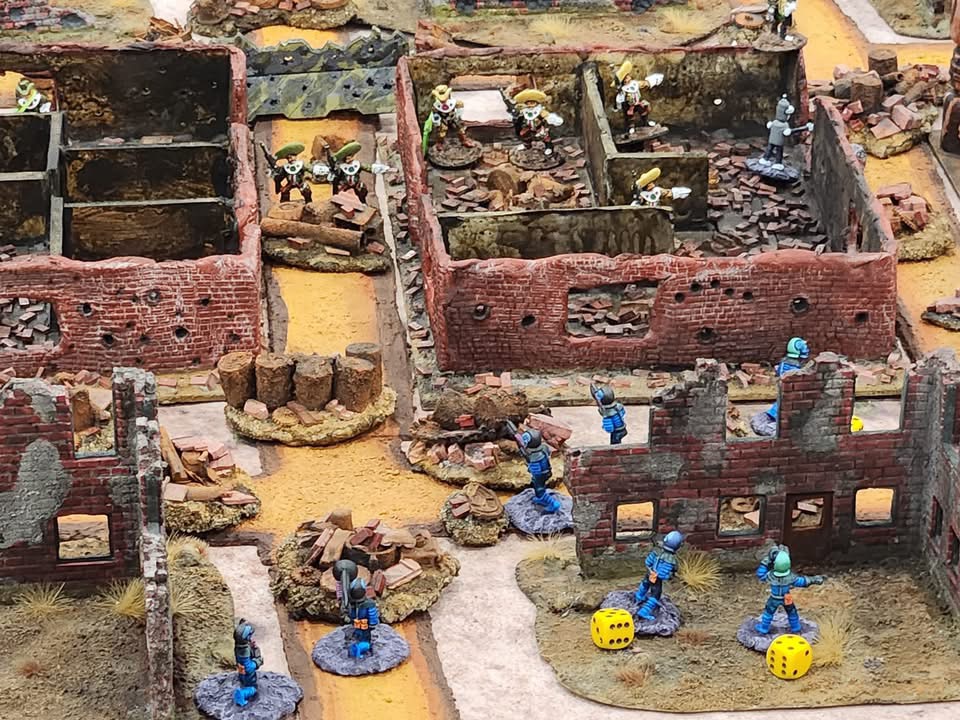
The game set up for action. Retrovians are moving into the ruined city from the left, and Space Cowboys from the opposite side. Space ‘Roos come in as reinforcements.Players ready for action.Skip maneuvers his troops in the background while Bruce deftly had his sniper climb the transmission tower. Obviously the figure would not stay, so we used a rubber band.Retrovian Heavy Weapons Squad.Movement into the city.My friend Ken Howe snapped this shot!Retrovian “Garkon” section.Moving into the city – what to do?Space Cowboys and Retrovians search for ancient robots.Retrovian fire team mounts the wall.Space Cowboys huddle in the wreckage from Retrovian fire.The tripod “Bra’sheers” had a difficult tome getting over the walls. They did at points and instantly decapitated a few Space Cowboys with their claws.A “Bender” robot was found – but was hostile and killed a cowboy and needed to be subdued. Some of Leif’s Space Cowboys got on the wall in a conga line only to take Bra’sheer machine gun fire.The conga line of death before machine gun fire…Retrovians getting into the city in any way they could.The battle rages.Urban fighting!Lots of combat in the city.Buck jet-packs his Space ‘Roos and ambushes Bruce’s Retrovians, wiping them out. He was practically giddy in this game with how successful his tactics were.Retrovians seek revenge with sonic cannon and sniper fire.Space Cowboys and Space ‘Roos continue the search.
In the end, the Space Cowboys and Space ‘Roos alliance found 3/4 robots and successfully held on to them. All casualties mounted. But the victory was clearly in the hands of the Space Cowboys and Space ‘Roos!
After the game, with help, I was able to pack the car for a Sunday morning drive home. The temperature was well below zero Fahrenheit! With the wind chill it was -13 degrees Fahrenheit (or -25 Celsius for you metric types!).
Thank you to all at HMGS who made Cold Wars possible!
That wraps up this post – I still have a few that are in the queue , and I hope they are of interest.
I will be running these games again so see you at the next convention!
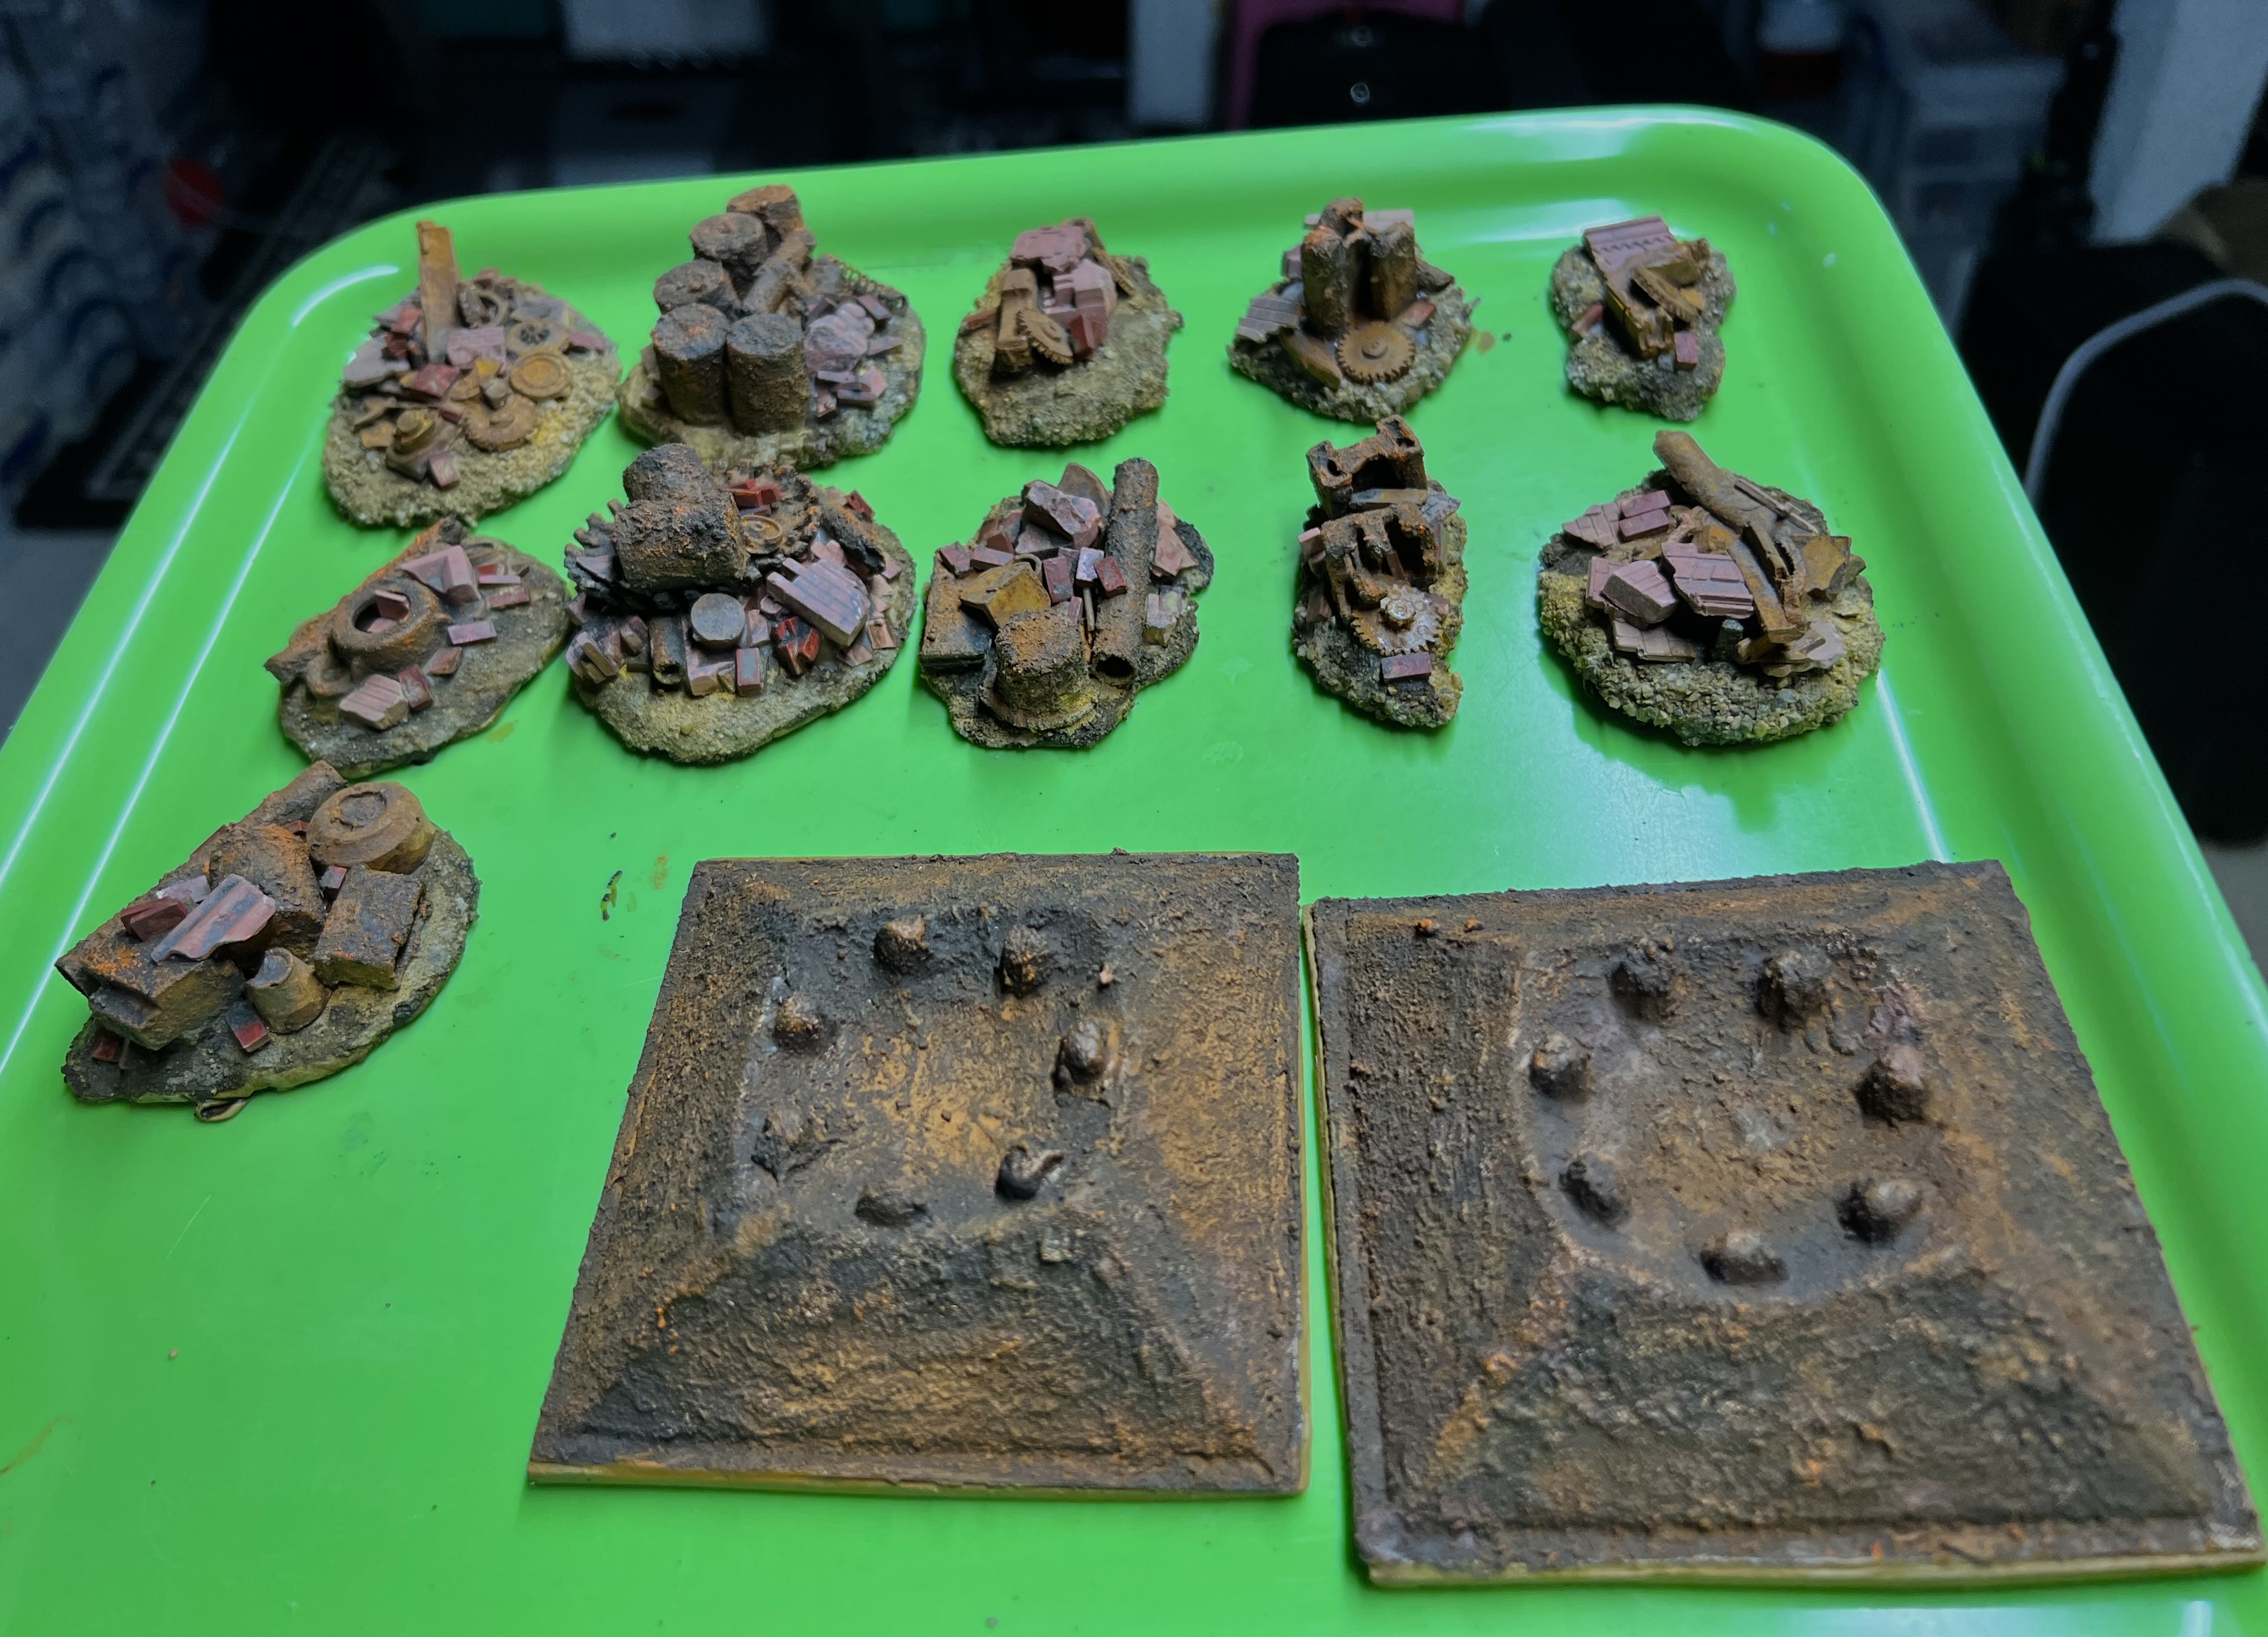
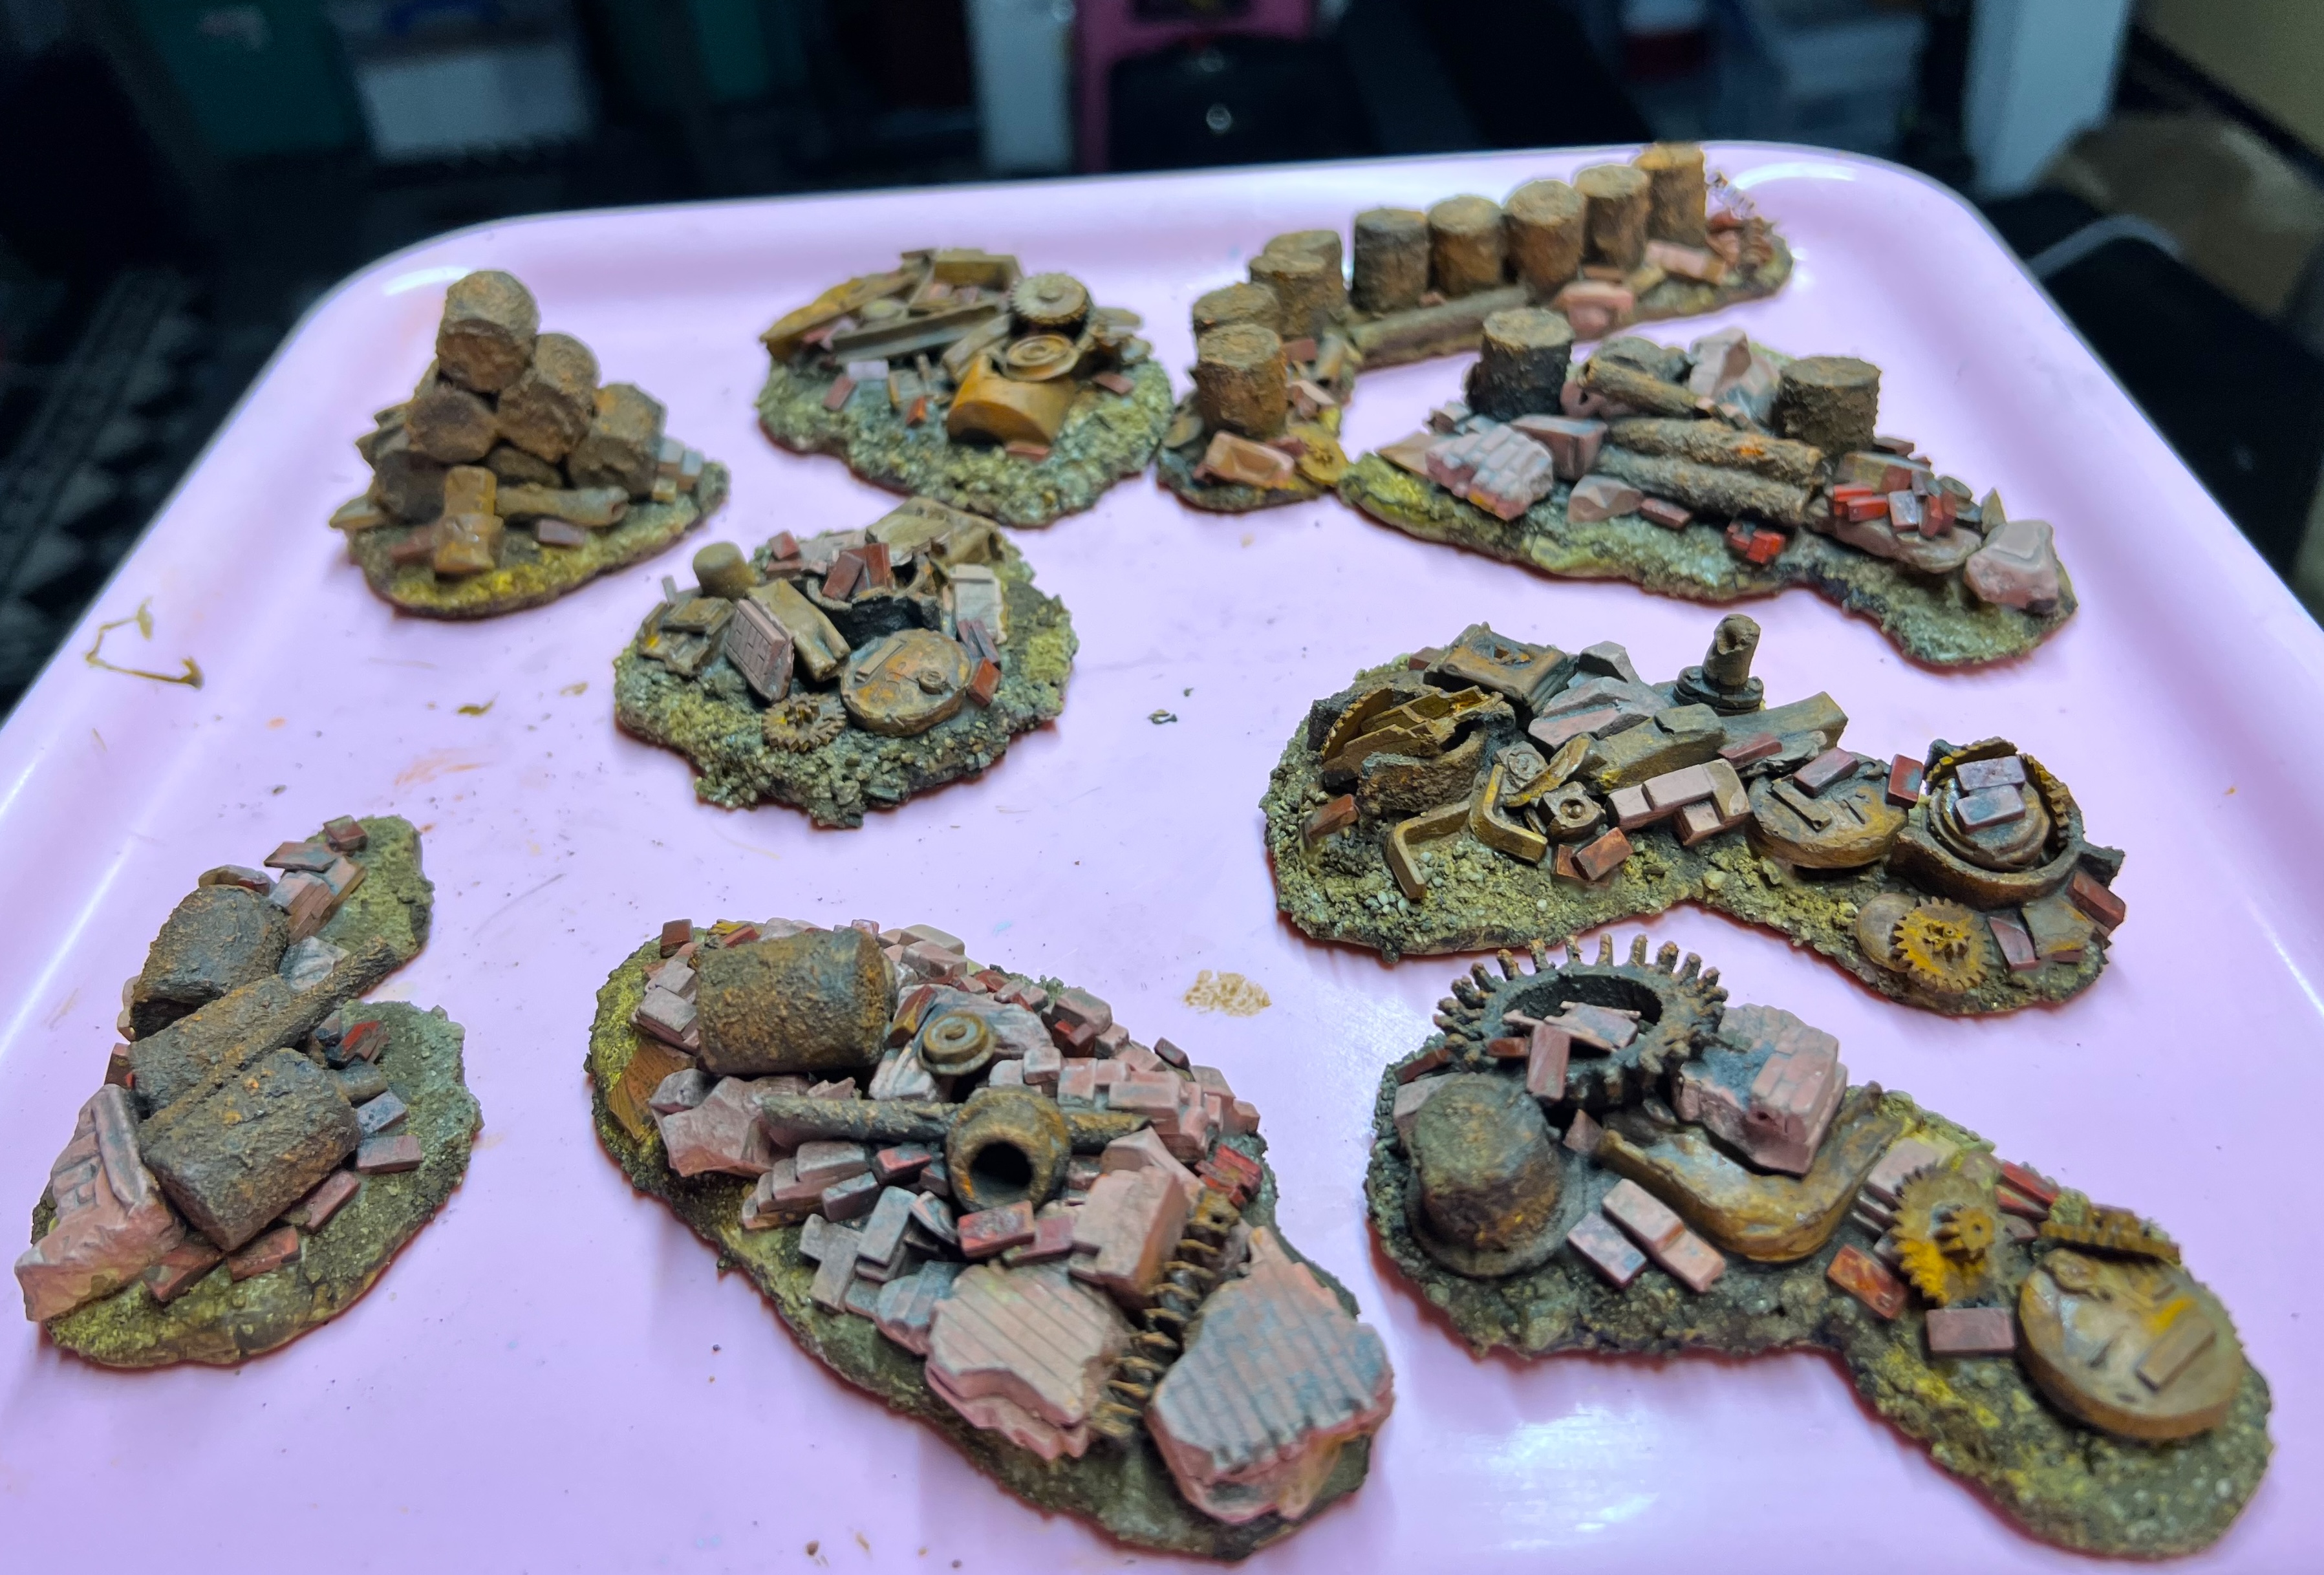
Followers of this blog have seen several posts showing my “rusty” preparations. I have been getting ready for my numerous games at 2026 tabletop wargaming conventions. That preparation involves painting up figures and terrain for scenarios that involve a good amount of ruins and wreckage.
In a previous post, I shared how I built transmission towers and rusty walls for a Wars of OzzTM game involving Professor Nitpik’s Industrial City (the Robotic Sanctum). I ran that game at Cold Wars and will share more about that convention shortly. The theme for Cold Wars this year was “The Wild West”, so I also had planned to run a game involving Space Cowboys (technically Archive Texican Space Rangers” from Star Rovers).
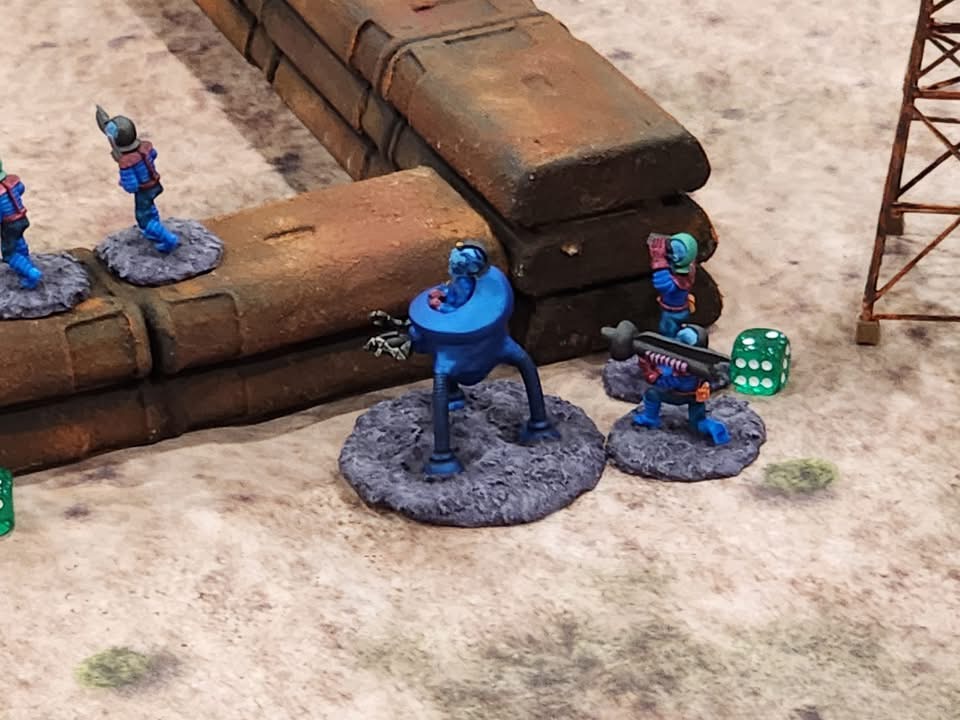
I don’t run western games, but I could cobble together a retro sci-fi game using Buck Surdu’s Combat Patrol:WWIITM gaming system (with my modifications). In my game Archive “Space Cowboys”, and uplifted kangaroos (“Space ‘Roos” ) combat blue-skinned “Retrovians” (from War Games Supply Dump). Both armies are searching for hidden ancient robots in the apocalyptic ruins of a long-dead civilization on a newly-colonized world called Dust.
To really make the ancient ruined industrial panorama that I wanted, I needed more buildings and structures than just my transmission towers, rusty walls, rusty generators and ruined chemical plant. I also wanted a lot of wreckage strewn about as terrain.
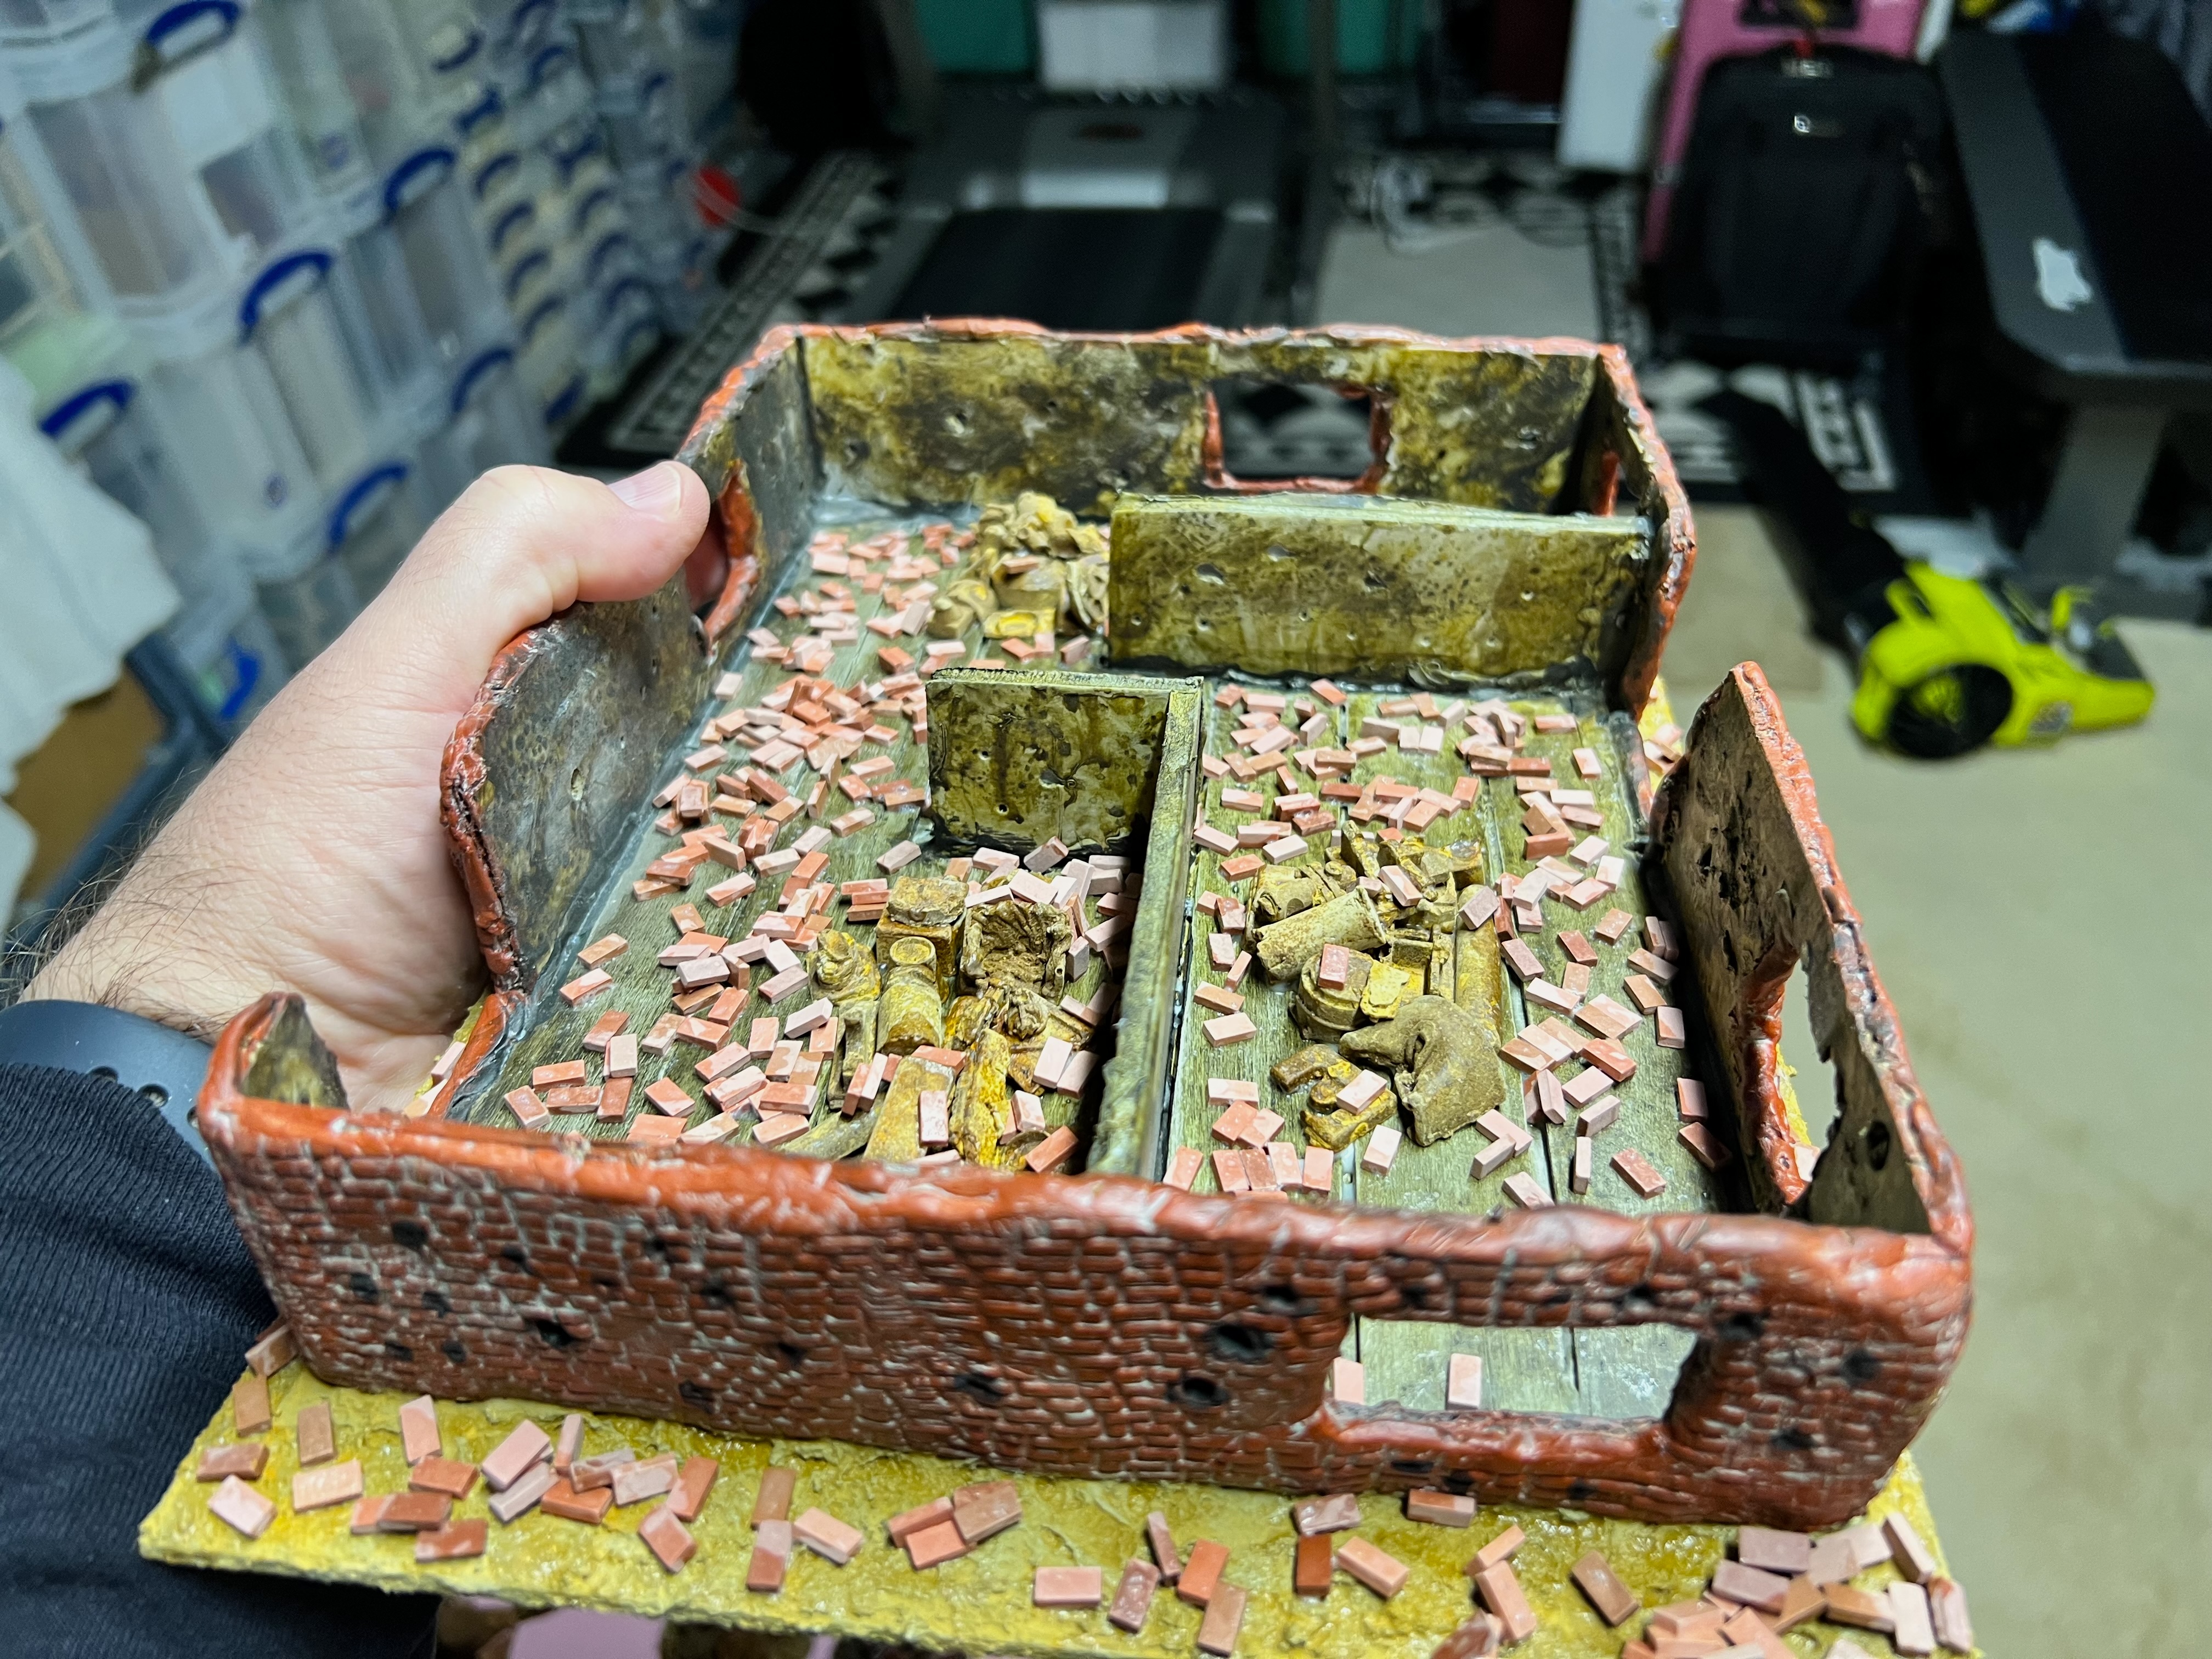
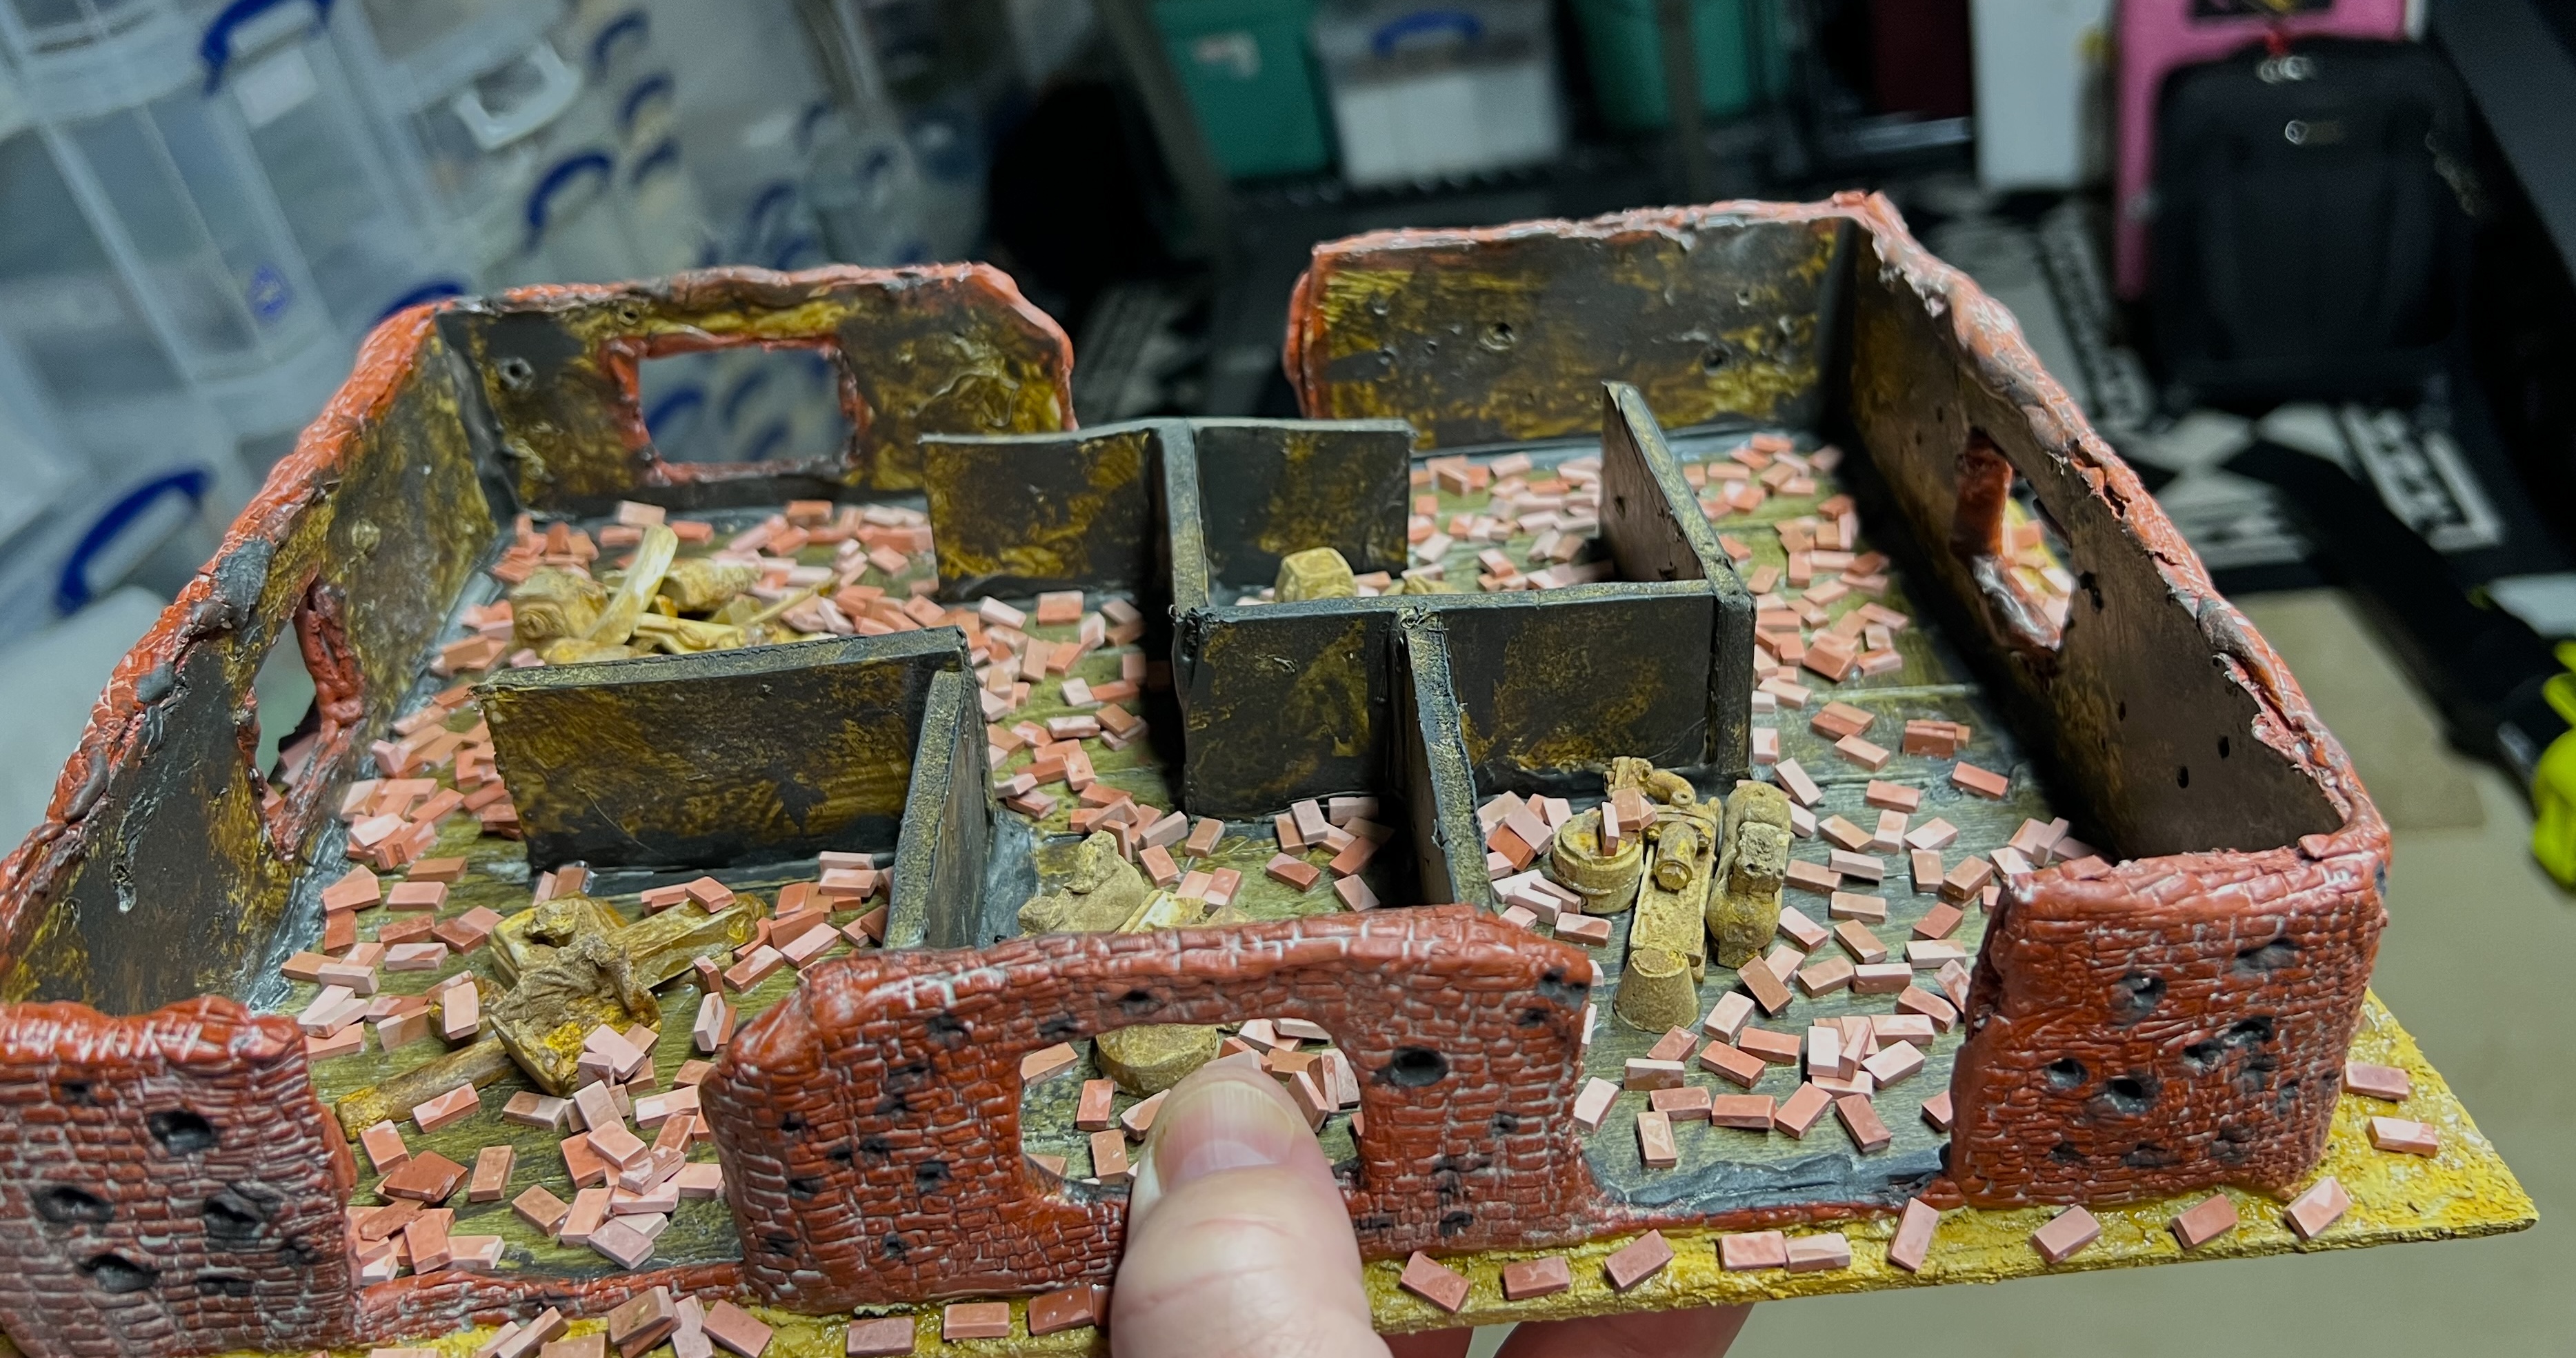
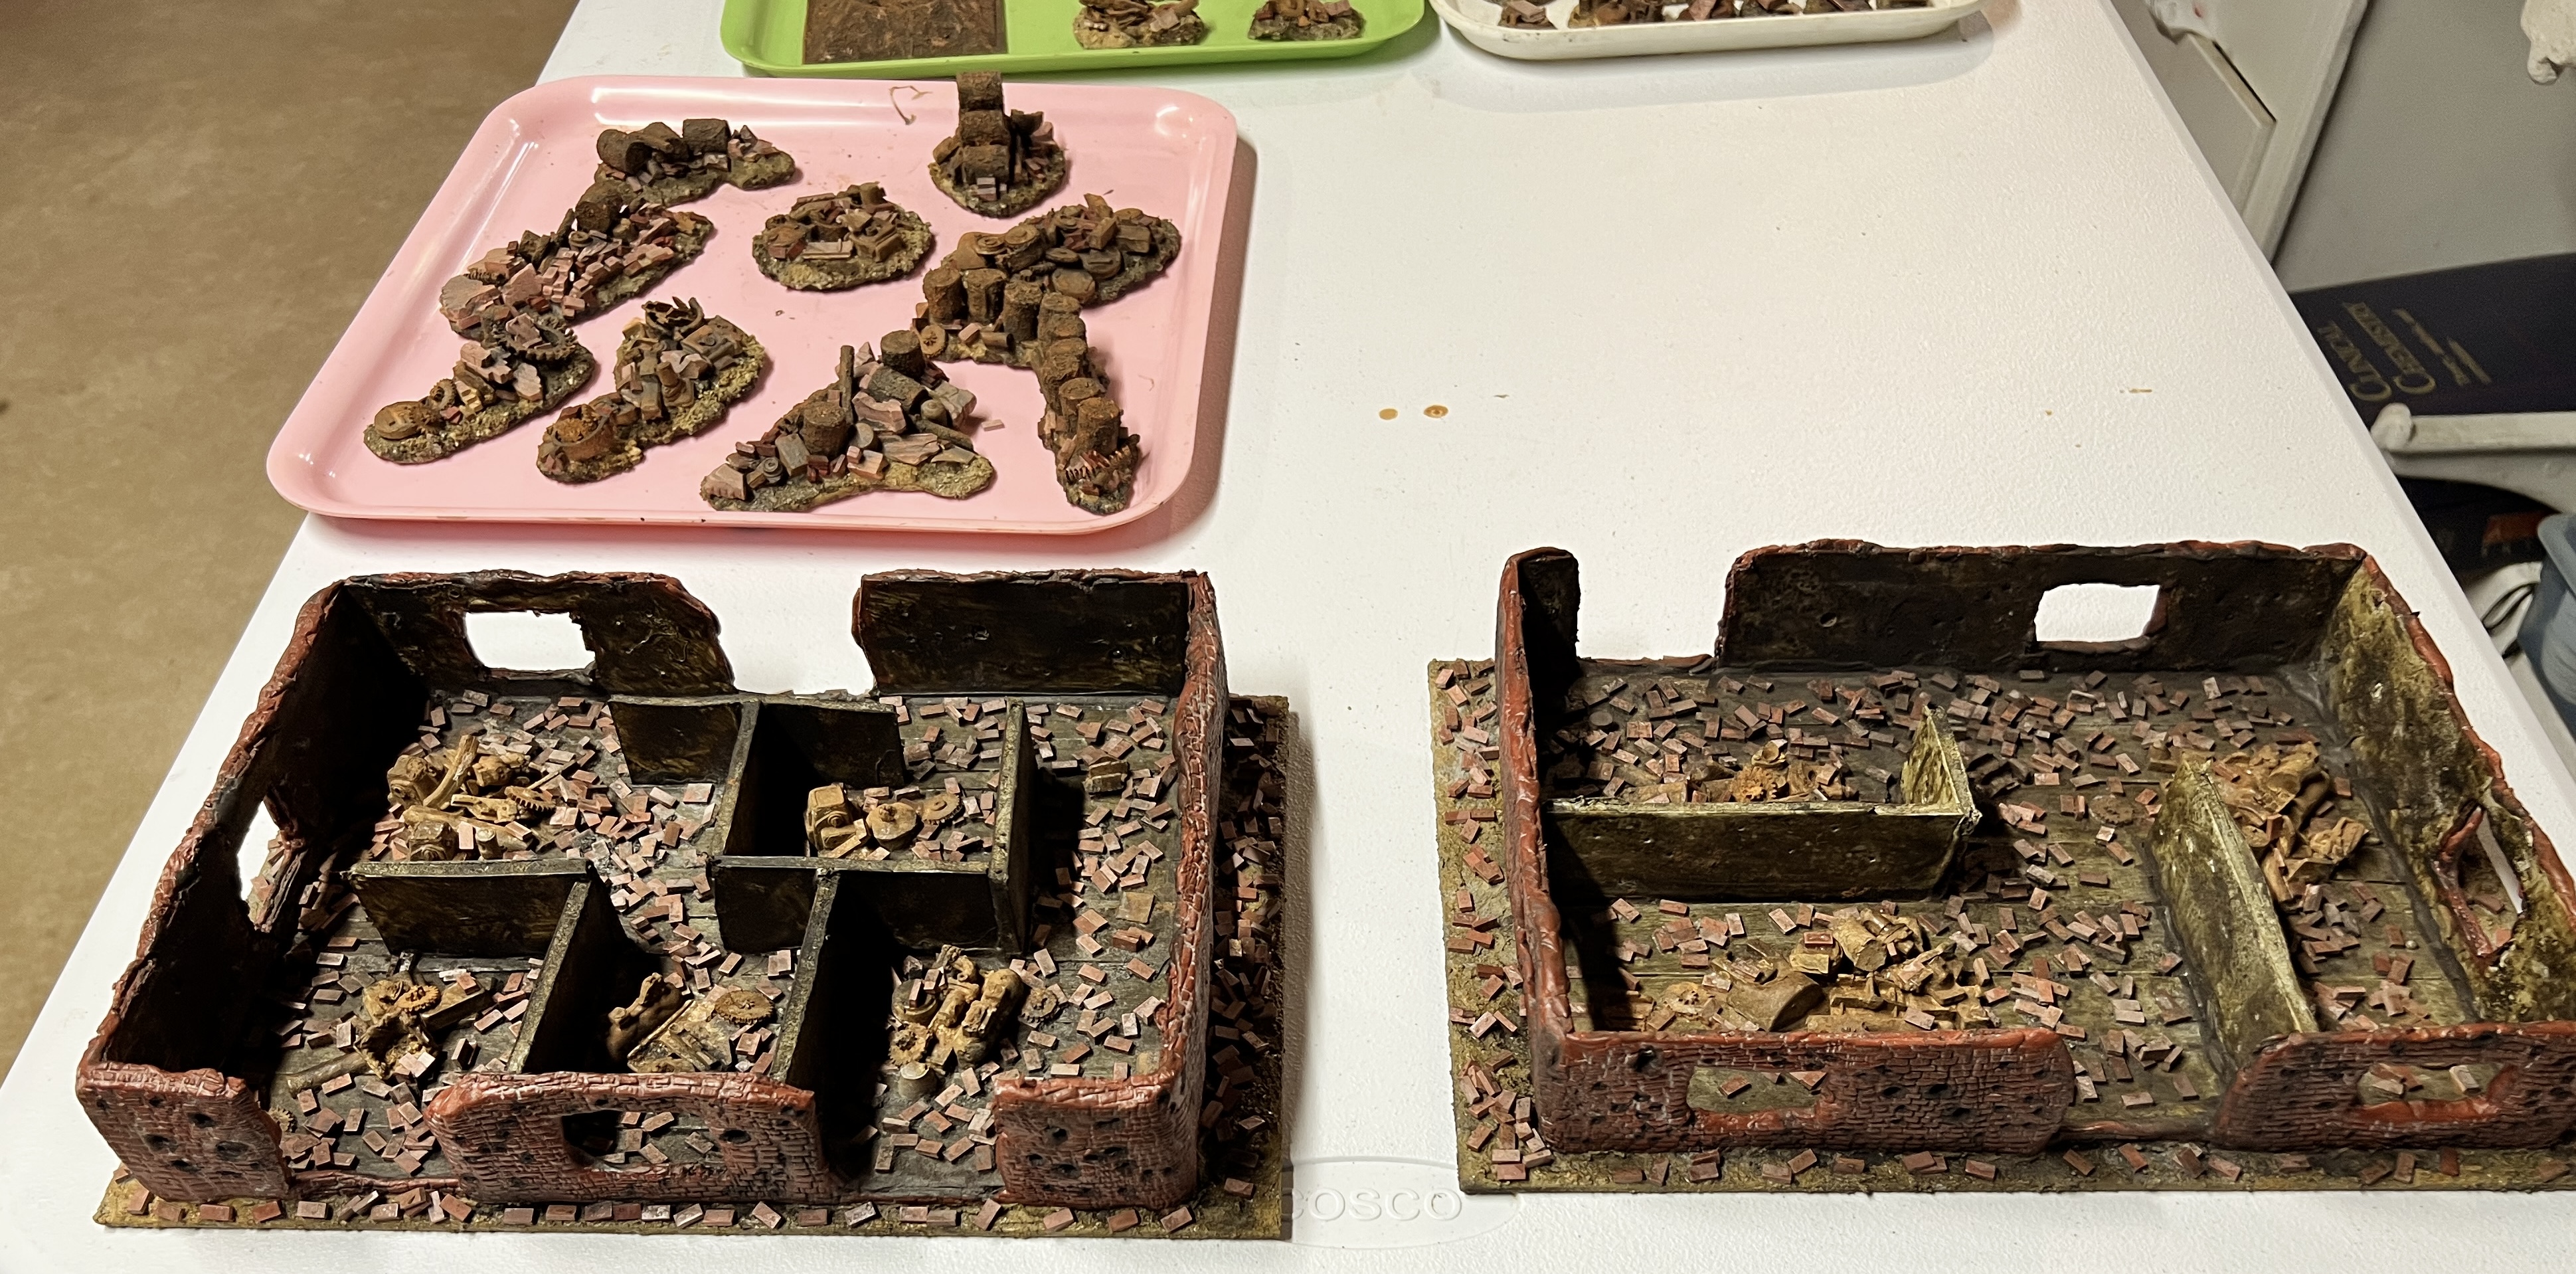
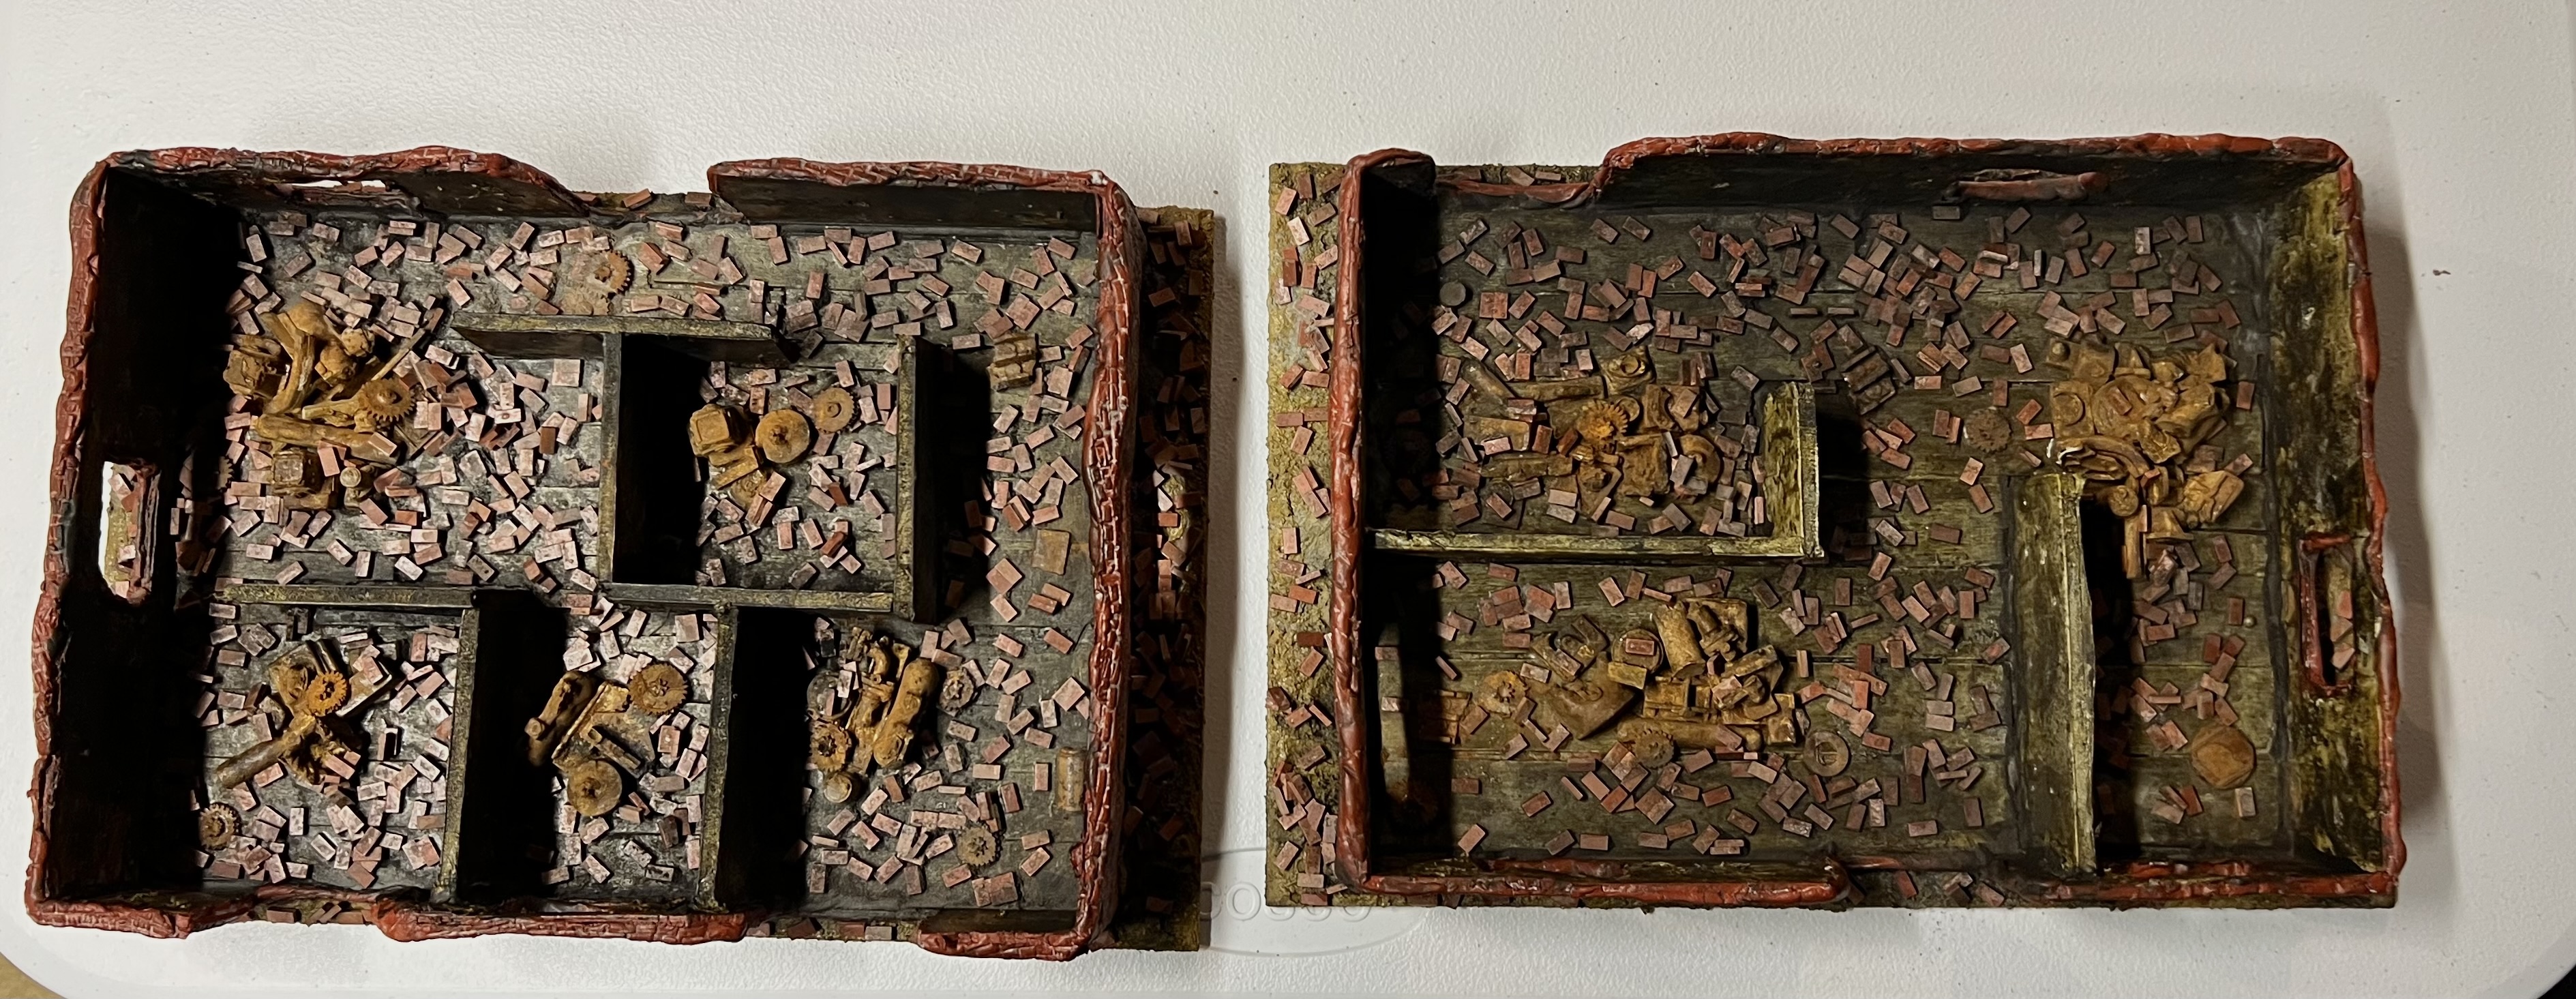
To those ends, I ended up making two ruined factory buildings, two industrial structures, and 61 scatter bases of industrial wreckage. These were all built at the same time. This enabled me to work around issues like drying and curing times as time was short. Oh yeah, and we had a few snow storms here in Massachusetts along the way that ate up some hobby time (not helpful at all).
I wanted to share my project and all its components here with you. As these were simultaneous efforts, you will see multiple project stages here. You may notice that I used a lot of repurposed bits of metal and plastic and Juweela products. The lists will be at the end of this post as is my habit. My concept was to achieve a Stalingrad-like look.
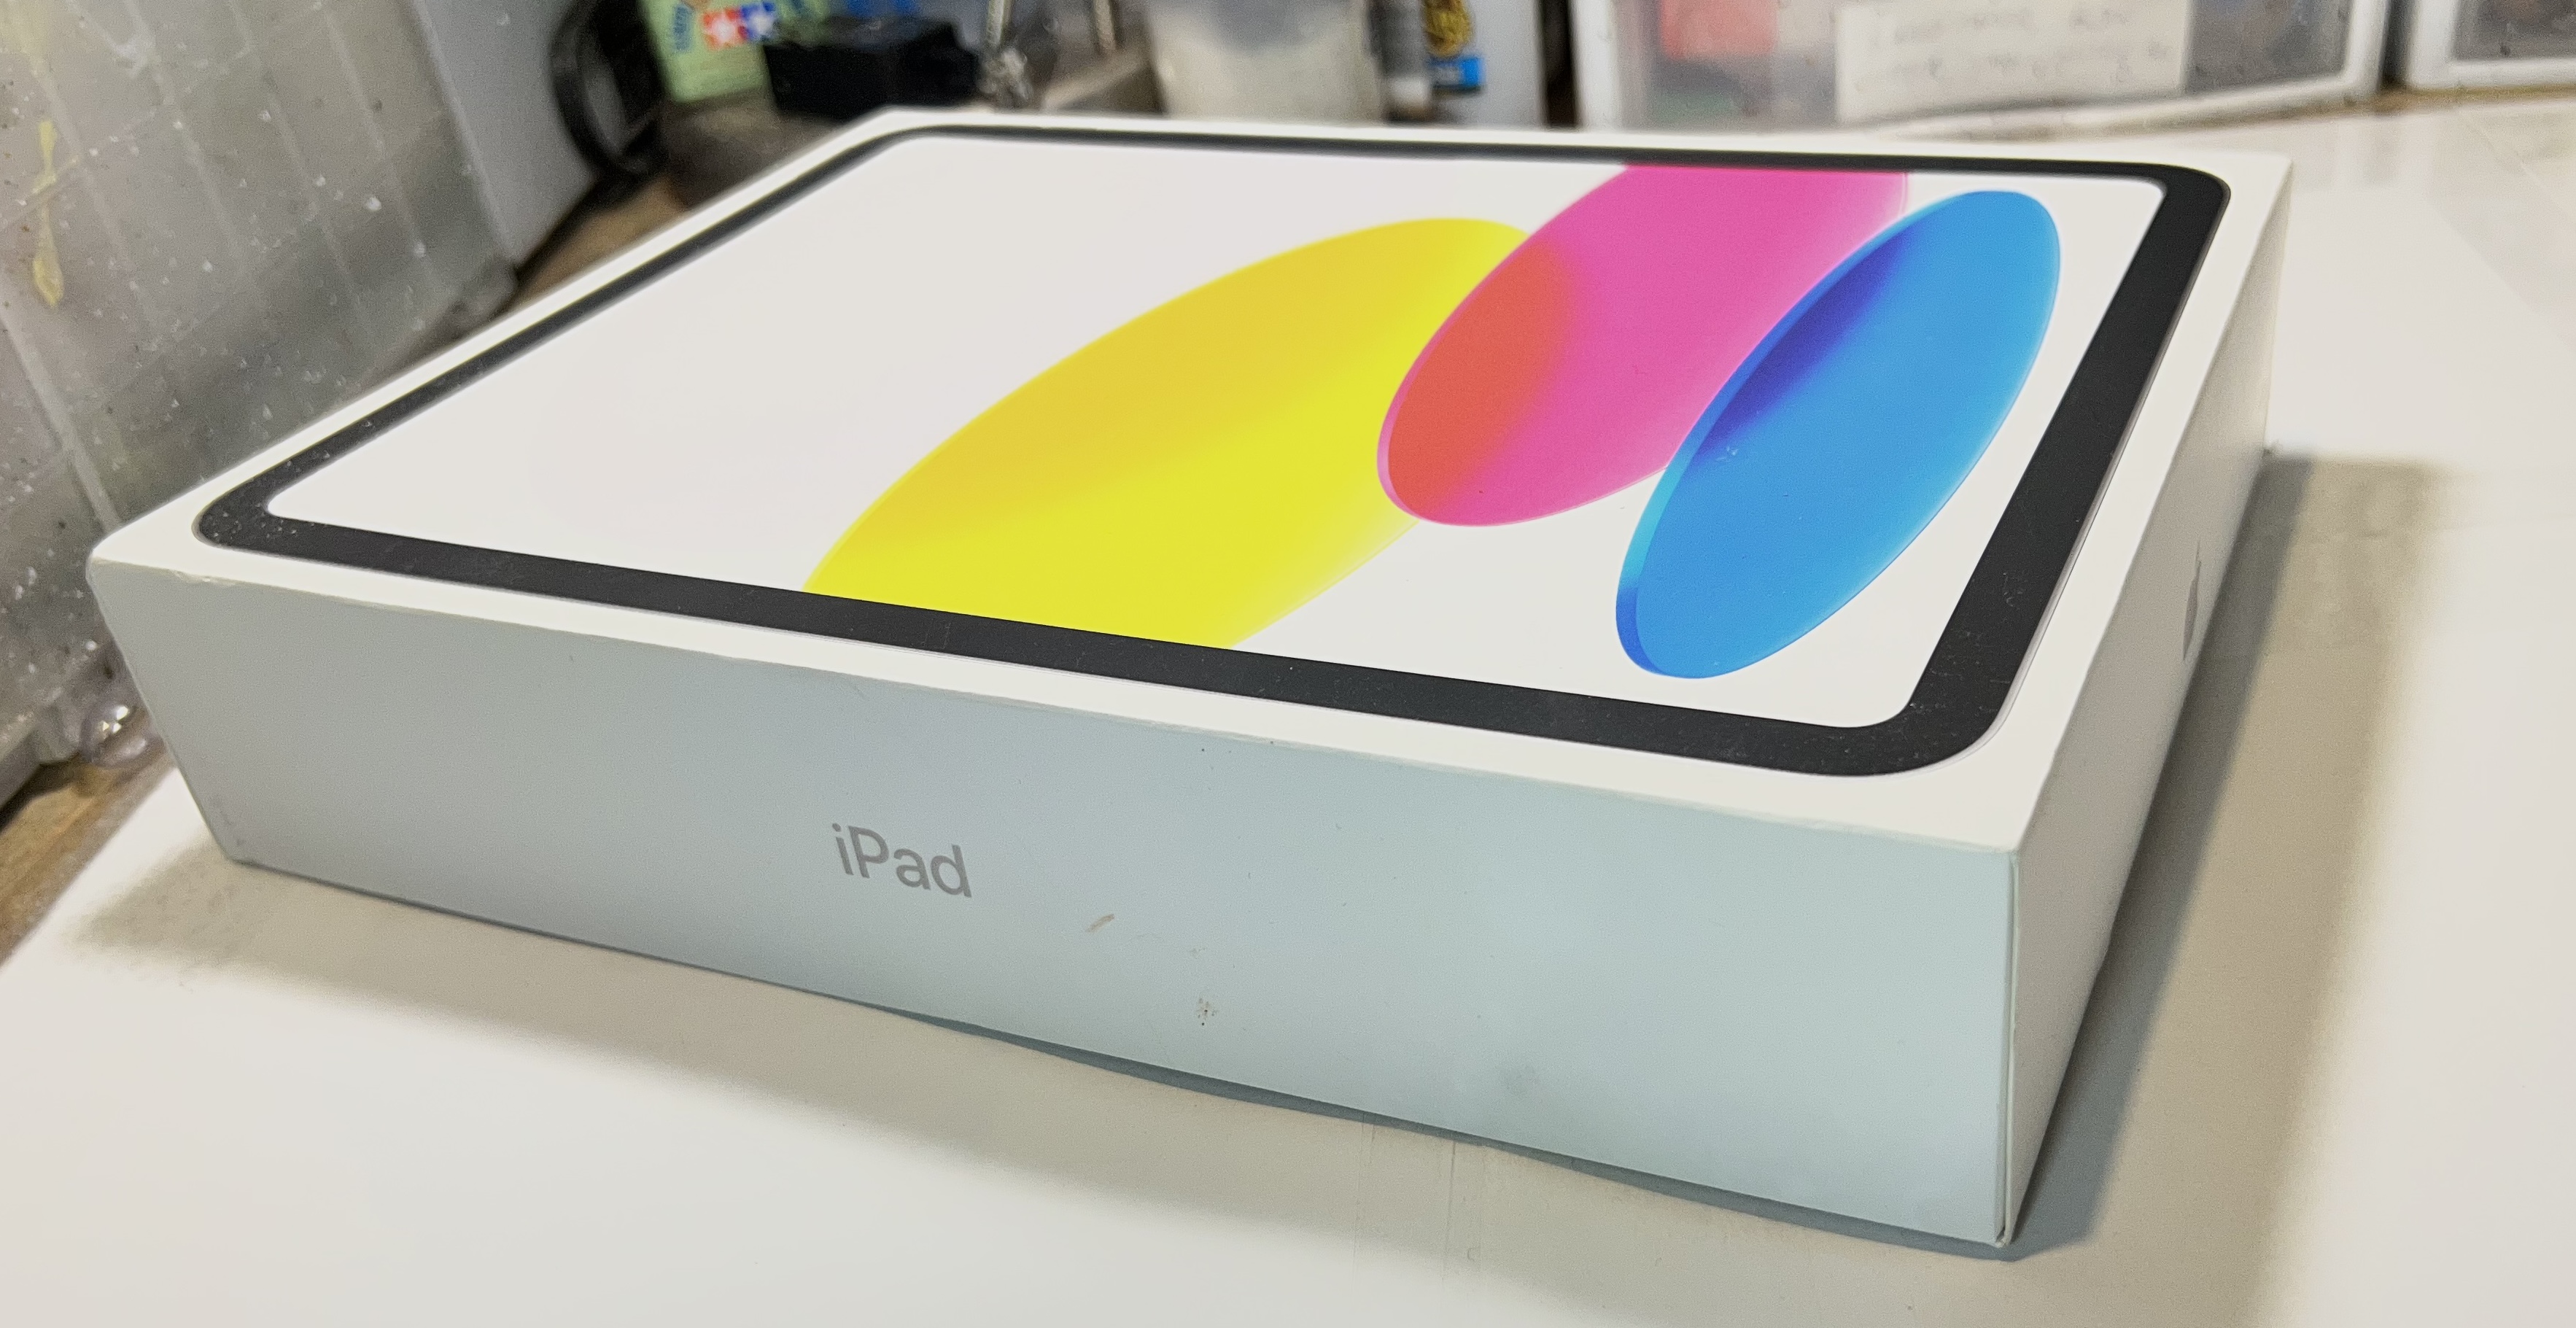
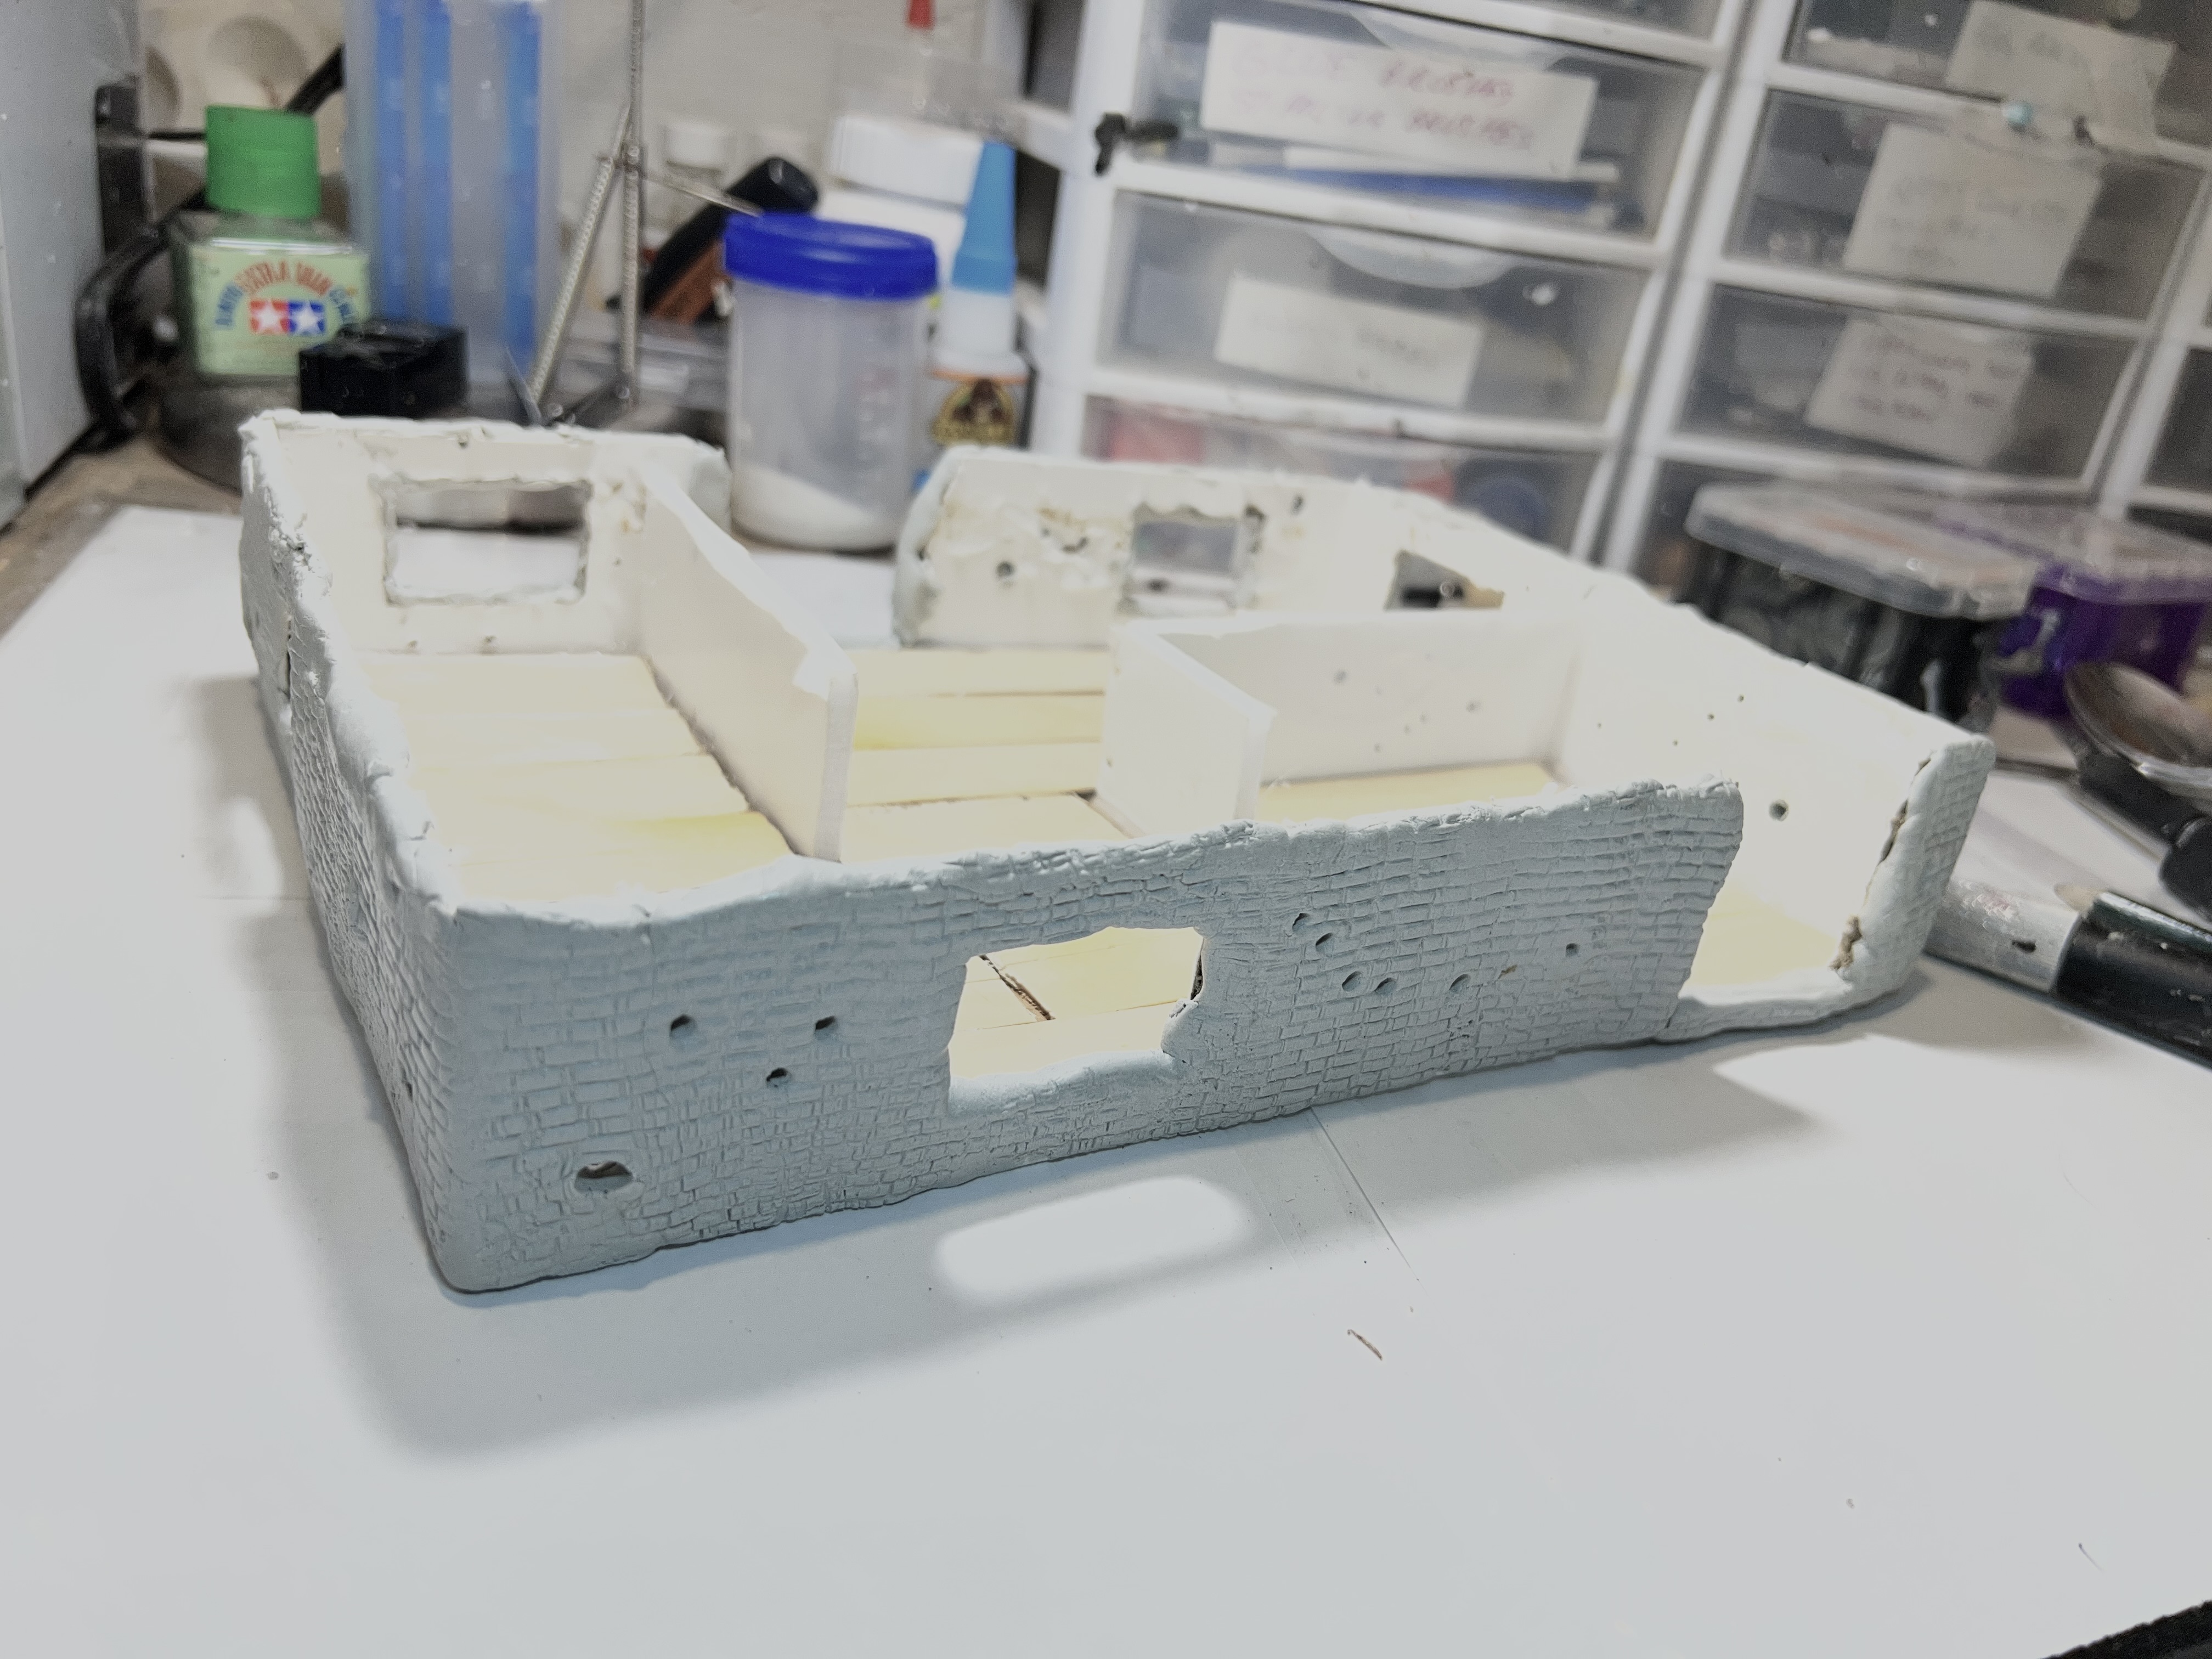
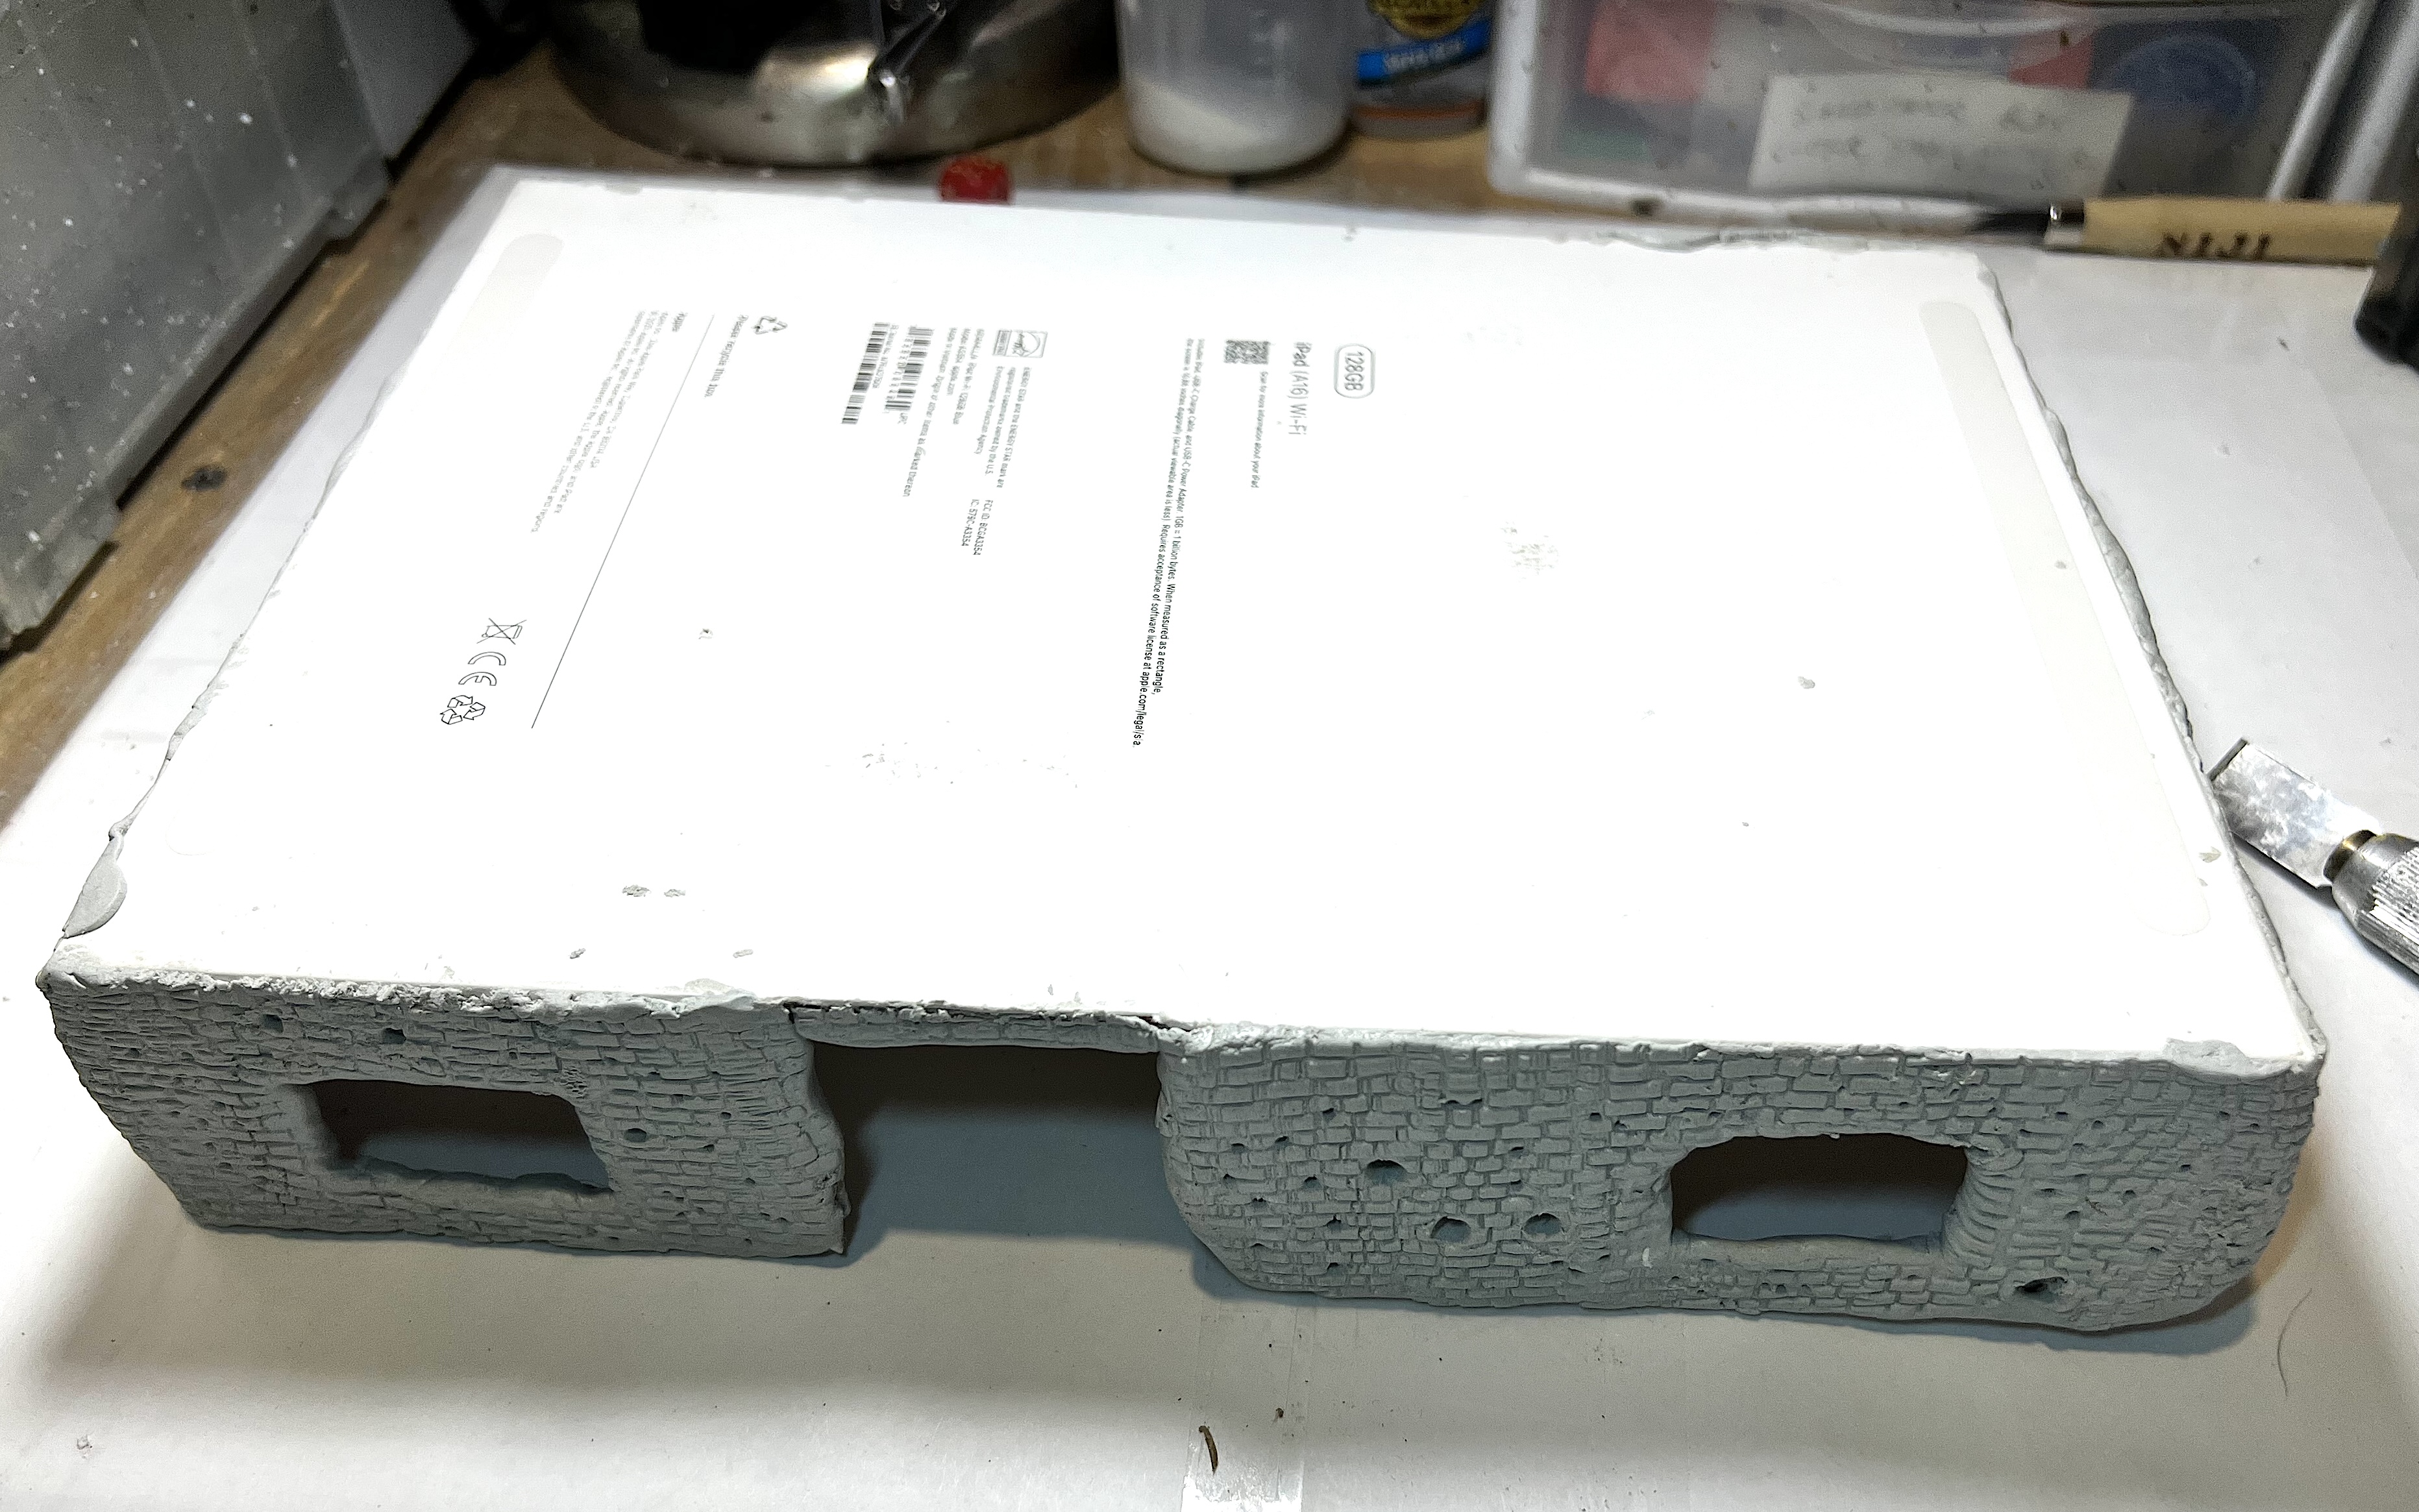
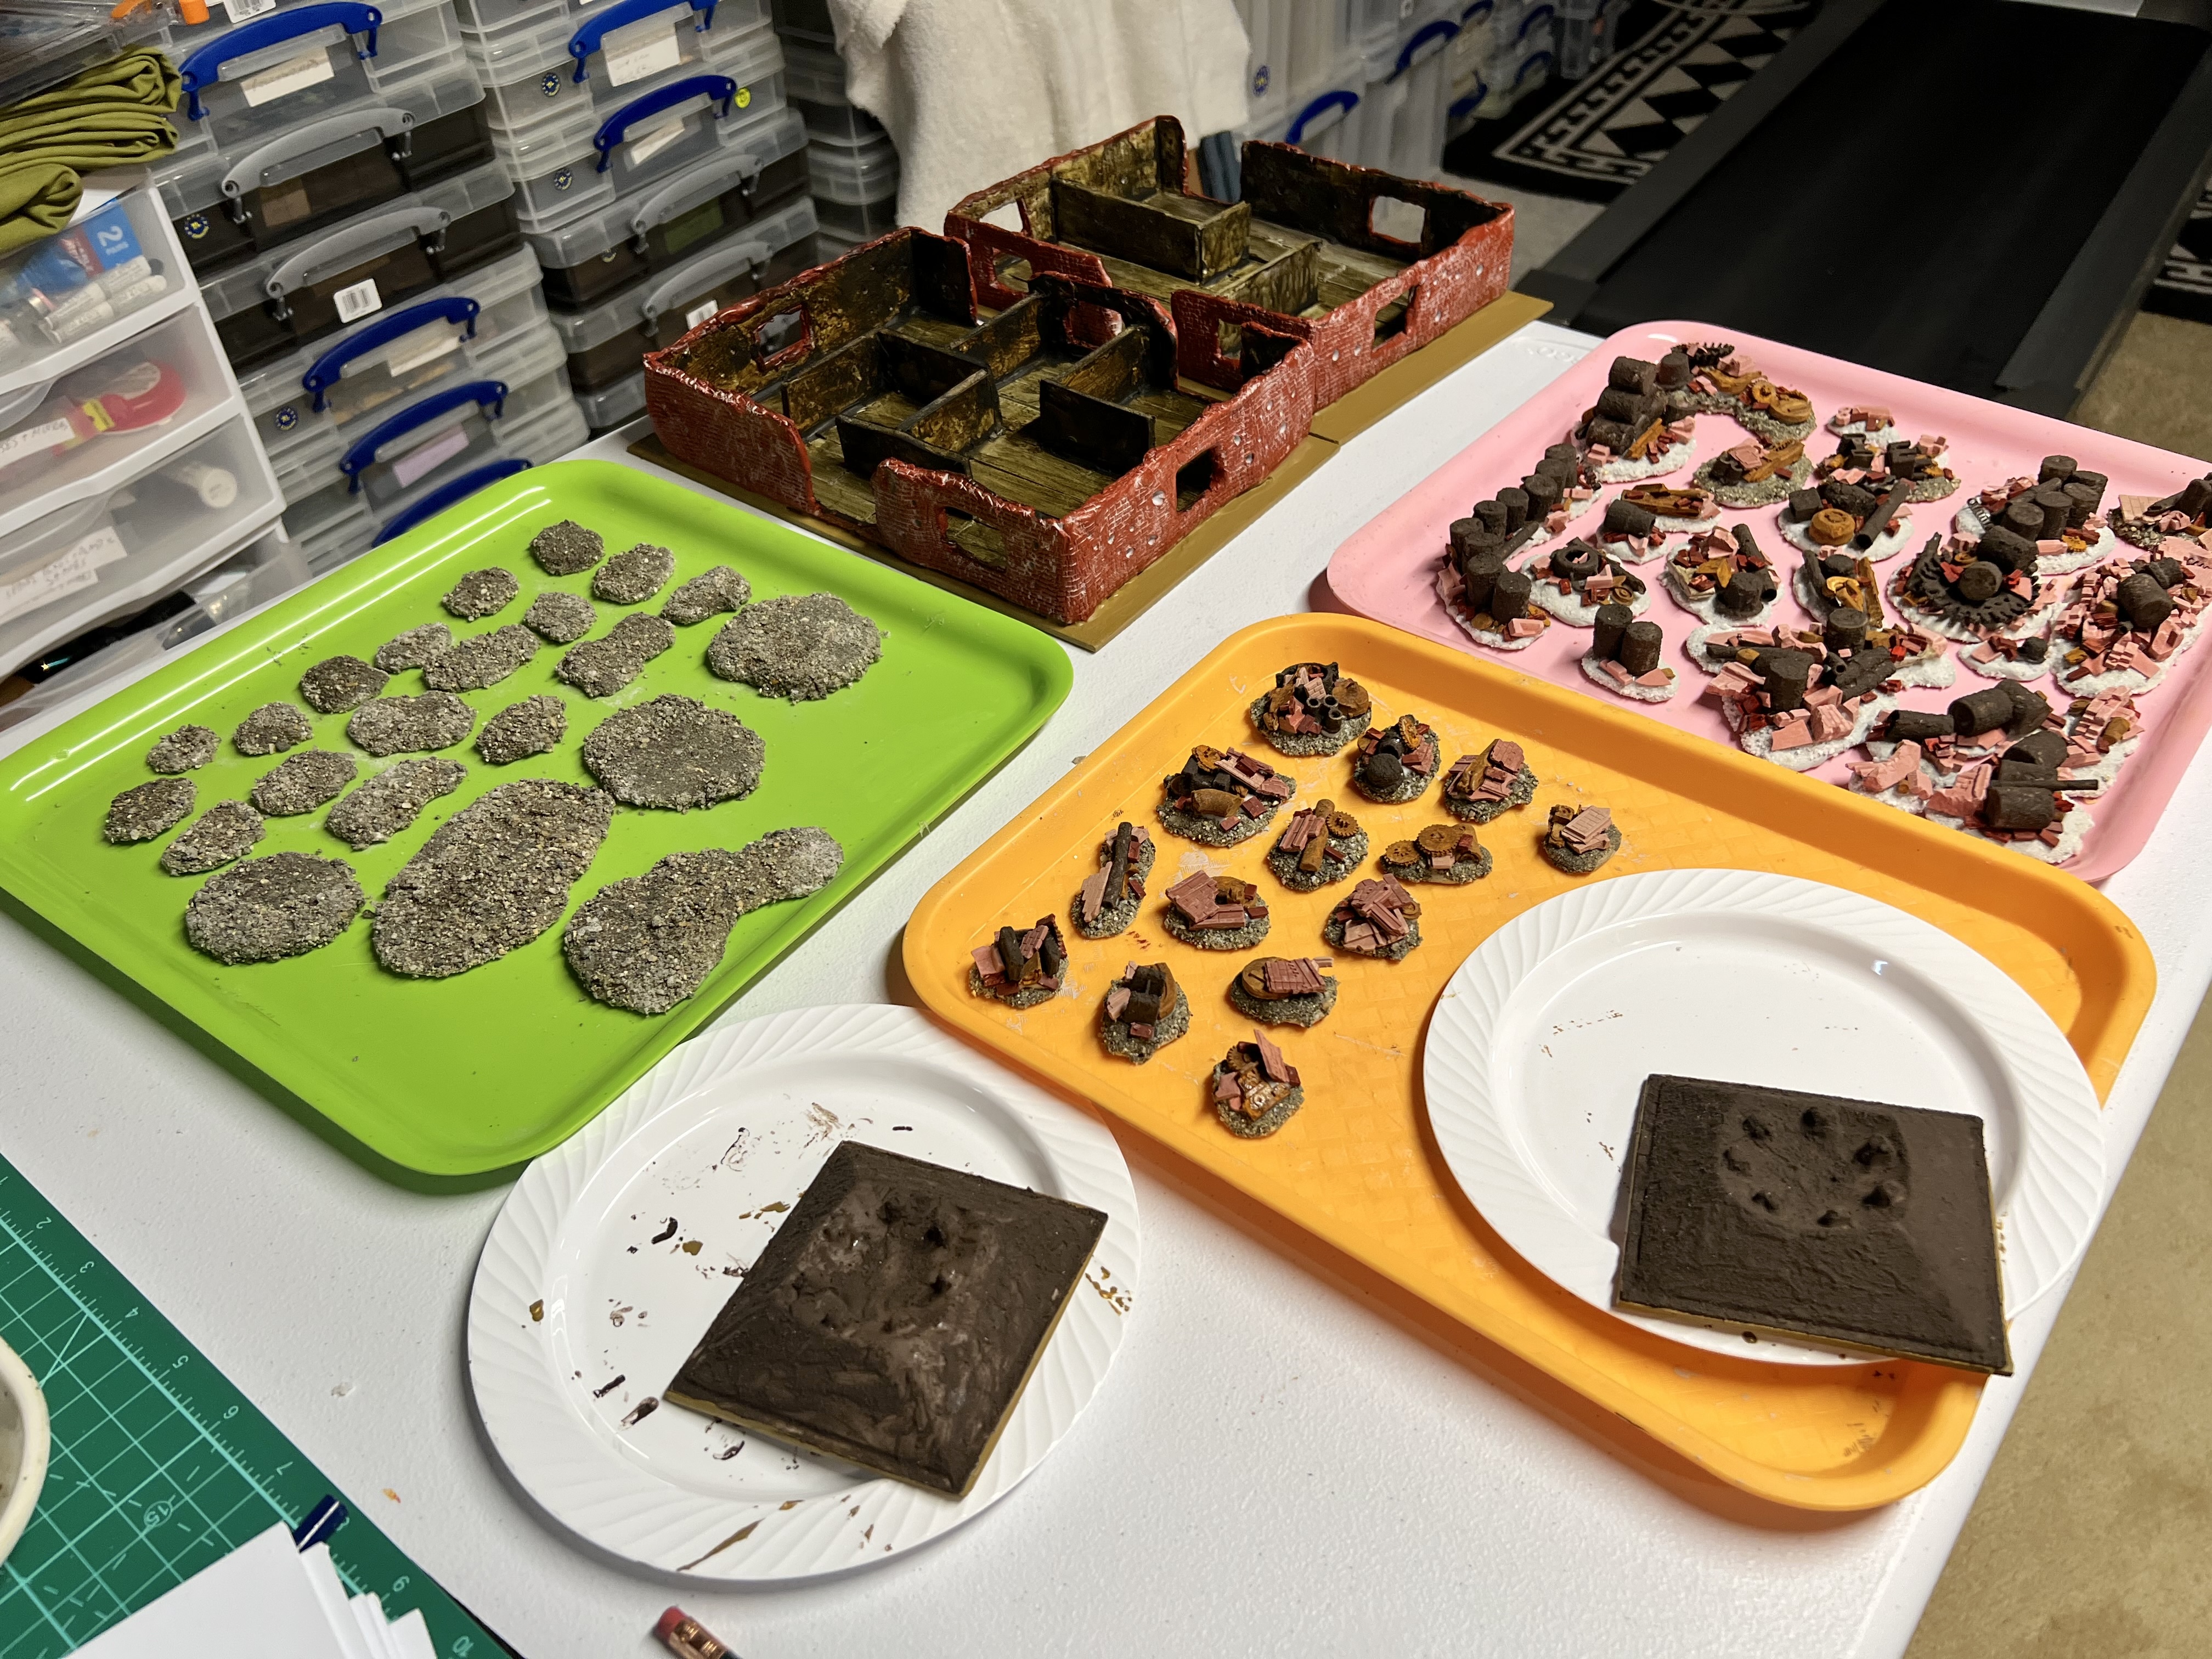
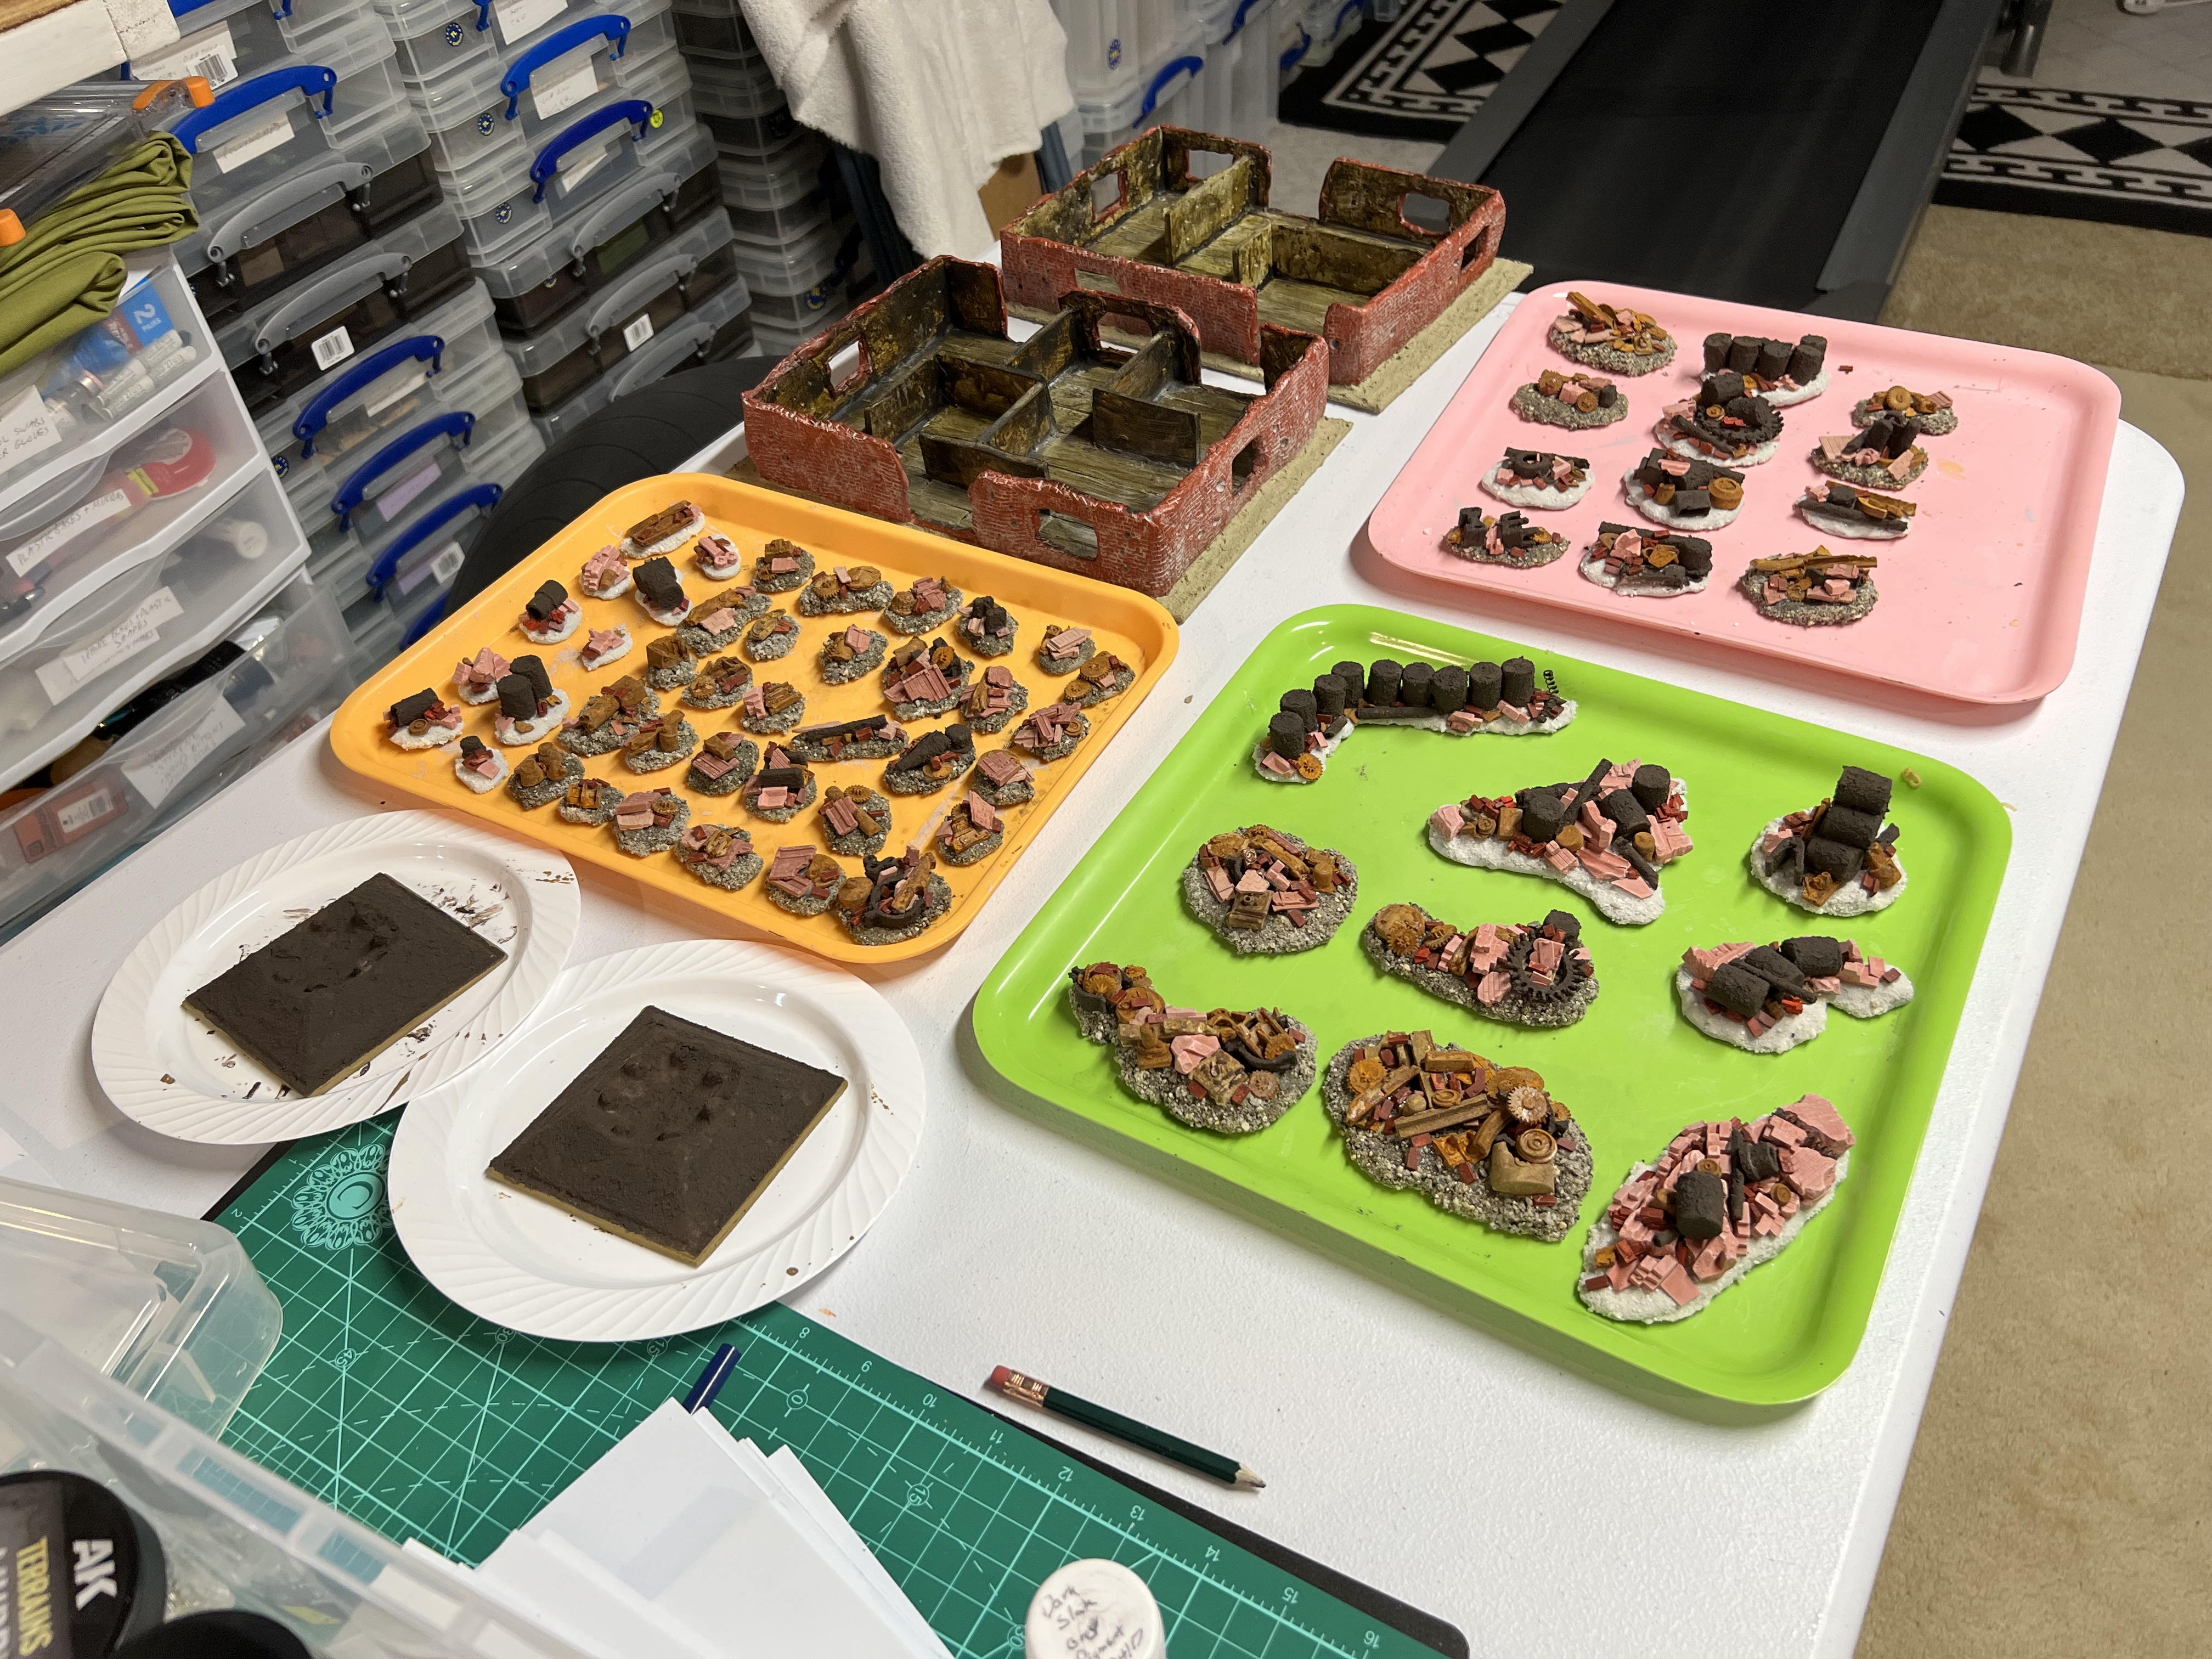
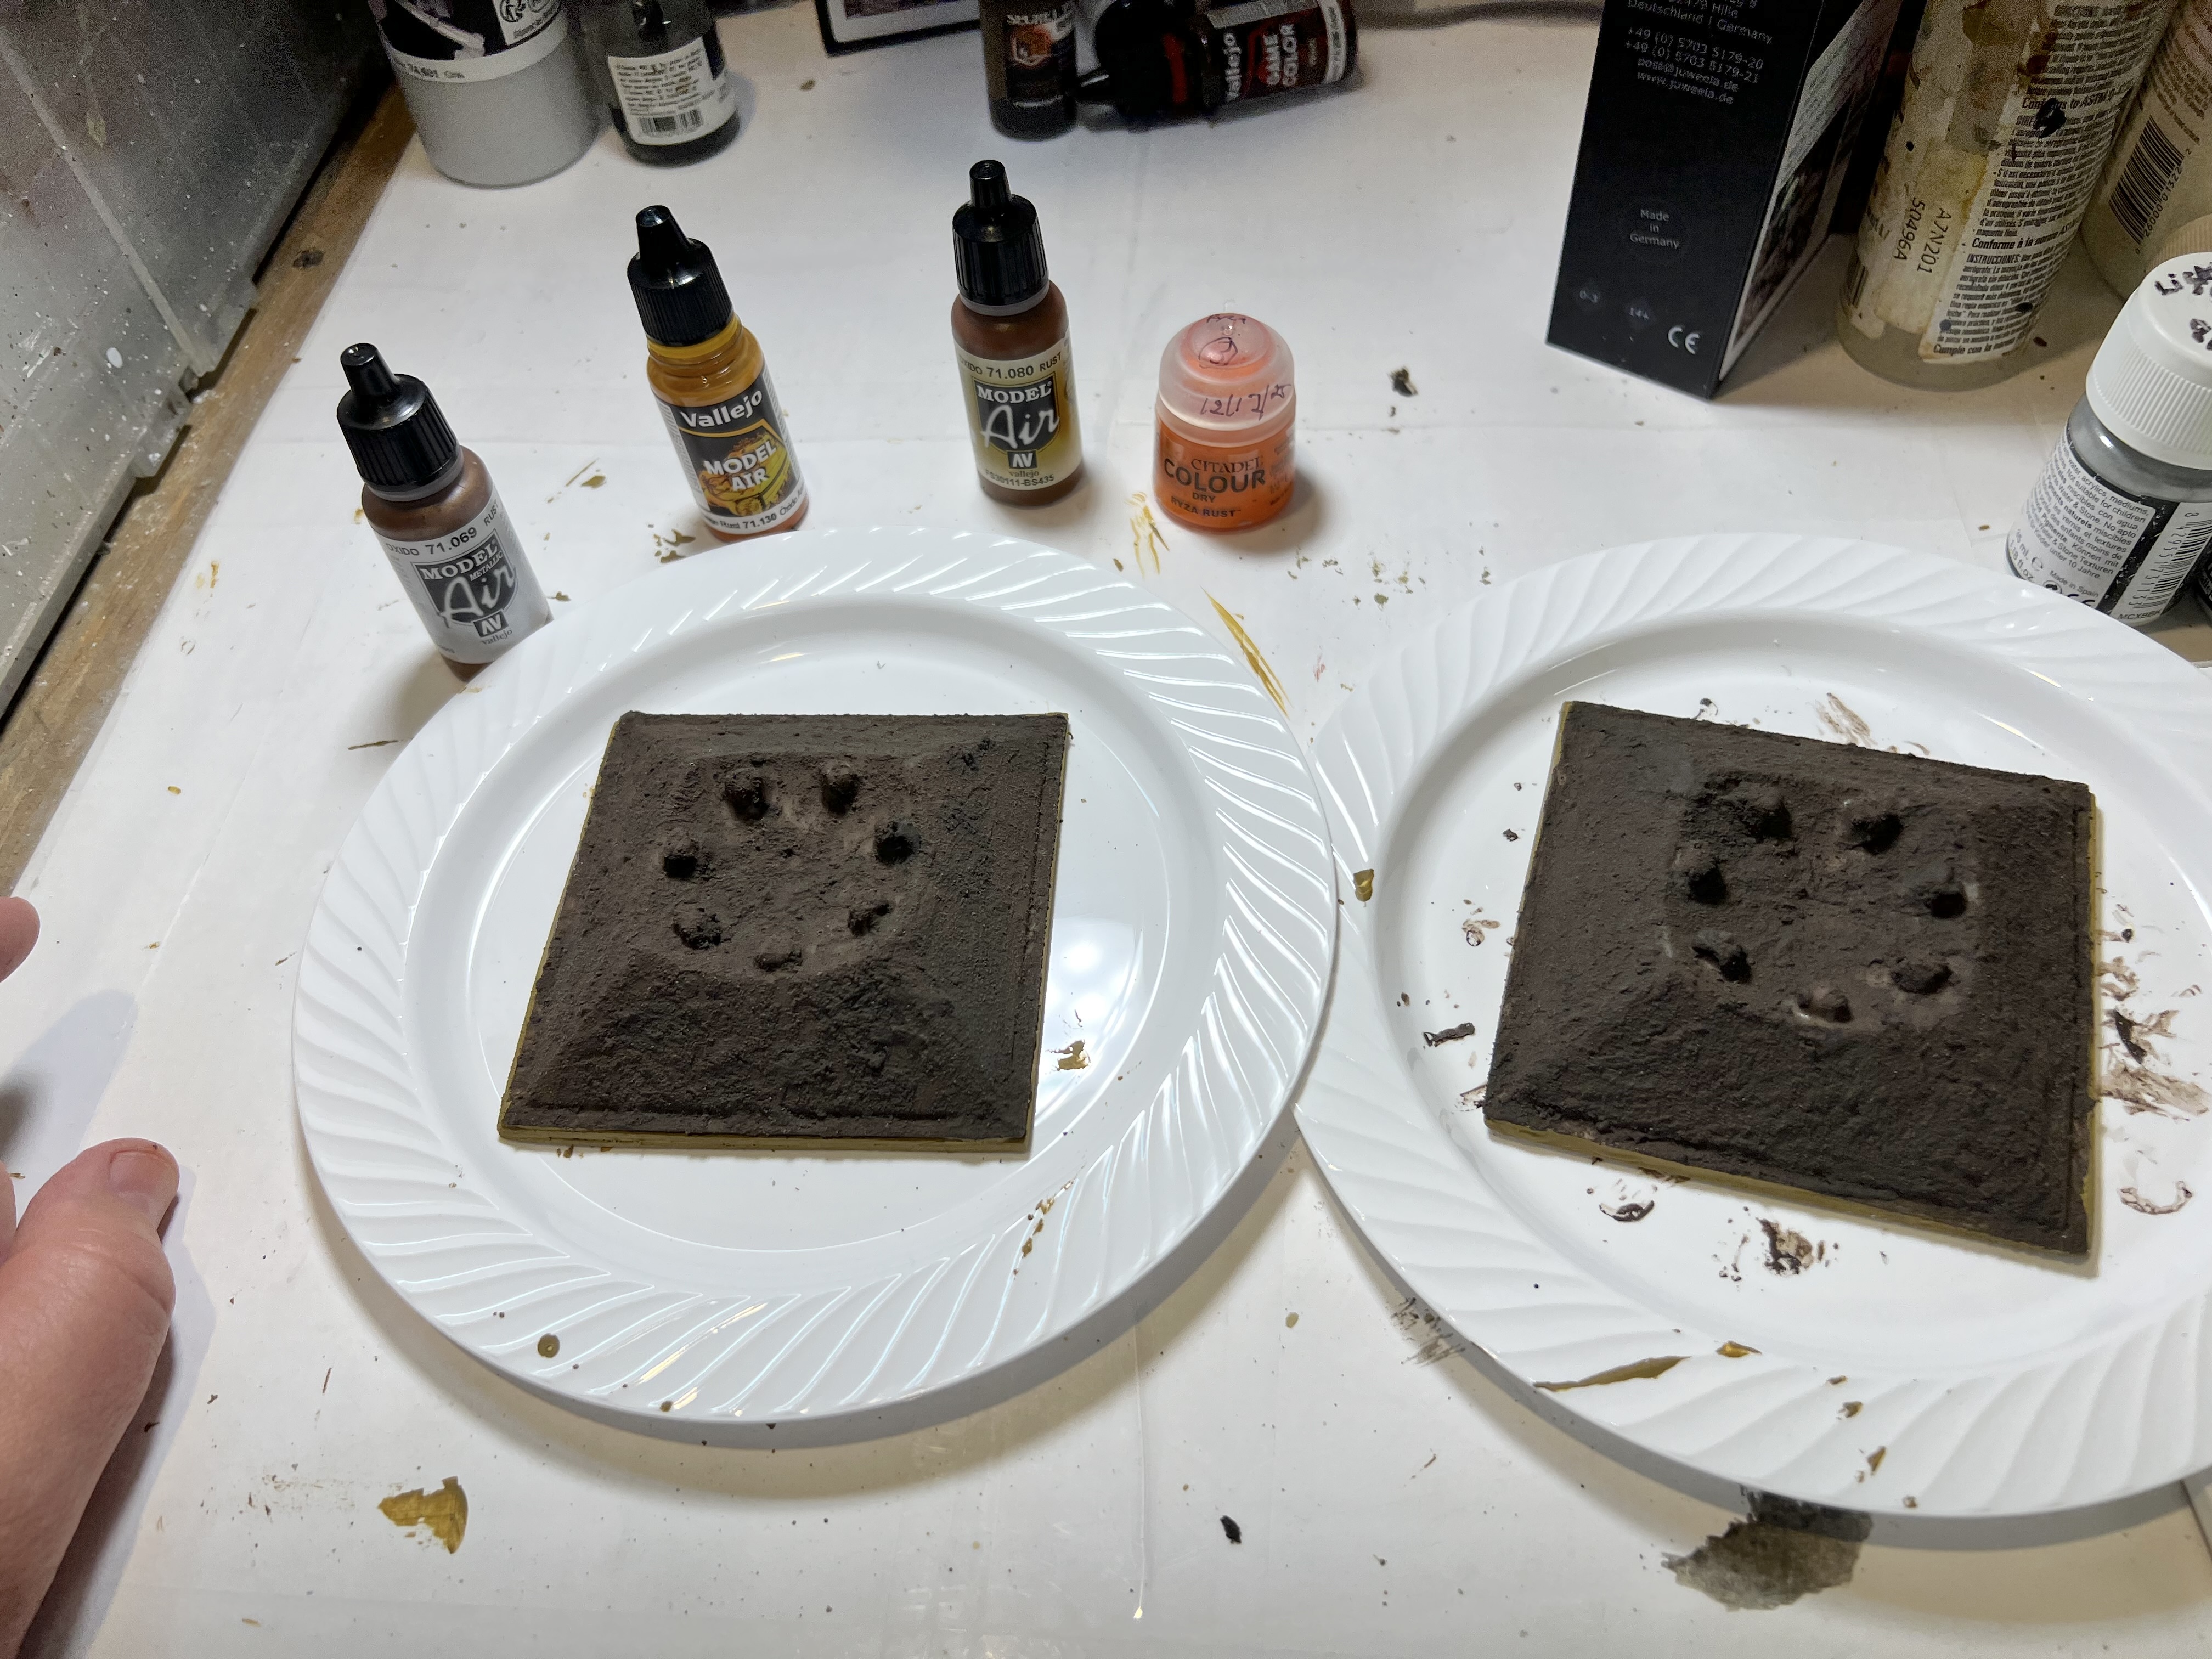
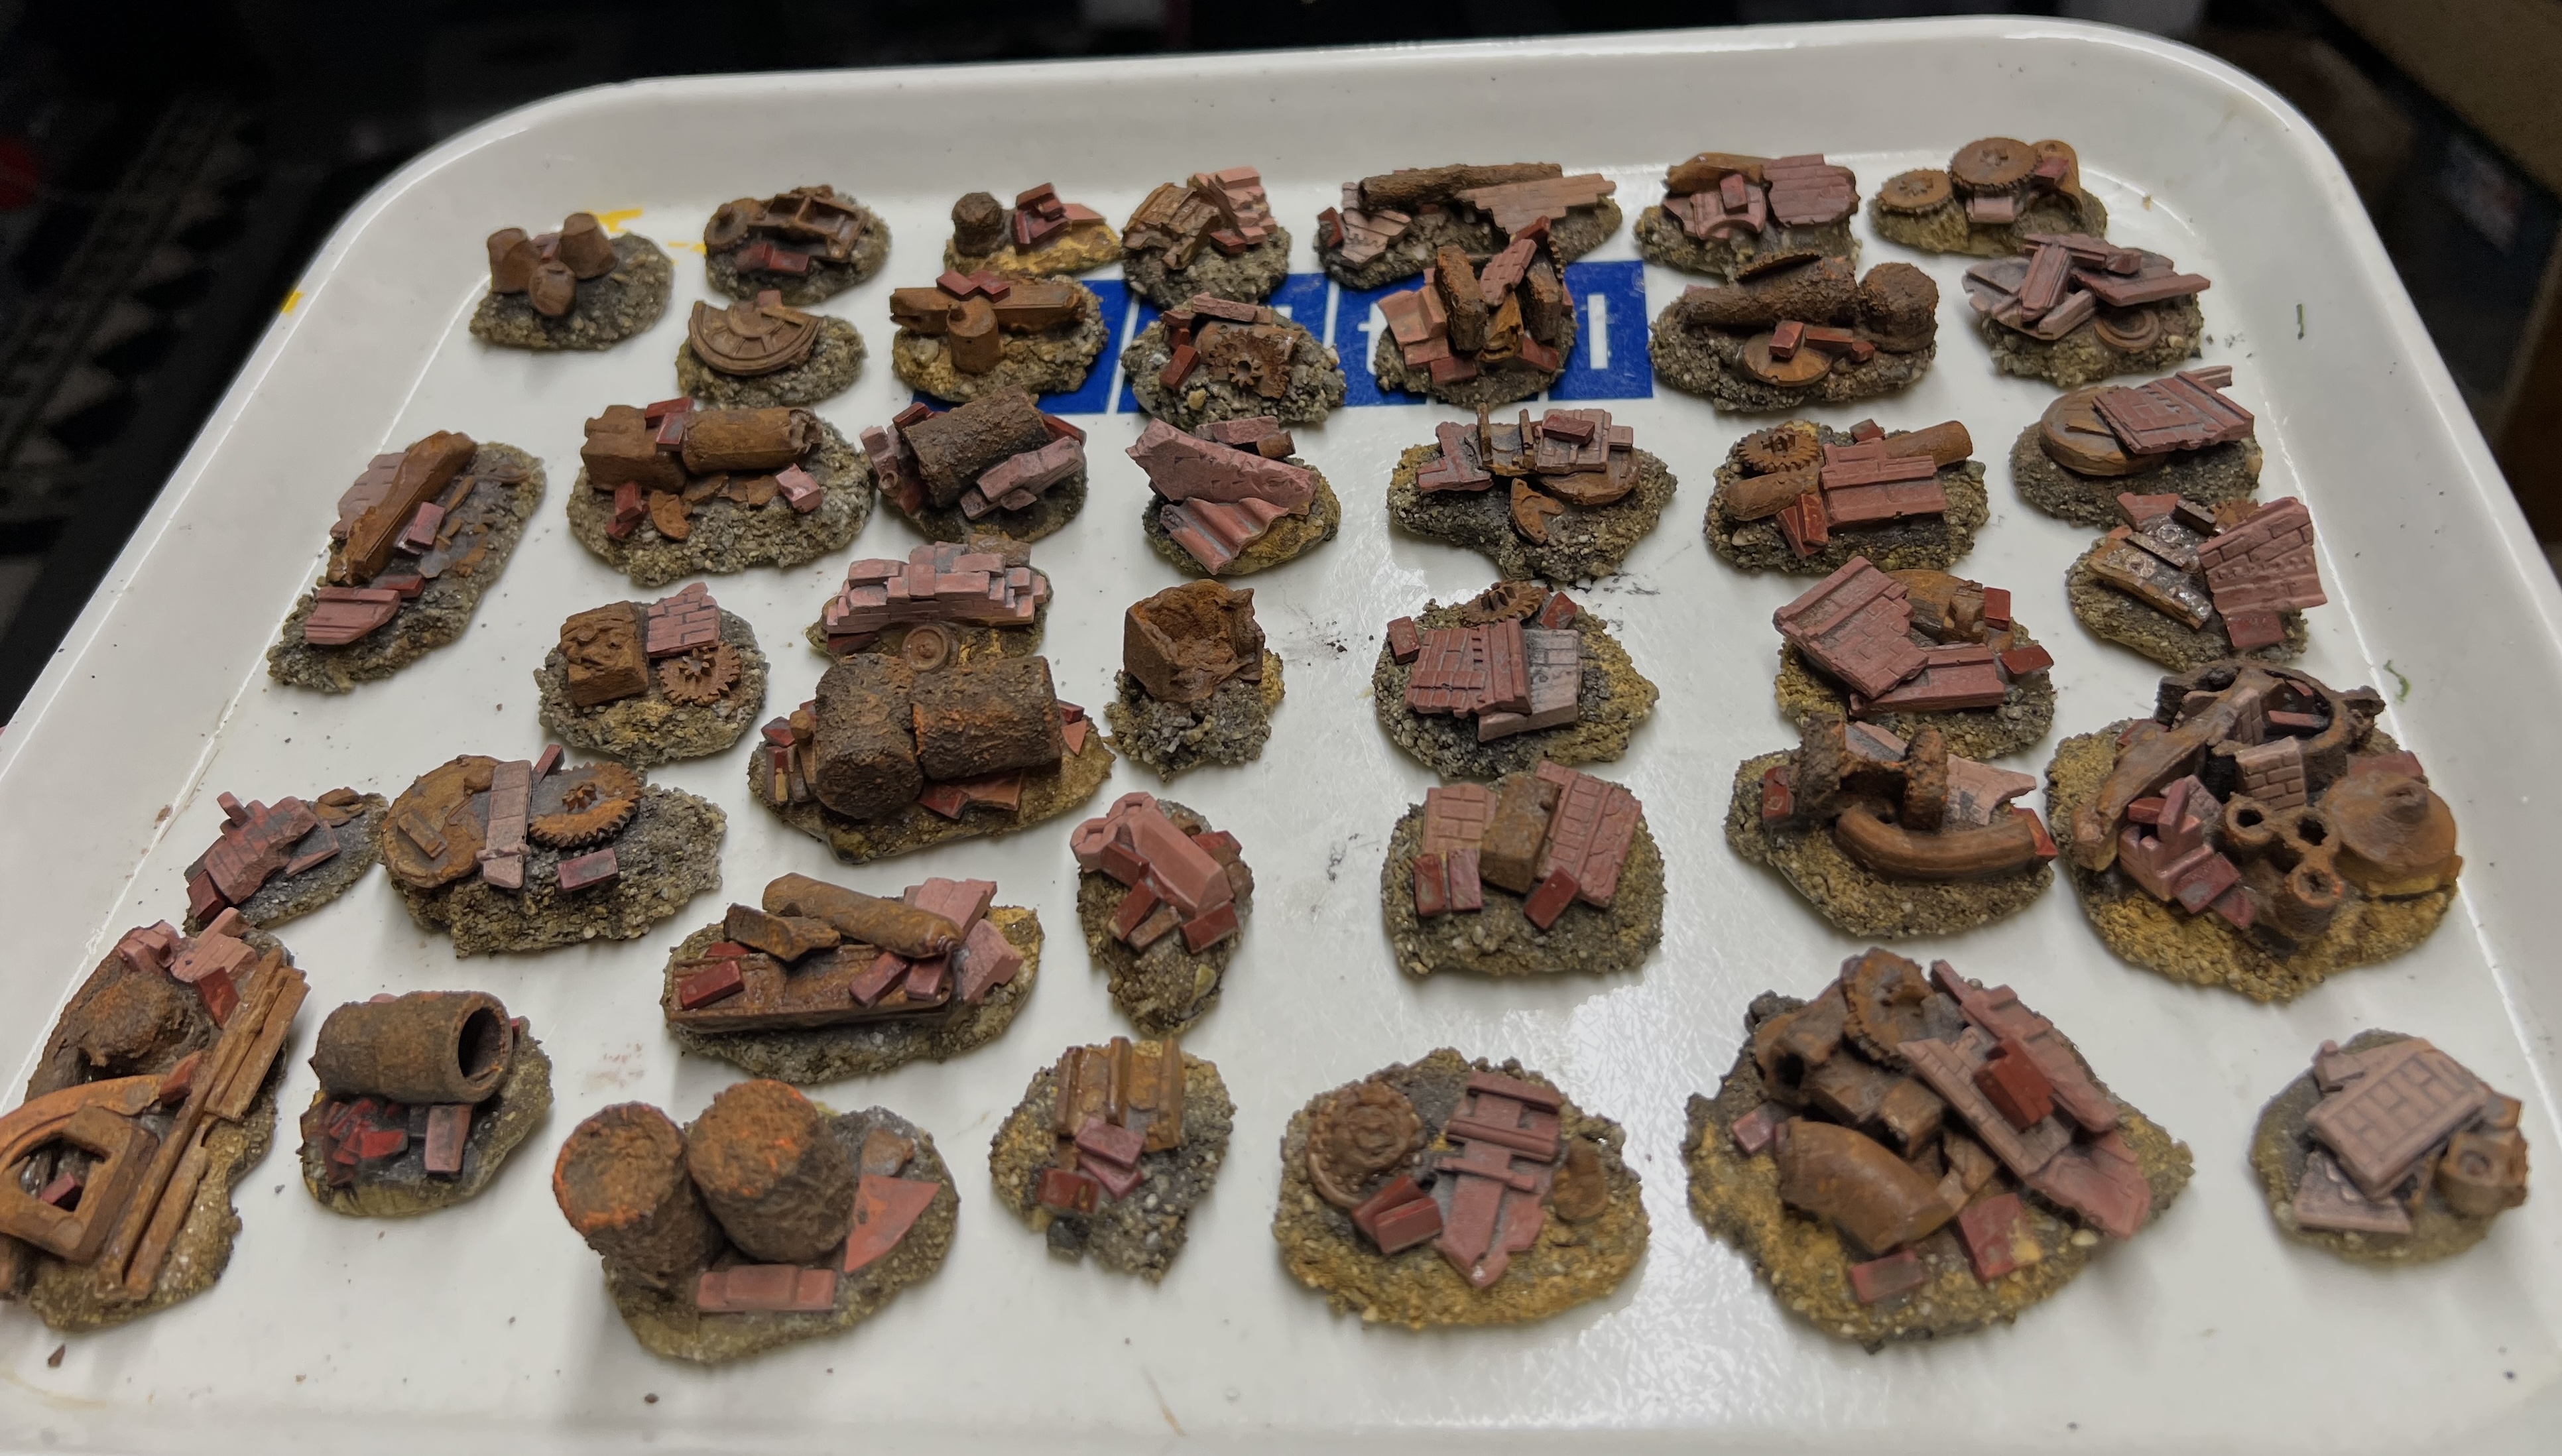
For the two buildings, I converted an iPad 16 box top and bottom. I used Apoxie Sculpt, steel washers, sand, multiple pieces of plastic, desiccant cylinders, and a lot of Juweela items to make the 61 scatter bases. And for two flat industrial structures, I reused two pieces of packing materials to repurpose them as flat rusted structures.
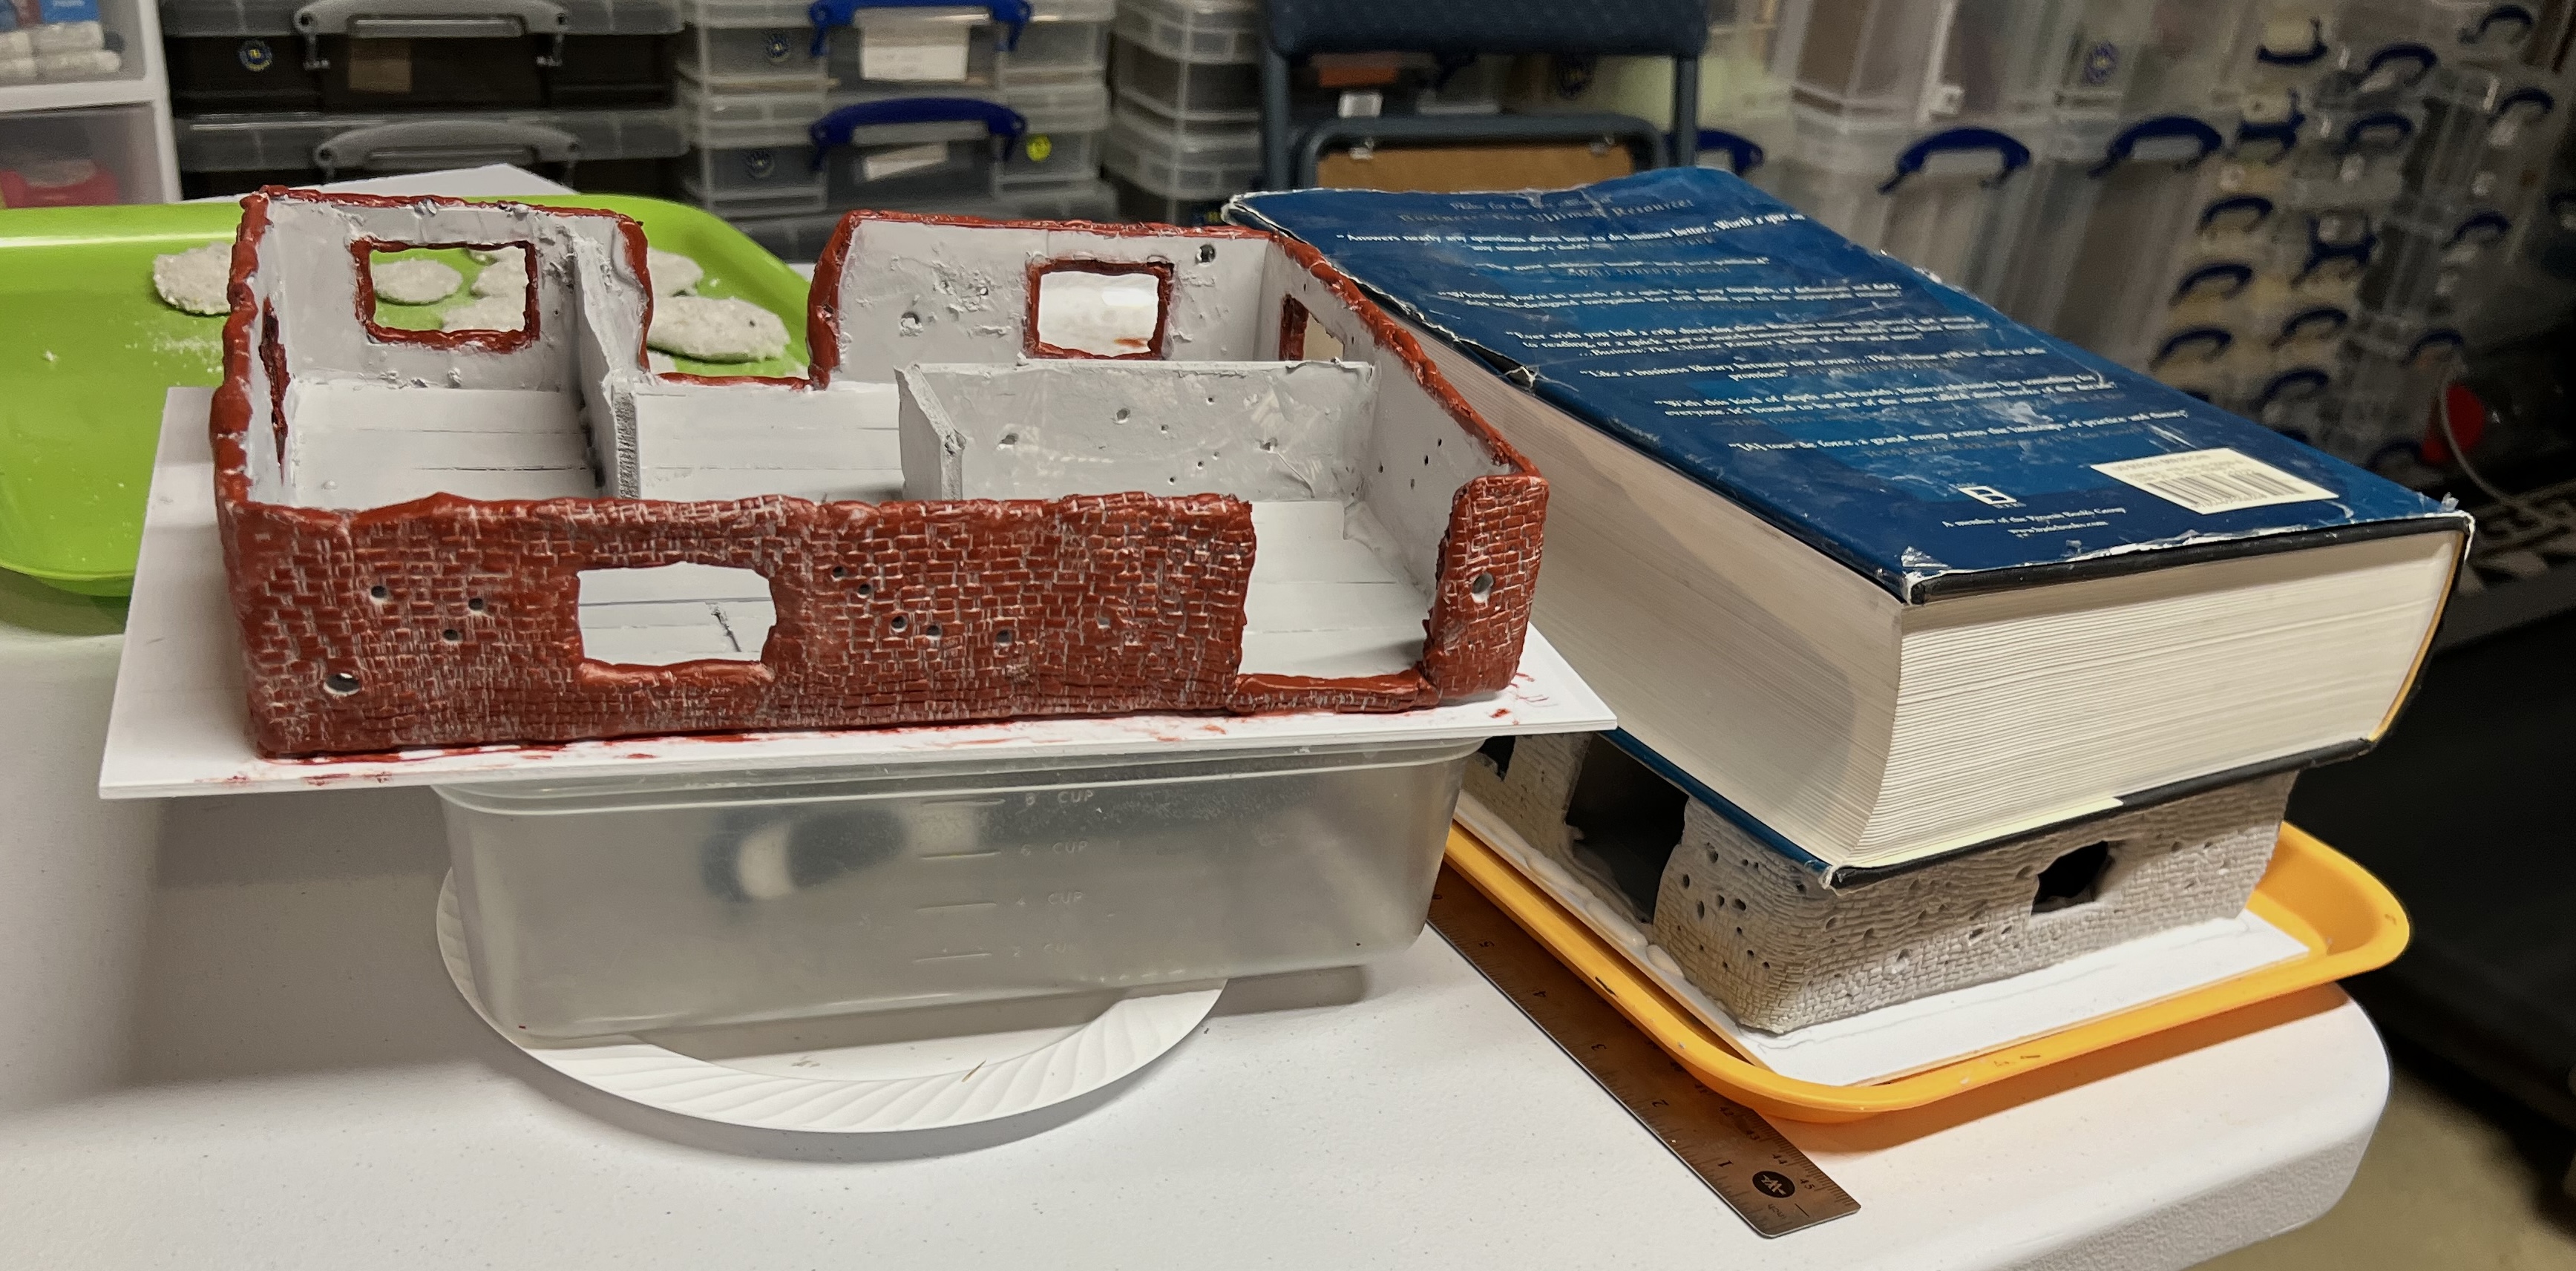
I started out with this iPad 16 box. I would use the top and bottom of this. It is plastic and cardboard.
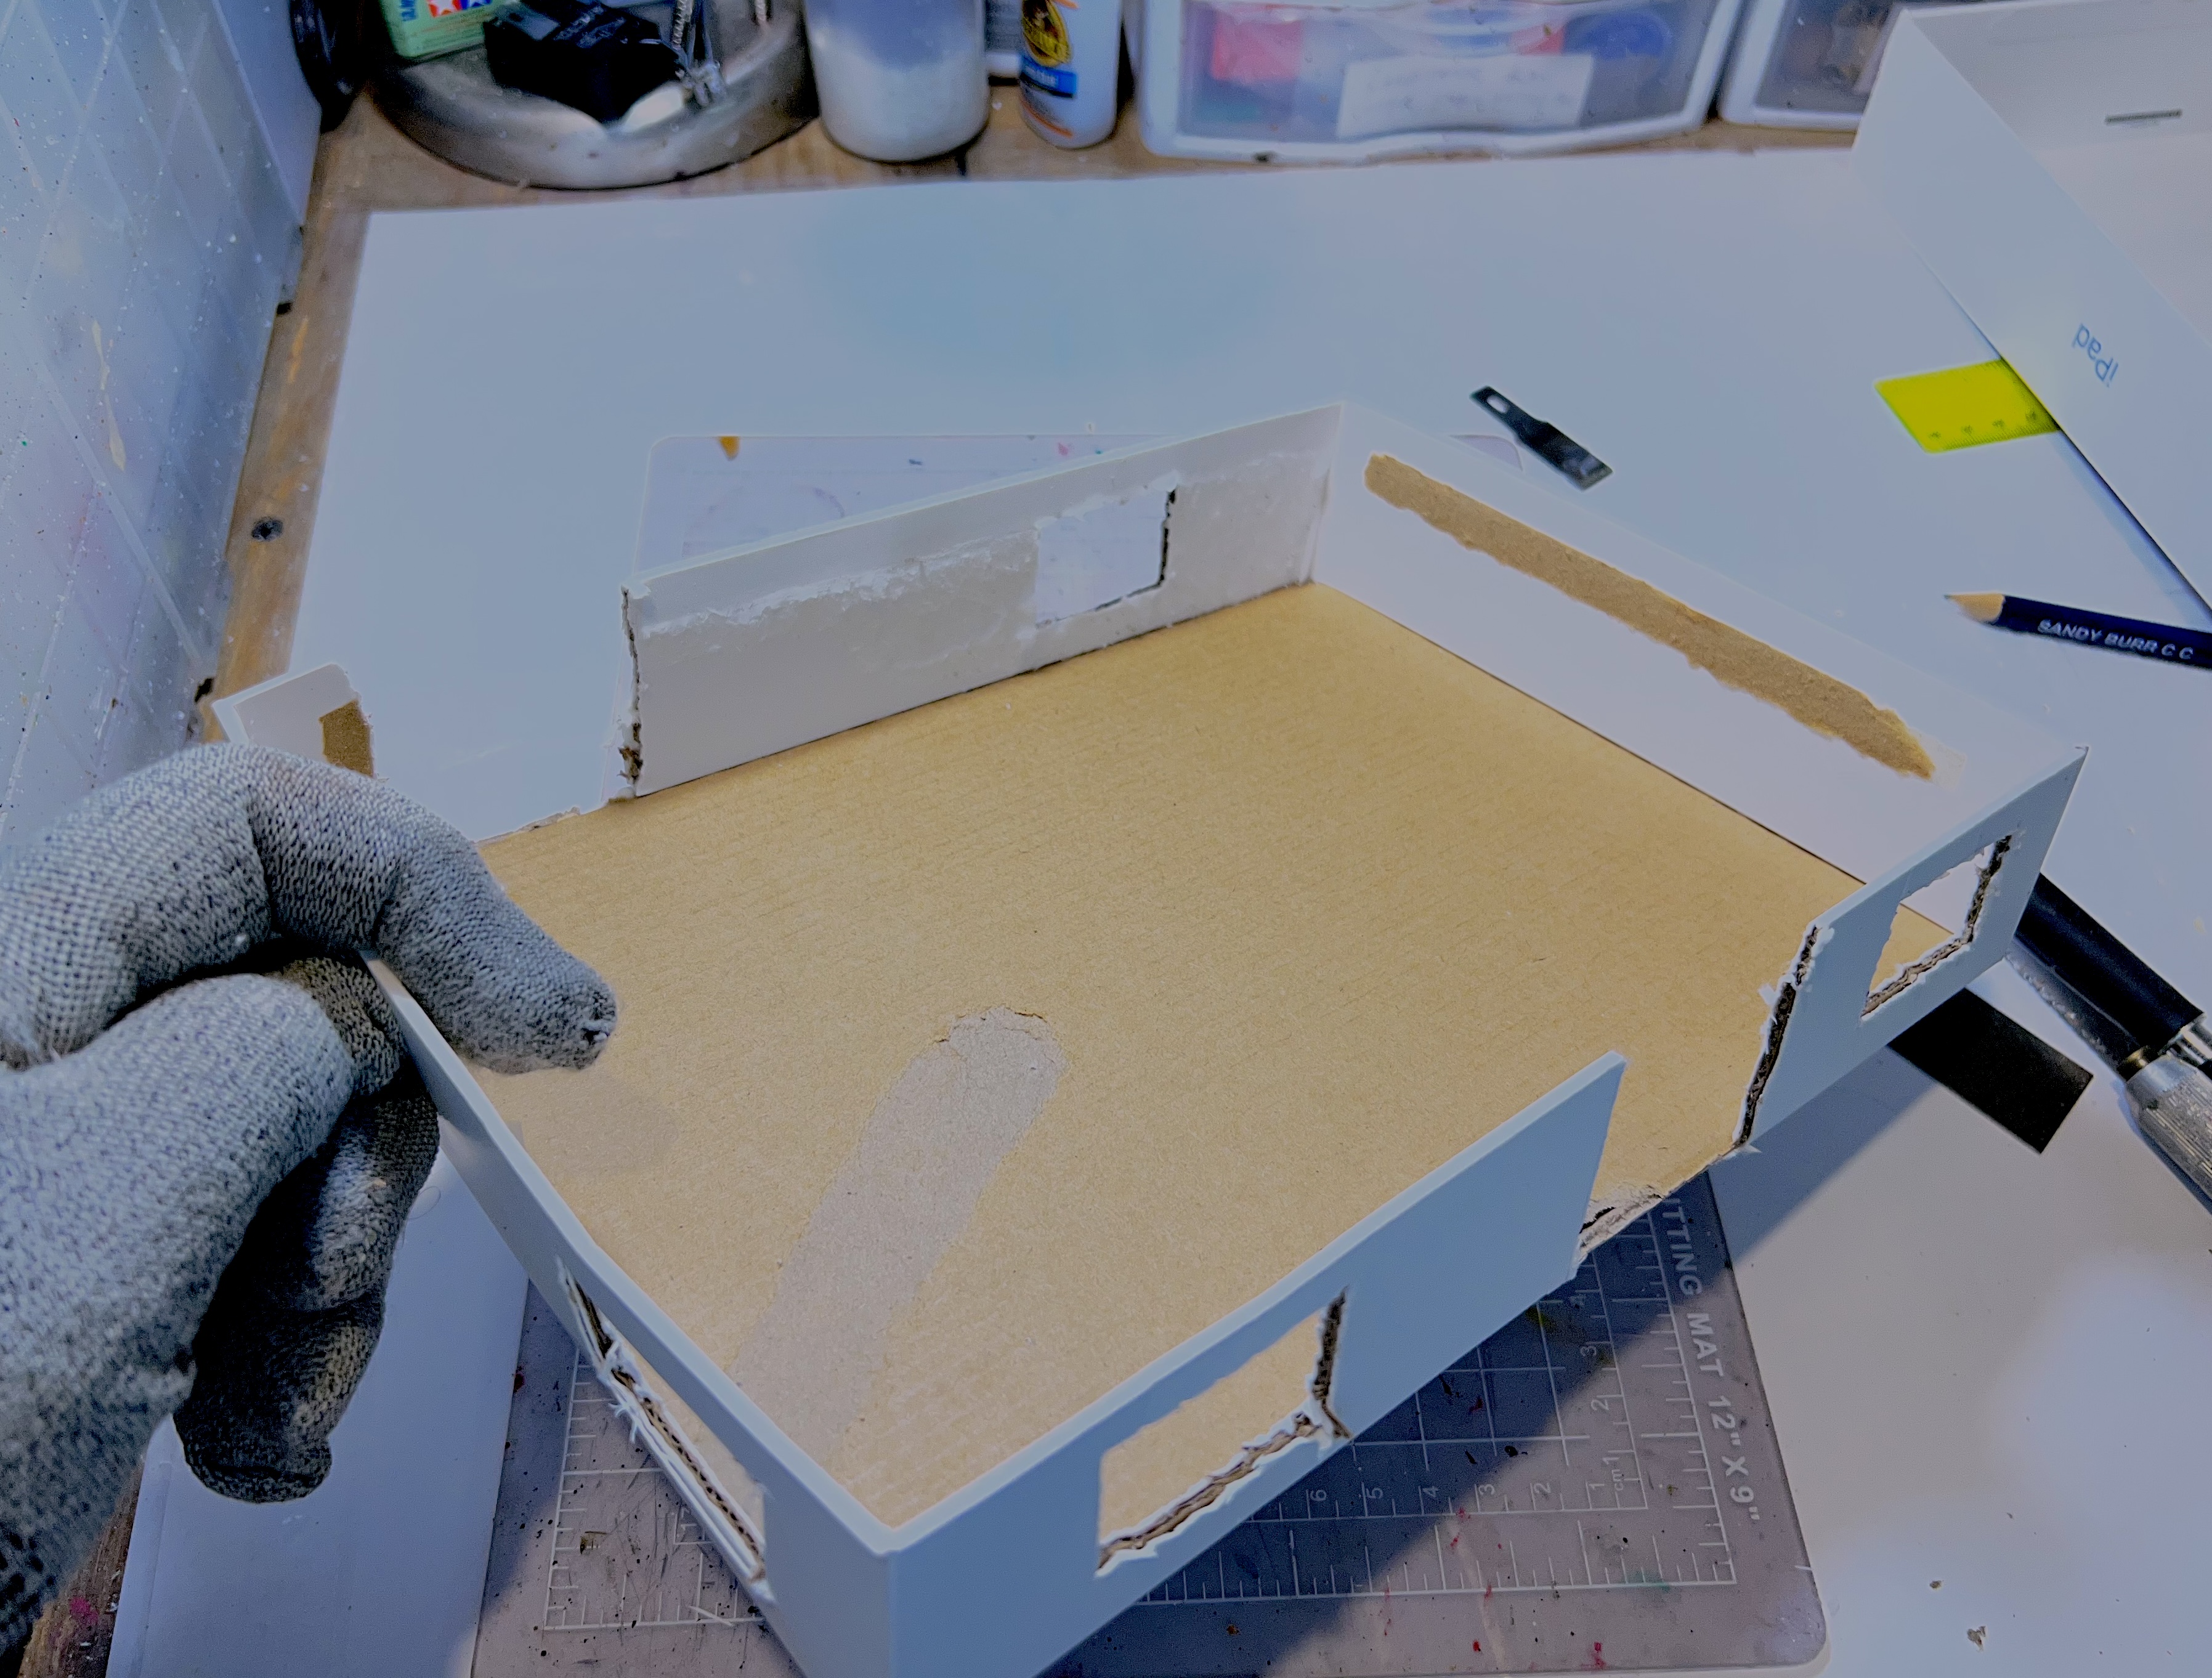
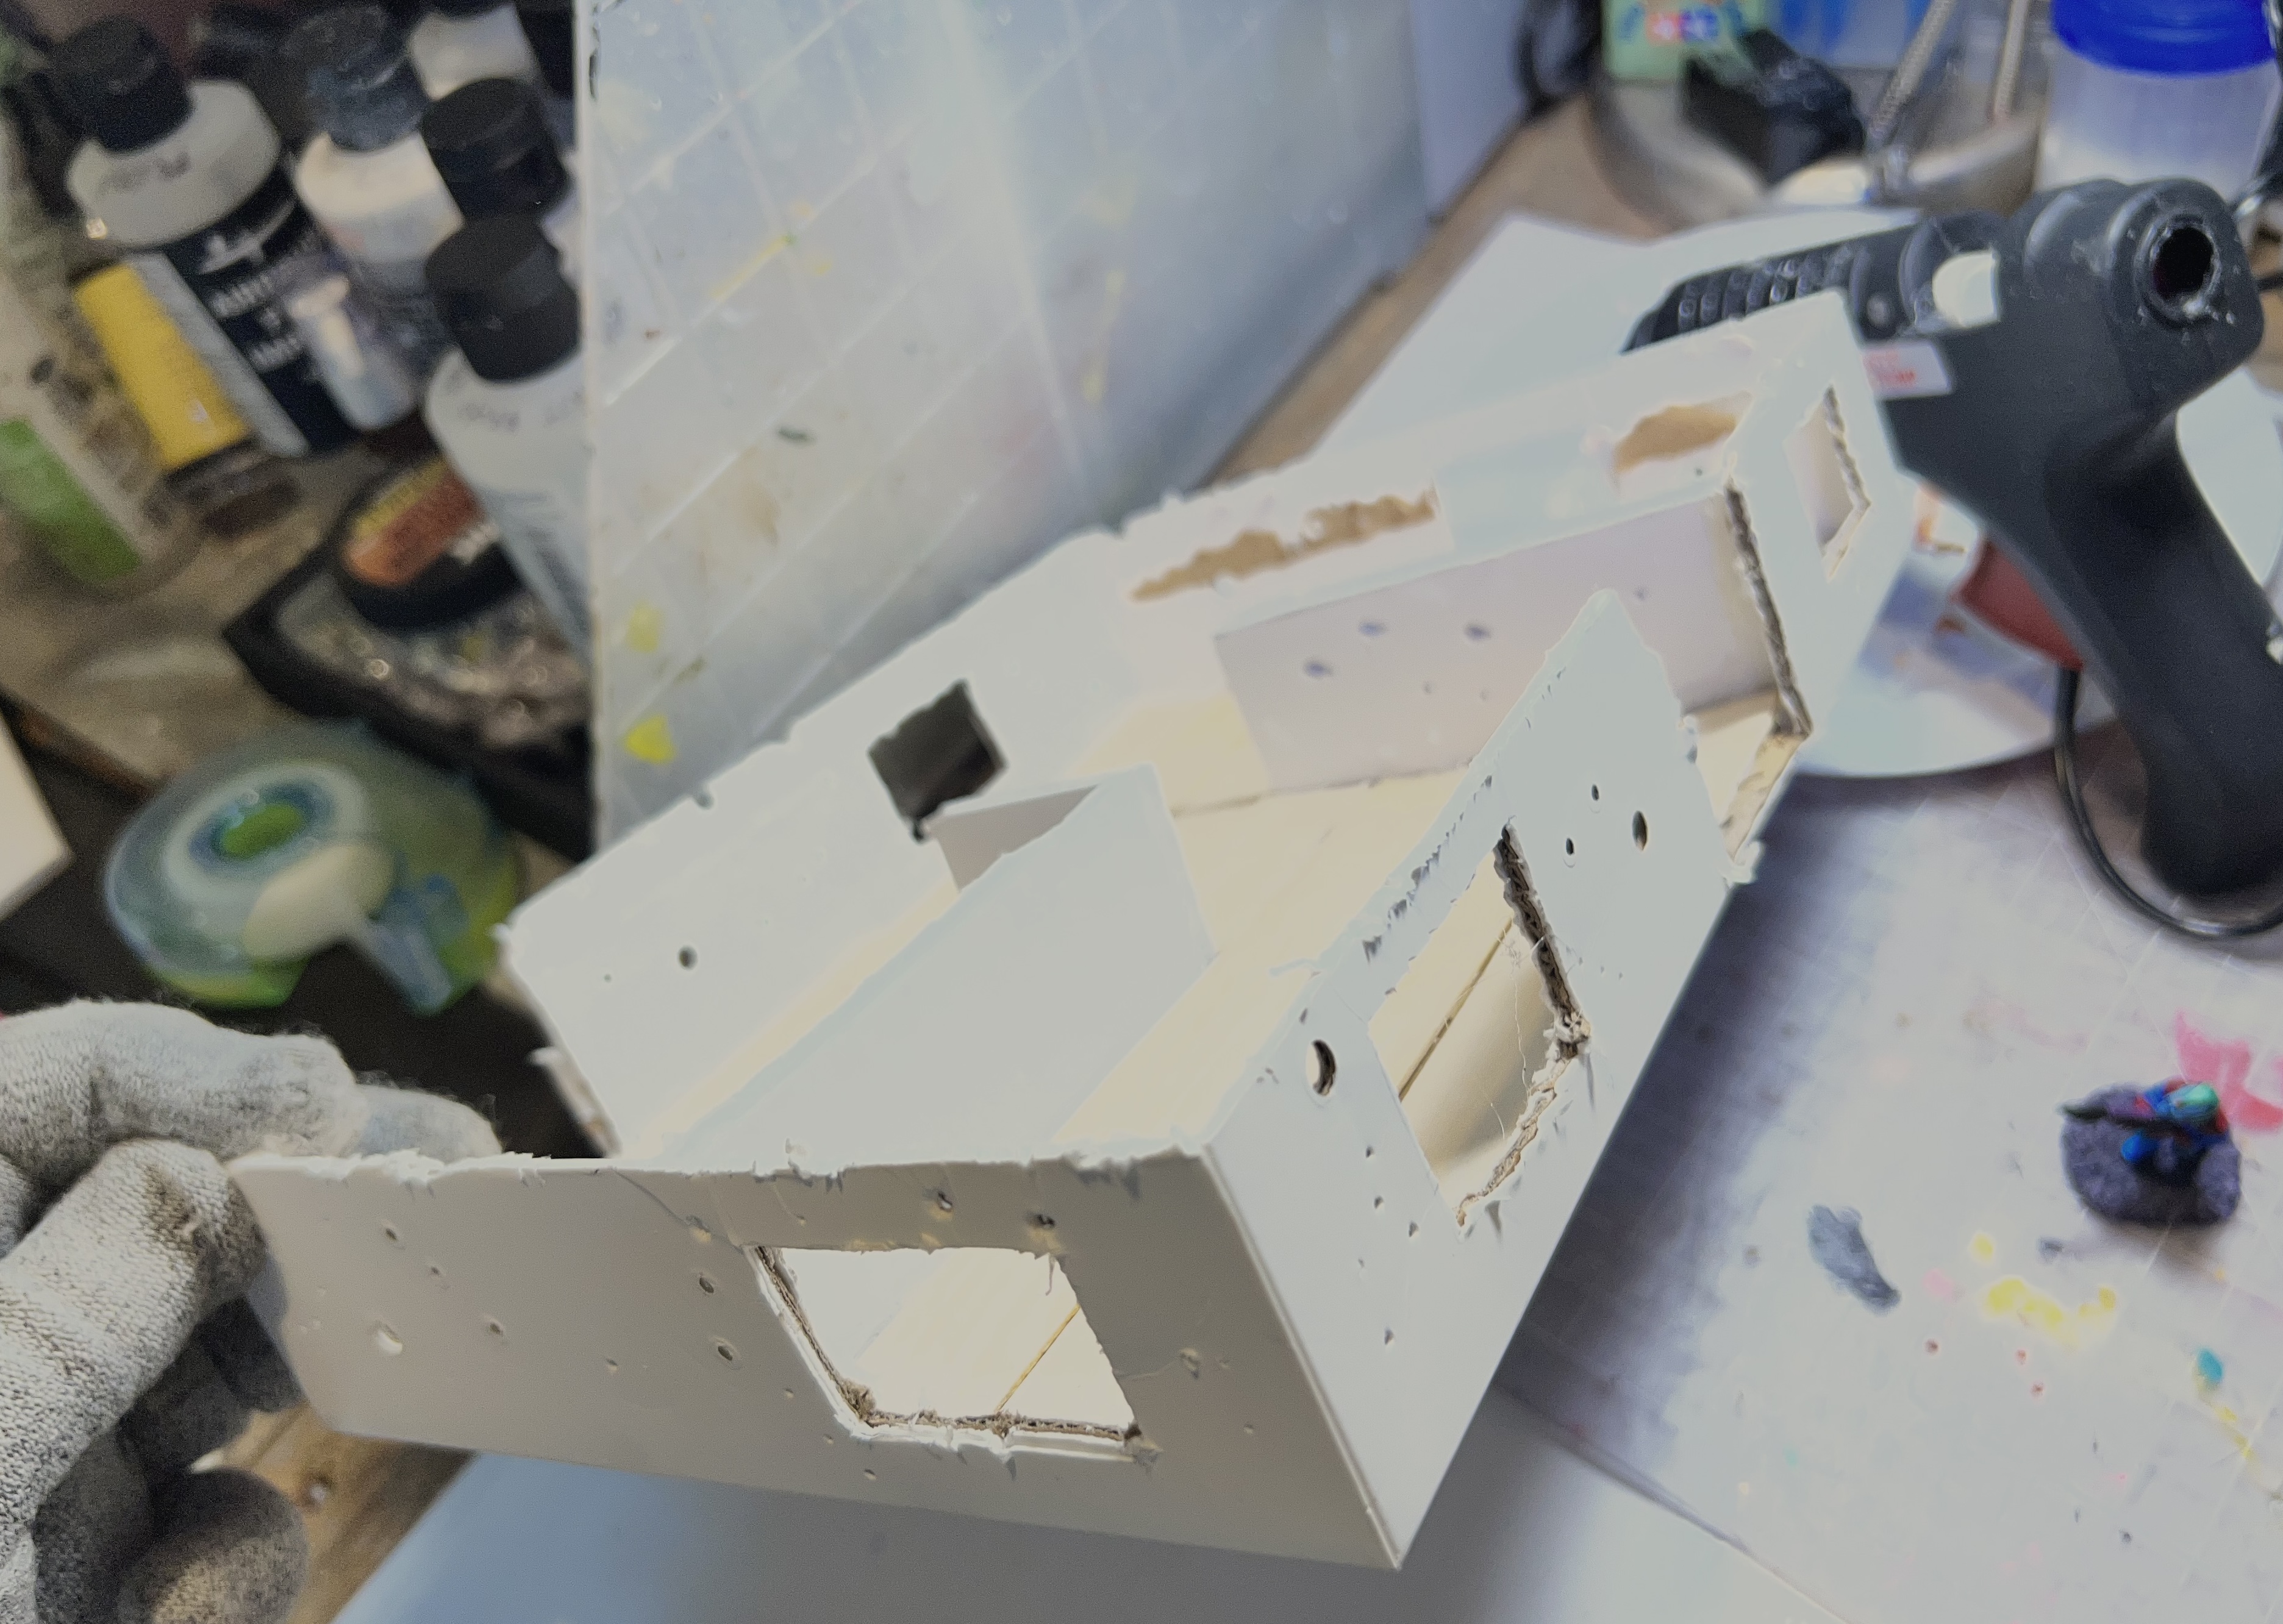
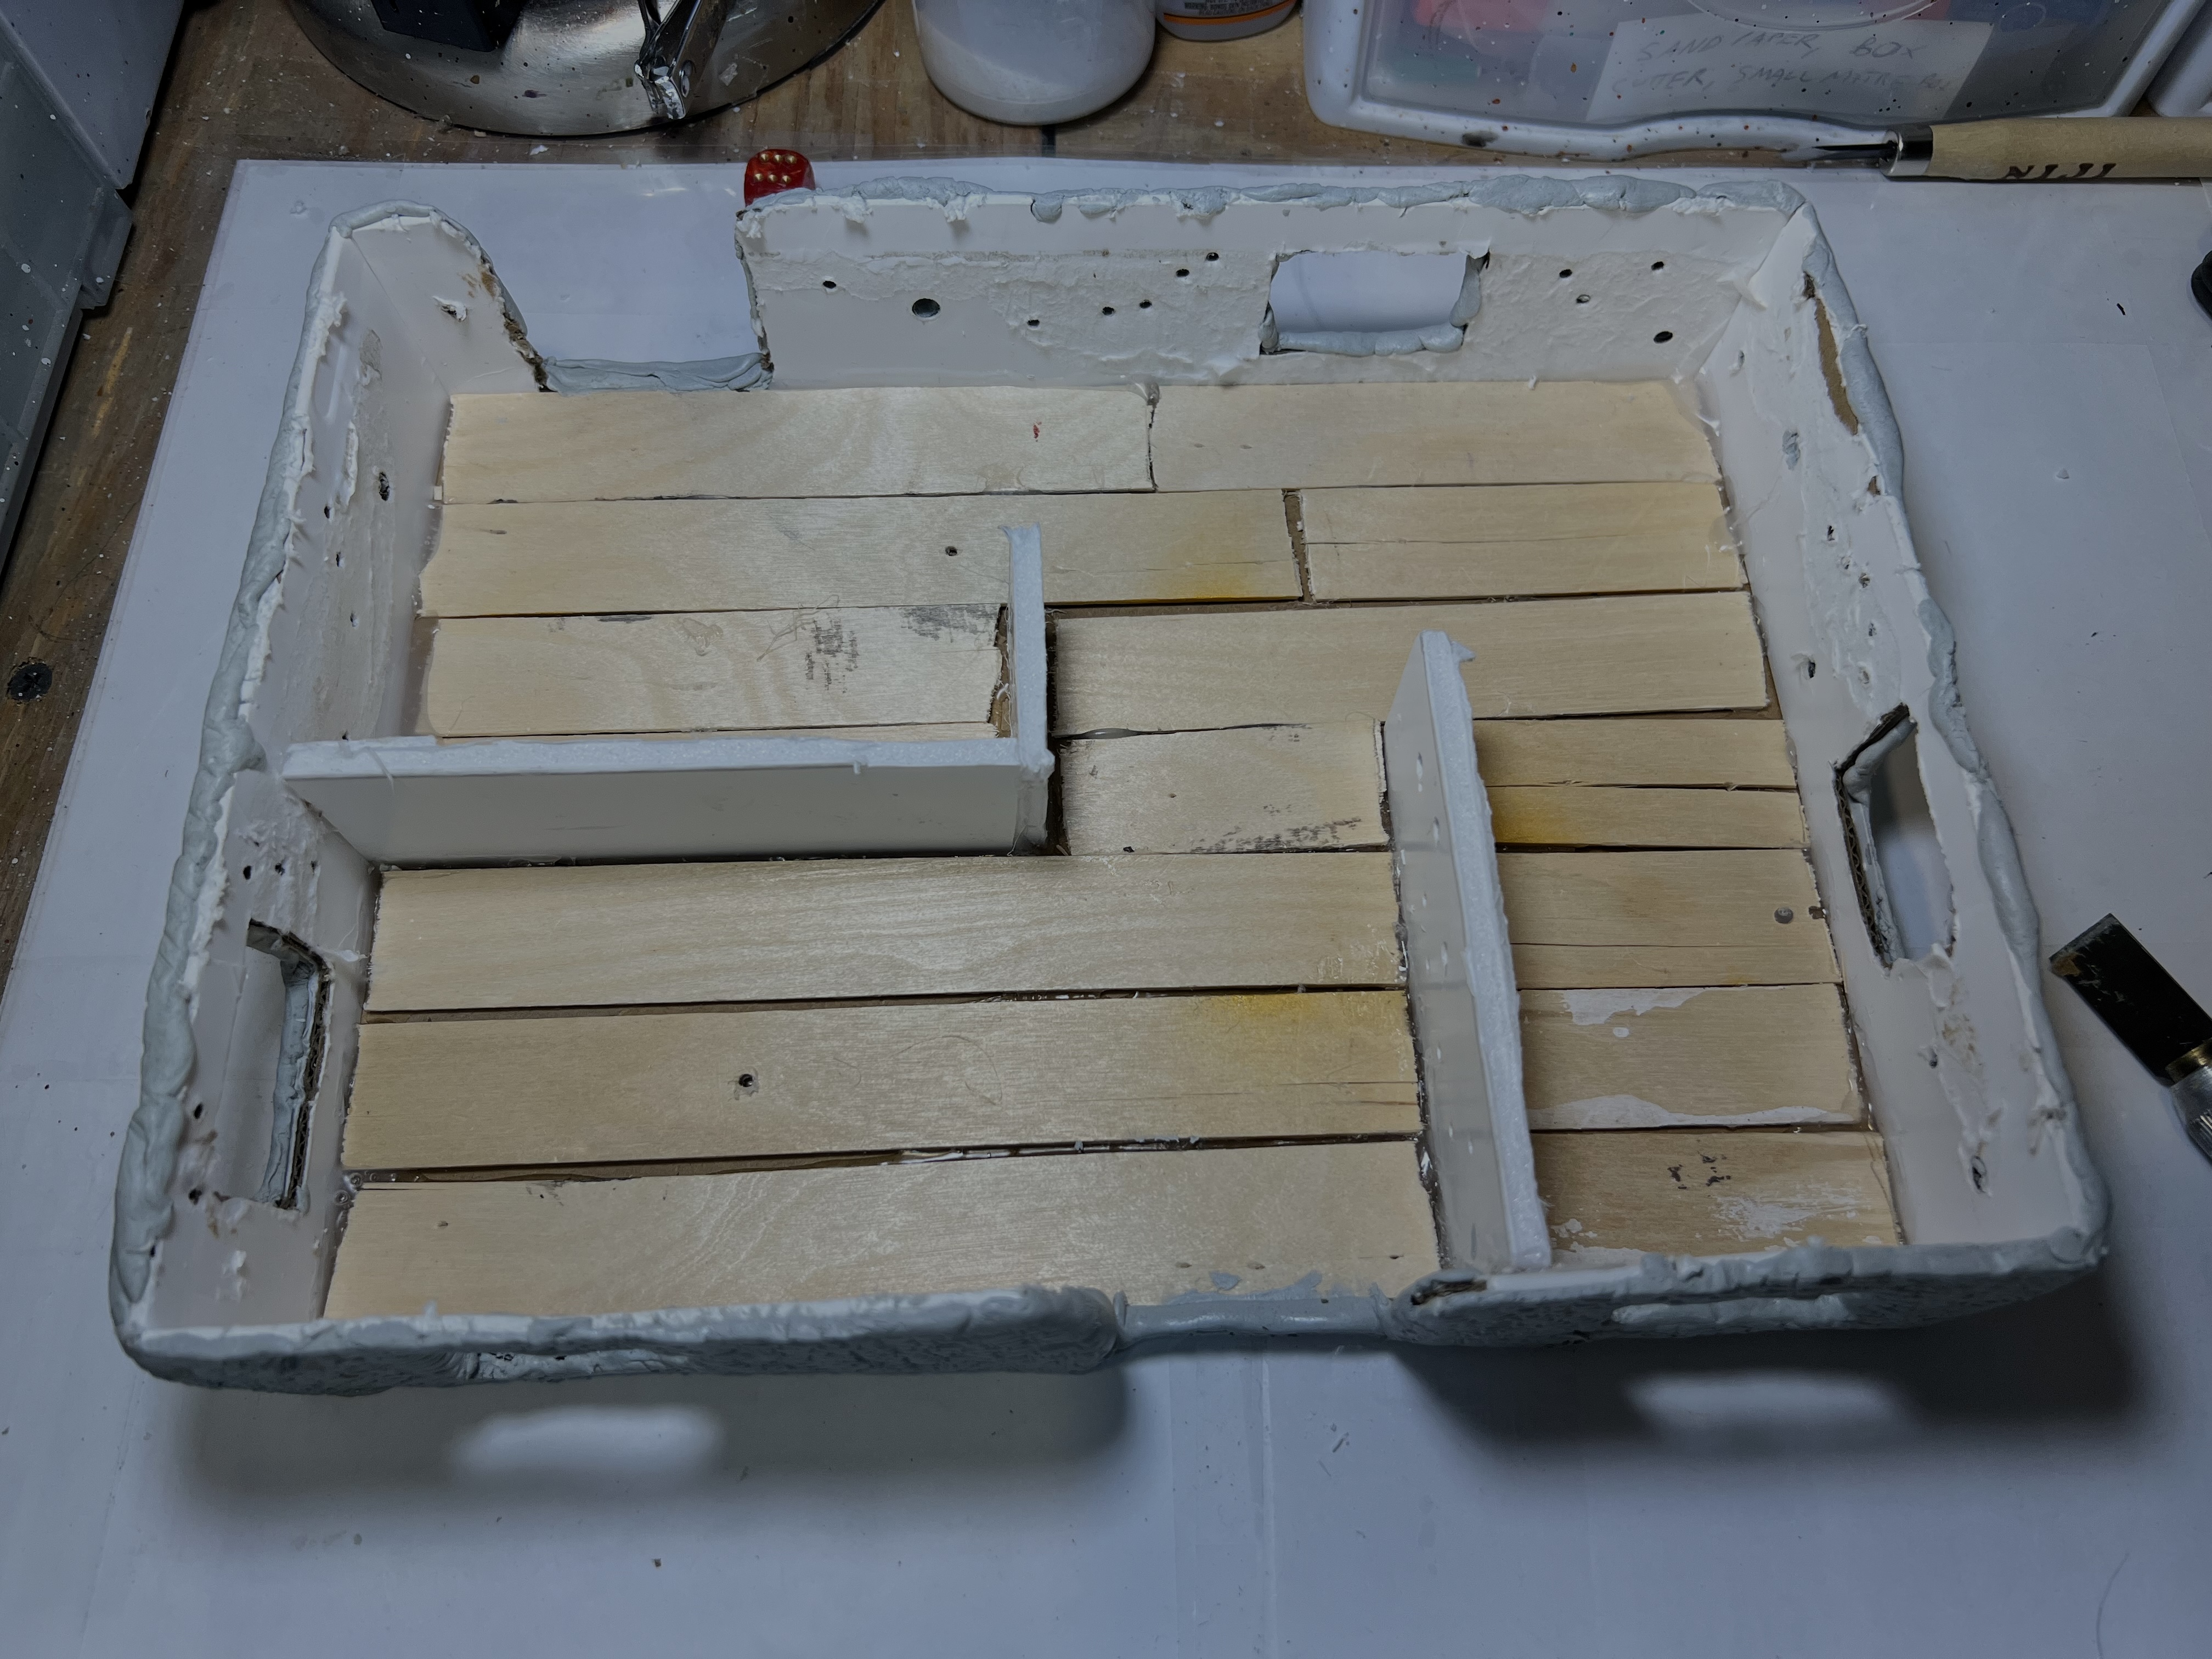
I sawed out windows and doors on both box pieces and made each a bit differently in terms of architectural arrangement. I then hot-glued foam board to make rooms. For flooring, I broke up old popsicle sticks. These I had used previously to mount figures for painting on other projects. Lastly, I drilled out holes in the walls to simulate old bullet holes.
Cutting out the windows and doors on the first building.Adding the walls, bullet holes, and flooring.
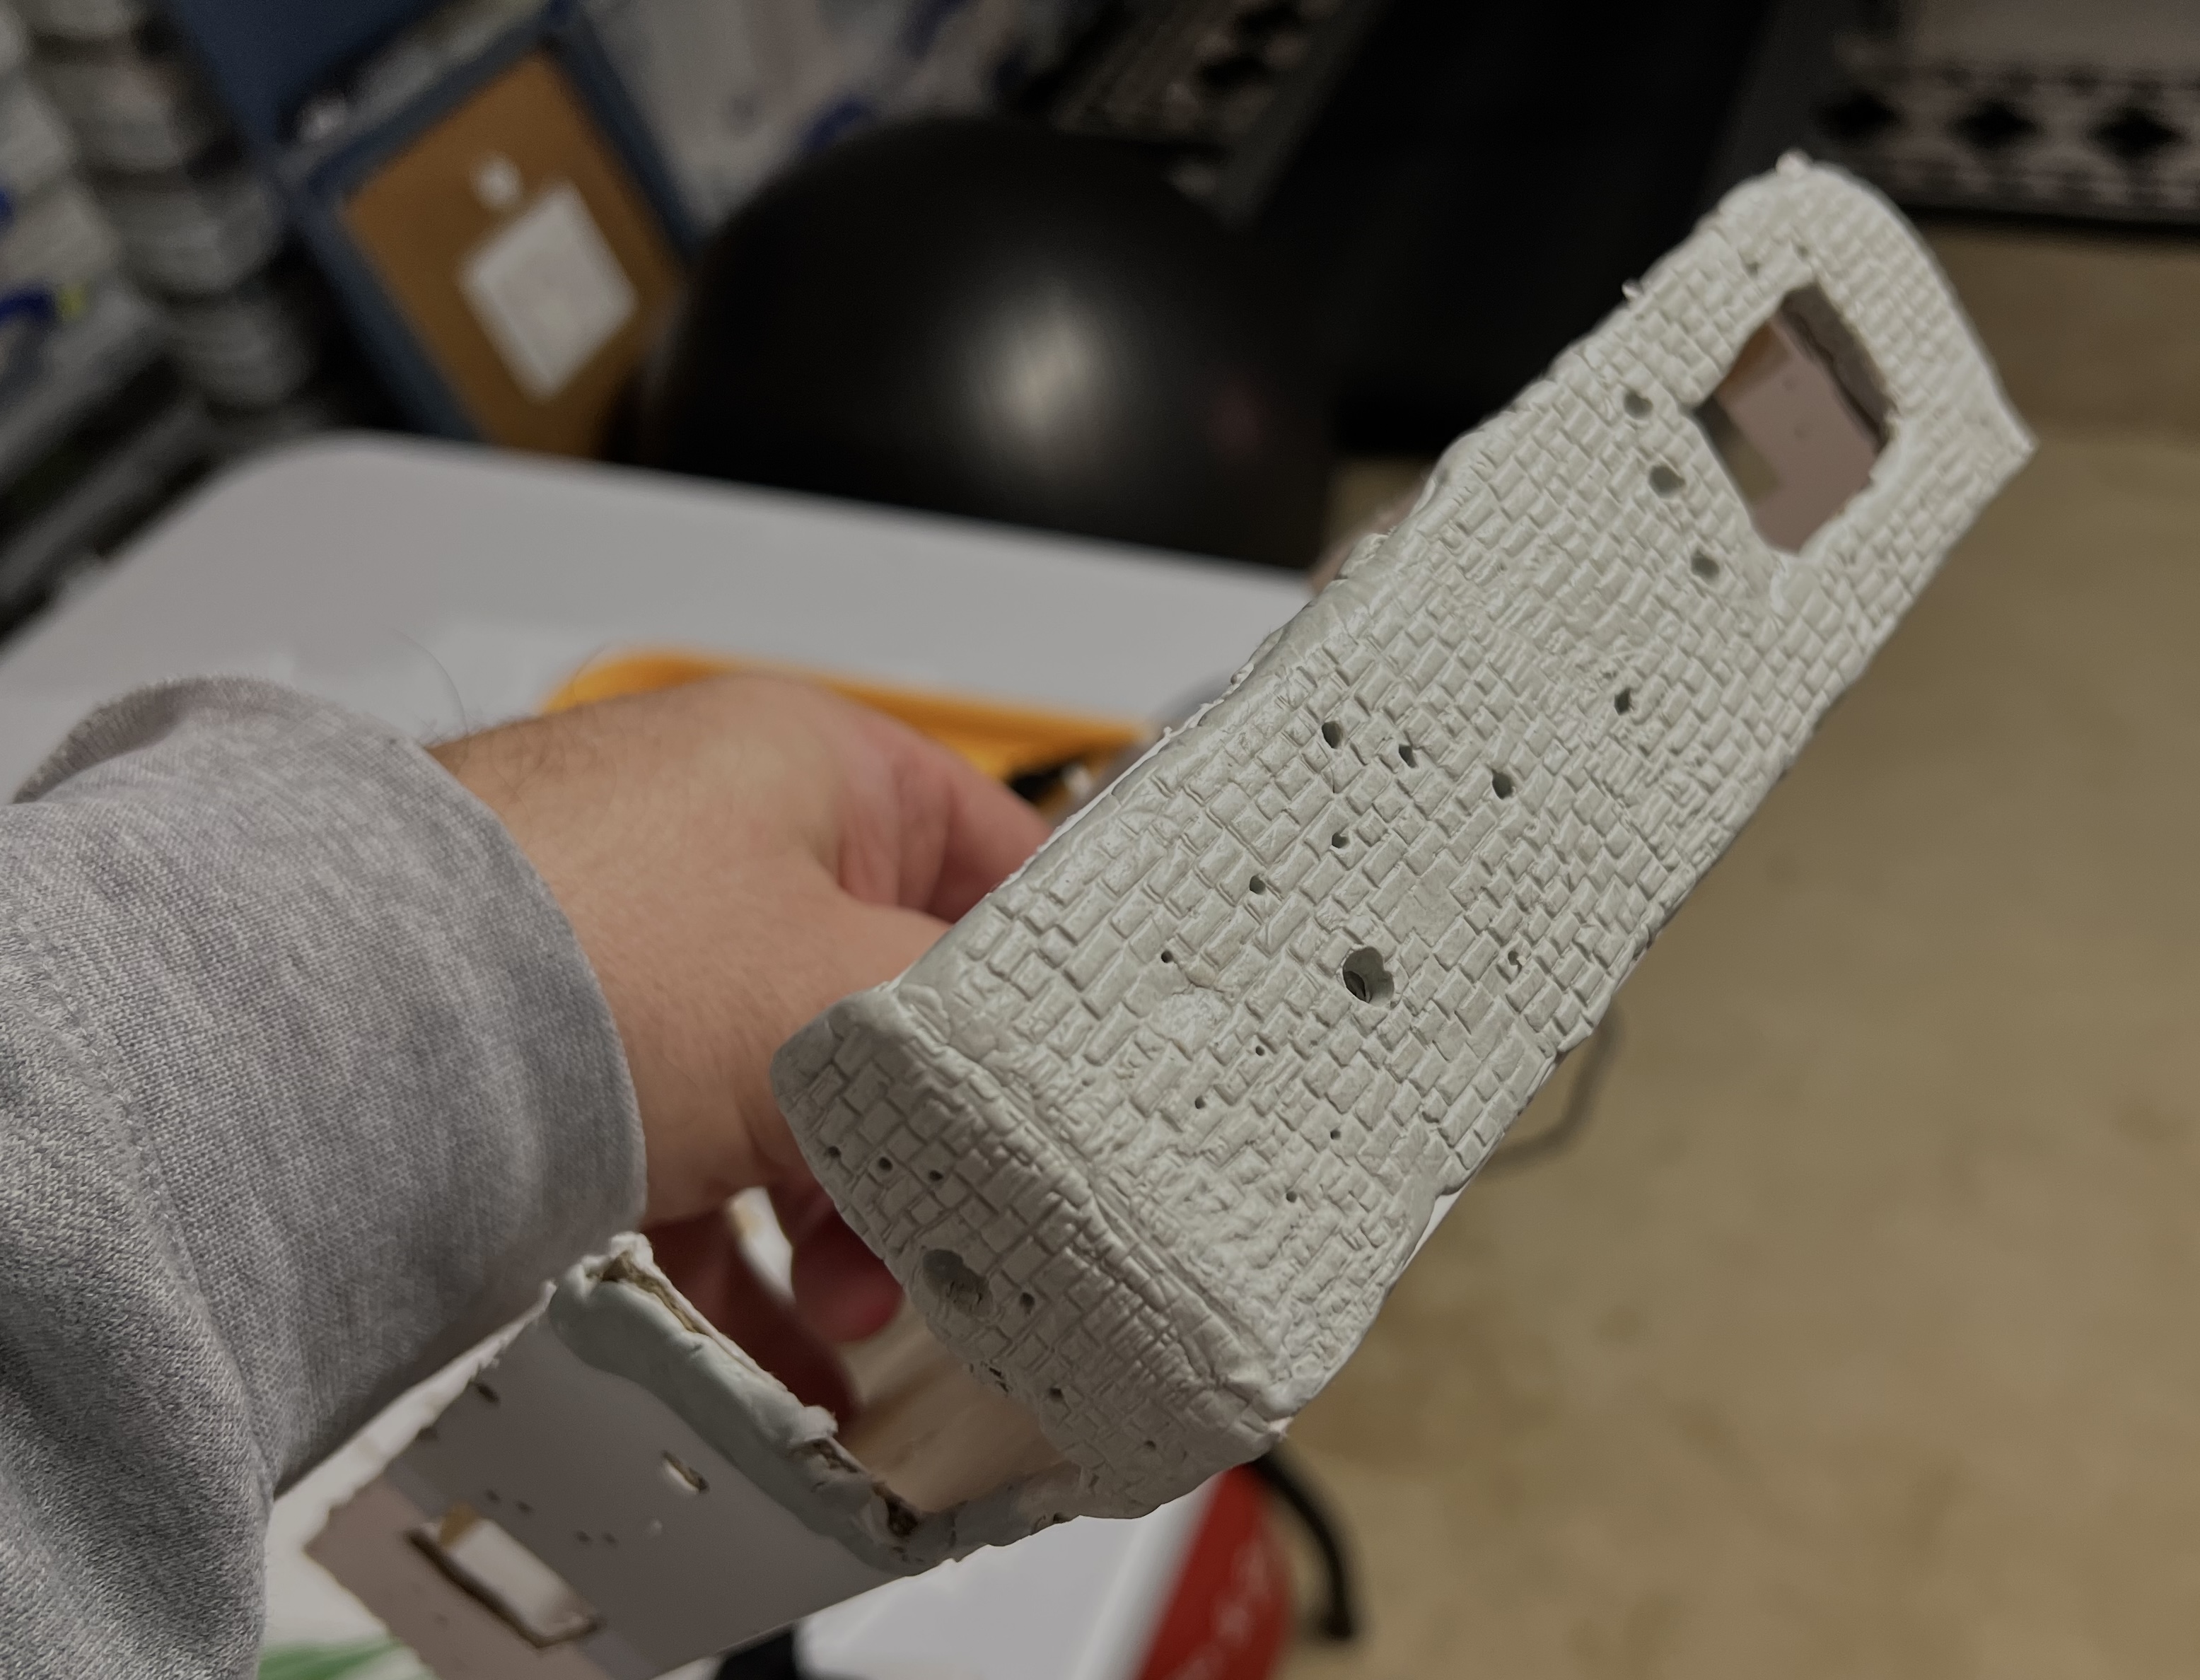
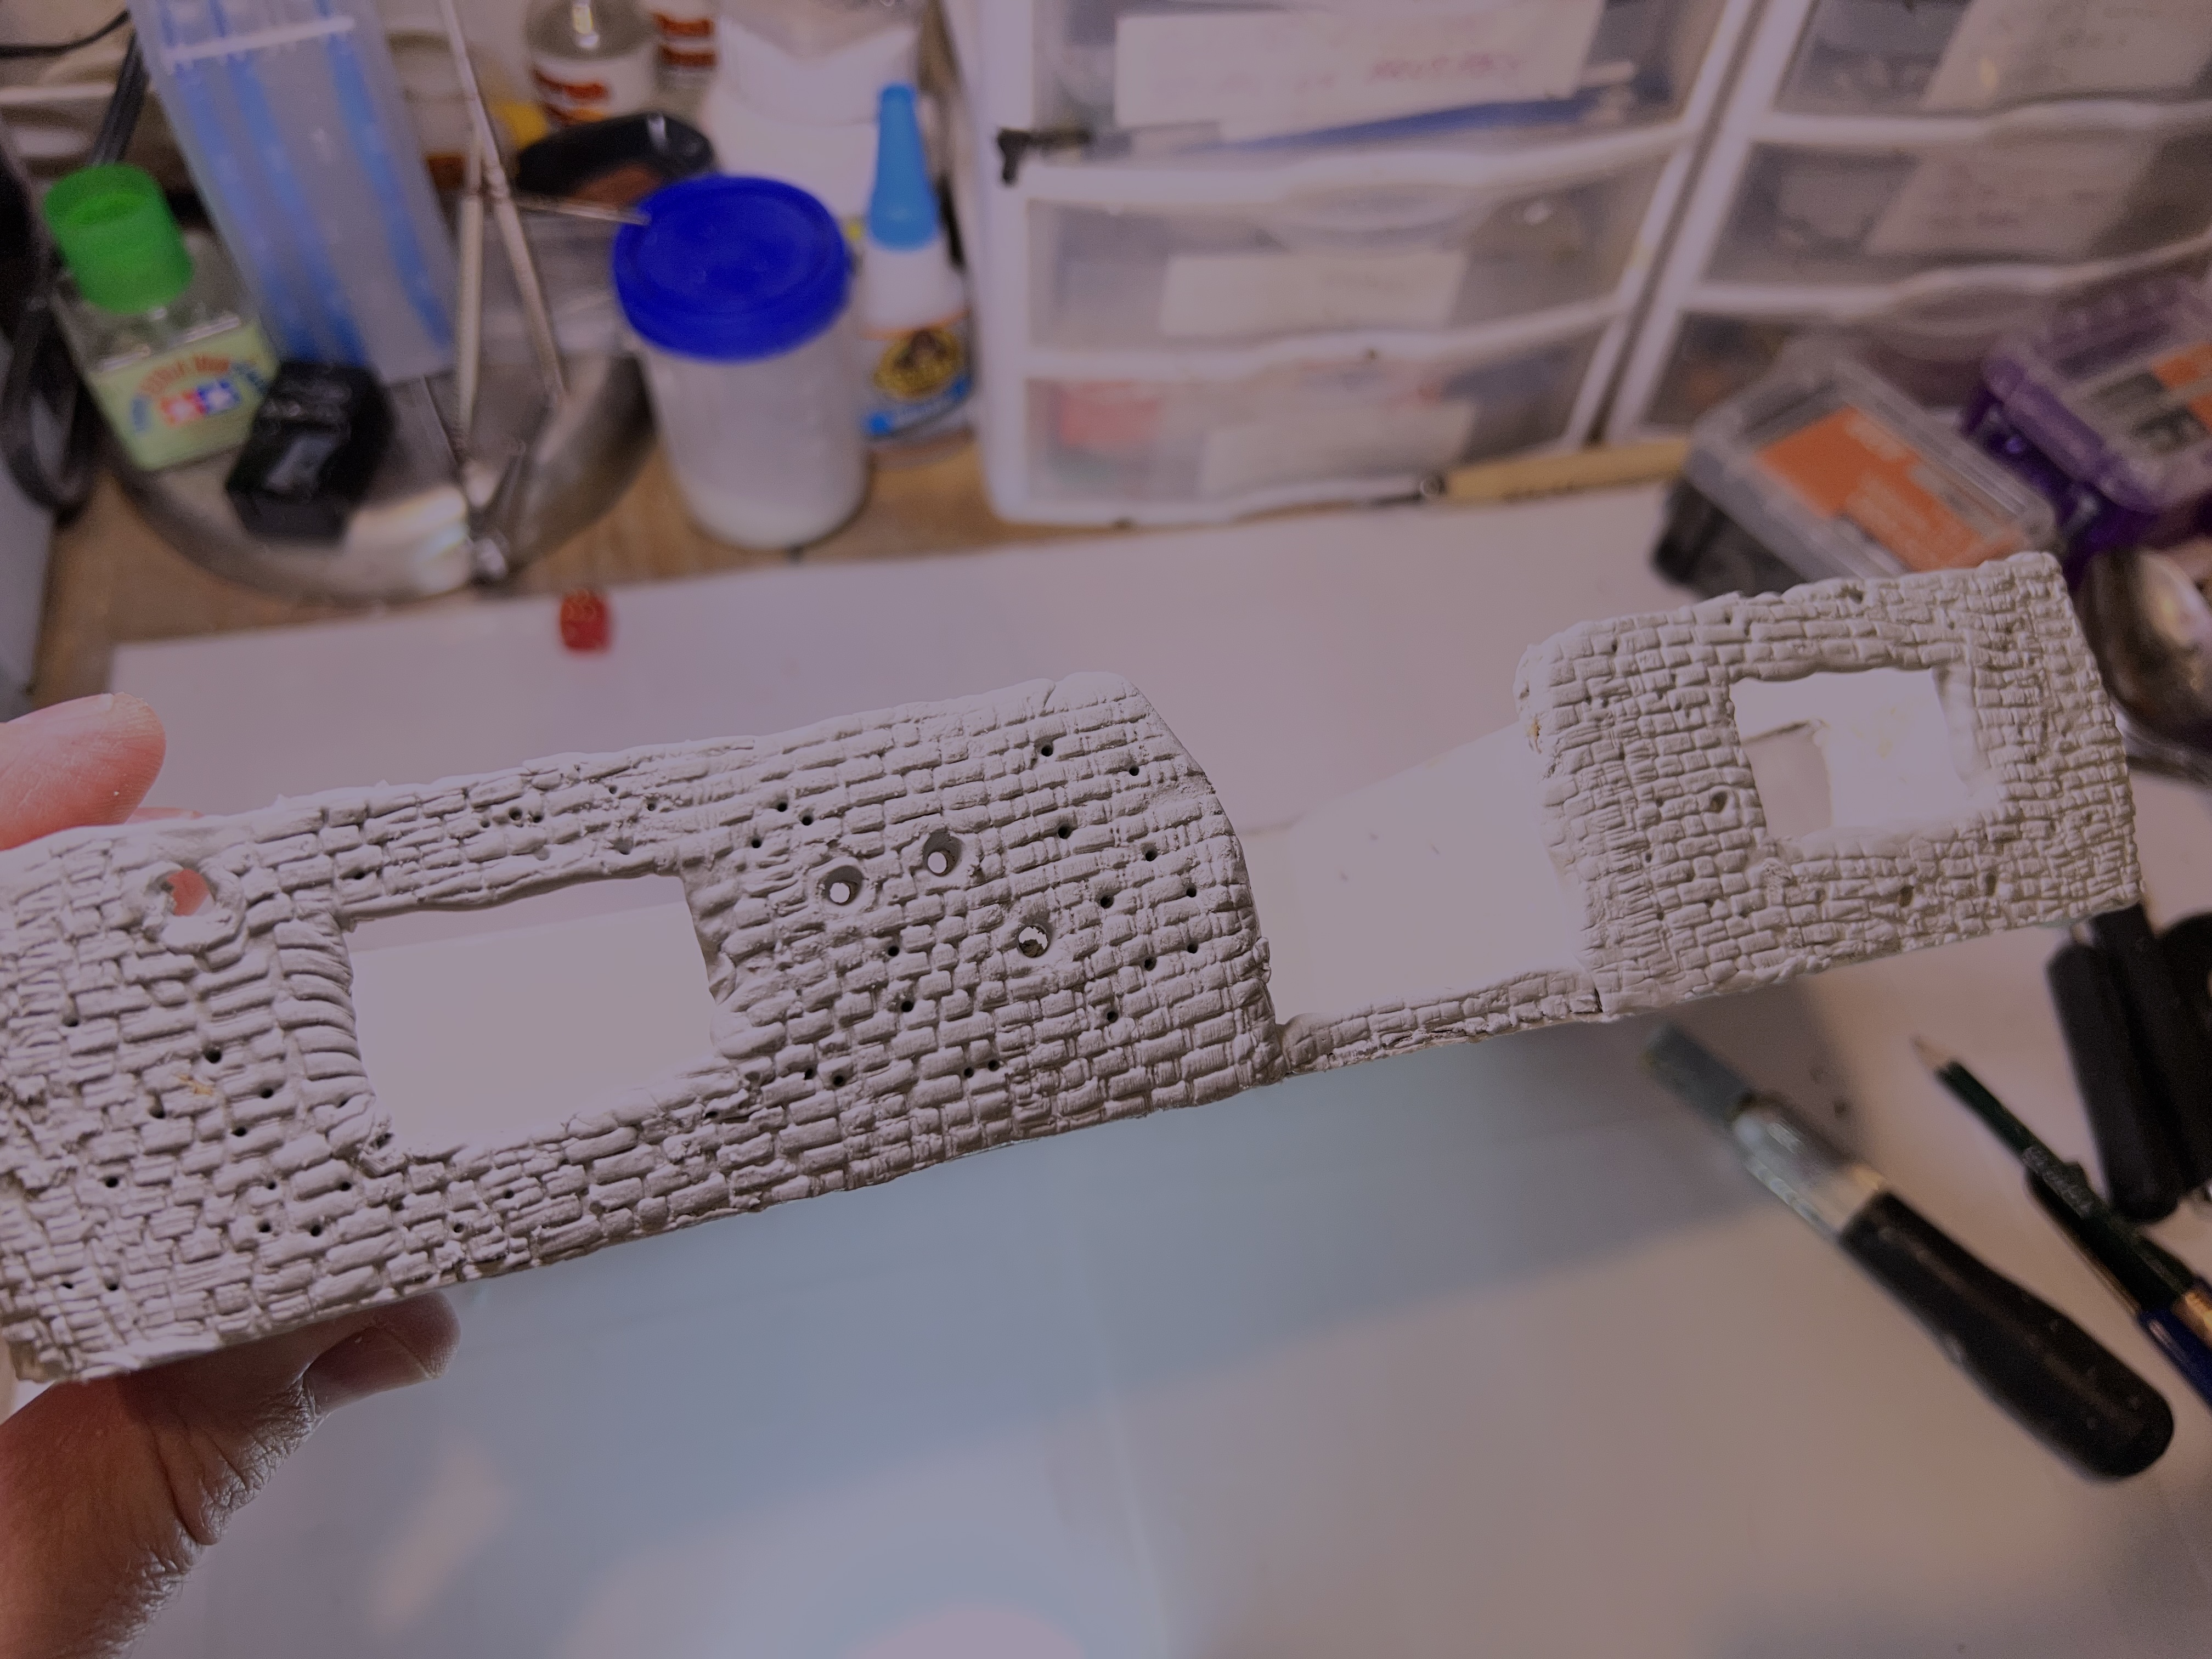
Then it was on to sculpting the outside walls. I did each building separately from here on so as to handle both curing times and to learn as I went as to best practices. Apoxie Sculpt and a Green Stuff World brick roller worked well.
Sculpting the walls. I used an awl to create and shape shell and bullet impacts on the outside.Using the windows as gripping spots made the sculpting easier. I did need to then wait for curing.
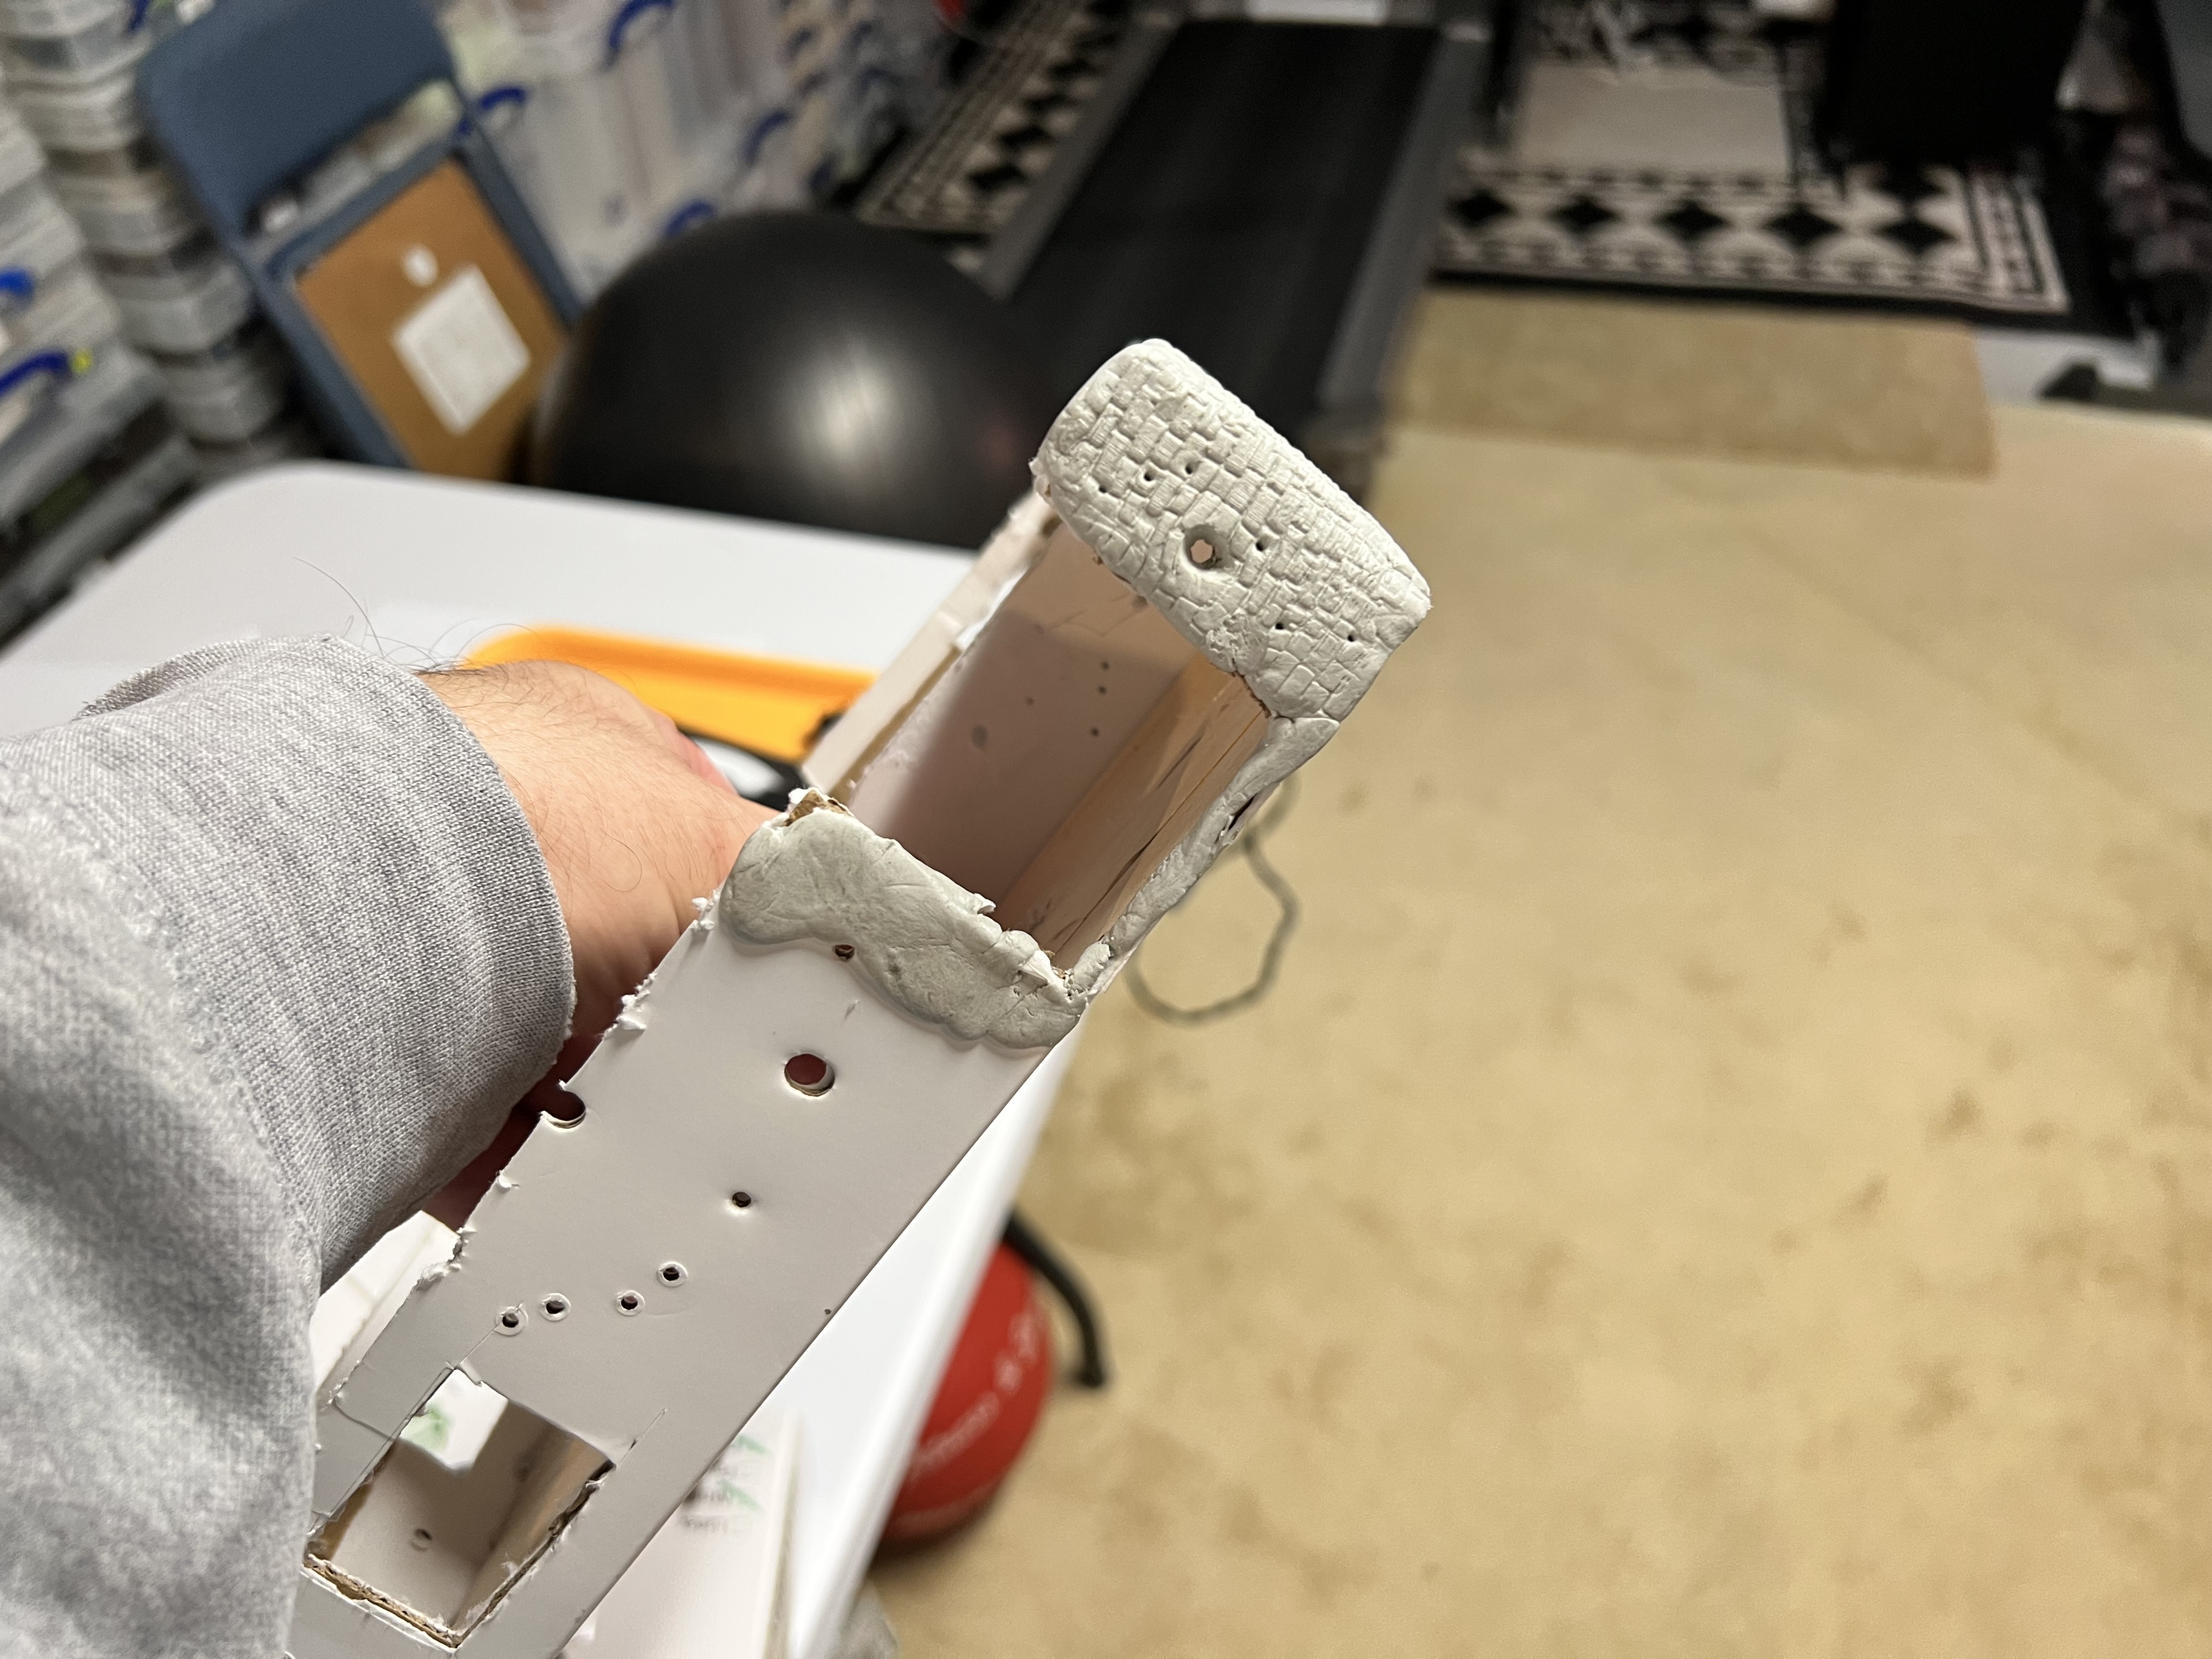
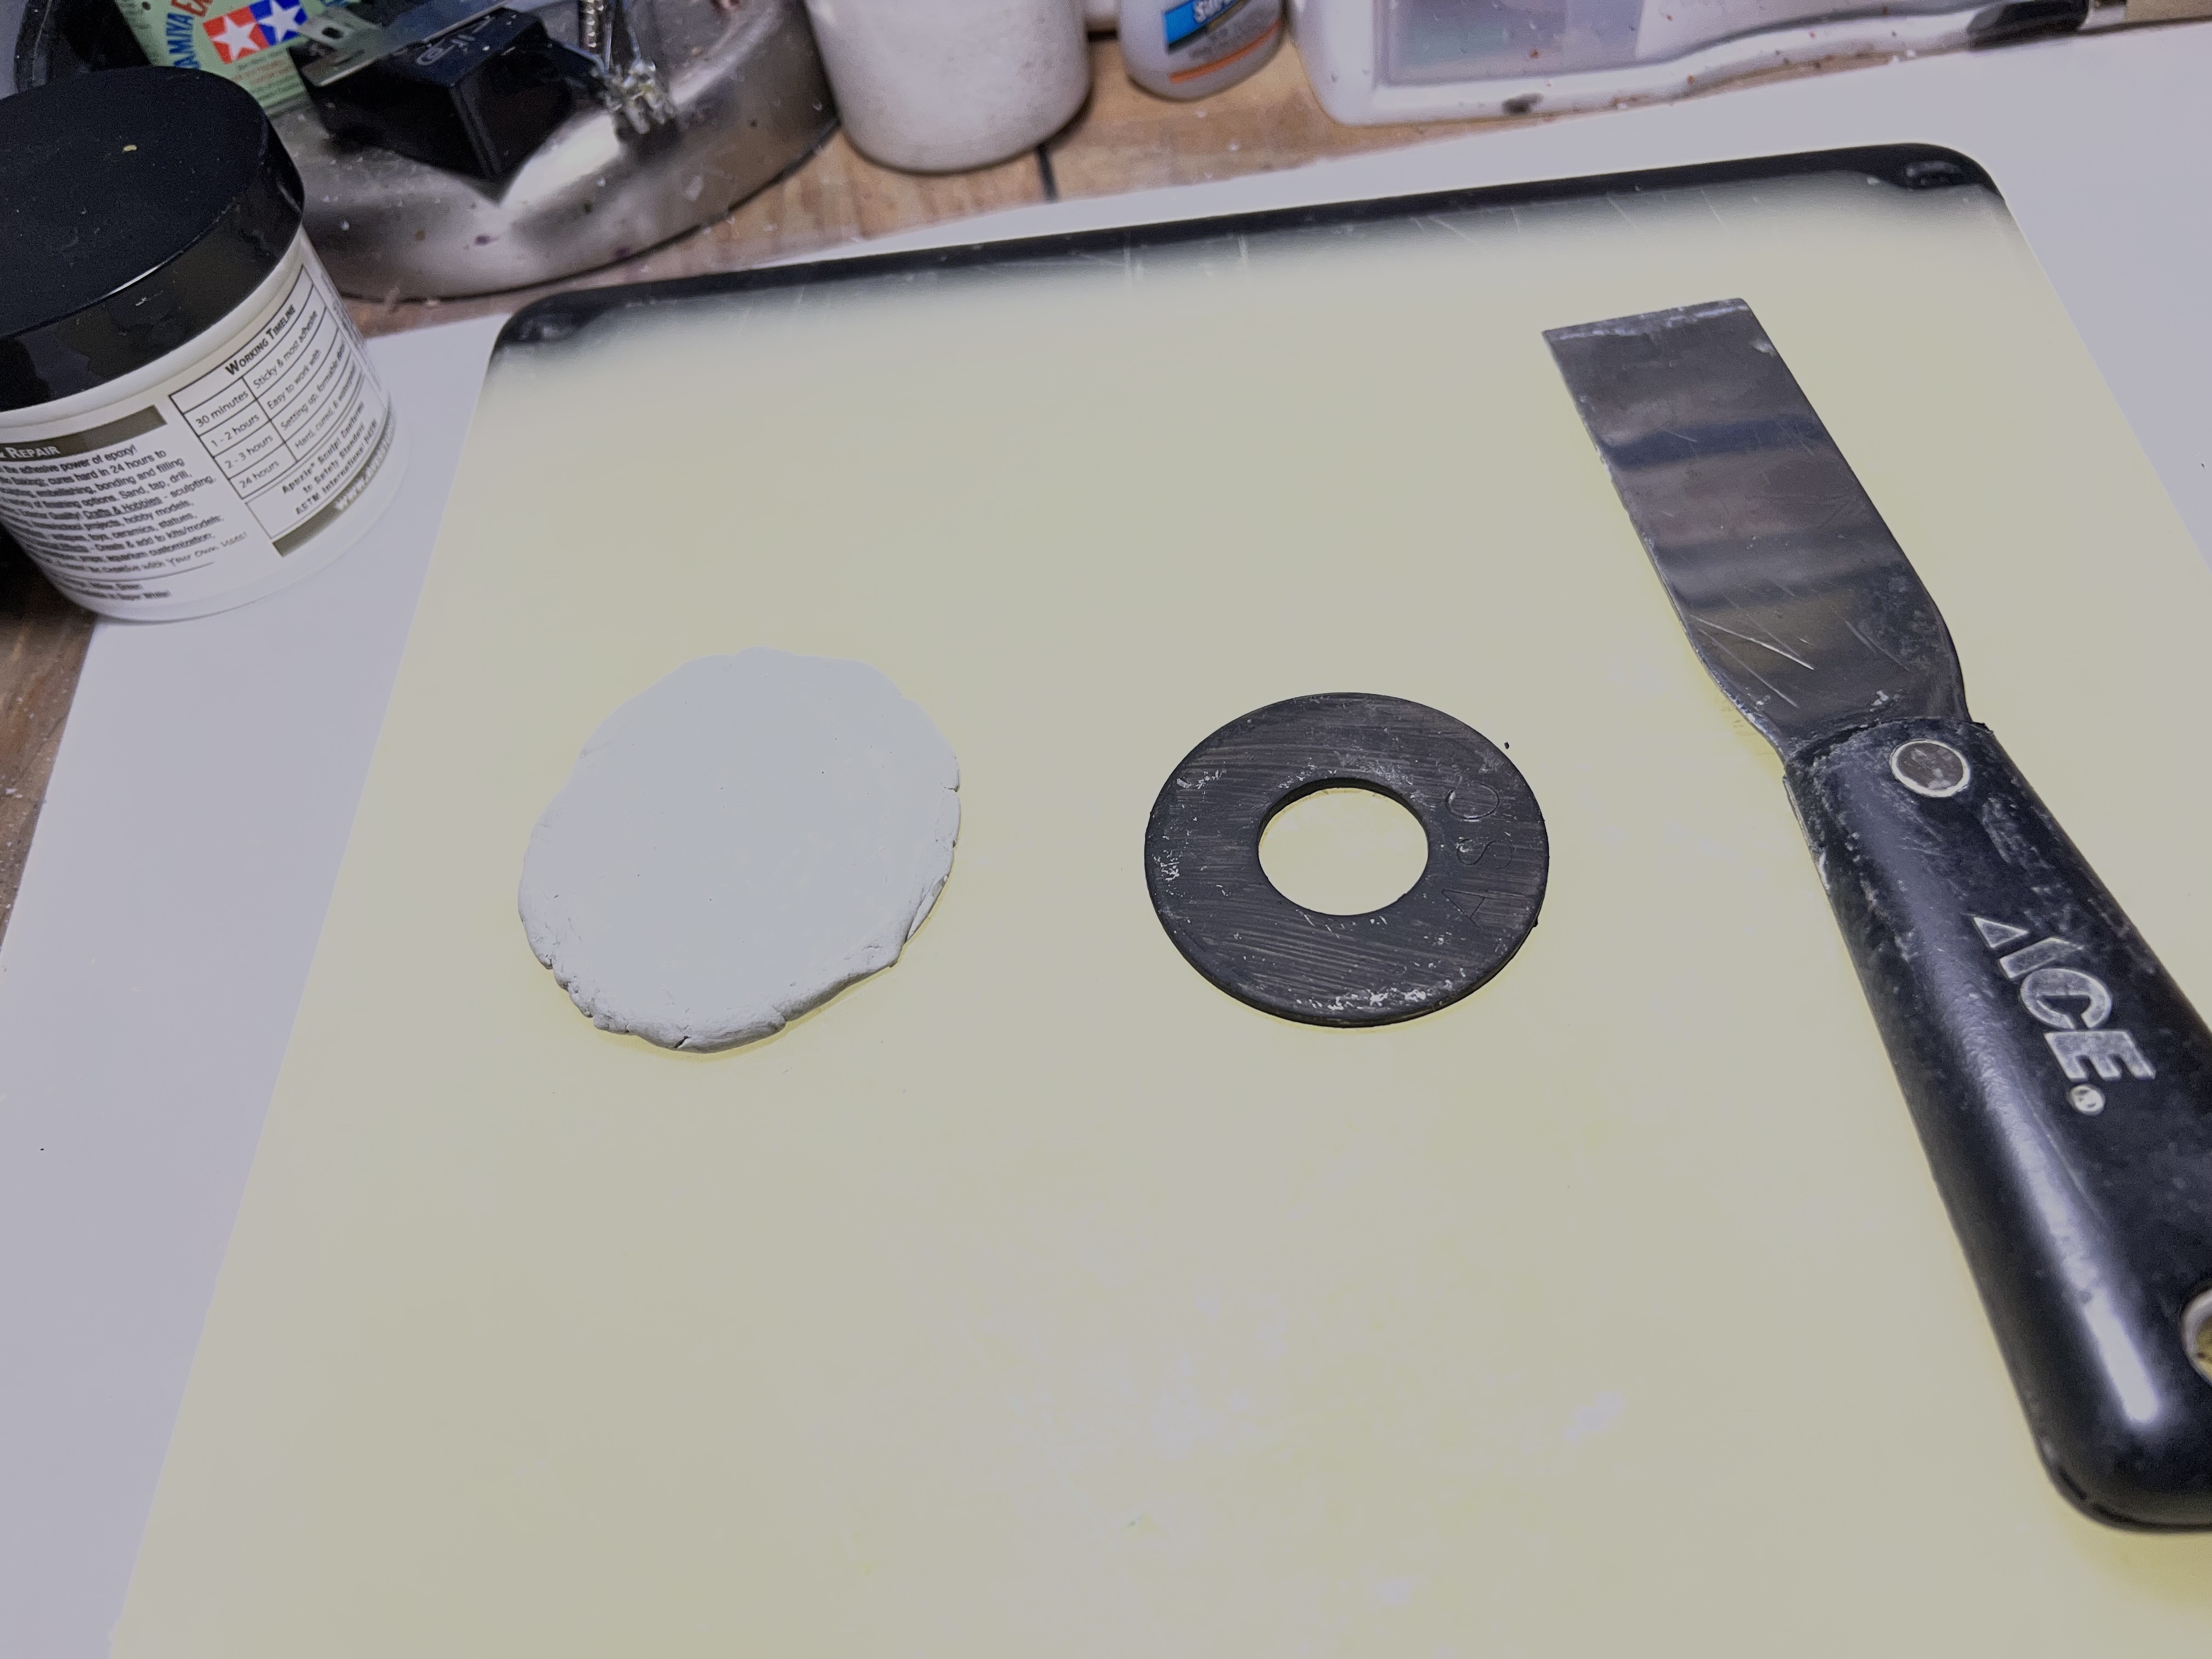
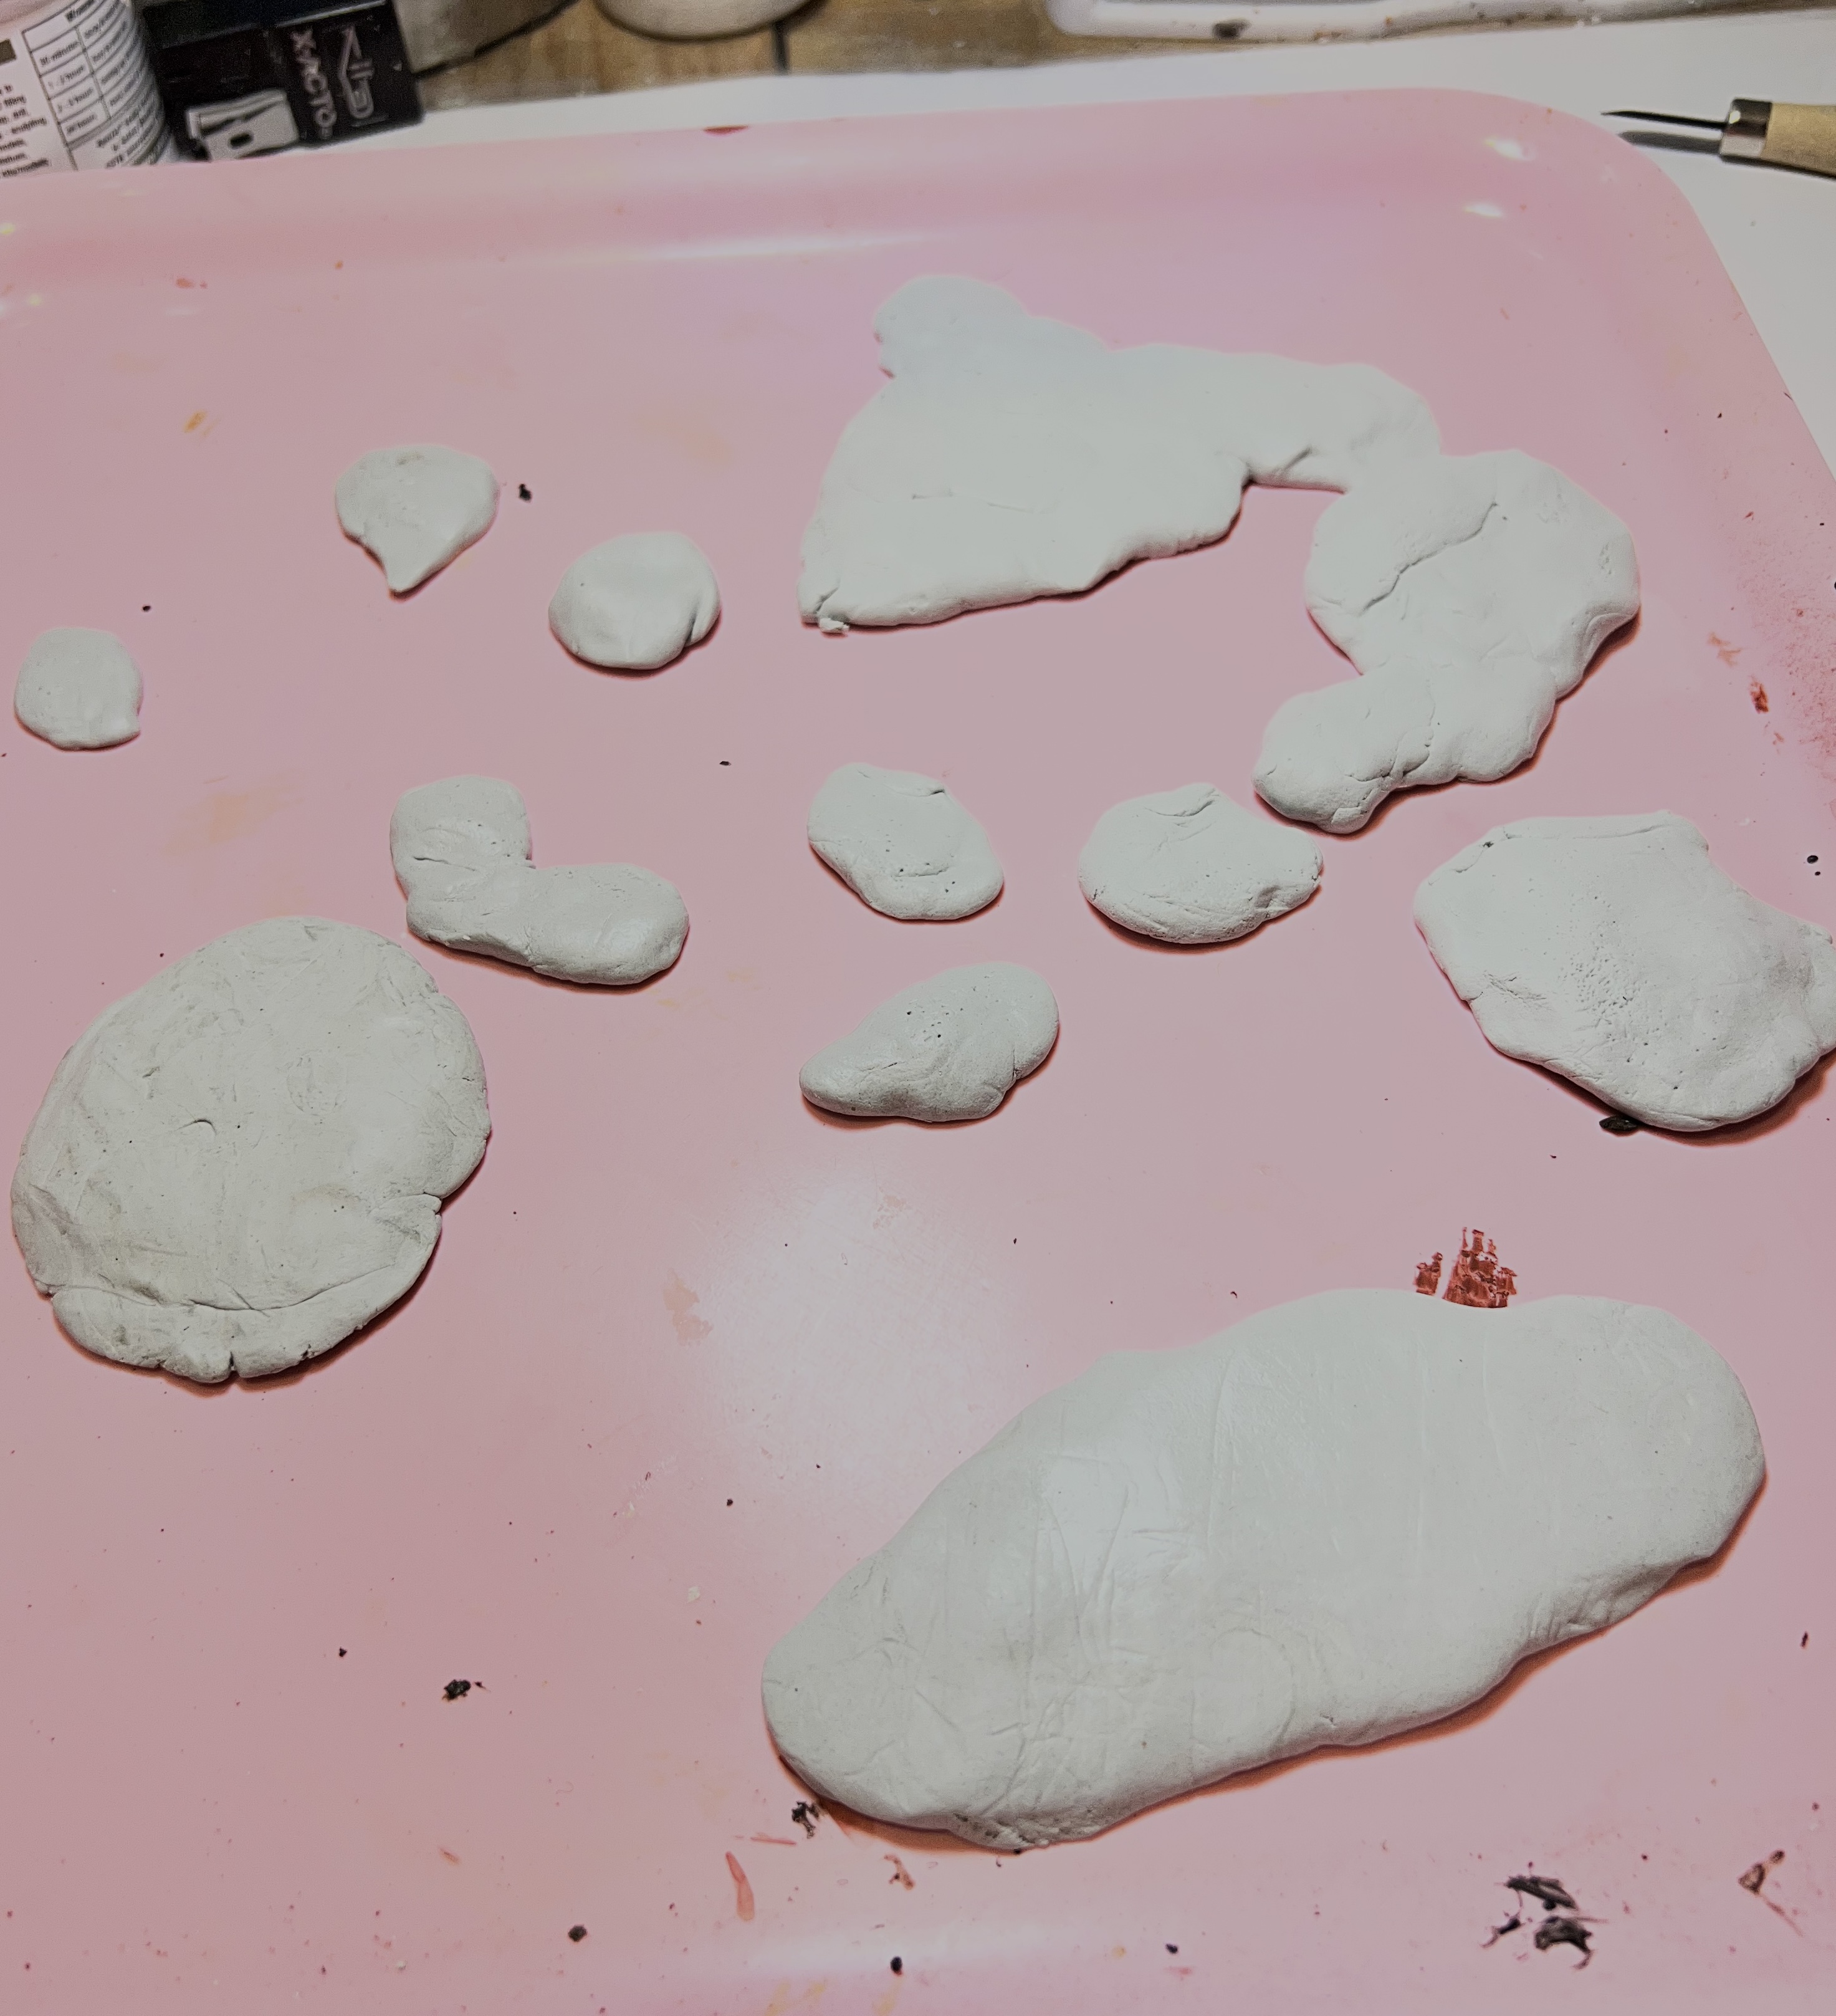
While the walls cured, I worked on the wreckage bases – also using Apoxie Sculpt. I made the bases differently in terms of both size and shape. It helped to use one or more steel washers underneath the base sculpts. Using different sizes helped to make the shapes varied.
The biggest washer that I used and a base covered with Apoxie Sculpt.Examples of the other sizes and shapes – all with steel washers underneath.
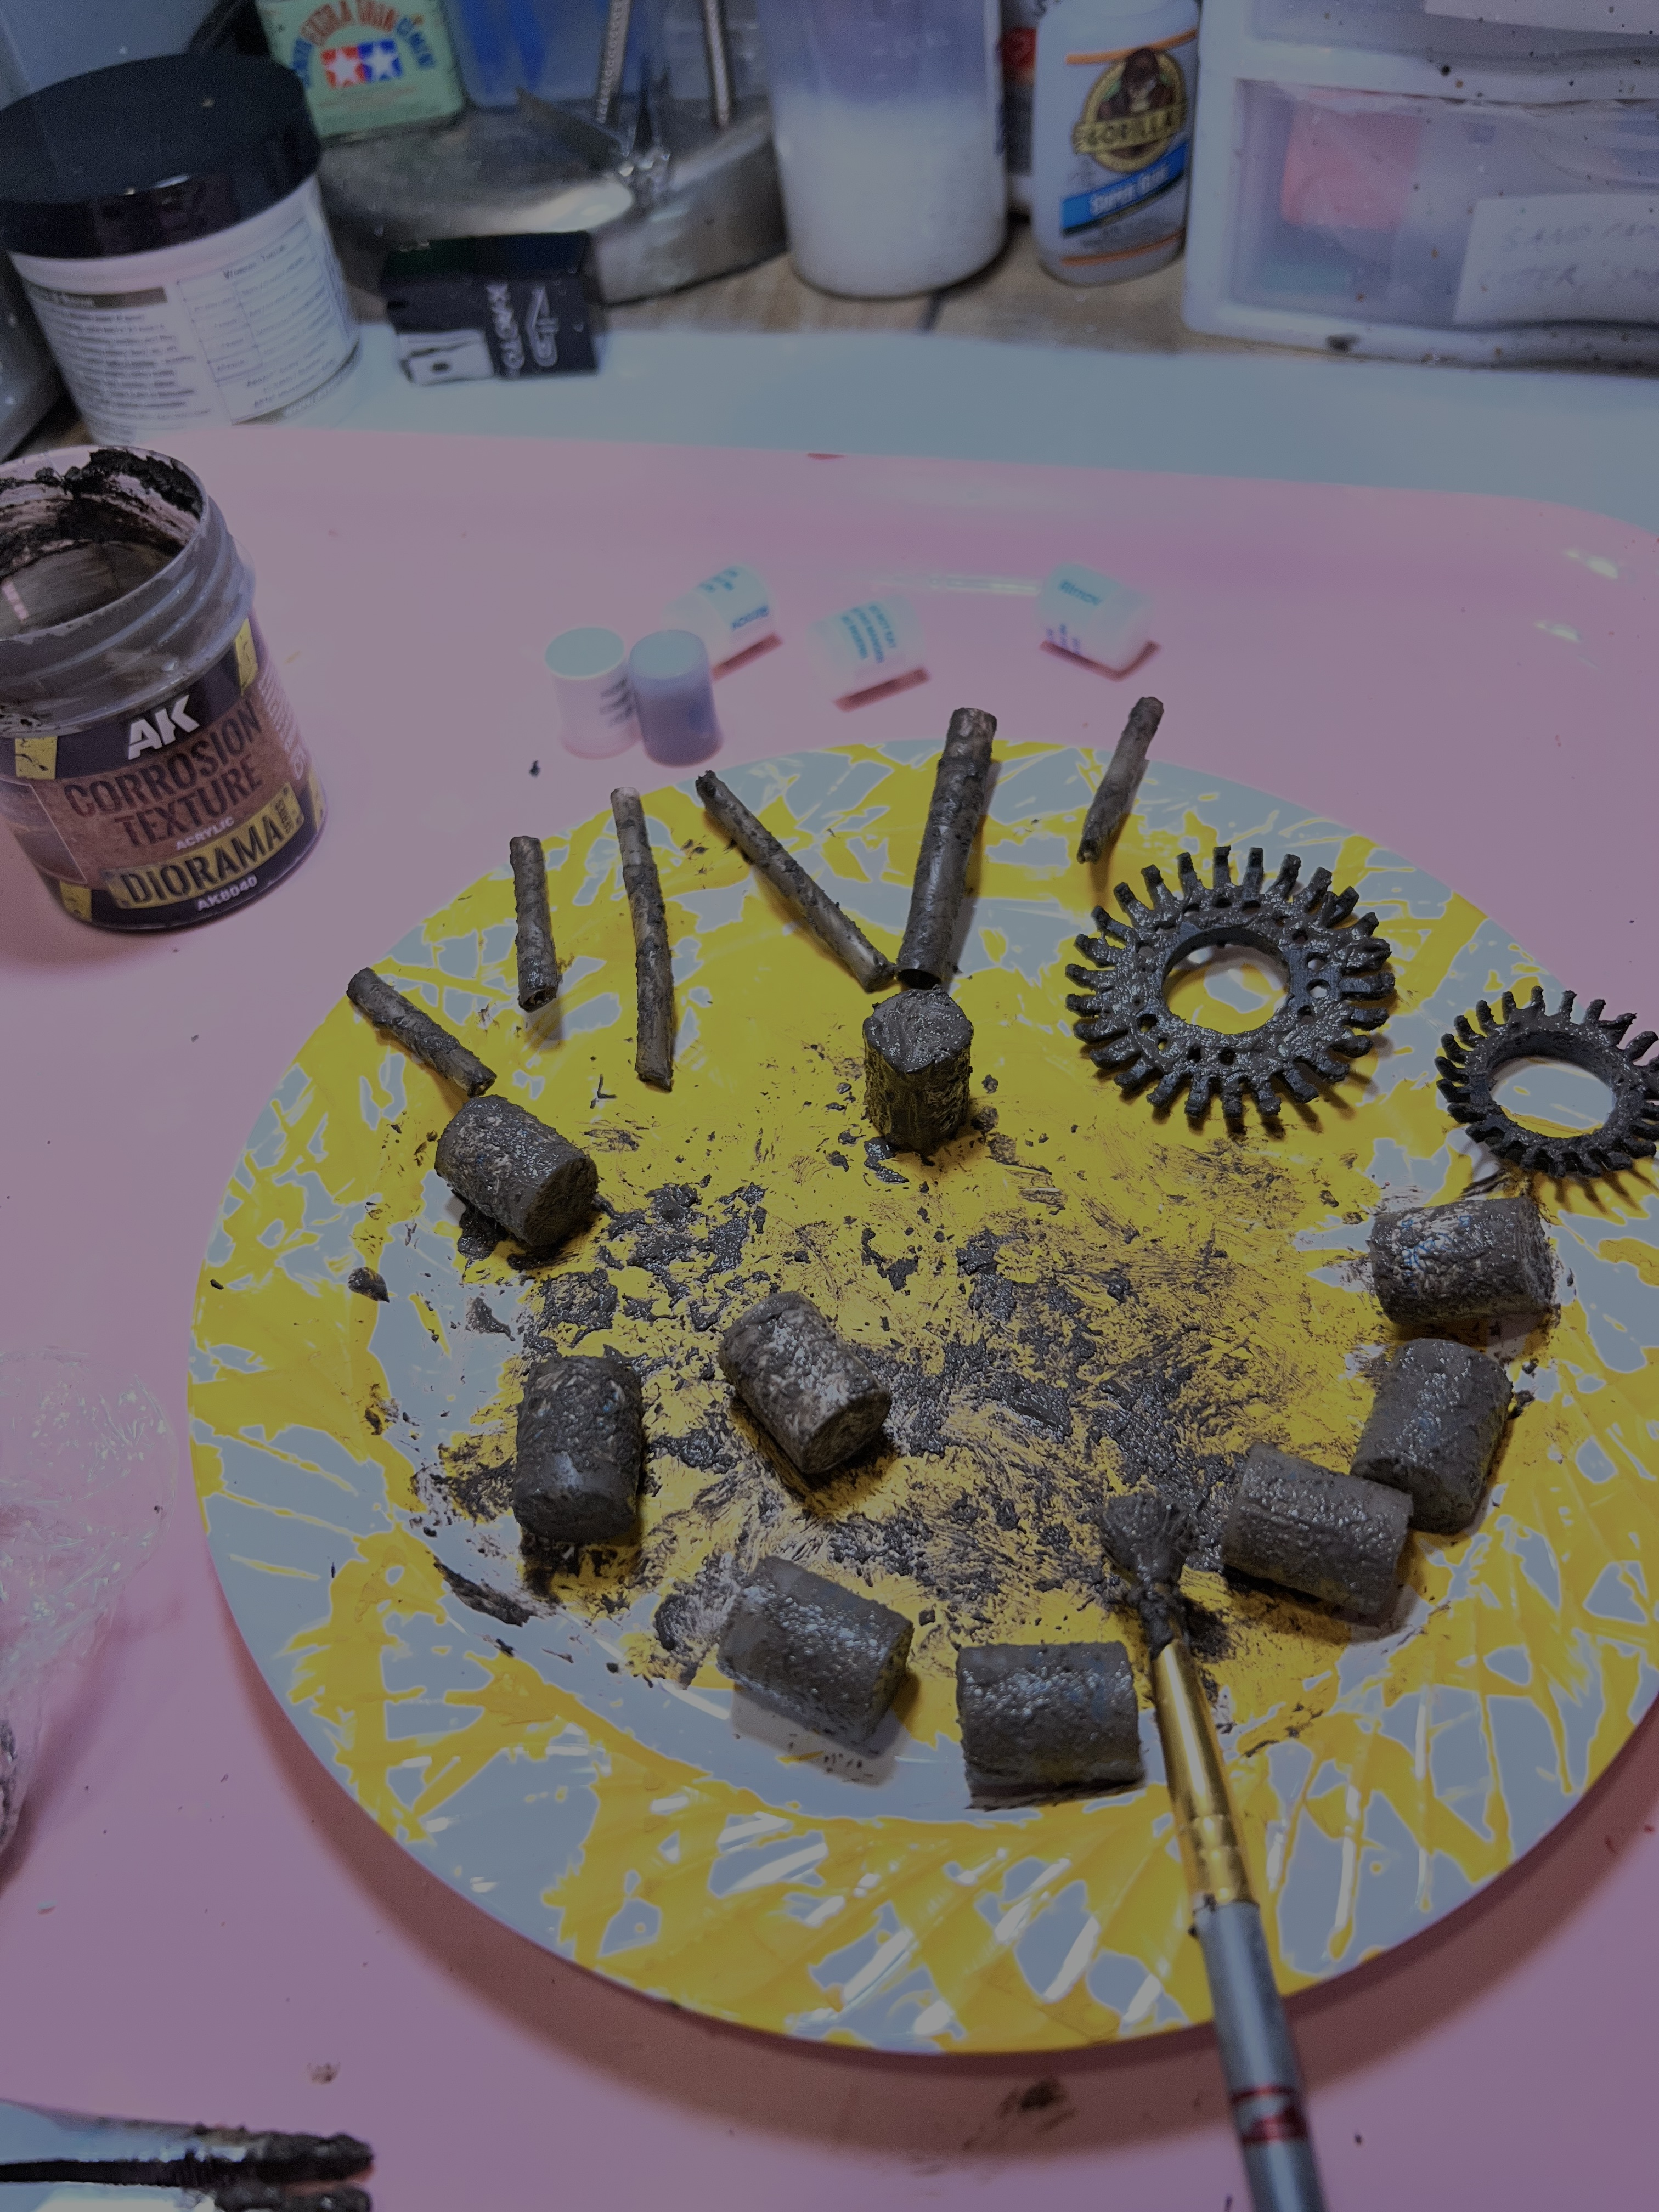
As the corrosion texture paint takes time to dry as well, I started adding that to various pieces of debris that I had saved up. I like to use a cheap old brush that could serve no other purpose – especially as it usually destroys it. The corrosion paint needed to dry and then got a second application.
Using the AK Corrosion Texture paint. Here I am using it on desiccant cylinders (from pill bottles), crushed plastic straw sections, and rubber inserts from a drain plug replacement.
After a day, the Apoxie Sculpt on the first building had cured. But I wanted there to be a small outside rim to it that could hold wreckage and brick debris. While a sheet of polystyrene was gluing to its bottom, I worked on the second building.
First building cured.Bottom view – I needed more here underneath…but before that I finished the second building’s outside.Second building outside sculpting…….and second building flooring installation.
As the first building had cured, I started to paint it. Then I was able to glue a polystyrene base to building number 2.
Building number one with early paint work, and building number two being glued to the PS sheet under a heavy textbook.
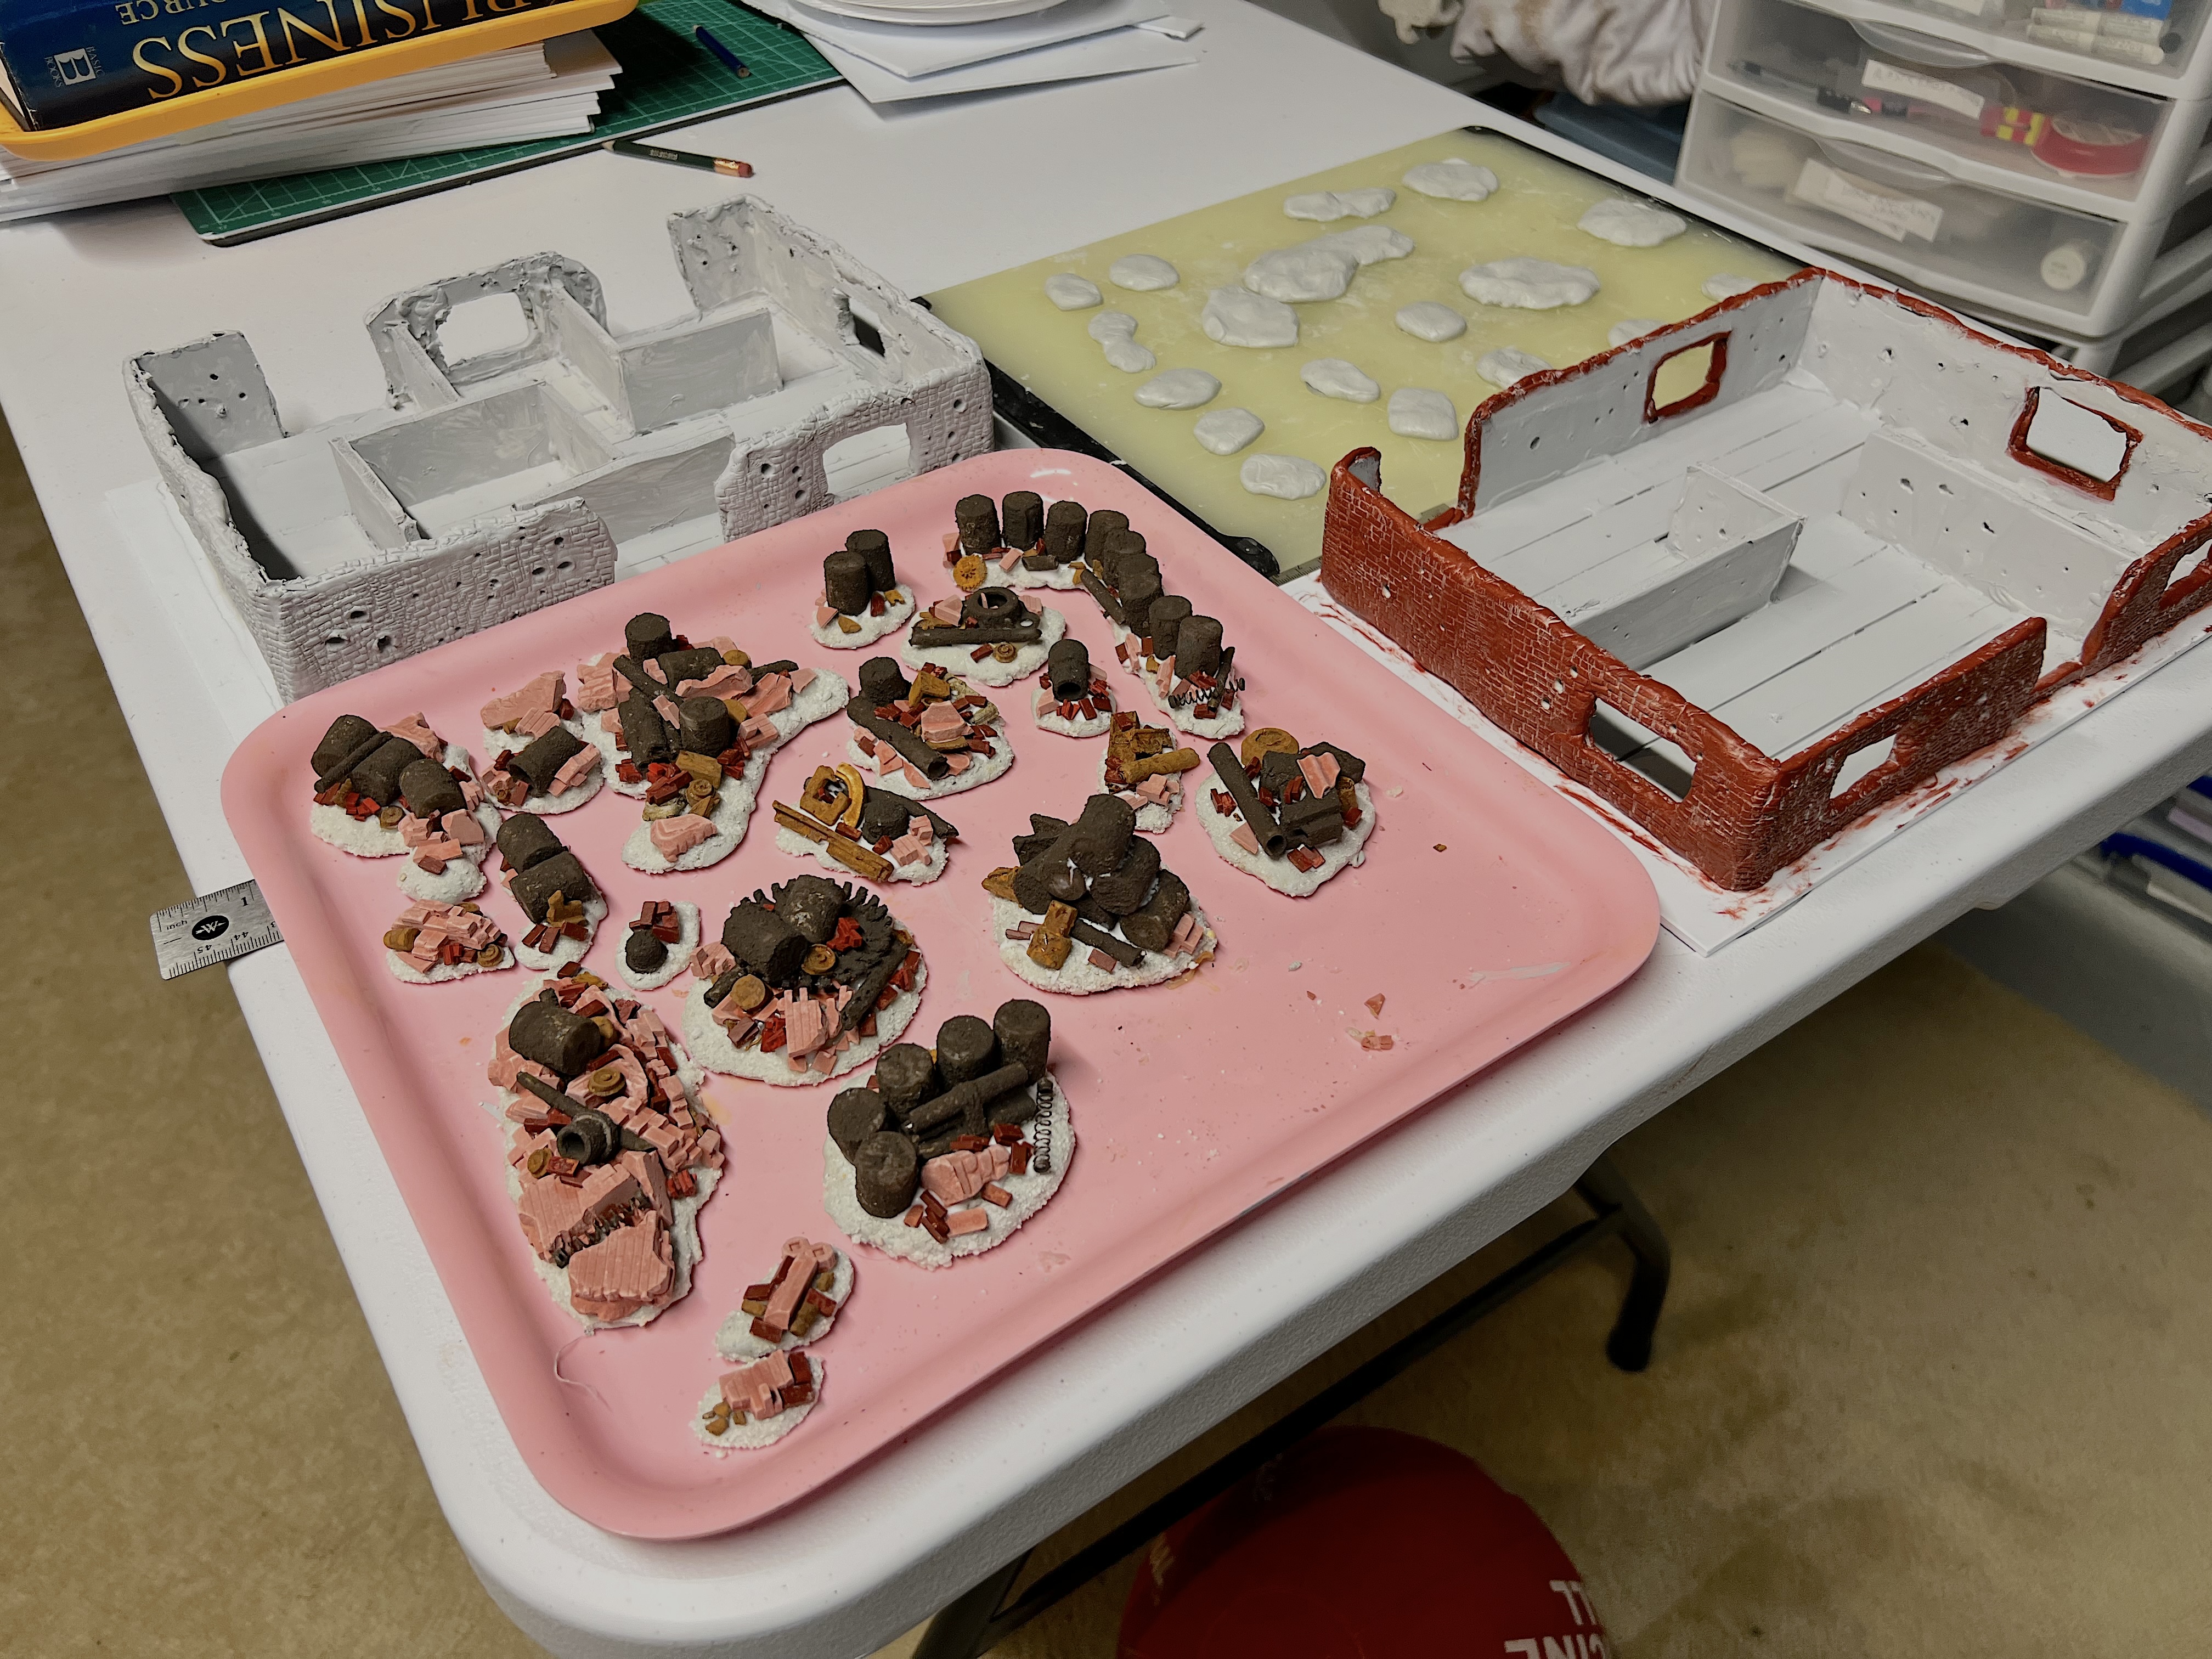
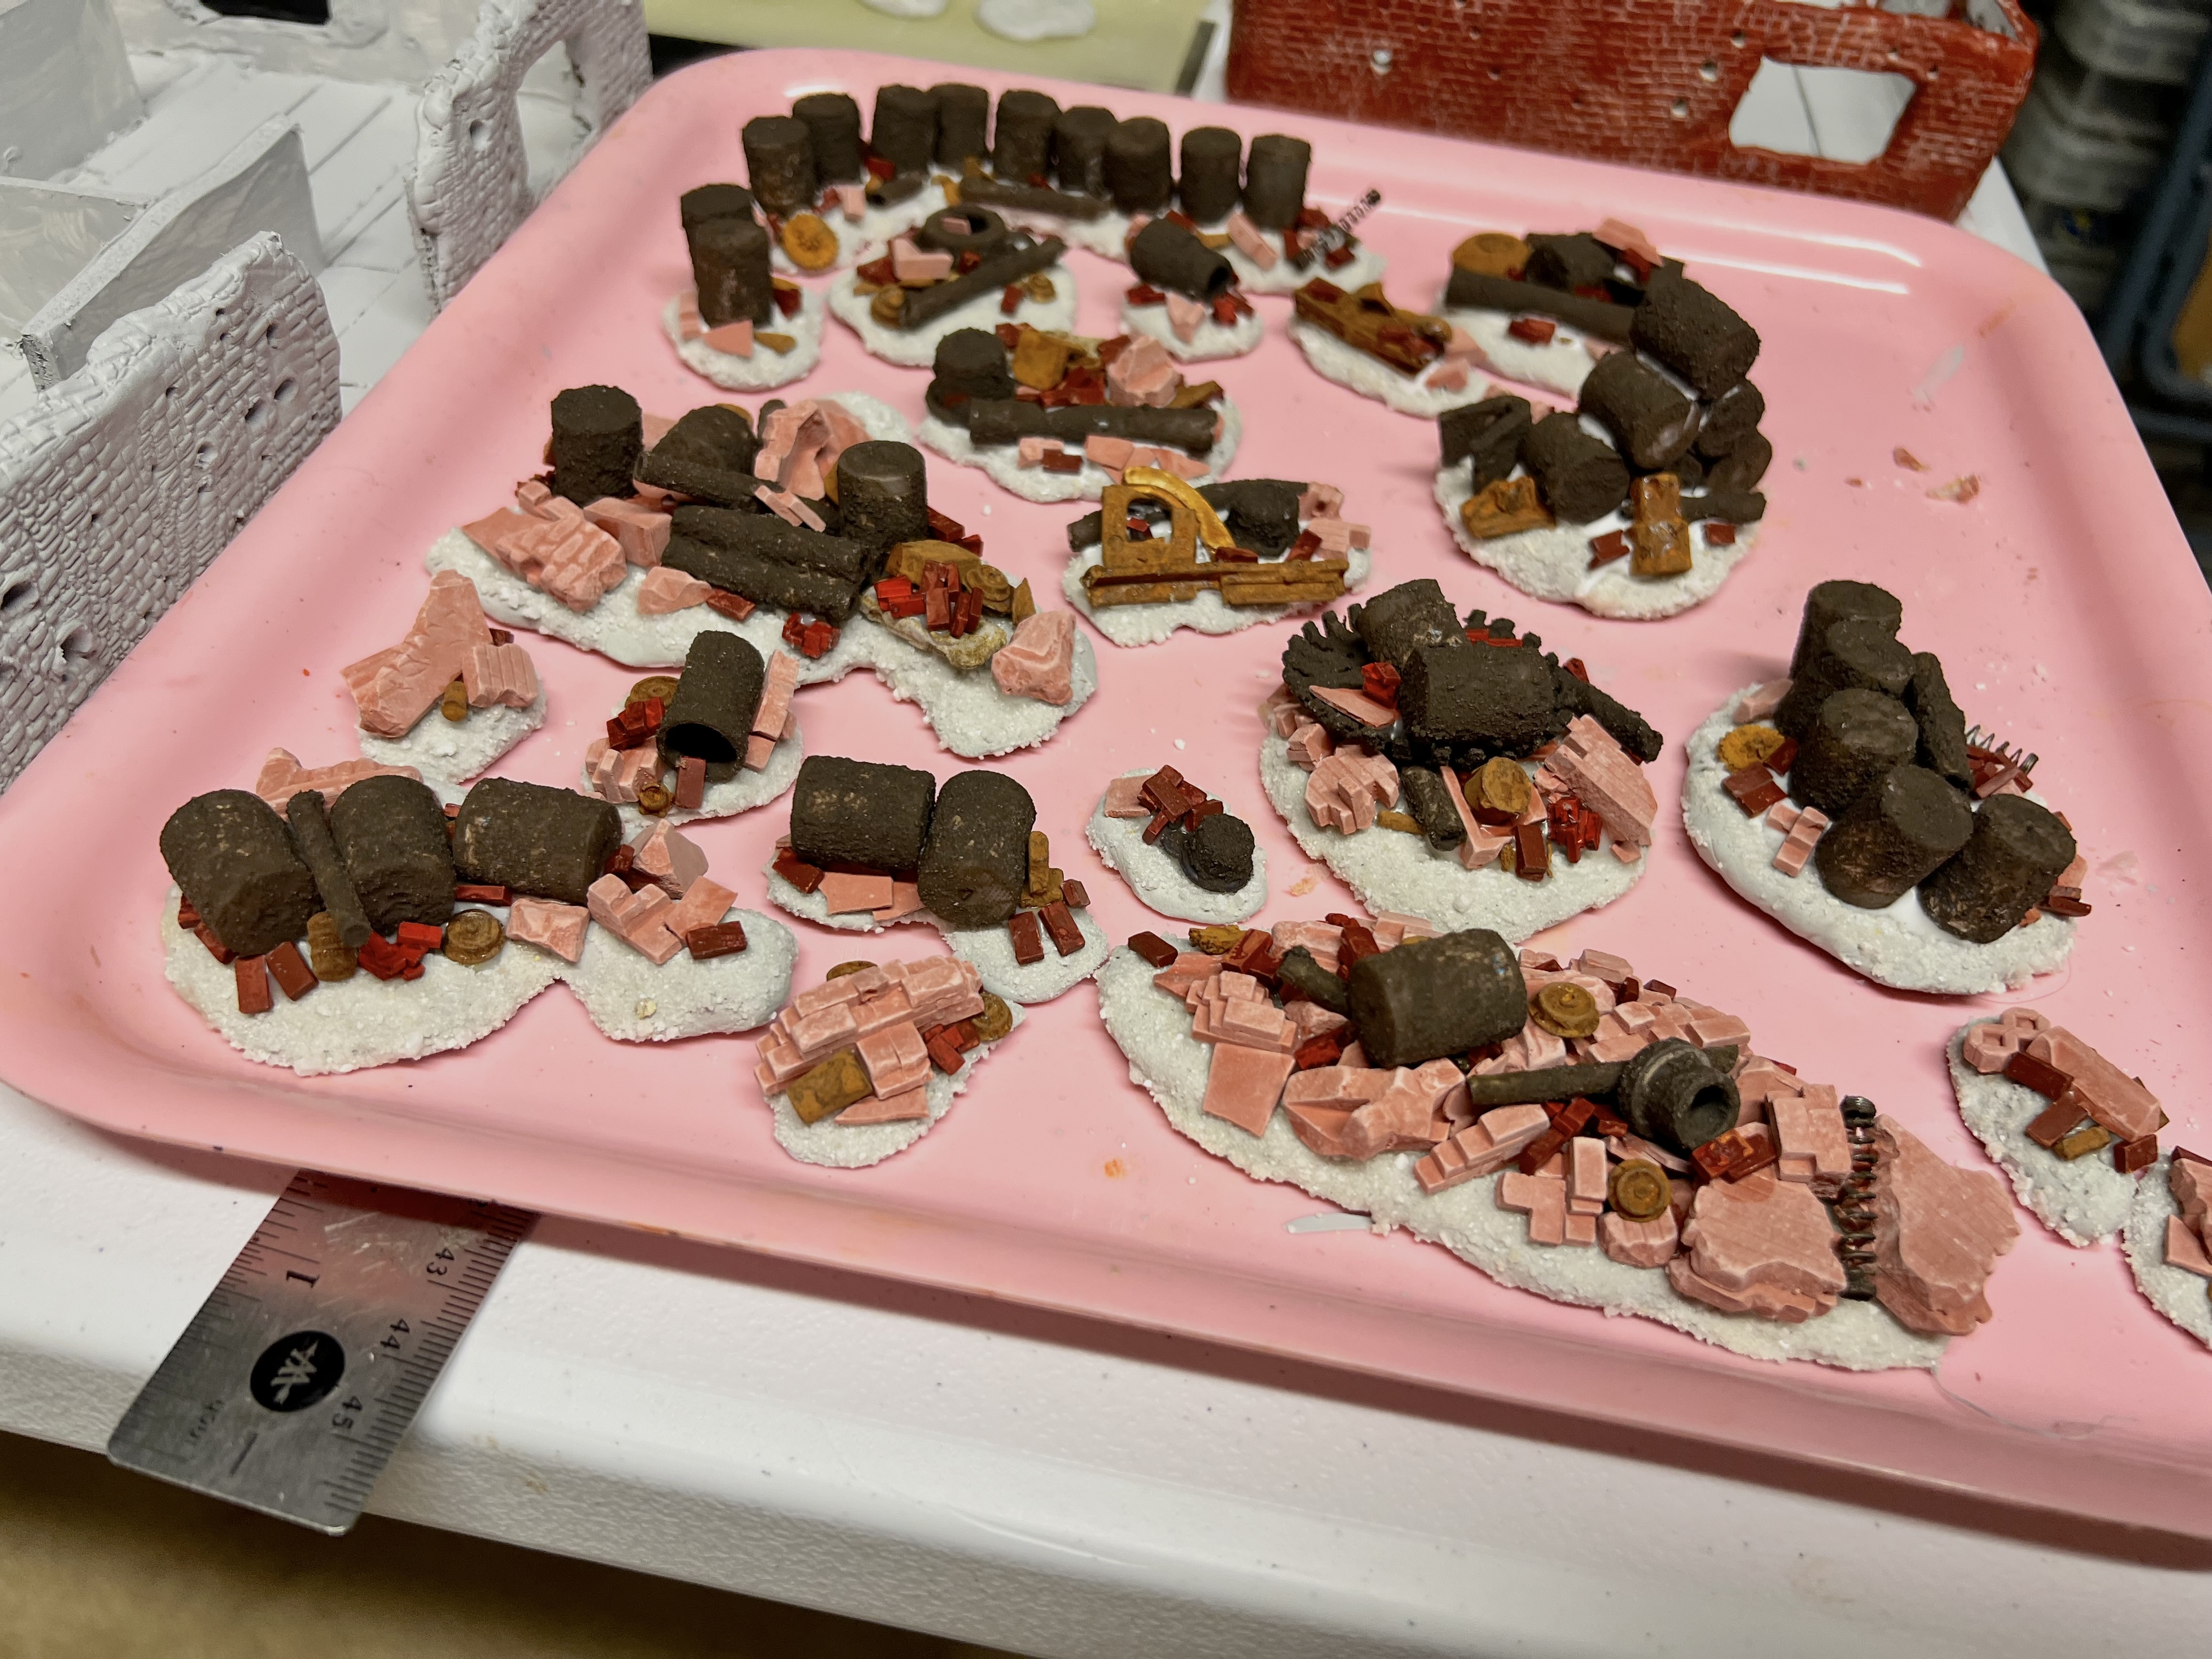
As I was again dealing with drying and curing times, I went back to work on the wreckage bases. I used up some white sand on the Apoxie Sculpt bases and applied with PVA. Once that had dried, I added as much wreckage as I could to each.
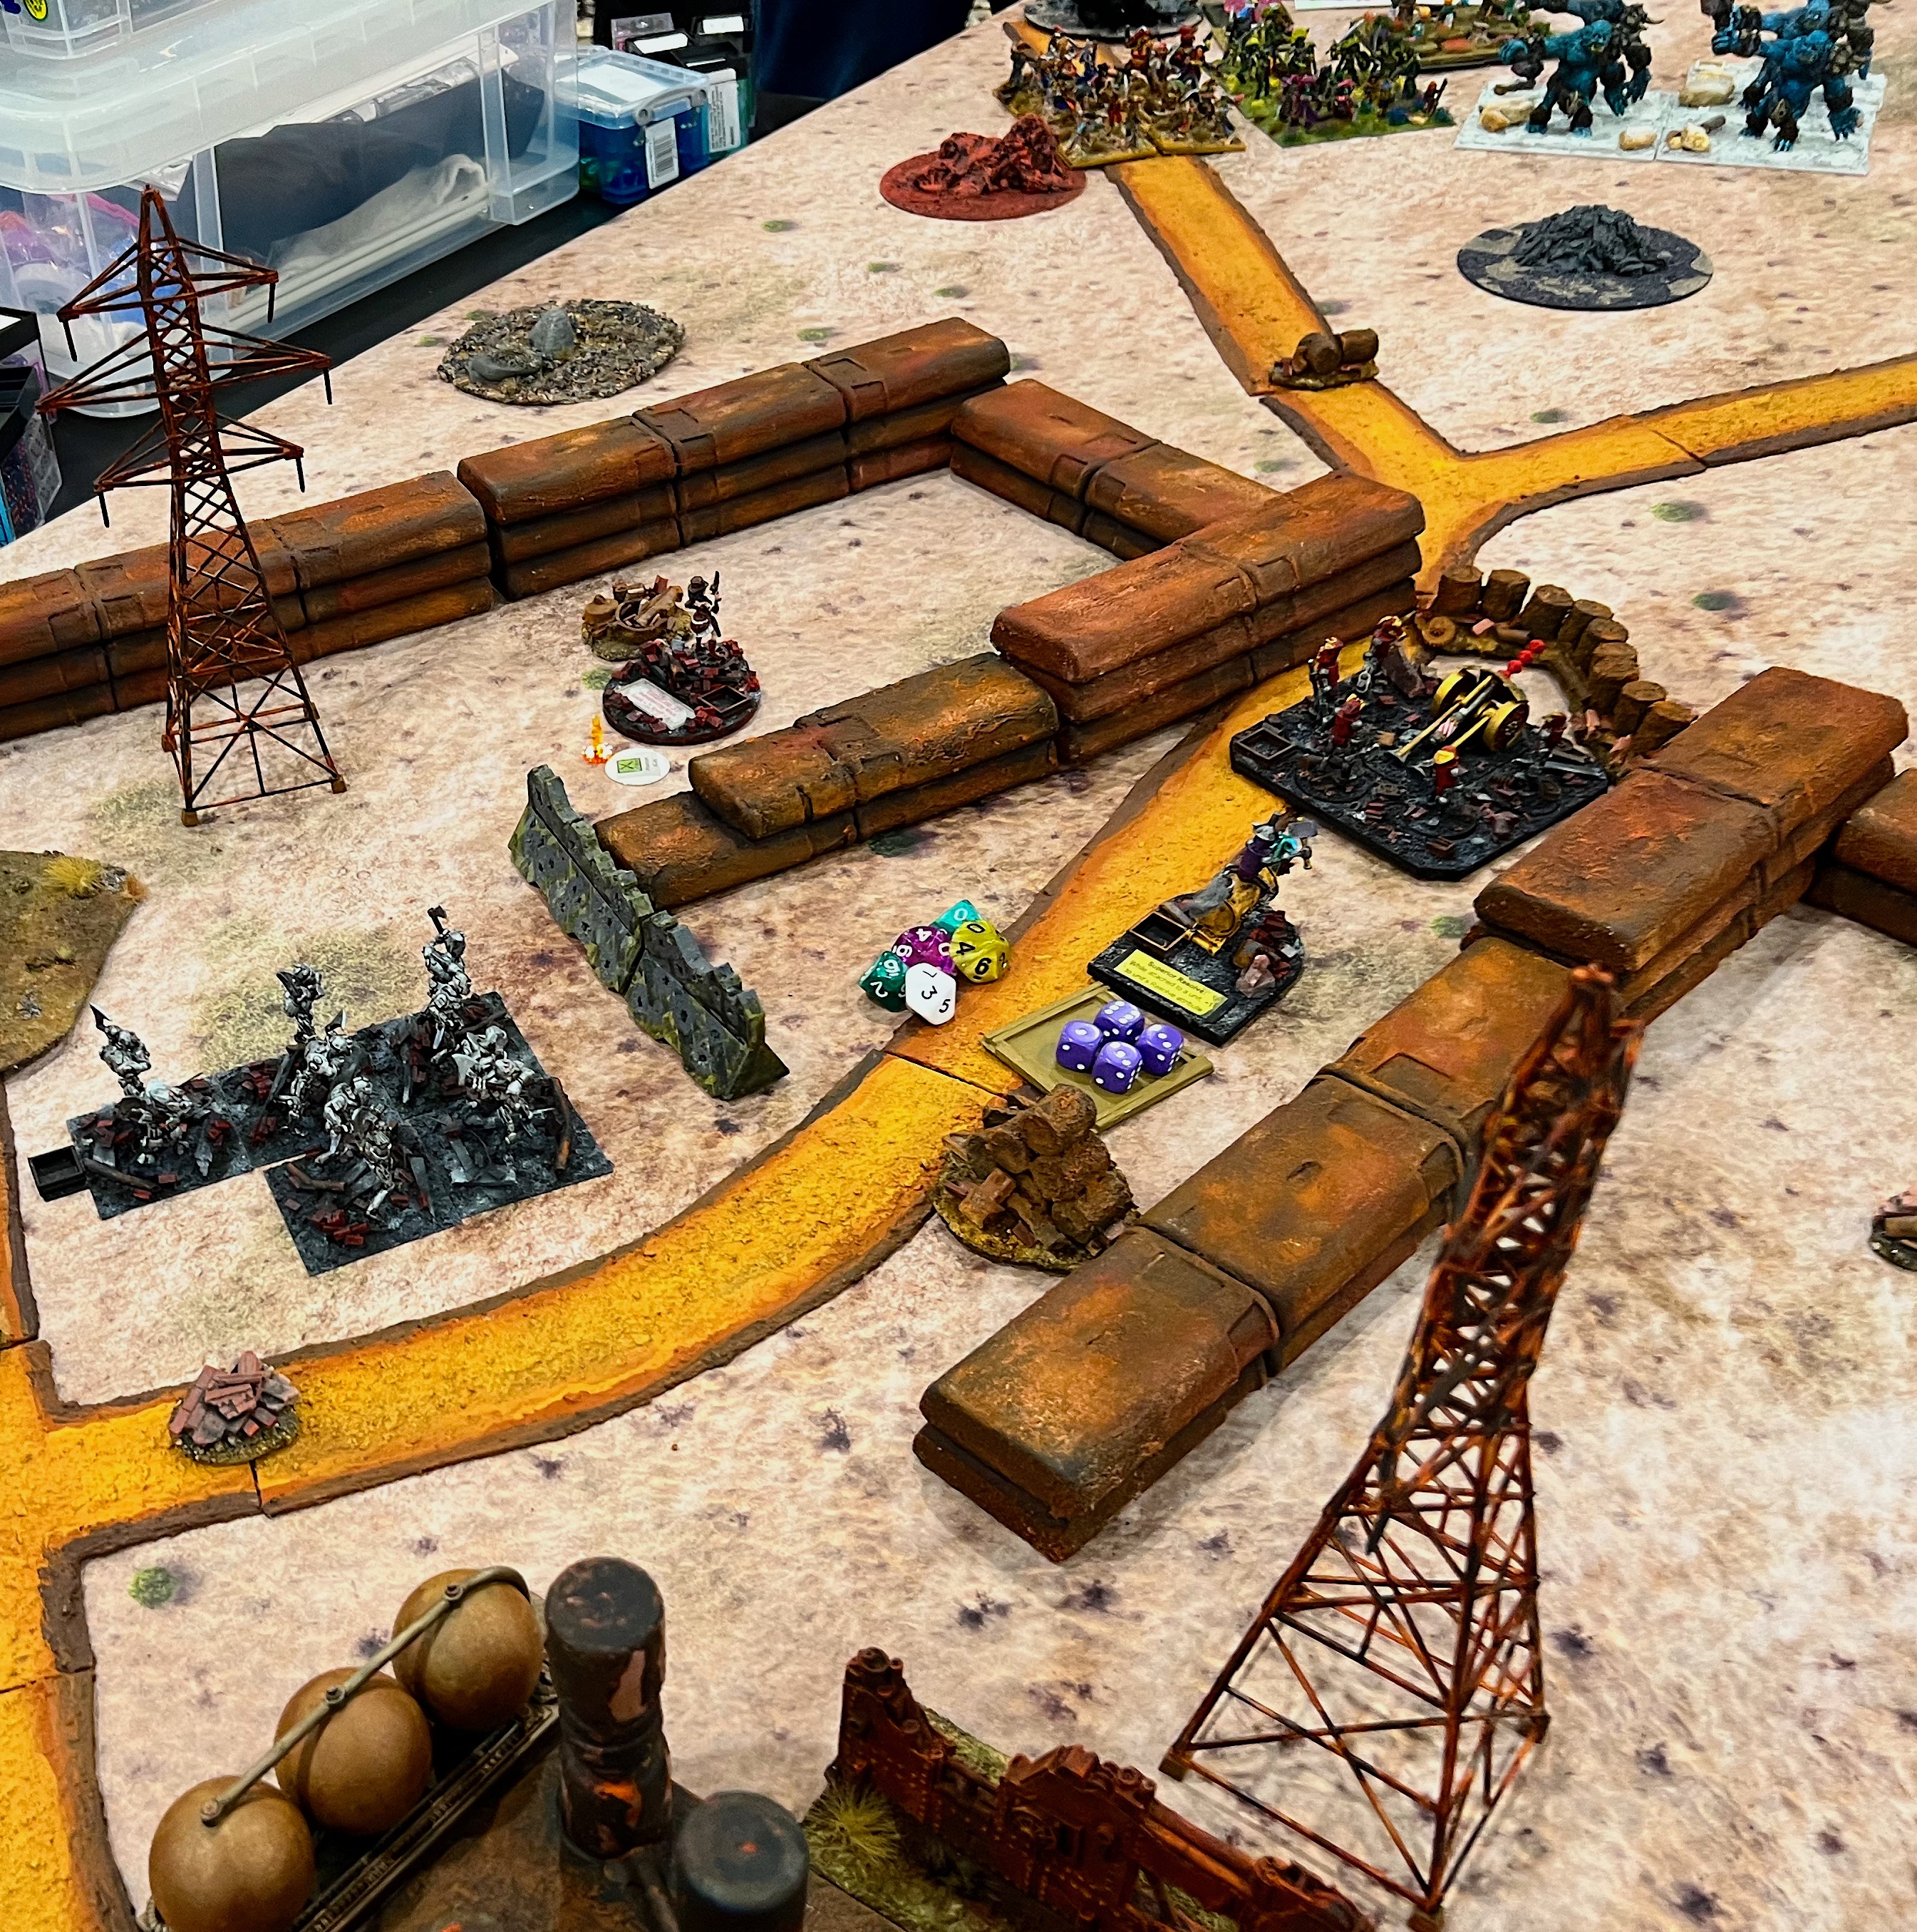
Wreckage bases – I started with the largest. The two buildings are shown in progress as are the next batch of sculpted bases curing.Close up shot of the larger wreckage bases in progress. Glue must dry…Close up of building one with insides primed.
At this point, I added the flat clear plastic packing material to two square pieces of polystyrene by clamping and gluing them in preparation for corrosion texture. Then it was back to the wreckage bases. I had run out of white sand, so the next batch of wreckage bases got a PVA/grey sand application. As I used a lot pigments later, this made zero difference. At the same time, I also dirtied up the interior building walls and flooring using a sponge and various dark washes. The rim outside the buildings got a sandy texture paint covering.
The dark sand drying on the next wreckage bases, the flat structures with first application of corrosion texture, other bases in progress, and the buildings in the back.A second coat of corrosion paint has been applied to the flat structures here. I also sorted the wreckage bases by size before adding pigments.The flat structures and some other rusty paints I would add before augmenting with pigments.
Below you can see the wreckage bases after I added pigments to them. I fixed the pigments with Vallejo Thinner applied with a spray from a lens cleaning bottle.
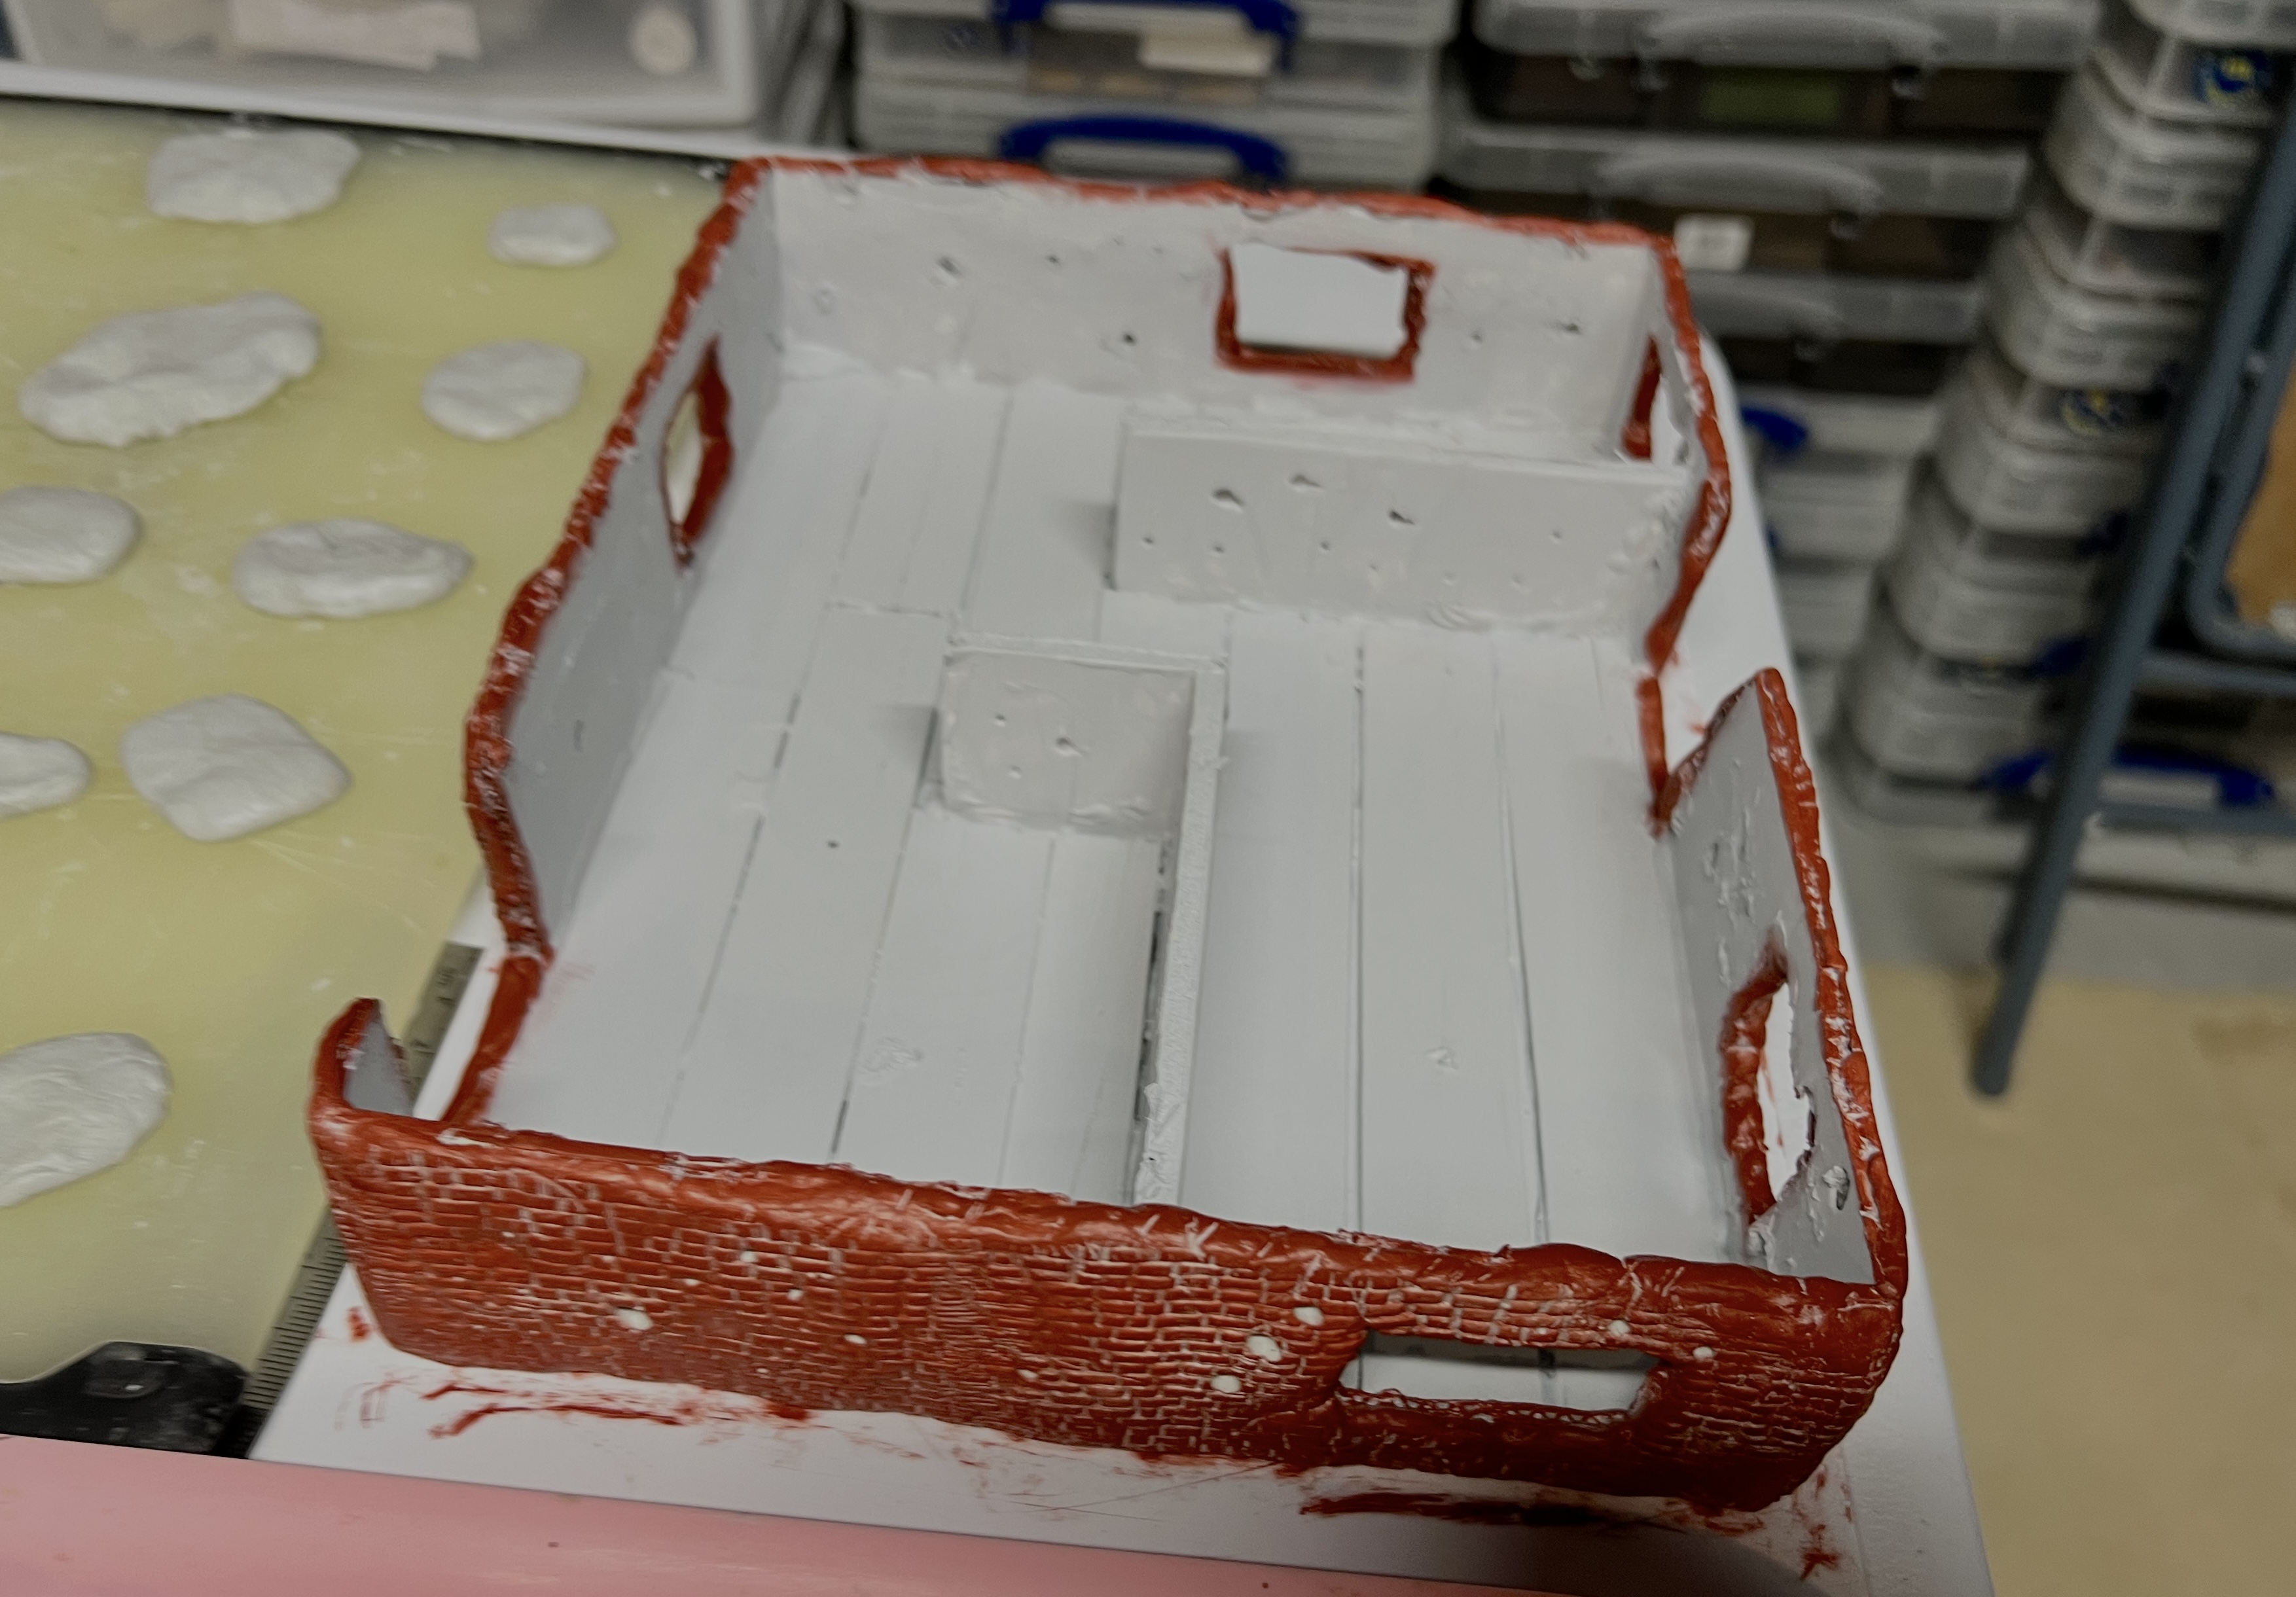
Next, I added rusty industrial wreckage and scattered bricks to the buildings’ interiors.
After adding industrial wreckage and bricks to building 1……and building 2.
Clearly, pigments were needed at this point to make the bricks and wreckage look older and dirtier. More pigments and dark washes to the rescue!
The buildings after adding the pigments and washes to dirty and rust up everything.Top view of both buildings as completed.
I was now ready to mock up the tabletop with everything! But first, the flyer for the game – which I finished before this project:
Game flyer.
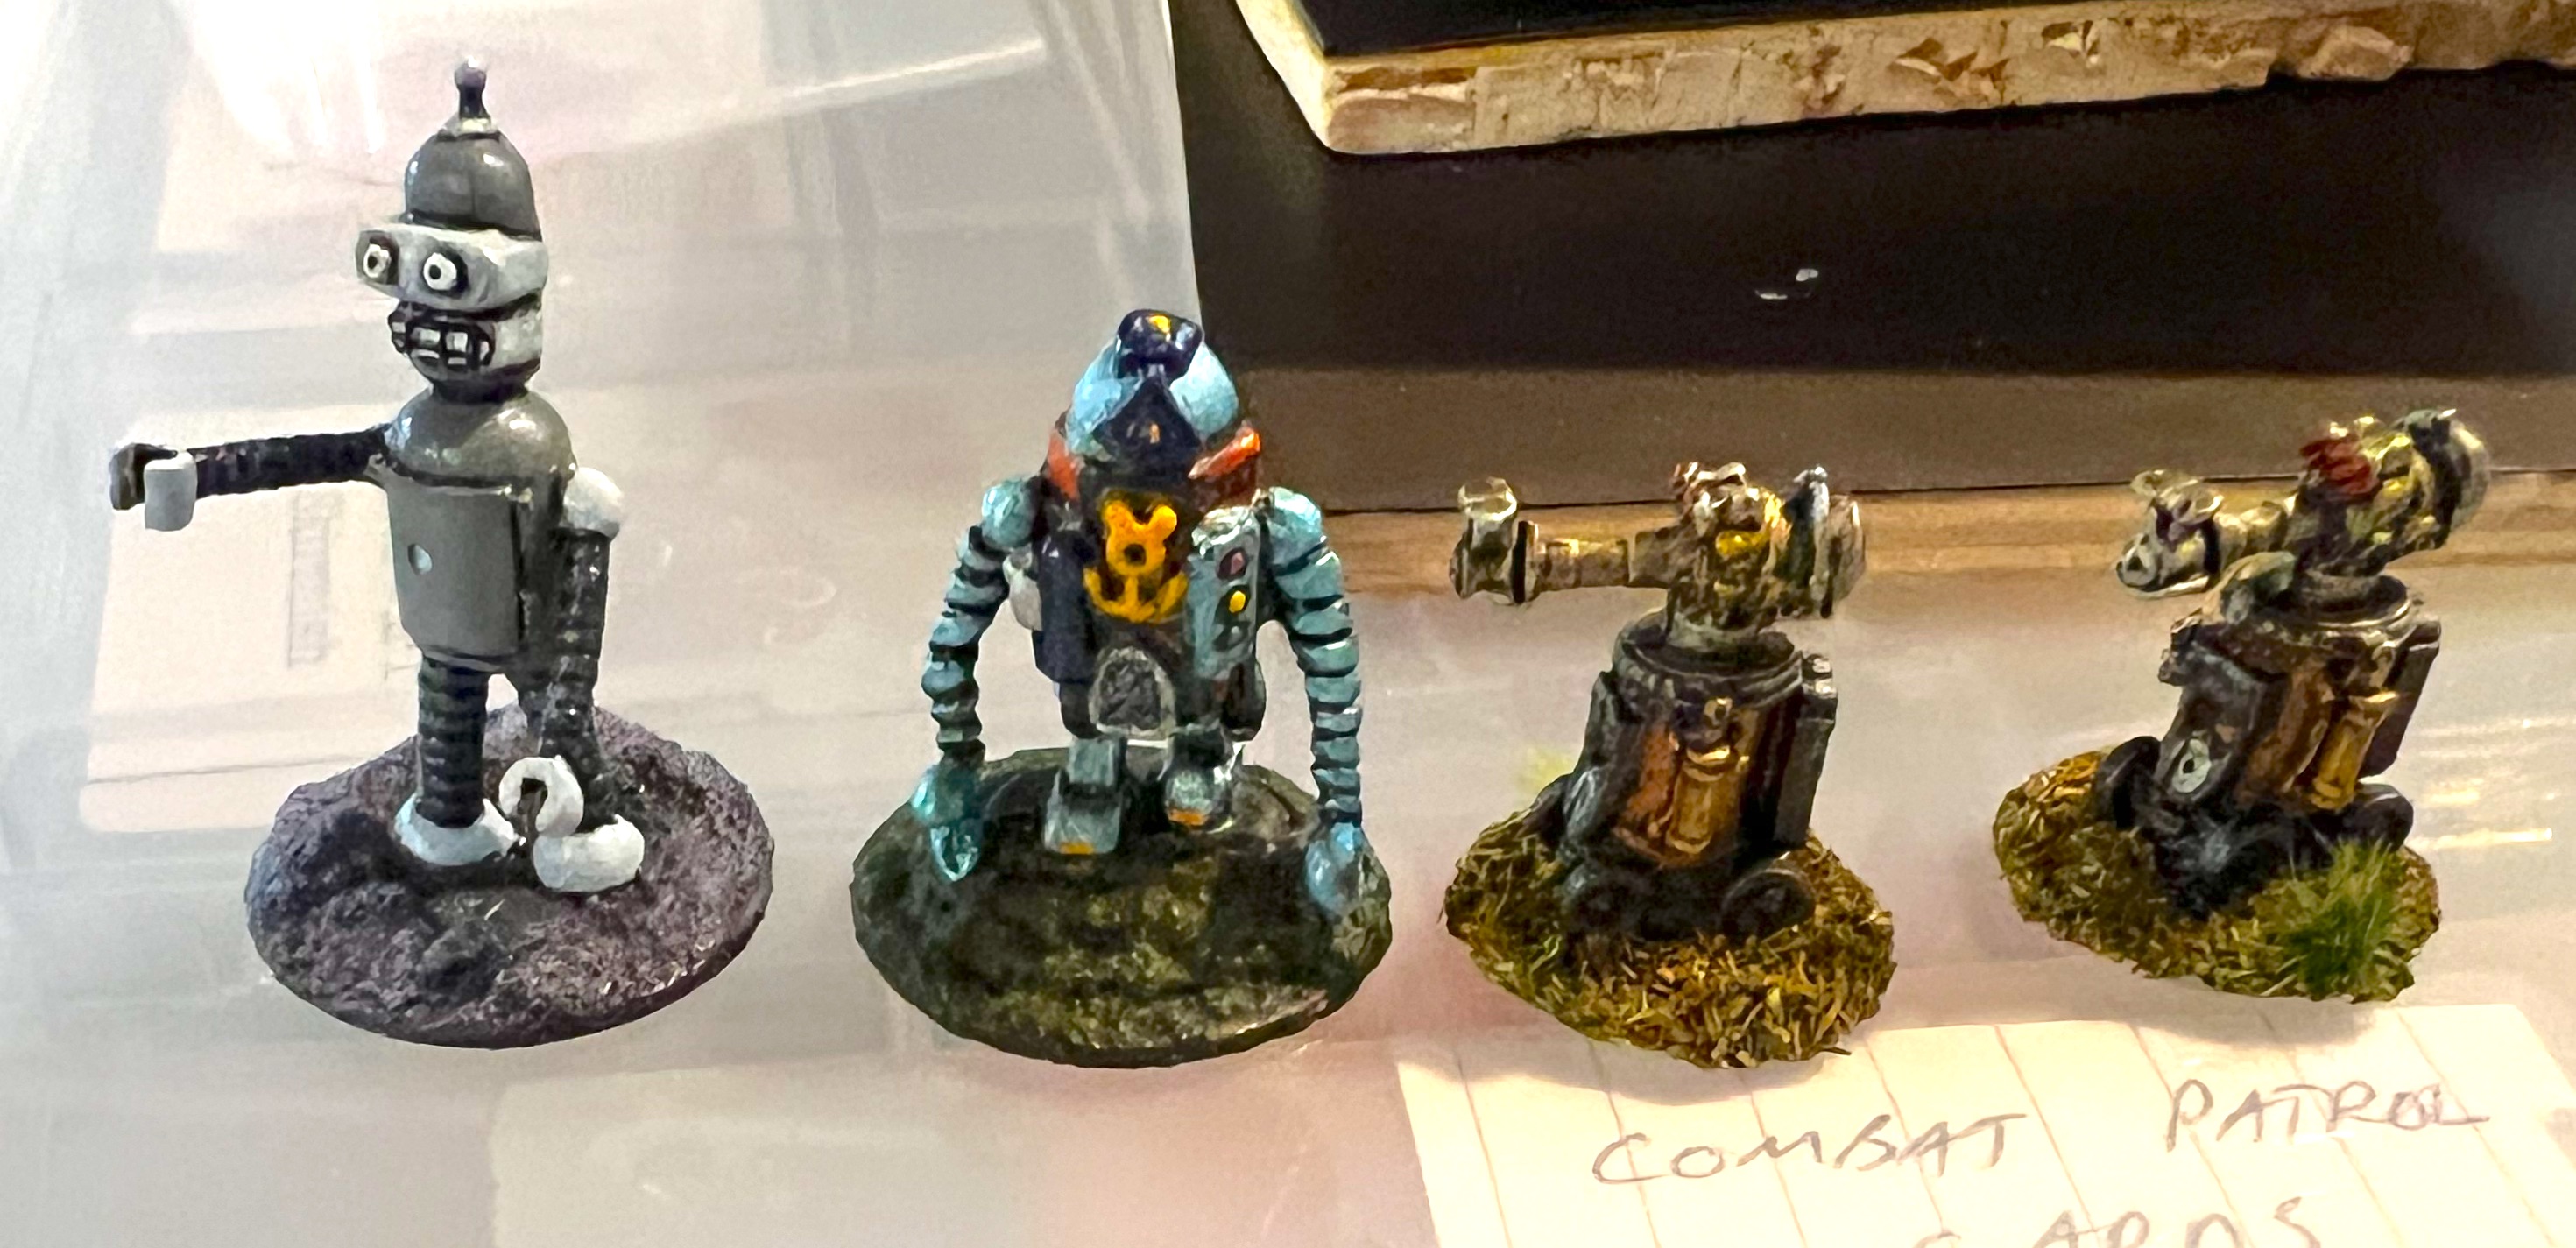
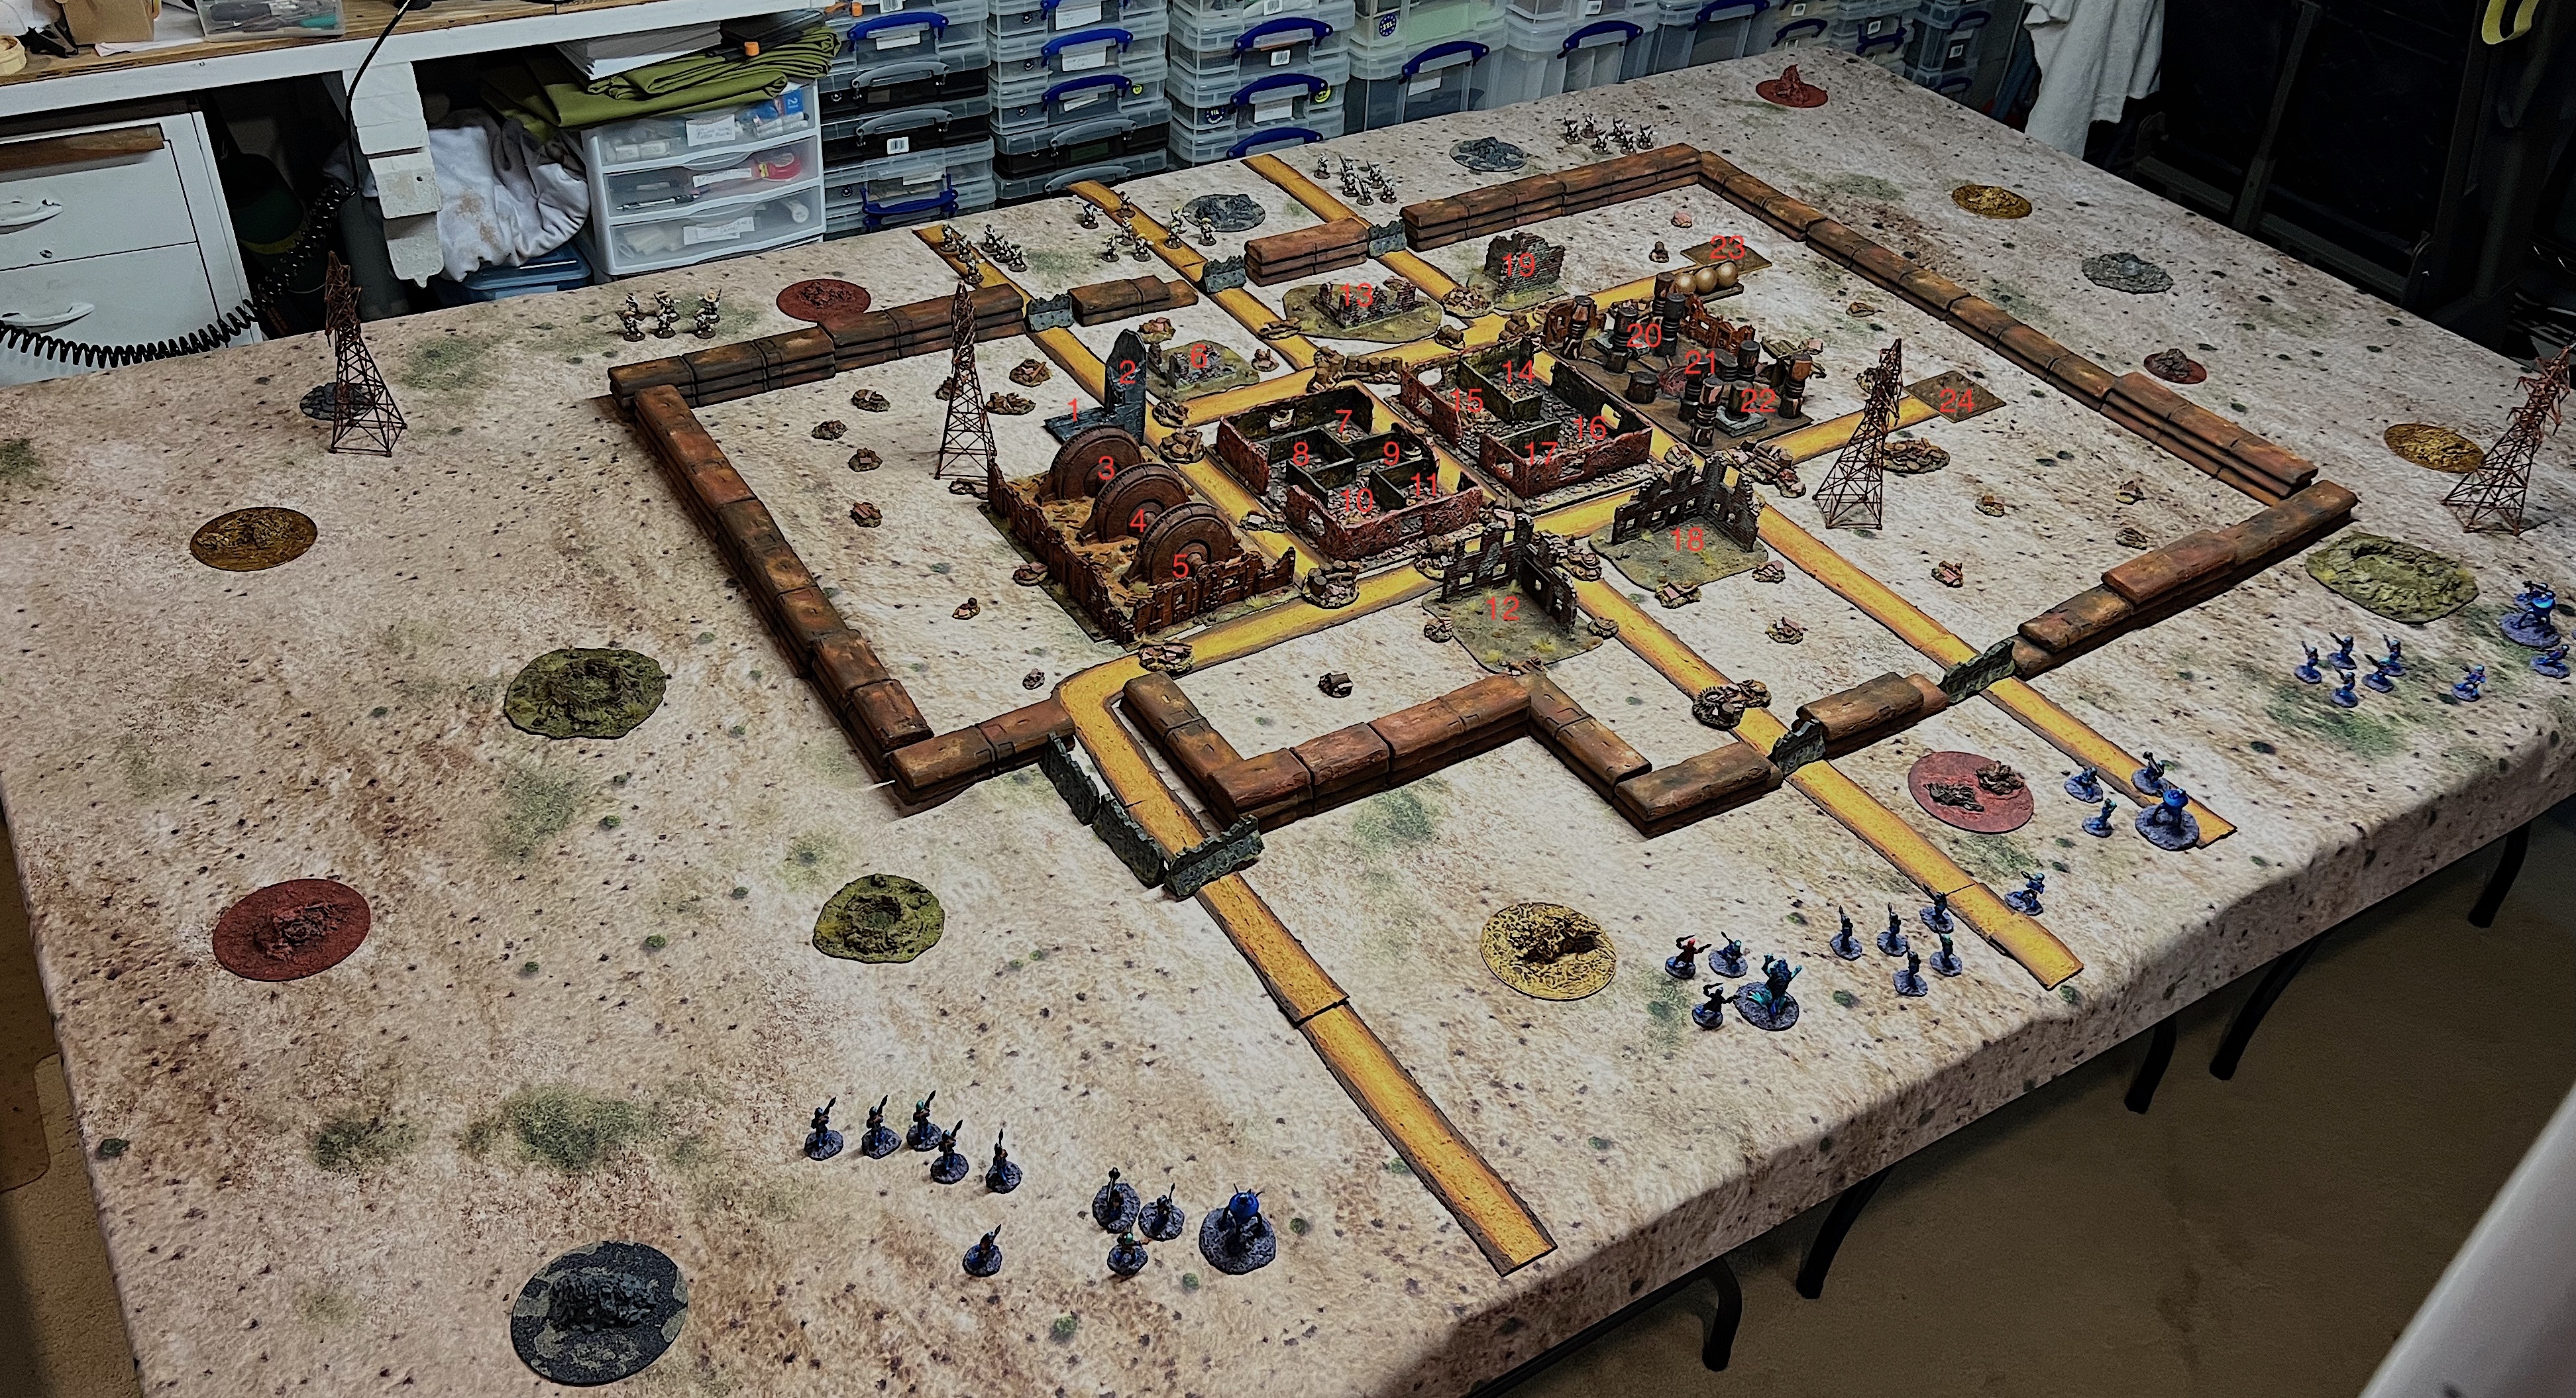
The wreckage (all 61 pieces and the buildings really helped complete my vision. There are 24 possible search locations for the 4 ancient robots, known only to the GM. The four ancient robots I used were: “Folder Bot 3000” (aka Bender) from Armorcast Terraform Terrain Ltd.’s “Robot Townies” collection; and “RT22” from old Archive miniatures Star Rovers line circa 1977; and two Archive Miniatures Robot Cooks also circa 1977 (also Star Rovers).
The four ancient robots! Folder Bot 3000, RT22, and the two Robot Cooks.
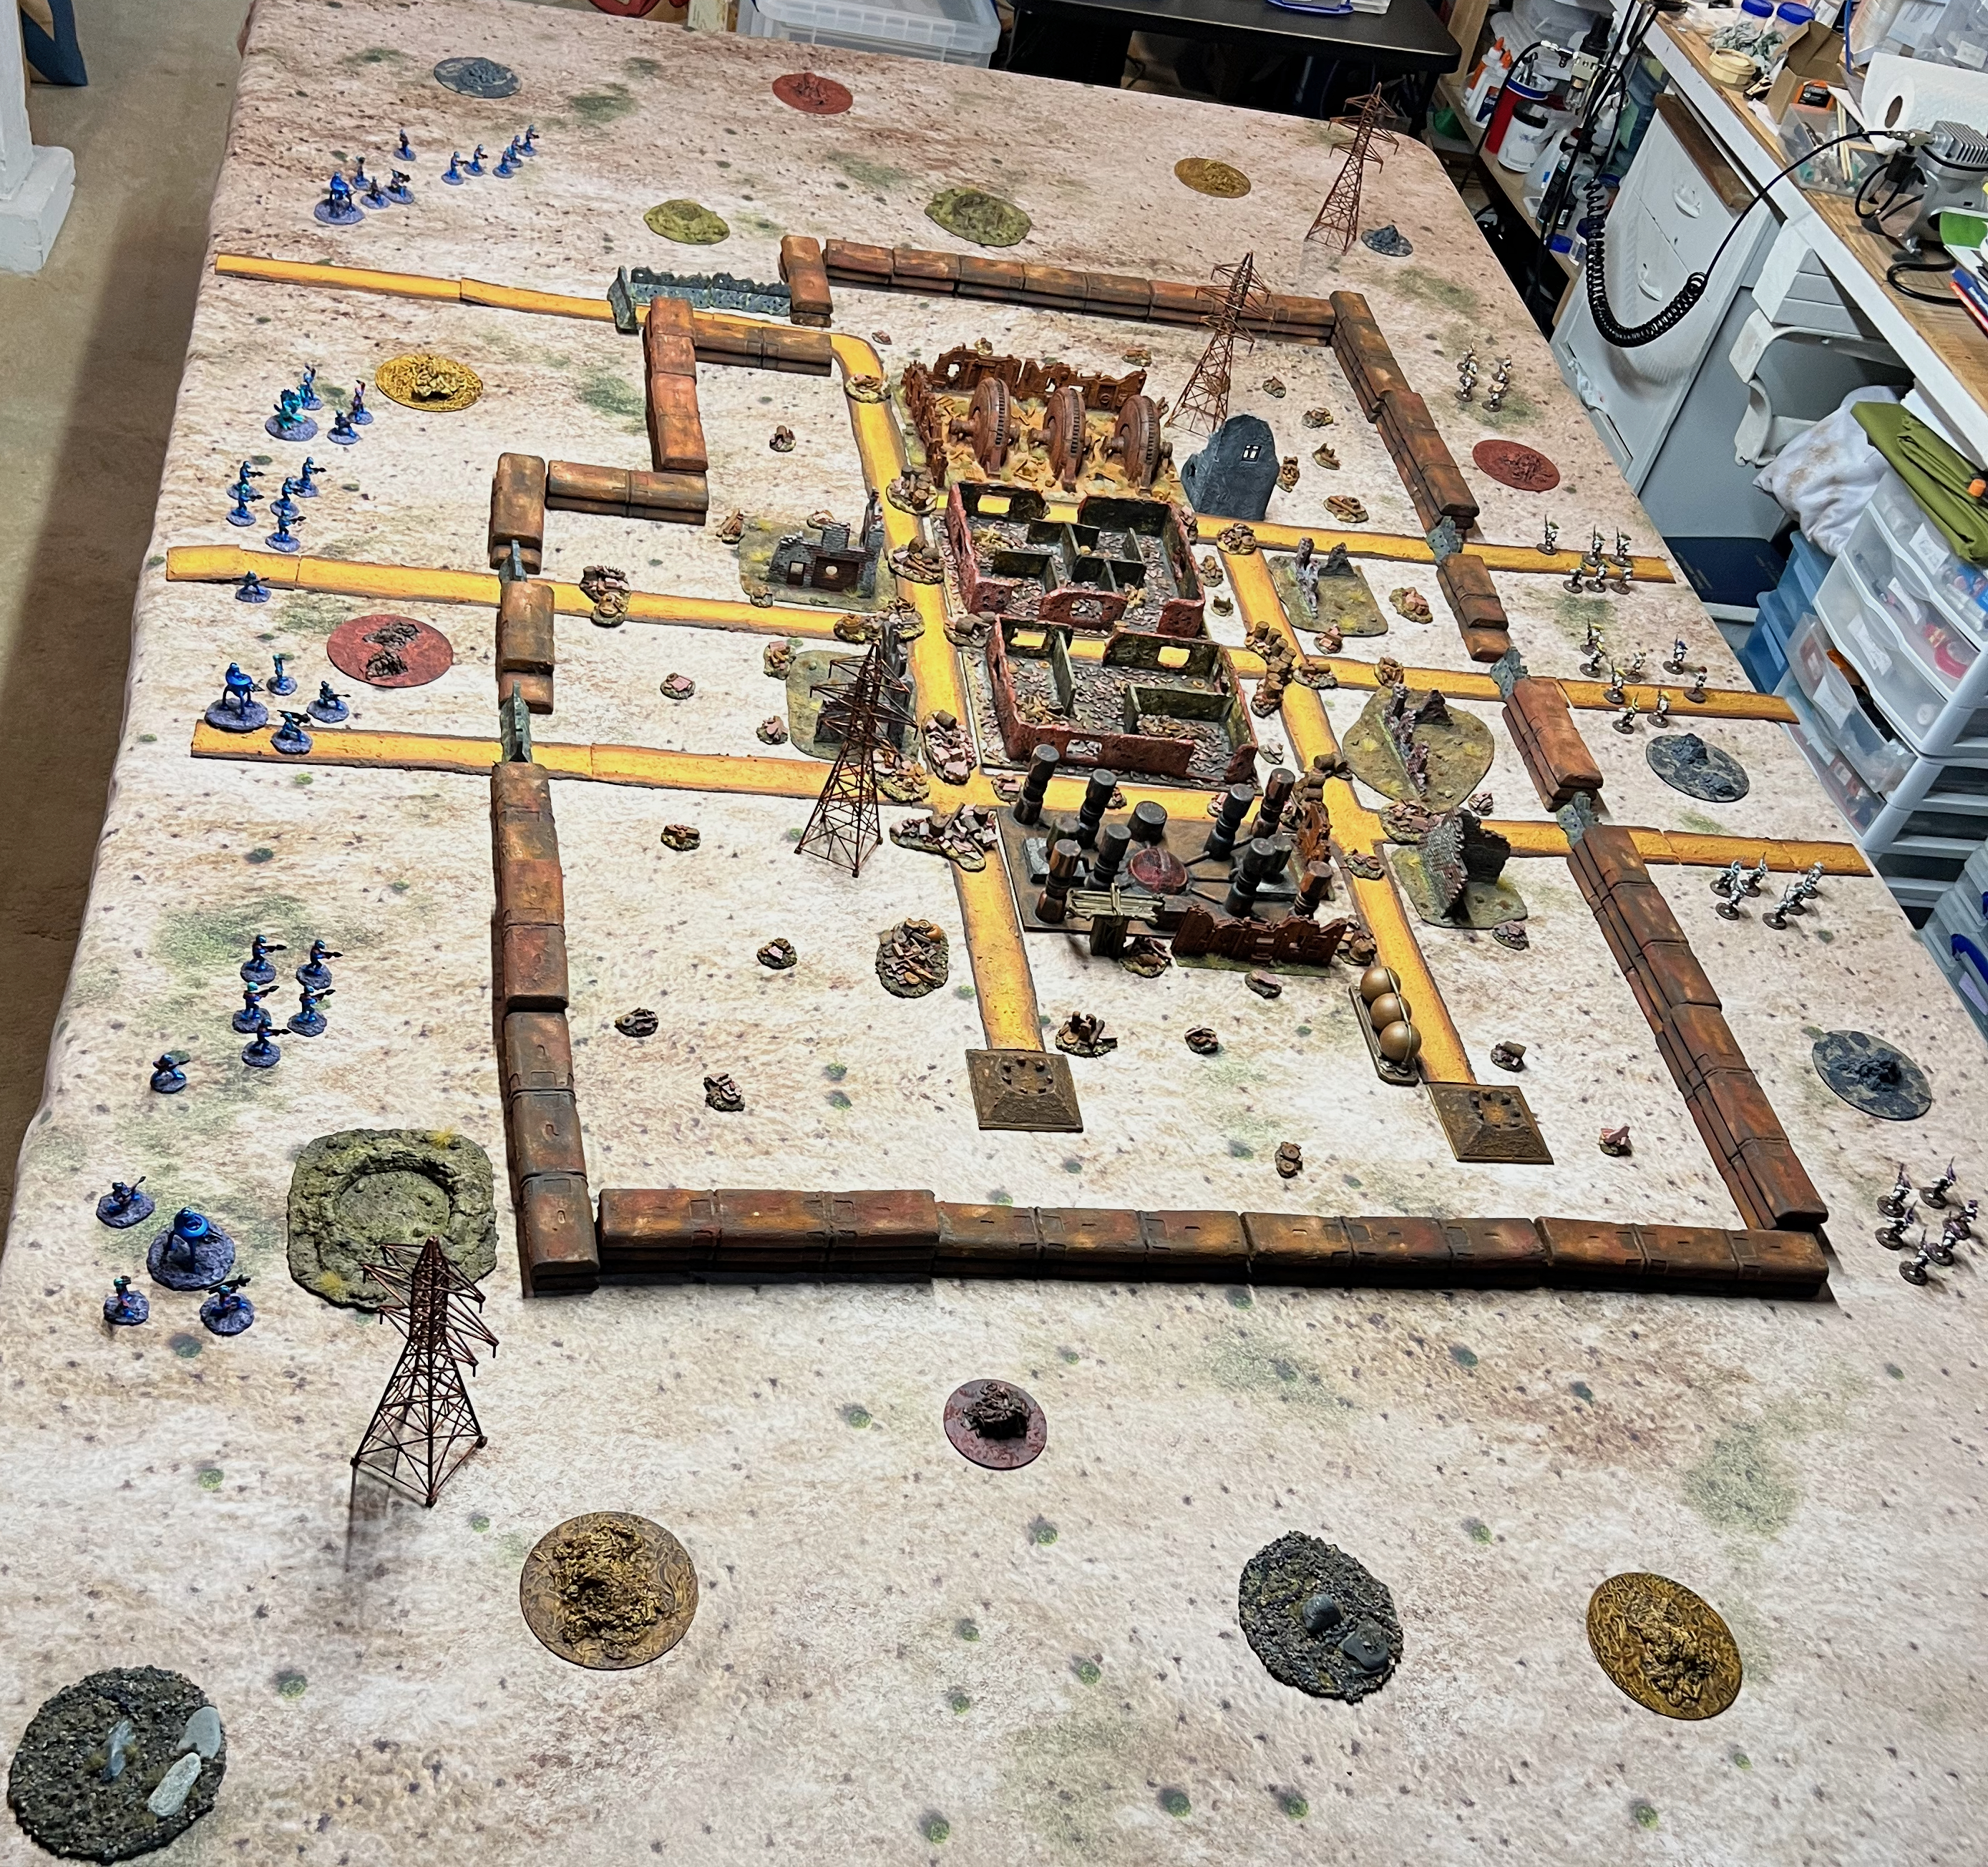
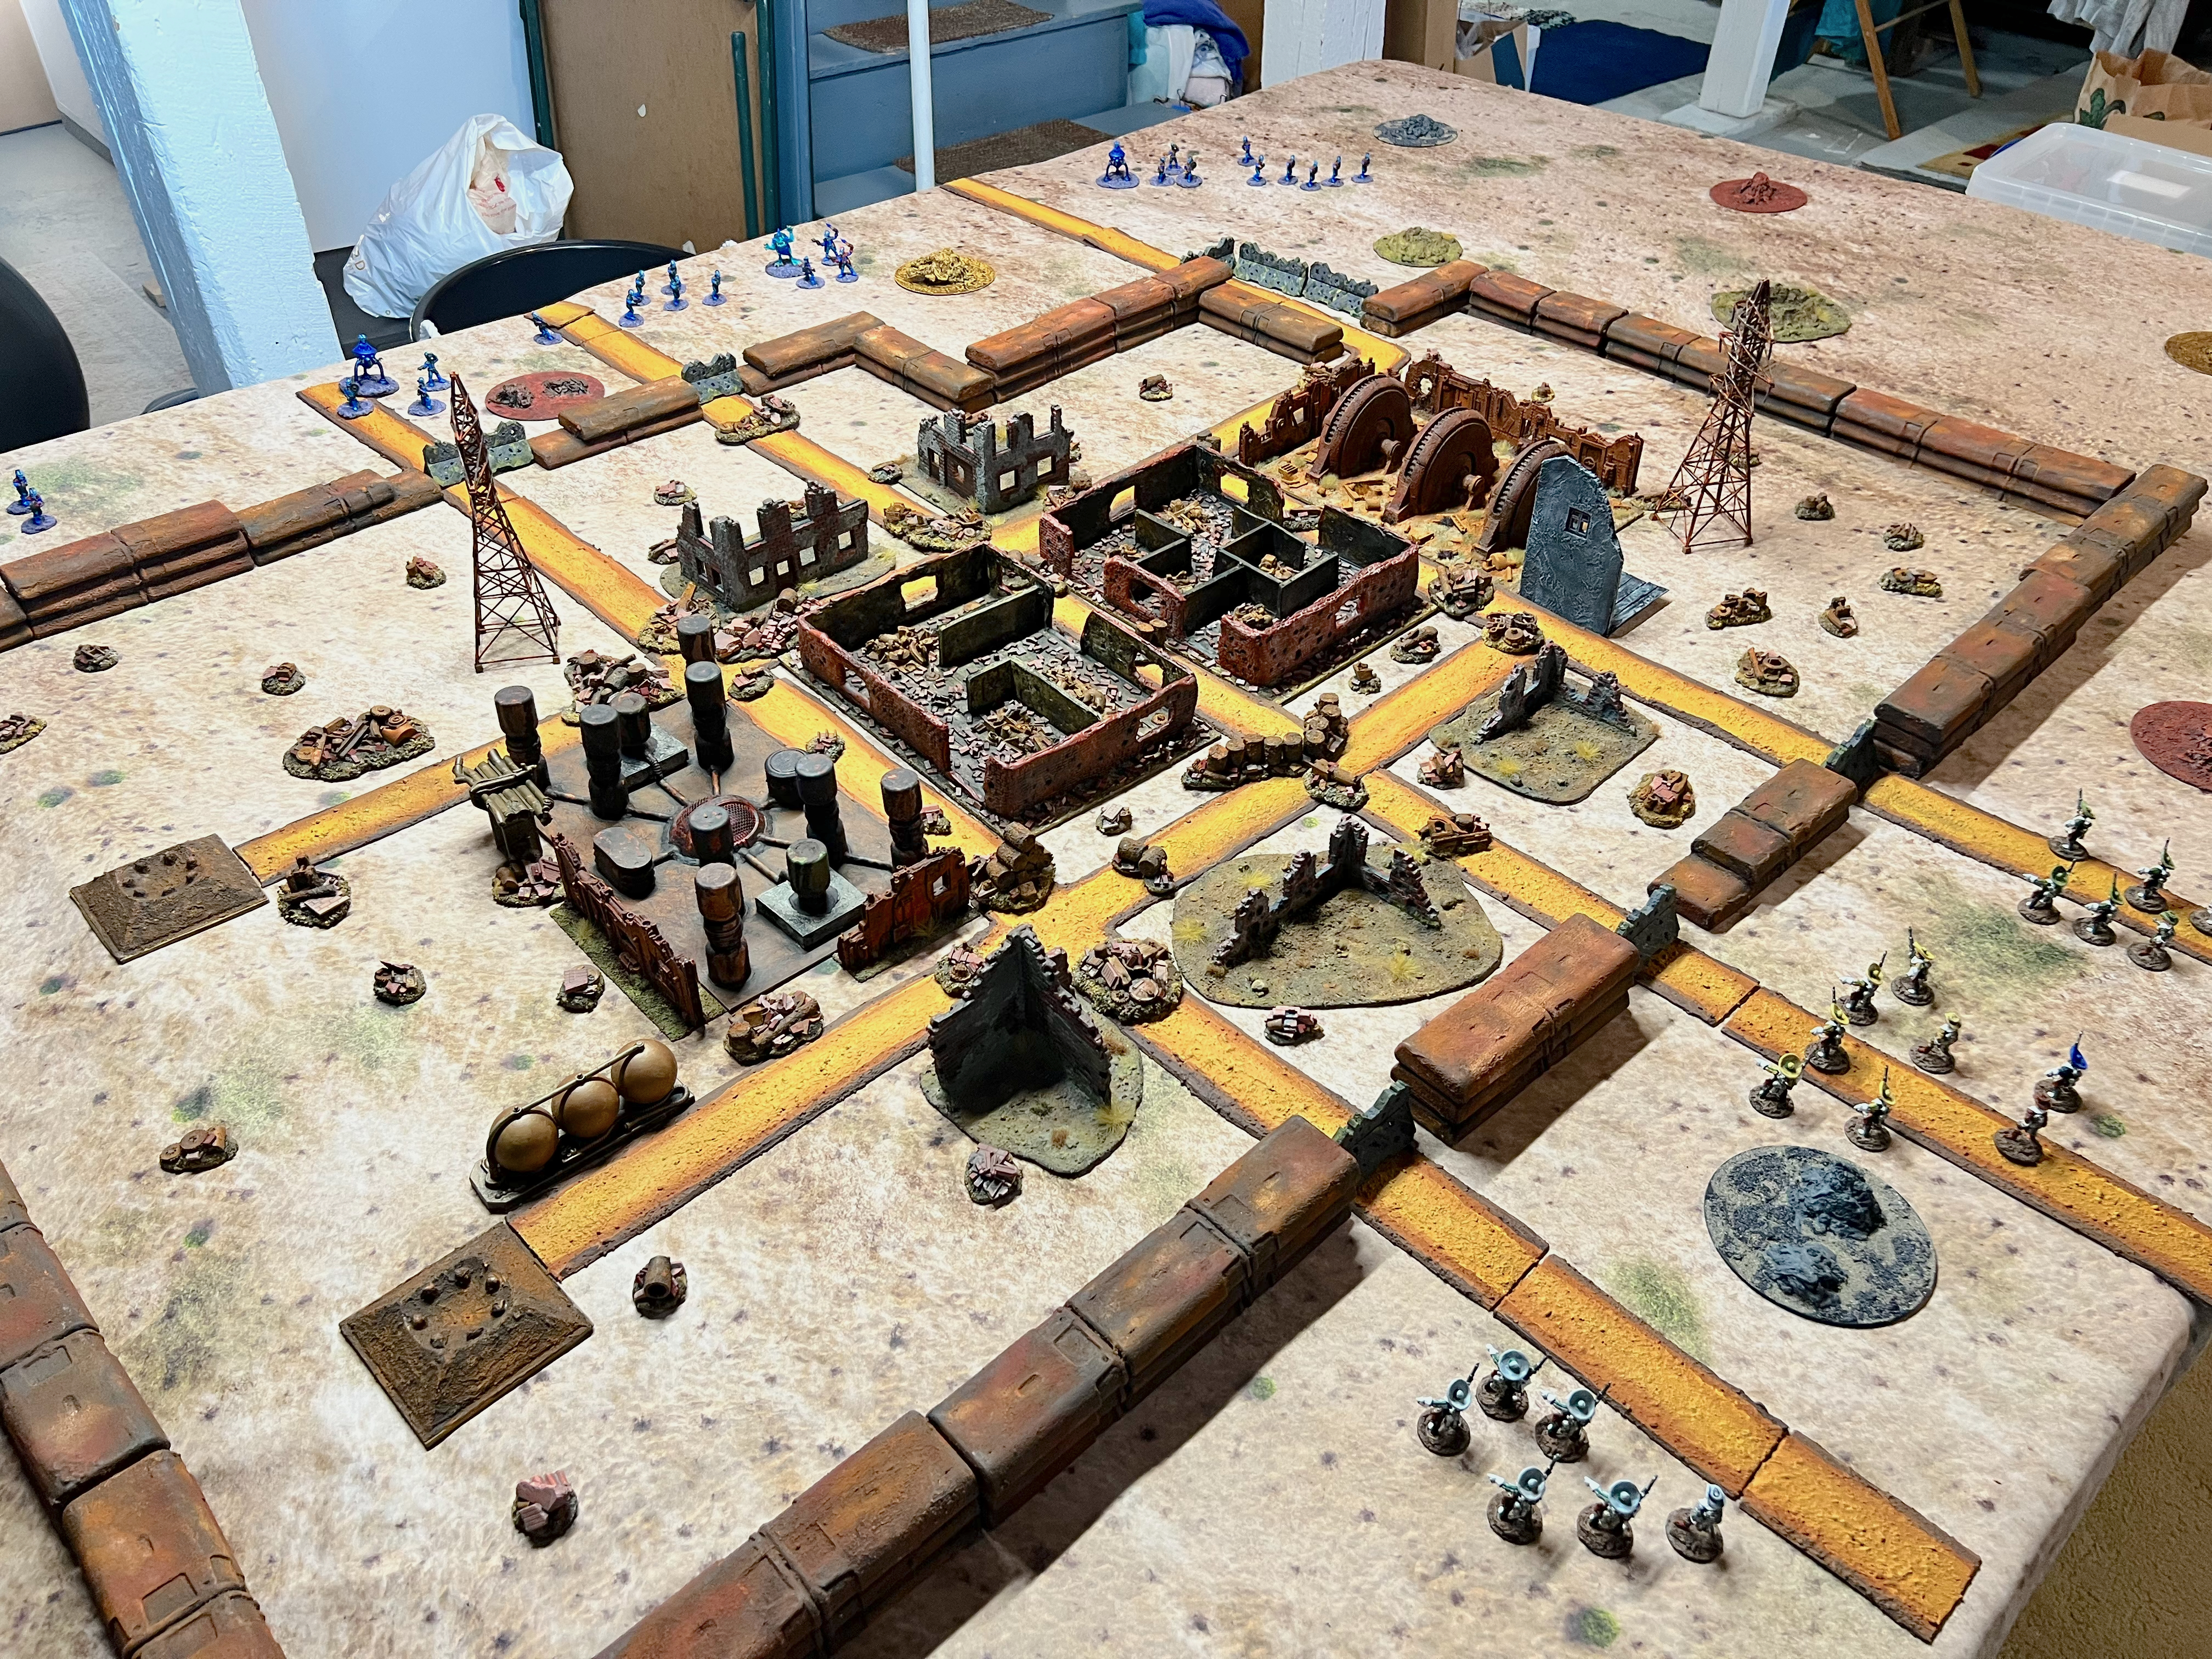
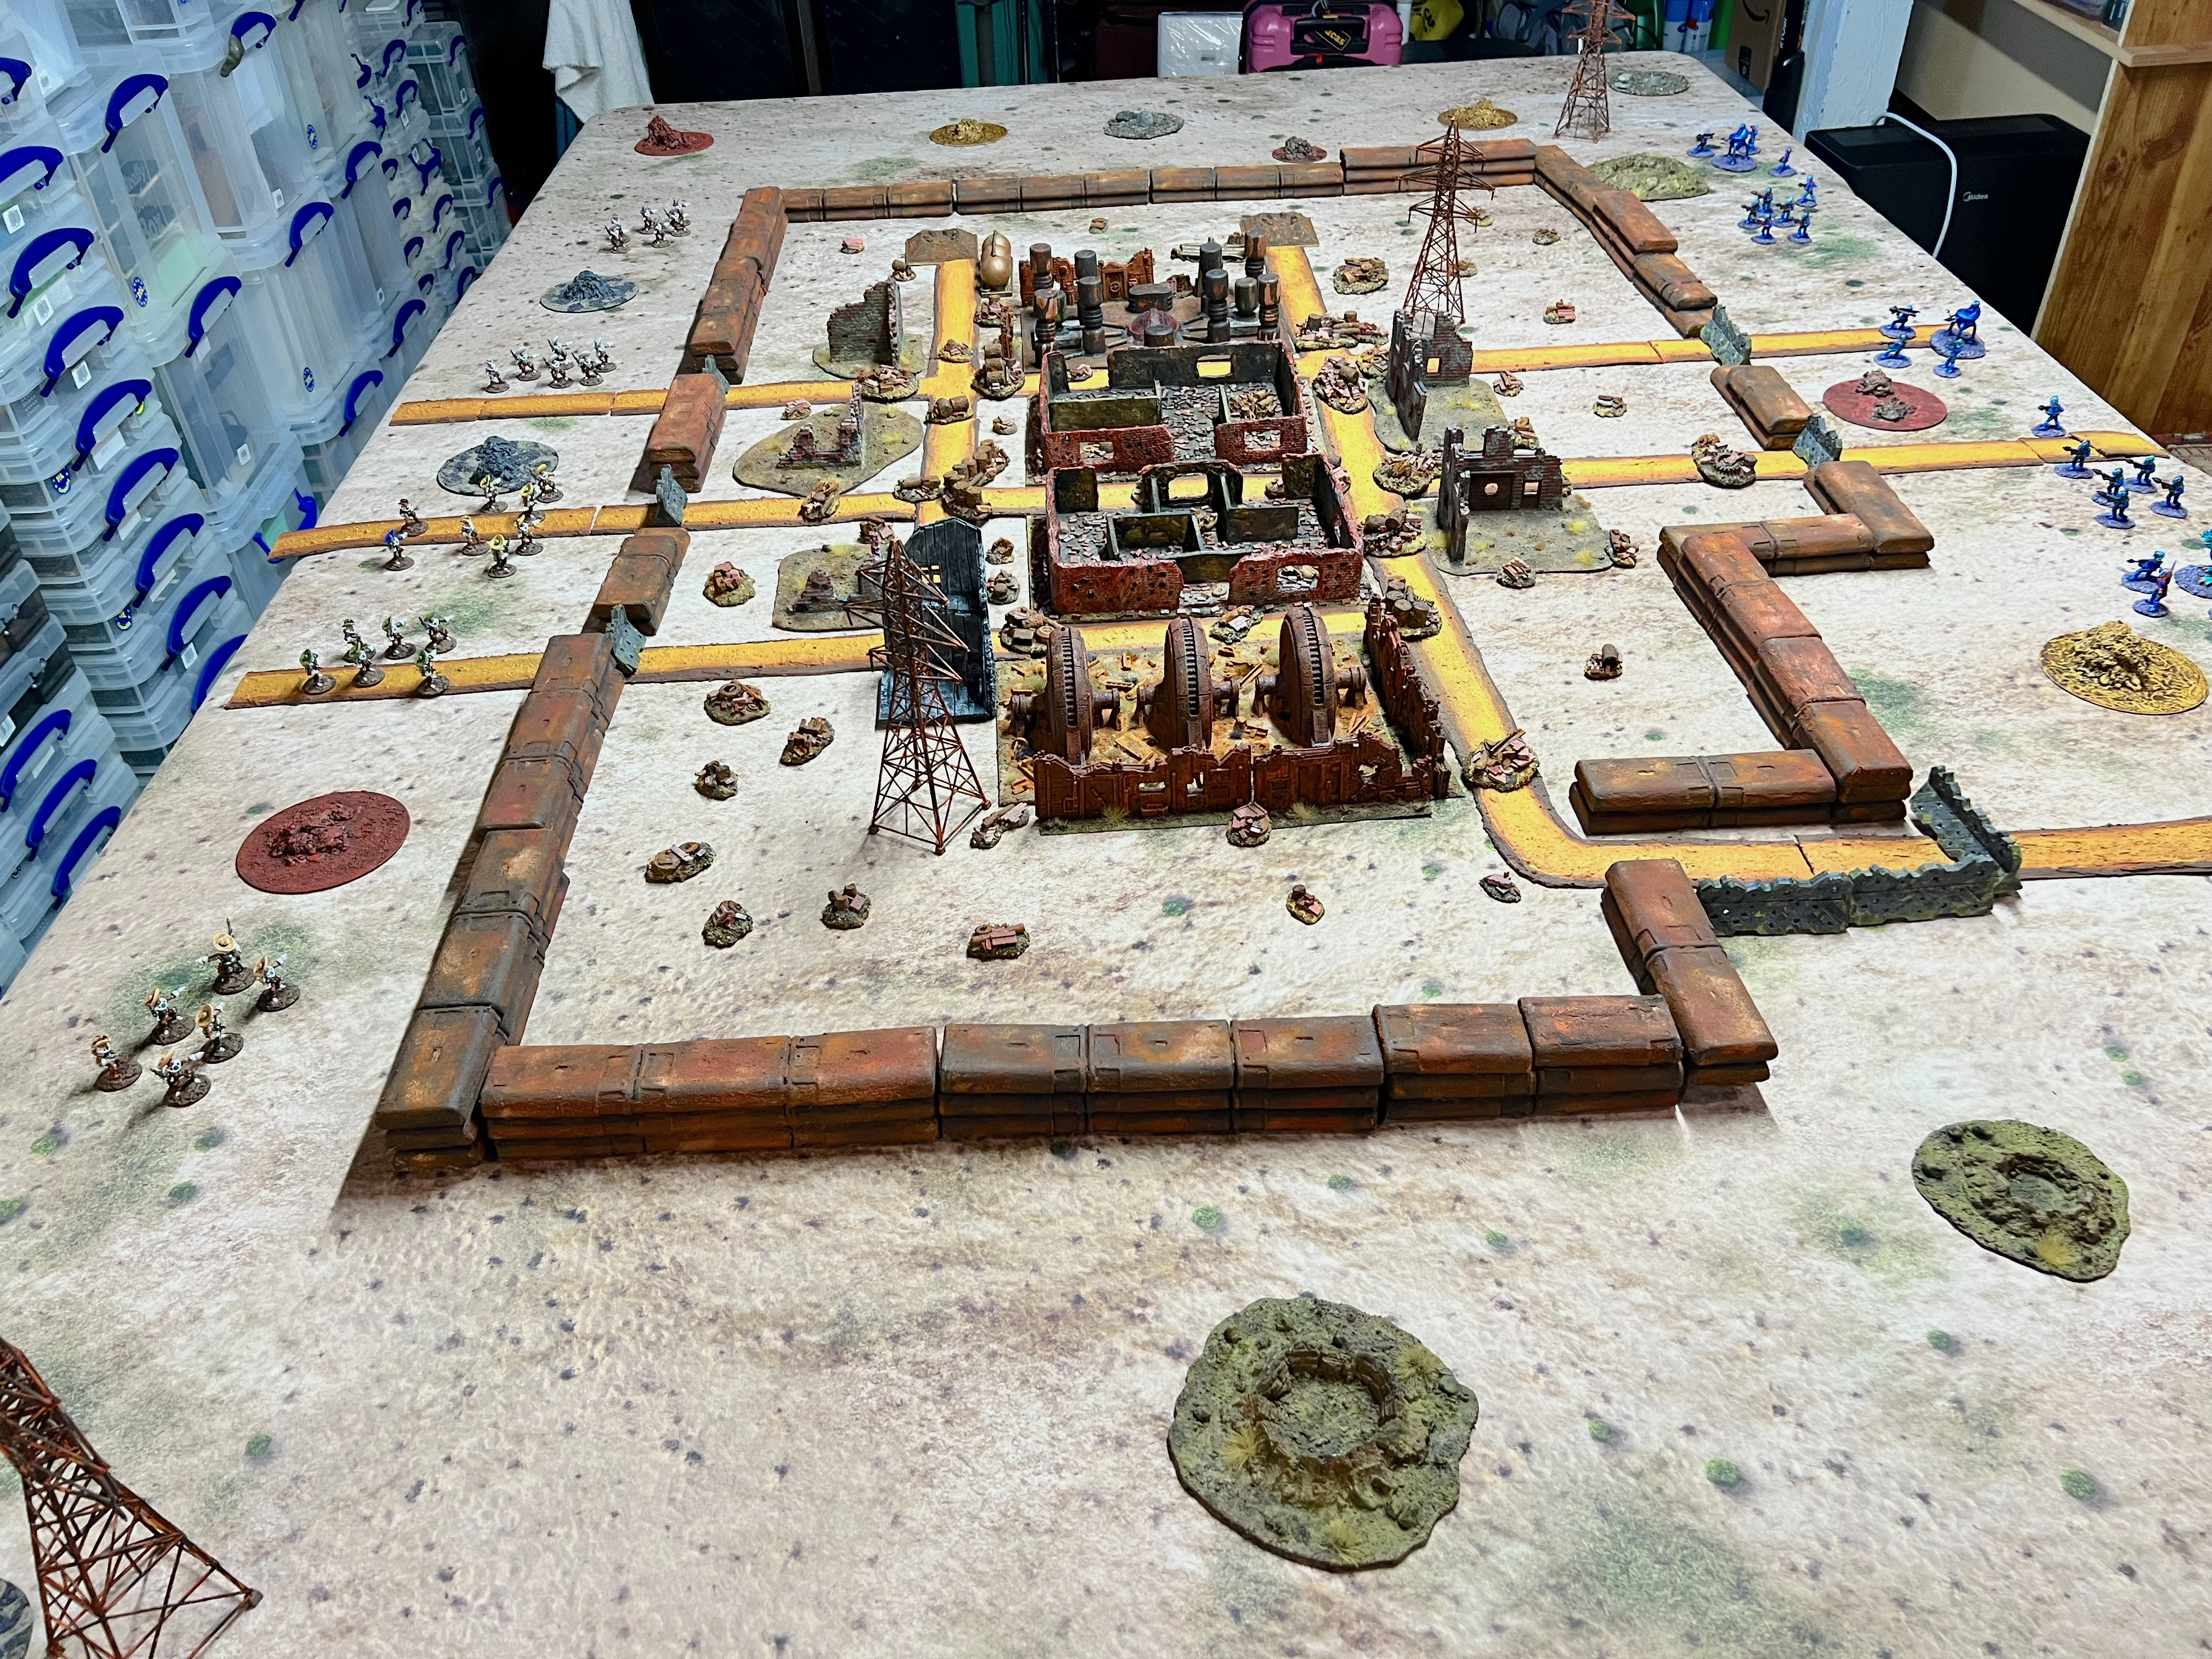
I randomly select the locations for the four robots (see numbers on the map below). My playtest worked well, and here are some shots of the mock-up tabletop.
The mock up of the tabletop for the game. The Retrovians three squads and command group are in the forefront. The Space Cowboys are at the opposite side.A side view.View from the Space Cowboy’s side.Generator side view.
I did not use all of the wreckage in the mock-up. I will share a Cold Wars post soon. However, as a preview here are a couple of shots of the game set up at Cold Wars in all its glory:
Photo of the game in progress at Cold Wars with me as the GM. (photo courtesy of Ken Howe).Space Cowboys and Retrovians start searching for the robots.The shoot out starts – while one robot has been found in the upper right. This was Bender, and he was not happy to be found and attacked and killed a Space Cowboy.
More about Cold Wars soon in a future post.
I hope you enjoyed reading this and seeing my rusty panorama come to life – on the tabletop anyways. If this WIP post helps you in any way, that is great! I am including these terrain pieces in Dave Stone’s PAINT WHAT YOU GOT 2025/2026 Challenge as these were completed in early February. For now, that’s it, until next time!
329 miles to Lancaster, PA and Cold Wars!
The materials are listed below as a reference for me (and you maybe).
For all of my previous posts on terrain projects, please see this page. For all of my previous posts on sci-fi projects, please see this page…for any of my previous posts on scratch-building, see this page.
PAINTS, INKS, GLAZES, SHADES, WASHES, PIGMENTS, FLOCKING, GLUES AND MORE THAT I USED ON THE TWO RUINED BUILDINGS:
iPad 16 Box (top and bottom)
Hot glue
Foam Board
Toothpicks
Popsicle sticks
Apoxie sculpt
Vallejo Surface Primer “Grey”
SIBE AUTOMATION “White Polystyrene 8″ X 12″ X 1/8″ Plastic Sheet”
PVA
Huge Miniatures “Brick Red”
MSP “Brown Liner”
Vallejo Game Color “Sepia” (wash/shade)
Vallejo Wash FX “Dark Grey” (wash/shade)
Liquitex “Burnt Umber” (ink)
Secret Weapon Washes “Sewer Water”
Vallejo Thinner
Vallejo Surface Primer “German Green Brown”
Vallejo “Light Slate Grey” (pigment)
AK “Dry Ground” (texture)
Vallejo “Carbon Black” (pigment)
Juweela Metal Scrap Rusty Industry (23336)
Juweela Debris Assortment (23316)
Juweela Debris Brick Red (23315)
Juweela Debris Assortment (23315)
Juweela Bricks (23034)
Juweela Metal Scrap Rusty Gear Wheels (23317)
Army Painter “Red Tone” (wash)
Secret Weapon Washes “Red Black” (wash)
Secret Weapon Washes “Ruby” (wash)
P3 “Red Ink” (ink)
Vallejo Game Air “Red Terracotta”
PAINTS, INKS, GLAZES, SHADES, WASHES, PIGMENTS, FLOCKING, GLUES AND MORE THAT I USED ON THE 61 WRECKAGE BASES/PILES:
Play sand
Apoxie sculpt
PVA
Various scrap plastic pieces
Cylindrical desiccant holders
Rubber sink stopper rim
Juweela Metal Scrap Rusty Industry (23336)
Juweela Debris Assortment (23316)
Juweela Debris Brick Red (23315)
Juweela Debris Assortment (23315)
Juweela Bricks (23034)
Juweela Metal Scrap Rusty Gear Wheels (23317)
AK “Corrosion Texture” (texture)
Vallejo Model Air “Rust” (71.080)
Vallejo Model Air “Rust” (71.080)
Vallejo Model Air “Rust” (71.069)
Vallejo Model Air “Orange Rust”
Citadel “Ryza Rust” (dry)
Vallejo “Old Rust” (pigment)
Vallejo “Pigment Binder”
Vallejo Thinner
Vallejo “Dark Slate Grey” (pigment)
Vallejo “Dark Yellow Ochre” (pigment)
Vallejo Game Color “Sepia” (wash/shade)
Secret Weapon Washes “Sewer Water”
Army Painter “Red Tone” (wash)
Secret Weapon Washes “Red Black” (wash)
Secret Weapon Washes “Ruby” (wash)
P3 “Red Ink” (ink)
Vallejo Game Air “Red Terracotta”
PAINTS, INKS, GLAZES, SHADES, WASHES, PIGMENTS, FLOCKING, GLUES AND MORE THAT I USED ON THE 2 FLAT INDUSTRIAL STRUCTURES:
SIBE AUTOMATION “White Polystyrene 8″ X 12″ X 1/8″ Plastic Sheet”
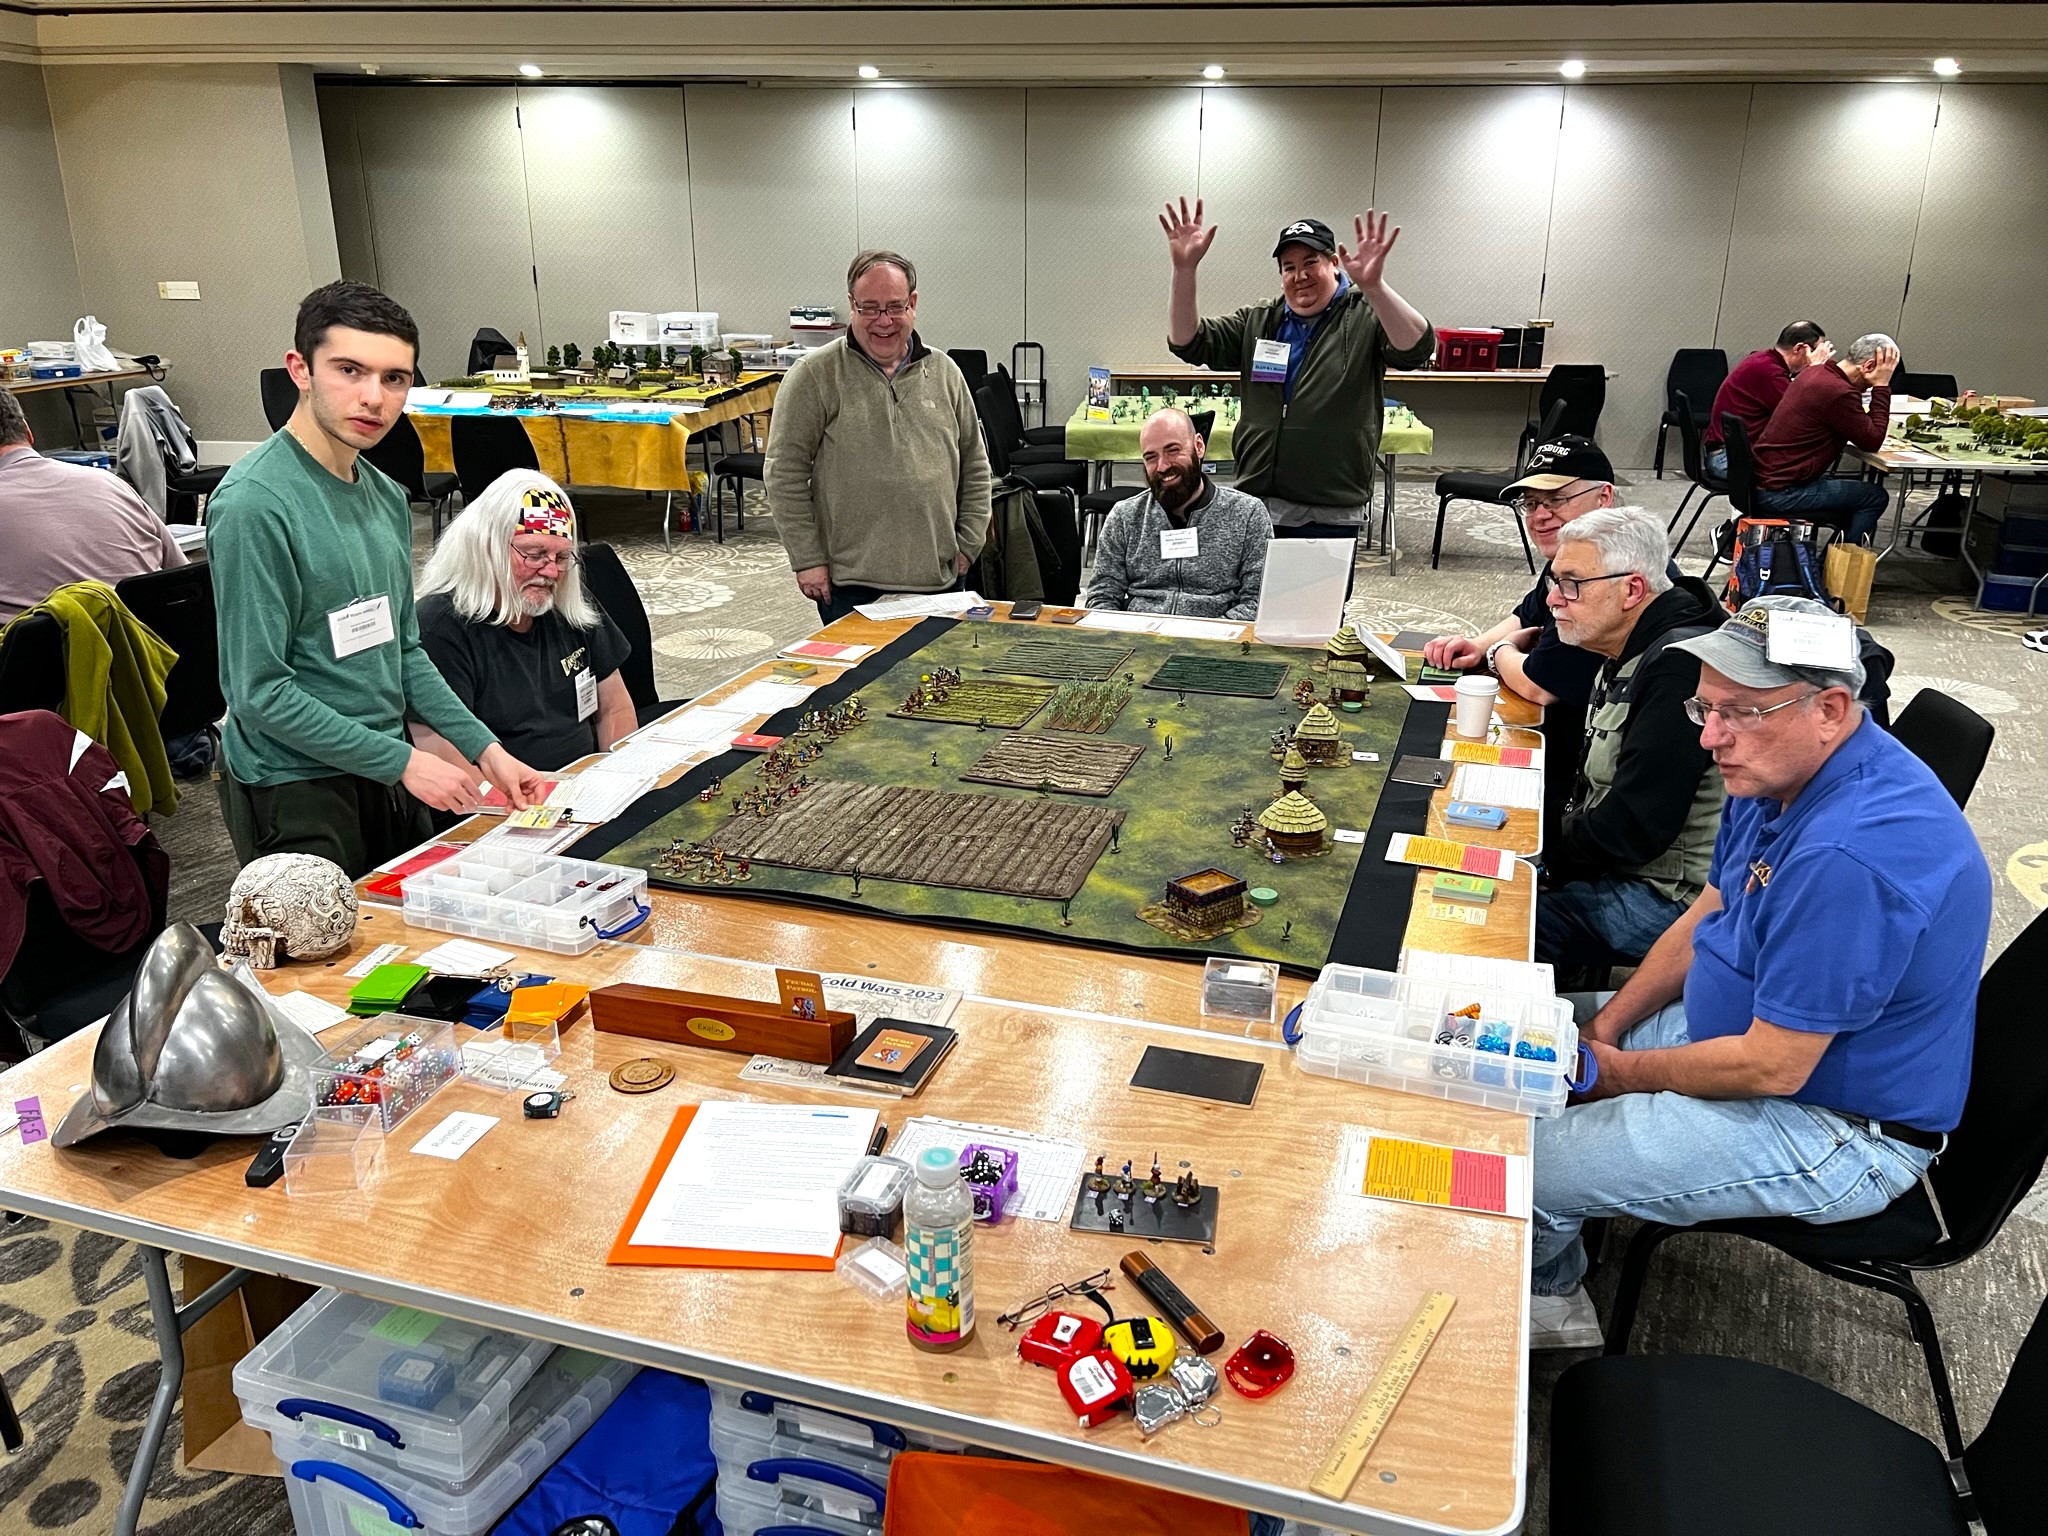
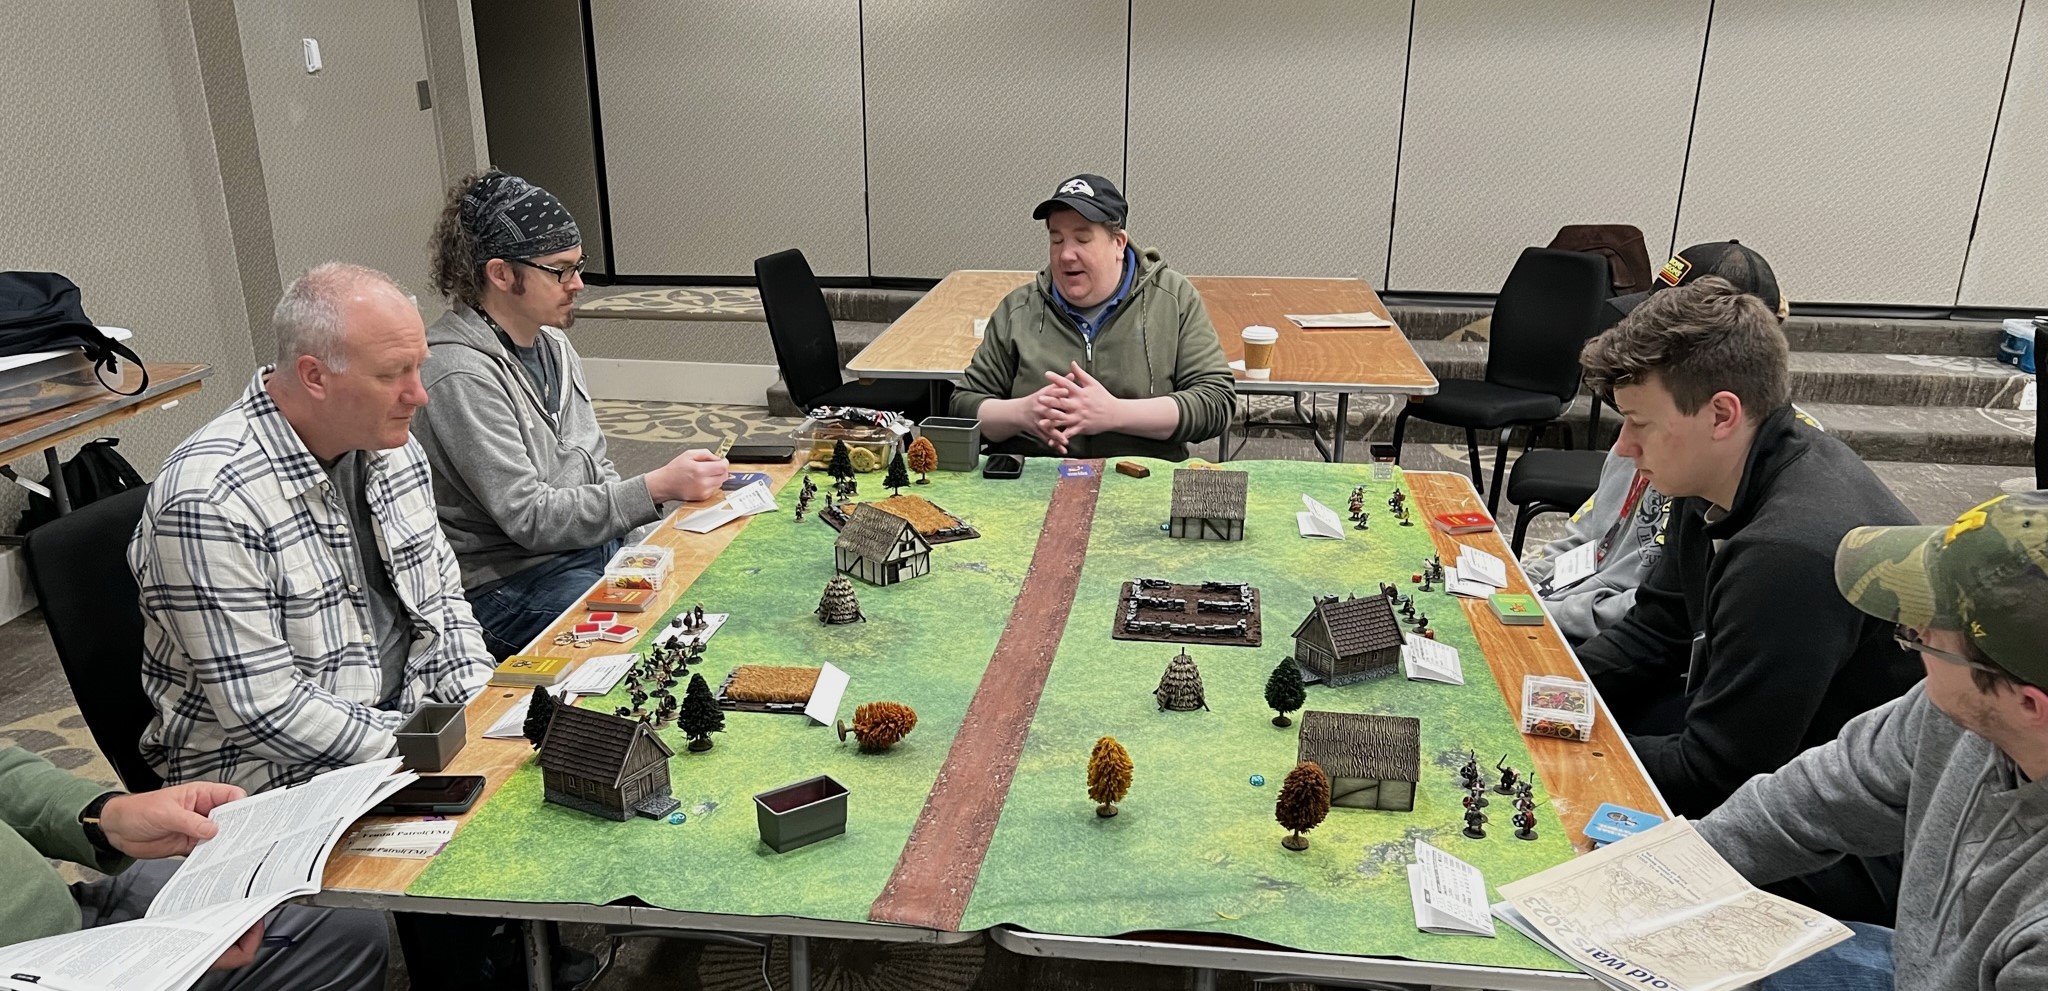
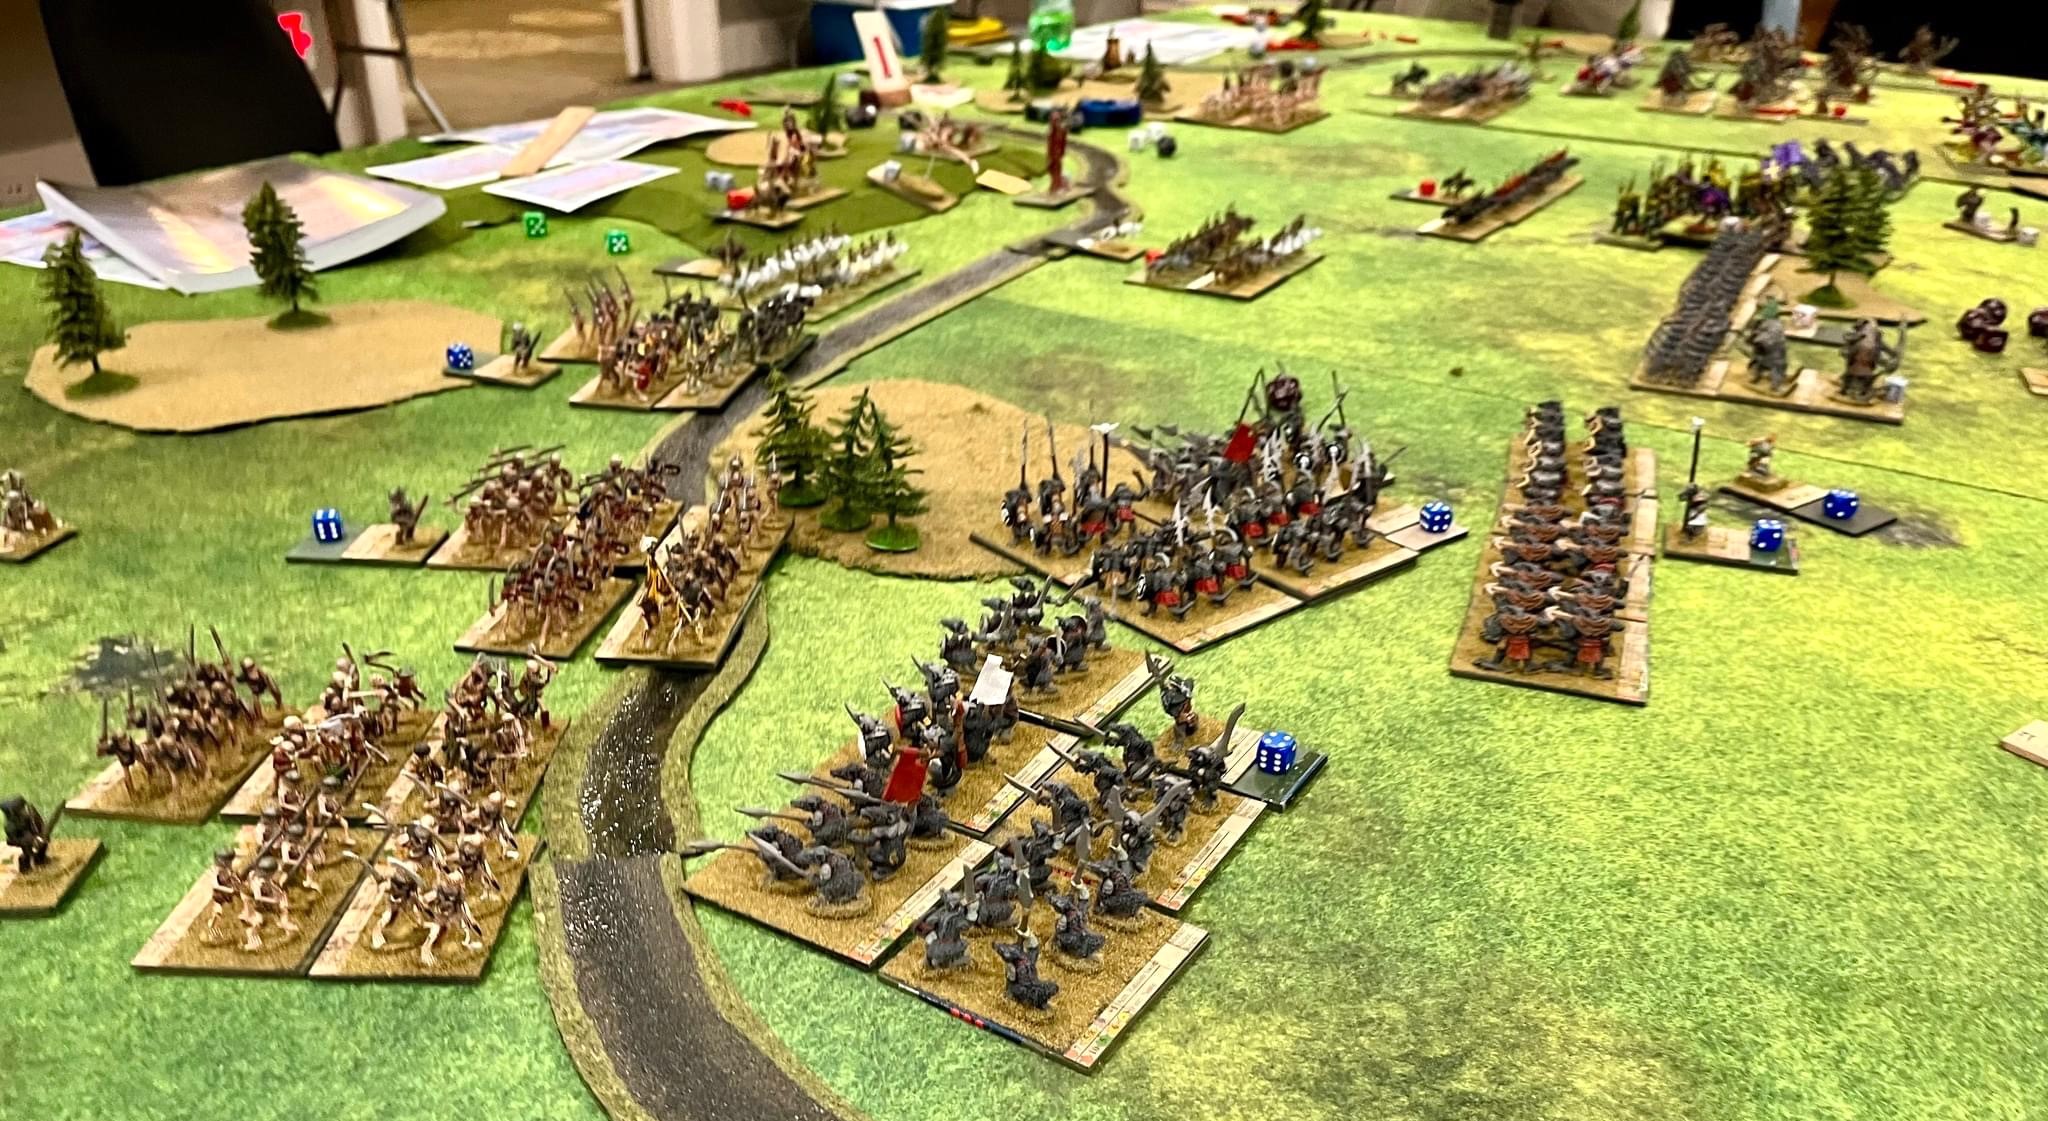
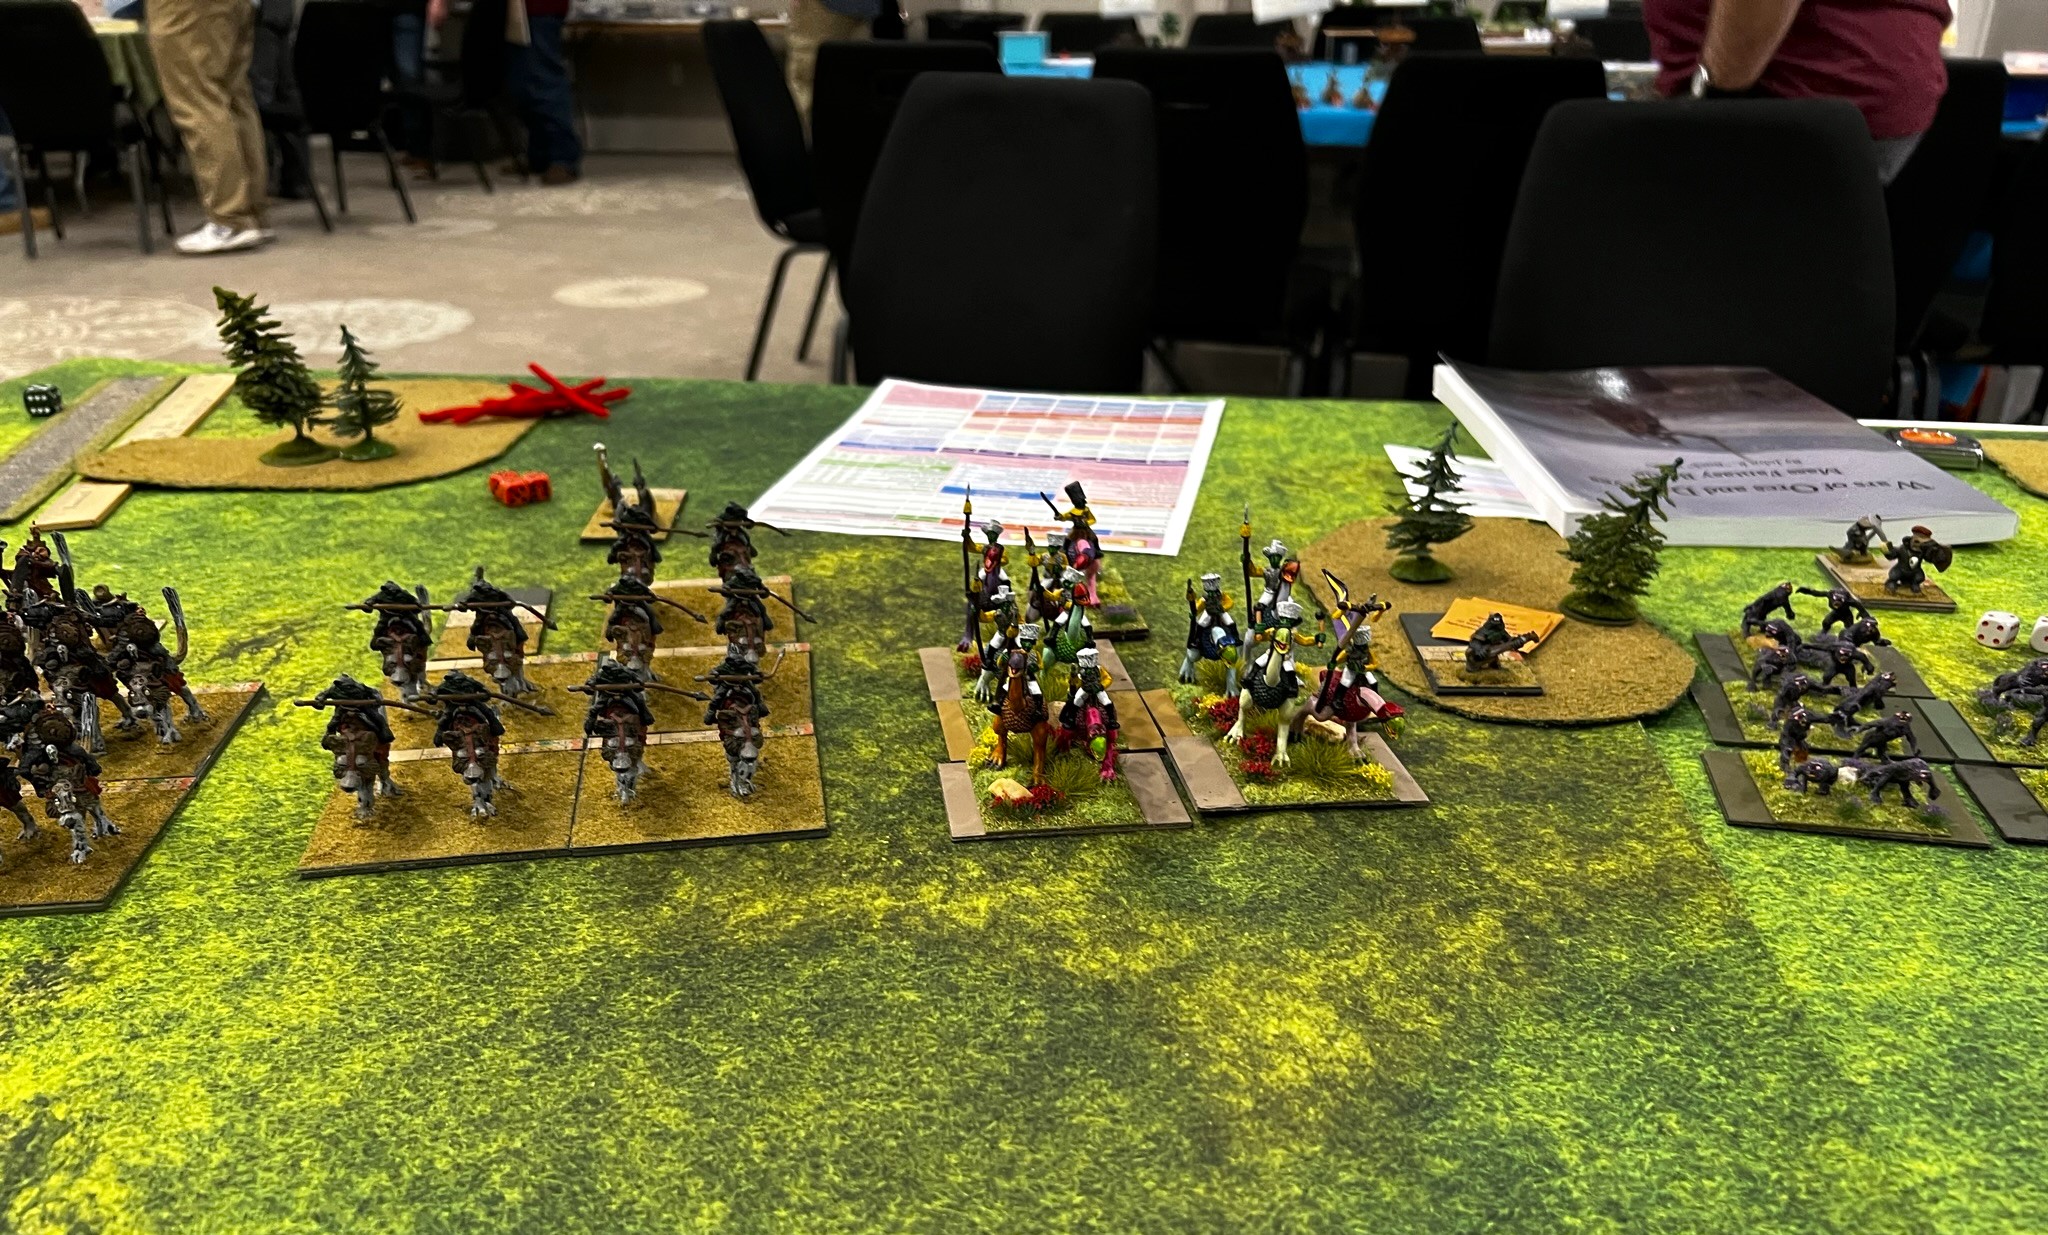
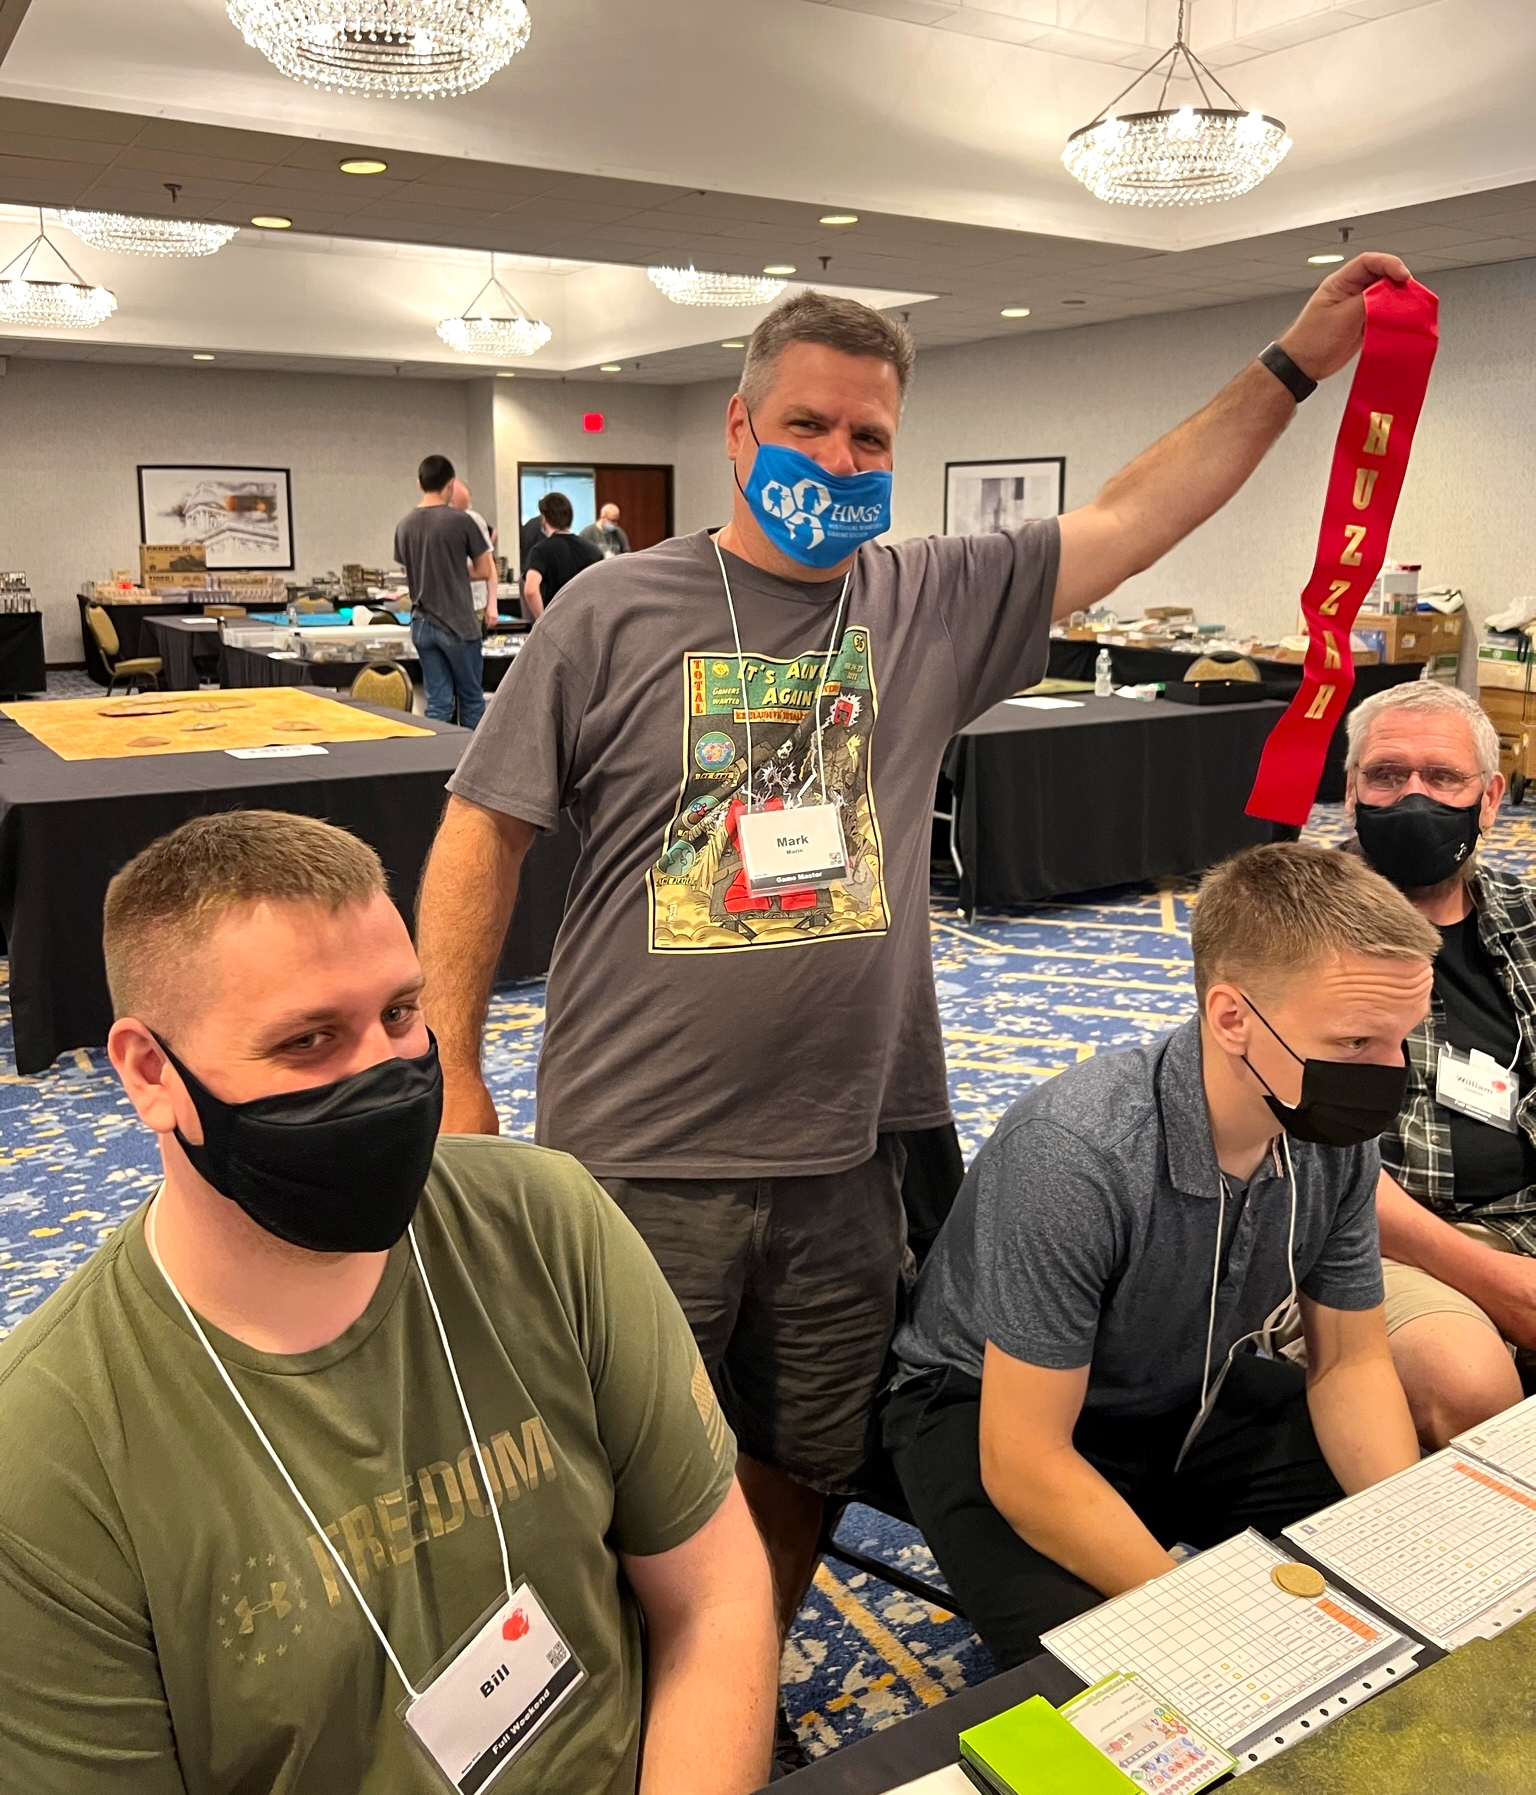
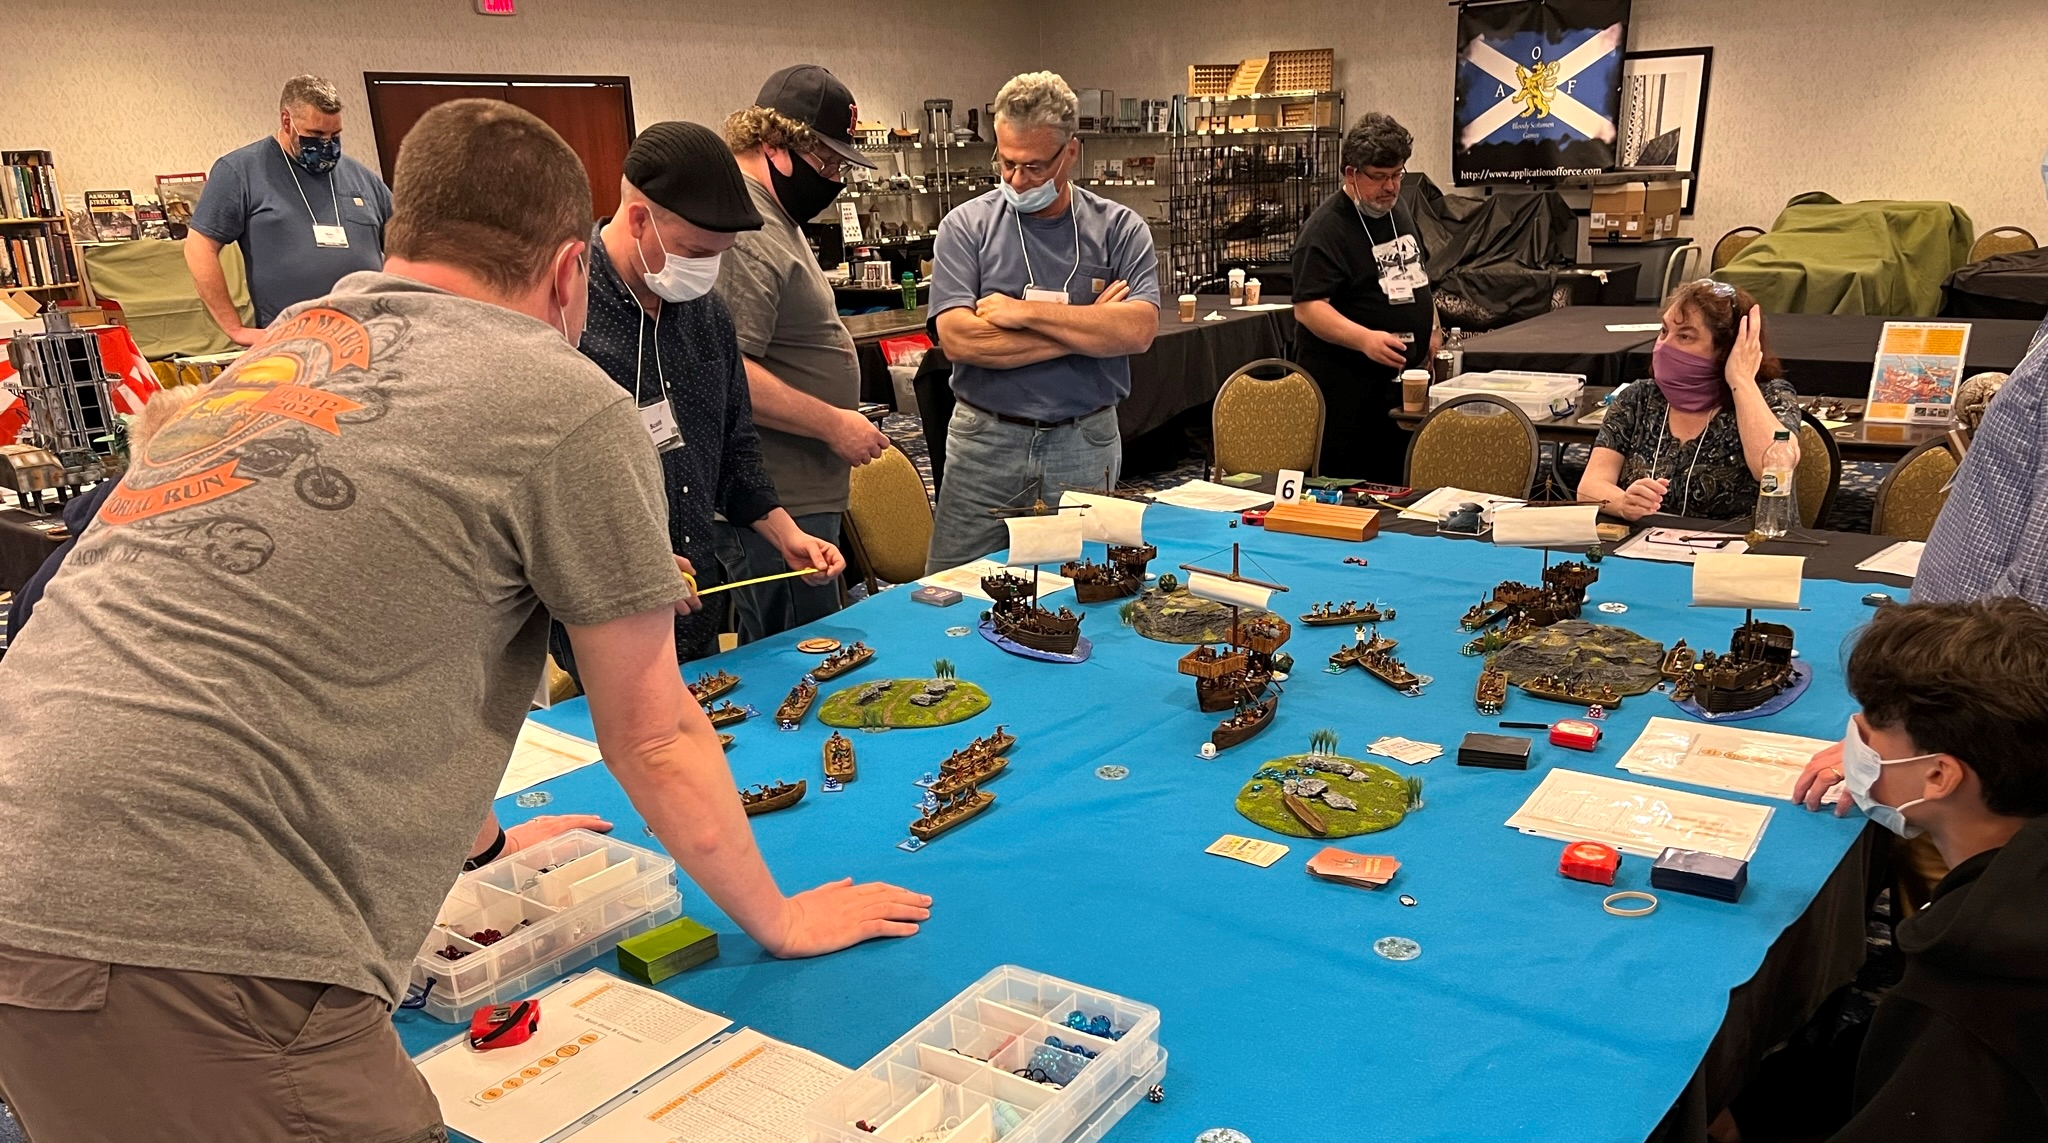
Last weekend the Cold Wars 2023 gaming convention was held in Valley Forge, PA at the Valley Forge Casino Resort. I participated as a game master and as a player. I ran three games of Feudal Patrol, played in two games of Wars of Ozz, and participated as a player in an American War of Independence (AWI) game. I really enjoyed the convention – and personally had some special moments as you will soon see in this post. I, a Massachusetts “carpetbagger”, am grateful once again for the welcome, hospitality, and friendship of the HAWKS club, especially Buck Surdu, Greg Priebe, Chris Palmer, Dave Wood, and Eric Schlegel – who all contributed to making my experience a memorable one. I also want to thank the players who chose to play in my games. I also must thank the HMGS staff and volunteers for making the convention work so well.
I thought the best way to share this with my readers was to focus on photographs – with a little bit of description. Some of these photos came from Chris Palmer and others on Facebook, and some are from myself.
AWI Playtest
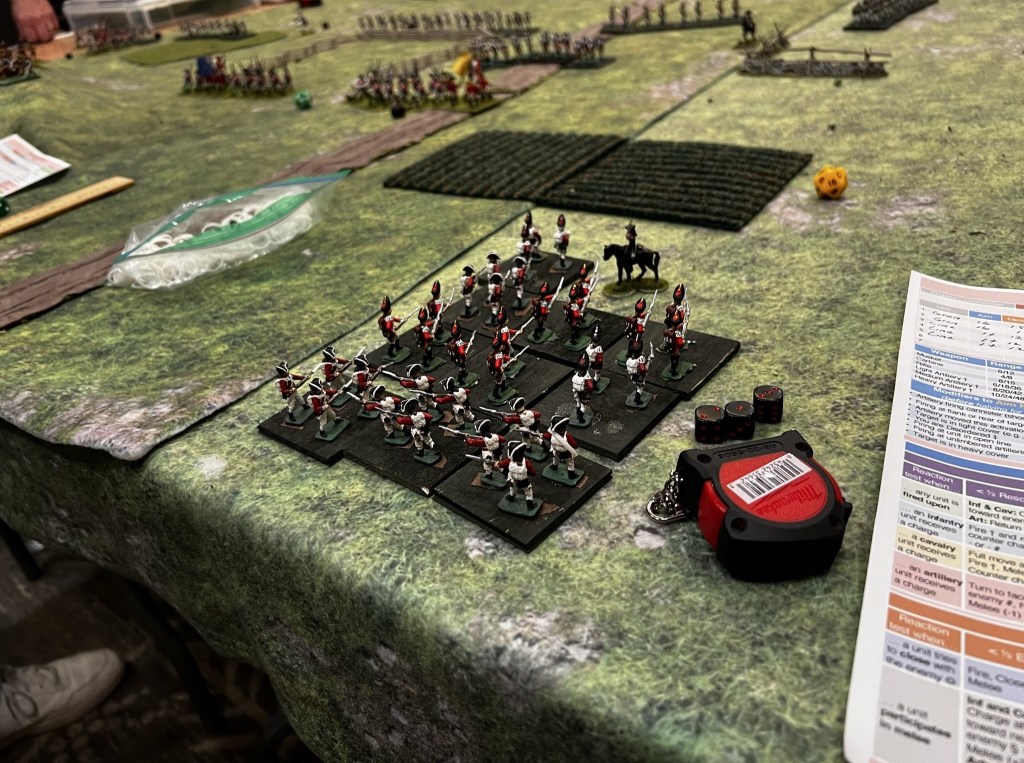
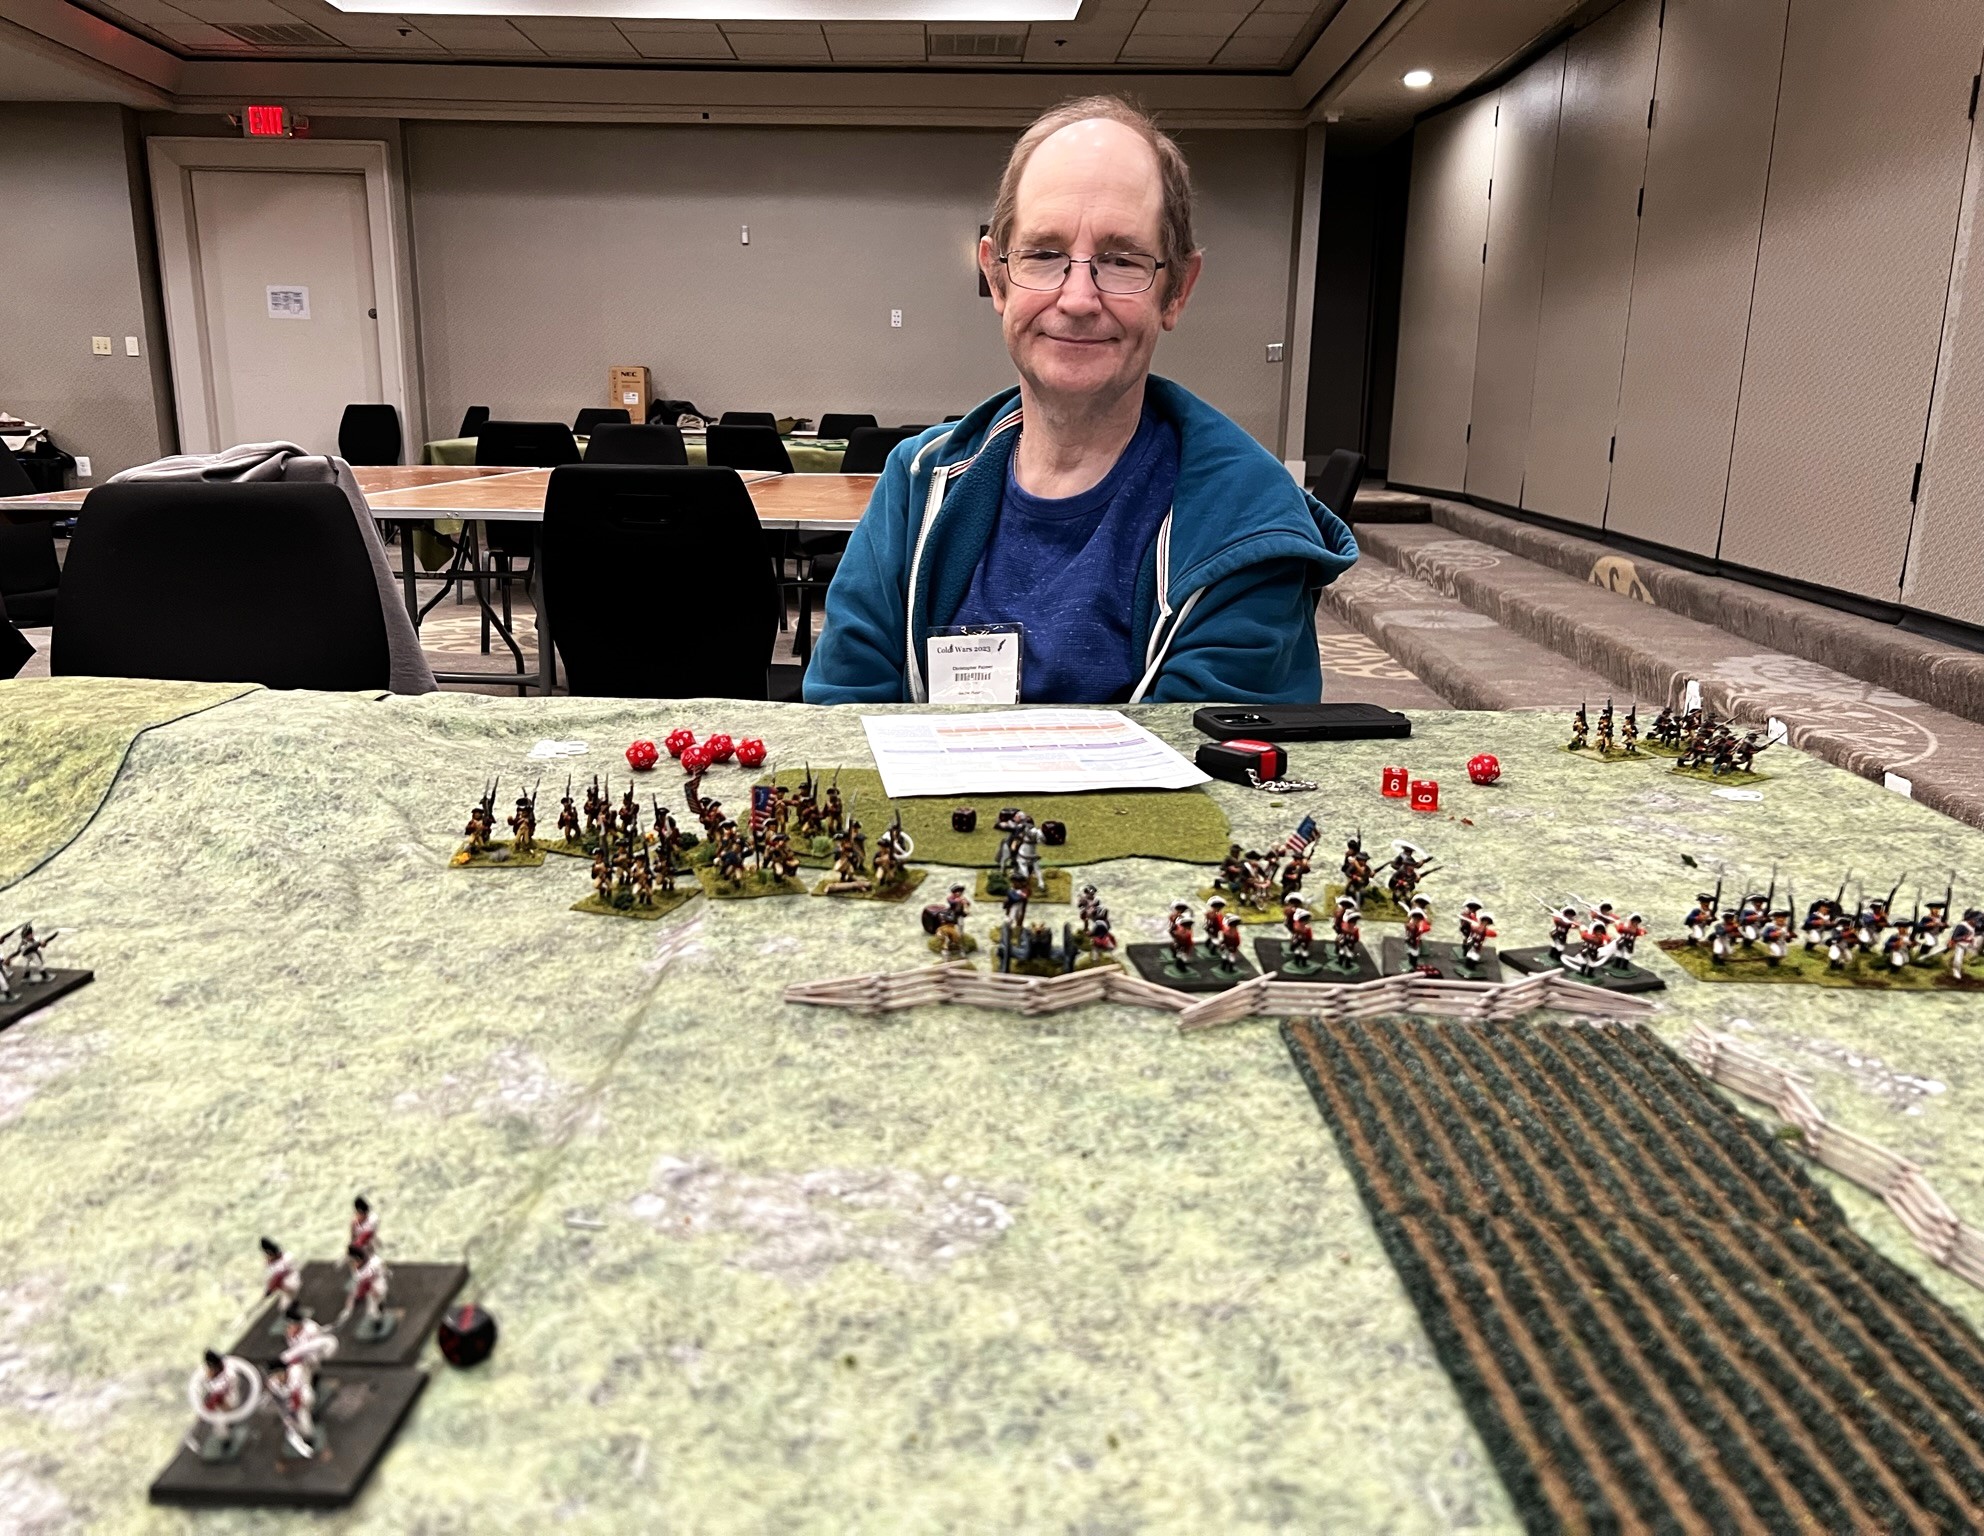
This was on Thursday night in the HAWKS room and was a playtest of a set of rules being worked on by Buck Surdu, Chris Palmer, and Greg Priebe and other HAWKS. Basically it is taking the Wars of Ozz/Eagles and Empires engine and applying it to the AWI. I needed to set up my first game (The Battle of Centla) so that I could play on Friday morning in a Wars of Ozz game without any concerns. I played on the British side with 3 line regiments and two grenadier regiments. I had nothing but open field in front of me and a mission to take out an American gun battery that was surrounded by colonial infantry in soft cover commanded by Chris Palmer.
The set up for the AWI playtest. You can also see my Battle of Centla game all set up for Friday in the background.
I advanced my troops as quickly as possible but got shredded by canister as I git close – though I did do some – but not enough – damage to Chris.
At the start……my casualties overflow…
I got trounced but it was not a situation that I think I could have attempted differently, but hey, it’s a game and a playtest at that.
…and a satisfied Chris surveys the battlefield!
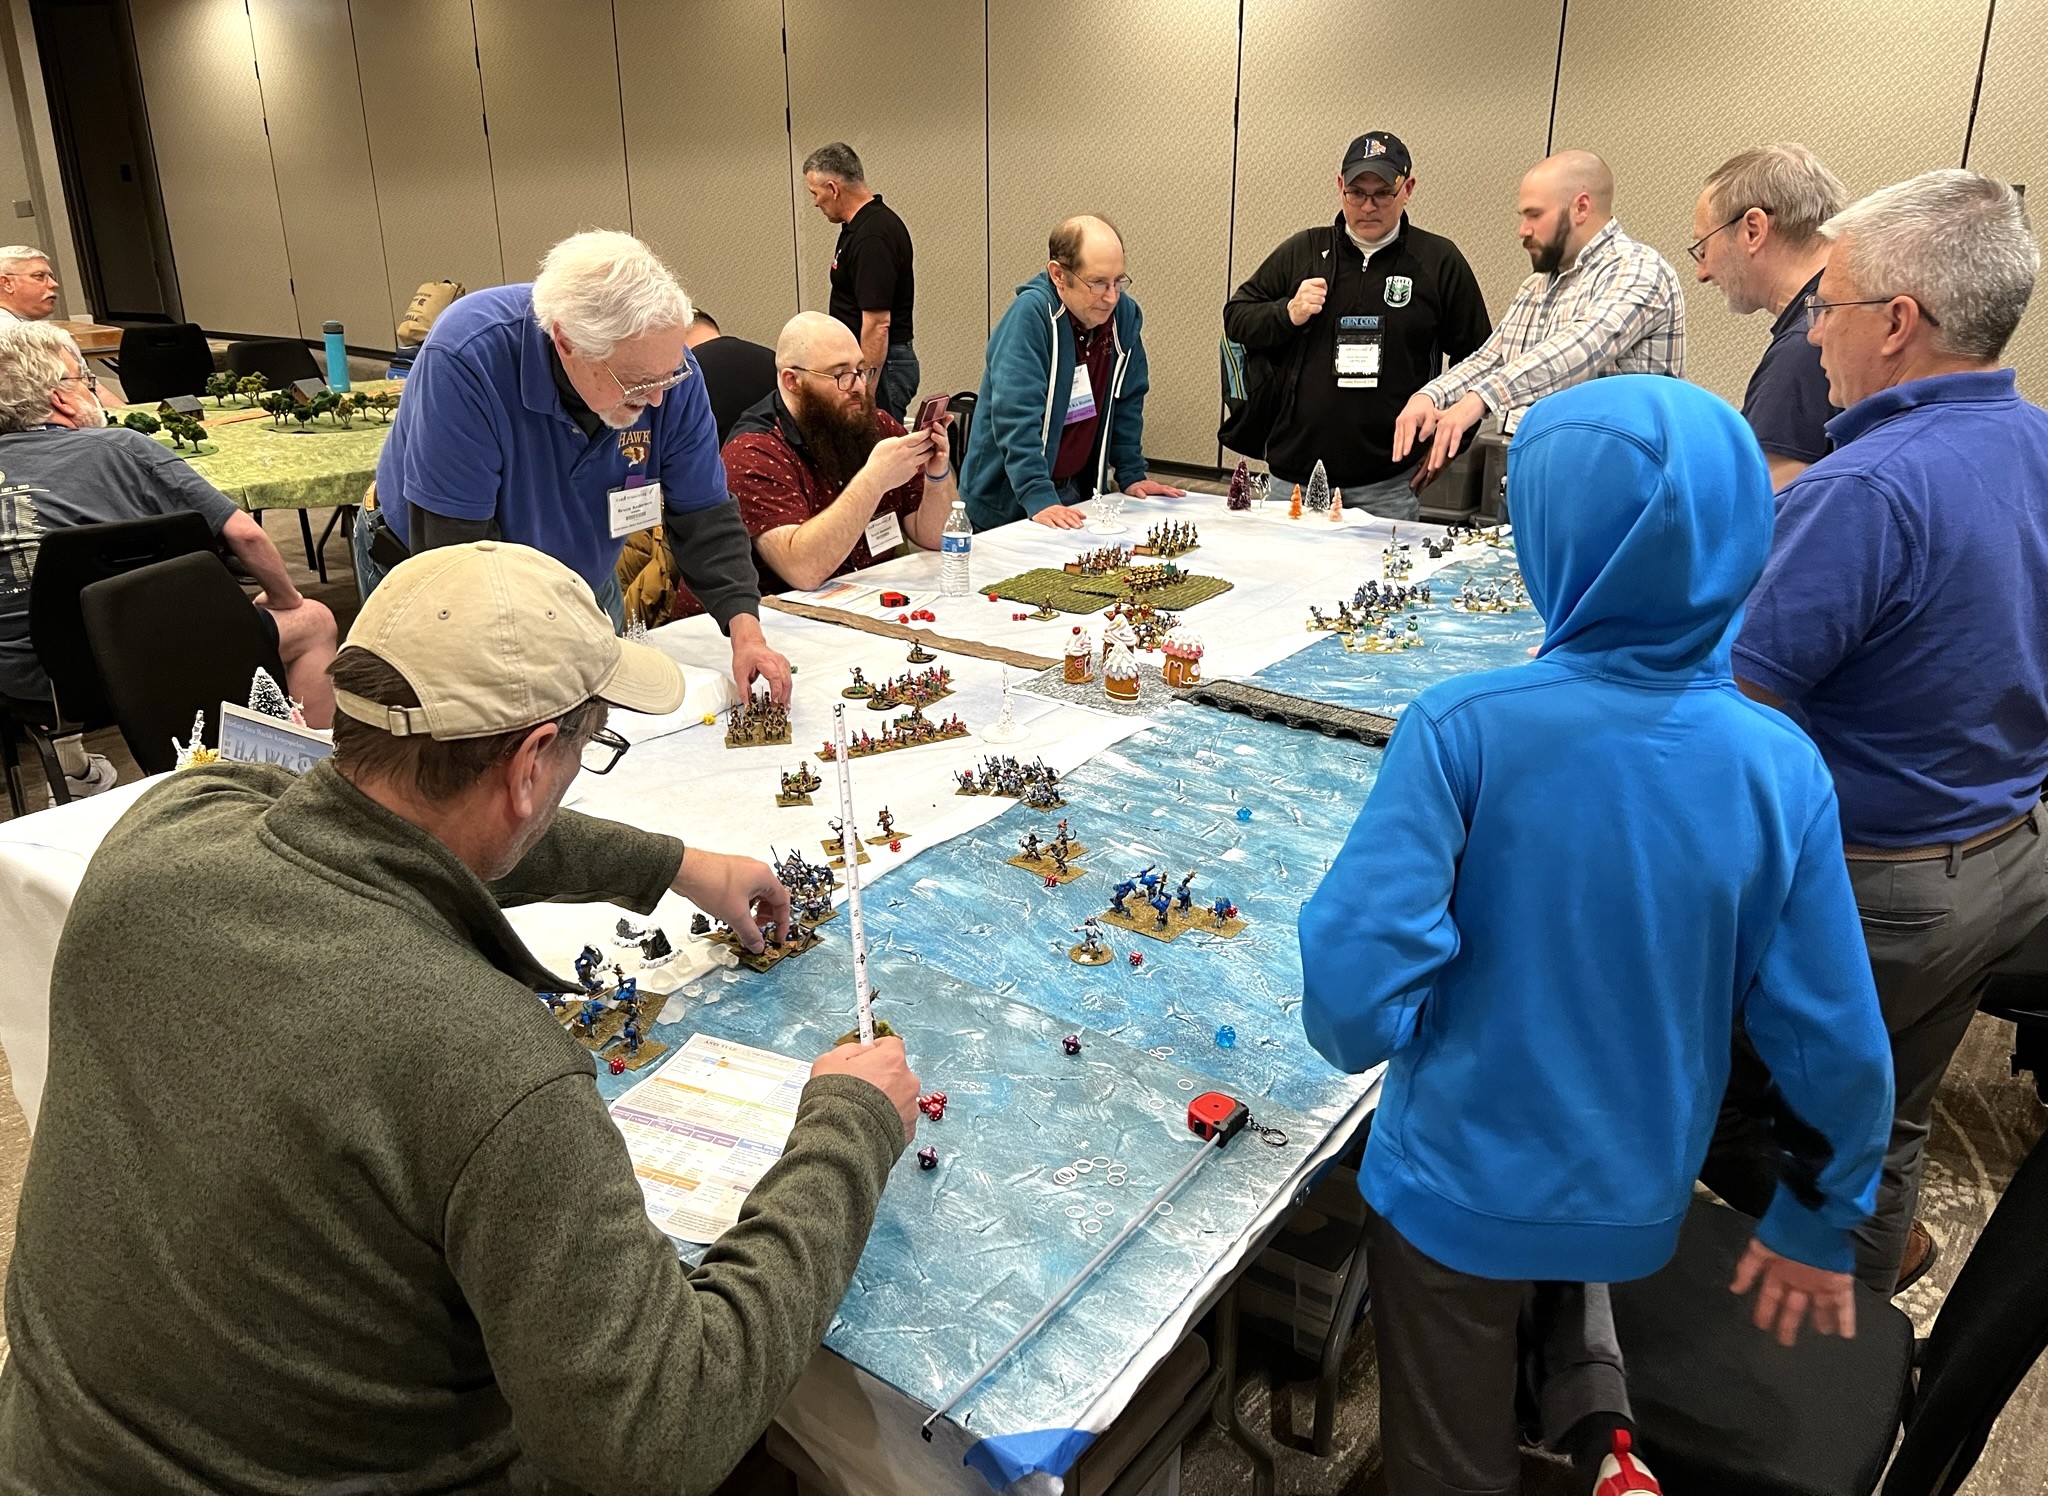
Wars if Ozz – Winter of Discontent (Wars of Ozz)
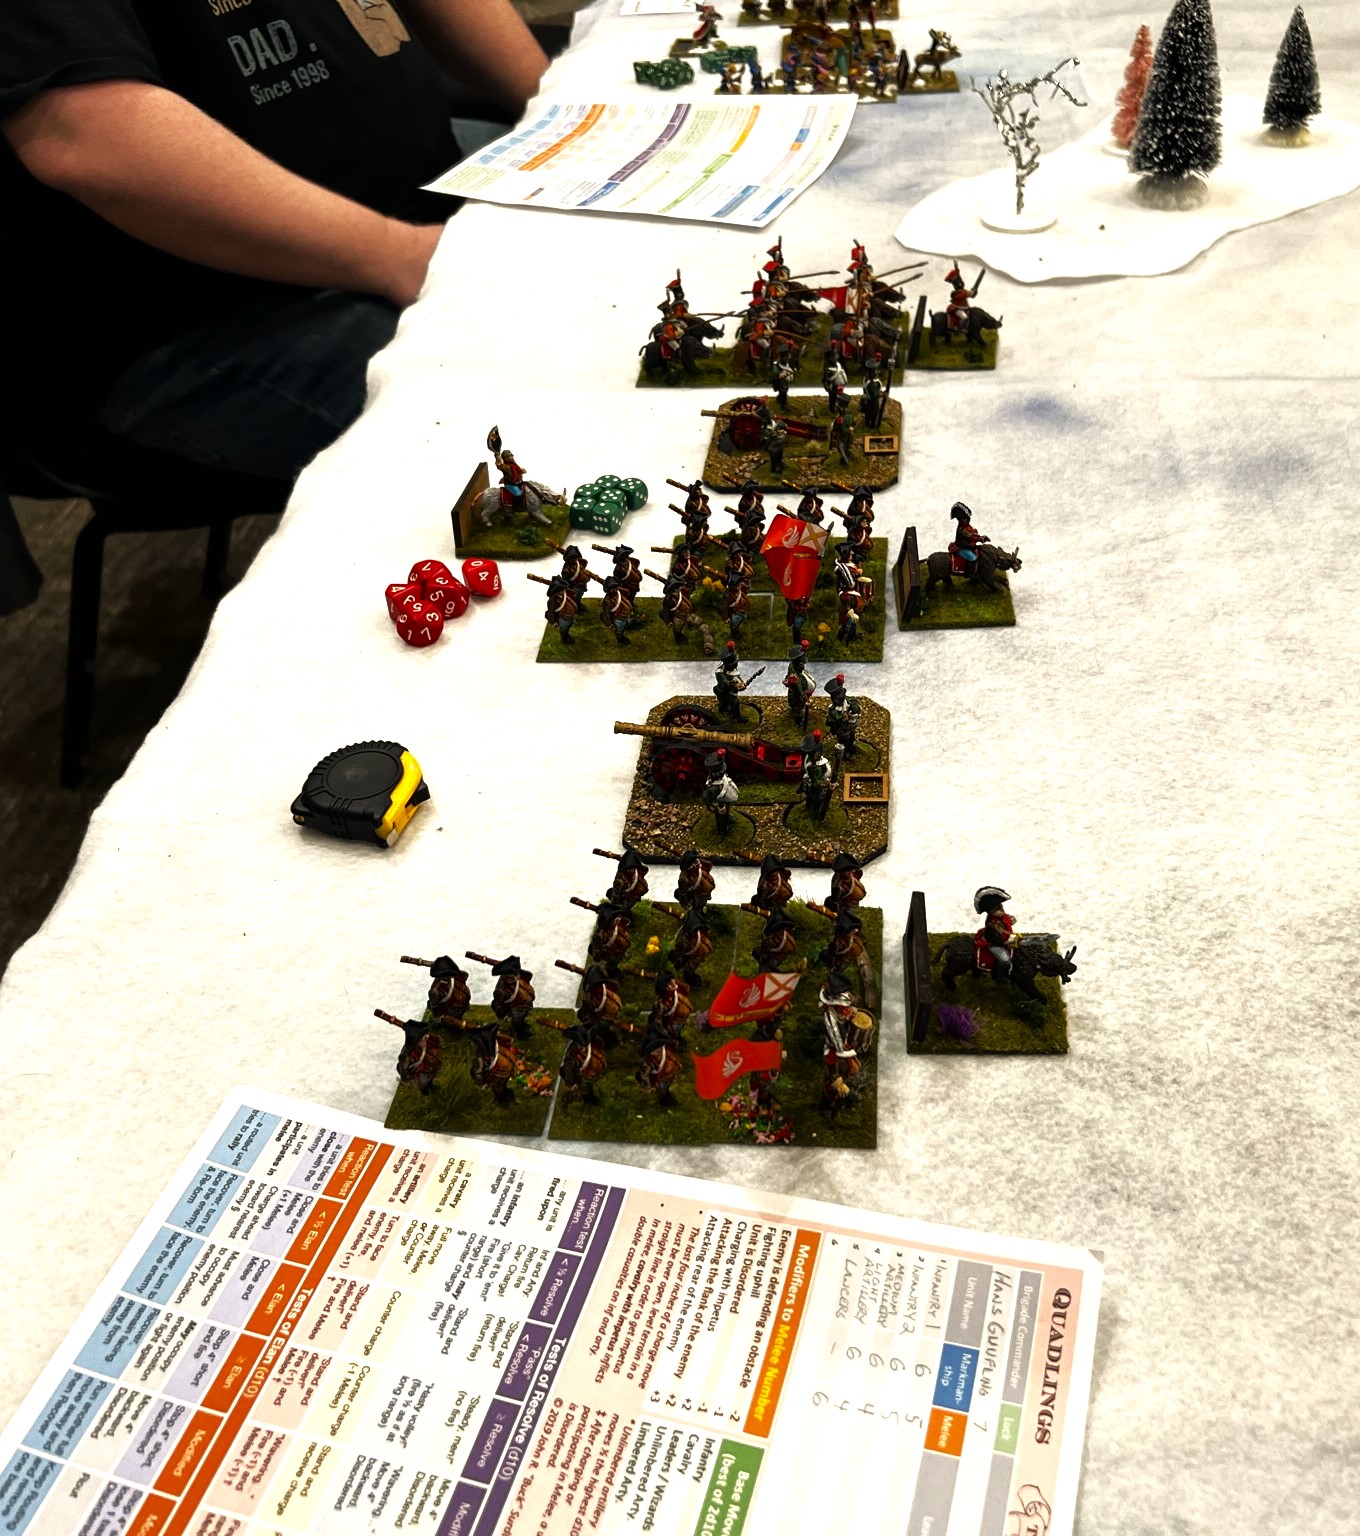
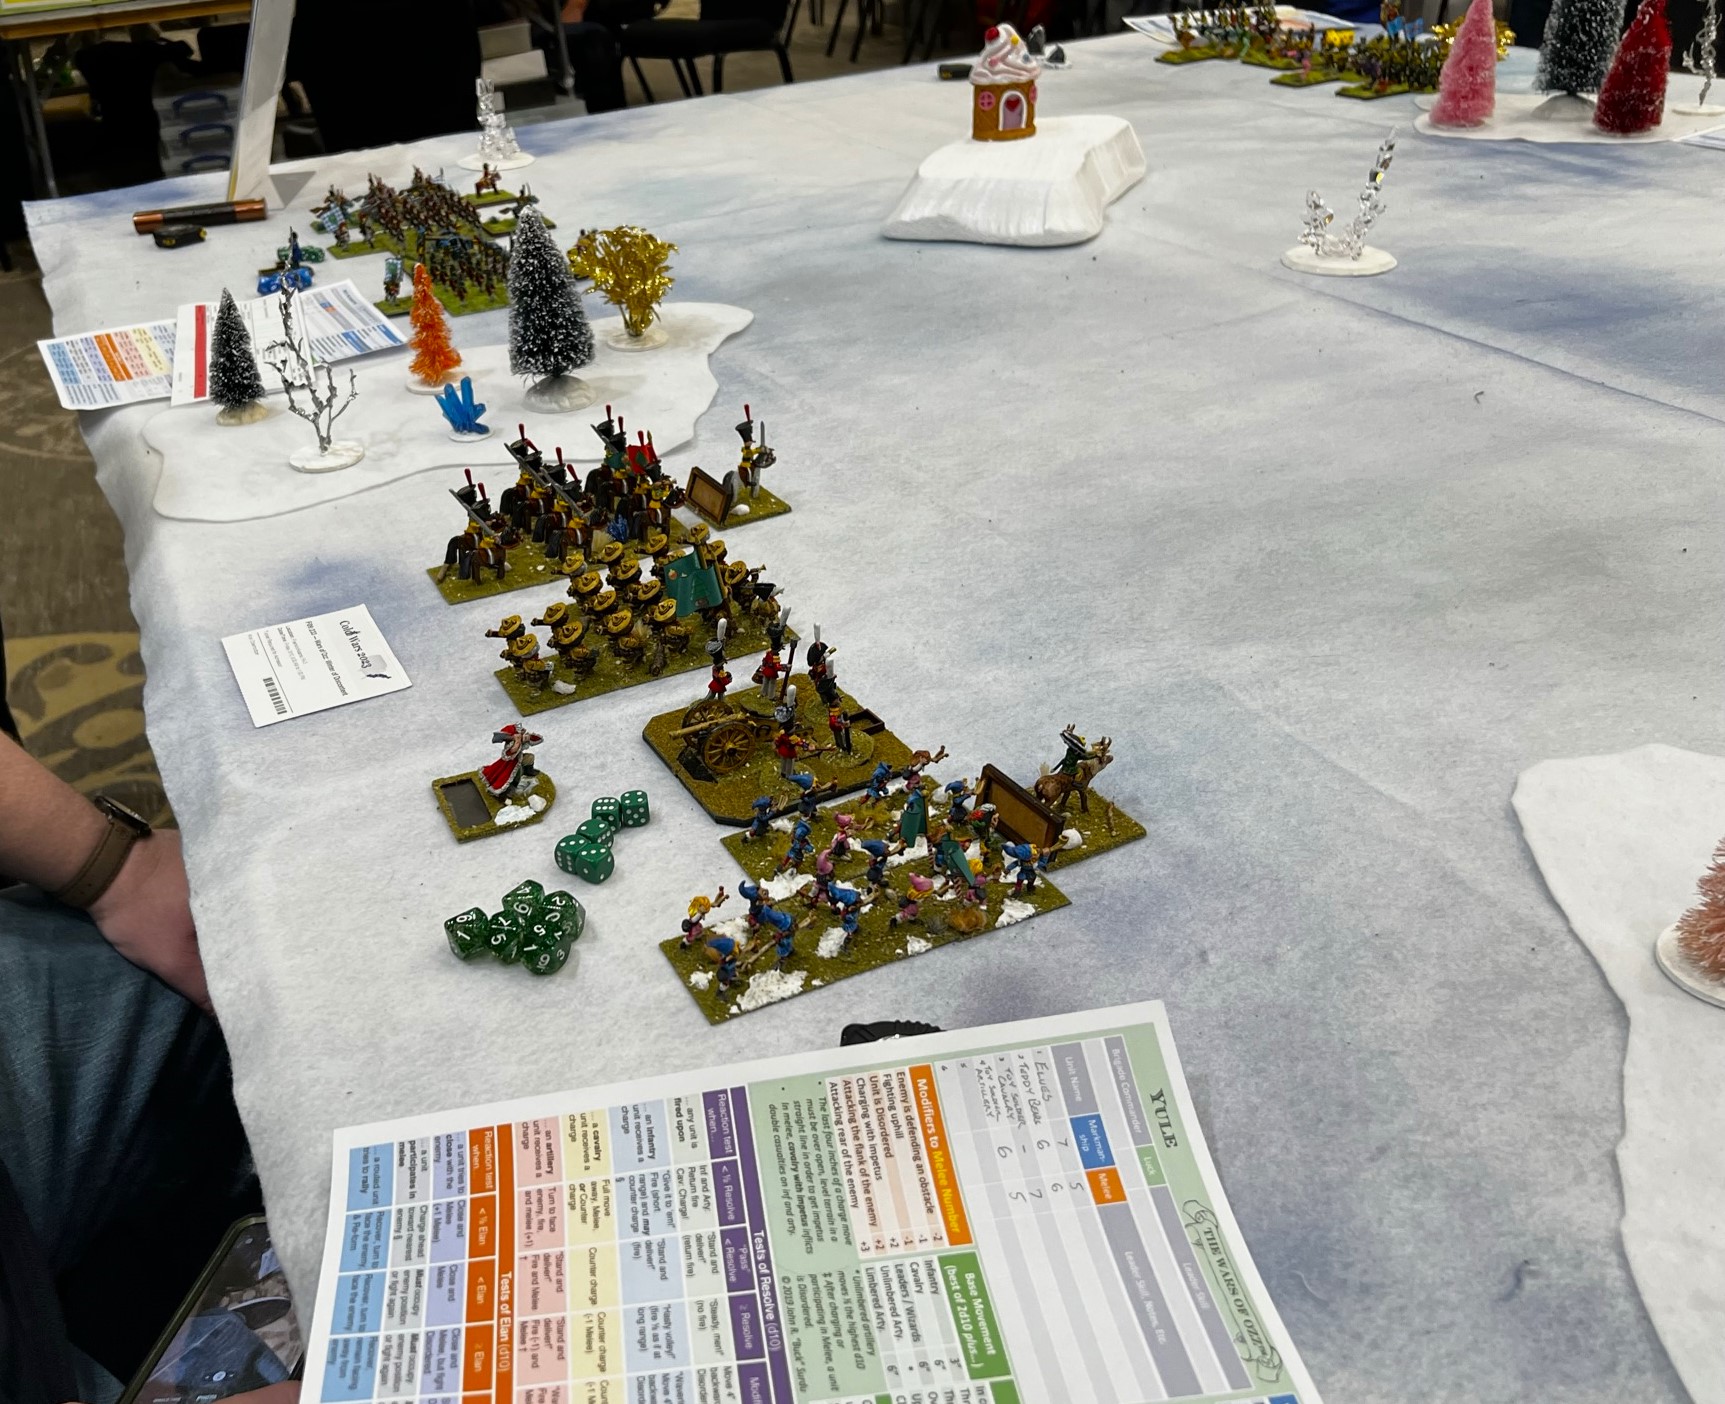
This was a “bring your own brigade” game GM’d by Chris Palmer – and to help I brought both my Winkie and my Munchkin brigades in case they were needed. As it turned out, I commanded the Munchkins, and faced my own Winkies!
Several different factions are shown below.
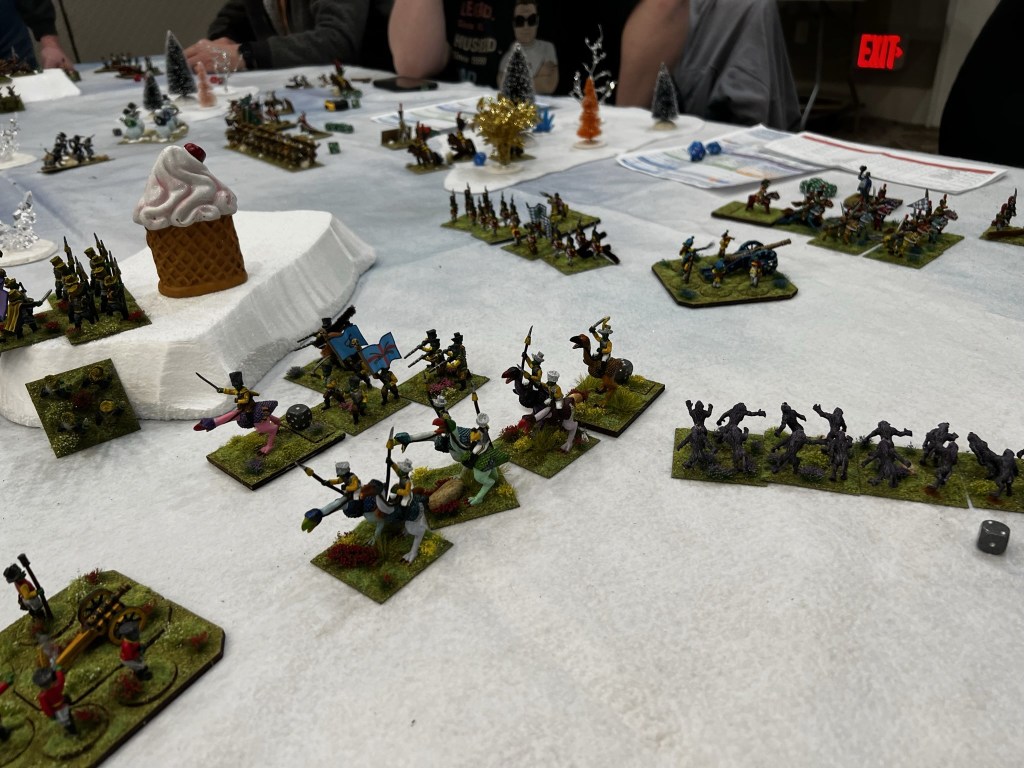
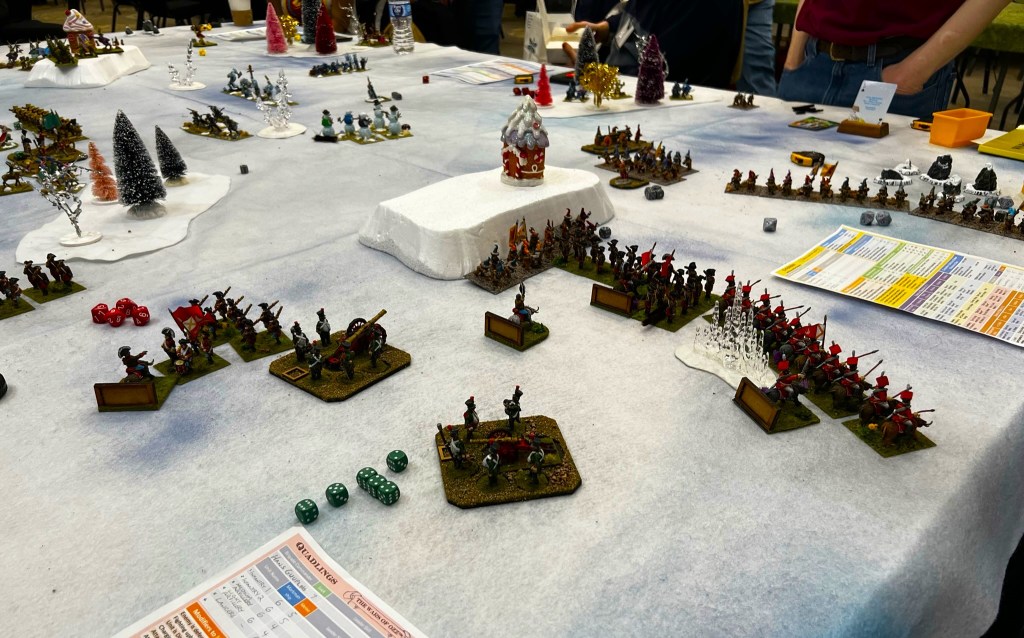
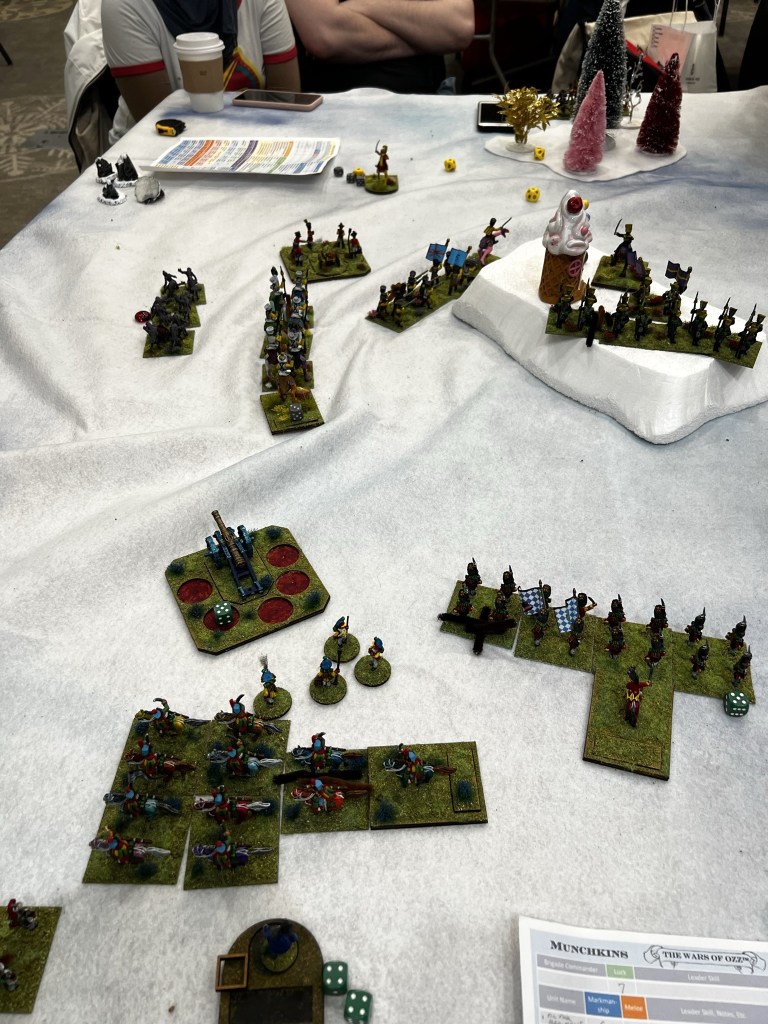
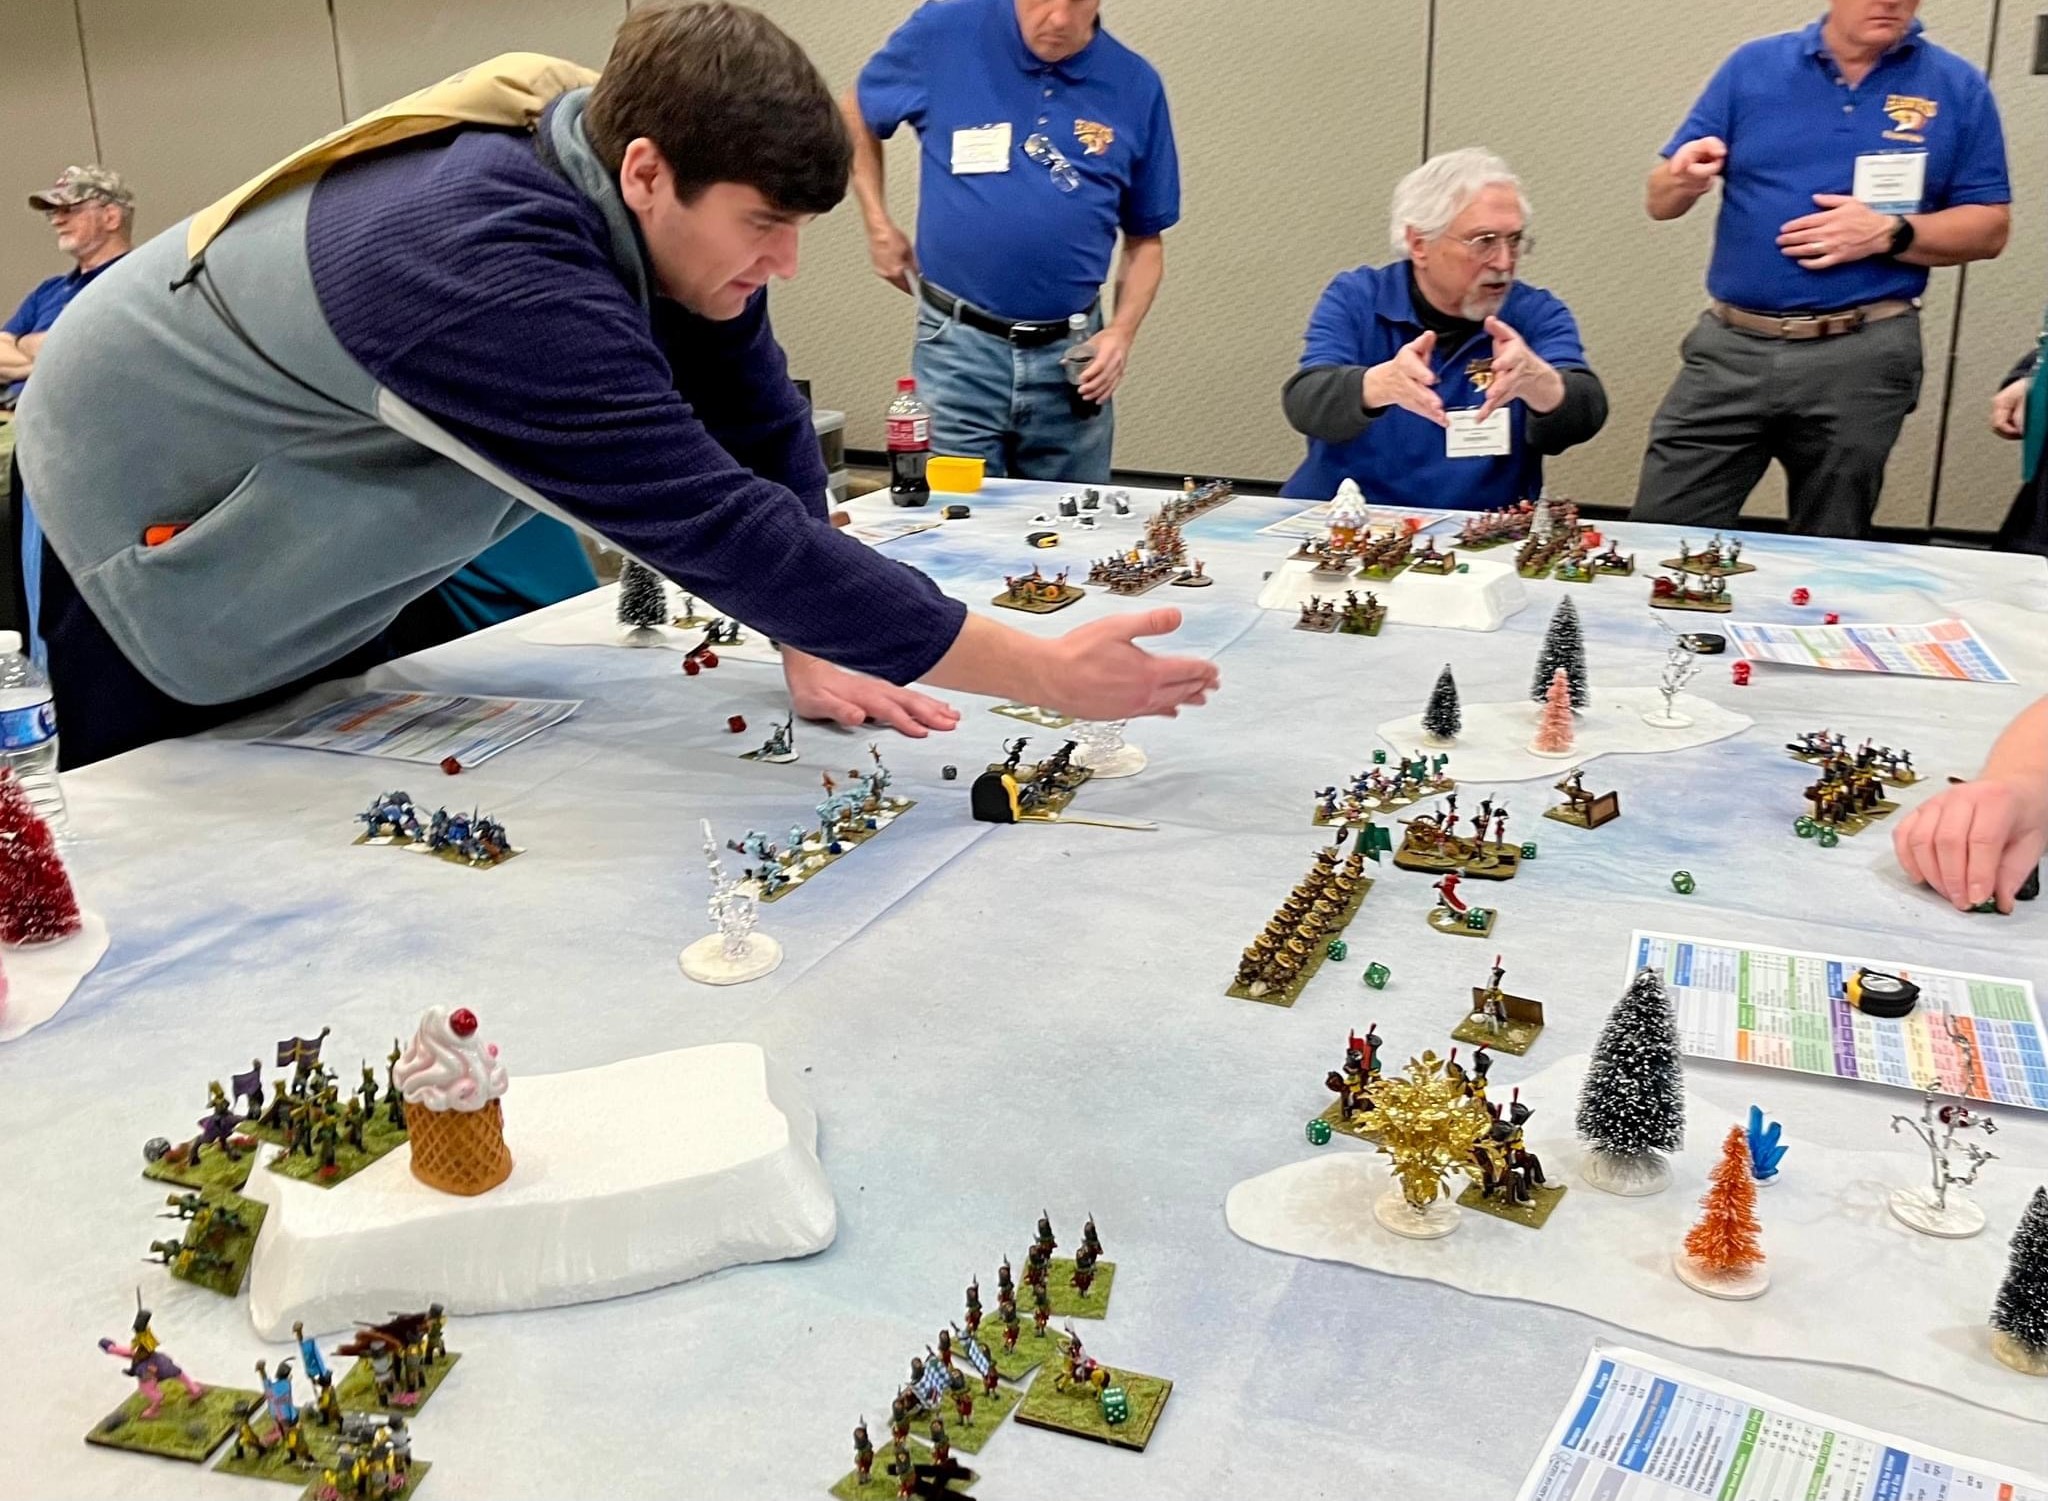
MunchkinsWinkiesAnti-Yule
And here are some more – click on the images for a better view:
GnomesQuadlingsYule Forces led by Bobbo Natale – Teddy Bear Infantry, Elves, and Toy Soldier Cavalry
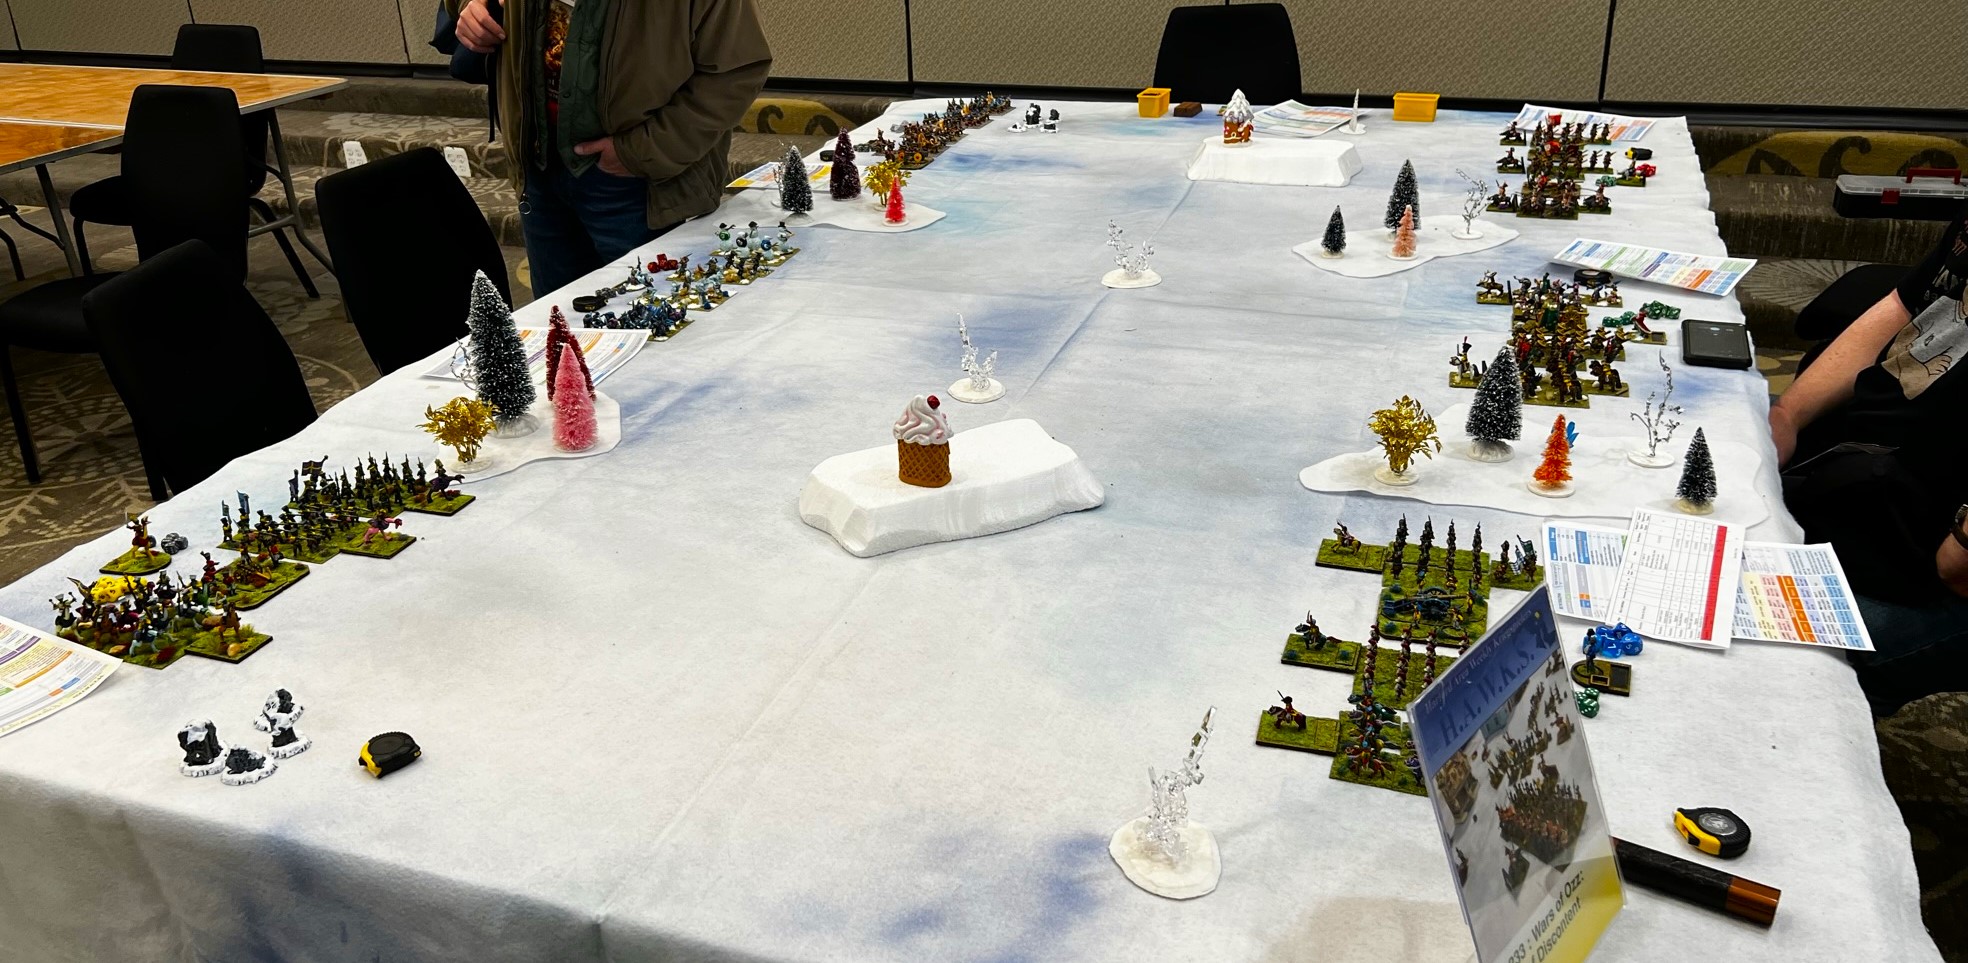
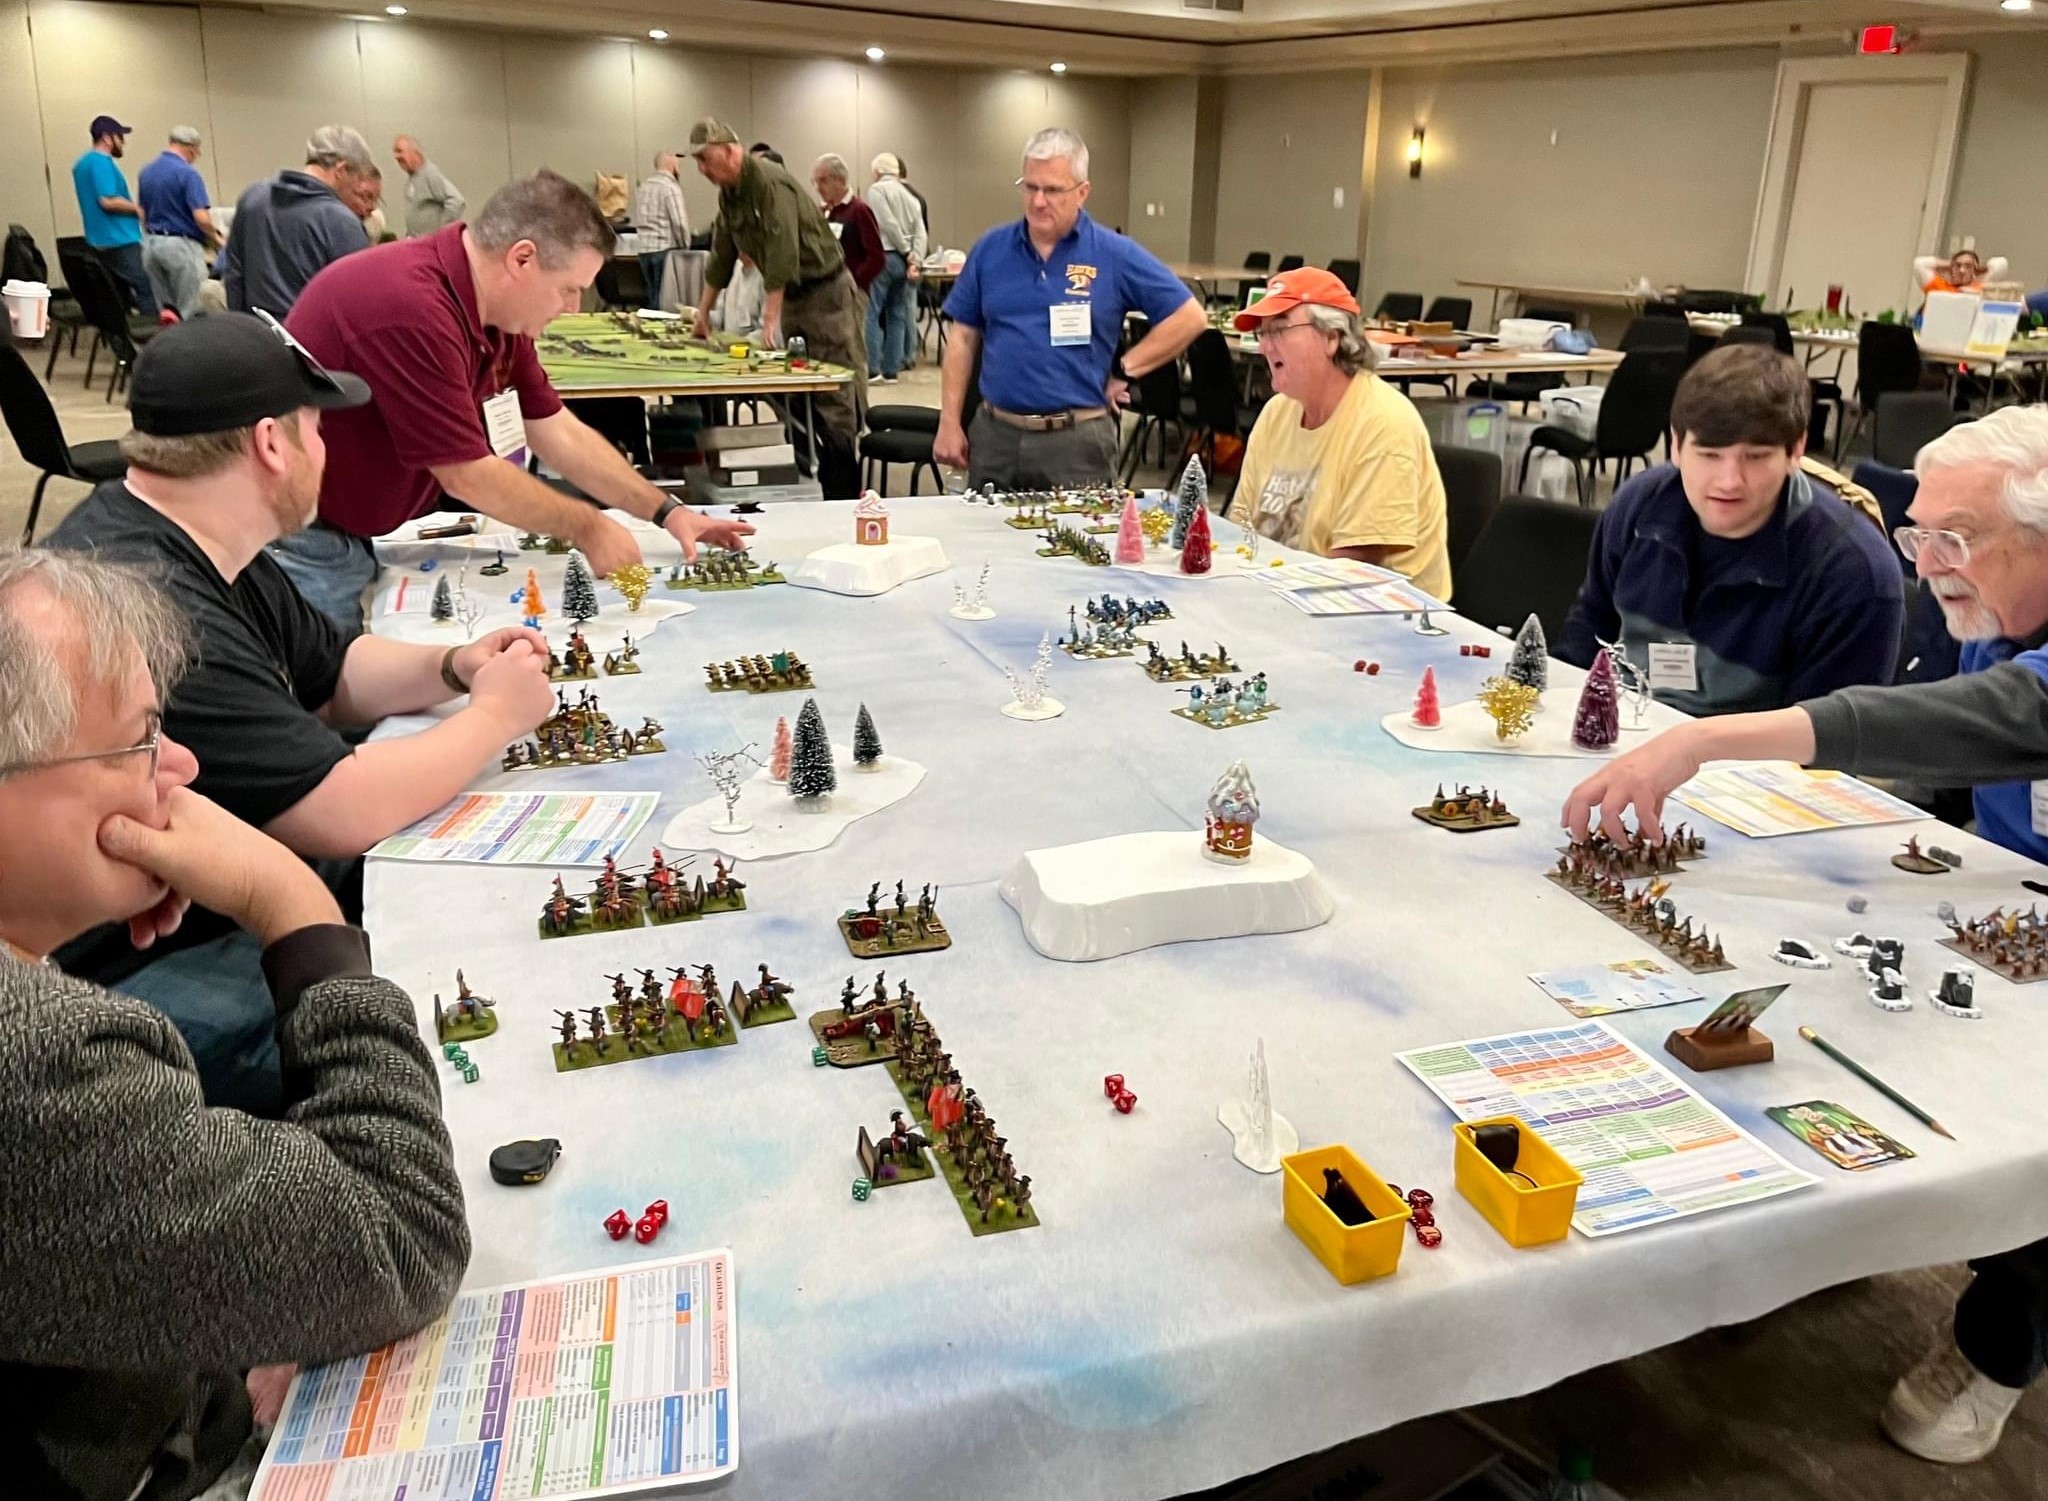
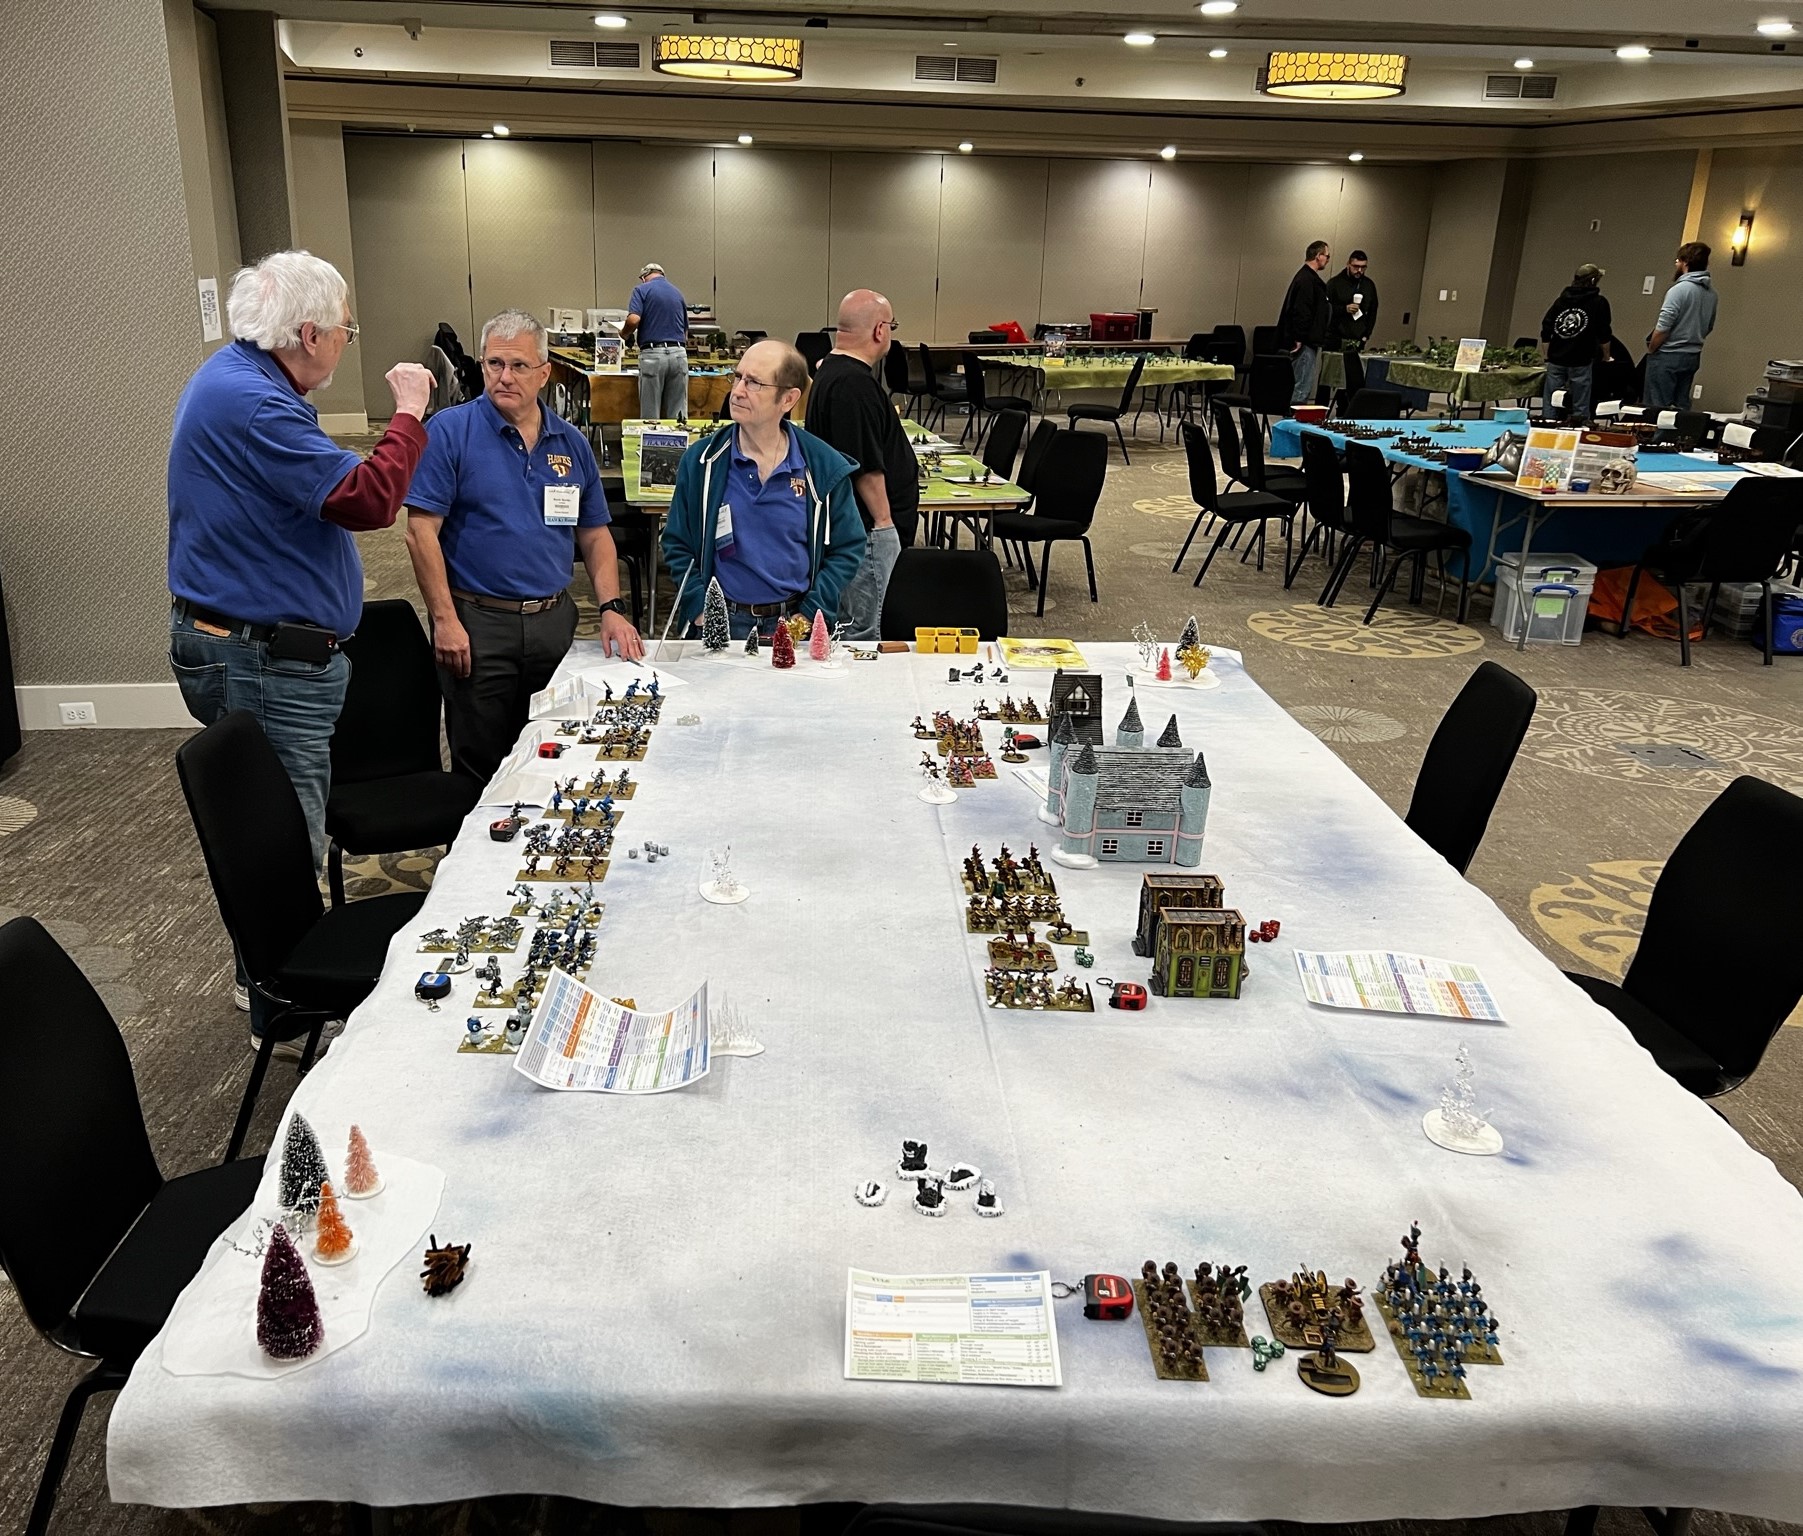
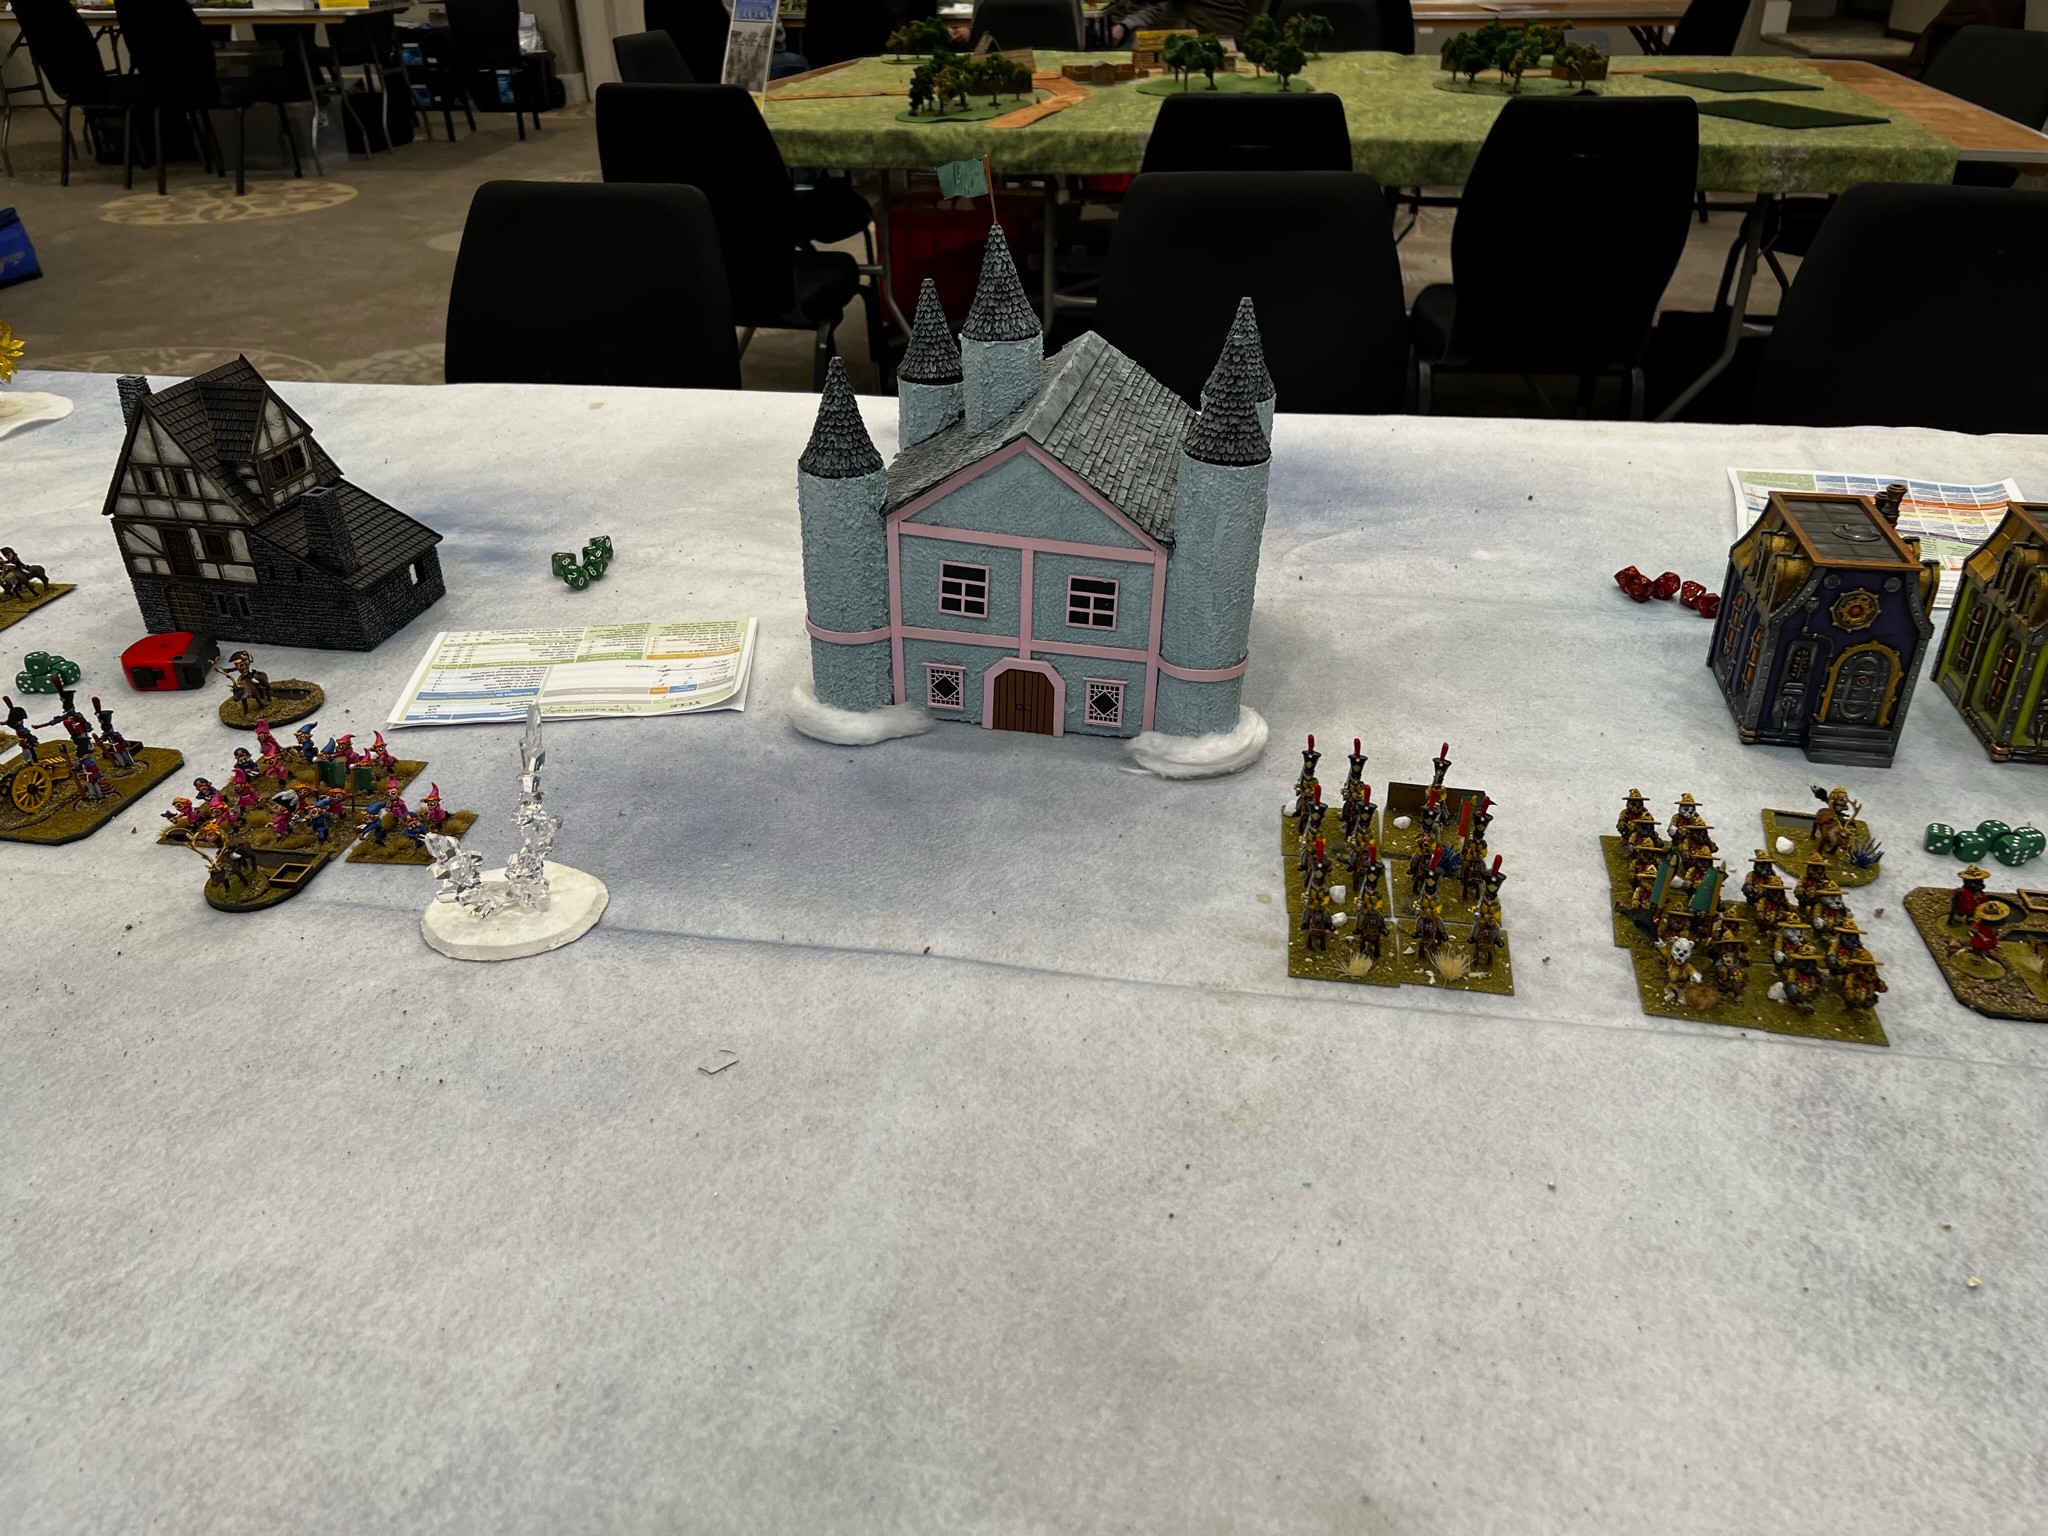
The board was fairly open with some hills and woods in a wintery scene.
The game set up.
It was a fun game, though I felt like I was a bit torn fighting my own troops!
Moving my forces out.Looking across to my fun opponents – here I have moved Colonel Tik-Tik’s regiment on the left into line to optimize missile fire – but the Winkie zilk-riders went into line and smashed into them.
That Winkie cavalry attacking player rolled 5 dice for hits – not a single miss (the roll was amazing) – and those hits would be doubled due to impetus. All 5 hit rolls yielded 10 hits – and that took out fully 50% of Tik-Tok’s regiment in one fell swoop. Tik-Tok routed, but I was able to rally it and keep it in the game.
I deploy……but the zilks roll fantastic movement……and hit the infantry! No misses!with 50% casualties after one hit, Colonel Tik-Tok’s Infantry routs away from the zilk riders.
While successful in their attack, the 20th Winkie Light Cavalry was now disordered – and my Munchkin battery and my own pony riding cavalry took the opportunity to hit the zilks from both the flank and the rear, and sent them into a retreat.
“Avenge our dead” – was the cry of the survivors of Colonel Tik-Tok’s infantry as their brethren close on the hated Winkie zilk riders of the 20th Winkie Light Cavalry.
The Winkies then attacked – buy mainly piecemeal – and the Munchkins were able to hold and repel both charges by the Winkie Sharpshooters and their ally the Lesser Apes. The artillerists did abandon their gun when the apes hit, but short range canister and a round of melee had already sent the Lesser Apes packing.
The Munchkins hold!
In the middle of the game was a big scrum between the brigade of Ice Trolls, Elves, Dark Elves, and that of the Teddy Bear Infantry, Teddy Bear Artillery, and the Toy Soldier Cavalry.
Scrum in the middle.
The game was a “good guys” victory!
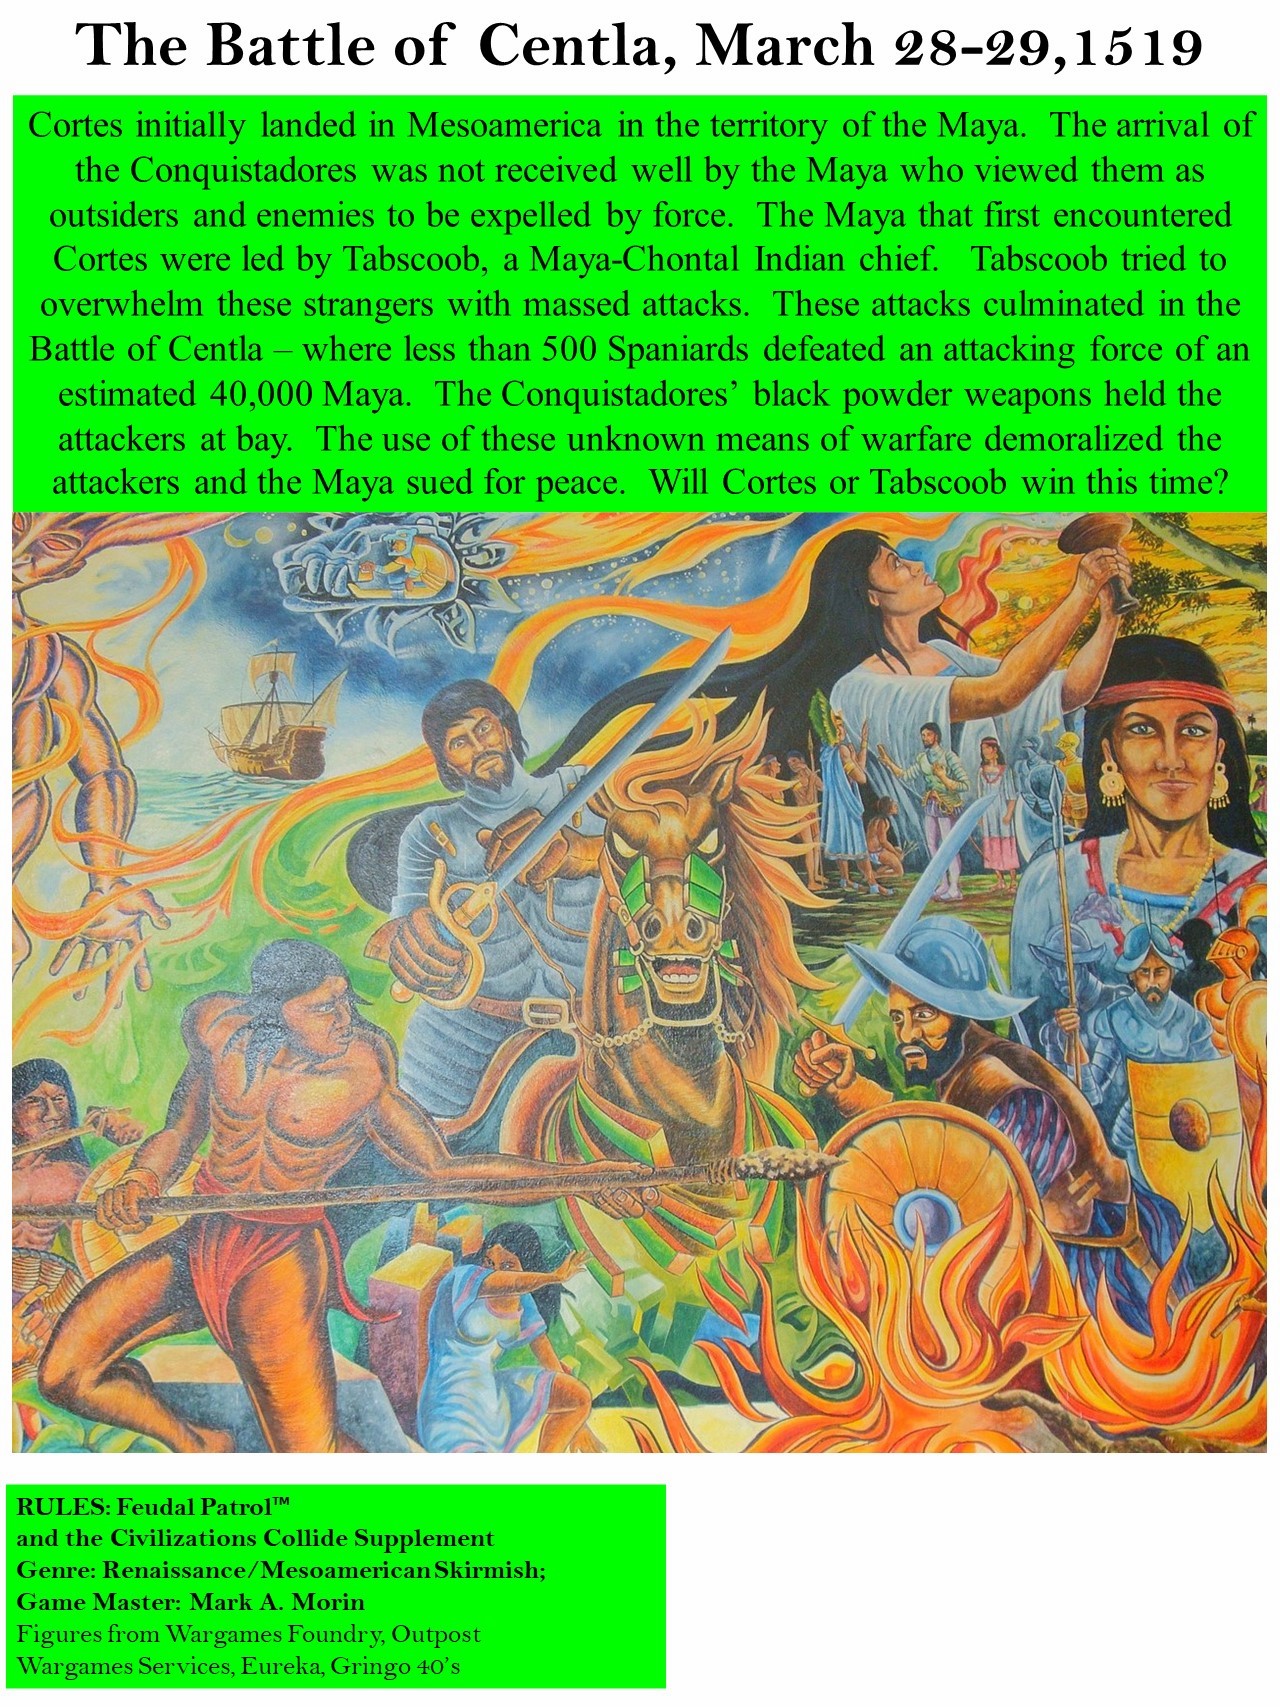
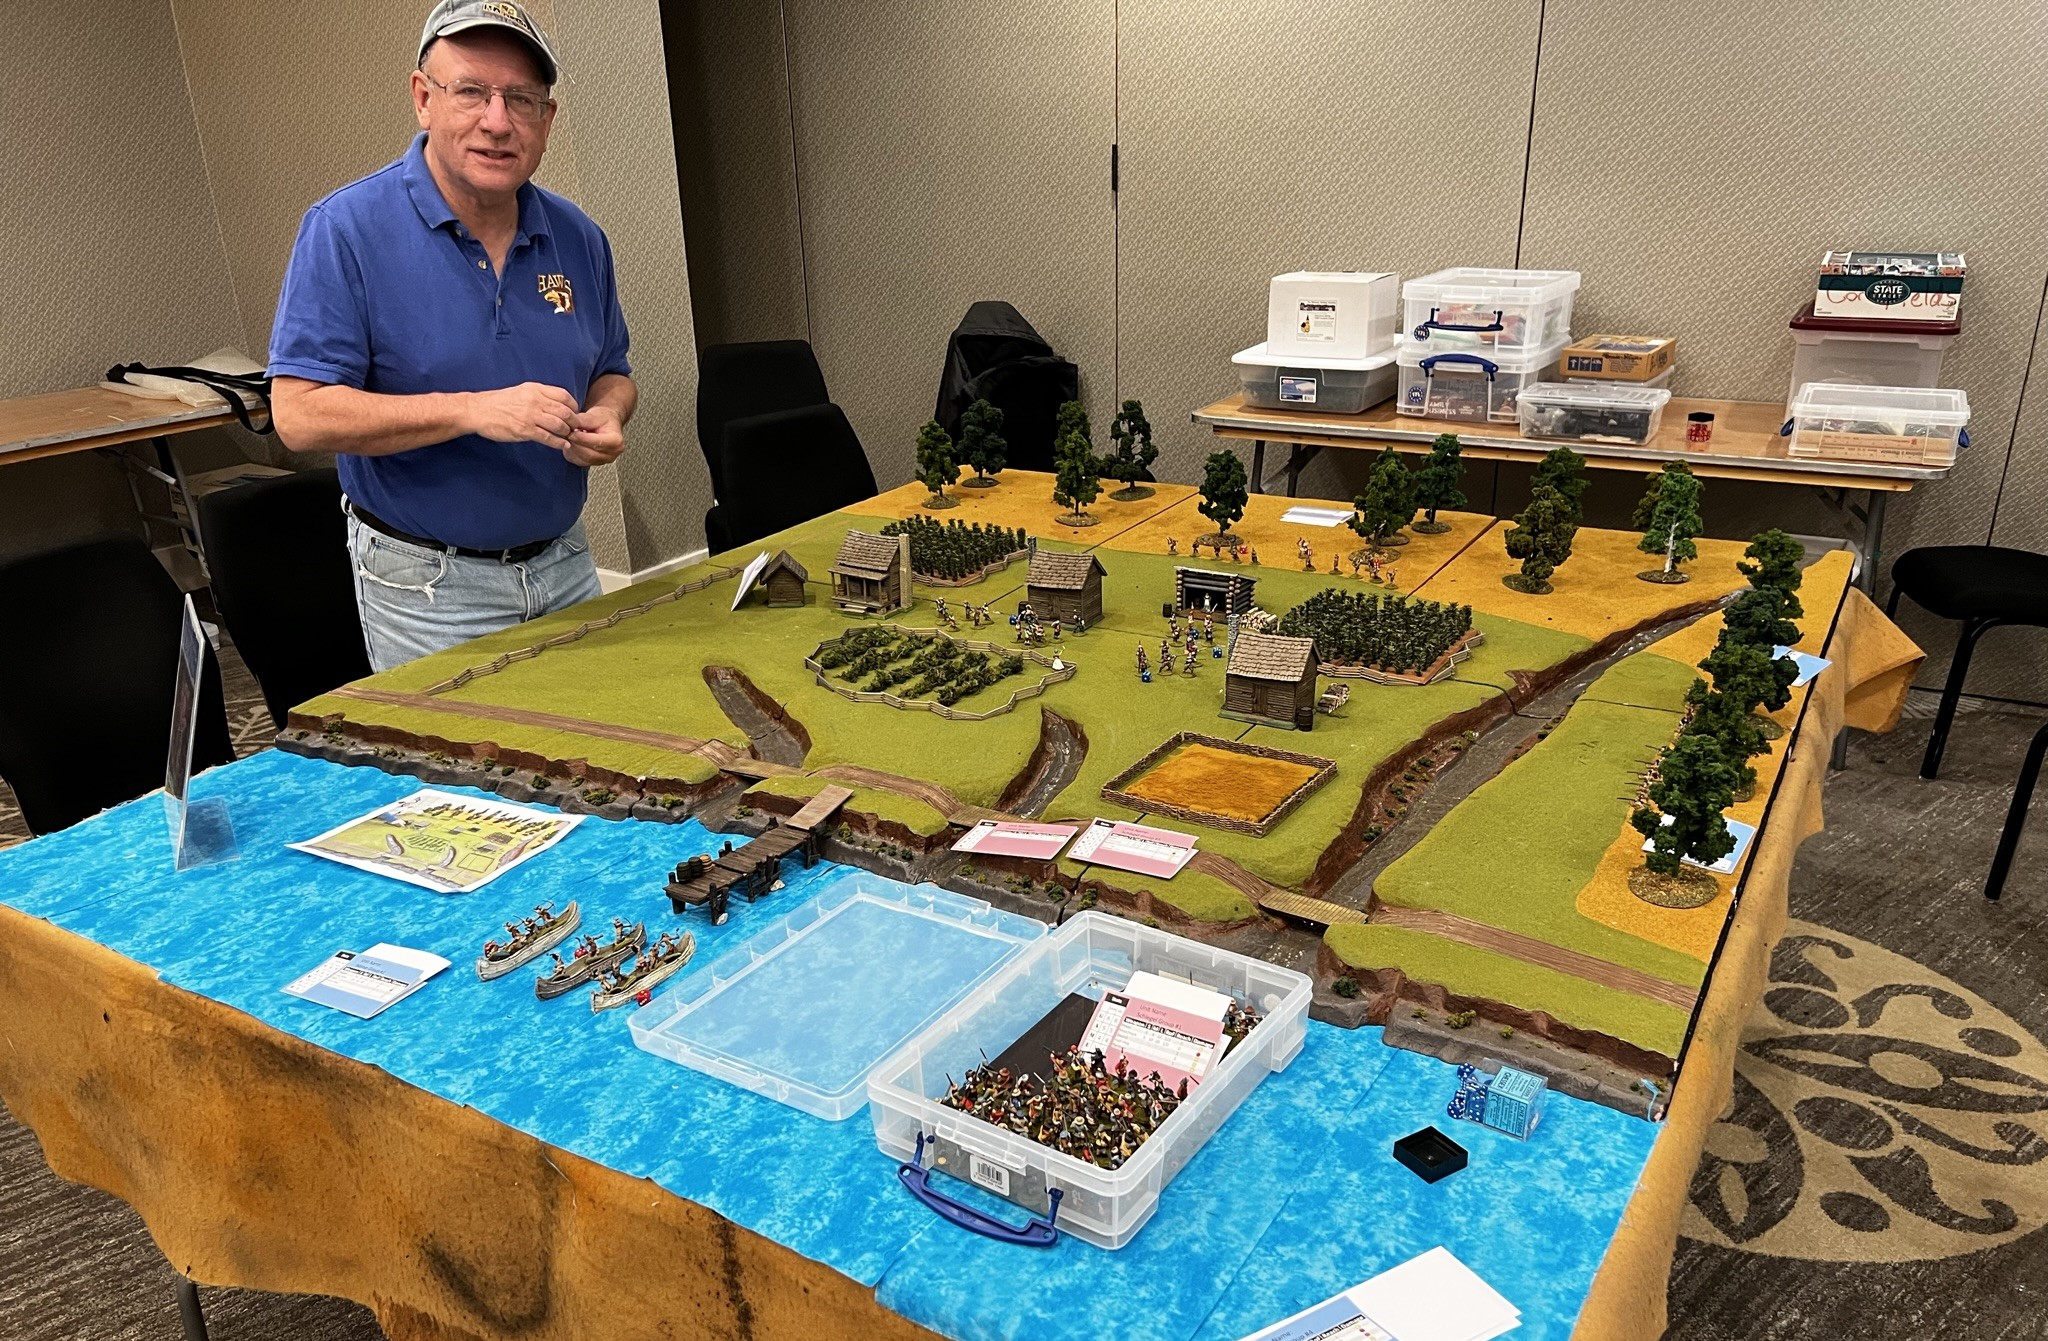
The Battle of Centla (Feudal Patrol)
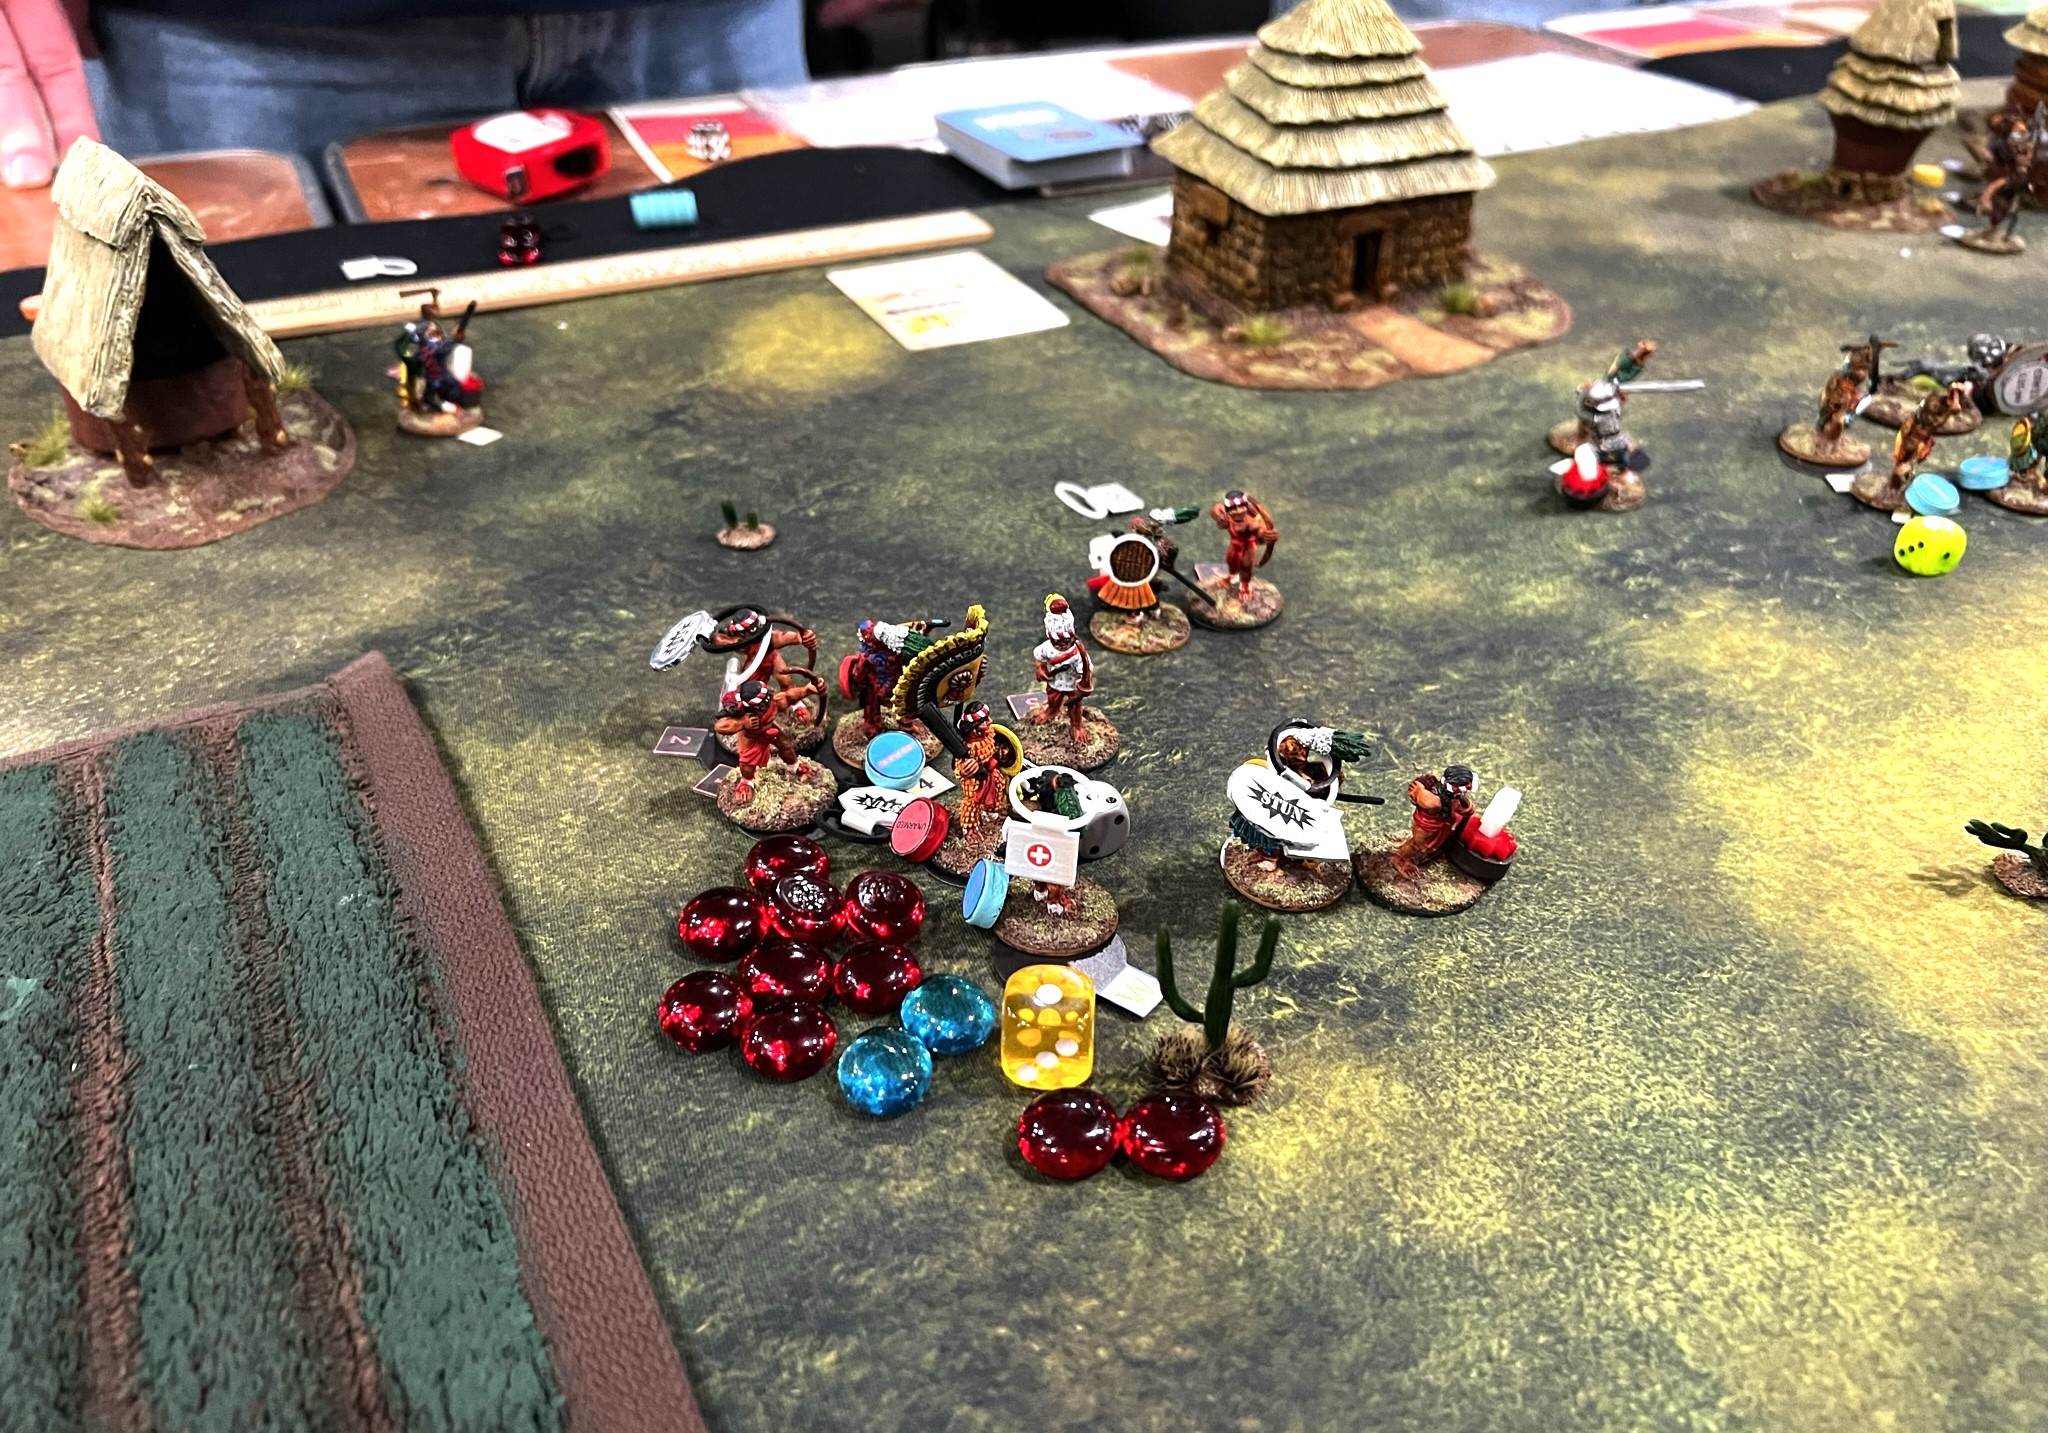
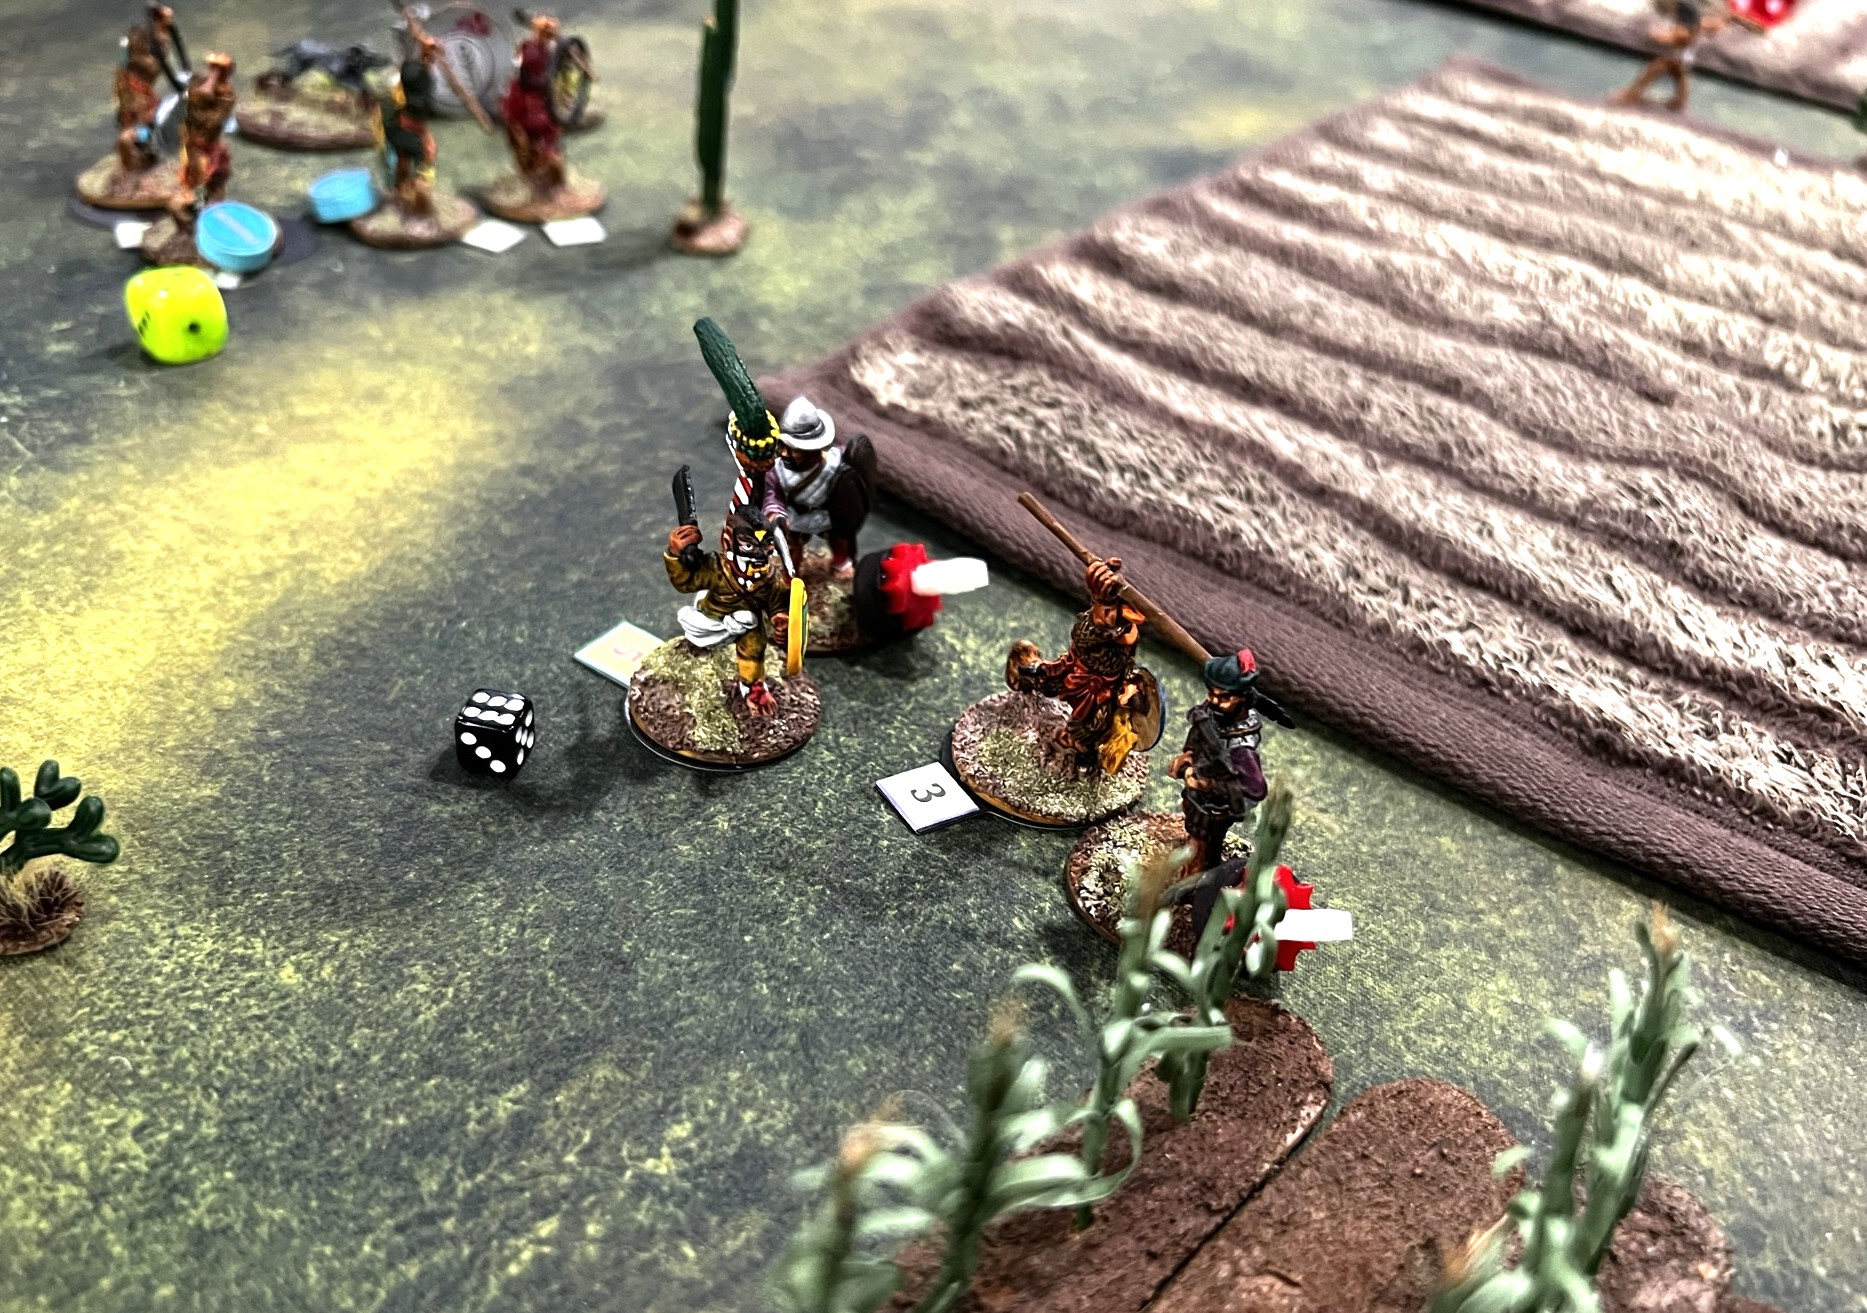
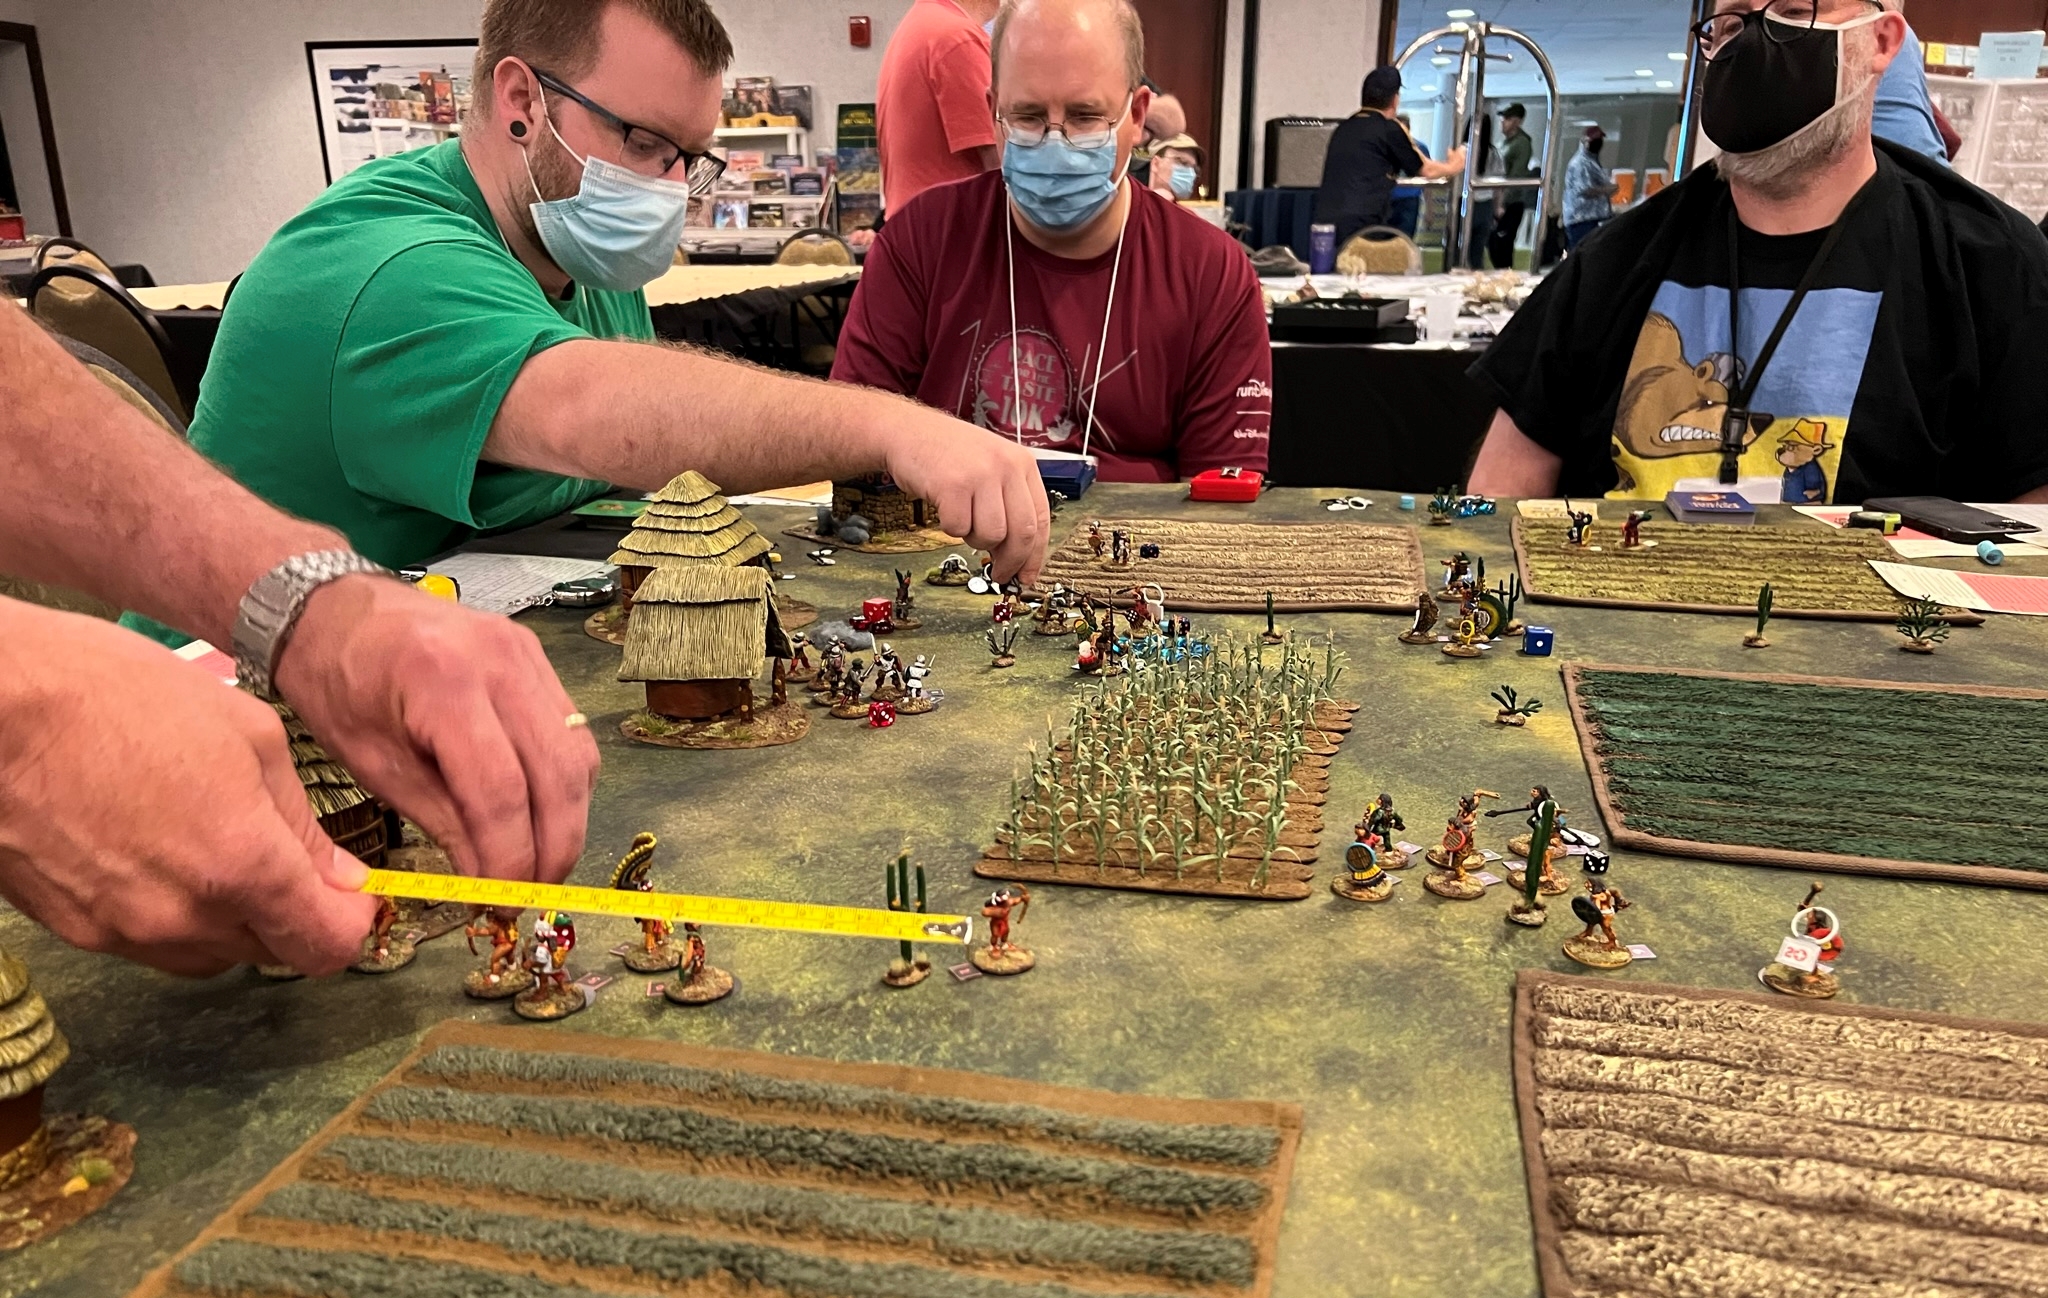
On Friday afternoon, I ran the Feudal Patrol game of the Battle of Centla – a battle between the Maya and the Conquistadores under Hernan Cortes.
The Spanish needed to reach the Maya city or kill 50% of the Spanish, or kill Tabscoob, the Maya leader. The Maya needed to prevent the Spanish from achieving their victory conditions, kill Cortes, or kill 50% of the Conquistadores. In the game, the Maya do get reinforcements, and the Spanish do not. Time is not on the Spanish players’ side.
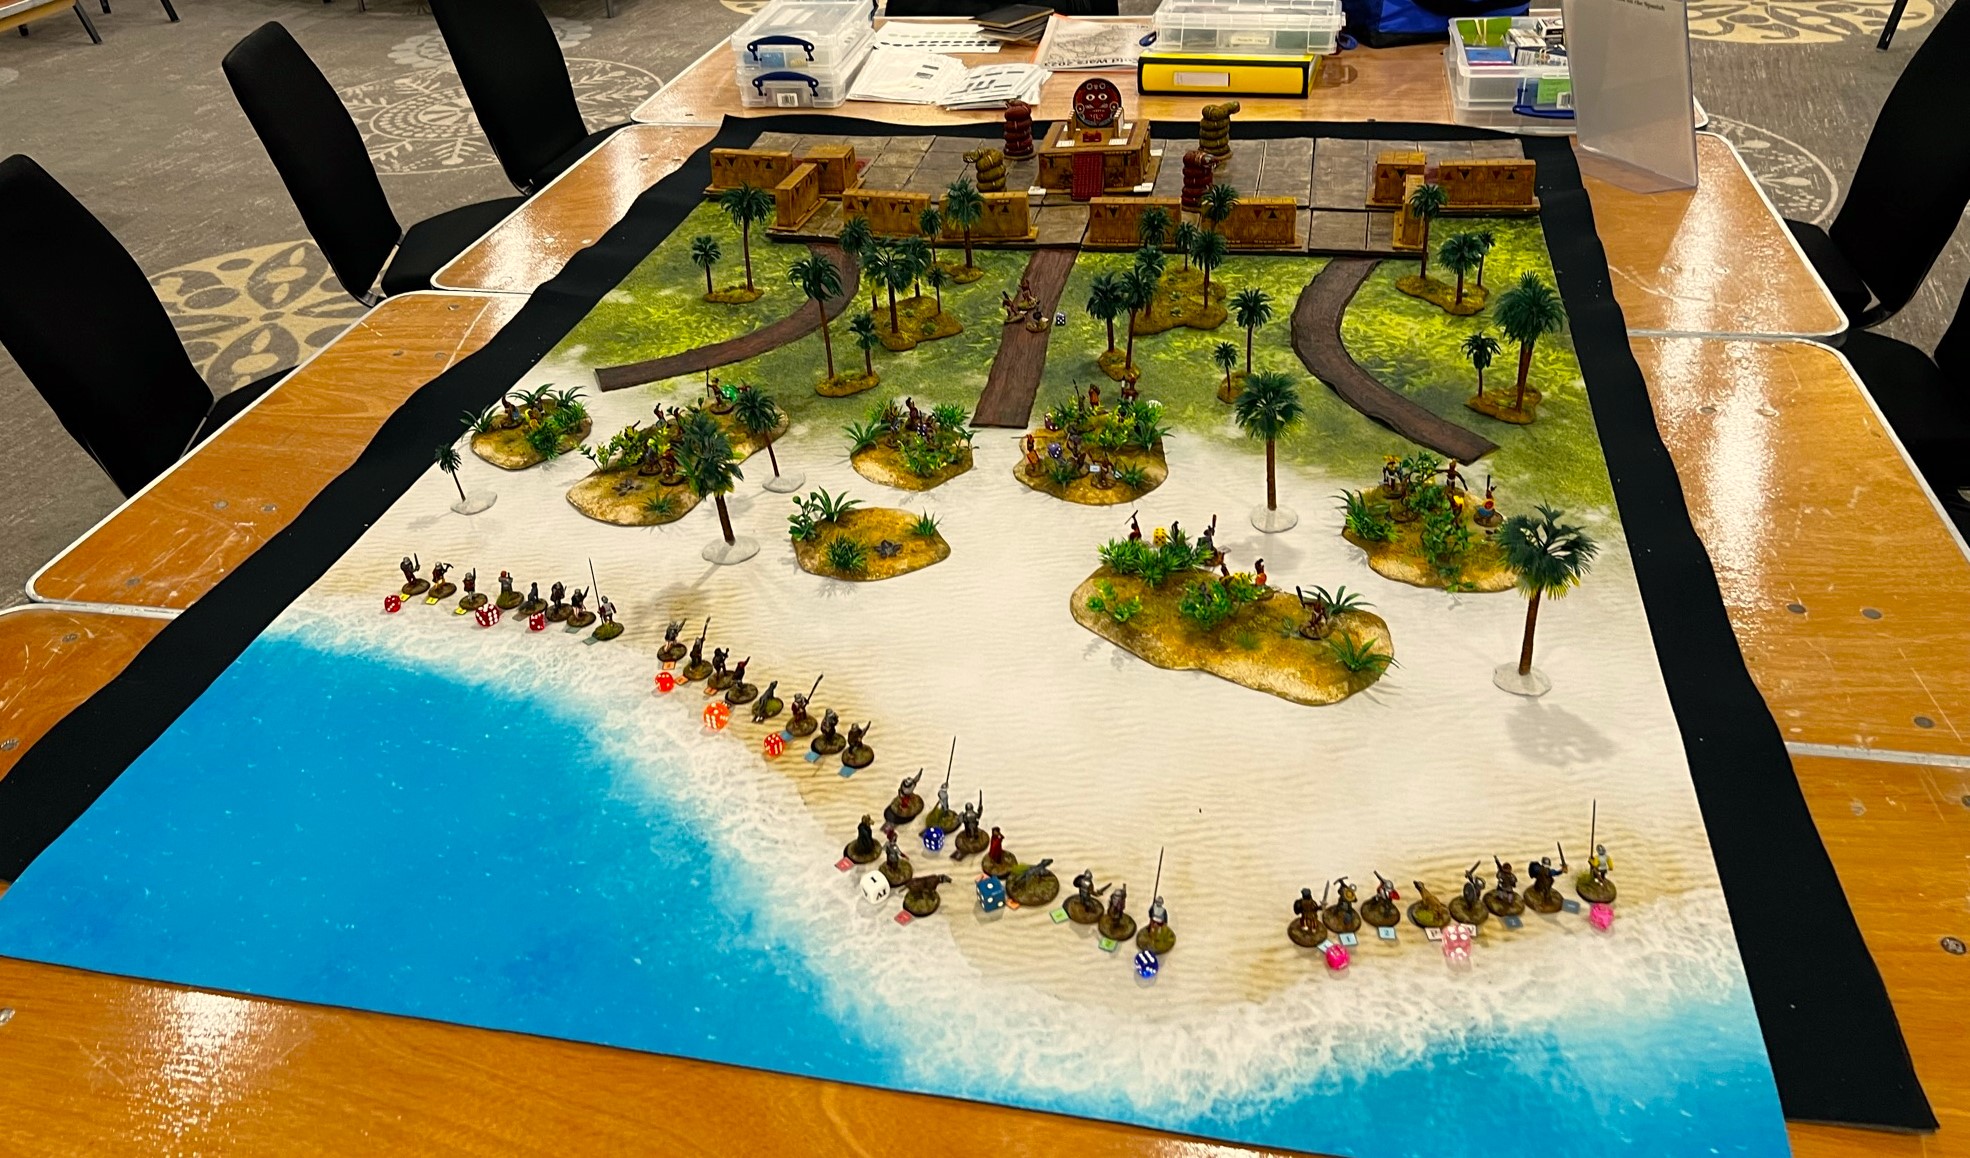
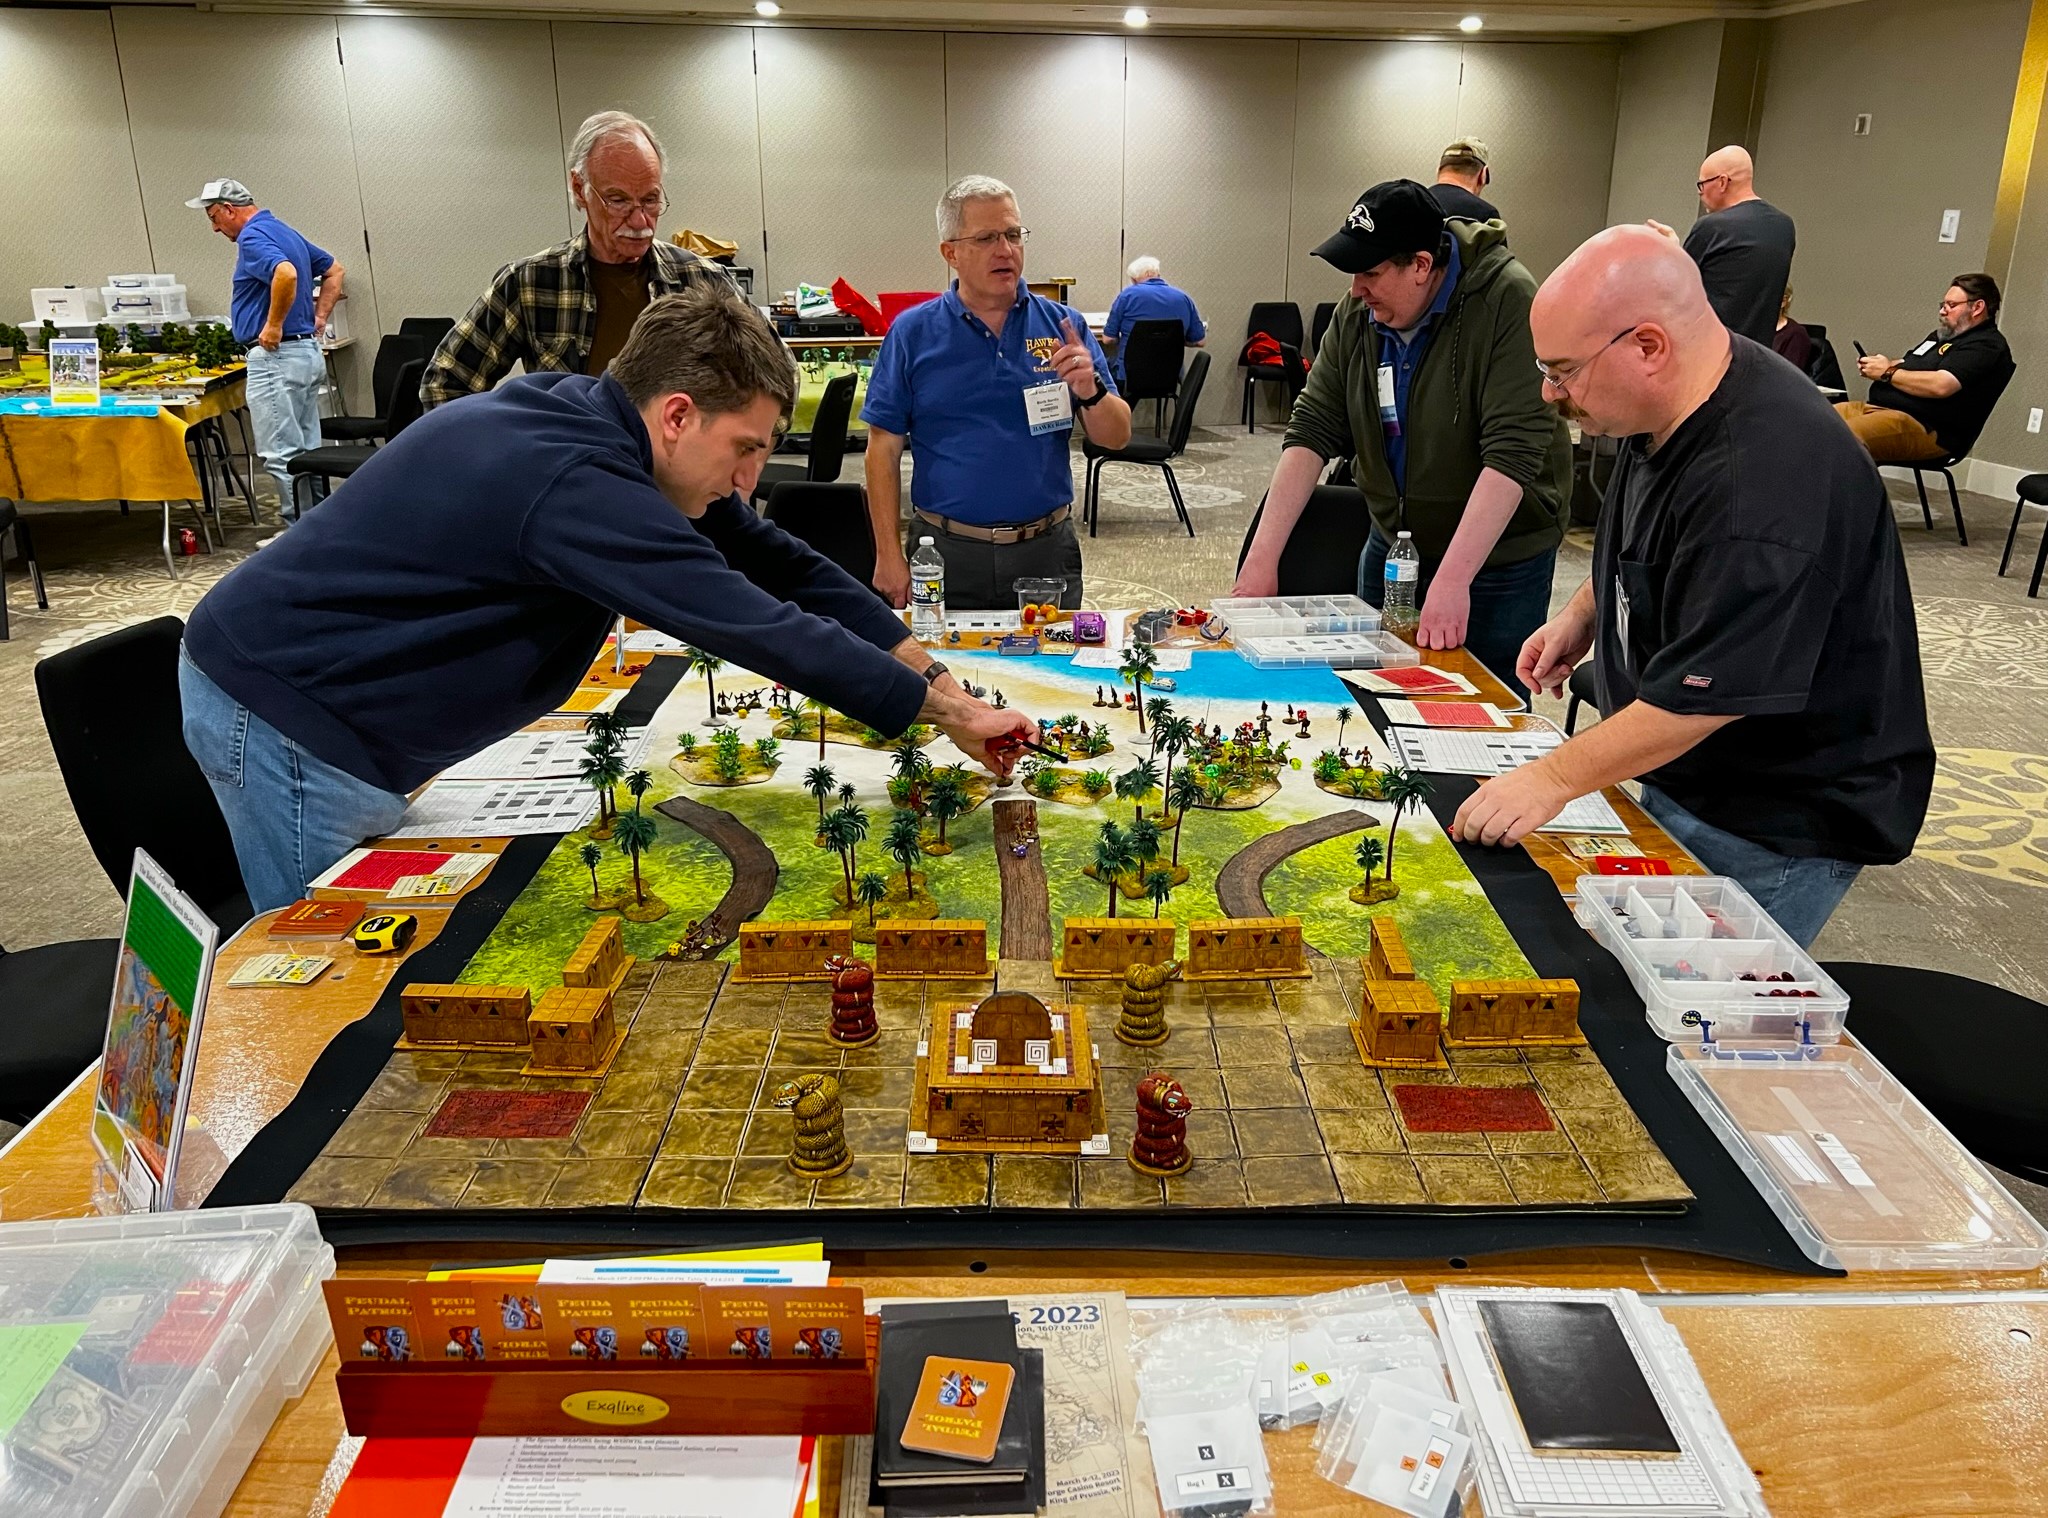
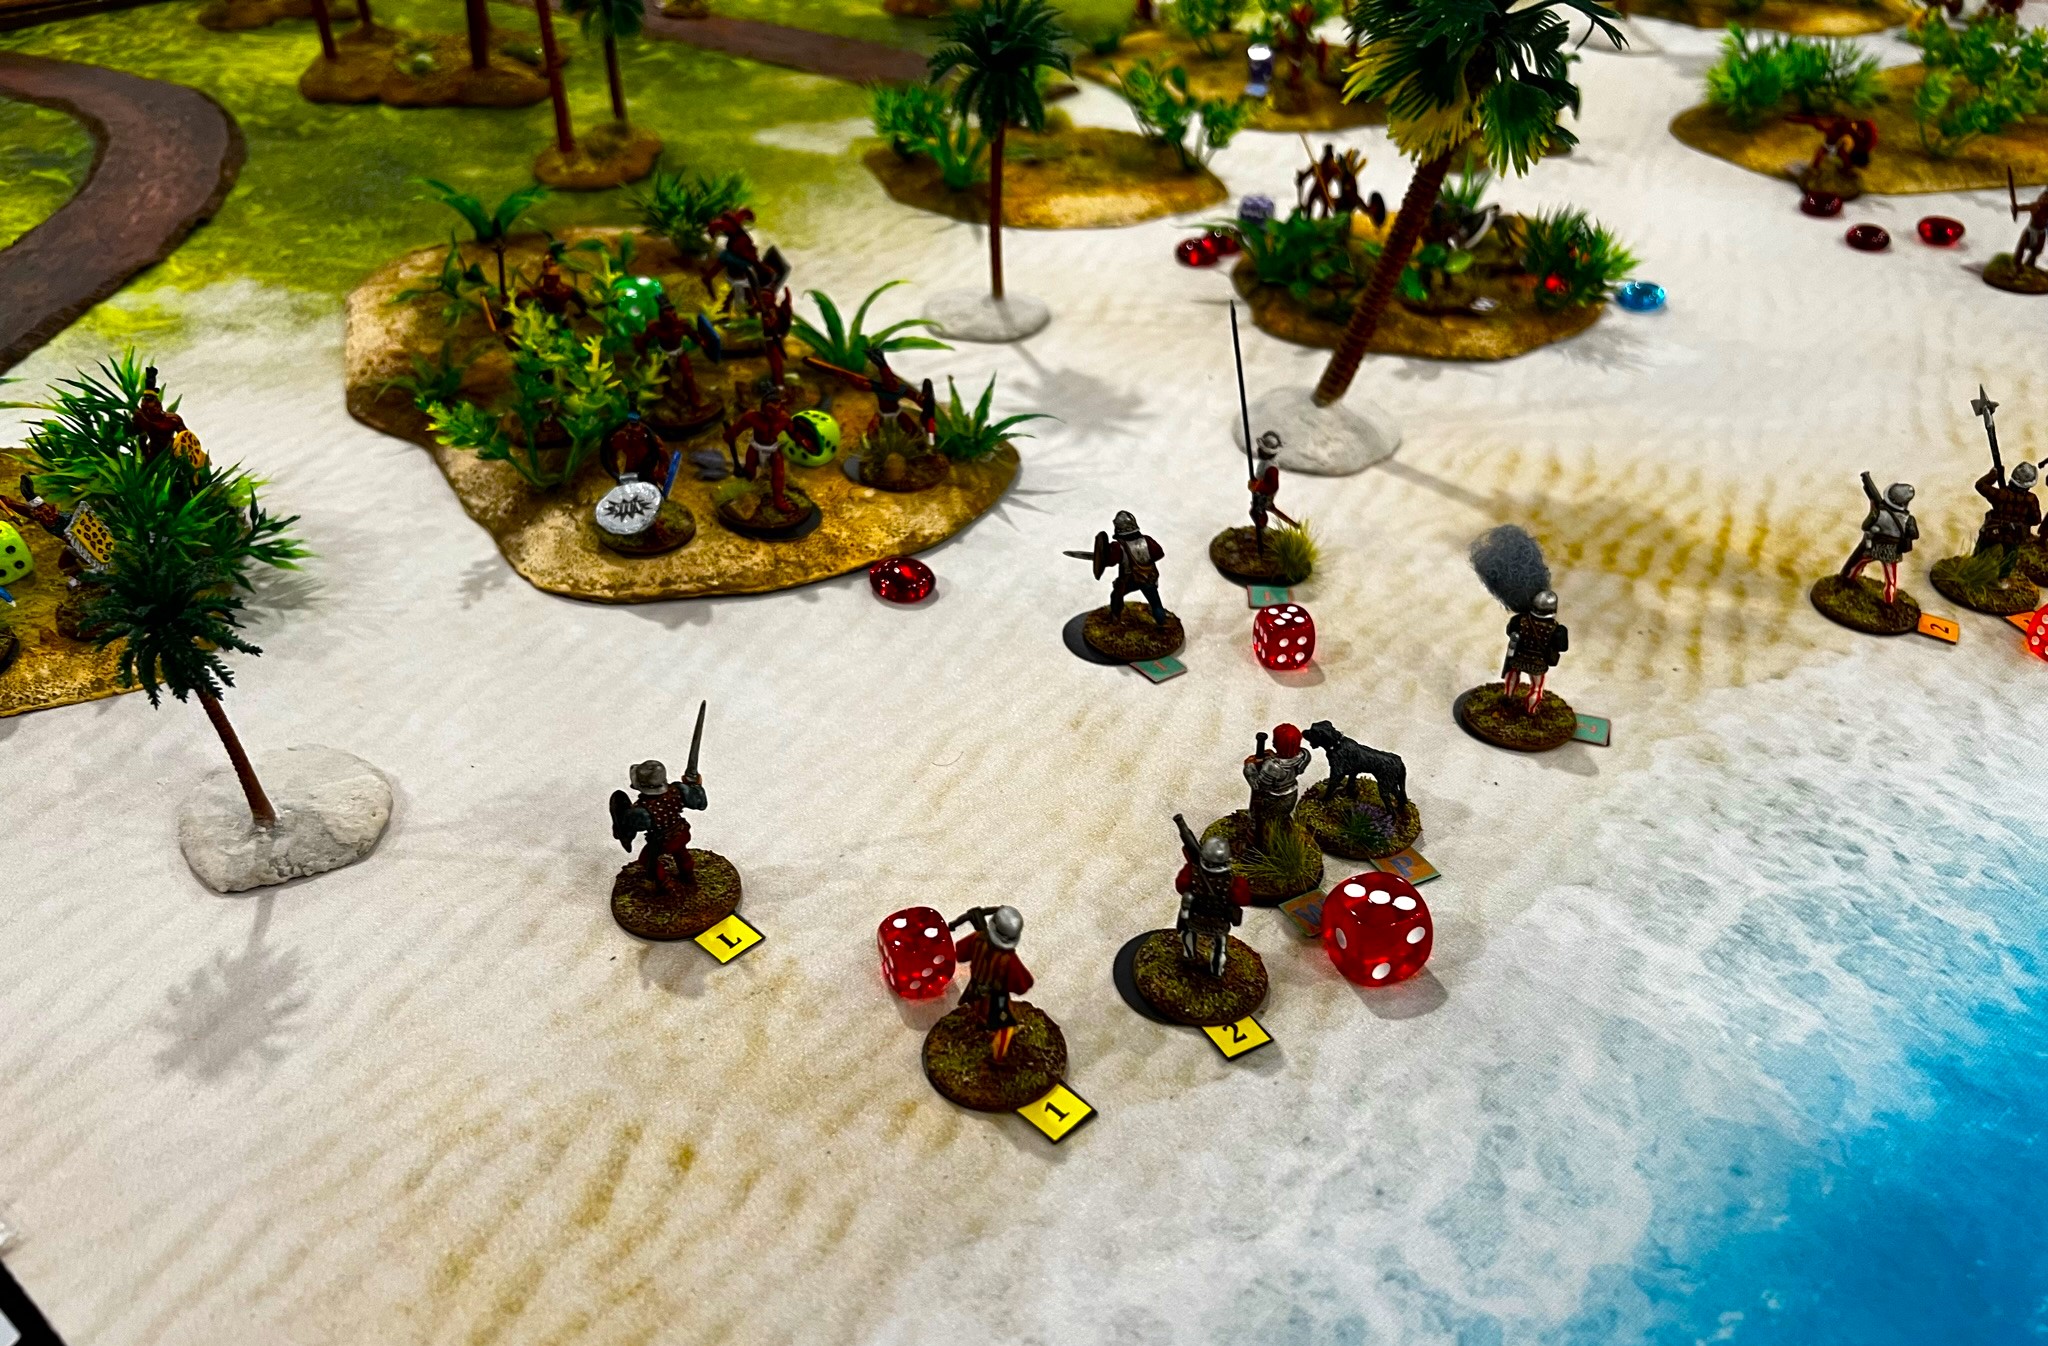
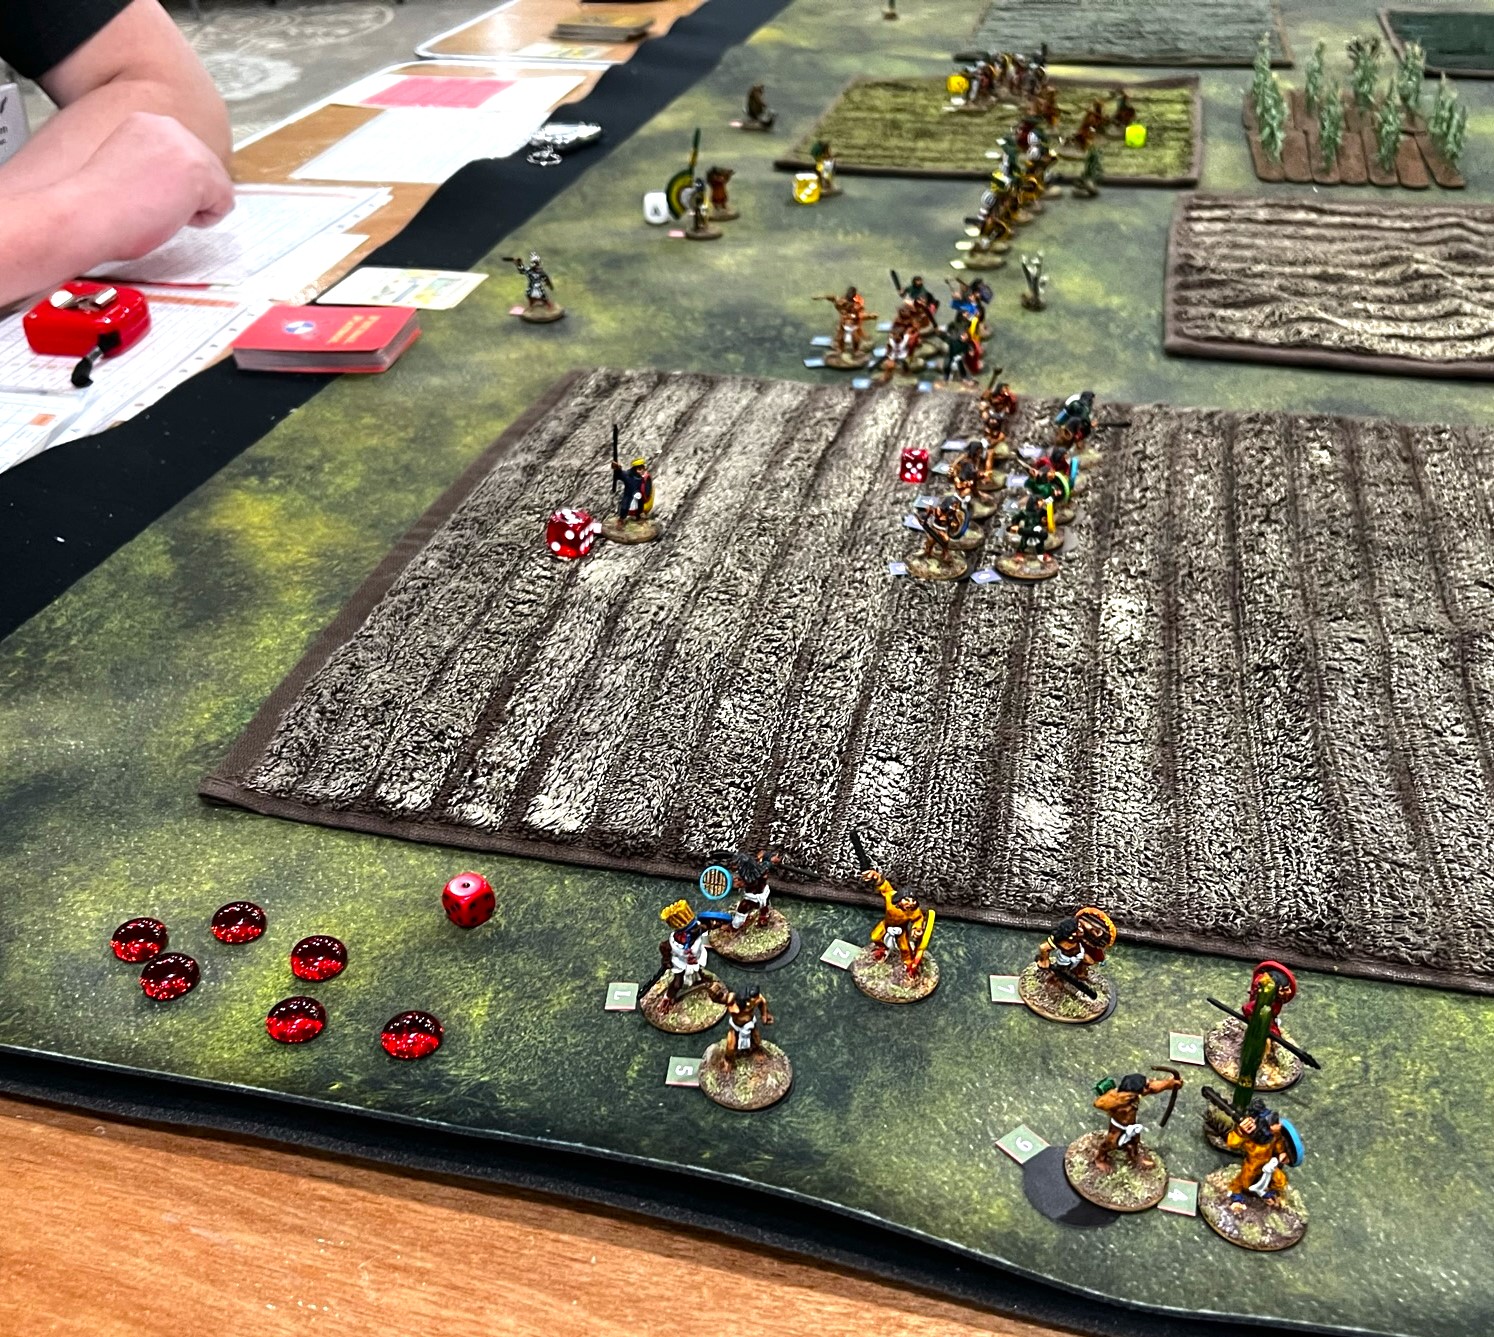
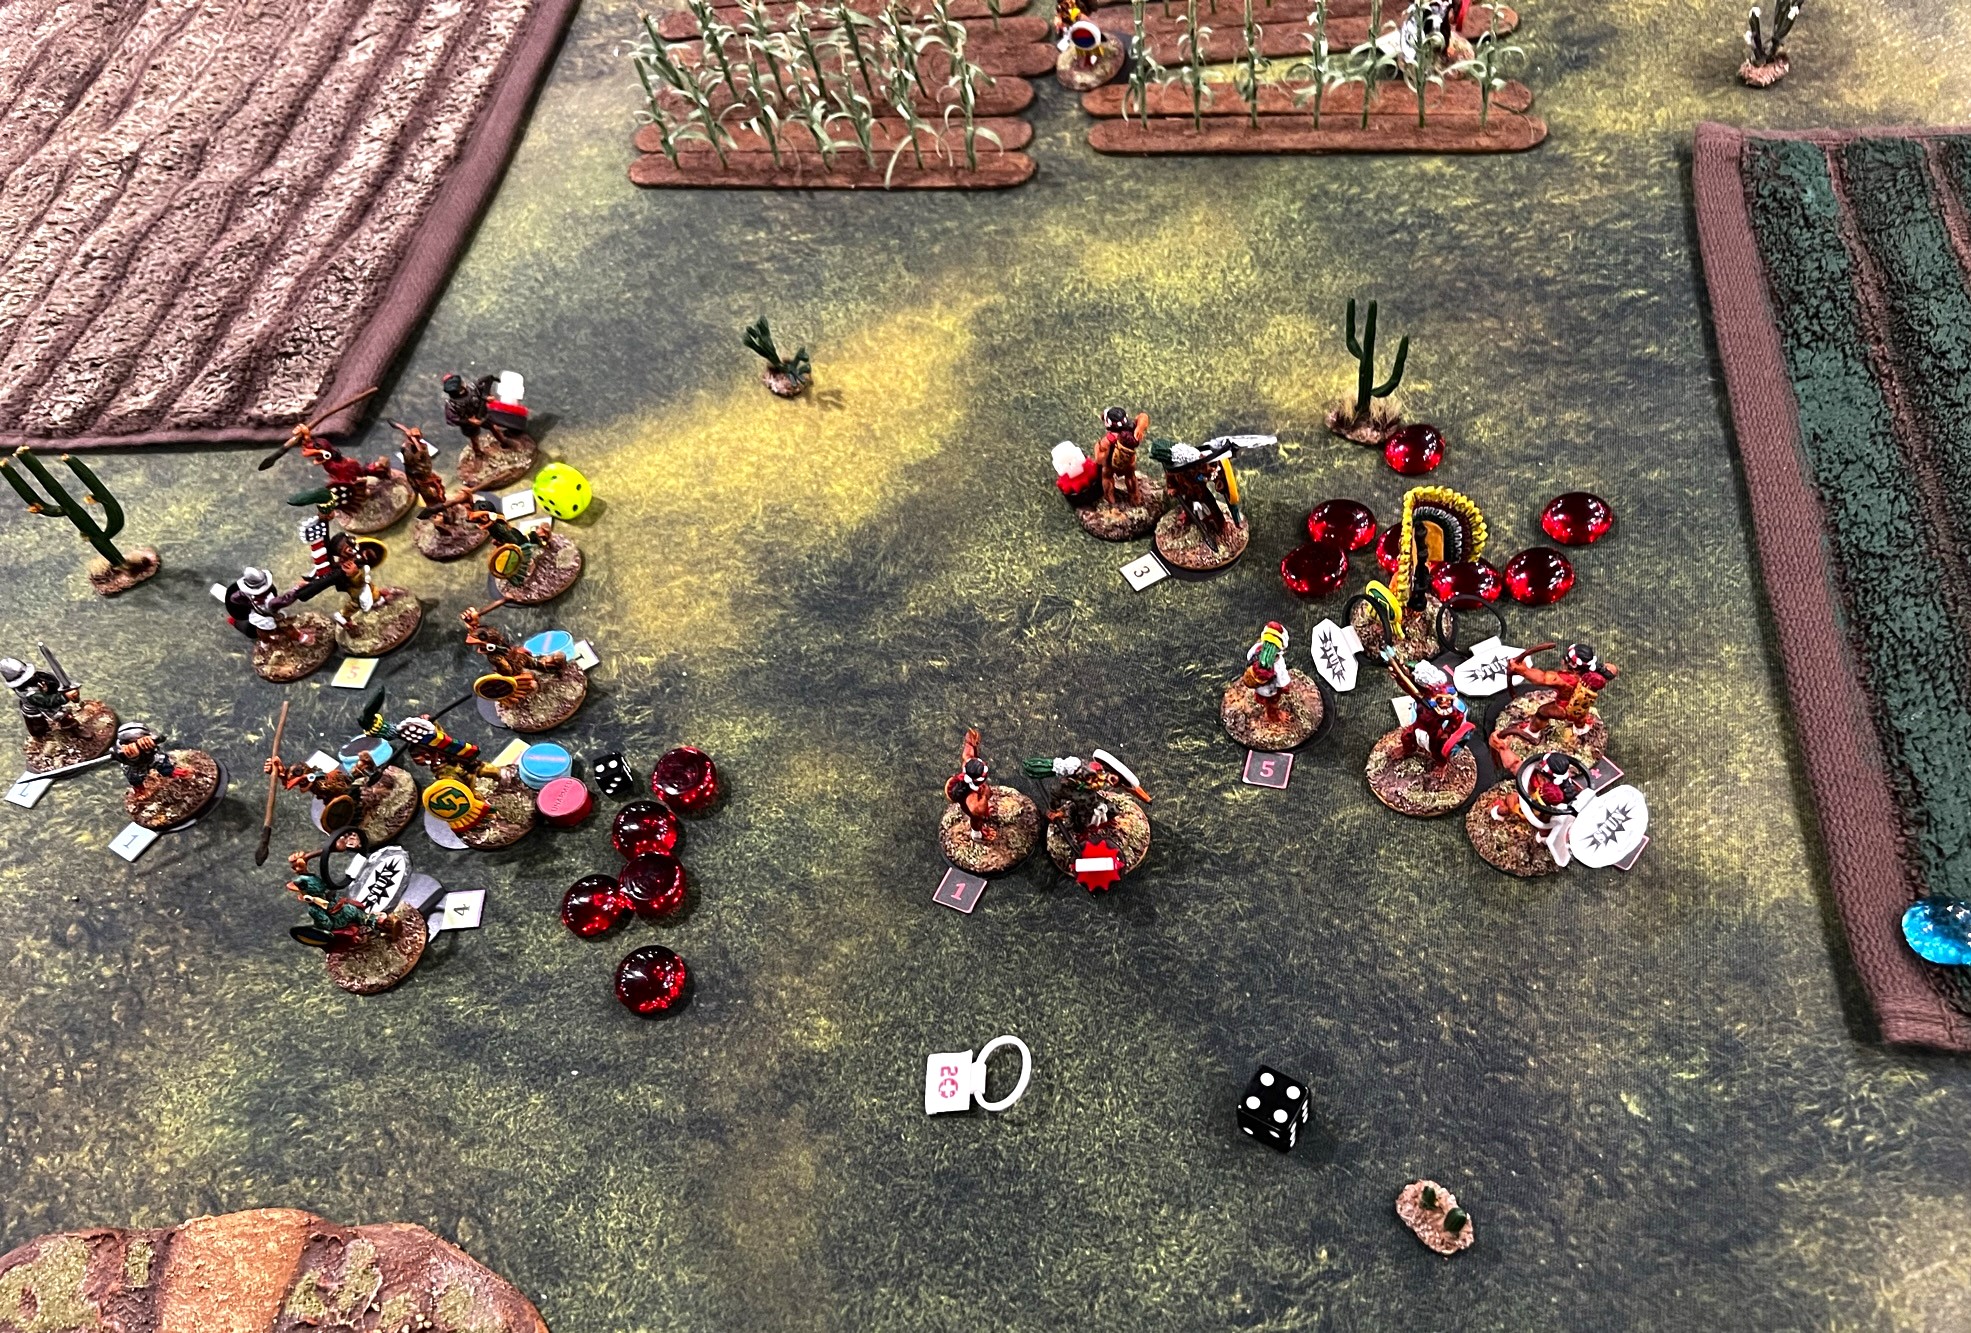
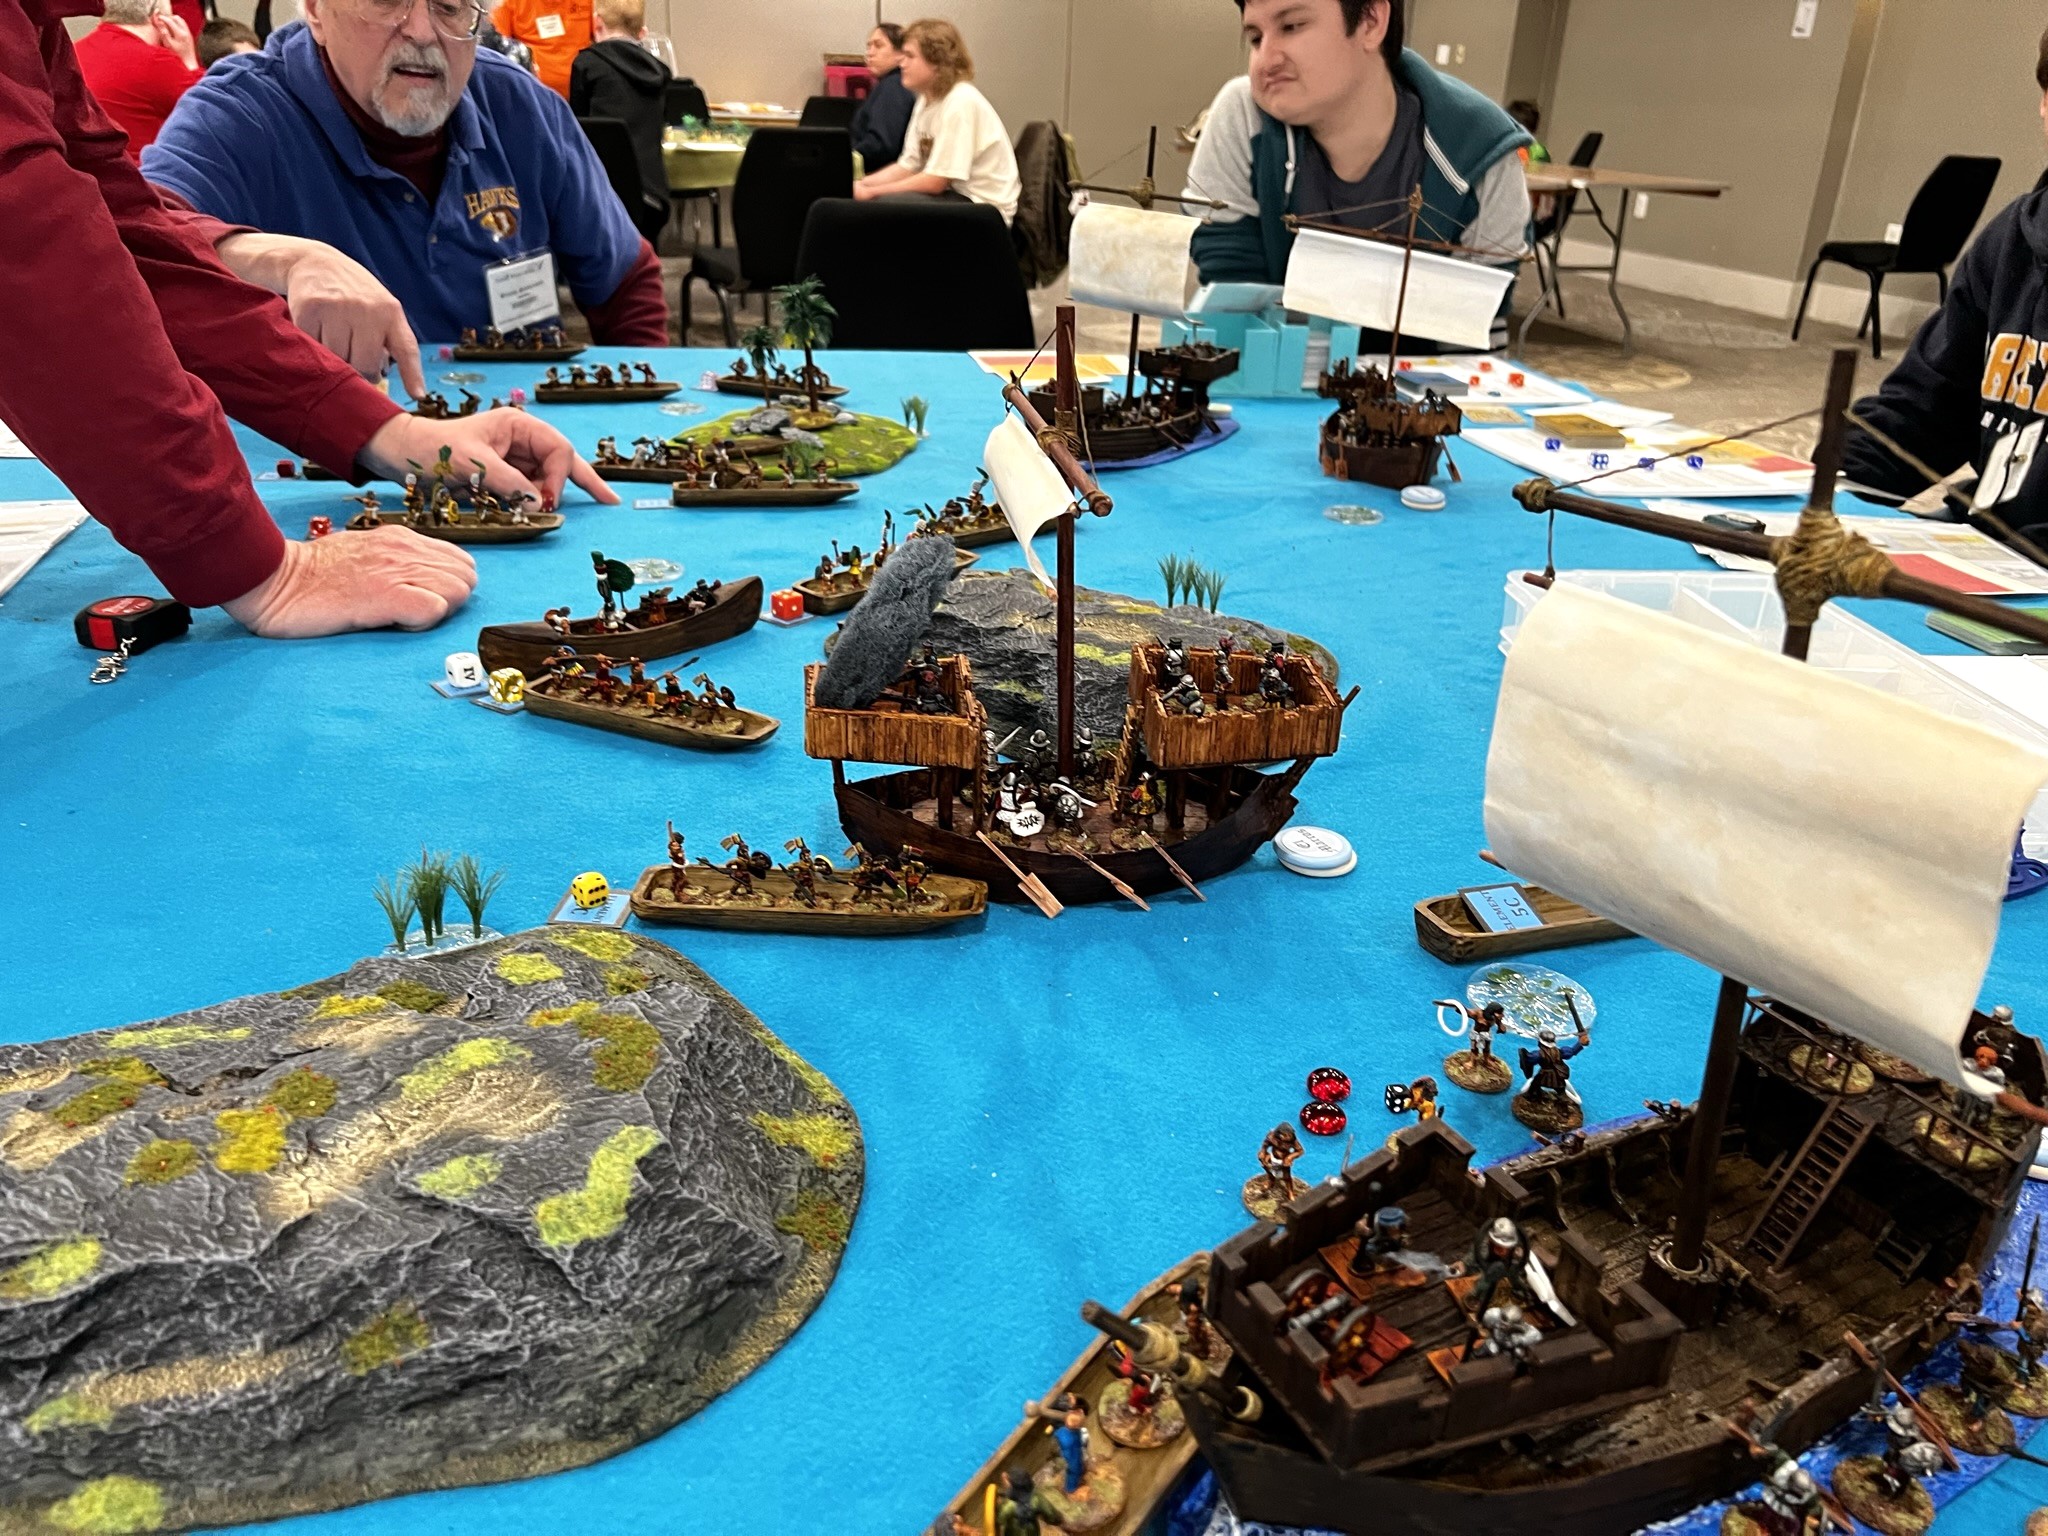
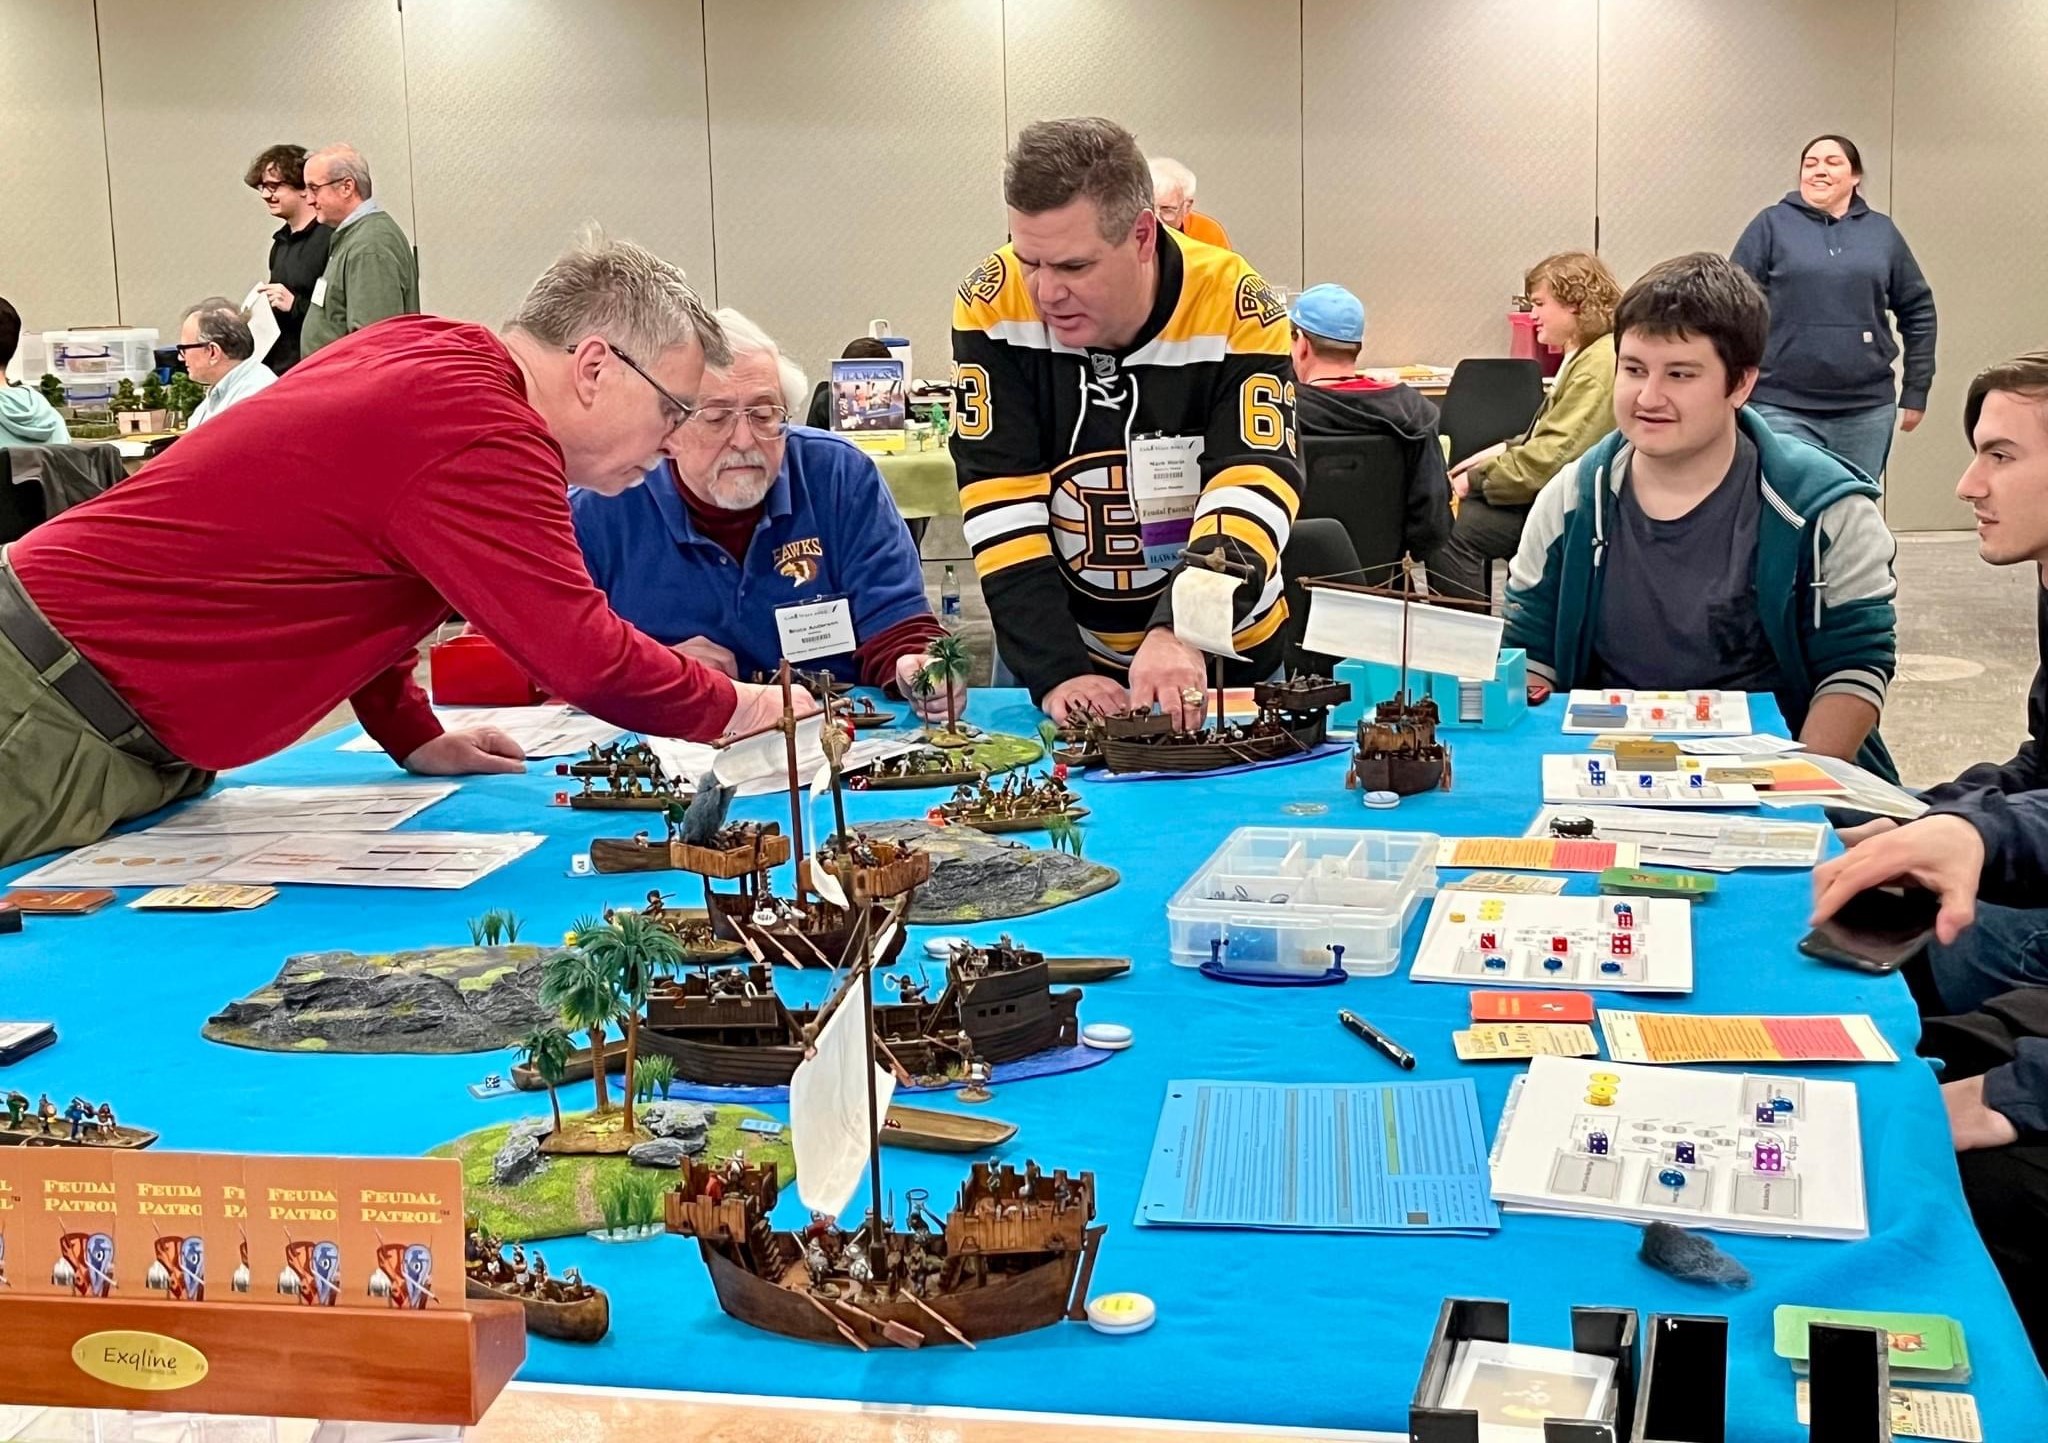
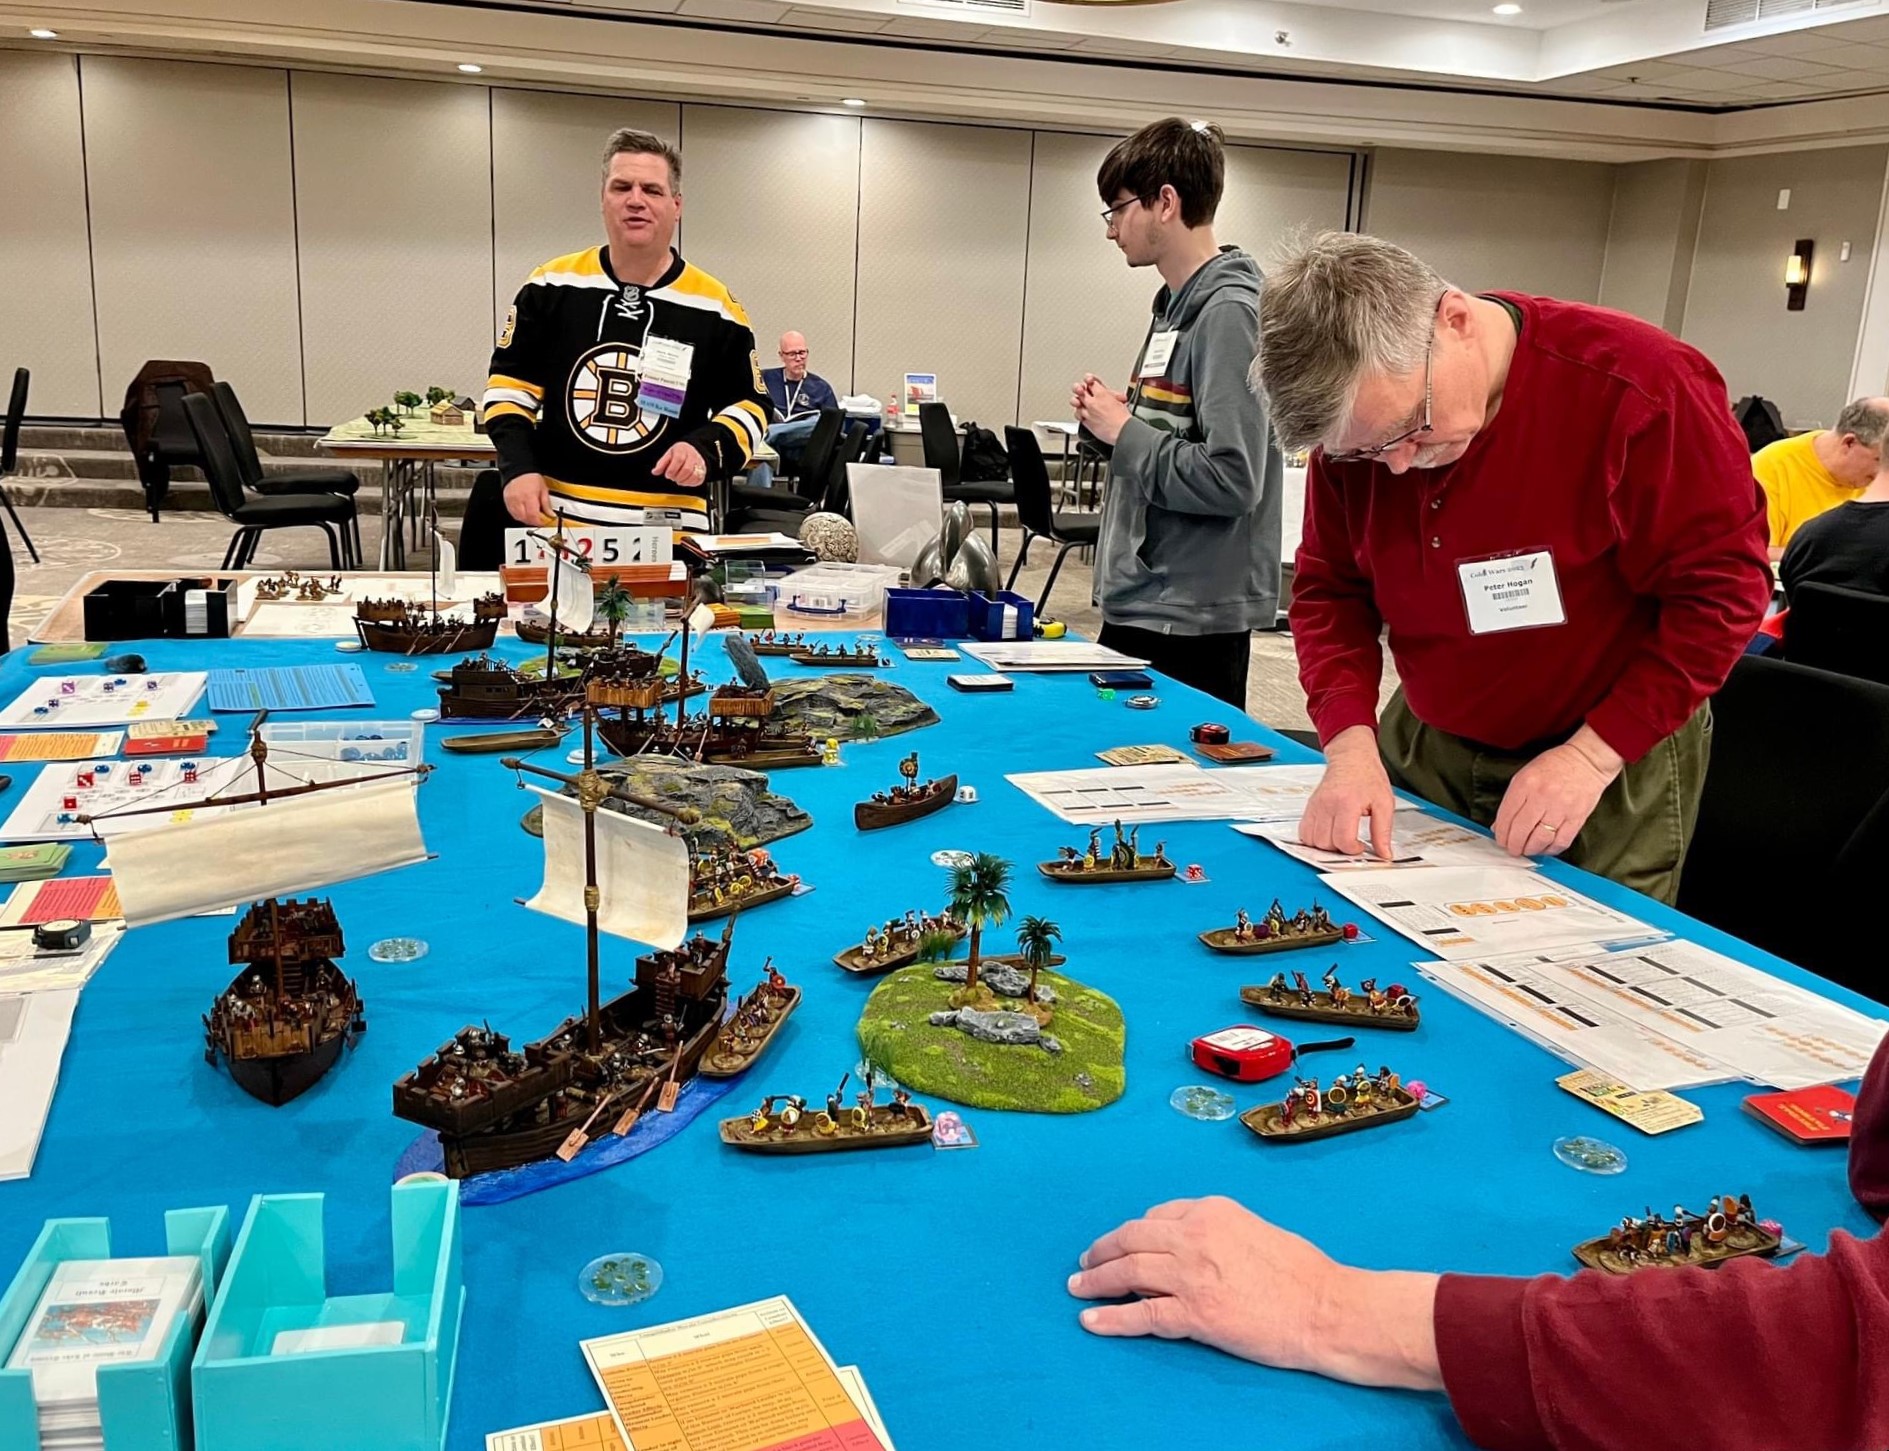
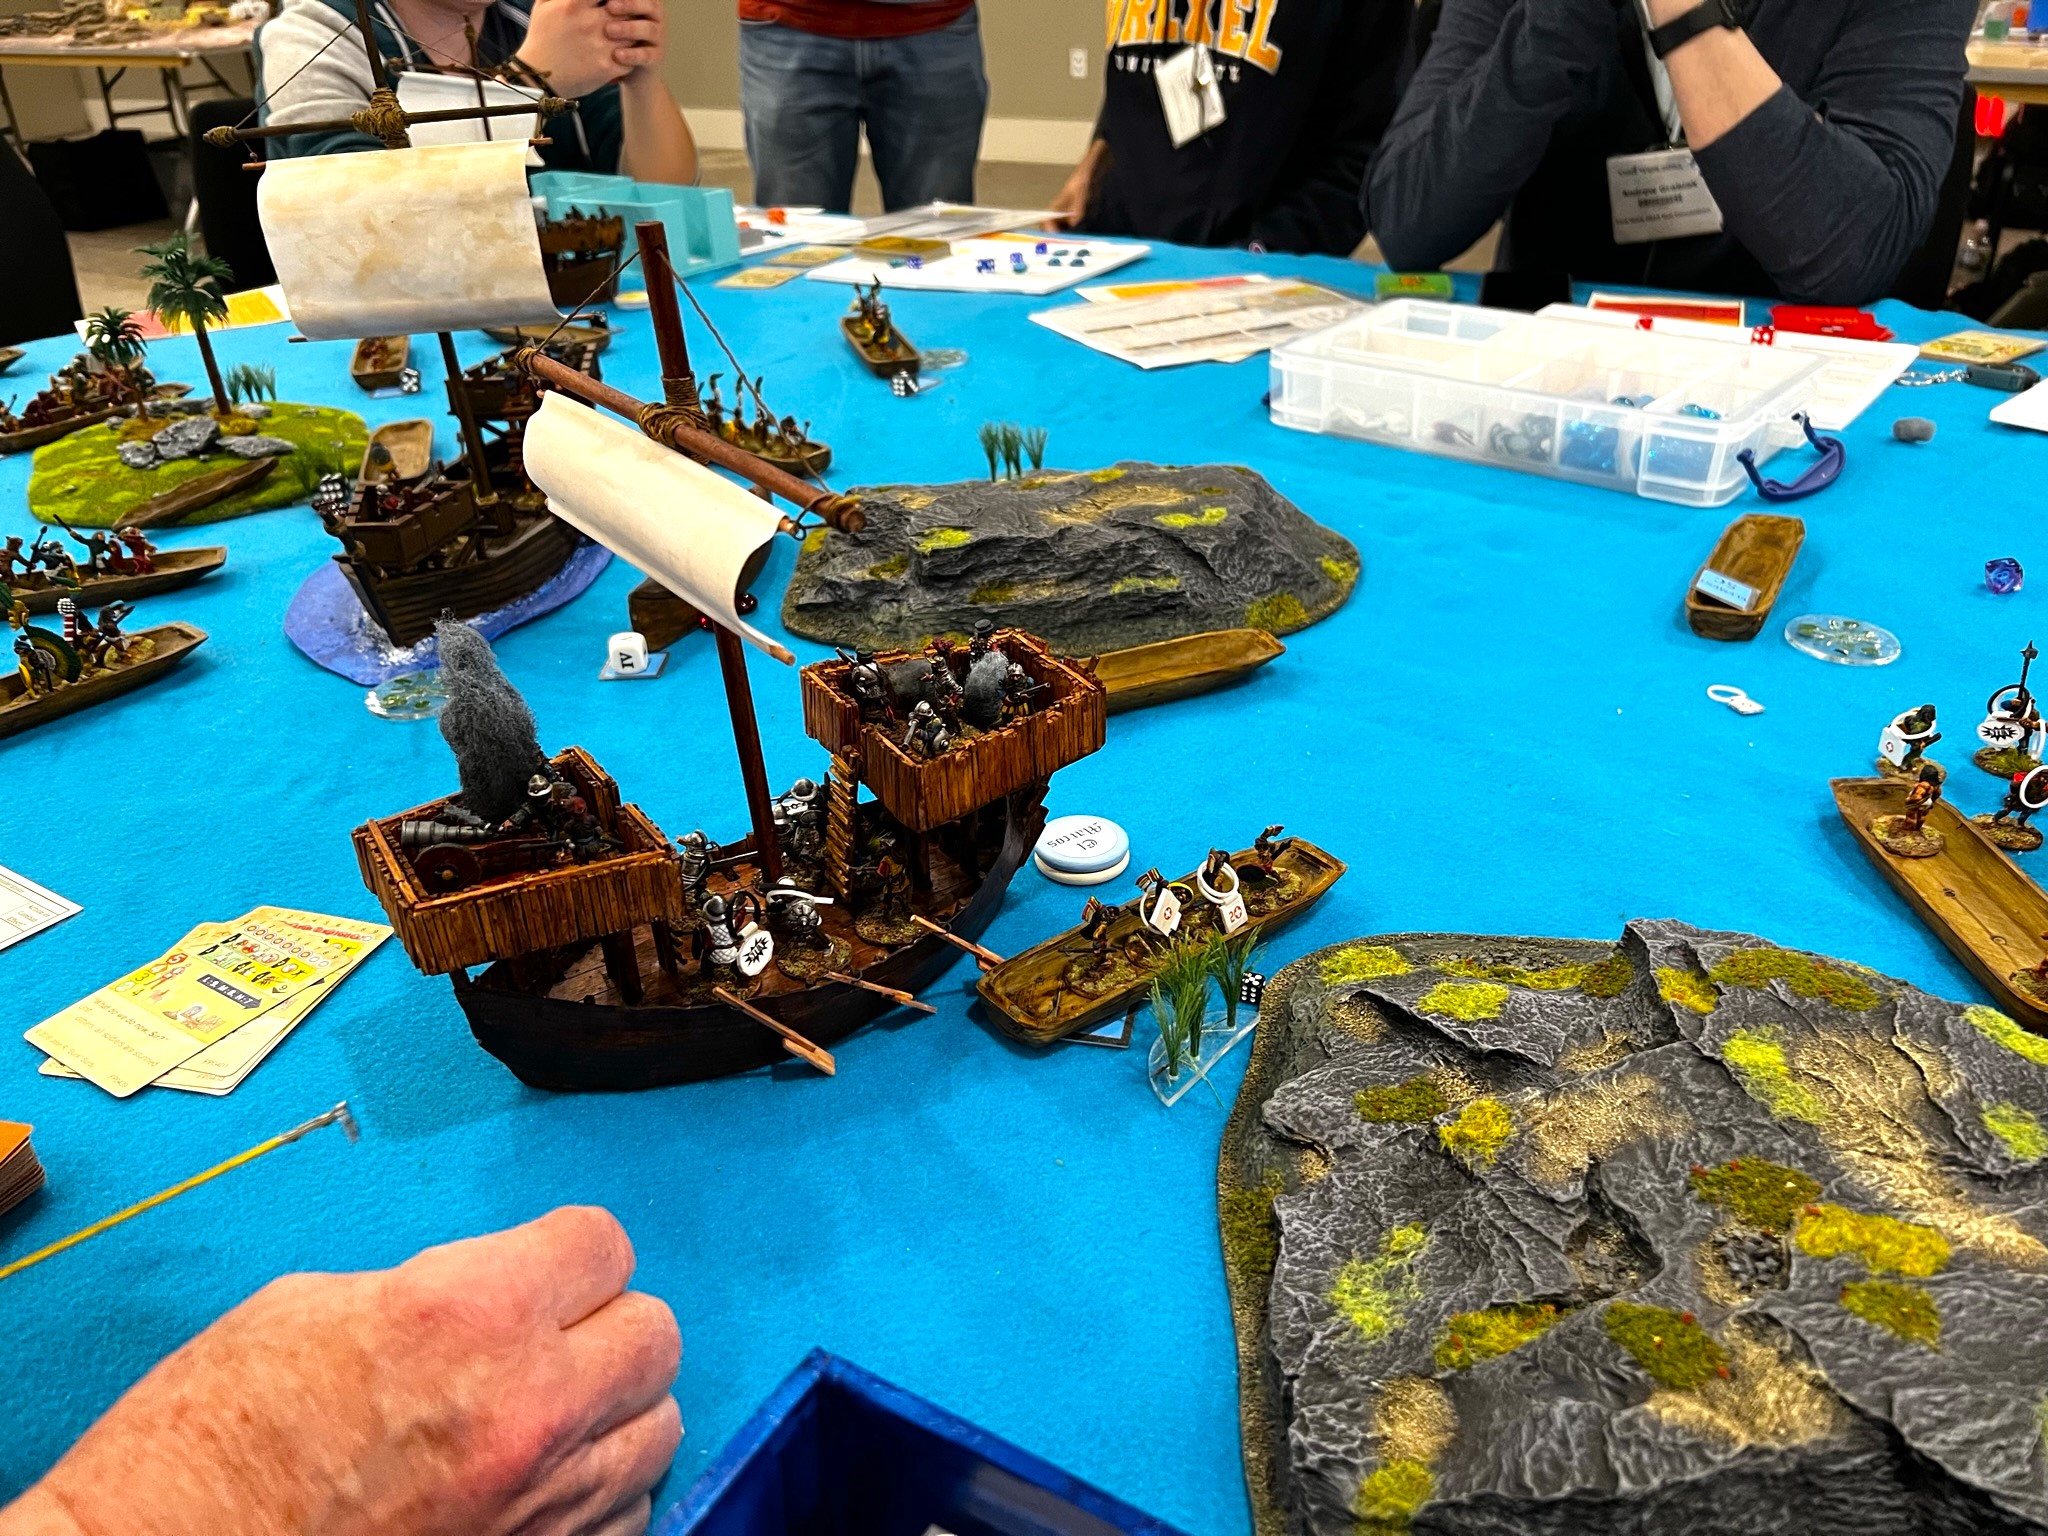
The game set up – the Spanish are on the beach.Maya moving onto the beach.Buck Surdu joins the game replacing a departing player – and commands Cortes.
The Spanish were not initially as aggressive as I expected – though as the game progressed they did start to advance.
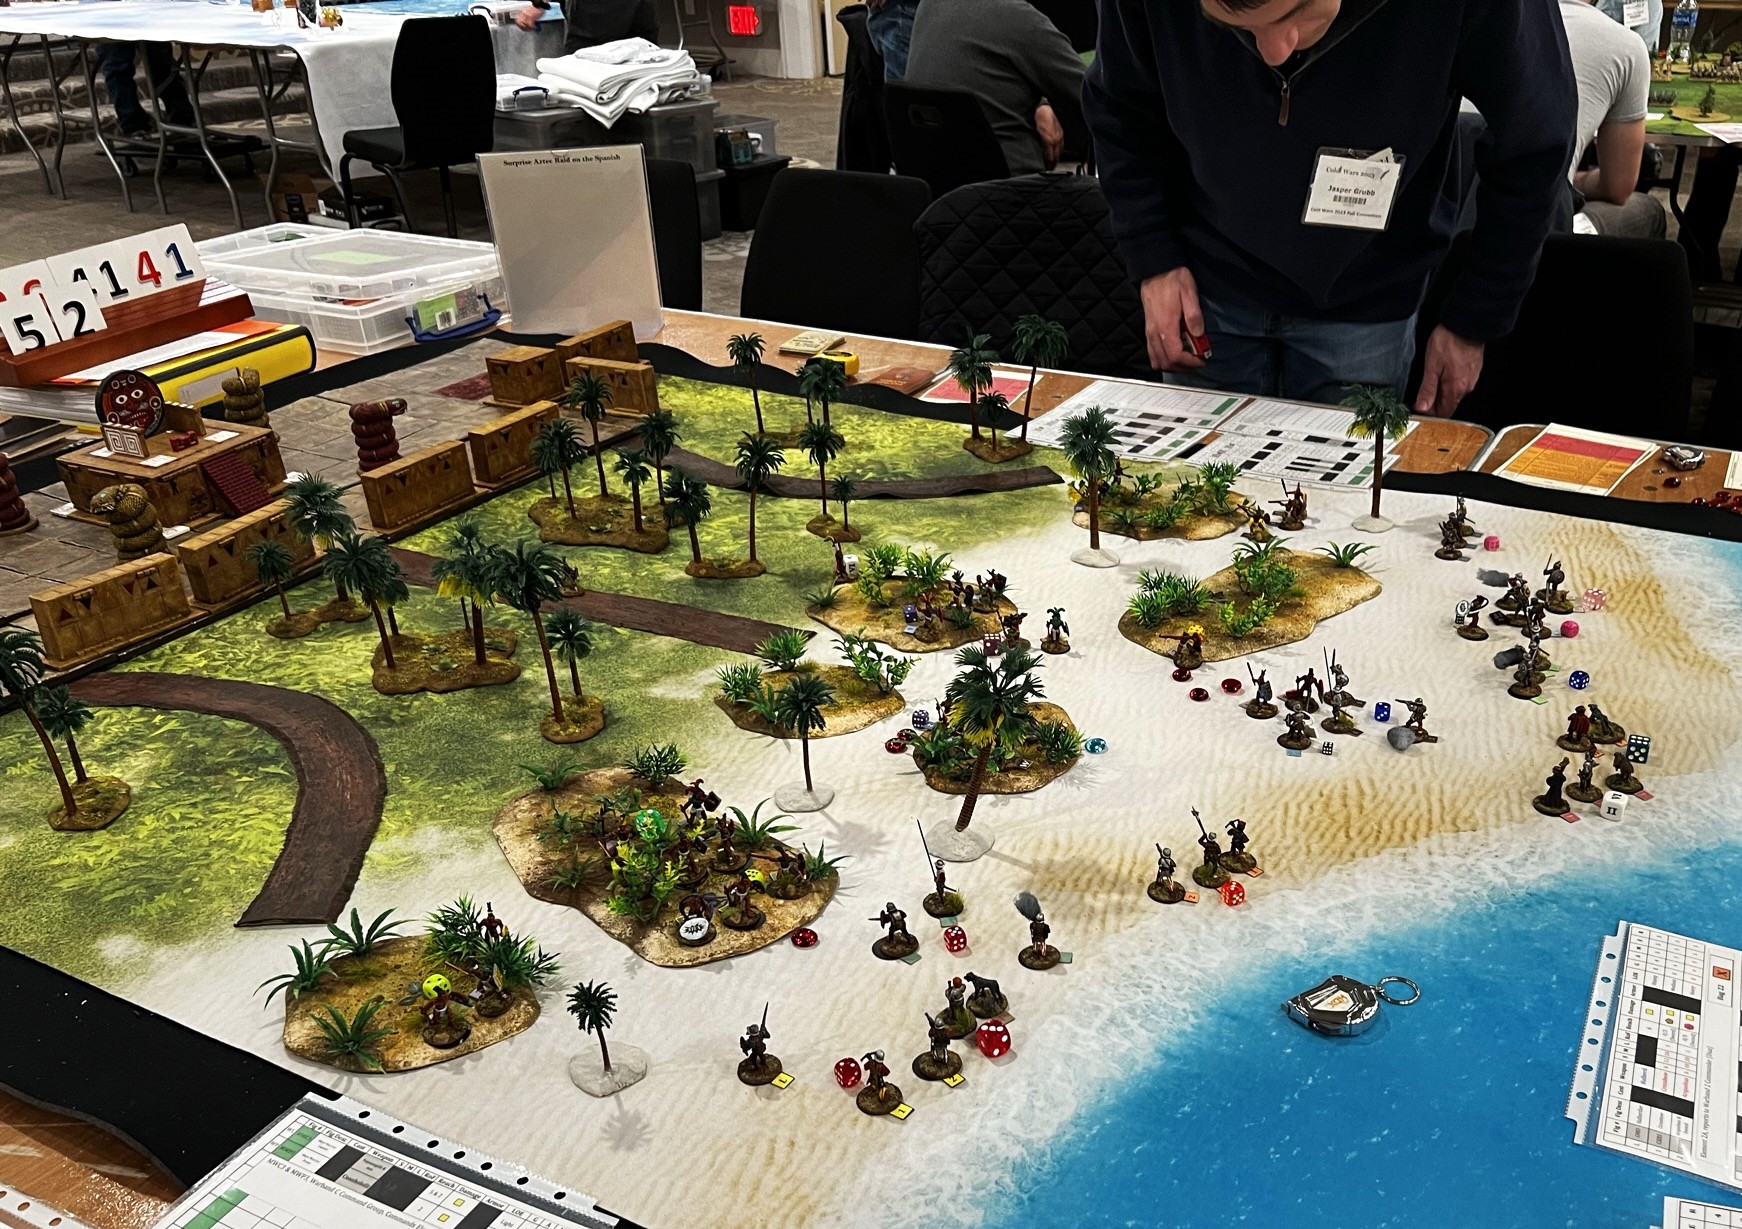
Buck and I confer on his troops’ data.Battles on the beachThe Conquistadores’ advance is held up due to atlatl attacks.
Unfortunately, the Spanish needed to take some risks – and Buck moved Cortes up and into the fight. This was very appropriate given the state of the game at that point. A Maya warrior got a lucky hit on him and cut off his leg – yielding a victory for the Maya. This game is very cool – I have run it several times and both sides have won in the past.
Surprise Aztec Raid on the Spanish Outpost (Feudal Patrol)
After the Friday afternoon game (Centla), I quickly got my next game ( this was held on Friday evening) set up with a lot of help from Buck, Dave Wood, and Greg for Friday night. This is a scenario as described below:
The game went back and forth and it was not clear at all which side would eventually win. There was a lot of action.
The game at the start – the Aztecs needed to cross muddy field to reach the Spanish and the Tlaxcalans. There were also food and gold objectives, and of course VP for inflicting casualties or taking captives.Greg Priebe advances his Aztec commander, Asupacaci and his warrior priests.
The Spanish used their war dogs and arquebuses to good effect – but the Aztec Elite troops berserked and fought bravely.
Arquebuses fire.Aztecs collect many morale pips for getting shot at by the arquebusiers.The Spanish fire their falconet.The berserking Cuachicqueh engage the Conquistadores.
Finally, both the Aztecs and the Tlaxcalans started taking prisoners for sacrifice – and gaining victory points in the process. Eric Schlegel successfully fired his falconet again with langridge at a swarm of Aztecs, taking out several of them in the last turn. This was to be pivotal.
Tlaxcalans get into the melee.Morale pips pile up on both sides.Captives are taken.Unlucky prisoners being dragged away by both sides to a fate worse than simple death.
I tallied the points – and it was a TIE! 46-46! I call that play-balanced!
I then set up my massive Battle of Lake Texcoco, which would be played on Saturday afternoon. This way I would have all the time I needed to enjoy my next game as a player on Saturday morning – which would be the Wars of Ozz game described next.
War to Save Yule: Battle for the Bauble of Time (Wars of Ozz)
After a short sleep, I played in another Ozz game on Saturday morning. This one was the second of three linked Wars of Ozz scenarios that Chris Palmer and Buck Surdu ran pitting the forces of the Ice Queen, Aurora, versus those of Babbo Natale (really Santa). Aurora wants to seize the Bauble of Time – a magic item that can bend time and lets Babbo deliver all his toys in one night. Of course, Aurora wants it for her own evil purposes. The Bauble was hidden in one of three buildings – and the neither the forces of Yule or Aurora knew which one. The goal of the attacking Ice Queen was to search each of the three areas – which meant that her forces needed to clear defenders from them first. I played on the Yule side in this game, on the Yule’s far left flank.
The game set up. Bruce, Buck, and Chris discuss the scenario.
The three possible search zones were as shown below.
The 3 search zones and defending Yule.The 3rd zone up close (Yule left flank)My game view – Teddy Bear infantry, artillery, & Toy Soldier infantry.Teddy Bear Infantry base.Toy Soldier Infantry base.
Here is a photo of me by Chris surveying the battlefield:
A view towards my position. Aurora’s forces were attacking from the right here. I think I look tired!Opposite view as Chris briefs the players earlier.
The forces defending the buildings/search zones on the Yule right and center were overwhelmed. Only the one on the Yule left held.
Ice Trolls hit the Yule center.My Toy Soldier Infantry are engaged by Krampus troops.
The odds were in favor of the Ice Queen at this point with 2/3 search zones in her control.
Bruce tries to fight off the Ice Trolls.
In the end we were lucky as the Bauble was in the last search zone and safe from the Ice Queen, so a victory for us. Chris would run a second follow on game later that I will share a few pictures of at the end of this post with others that I did not play in or GM. I did play in the 3rd linked game as well – more on that game in a bit.
The game ends.
The Battle of Lake Texcoco (Feudal Patrol)
I always look forward to running this game – yes it’s massive but more importantly a lot of fun. Basically there are 5 brigantines loaded with conquistadores and primitive cannon (lombards or falconets) that need to cross the tabletop and shell the other side of the table – where the Aztec capital of Tenochtitlan is located. Opposing them are 21 war canoes filled with Aztecs hell-bent on boarding the invaders’ ships and stopping them. VP are awarded for shelling the city, boarding a brigantine, sinking canoes, and for casualties on both sides. The Spanish have to try to navigate the uncharted waters to do this too.
The set up for the game.
The players were excellent!
The start of the game.
The Spanish moved out and avoided collisions with each other or the islands. Only one got stuck on an underwater obstacle (El Gregorio) – resulting in the Aztecs getting a “Burst of Exuberance” which allowed it to be boarded first. Eventually, all of the brigantines would be boarded to greater or lesser extent.
Boarding!
The Spanish held on and were able to get three ships to shell the city.
Tenochtitlan takes its first hit of solid shot from El Marcos.A photo from Chris Palmer showing me helping to adjudicate a fight.The battle rages on the lake.
Of course, there was even more boarding!
El Marcos is boarded.
The game was pleasantly and briefly interrupted at this point by the HMGS staff. As it turned out, my game was selected to be honored with a “PELA” award for the time slot. PELA stands for “Pour Encourager Les Autres” which in English translates to “For Encouraging the Others”. These awards are defined by HMGS as going:
“to the games that best embody the positive traits of miniatures gaming, such as well-painted figures, great looking terrain, interesting scenarios, enjoyable rules, good sportsmanship, and an enjoyable time – events that do the most to “encourage others”.”
This was something as a GM that you can really appreciate! I was really honored – and it was nice to get applause from the room and my table too. I think that there were about 30+ games in my time slot – so this was tough to get. The award was a lovely knight figure on a plinth and a voucher for the vendor hall. Thanks HMGS, it has a place of honor at home! Thanks players!
I am awarded a PELA!The PELA among Spanish casualties (hey, I was still running the game!).
In the end, the Spanish narrowly won the game by a score of 367-316. If the Conquistadores had made one less shot into Tenochtitlan, it would have been only a one shot victory.
As this was my last game to GM, I was able to get most of it picked up (thanks again to the HAWKS for all the help) – and get into playing my last game of the convention.
War to Save Yule – Ambush or Fighting Retreat (Wars of Ozz)
This was the third Ozz linked game run by Buck Surdu. In the second game, the forces of Yule held on to the Bauble of Time. Here, the Ice Queen’s forces are ambushing a convoy of Babbo Natale who is trying to get the Bauble to a safe place. I did not get as many pictures of this game – but I played on the side of the Ice Queen this time. We ended up taking the Bauble (Giant Evil Snowmen charged the convoy and stole it). It was a lot of fun.
My Ice Trolls take a beating from the Toy Soldier cavalry.
I was on the far left flank of the Ice Queen’s forces – and I after the Toy soldier cavalry and the Teddy Bear artillery beat up my Ice Trolls and Krampus, I was able to flank the Teddy Bear battery with Dark Elves. This attack sent them fleeing and the rear middle of the battlefield became congested with forces. Meanwhile, Chris Palmer valiantly pursued the Snowmen with the Toy Soldier cavalry. Luckily for our side, the Snowmen escaped into woods where the cavalry would not move as quickly – with the Bauble. Victory!
My Dark Elves move up the Yule flank.Snowmen abscond with the captured Bauble!
Other Game Photos
There were of course many other games – and I tried to get some photos of them plus I have included many from Chris Palmer. This is not all of the games at Cold Wars by any means.
For the gamers, please enjoy these here! For the GM’s, kudos on the work you put in on some amazing games, and apologies in advance if I get any descriptions wrong here.
Battle of Hanau, 1813
Dave Wood’s Fate of Battle game in 10mm looked amazing.
The Natives Return to Schlegel’s Ferry
Eric Schlegel had a really cool board for his colonial Chesapeake game of Feudal Patrol.
Let’s Play Combat Patrol – France 1940
Greg Priebe ran a France 1940 scenario for Combat Patrol.
Greg and Buck survey Greg’s set up.
Wars of Orcs and Dwarves (WOOD) Playtest
Dave Wood ran a few WOOD games with amazing set ups.
War to Save Yule – River of Ice (Wars of Ozz)
This was the first of the linked Ozz games. This is the one that I did not play in as I was running my Aztec raid game.
Counterattack Near Dubno (Battleground WW2)
Don Hogge’s always popular WW2 games are so cool. This was a 28mm game set on the Eastern Front on June 28th, 1941.
Forest Encounter (Mobile Suit Gundam: The Gravity Front)
Here’s a look at Kevin Fischer’s game set up.
Got Skogskatter (SAGA)
James McWilliams ran a couple of SAGA games.
Pierce’s Hill, Philippines 22 December 1941 (Combat Patrol)
Buck Surdu ran a very cool looking game set during the Japanese invasion of the Philippines in 1941. He worked hard to get the 1941 look right – and he nailed it.
Let’s Play Feudal Patrol! – Viking Raid
Greg ran his introductory Feudal Patrol Viking Raid game and had a full table!
Can the Ratlings save their homeland again from the army of the Necromancer? (Wars of Orcs and Dwarves)
Dave Wood ran yet another visually stunning game – and for fun he used my Winkie Cavalry and Infantry in the game, plus my Lesser Apes. The feedback I got was that they acquitted themselves very well while I was off in Mesoamerica!
Game view.My Winkies!Another viewDave running his huge WOOD game.
Al Capone Comes to Schlegel’s Ferry (Blood & Swash)
Another great use of Eric’s terrain for a 1920’s game.
A truly engaged table deals with smuggling and gangsters in the 1920’s.
Concord to Lexington – Theme
Geoff Graff ran this game of 15mm figures set in my home state in the beginning of the AWI.
Test of Honour – The Last Yamashiro (Test of Honour – Quick Play)
I saw this in the adjoining room to the HAWKS – WOW what a set up! GM was David Hill.
This is a HUGE game!
At the other end of this beauty was a harbor and ships too.
Beautiful set up – nice to see young gamers too.
WWI – Battle of Gnila Lipa (Fall of Eagles WWI)
This set up caught my eye as well – GM David Rollins had a huge table for this battle between the Austrians and the Russians in WWI.
Mars Attacks – Beach Head! (Wings of Glory Tripods and Triplanes)
What a concept – Martians in Tripods taking on Spads and Nieuports in the aftermath of a post-WWI meteor shower! GM was Mike Jacobs.
As I said, this is a big post but I hope that it was enjoyable to look at. Sorry if a game you were or that you ran in was not included – but I’m sure somewhere else there are photos for the world (at least I hope so)!
2022 was one hell of a busy year. Every year I try to recapture just what the hell I got done hobby-wise – both for miniatures/wargames and golf-wise. Then I try to assess (for my own purposes) what I set out to do at the year’s start and how well I achieved – or failed – to meet those goals. As another year has rolled by, it’s time to take that look in the old mirror. This blog, “Life, Golf, Miniatures & Other Distractions” covers my activities – and I do like to use the blog as an outlet to likeminded folks. So let’s take a retrospective look at 2022 AND a forward look into 2023.
Doing this is an old habit from when I actually worked full-time before retirement. Back then in “the dreaded private sector”, I had sales goals to hit every period – be it yearly, quarterly, thrice annually, or whatever. Of course, there was the inevitable review period where every manager would ask you what “stretch goals” you would “commit to” doing. This was a farce as the sales quotas you were given from corporate were never layups anyways. Plus, you needed to account for the previous year’s performance in any case.
Still, I’ve always set personal goals and found that it’s always good to have a plan and try your best. I also want to be honest with myself and be accountable to my own plans. How well did I do – let’s see…
I set out some goals for myself back last December for 2022. Some were around gaming, some around hobby production, some were around golf, and more.
How did I do versus my 2022 goals?
Paint 150 figures or more.
I did break this one with a strong push in November and December – (see pic below). I managed to finish 202 figures!
My 2022 production. I’ll be adding rebasing figures (mainly for Wars of Orcs and Dwarves games) as a new category in 2023.
Complete the remaining conquistador figures for Civilizations Collide.
I definitely did this! I have a page in my blog that catalogs all things Aztec/Conquistador/Maya/Tlaxcalan here.
Complete the remaining terrain for Civilizations Collide, to include the brigantines.
It was a big effort, but check!
Brigantines in action at the Battle of Lake Texcoco game at HUZZAH.
Complete the remaining Maya figures for Civilizations Collide.
I managed to get these done by November – and they will be on the tabletop soon. This capped 300 figures done for the period since I began.
Complete the scenario booklet for Civilizations Collide.
Not quite done – though I have completed fleshing out and writing 9 scenarios, plus I have 3 mostly completed, and 4 in concept mode. All have or will be used at conventions.
Complete my figures for Wars of Ozz, ok at least 40 of them.
Better late than never! This is now the project that I am into quite deeply. I managed to paint up 93 figures for Wars of Ozz in November and December alone. There is now a page in my blog that catalogs these here.
Paint up a platoon from Wargames Supply Dump for Combat Patrol™ .
Never got to this – but will try again in 2023 (sorry Roger).
Try to get my Nomonhan WaT project off the ground.
I did want to get to this, but not enough time.
Attend and run games at conventions or club nights or both, if possible. This would include TotalCon34, HMGS South Recon, HAVOC, HUZZAH!, Historicon, and BARRAGE .
I will give myself a good grade here. I did not go to BARRAGE due to a golfing tournament conflict, but otherwise I did all of these conventions PLUS HMGS Fall In! in November. Plus I won some awards at three conventions – HUZZAH, HAVOC, and at Fall In. My gaming club, the Mass Pikemen, met a few times – and hopefully will do more in 2023. For 2023, I am going to track my gaming progress as well as my hobby production progress.
The Battle of Lake Texcoco at Fall In!
Get the Mass Pikemen more active once the pandemic diminishes.
Could have been better – will work on in 2023.
Celebrate my wife’s retirement (and mine belatedly) with a nice trip.
Finish the garage+ and launch that baby successfully.
Well, it’s finished and we do enjoy it – just have not managed to play a wargame in it yet. Otherwise, yes indeed, it’s done!
Post on the blog 48 times or more – and in good quality.
As for the quality – the readers are the judge. However, I fell off a bit and only did 42 posts.
Be a good blog follower.
I hope I was this – but certainly not a measurable statistic!
Have multiple Zoom chats with fellow hobbyists.
Success here – if we got together you know who you are and thanks – great conversations and wonderful camaraderie. I’m always open to more!
Go to a golf school and get my golf handicap down below 18.
Mixed bag here – we did go to a golf school during our Florida trip. My handicap started the year at 20.7, peaked in July at 22.6, and I was able to improve to 18.9 by season’s end.
Play golf (in season) at least twice a week.
I played close to 80 rounds this year – and usually played 3-4 time a week in season – so hell yeah!
Win my flight in the Club Championship.
My biggest miss as I got hurt AND played horribly – coming in dead last.
Be a competitive golfer.
Despite the previous miss in the Club Championship, I did manage a few good showings in other tournaments. I’d say in general I was competitive.
Personal Highs in 2022
The Florida trip and golfing with my wife (she’s getting better)!
Getting the garage DONE.
Getting together with family especially my daughter Ellen and my granddaughter Tabitha.
Finishing all of the figures and terrain for Civilizations Collide!
Continuing to serve my Town (East Brookfield, MA) as the elected Board of Health Chairman during the pandemic.
Participating in multiple gaming conventions and winning awards at: HAVOC (the “Al Award” for the game with the most stunning visual appeal); two awards at HUZZAH (2 best in time slots), and a “Pour Encourager Les Autres” at Fall In.
Getting going on my Wars of Ozz figures!
Getting together with Dave Wood, Buck Surdu, Greg Priebe, Chris Palmer, and Duncan Adams, Eric Schlegel, and all of the other HAWKS in person.
Being on the Committees for the Tour of the Brookfields tournaments and the New England Service Academy golf tournaments,
Having fun Zoom chats.
And again, being with my wife Lynn, every day (seriously, and she won’t likely read this).
Florida golfing.My “Pour Encourager Les Autres” Award at Fall In.My last Mesoamerican figures – the Maya!
Gaming with Buck and Dave.Two old USMA 1984 roommates (Dave Wood and some out of shape guy).Tabitha!
Sinus surgery – though that’s a long-term plus (I hope).
Caesar and Lynn.Sinus surgery aftermath day 1. I’m getting much better than this now!
My goals for 2023
Well, its time to set my goals for 2023.
Paint 250 figures or more.
Complete a brigade of Winkies for Wars of Ozz.
Complete a brigade of Land of Harvest creatures for Wars of Ozz.
Run and play more games – track them too.
Attend and run games at conventions or club nights or both, if possible. This would include TotalCon37, HAVOC, HMGS Cold Wars, HUZZAH!, BARRAGE (possibly if golf allows), and Fall In.
Complete the scenario booklet for Civilizations Collide.