

During the Battle of France (May-June 1940), there was an amazing variety of vehicles on both the German and the French sides. At this same time last year, I began putting together a collection of period 15mm/1:100 scale vehicles for this period. These were discussed here. I have previously posted about a couple of games (December 2018 and January 2019) that I ran using the What a Tanker™ rules from the UK’s Too Fat Lardies. I have been hoping to return to this period and add more vehicles to both armies. I am starting this augmentation by adding 3 FCM 36 light tanks to my fleet.
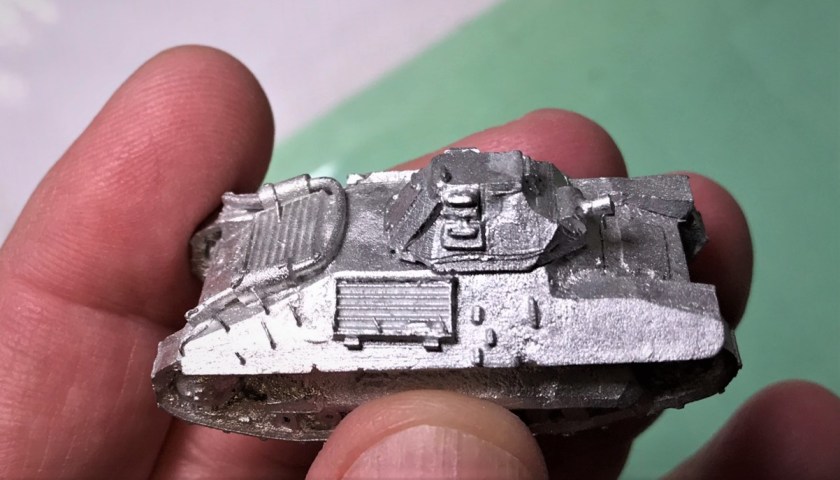
The FCM stands for Société Nouvelle des Forges et Chantiers de la Méditerranée, a shipbuilder in Toulon who manufactured this 1936 design – and delivered about 100 to the French Army up through 1938. Cost and industrial manufacturing concerns limited further purchases. They were a little more than 12 tons, with a crew of two. The armor was fairly good – welded, and very sloped for tanks of the day. It also had a diesel engine and reasonable range unlike many other contemporary French tanks. However, like many other French tanks, it was armed with the weak Puteaux SA 18 37mm gun which definitely had challenges fighting German armor. Notably, two battalions of FCM 36’s tried to repel the bridgehead that the Heinz Guderian had established across the Meuse, but they were too little and too late. After the surrender of France, some of the FCM 36 chassis were converted to Marder I’s or self-propelled artillery. Some of these conversions were involved in the Normandy Campaign of 1944. Today, only one FCM 36 survives at Saumur.
I thought these would be a good addition to my French early-war tank collection. In What a Tanker™, these are the cheapest tanks to buy point-wise. The only source I found for these models was Old Glory. They are metal, and quite small of course.


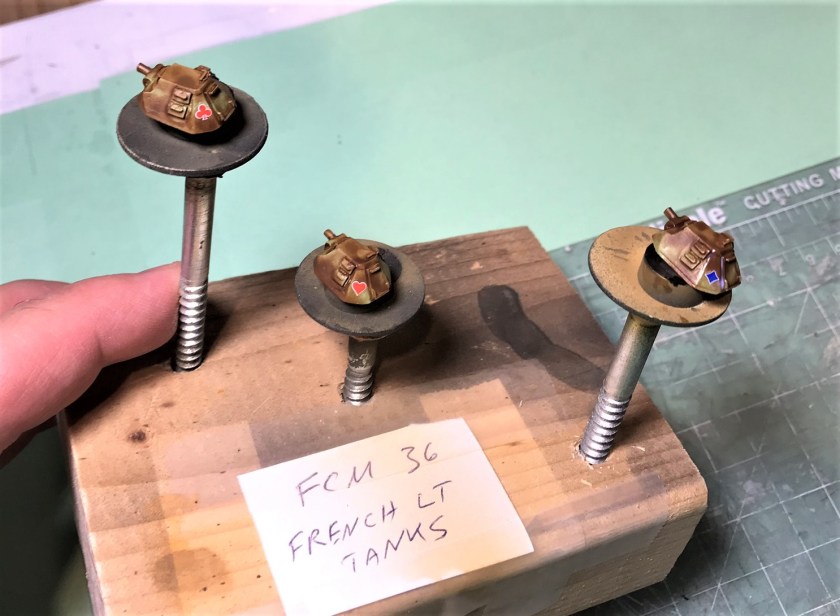
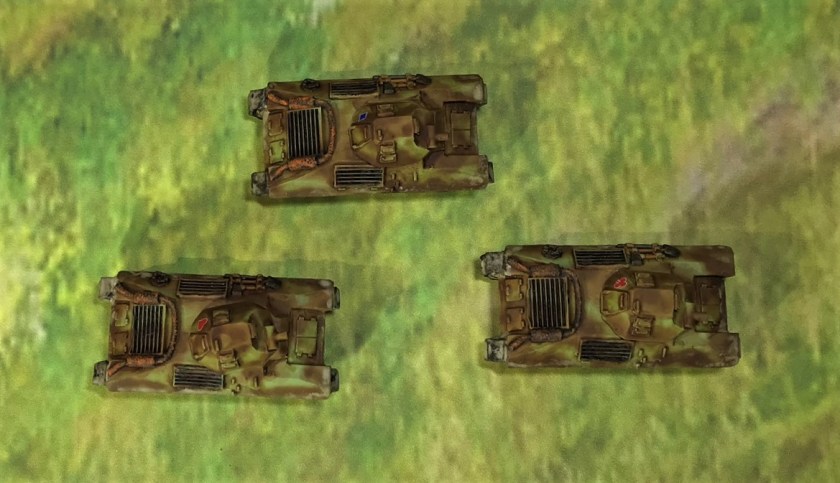
Lastly, I thought I’d share some group and individual shots and a bit about their debut on the tabletop the day after they were completed.

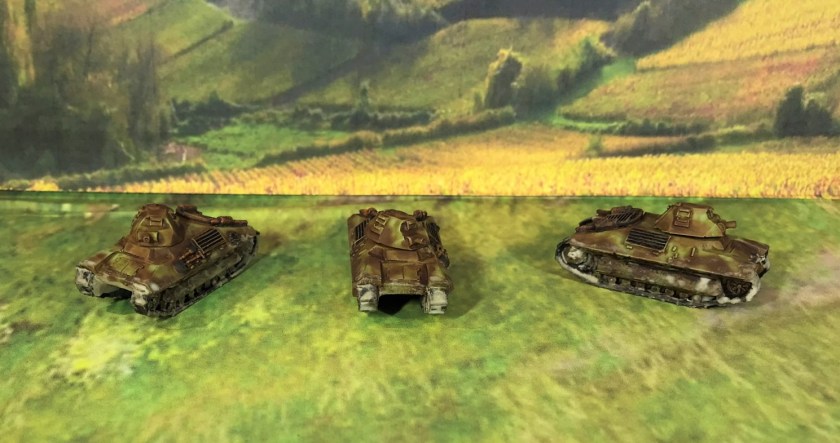
I used a blue diamond, a red heart, and a red club as decals which would also help identify these as different individual tanks on the tabletop. From my research, FCM’s did not seem to have as many markings historically as other French tanks.


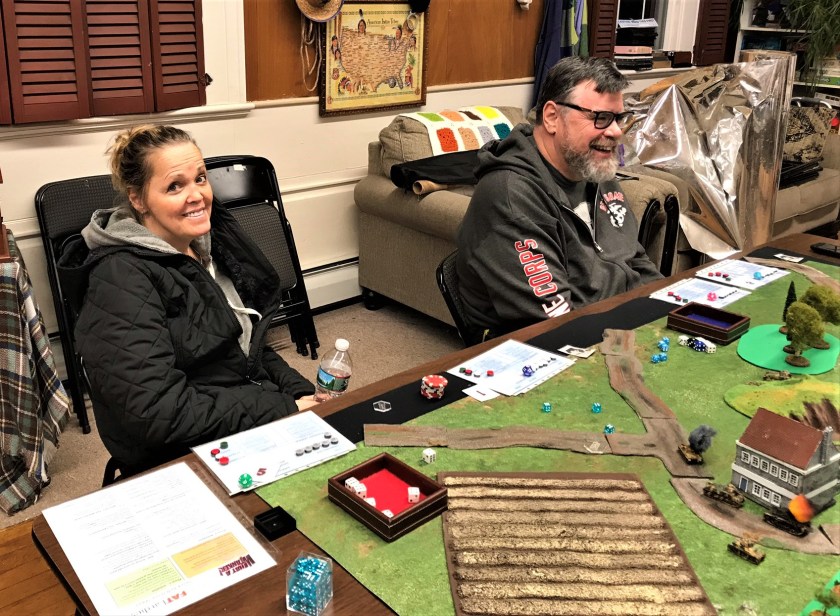
As stated above, these made their game debut this weekend at the December session of the Mass Pikemen Gaming Club.


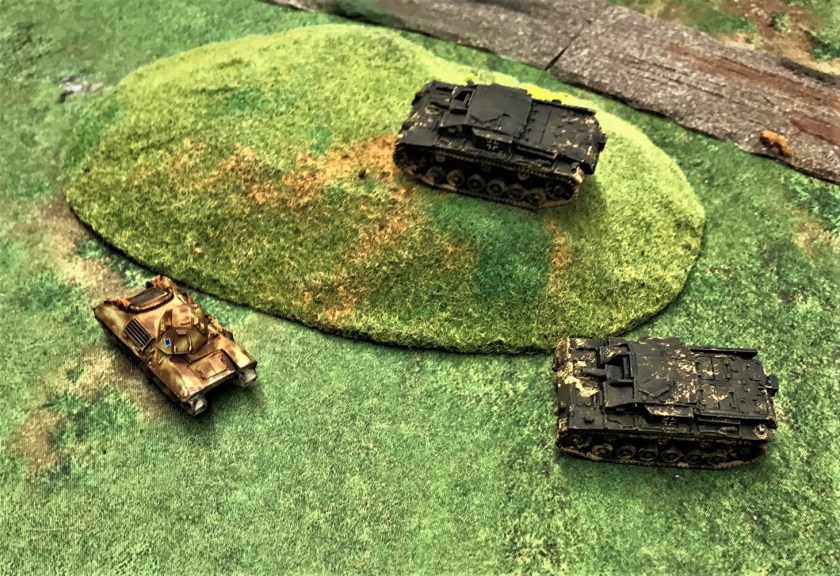


On the other side of the table, Mike’s teammate Tom managed to kill Christine’s Panzer 38(t) with a SOMUA S-35. Mike got another FCM 36, and that was killed by Christine’s teammate Chris’s StuG A (in the shot below on the left). Mike replaced his lost tank with an R35. Tom drove his SOMUA around the building but frustratingly could not take a point-blank shot at the Panzer IIIE (as his dice roll failed him). Mike had to leave, and my wife Lynn (no gamer just watching) took over the R35. Lynn drove the tank to the side of Christine’s Panzer IIIE, and rolled three critical hits – and Christine failed to block any. This knocked out the Panzer IIIE!

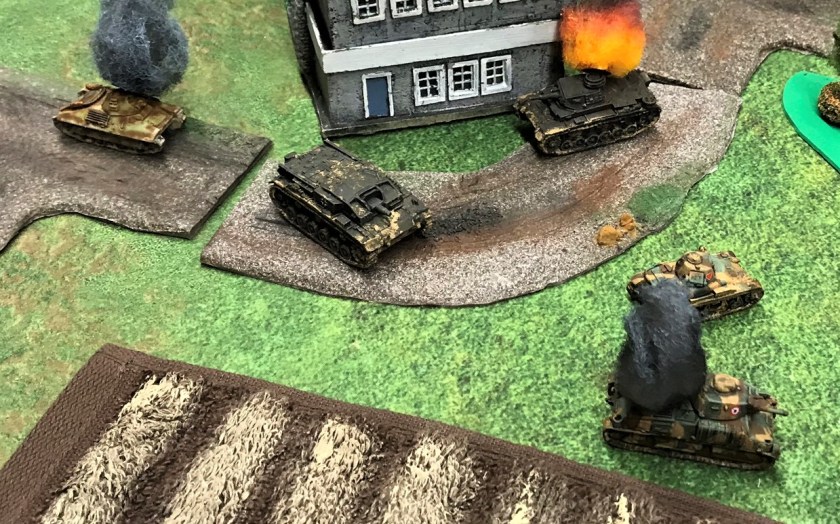
That ended the game, with the French winning a very narrow victory 32-31. If Lynn had not rolled so well in killing the Panzer IIIE, the Germans would have won. Thanks to the players for a great and fun game!
I have plans for more French and German tanks for this scenario. I hope that you enjoyed this post, and feel free to share your thoughts and feedback with me in the comments section! I have been behind on my blogging efforts and hope that I can share more with you soon! Thanks for taking a look!
Also, as these were mostly done in November, I would add them as my contribution to Azazel’s MechaNovember painting challenge!
PAINTS, INKS, GLAZES, SHADES, WASHES, PIGMENTS, FLOCKING, GLUES AND MORE USED ON THESE VEHICLES:
- 1/8″ neodymium magnets
- Green stuff (kneadatite)
- Gorilla Glue
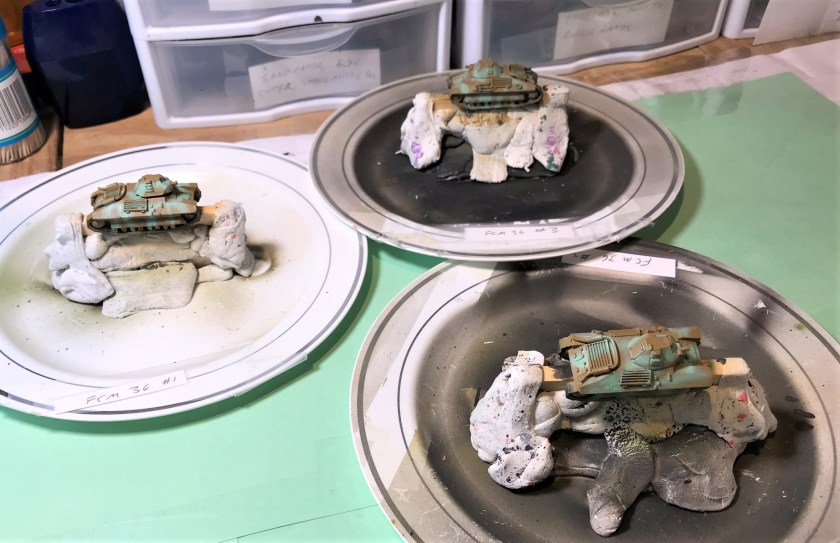
- Poster tack and ¼” square wooden dowels on plastic plates
- Vallejo “Surface Primer – Black”
- Vallejo “Flow Improver”
- Vallejo “Airbrush Thinner”
- Vallejo Model Air “German Green Brown”
- Vallejo Mecha Color “Green Blue”
- Vallejo Mecha Color “Brown”
- Battlefront “Black”
- Battlefront “Dark Gunmetal”
- Vallejo Model Air “Wood”
- Vallejo Mecha Weathering “Dark Rust” (wash)
- Army Painter “Light Tone” (shade)
- Vallejo Model Air “Satin” (varnish)
- Microscale Micro-Set
- Microscale Micro-Sol
- Microscale Liquid Decal Film
- Appropriate decals from Battlefront
- Citadel “Typhus Corrosion”
- Citadel “Ryza Rust”
- Army Painter “Strong Tone” (shade)
- Vallejo “Light Sienna” (pigment)
- Vallejo “Light Slate Grey” (pigment)
- Vallejo “Pigment Binder” (pigment)
- Vallejo Weathering Effects “European Splash Mud”
- Vallejo Mecha Varnish “Matt Varnish”

Fantastic work on the tanks Mark, was interesting to see how you painted your tanks, and the game looked like a blast, quite literally at times
LikeLiked by 2 people
Thanks Dave. The camo pattern on these was different from my other French tanks as I used one I saw on an FCM 36 in the Tank Encyclopedia. The camo pattern on the surviving one at Saumur is still different, but I thought I could pull this off easier given the sizes if these babies.
LikeLiked by 2 people
Lovely work on those lil’ Frenchies mate! I love it when a non-gamer rocks up and throws outrageous dice 😉
LikeLiked by 2 people
Cheers Alex! It was cool!
LikeLiked by 2 people
Love the work on the little tanks Mark along with your military knowledge and precision in keeping notes on everything you do. I wish I had that discipline to record colour mixes, it would safe a lot of work and time in the end. The game looked fun but I reckon 6 sixes was the result of a loaded dice! 😉
LikeLiked by 2 people
Thanks Dave – I appreciate your noticing that. I find that it helps me a lot when going back to a similar project as I would likely never remember otherwise what exactly I did. So it does end up saving me a lot of time! Plus, one of the goals of my blogging is to provide others some ideas that they may not have thought of in terms of materials and techniques. Not that I’m a master in any way, but I learn as I go, and want to share.
As far as the dice, I know that six sixes was a spectacular result that would be on one very far end of the bell curve (and worthy of capturing as a photo). The game subsequently saw more misses and a number of threes and snake eyes rolled with two dice, To give you an idea, in the game the big dice I showed are used for different actions. So if I use a die to shoot or move, I usually roll two other D6 to see what happens. If moving, it could be two inches to 12 inches. To shoot and hit a target, you roll two D6 and add them together – needing usually a six or better total to hit the target. There were so many misses early in the game (unlike my wife’s rolls). So the dice giveth, and the bell curve taketh away! Cheers!
LikeLiked by 2 people
Those look great if rather diminuative.
The game looked like it was great fun too.
Cheers,
Pete.
LikeLiked by 1 person
Brilliant! FCM 36s! I’m quite jealous! I’ve never had a model of one of them and you don’t see many, so well done in getting them done! I really like them and nice to see a pretty decent French tank force in action there! 🙂
LikeLiked by 1 person
Great stuff again, Mark. Once I get around to compiling last year’s challenges, I’ll certainly be including these. I’m in no rush right now, but they will (eventually) still happen!
Reading (and re-reading through the last few posts – backwards) got me thinking about priming of metals. You mentioned that you had issues with doing that – I know the weather where uou aree can make it difficult, but have you considered spray (rattle/aerosol) cans? That stuff goes on really nicely, and there are a good number of legitimate military primer colours available from Plastic Soldier Company and now Vallejo as well.
LikeLiked by 1 person
That’s great to hear. I can only imagine how much work went into compiling your painting challenges. I very much enjoyed being part of them and what you did with them.
I actually went to priming and varnishing by airbrushing because using rattlecans in New England is limiting because of weather and I won’t do it indoors. Since I moved to airbrush applications of primer and varnish I only use that method. Now I actually have 3 airbrushes! Much easier and much better results. And my production is much higher and less complicated planning wise (ie waiting for rattlecans conditions to be right no longer gets in the way).
LikeLike