This month, in between other projects and recovery, I worked on several terrain pieces for use with my Star Rovers figures and the Combat Patrol™ gaming system. Some I got earlier in the year from WorldWorks Games on Amazon, others I got on eBay that were from Armorcast Battlefield Scenery, others I made – and some I just don’t know who made them. I’m hoping to use these at The Battle Standard in Auburn soon after coordinating with the owner, Jared Brodeur.
Normally I have more detail (how-to), but I lost most of the details of these terrain projects, as I had a few that I had to rework. I think the pictures below are hopefully sufficient. I was really happy to try new techniques with rust applications using a “pointillism” technique with a combination of Polly-S (“Rust”) and Vallejo (“Rust” 71.069 and 71.080) paints. I mounted all of the terrain pieces on flat steel basing pieces.
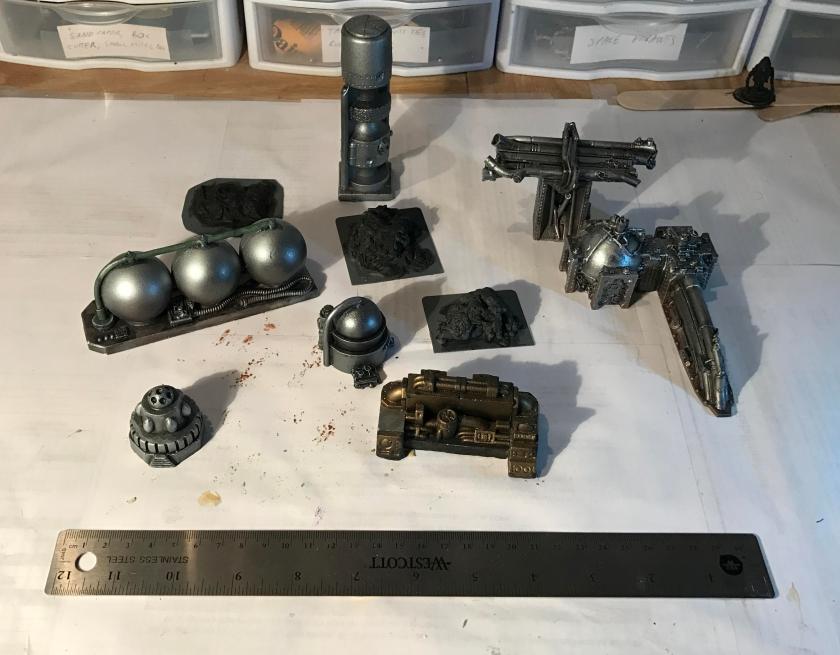
The mostly Armorcast “set” I got on eBay were various refinery or industrial pieces that were airbrushed silver and gold, and that did not work for me. I wanted the industrial ones to be more dirty and rusty. I ended up painting some of them with various colors, and then using Army Painter Quickshade “Soft Tone” to shade. I was not happy with most of these results, especially the Quickshade effects. I repainted them, some with bright colors for the newer pieces of terrain, and with rust for the grittier ones, and then used spray varnish to seal. Luckily, the Testors “Dullcoat” actually had a “crackling” chemical effect on one of the industrial tanks which worked well – (note – this was not an Armorcast piece and was likely homemade with some type of Styrofoam). I was surprised as there was already a lot of paint and varnish on it at that point – but it was minimal and I liked it anyways.
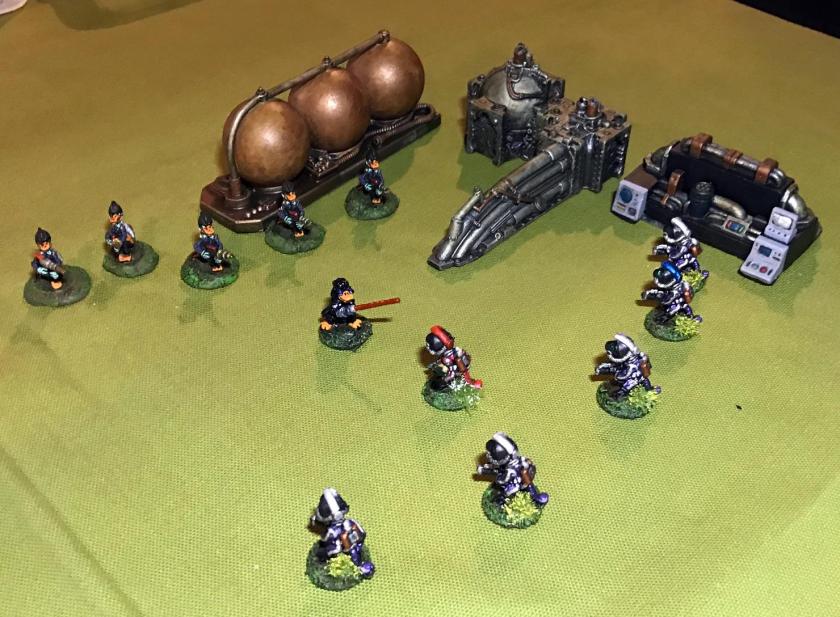
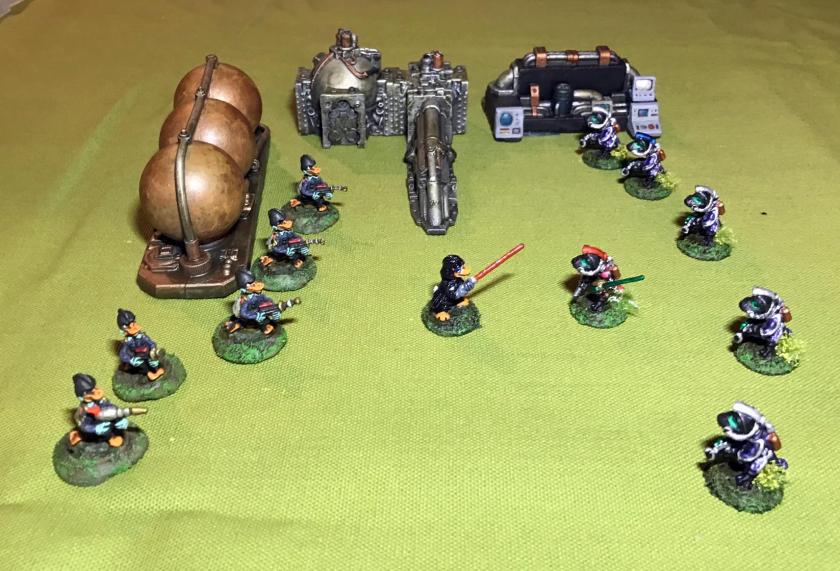
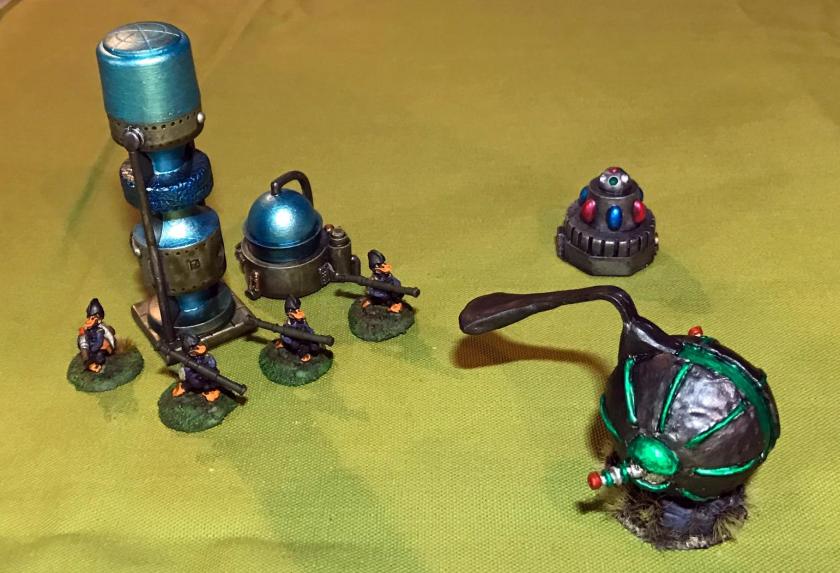
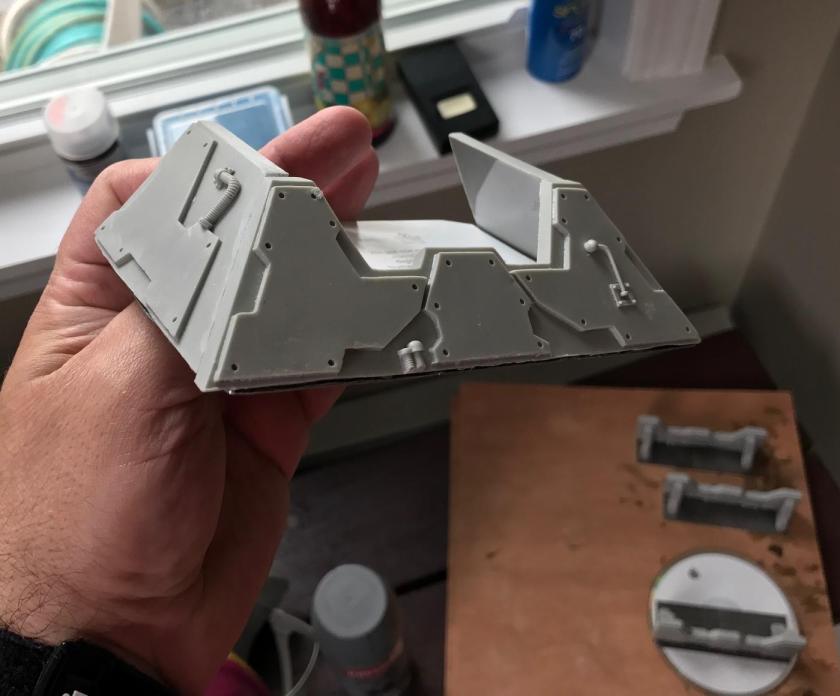
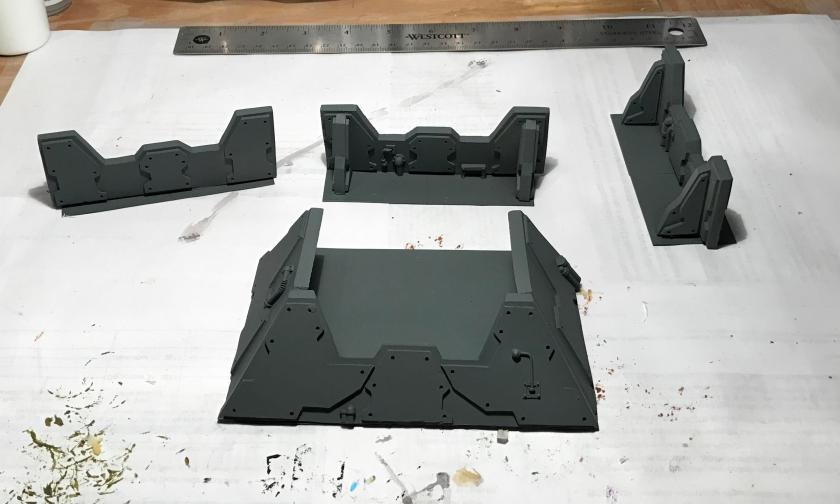
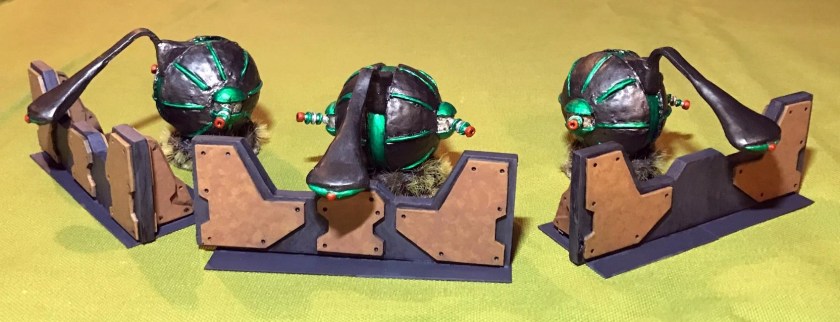
The initial set of mostly Armorcast terrain I got on eBay, plus the slag mounds I made. This is how I got them. The triple tank is the homemade one that the varnish affected. The pipeline/industrial terrain after repainting (and repainting). Duck Vader and his Star Ducks confront Power-Armored Frinx led by their platoon leader. Frontal view of the skirmish – light saber versus light cutlass! Aphids on Grav-Cycles swing around a ruined overhead pipeline to swarm attack a Frinx Mark 1 Sphere tank Star Duck Bazookaducks ambush a Mark 1 in front of a large moisture condenser, a cryo unit, and a small power unitThe WorldWorks Games set consisted of a bunker, and three barricades. They are for 28mm for sure. The bunker was used, and difficult to assemble well with super glue. I ended up using steel base material, popsicle sticks, wood glue, and cardboard to assist in the construction. Here, I really liked my use of the rust pattern that I discussed earlier.
Assembled barrier before priming Assembled bunker, front view, before priming Assembled bunker, back view, with cardboard mounted on popsicle sticks mounted on steel bases Bottom of the bunker – I needed to trim the steel bases and file off sharp edges After priming with gray A Star Duck Mortarduck crew operates from the finished bunker Three Mark 1 Sphere tanks set up in defensive positions behind the barriersLastly, I had three slag mounds that I mounted on two old CD’s. The slag was a byproduct of my casting projects. For these, I had a “Red Planet” plan, and used Citadel “Martian Ironcrust” and “Martian Ironearth” to good effect, as well as different washes.
An Aphid squad and their robot assault gun patrol the slag moundsIt’s a good start and I’m sure I could use some buildings and other things, but that I will get to in due time!
May was a slow hobby month as I spent some time recovering from the surgeon’s blade!
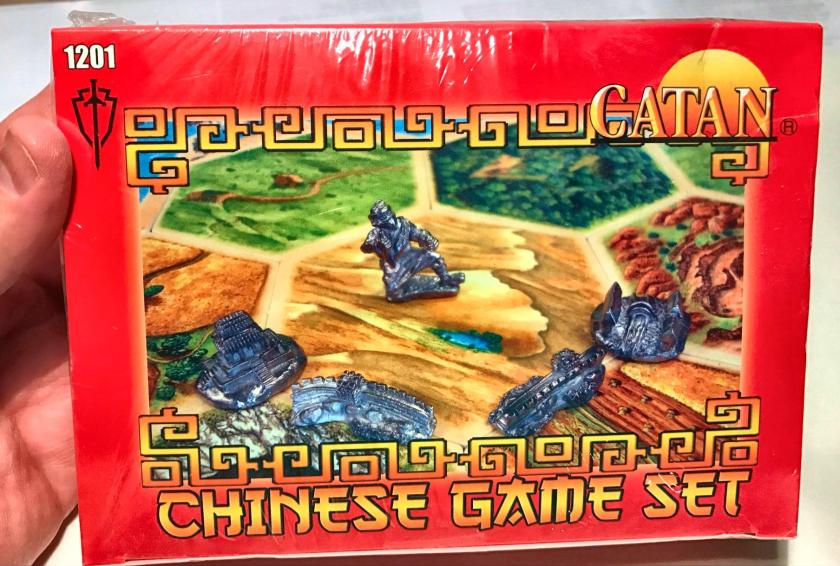
One of the projects that I started in April and completed in May was another RAFM game set for the Settlers of Catan game. It was a gift from my daughter and son-in-law, and I had it in the painting queue for a while. The set is made of white metal (likely britannia). I had completed most of the painting in April, and finished and varnished the project in May. Each set consists of figures that represent 15 roads, 5 settlements, 4 cities, and one robber. This one is Chinese-themed, and joins my Viking and Egyptian sets. I opened the set, cleaned up and filed some loose casting remnants, and washed everything with mild soap and a toothbrush. After a good rinse and a thorough drying, they were ready to paint. I decided to go with a red and gray theme, which are my Fitchburg High school colors!
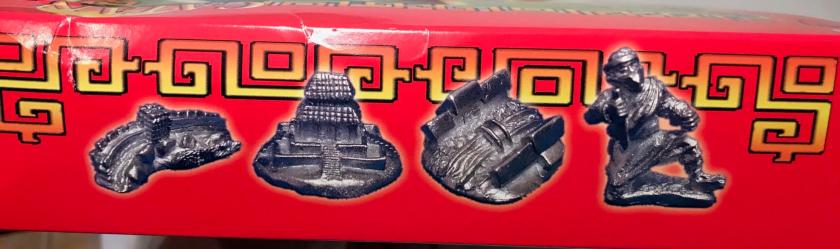
Game set box, unopened
Side detail of box
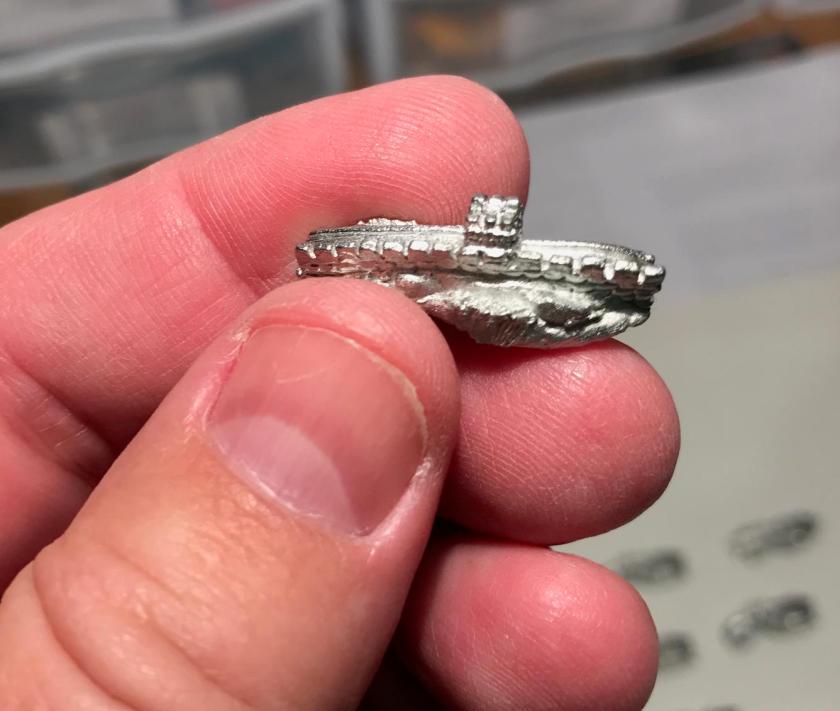
Unpainted road
Unpainted settlement
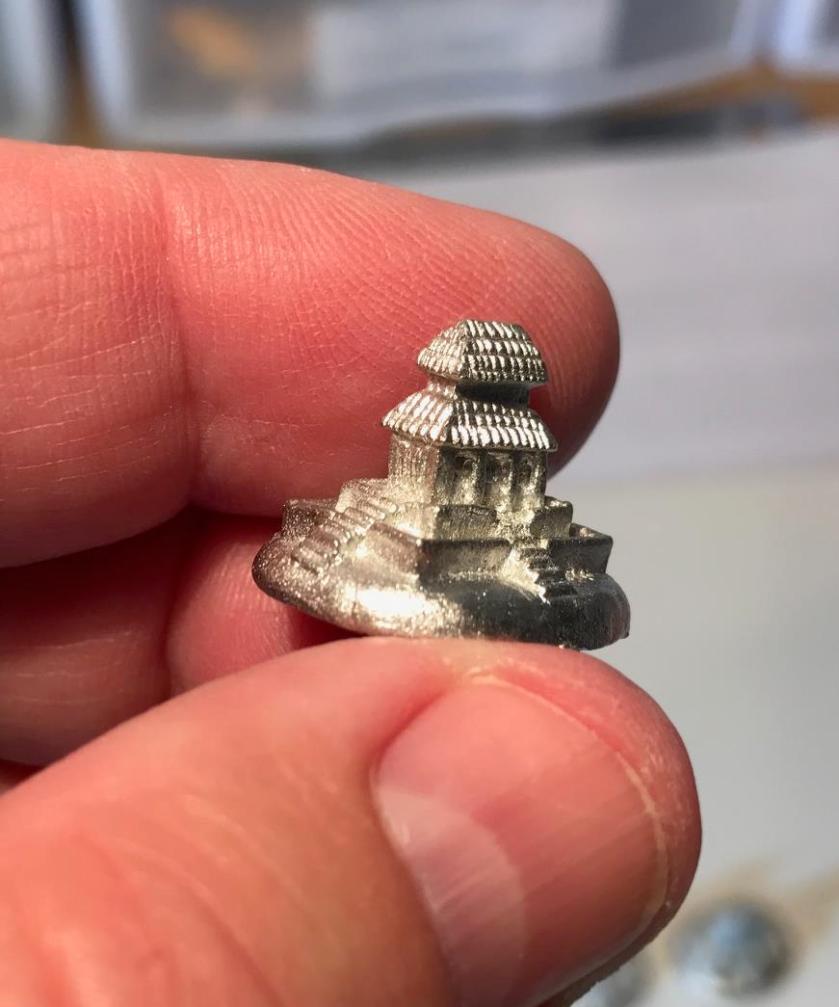
Unpainted city
Unpainted robber, front view
Unpainted robber, back view
As you can see above, the details of the figures are variable. The robber really was not well-detailed, and I attempted to rectify this with the brush. On the previous two sets, I mounted all of the figures to popsicle sticks for ease of painting. I elected not to do that this time as I did not want to have to deal with painting the undersides with affixed glue. I did mount the robber on a 1″ steel washer. This was fine.
I made a change again and used a brush primer as April was very cold and I did not want to wait until New England cooperated with 50°F – and that was a good call. I used Citadel “Imperial Primer” slightly diluted with Testors “Universal Acrylic Thinner” in two coats for priming. I then drybrushed all the figures with Americana “Santa Red”. My next step was to use Secret Weapons Washes “Red Black” ink and apply a thorough wash all over the figures. Then I painted the trees and bushes on the road sections with Armory “Chestnut Brown”.
In progress – I put the figures on the pallet and used it as a surface to paint almost everything
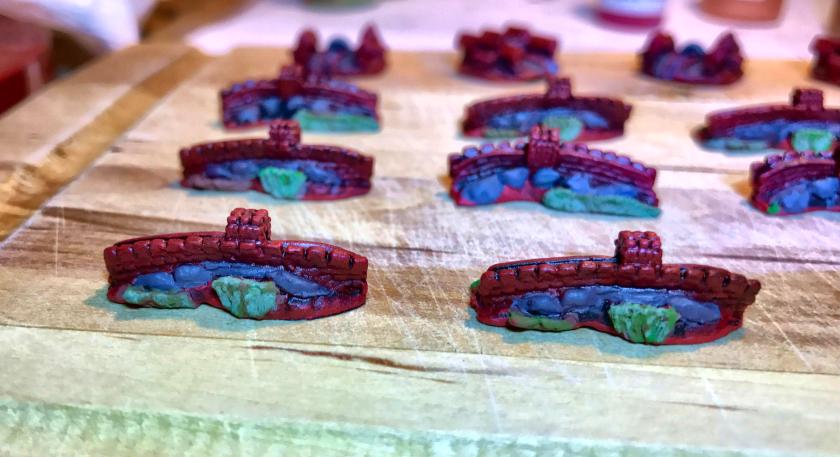
On the roads (which resembled sections of the Great Wall), I painted the boulders with Americana “Zinc”. I then applied another wash with “Red Black” ink. To create the effect of the greenery, trees, and shrubs, I highlighted successively with Citadel “Niblet Green” and “Nurgling Green”.
On the settlements, I painted the paved spaces between the buildings and the river and the bridge with “Zinc”, followed by a coat of “Red Black” ink on the pavement. The river got a treatment of Americana “Sky Blue” followed by Reaper MSP “Blue Liner” as a wash. The river edges and buildings were highlighted and lined with Vallejo “Red”.
For the cities, I used “Zinc” on the stairways, and more “Red Black” ink as a wash. I then highlighted the walls and framework of the large temple with the Vallejo “Red”.
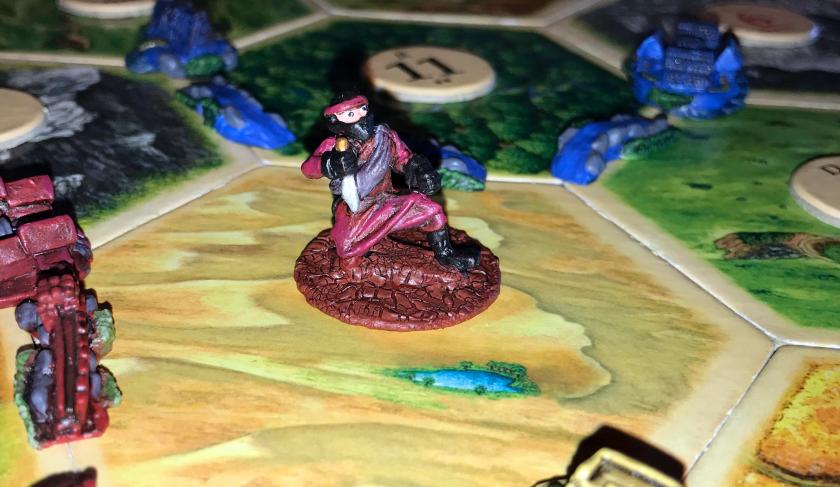
I did not go crazy with the robber as I really was unimpressed with the figure. He looked like a Japanese Ninja in a Chinese set! So I used the same patterns with the same reds as the other figures. I painted his bedroll with “Zinc”, his bandana and gloves with Americana “Ebony”, and his hair and boots with Americana “Onyx”. P3 “Midland Flesh” was my choice for his face, with Vallejo “White” and “Ebony” for the eyes. I highlighted his headband and his robes with Vallejo “Red”. On his dagger I used FolkArt “Gunmetal Gray” highlighted with Tamiya “Titanium Silver”. For the handle of his dagger, I gave him a splash of Citadel “Gehenna’s Gold”. On his base, I used Citadel “Martian Ironcrust” and a blow dryer to create the crackling effect. And again, I added more “Red Black”.
Roads before varnish
I also want to note here that the bottoms of all of these figures were painted with the same red combinations. Lastly, as these are game pieces, I wanted to give them a good protective coat of varnish from bottom to top. They all got three successive applications of varnish with sufficient drying time in between. Of course, I needed a warm day (above 70°F) for this. I used Krylon “Glossy”, followed by Krylon “Clear Matte”, followed by Testors “Dullcoat”.
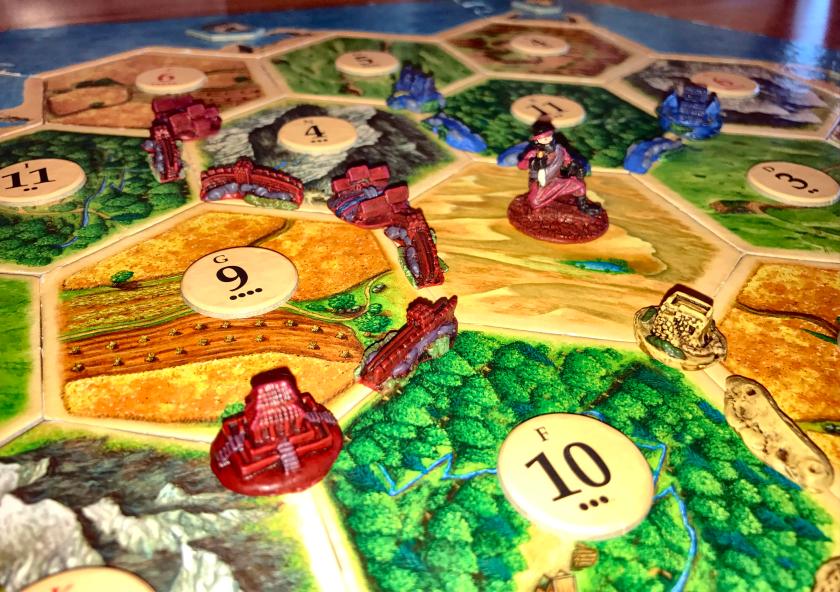
On the Catan board – with the Viking and Egyptian set
Robber, settlement, and road close up
I am satisfied with the project – and now I only need one more (the Bavarian set) to have all of them. Certainly a worthy gaming project!