

In the world of the Wars of Ozz, Pirate-General (Admiral) Jinjur is said to:
sail on the (Great Nonastic Ocean). She commands a flotilla ofships big and small, all crewed by female pirates. Her pirates board ships and raid seaports, ruthlessly overwhelming any resistance.
Wars of Ozz, Section2.6.6, The Lands Beyond Ozz, pages 45-46
Her pirate forces are composed of females from all over Ozz – so her troops are made up of Gillikins, Munchkins, Winkies, and Quadlings – all the main races of Ozz.
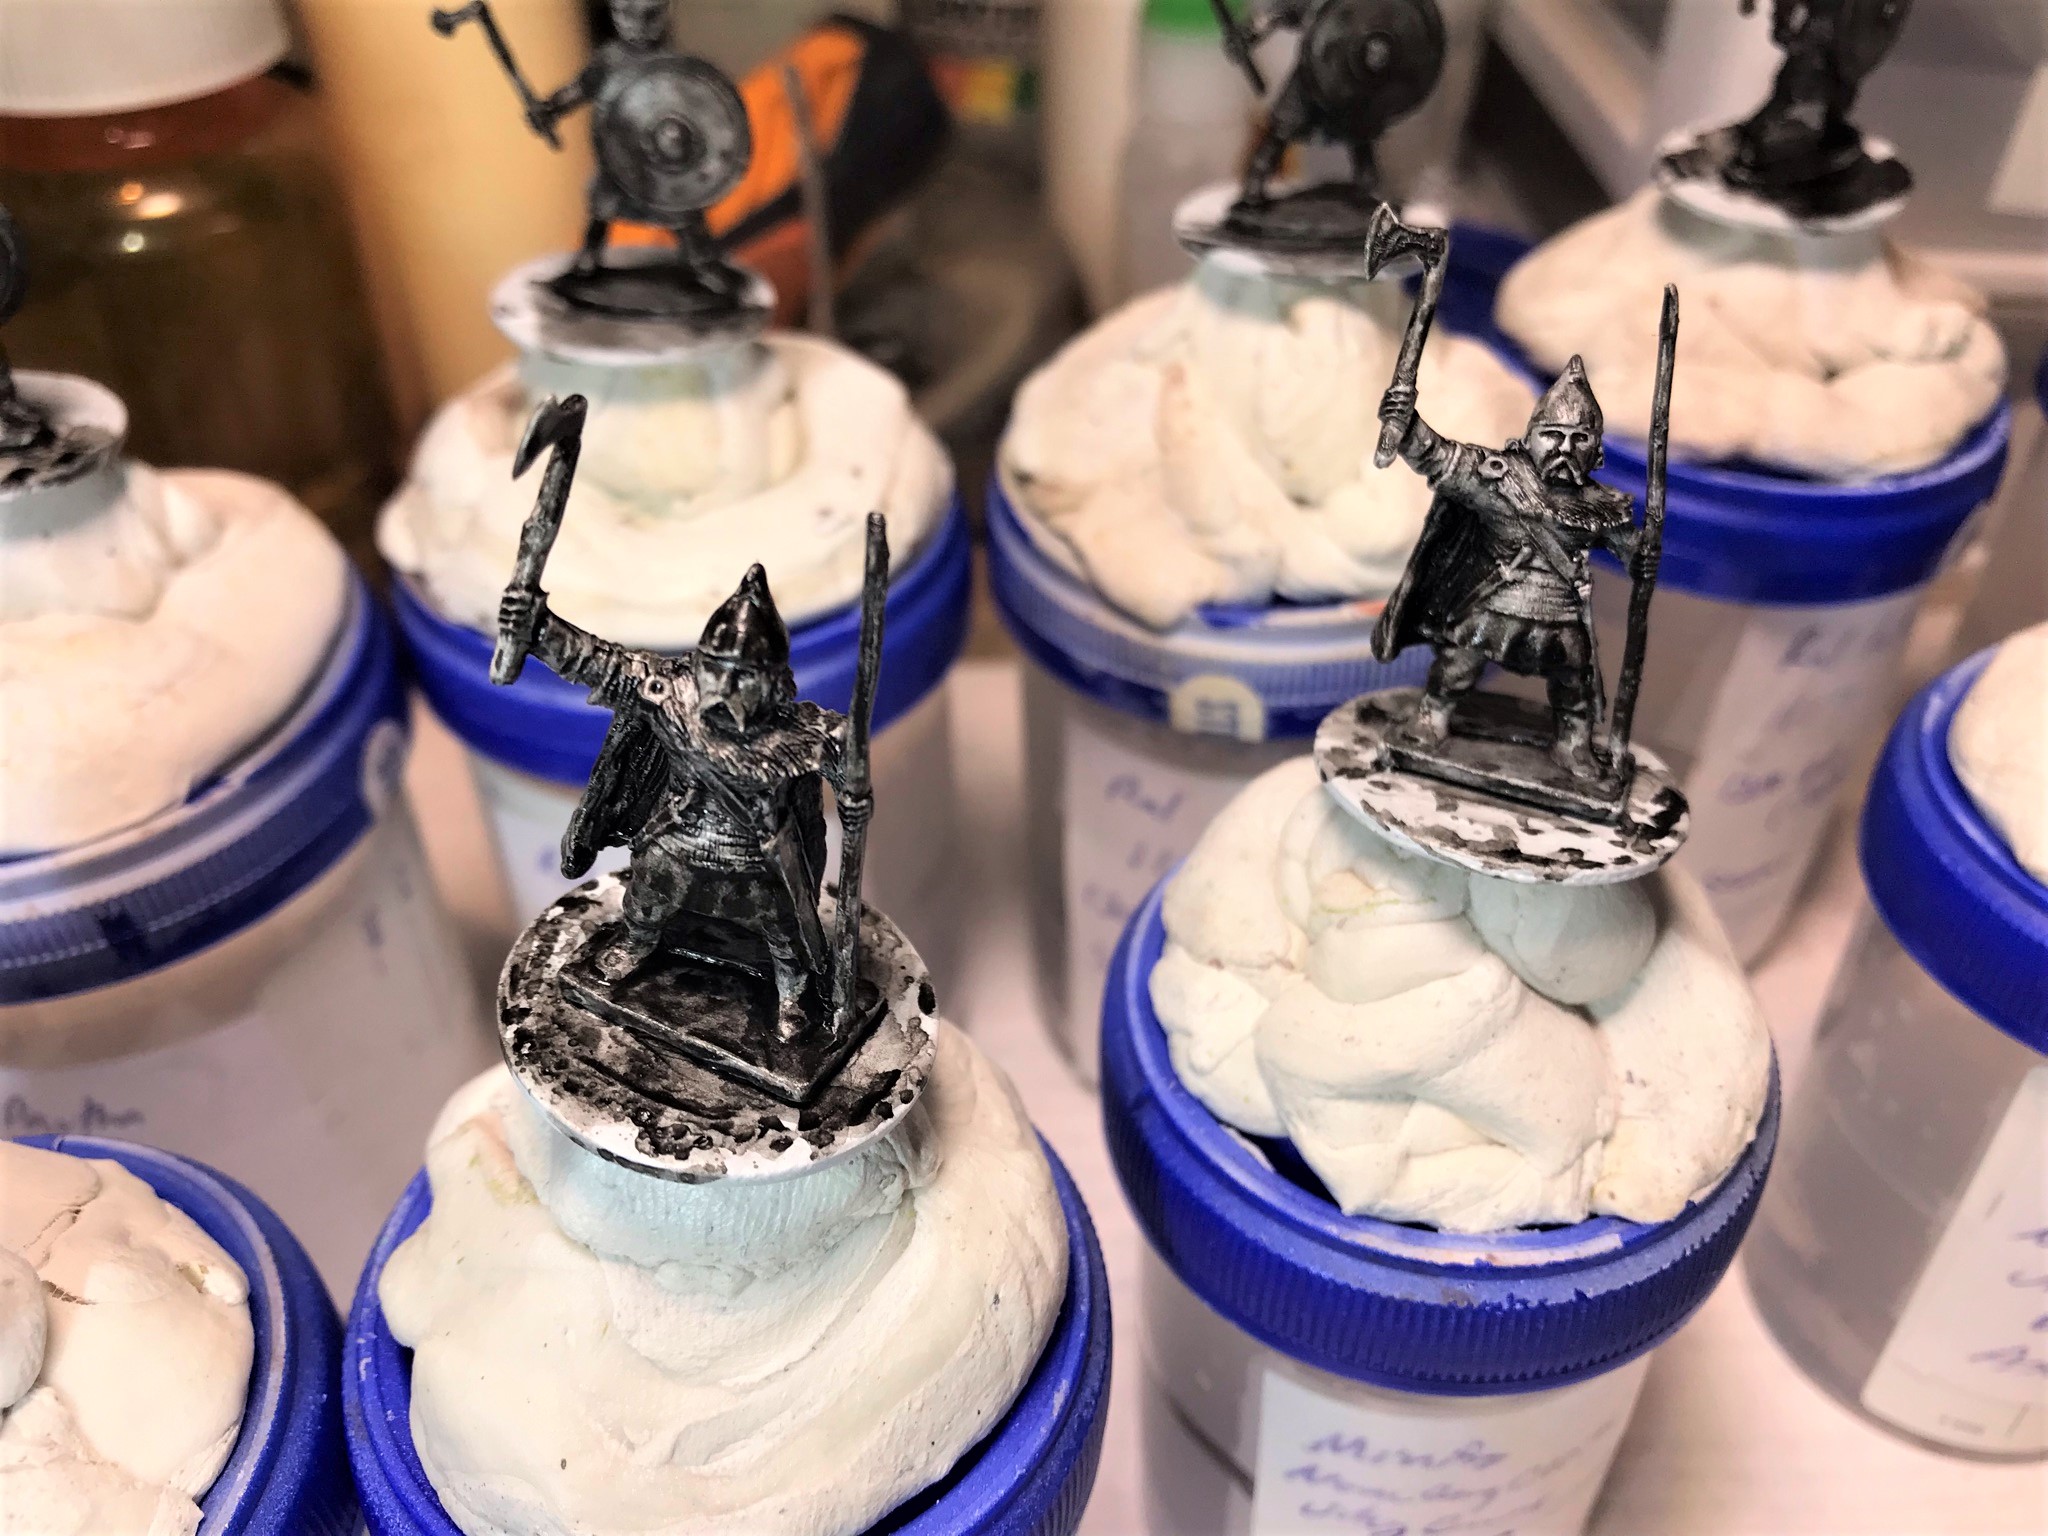
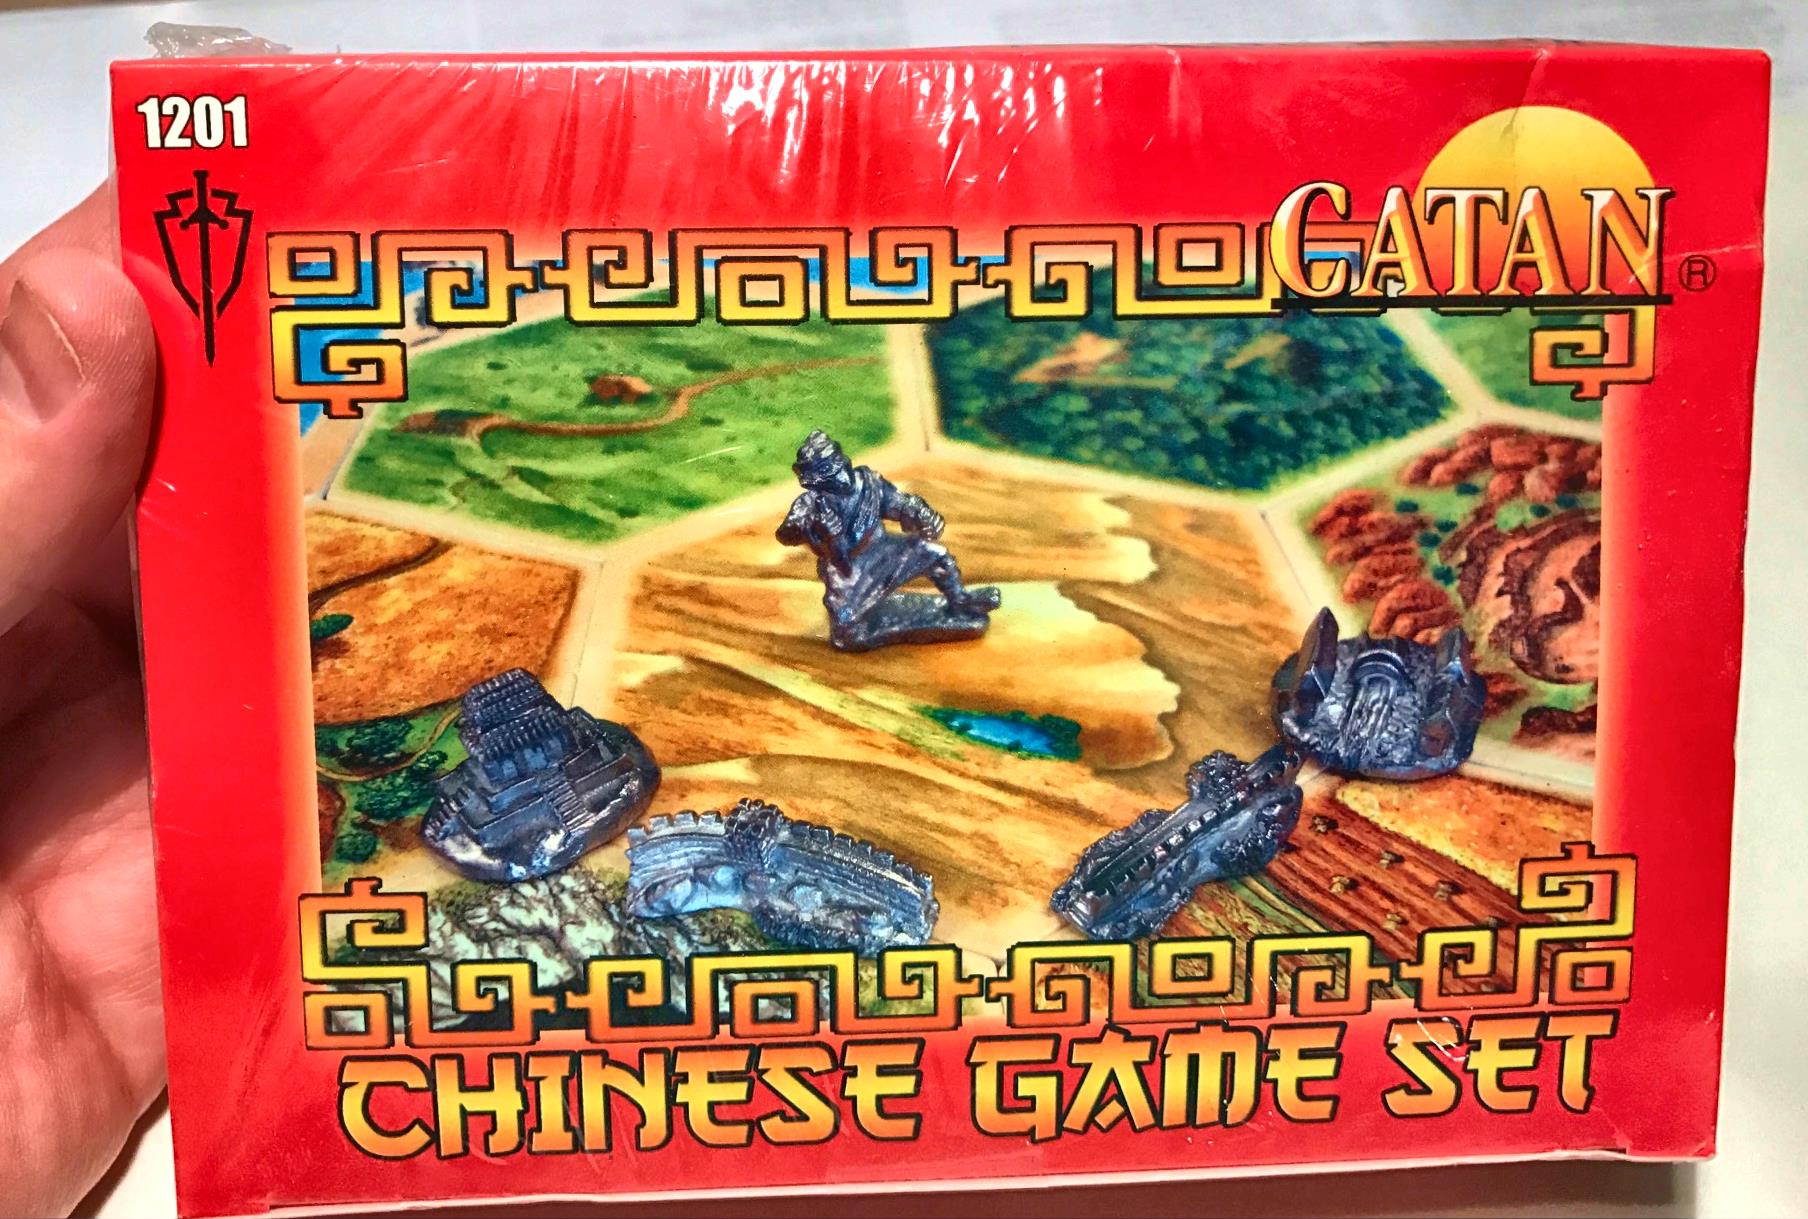
Because I participated in the Kickstarter for Ozz a few years ago, I got a bonus of 4 of these figures for Admiral Jinjur’s Female Pirates (AJFP), SKU #OZZ-516 with my initial order. Later, when I bought a number of Gillikin-affiliated Ozz units from a UK estate sale – I was surprised to see that three fully-painted stands of AJFP had been thrown in the shipment. This left me with a need for another just 4 figures to round out the group for a full regiment of 5 stands/20 figures. Russ Dunaway was kind enough to get me not just 4, but 10 more – which if you are doing the math added up to 4 (Kickstarter) + 12 (estate sale) + 10 (Russ) = 26! Now, I could have said, ok, that’s enough for 20, but part of me decided to push the envelope for two full regiments. Rather than beg Russ again, I decided to roust out from my lead pile 14 Old School female warriors – mainly Amazons, halflings, and female fantasy types, and convert them into appropriate AJFP’s. These would be 25mm Ral Partha, Citadel, Ral Partha Imports, RAFM, and Grenadier figures, that were 30-40+ years old. I would give them new weapons and paint them up as members of the the various Ozz factions and size them to be close to the 28mm originals in terms of faction assignment.
This post is a definite result of my predilection for being focused on completion of a project. I could simply not move on to the Quadlings and leave these AJFP undone! While I am not IRO when it comes to converting figures, nor Roger when it comes to sculpting with green stuff, hopefully the figures that I will share below will be fine enough for my standards for the tabletop. After finding the suitable candidates for “drafting” into the AJFP, the next question I had was how to organize and use the figures these “draftees”. I decided that because the 12 already-painted estate sale figures had a sandy/beach base, I would make that regiment entirely of original AJFP Wars of Ozz figures on sandy bases. This would take adding two stands – one of Quadlings and one of part Munchkin/part Gillikin.
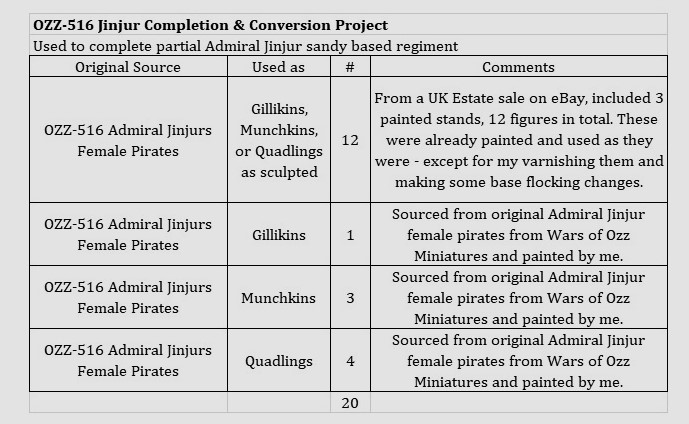
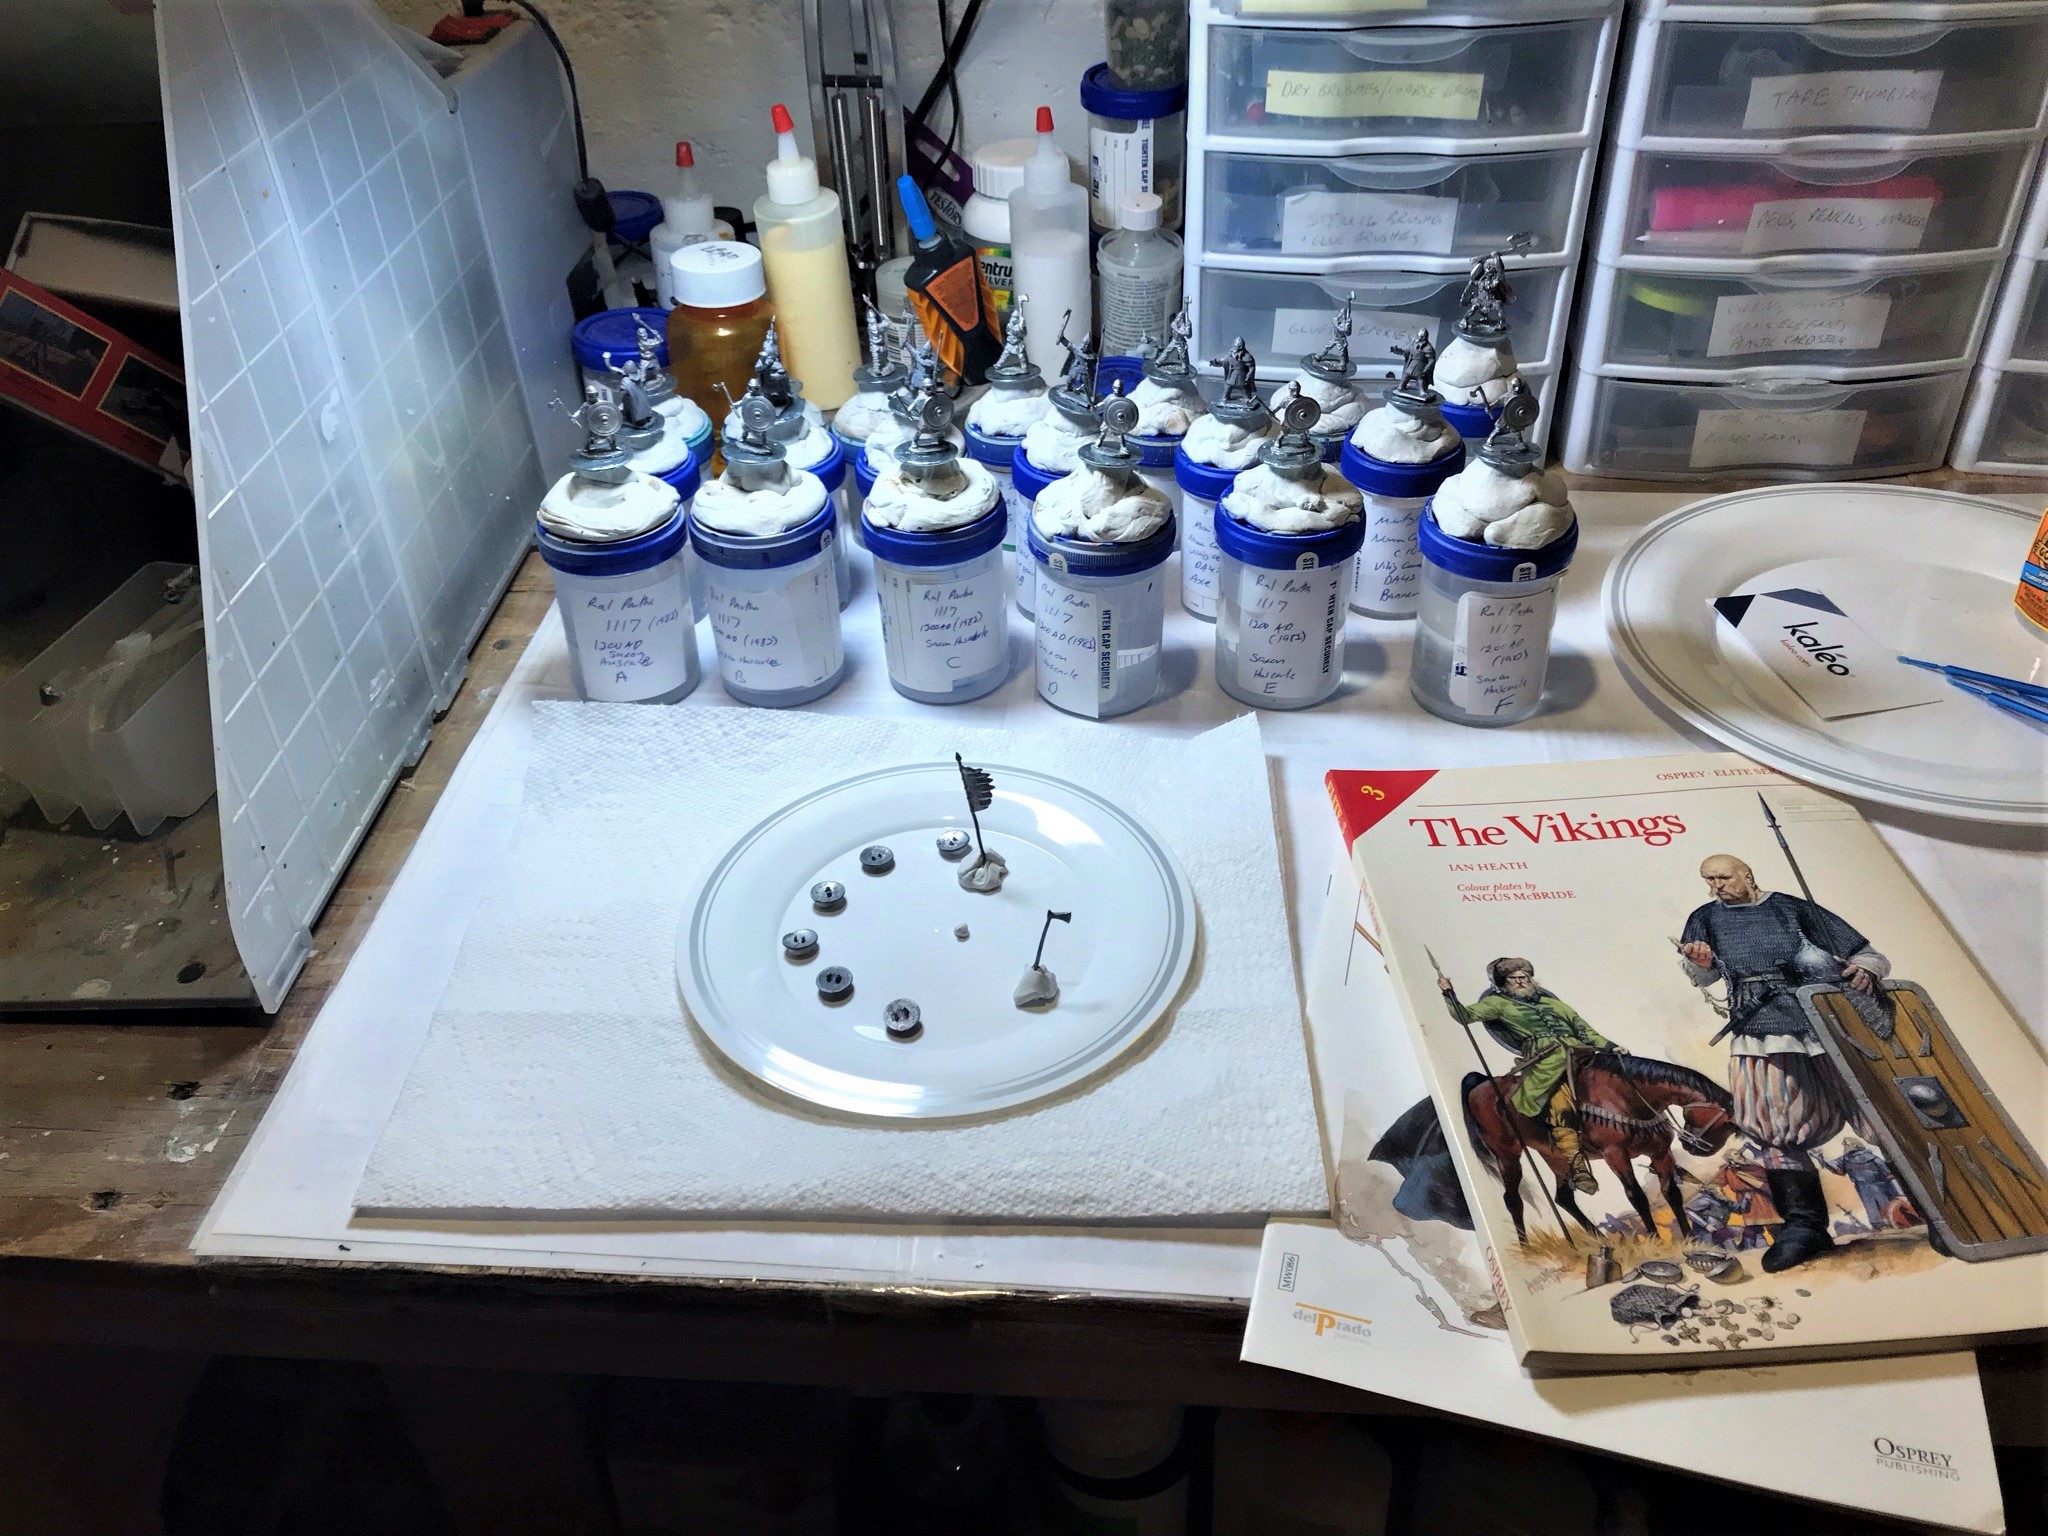
The other regiment would be based on grassy terrain, with a mix of original Ozz and the Old School warriors from the 1980’s. As I like to track where the Old School stuff actually came from, I will be sharing that research as well. Below you see my starting point – with all of the figures plus some of the conversion weapons. Some of the weapons were left over from other projects, and some were some I cast myself years ago. These would help me convert the draftees into more appropriate-looking Ozz types. While I hardly ever deviate from the “official” figures, I thought that this would be fine and a chance to paint up some older stuff and that was most intriguing.

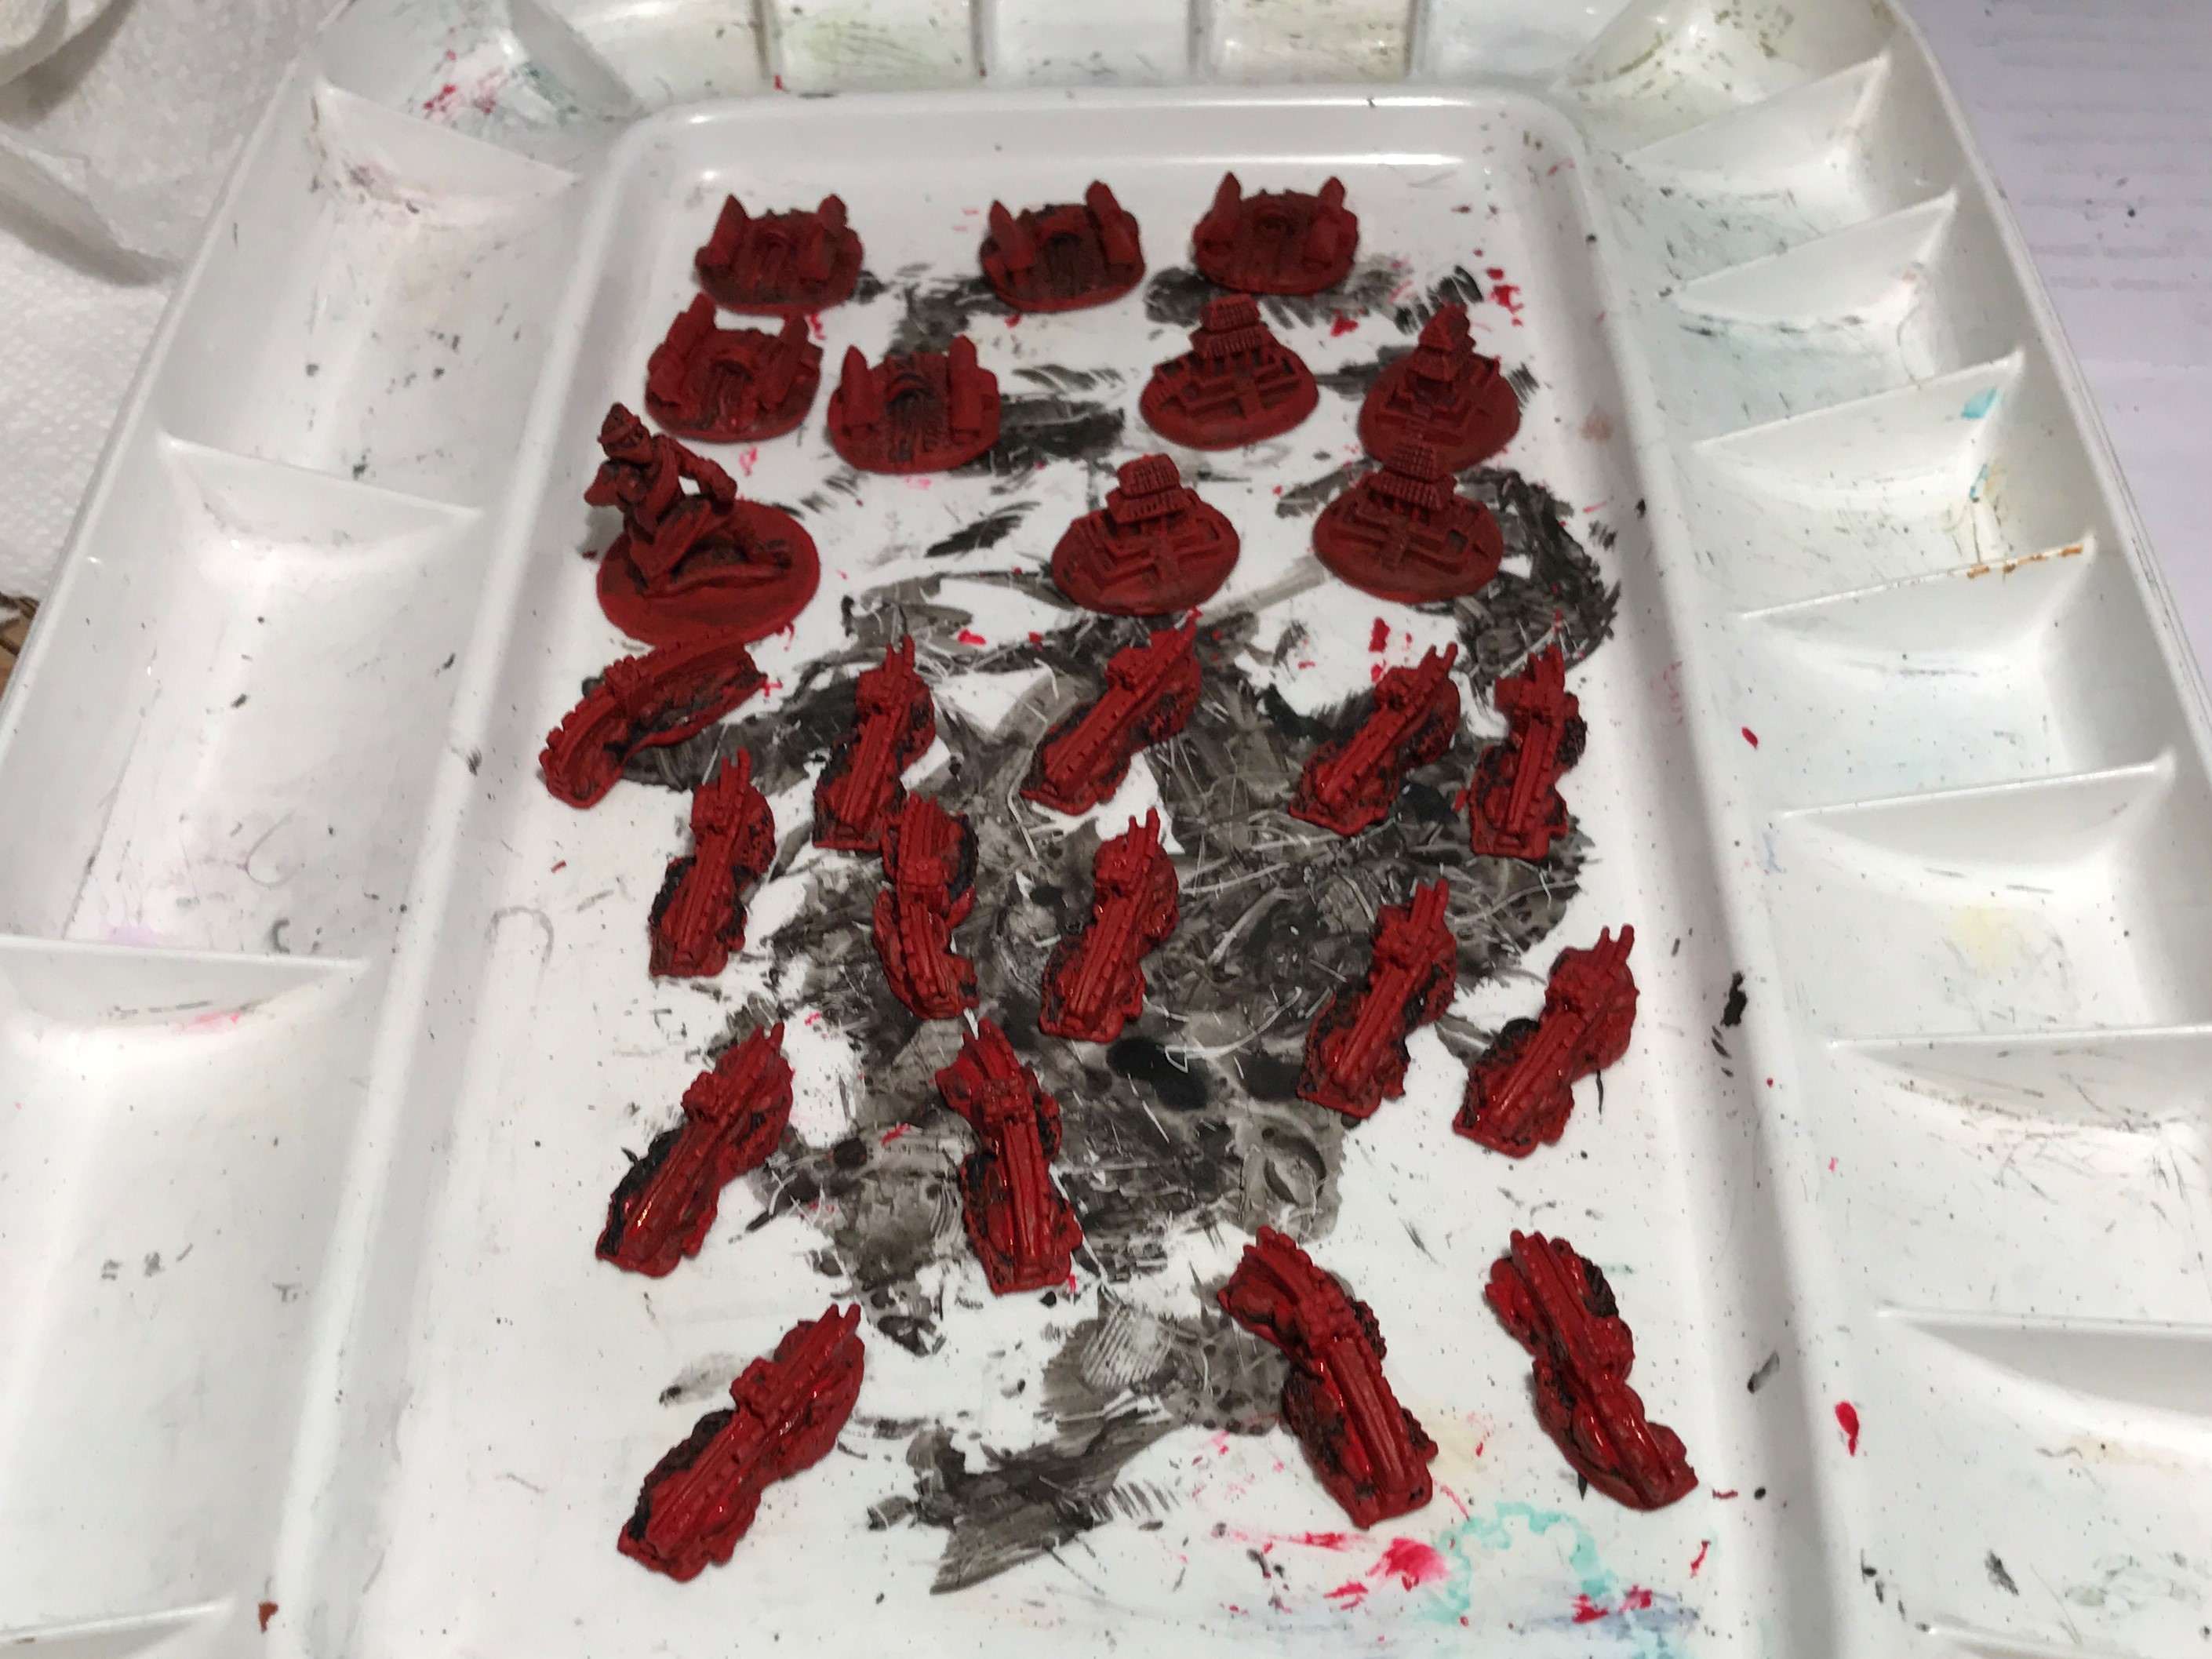
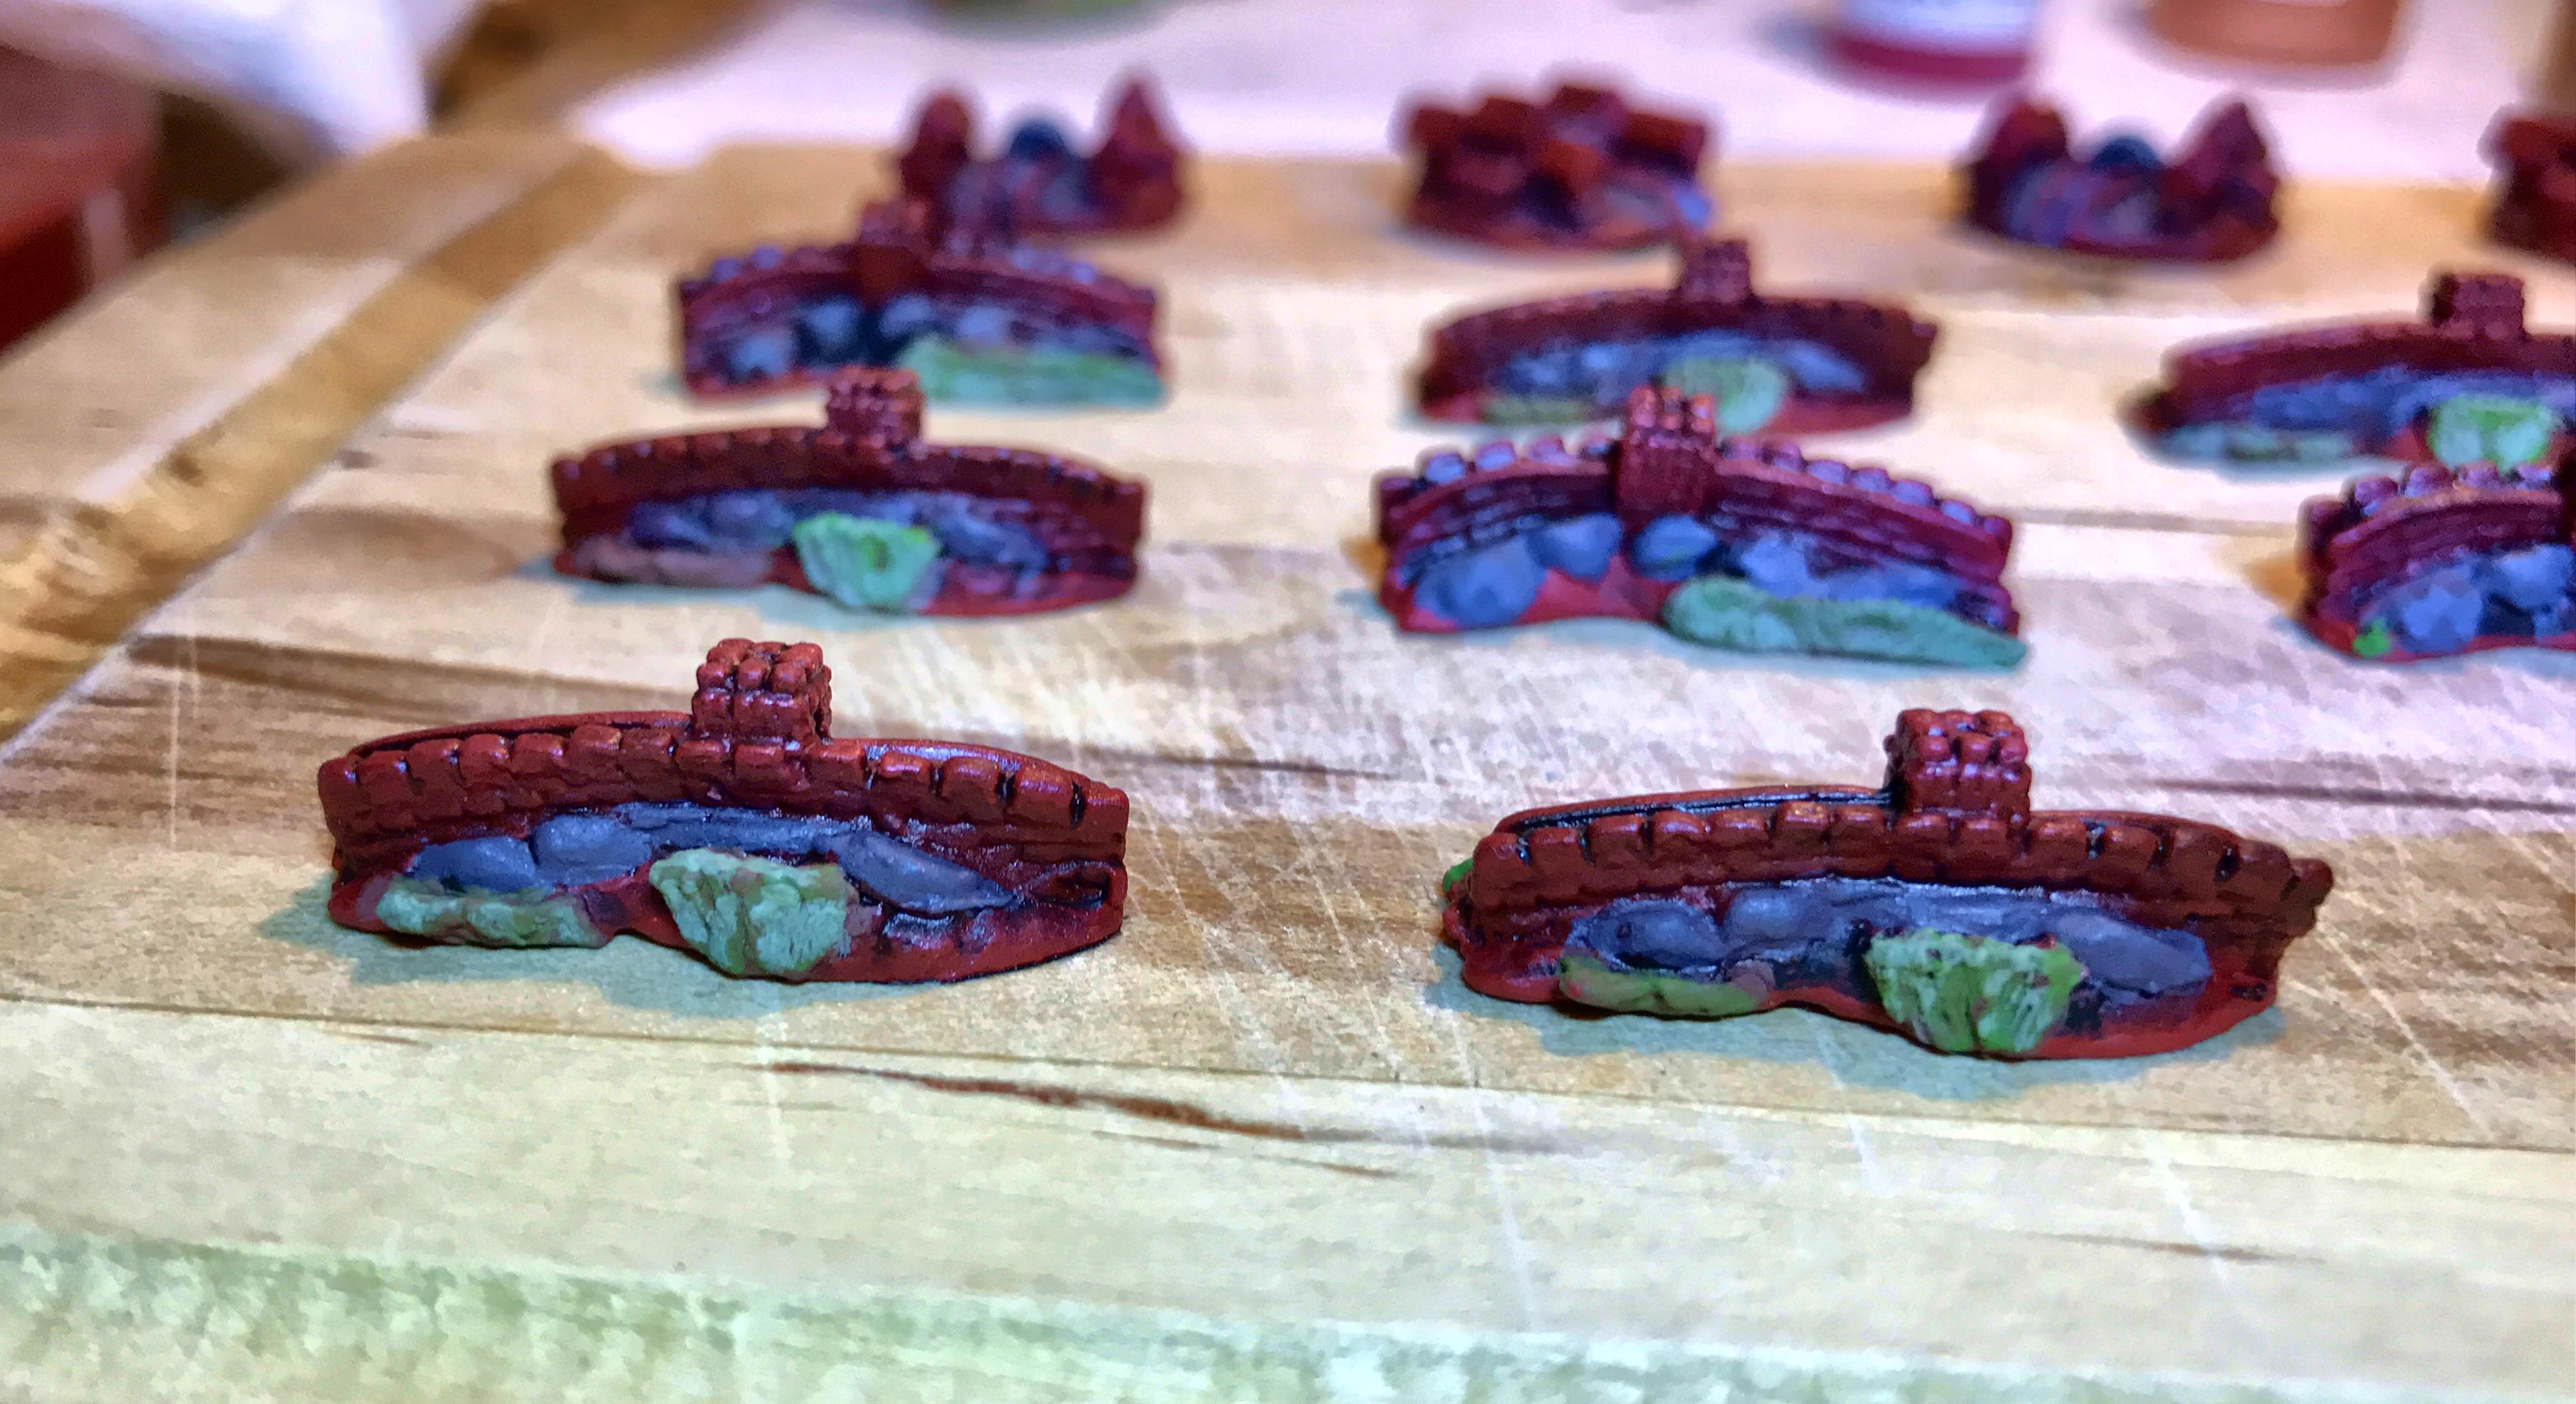
Let’s start with the sandy-based regiment. As I mentioned, all of the figures were canon – original Ozz stuff. I think the three stands of estate sale figures were painted well enough. However, they were not fully varnished, and where they were, it was gloss – and I prefer matte as a final coat. Additionally, there was some paint loss/wear – and I would need to try to have the two new stands look similar to the estate sale stands – which also needed work.


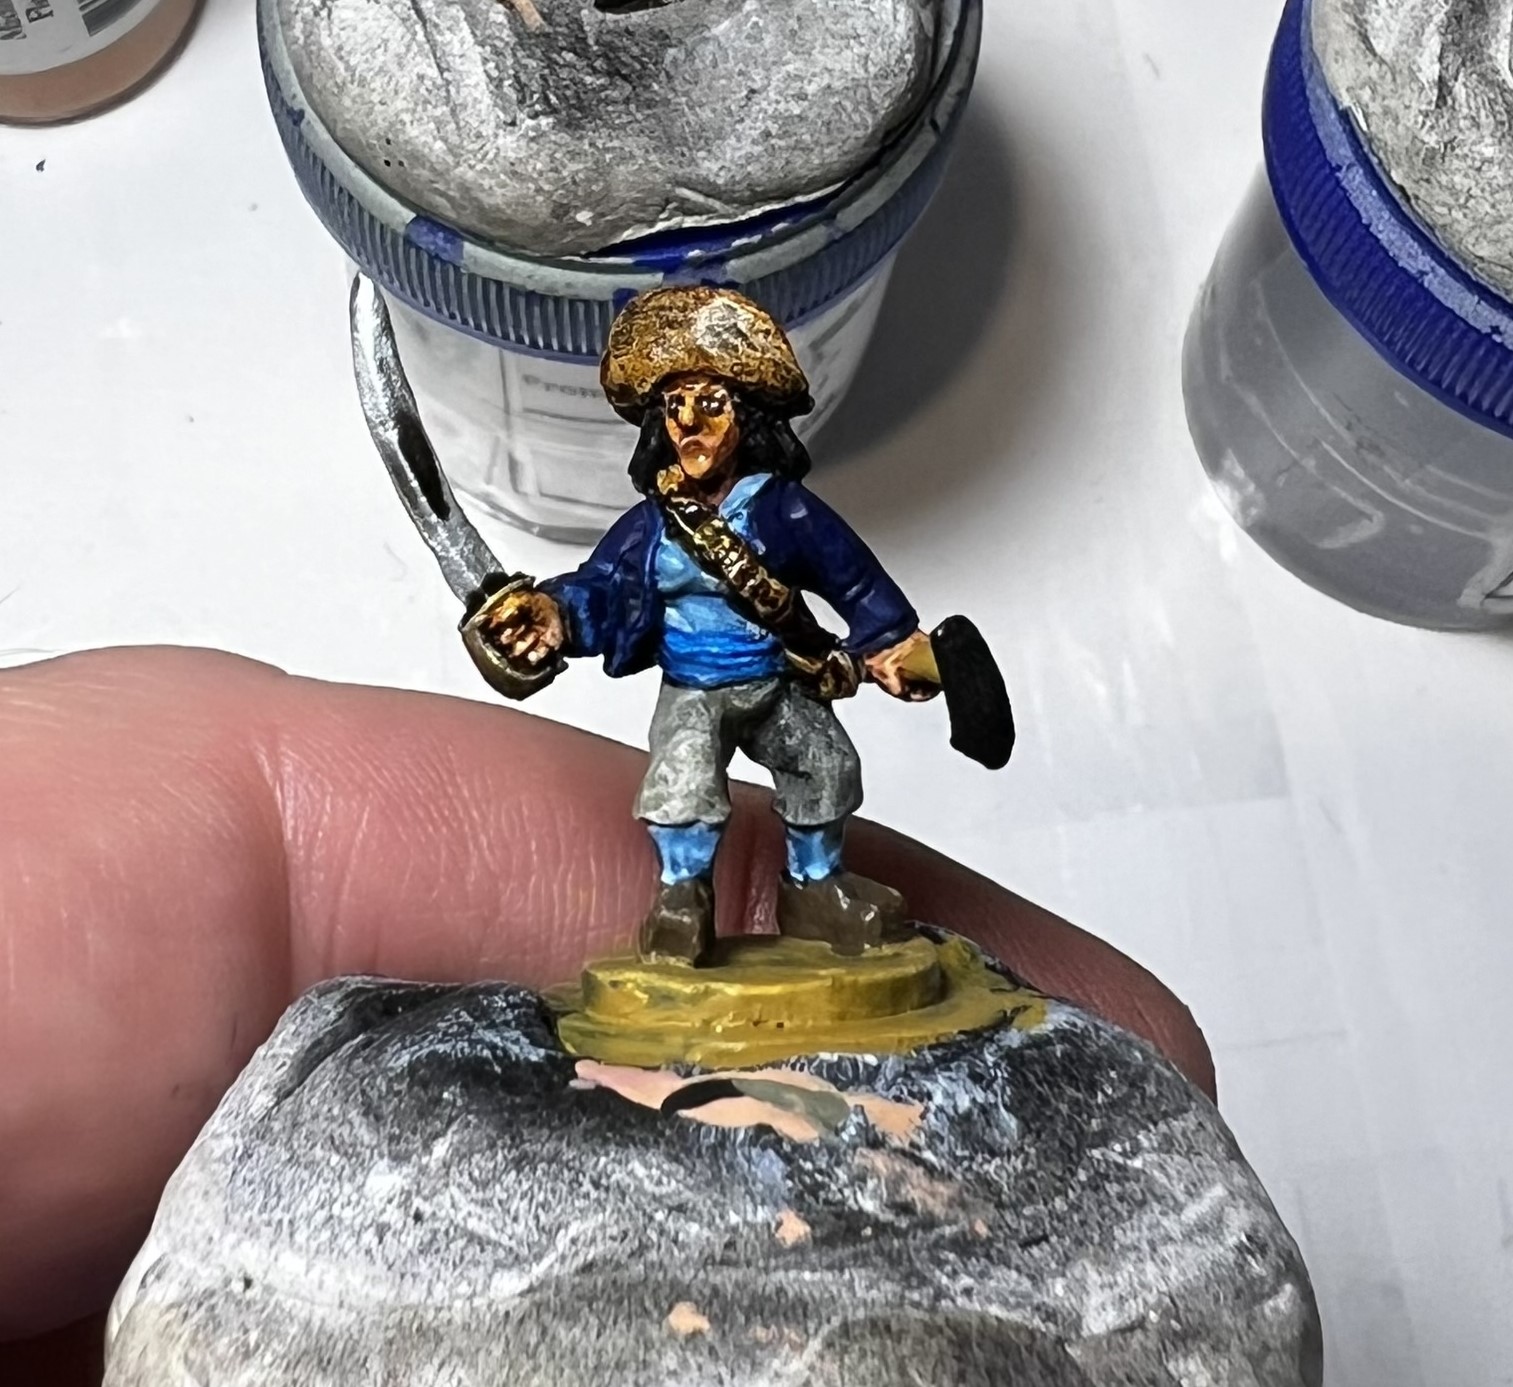
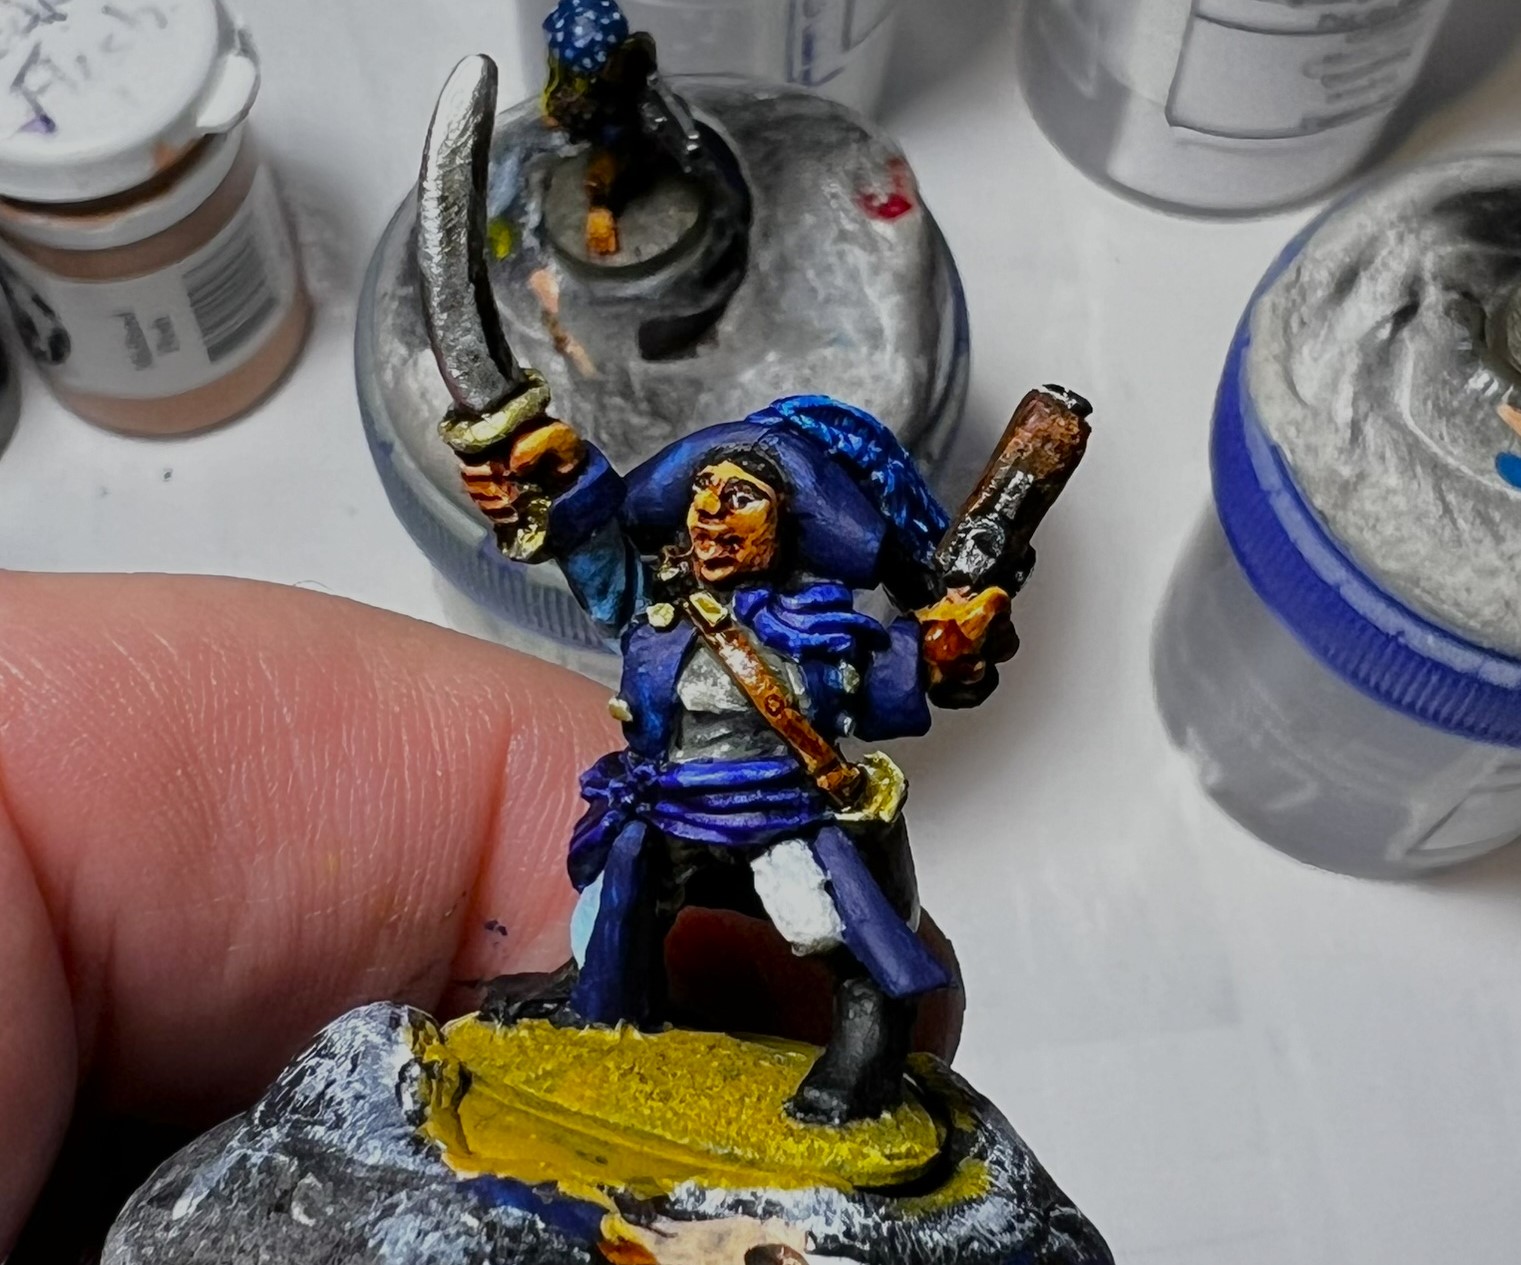
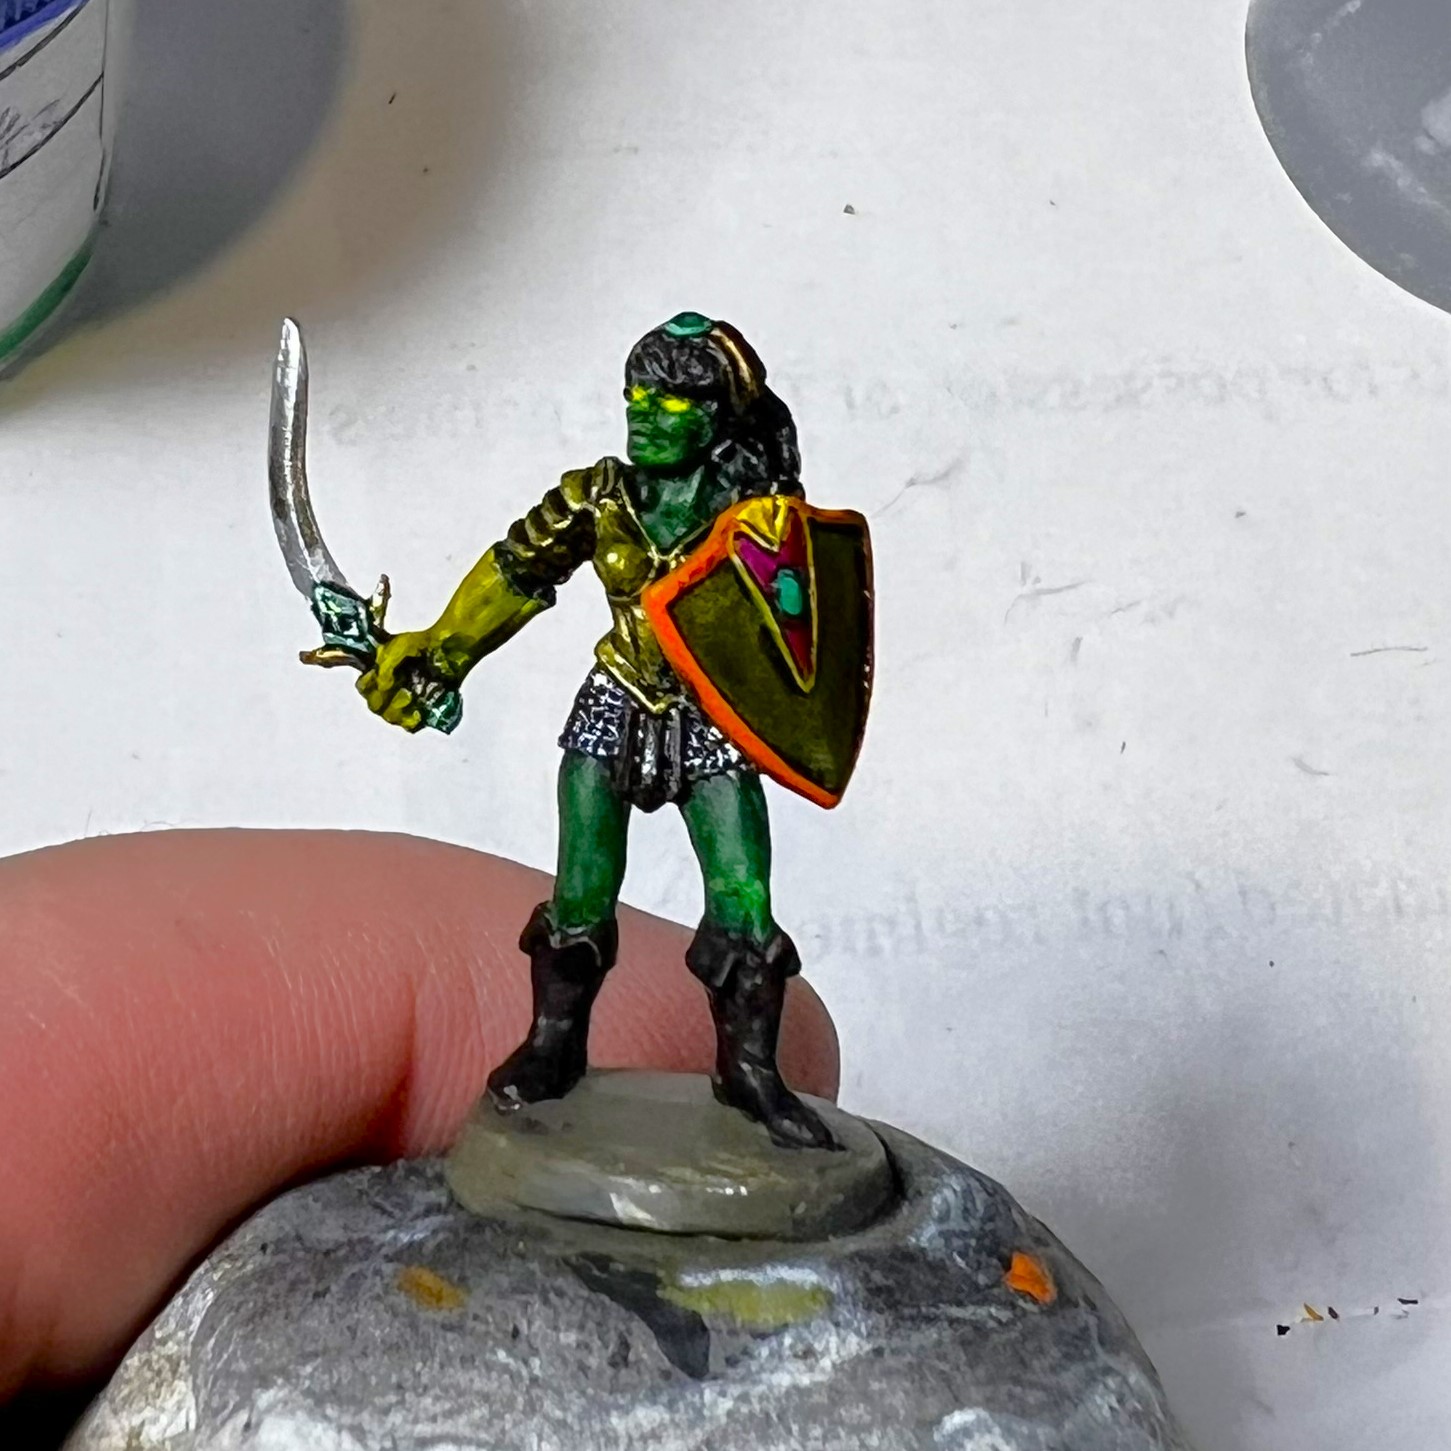
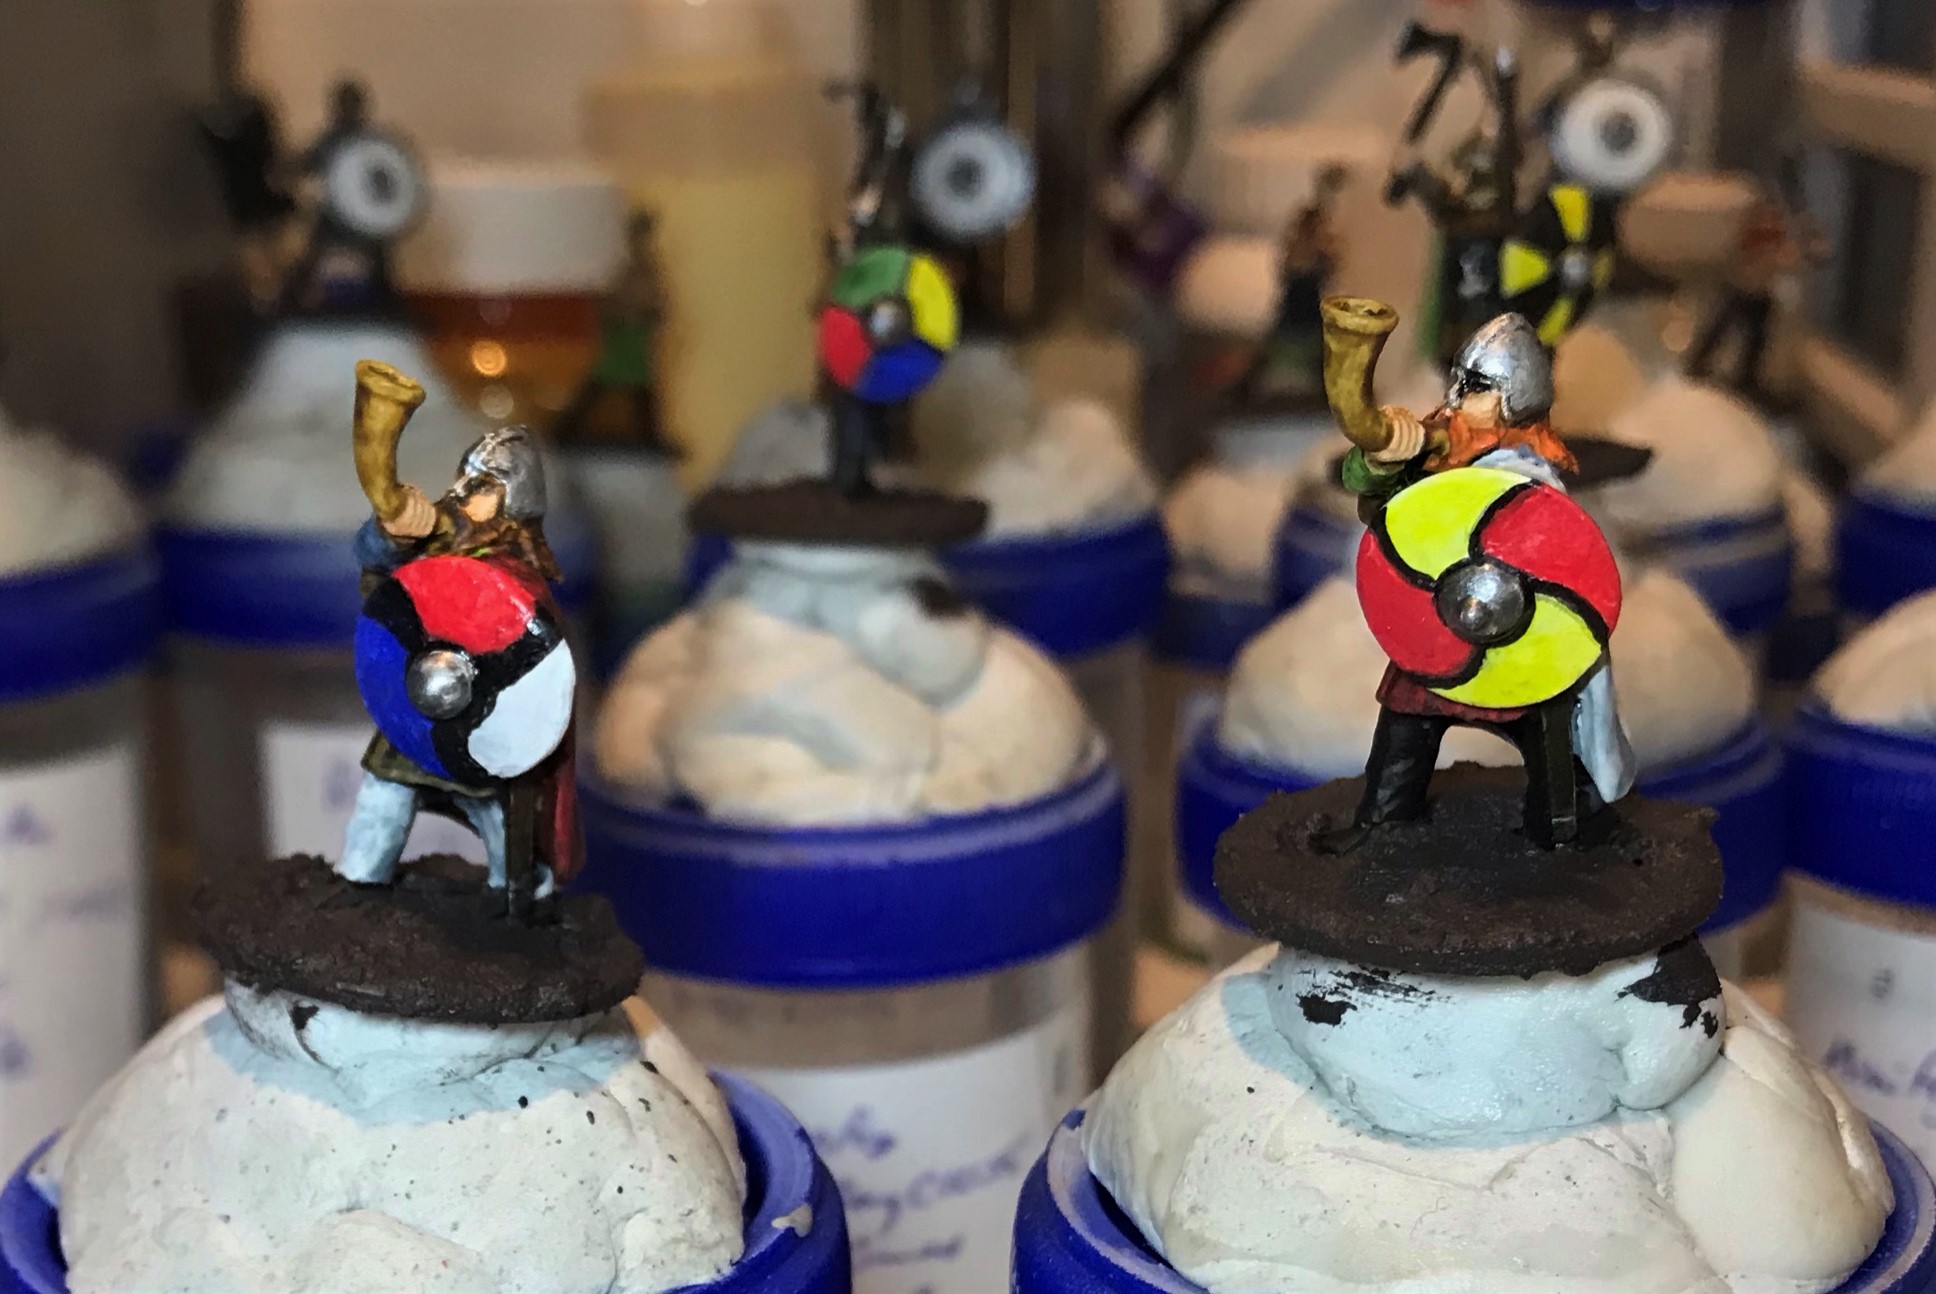
For all of the figures that I would paint here – each would be painted in their faction colors – so red for Quadlings, purple for Gillikins, blue for Munchkins, and yellow for Winkies.
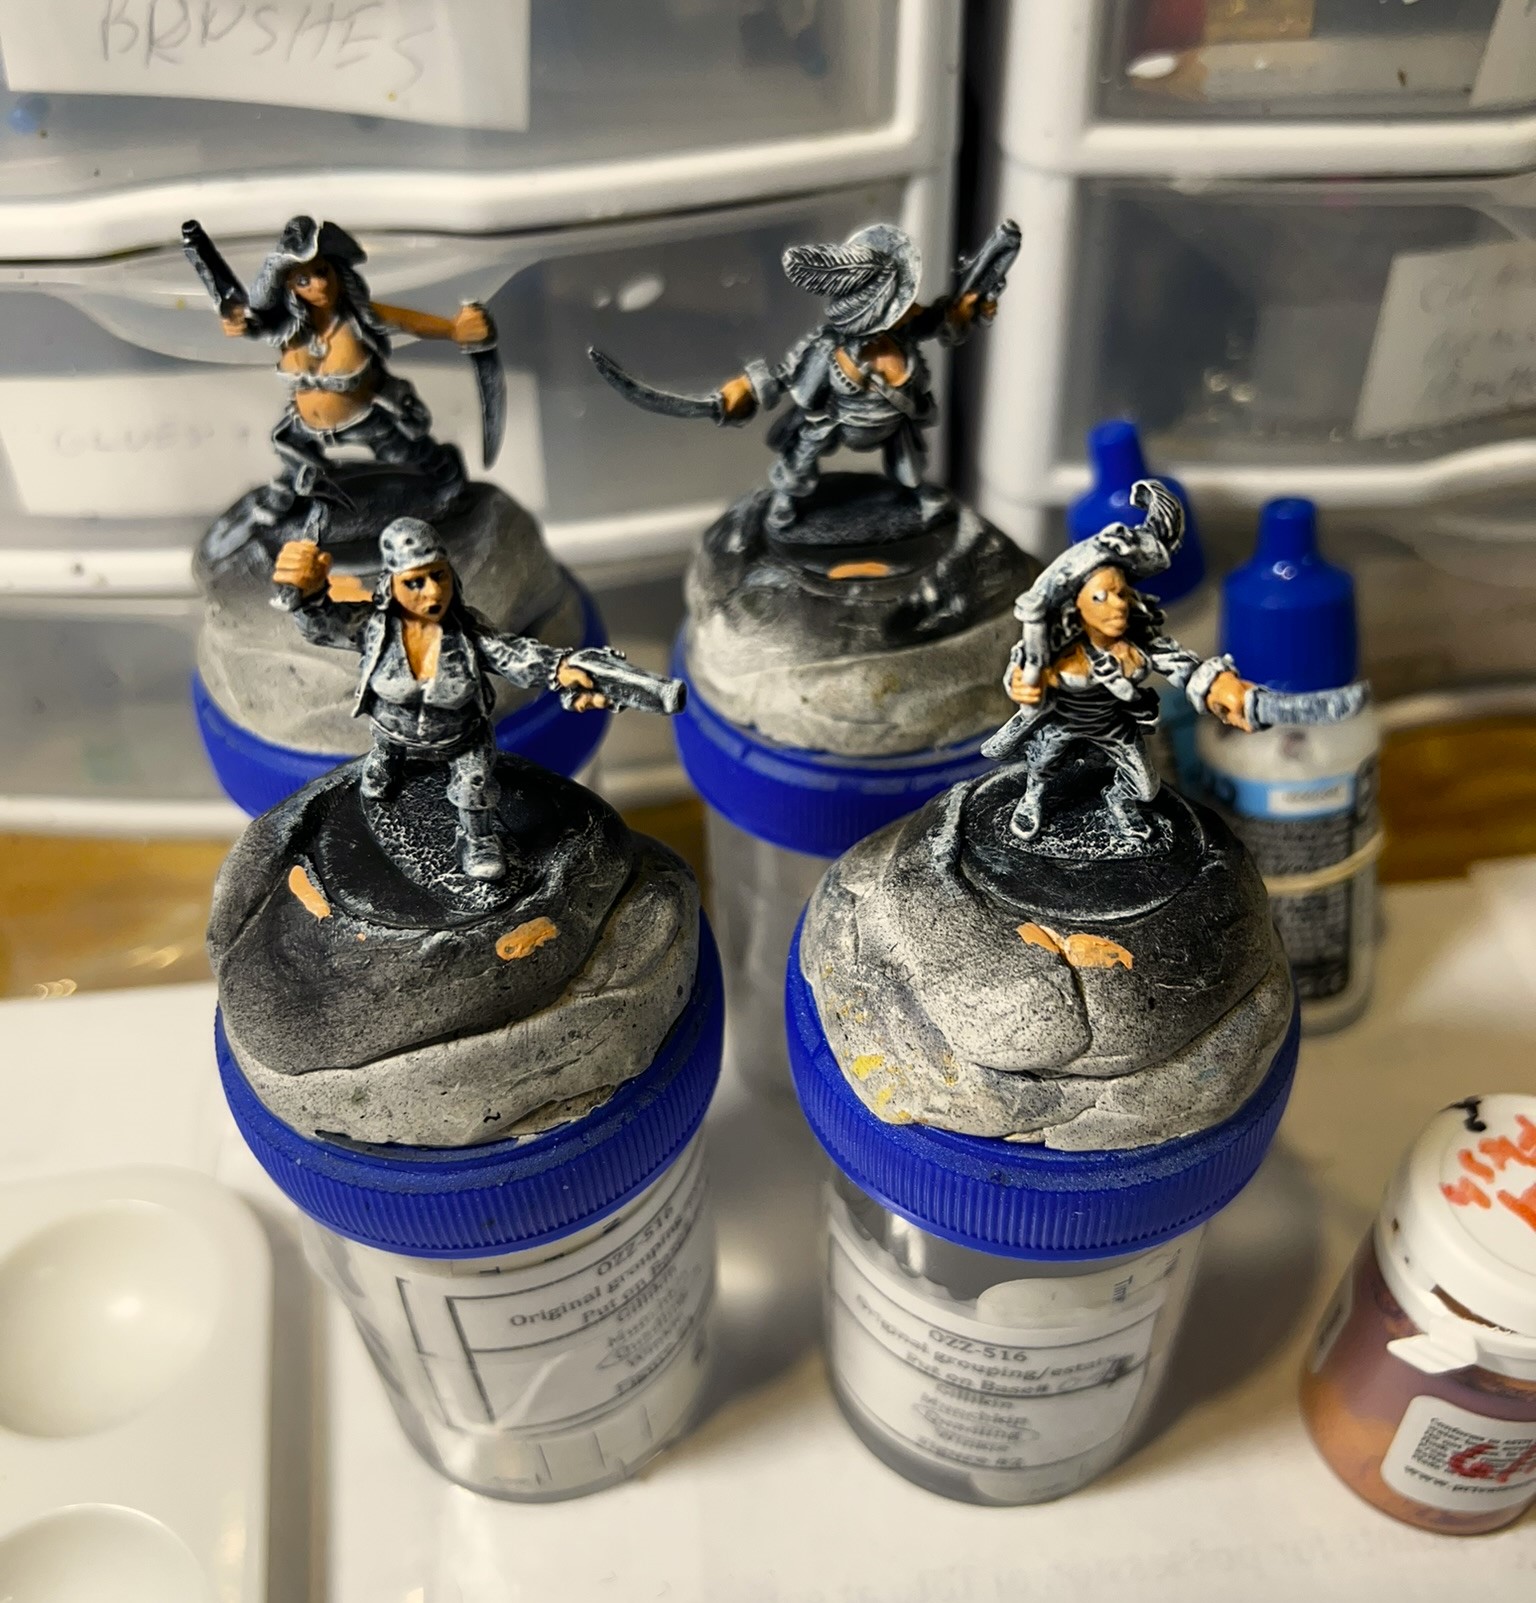
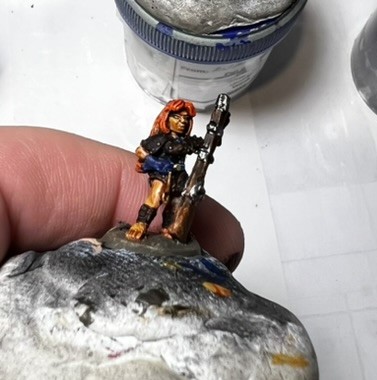
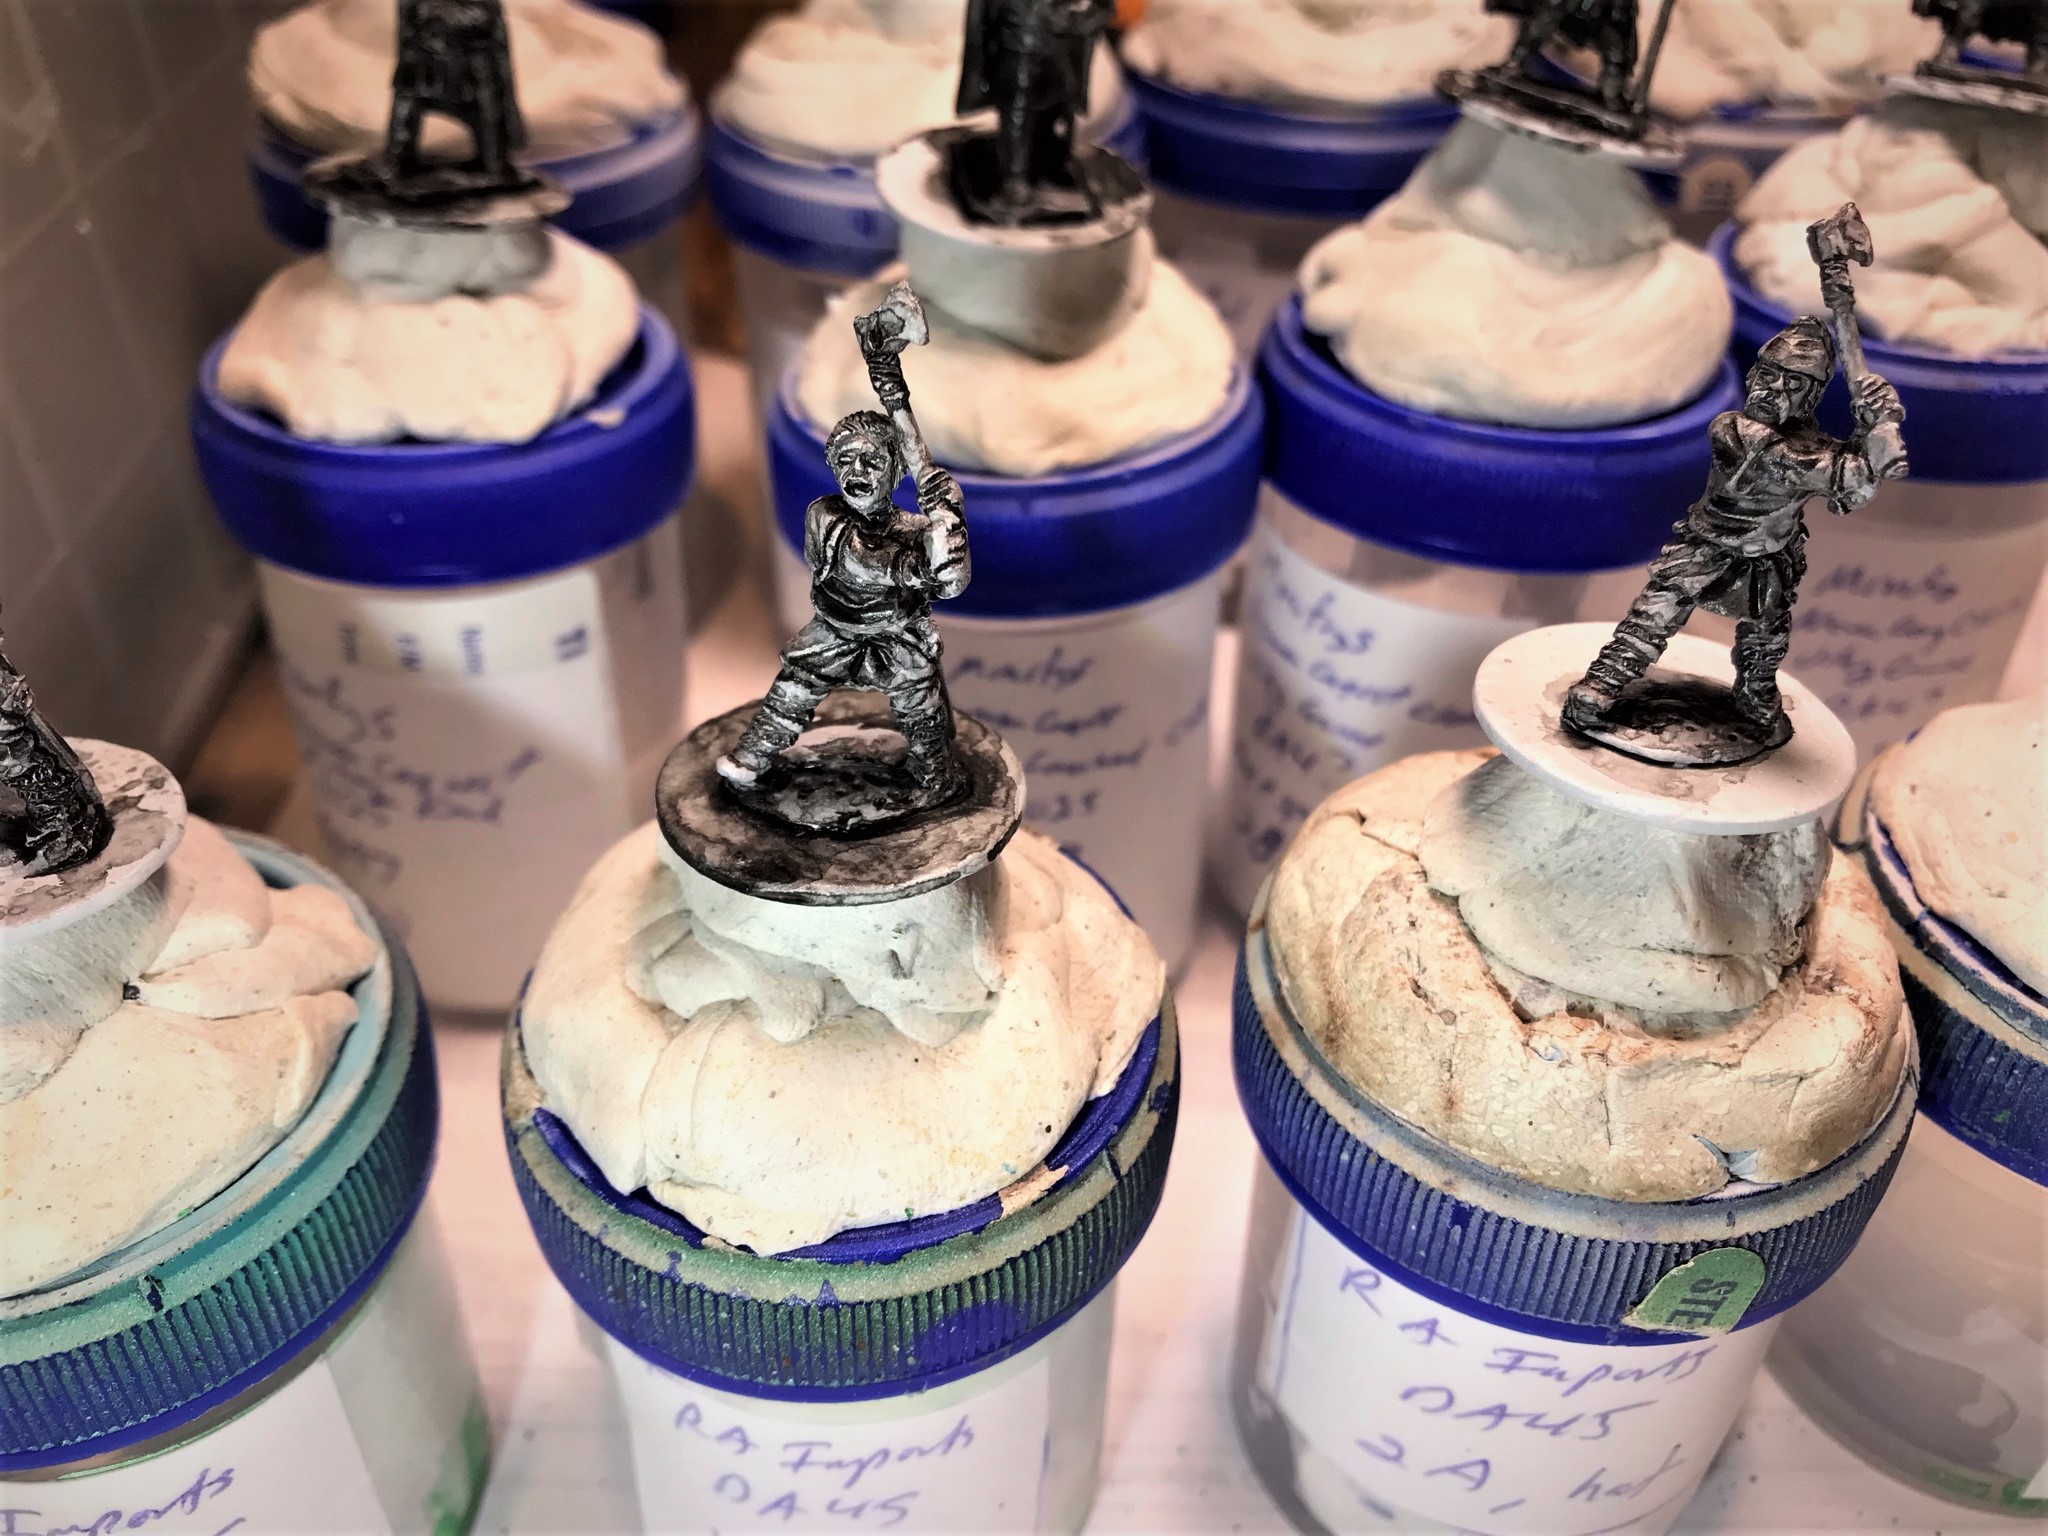
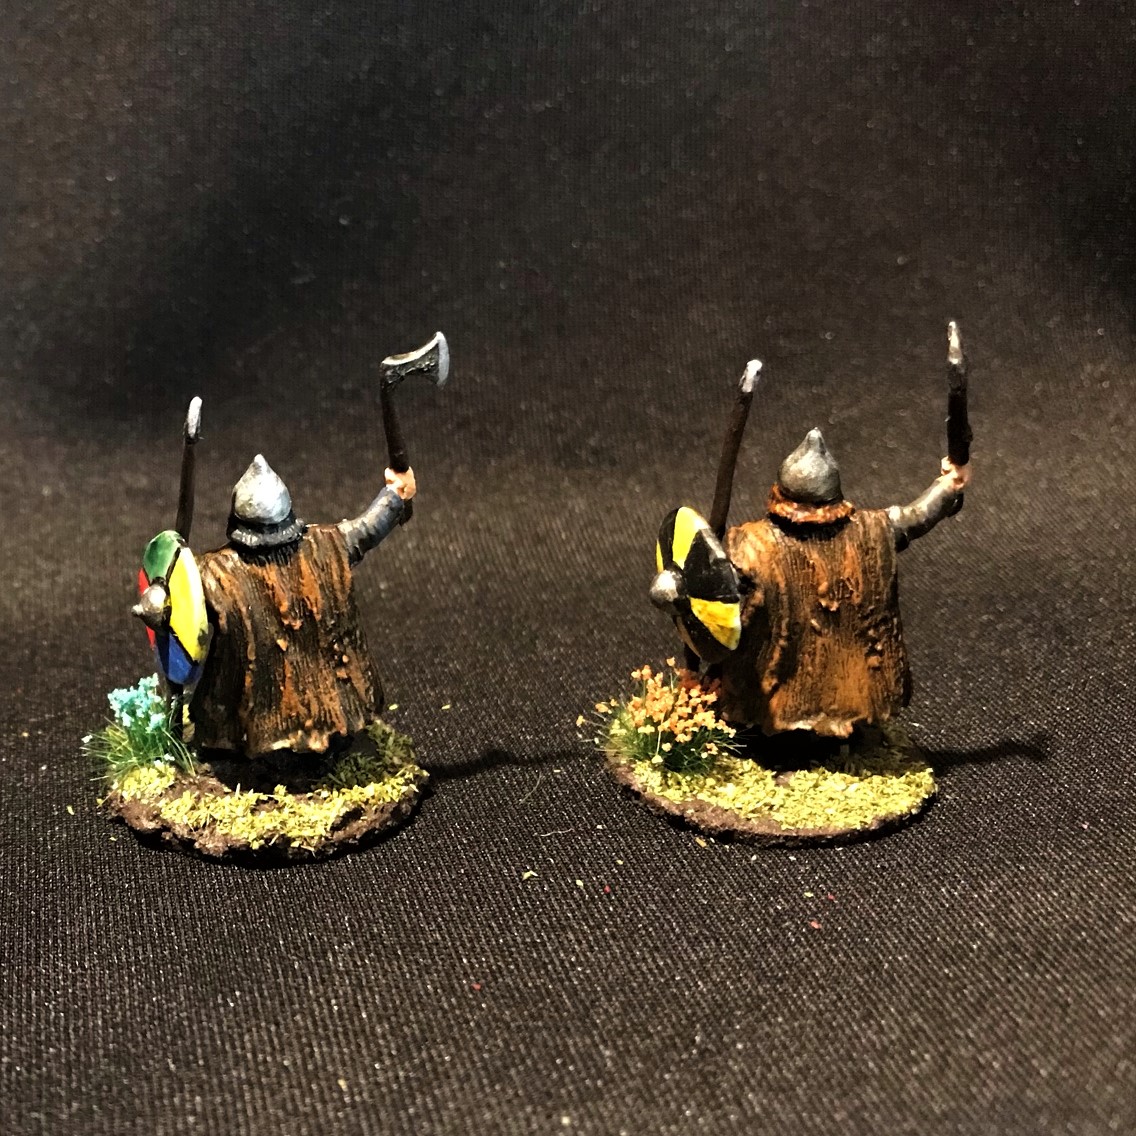
Below are in-progress close up shots of the three original OZZ-516 Munchkins and the one Gillikin that I used on the sandy-based AJFP regiment.
These 4 Quadlings, 3 Munchkins, and the the Gillikin figure, would go onto the green stuff covered polystyrene bases you see below, and then be flocked in conjunction with the estate sale bases.
It turned out that flocking these to match each other was more involved than I initially anticipated. I ended up using a combination of chinchilla dust, cork rocks, washes, and tufts to try to make them look alike. The chinchilla dust came out more looking like snow so I needed to darken that up. The rocks and tufts helped. My two stands ended up thicker than the estate sale three, but I don’t think that will be a problem.
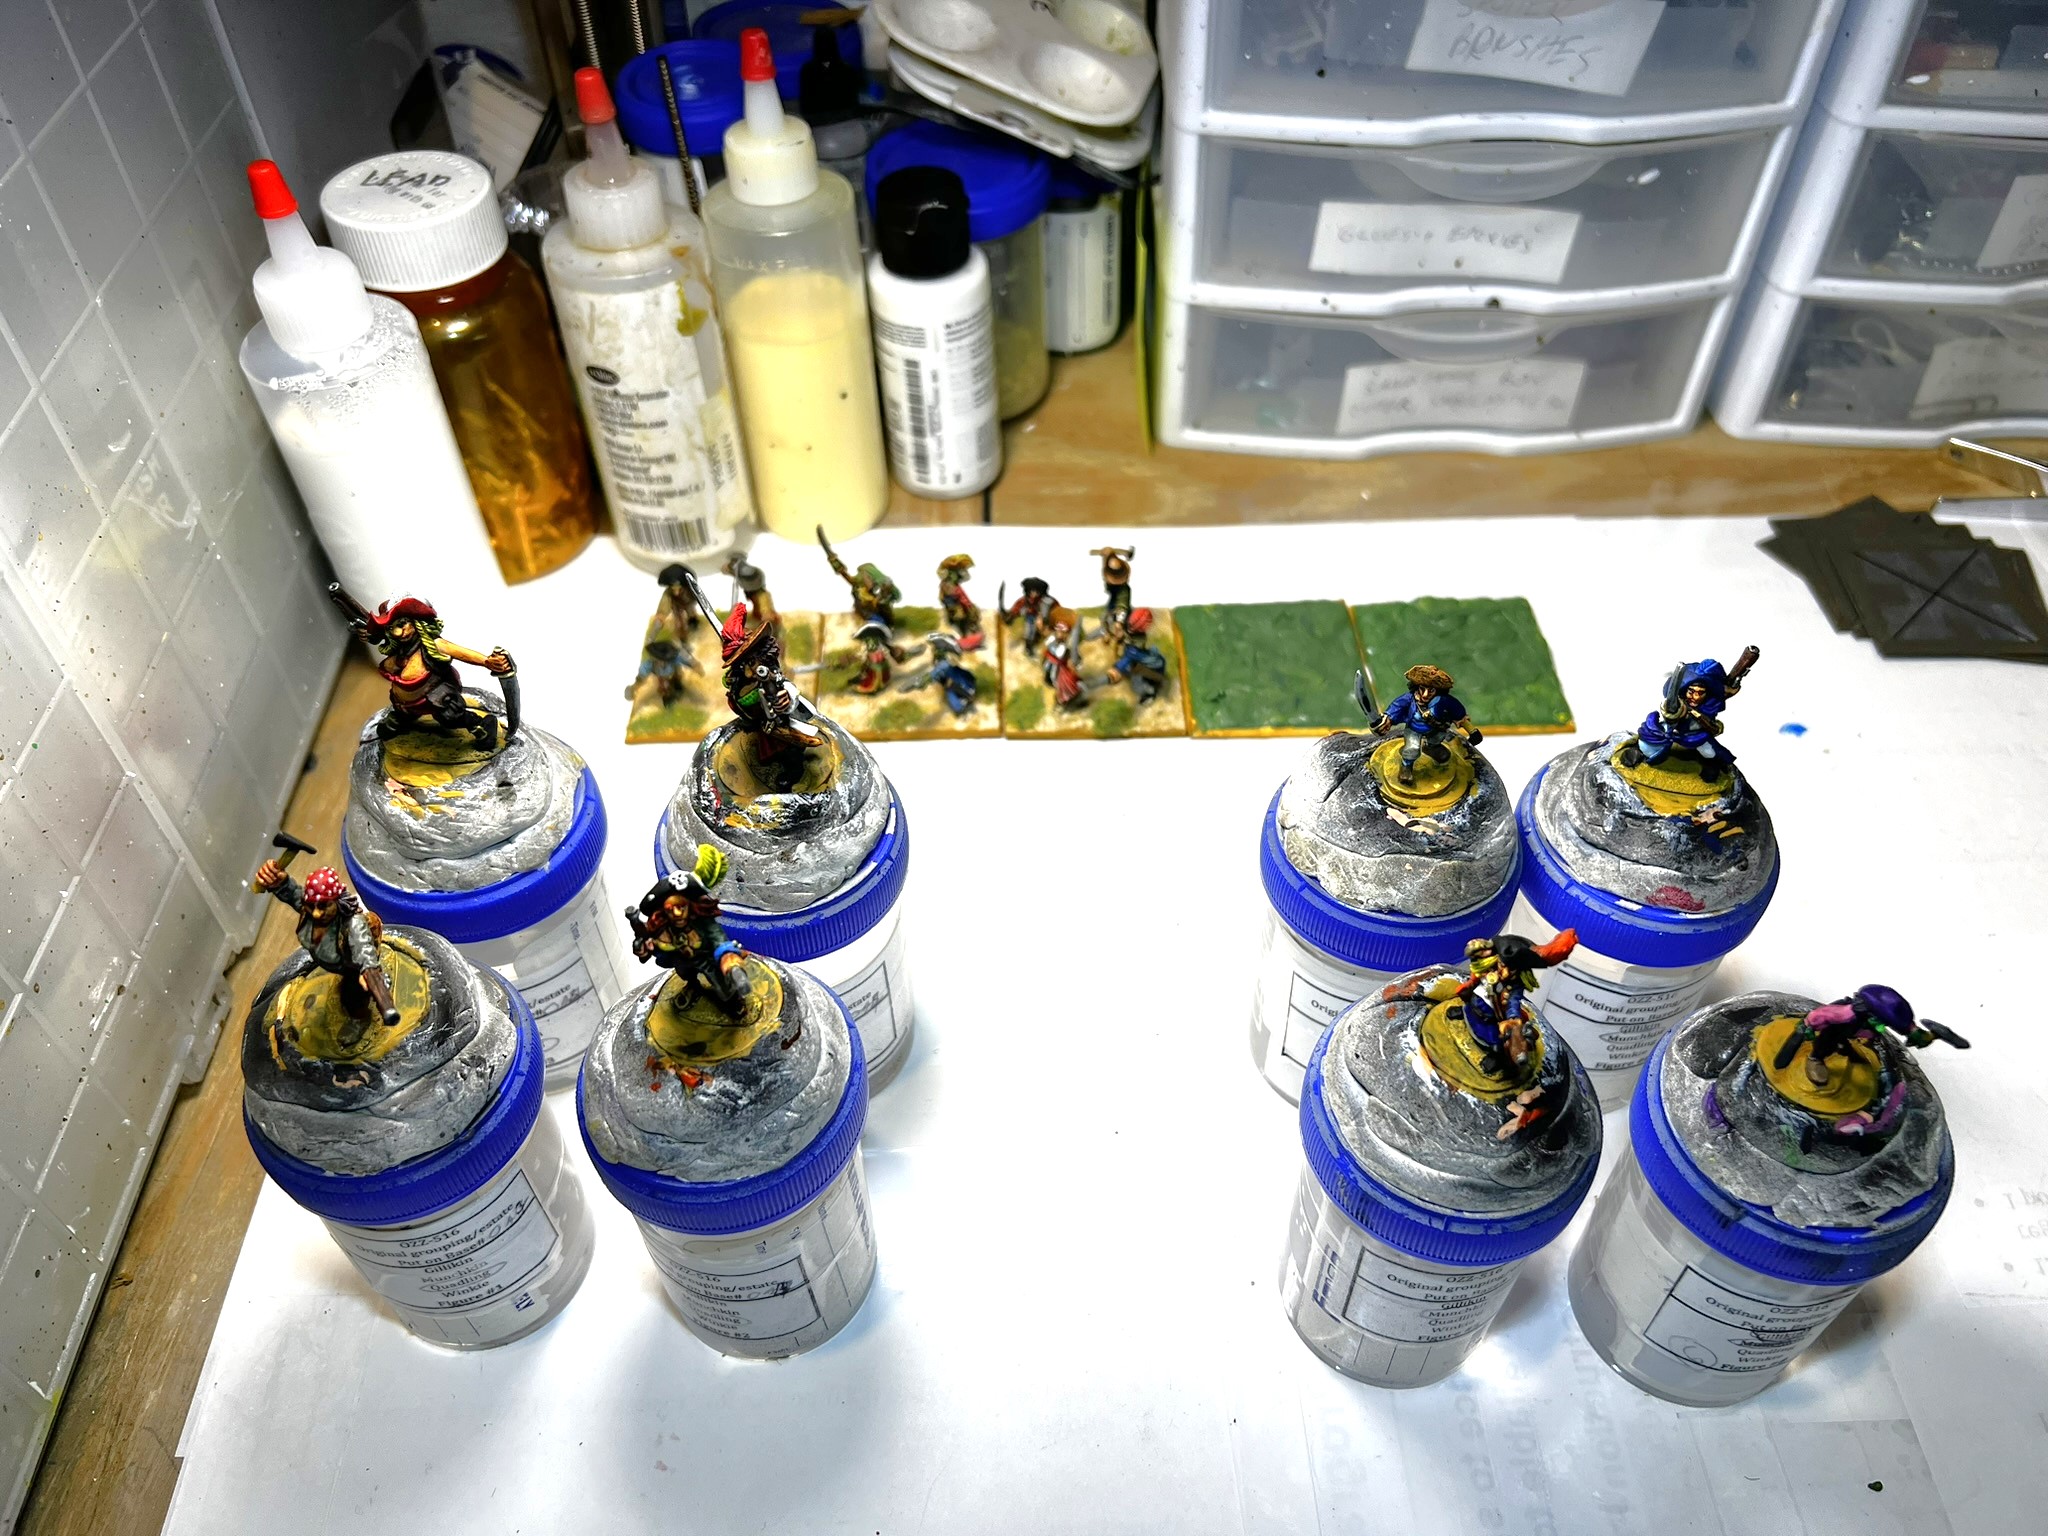
Sandy-Based Regiment
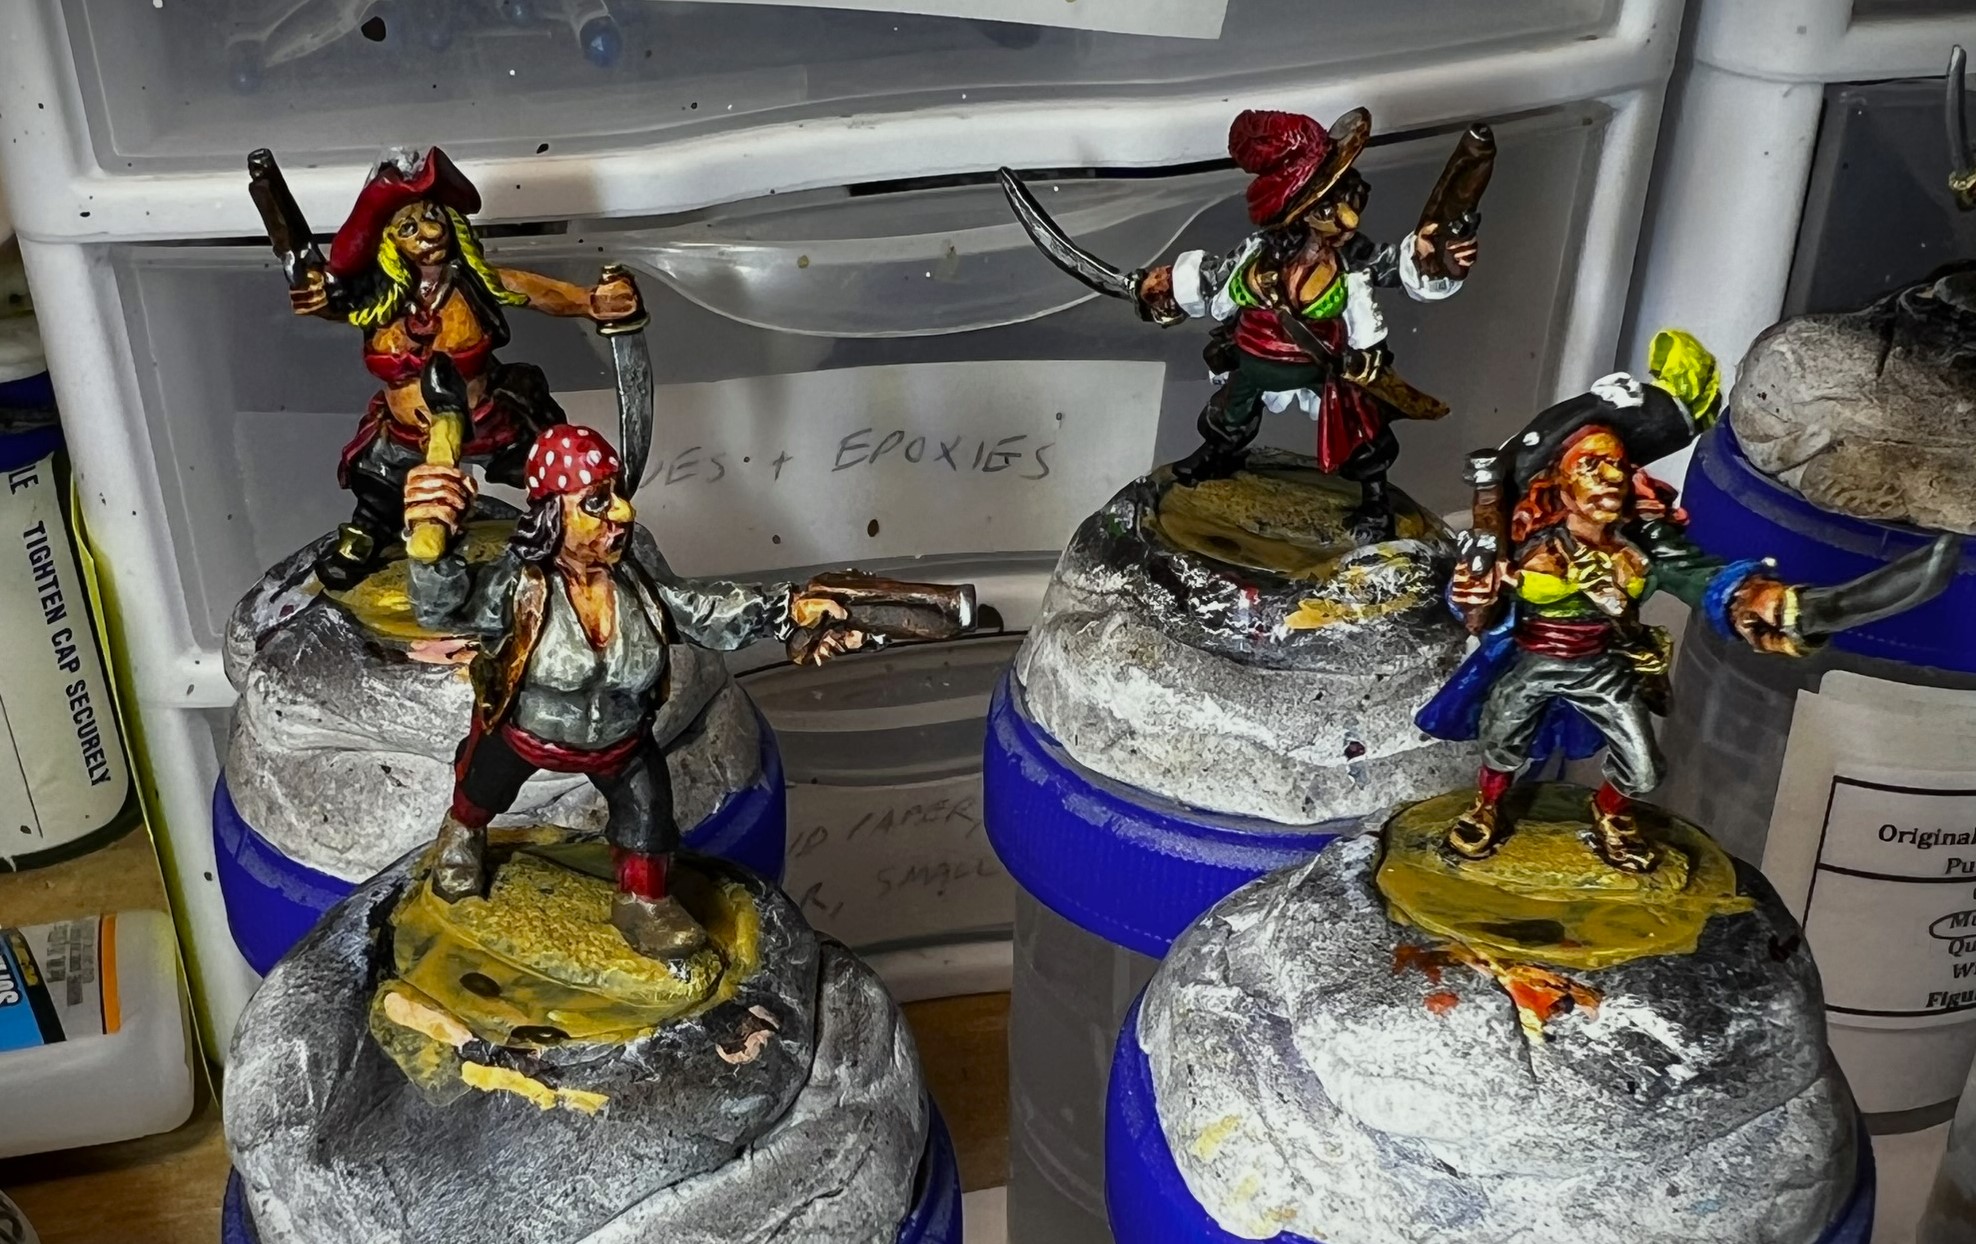
After finishing – here are the estate stands:
As for the two stands that I painted for this regiment – first the base with Munchkins and Gillikins:

And now the Quadling base – btw painting these gave me an ear worm of Queen’s “Fat Bottomed Girls”:

And a group shot:

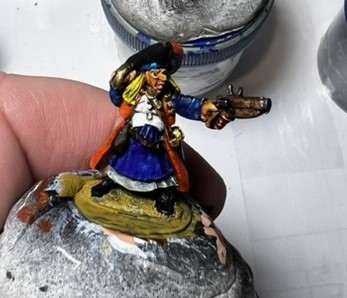
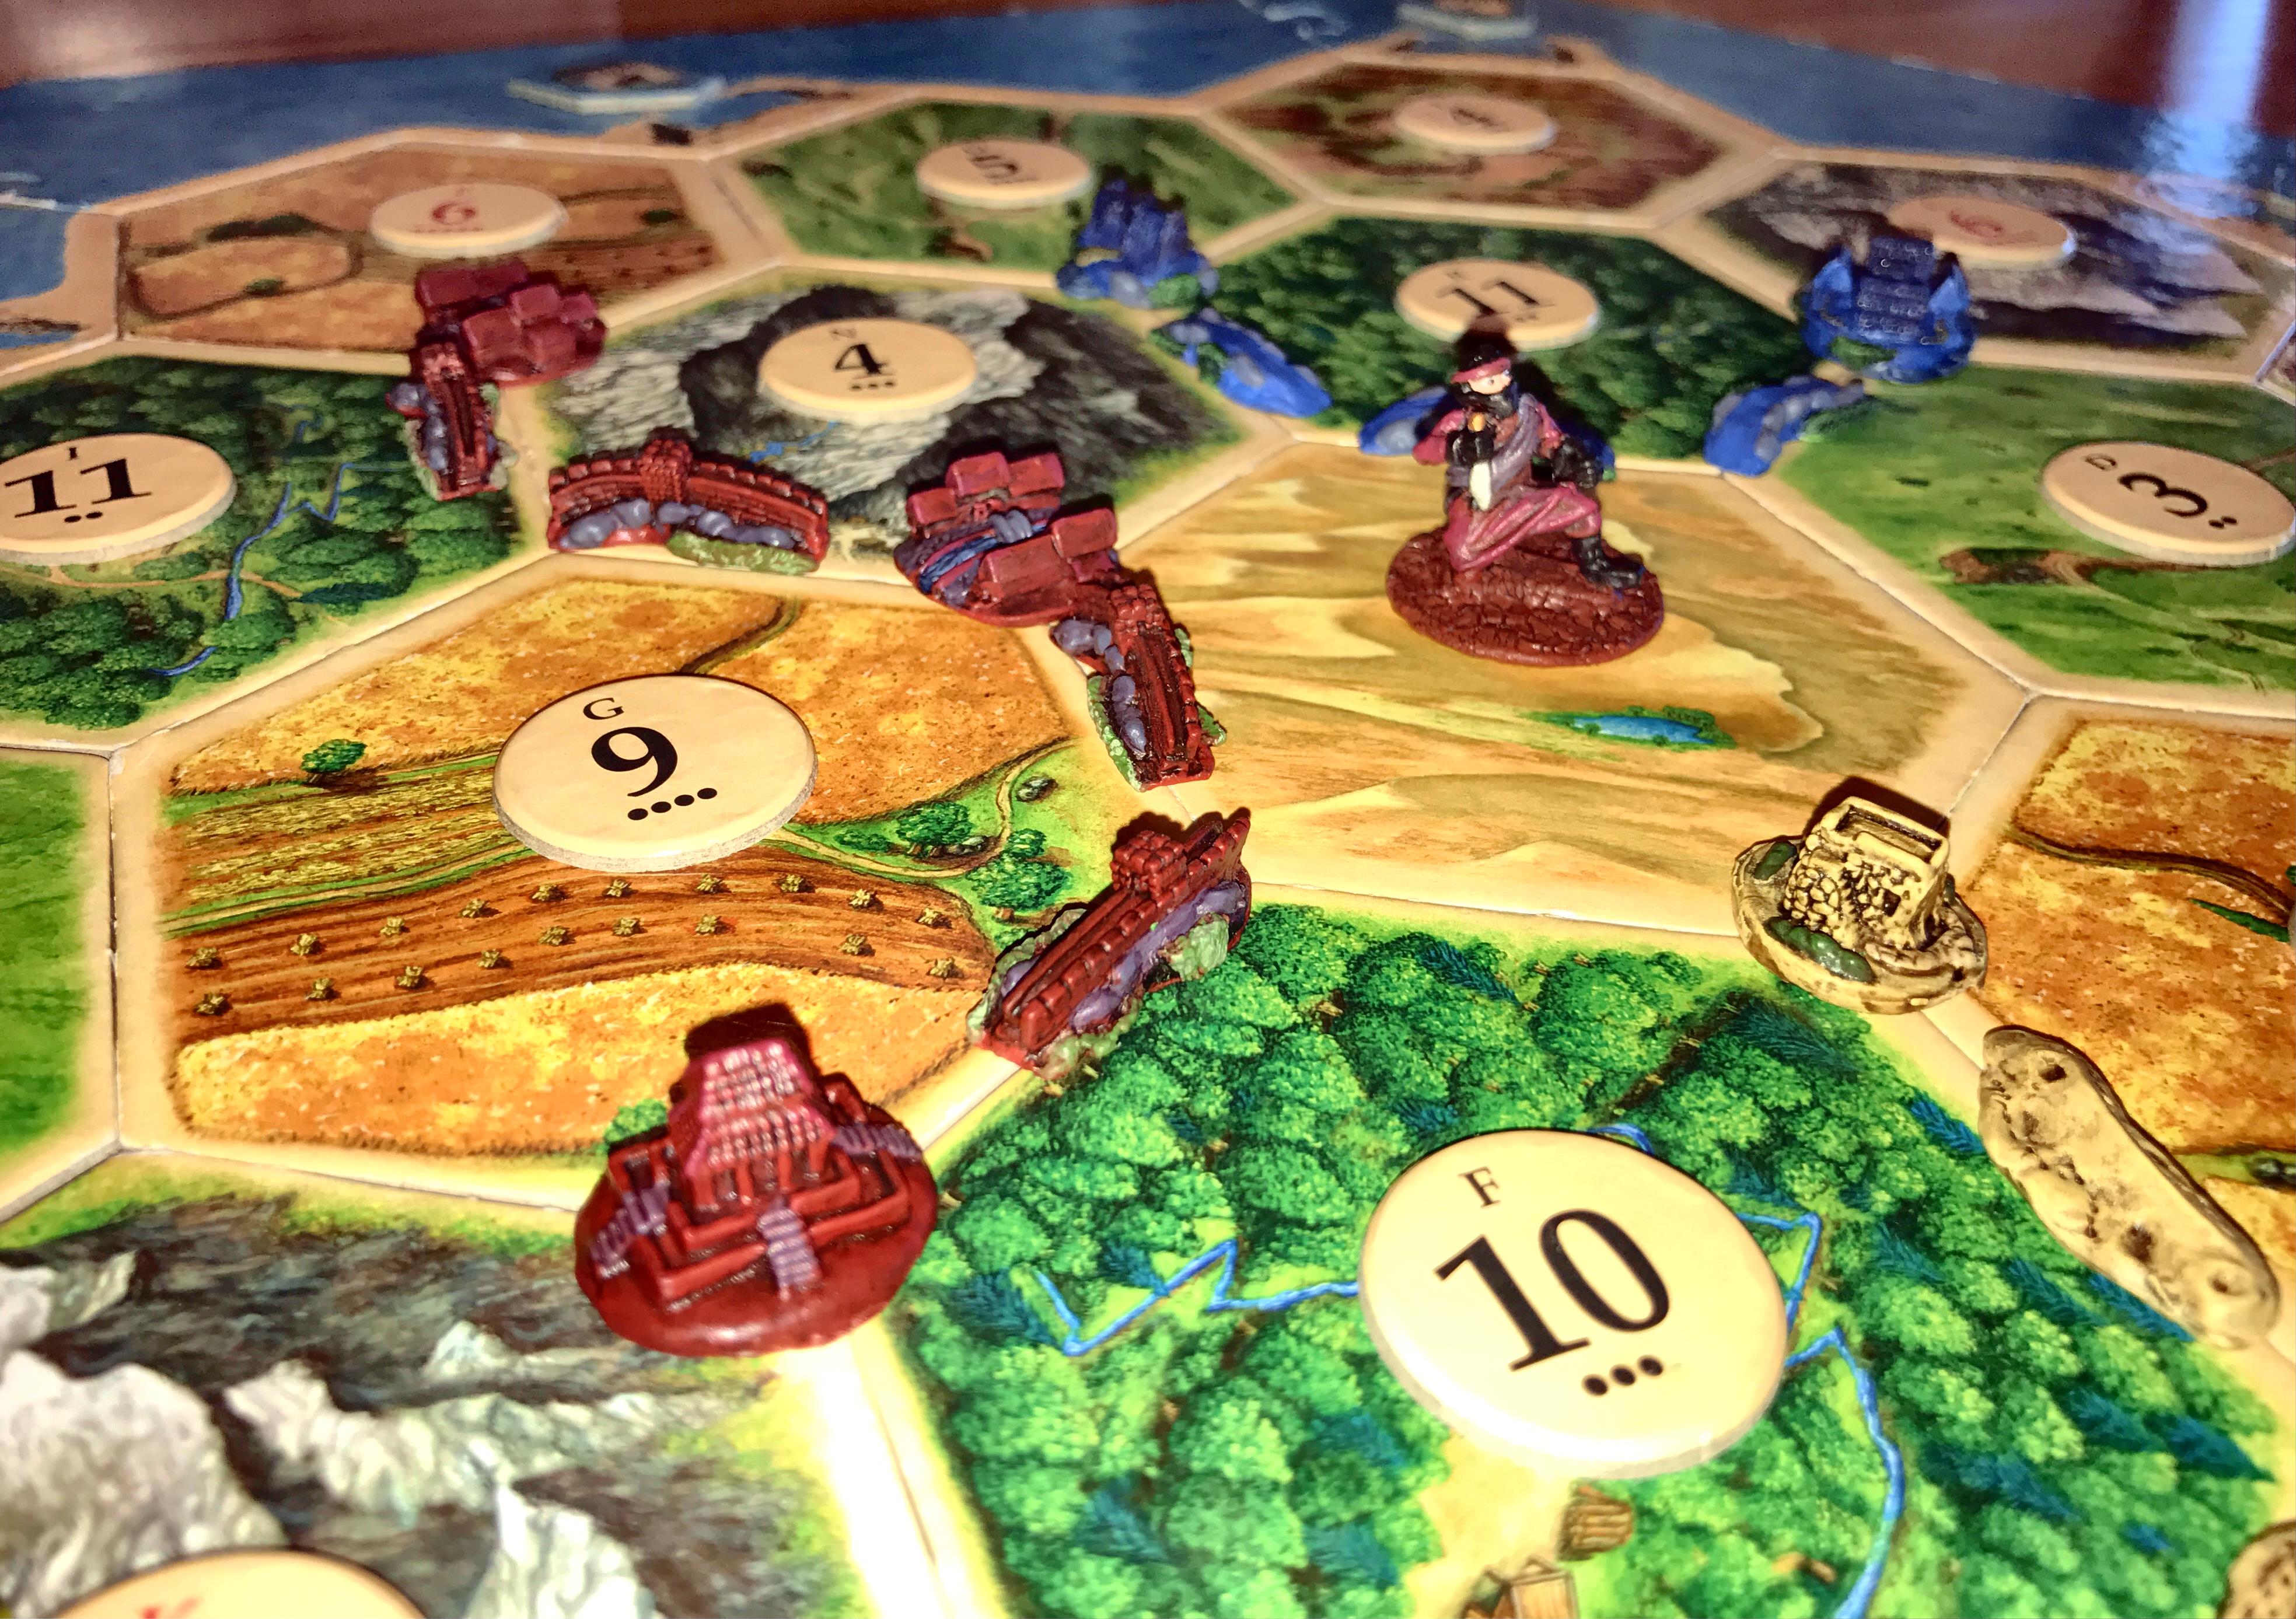
Now, let’s move onto the grassy-based AJFP regiment! Of course, there was a LOT more work to be done on the grassy-based regiment as it involved so many conversions.
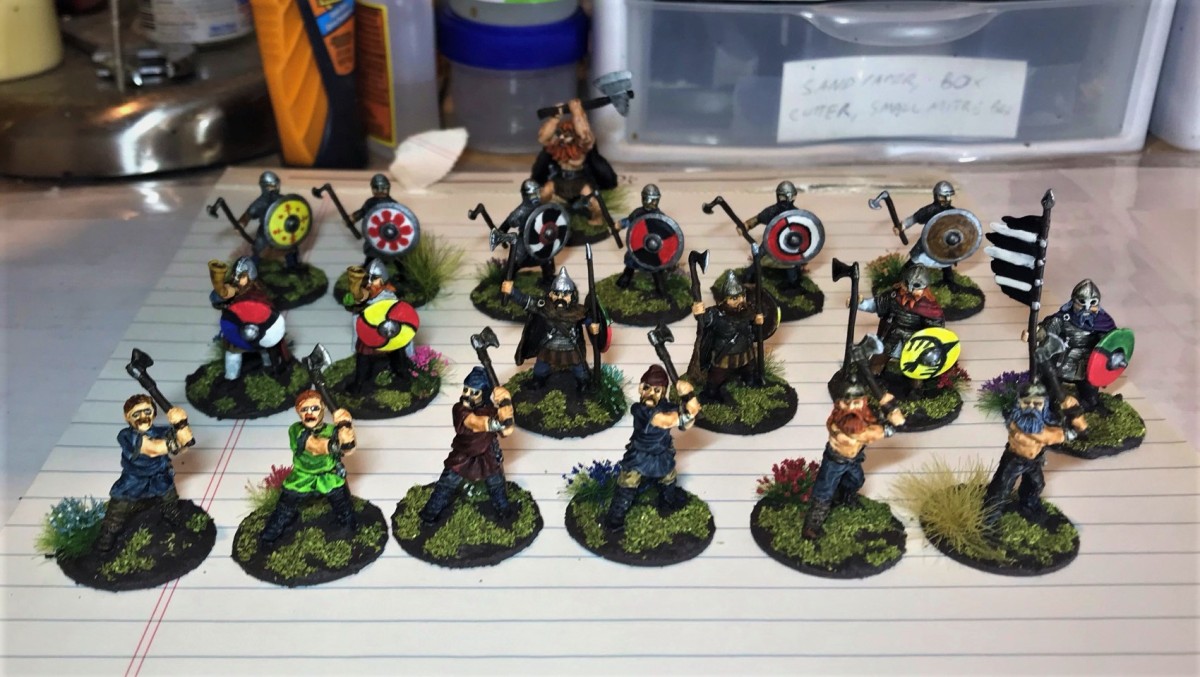
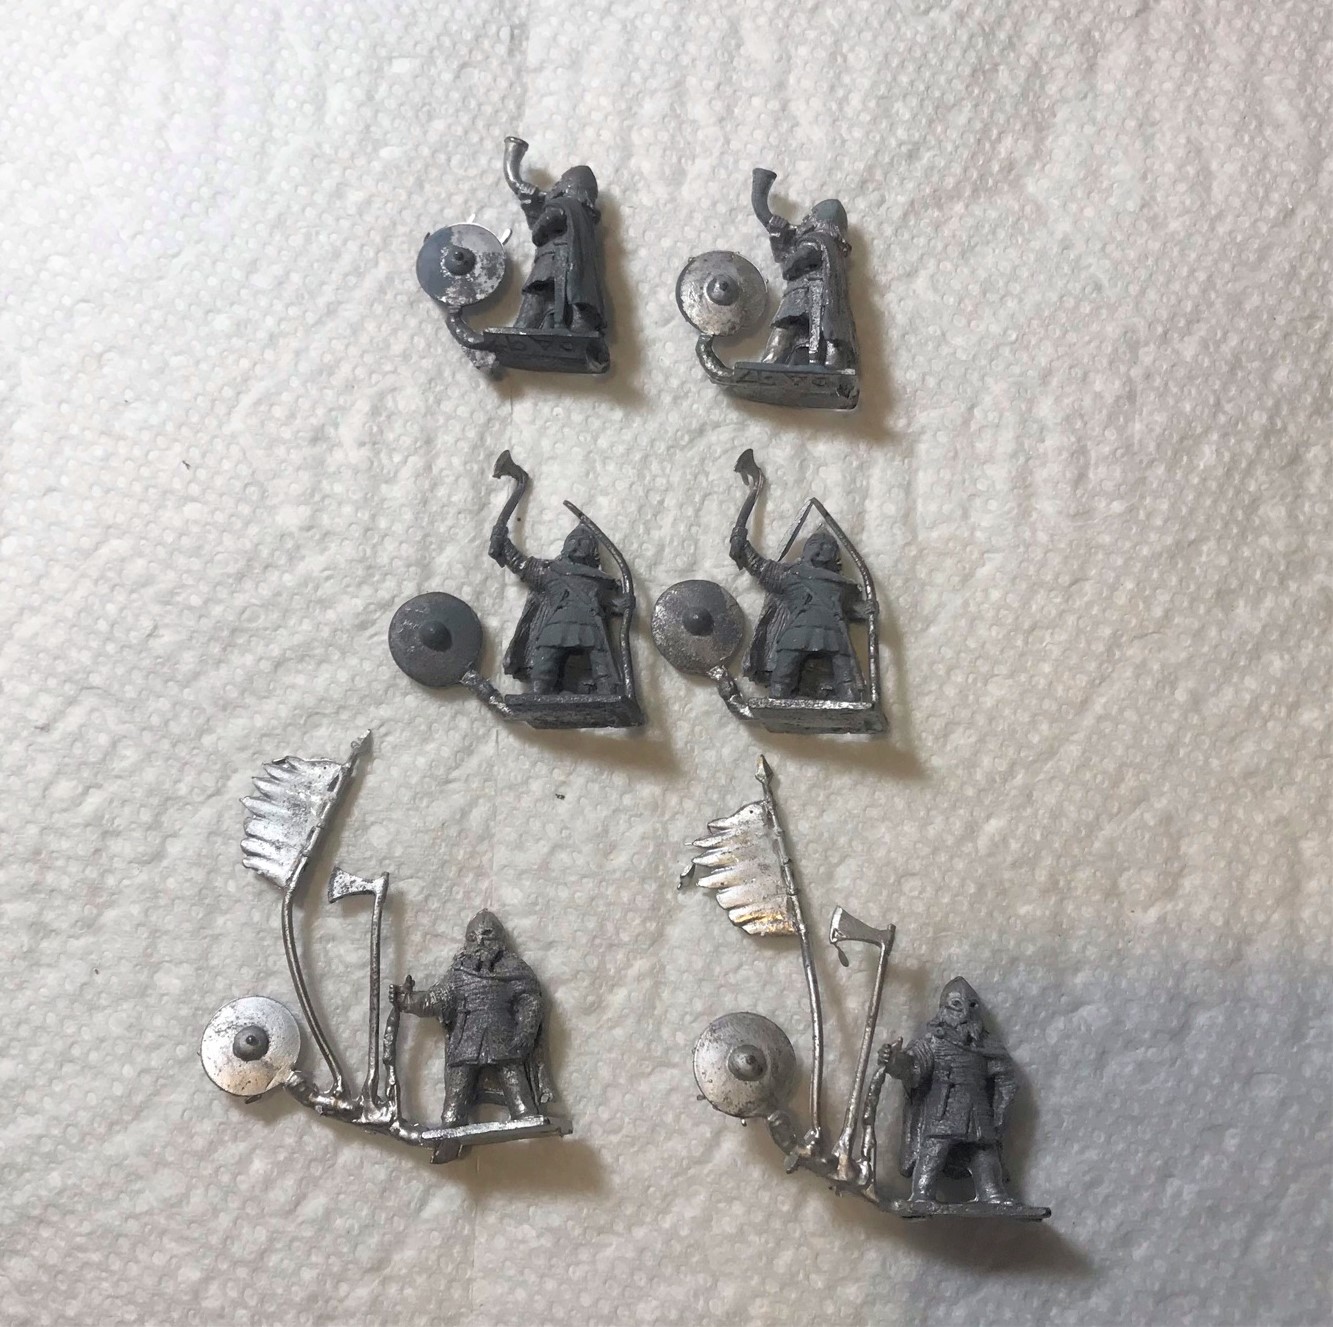
Below you see the source of all of the figures I used for the grassy-based AJFP regiment – and I was able to find the origin of each except for one (and if you know that one please let me know!). The research here was not easy – even with the help of the Lost Minis Wiki and The DnD Lead websites – but those really helped. Check out both of them to see what you young folks missed – or what you old folks might remember.
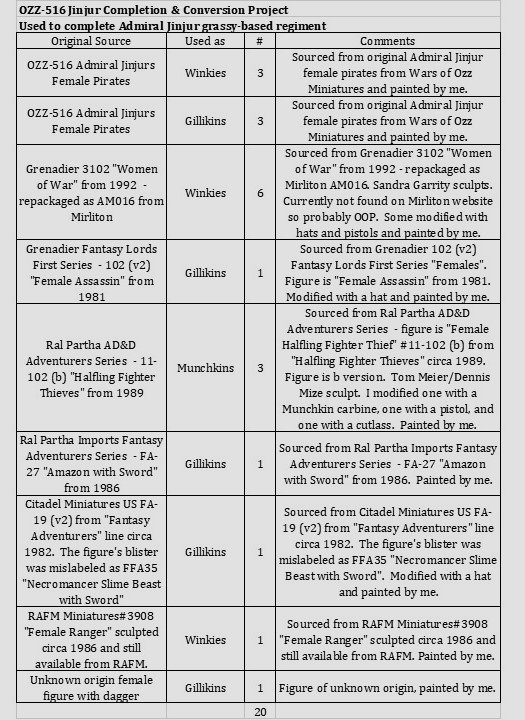
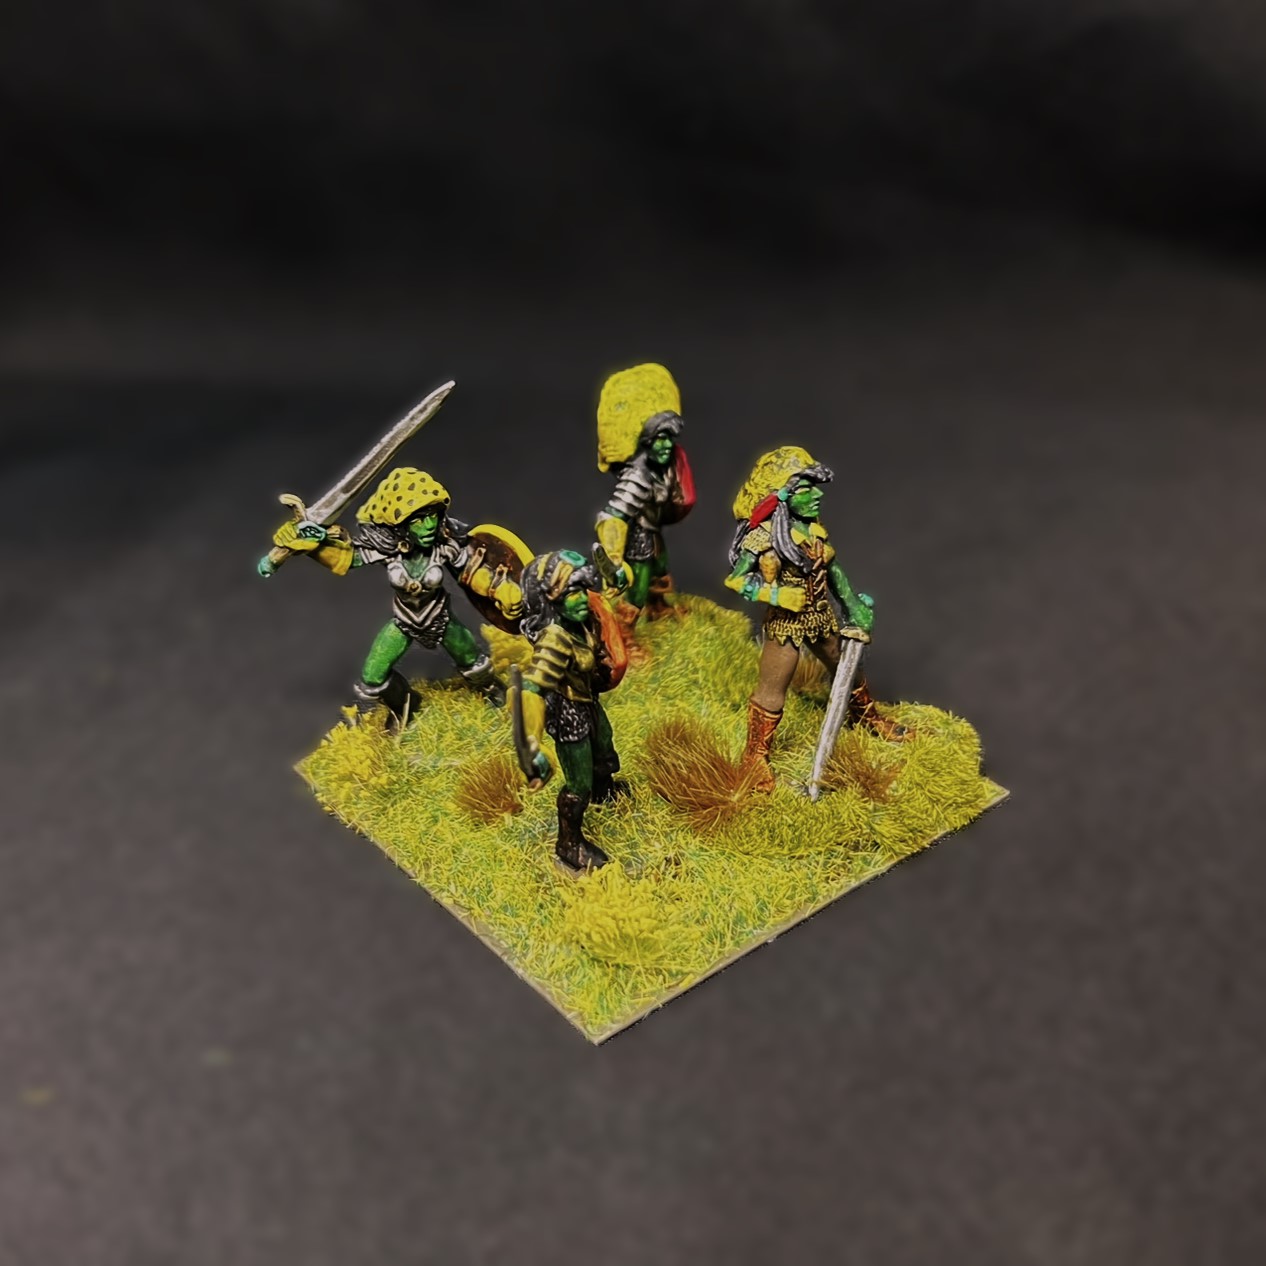
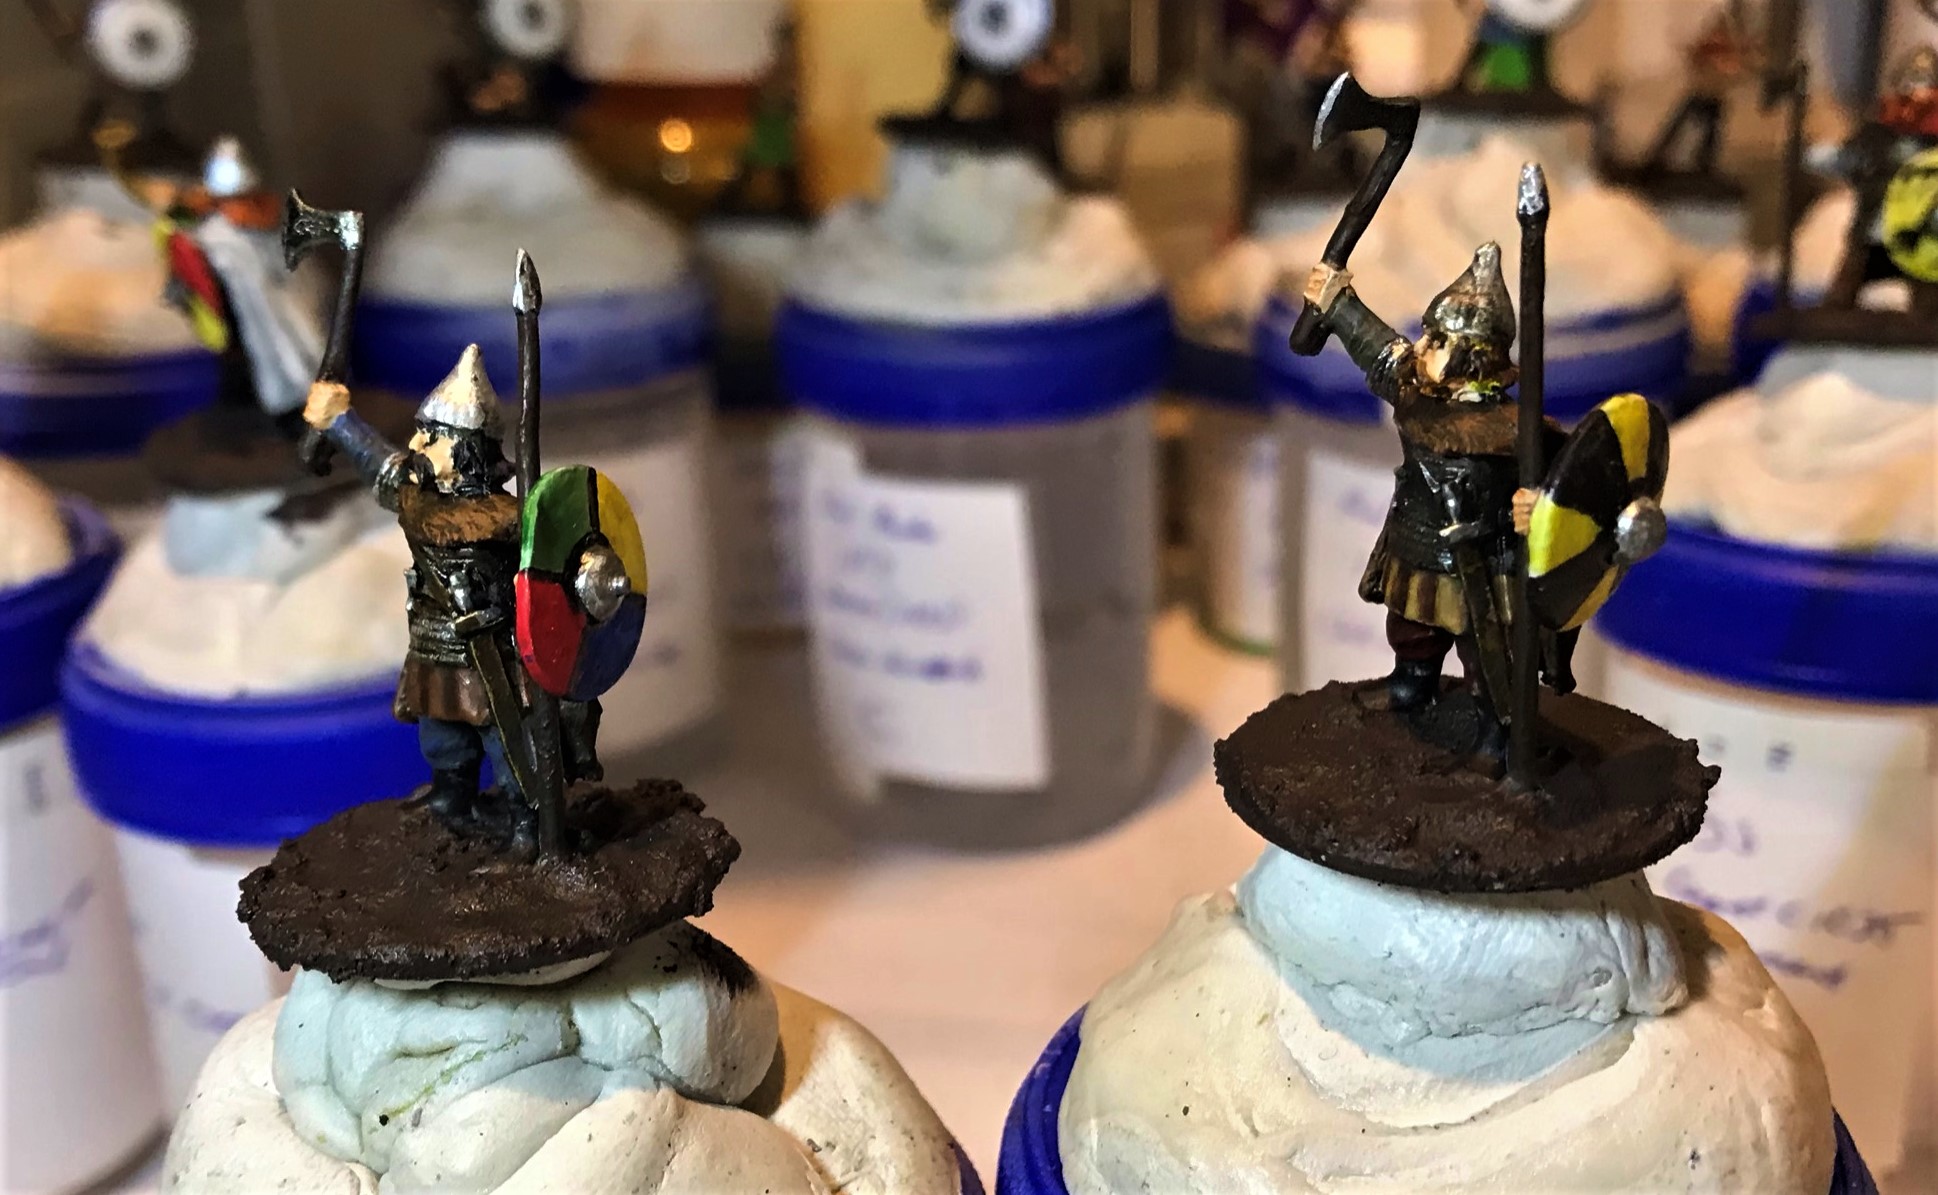
As you can see from the chart above, six of the figures in this AJFP regiment were original OZZ-516 Wars of Ozz figures. They would primarily go on two bases – one with 4 Winkies and one with 4 Gillikins.
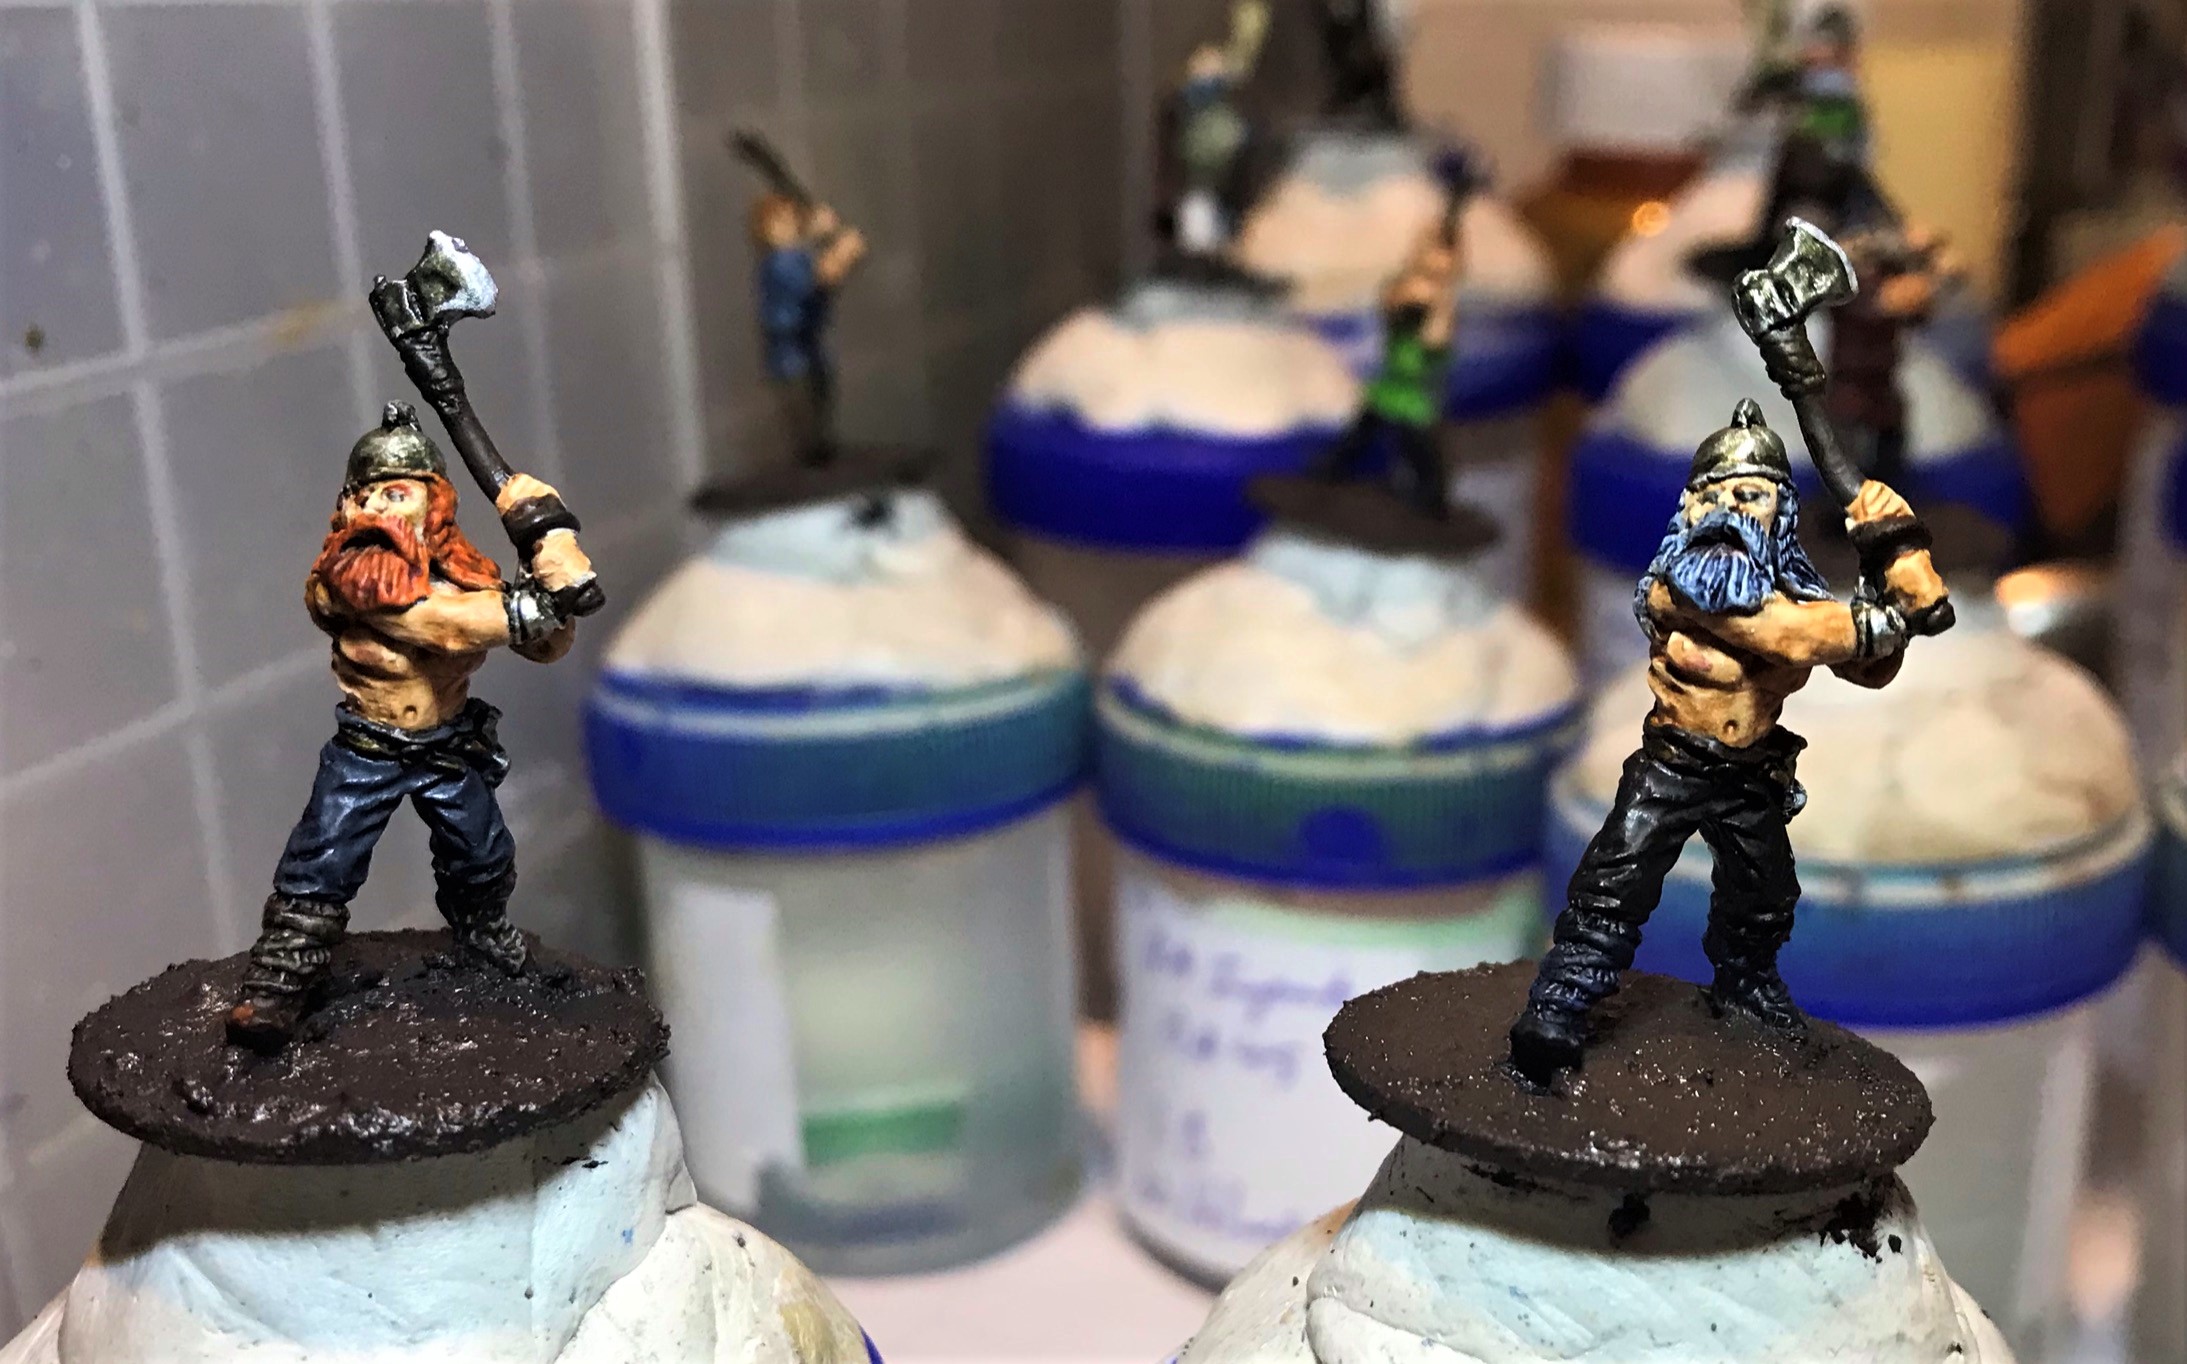
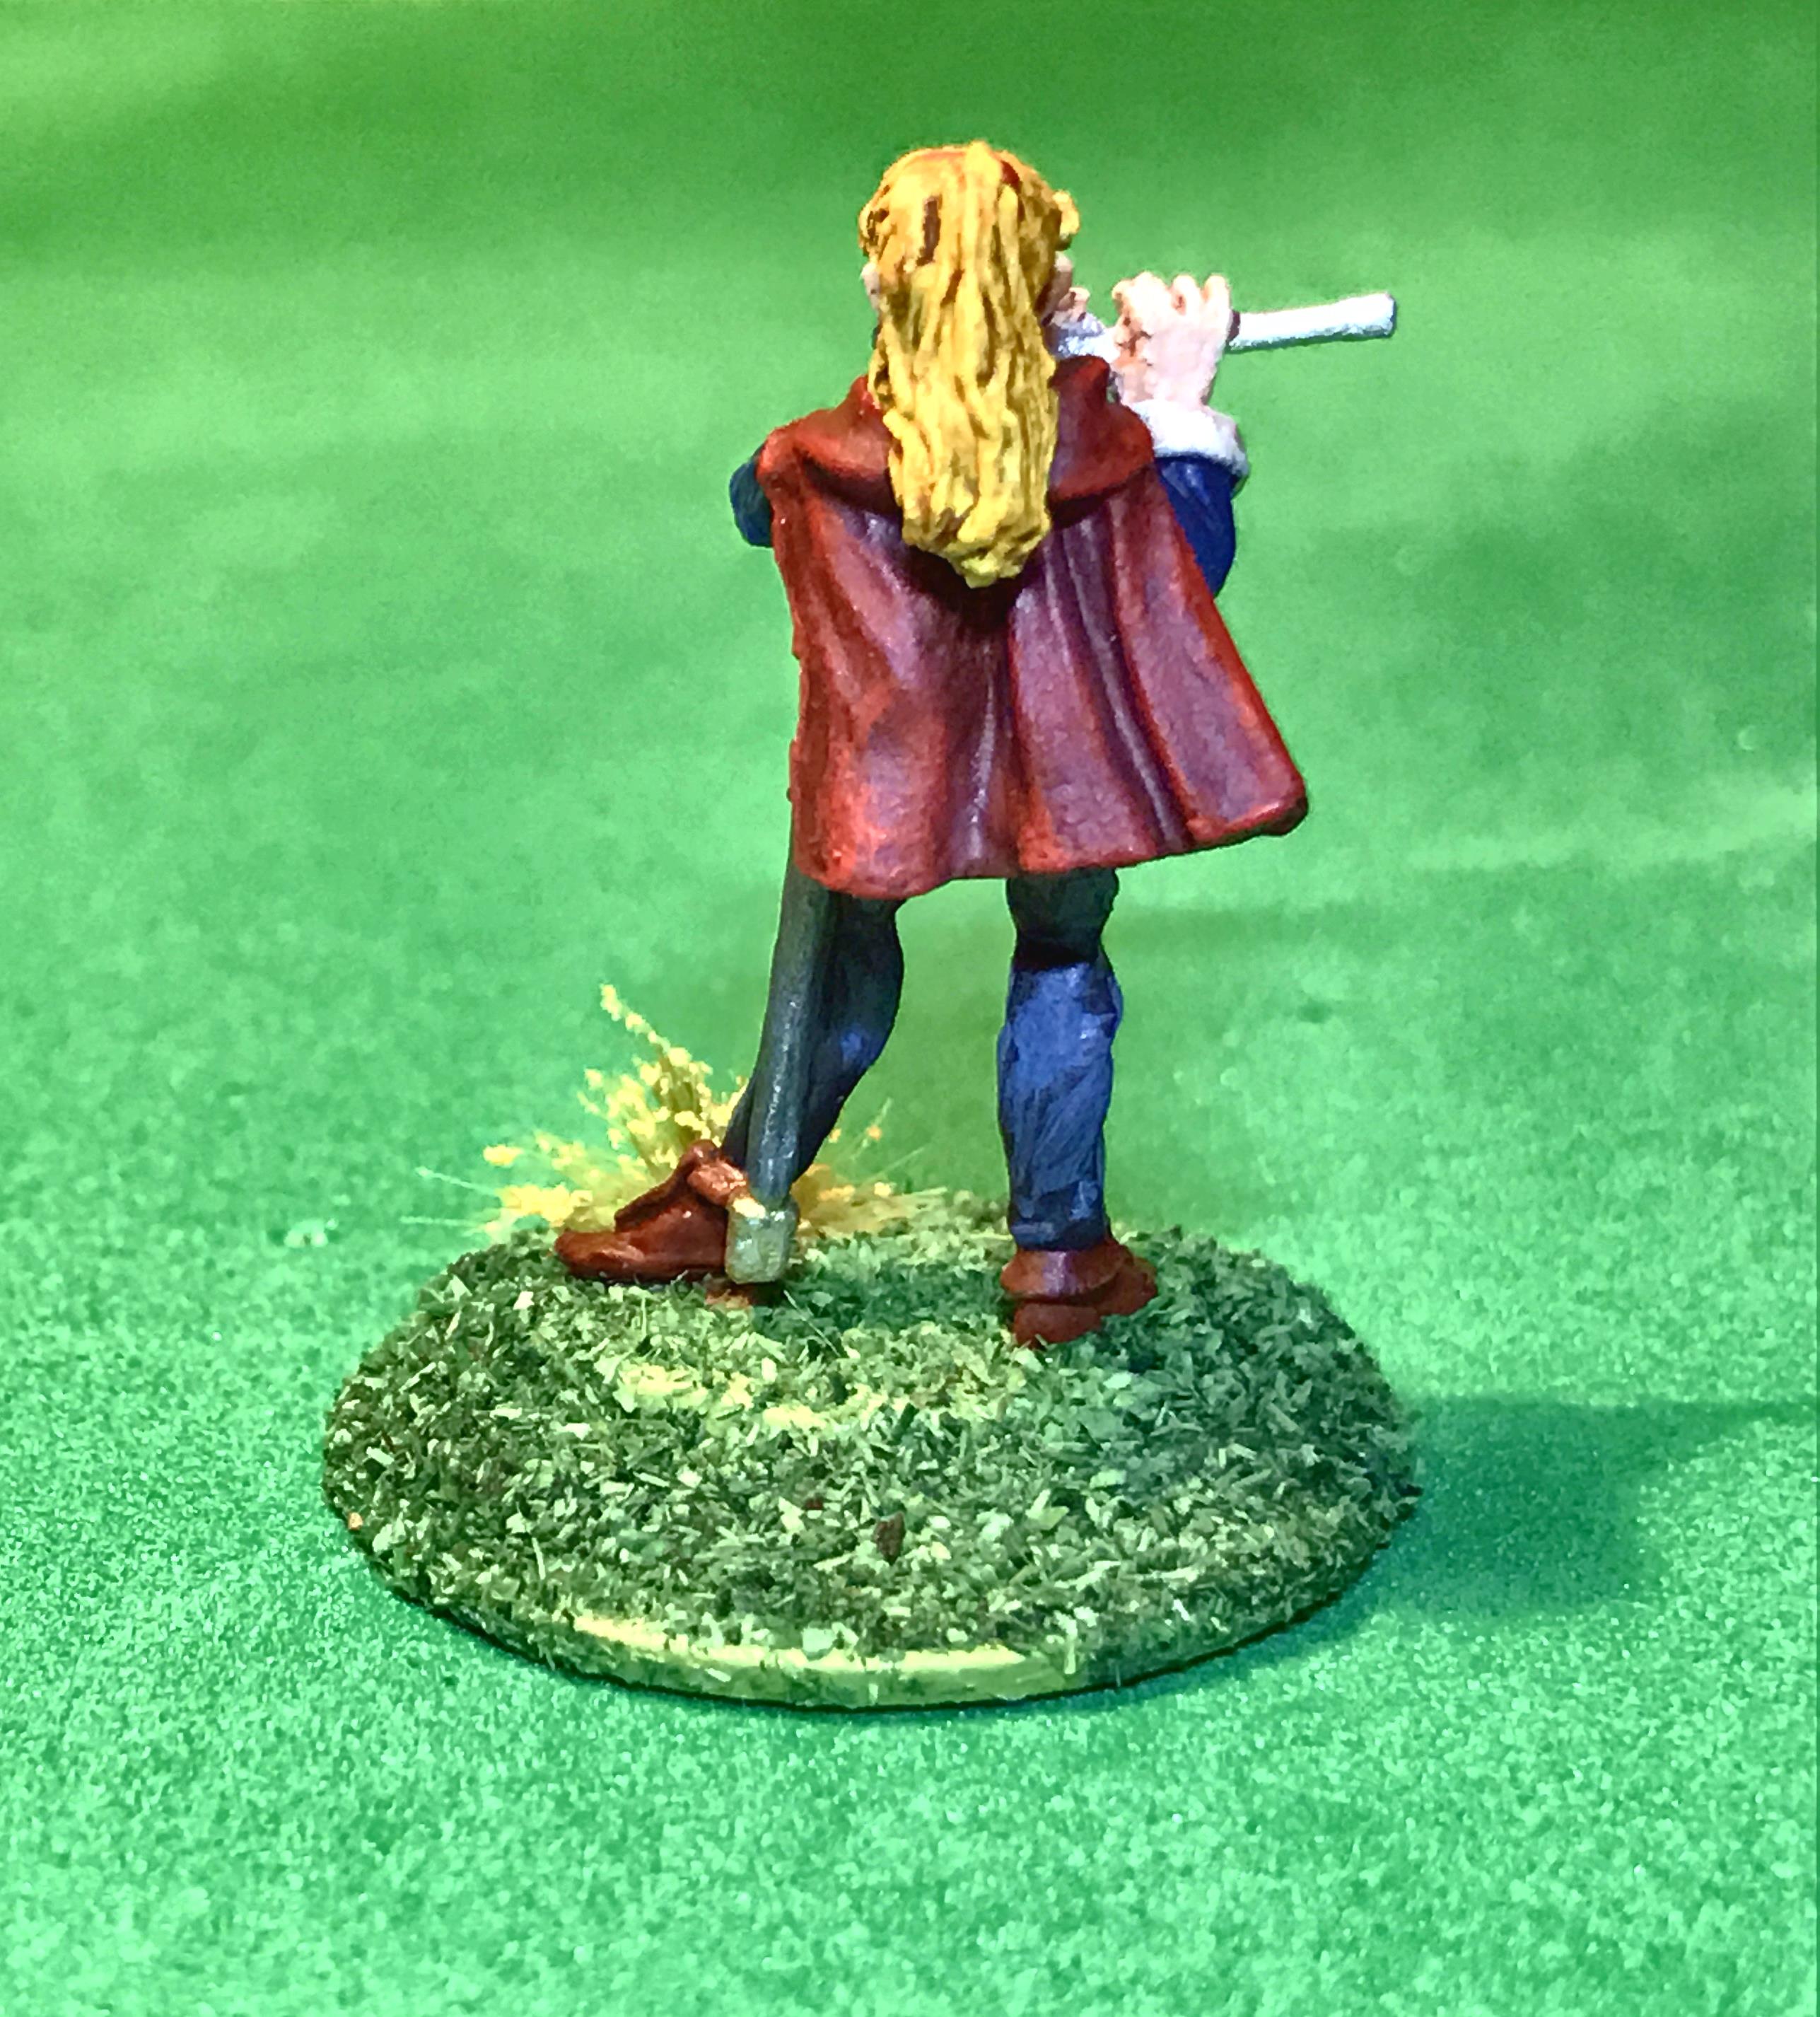
Here are a few shots of the original Winkies in progress for the grassy-based regiment:


Here are a few photos of the original Gillikins in progress:


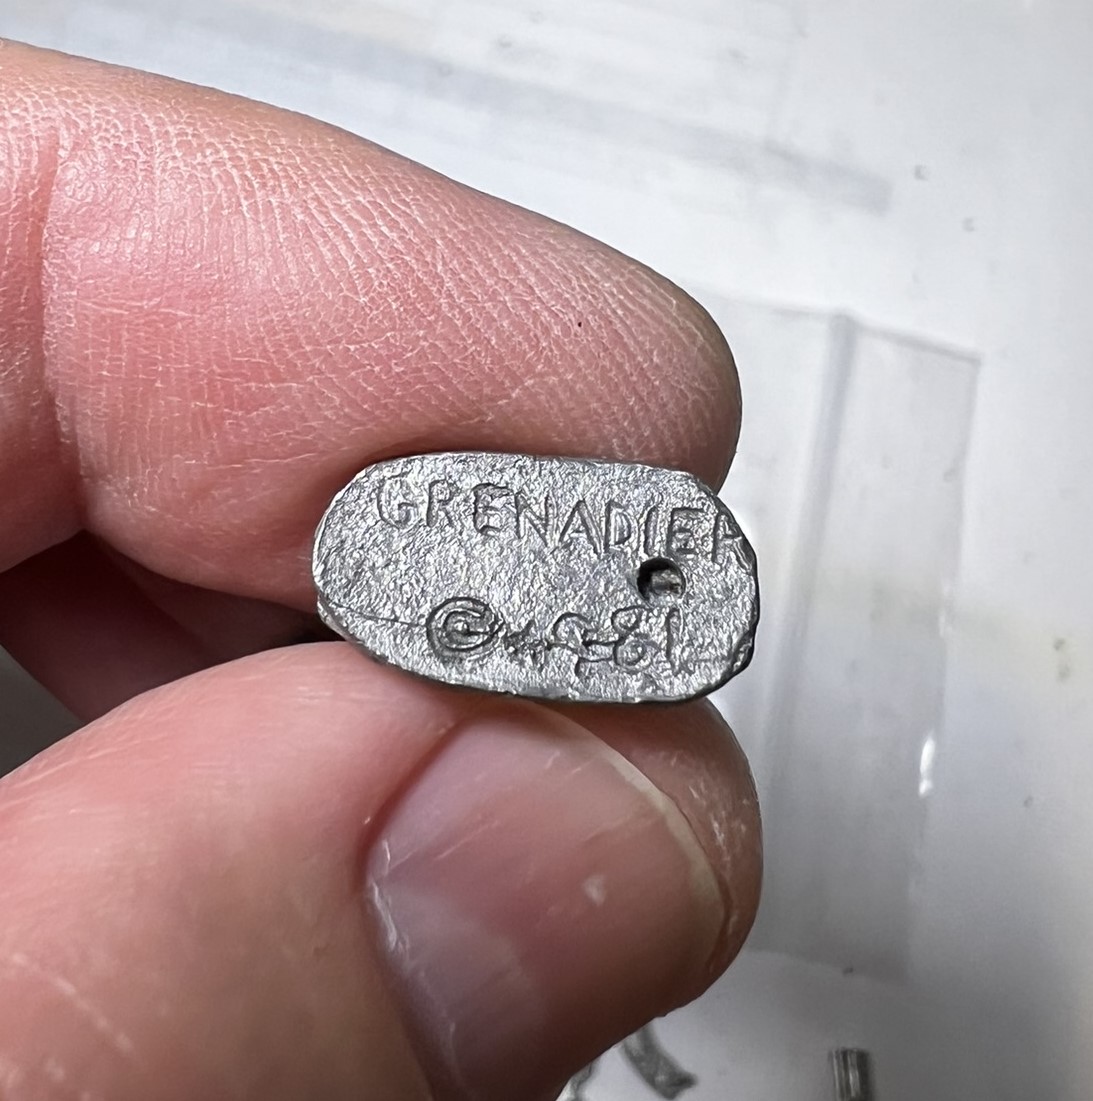
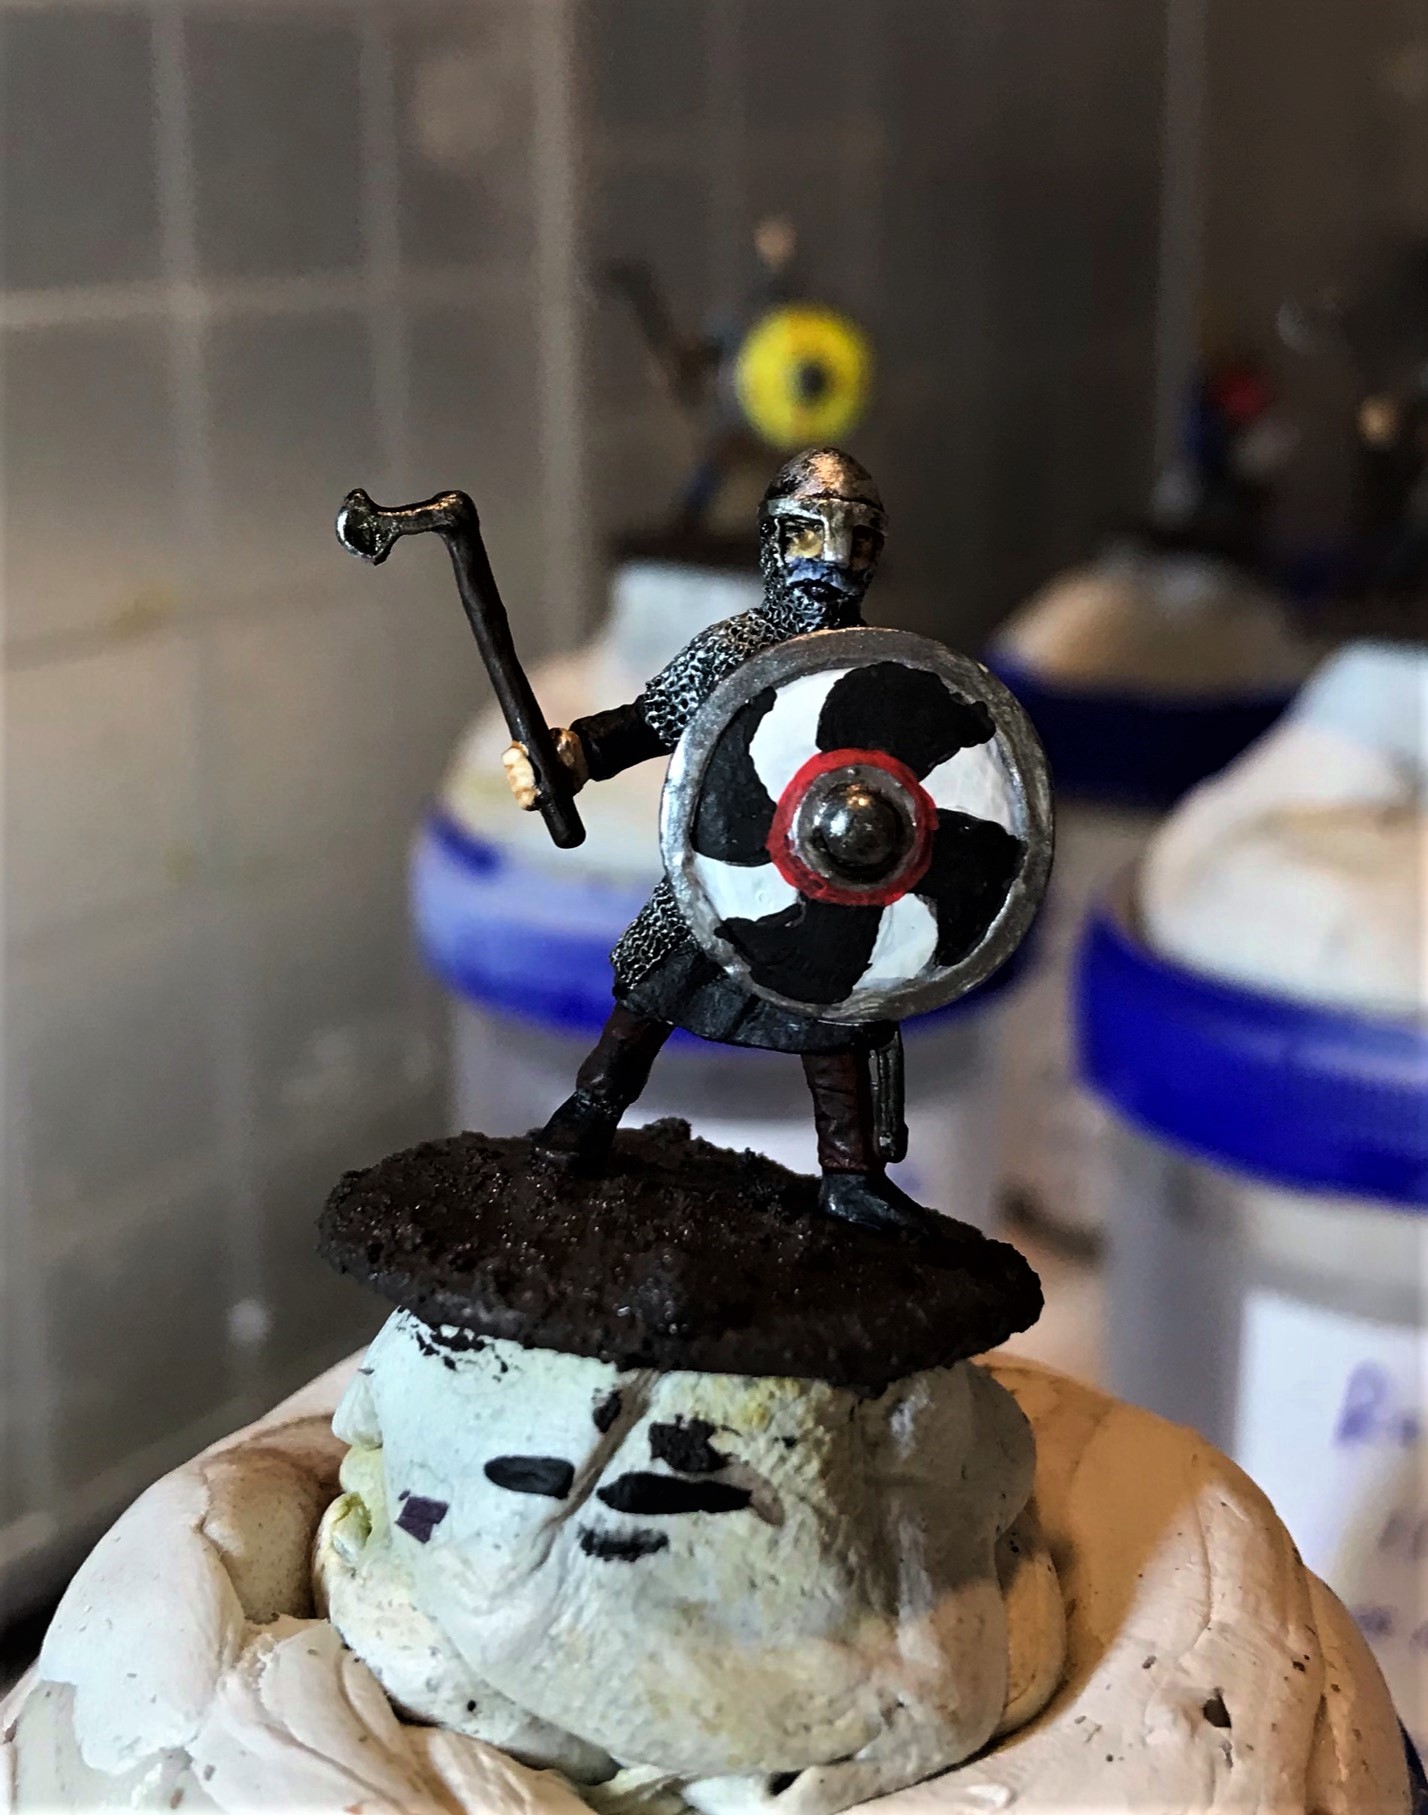
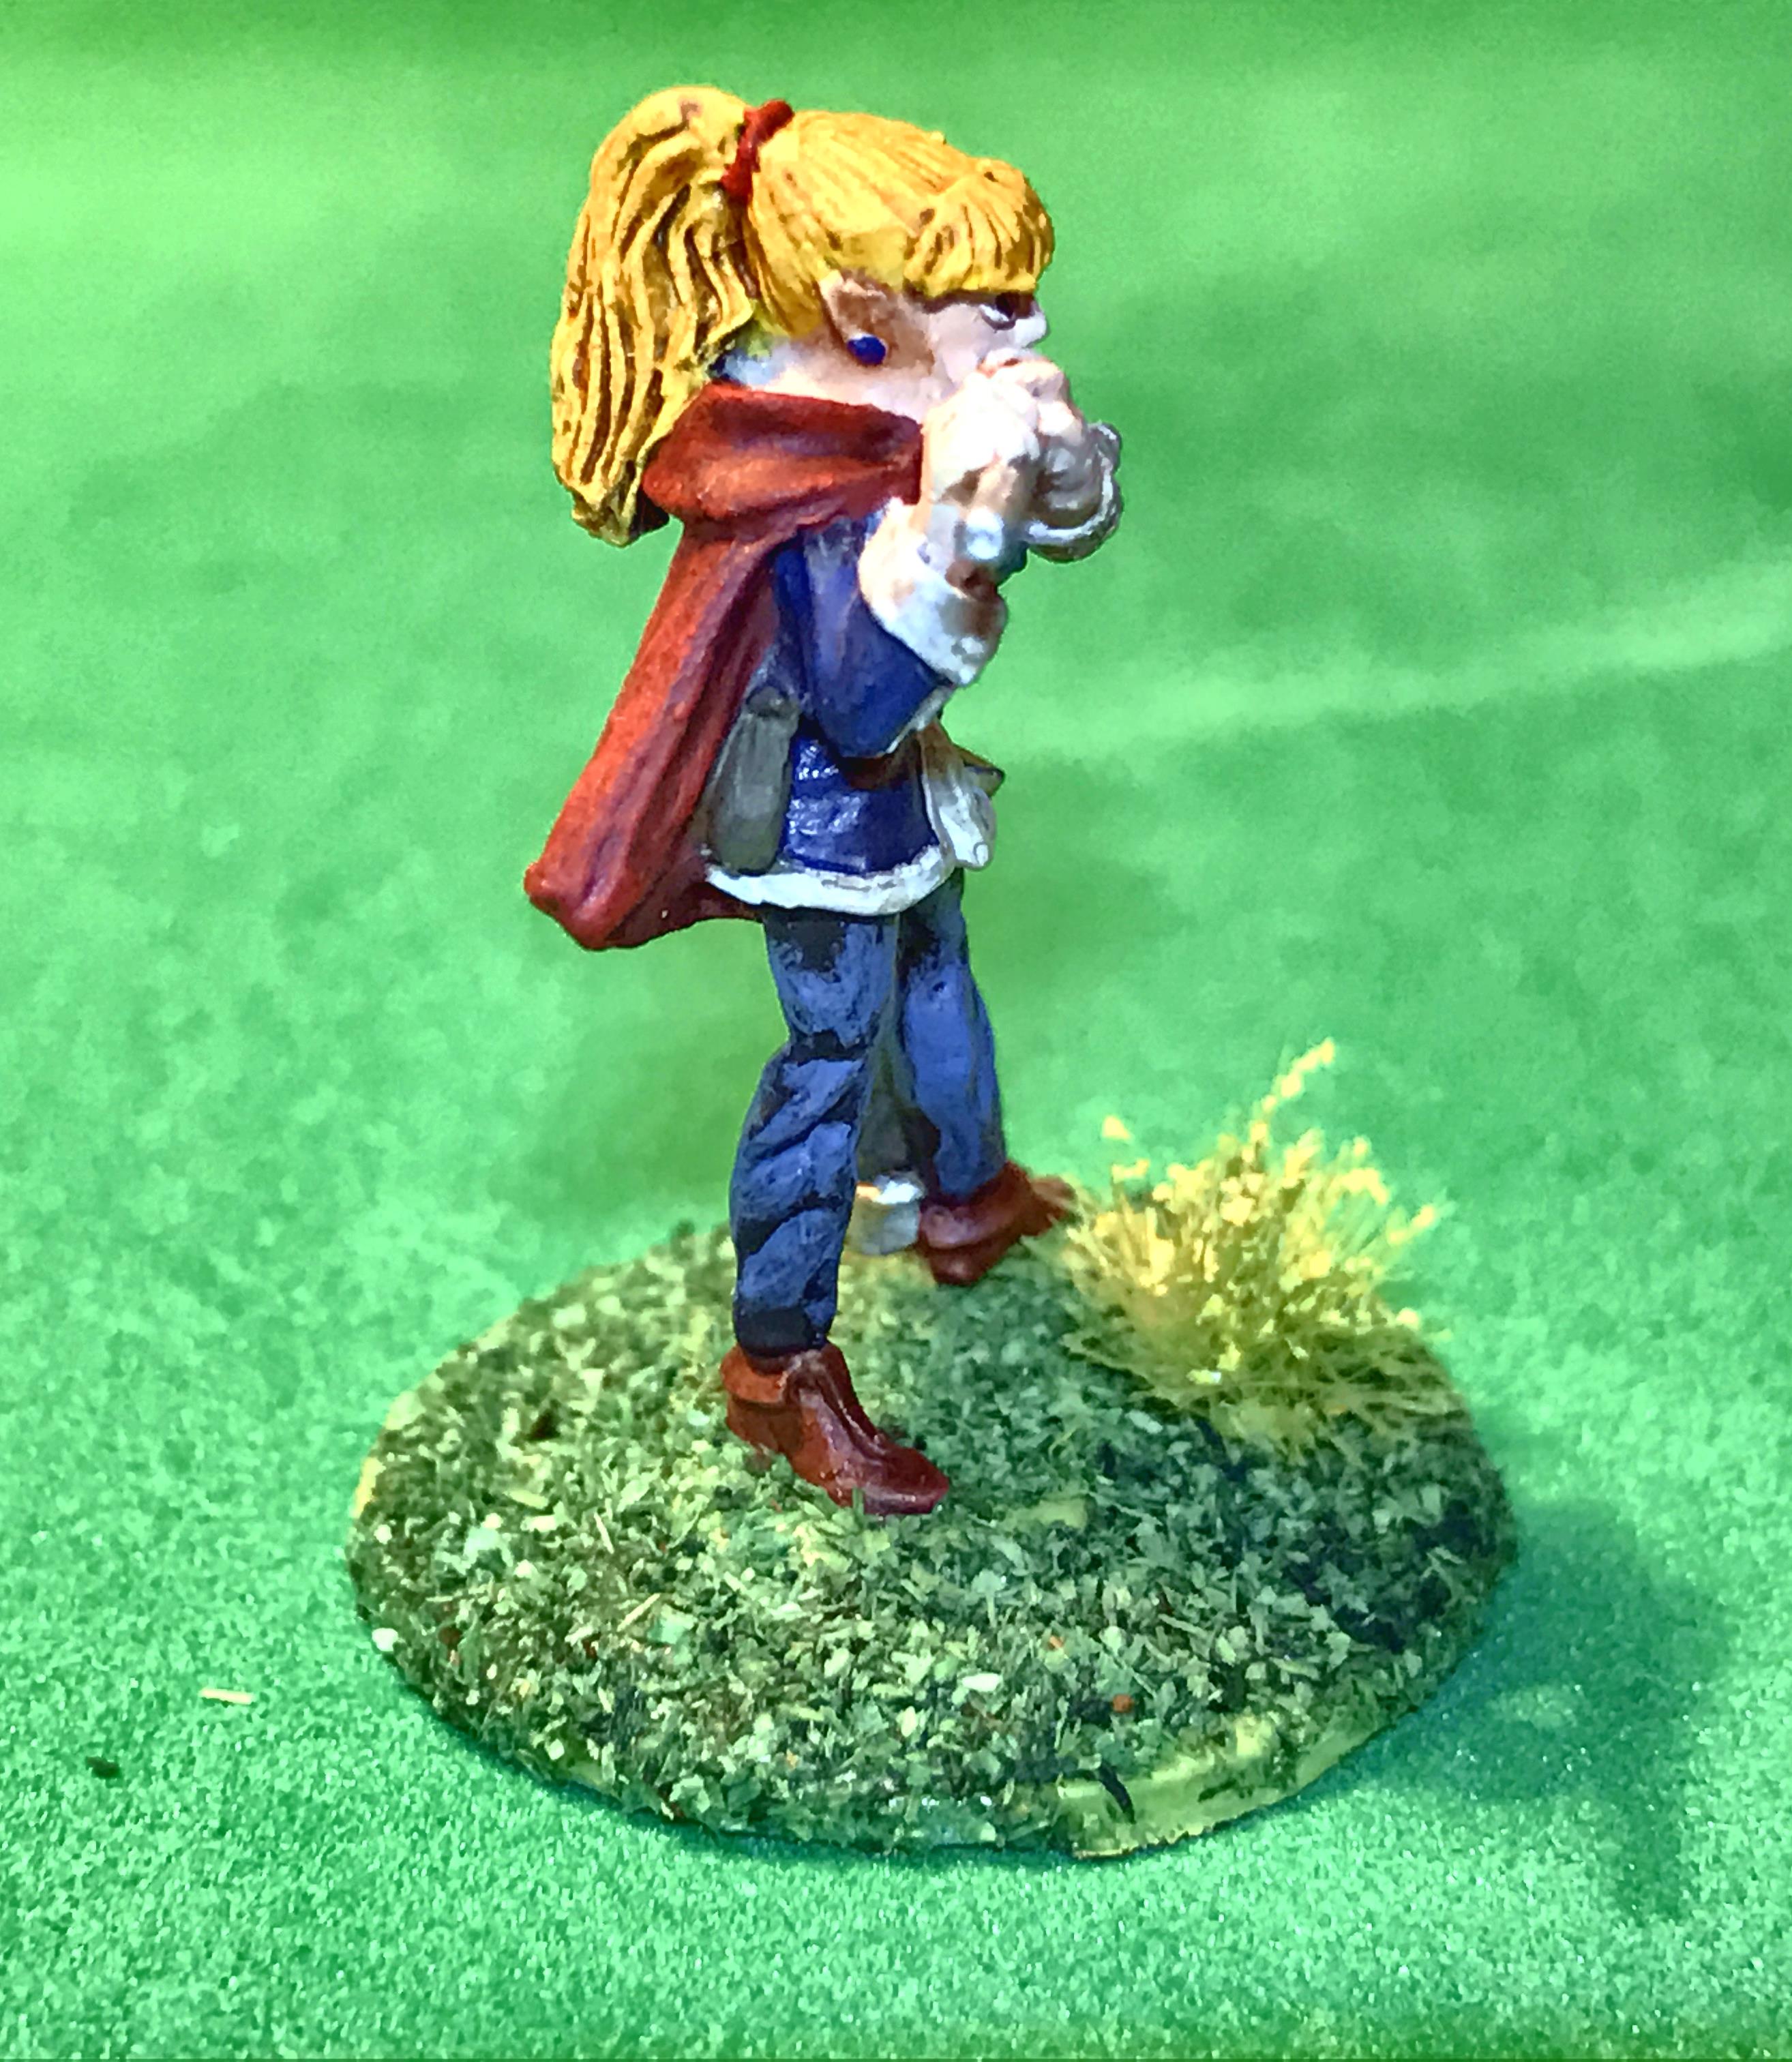
Now onto the conversion figures. Six of these were Grenadier #3102, and were repackaged by Mirliton as female warriors. They were originally sculpted around 1992 by Sandra Garrity, and were called “Women of War”. Grenadier was later bought by Mirliton, and many of their miniatures were repackaged post-acquisition. These are not found on the Mirliton website so OOP.
I gave these warriors hats and pistols, plus I bent a few swords to look like cutlasses. My sculpting efforts here as I said are not great – and I learned to my chagrin that using old green stuff with the consistency of used hardened bubblegum (like from under a desk) is NOT what you want to use. Still, I used all as female Winkies due to their poses and sizes.


Below is one of the conversions – I made all to have a different look.

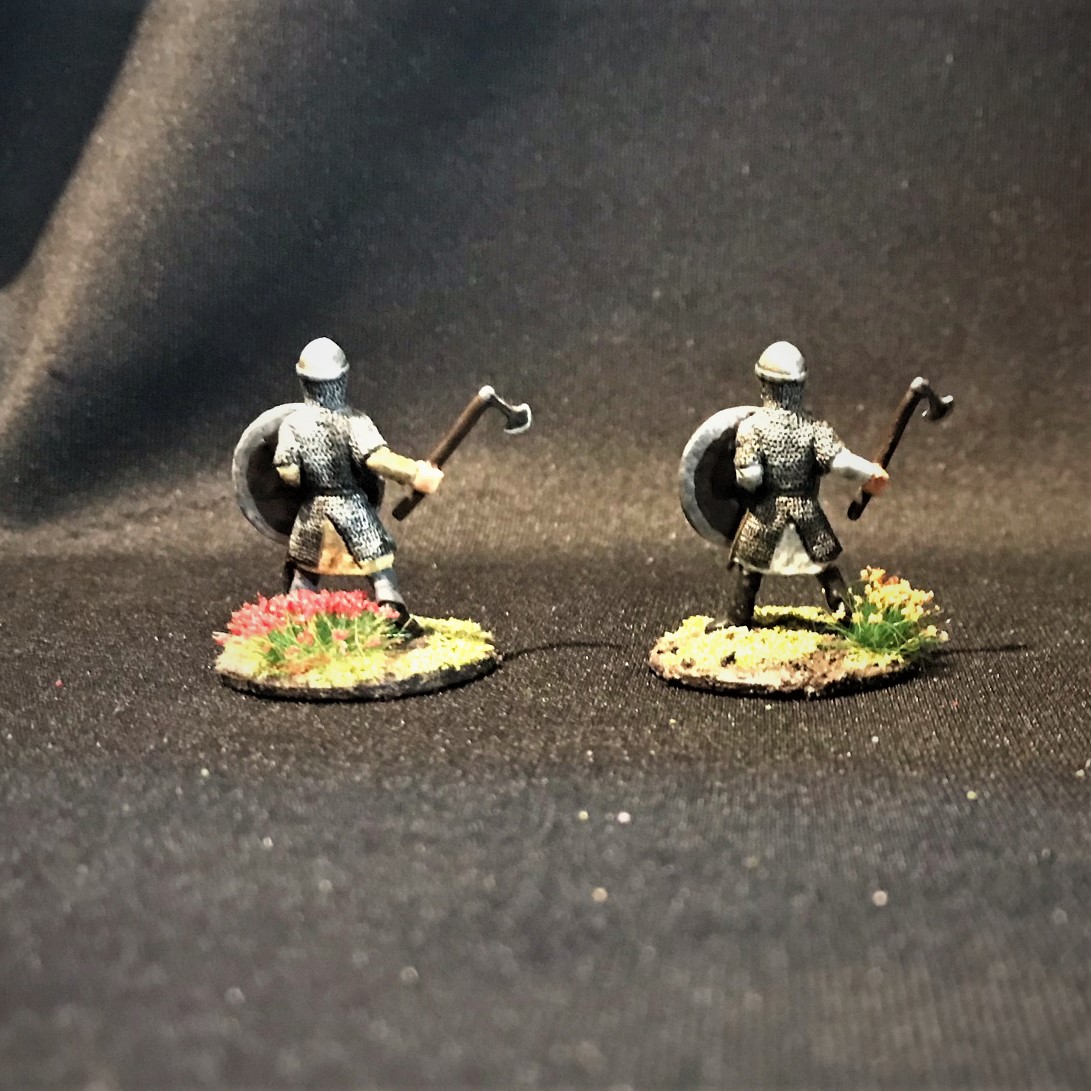
A few shots of the 6 Grenadier “Women of War” later in the project:


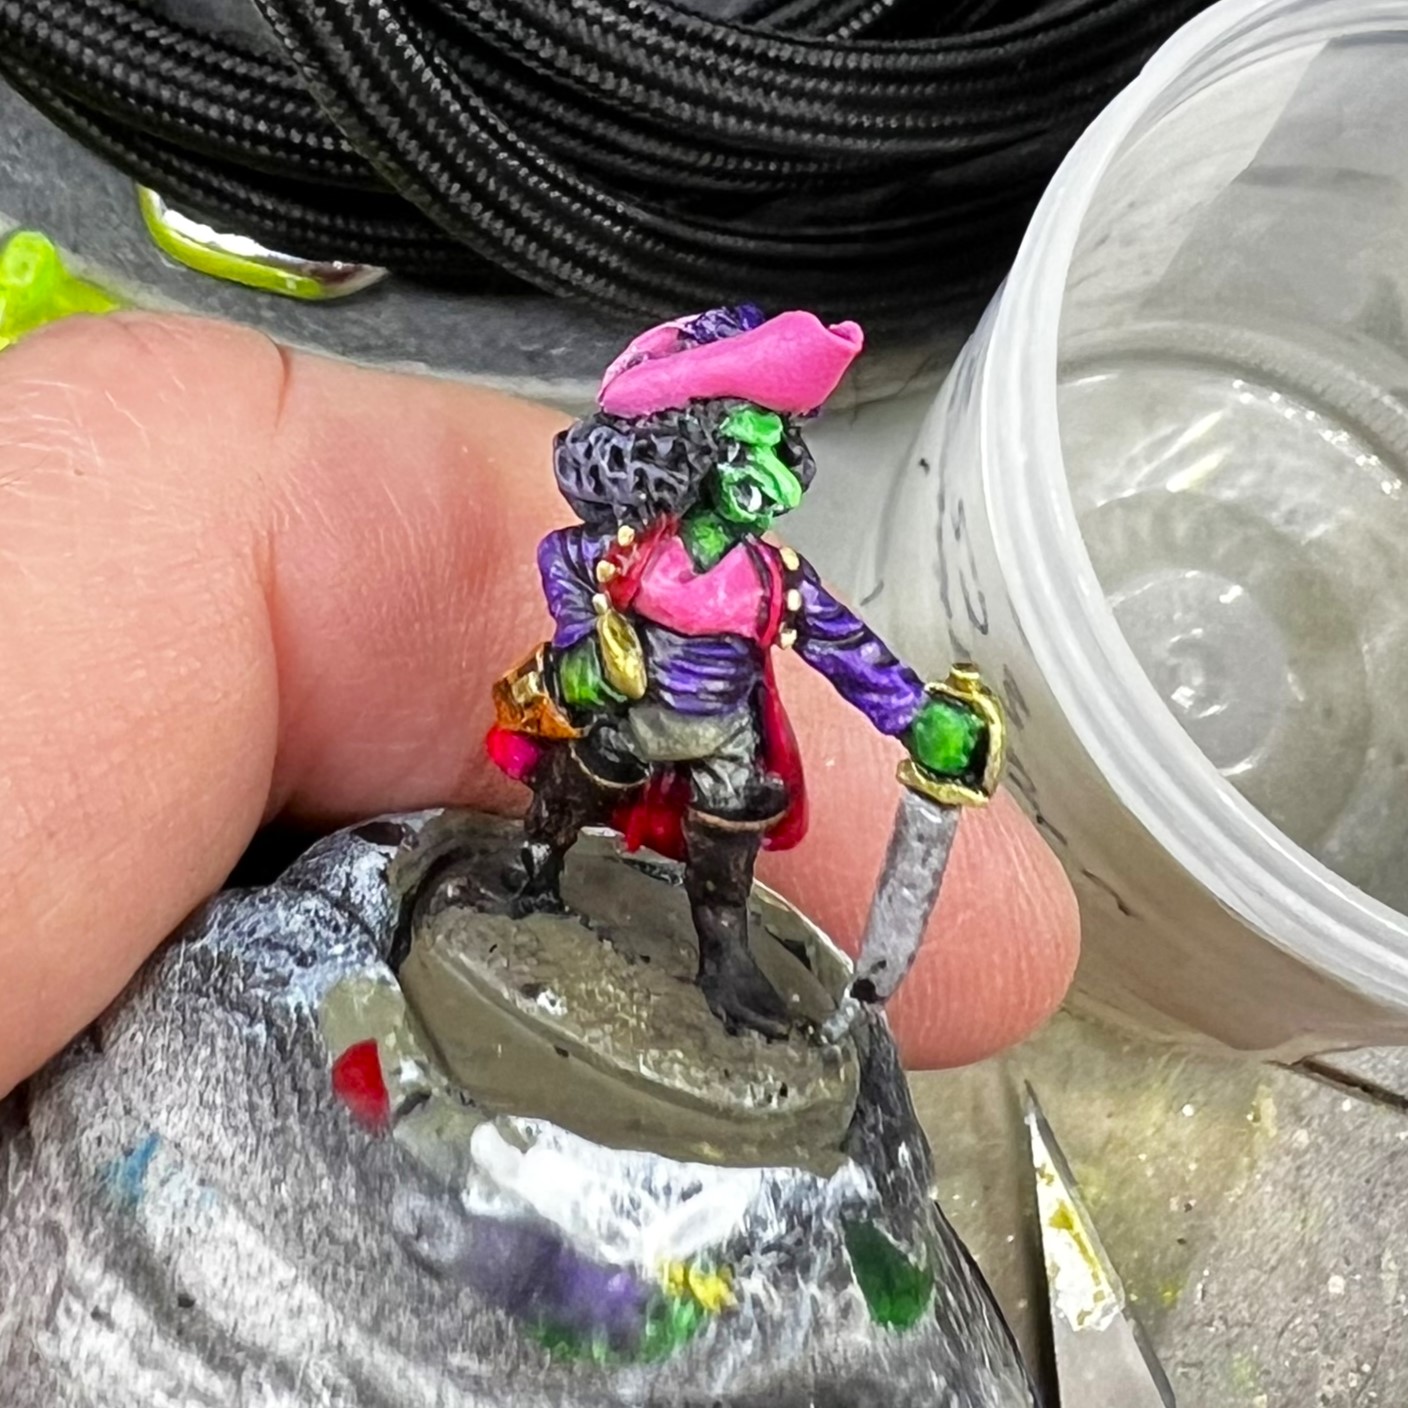
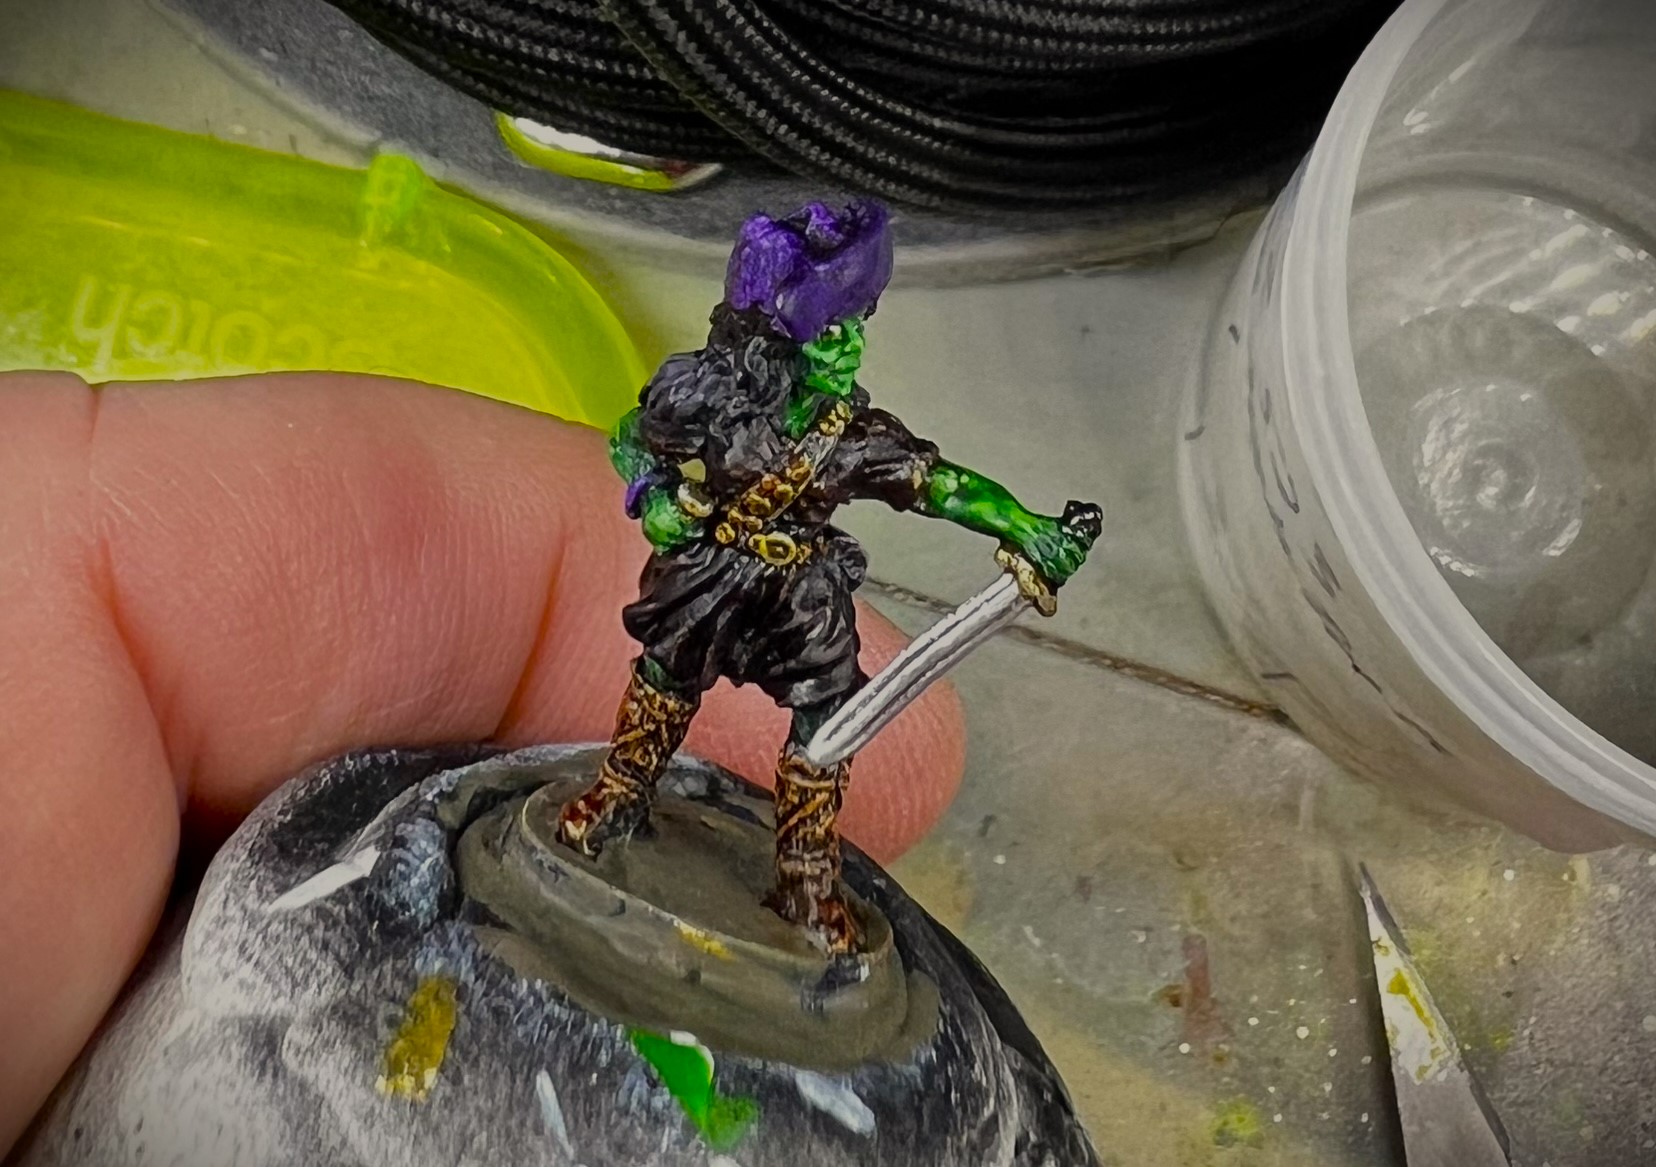
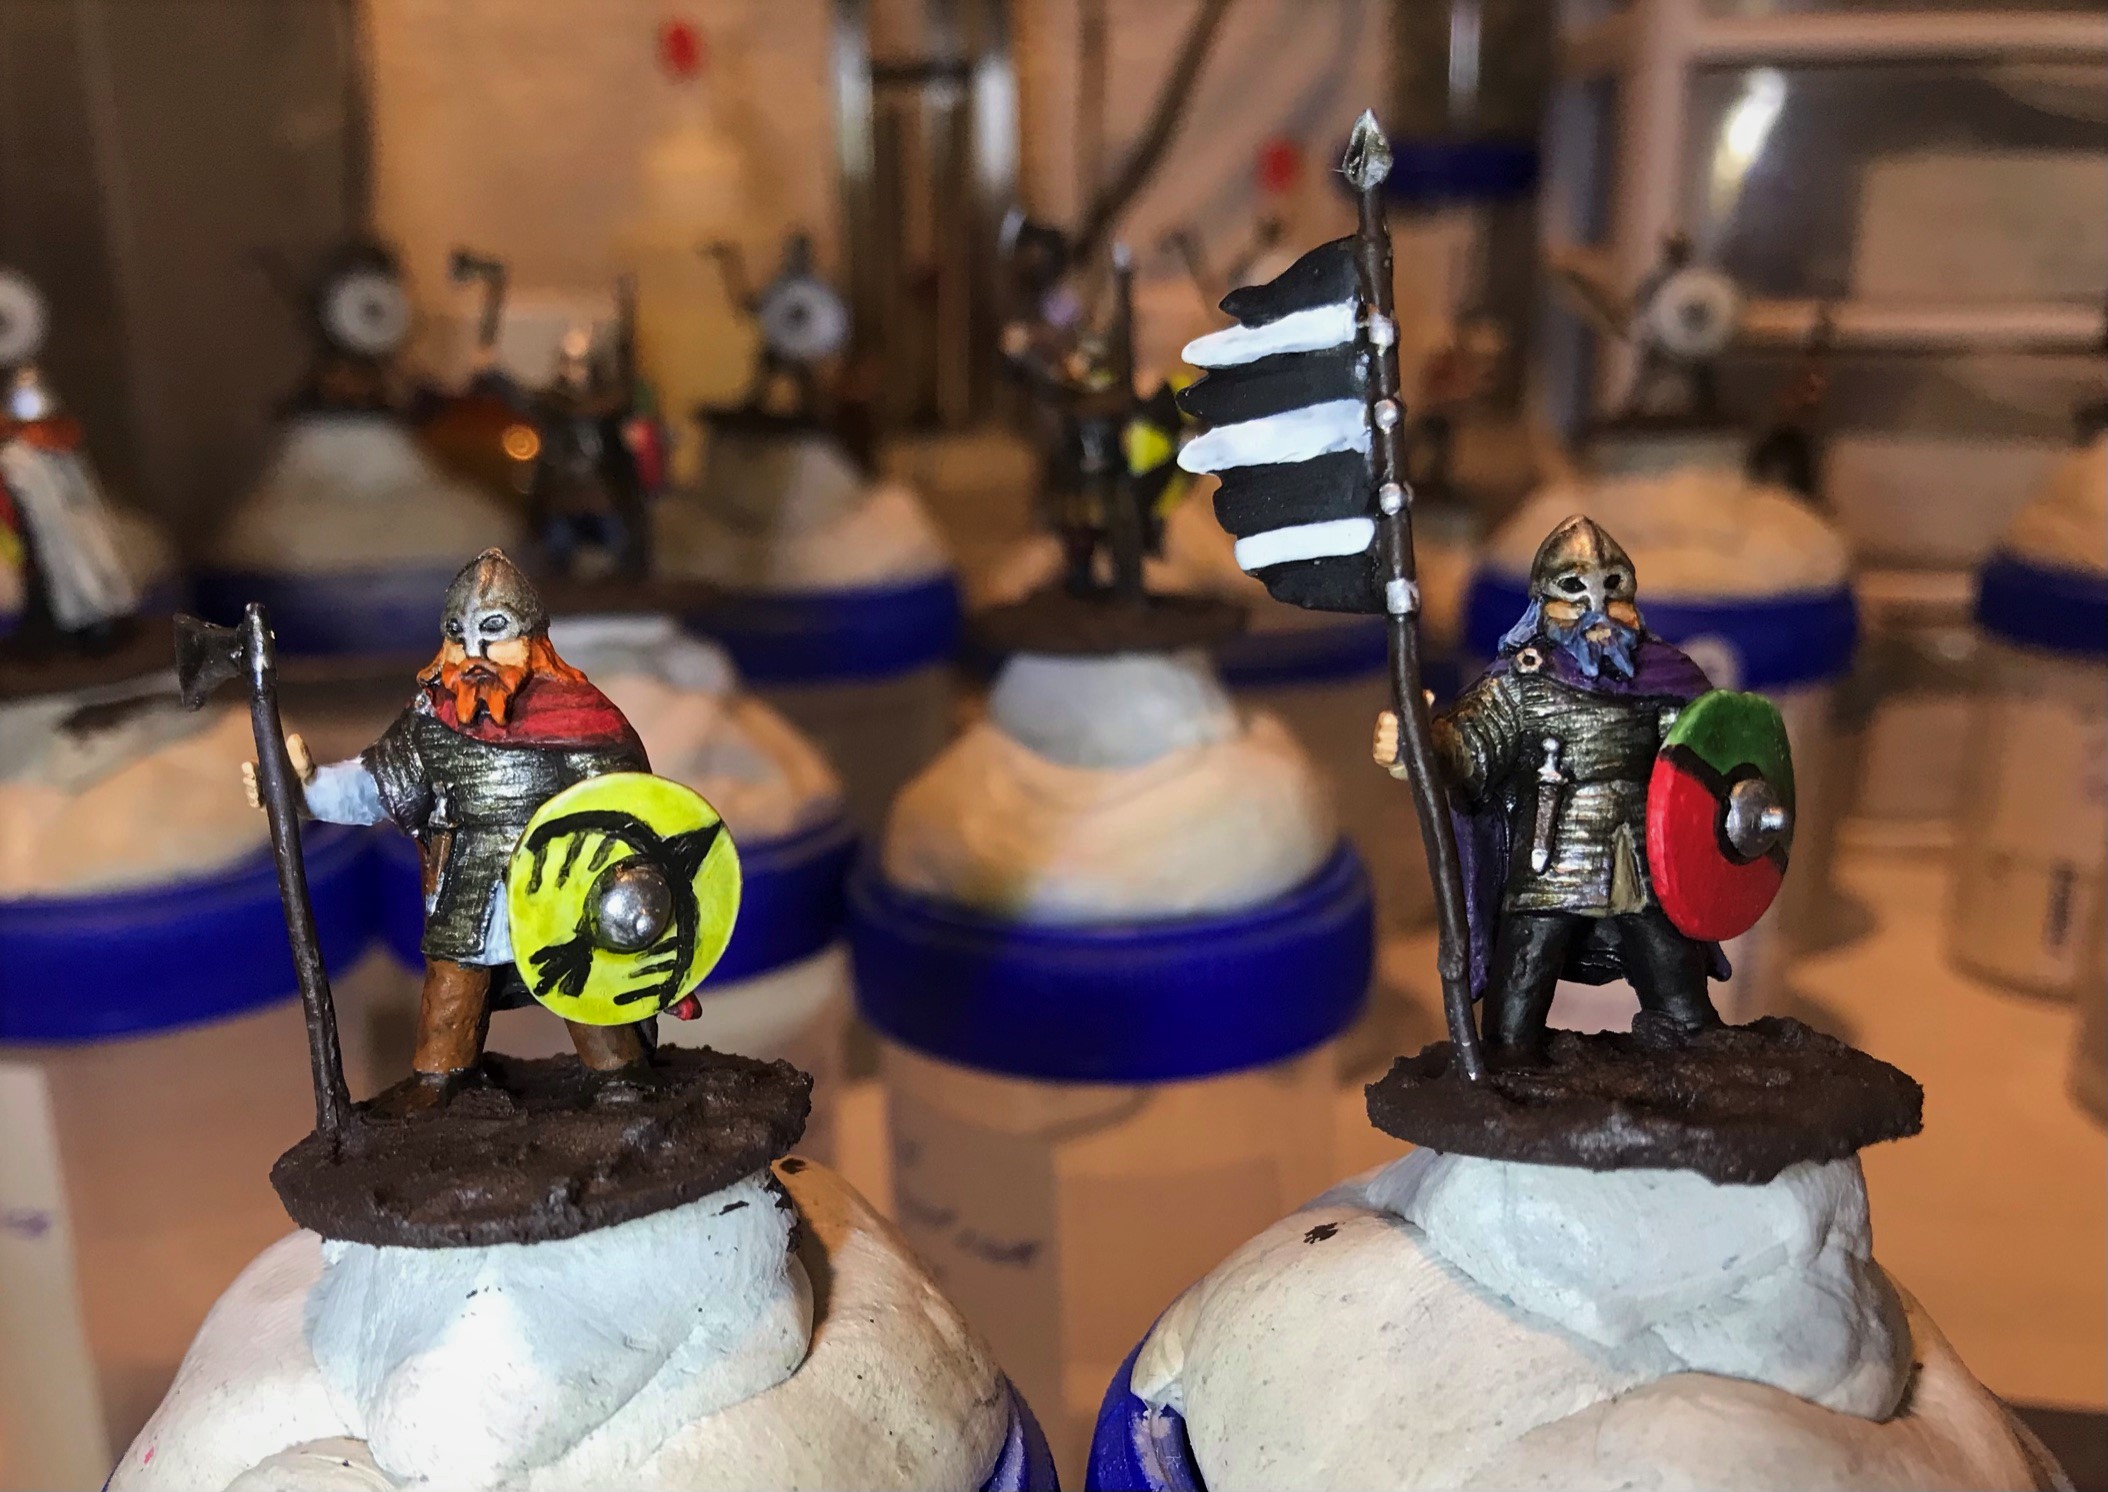
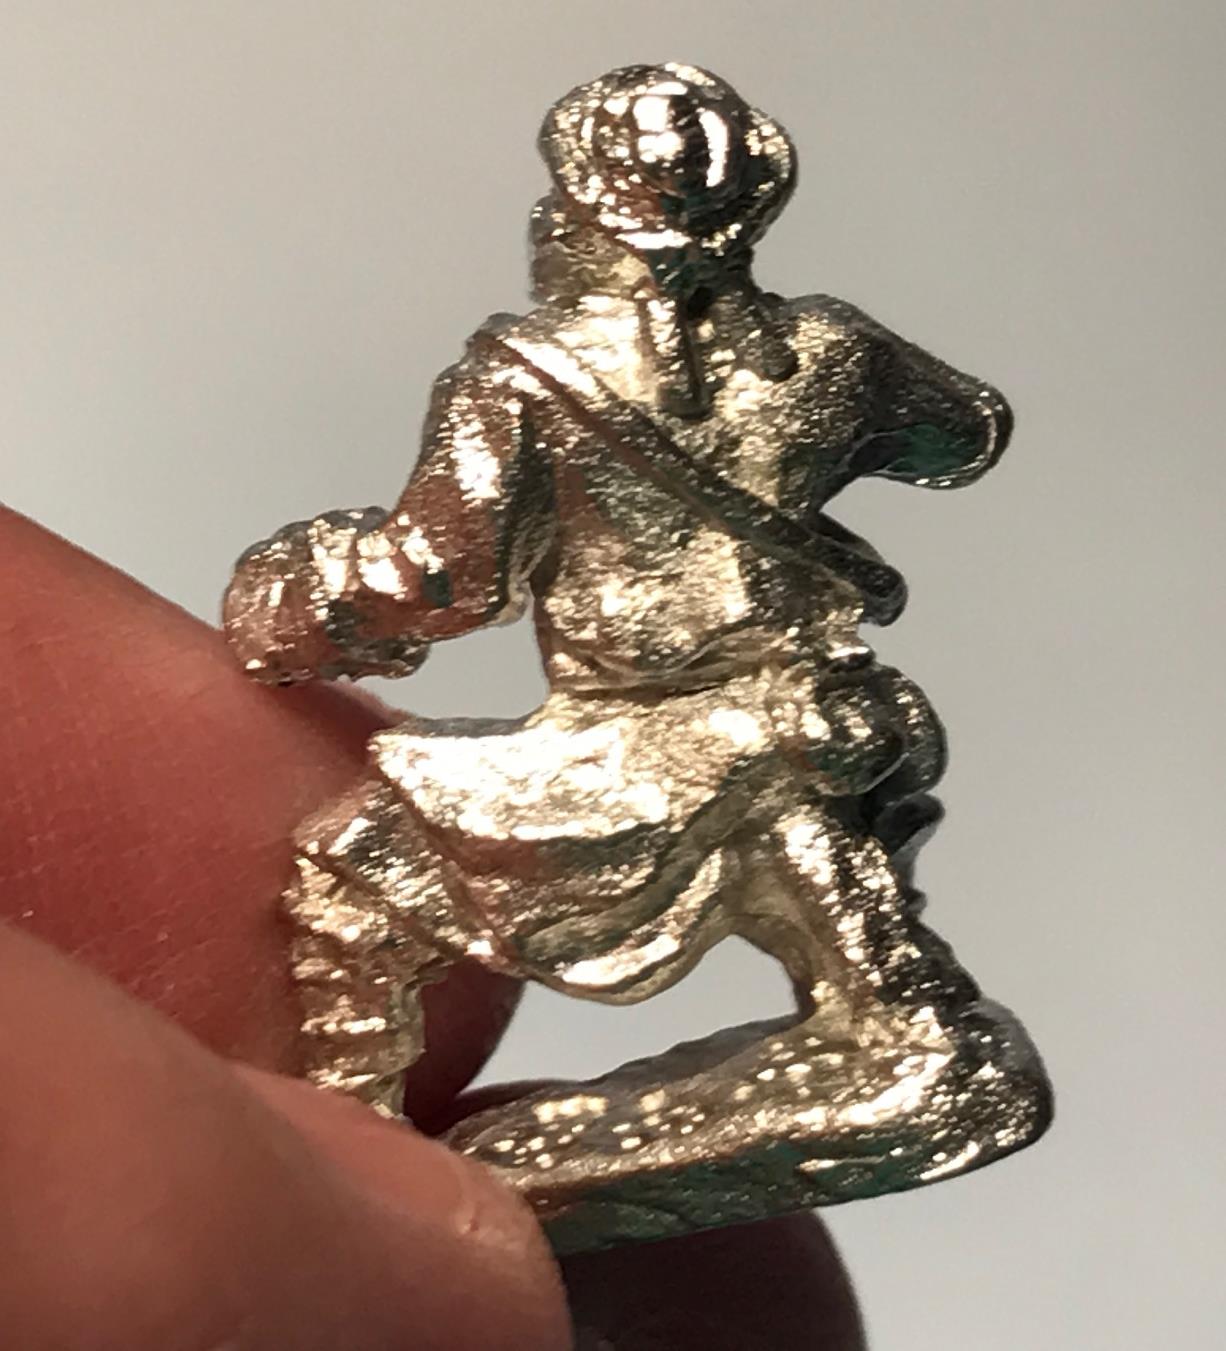
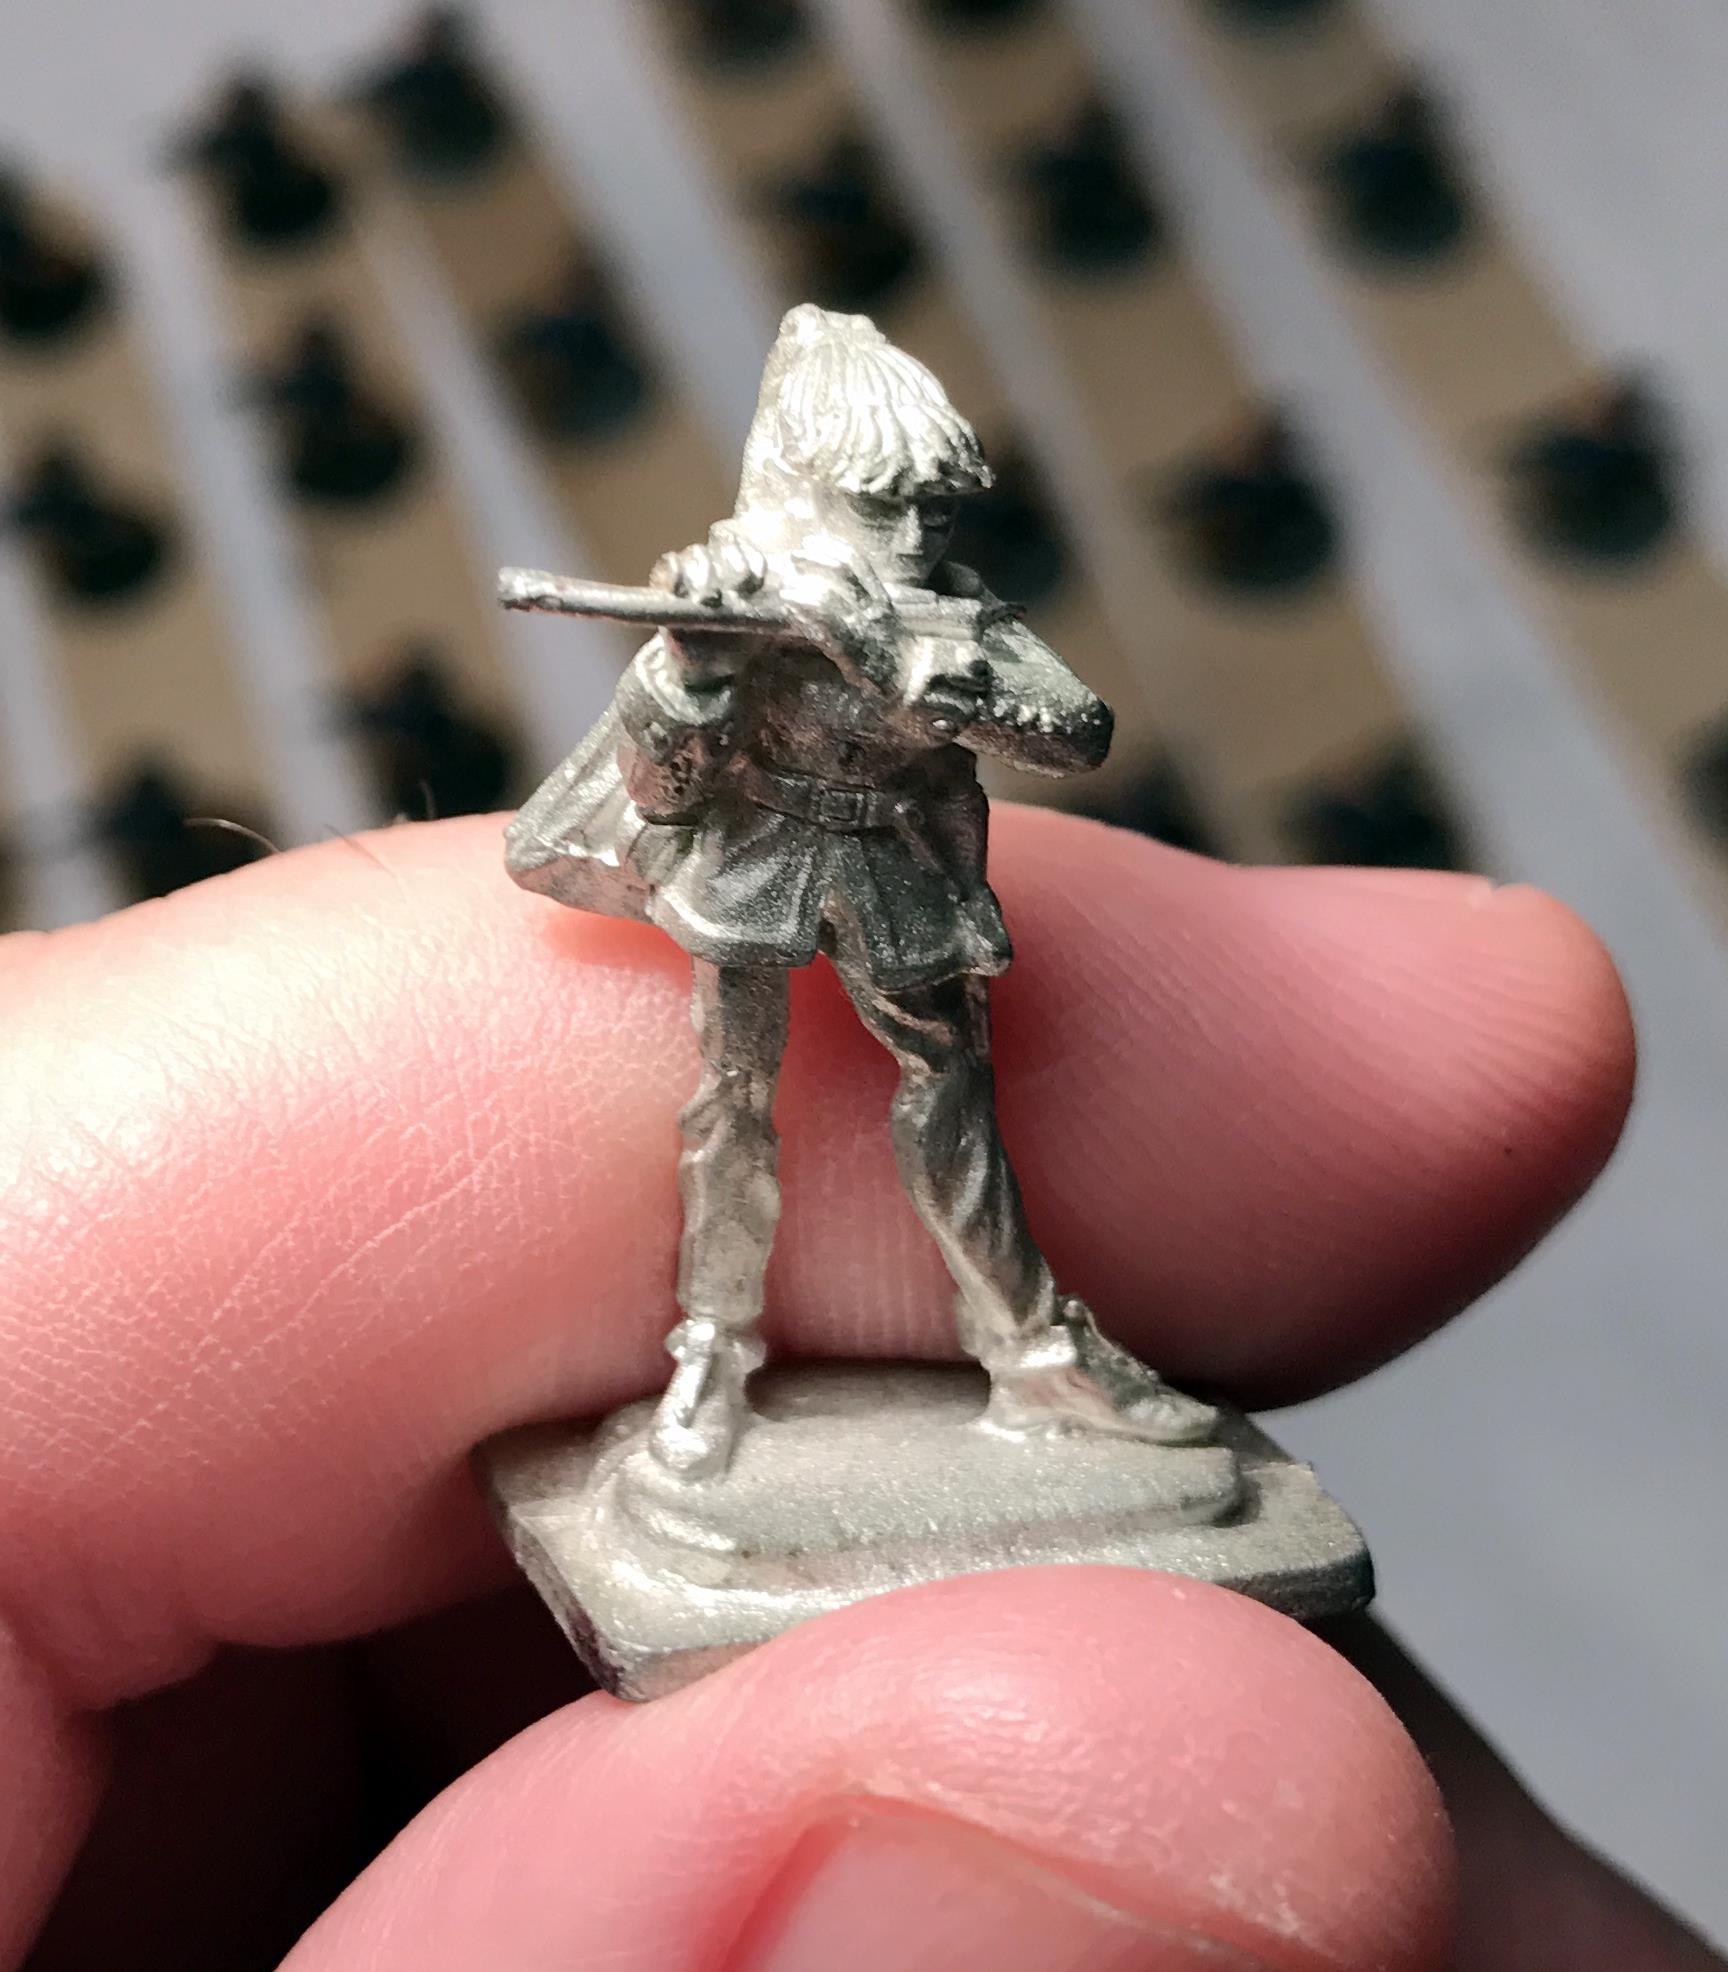
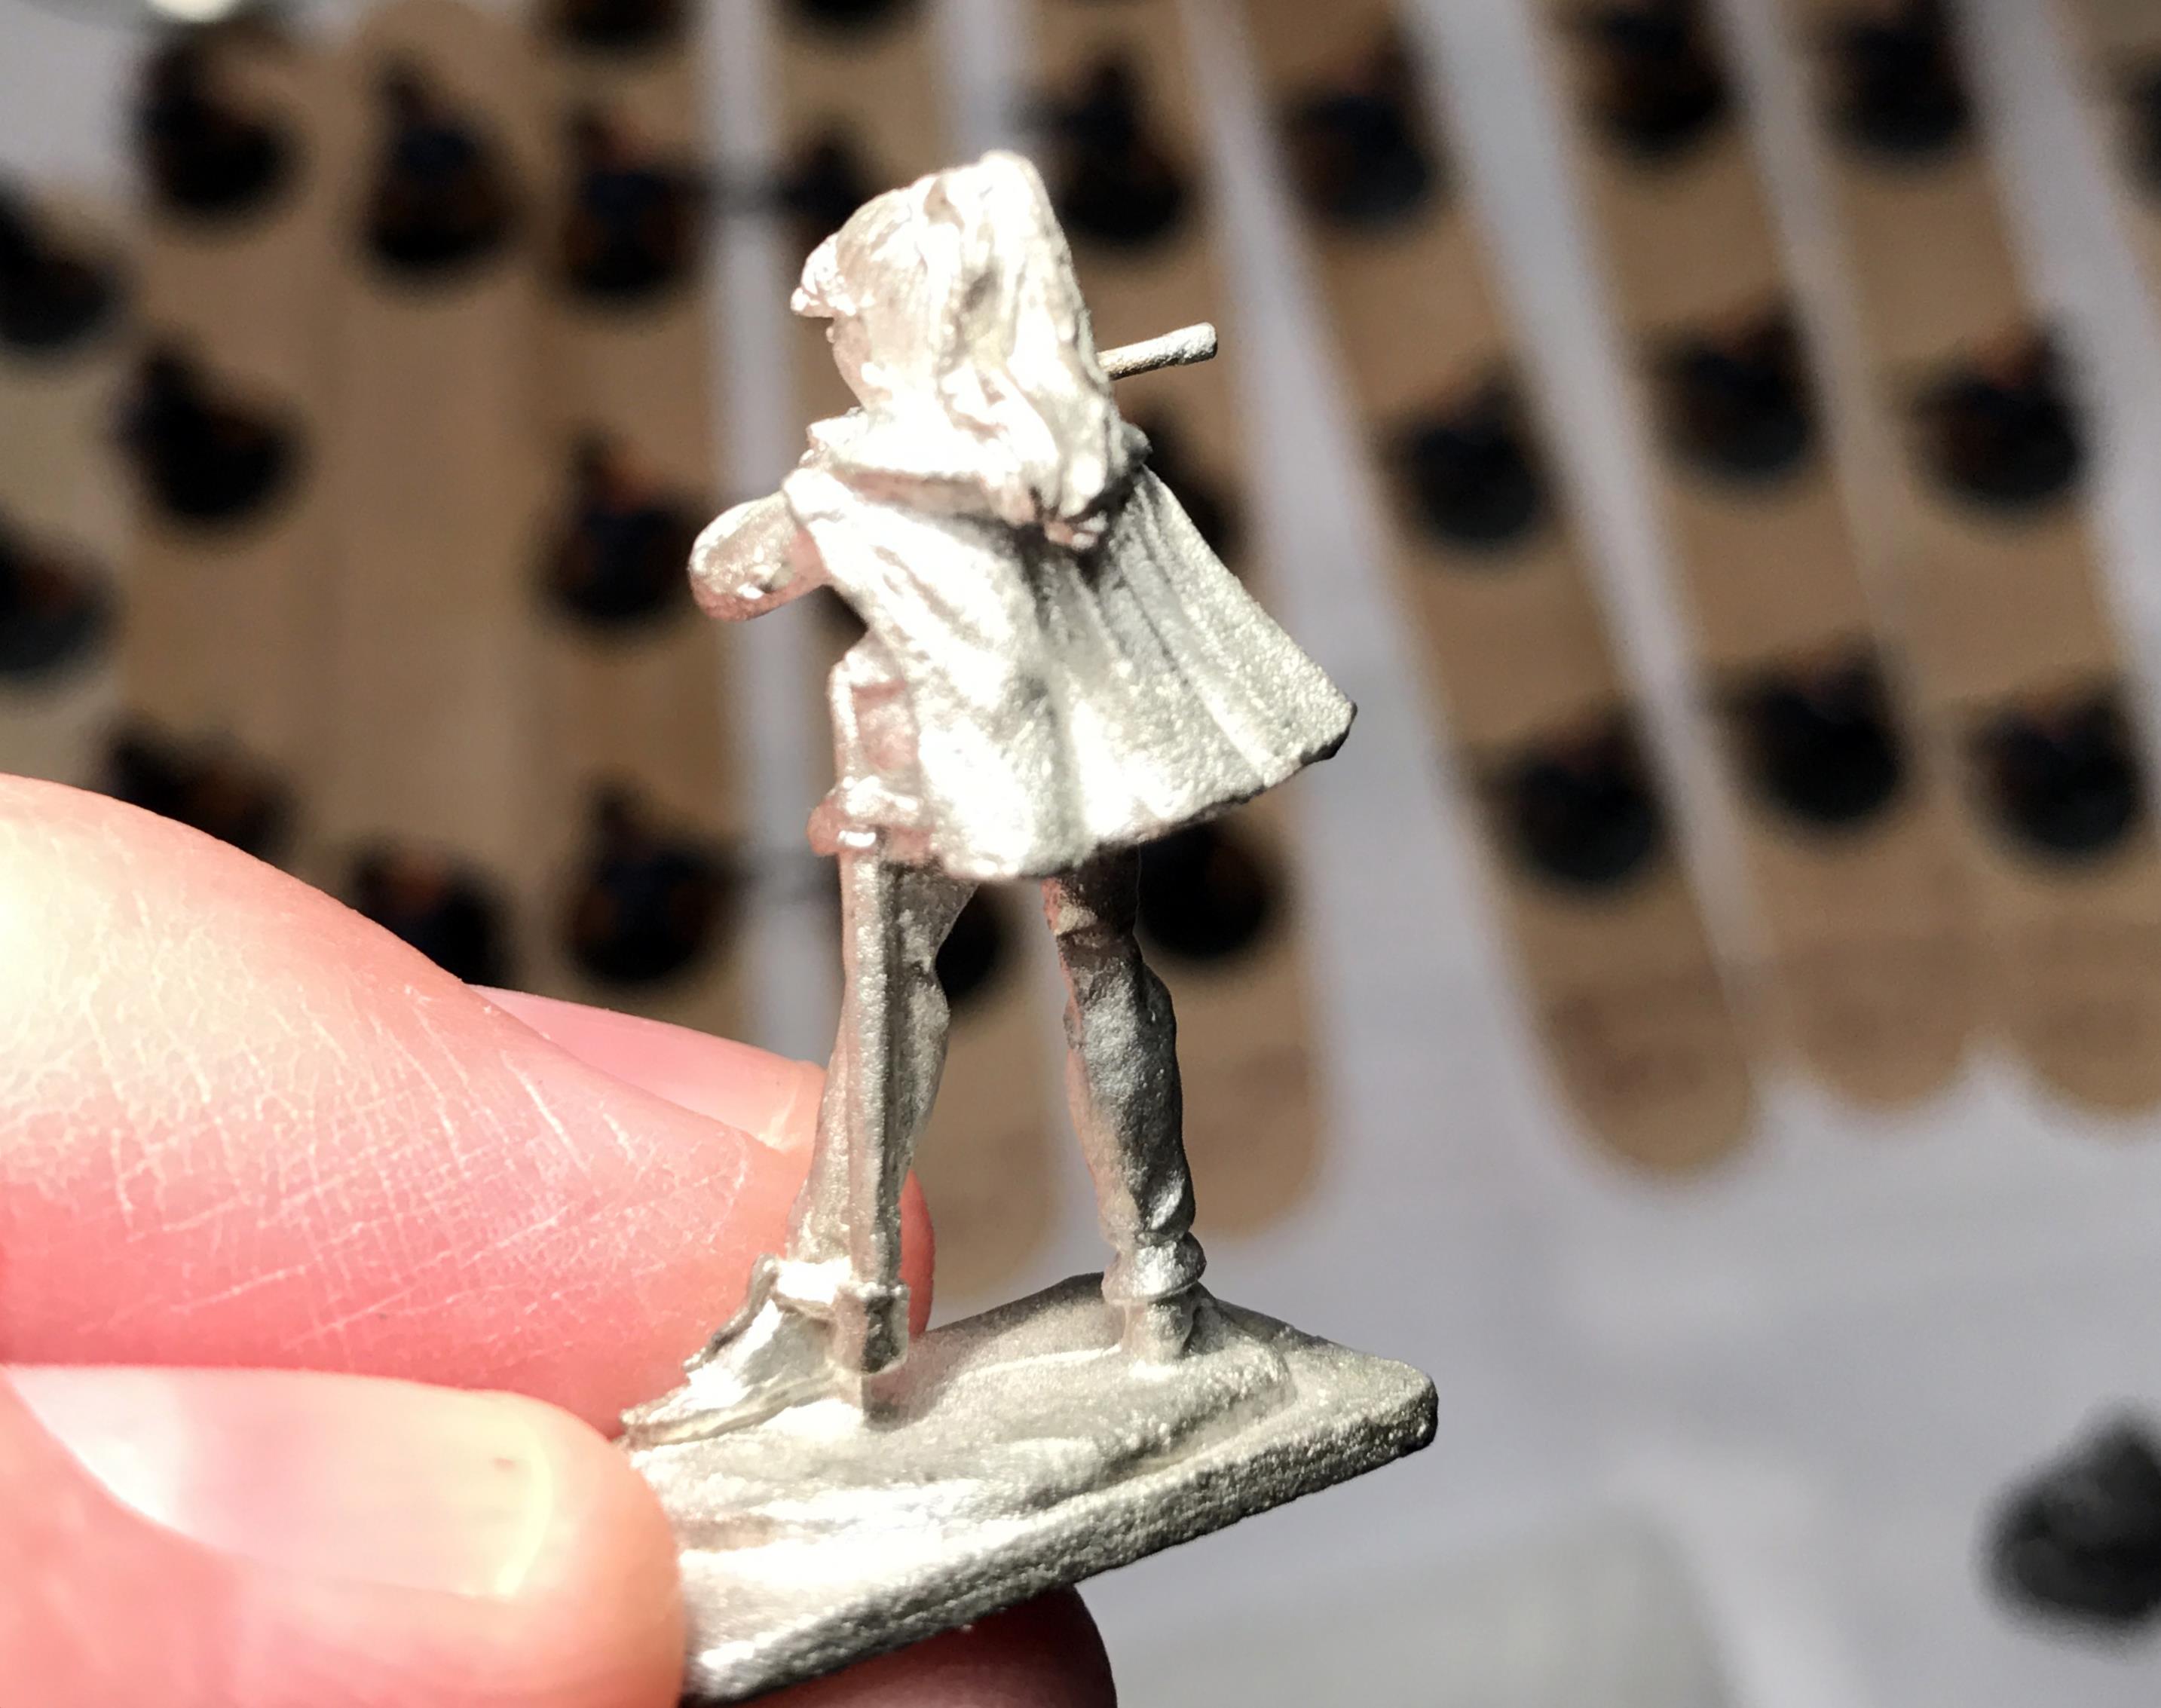
The next figure was also a Grenadier figure, but much older, and came to me in an eBay lot. I remember stripping off her bad paint job years ago, but that was all that I did with her. She is Grenadier 102 (v2) from the Fantasy Lords First Series “Females”. The figure is called “Female Assassin”, and dates from 1981. I gave her a bicorn hat and designated her as a Gillikin.

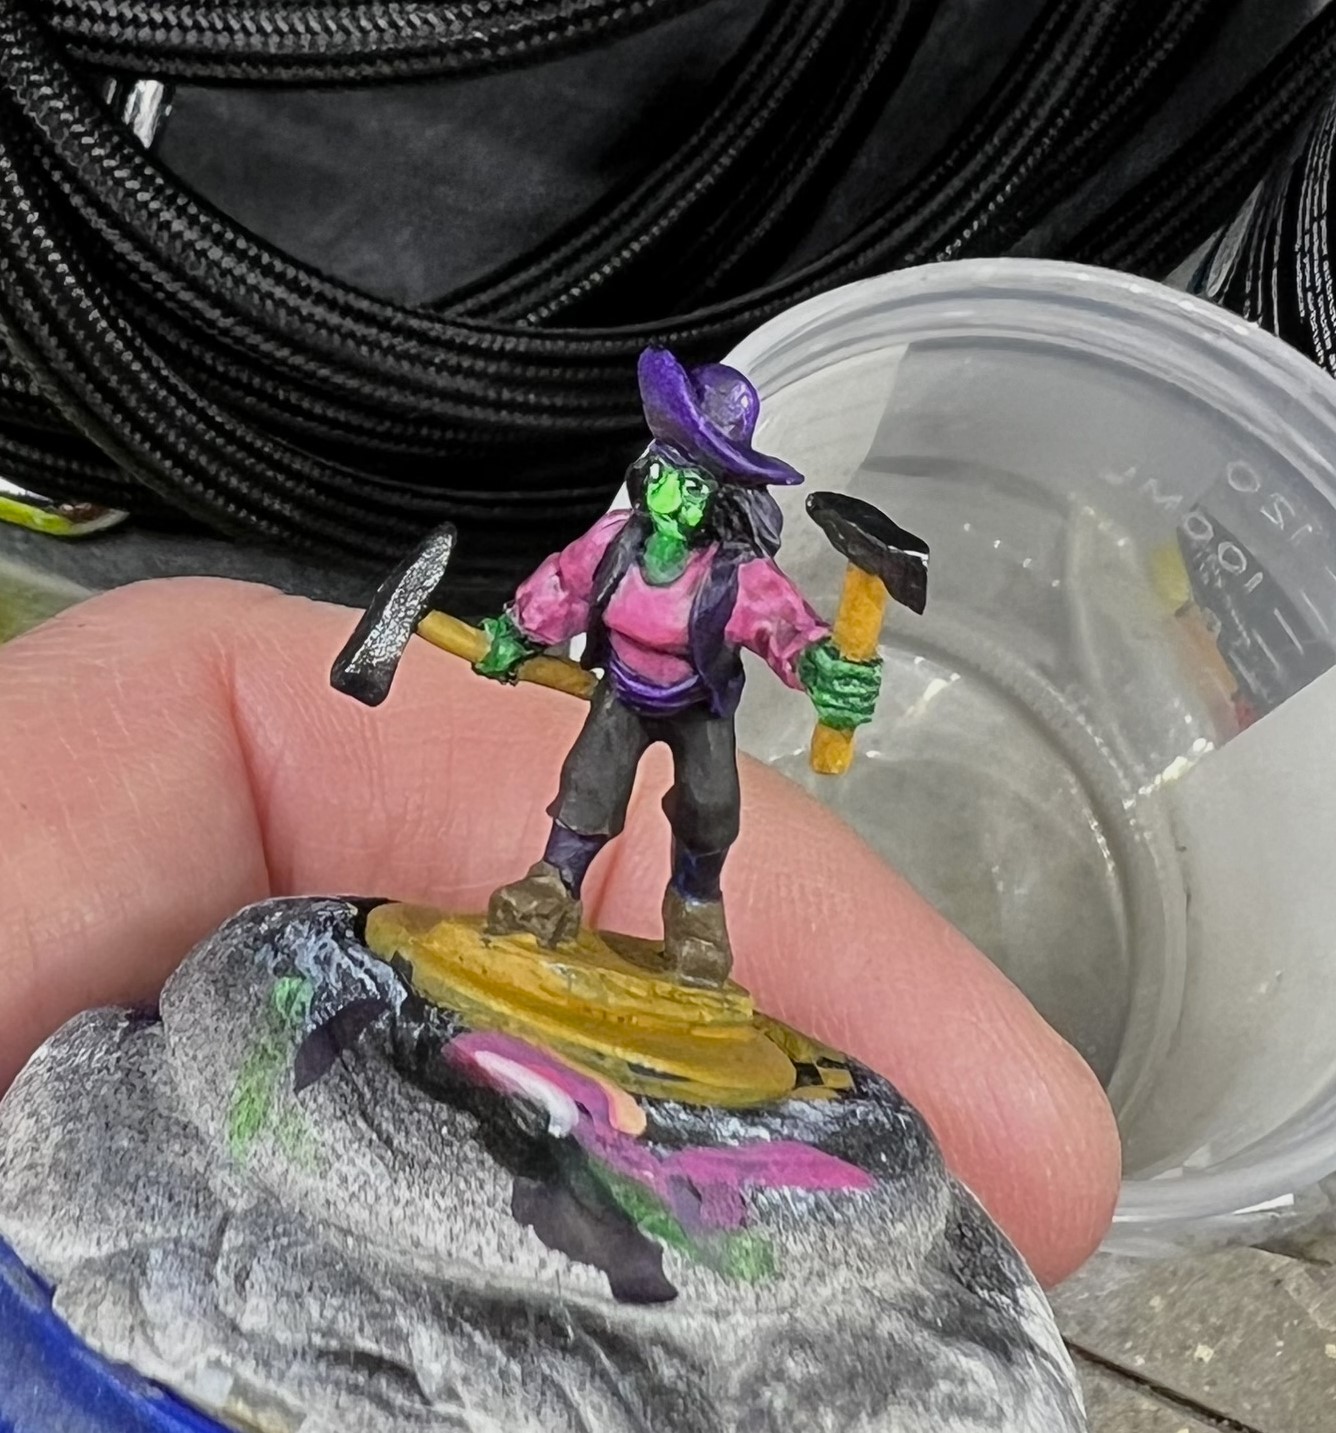
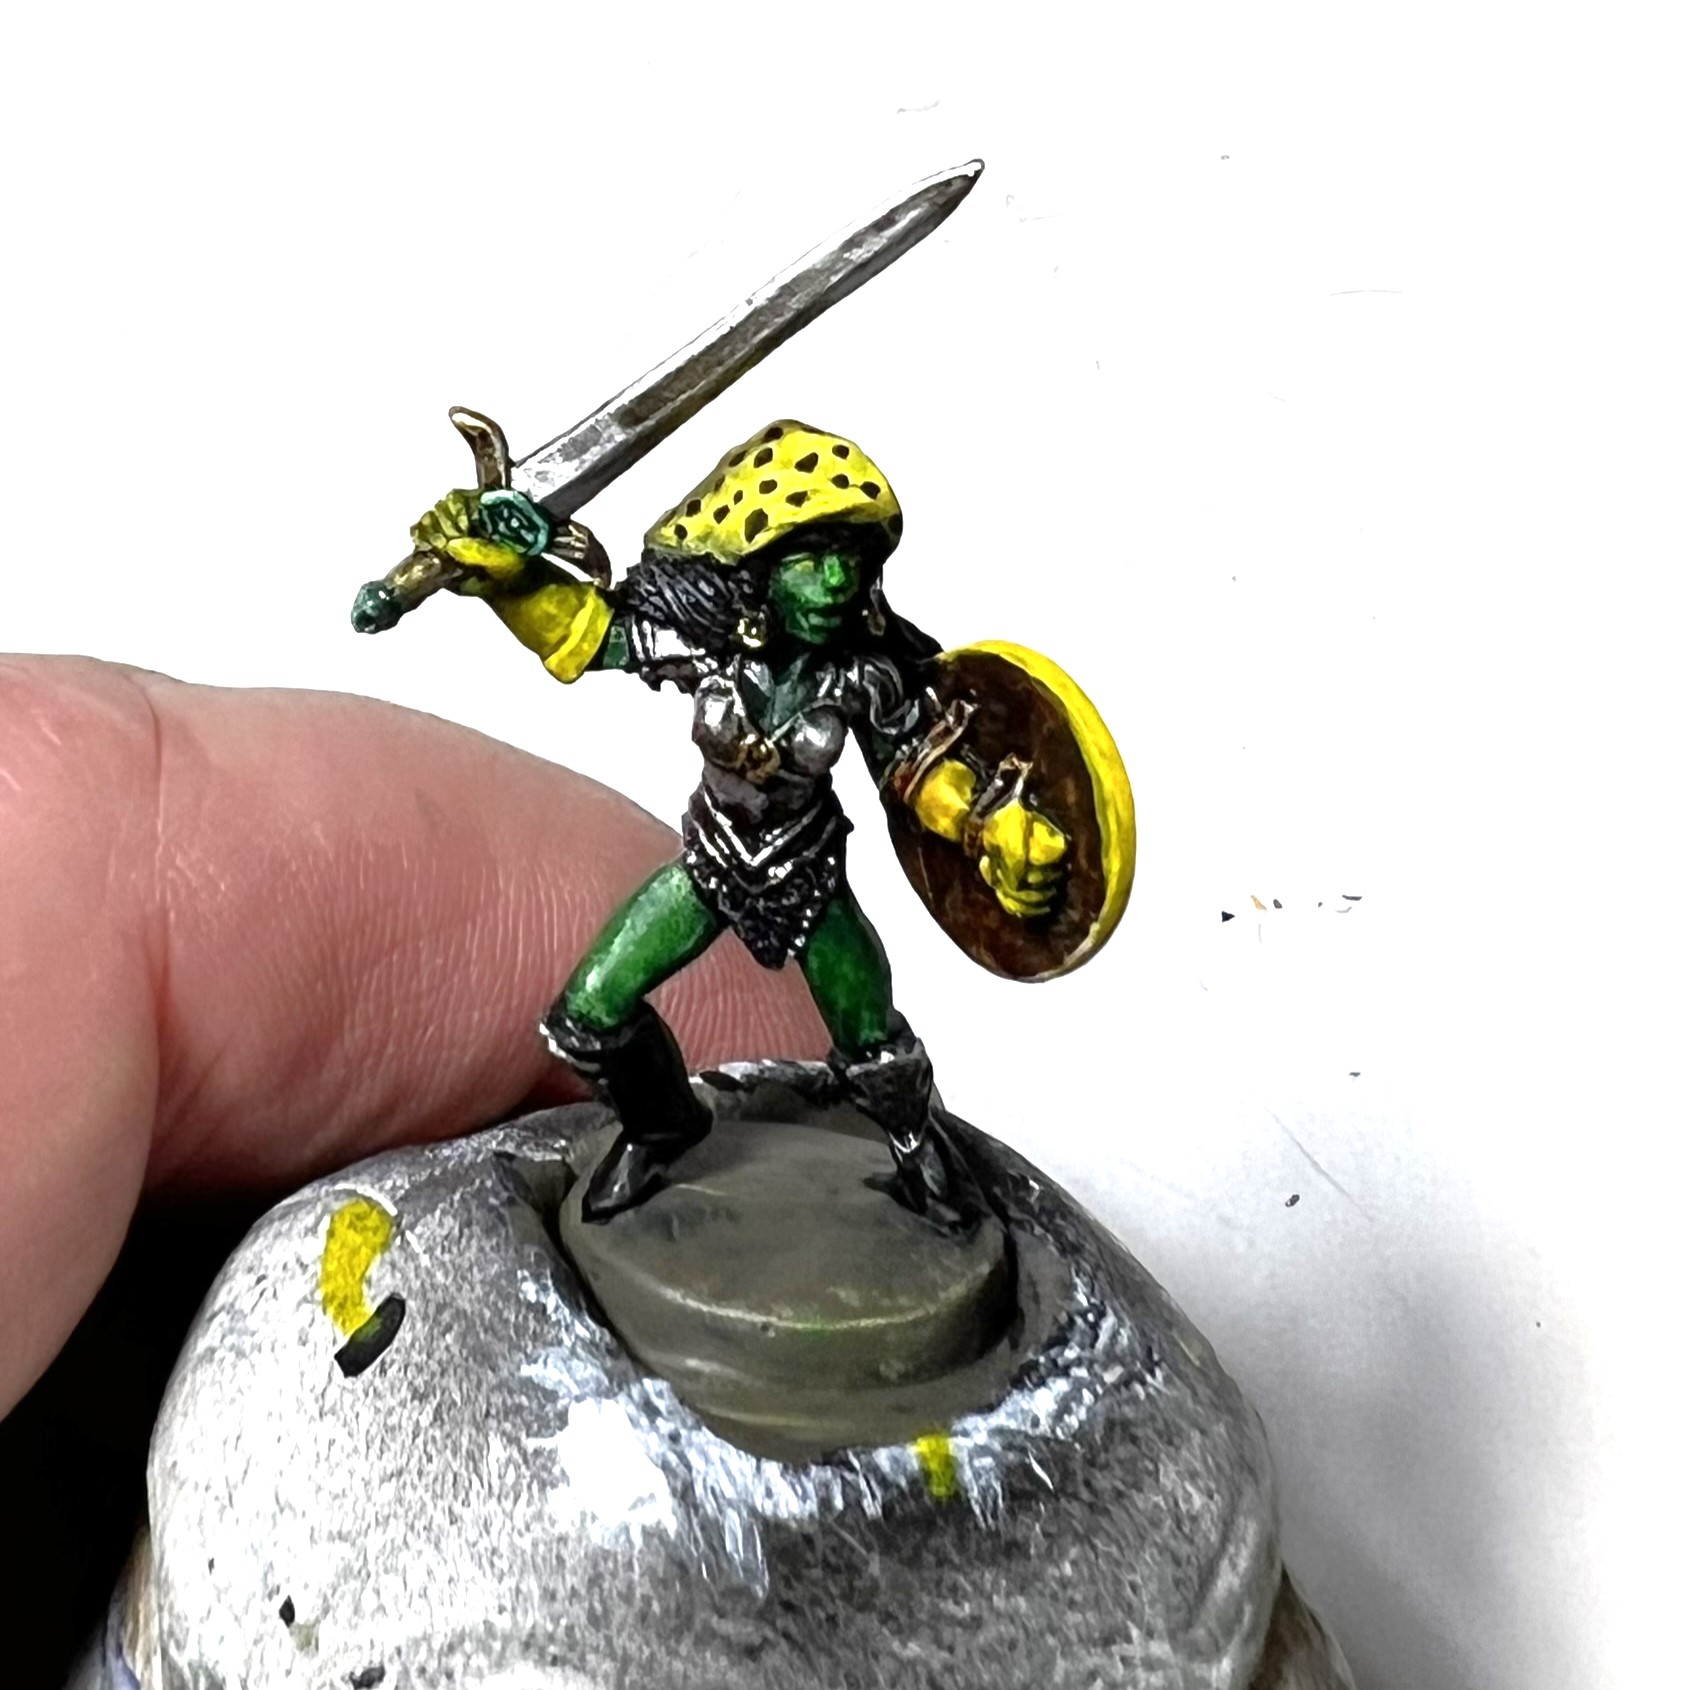
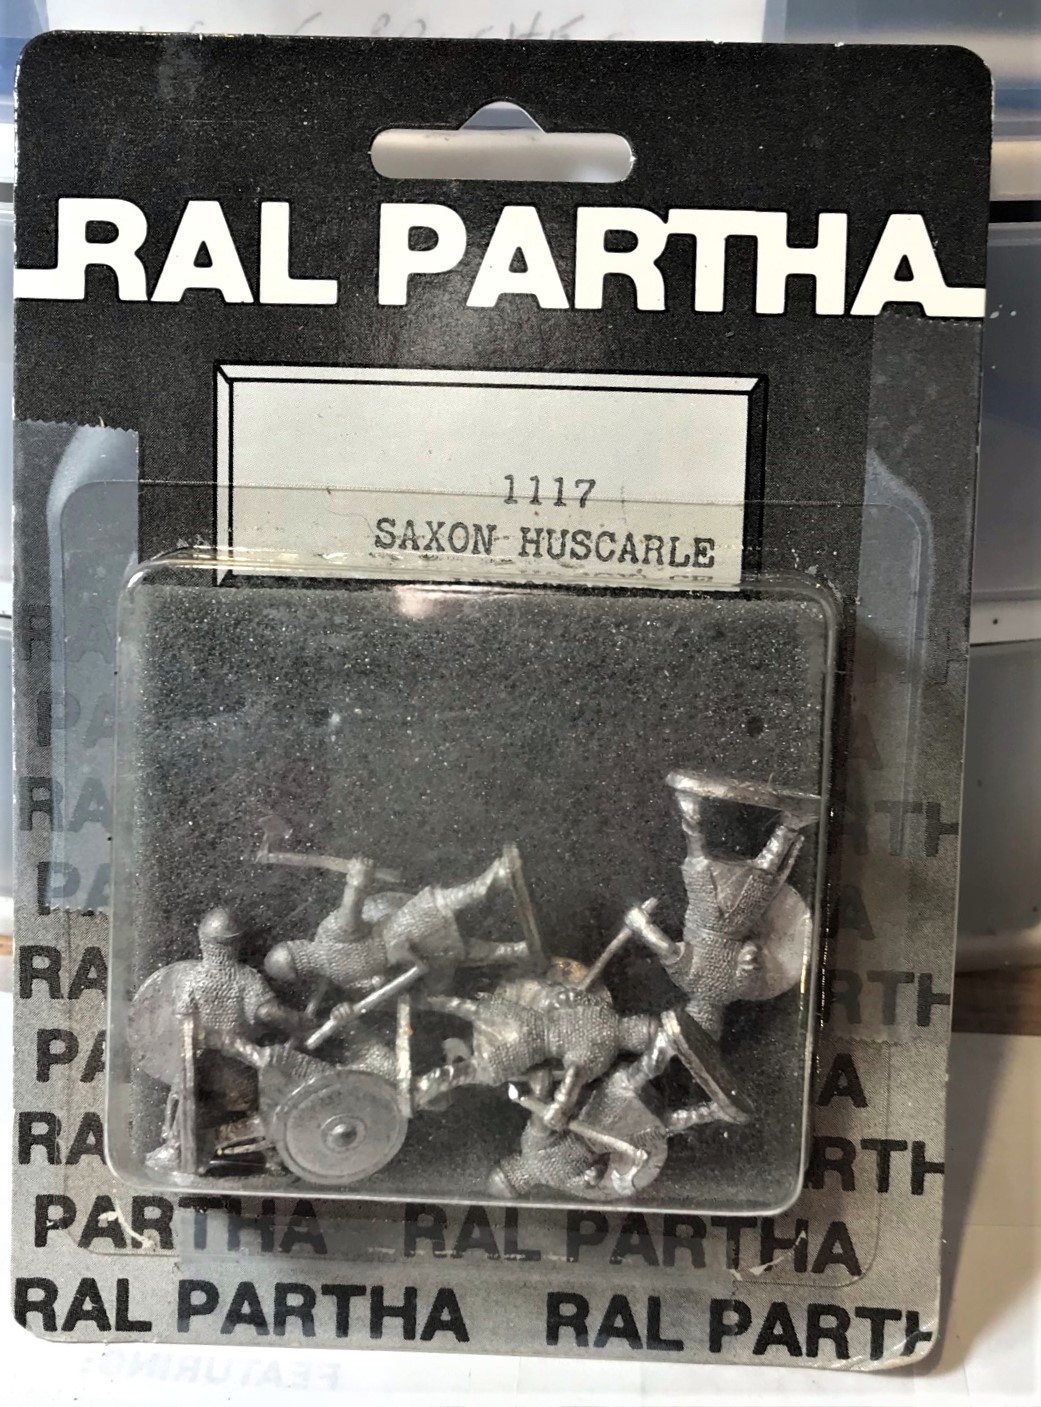
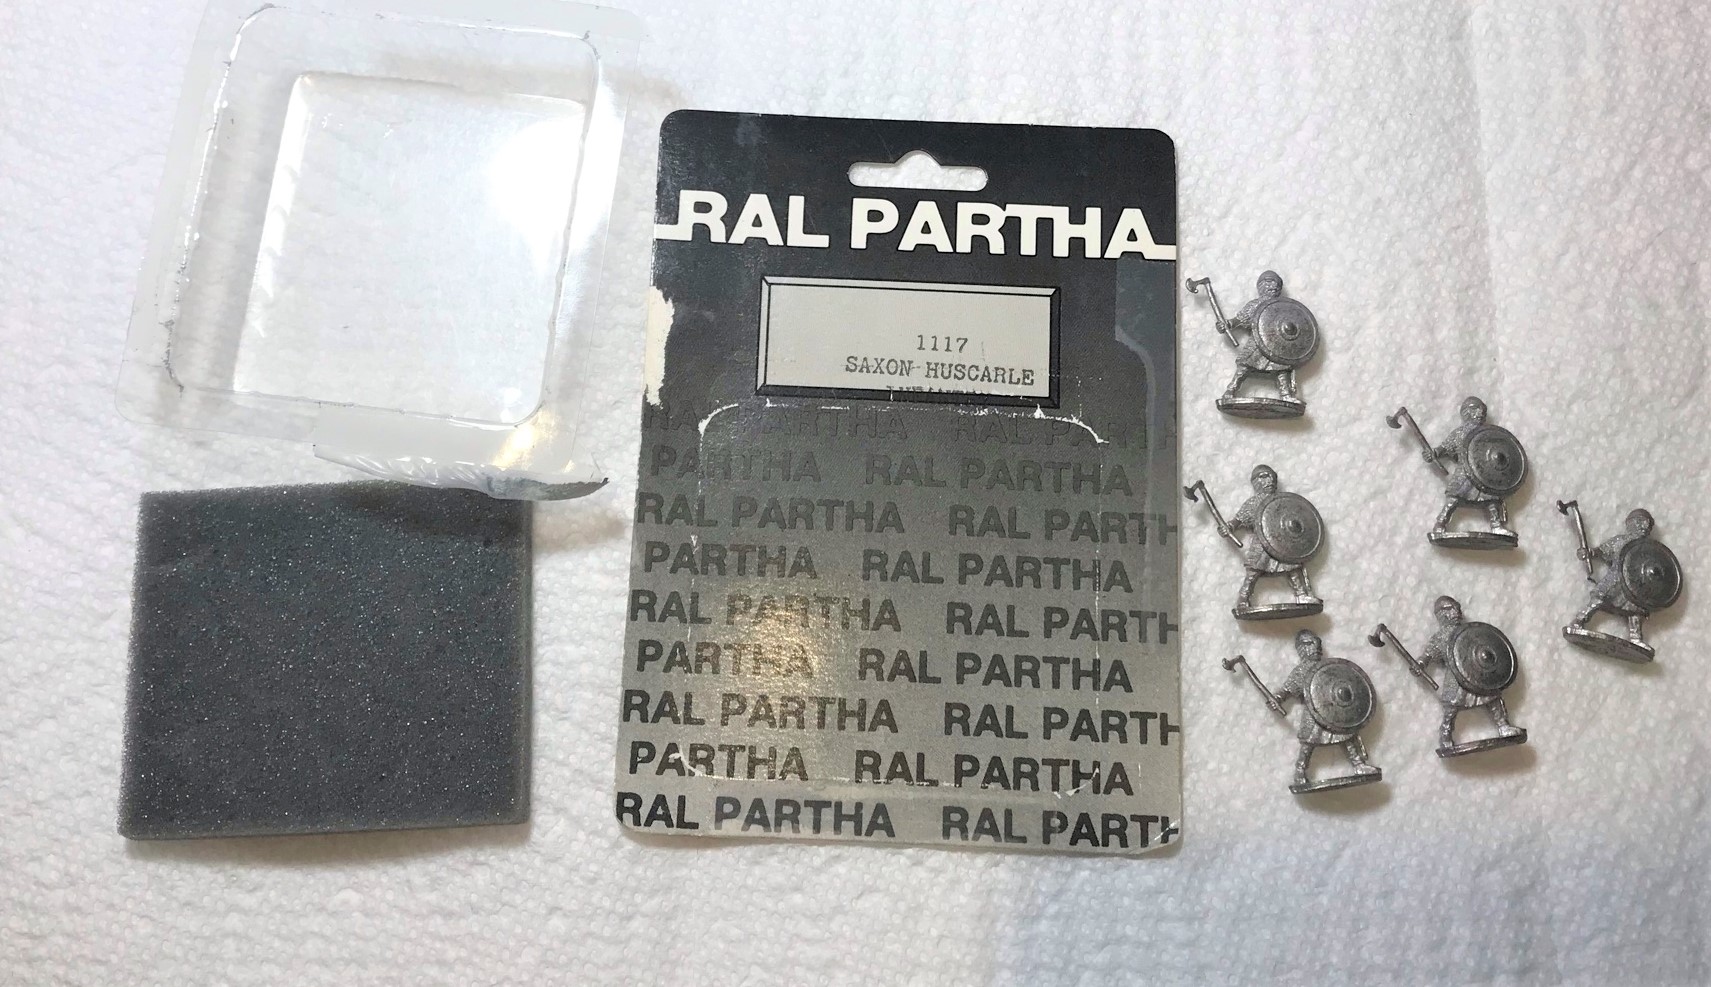
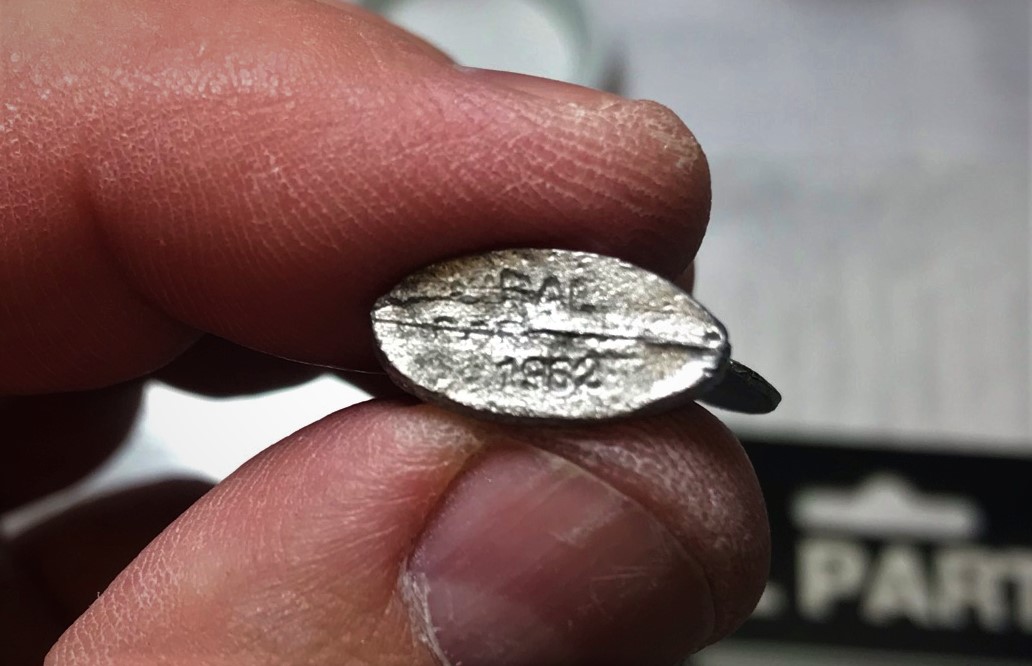
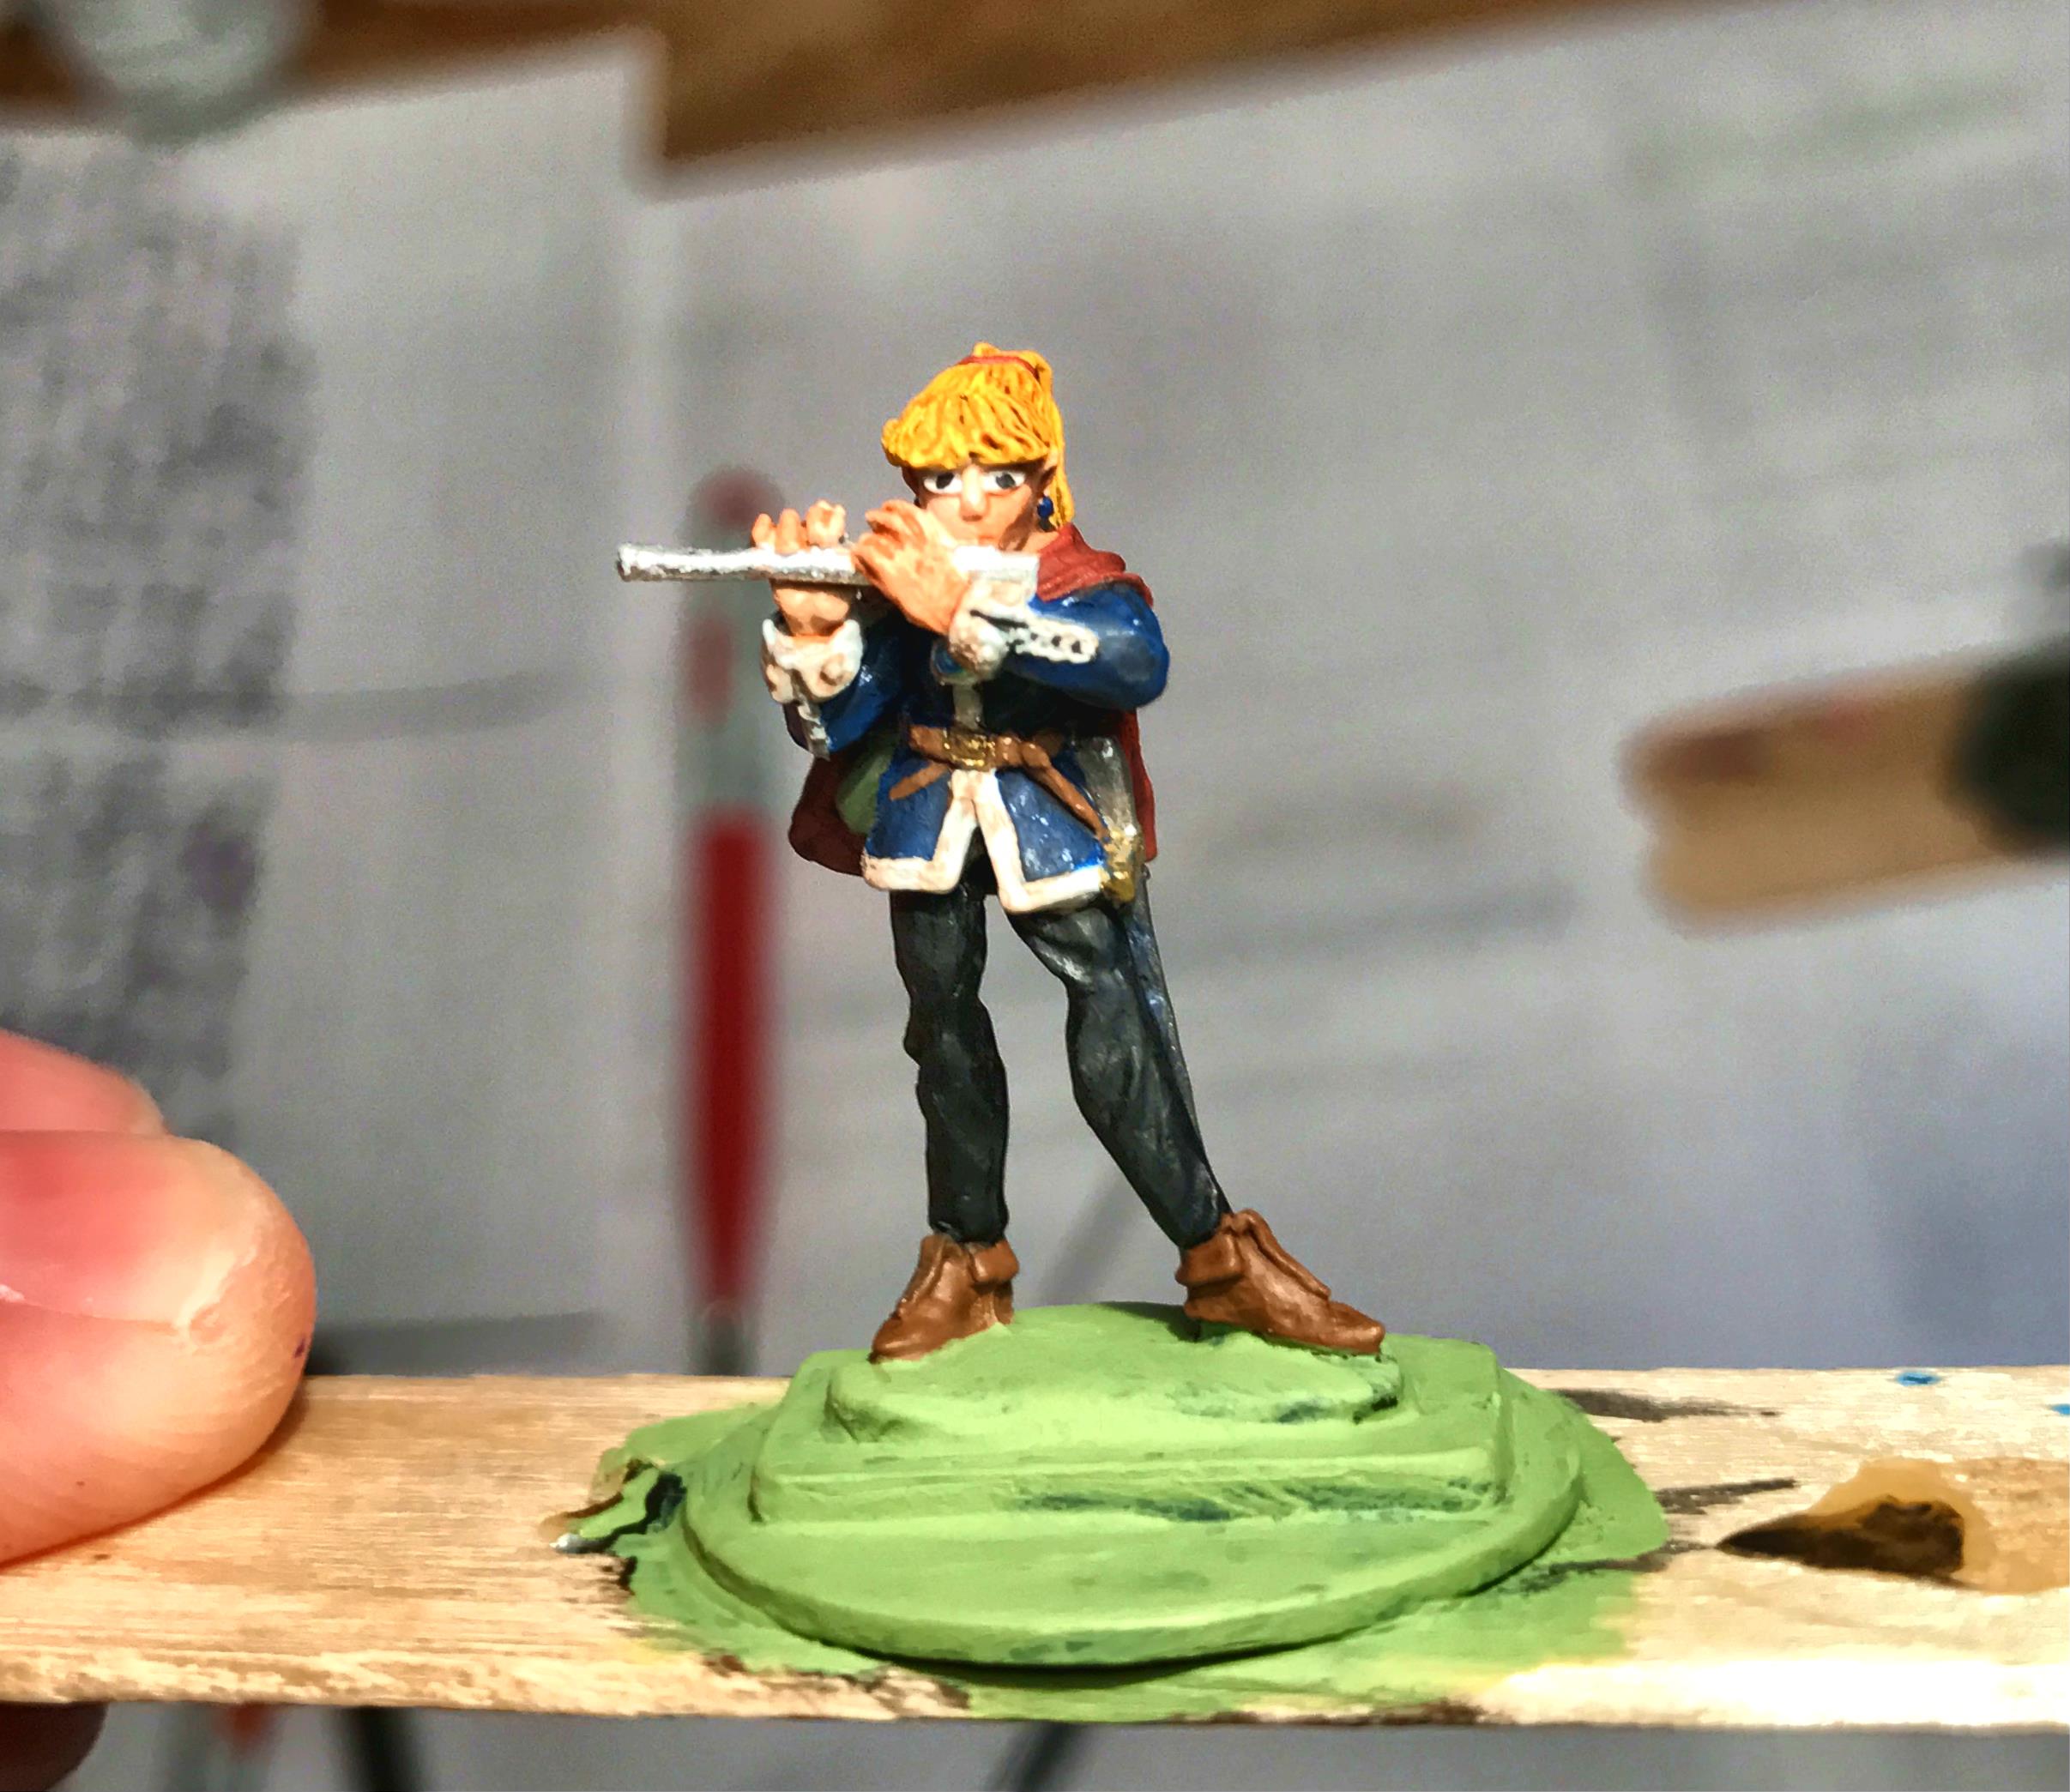
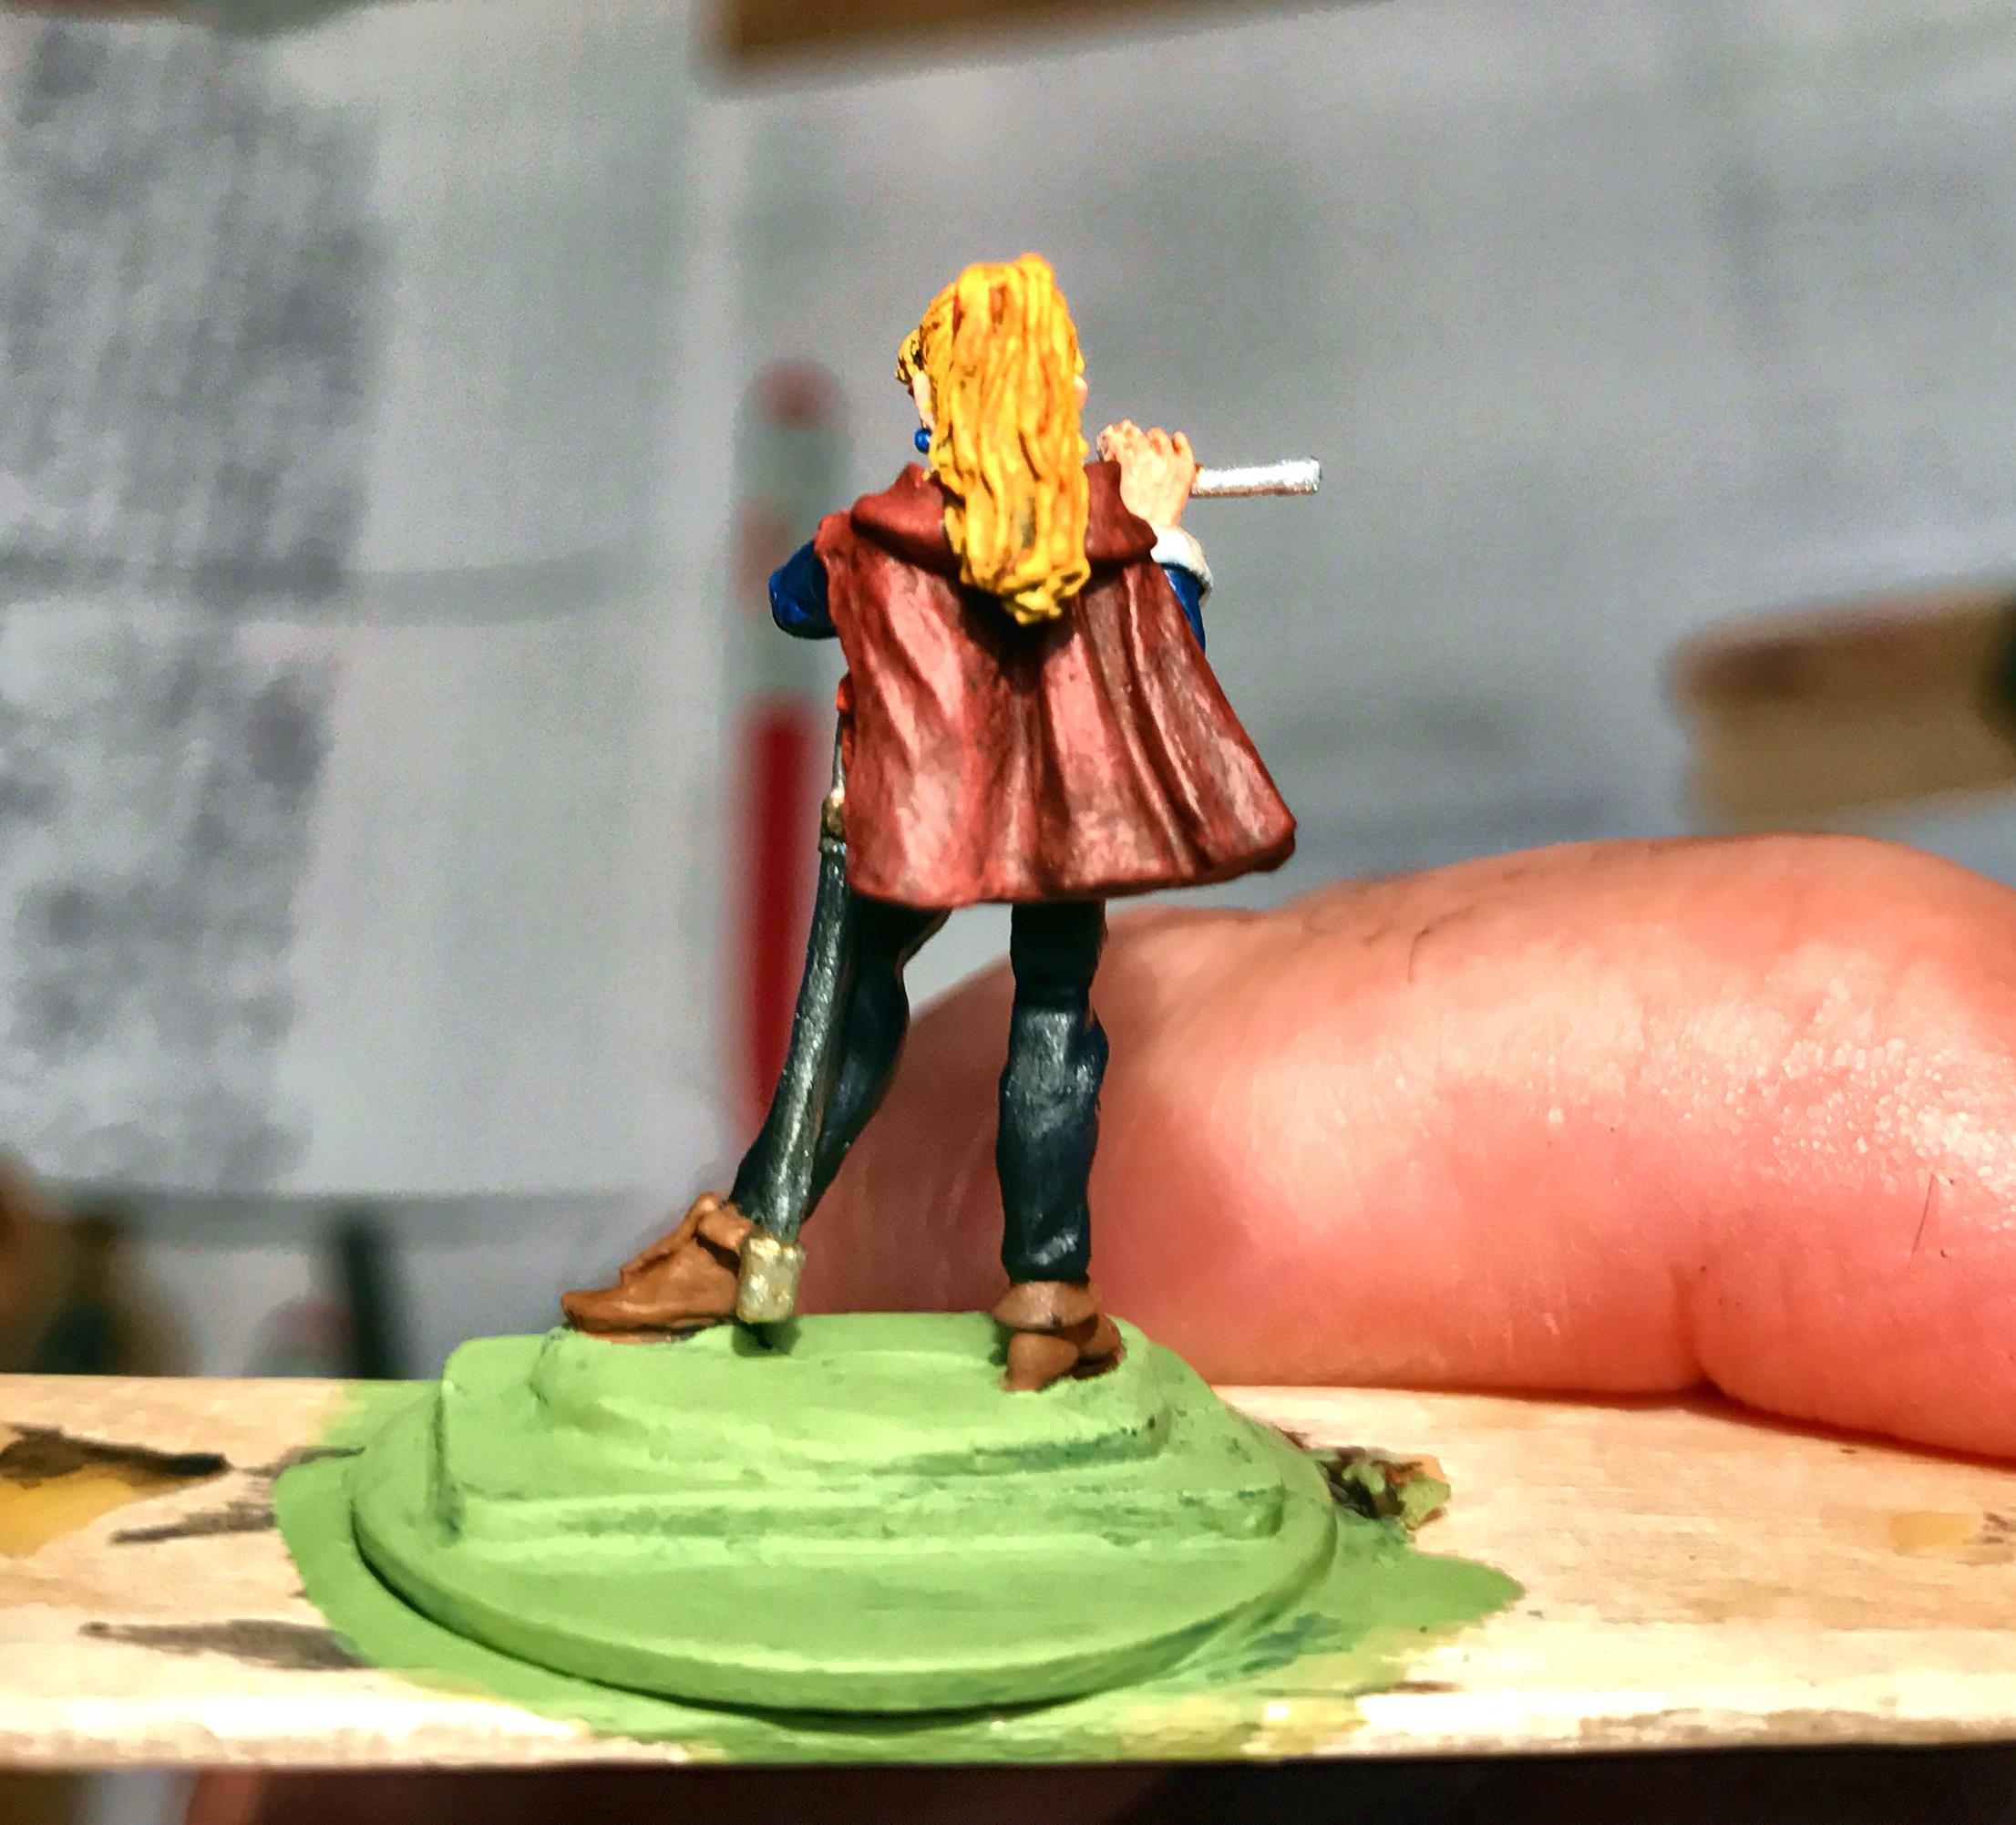
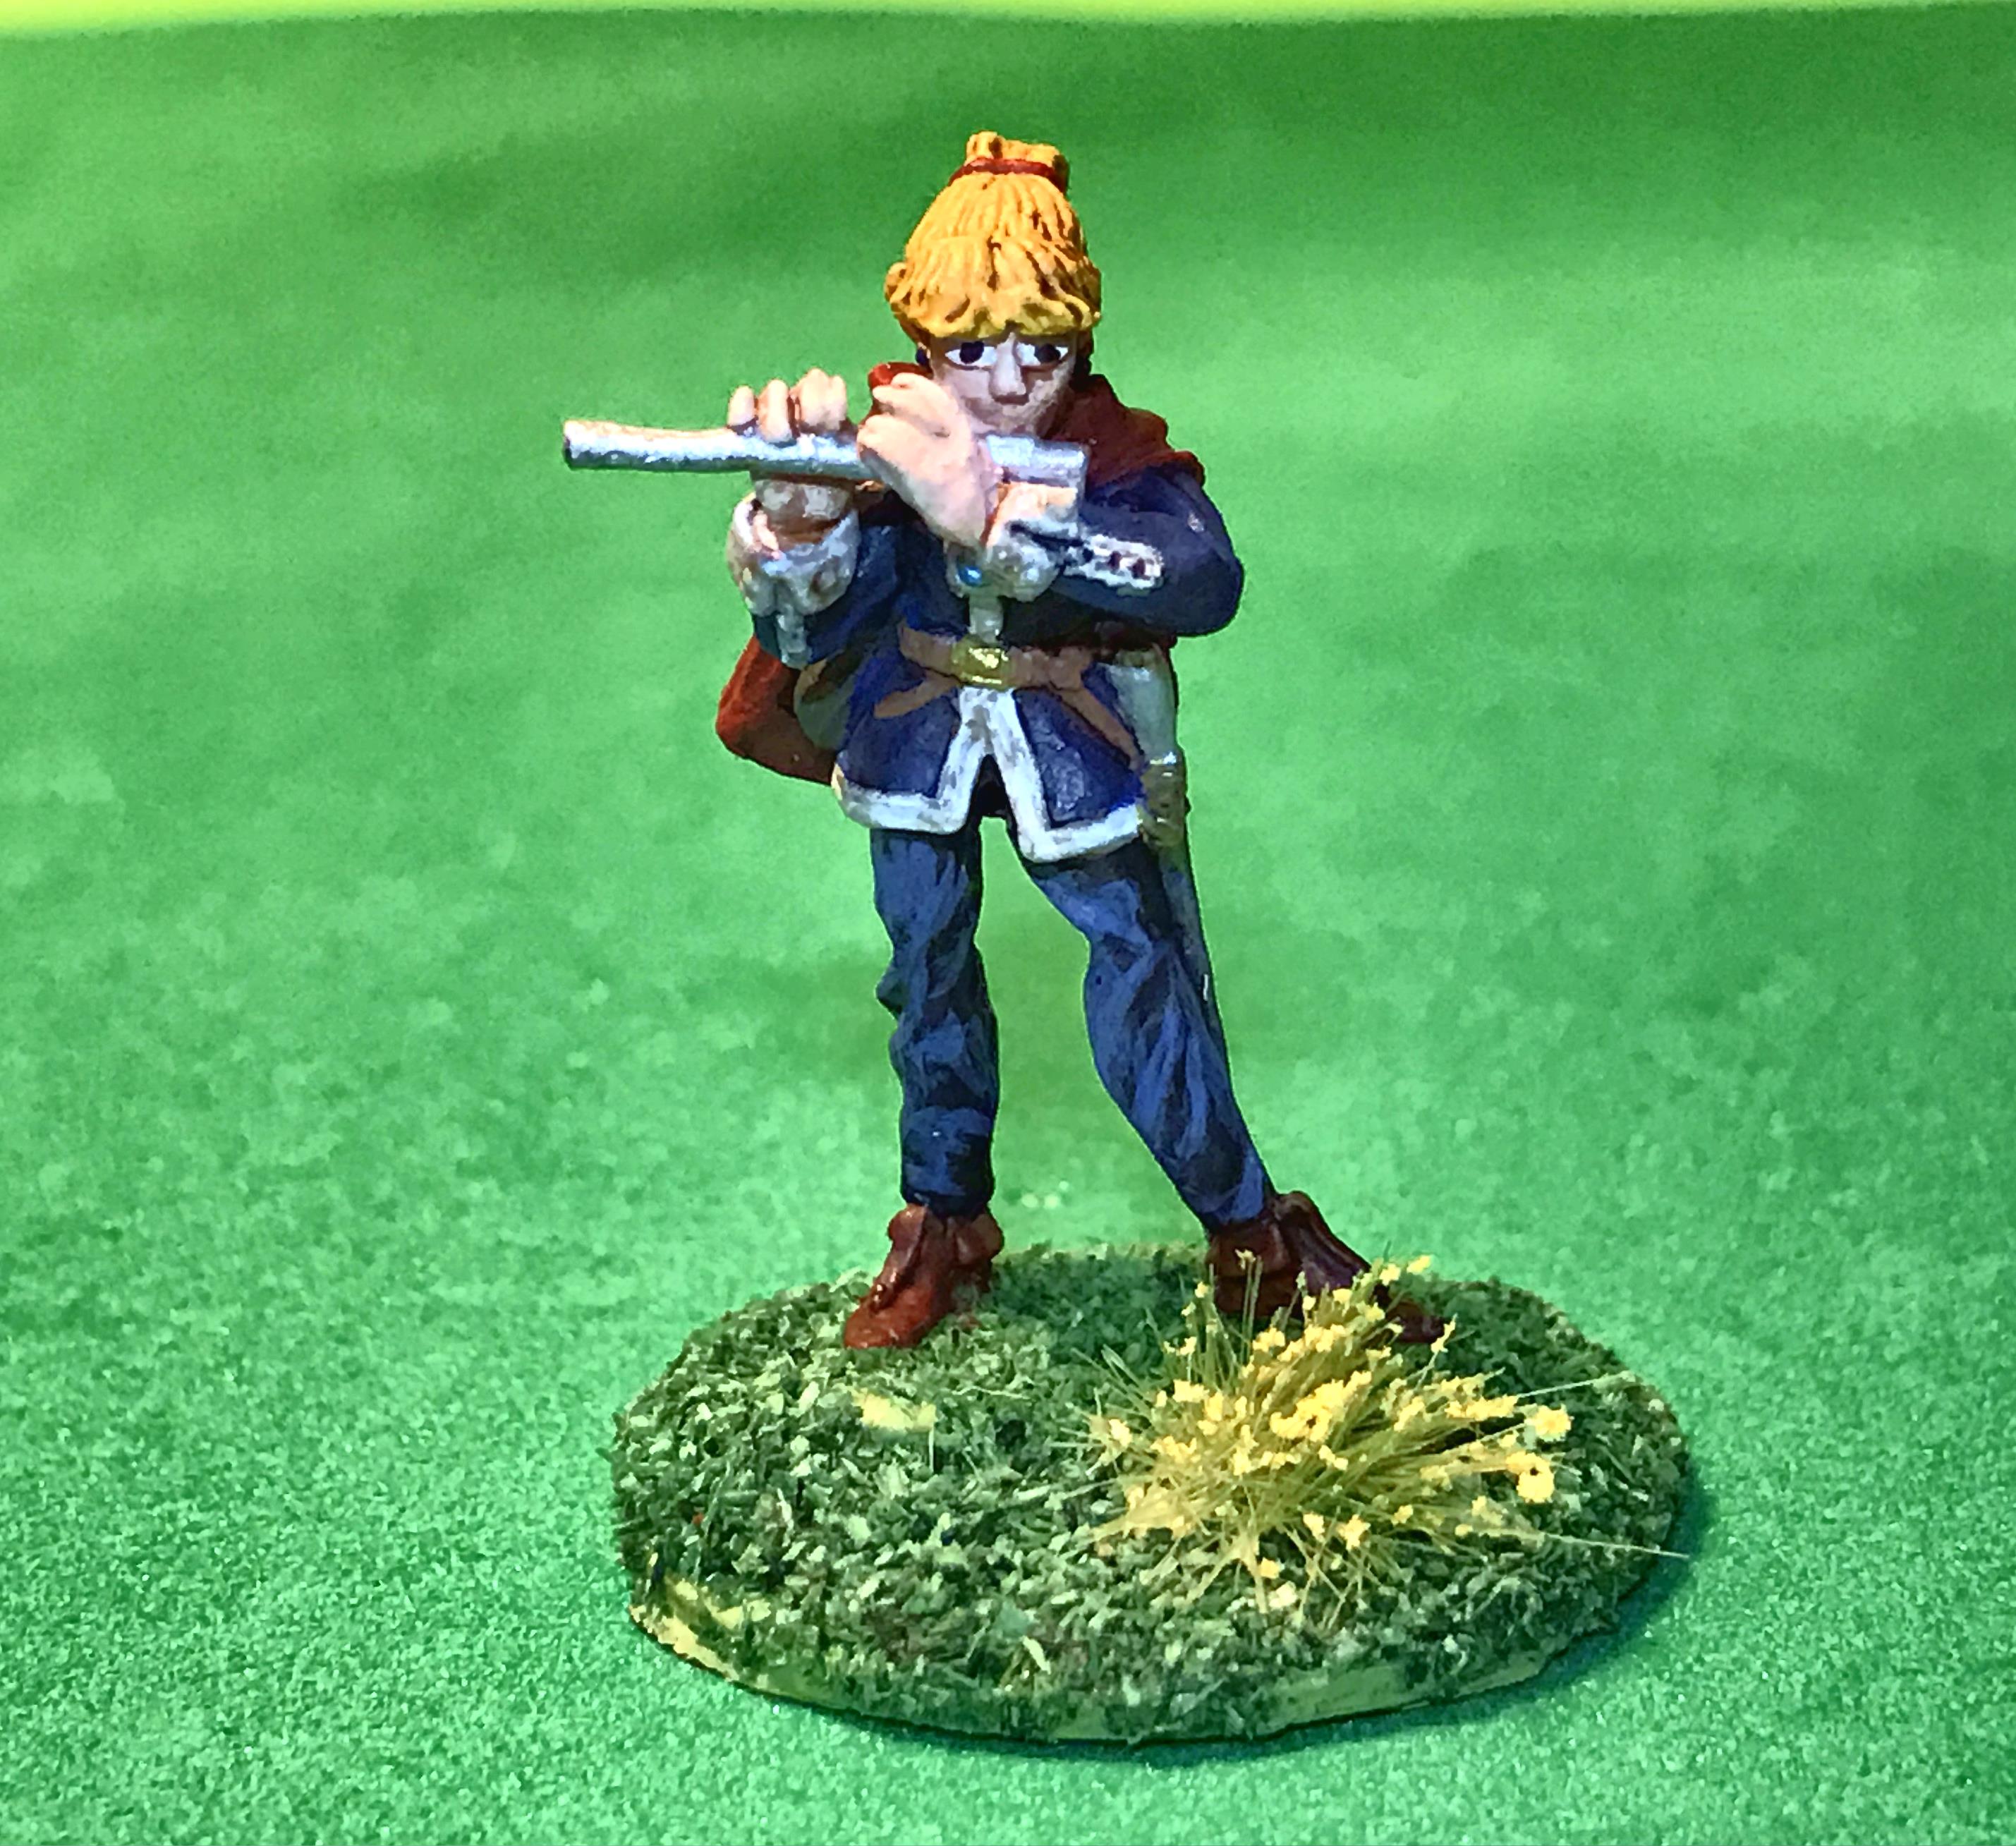
Next up are the Munchkin surrogates. I found 3 loose little female halfling figures in my stash that could stand in as Munchkins. I discovered that they were from the Ral Partha AD&D Adventurers Series. The figure is named “Female Halfling Fighter Thief” #11-102 (b) from “Halfling Fighter Thieves” circa 1989. This figure is the “b” version, and is a Tom Meier/Dennis Mize sculpt. I removed the staff, and modified one with a leftover Munchkin carbine from the Munchkin Light Cavalry project, one with a pistol, and one with a cutlass. Plus, no one got furry feet painted…

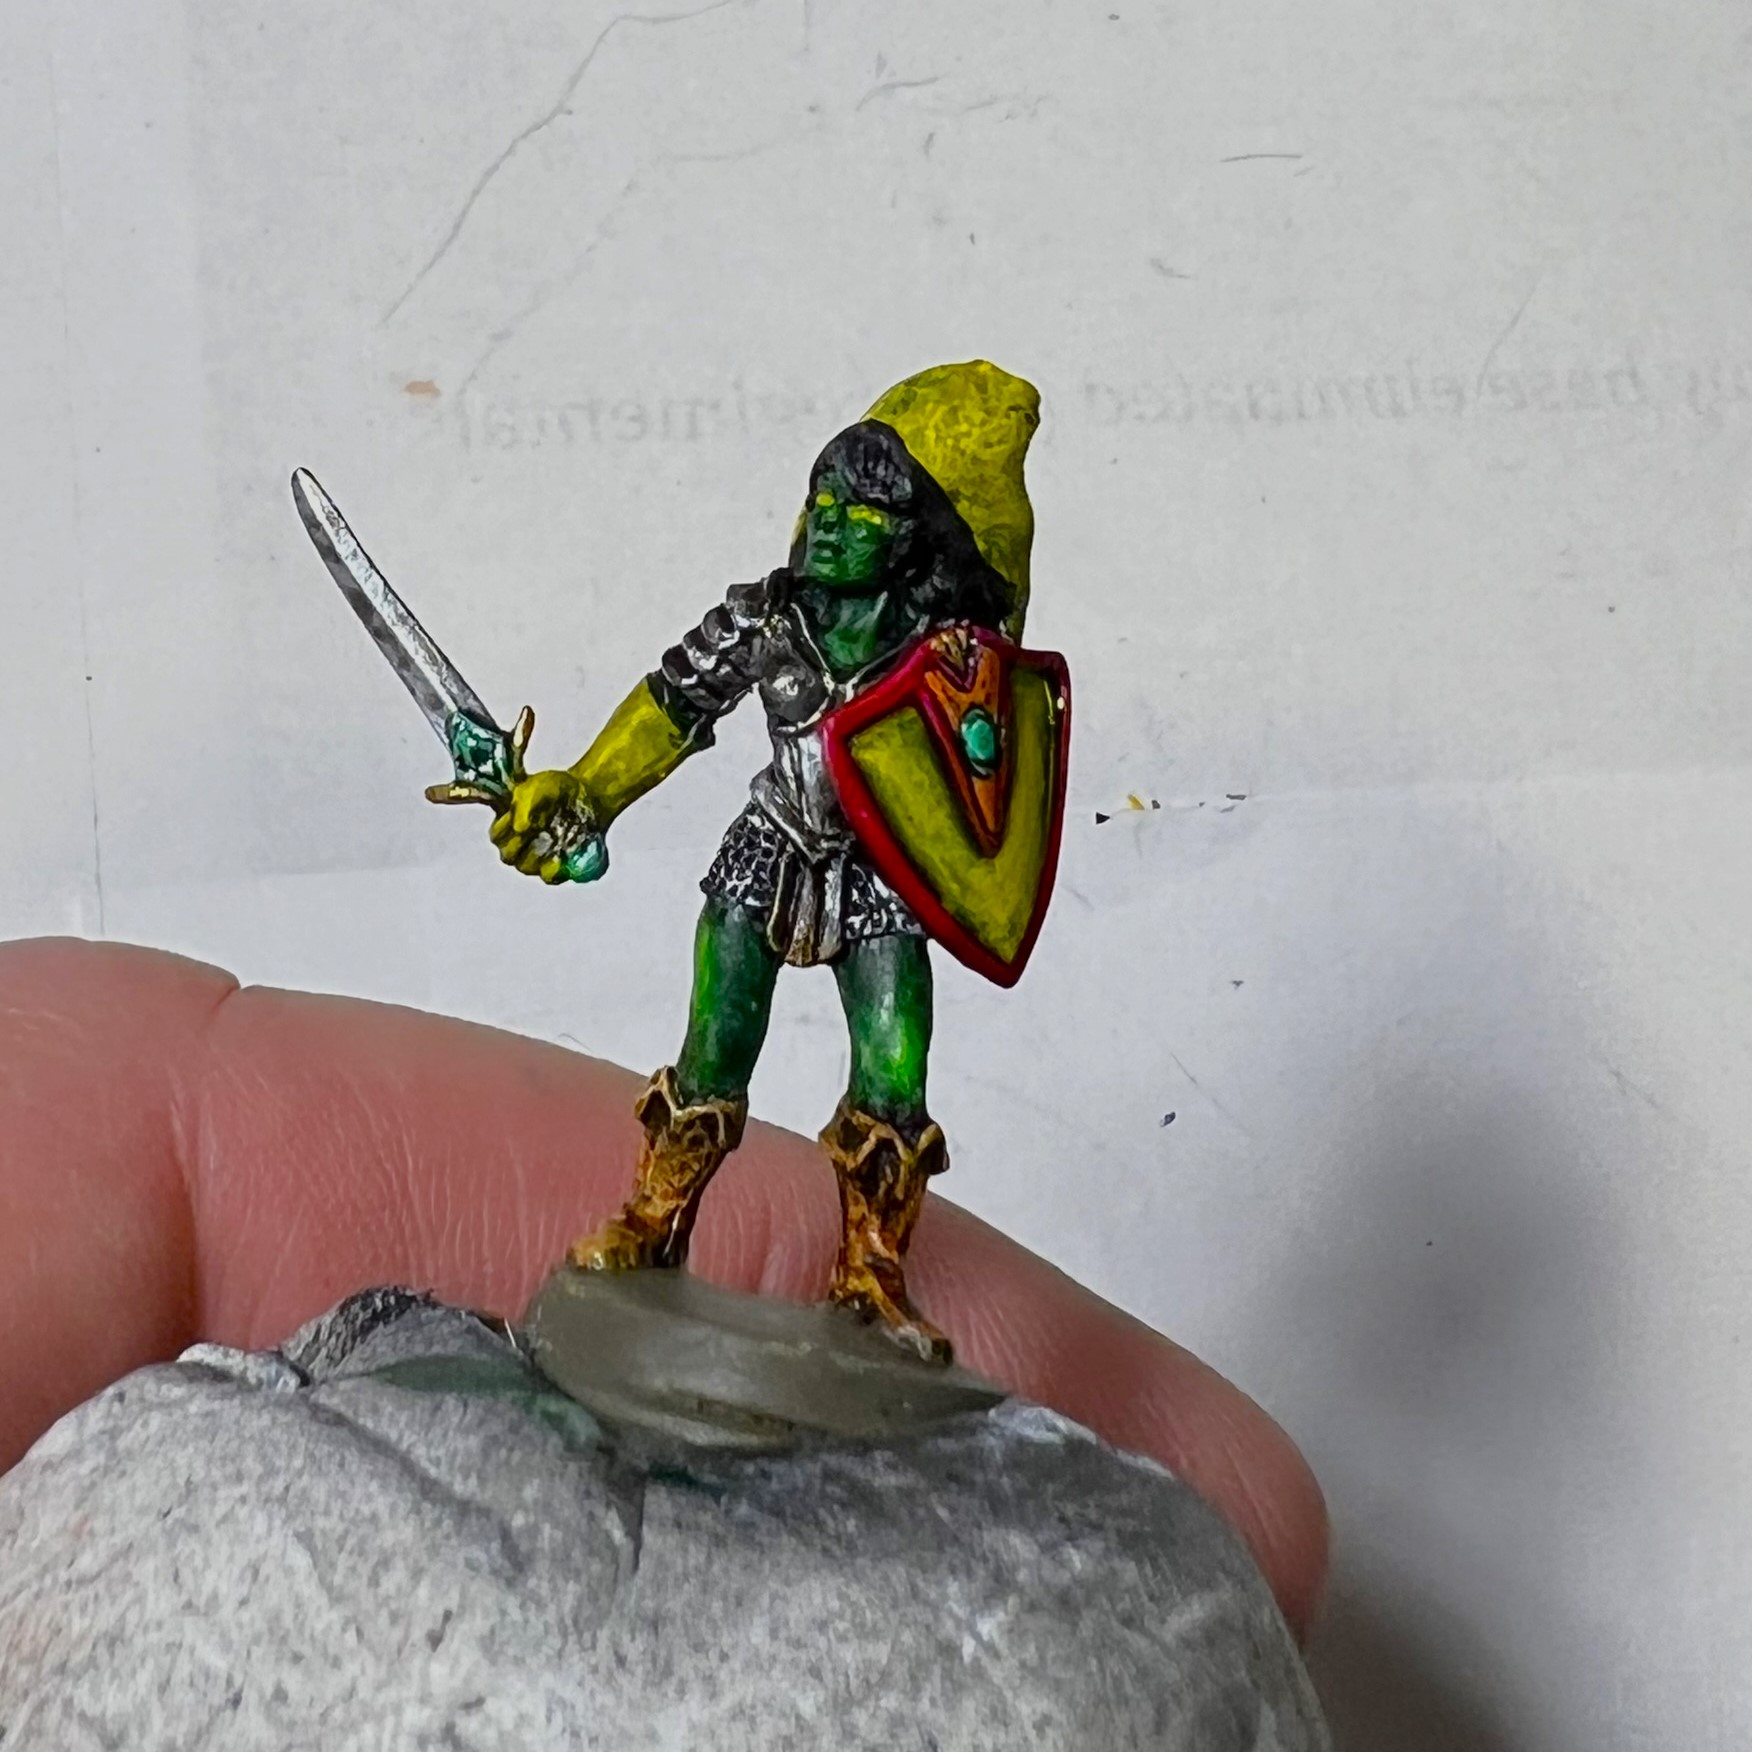
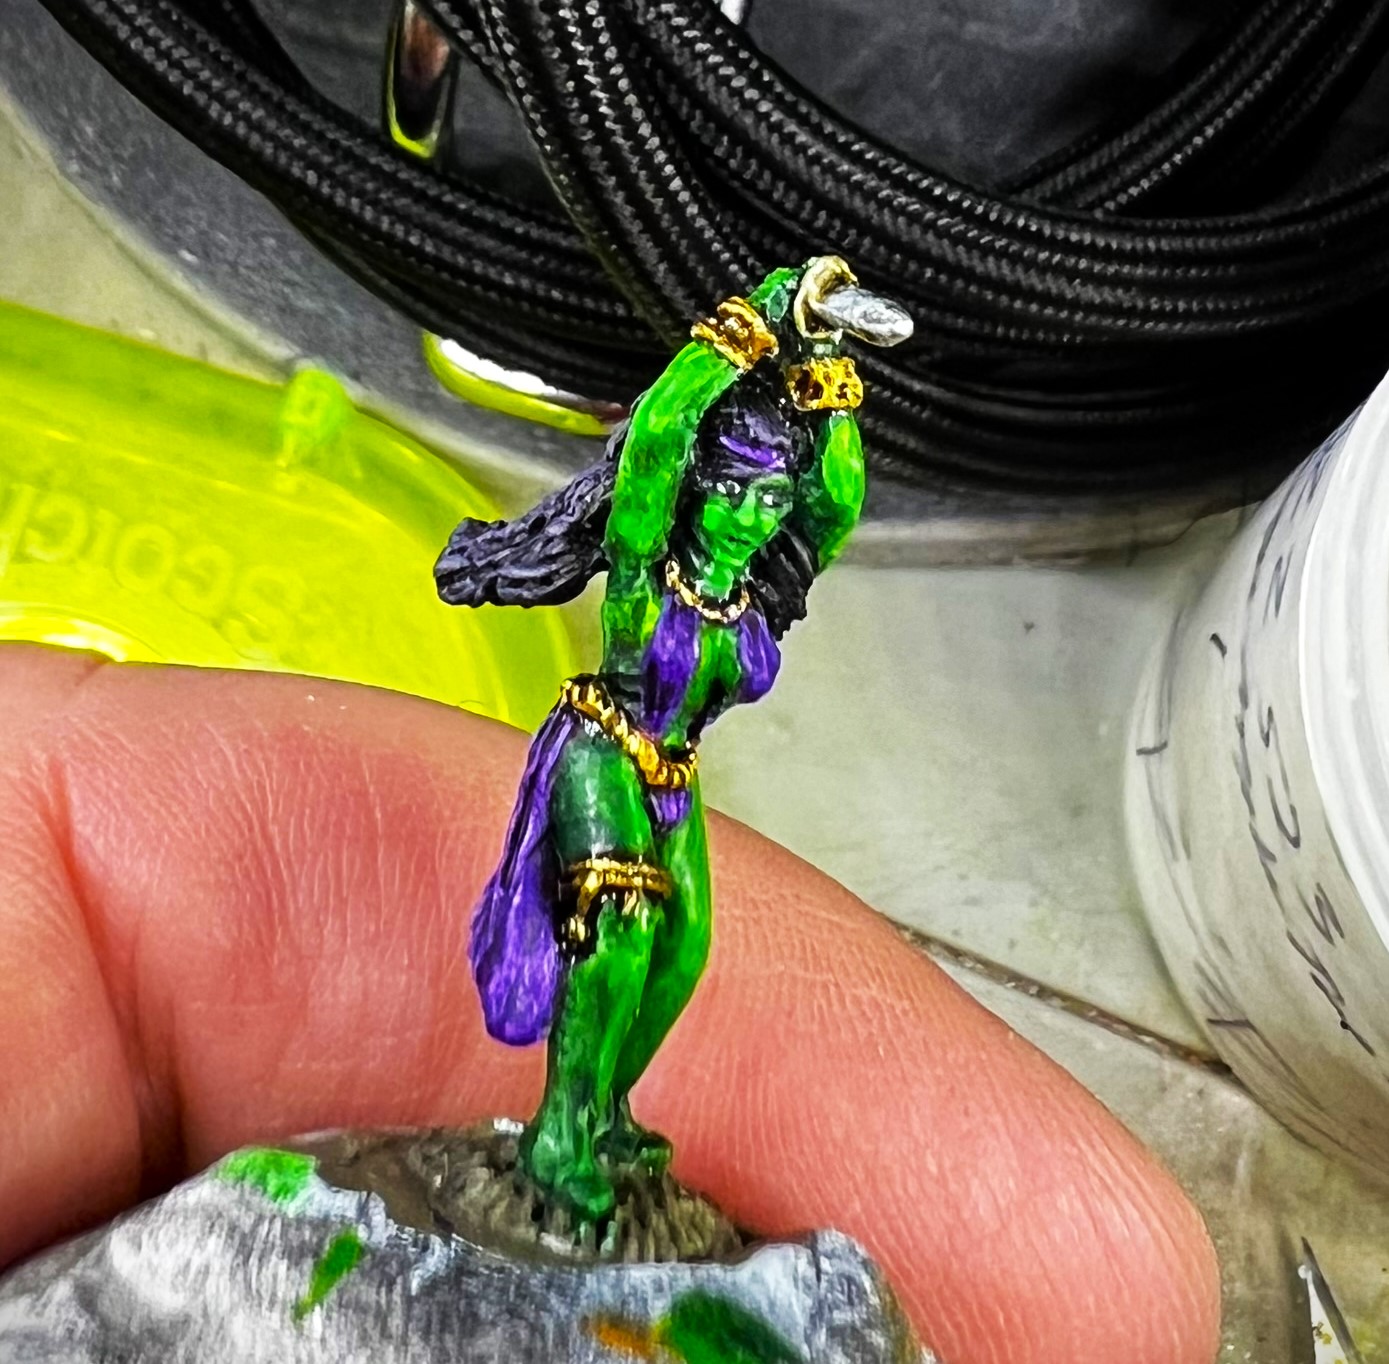
The next one was to be a Gillikin. She is an Amazon figure originally sourced from Ral Partha Imports Fantasy Adventurers Series – FA-27 “Amazon with Sword” – from 1986. Back in the 1980’s, Ral Partha imports took Citadel figures and marketed them in the US under licence. I made her a Gillikin and left her alone – except to give her a purple shield. Maybe it was her chain mail bikini…


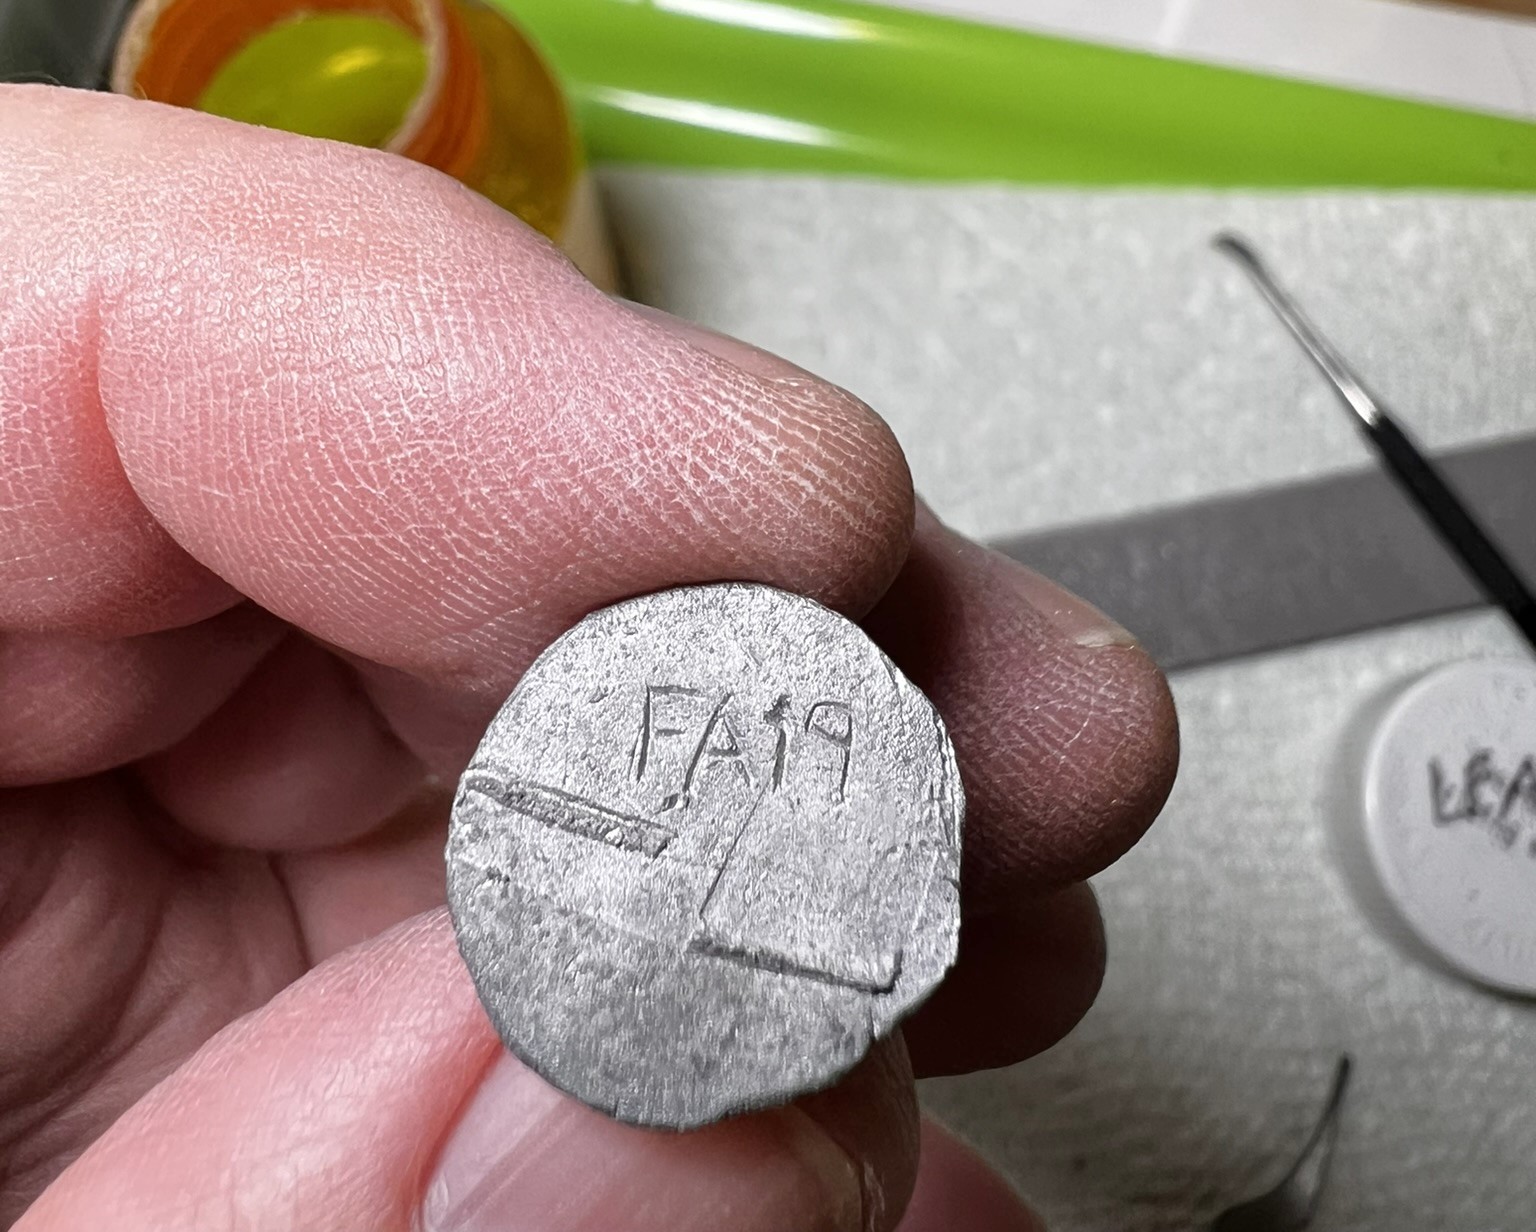
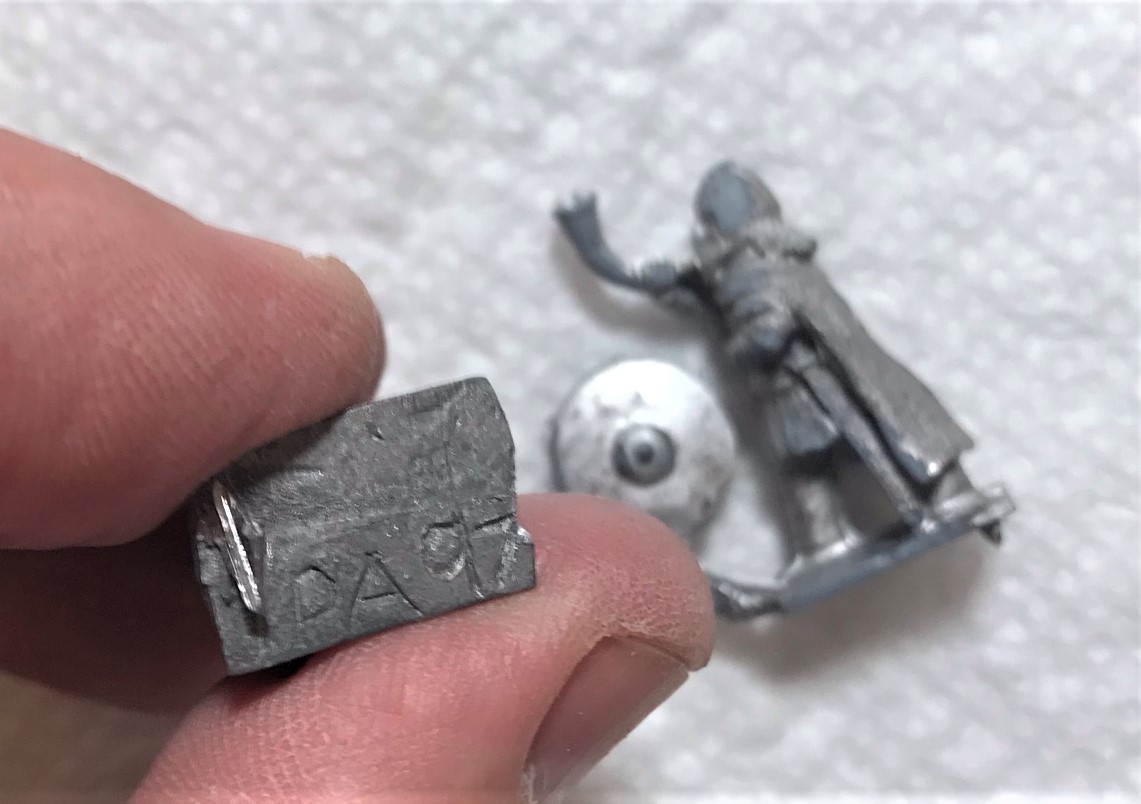
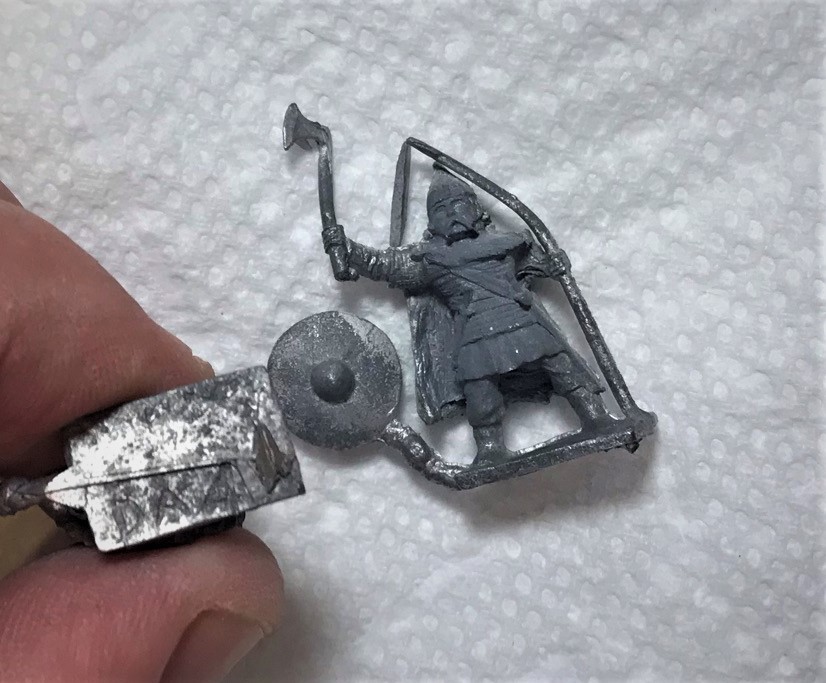
The next figure was a bit of a mystery to research. It started with her blister package. As you can see below – the figure’s blister was mislabeled as FFA35 “Necromancer Slime Beast with Sword”.

Needless to say – she is not a necromancer. Her base had FA-19 on it, which allowed me to dig deeper and find her image here. The figure is actually FA-19 V2 “Female Fighter with Breastplate and Sword”. She was sourced from Citadel Miniatures US FA-19 (v2) from “Fantasy Adventurers” line circa 1982. From what I can tell, similar to Ral Partha Imports, this brand was either manufactured or imported by Ral Partha in the 1980’s. I modified the figure with a bicorn hat. As I thought she looked more as if she was wearing a tunic versus a breastplate – I painted her accordingly and as a Gillikin.

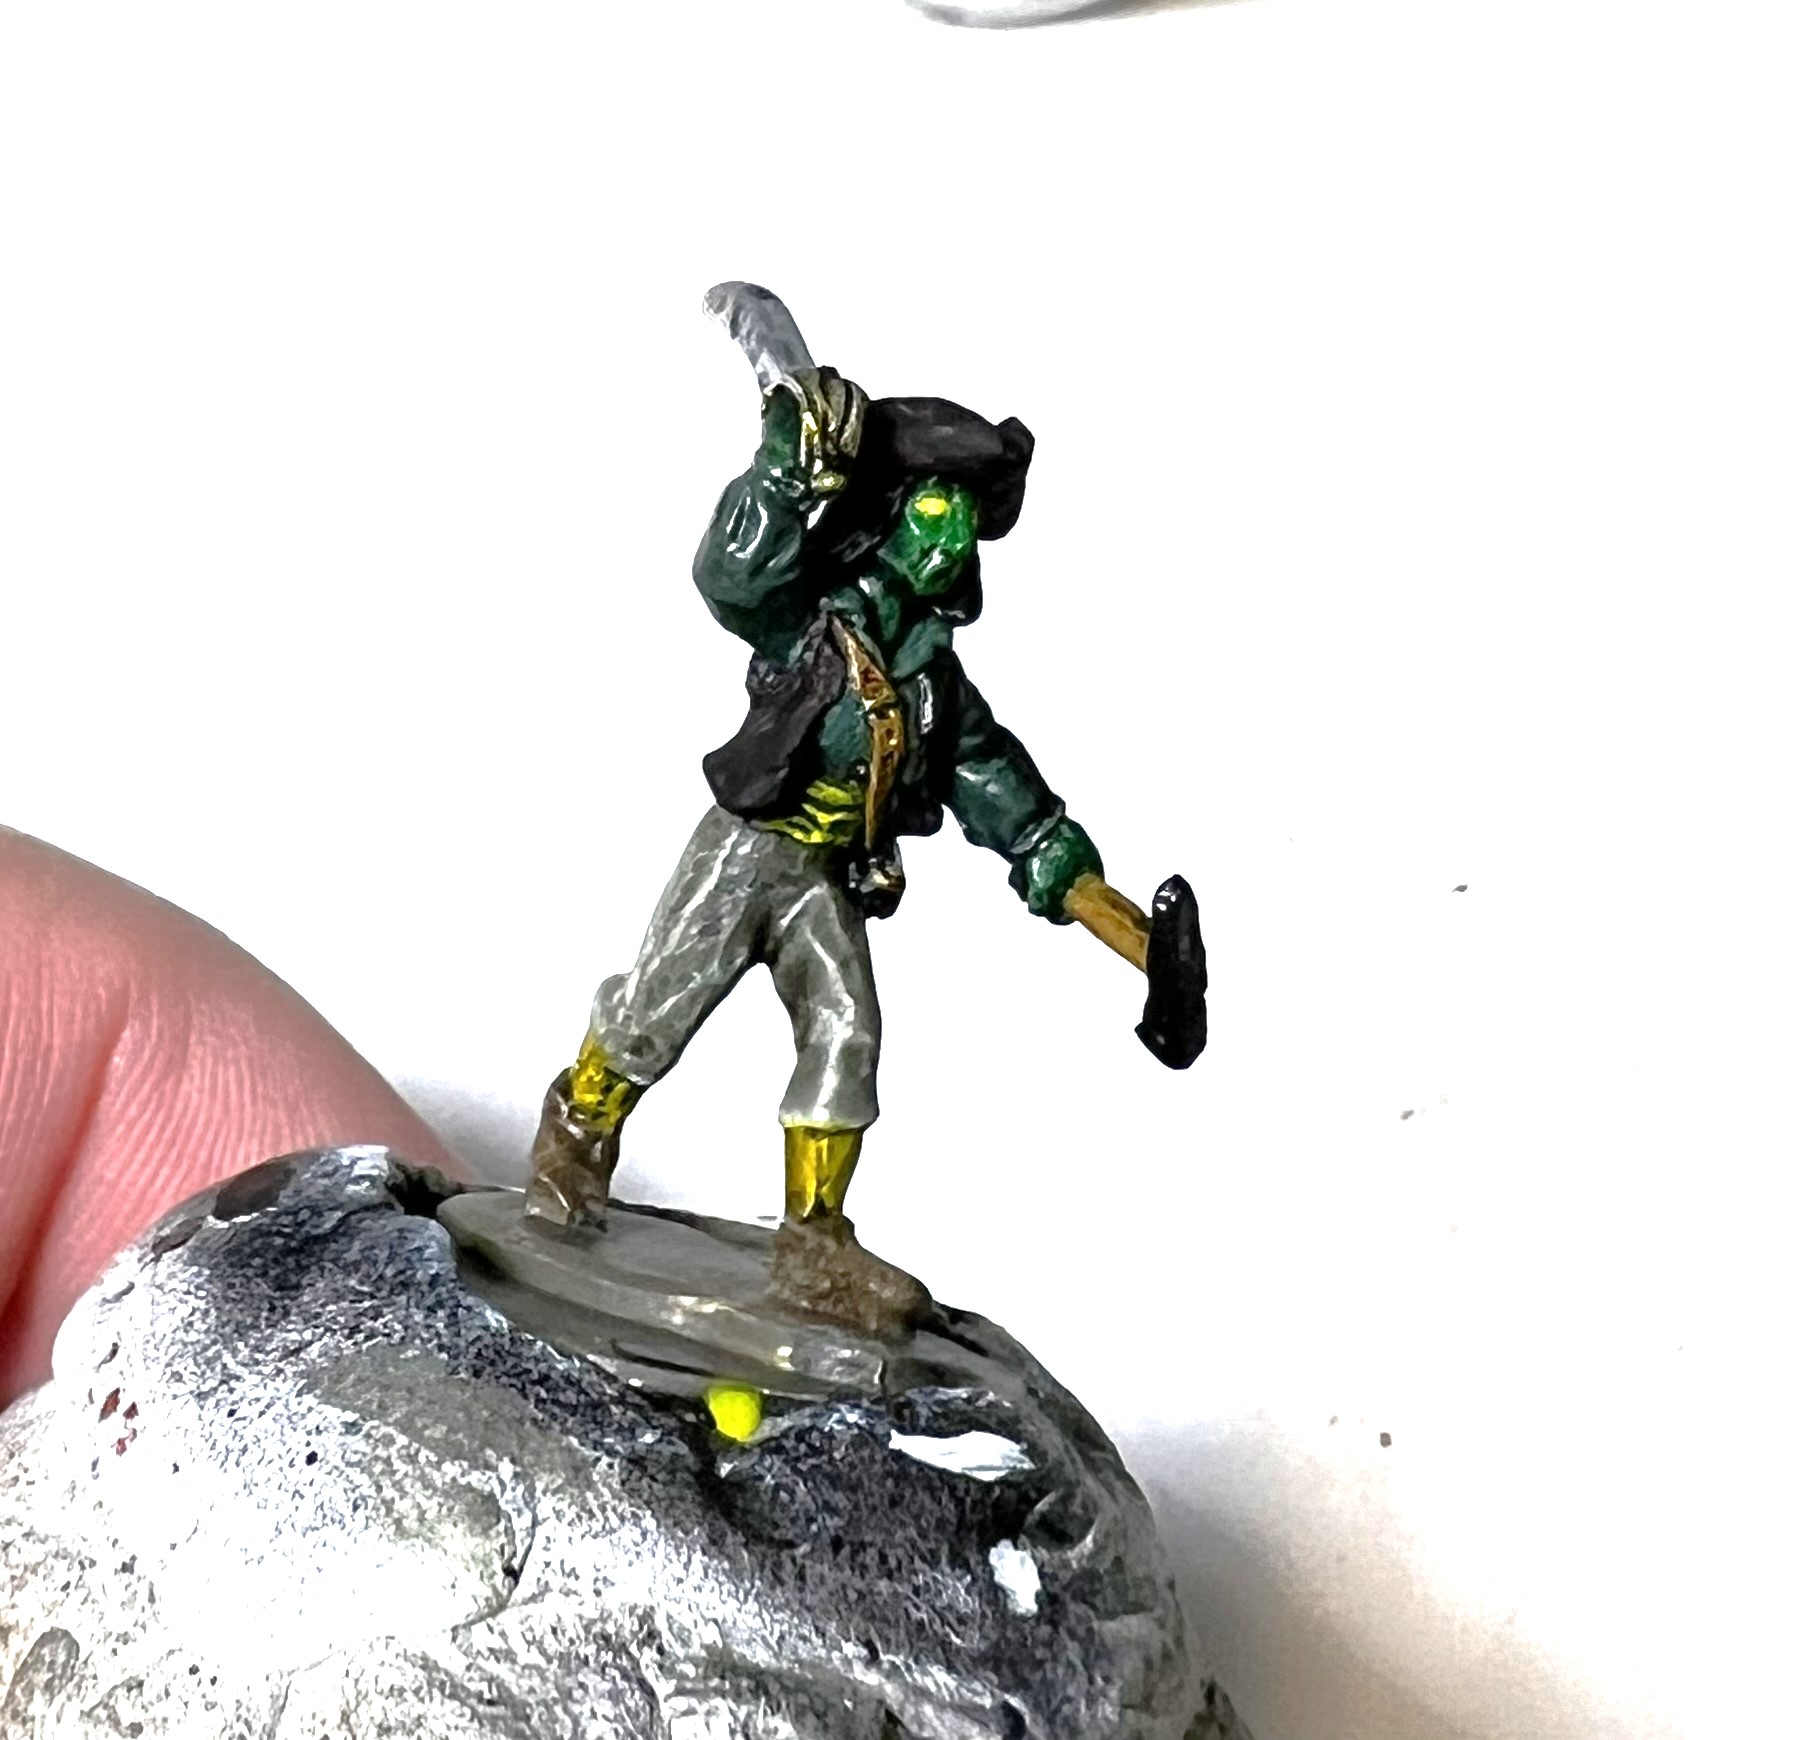
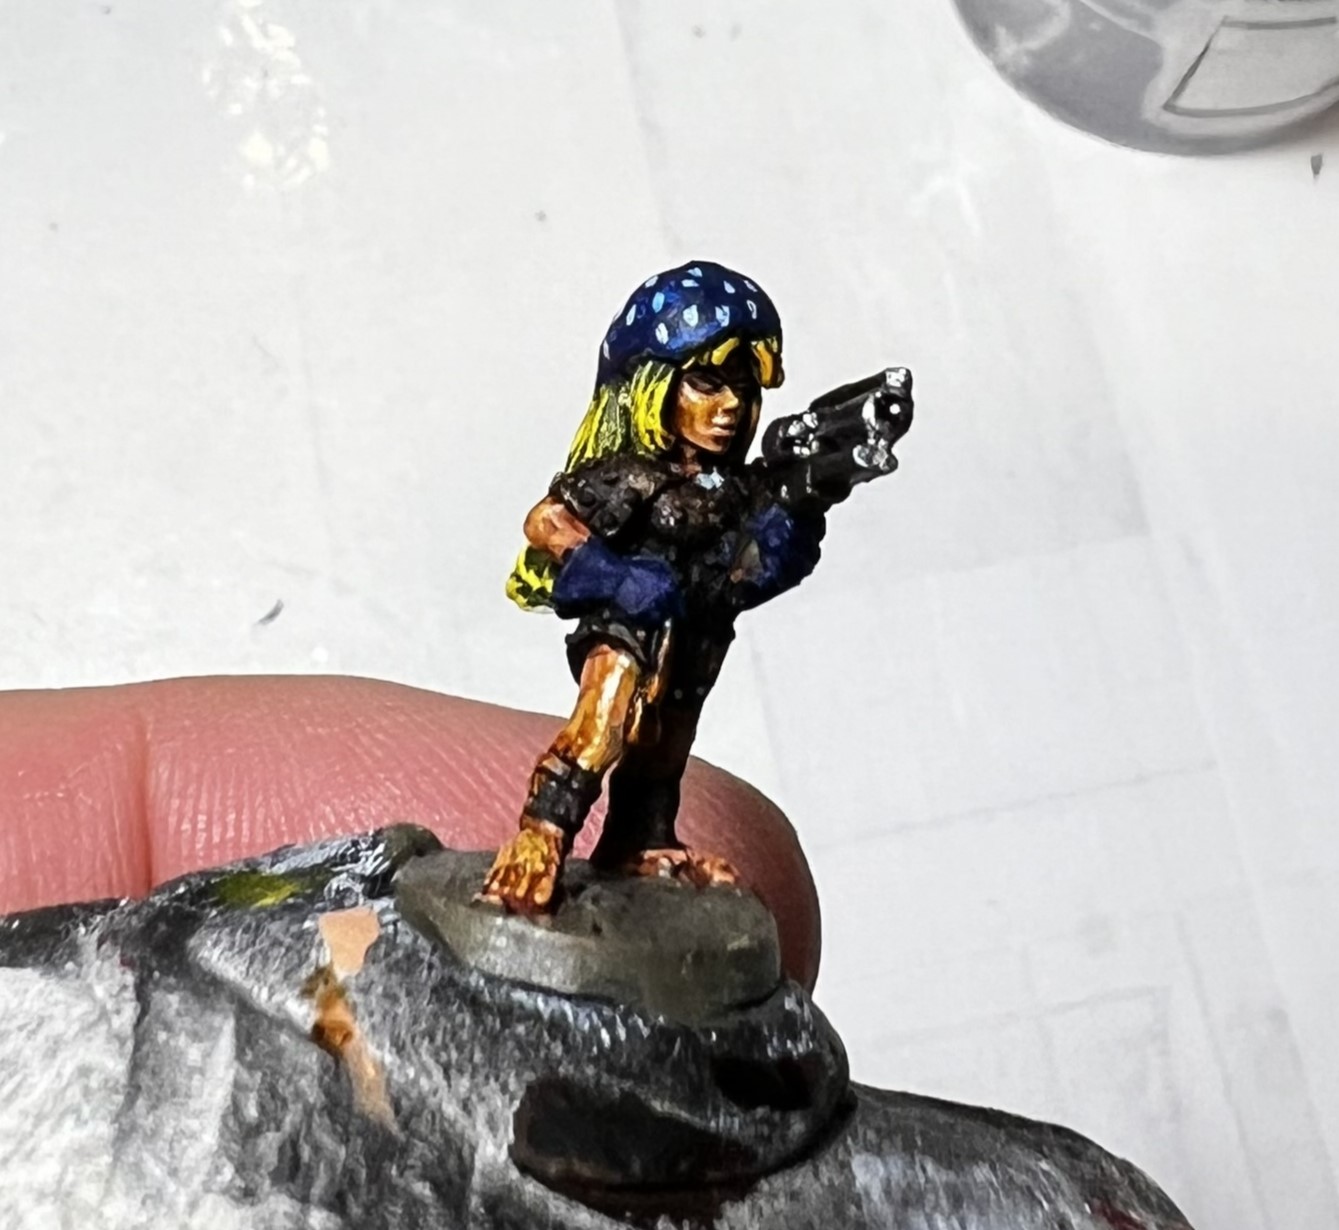
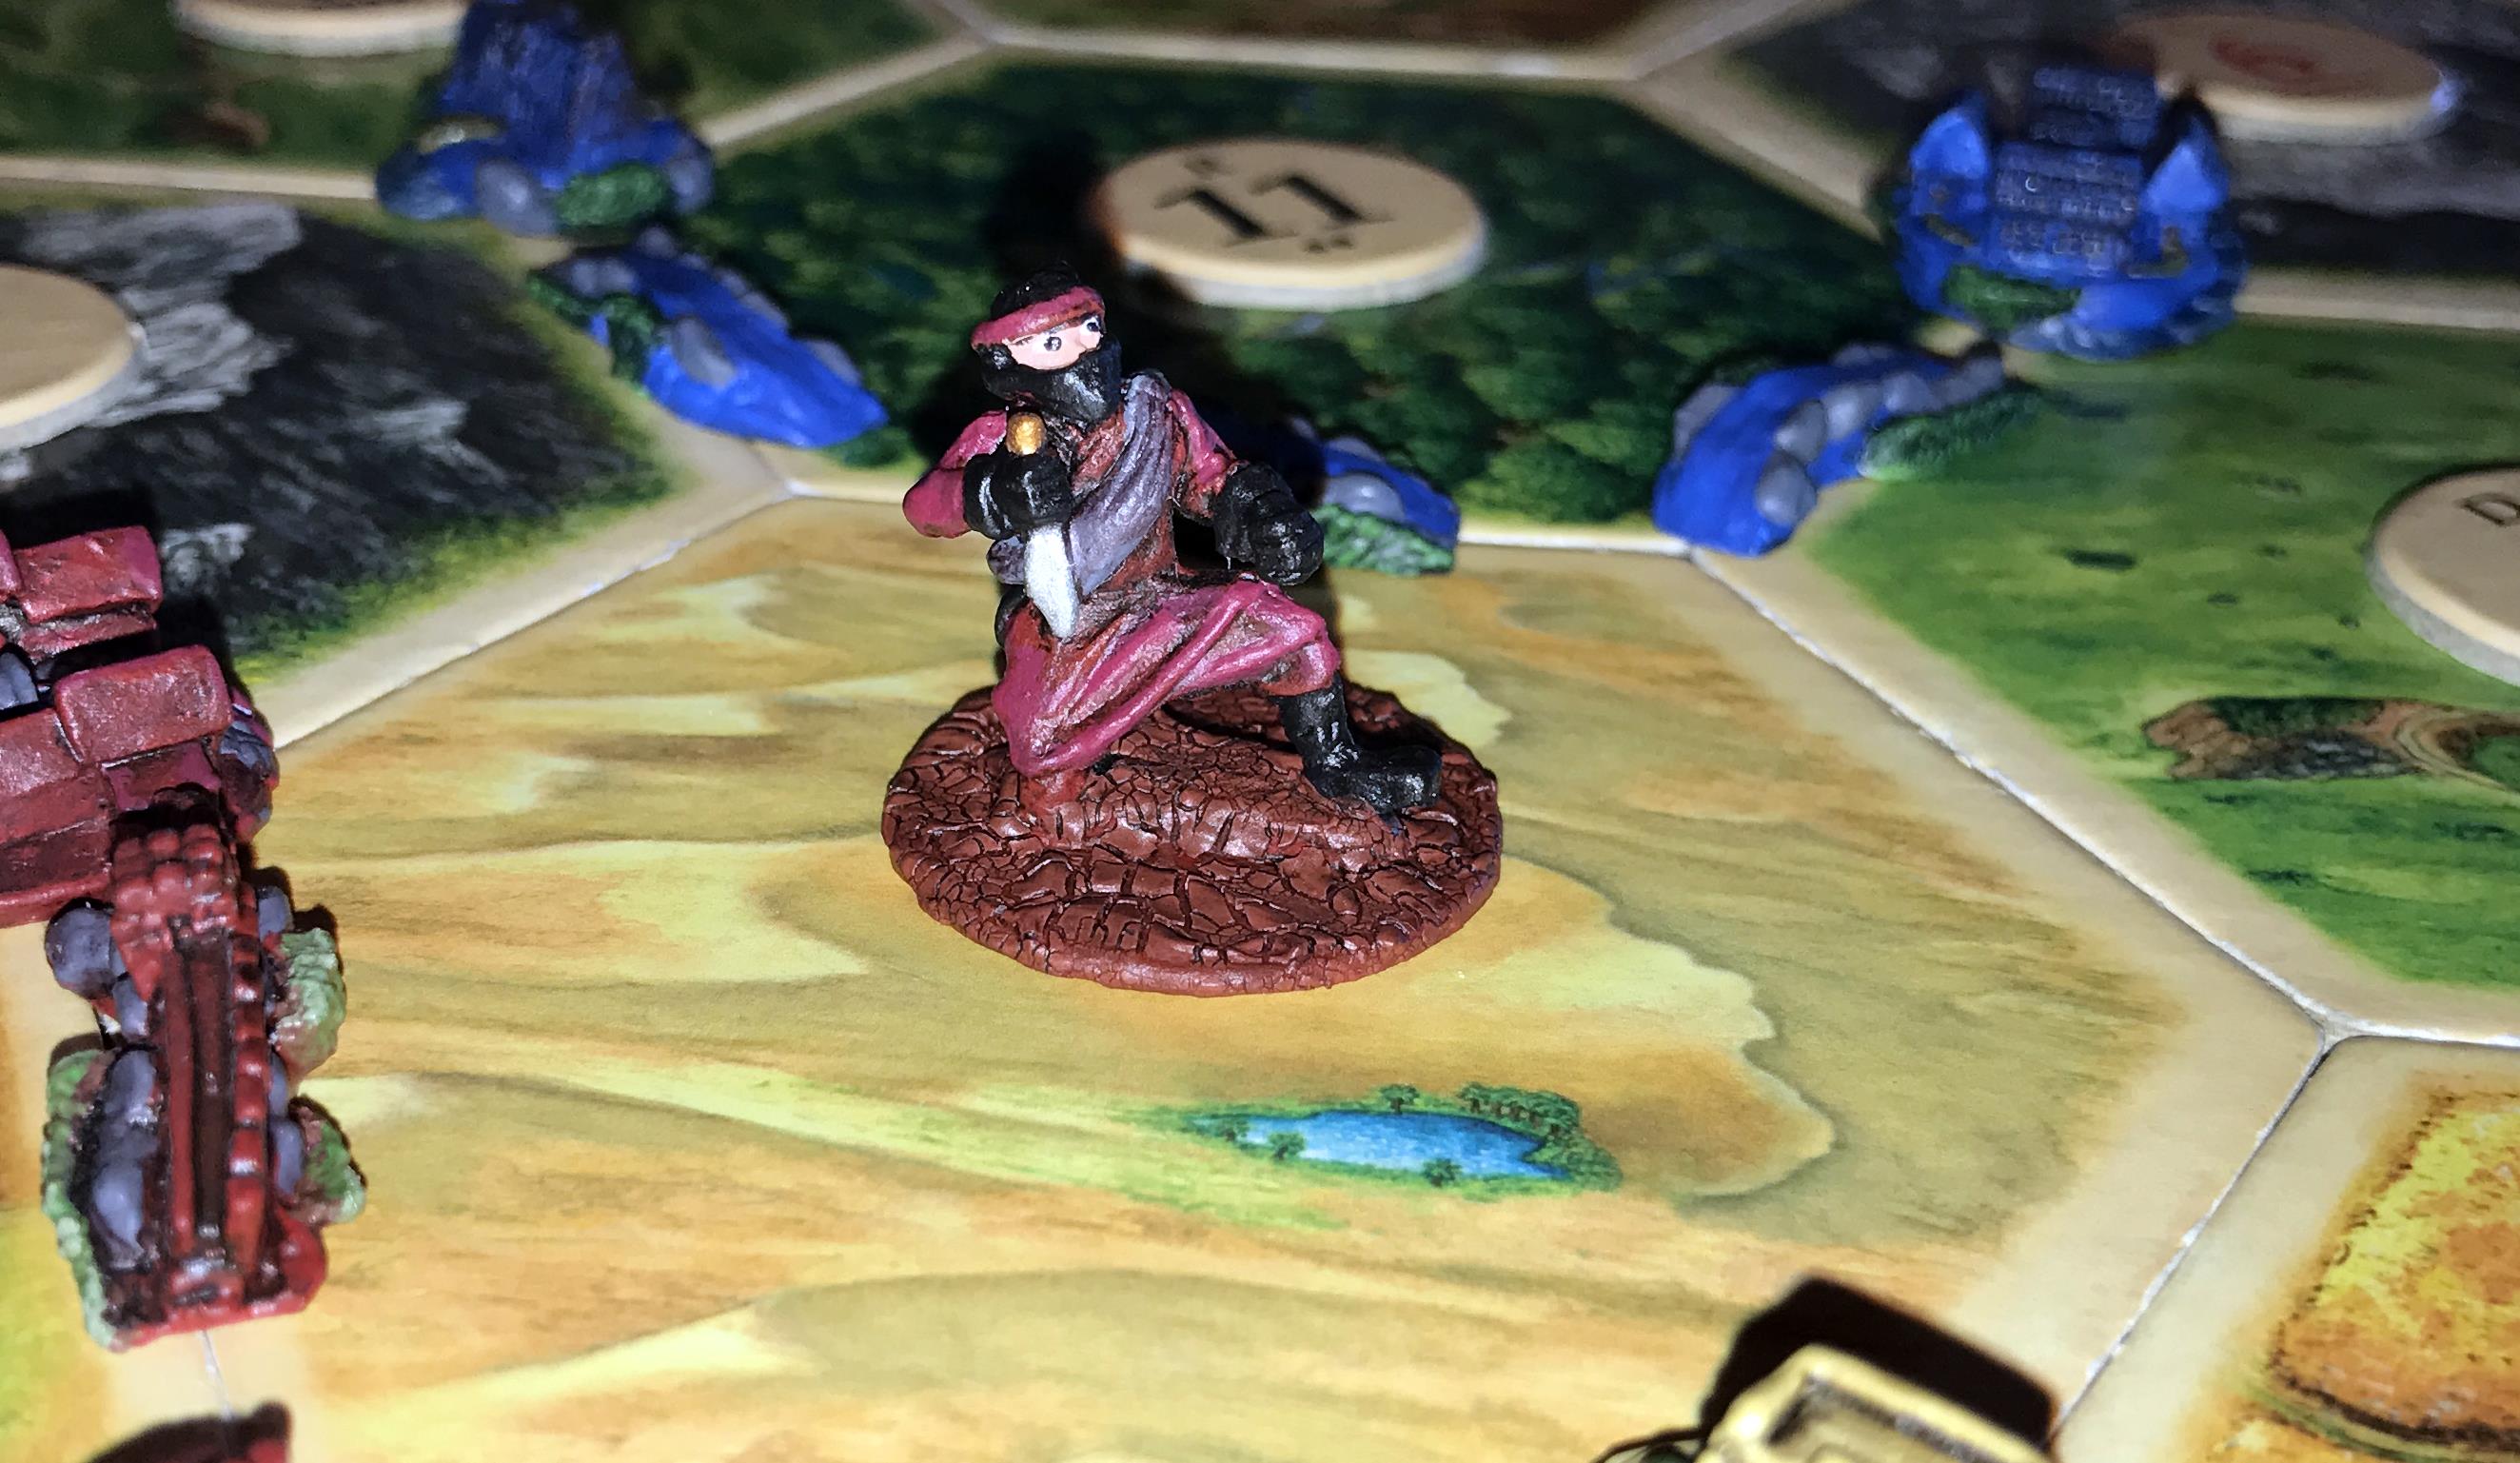
The penultimate figure in the group of draftees was a RAFM figure of a female ranger and her hawk on her right arm. It appears that the figure was initially sculpted around 1986. Many RAFM figures (including this one) are still commercially available as Silver Fox Productions (SFP) now owns the RAFM lines. I sourced it from RAFM at some point maybe 8 years ago. It is RAFM Miniatures#3908 “Female Ranger”. I gave her a bandana and painted her as Winkie.


The last of the 20 draftees is a female figure with a dagger. That’s all I know as the figure’s base was devoid of any markings and I could not discover her origin. As it was the last female figure I found (that was not topless – I couldn’t bring myself to put topless Amazons into Ozz – and I have a bunch of those). As she is, she seemed ok, so she was in. I painted her as a Gillikin but added nothing else.
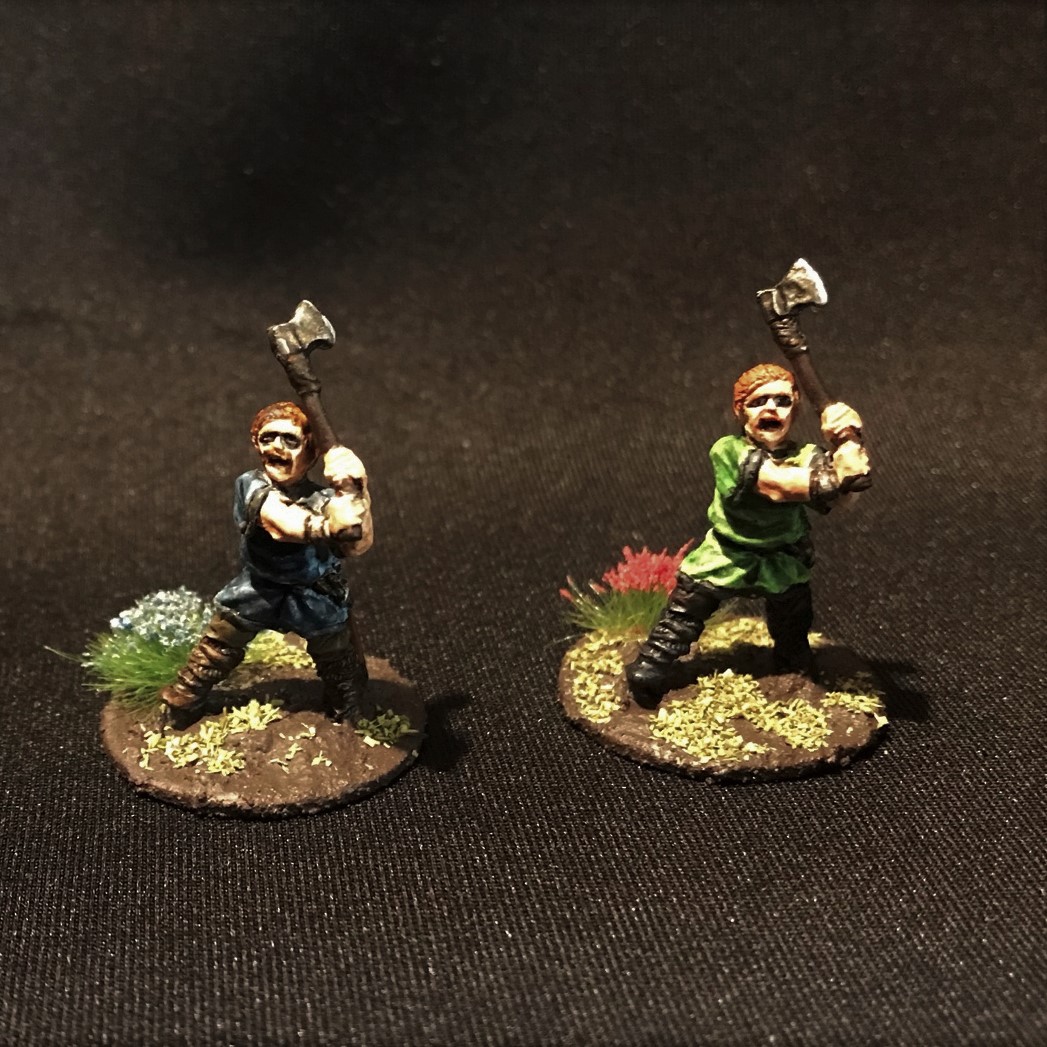
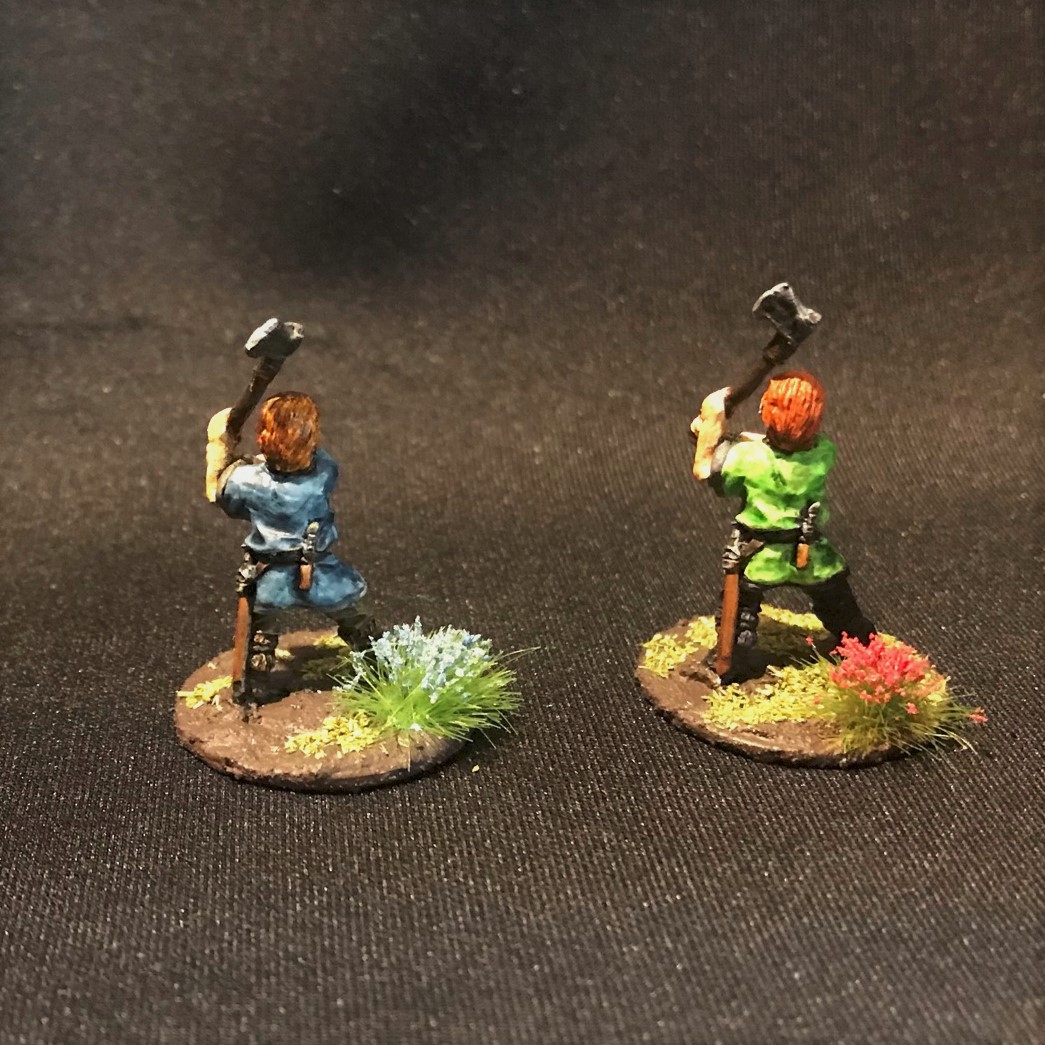
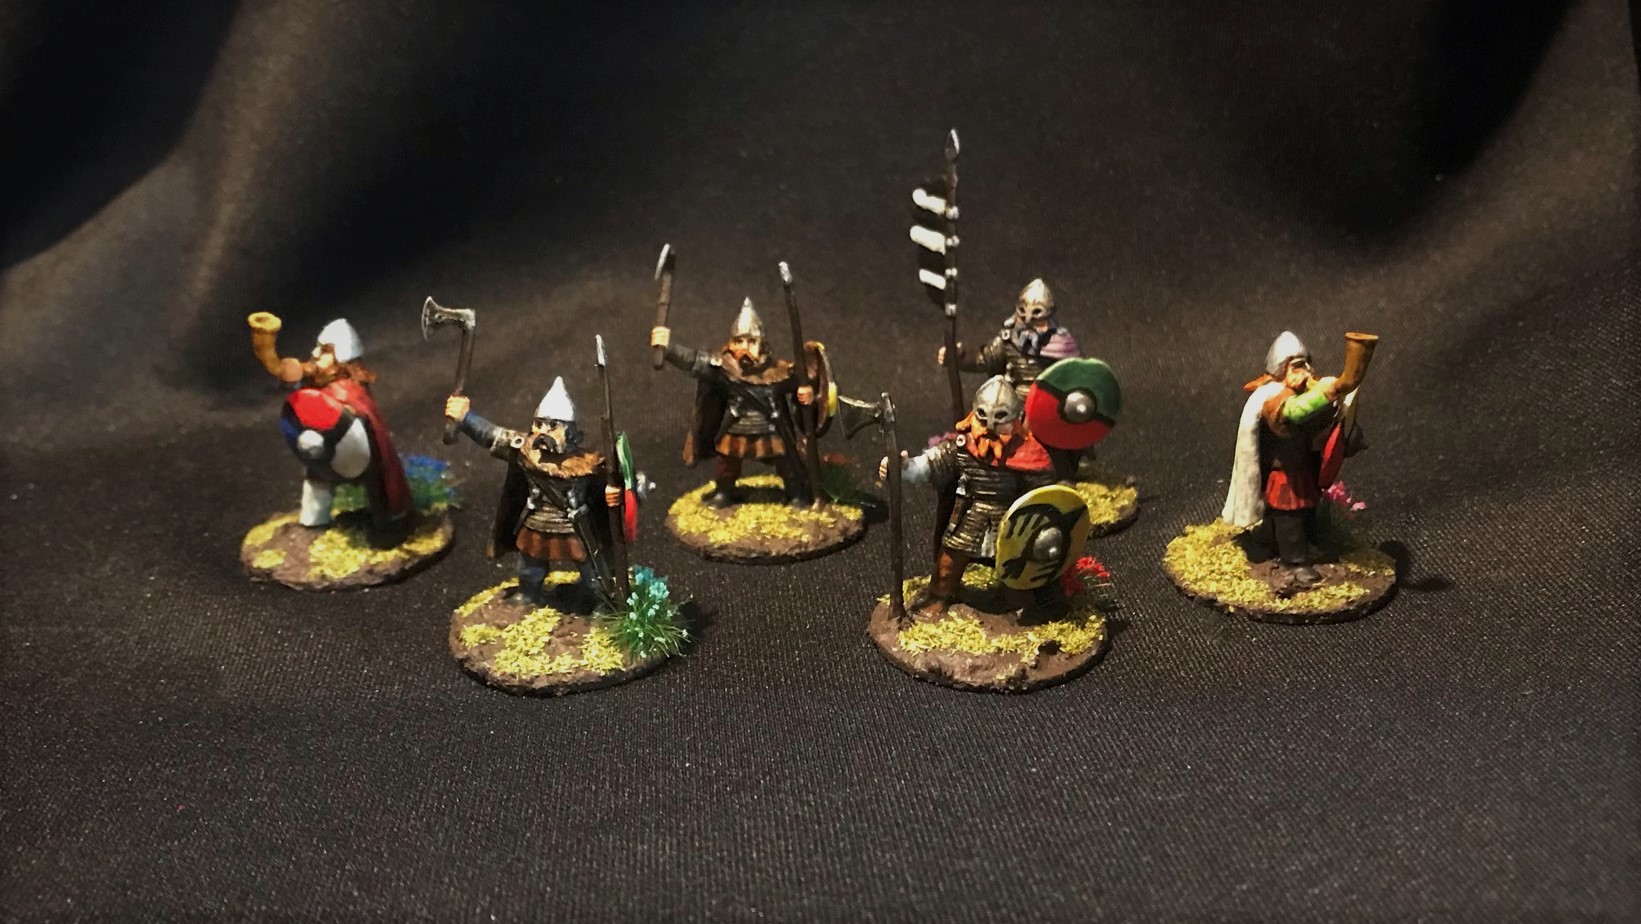
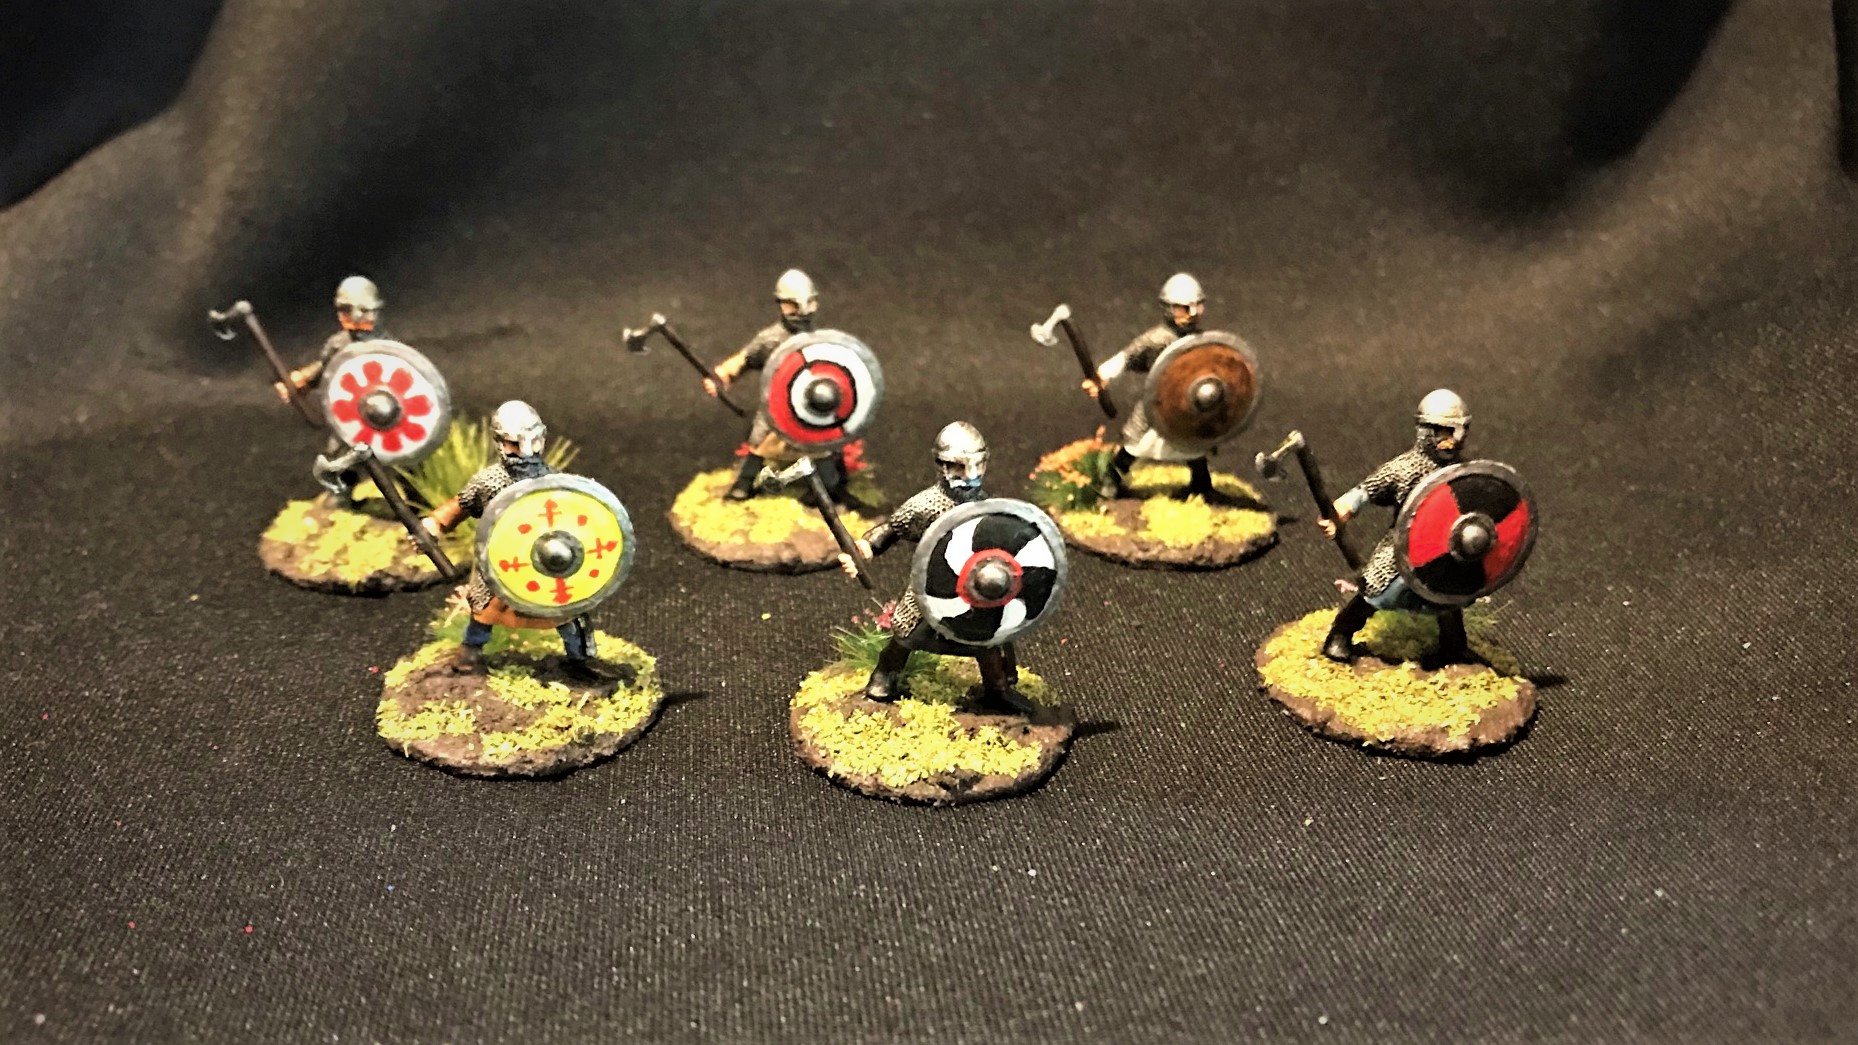
Let’s see the finished AJFP grassy-based regiment:
Grassy-Based Regiment
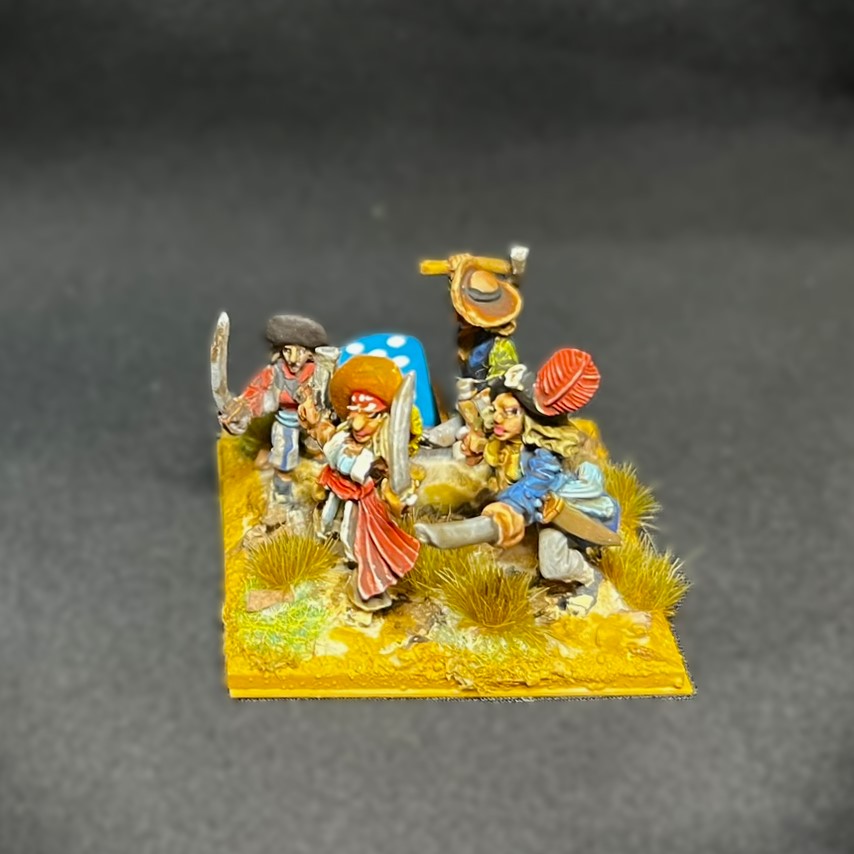
This first base has 4 Winkies – 3 from OZZ-516, plus one Grenadier “Women of War” figure. The die is a 12mm die.
The second base has three Gillikins that are original plus the Grenadier 102 (v2) “Female Assassin”.

The third base has three of the Grenadier “Women of War” figures and the RAFM Miniatures#3908 “Female Ranger”, all as Winkies.
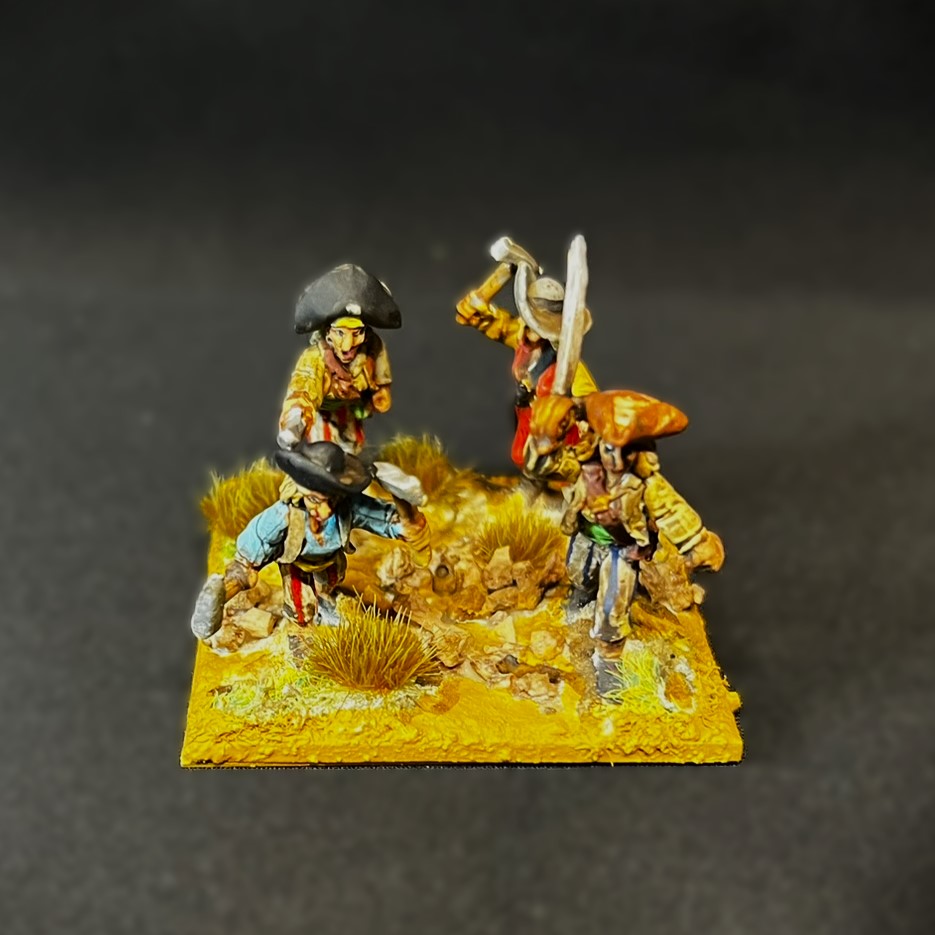
The fourth base has three Munchkins (the converted Ral Partha “Female Halfling Fighter Thief” #11-102 (b) figures) and the unknown Gillikin figure.
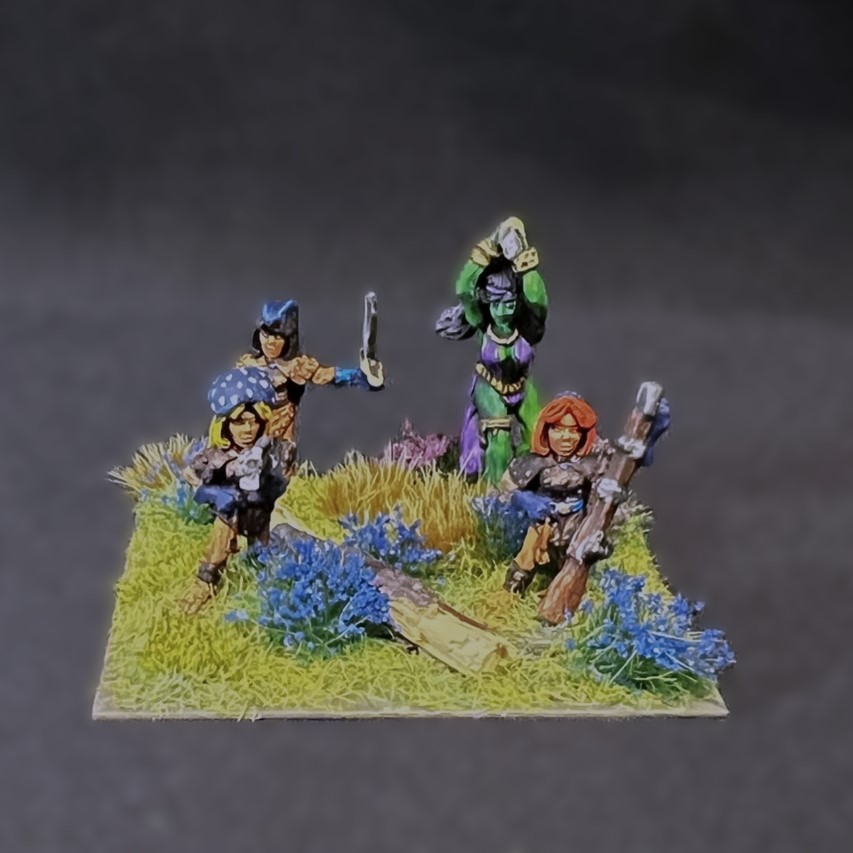
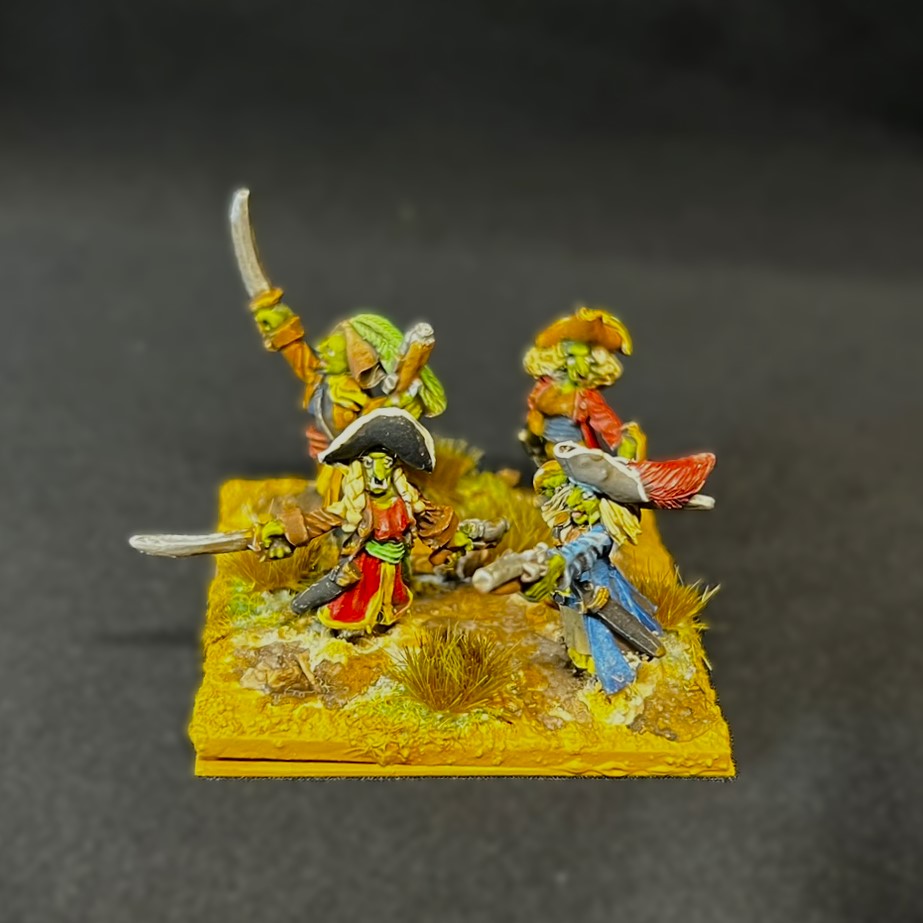
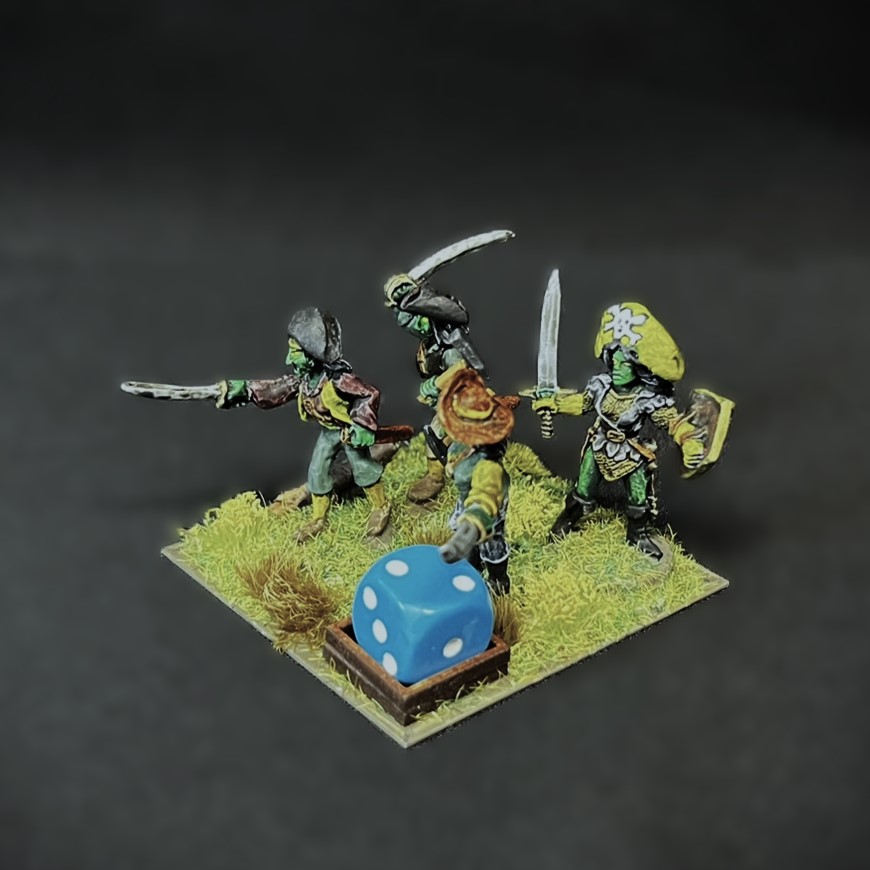
Rounding out the grassy-based AJFP regiment, the fifth base is composed of two of the converted Grenadier “Women of War” figures in the front rank, with two Gillikins in the back rank – the Ral Partha Imports Fantasy Adventurers Series – FA-27 “Amazon with Sword” and the Citadel FA-19 V2 “Female Fighter with Breastplate and Sword”.


These two AJFP regimentscount as my sixth and seventh unit respectively for Dave Stone’s “PAINT WHAT YOU GOT CHALLENGE 2023/2024” painting challenge that runs from December 26th, 2023 to February 29th, 2024.
Both regiments will play a major role in many of my upcoming games for the multiple gaming conventions that I plan on supporting as a GM. The good news is that they will provide some firepower to a brigade as they are treated as having carbines. The regiments are good at missile combat – having a Marksmanship value of 6/10. As for Melee, they are middle of the road with a value of 5/10. Their Resolve value is similar at 5/10, but their Elan value is a little better at 6/10. Each unit costs 5 points. As Buck says, it’s nice for players to have some “shooty units”!
My convention games are coming up fast. At present, that support level is now at 25 four-hour games from February through May across 4 different conventions in Massachusetts, Maine, and New Hampshire (TotalCon38, HAVOC, Mayhem, and HUZZAH!). Check them out and maybe just come?
A quick side note: I also got a surprise during the painting of these two regiments. My good friend Buck Surdu sent two more individual figures that can act as heroes in the game. One is “Boom Boom Palmer” (named after Chris Palmer). This figure can attach to an artillery unit and make it more effective. The other is Grand Admiral Priebe, who can give an attached infantry unit the ability to charge cavalry. THANKS BUCK!!

I did enjoy getting to paint both of these AJFP regiments- and to incorporate the Old School stuff really was a nice and fun change. But, now it’s back to more Ozz stuff!
As always, much thanks for looking!
And yes, I still have much more Ozz to come…
Miscellaneous details and references for those interested in that sort of thing:
For all of my previous posts on Wars of Ozz games, figures, units, and other related projects – please see this page.
PAINTS, INKS, GLAZES, SHADES, WASHES, PIGMENTS, FLOCKING, GLUES AND MORE THAT I USED ON THE TWO ADMIRAL JINJUR FEMALE PIRATE REGIMENTS:
- Three original figure stands of Admiral Jinjurs Female Pirates
- Old School miniatures as detailed above
- Plastruct #91107 2.5mm polystyrene sheet
- 2″ square steel bases from Wargames Accessories (#21)
- Elmer’s PVA Glue
- Green Stuff (kneadatite)
- Gorilla Glue
- 5/16″ Everbilt steel washers (ACA)
- 3/4″ Everbilt steel washers (ABA)
- #8 3/8″ Everbilt steel washers
- Poster Tack
- Reaper MSP “Pure Black”
- Battlefront “German Camouflage Black Brown”
- Vallejo Model Air “Wood”
- The Armory “Dark Blue”
- Battlefront “Sherman Drab”
- Vallejo “Thinner Medium”
- Vallejo “Flow Improver”
- Vallejo “Airbrush Thinner”
- Vallejo Surface Primer “Black”
- Vallejo Mecha Color “Off White”
- P3 “Midland Flesh”
- Citadel “Contrast Paint – Ork Flesh”
- Army Painter “Speed Paint – Crusader Flesh 1.0”
- Citadel “Contrast Paint – Bad Moon Yellow”
- Vallejo Model Color “Brown Rose”
- Vallejo Game Color “Bronze Fleshtone”
- Citadel “Contrast Paint – Striking Scorpion Green”
- Vallejo Mecha Color “Green Fluorescent”
- Vallejo Model Air “Steel”
- Vallejo Model Color “Wood Grain”
- Vallejo Model Air “Bright Brass”
- Vallejo Model Air “Gun Metal”
- Vallejo Model Air “Black ” (metallic)
- Citadel “Balor Brown – AIR”
- Citadel “Contrast Paint – Black Legion”
- Battlefront “Boot Brown”
- Army Painter “Speed Paint – Hardened Leather 1.0”
- Army Painter “Speed Paint – Satchel Brown 2.0”
- Army Painter “Speed Paint – Enchanted Steel 2.0”
- Army Painter “Warpaints – Plate Mail Metal”
- Army Painter “Speed Paint – Aztec Gold 2.0”
- Citadel “Contrast Paint – Baal Red”
- Hataka “Gris Vert”
- Vallejo Model Color “Black Green”
- Citadel “Contrast Paint – Ironjawz Yellow”
- Tamiya “Titanium Silver”
- Citadel “Contrast Paint – Apothecary White”
- Army Painter “Flesh Wash” (wash)
- Army Painter “Speed Paint – Dusk Red 2.0”
- Army Painter “Red Tone” (wash/shade)
- Citadel “Nuln Oil GLOSS” (wash/shade)
- Citadel “Nuln Oil” (wash)
- Army Painter “Warpaints – Shining Silver”
- Vallejo Model Color “Dark Prussian Blue”
- Vallejo Mecha Color “Sky Blue”
- Citadel “Contrast Paint – Celestium Blue”
- Citadel “Contrast Paint – Talassar Blue”
- Citadel “Contrast Paint – Cygor Brown”
- Citadel “Contrast Paint – Pylar Glacier”
- Army Painter “Blue Tone” (shade/wash)
- Army Painter “Speed Paint – Purple Swarm 2.0”
- Citadel “Contrast Paint – Magos Purple”
- Army Painter “Speed Paint – Familiar Pink 2.0”
- Citadel “Contrast Paint – Leviathan Purple”
- Reaper MSP “Pink”
- Citadel “Daemonette Hide”
- Citadel “Contrast Paint – Doomfire Magenta”
- Army Painter “Warpaints – Bright Gold”
- Army Painter “Speed Paint – Runic Grey 1.0”
- Citadel “Waystone Green” (technical)
- Citadel “Longbeard Grey” (dry)
- Reaper MSP “Sun Yellow”
- Battlefront “Gunship Green”
- Citadel “Troll Slayer Orange”
- Vallejo Mecha Varnish “Gloss Varnish”
- Vallejo Mecha Varnish “Matte Varnish”
- Chinchilla Dust
- Army Painter “Battlefield Field Grass” (flocking)
- Pendraken 12mm dice frames
- Army Painter “Battlefield Rocks” (flocking)
- Twigs
- Army Painter “Yellow/Meadow Flowers” (flocking)
- Gamers Grass “2mm Moss” (flocking)
- Army Painter “Highland Tufts” (flocking)
- Shadow’s Edge Miniatures “6mm Dark Forest Plum” (flocking)
- Shadow’s Edge Miniatures “6mm Dark Forest Blue” (flocking)
- Gamers Grass “Yellow Flowers” (flocking)
- Citadel “Agrax Earthshade” (wash/shade)
As you may want to check out the Wars of Ozz figures’ range – there are two places to get them and the rules (and I make no money from this btw). The game rules and the figures are available from the following two places:
In the US Old Glory has a site – Wars of Ozz Miniatures.
In the UK go to Sally 4th.


