

My daughter Ellen and her fiancé Chris got me a couple of game sets for Settlers of Catan® and I thought I’d take the opportunity to paint these up. RAFM in Canada makes these and you can see their offerings here.
The first one I completed was the Egyptian set (1202). There are 25 pieces in each set – 15 roads, 5 settlements, 4 cities, and one themed robber. These would take the place of the generic wooden pieces that come with the game.
I saw these on the RAFM website before when I was looking through their offerings. There are Viking, Bavarian, and Chinese sets in addition to the Egyptian one. Interestingly, the box cover shows incorrect game play – each city or settlement needs to be separated by two or more roads, and there is only one road here.


There was very little flash on the robber, and none on the other pieces. I did the robber last, so I will show that work after the others. I cleaned them up with a quick scrub, then primed them with Krylon “Ultra-Flat White” matte spray paint.

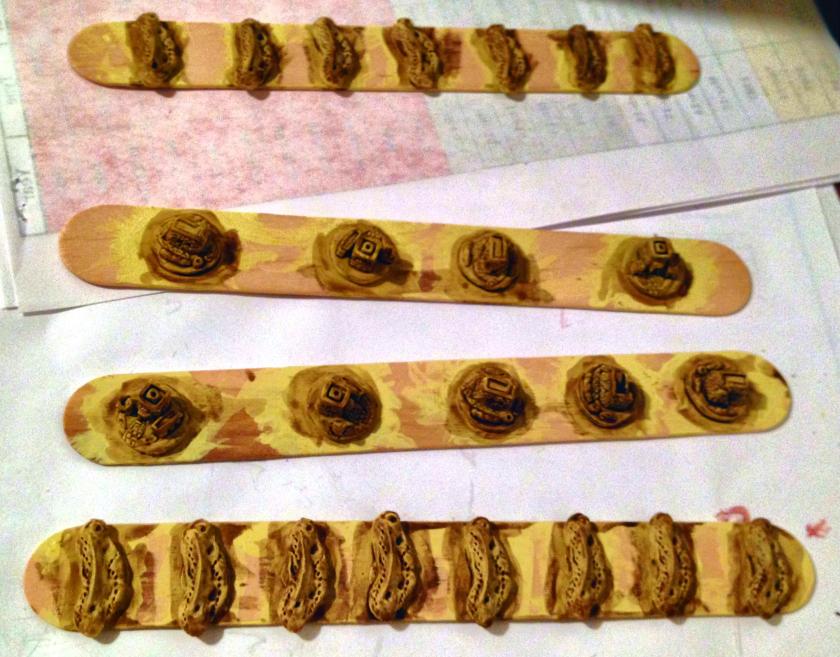
The first challenge I had was in figuring out how to mount these for painting. Normally, I mount the figures on a washer and then mount the combination to a popsicle stick. Here, I was only going to use a washer for the robber as the other pieces were not really configured for mounting. I mounted each lightly to a popsicle stick with white glue. In the end, this procedure forced me to retouch all the figures’ sides as well as deal with painting and varnishing the undersides.
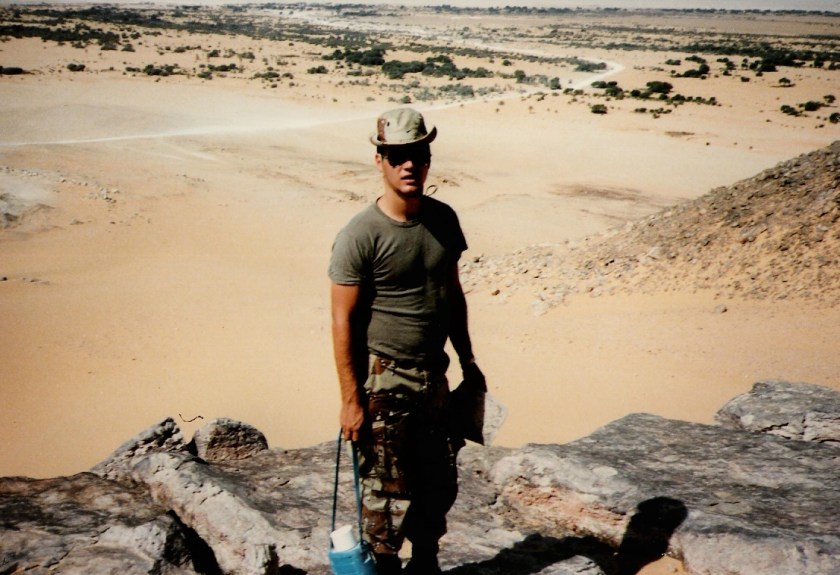
I decided to try to keep a desert theme to these pieces. I was somewhat familiar with this coloration due to previous experience in the desert. I led a Mobile Training Team at an airfield project in the Sahara Desert when I was a US Army Engineer officer.
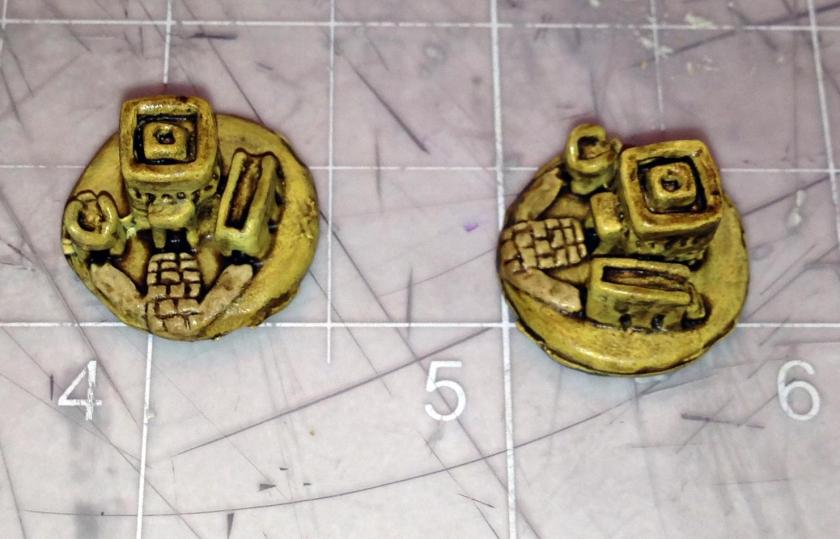
In the set, the roads were merely sand dunes with two sets of footprints, and the settlements and cities were adobe-like structures (very similar to what I saw in the Sahara). However, I needed to have a consistent color scheme as these are game pieces – and not traditional miniatures. I achieved my coloration goals by making a 50/50 mix of my old 1987 Deka Lack “Gelb” (yellow) and Americana “Bleached Sand” and using that as a base coat. This finished off my “Gelb” after 29 years! I then applied a liberal amount of Citadel “Agrax Earthshade”.
I then highlighted these with a 50/50 mix of P3 “Sulfuric Yellow” and Americana “Desert Sand”.
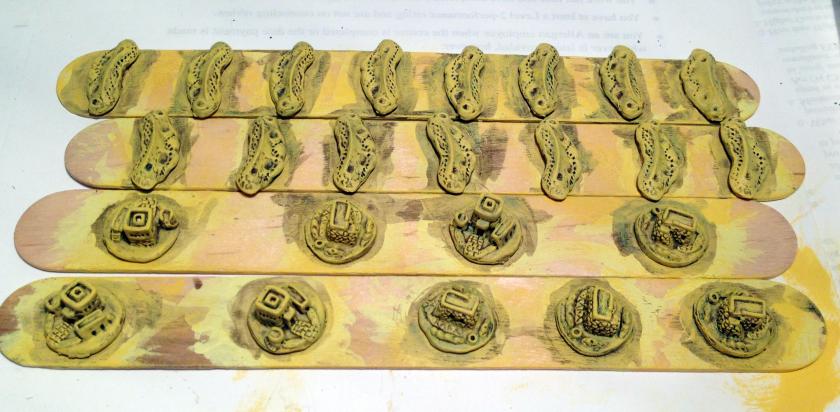
Then I did a bit of detail work. On the settlements, I used Citadel “Balor Brown” on the wells and “Castellan Green” on the foliage. After another application of “Agrax Earthshade”, I used the previous mix of P3 “Sulfuric Yellow” and Americana “Desert Sand”to highlight again. I also highlighted the foliage with Citadel “Niblet Green”. Knowing that there was likely to be some bare spots from the gluing, I gently removed the pieces and painted the undersides and sides where there were some bare spots. I first varnished the set with Krylon “Clear Glossy” spray paint. After allowing the pieces to dry, I then varnished the topsides with two coats and the underside with one coat of Testors “Dull Coat”. I did this because they are board game pieces, with more need of paint protection.


After this I moved on to the robber. It is a 28mm figure, dressed in desert garb, with an axe. The first thing I did was to glue the figure to a larger 1.25″ steel washer with wood glue. Once that had dried, I used Apoxie Sculpt to create a base. I decided that flocking the robbers would be messy and not useful.

I first dry brushed the robber with the P3 “Sulfuric Yellow” and Americana “Desert Sand” 50/50 mix.
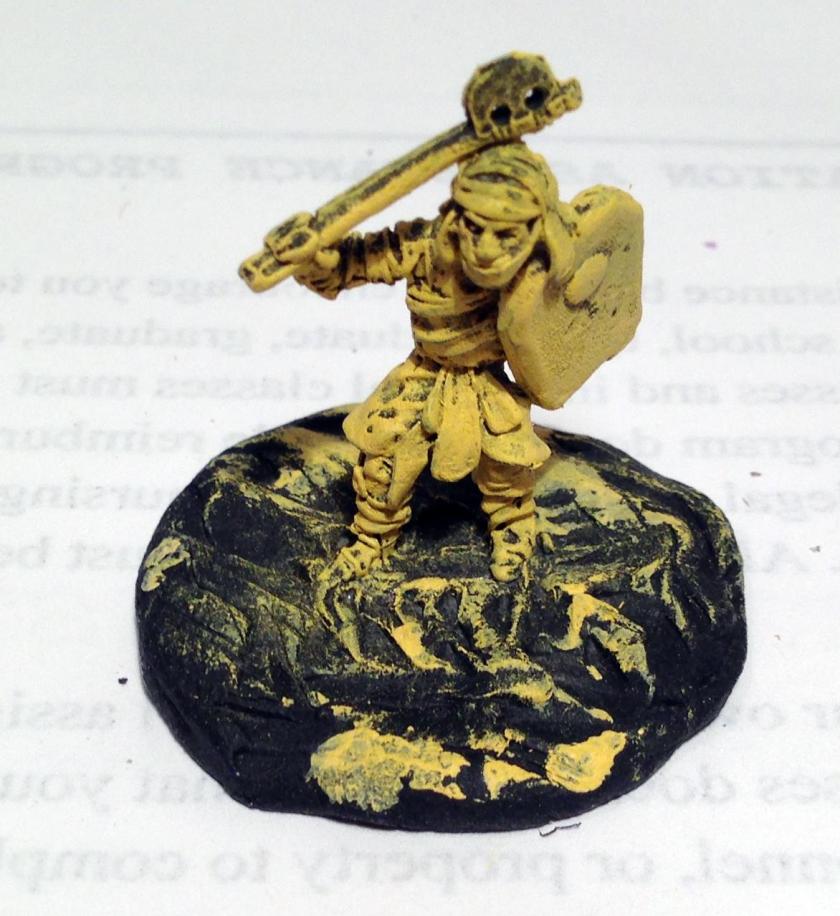
I then worked on base coating the details. The axe handle and the backside of the shield got a coat of Citadel “Dryad Bark”, and the axe got a coat of FolkArt “Gunmetal Gray”. I used P3 “Midland Flesh” on the face. For the shield, I used another 1987 paint, Deka Lack “Ocker” (ochre), which had more of a metallic tint. I then used “Agrax Earthshade” and let the figure dry.
I highlighted the figure and the base with “Sulfuric Yellow” and dry brushed some areas. Then I did the sclera of the eyes with Americana “Snow” and “Ebony” for the pupil and eyebrows. The boots and gloves got a coat of P3 “Bootstrap Leather”. To create an edge on the axe, I used Tamiya “Chrome Silver”. I highlighted his nose and cheekbones with FolkArt “Light Flesh”, then used P3 “Flesh Wash” to make it more tan. I used “Sulfuric Yellow” on the boss on the shield, then darkened it and the base with “Agrax Earthshade”.
Lastly, once the figure was dry I then varnished it with two coats of Testors “Dull Coat”.

Overall, I am satisfied with the work – they are after all game pieces. I hope to get these into a game of Catan soon.


One thought on “Egyptian Game Set for Settlers of Catan”