In the game of Wars of Ozz, there are skeletons that can be part of Winkie brigades. They can be part of other types of brigades as well as allies, though they must be purchased at a higher point cost. There are additional nuances to their use as well.
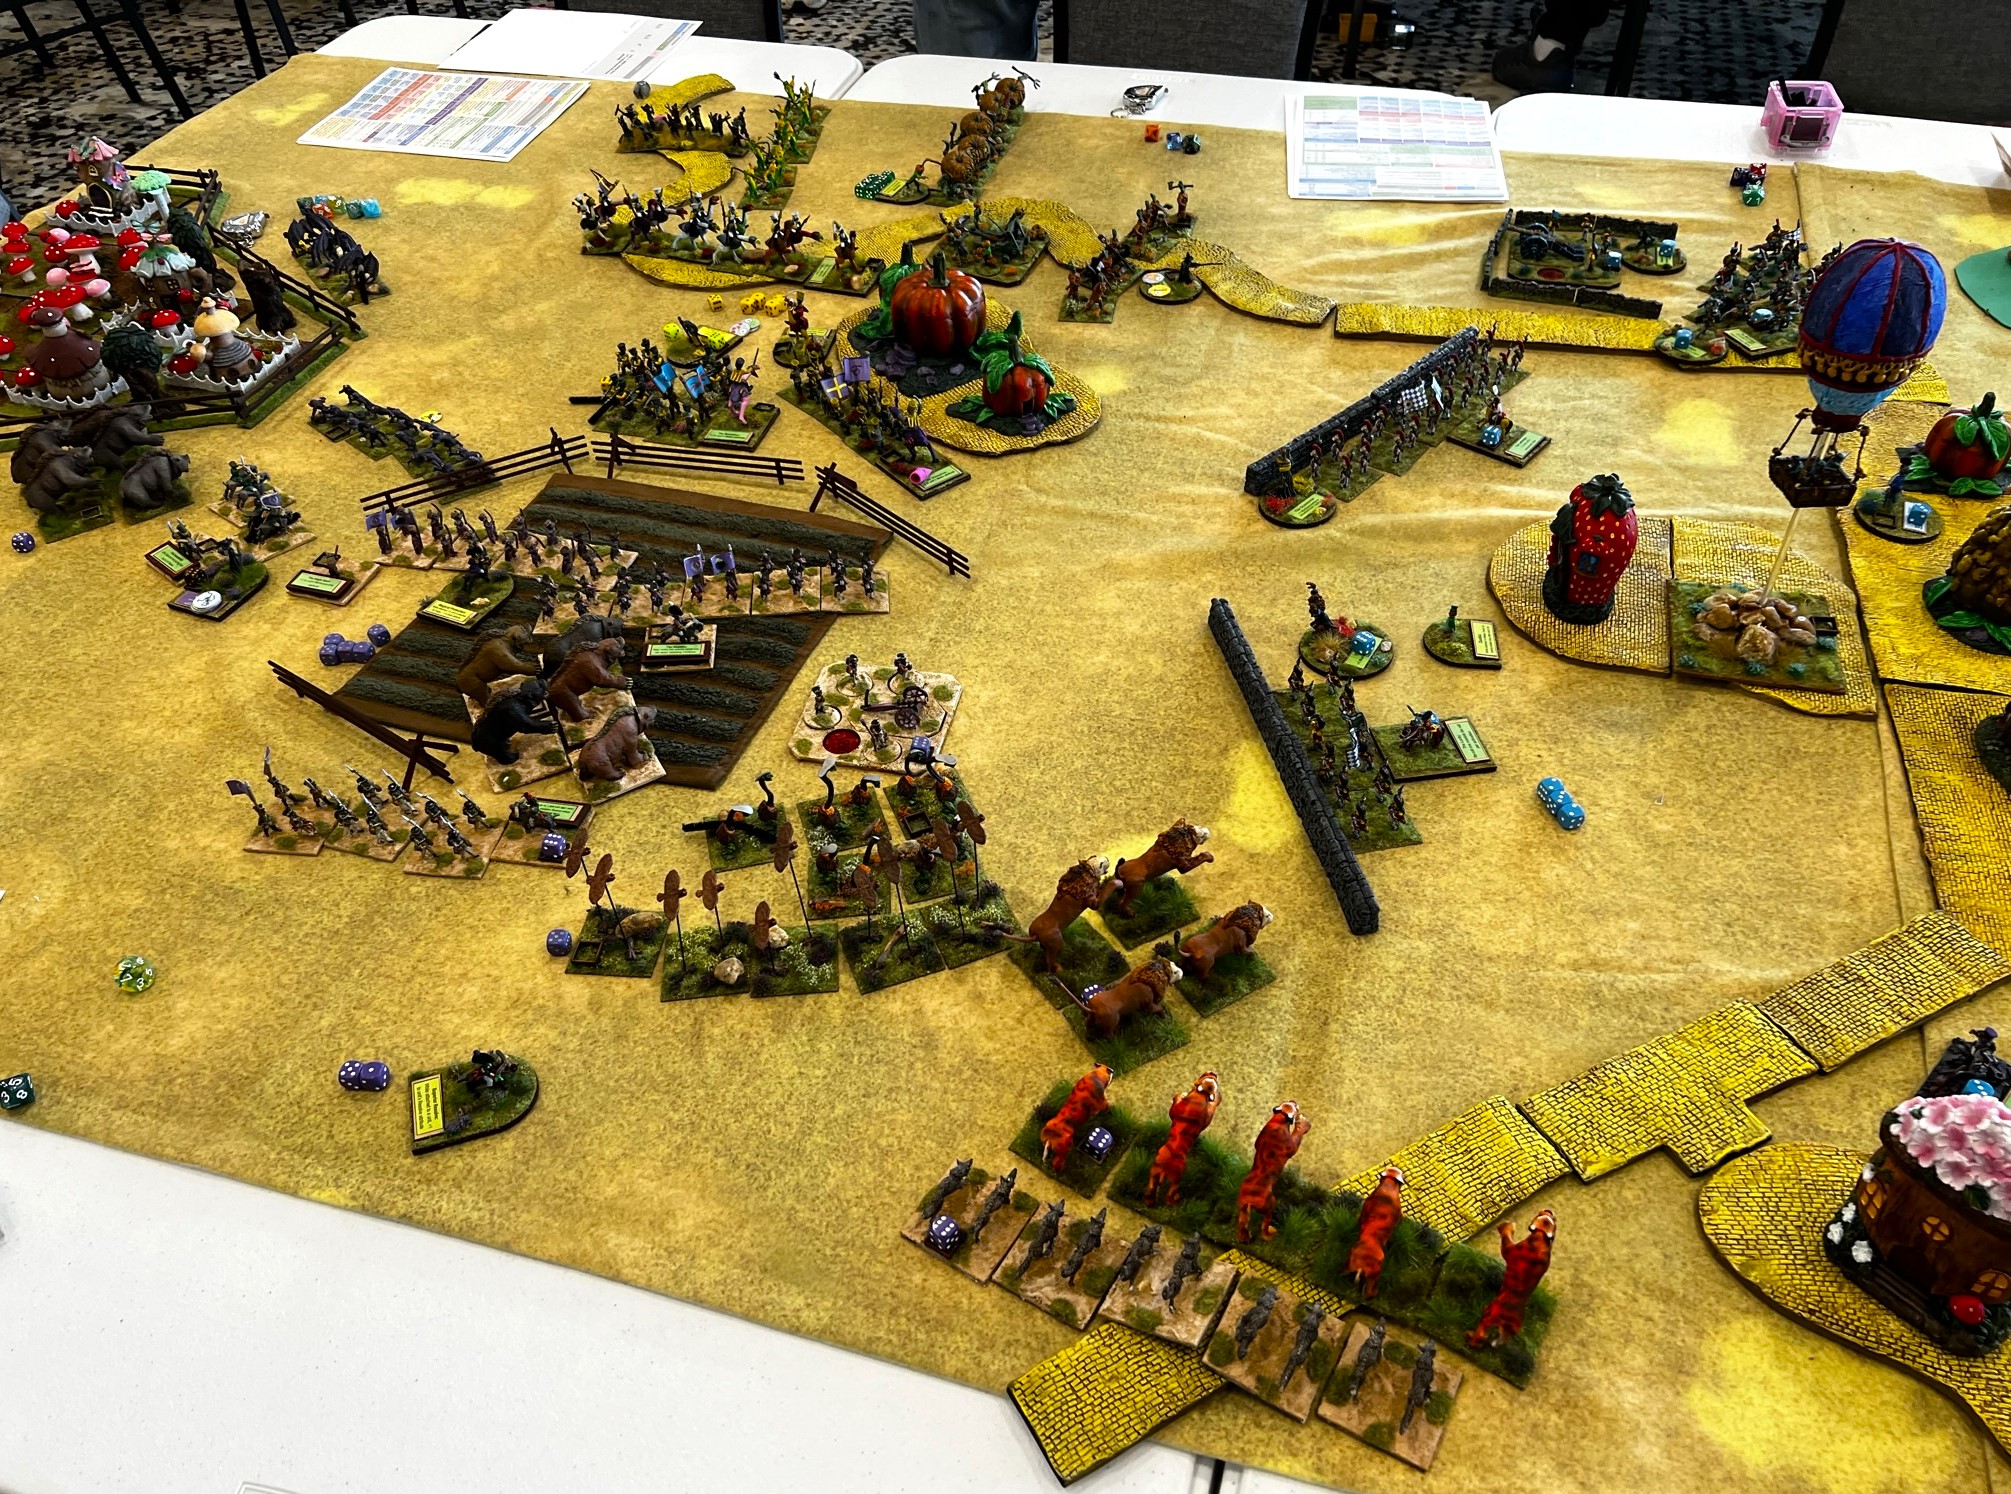
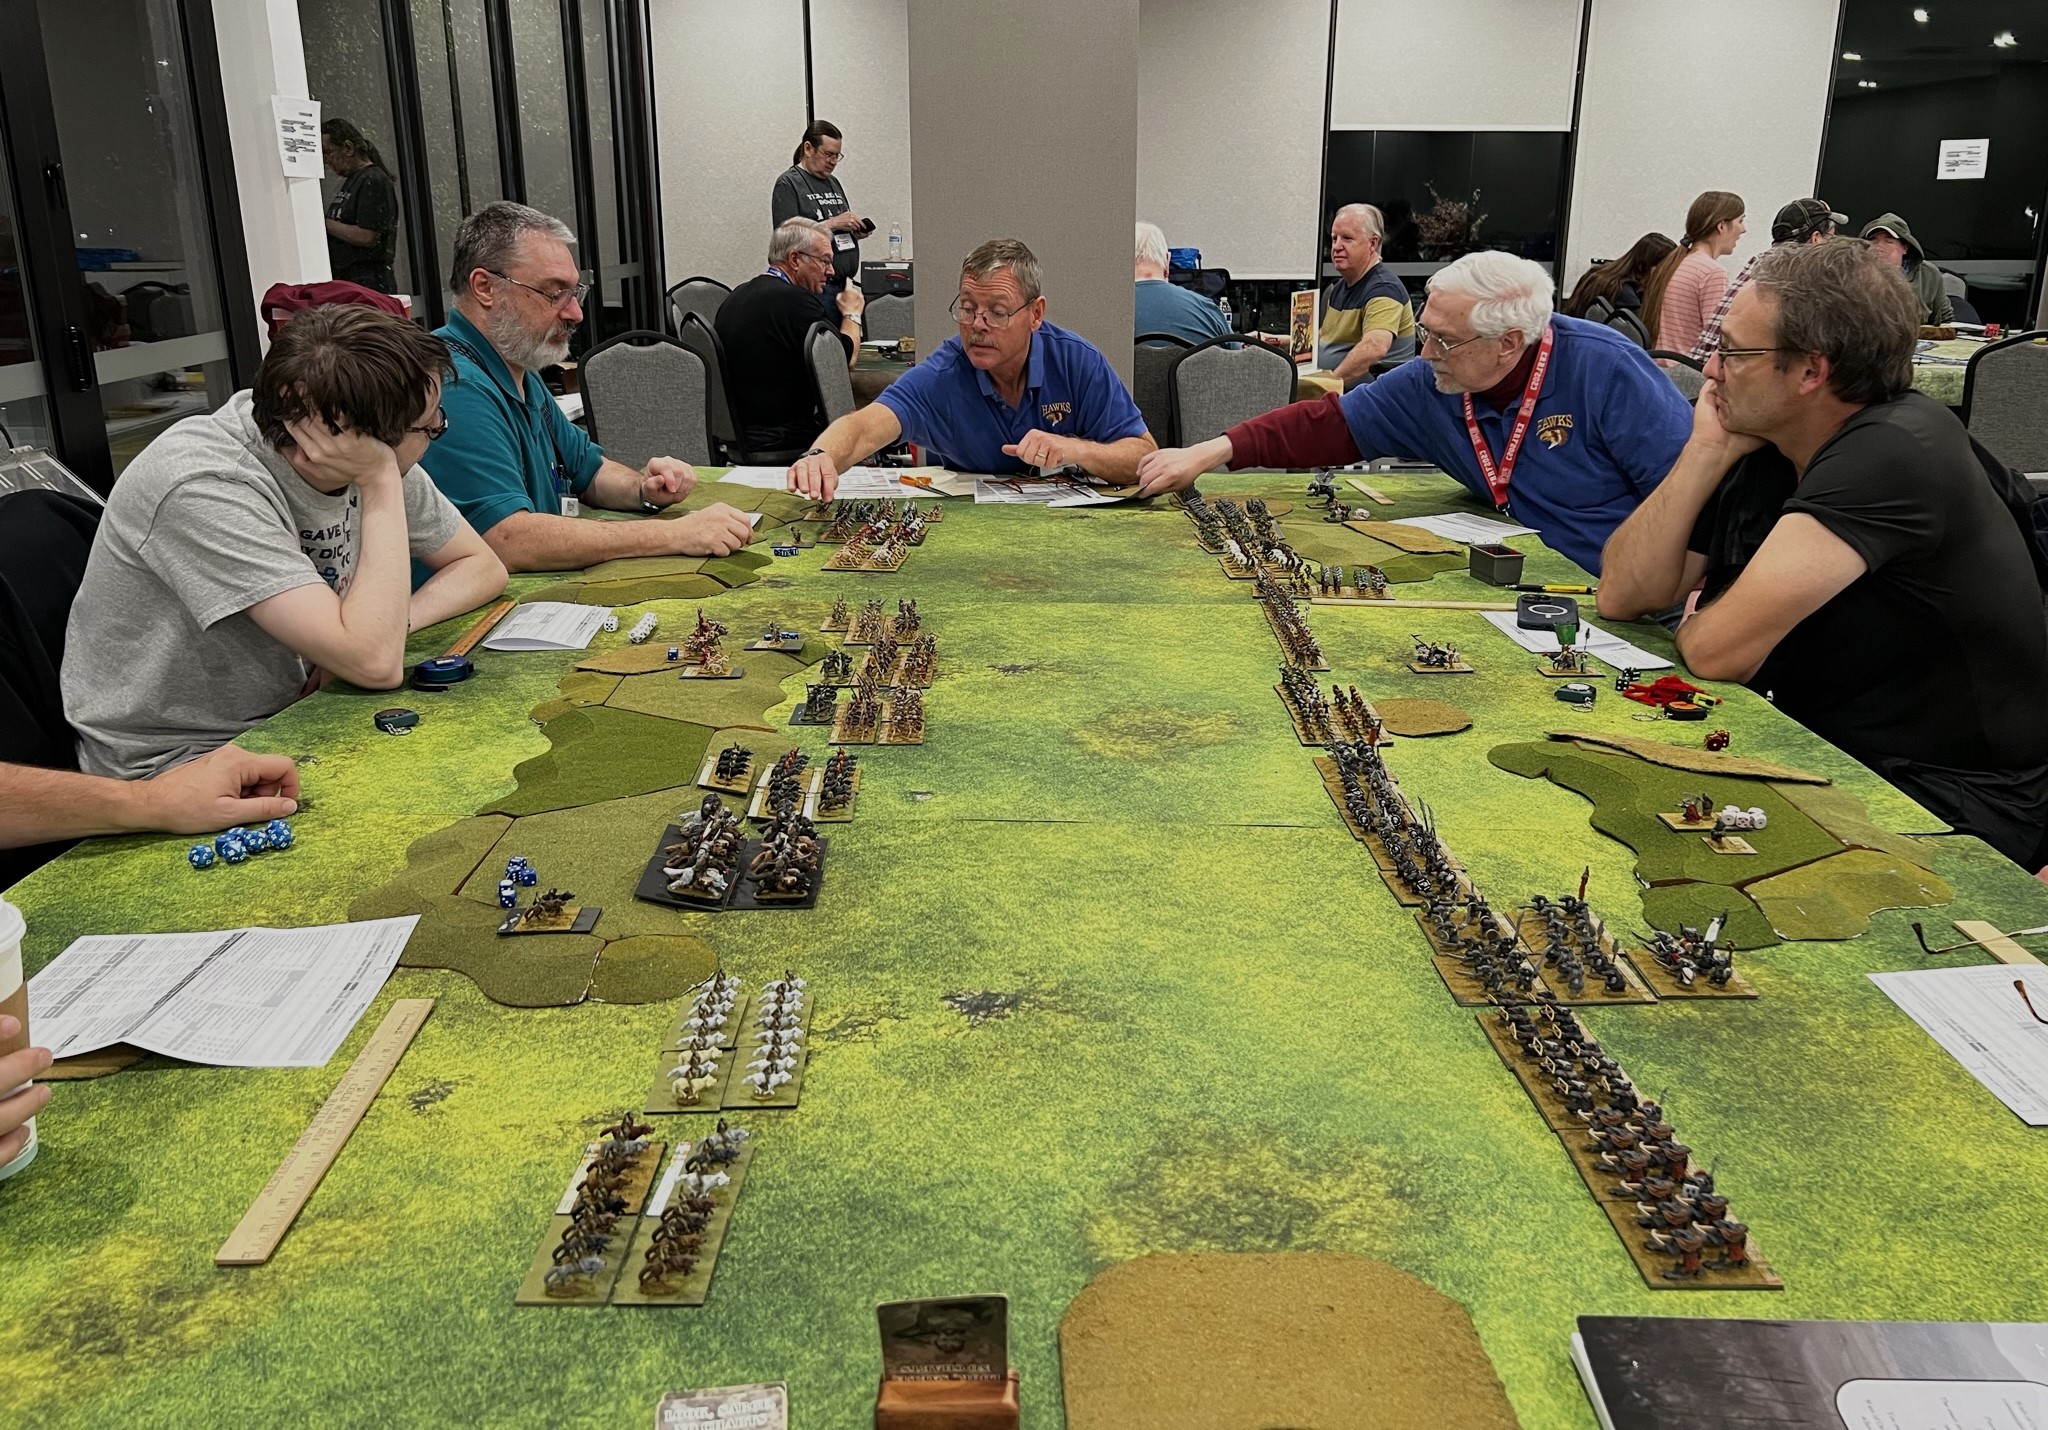
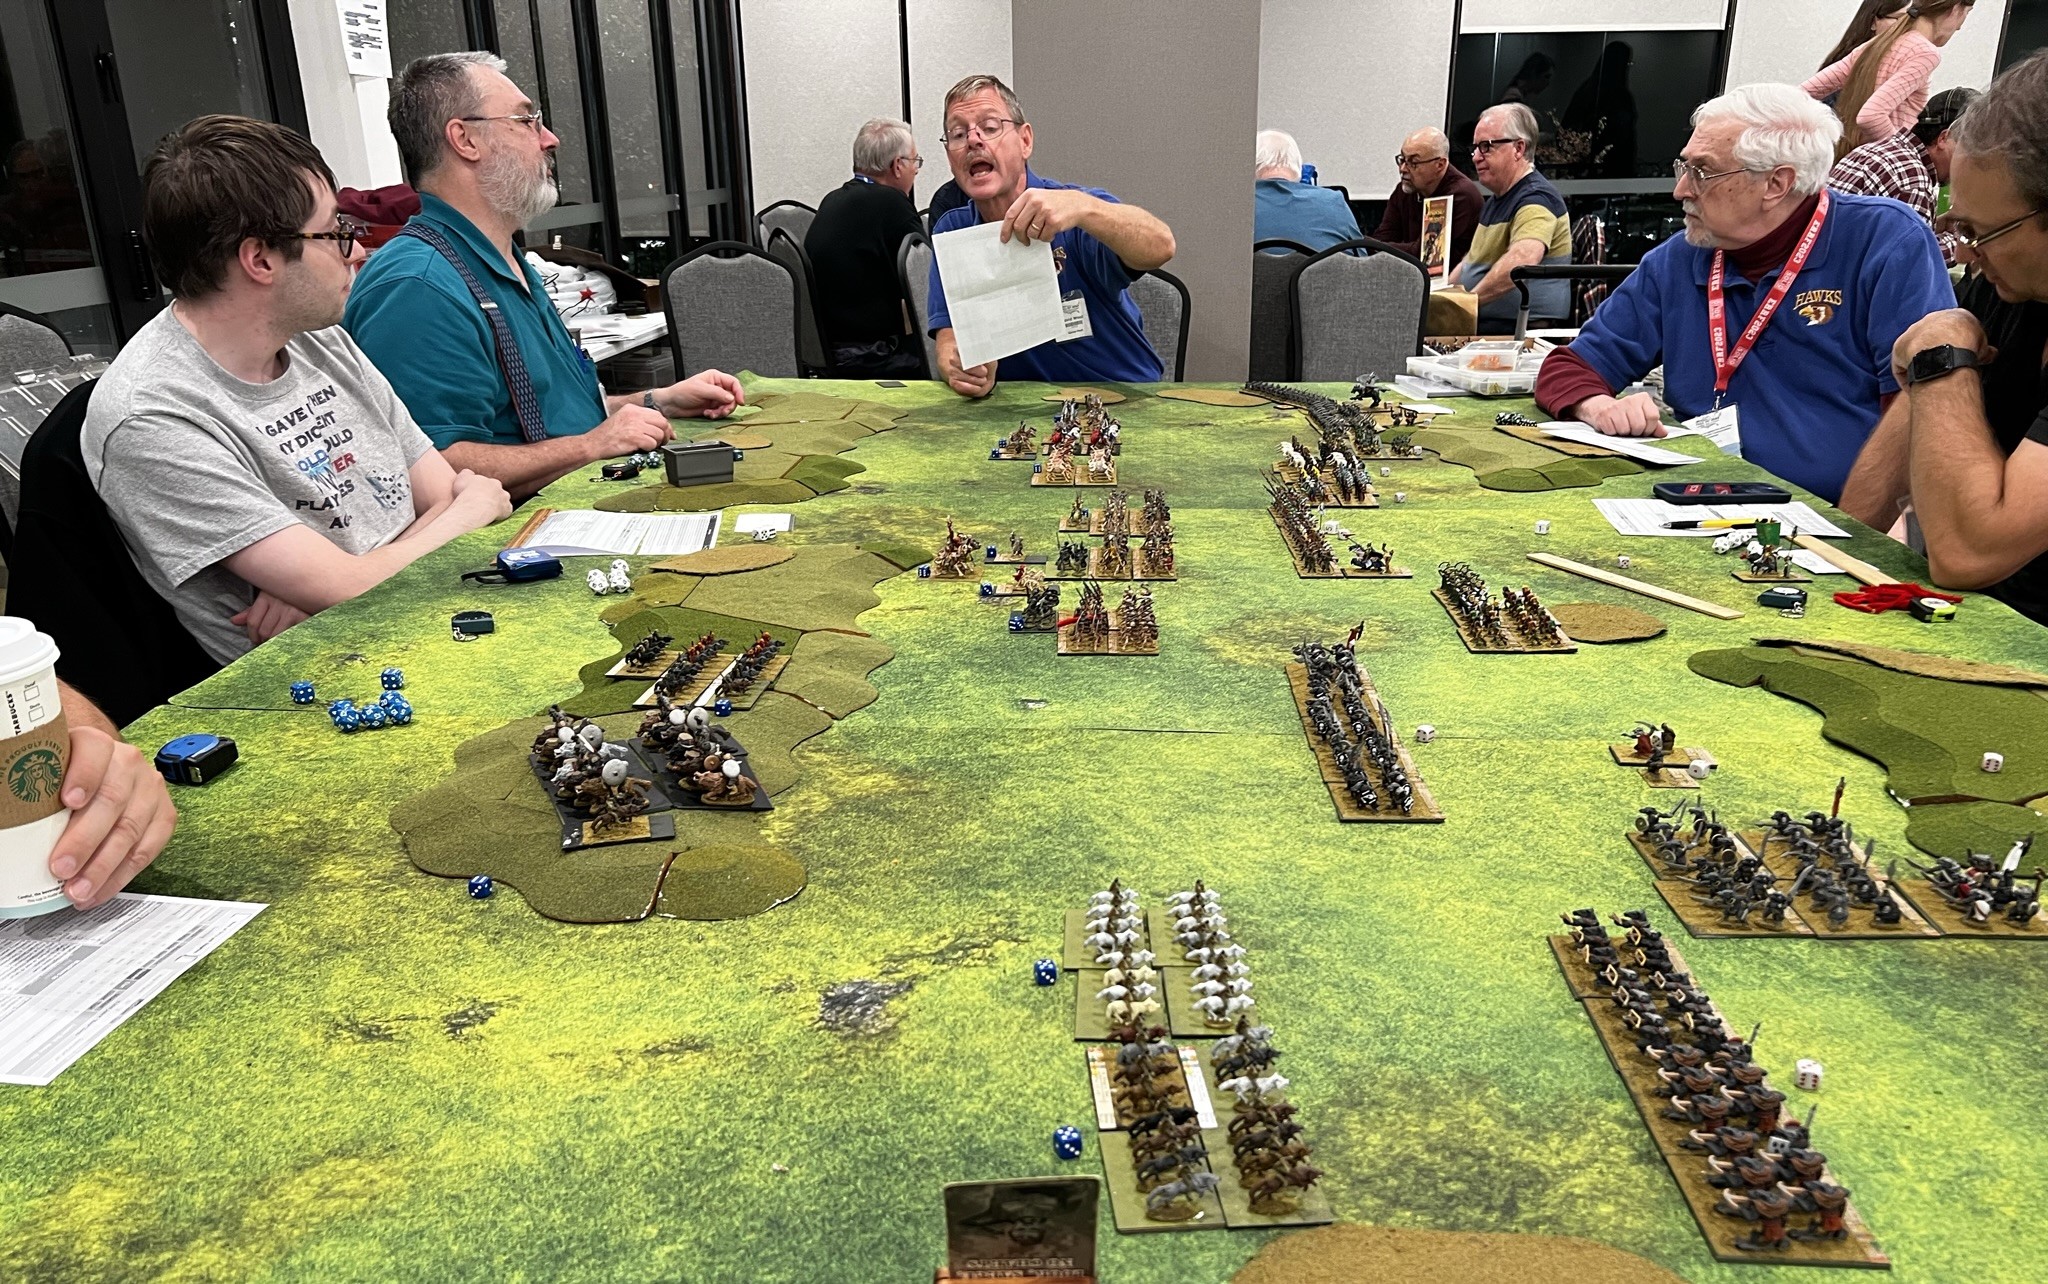
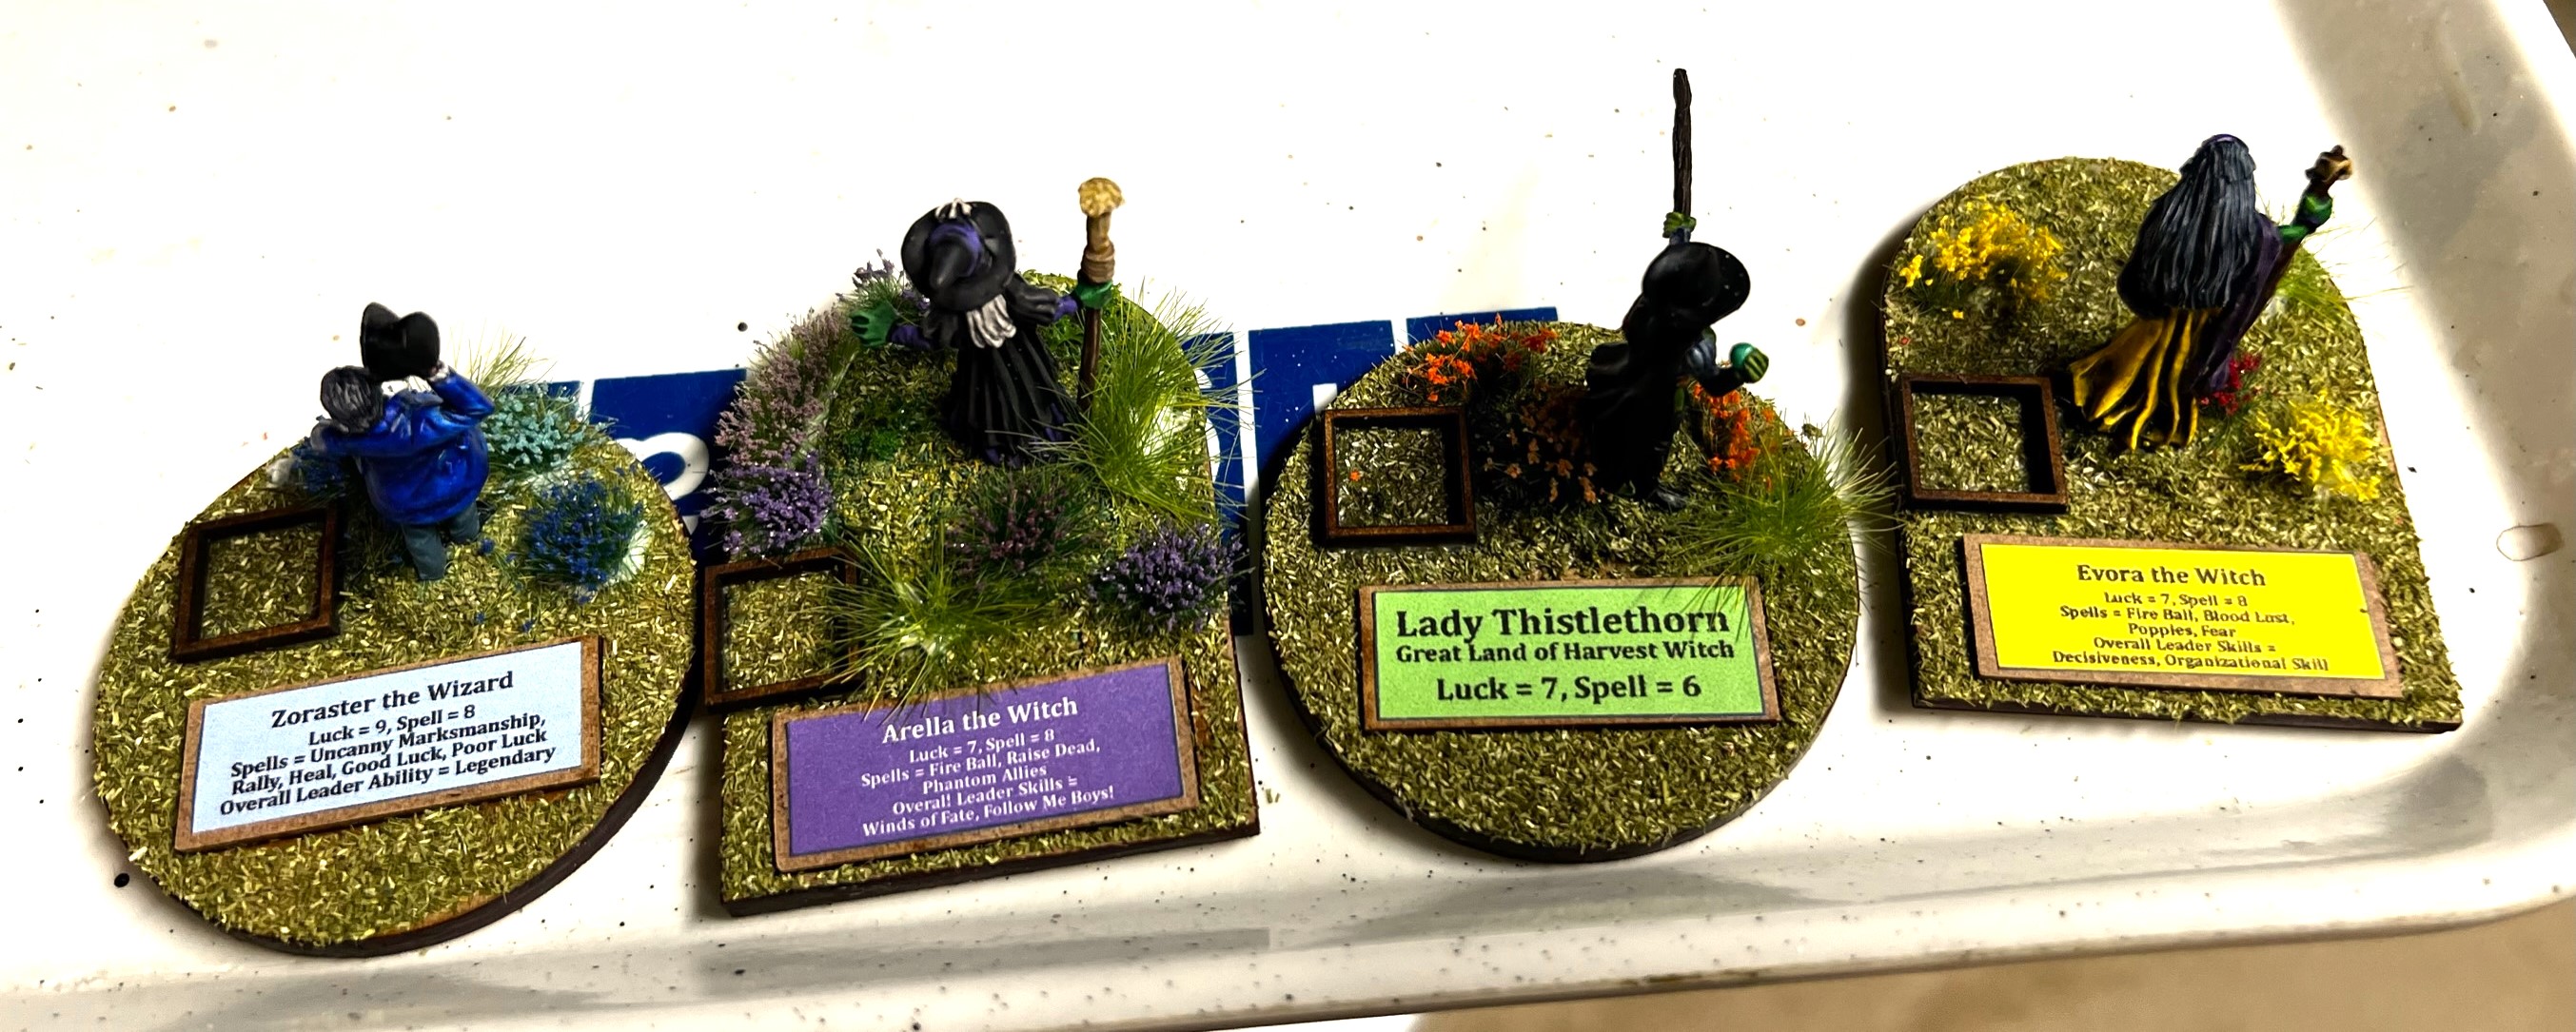
During my last few games of Wars of Ozz, I had GM’d games with Arella the Witch, the Gillikin Leader. She acted as both a witch and a leader. As a witch, she has a “Raise the Dead” spell that according to the Wars of Ozz rulebook:
When successfully cast, this spell creates one base of skeletons that touches the witch or wizard’s base. This skeleton base gets its own command die. The skeleton base may be combined with other skeleton bases in contact with the wizard or witch to create a “regiment” of skeletons. The witch or wizard may not have more than 5 skeleton bases in the game at the same time.
Wars of Ozz rulebook, page 109, section 8.8, Consolidated Magic Tables
Other witches or wizards (such as lesser ones) may also possibly get this spell when they are set up at the beginning of the game. So, anyone could have skeletons in their forces.
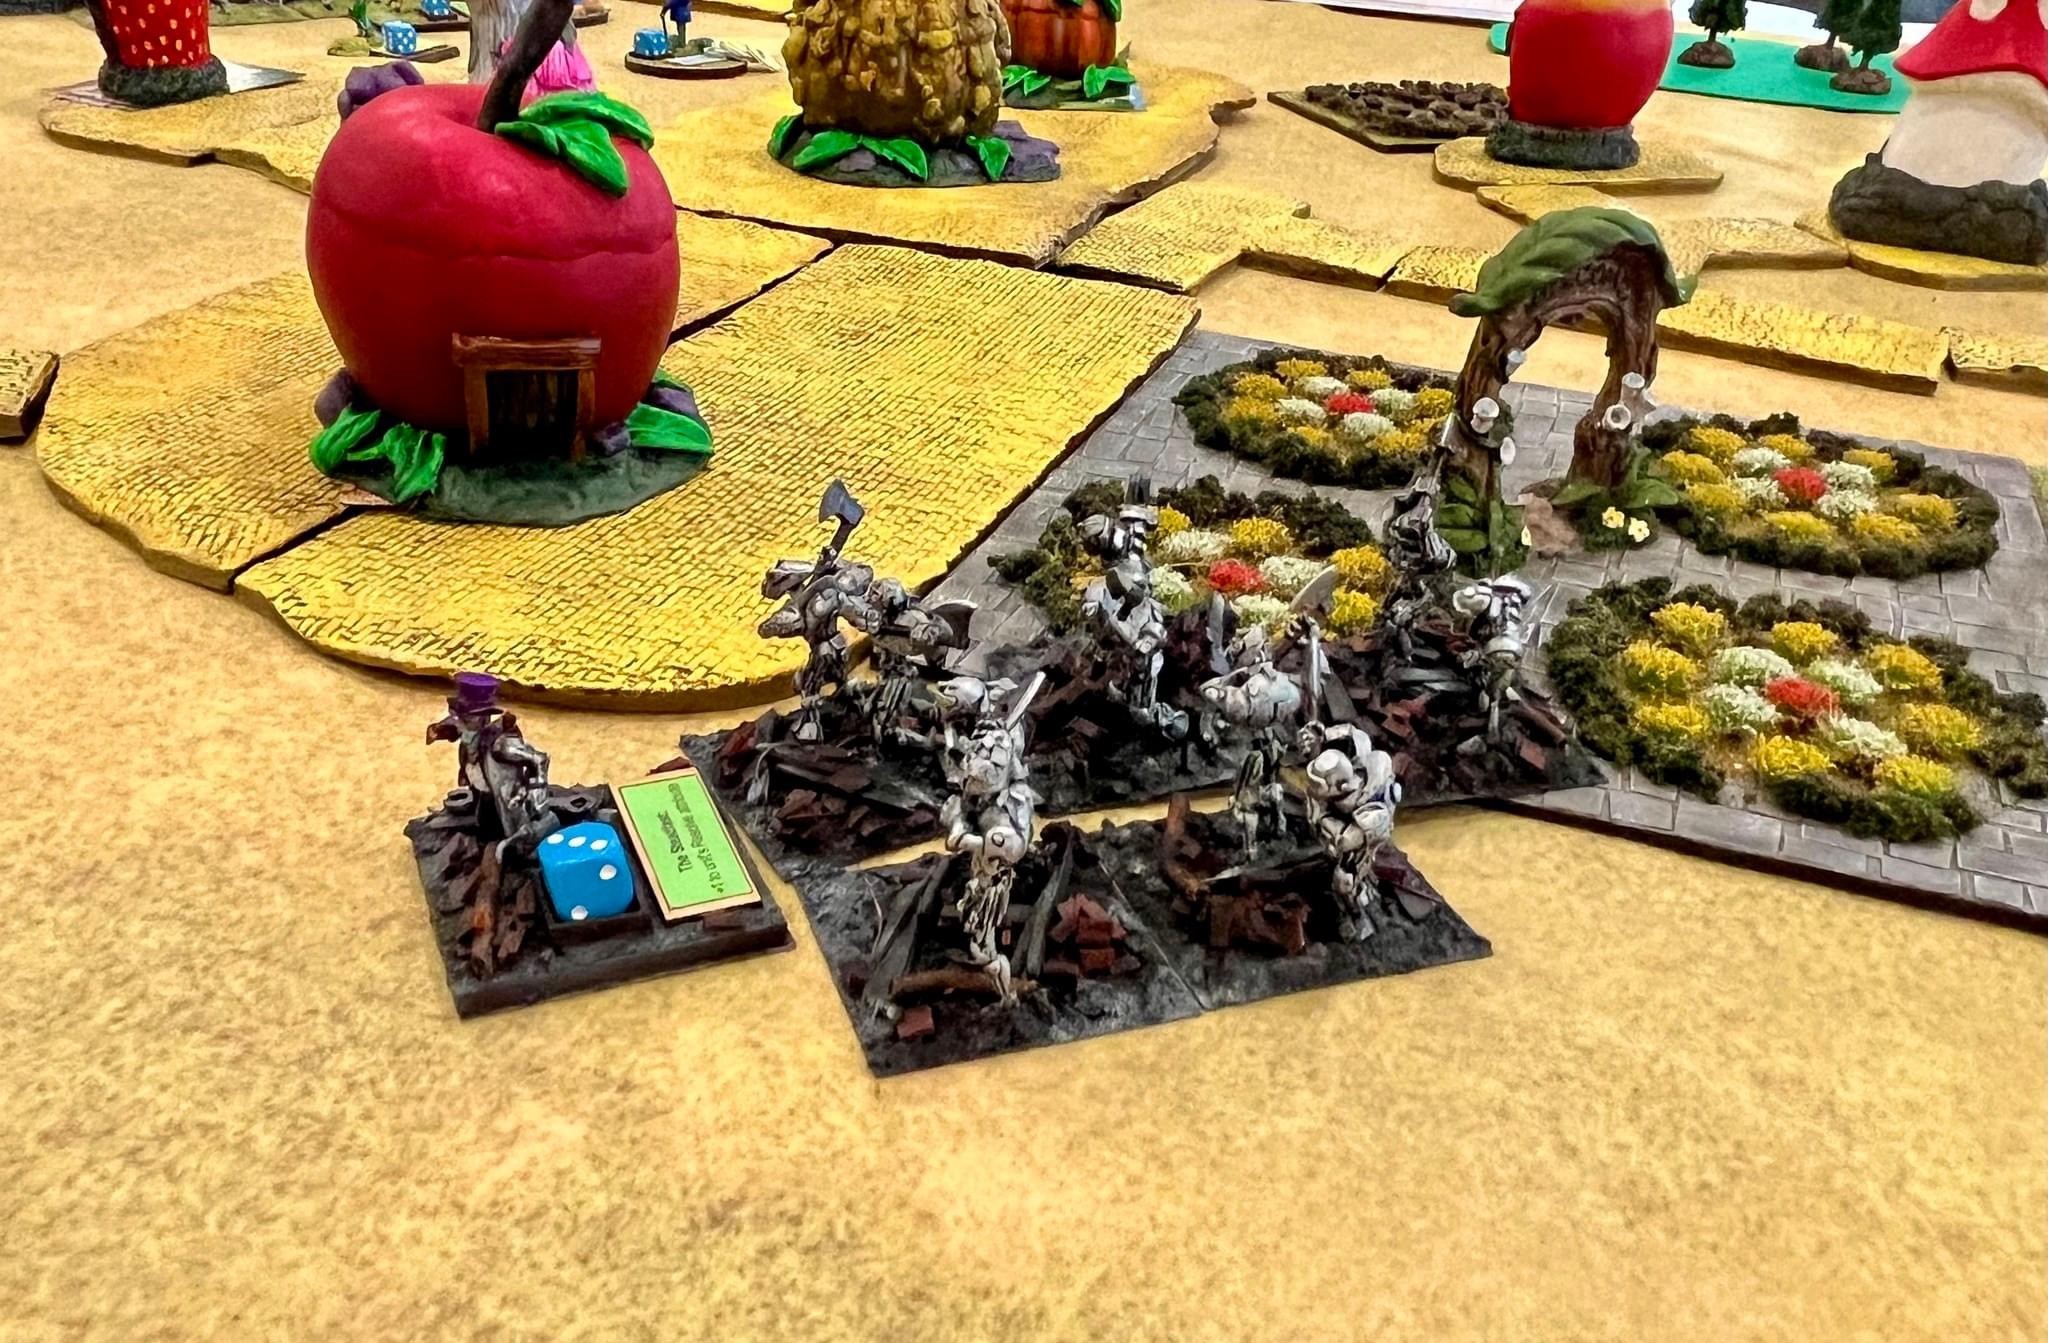
Additionally, as part of the game there is a “Summoning Bell” that could be owned by either Arella or her sister, Evora the Witch, the Empress of the Winkies (but not both). Evora does not have the “Raise the Dead” spell that Arella has in her spell list, but could use the bell. The rules discuss the history of the bell in section 2.2.2.2 on page 24. Its use is more fully described in the Winkies section 4.3.1 as follows:
Evora the Witch created the Summoning Bell. The Winkies and Gillikins often wrestle for control of the bell…the Summoning Bell is led by ‘the Taskmaster’ and is pulled by skeletons…as long as (it is) within command radius of Arella or Evora (it) may execute the equivalent of the ‘Raise the Dead’ spell…
Wars of Ozz rulebook, page 82, Section 4.3.1, The Summoning Bell
The section goes on to describe that if Arella has the Bell she can both attempt to throw the “Raise the Dead”spell and have the bell generate even more skeletons as well.
I do not yet have my Summoning Bell painted, but you can see it on the website here. It’s in my painting queue but not likely next up.
However, I do have Arella and I did need to have skeletons for her in case that she did throw the “Raise the Dead” spell in one of my games. I also knew that having a regiment of skeletons would work to expand my available forces – but also that having two regiments would be even better!
I had some experience in painting skeletons as seen in The Nightmare Legion (my first blog post way back in 2015) and in Grenadier Models Dart Thrower and Undead Crew (130), circa 1984 (from my blog in 2016). Painting skeletons is relatively straighforward, but this time I would try to add the new tool of speed paints to these. Basically, I airbrush primed the skeletons in black, then heavy dry brushed them in white. Then to get a sepia tone on the bones I went with Army Painter “Pallid Bone” Speed Paint 1.0 that I cut 50% with Army Painter “Speed Paint Medium 1.0”. This gave me the tone I wanted without getting too dark. Then I tried to rust up and age all the weapons. As is my habit, for those interested, I do list all of the paints and more that I used on this project at the end of the post.
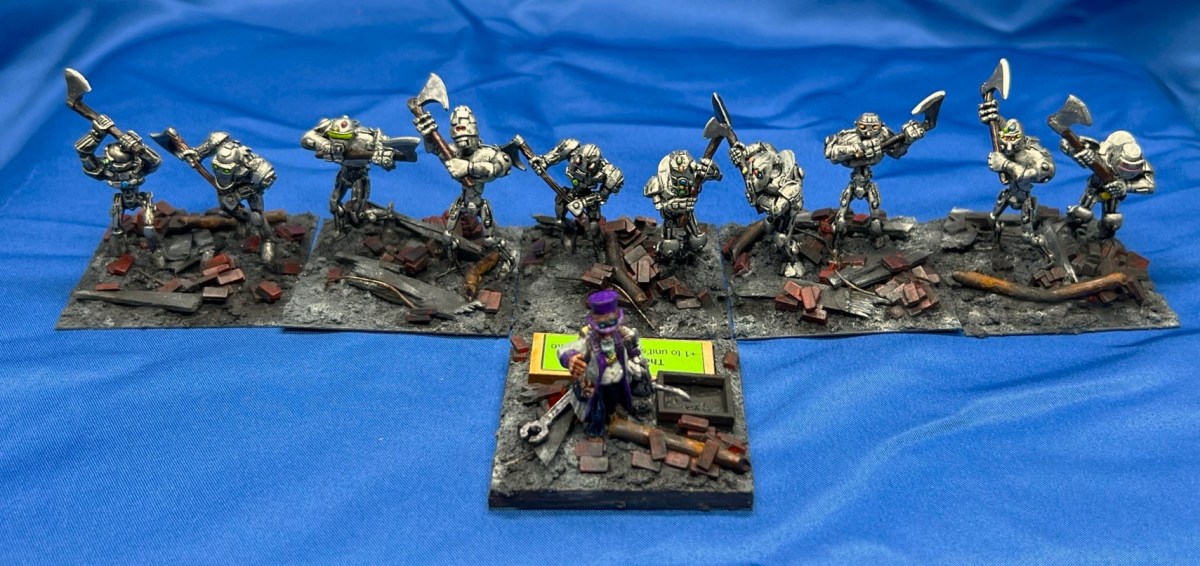
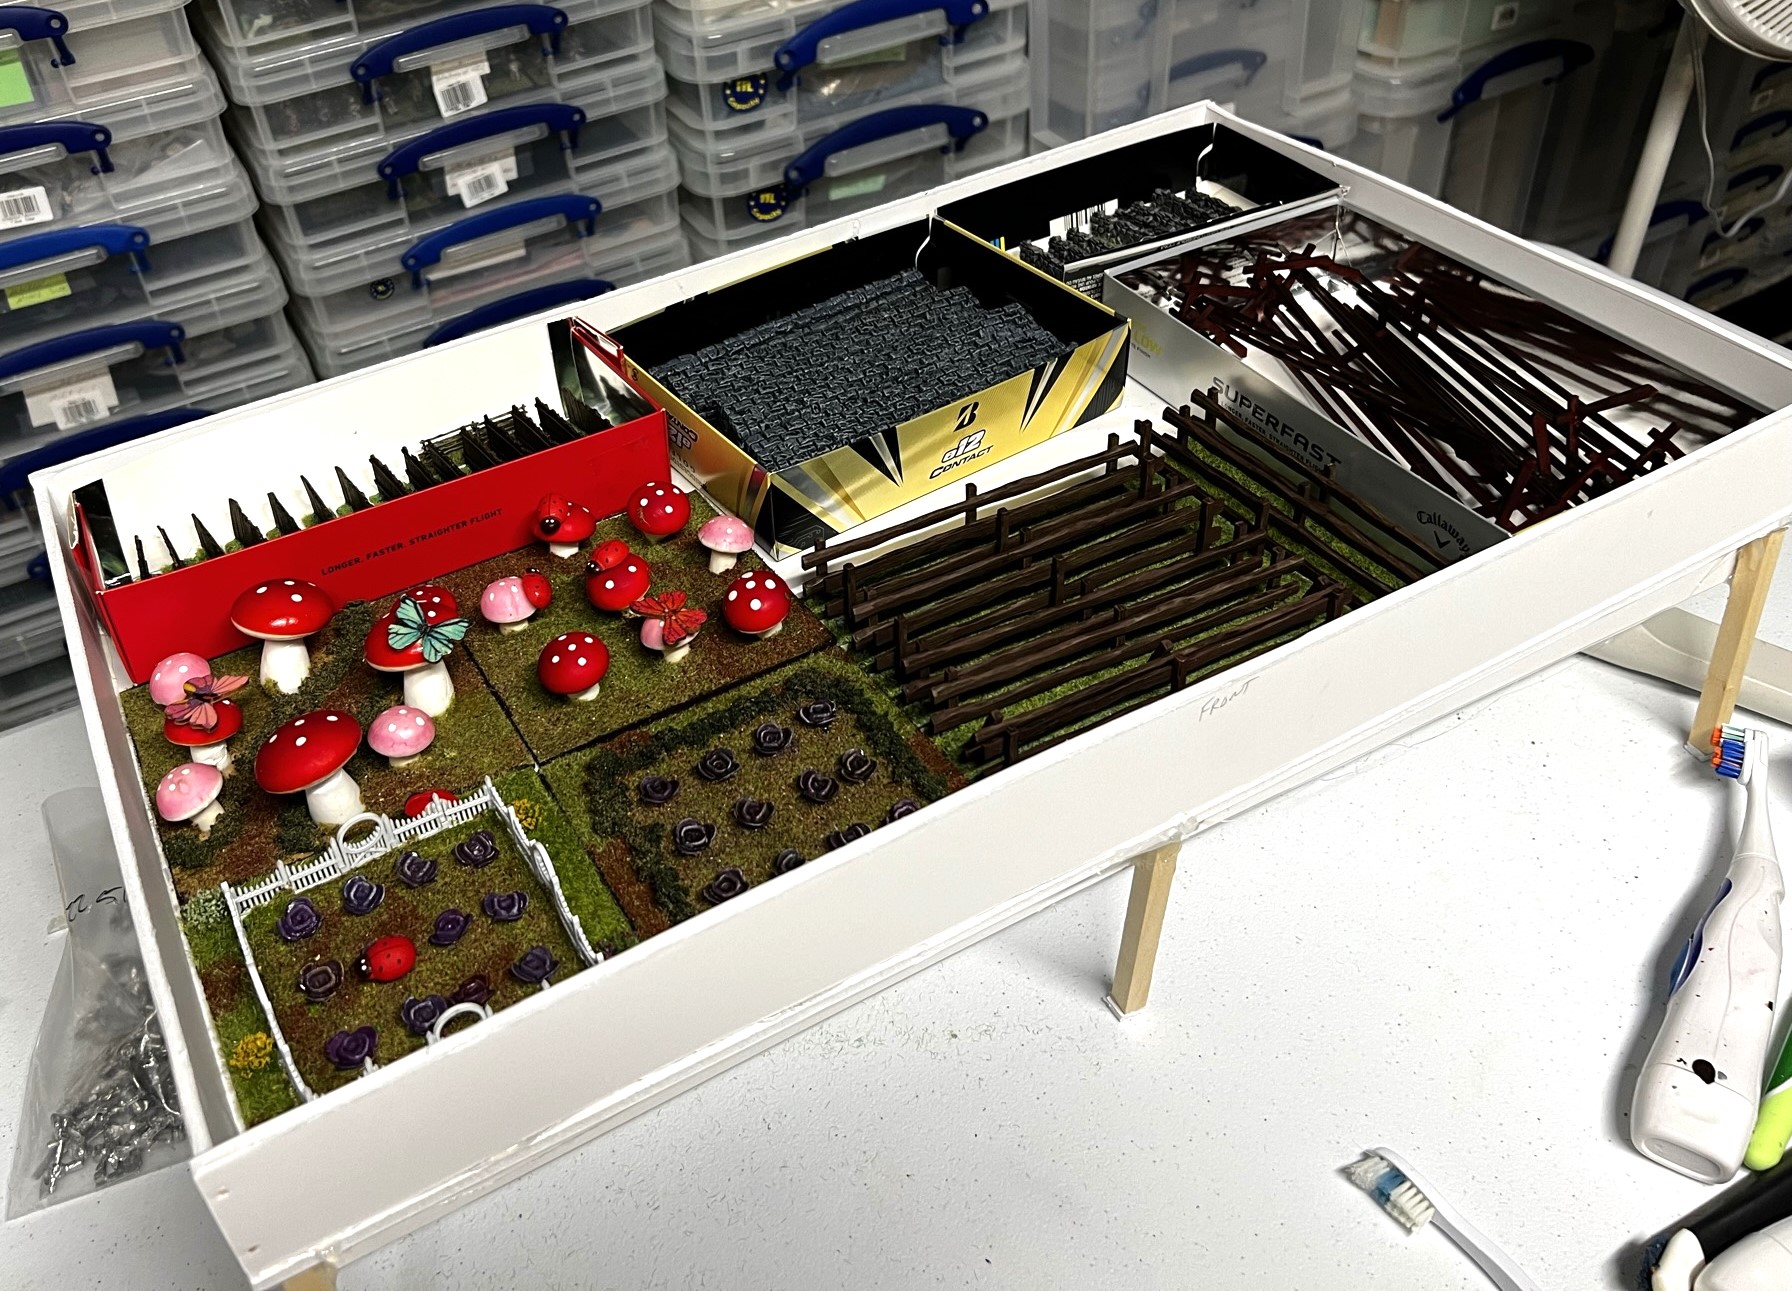
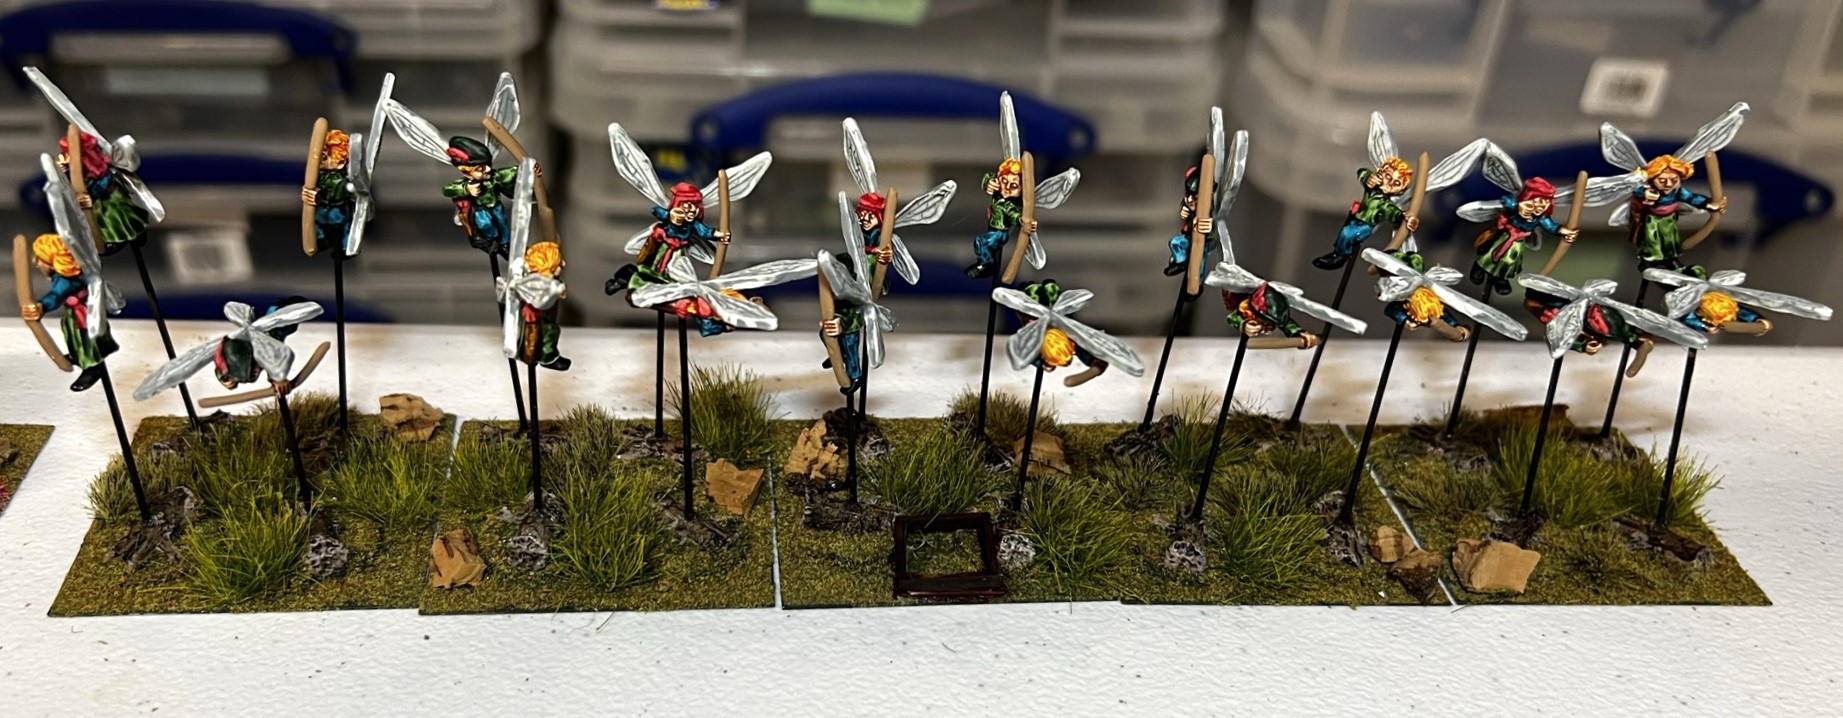
For the SKU OZZ-314, there are 20 figures – with no regimental commander, so with two regiments that was 40 figures for this project – all cast in metal and 28mm in size. The skeletons are of course infantry and are less affected by musketry (but not cannon). The skeletons are based 4 apiece to a 2″ square base – so five bases for each 20-figure regiment.
The figures came in two pieces – and some minor assembly was required as there was an upper and a lower torso . Assembly was indeed facilitated by my having forceps that could stay clamped down for a brief time on the figures while the Gorilla Glue set.
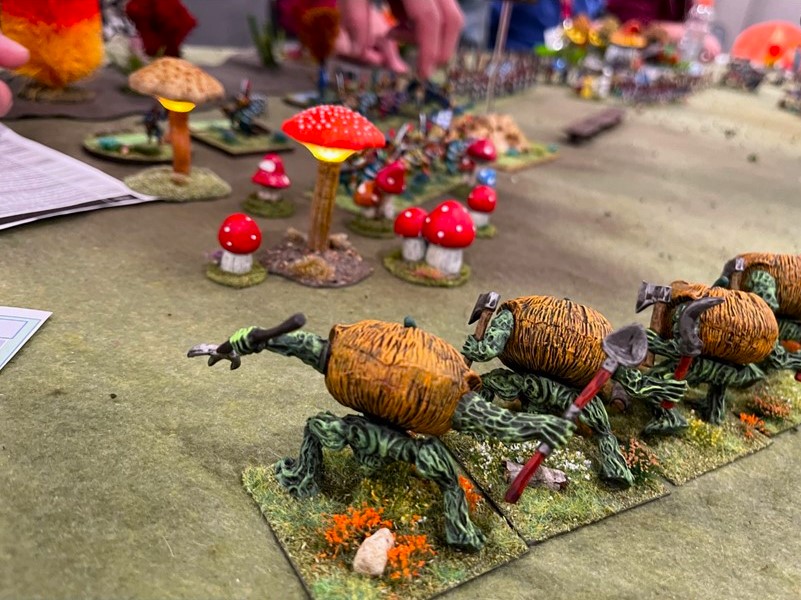
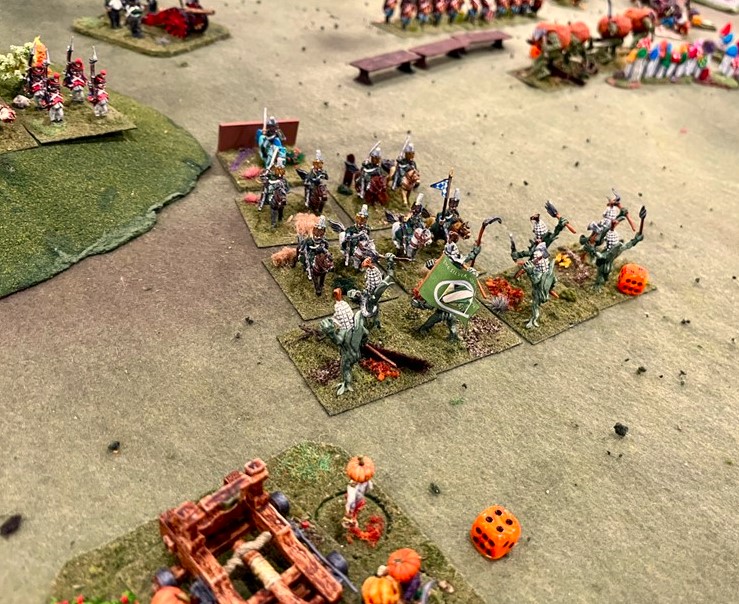
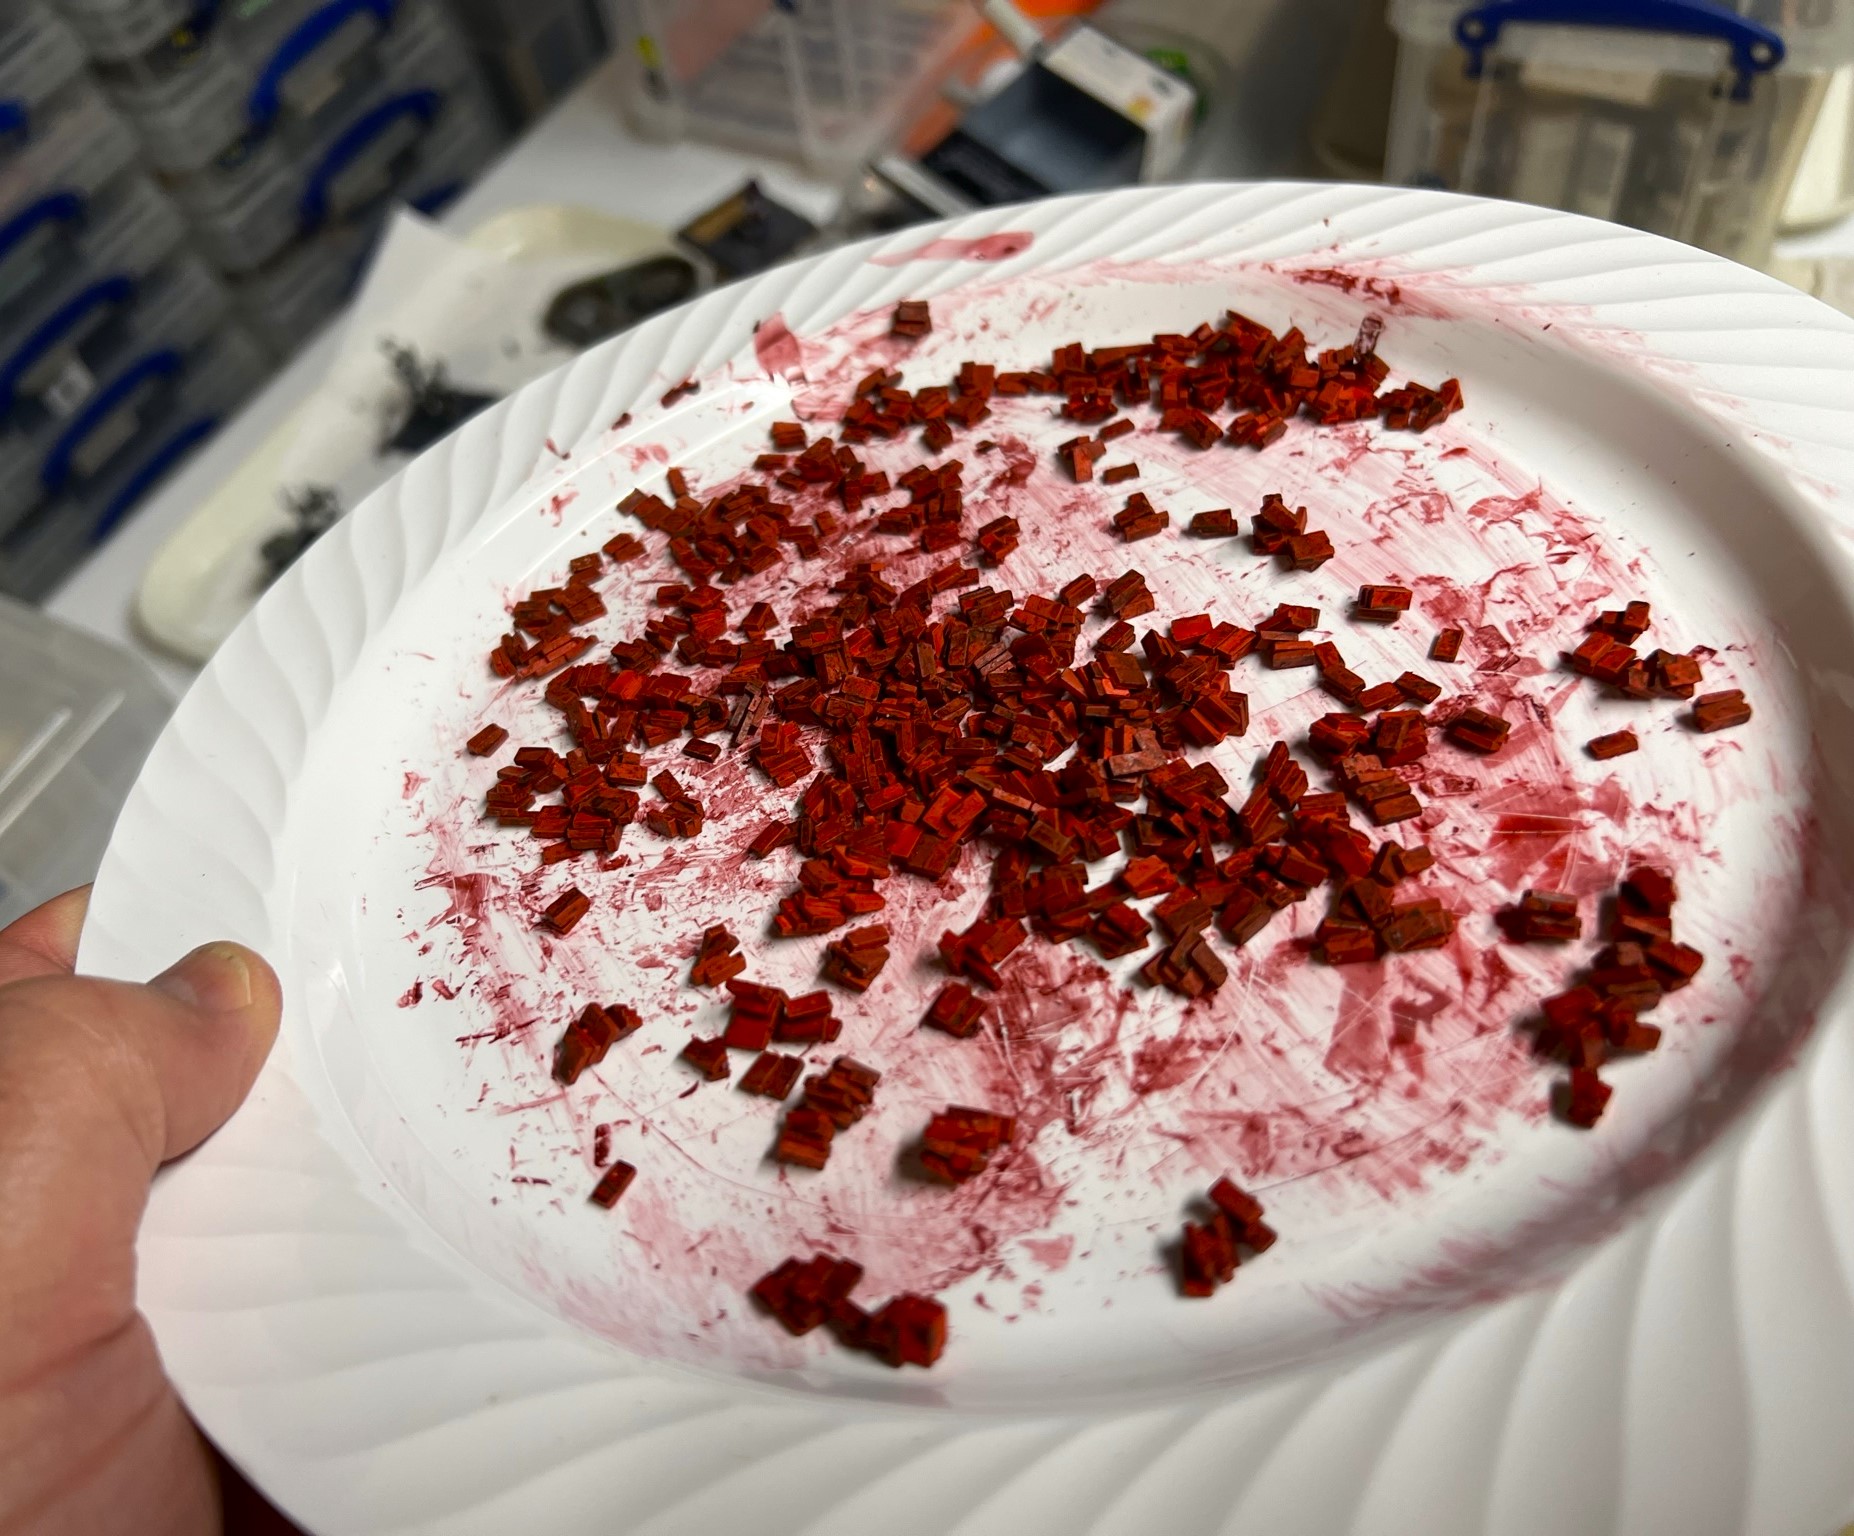
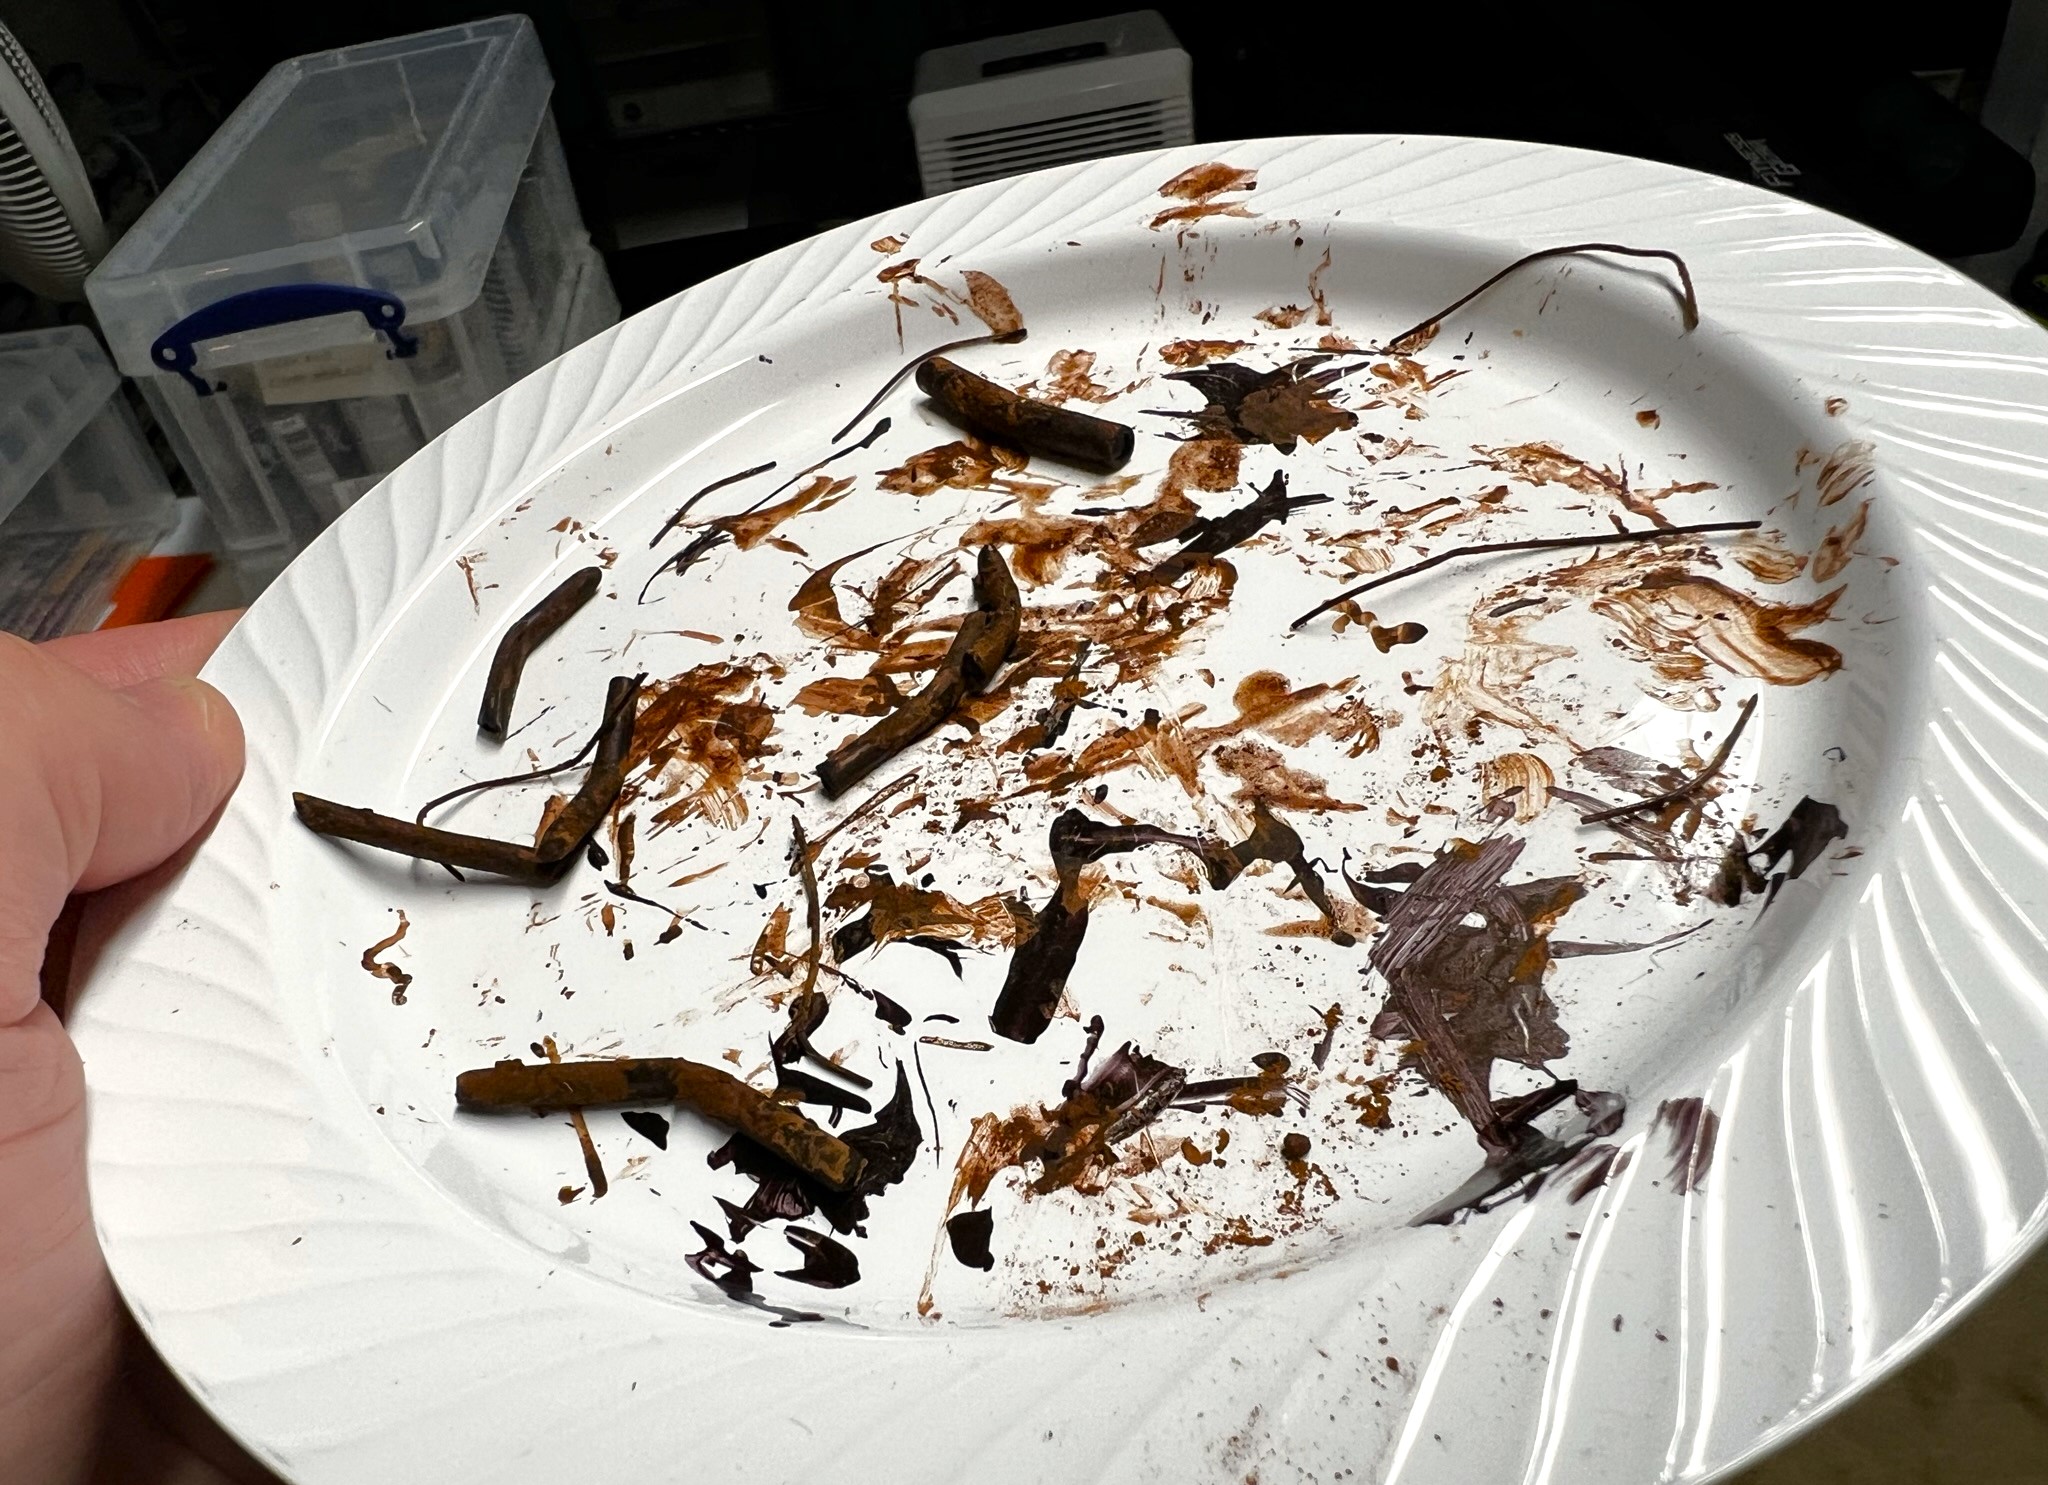
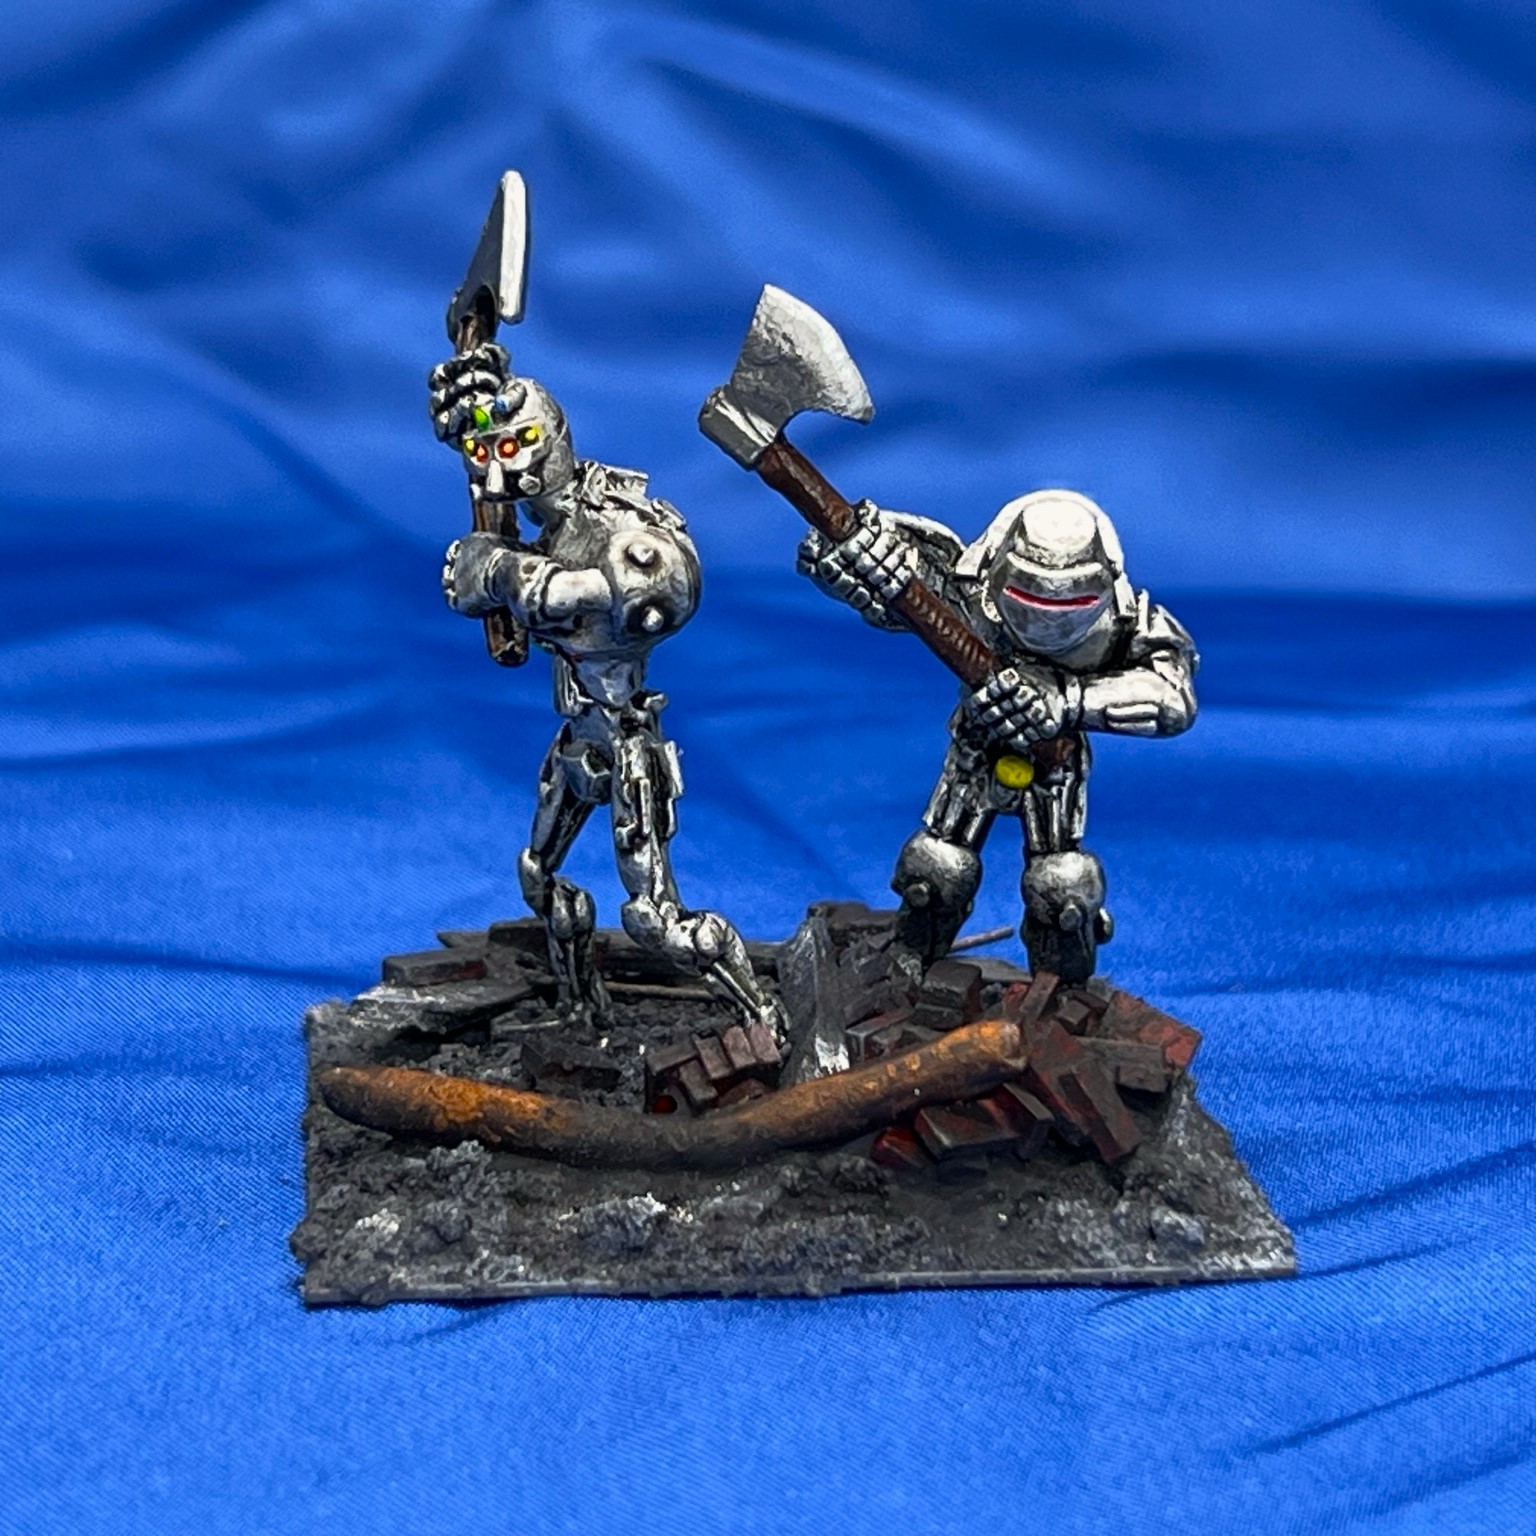
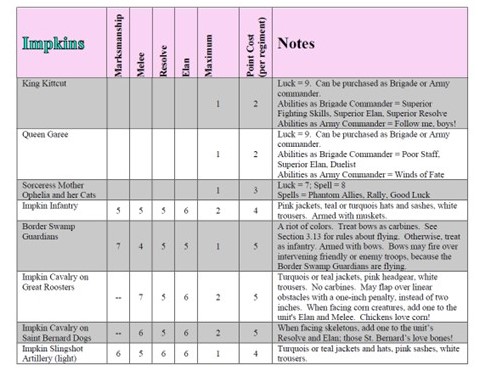
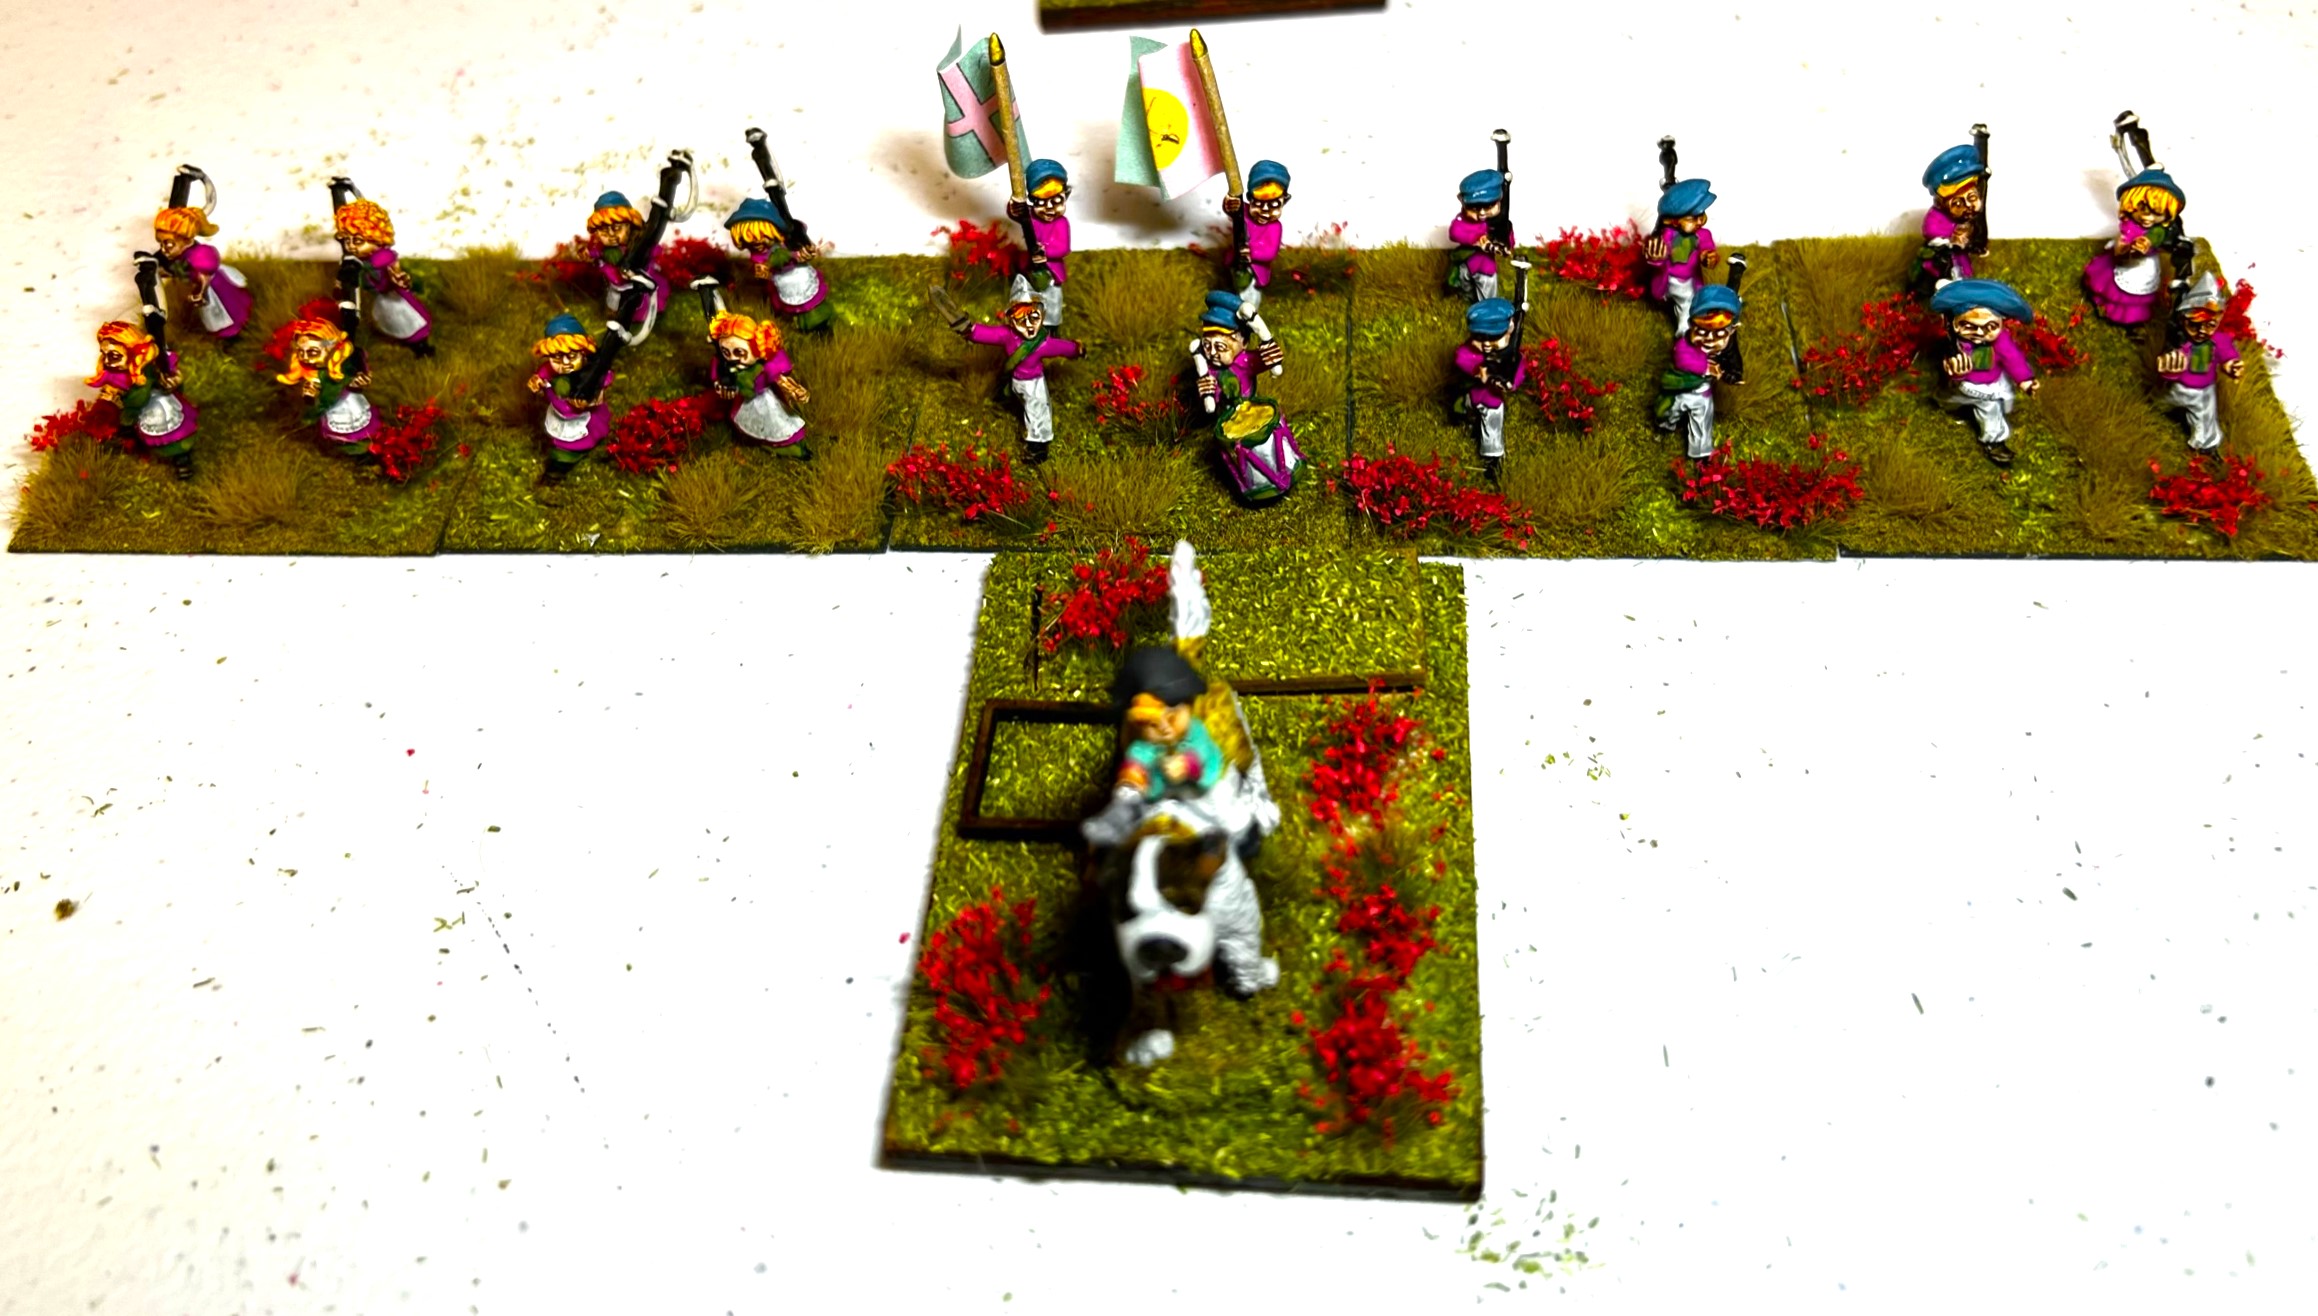
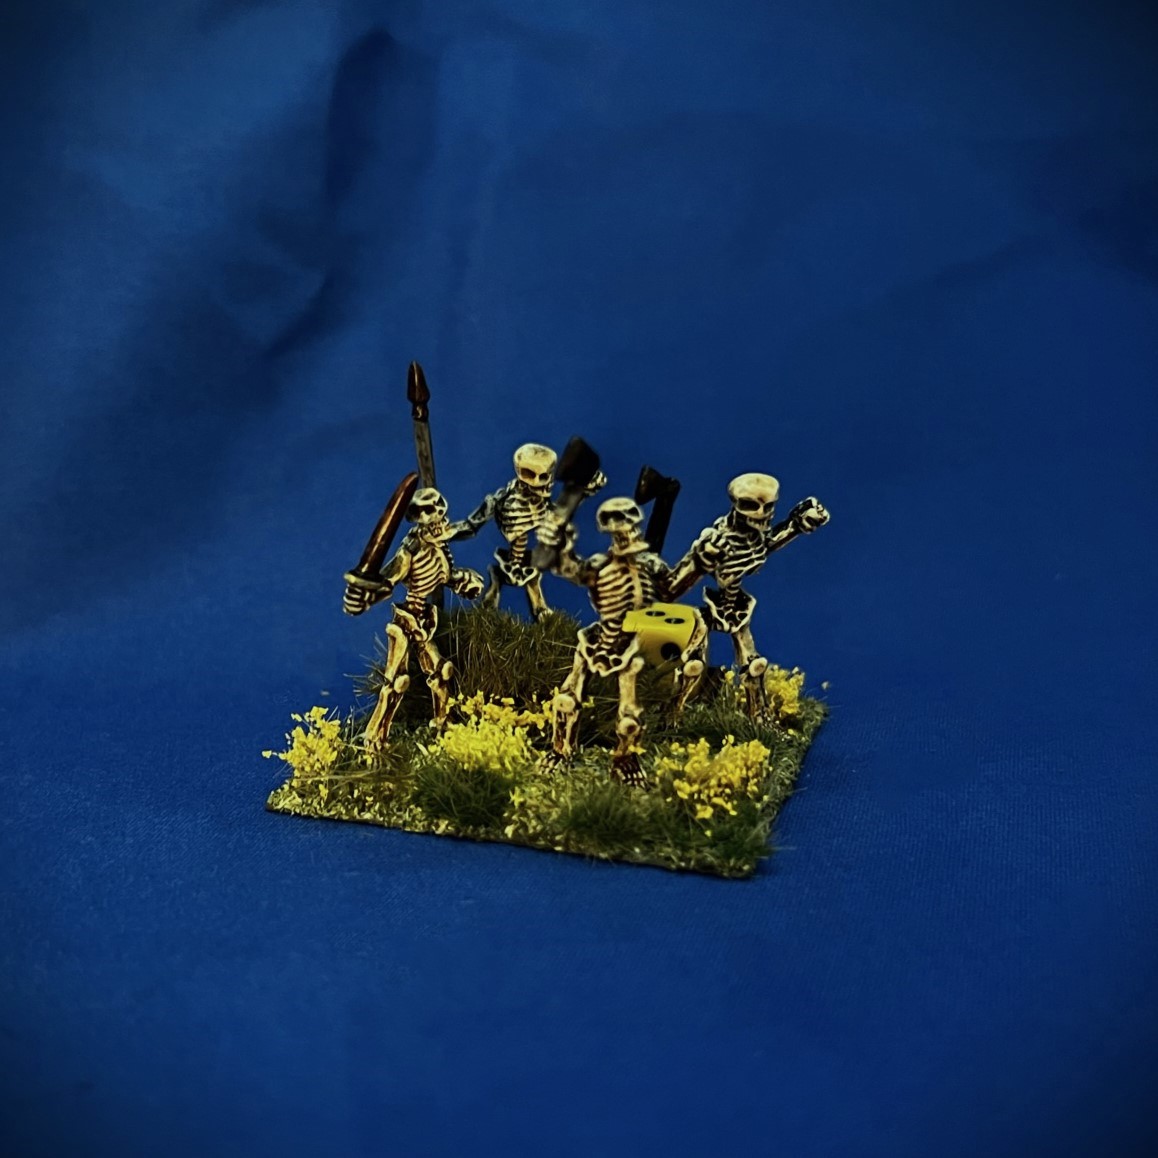
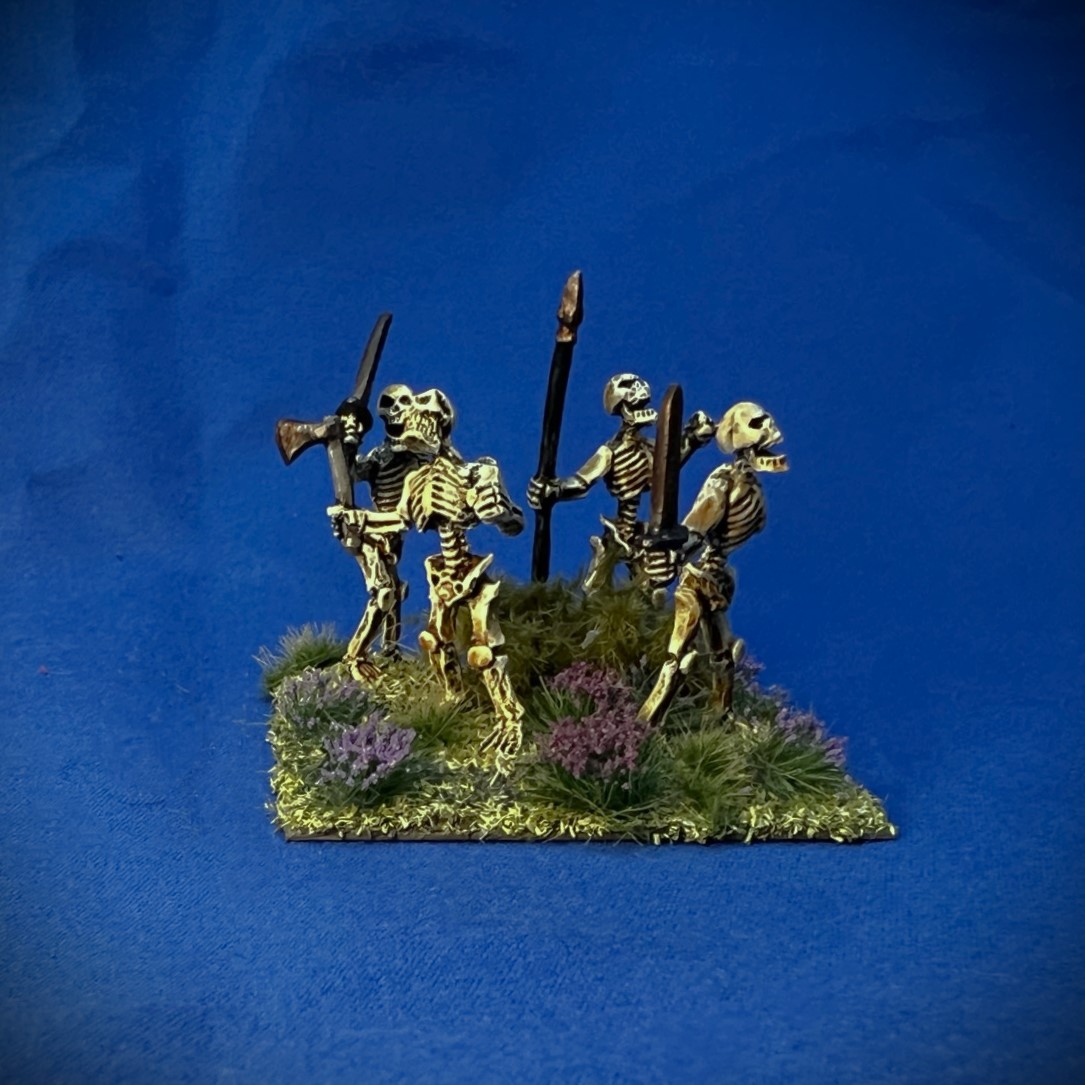
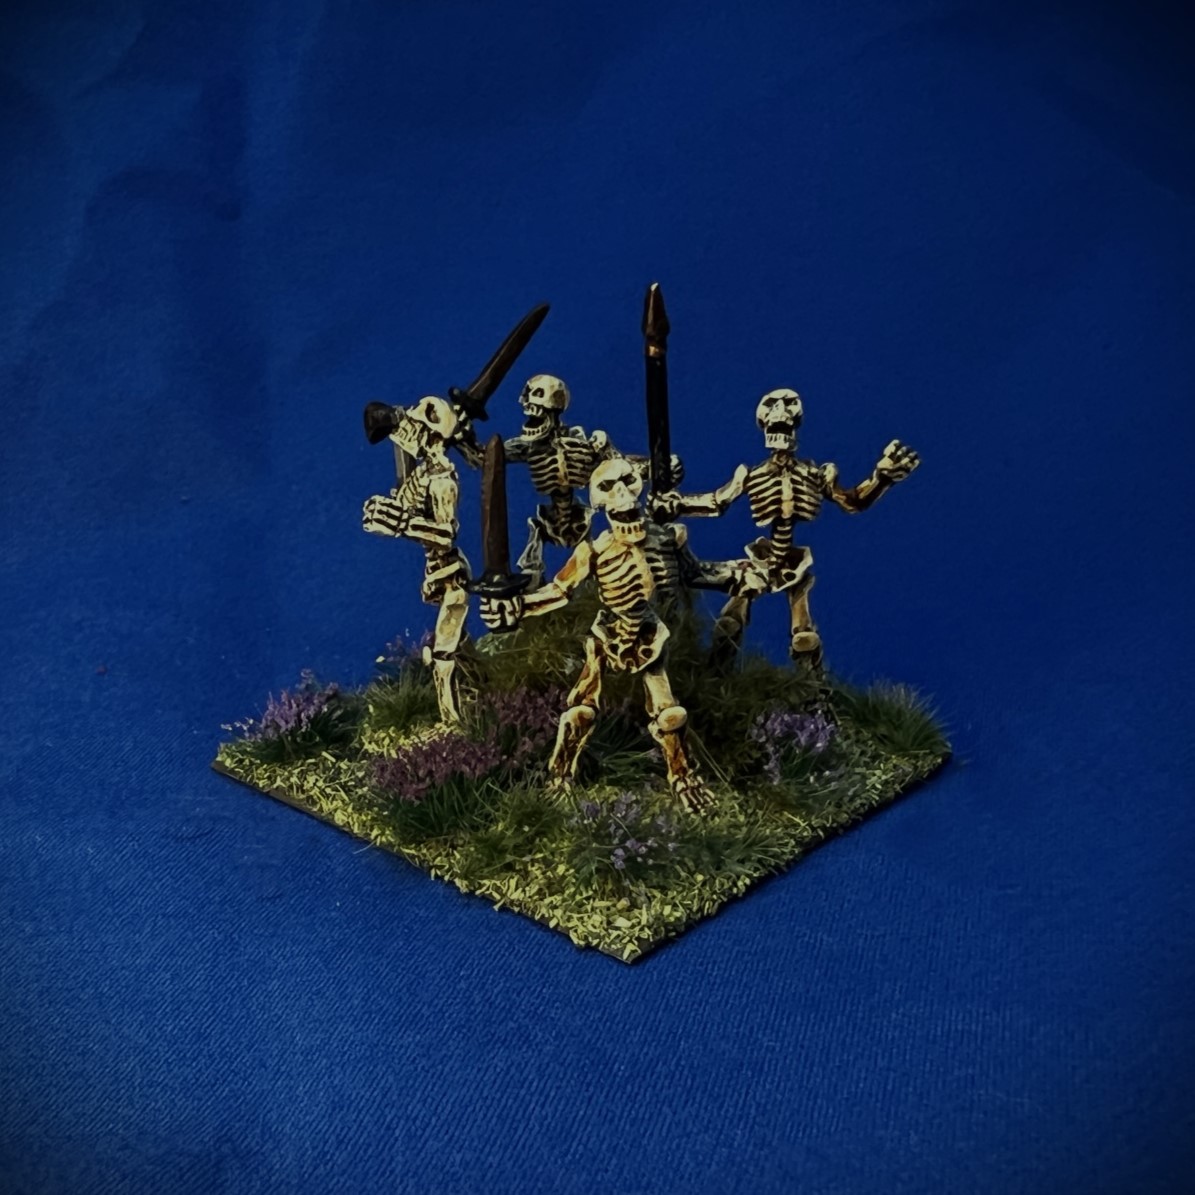
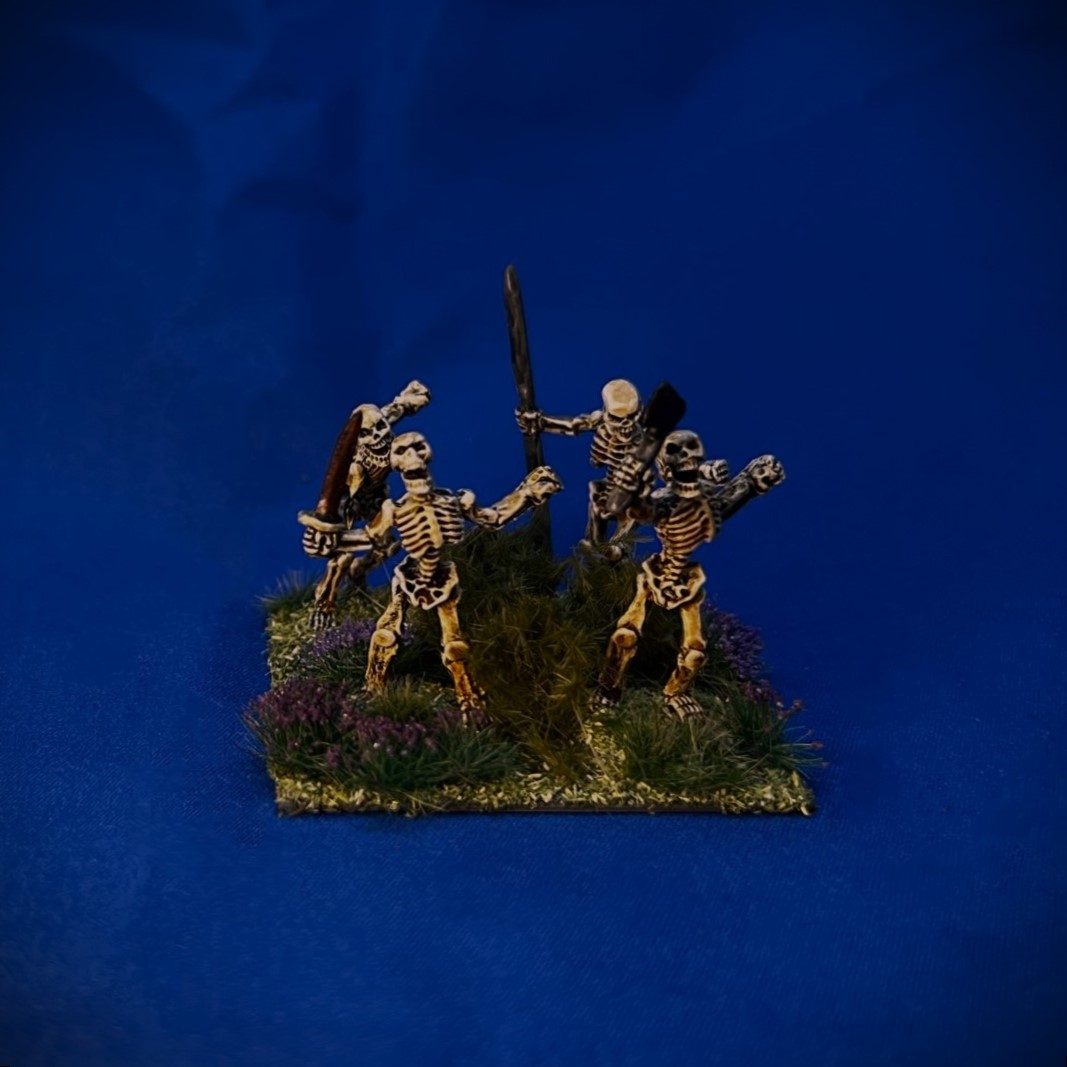
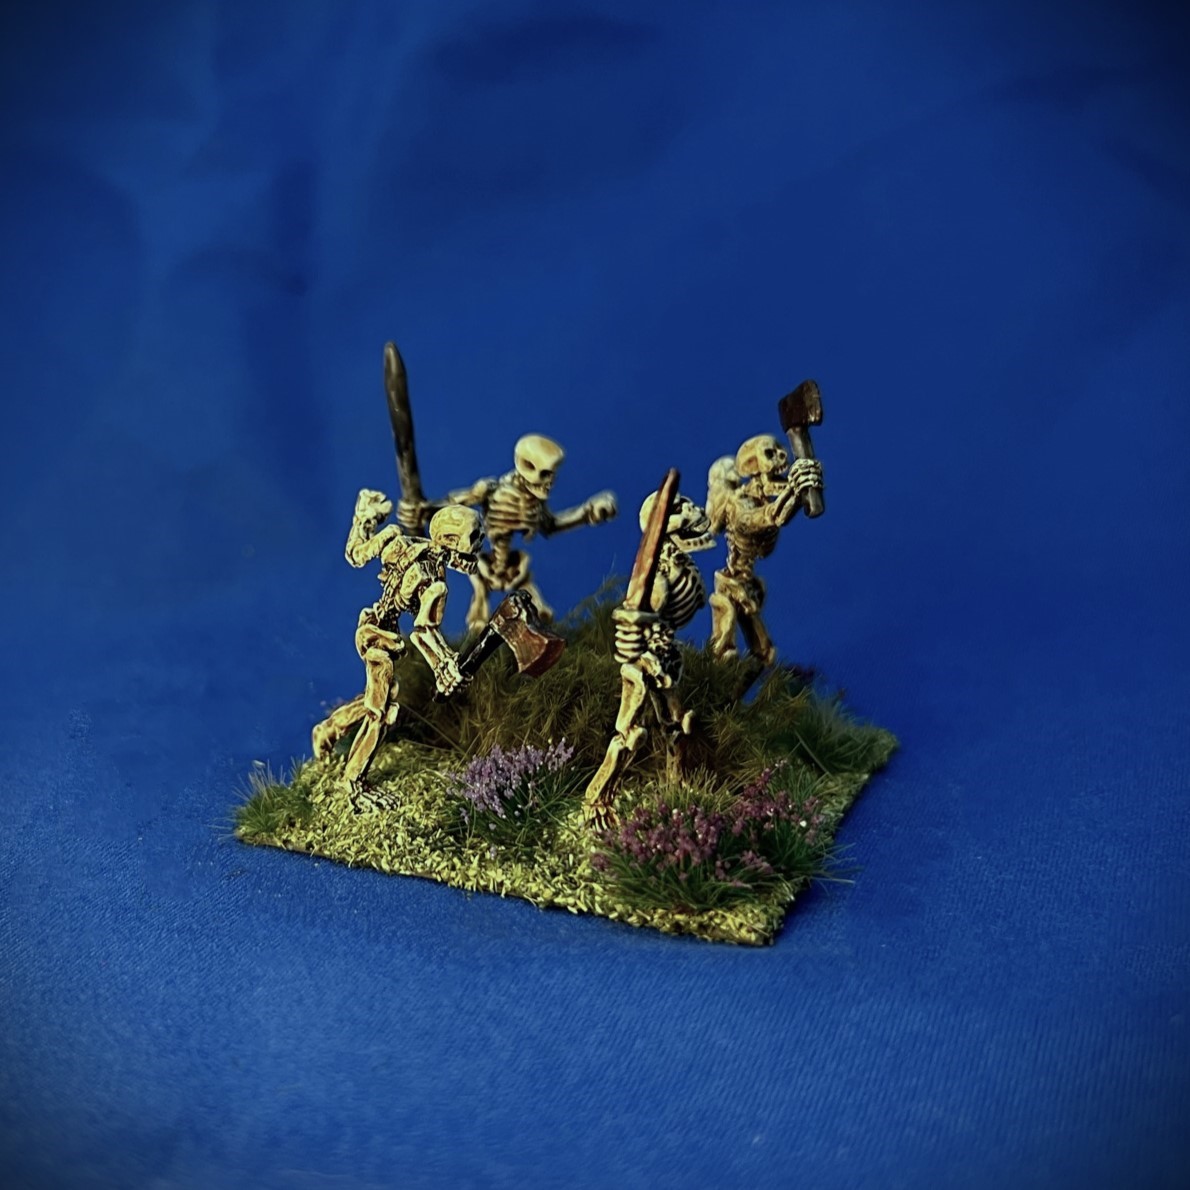
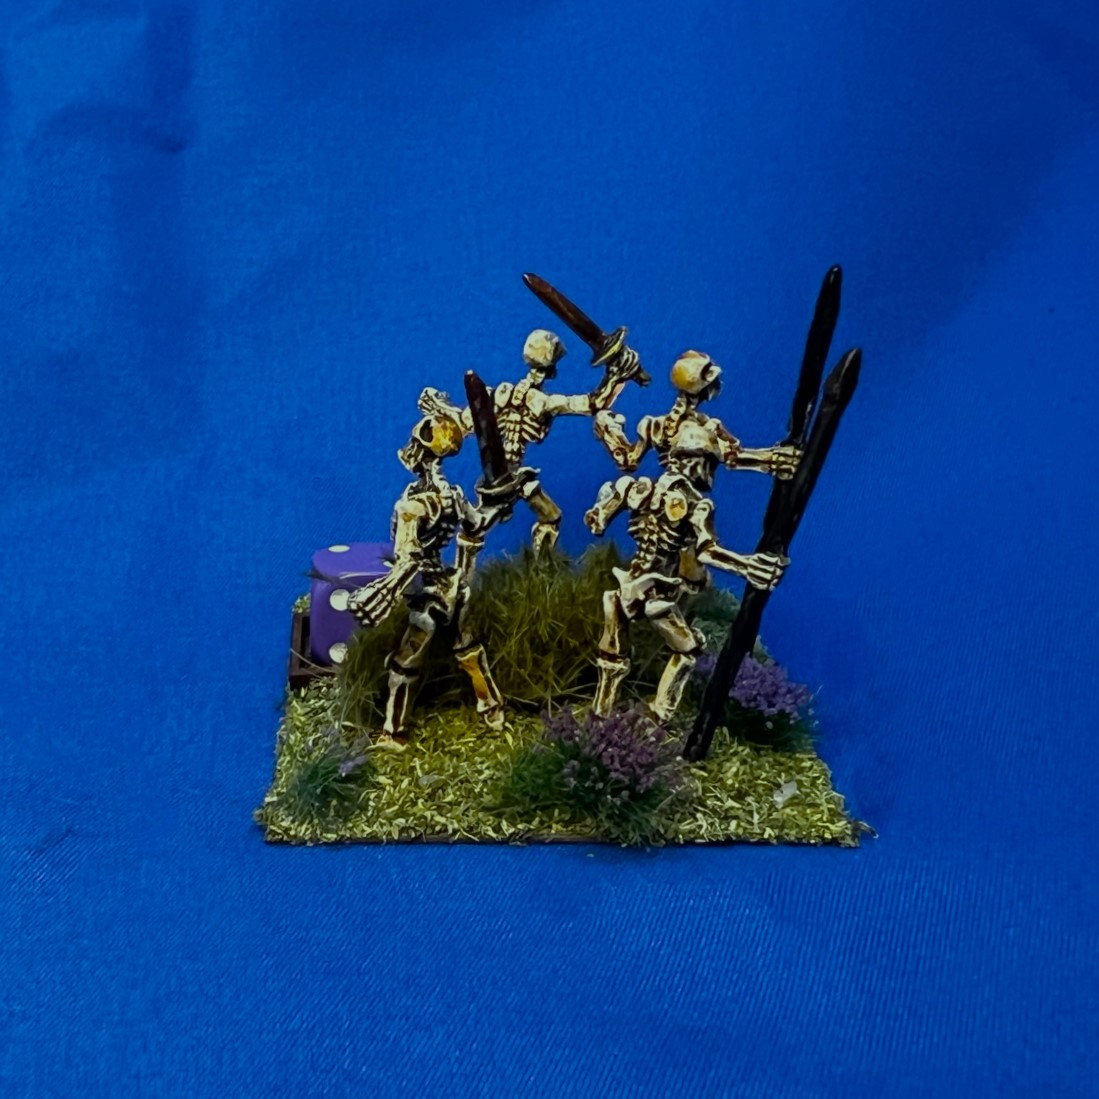
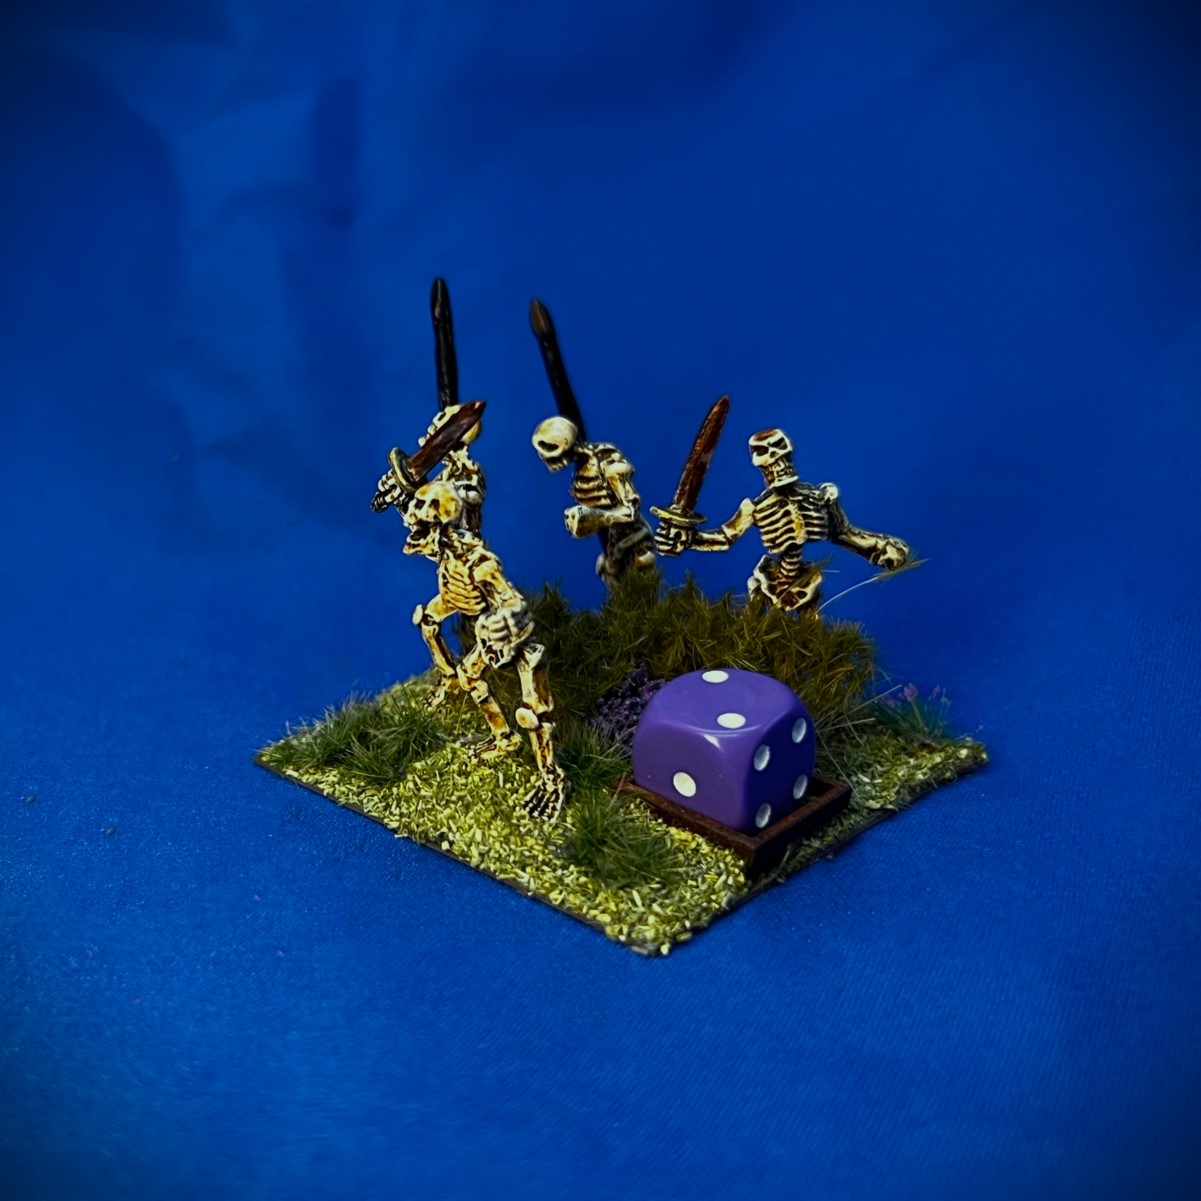
A skeleton regiment is better than average with a Melee value of 6/10, and an Elan value of 6/10 as well. Where they really shine is at Resolve (not running away from a fight) – with value of 9/10. The unit costs 5 points for the Winkies, and 6 points for everyone else (Winkies get a discount). They are armed with an assortment of swords, hatchets, axes, and pole weapons – all of which I aged and/or rusted up, as you will see shortly. You will also see how I based them so as to mix and match the poses and the warriors’ weapons and the figure types such that no two bases in each regiment were identical.
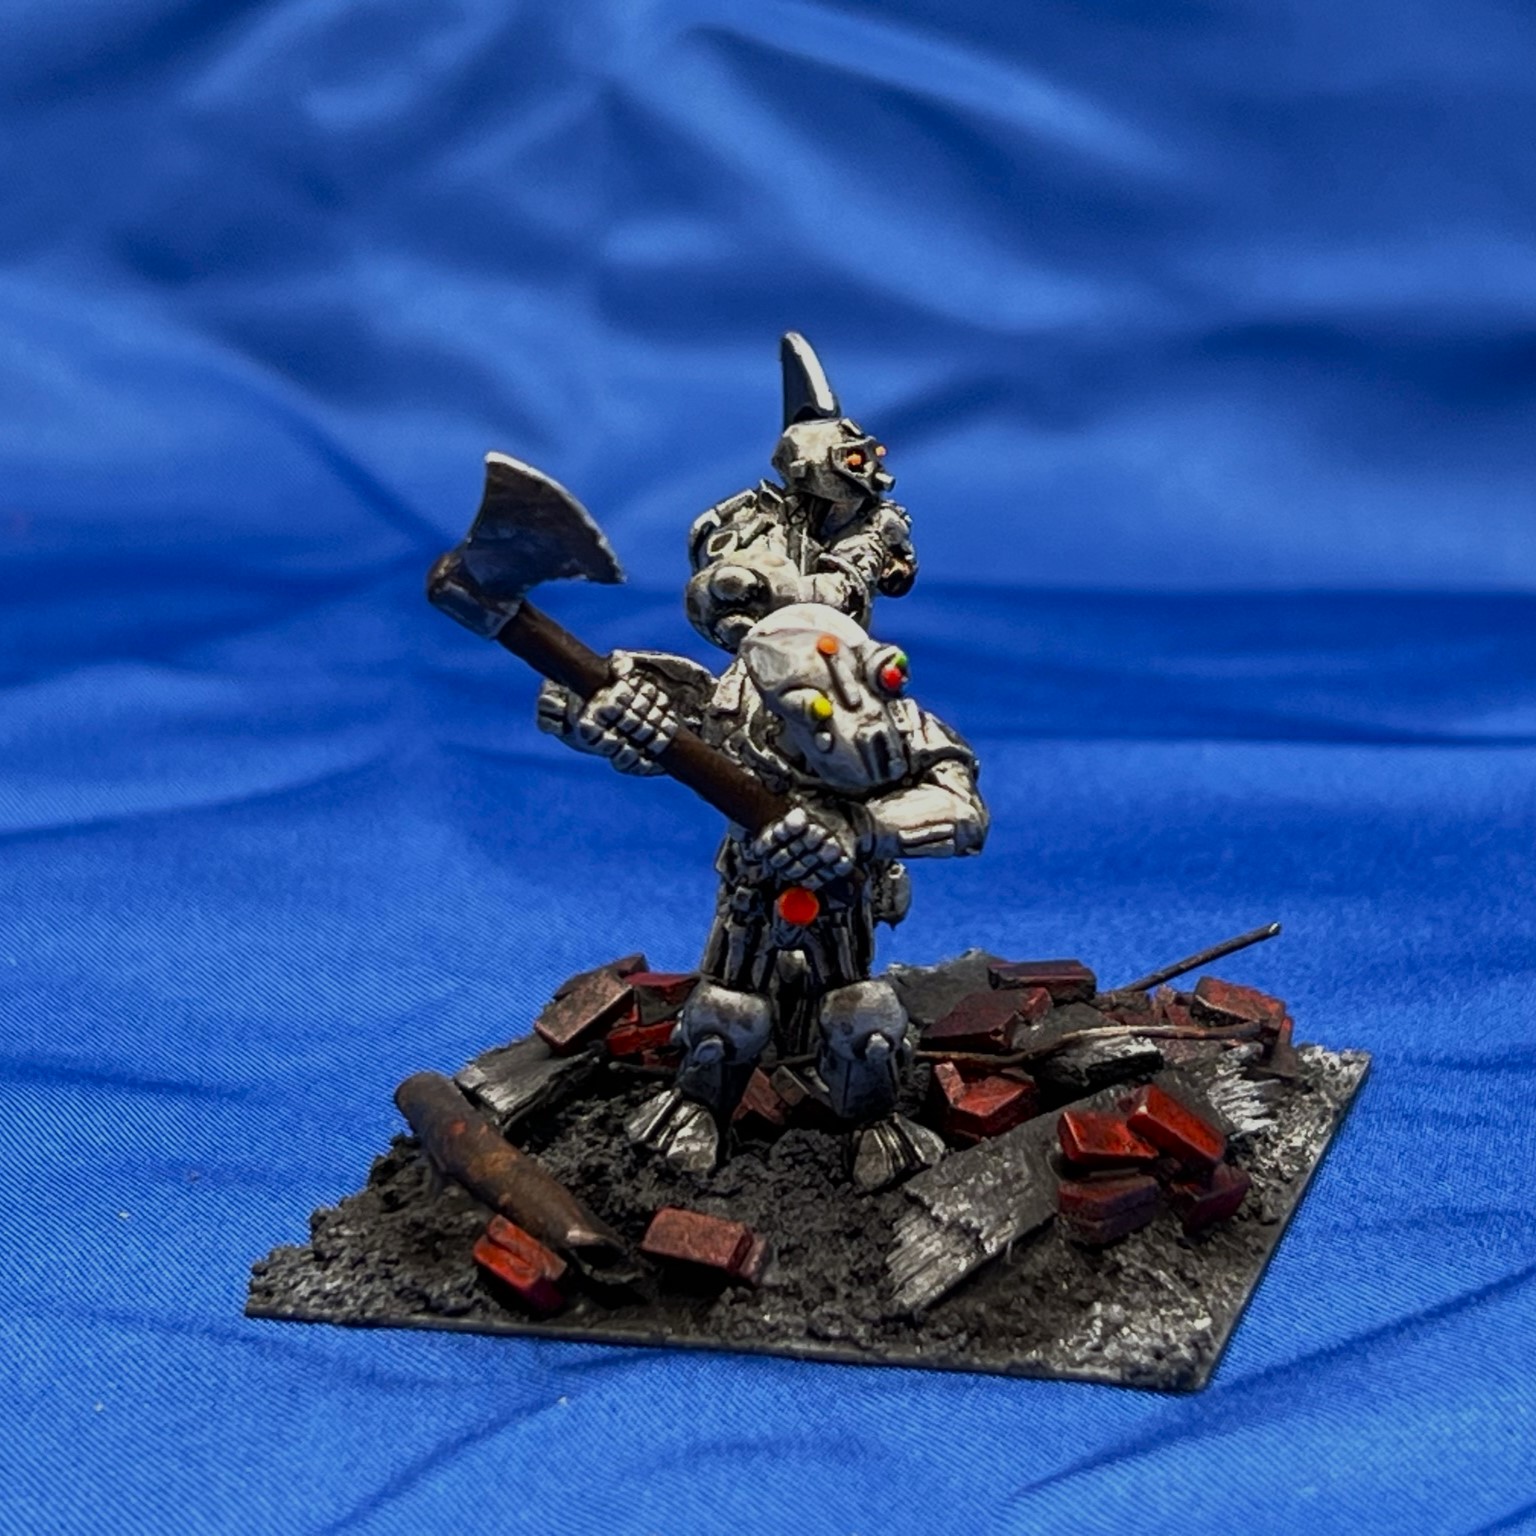
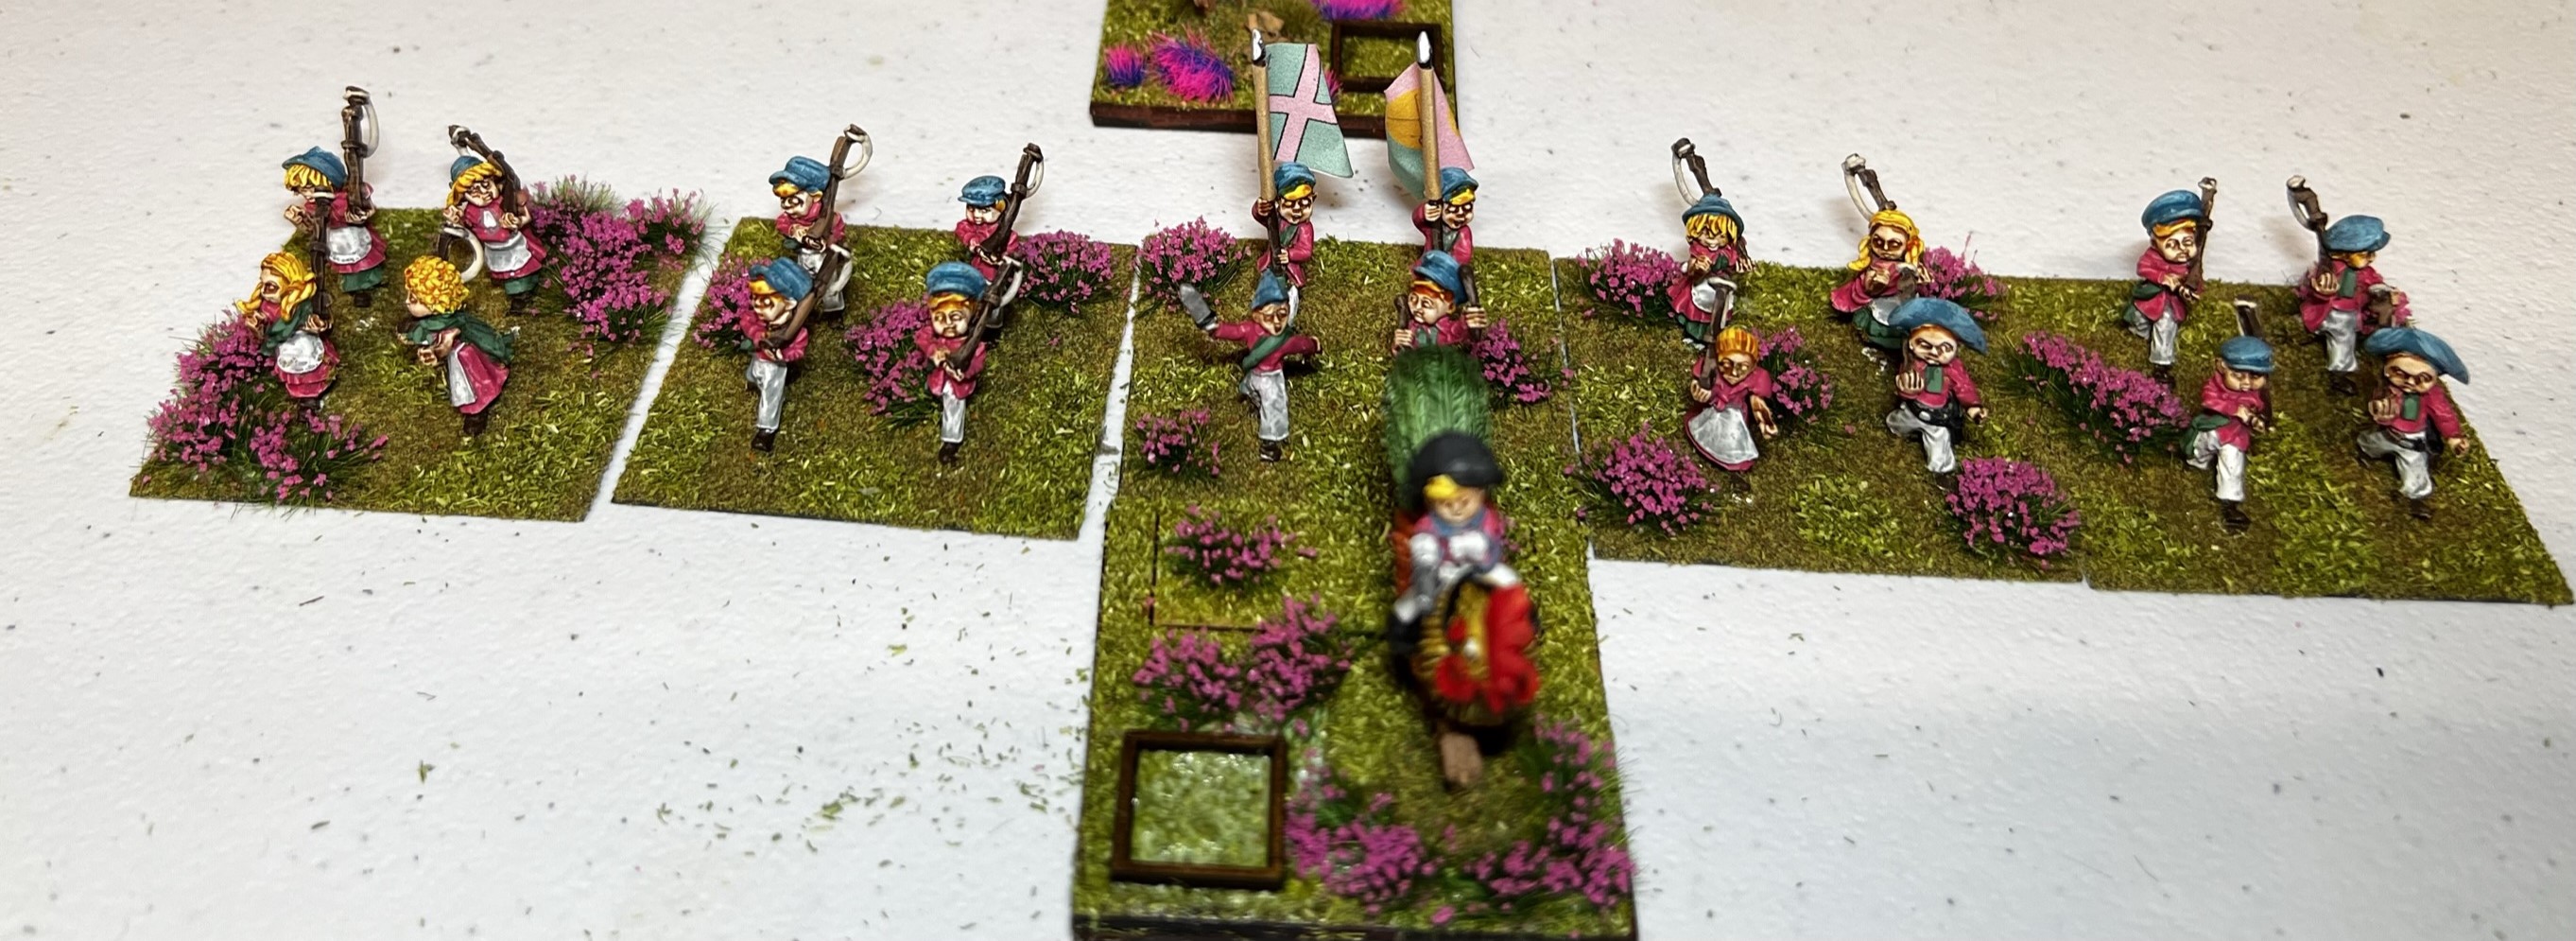
For basing, I wanted to differentiate between the two regiments for the tabletop. As the Gillikins are purple-oriented, and the Winkies are yellow-oriented, I went with these colors as themes with the flocking. I also incorporated some spikey green flora to hide the middle of the bases where there was a depression between the figures’ bases after early flocking. On one base of each regiment, I affixed two Pendraken 12mm dice frames – one on top of the other – to hold activation dice. Now I’ll share some WIP shots showing what I just discussed.
WIP Shots


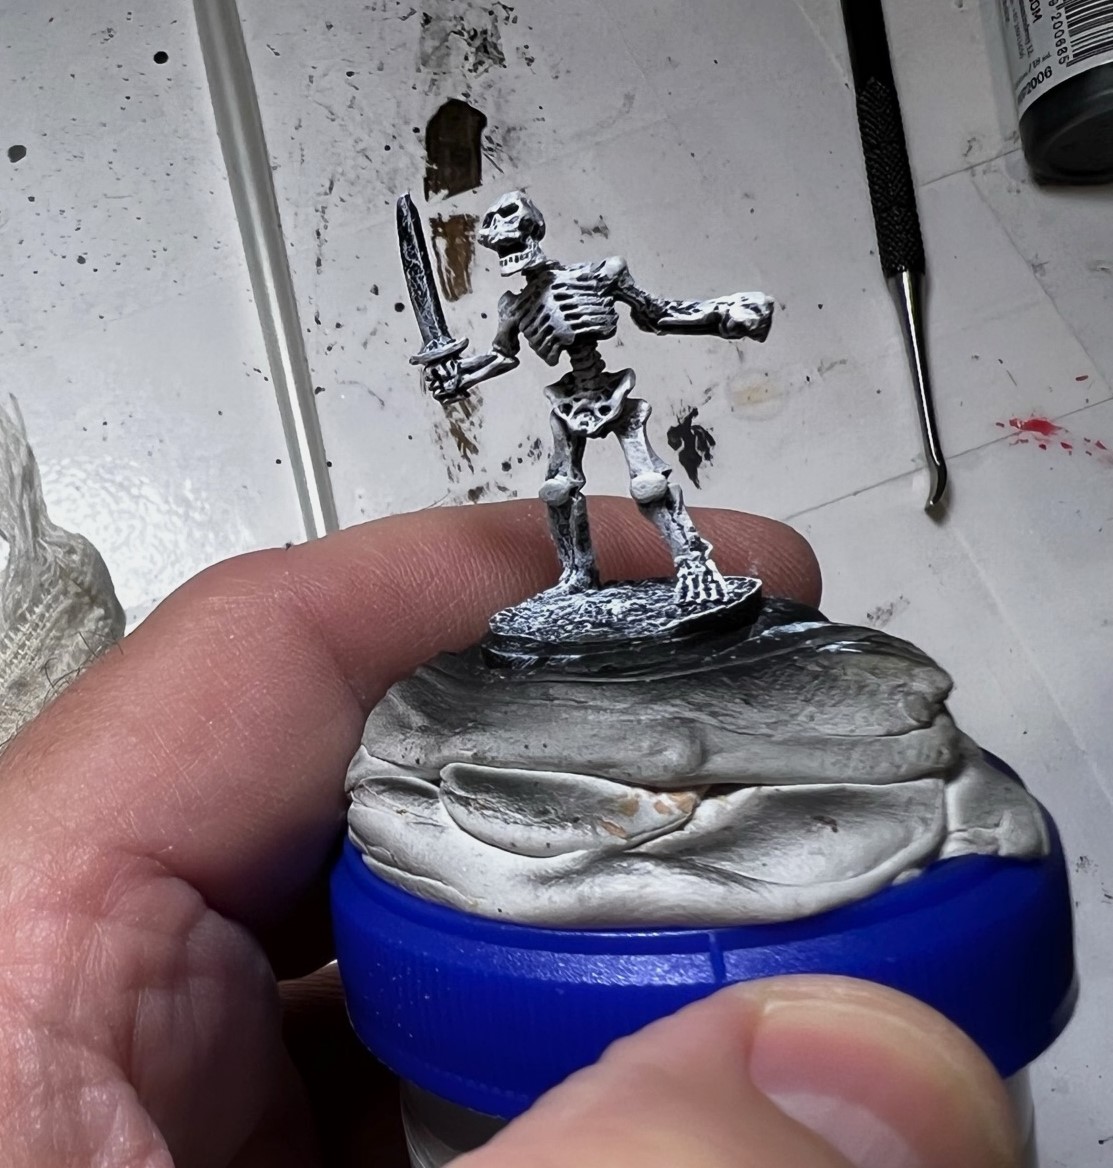

You can see three examples of the Speed Paint effect below. Yes, this is 1.0 and I do have 2.0 as well – but I thought the “Pallid Bone” looked better on swatches.


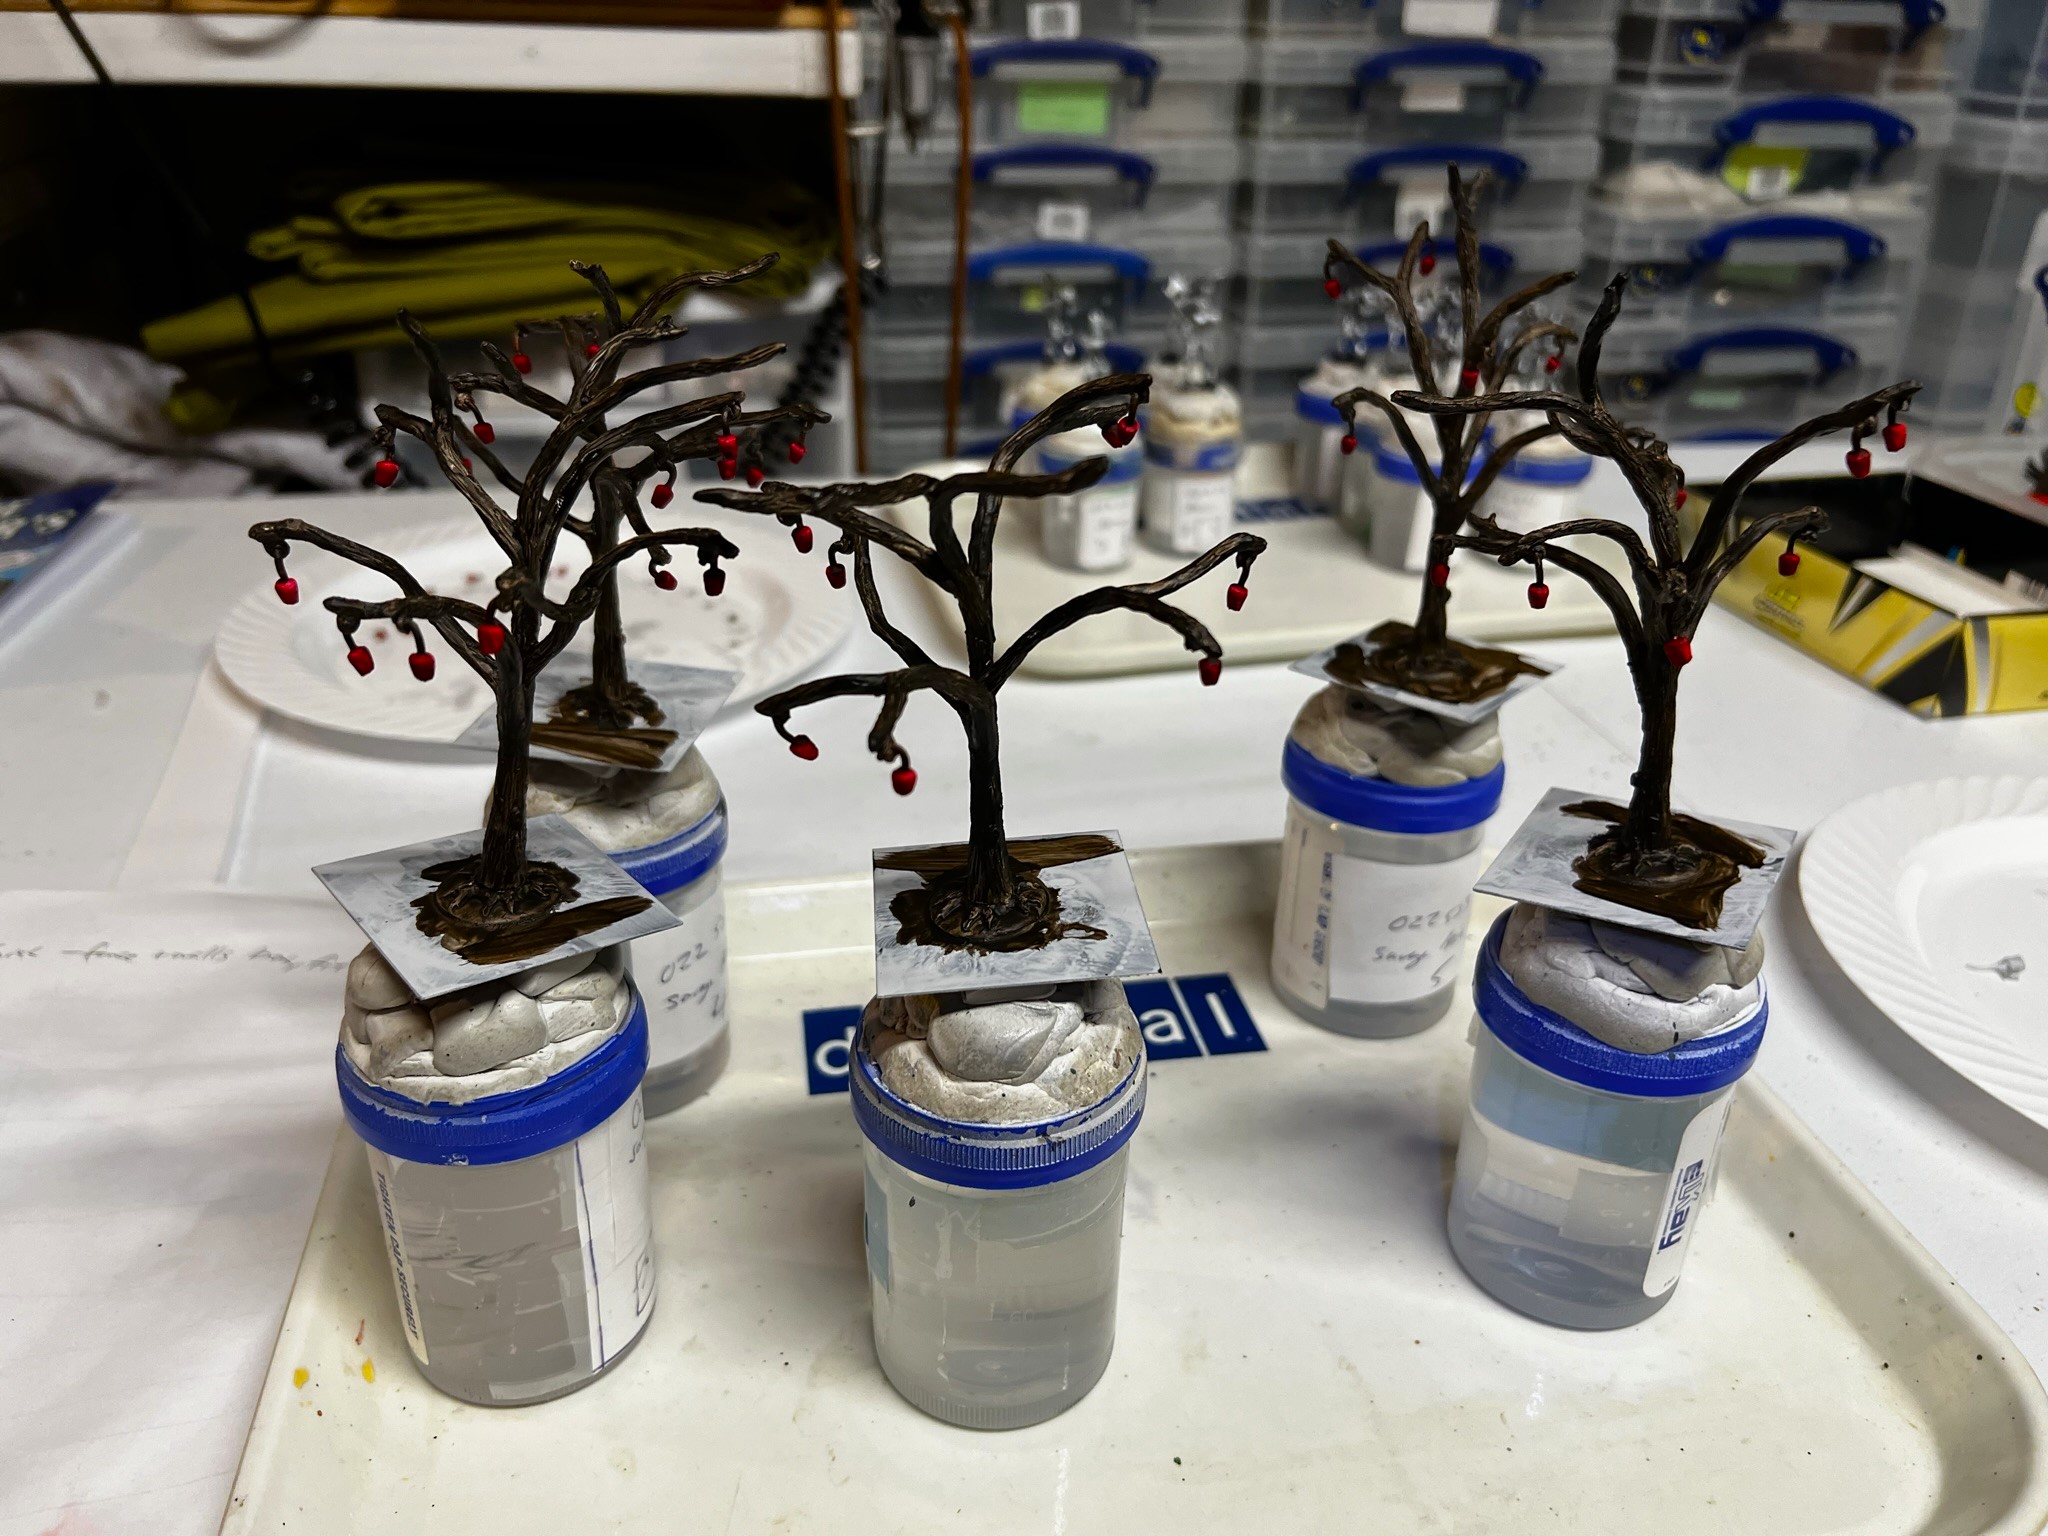
After varnishing the regiments with my airbrush, and letting that cure, it was basing time. Given the figures are mounted on 2″ square bases, the flocking needed to be done sequentially for best results.


Now, I will throw you, my readers, a bone – or rather several bones – it’s time for…
Eye Candy
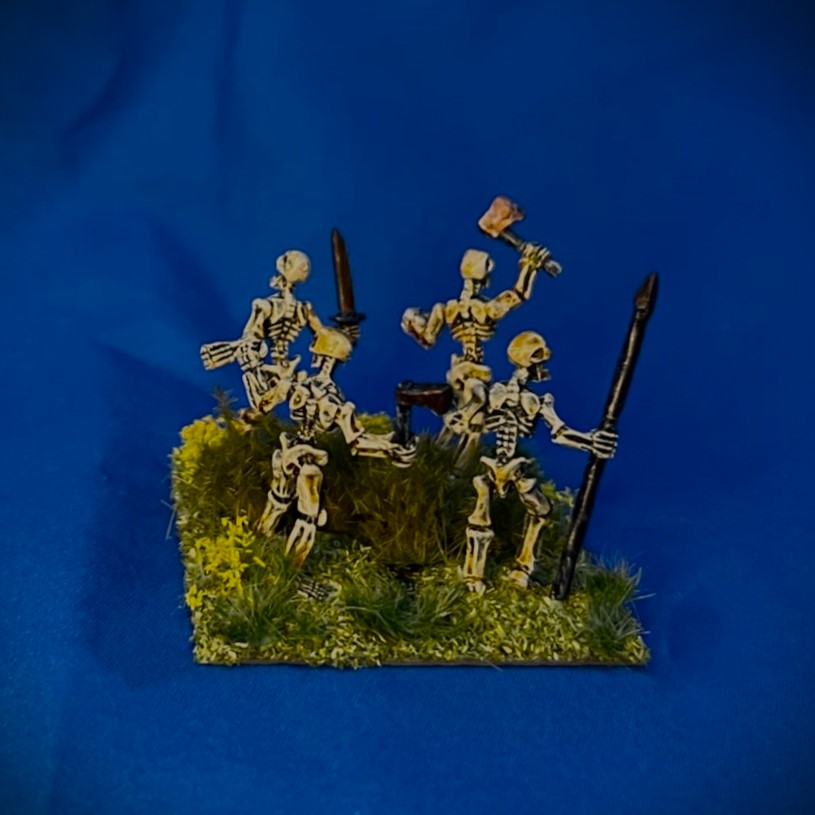
Regiment 1
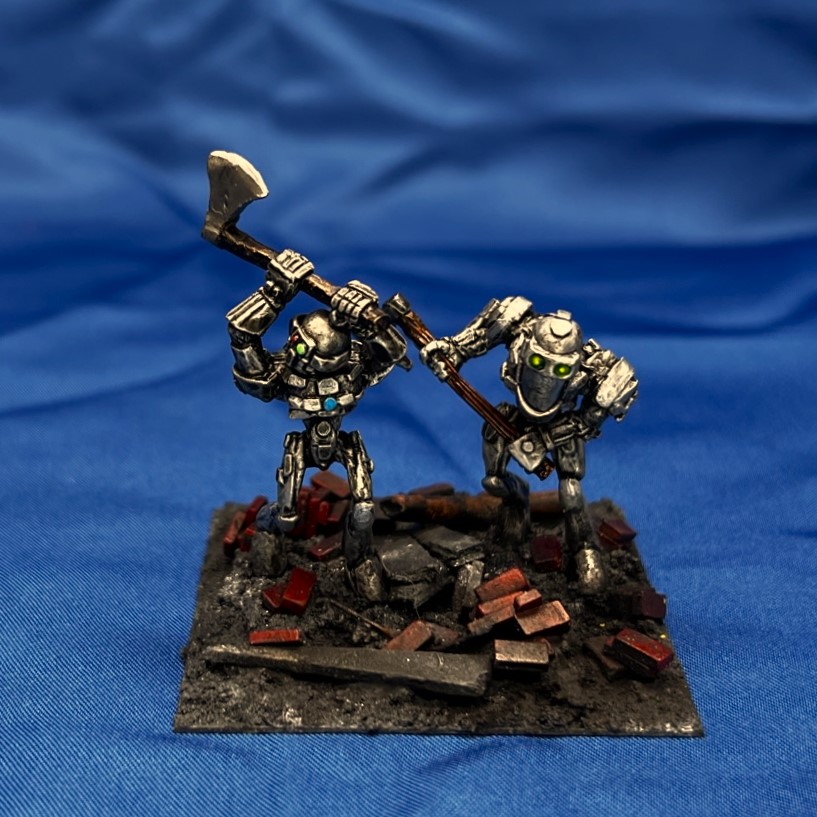
Base 1A


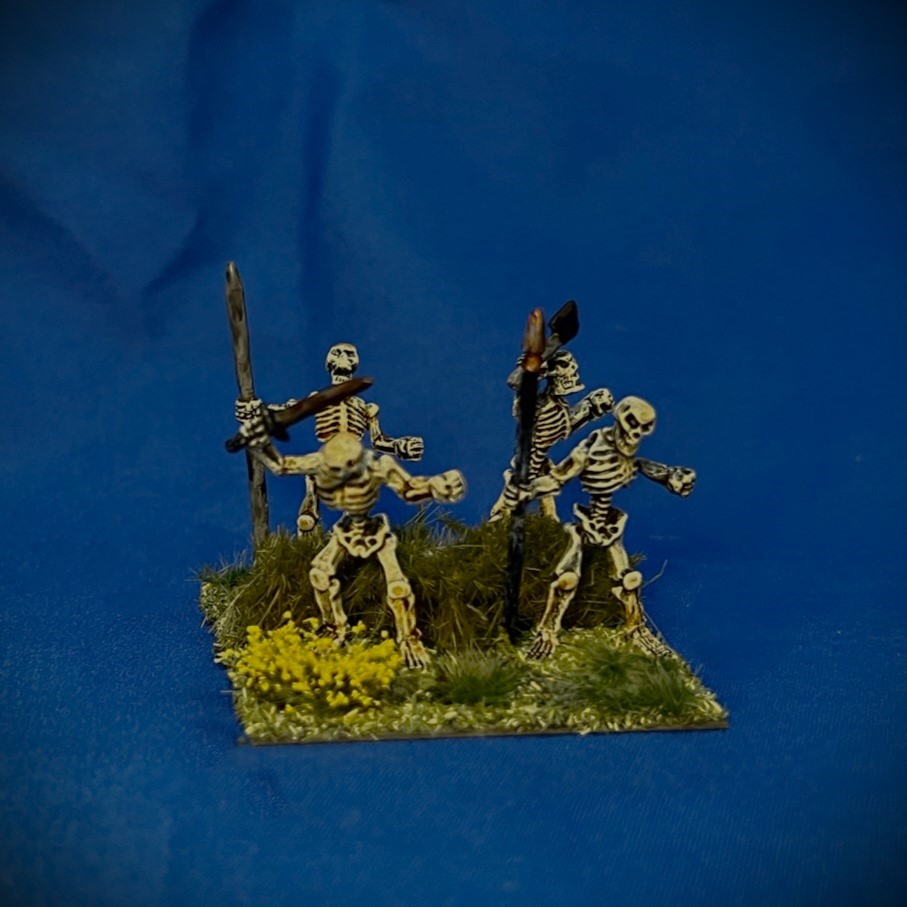
Base 1B


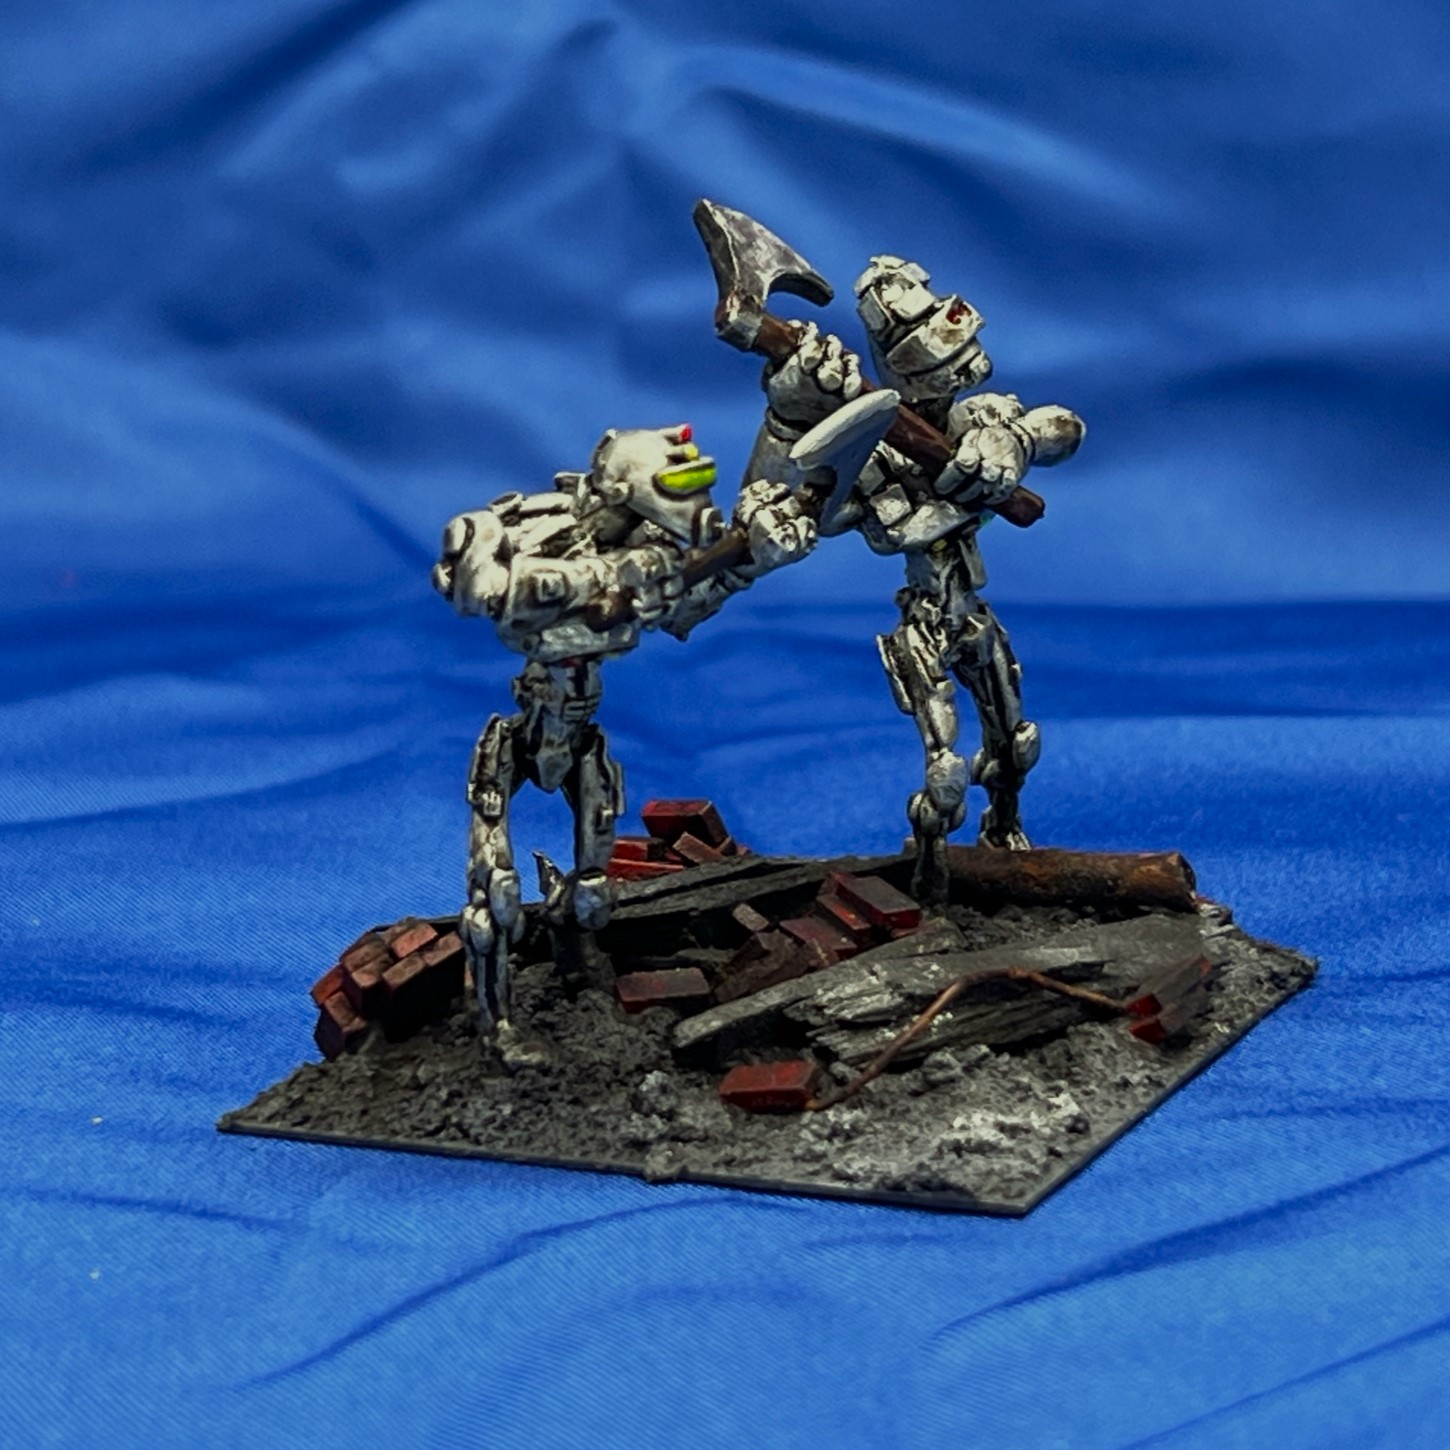
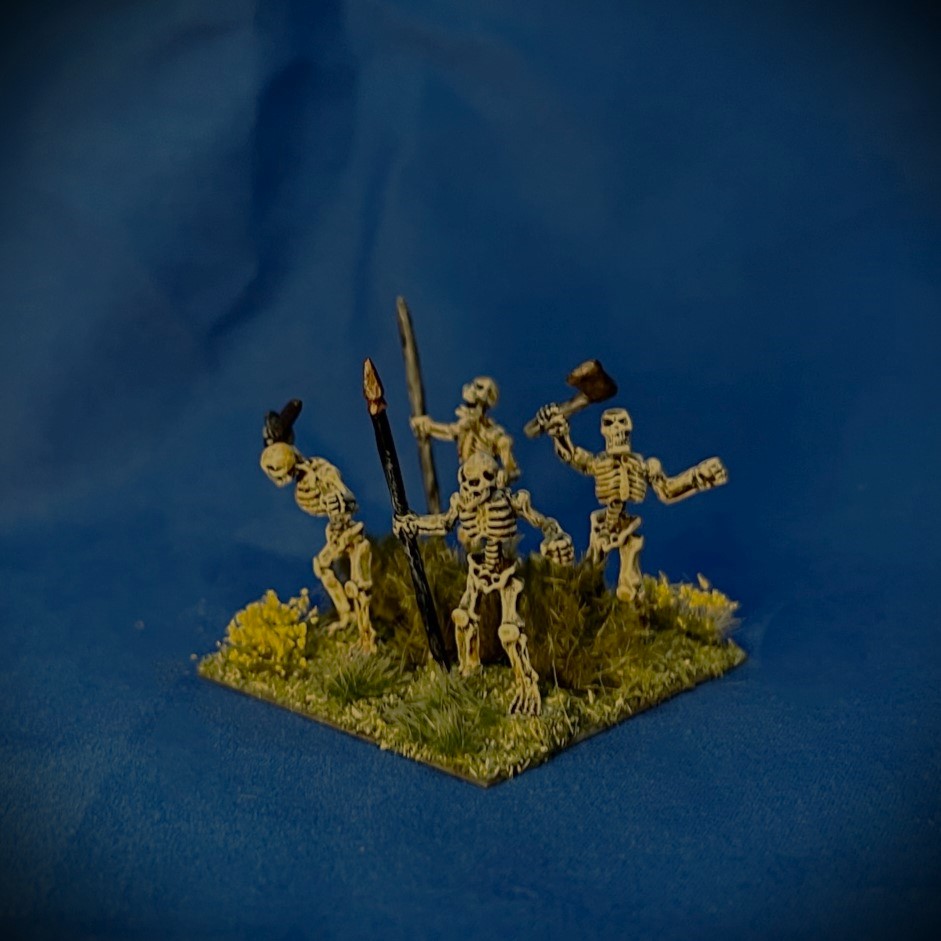
Base 1C


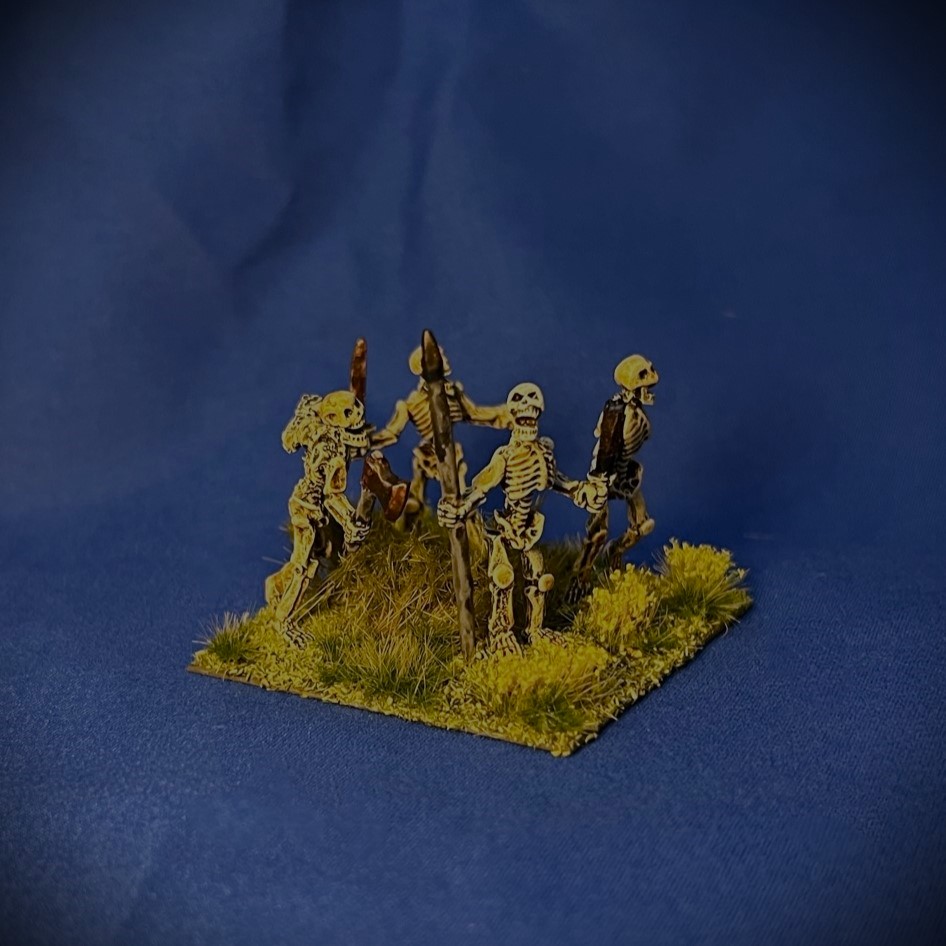
Base 1D


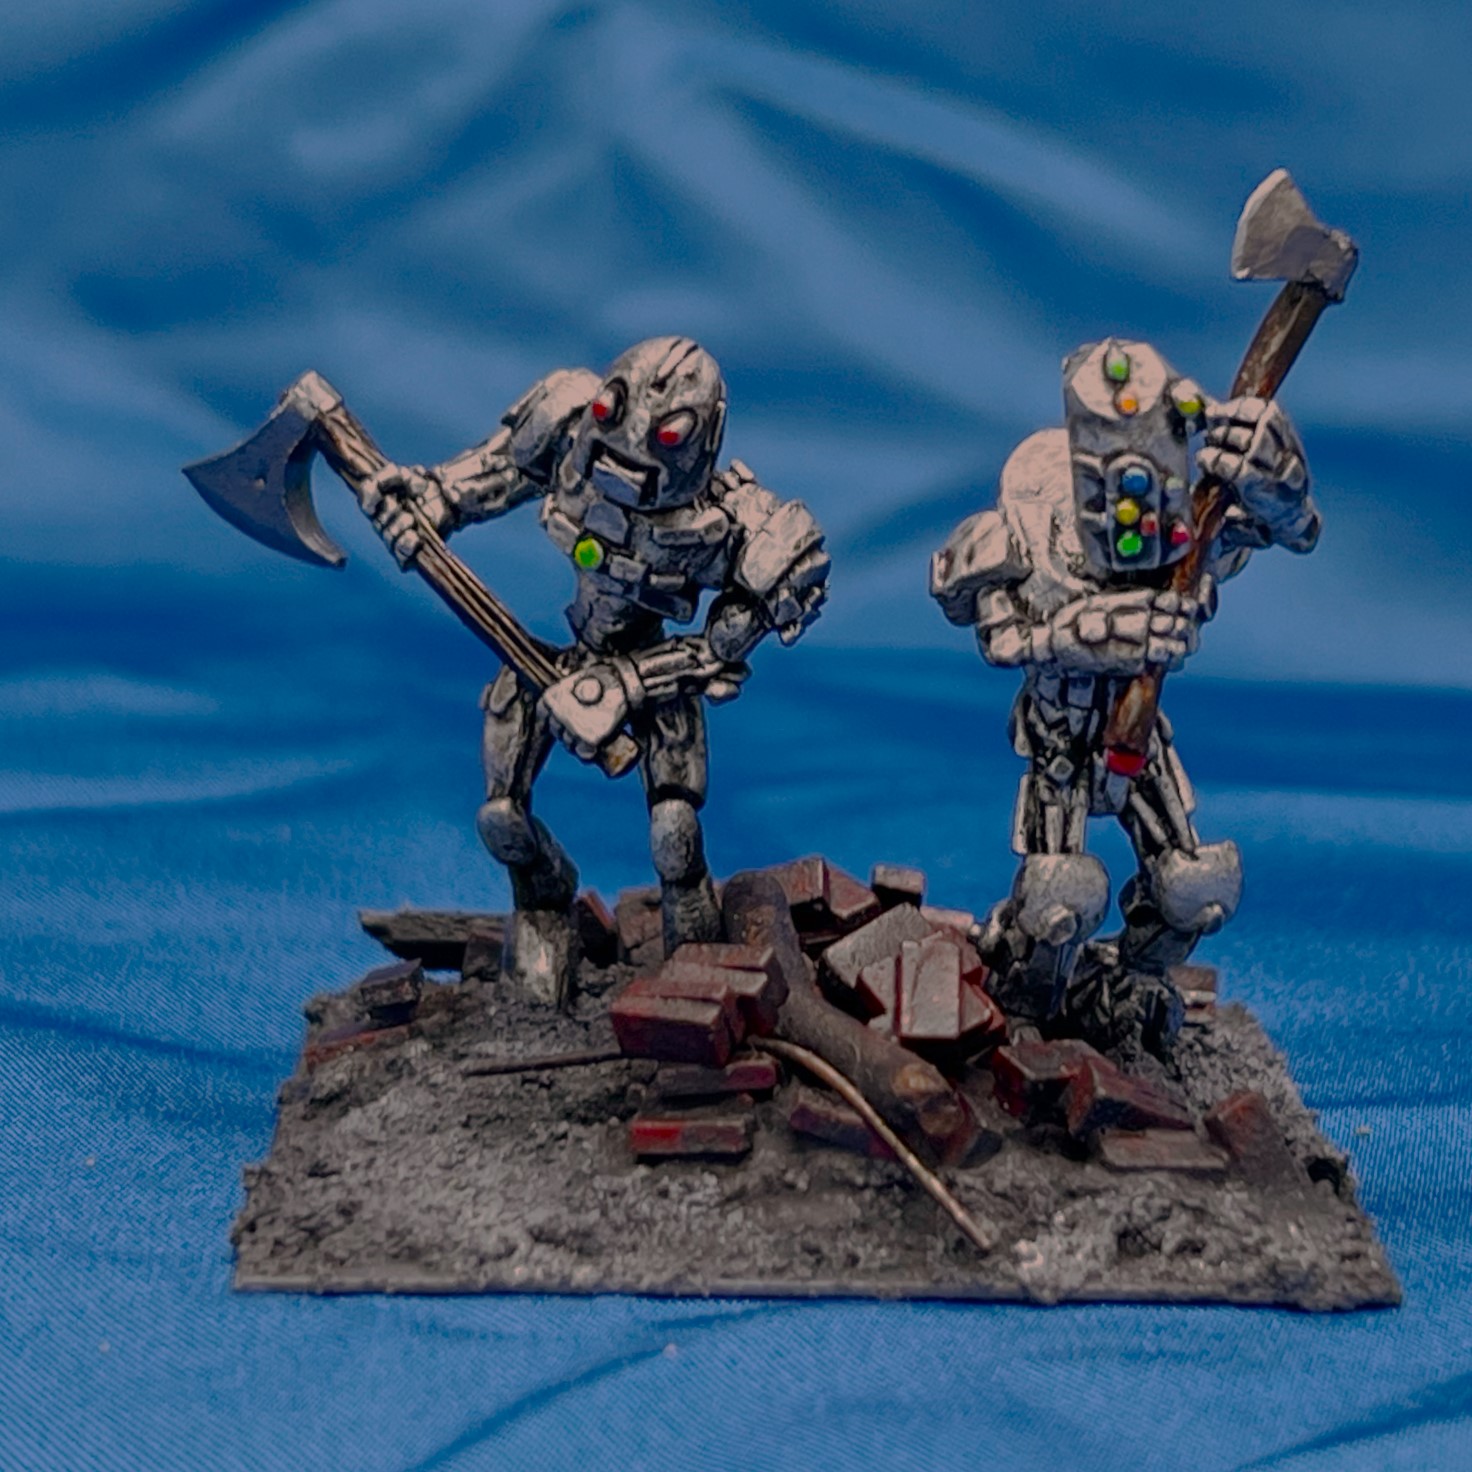
Base 1E


Skeleton Regiment 1 Group Shot

Regiment 2
Base 2A


Base 2B


Base 2C


Base 2D


Base 2E


Skeleton Regiment 2 Group Shot

Both Regiments Group Shot

These were fun and very quick to do – I started on Sunday November 12th and took the photos of the finished regiments on November 16th. I’m still working on the right combination of lights for my photo booth but am getting a bit better.
Like other units I have shared, these skellies will make excellent allies to other brigades on the tabletop.
My next post will be a surprise to us all as I have actual gaming to do now!
And yes, I still have more Ozz to come…
Miscellaneous details and references for those interested in that sort of thing:
For all of my previous posts on Wars of Ozz games, figures, units, and other related projects – please see this page.
PAINTS, INKS, GLAZES, SHADES, WASHES, PIGMENTS, FLOCKING, GLUES AND MORE THAT I USED ON THE FIGURES FOR THESE TWO SKELETON REGIMENTS:
- Gorilla Glue
- 3/4″ steel washers
- Poster tack
- Vallejo Black Surface Primer
- Vallejo “Flow Improver”
- Vallejo “Airbrush Thinner”
- Vallejo Model Color “White”
- Army Painter “Speed Paint Medium 1.0”
- Army Painter “Speed Paint – Pallid Bone 1.0”
- Vallejo Model Color “Dark Sea Grey”
- Army Painter “Speed Paint – Runic Grey 1.0”
- Army Painter “Speed Paint – Gravelord Grey 1.0”
- Vallejo Model Air “Bright Brass”
- Vallejo Model Air “Black Metallic”
- Vallejo Model Air “Steel”
- Vallejo Mecha Color “Dark Steel”
- Citadel “Nuln Oil” (wash)
- Battlefront “Tommy Green”
- Vallejo “Thinner Medium”
- Vallejo Mecha Weathering “Rust Texture”
- Vallejo Mecha Varnish “Matte Varnish”
- Vallejo Mecha Weathering “Dark Rust Wash”
- 2″ square steel bases from Wargames Accessories (#21)
- Elmer’s PVA Glue
- Pendraken 12mm dice frames
- Army Painter “Battlefield Field Grass” (flocking)
- Battlefront “Sherman Drab”
- Gamer’s Grass “Spikey Green” (flocking)
- Army Painter “Wilderness Tufts – 4mm” (flocking)
- Army Painter “Meadow Flowers (yellow)” (flocking)
- Gamer’s Grass “Yellow Flowers” (flocking)
- Shadow’s Edge Miniatures “Dark Forest Plum Flowers” (flocking)
- Shadow’s Edge Miniatures “Dark Forest Purple Flowers” (flocking)
Again, as you may want to check out the Wars of Ozz figures’ range – there are two places to get them (and I make no money from this btw). The game rules and the figures are available from the following two places:
In the US Old Glory has a site – Wars of Ozz Miniatures.
In the UK go to Sally 4th.