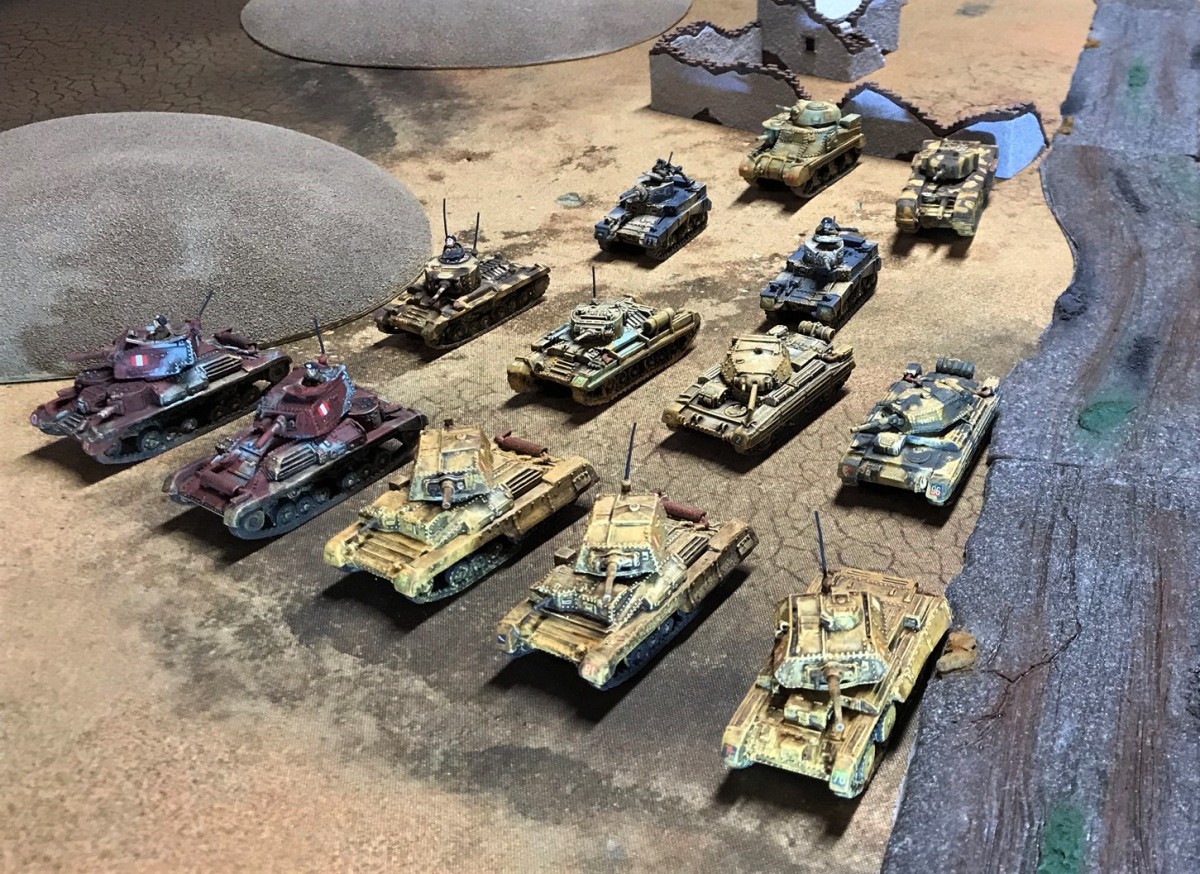
January has been a busy hobby month. After I had built a significant number of 8th Army British tanks for What a Tanker© games set in WWII North Africa. Subsequently, I really needed to build out an opposing and suitably-sized group of Panzer Army Africa tanks and tank destroyers. This post focuses on my January efforts on German forces. I will augment these with Italian tanks and tank destroyers on my next project.
OVERVIEW
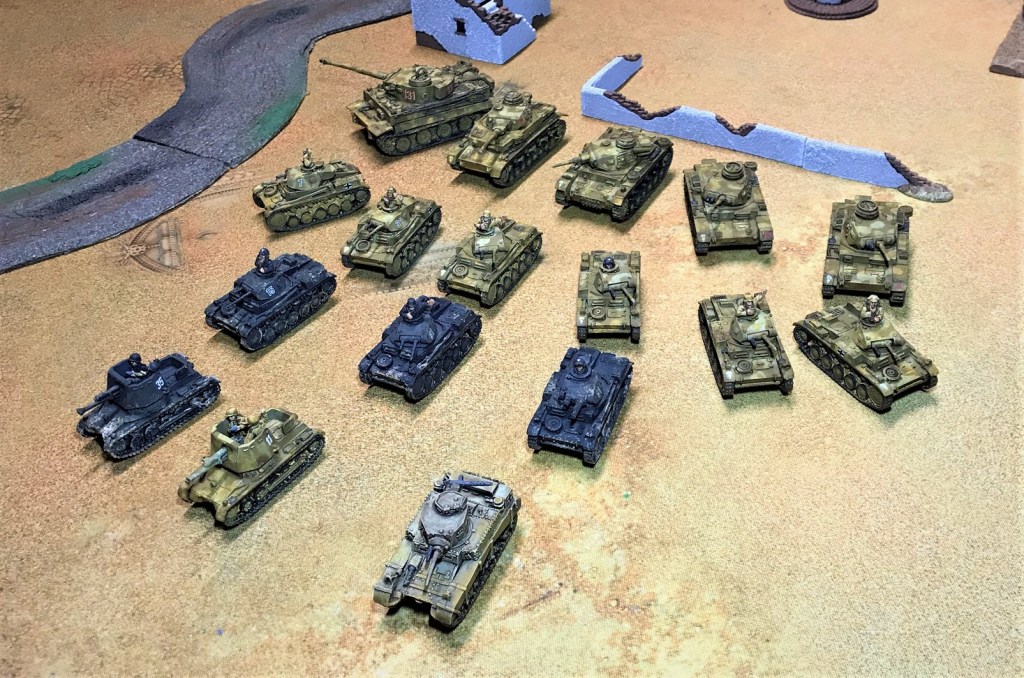
I finished a total of 17 tanks/tank destroyers this month. These were all 15mm scale and from Battlefront Miniatures. Thirteen of these were for North Africa, while four would augment my forces for my France 1940 scenario. The largest single number were nine Panzer II variants. I had purchased a box of five Panzer II’s previously, and built one for France 1940, but the box was short one tank guns. Battlefront made good on this, and sent me another entire box of five tanks! This allowed me to convert an extra British A10 gun I had lying around into one for a Panzer IIC. It’s not perfect, but should work on the tabletop. I also had a Panzer IVD from Battlefront, and discovered that it had two left tracks. Battlefront has done right by me on that too, and replaced that entire tank as well. I will probably take the extra Panzer IVD and make it into a wreck later on. So this post will review these 17 tanks I built and painted:
- 2 Panzerjager I’s (one for France 1940 and one for North Africa)(15mm/1:100 scale), from Battlefront Miniatures (#GE100)
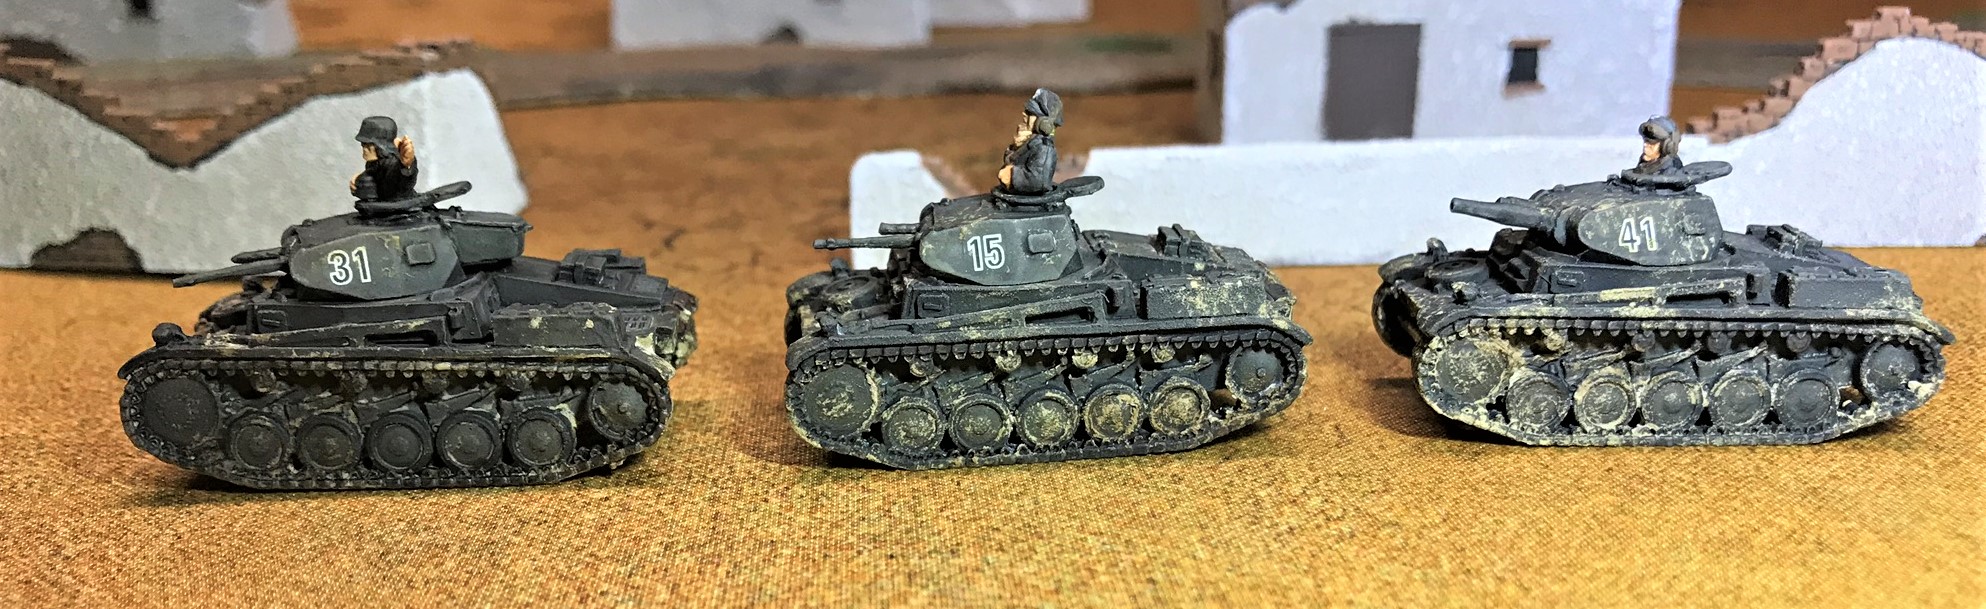
- 3 Panzer IIC’s (15mm/1:100 scale), from Battlefront Miniatures (#GBX108) for France 1940
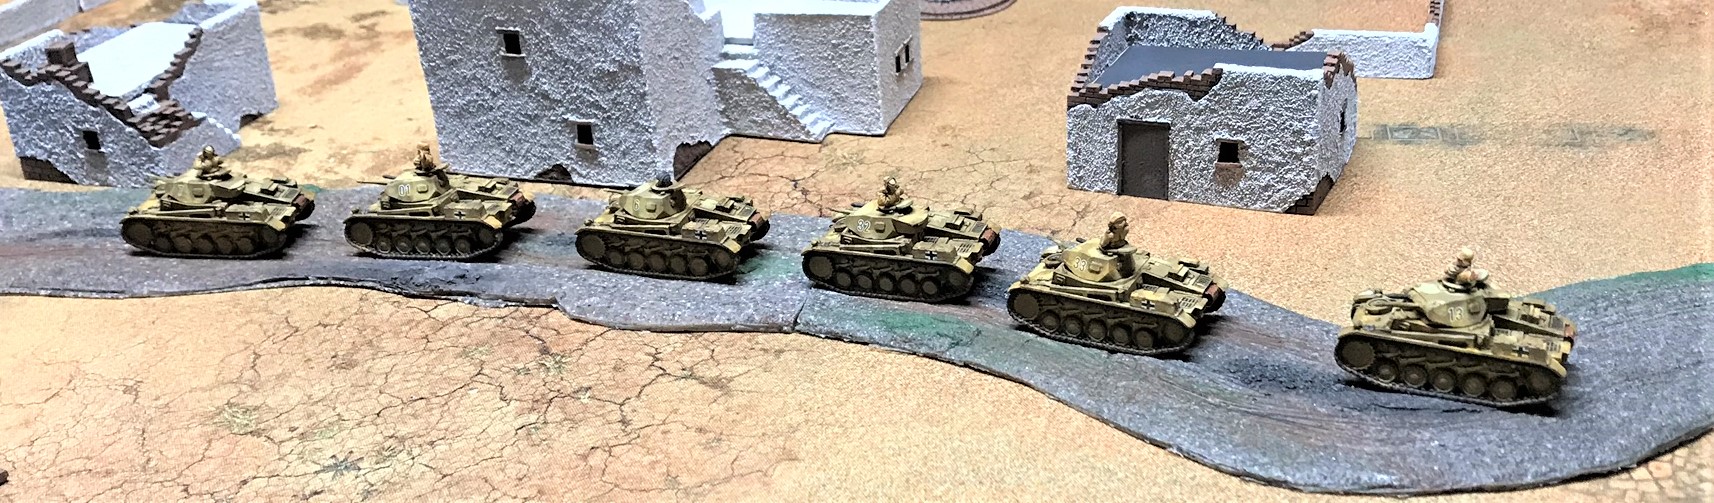
- 6 Panzer IIF’s (15mm/1:100 scale), from Battlefront Miniatures (#GBX108) for North Africa
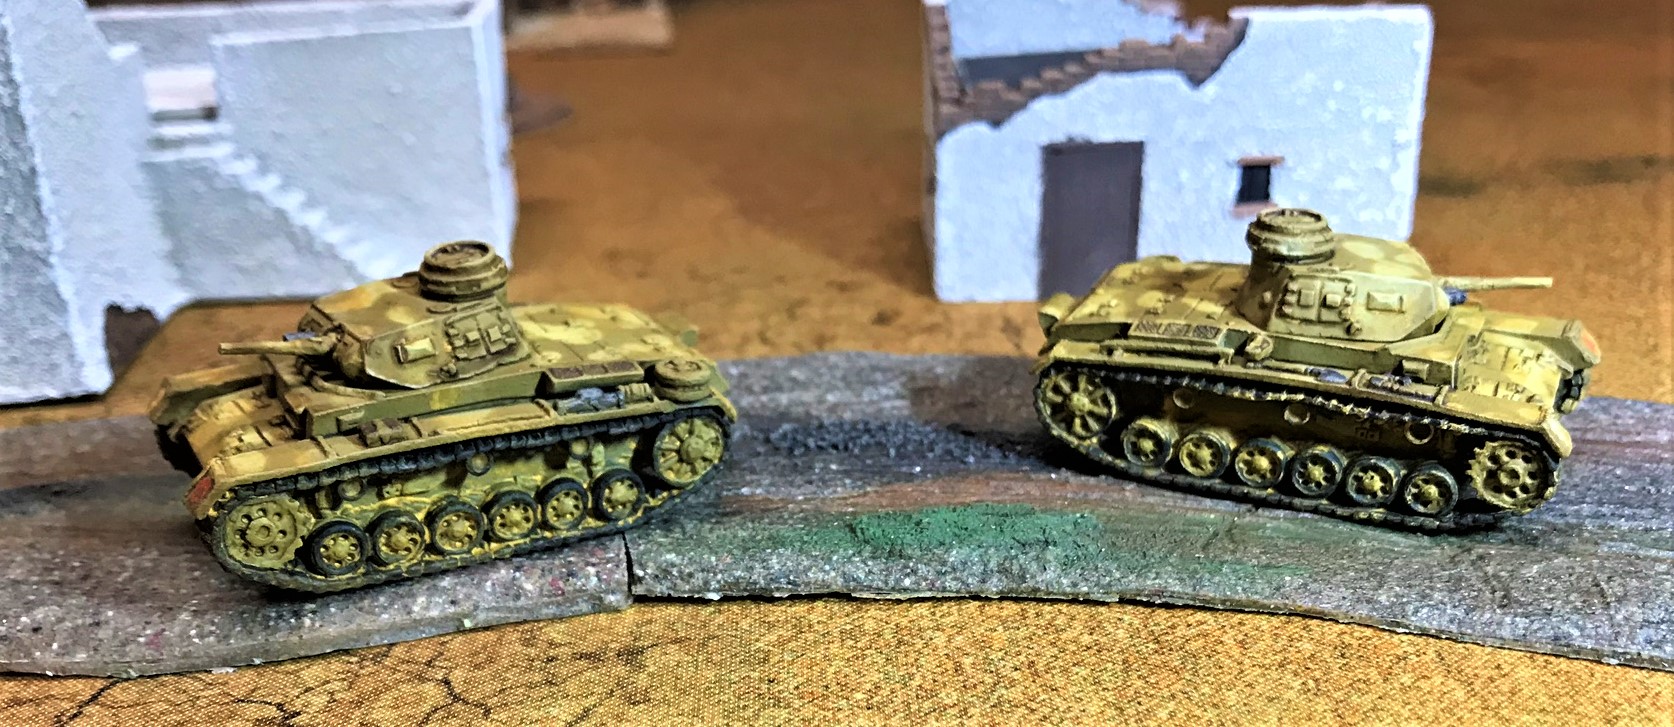
- 2 Panzer IIIE’s (15mm/1:100 scale), from Battlefront Miniatures (#GE030) for North Africa
- 1 Panzer IIIH (15mm/1:100 scale), from Battlefront Miniatures (#GE031) for North Africa
- 1 Panzer IVF2 (15mm/1:100 scale), from Battlefront Miniatures (#GE042) for North Africa
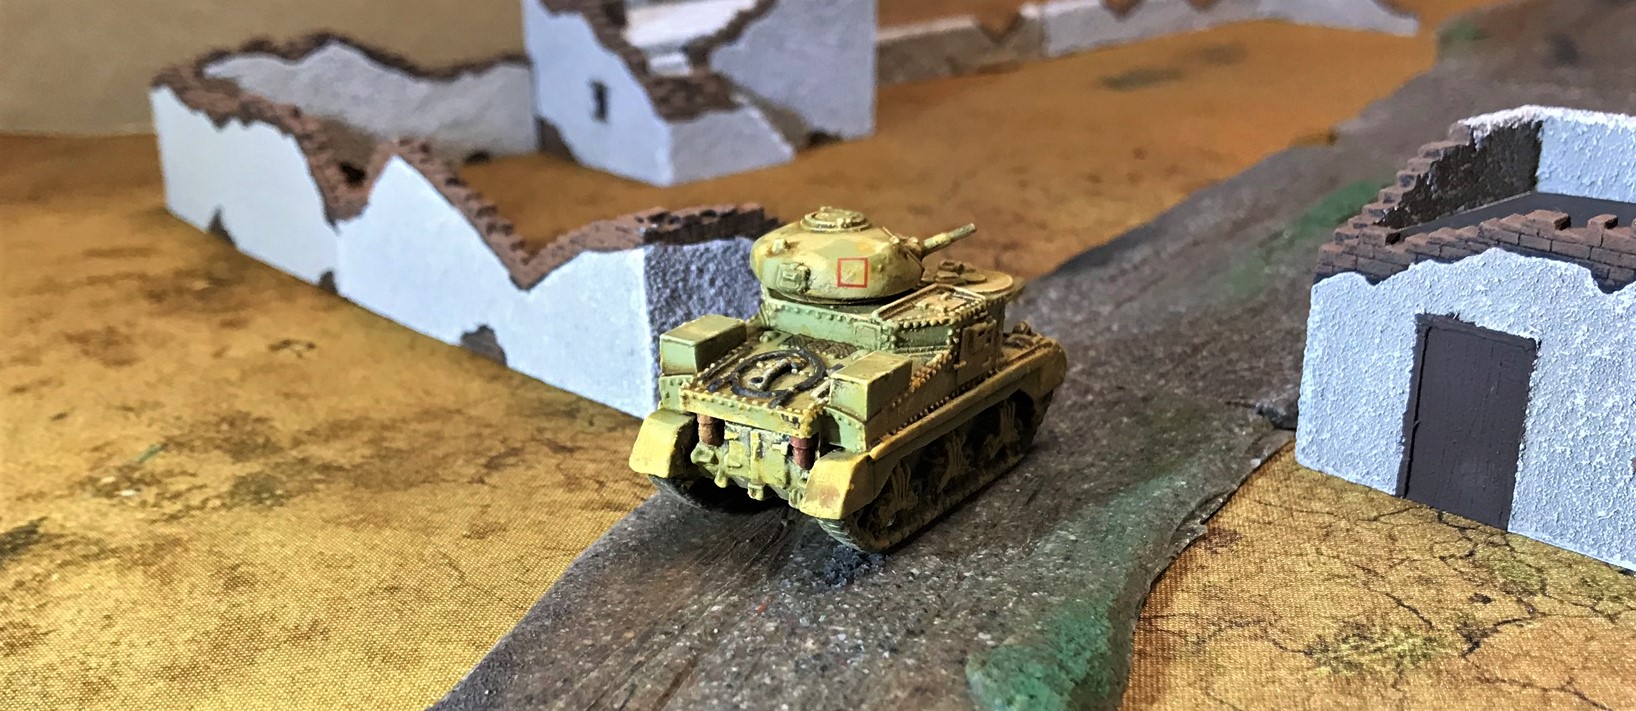
- 1 M3 Stuart “Honey” tank (15mm/1:100 scale), from Battlefront Miniatures (#BR006) – one captured by the Germans for use in North Africa
- 1 Tiger I (15mm/1:100 scale), from Battlefront Miniatures (#GE070) for North Africa
I will review each briefly, and give bigger shots in the eye candy section. Of course, I list the paints and other materials I used at the end for those interested. And there were 61 decals!
PANZERJAGER I’S
-
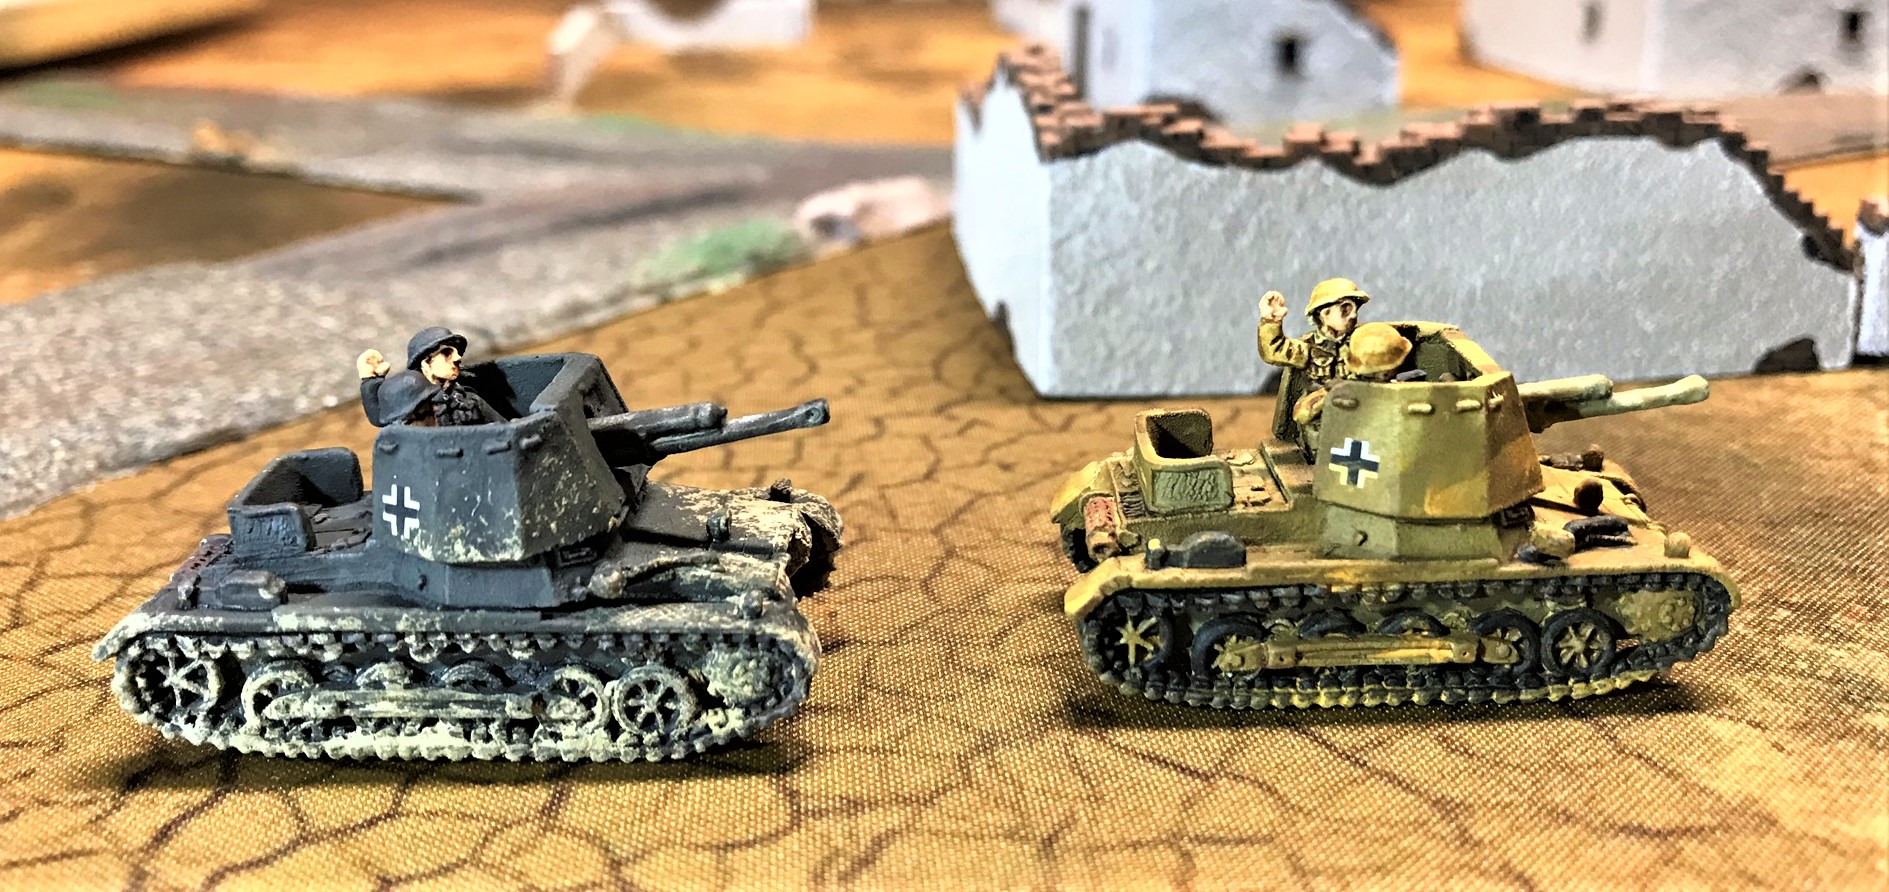
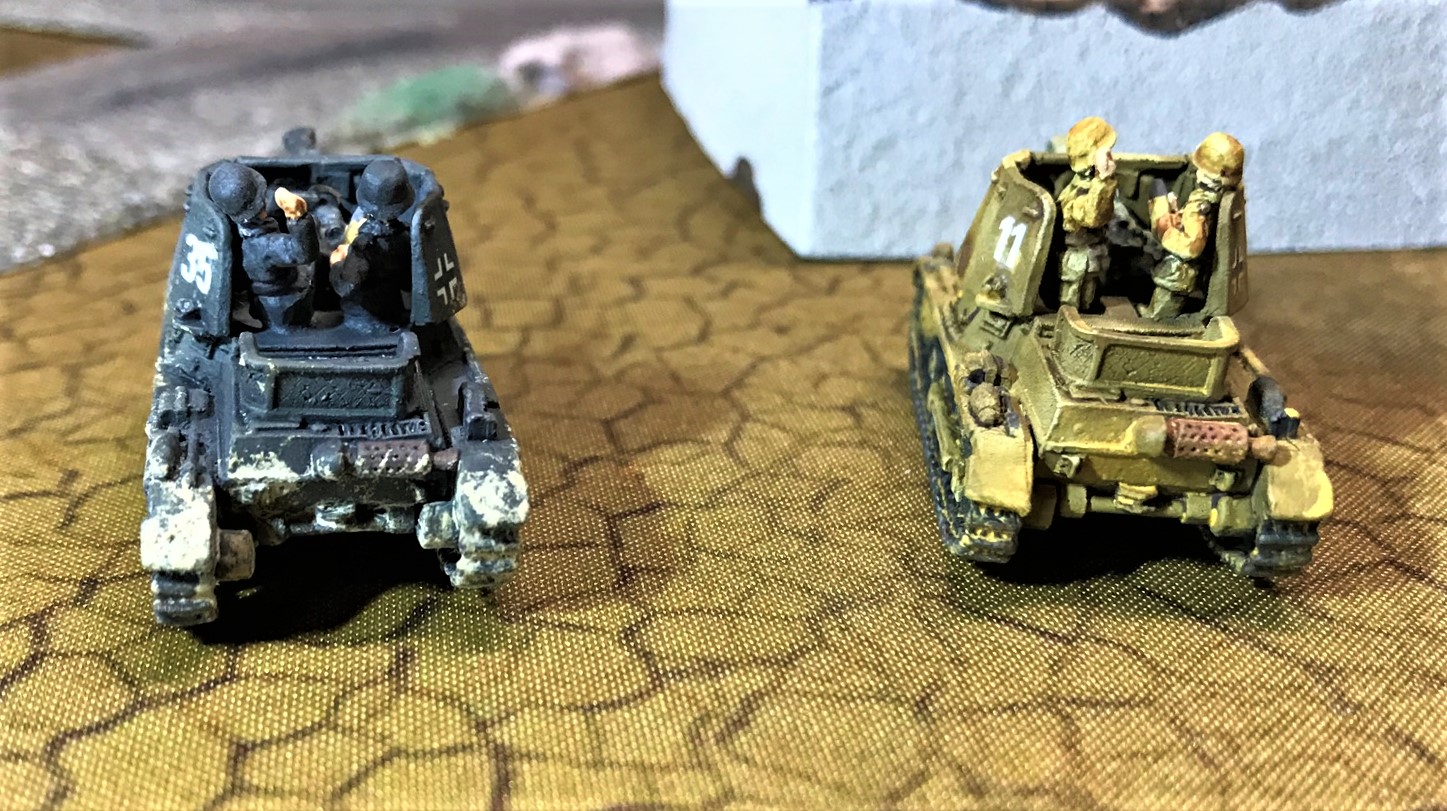
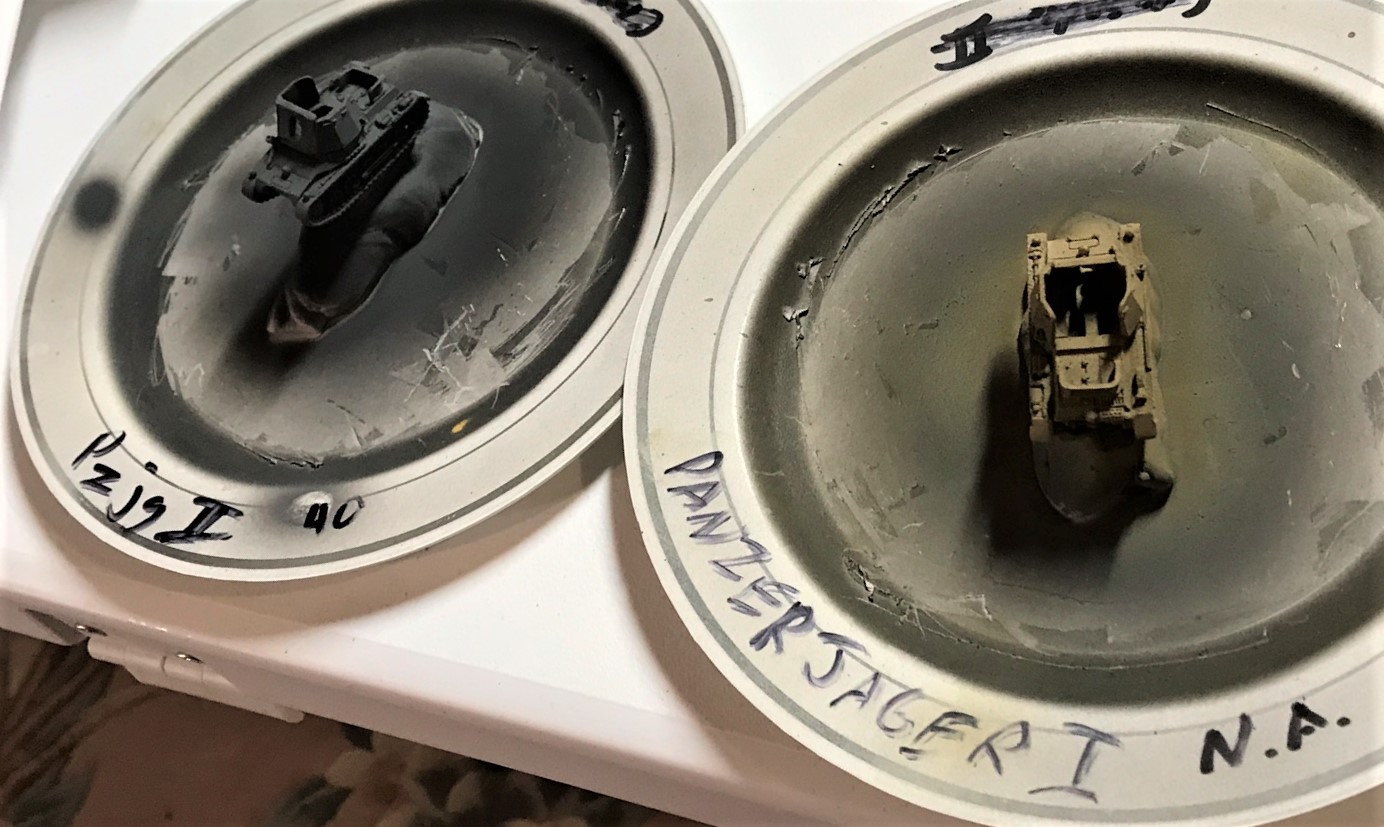 The two Panzerjager I’s base coated
 -
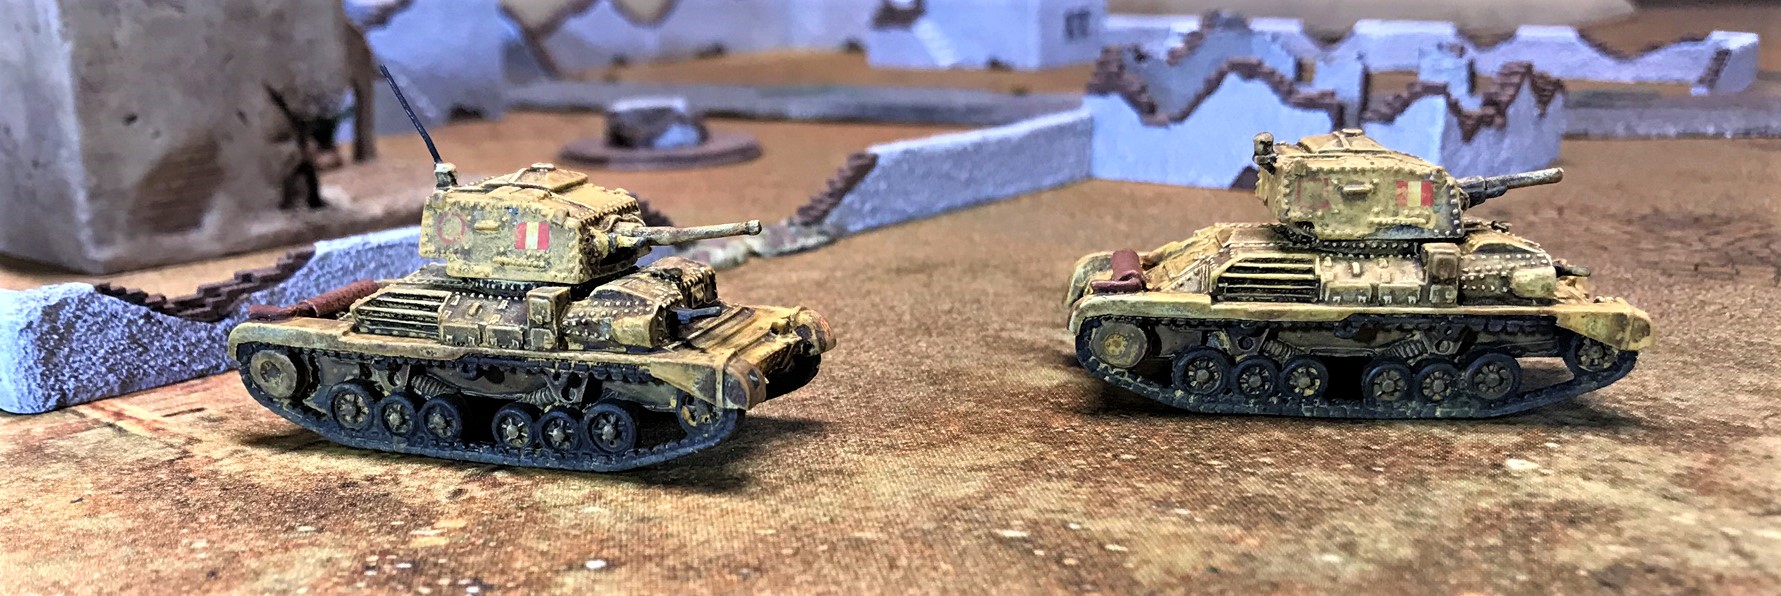
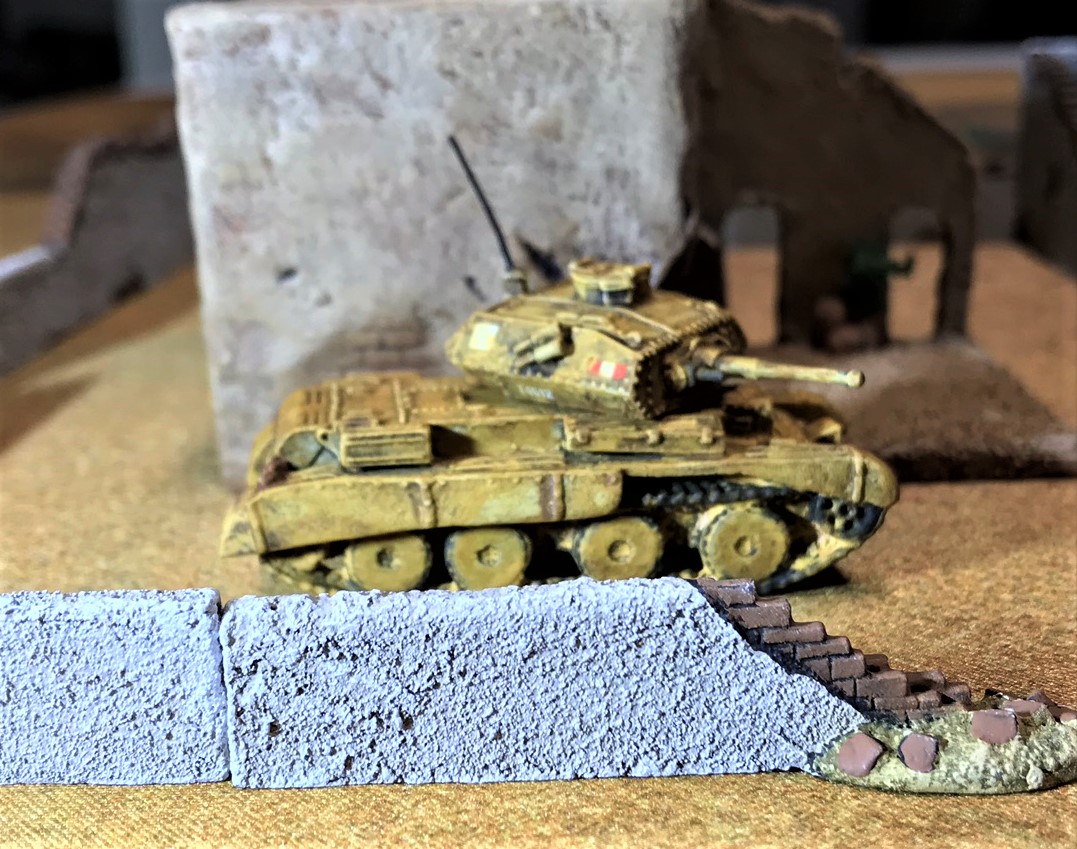
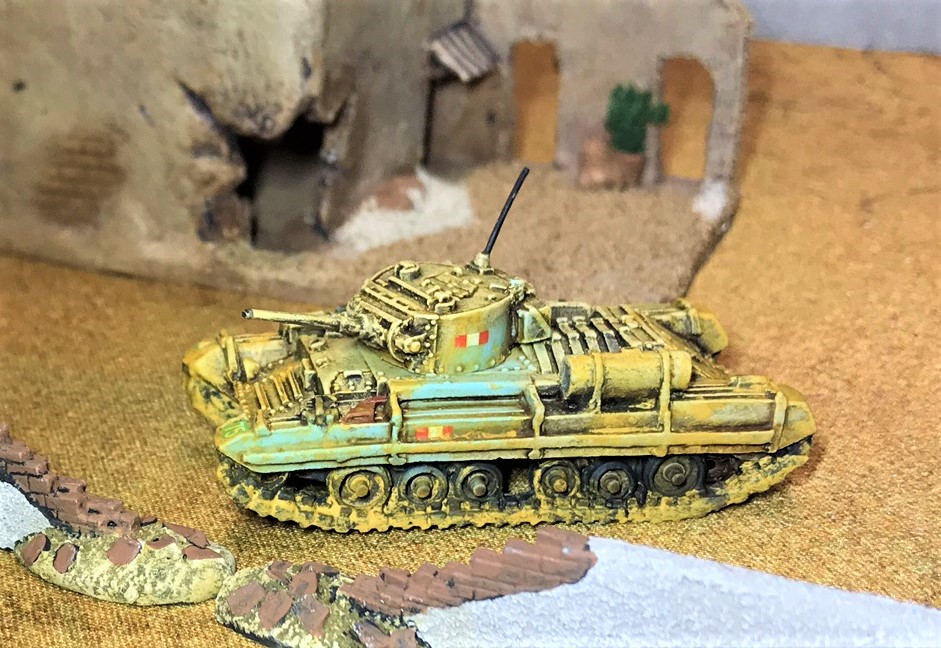
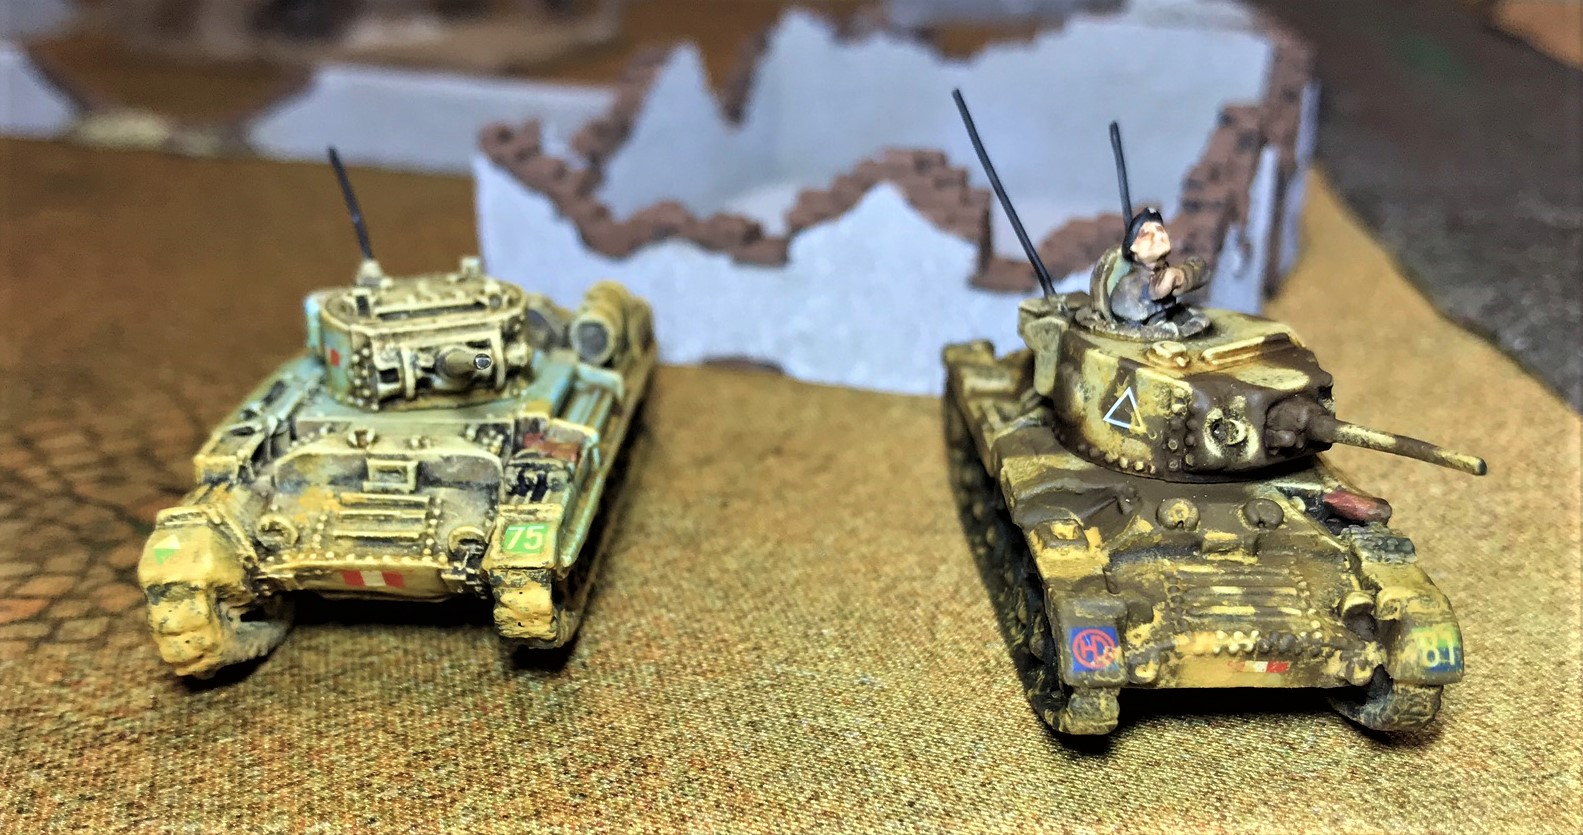
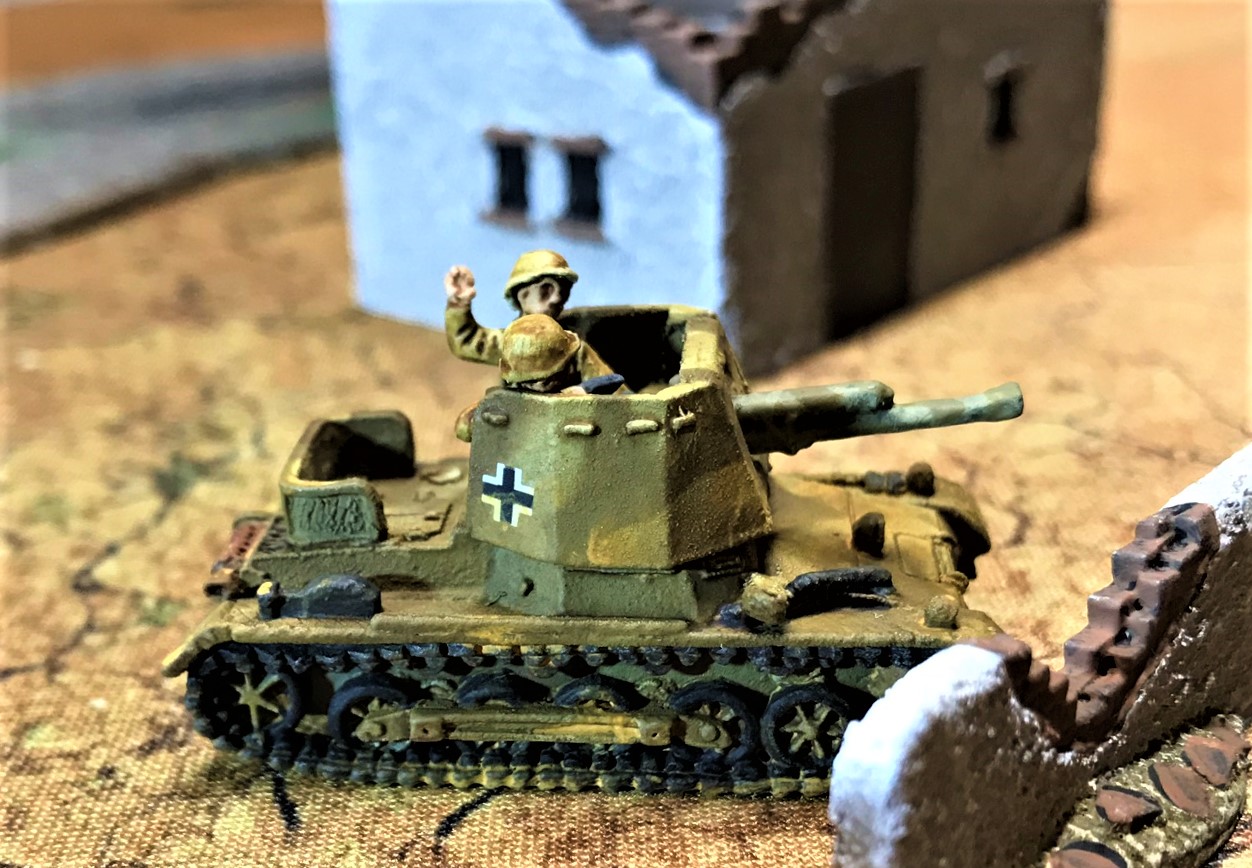
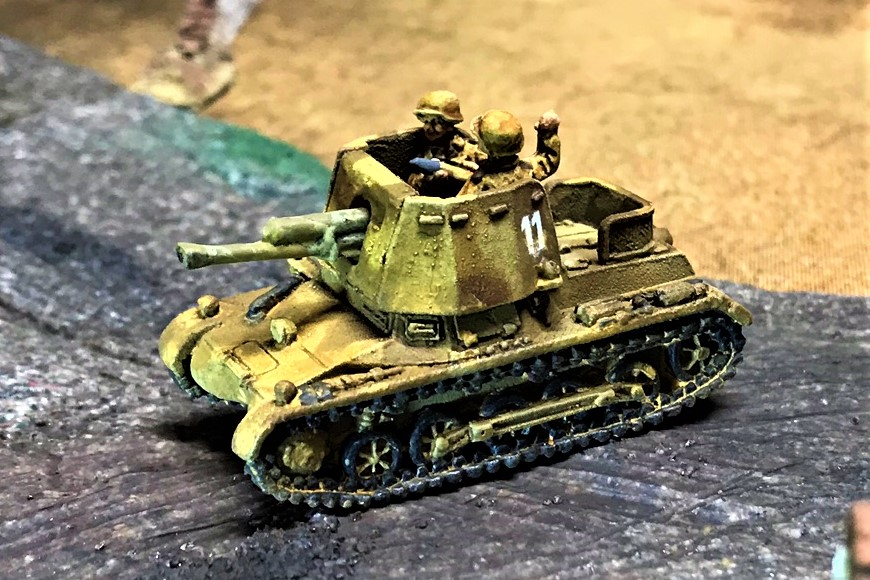
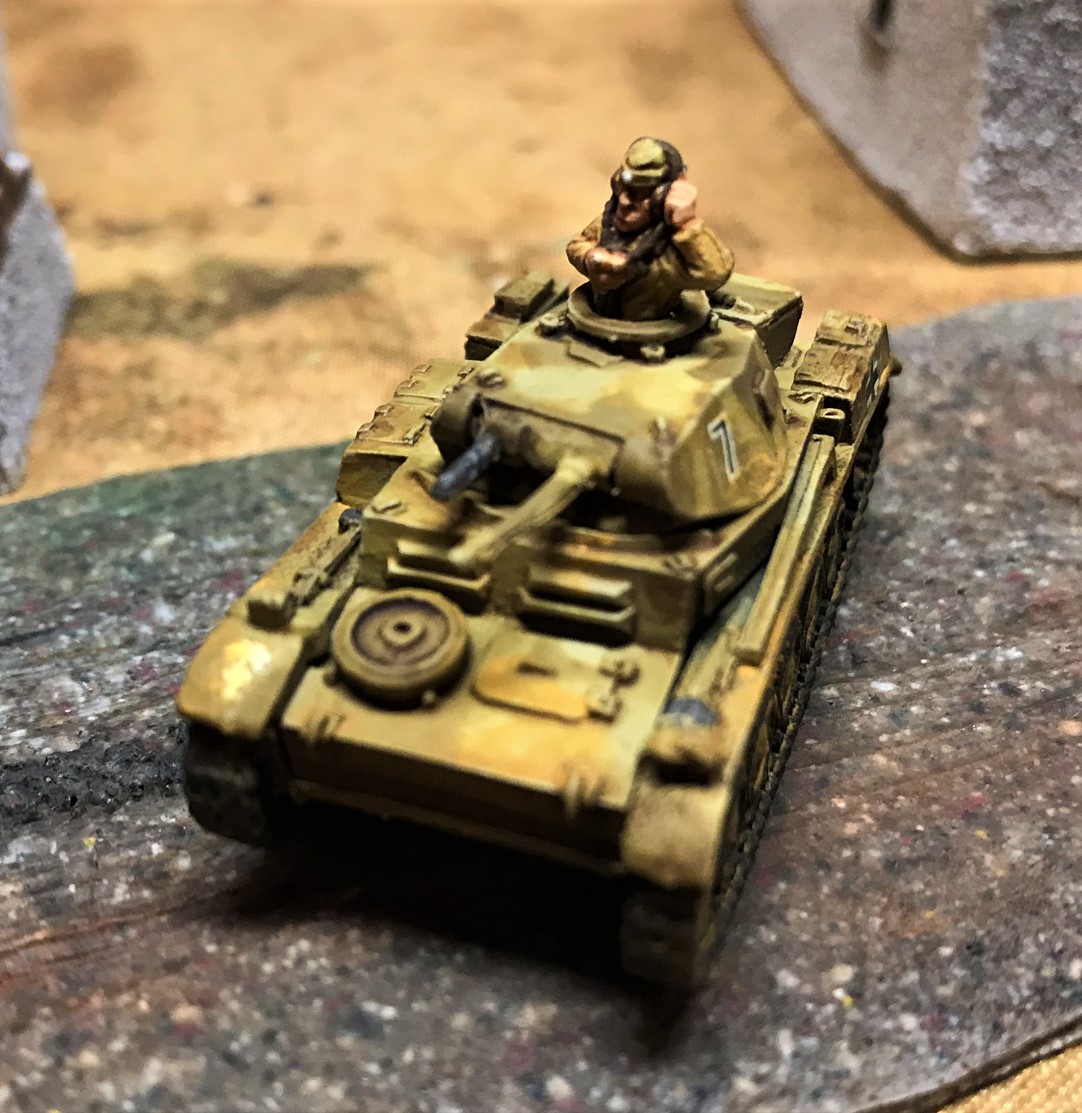
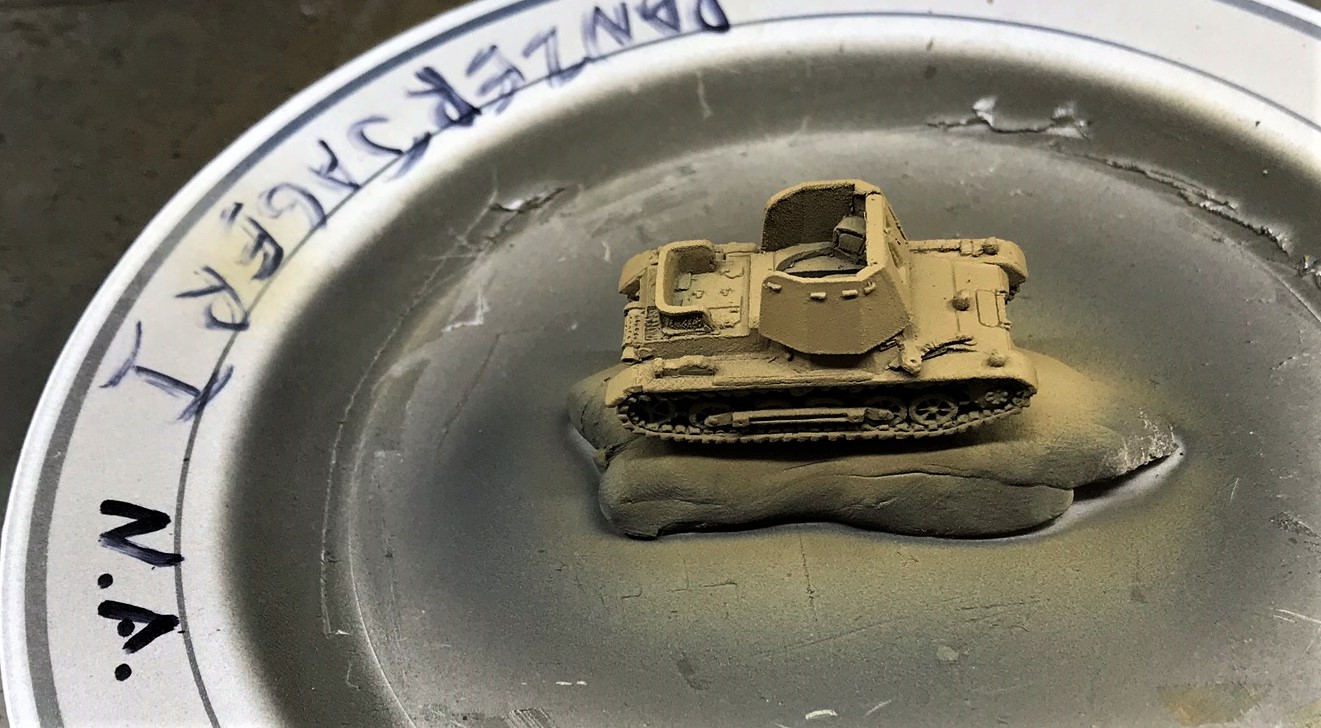 Close up of North Africa Panzer IIF
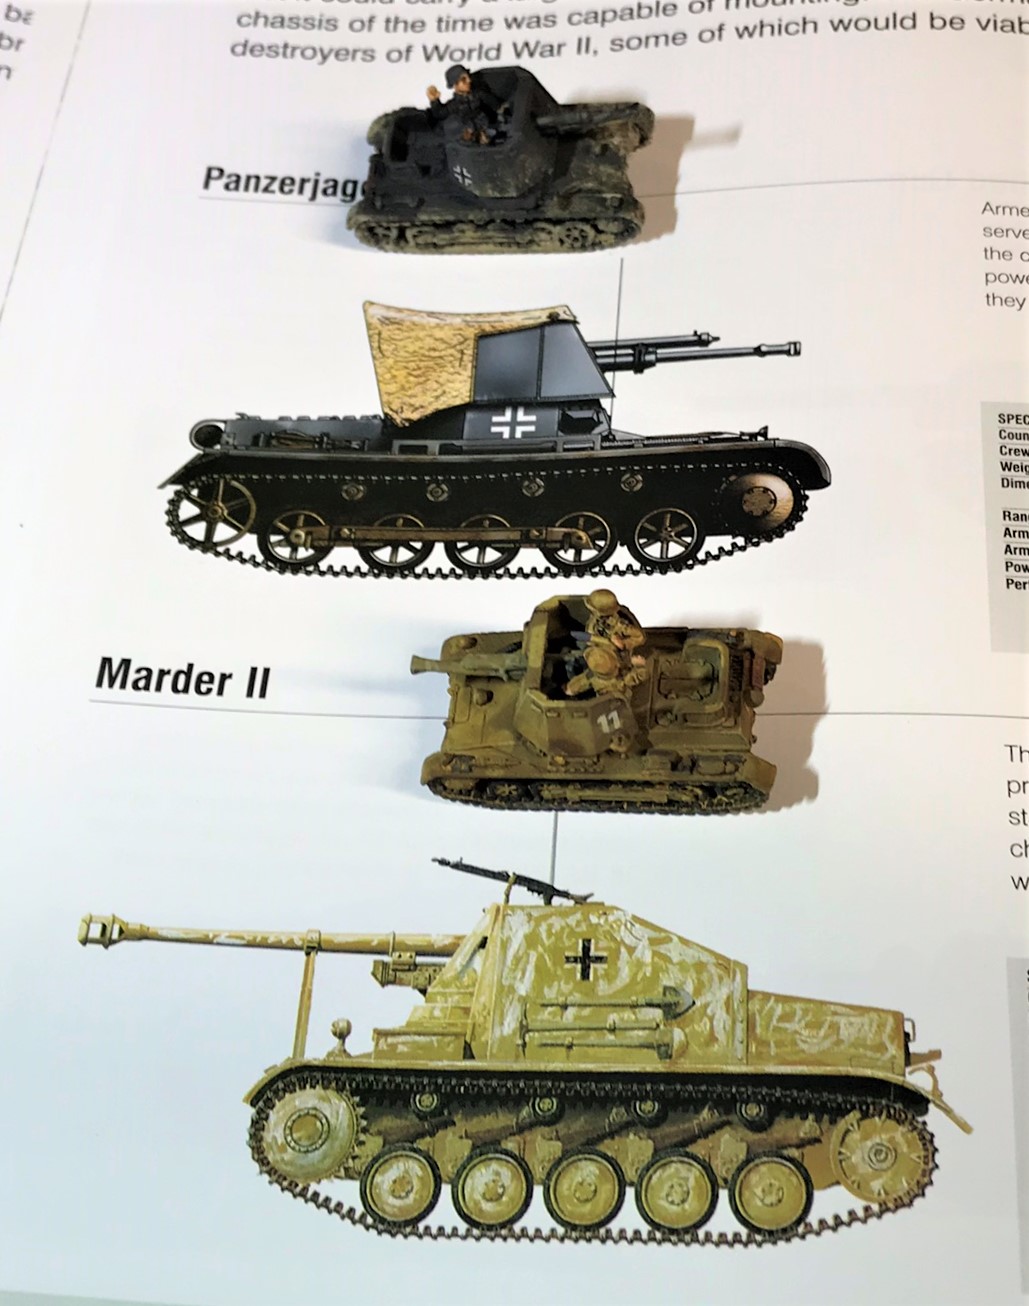
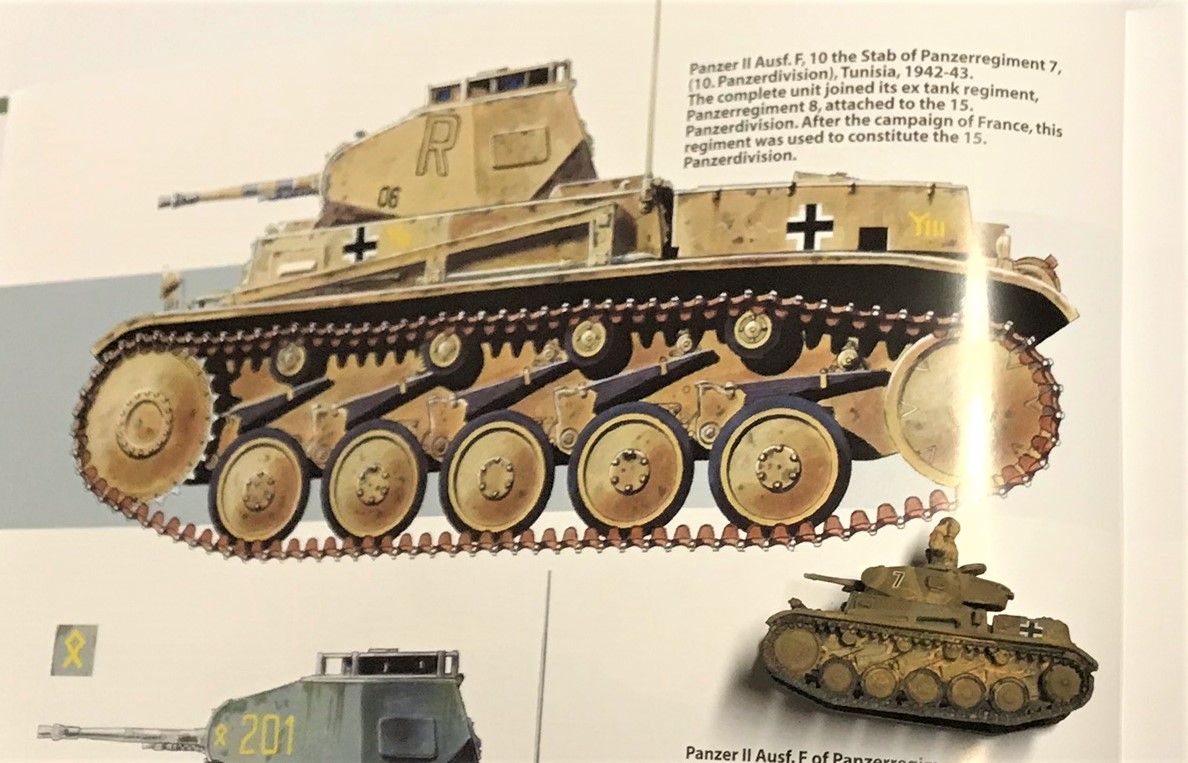
In the end, I chose a camouflage pattern for my Panzer Army Africa version similar to what you see on the Marder II image.
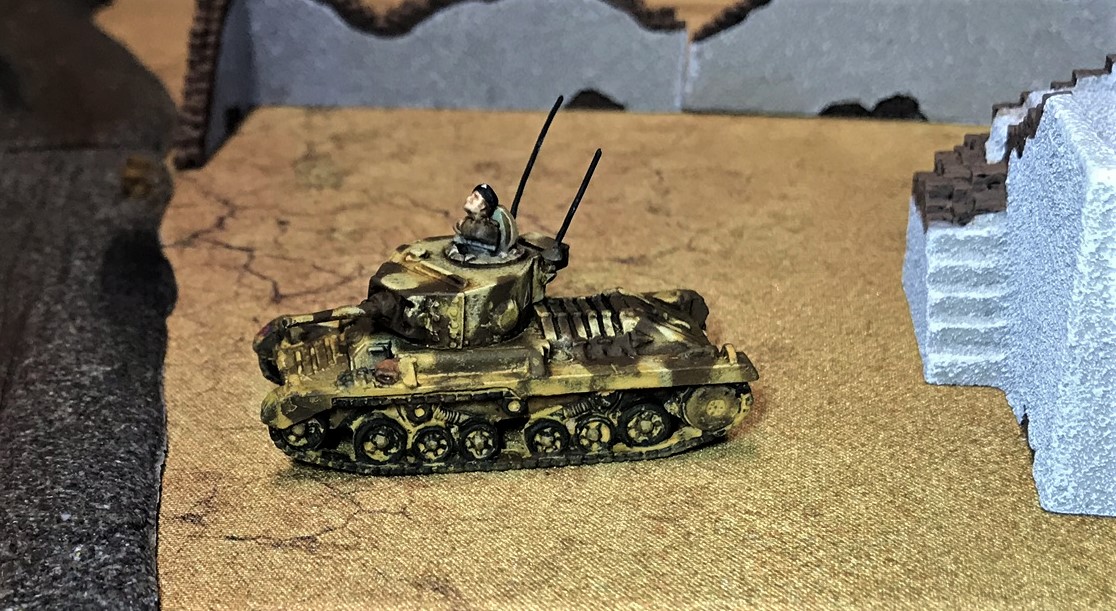
PANZER II’S
There were nine Panzer II’s!
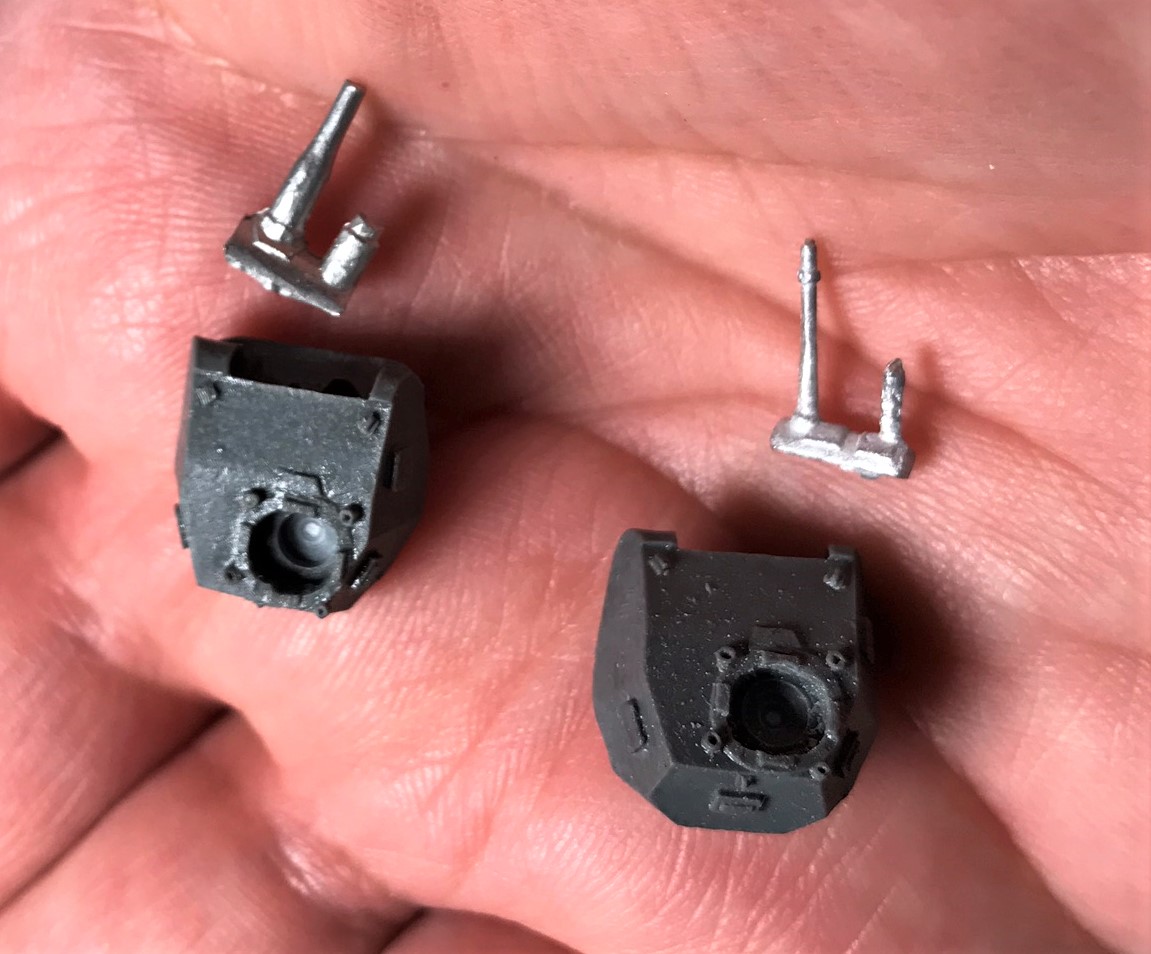
A10 gun conversion 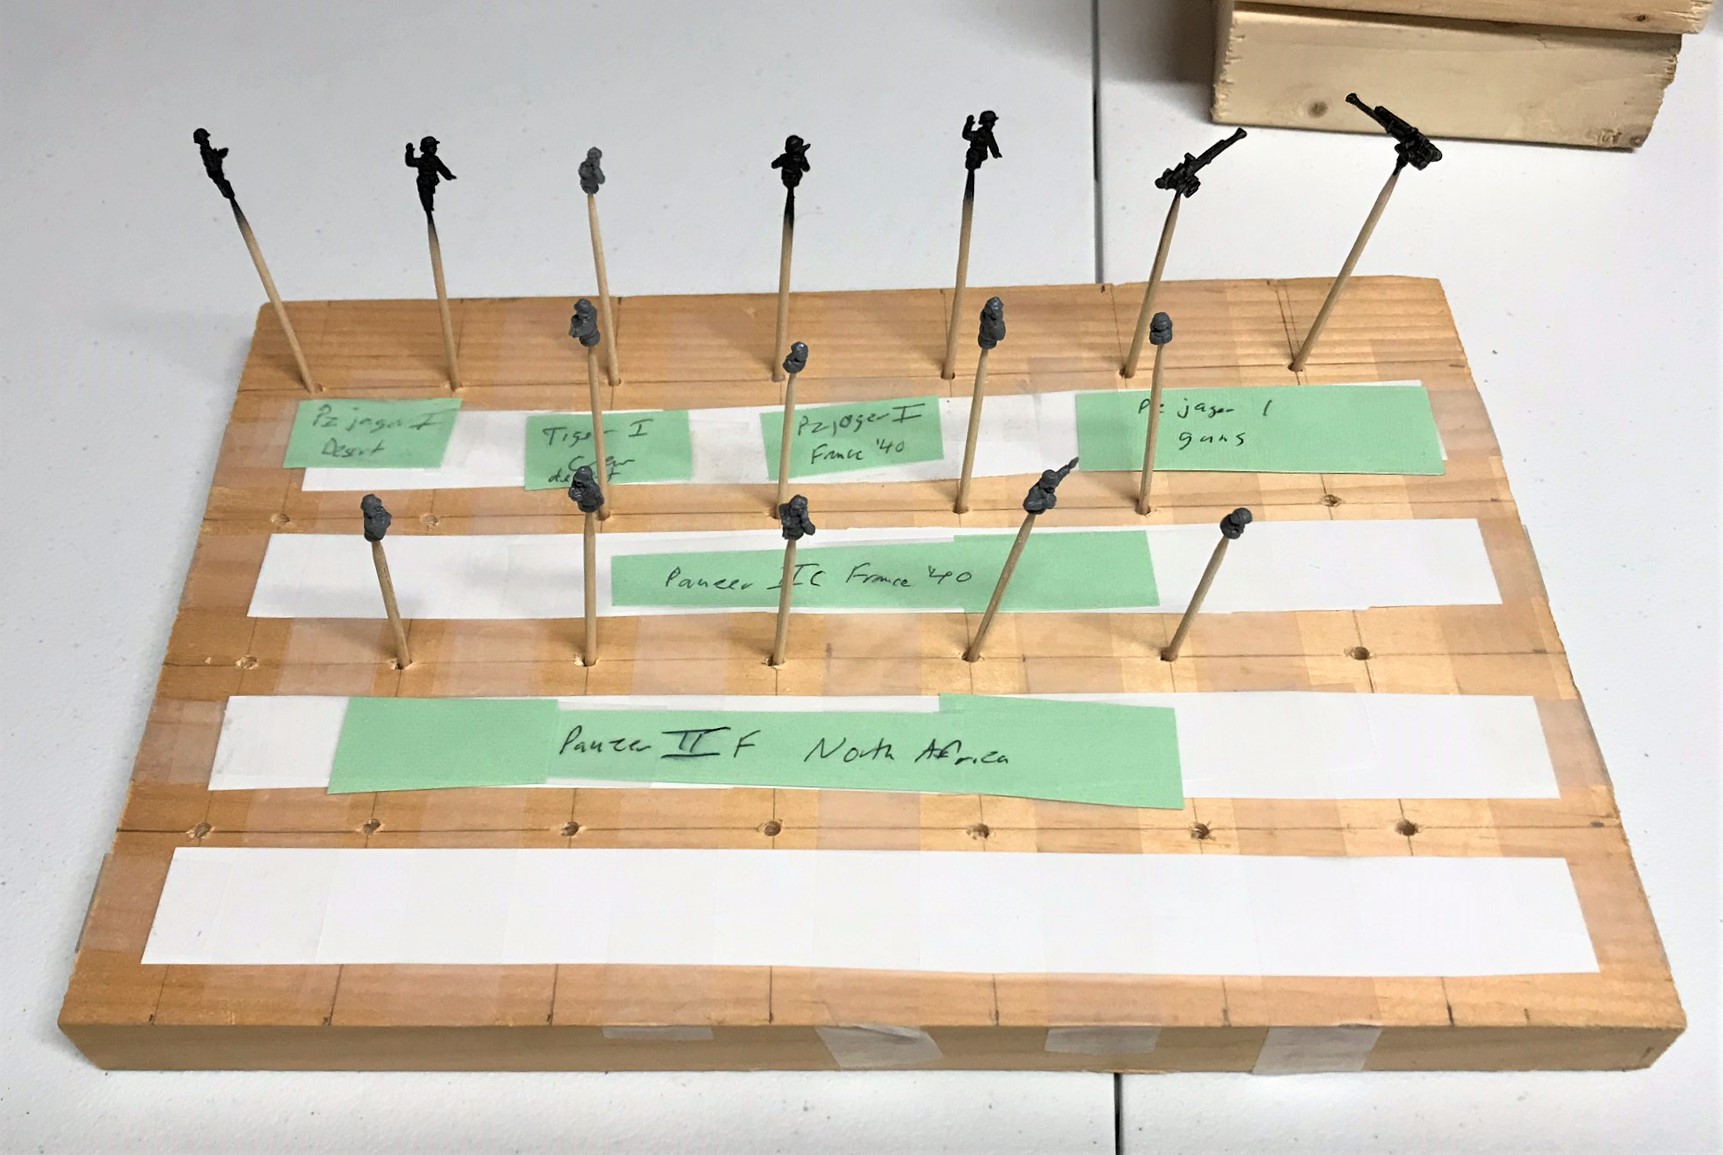
How to paint a bunch of crews!
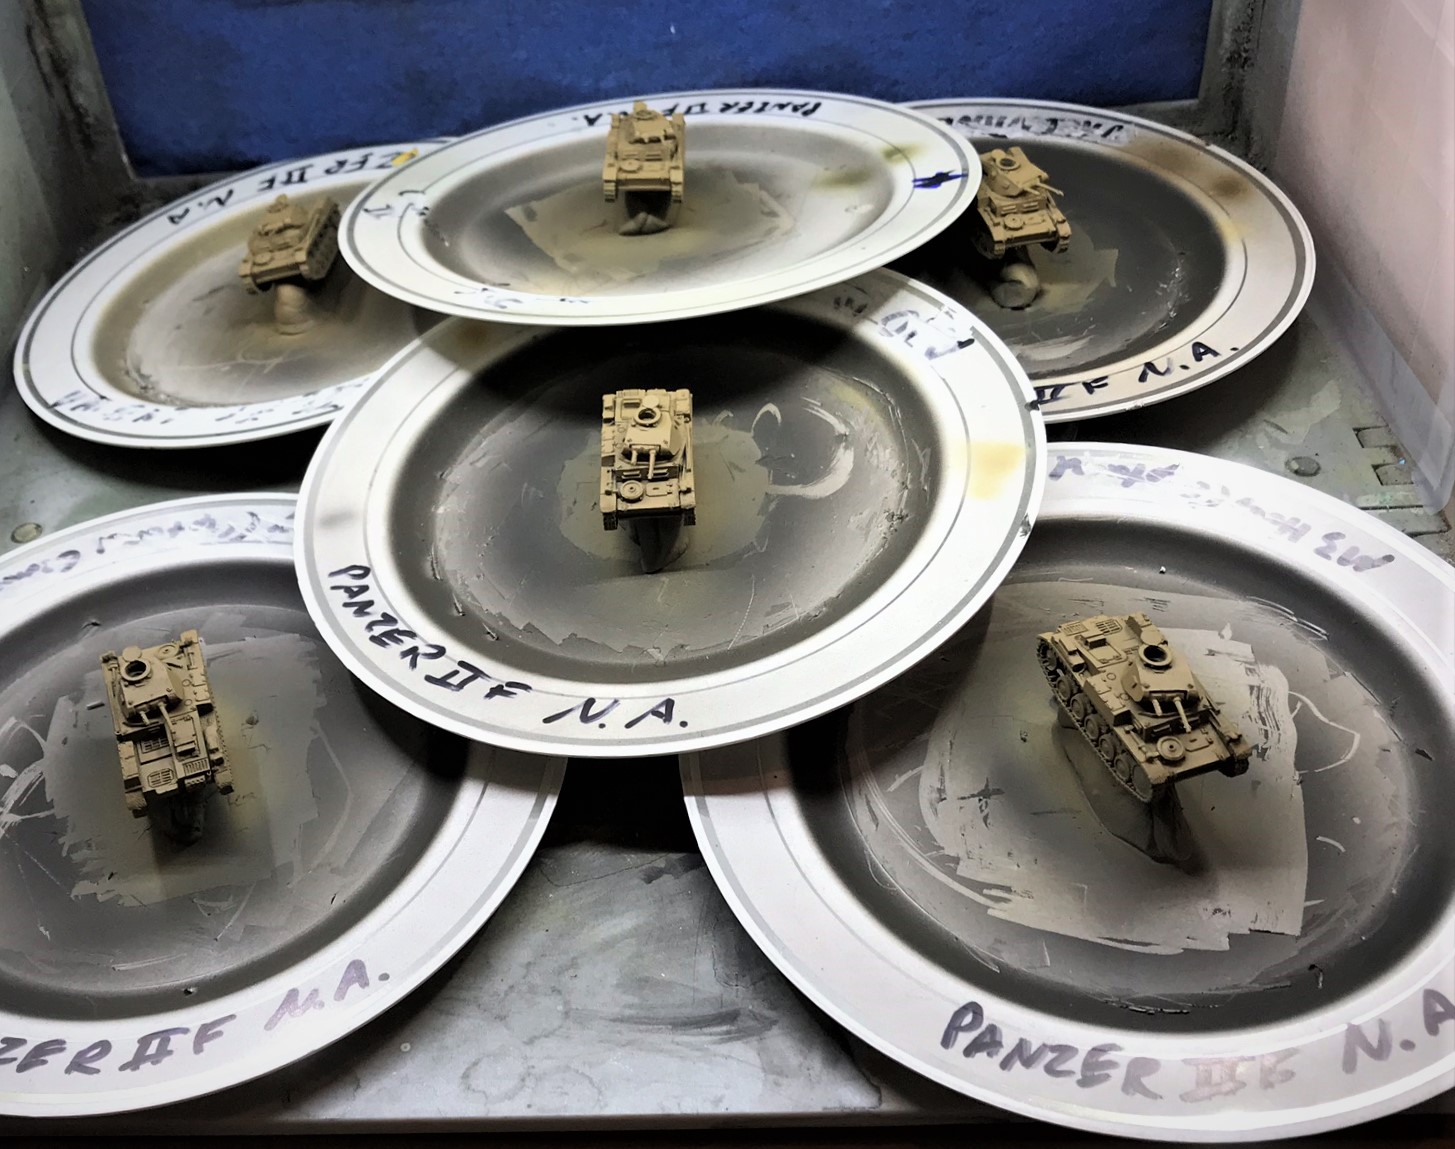
In the spray booth – 6 Panzer IIF’s. 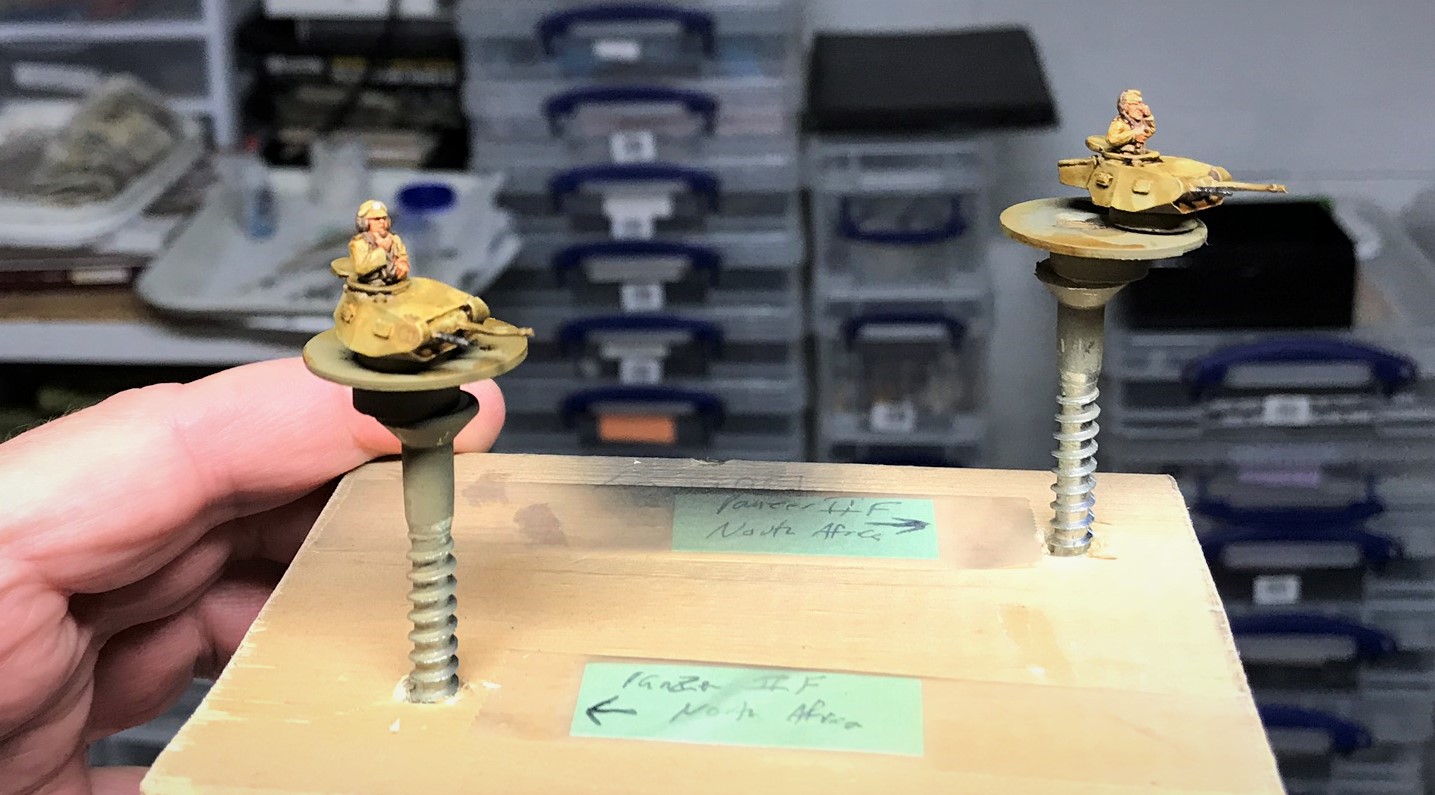
Close up of crews in turrets.
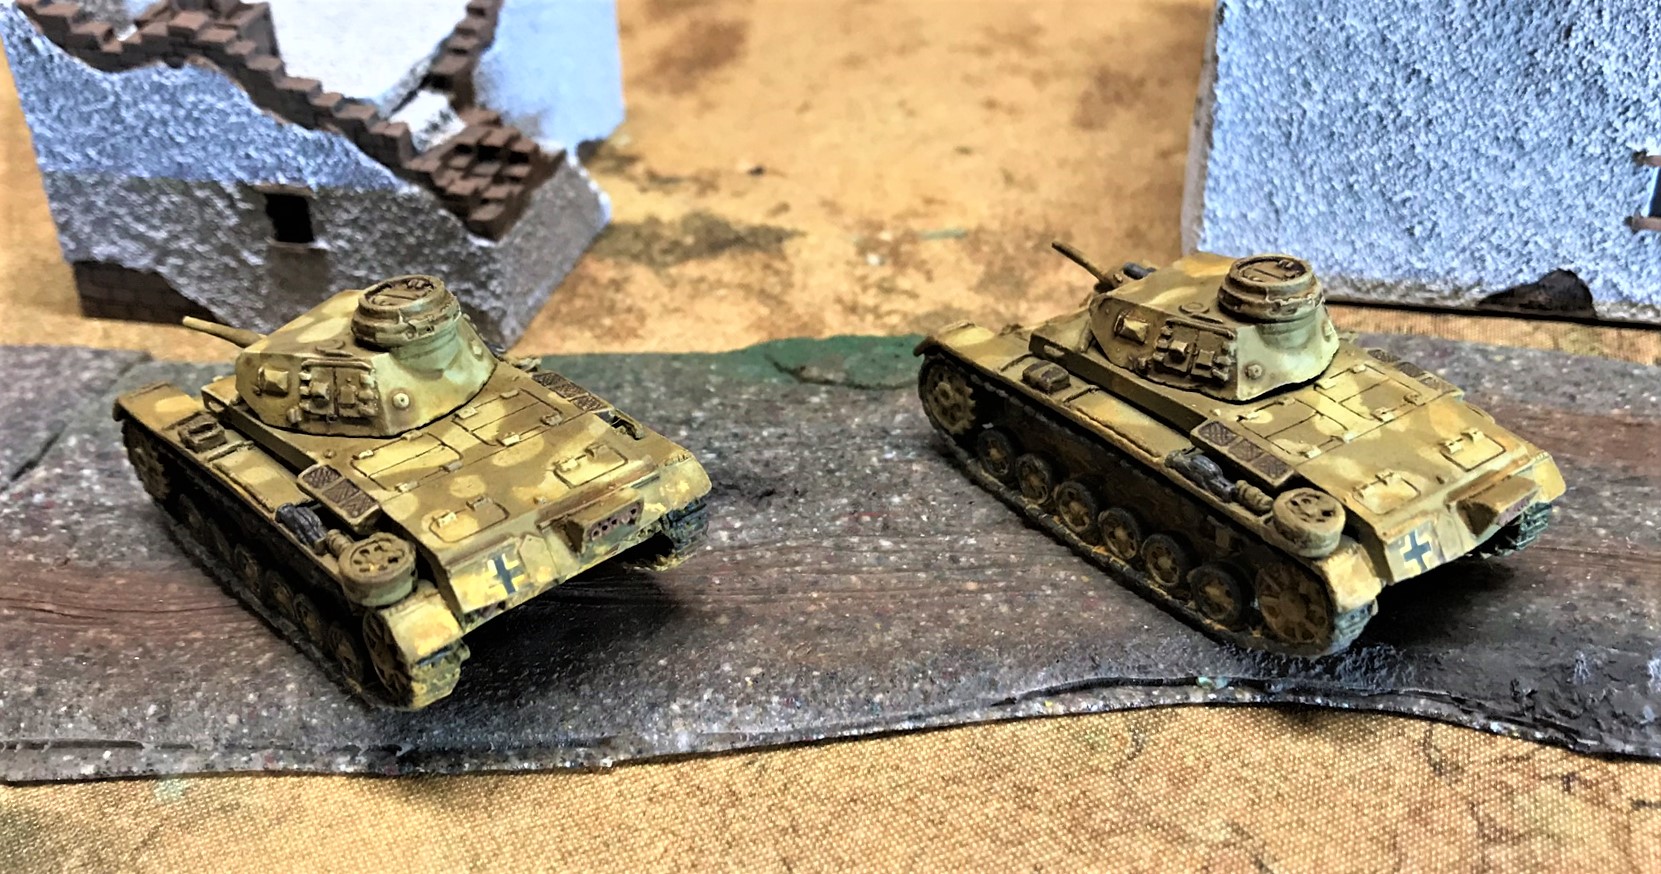
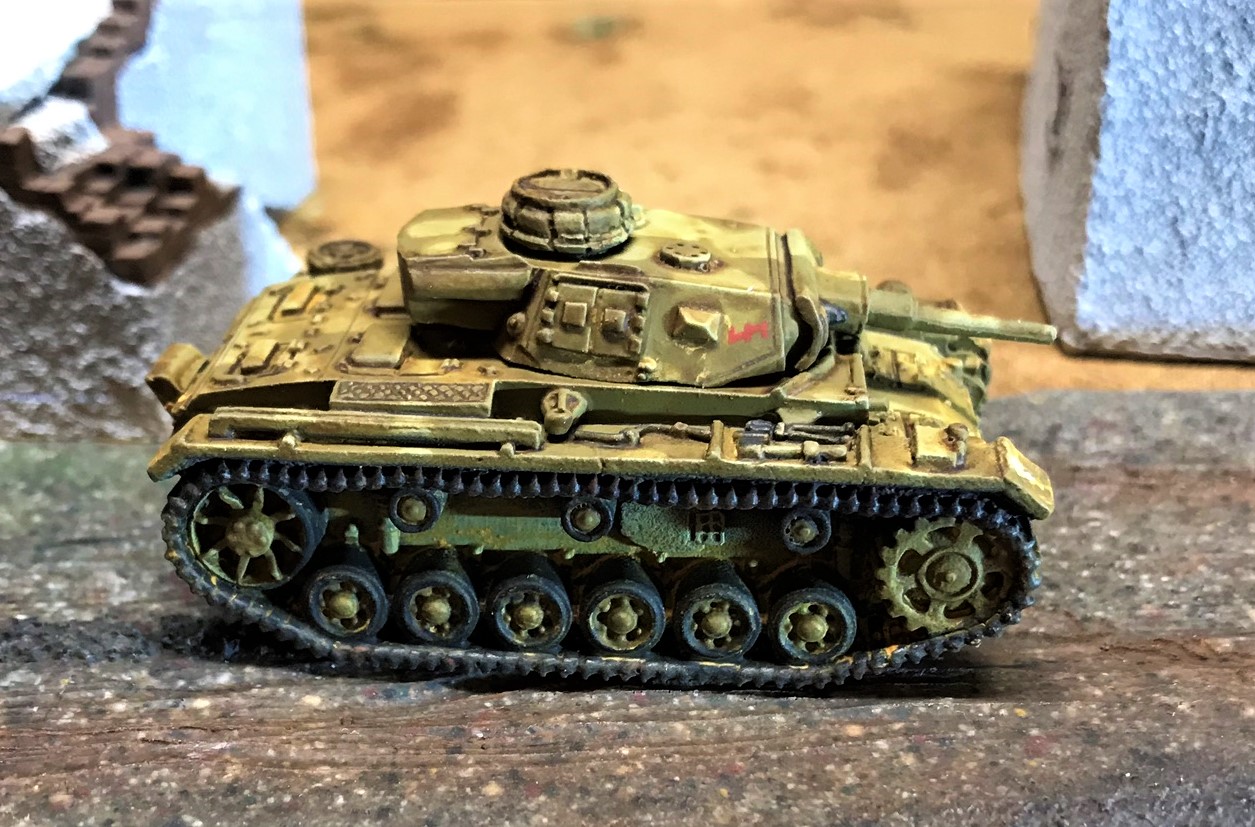
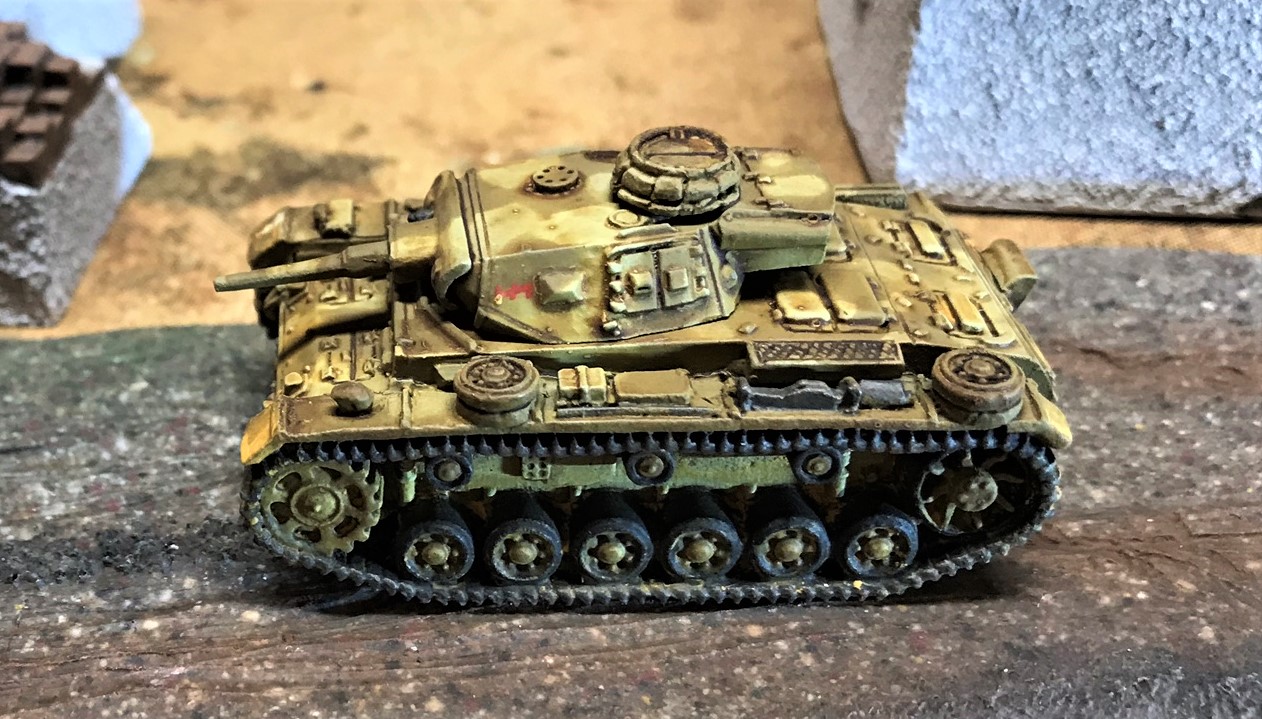
PANZER IIIE’S
I had two unpainted Panzer IIIE’s left over from France 1940. They were not easy to put decals on – so that was minimal.
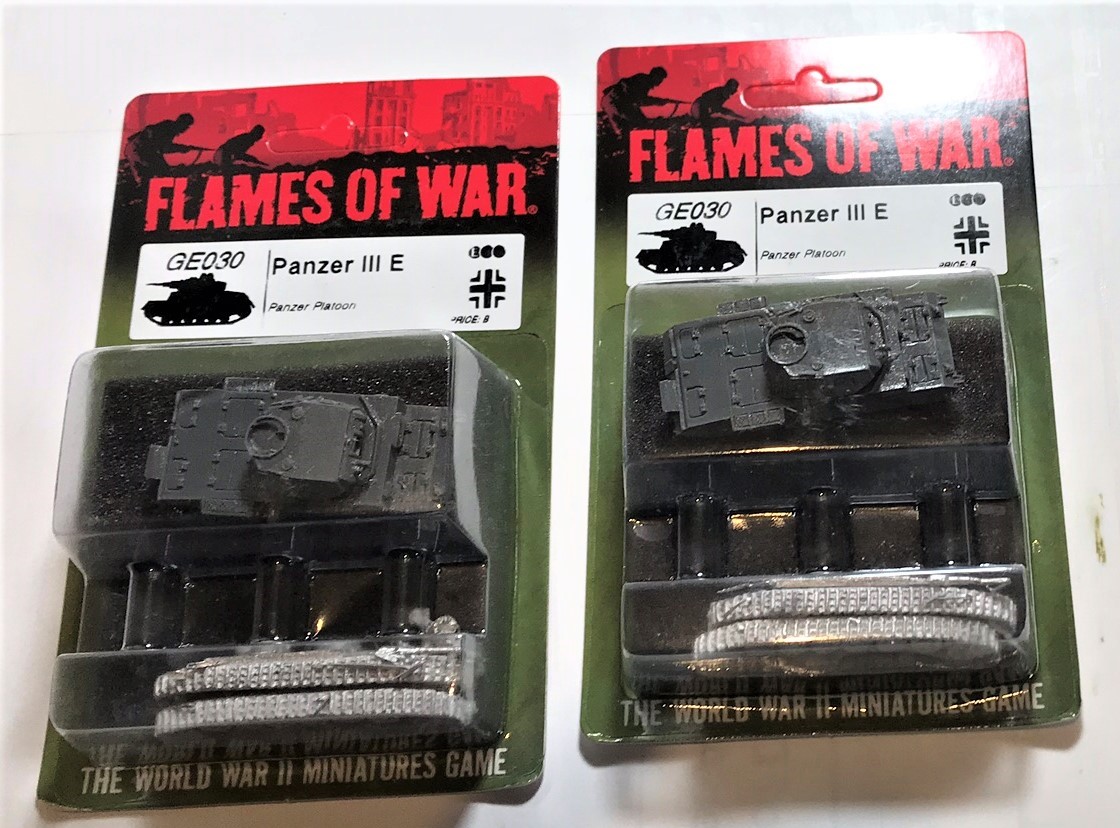
Panzer IIIE in blister 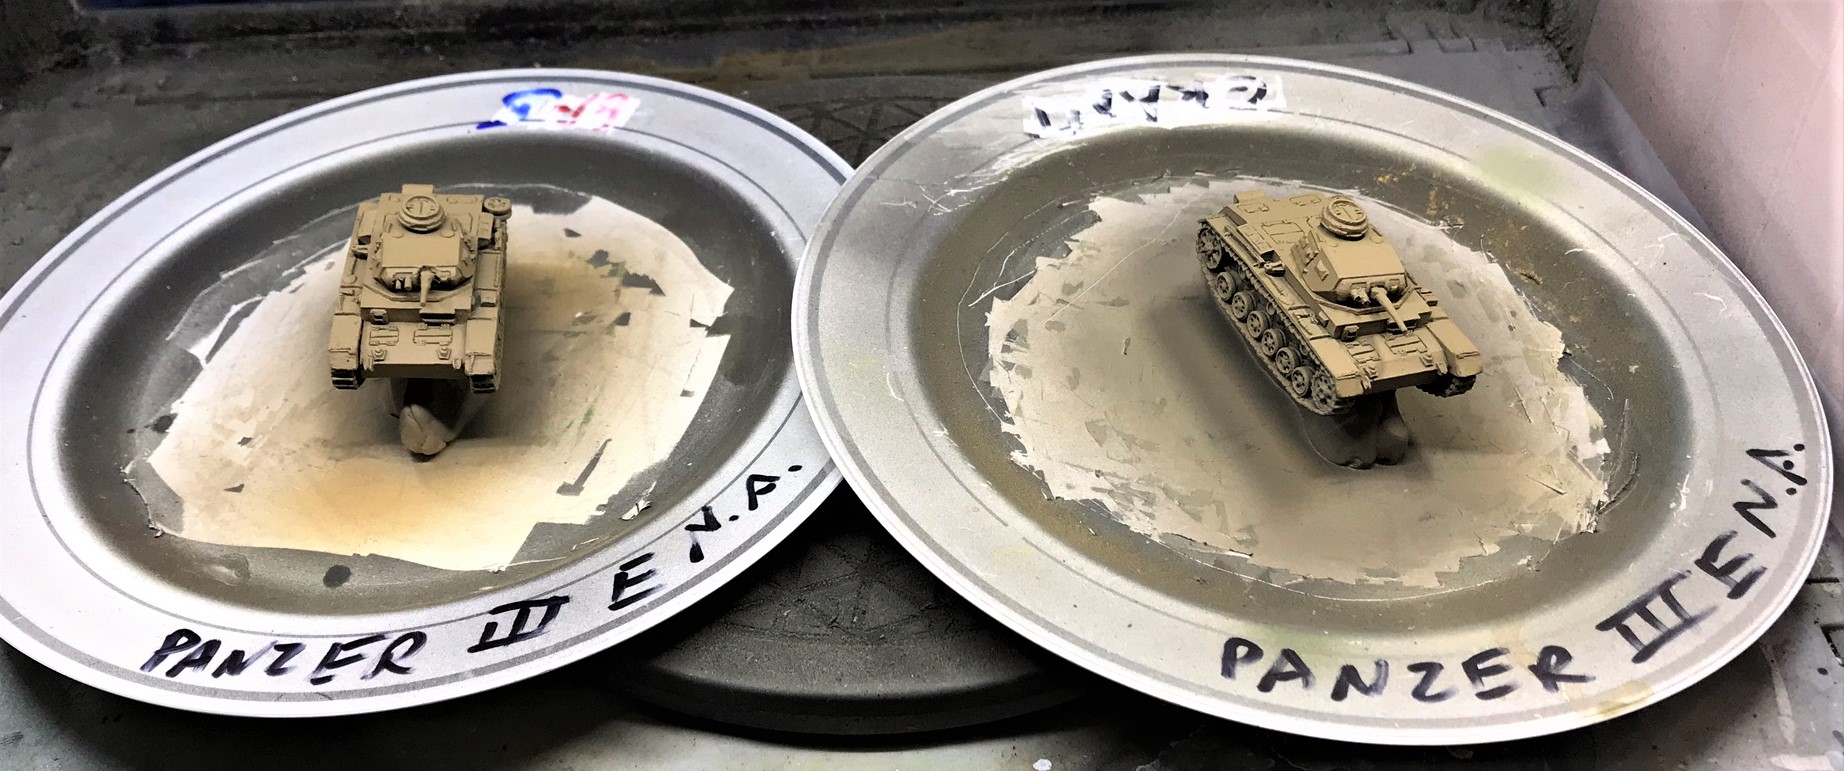
Base coat applied
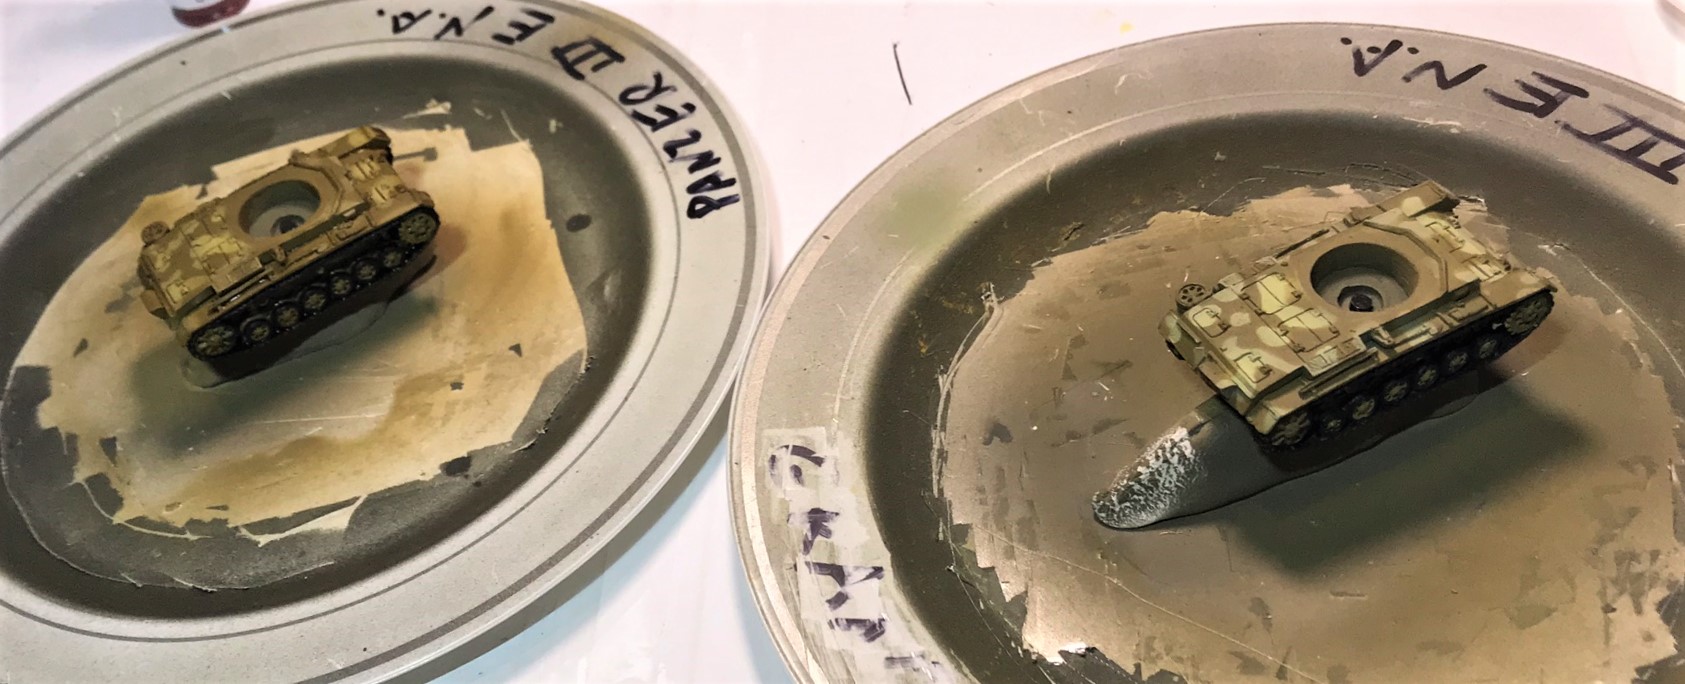
After camouflage applied. 
Close up of camouflage.
PANZER IIIH
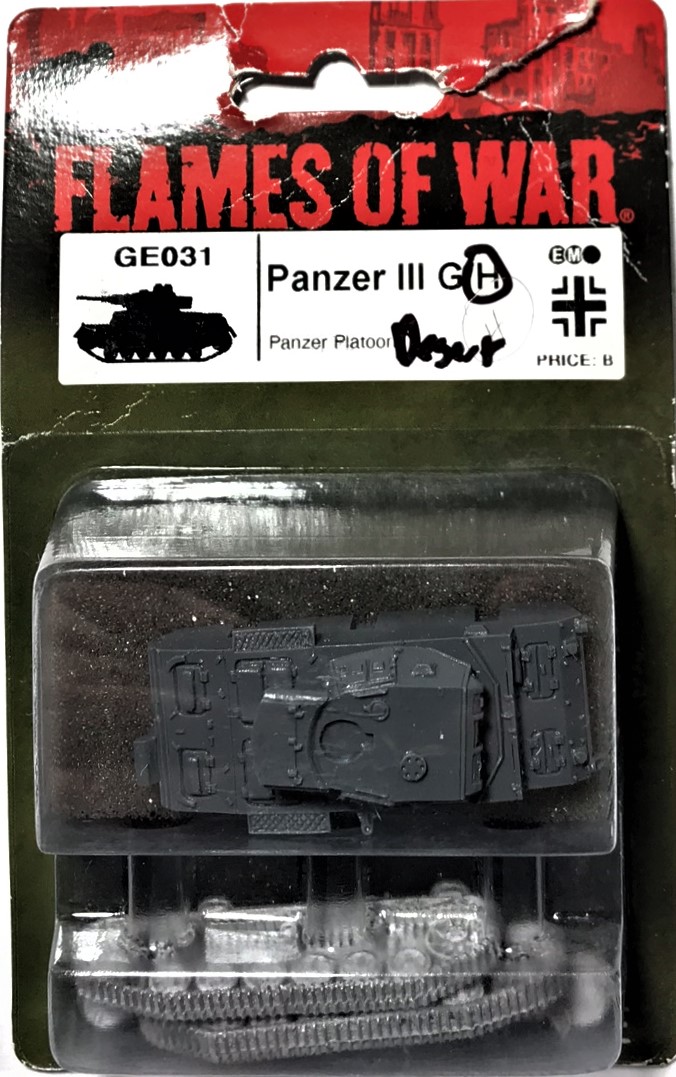
Panzer IIIH in blister. 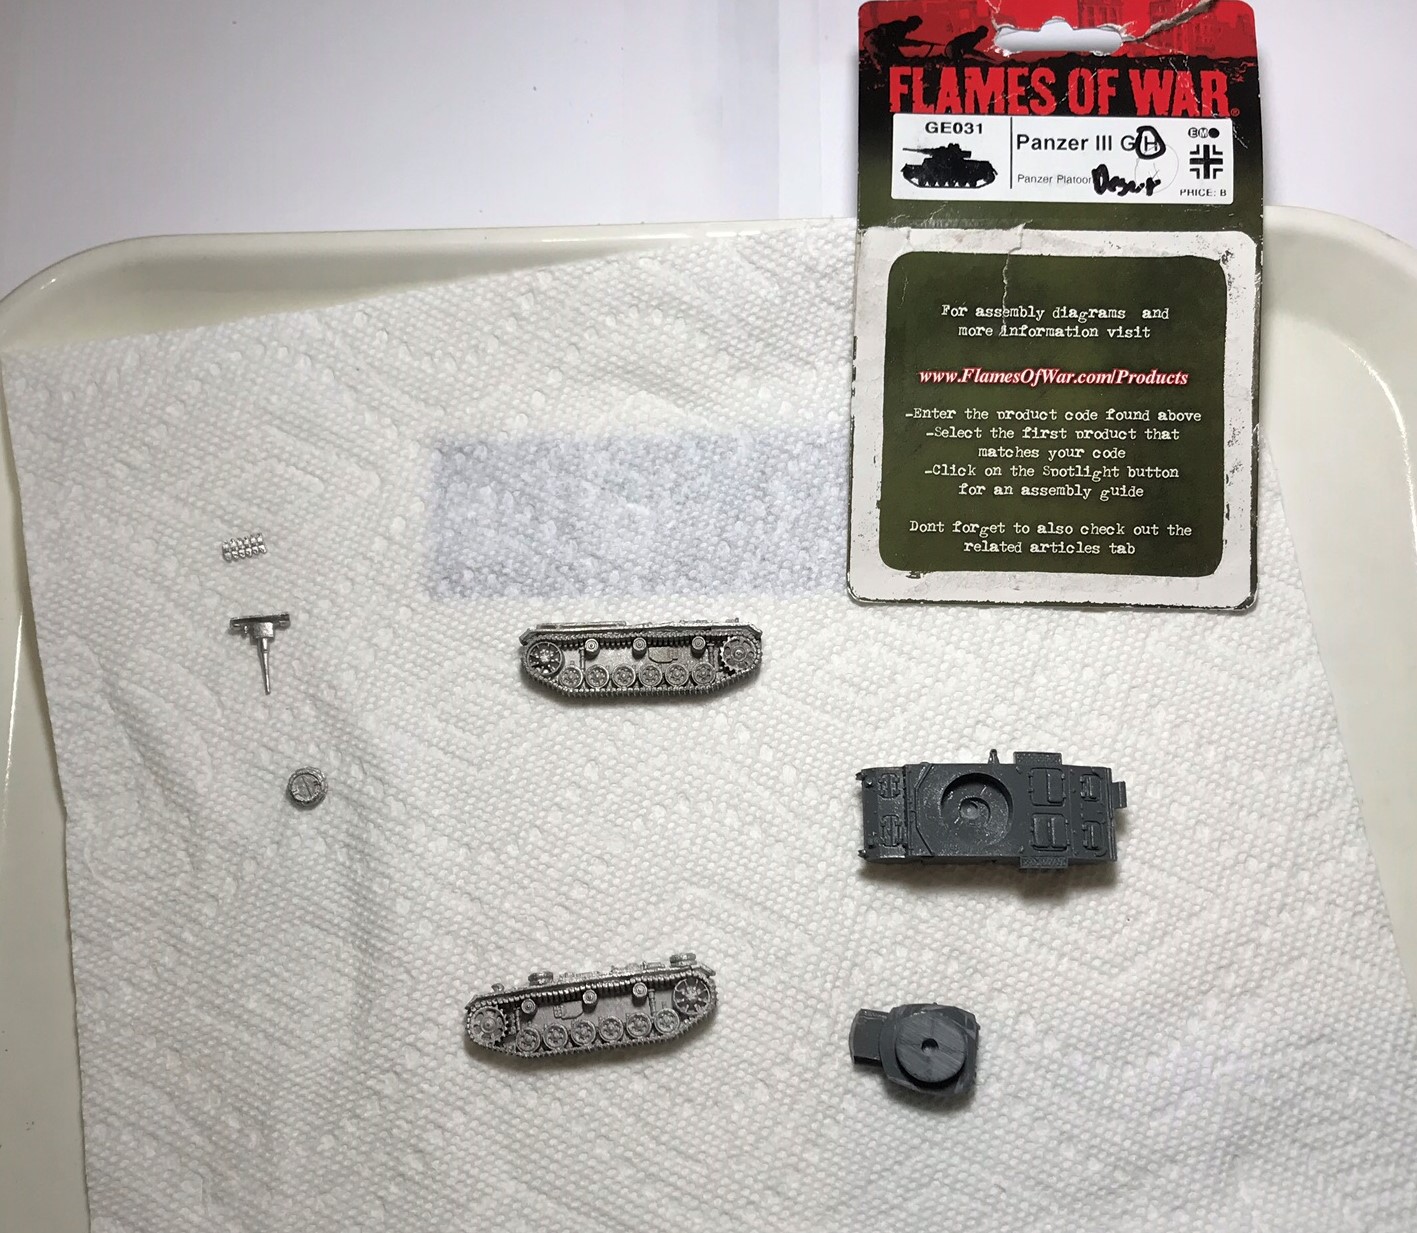
All cleaned up for assembly.
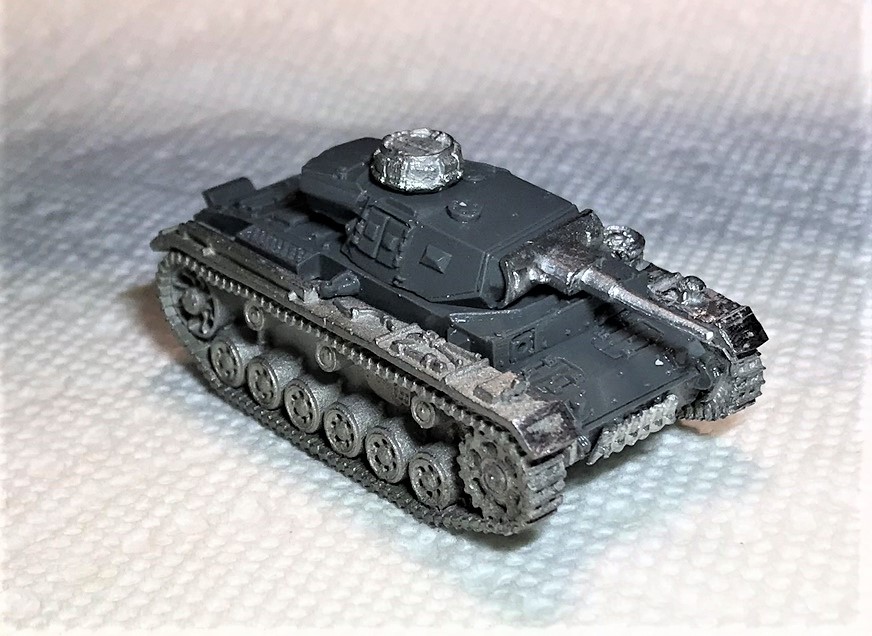
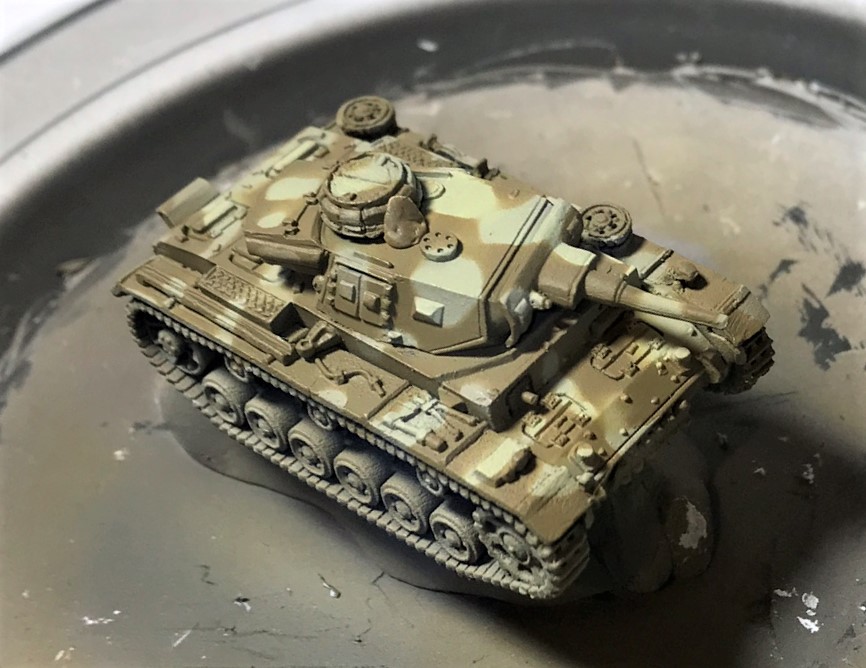
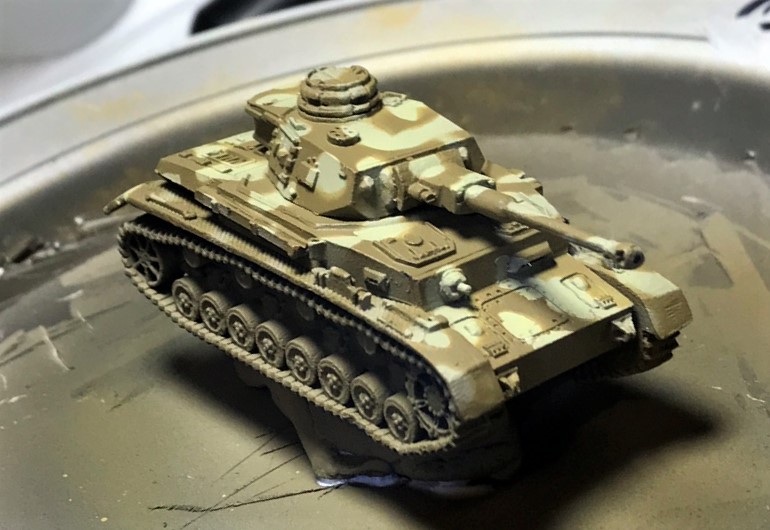
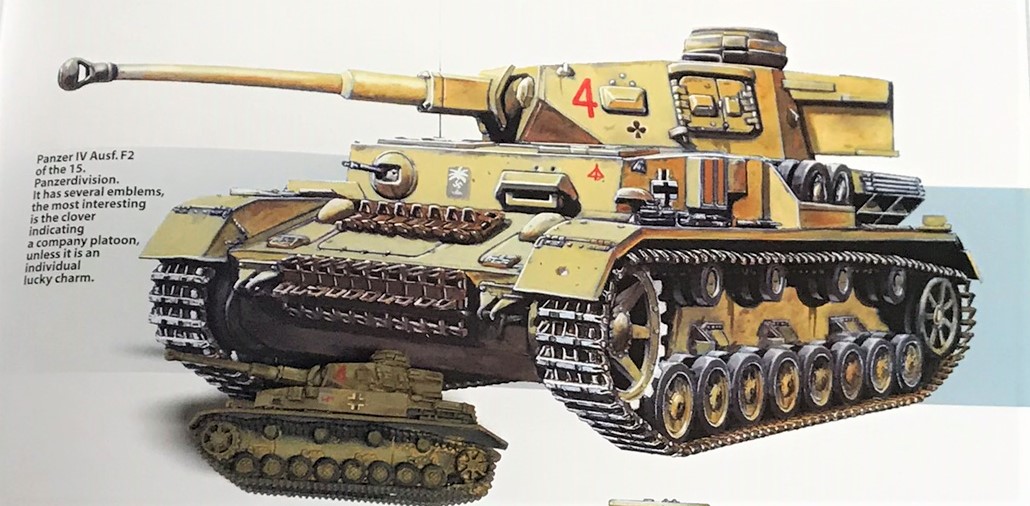
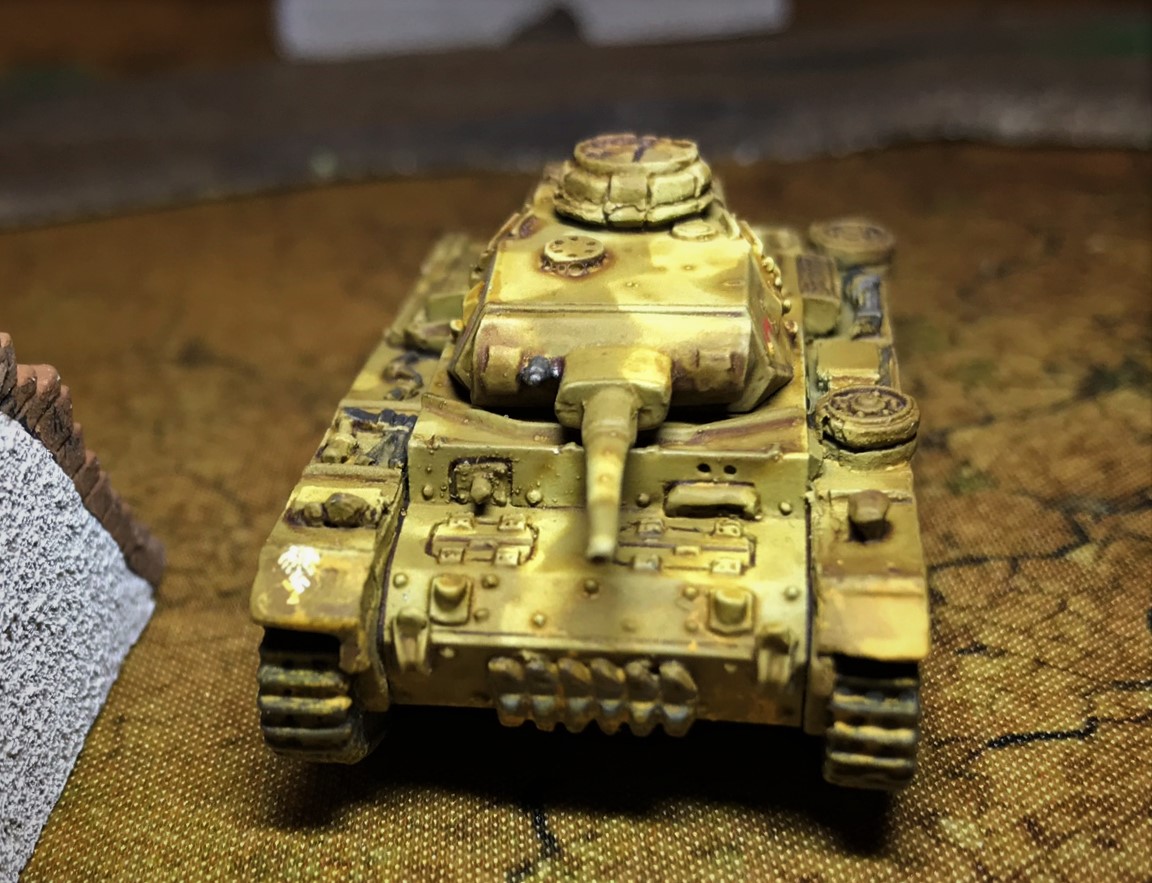
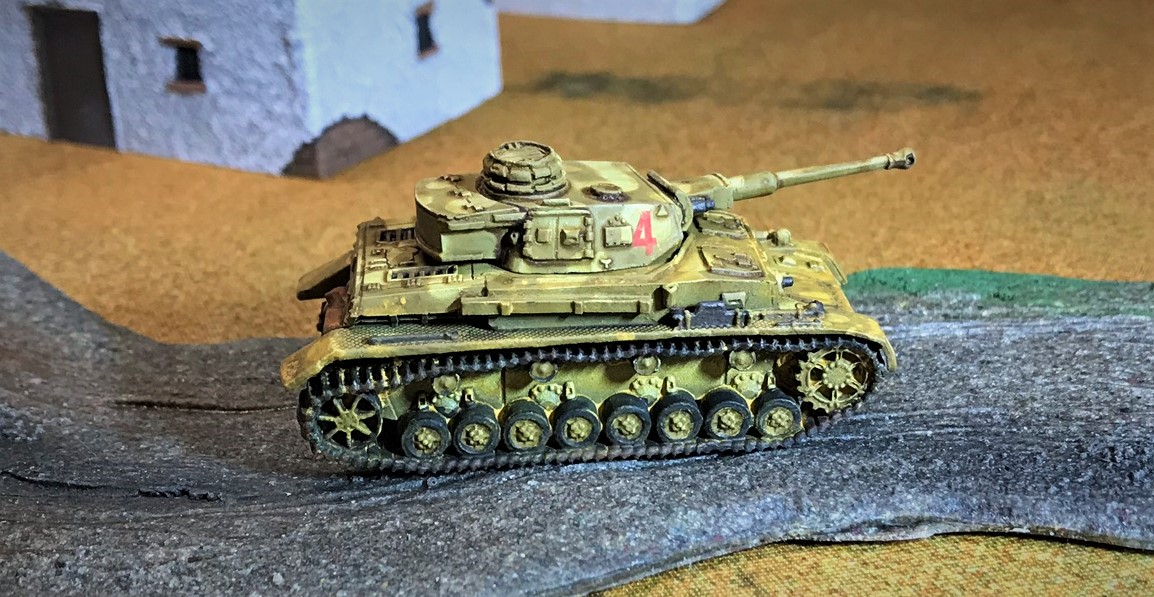
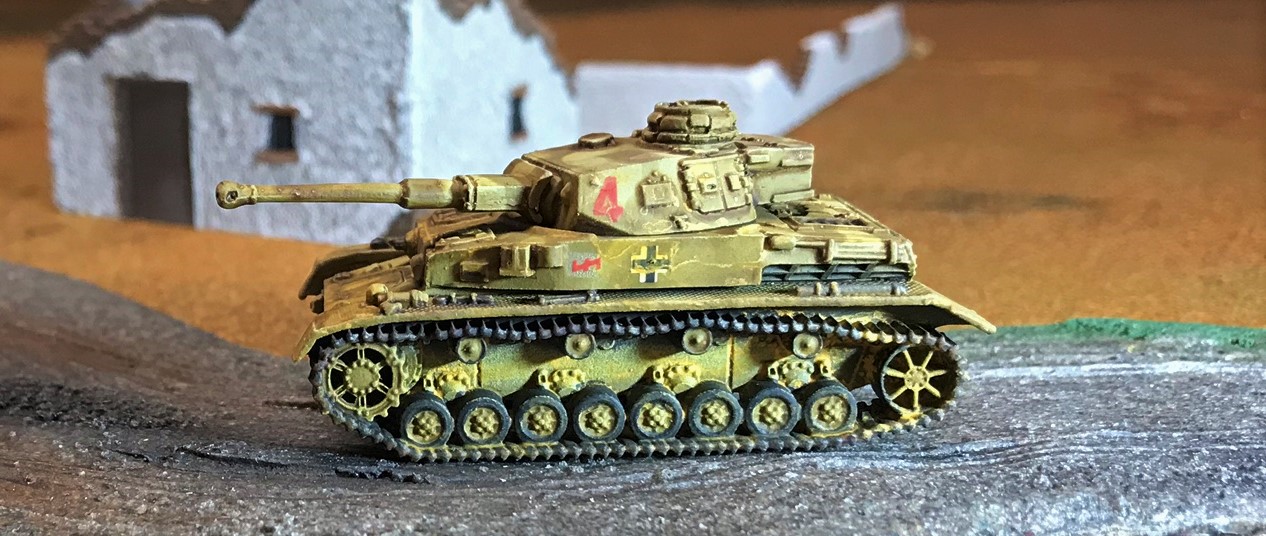
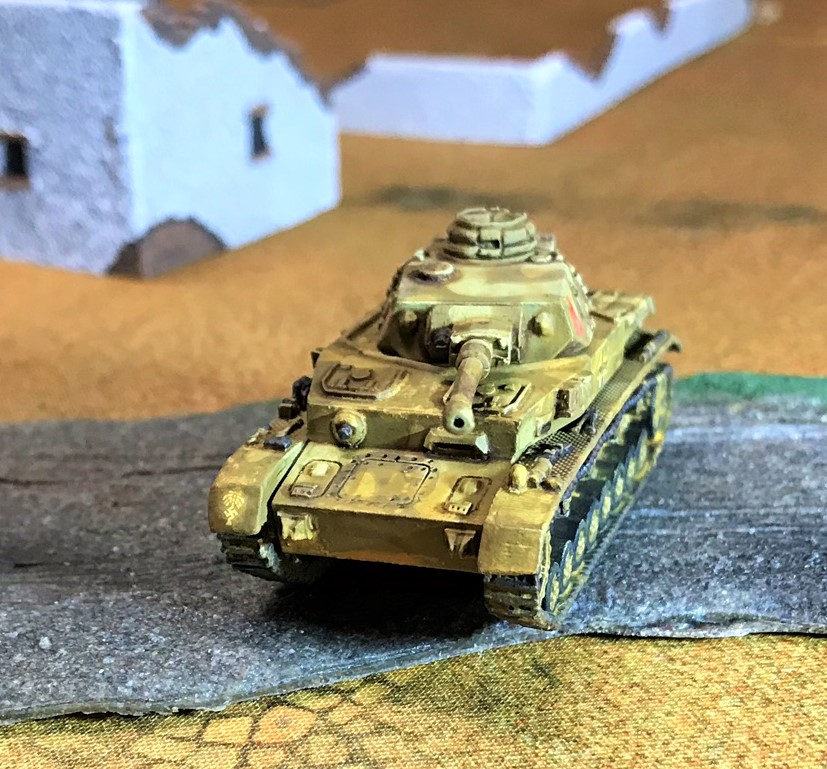
PANZER IVF2
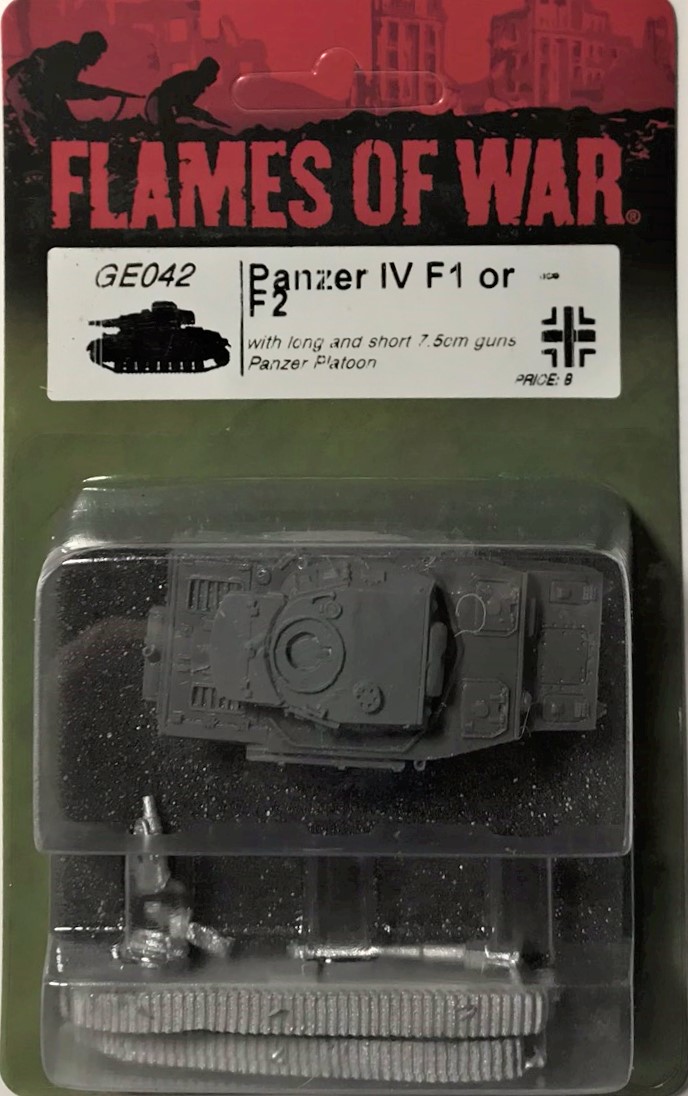
Panzer IVF2 in blister 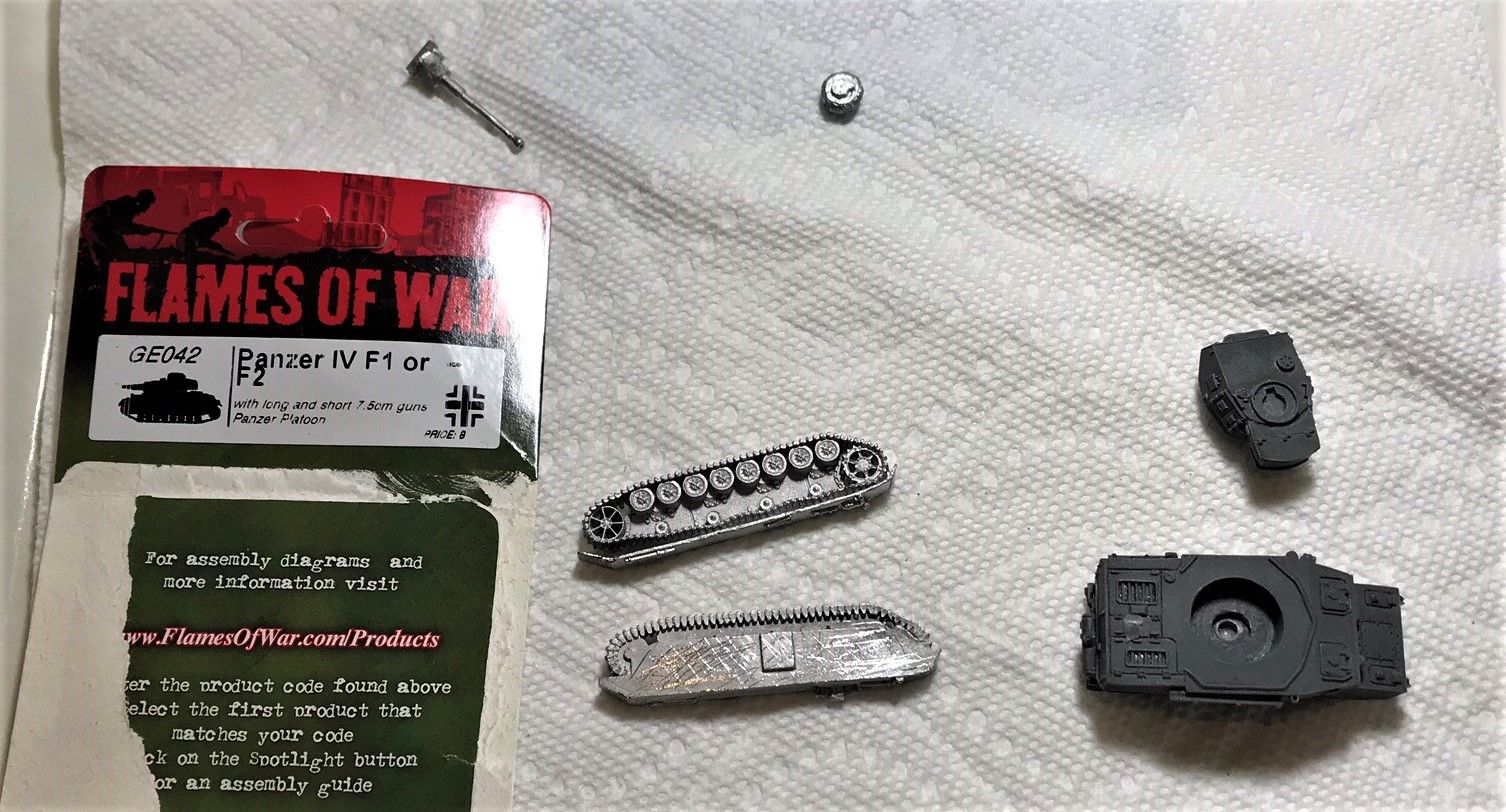
All cleaned up, ready for assembly 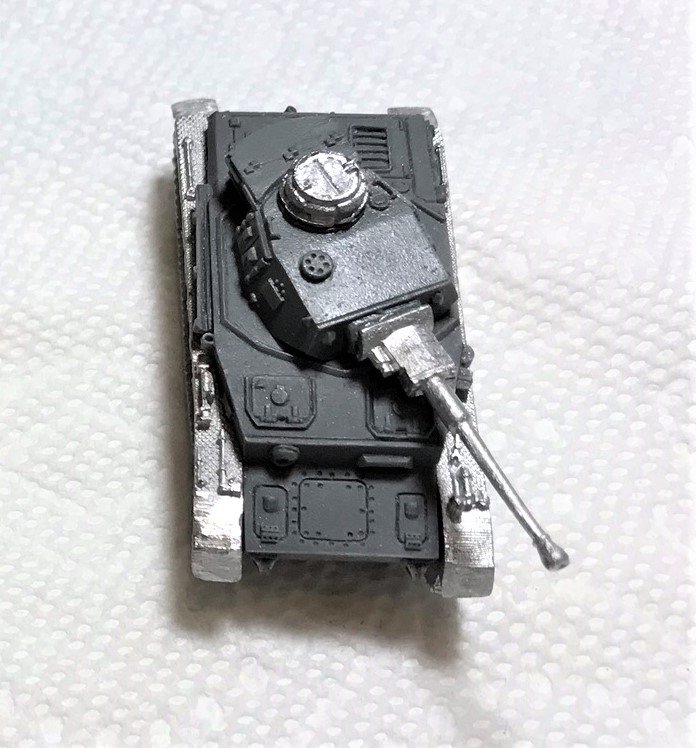
Assembled!
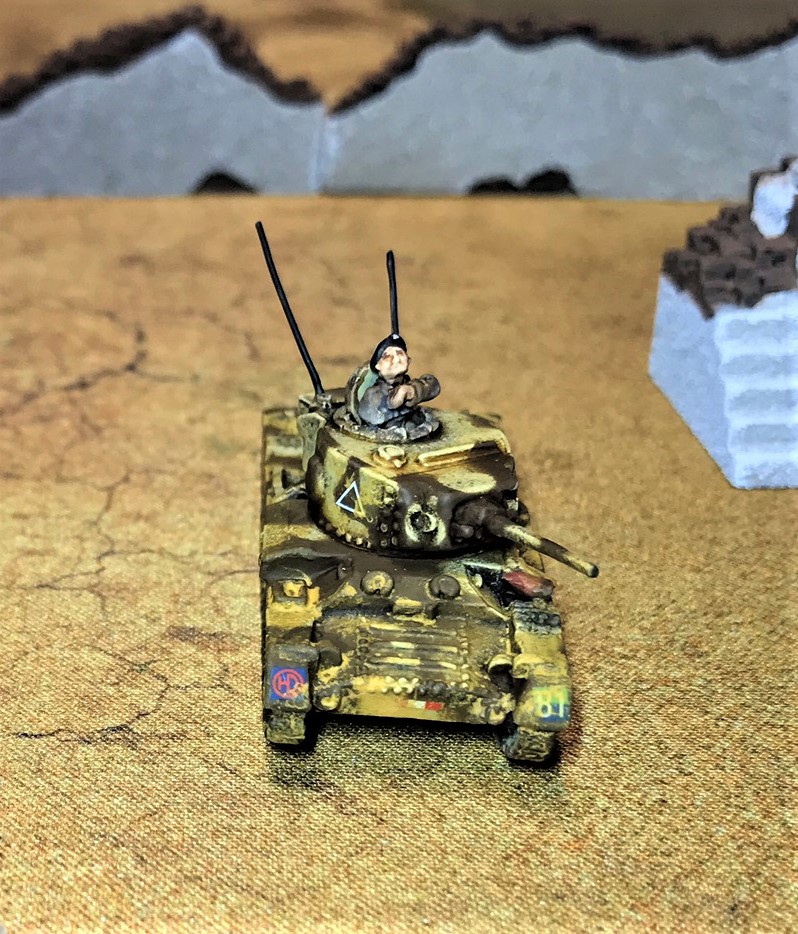
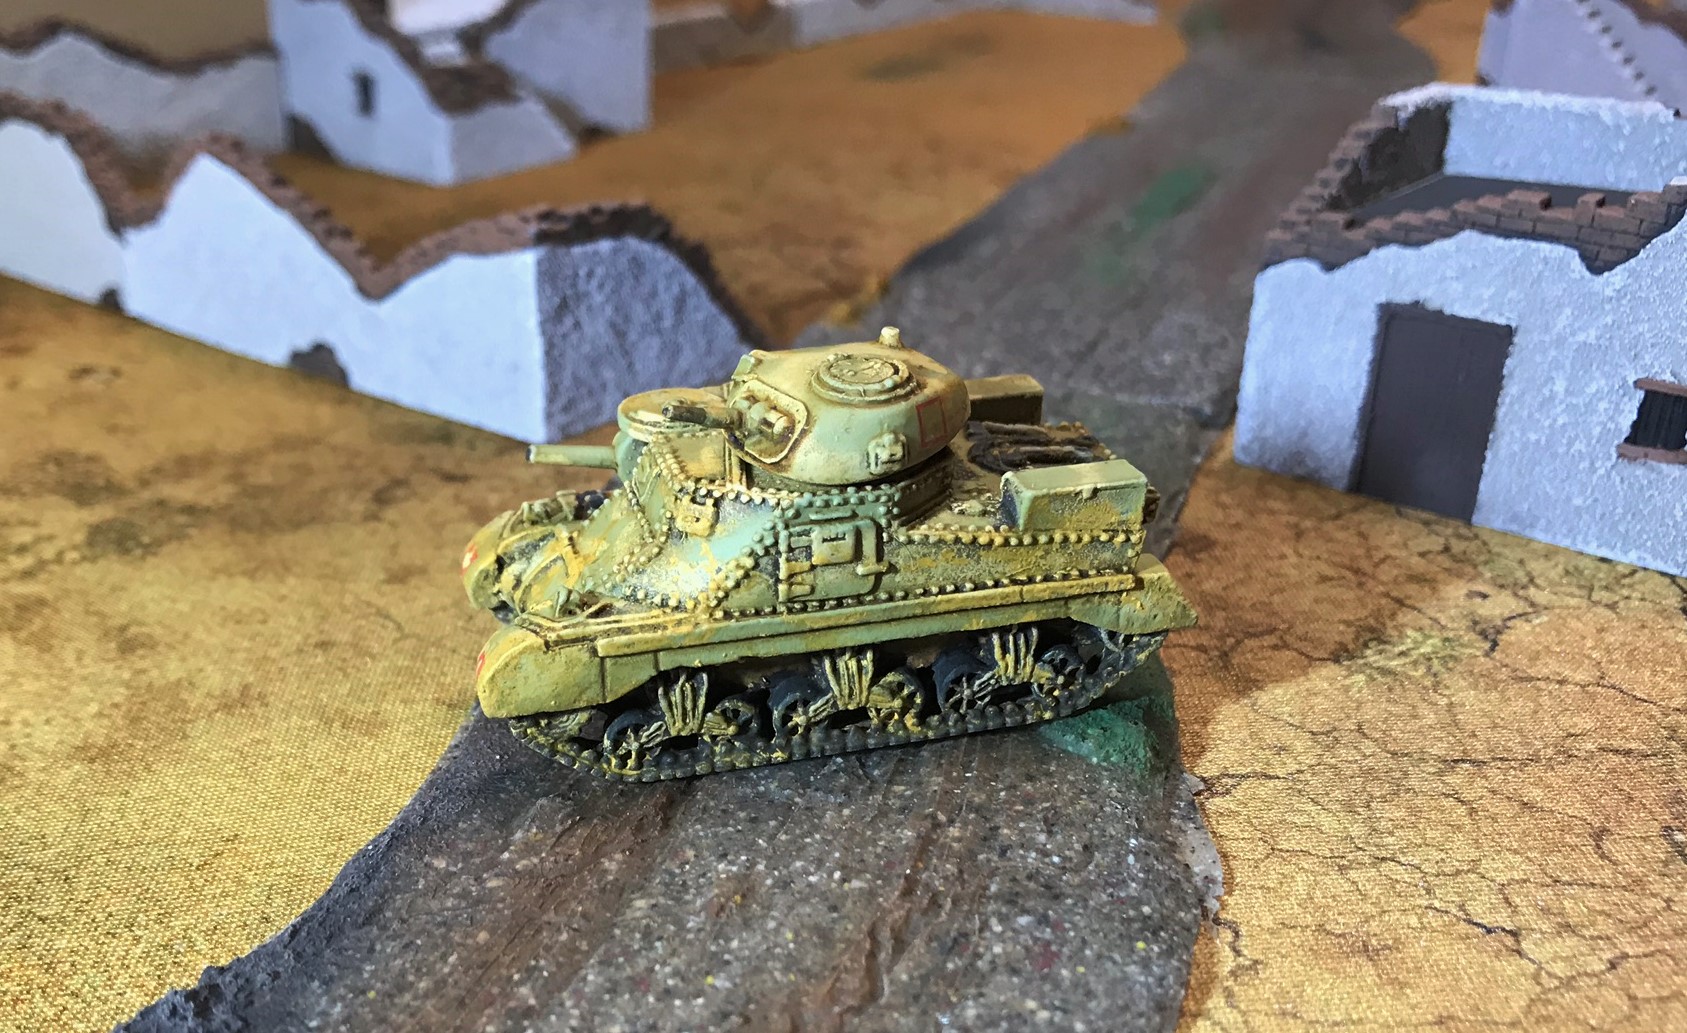
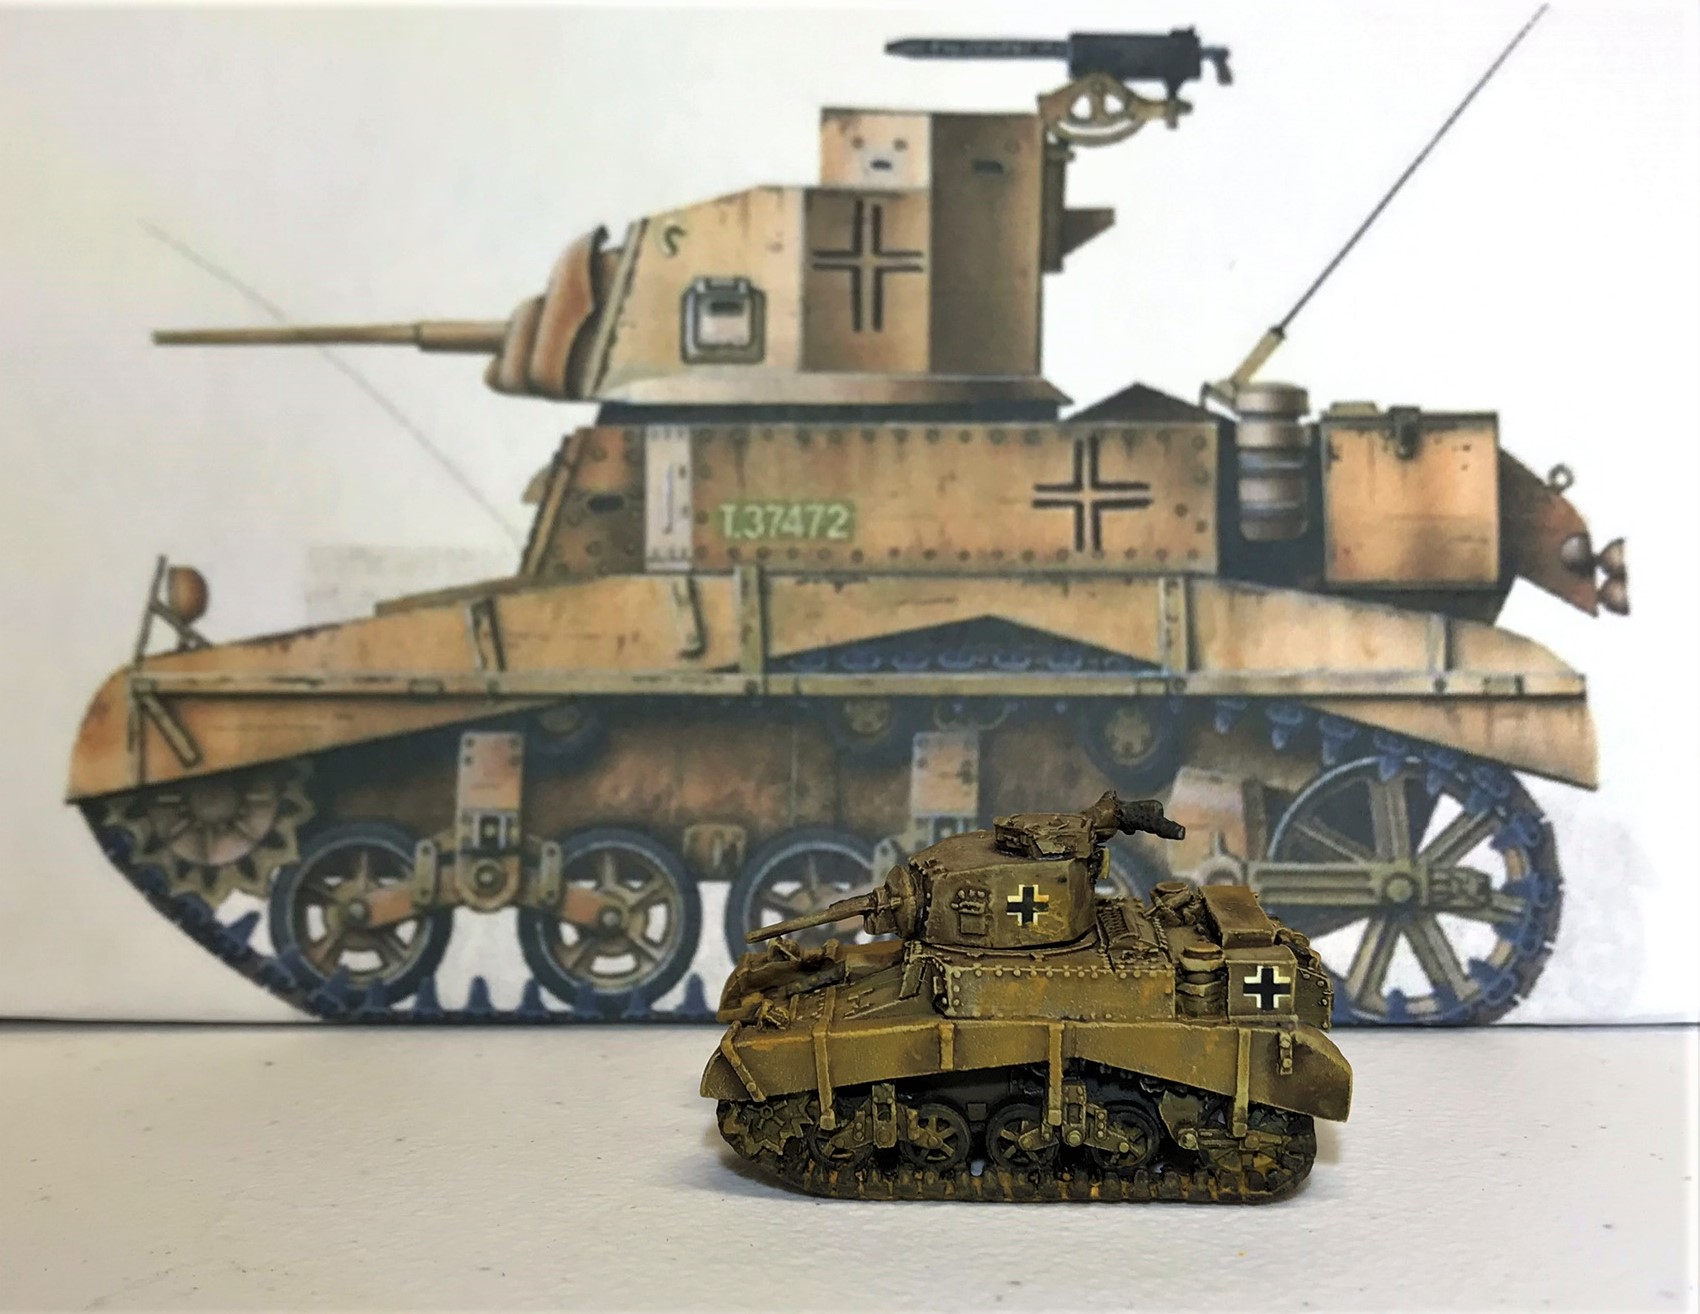
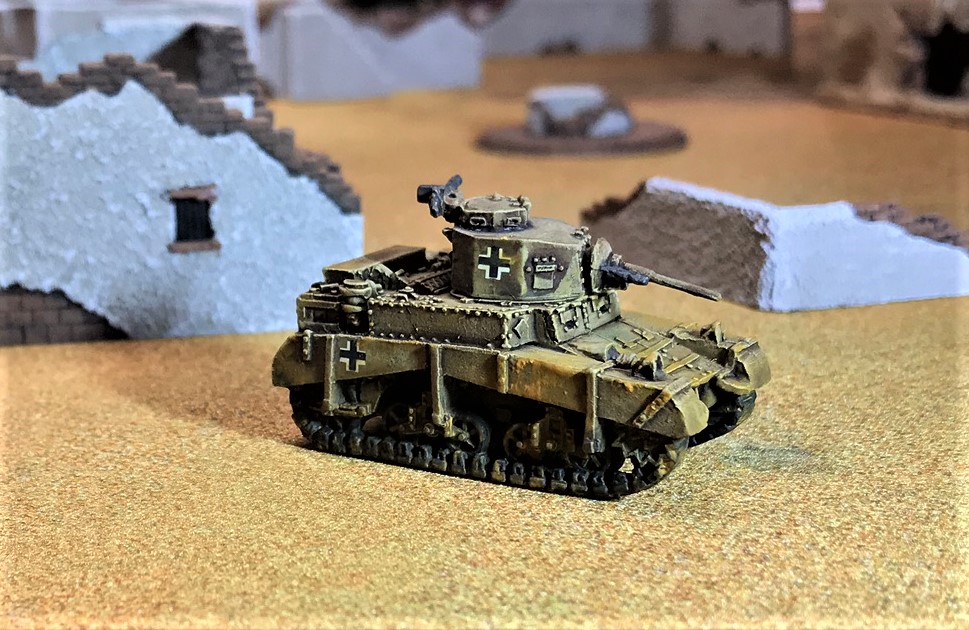
CAPTURED GERMAN M3 STUART “HONEY”
The Germans did a good job of recovering all kinds of AFV’s in North Africa. This included enemy vehicles – so I decided that an M3 Stuart would be a good addition.
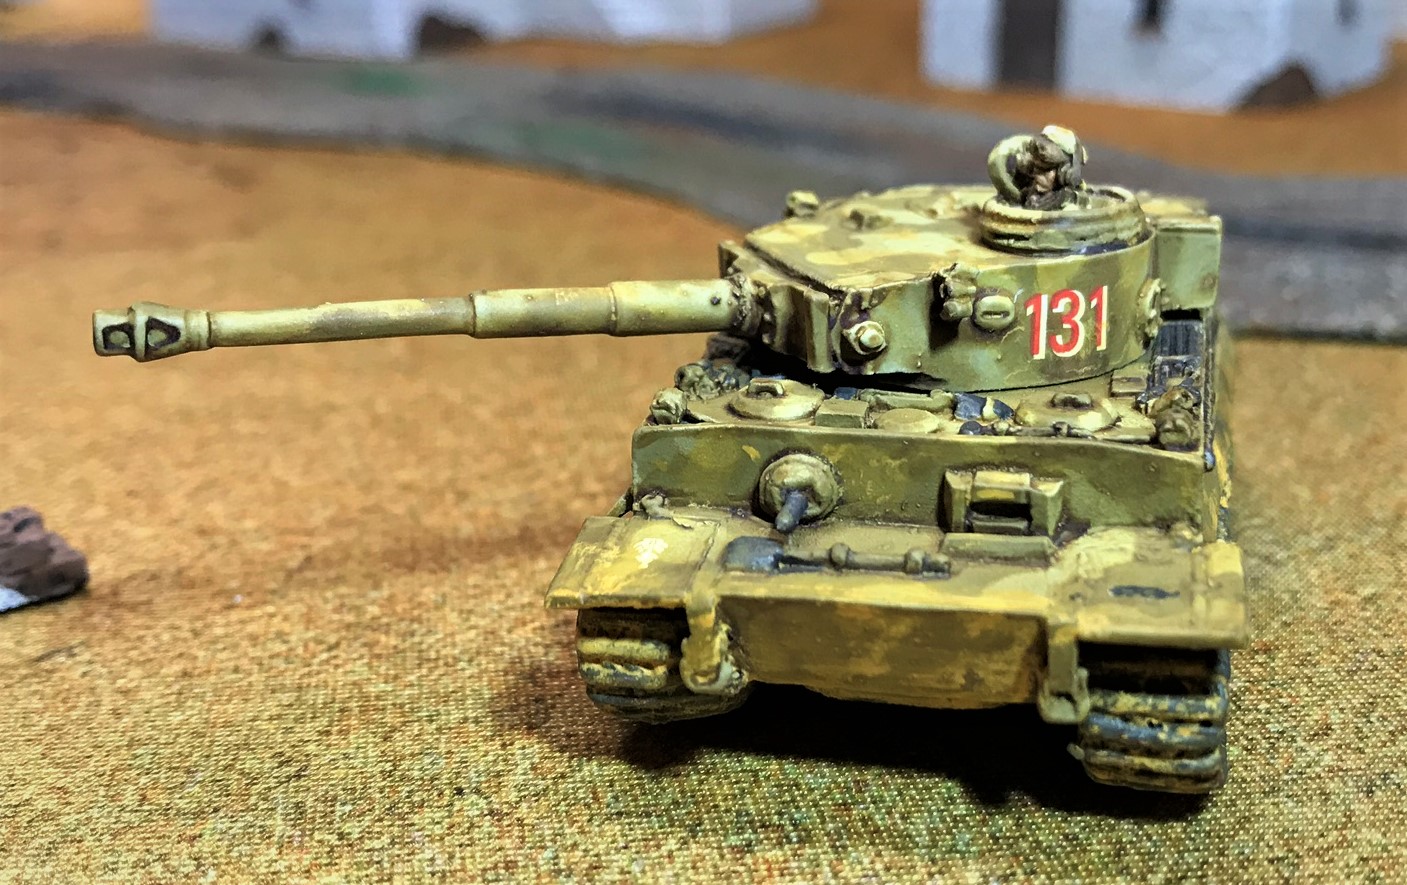
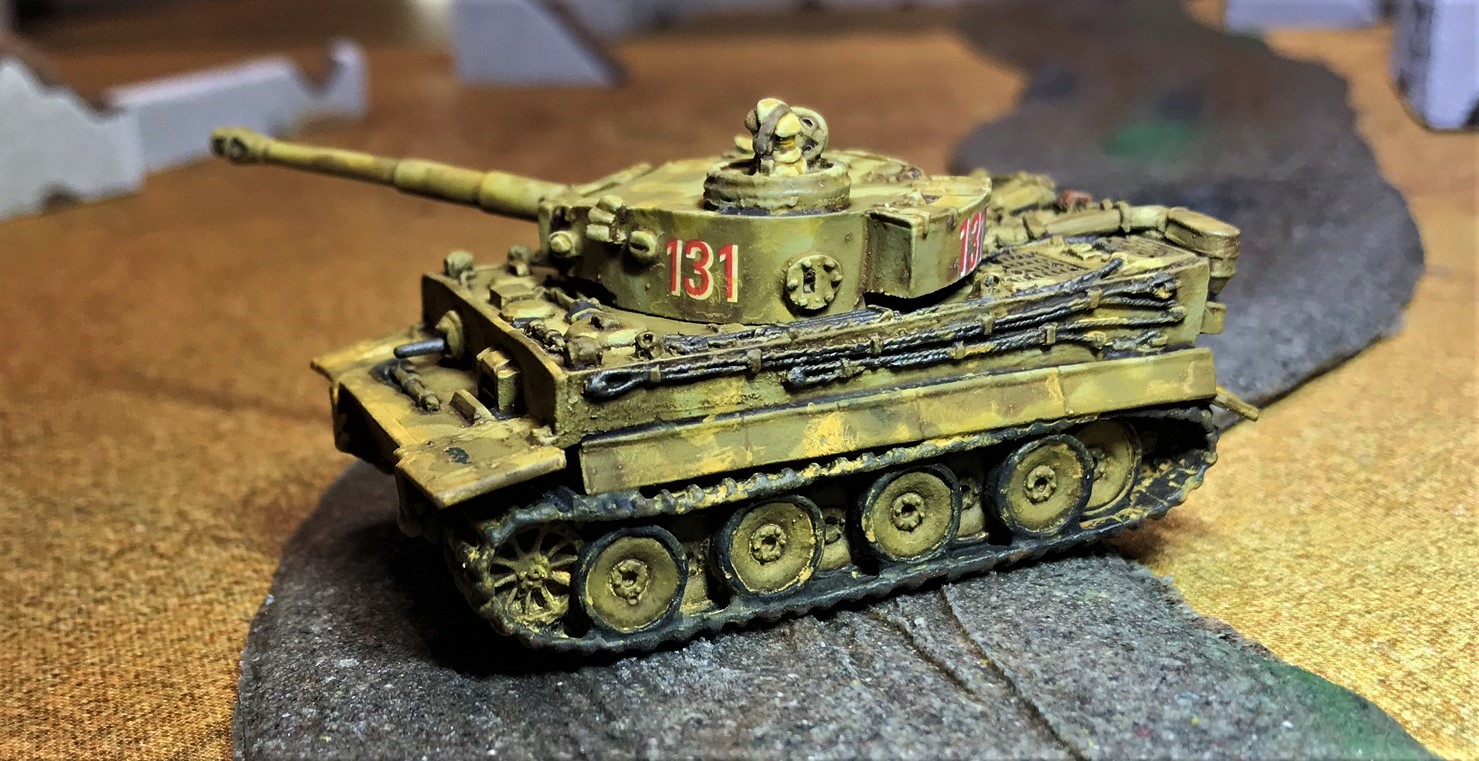
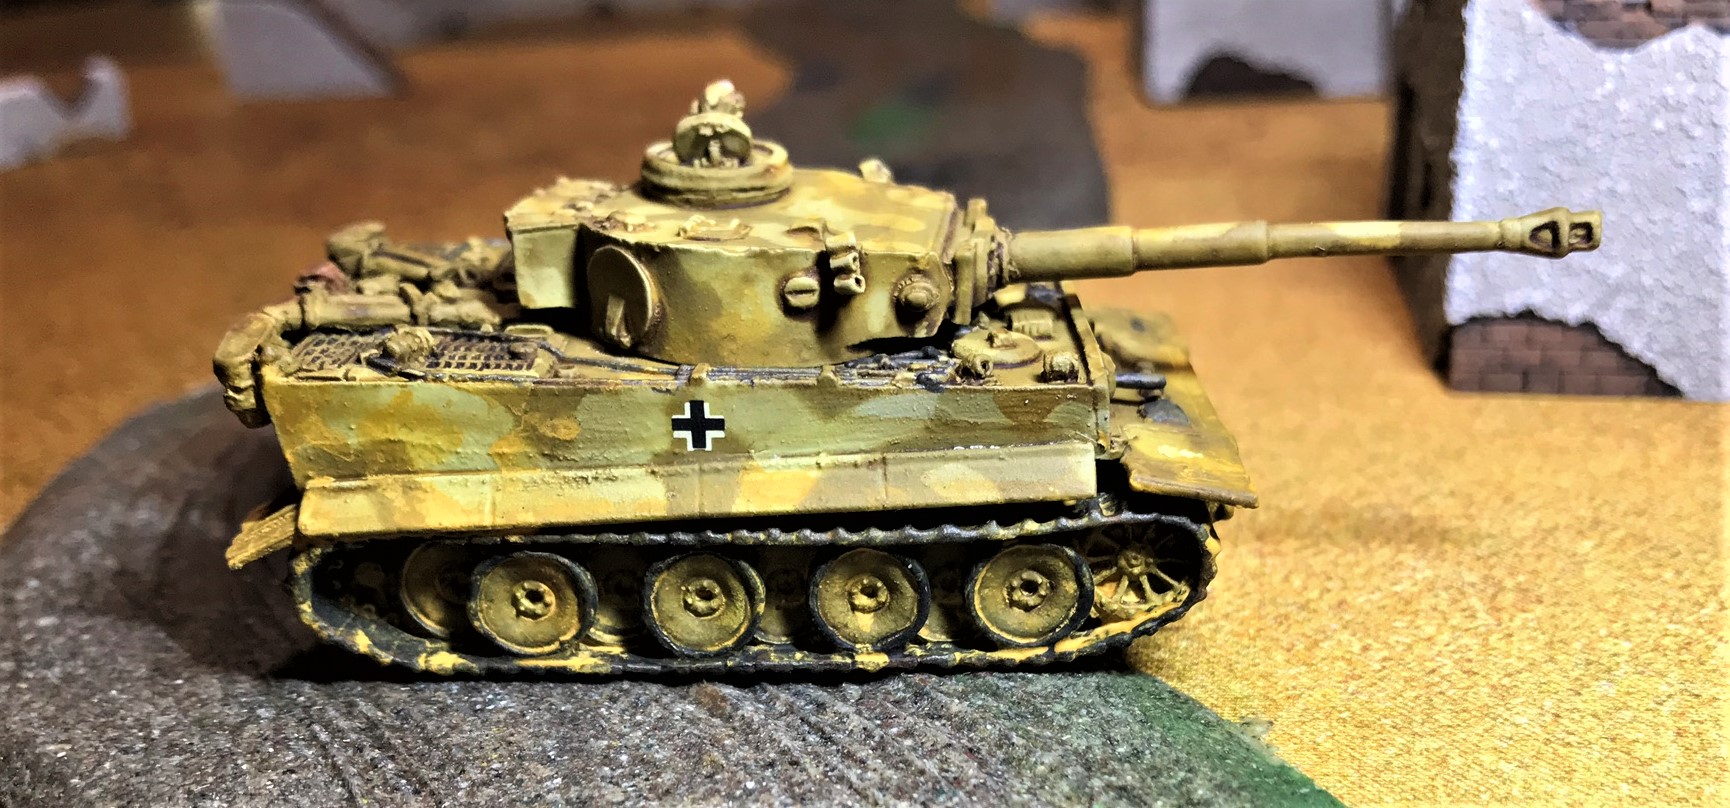
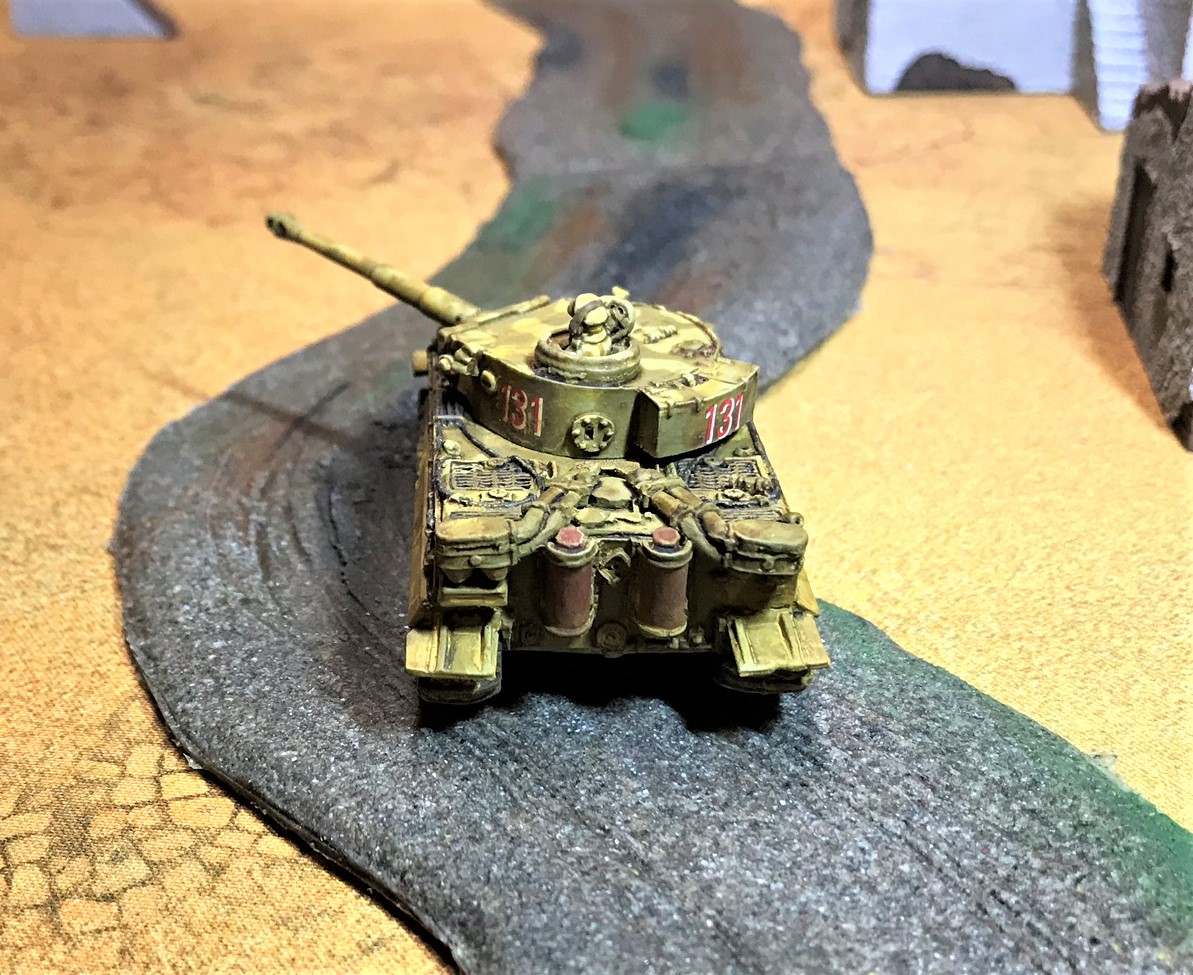
TIGER I
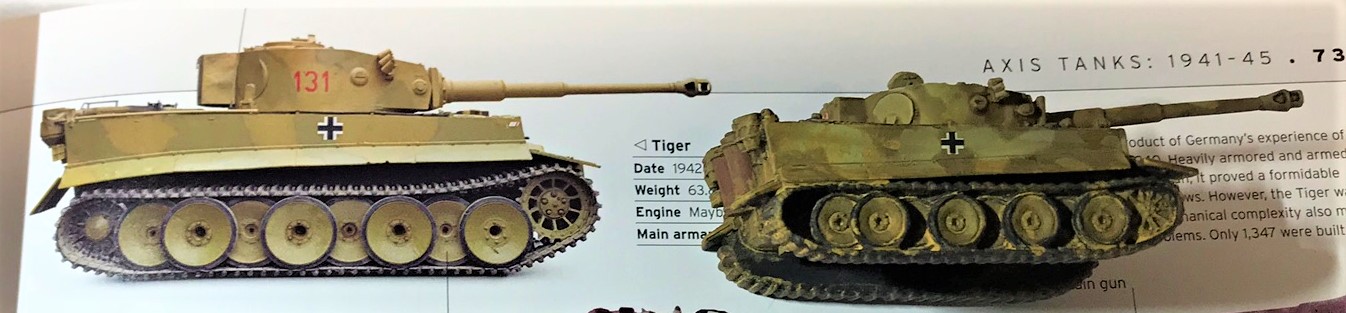
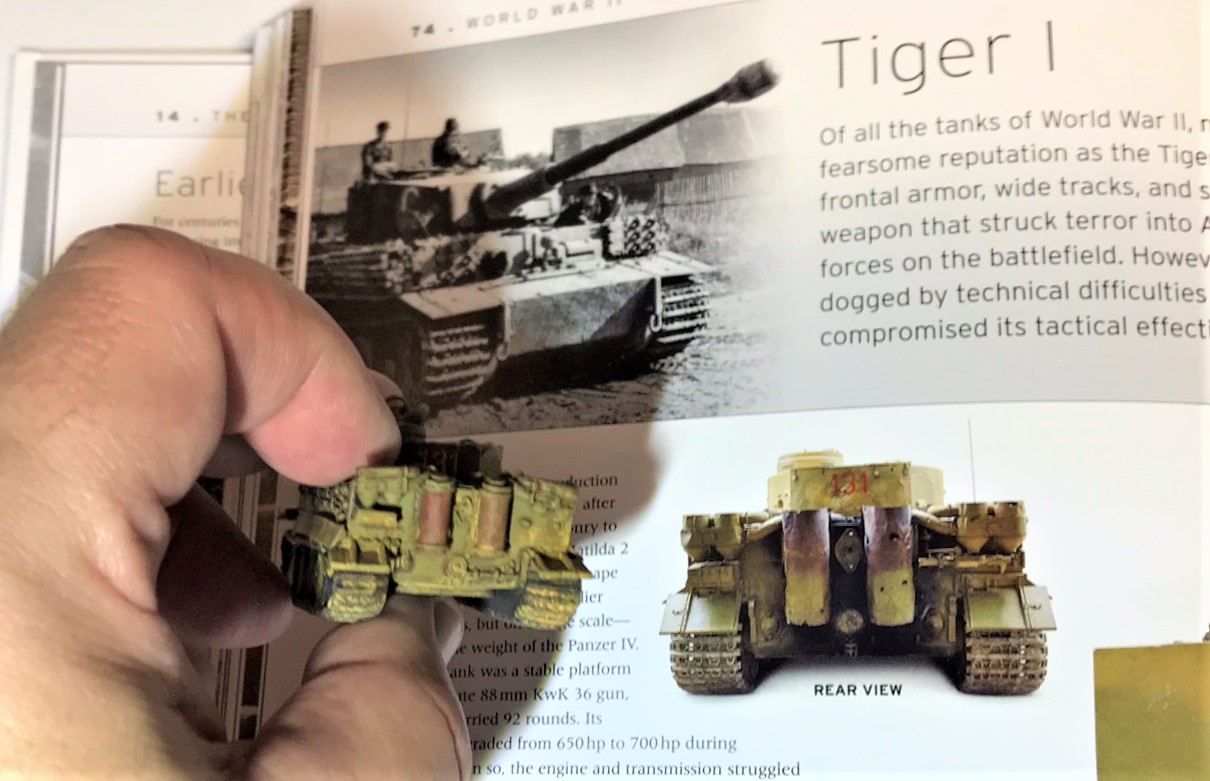
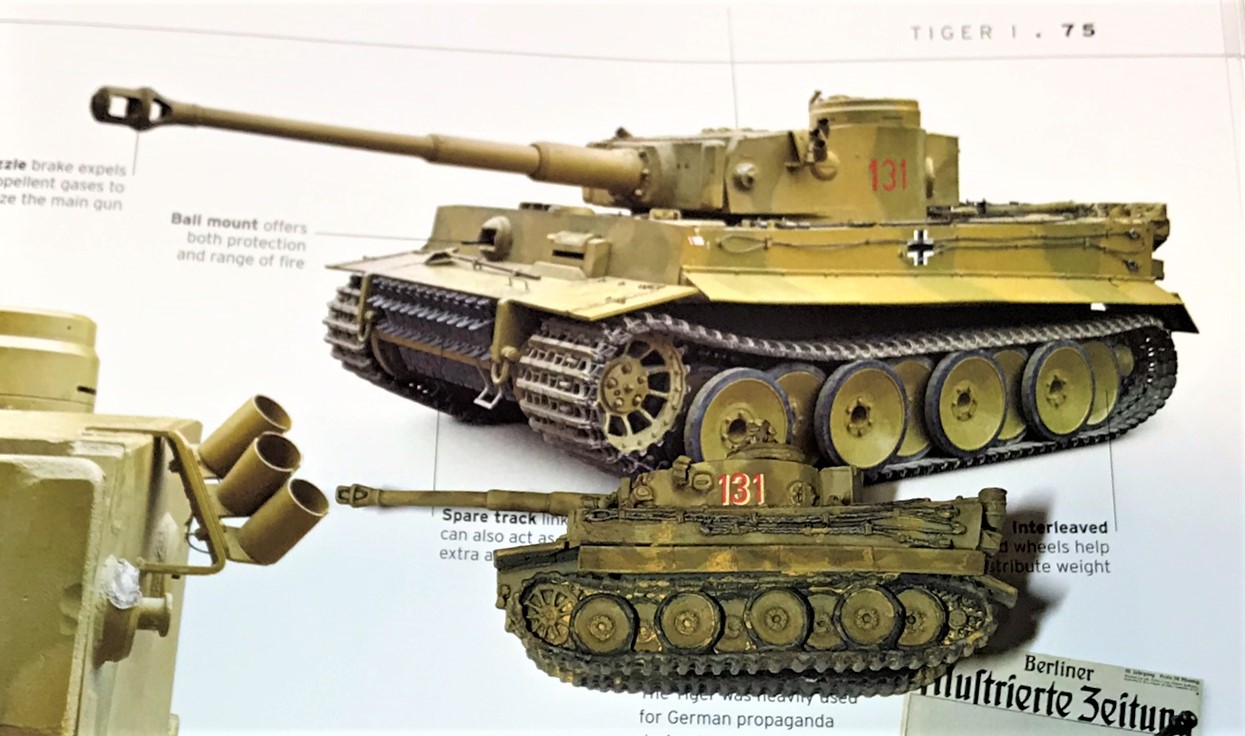
The last tank that I will share here is the centerpiece of the collection – a true behemoth – the early Tiger I. I modeled this one on the famous #131, which was captured virtually intact by the British in 1943 in Tunisia. A lucky British AP round lodged in the Tiger’s turret ring, and its crew abandoned it. Today, it is the only functional Tiger I on the planet and is at the Bovington tank museum.
Assembly of this model was NOT easy. There were 21 pieces and no assembly instructions, which is amazing given that Battlefront has assembly instructions for much simpler models. I also had issues with getting the tracks to fit the hull as there were no slots for the detents on the metal tracks.
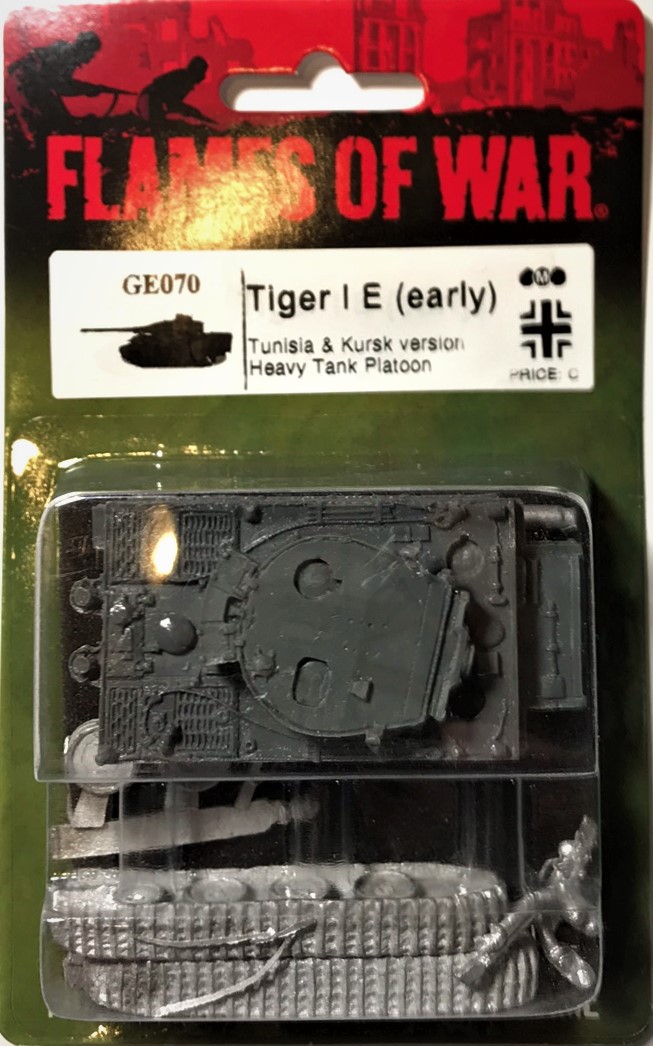
My Tiger I in its blister 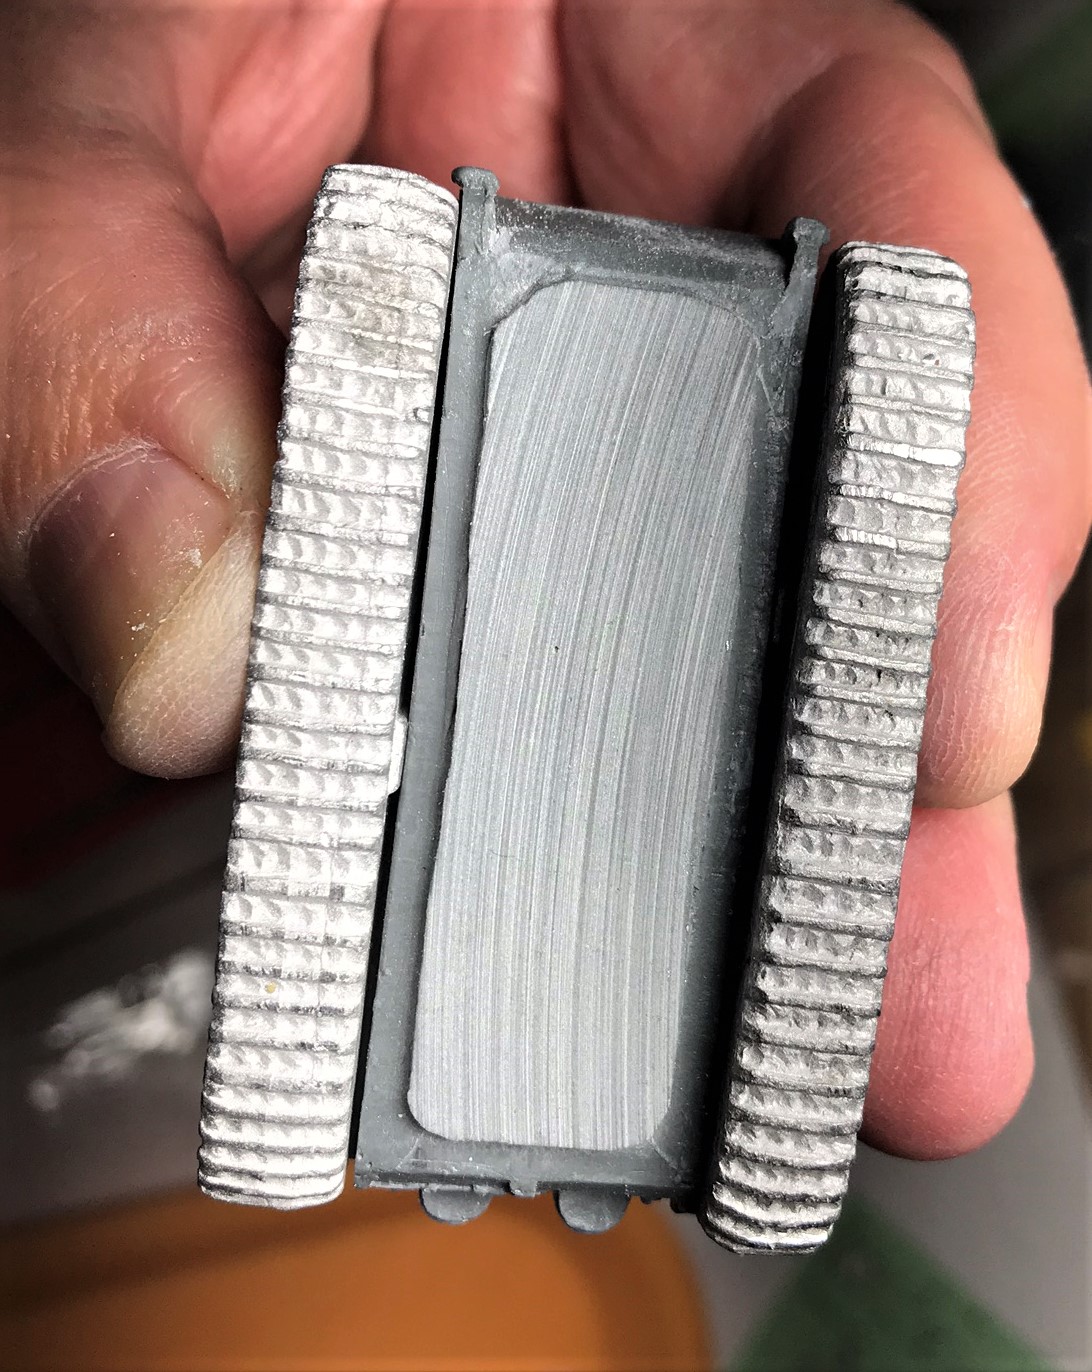
No track slots? Grrrr… 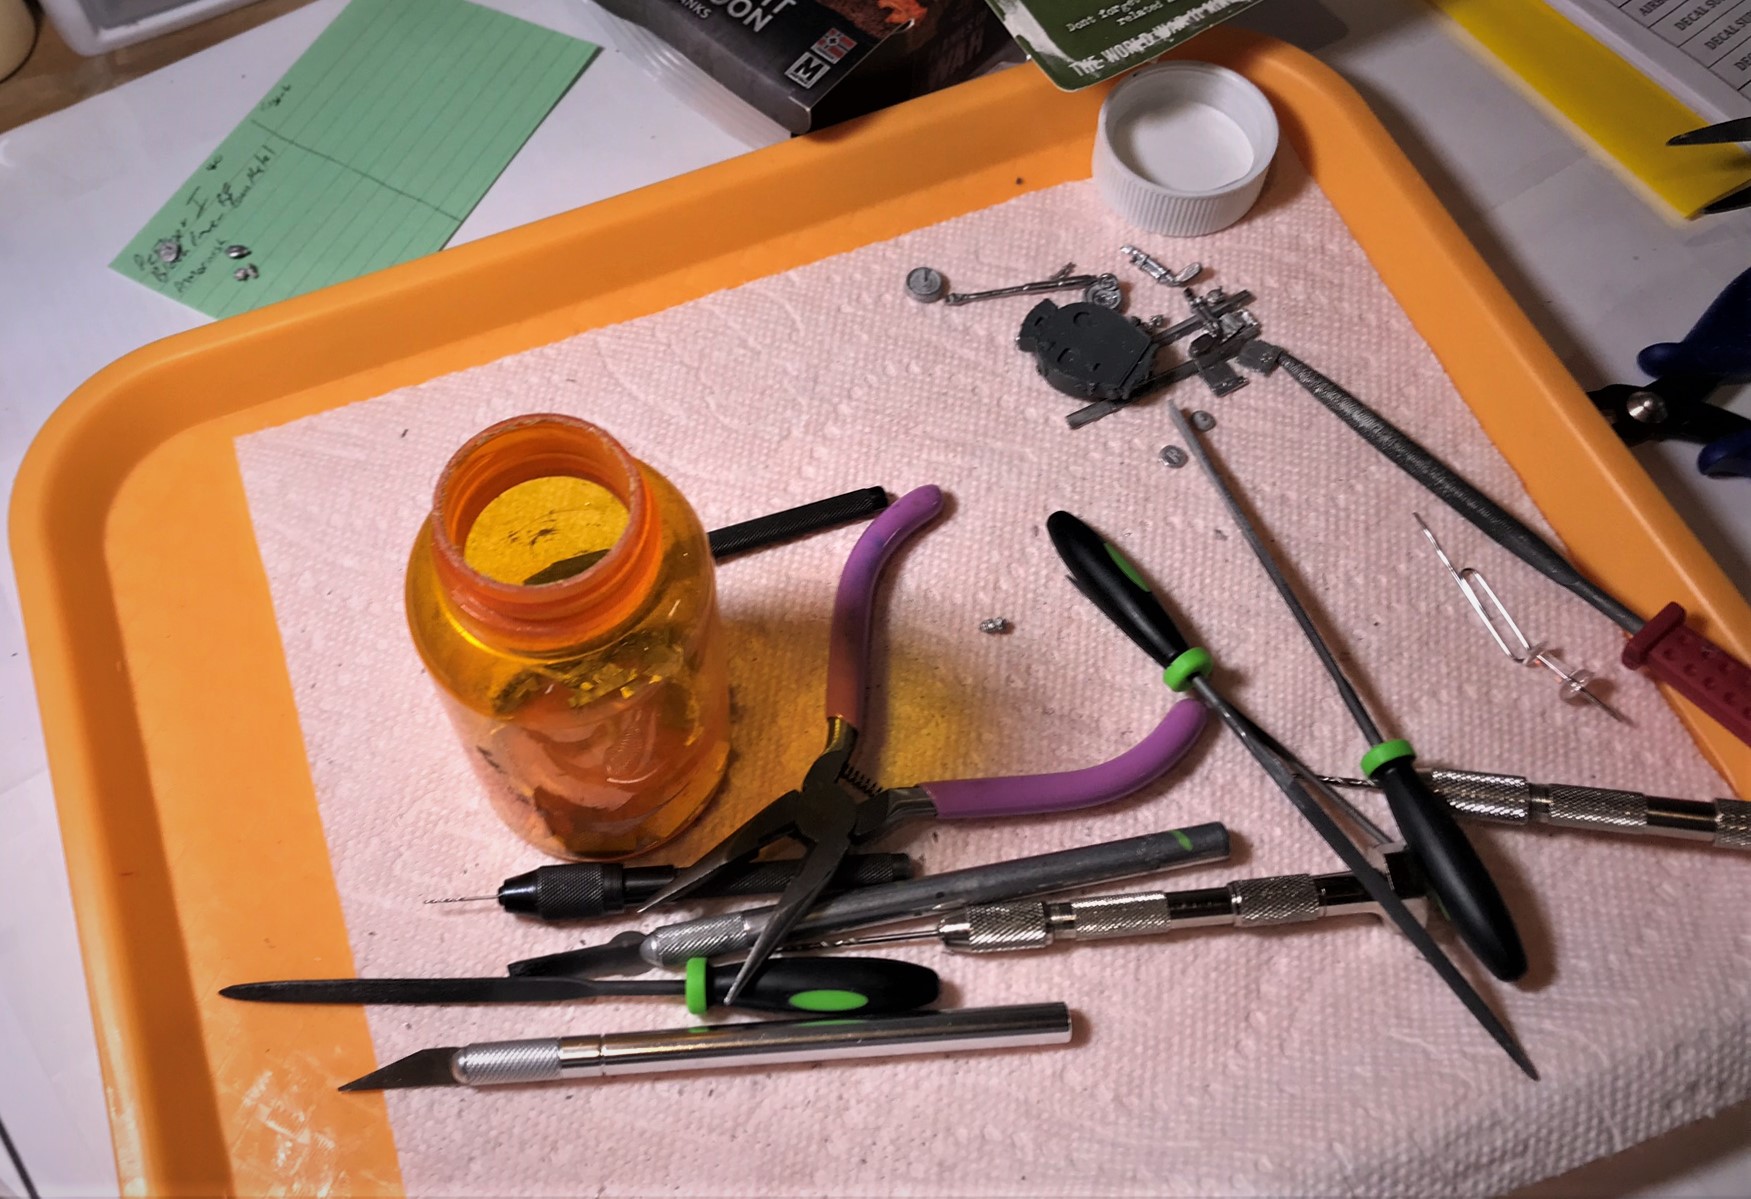
Lots of surgery and filing… 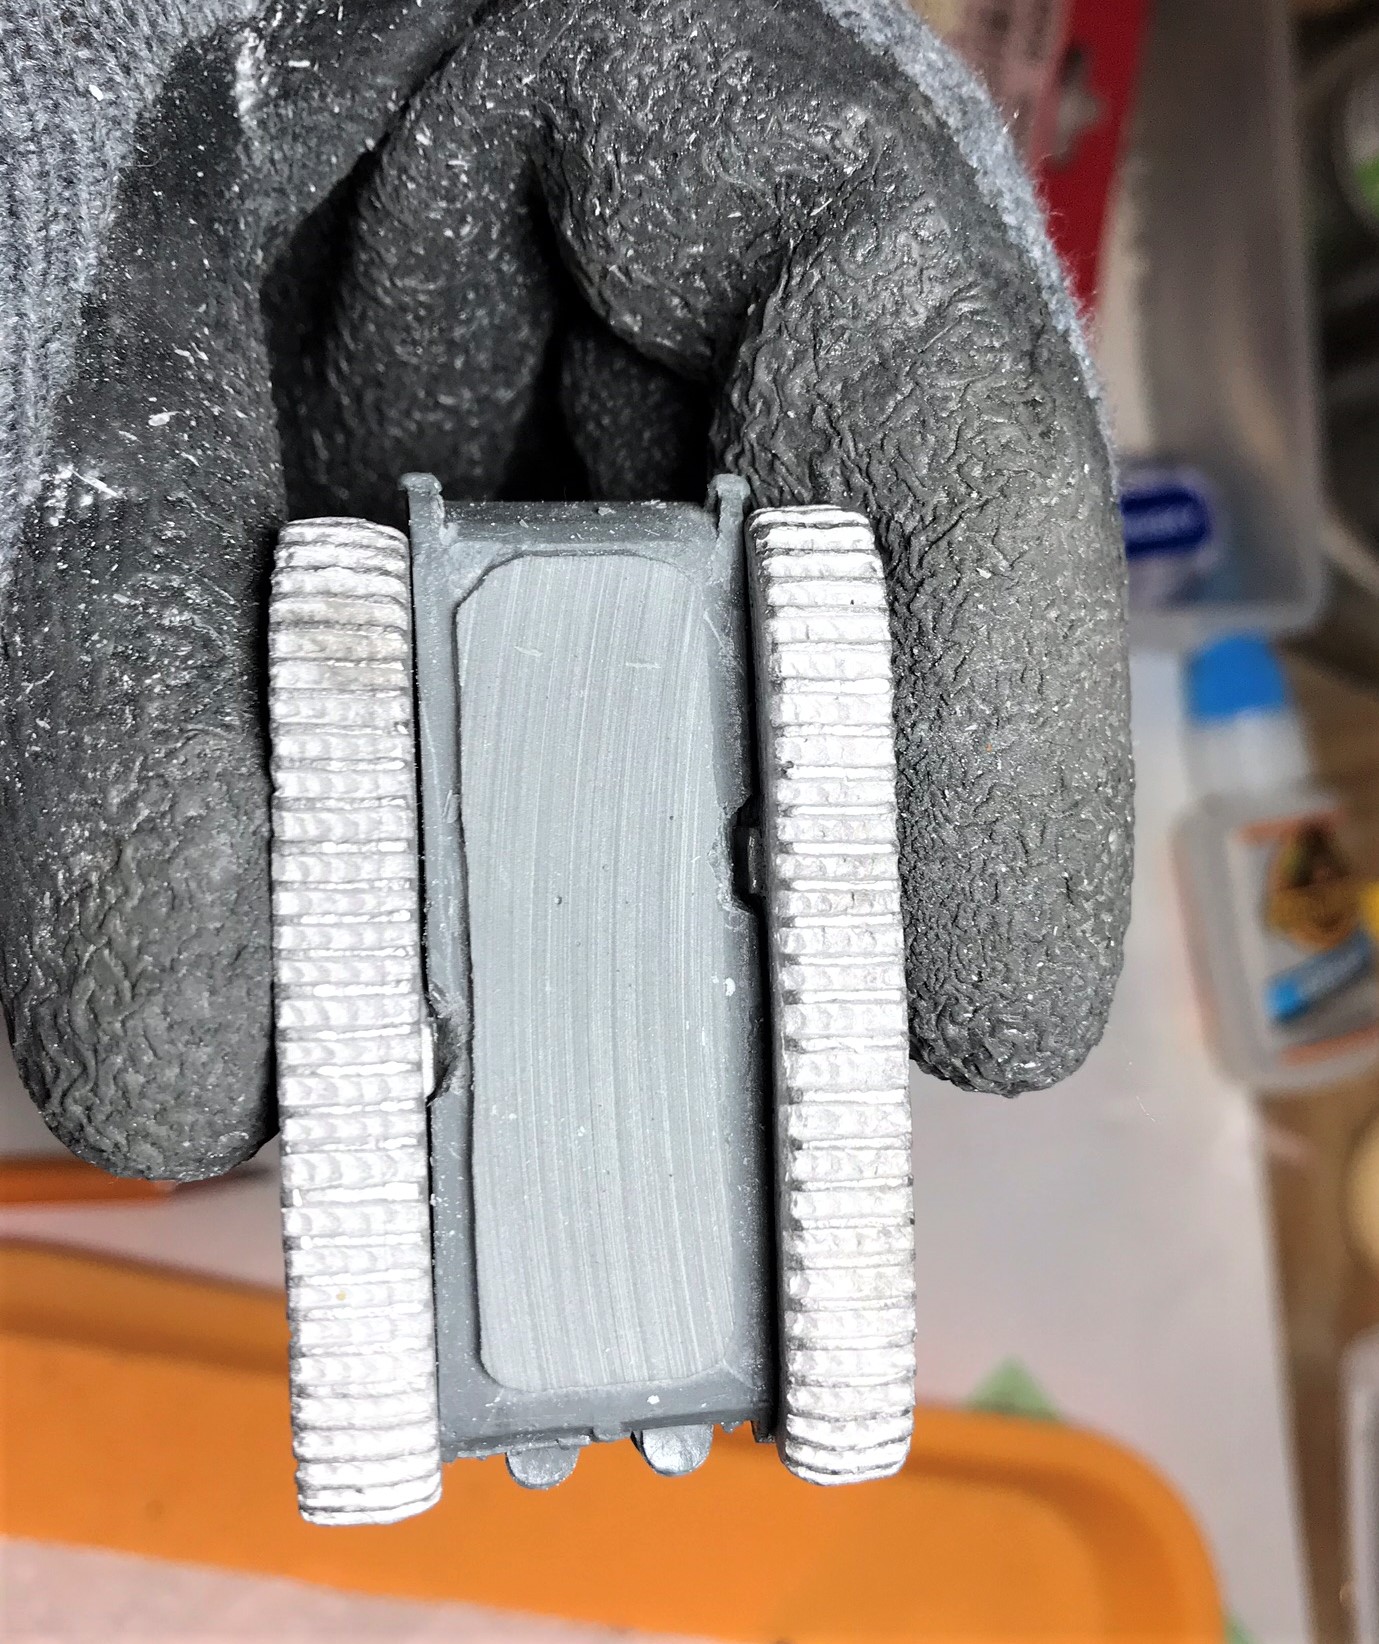
I got the tracks to fit – note the protective “cut gloves”
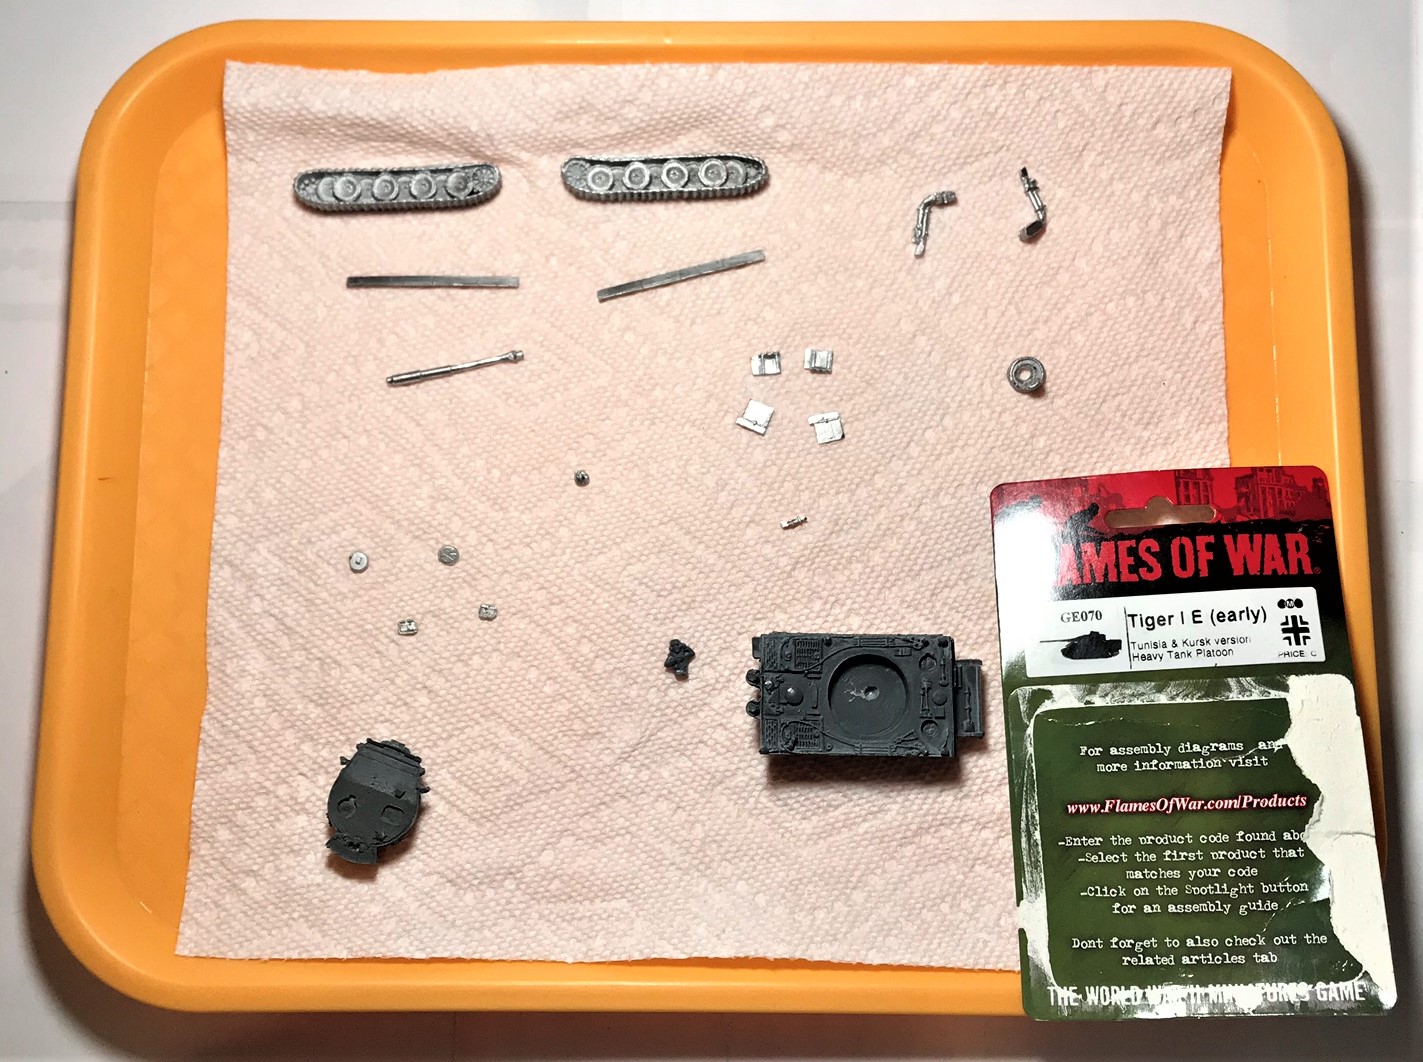
Lots of little bits for a big tank. 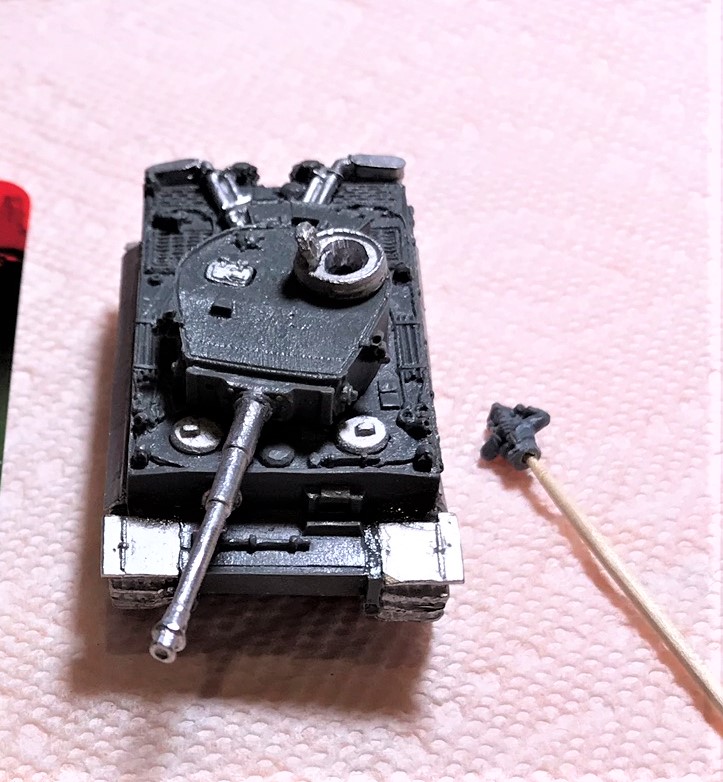
Assembled. 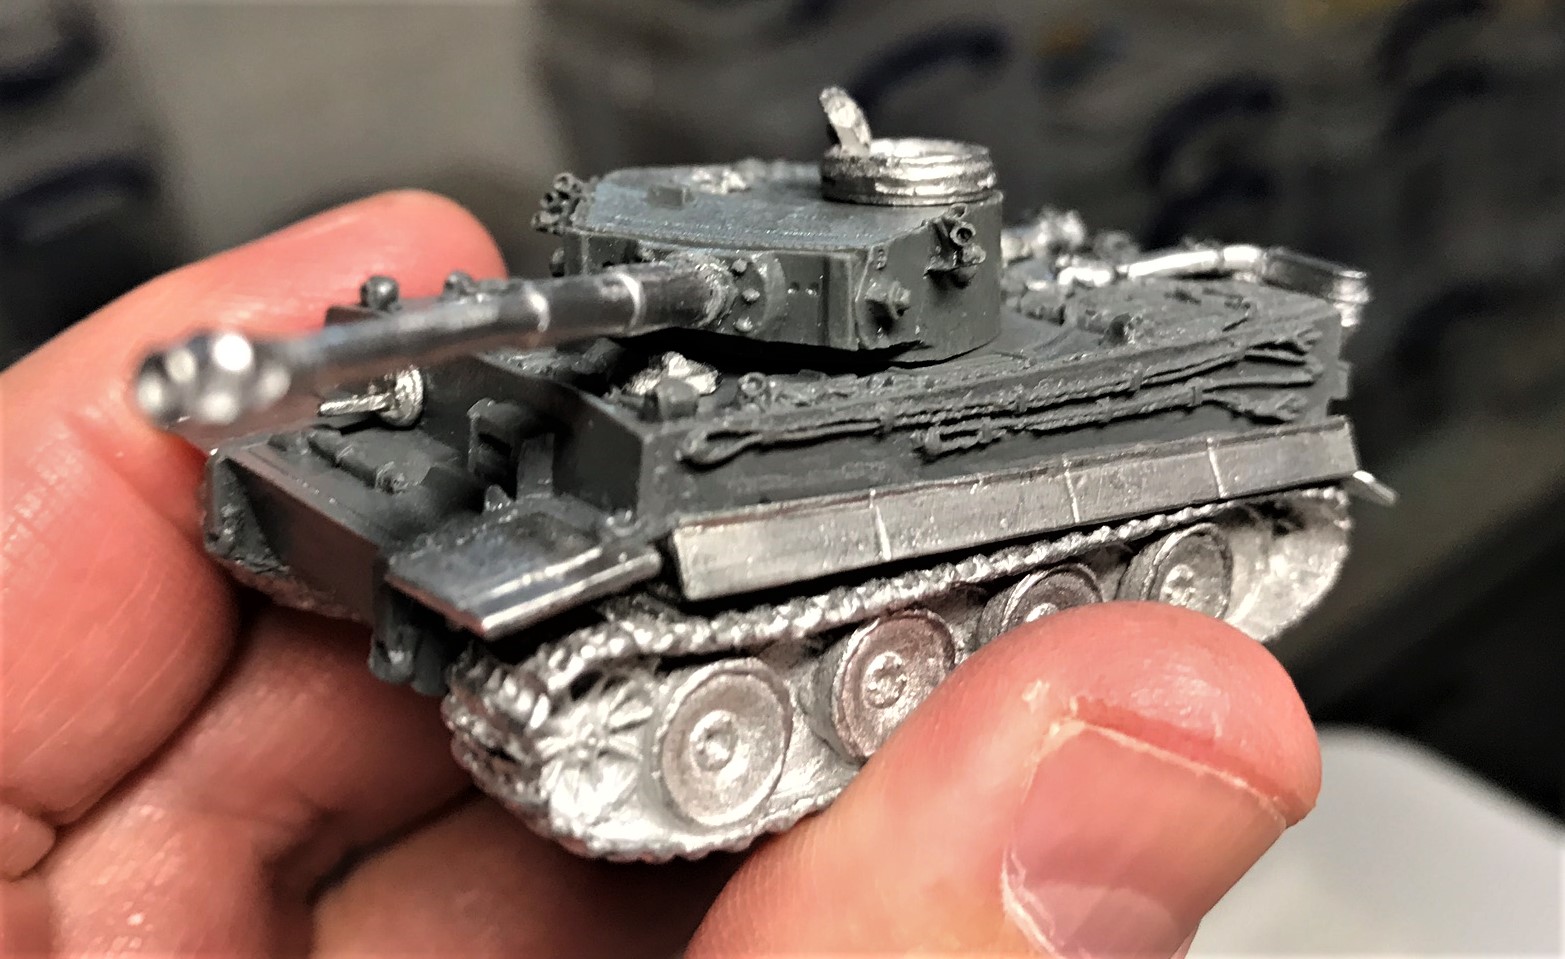
This was a tough build.
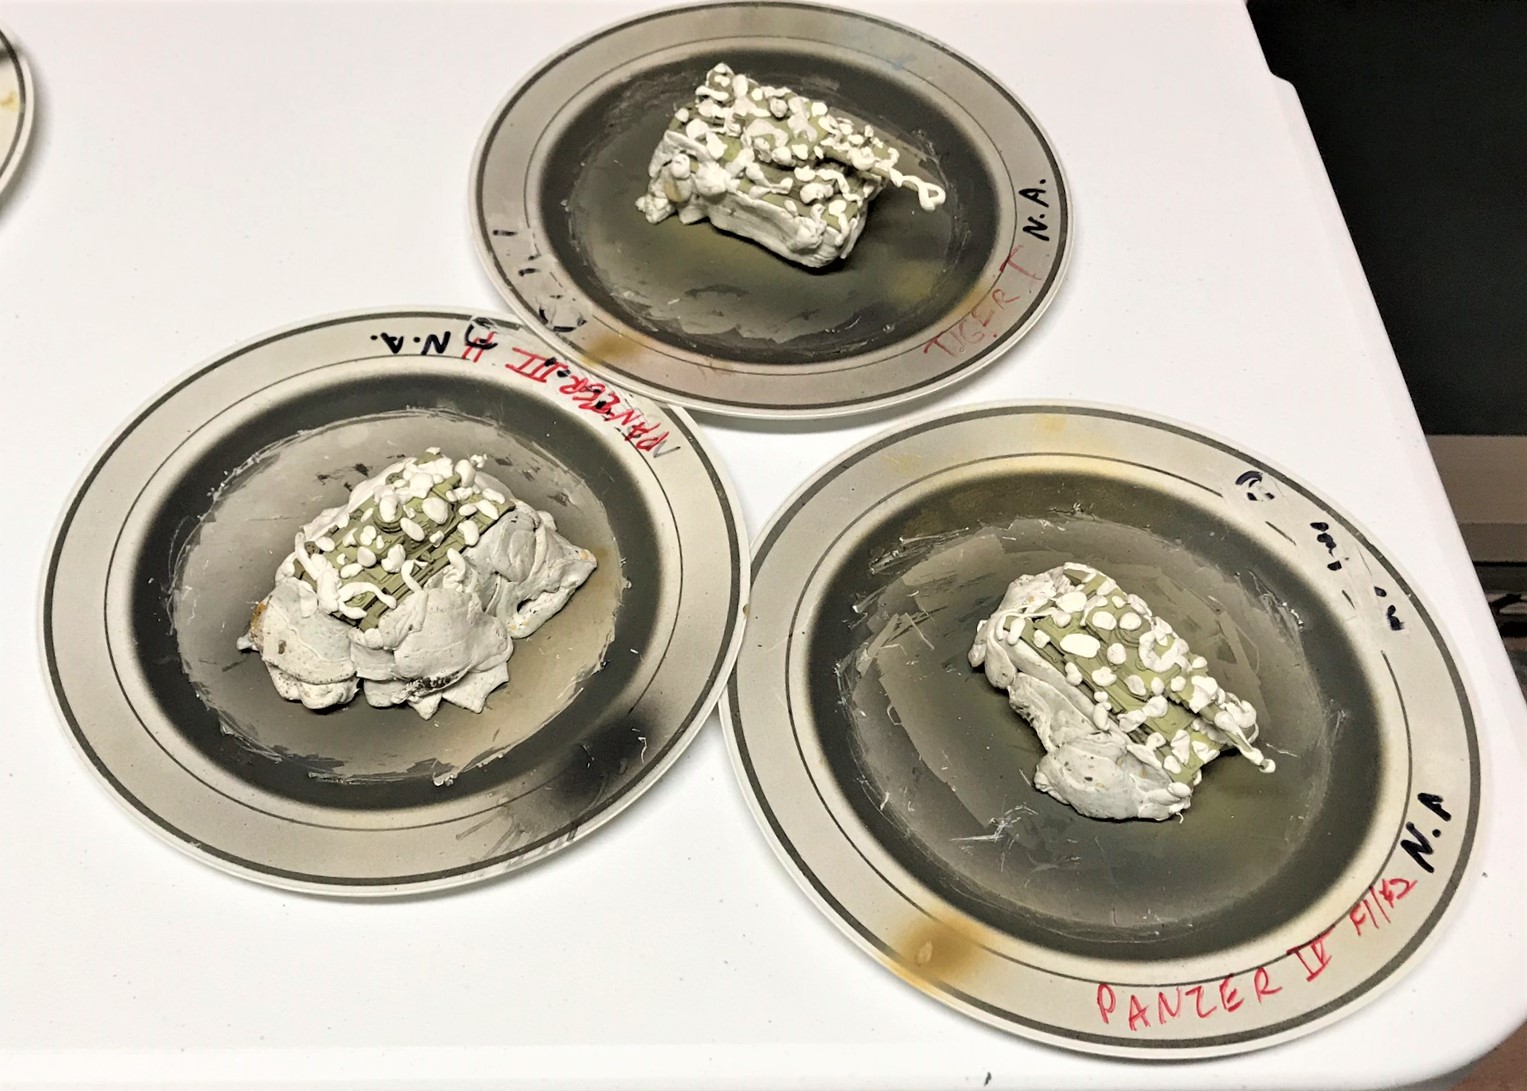
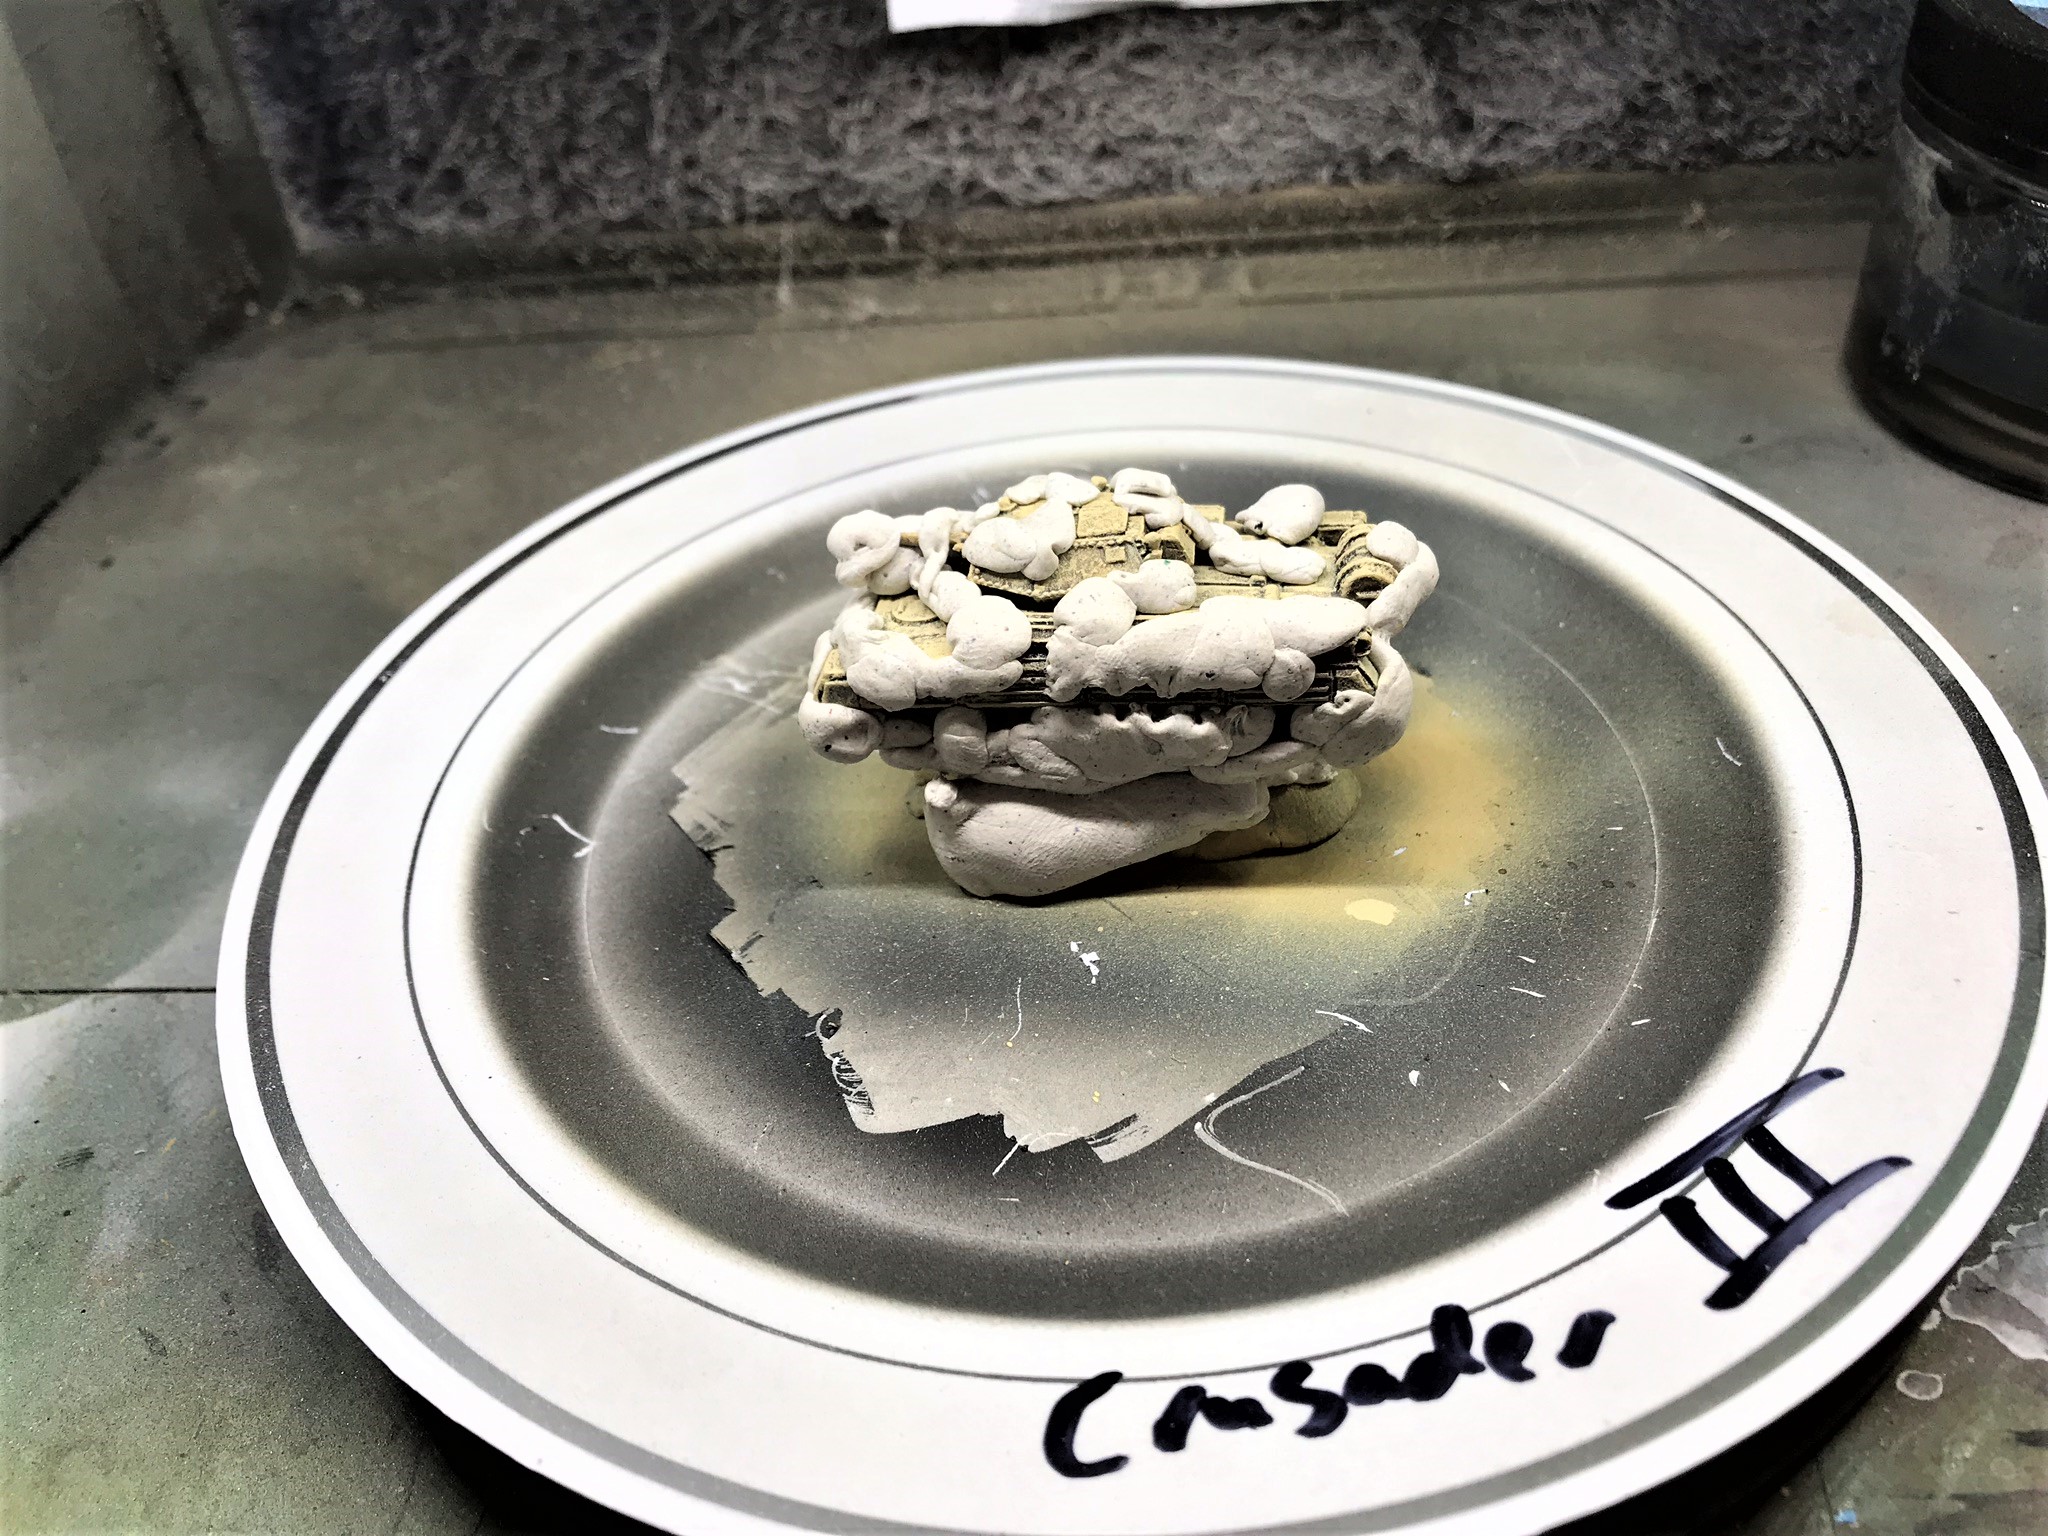
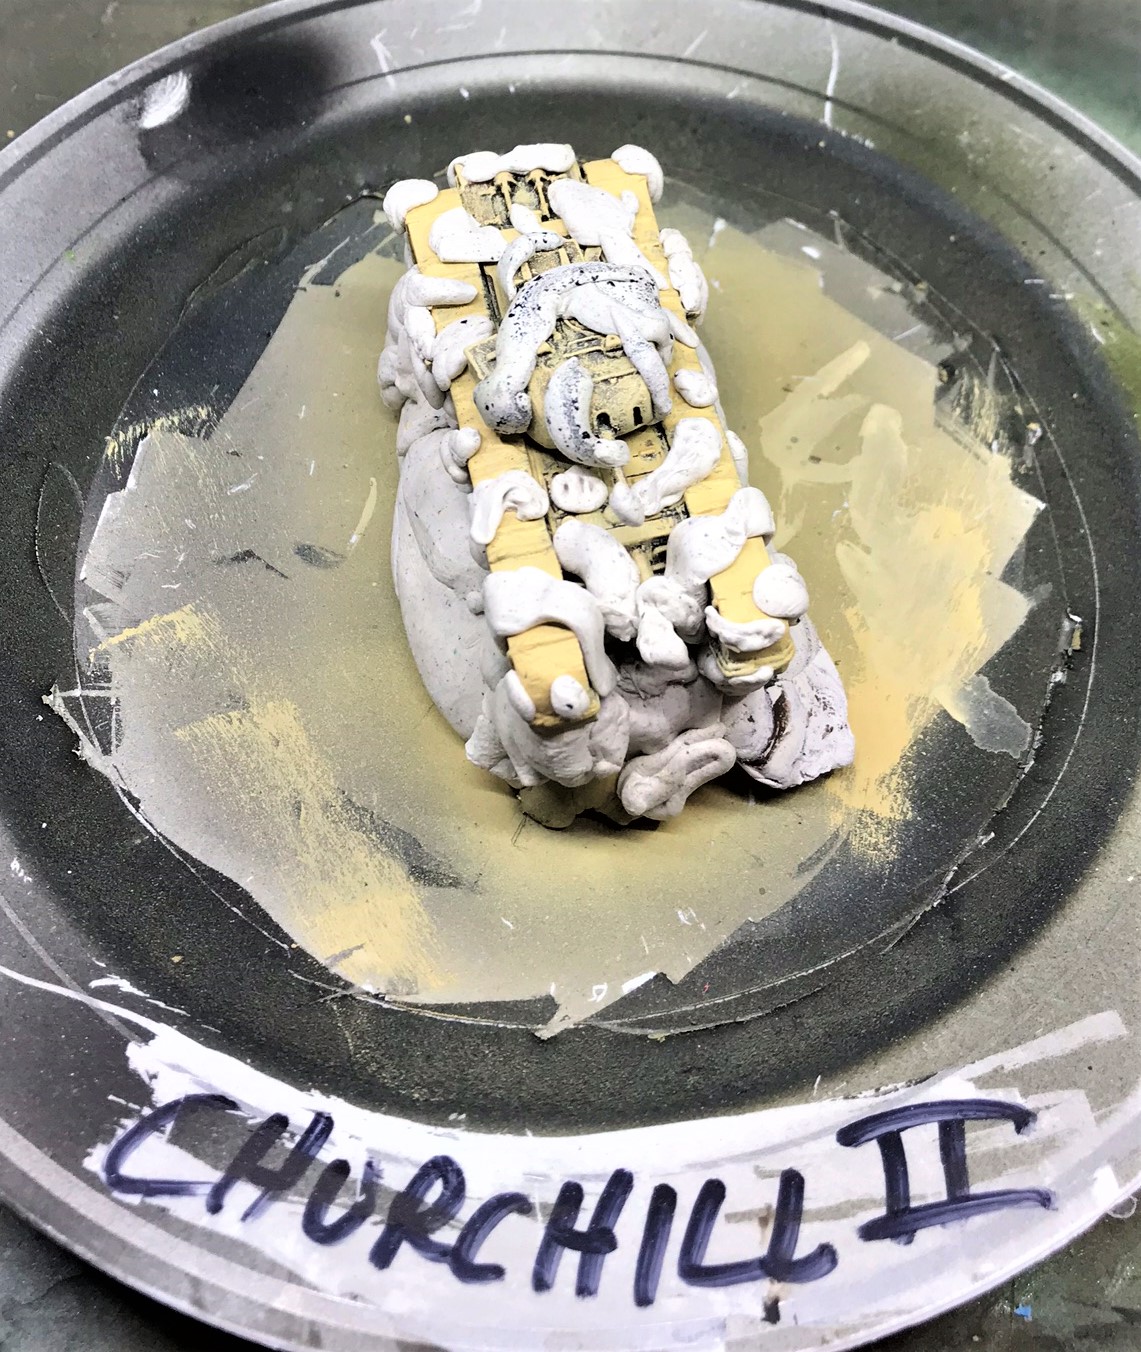
How I camouflaged tanks by using poster tack. 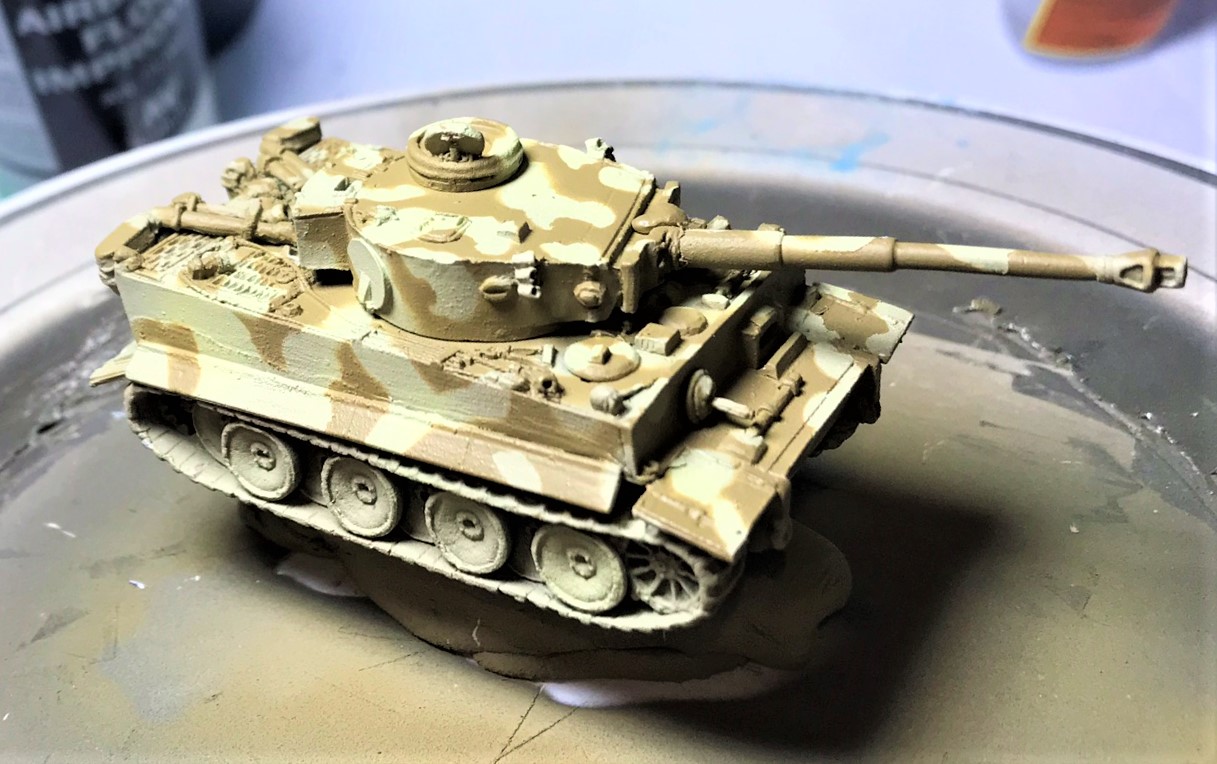
Tiger after the poster tack removed.

I wanted to install a radio aerial, but in the end I decided that it was impractical due to the size of the model and the likelihood of future damage. I also wanted to include this Tiger as my “centerpiece model” in the January monthly painting challenge that I participate in – run by Azazel (whose blog is well-worth following).
So now, its time for…
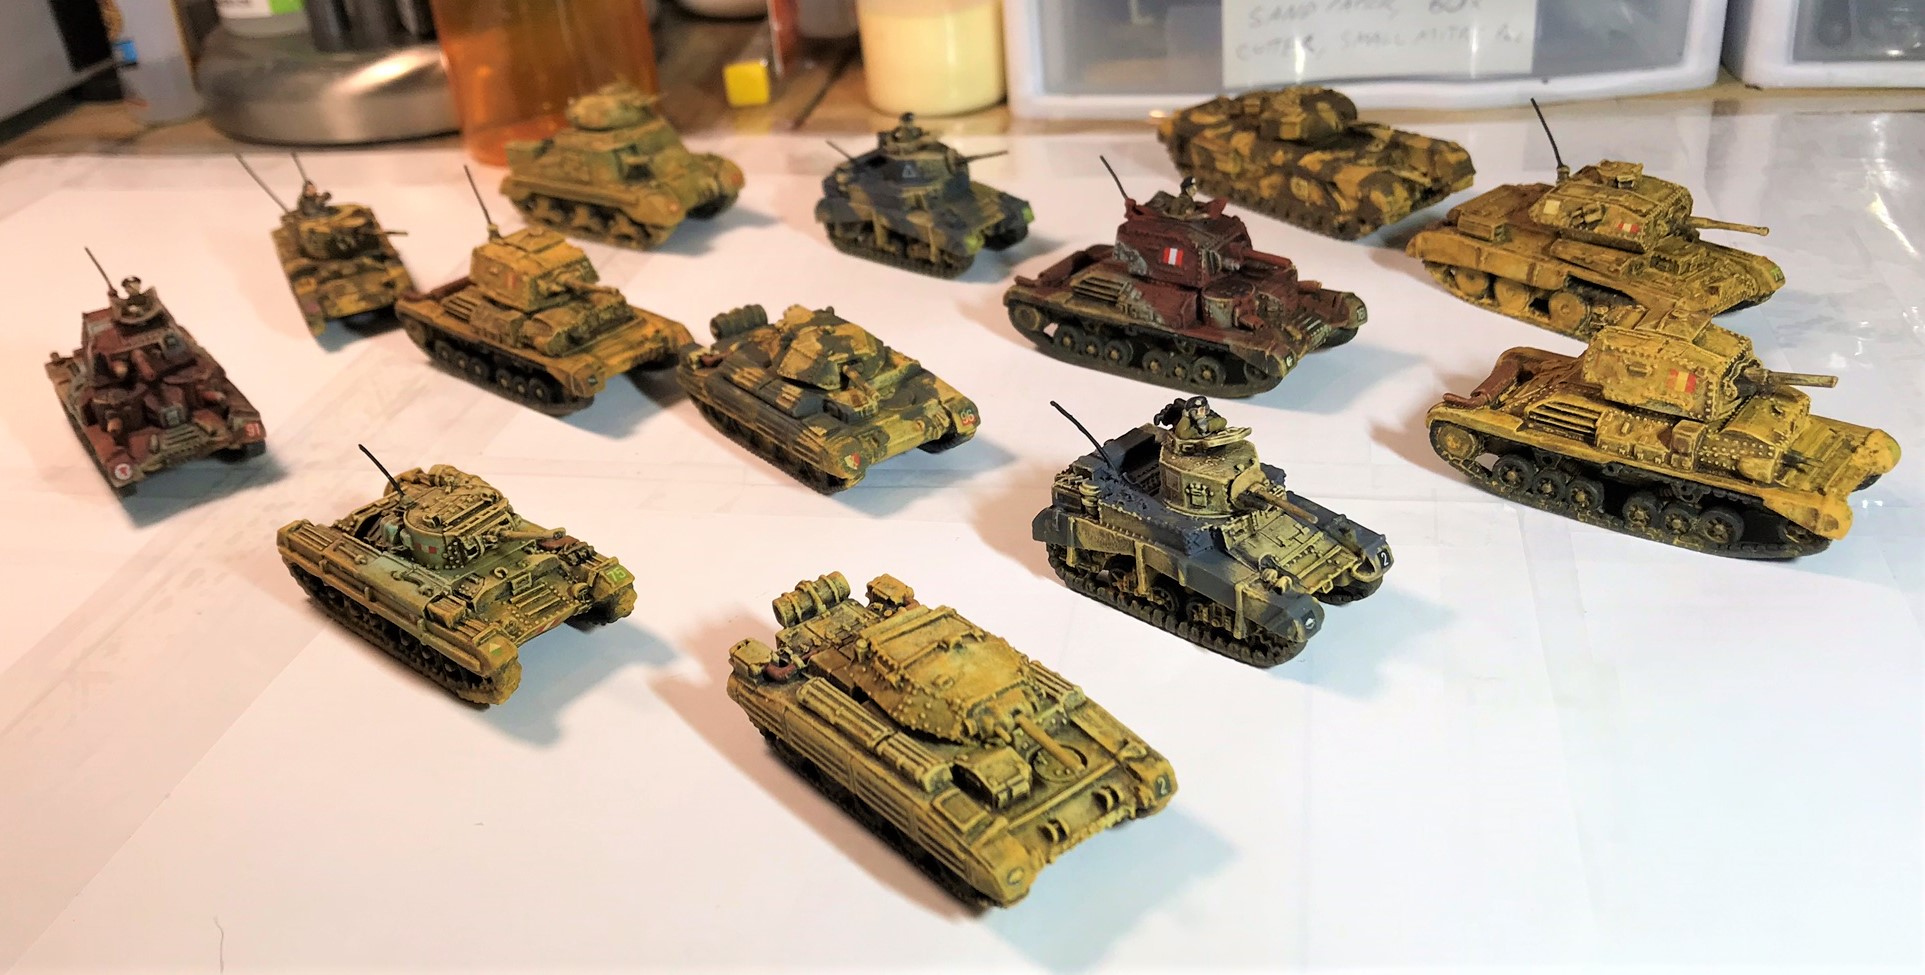
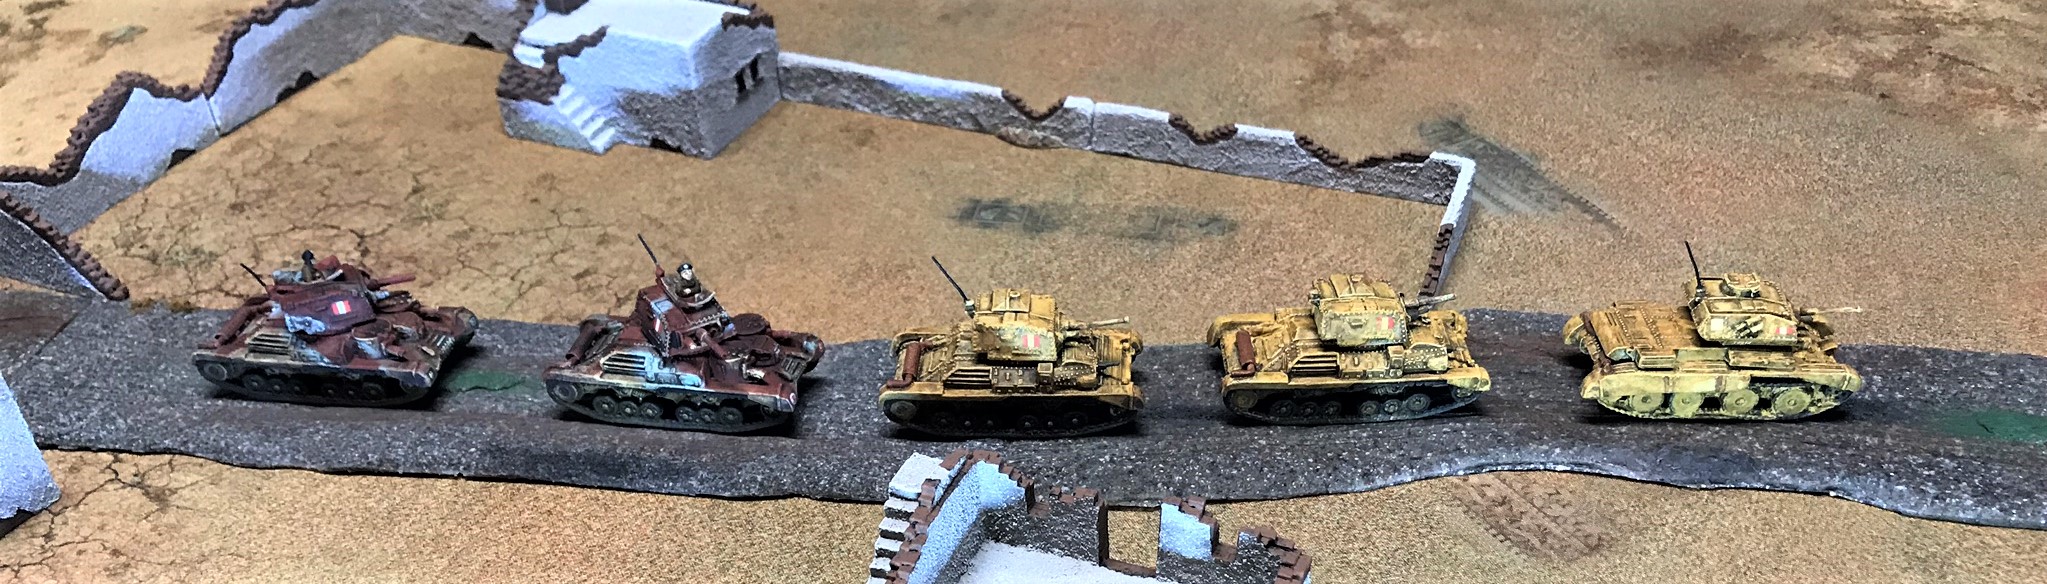
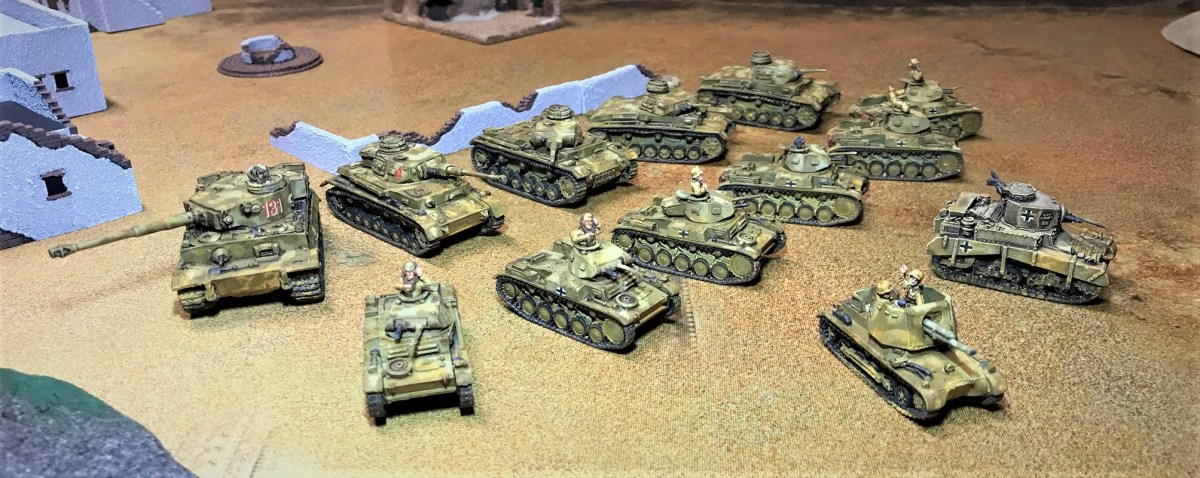
EYE CANDY!


This was a big project – and now on to the Italians (and my replacement Panzer IVD).
I thank you for looking and hope this was enjoyable for you. What tanks are your two favorites (I know the Tiger I will be a big favorite!). Please share your thoughts and any feedback in the comments section!
PAINTS, INKS, GLAZES, SHADES, WASHES, PIGMENTS AND FLOCKING USED ON THIS TANK GROUP:
- Vallejo “Flow Improver”
- Vallejo “Airbrush Thinner”
- Vallejo “Surface Primer – Black”
- Testors “Universal Acrylic Thinner”
- Battlefront “Dark Gunmetal”
- Secret Weapons Washes “Armor Wash” (wash)
- Battlefront “Panzer Gray”
- Vallejo Model Air “Base Grey”
- Vallejo “Neutral Grey”
- Vallejo Model Air “Green Brown”
- Vallejo Model Air “Green Brown”
- Vallejo Model Air “German Green Brown”
- Vallejo Model Air “Light”
- Vallejo Model Air “Cam. Grey Green”
- Vallejo Model Air “Bright Brass”
- Battlefront “Boot Brown”
- Battlefront “Dry Dust”
- Battlefront “Black”
- Battlefront “Oxide Red”
- Army Painter Quickshade “Light Tone” (wash)
- Battlefront “European Skin”
- Battlefront “Skin Shade” (shade)
- Vallejo Game Air “Moon Yellow”
- DecoArt “White Pearl”
- Army Painter Quickshade “Mid Brown” (wash)
- Army Painter Quickshade “Strong Tone” (wash)
- Vallejo “Dark Yellow Ochre” (pigment)
- Vallejo “Light Slate Grey” (pigment)
- Vallejo “Light Sienna” (pigment)
- Battlefront “Rommel Shade” (shade)
- Battlefront “Bradley Shade” (shade)
- Citadel “Agrax Earthshade” (wash)
- Citadel “Nuln Oil” (wash)
- Gorilla Glue
- Vallejo Mecha Varnish “Gloss Varnish”
- Microscale Micro-Set
- Microscale Micro-Sol
- Microscale Liquid Decal Film
- 1/8″ rare earth neodymium magnets
- Appropriate decals from Battlefront
- Vallejo Mecha Varnish “Matt Varnish
- Aleene’s poster tack
- Sponges
Thanks for looking and for sharing your feedback!
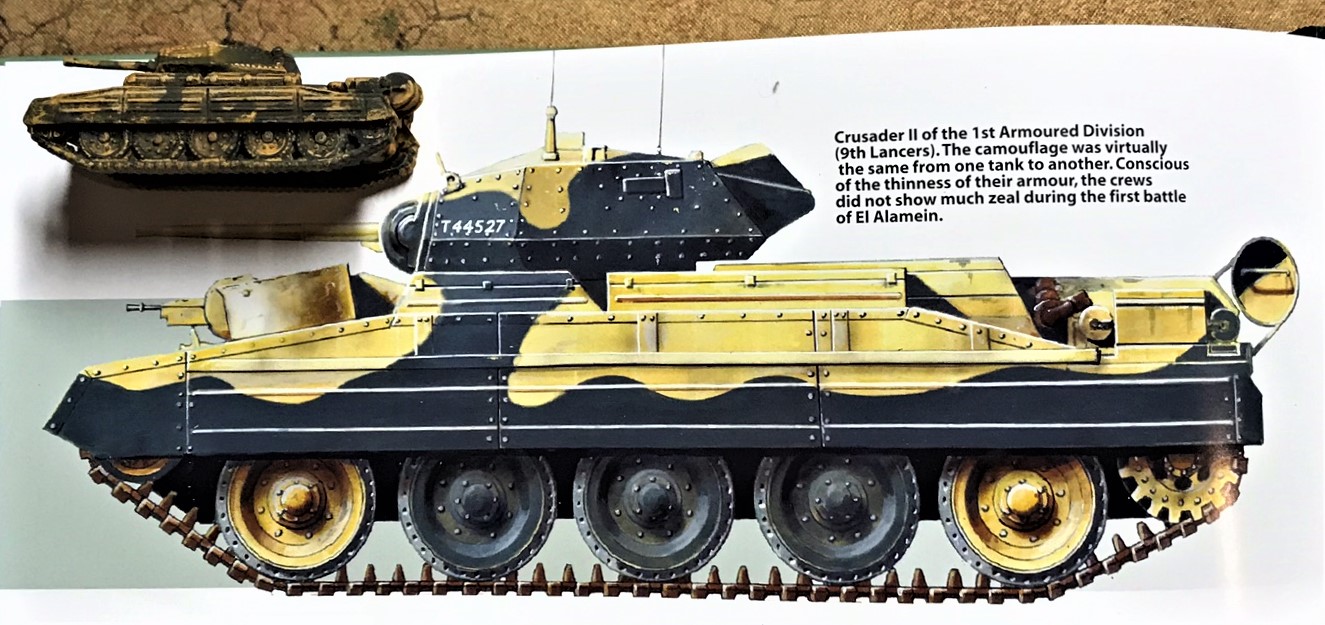
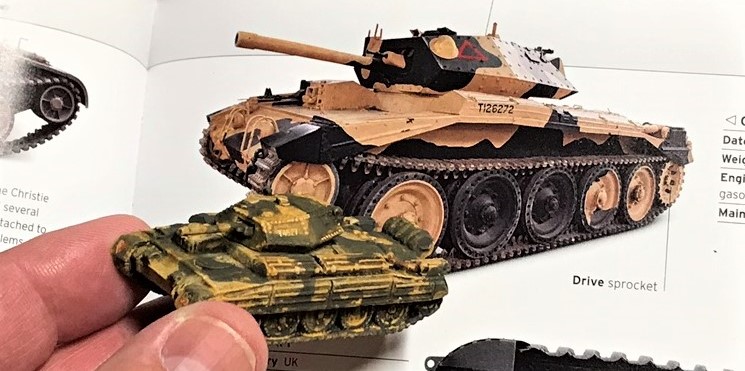
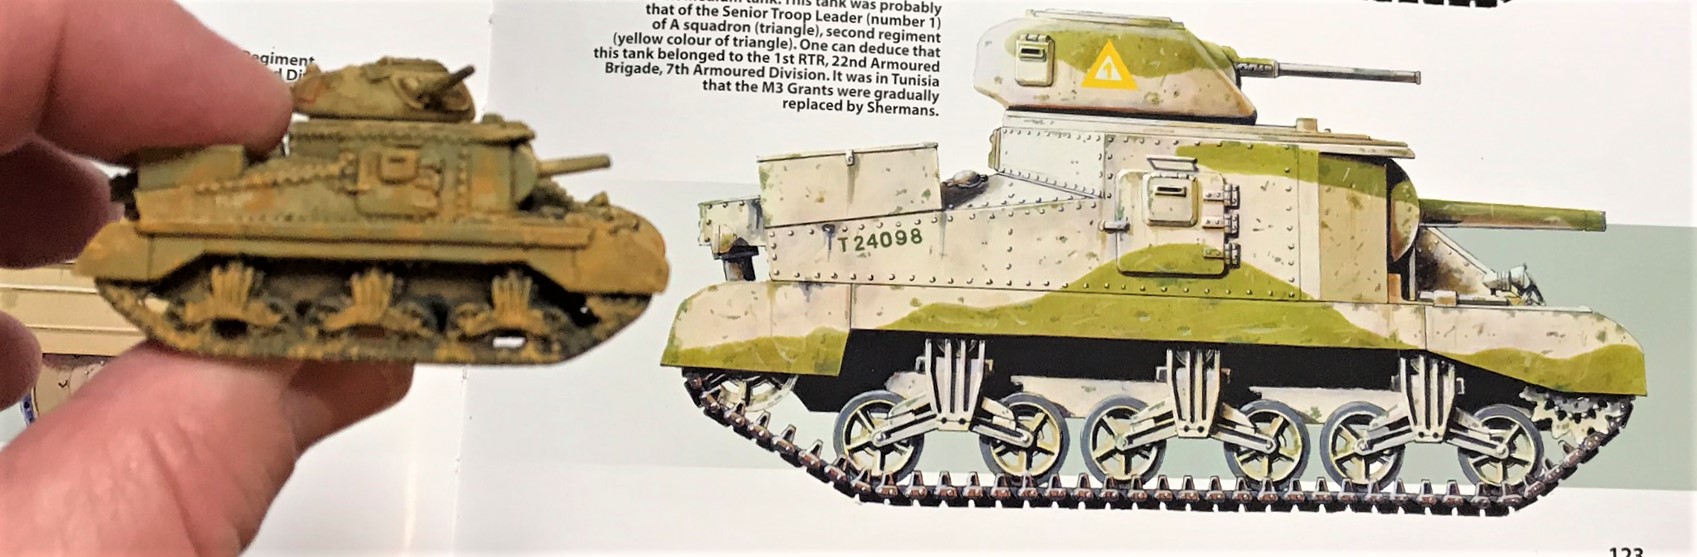
ON MY RESEARCH MATERIALS
As for research materials, I used the same ones as I cited before – but for completeness here they are in case you are interested (you can find them on Amazon):
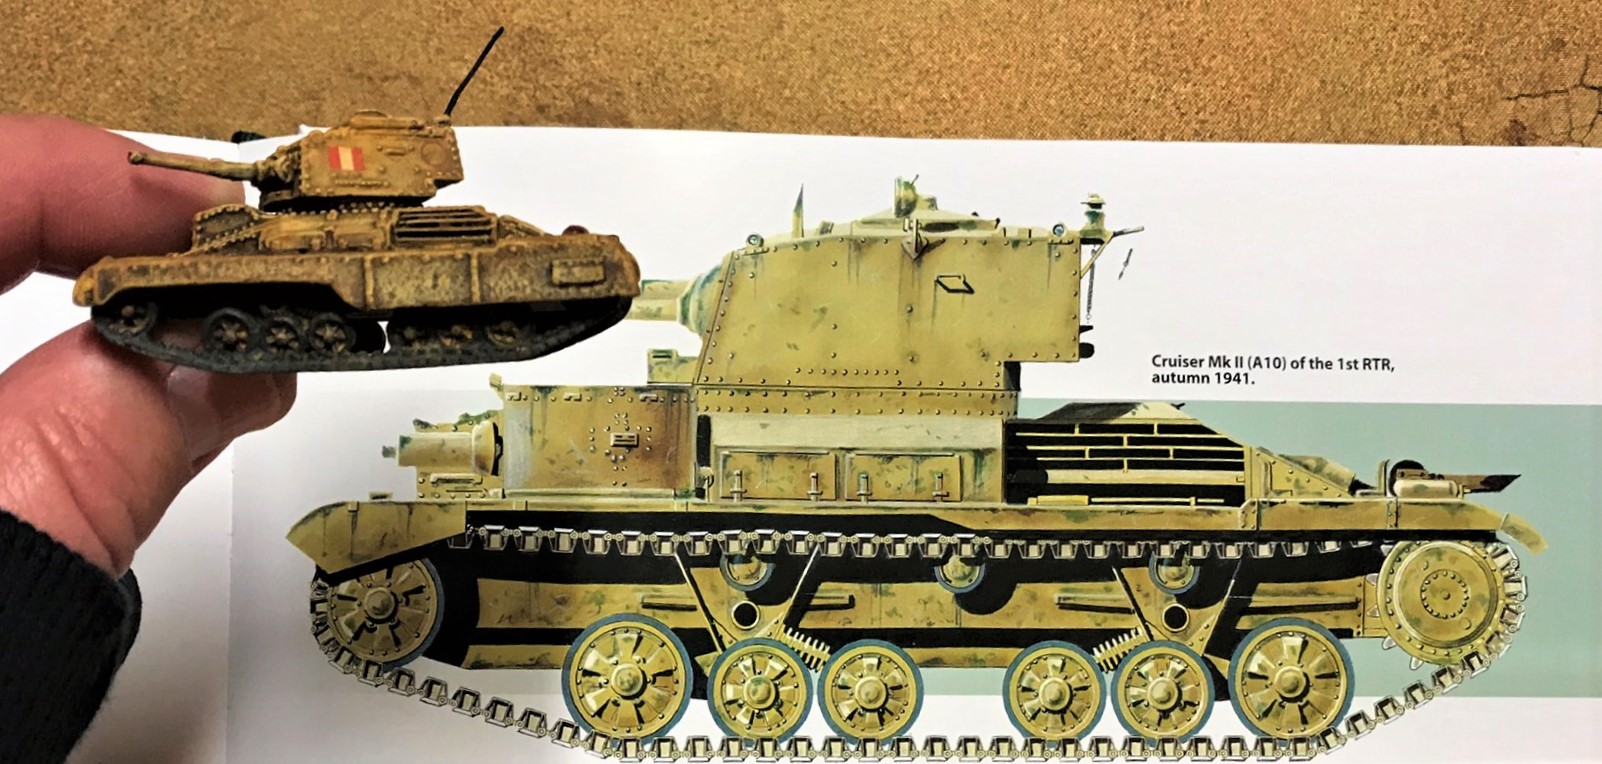
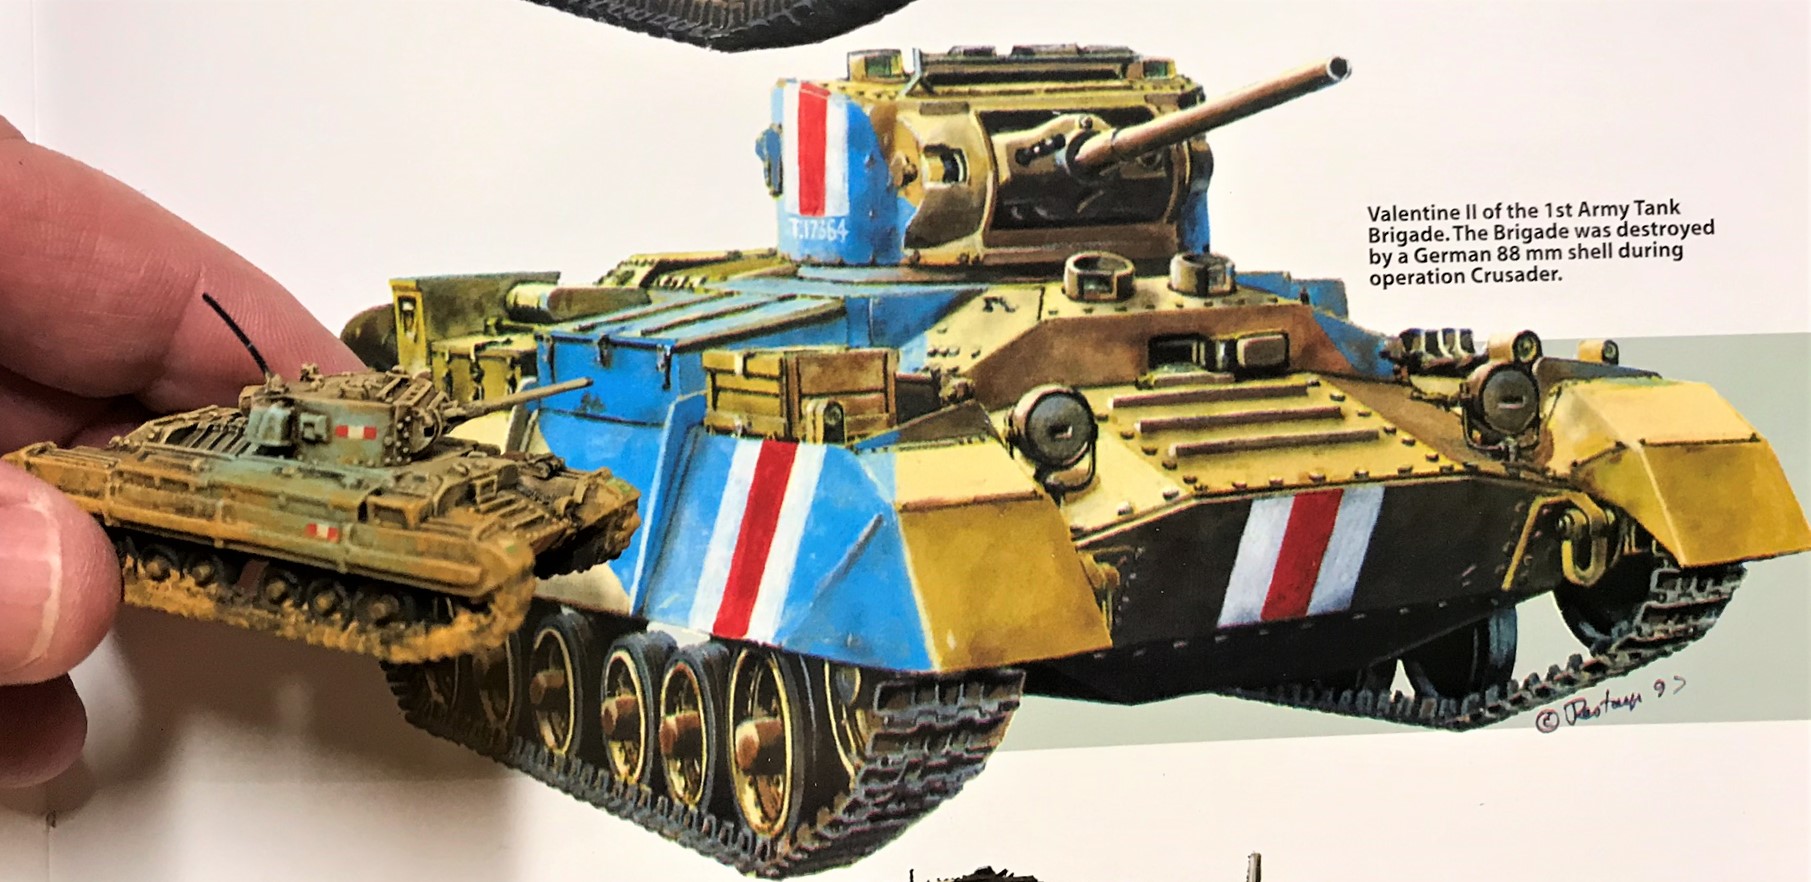
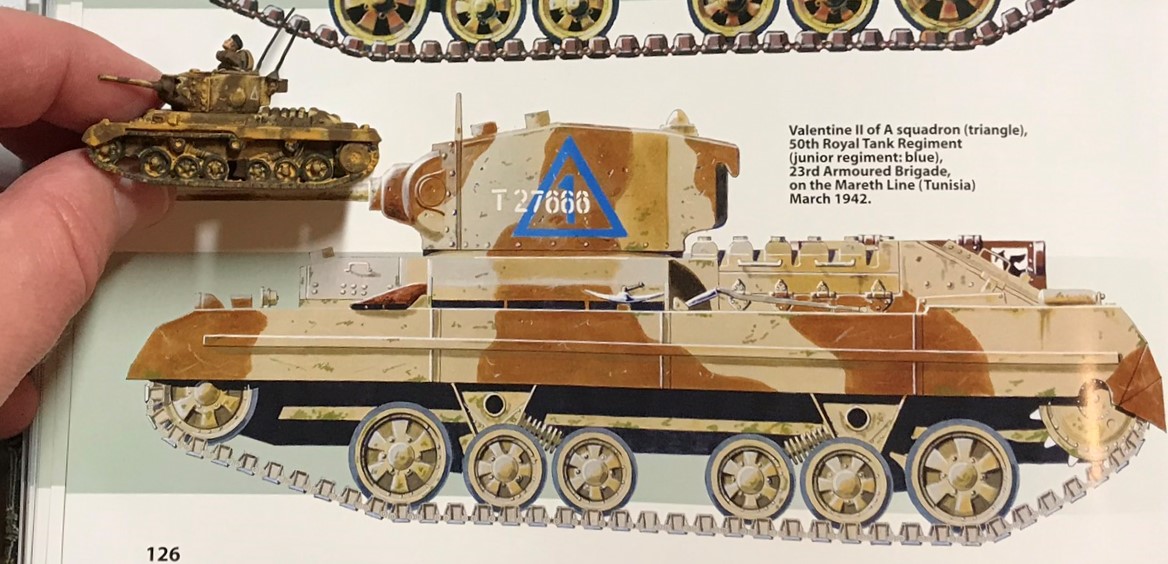
- One by Jean Restayn:WWII Tank Encyclopaedia, 1939-45
- One by the Smithsonian/DK:Tank: The Definitive Visual History of Armored Vehicles
- One by Michael Green:Axis Armoured Fighting Vehicles of the Second World War (Images of War)
- One by Robert Jackson:Tanks and Armored Fighting Vehicles Visual Encyclopedia
I would easily recommend all of these books as good resources for gamers and modelers.