Sometimes you need to try new materials, new techniques, and change up your hobby projects to keep fresh. My tabletop battlefield for my Attack of the Warbots game scenario (using the Combat Patrol™ rules system) needed some more ruined industrial terrain. I also wanted to try some new painting techniques with chipping medium, as well as using some crackle paint. The goal was to make something ruined, rusty, with some degree of verticality that would complement my tabletop.
As far as building materials, I had been saving different bits and pieces of this and that for a few years in anticipation of scratch-building something to meet that need. I say saving, my wife says hoarding – (it’s not hoarding if the stuff is organized, labelled, and put away out of sight in drawers dear😁). A previous employer had supplied us with kits that contained dummy vials (empty) that we could use to teach the process of reconstitution of the real thing. At one point years ago, because the FDA drug labeling had changed, and the packaging that the kits had on them was no longer valid, we were ordered to throw them away. I did, but threw the vials into a drawer. I also had some oddly-shaped caps from body sprays, and a purloined cover from my wife’s blow dryer. To be fair, the cover no longer stayed attached, so that was fair game. I also had bits of polystyrene sheets and tubes, and leftover foam rubber pads (packing material) from something I no longer remember. So basically, I had a lot of trash to work with.
As the community painting challenge (run by Azazel) that I participate in for July was “The Jewel of July ’19 Community Painting Challenge”, I thought I’d switch up from doing tanks and make a scenery piece. The scenery qualifications were:
“It’s for the more impressive scenery pieces. A desert oasis or a (ruined?) temple or a bunker complex or a single bunker or a skyscraper or a Ferratonic Incinerator or a Kwik-E-Mart. A forest worth of trees or a jungle worth of plants.”
So, dear reader, you can be the judge of this project as a “jewel”, or not. It will have some good points and some not – I hope that if you have some feedback (good, bad, or otherwise) that you share it so that I and others can learn.
Construction and Planning
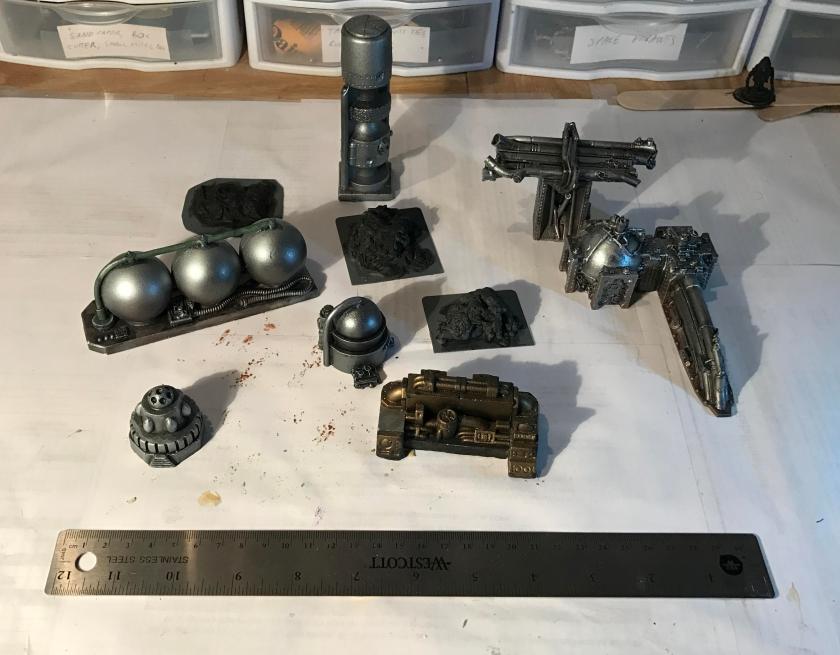
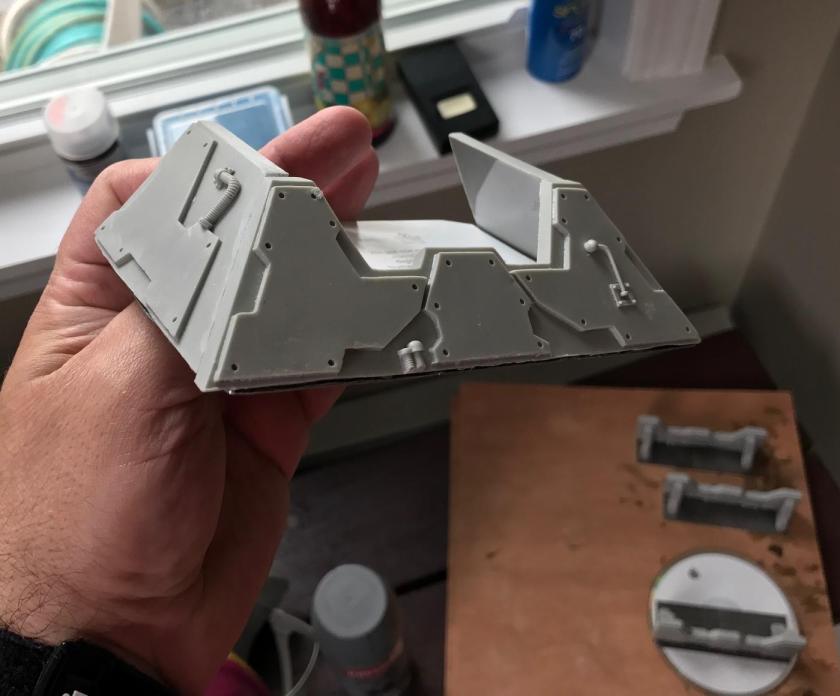
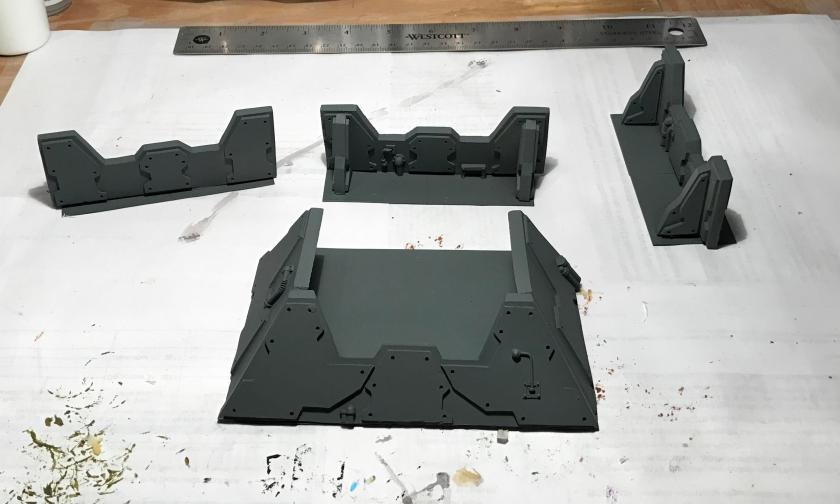
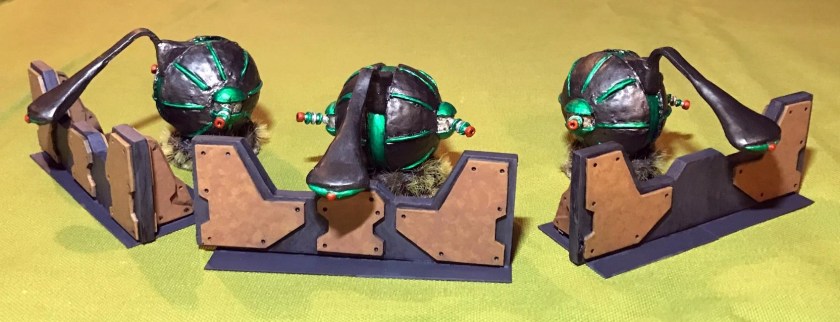
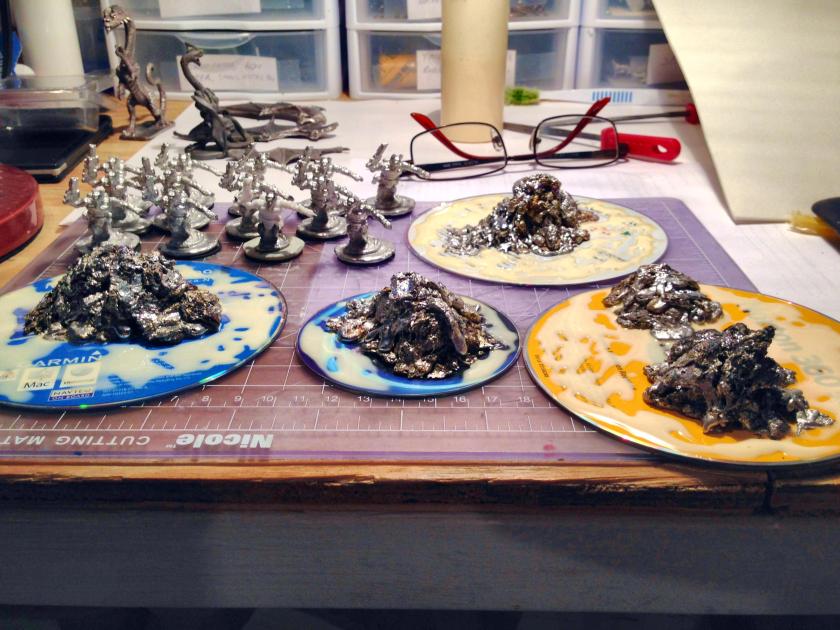
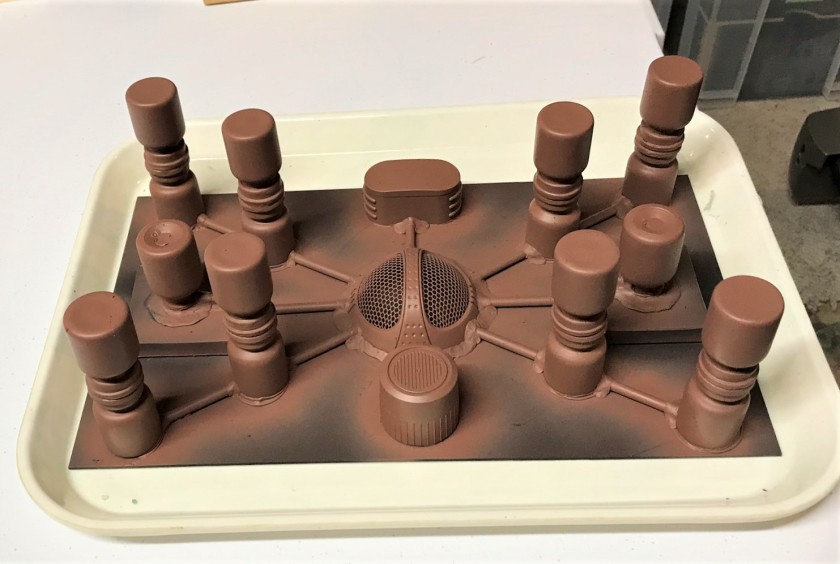
I assembled the assorted junk, and made a plan. The glass vials I decided would work well glued together top-to-top as chemical tanks. I had two vials that were plastic that I scuffed up, and I removed any paper labeling from all of them. The blow dryer screen would be the centerpiece. Using a leftover piece of polystyrene sheet (Evergreen #9060 – .06″ thick), I plotted out a chemical plant symmetrically. I made two elevated concrete pads for the shorter vials with thinner polystyrene (Evergreen #9020 – 0.02″ thick) and the foam pads, and Plastruct Bondene. For the vials, my epoxy of choice was E6000, though that did leave a lot of glue strings to clean up later. The tubing was Evergreen 3/16″ #226, complemented by cut plastic straws. Applying E6000 to the strws made them relatively solid. I used green stuff as the piping joints. The plan for the vials was to sequentially prime, apply rust paints, apply chipping medium, apply metallic paints, chip, and rust. The bases were to be done using AK crackle paints, with washing and dry brushing.


Painting
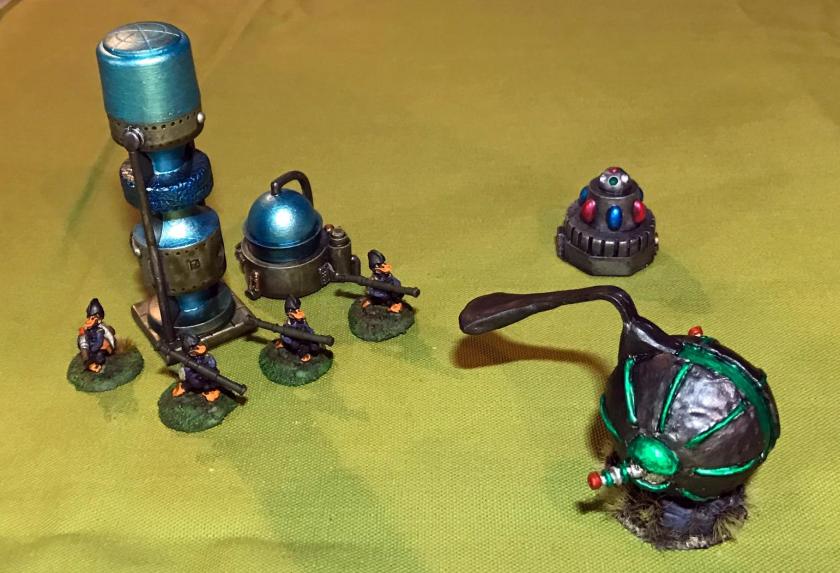
I airbrush primed the piece with Vallejo Black primer, allowing 24 hours to dry. Then I airbrushed it with Vallejo Model Air “Rust” (#71.080).
I then applied a liberal coat of Citadel “Ryza Rust” and a different Vallejo “Rust” (#71.069) that I hoped would show a nice rust effect under the final color coats. Then, I applied Vallejo “Chipping Medium” over the rust. I was very unsure of the amount to use here, or the pressure with which apply it with the air brush. Add to that the dry time, which I gave 24 hours – too much? I don’t know. Due to the terrain piece’s layout, it was also hard to get into all the areas with the chipping medium.


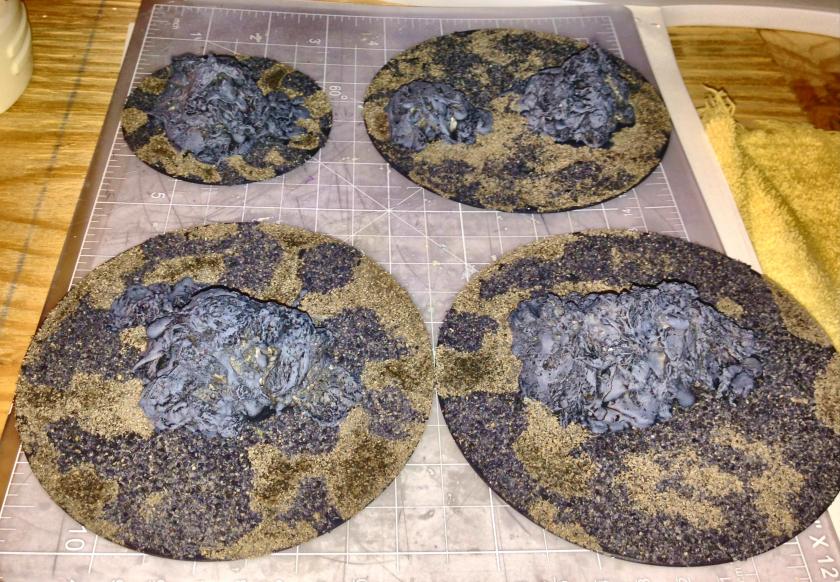
I then chose the final metallic colors for the vials, the pipes, the caps, and the screen. Those, and the other materials, you can see listed at the end of this post. I applied a caot of gloss black to the base to assist later “crackling”.

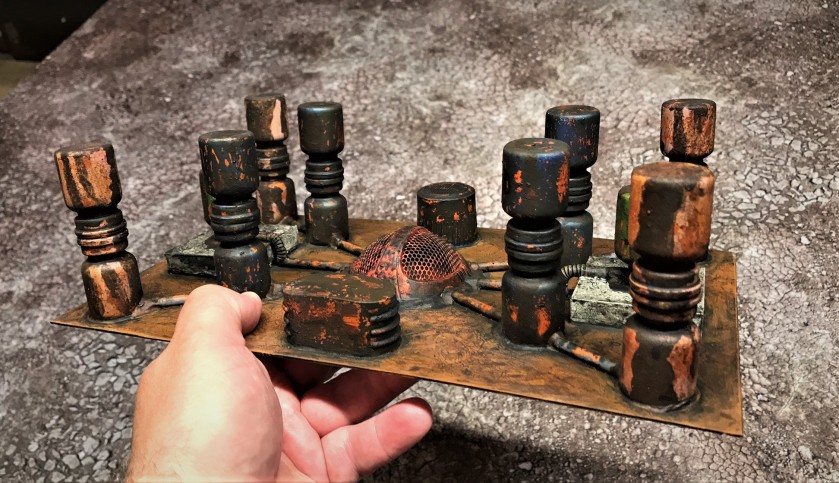
At this point, I applied water with a stiff toothbrush to the vials, and that was supposed to cause the chipping. It did some places, but not everywhere. I had to resort to a toothpick in a lot of places, and that pulled ALL of the paint off. As repair, I used Citadel “Typhus Corrosion” trying to simulate rusted leaking tanks. I washed the vials with a light rust wash, and that turned the purple tanks pink/orange! I went back to the Typhus corrosion and tried to compensate.


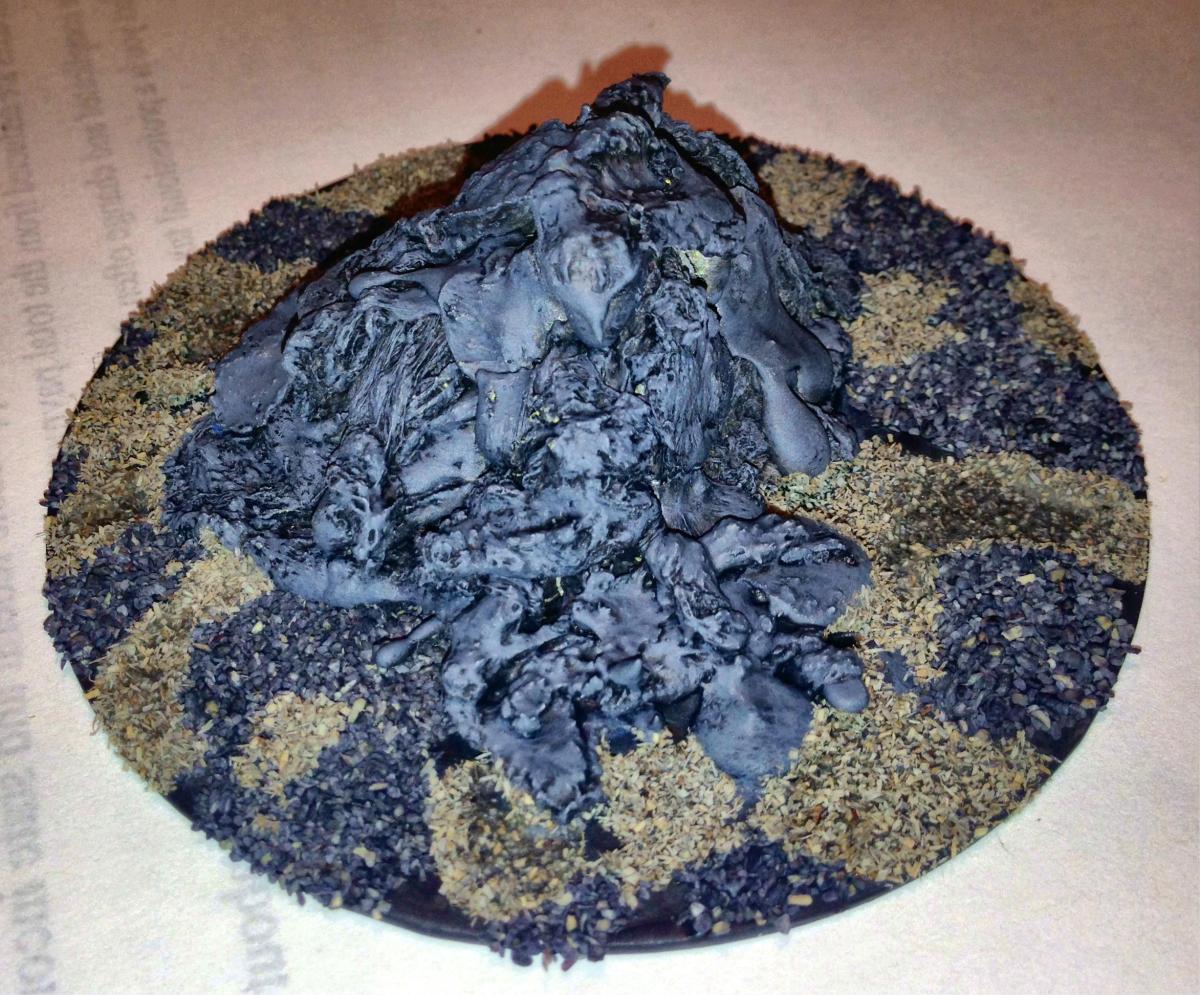
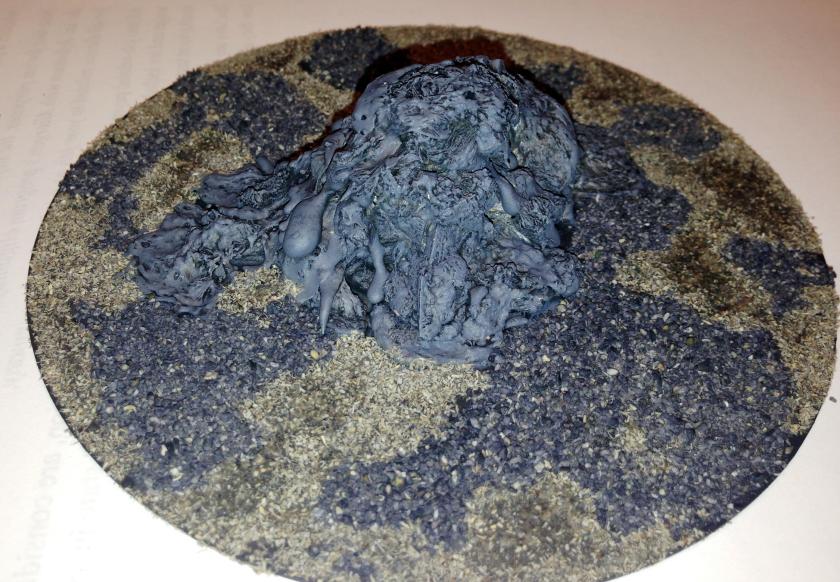
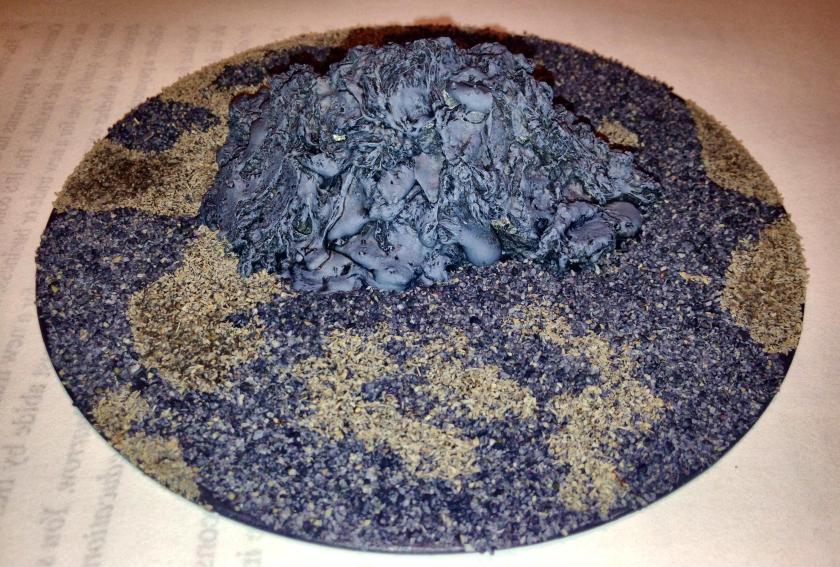
Then, I needed to add the two different crackle paints, along with washes and highlights. Before that, I applied a gloss varnish to help the crackling effect and to help protect the chipping effects. I knew I could use a matte varnish later to dull it up.


Finally, I airbrushed the piece with Vallejo Mecha Varnish “Matt Varnish”. As I had foam rubber part of the piece, I needed to avoid any use of rattle cans to prevent a real chemical meltdown!


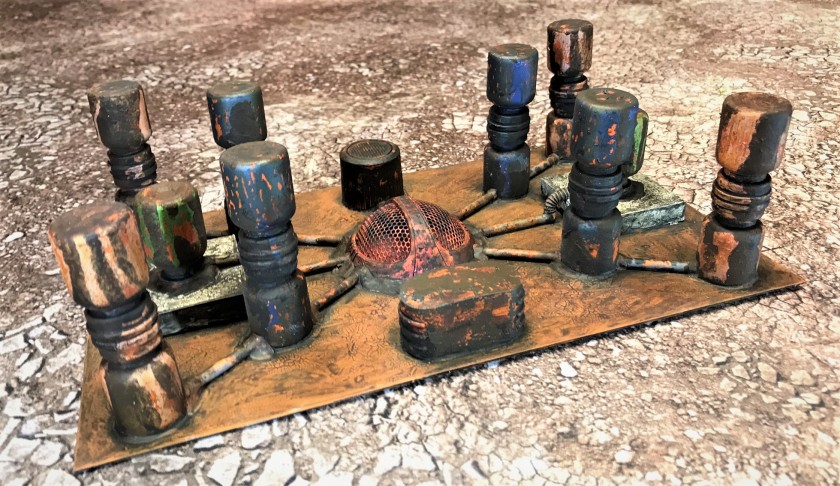


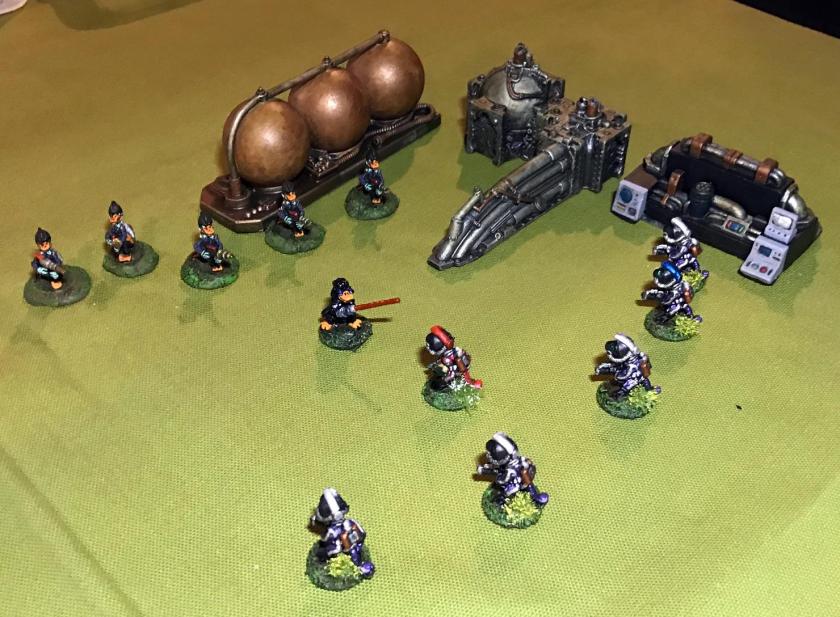
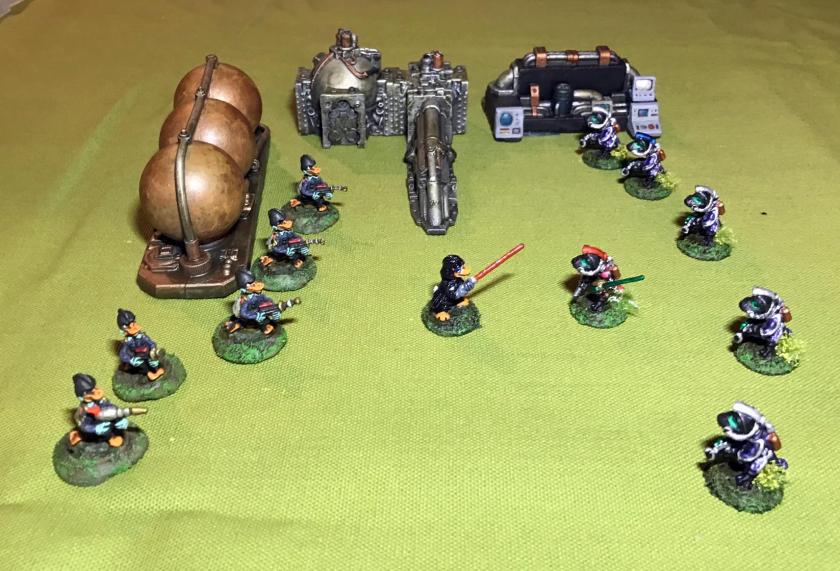
So, do I have a “Jewel of July” here. Maybe at least a garnet anyways. I think this is OK for the tabletop, given that it was basically made of trash. It hits the game tabletop today!
If you want to see a real “Jewel” – check out Alex’s piece here. THAT is impressive!
Back to my project, I was somewhat disappointed at the Vallejo “Chipping Medium”. I could not find much information on its use, and a lot of that was negative. The AK crackle paints are very good in my opinion, and I will look to see if they have a chipping product.
Any feedback – especially any thoughts on my process and the product – is always appreciated. As always, hope you enjoyed this post.
PAINTS, INKS, GLAZES, SHADES, WASHES, PIGMENTS, FLOCKING, GLUES AND MORE USED ON THIS PROJECT:
- Discarded dummy vials
- Hair dryer screen
- Body wash bottle cap
- Fragrance bottle cap
- Foam rubber packing pads
- Evergreen #9060 polystyrene sheet
- Evergreen #9020 polystyrene sheet
- Evergreen 3/16″ polystyrene tubes
- E6000 epoxy
- Plastruct Bondene
- Green stuff
- Vallejo “Flow Improver”
- Vallejo “Airbrush Thinner”
- Vallejo “Surface Primer – Black”
- Vallejo Model Air “Rust” (71.080)
- Vallejo Model Air “Rust” (71.069)
- Vallejo Model Air “Signal Red”
- Vallejo Mecha Color “Metallic Blue”
- Vallejo Mecha Color “Metallic Green”
- Vallejo Mecha Color “Purple”
- Vallejo Model Air “Med. Gunship Grey”
- Armory “Gloss Black” (used this 1996 paint up!)
- Citadel “Ryza Rust”
- Citadel “Typhus Corrosion”
- Vallejo “Chipping Medium”
- Vallejo Mecha Weathering “Light Rust Wash”
- Vallejo Mecha Weathering “Rust Texture”
- Americana “Black Tie” (satin)
- AK “Light and Dry Crackle Paint”
- AK “Dark and Dry Crackle Paint”
- Citadel “Nuln Oil Gloss” (wash)
- Citadel “Skrag Brown”
- Testors “Universal Acrylic Thinner”
- Vallejo “Gloss Varnish”
- Vallejo Mecha Varnish “Matt Varnish