Welcome to the 2026 season of the Tour of the Brookfields! Updates on the results of our events can be found here on this blog throughout the year leading up to the FINALS!
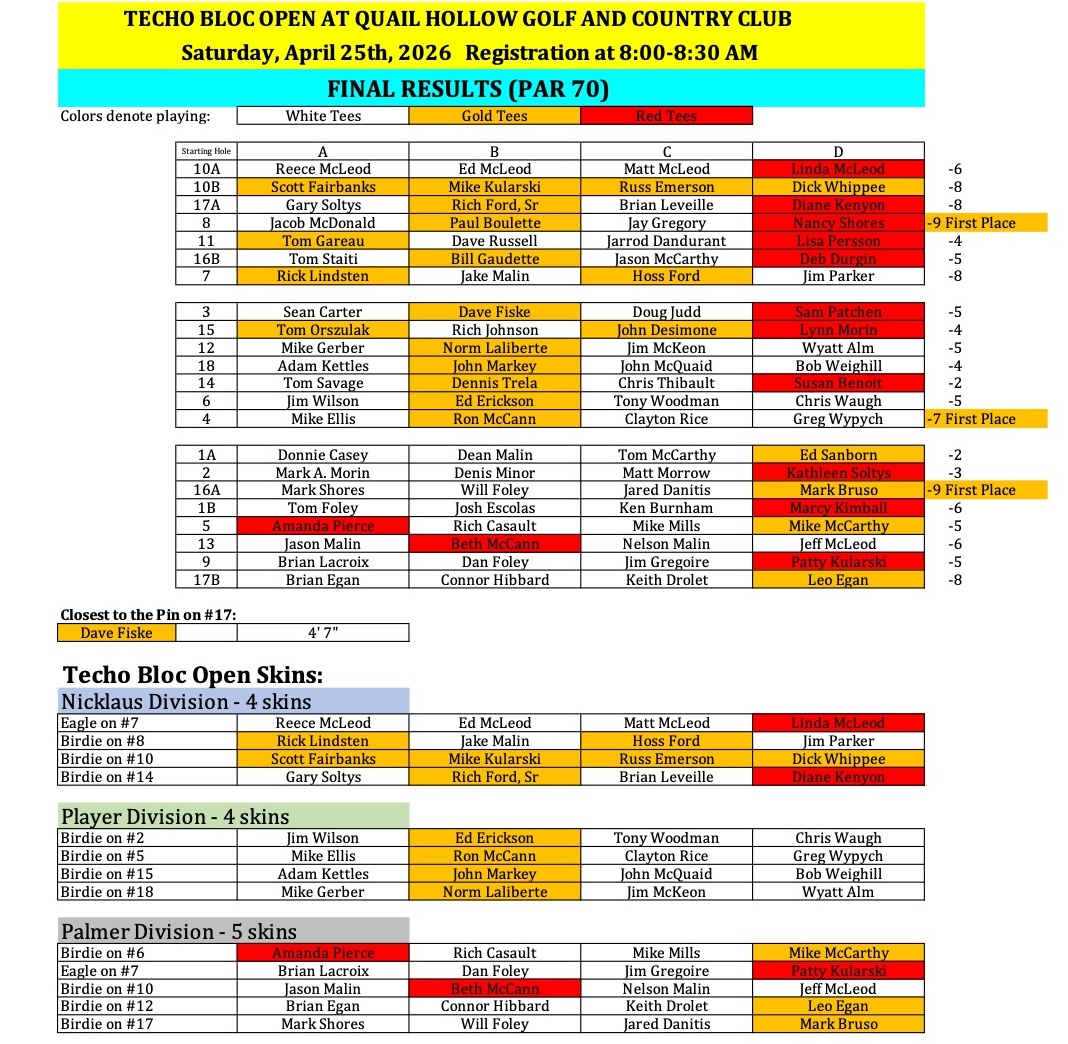
The results from the first regular season TOB event at Quail Hollow Golf & Country Club in Oakham, MA are in. It was held on the brisk morning of Saturday, April 25th, 2026. No rain impeded our play. Our sponsor was Techo Bloc, hence the Techo Bloc Open. We had 88 players on 22 teams in three divisions.
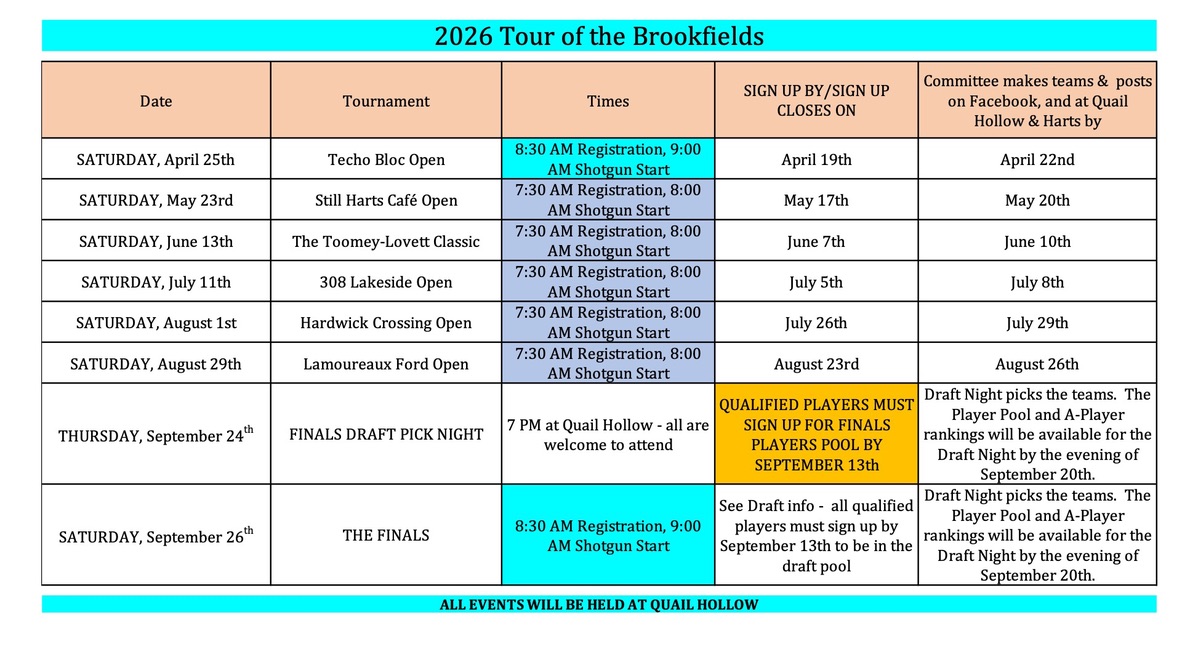
We had several new players – and some returning veterans of years past – and welcome to all of you! There are five more regular season TOB’s before the FINALS. All are at Quail Hollow Golf & Country Club. Here is the schedule for 2026:
Now, let’s get to the results from Saturday.
2026 Techo Bloc Open Results
The three divisions/flights were extremely competitive. No flight was won by more than 2 strokes. There were some excellent scores this time – and several teams in each division had a shot at winning. There were no playoffs.
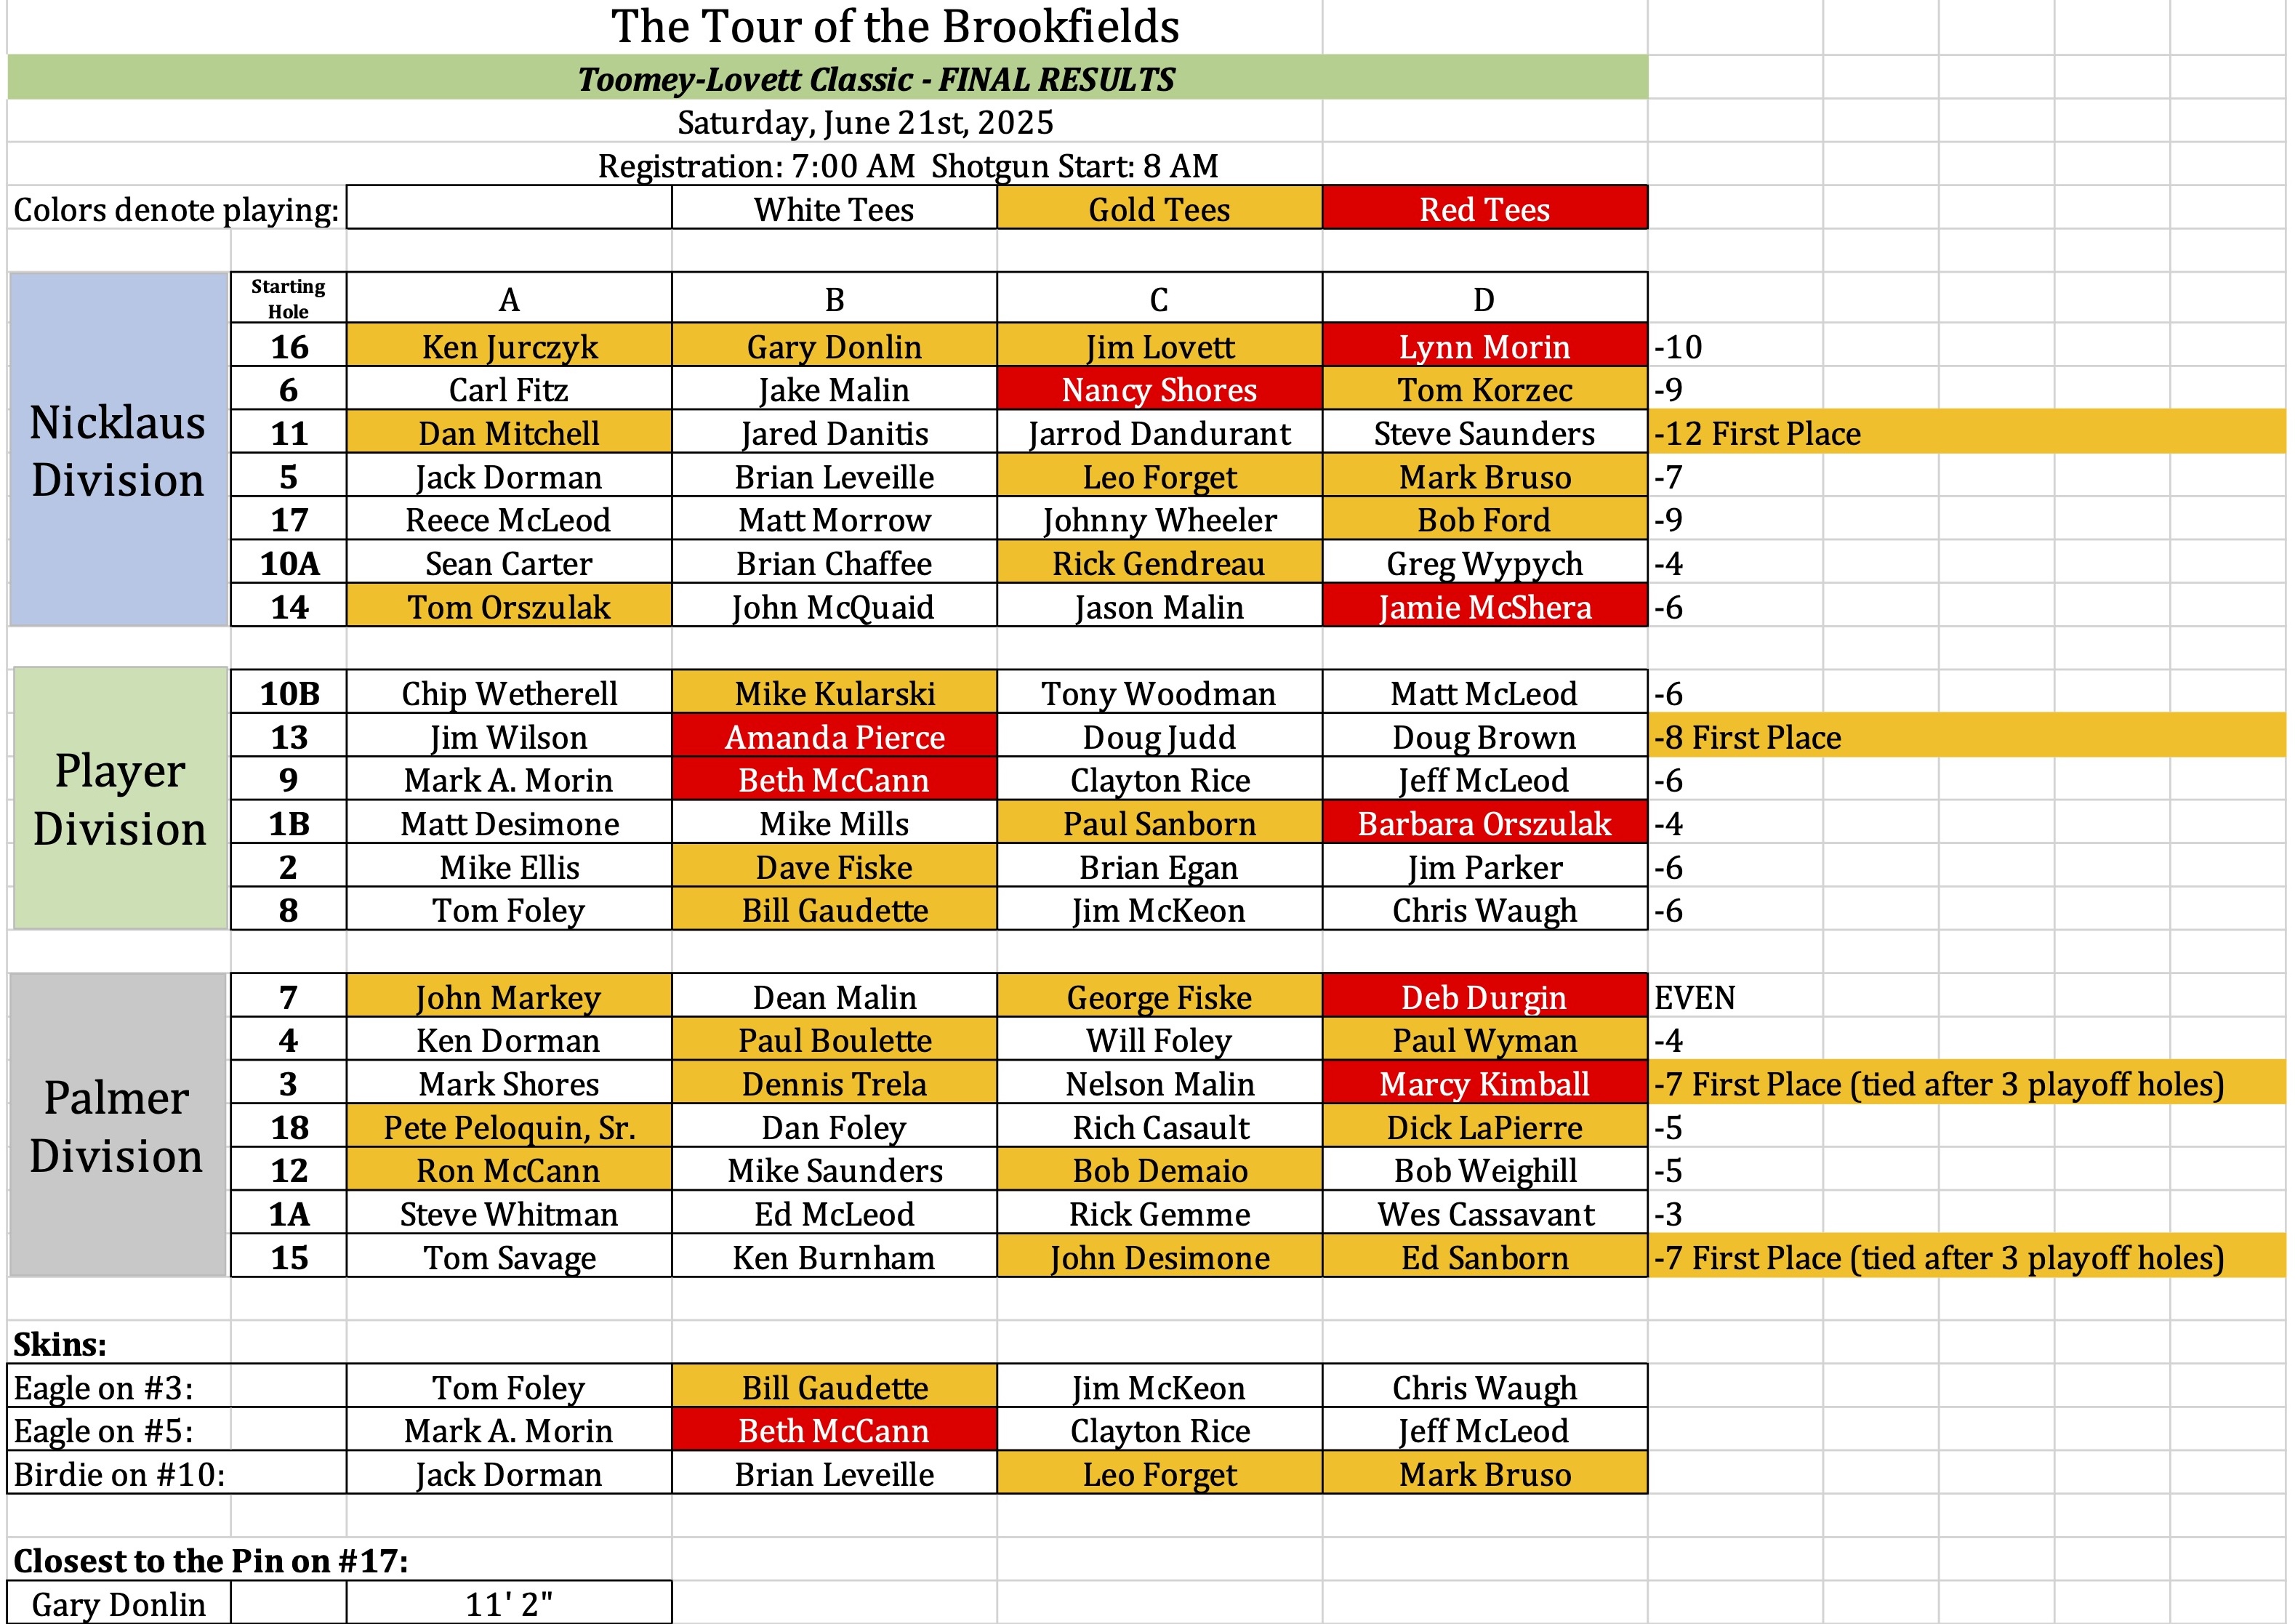
Nicklaus Division
In the Nicklaus Division, the team of Jacob McDonald, Paul Boulette, Jay Gregory, and Nancy Shores won with a great score of 9-under par! Every shot was needed because hot on their heels were three teams at -8. Those teams in second place in the Nicklaus Division were:
- Scott Fairbanks, Mike Kularski, Russ Emerson, and Dick Whippee
- Gary Soltys, Rich Ford, Sr., Brian Leveille, and Diane Kenyon
- Rick Lindsten, Jake Malin, Hoss Ford, and Jim Parker
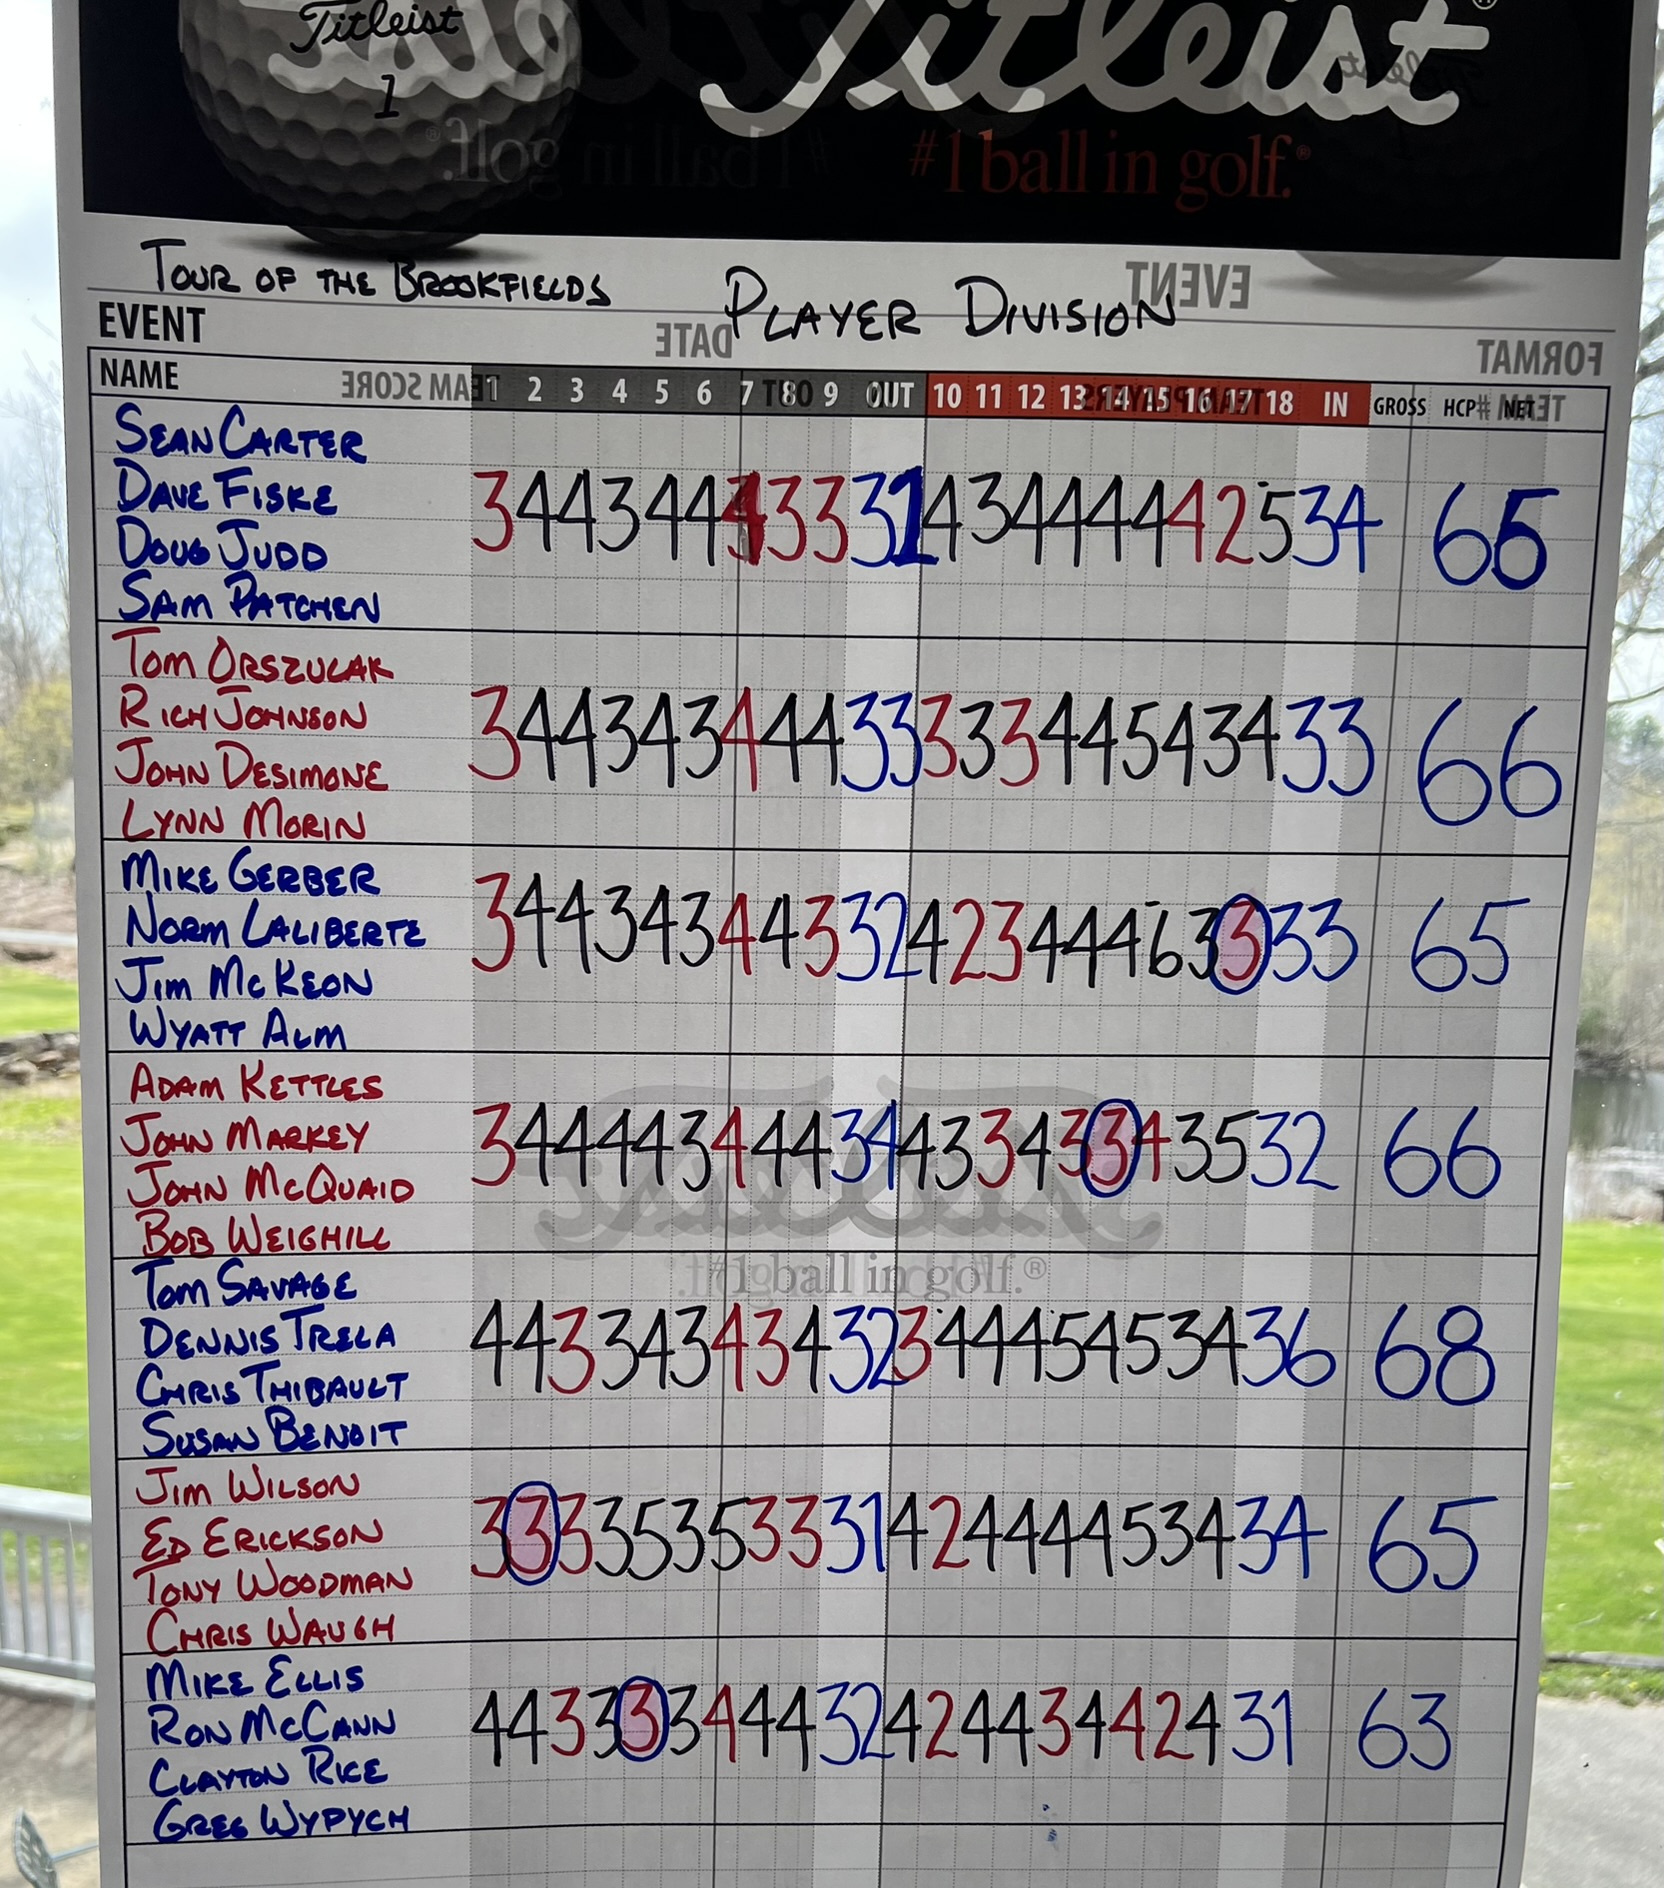
Player Division
In the Player Division, the team of Mike Ellis, Ron McCann, Clayton Rice, and Greg Wypych garnered top honors at 7-under par. In second place, two strokes back, were two teams at -5:
- Sean Carter, Dave Fiske, Doug Judd, and Sam Patchen
- Jim Wilson, Ed Erickson, Tony Woodman, and Chris Waugh
Palmer Division
In the Palmer Division, the team of Mark Shores, Will Foley, Jared Danitis, and Mark Bruso team also won by a narrow 1-stroke victory. Their -9 gained the victory over the TechoBloc sponsor team of Brian Egan, Connor Hibbard, Keith Drolet, and Leo Egan, who shot -8.
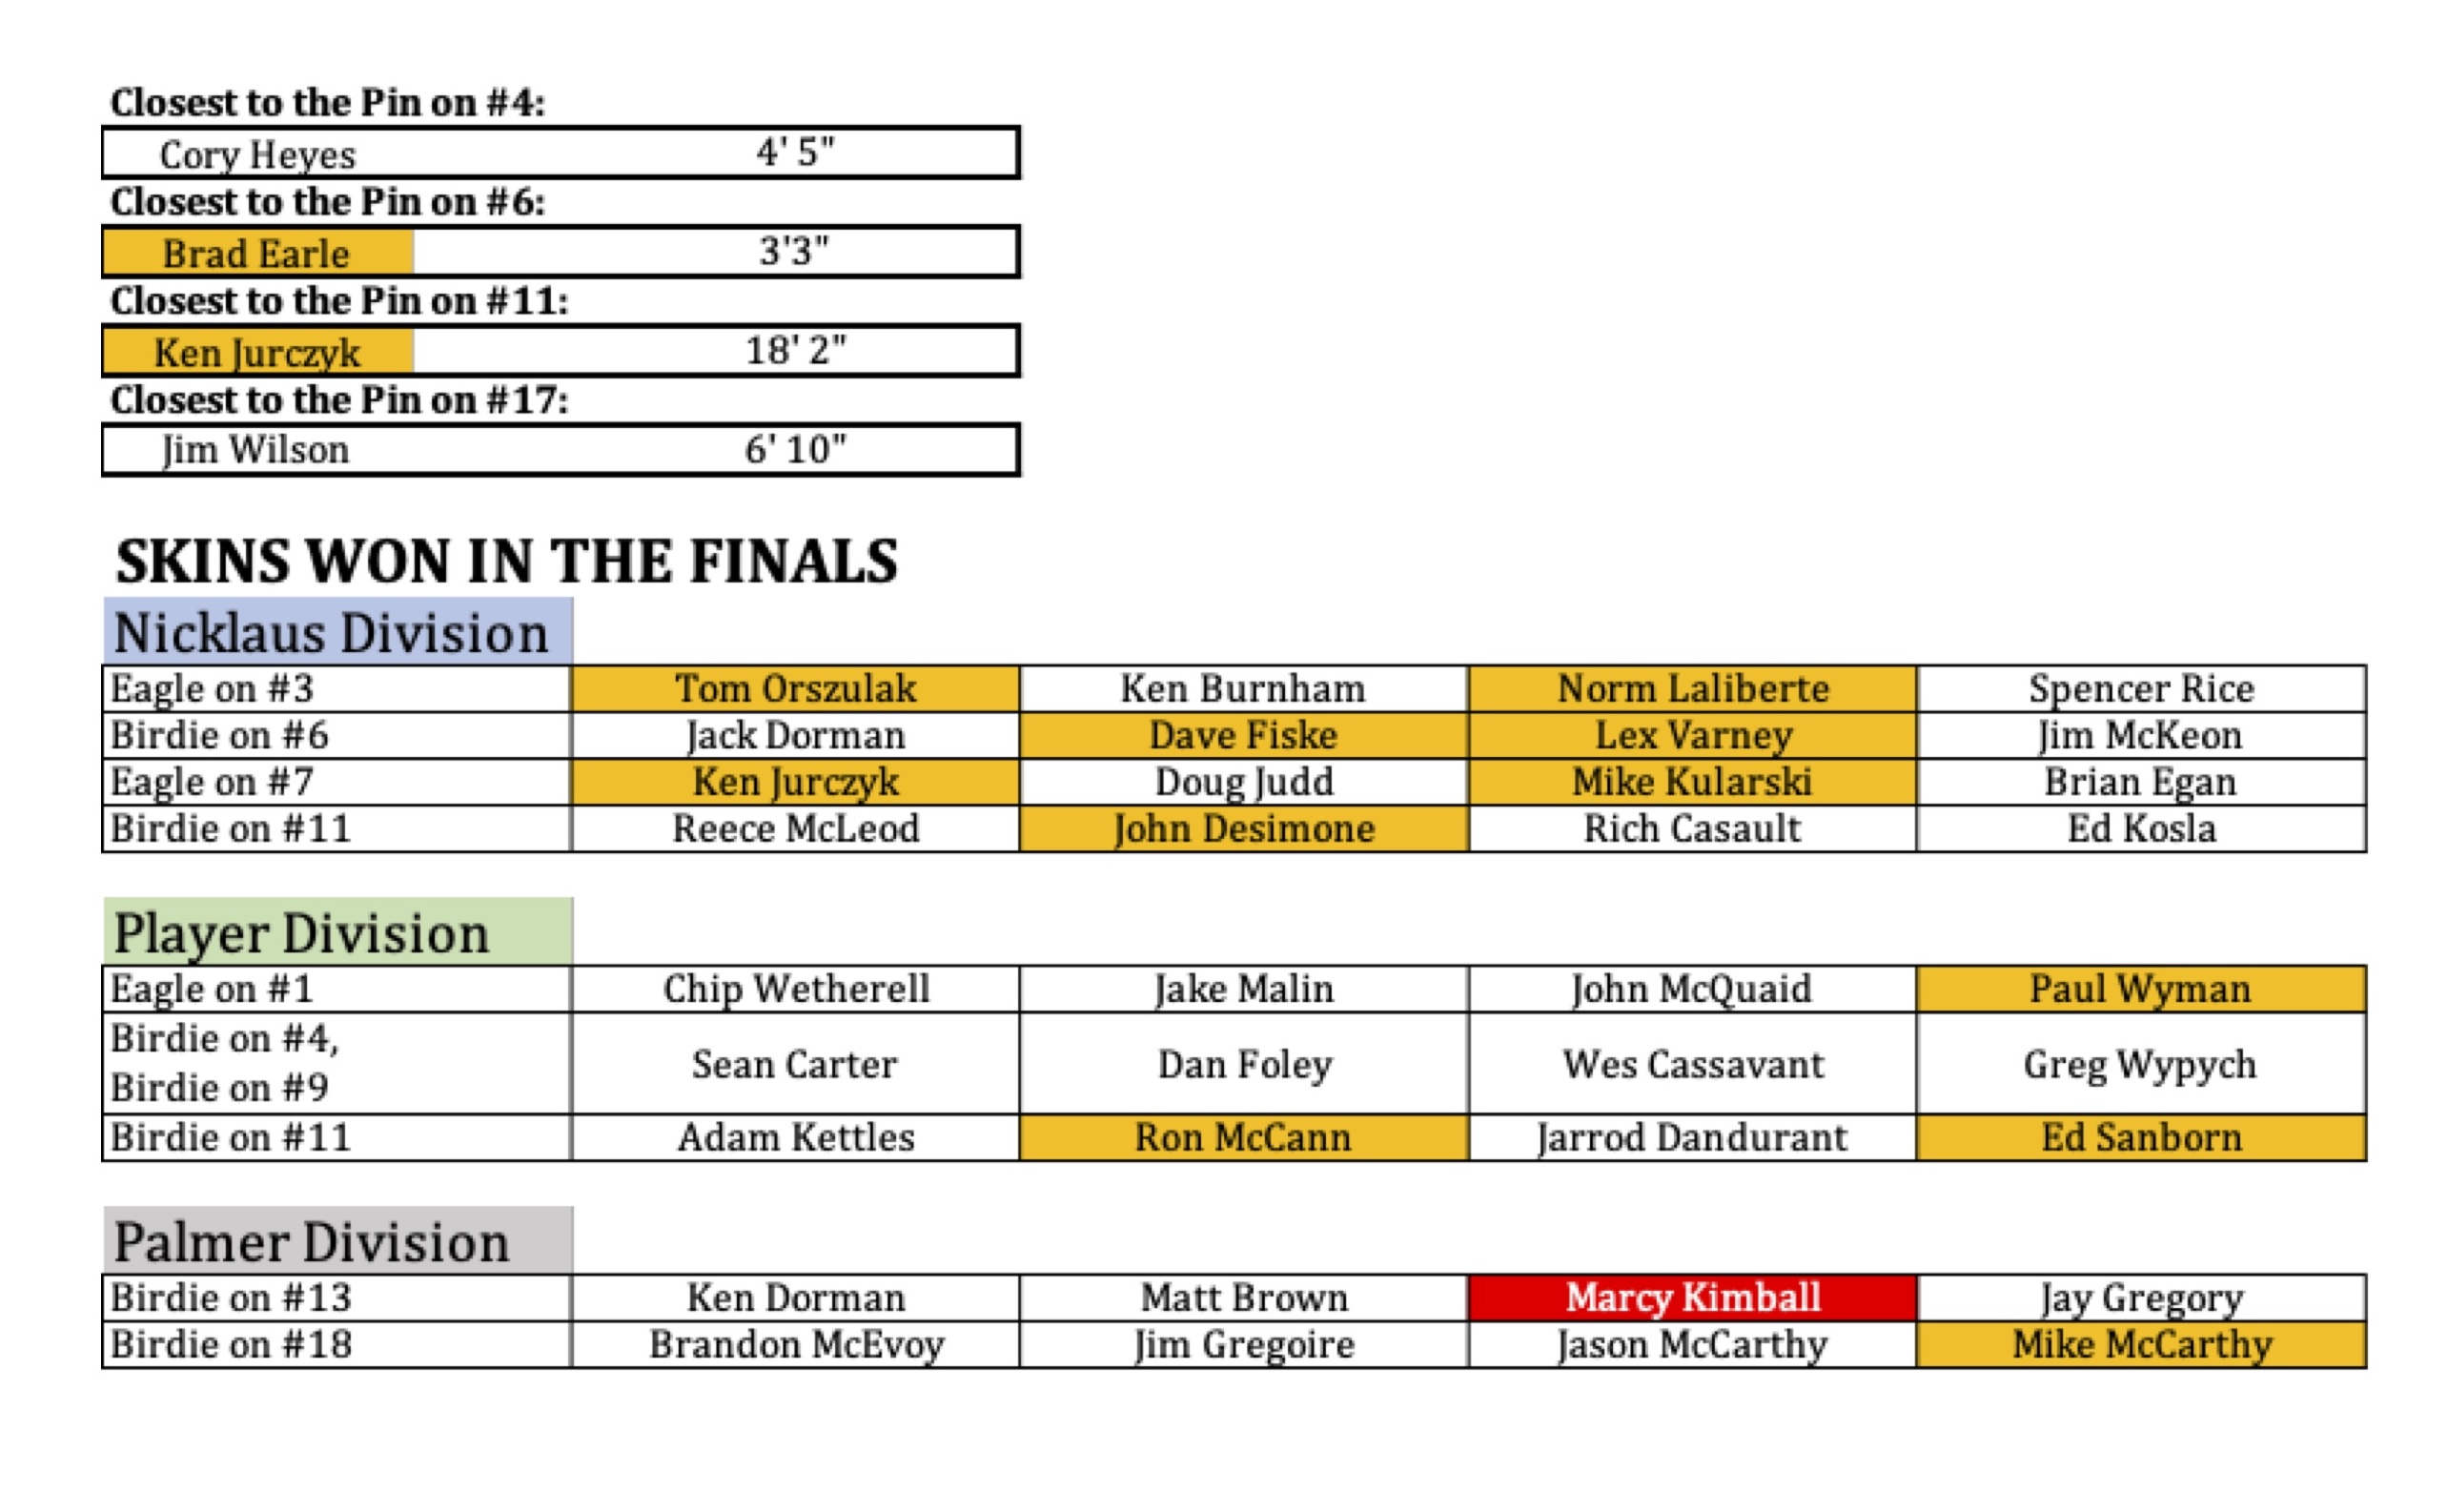
Skins and Closest to the Pin on the 17th Hole
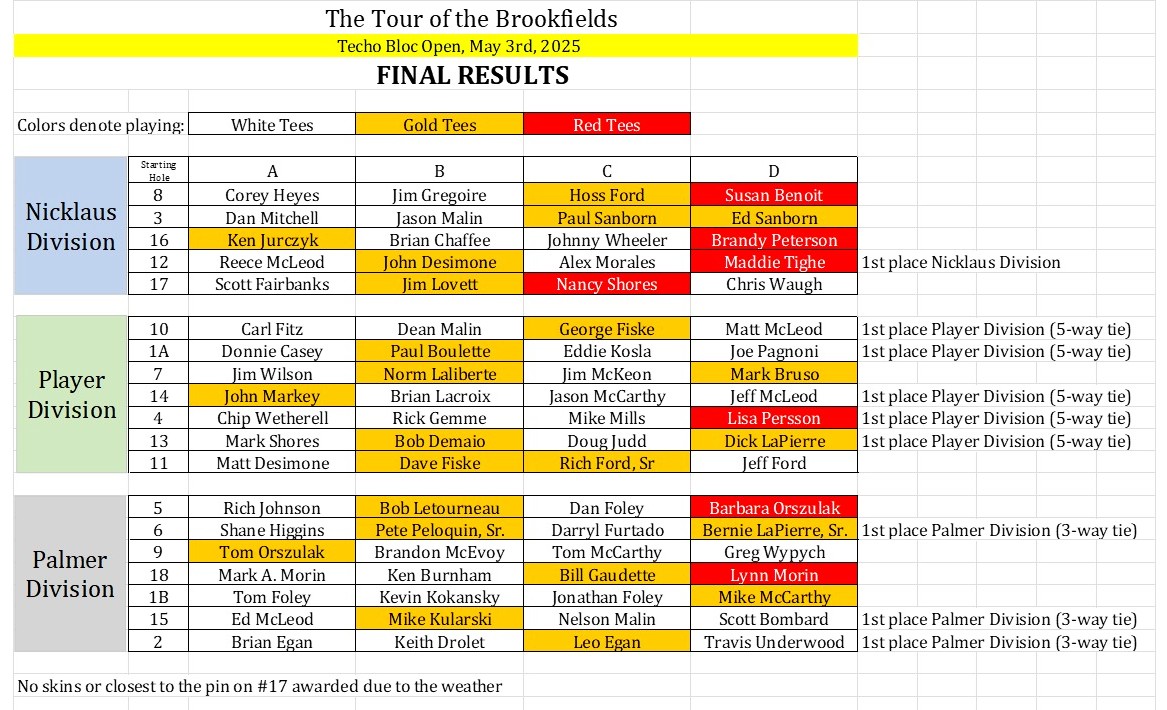
We also ran a skins contest within each division. There were 13 total skins awarded – 4 each in the Nicklaus and Player Divisions, and 5 in the Palmer Division. The winners are as shown on the consolidated list below.
Dave Fiske was the winner of the closest to the pin contest at 4′ 7″.
Below are the consolidated results from the event
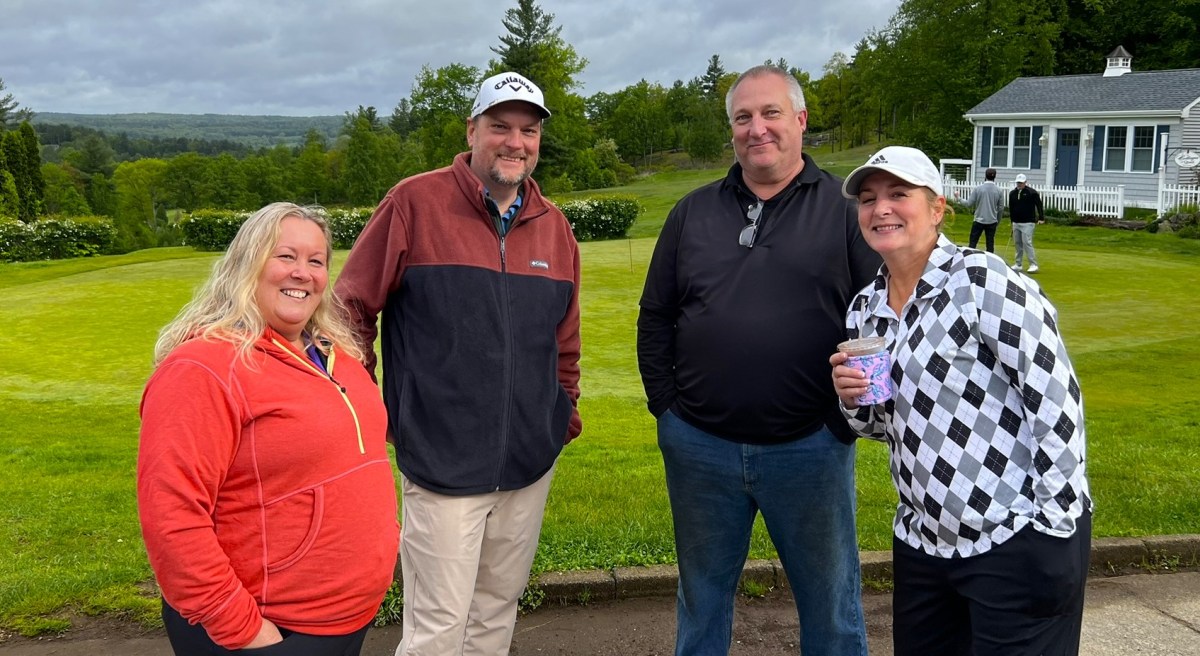
Big Congrats again to the winners and thanks to all the players!
The Next Tournament and Some Notes
Special thanks again to Techo Bloc or their sponsorship of this event.
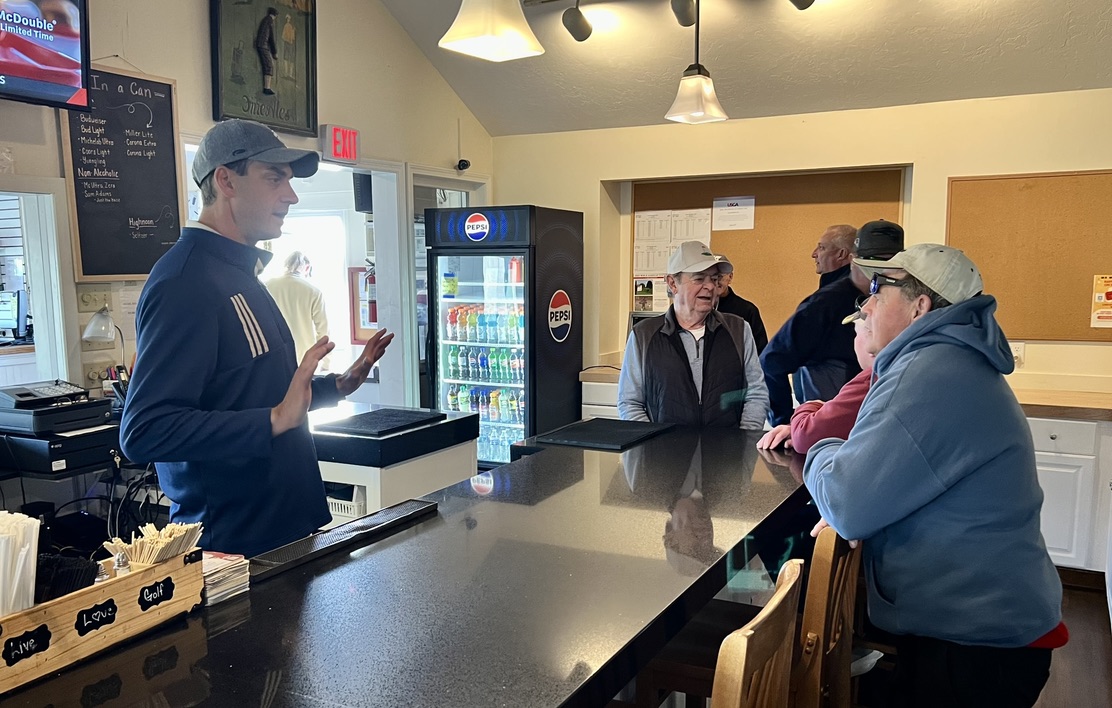
Also, as always, a special thank you to Carl Fitz, Matt Pakonen, and all the staff at Quail Hollow who work so hard to make the Tour of the Brookfields possible.
IMPORTANT!!!
The next tournament is on Saturday, May 23rd at Quail Hollow. It will be the Still Harts Open – a very-highly attended event. The sponsor is of course Still Harts Cafe in North Brookfield, MA. It will be held at Quail Hollow.
Sign ups will be coming down on May 17th or when we are full, which ever comes FIRST!
That usually happens VERY QUICKLY and we expect the event to fill up!
If you want in, sign up early at Still Harts, at Quail Hollow, or on the Tour of the Brookfields Facebook page! When its full, its full!
NOTE – REGISTRATION IS EARLIER GOING FORWARD!!!
Registration and time to show up the Still Harts event and all future ones (except the FINALS) will be earlier as we do not expect any more potential frost delays. REGISTRATION OPENS AT 7:00 AM! PLEASE ARRIVE AND REGISTER BY 7:30 AM at the latest.
A FEW REQUESTS:
First, thanks everyone for being timely in arriving. It helps us to get going much faster, please keep that up – especially for the Still Harts Open!
Second, if you want to sign up, PLEASE use one of the three sign up opportunities (Still Harts, at Quail Hollow, or on the event section of the Tour of the Brookfields Facebook page). Texts do sometimes get lost or buried…so please use the lists.
If you sign up and need to drop, make sure you do so before the sign up cutoff.
Lastly, if you write your name down on the closest to the pin list, MAKE SURE WE CAN READ IT AND THE DISTANCE! If we cannot read it, well…you might lose out…
Thanks again to all the players and we will see you soon.
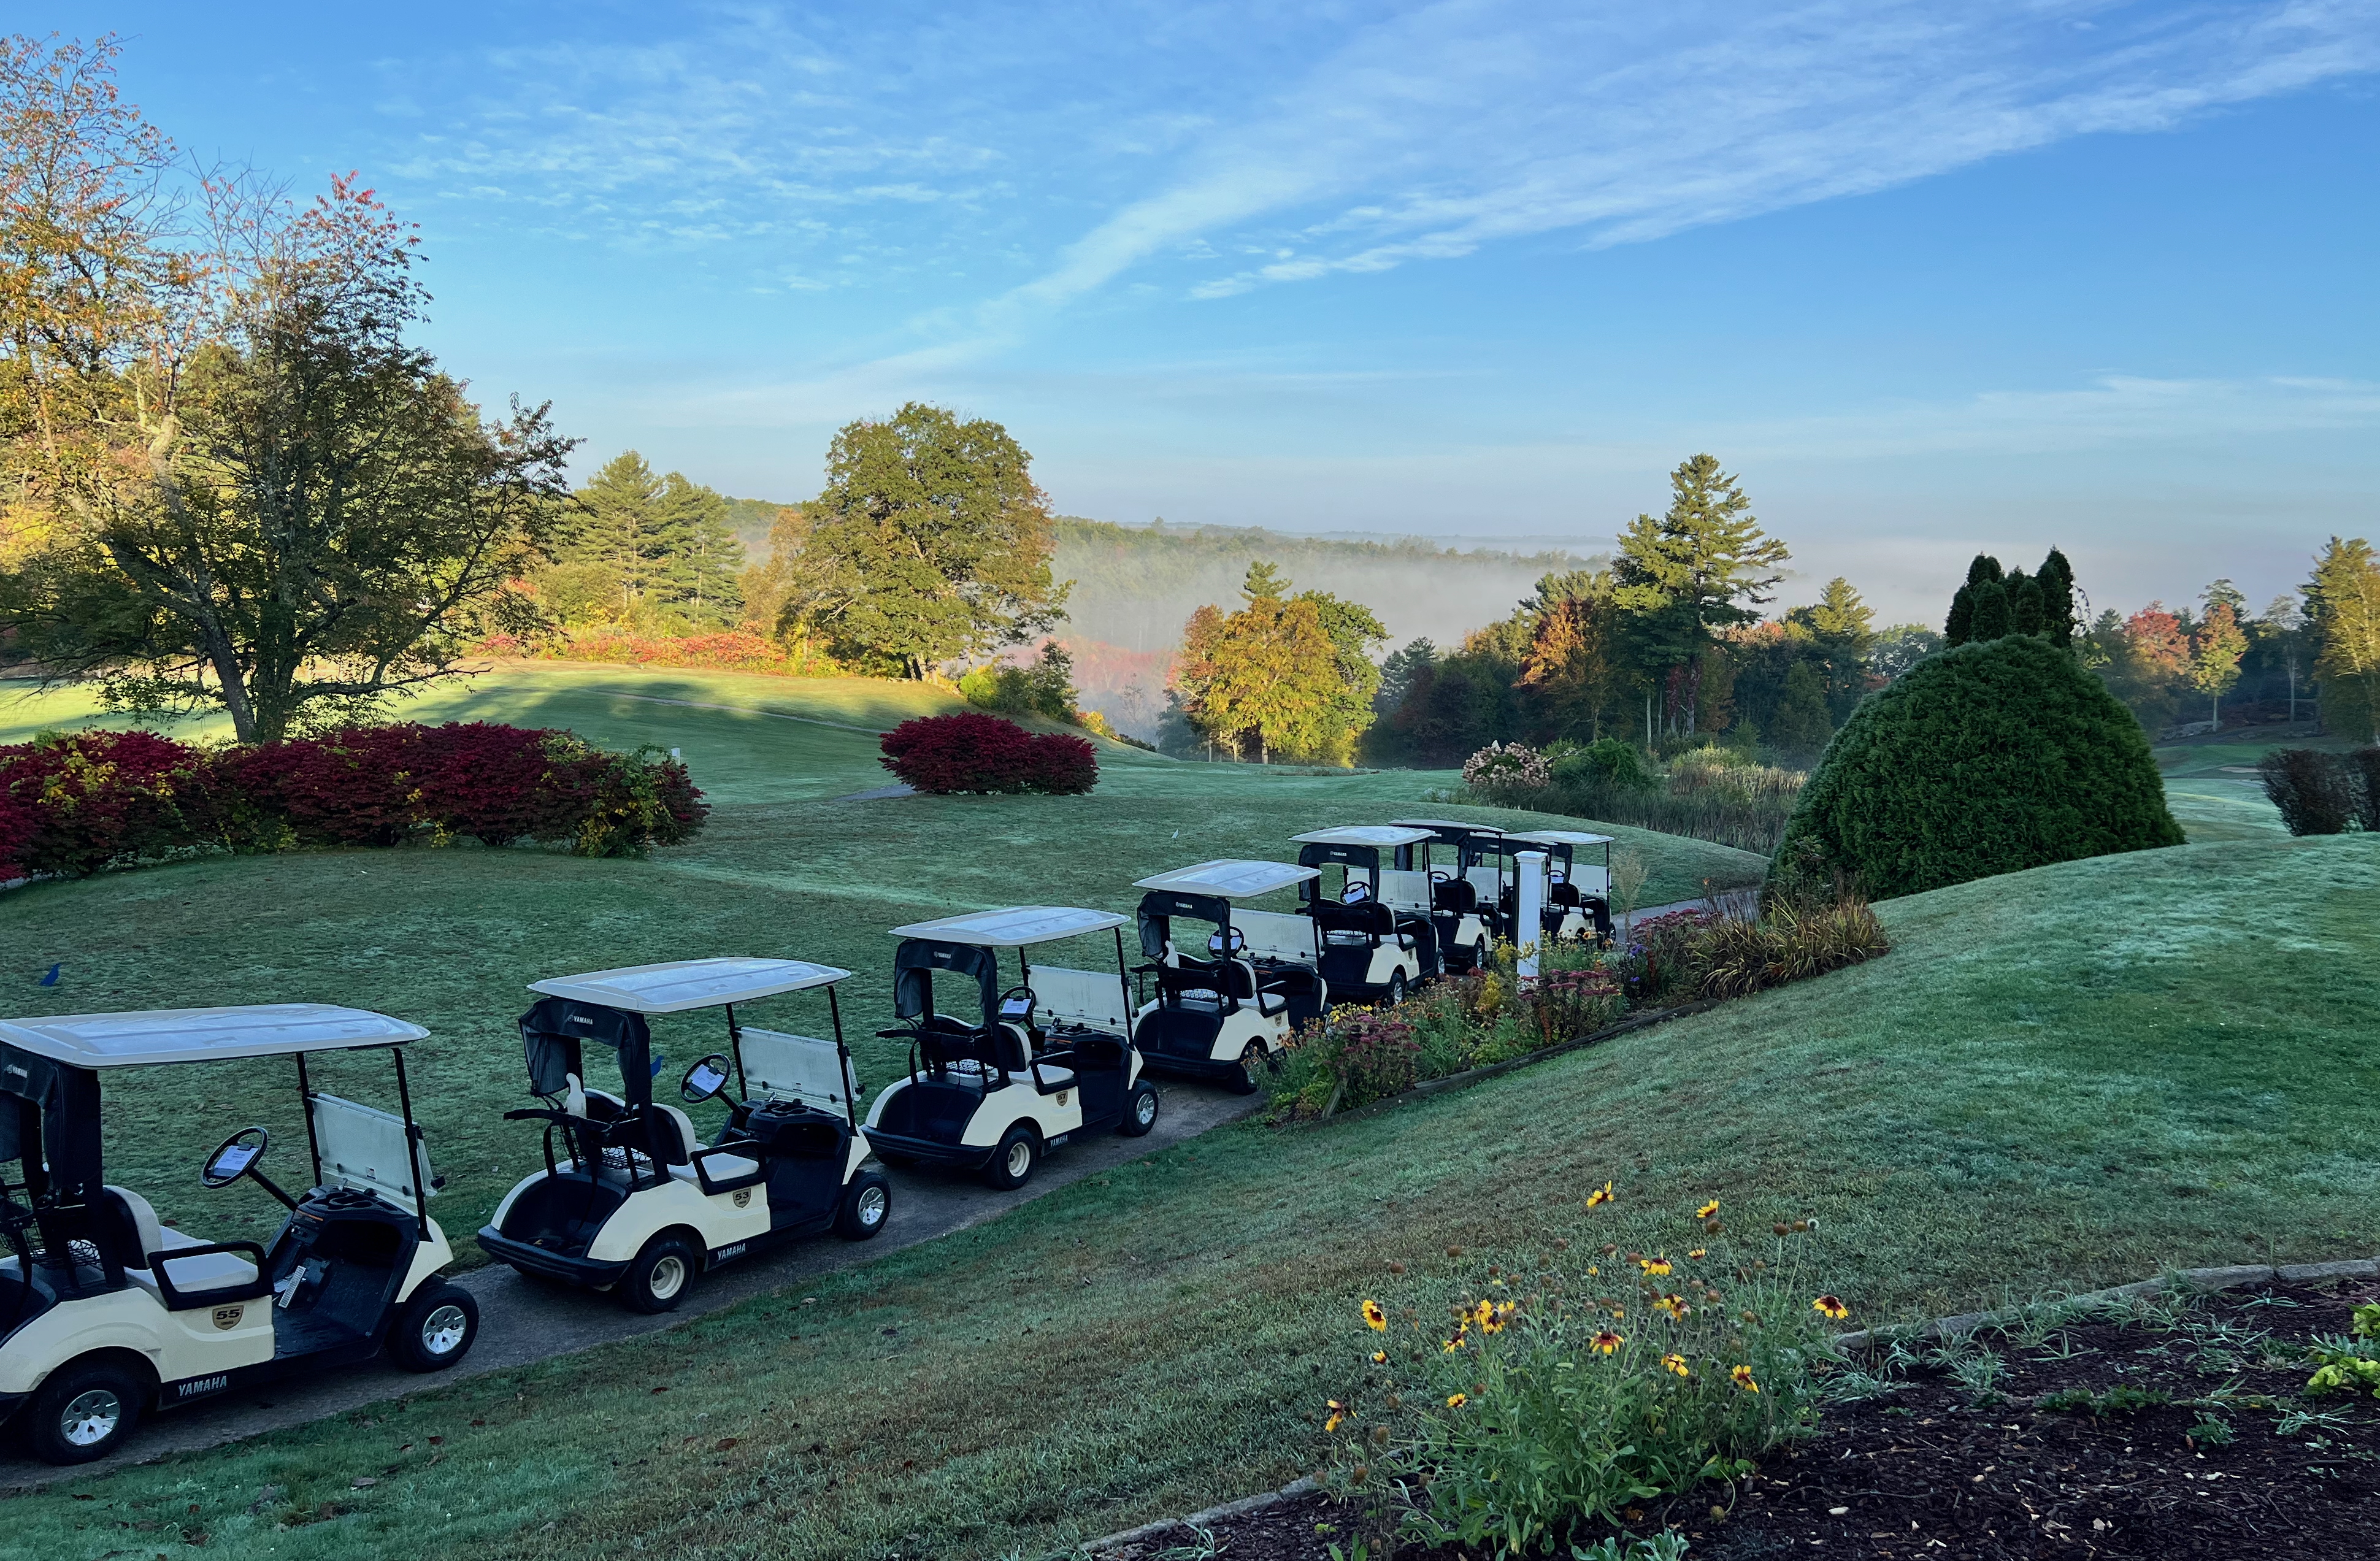
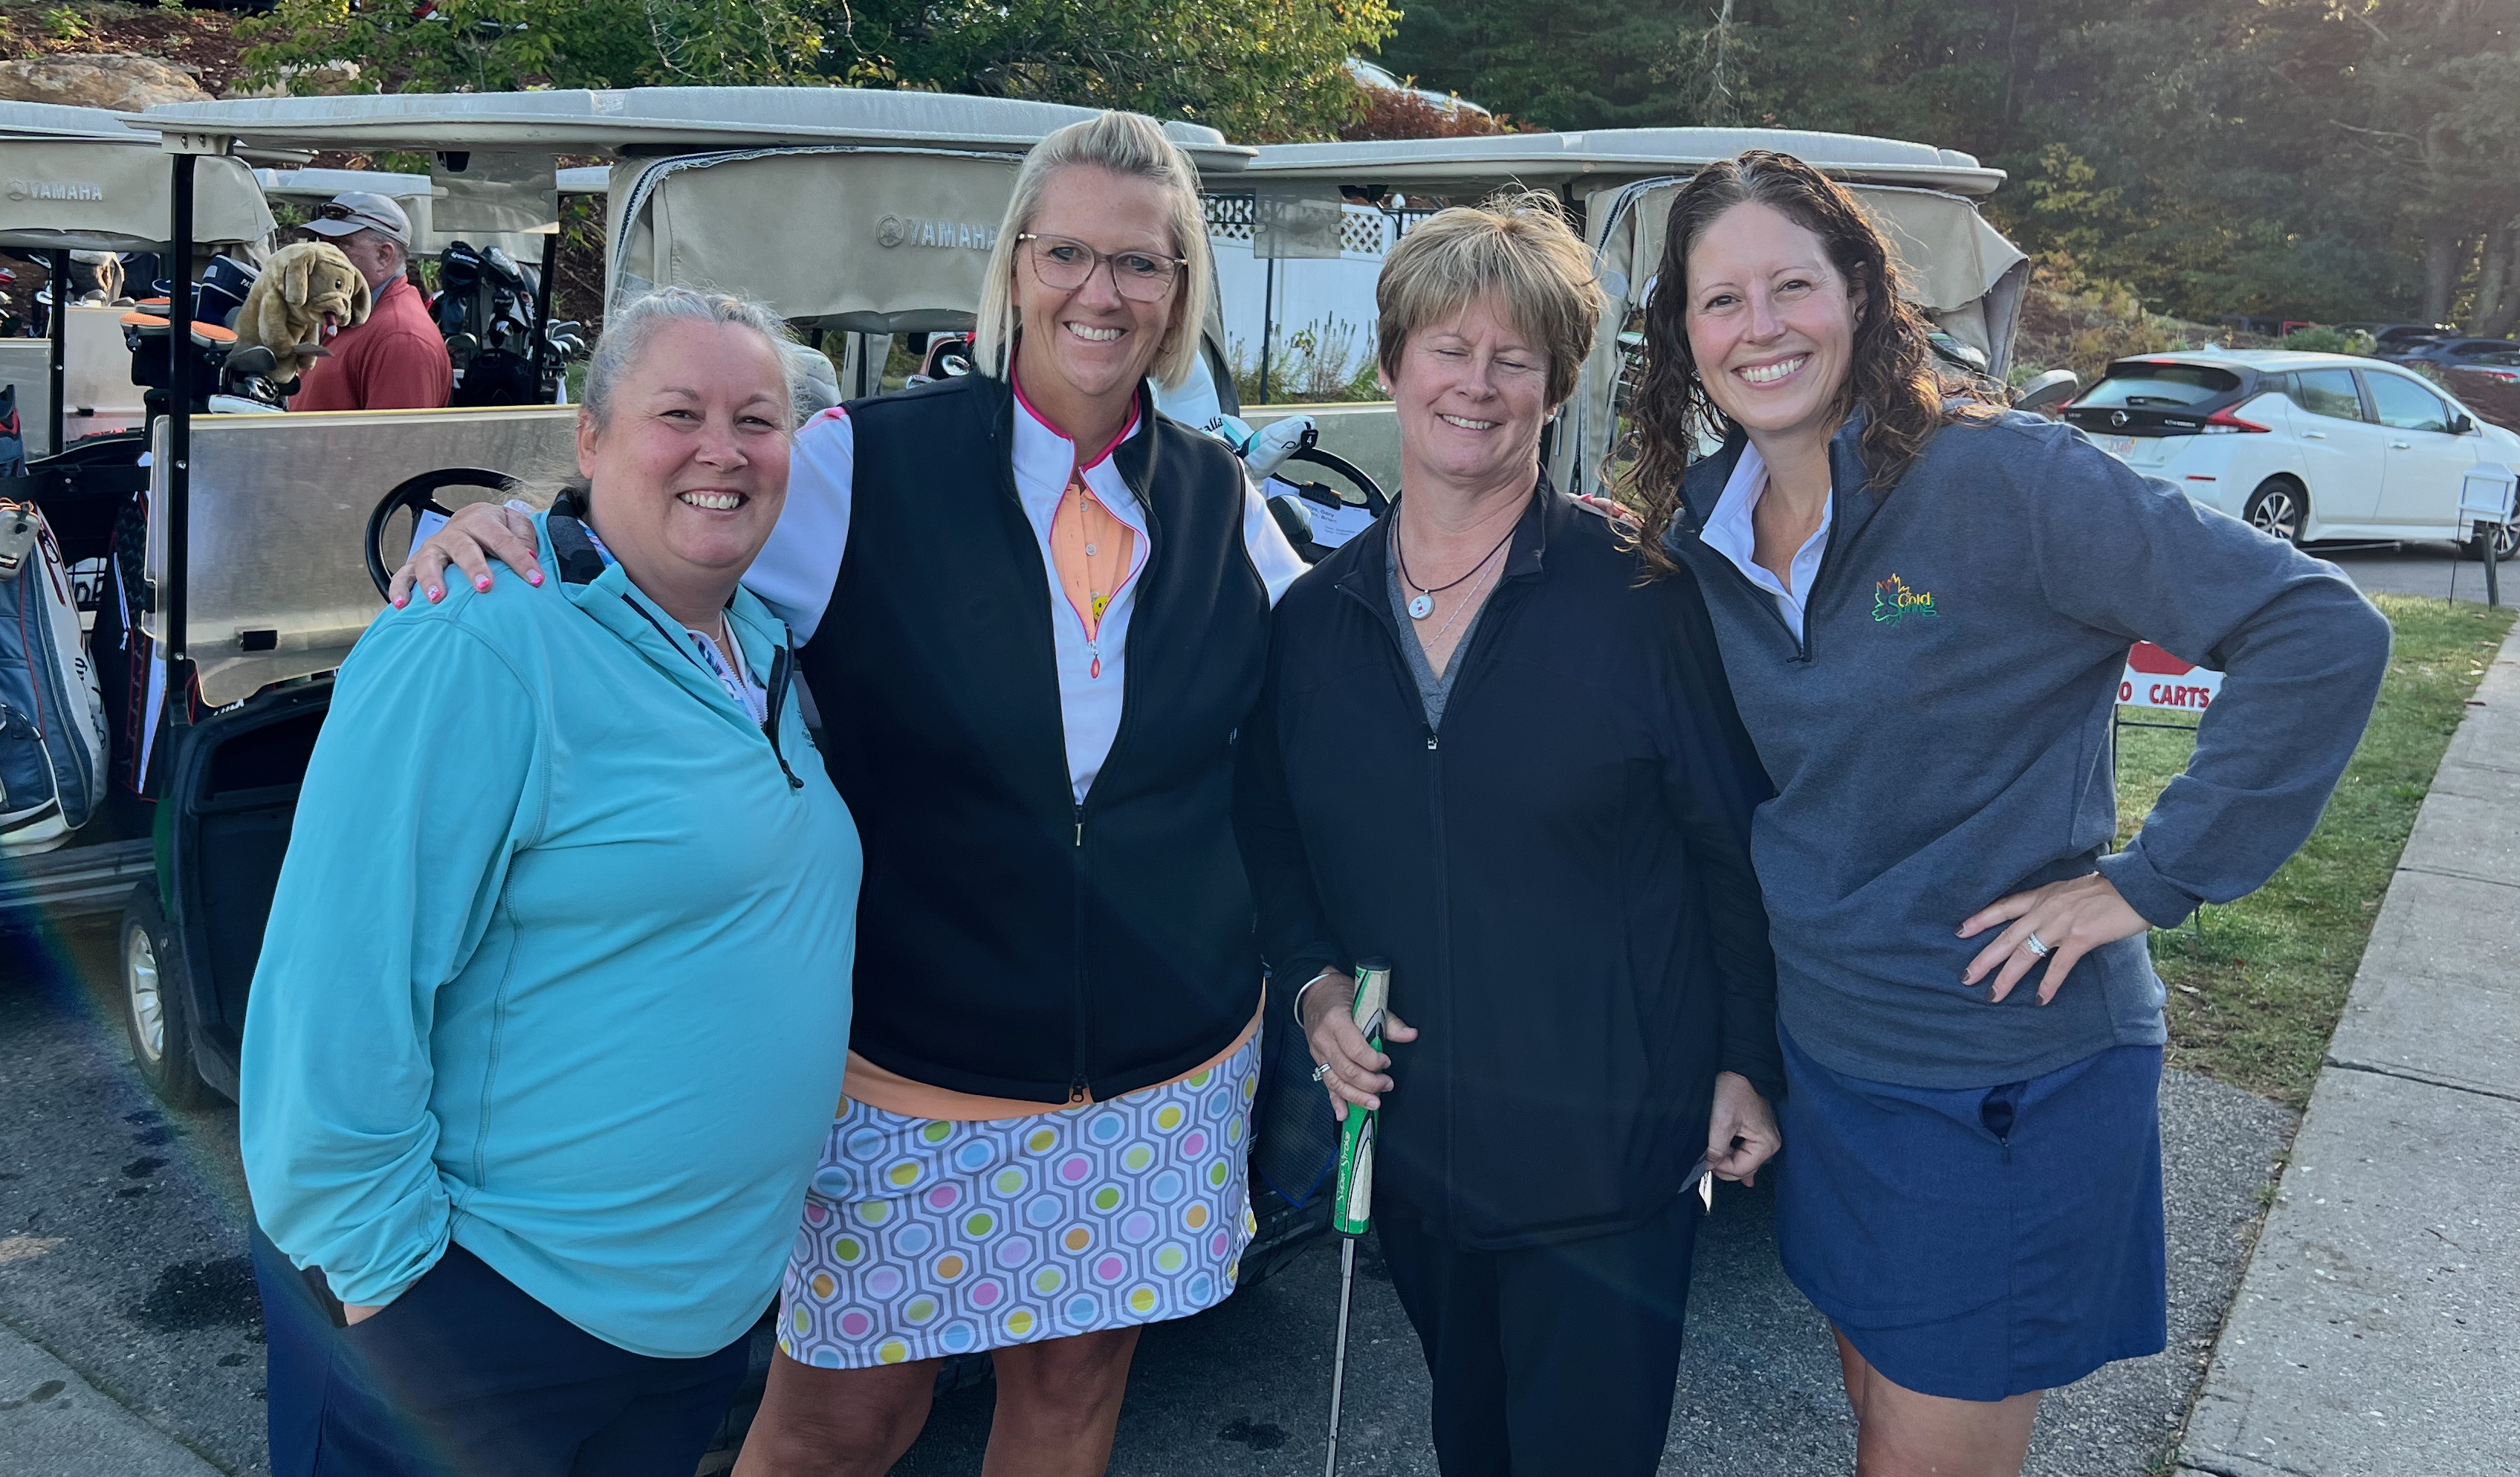
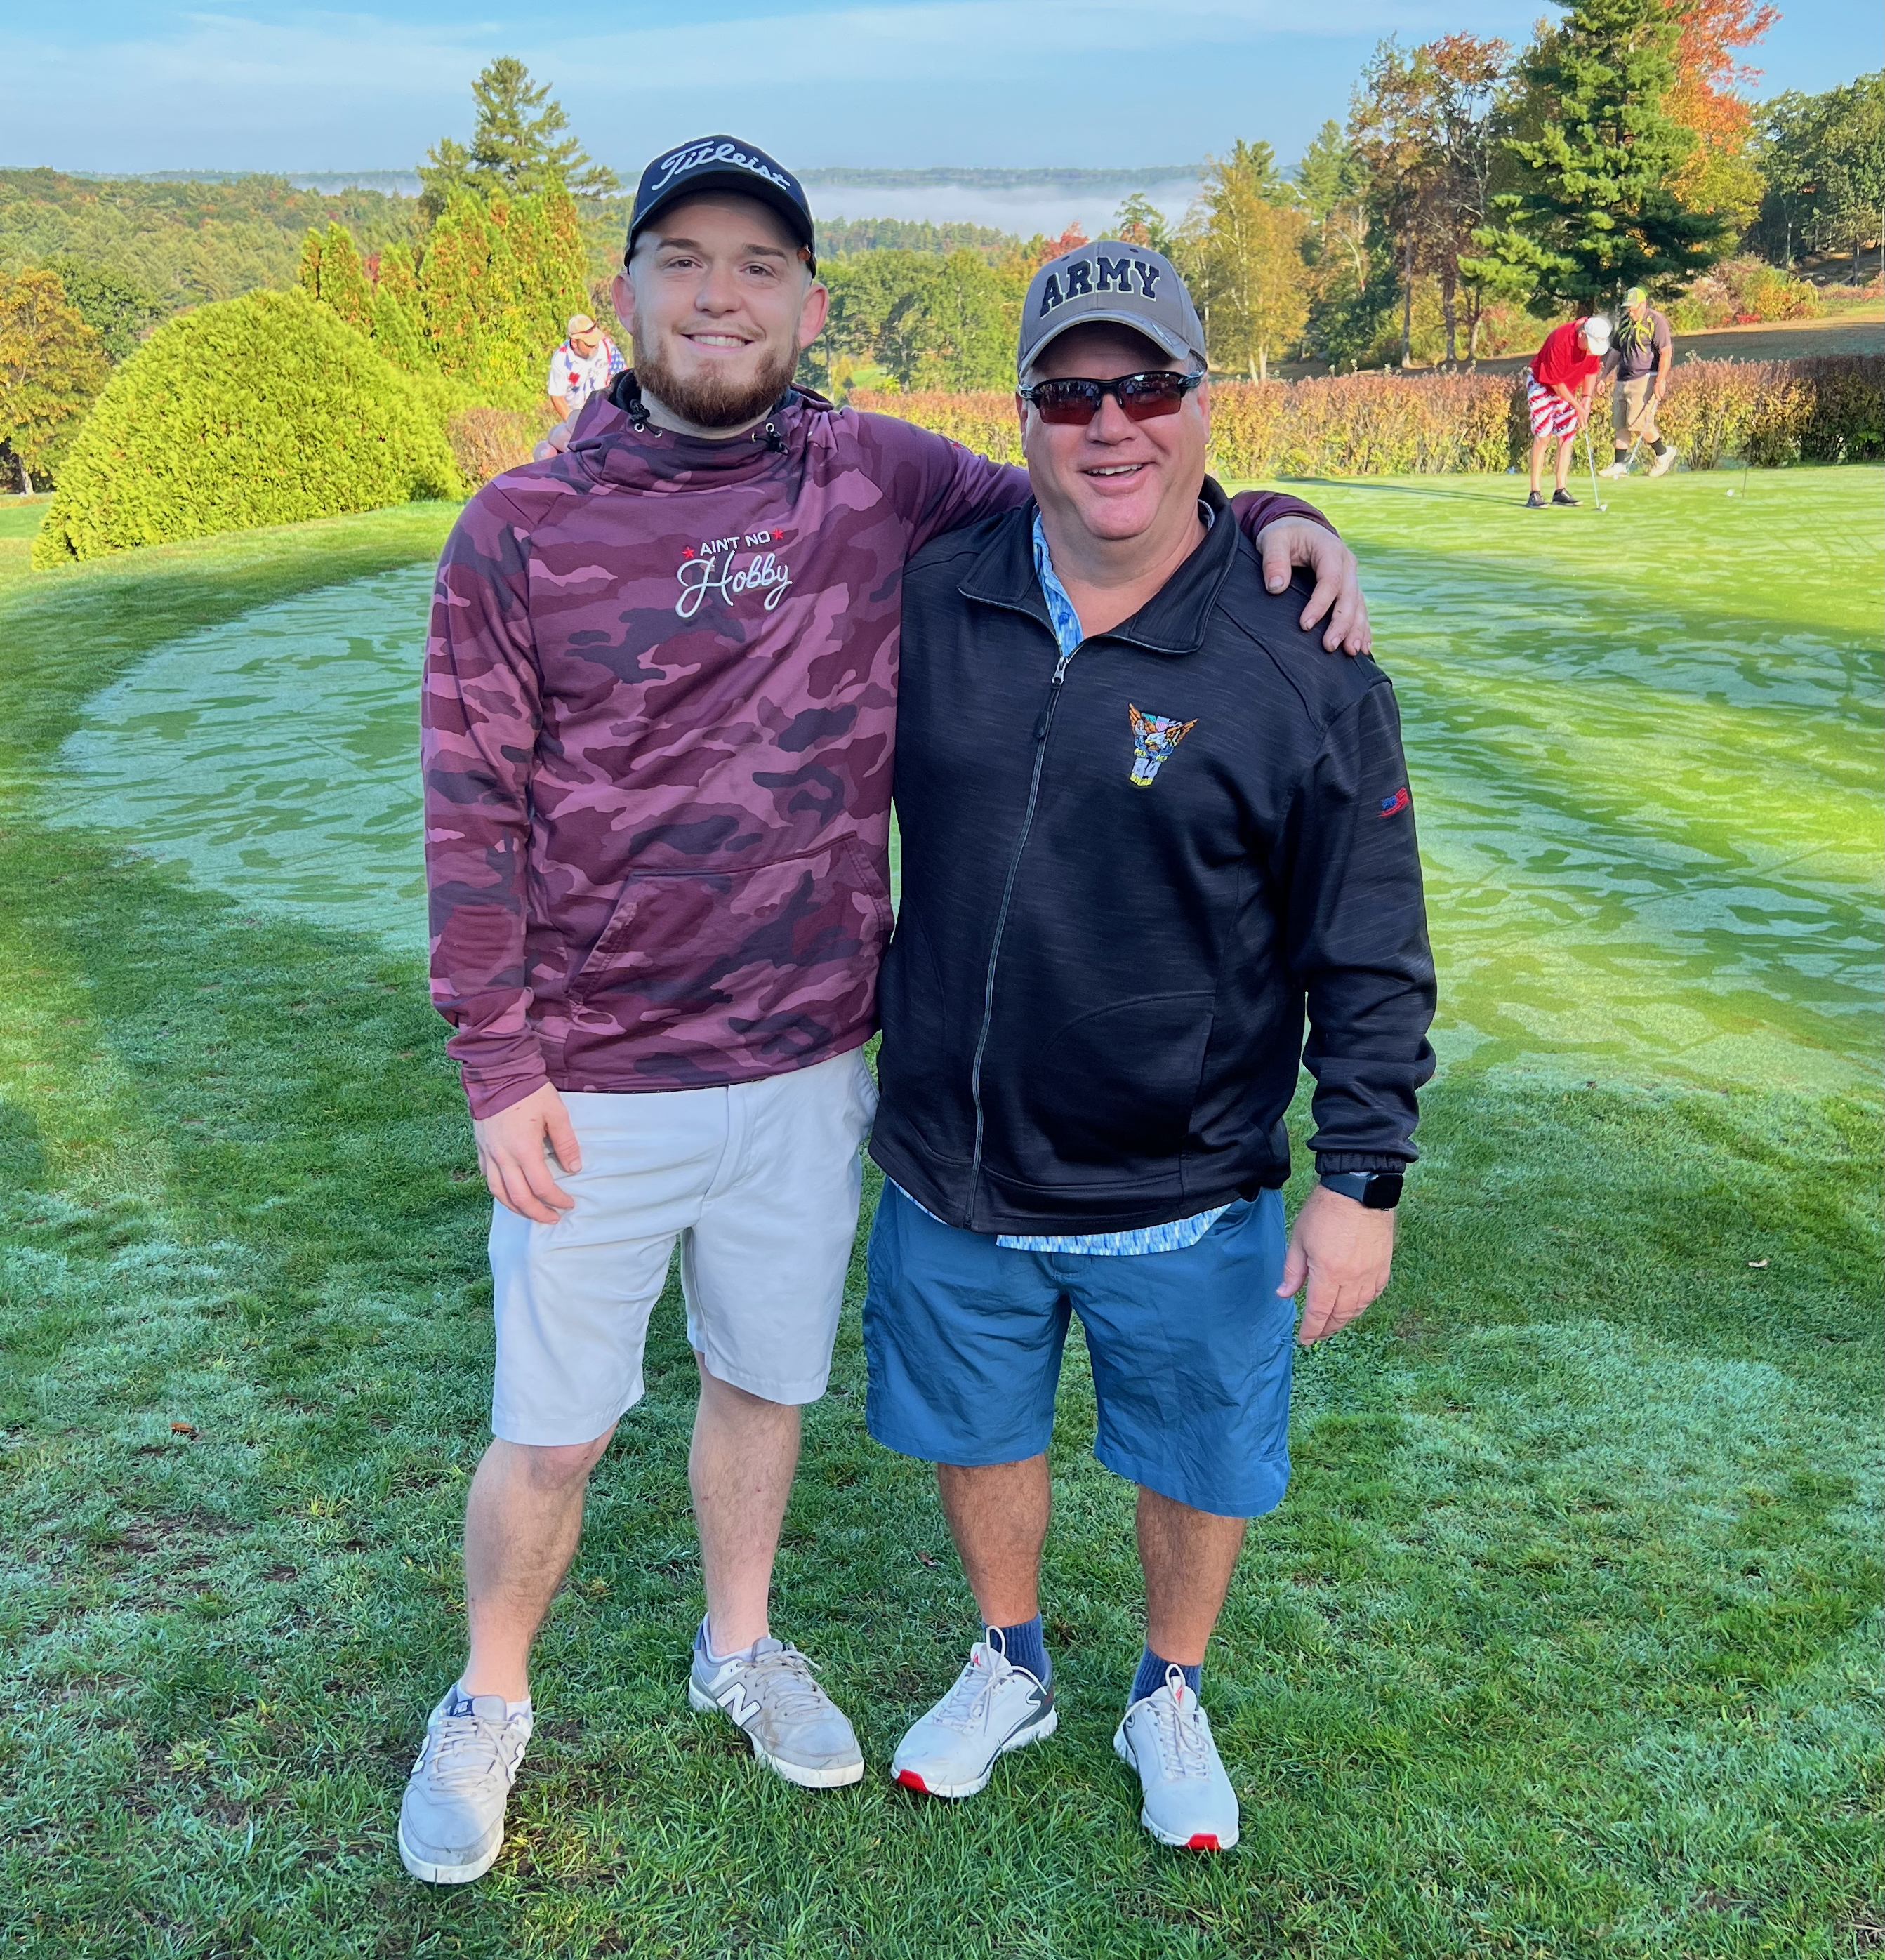
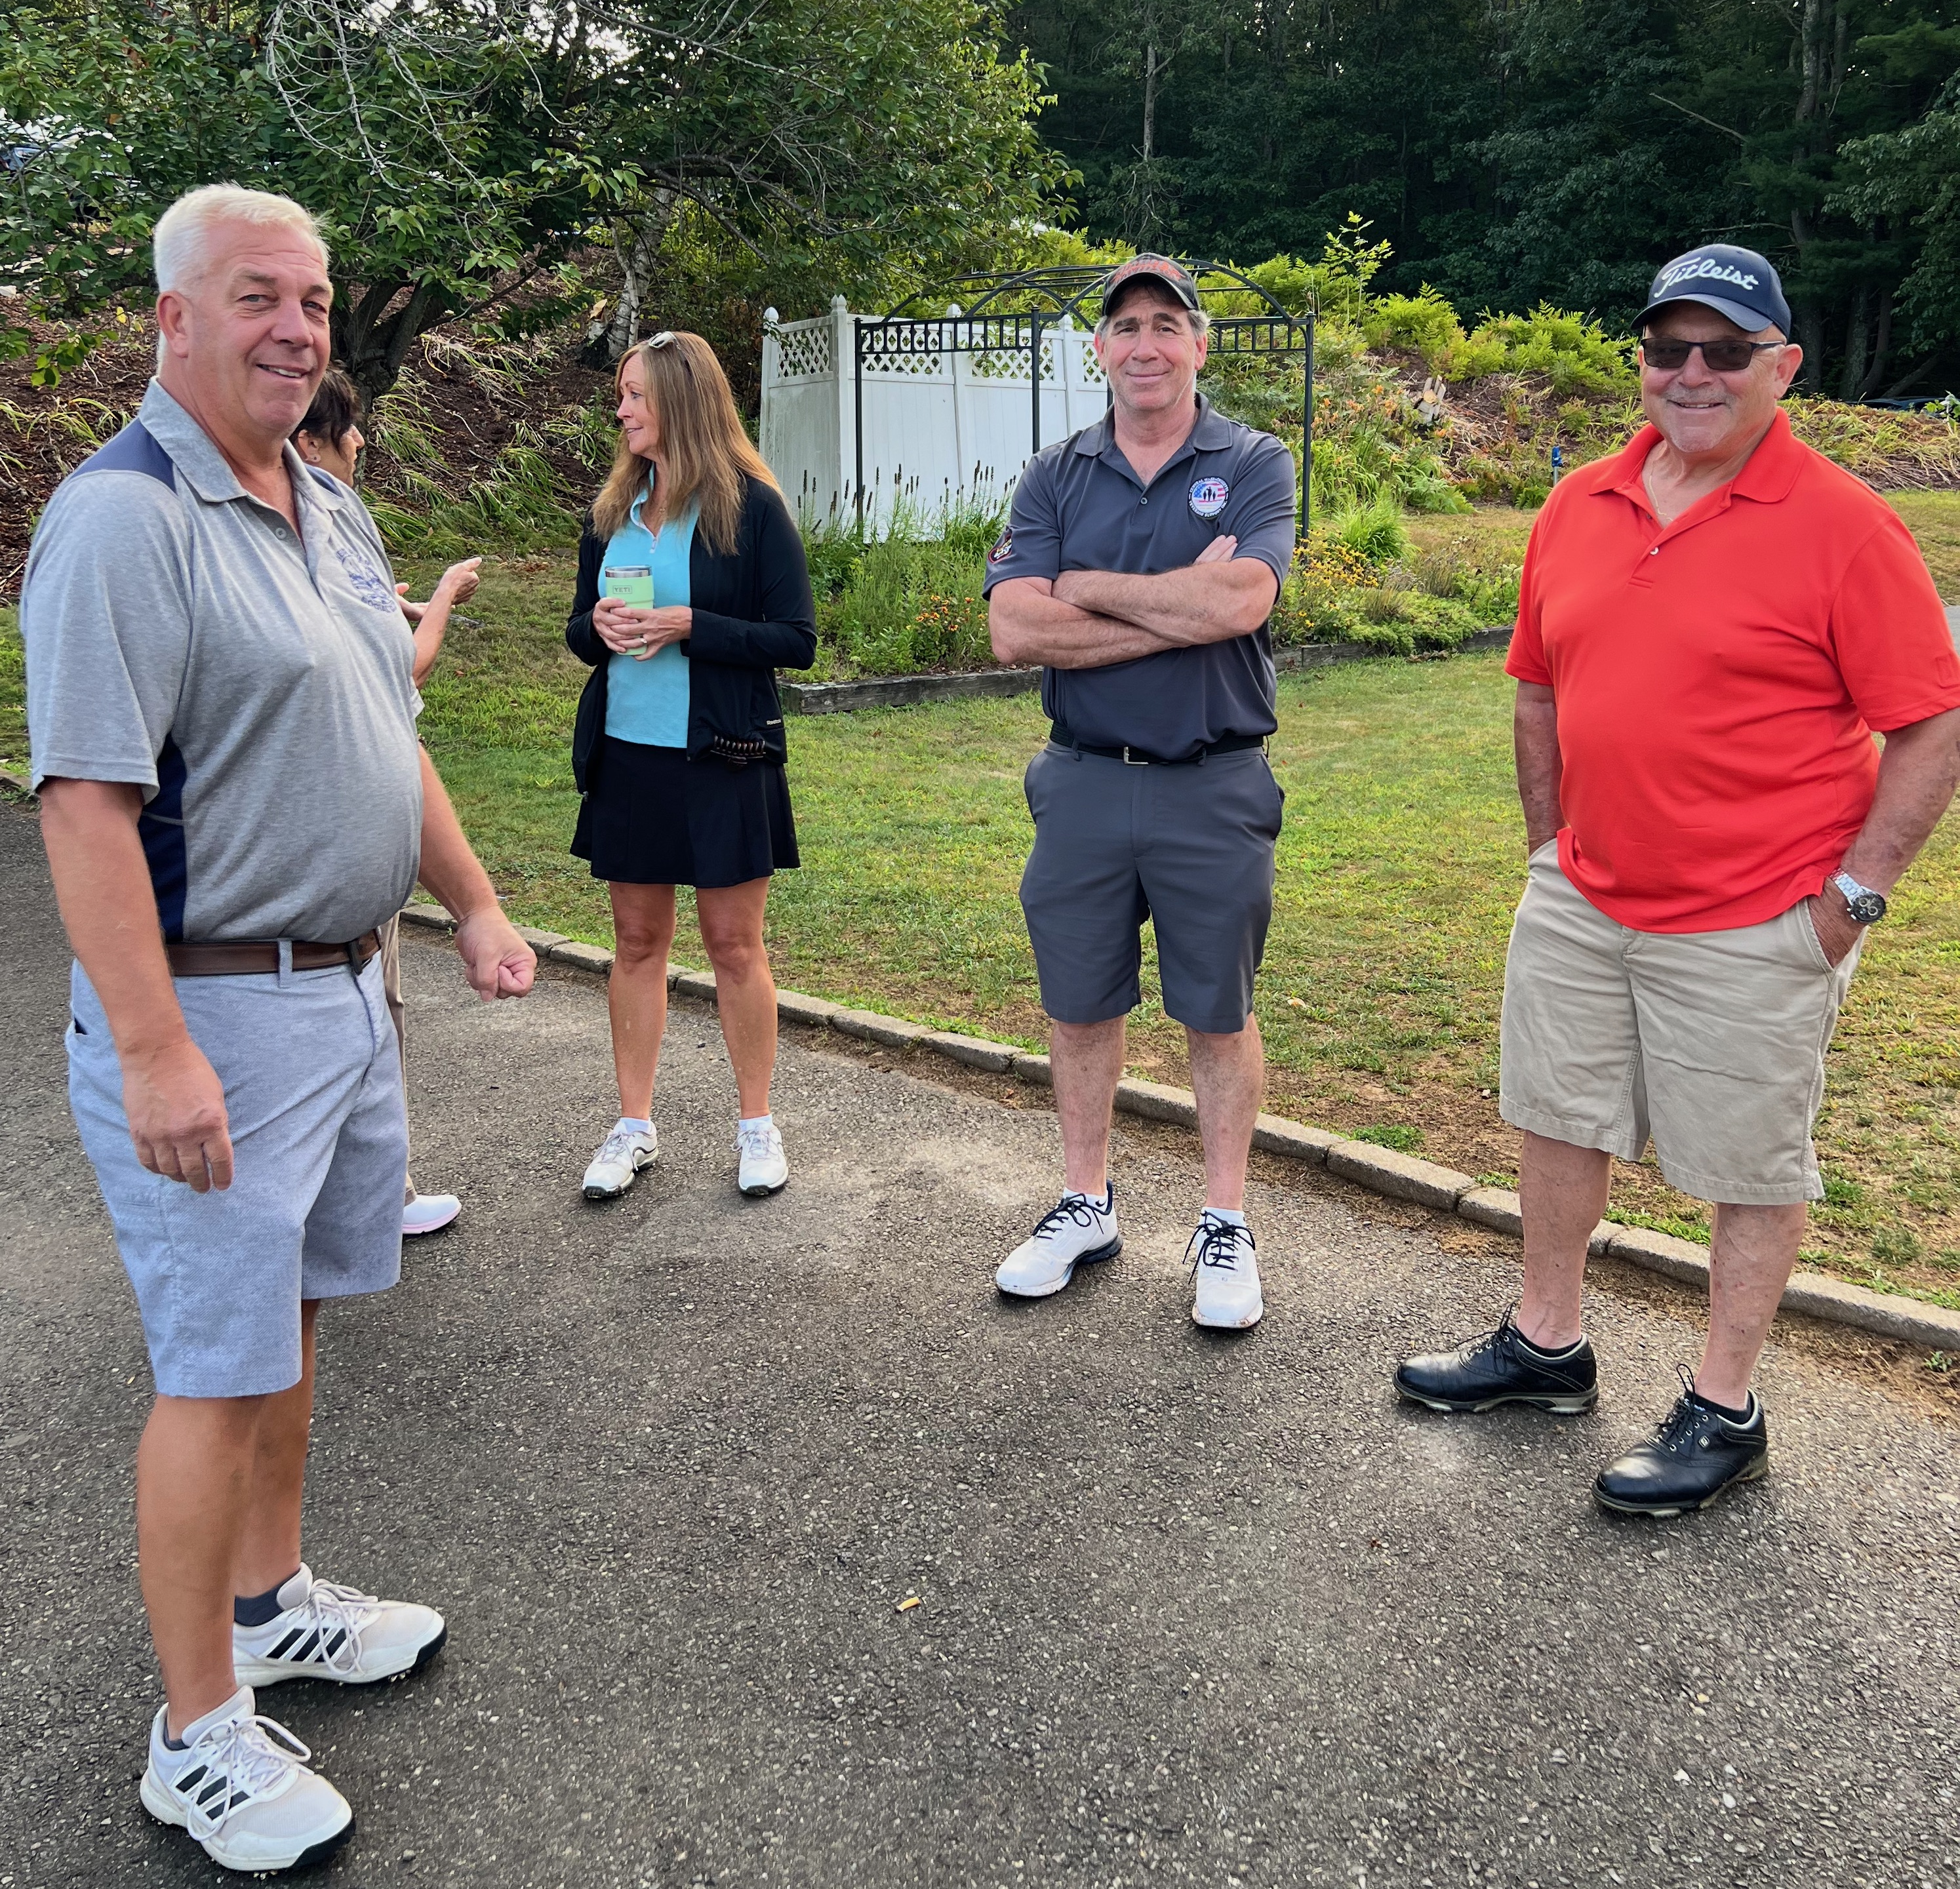
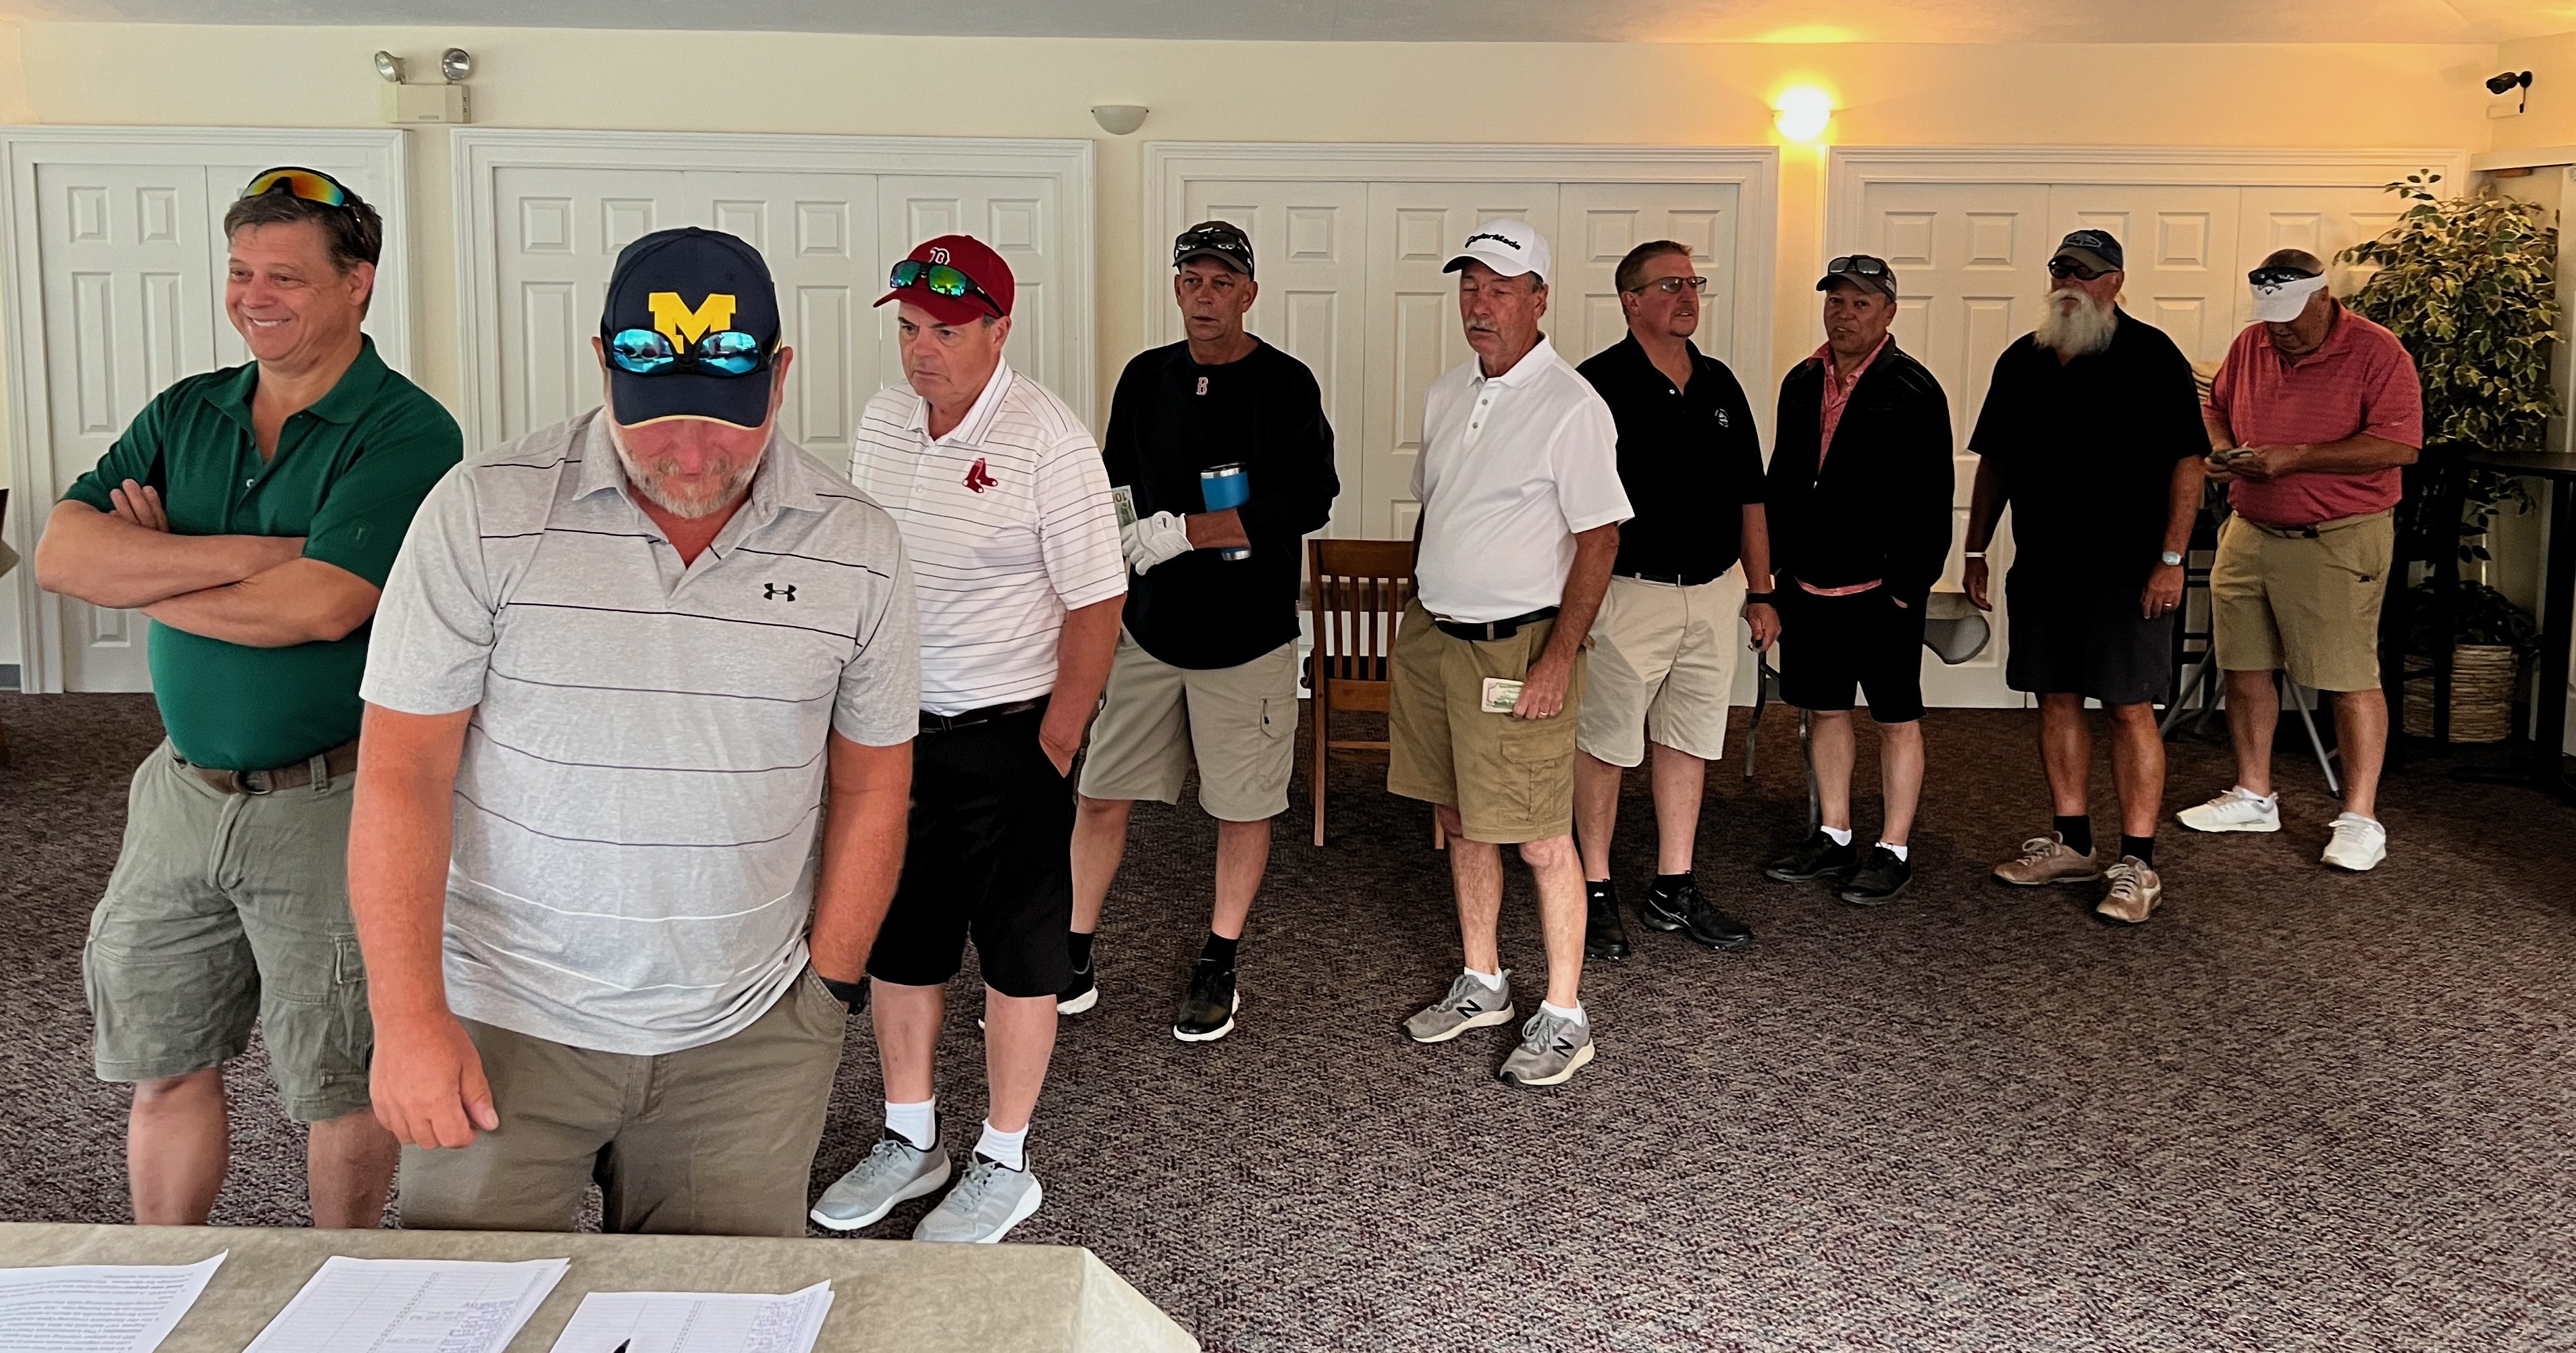
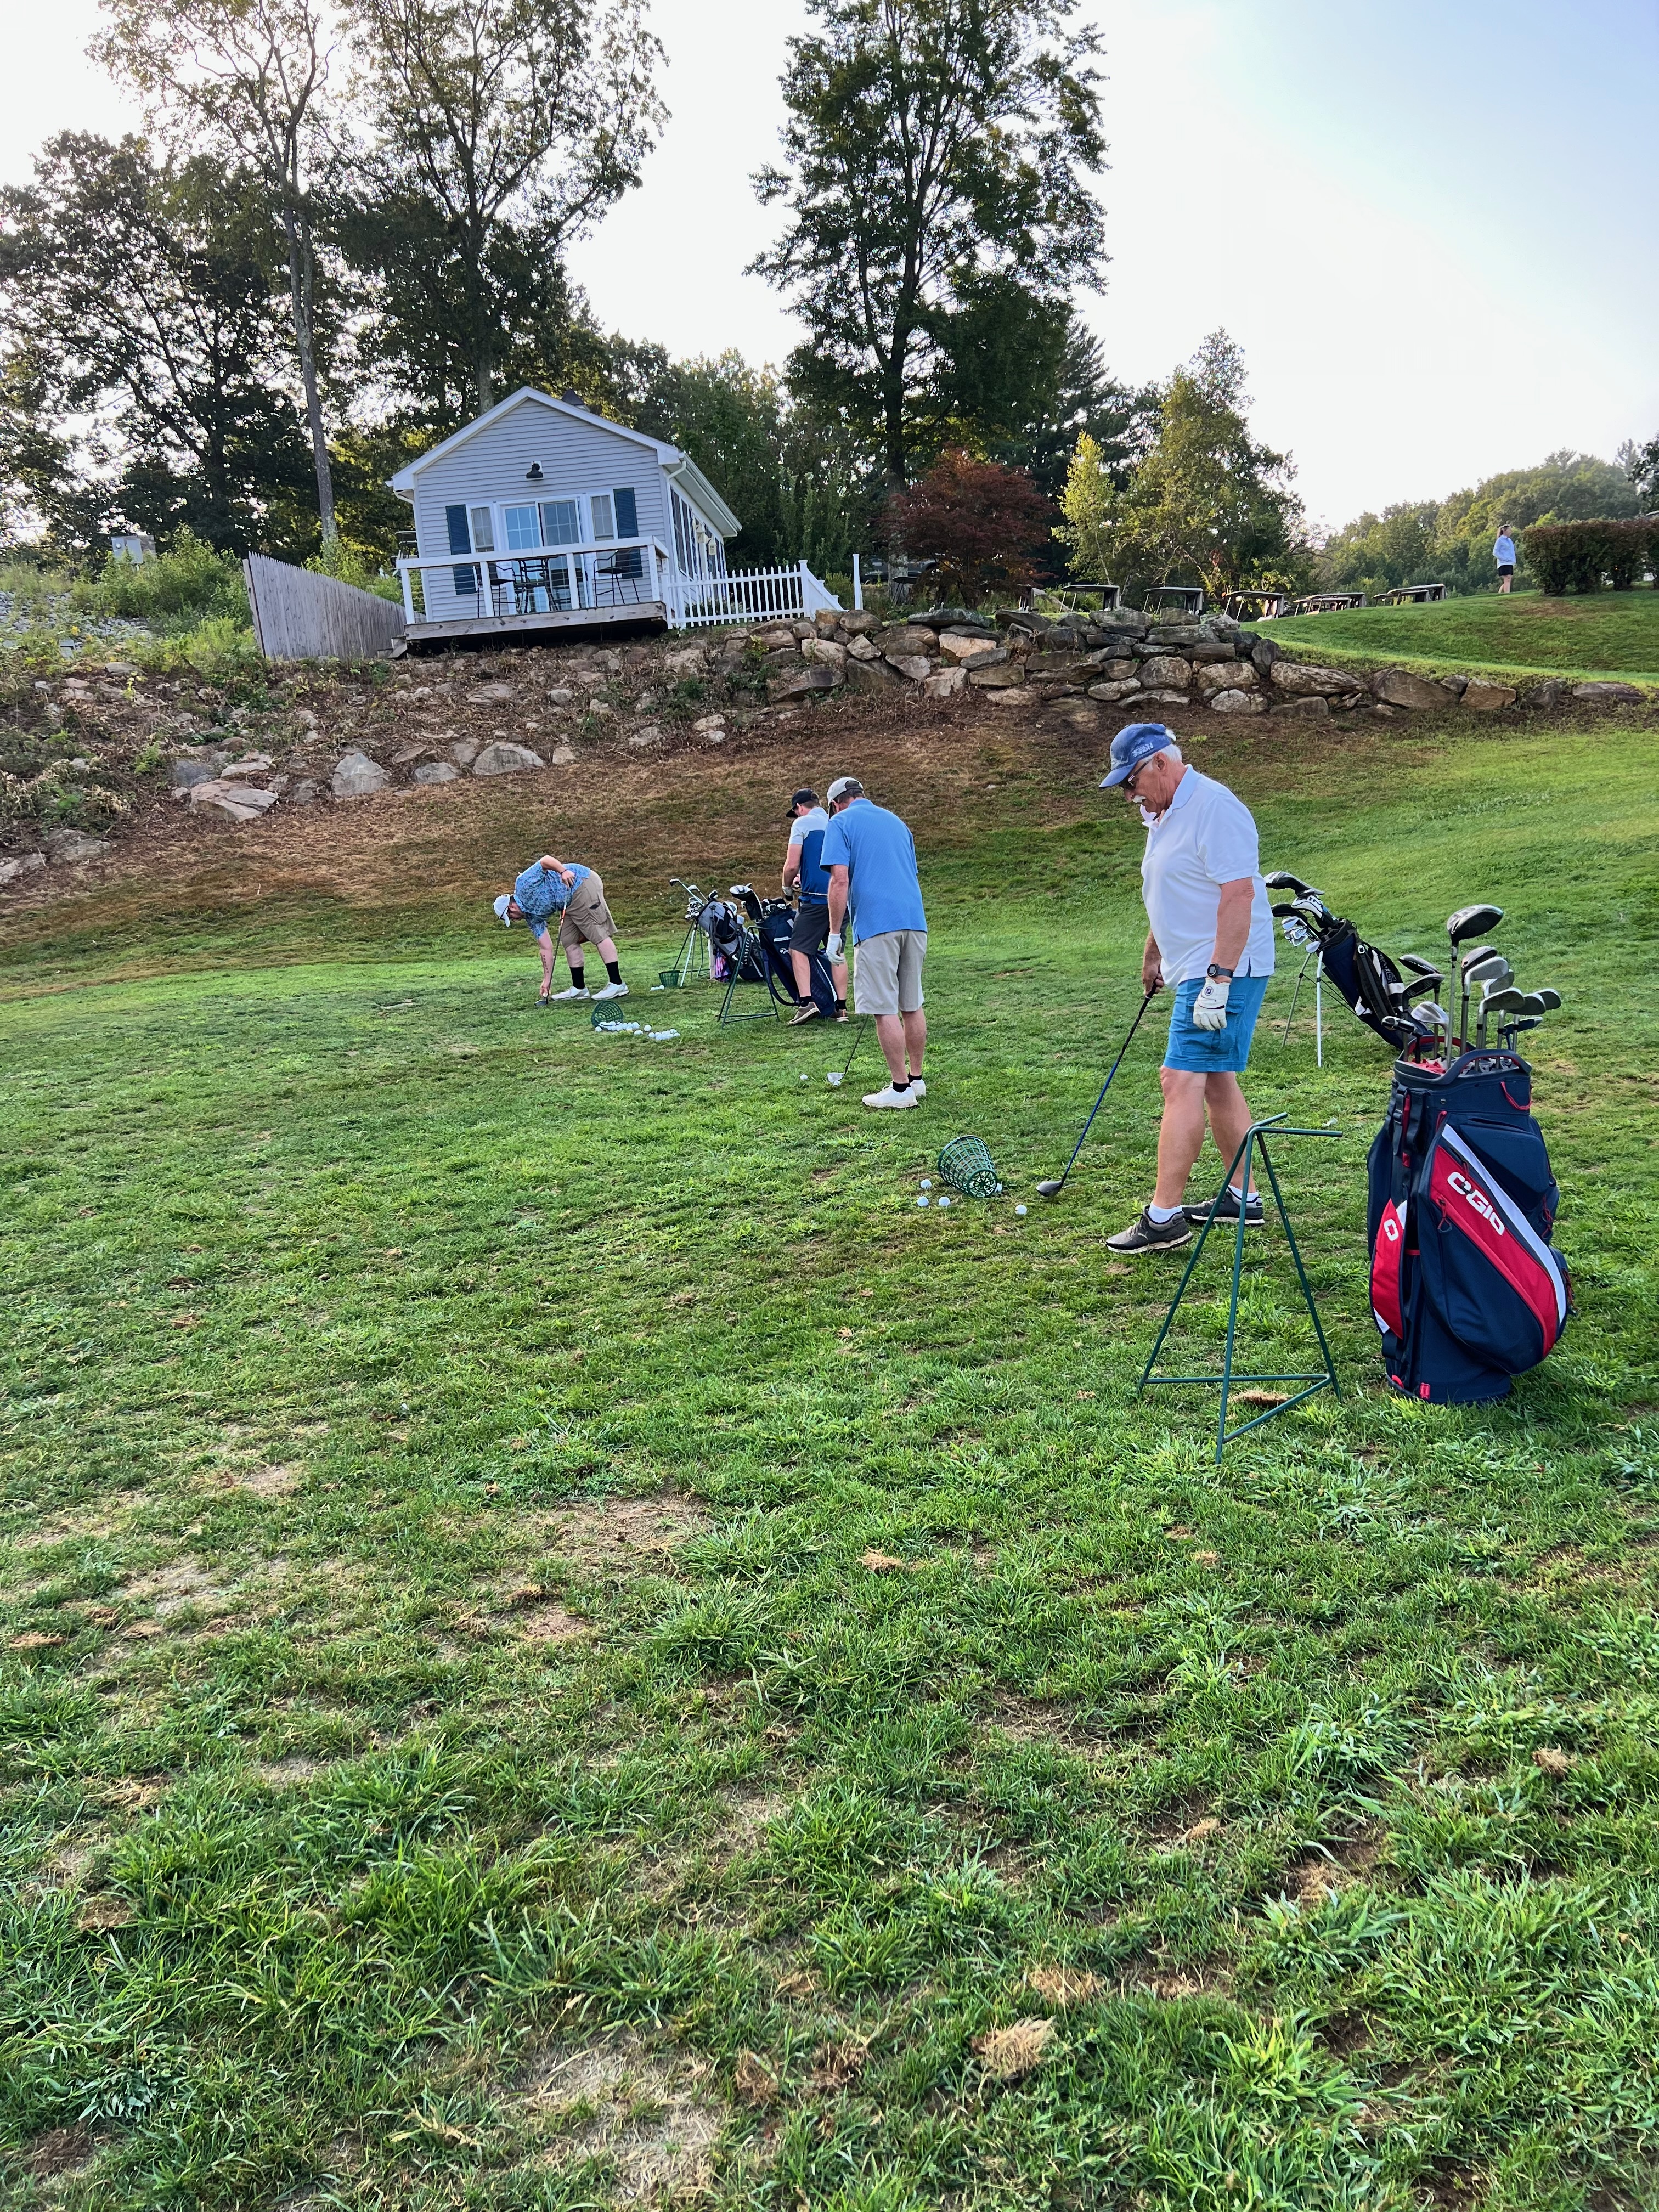
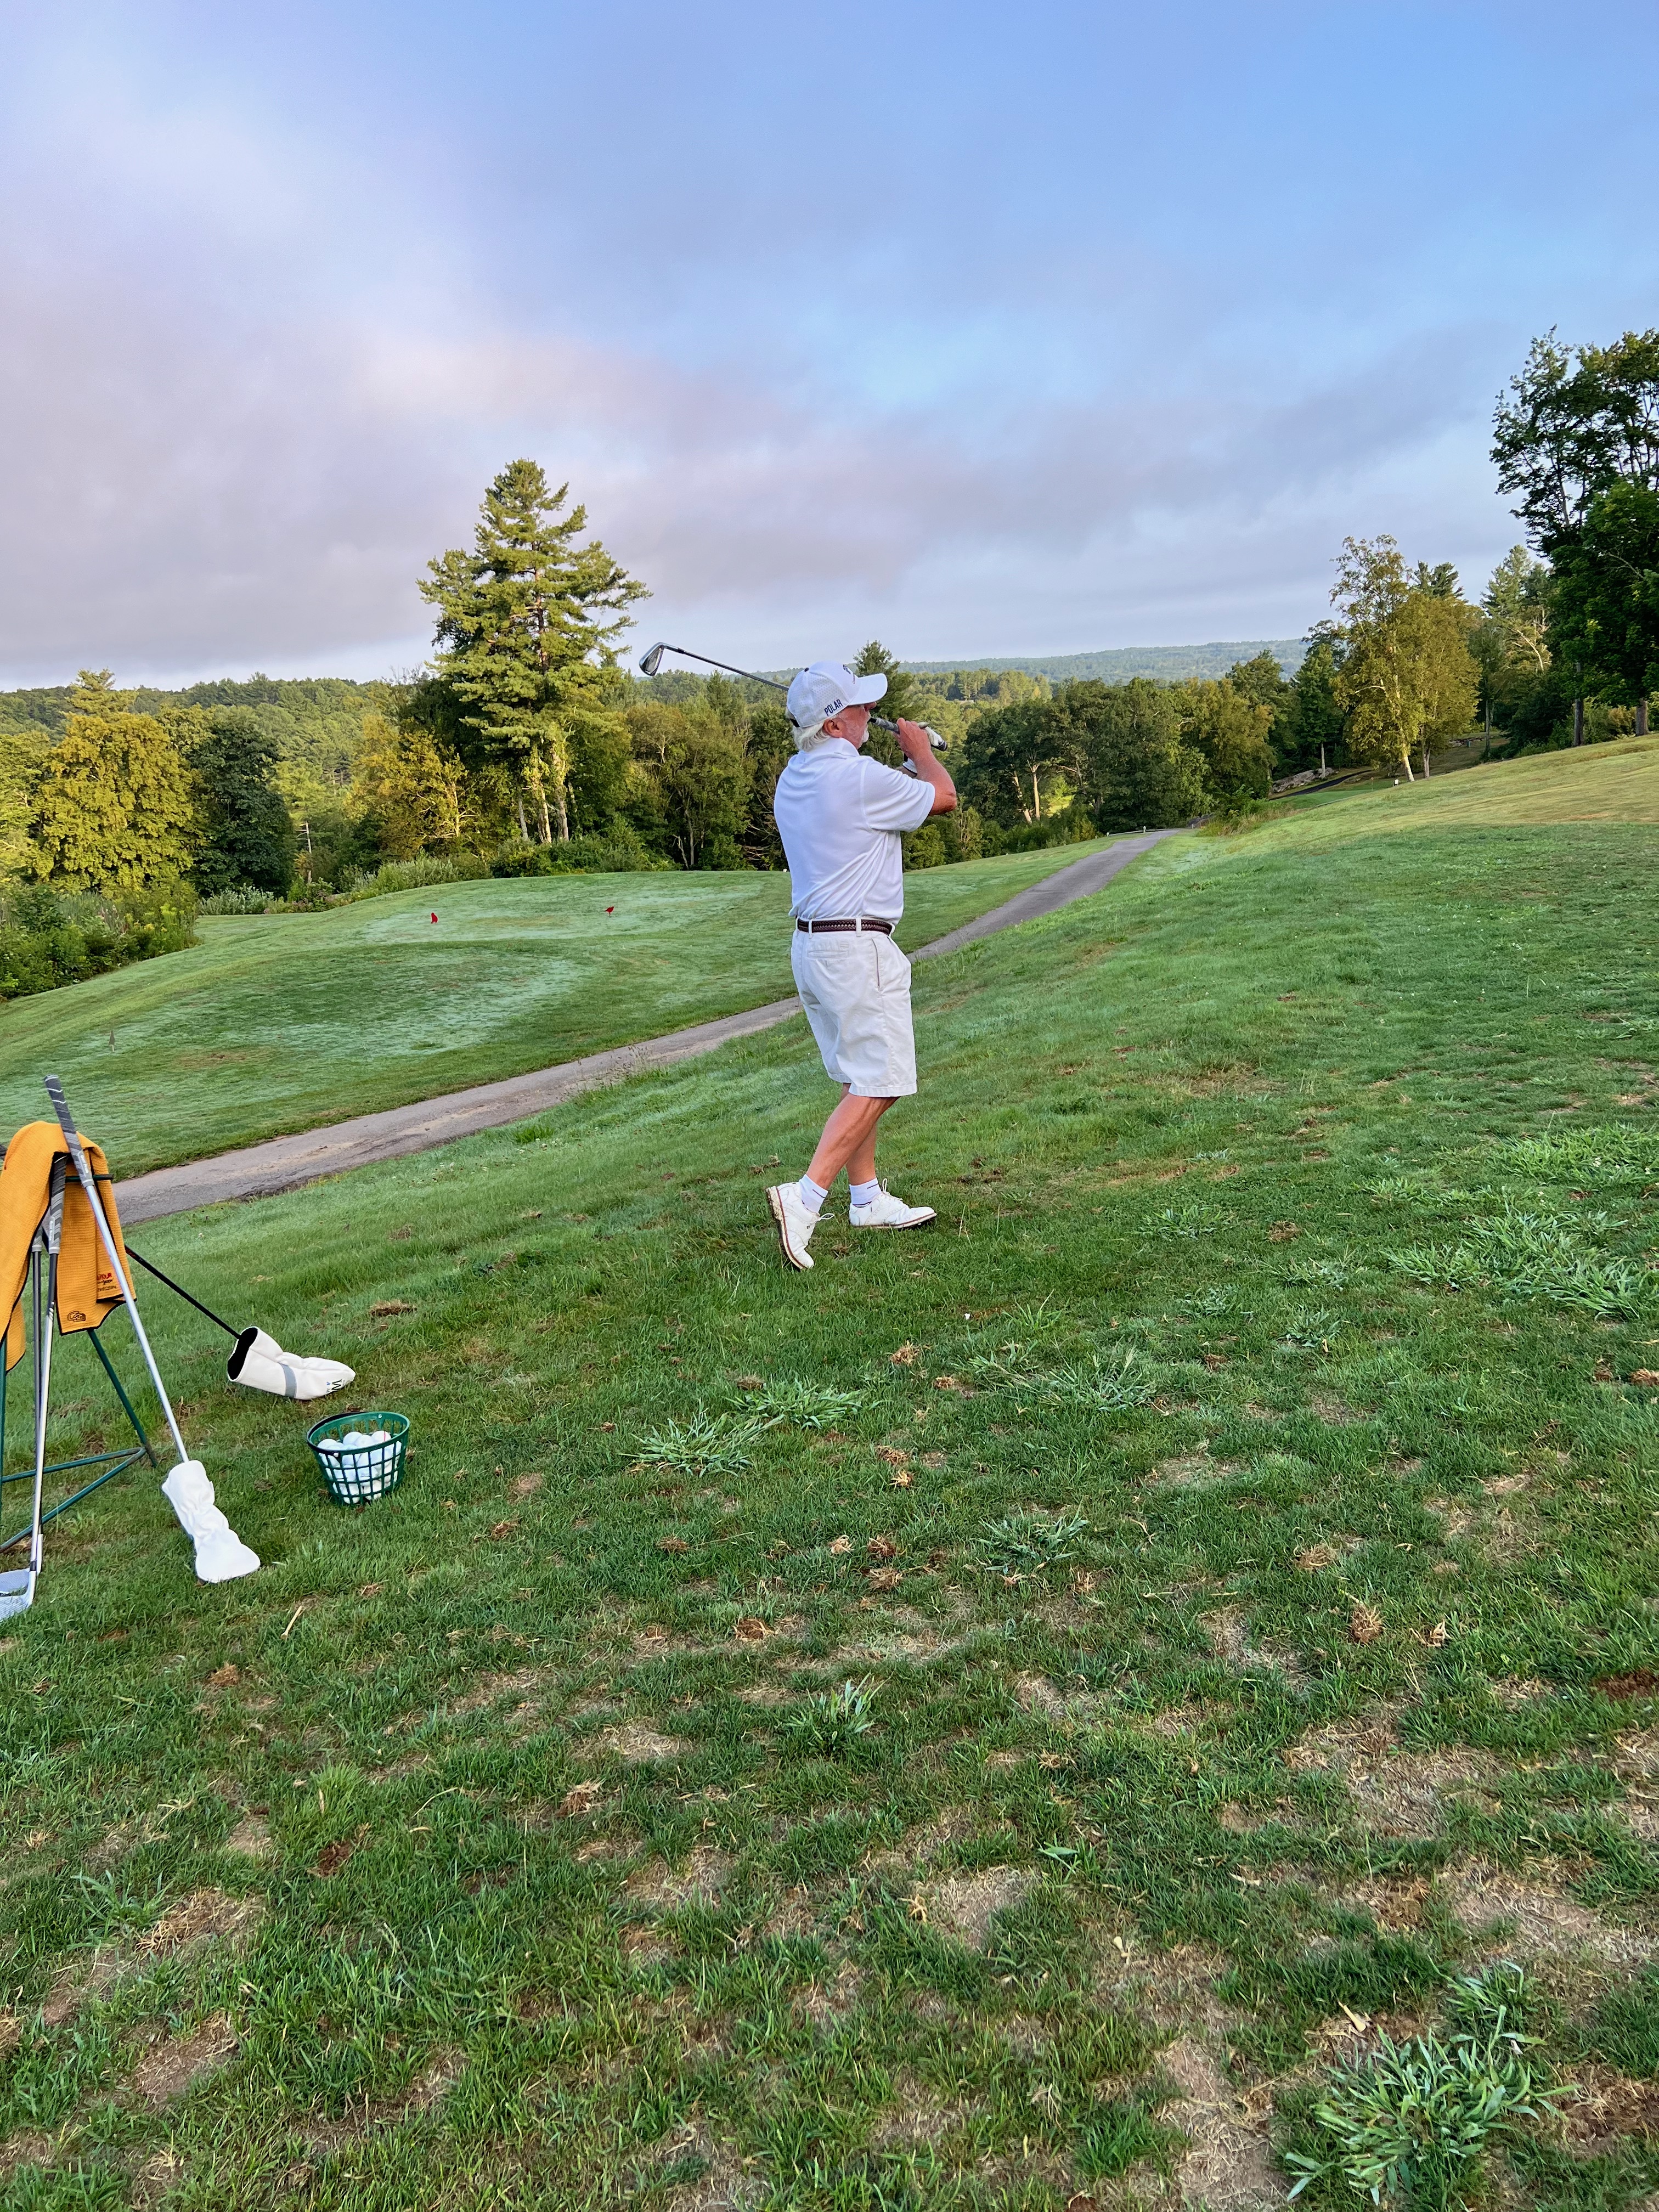
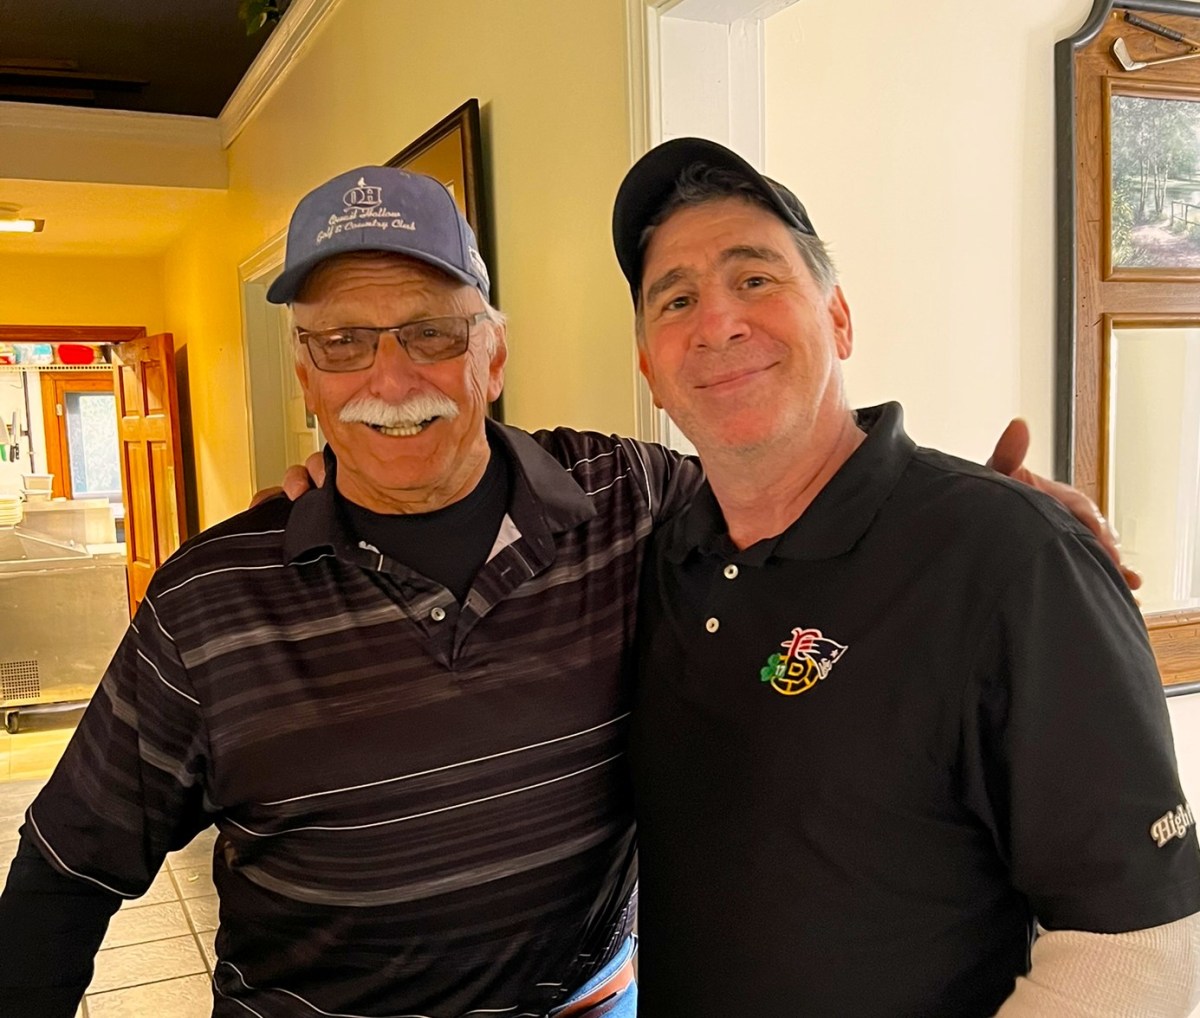
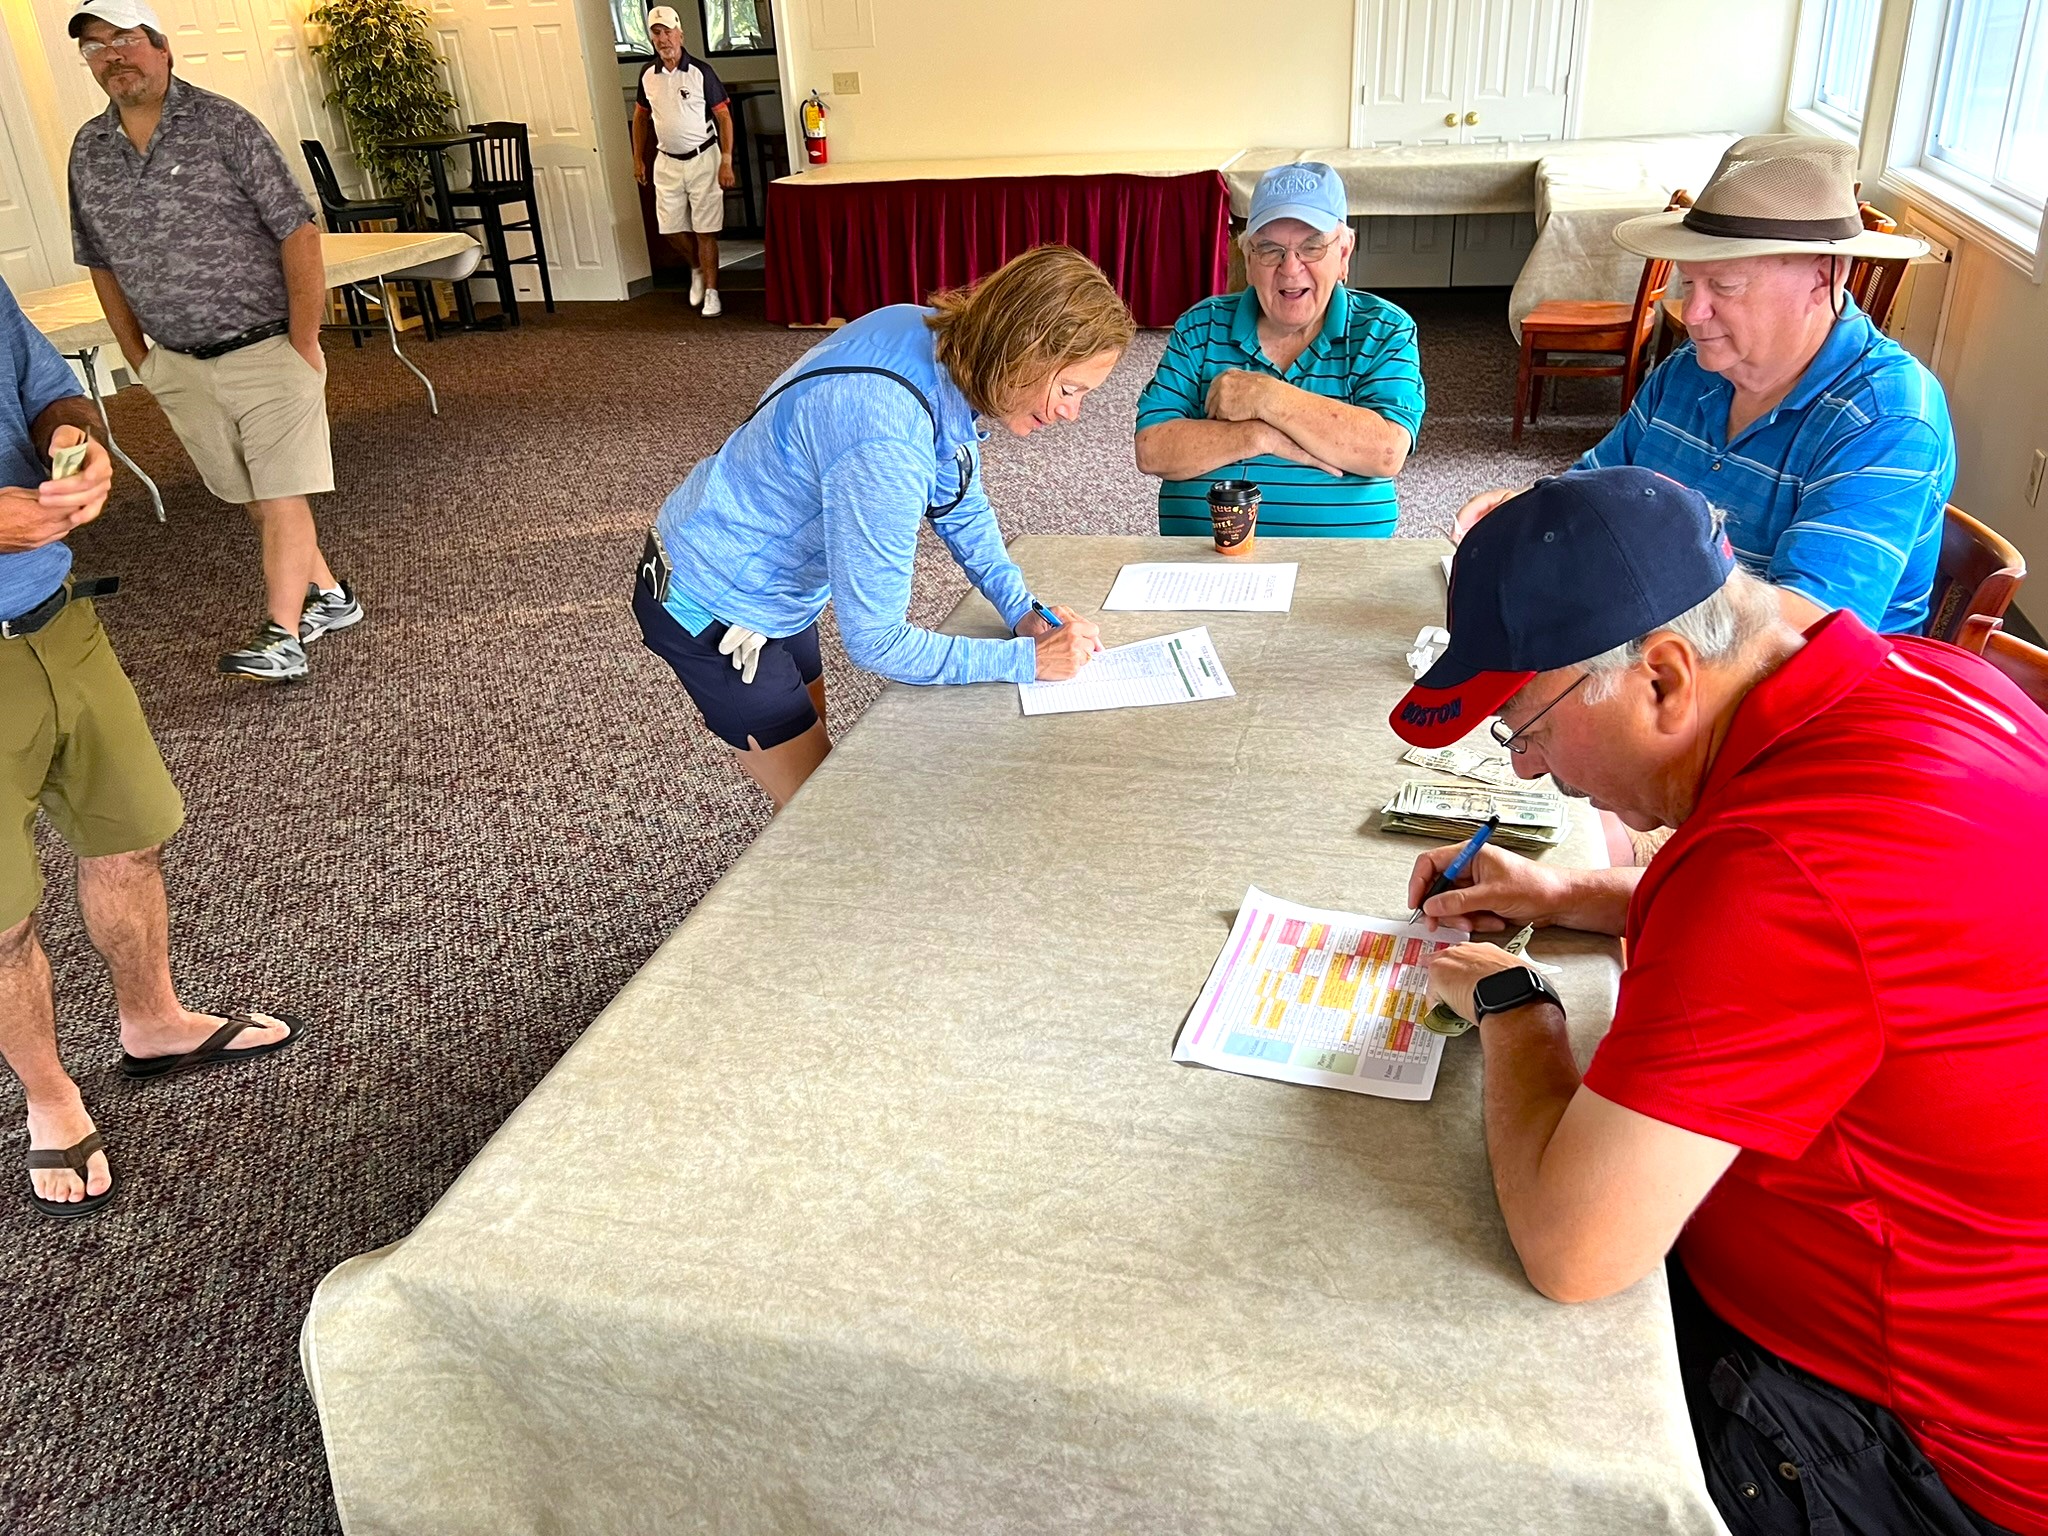
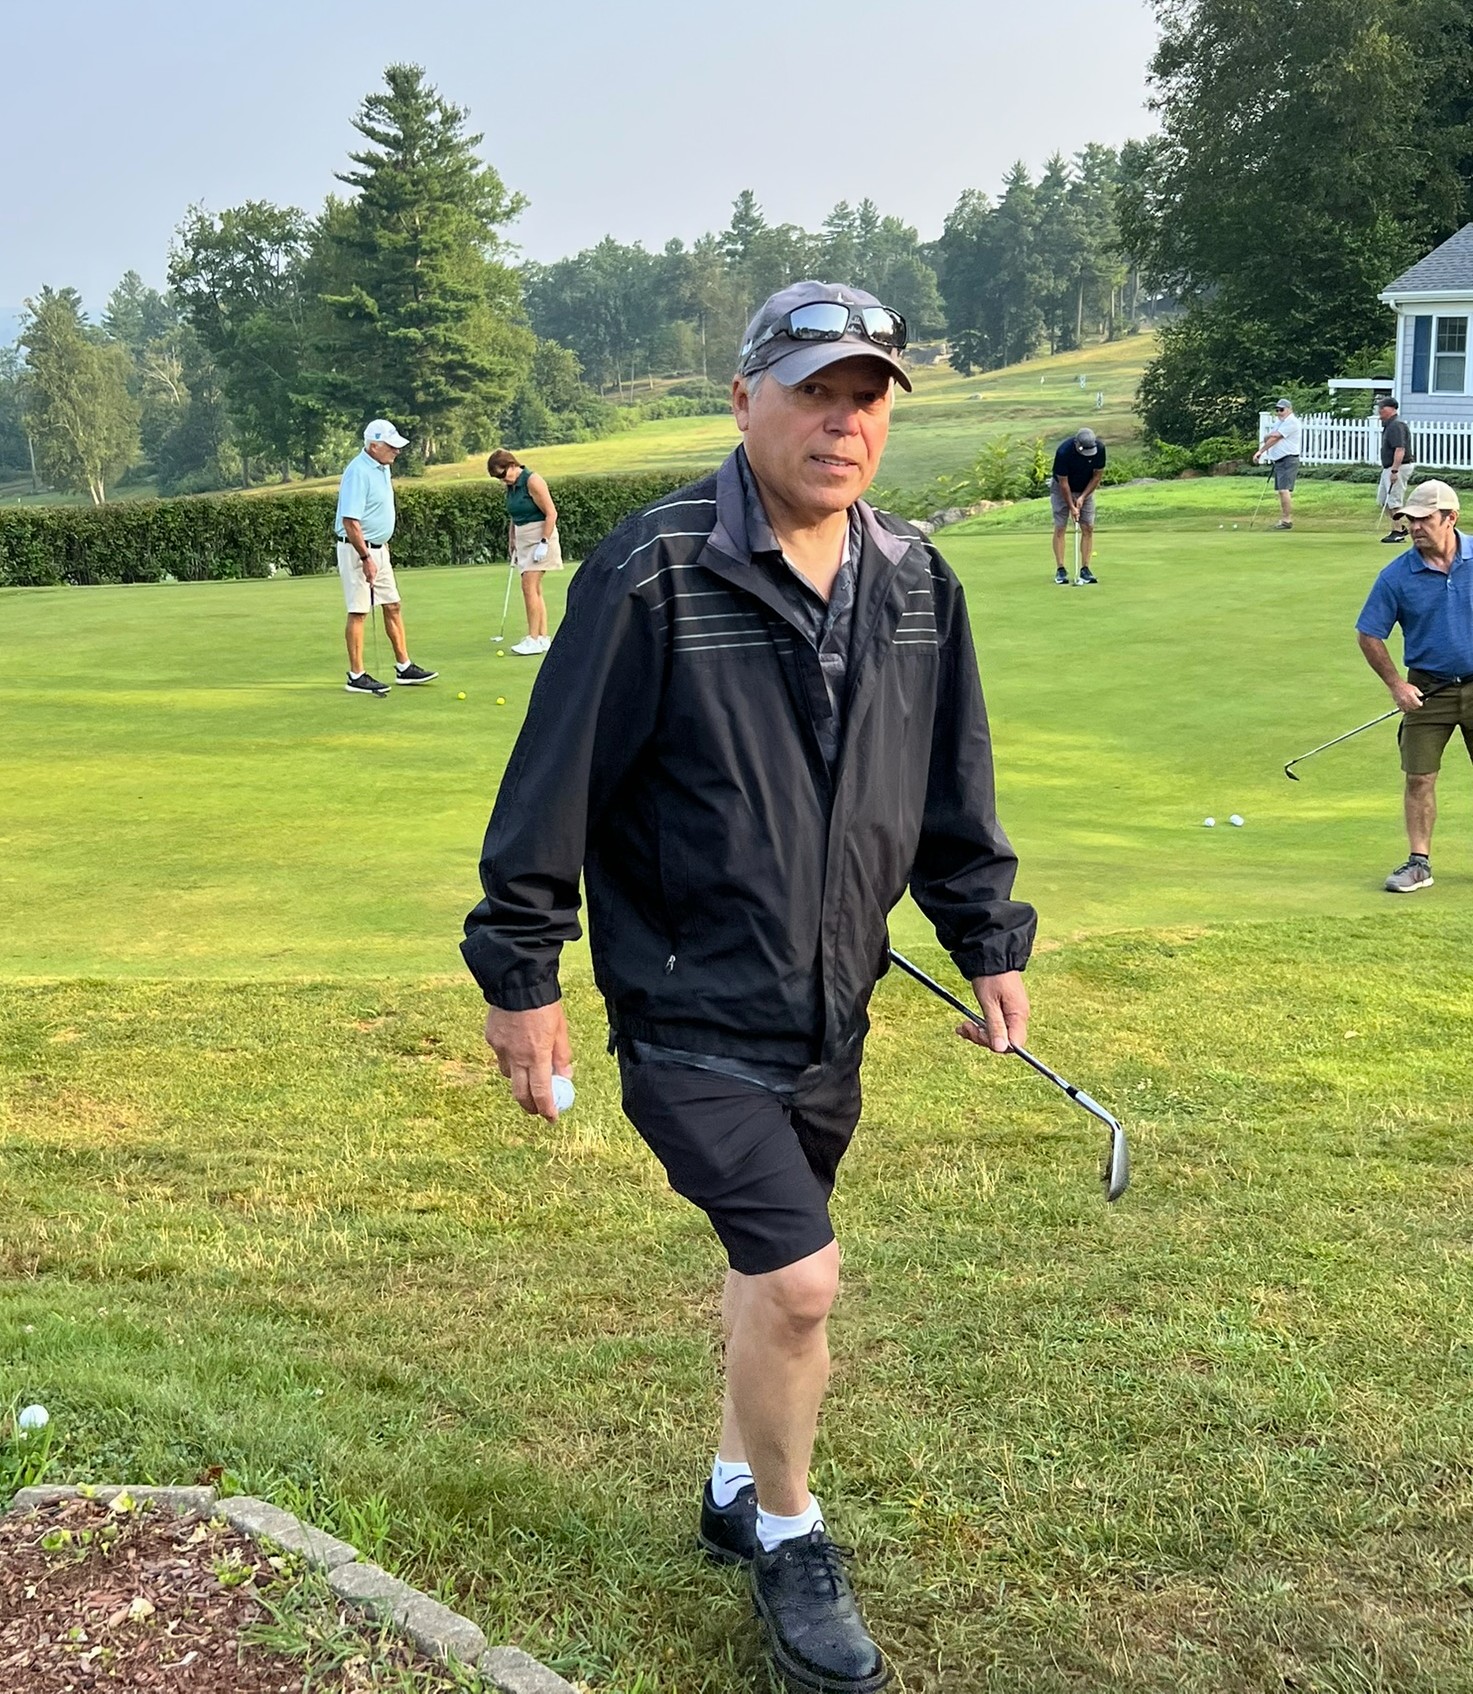
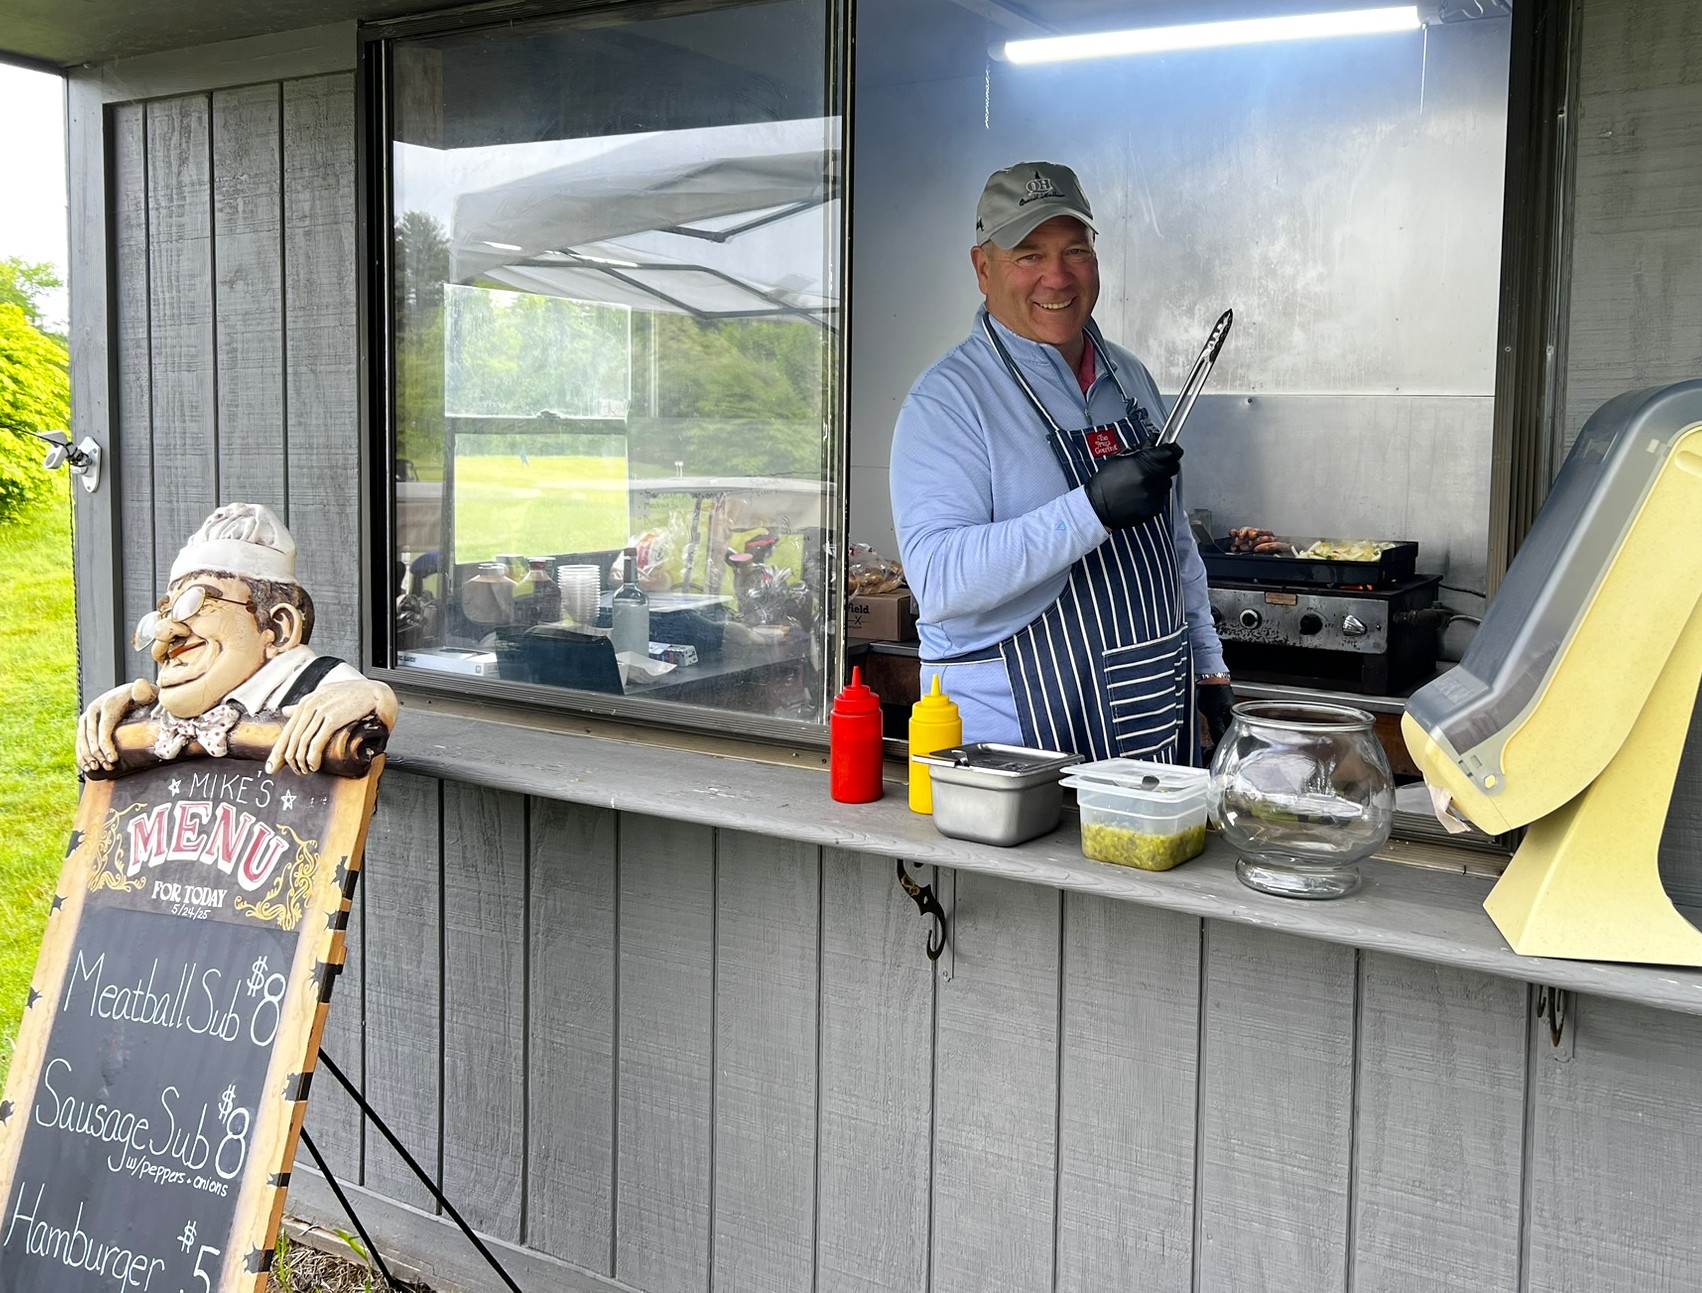
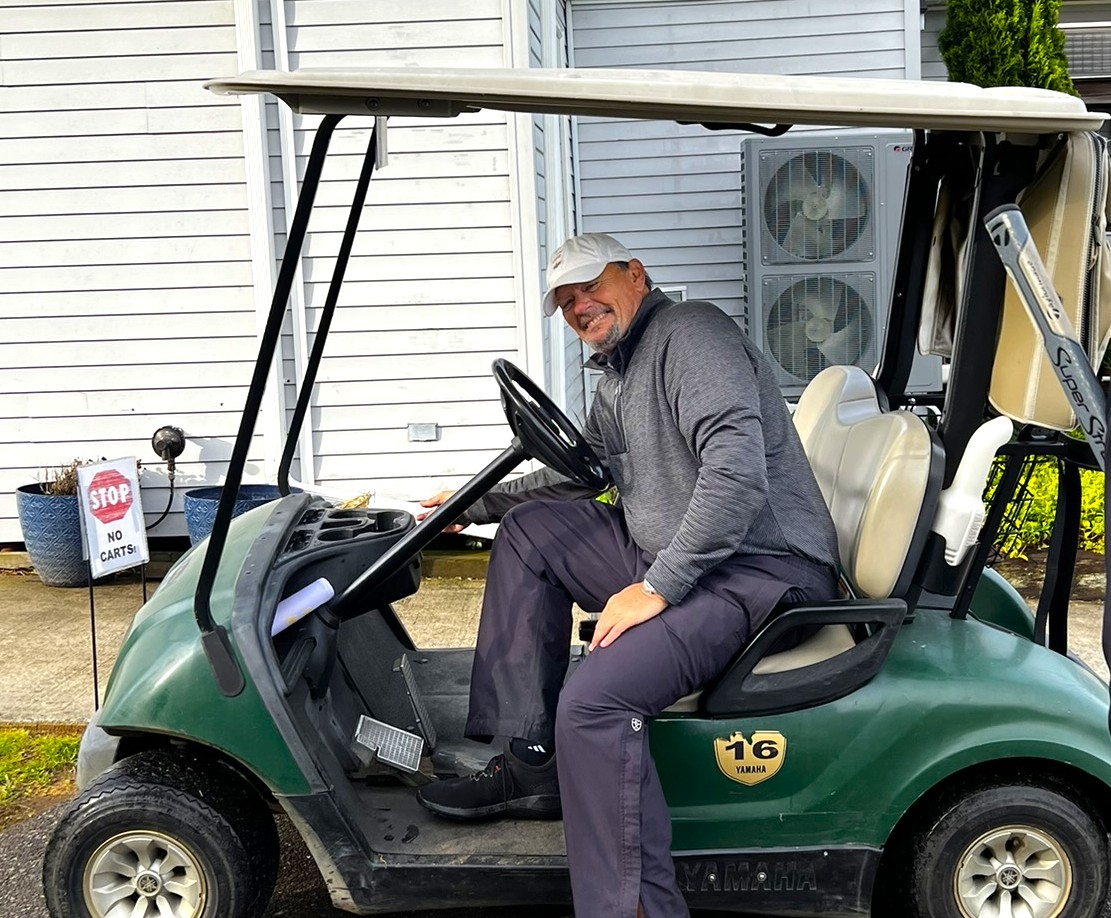
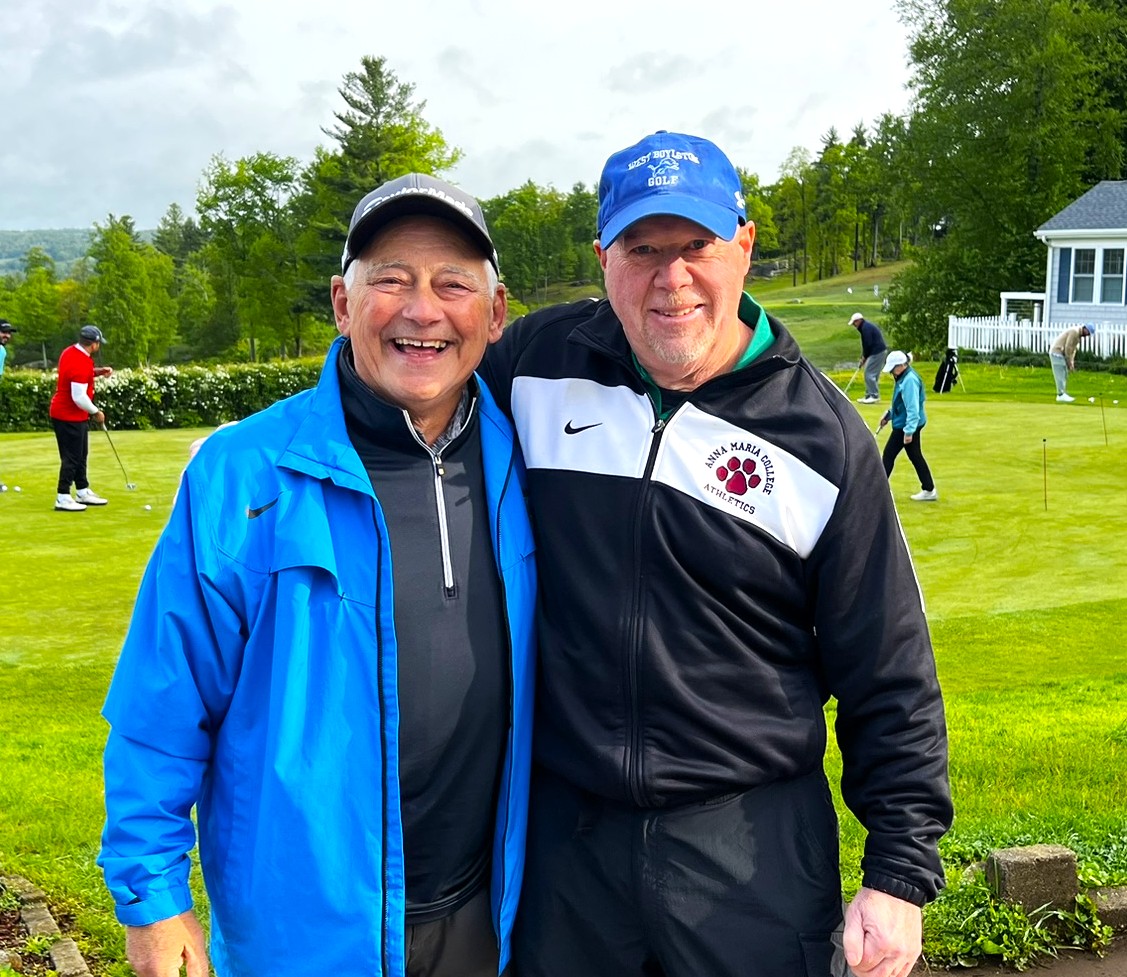
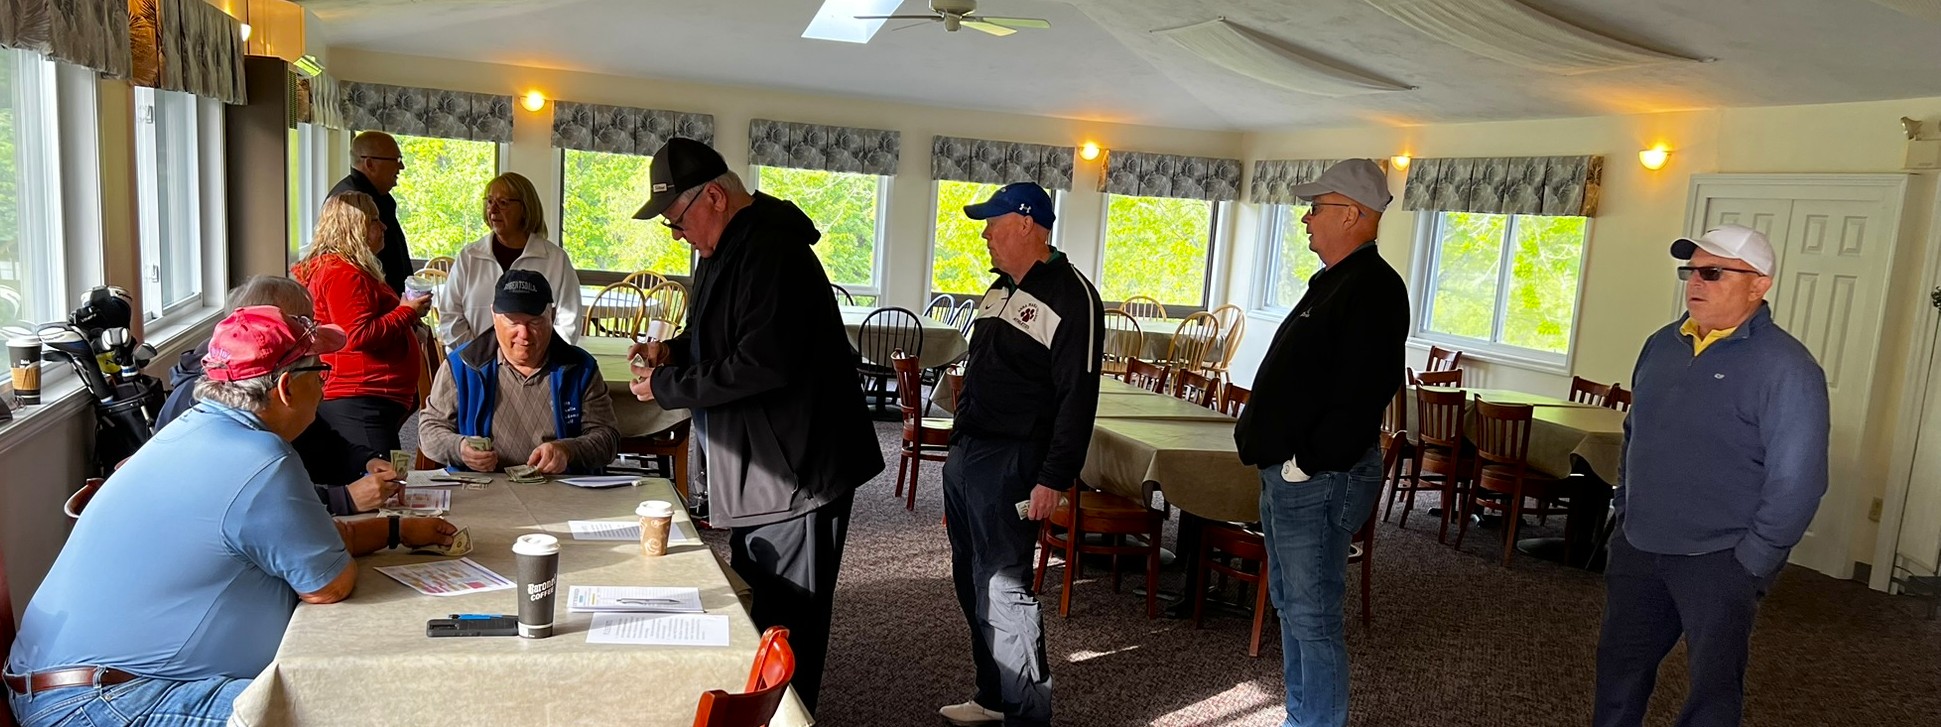
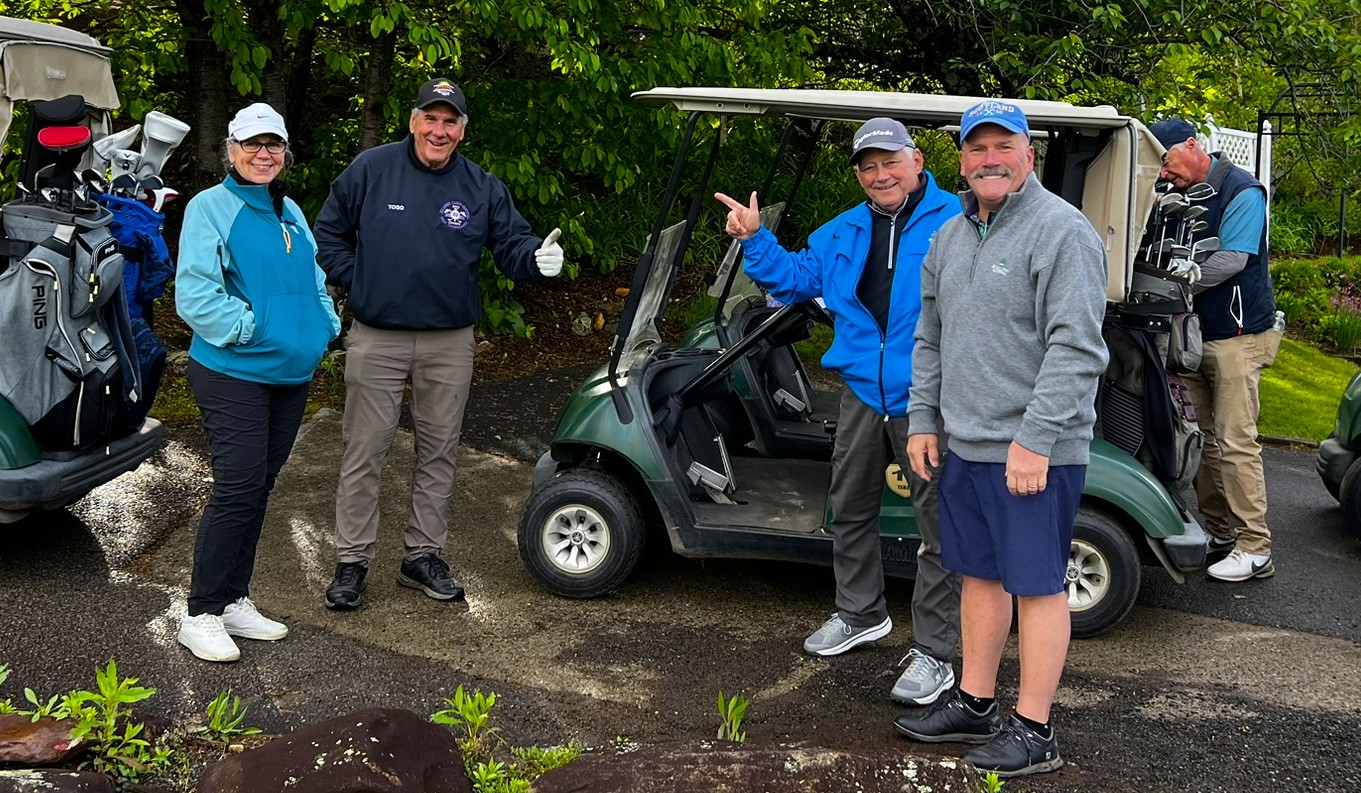
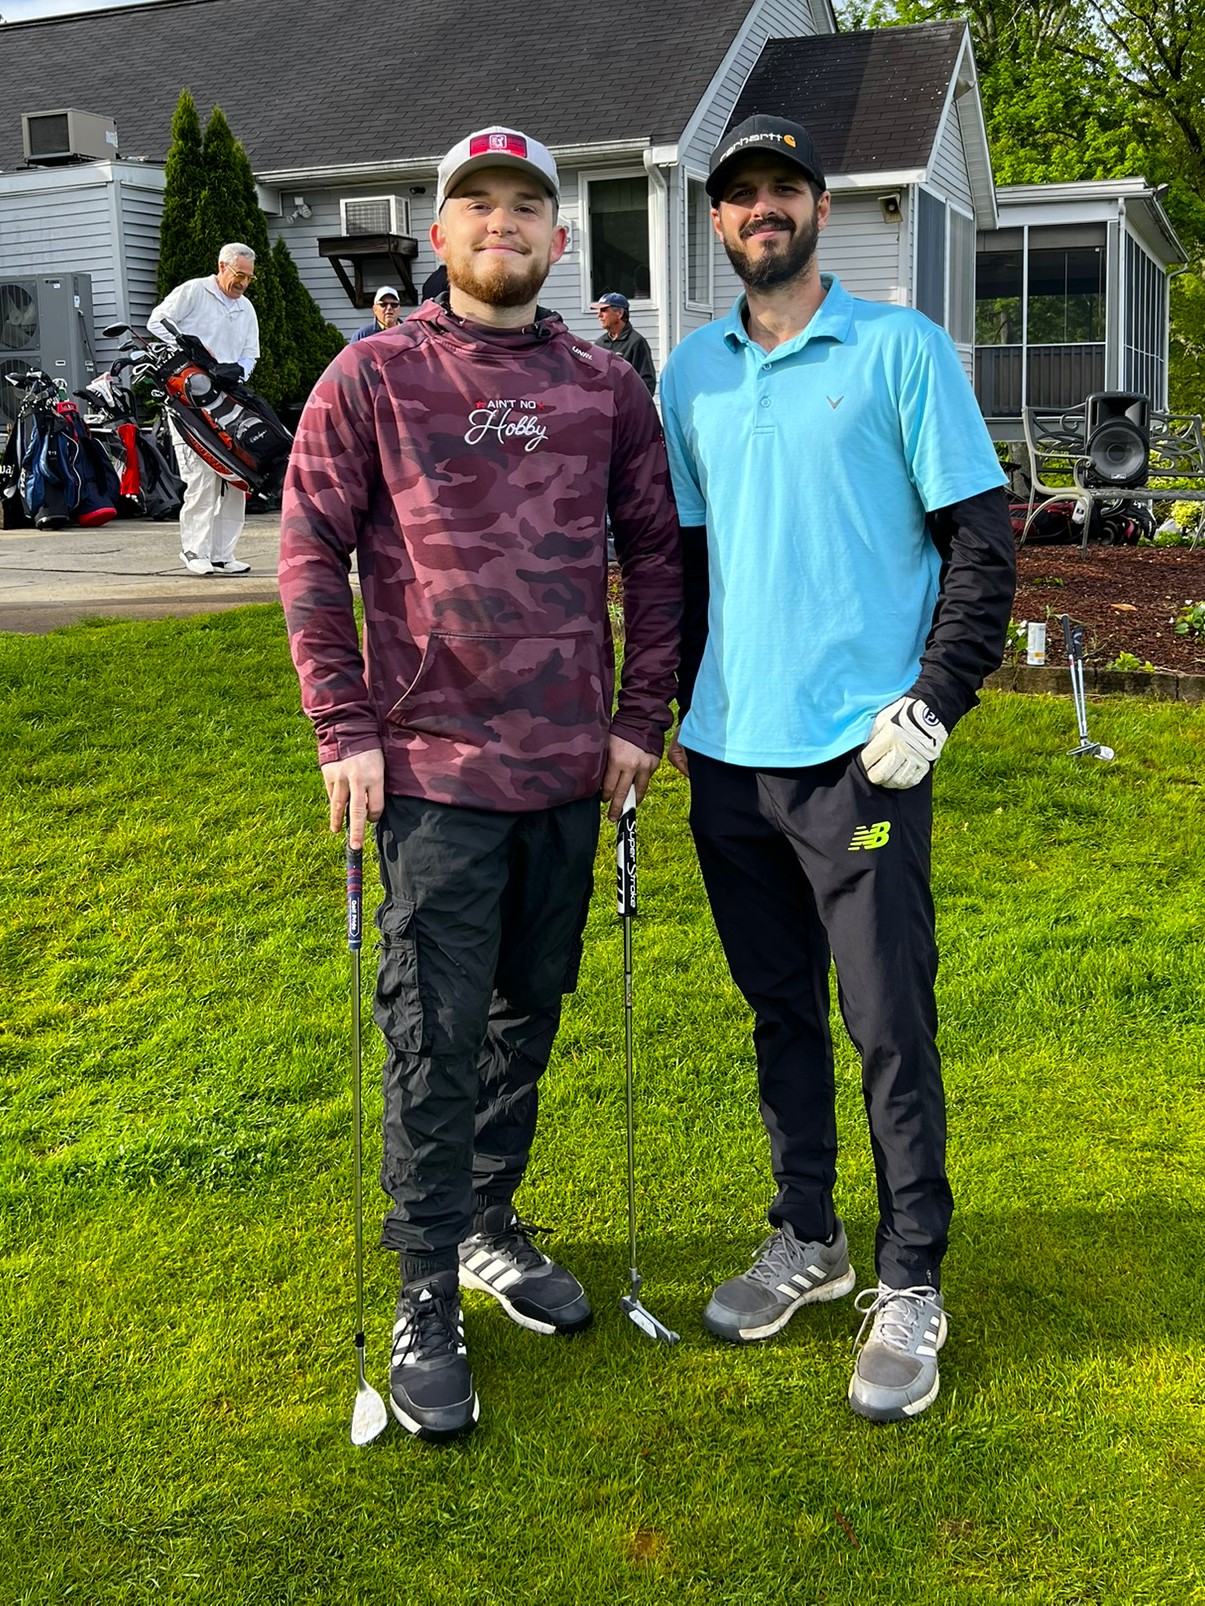
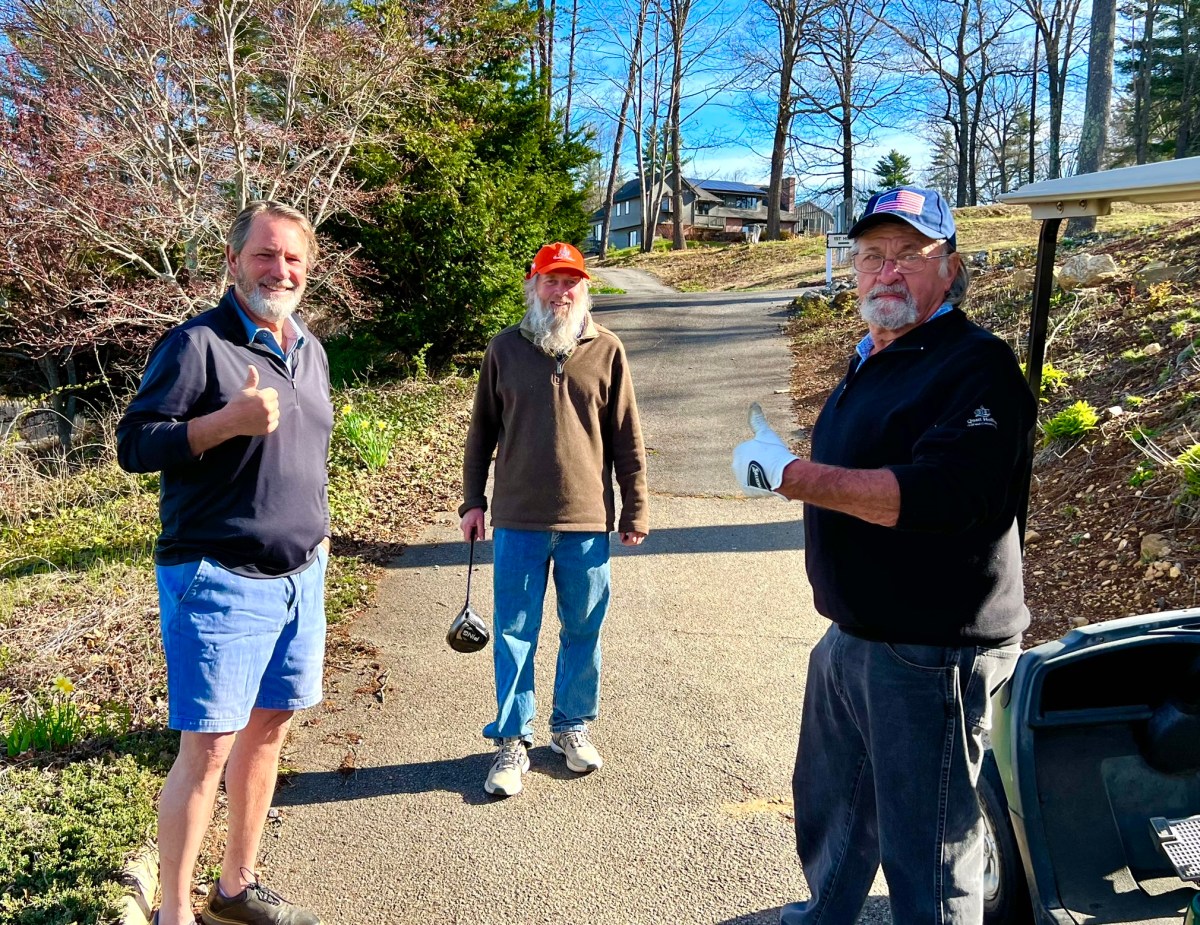
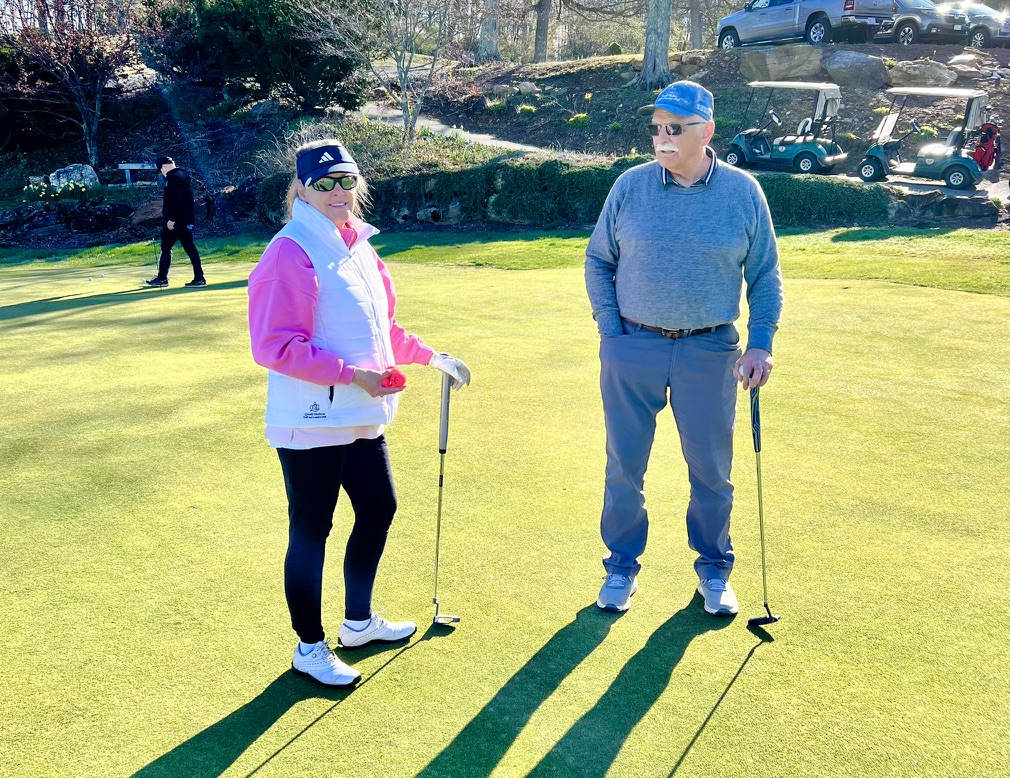
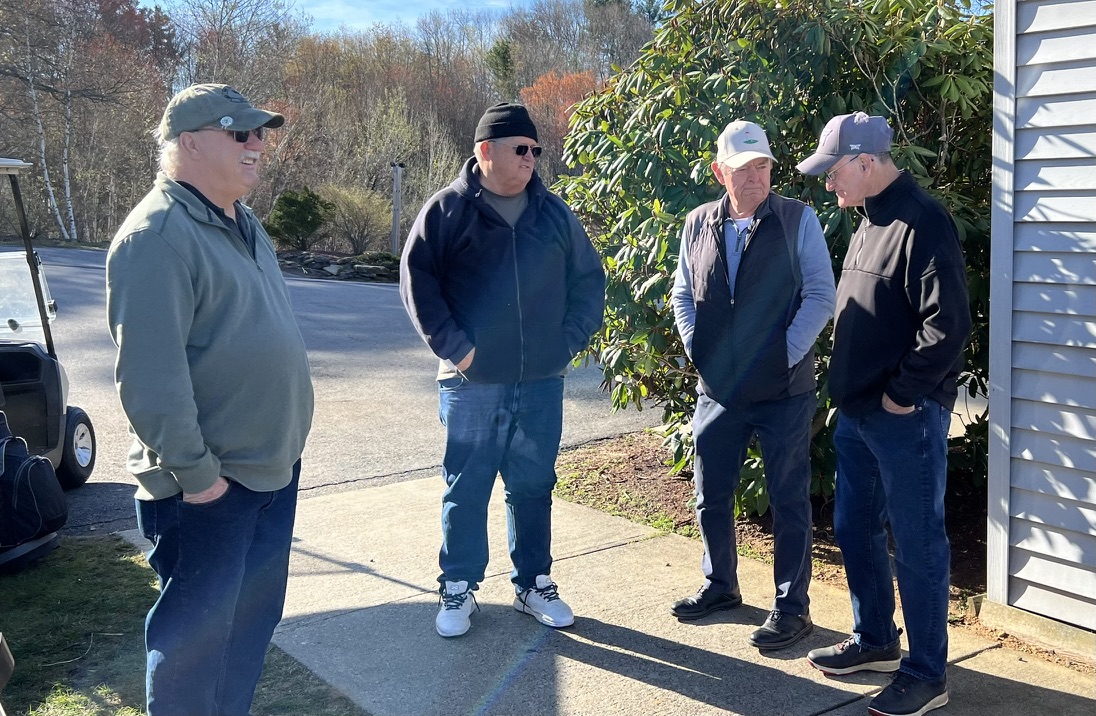
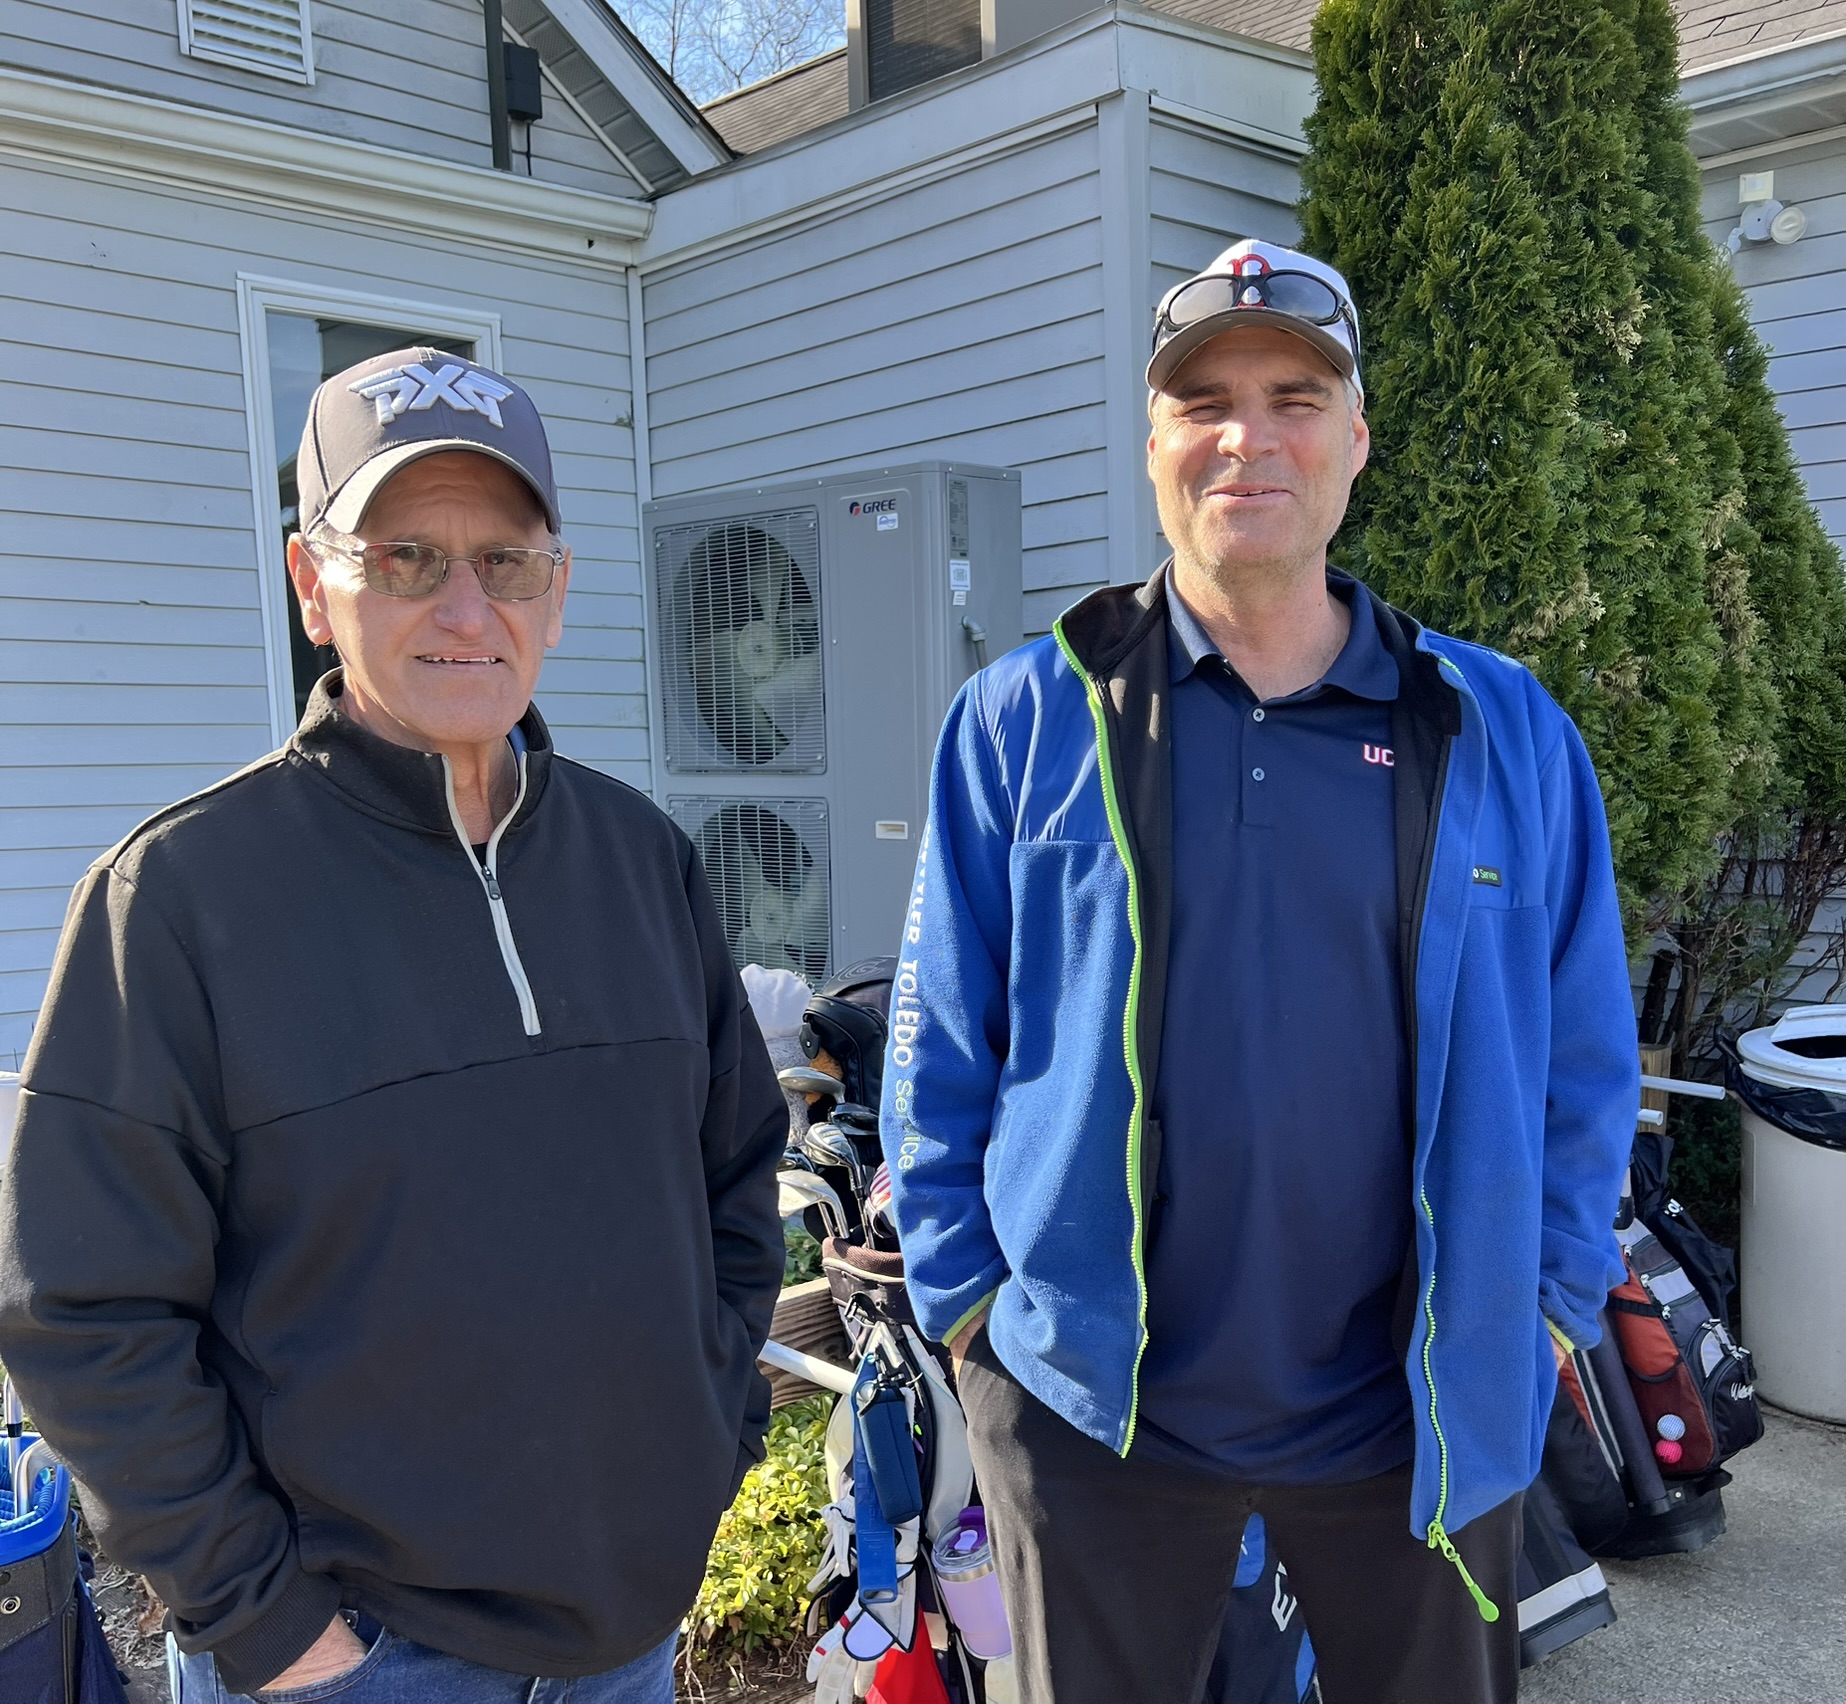
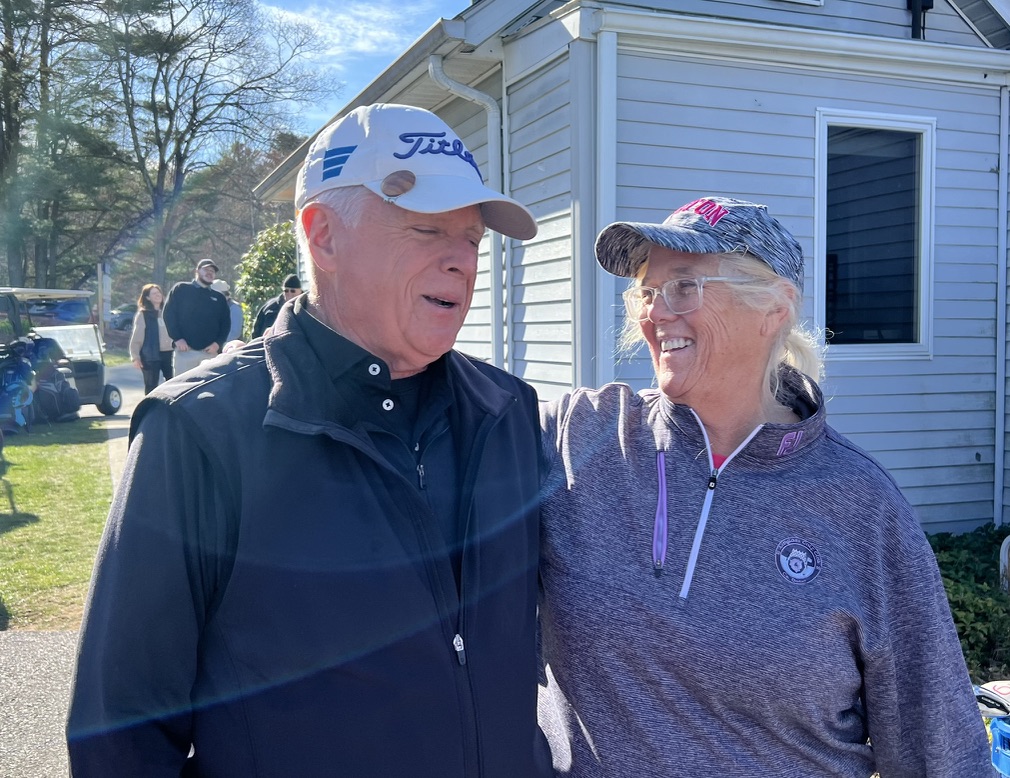
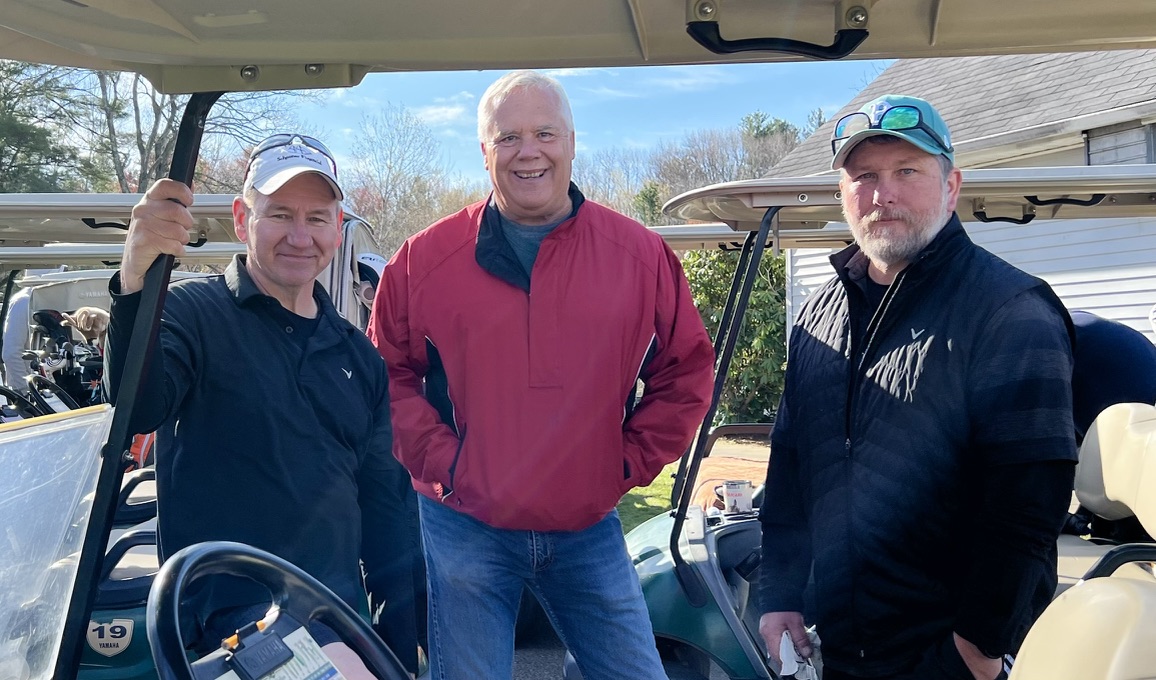
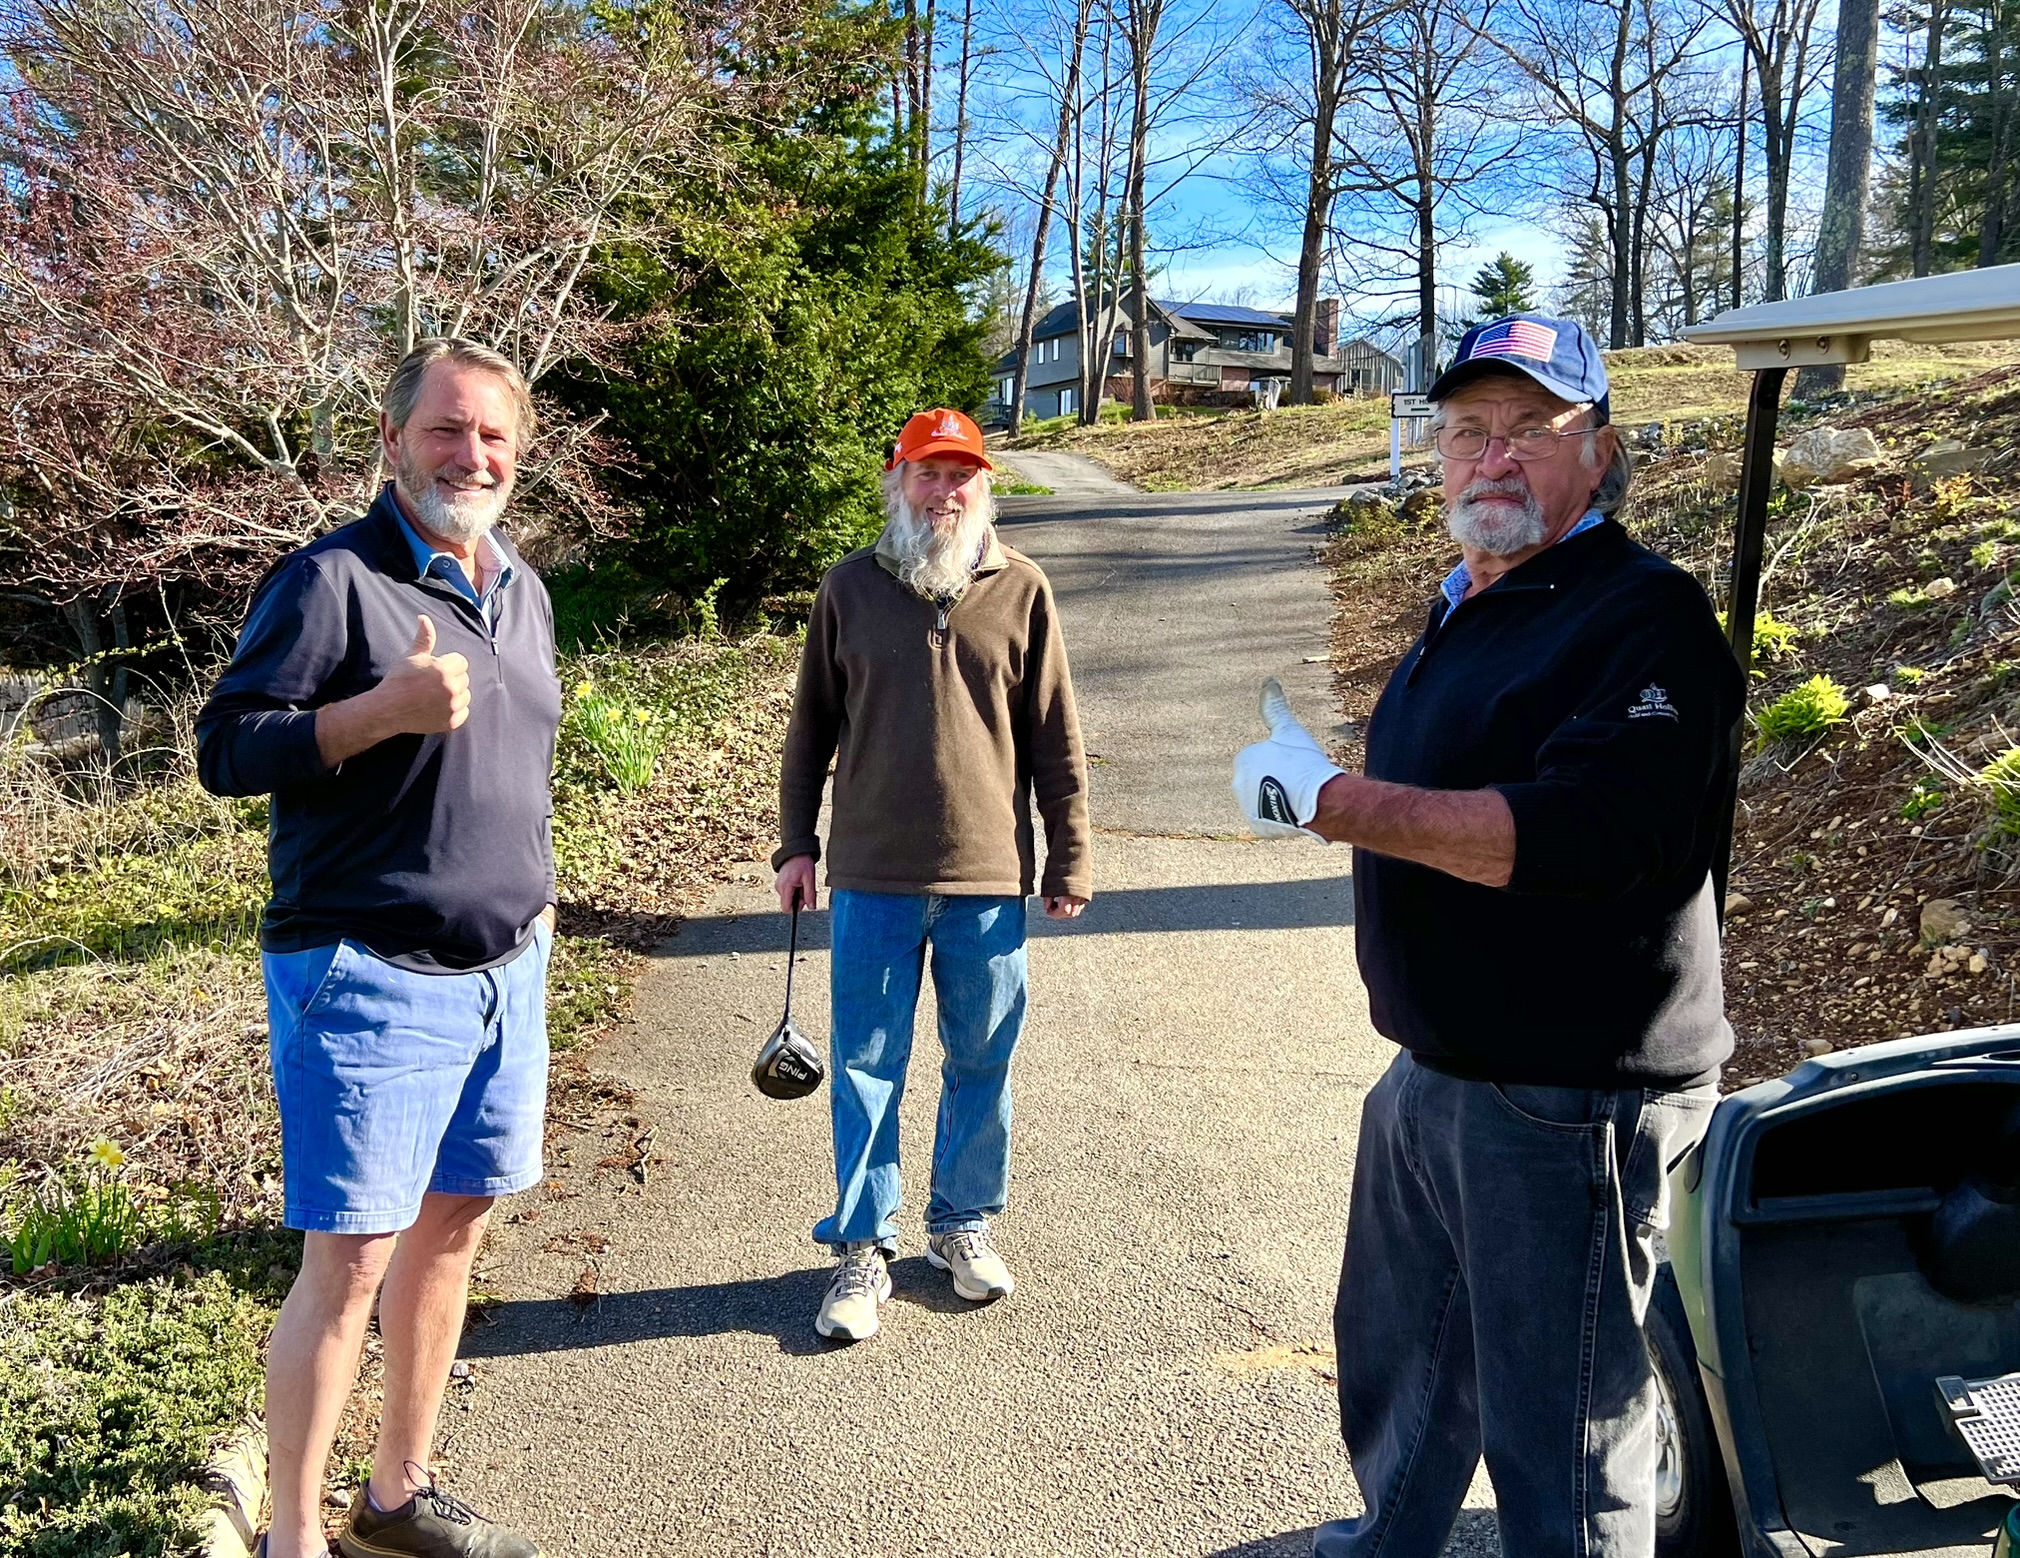
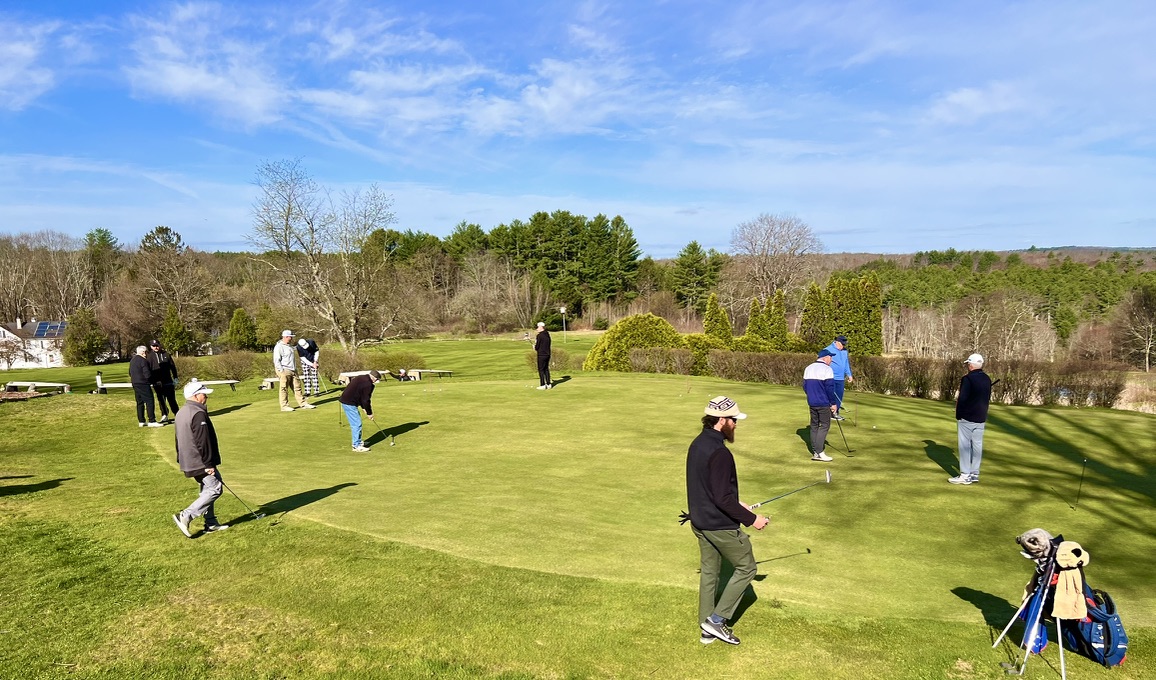
A Few Photos:

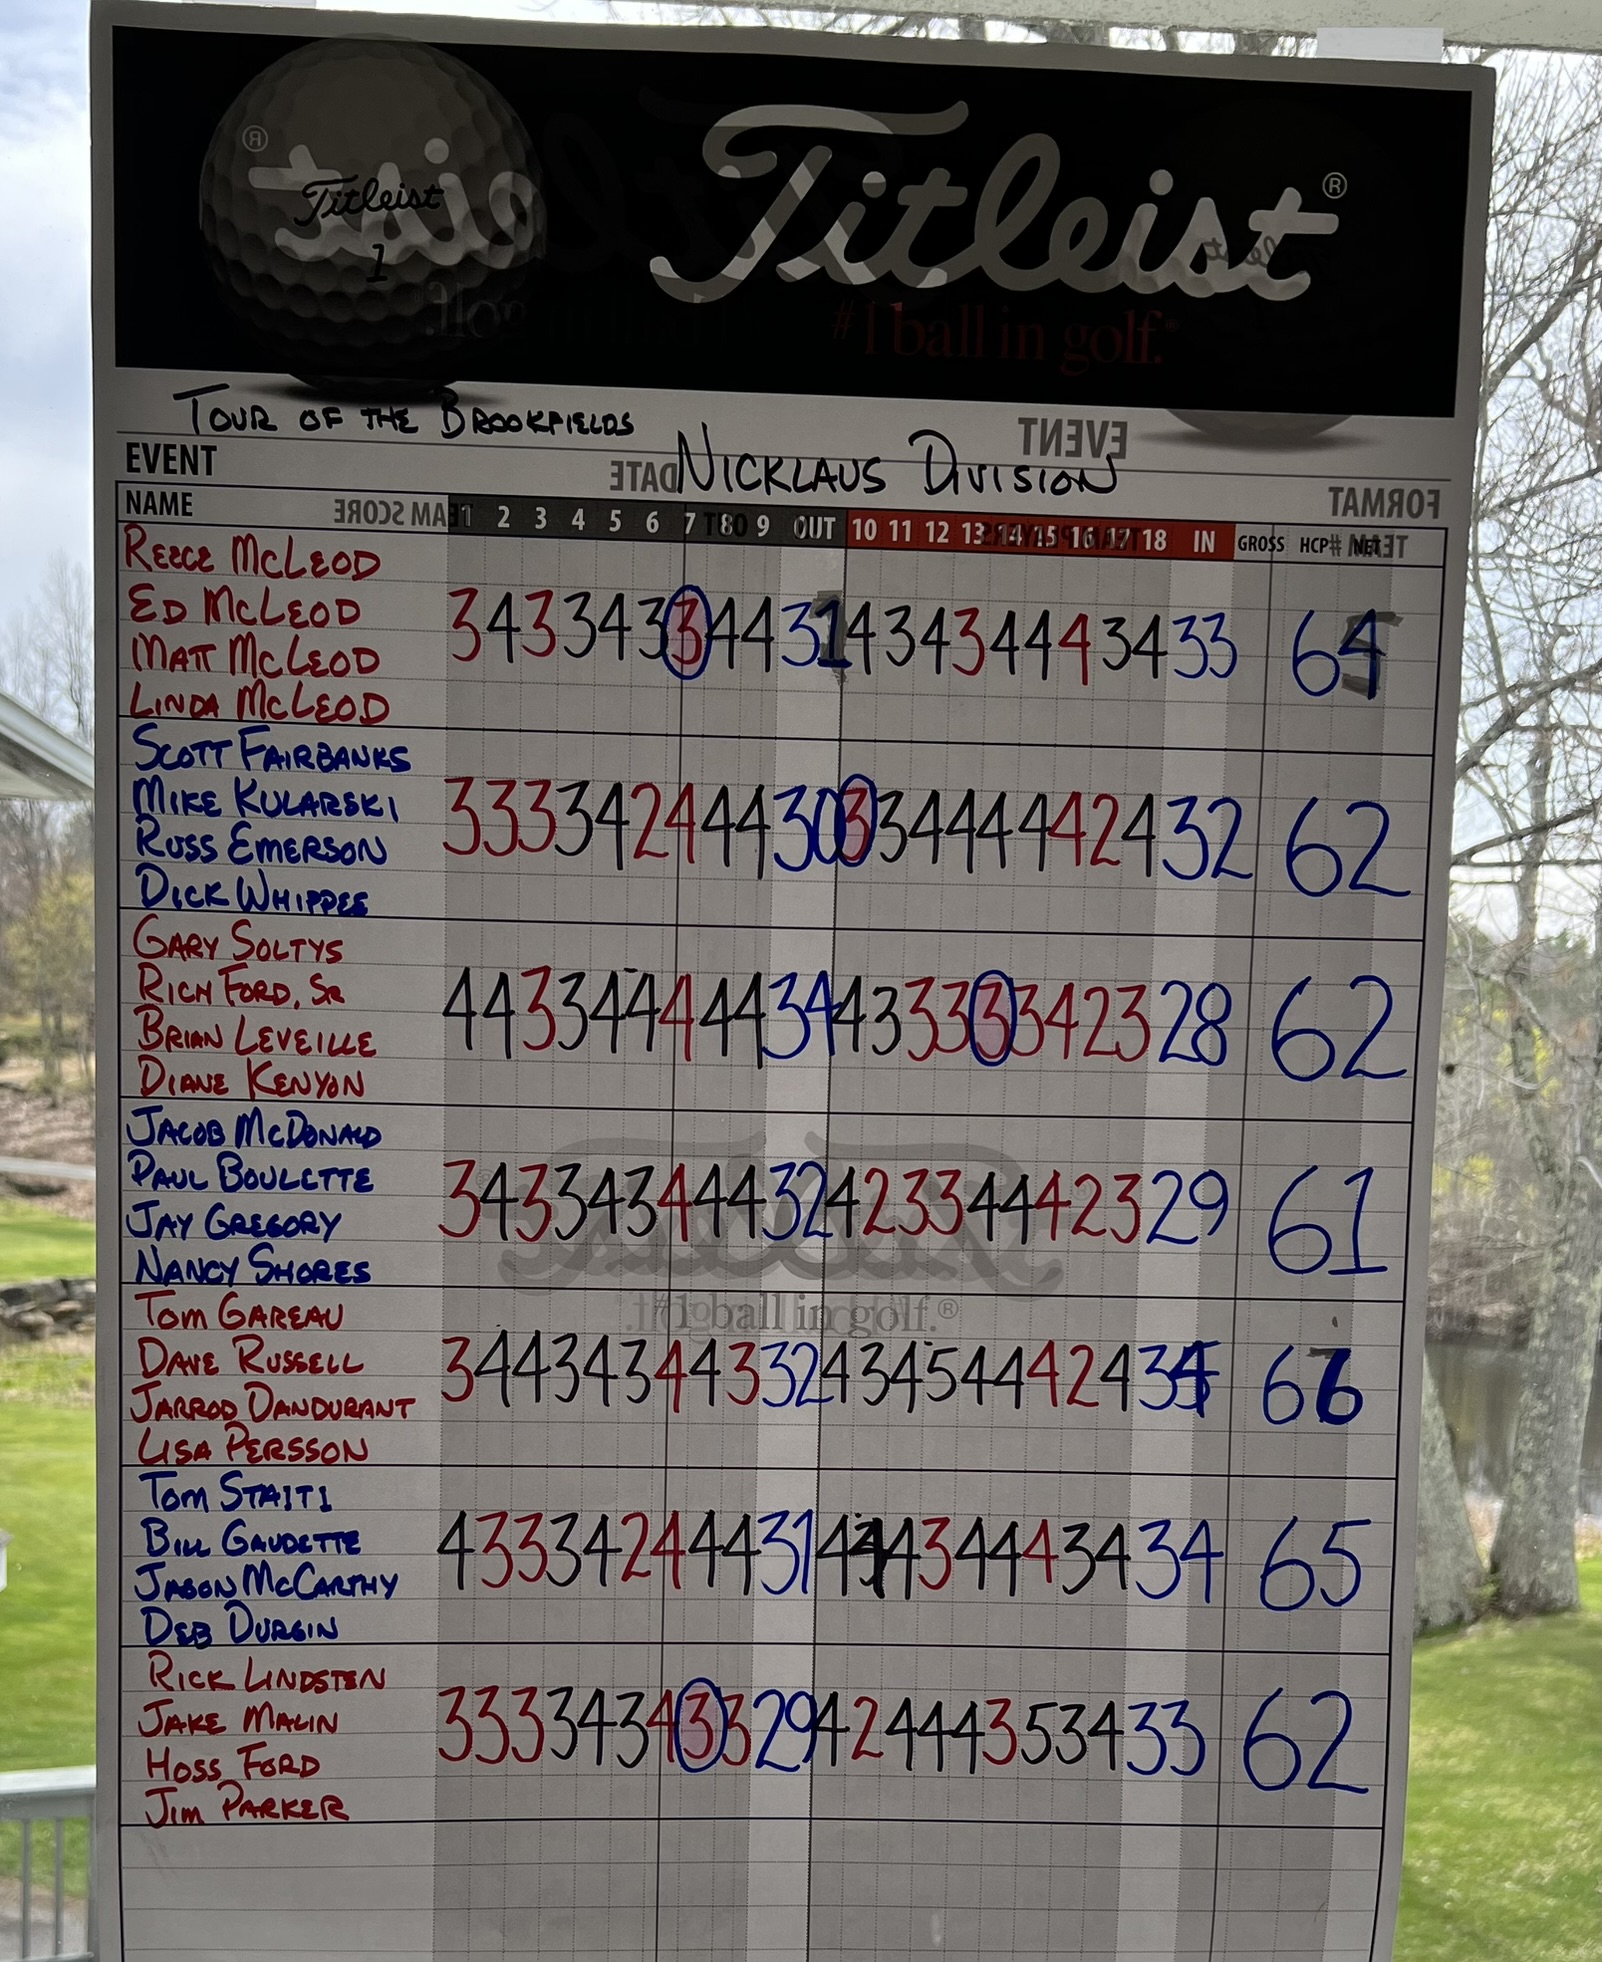
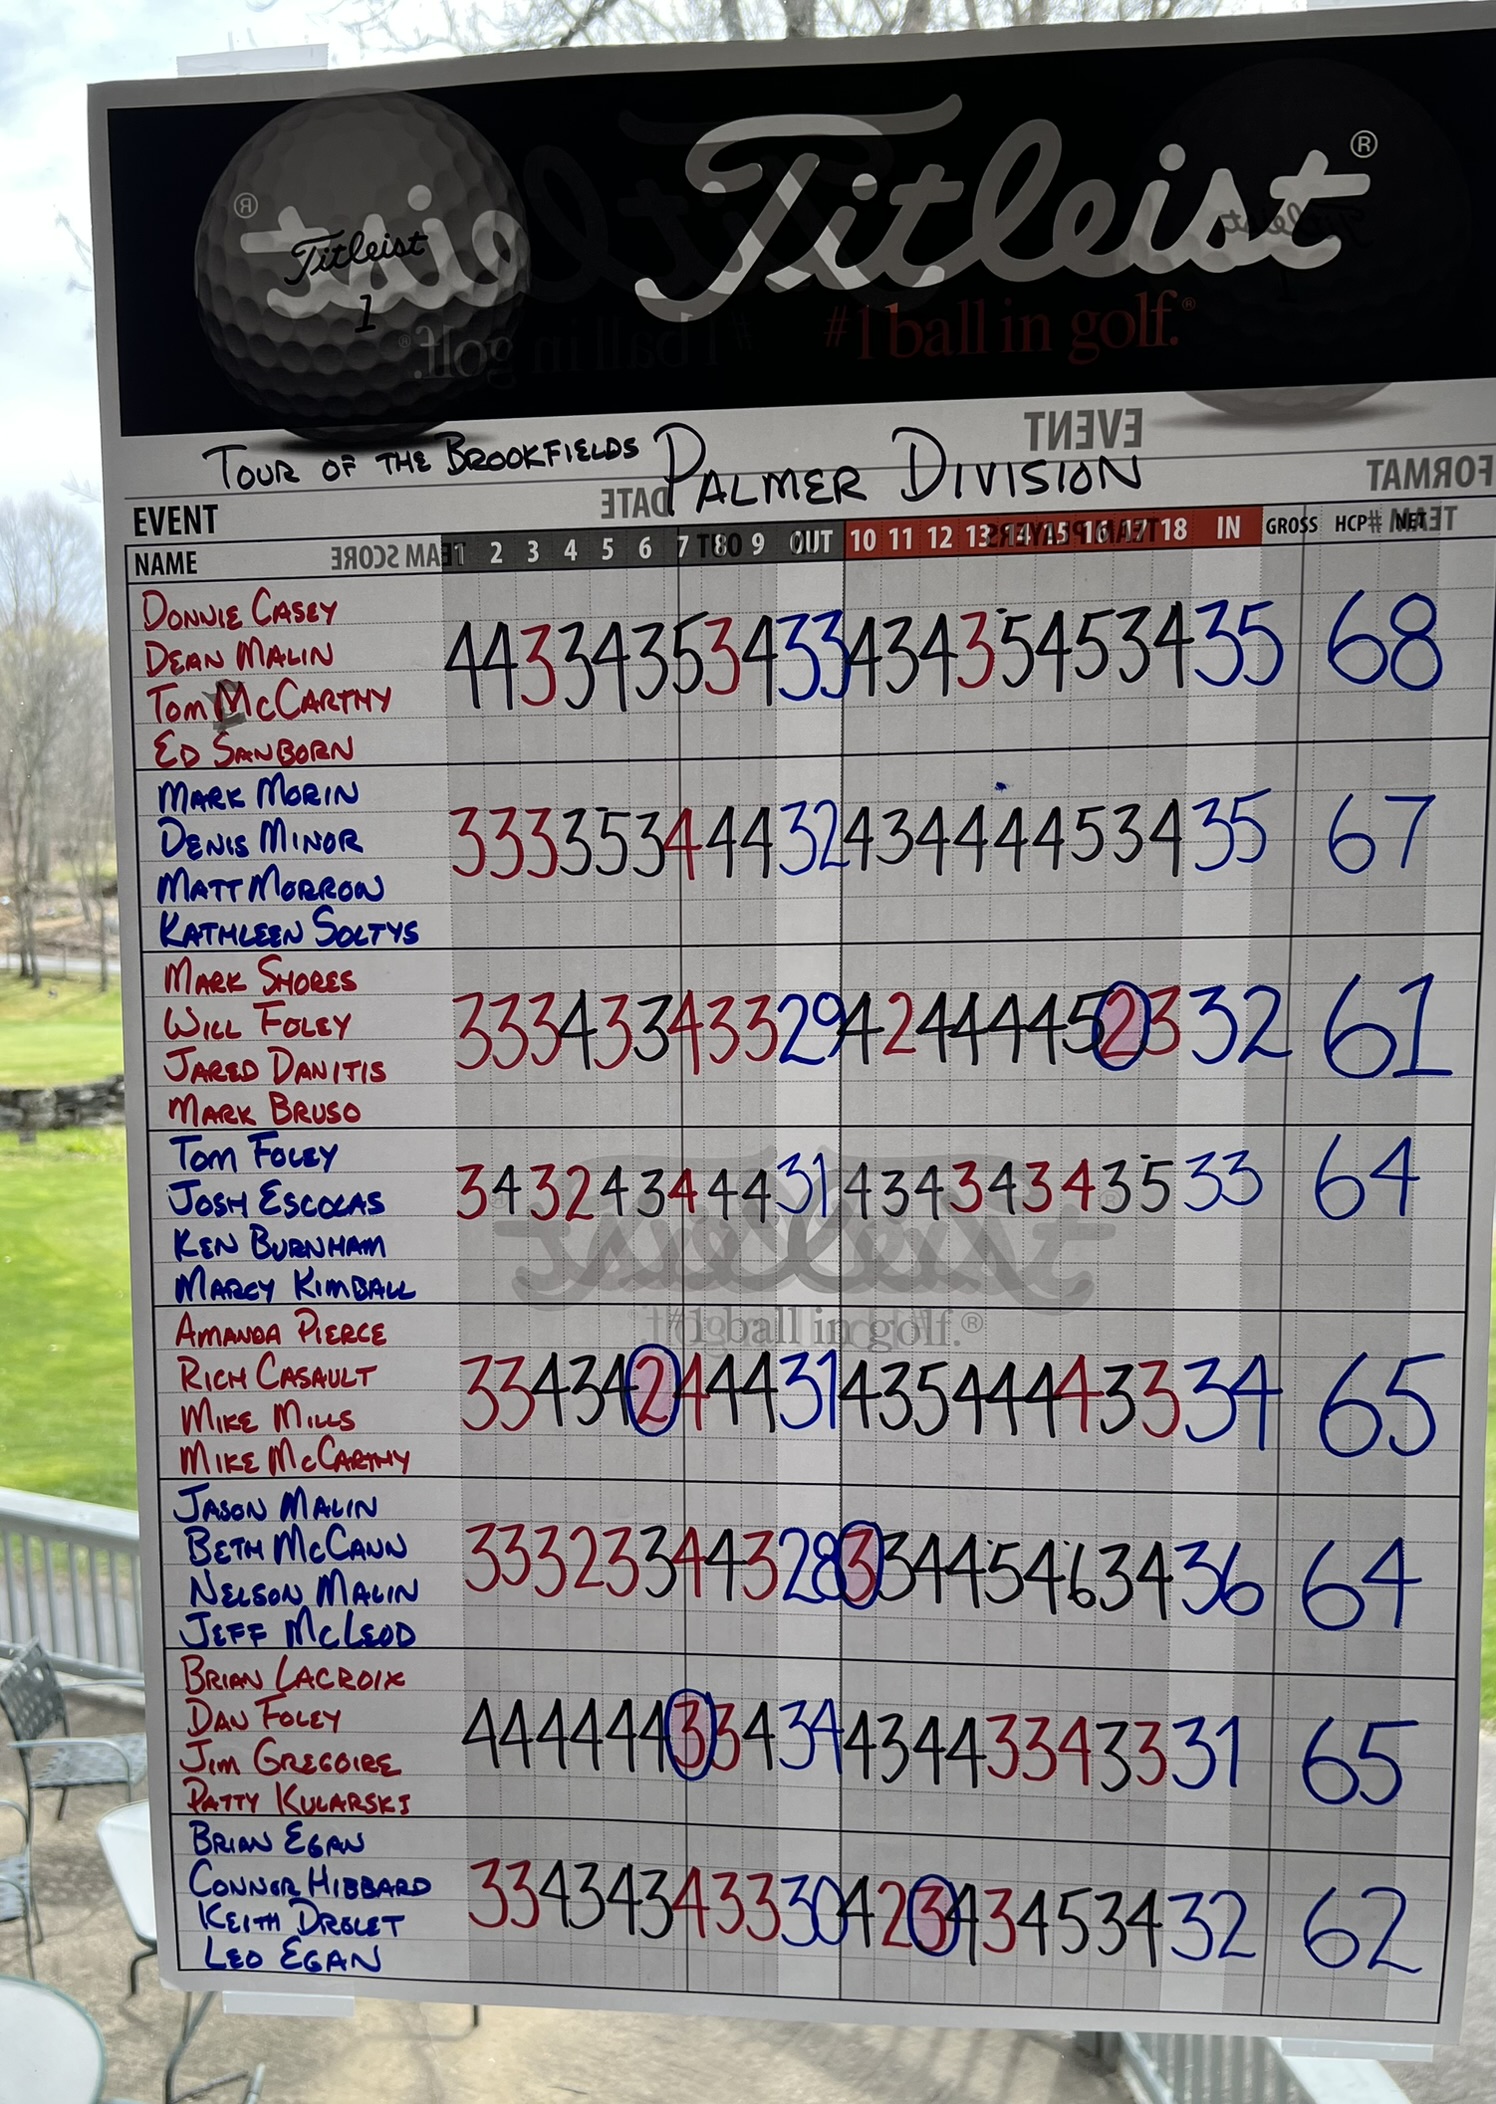
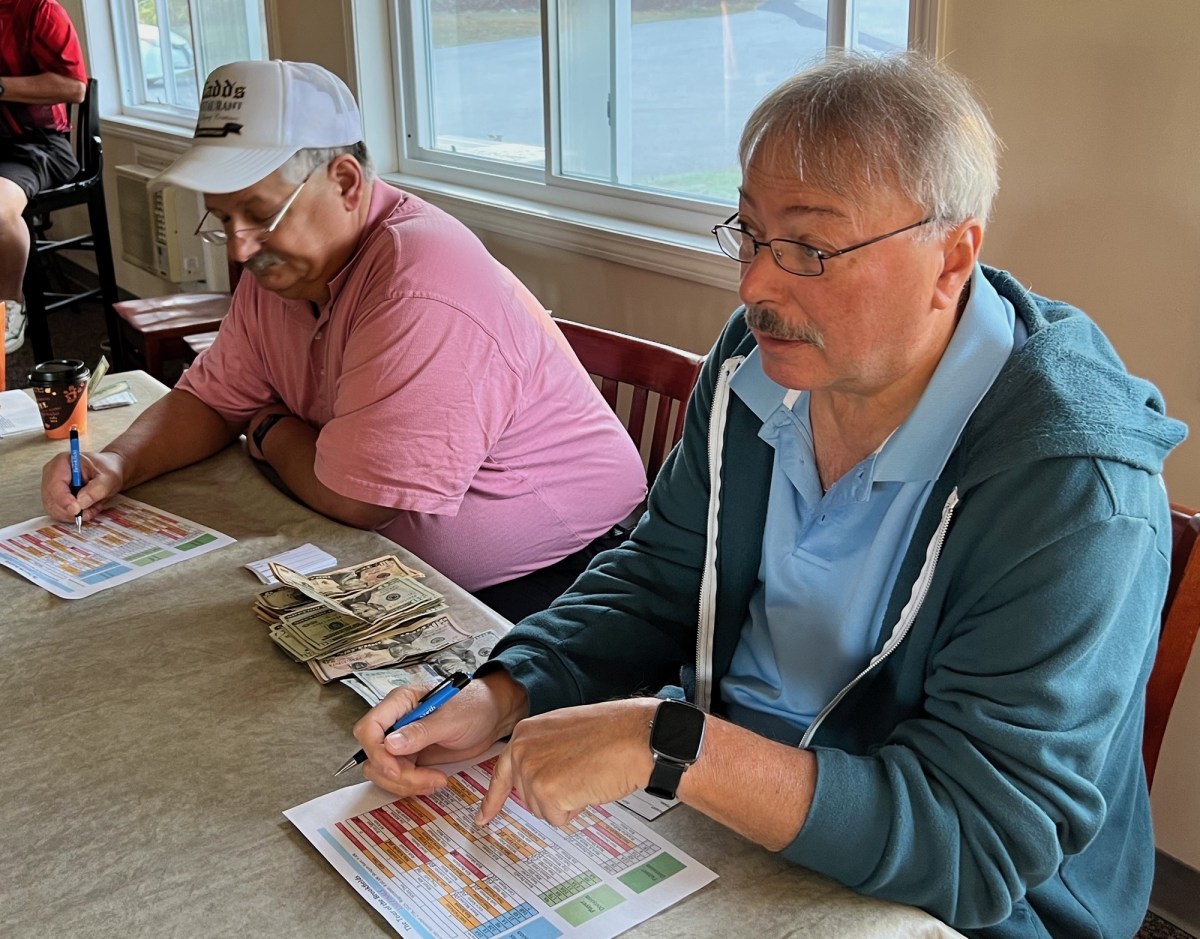
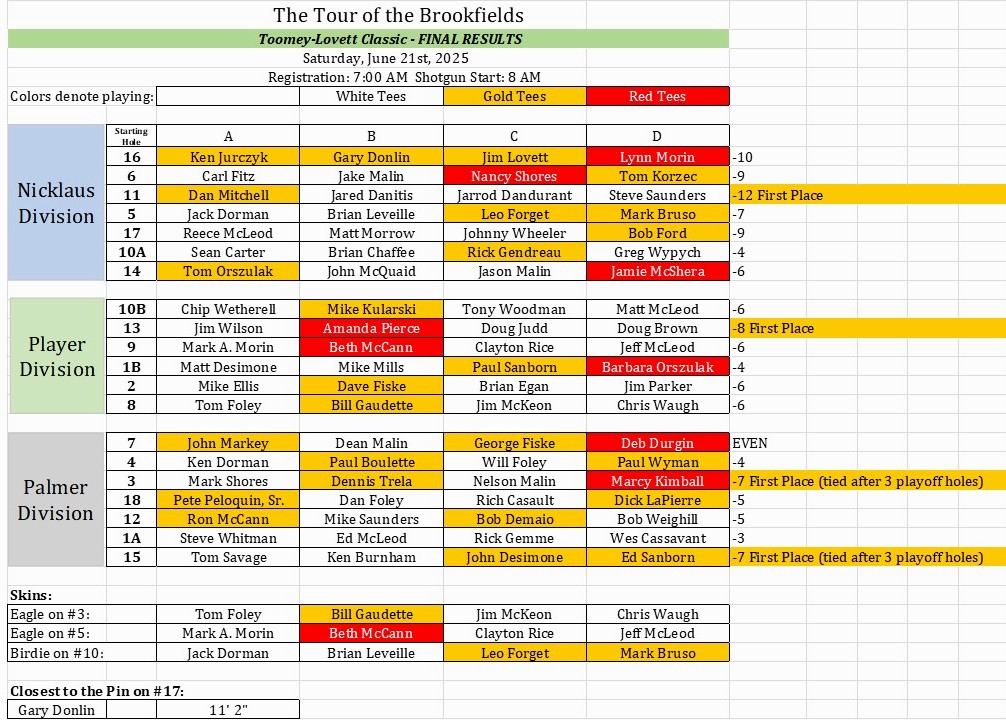
Palmer Division scoring. Skins are circled and highlighted.
This blog is your source for all of the TOB results and information.
You can get these updates automatically by becoming an email subscriber to this blog (you can do down at the end of this blog post). You can also comment on my posts if you like.
The cost – nothing! It’s free!
Lastly, this blog also covers my “other” hobbies, so you might see other” stuff from time to time…
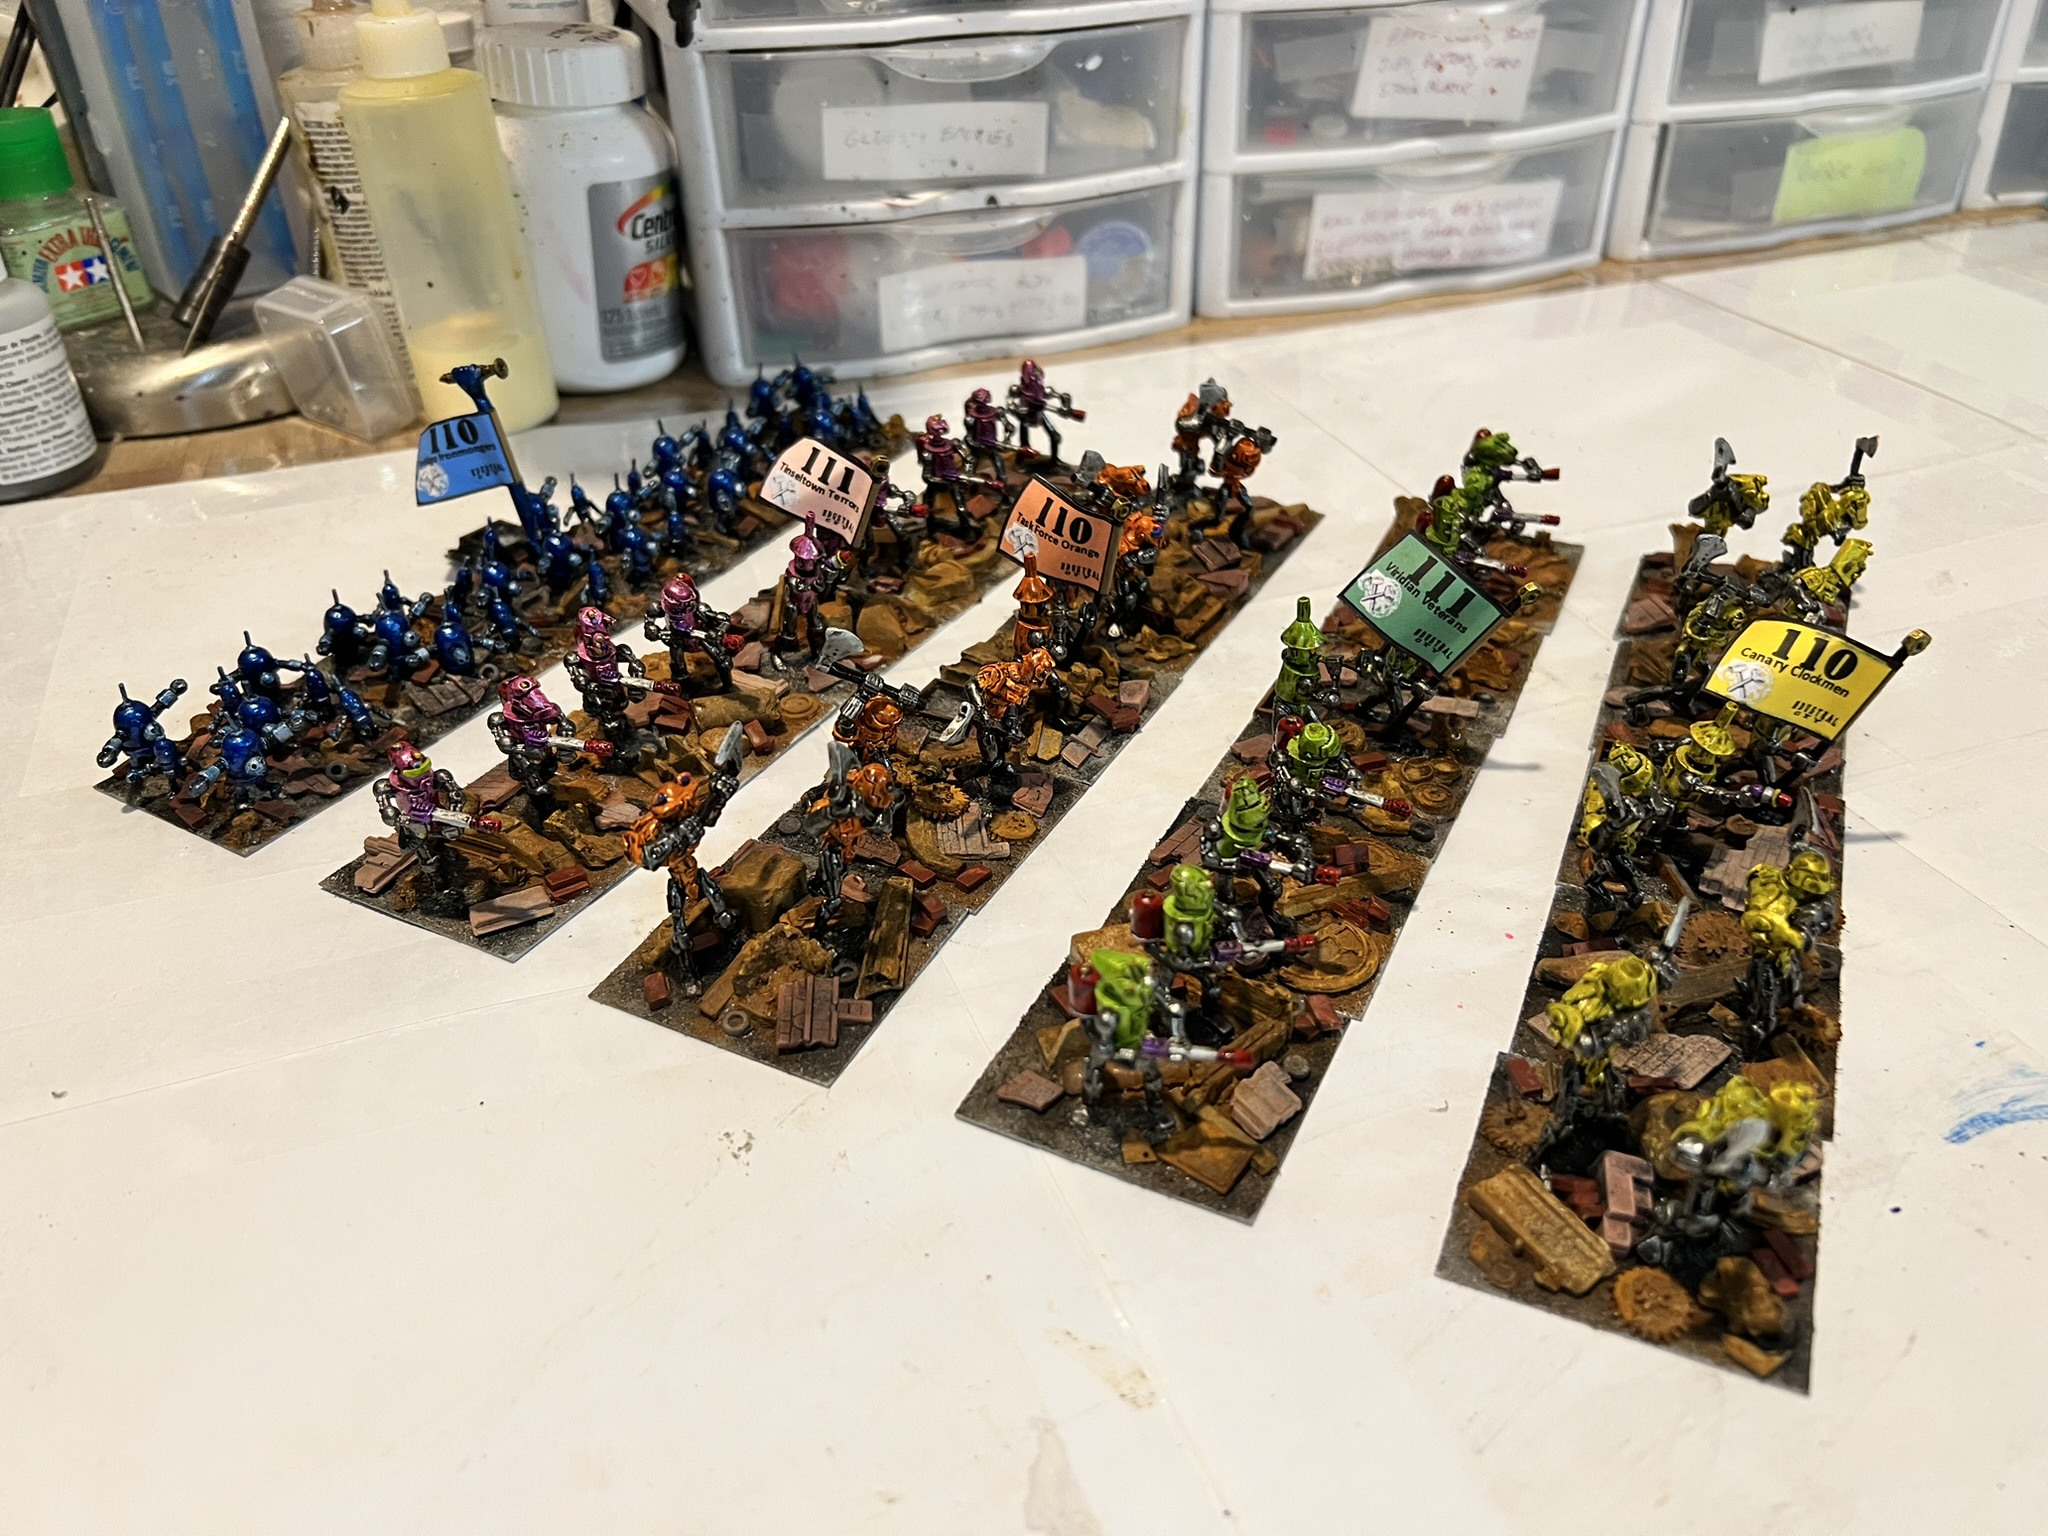
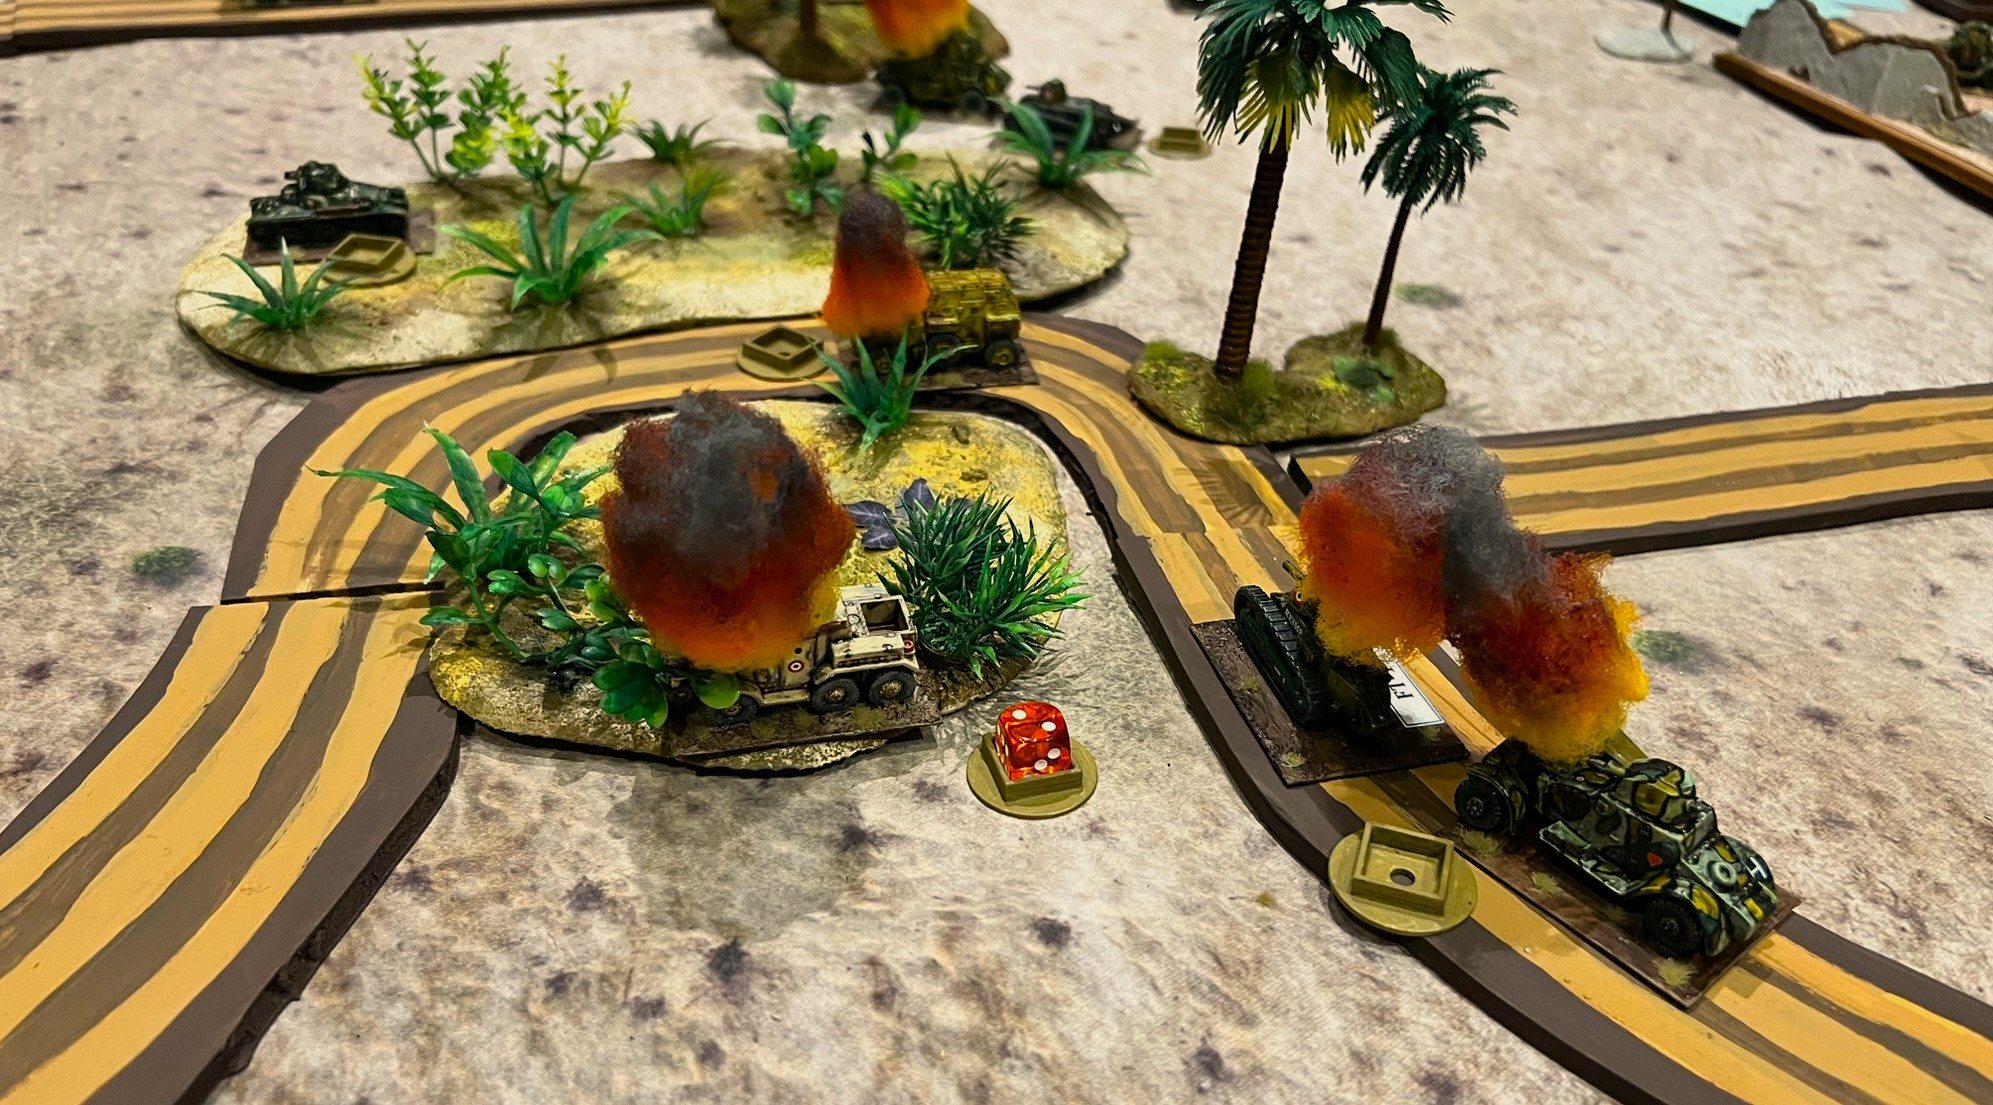
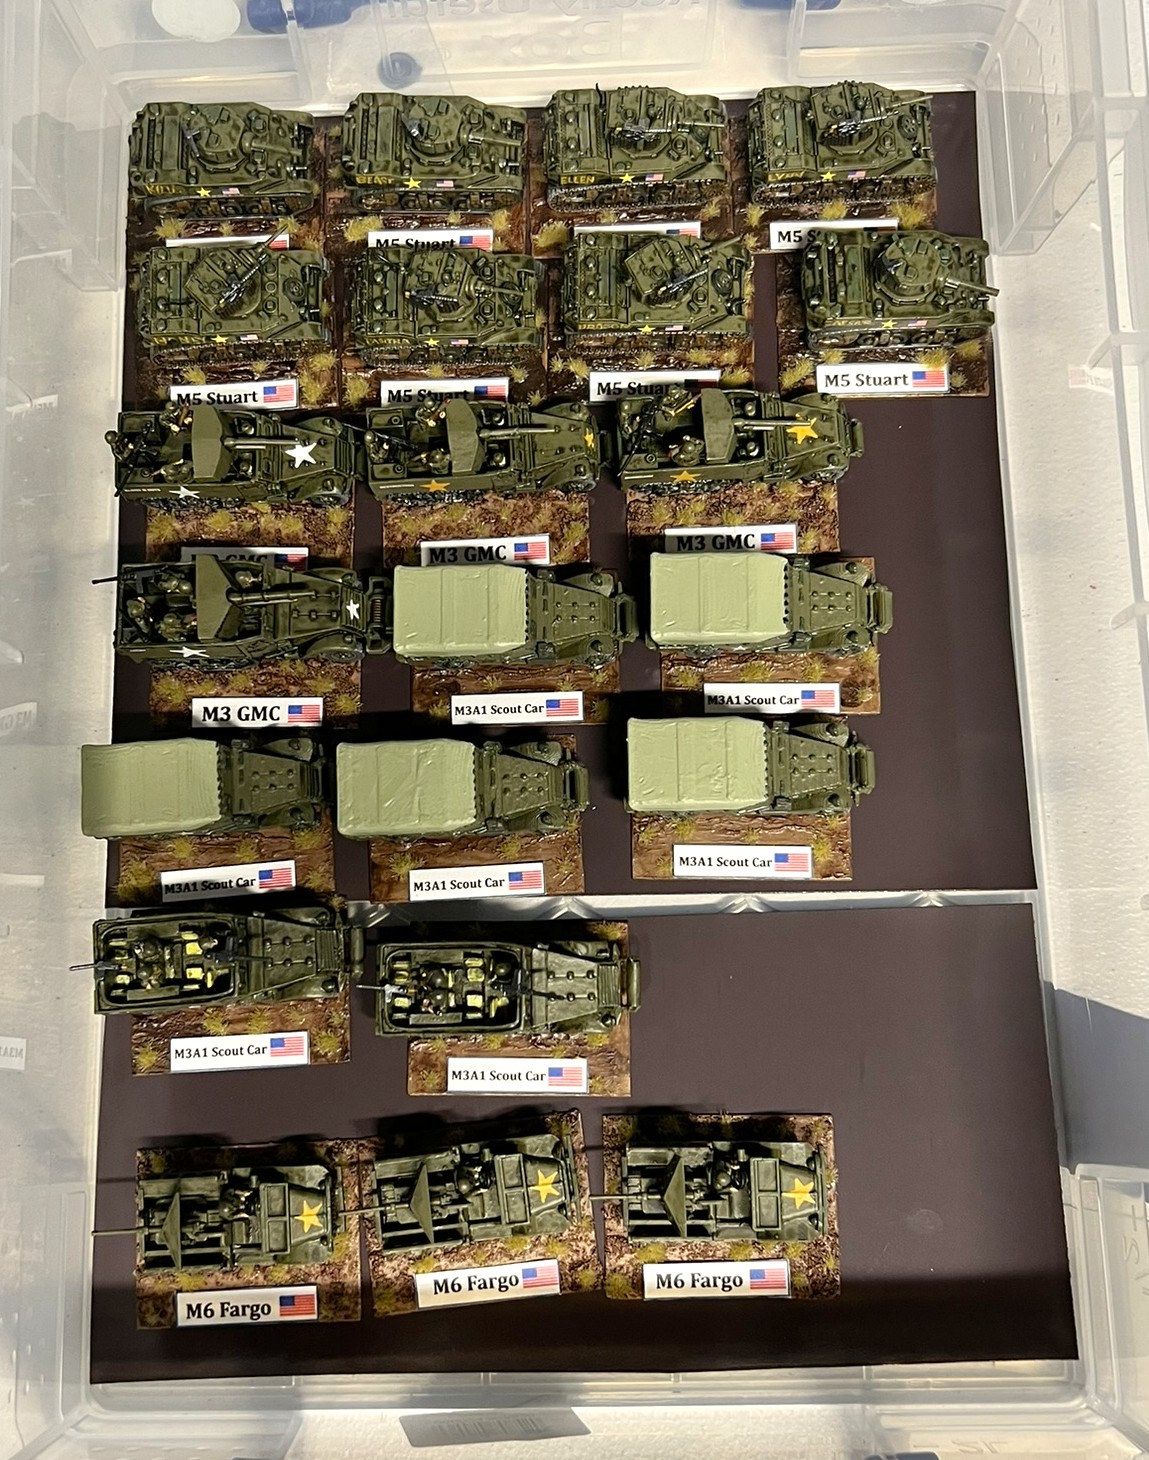
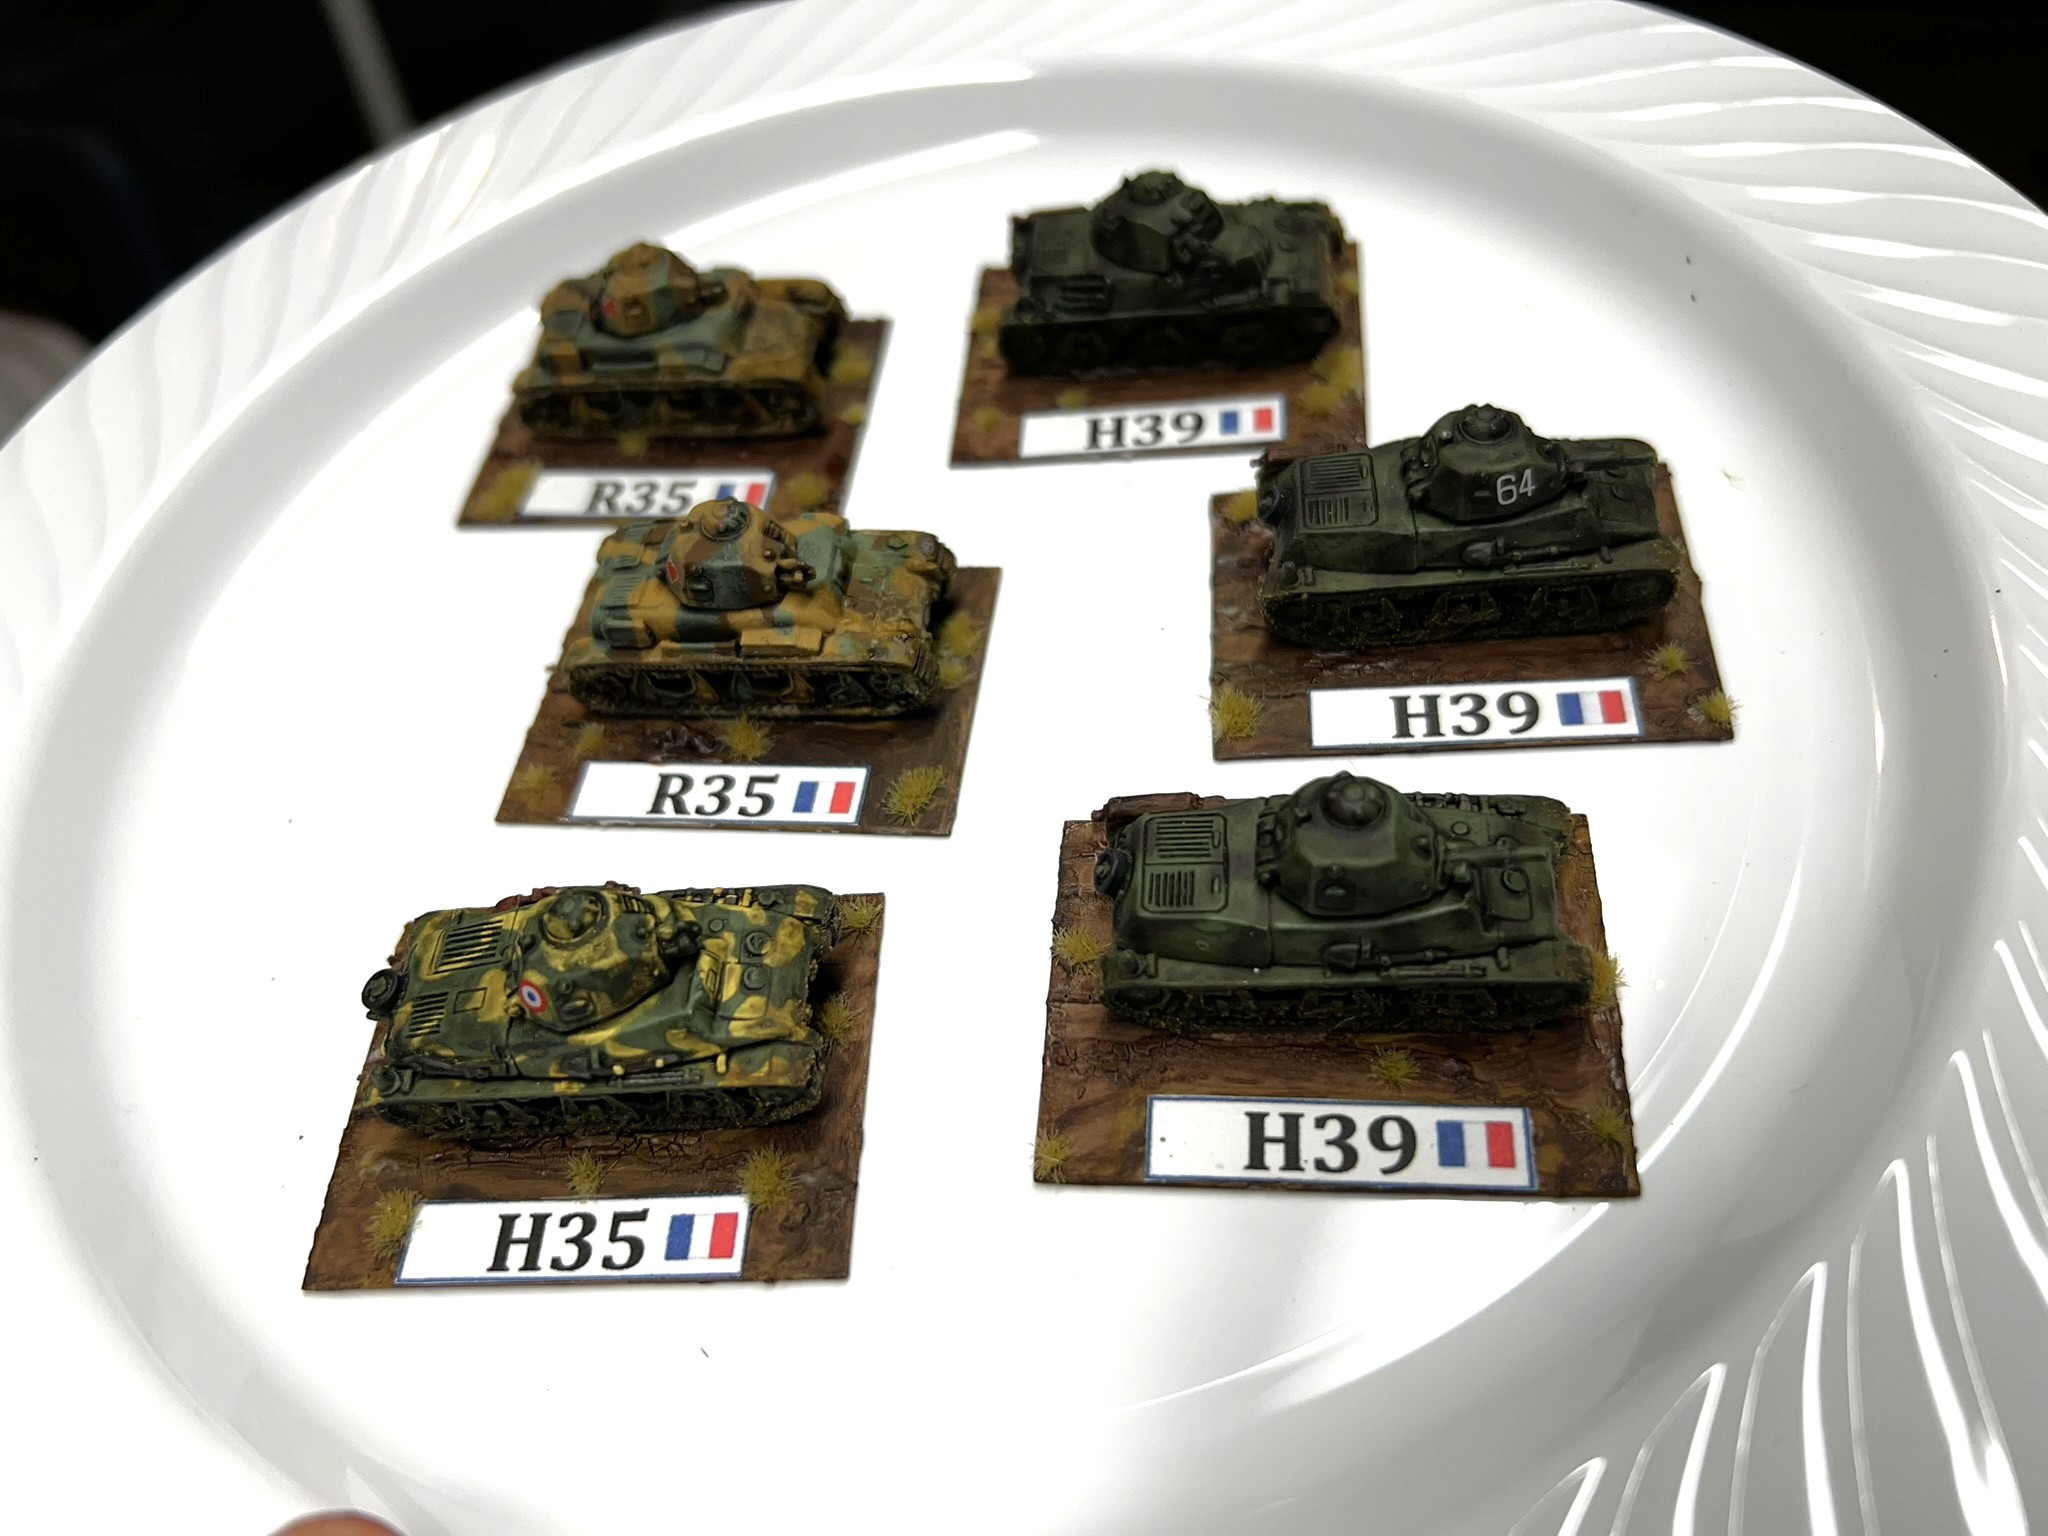
A Special note to my Wargame/Miniature blog followers…
Wargame and hobby “Stuff” is coming to this blog soon – interspersed with golf stuff – Mechanical Men are soon to arrive here – stay tuned and enjoy!