For May, I was hoping to complete a diverse German 15mm/1:100 scale armored force to use for a What a Tanker© game D-Day scenario. Last month saw my completion of a good-sized US force – and I already had an 11-tank British contingent of Shermans and Fireflies.
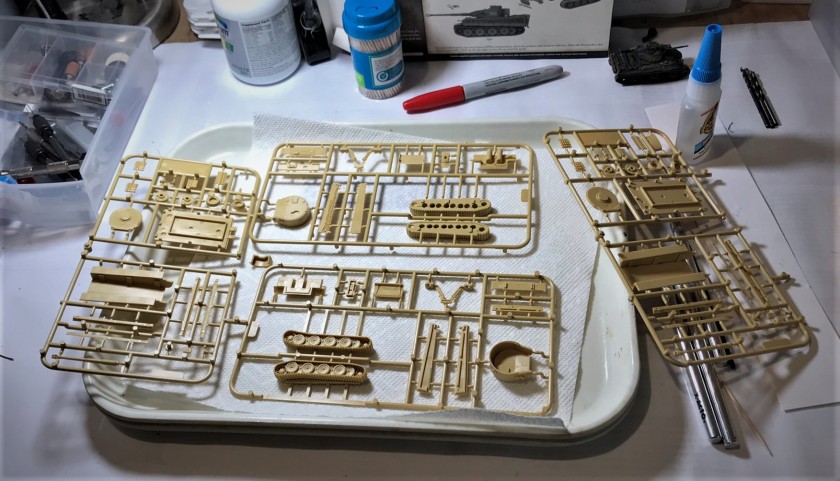
As for the Germans, last year I had bought and assembled a 5-vehicle Plastic Soldier Company StuG III kit that could be completed as either F8 or G variants. I assembled and primed them, but put them aside, as they did not fit in with either my France 1940 or North Africa scenarios. From Battlefront Miniatures, I had bought several resin and plastic models to include a Marder III, 7 Panzer IV’s (E, F2, and H’s), 2 Tiger I’s, and a Panther D. Additionally, I was able to acquire a Battlefront Ferdinand/Elefant from Chris Rett in my gaming club – which was fortunate as this model is now out of production. This made 17 tanks/tank destroyers available to assemble and paint, but too big a force for just a Normandy scenario. Plus, from my research, the StuG F8 was more of an Eastern Front vehicle. So, I decided to proceed to complete these 17 for two different scenarios, some for the Eastern Front and some for the Normandy scenario.
Researching the camouflage patterns for these two groups showed me very different patterns of painting – and in each case I would need to expand my skills and tools to be able to achieve a good historical representation of each vehicle. In particular, I needed an airbrush that could do the finest lines and make these tiny tanks look appropriate. I found a solution in an Iwata Micron B airbrush. This was not inexpensive, but in the end turned out to live up fully to my expectations. As an aside, I had been struggling to have enough time to finish all of these tanks in May. Work this month had been hectic, I attended HUZZAH in Maine (more to come on that in a future post), Memorial Day ceremonies, and the Boston Bruins have been in the Stanley Cup playoffs (and now the finals!!) so my hobby time has been constrained somewhat, Unfortunately I got a bit more time as I was unexpectedly laid off this week! I am sure that if I did not have a job, I would not have bought the new Micron B airbrush, but who knew that would happen? Not me, but at least I was able to finish these in time to be my second entry in Azazel’s “Mechanismo May” community painting challenge.
Given that I was so busy, I took fewer WIP photos than normal – so I decided that this post I will go through some points on assembly, then share in turn the Eastern Front vehicles, the Normandy vehicles, and lastly the paints and materials that I used. This means the eye-candy shots will be interspersed this time throughout the blog. As always, let me know your thoughts and feedback – and which one you like the most, if you are so inclined of course! There are links on the headers and elsewhere if you want more background, albeit from Wikipedia.
Notes on Assembly


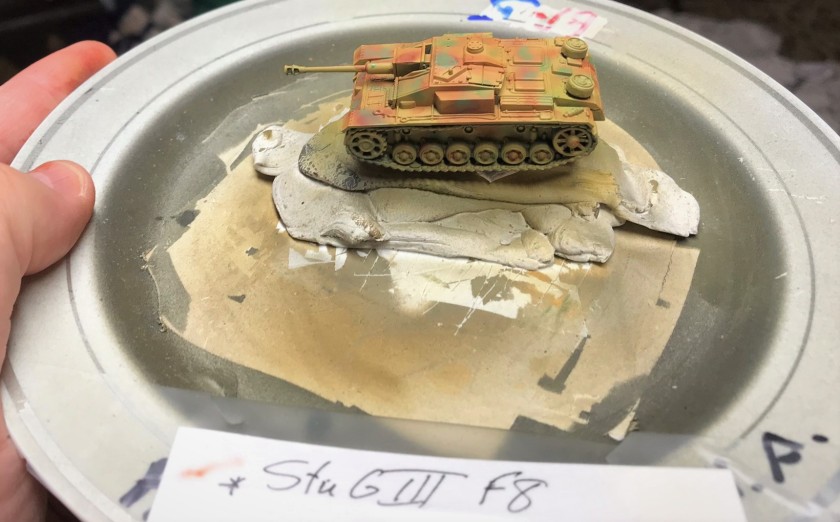
Eastern Front
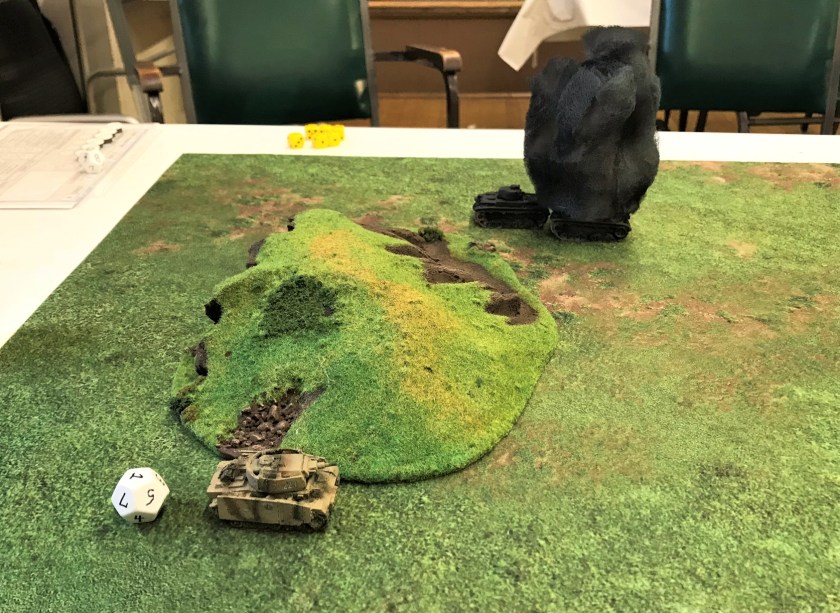
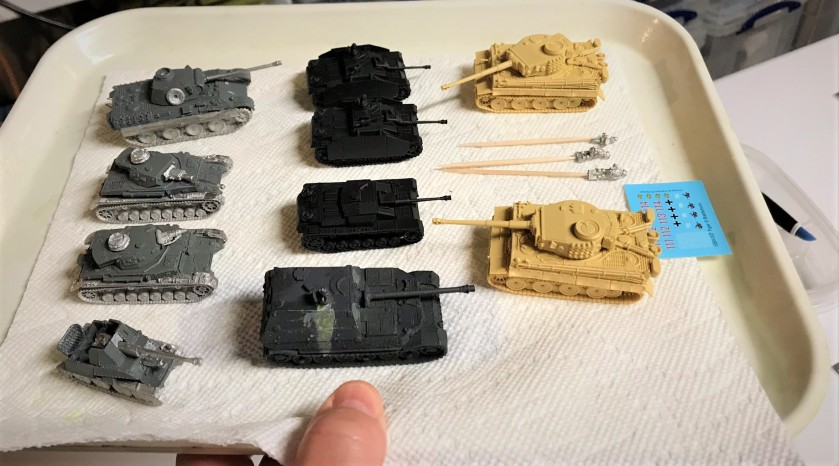
Here are the vehicles I built for a future Eastern Front scenario.


This model was a resin/metal combination.


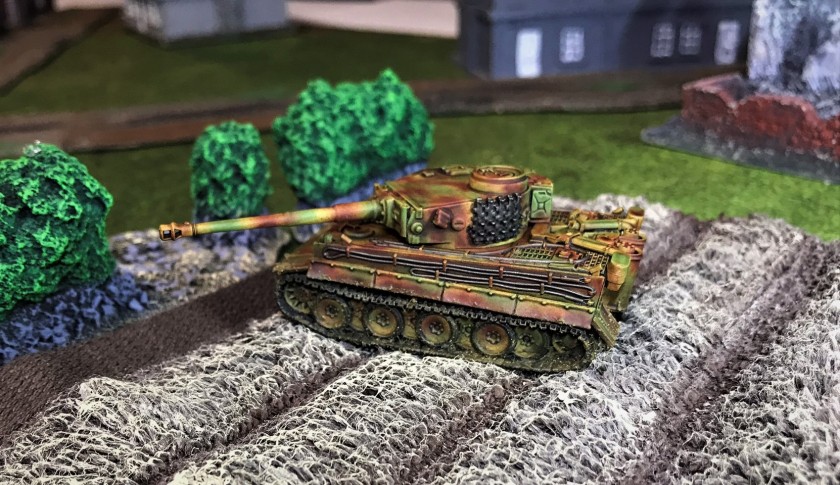
These are going to be fun to use and see used in future games. I previously had built a Battlefront resin Tiger I for North Africa, and I must say that the plastic ones are really nice models too (less weighty of course – which is why I added ballast). Of course, I was primarily focused on getting ready for the 75th Anniversary of D-Day. So let’s get to those AFV’s!
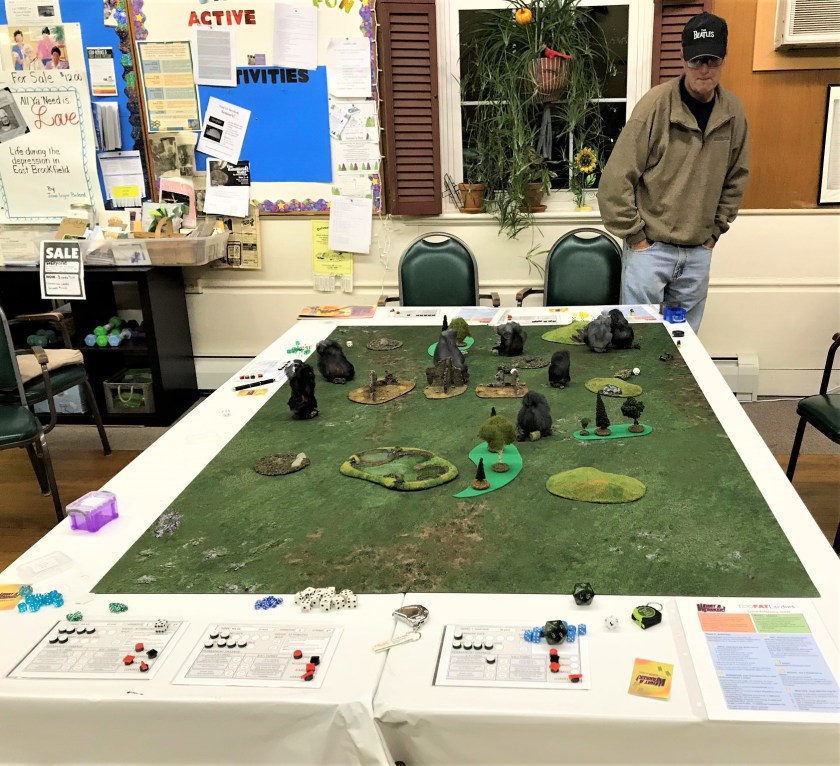
Group Shots
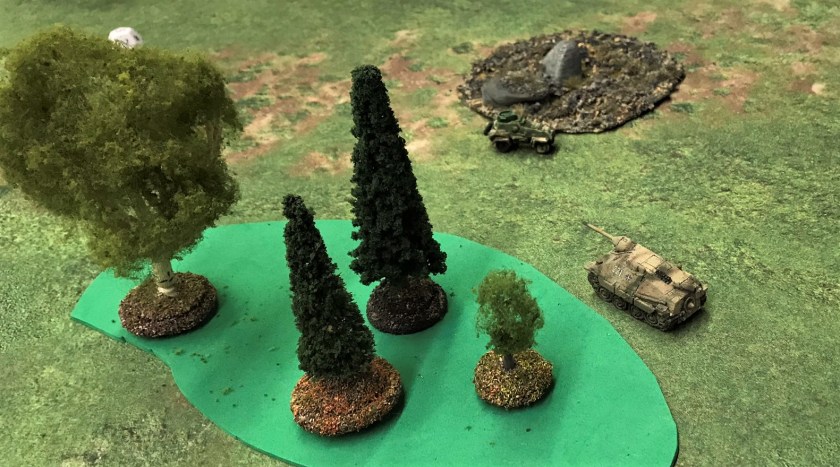
Here are some group shots all of the German AFV’s for Eastern Front scenarios that I did this month.


Normandy Campaign
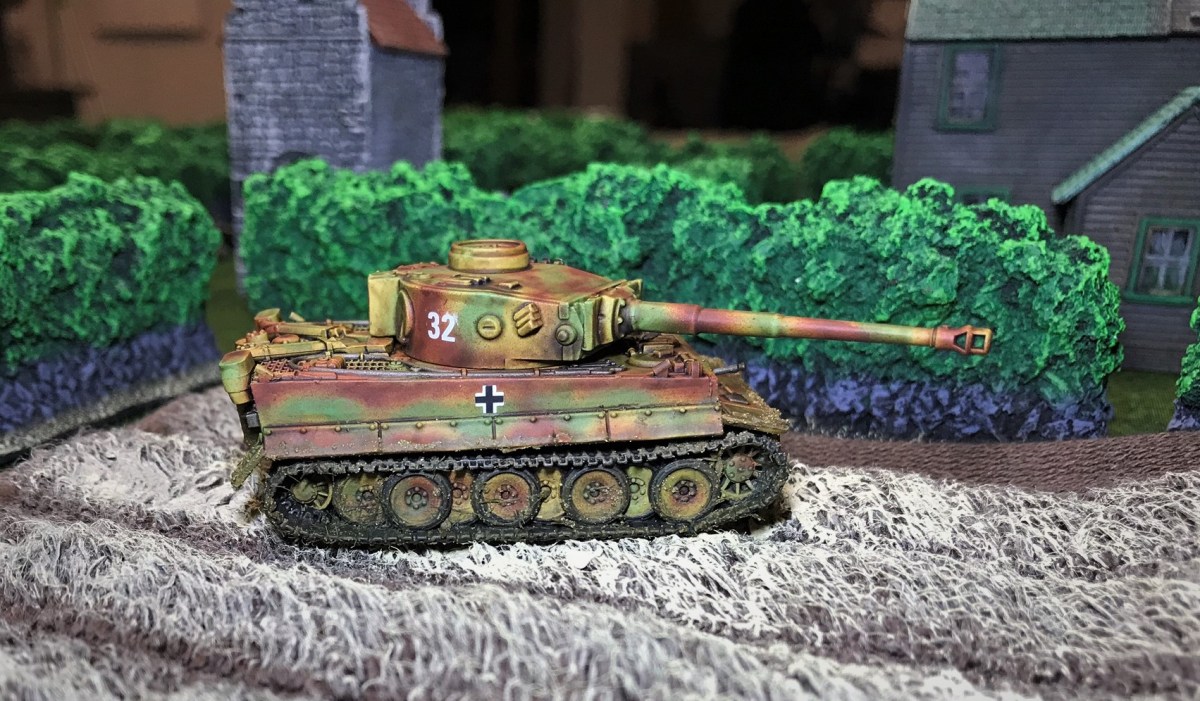
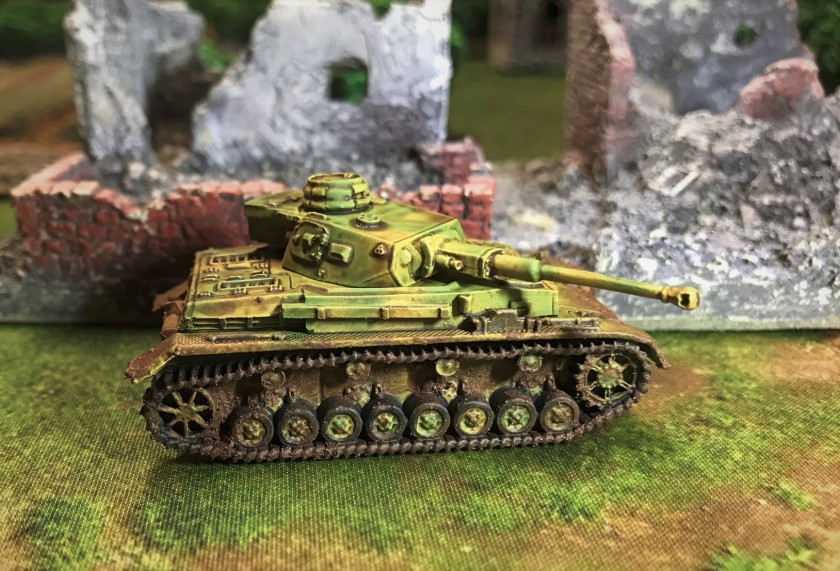
Here are the Normandy Campaign tanks and tank destroyers I built this month. These all have three-toned camouflage pattern, though I tried to be true to the examples I found in my research.
This was a resin and metal model. I painted the crew separately before adding them to the model.


This version had the “schürzen” spaced armor – which was also on the Panzer IVH. All these are plastic models.


This model is the least powerful of the Panzer IV’s I built for Normandy, but it was deployed in Normandy and in good numbers.


I built two plastic Panzer IVH’s for Normandy. The side armor (schürzen) were not easy to affix, and made painting a challenge on both these and the previous Eastern Front versions. Their camouflage patterns were slightly different.


I really enjoyed bringing this monster tank destroyer model back to the tabletop. It is out of production, so I was very happy that Chris sold it to me for a song.


I’ve been wanting to build a Panther since I saw the Panther A at the American Heritage Museum last year. This is 30 miles from my house!

Mine is a Panther D, and it was a resin/metal model.


Note the road wheel on the turret. It came in the kit, and I put it there as there was a nub to hang it. Unfortunately, it interfered with the turret being flush on the hull. Luckily, I was able to remove the road wheel. As I had an extra track section, I was able to affix it over that space on the turret. The model was also missing on of the two exhaust pipes – an iconic part of a Panther. I was able to drill the resin hull and build a replacement with a cut-down paper clip.

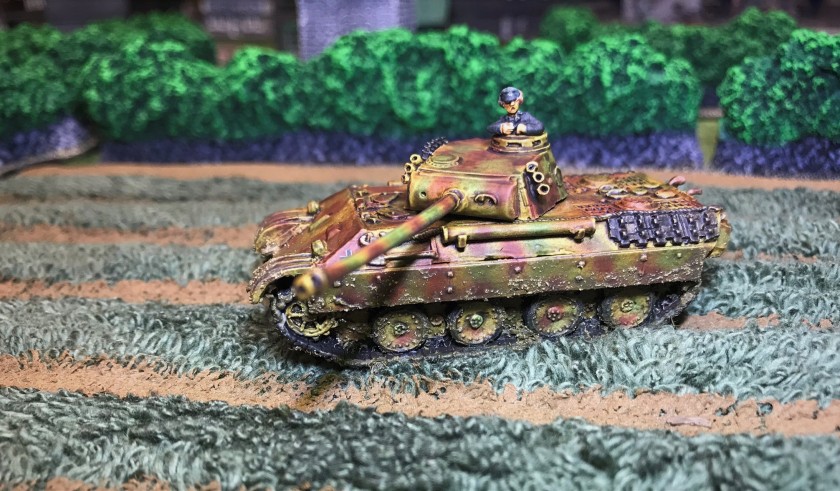
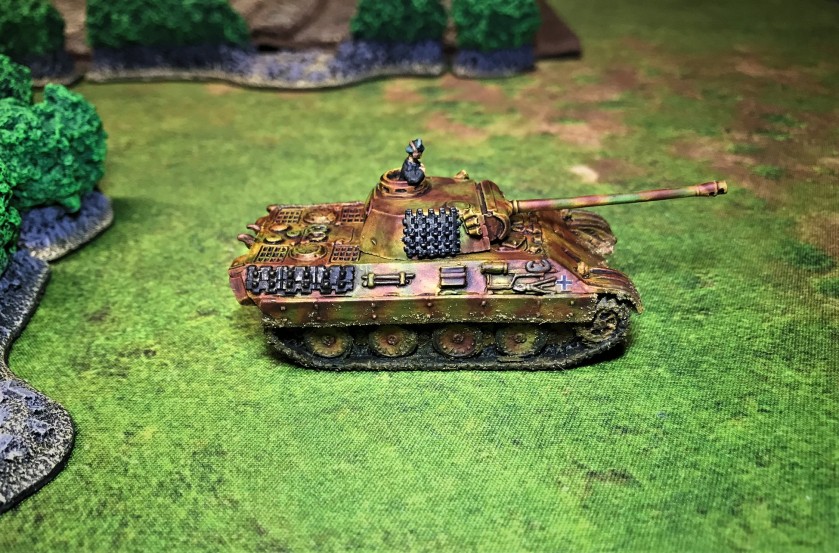

I think you’ll be pleased with this one!


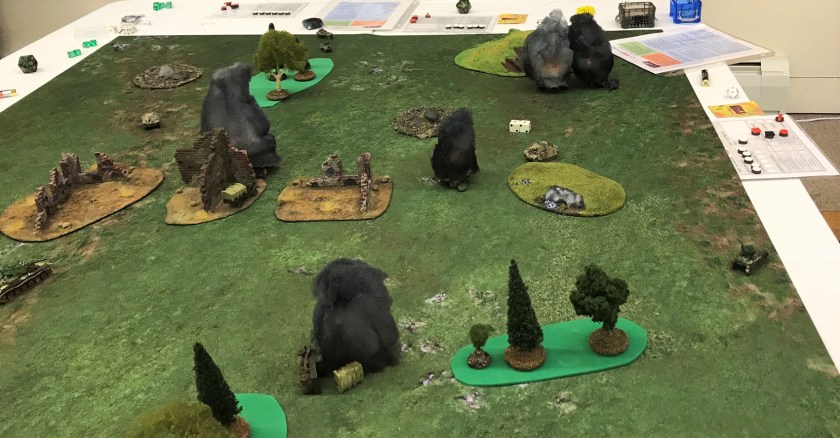
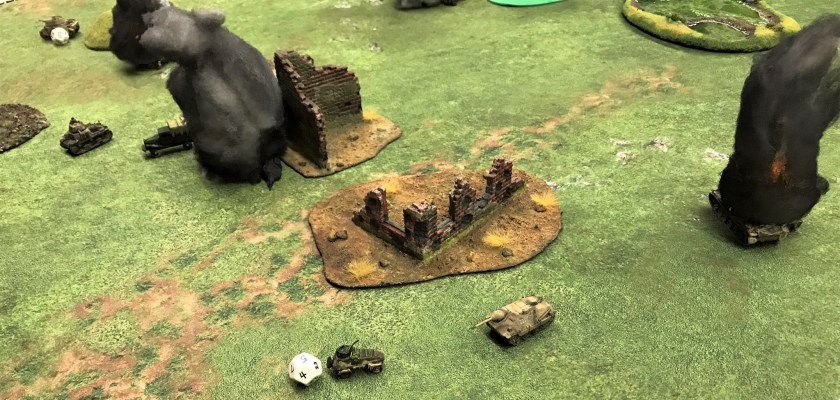
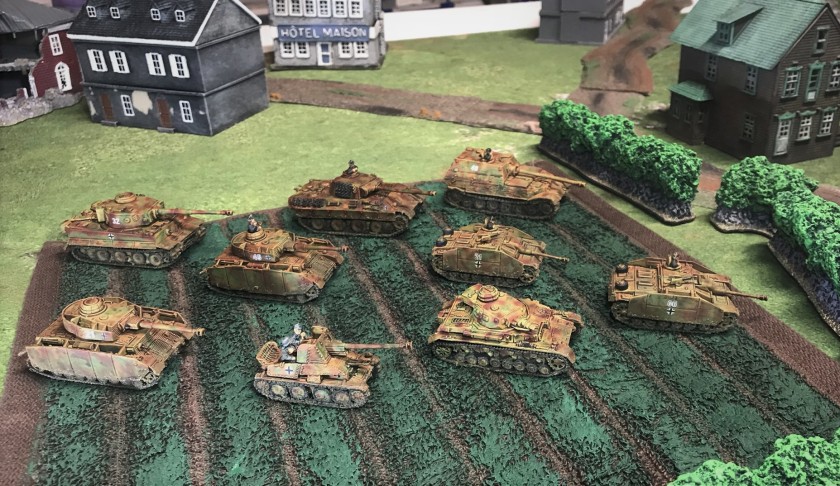
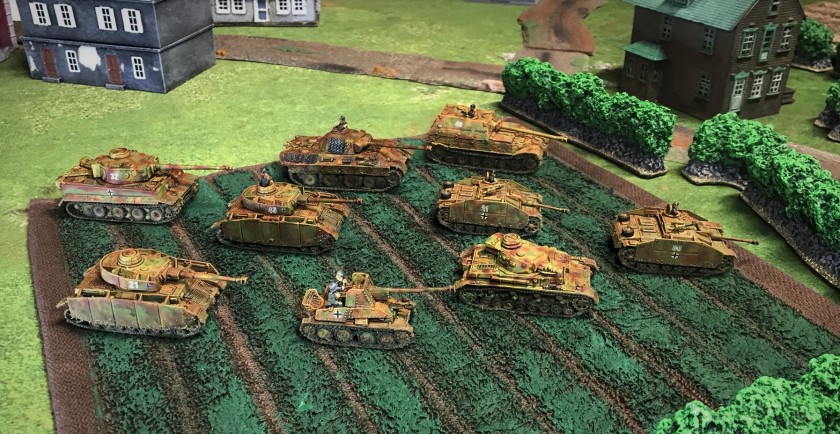
Group Shots
Here are some group shots all of the German AFV’s for Normandy that I did this month.

Thanks for looking and I hope that you found this interesting ! I have more to do now – next up:

D-Day is only 5 days away!
PAINTS, INKS, GLAZES, SHADES, WASHES, PIGMENTS, FLOCKING, GLUES AND MORE USED ON THESE VEHICLES:
- Gorilla Glue
- Testors Plastic Cement
- Elmer’s white glue
- Steel washers
- Ball bearings
- BB gun BB’s
- E6000 epoxy
- Aleene’s poster tack
- 1/8″ rare earth neodymium magnets
- Vallejo “Flow Improver”
- Vallejo “Airbrush Thinner”
- Vallejo “Surface Primer – Black”
- Testors “Universal Acrylic Thinner”
- Battlefront “European Skin”
- Battlefront “Skin Shade” (wash)
- Polly Scale “WWII German Armor Dark Olive Green”
- Vallejo Mecha Color “Grey Green”
- Vallejo Model Air “Olive Green”
- P3 “Bootstrap Leather”
- Vallejo “Neutral Grey”
- Polly Scale “WWII Luftwaffe Uniform Gray”
- Vallejo Model Air “Panzer Dark Grey”
- P3 “Sulfuric Yellow”
- DecoArt “White Pearl”
- Army Painter “Military Shader” (wash)
- Vallejo Model Air “Dark Yellow”
- Vallejo Model Air “German Red Brown”
- Vallejo Mecha Color “Olive Green”
- Vallejo Game Air “Black”
- Battlefront “Dark Gunmetal”
- Vallejo Mecha Color “Light Rust Wash” (wash)
- Army Painter “Strong Tone” (wash)
- Vallejo Model Air “USA Olive Drab”
- Army Painter “Soft Tone” (wash)
- Vallejo Model Air “Rust (71.080)”
- Vallejo Model Air “Wood”
- Vallejo “Gloss Varnish”
- Vallejo Model Air “Bright Brass”
- Microscale Liquid Decal Film
- Microscale Micro-Set
- Microscale Micro-Sol
- Appropriate decals from Battlefront
- Appropriate decals from Armorcast
- Vallejo “European Mud” (Thick Mud)
- Vallejo “Brown Mud” (Thick Mud)
- Vallejo “European Slash Mud” (Splash Mud)
- Vallejo “Crushed Grass”
- Vallejo Mecha Varnish “Matt Varnish”