
I have been working on getting a fleet of tanks for the What a Tanker game from the Too Fat Lardies company. It’s a great game and has been a true hit with my gaming club, the Mass Pikemen. I have been working on building up a flexible group of tanks, and so far I am up to 71 tanks in 15mm/1:100 scale – not including ones needing assembly and painting.
My sources have been eBay, hobby stores, and Facebook. If I waited to paint them all, I would never do another project, so finding some mostly painted resin (and reasonably priced) models from Wargame Models in Ohio has helped shorten the process. Mostly I just washed and varnished the ones I have gotten from WMIO.
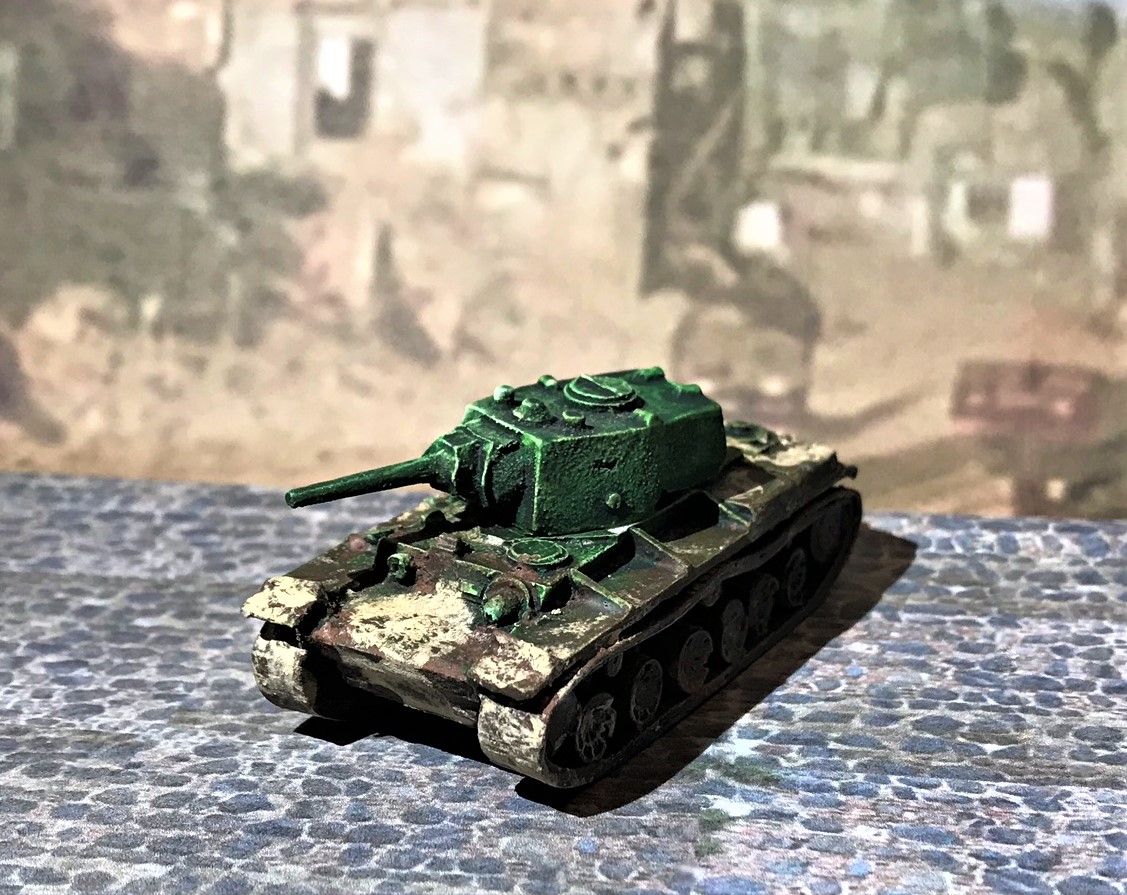
One group acquisition was from another source on eBay – it was a resin Soviet KV-1 platoon consisting of 5 KV-1’s heavy tanks, 2 T-26 light tanks, 2 BA-64 armored cars, and 2 trucks. I do not know the manufacturer. They had been given some sort of dark brown coating with splashes of lighter brown. They color-wise did not look particularly like Soviet tanks from 1941. This platoon is the main subject of this blog post.


It was necessary to use a Sharpie to mark one end of the 1/8″ magnets such that I inserted them in the correct alignment (I did not want the turrets “blowing off” prematurely!). I glued the magnets into the holes with Gorilla Glue.


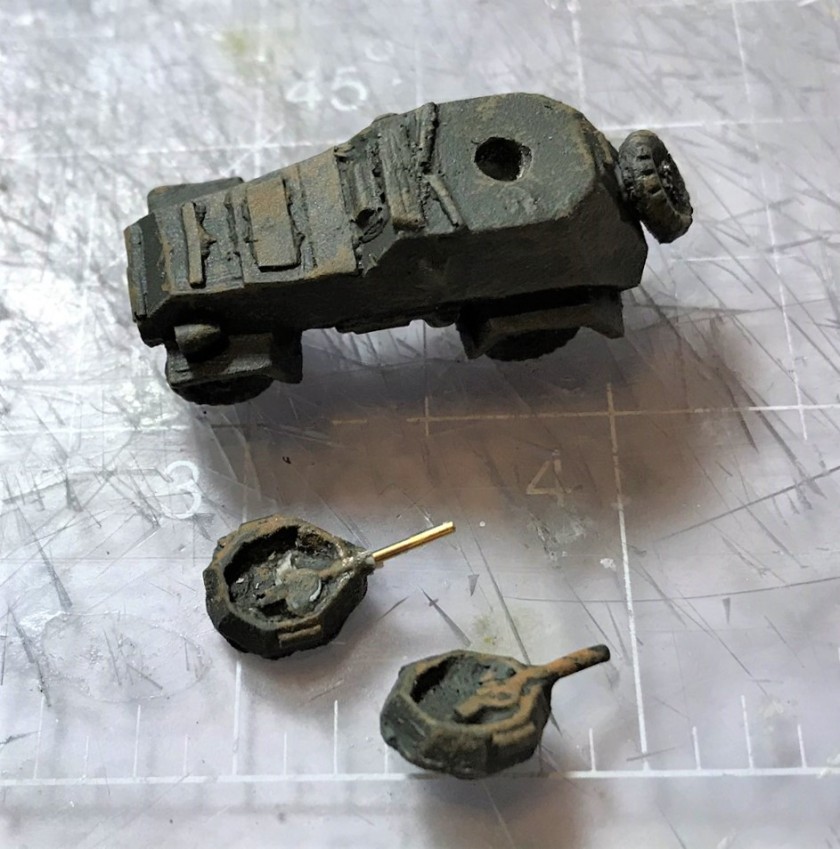
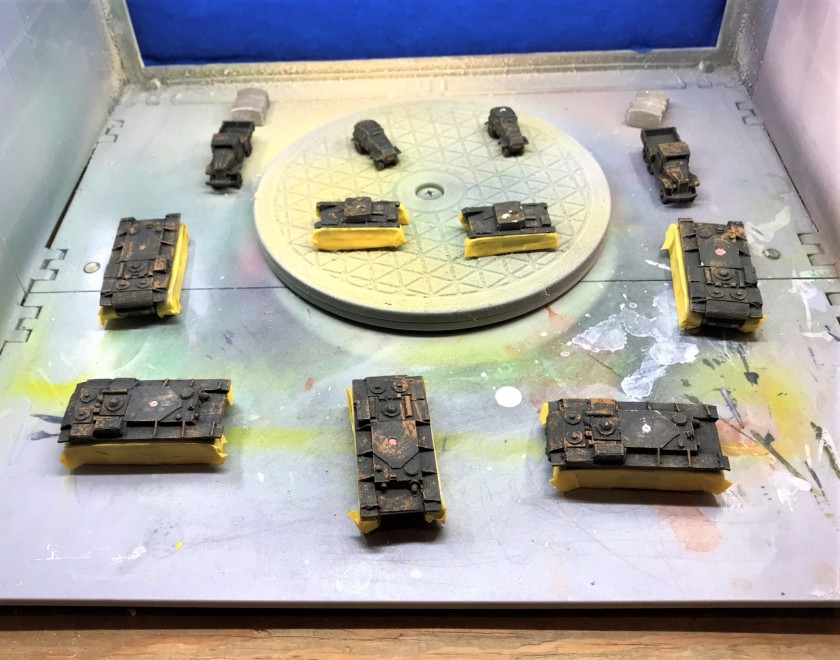
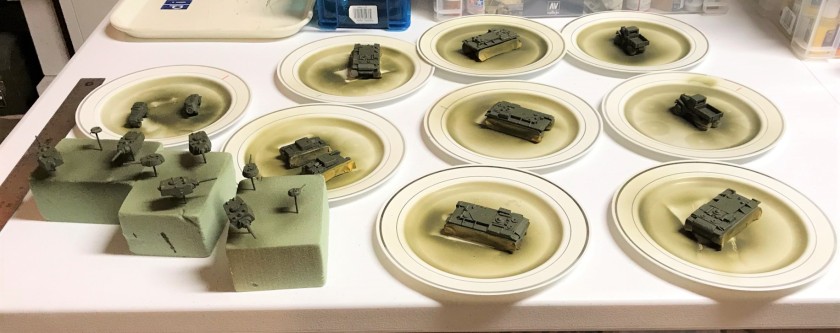
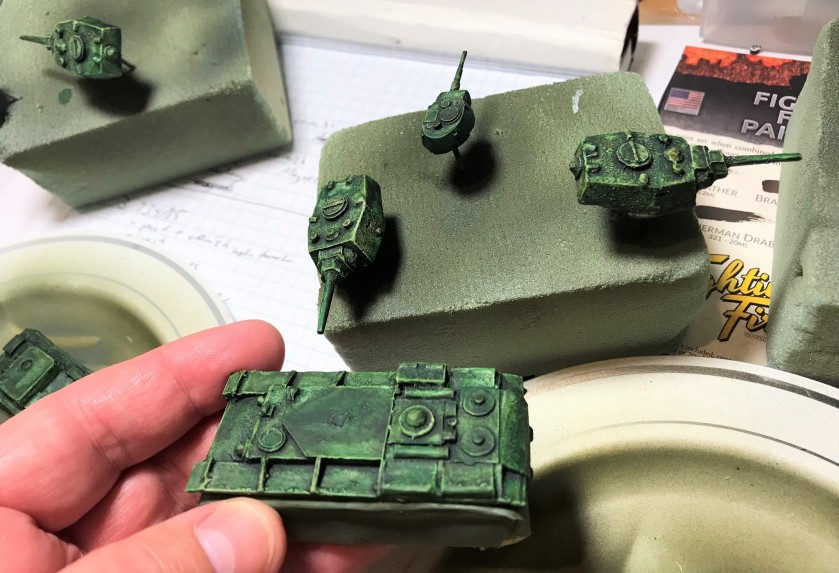
I needed to find a way to paint the figures without damaging the paint, and tanks were new to me. I decided to take advantage of the magnets on the turrets here. I used small nails inserted into styrofoam blocks (the kind used for flower crafts). For the hulls, I masked the tracks for secondary painting, and such that I could hold them safely.

I airbrushed/primed the figures with Vallejo “Surface Primer – Russian Green”.

I then gave the figures an airbrushed base coat with a thinned coat of Vallejo Panzer Series “Camouflage Olive Green”.

These looked too drab, and not very Soviet green looking. I moved on to adding Vallejo Mecha Color “Green” with a light airbrushing. Next, I used a brush to dry brush Vallejo Mecha Color “Light Green” on the figures. I was able to then give the figures an appropriate light green by using Citadel “Biel-Tan Green” as a shade. It worked!


At this point, I removed the masking and painted the tracks. I then wanted to add some mud, dirt, and dust with pigments. I used several Vallejo pigments and binders (all listed at the end of this post). These models are small, (about 3″ long by 1½” wide by 1¾” high so I wanted to give enough weathering without overwhelming them.


This was my first attempt at painting any WWII tank models. I think I can do better, but early war Soviet tanks are pretty simple, as they had not usually added any markings. It will not be my last, and I am hoping that I get better with more tries. This project also is my first submission for Azazel’s November Community painting challenge – Mechanical November ’18. If you have not checked out his blog, it’s worth a look. Also, my next few posts will showcase tanks, so I hope you enjoy.
Now for some eye candy!


I hope that you enjoyed this post. Please let me know your thoughts and feedback below in the comments section.
Thanks for looking!
PAINTS, INKS, GLAZES, WASHES, AND FLOCKING USED:
- Citadel “Imperium Primer”
- Vallejo “Surface Primer – Russian Green”
- Vallejo “Flow Improver”
- Vallejo “Airbrush Thinner”
- Testors “Universal Acrylic Thinner”
- Vallejo Panzer Series “Camouflage Olive Green”
- Vallejo Mecha Color “Green”
- Vallejo Mecha Color “Light Green”
- Citadel “Biel-Tan Green” (shade)
- Citadel “Athonian Camoshade” (shade)
- Vallejo “Surface Primer – Black”
- Elmer’s White Glue
- Vallejo “Pigment Binder”
- Vallejo “Burnt Umber” (pigment)
- Vallejo “Industrial Splash Mud” (weathering)
- Vallejo “Light Sienna” (pigment)
- Vallejo “Light Slate Grey” (pigment)
- Gorilla Glue
- Vallejo Mecha Varnish “Matt Varnish”
Thanks again for looking and for your feedback!
