Greetings wargamers and hobbyists! Yes, I do actually have a post for you that is not golf-related! It’s been a while as my last hobby post was back in March, and now its mid-June. Mea culpa, mea maxima culpa…but I do love golf so…and its summer…
In any case, back in April, I did actually paint up several regiments of Professor Nitpik’s Tin Men. I made these to use at the MHWA HUZZAH! convention in May up in South Portland, Maine. My total production was 80 figures in 5 regiments. As you might expect, painting up that quantity in a month took a lot of time – and that left blogging in the lurch.
I’ll be sharing each regiment below in turn, plus some shots of the HUZZAH! games that I ran in May. Of course, I’ll also share details of the paints, flocking, etc. that I used on the figures.
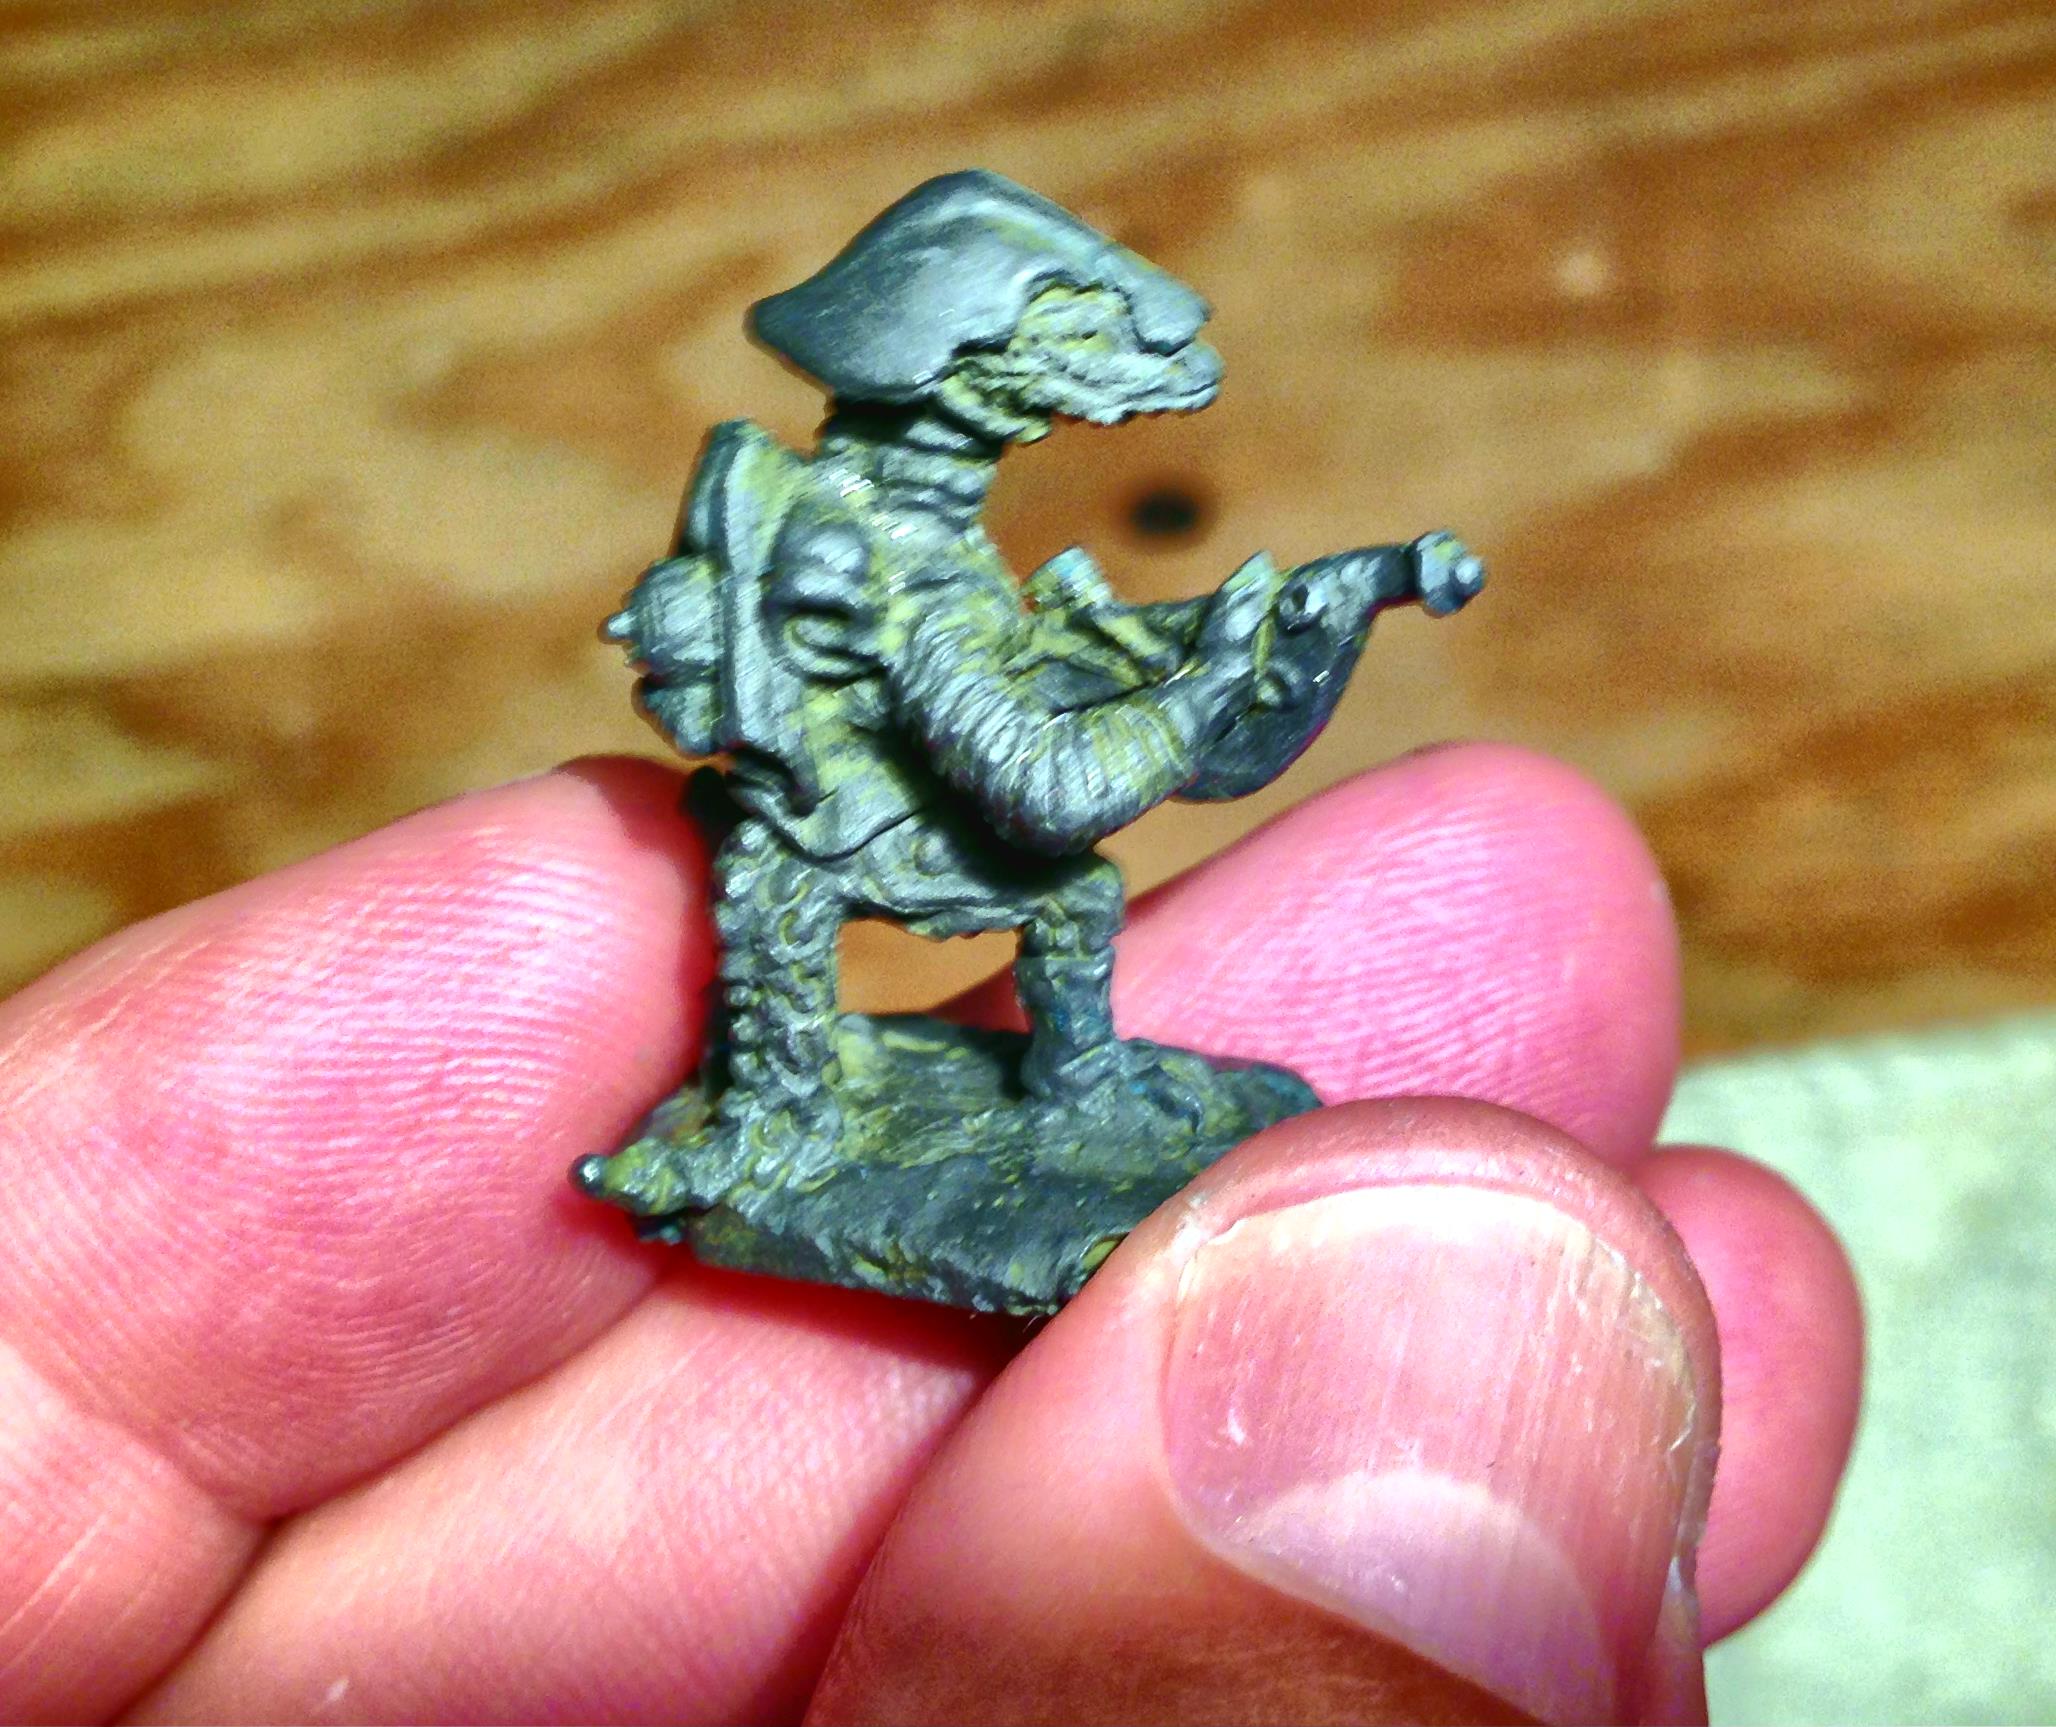
All of the Tin Men figures come from the Wars of Ozz website. All are 28mm in scale, and metal. The bases that I used are 2″ square for size reference. Five bases make up a regiment. Most of the Nitpik regiments come in sets of 20 figures. However, I only base two figures per base – so one SKU is good for two regiments of either the ones armed with axes or the ones wielding plasma blasters.
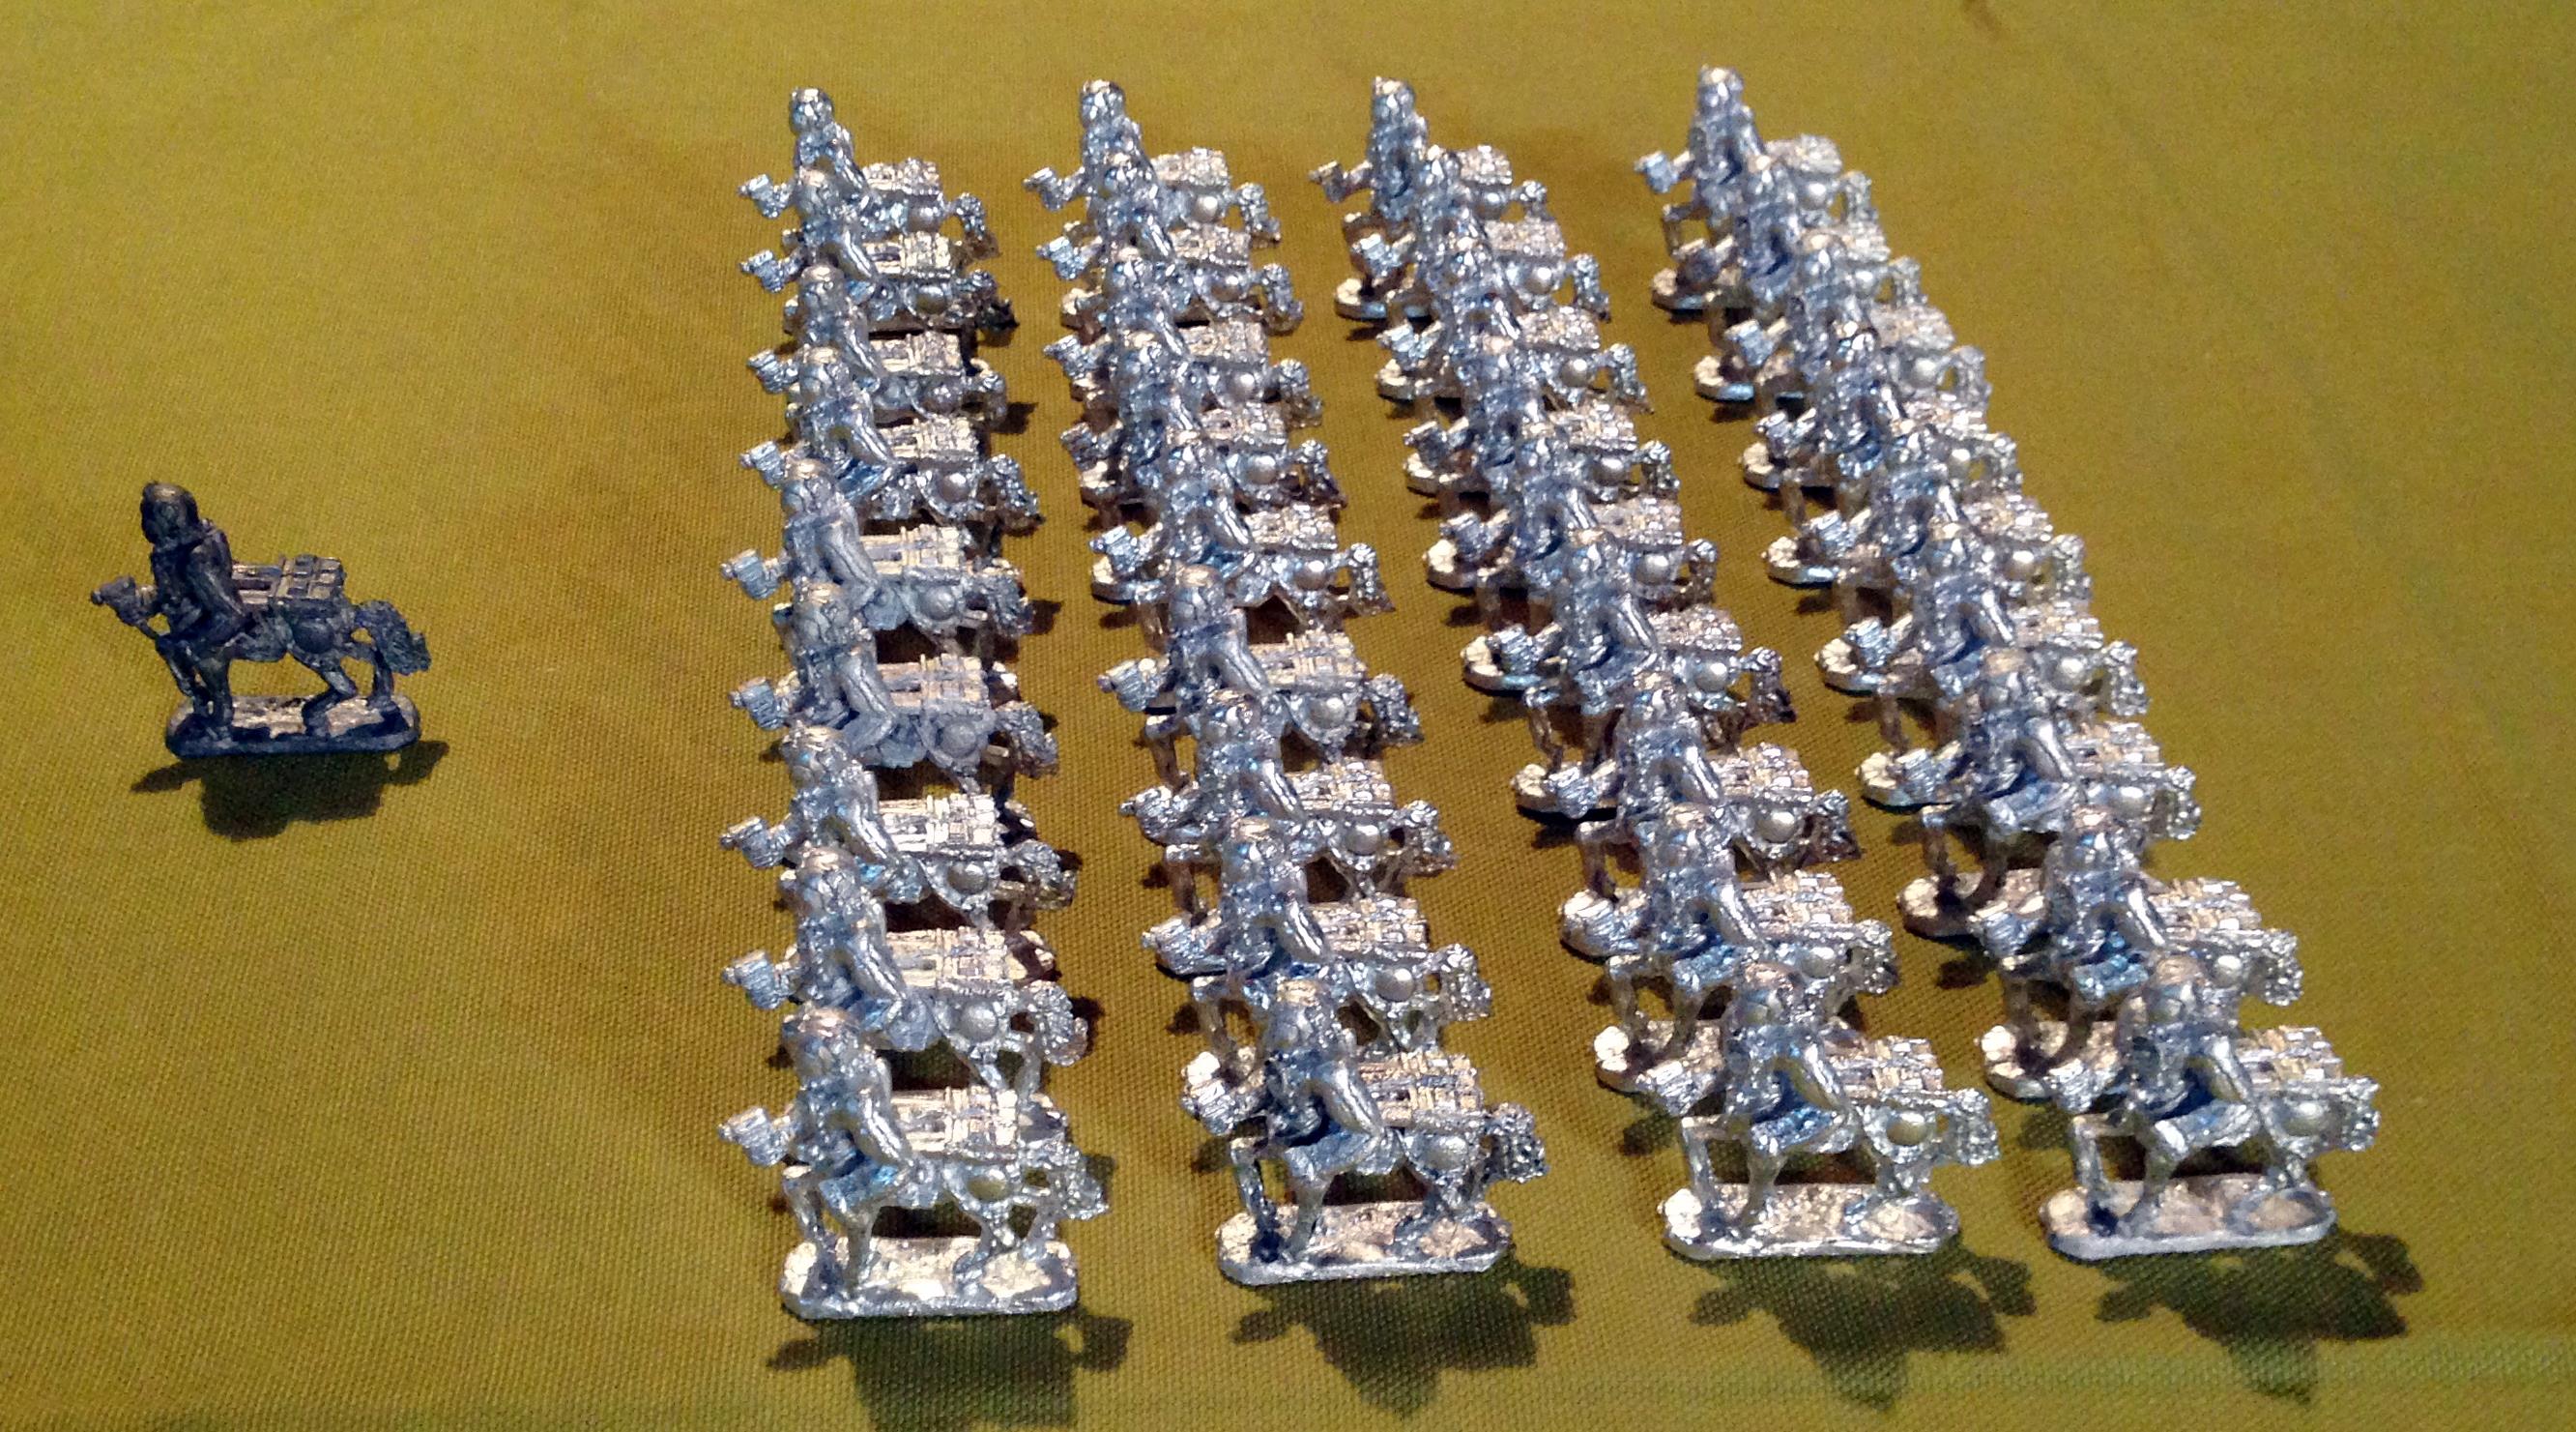
The exception would be the mini-swarm, which has 40 tiny robot/tinmen figures. Those I based 8 figures to a base.
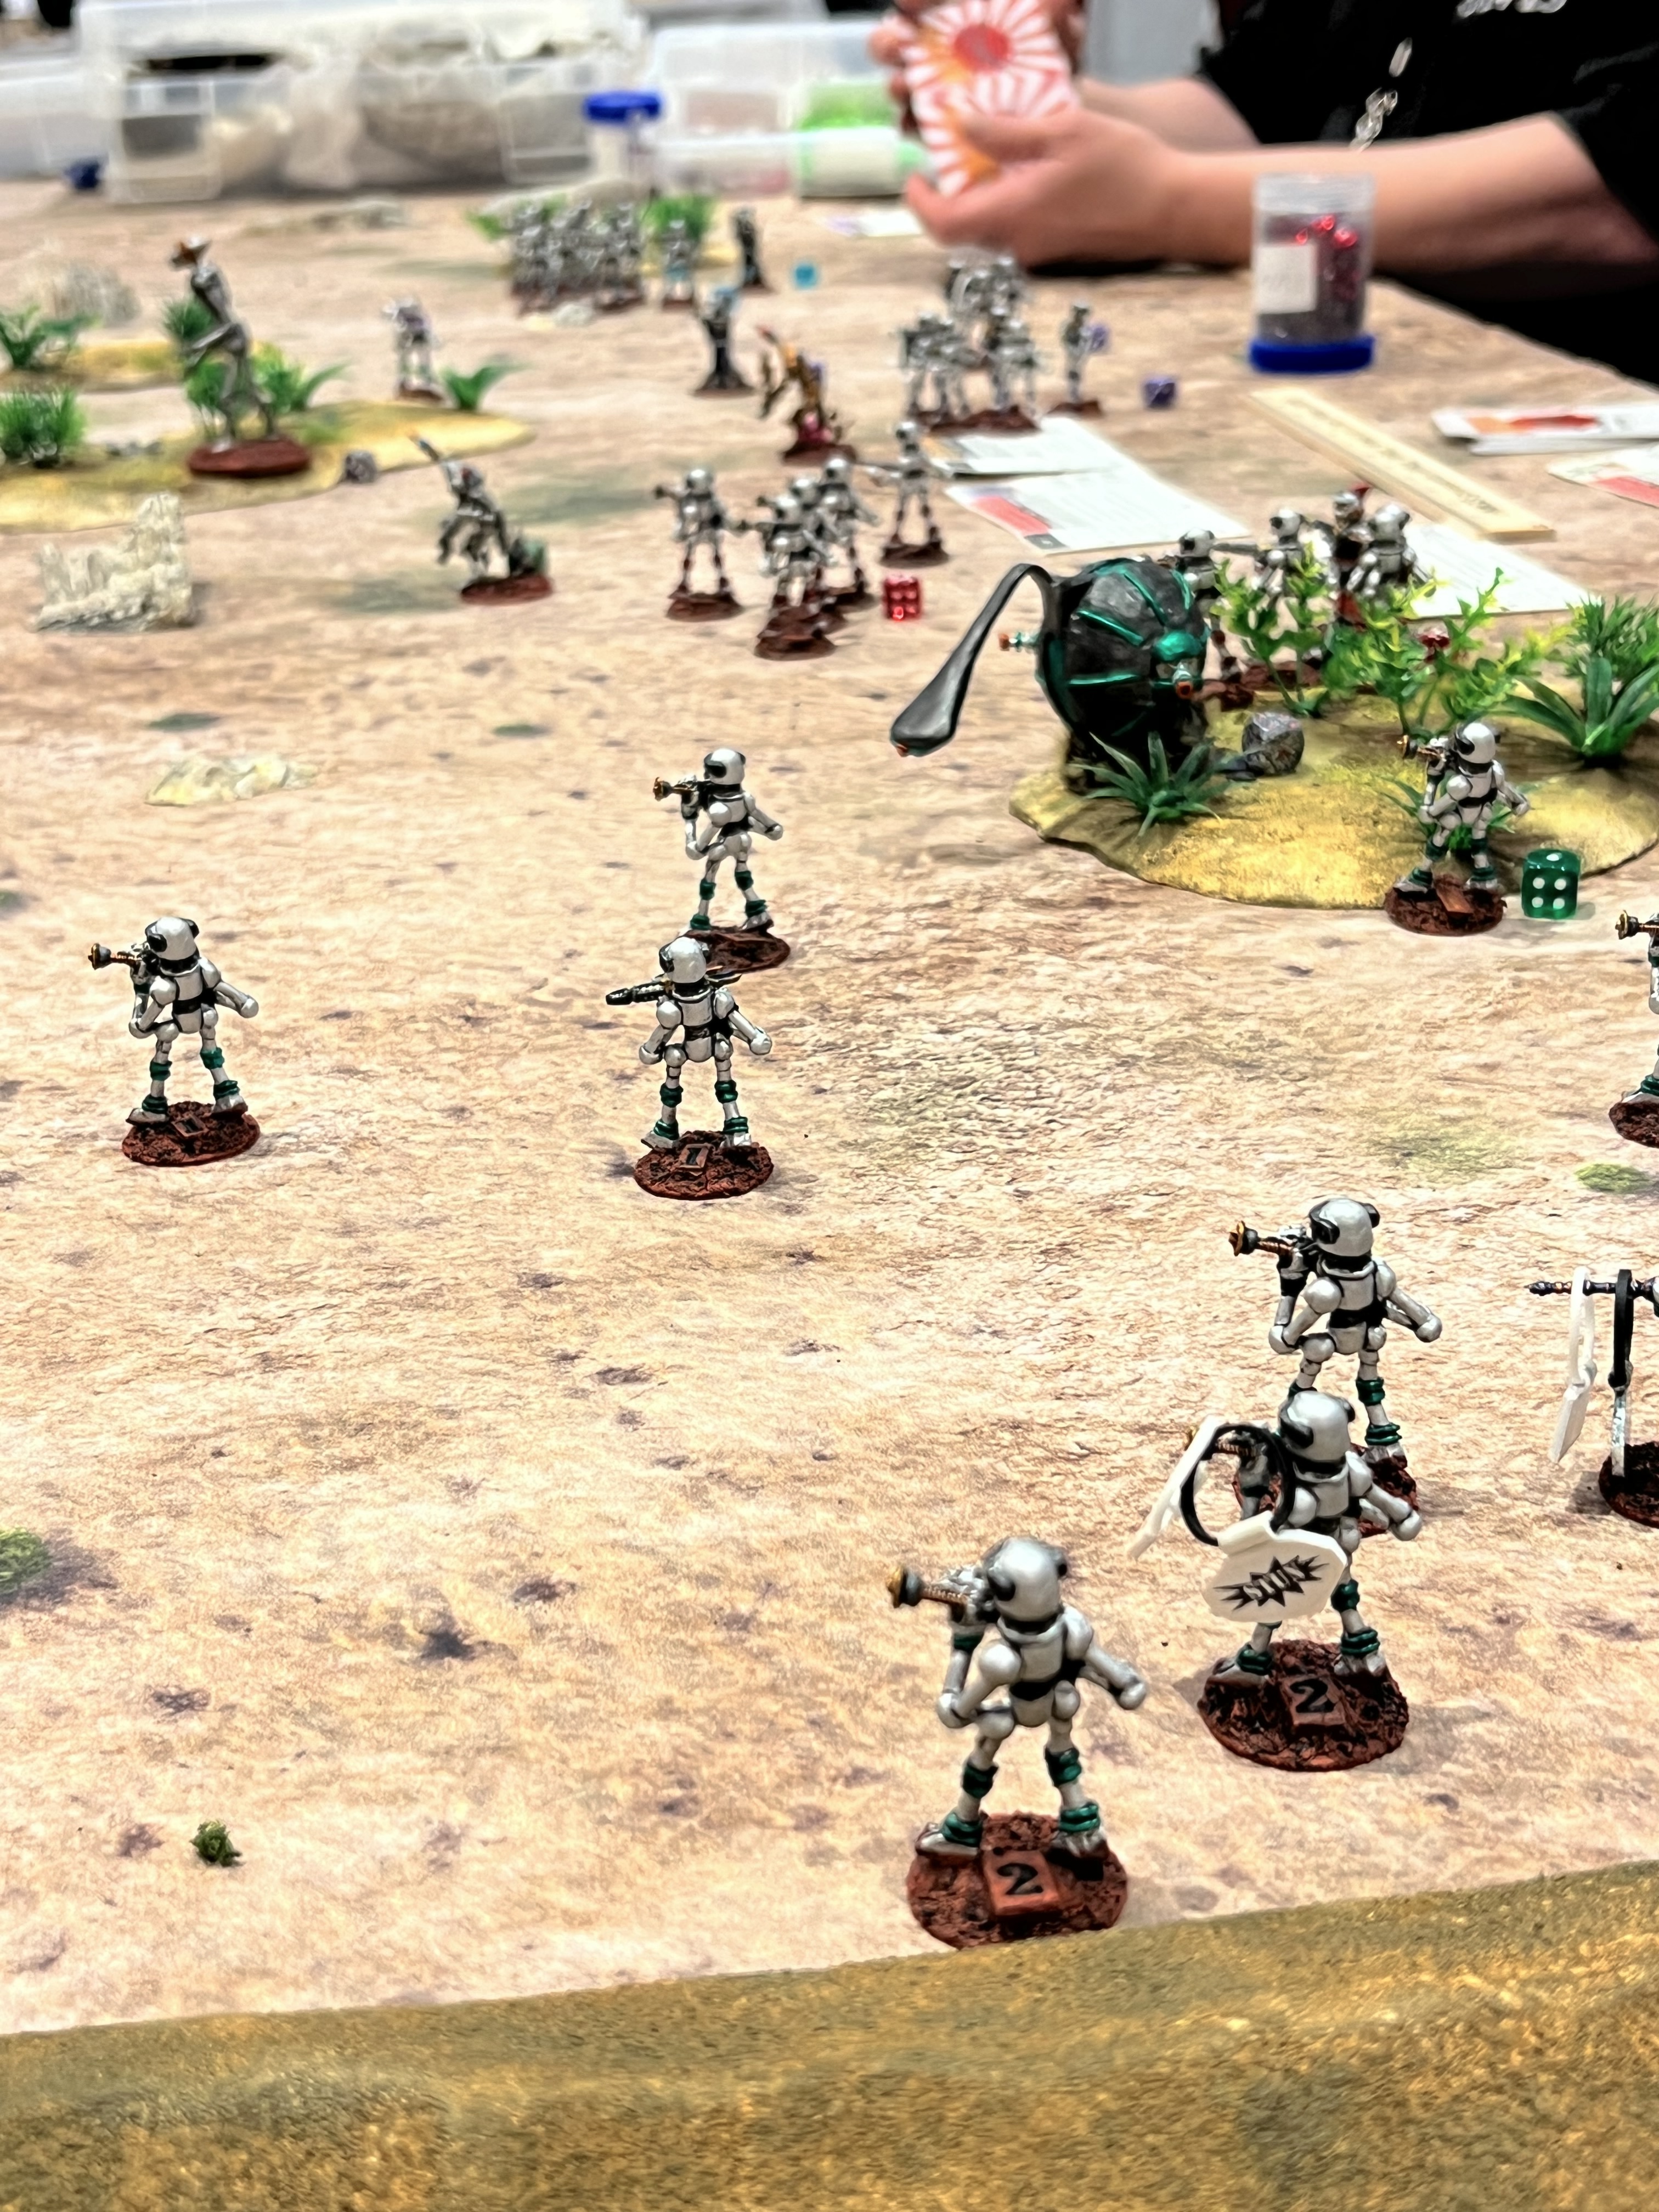
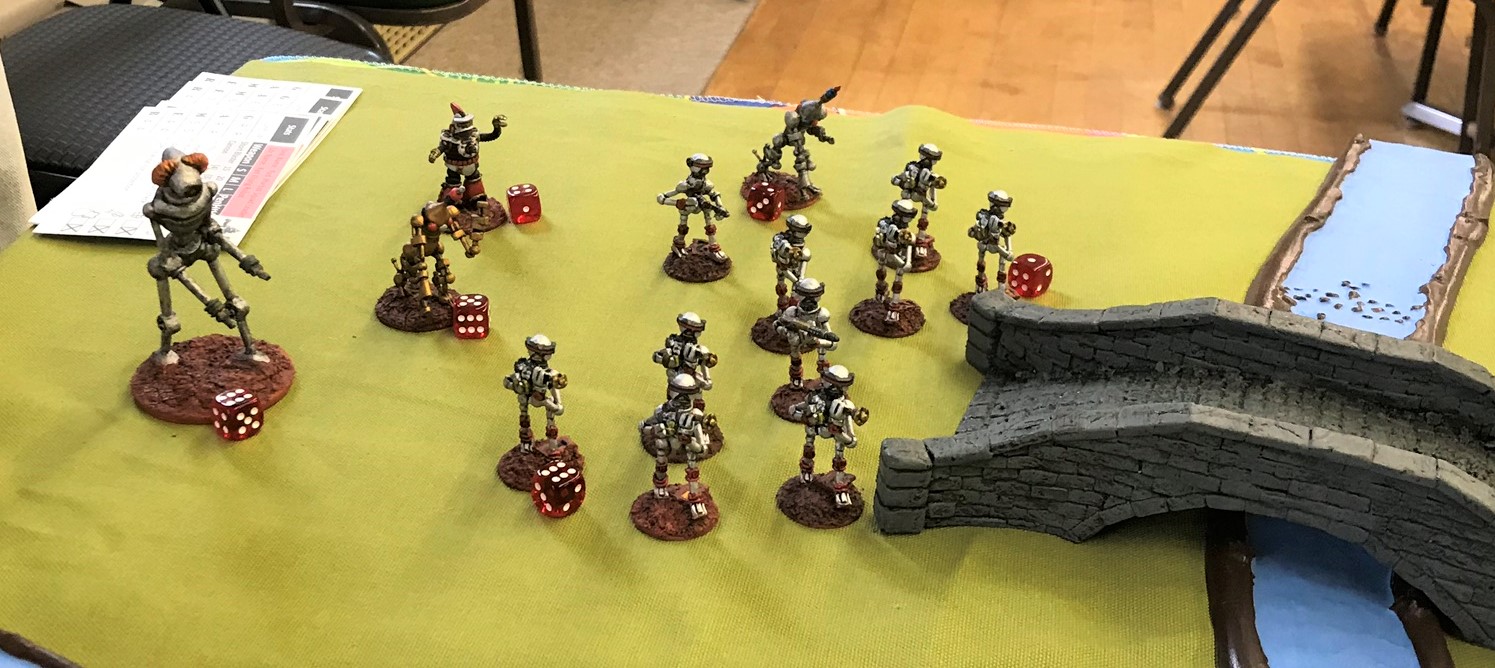
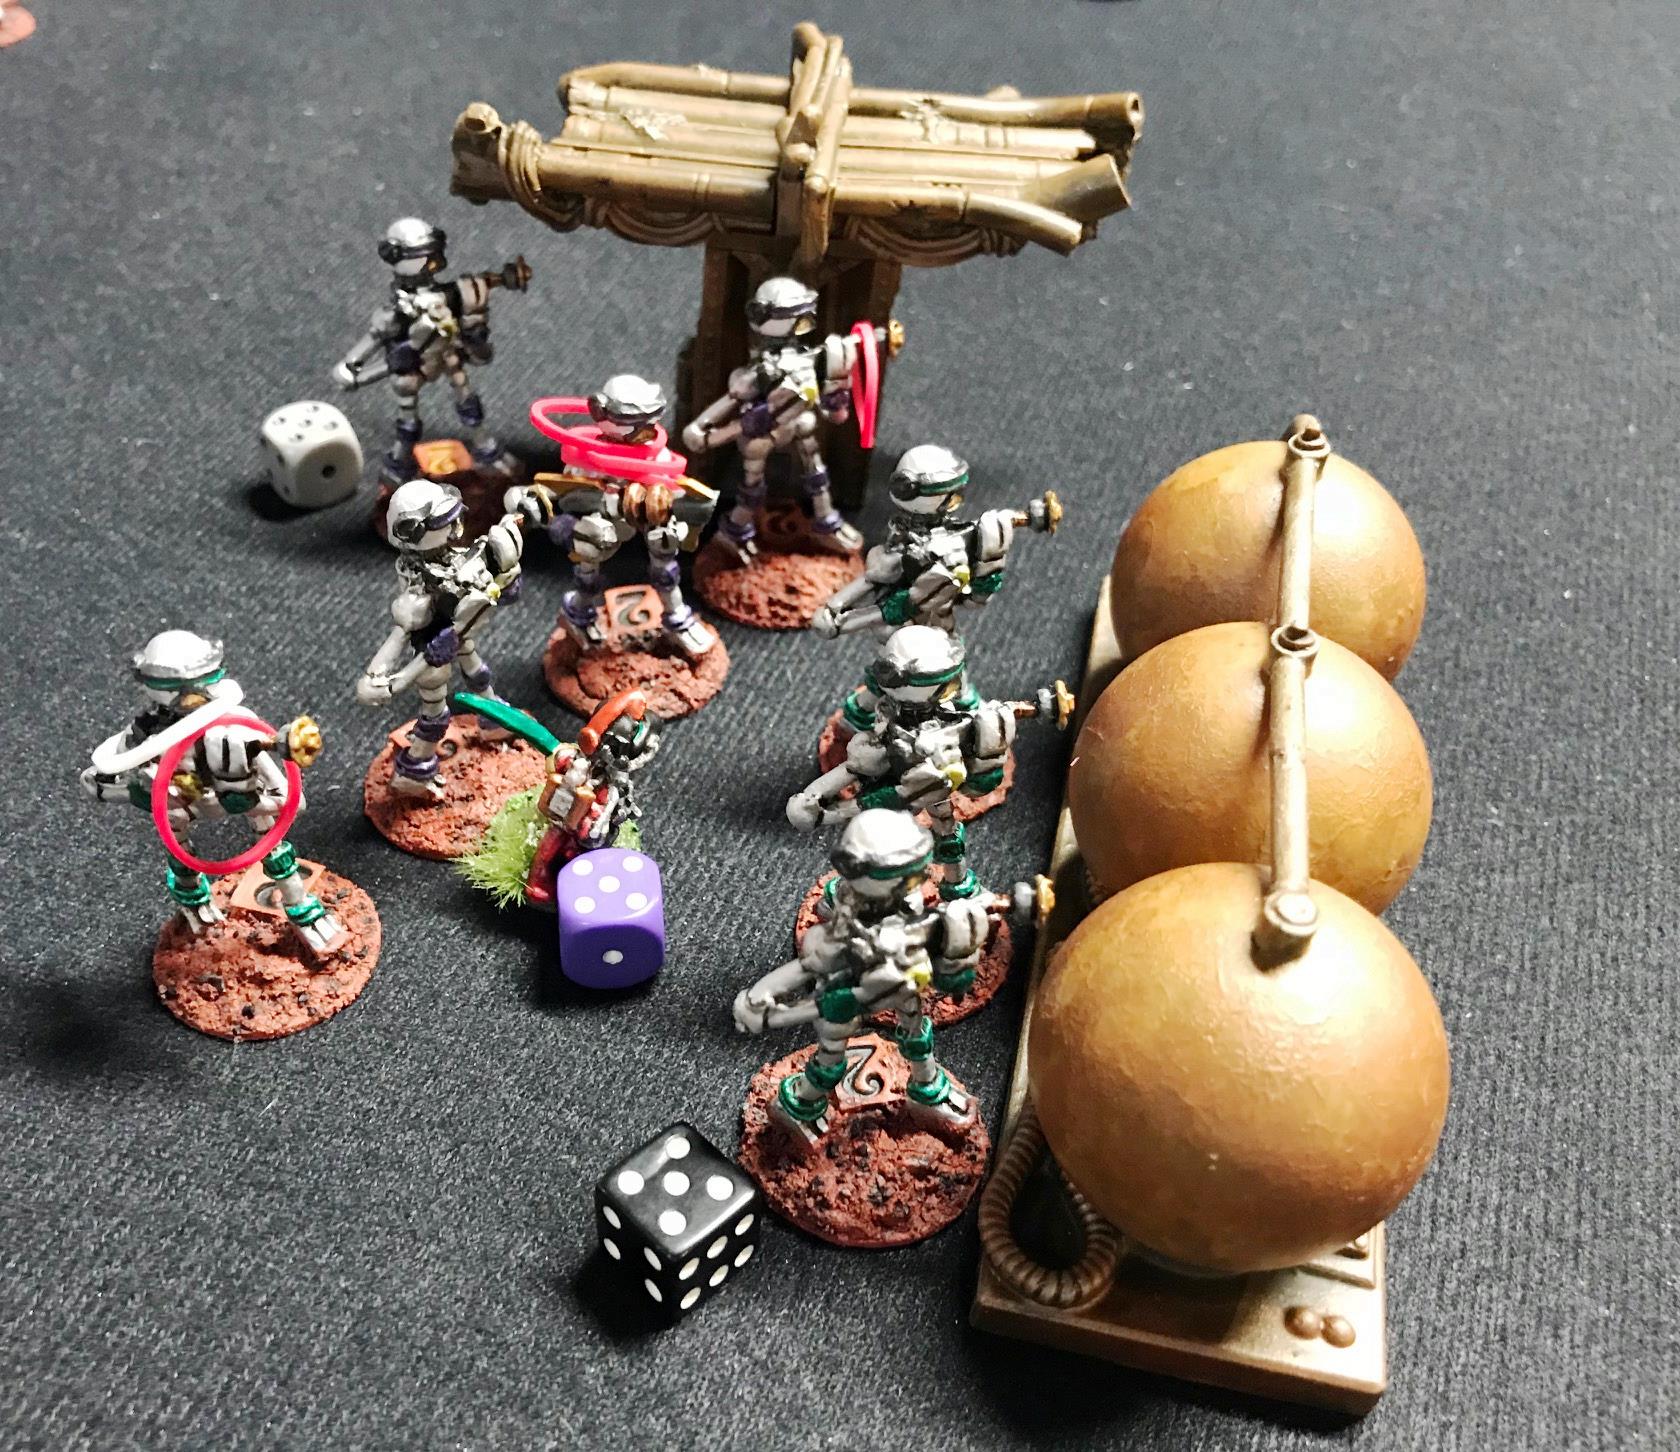
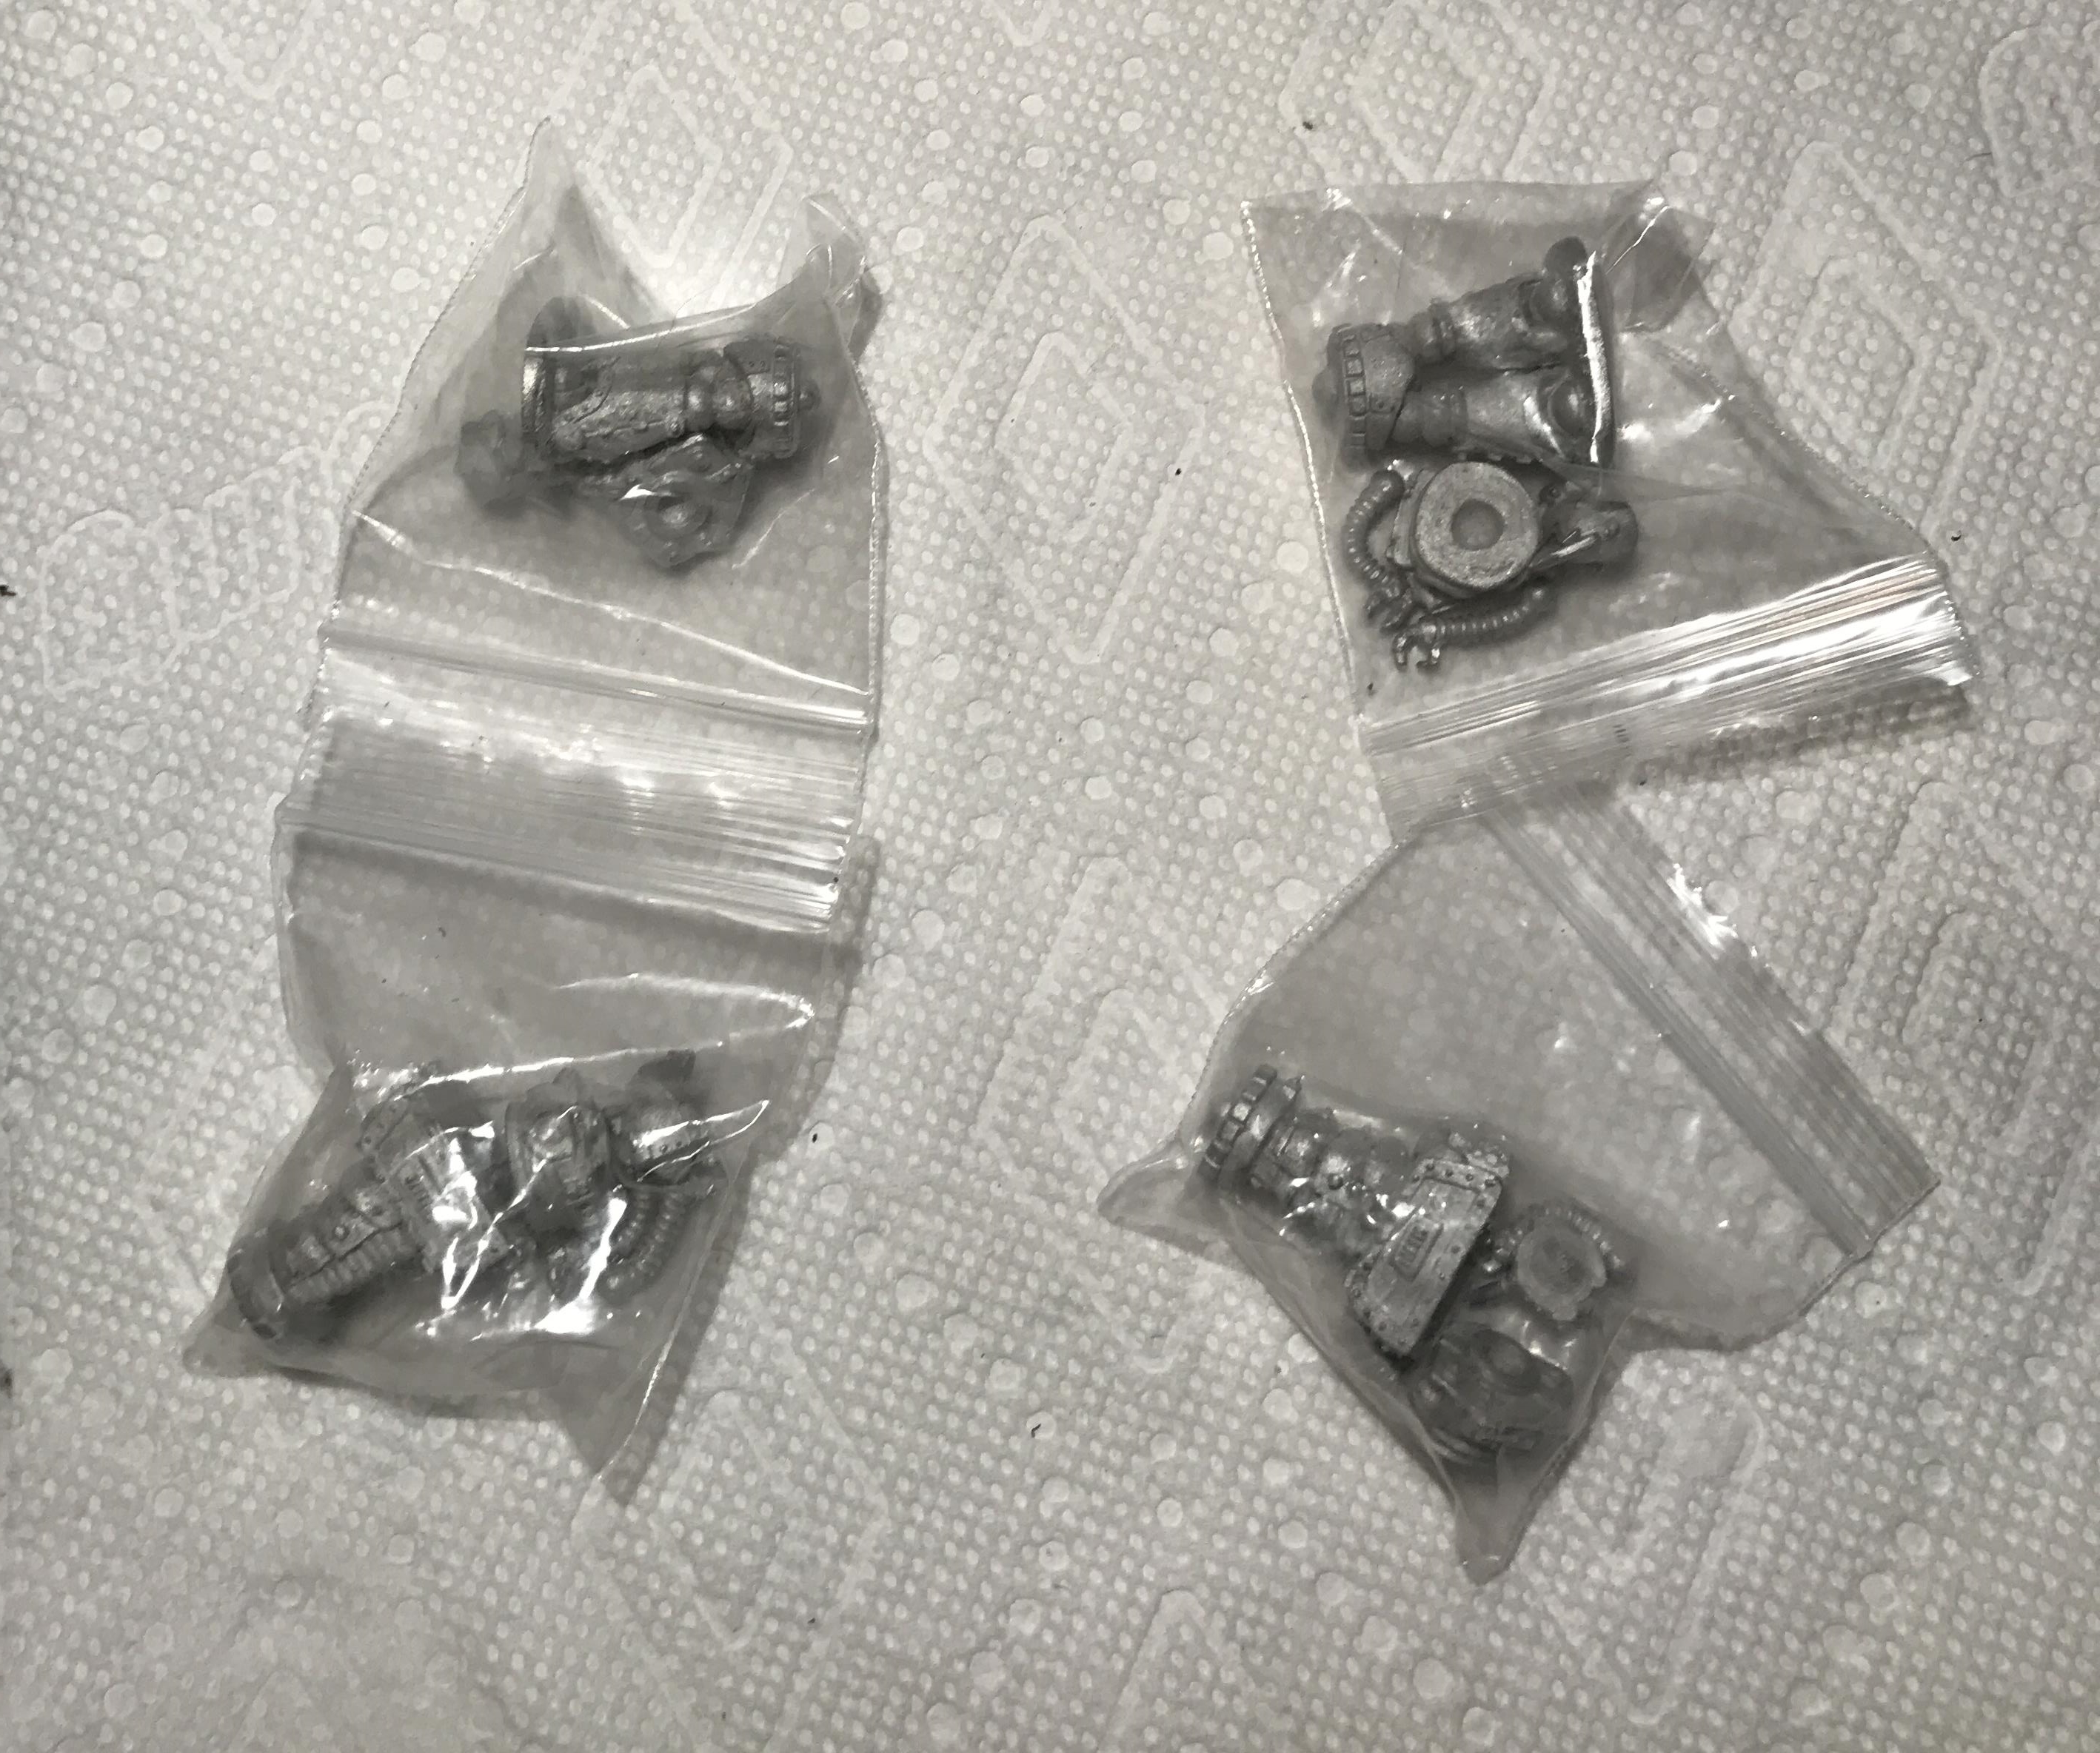
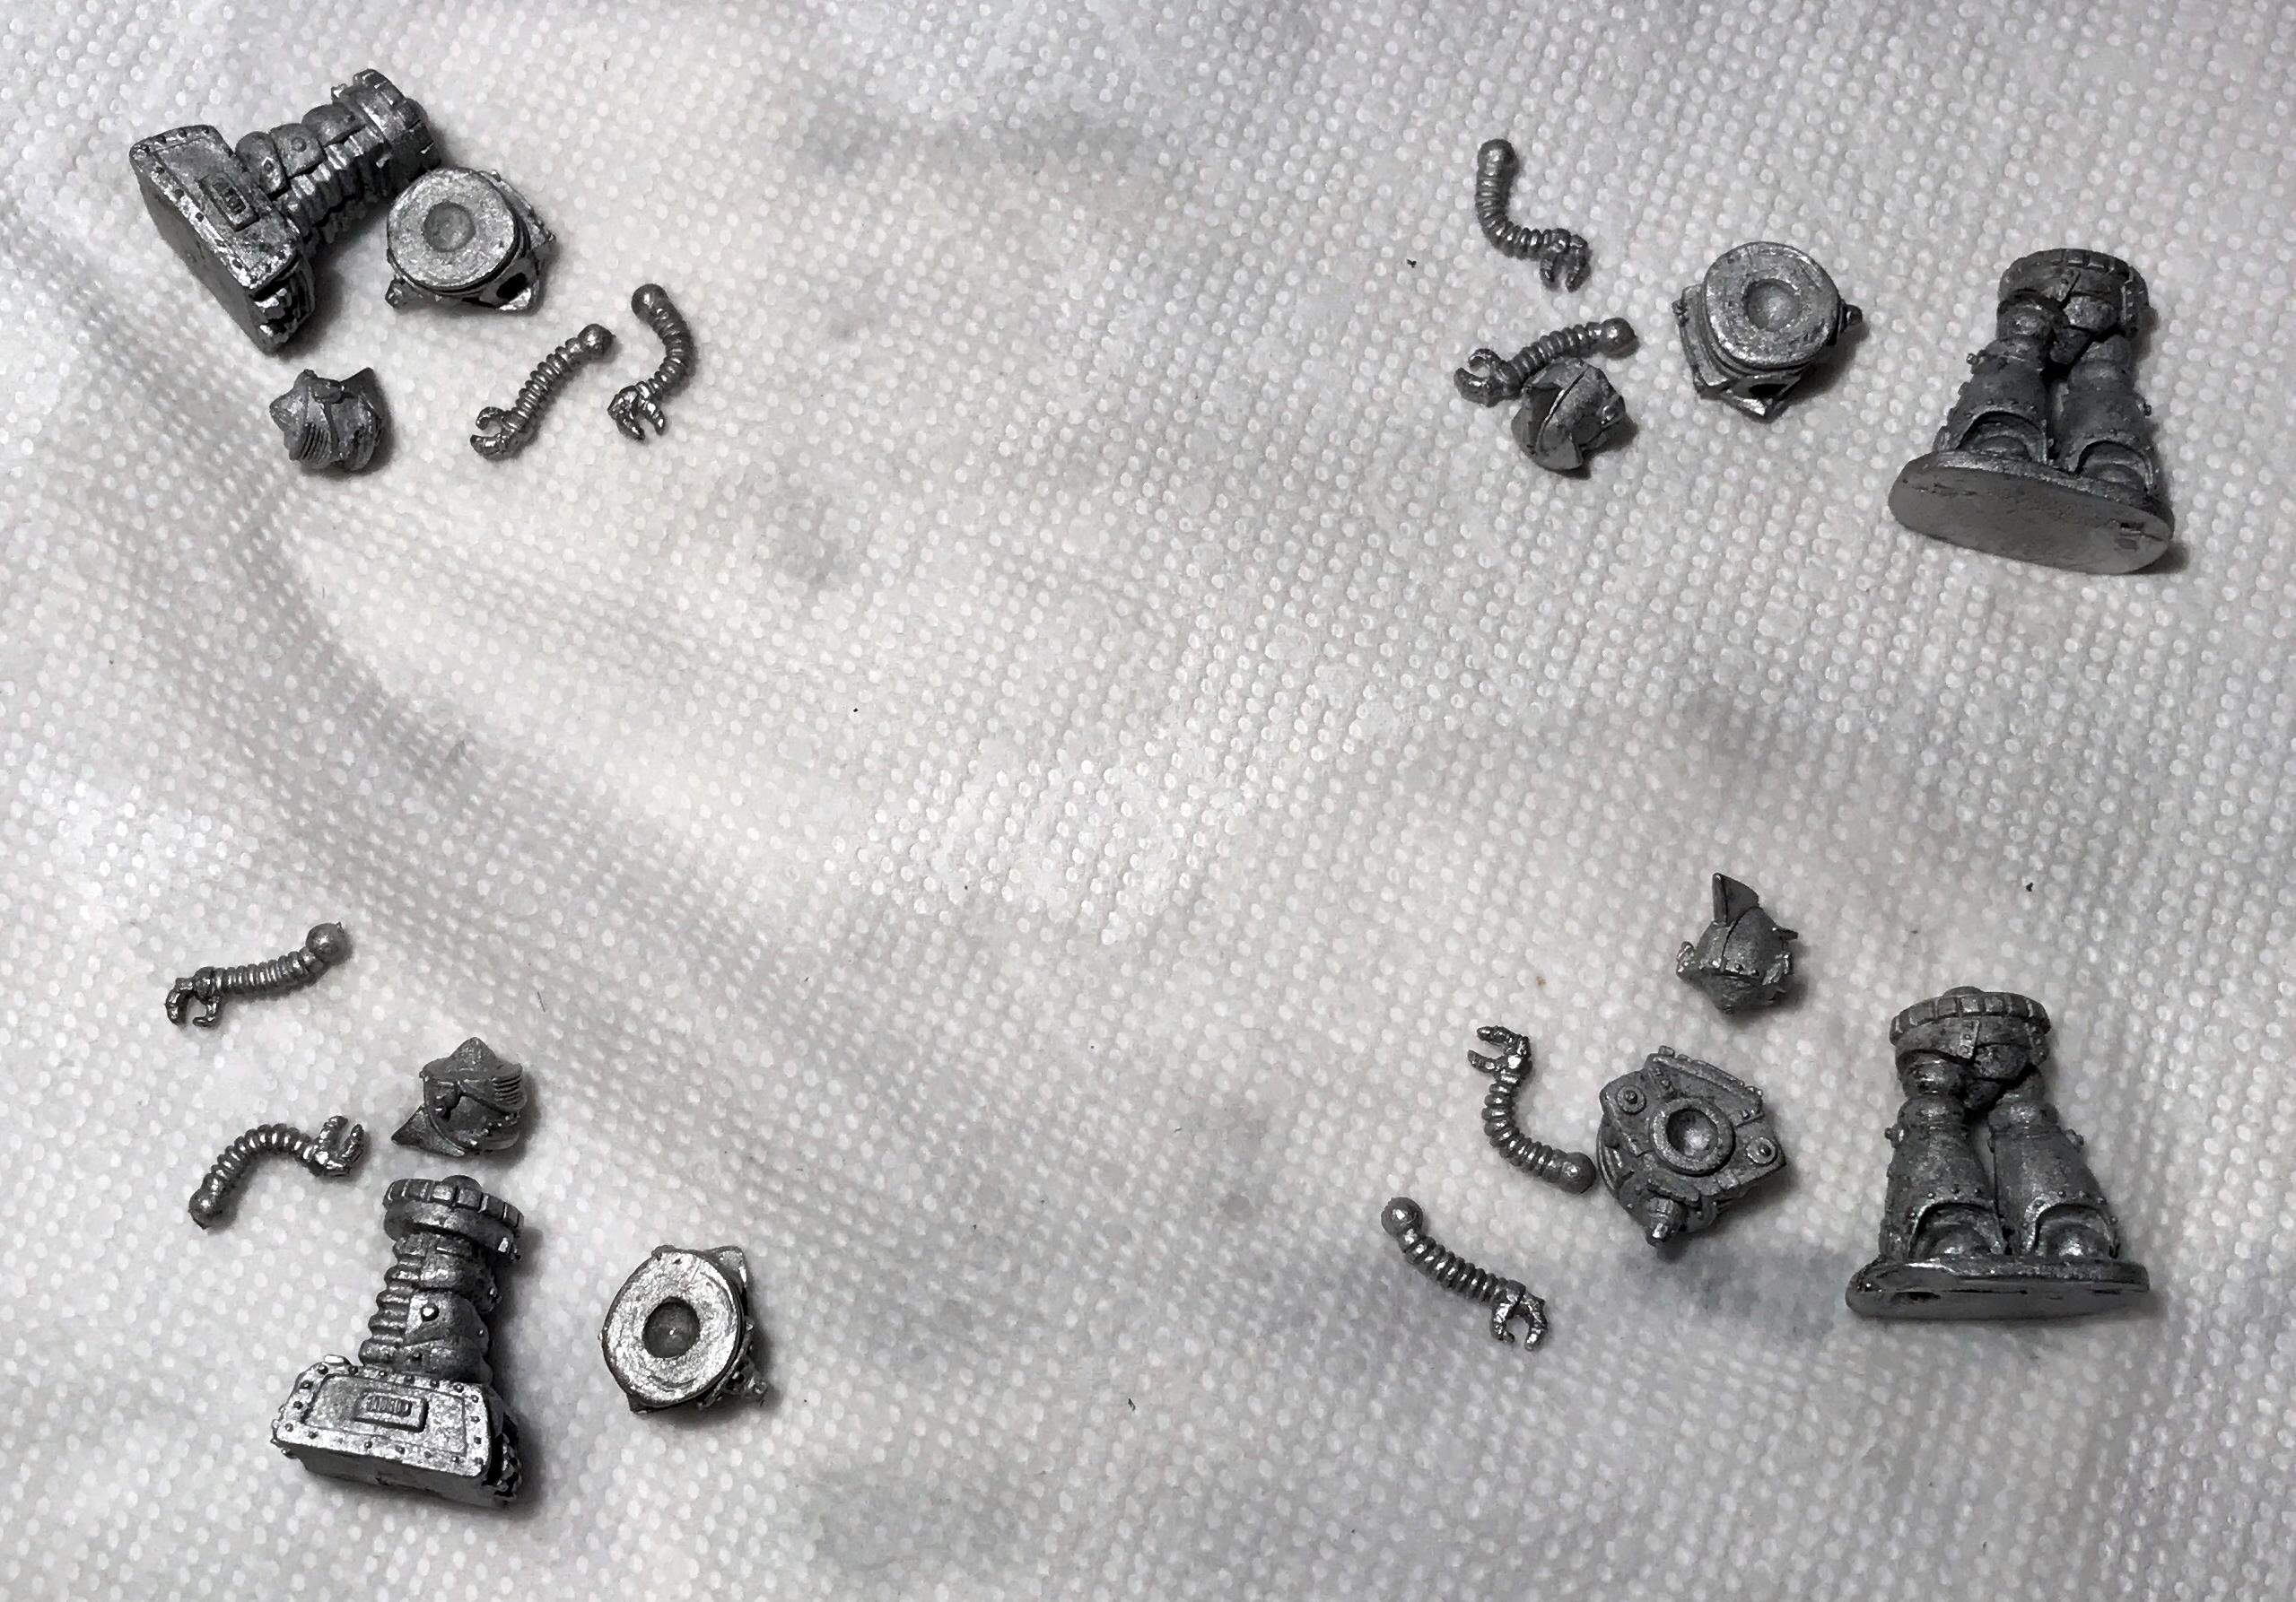
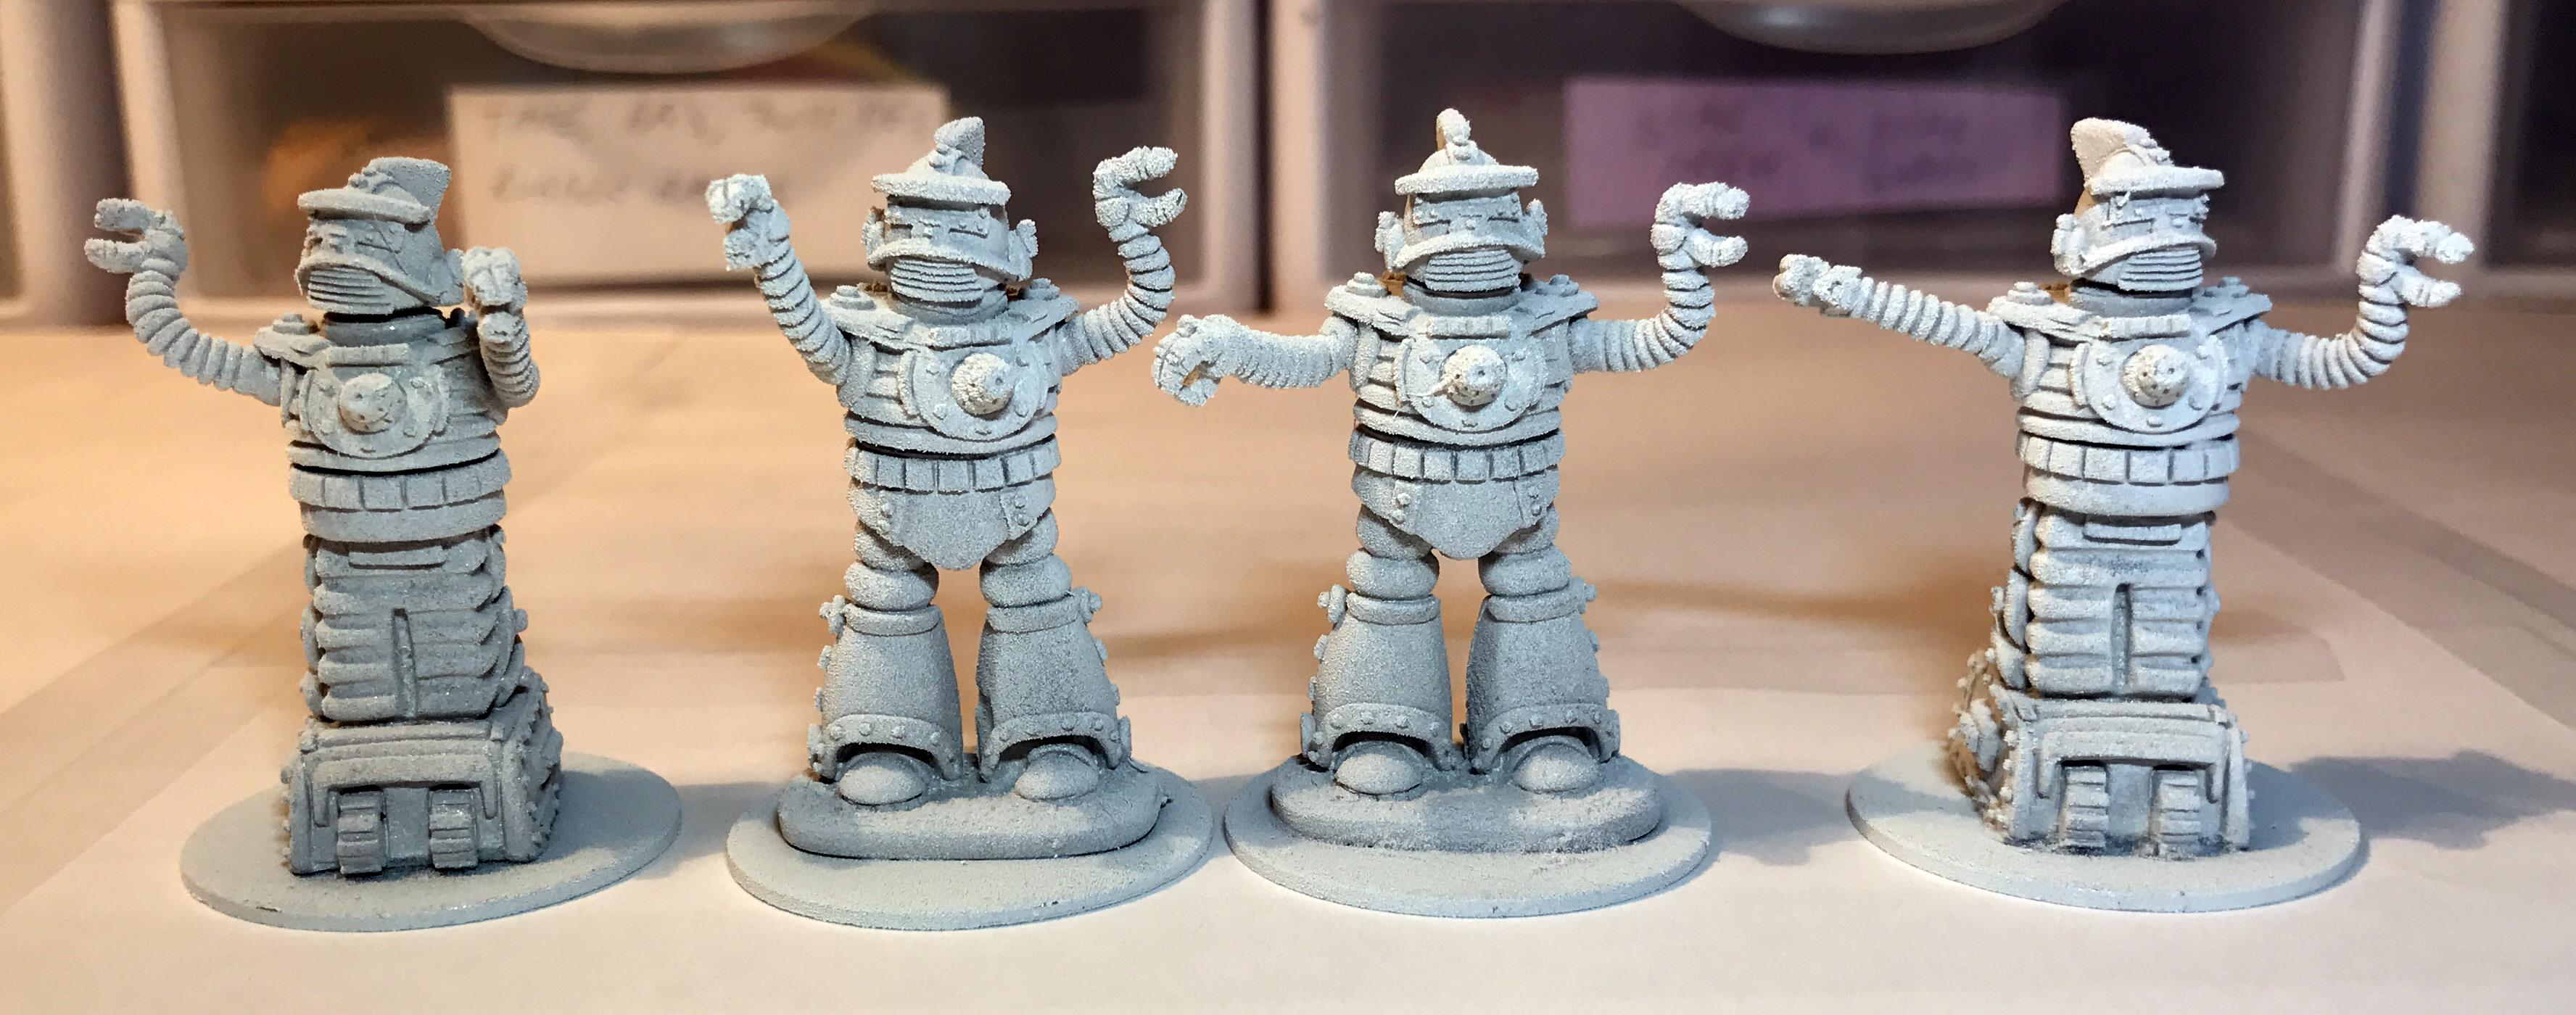
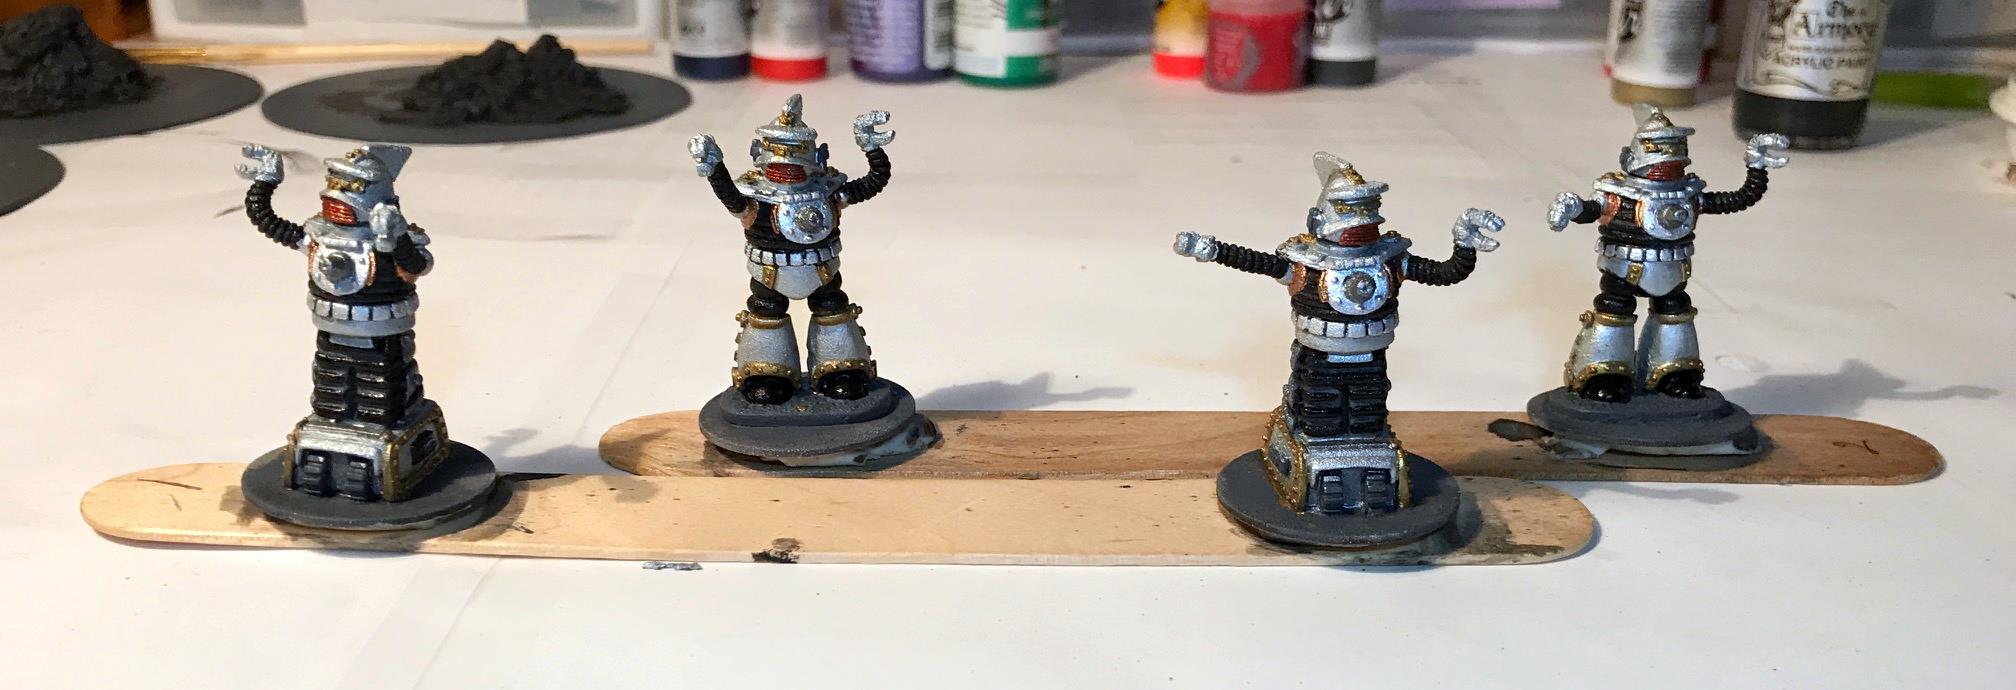
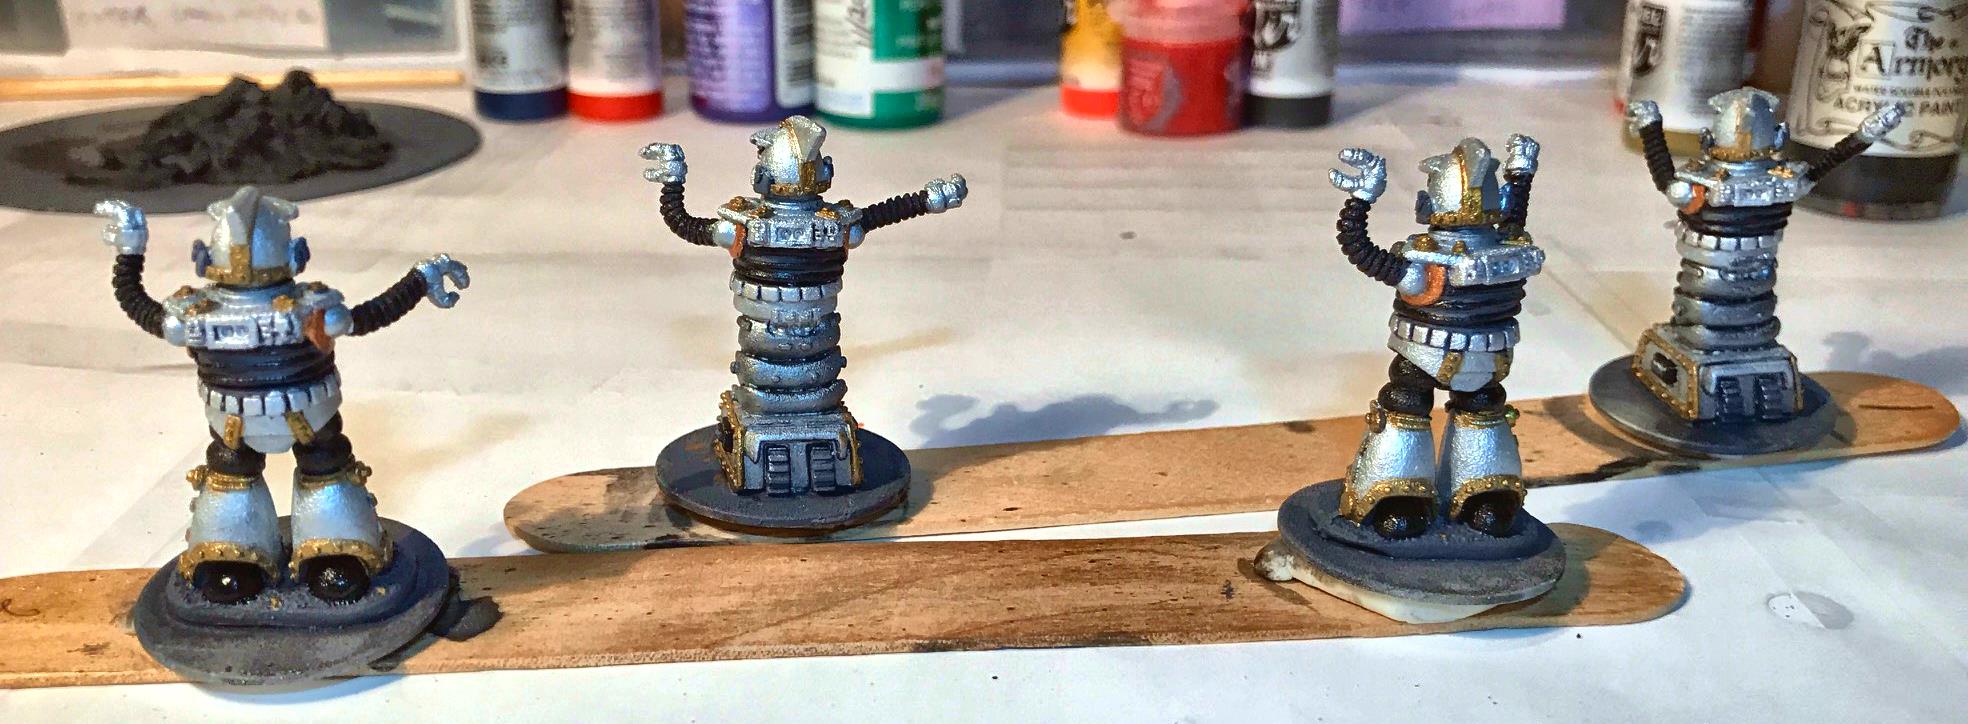
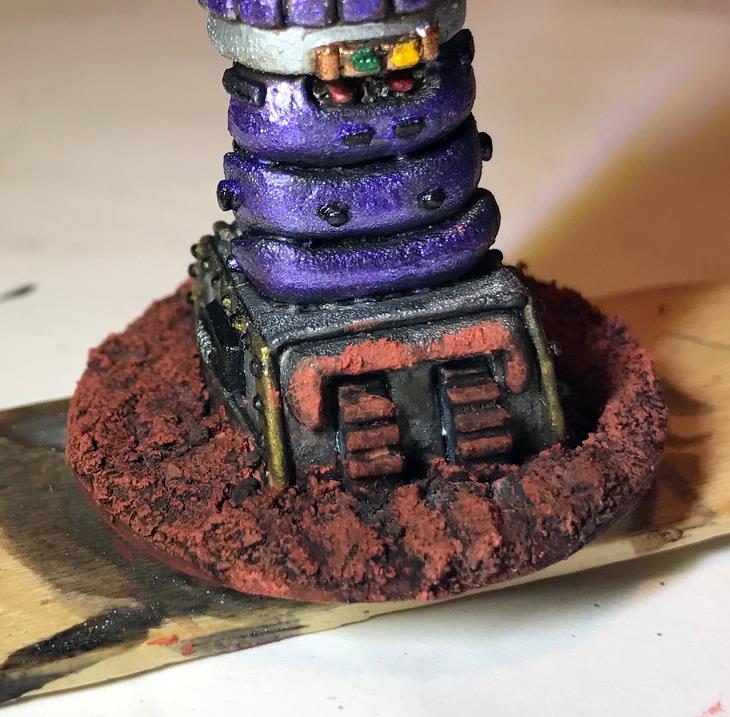
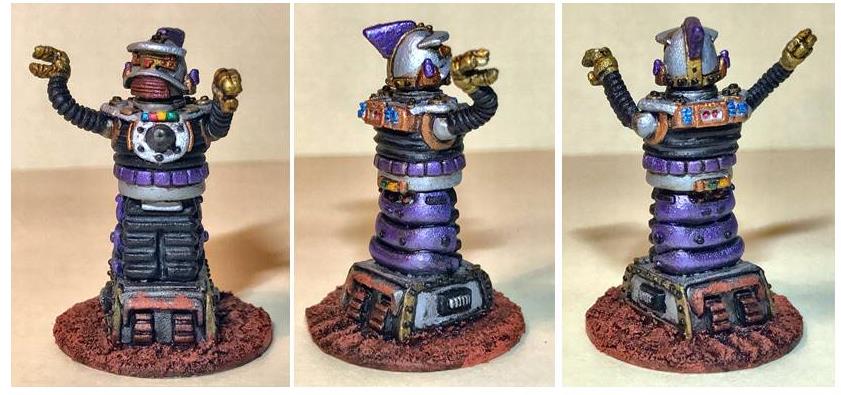
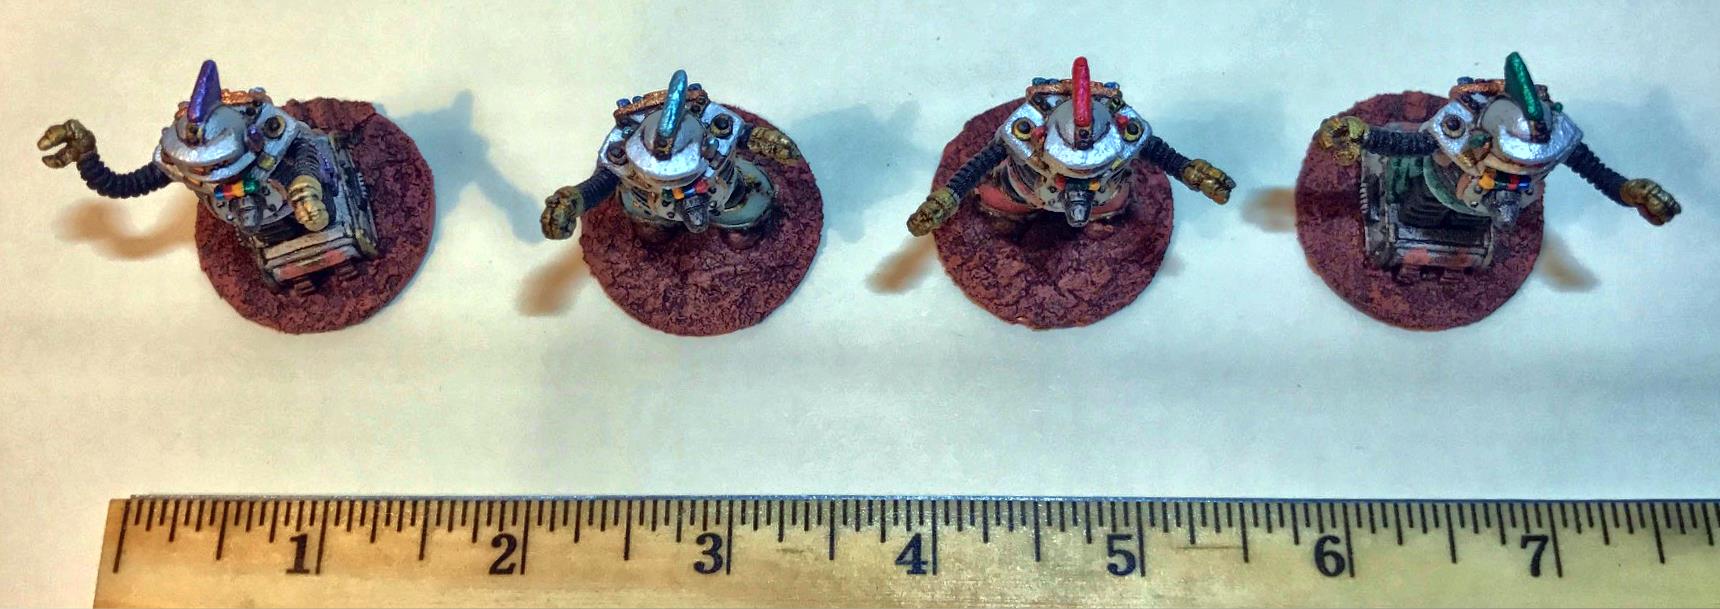
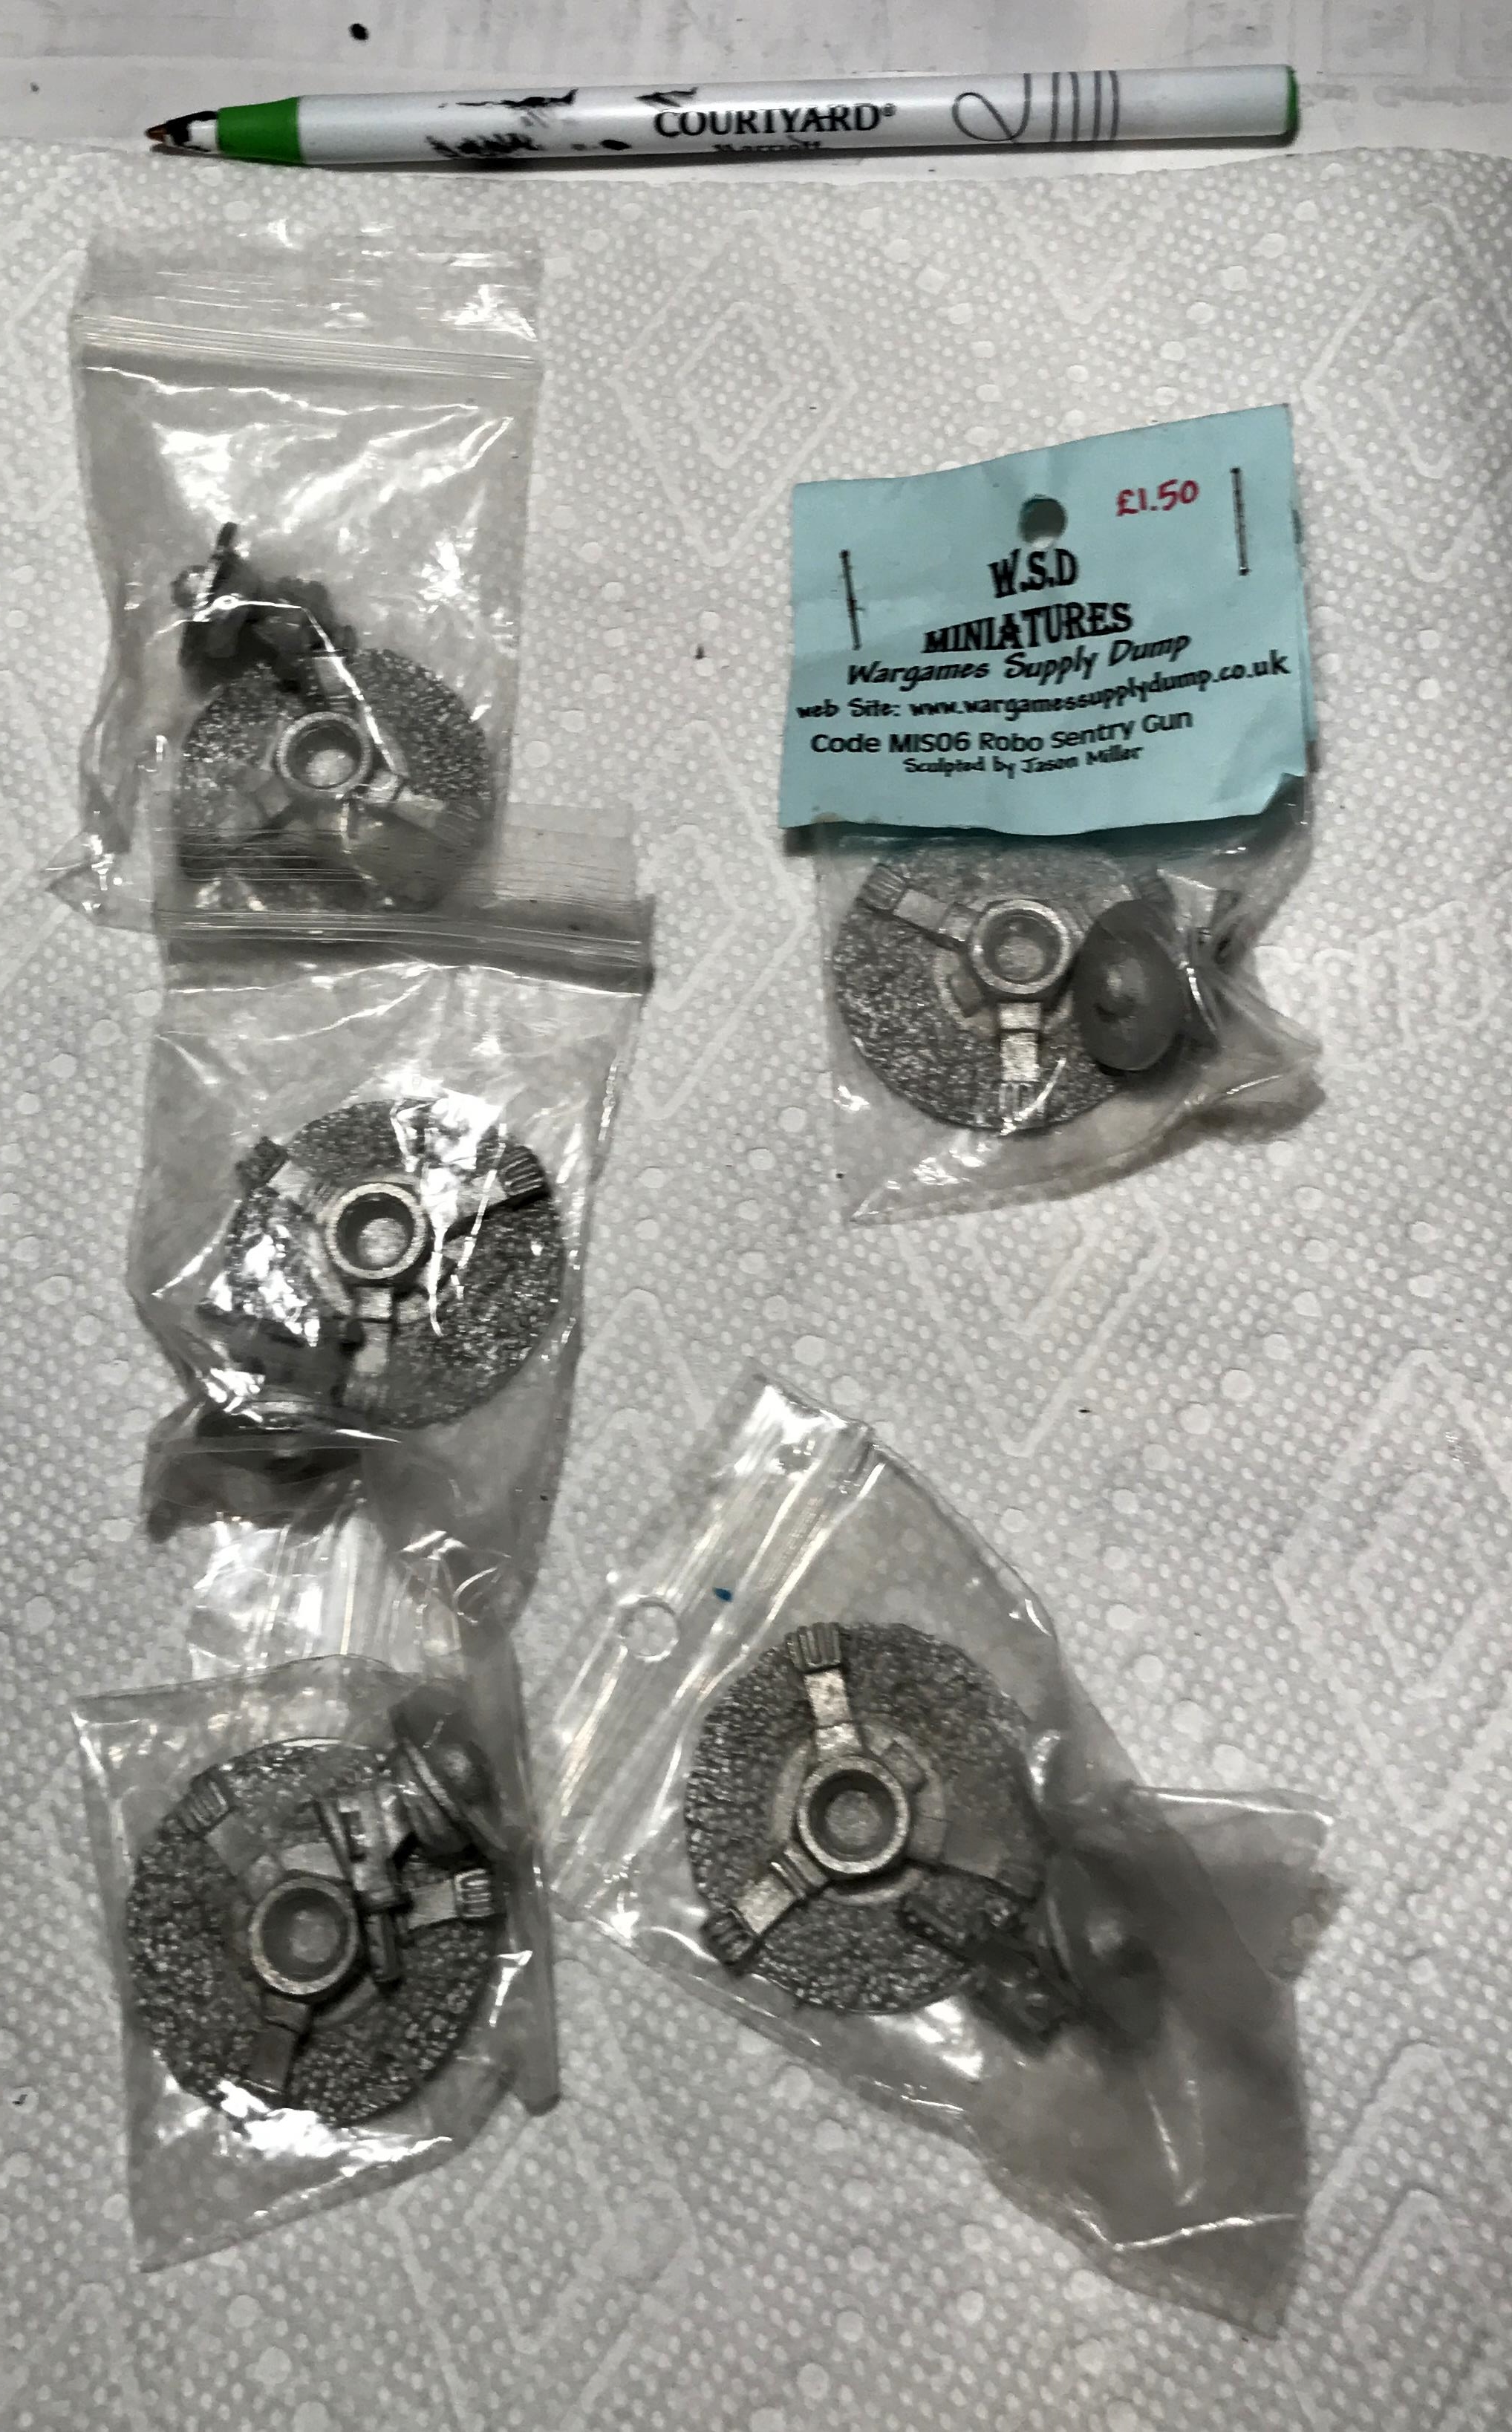
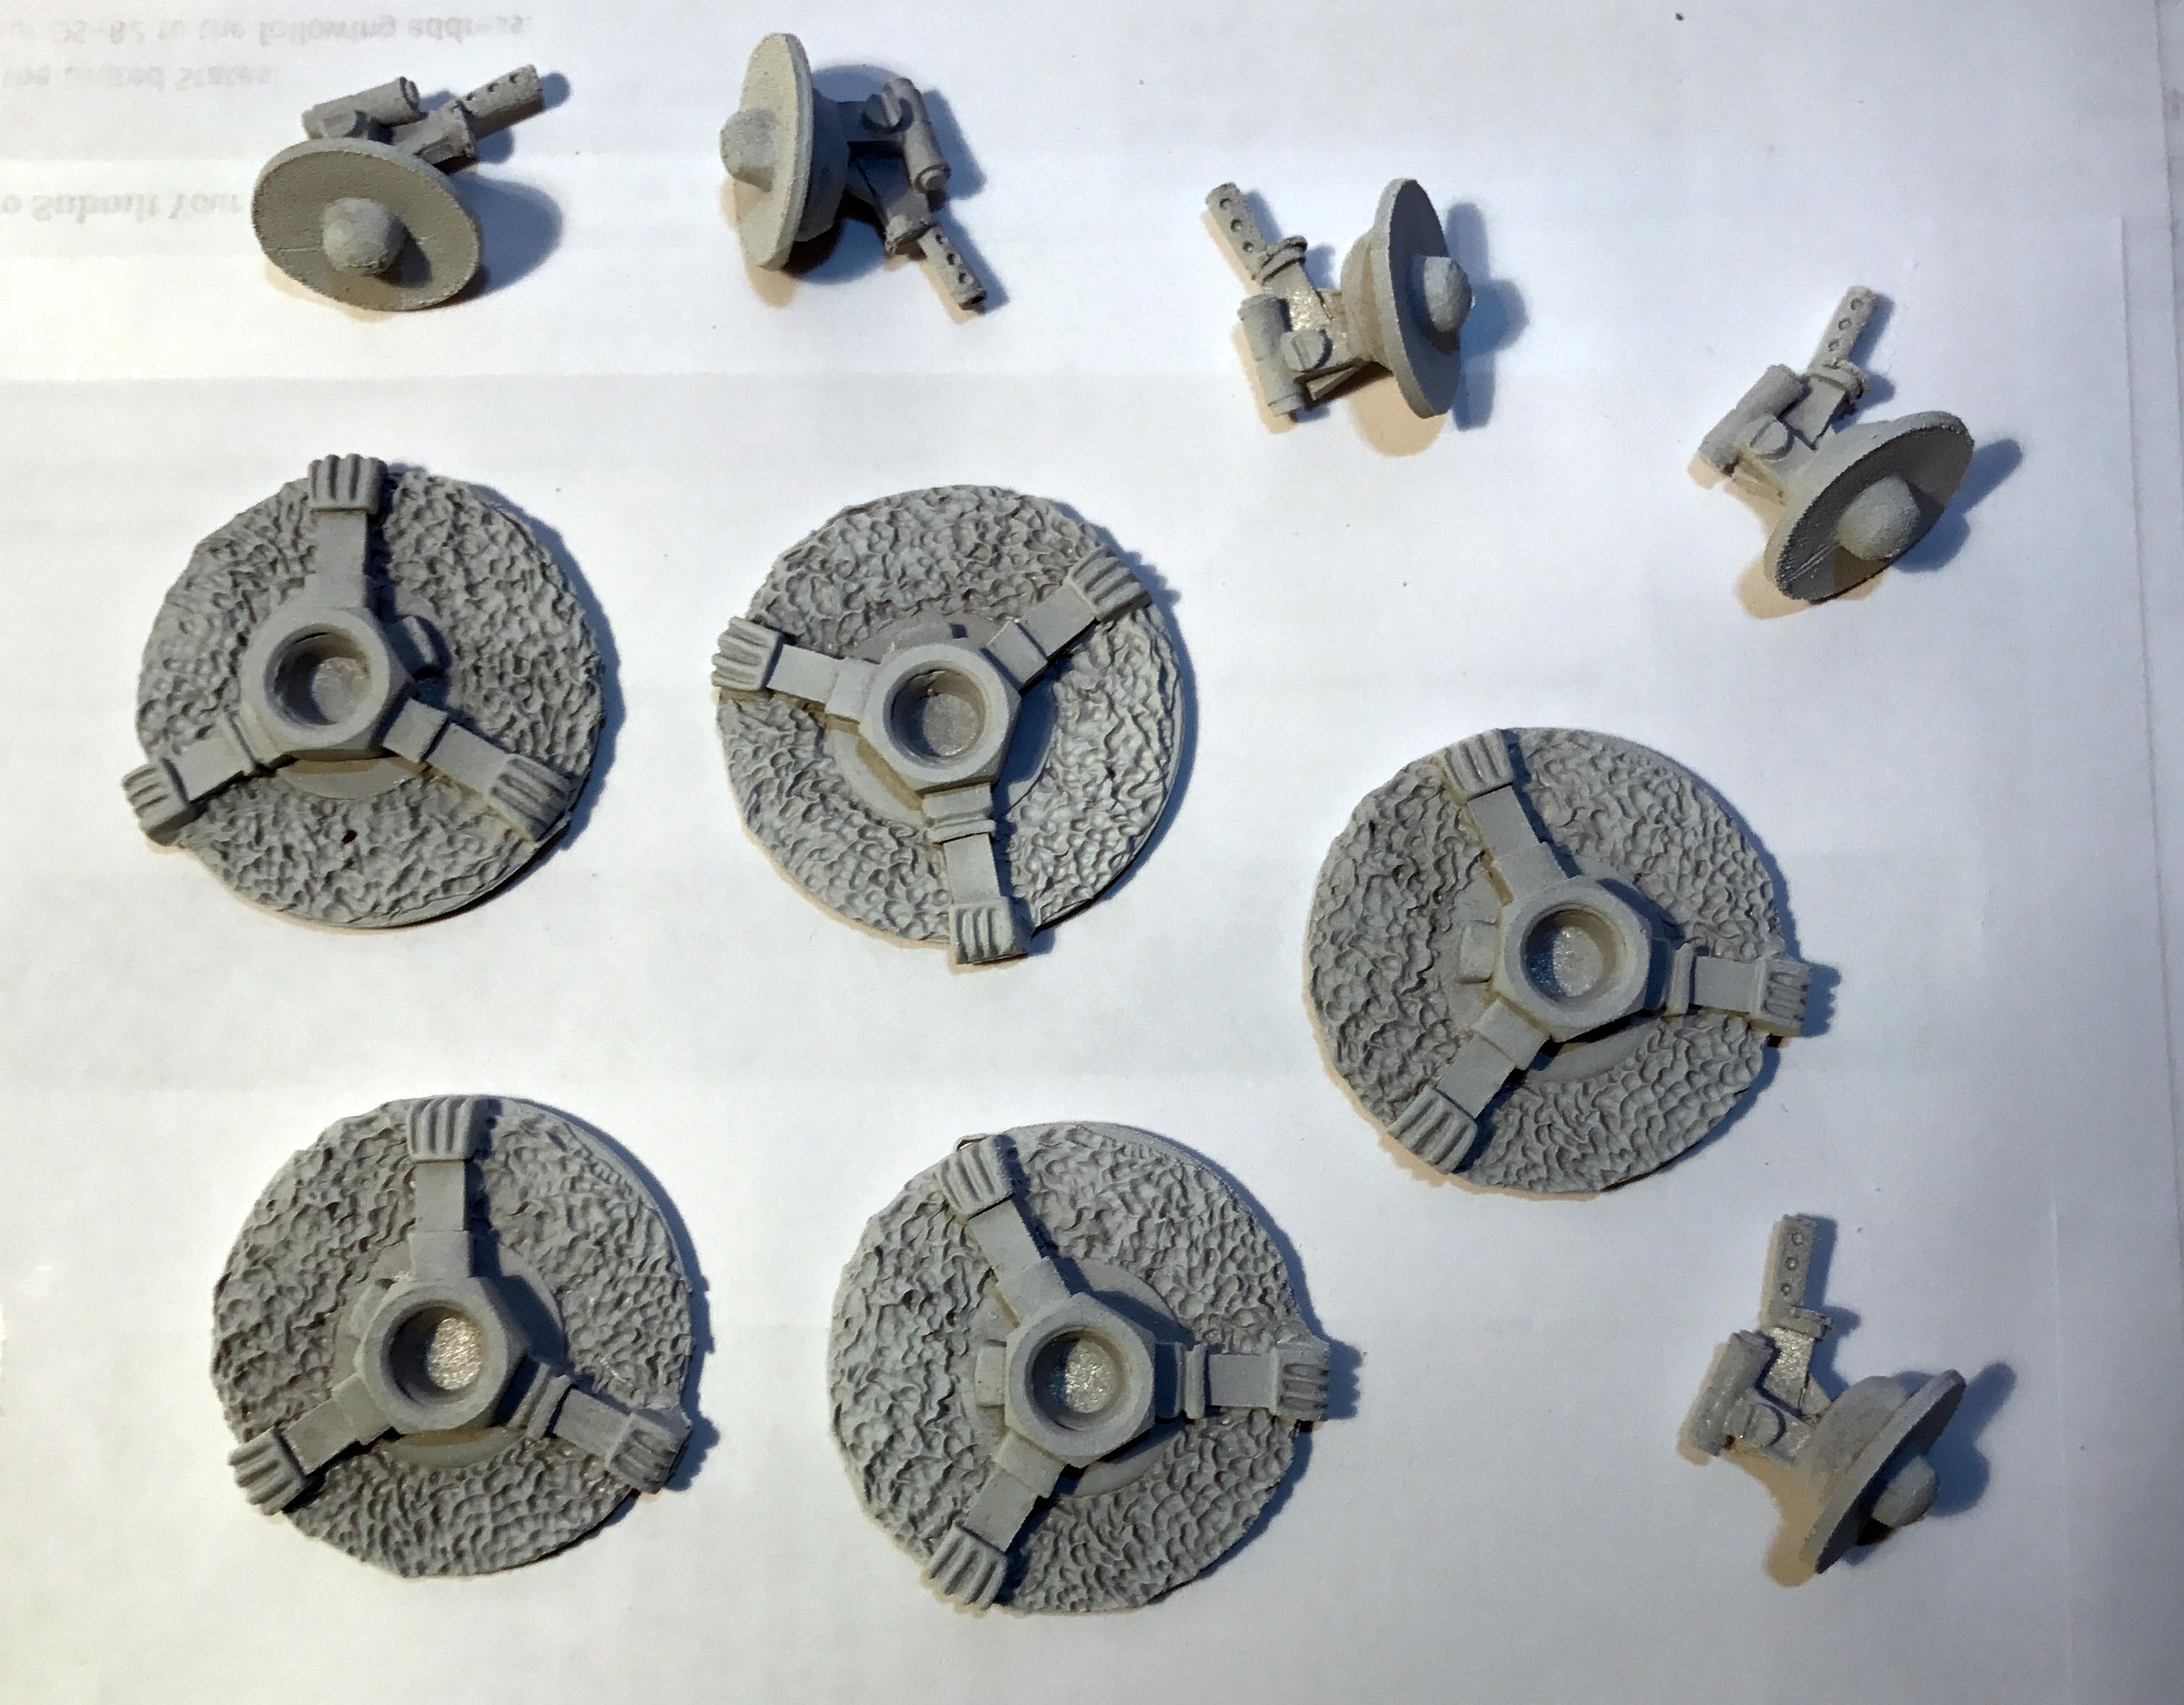
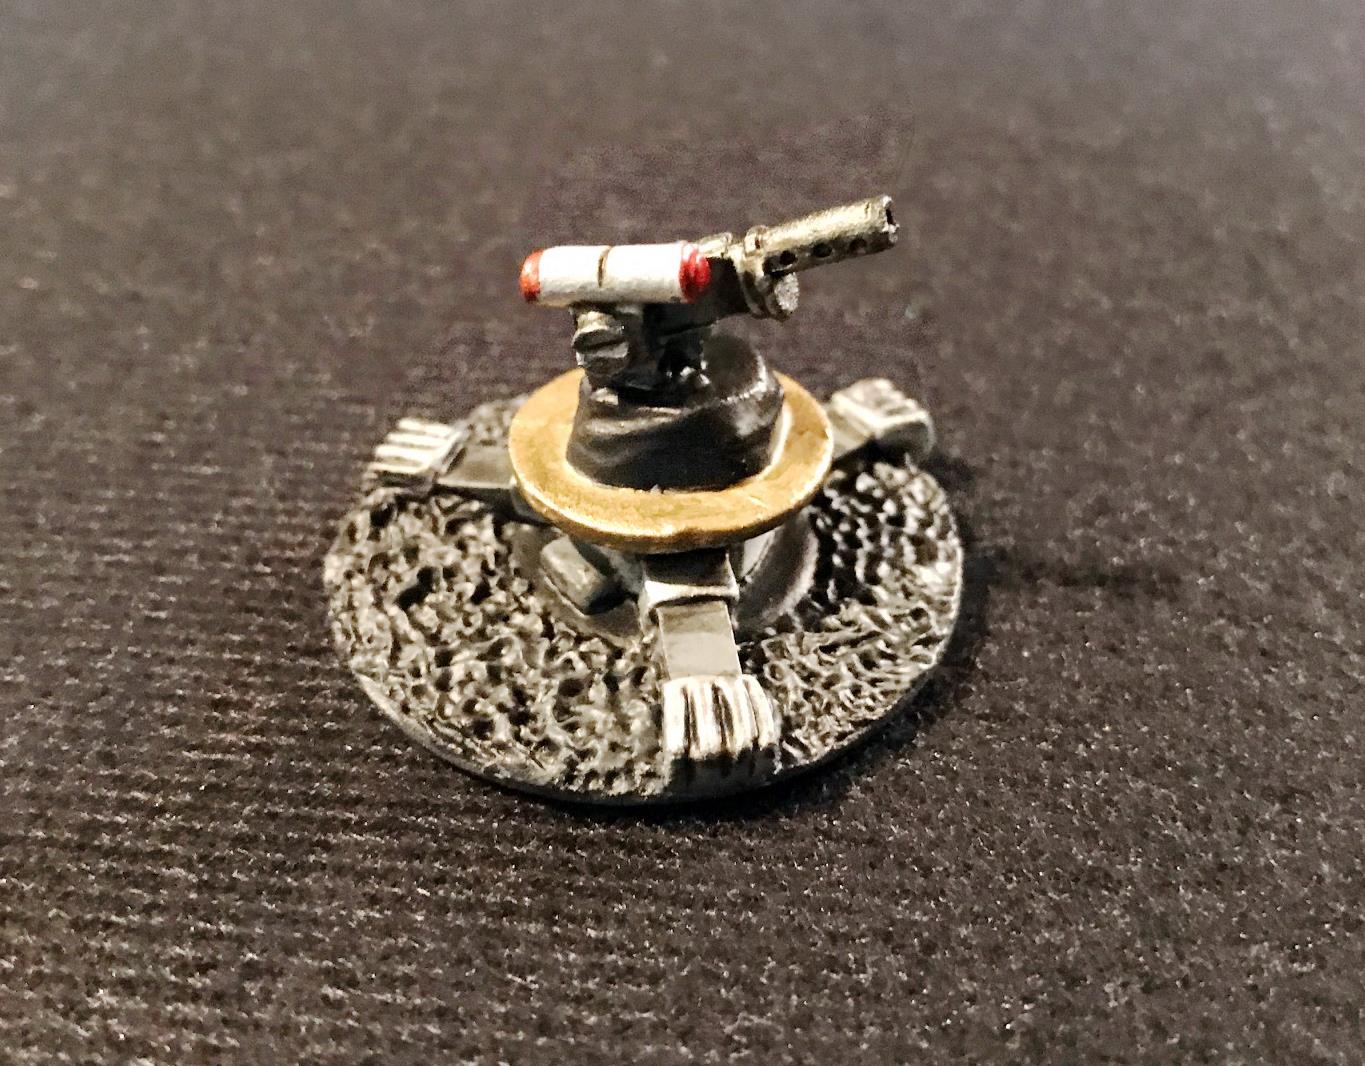
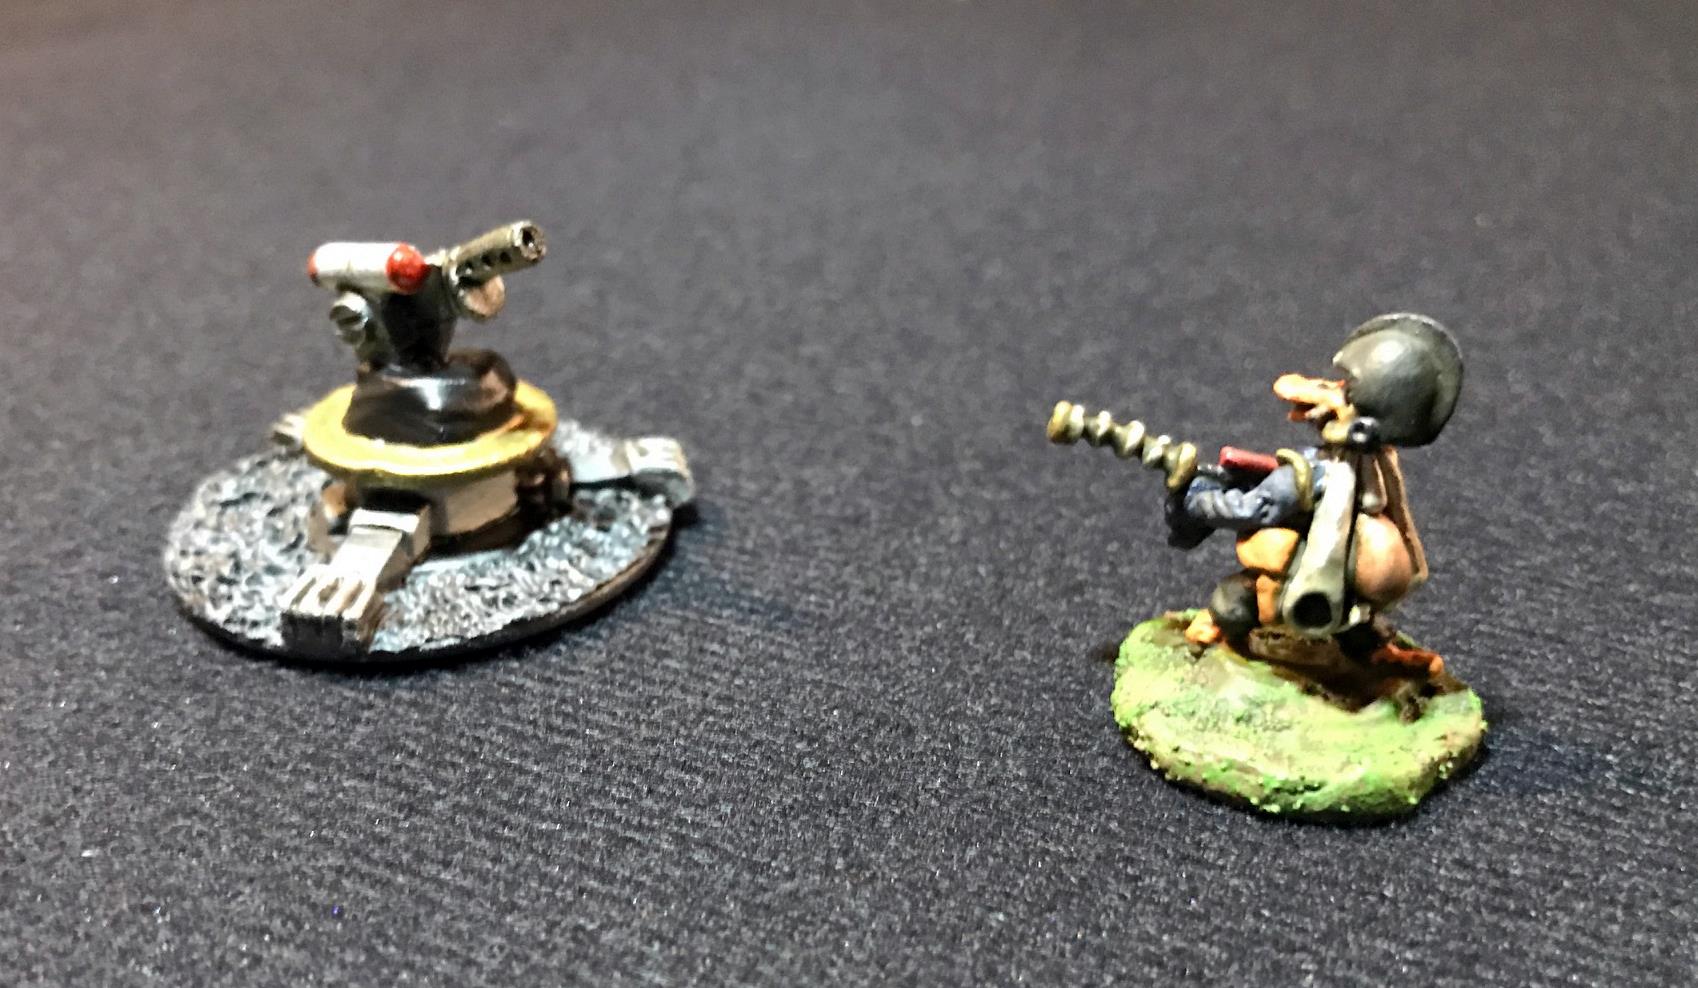
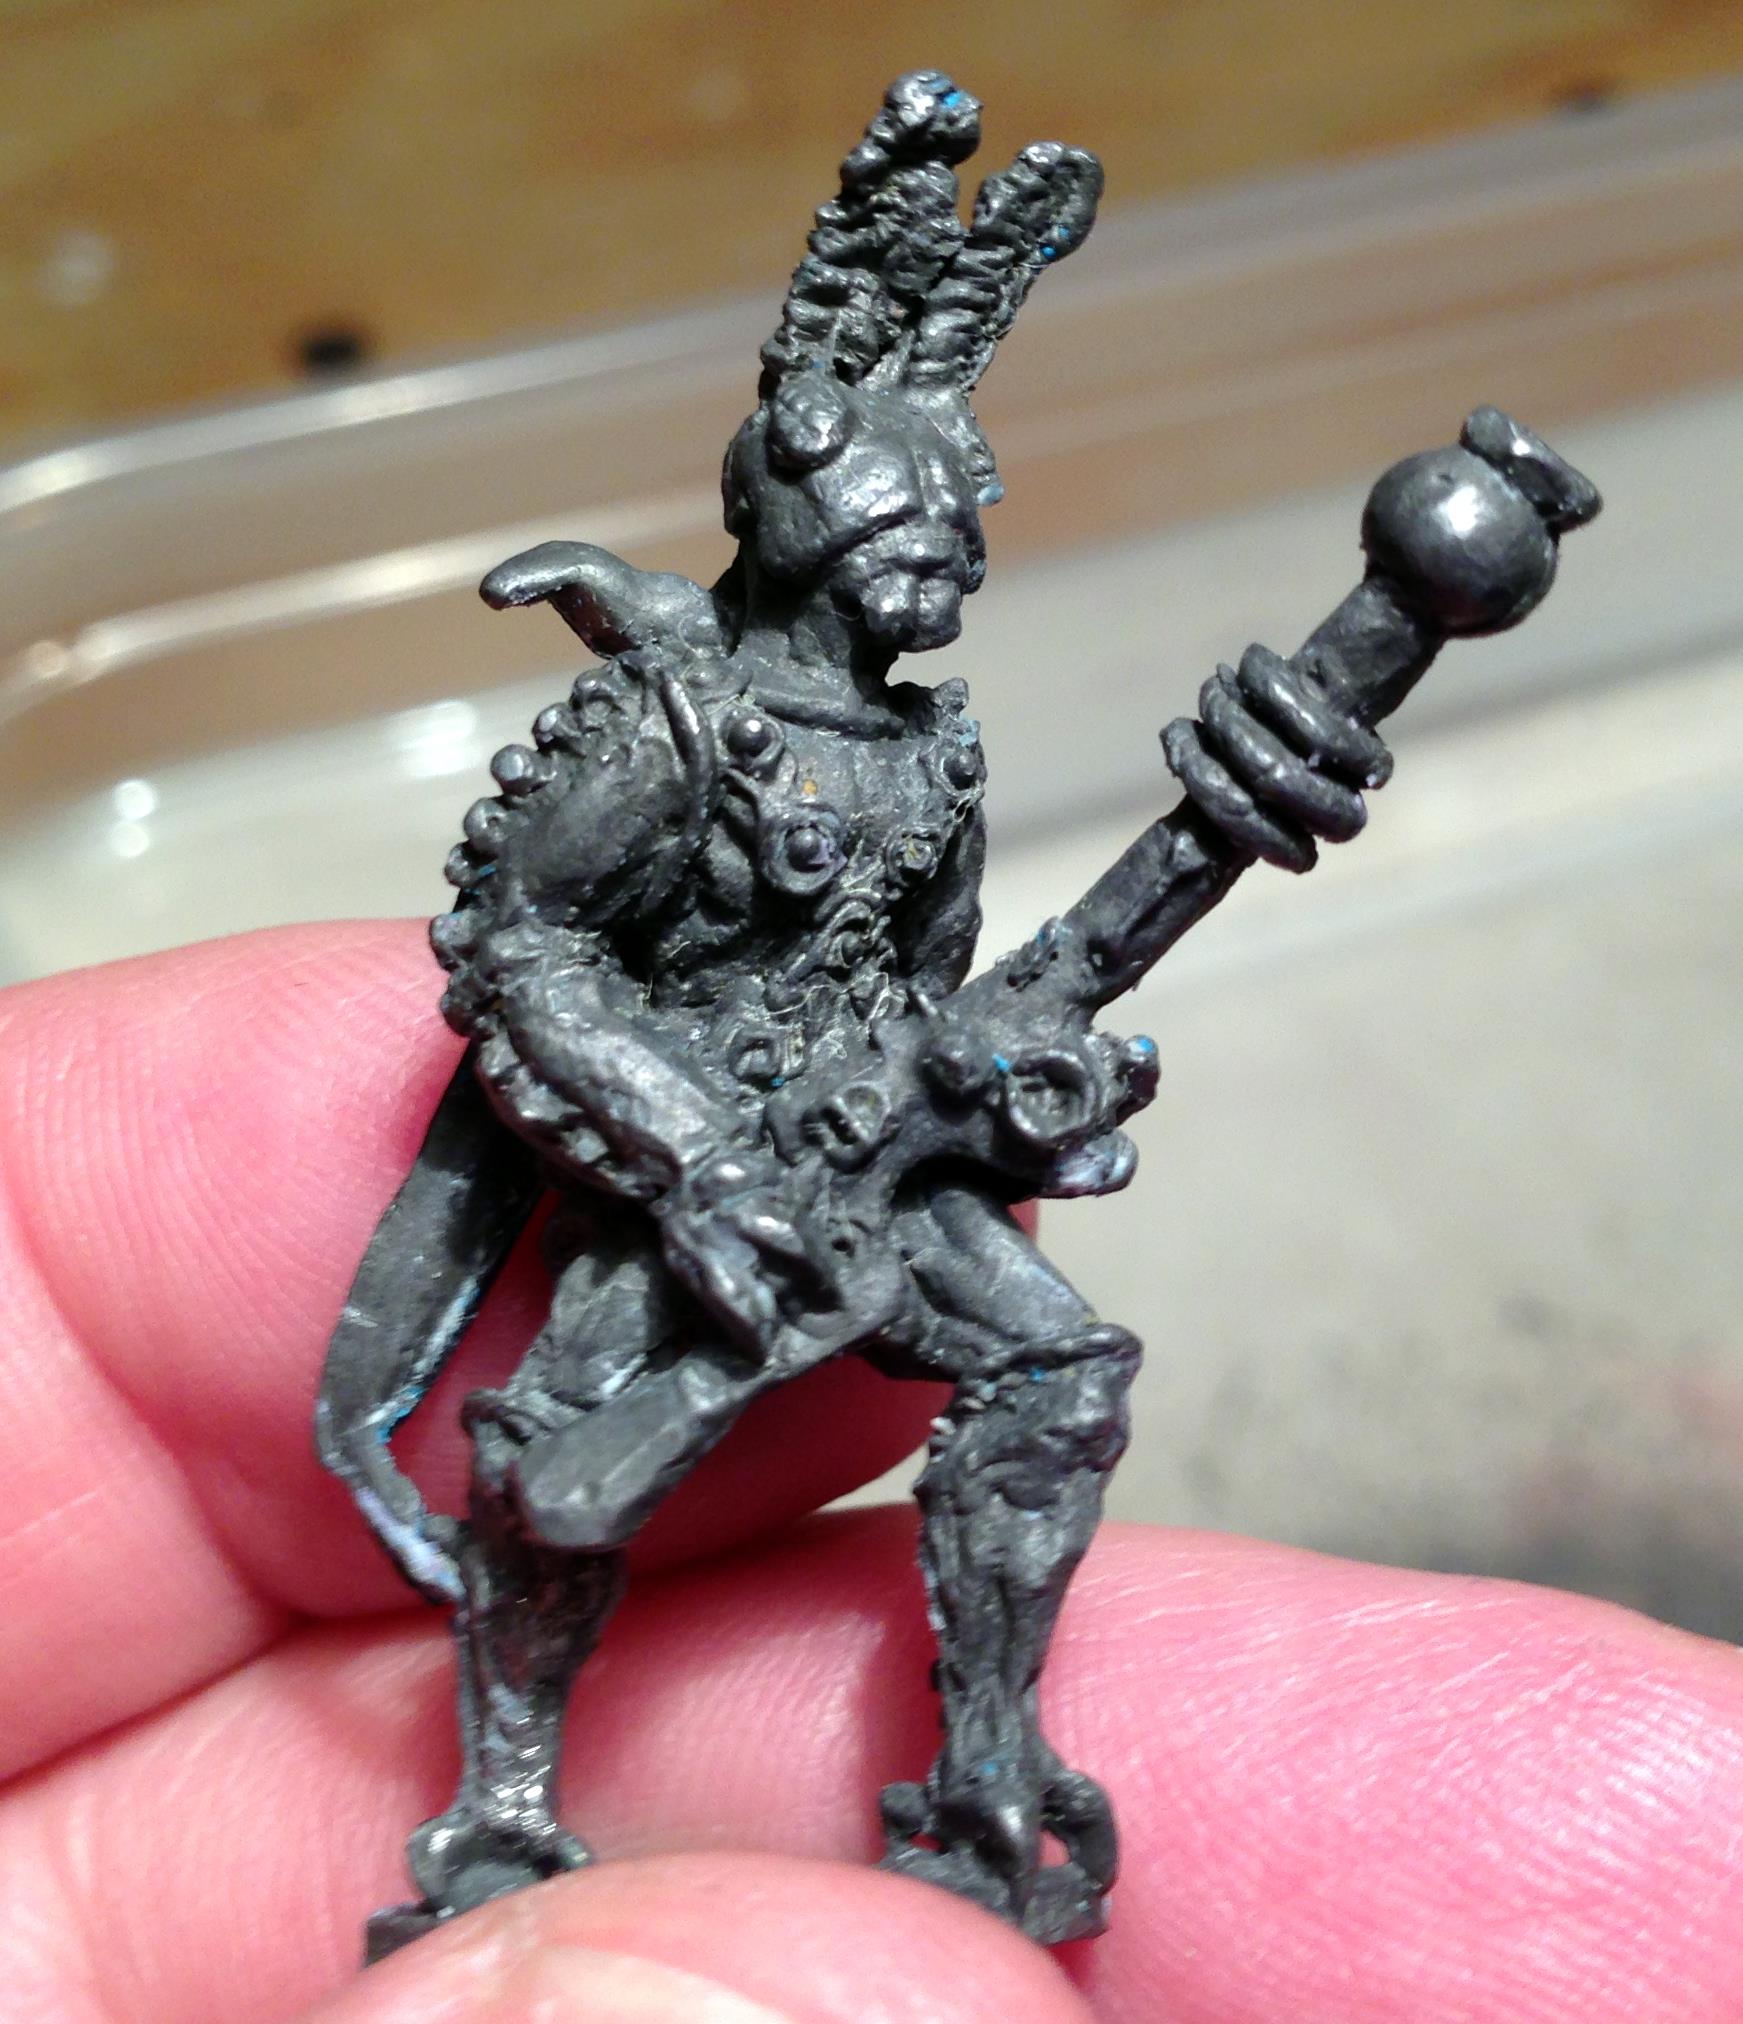
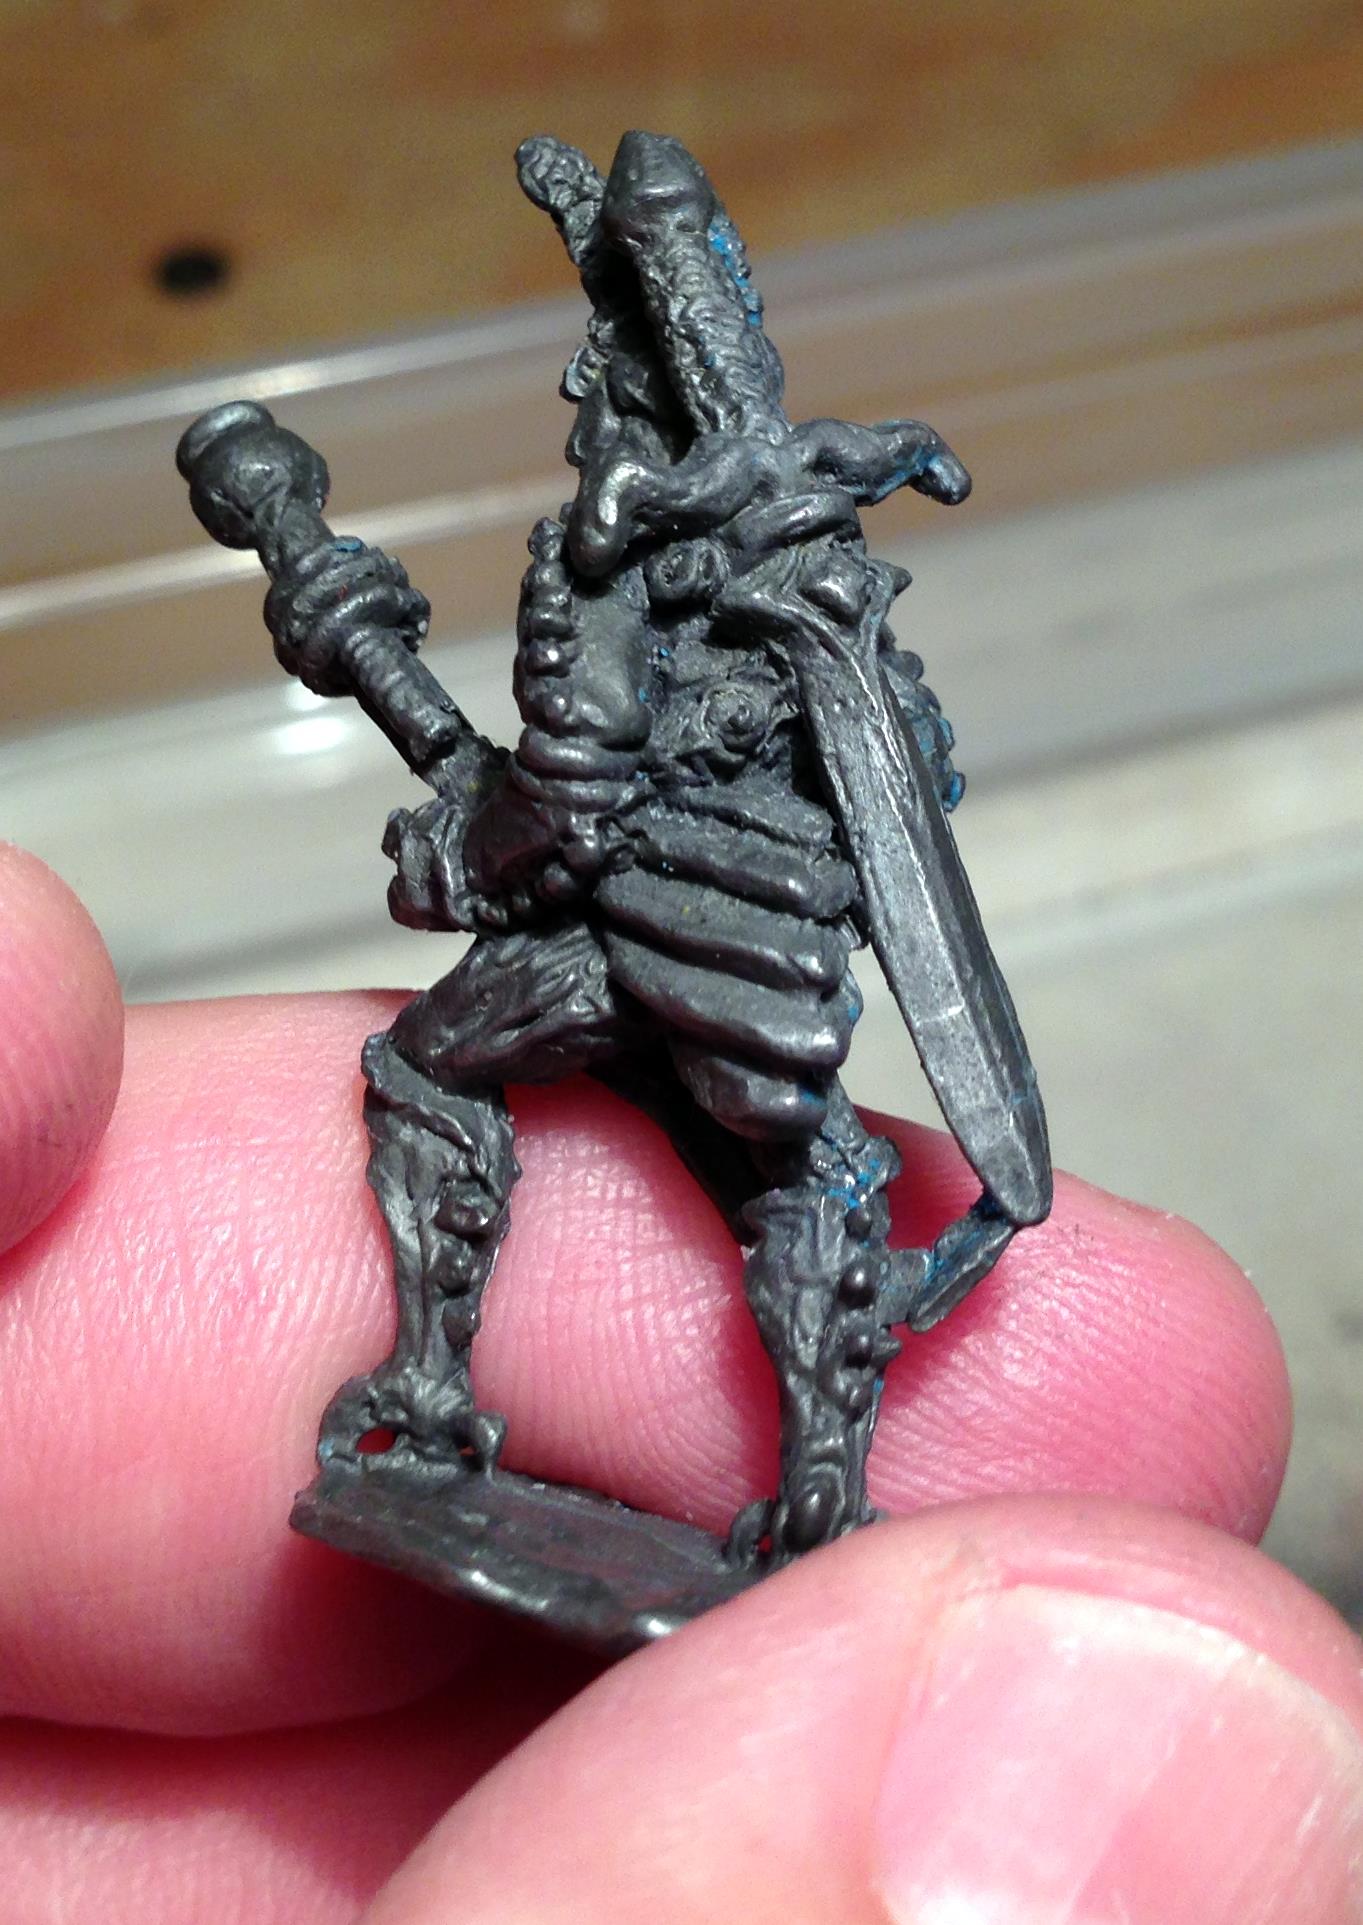
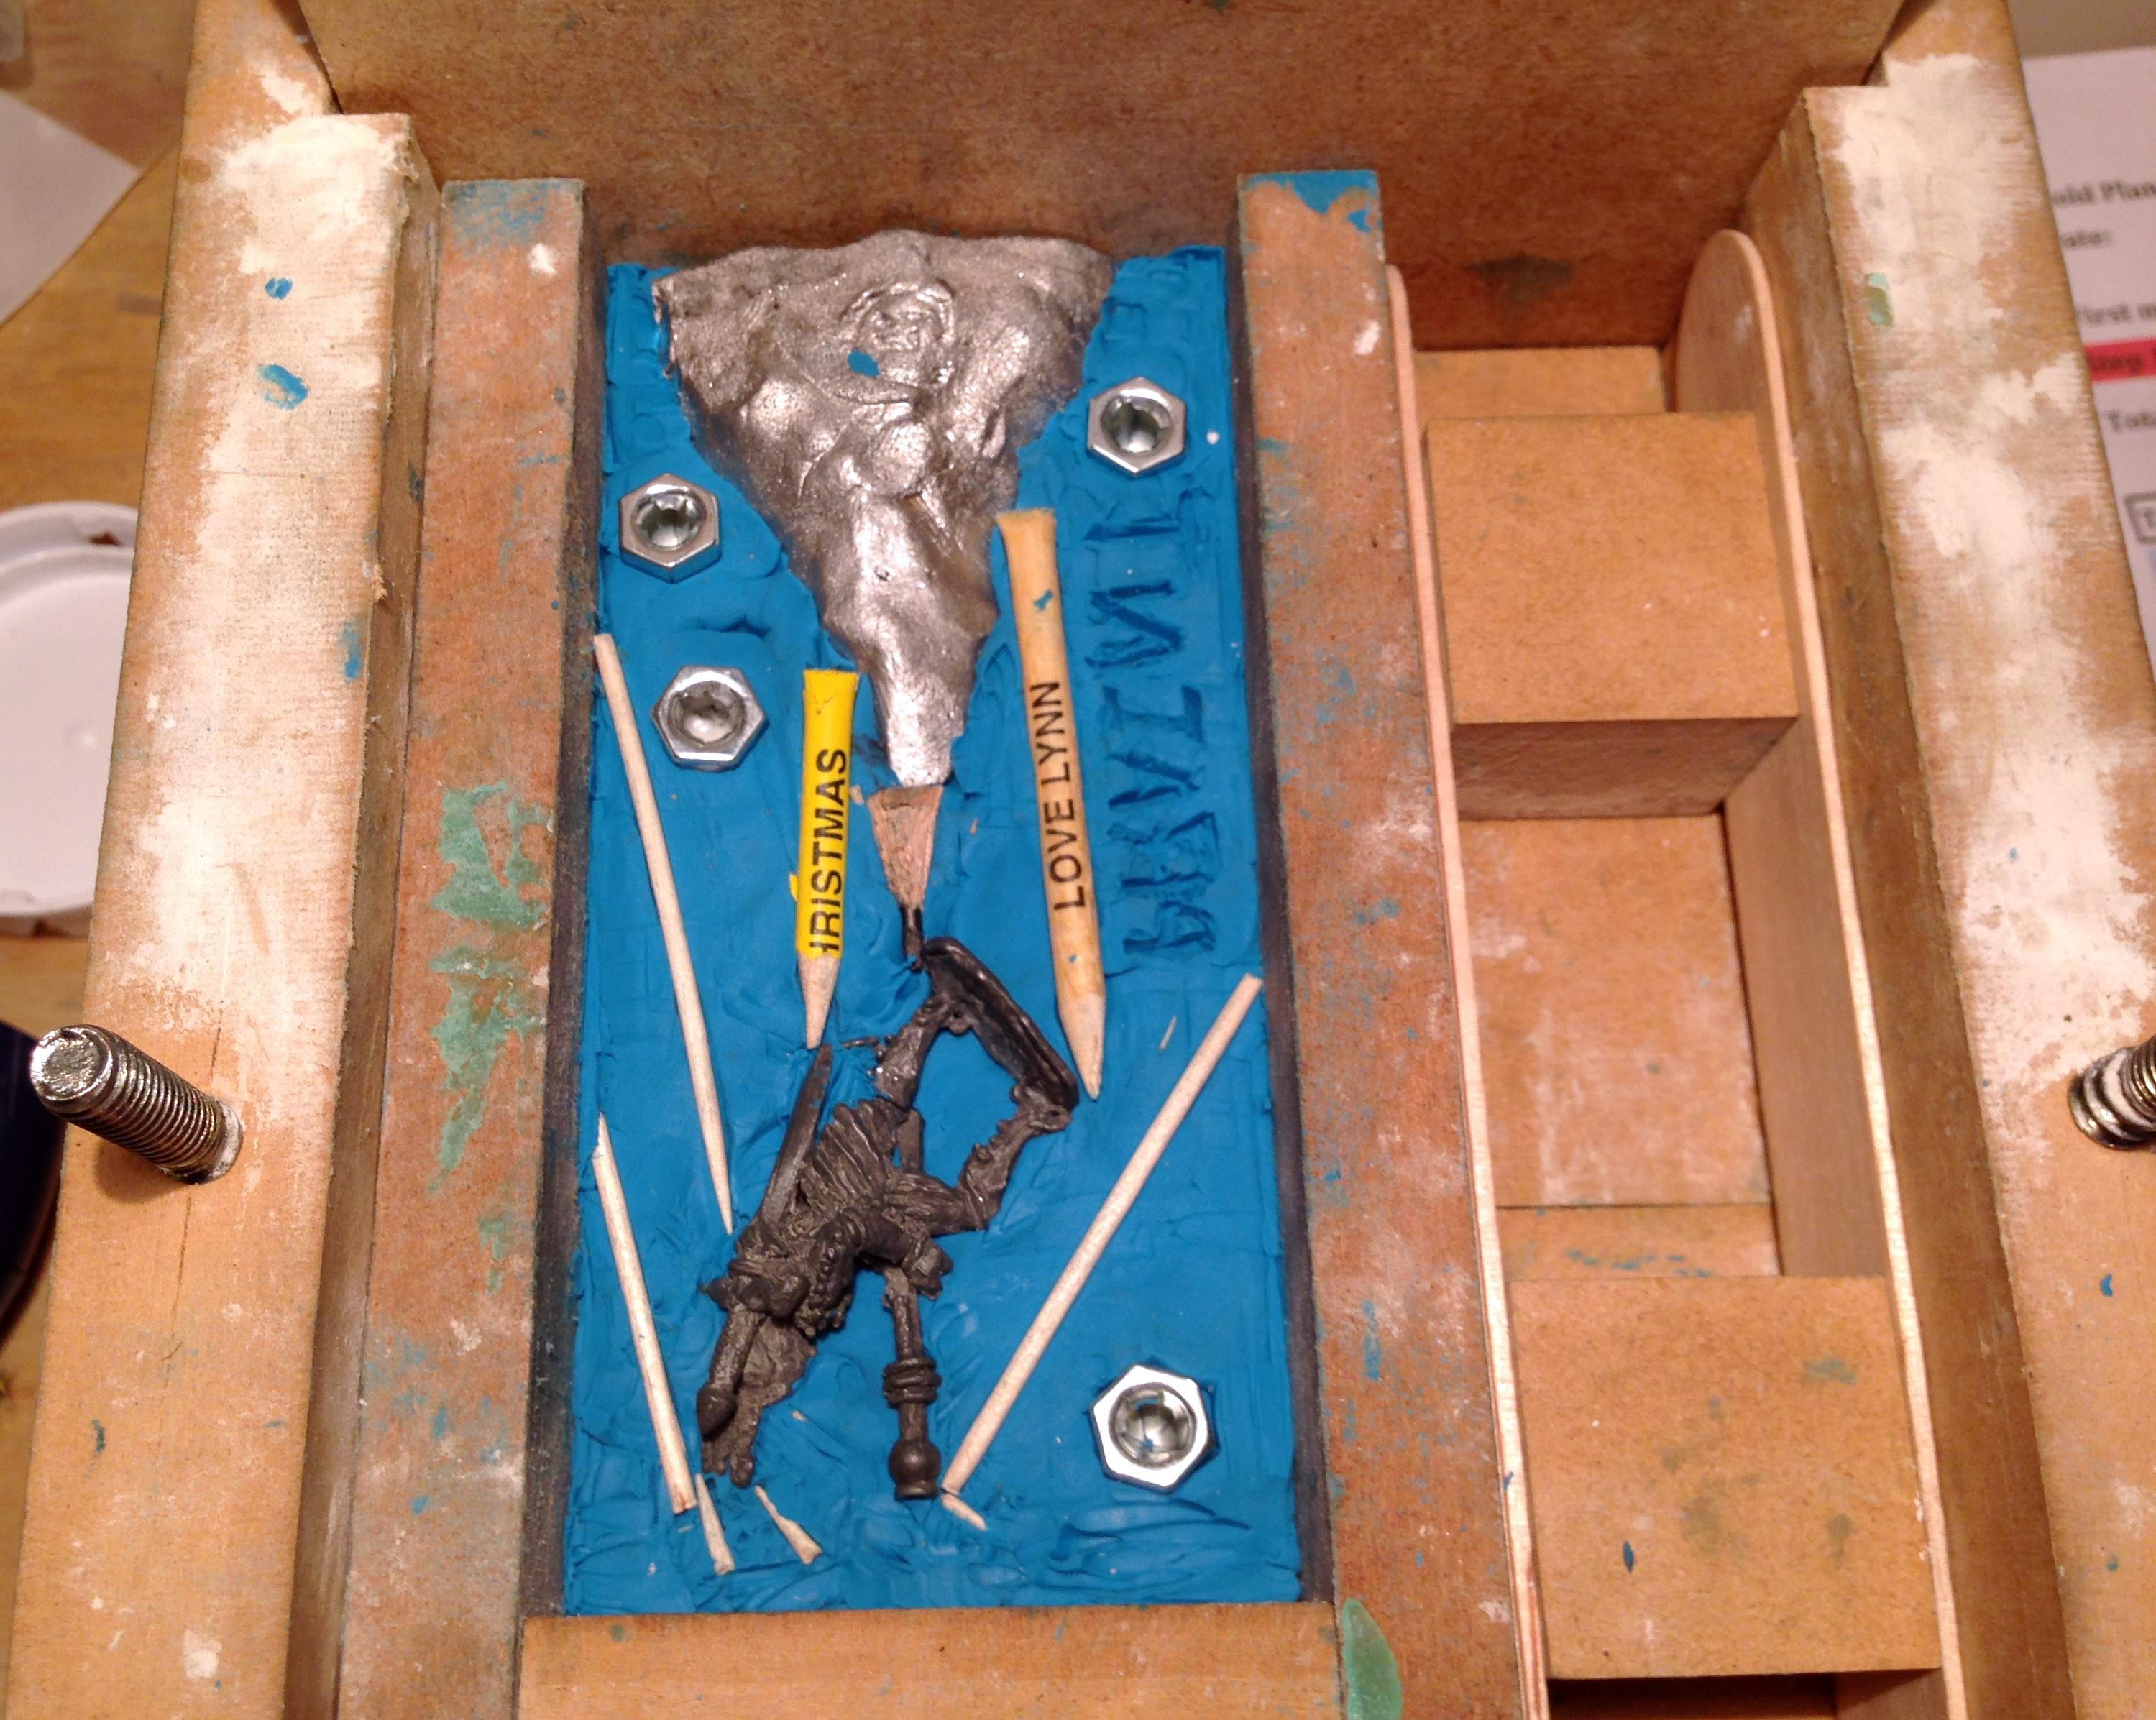
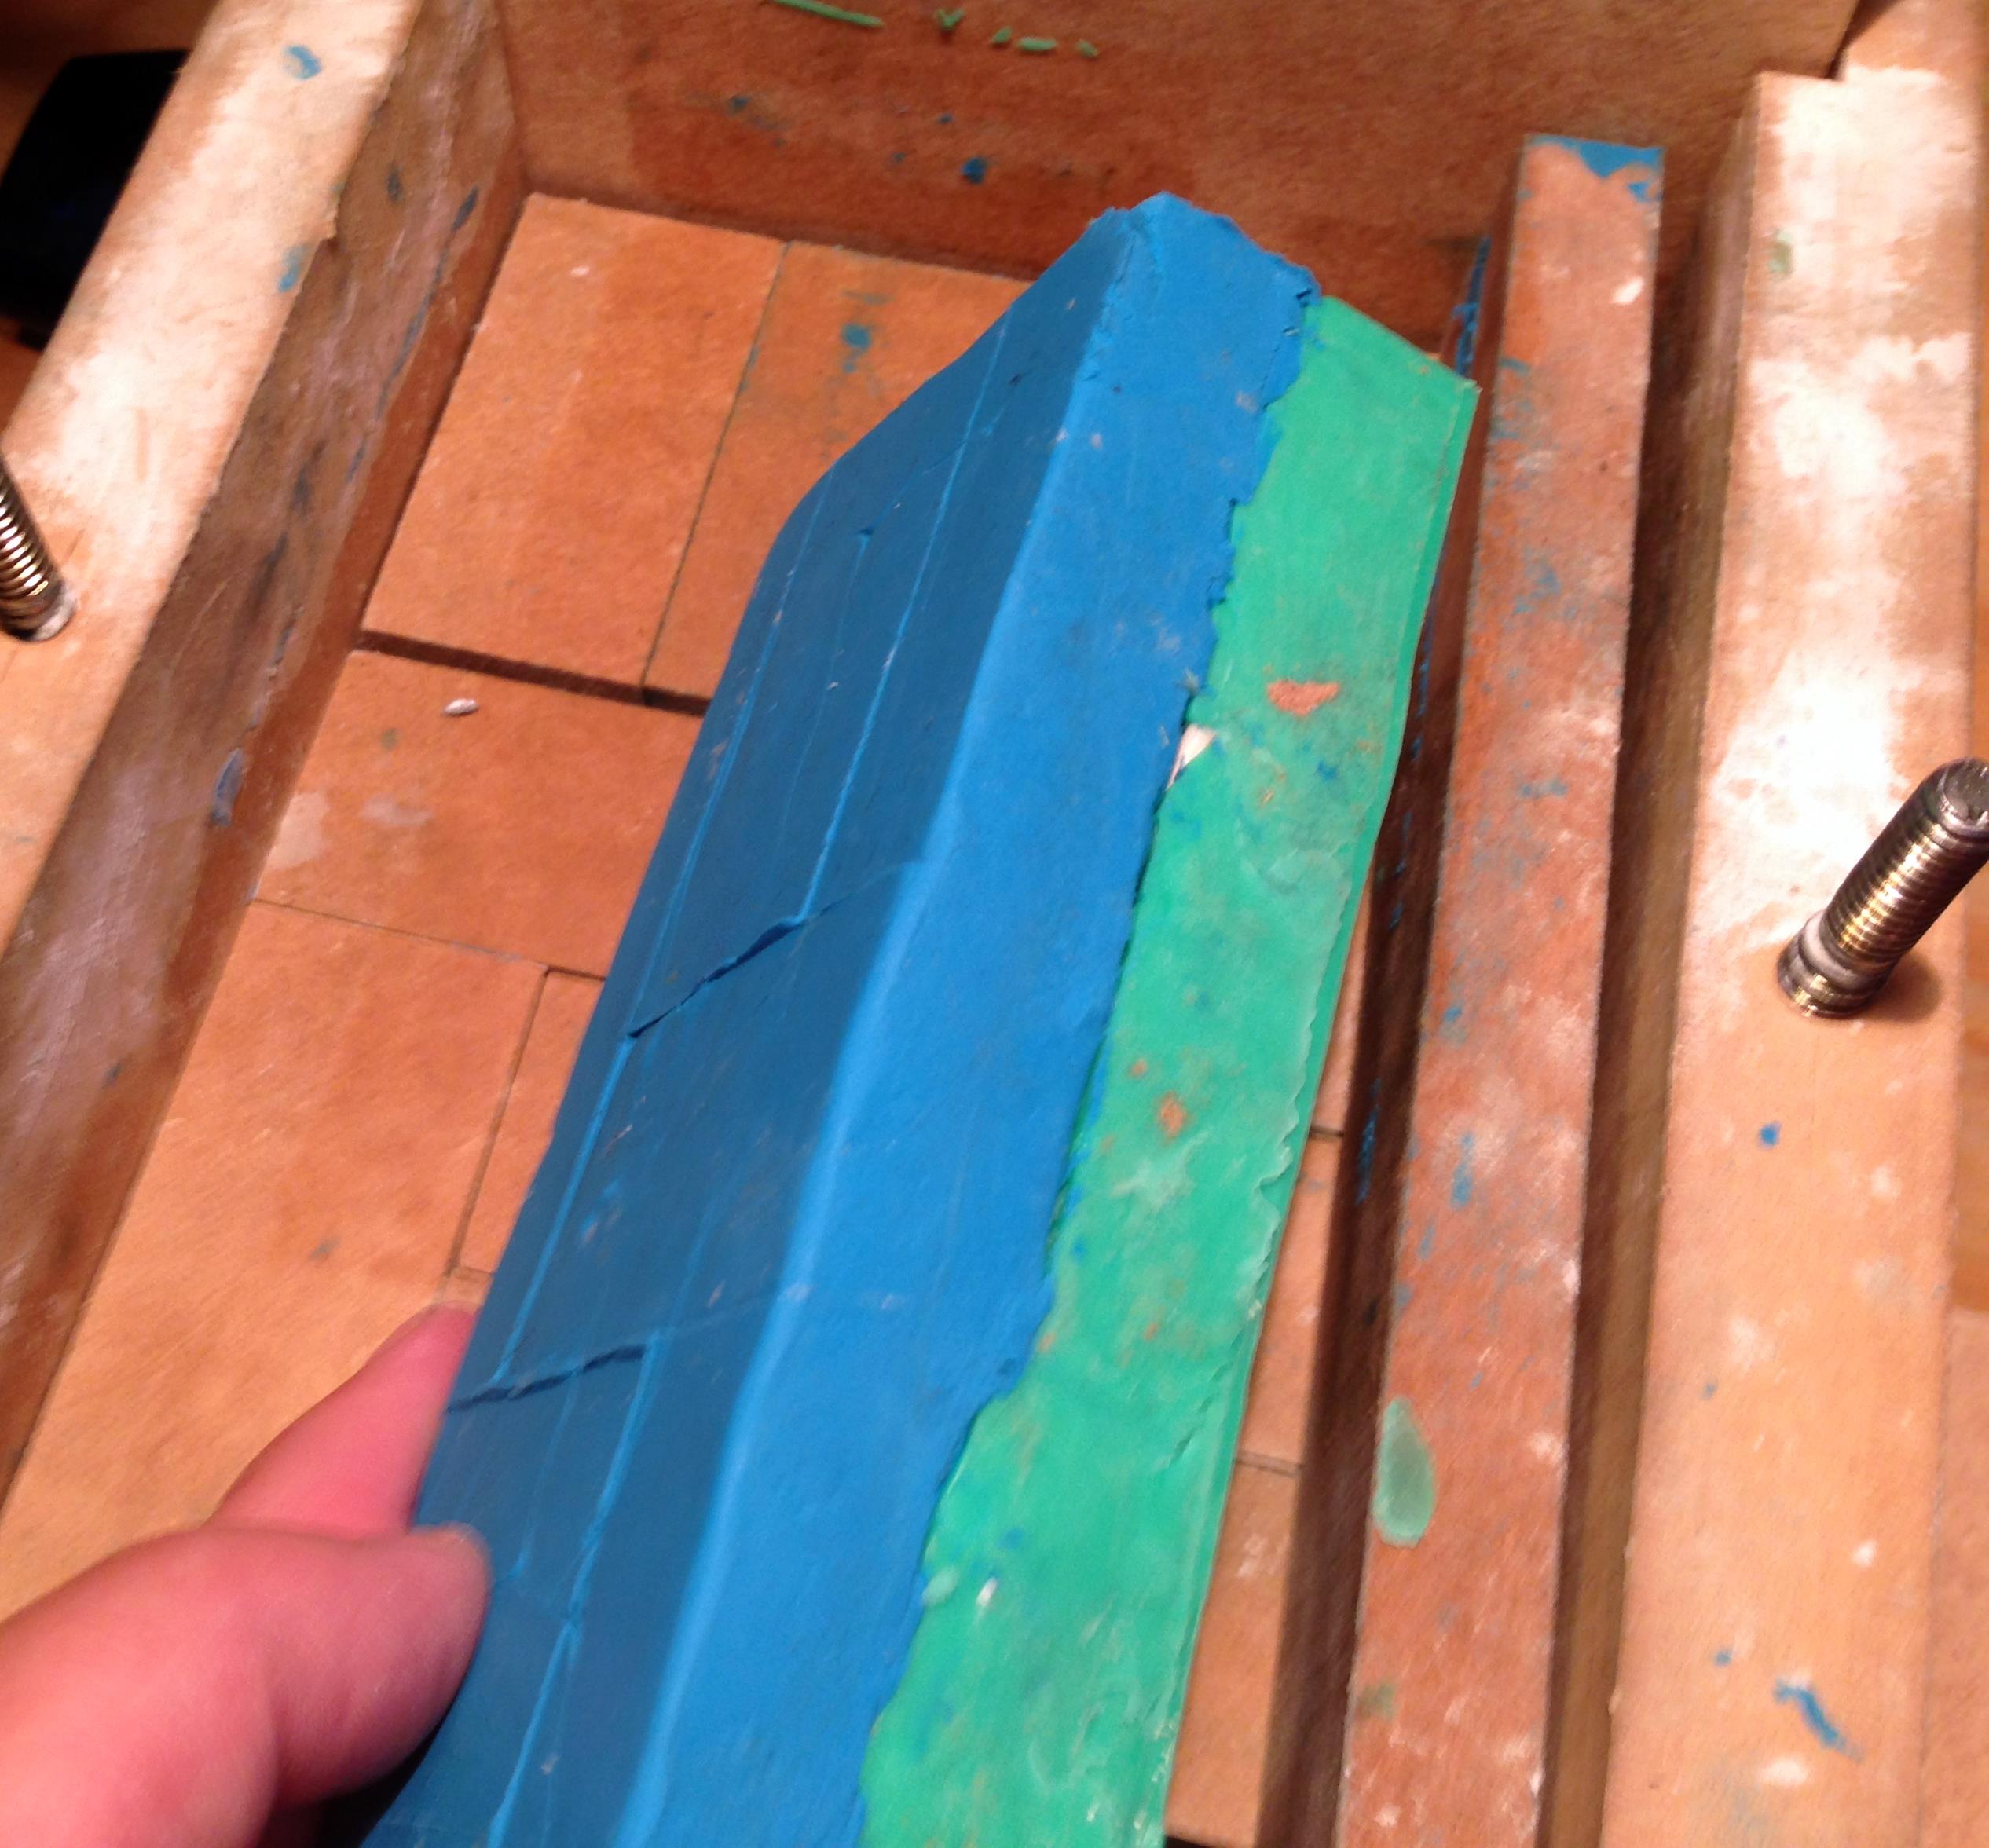
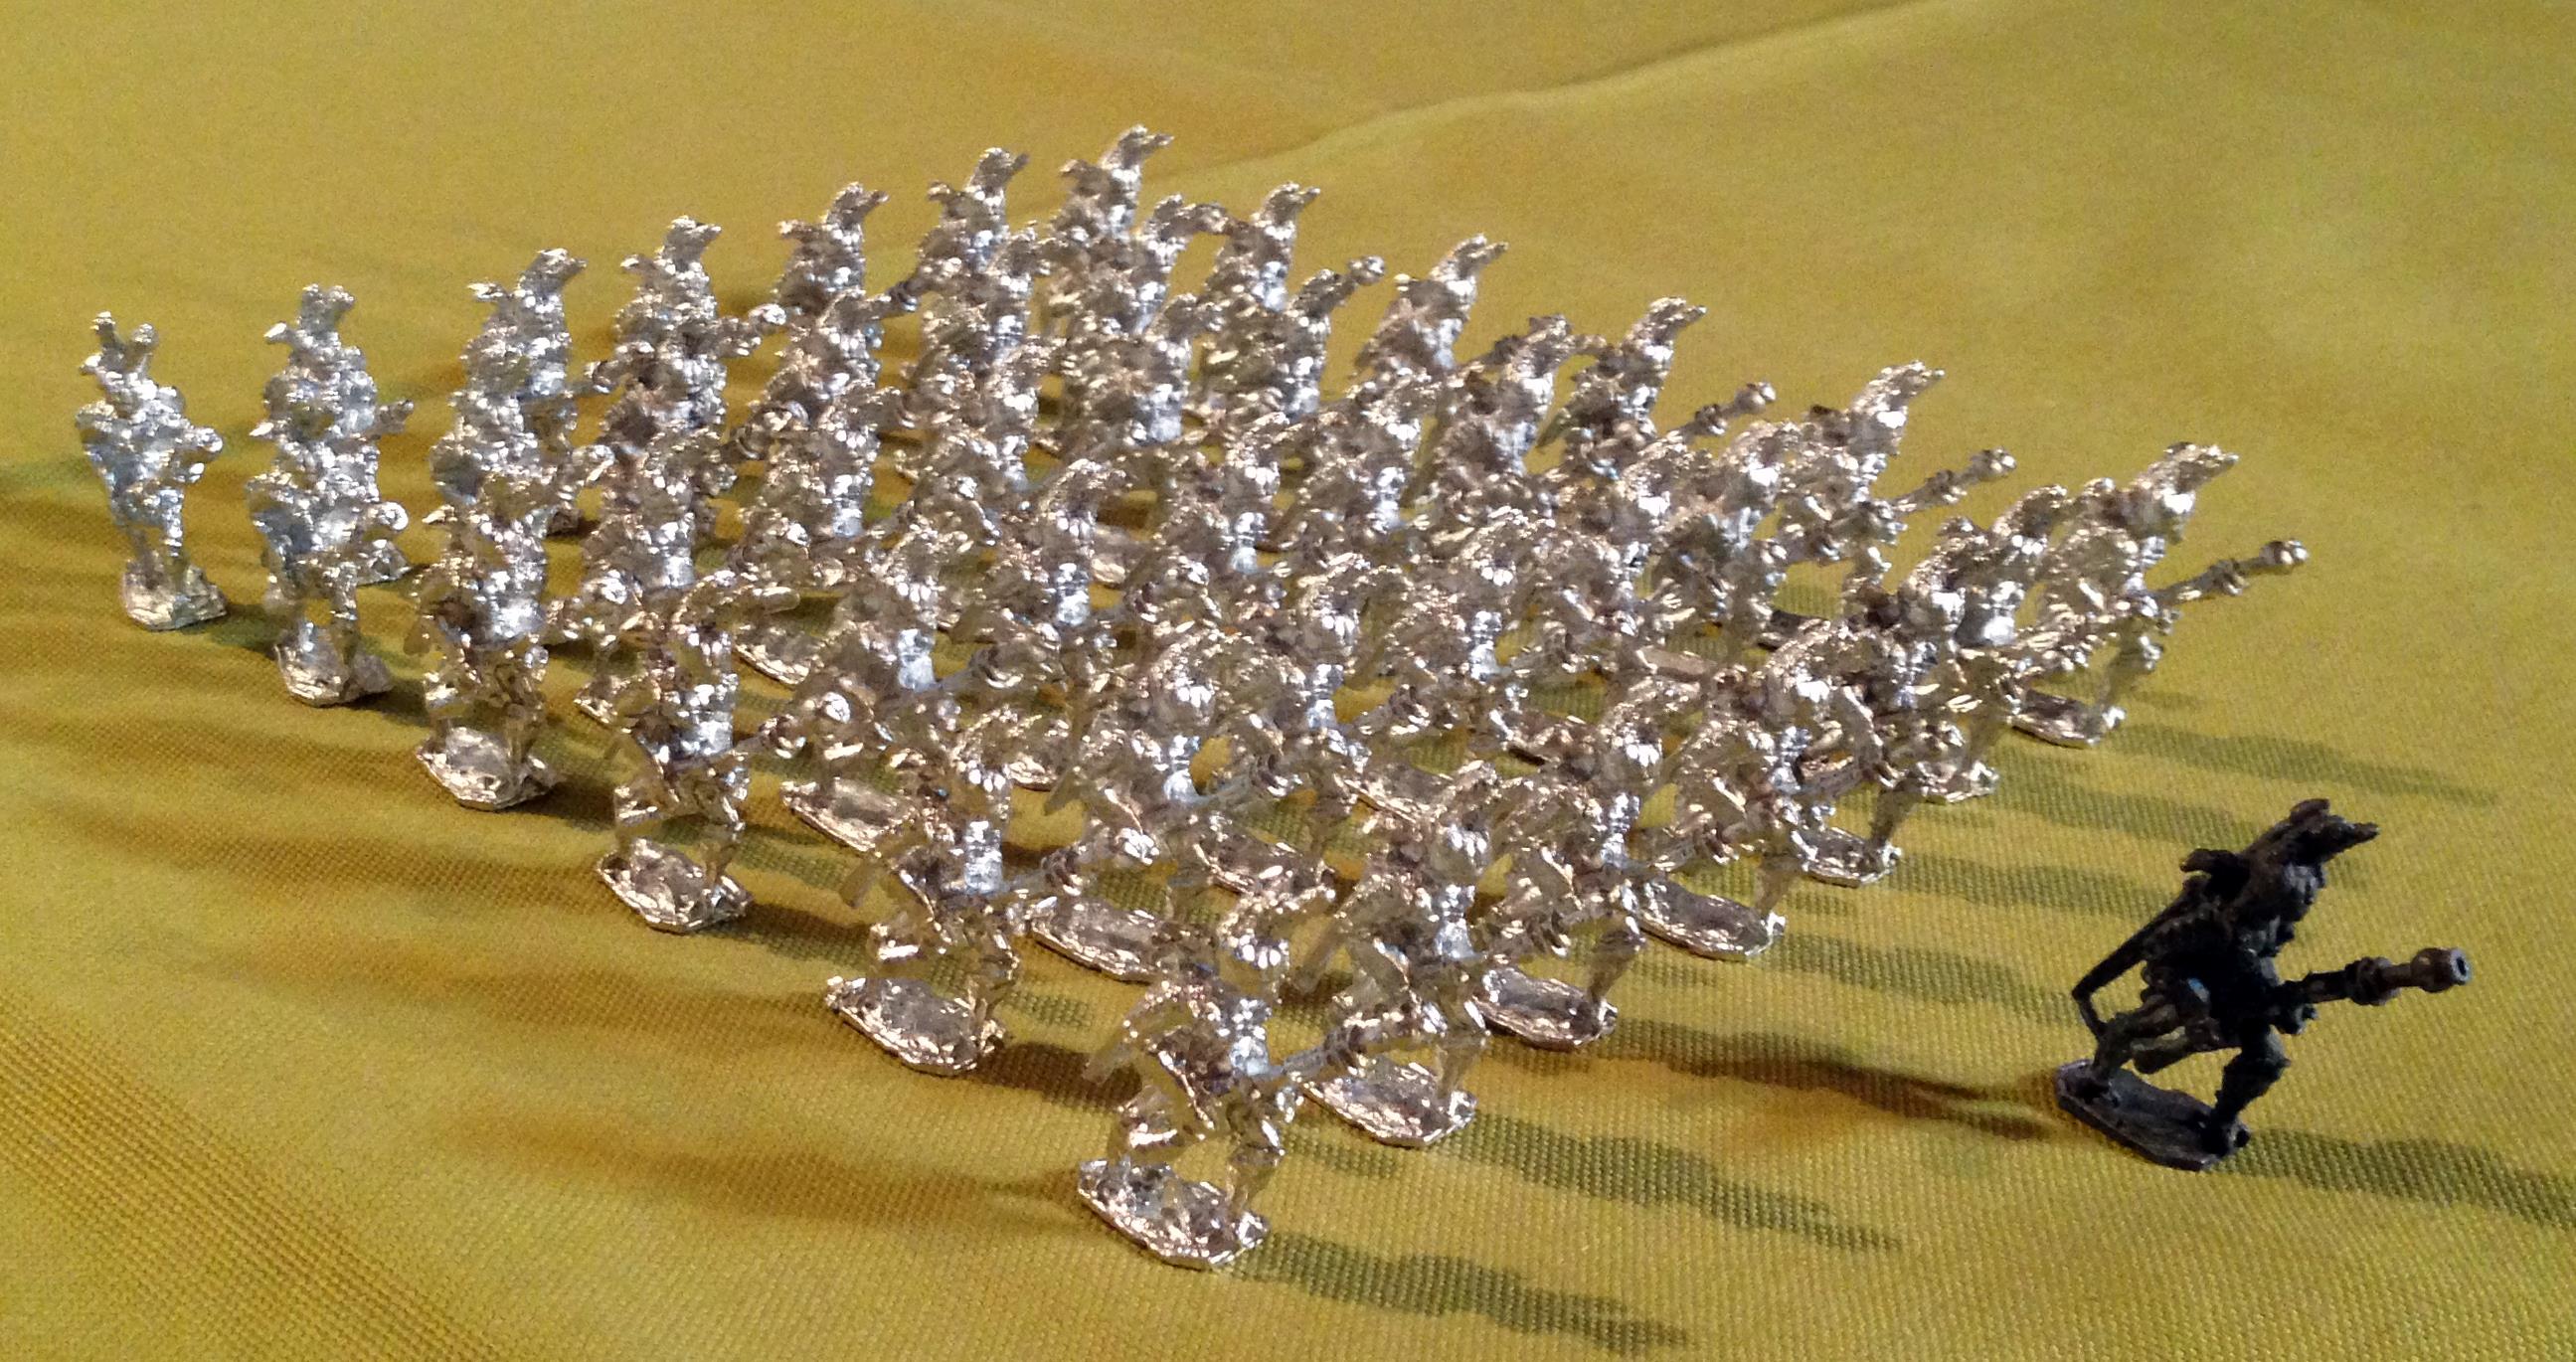
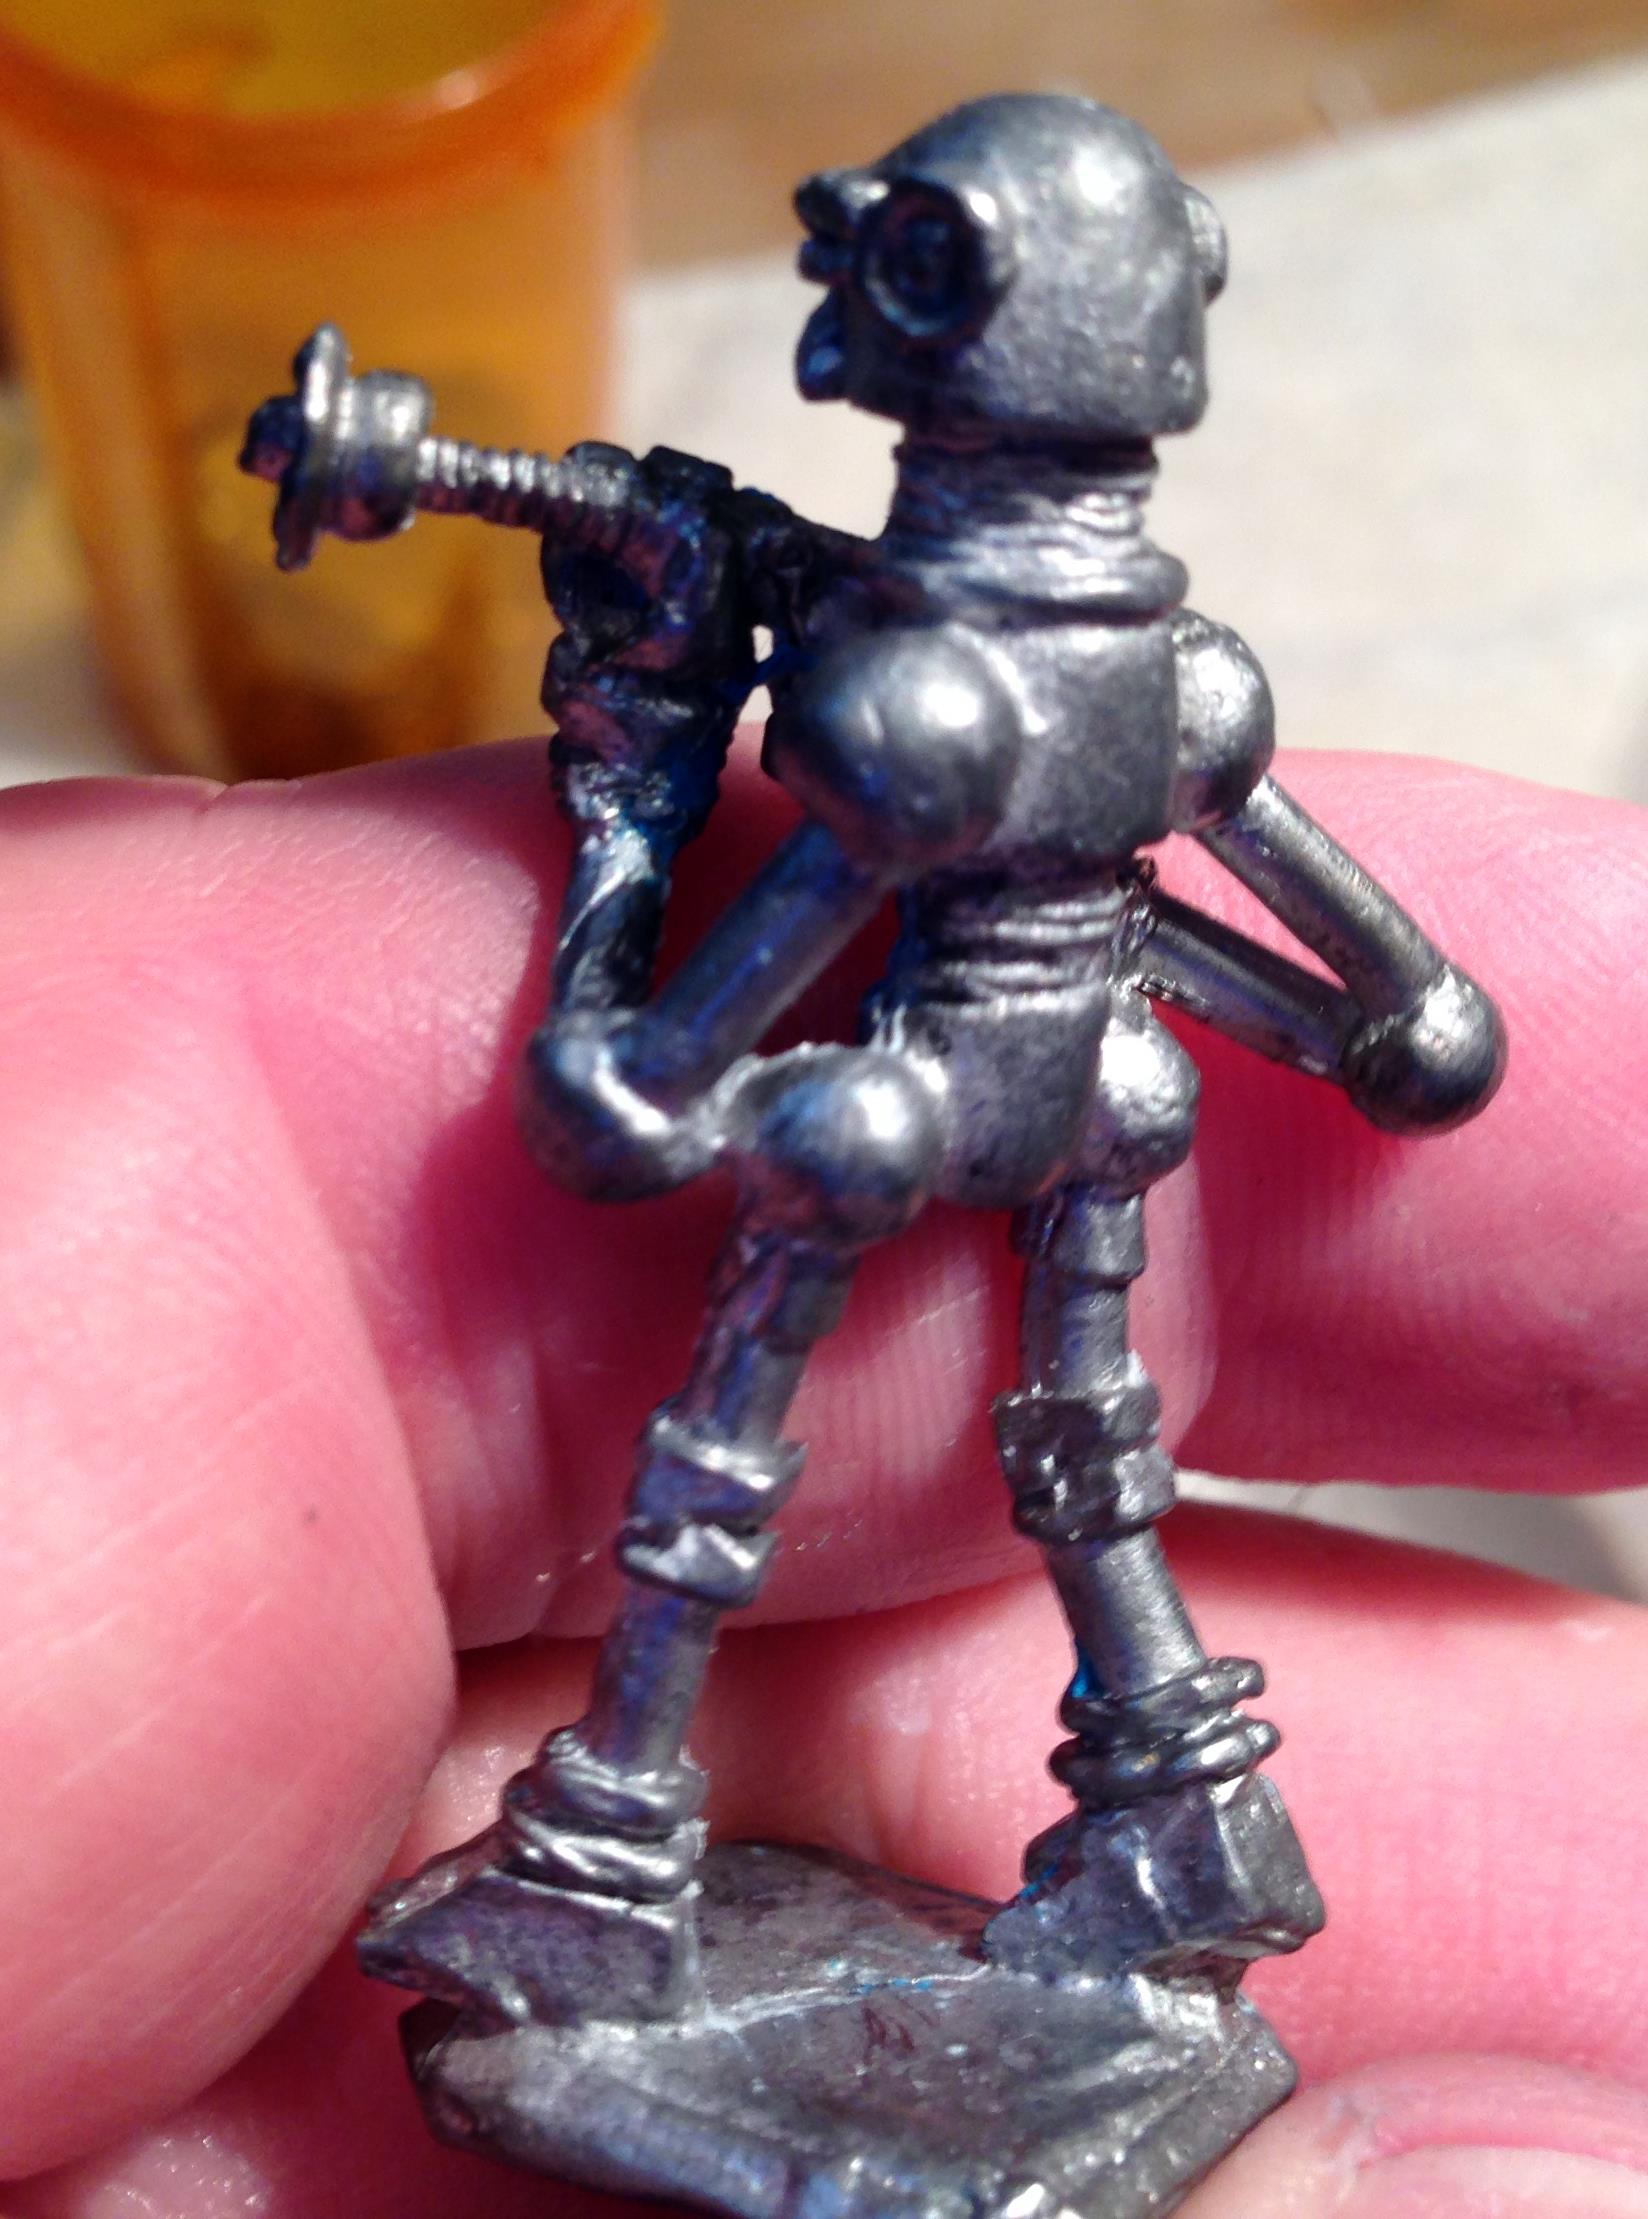
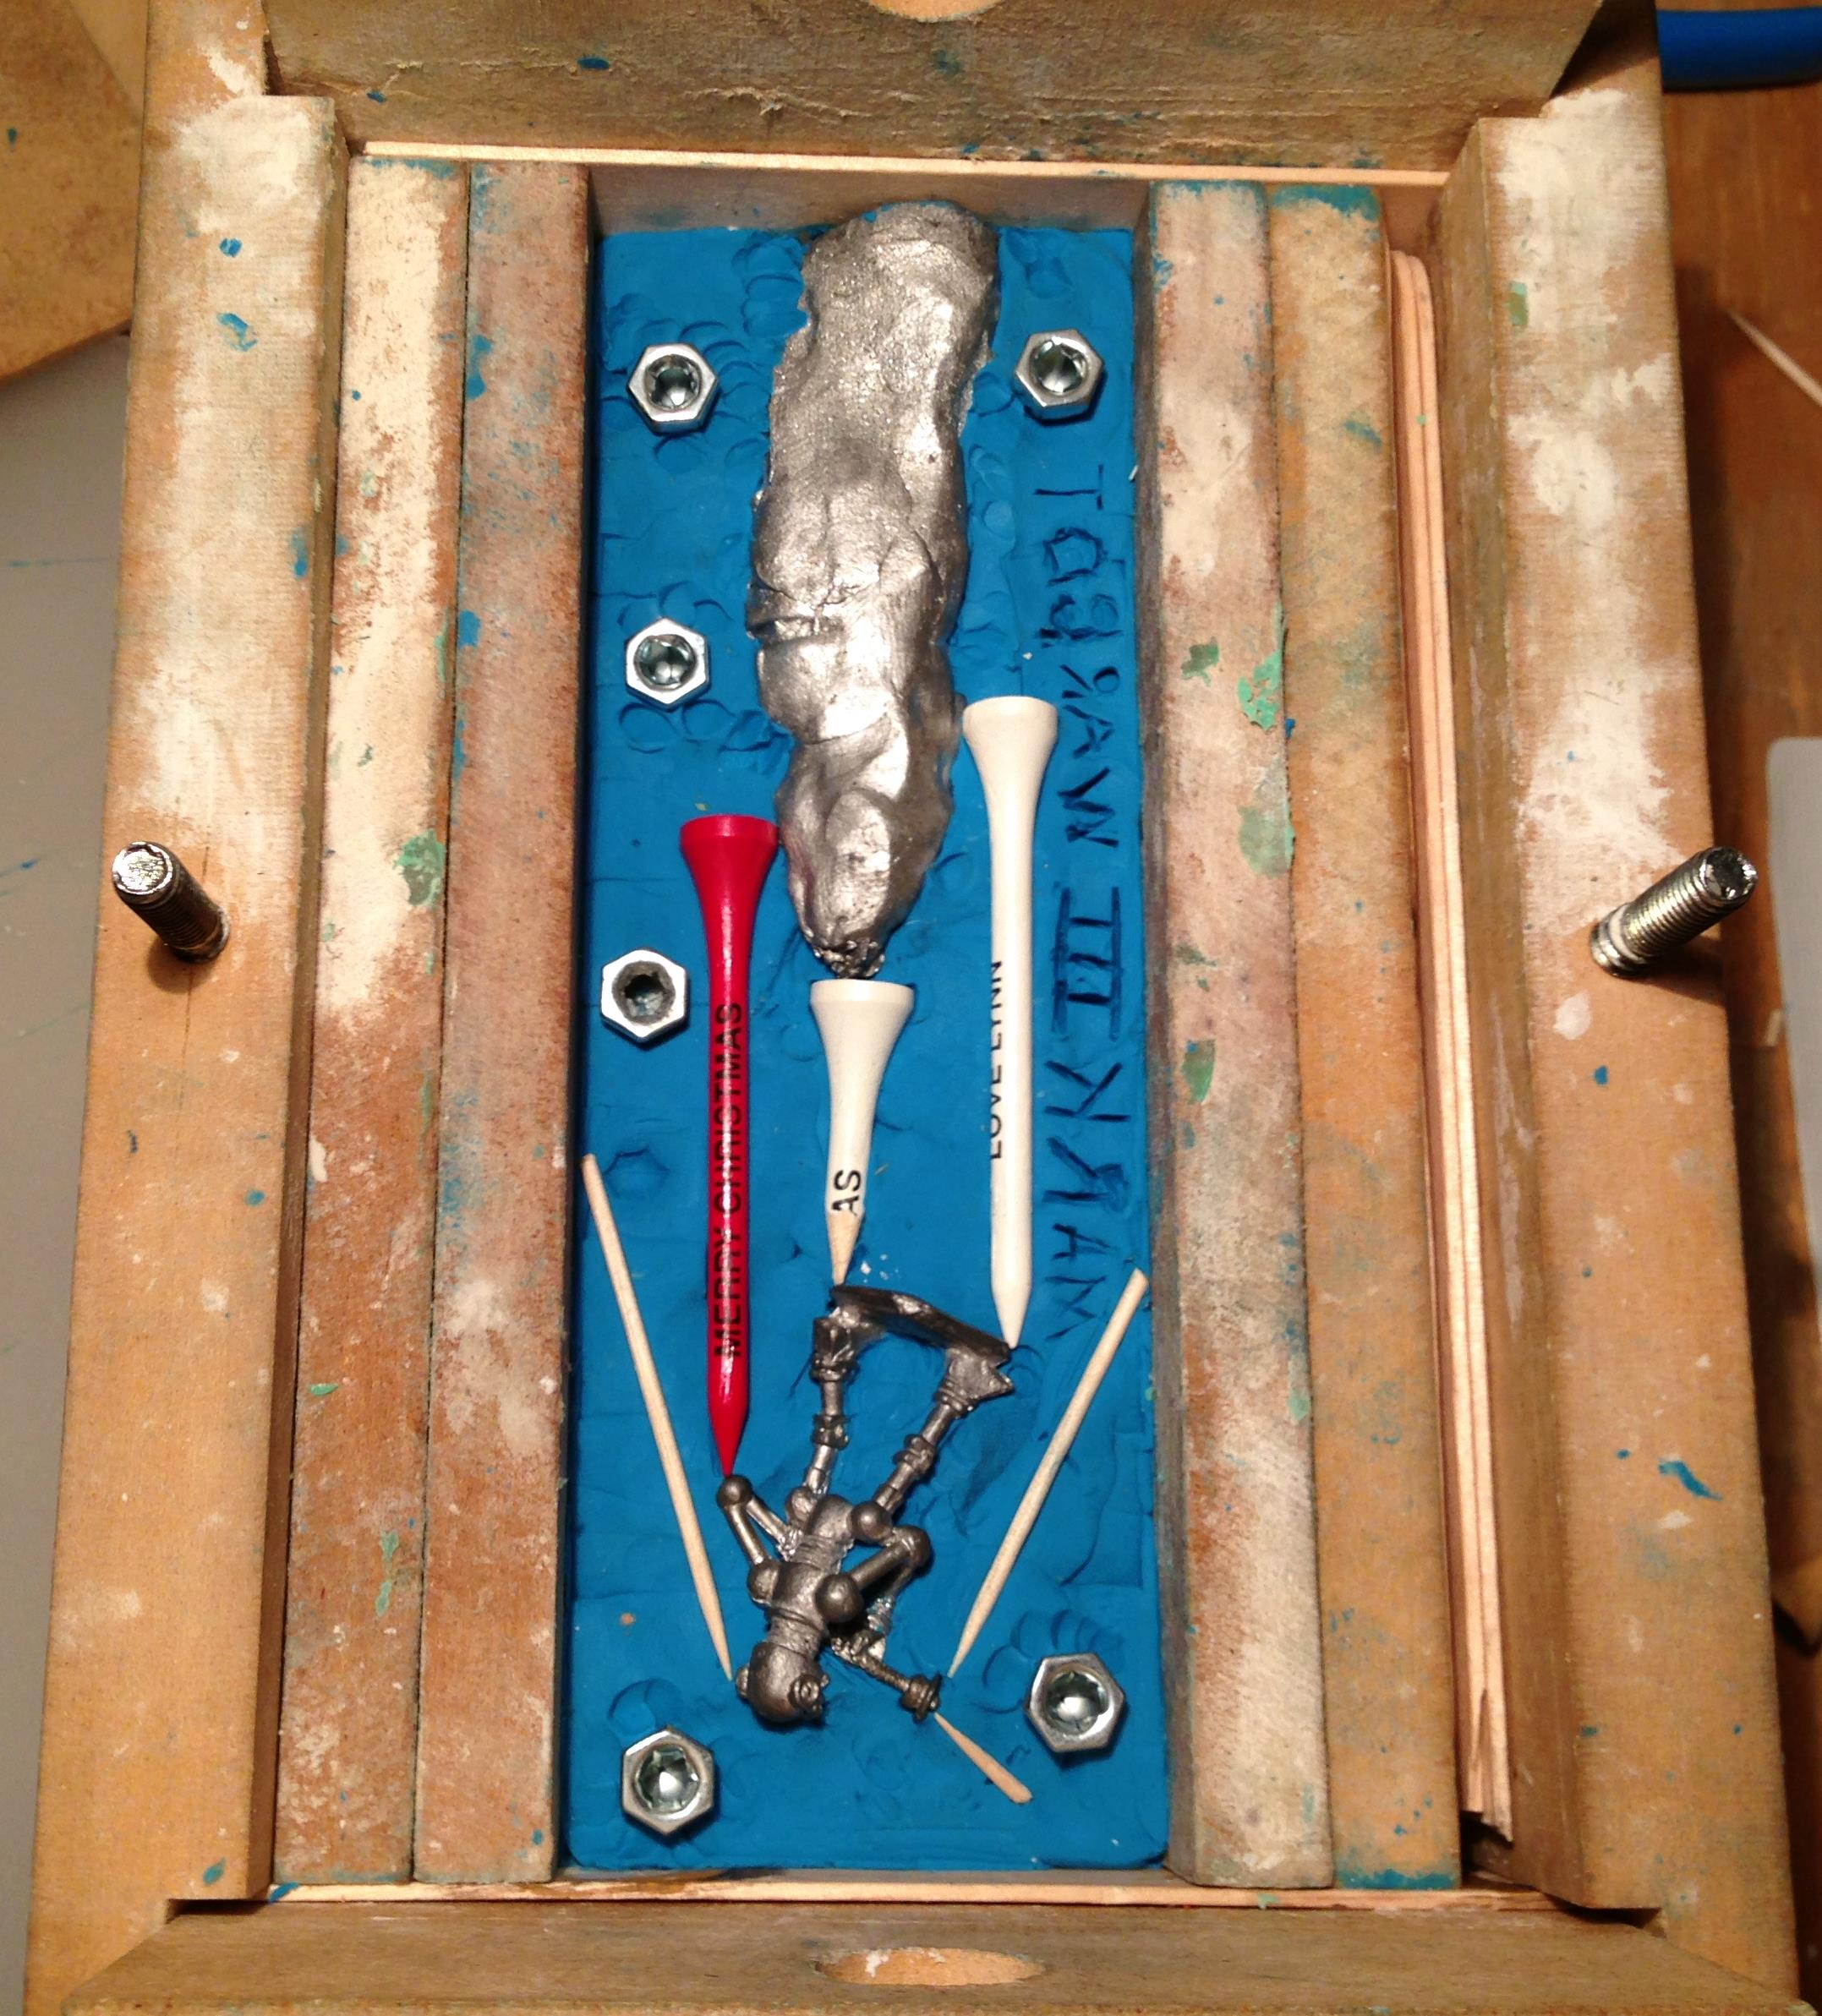
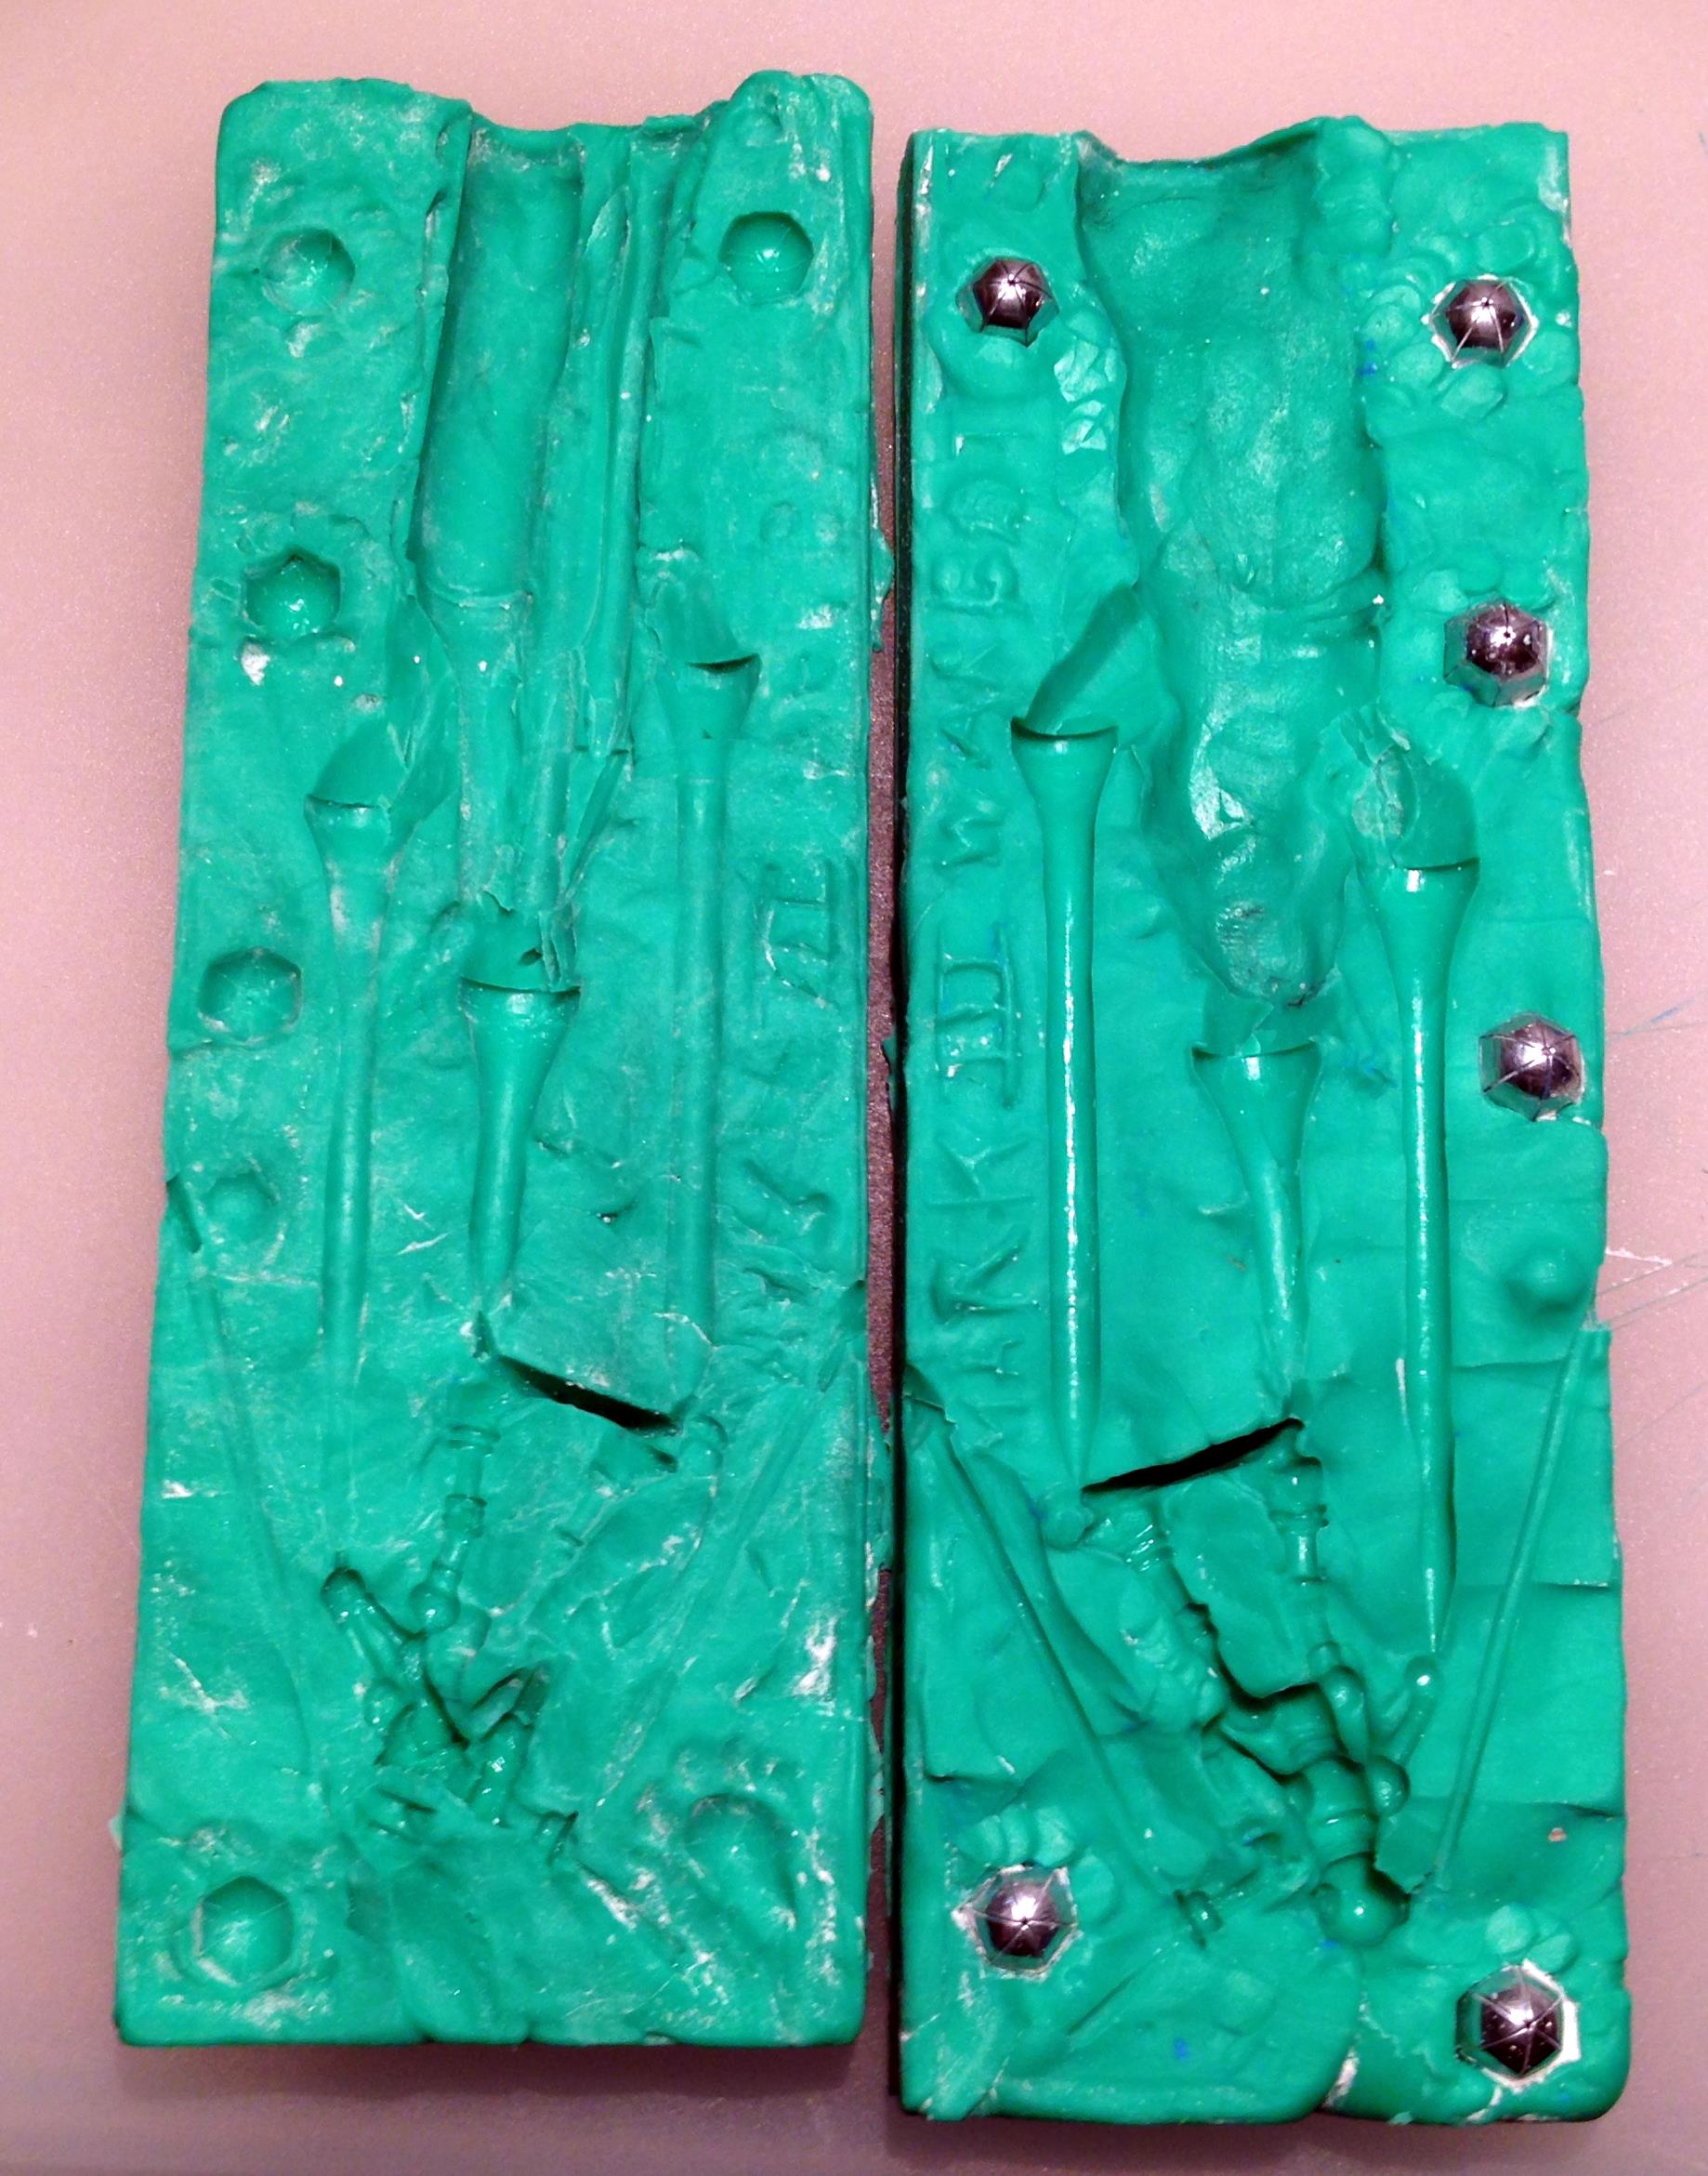
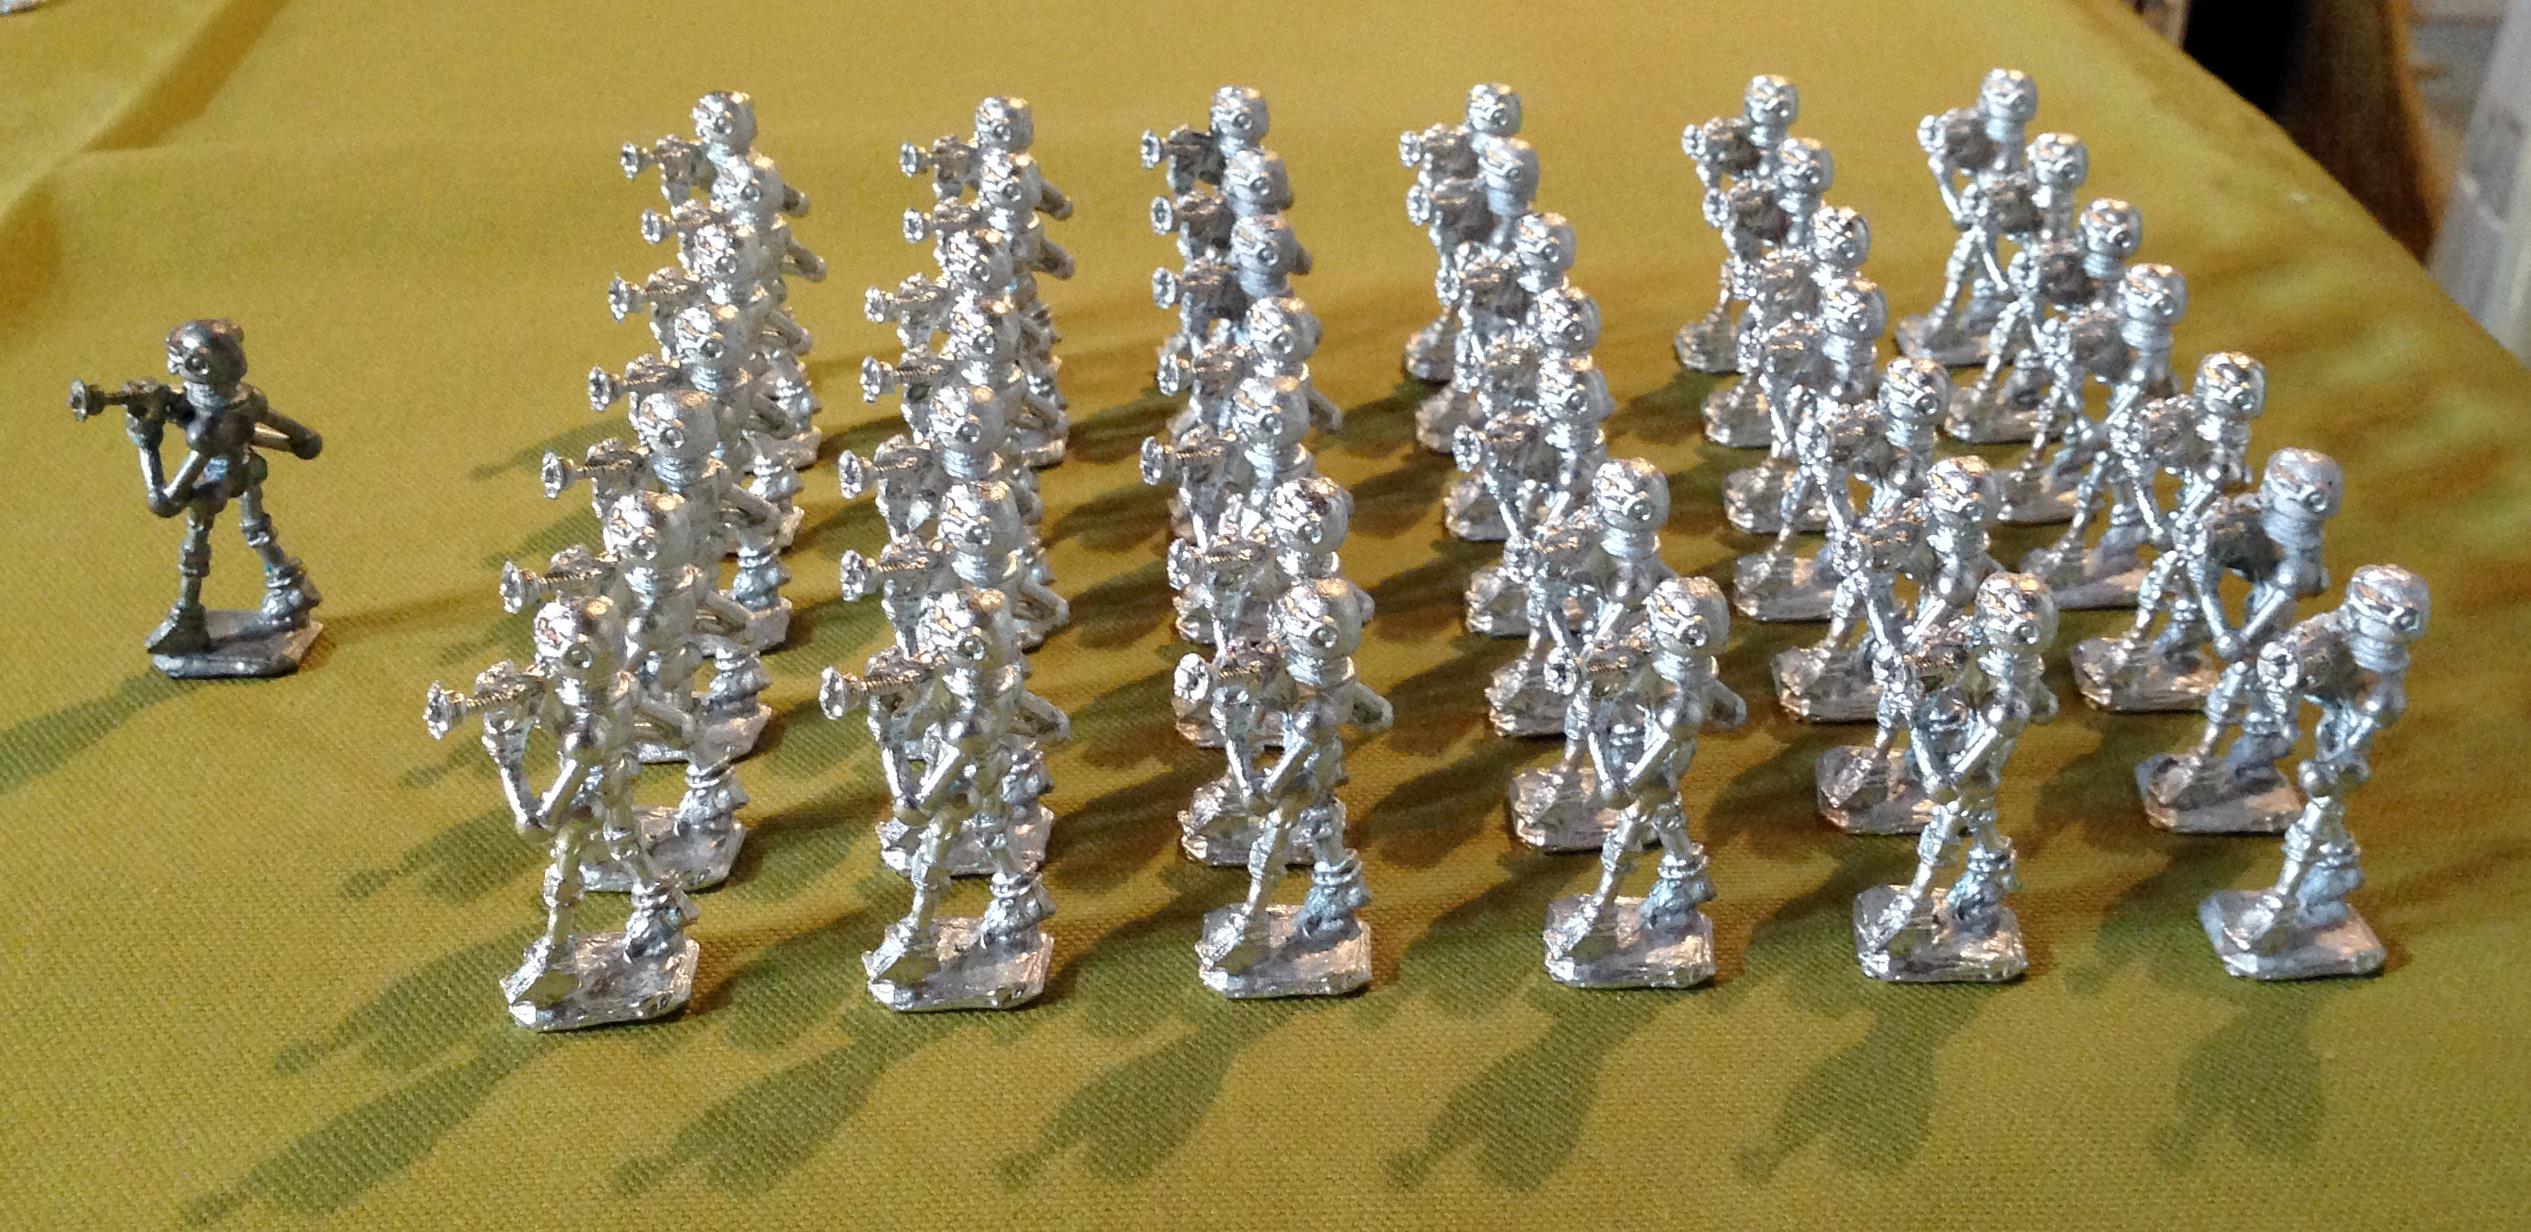
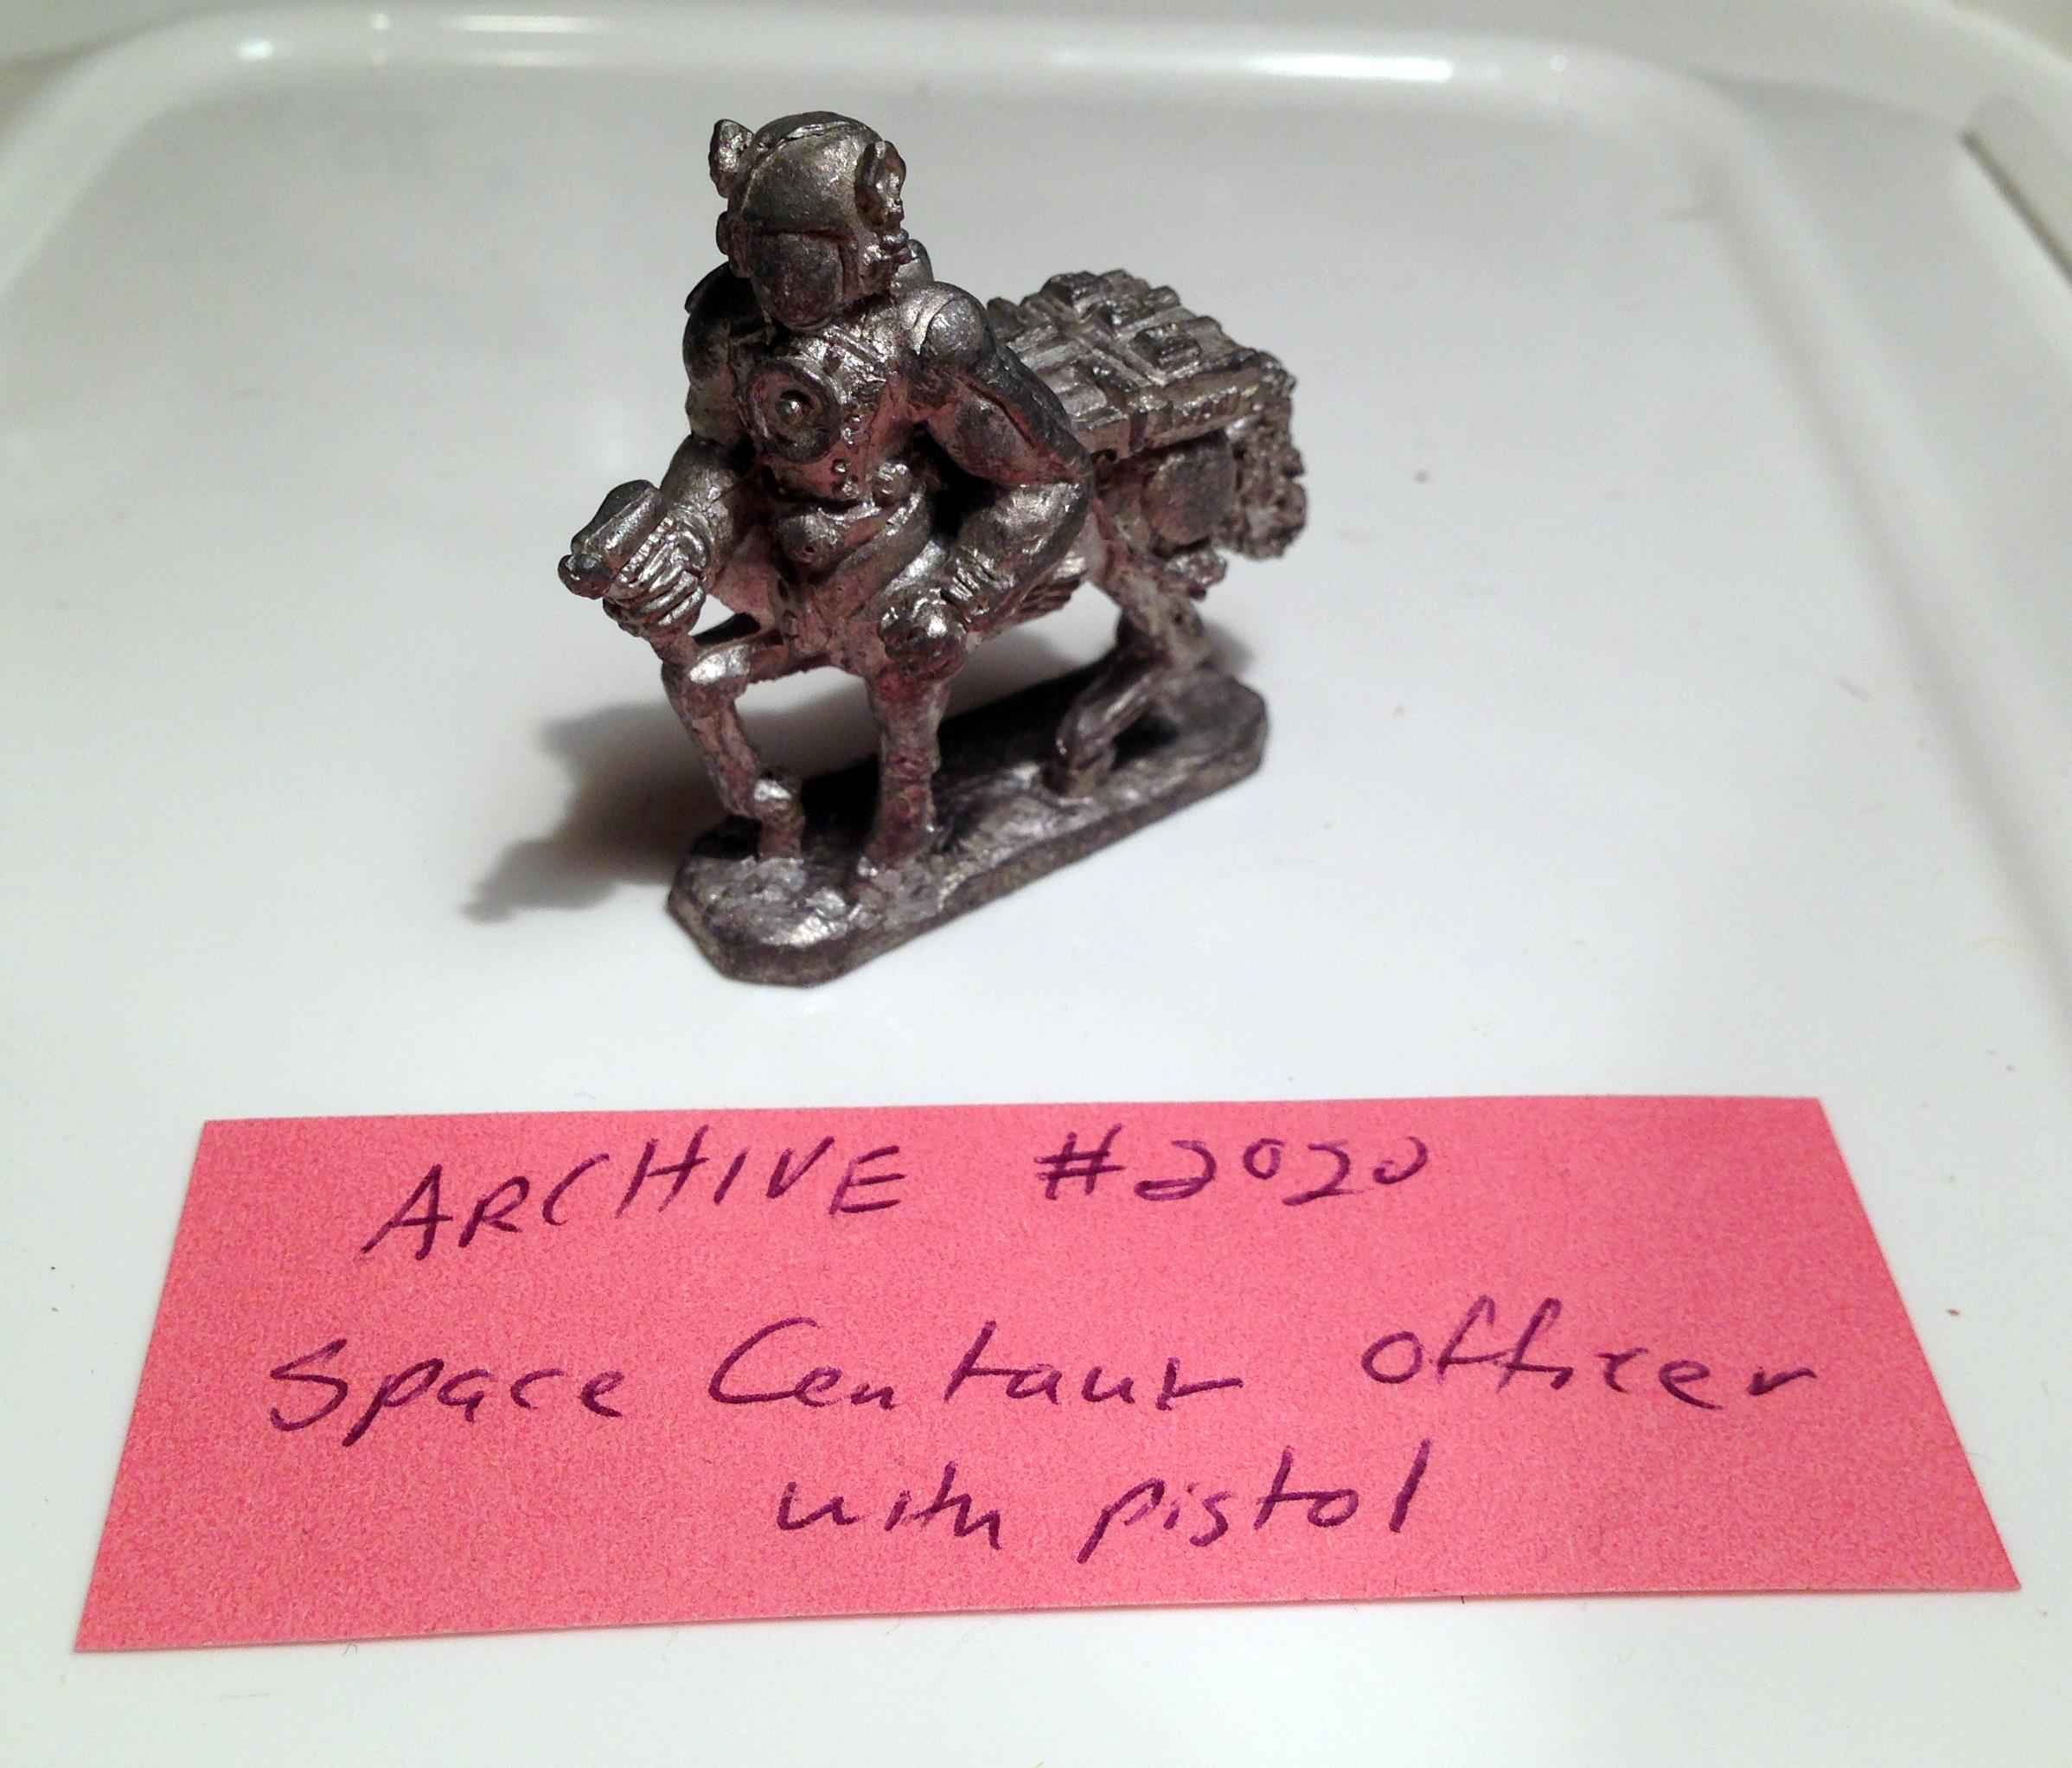
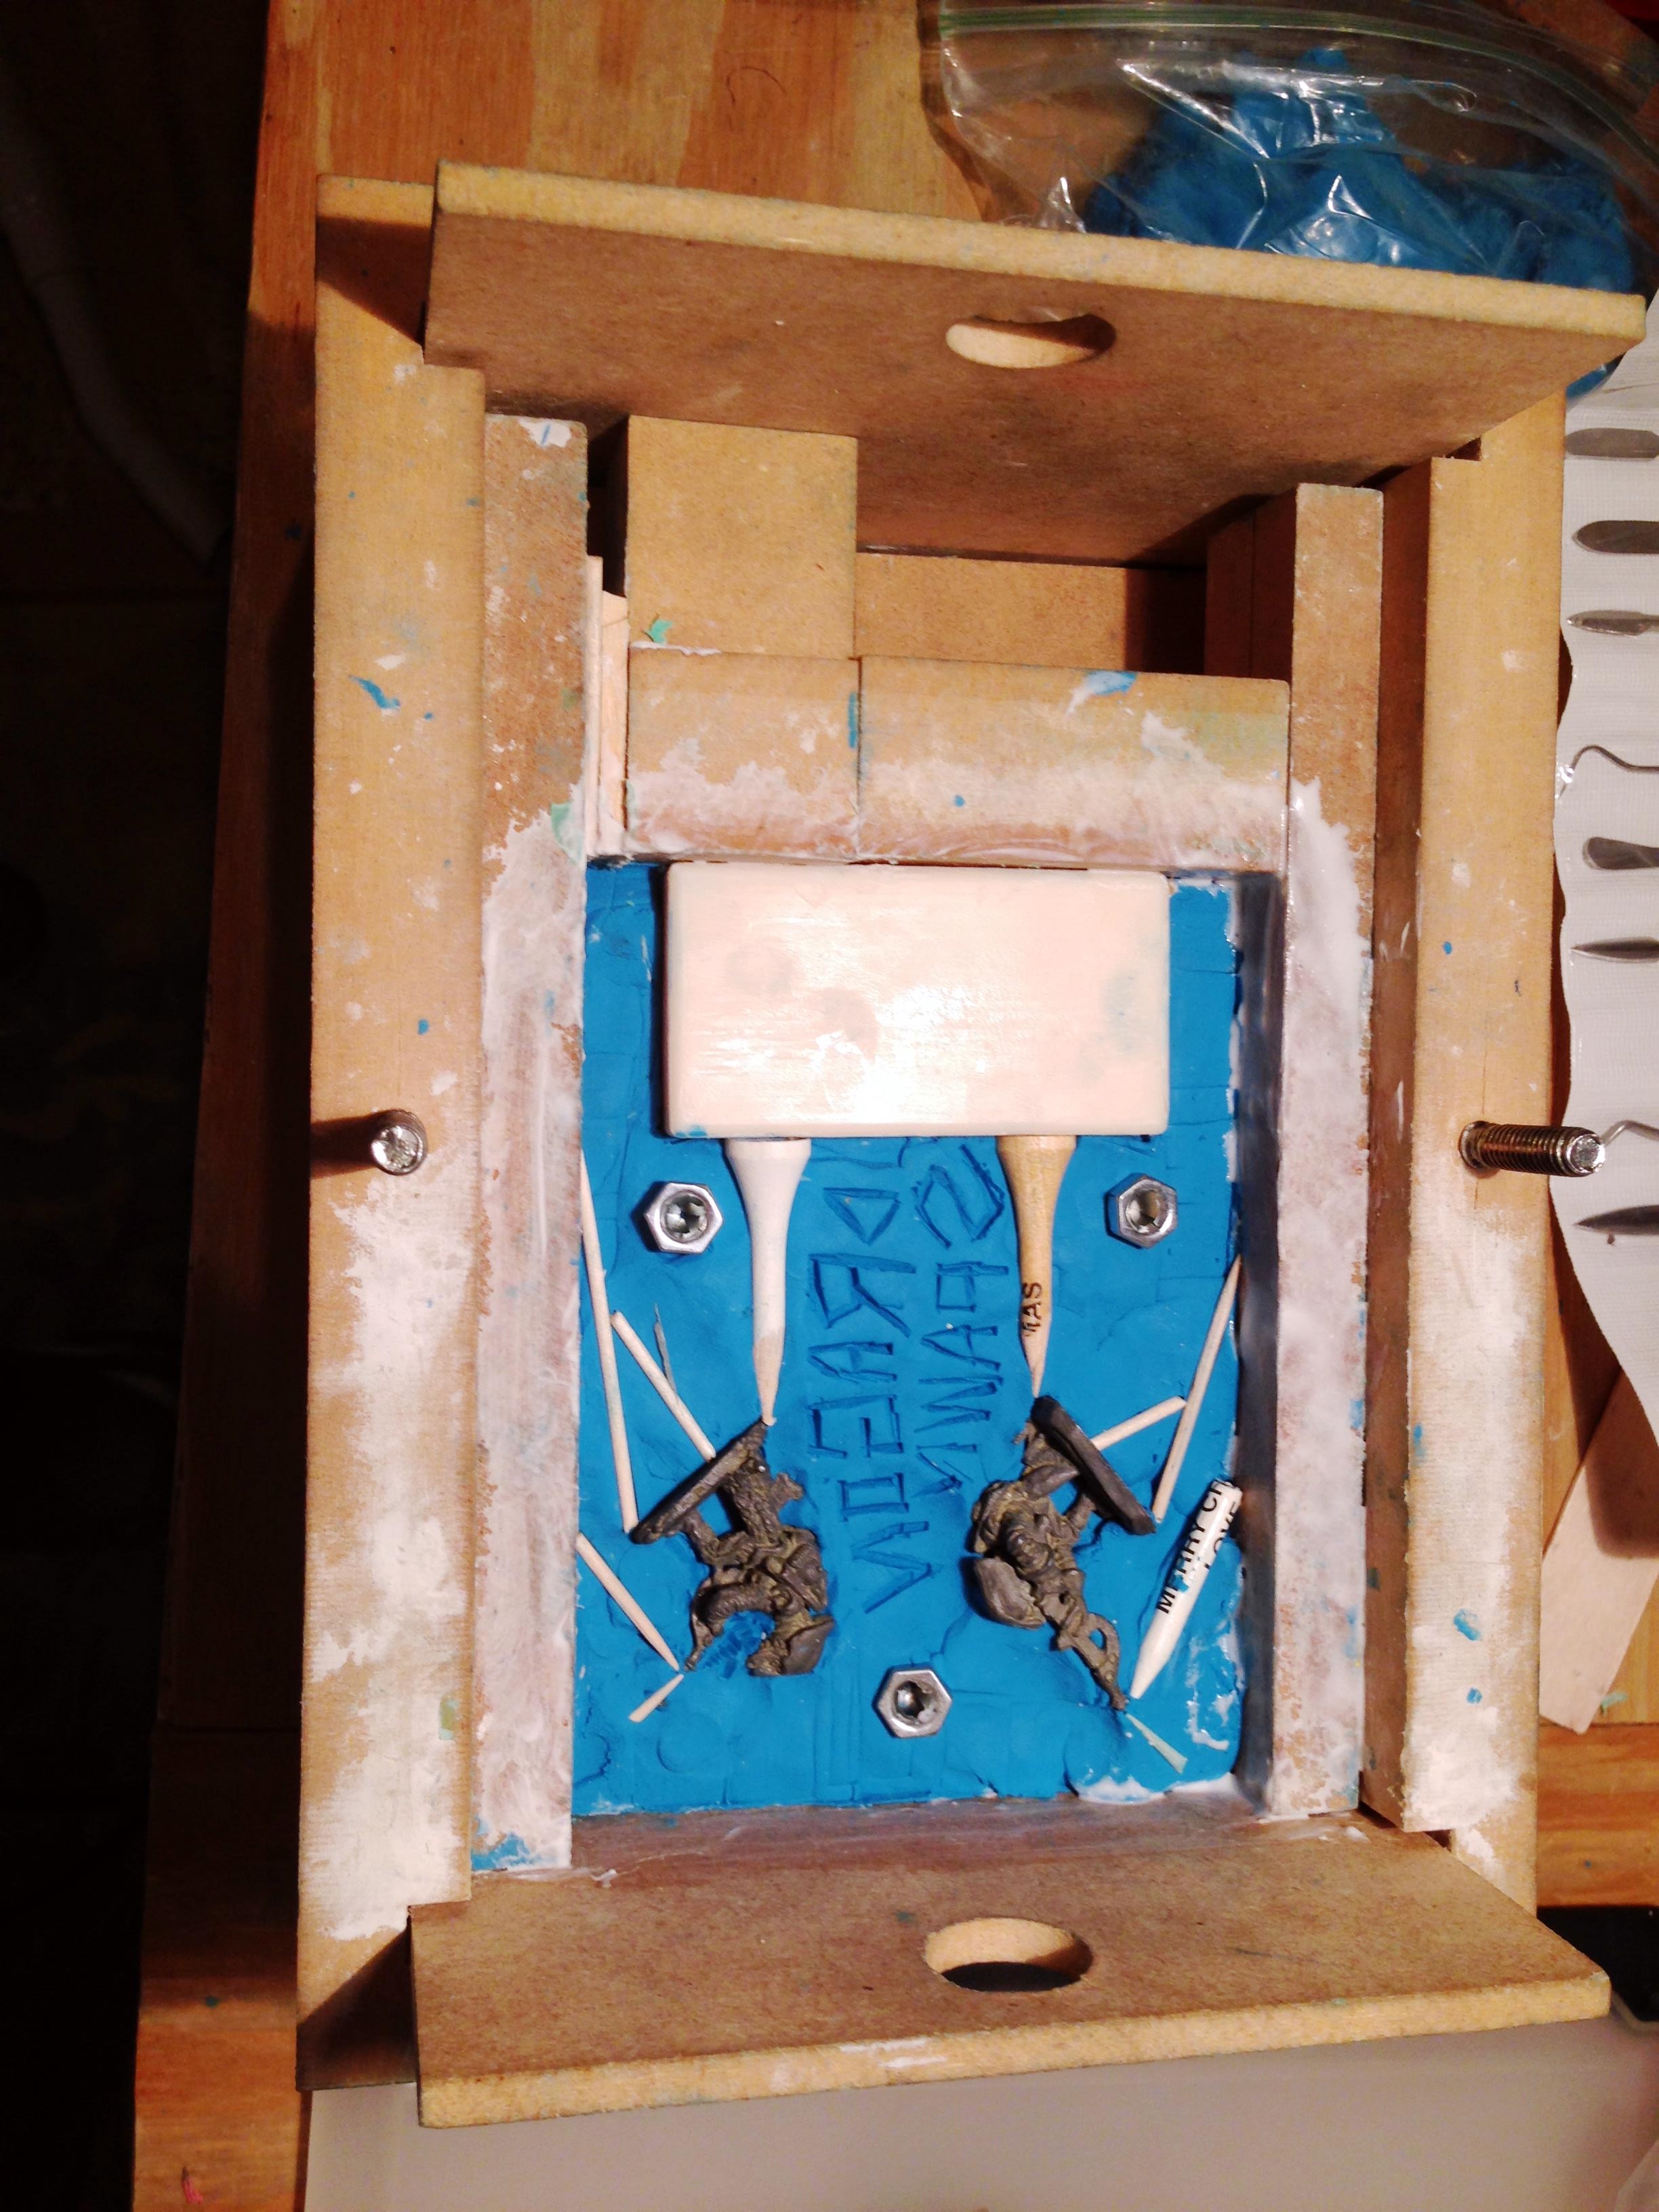
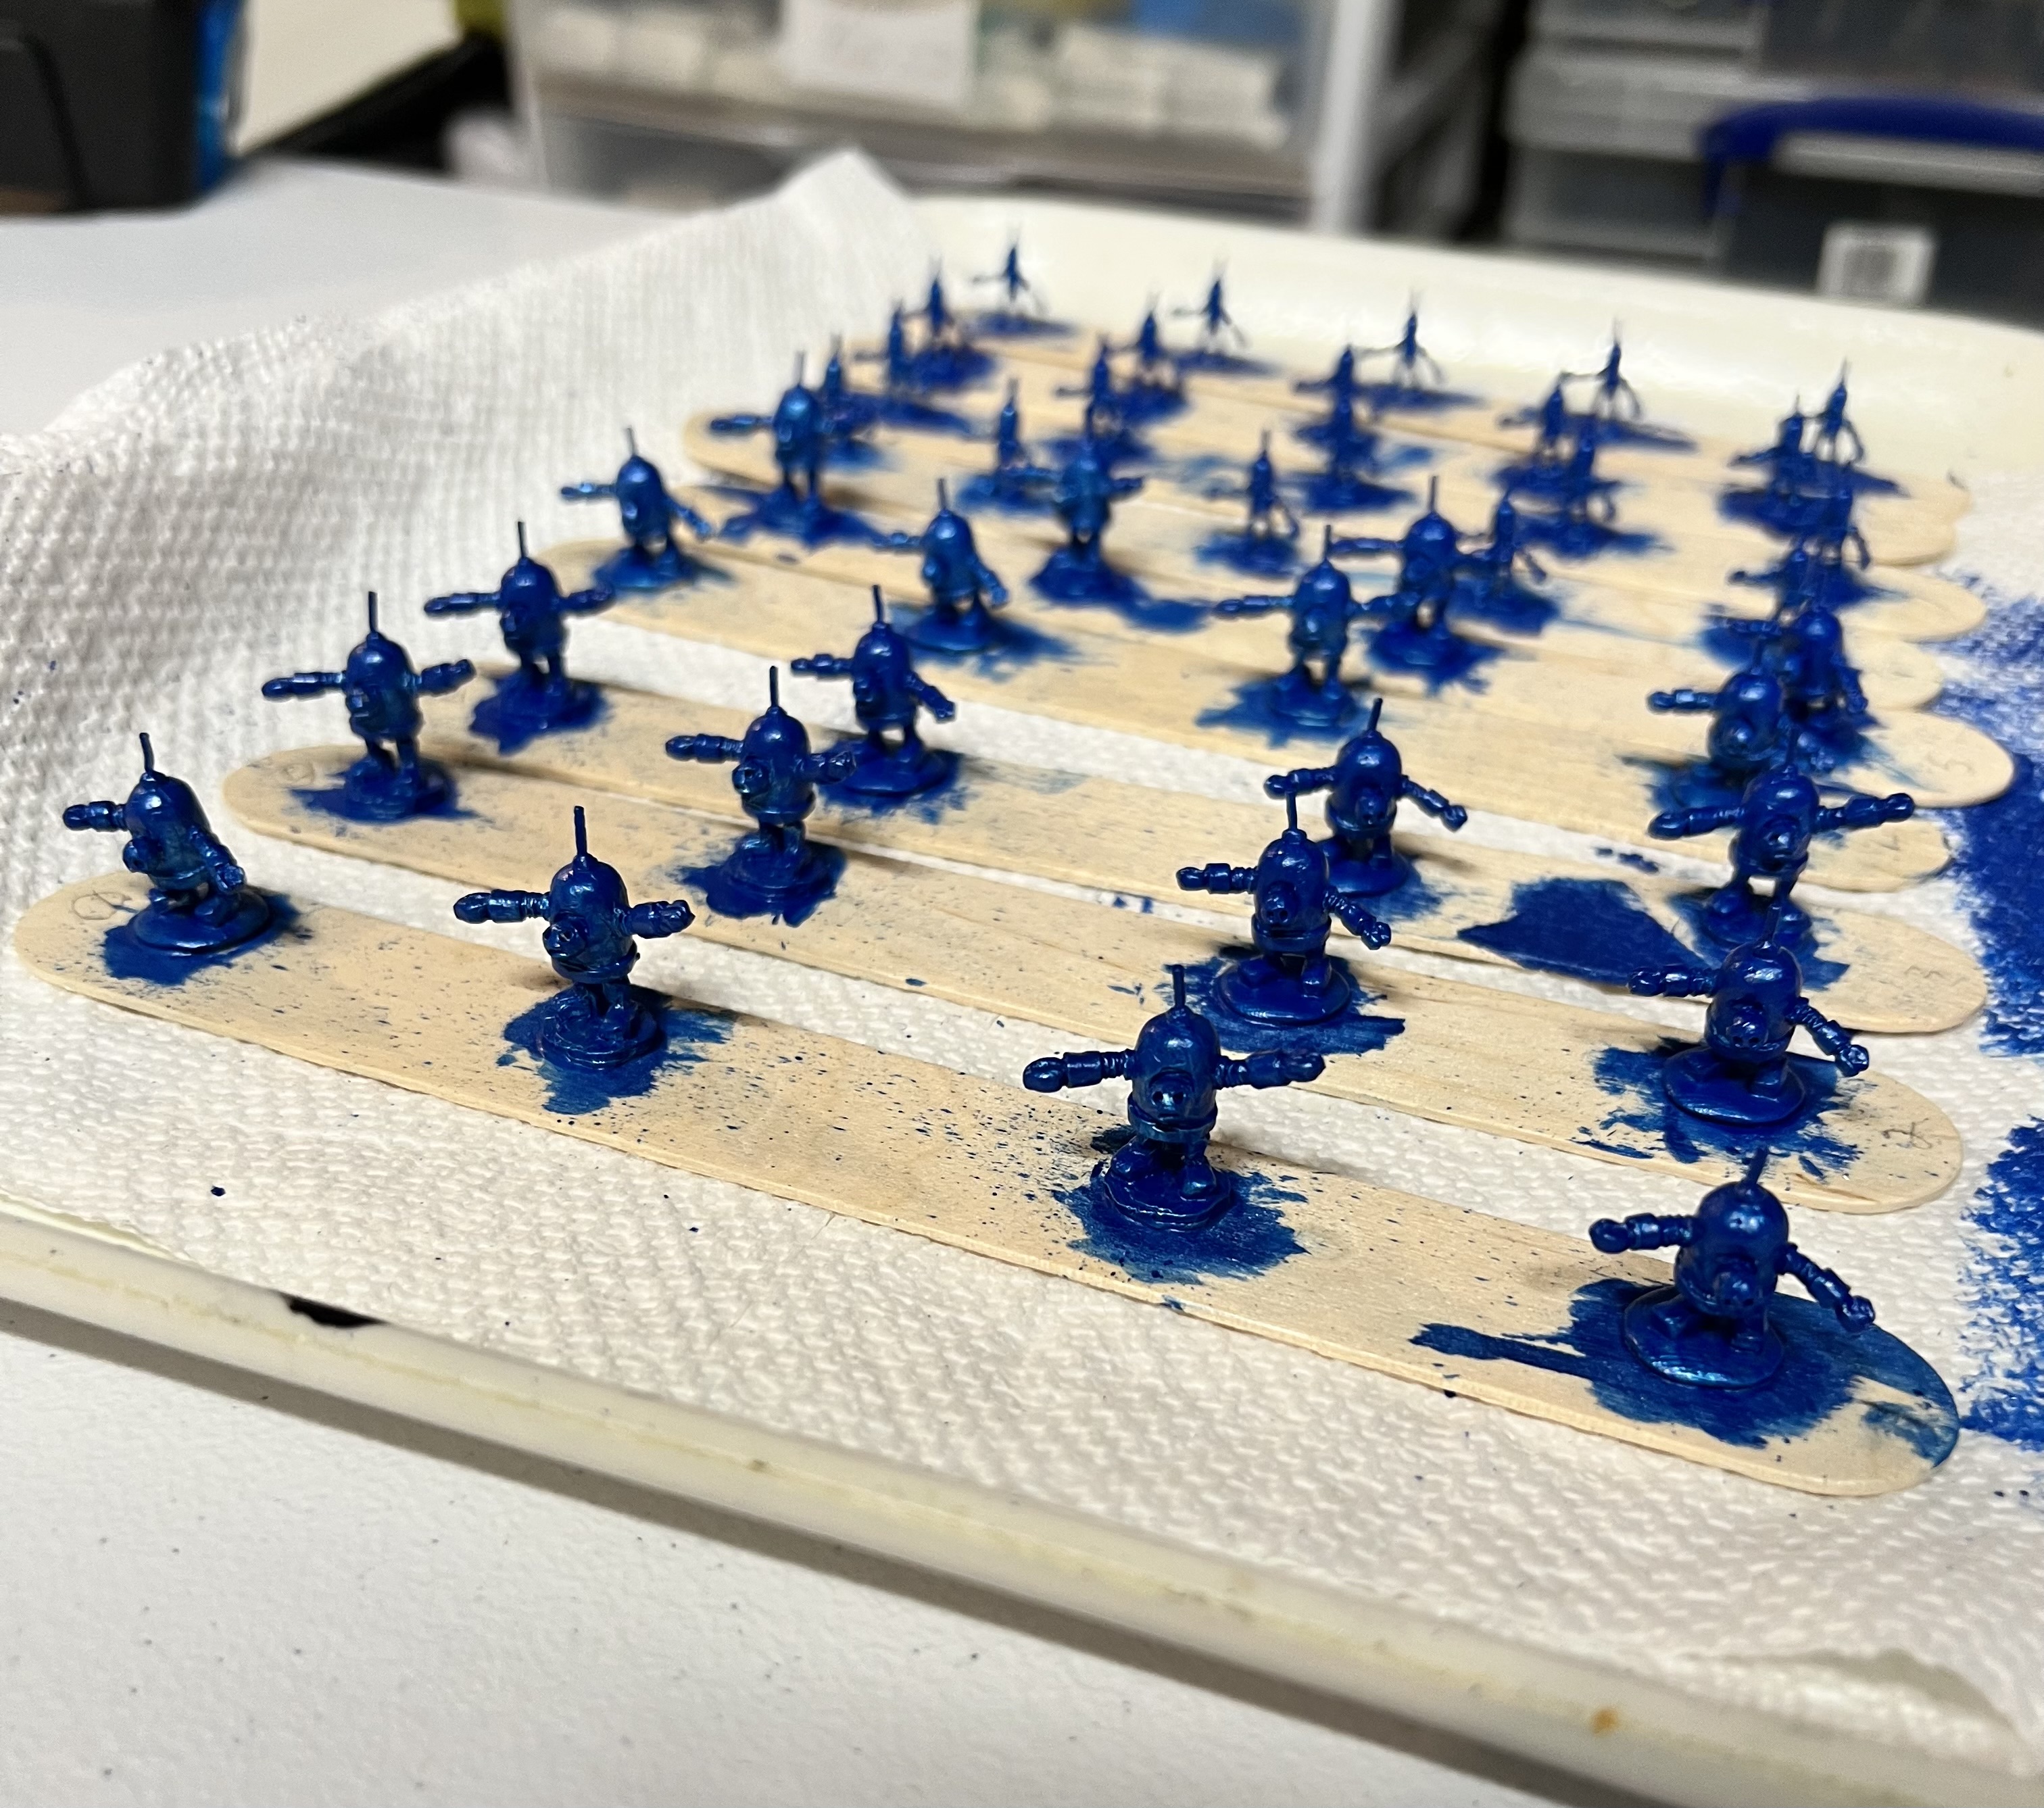
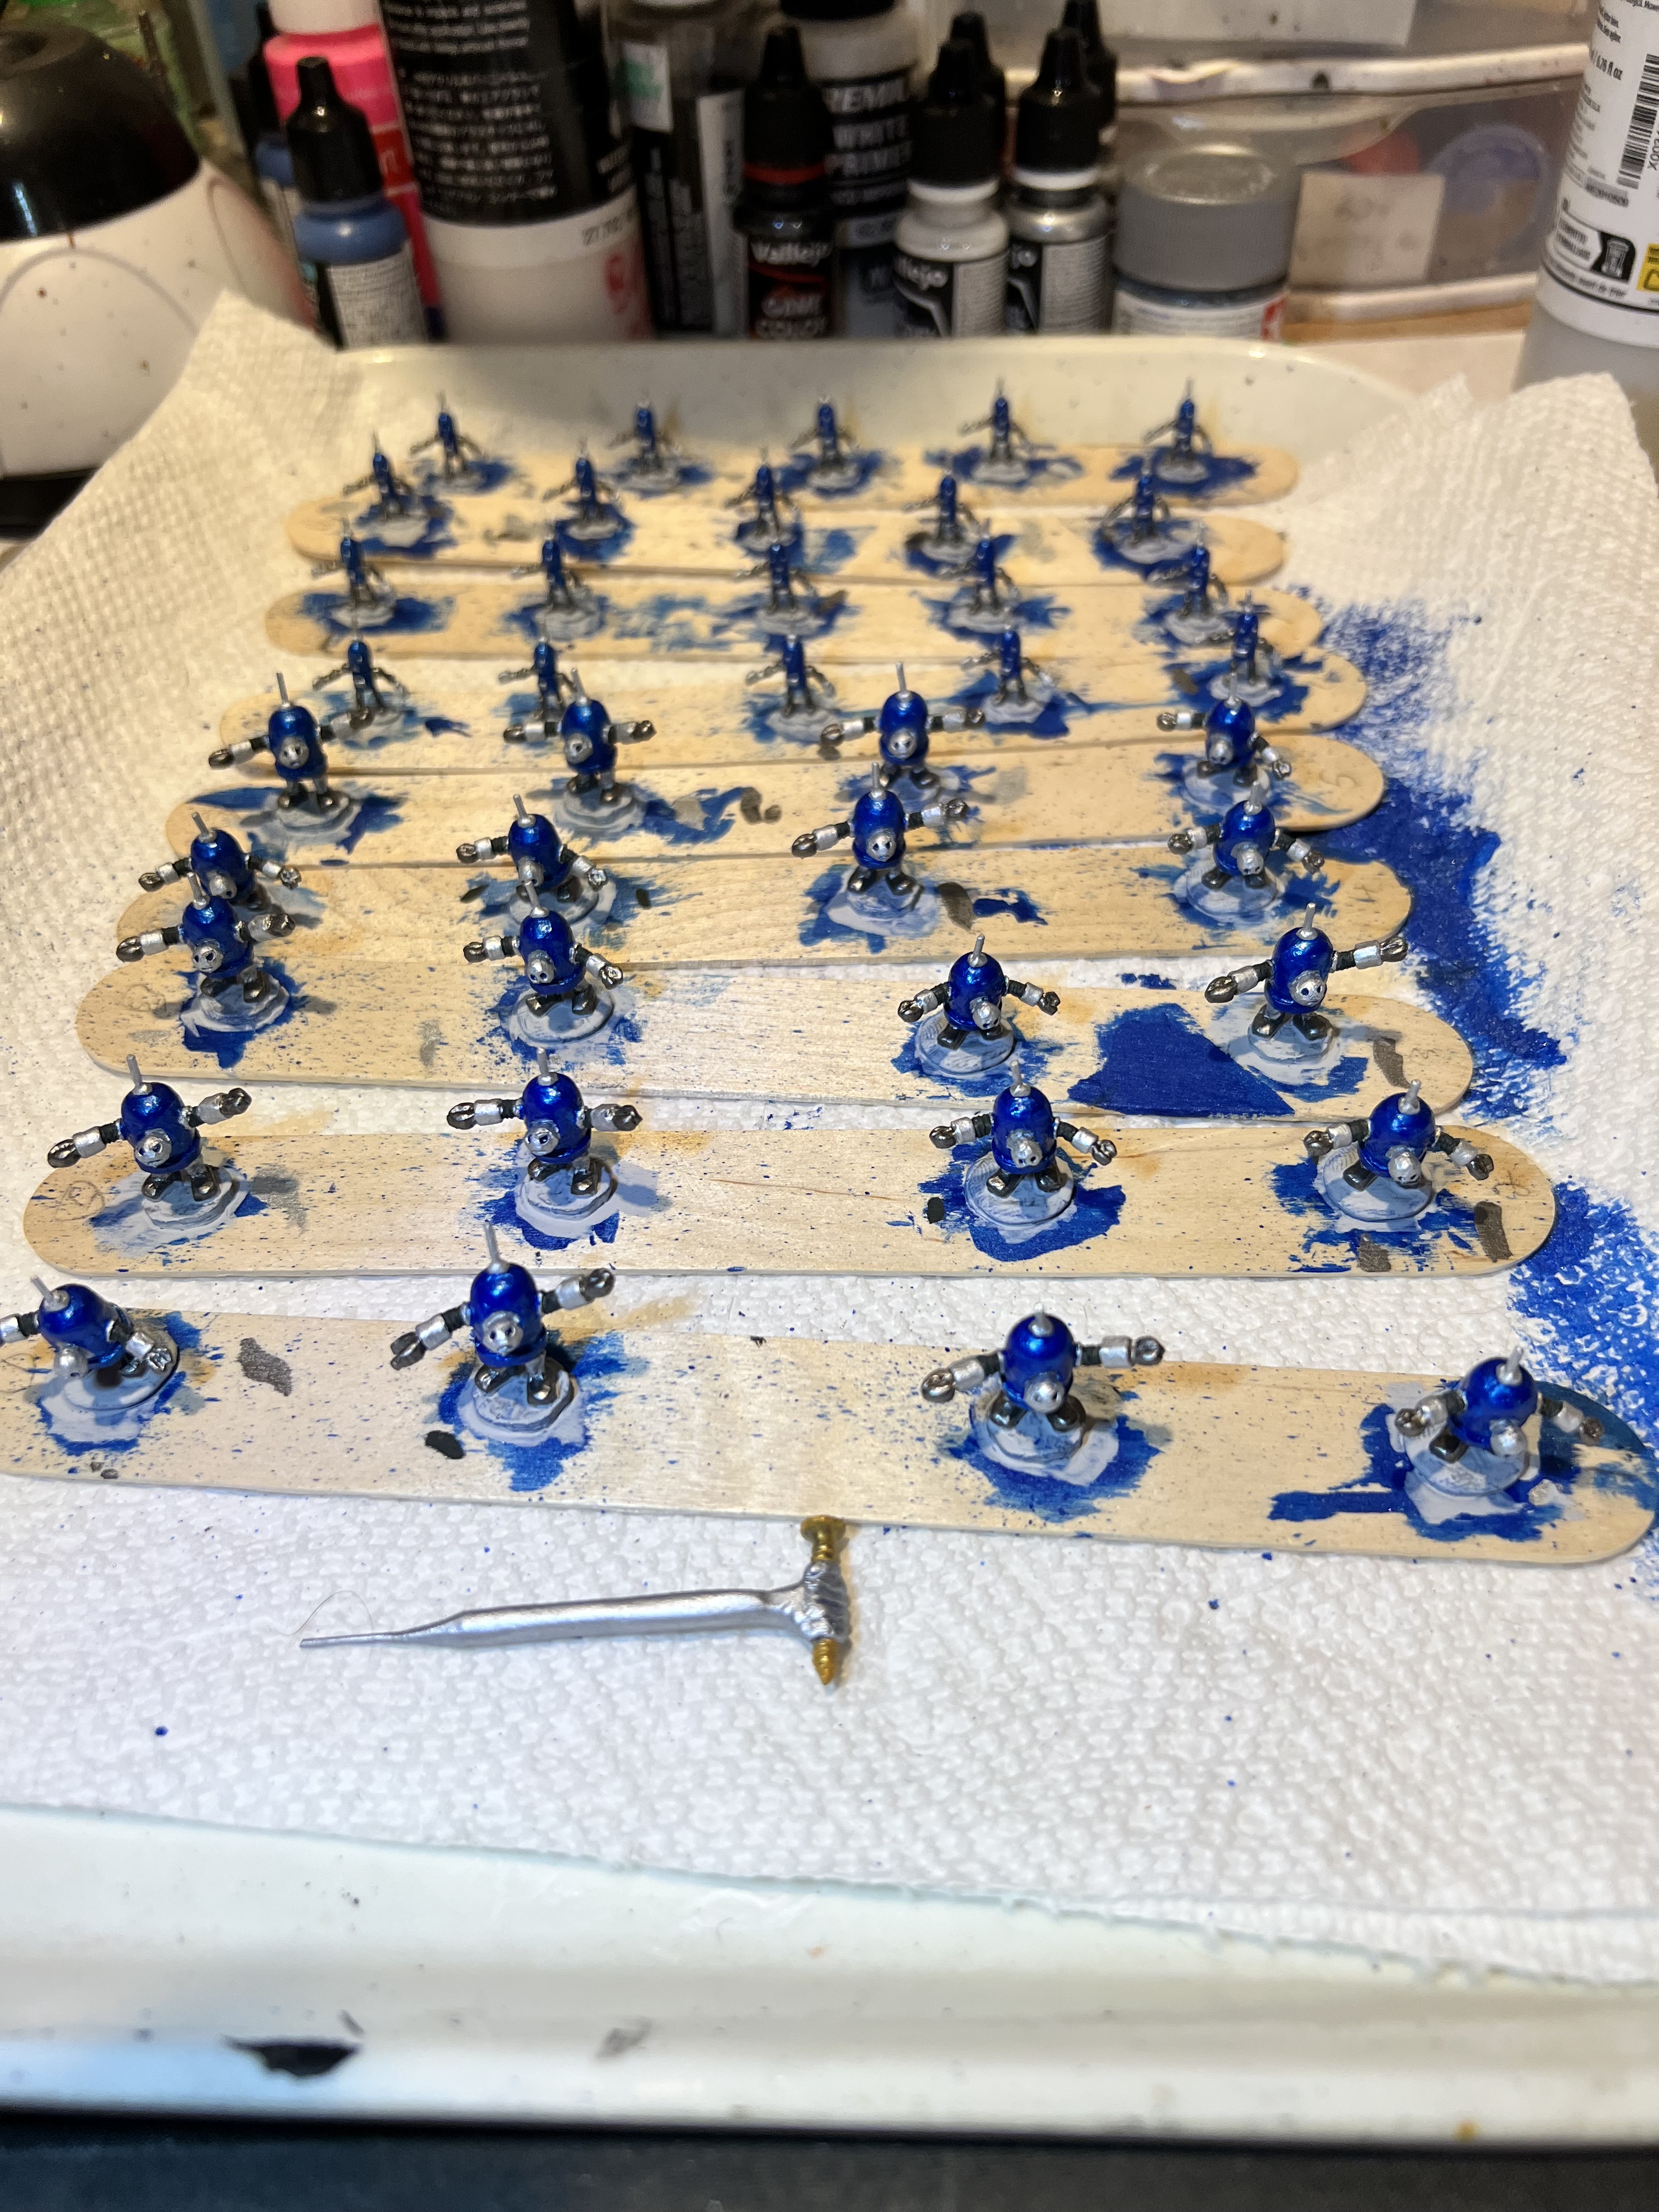
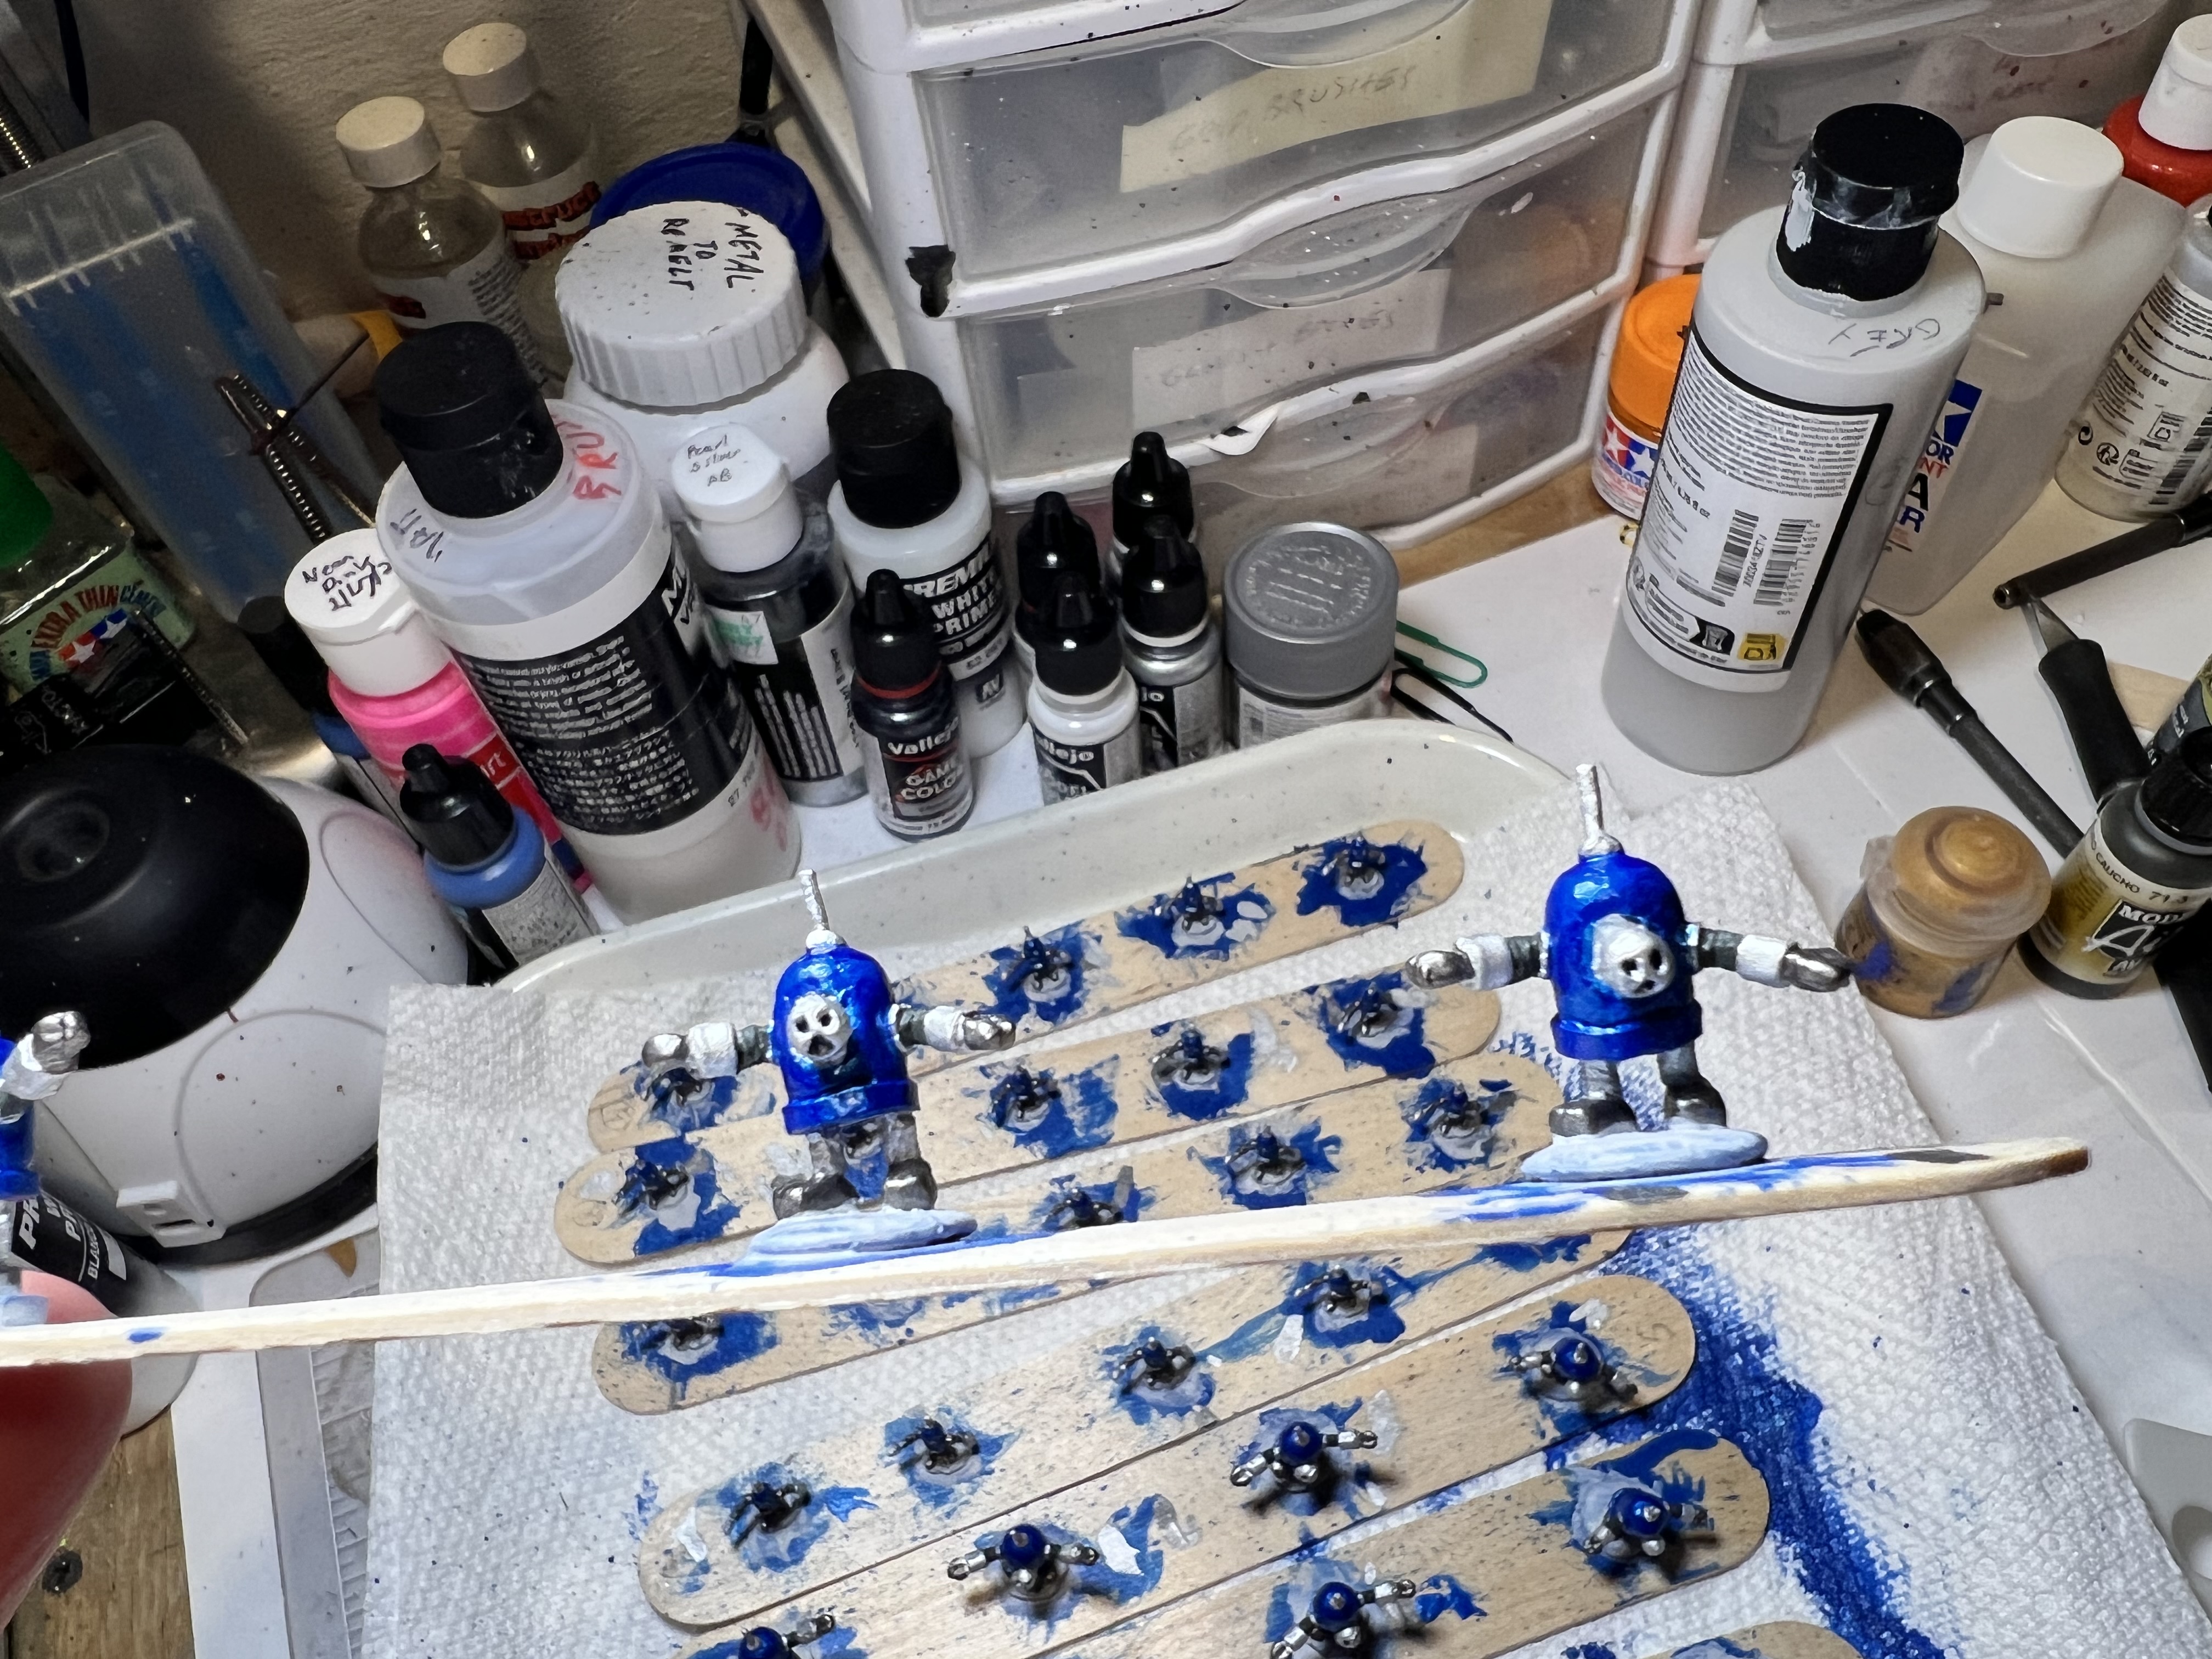
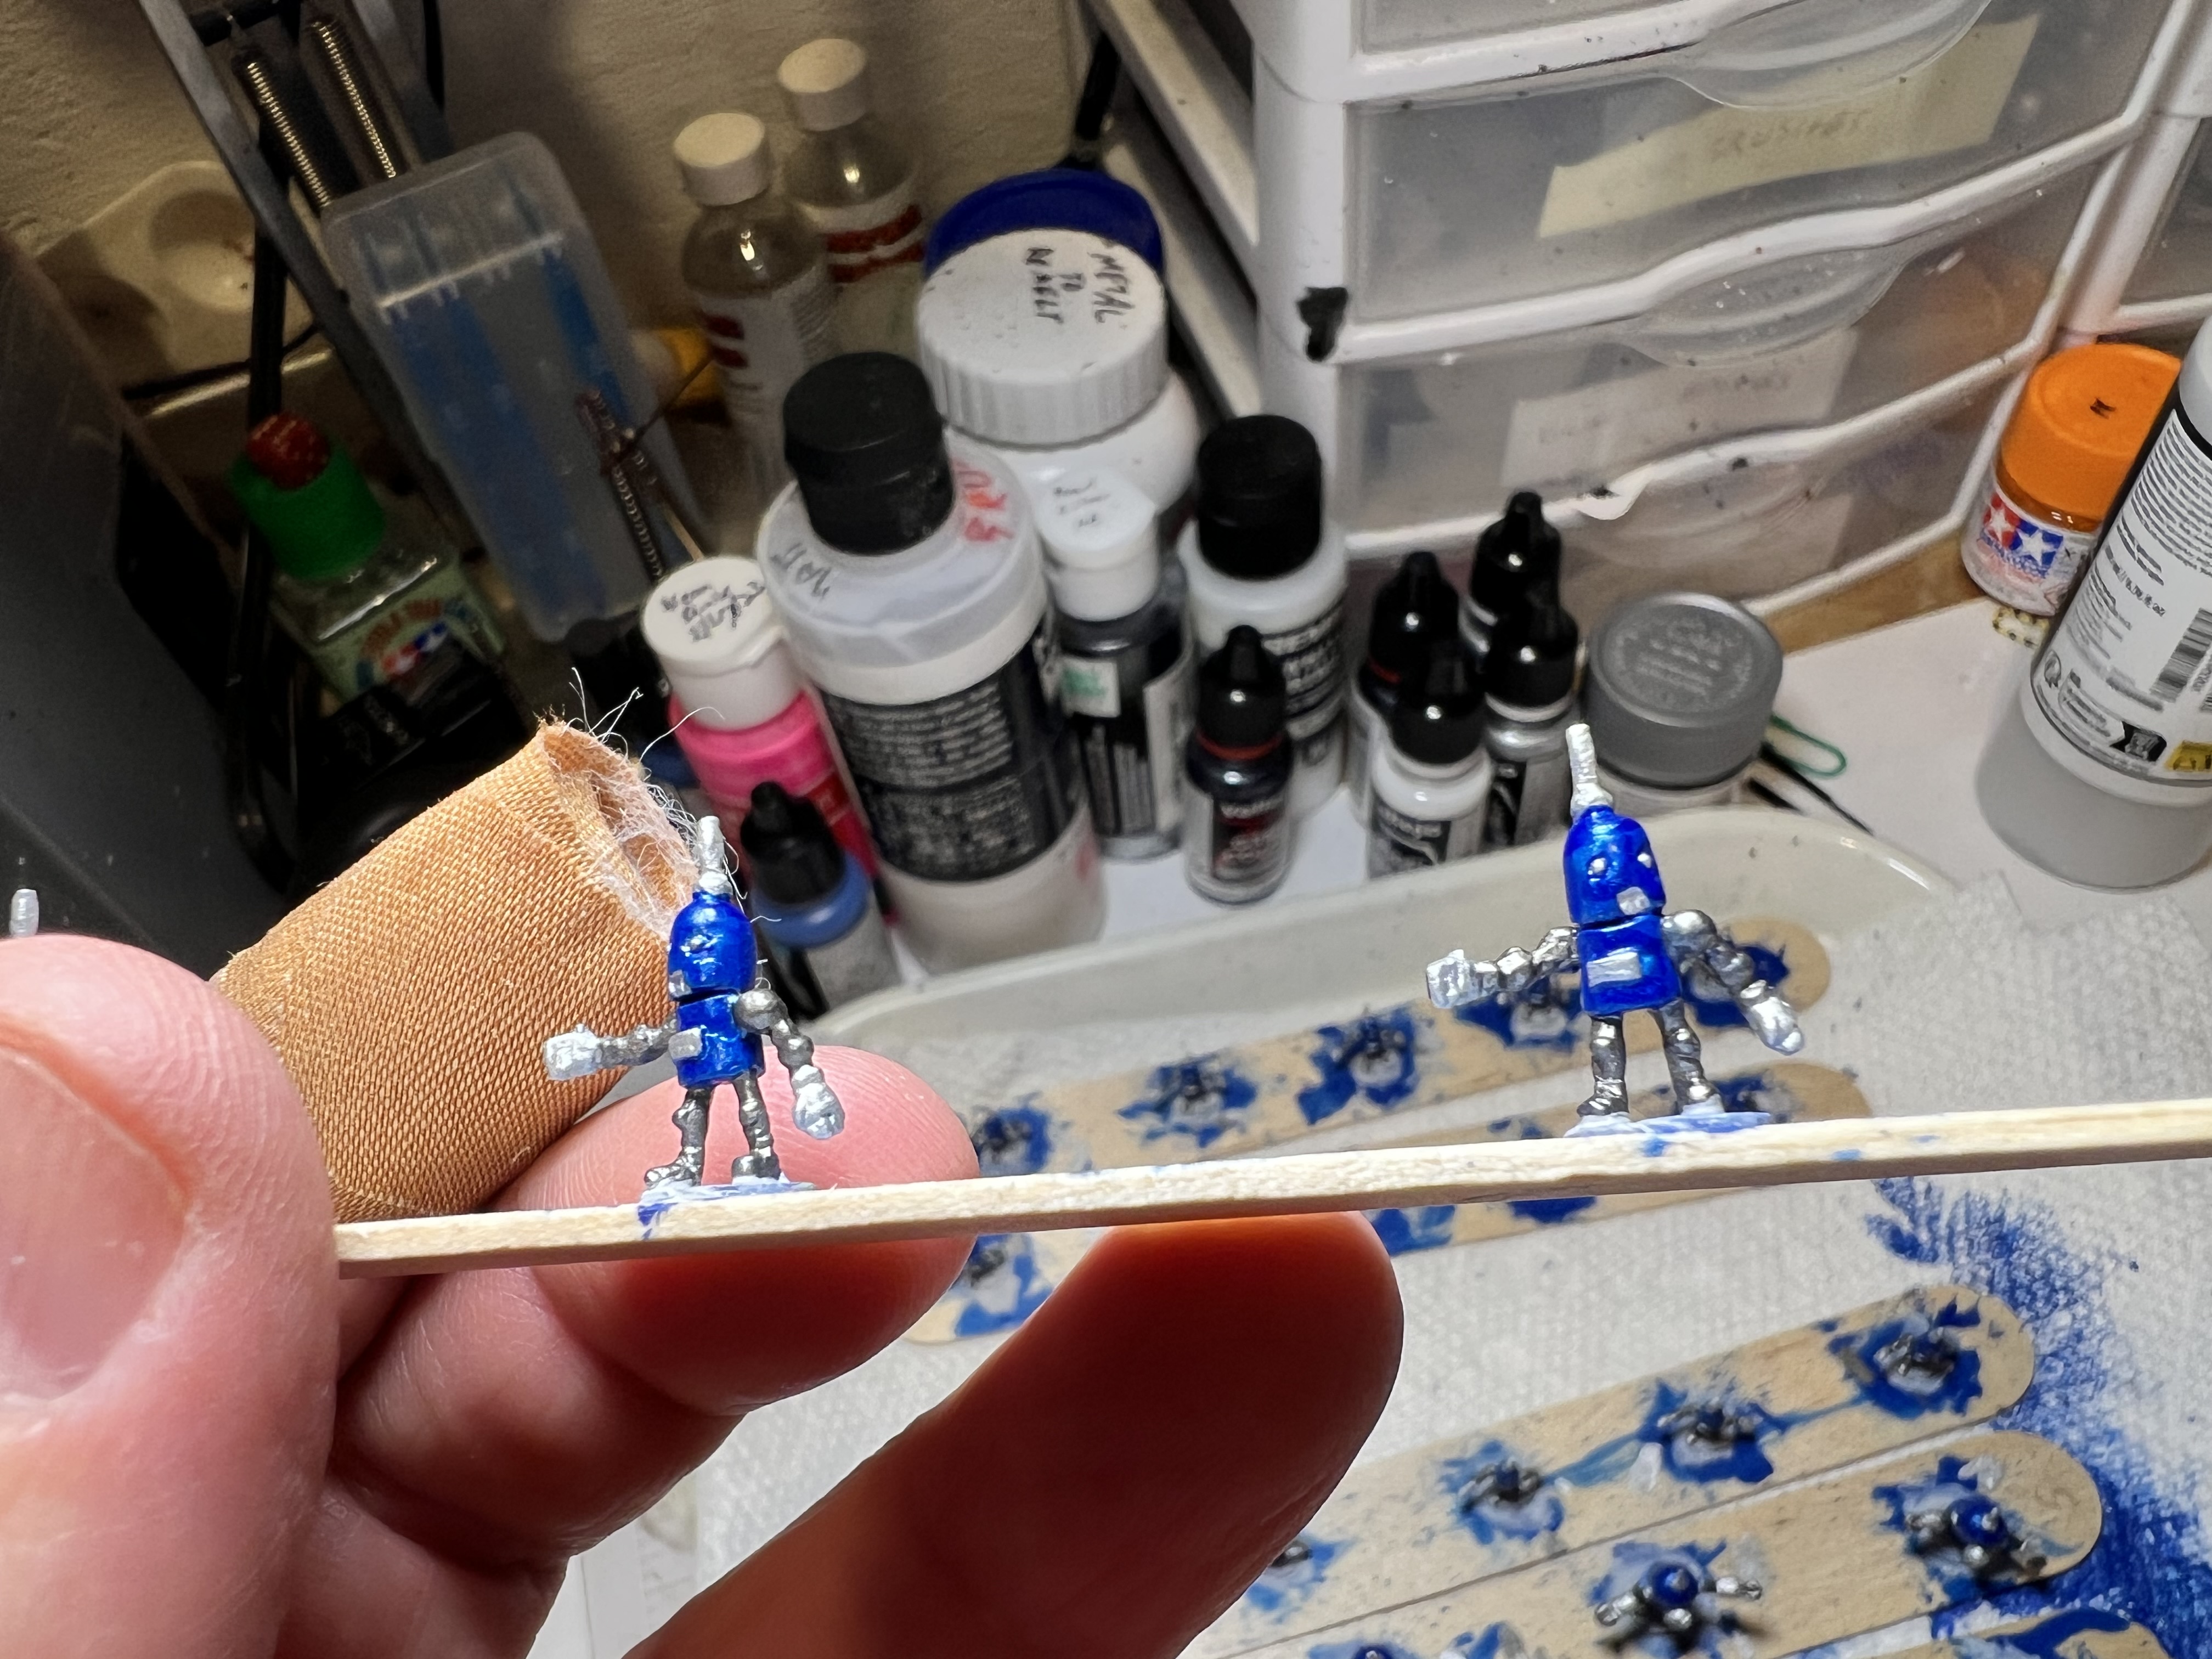
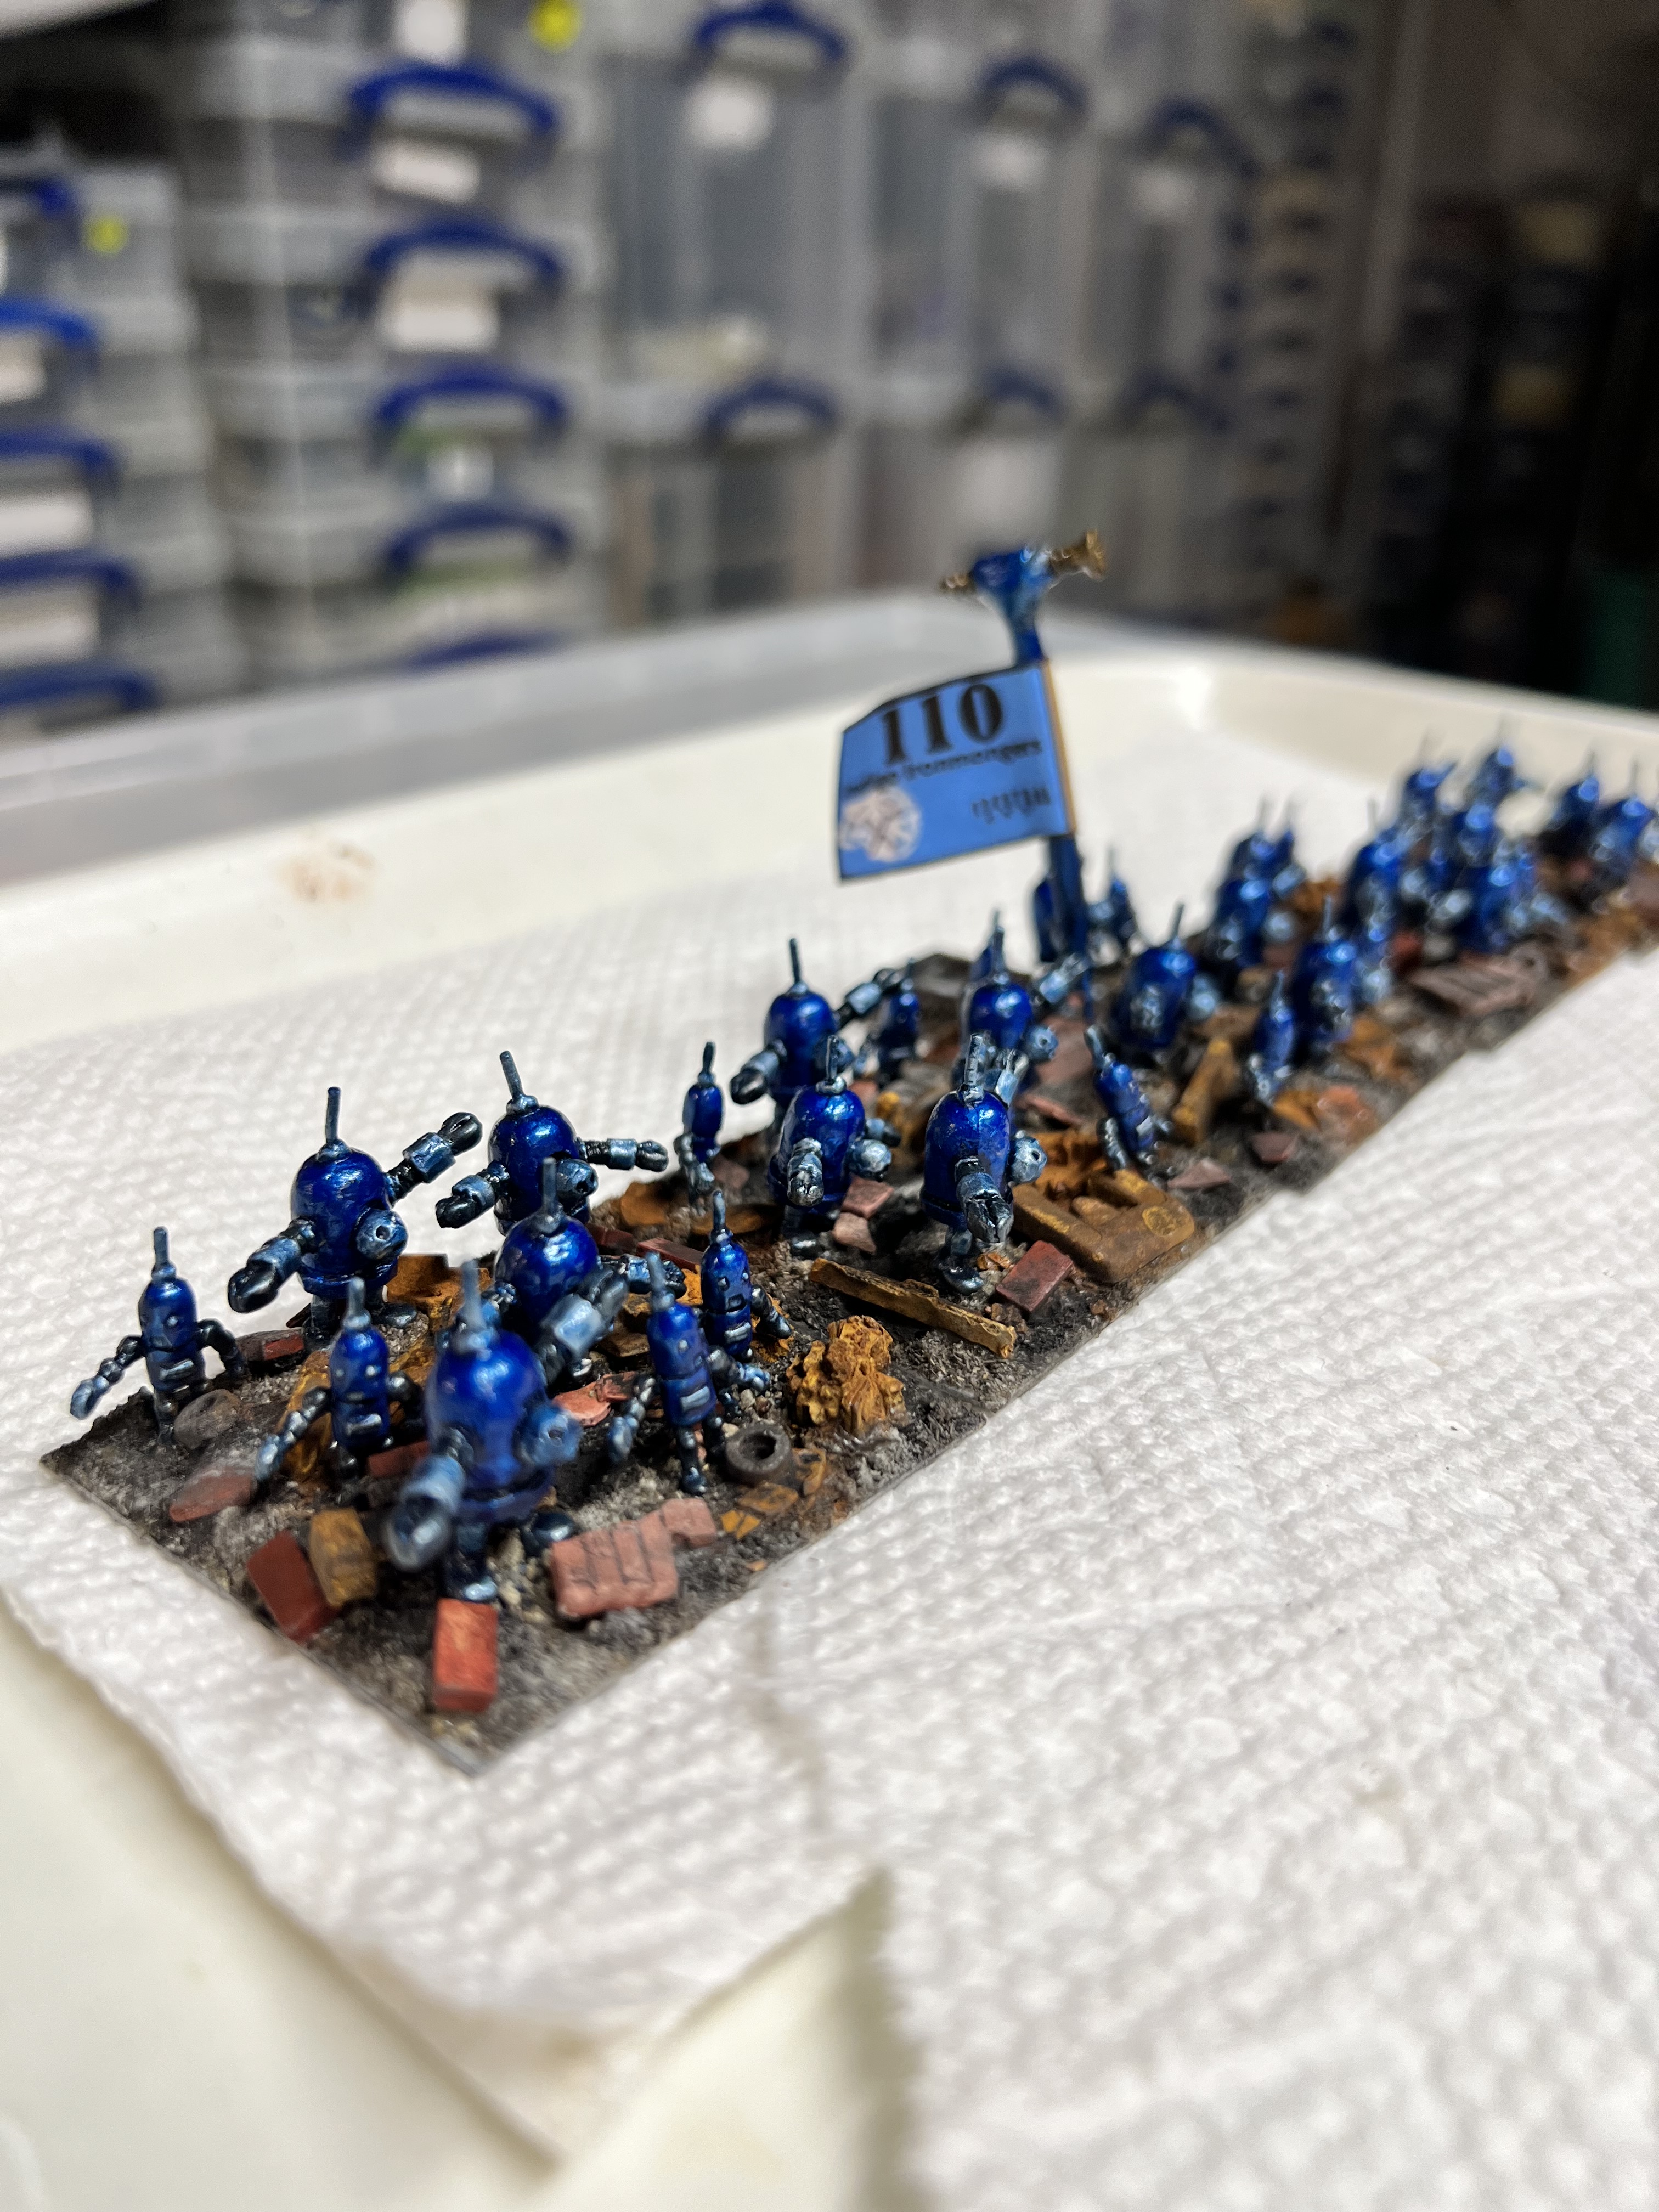
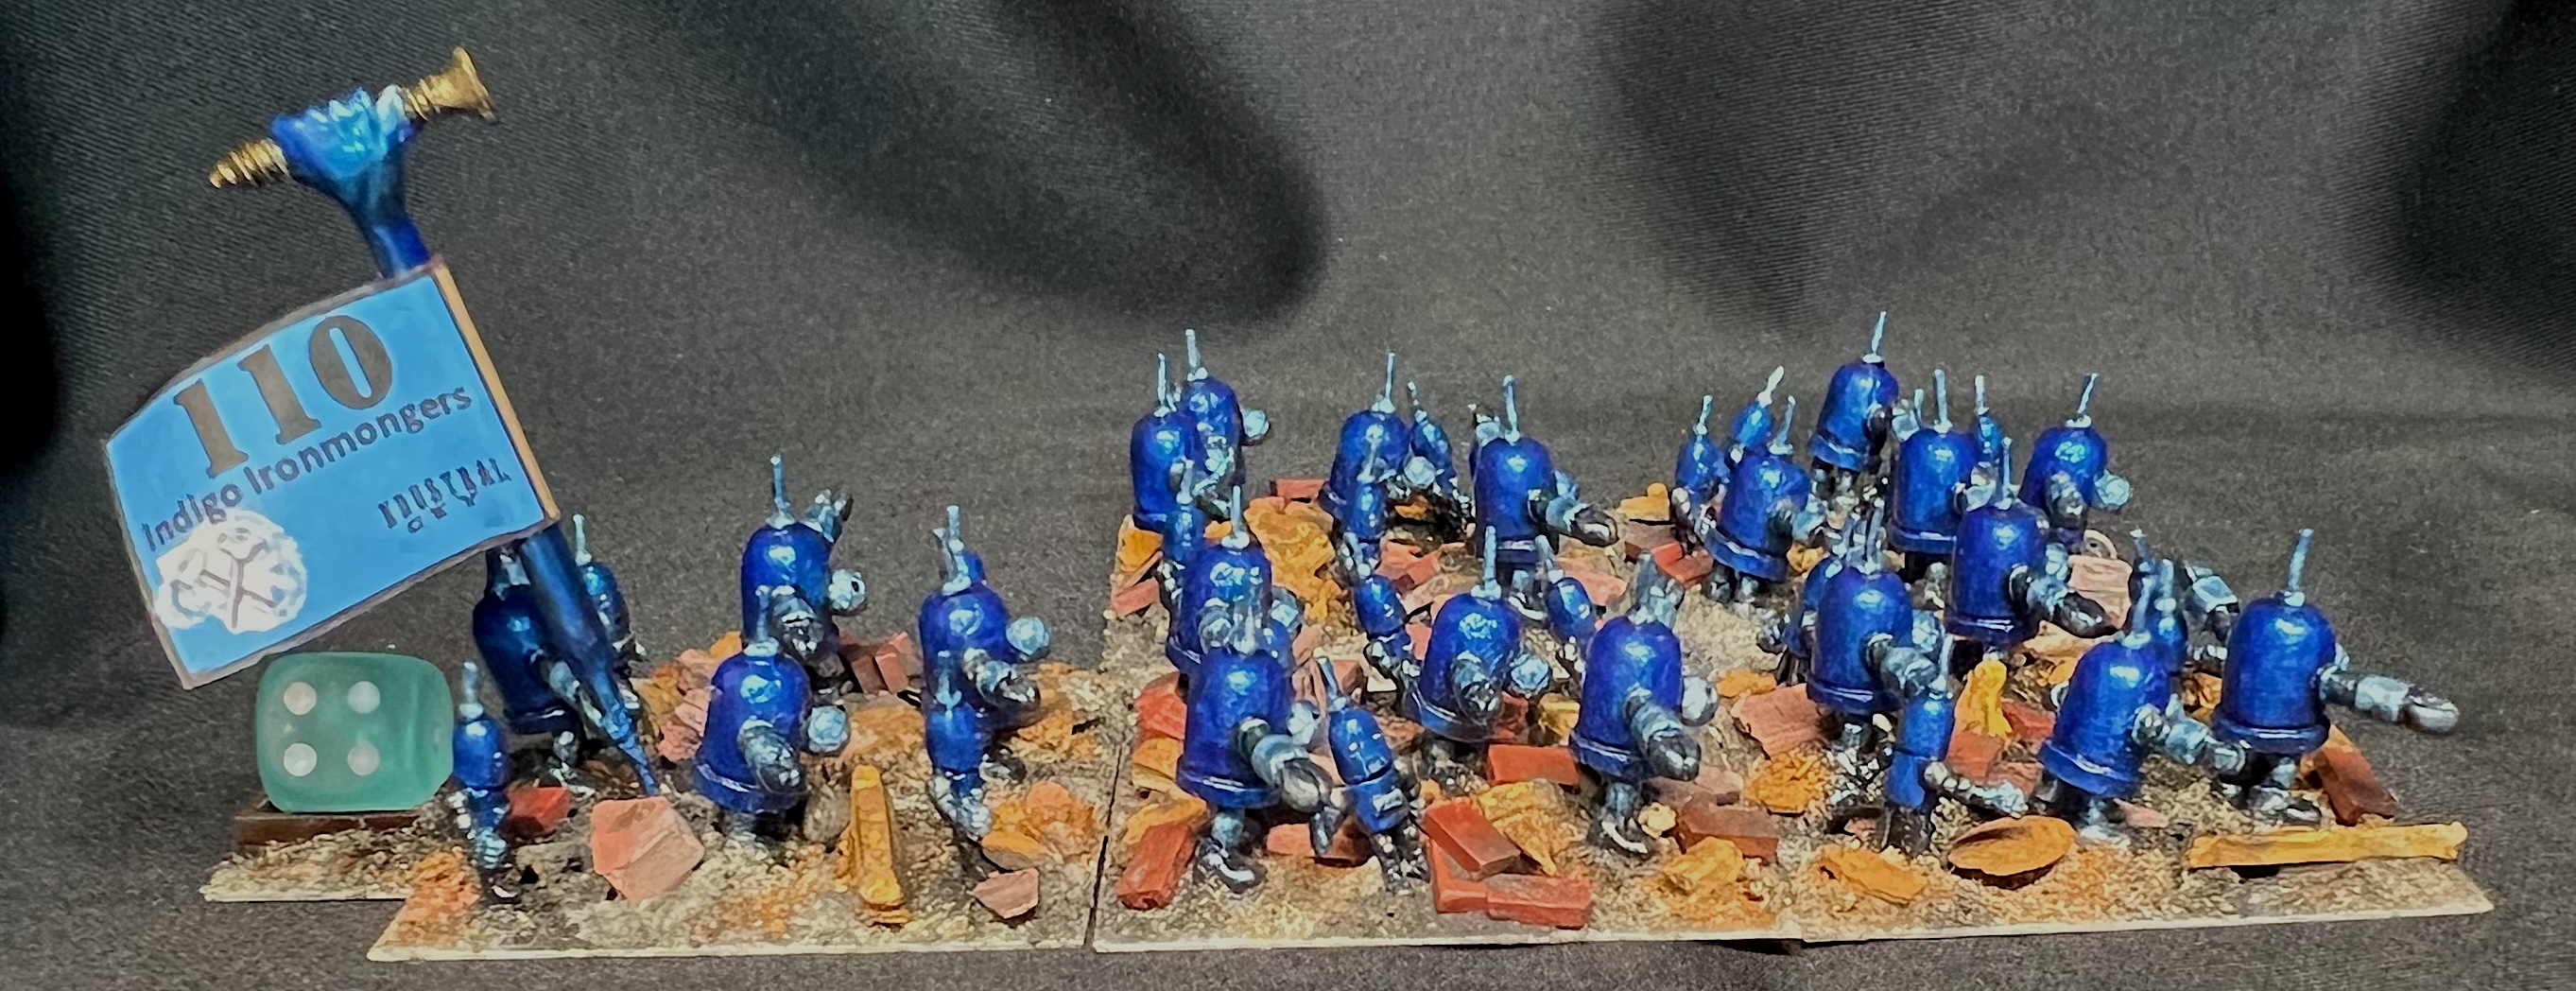
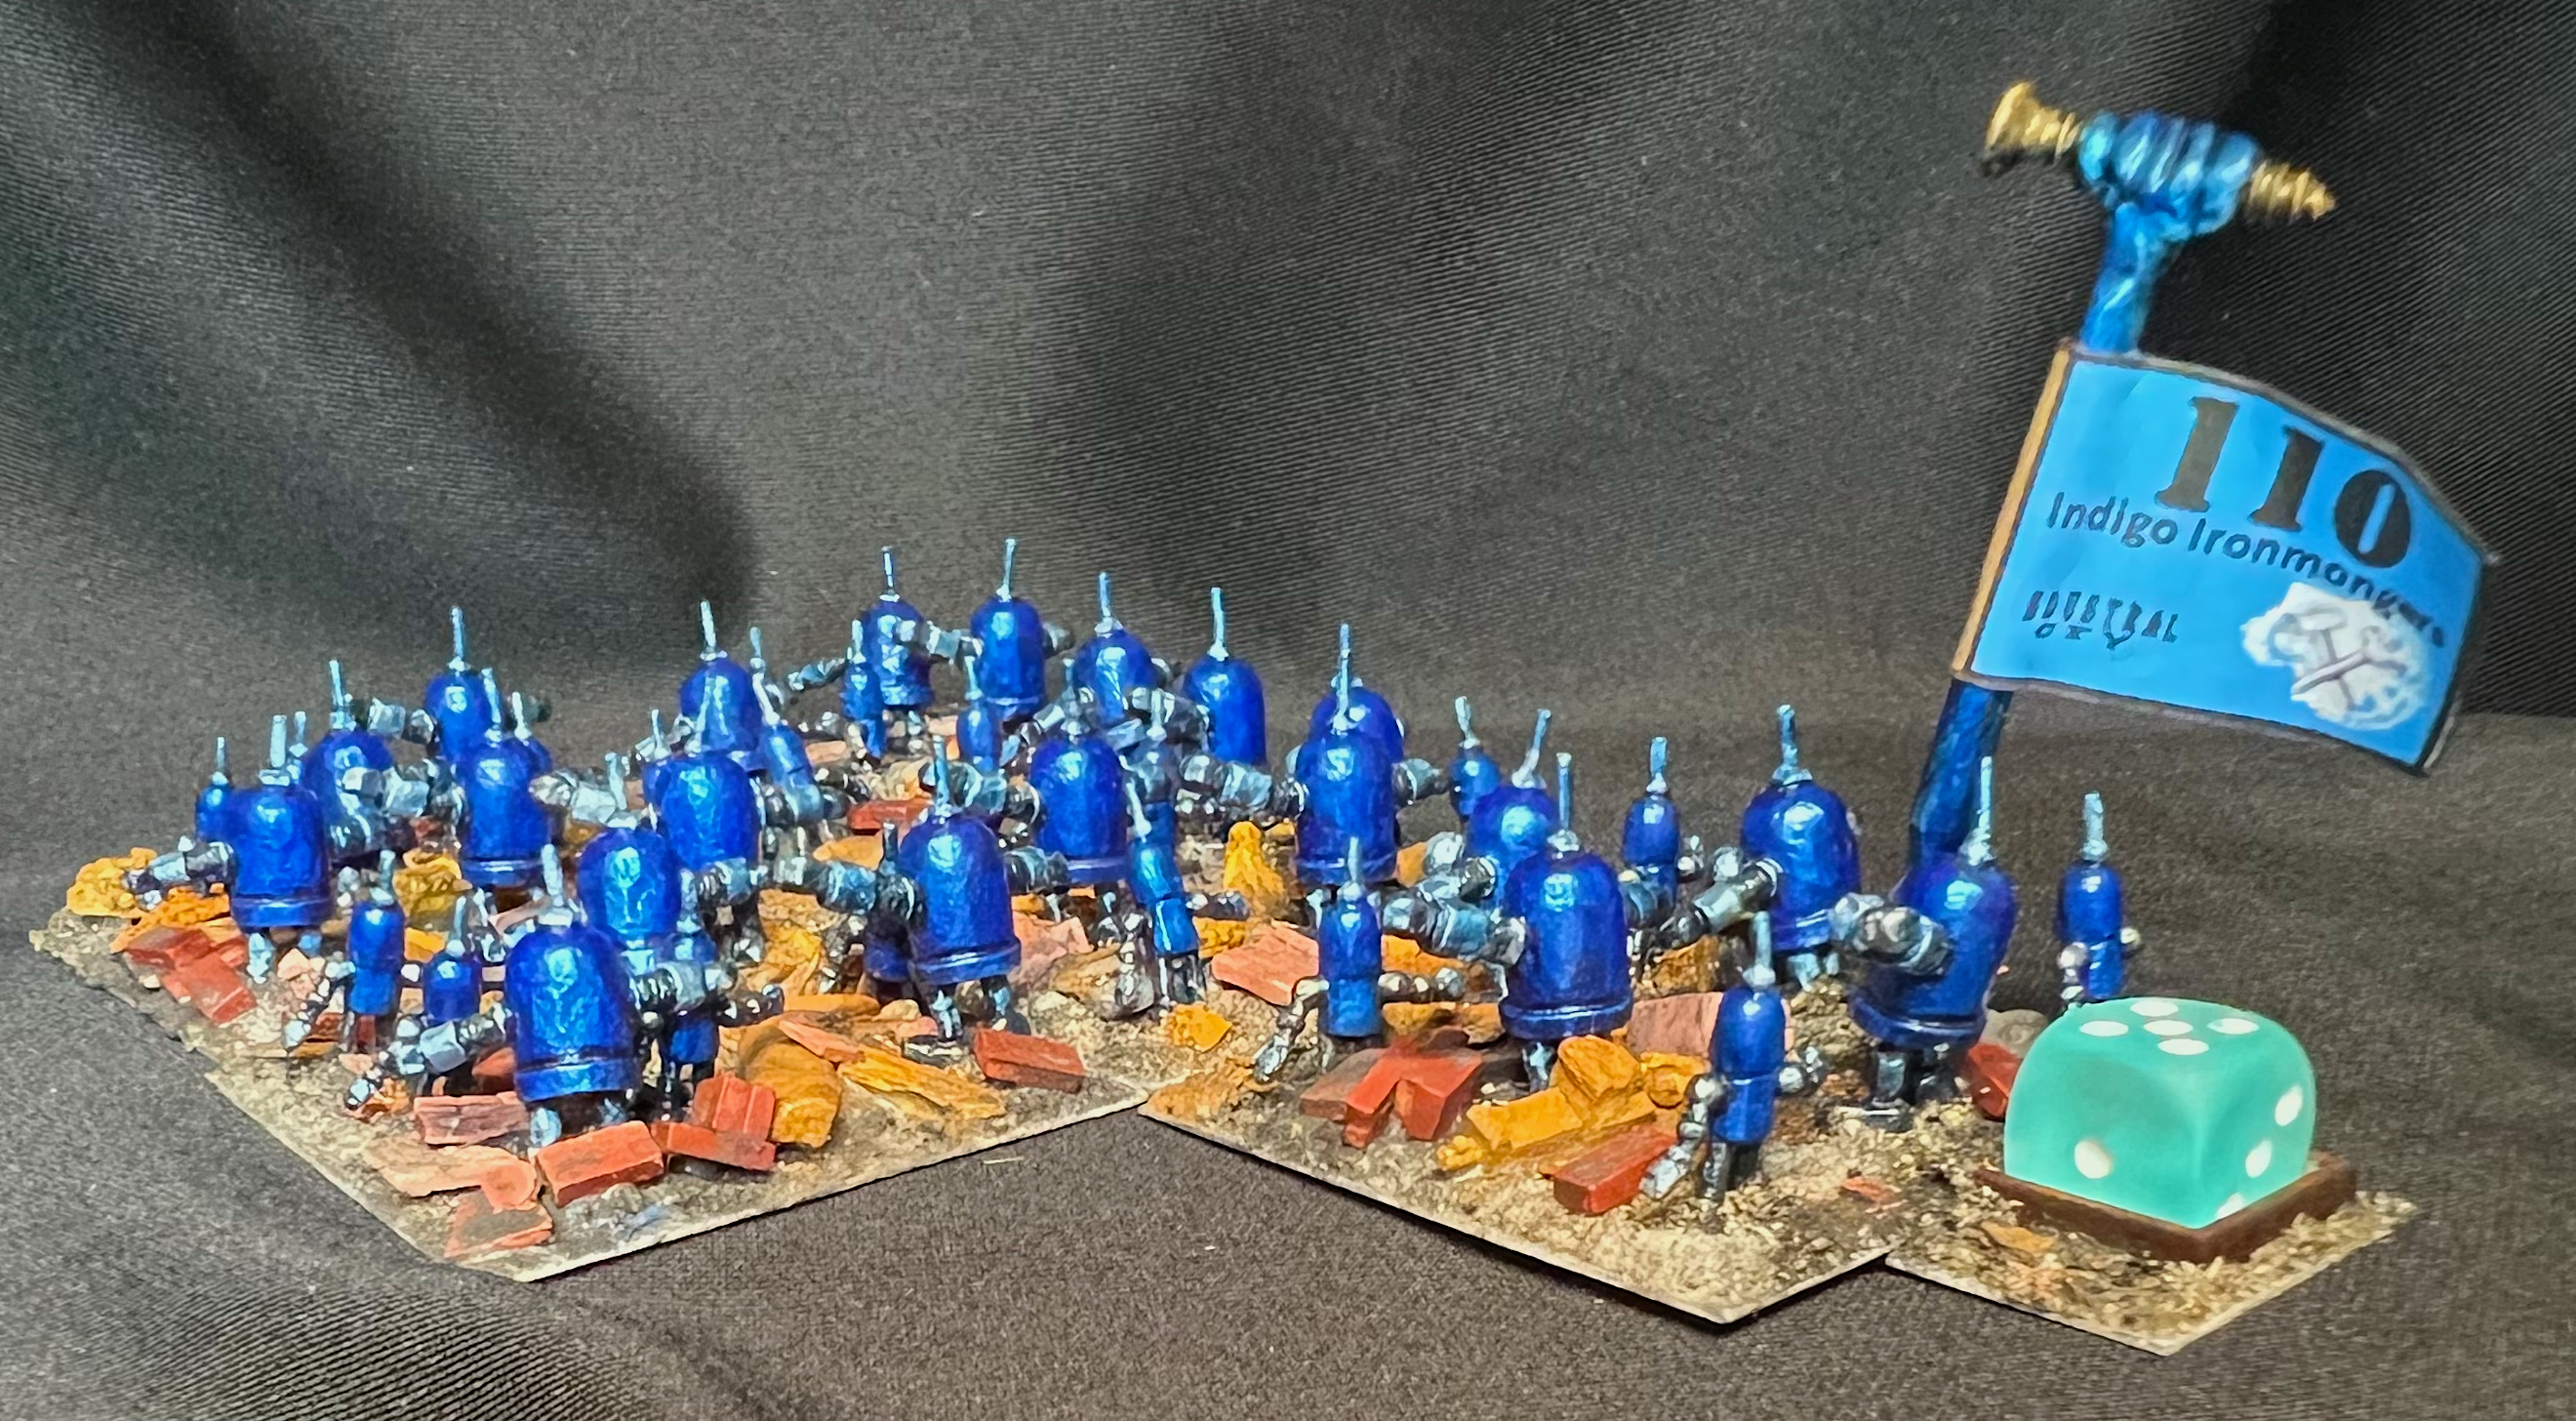
So on to the Tin Men! The first up I’ll share is a regiment type that I previously completed in a red/gold theme and posted here. I finished that one in April 2025, and did not assign it a name other than “001”. I had another one to paint up in a different color. It is the 40-figure “OZZ-542, Mechanical Mini Swarm with pulse blasters”. I went with a blue and chrome look to differentiate the regiment from 001. I also gave this one a name instead of a number as Buck Surdu had been kind enough to provide me with personalized regimental battle flags to match my names. I also made the flagstaff’s top with a screw instead of a nut. He did that for all of these. The name I chose was “The Indigo Ironmongers”.
The Indigo Ironmongers
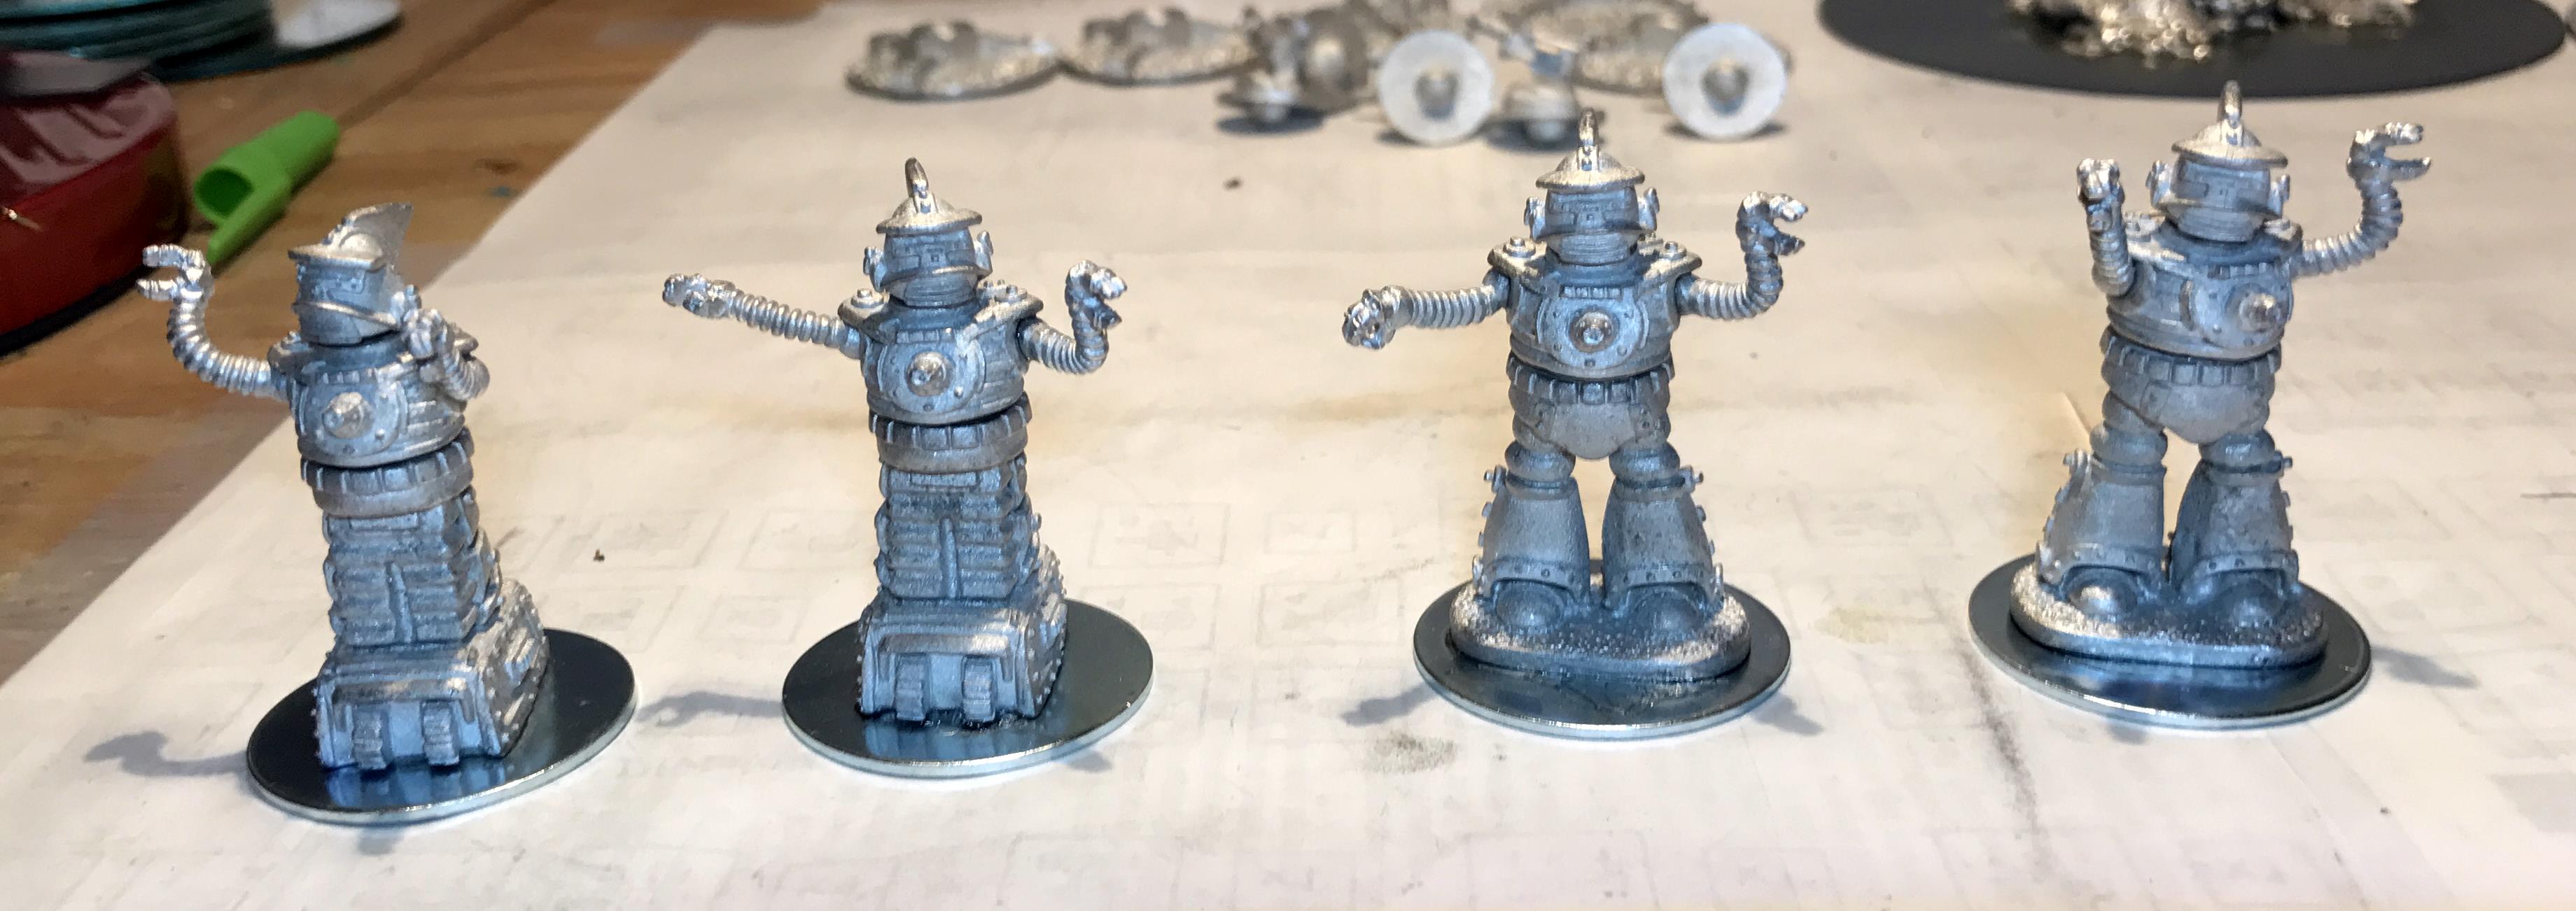
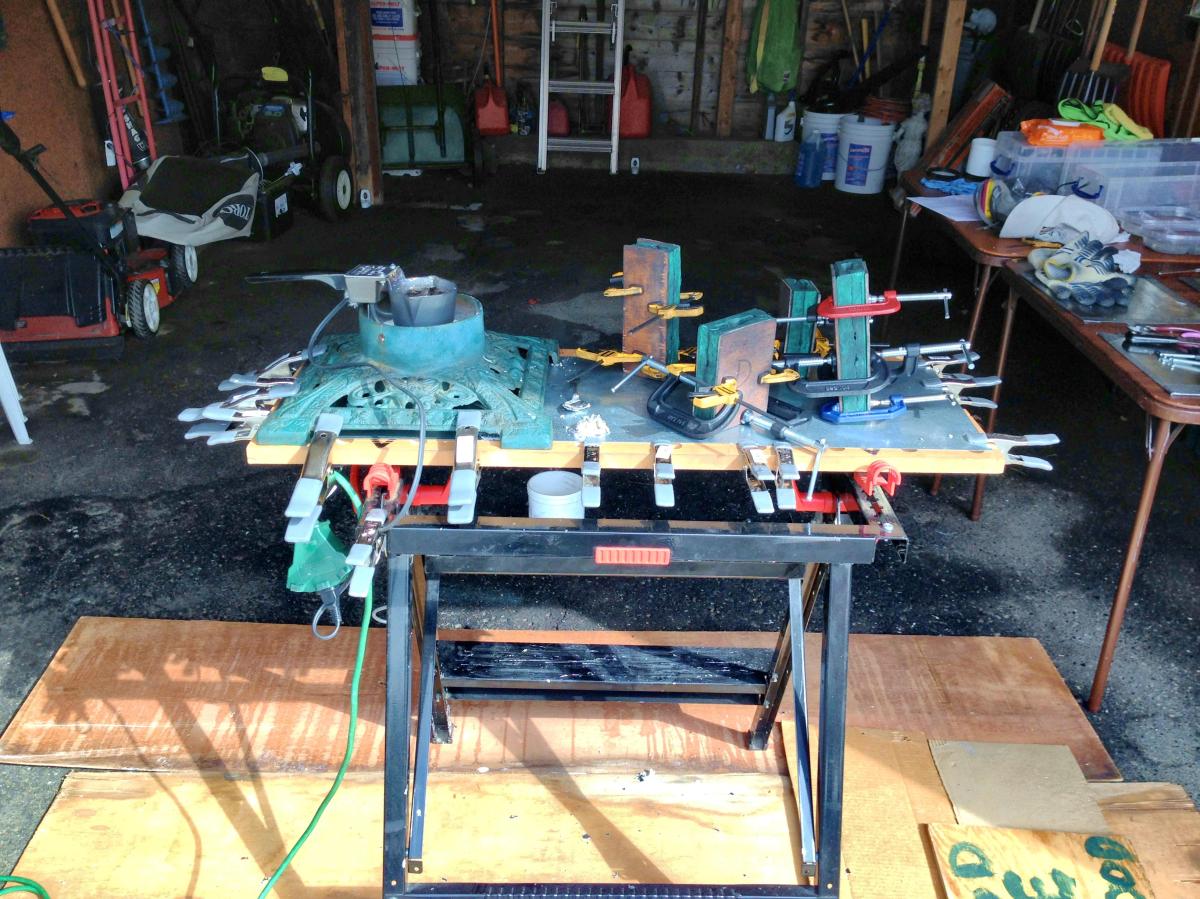
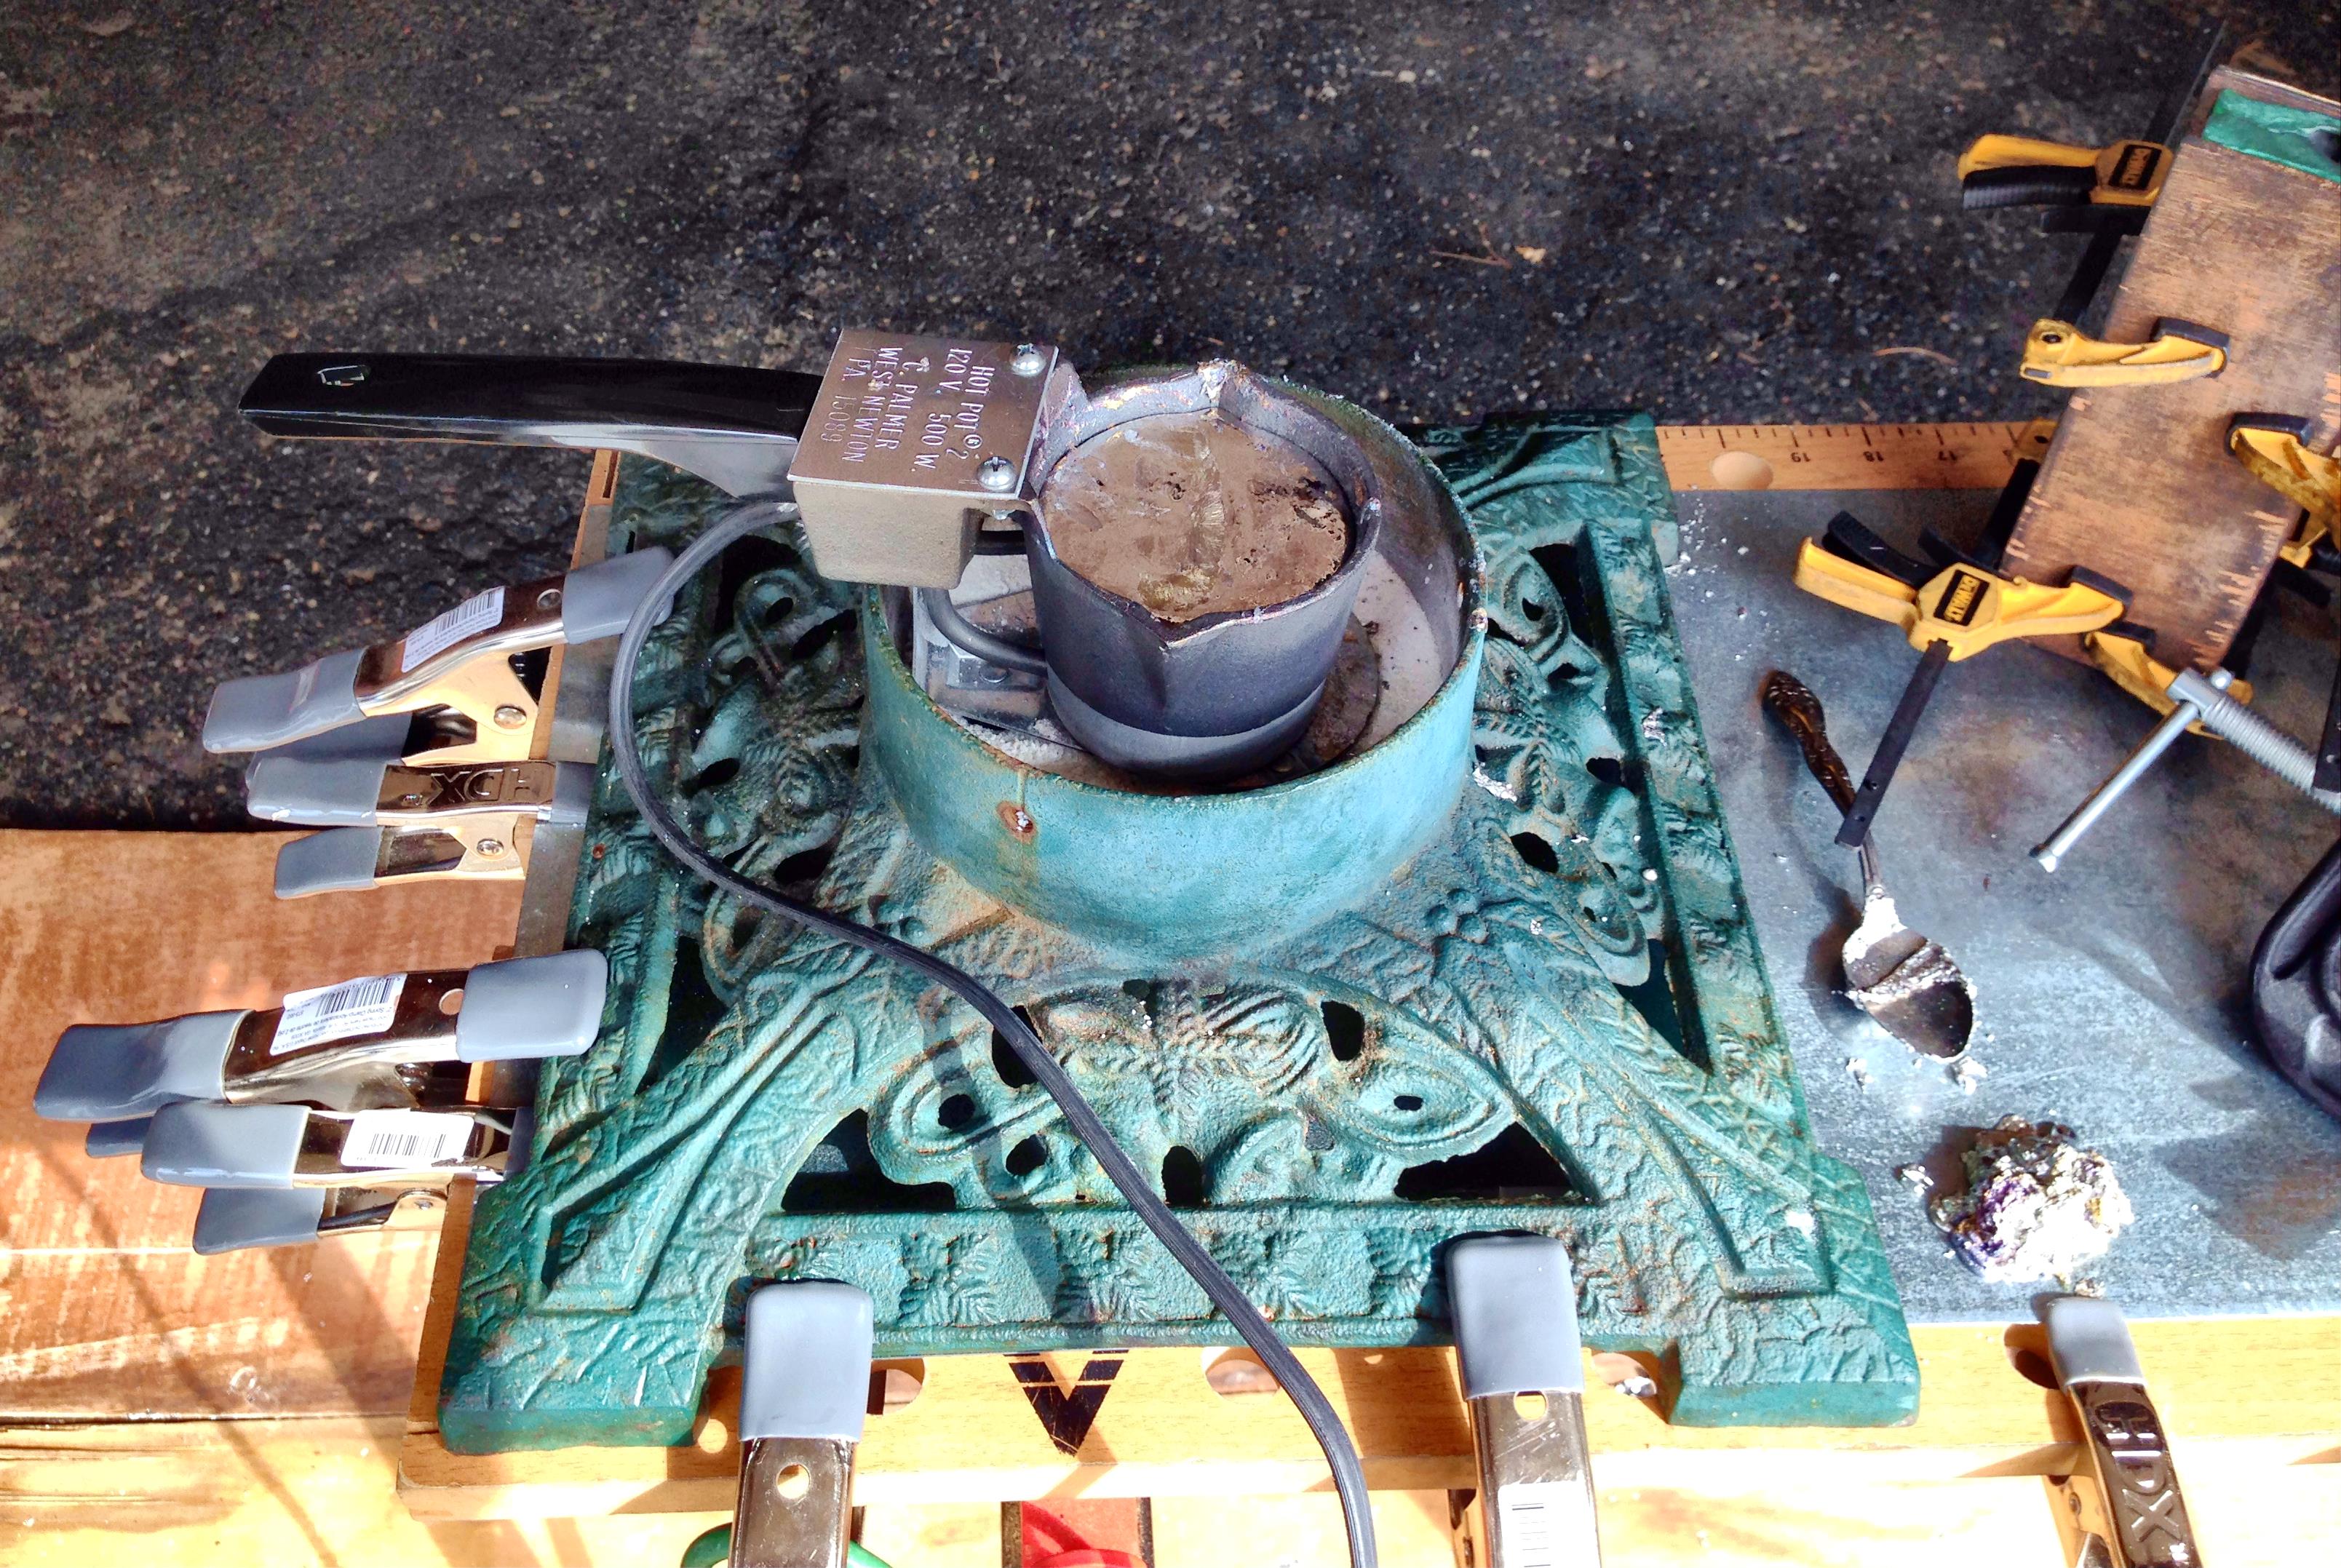
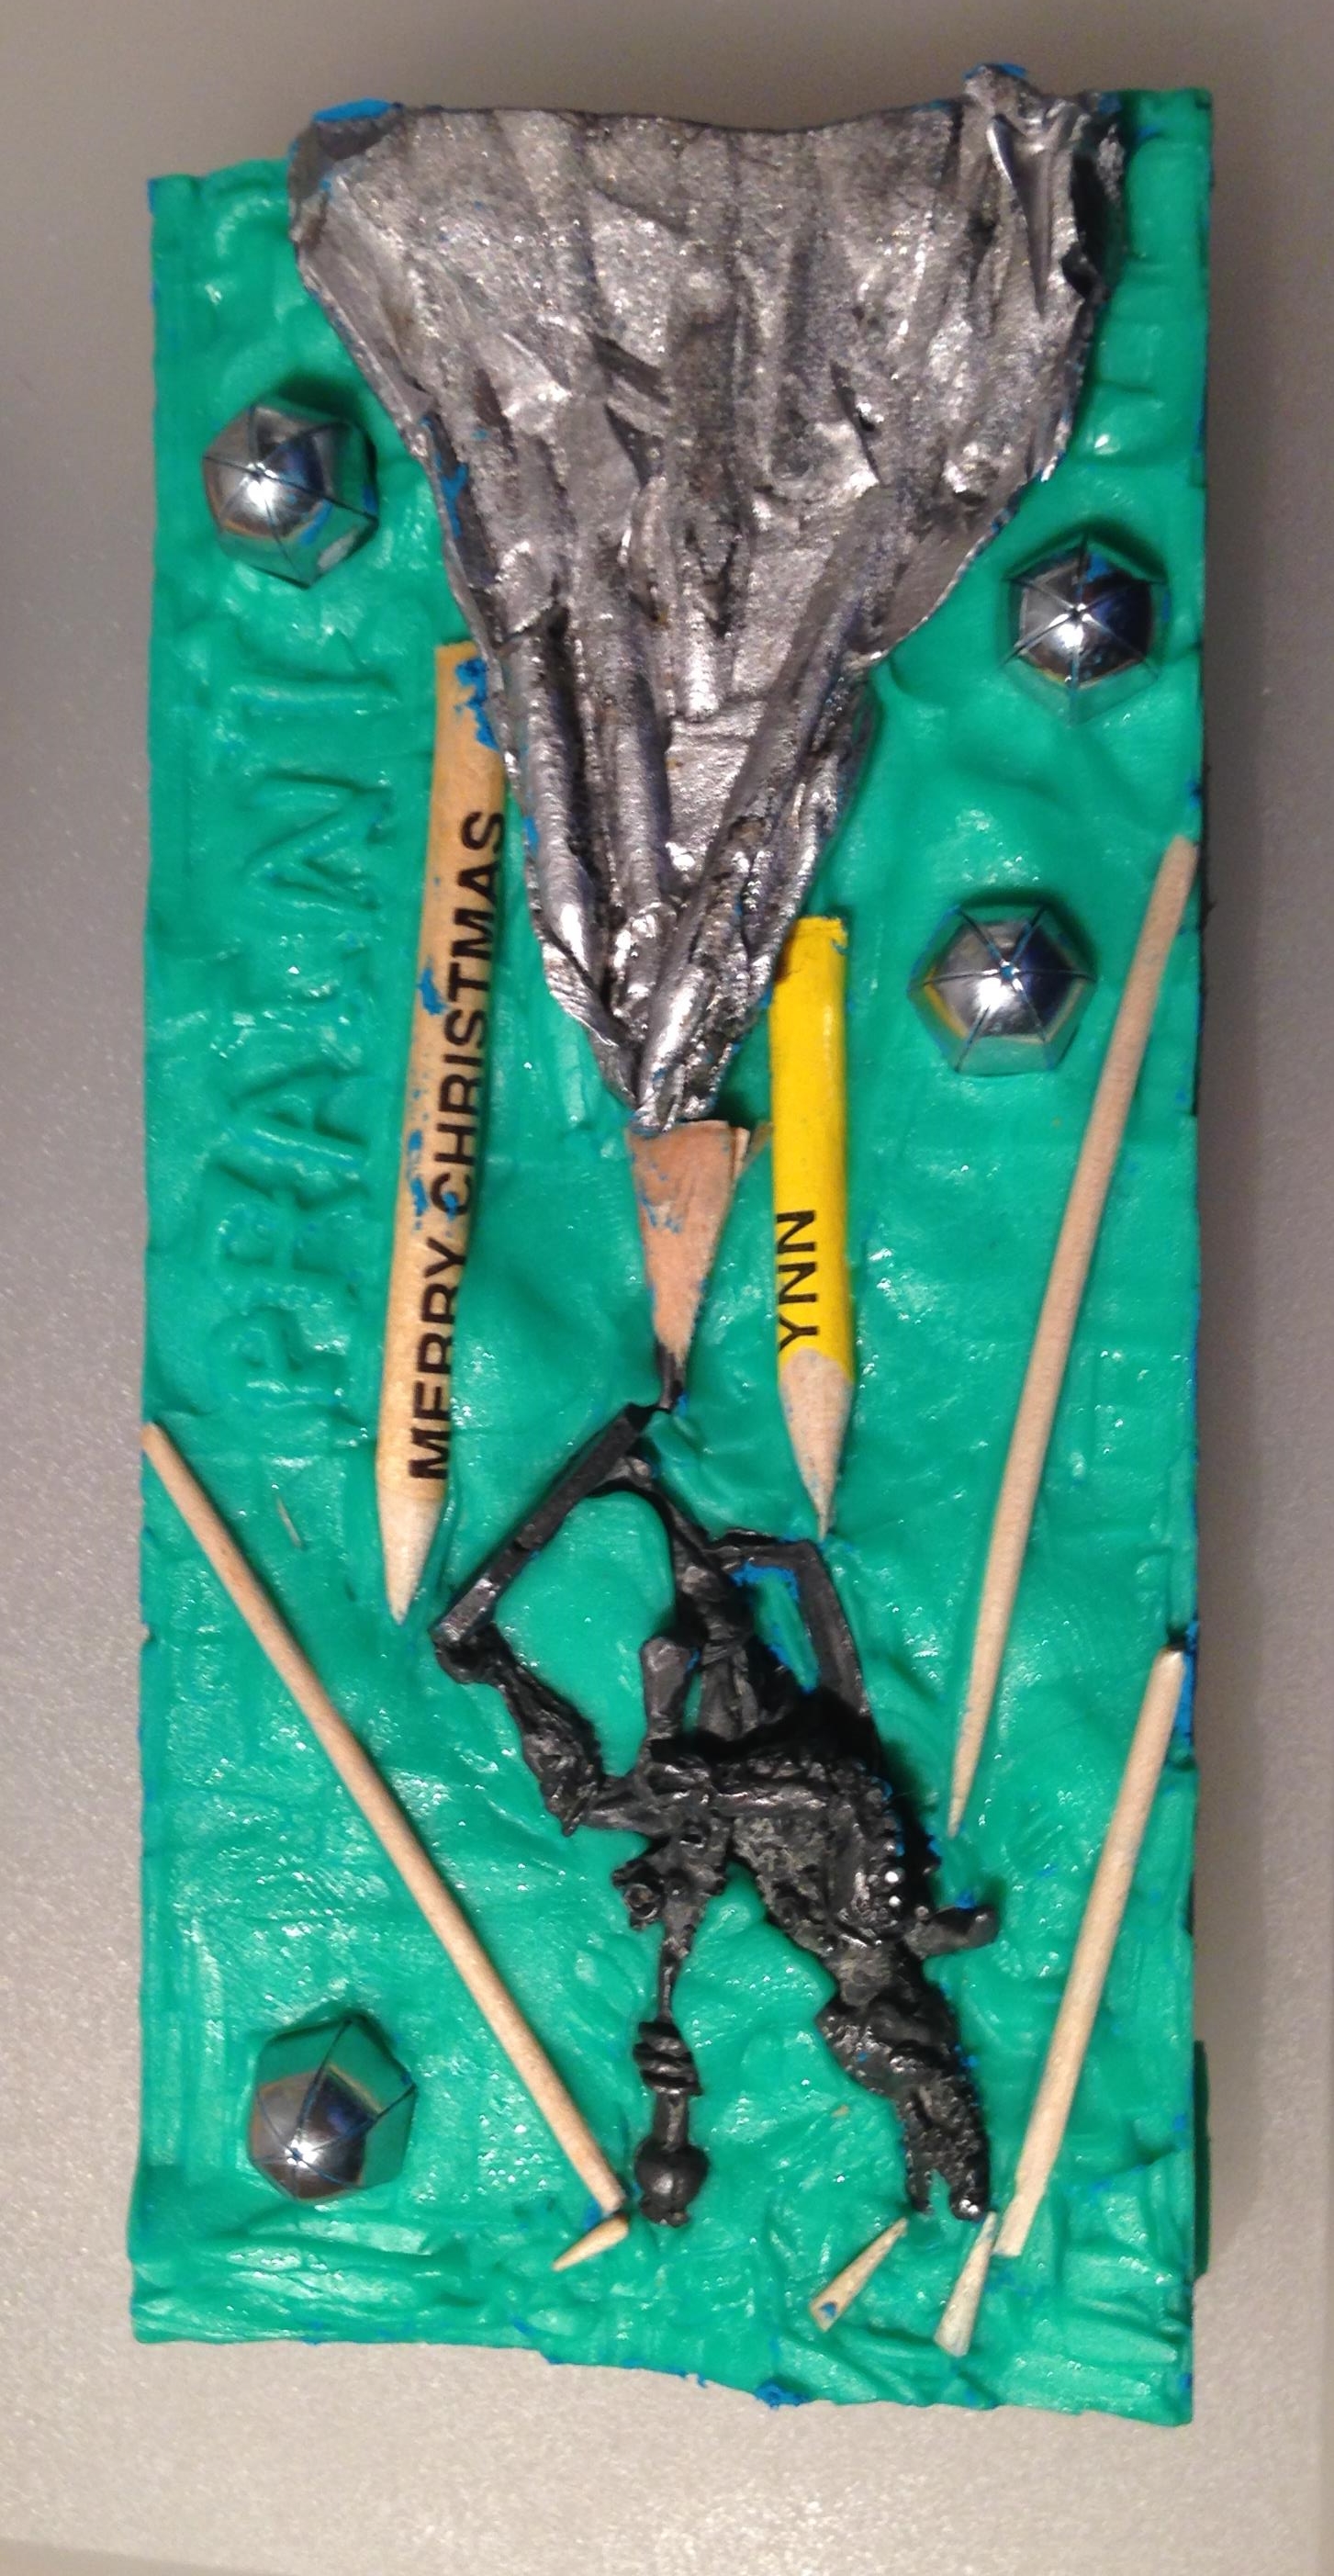
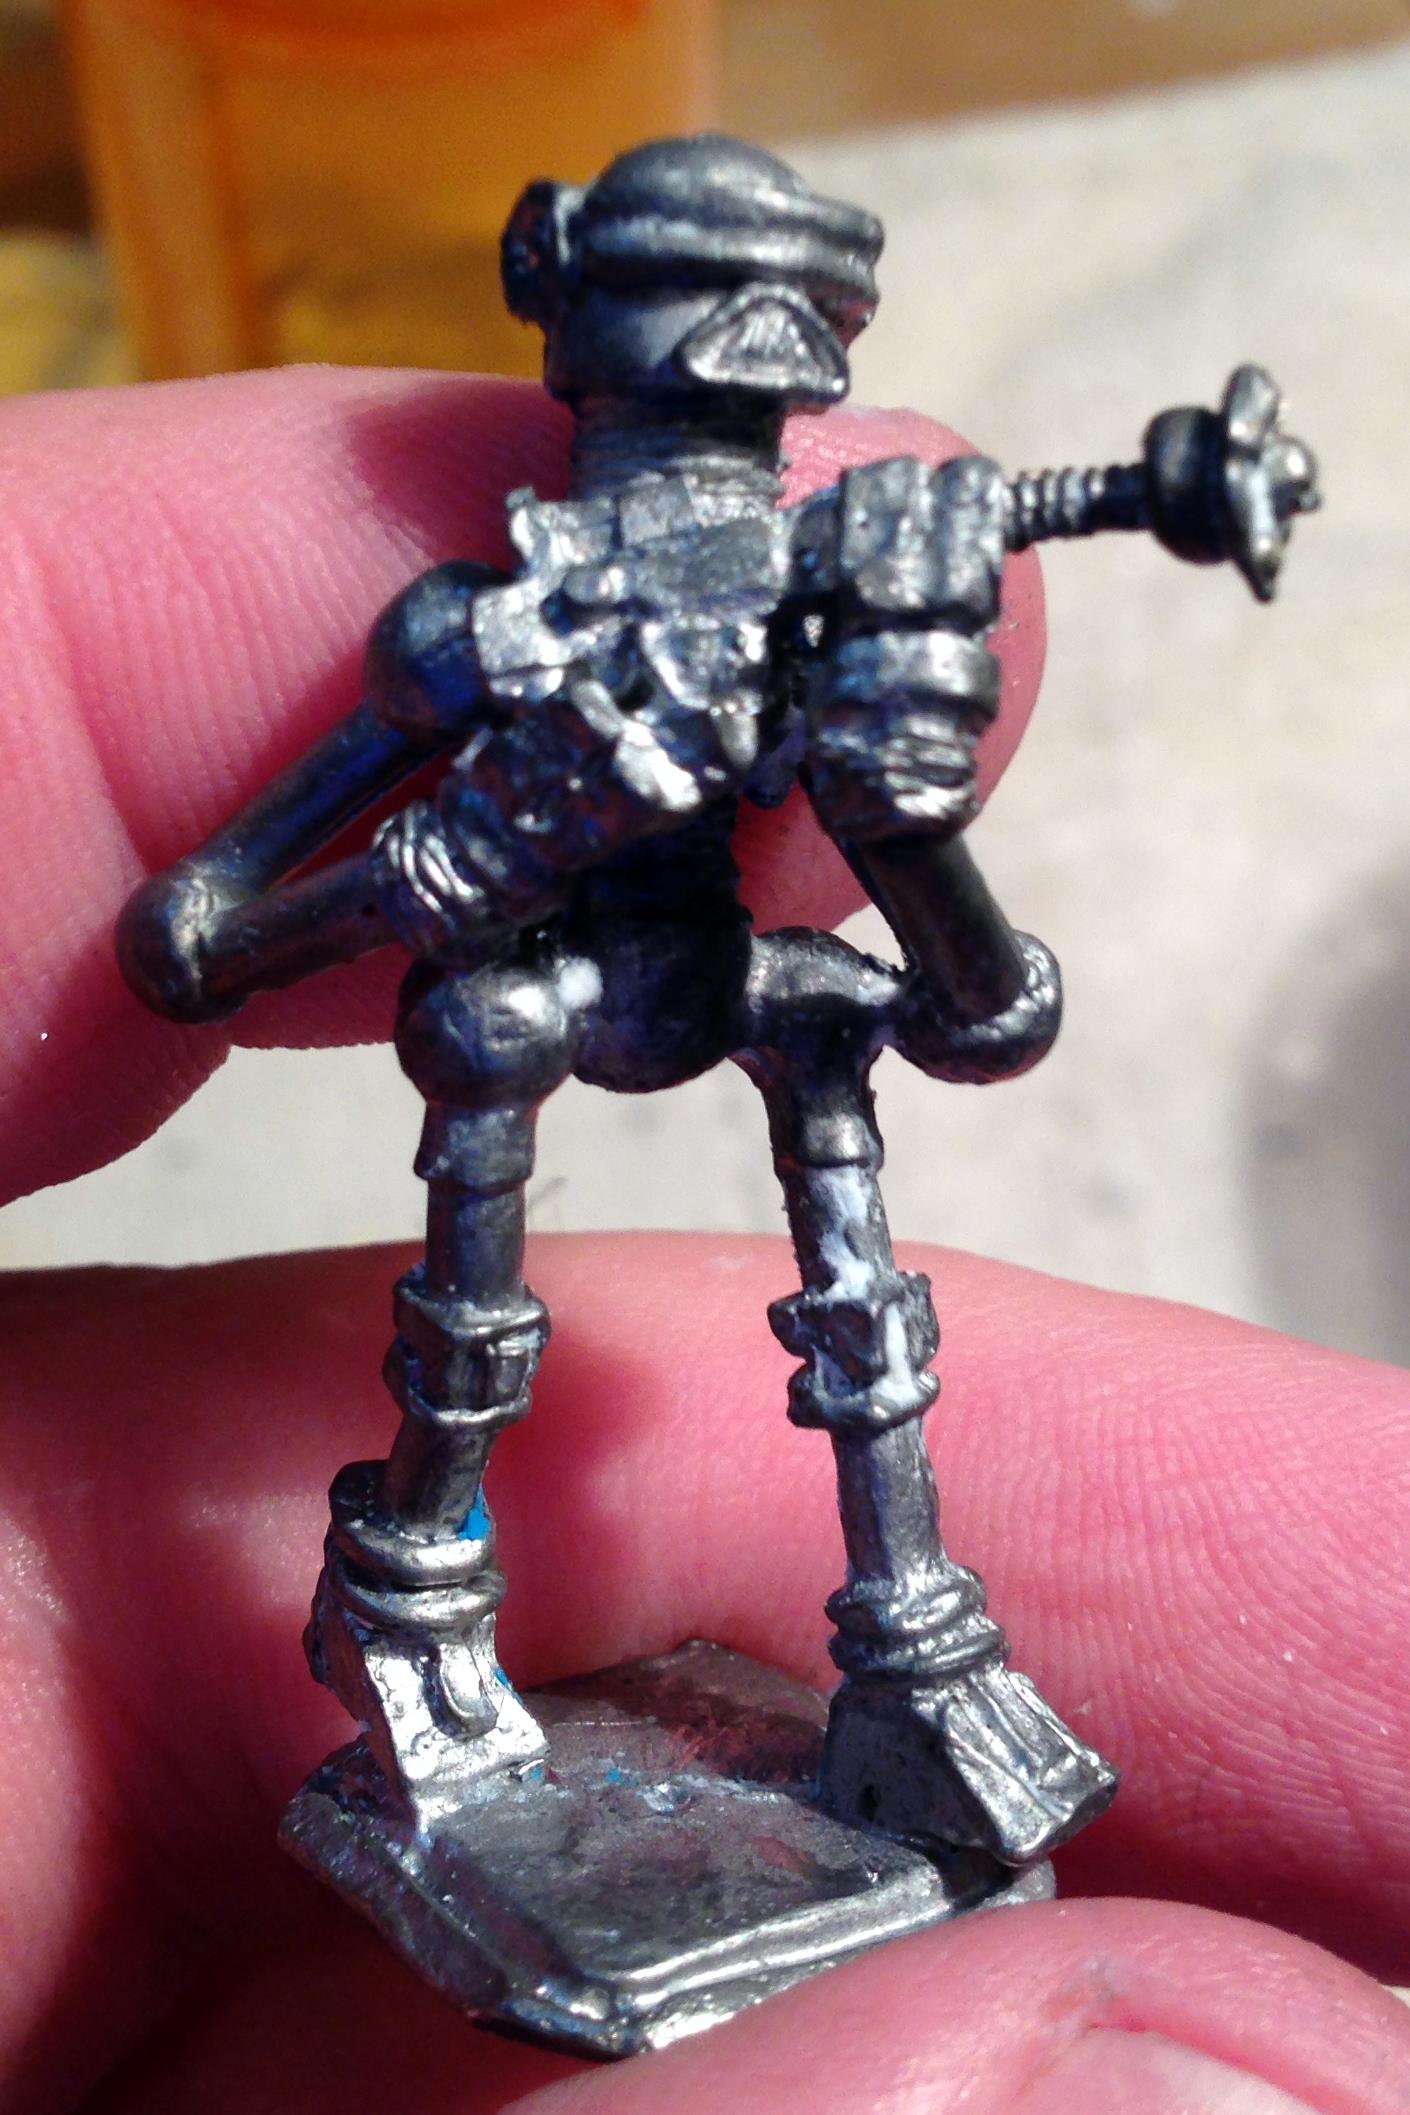
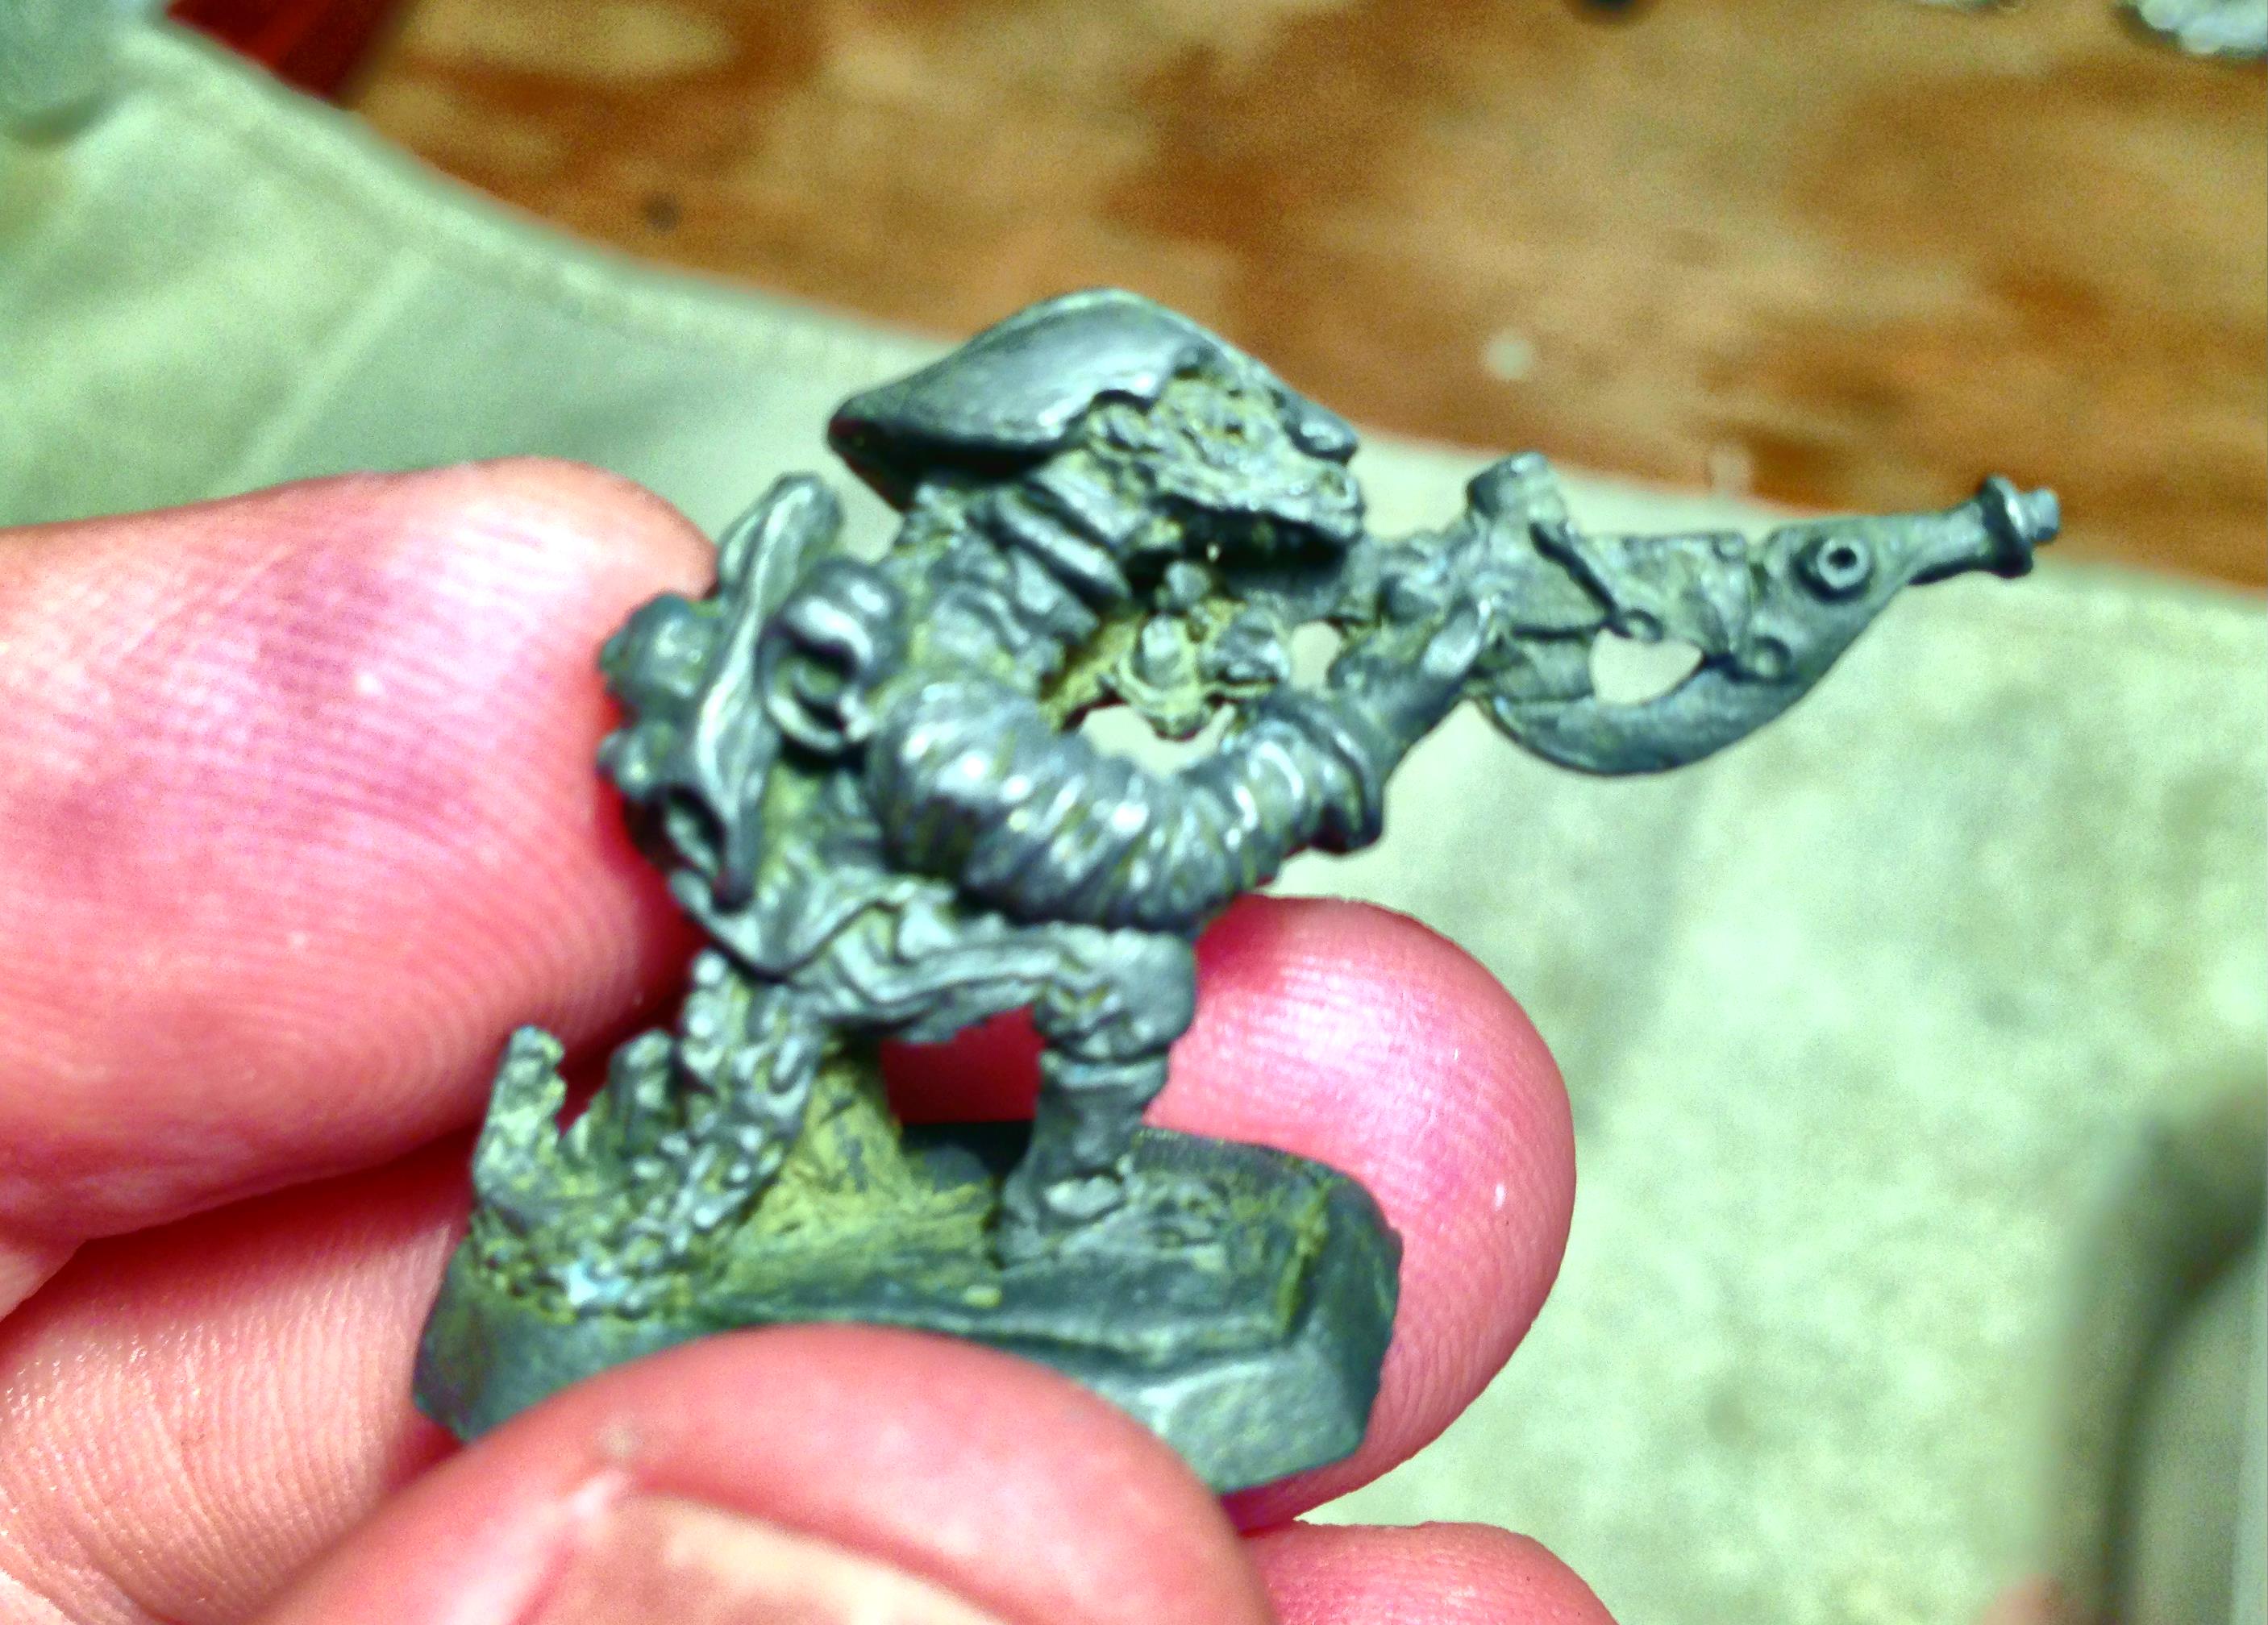
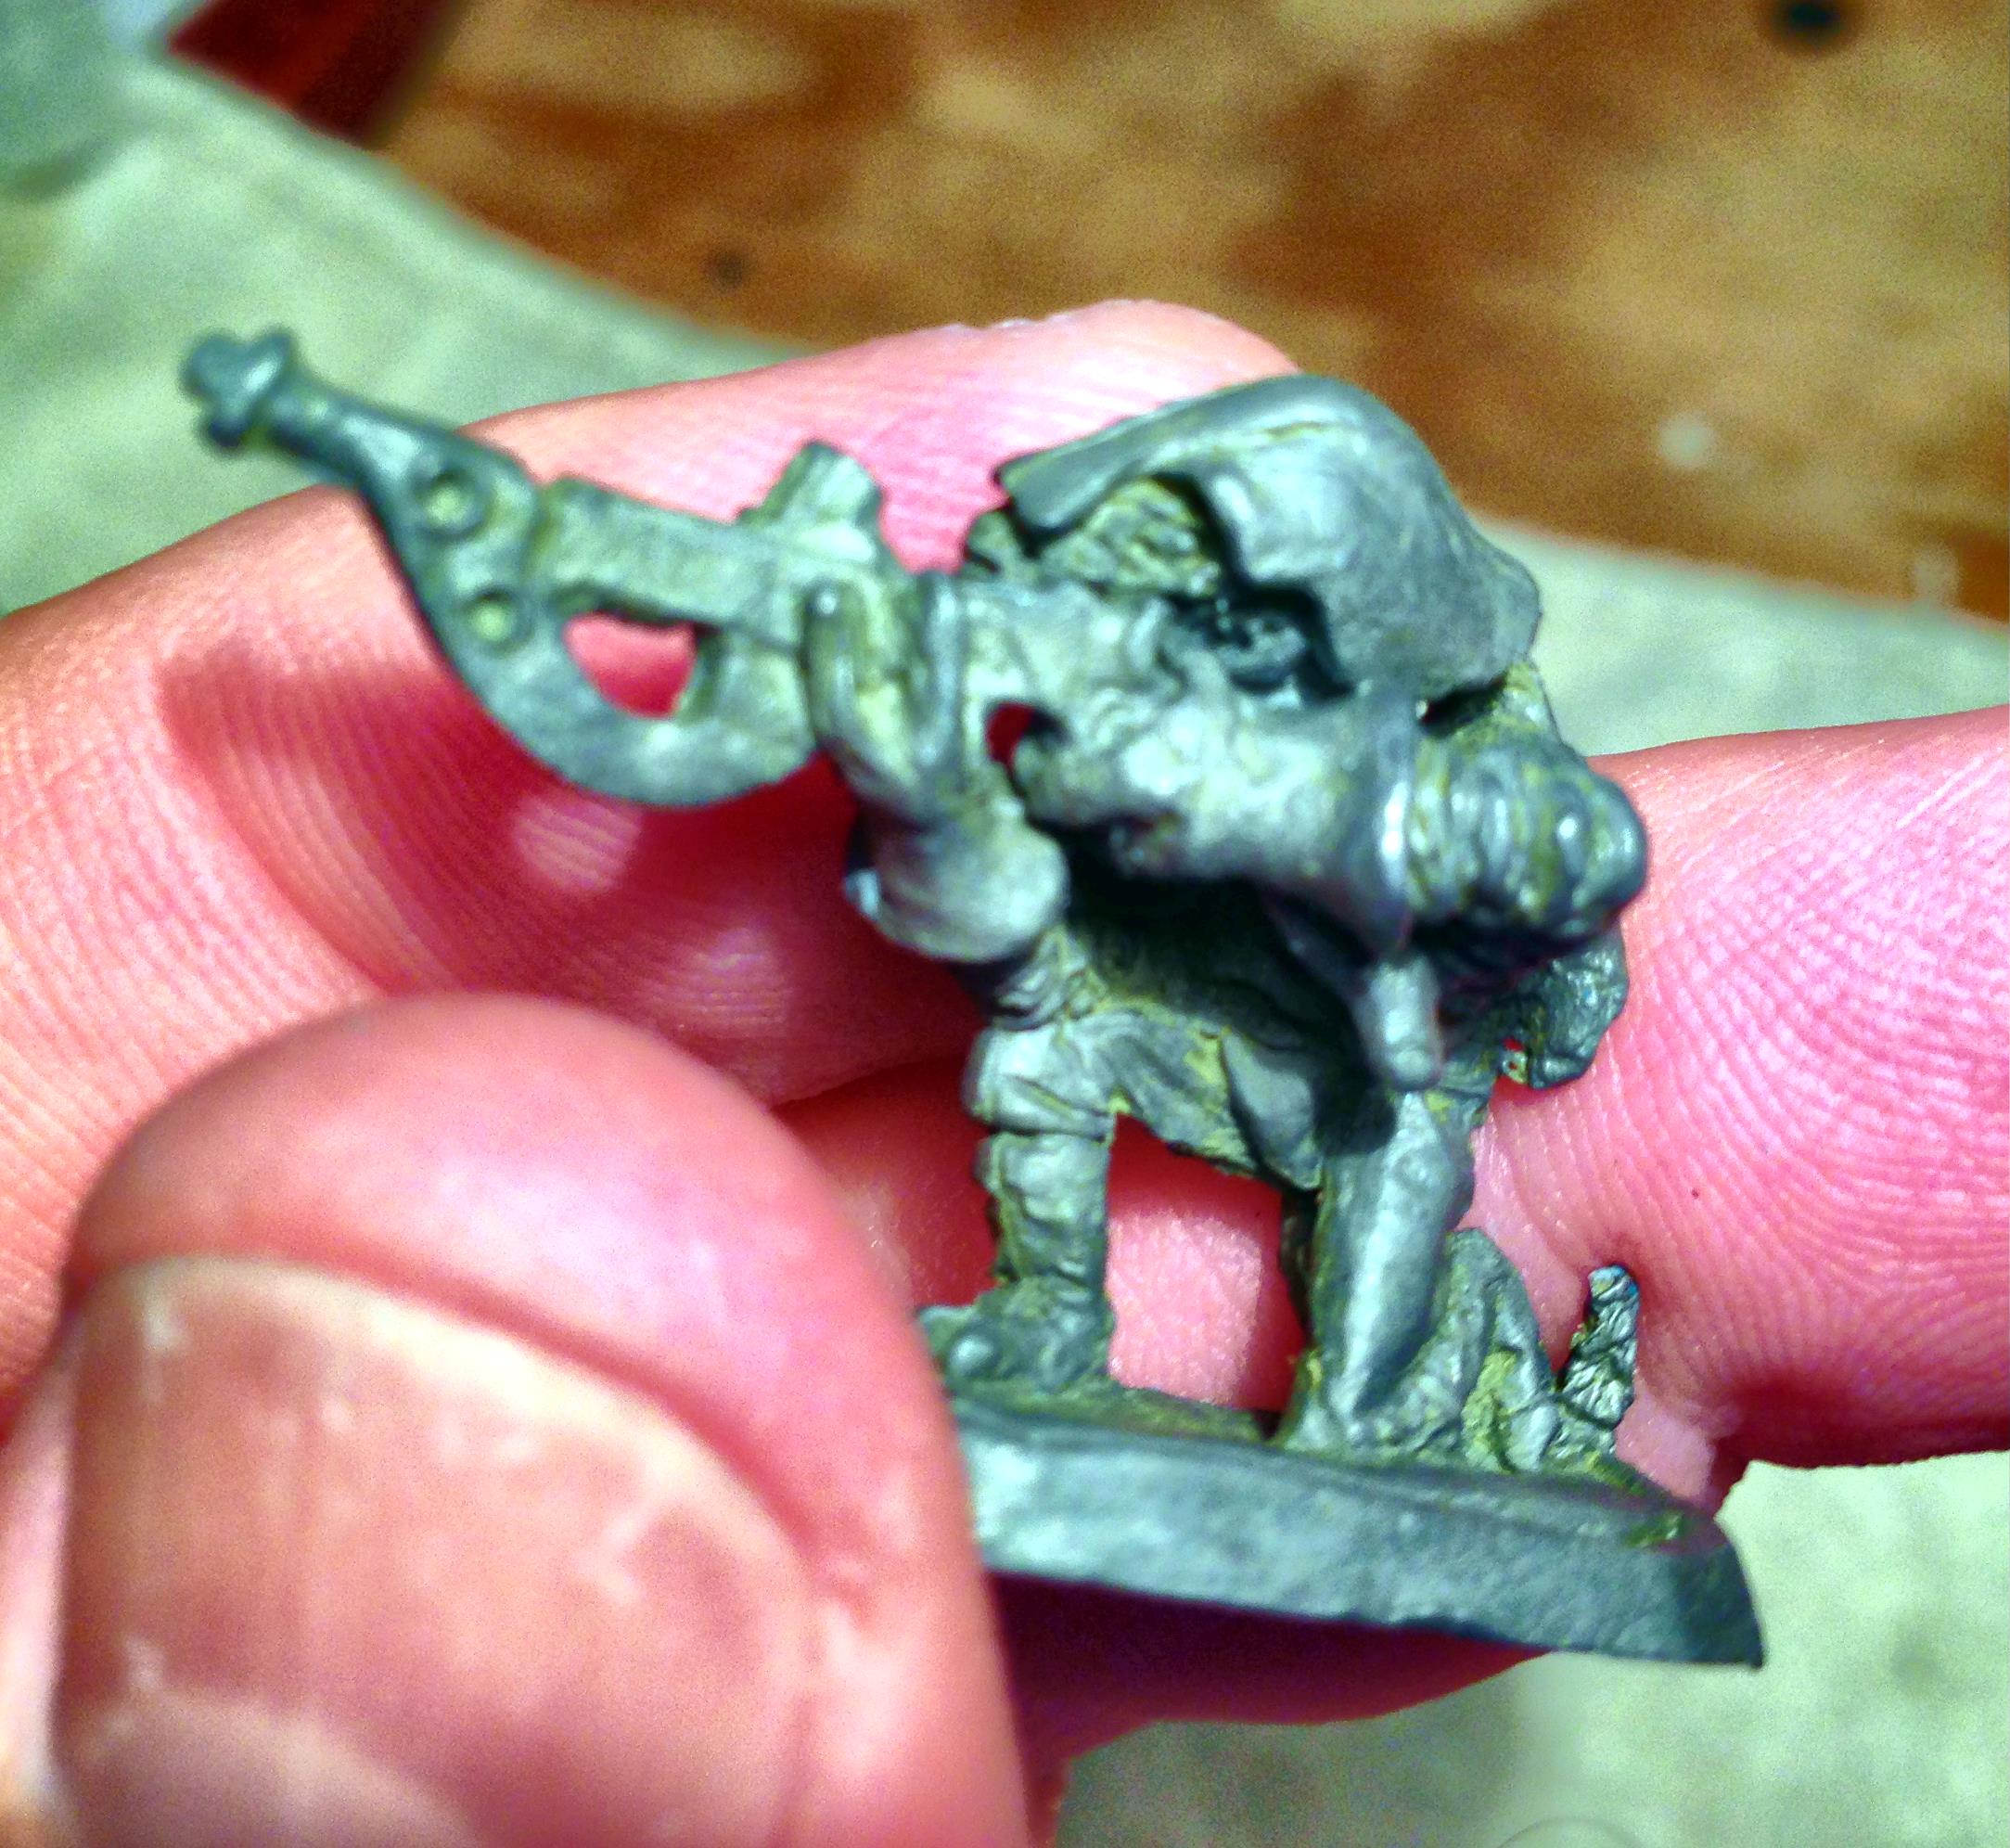
First, some WIP photos:

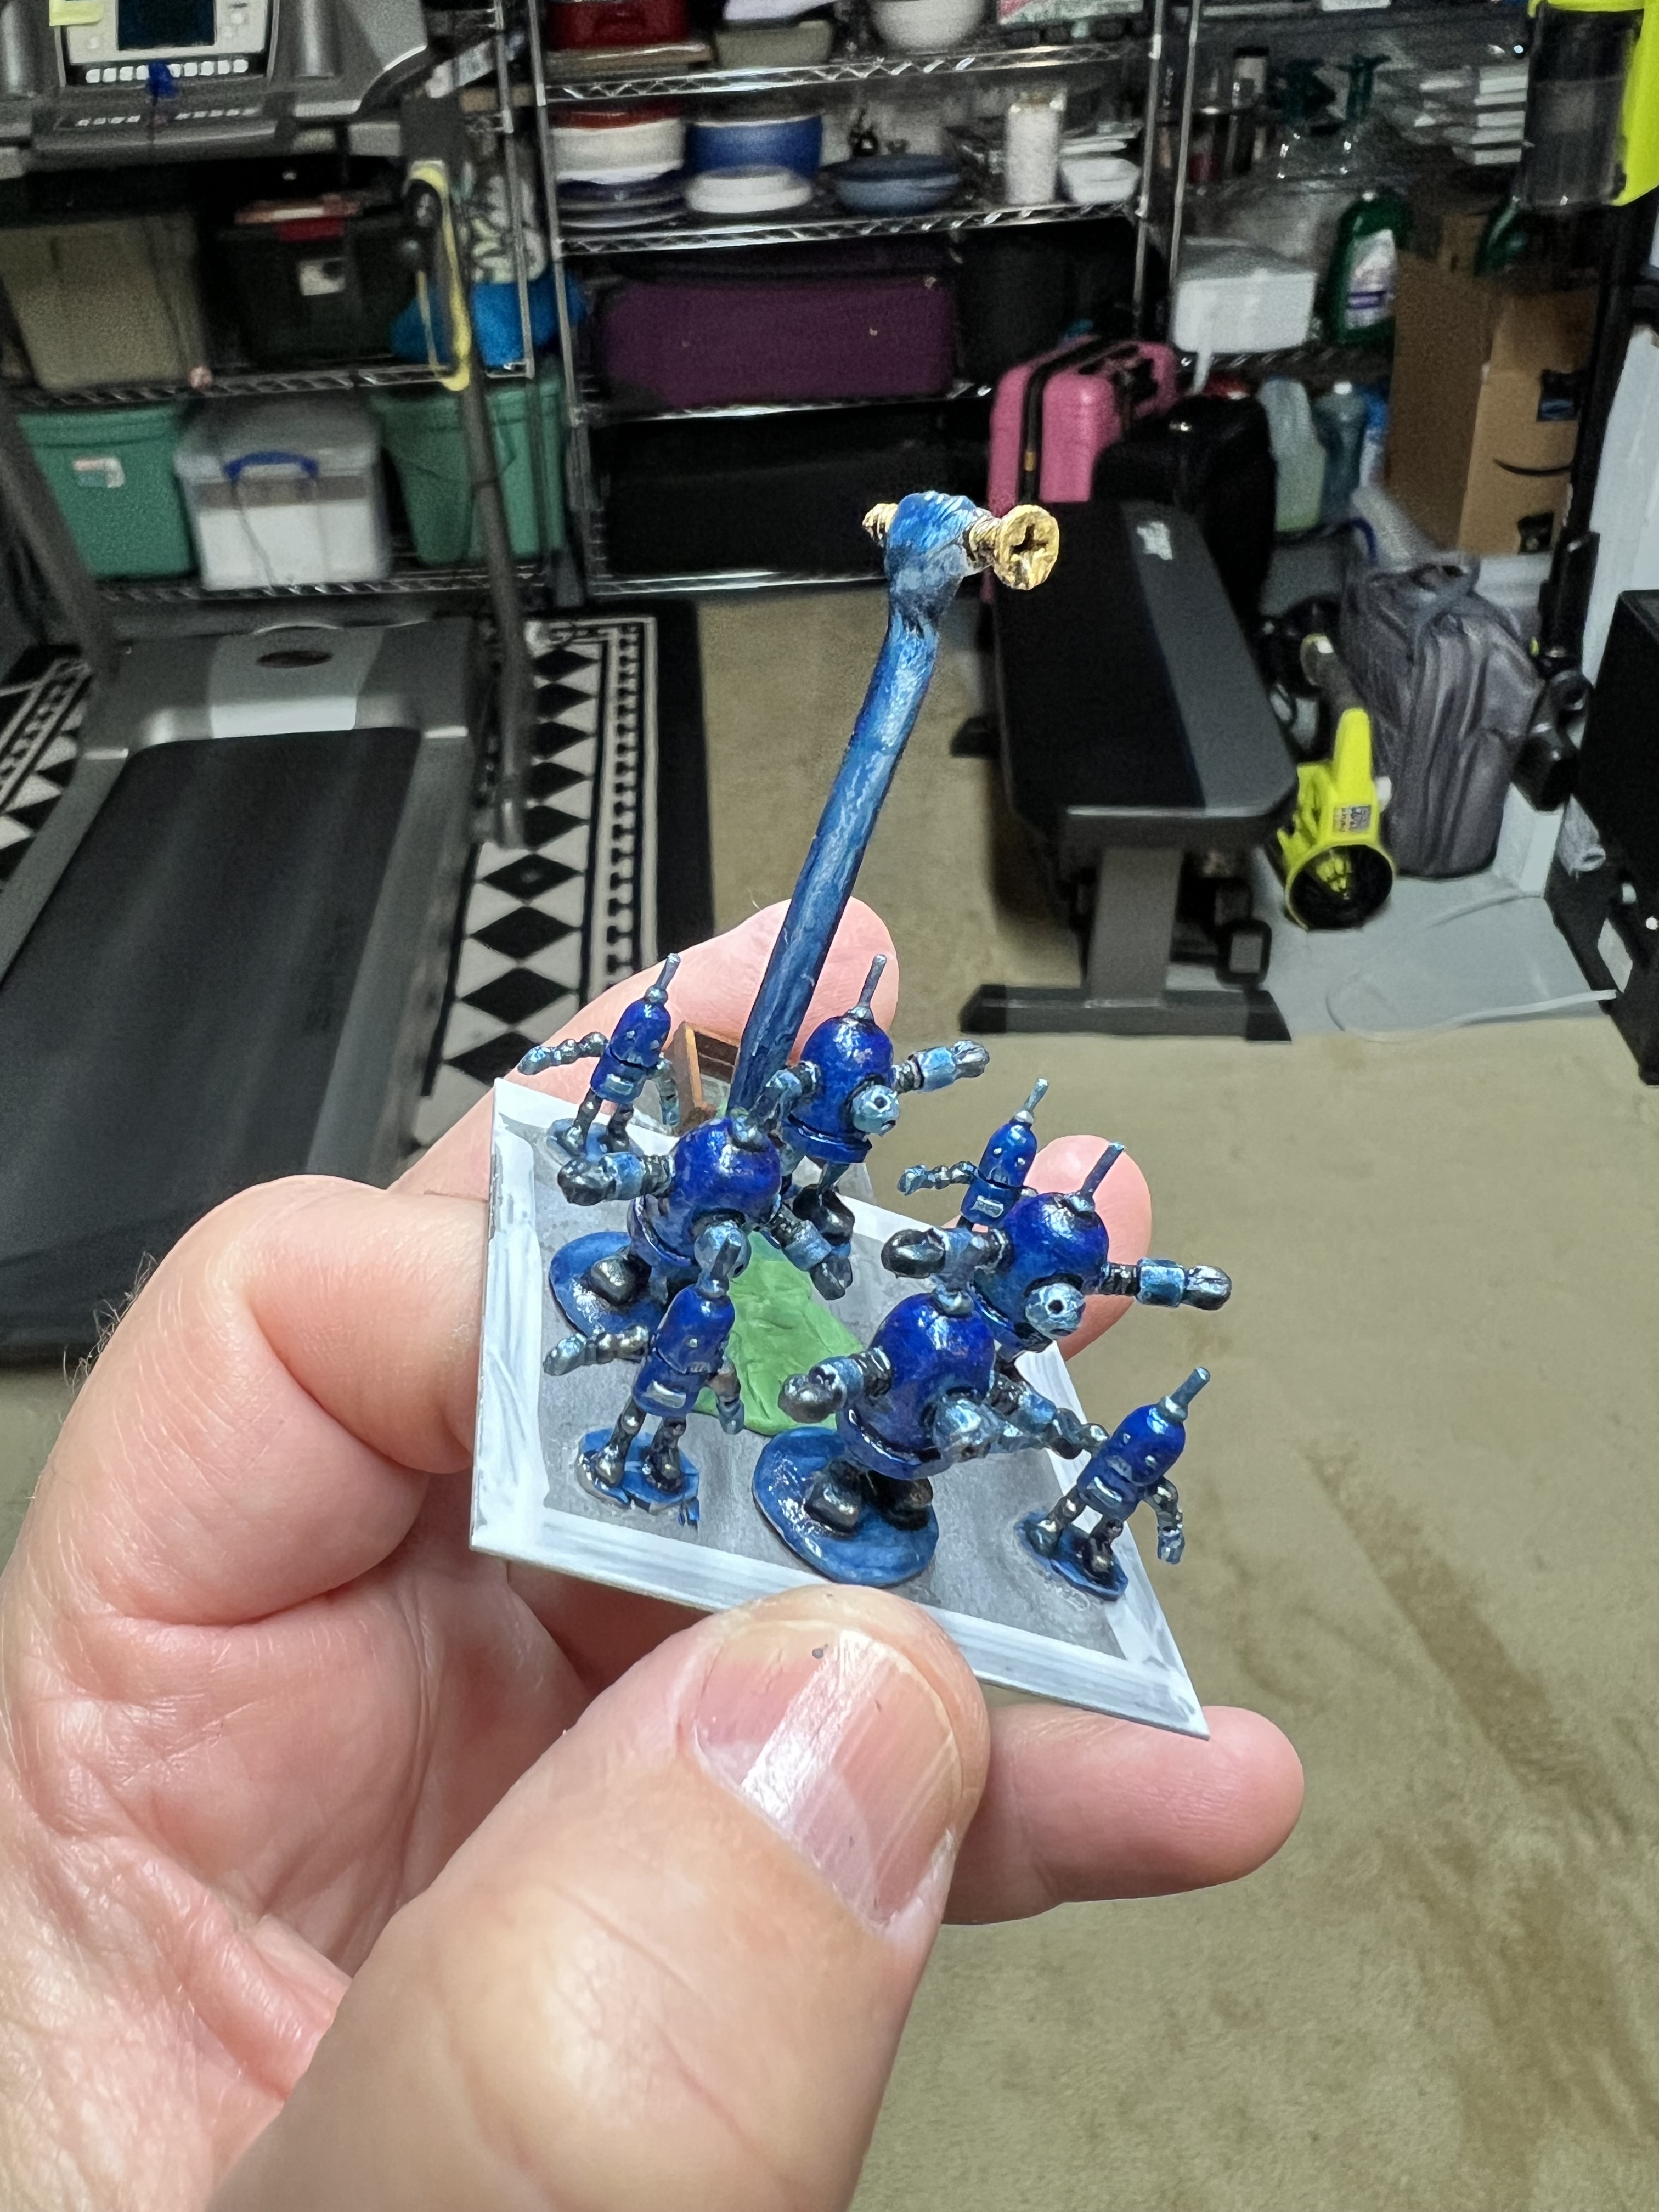
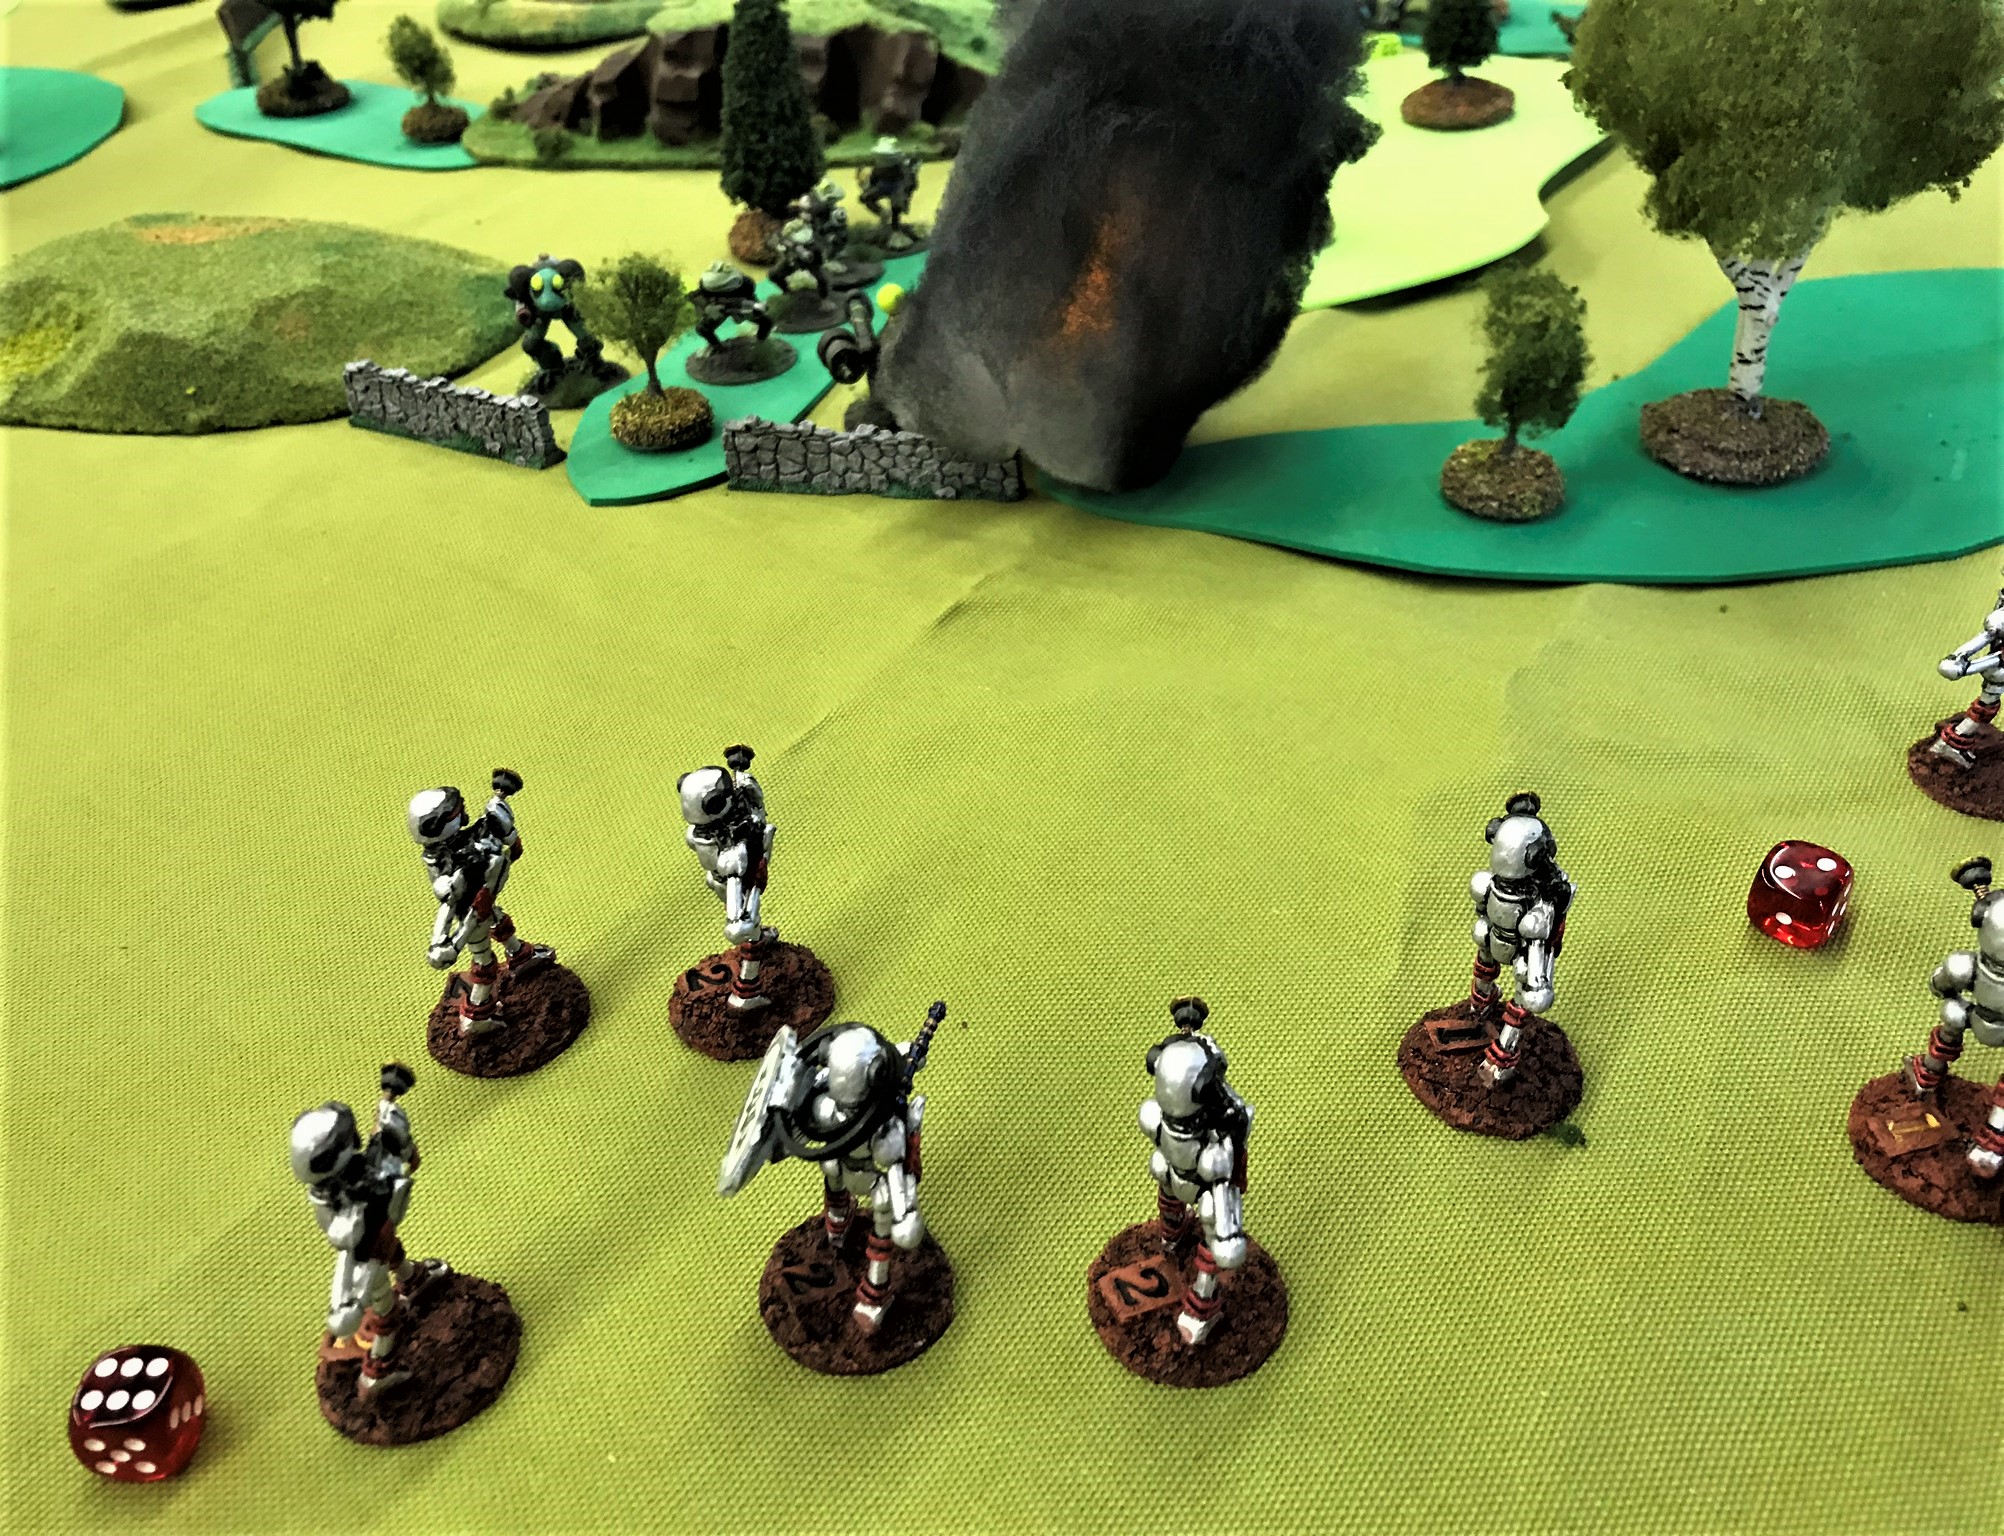
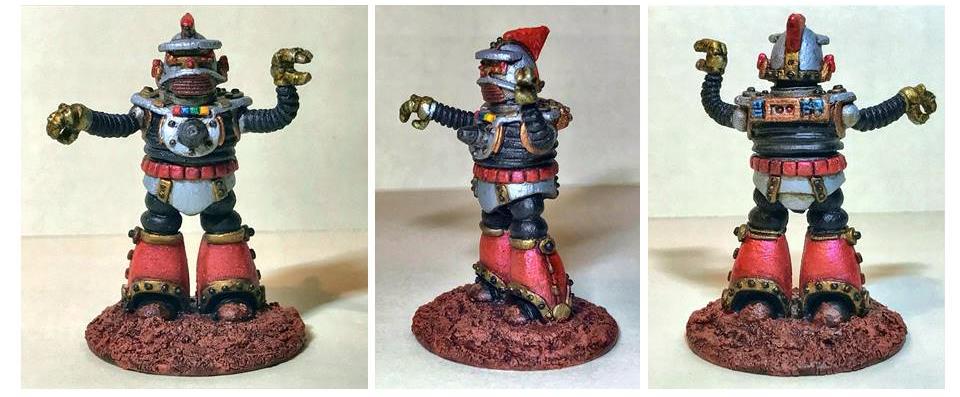
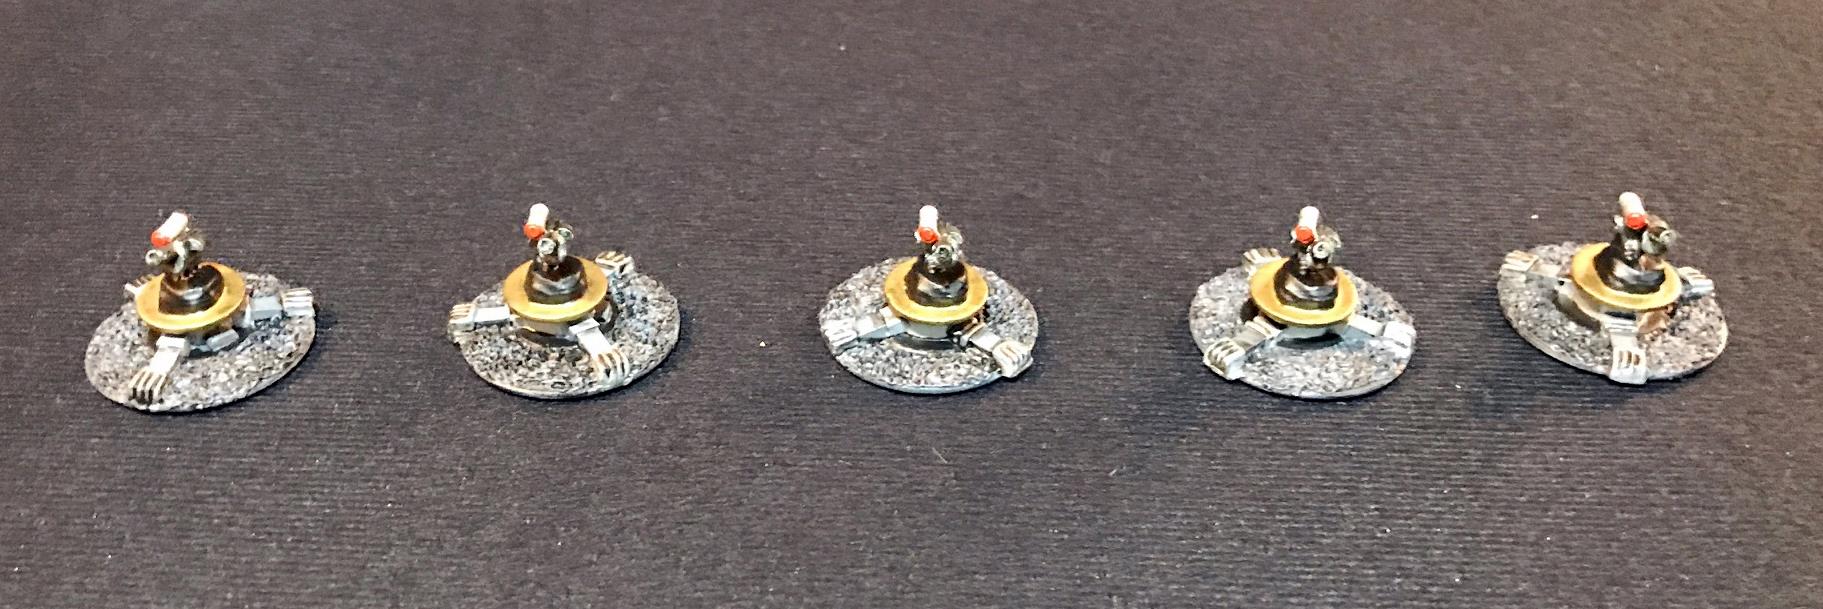
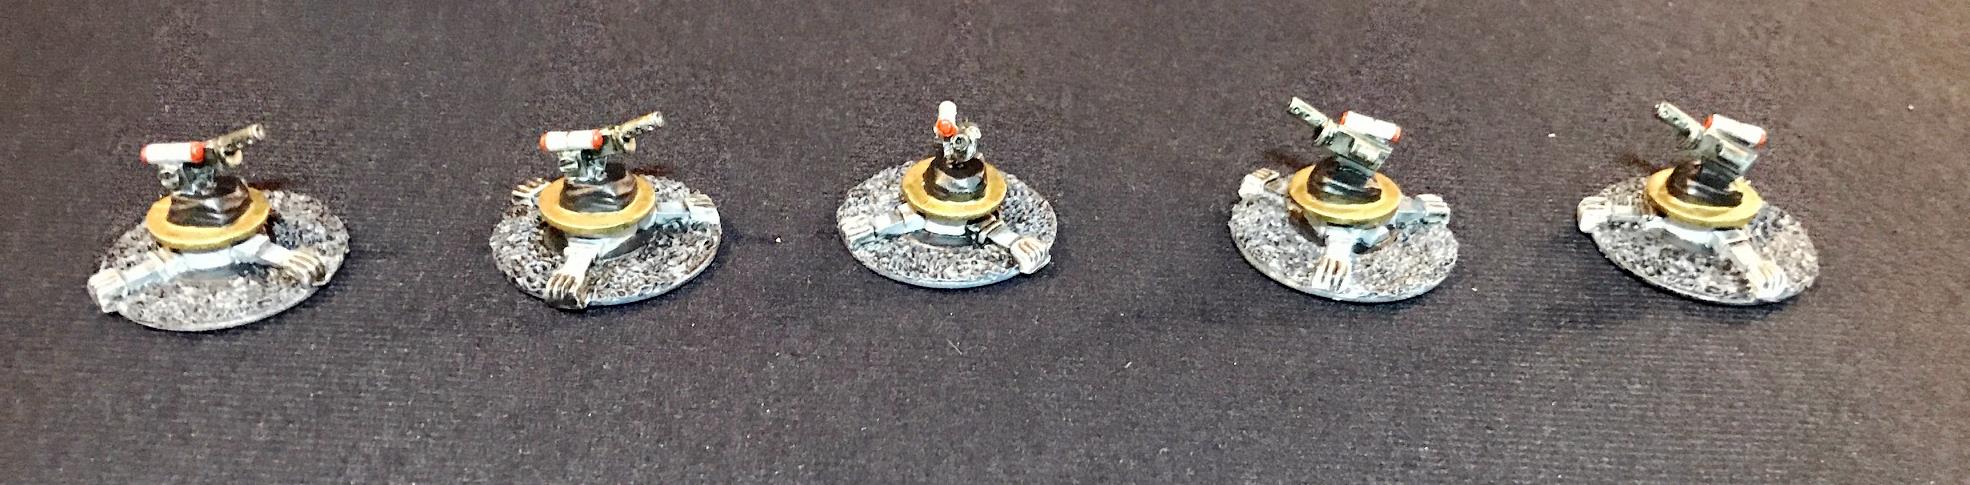
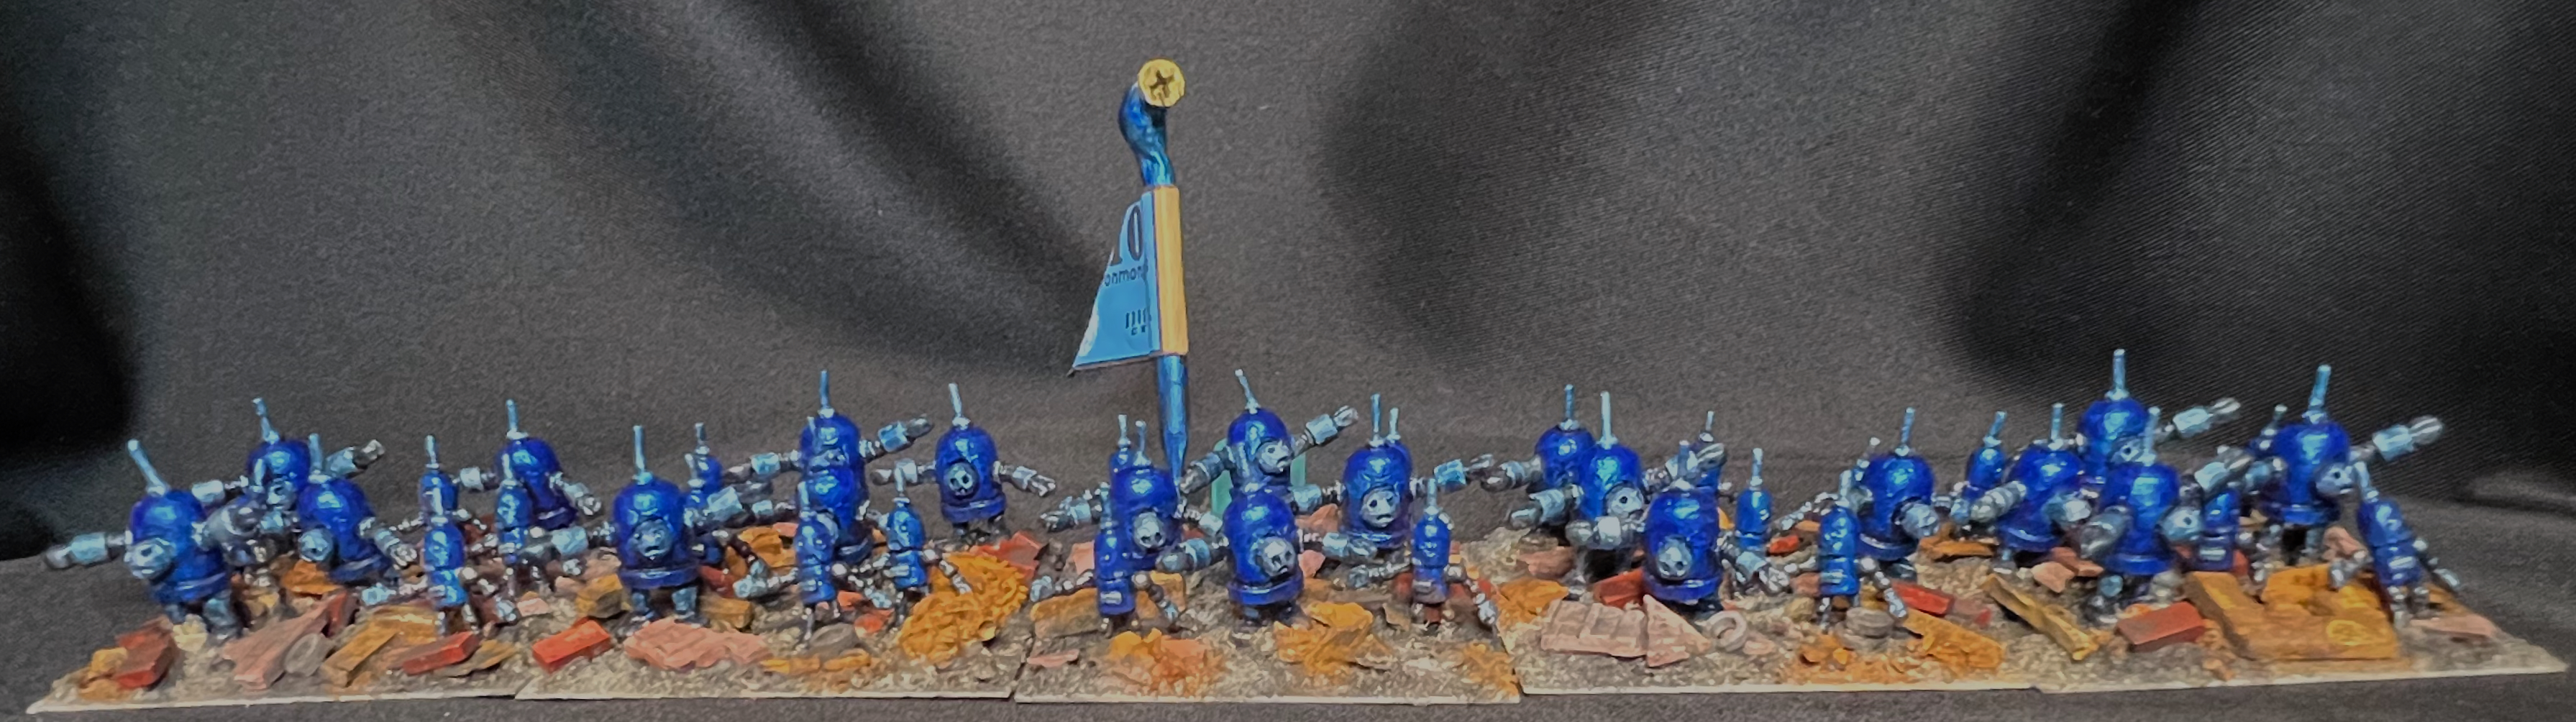
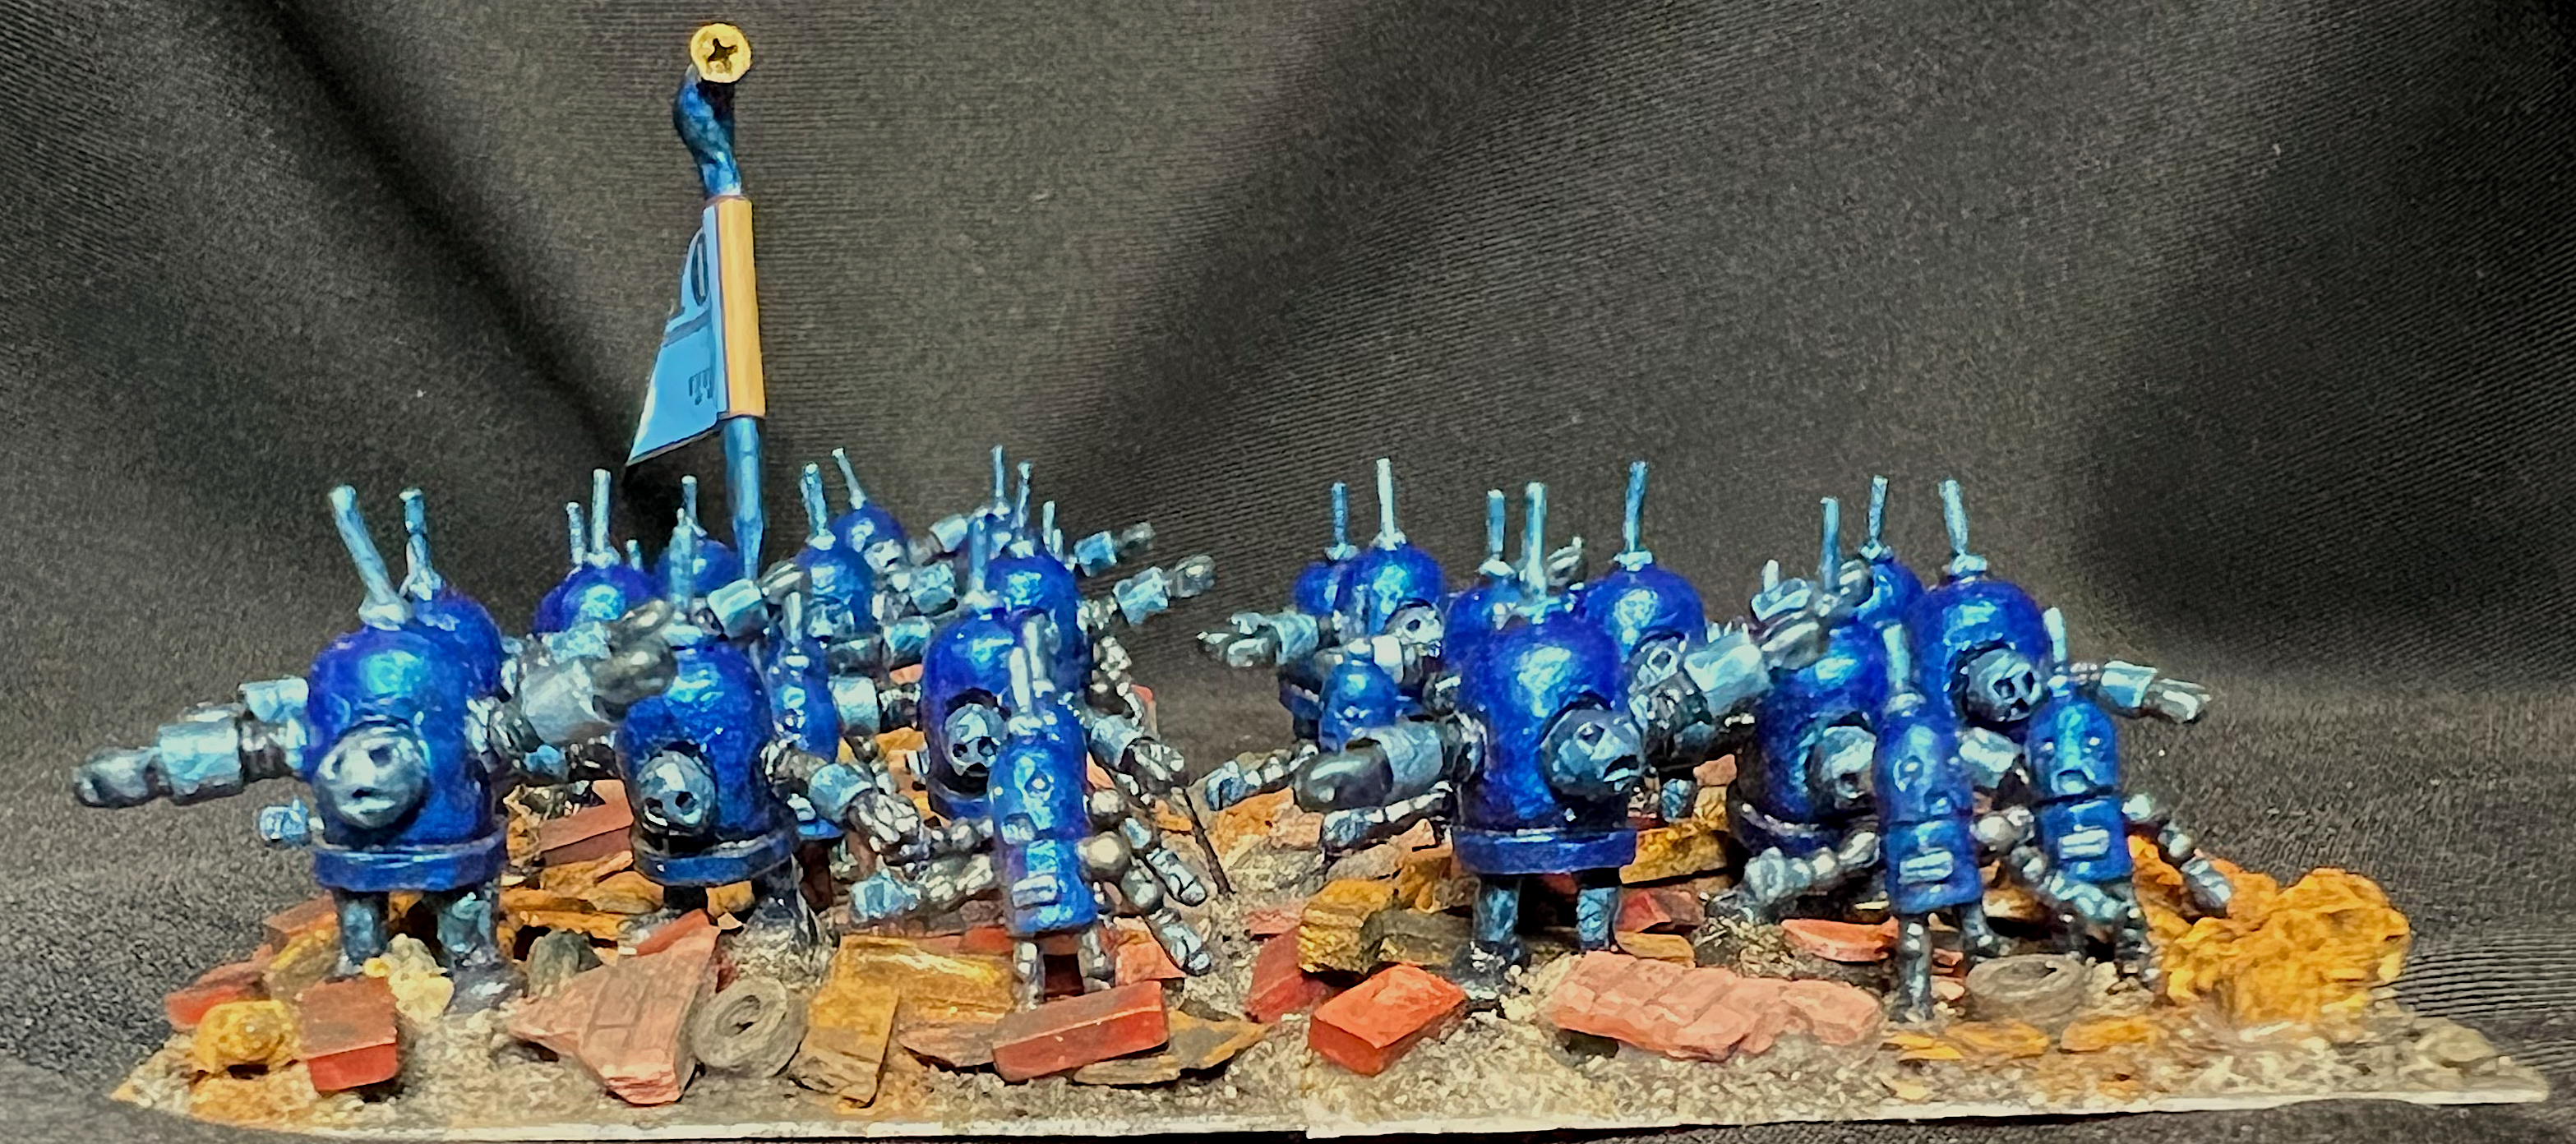
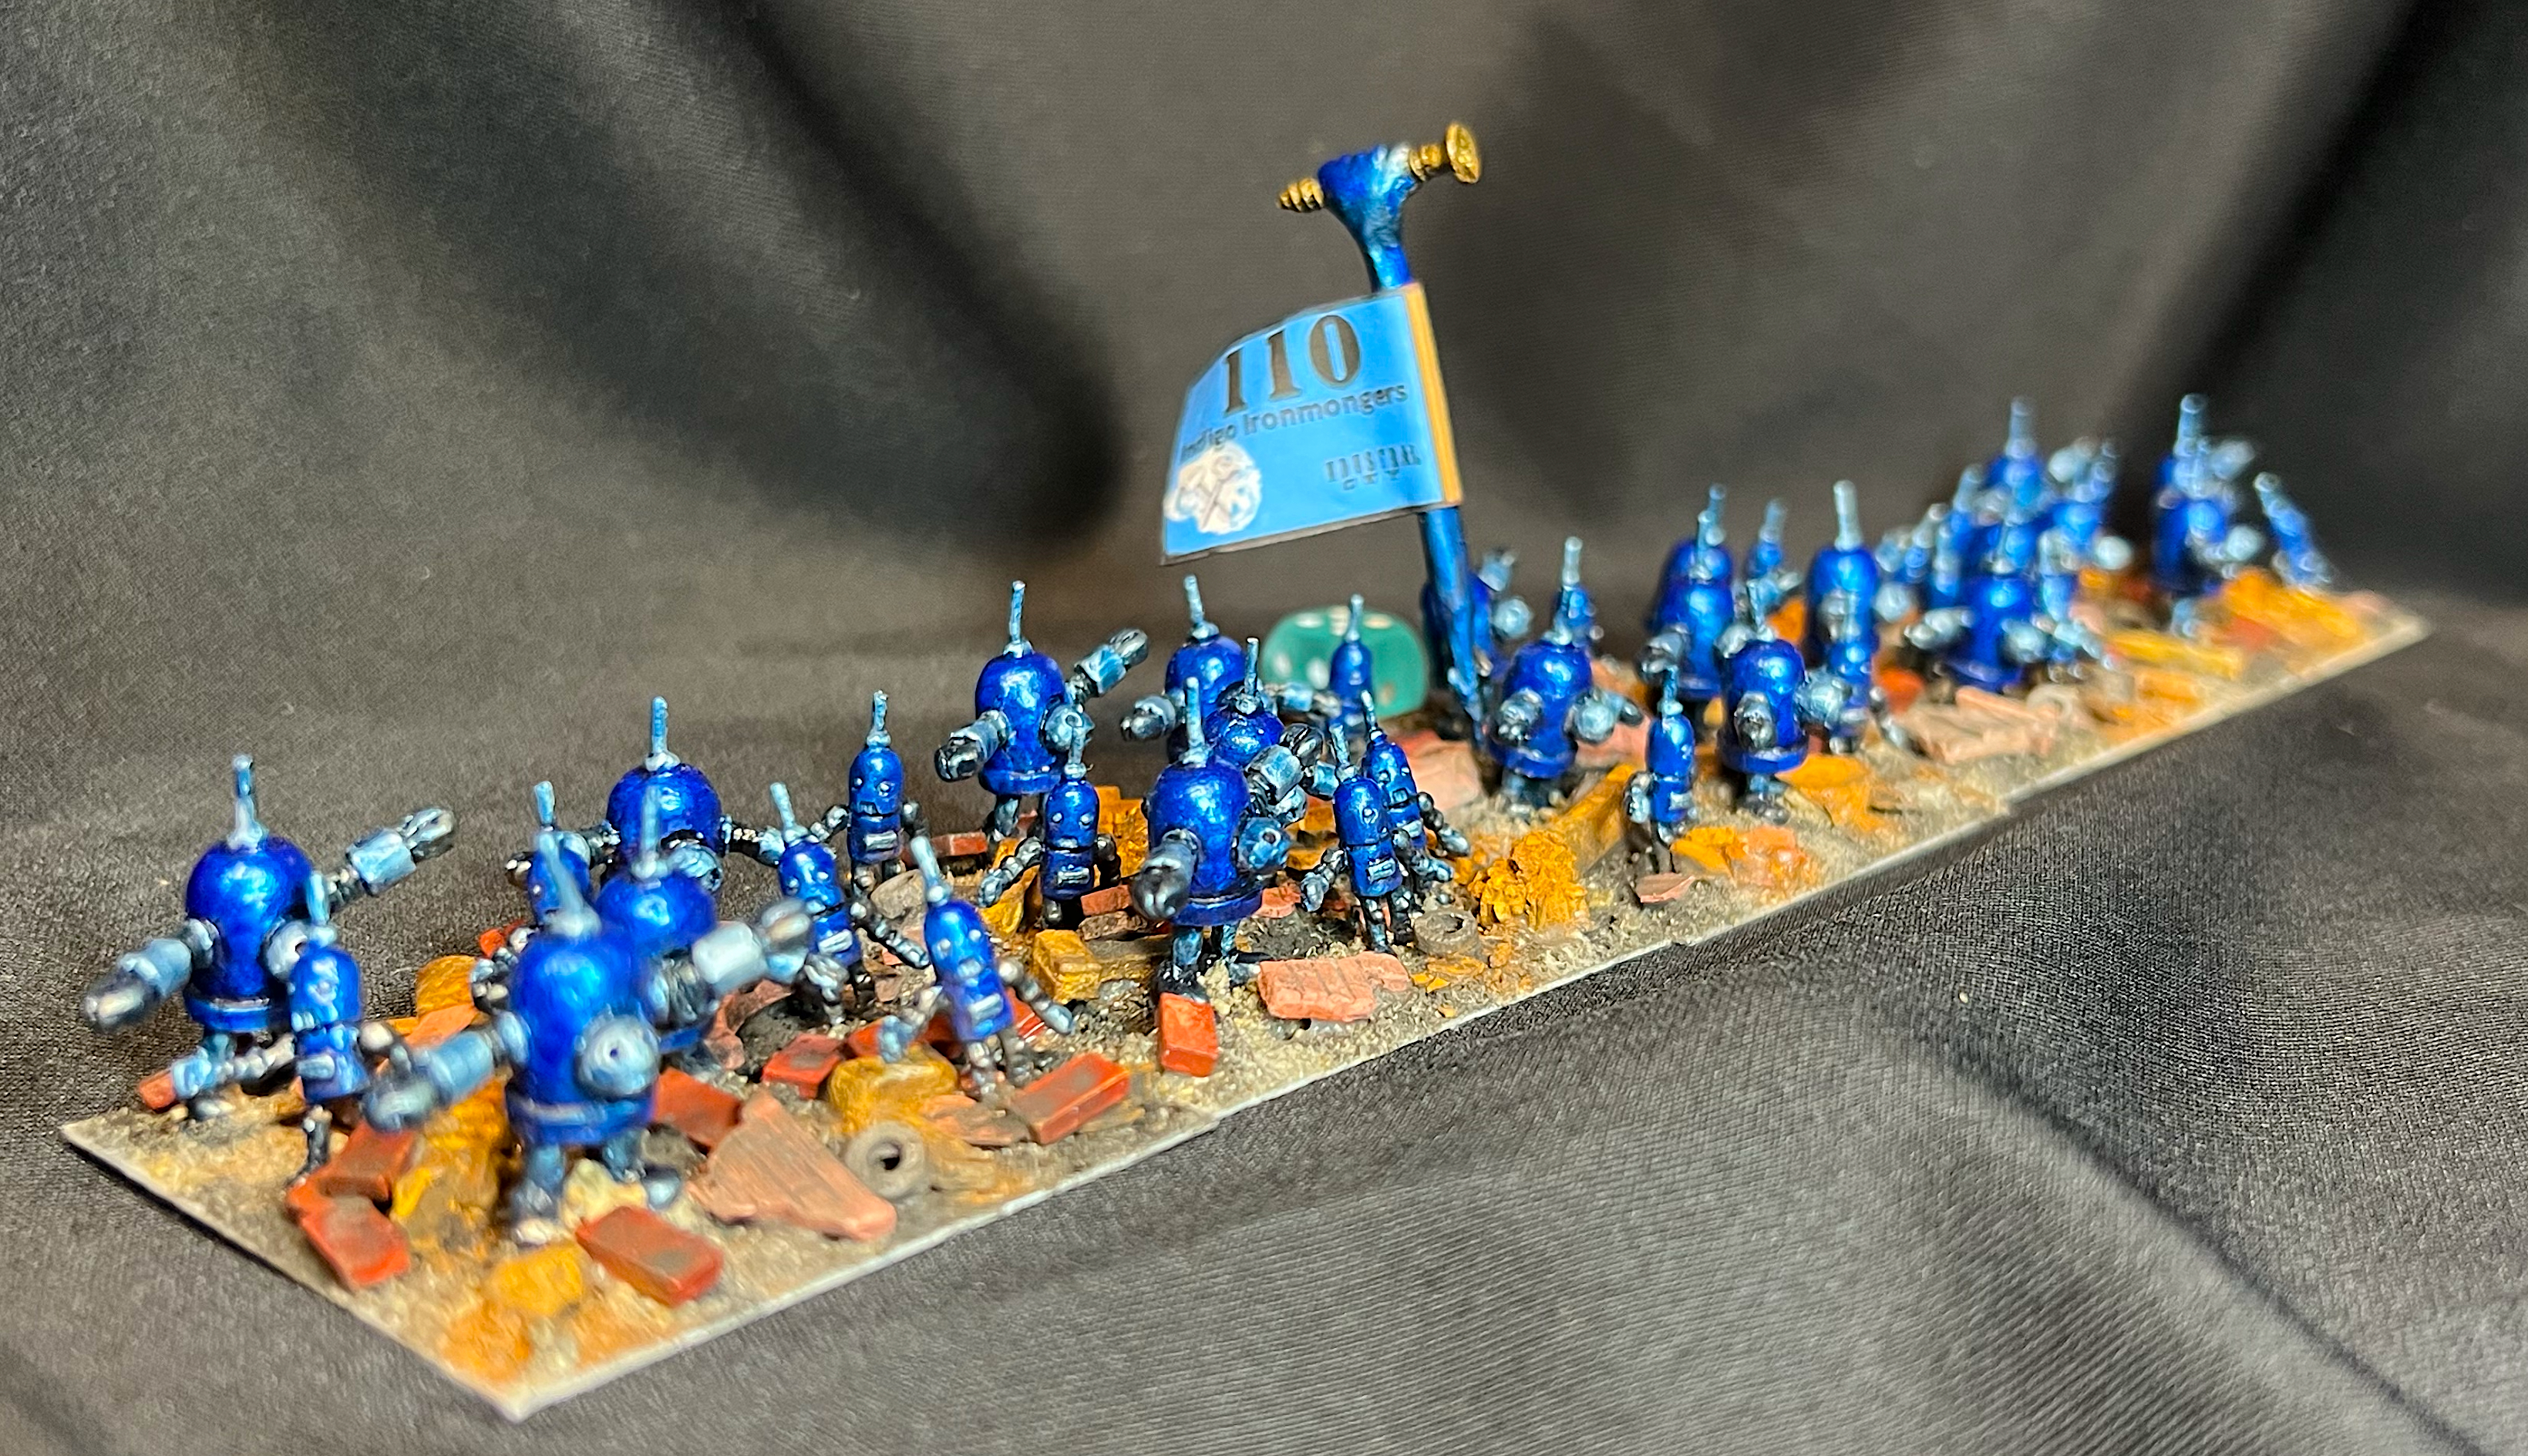
Here are some eye candy shots of the Indigo Ironmongers from a few differnt angles:
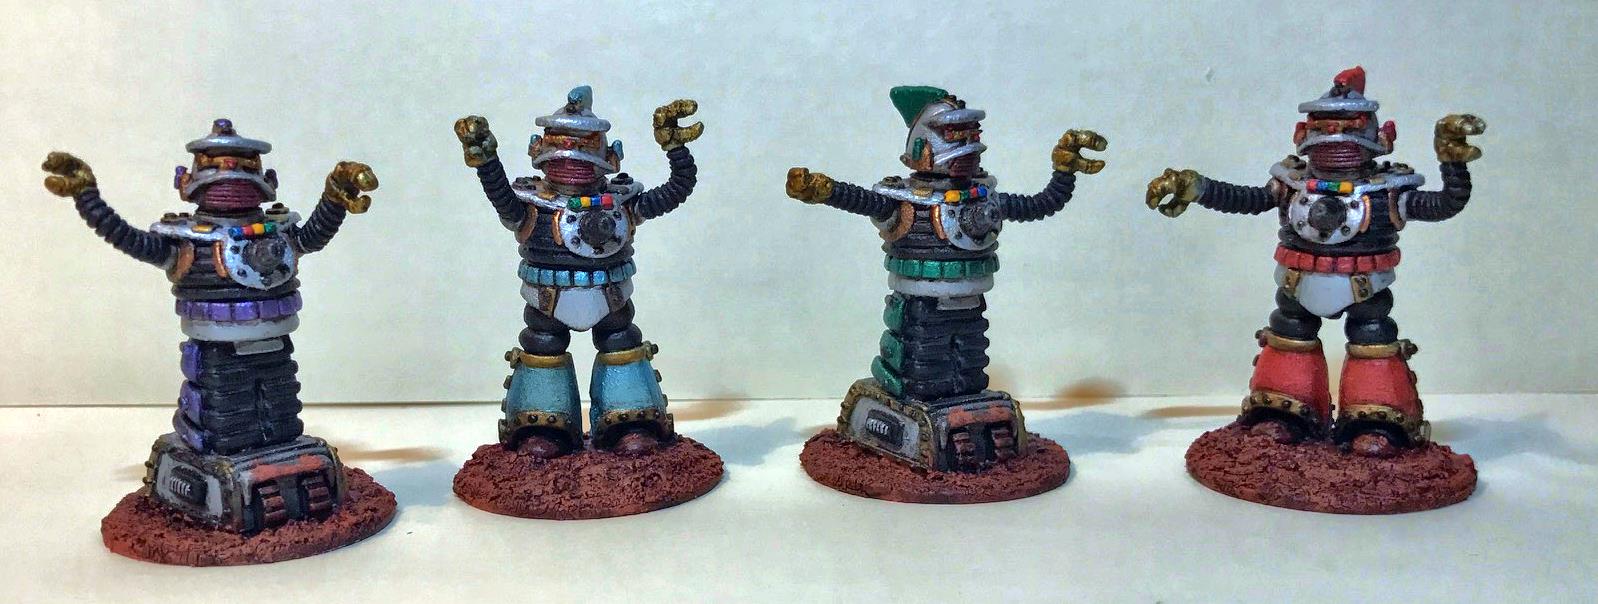
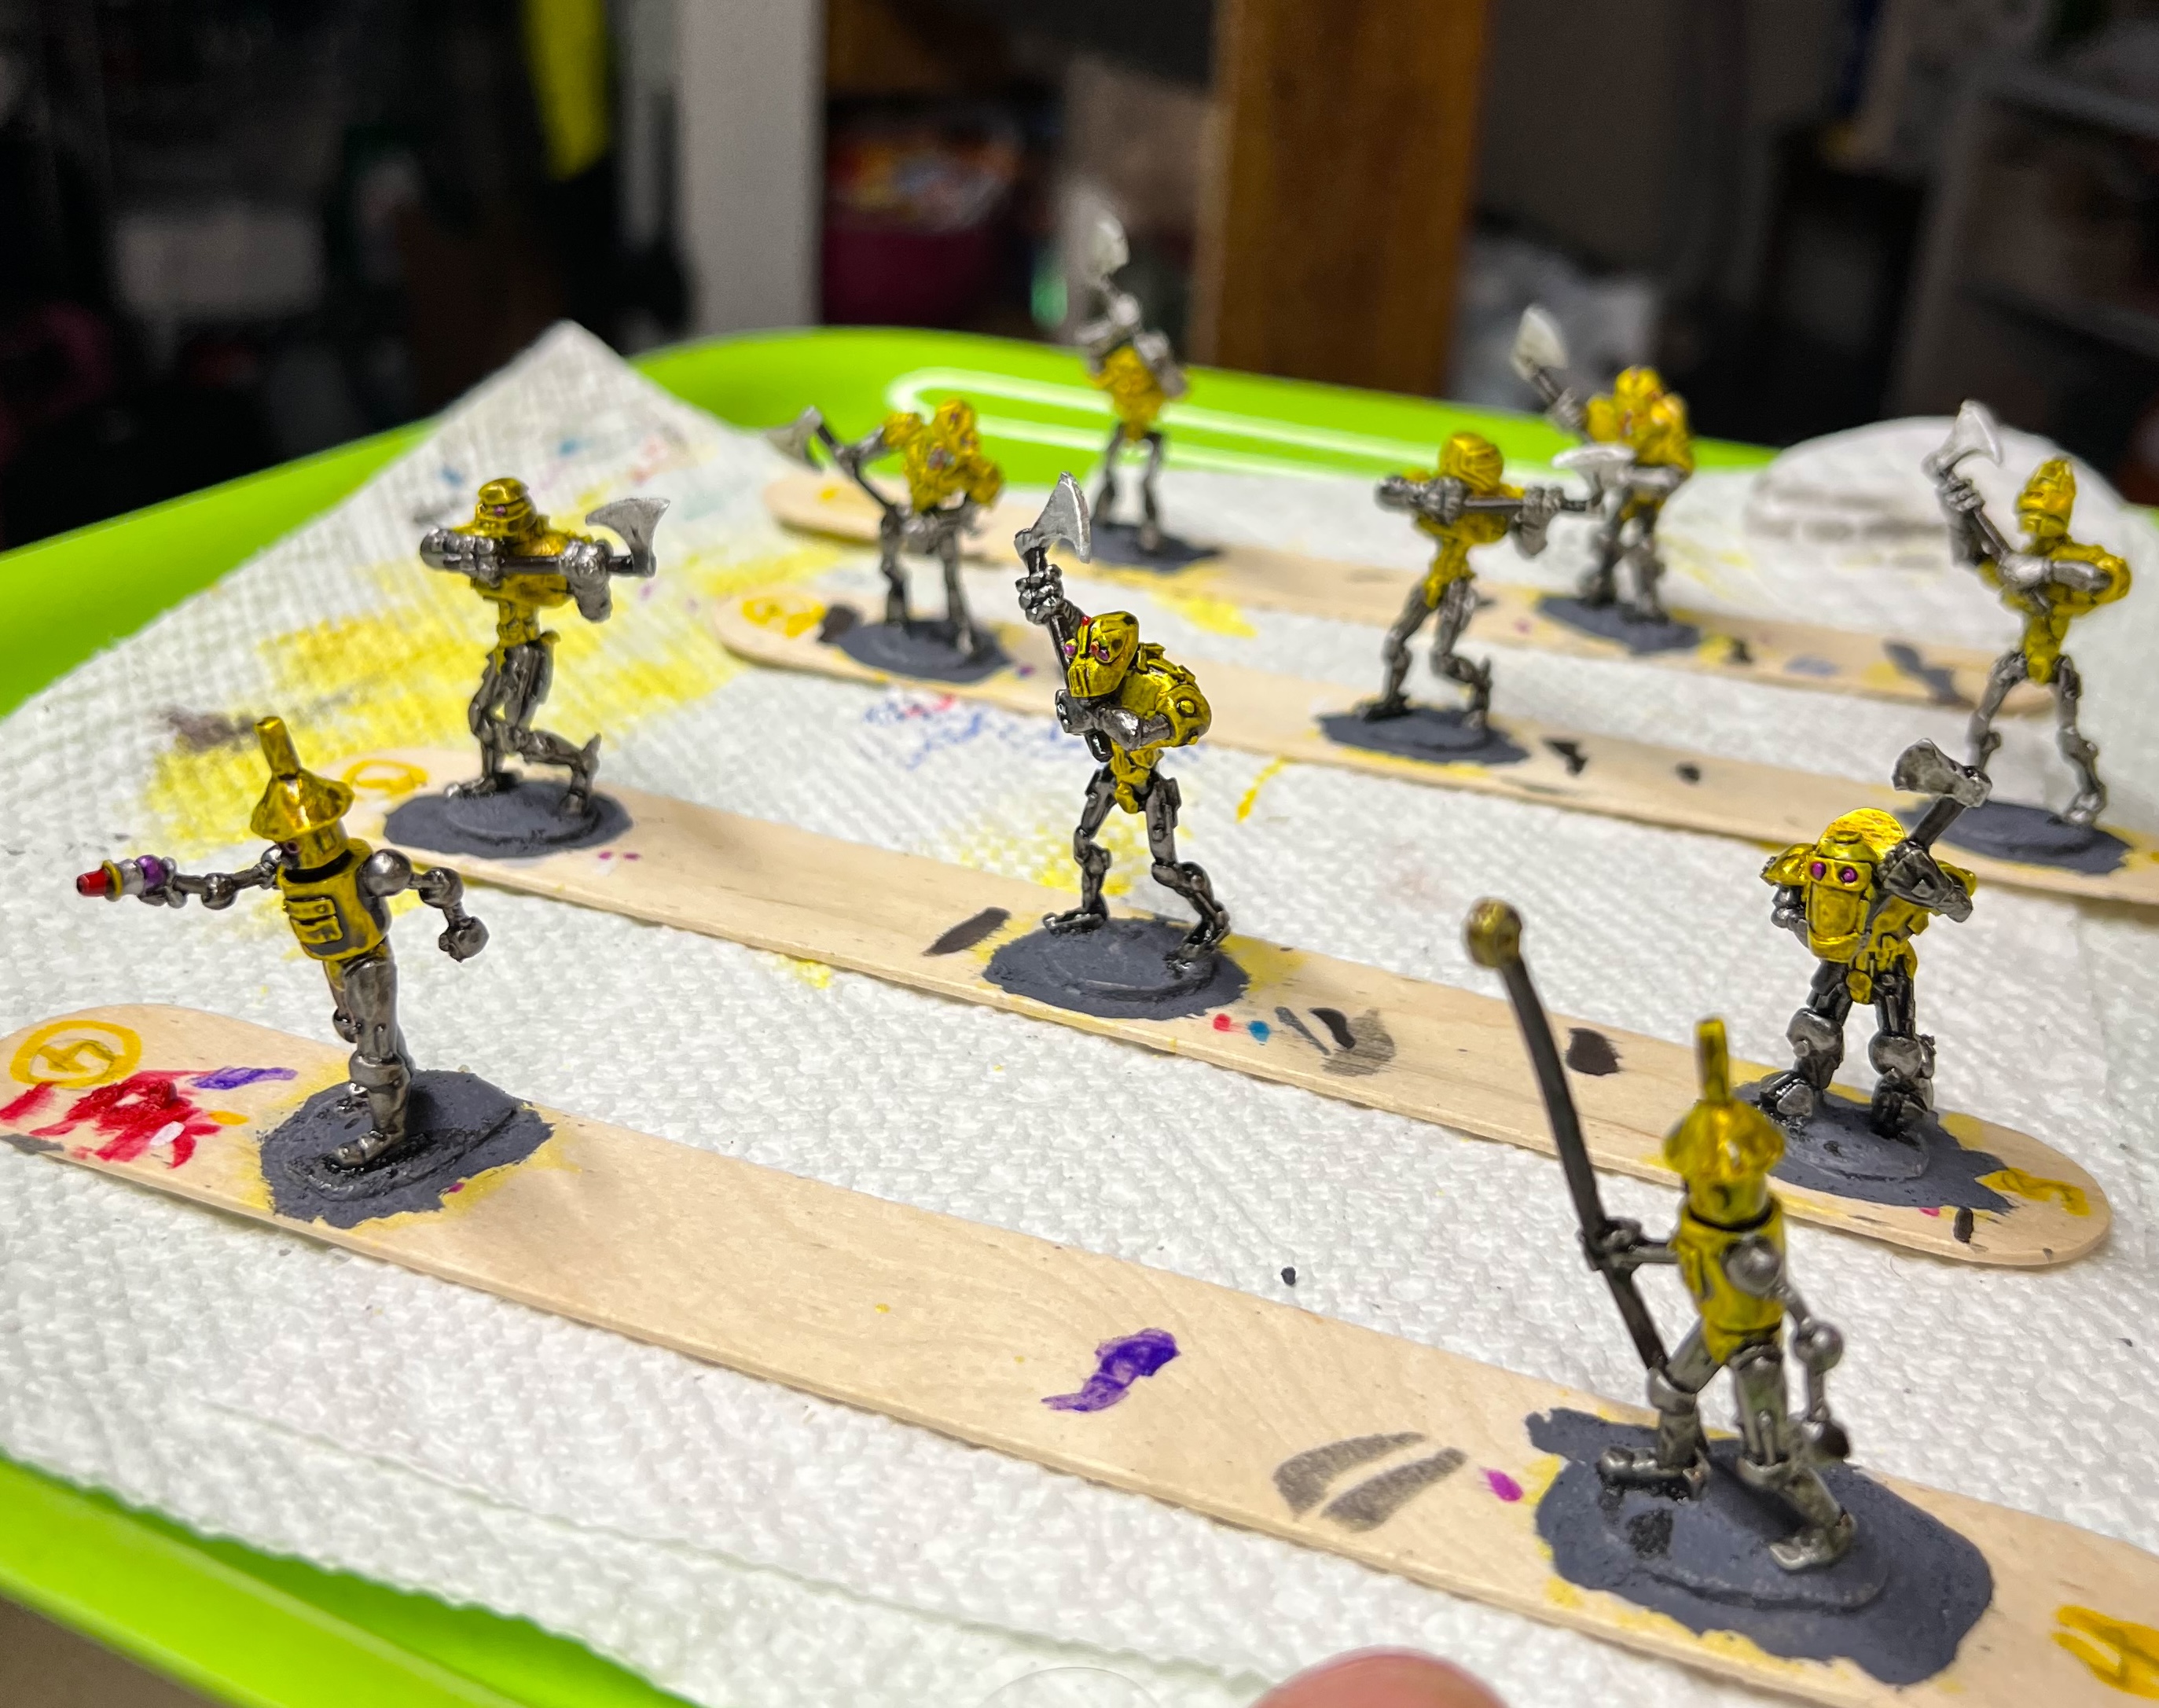
Next up are the two regiments of mechanical axemen. These are OZZ-511, “Professor Nitpik’s Mechanical Axe Army with Command“. I already had three previously painted axemen regiments that you can see here and here. The first of these is:
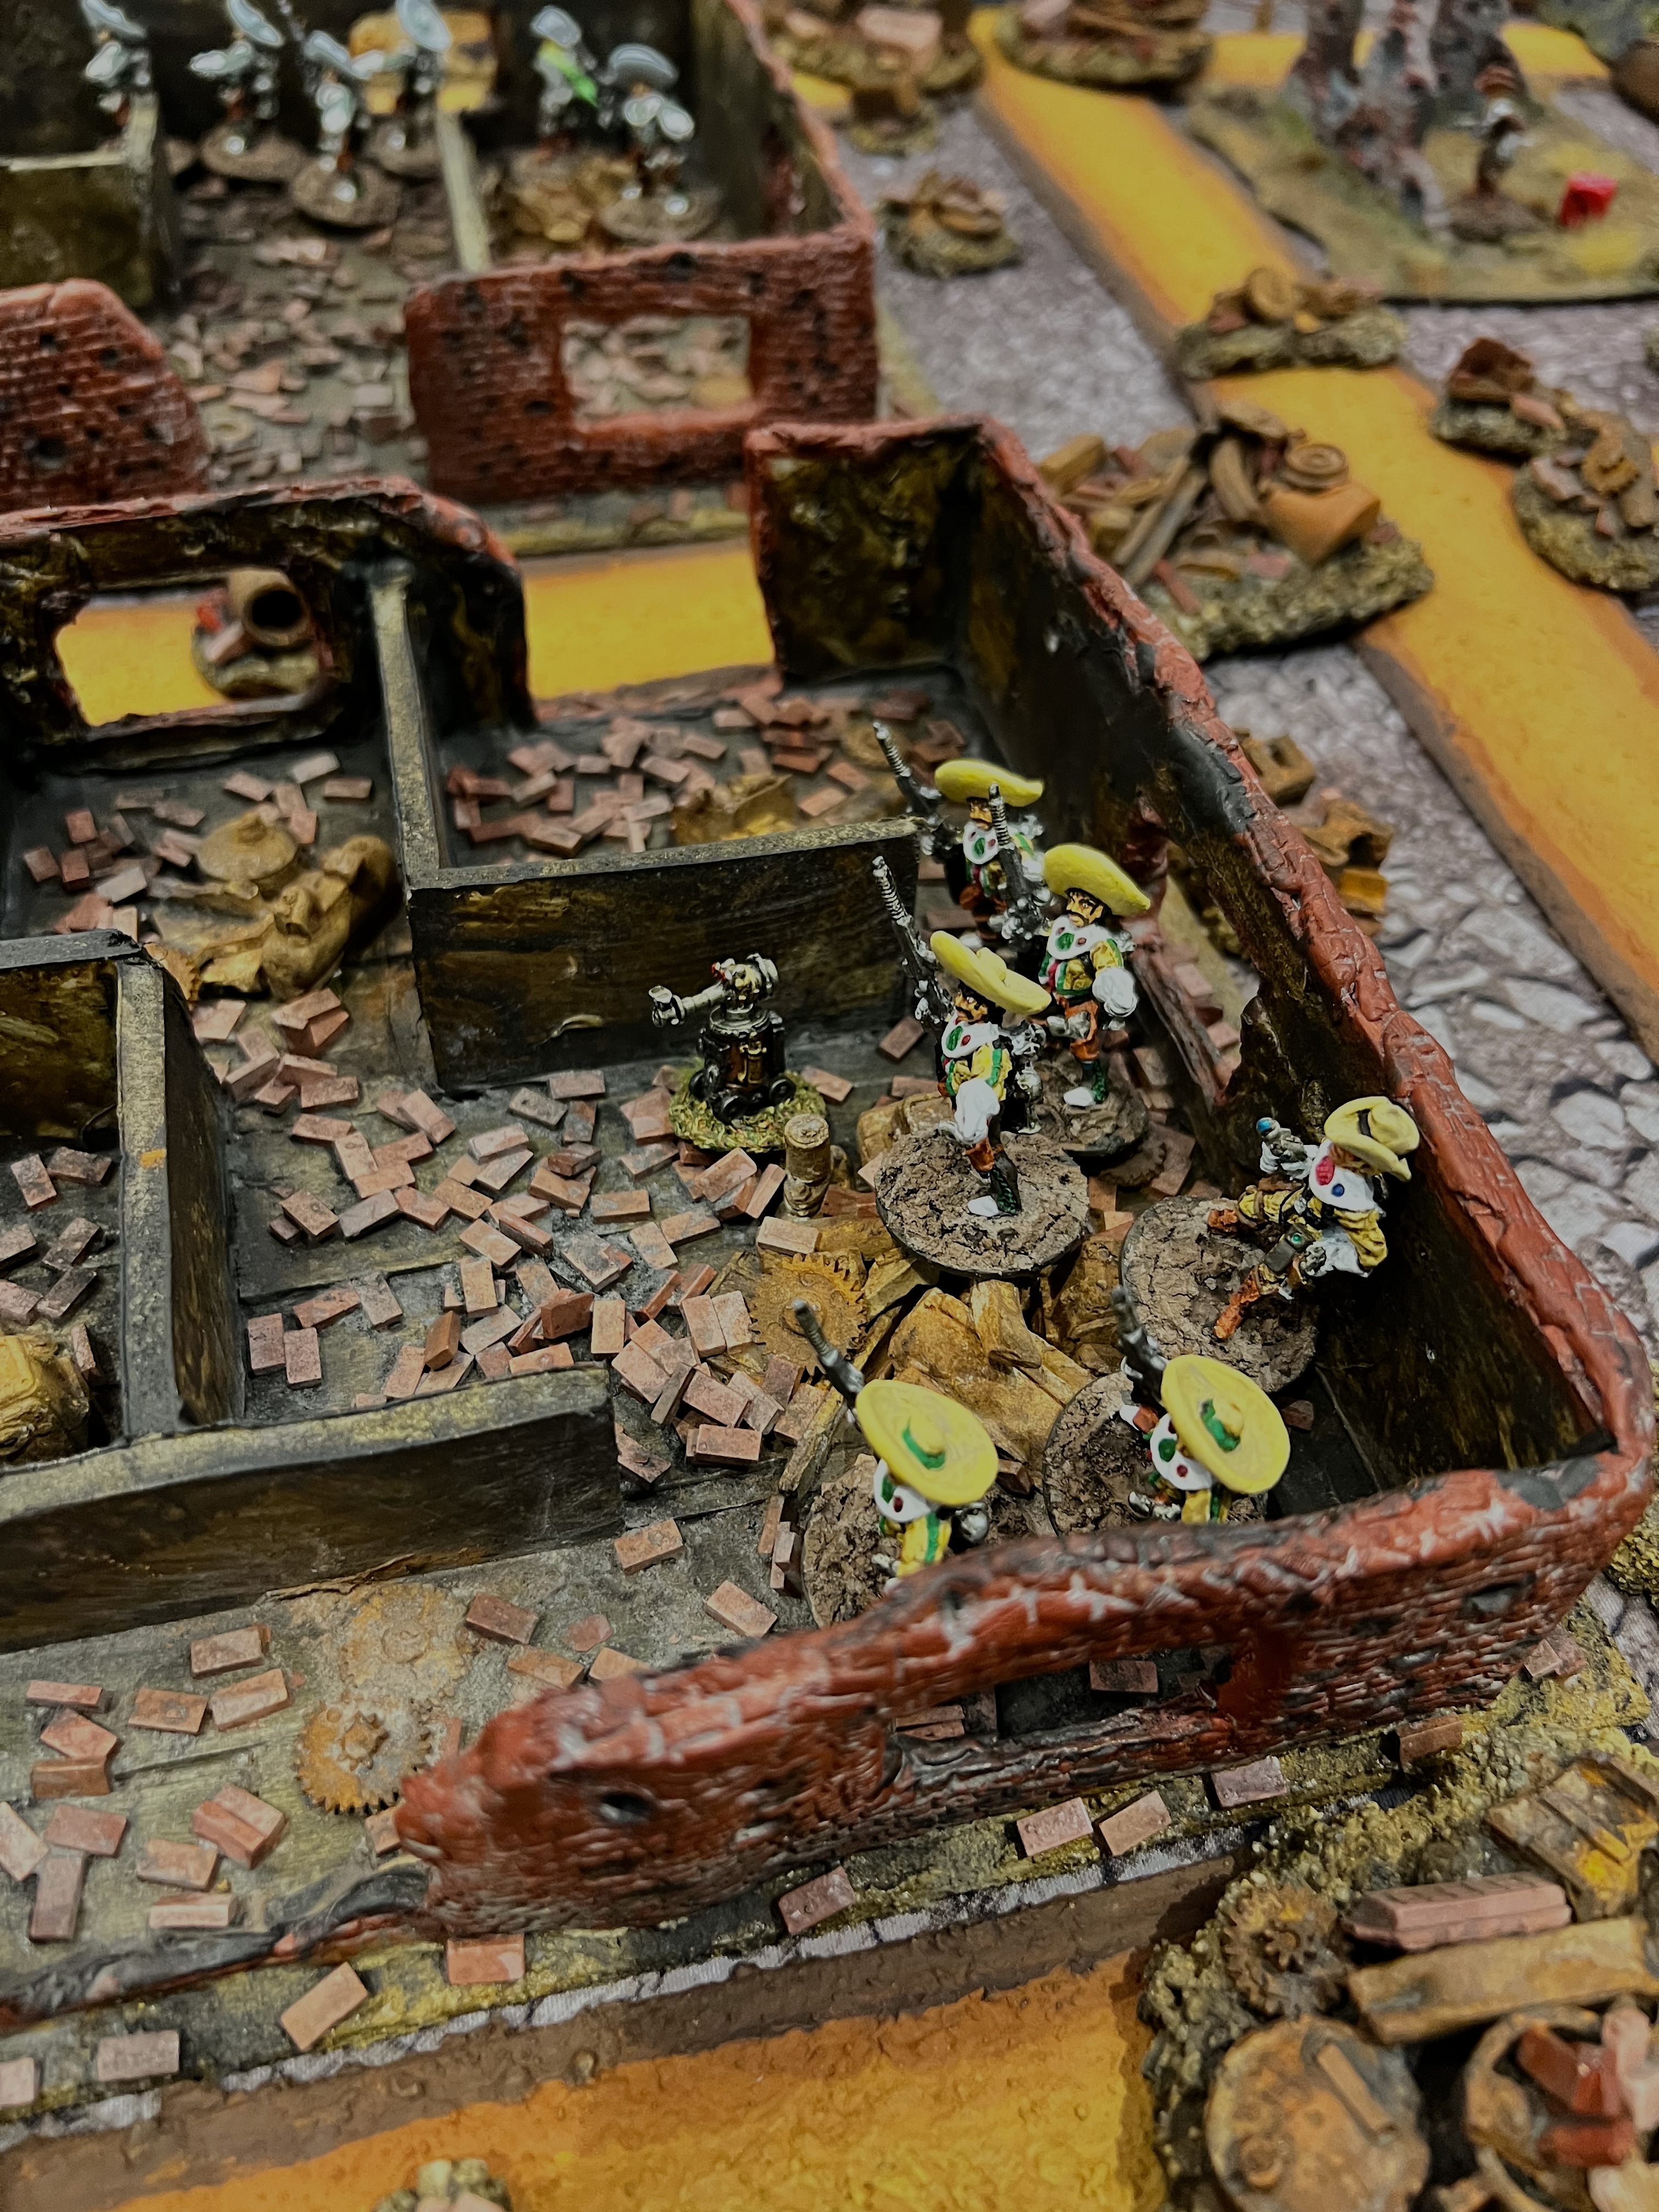
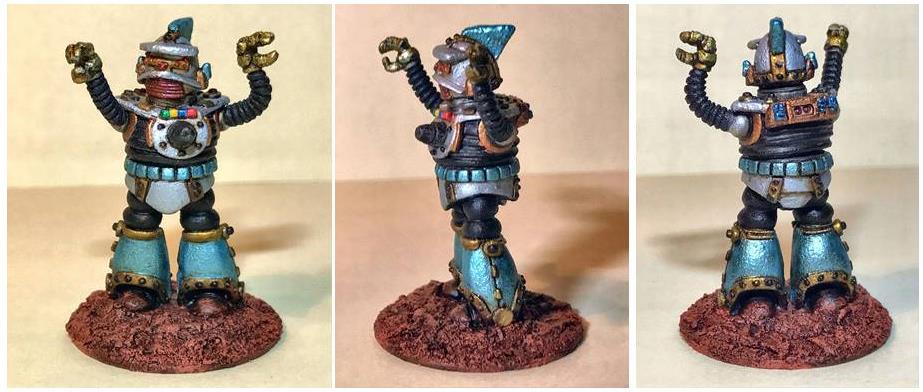
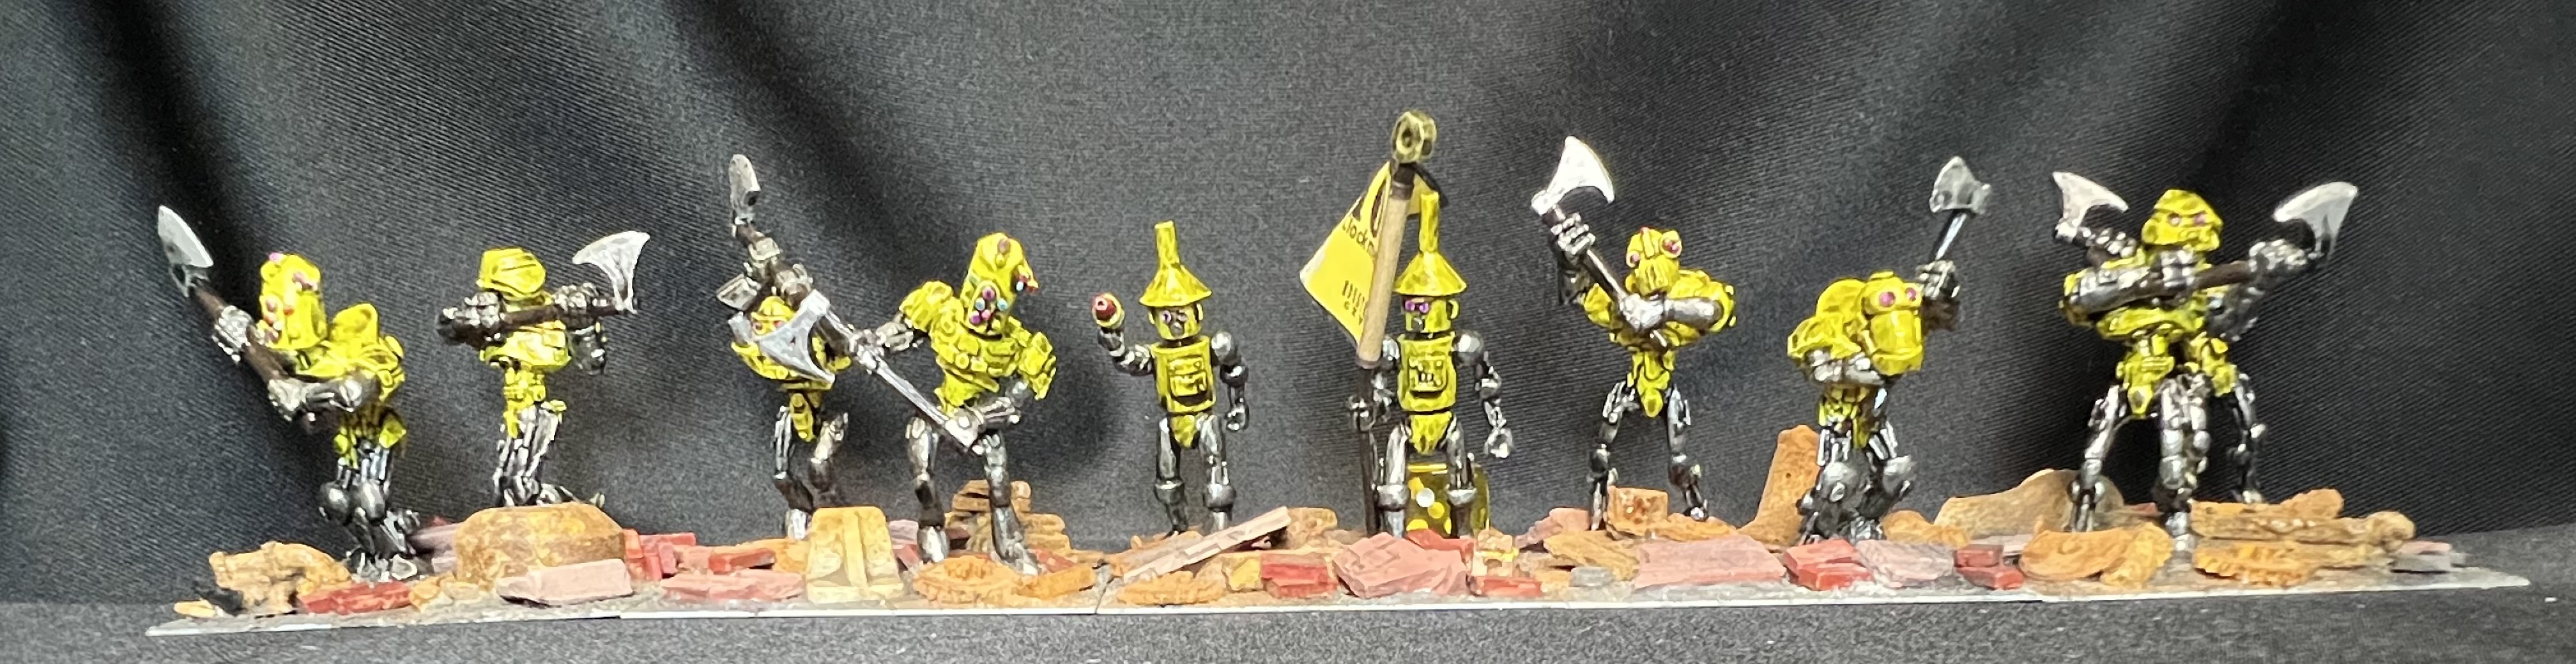
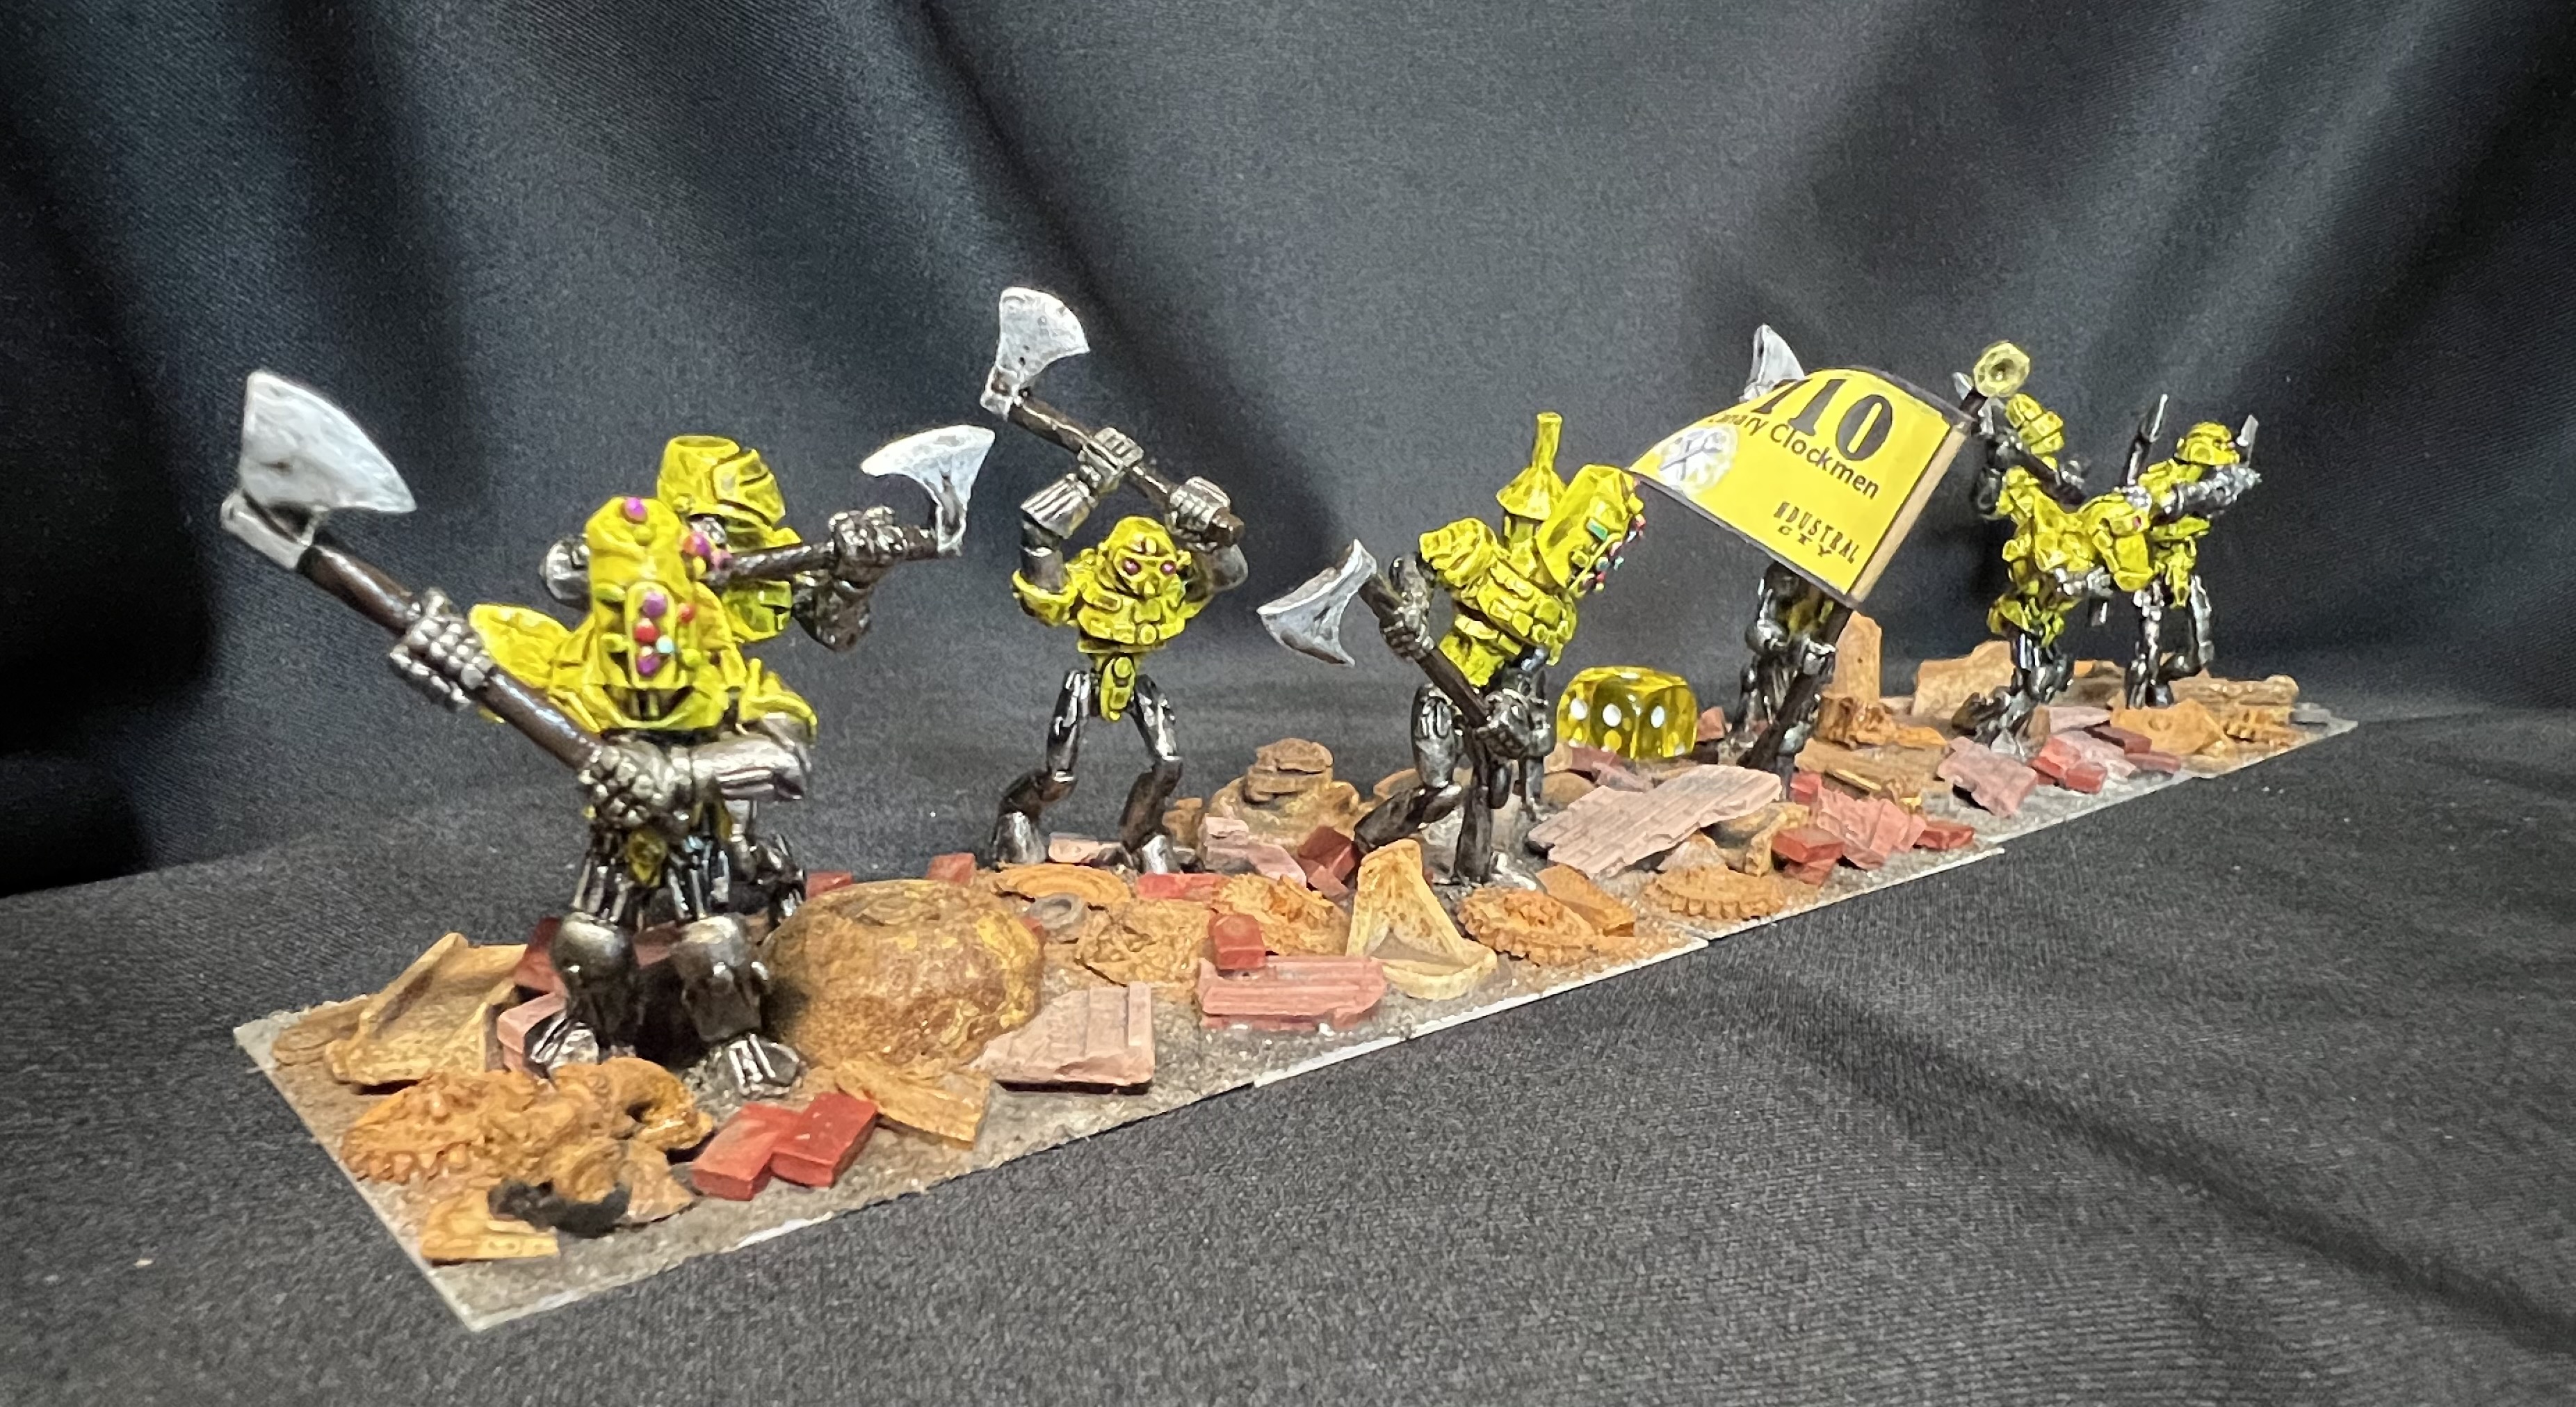
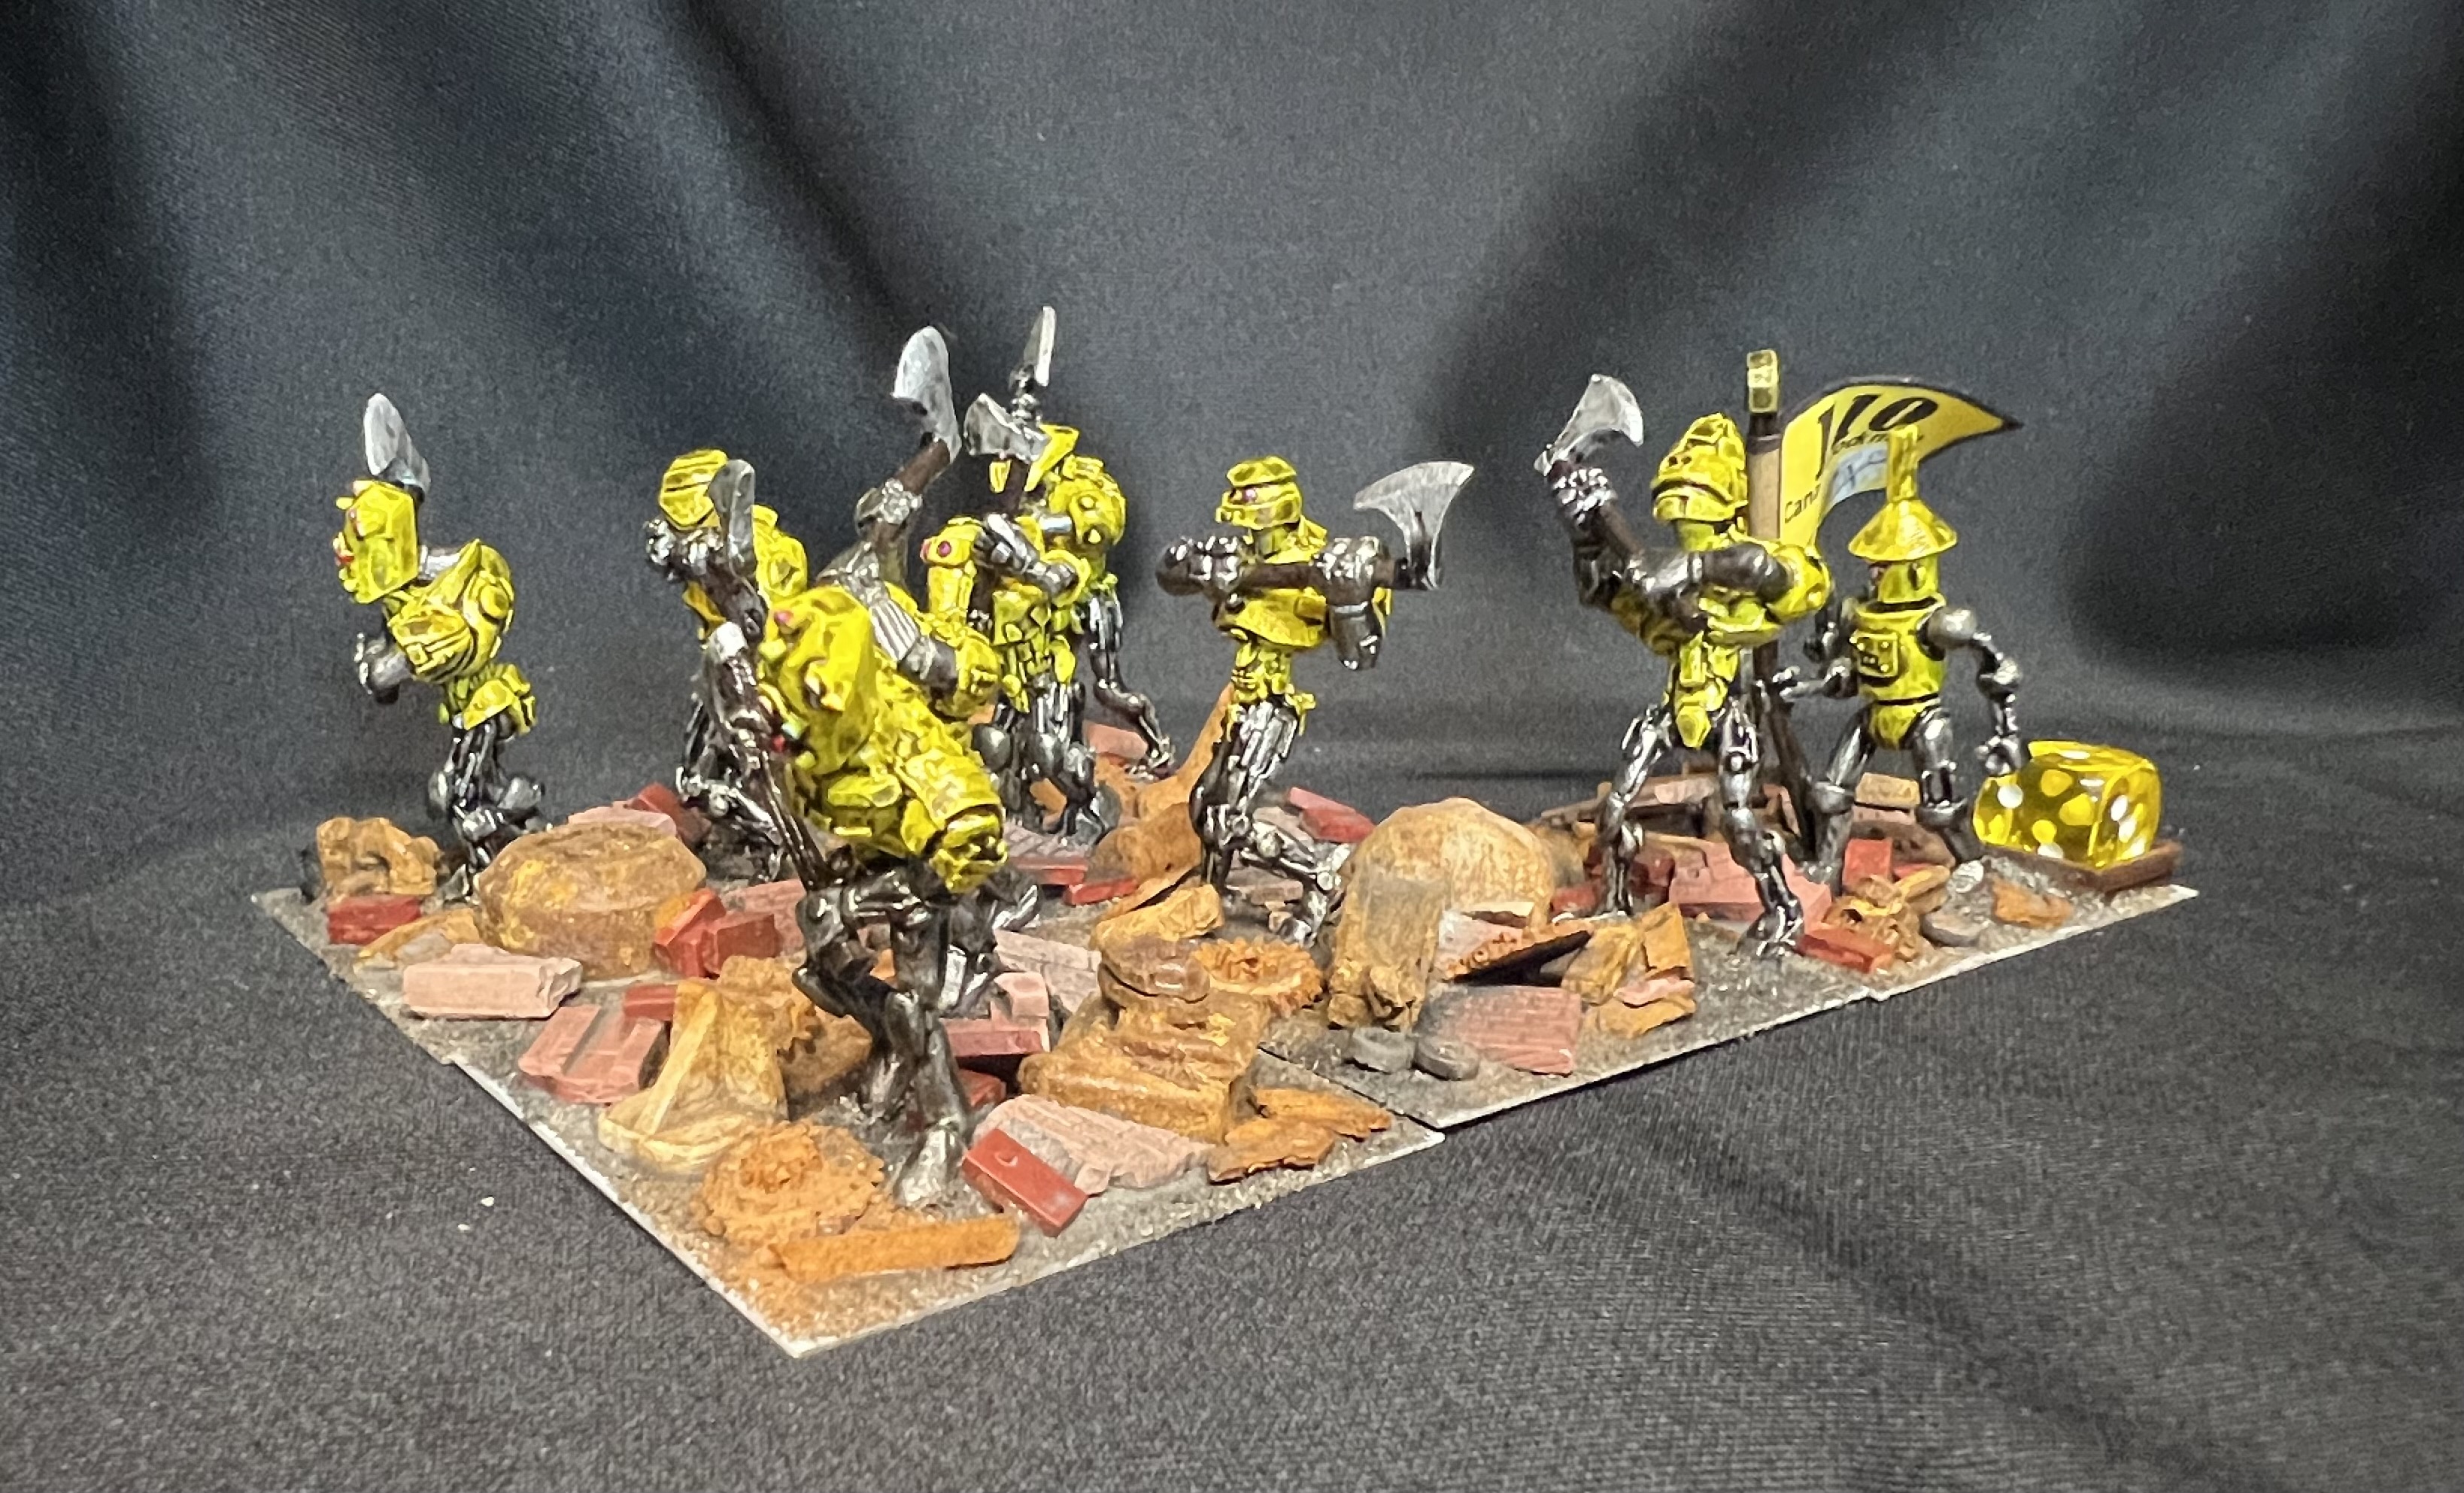
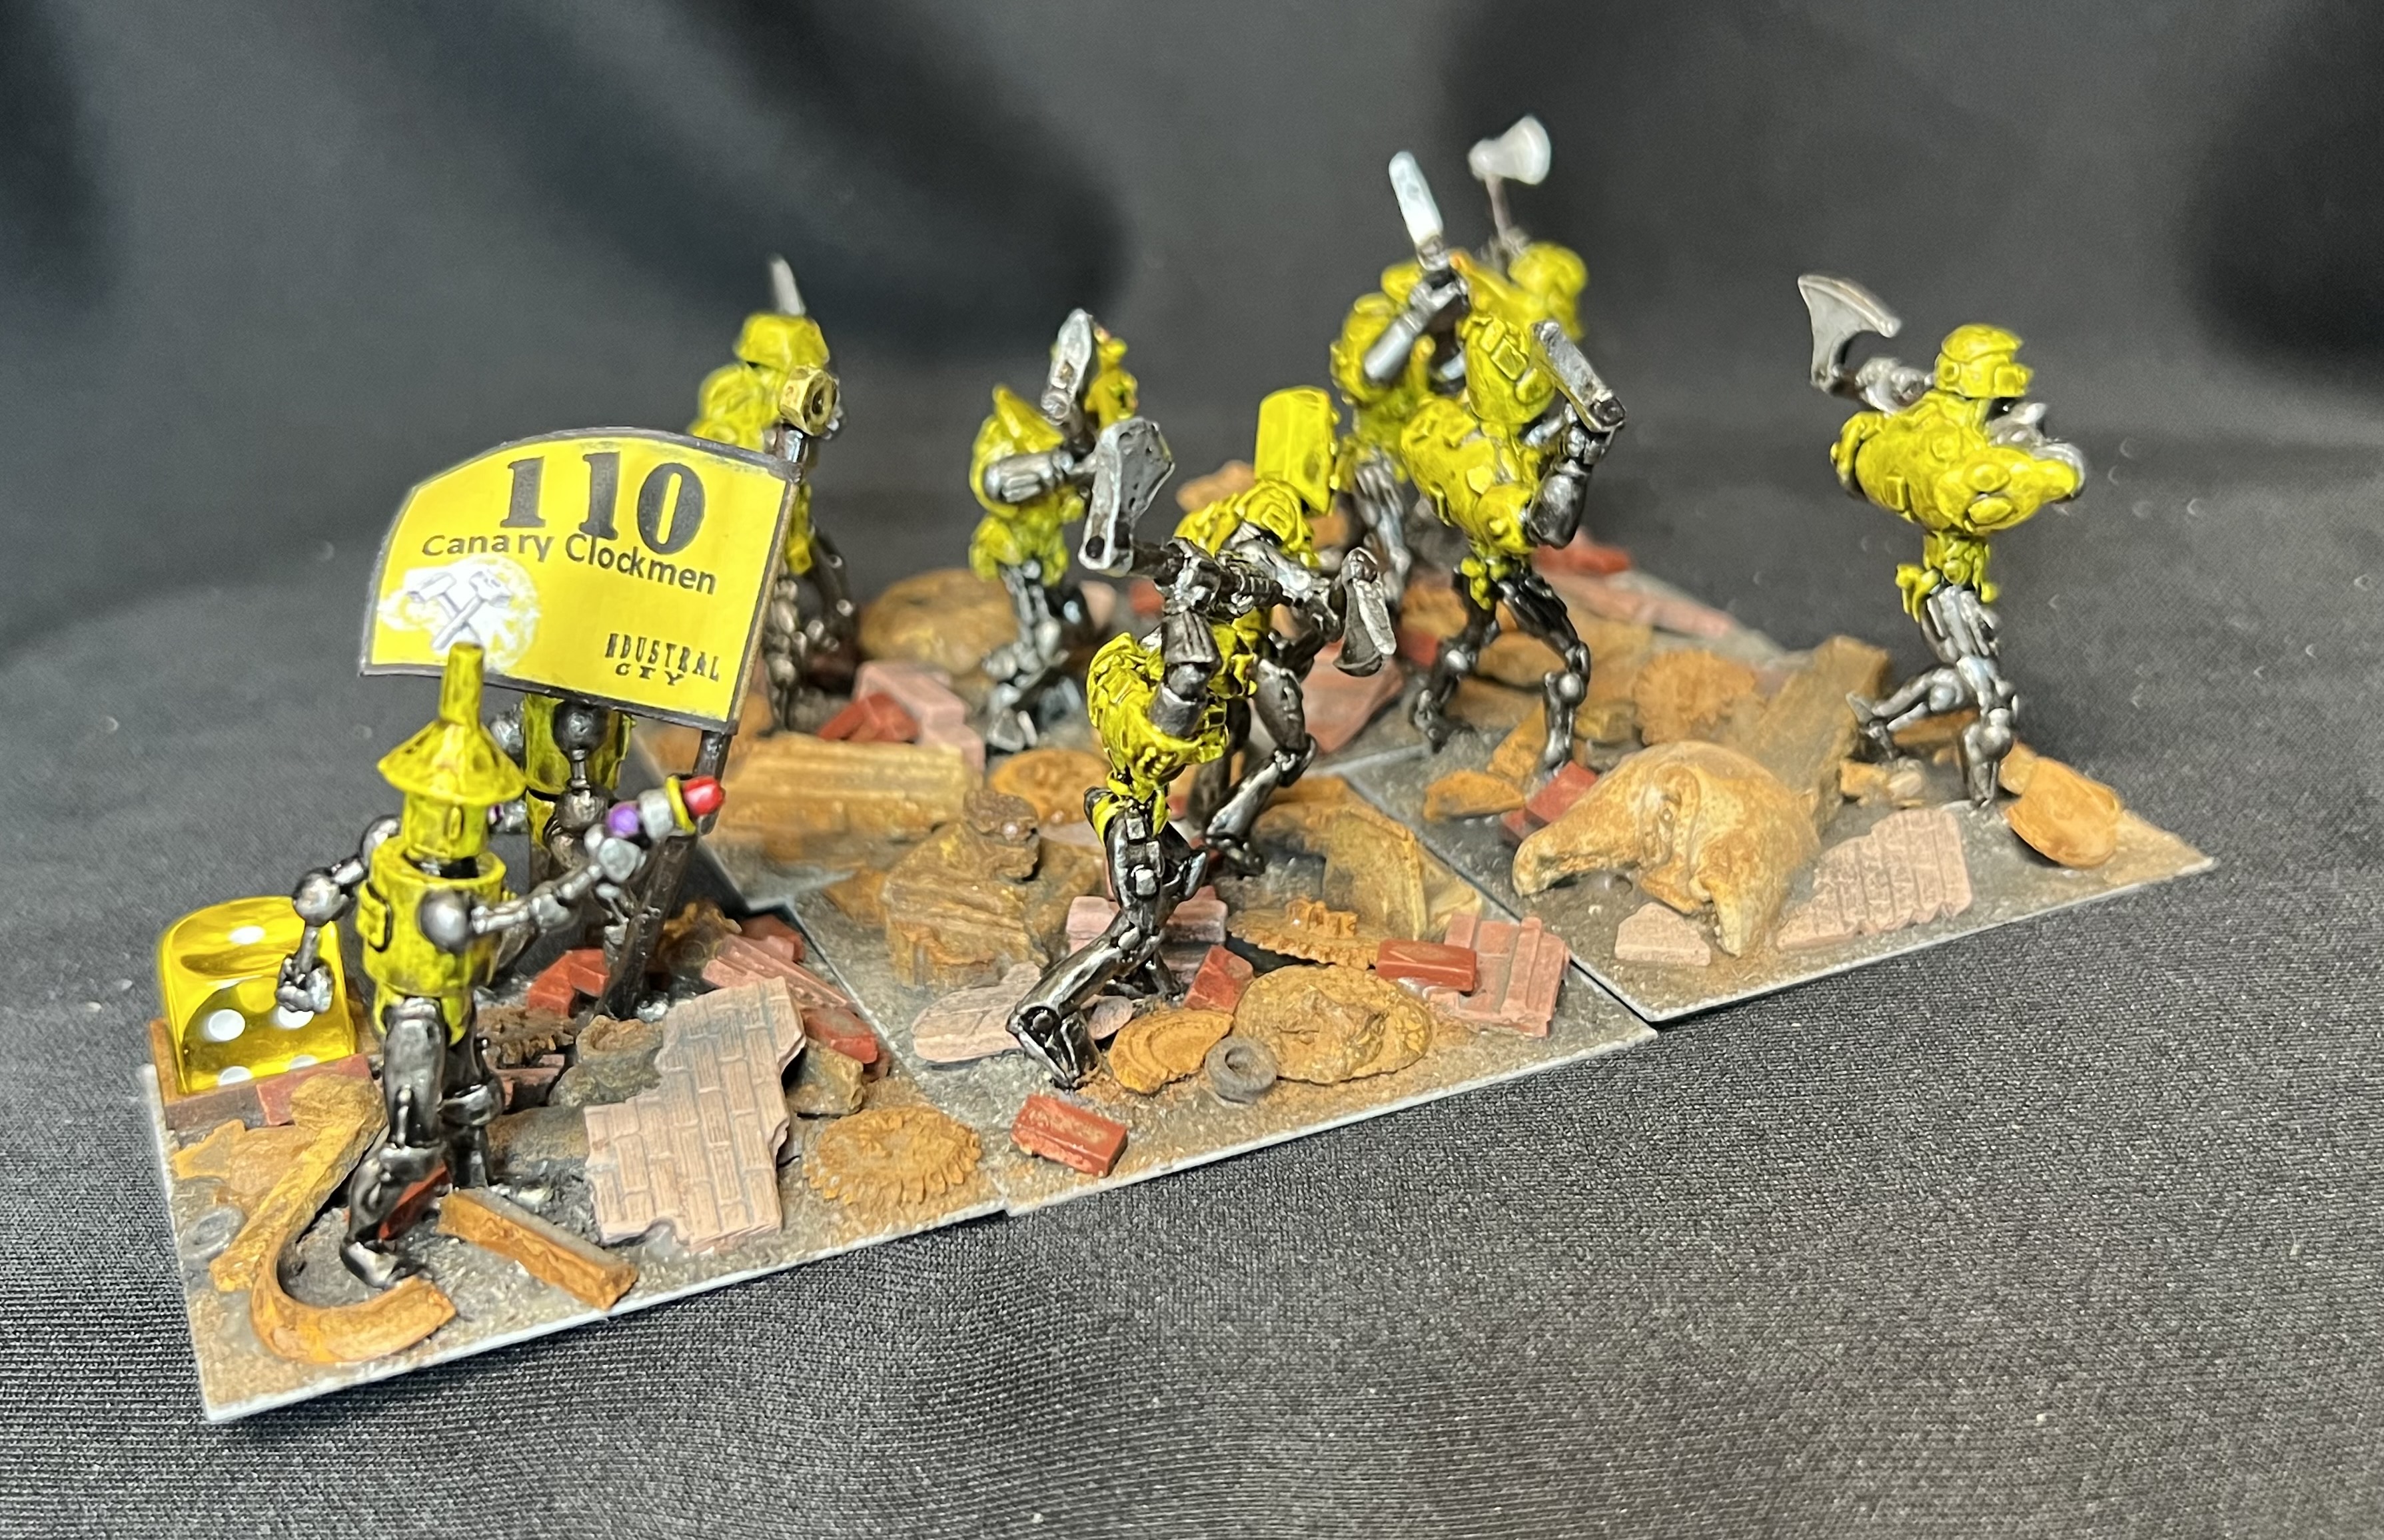
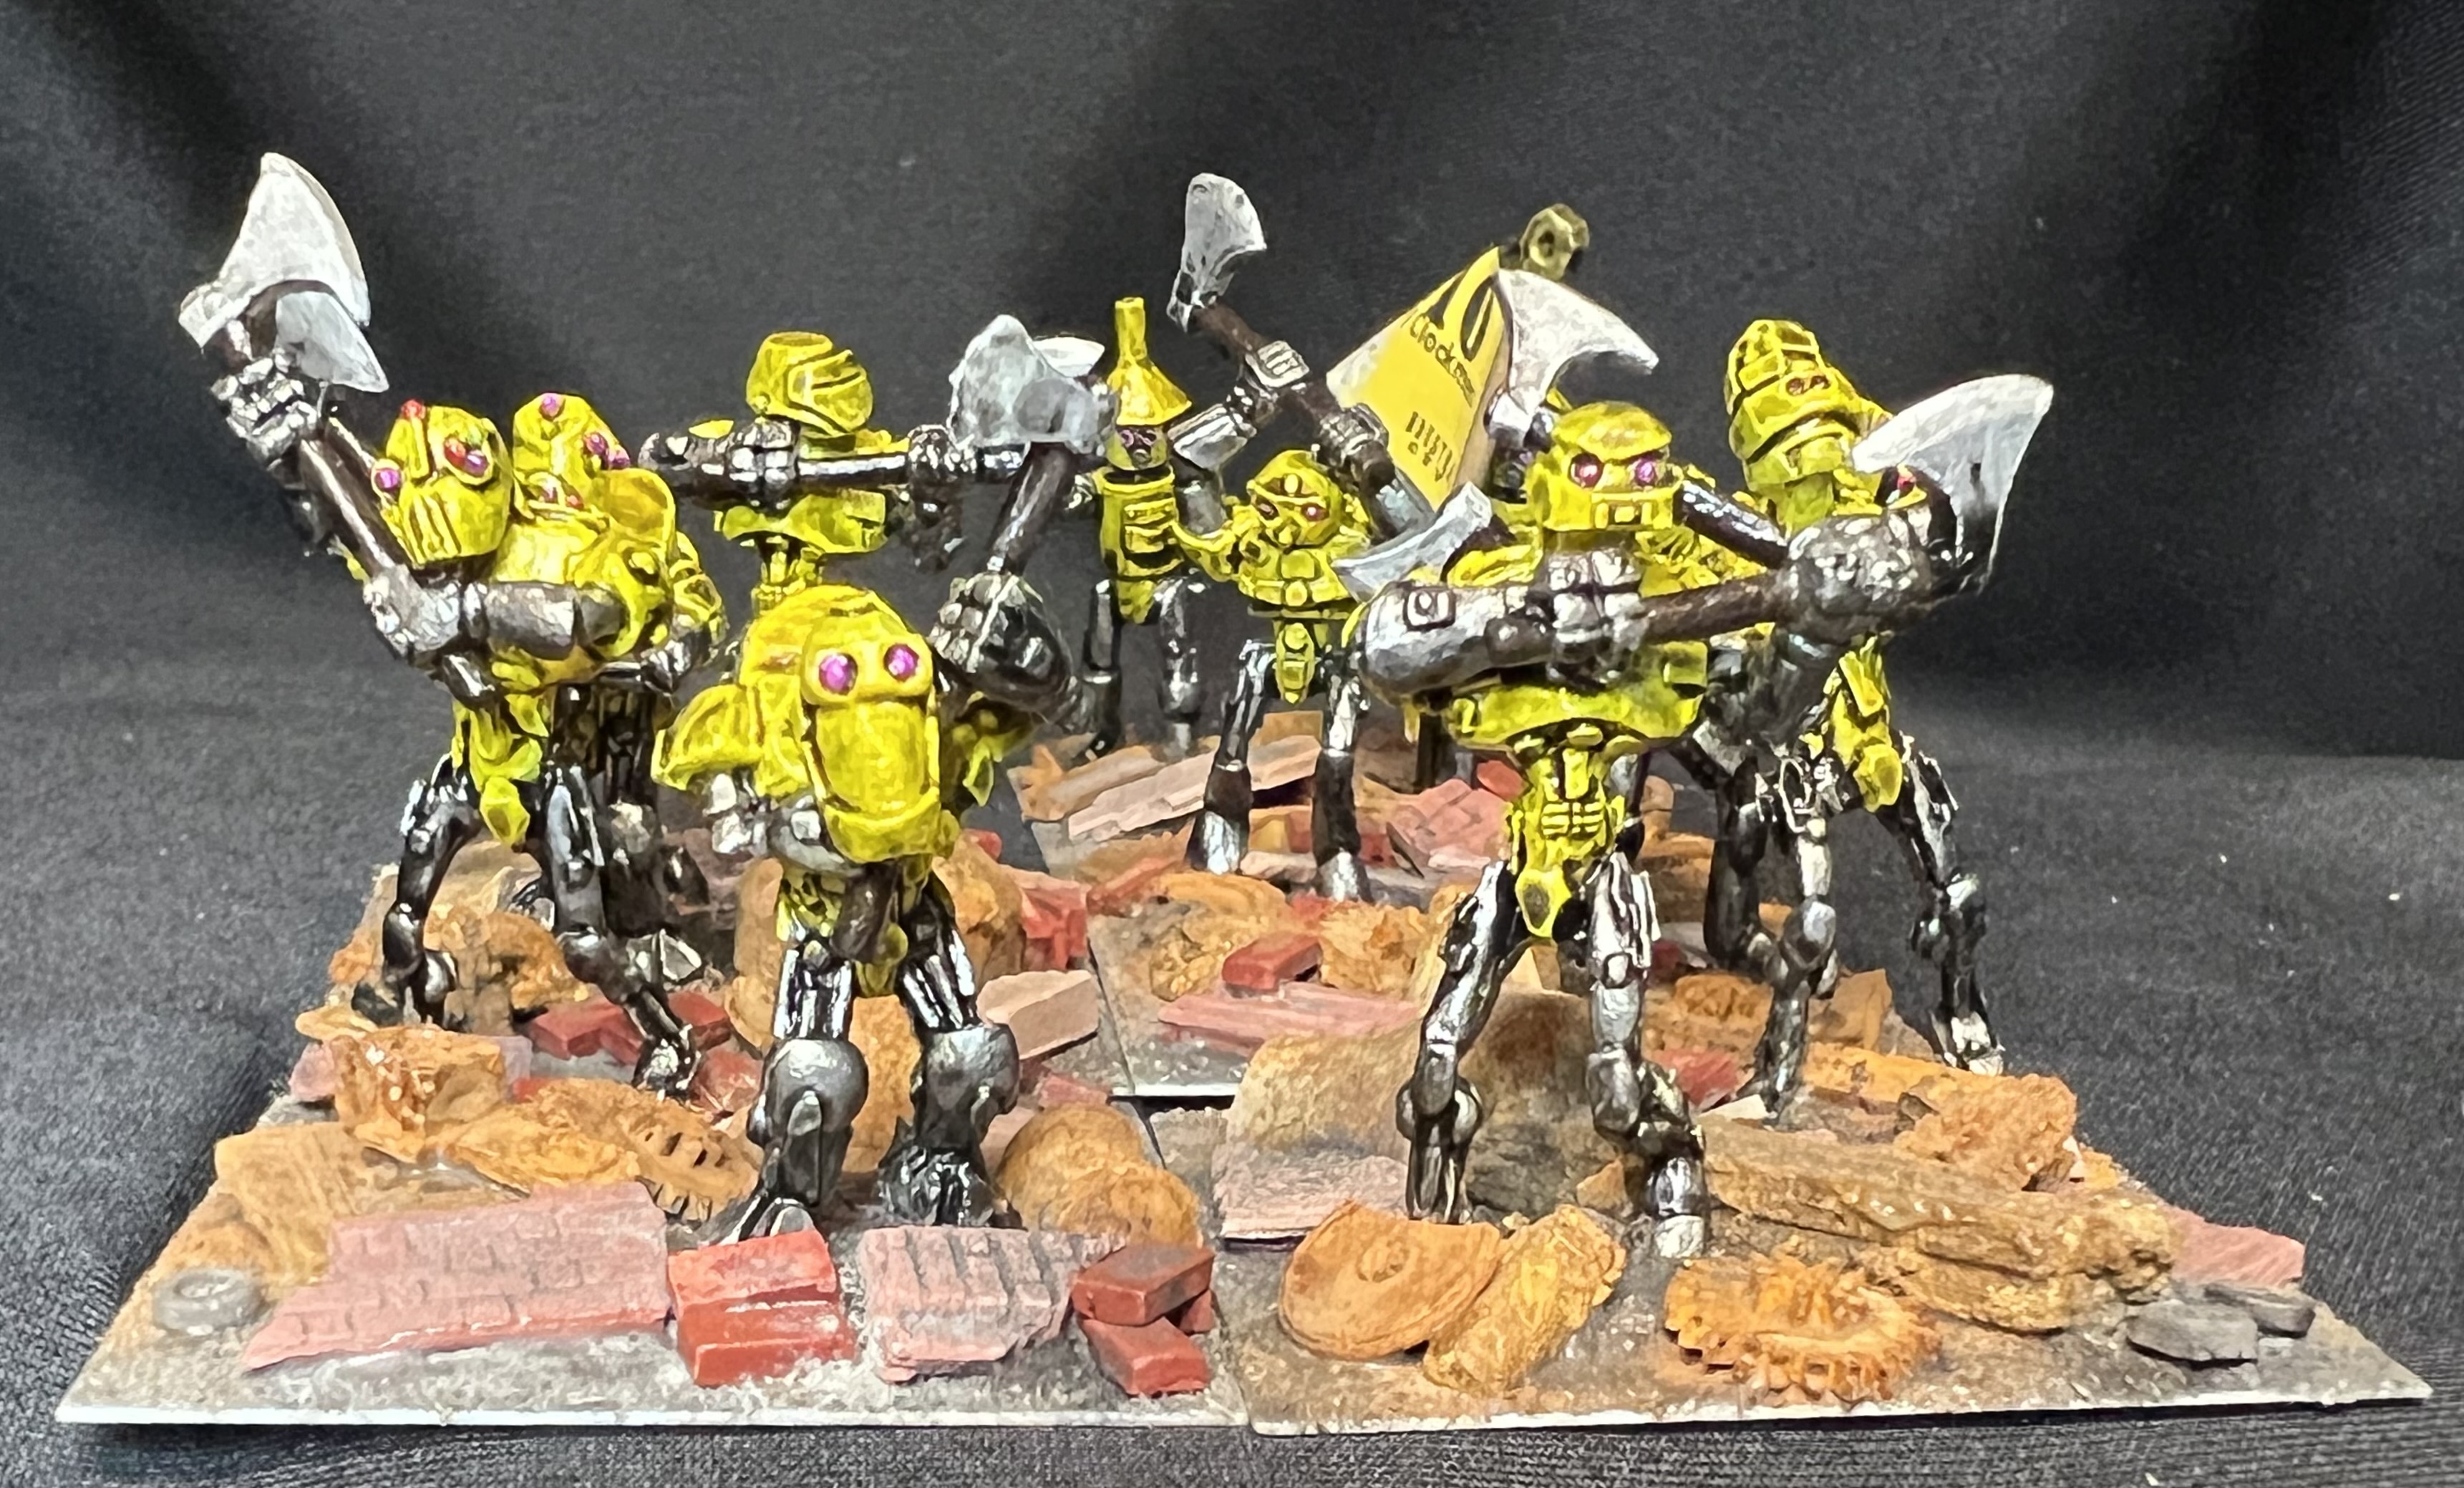
The Canary Clockmen
I just have 1 WIP shot below. Again, I went with pearlized paints, with an oily wash (seals must be bad!).
Now some Canary Clockmen poses:
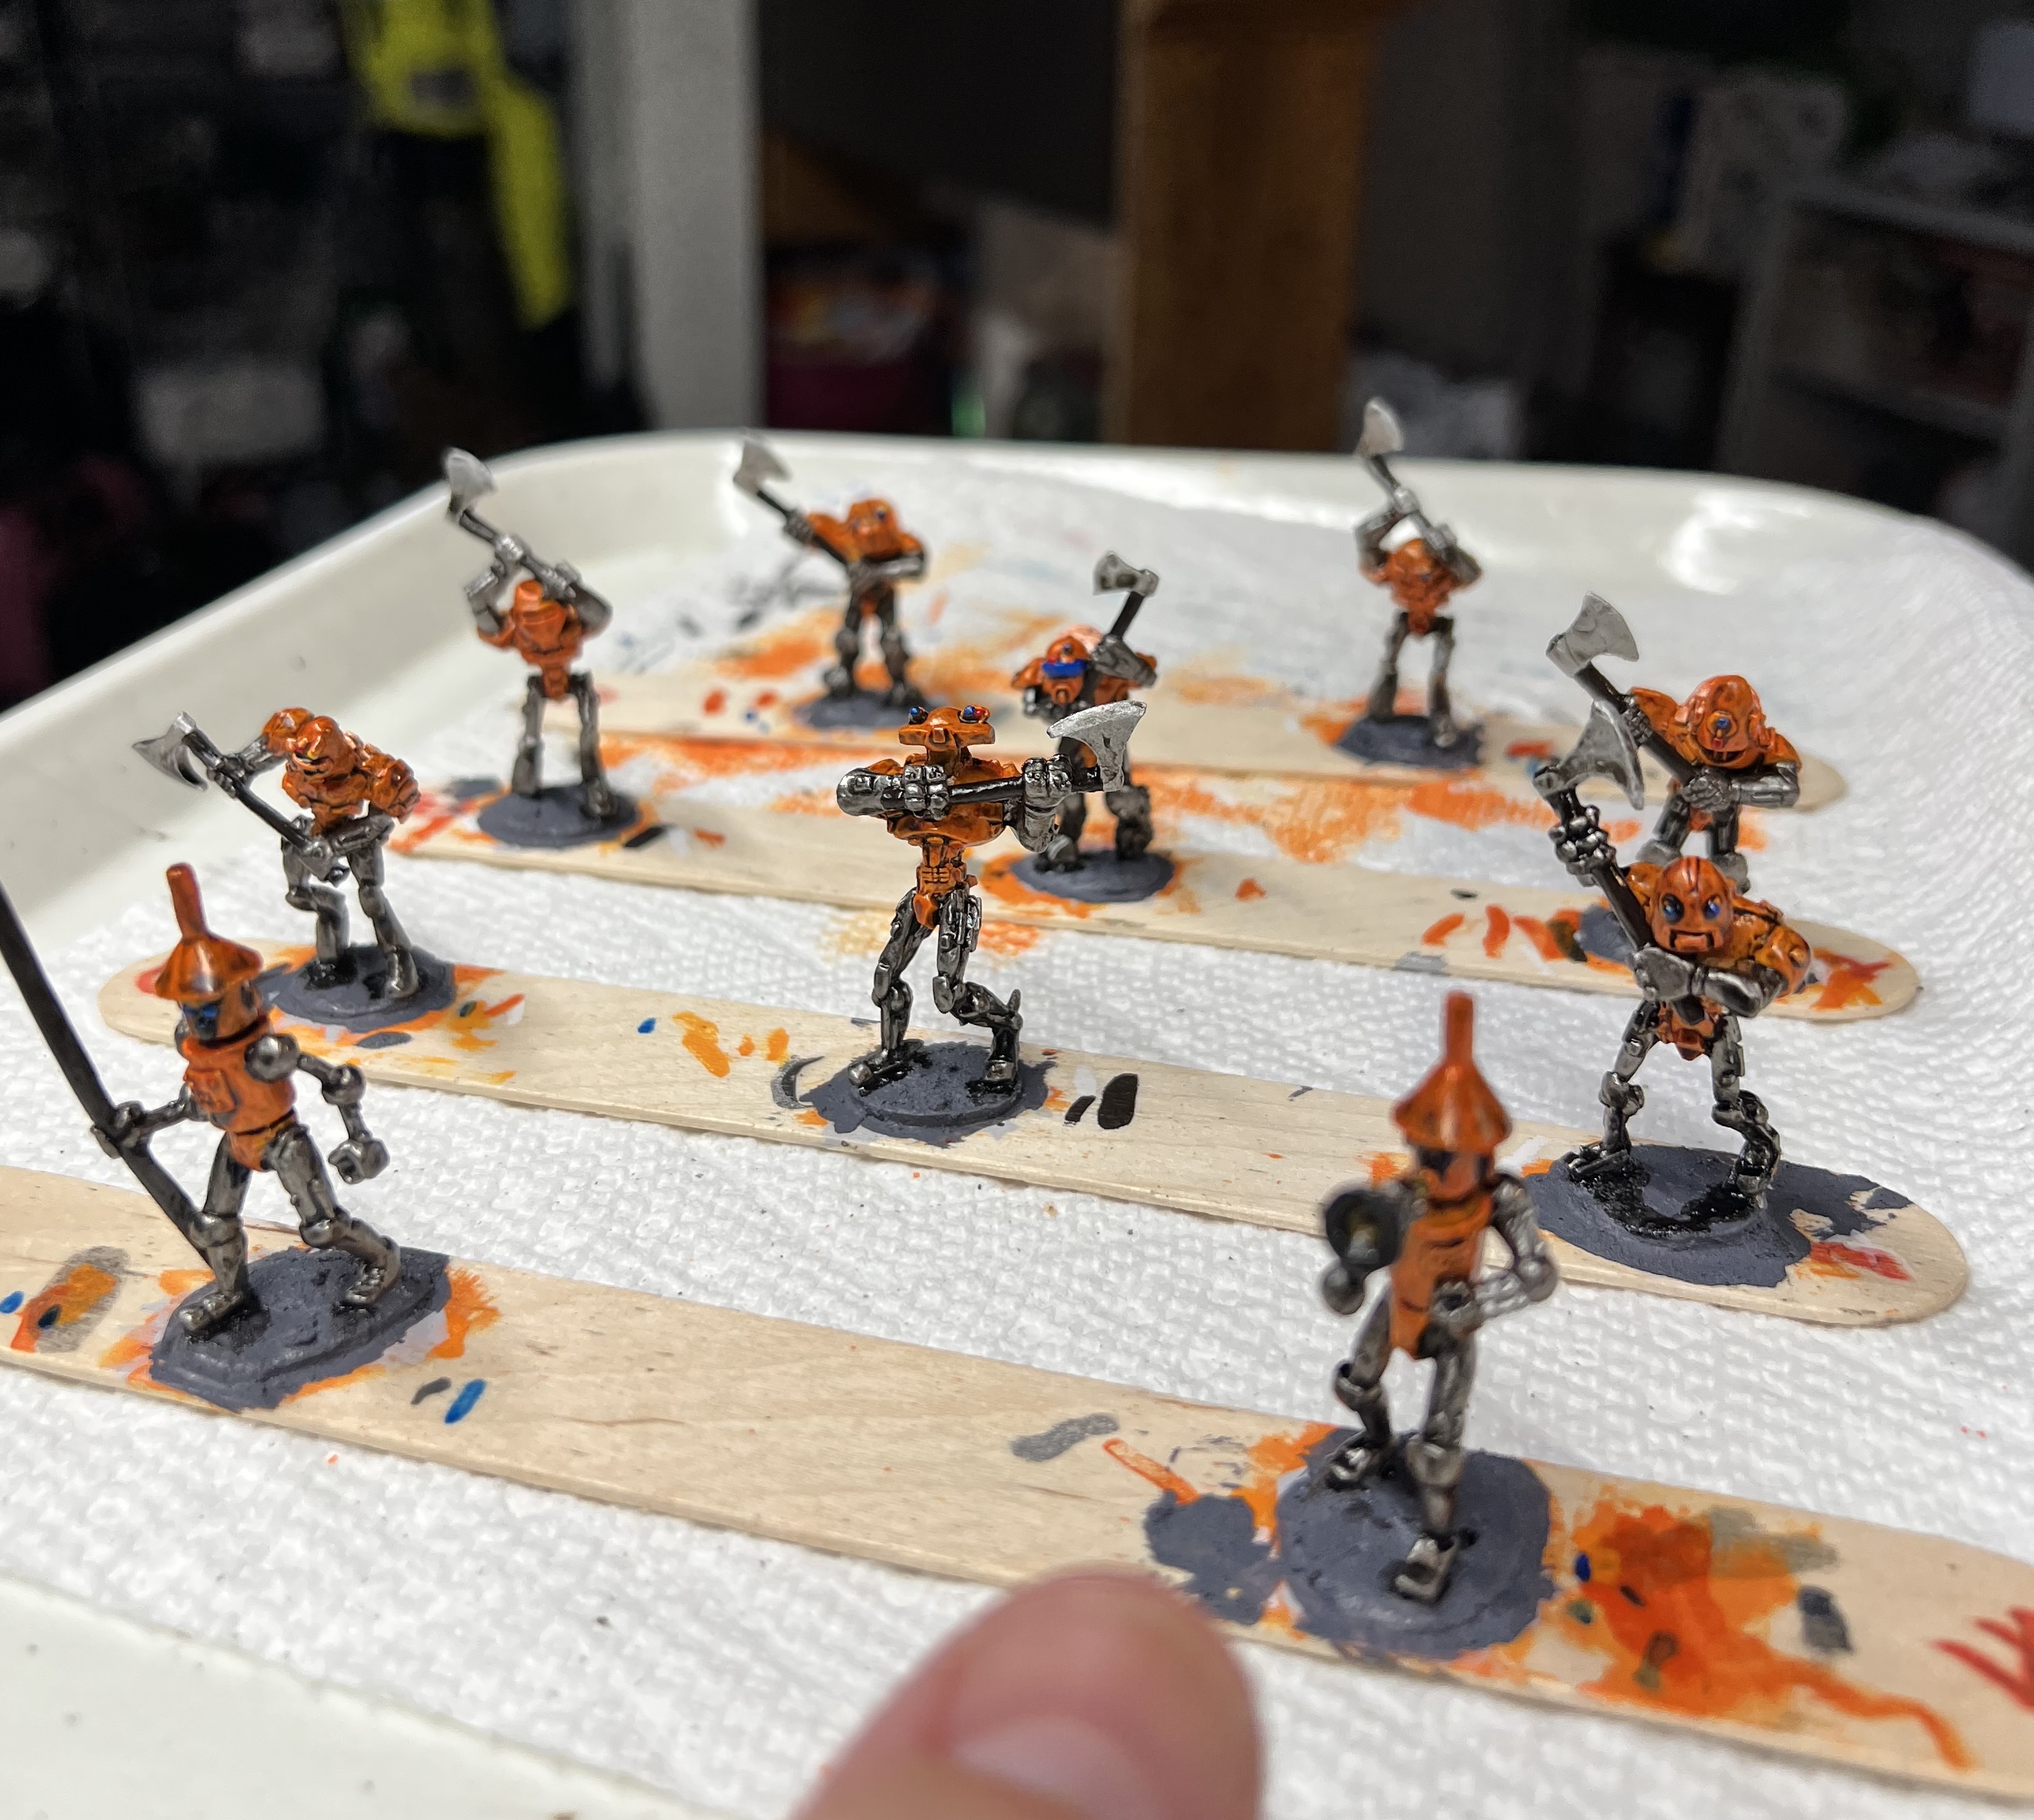
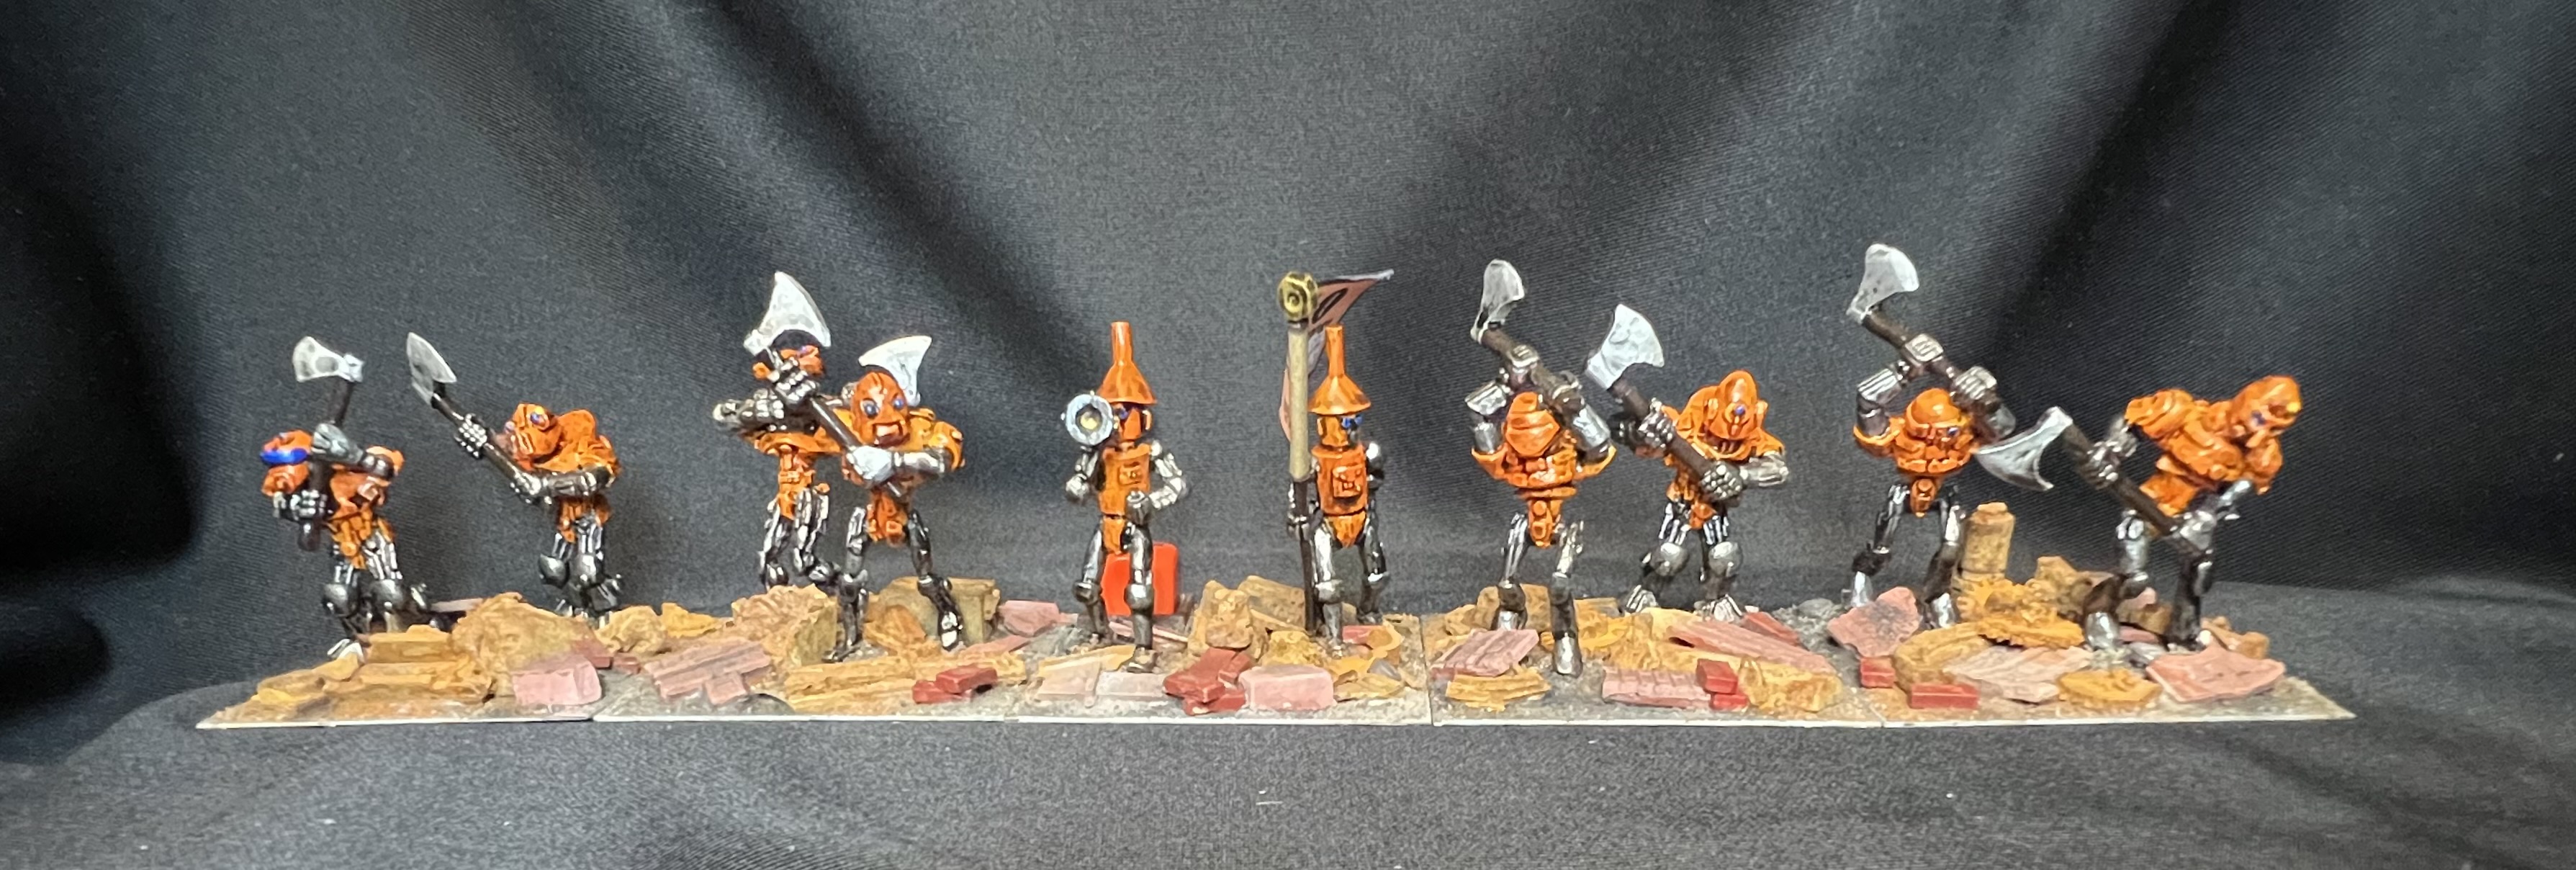
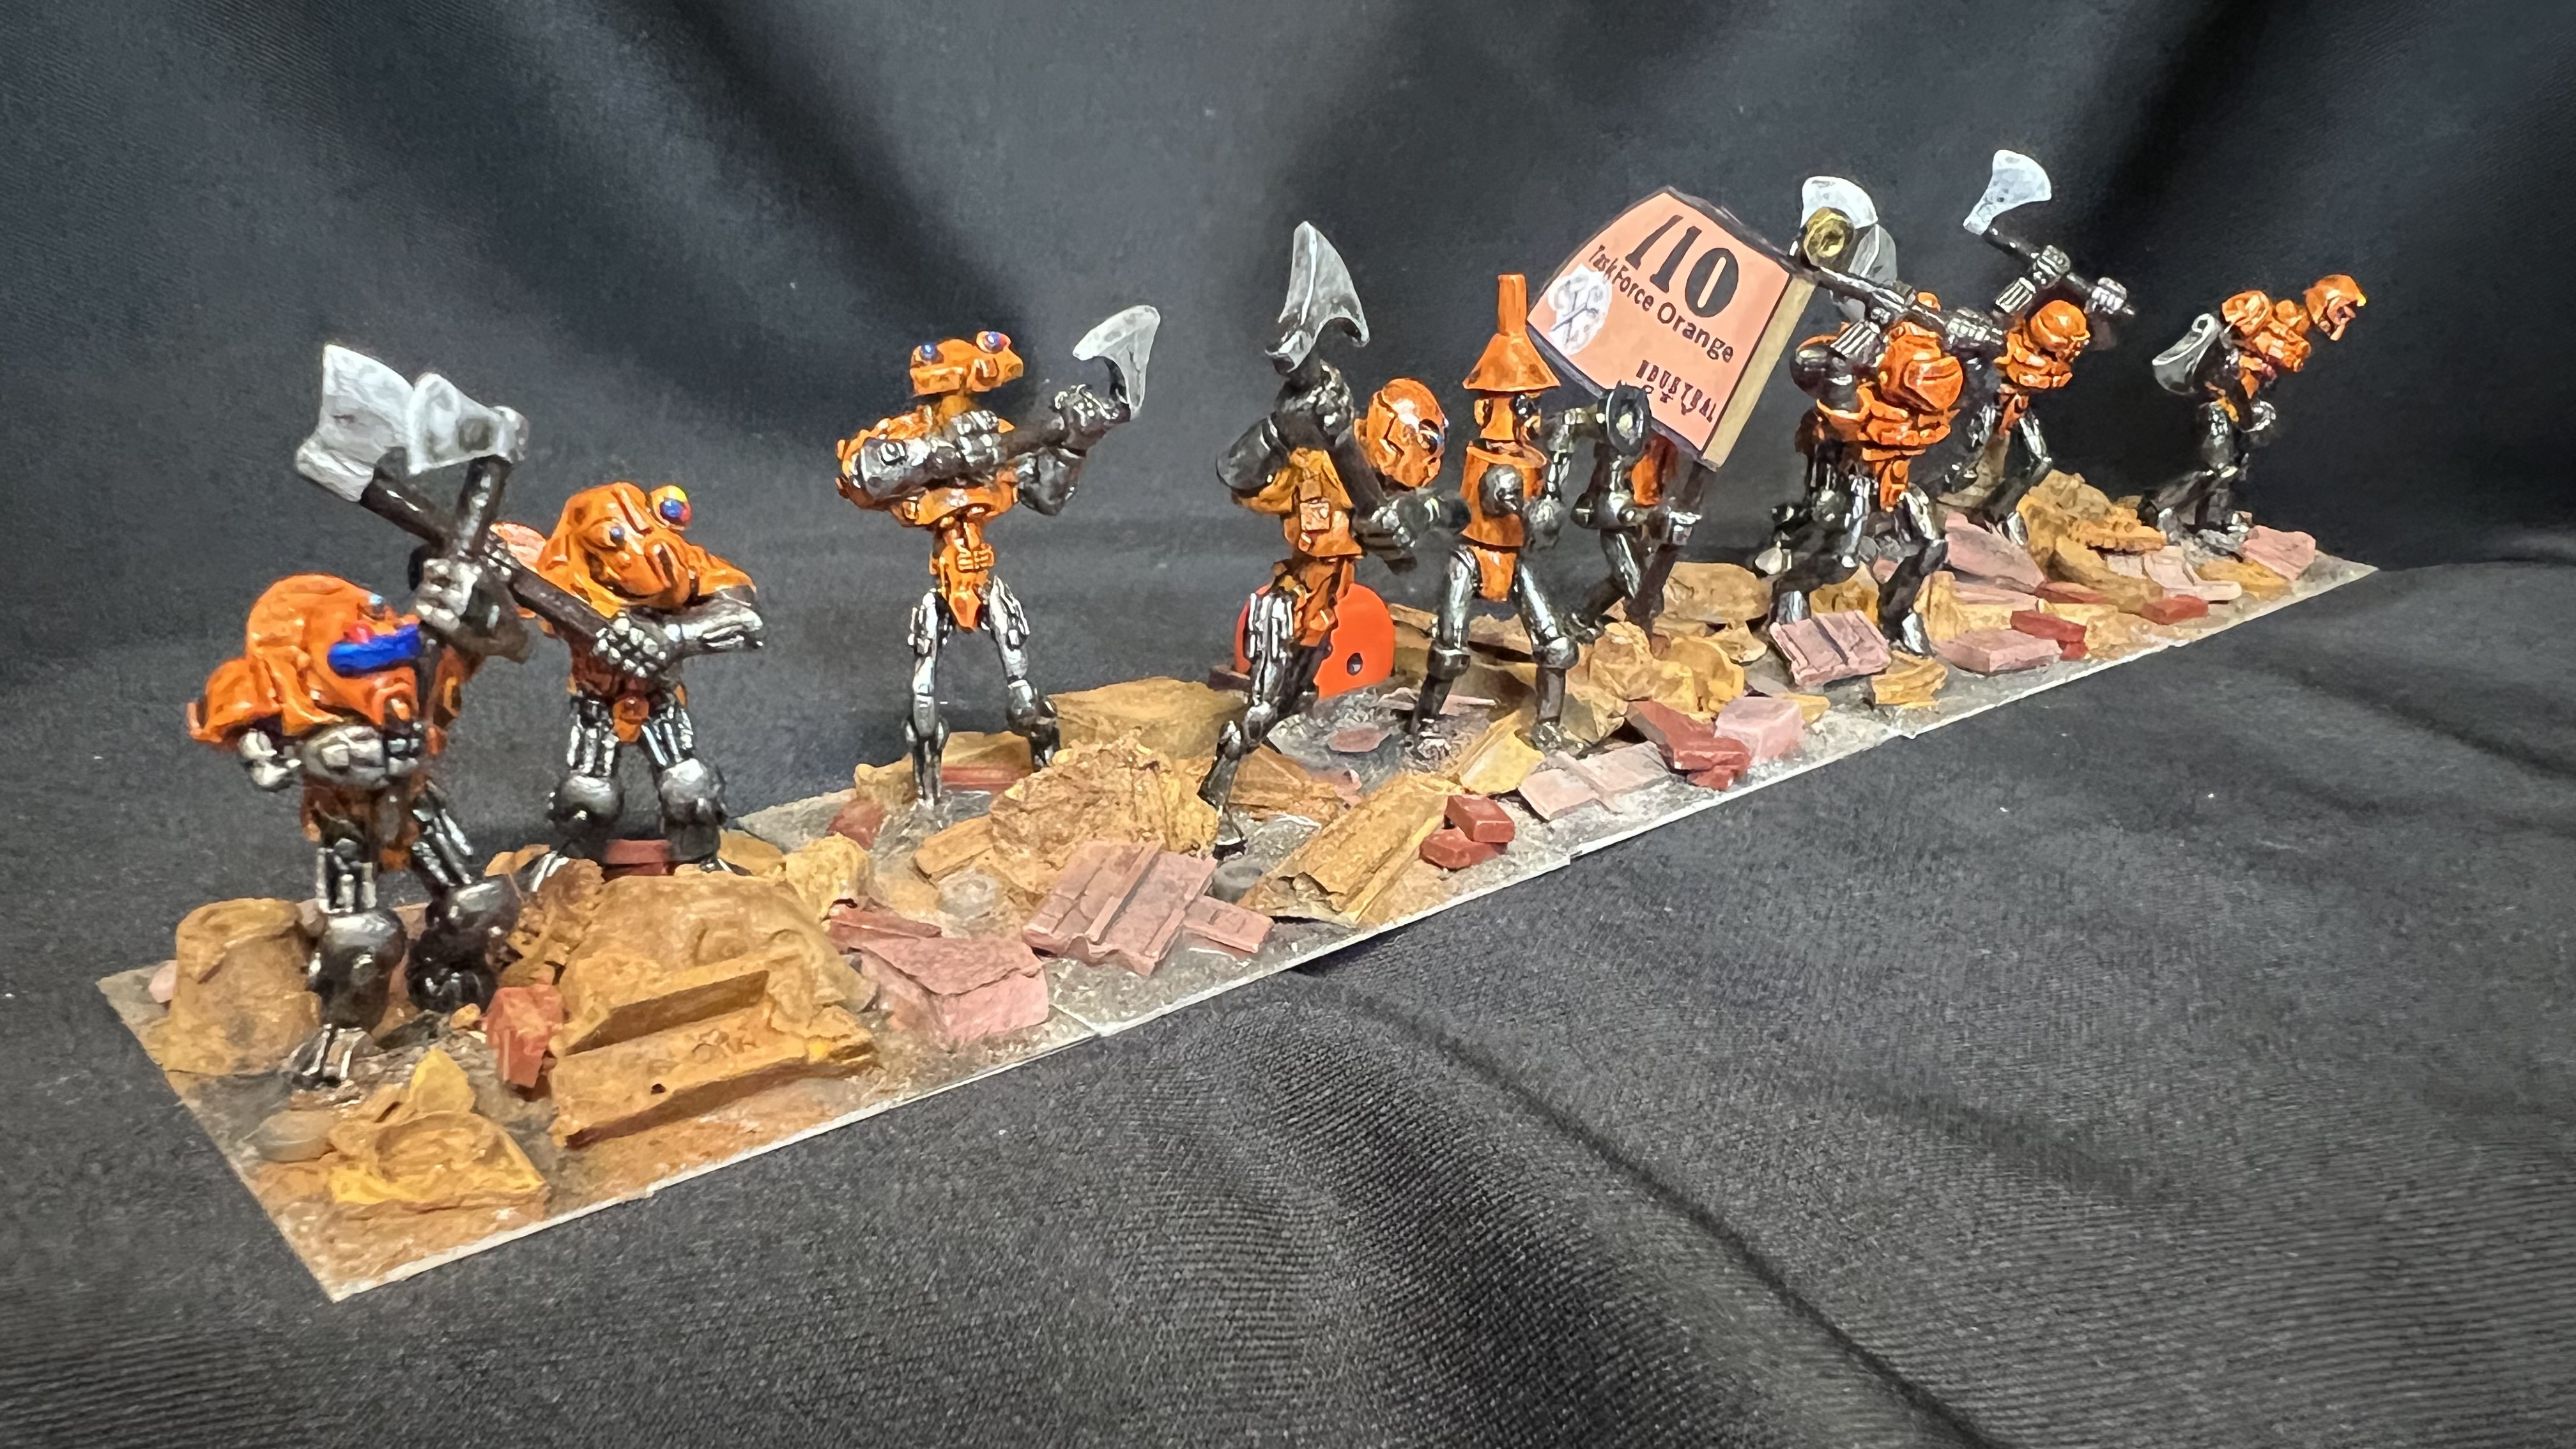
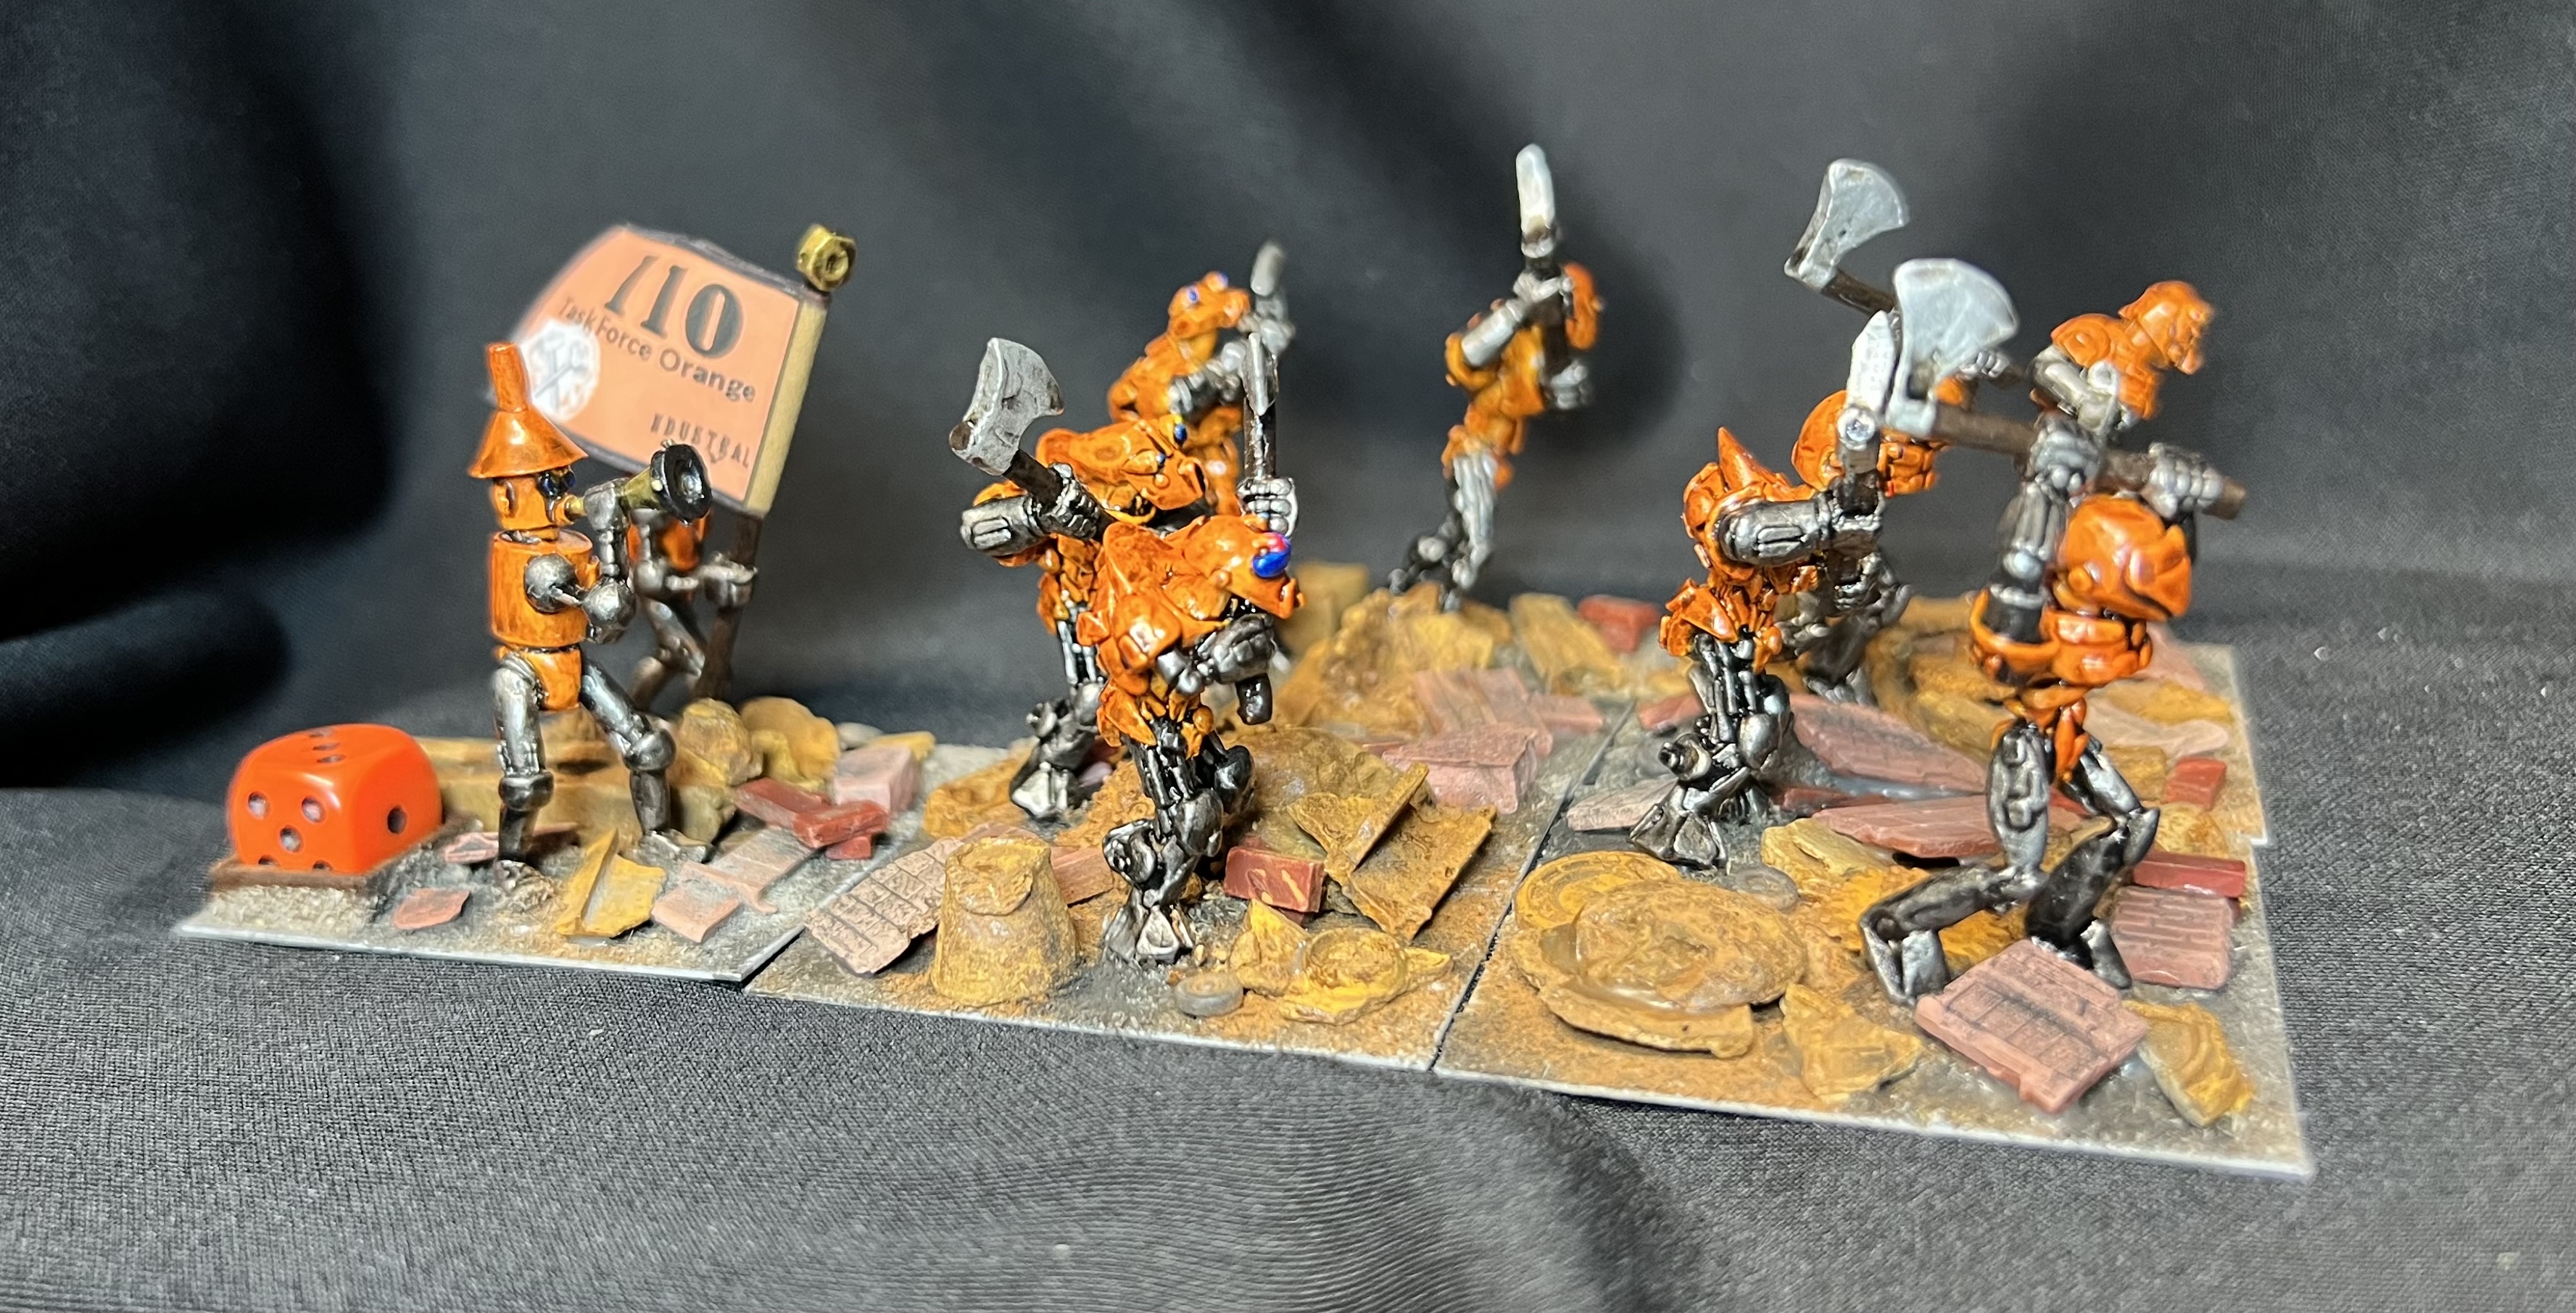
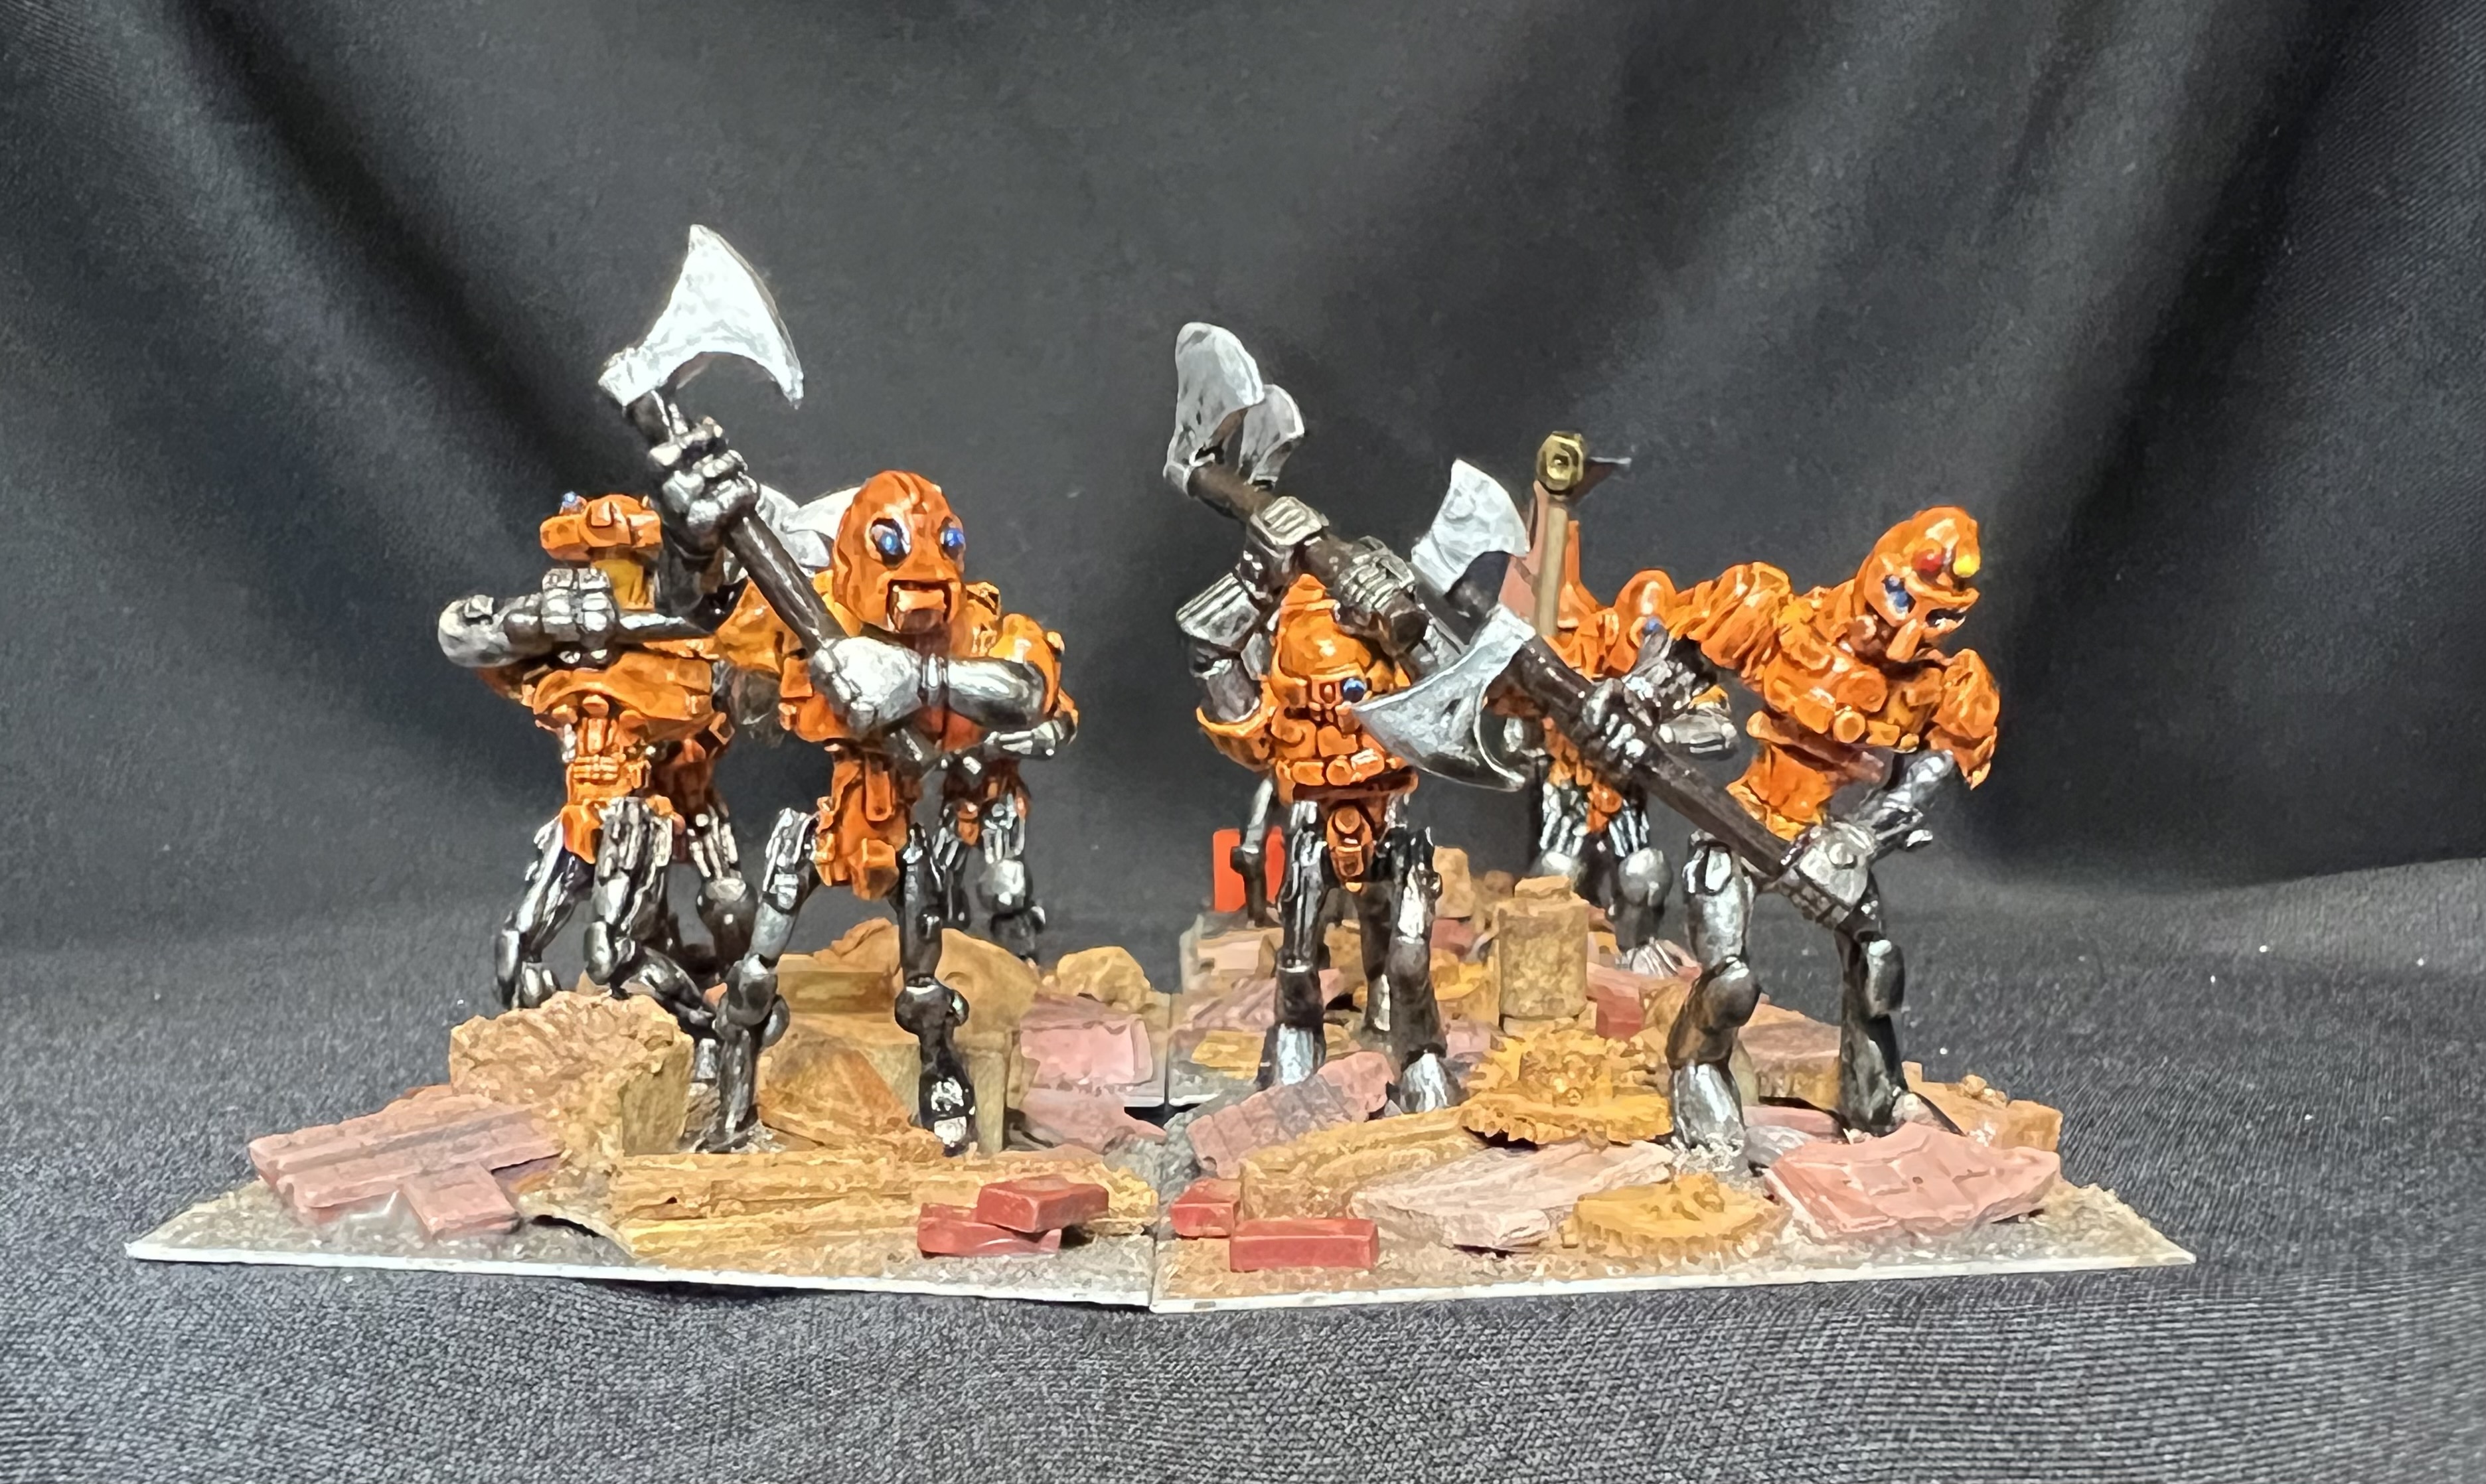
The other regiment is an orange-themed melee unit, also armed with axes.
Task Force Orange
Also just one WIP shot for these guys.
And some group shots:
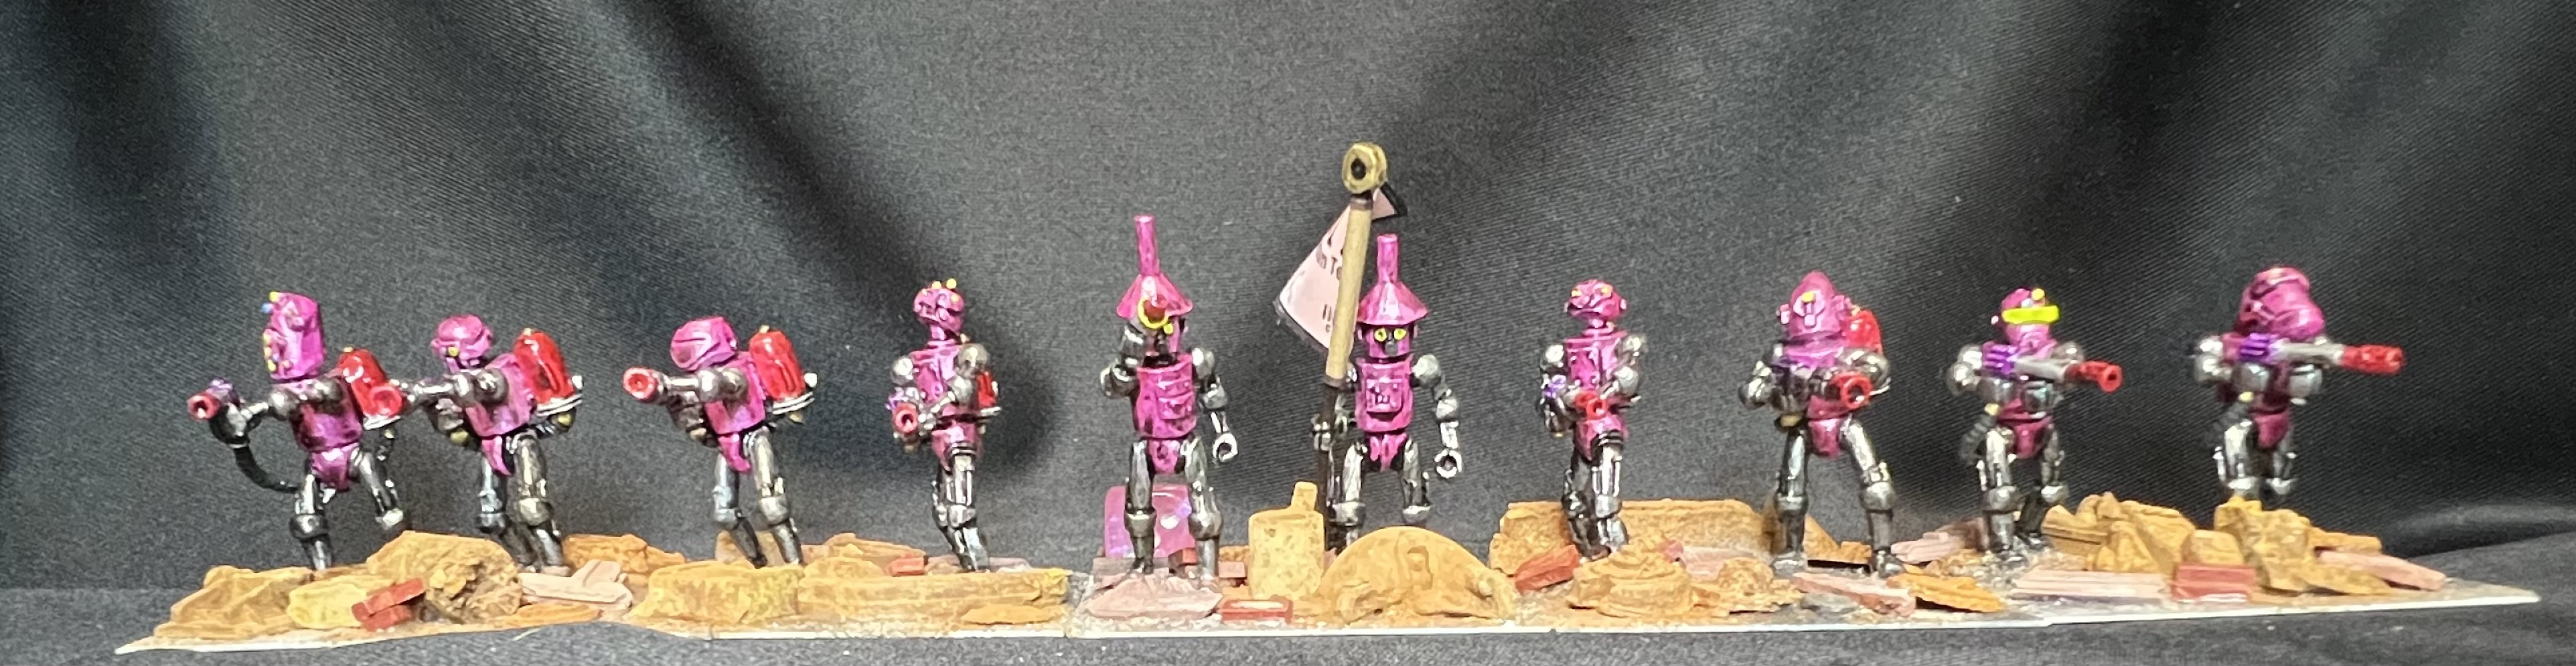
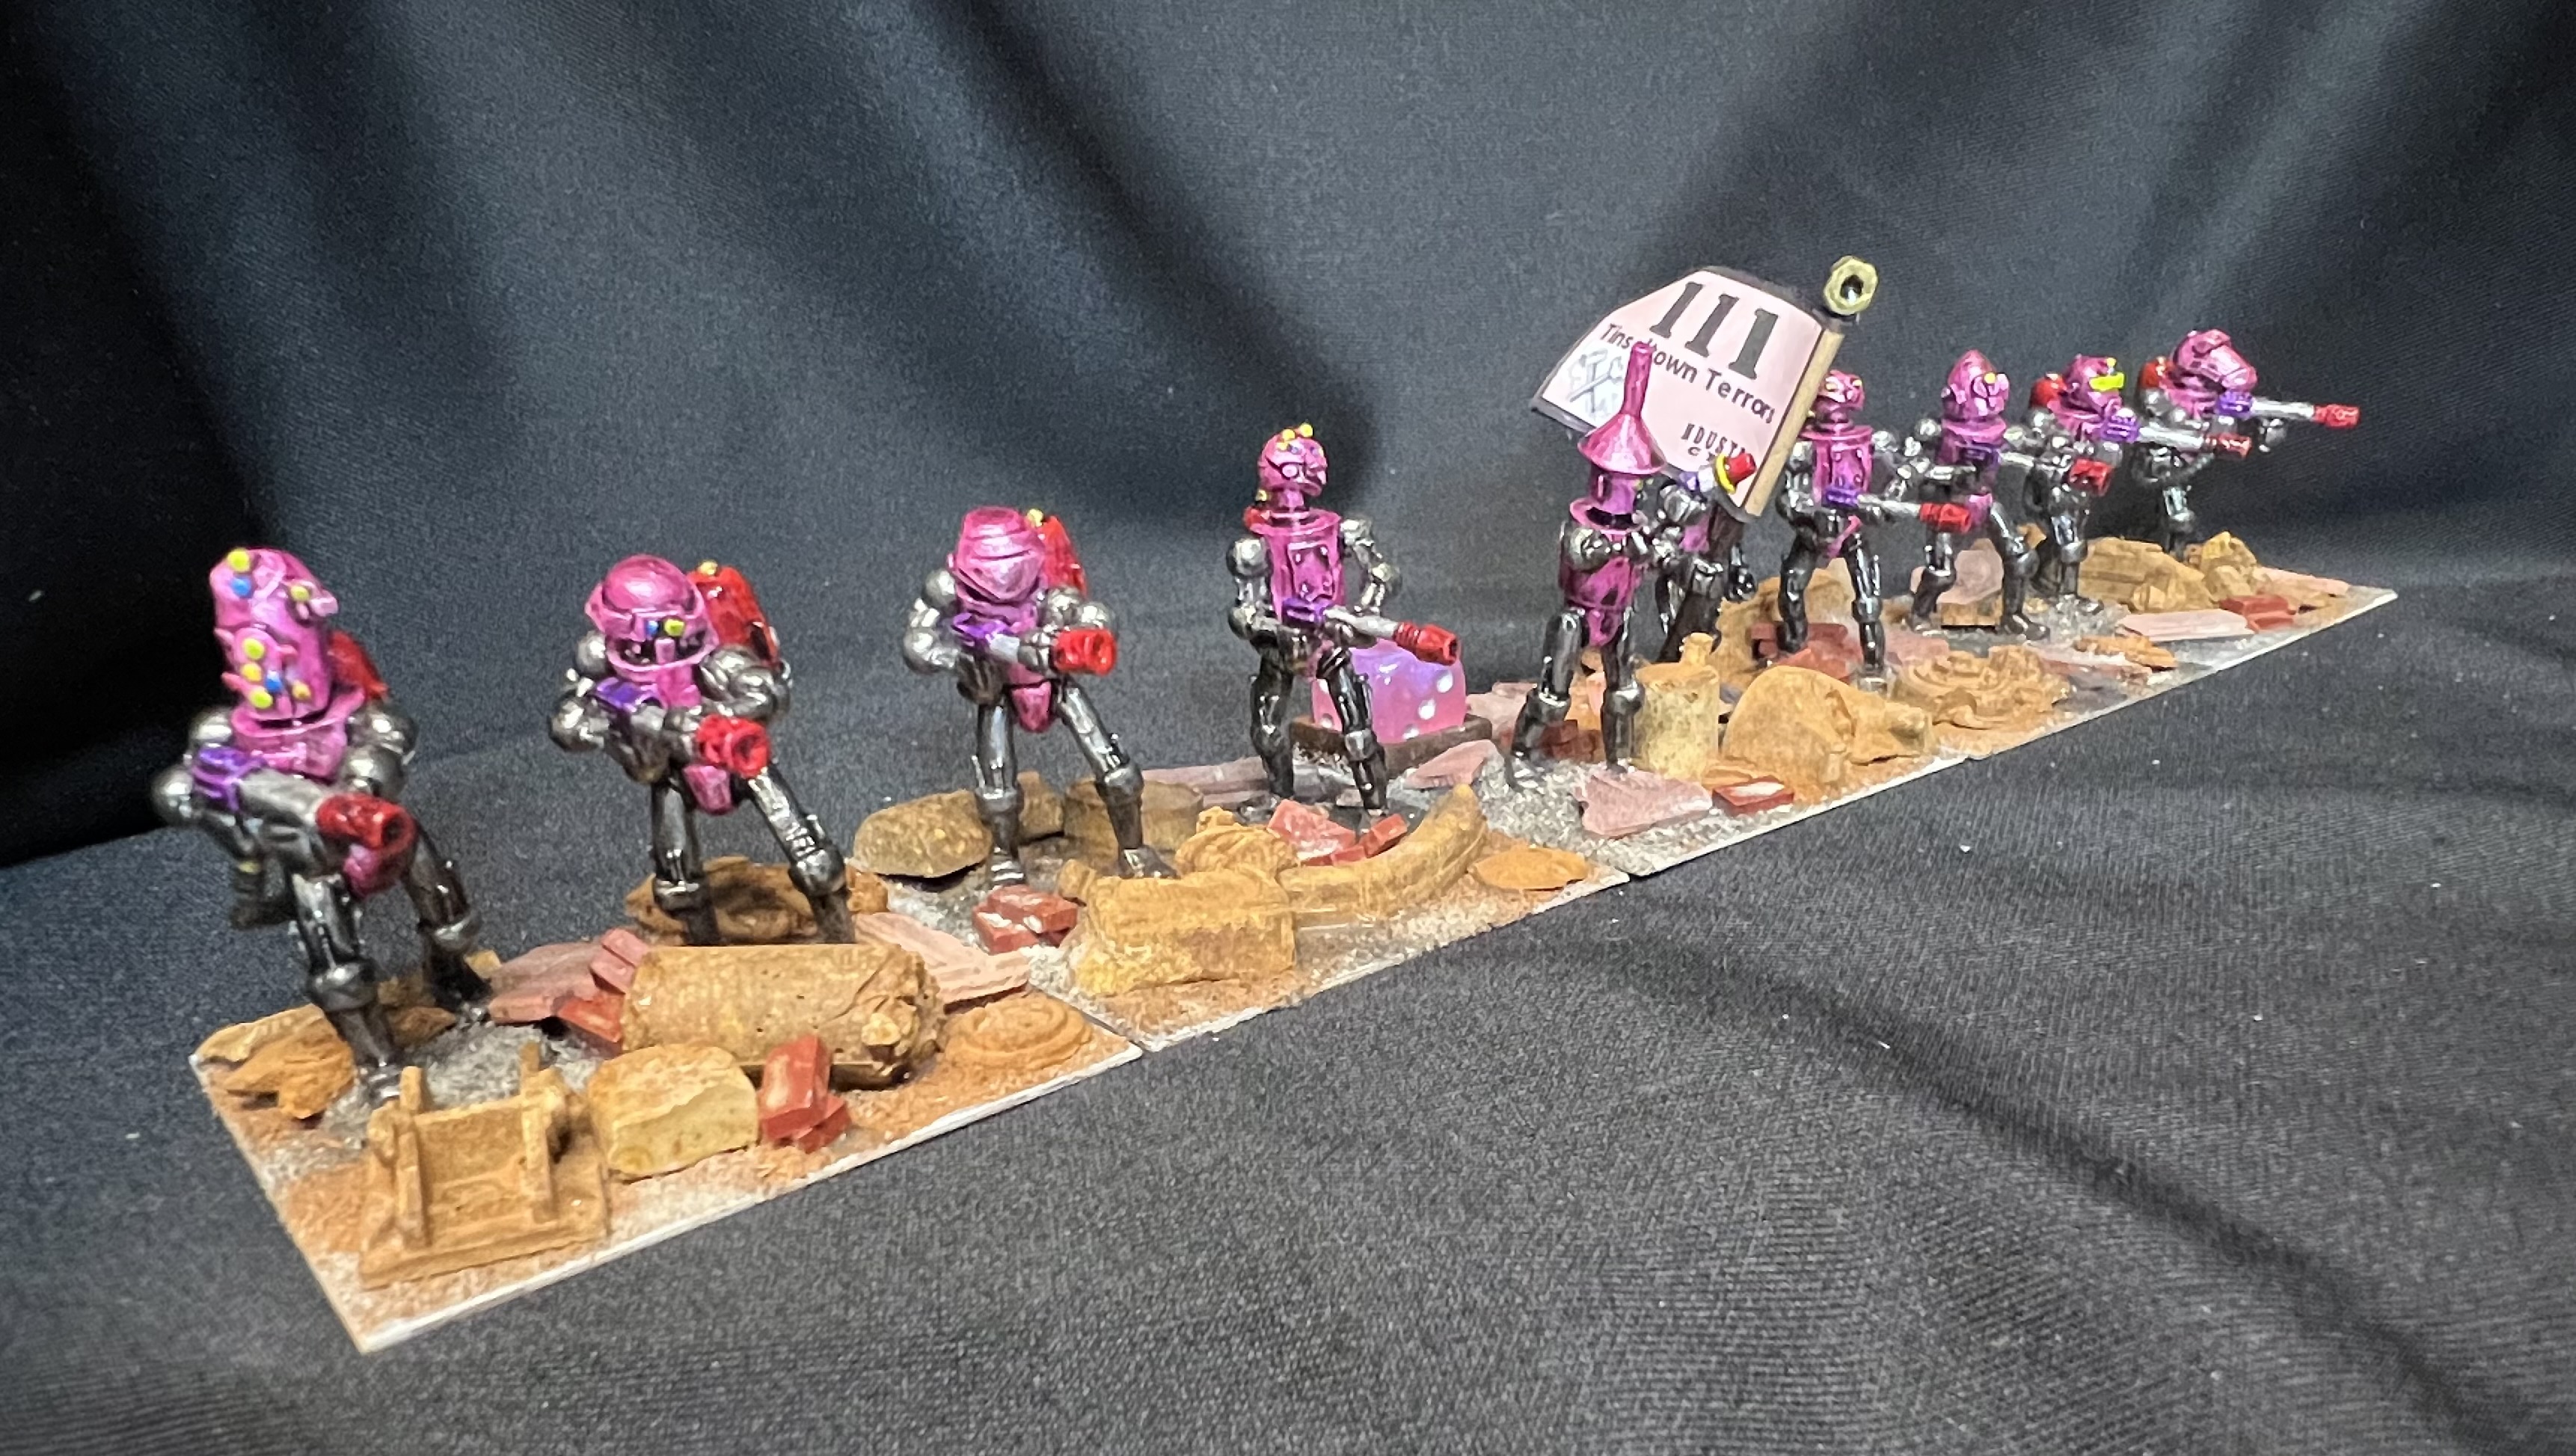
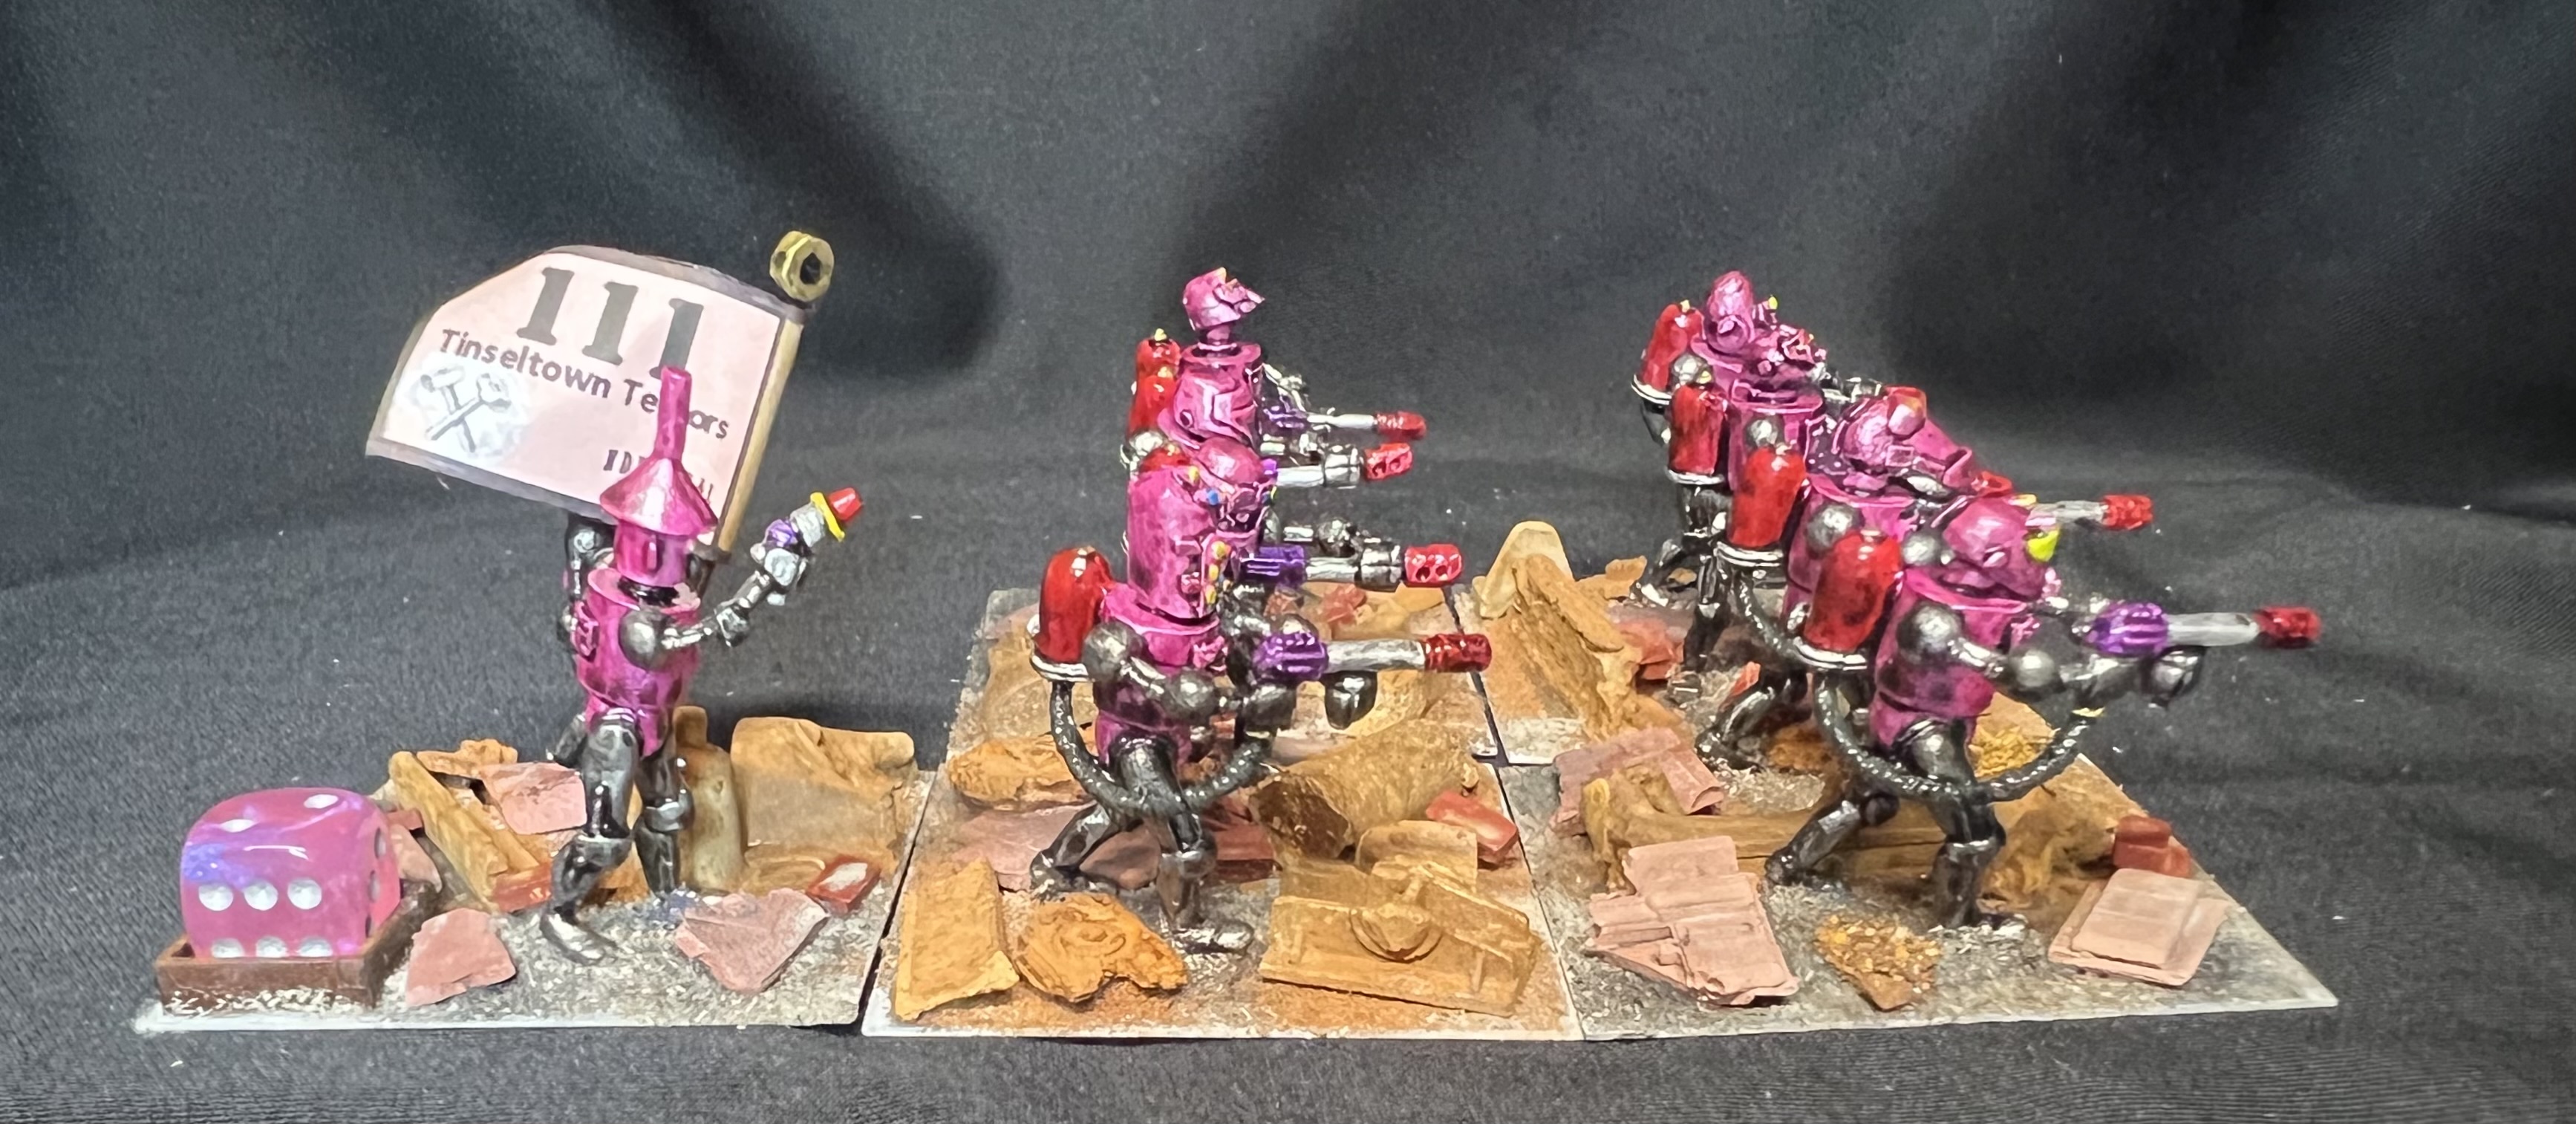
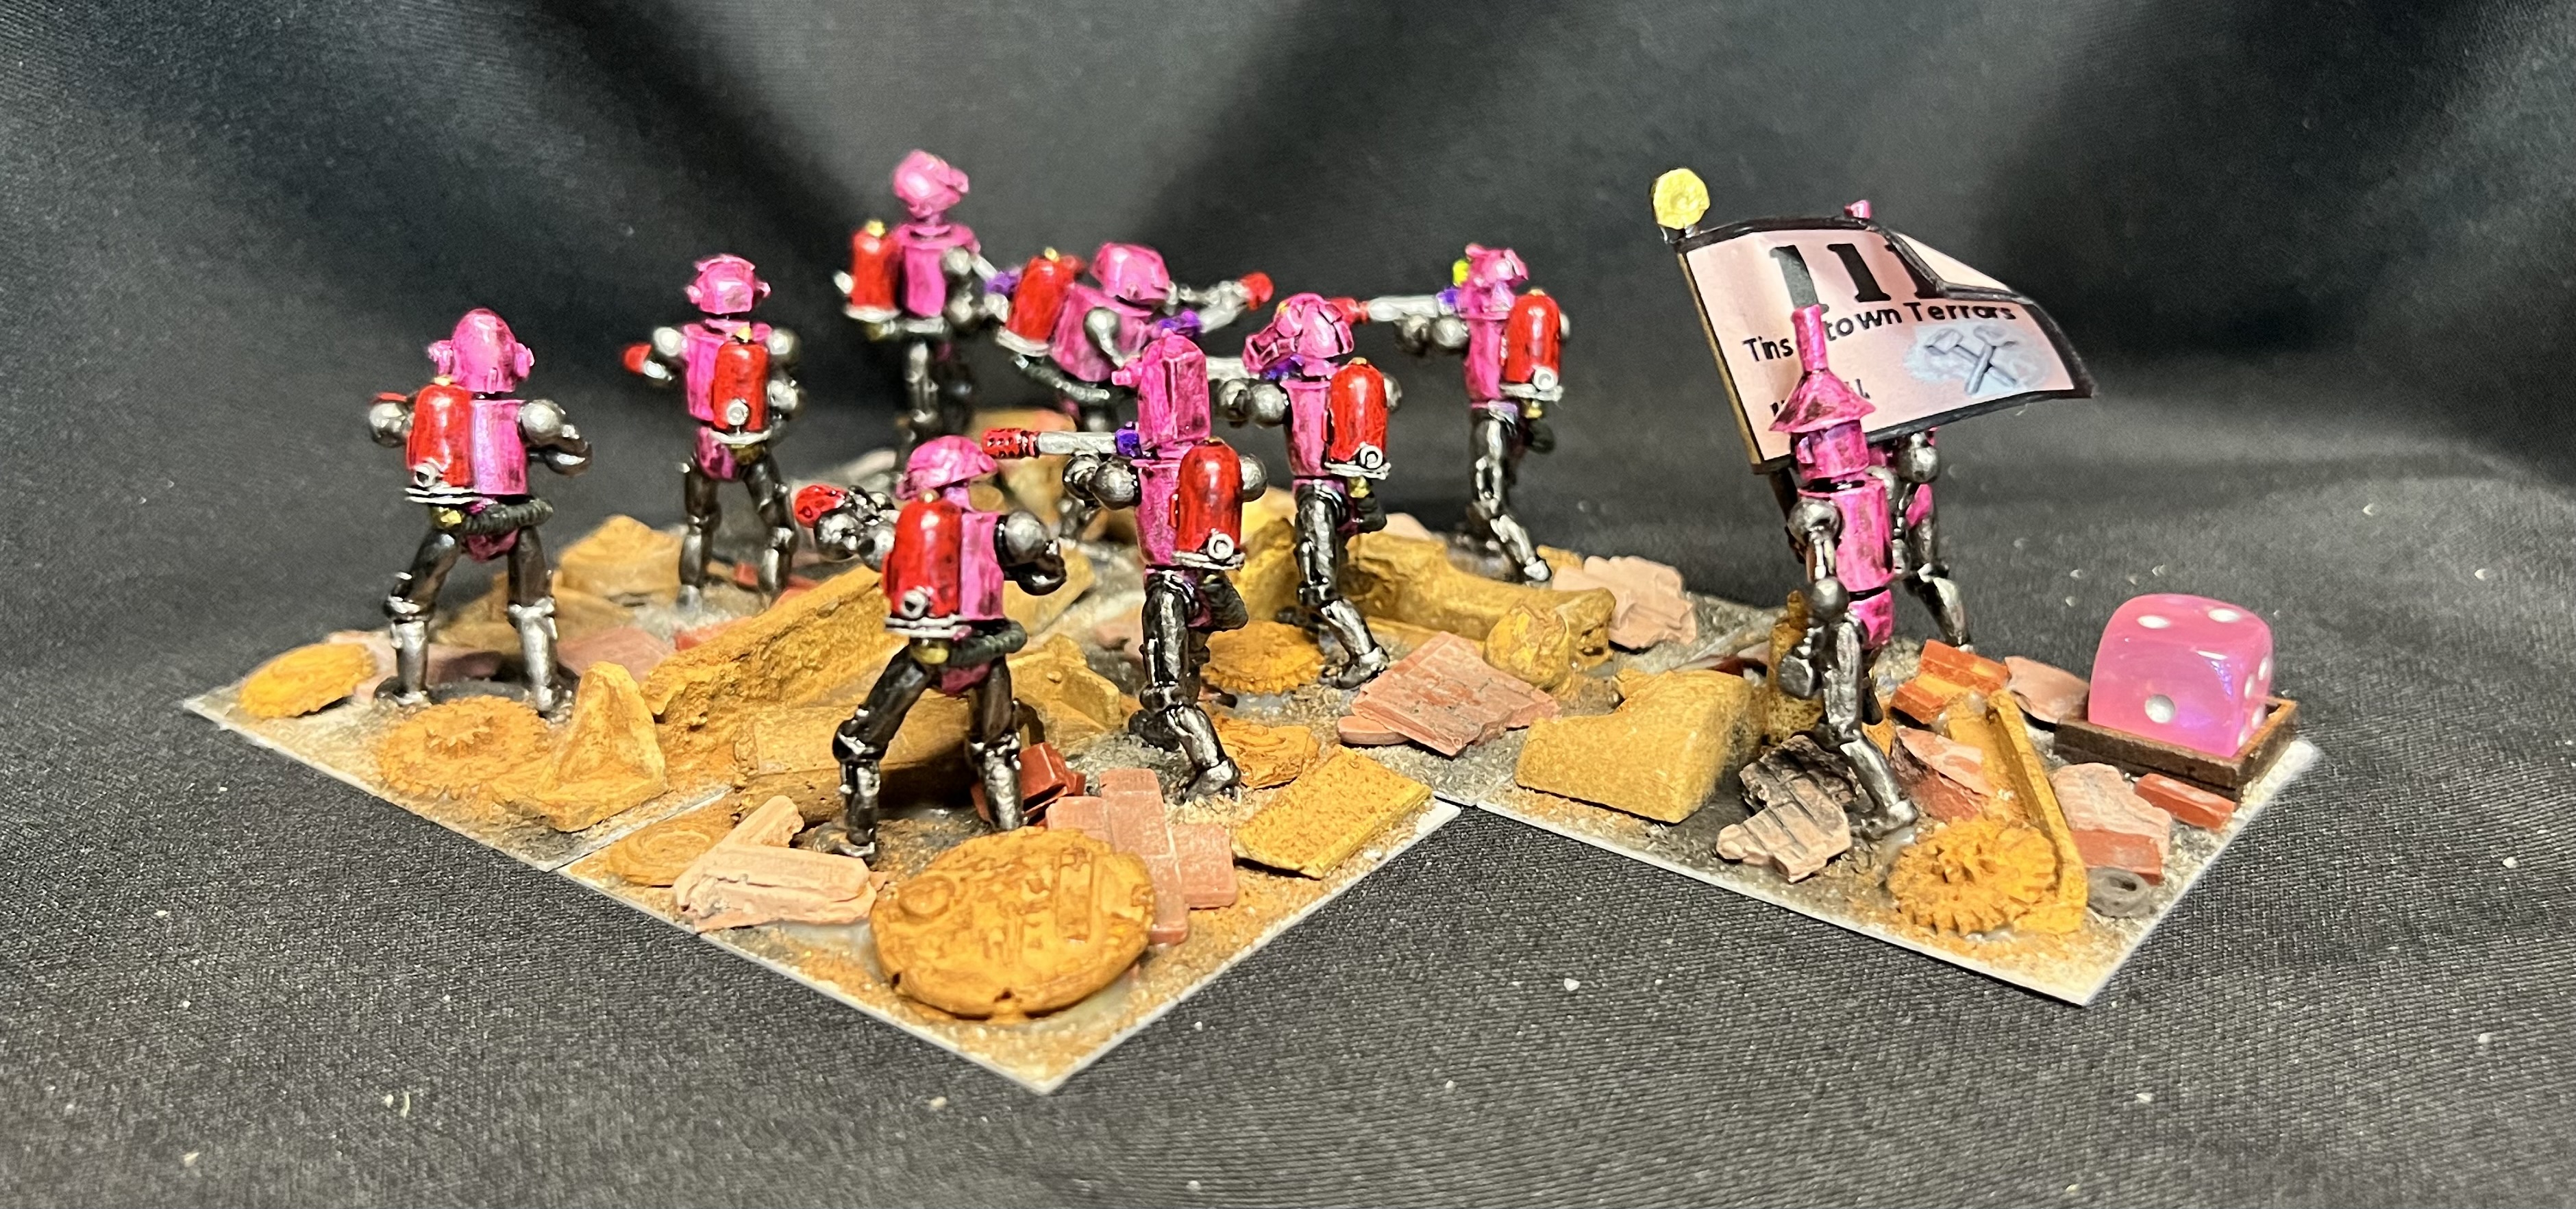
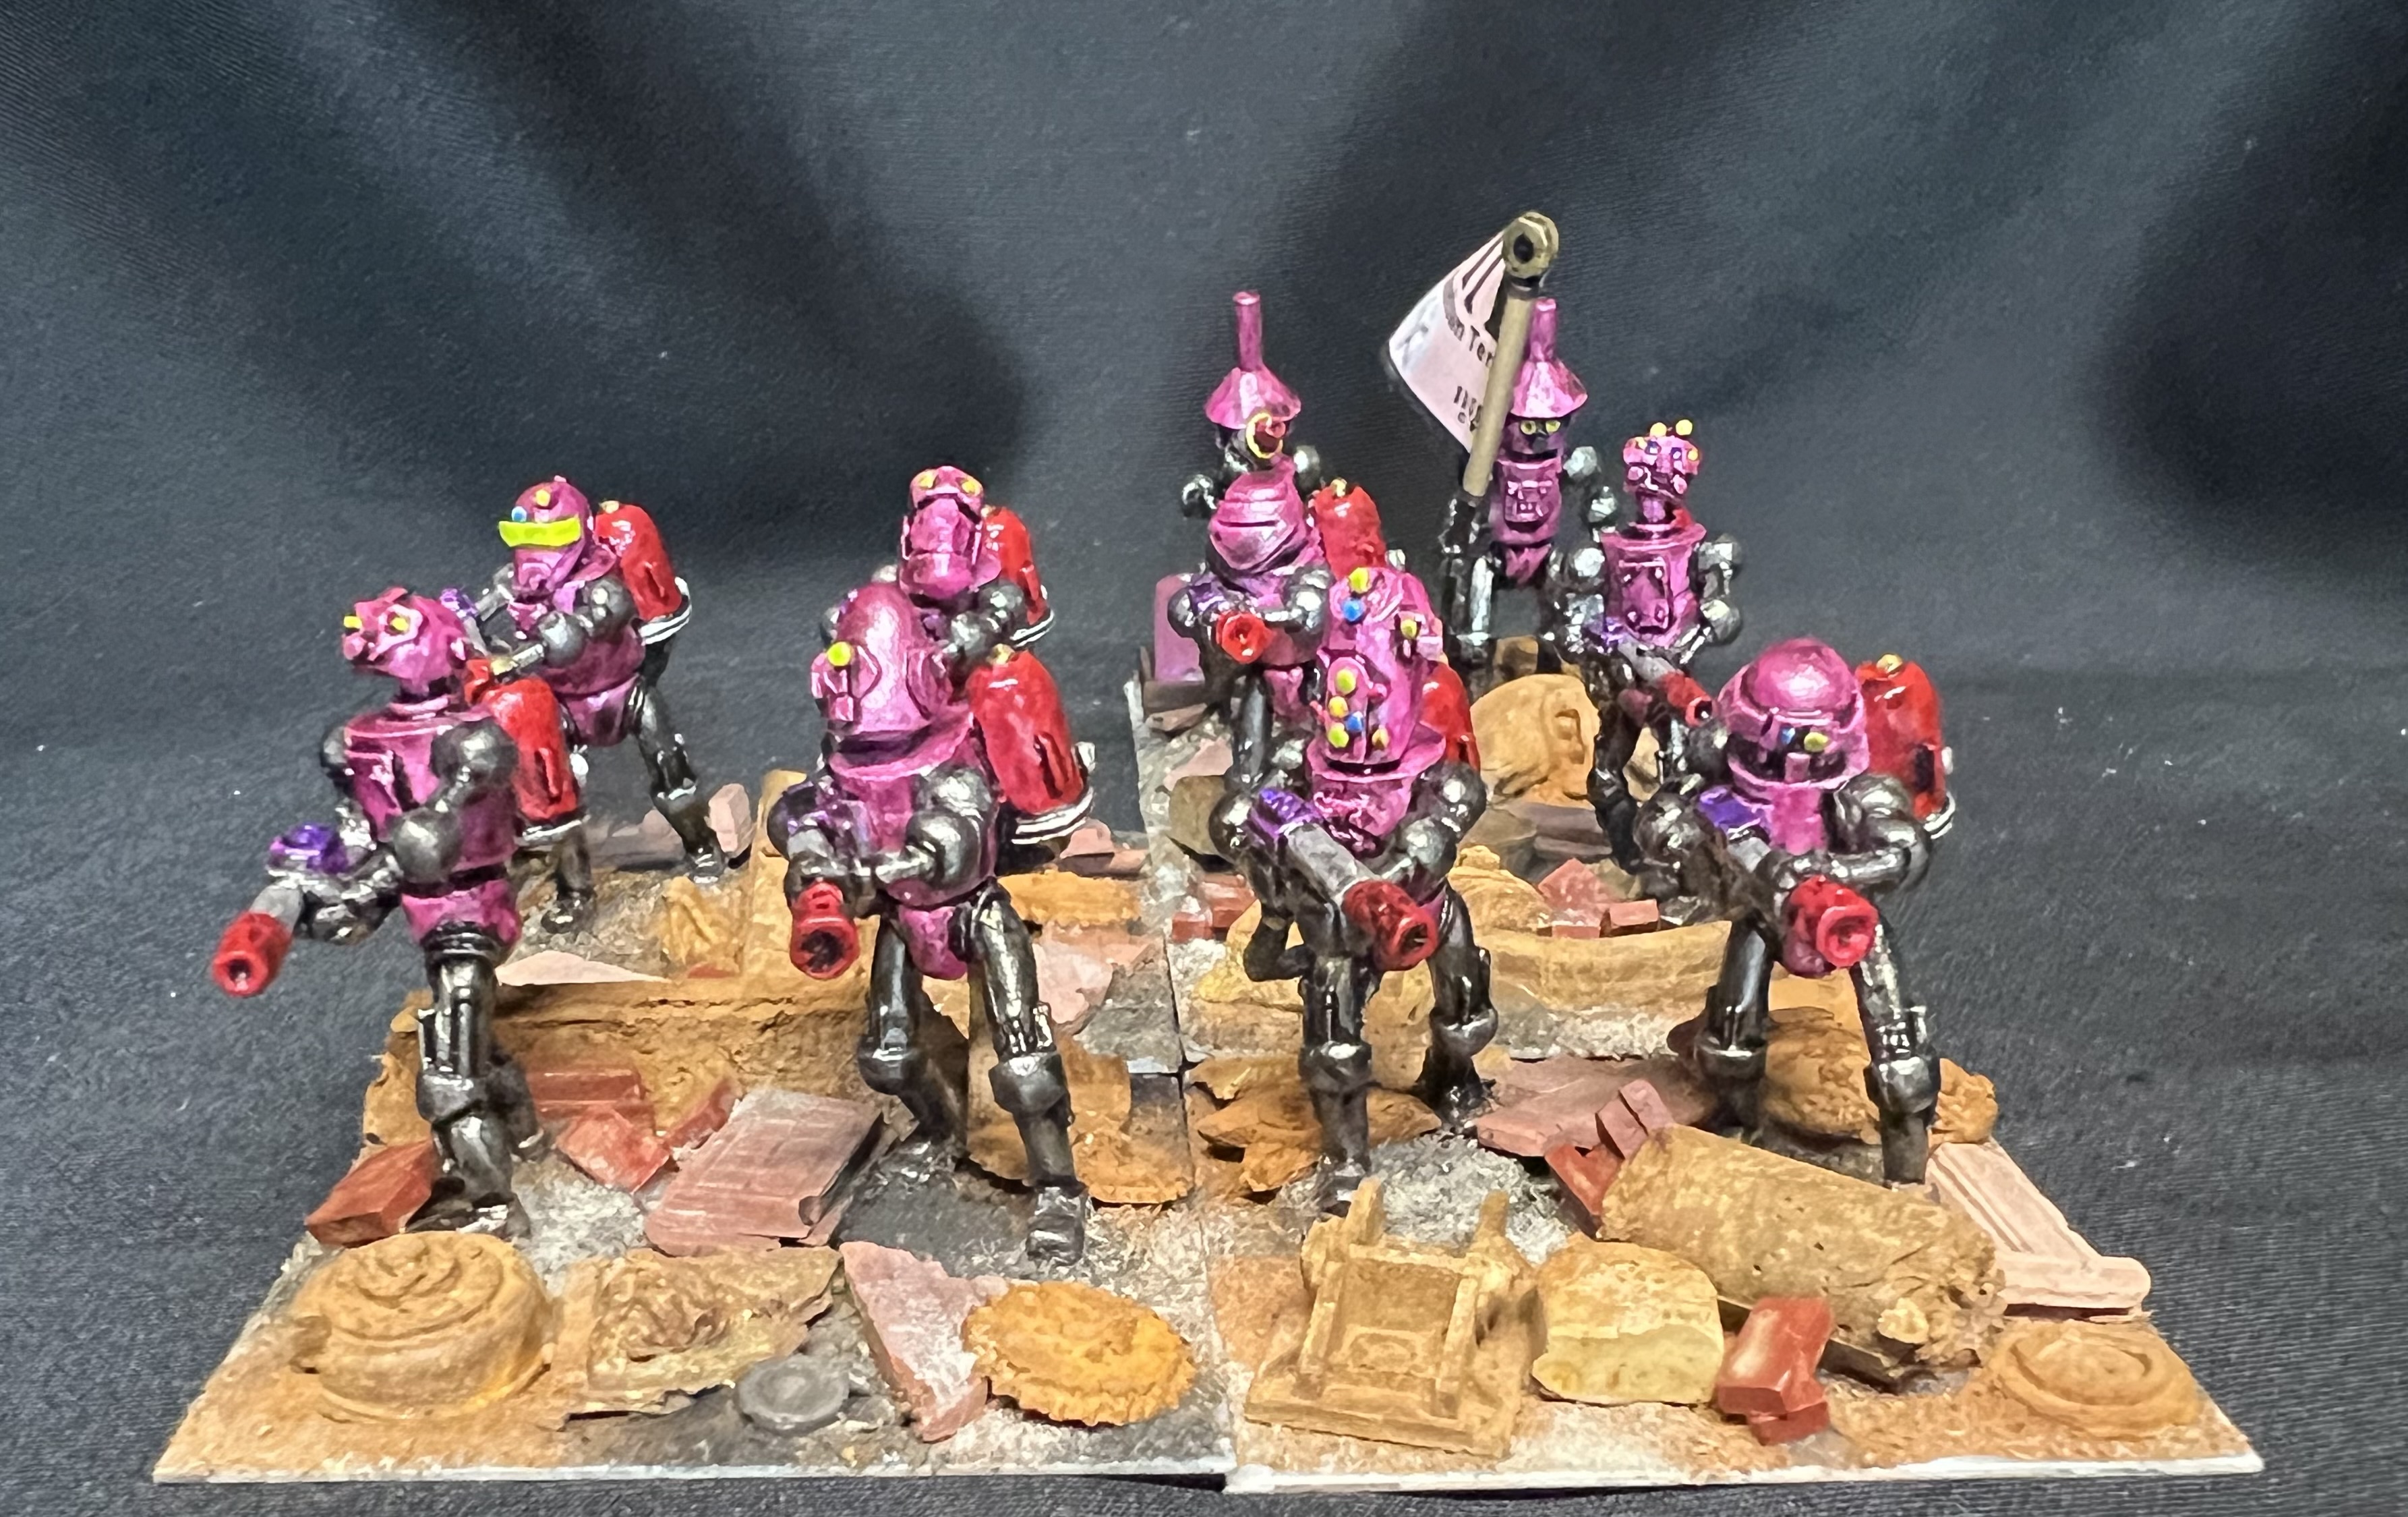
The other two regiments are armed with “plasma blasters”. They are OZZ-539, “Mechanical Men with Napalm Blasters”. The first one is magenta-themed:
The Tinseltown Terrors
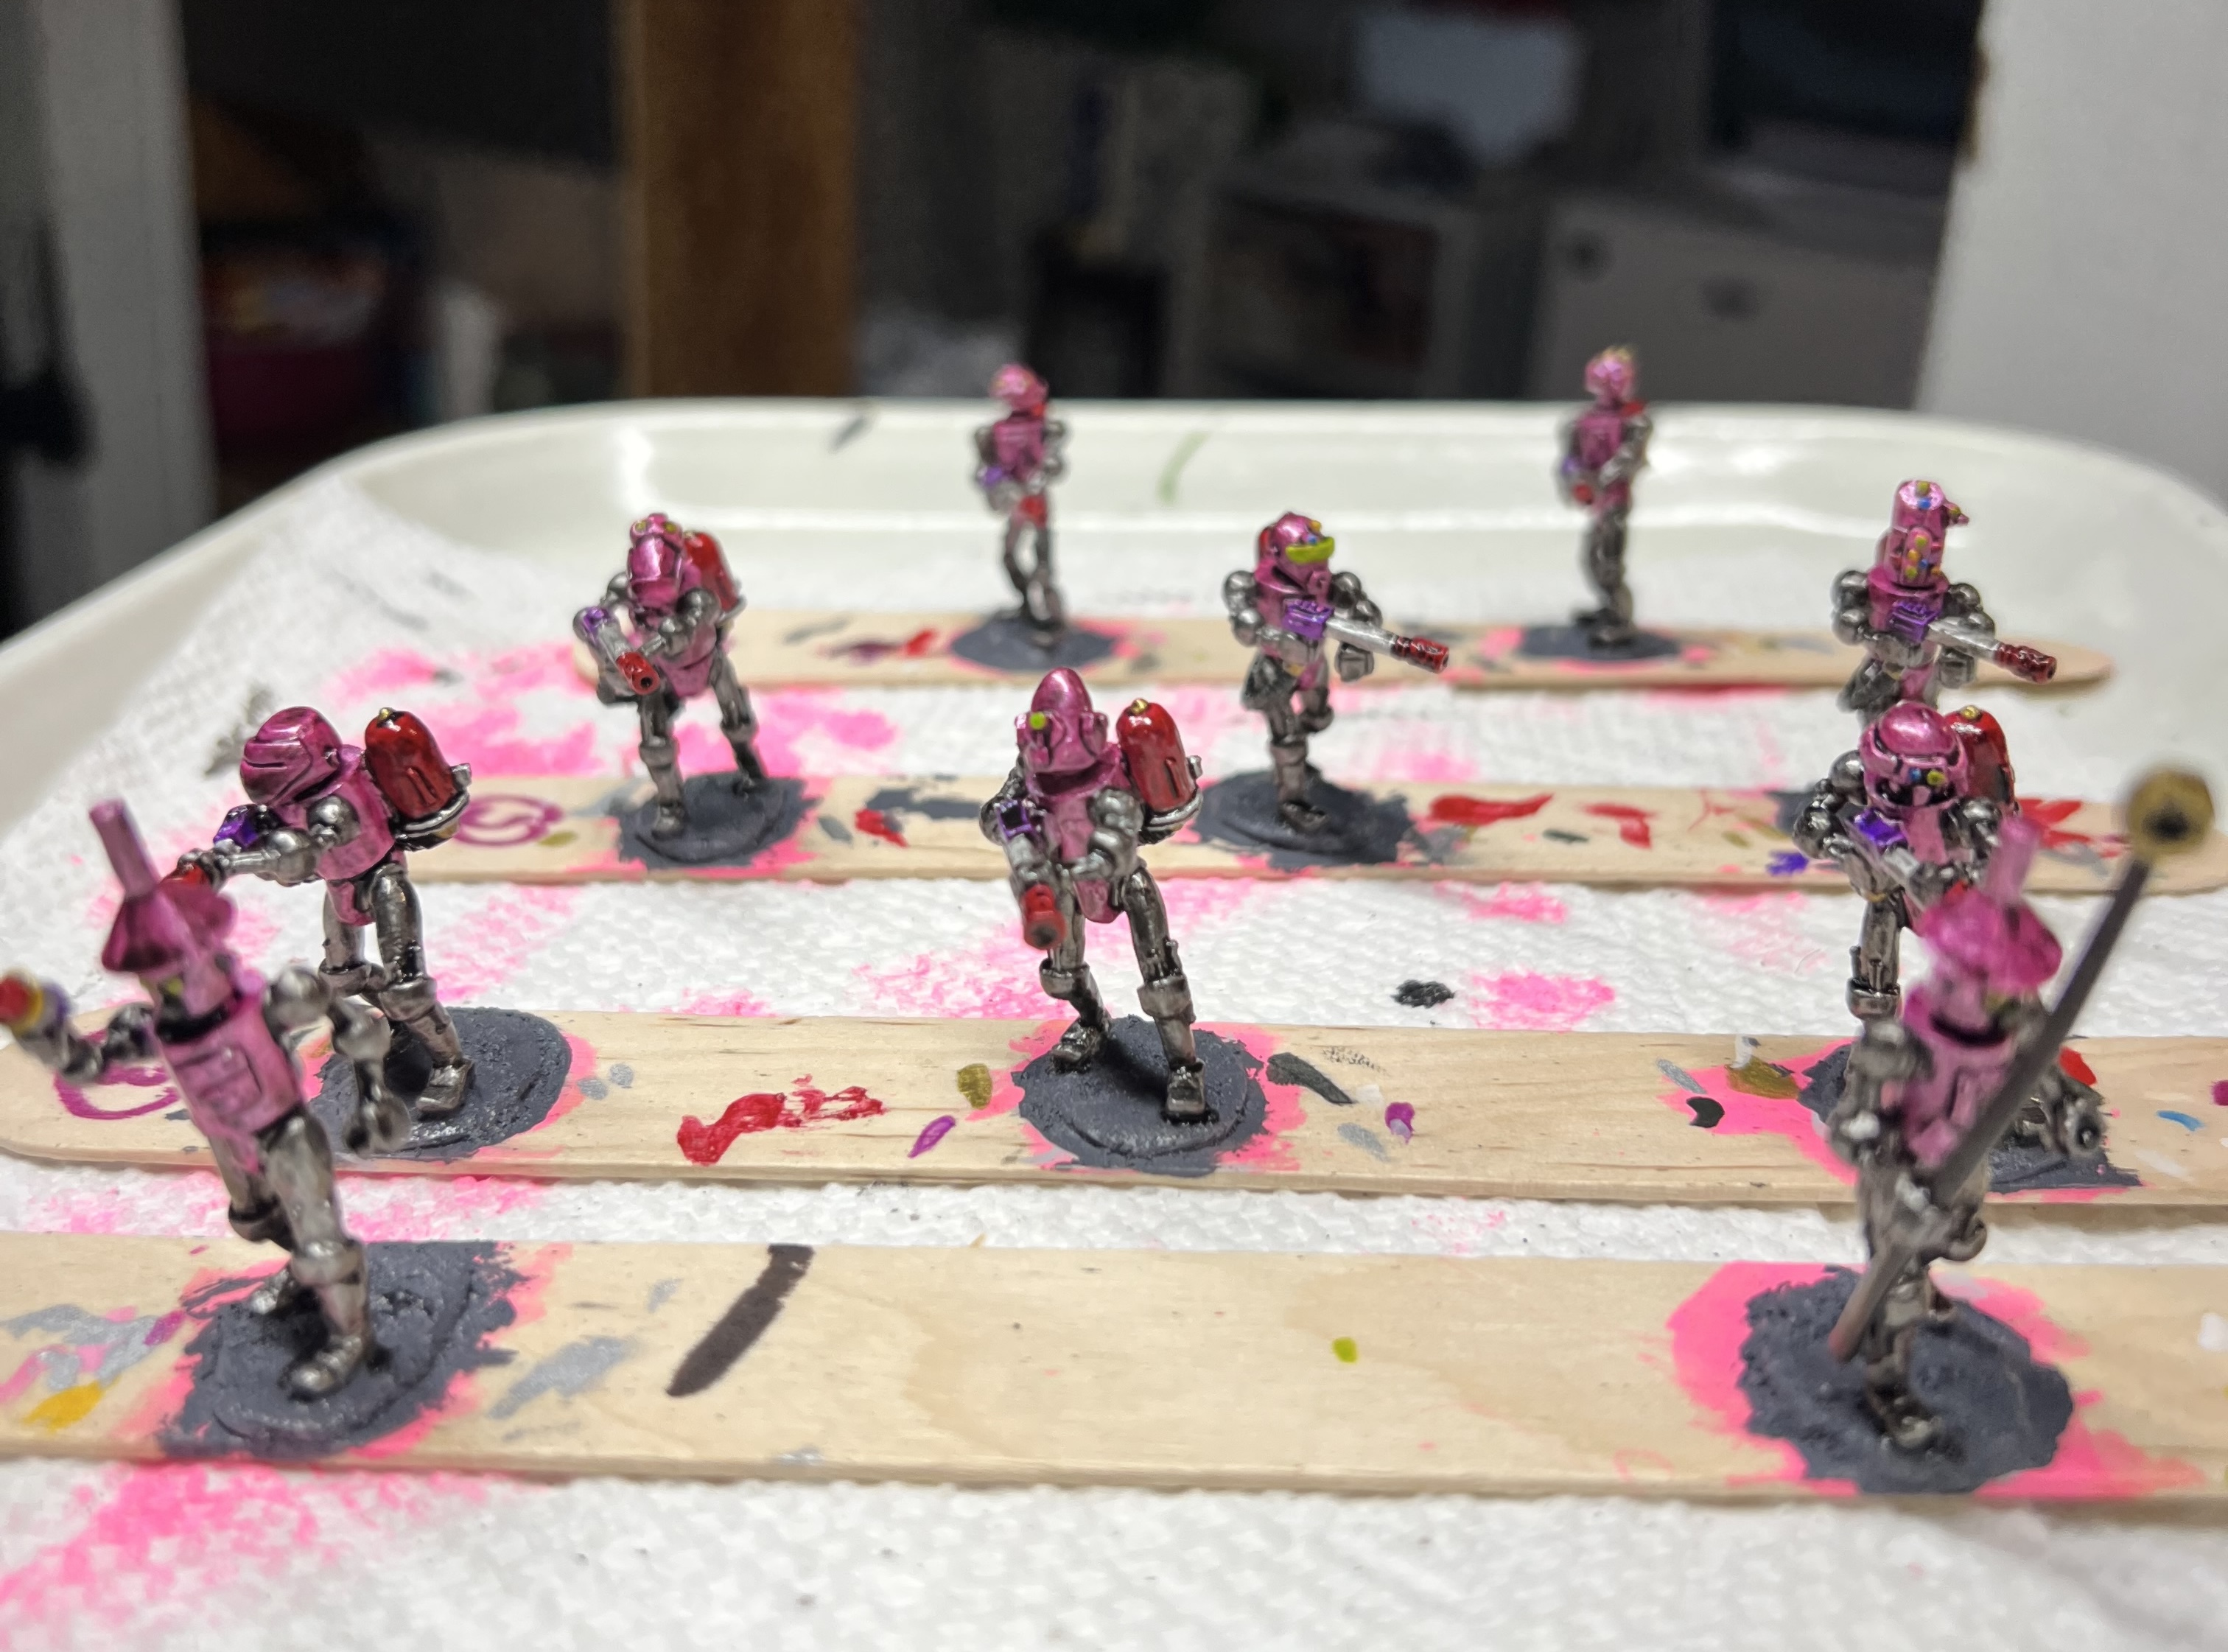
And some poses:
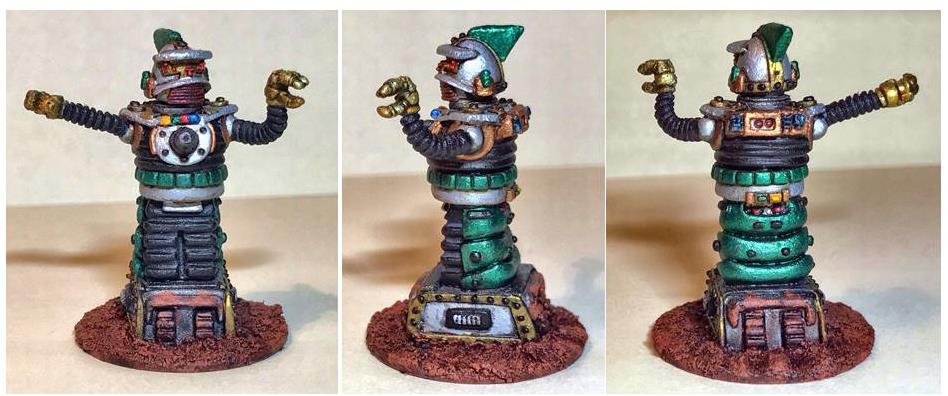
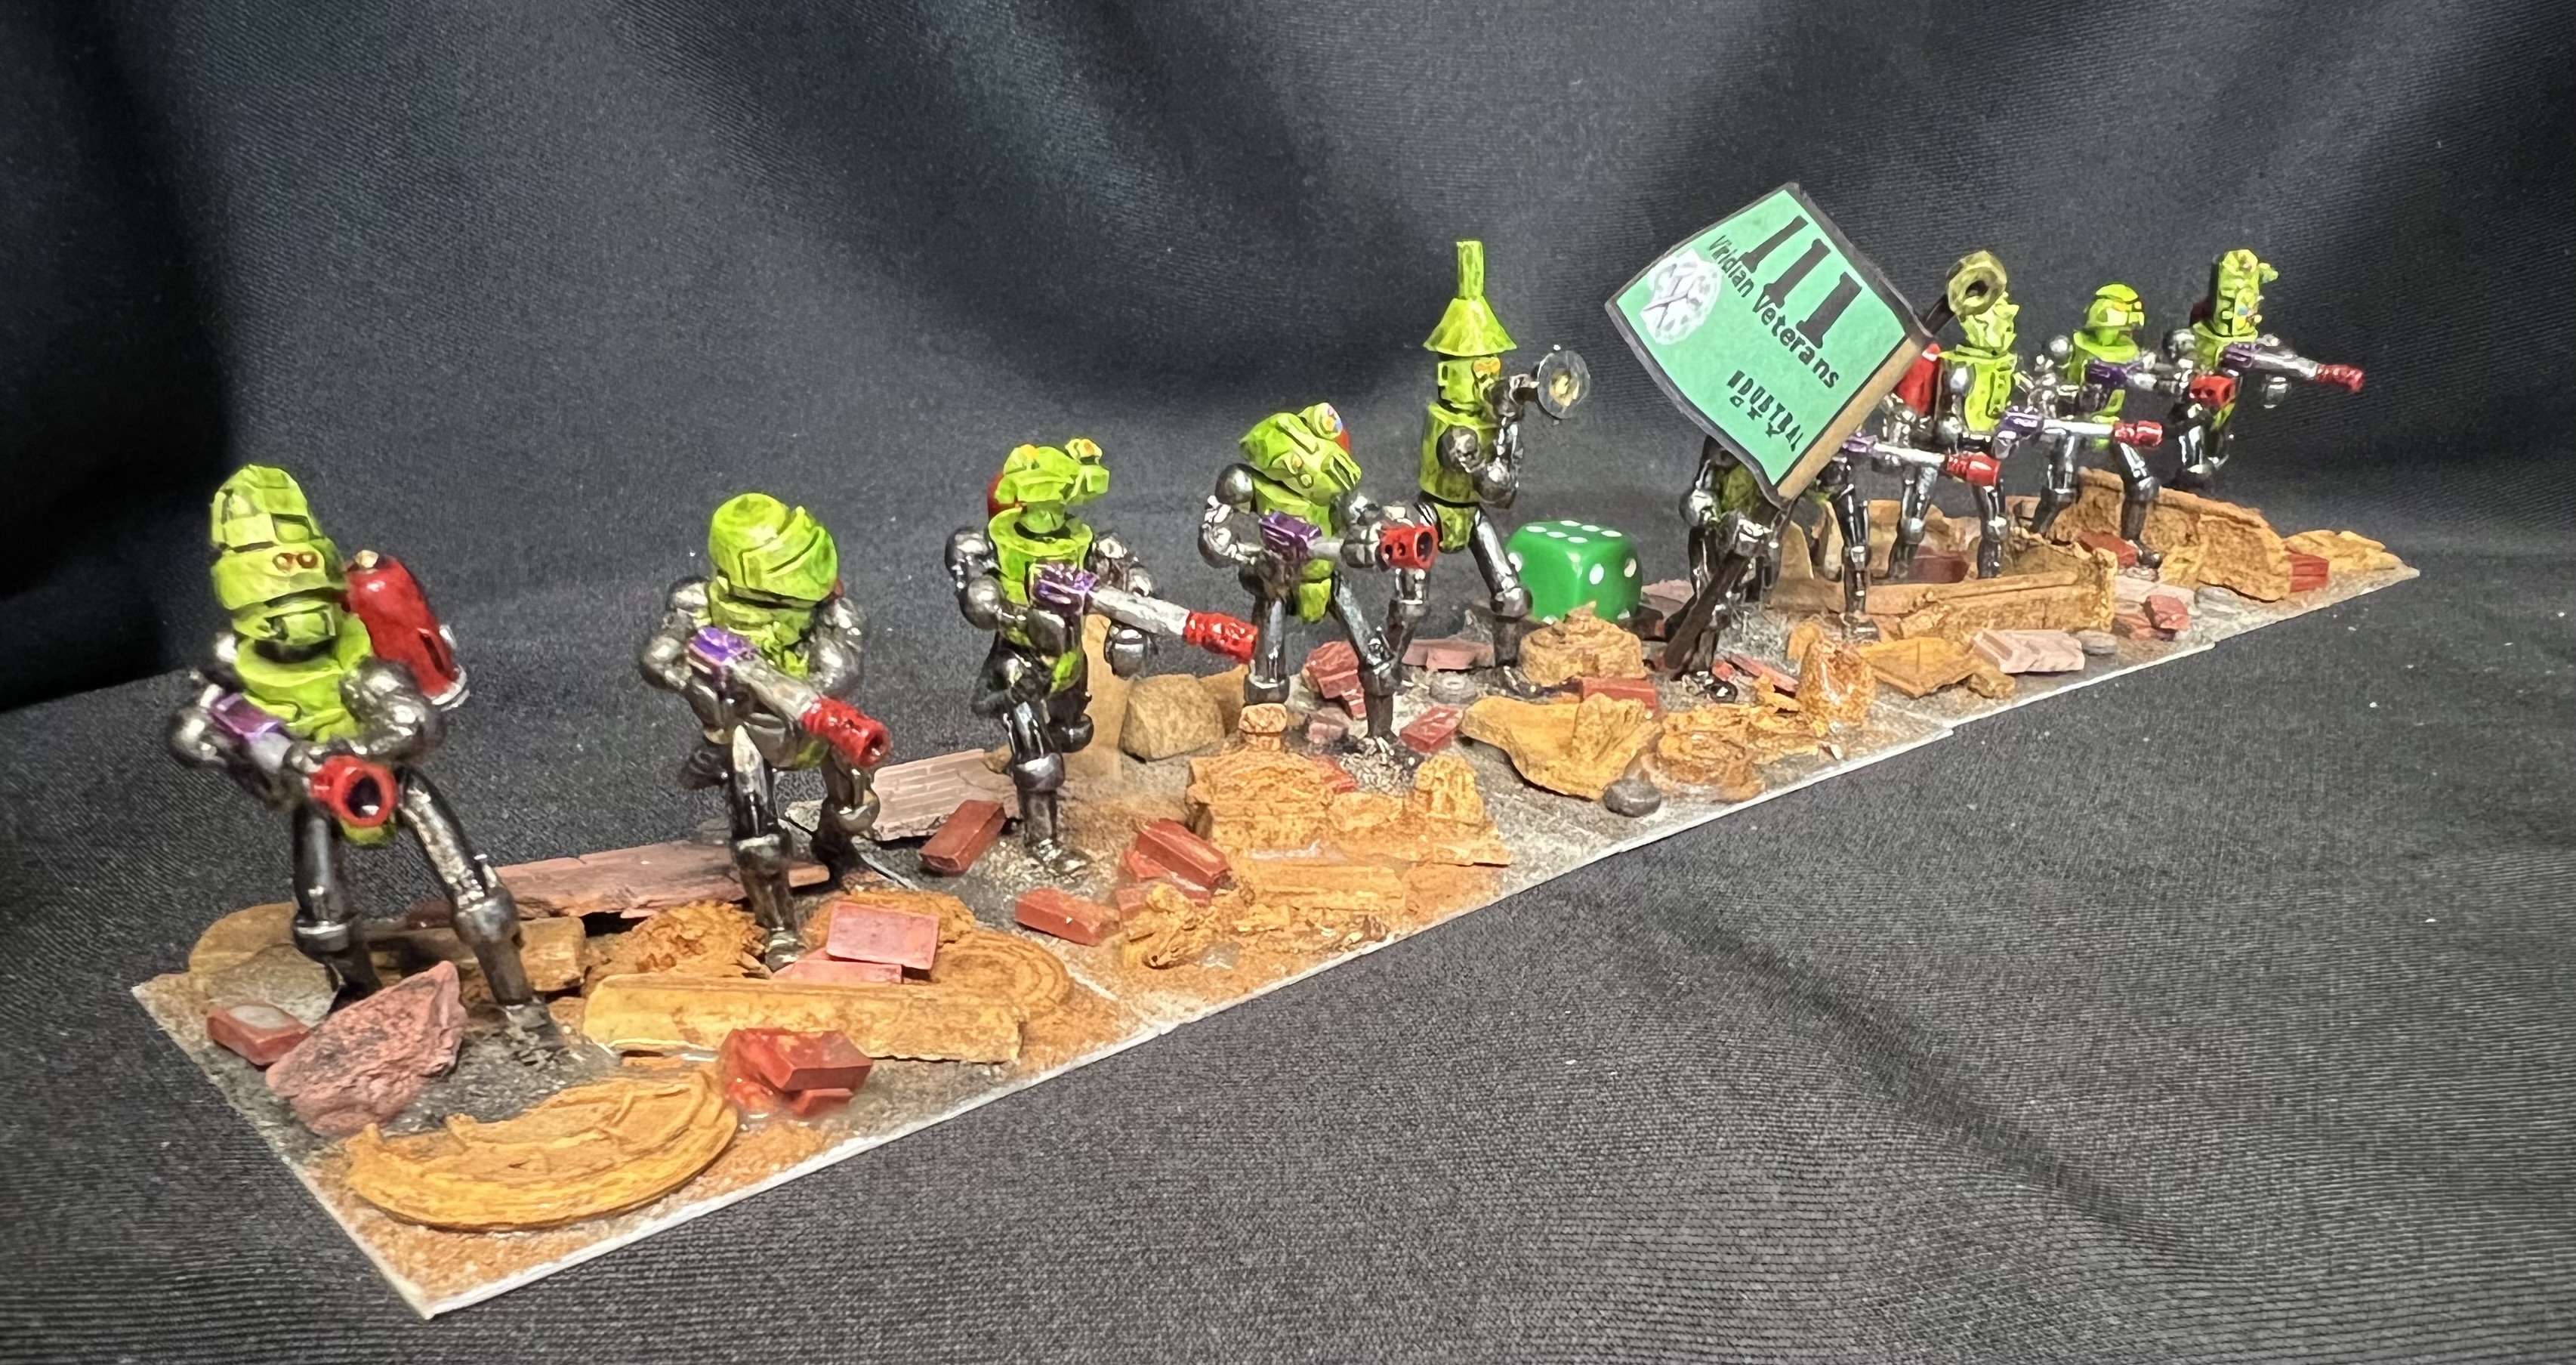
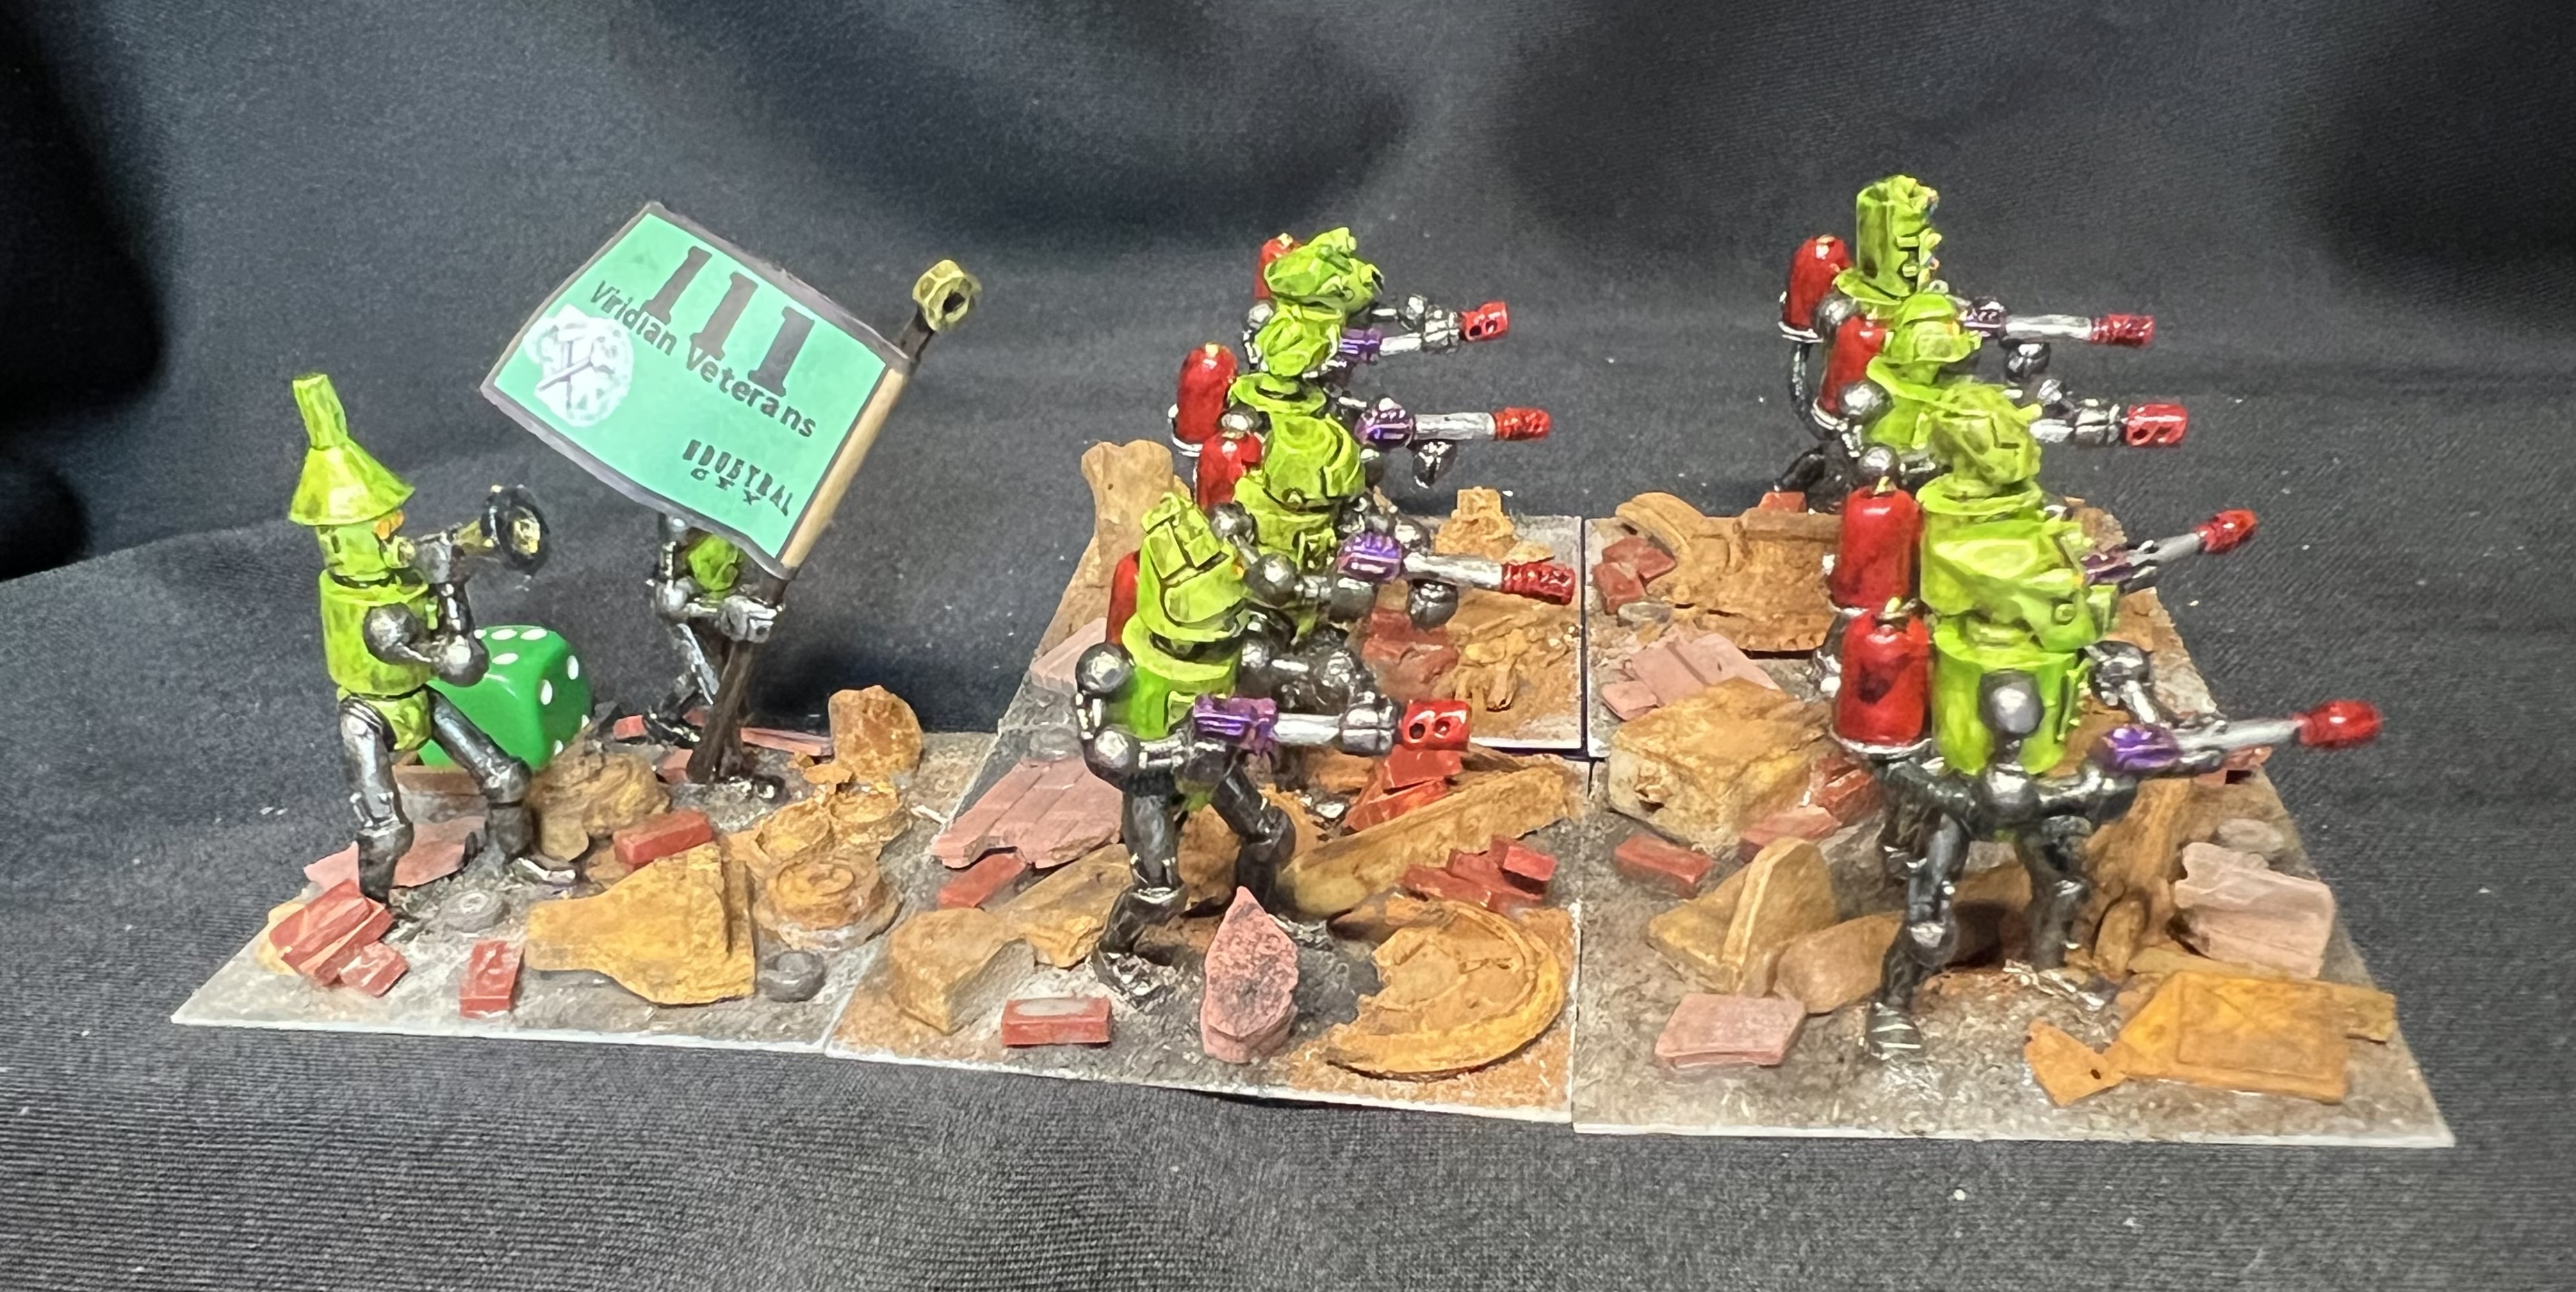
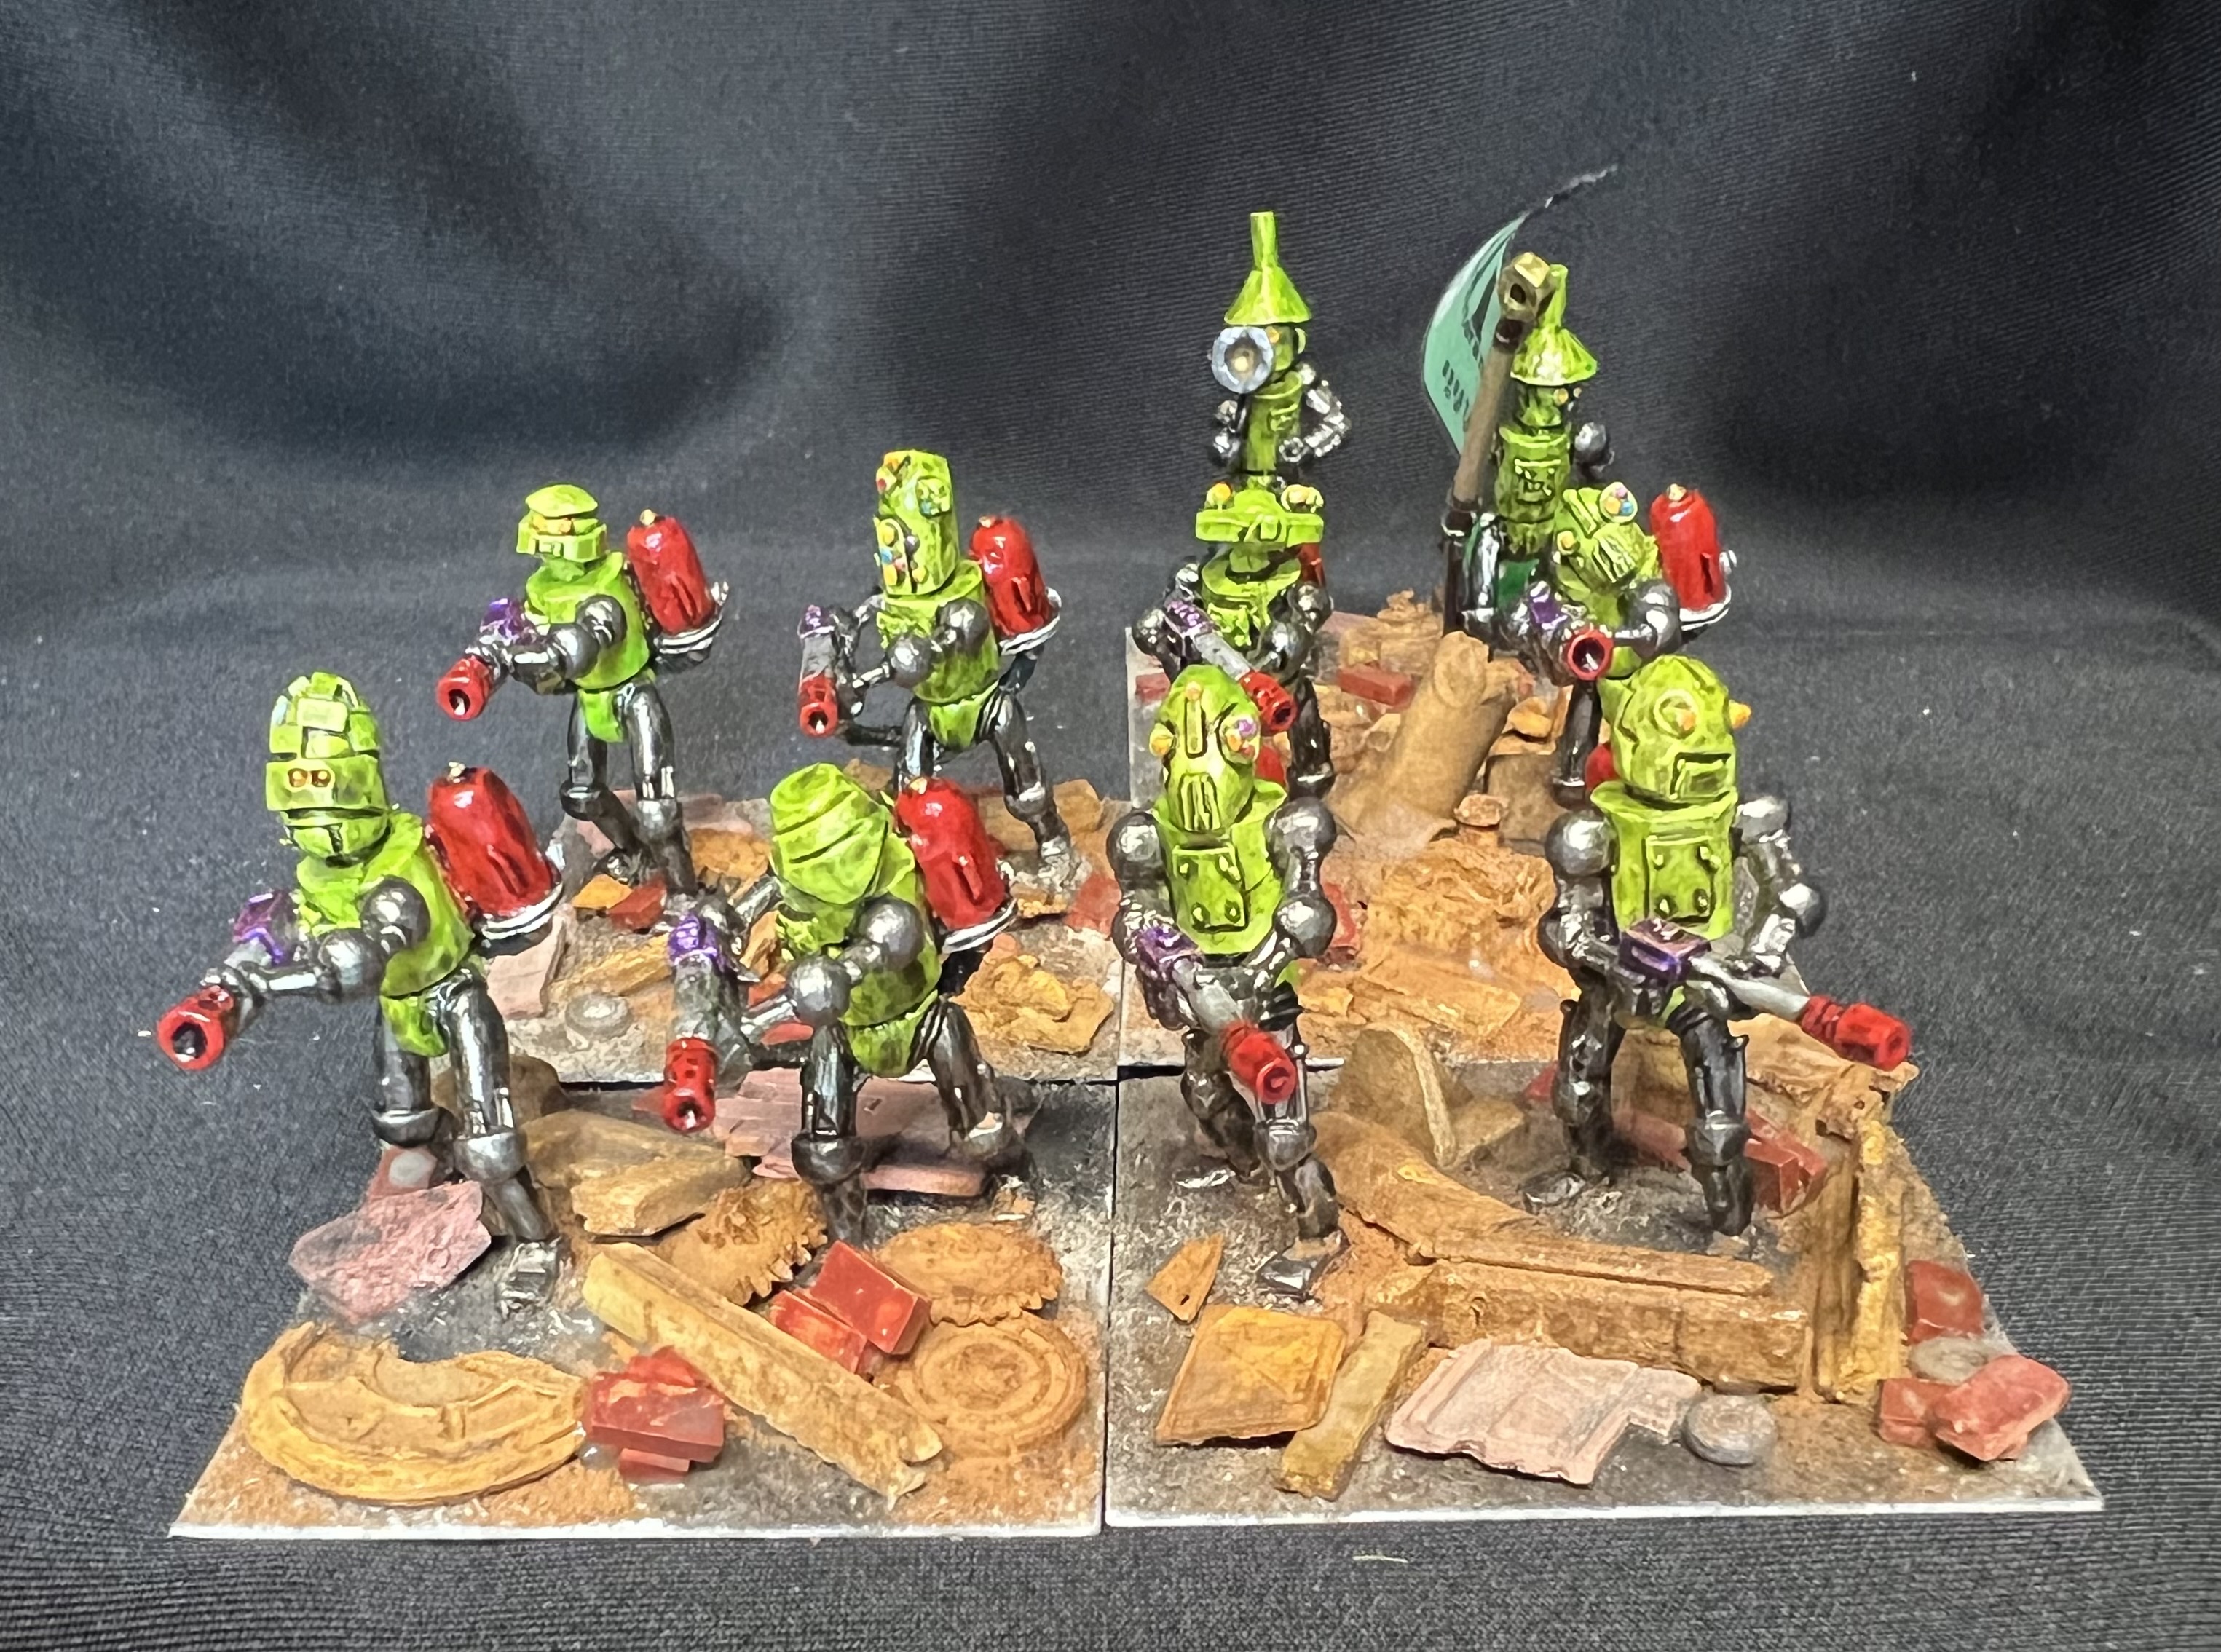
The last regiment I painted up was also a plasma blaster regiment. This time lime green-themed:
The Viridian Veterans
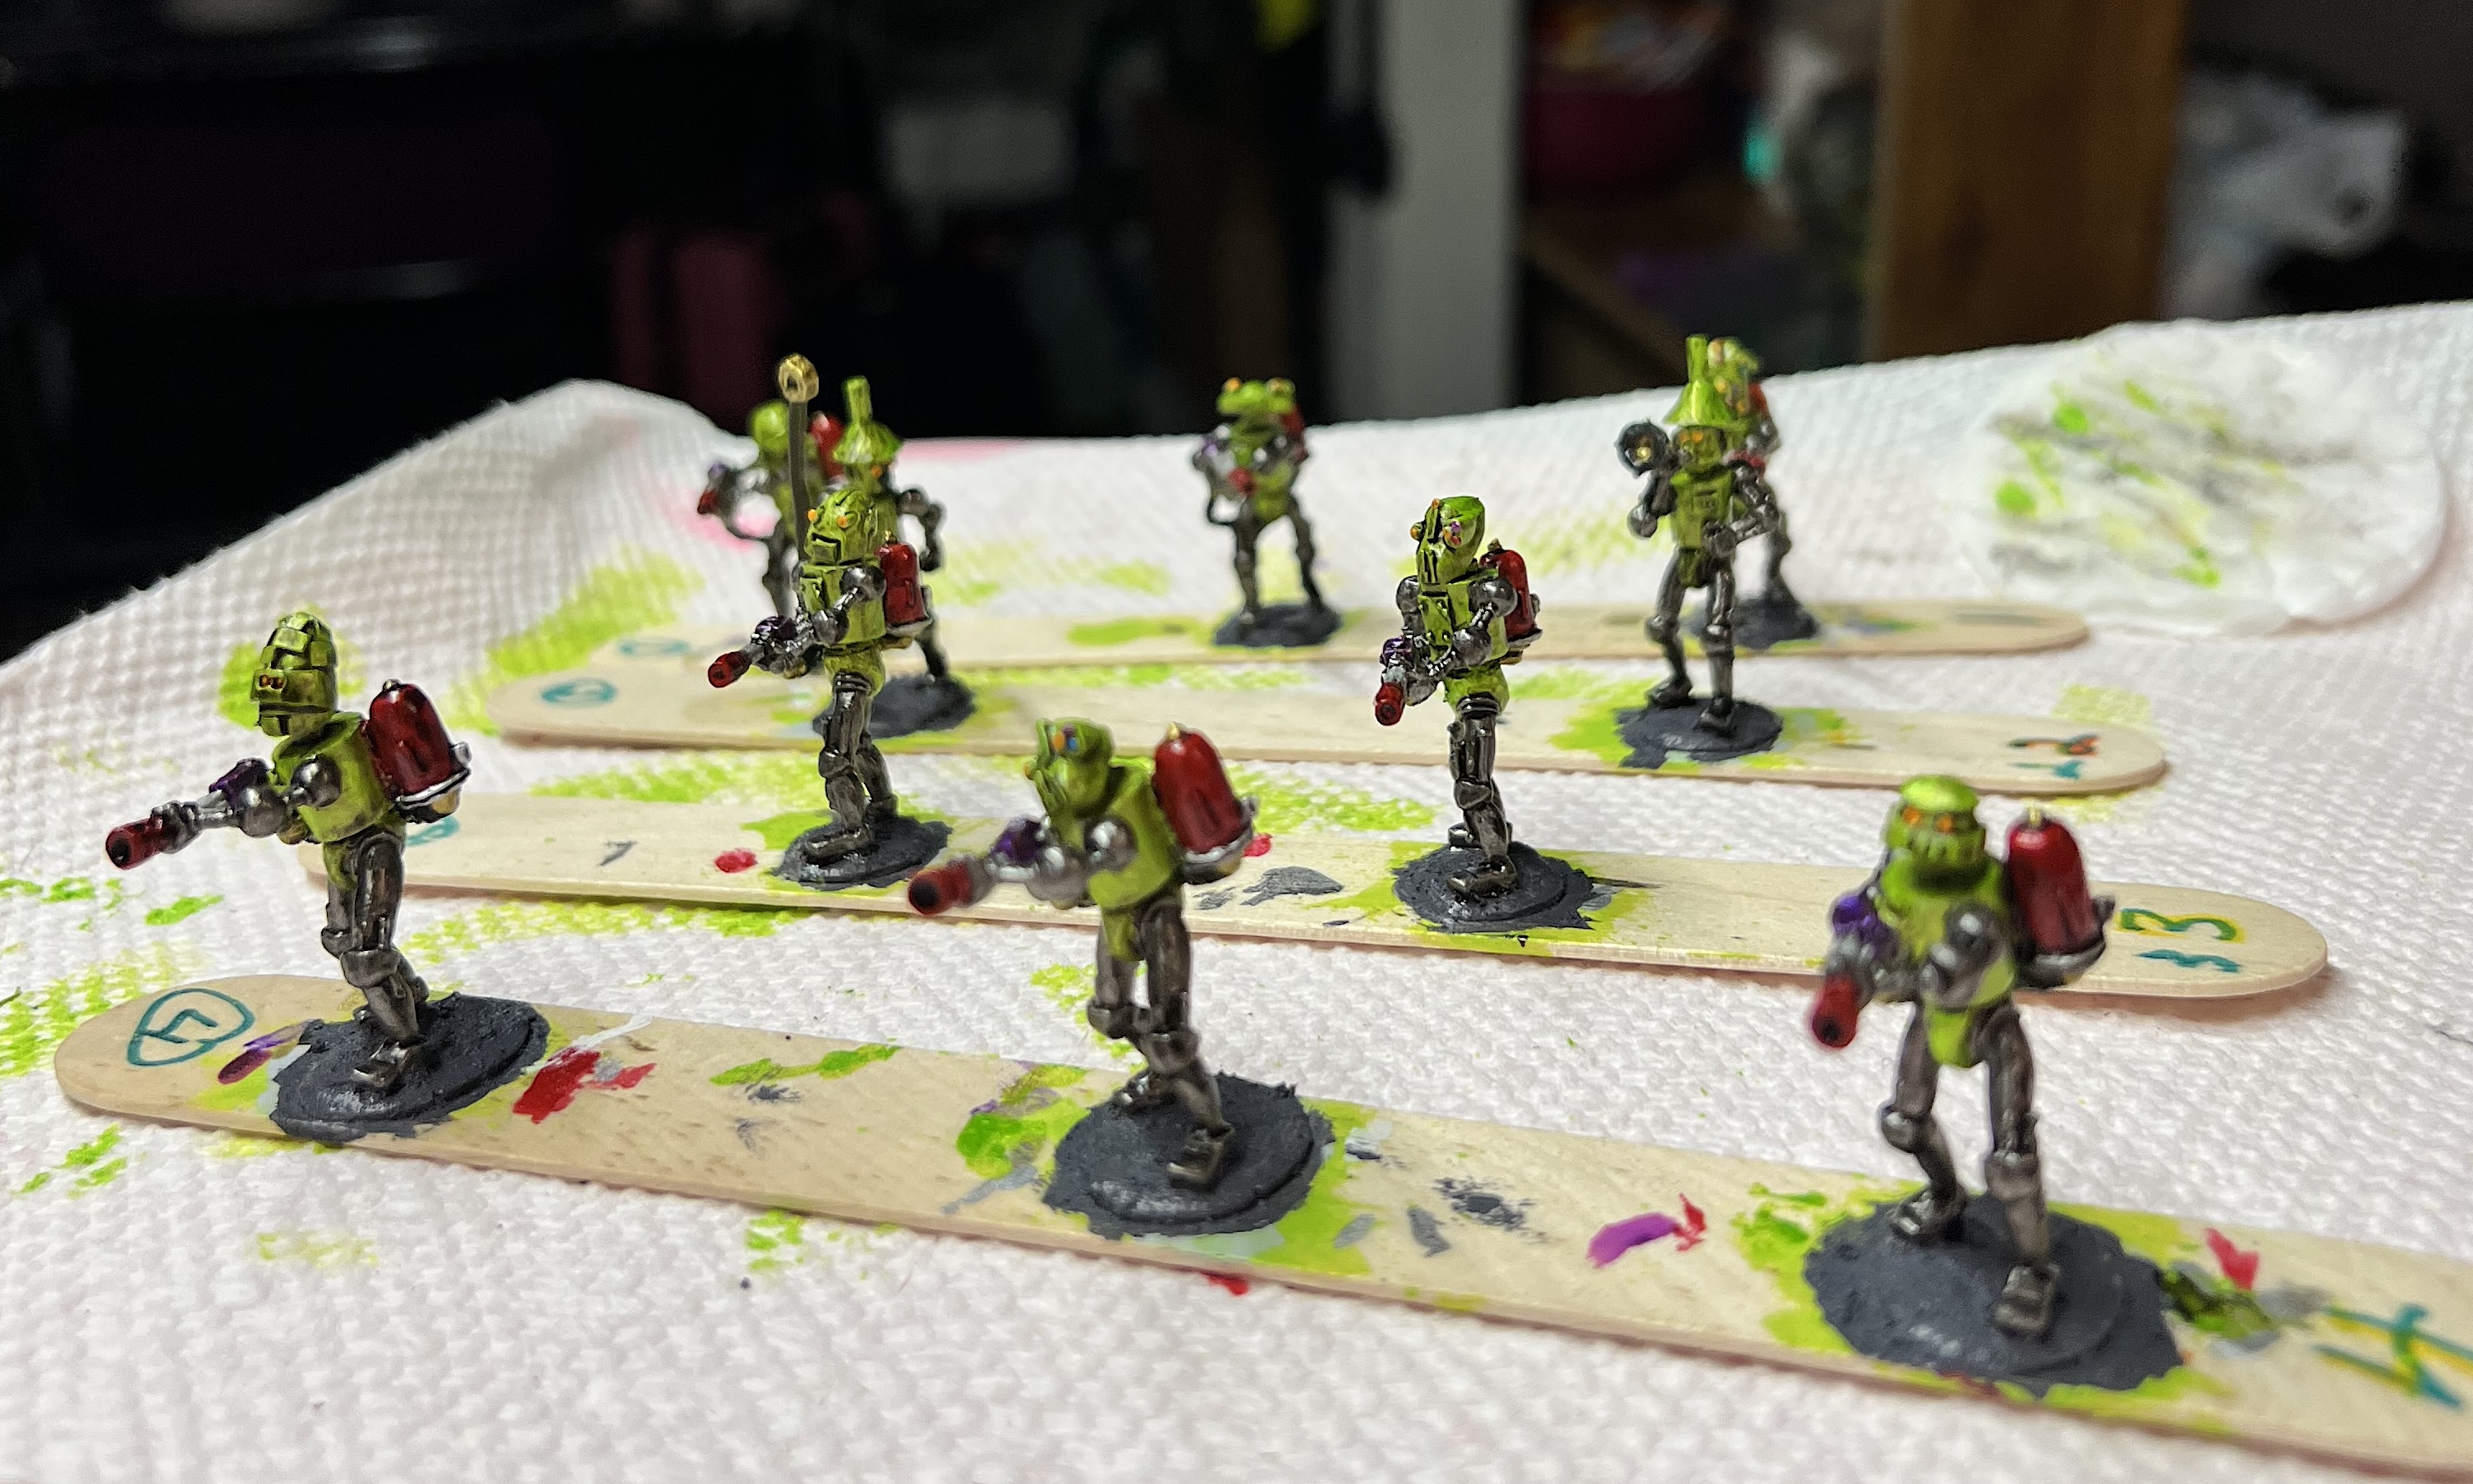
And some poses:

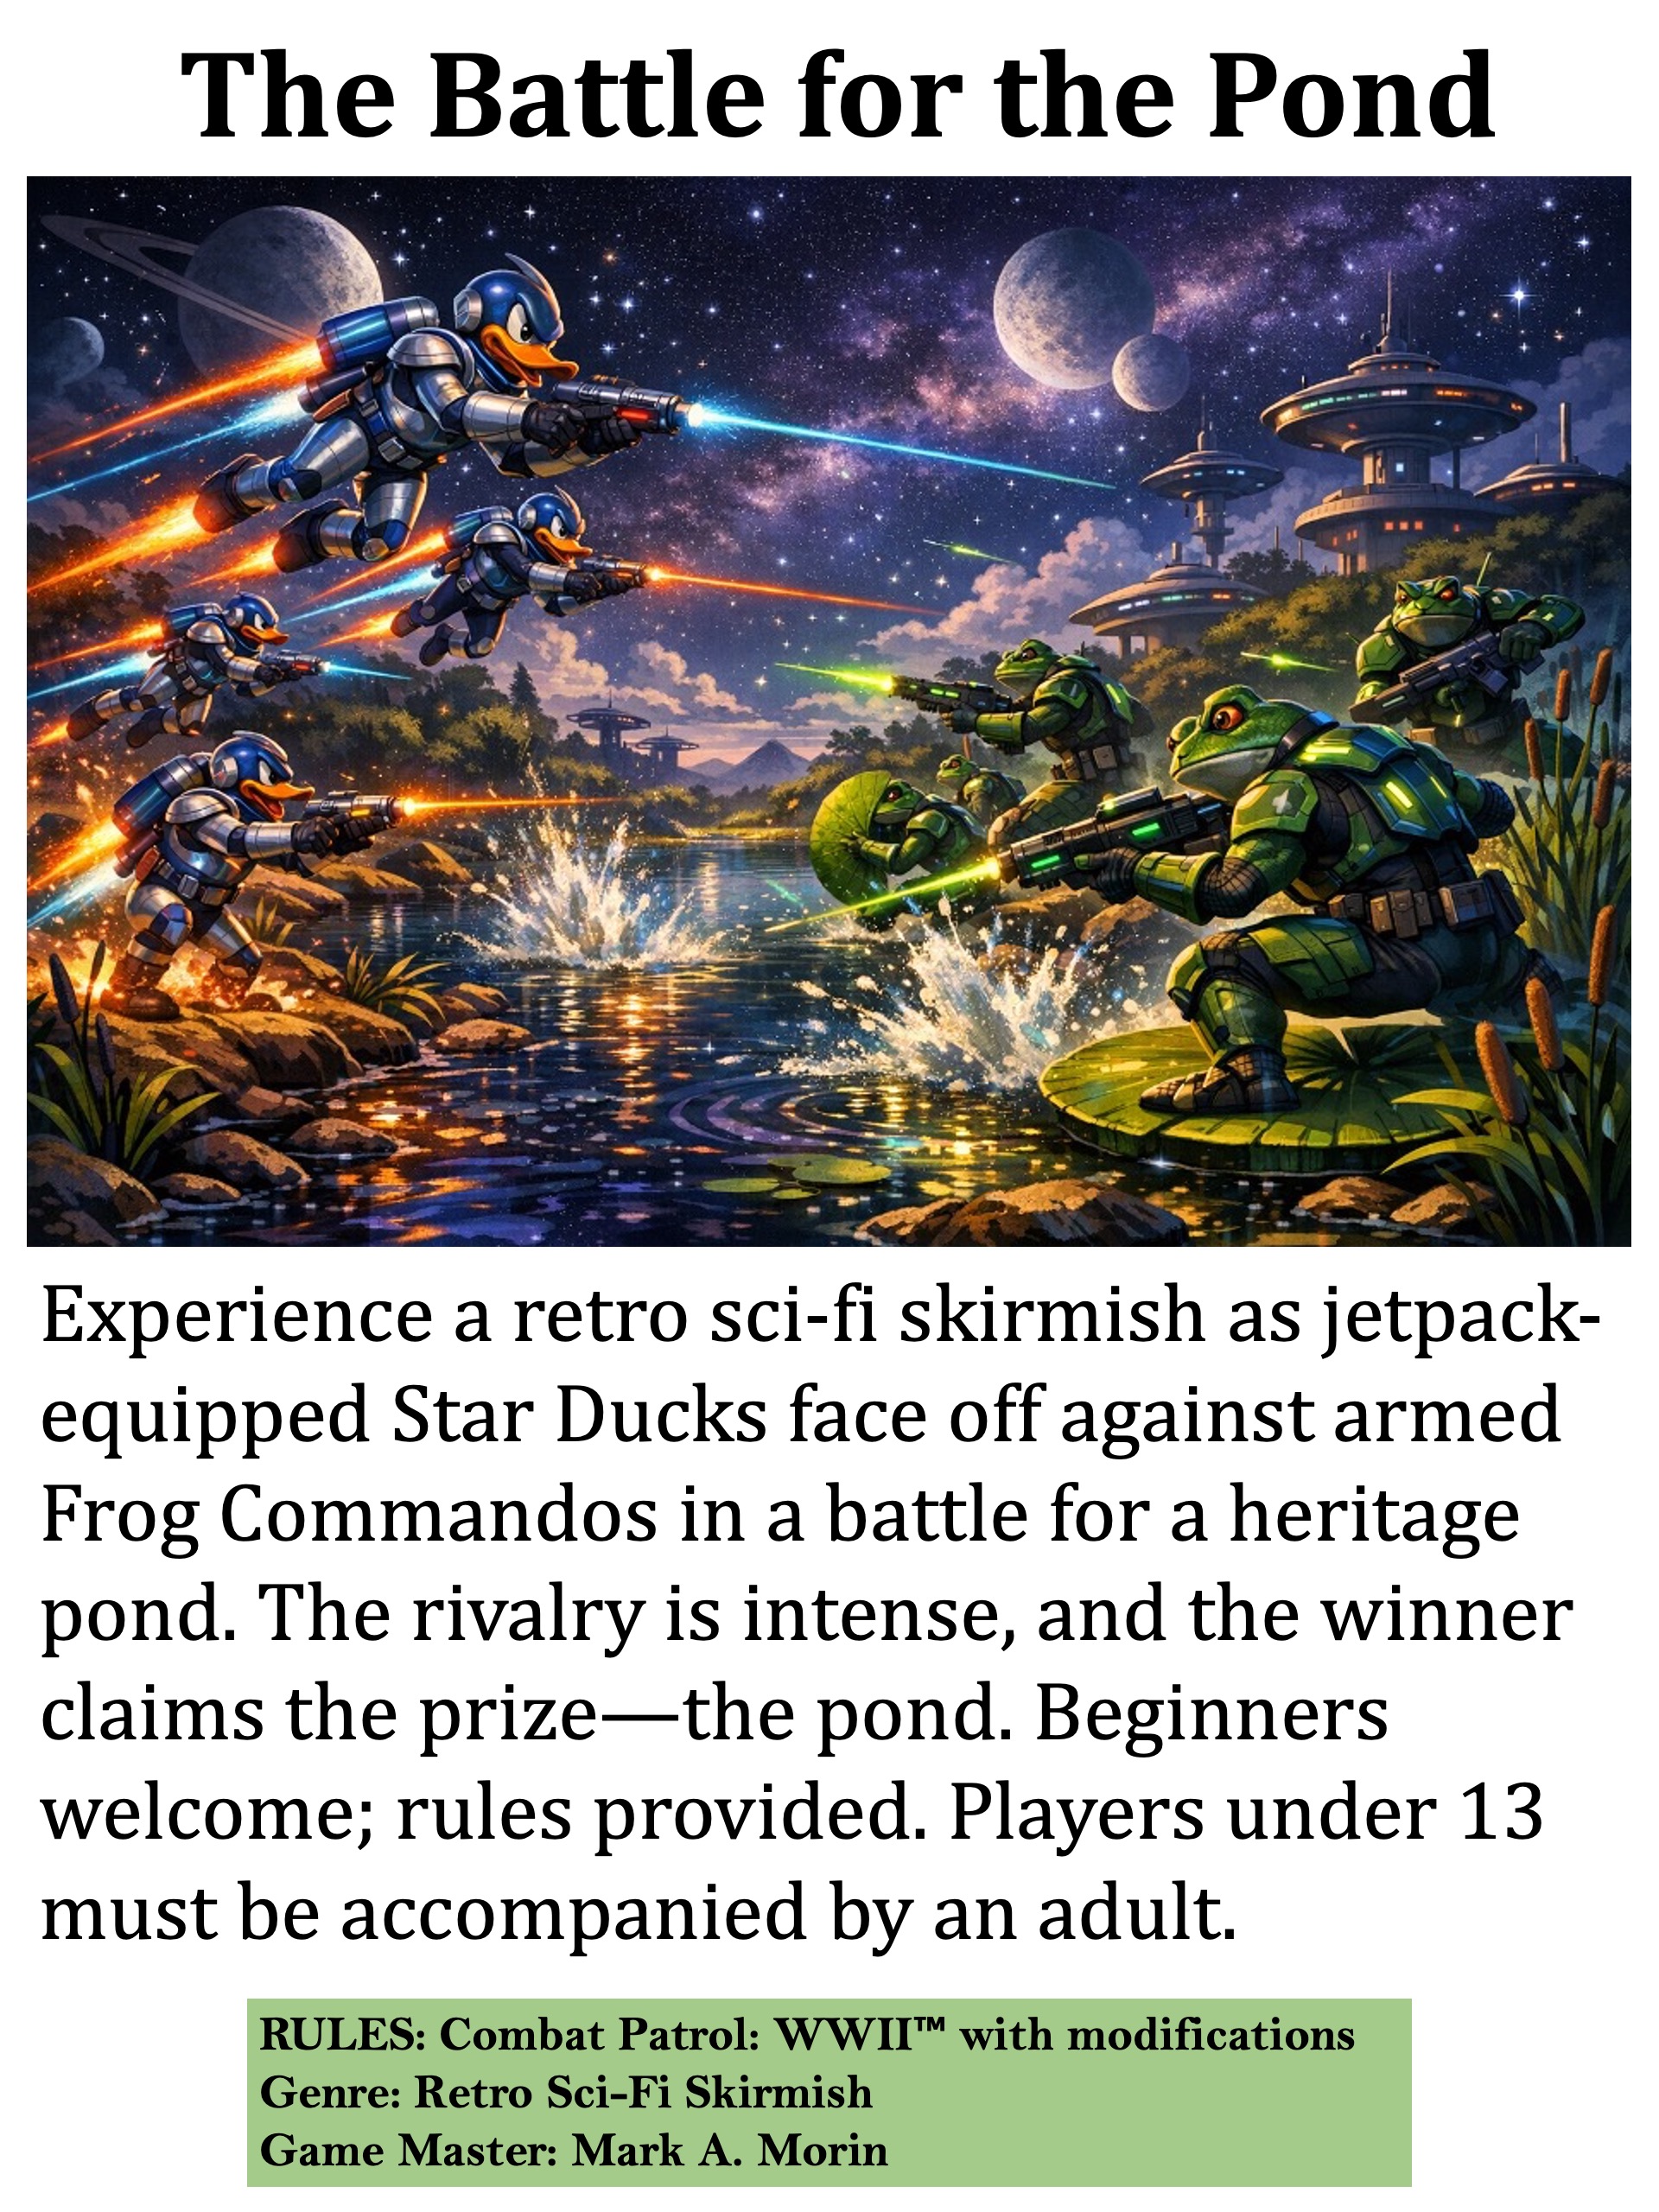
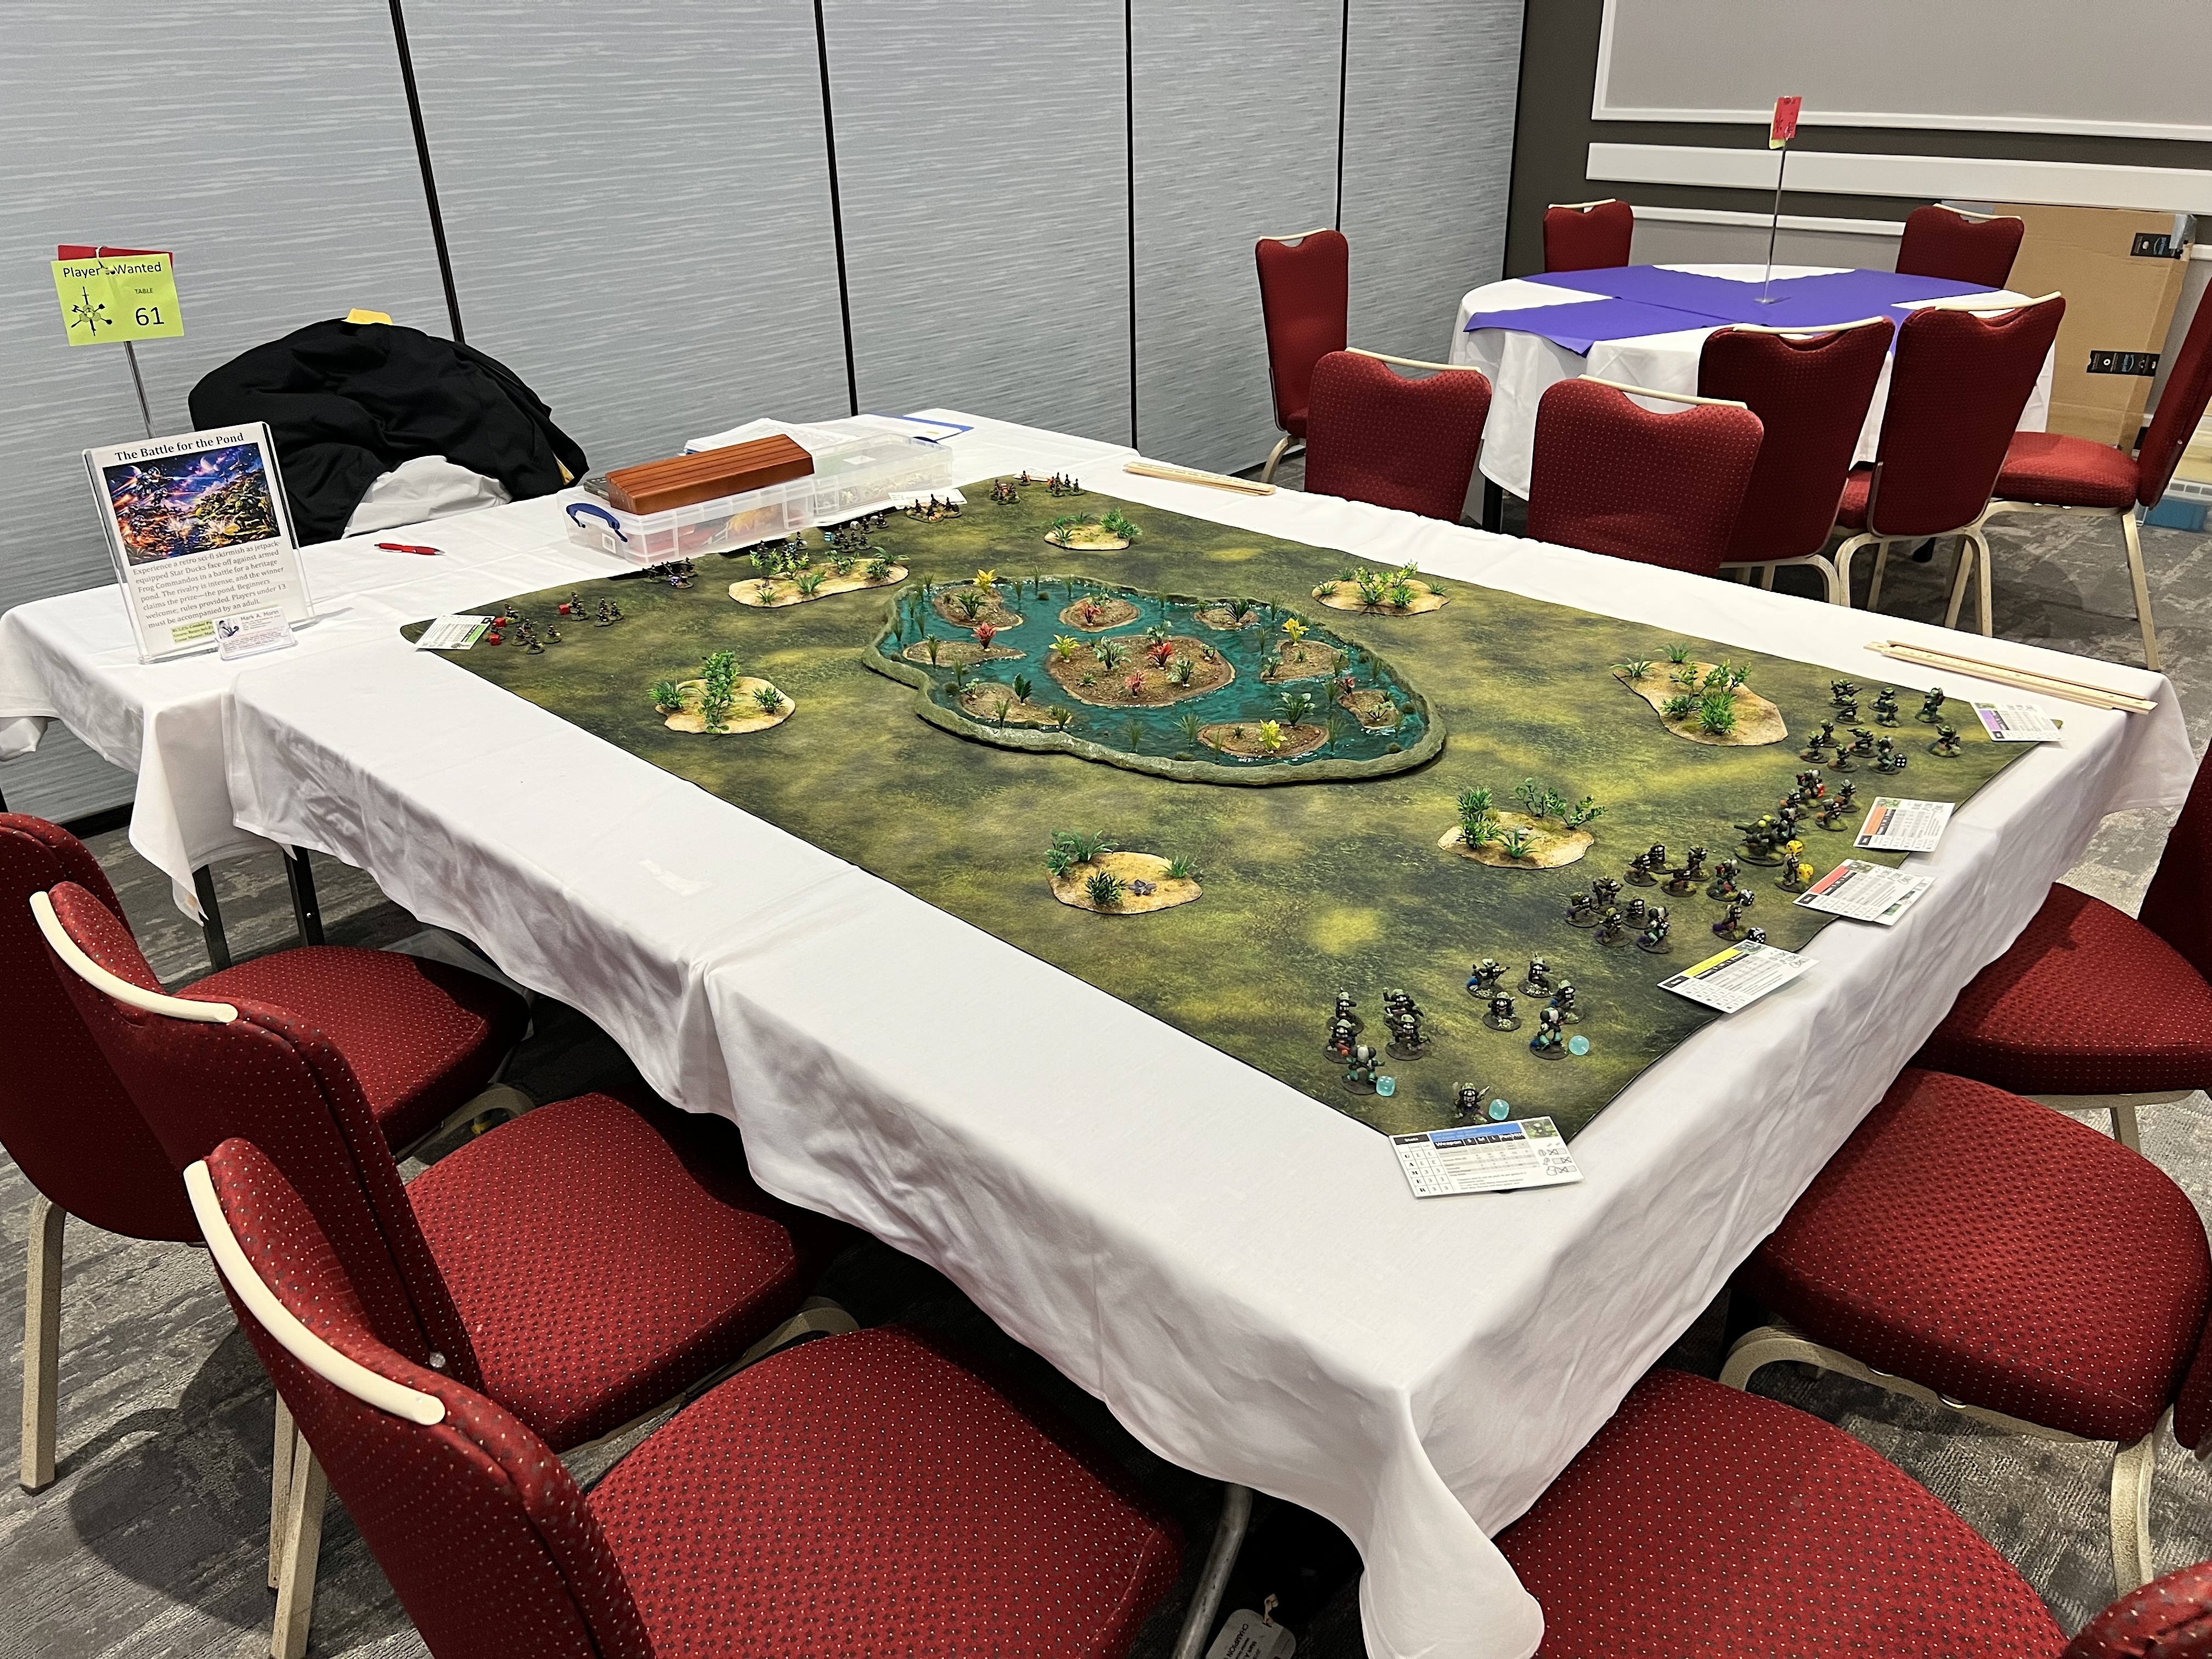
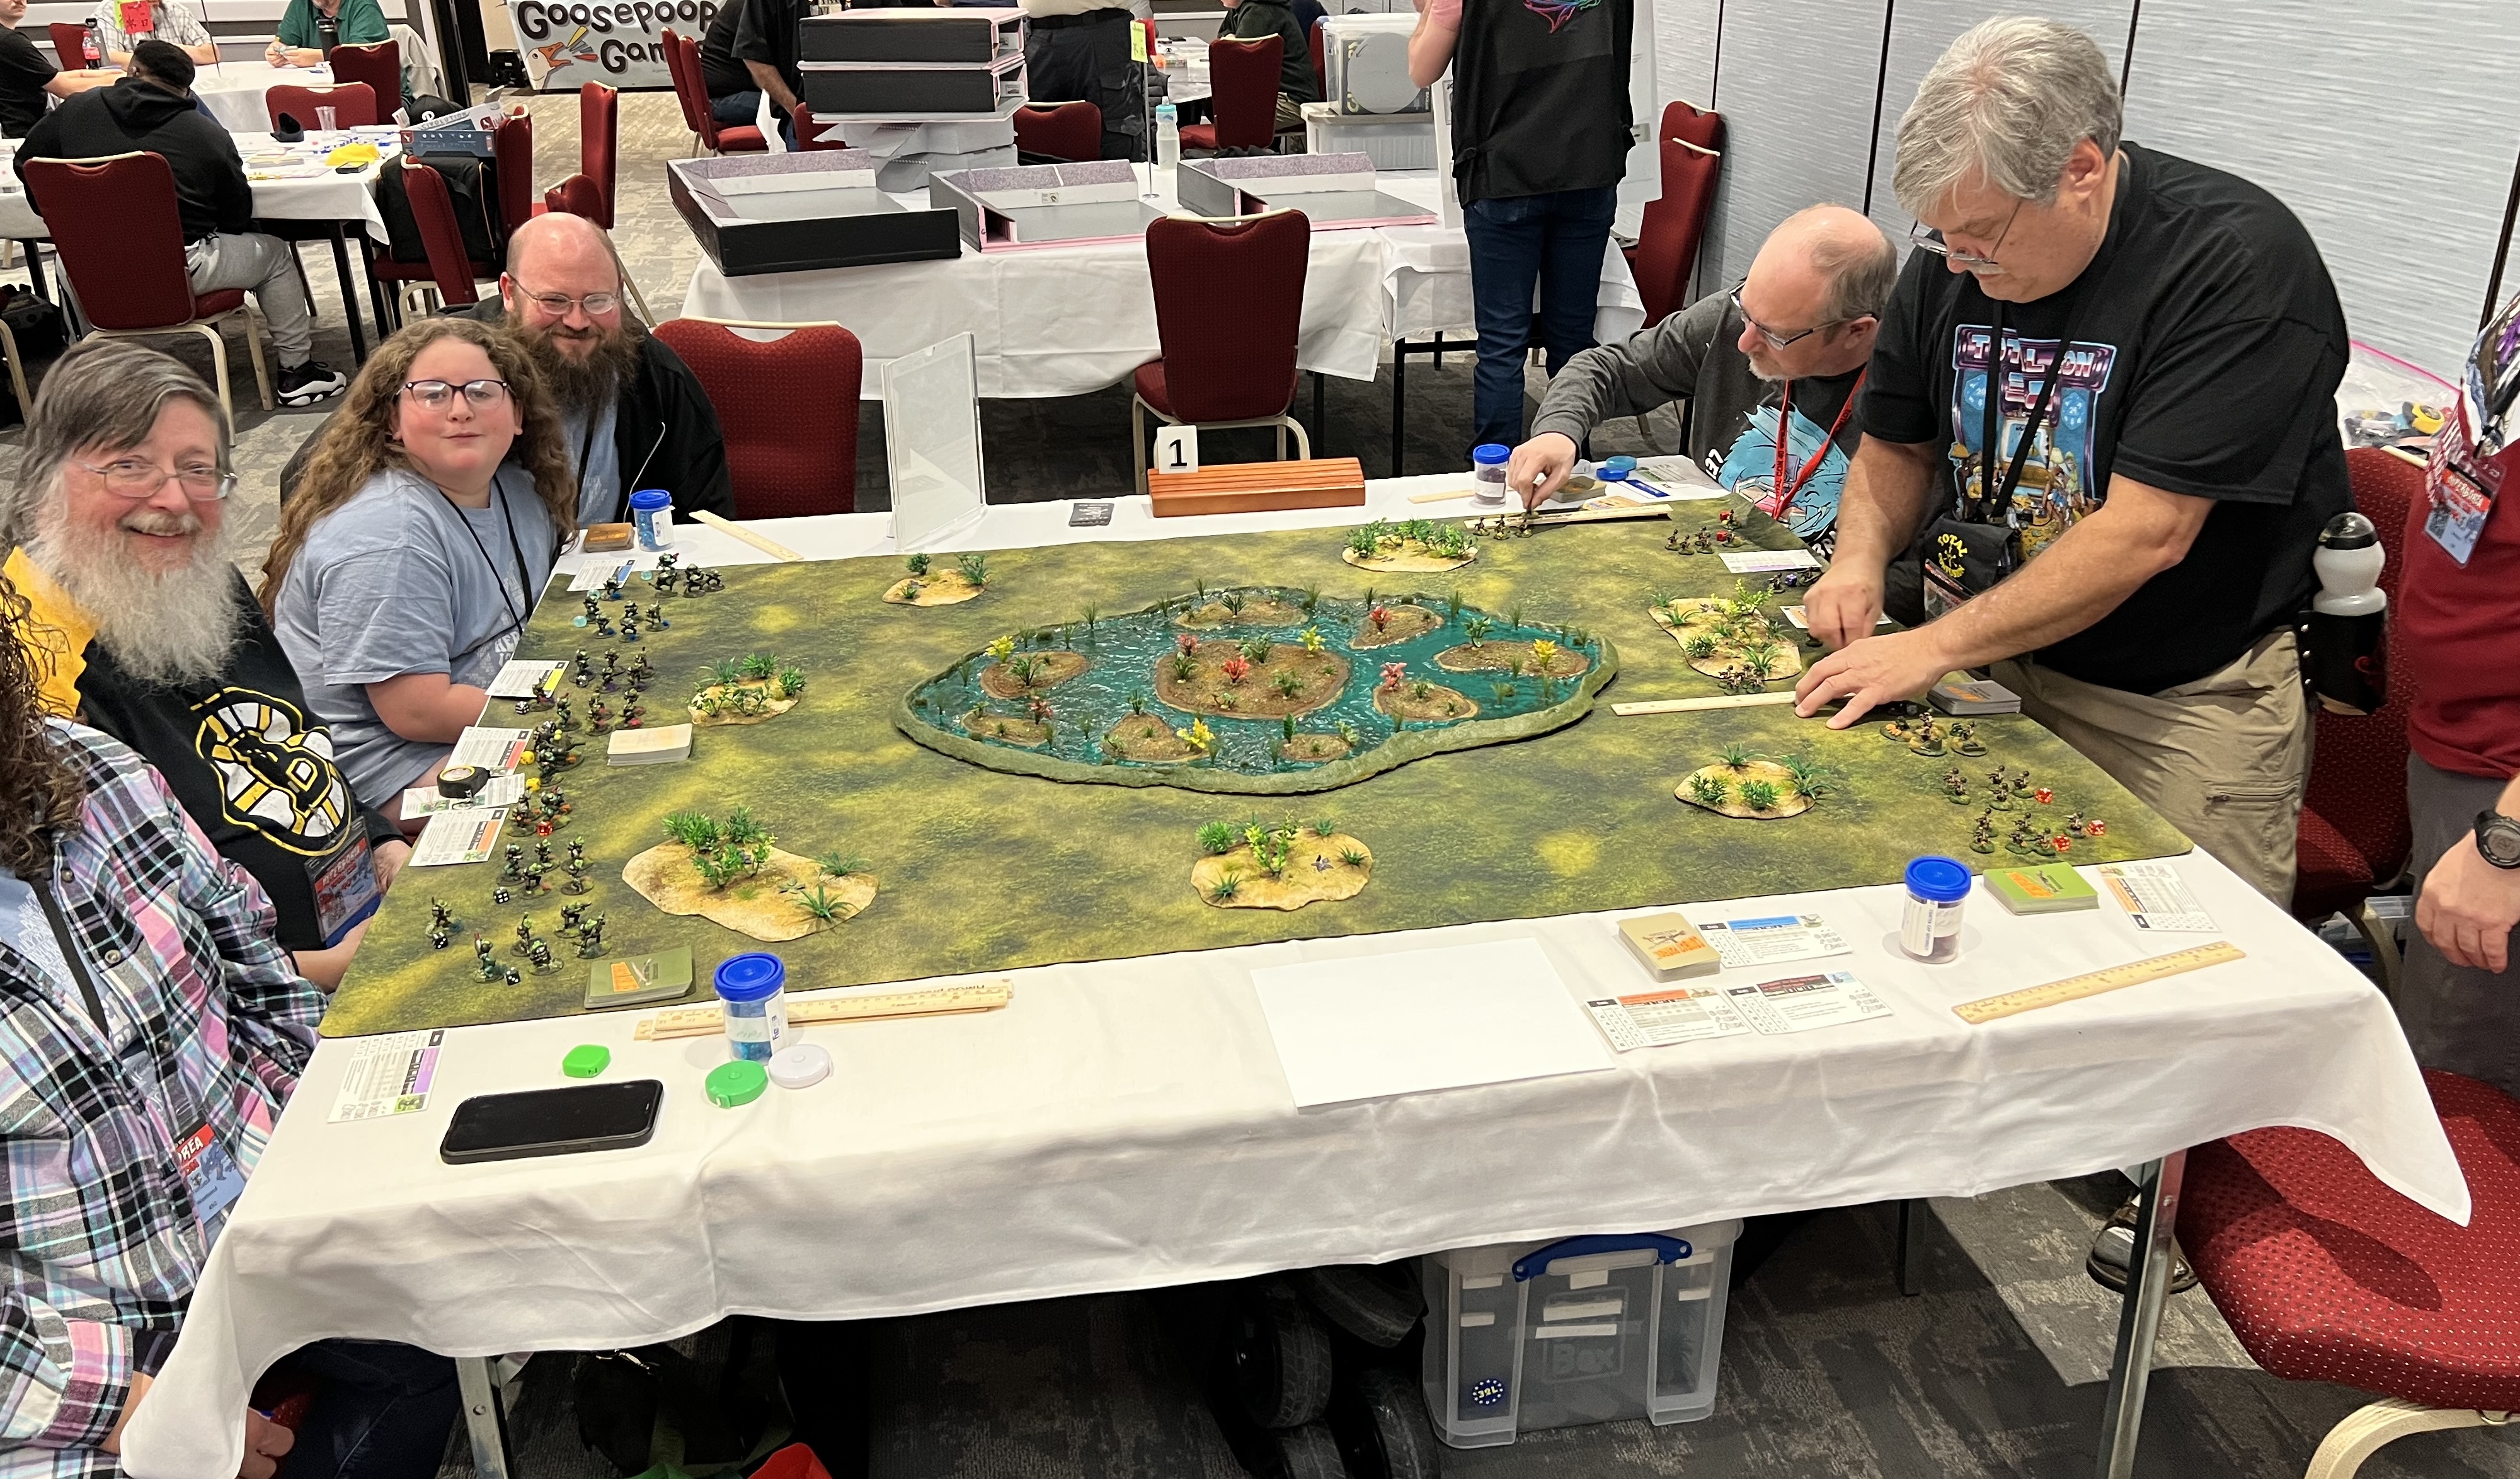
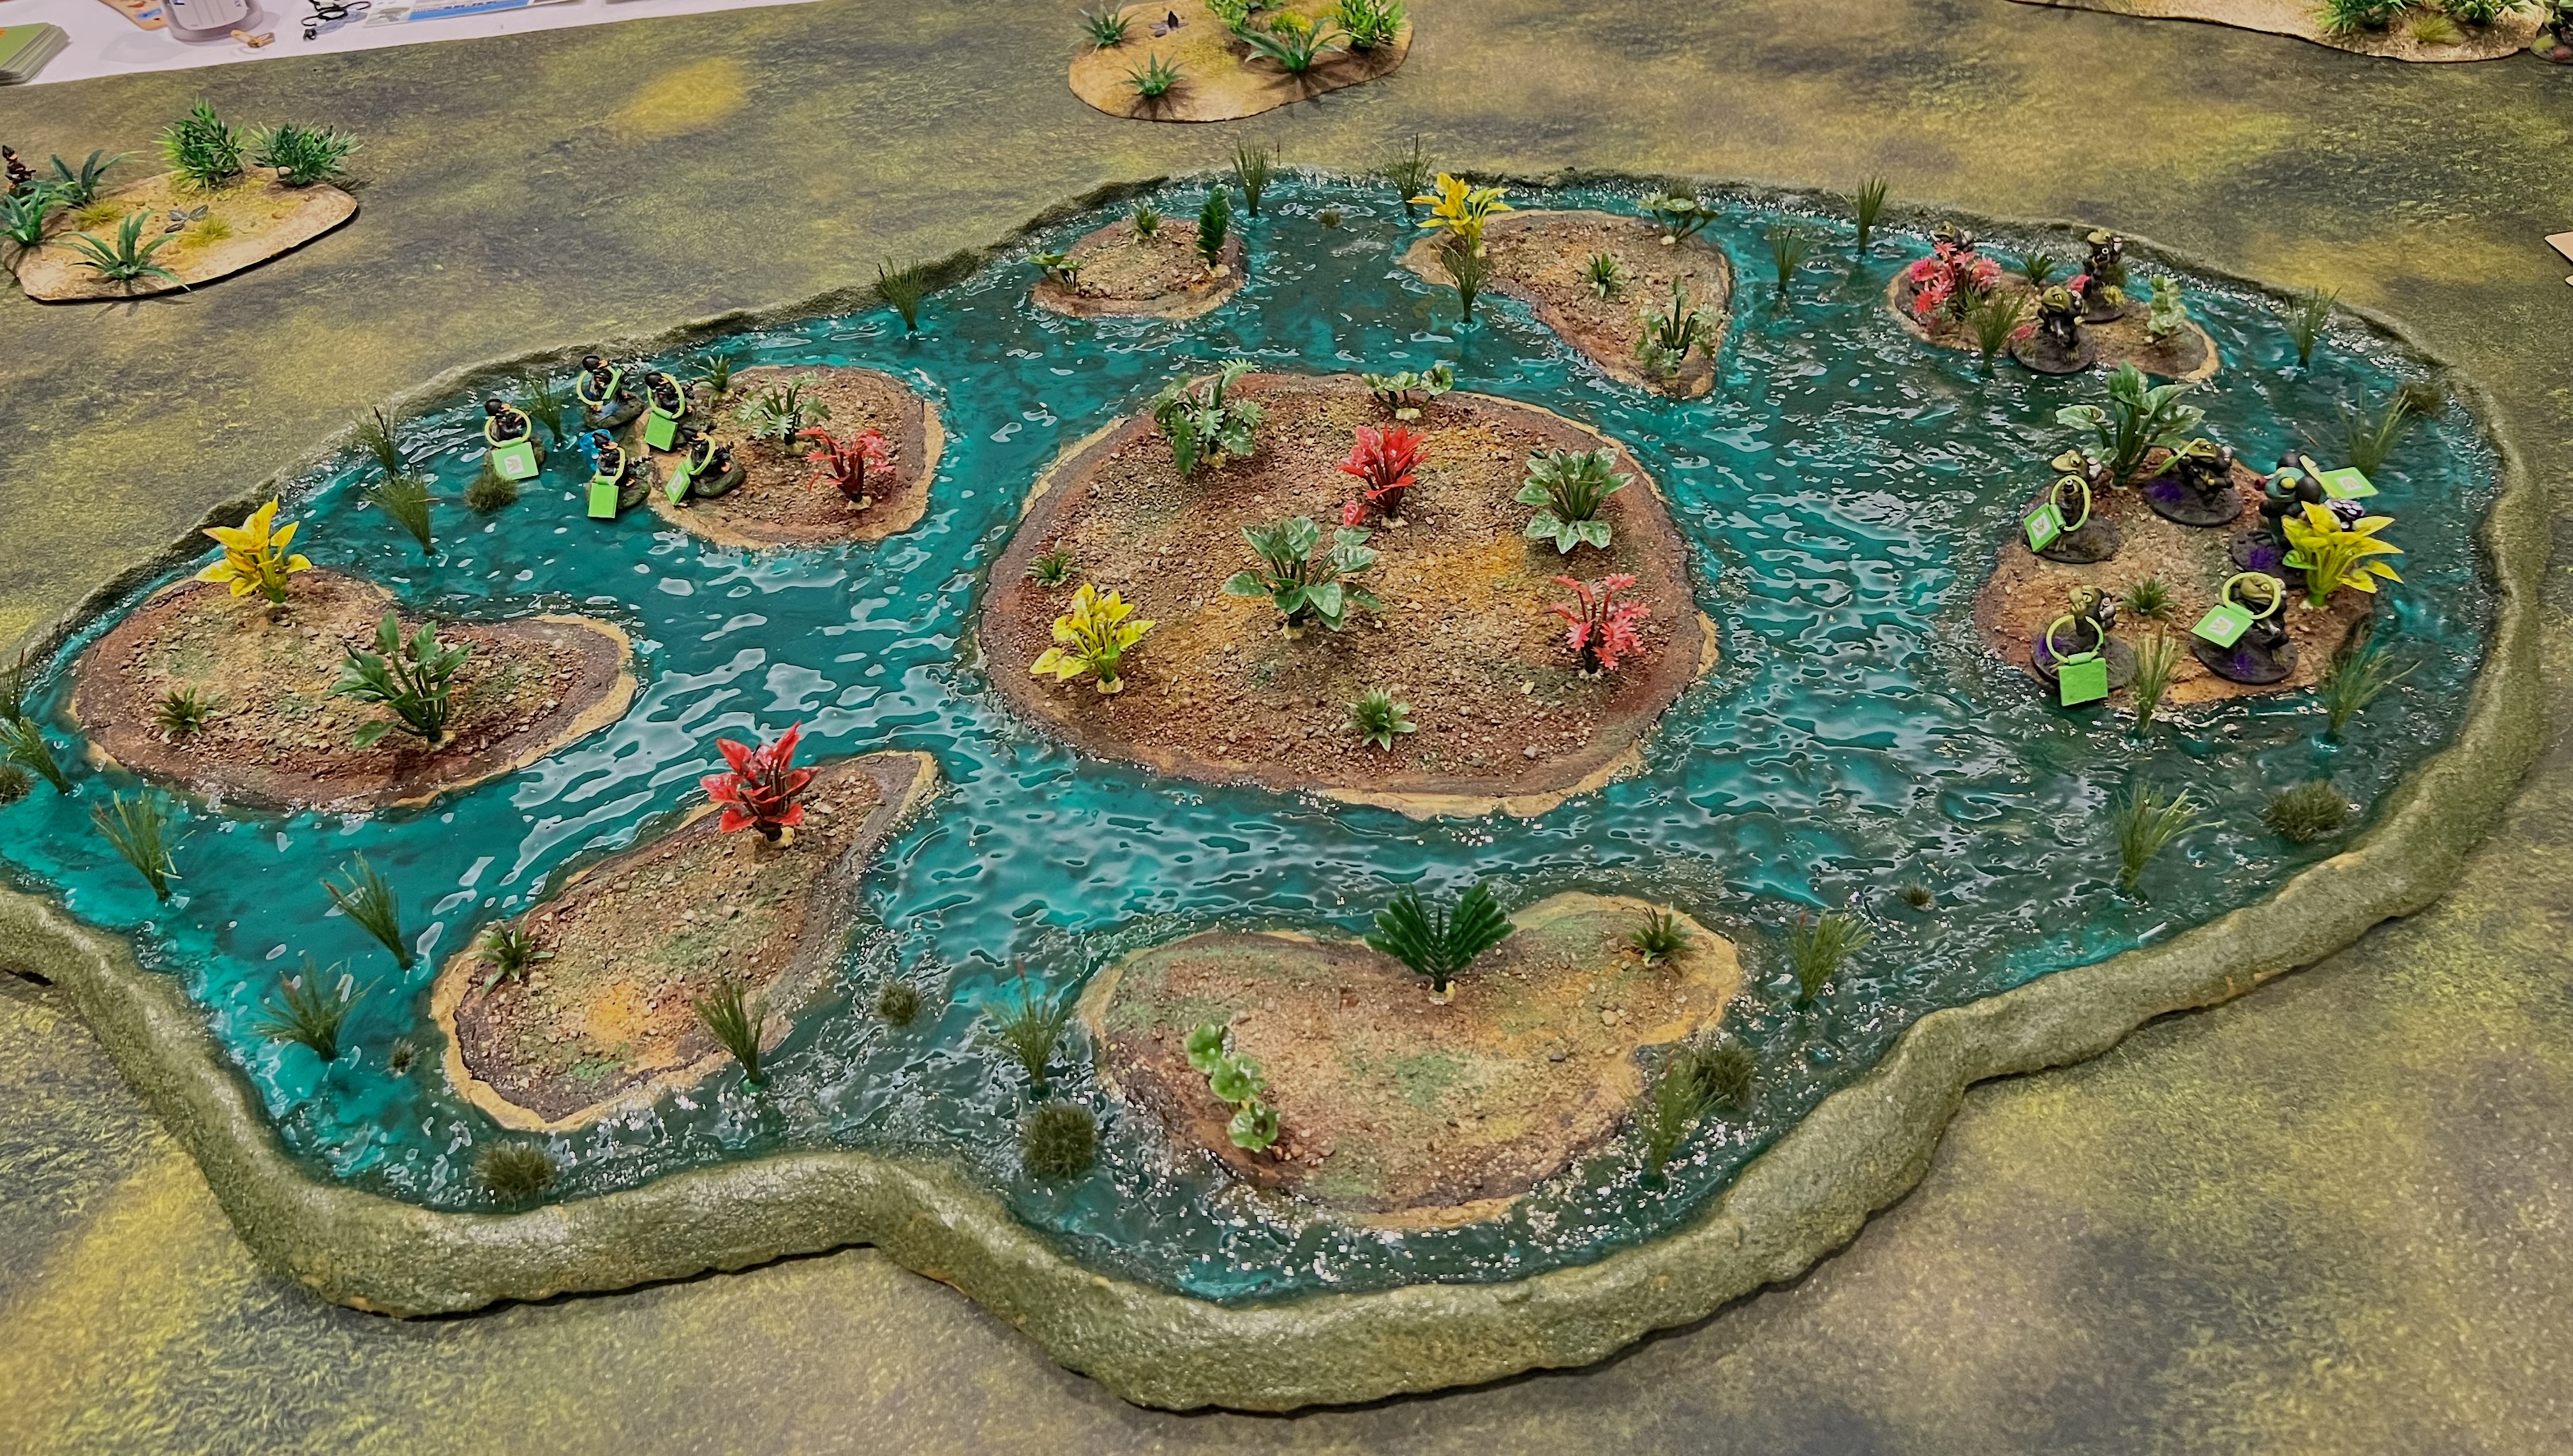
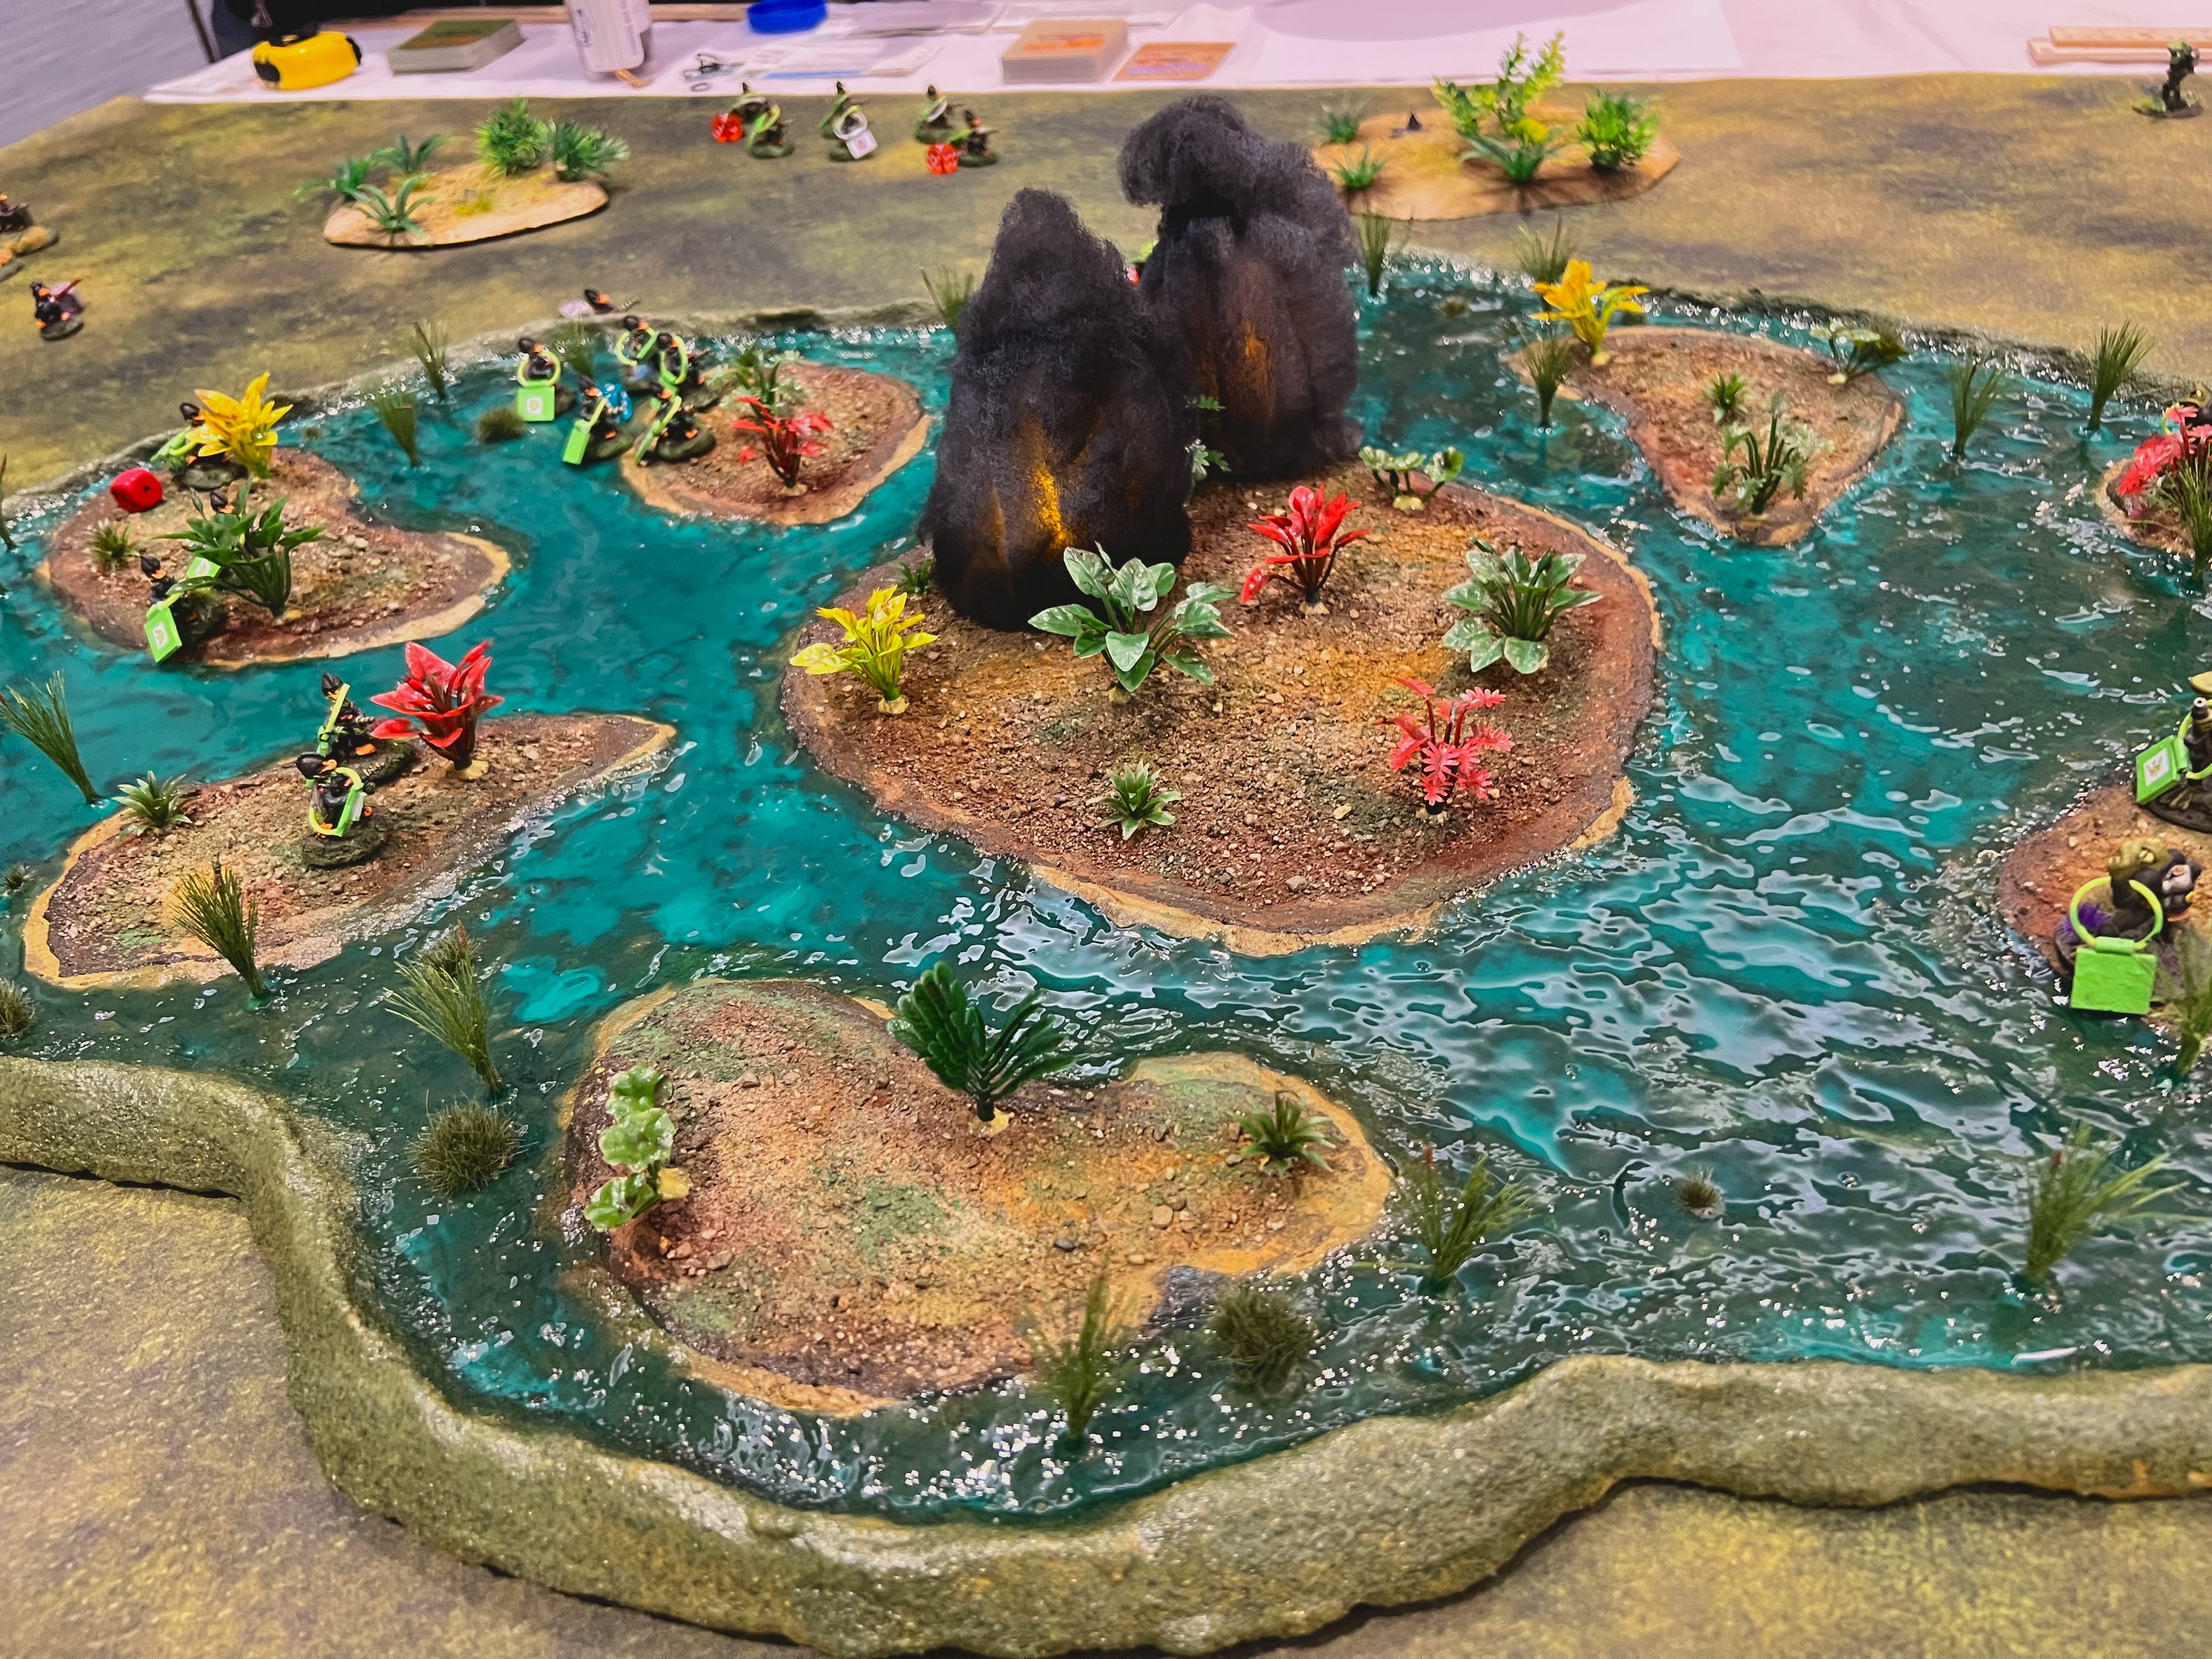
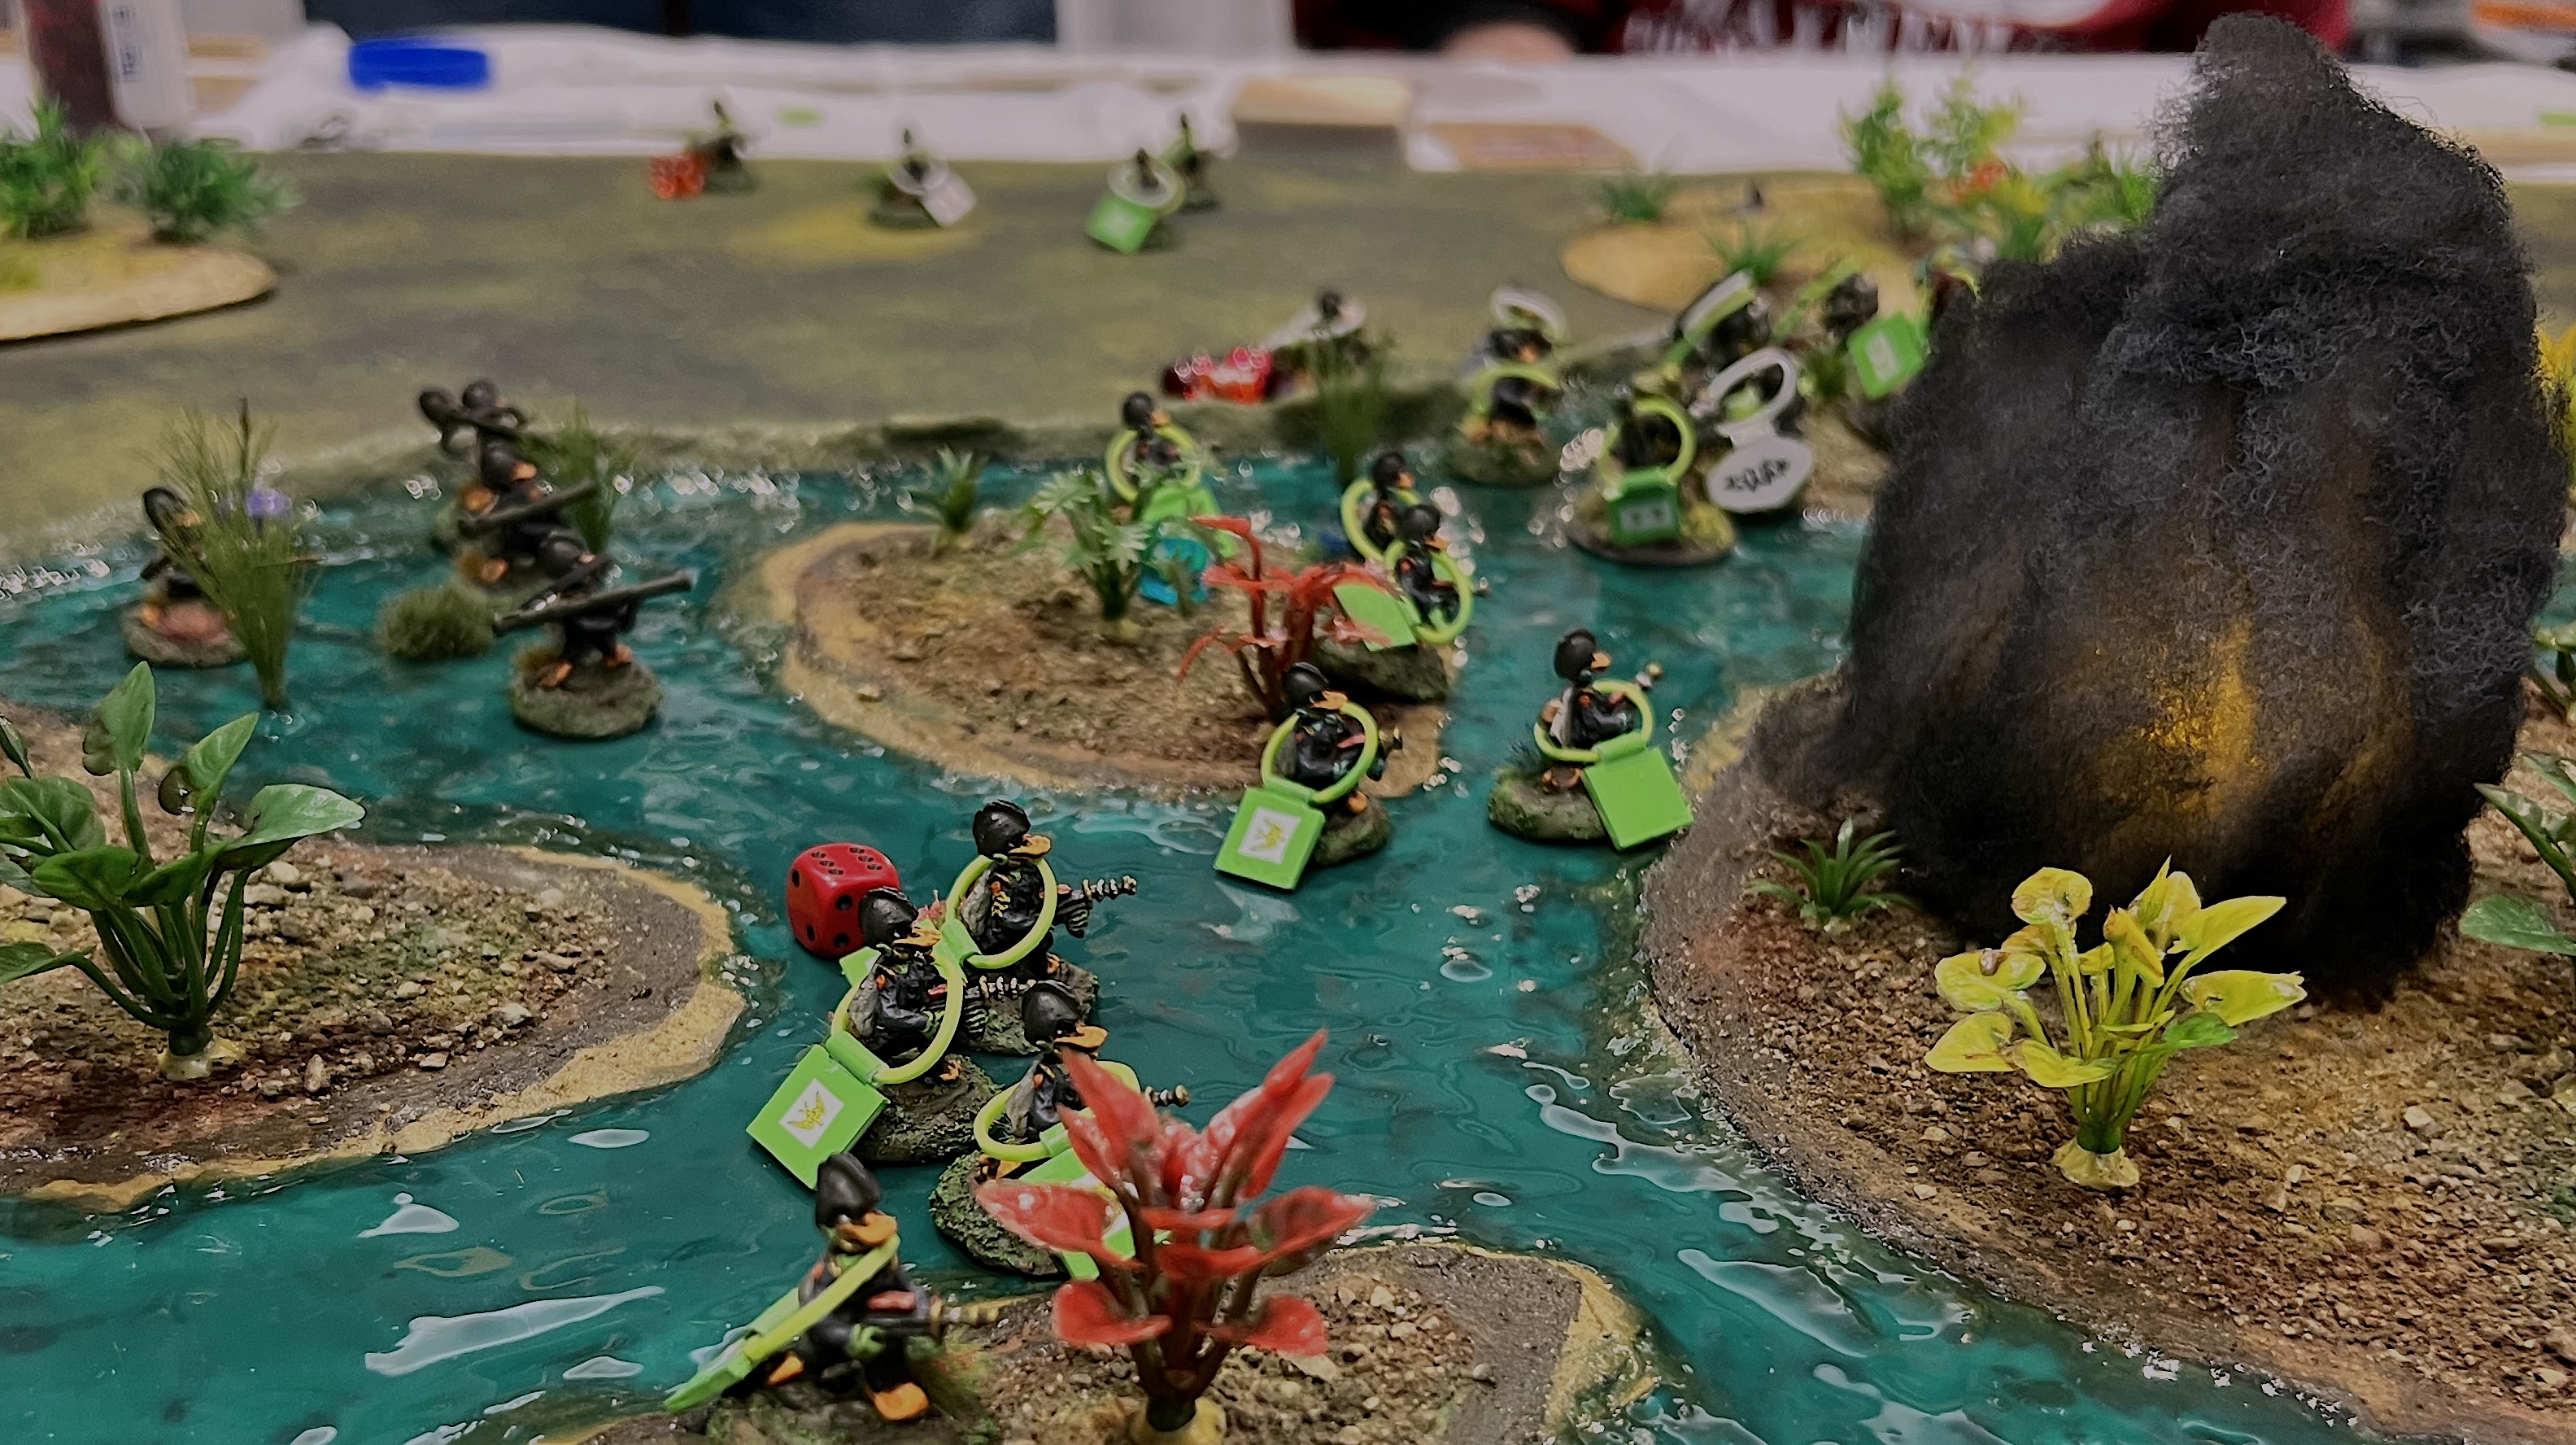
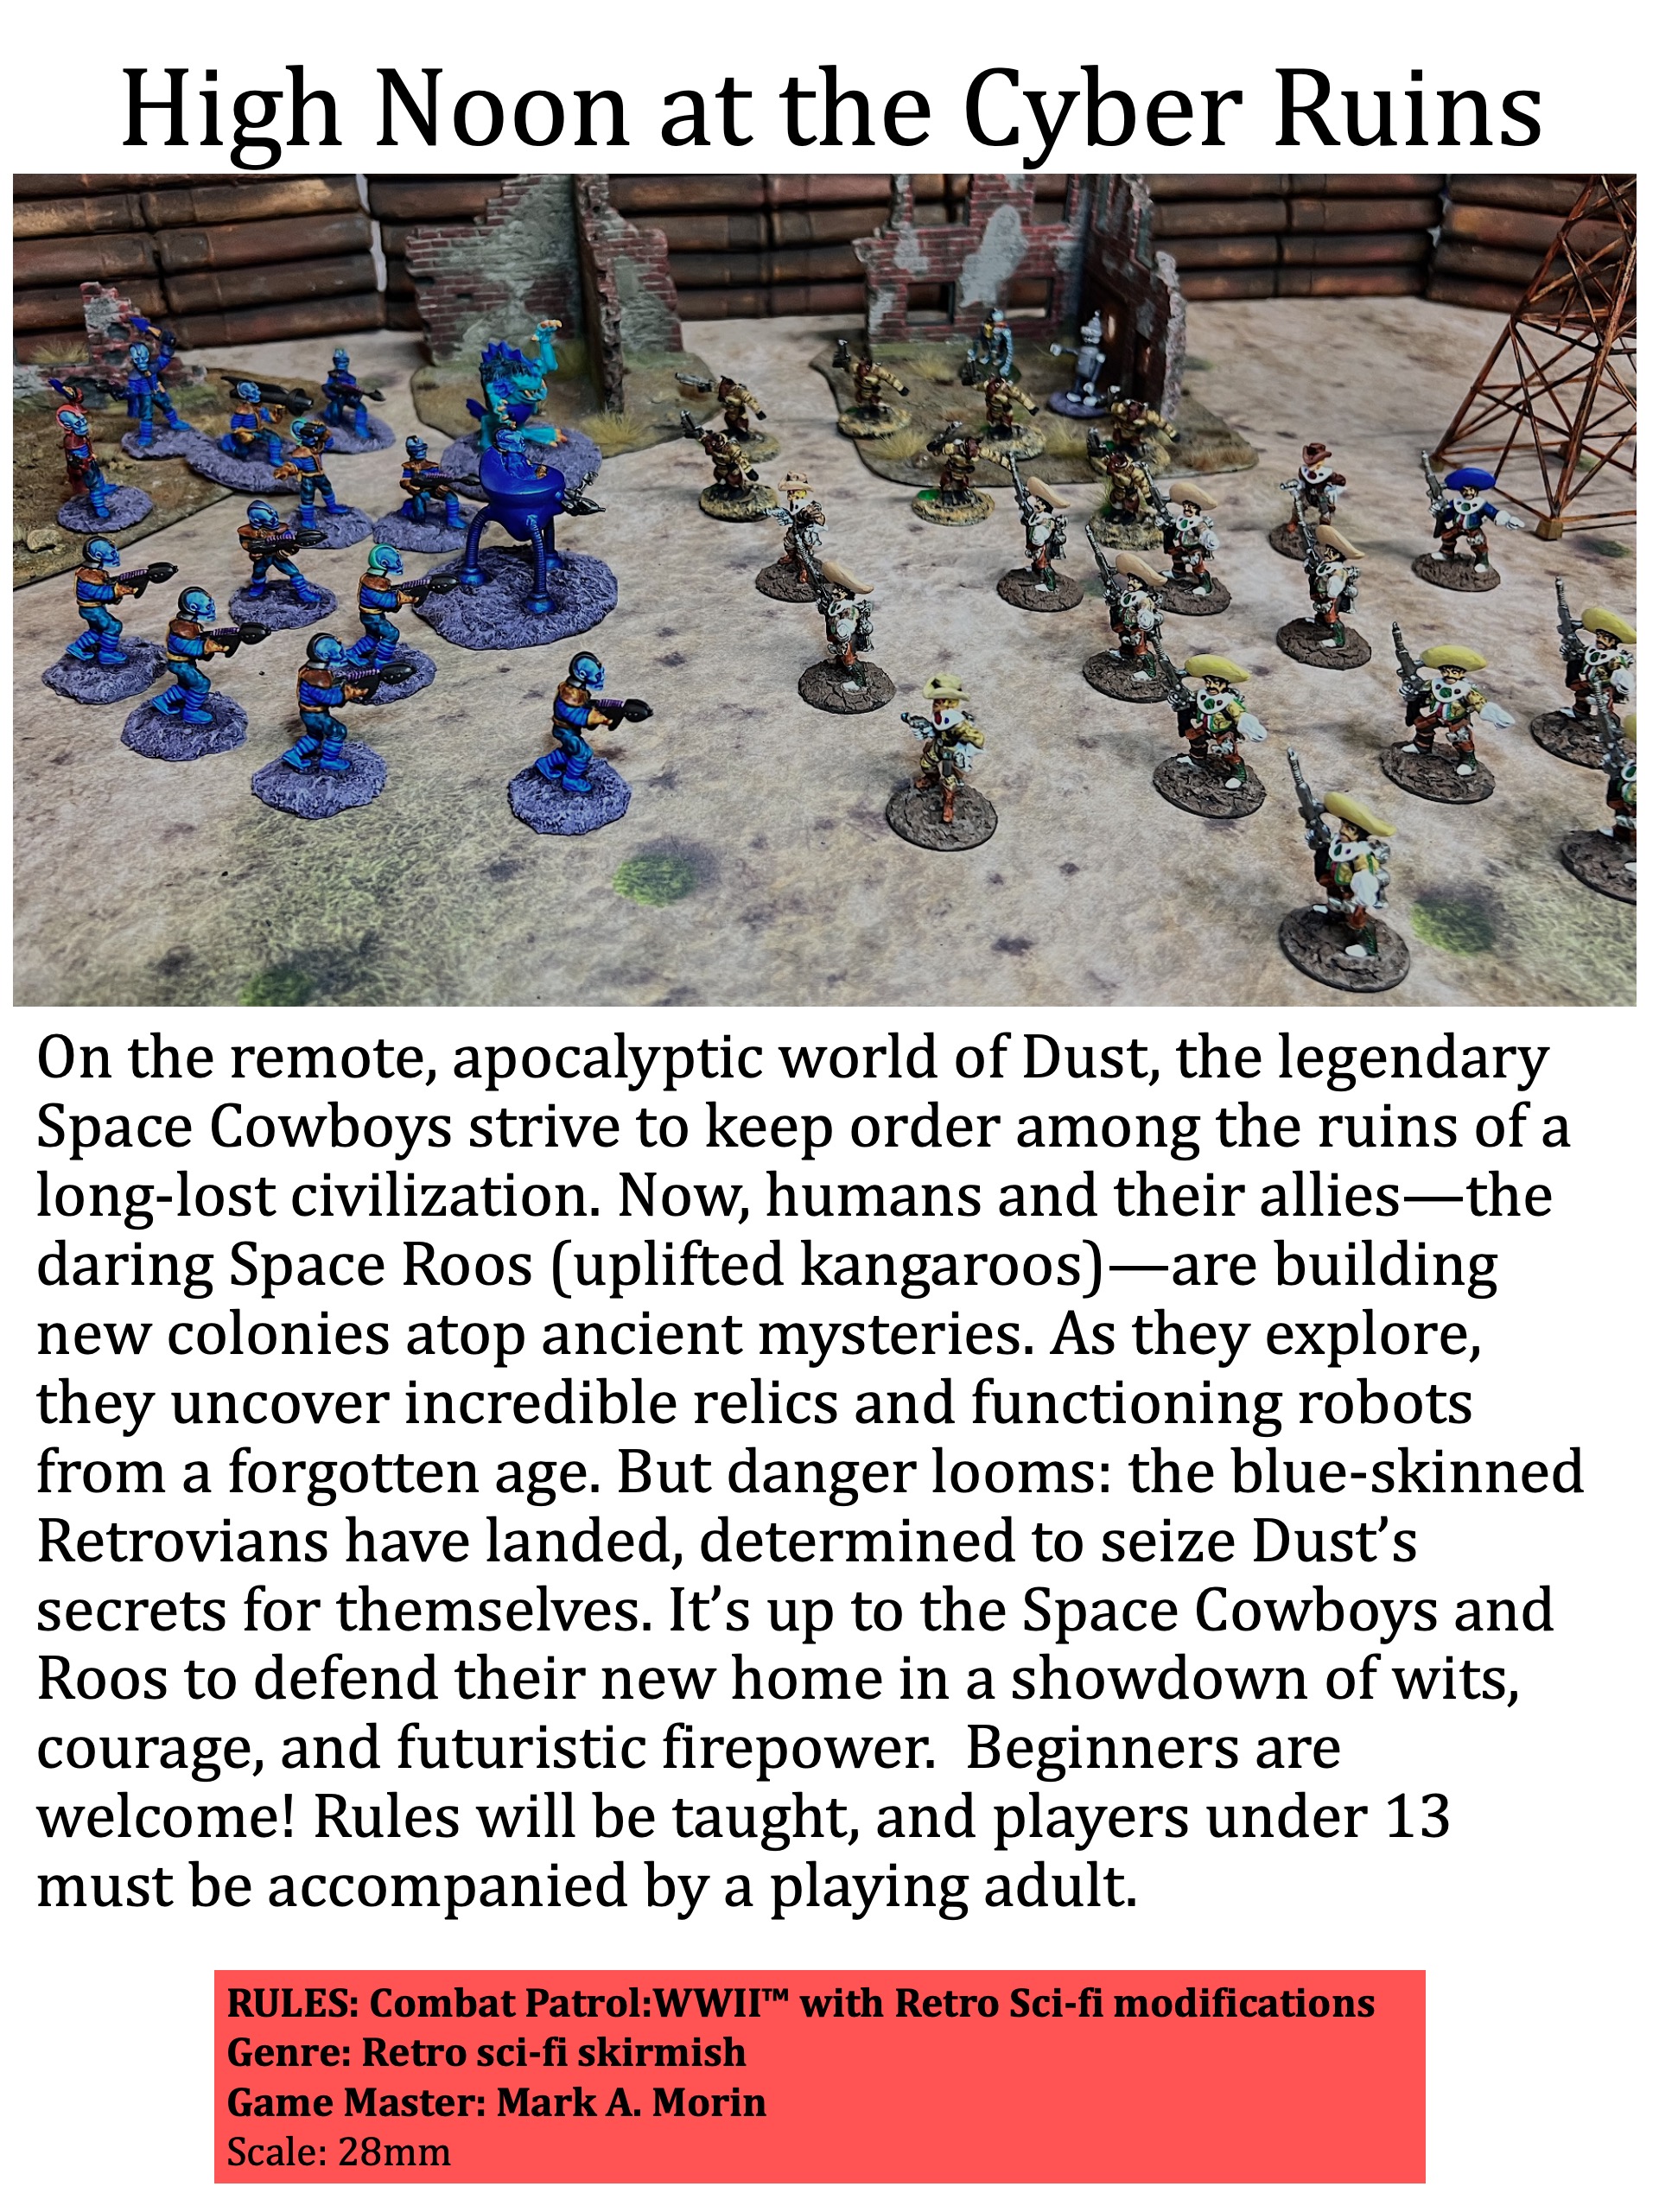
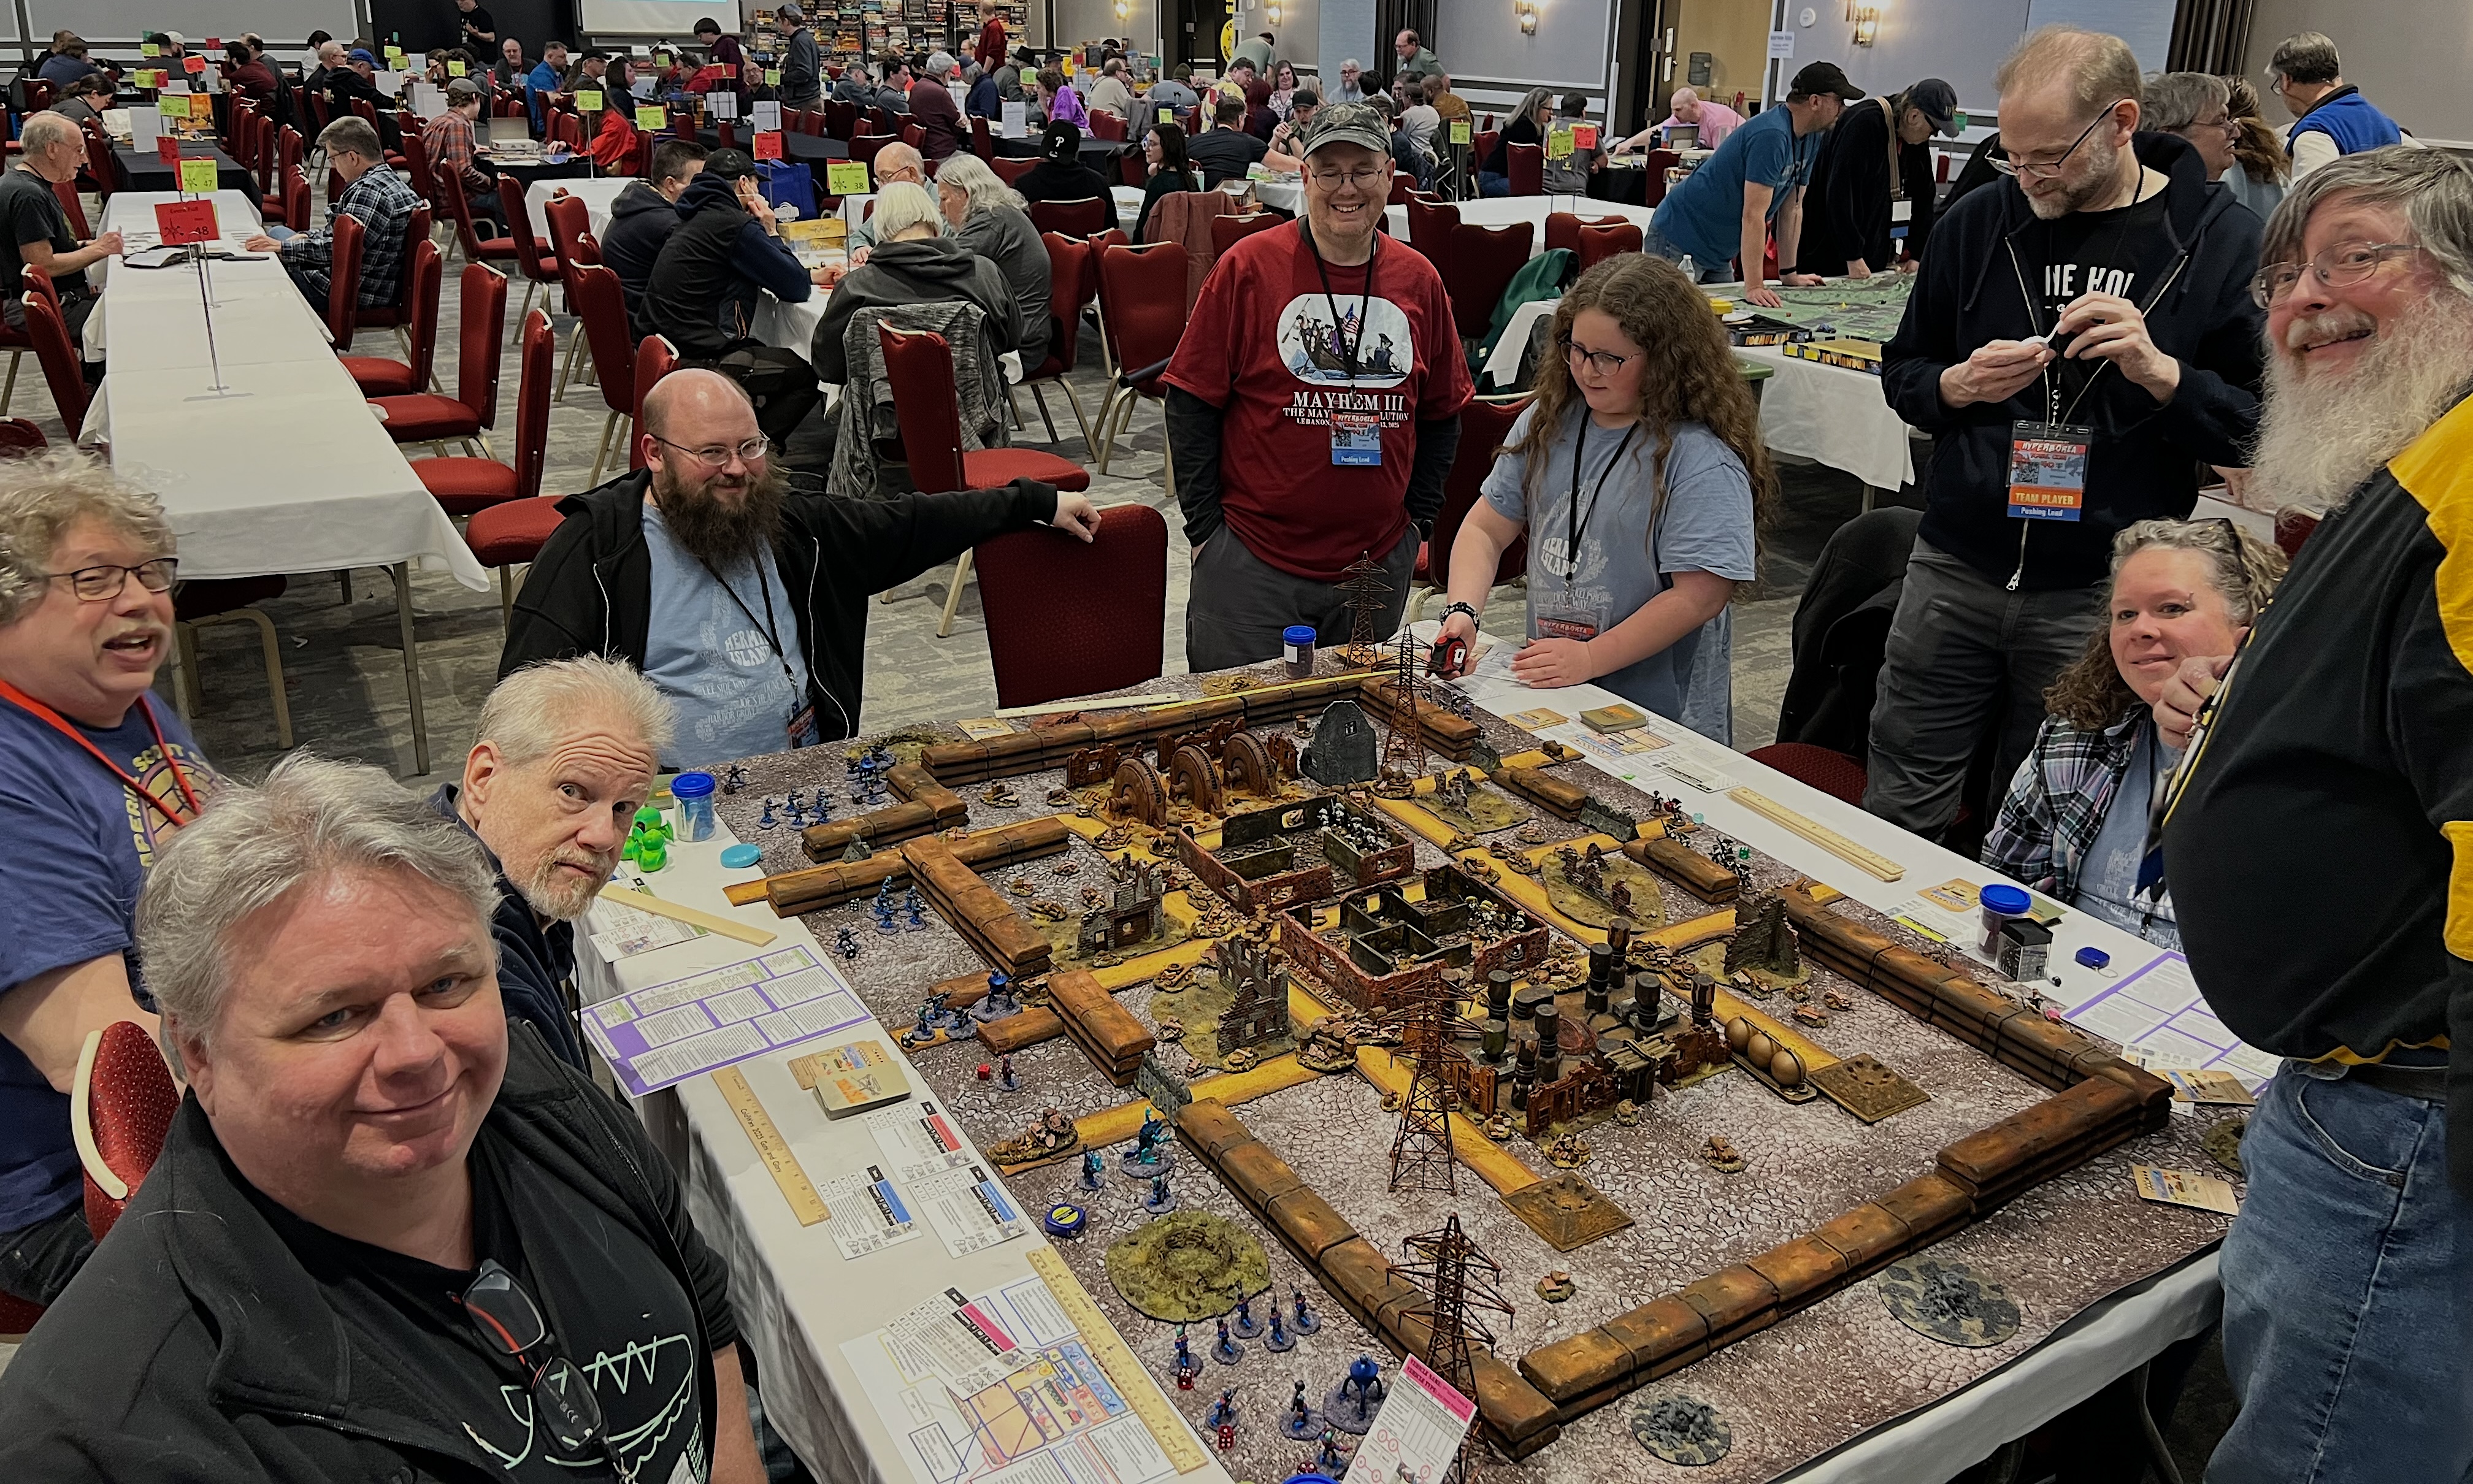
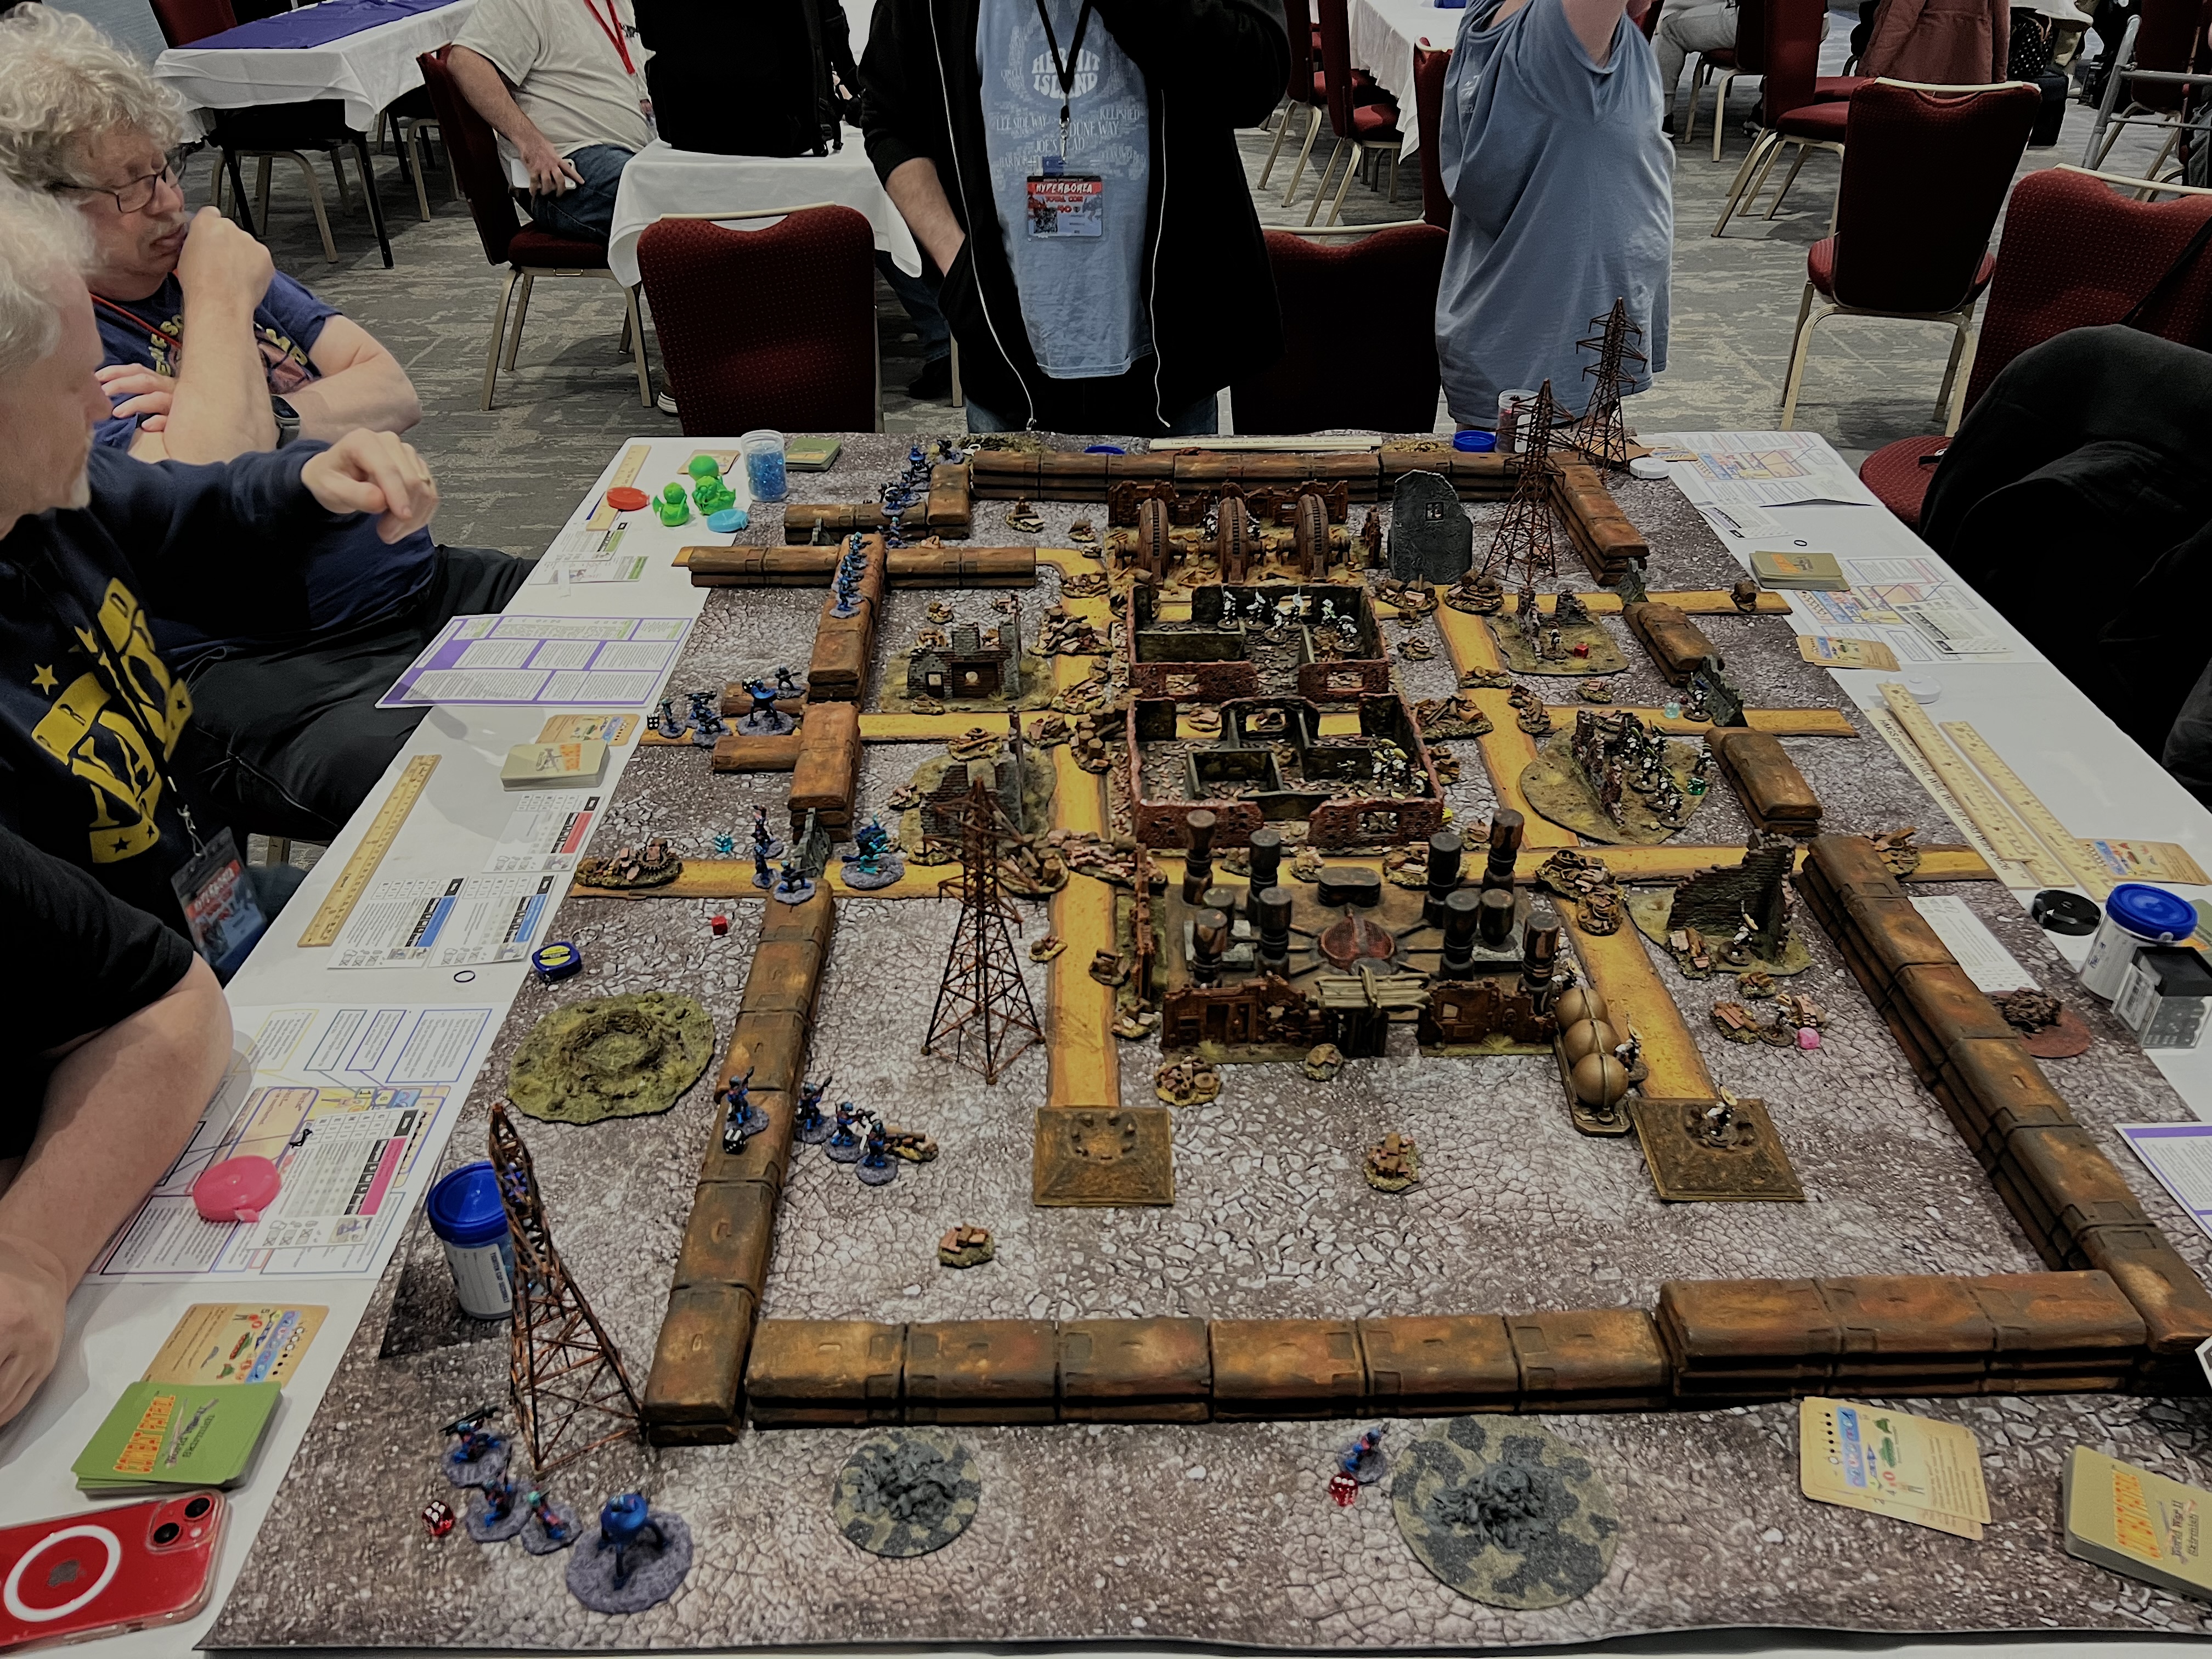
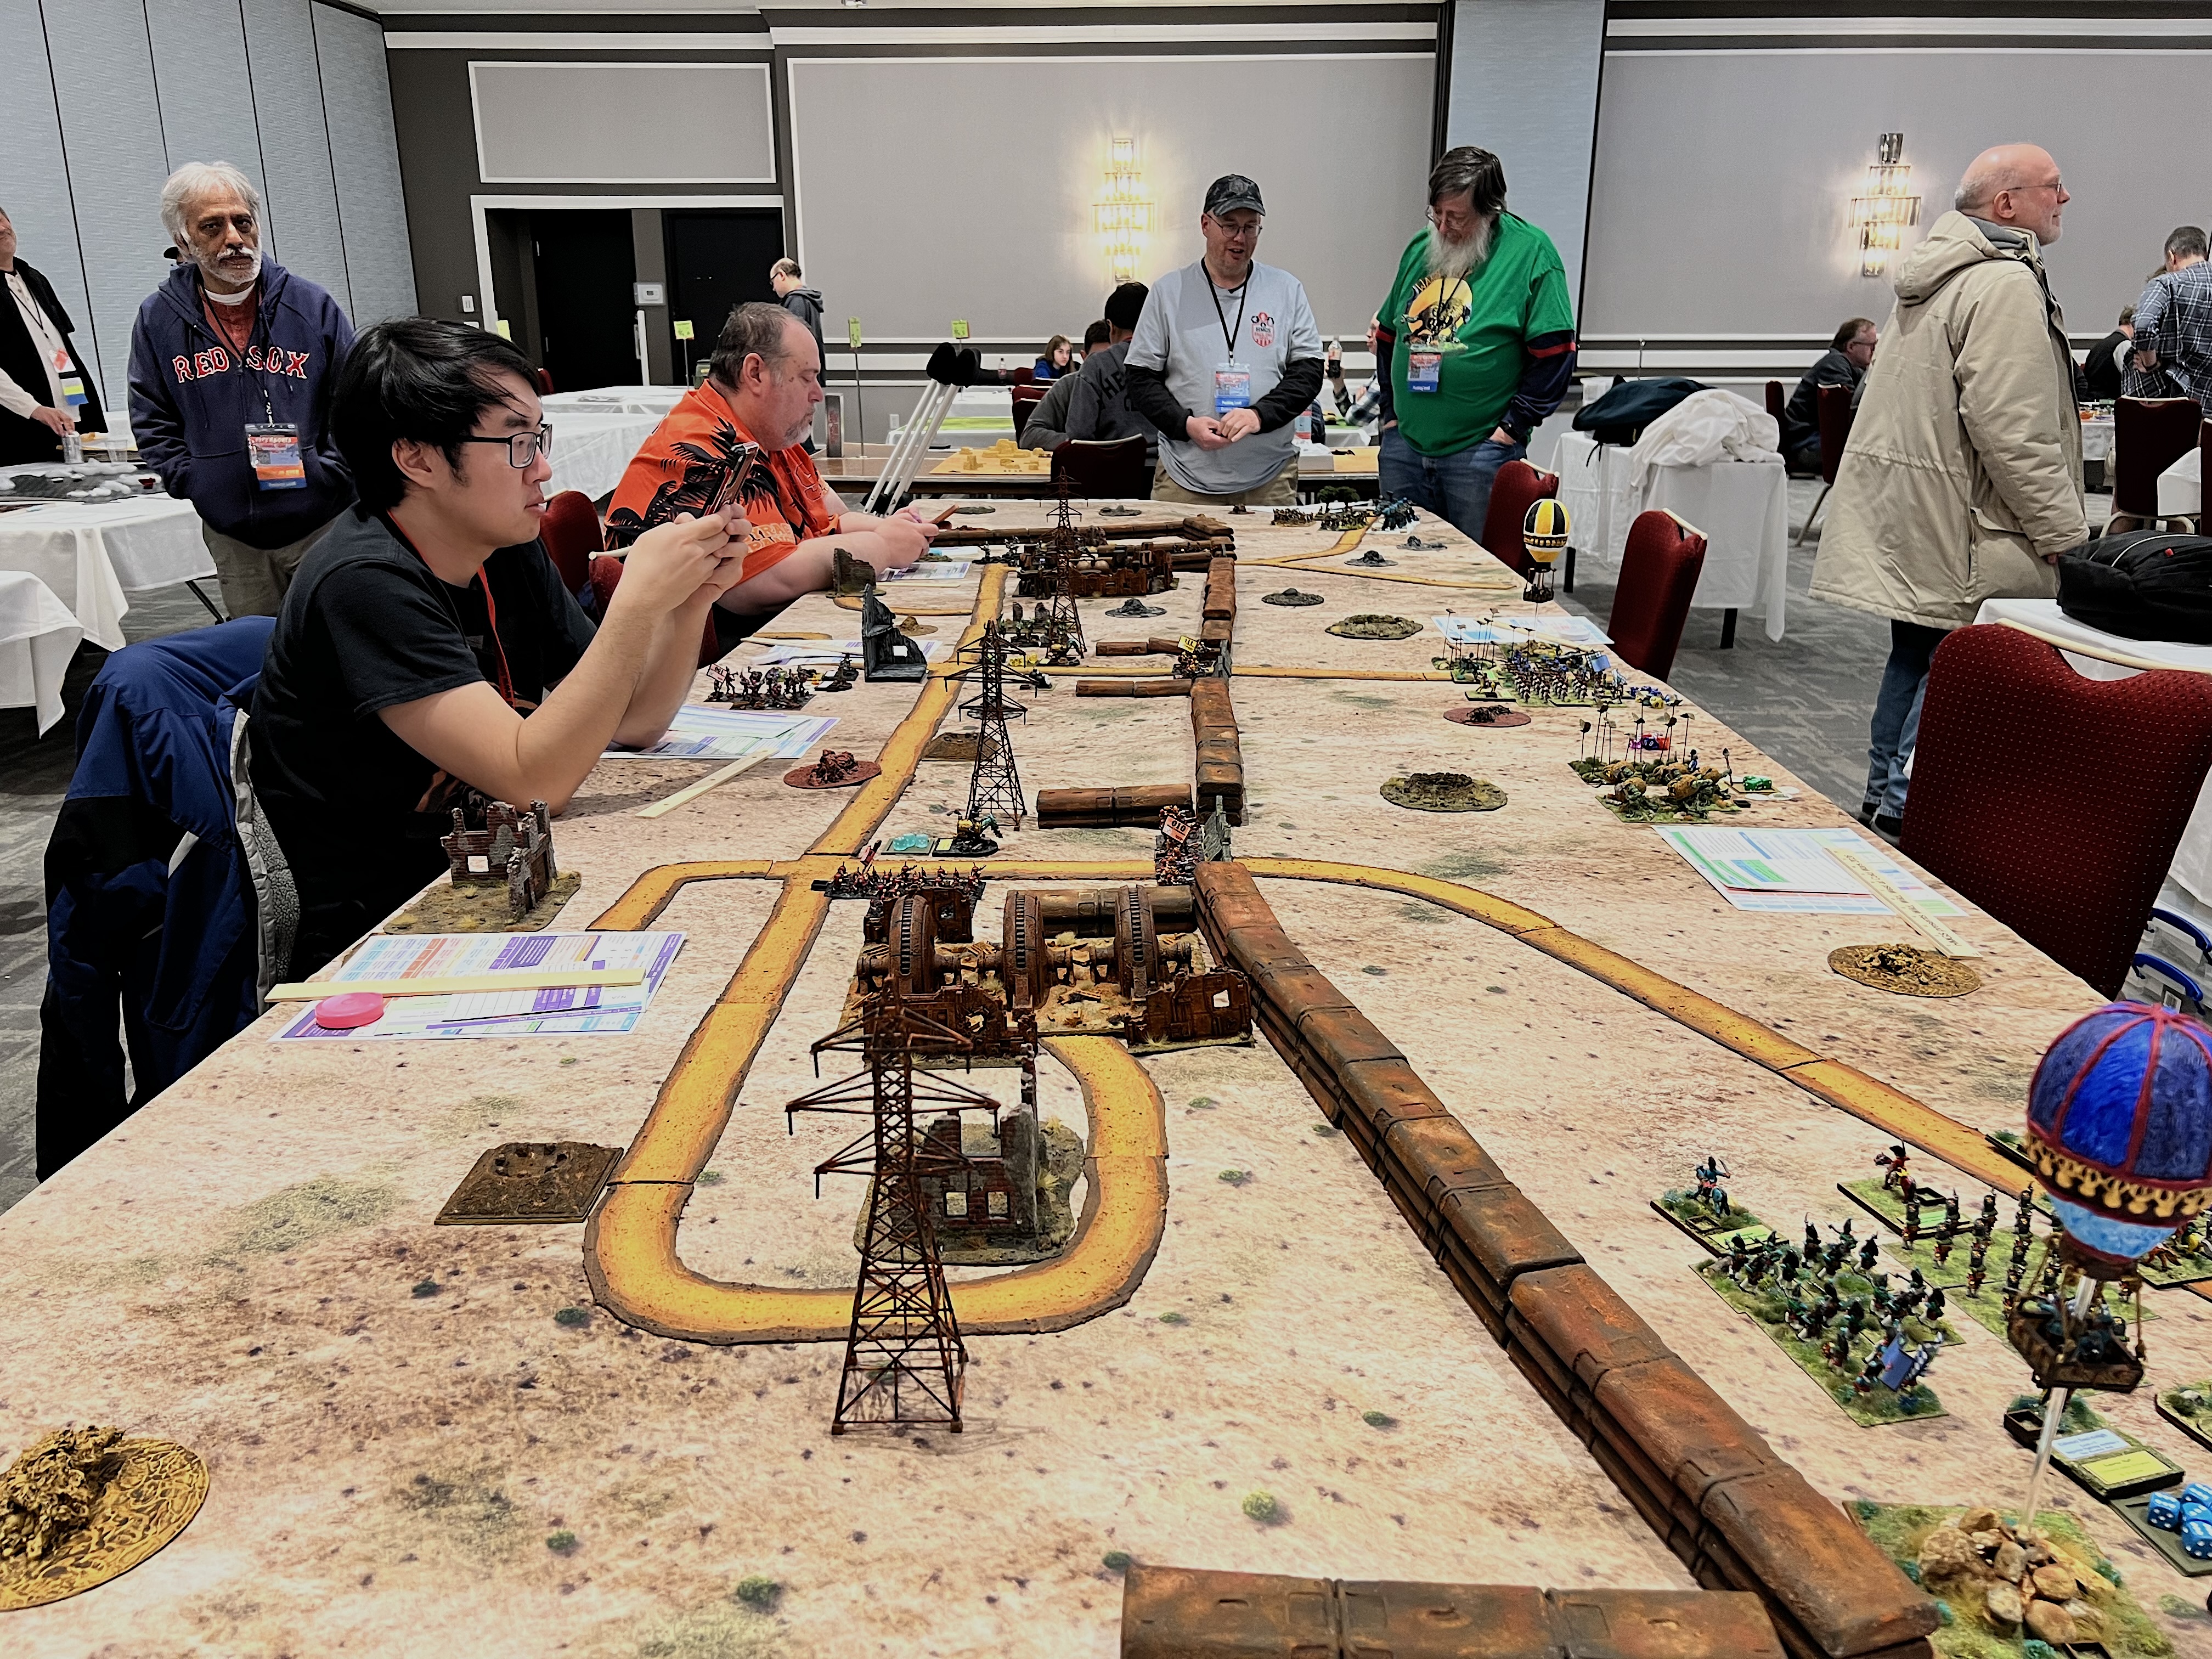
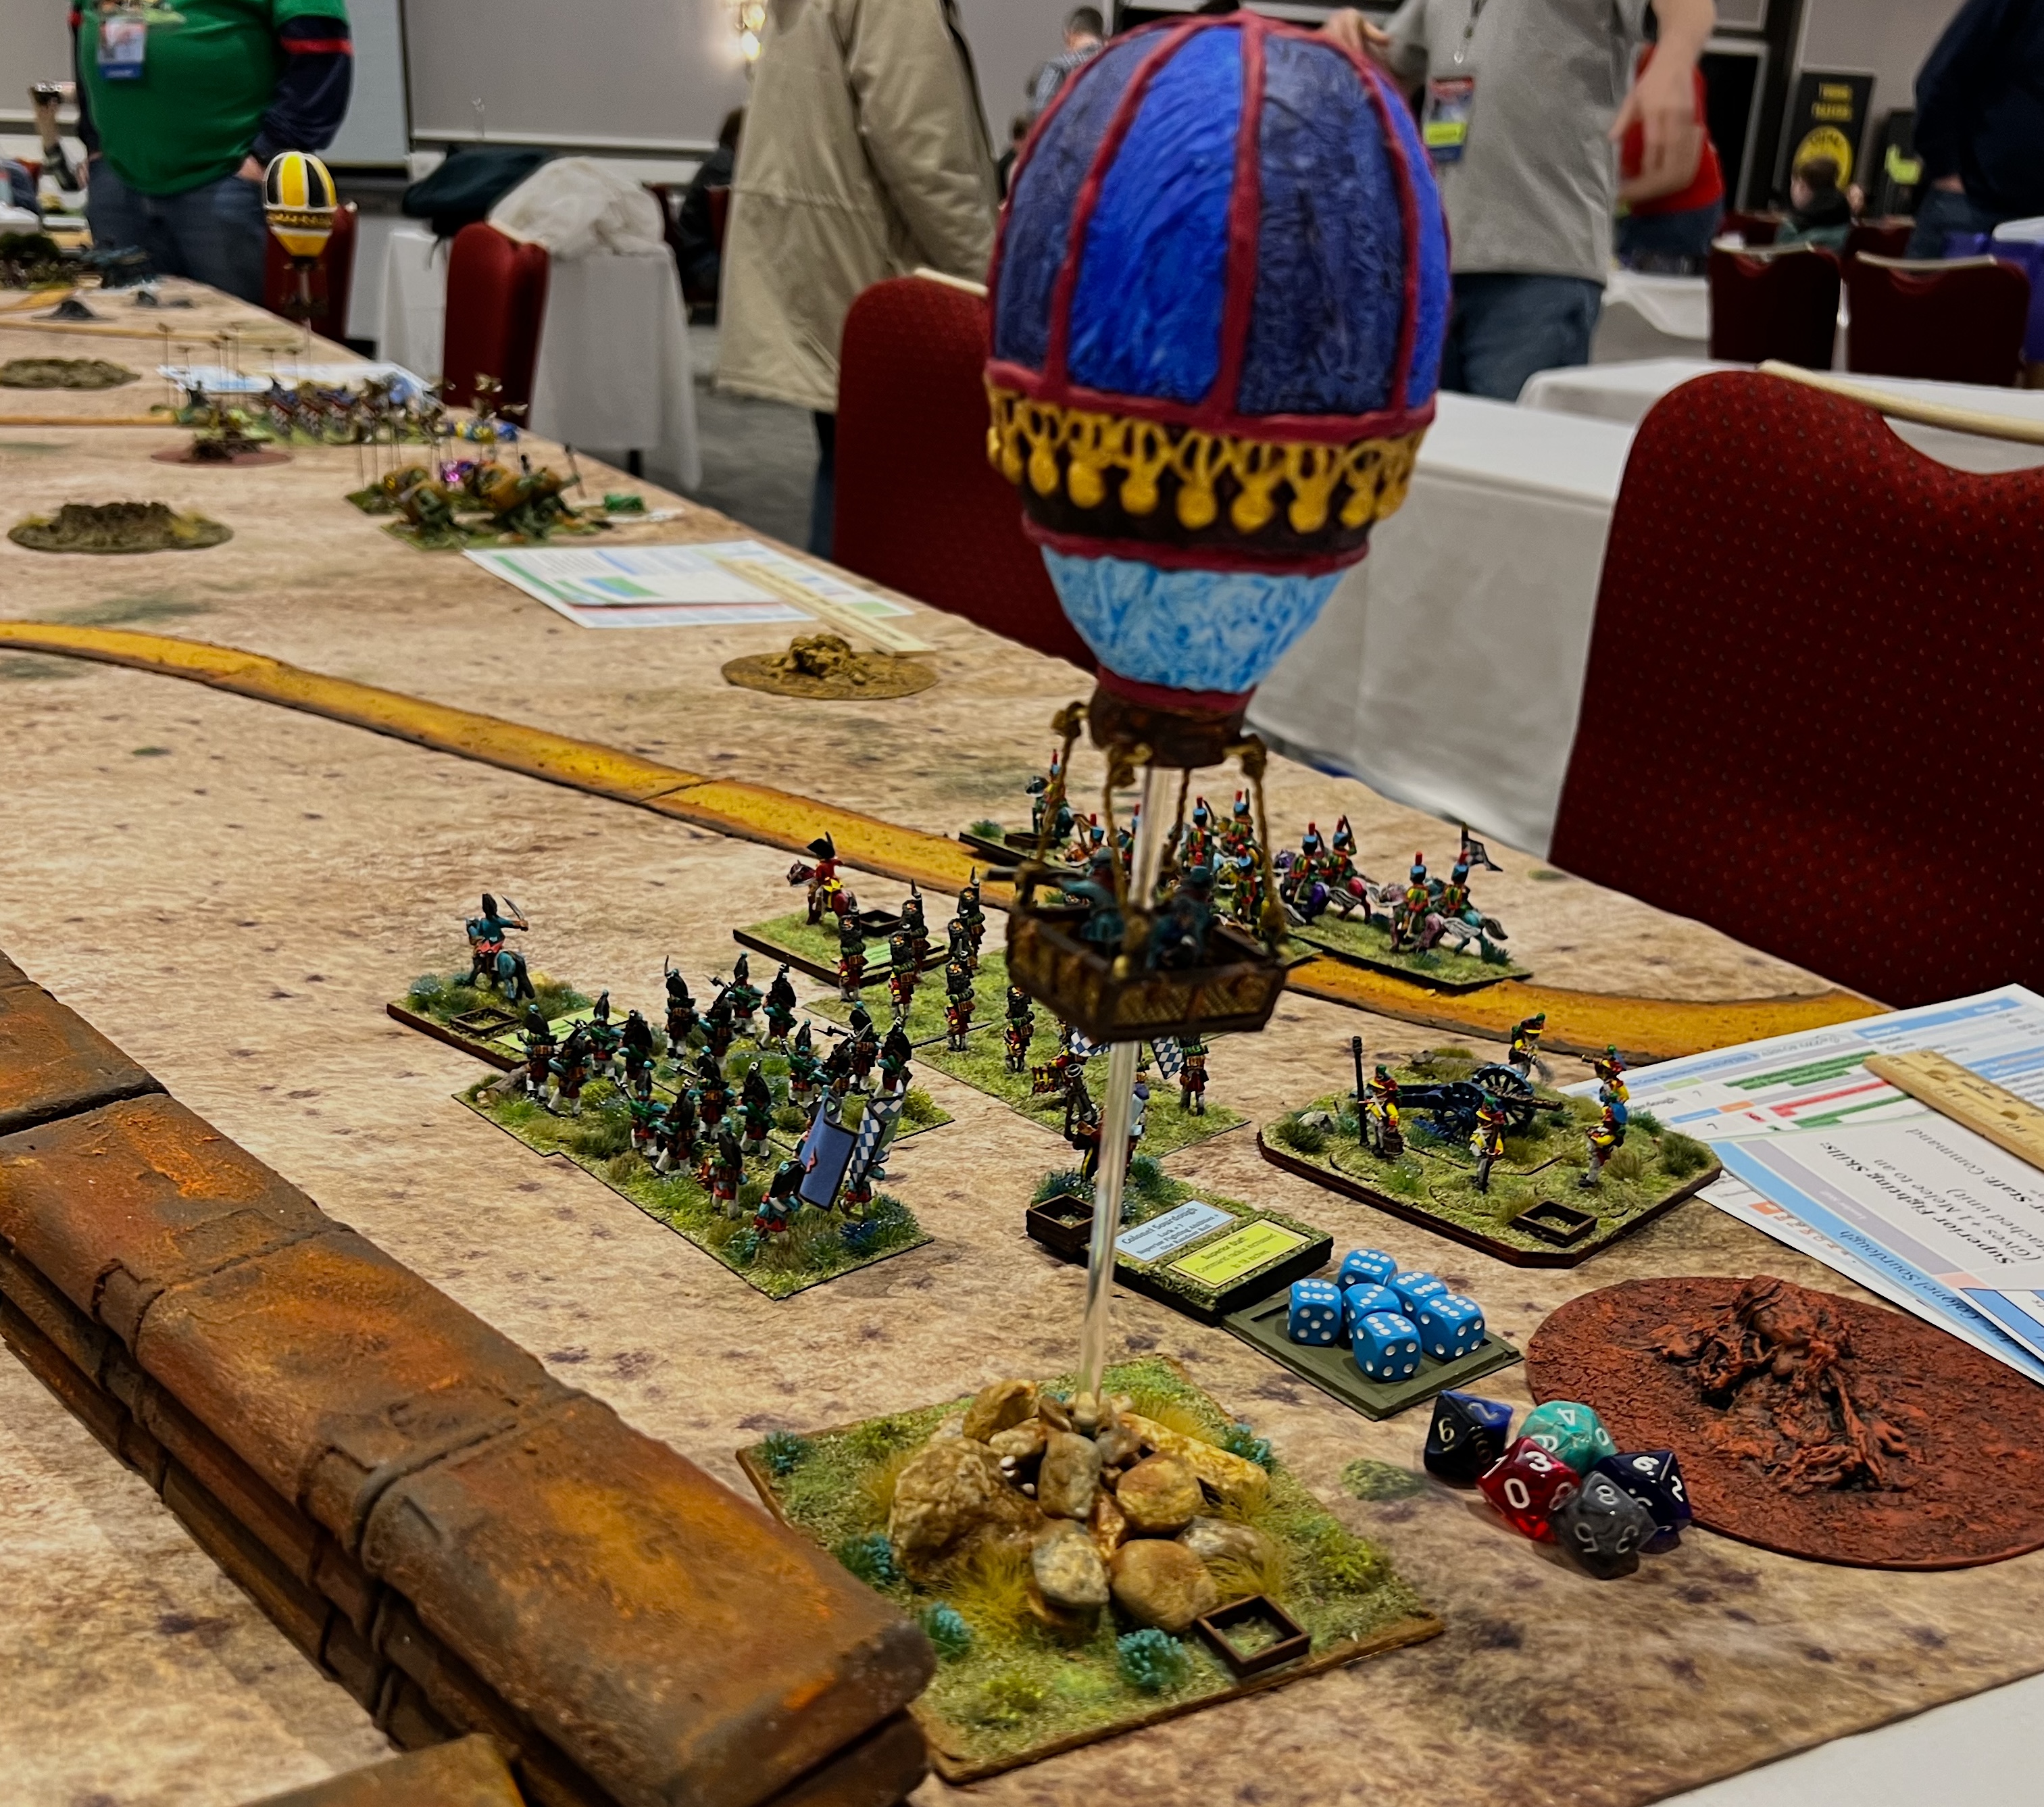
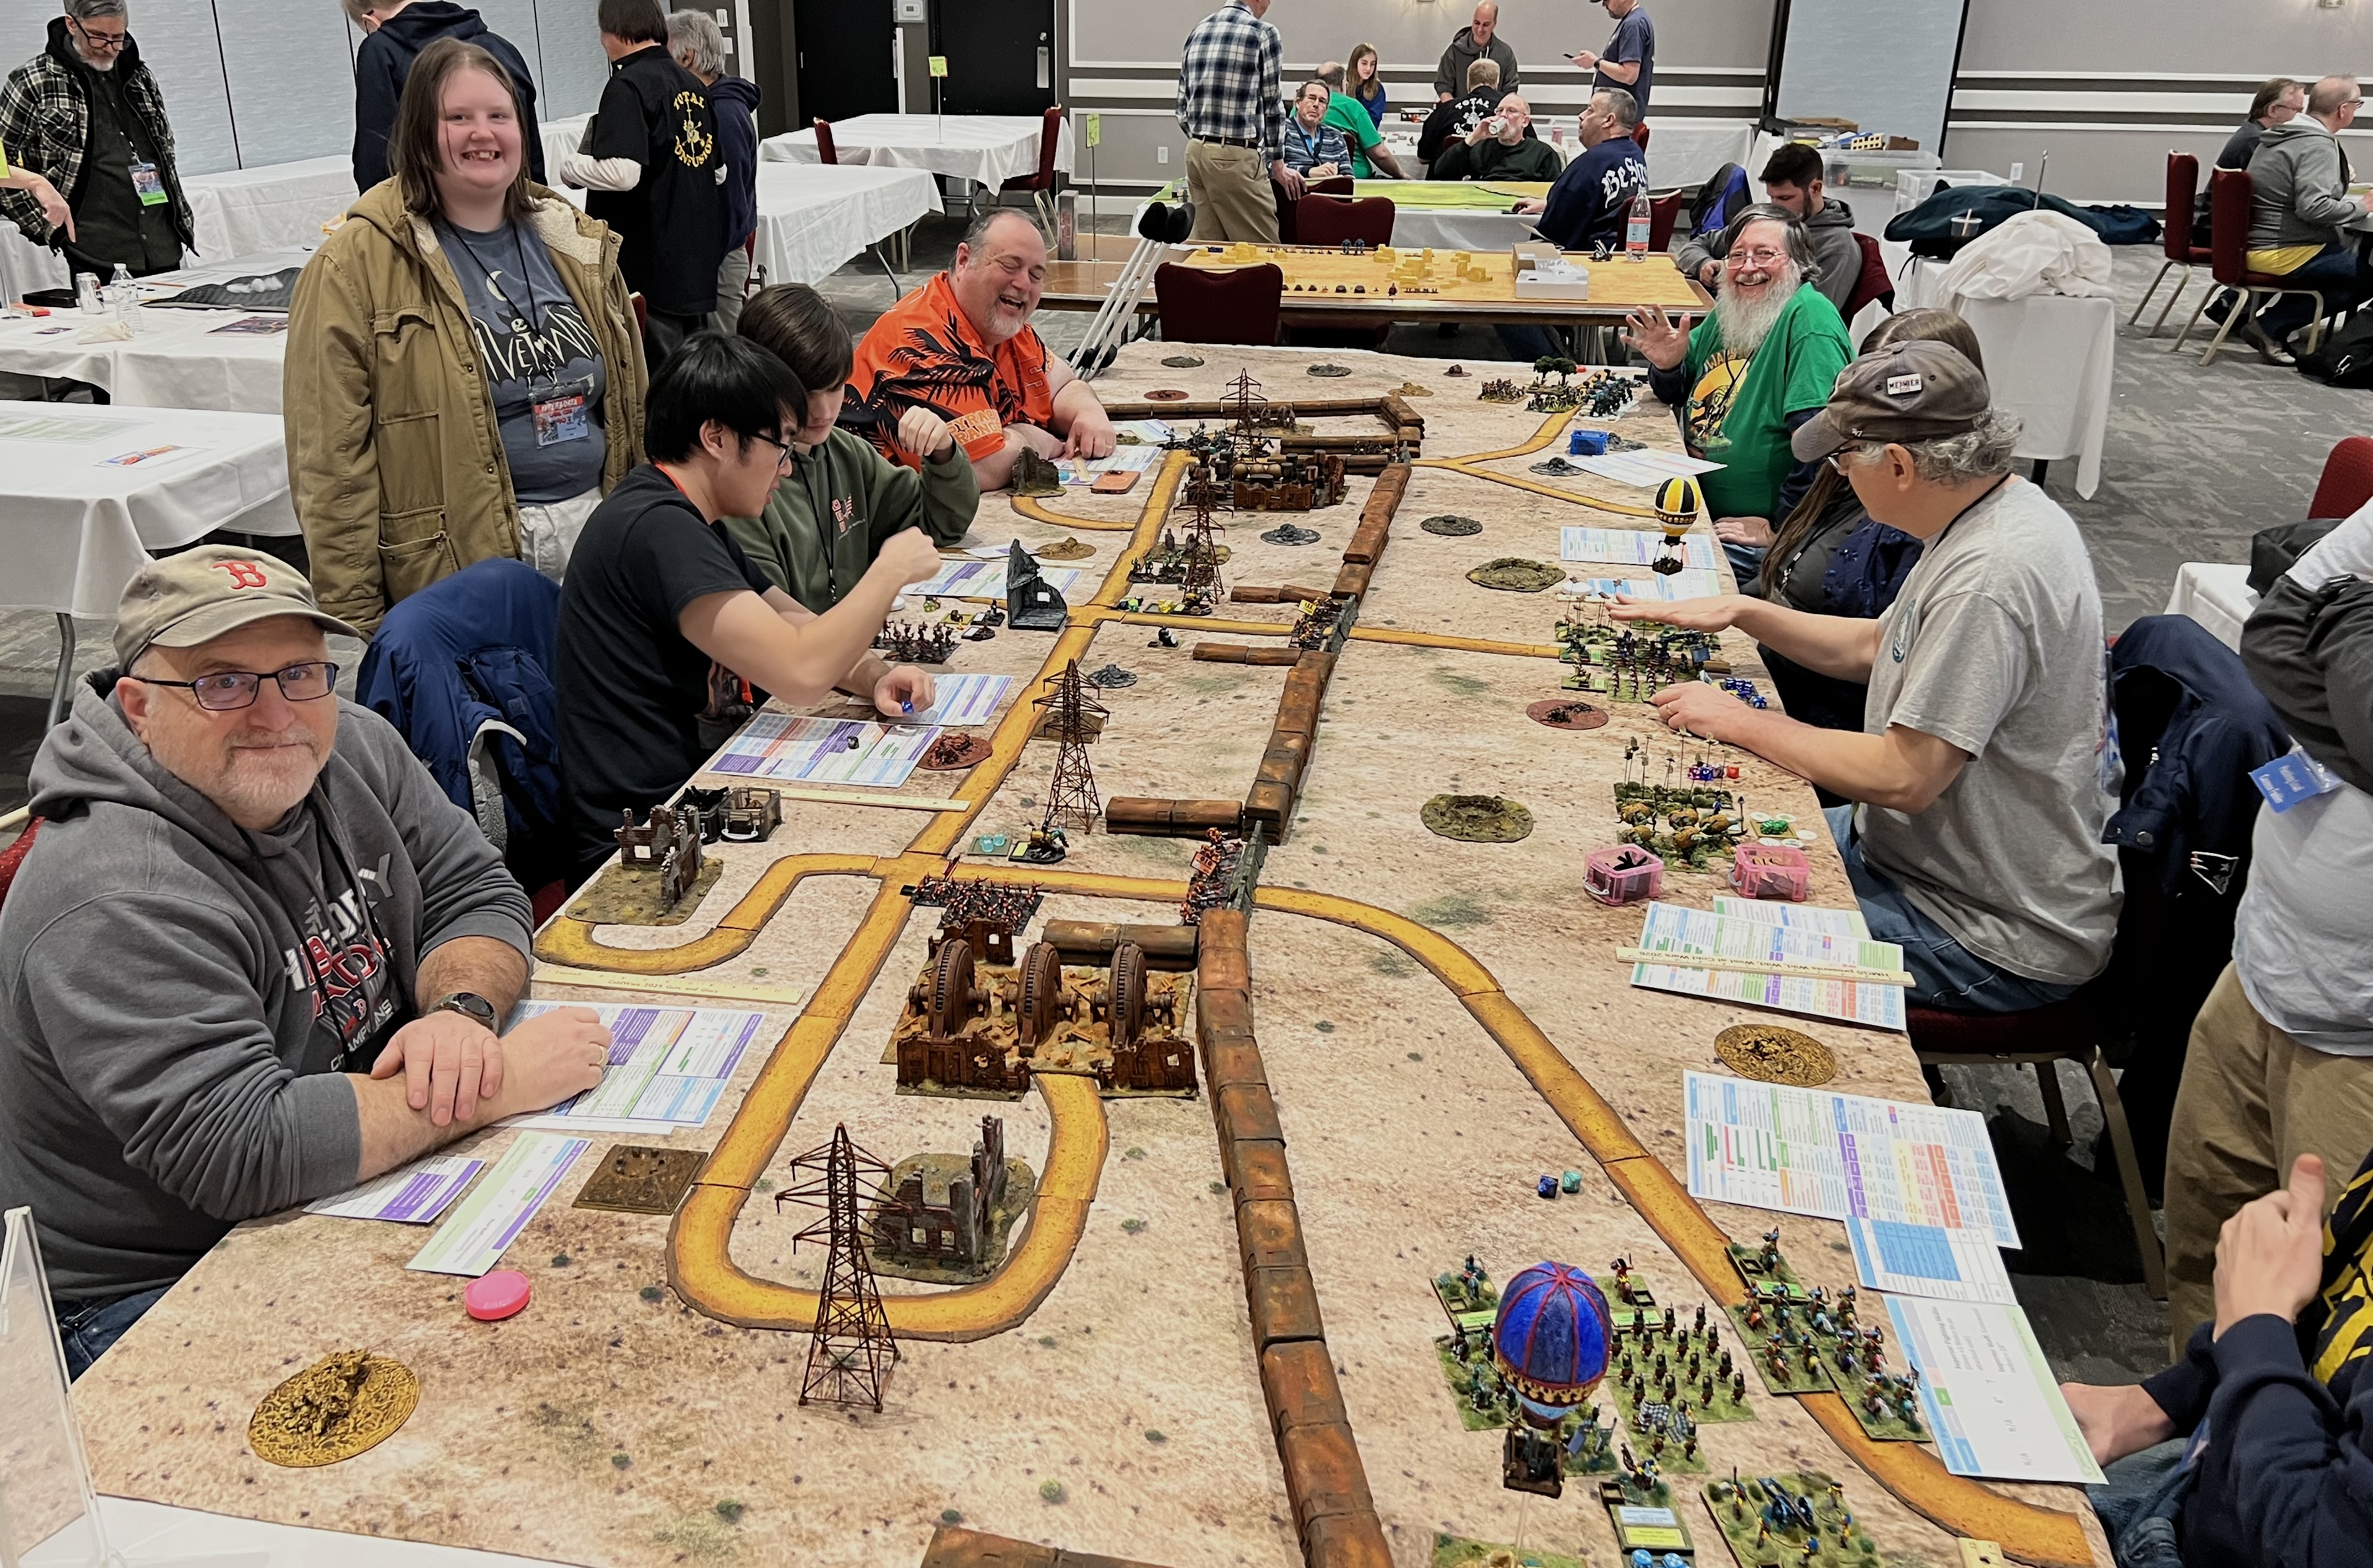
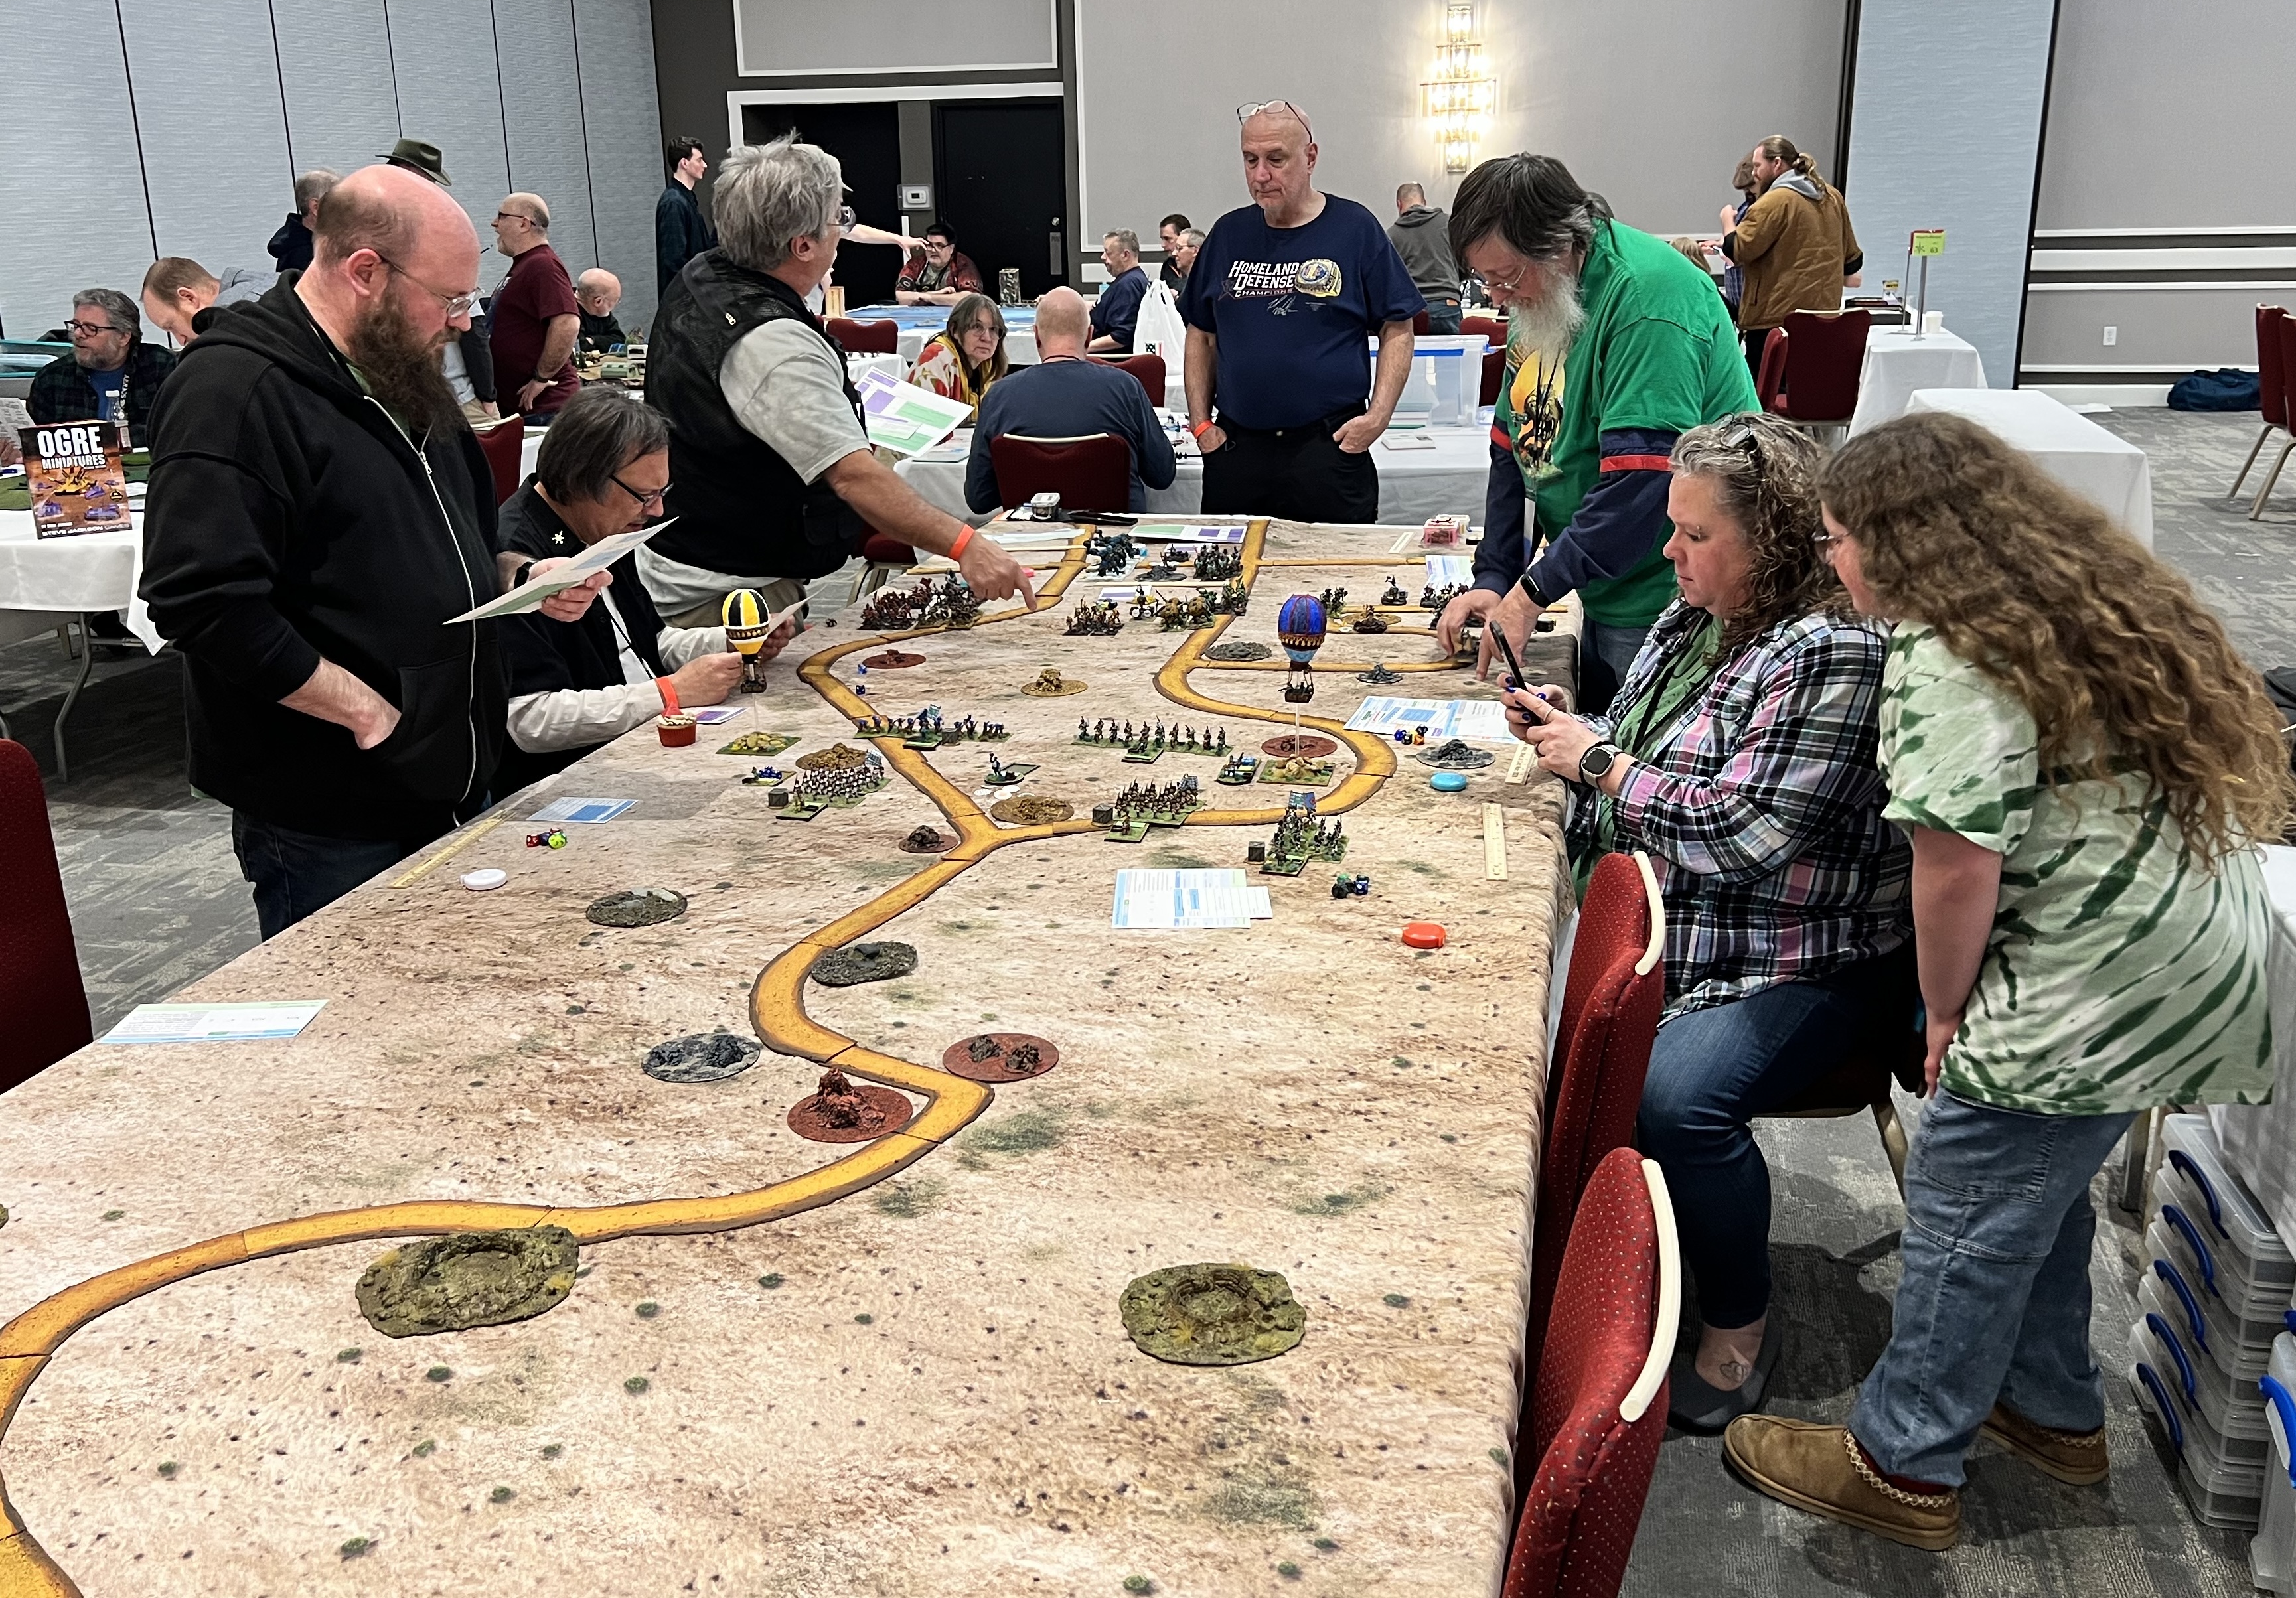
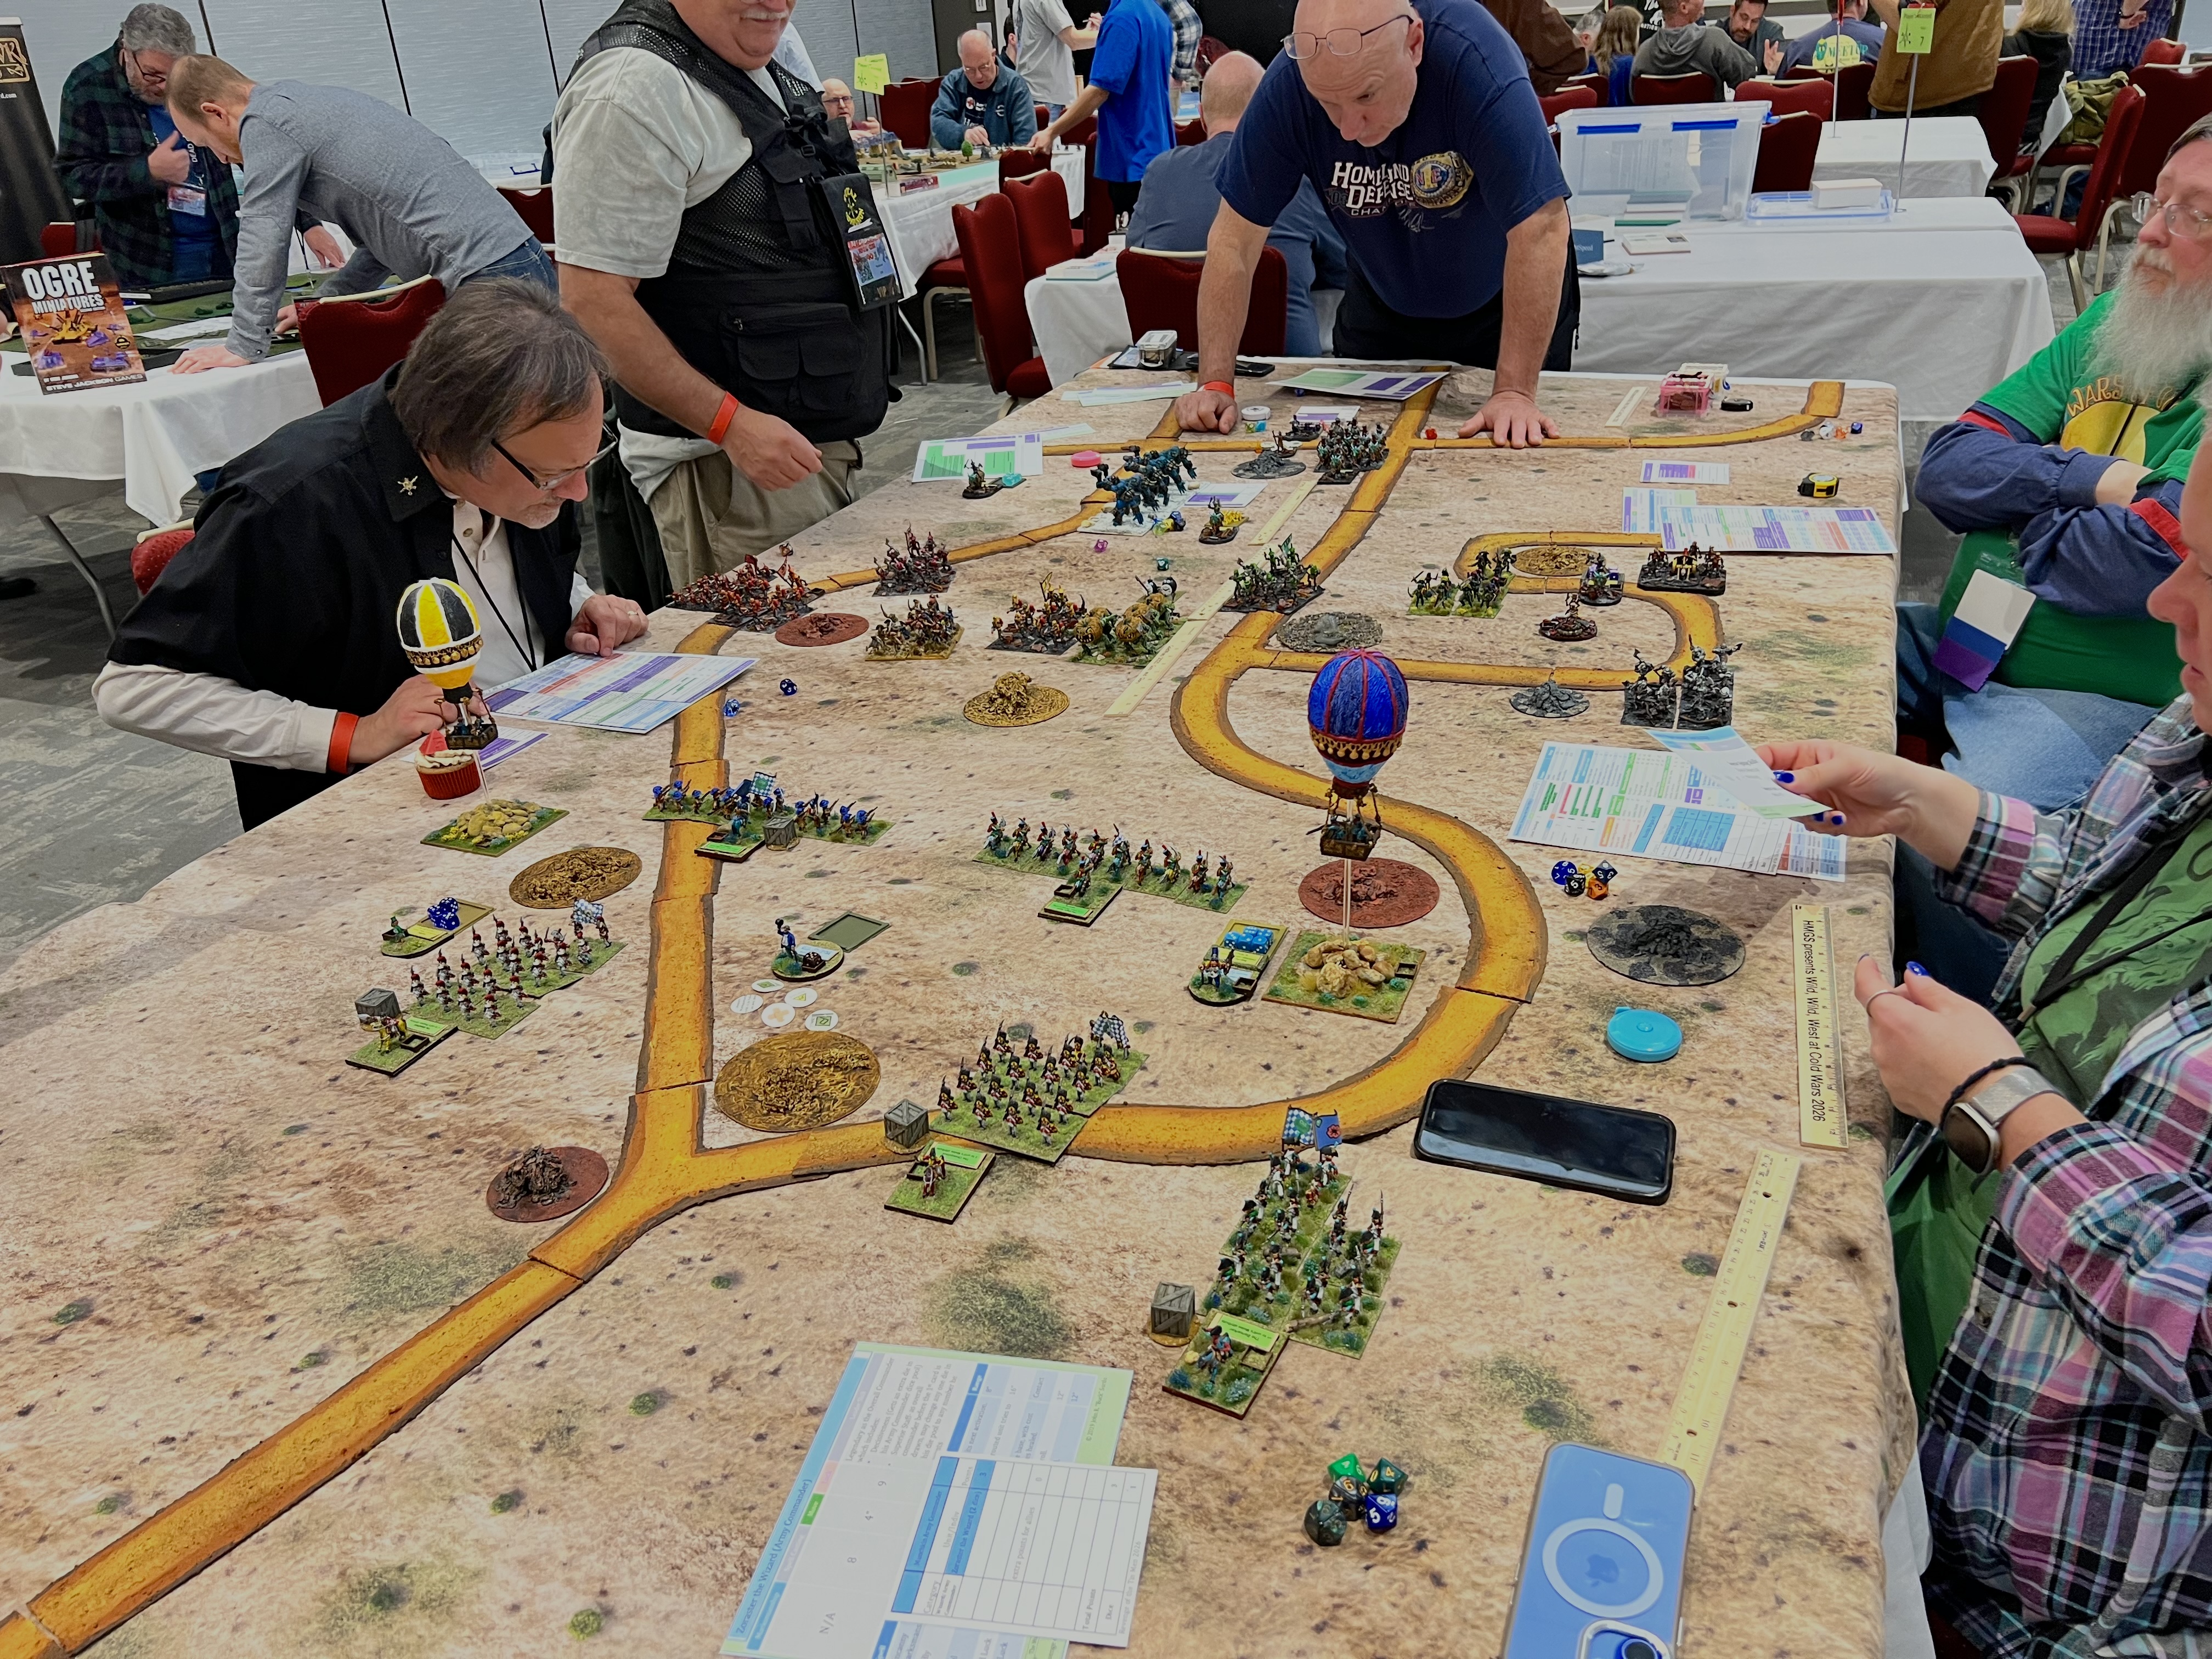
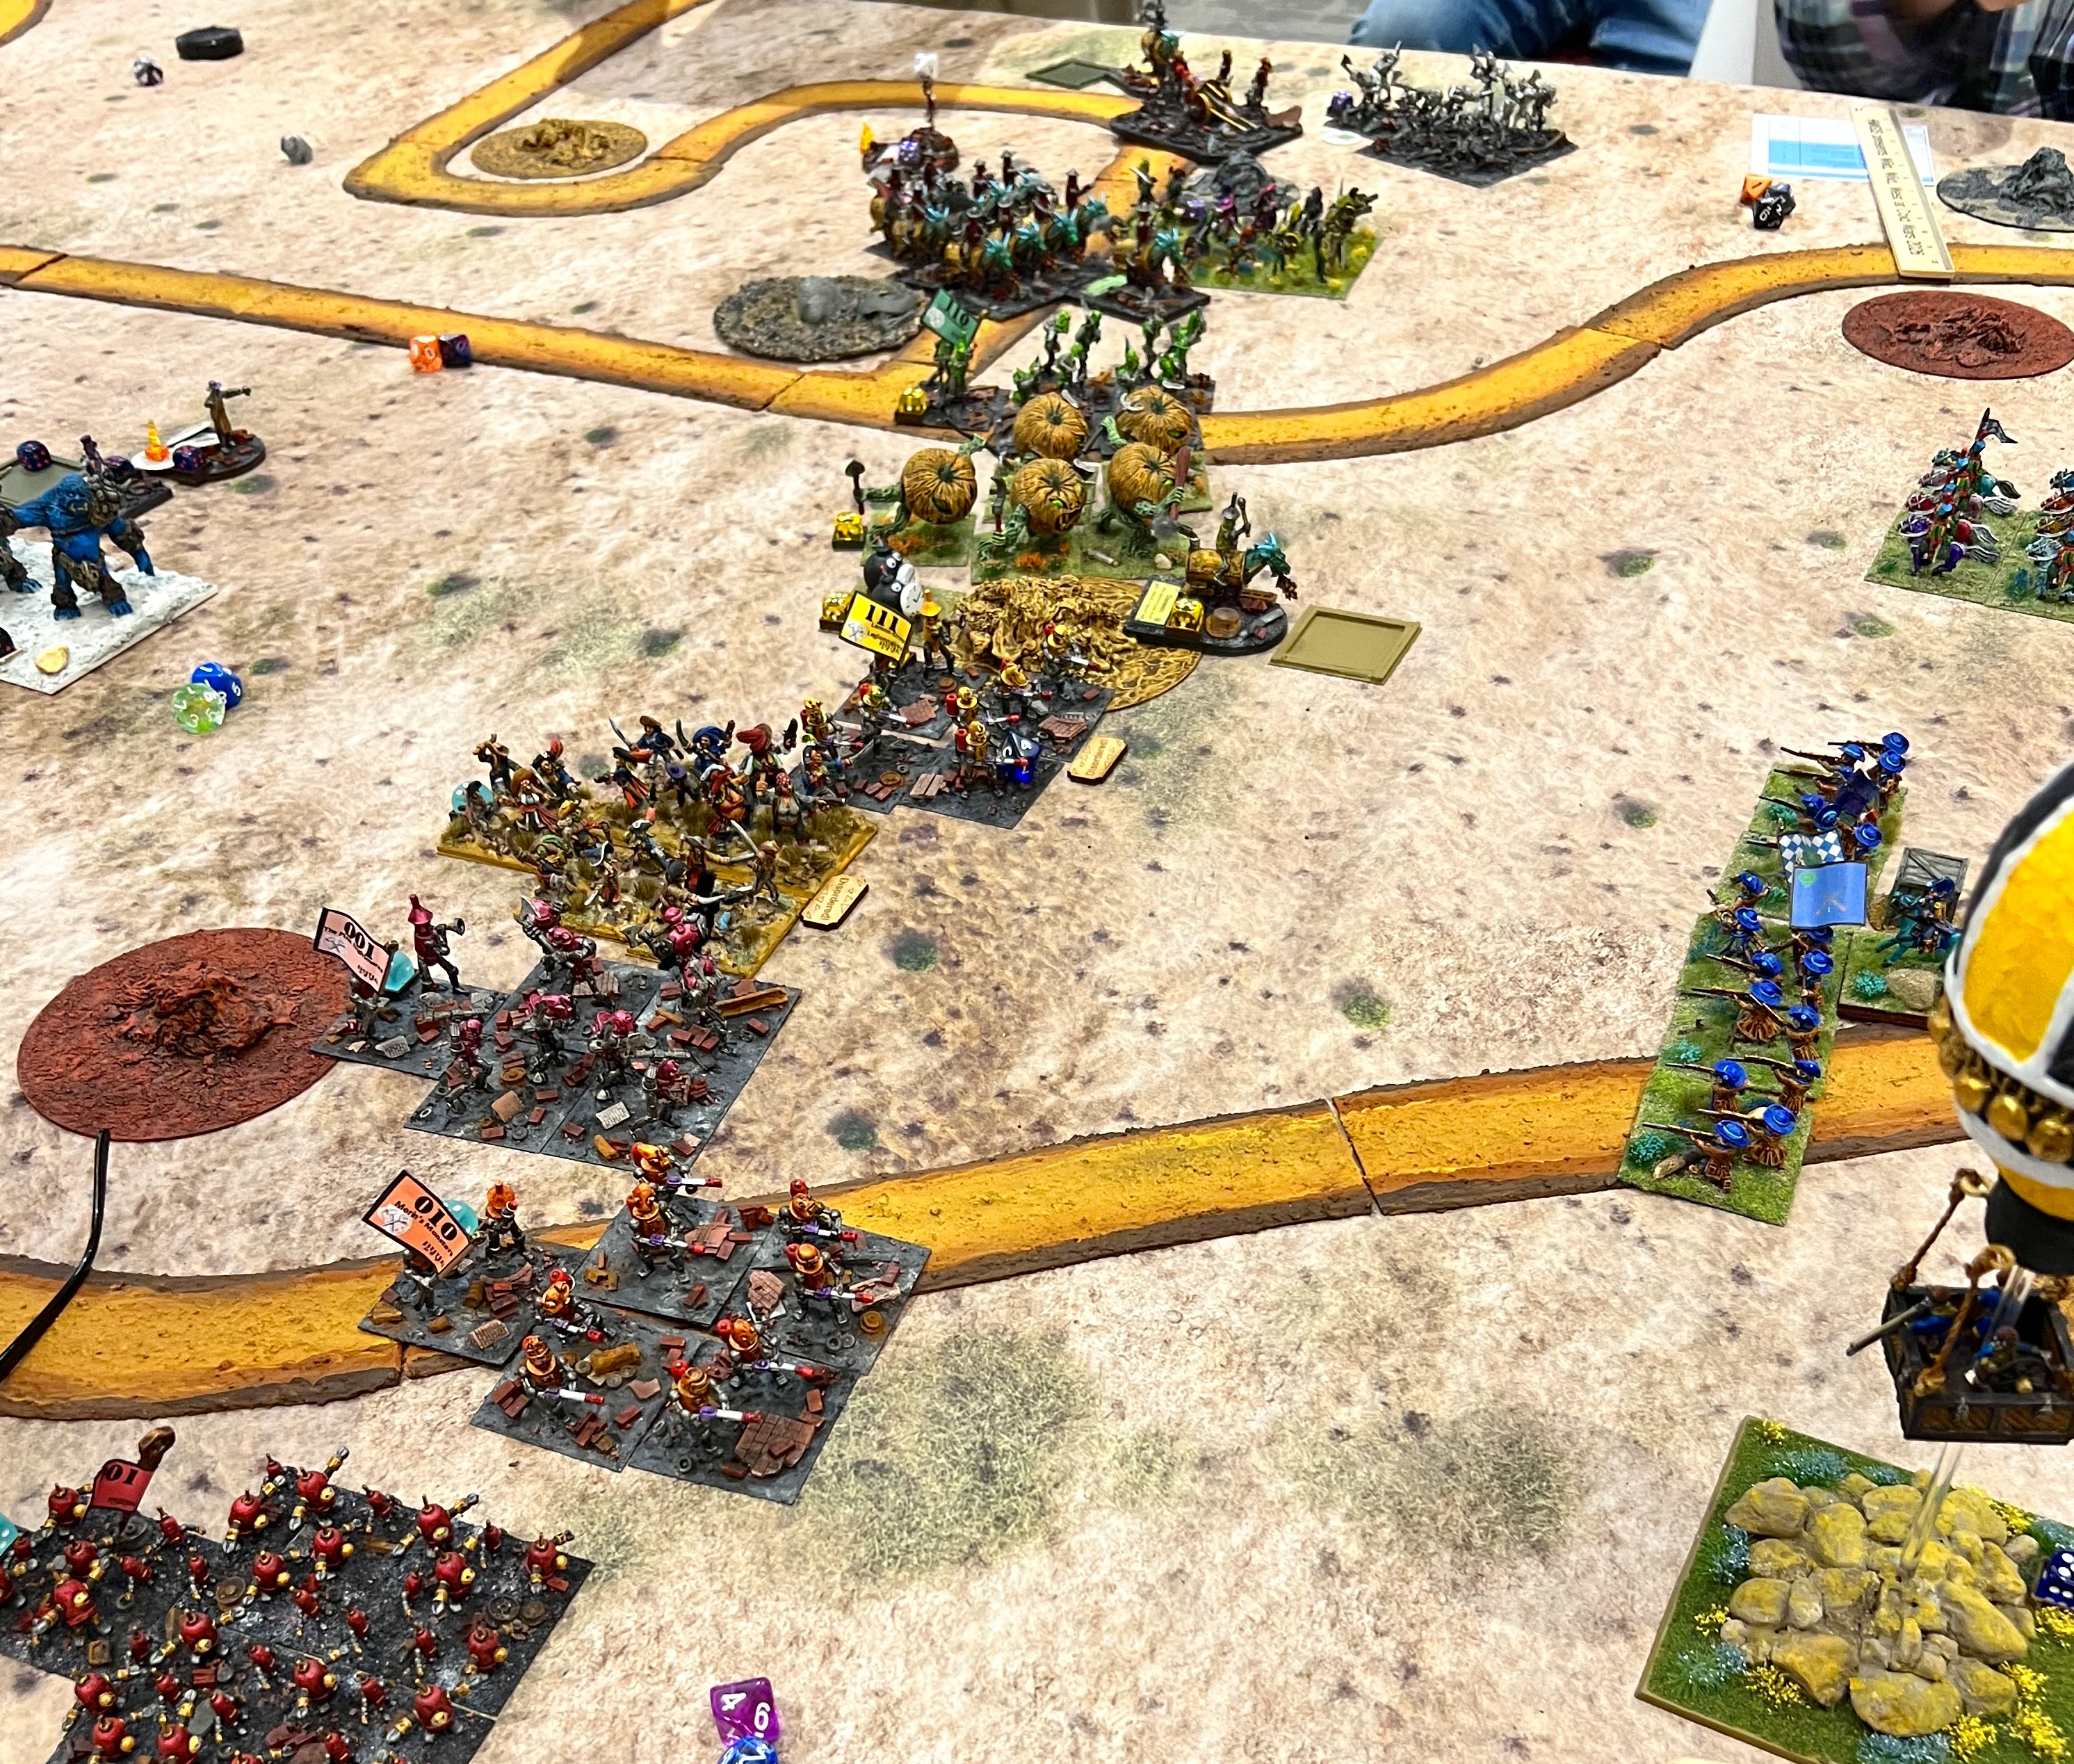
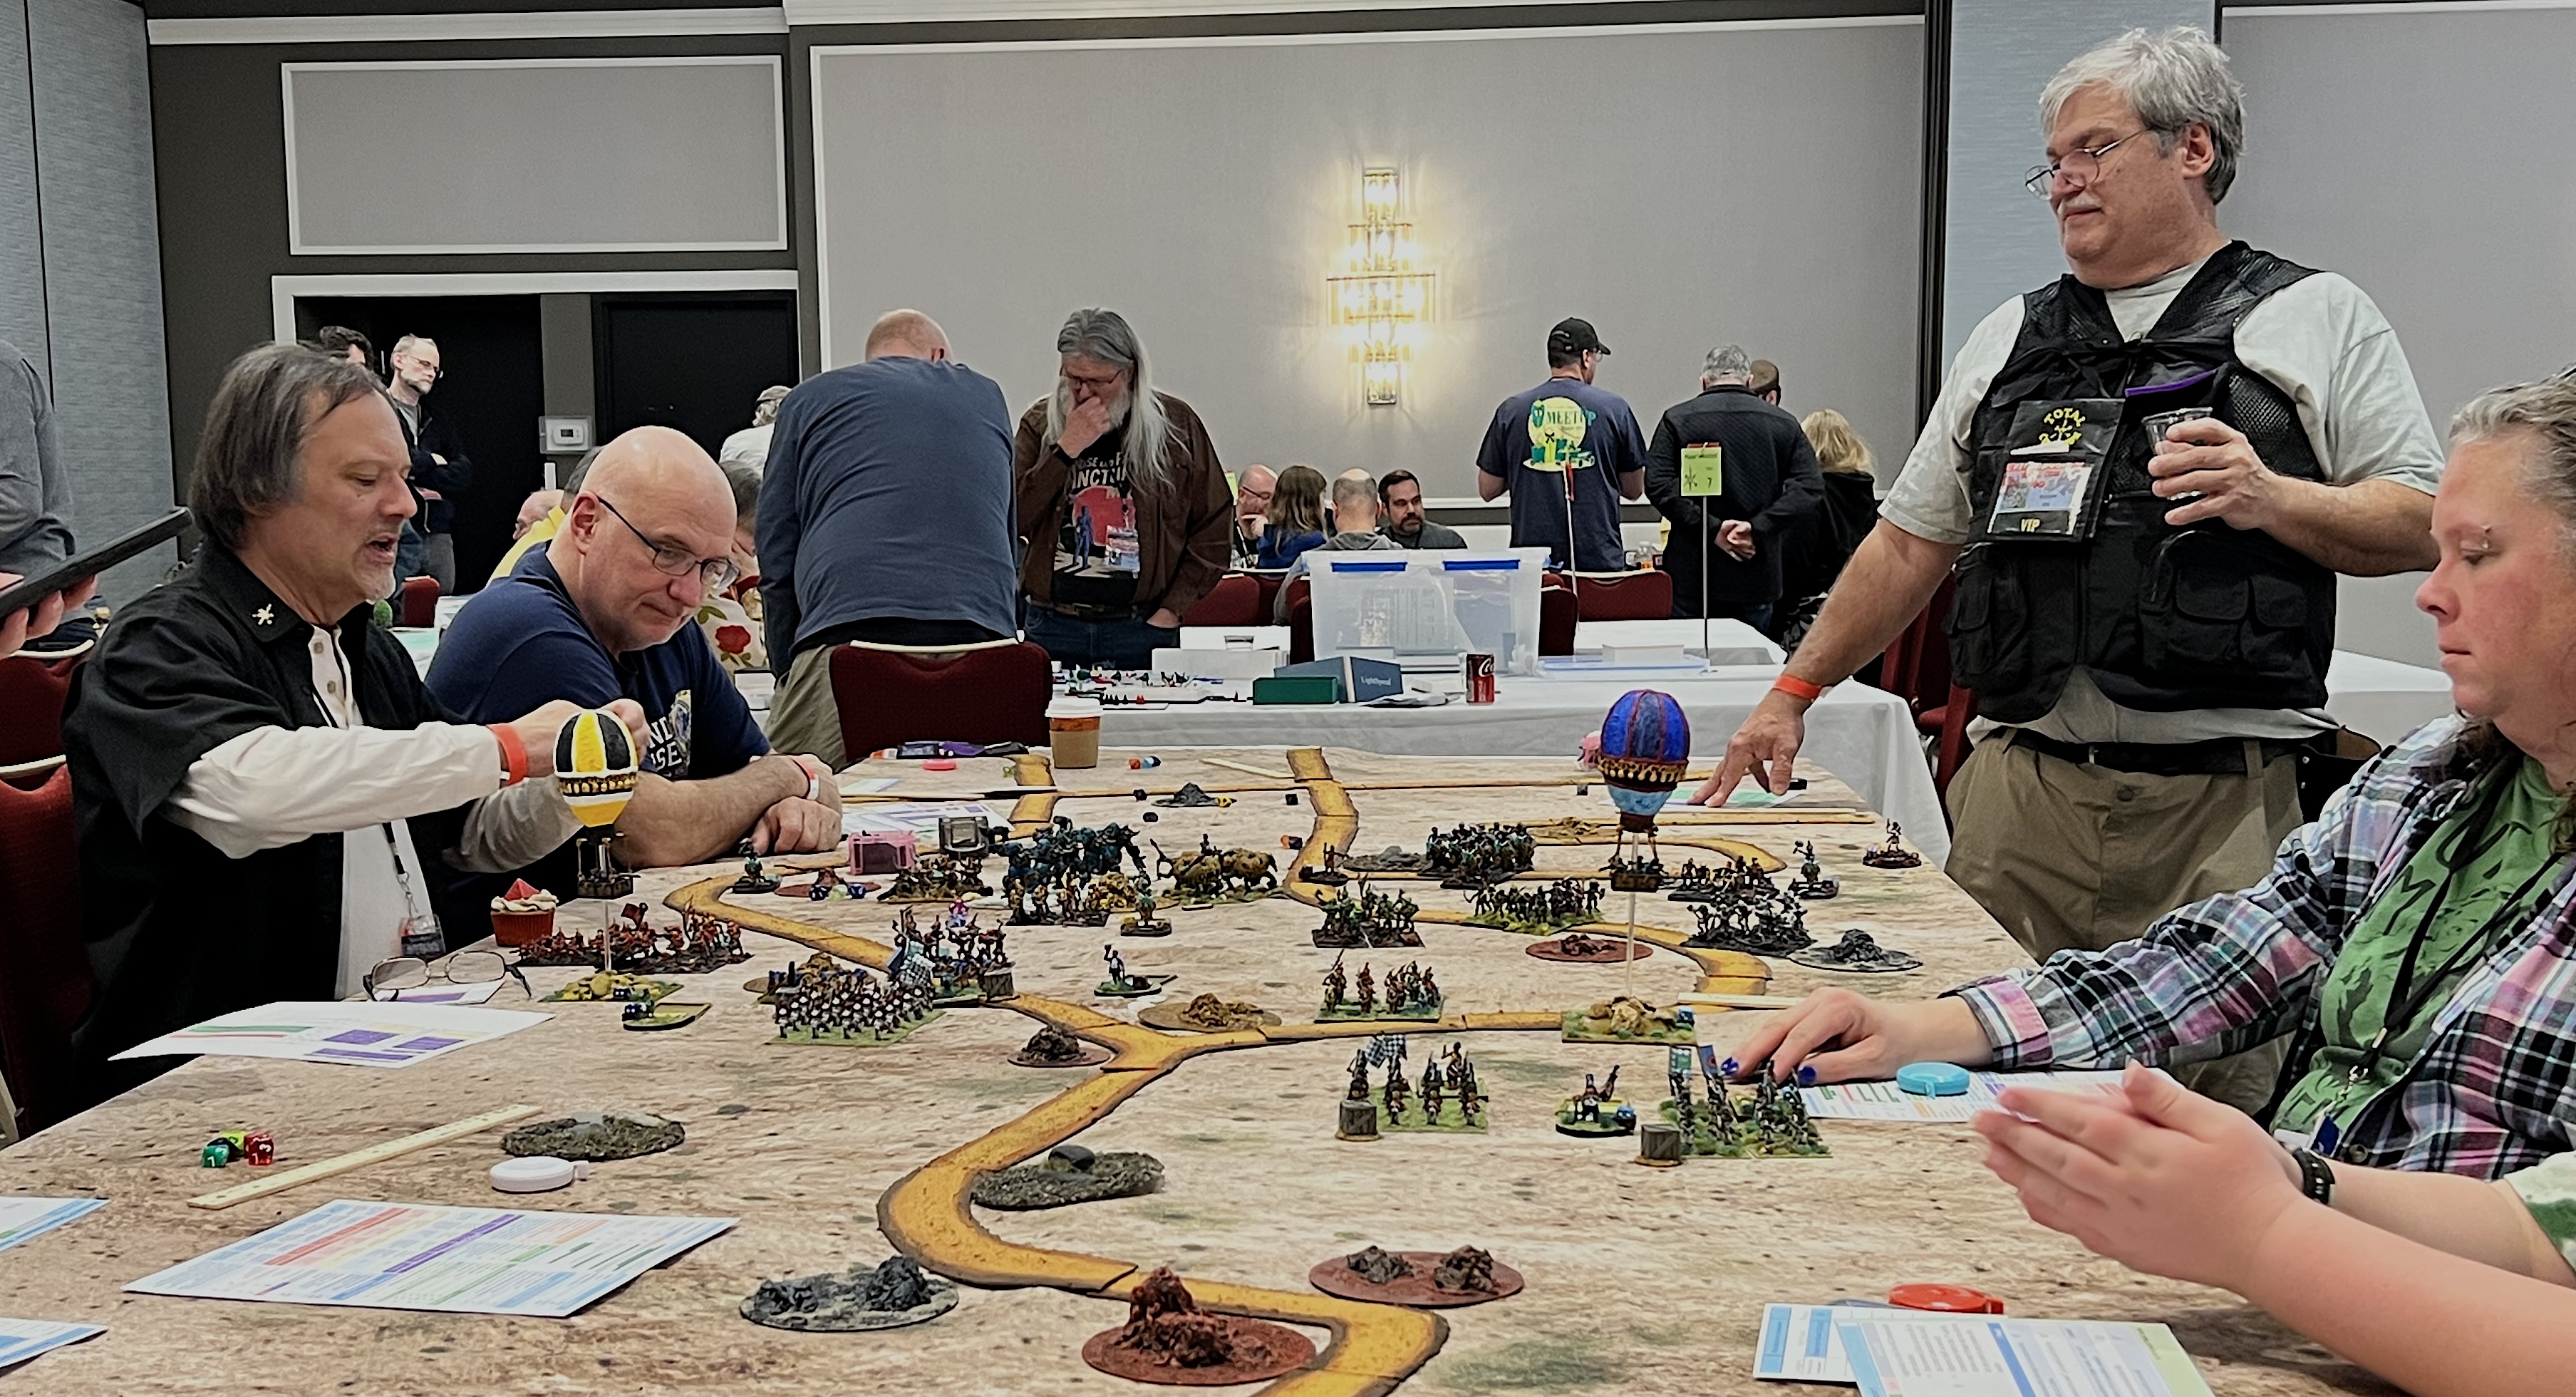
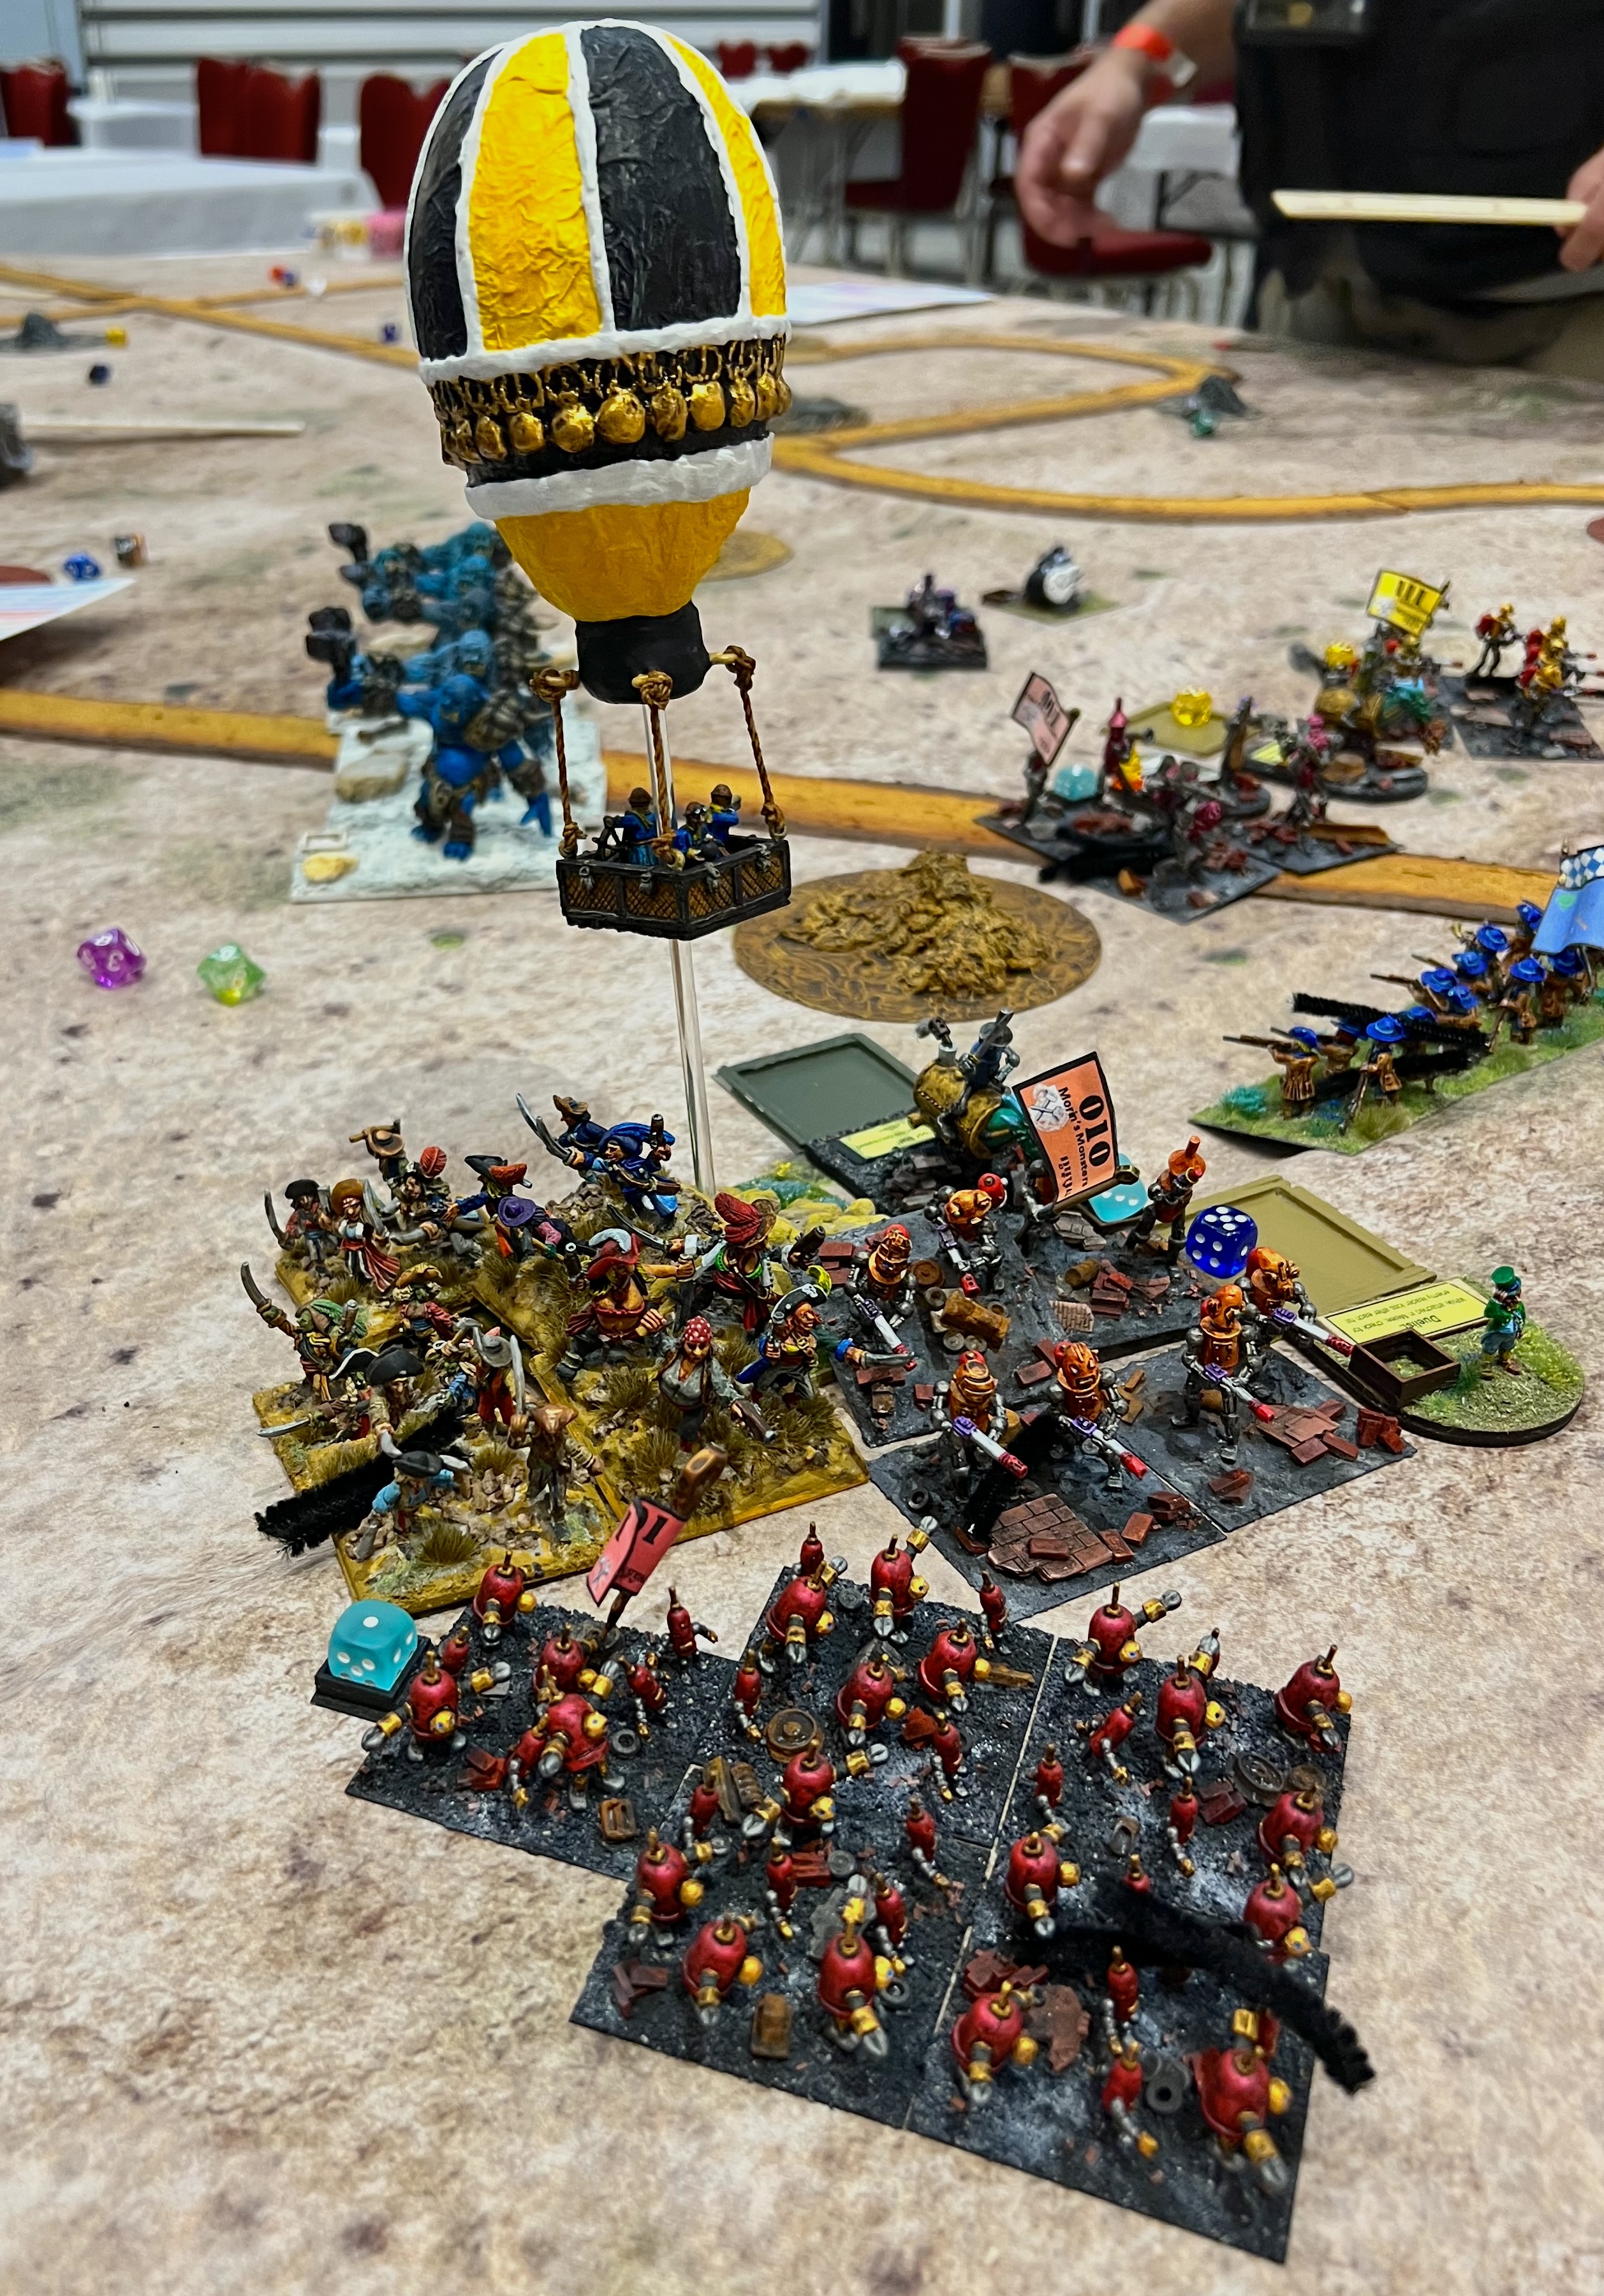
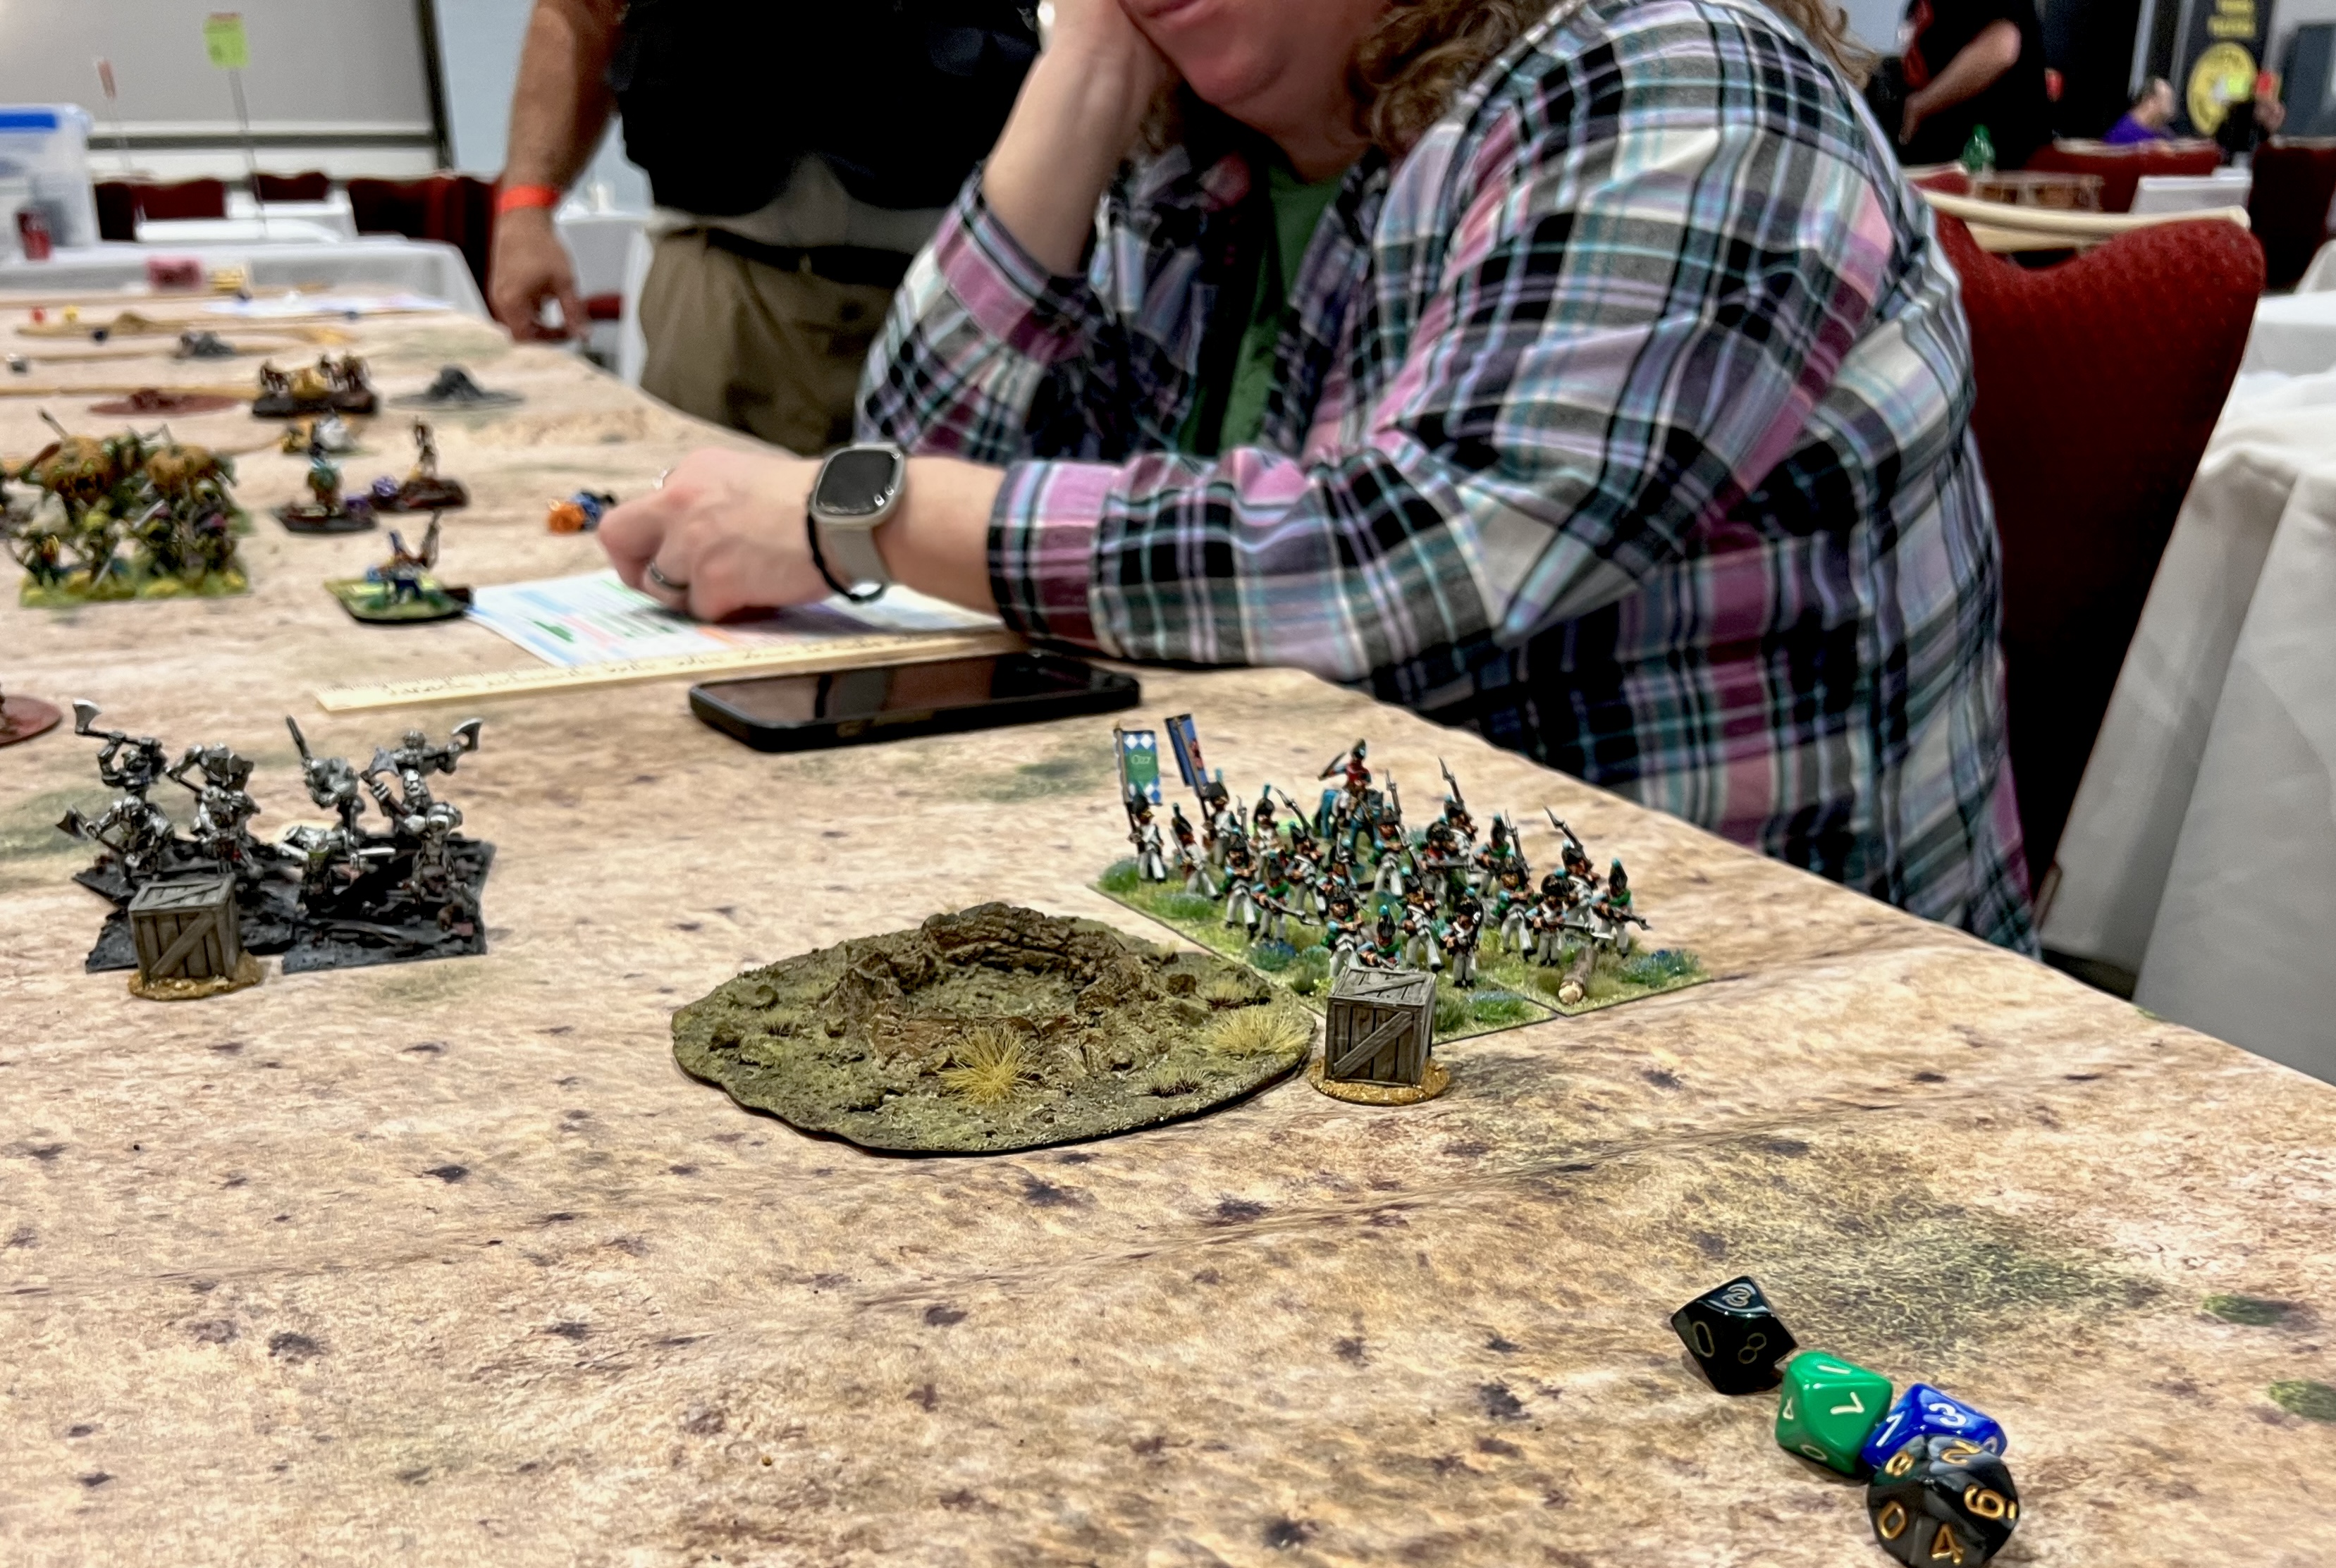
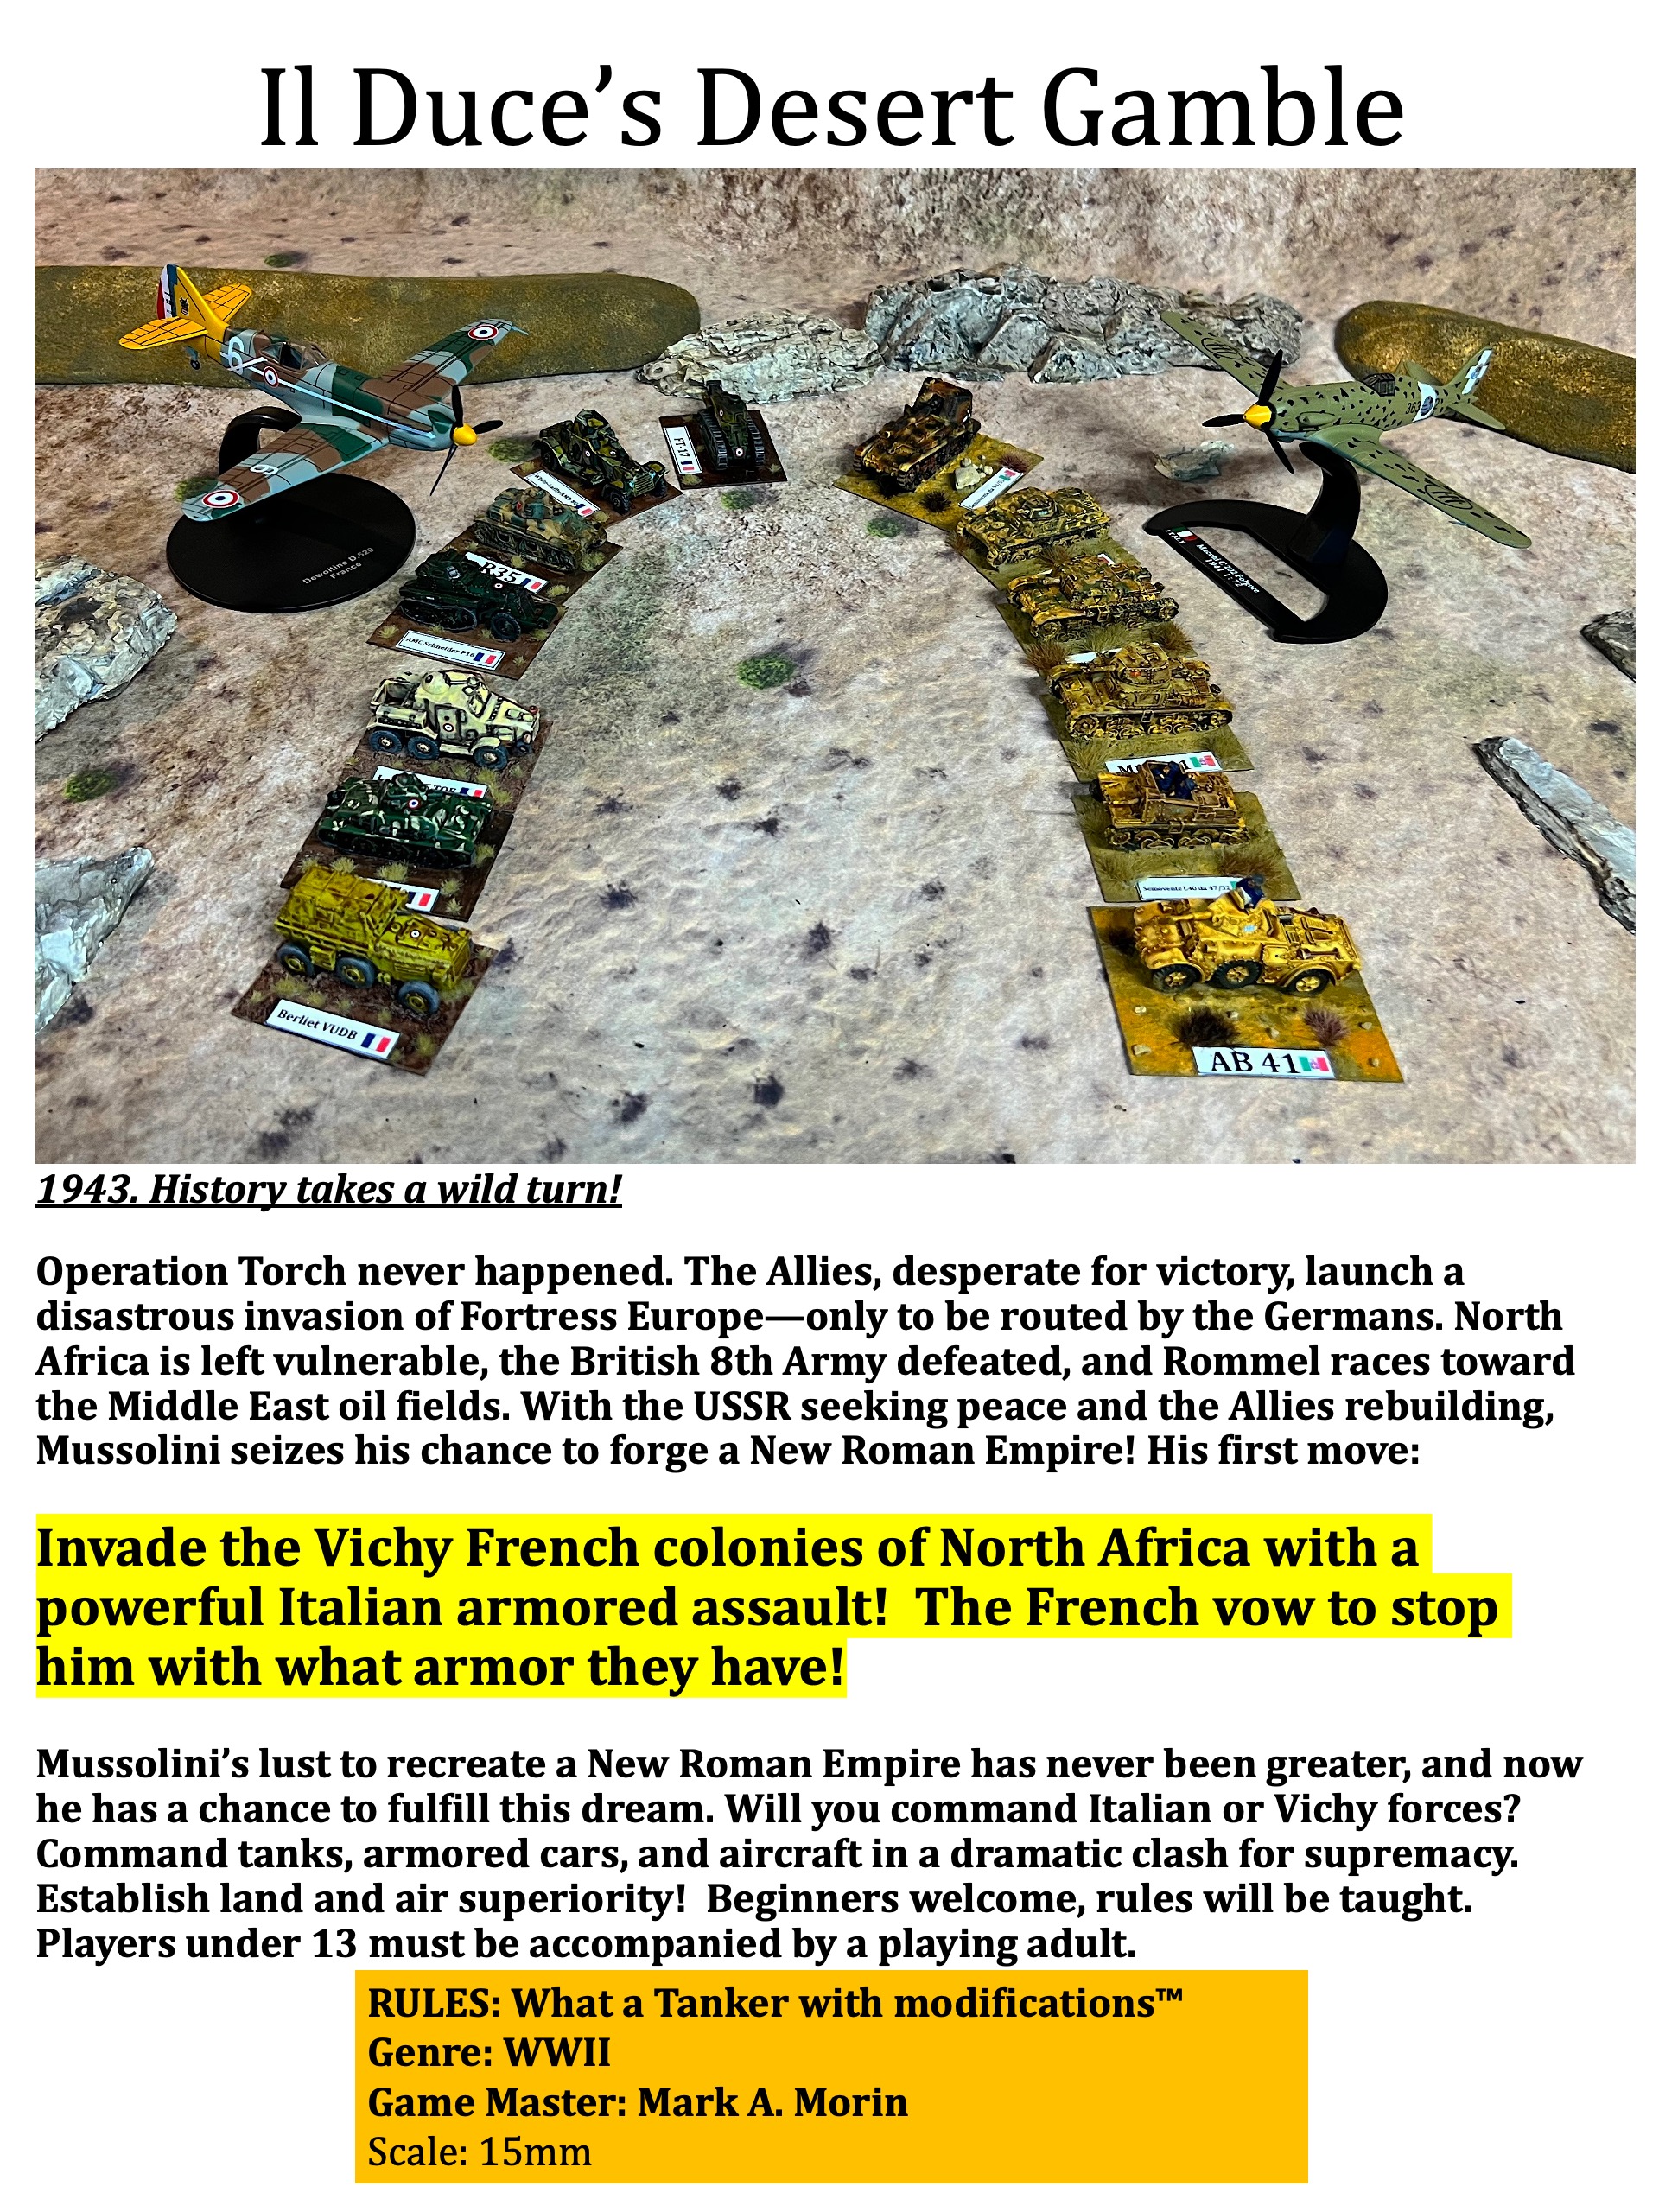
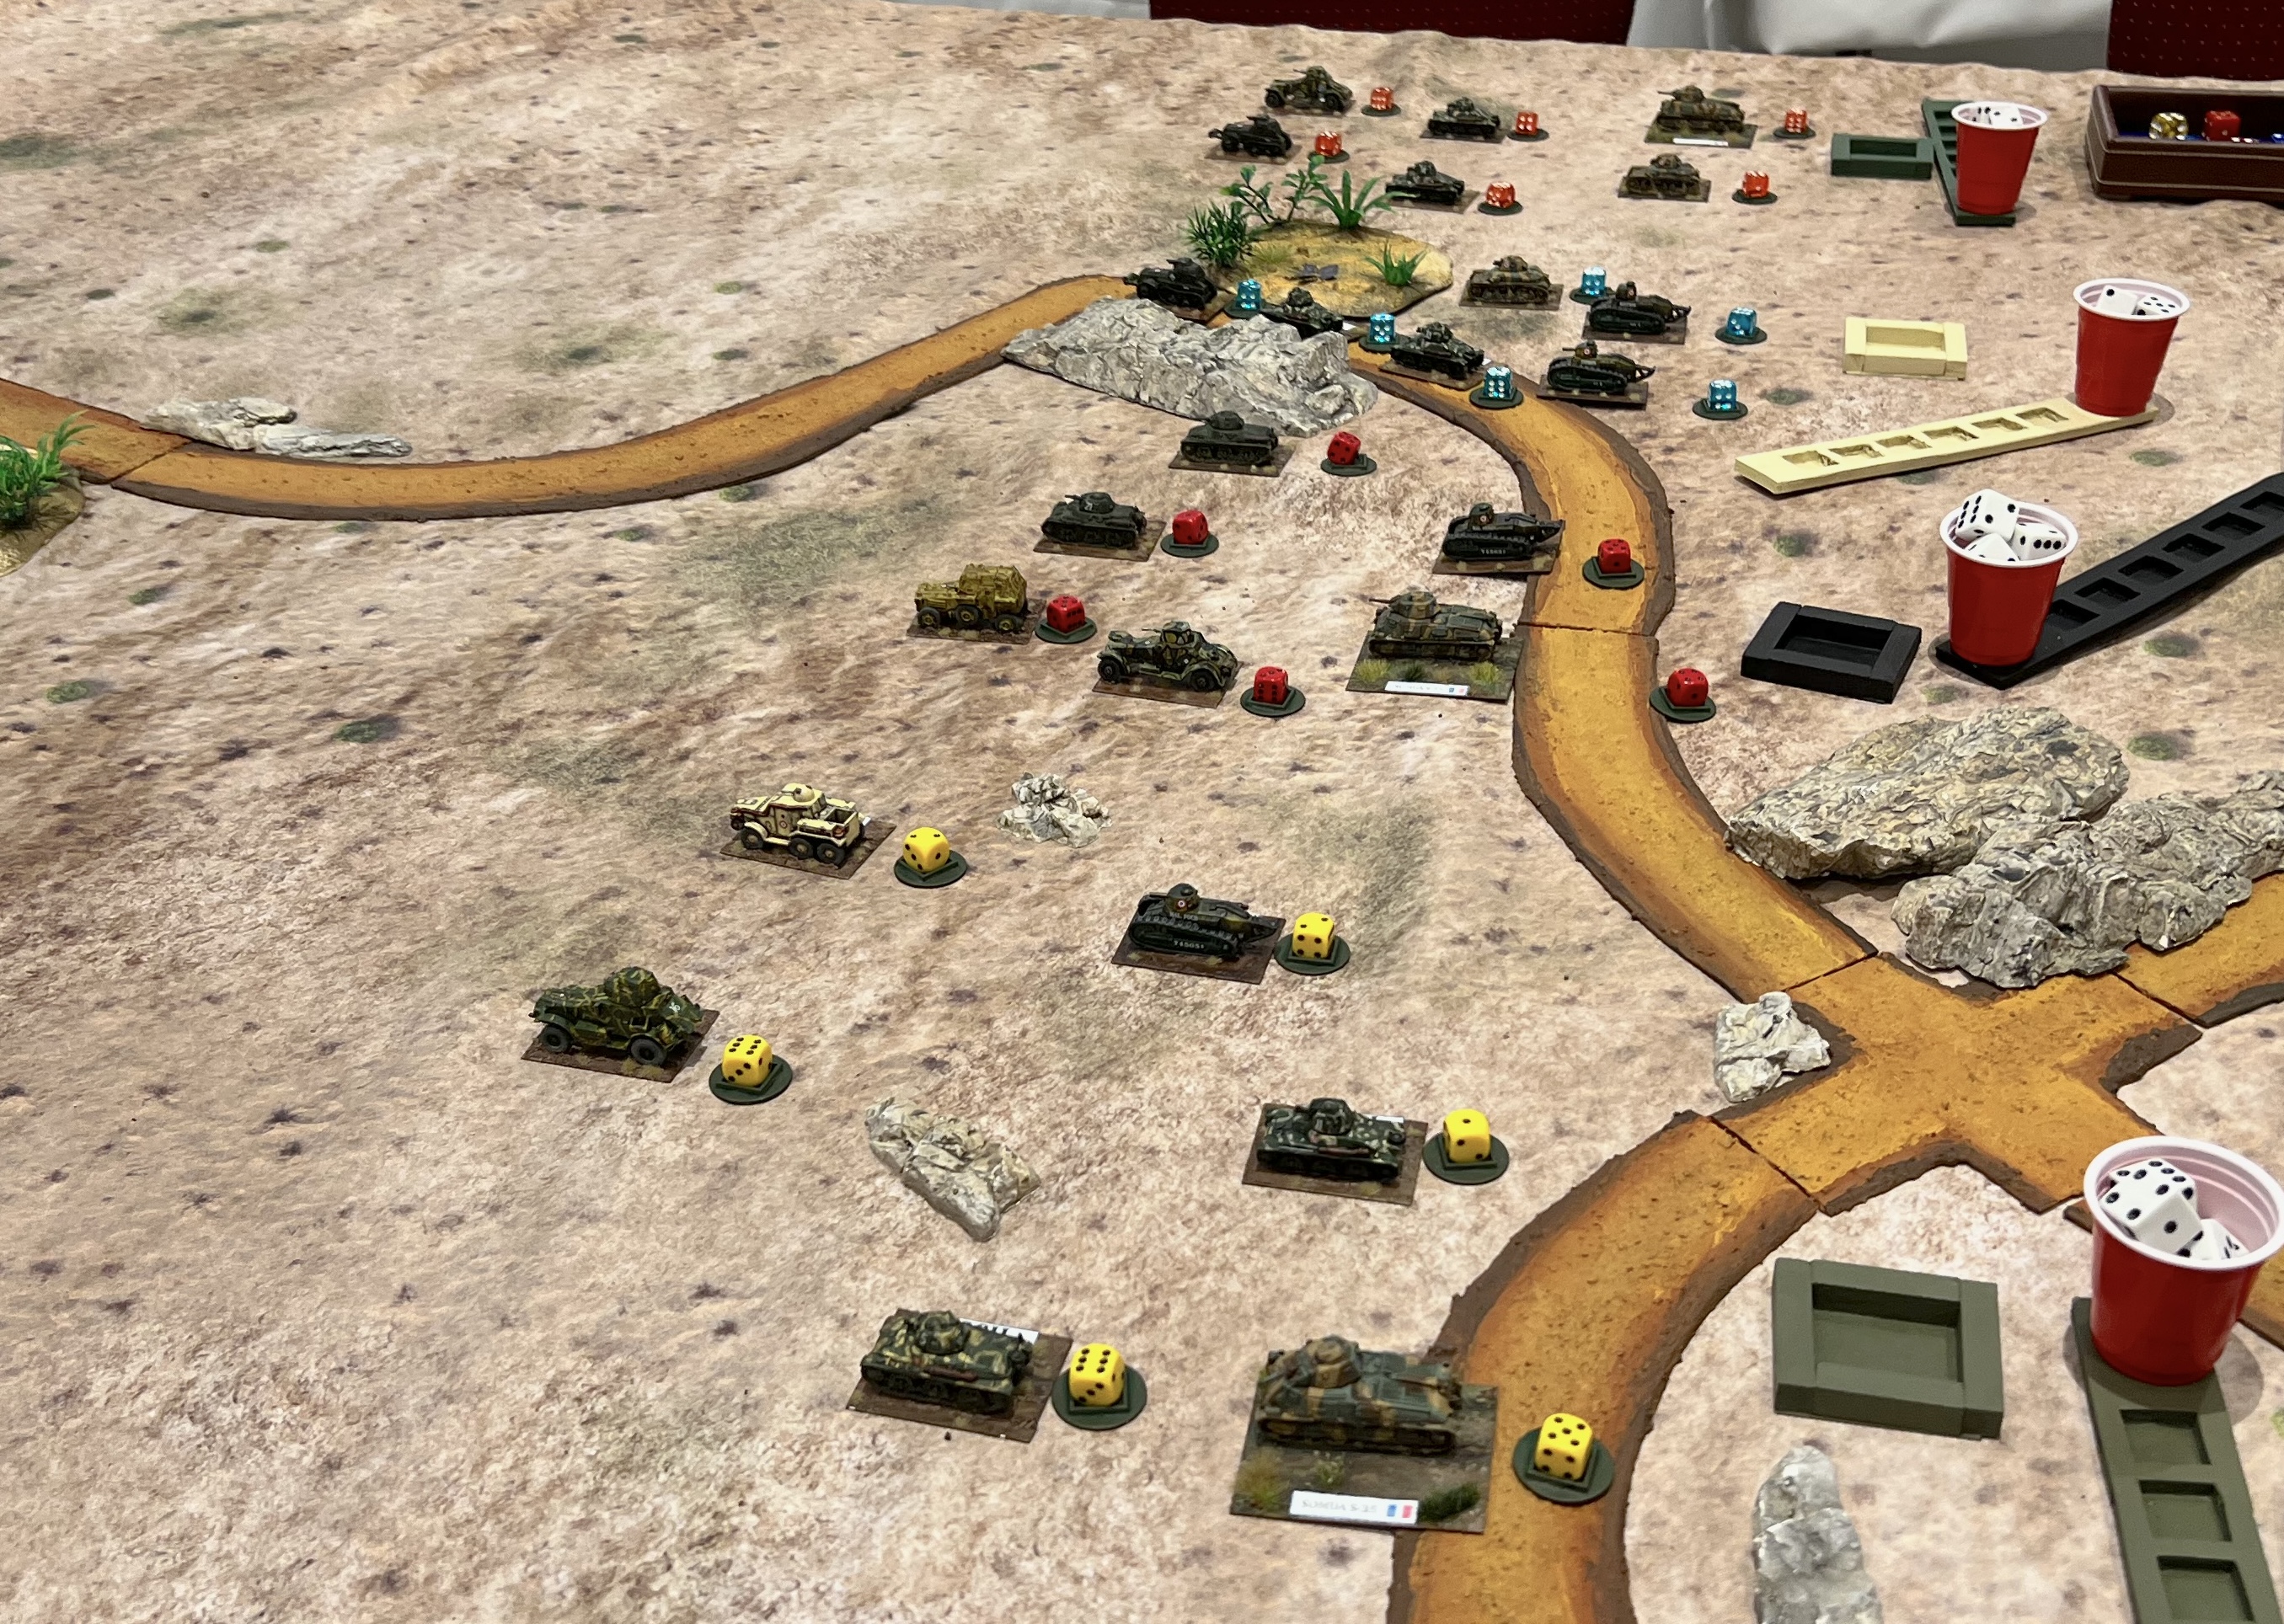
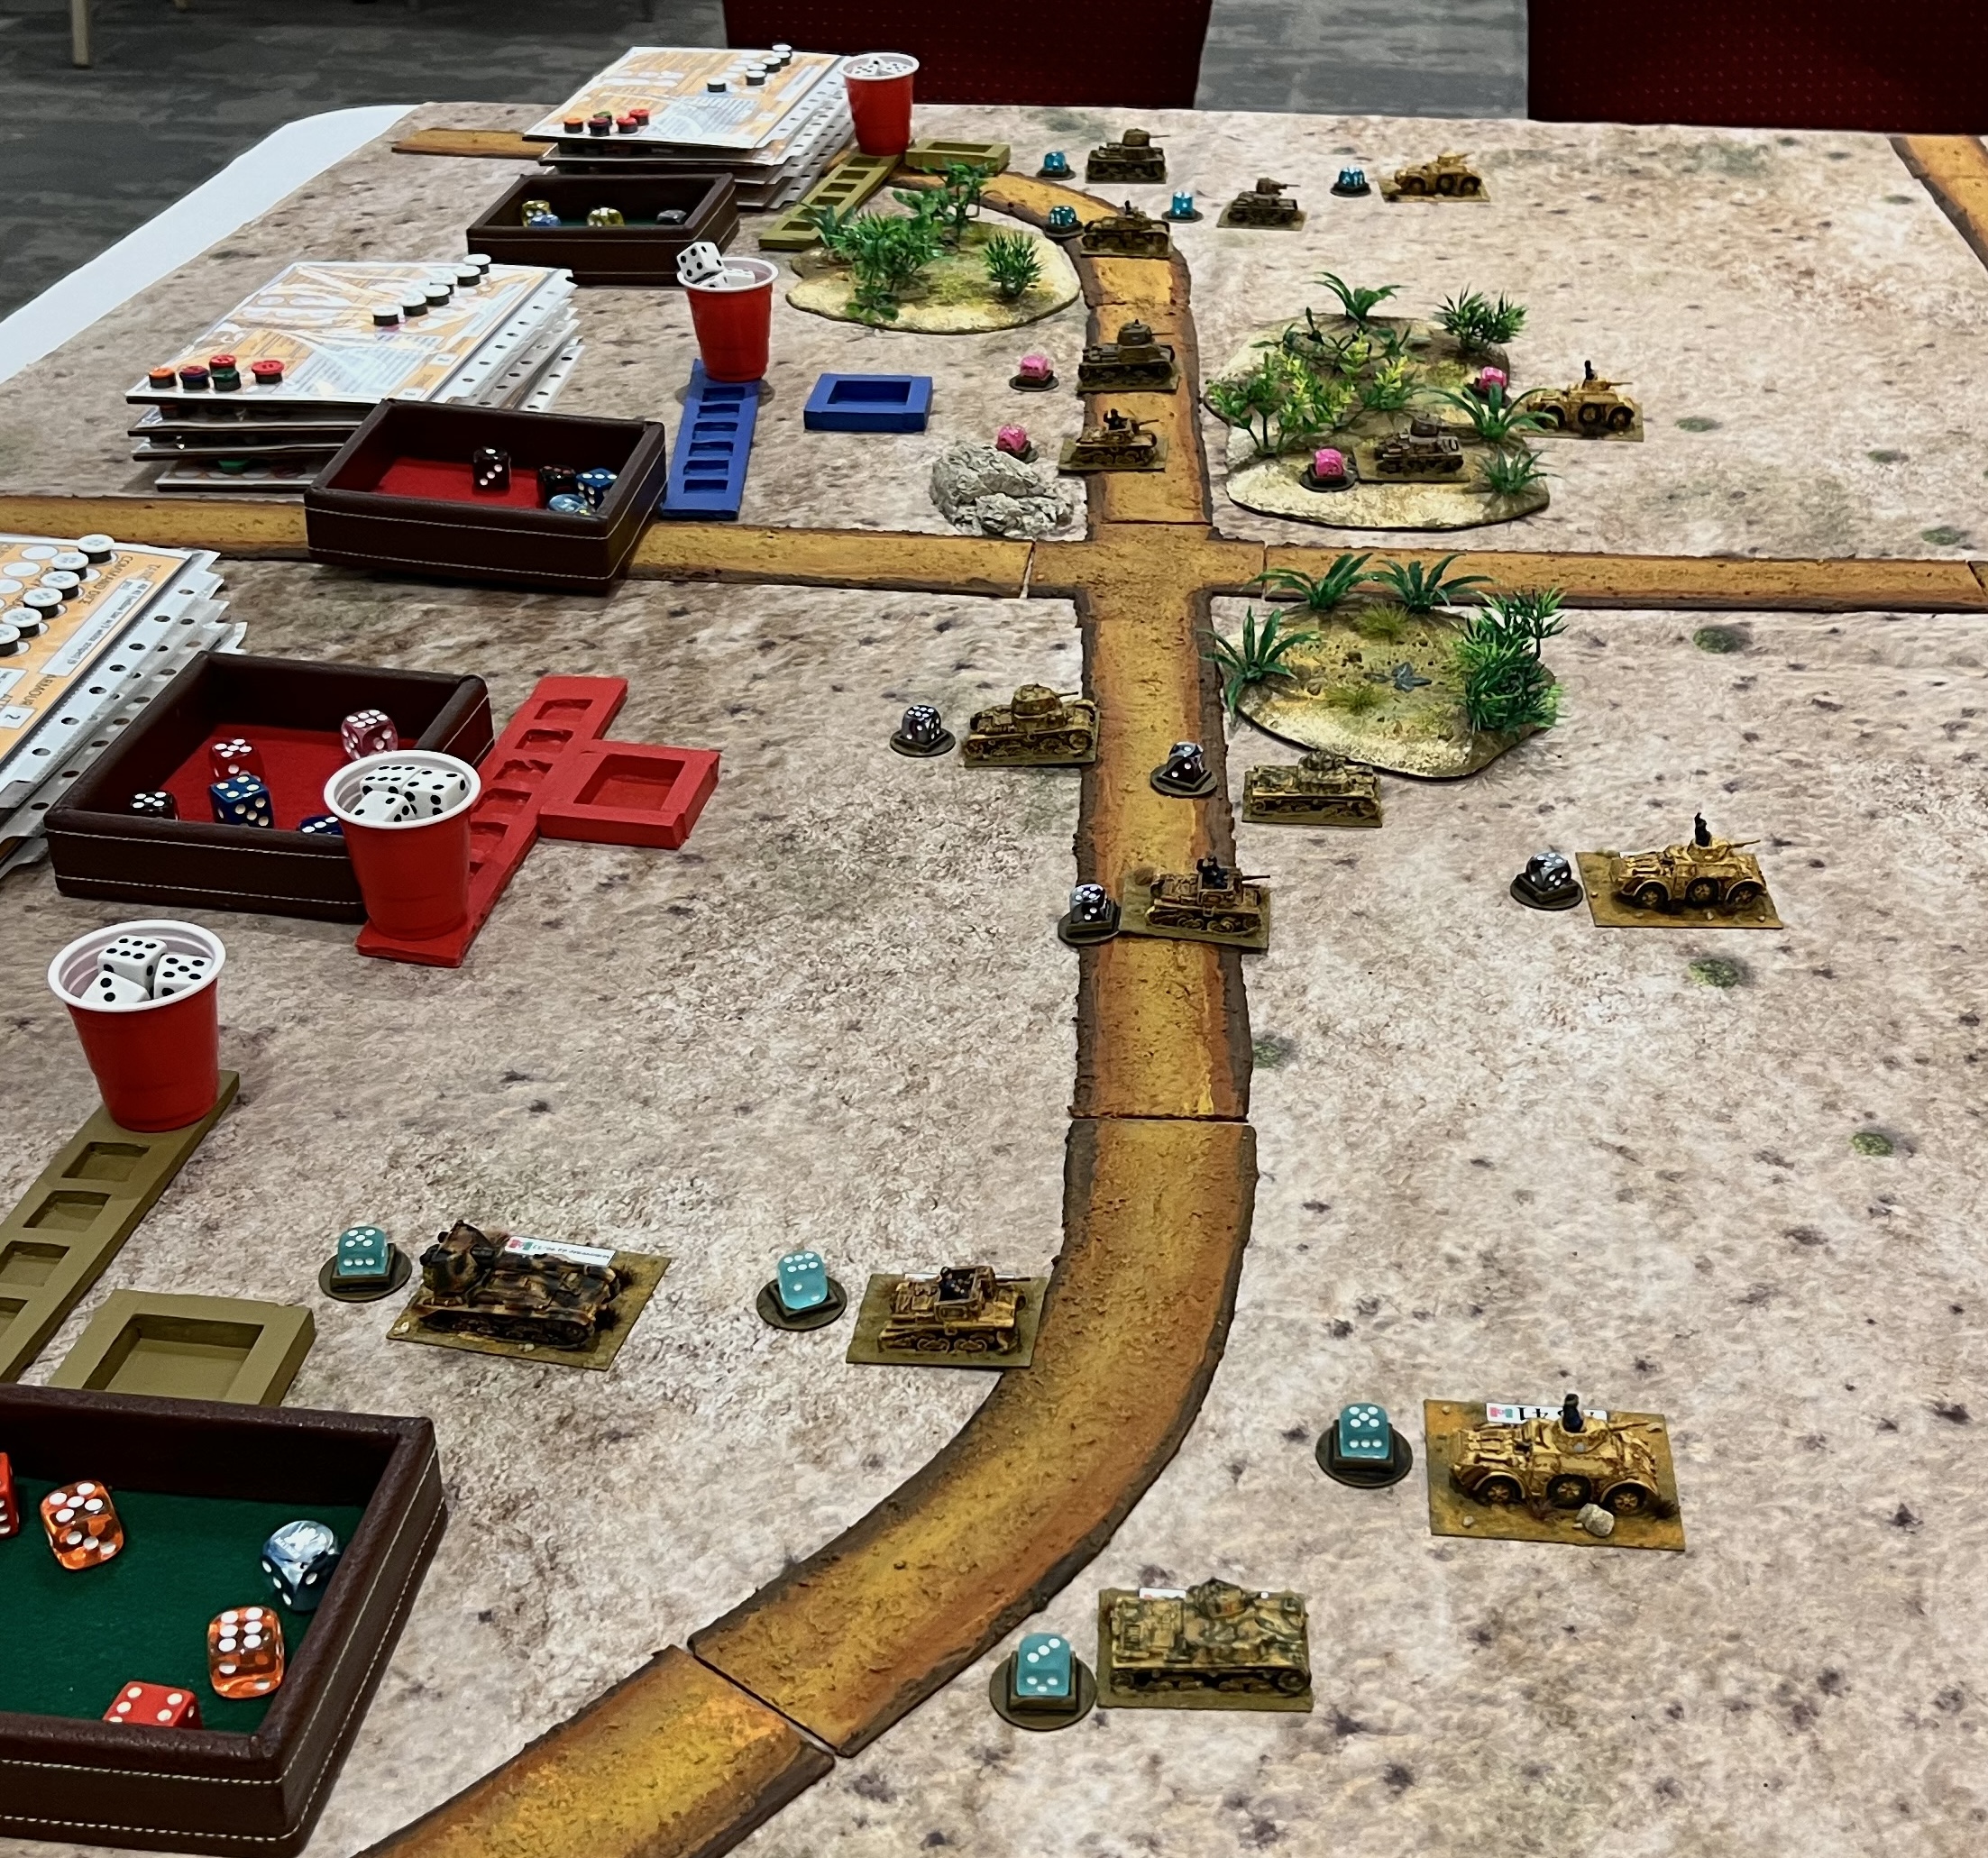
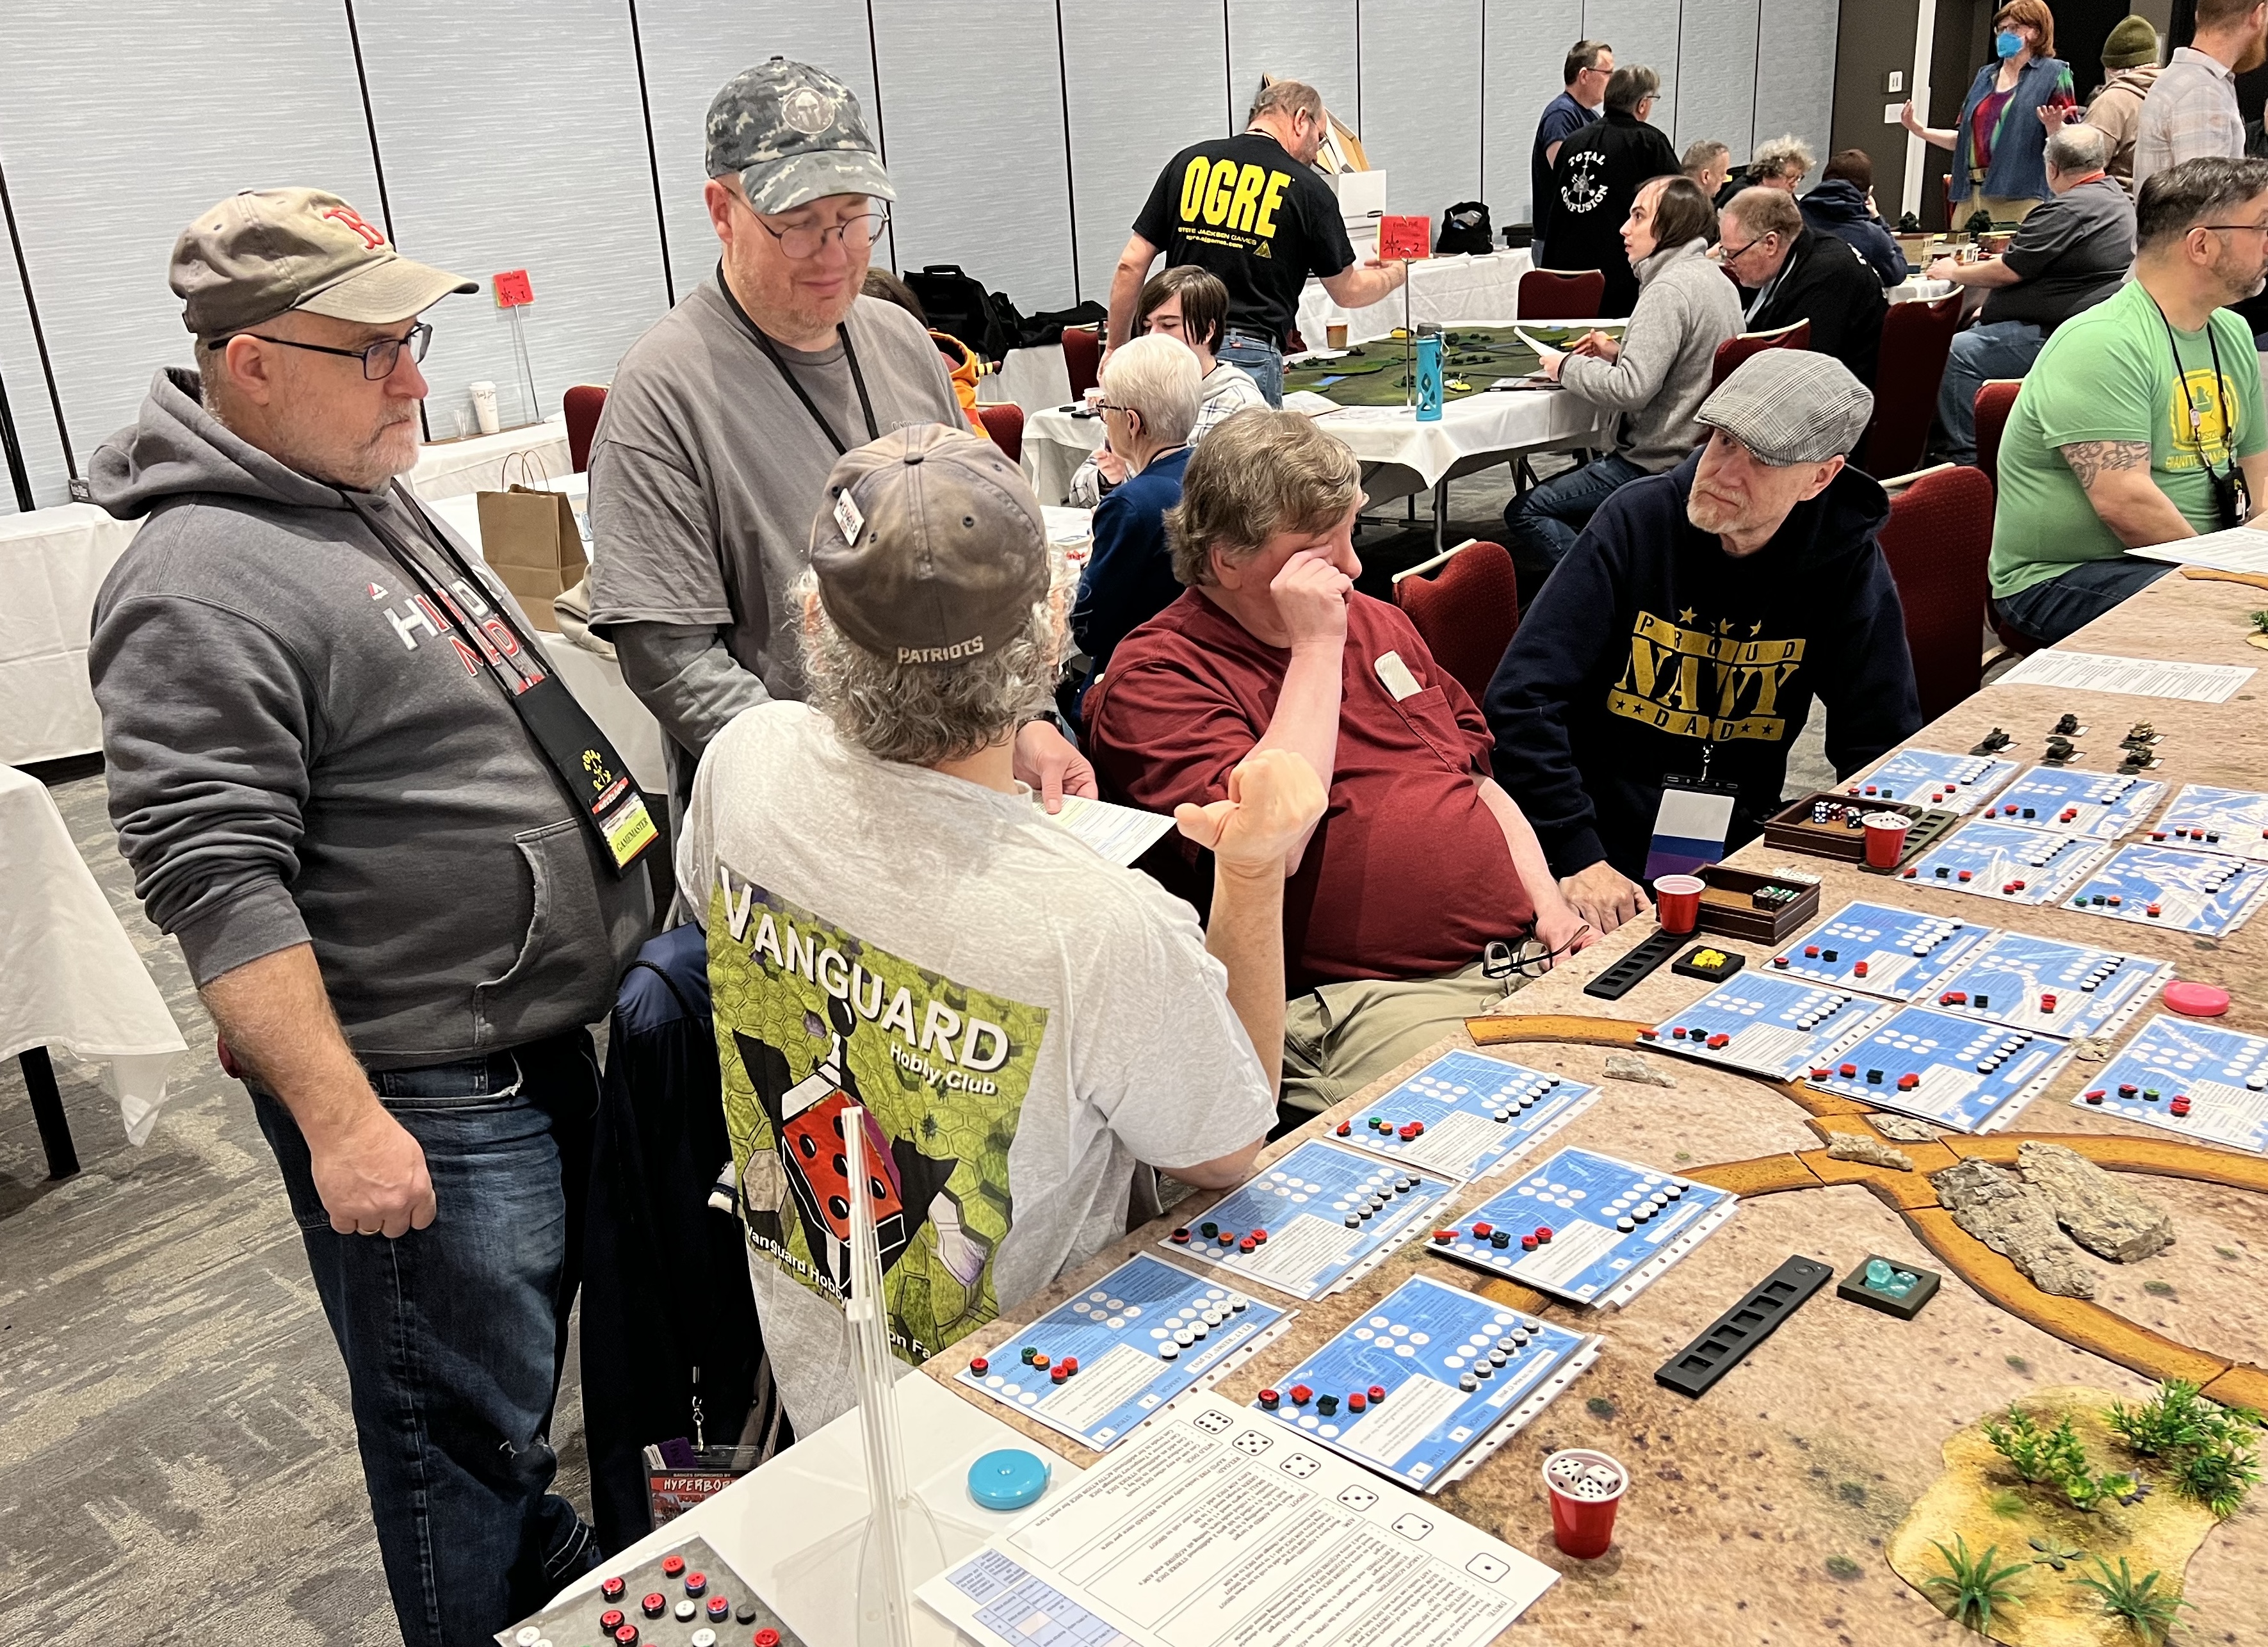
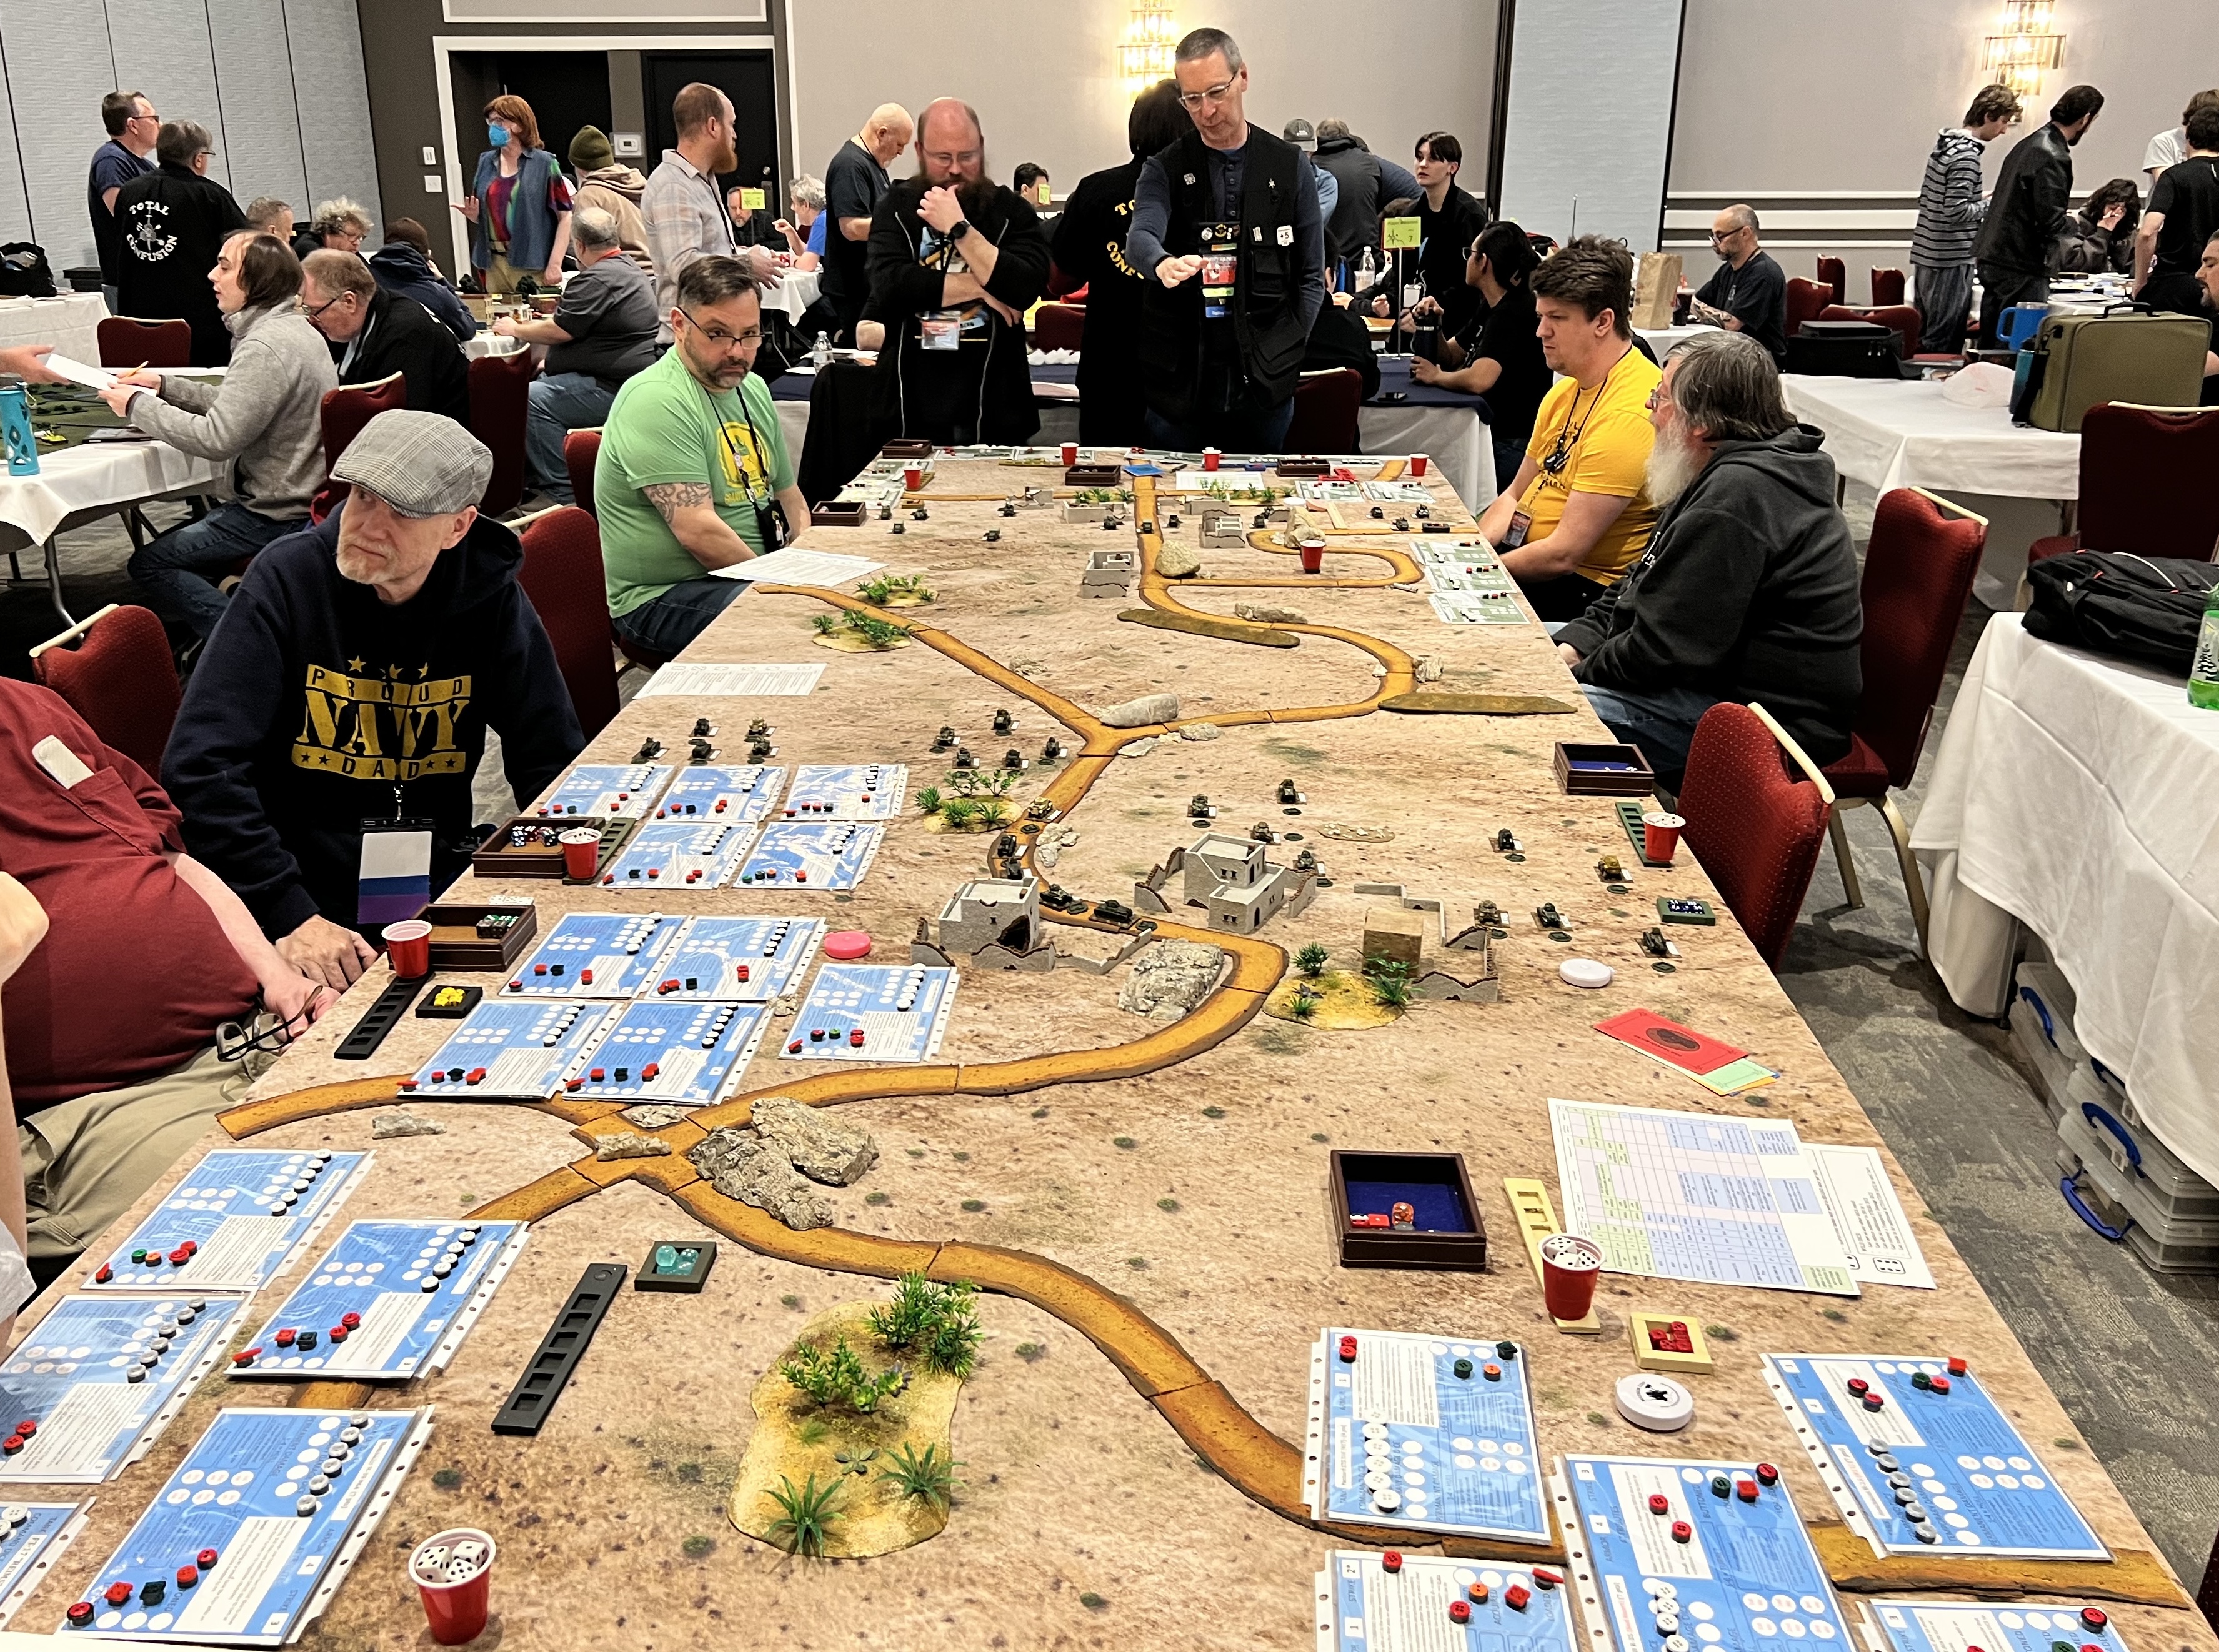
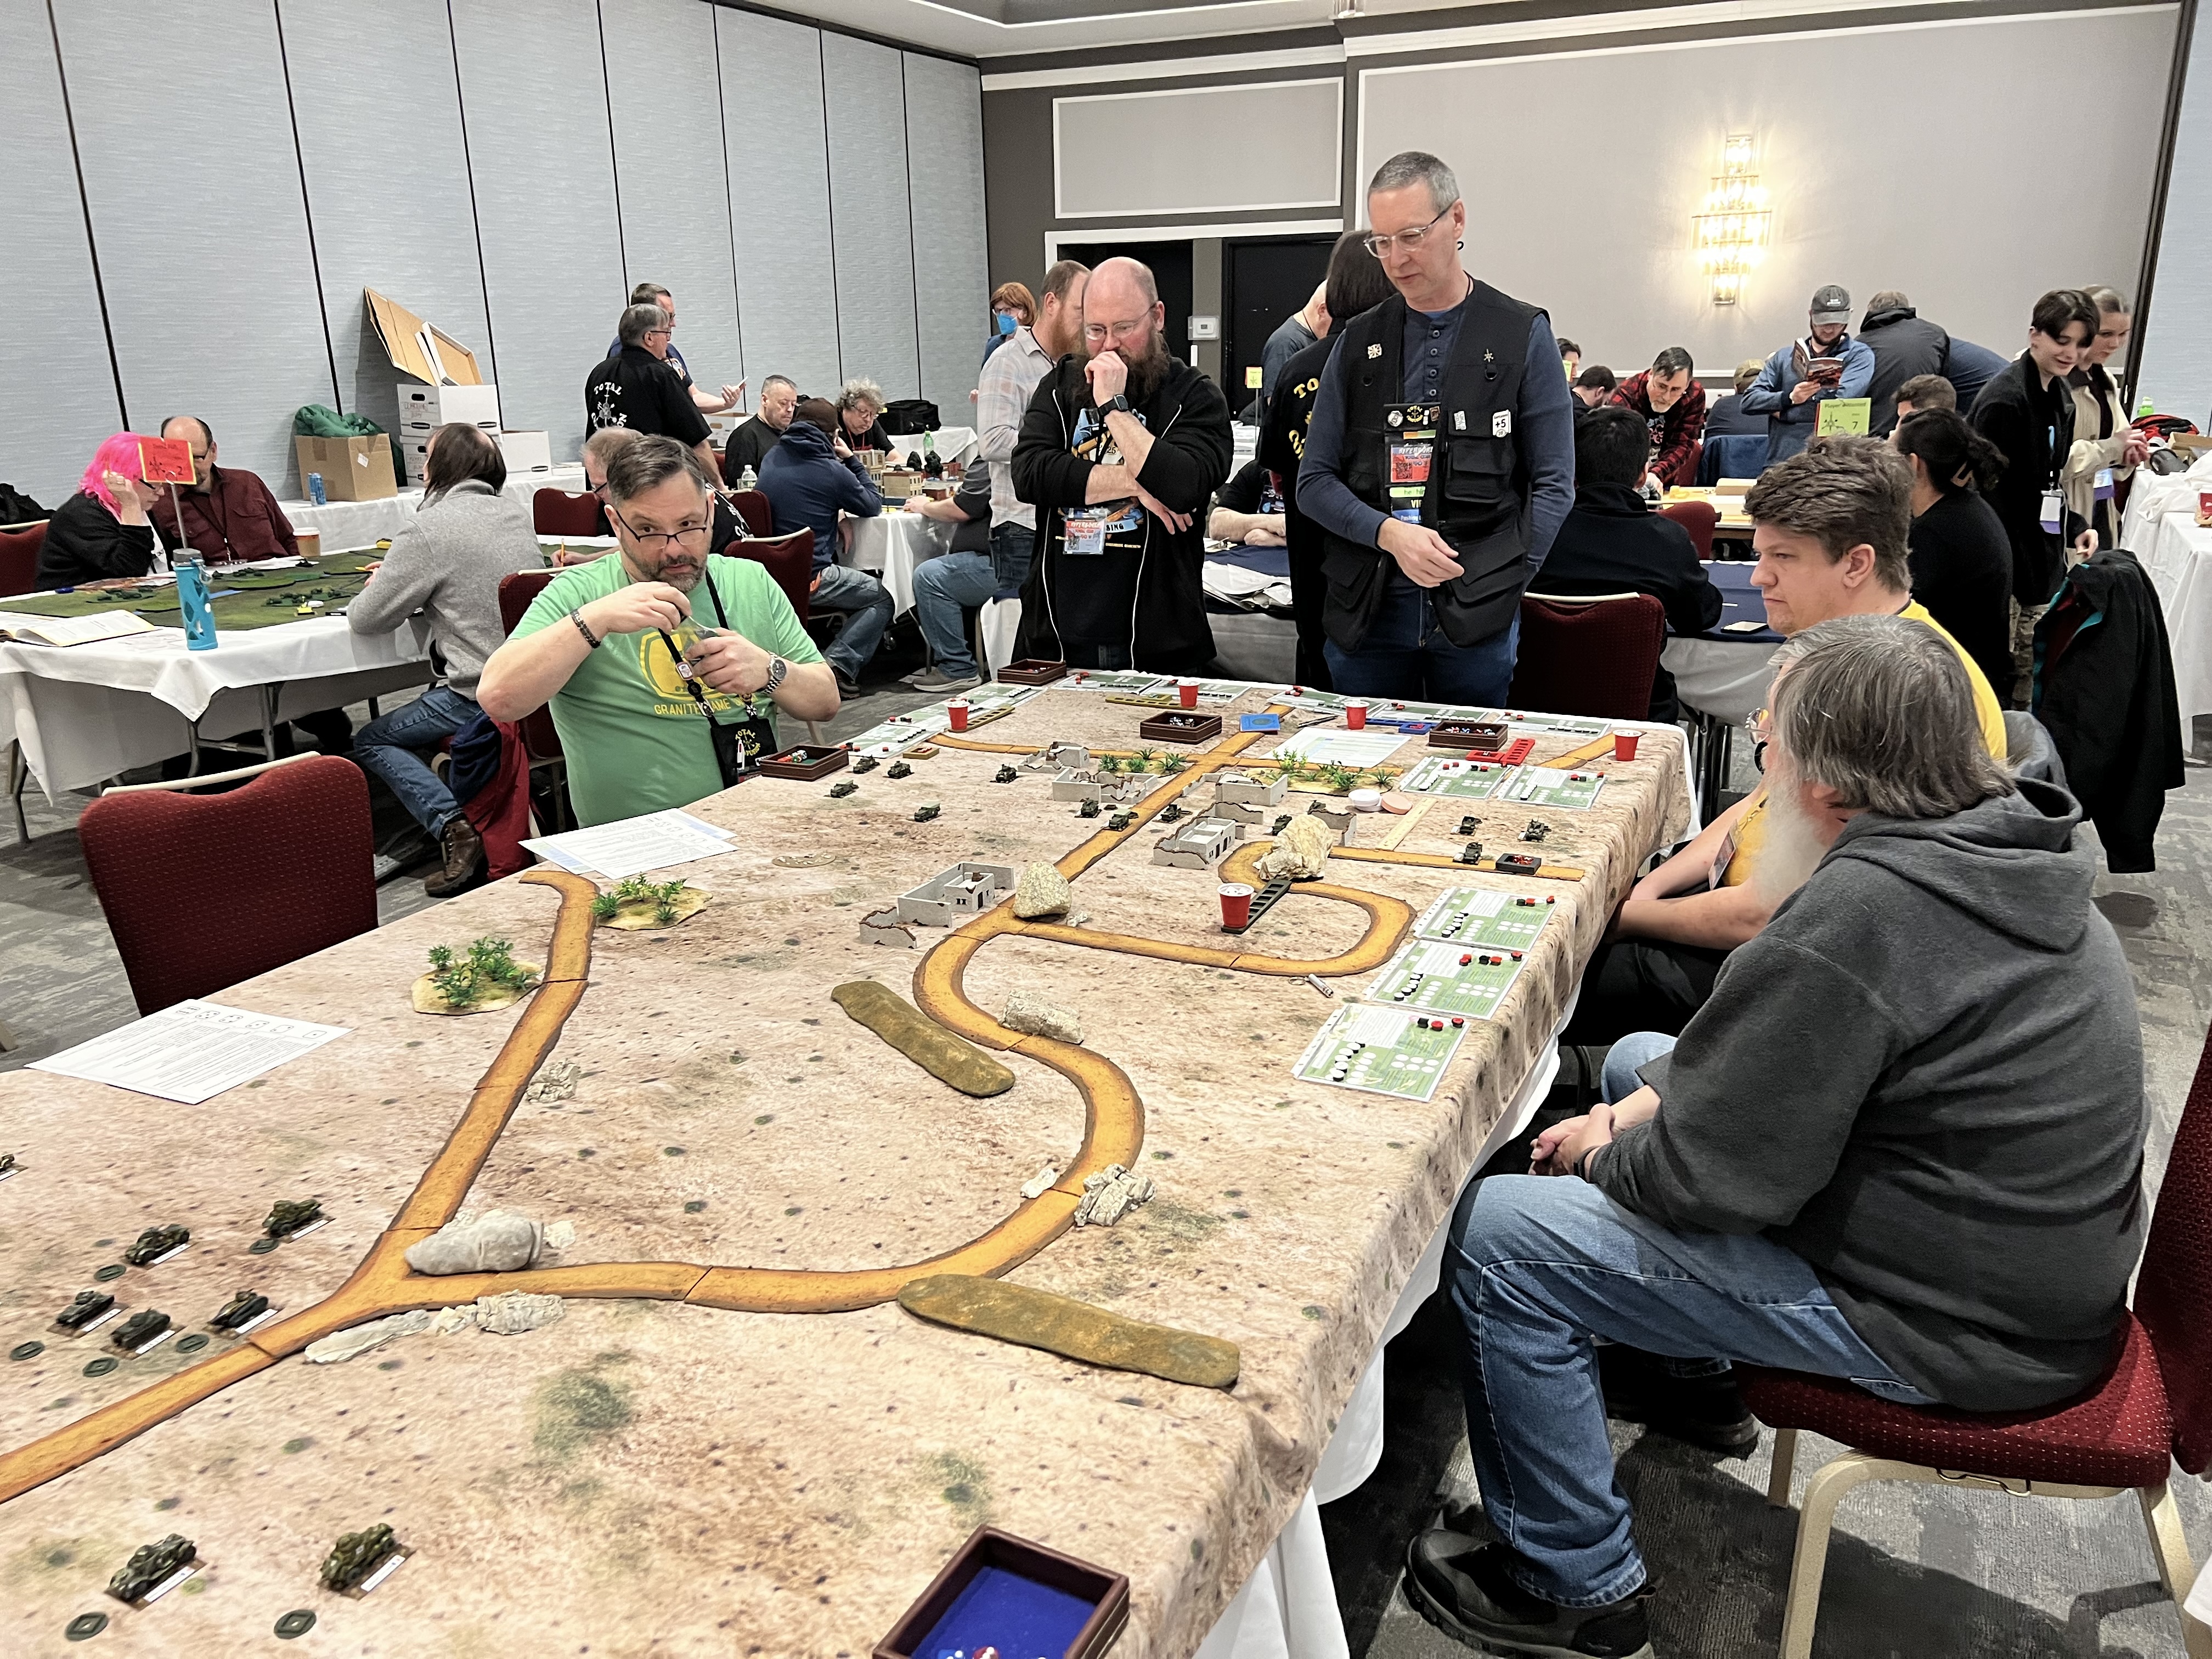
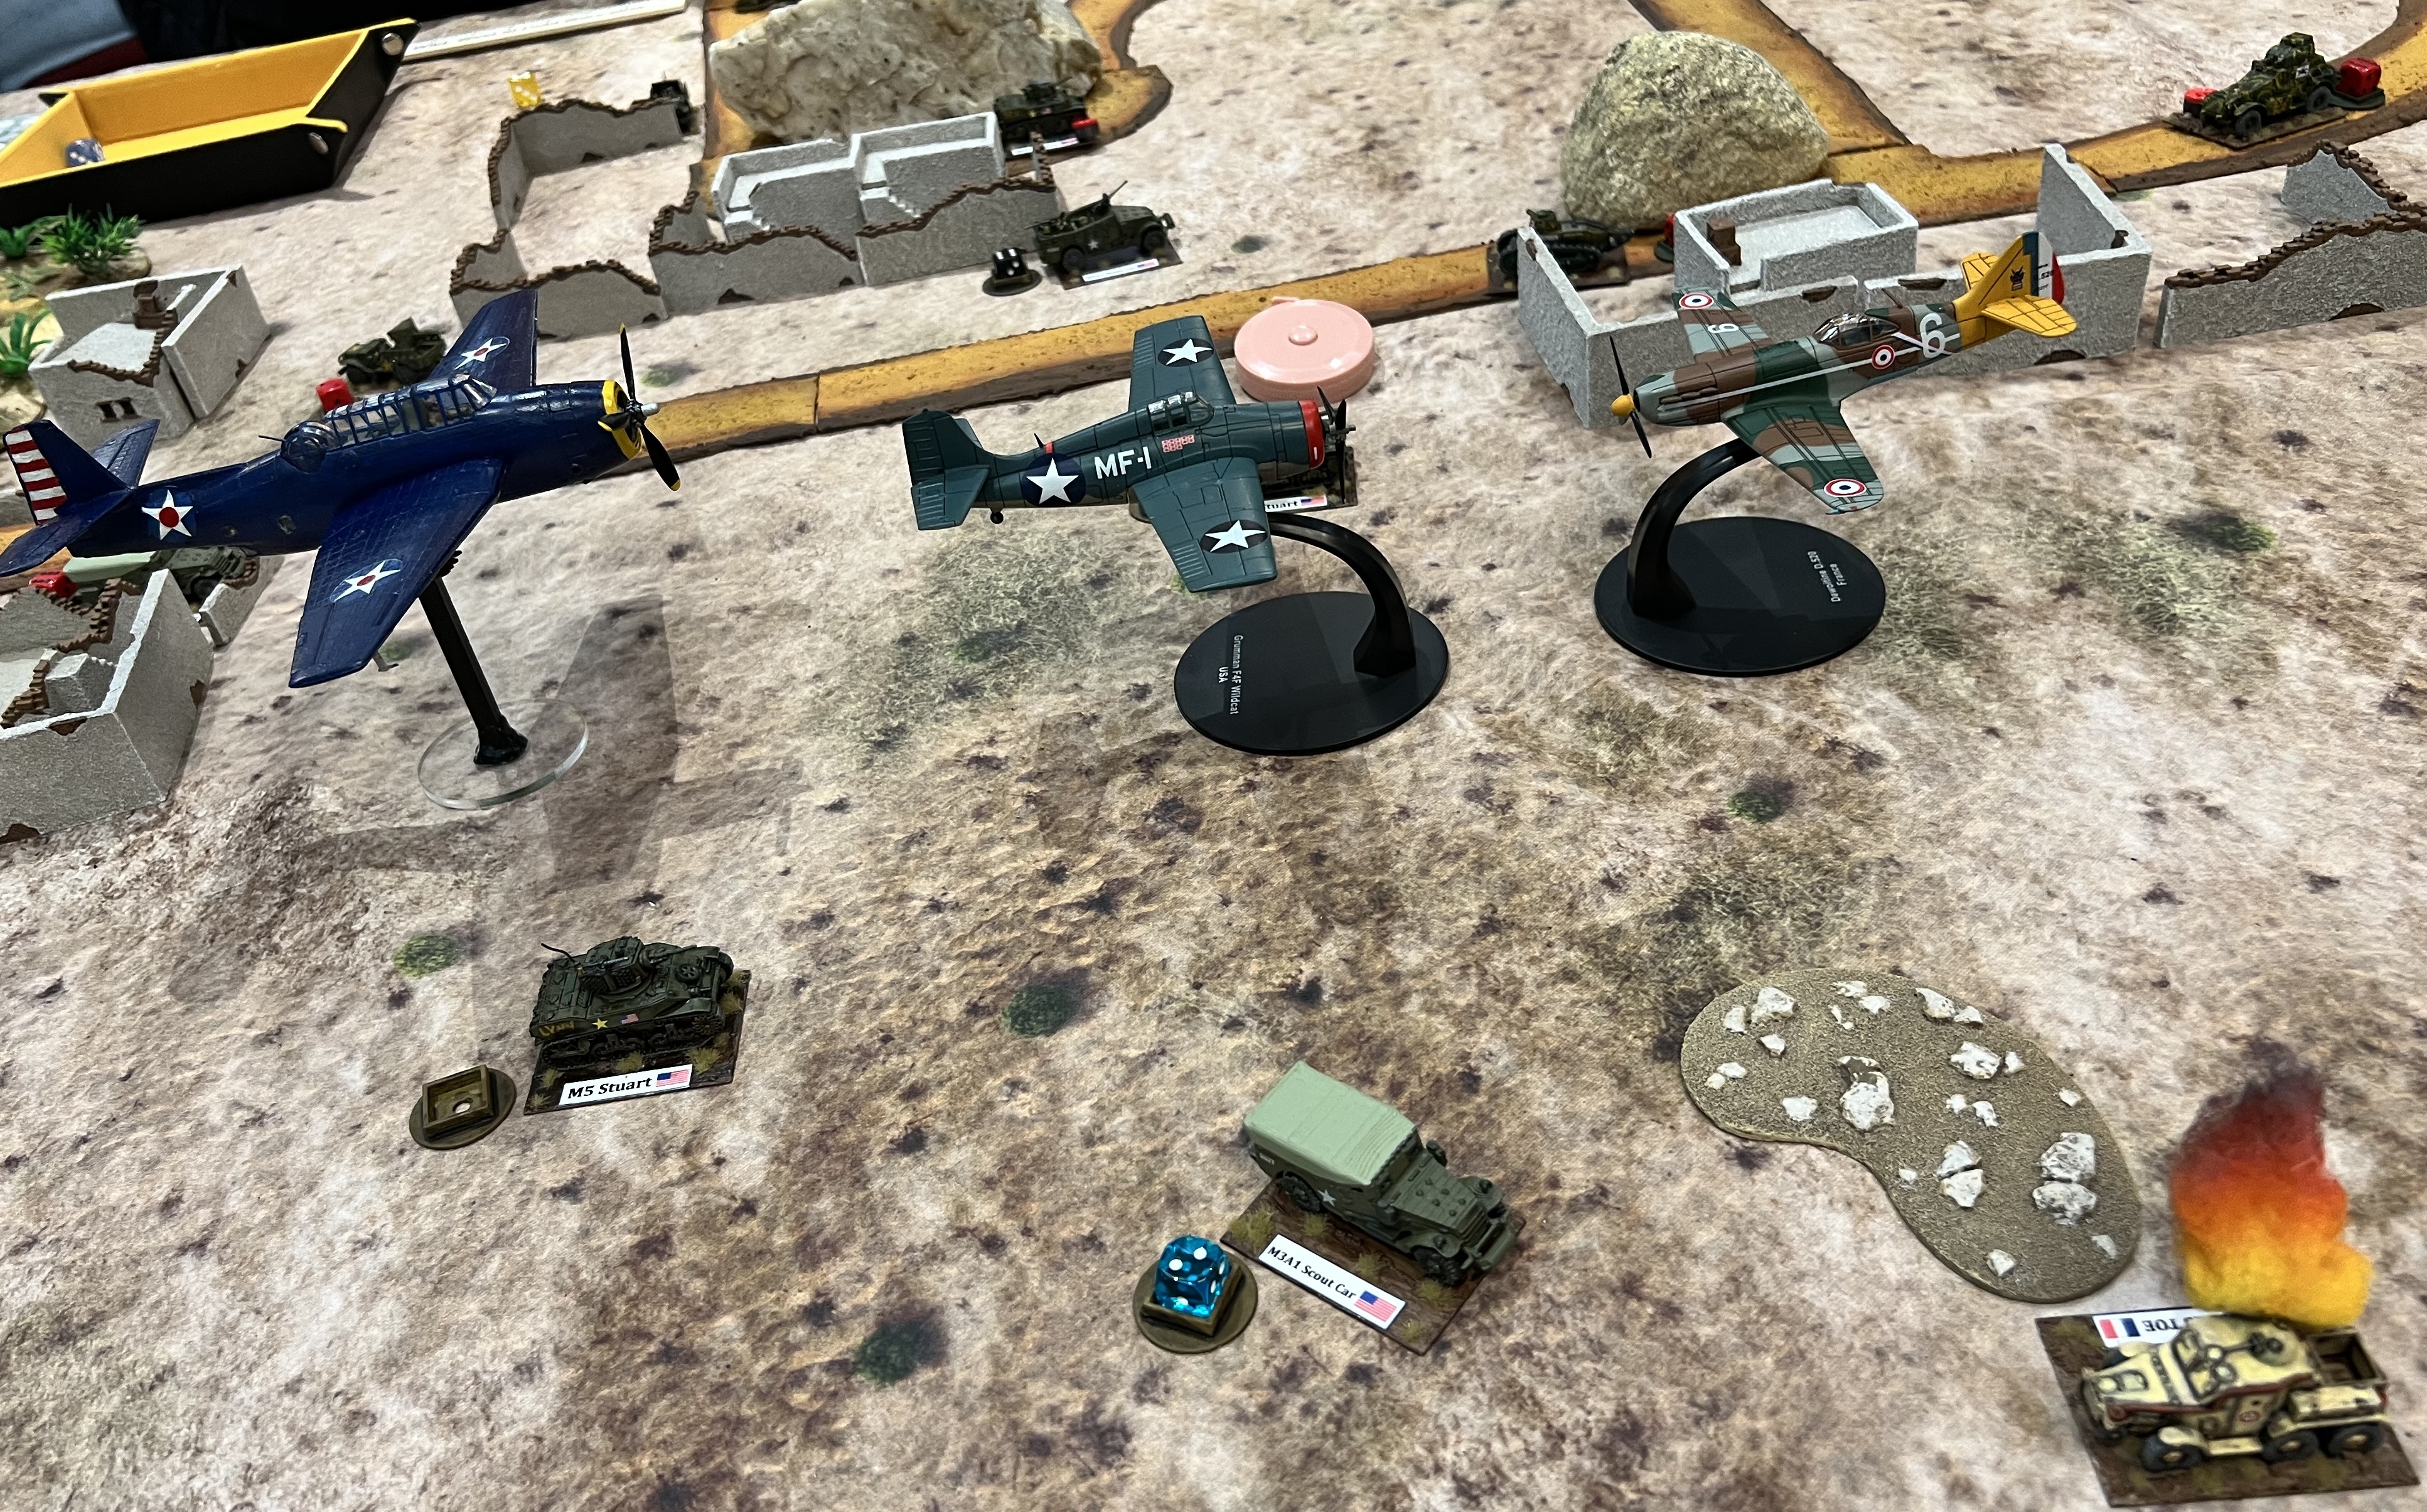
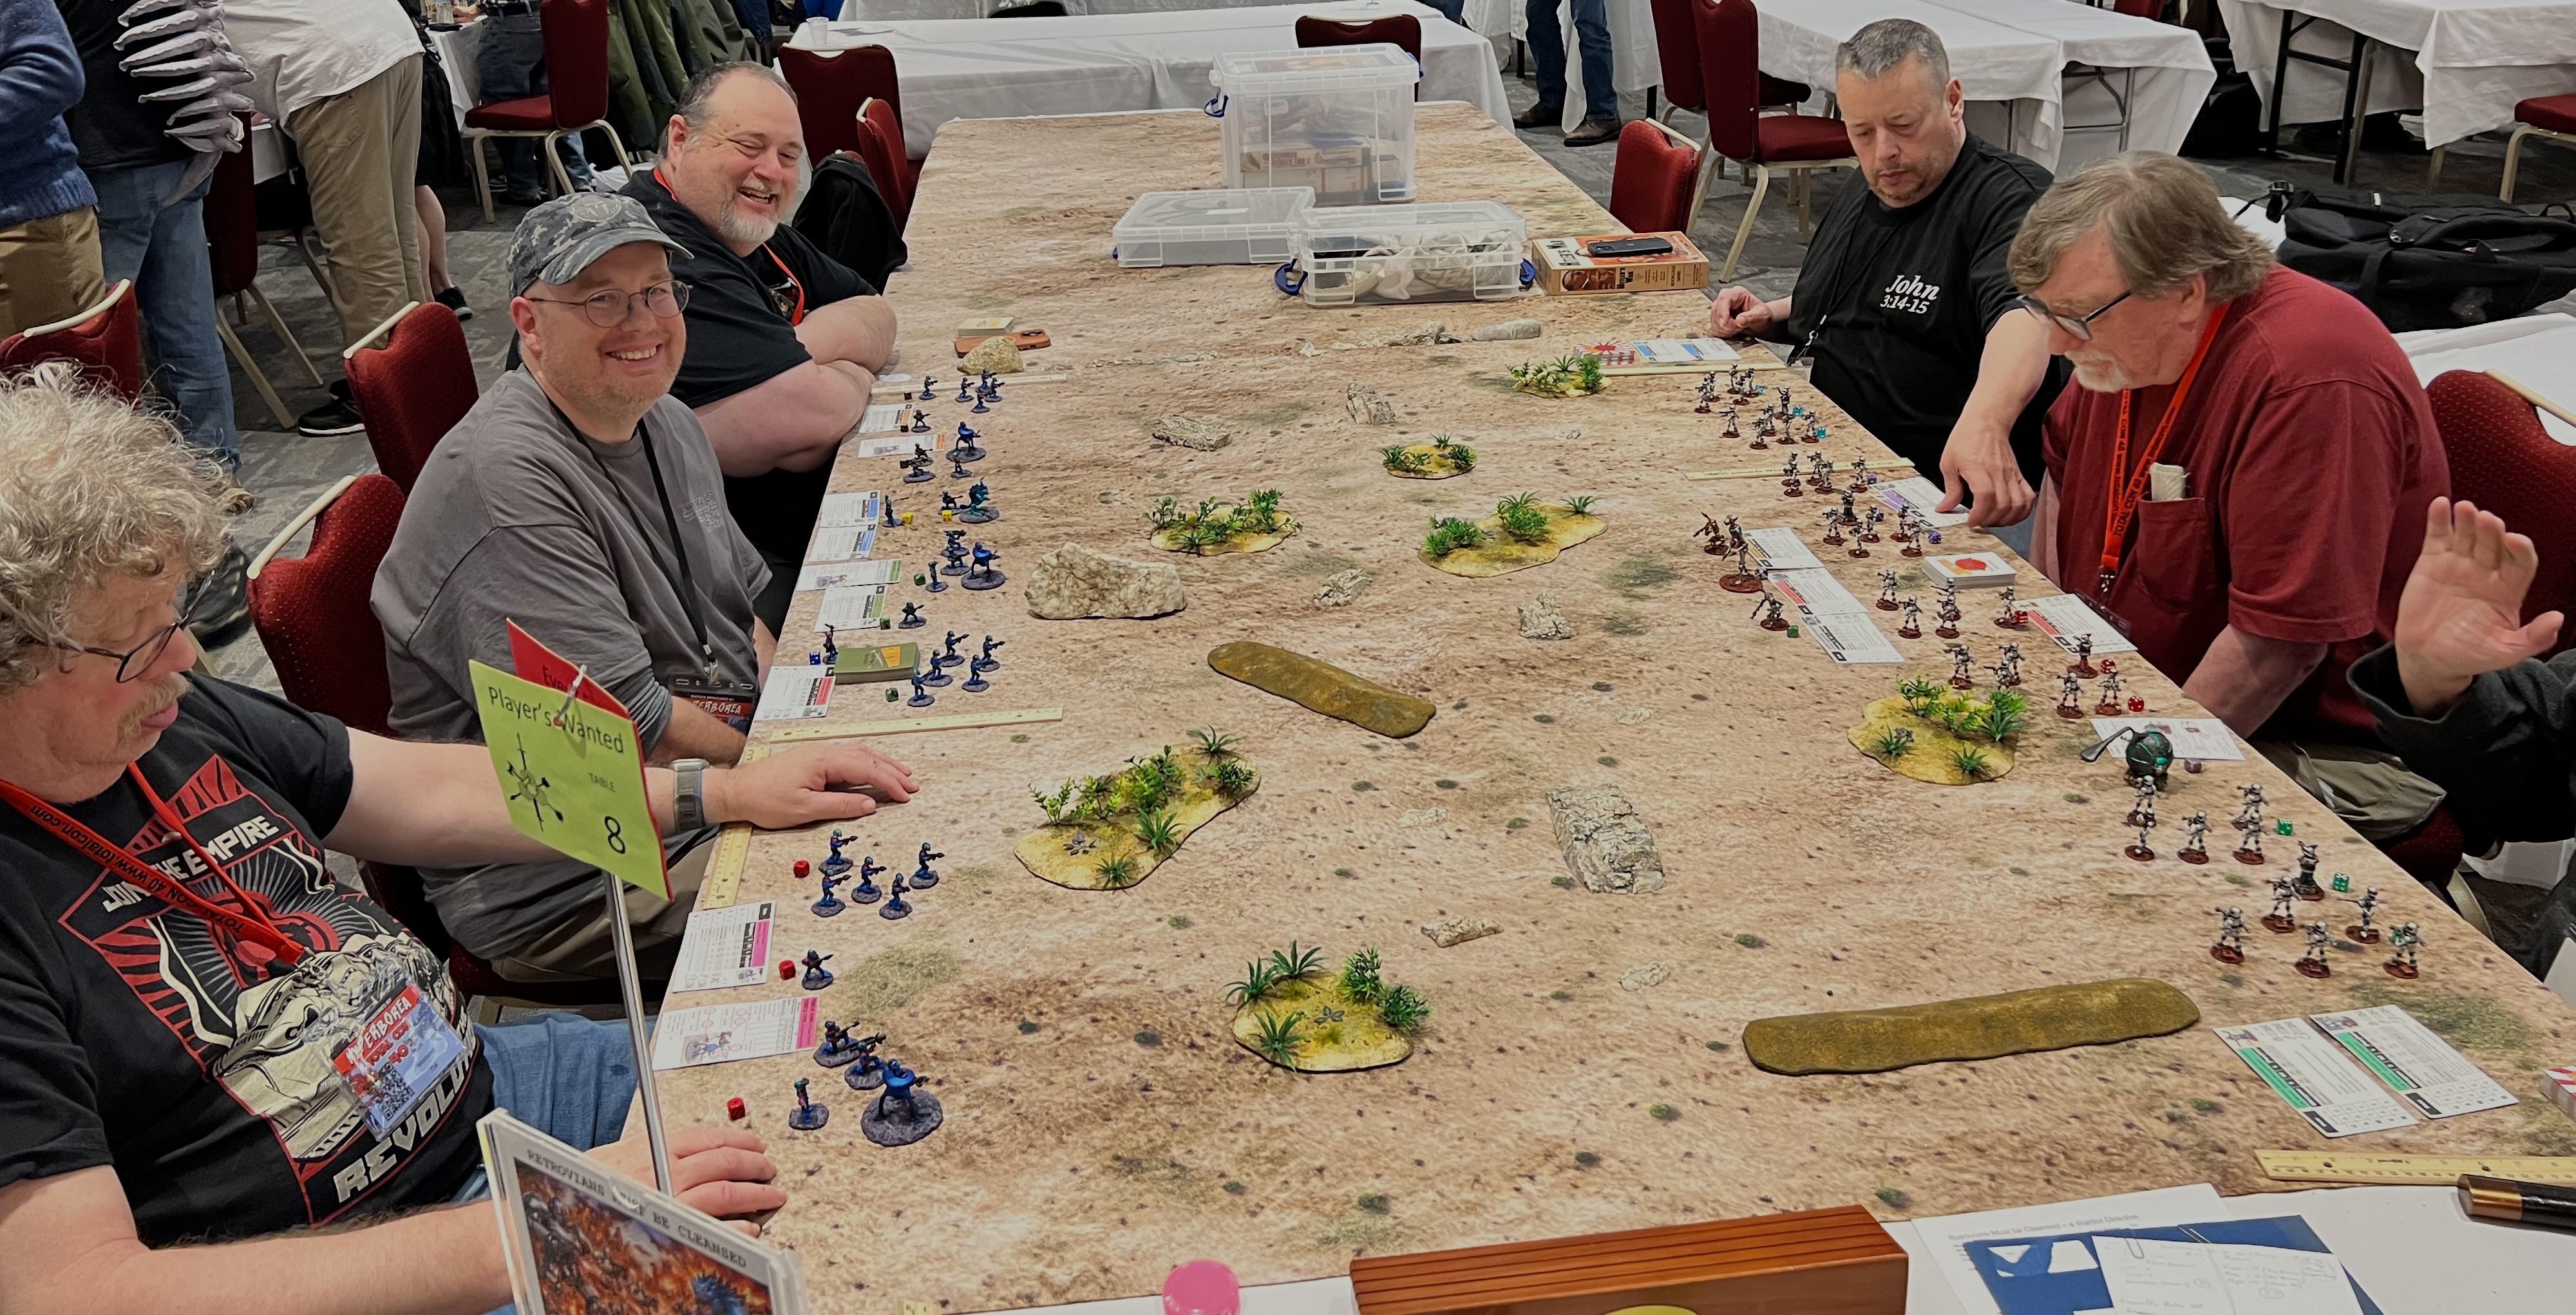
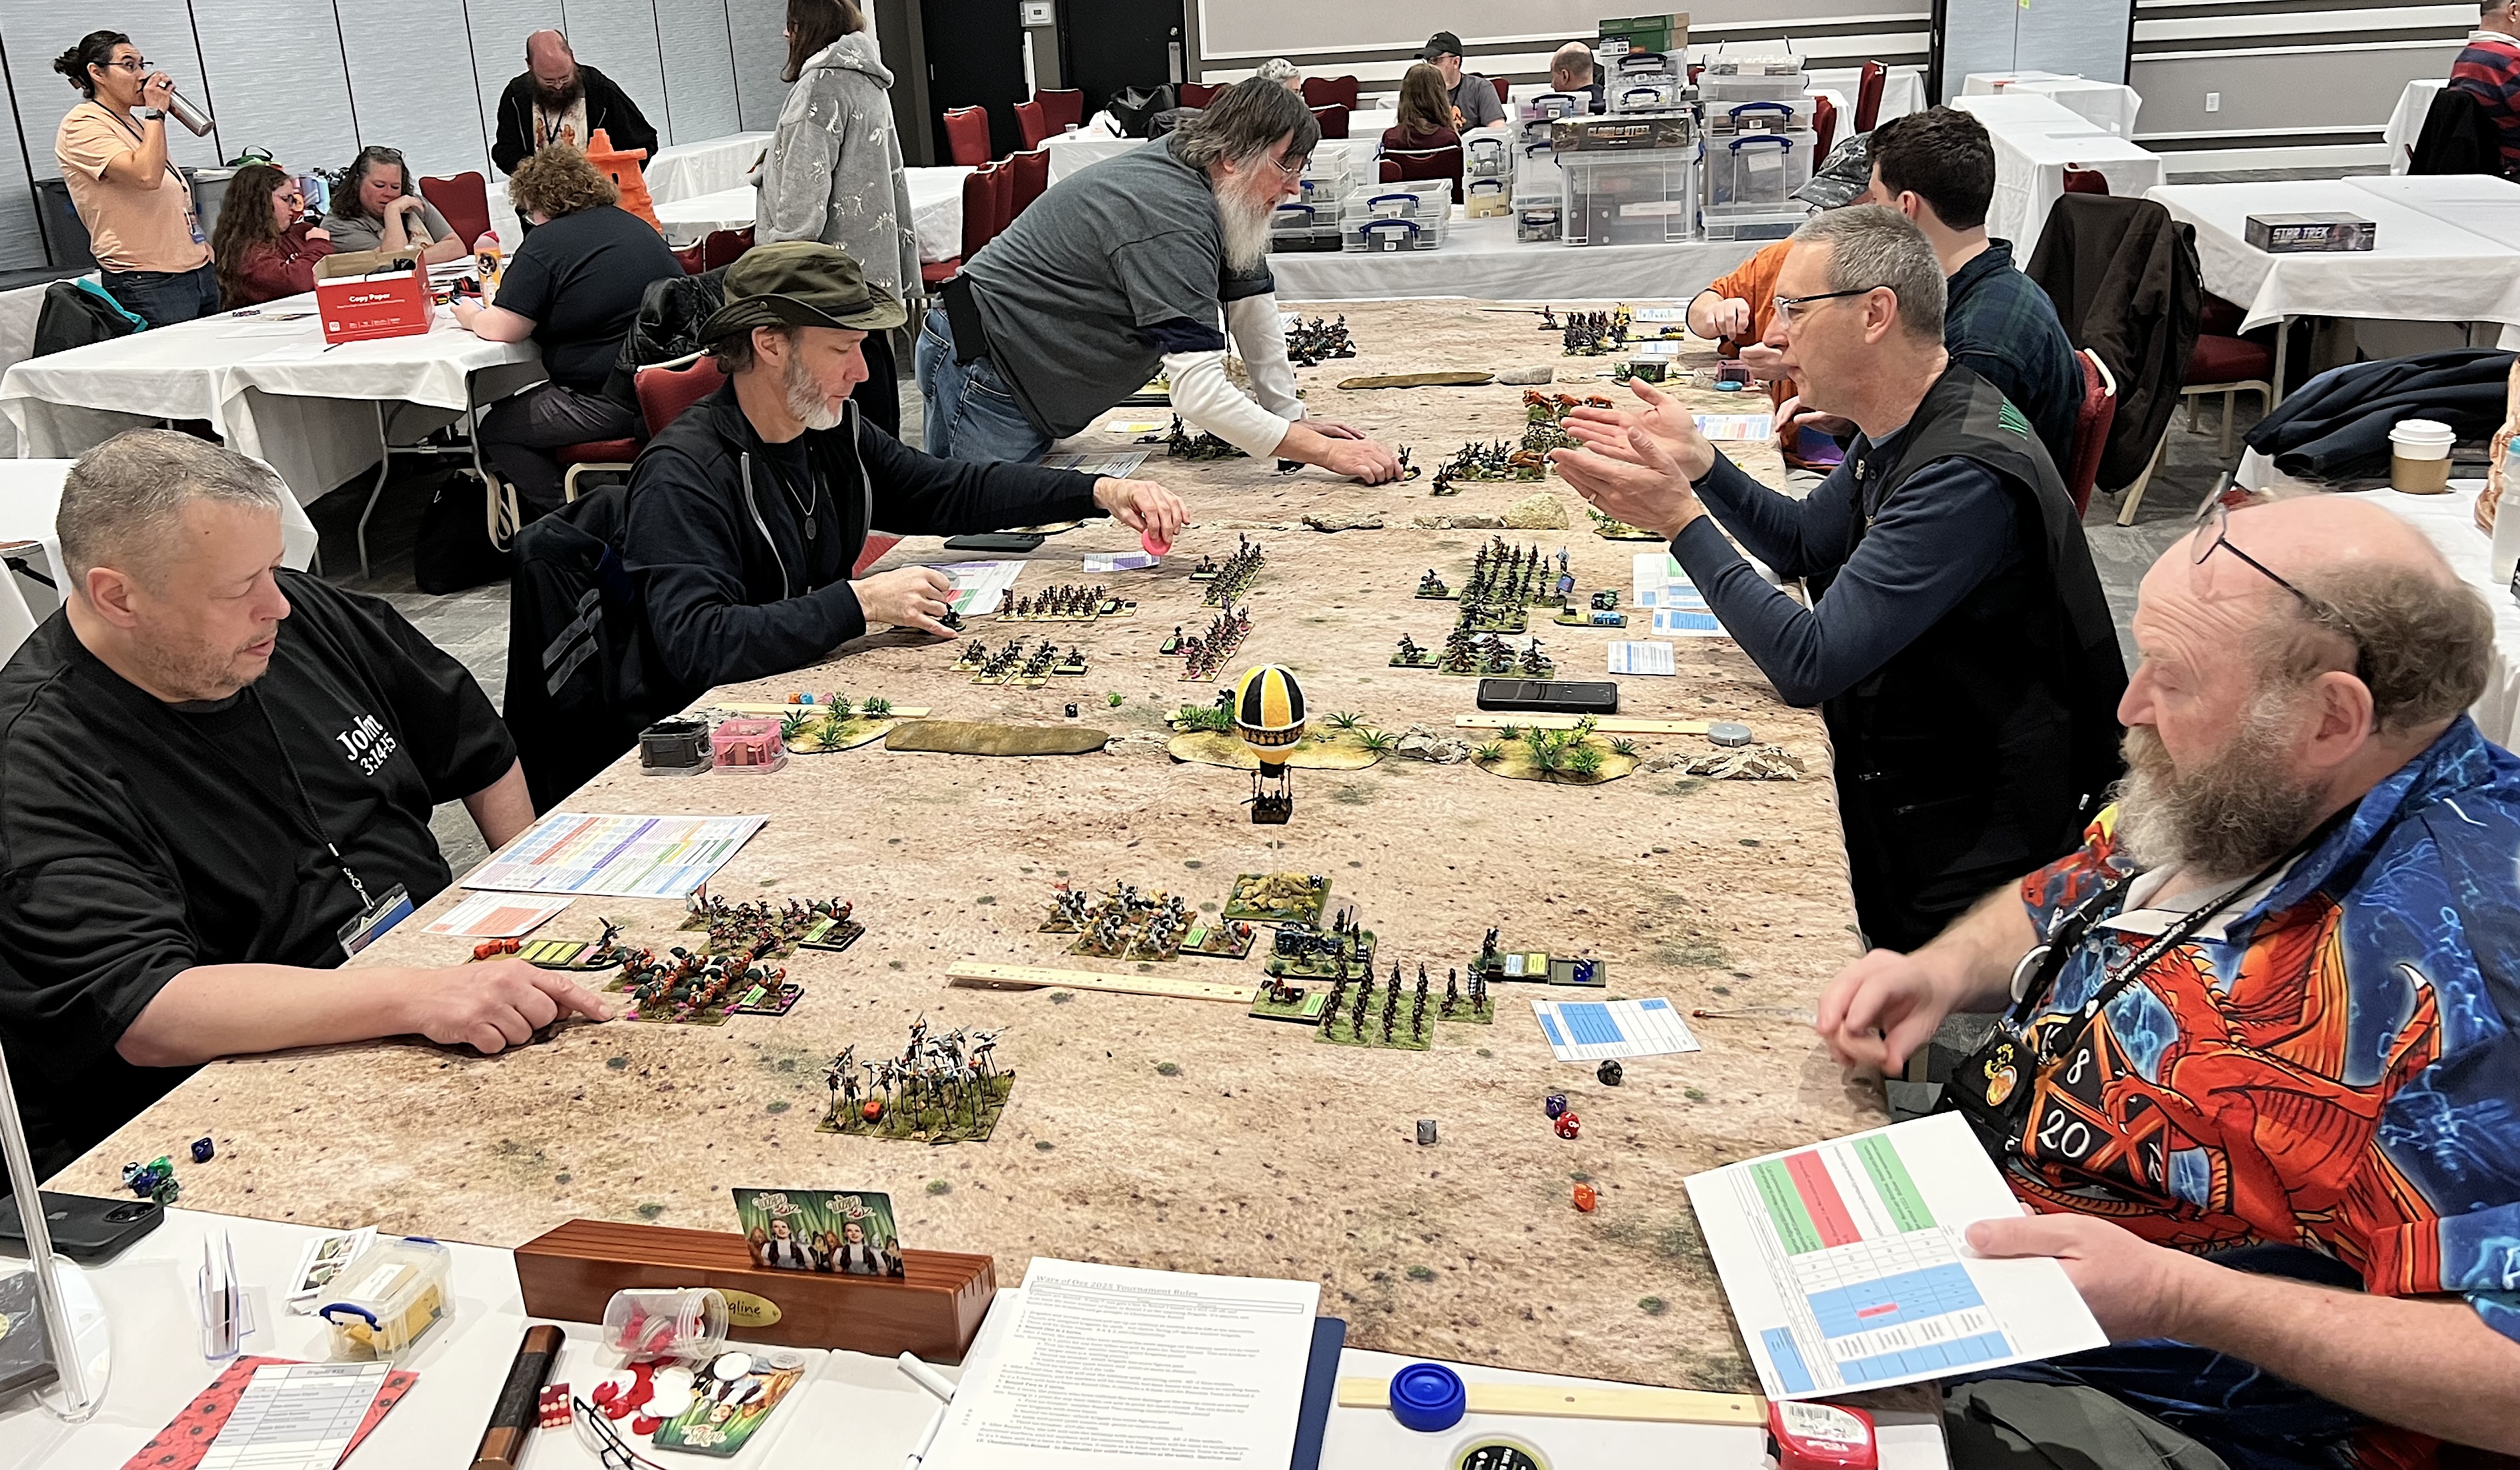
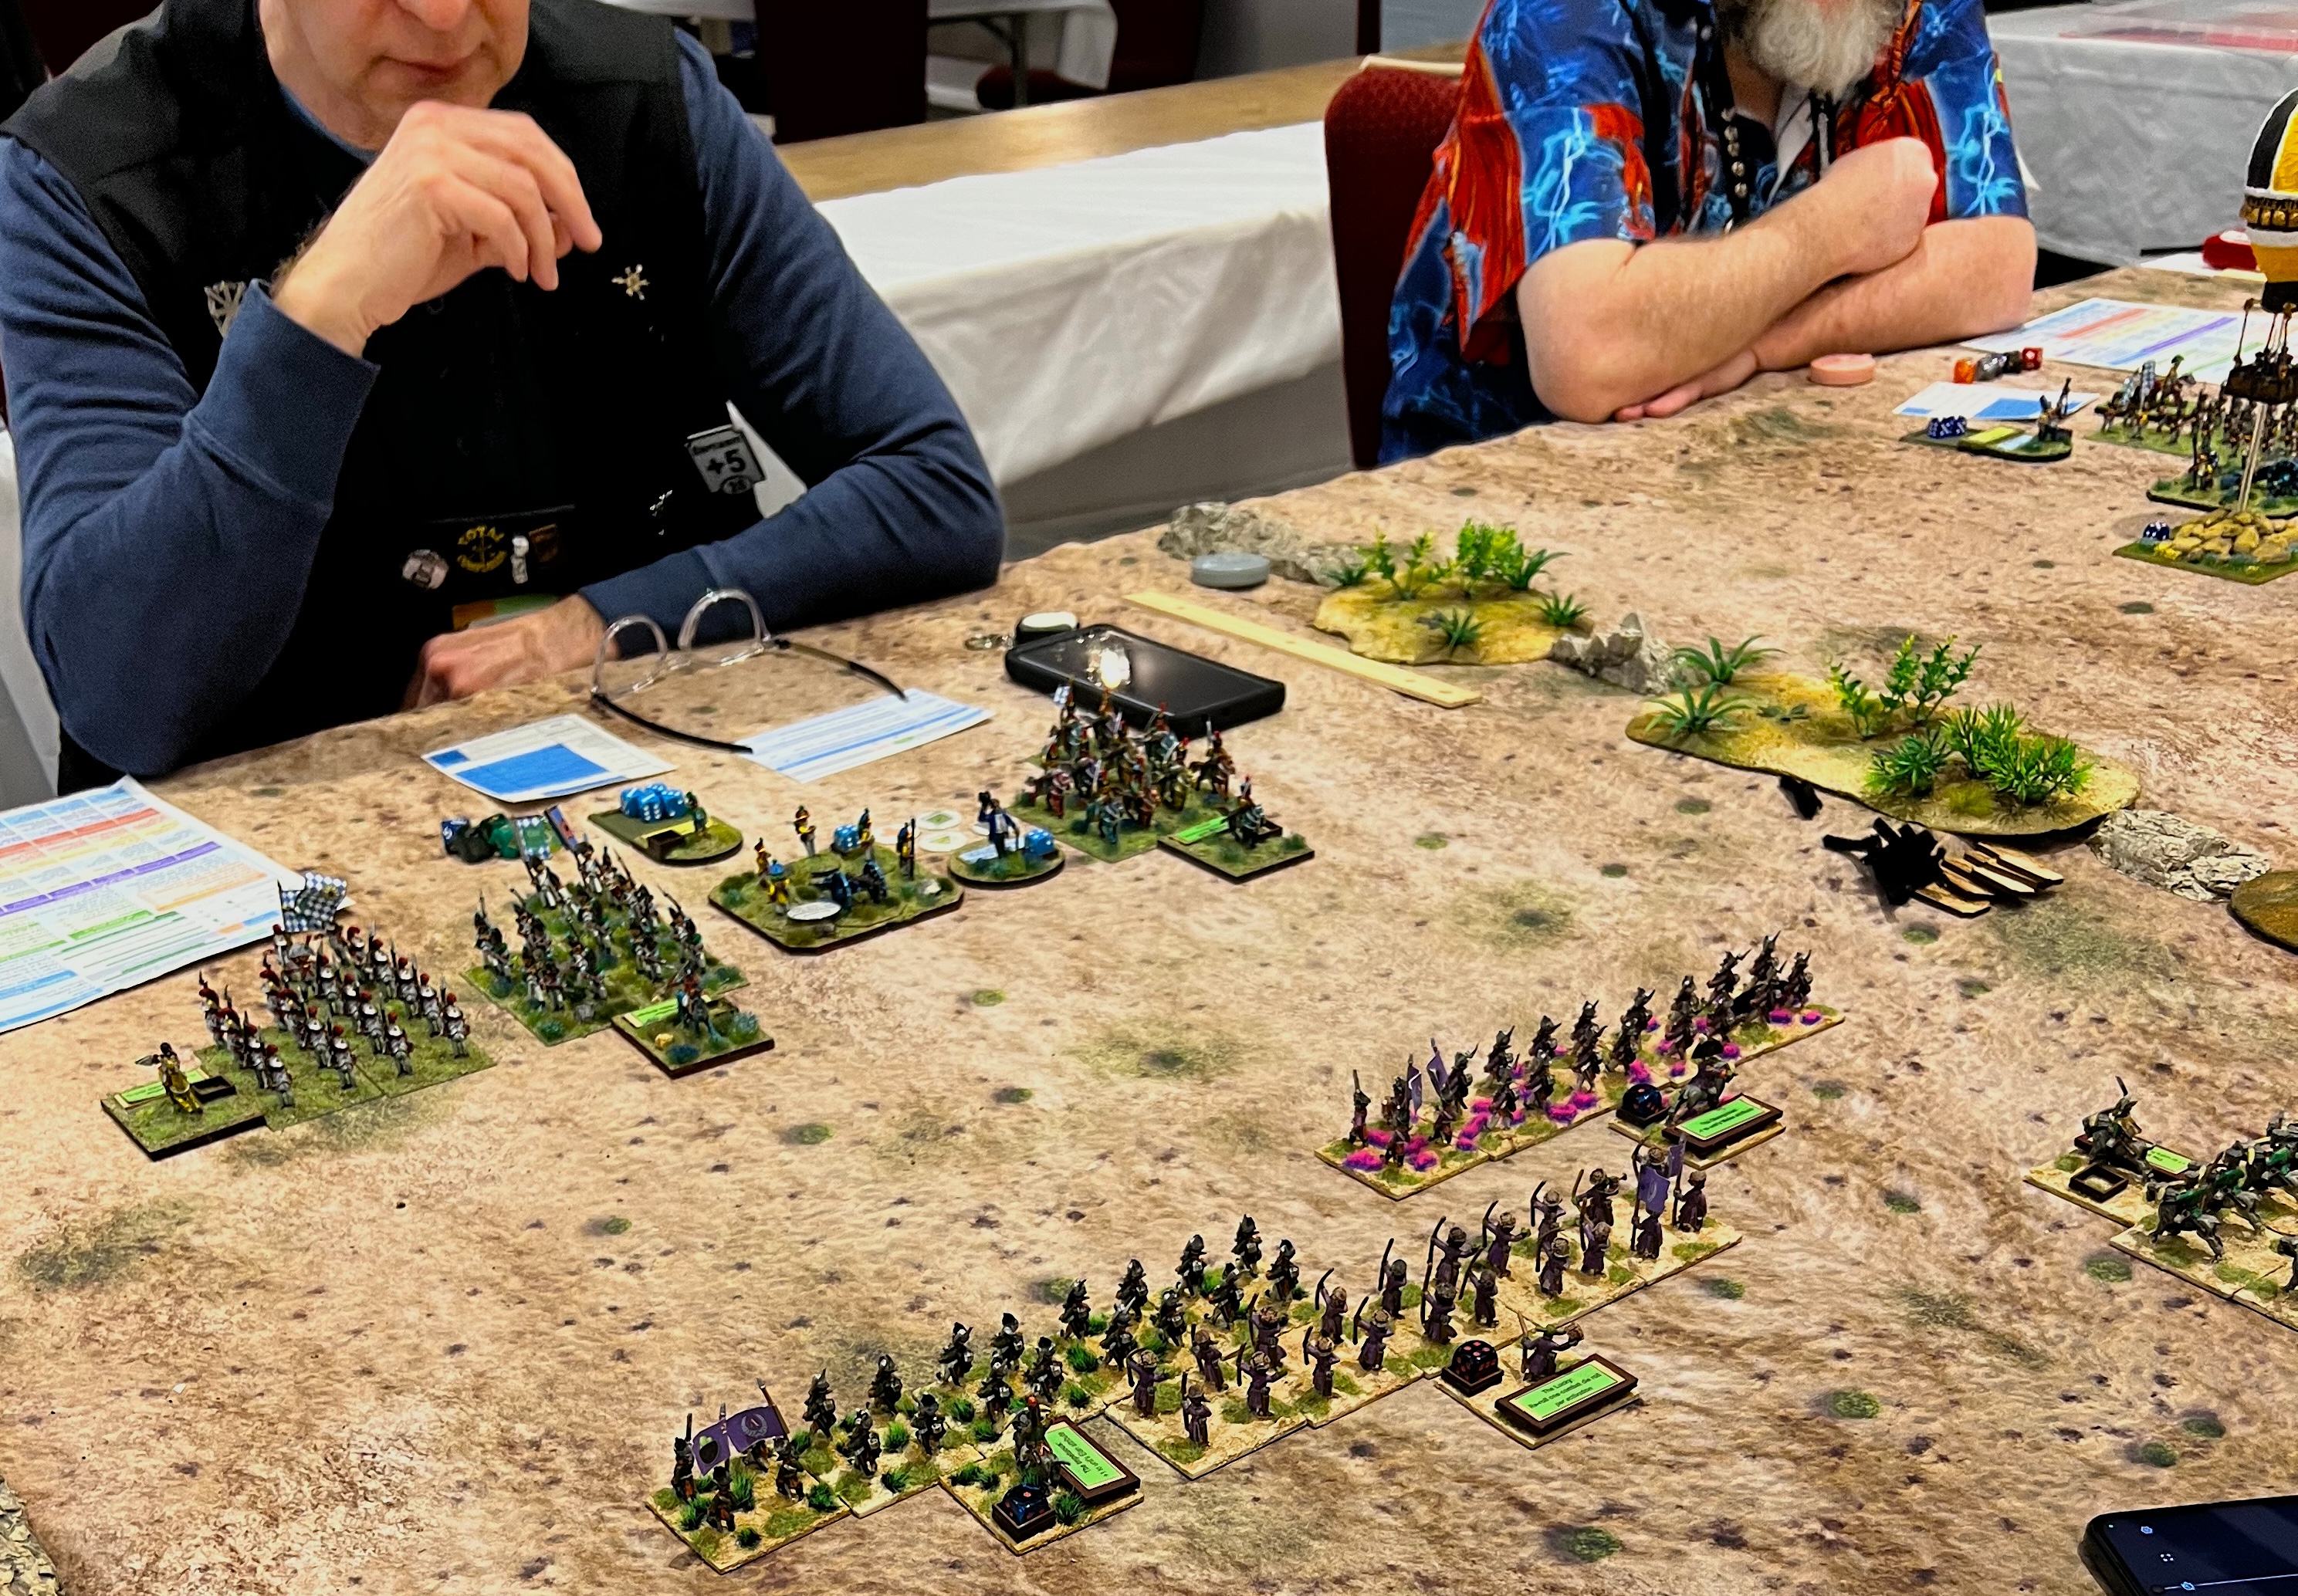
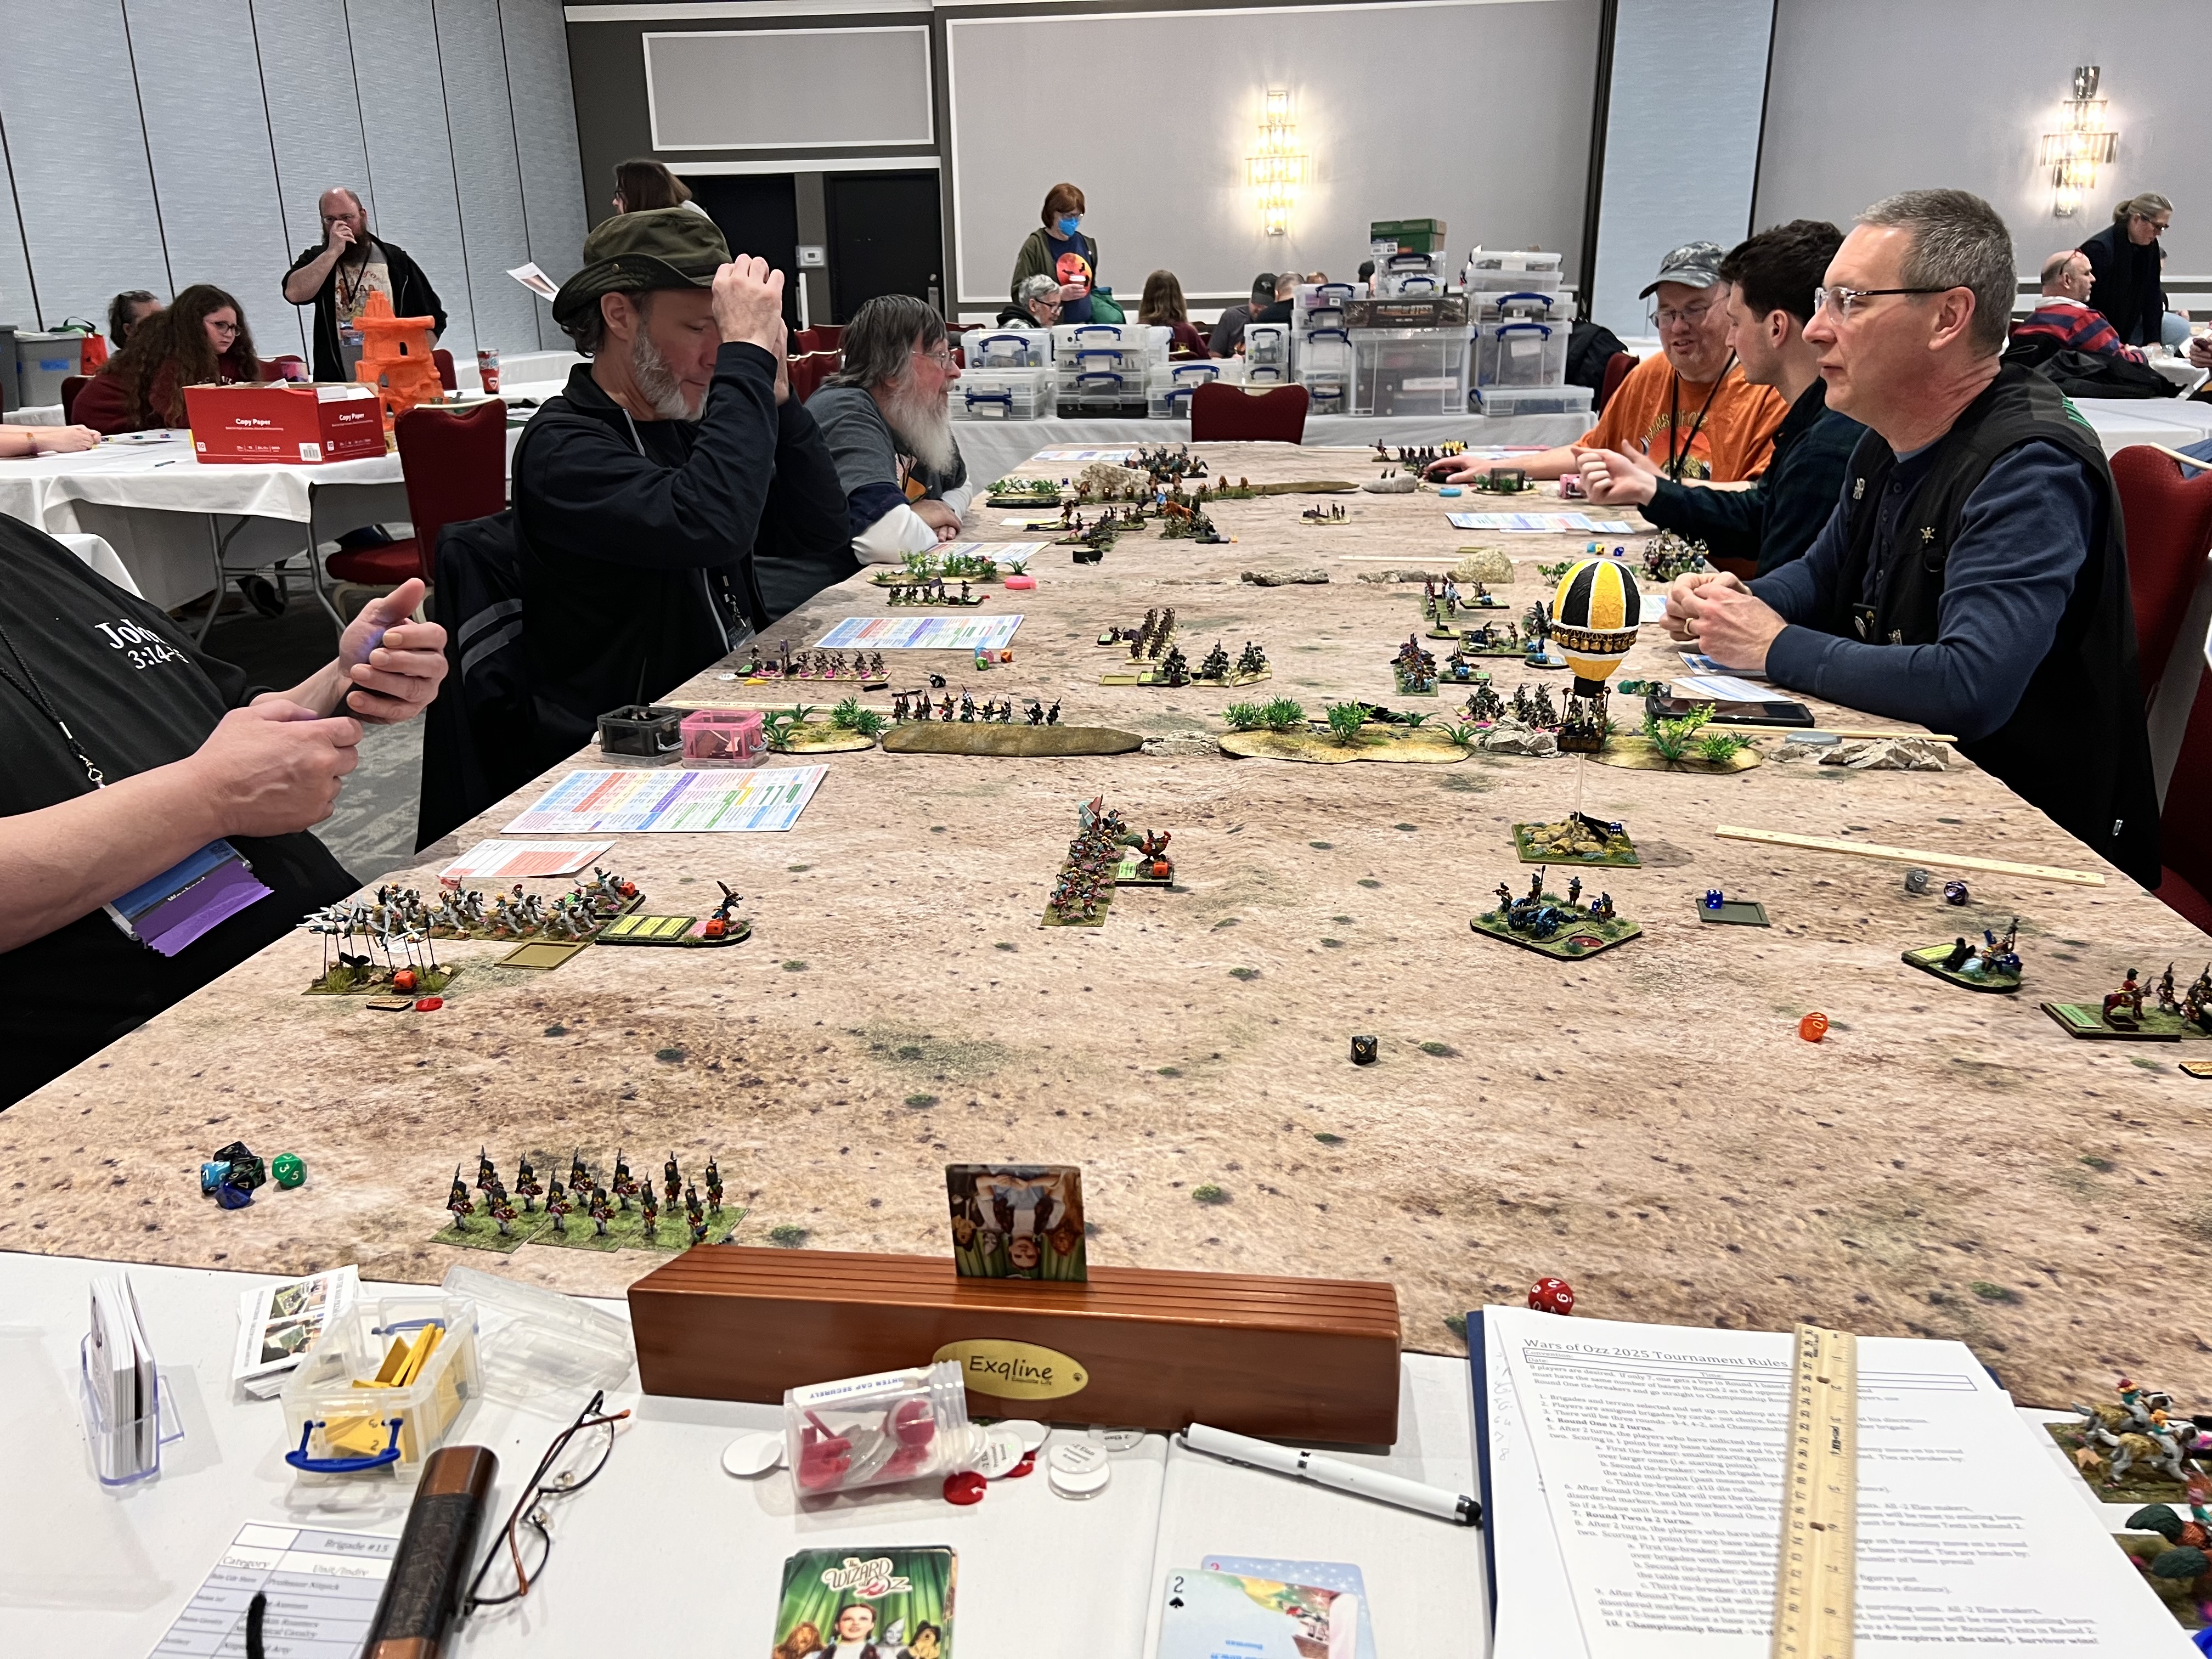
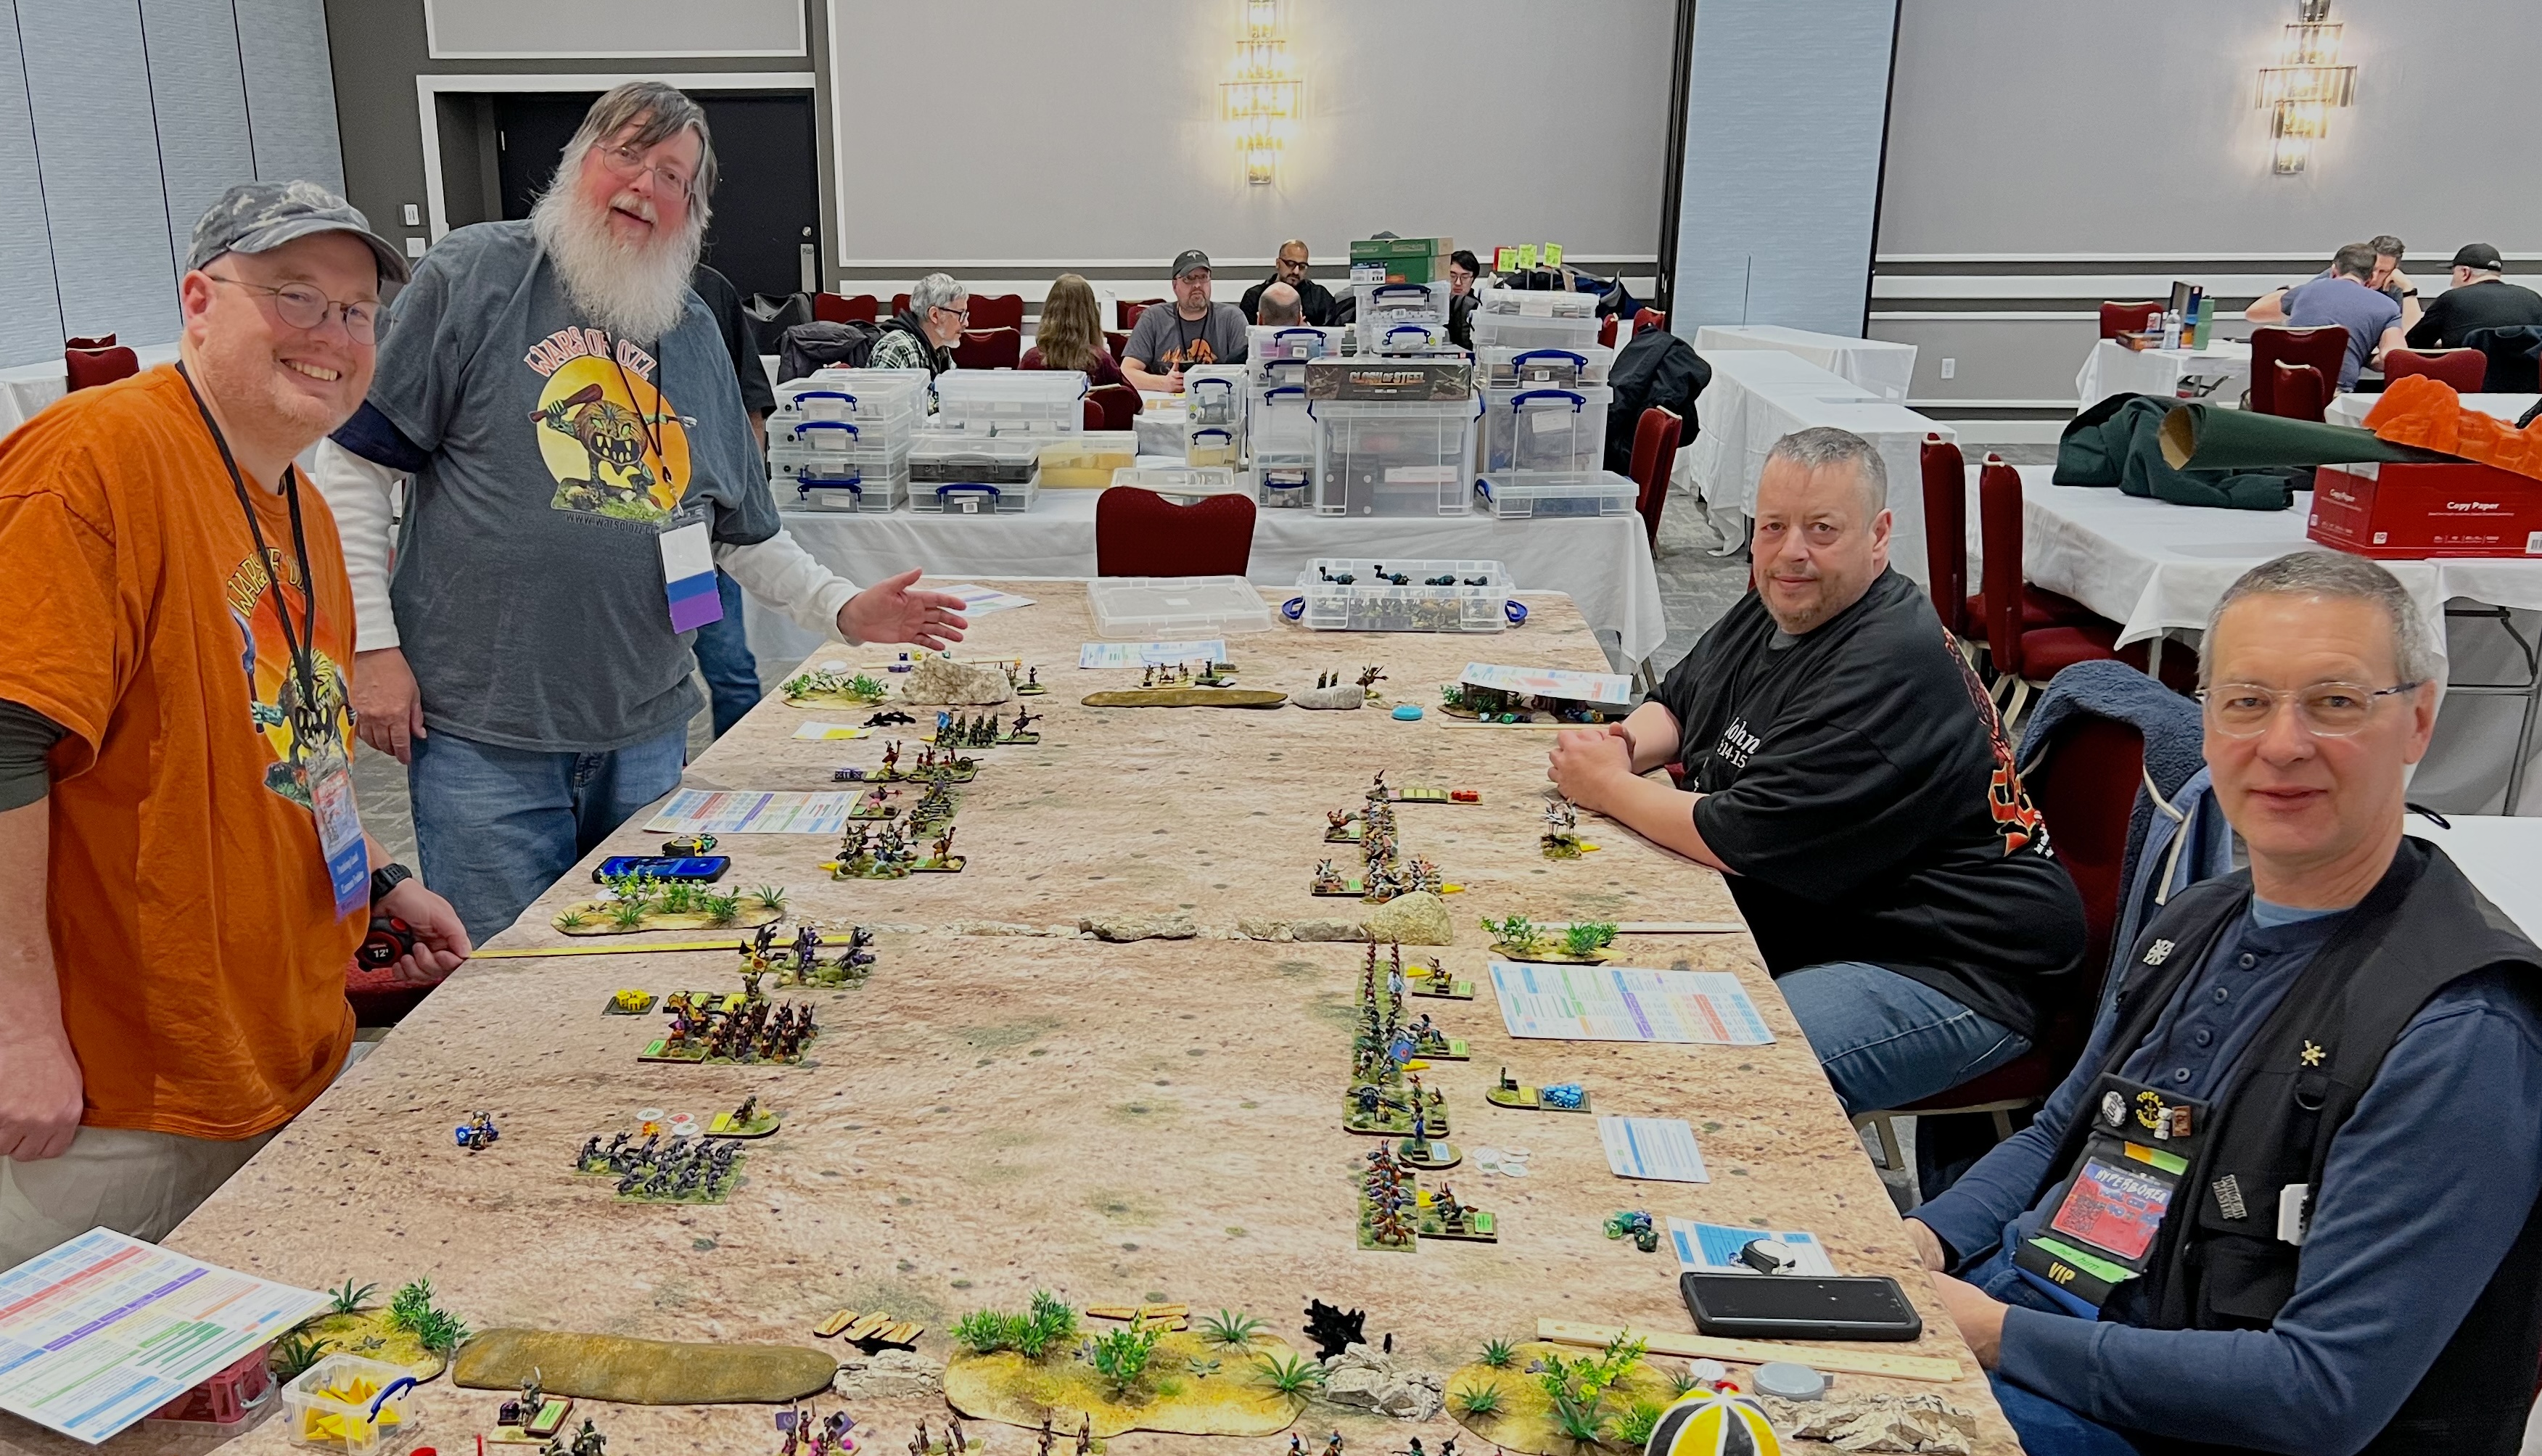
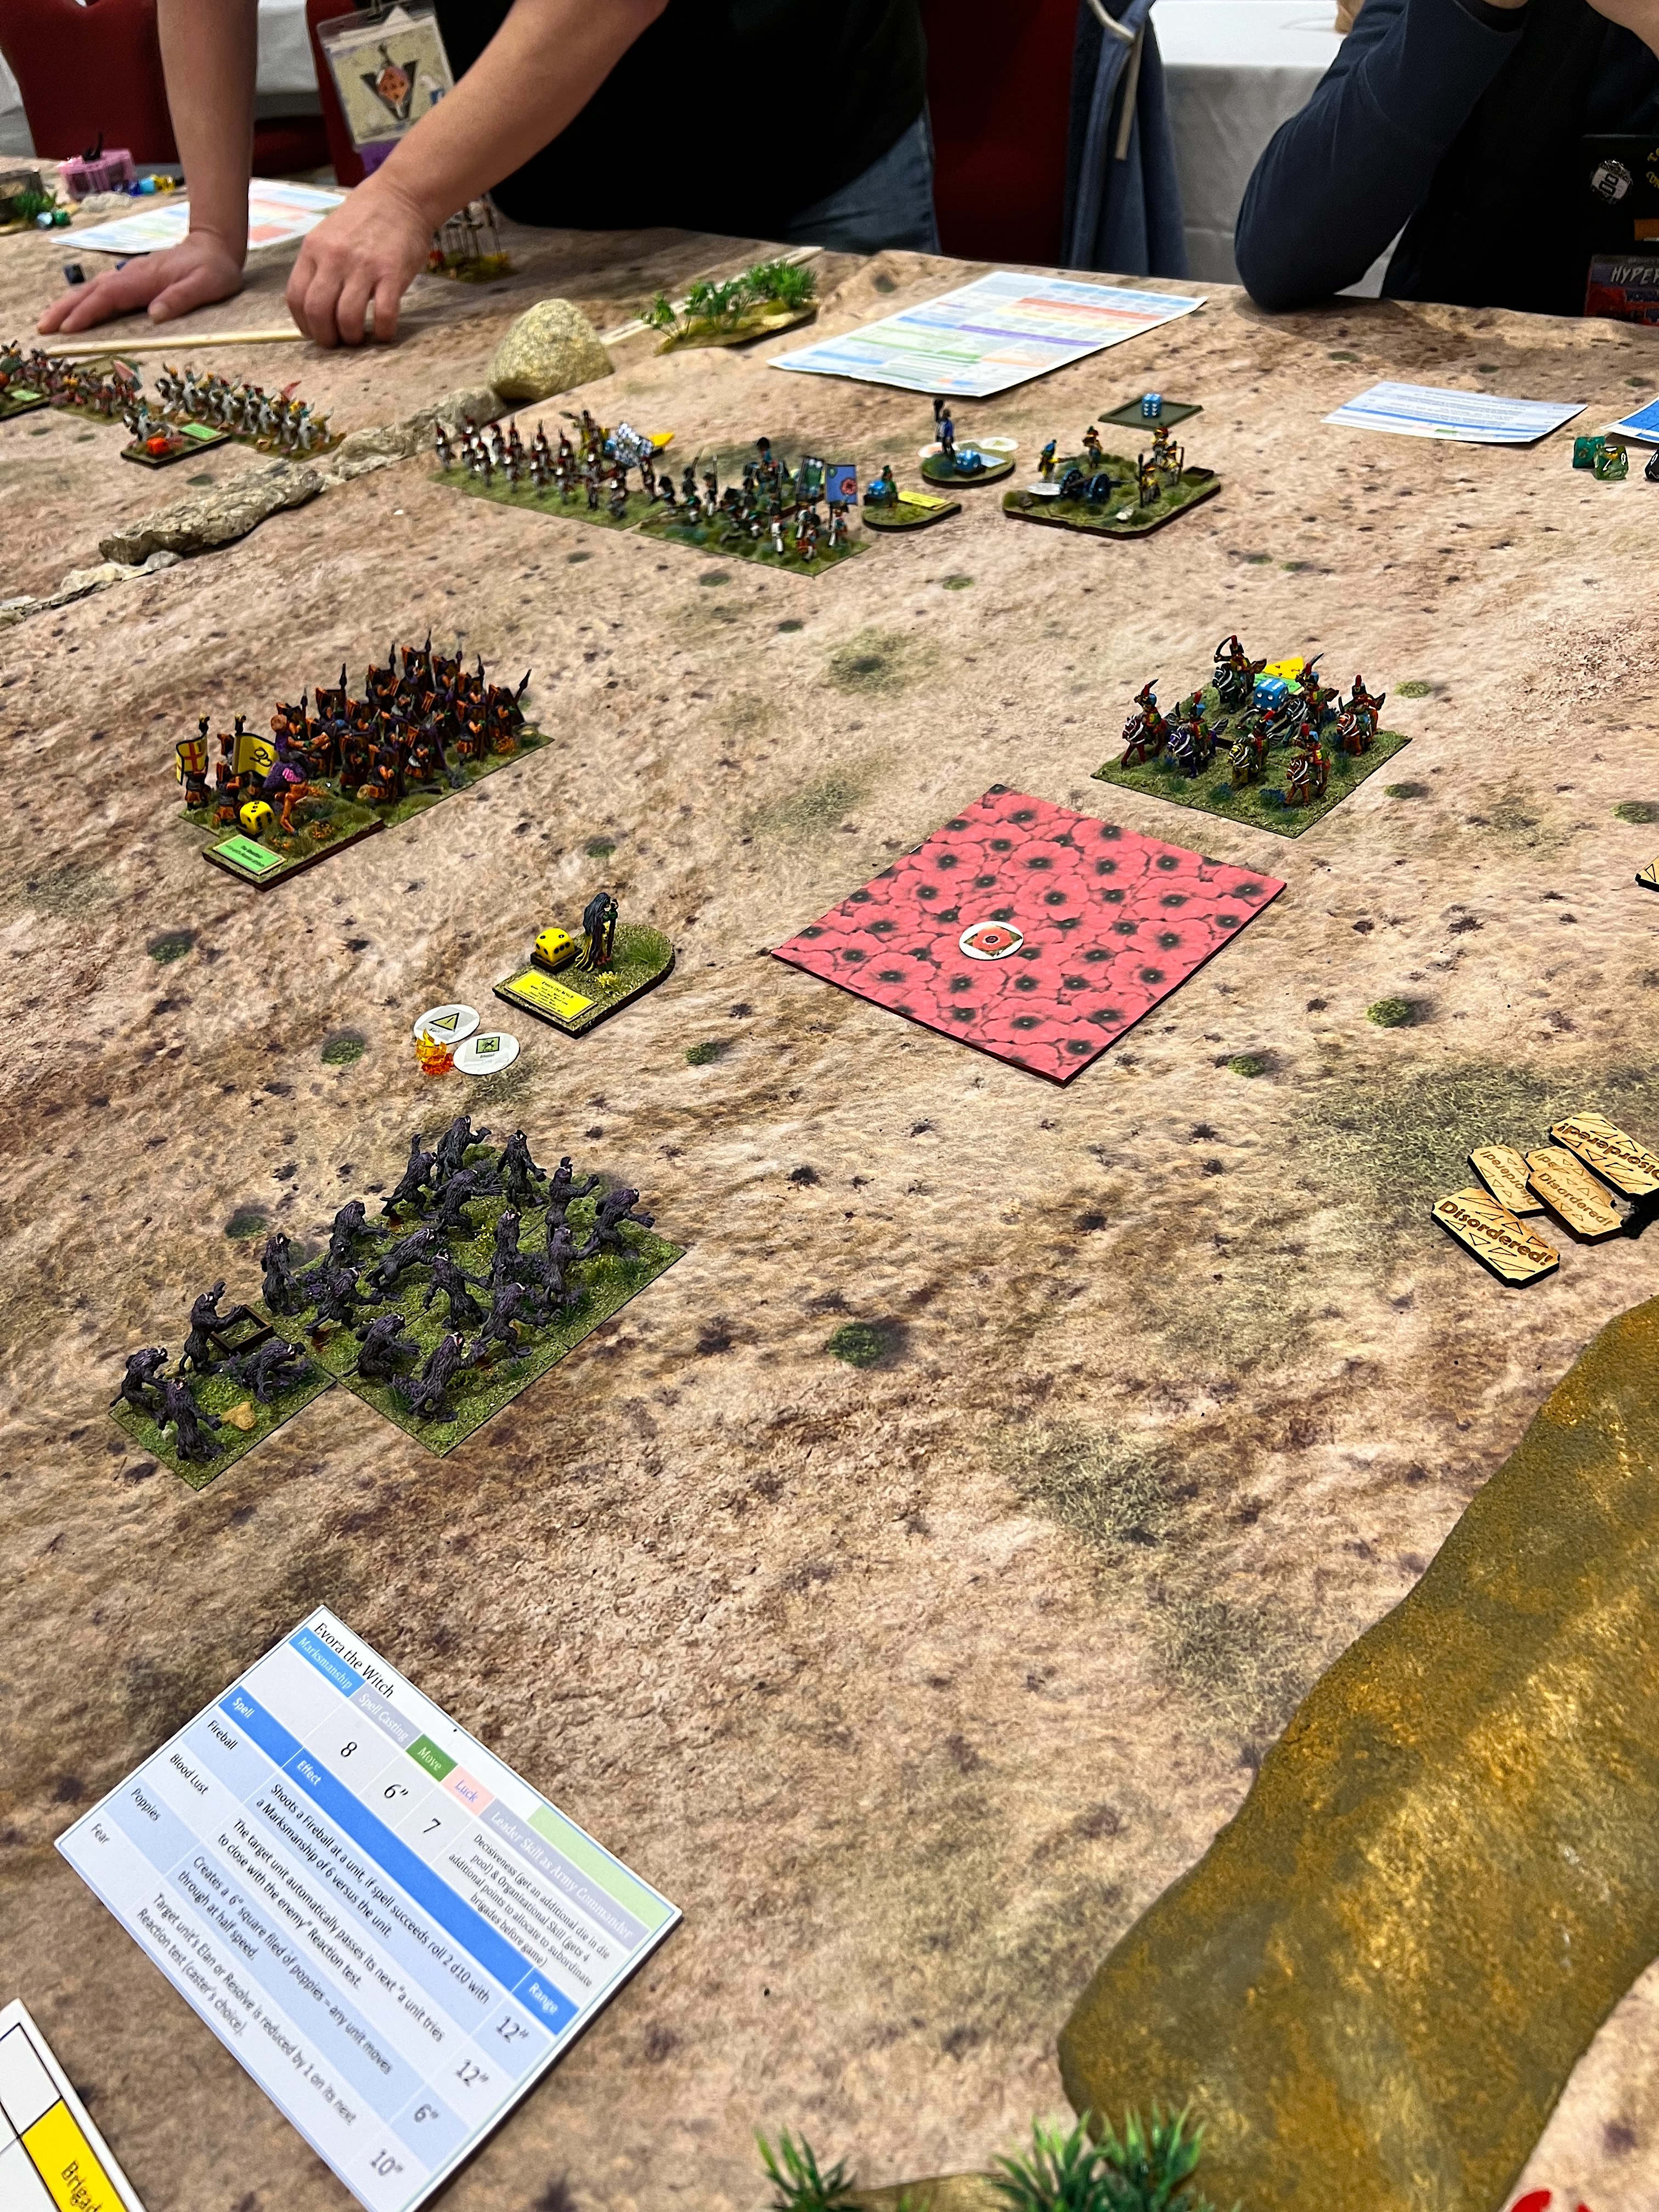
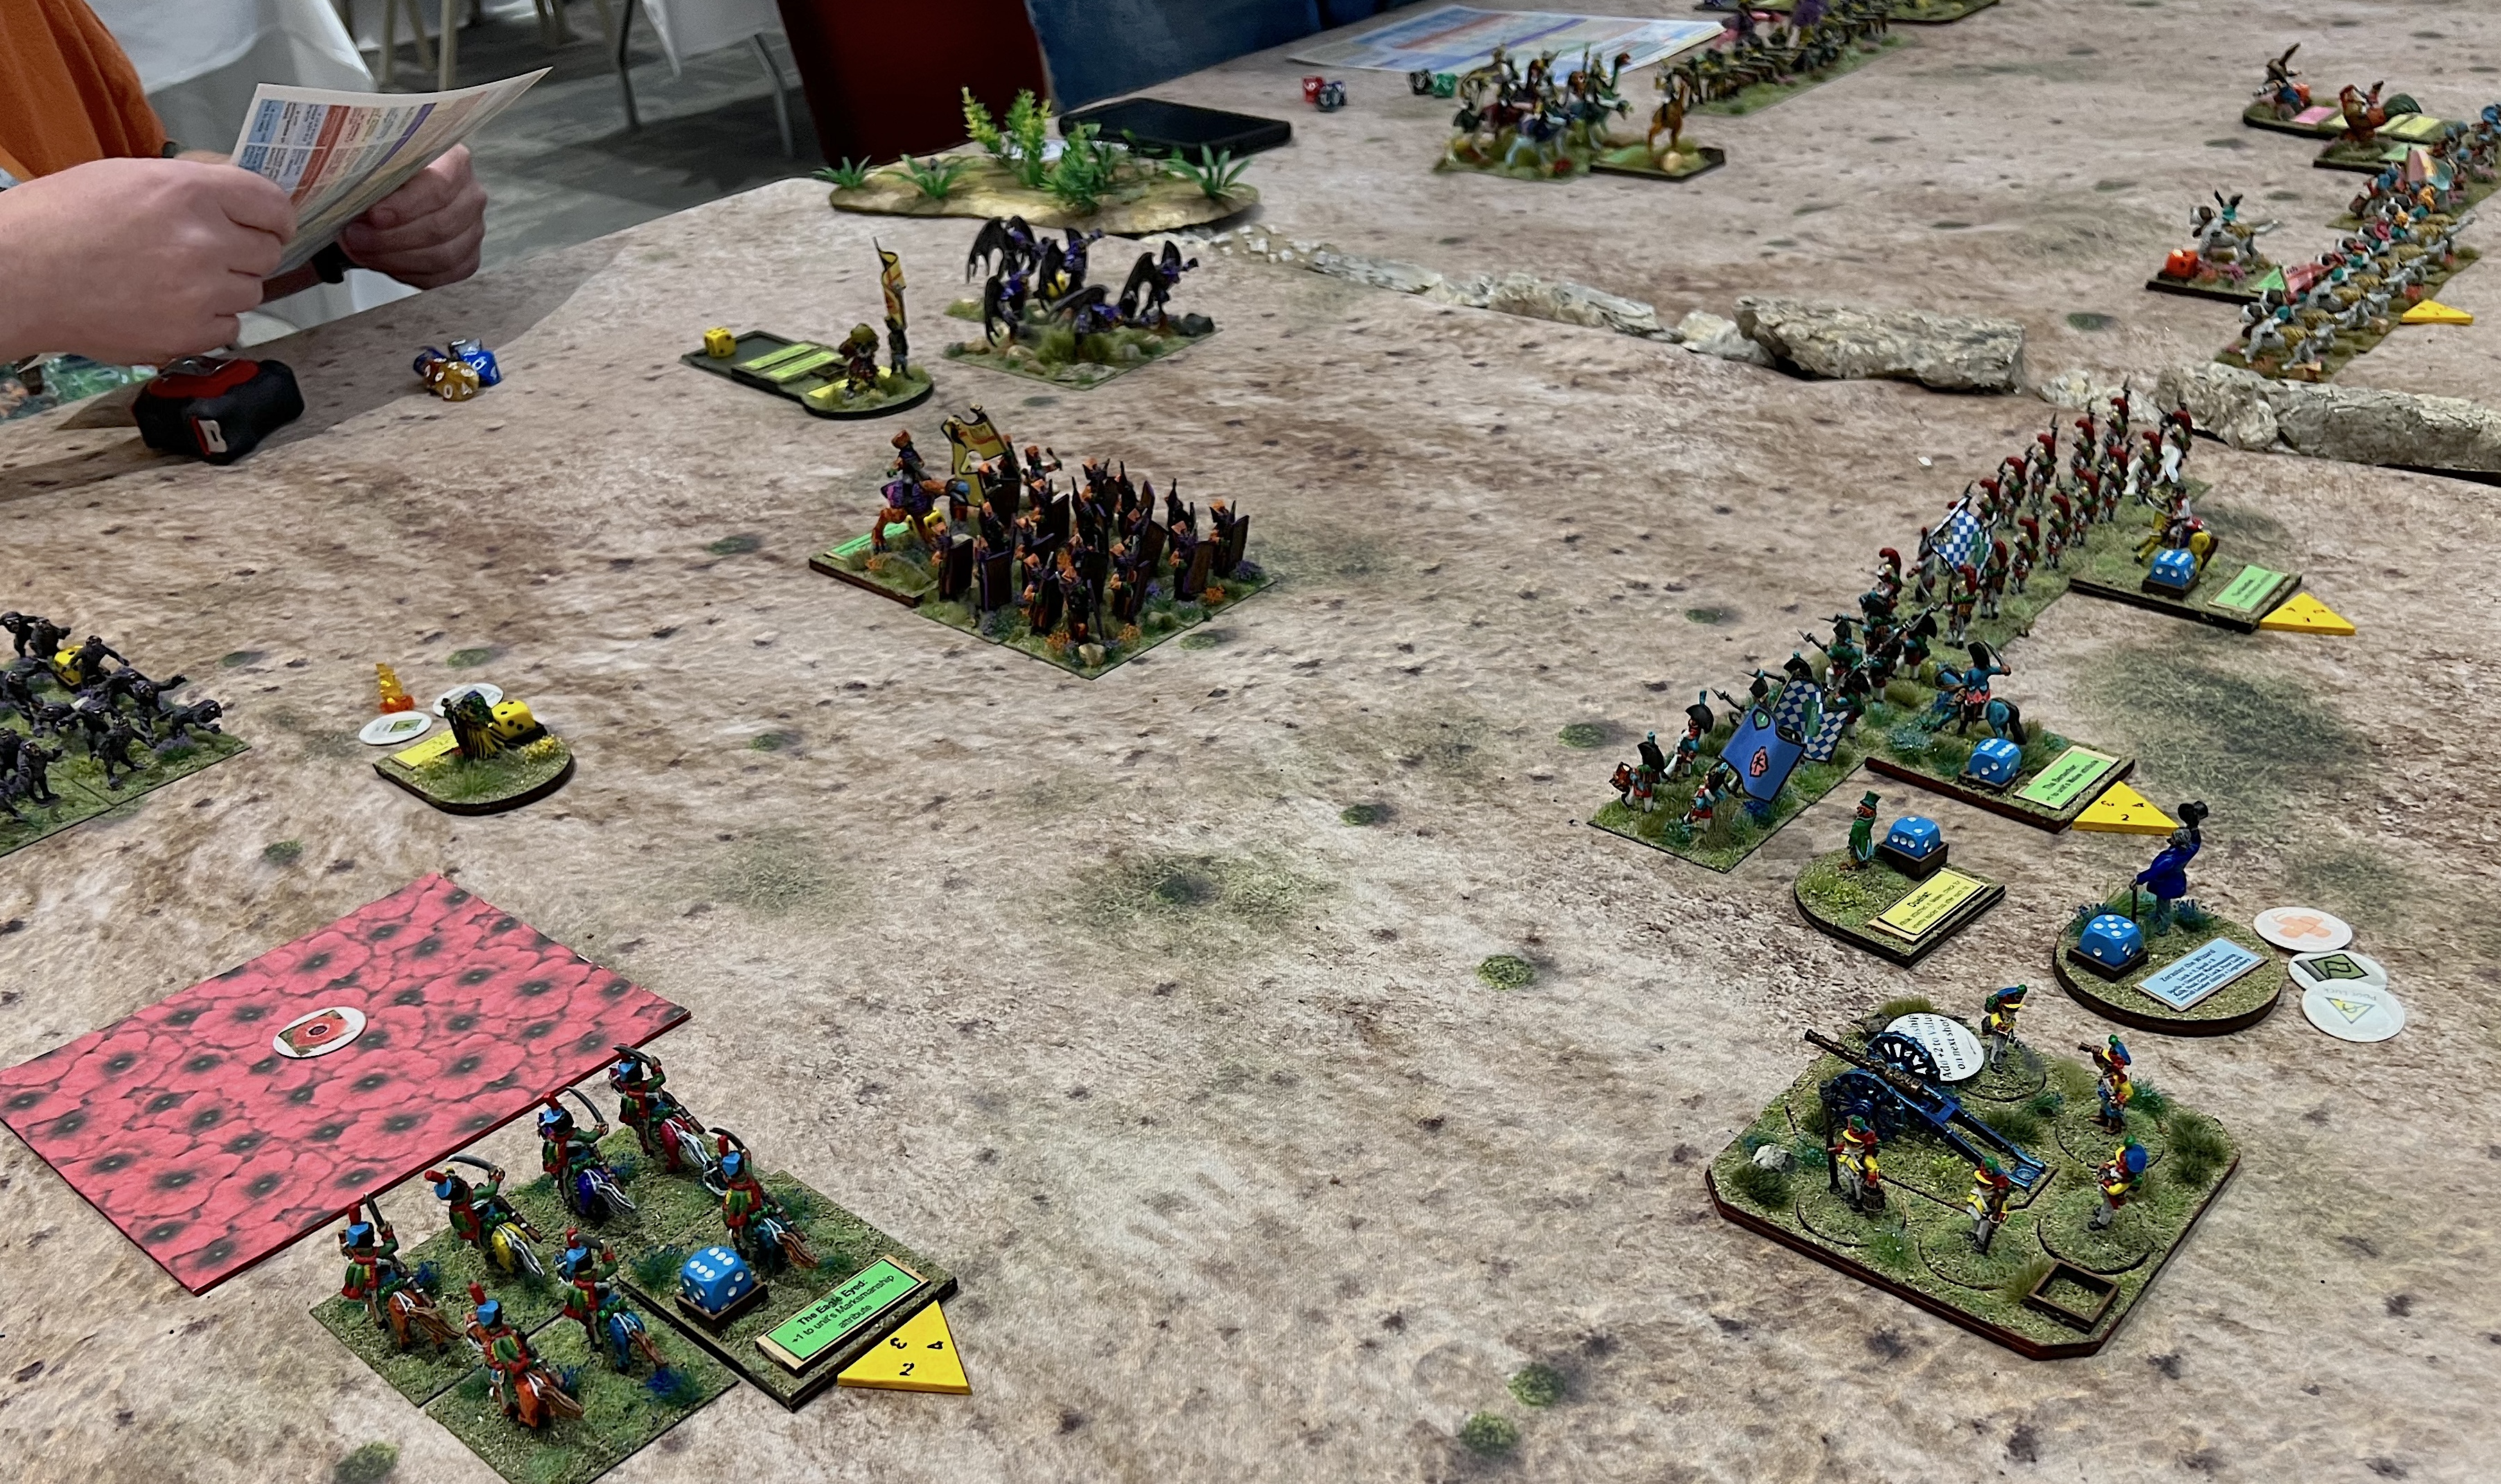
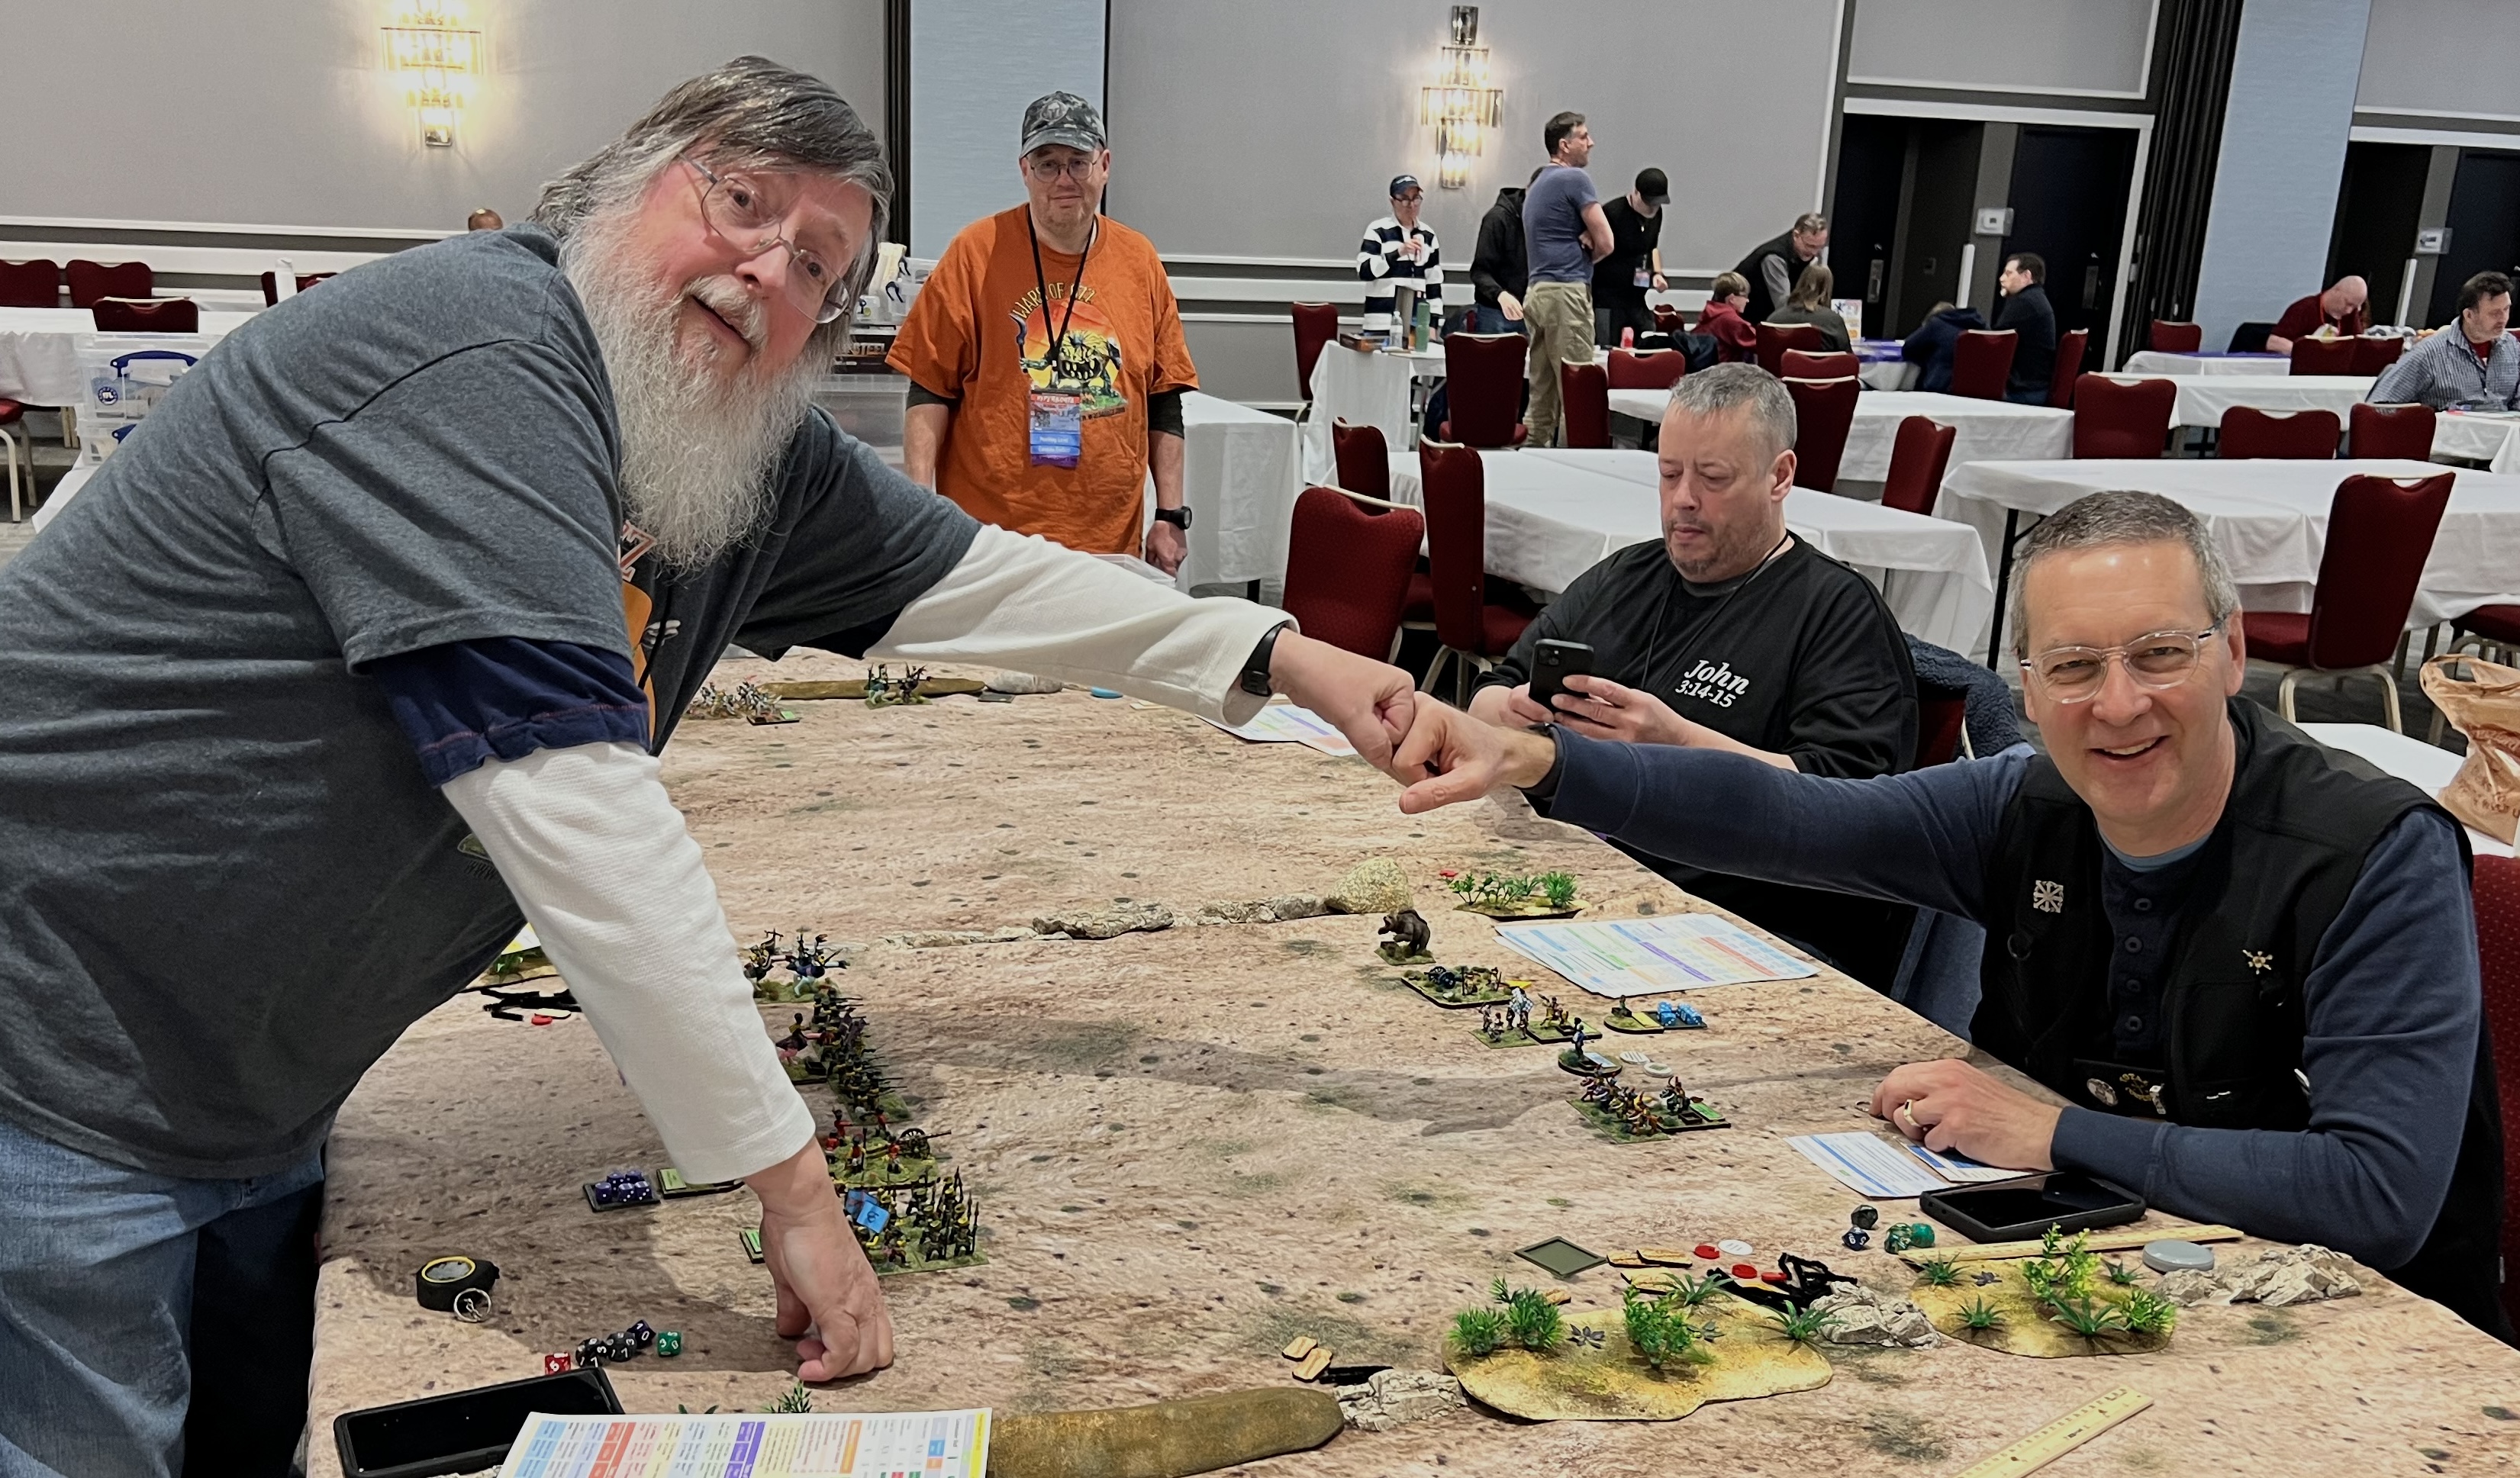
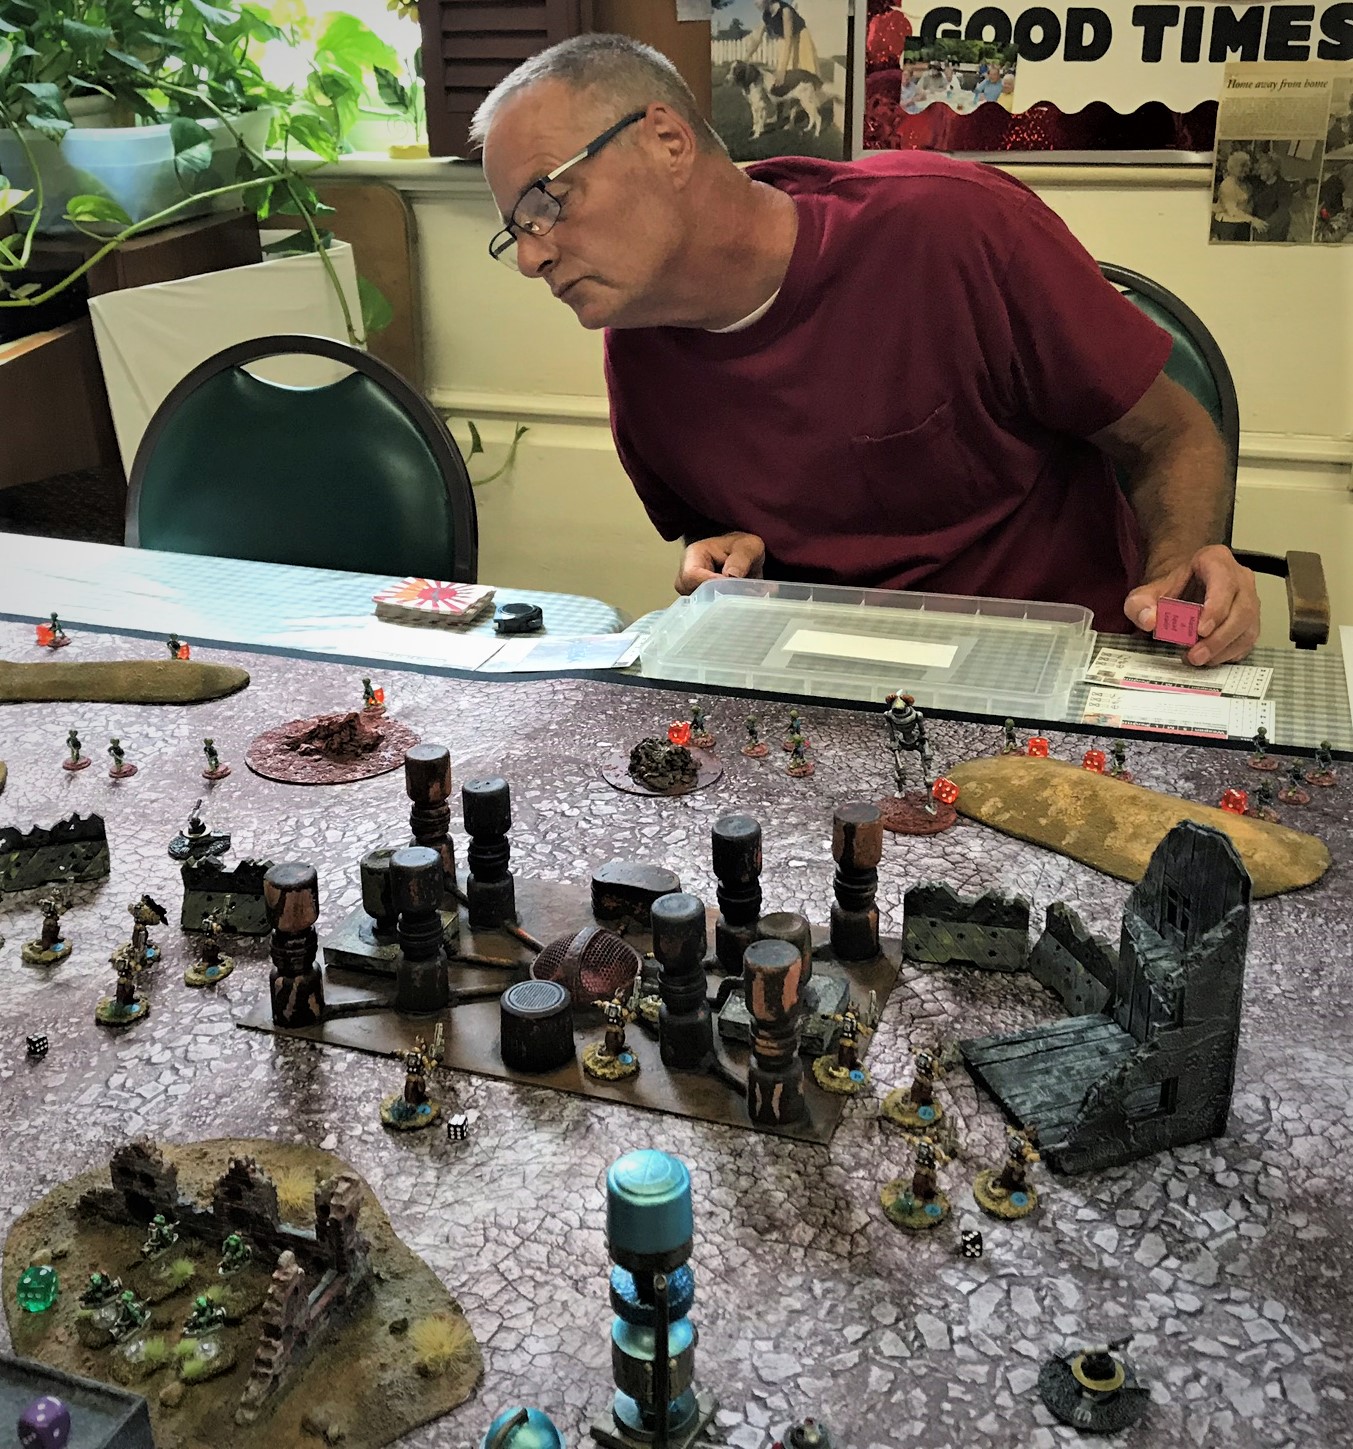
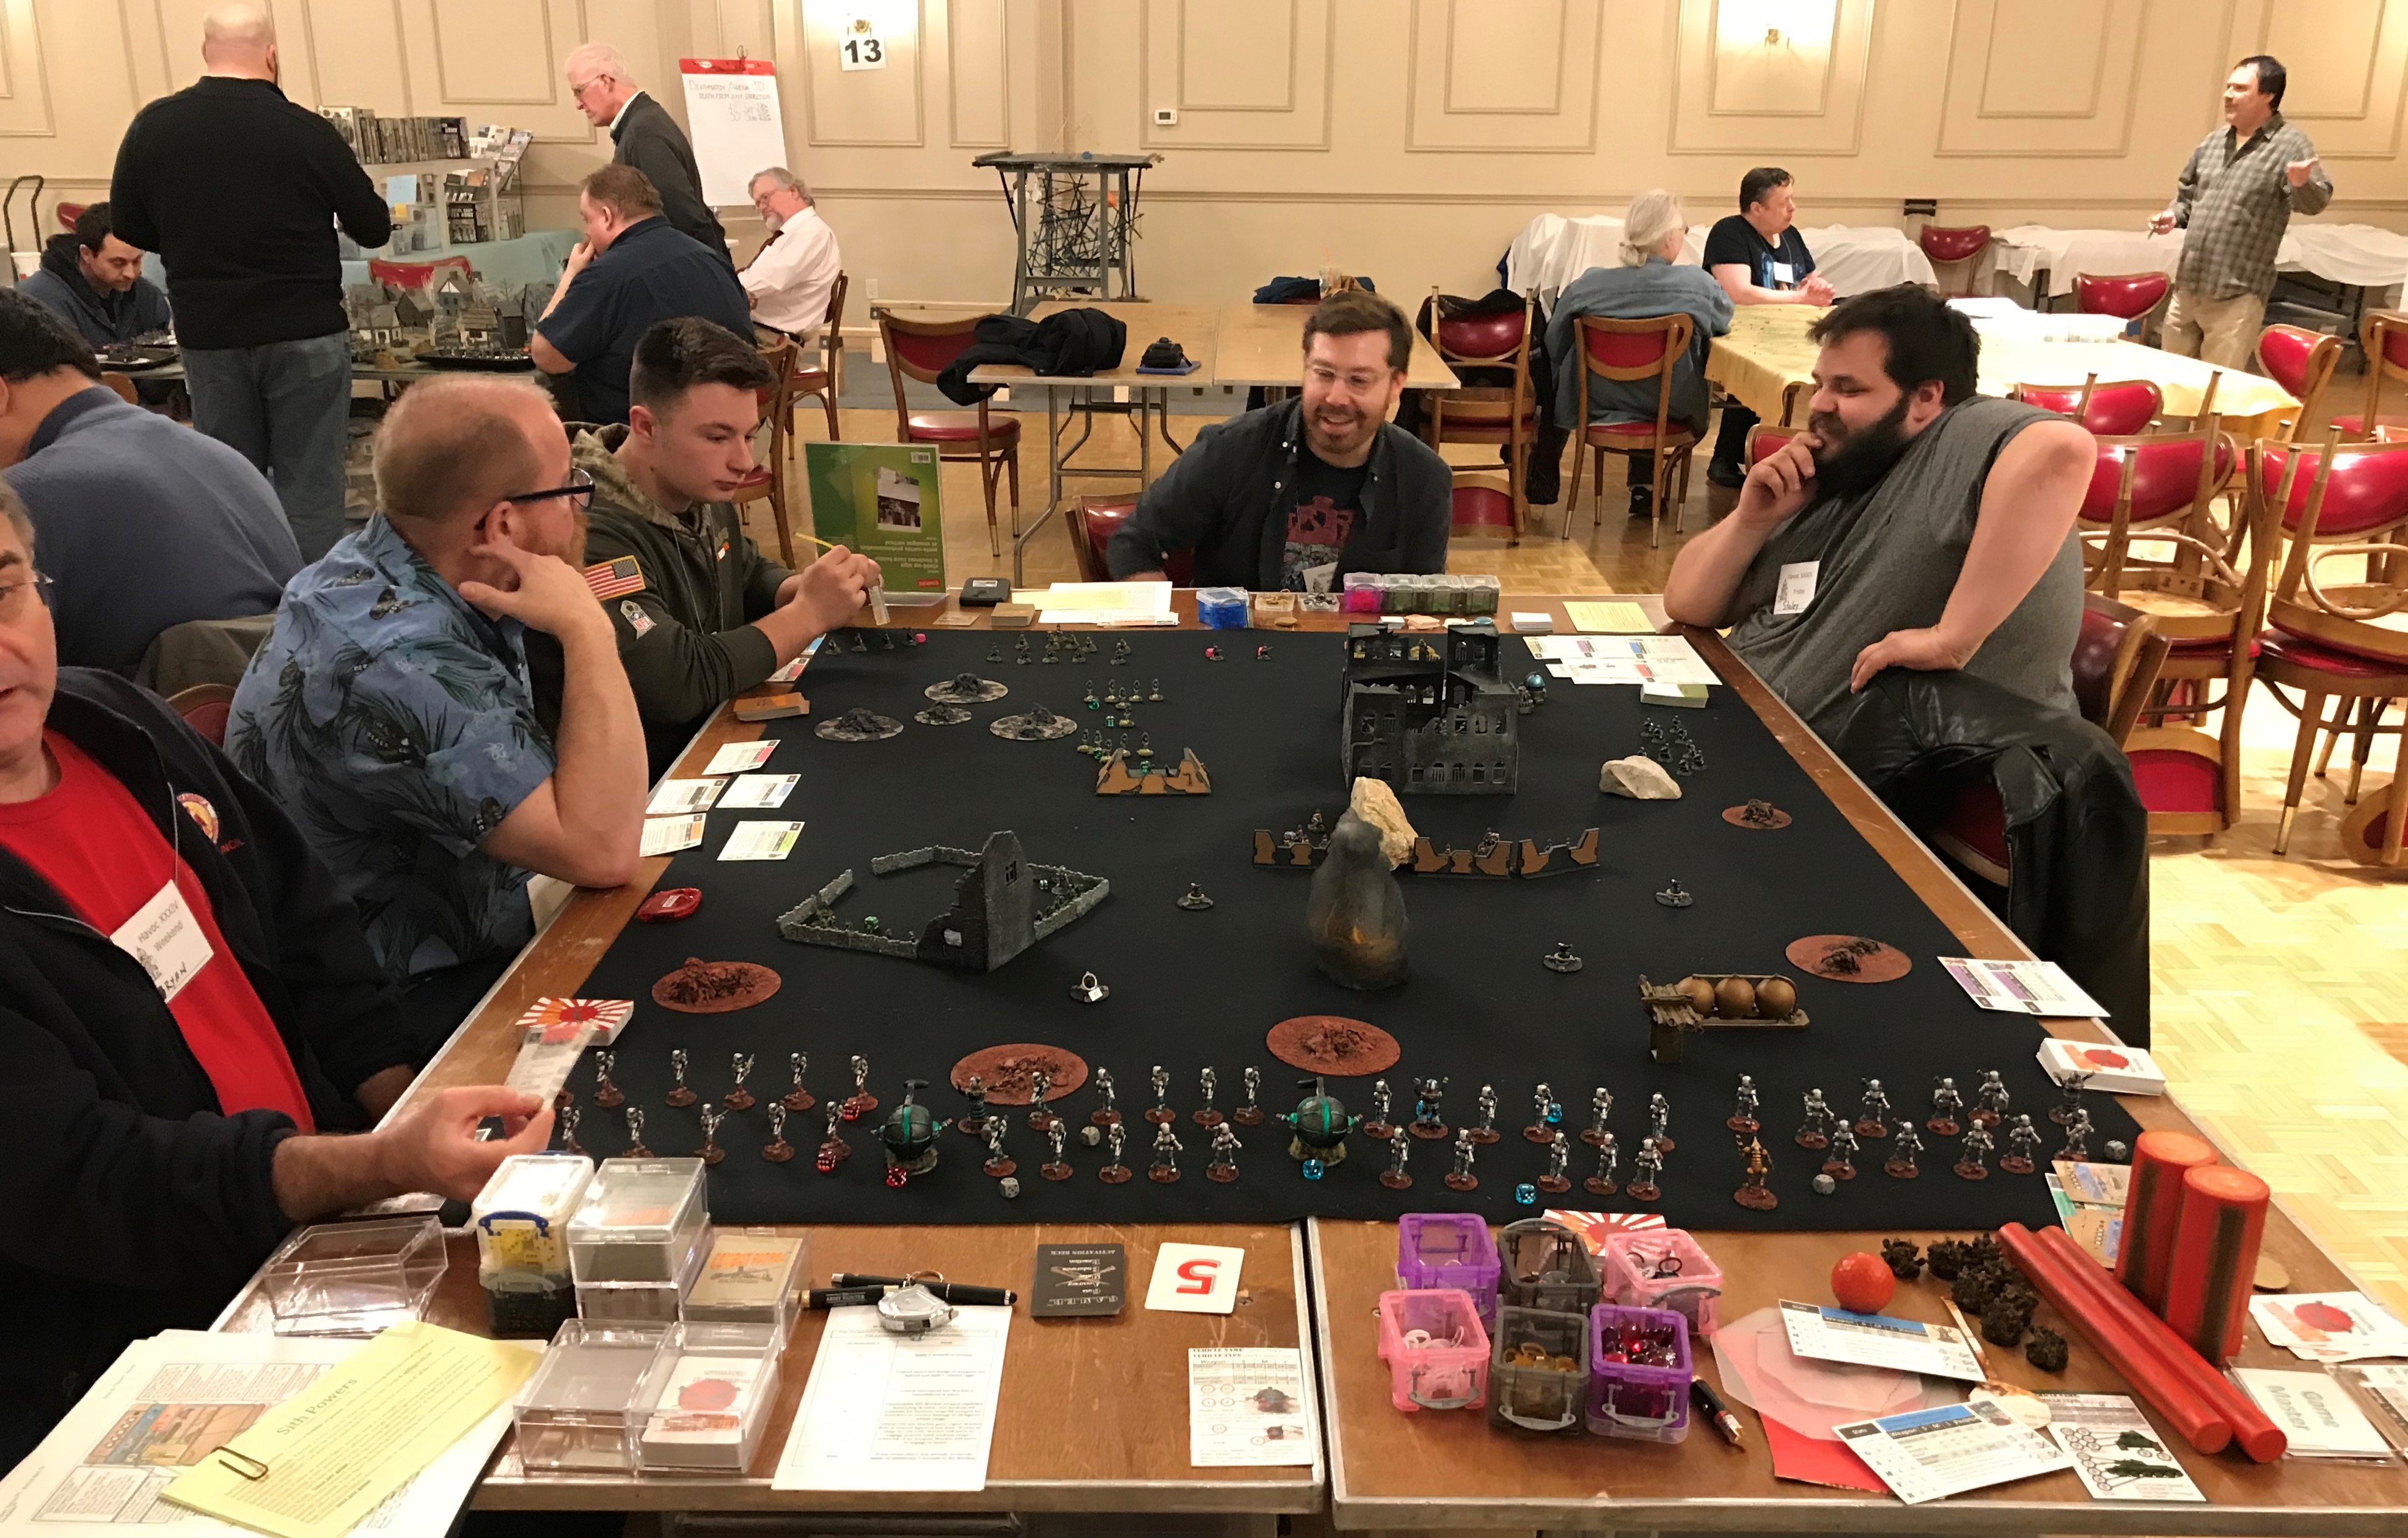
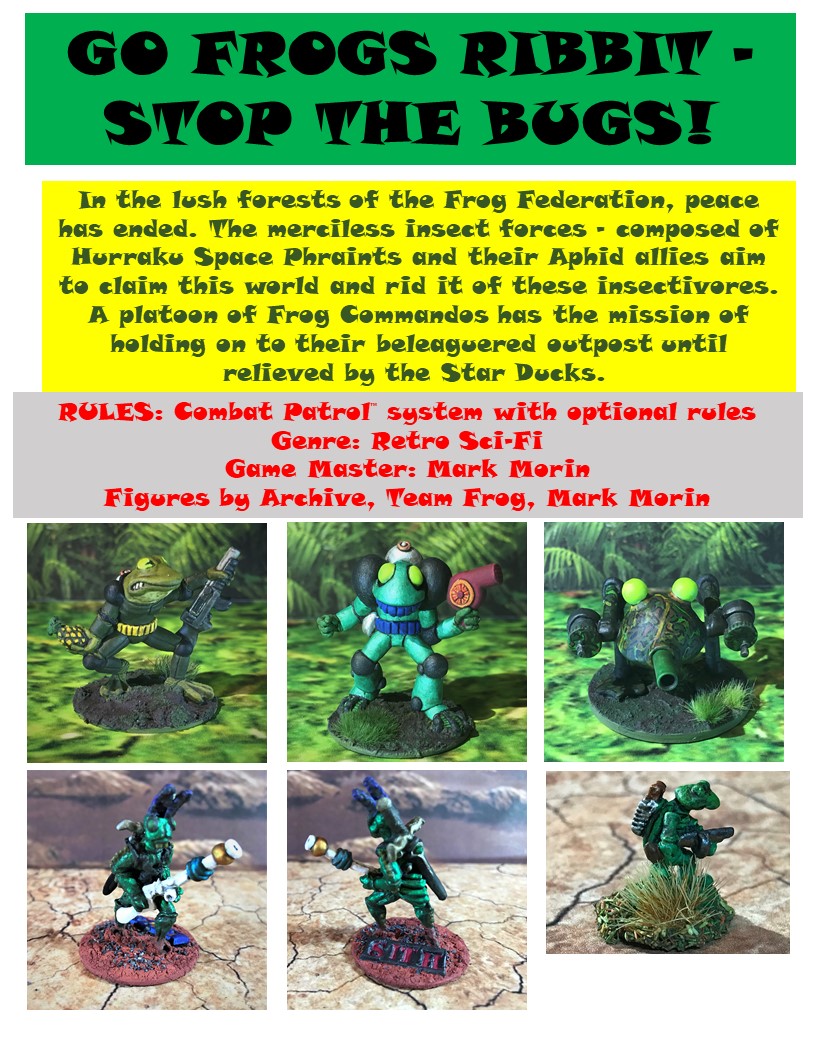
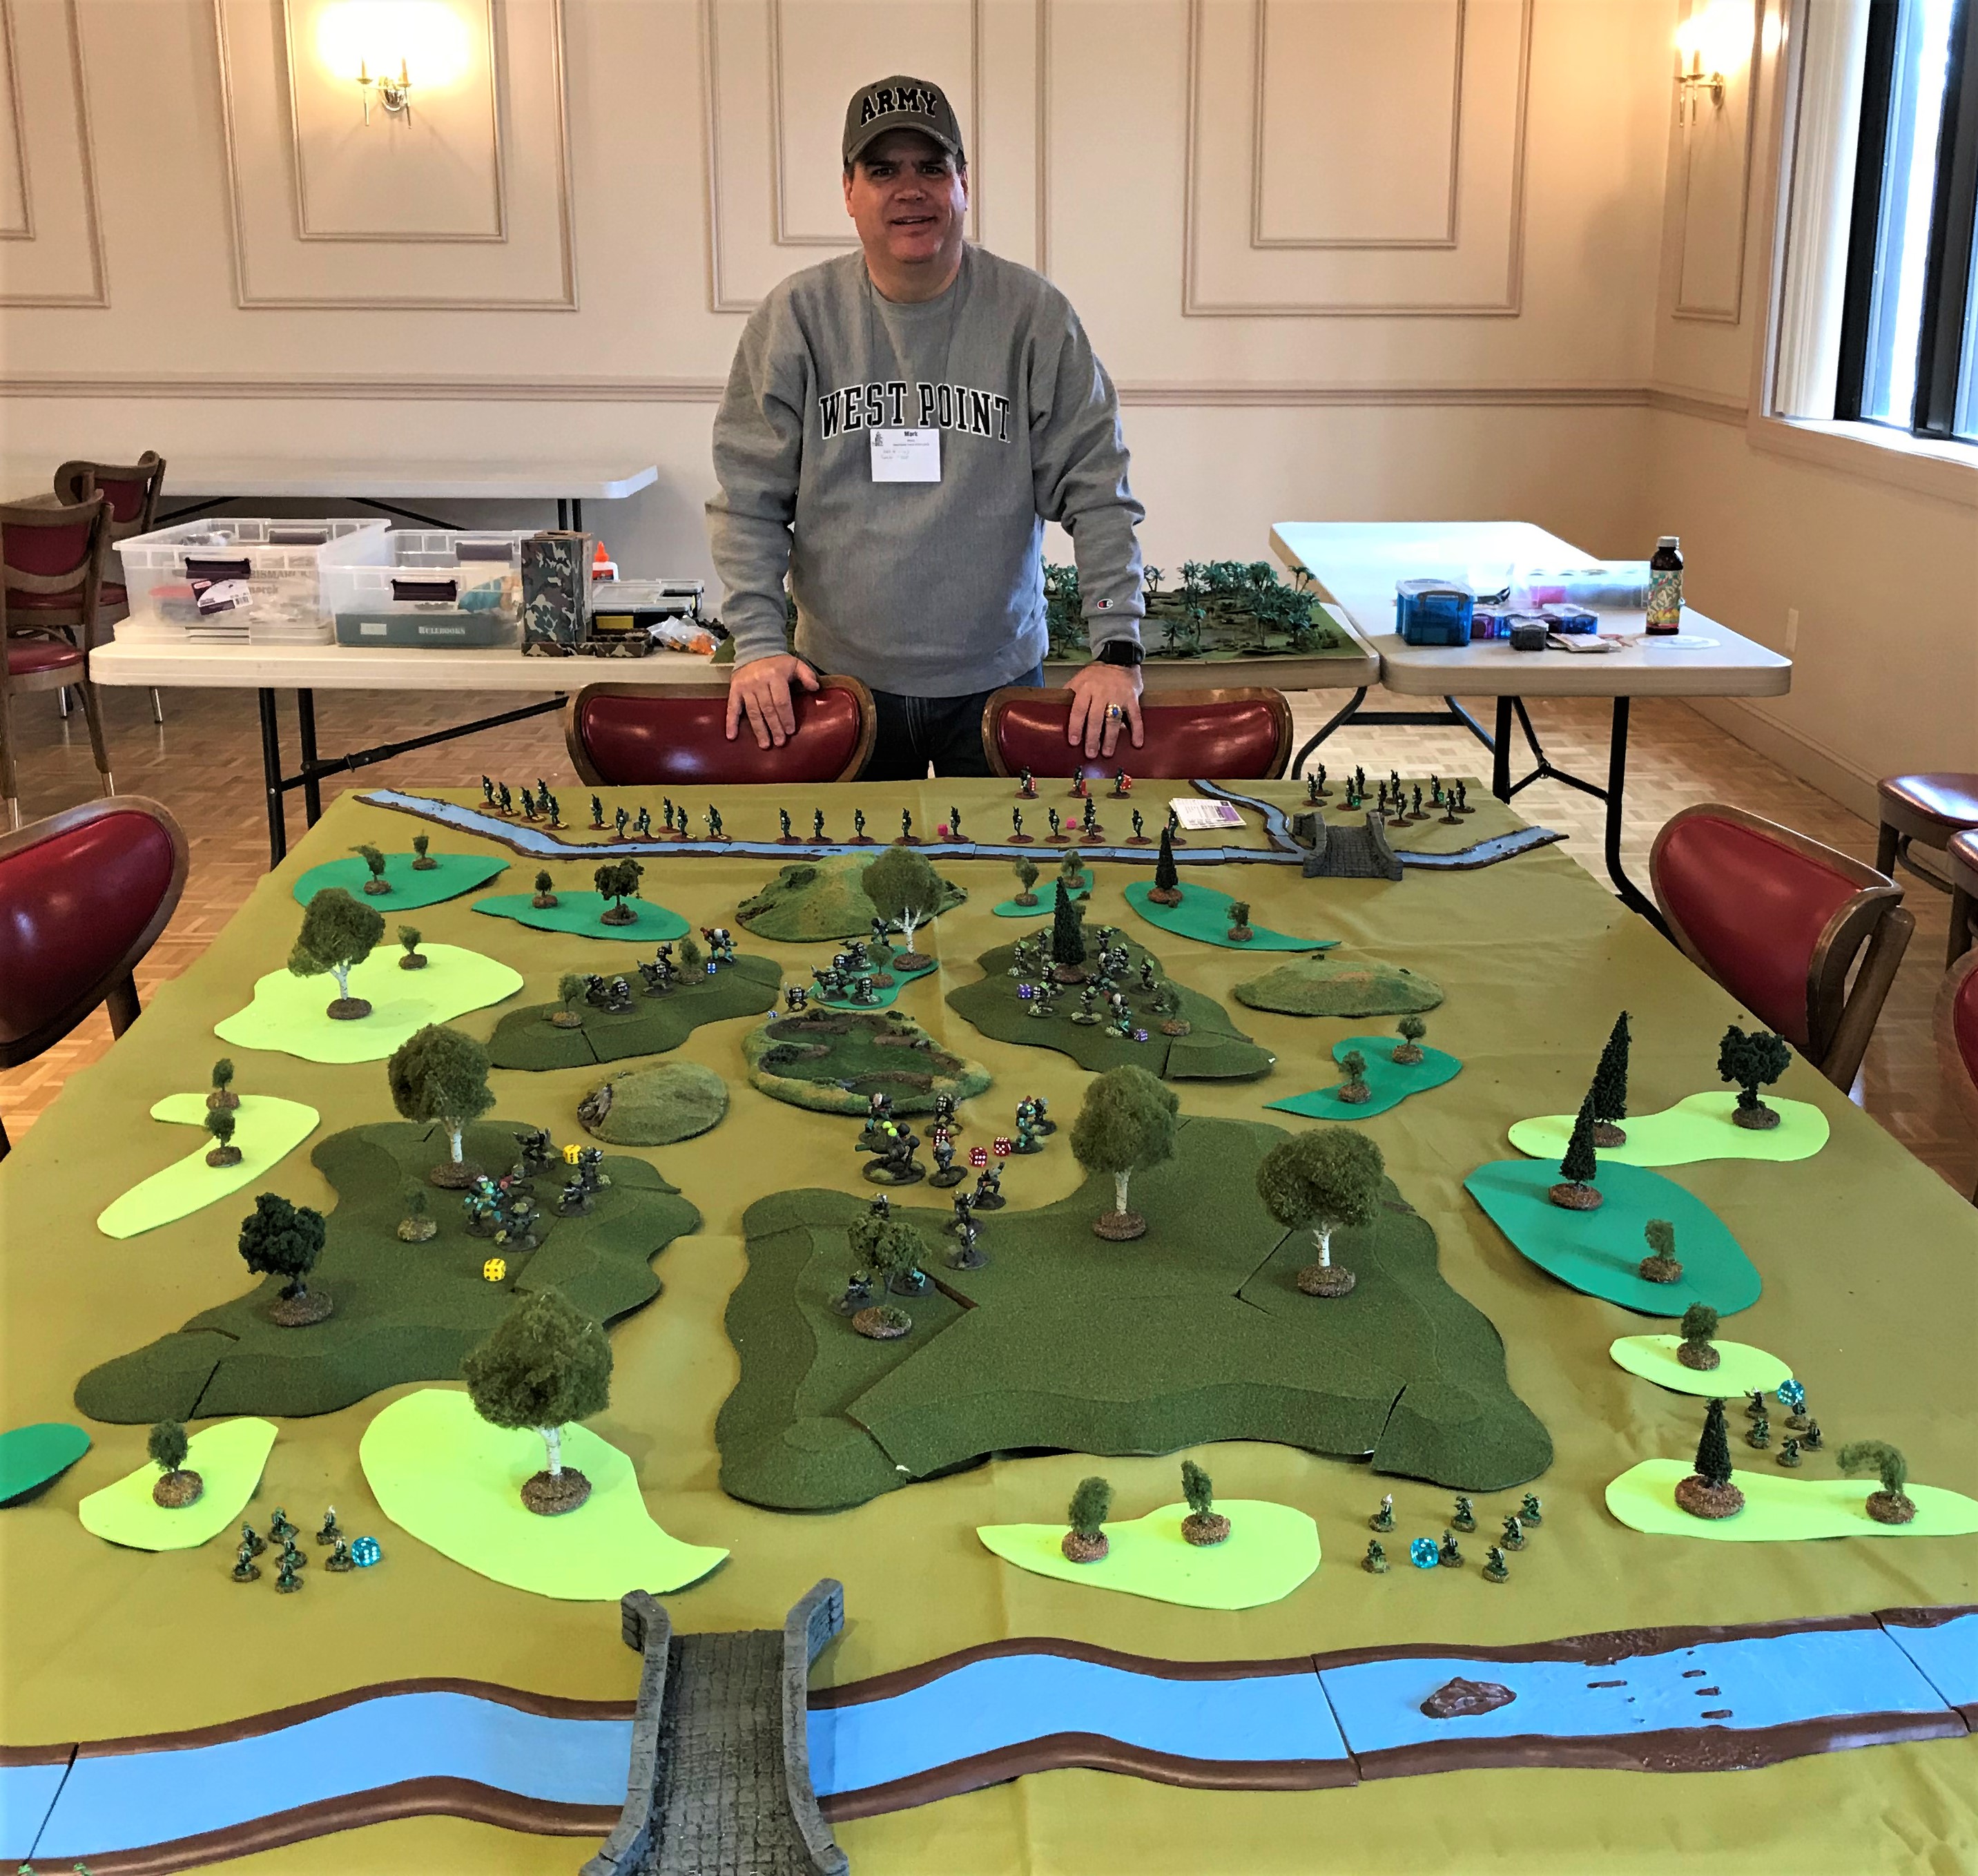
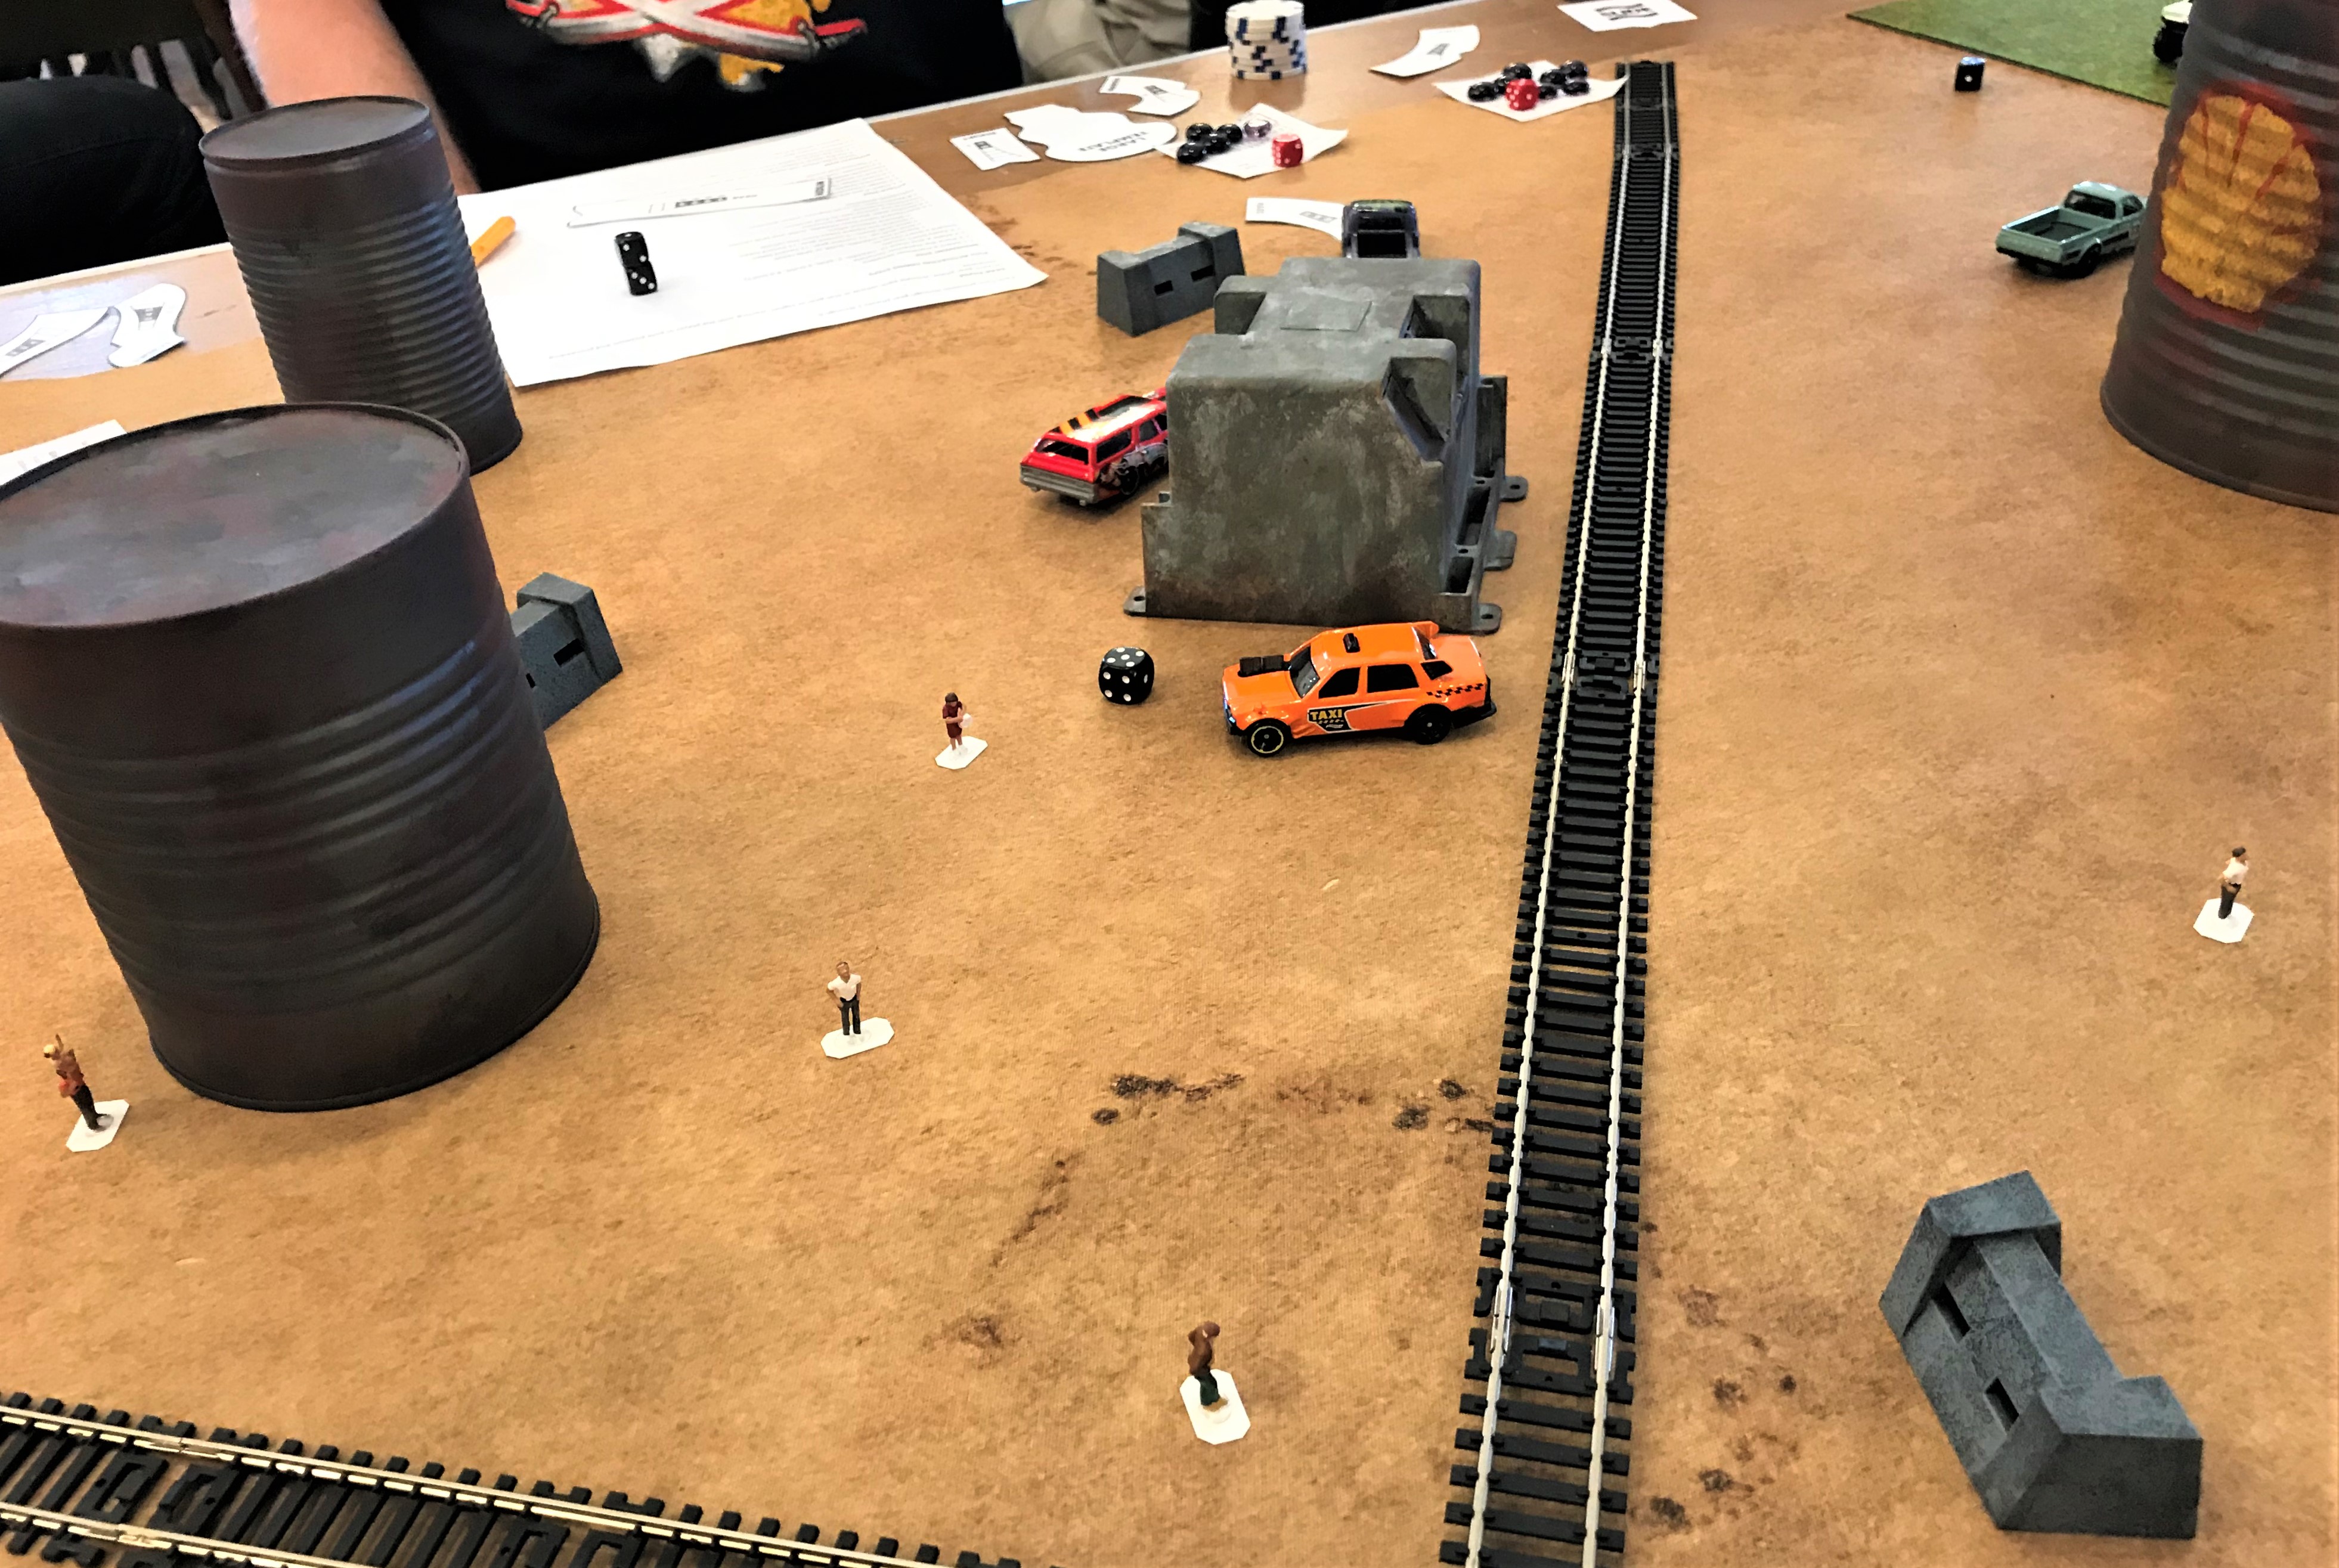
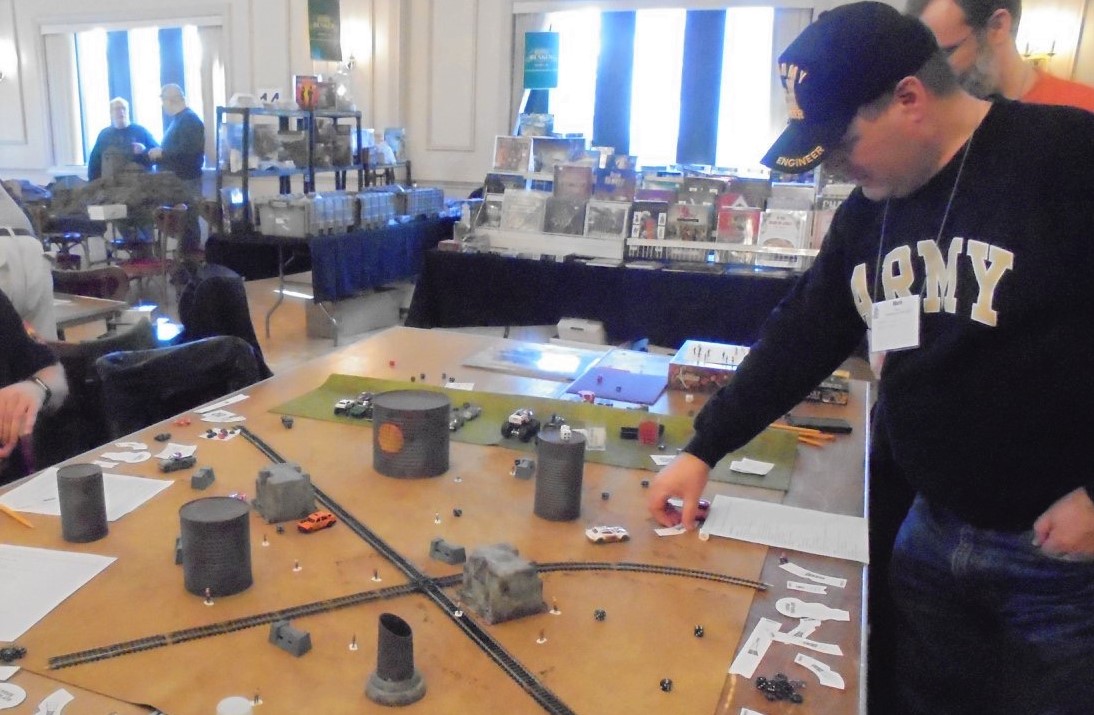
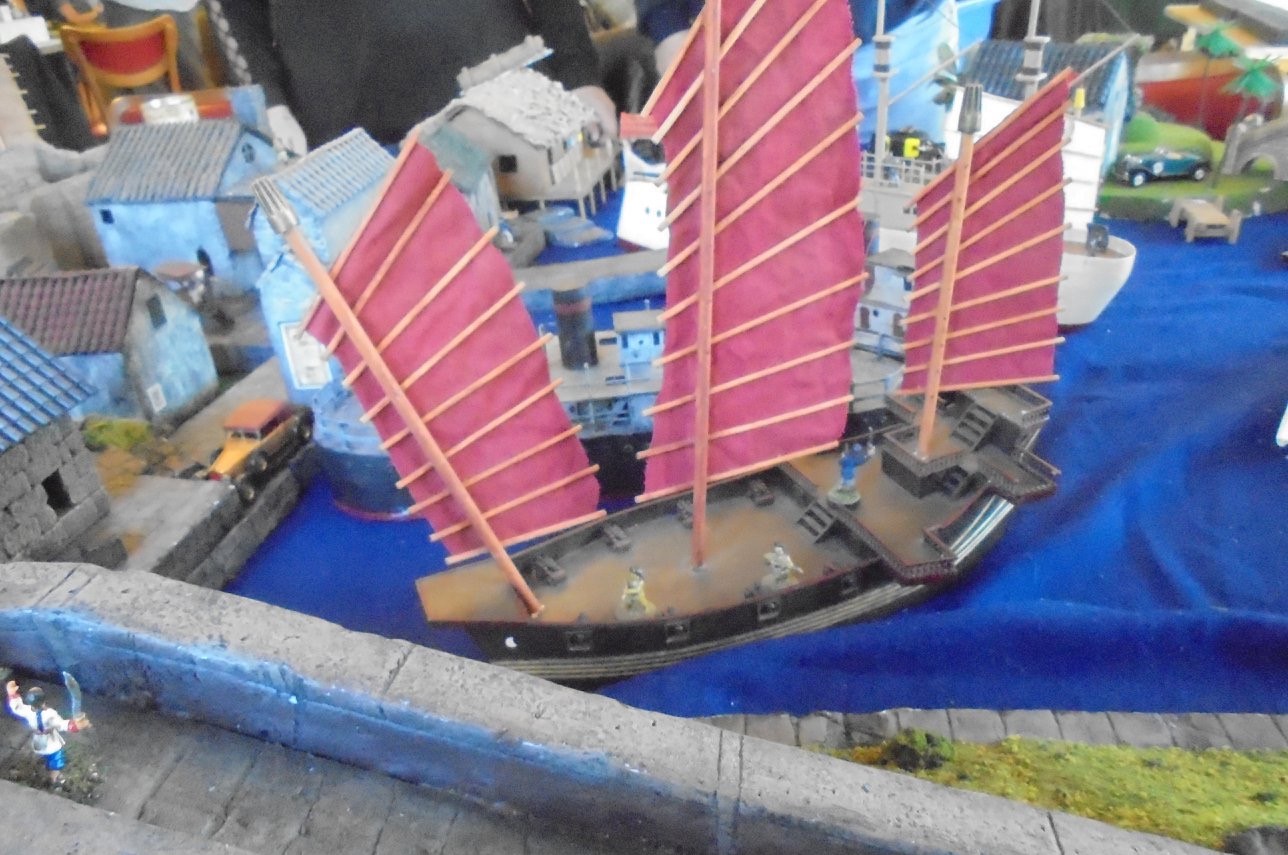
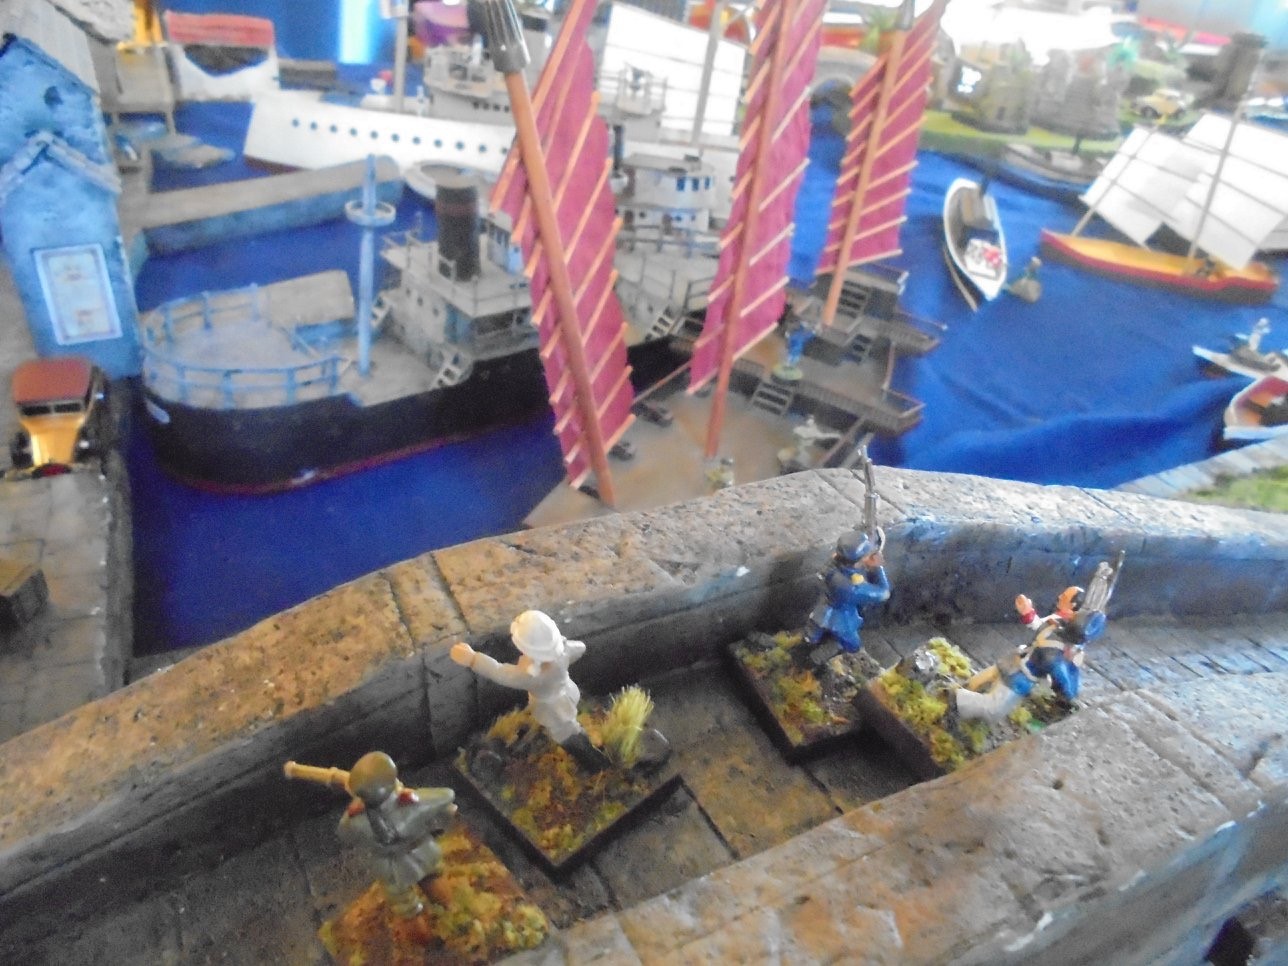
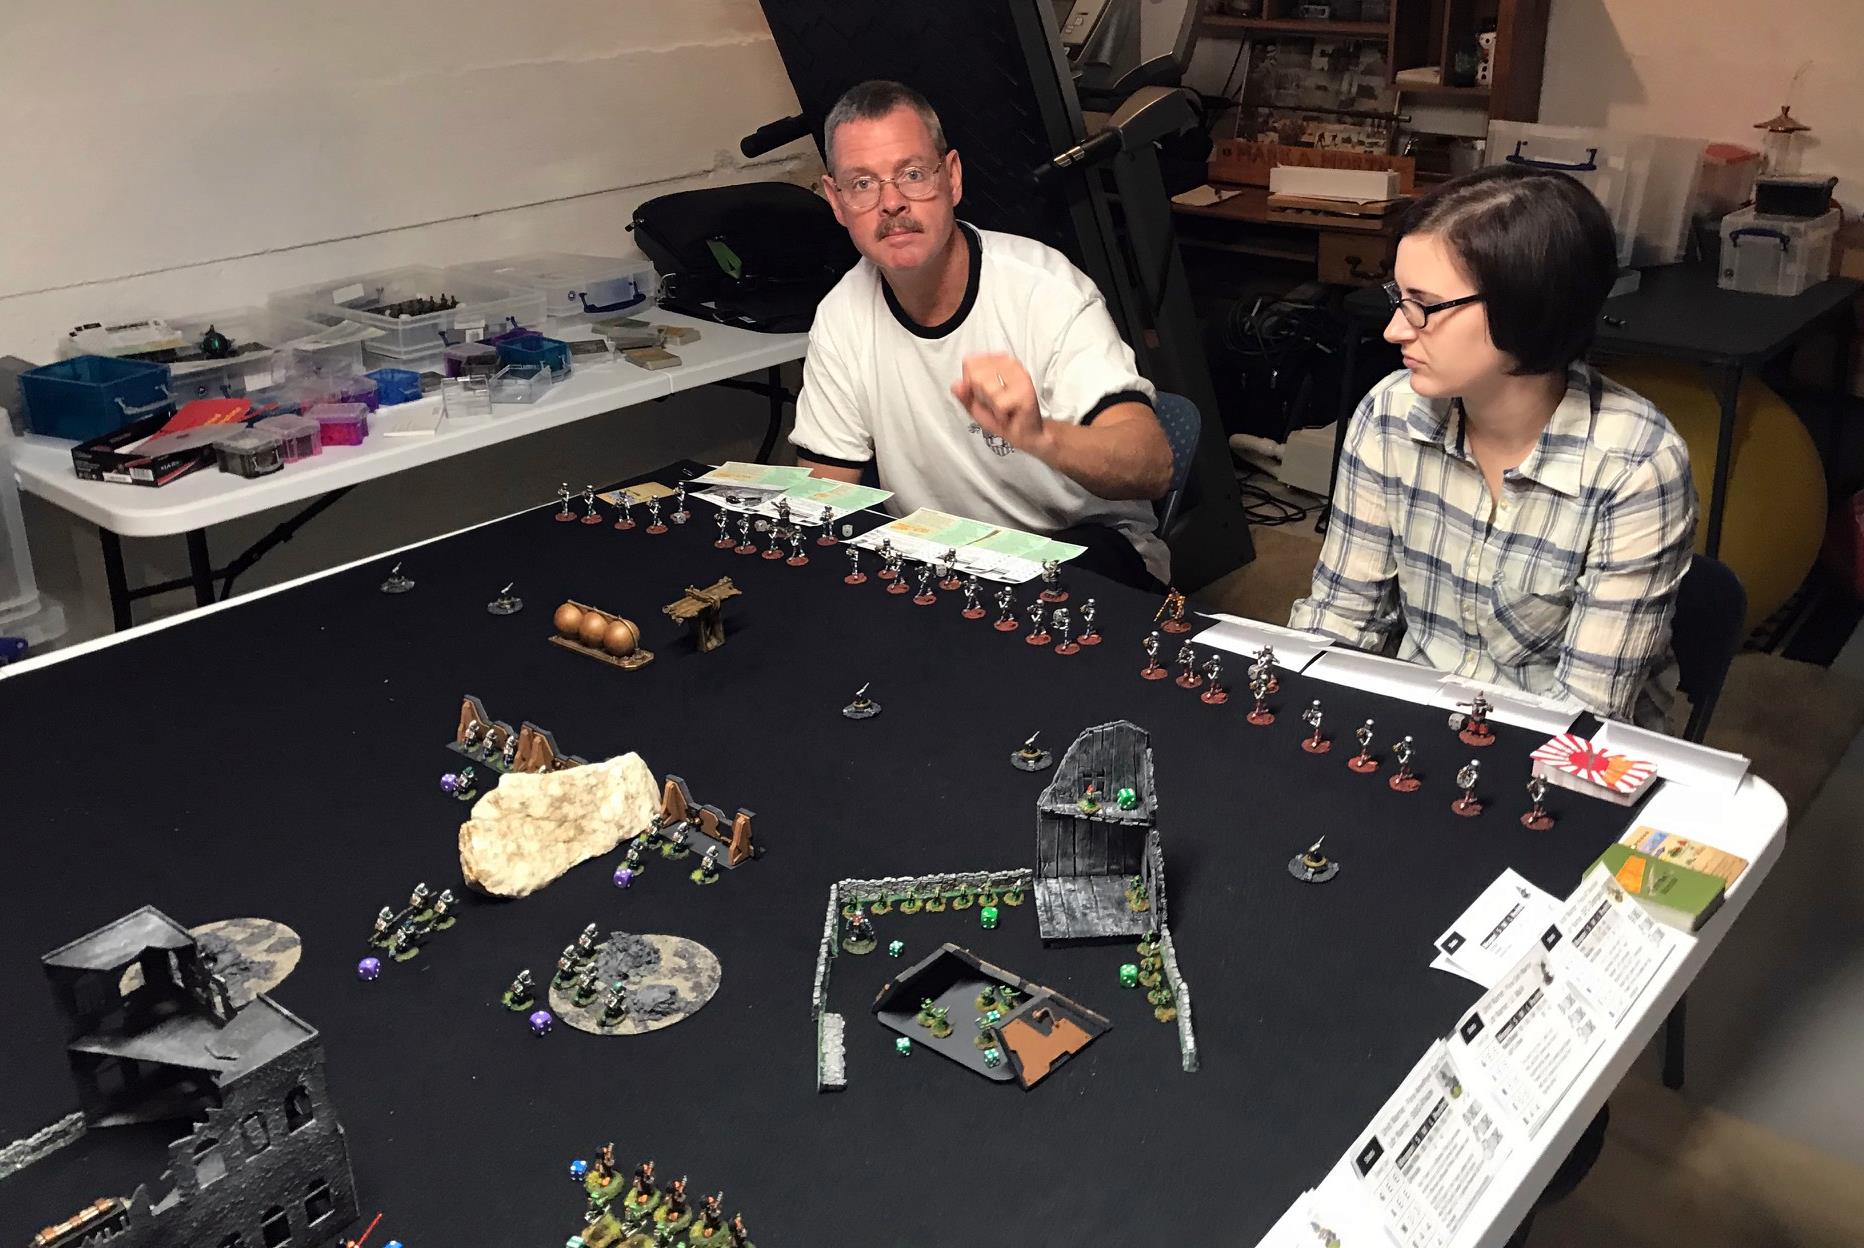
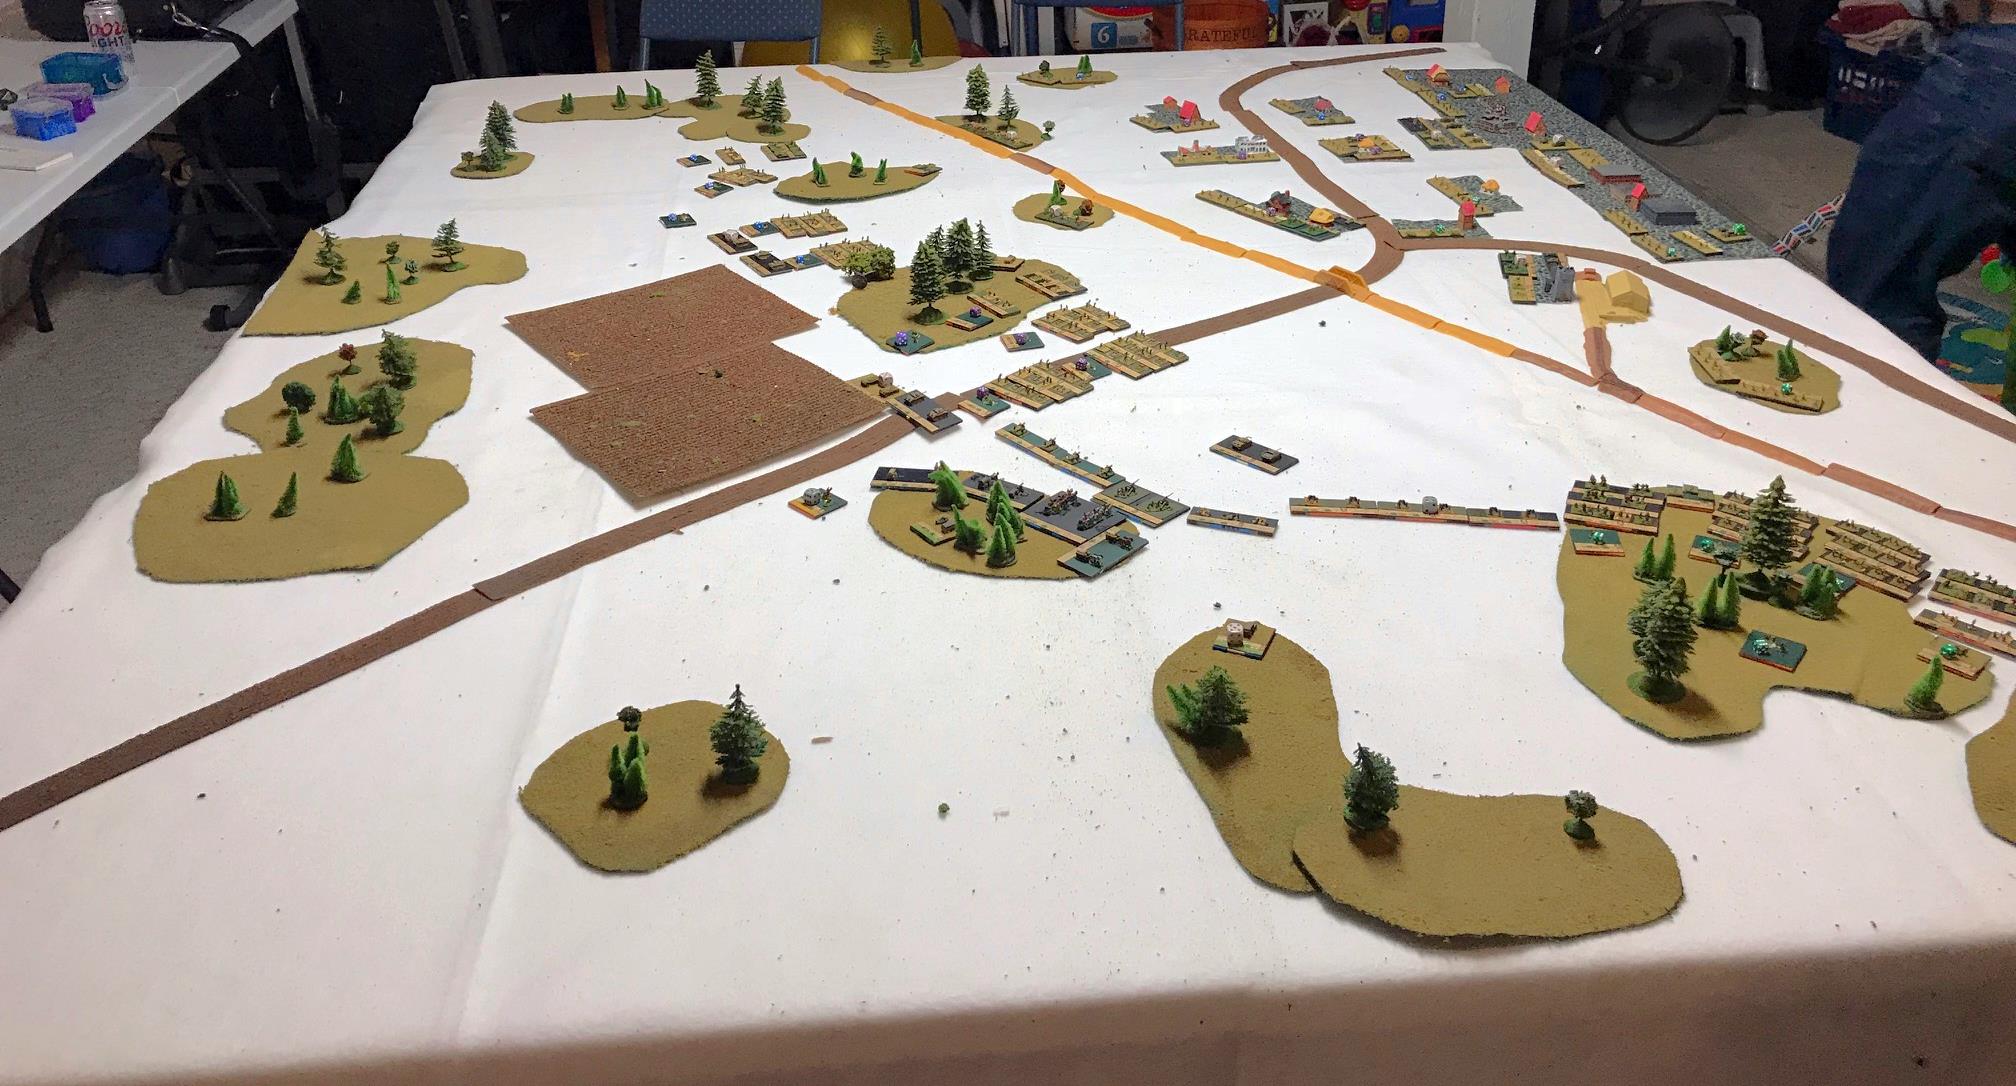
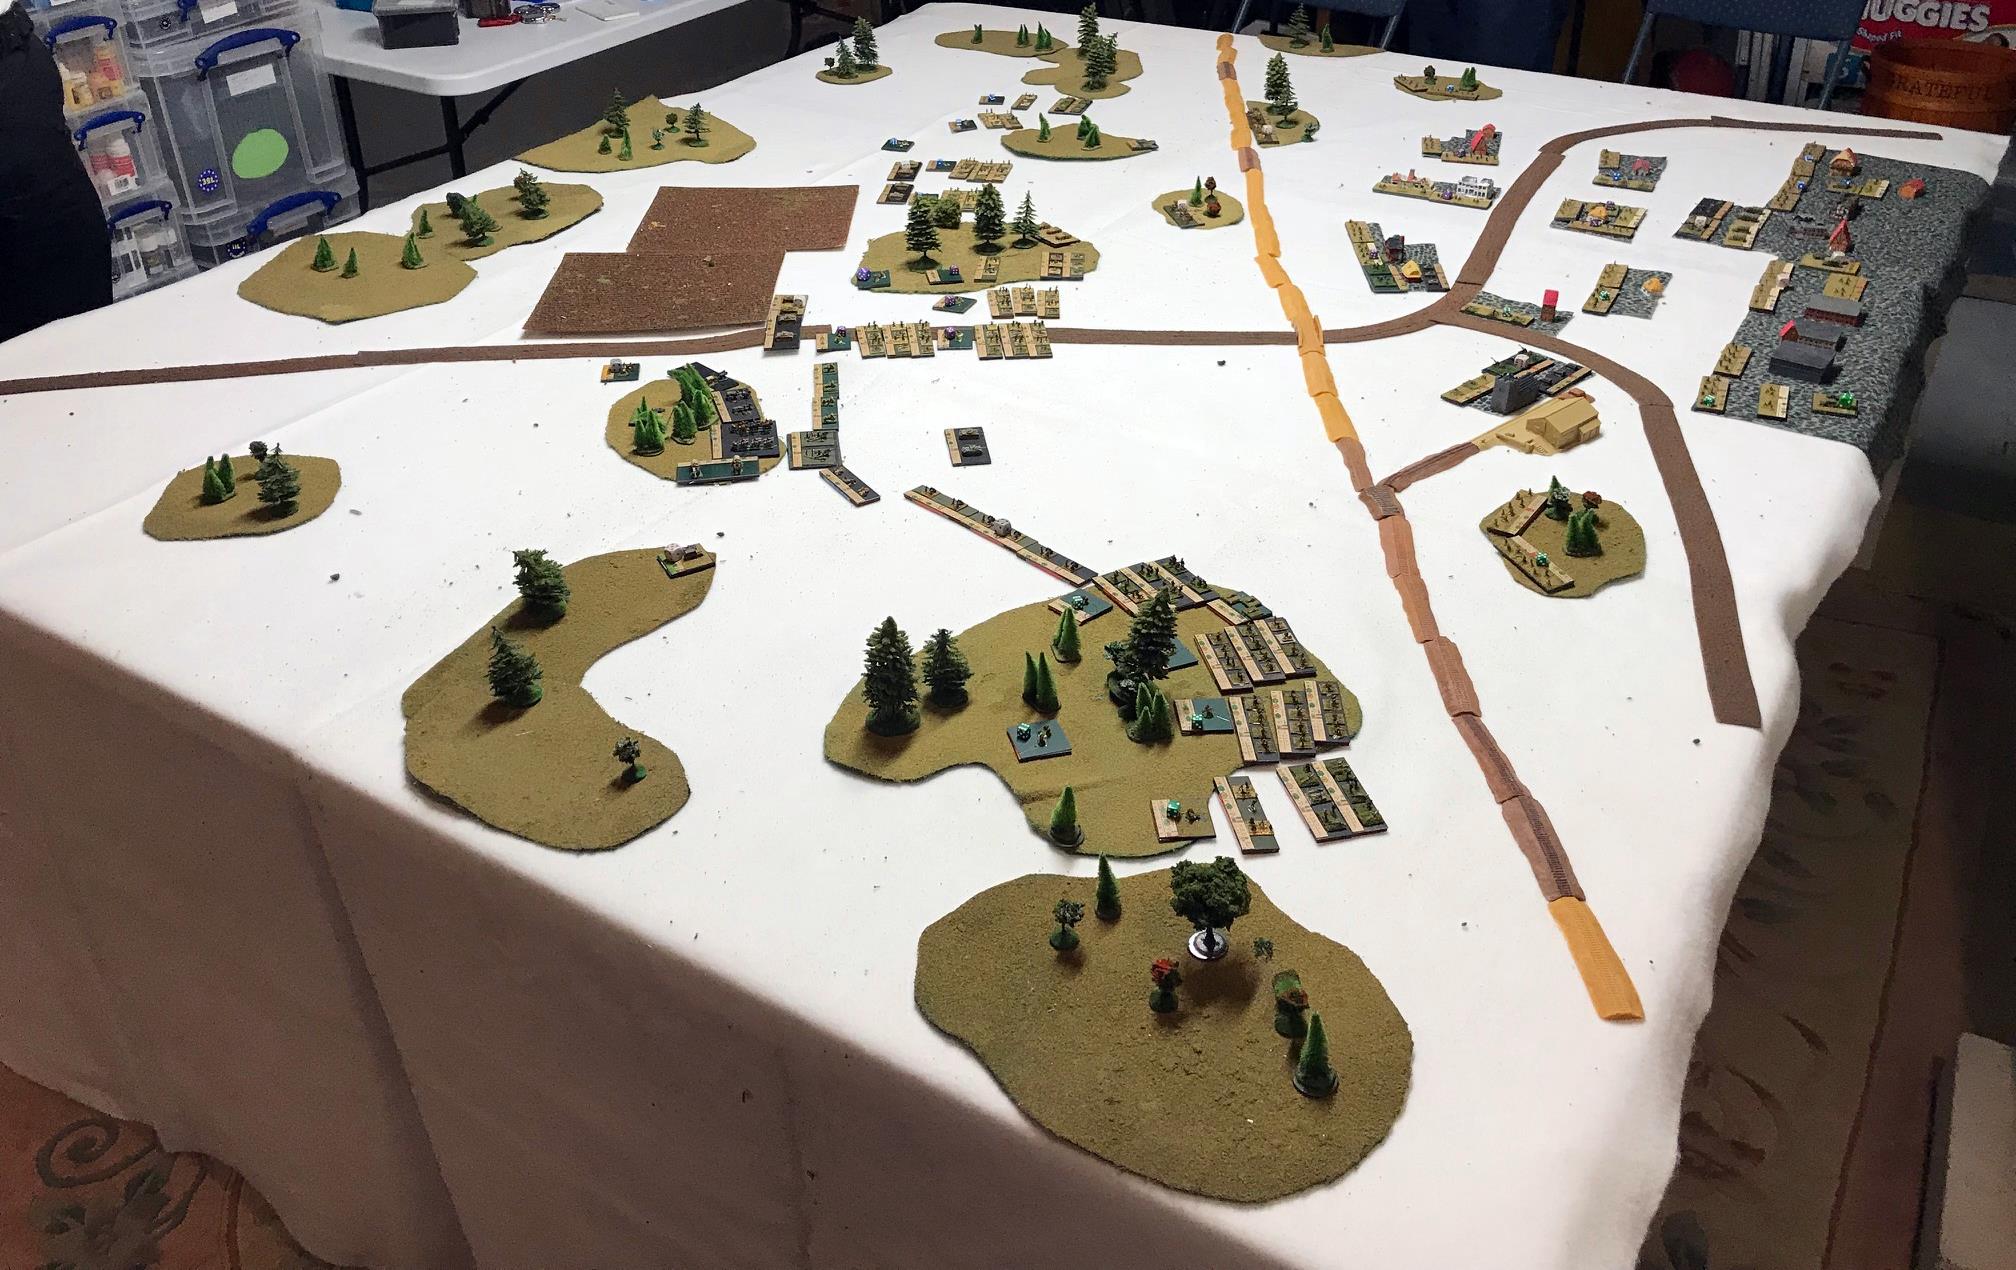
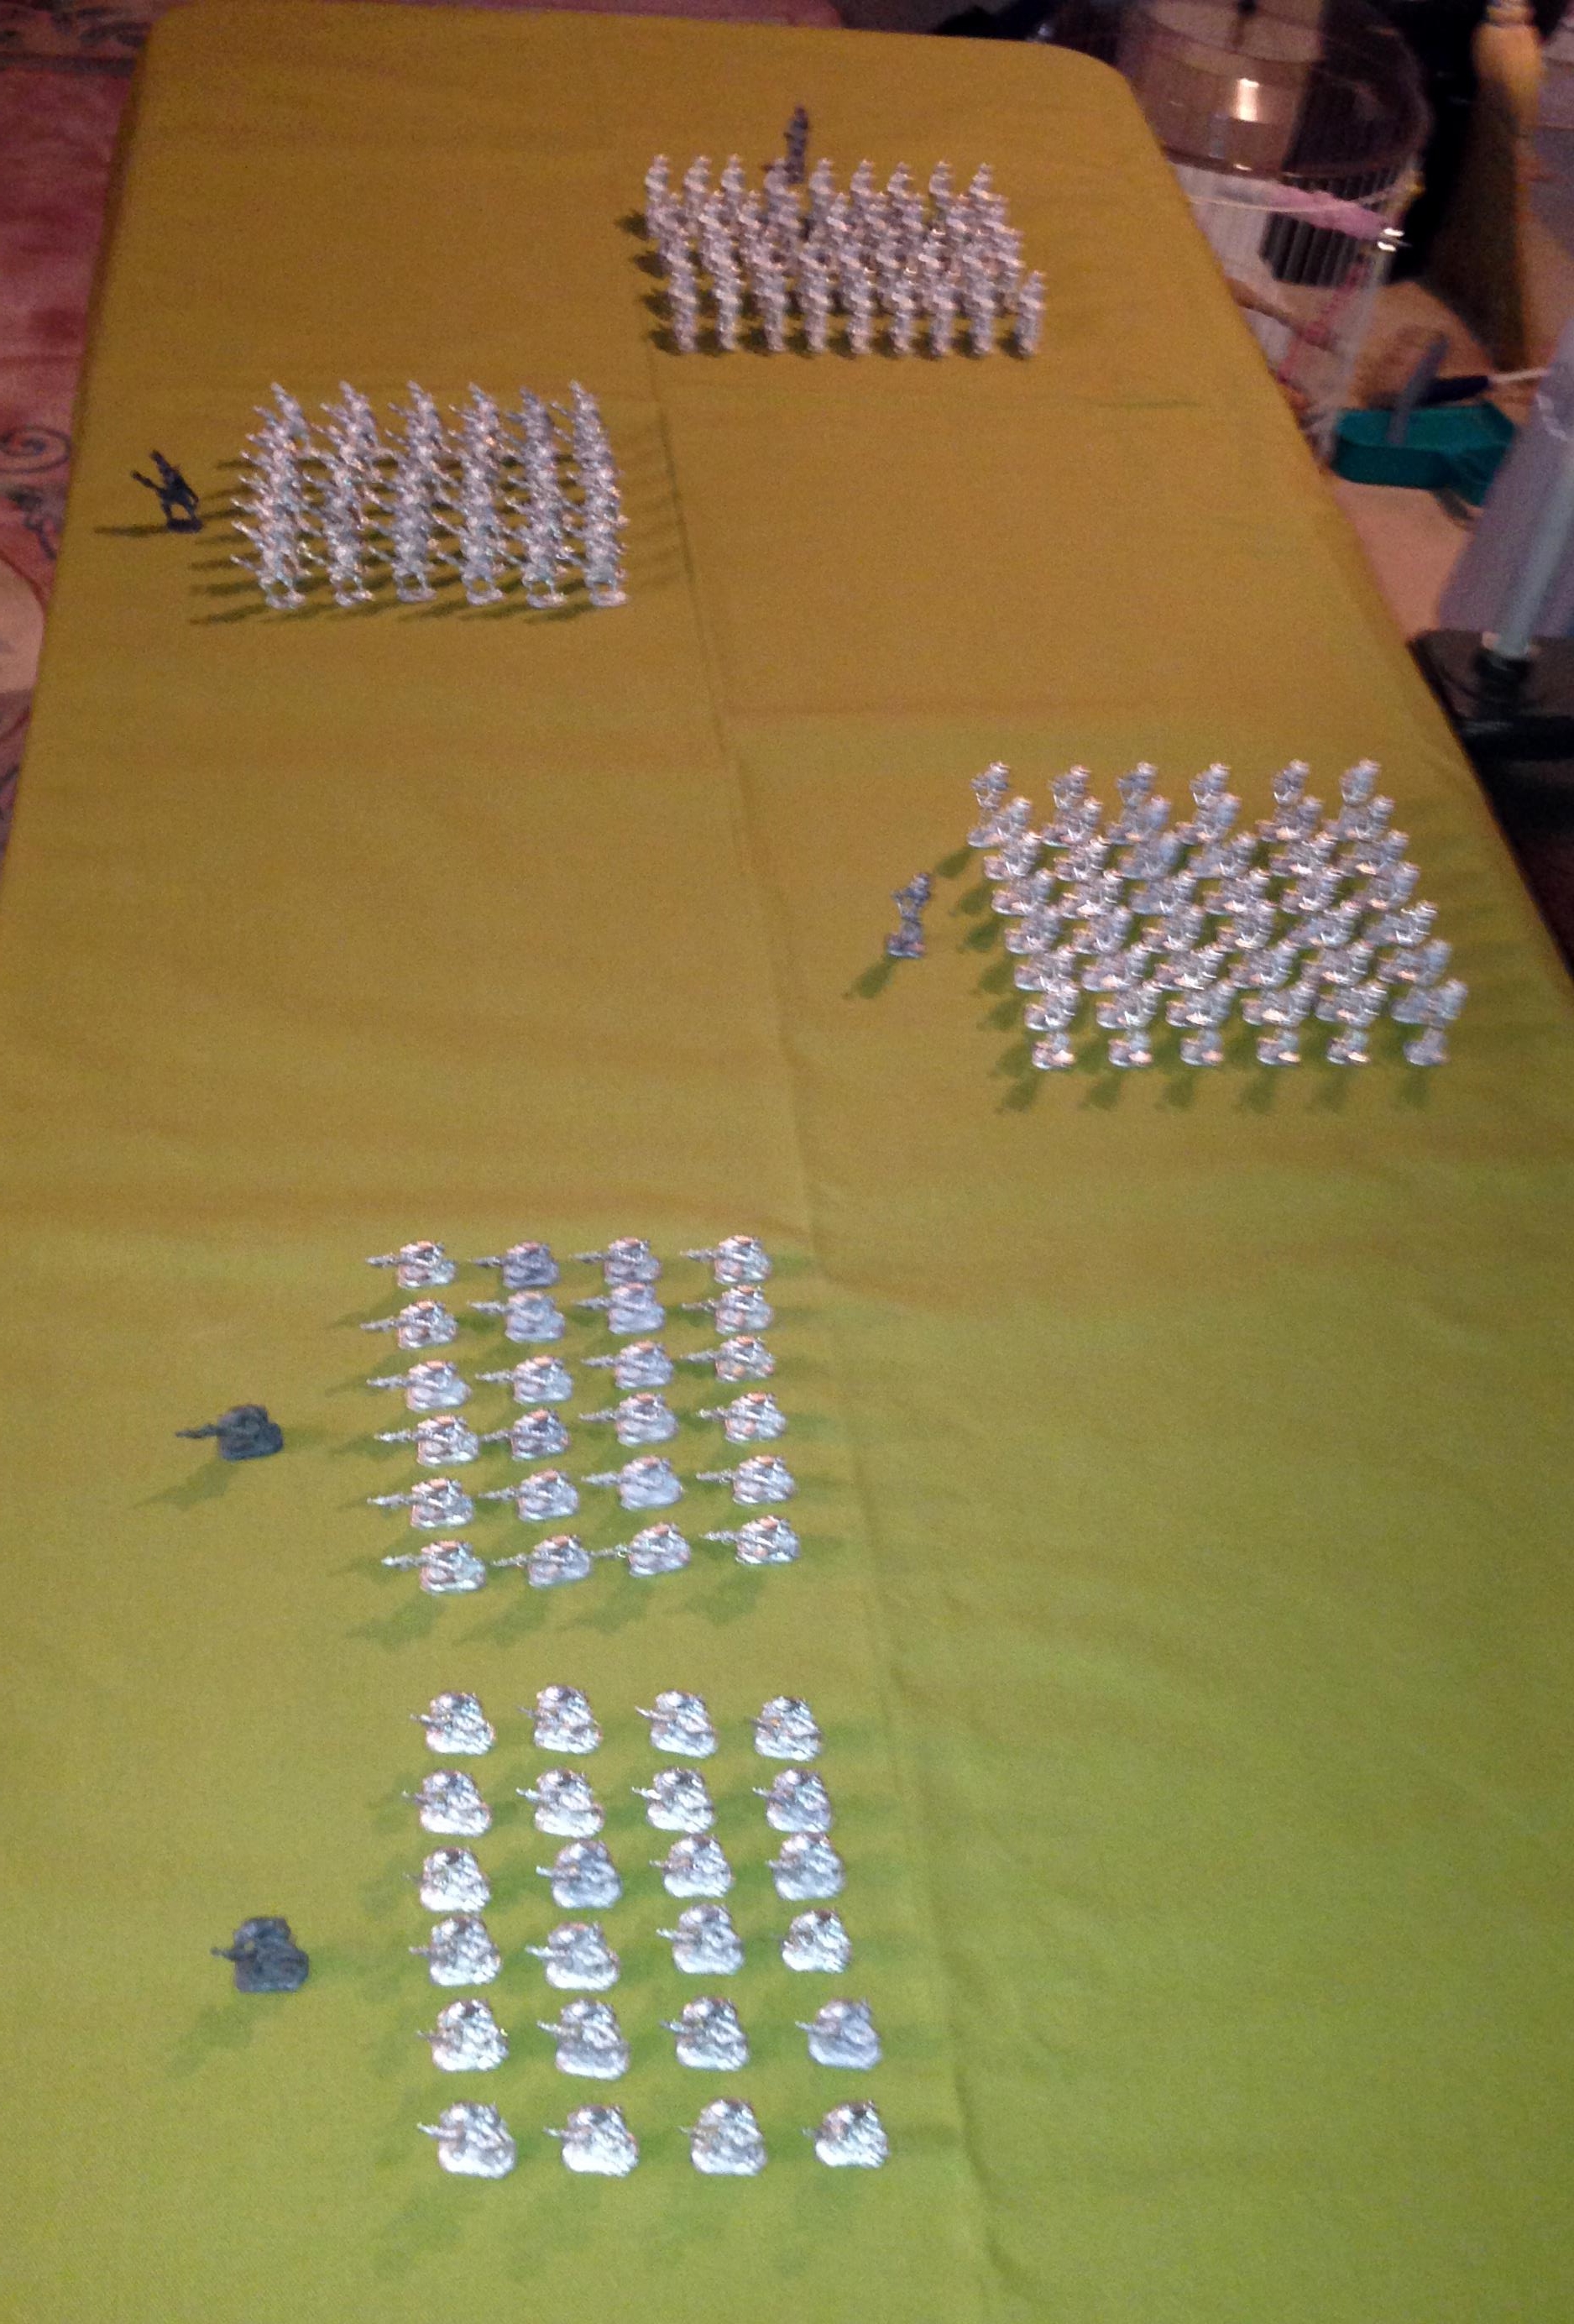
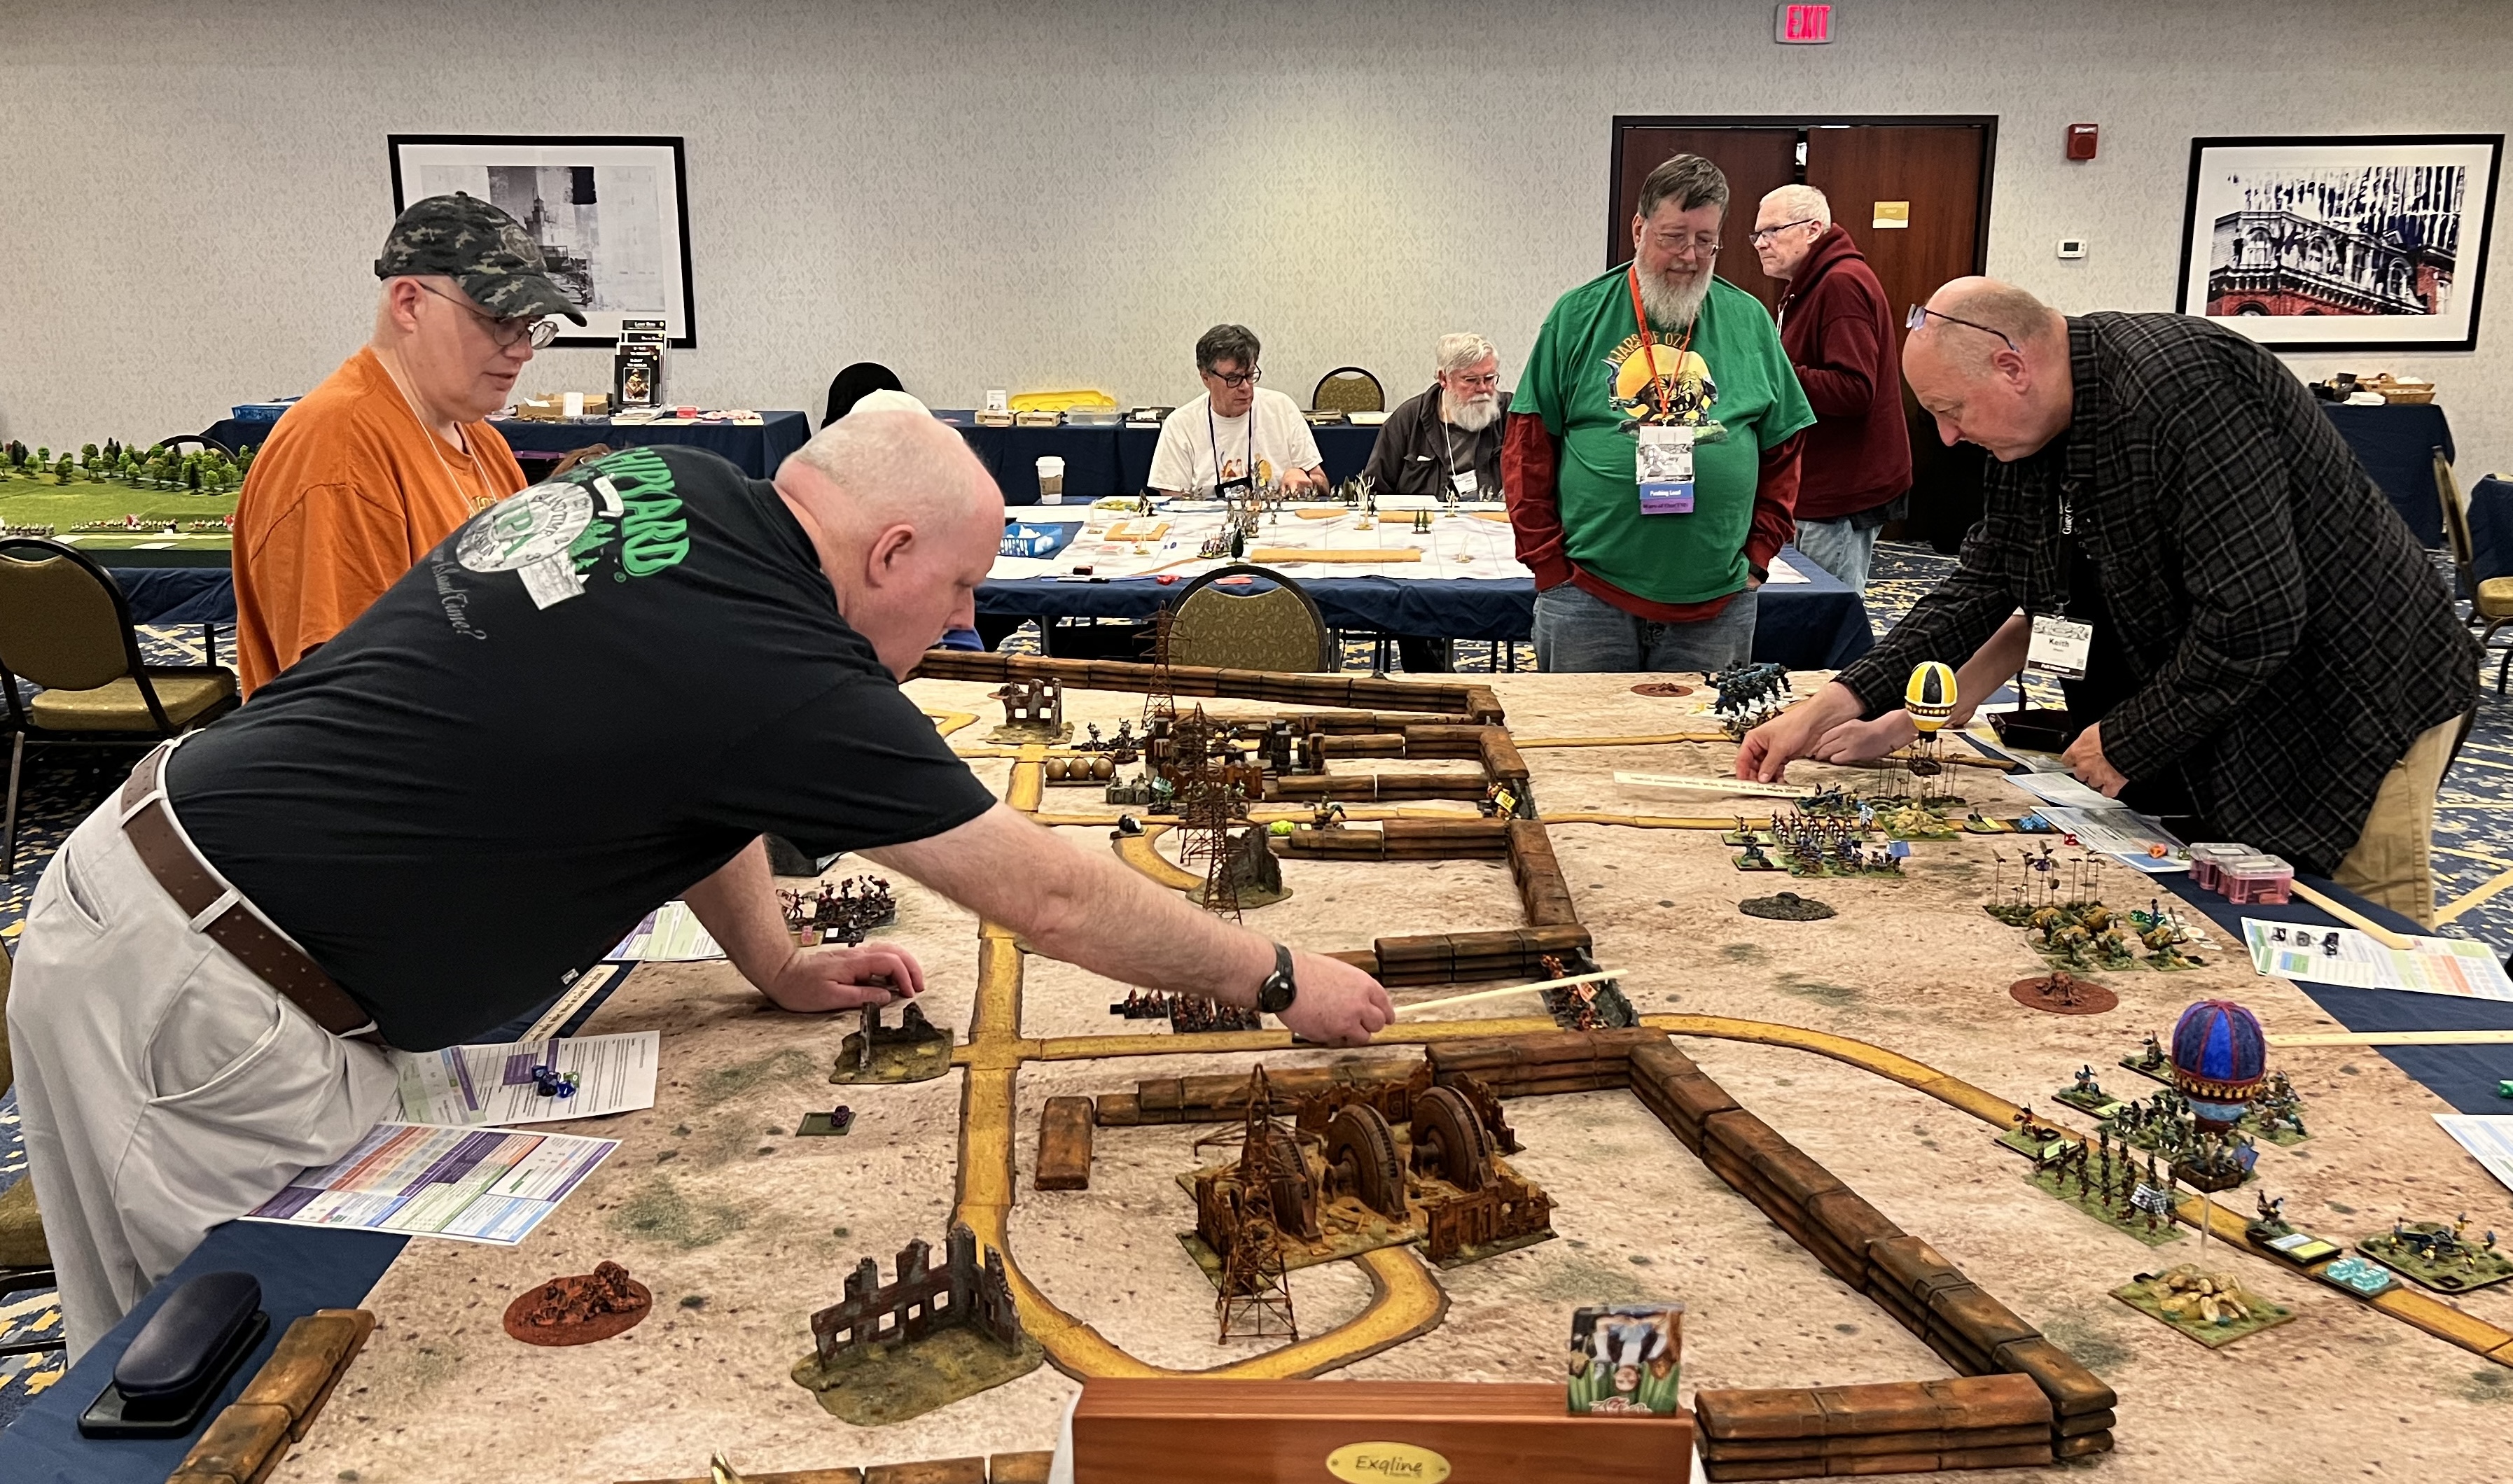
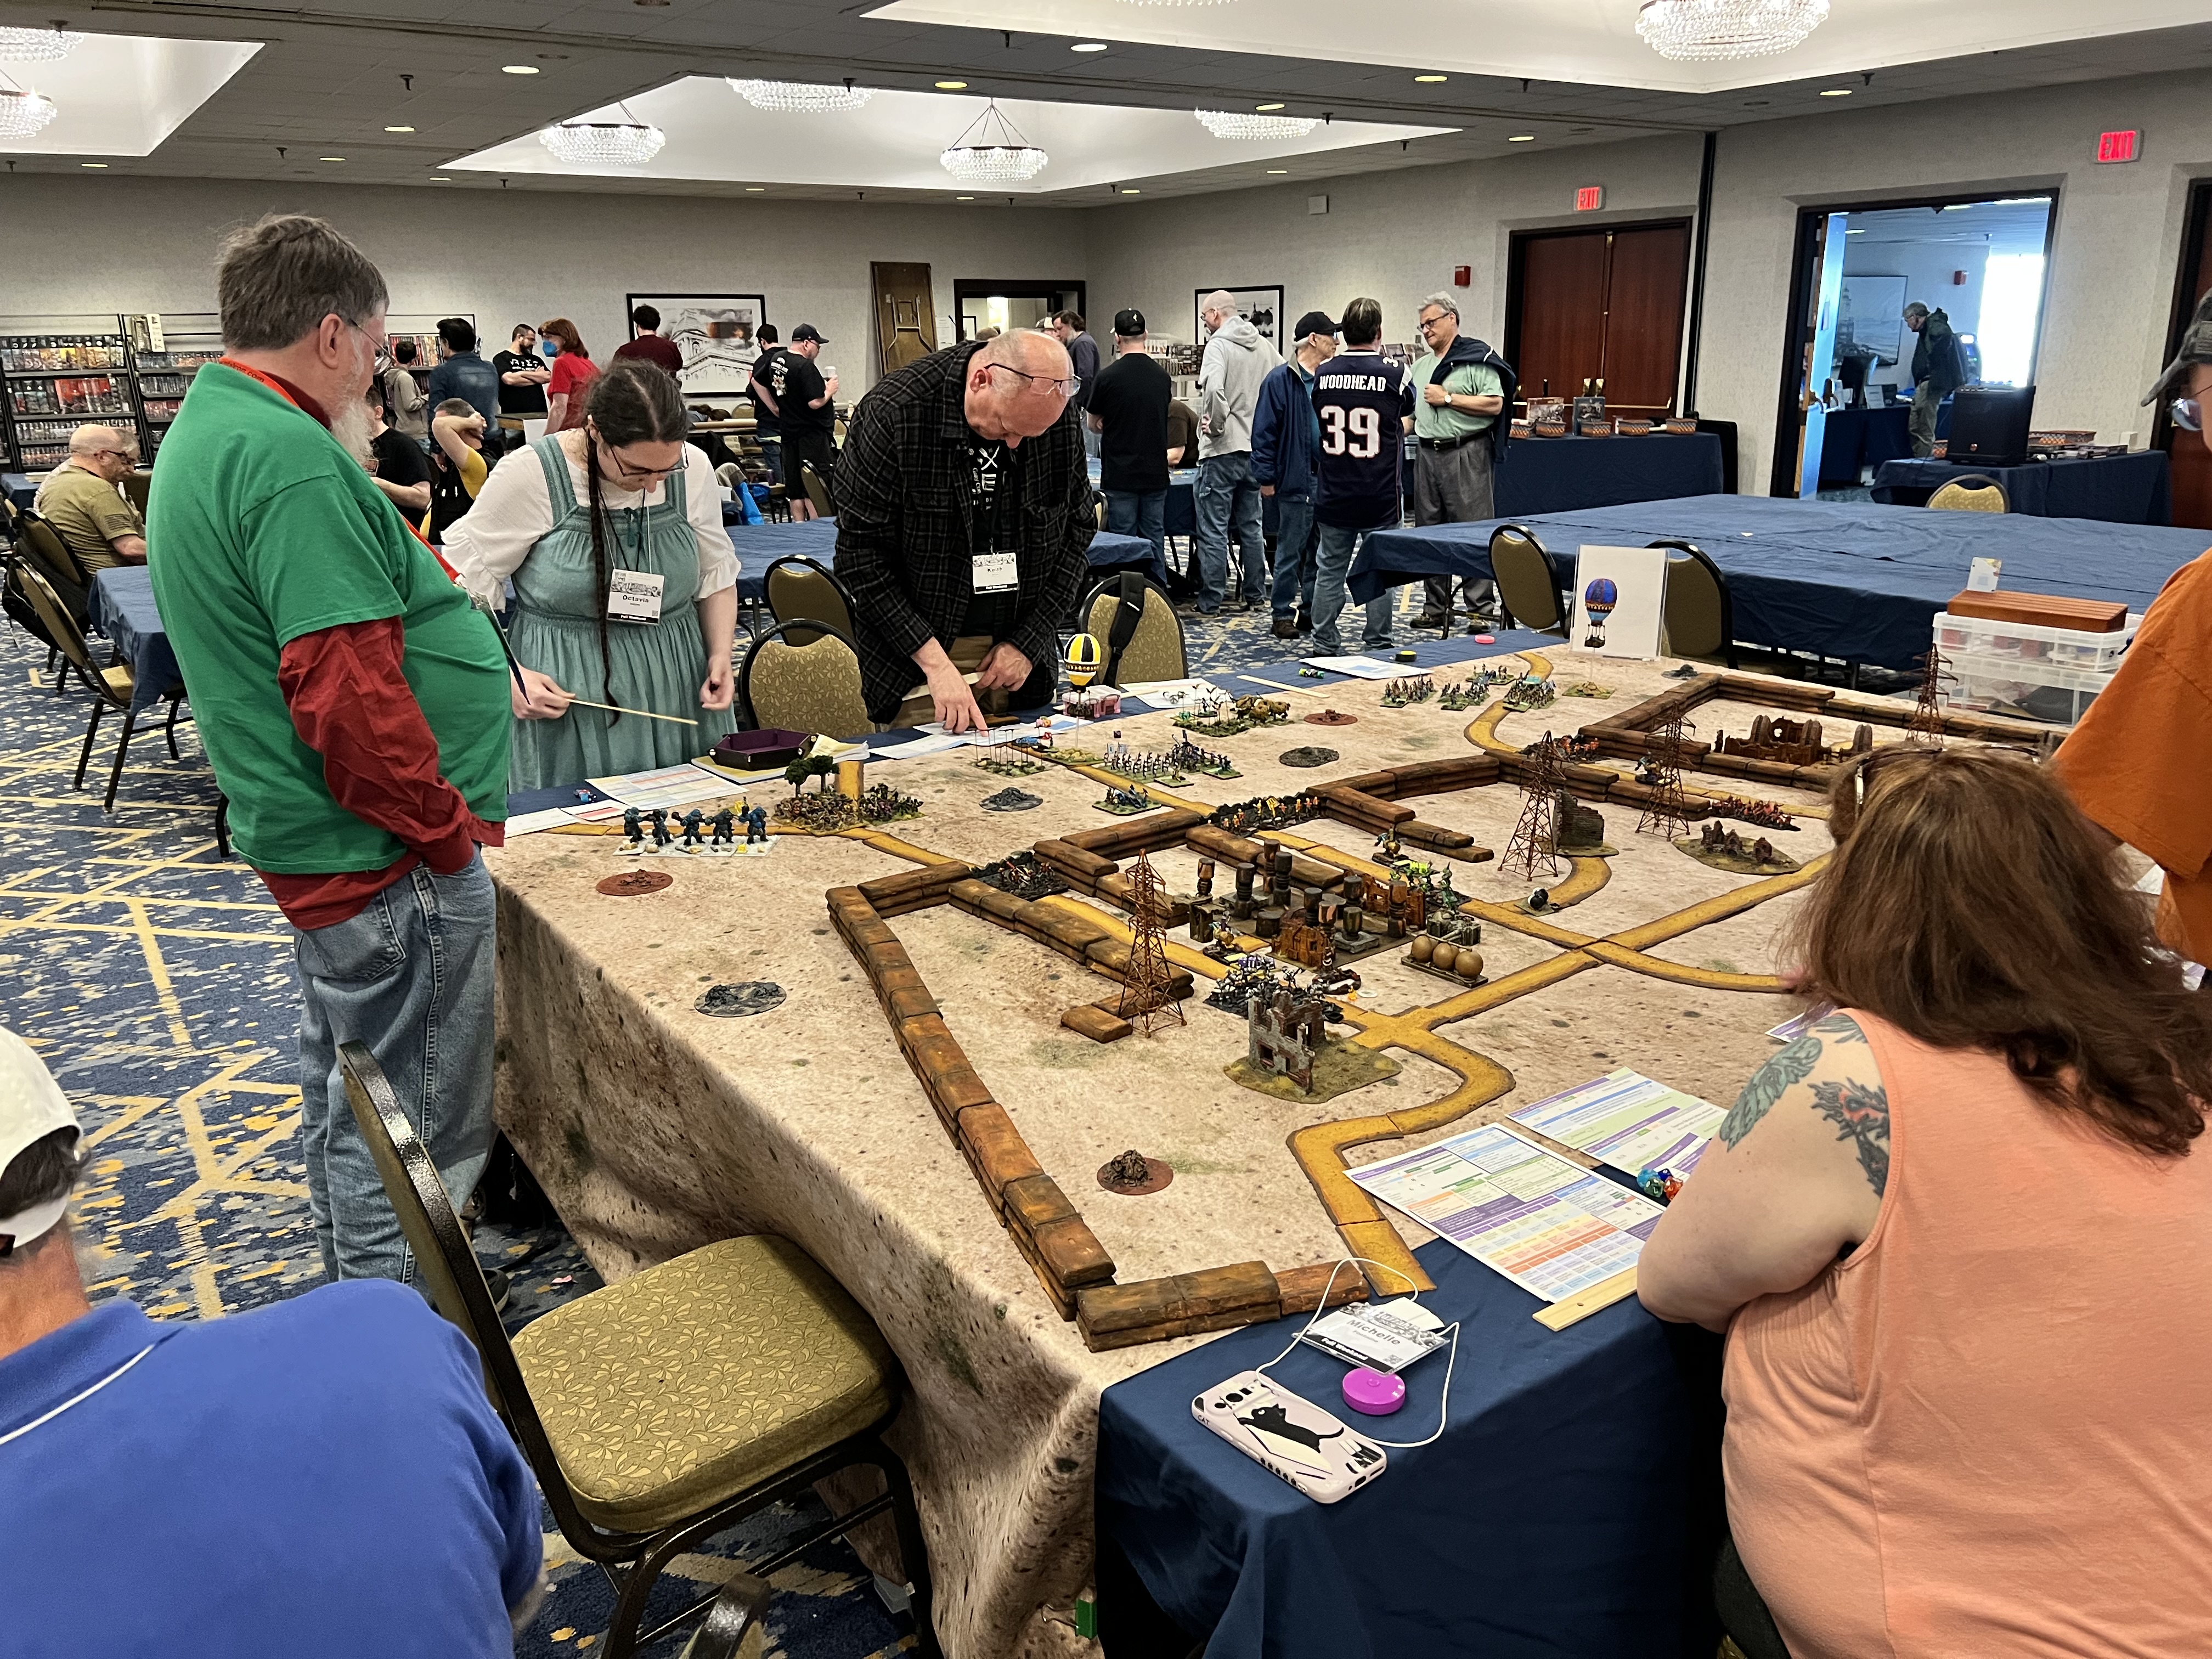
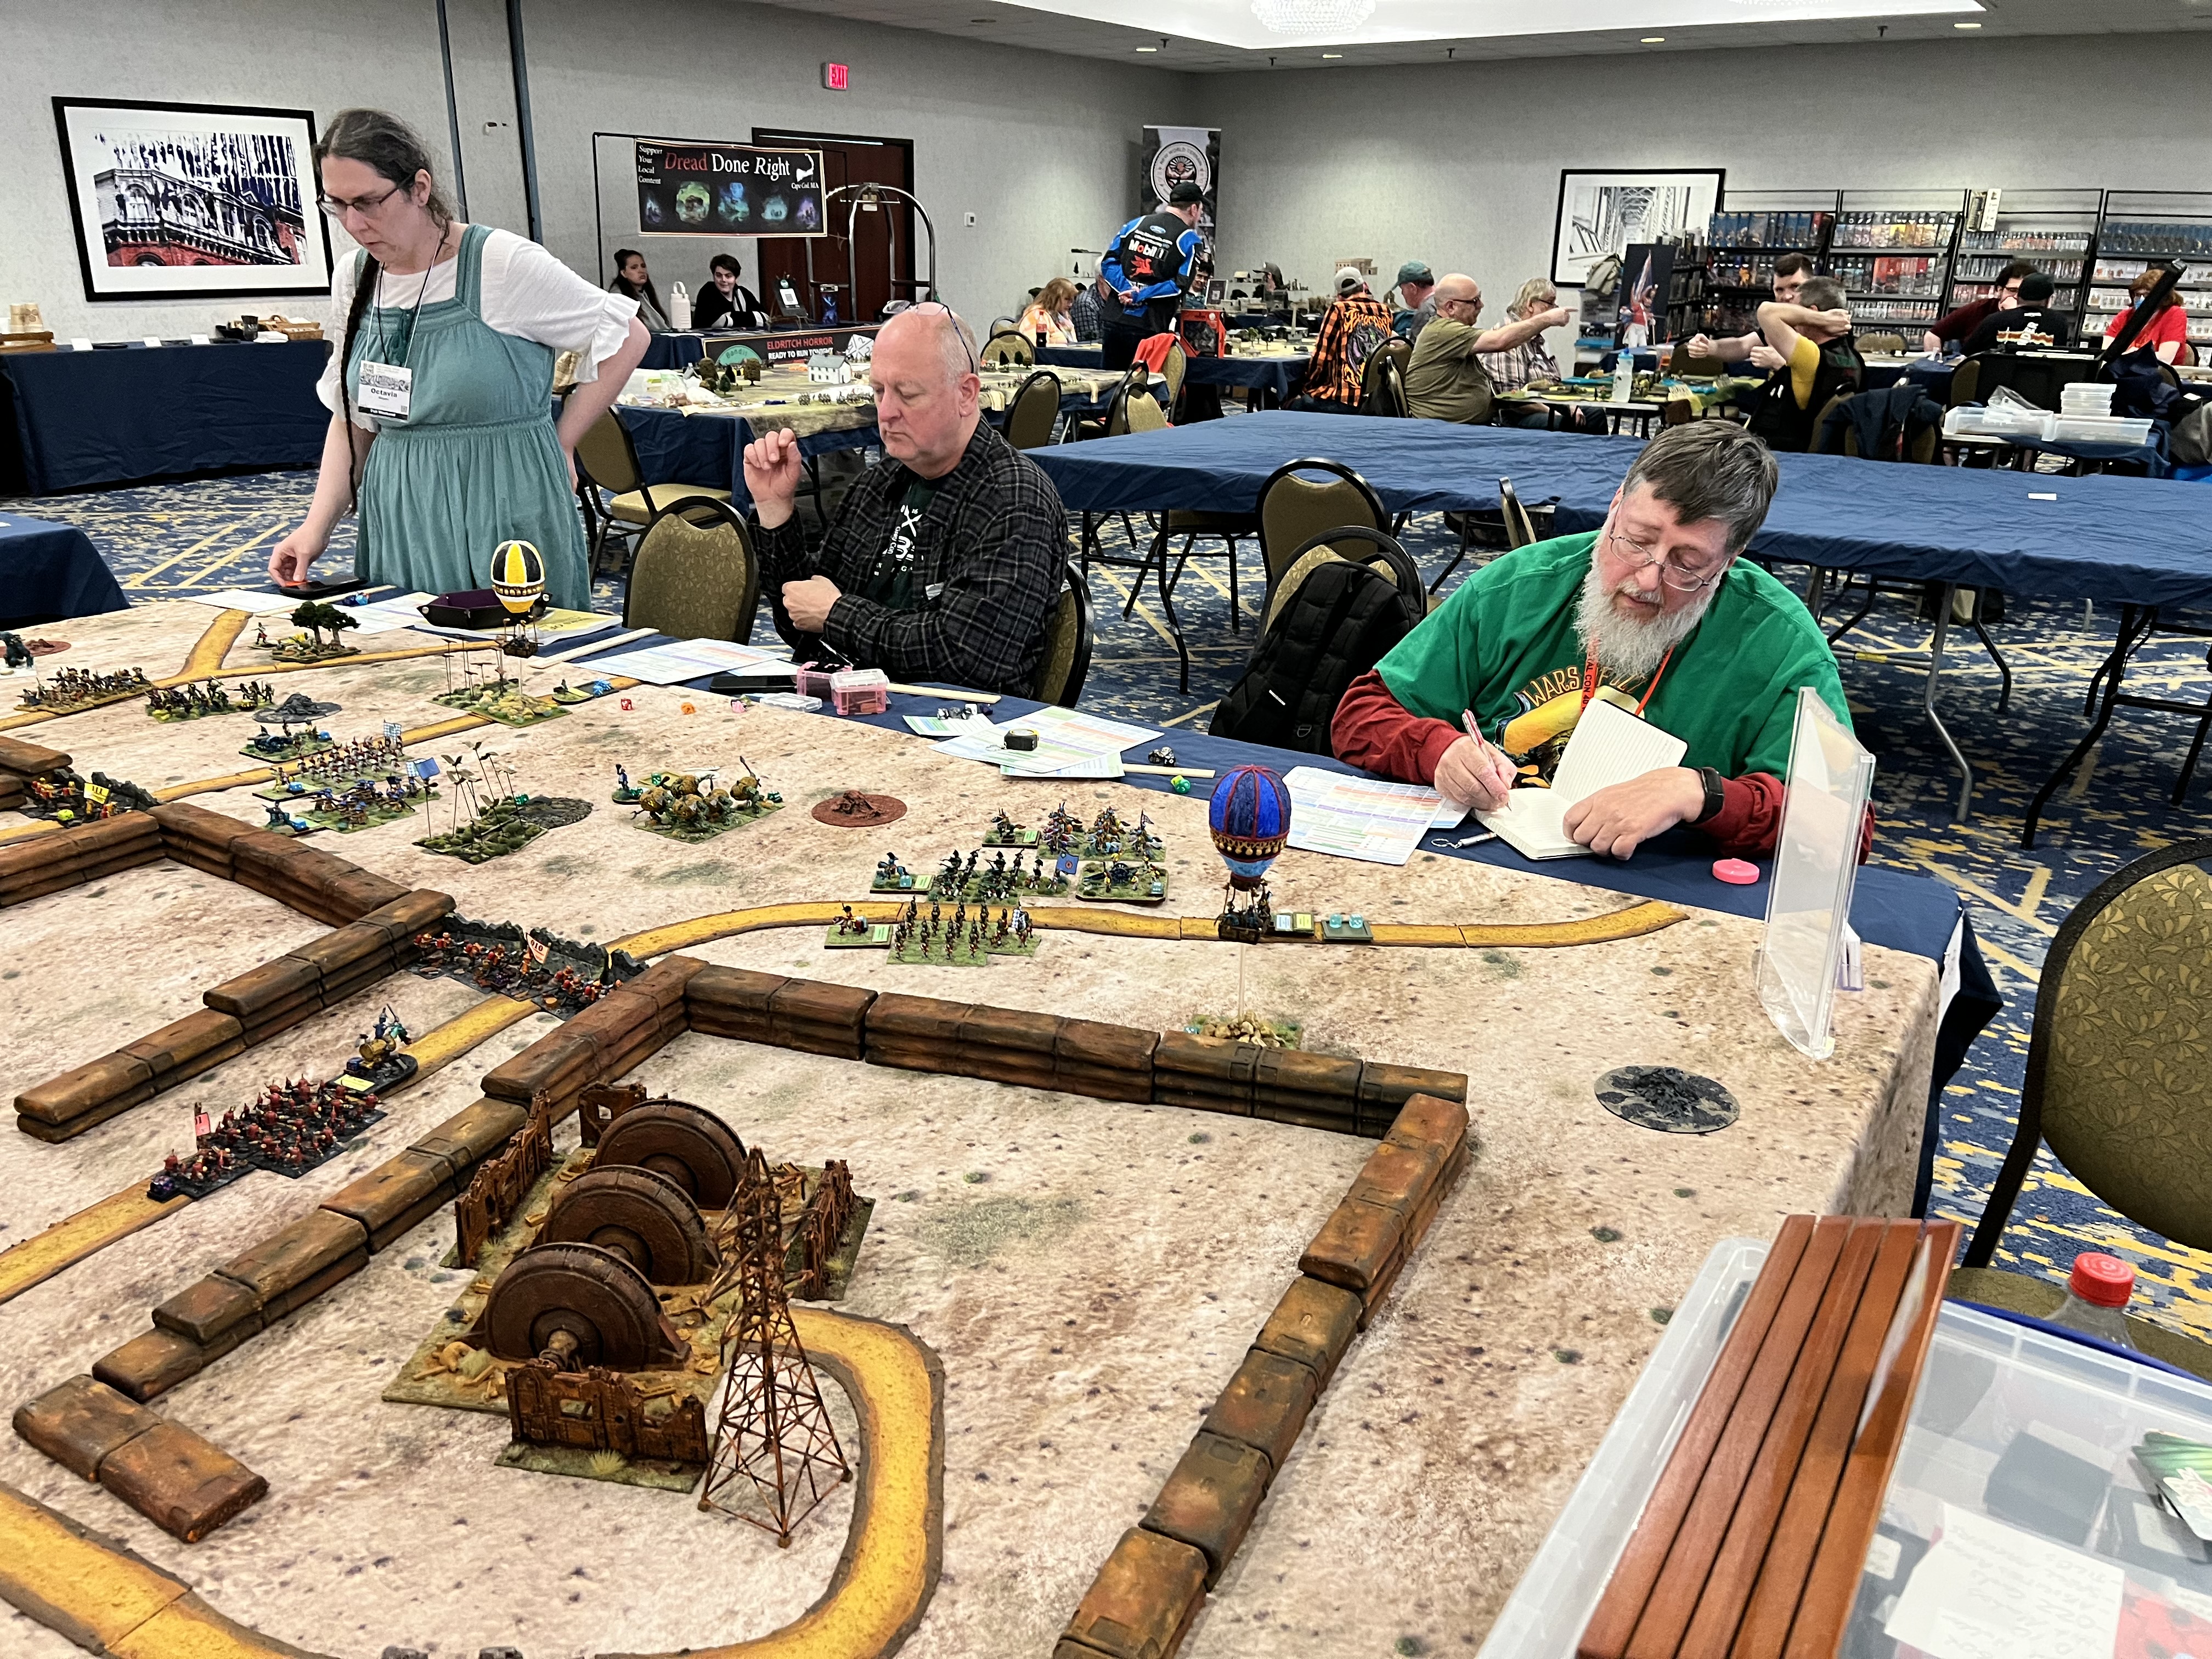
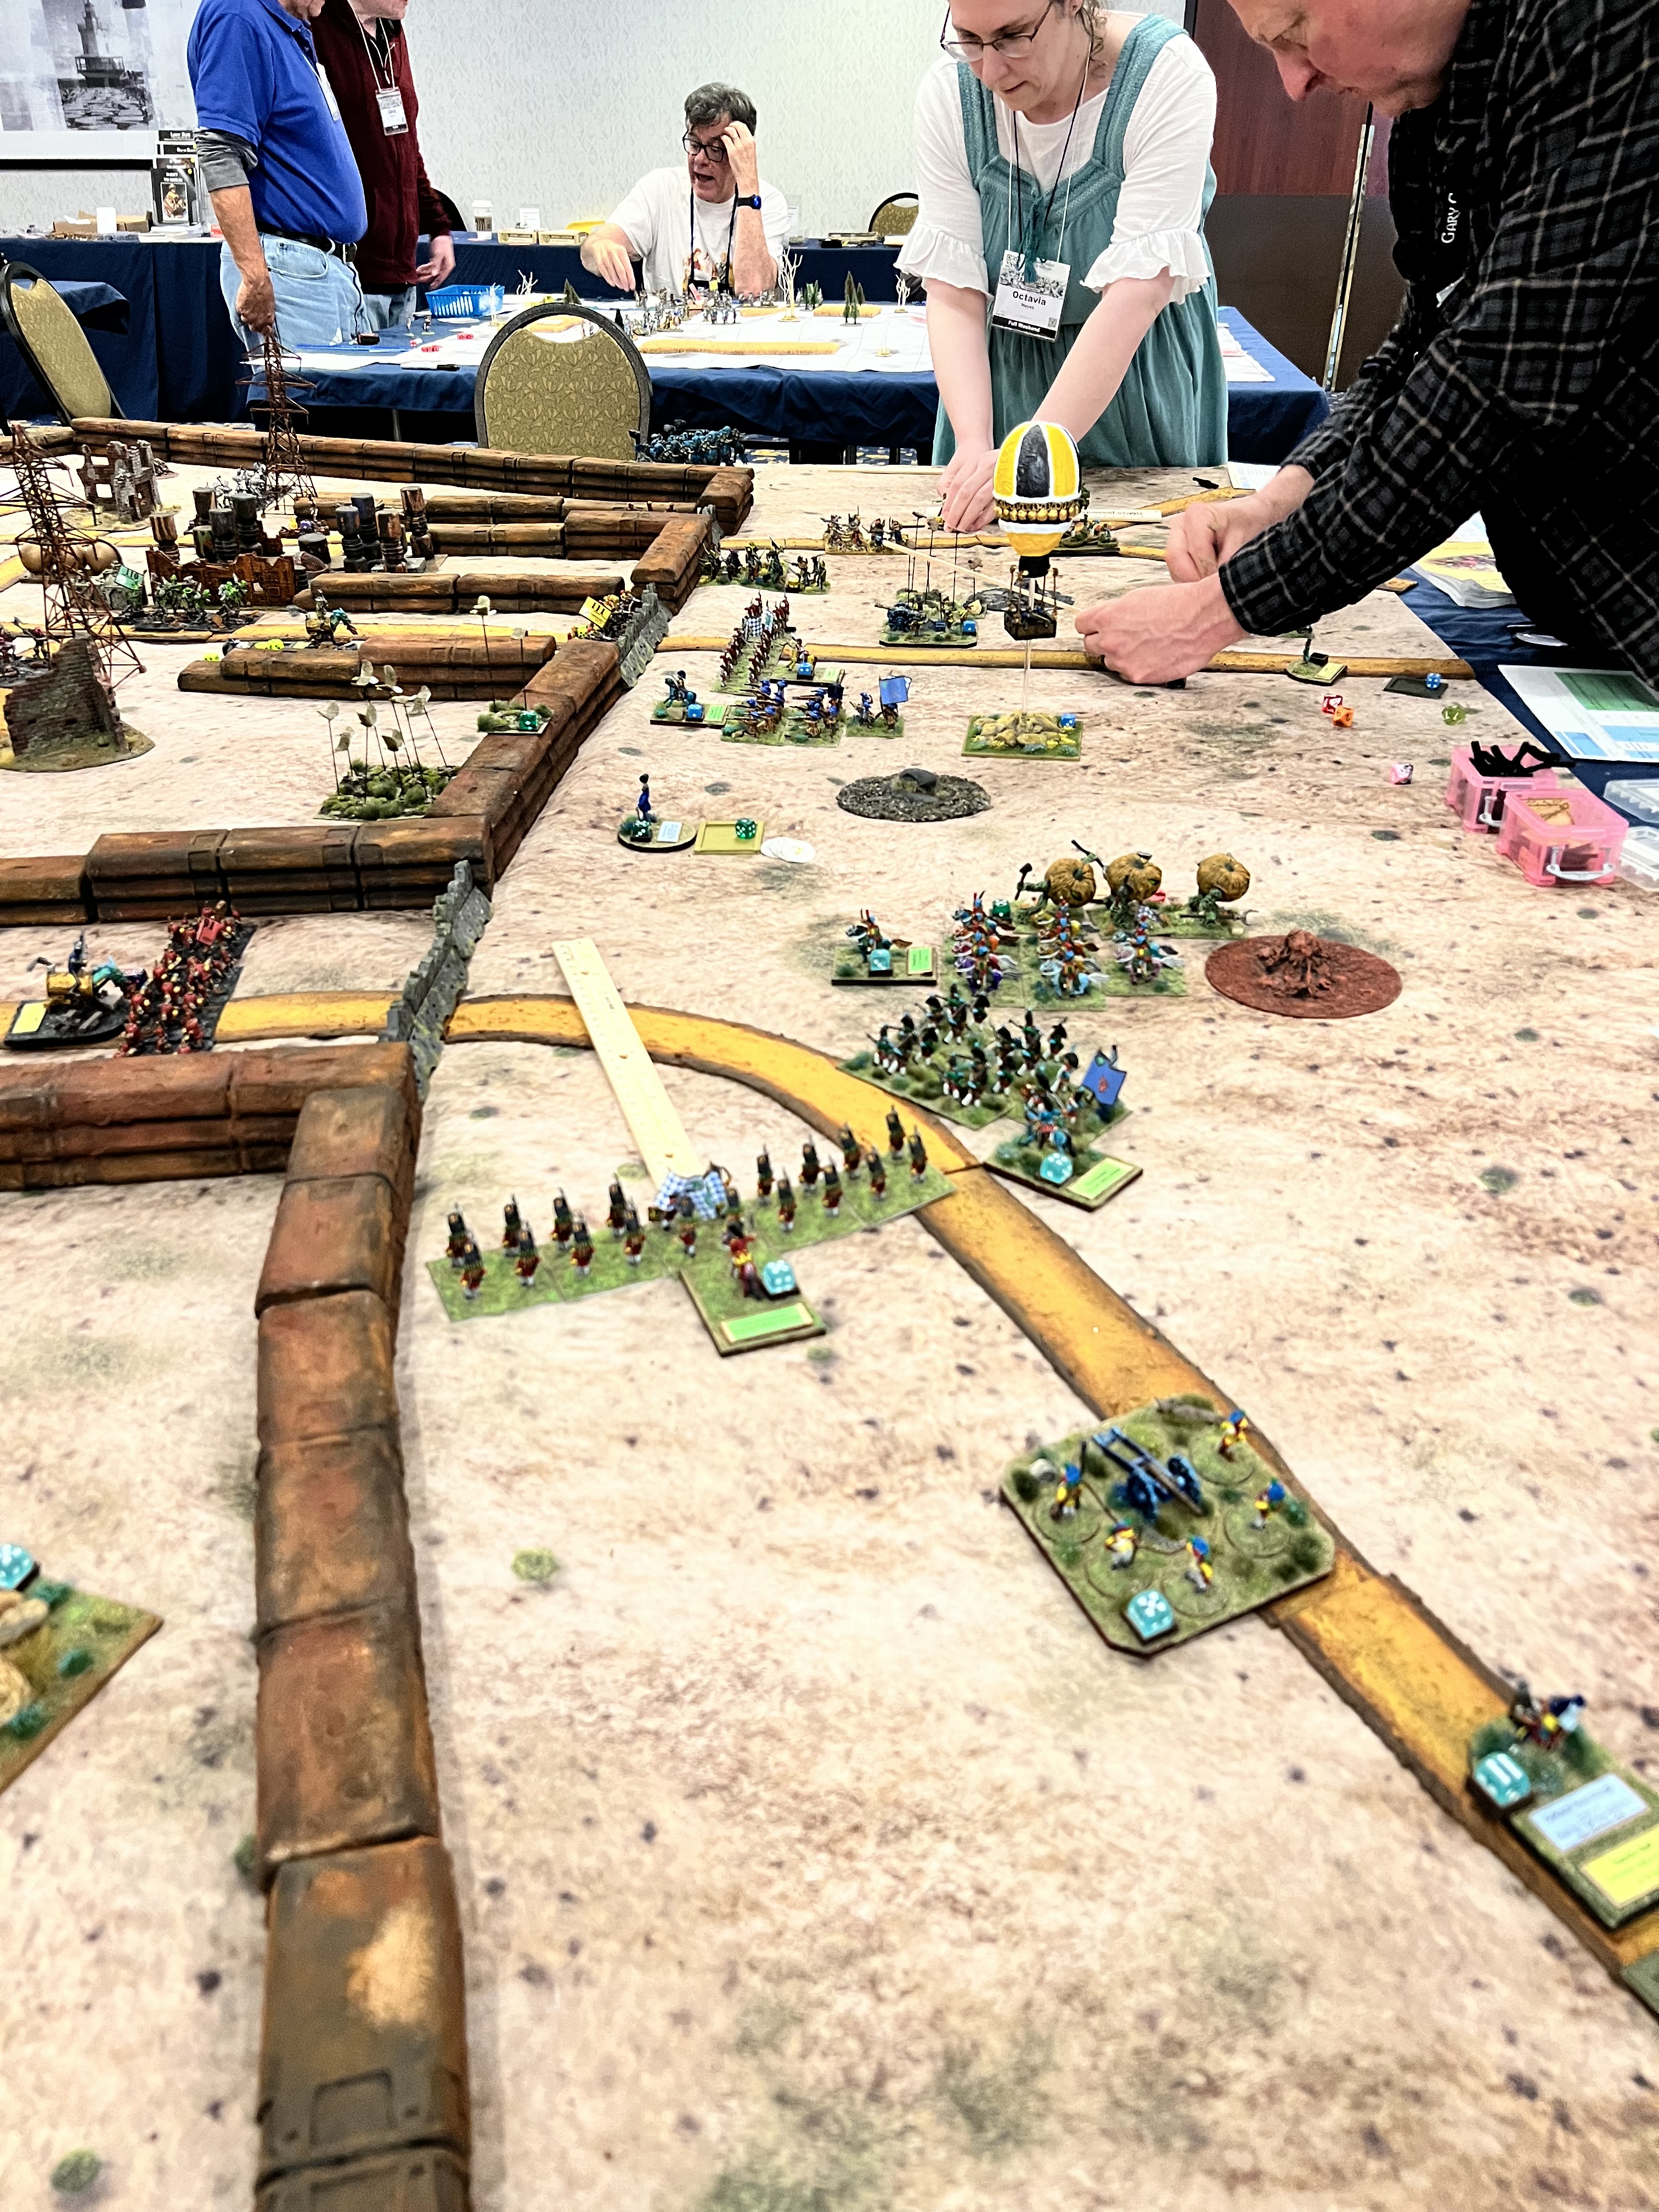
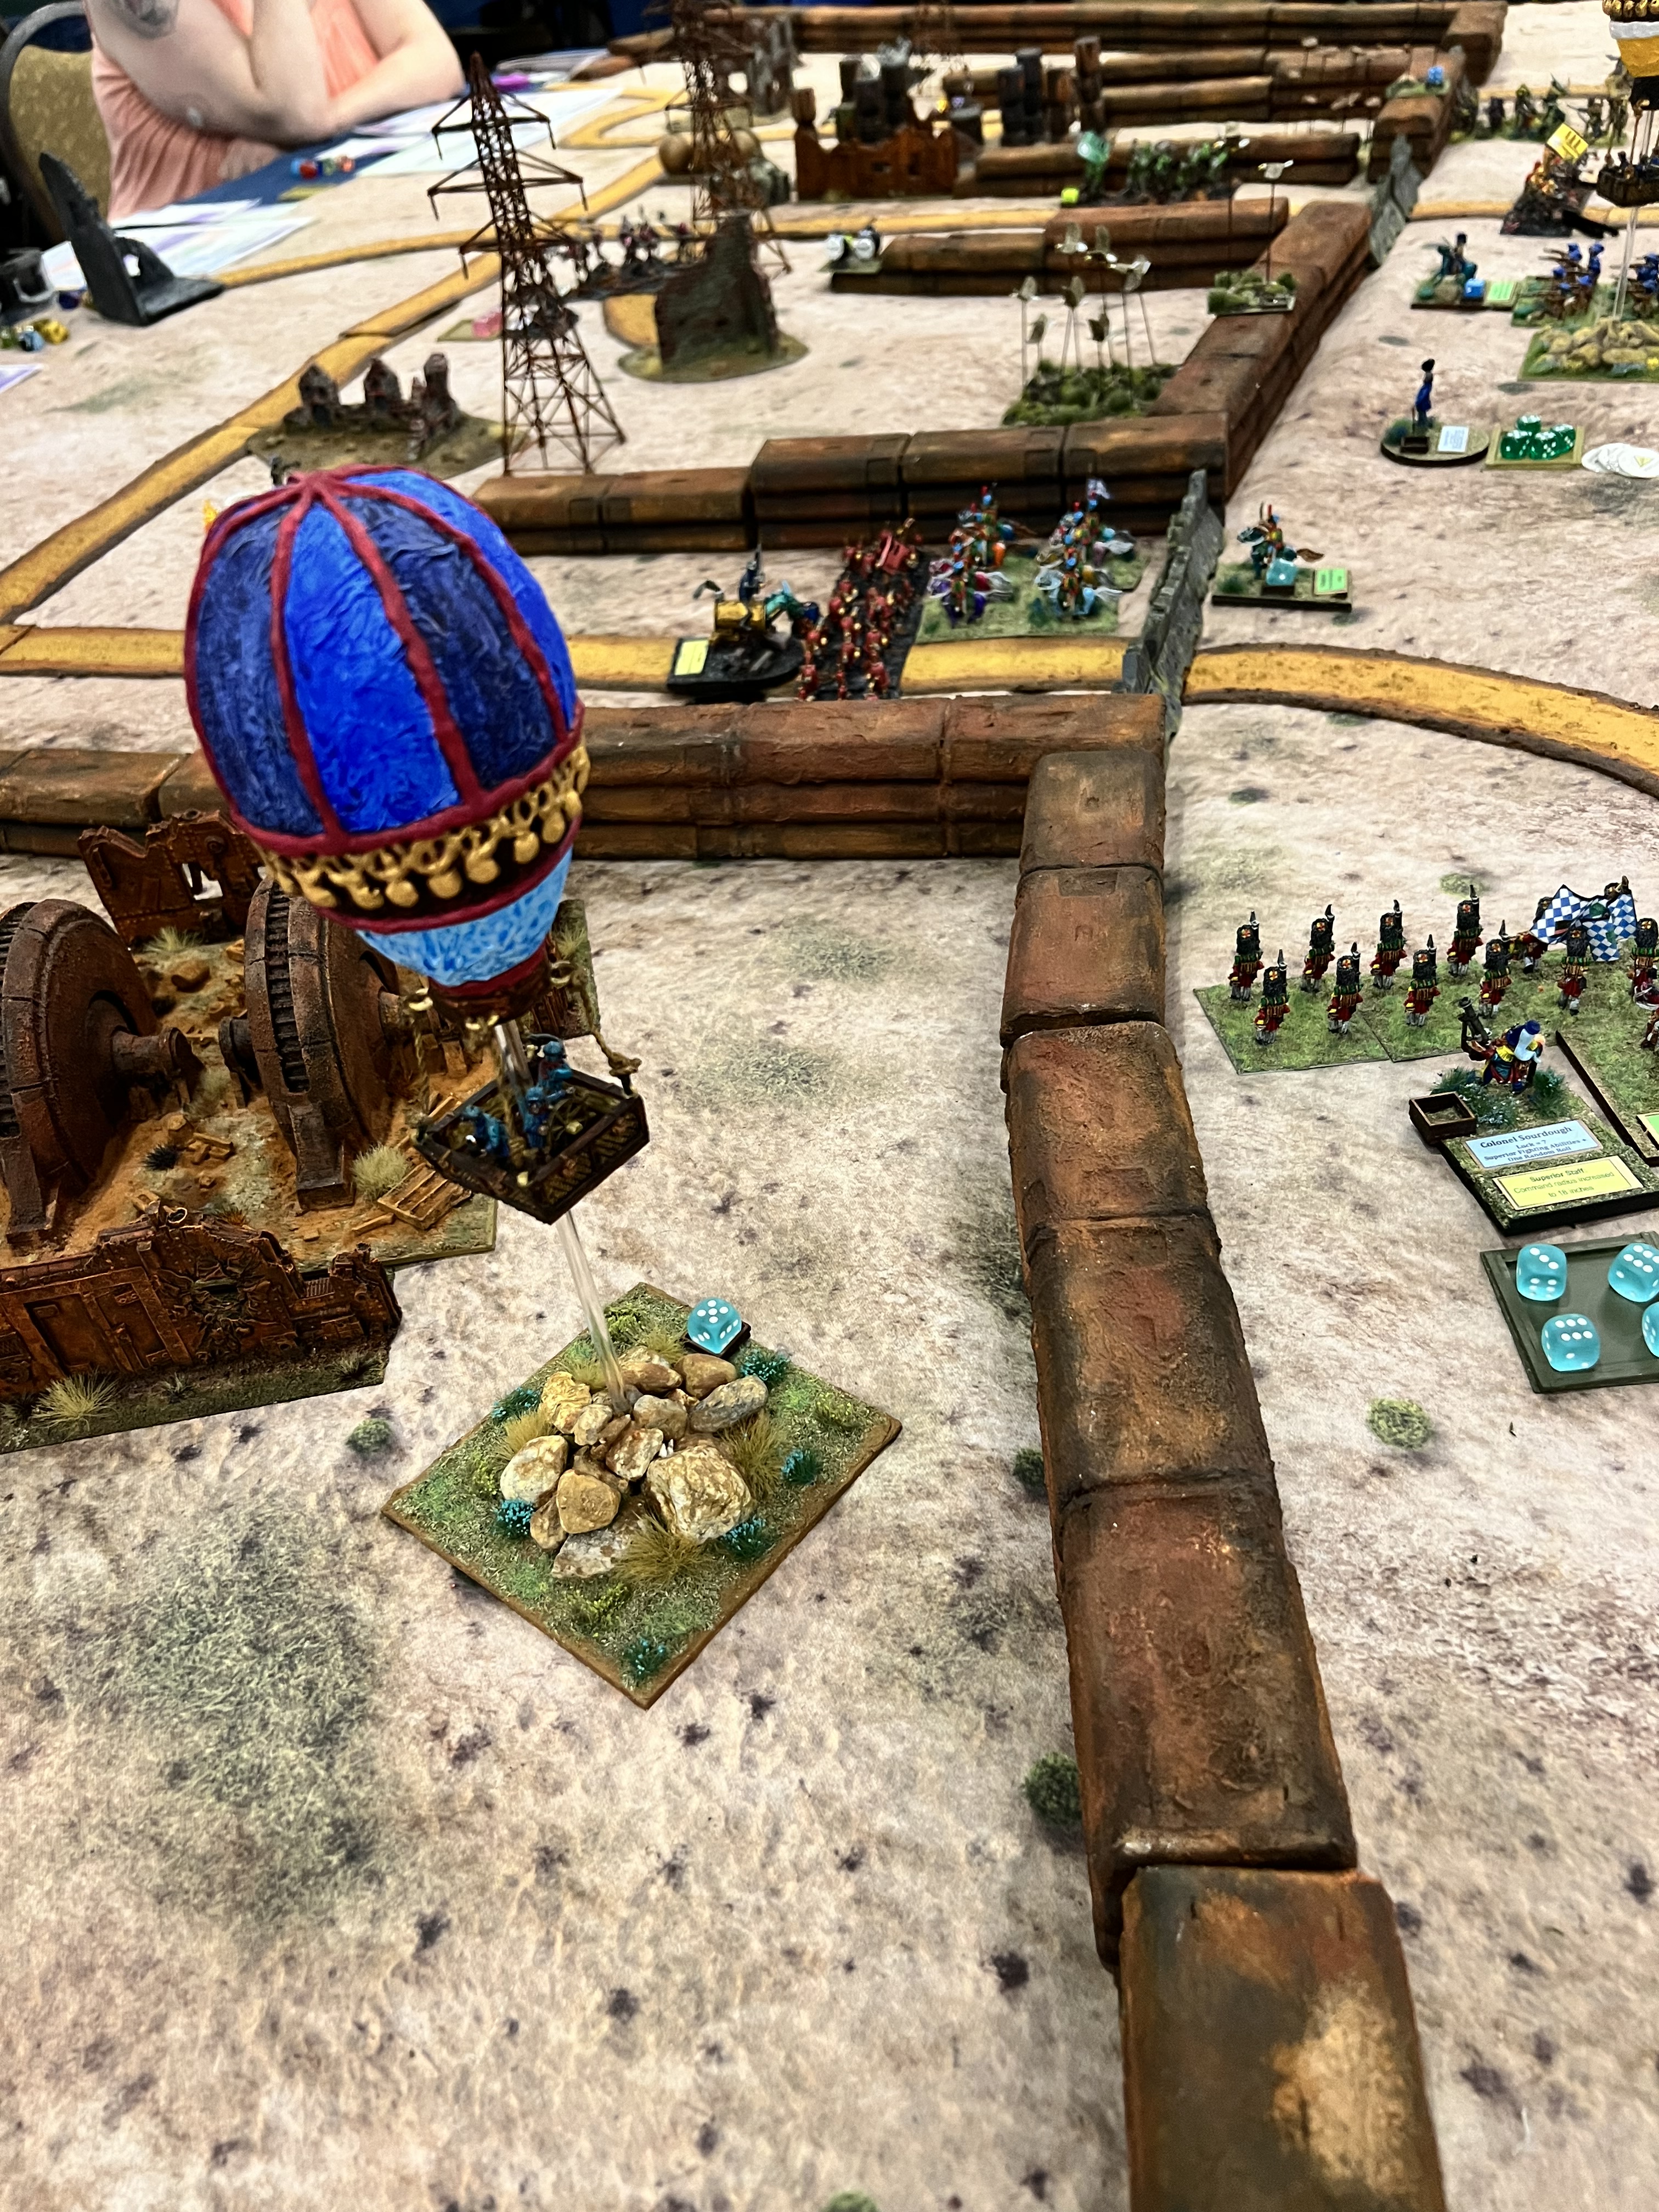
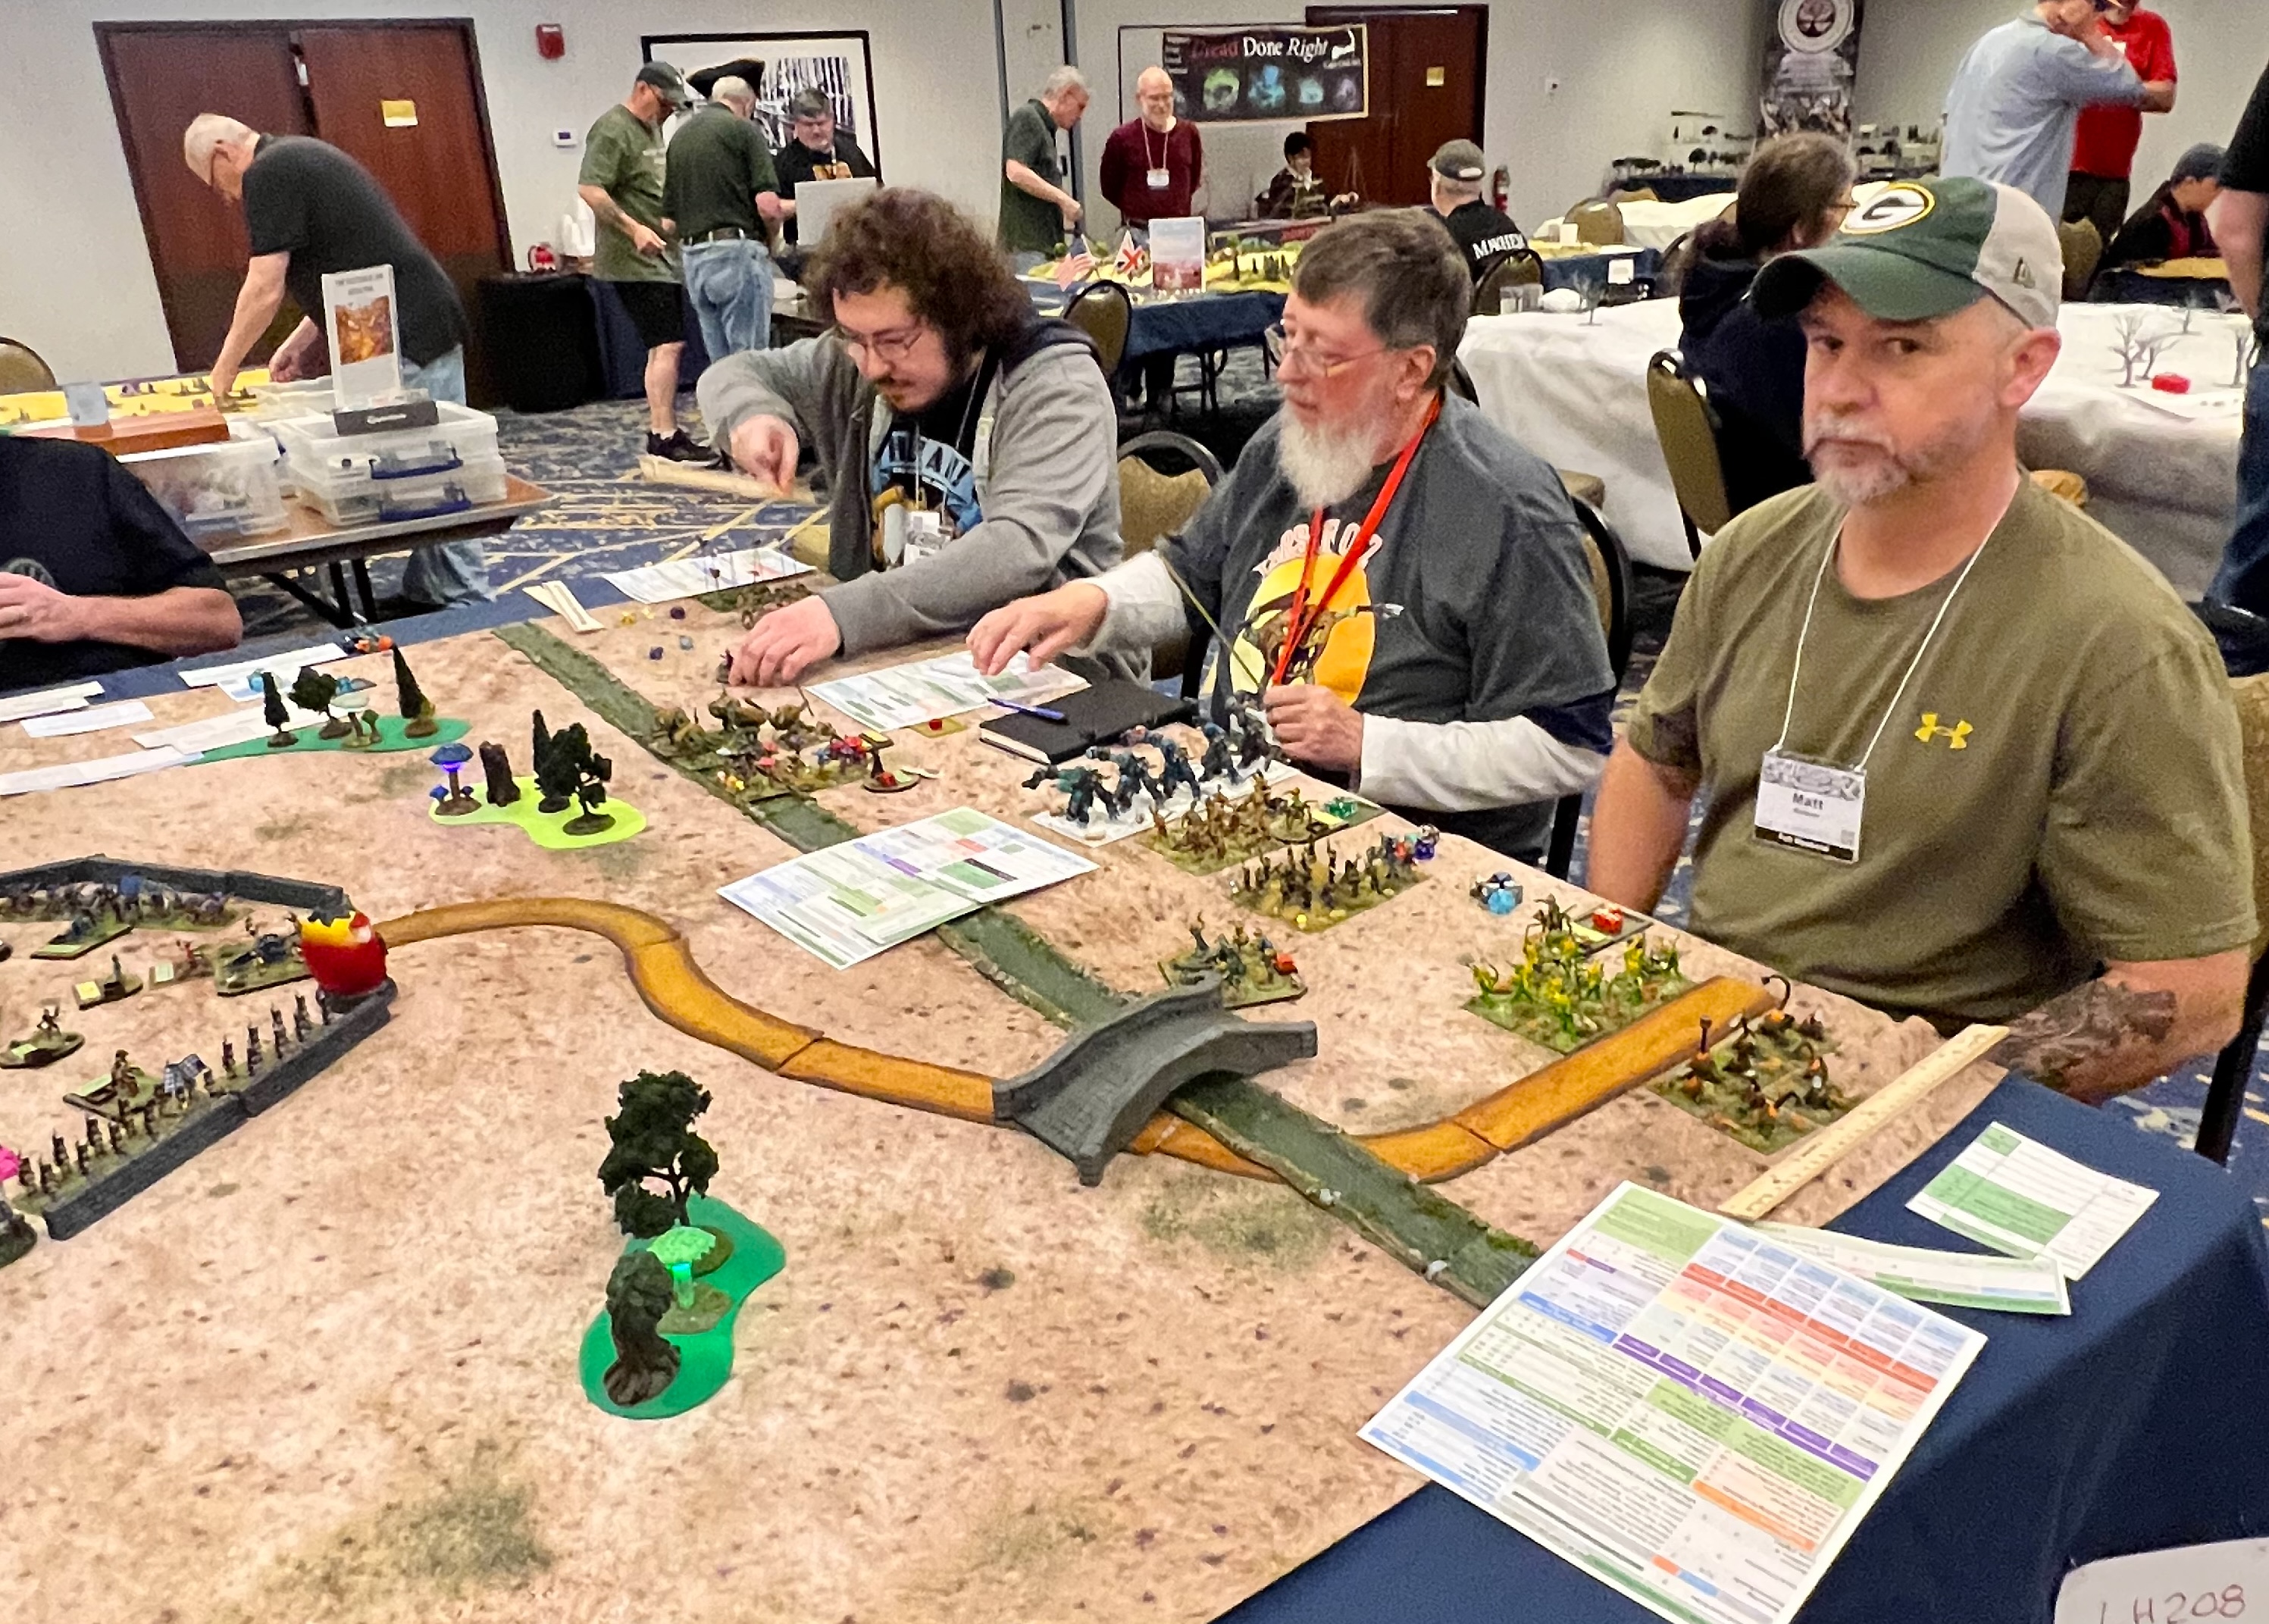
These 5 regiments were used in two of my Wars of Ozz games at HUZZAH. I also ran a retro sci-fi game using Combat Patrol rules and a What a Tanker game. Here are some game shots:
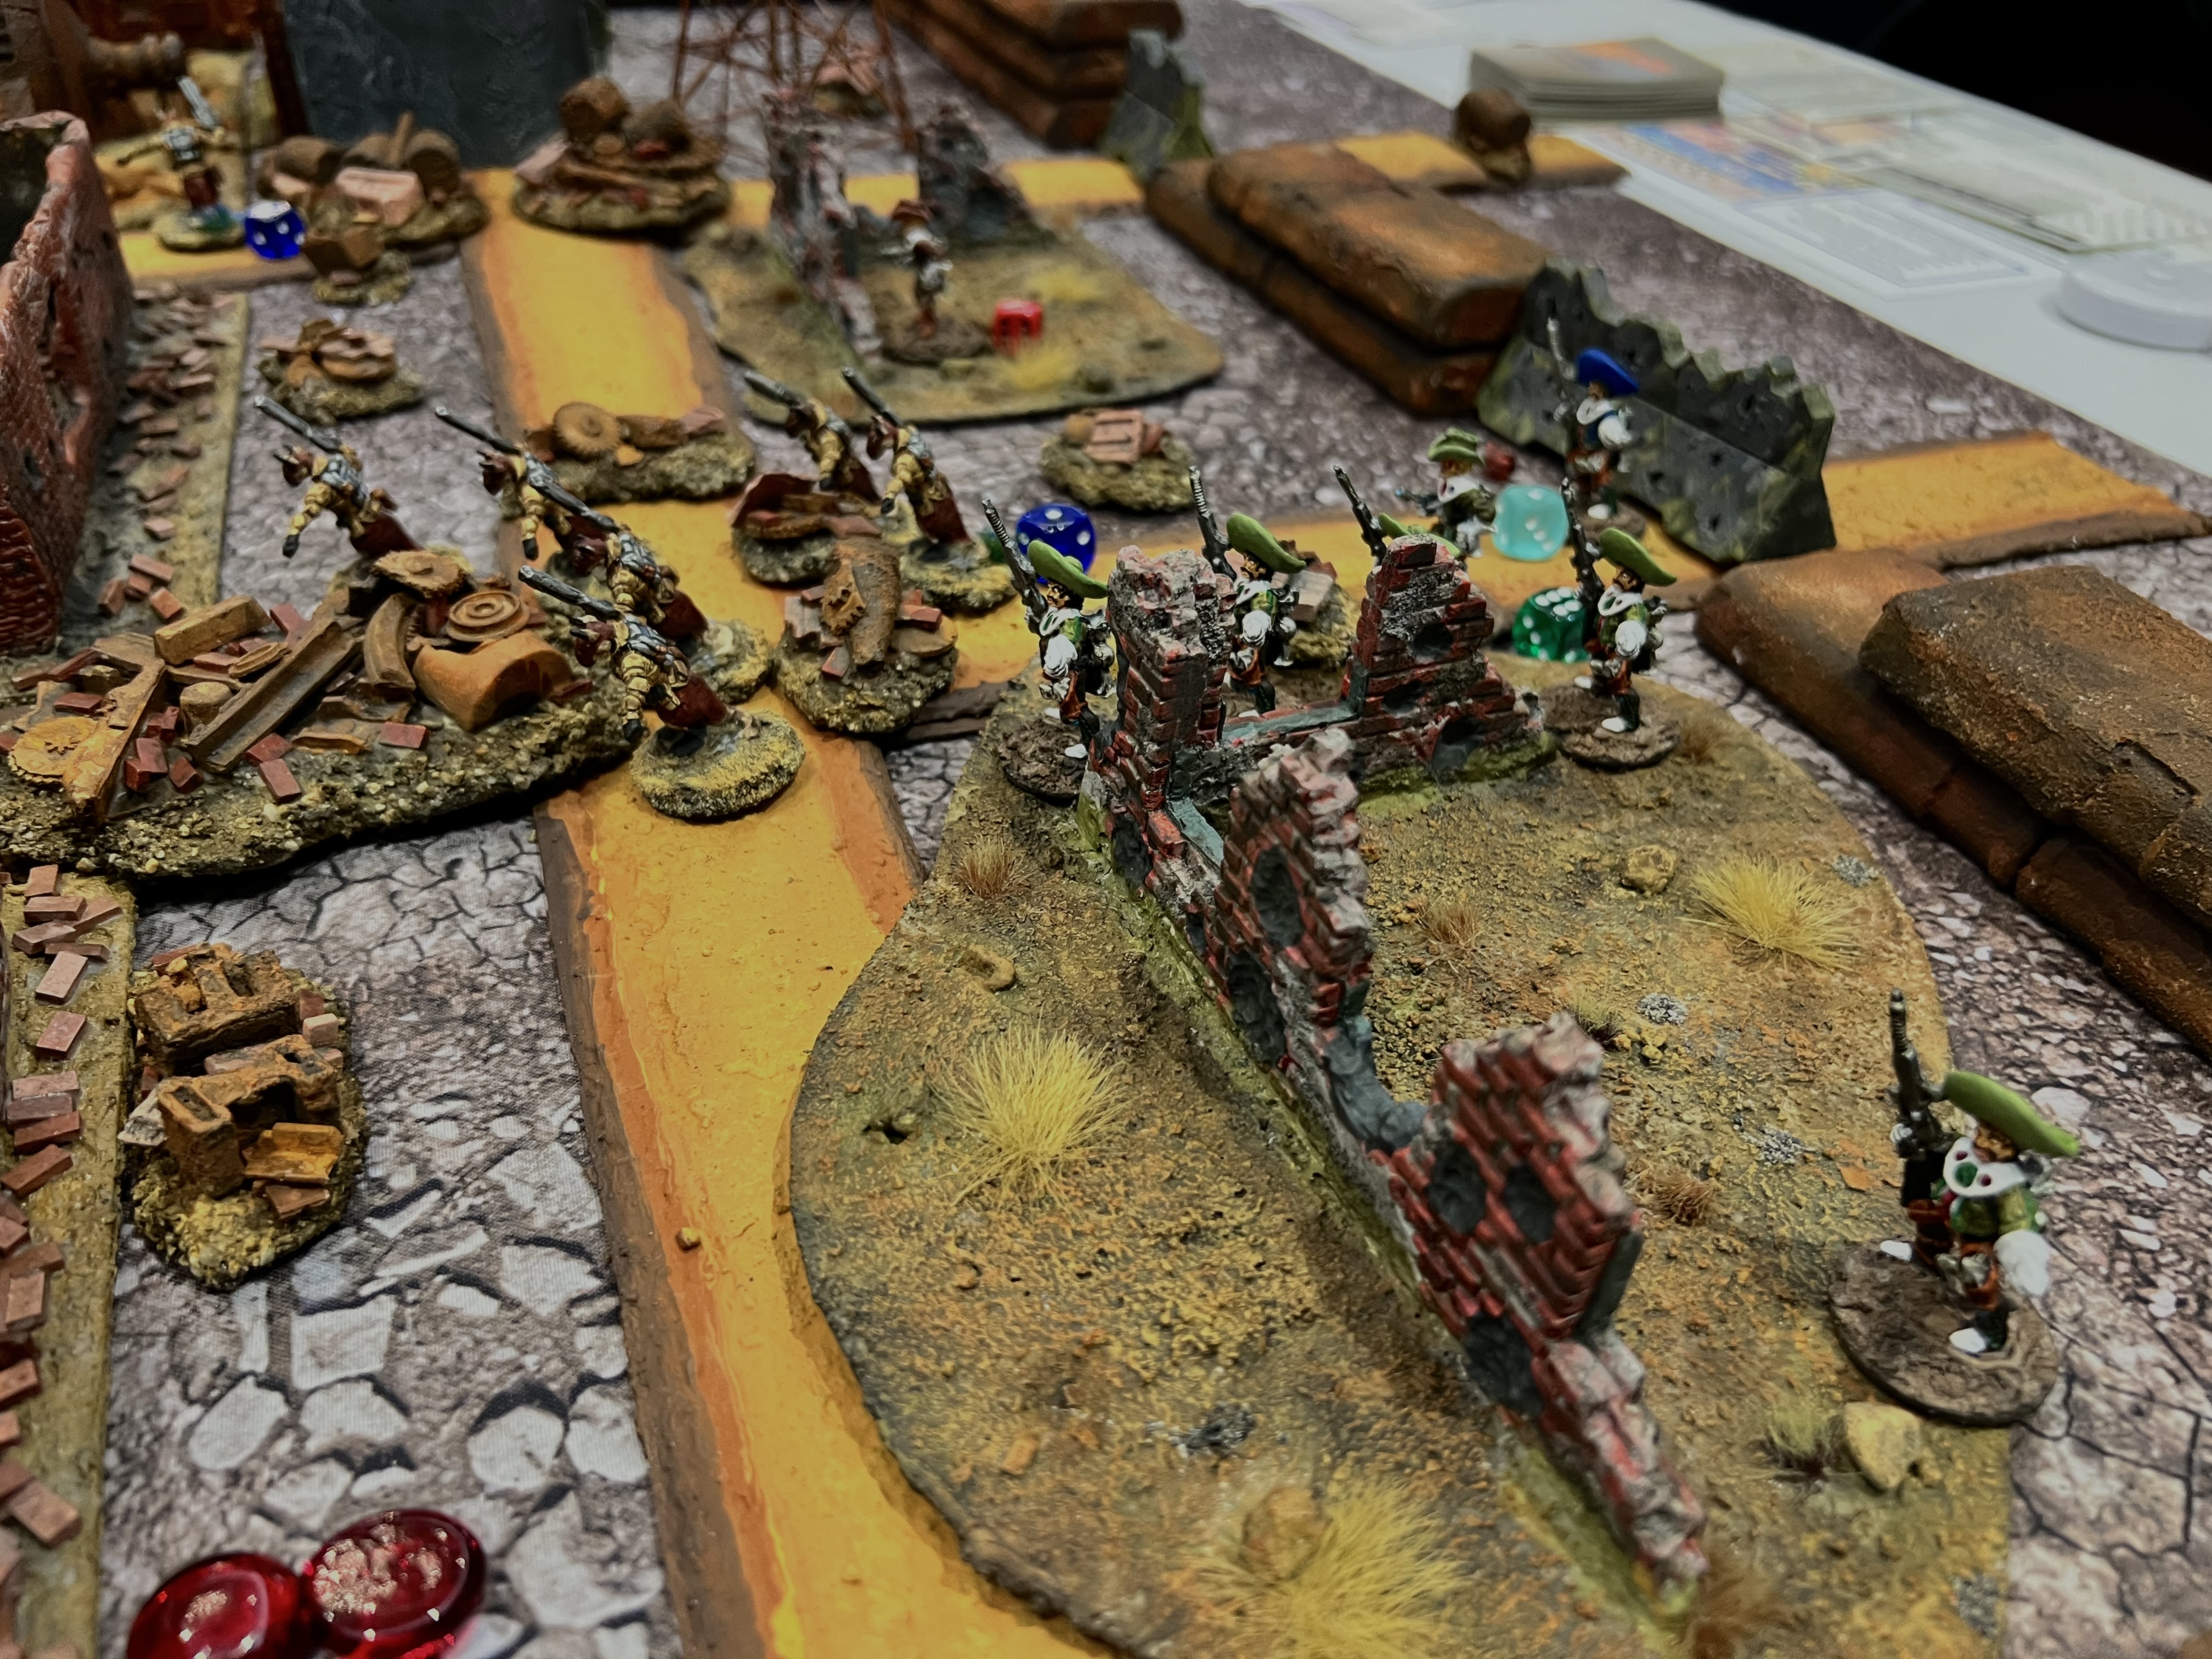
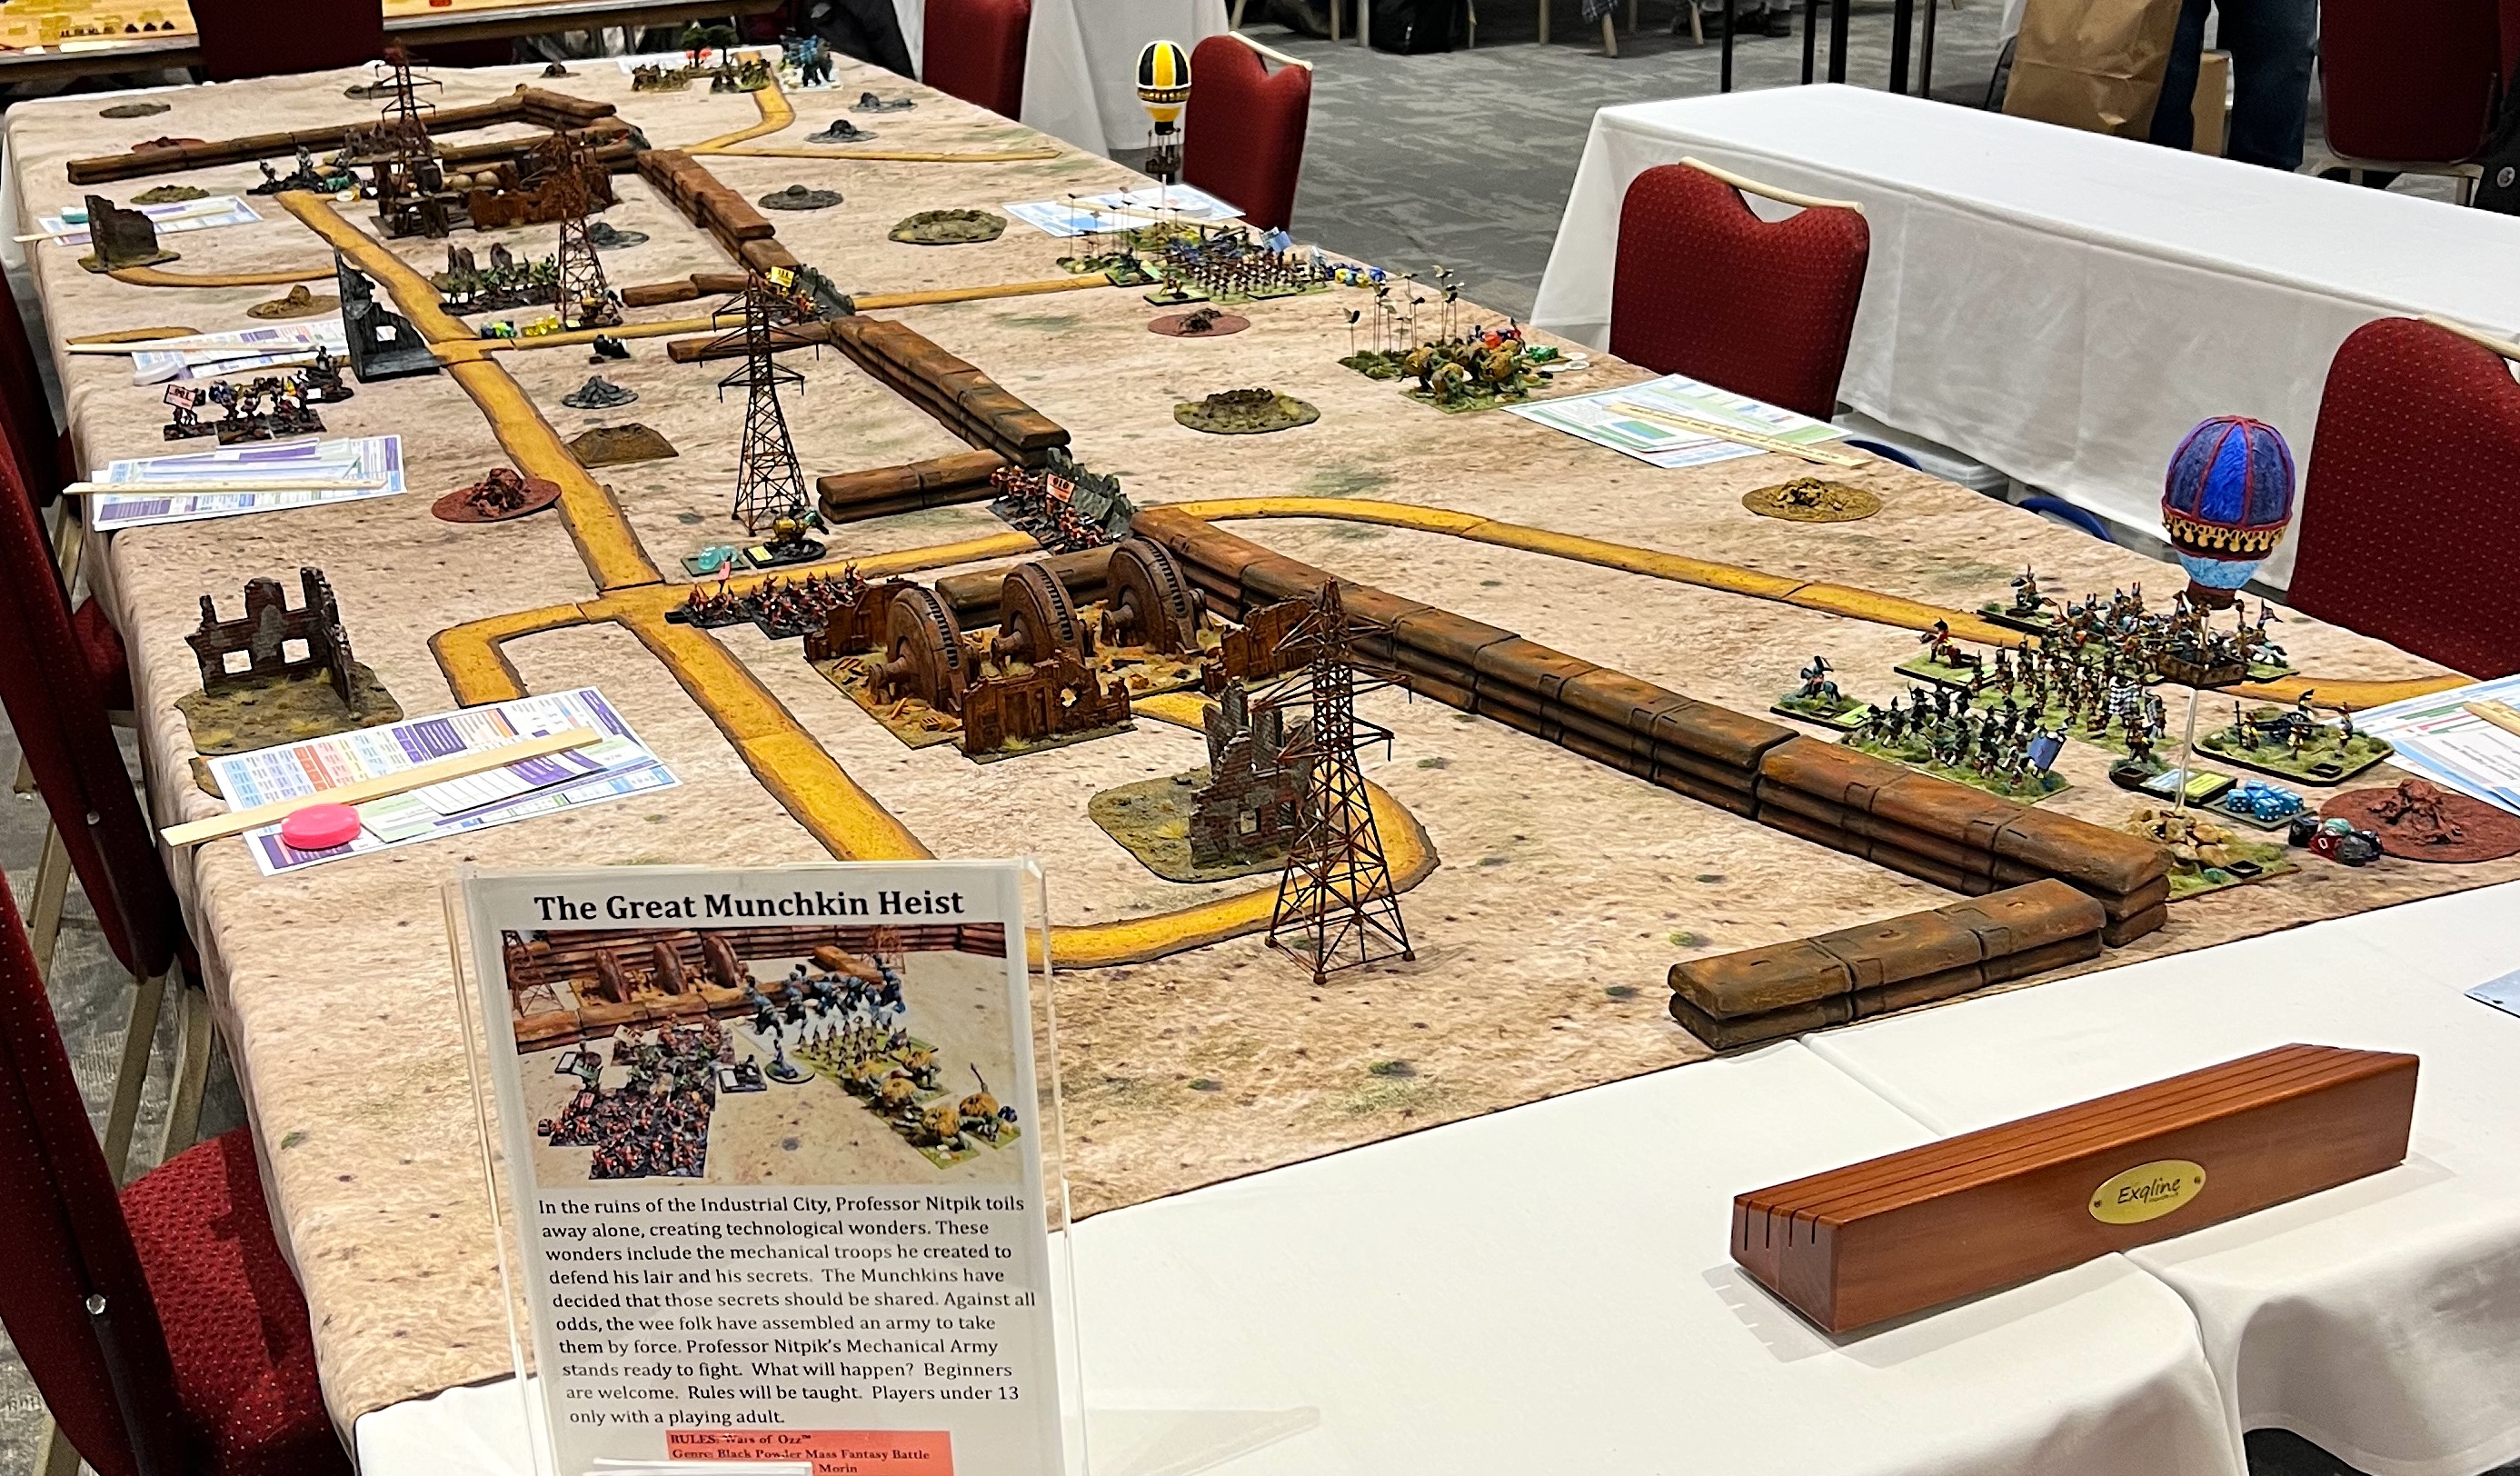
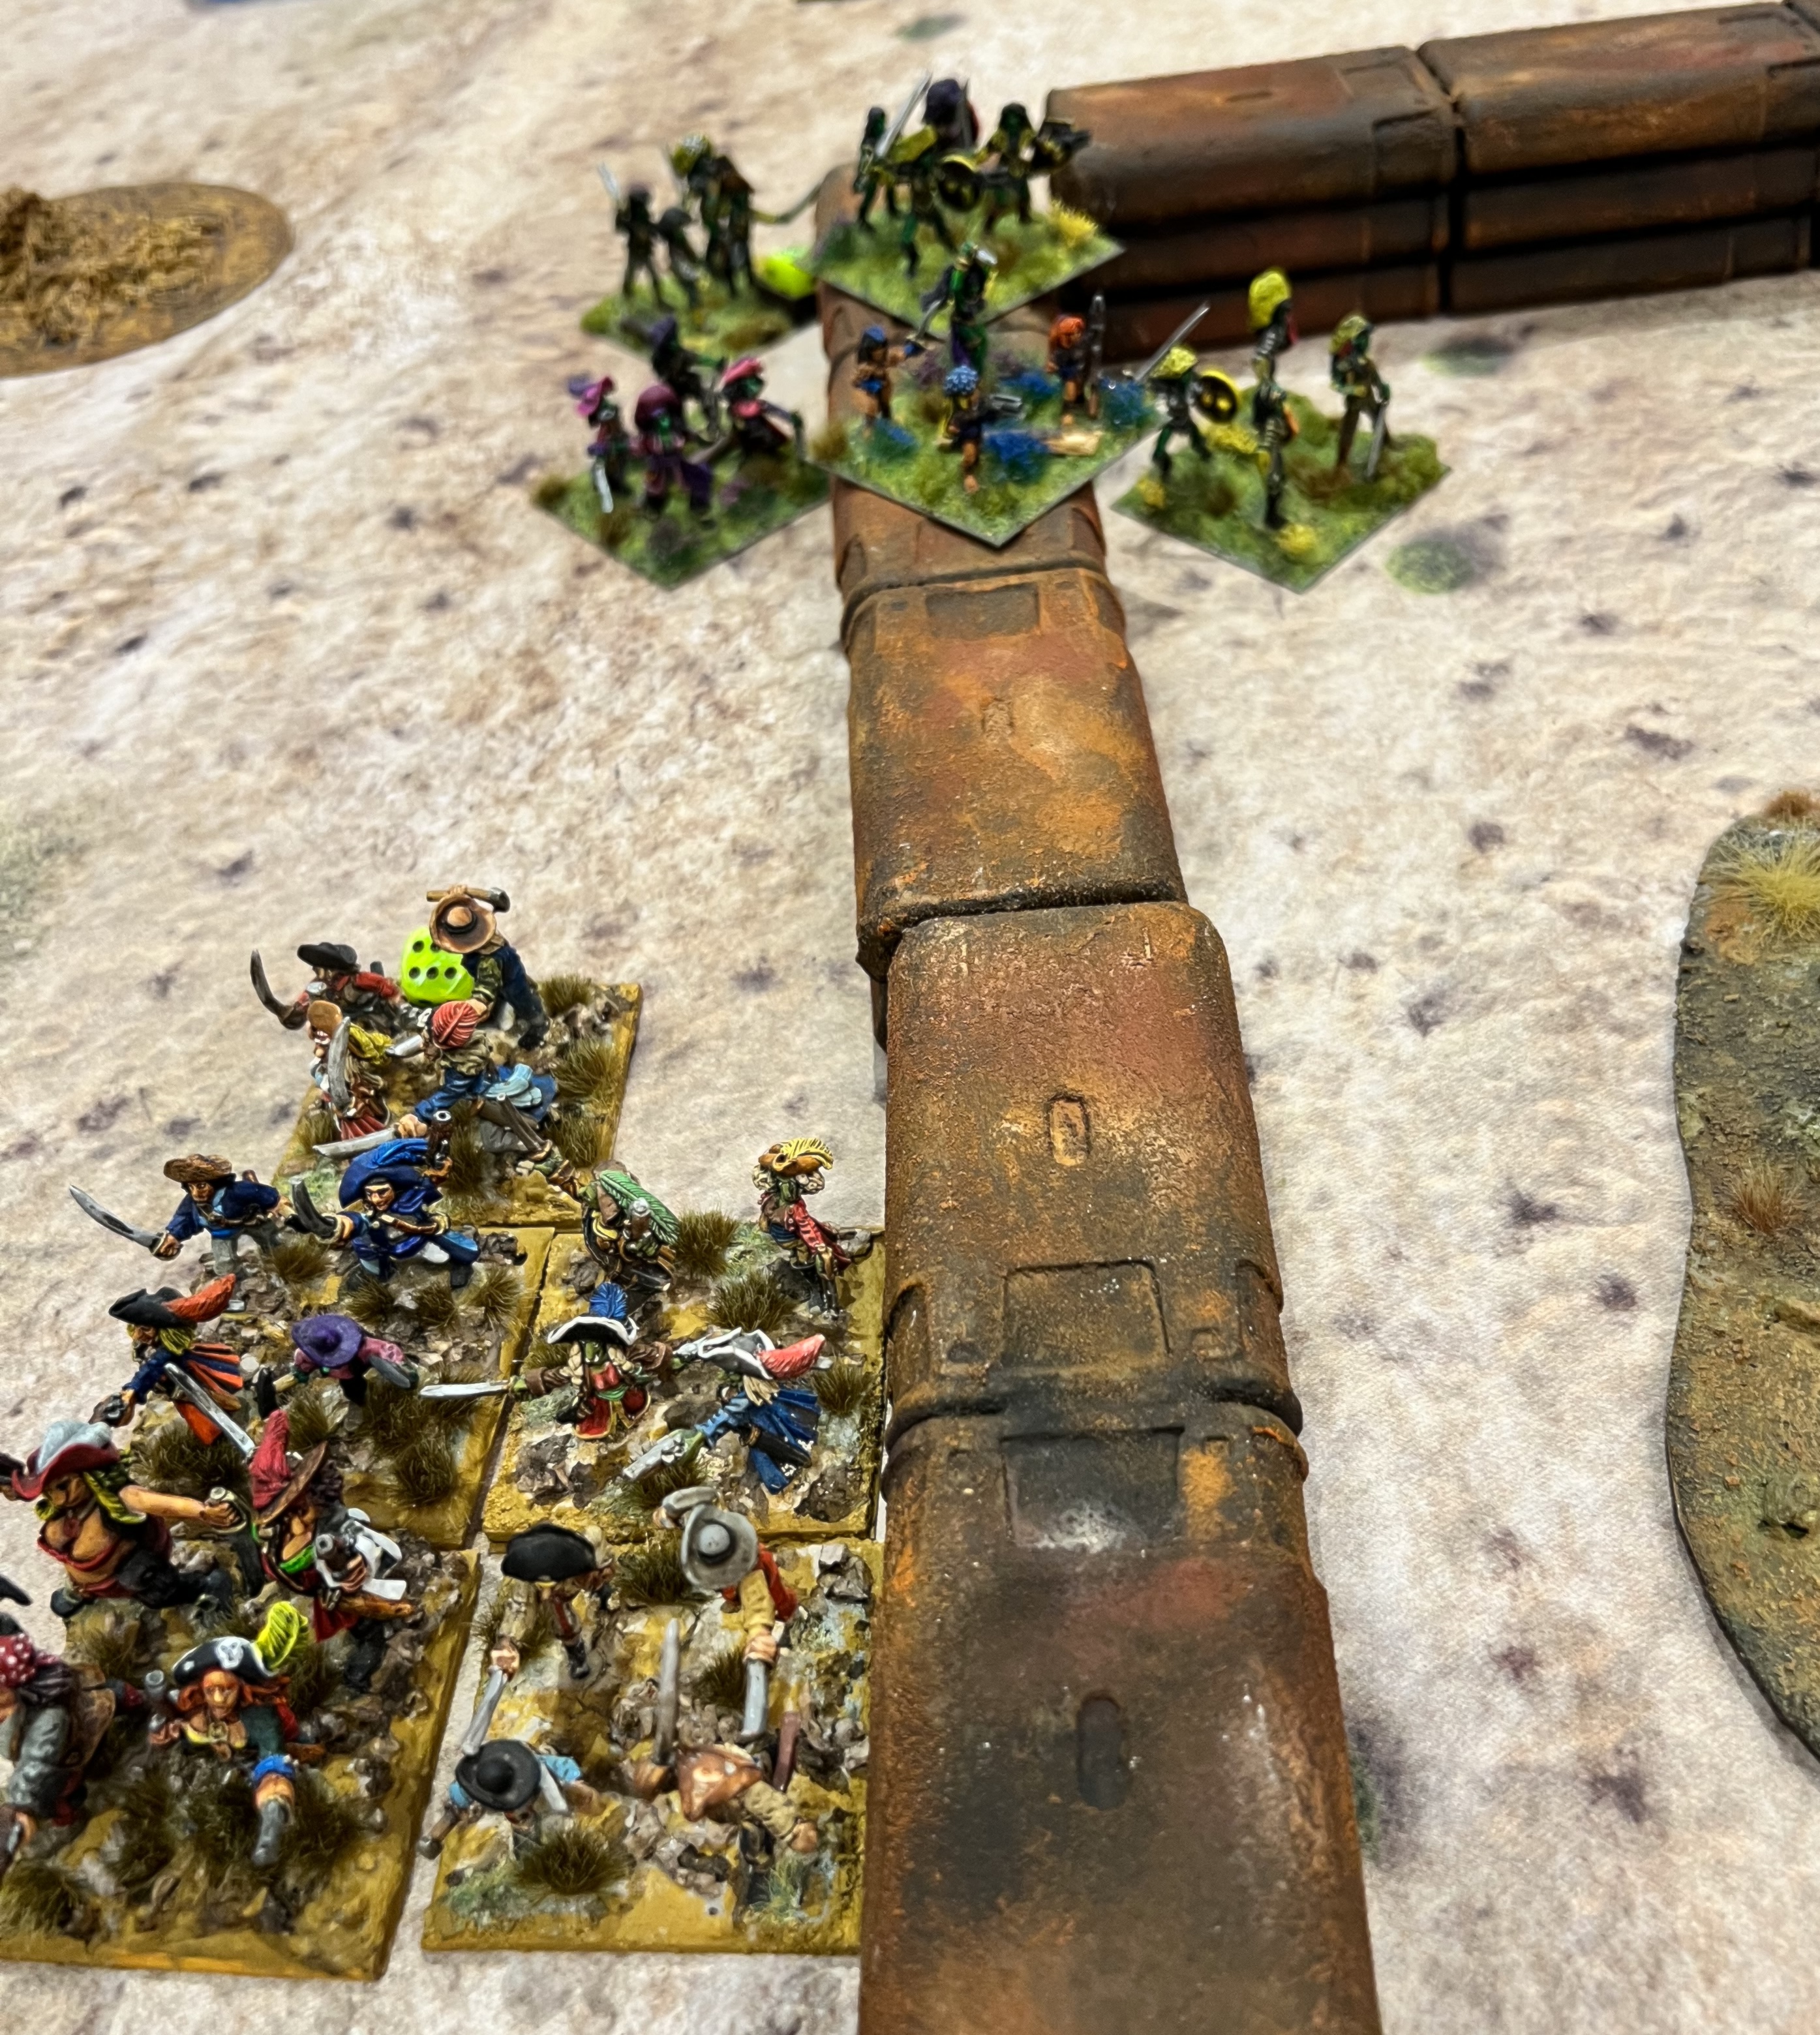
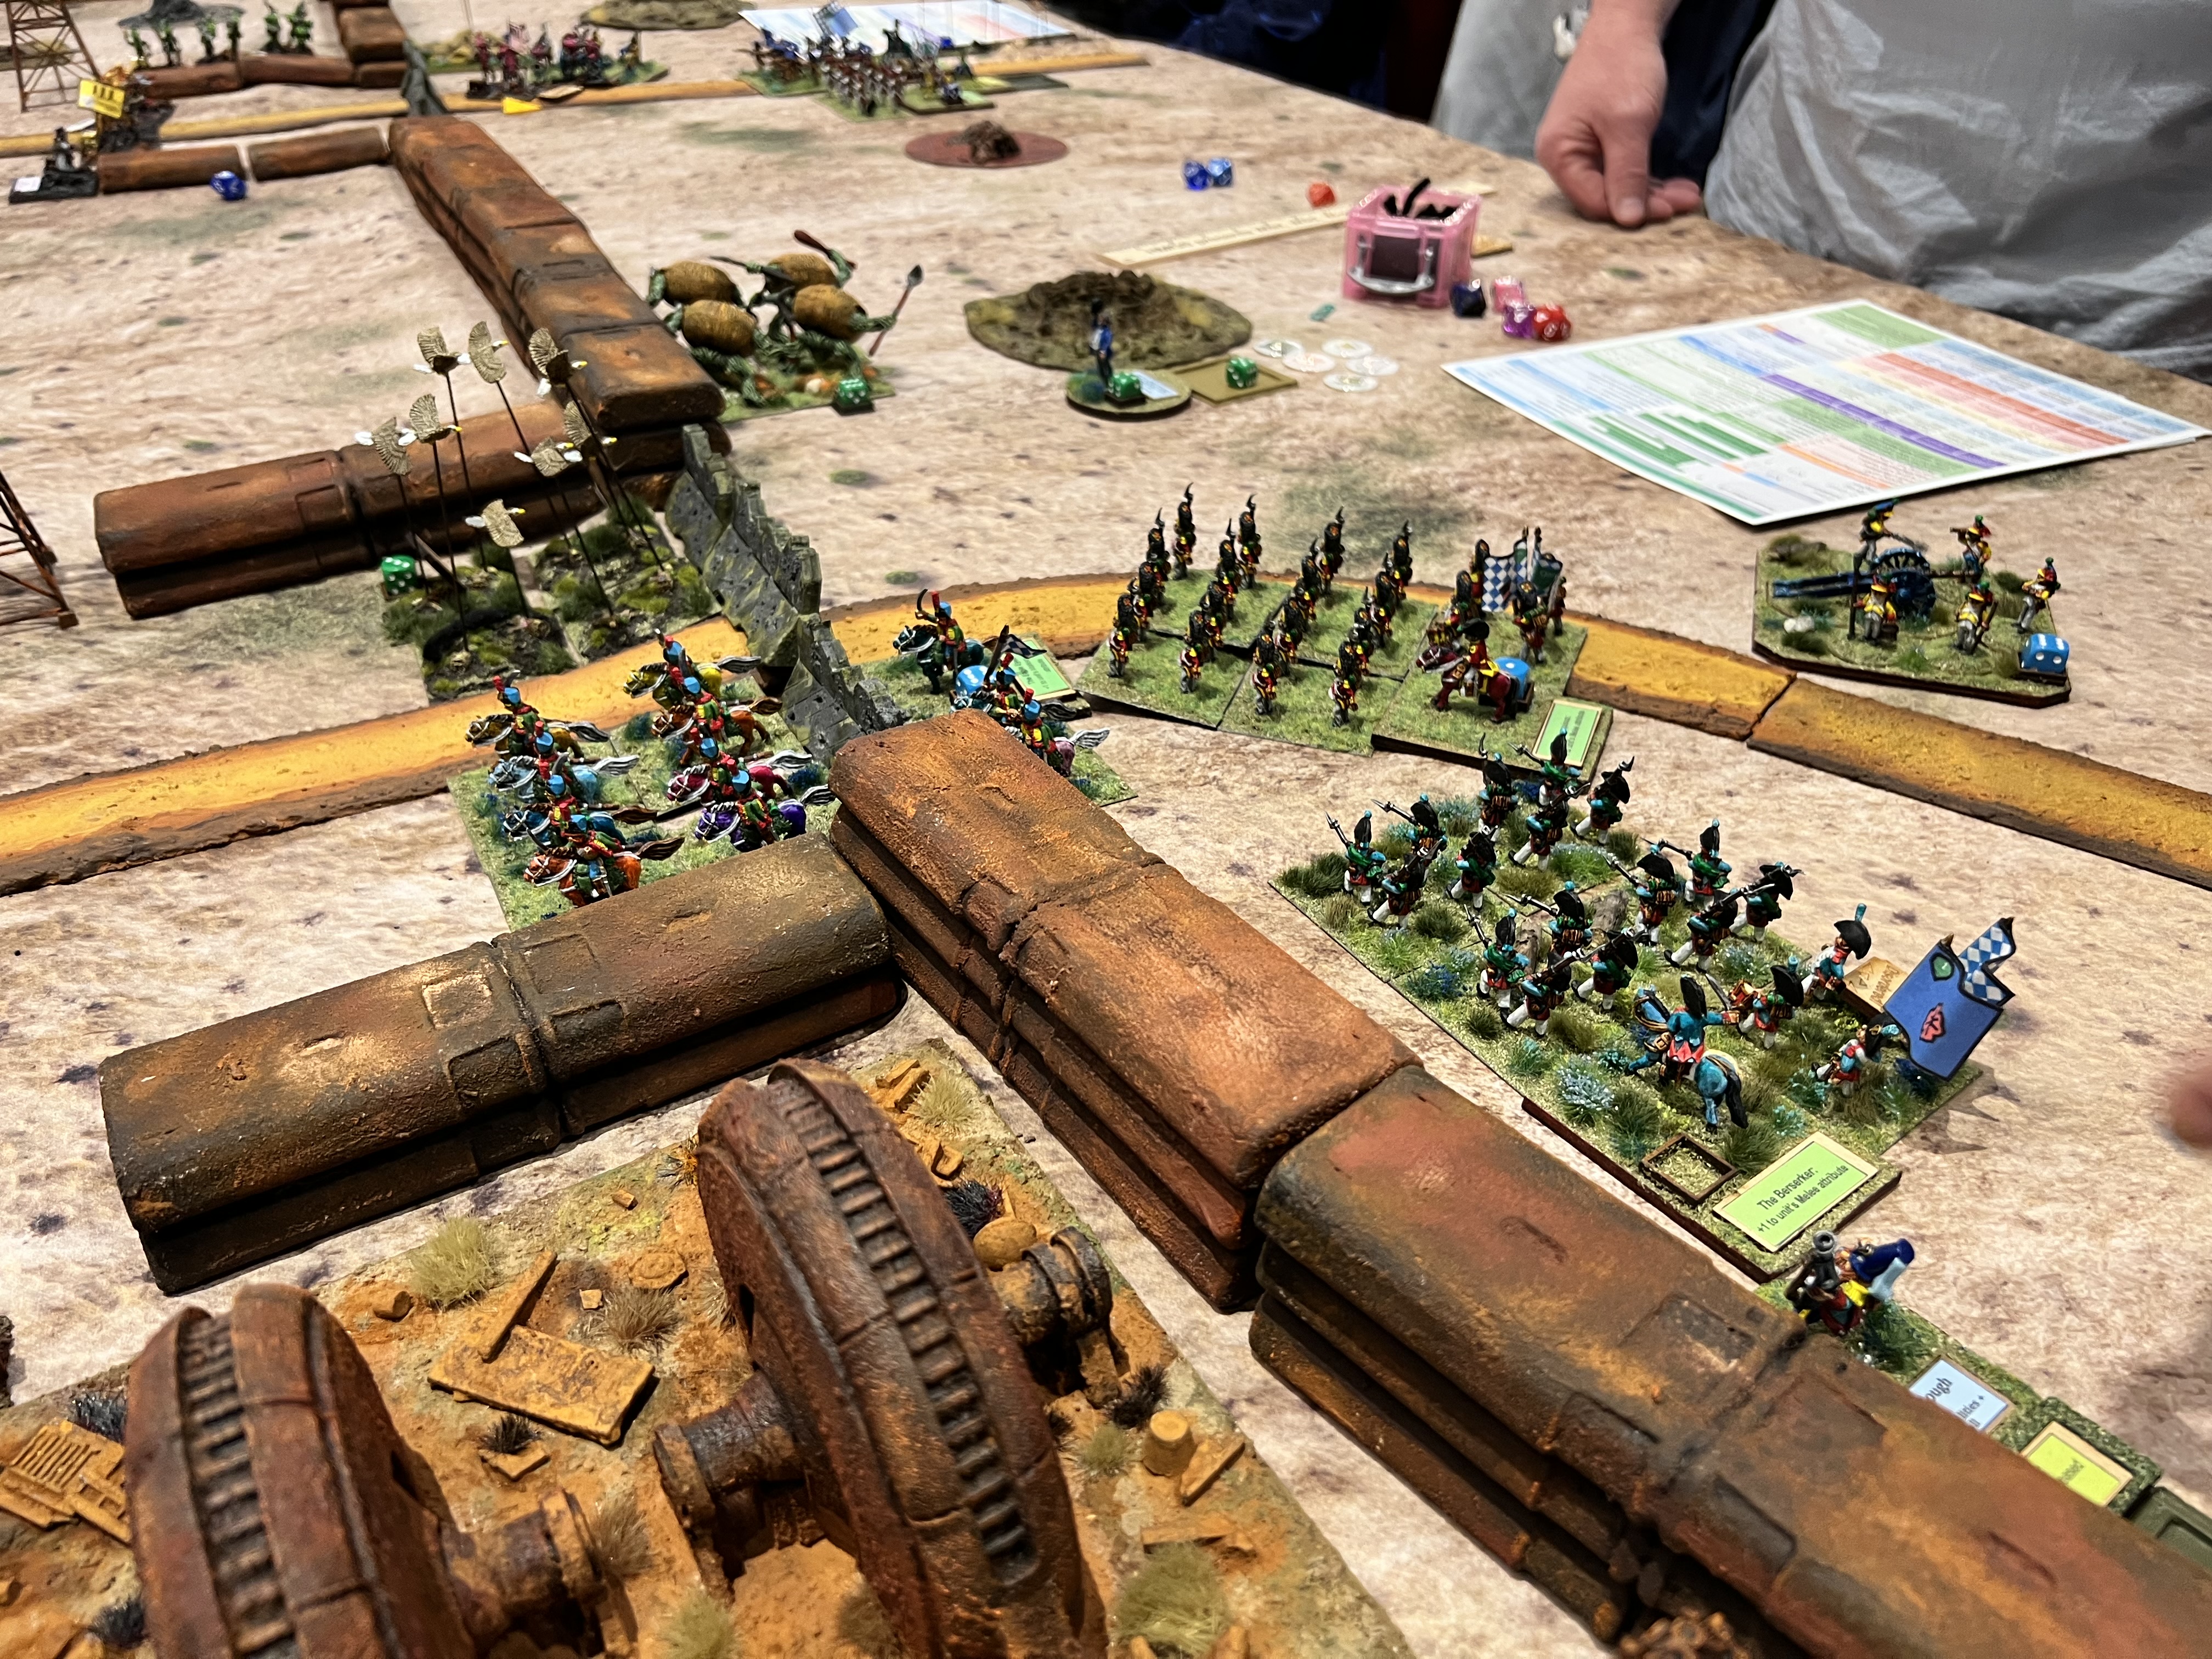
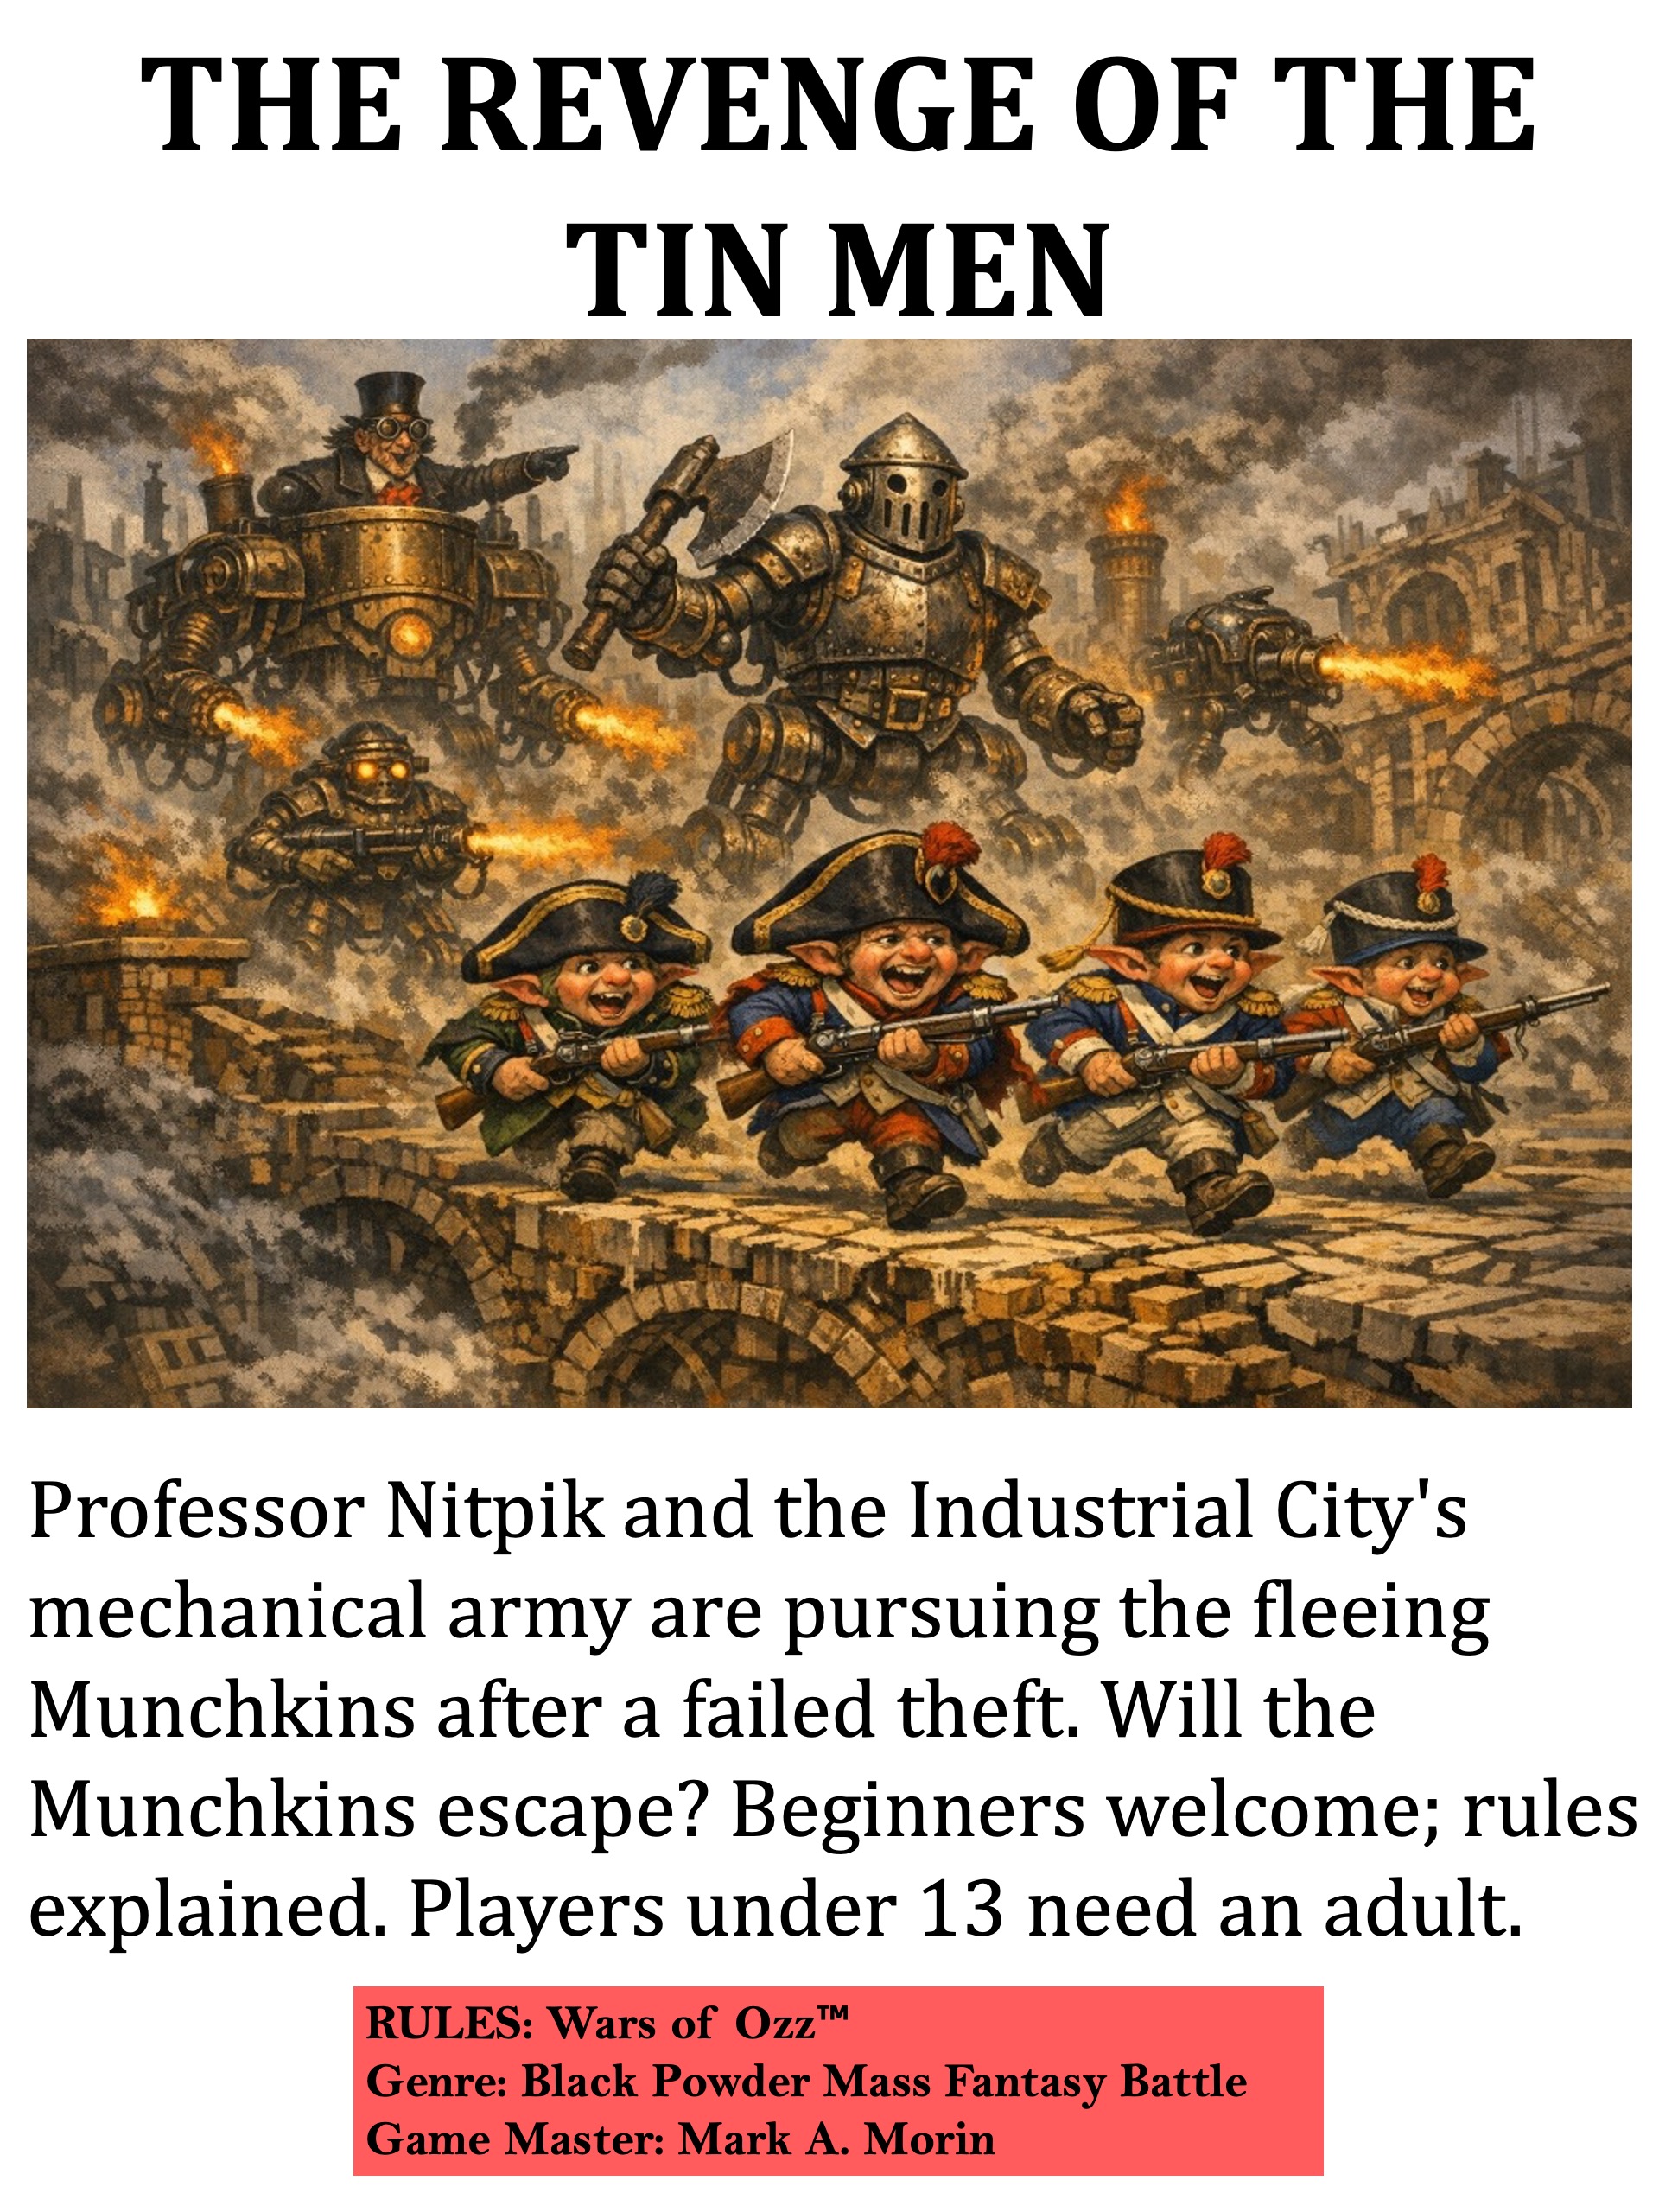
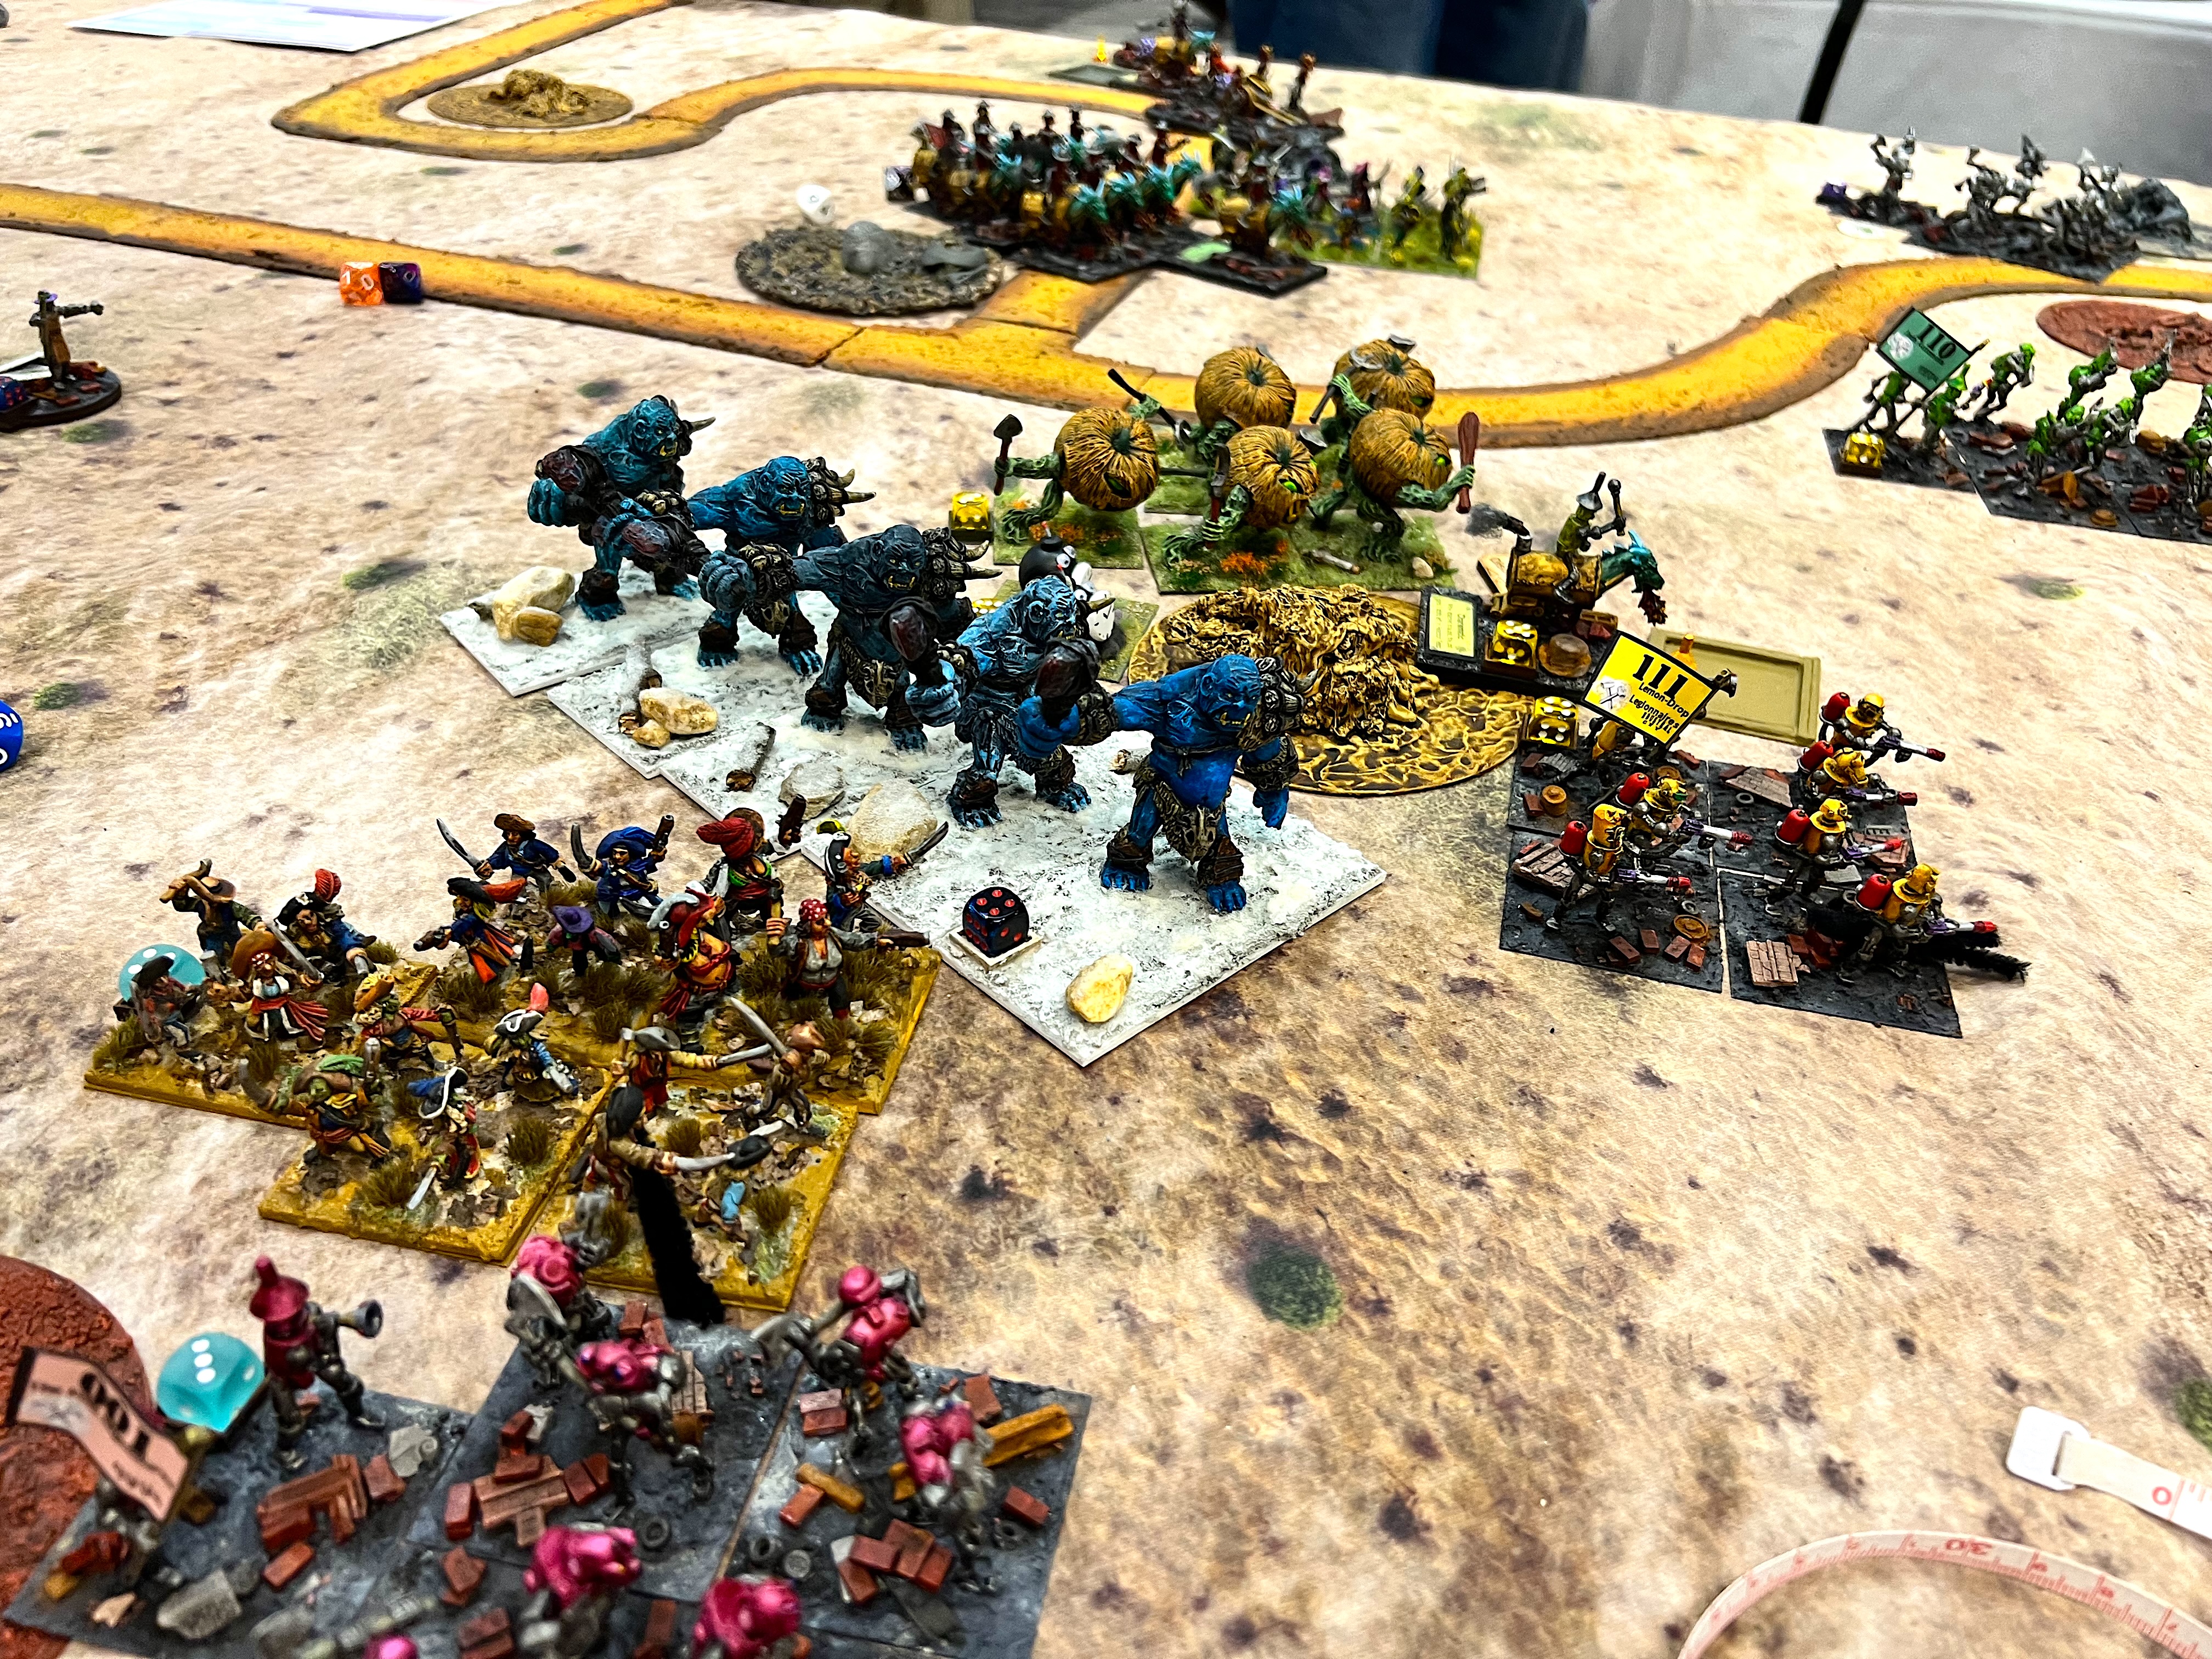
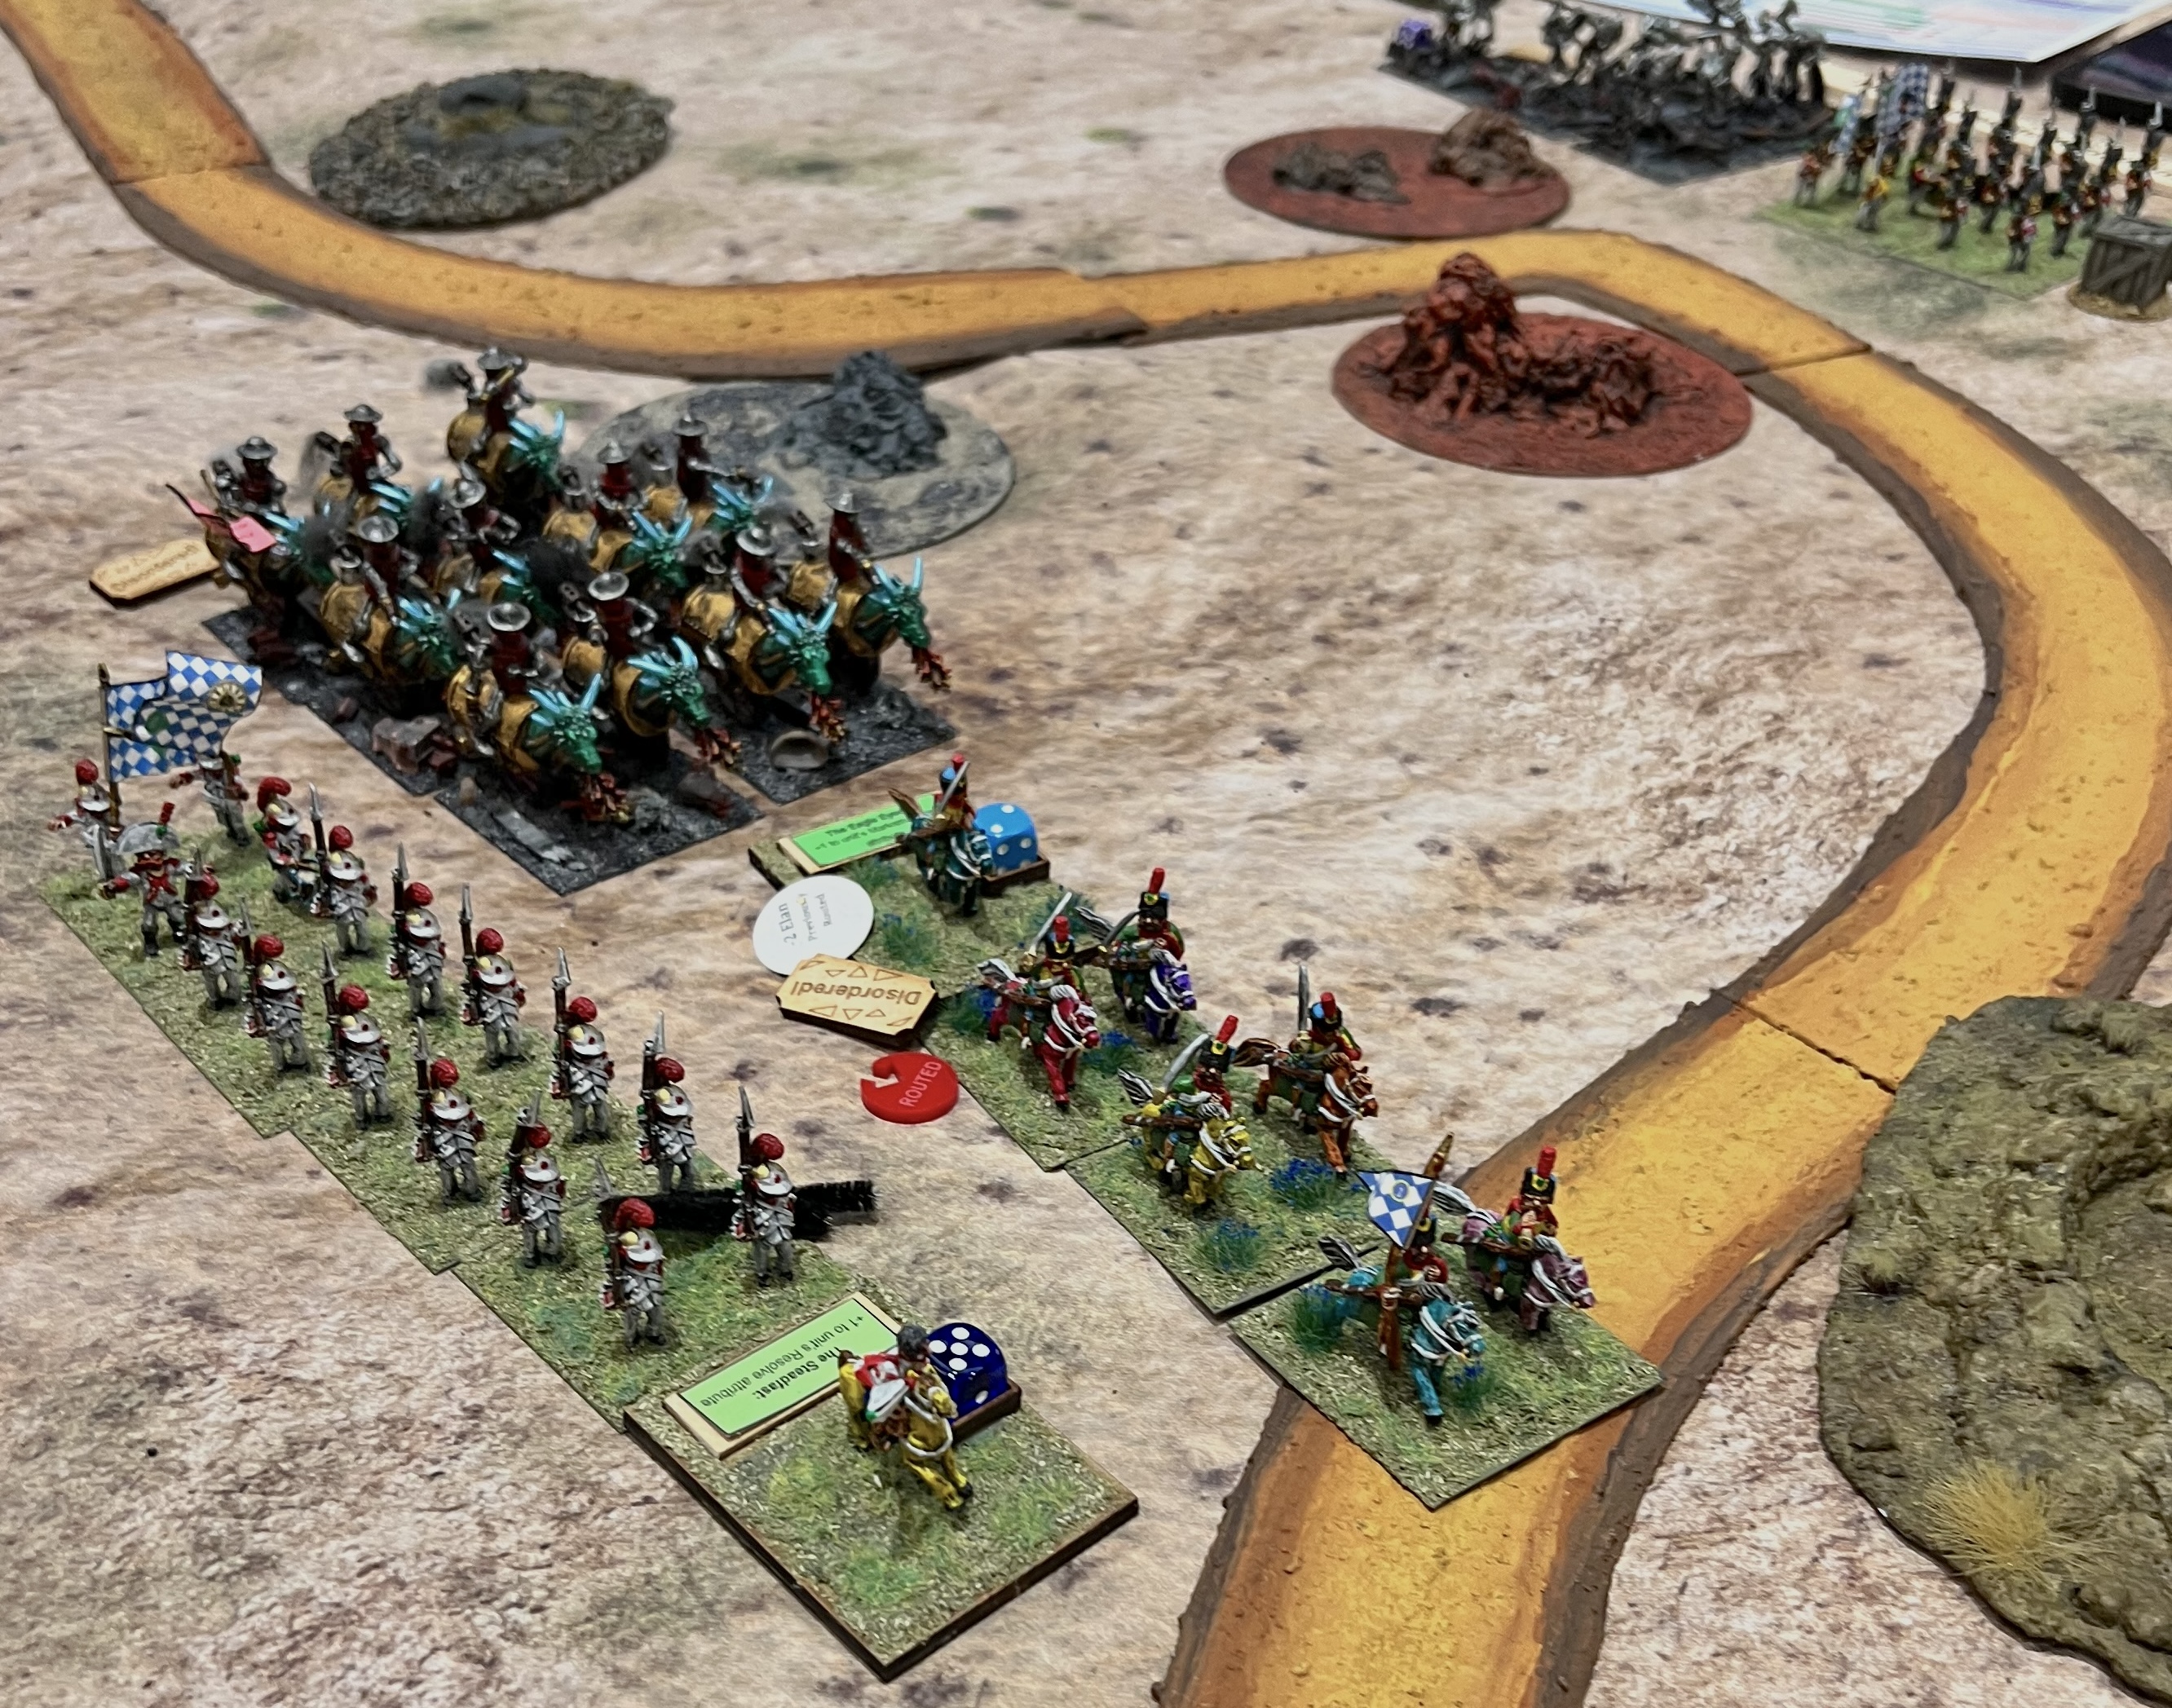
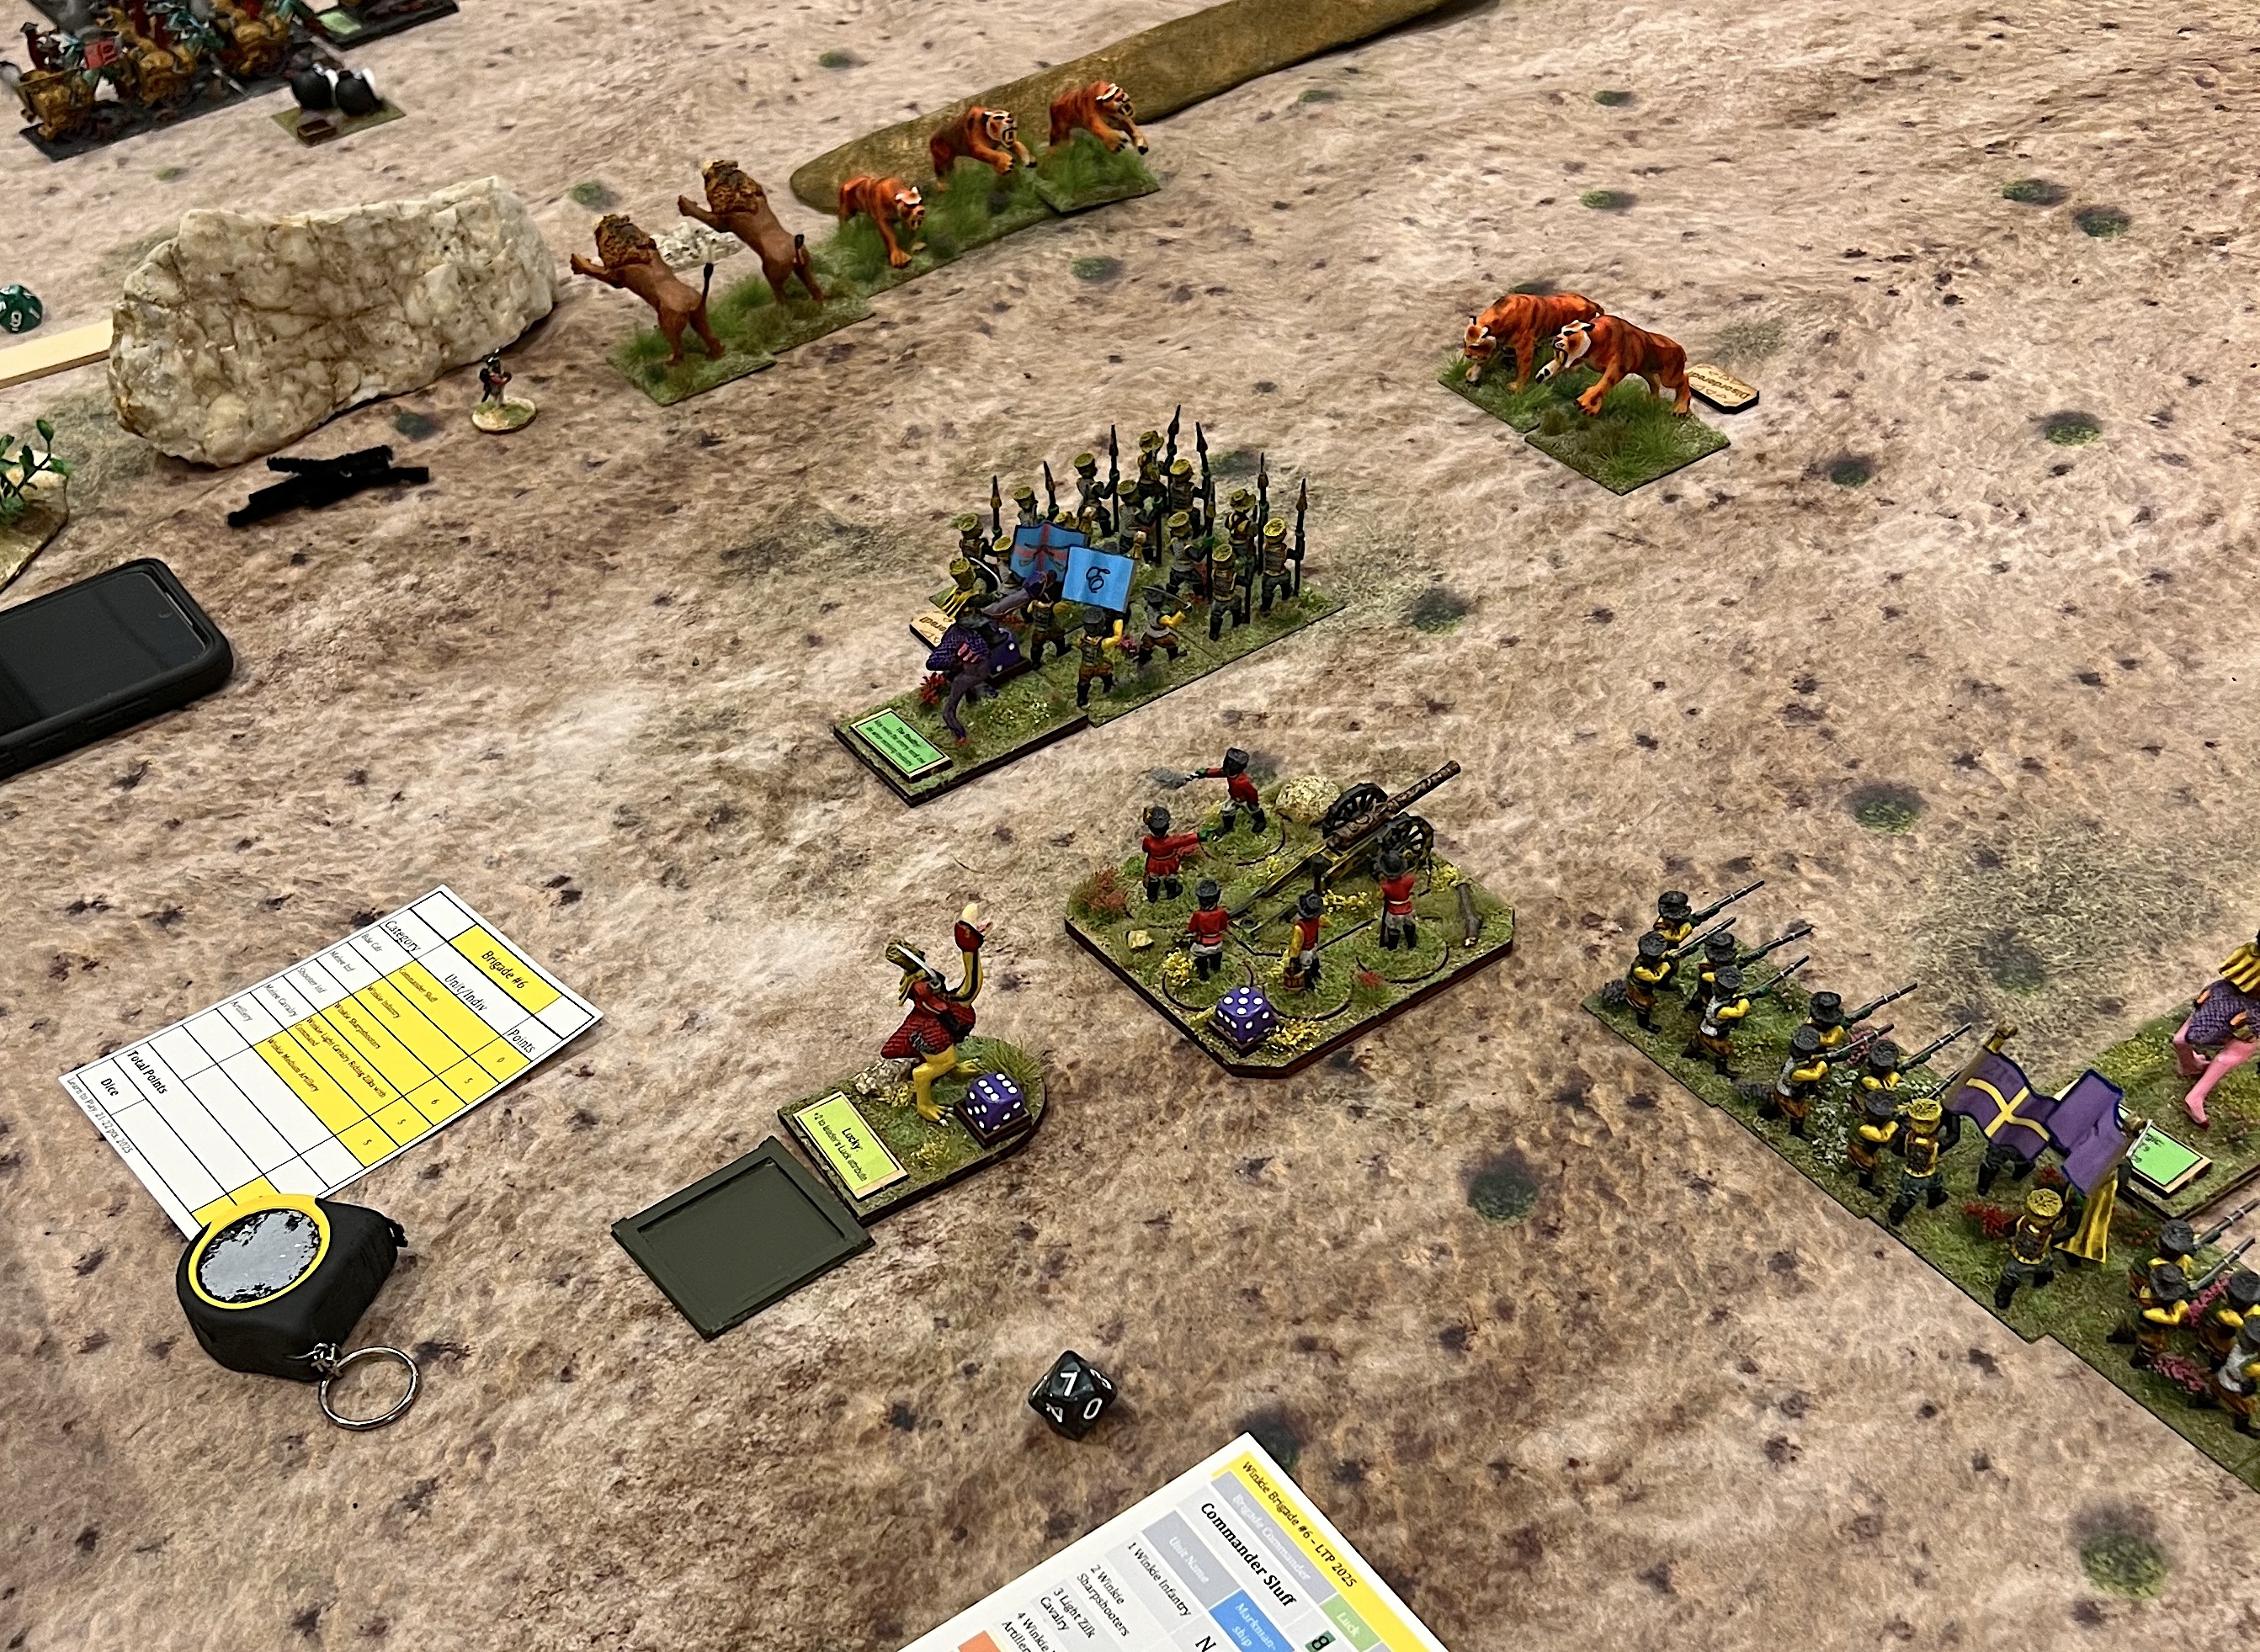
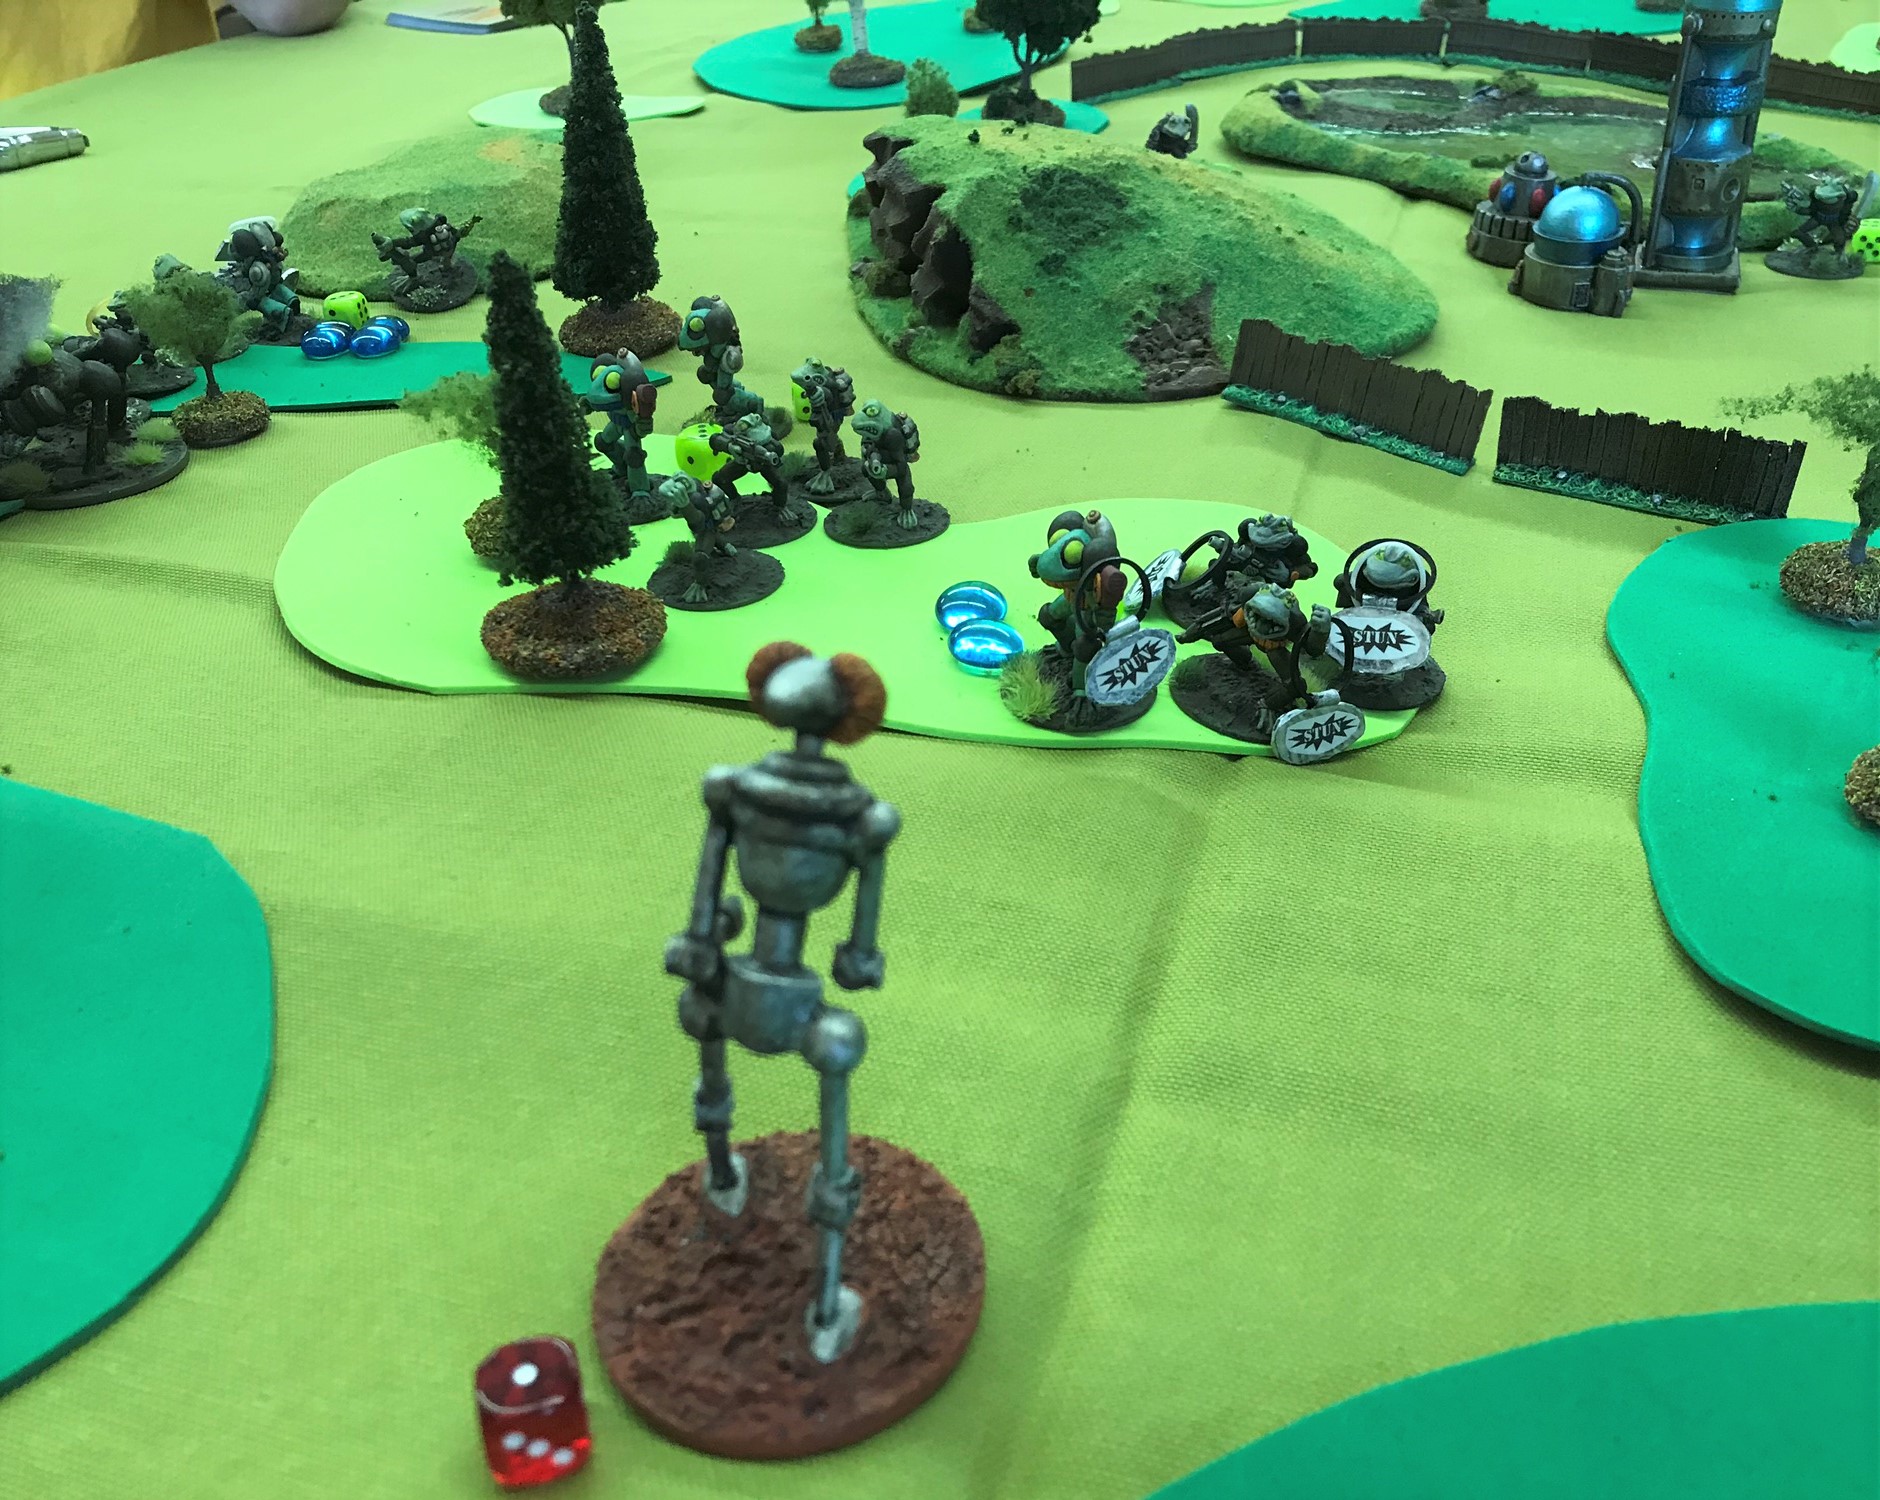
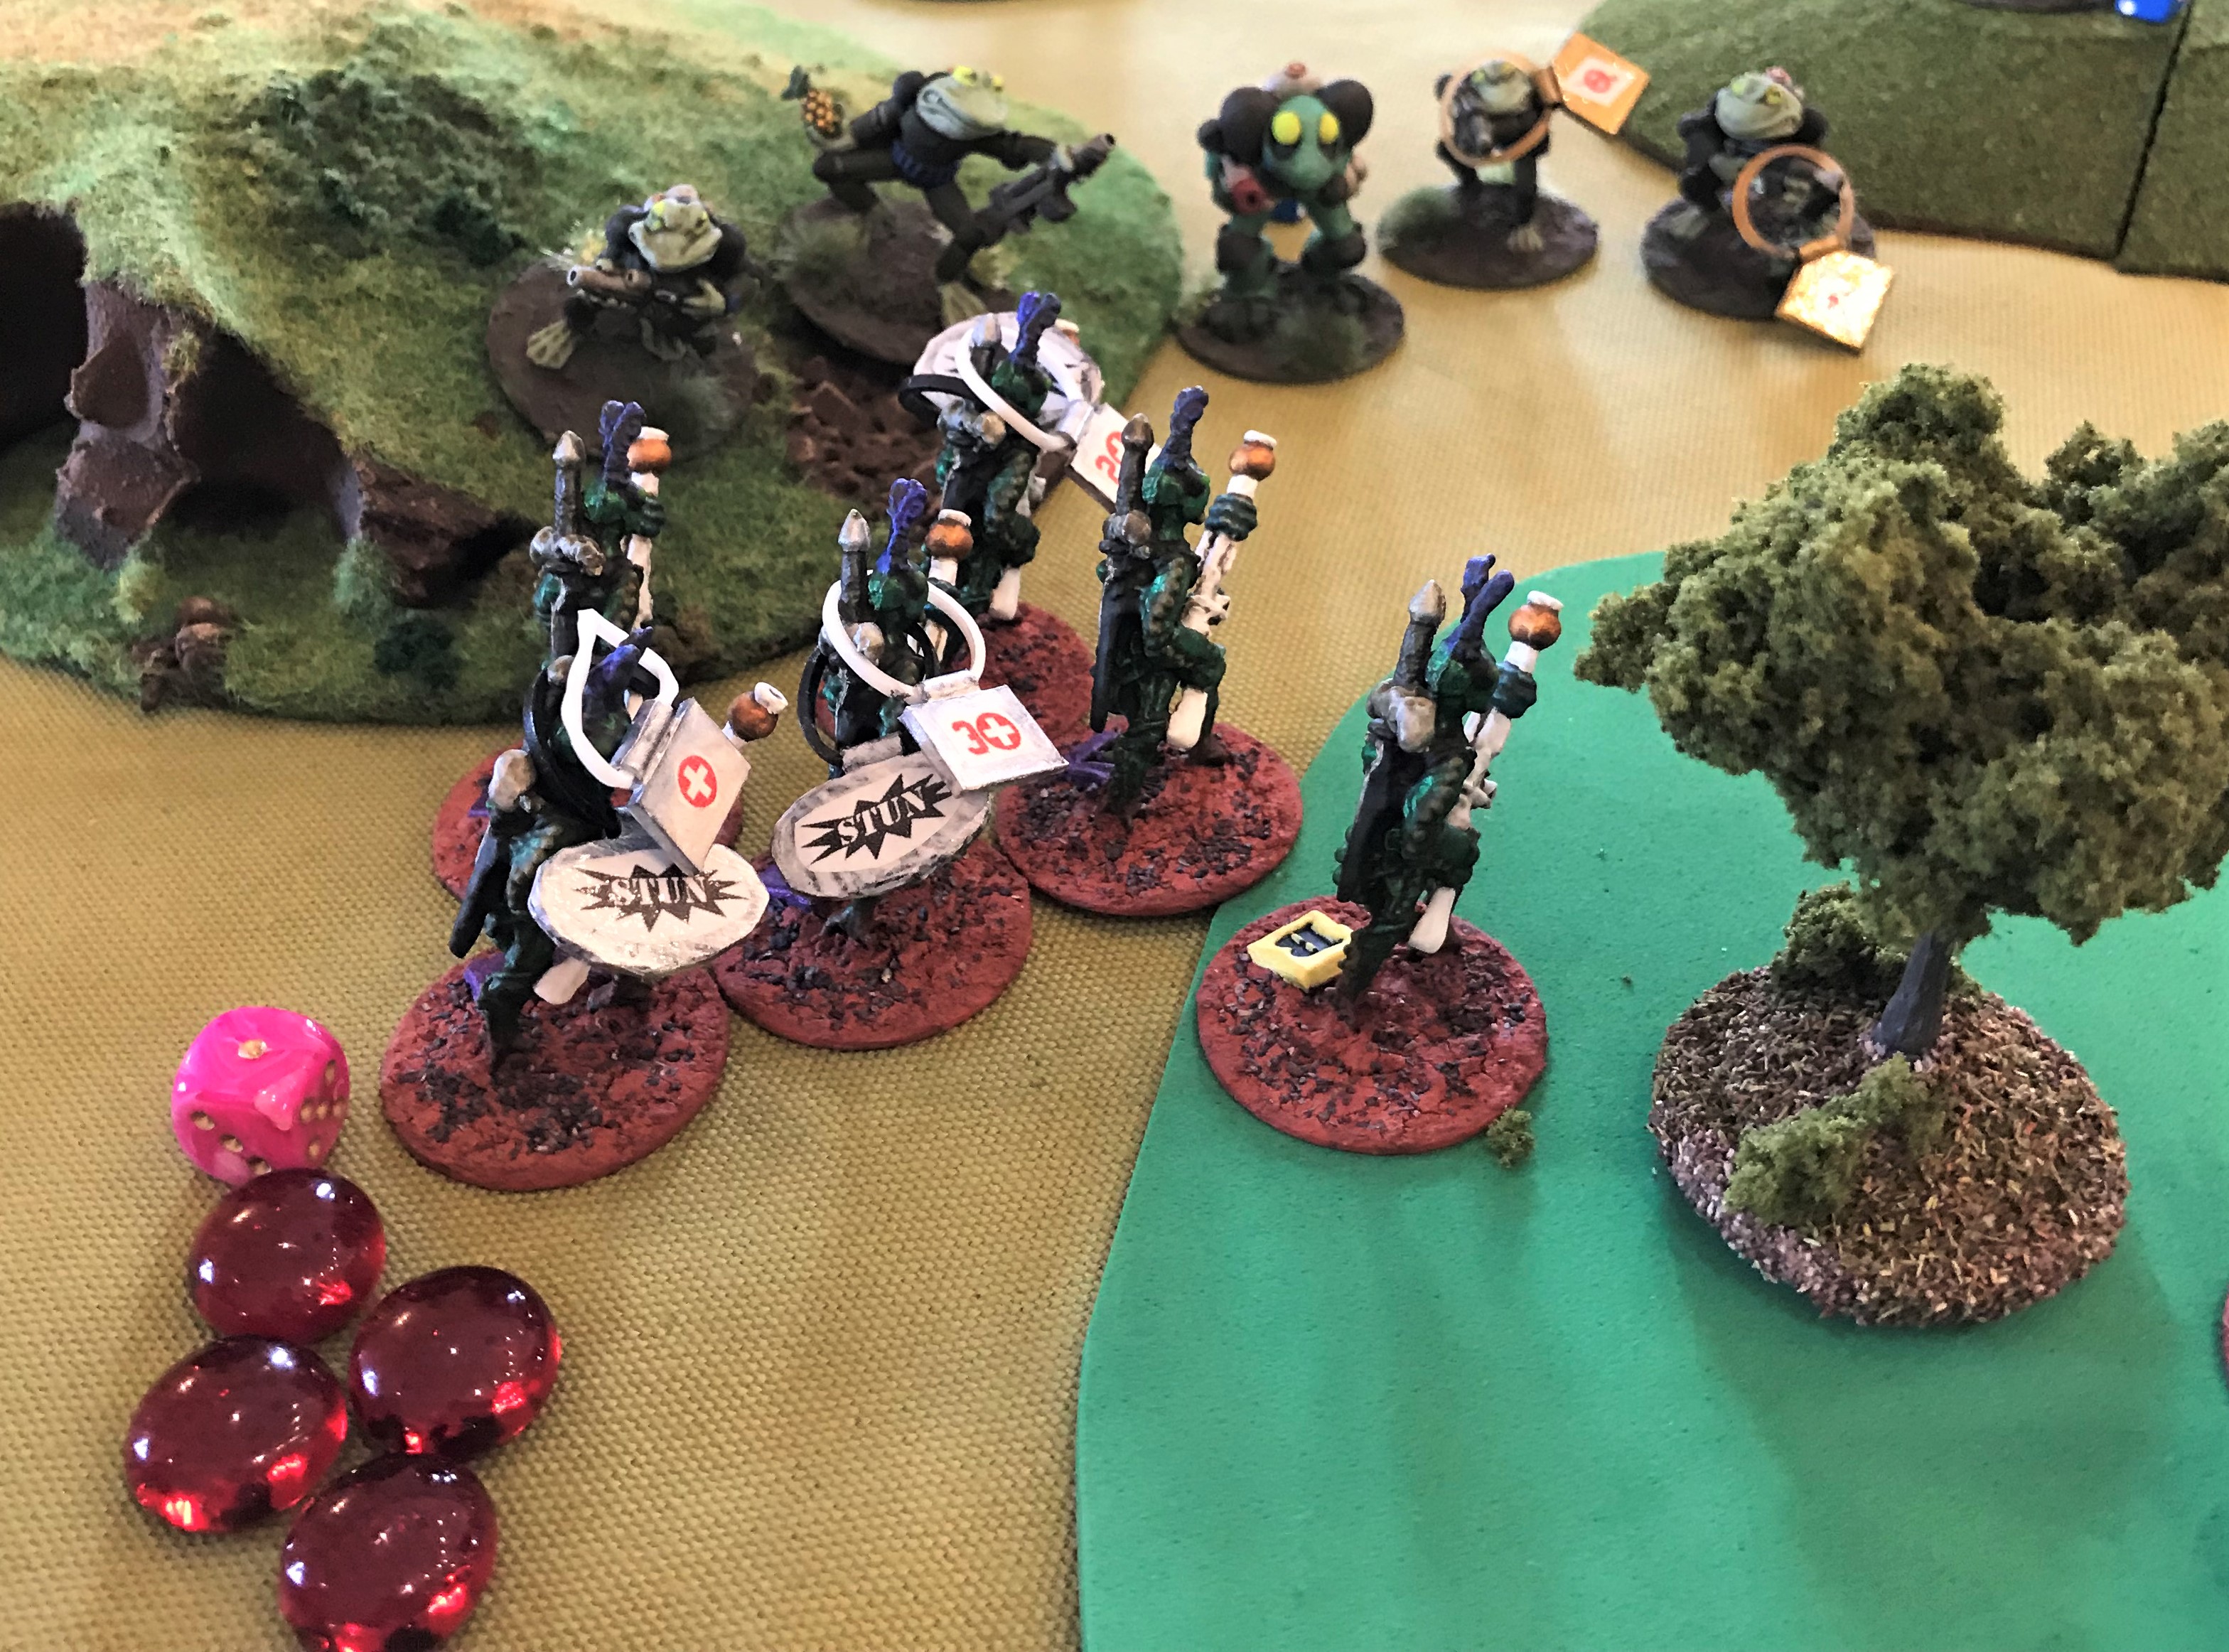
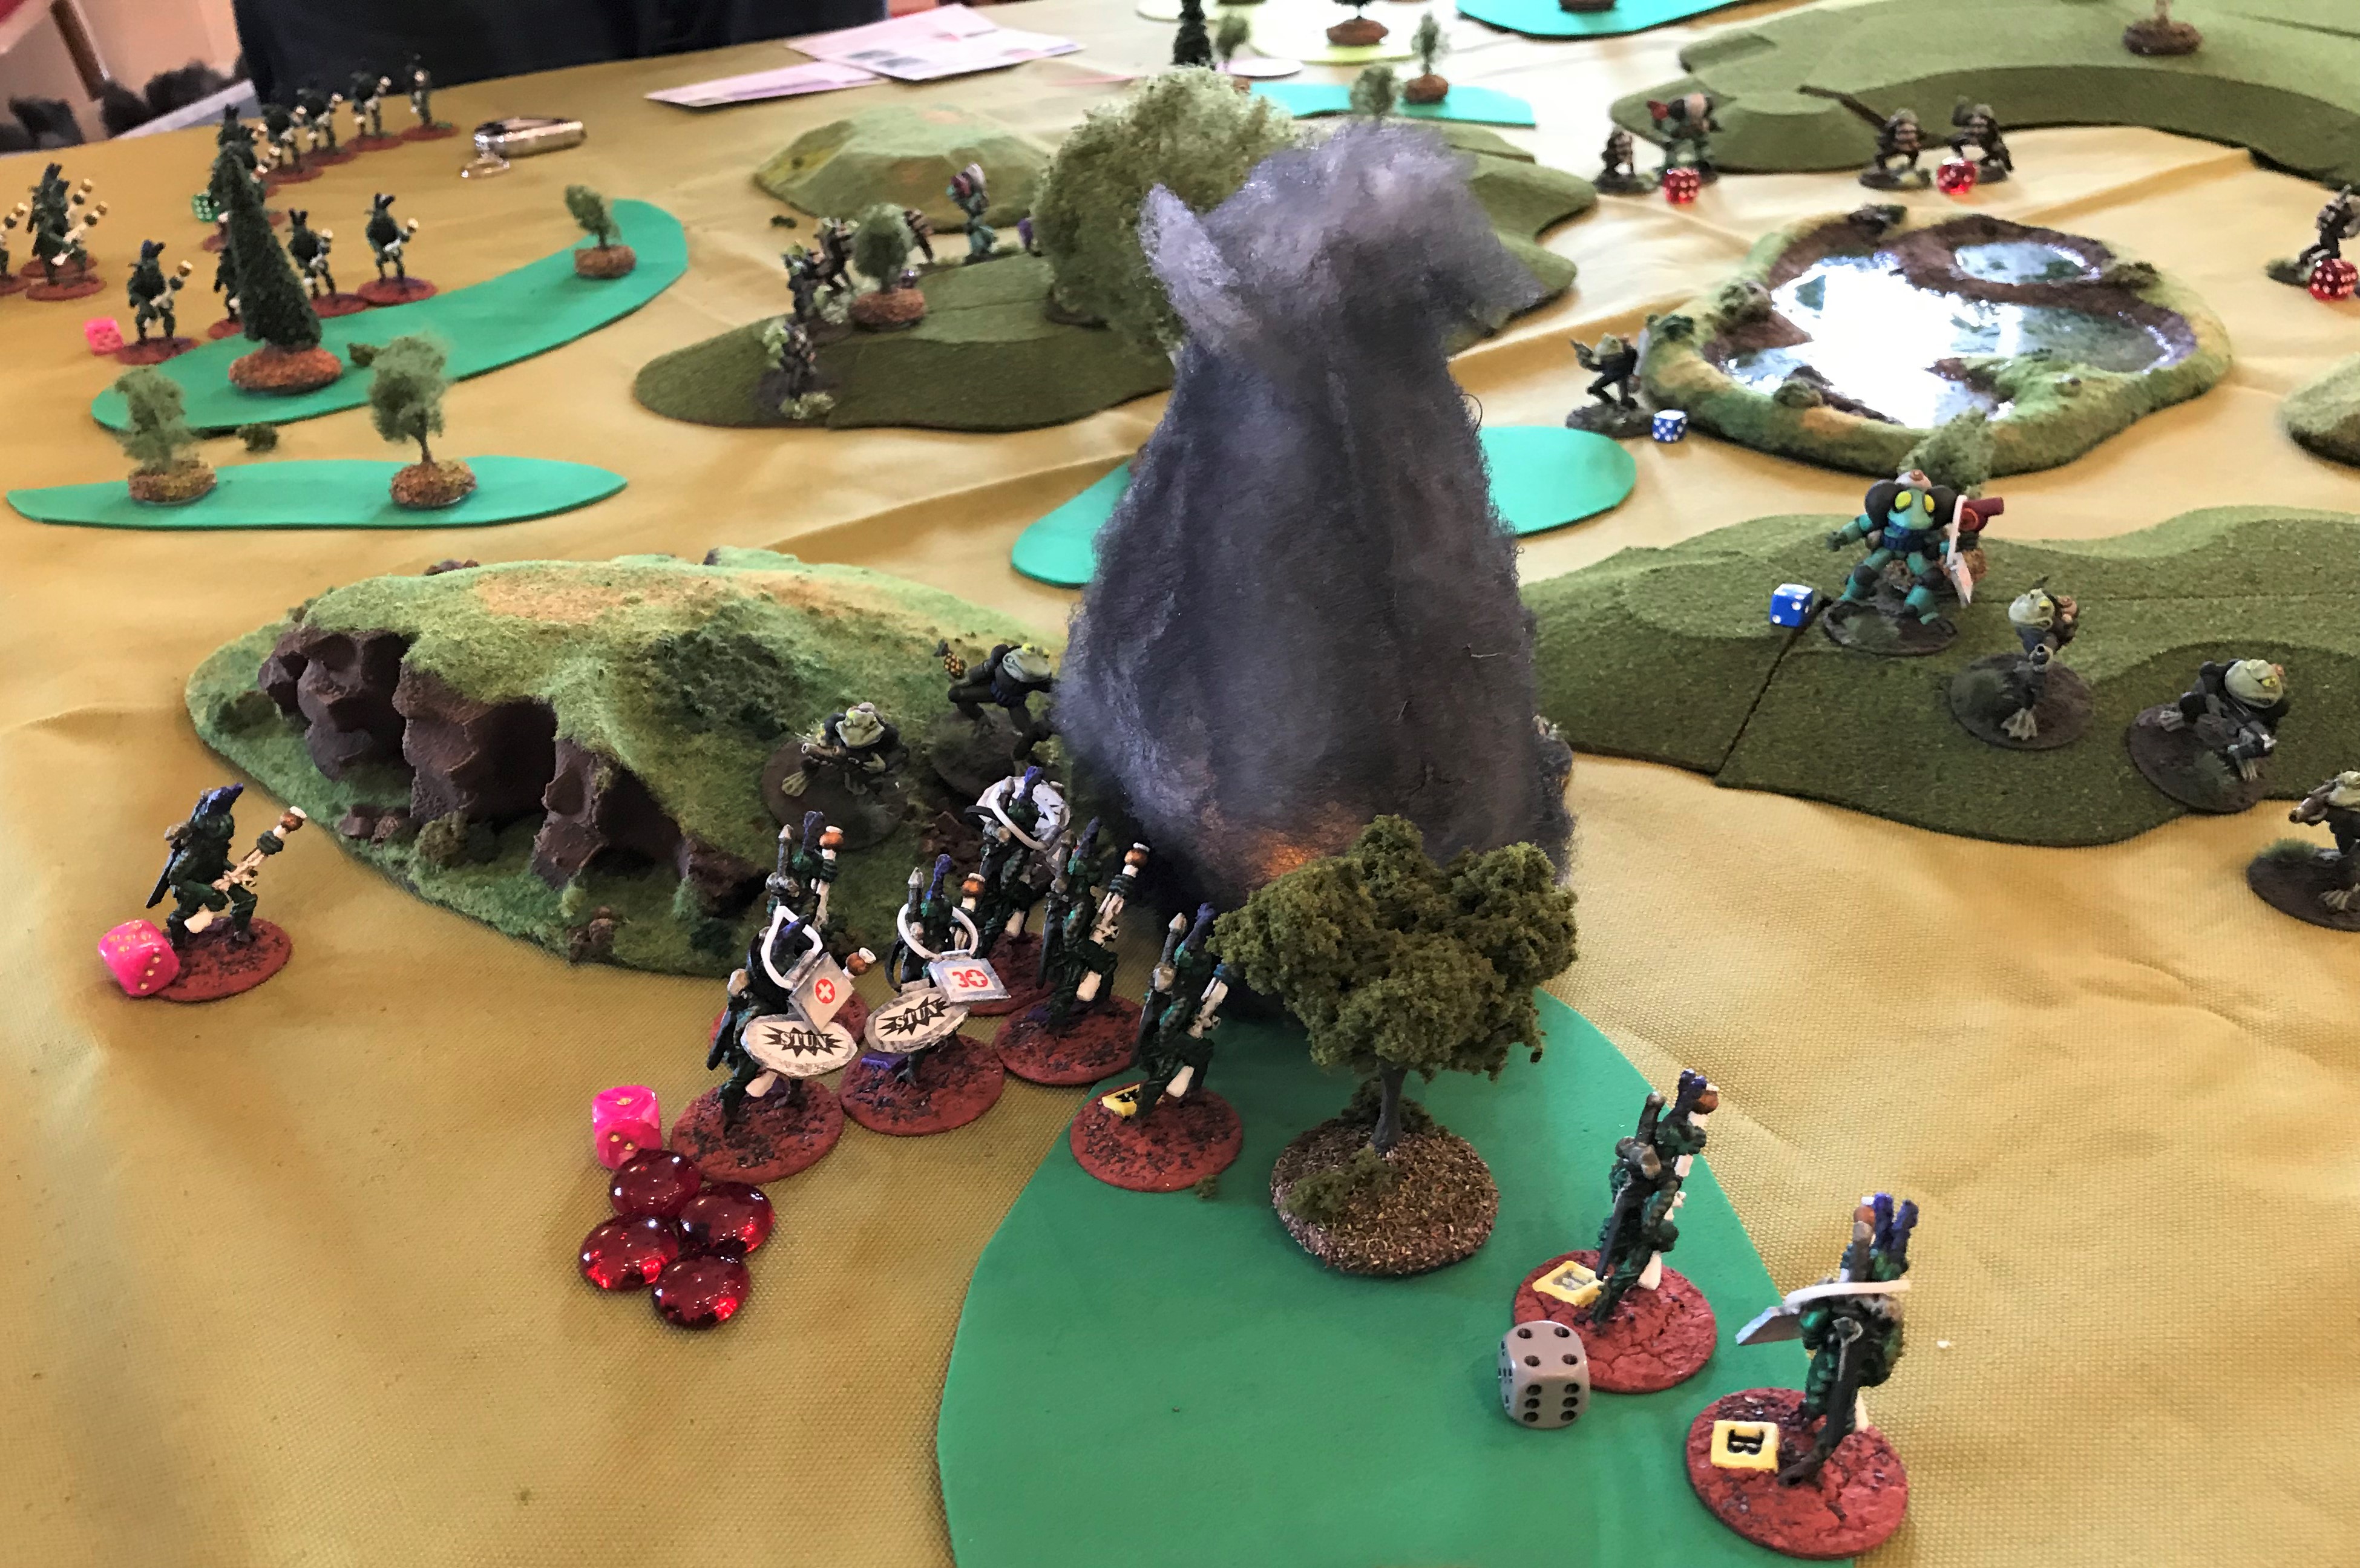
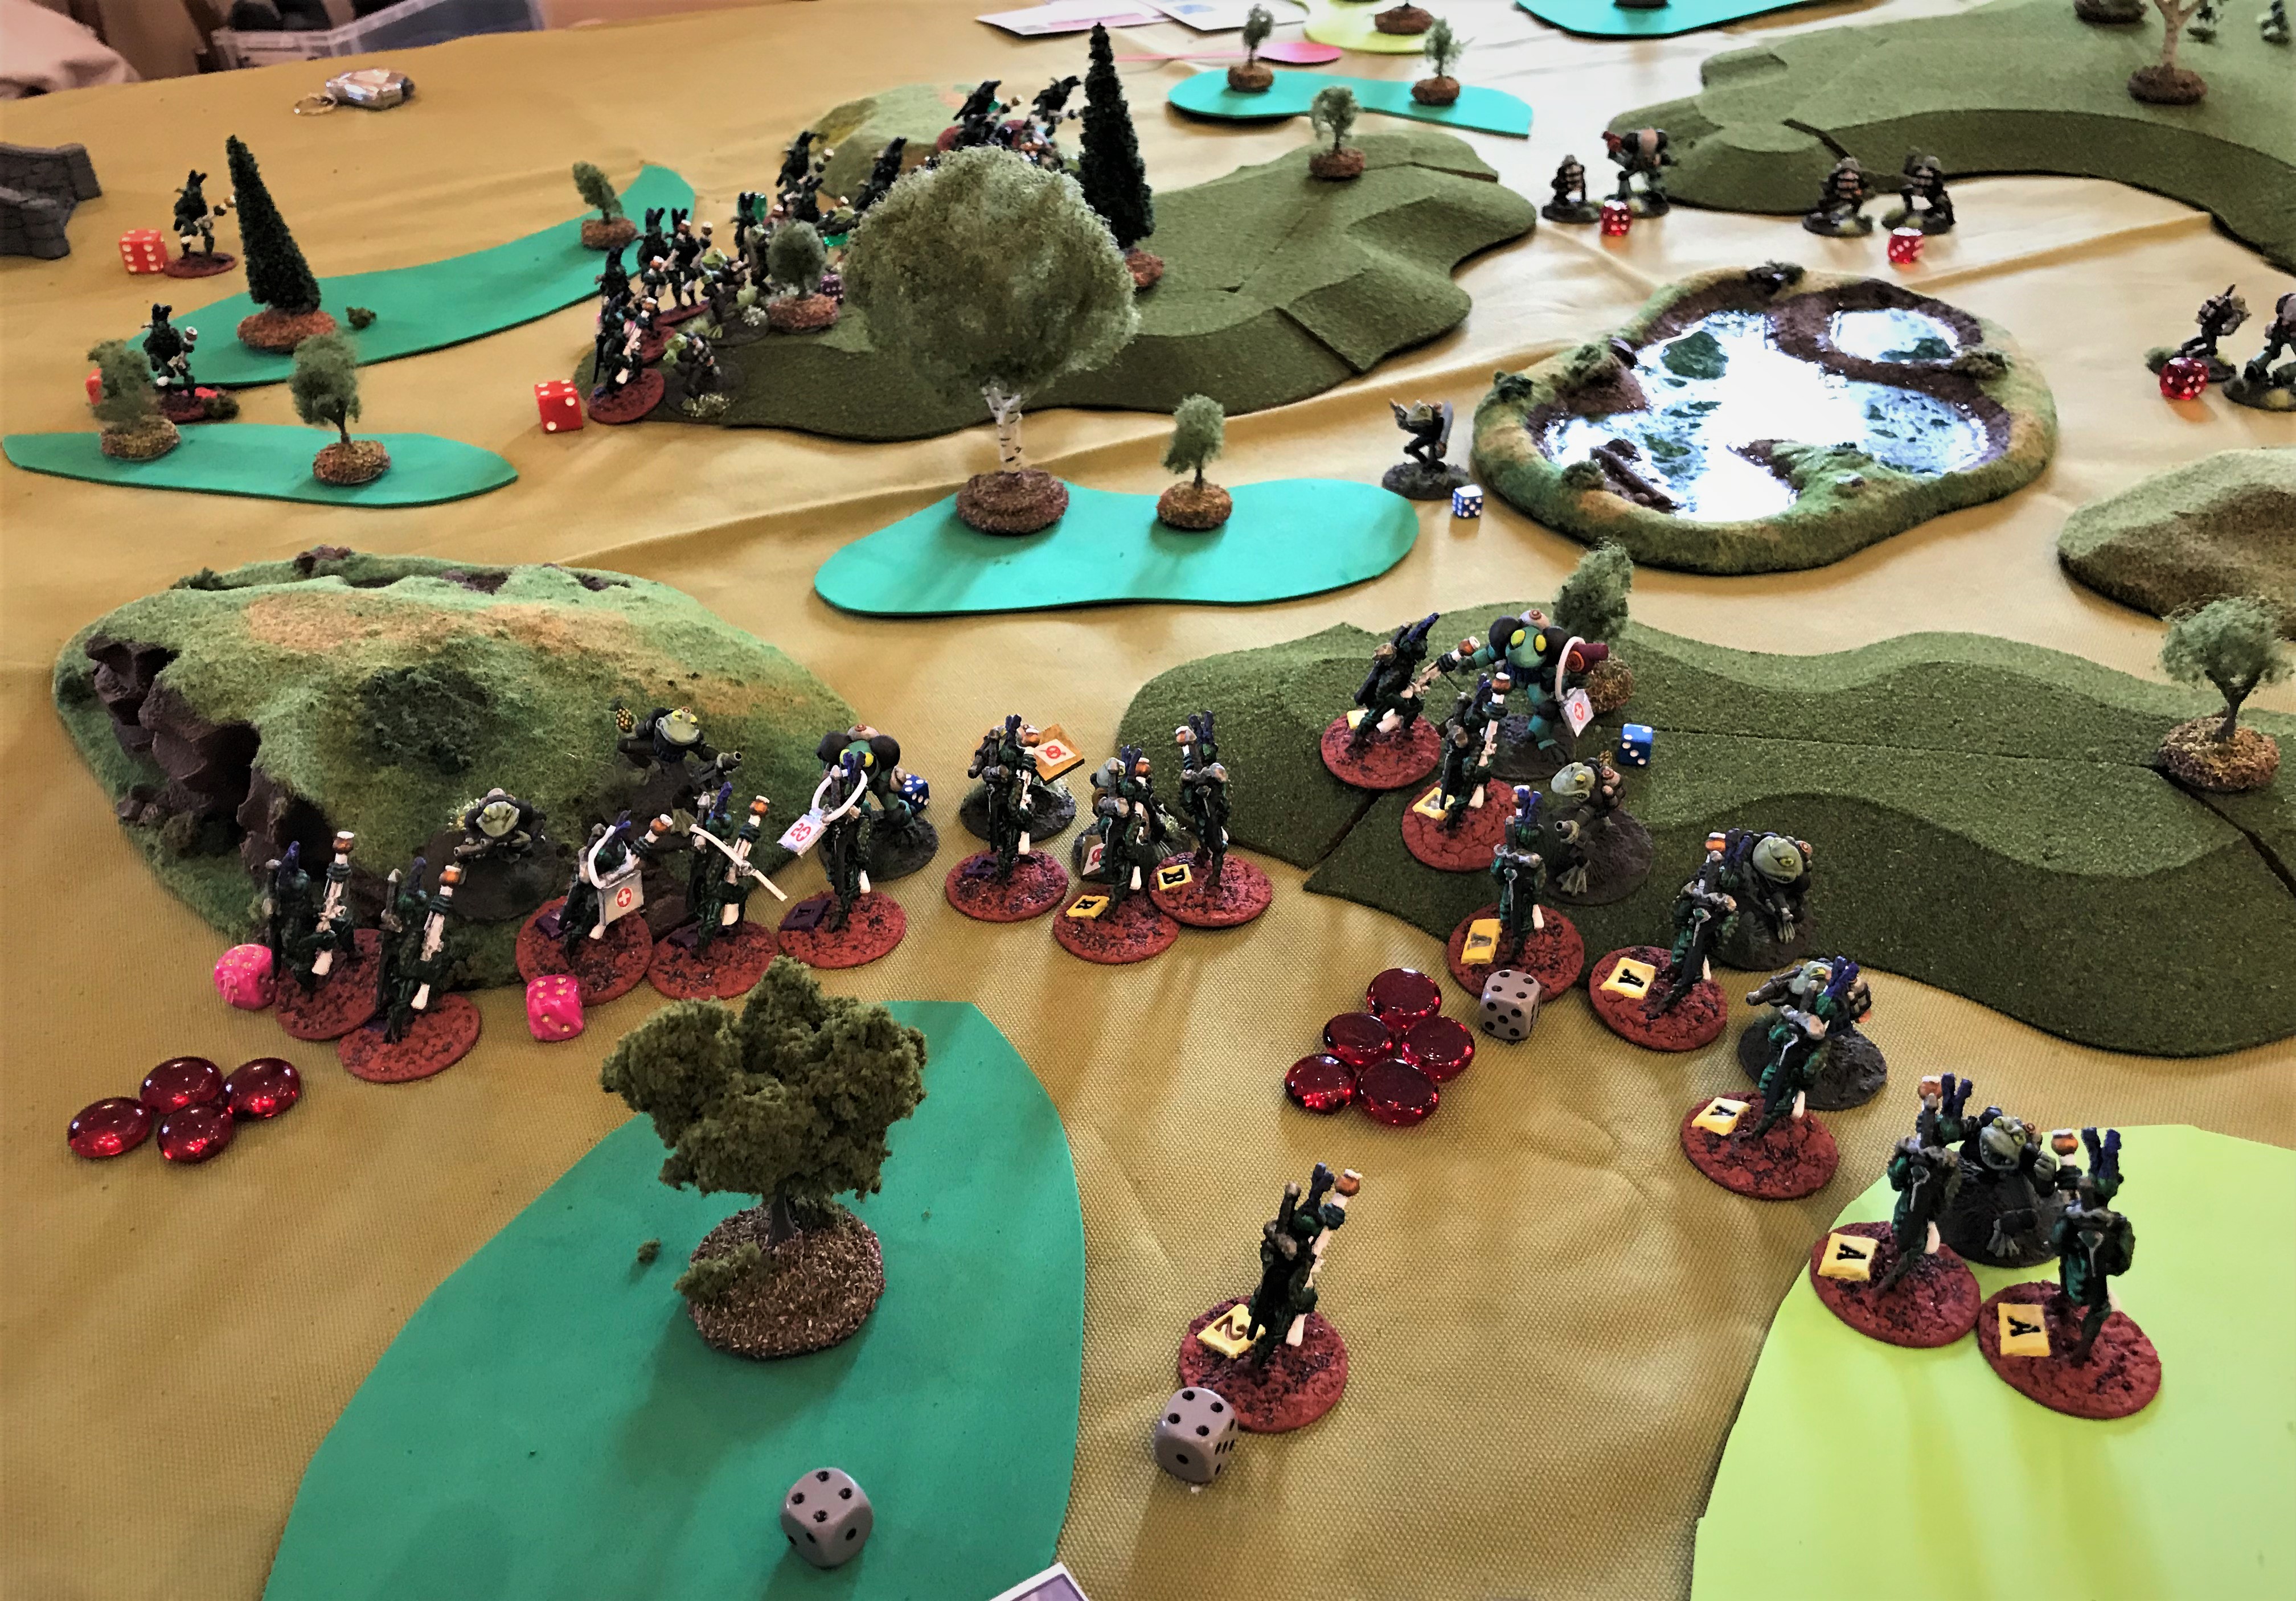
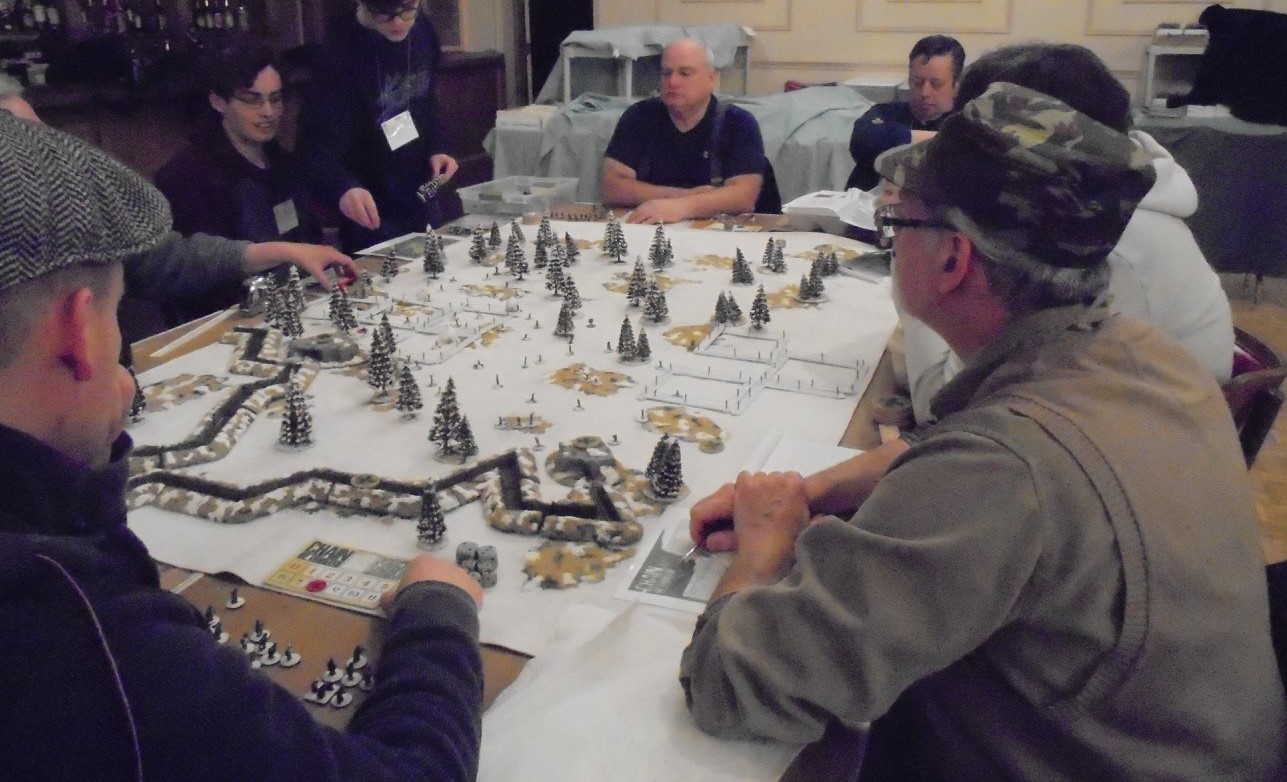
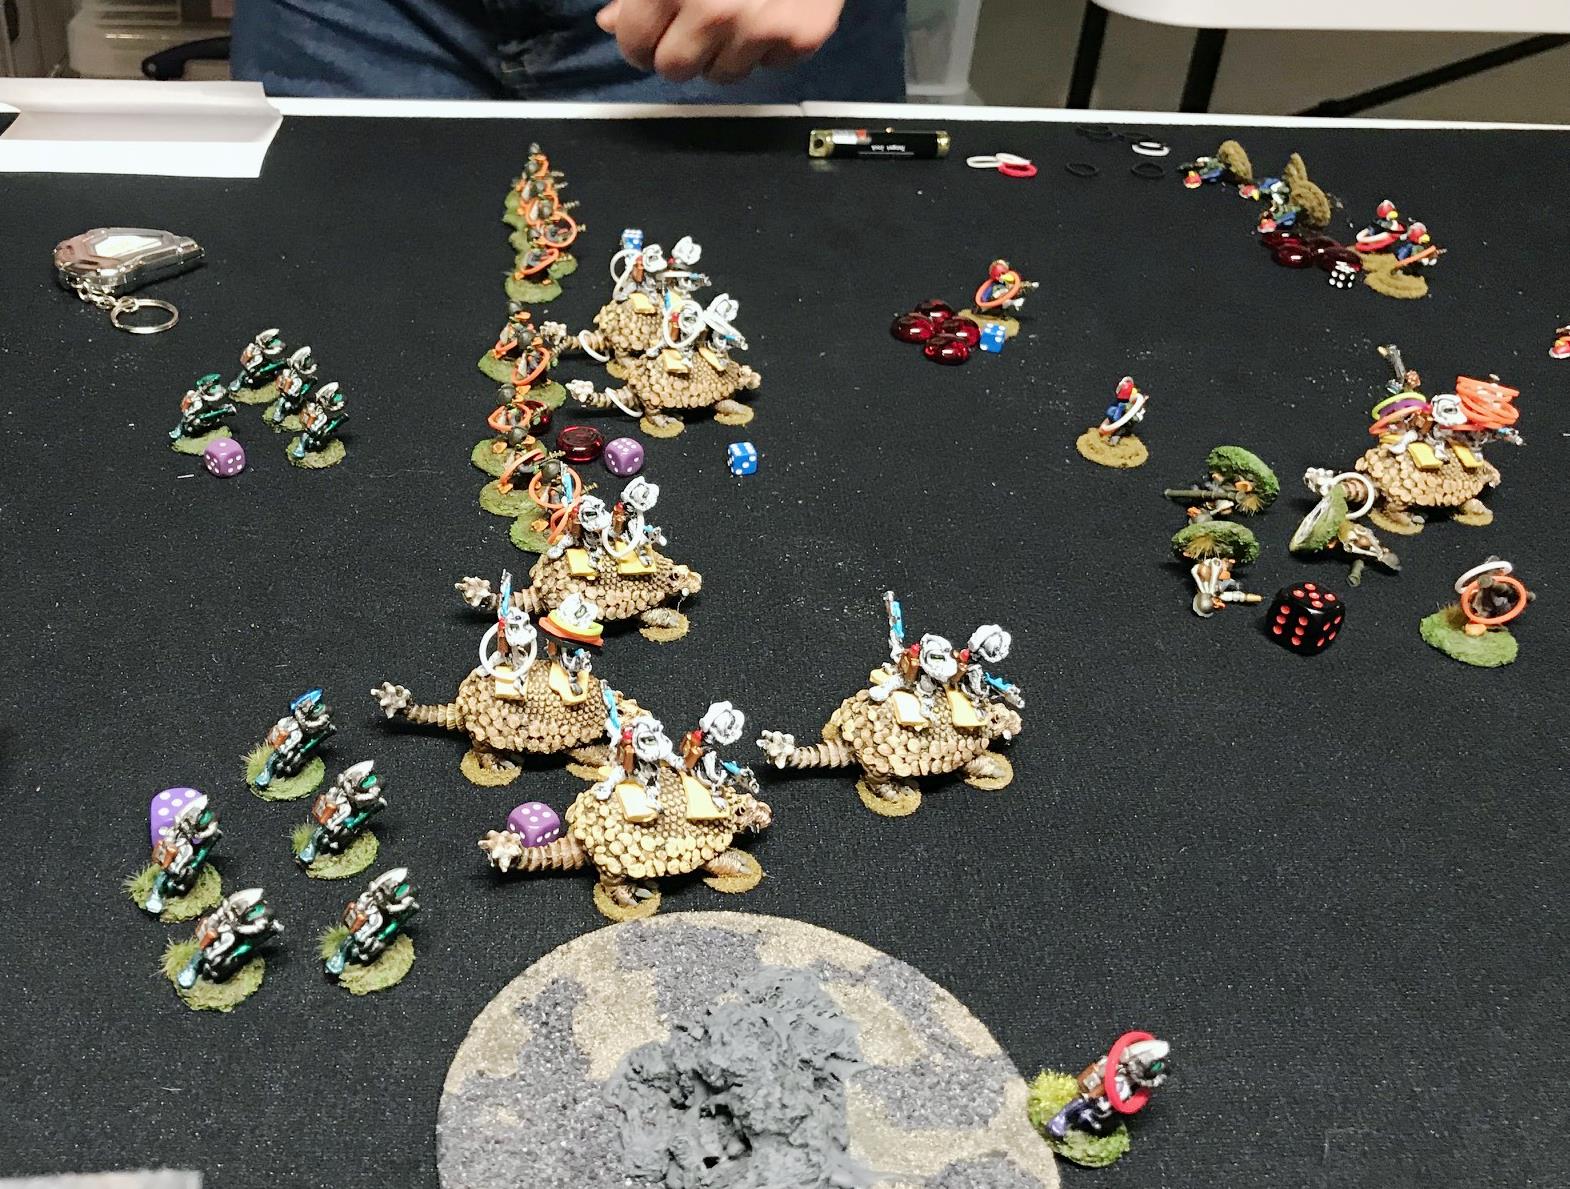
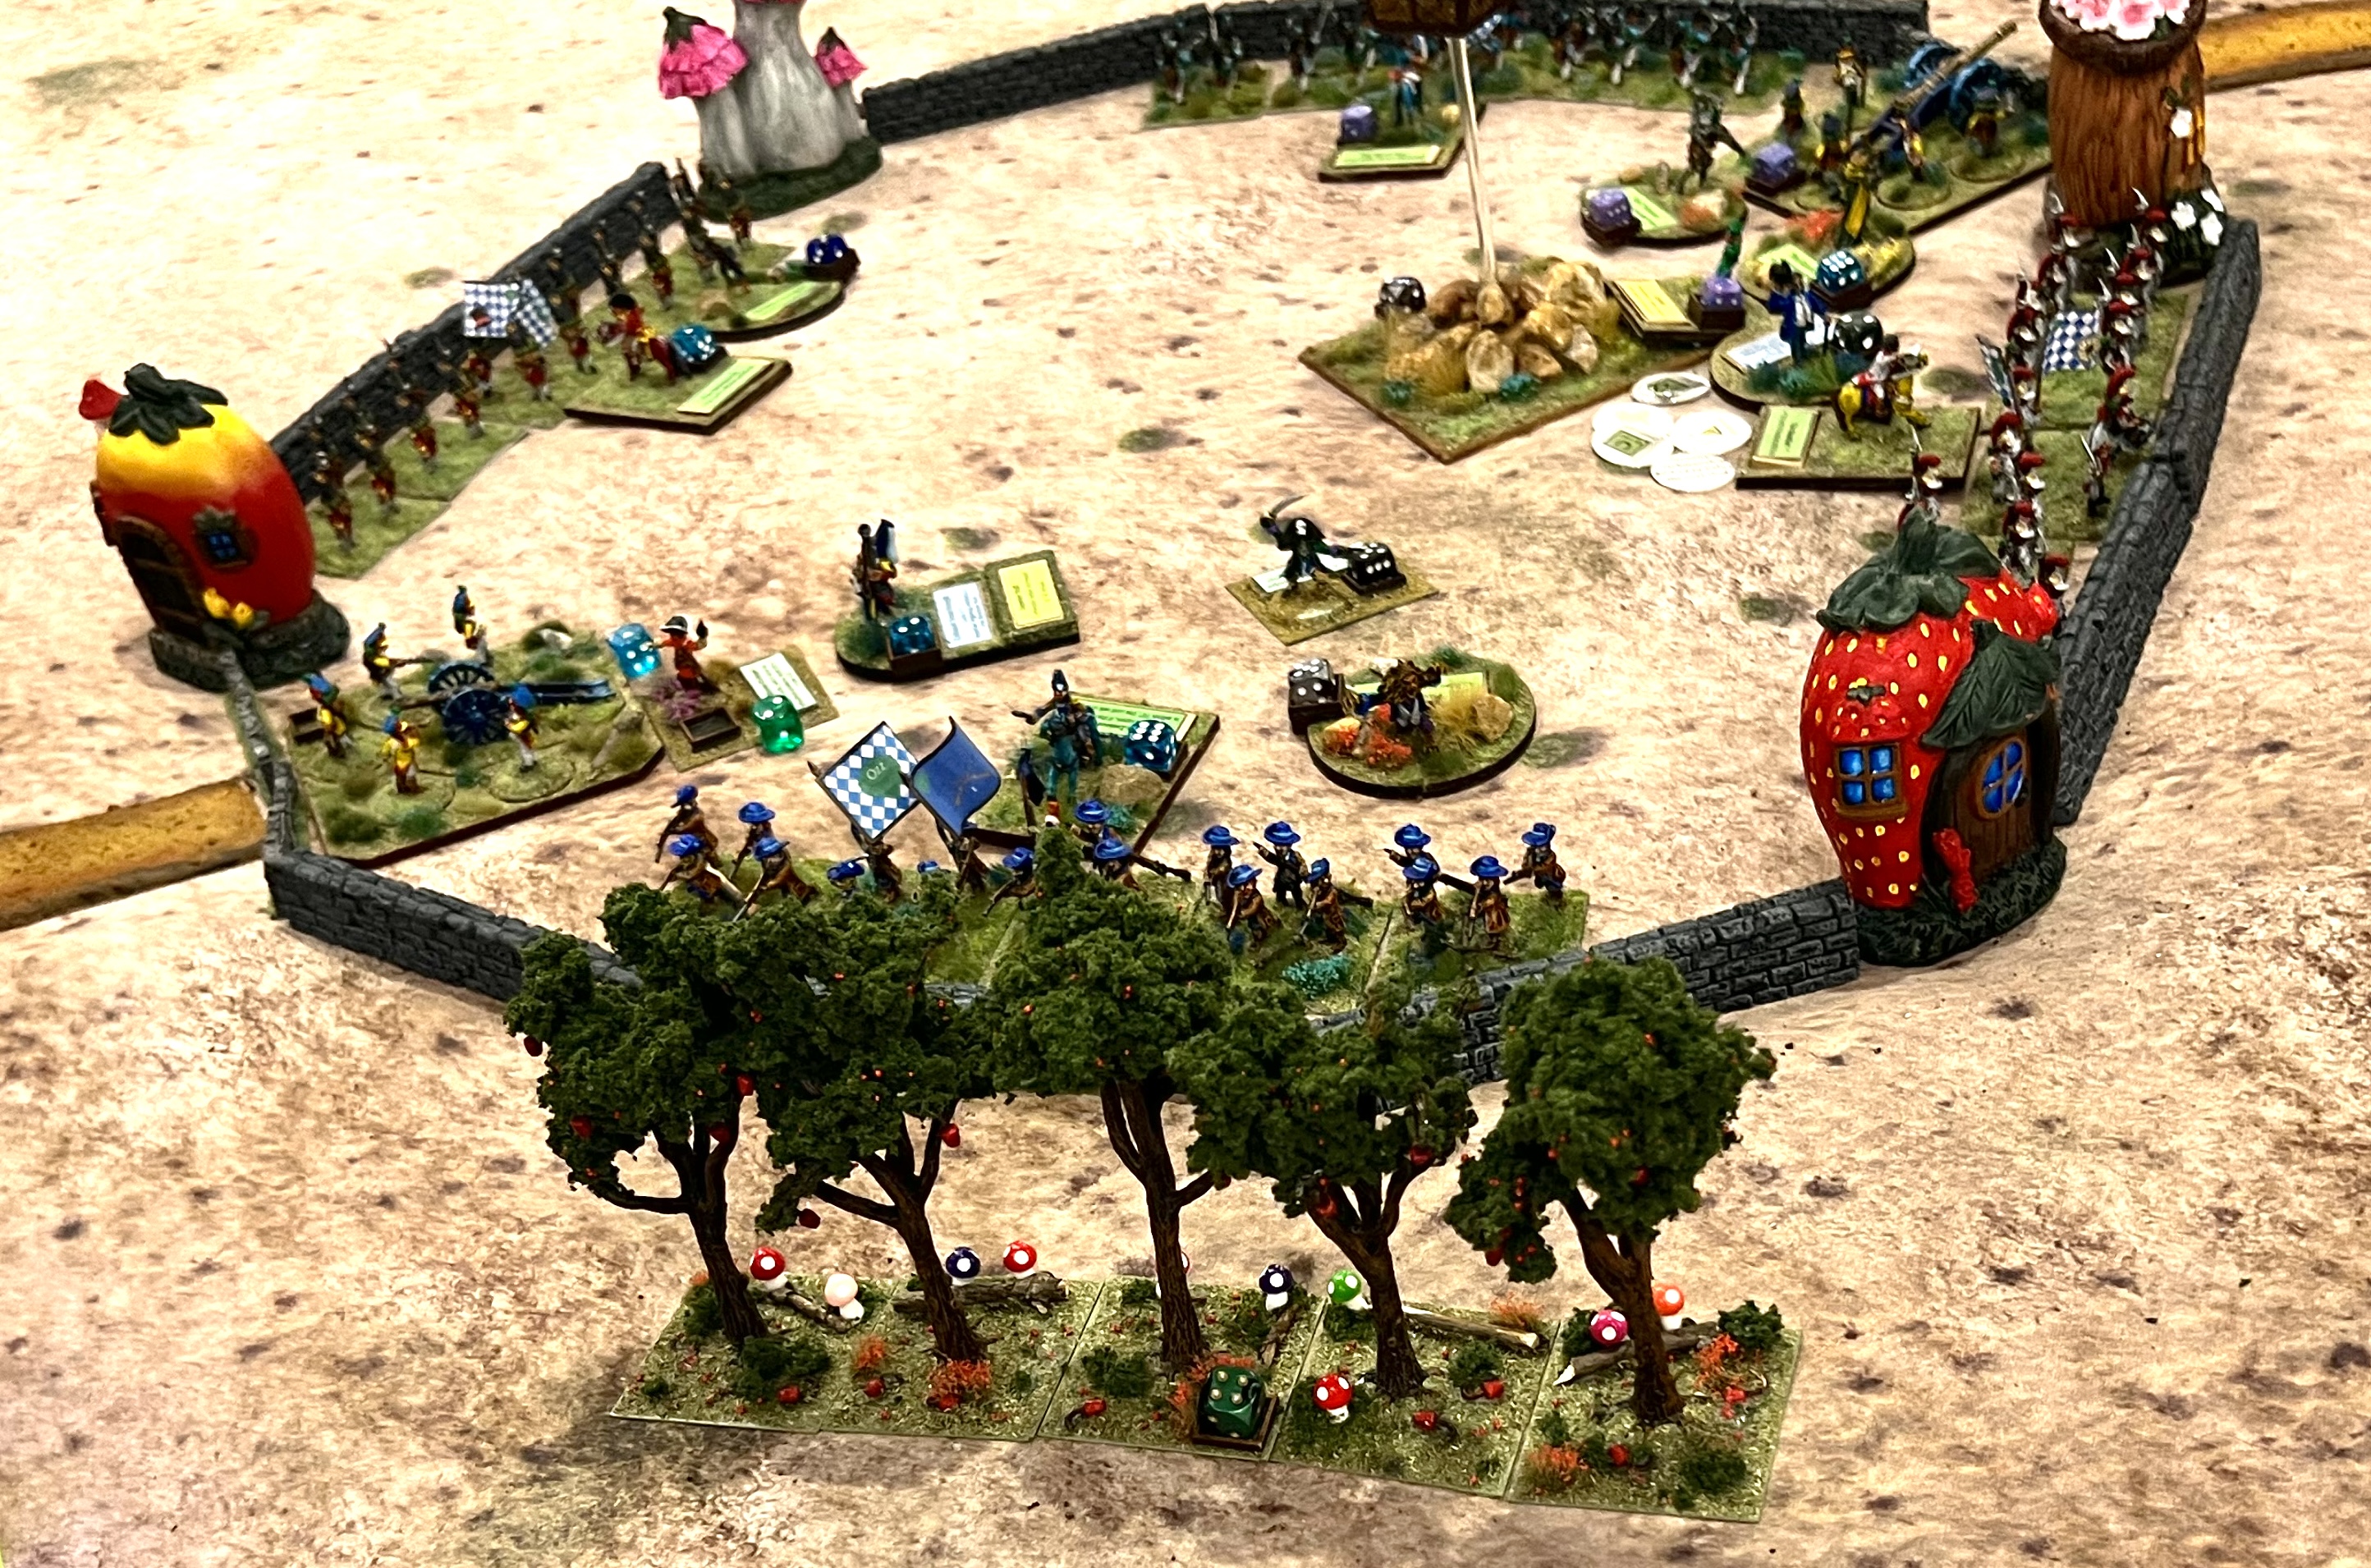
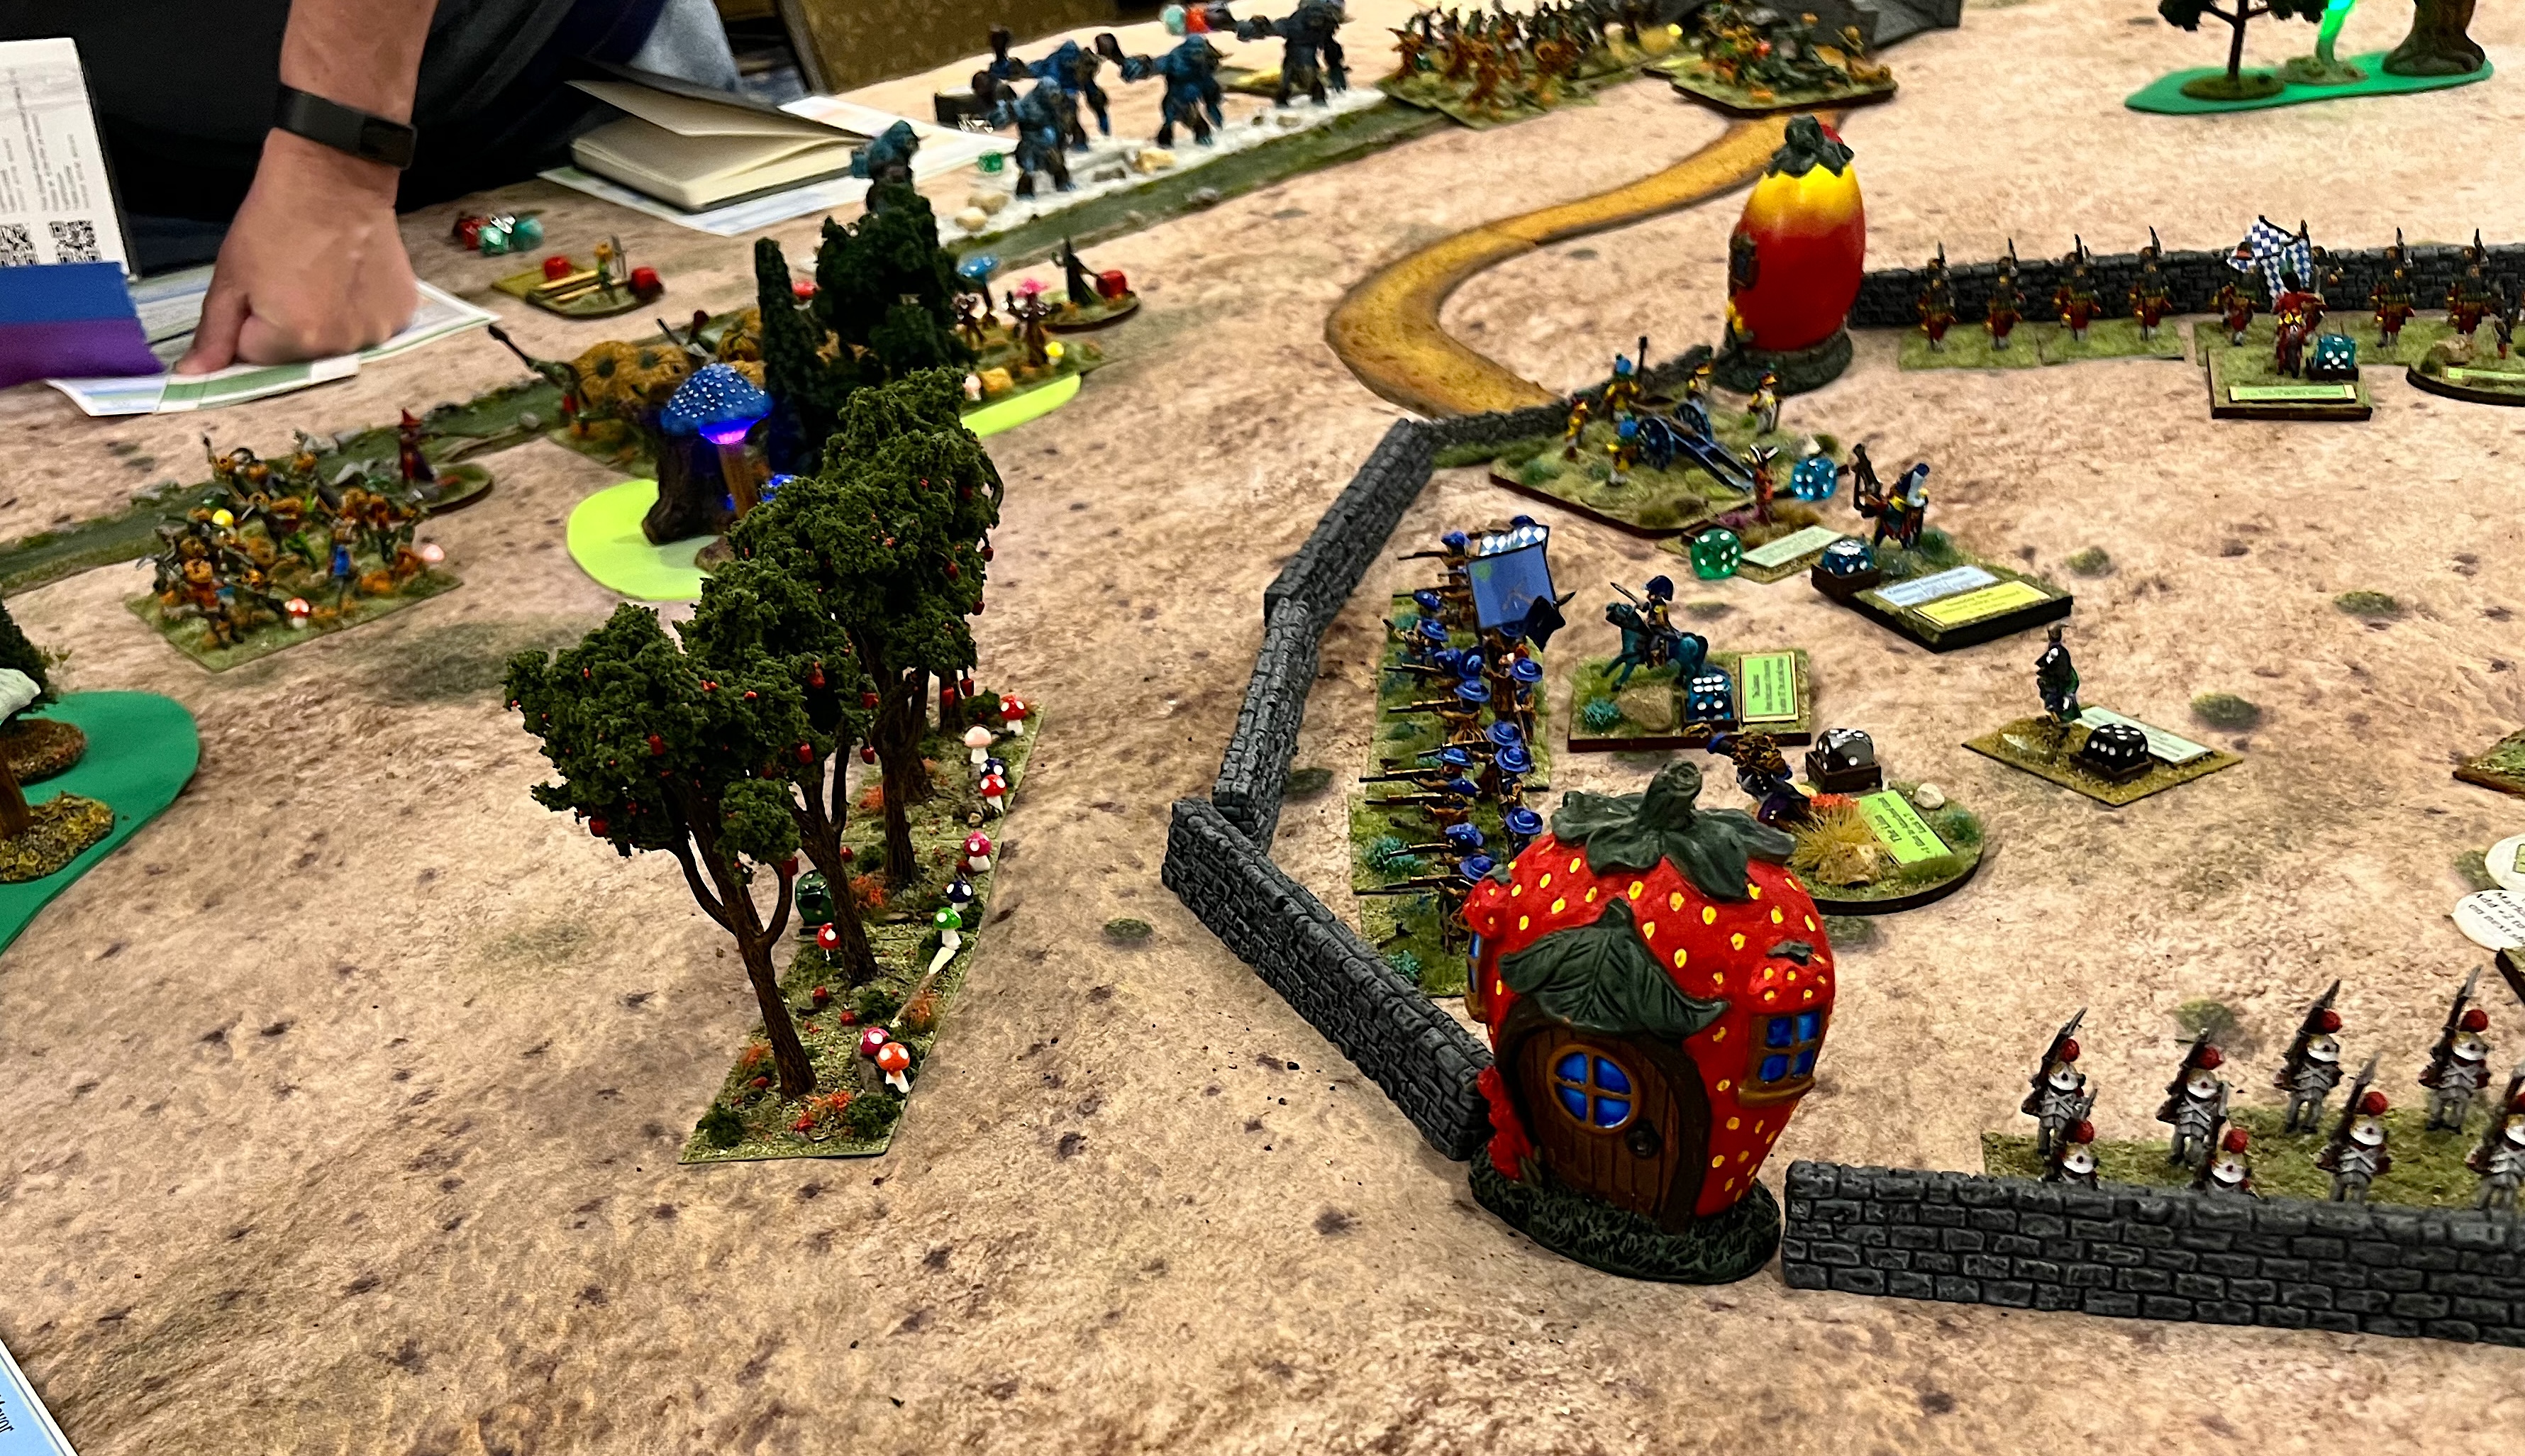
My first Ozz game was another iteration of “The Great Munchkin Heist“.
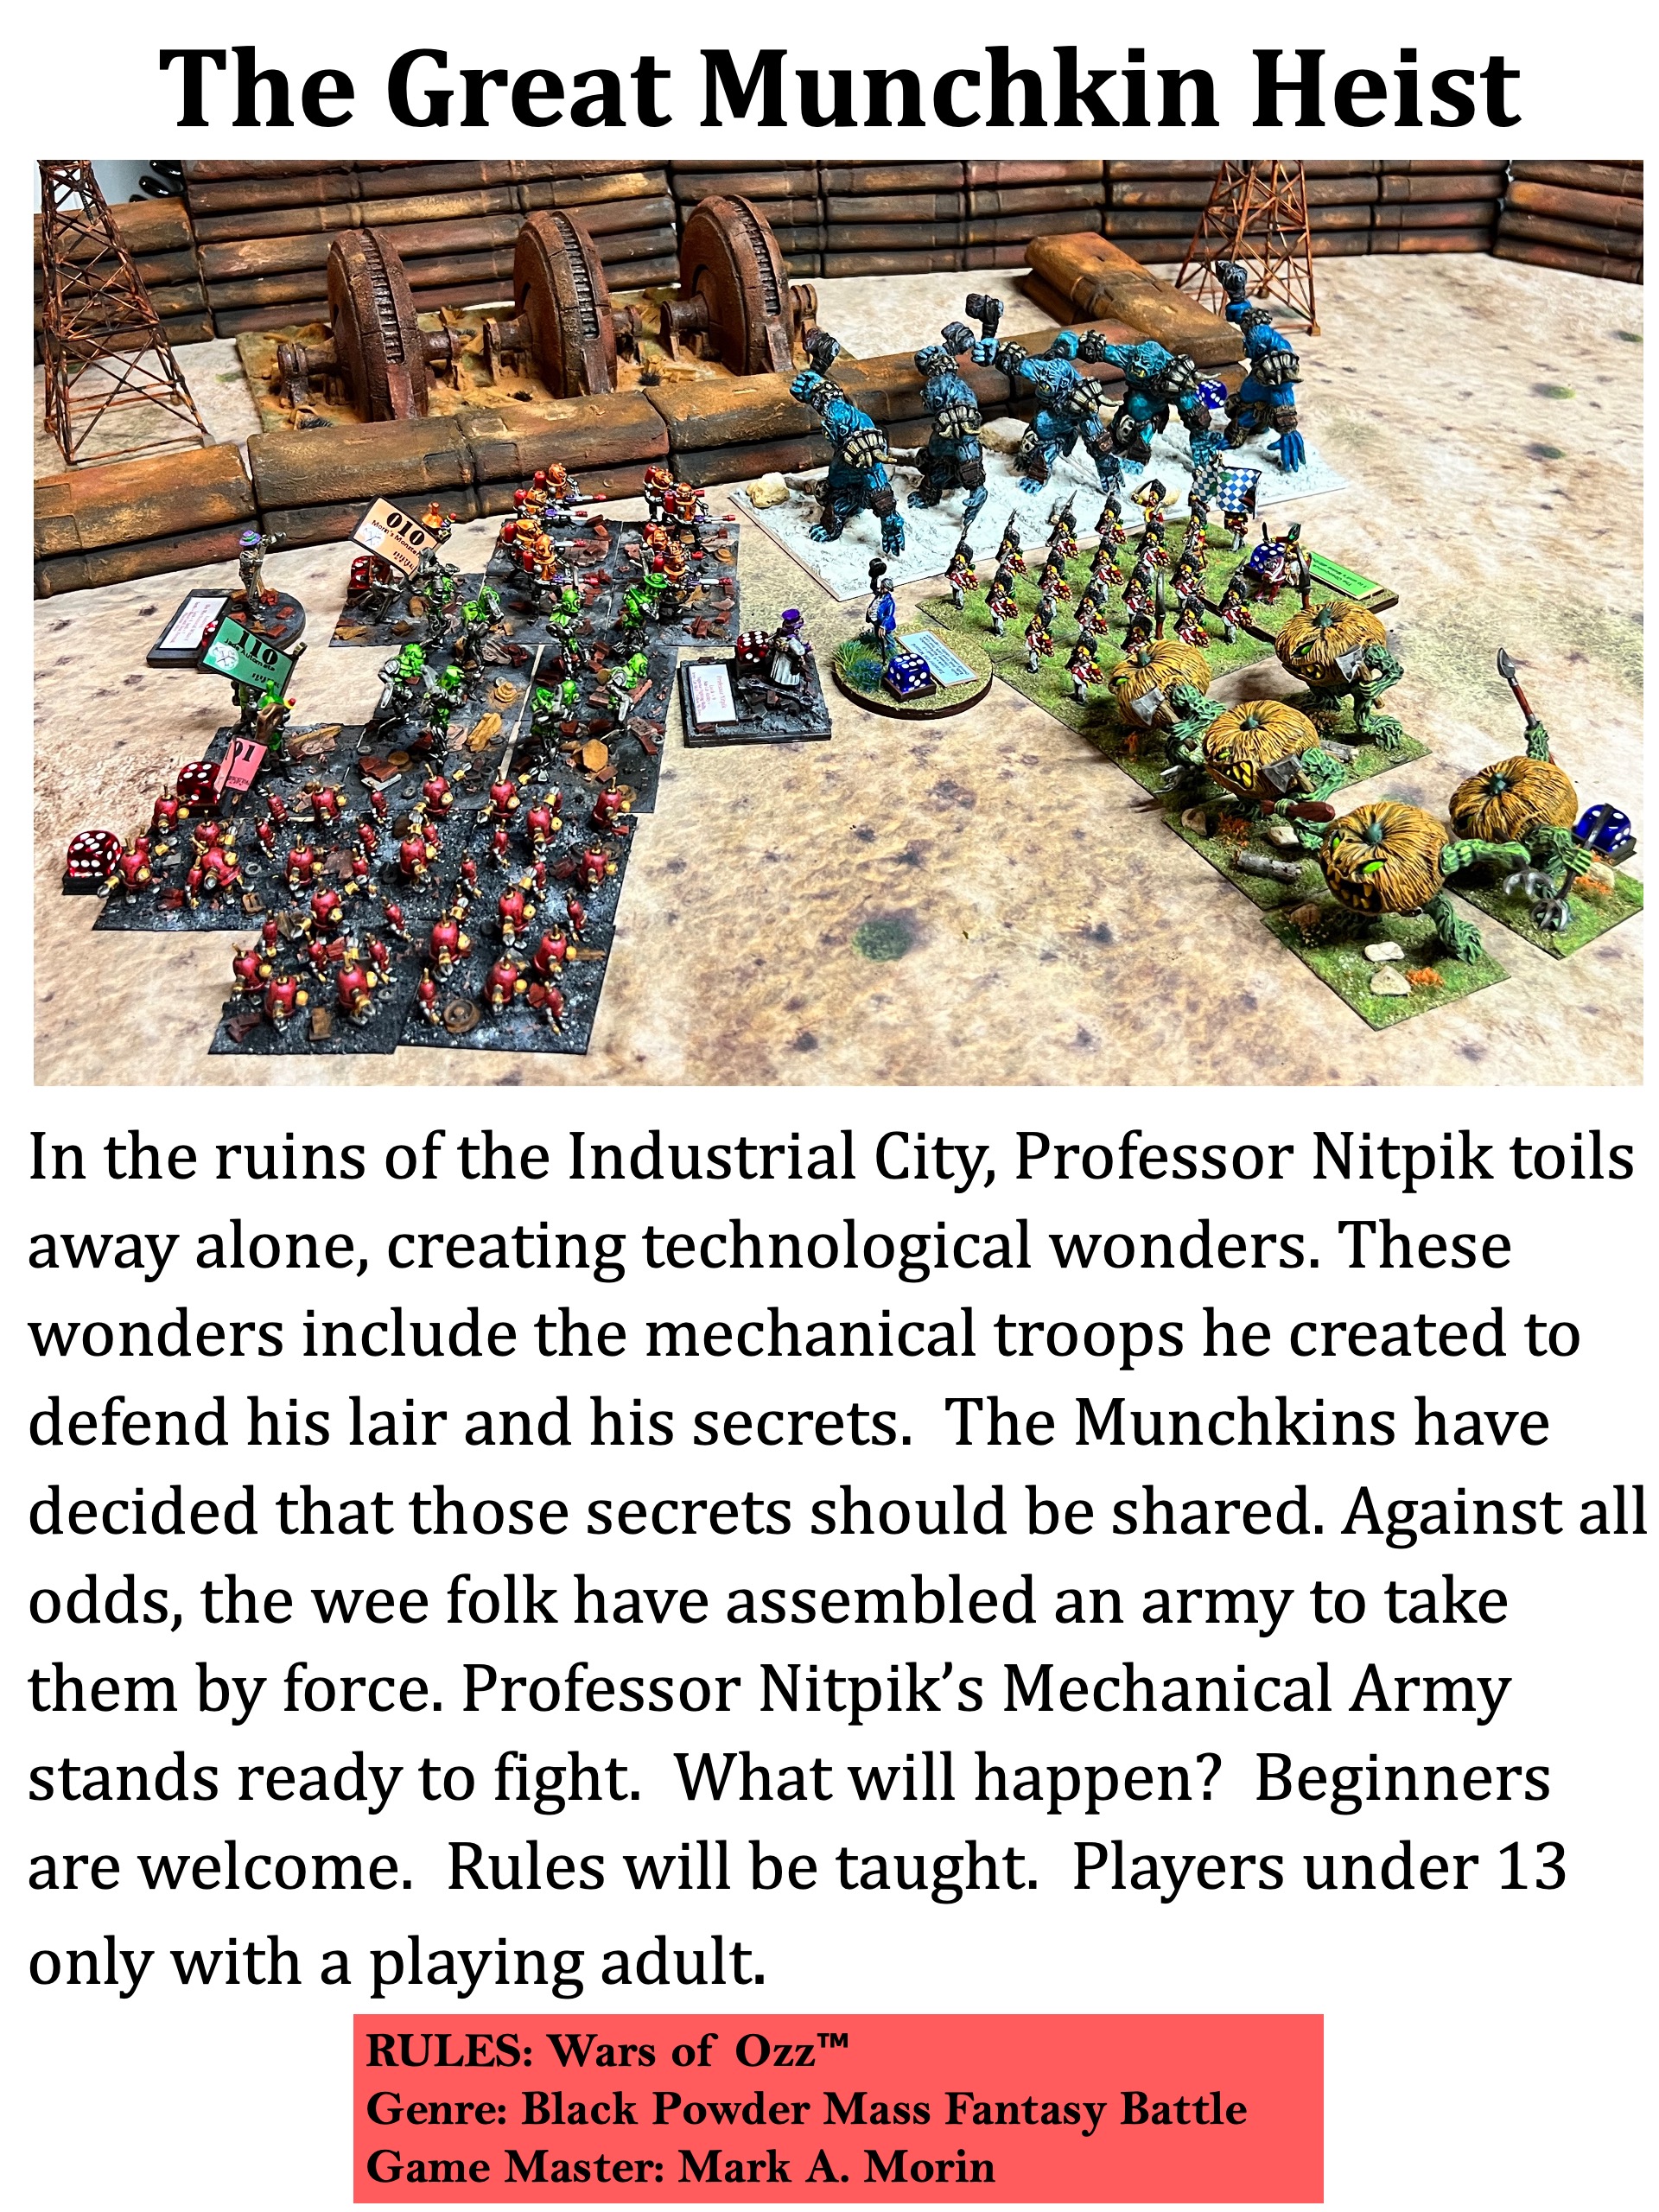
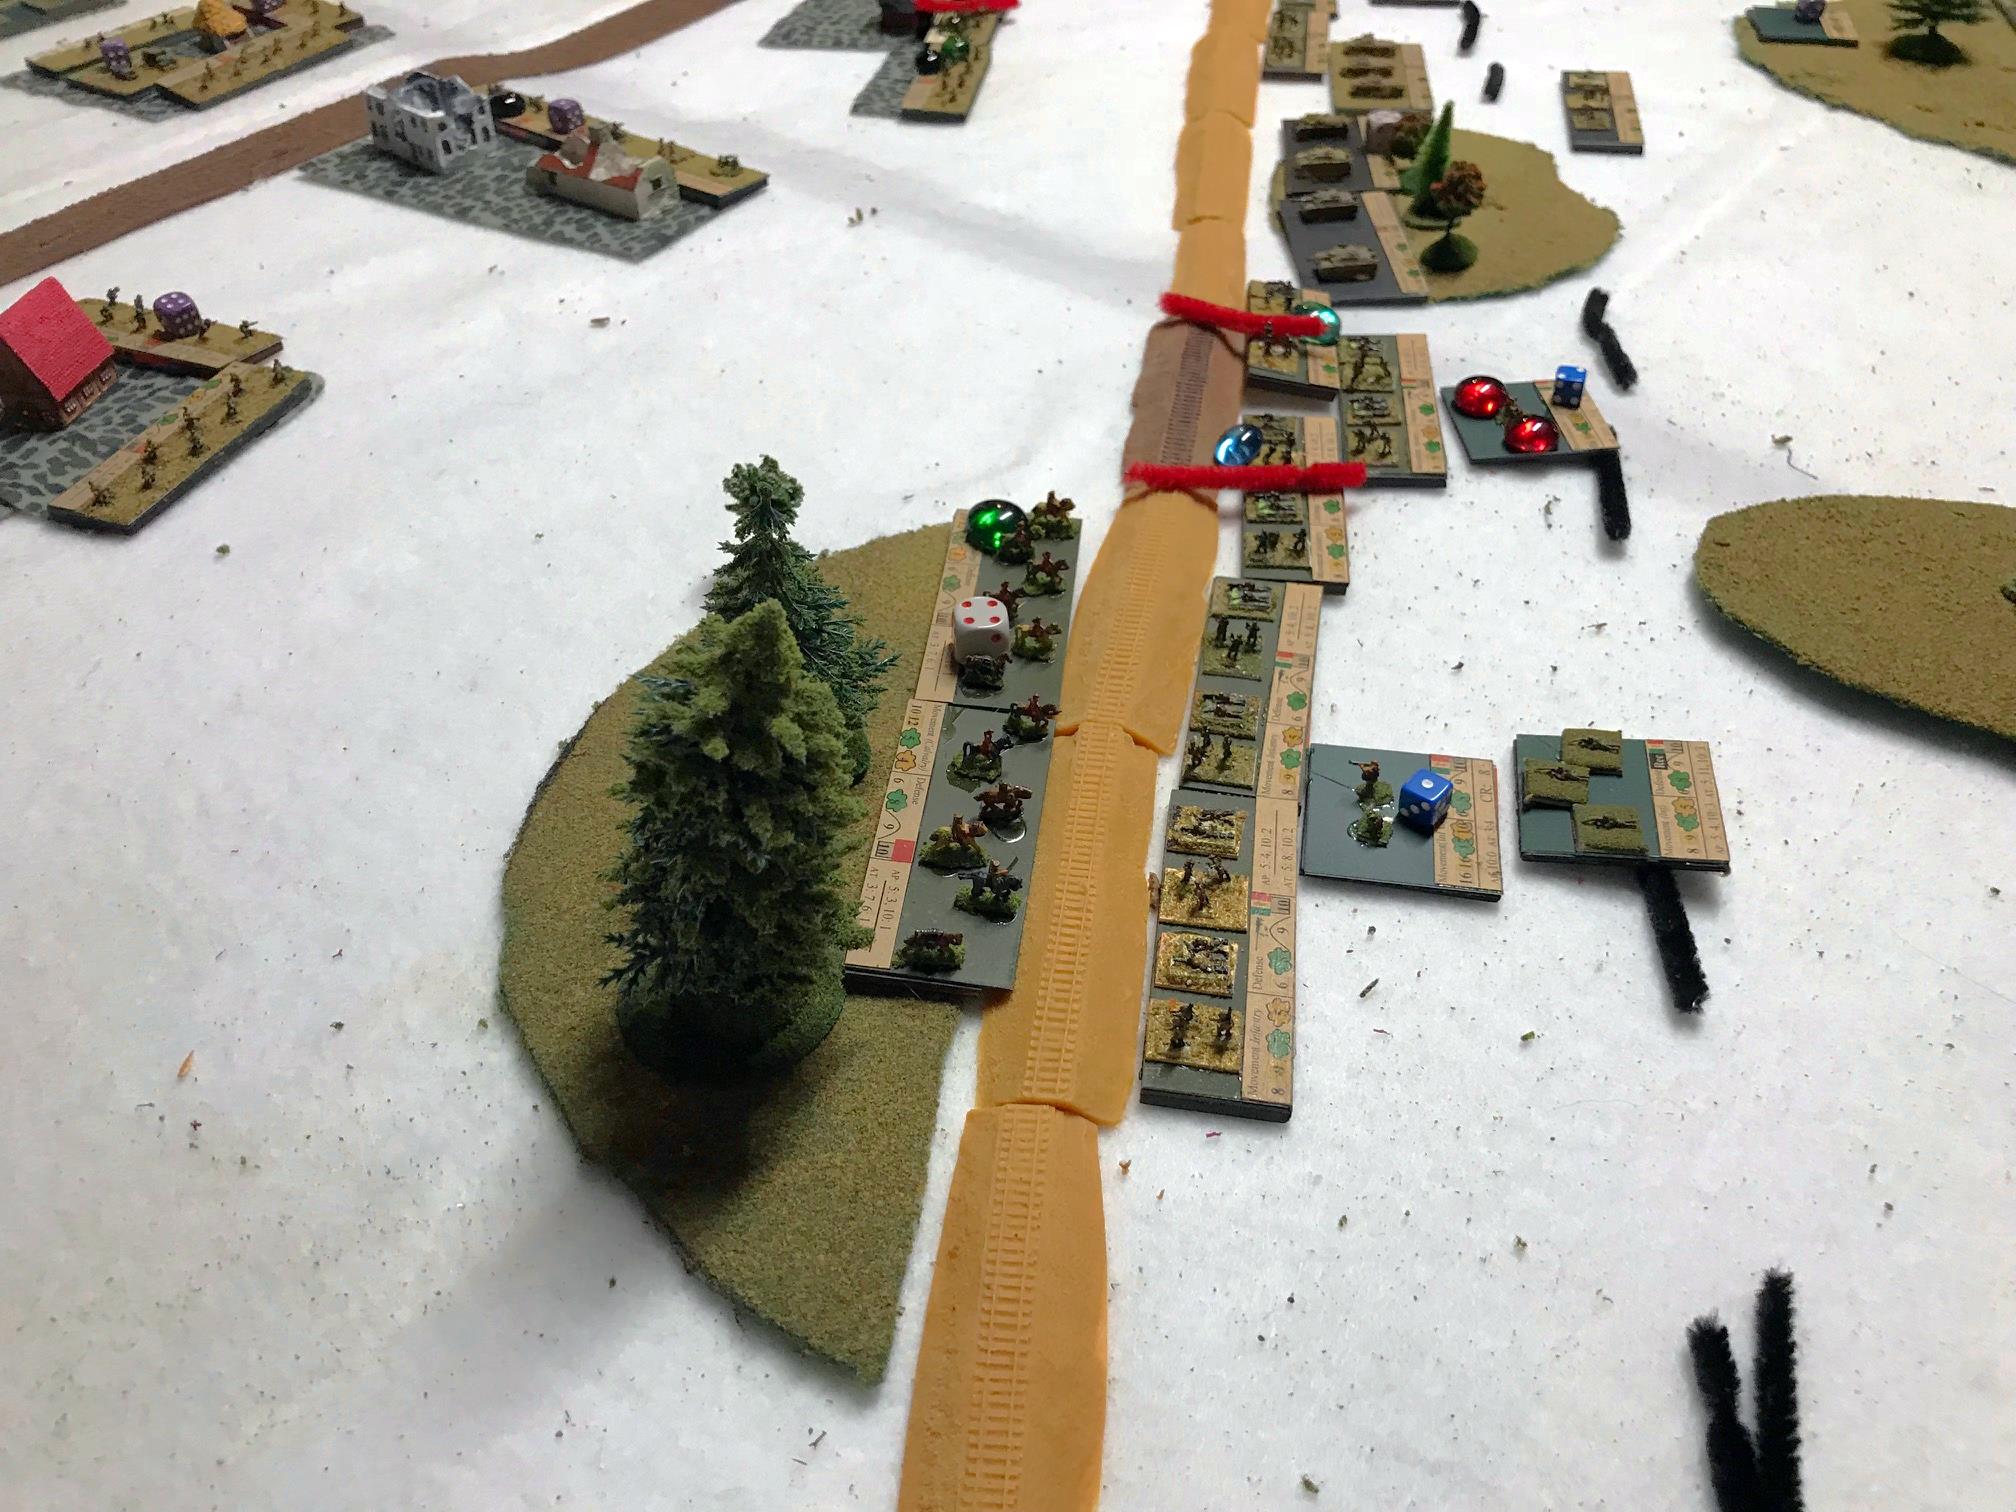
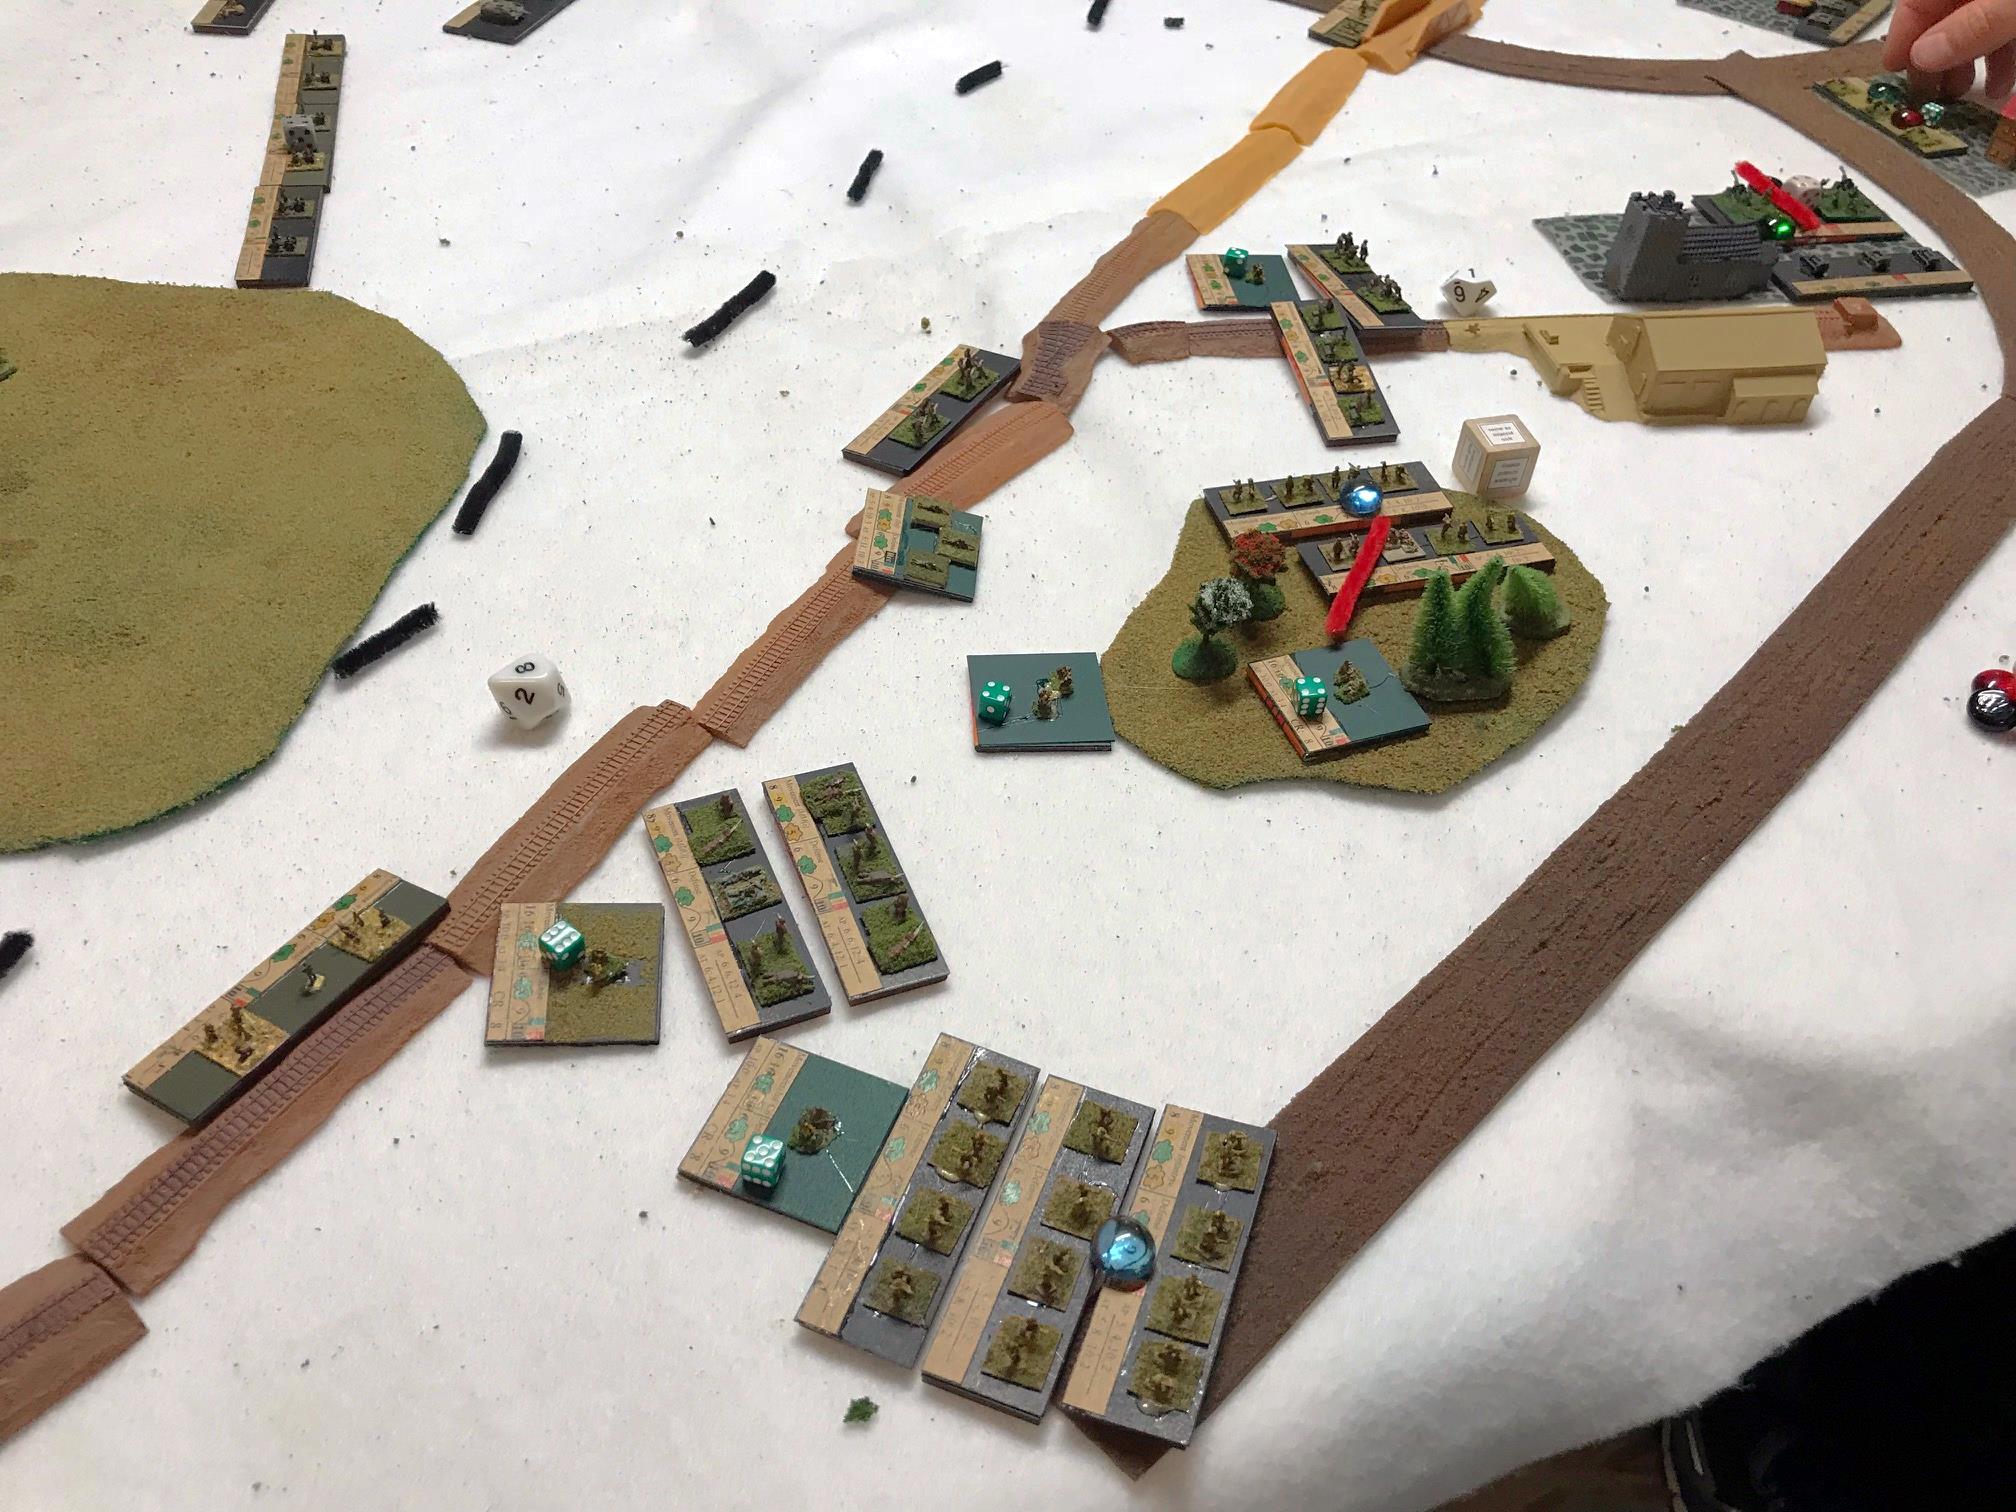
For the first time, the Munchkin players had really bad luck while the Nitpik/Mechanical Men side was very lucky. The coup de grace was the arrival of the Nitpik cavalry in relief – which arrived at the worst place for the Munchkins – in their rear. The cavalry got the initiative and quickly routed two Munchkin regiments and then an artillery battery, ending any Munchkin hopes. It was a major victory for the defending Tin Men.
Here are some game shots:

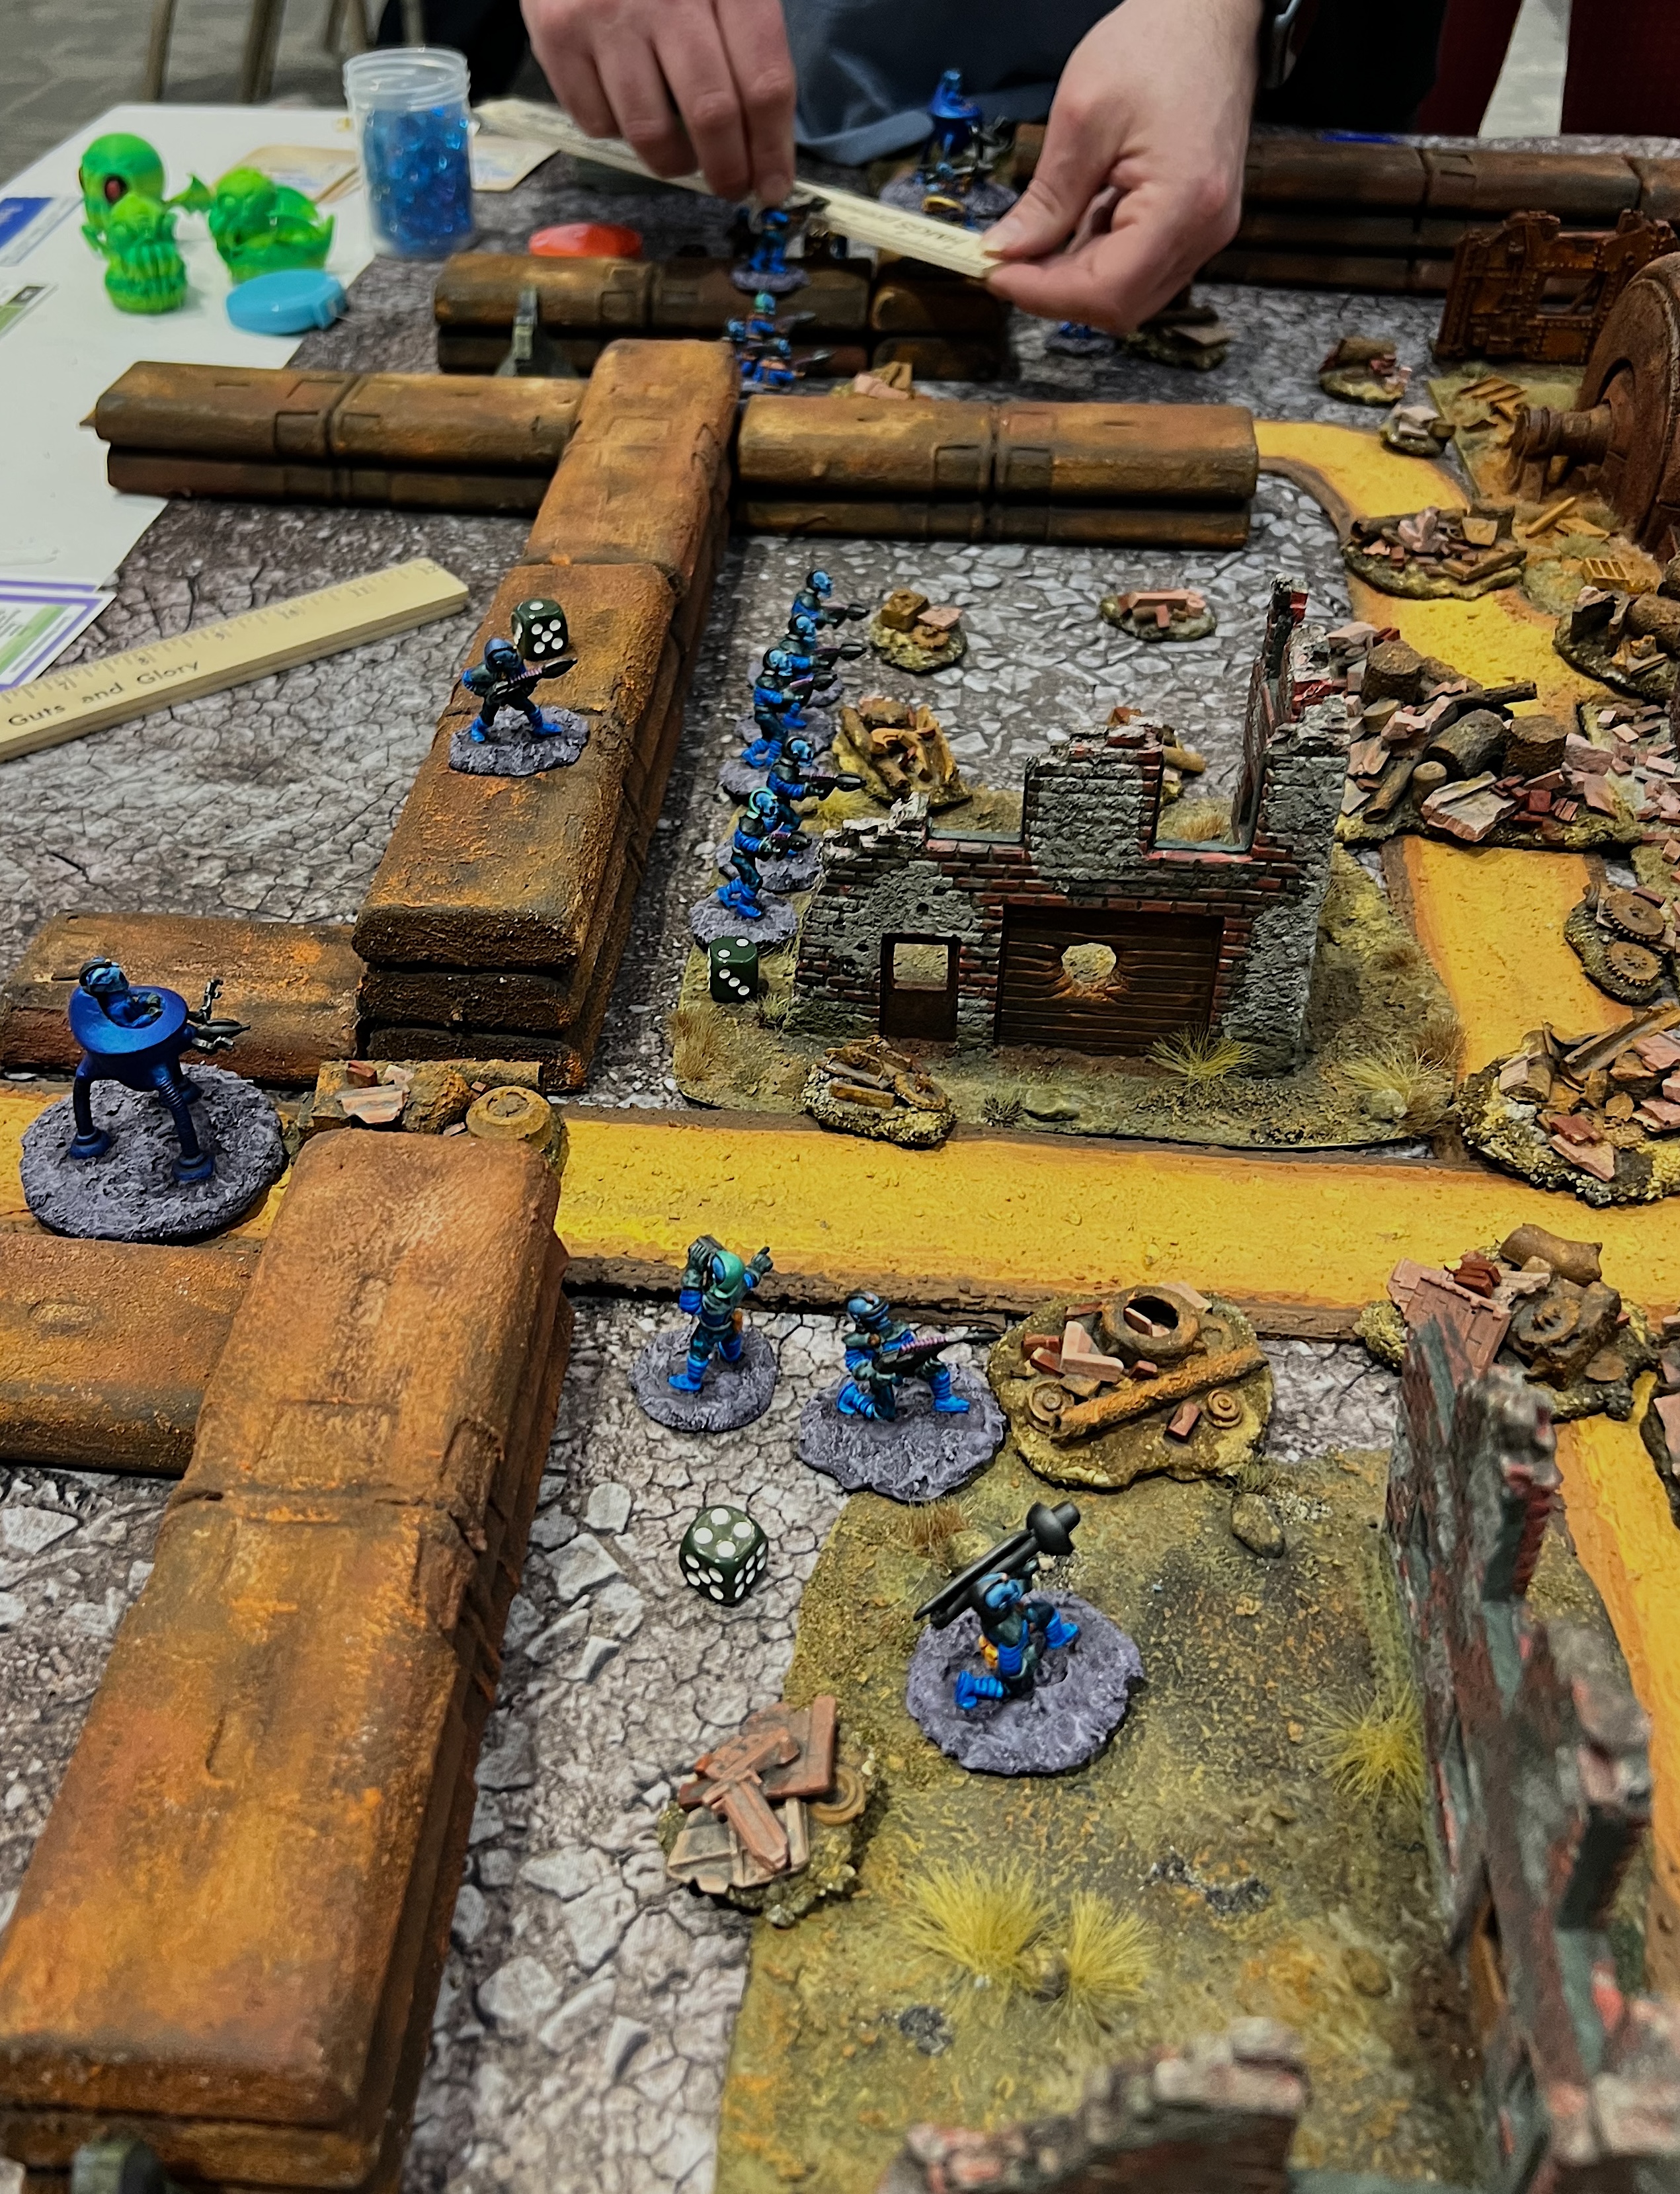
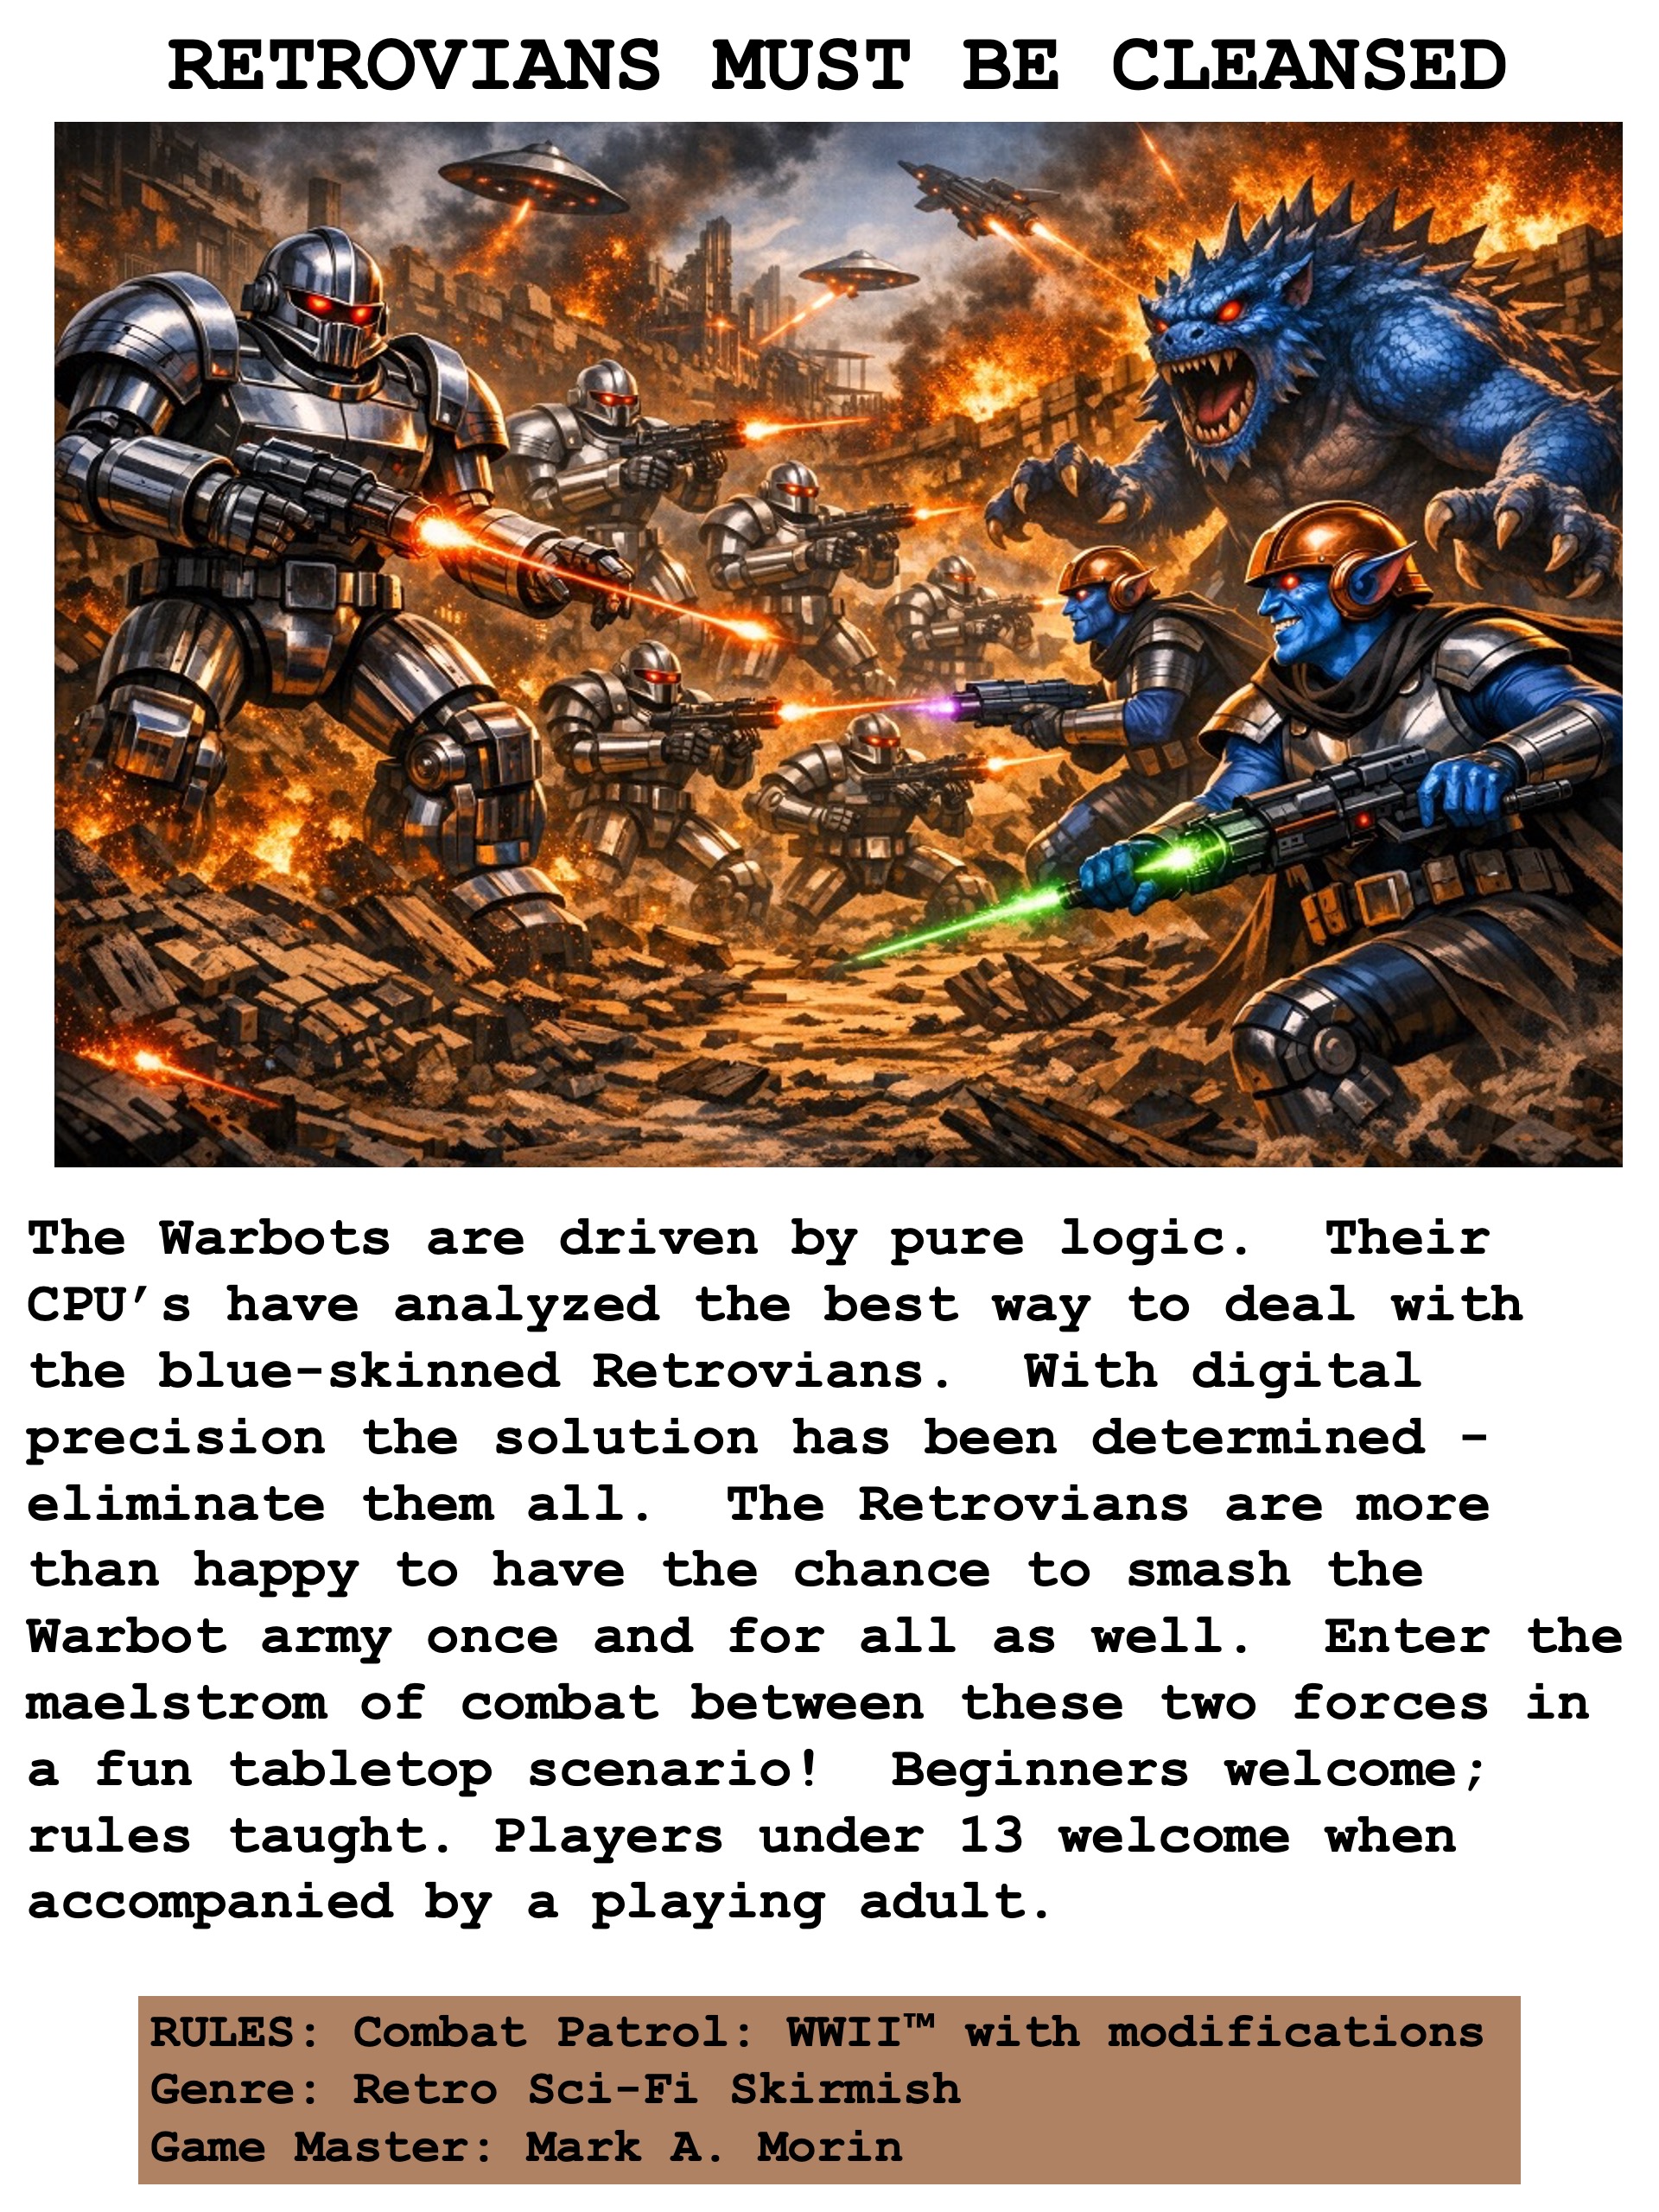
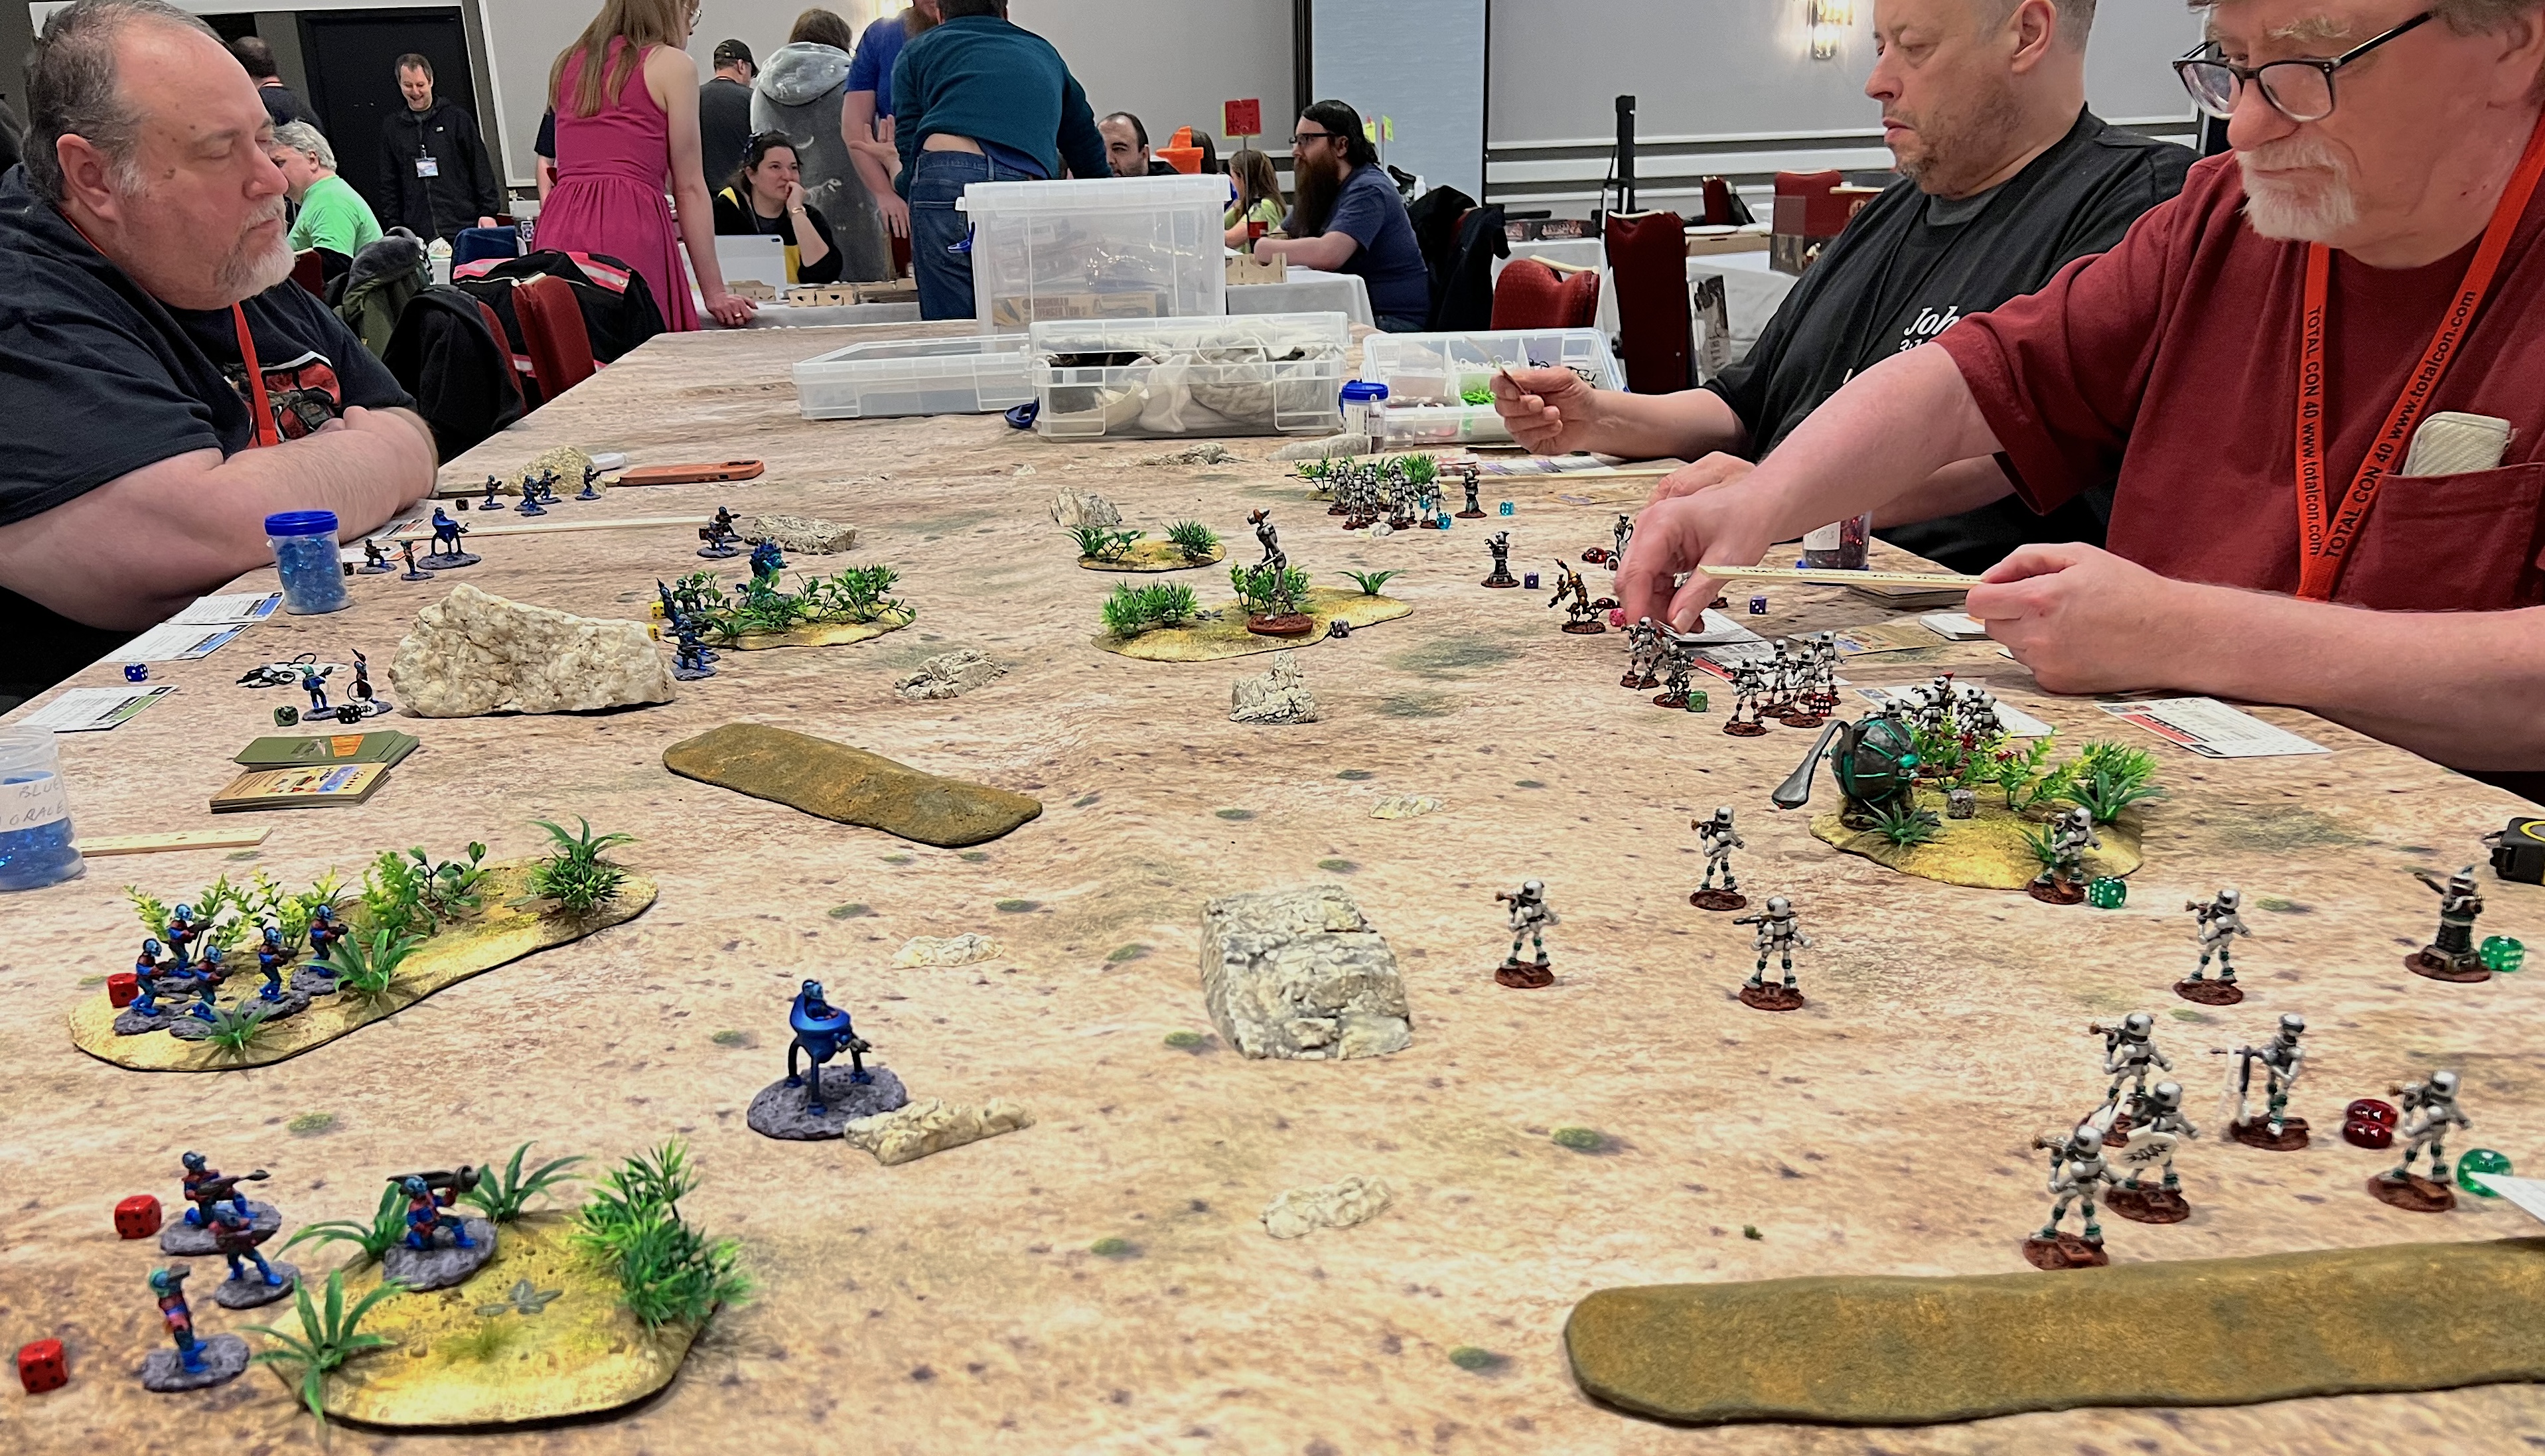
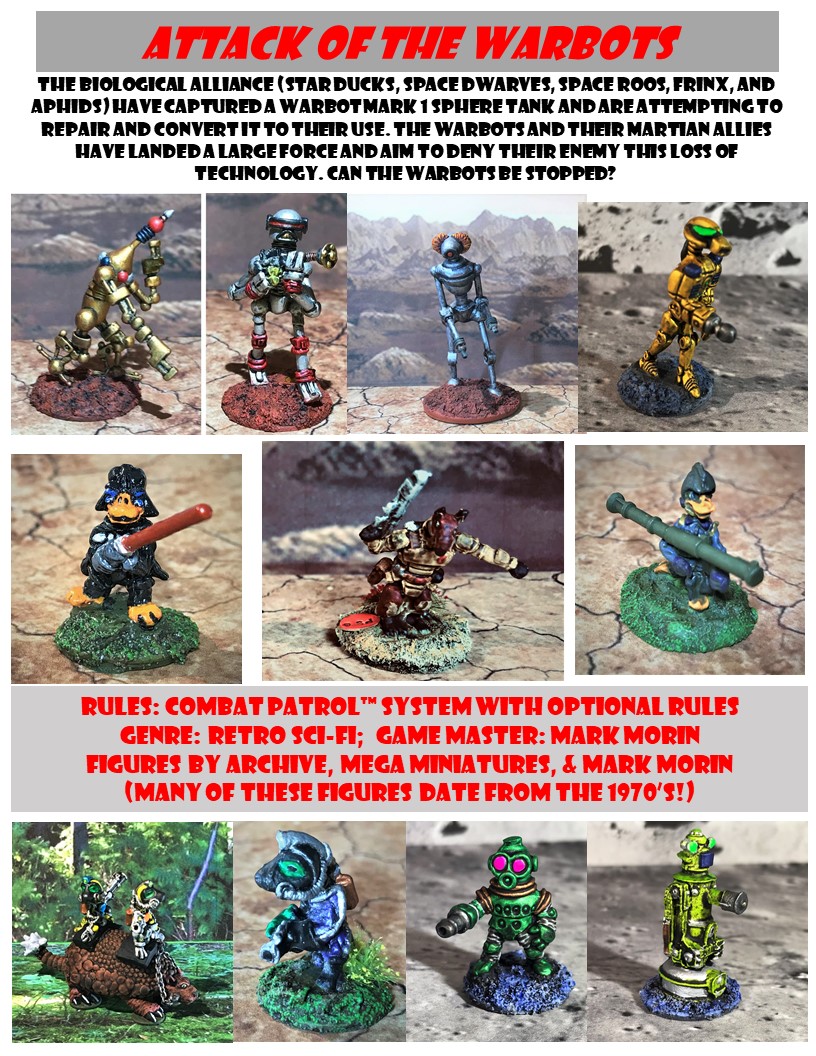
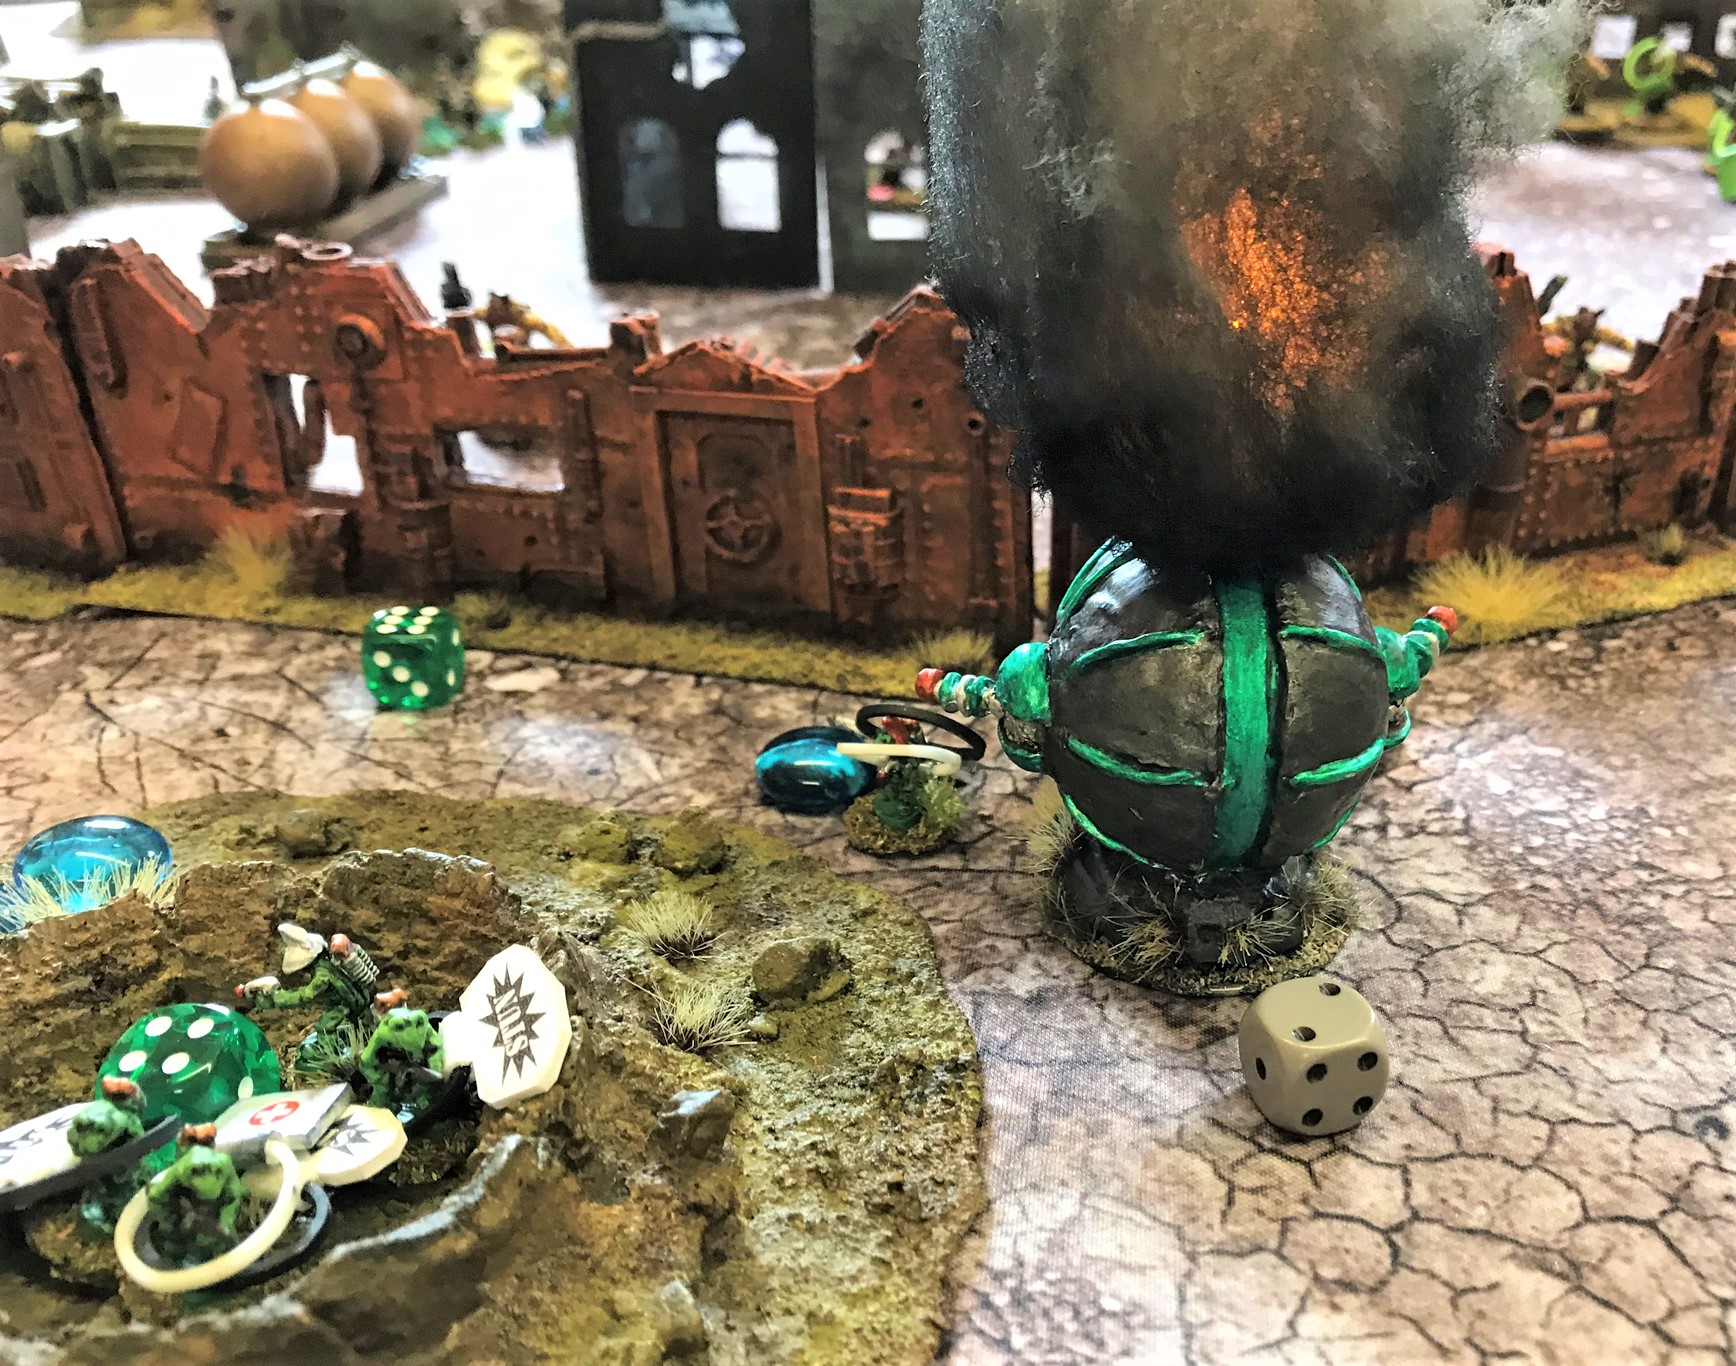
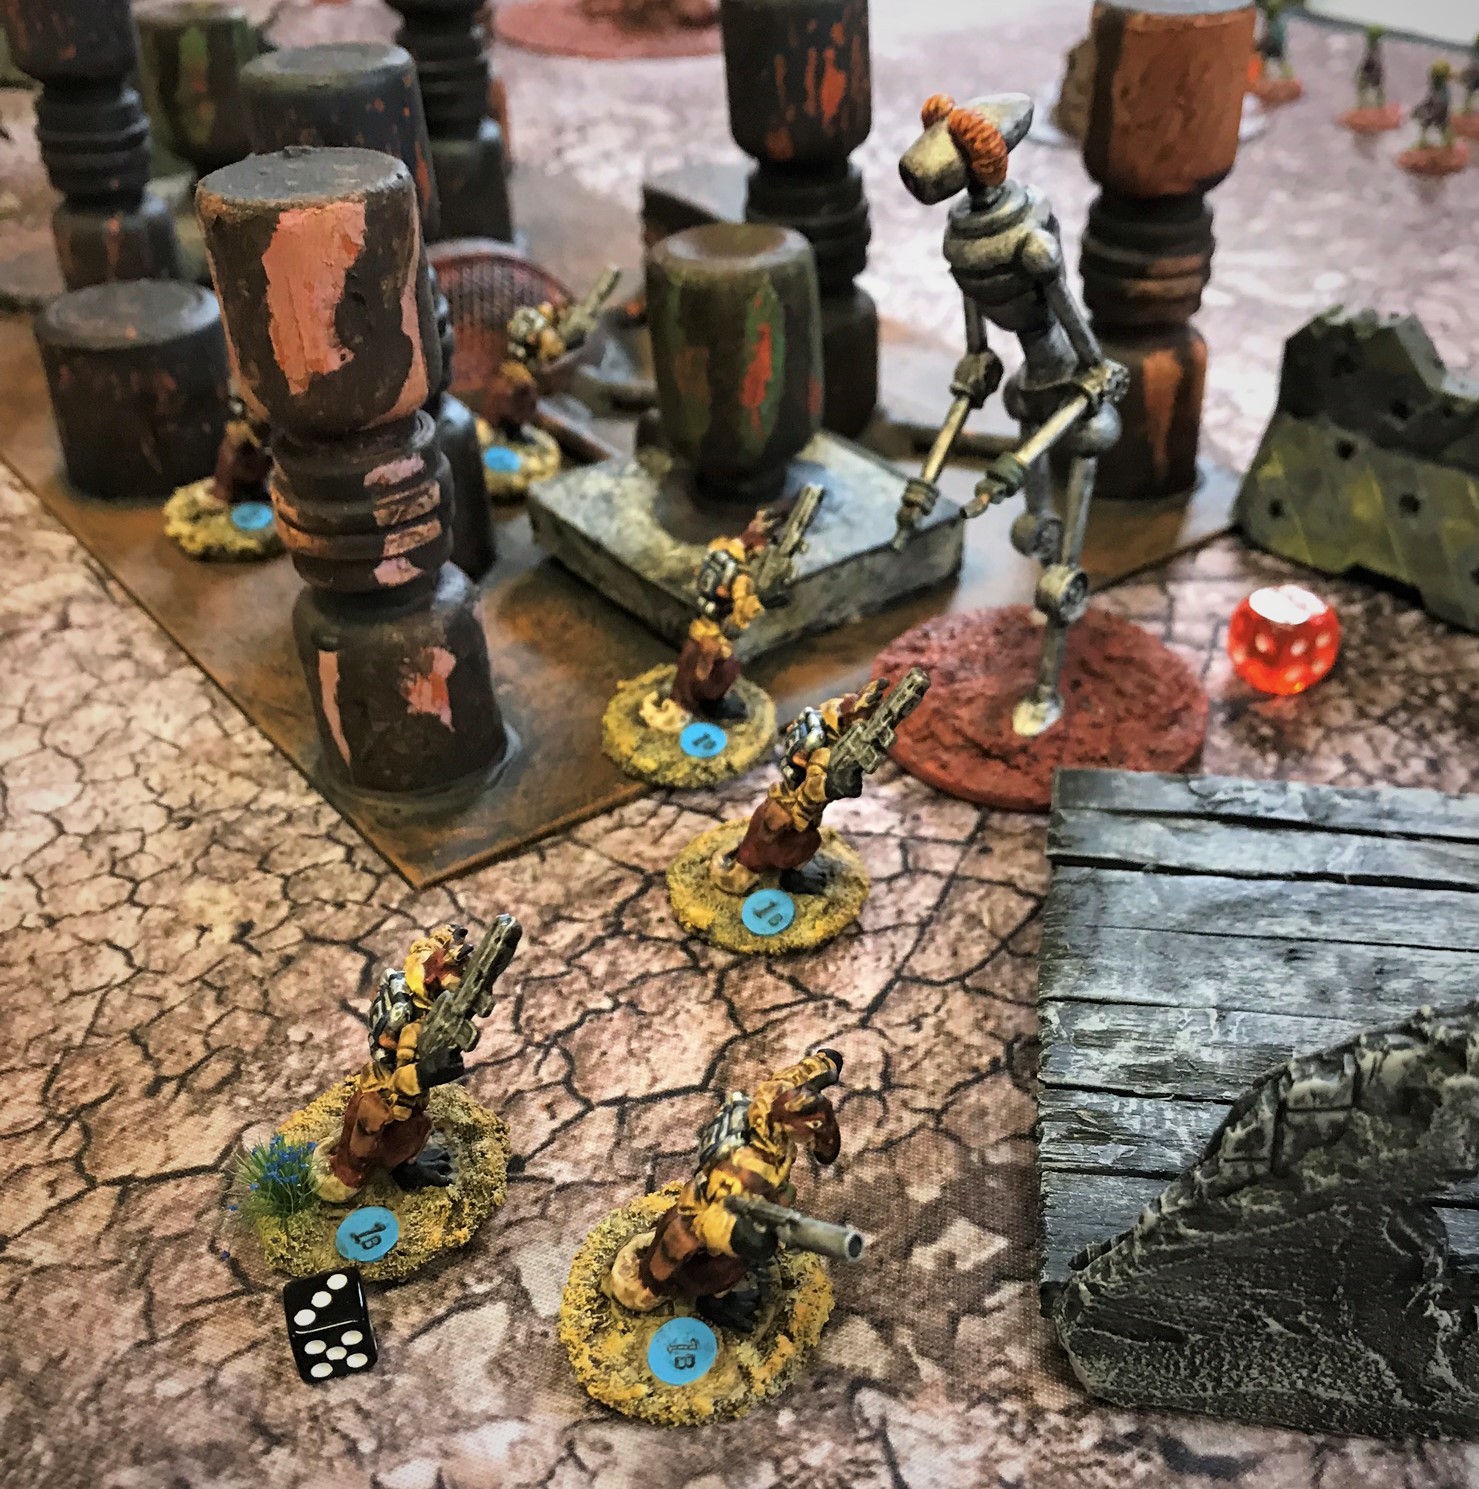
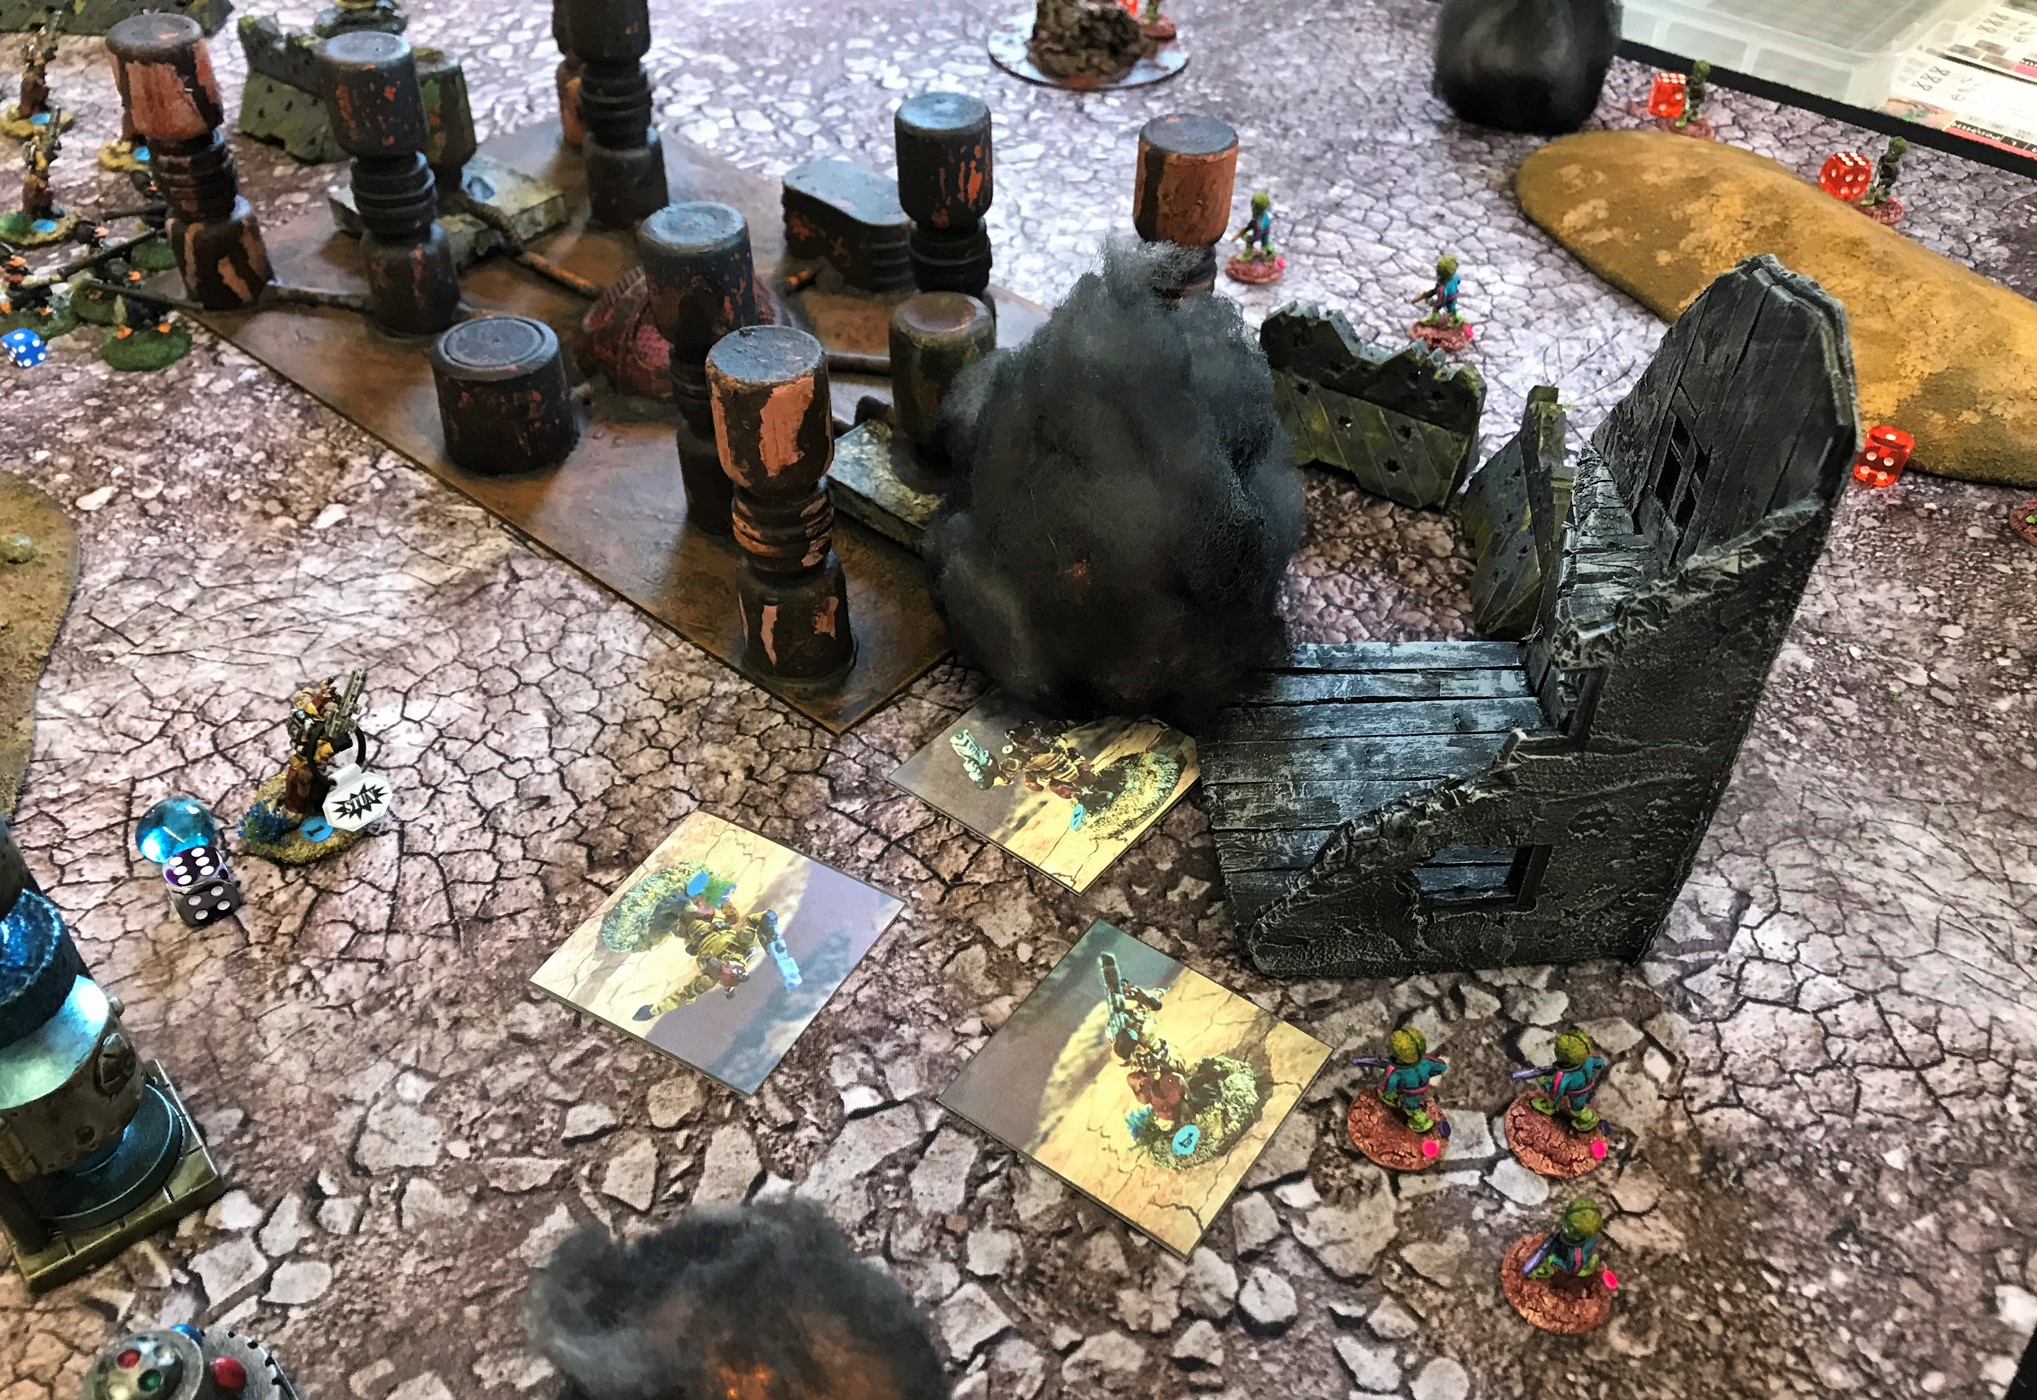
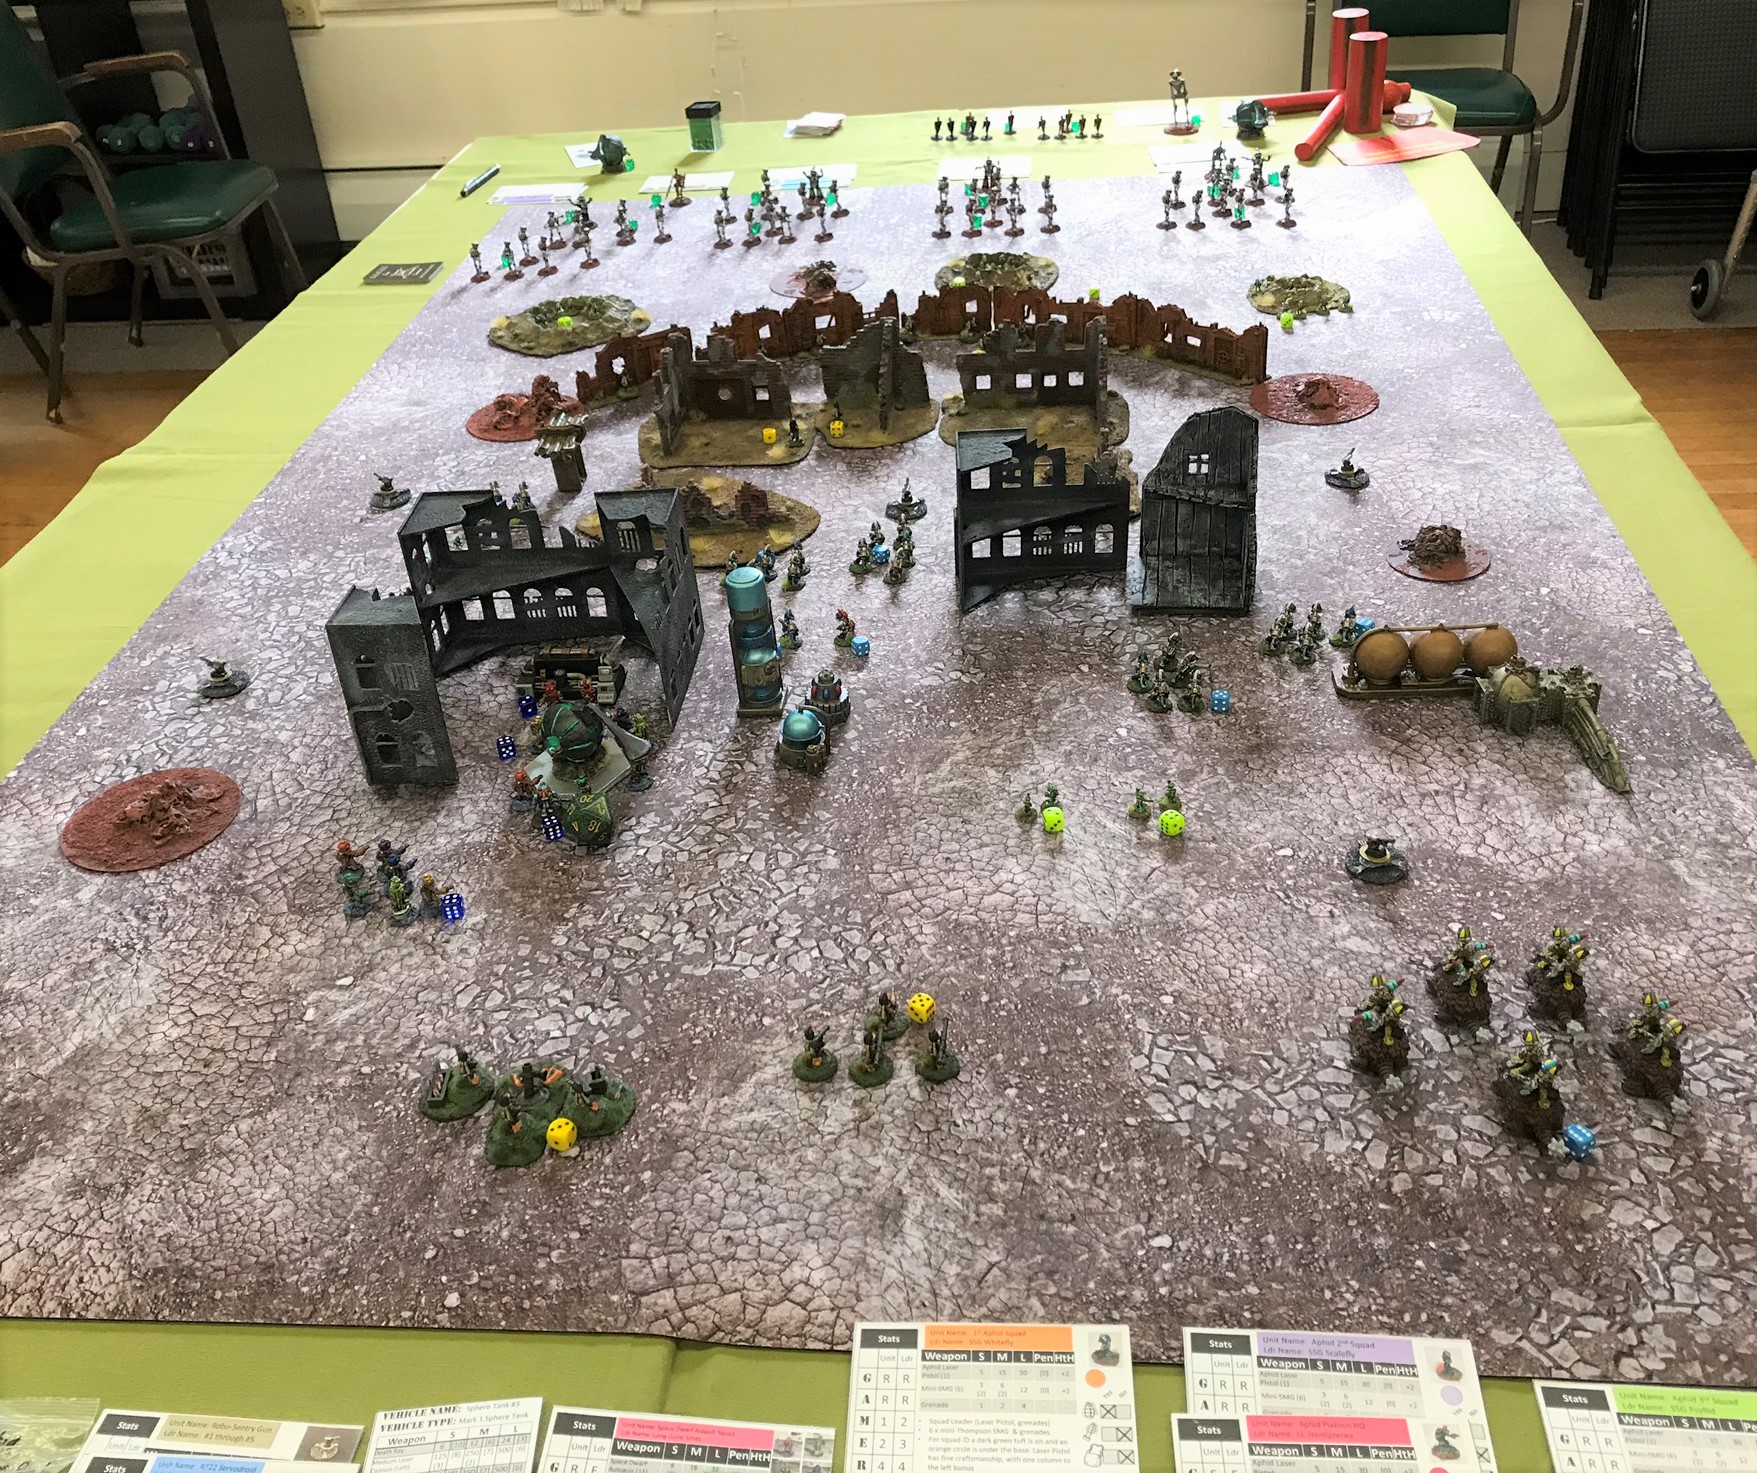
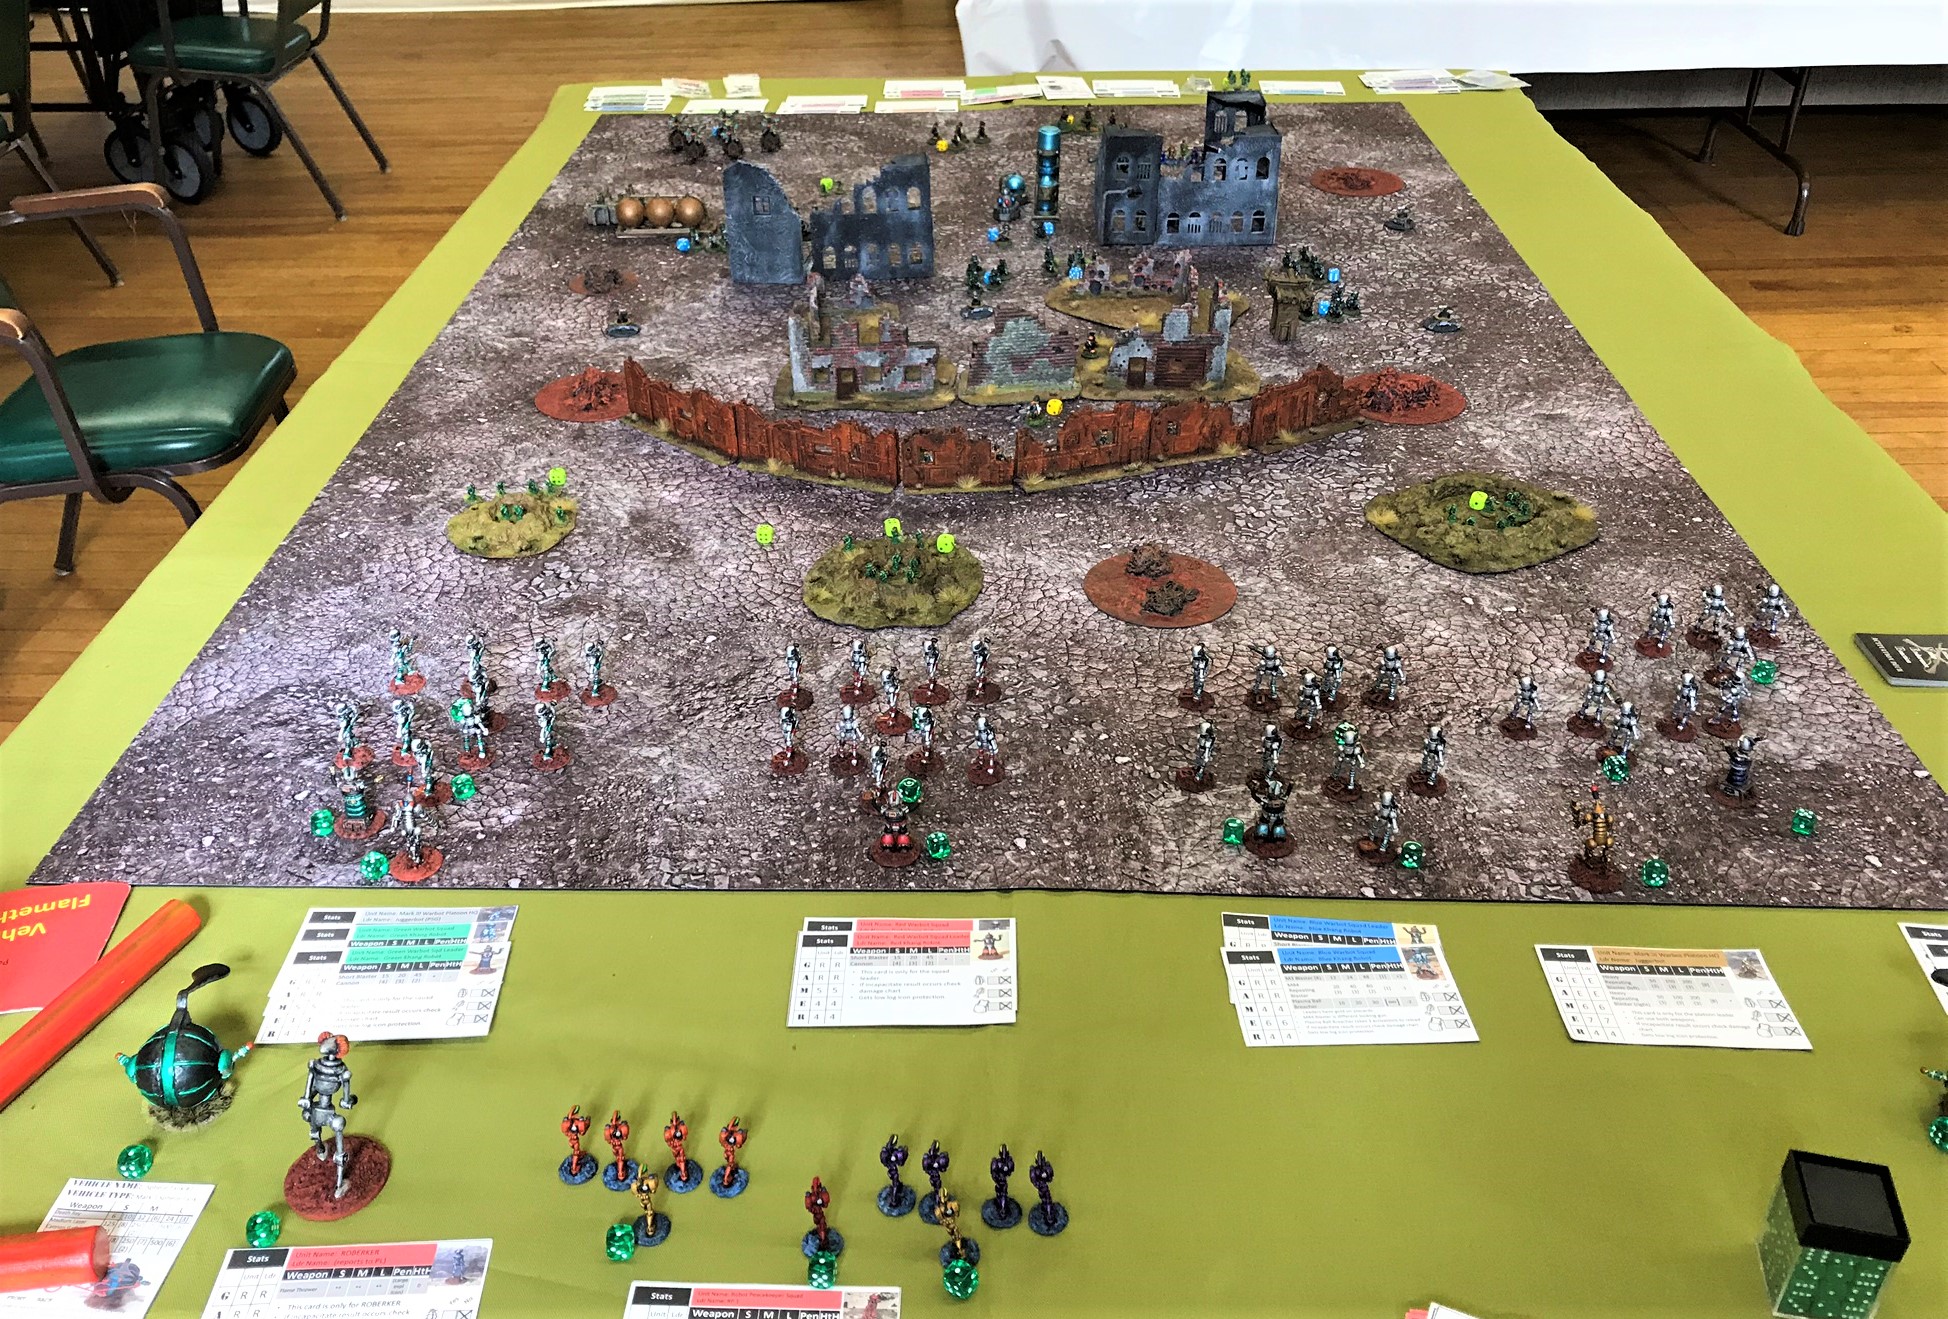
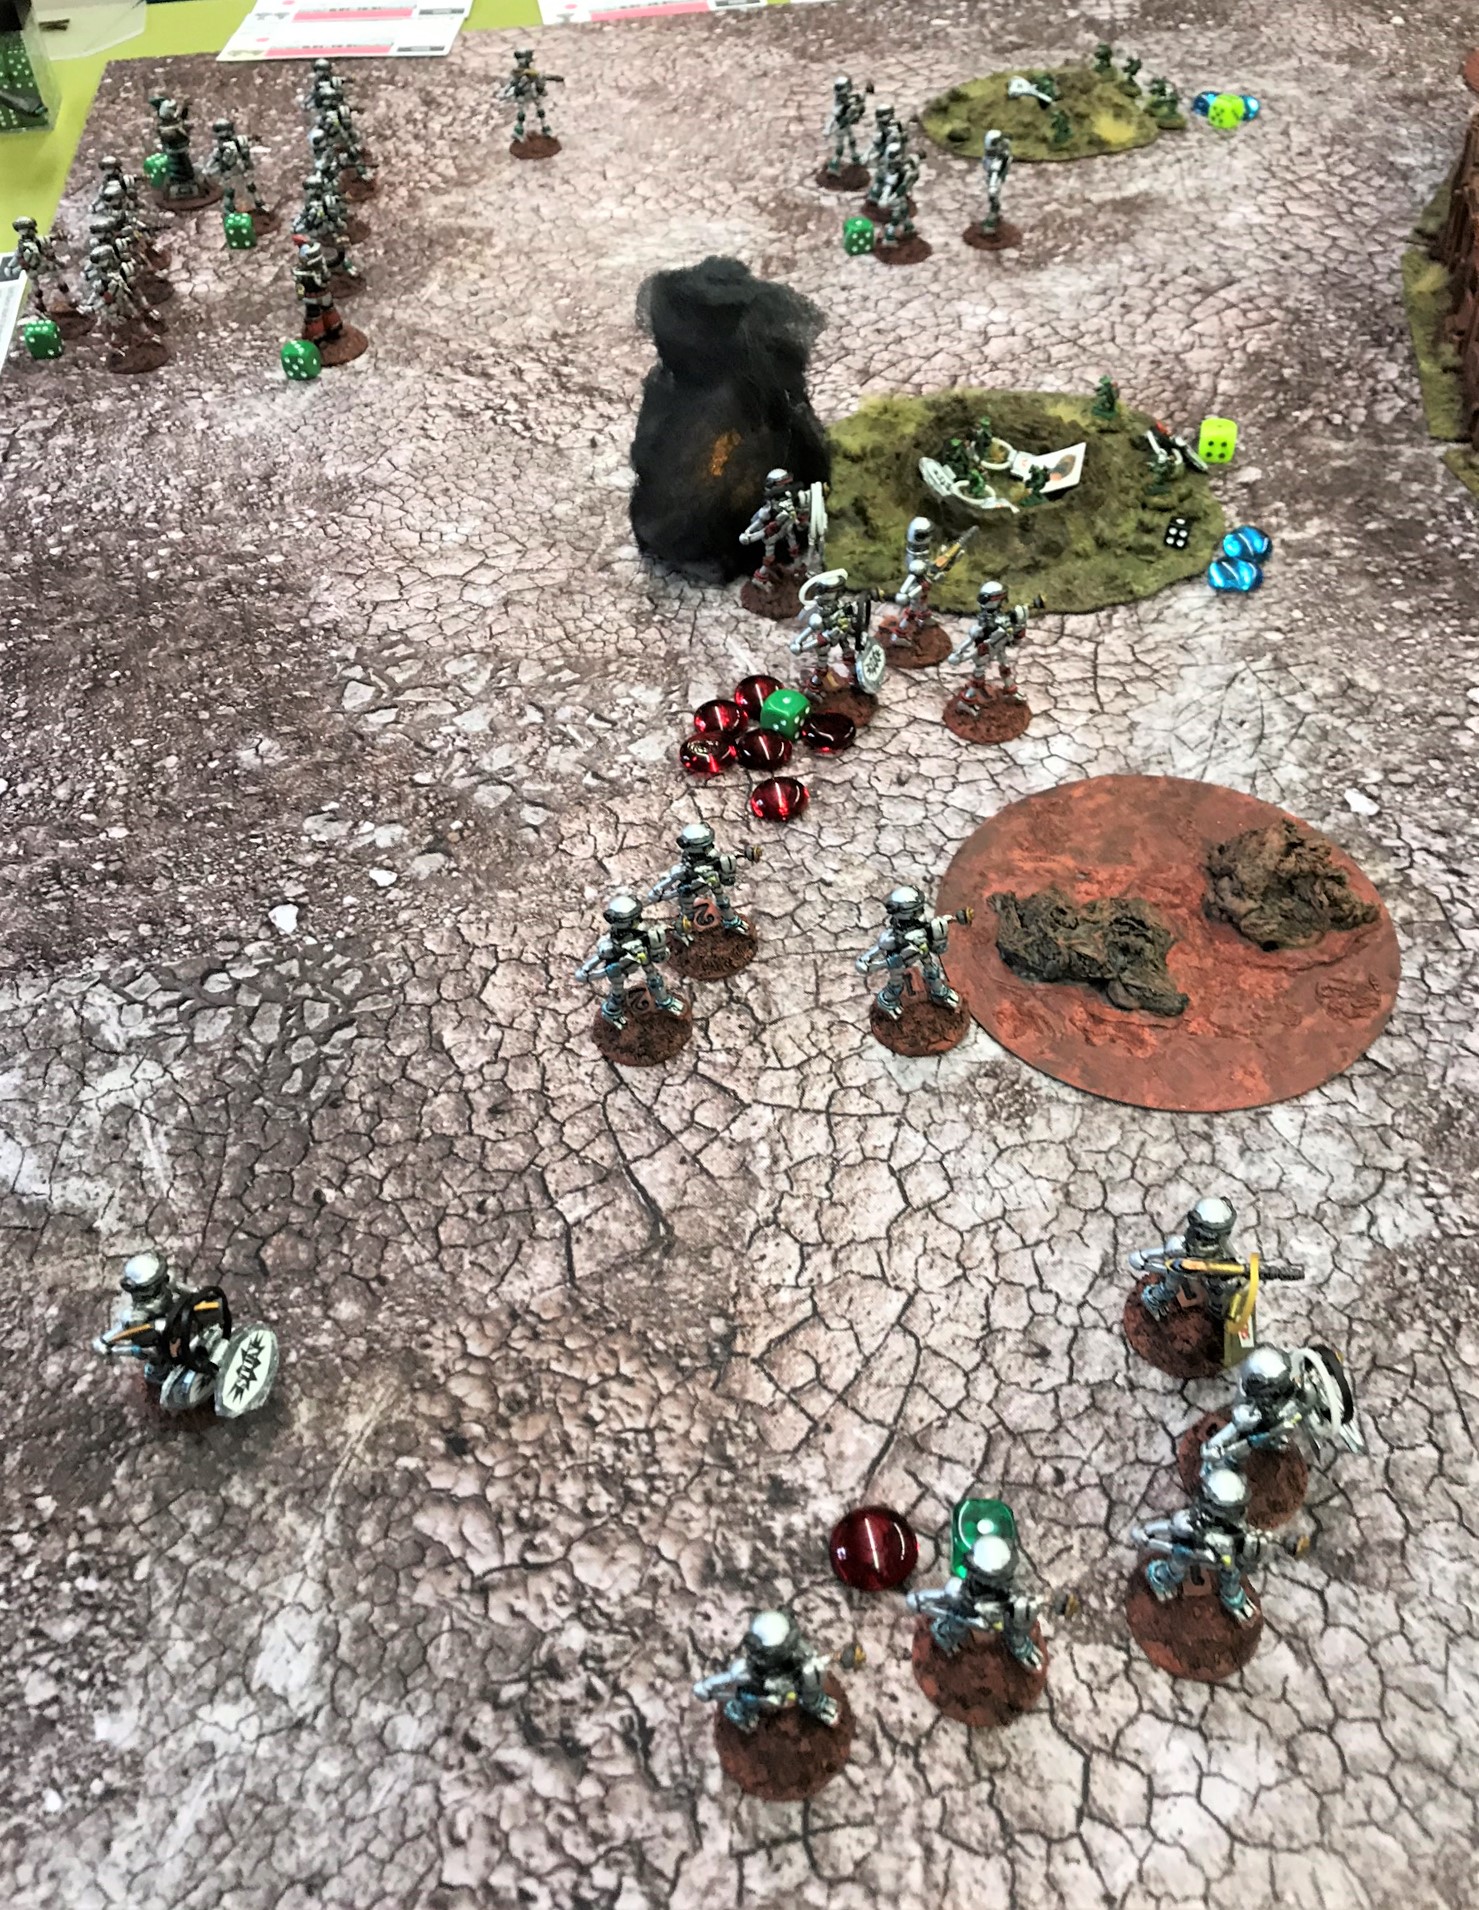
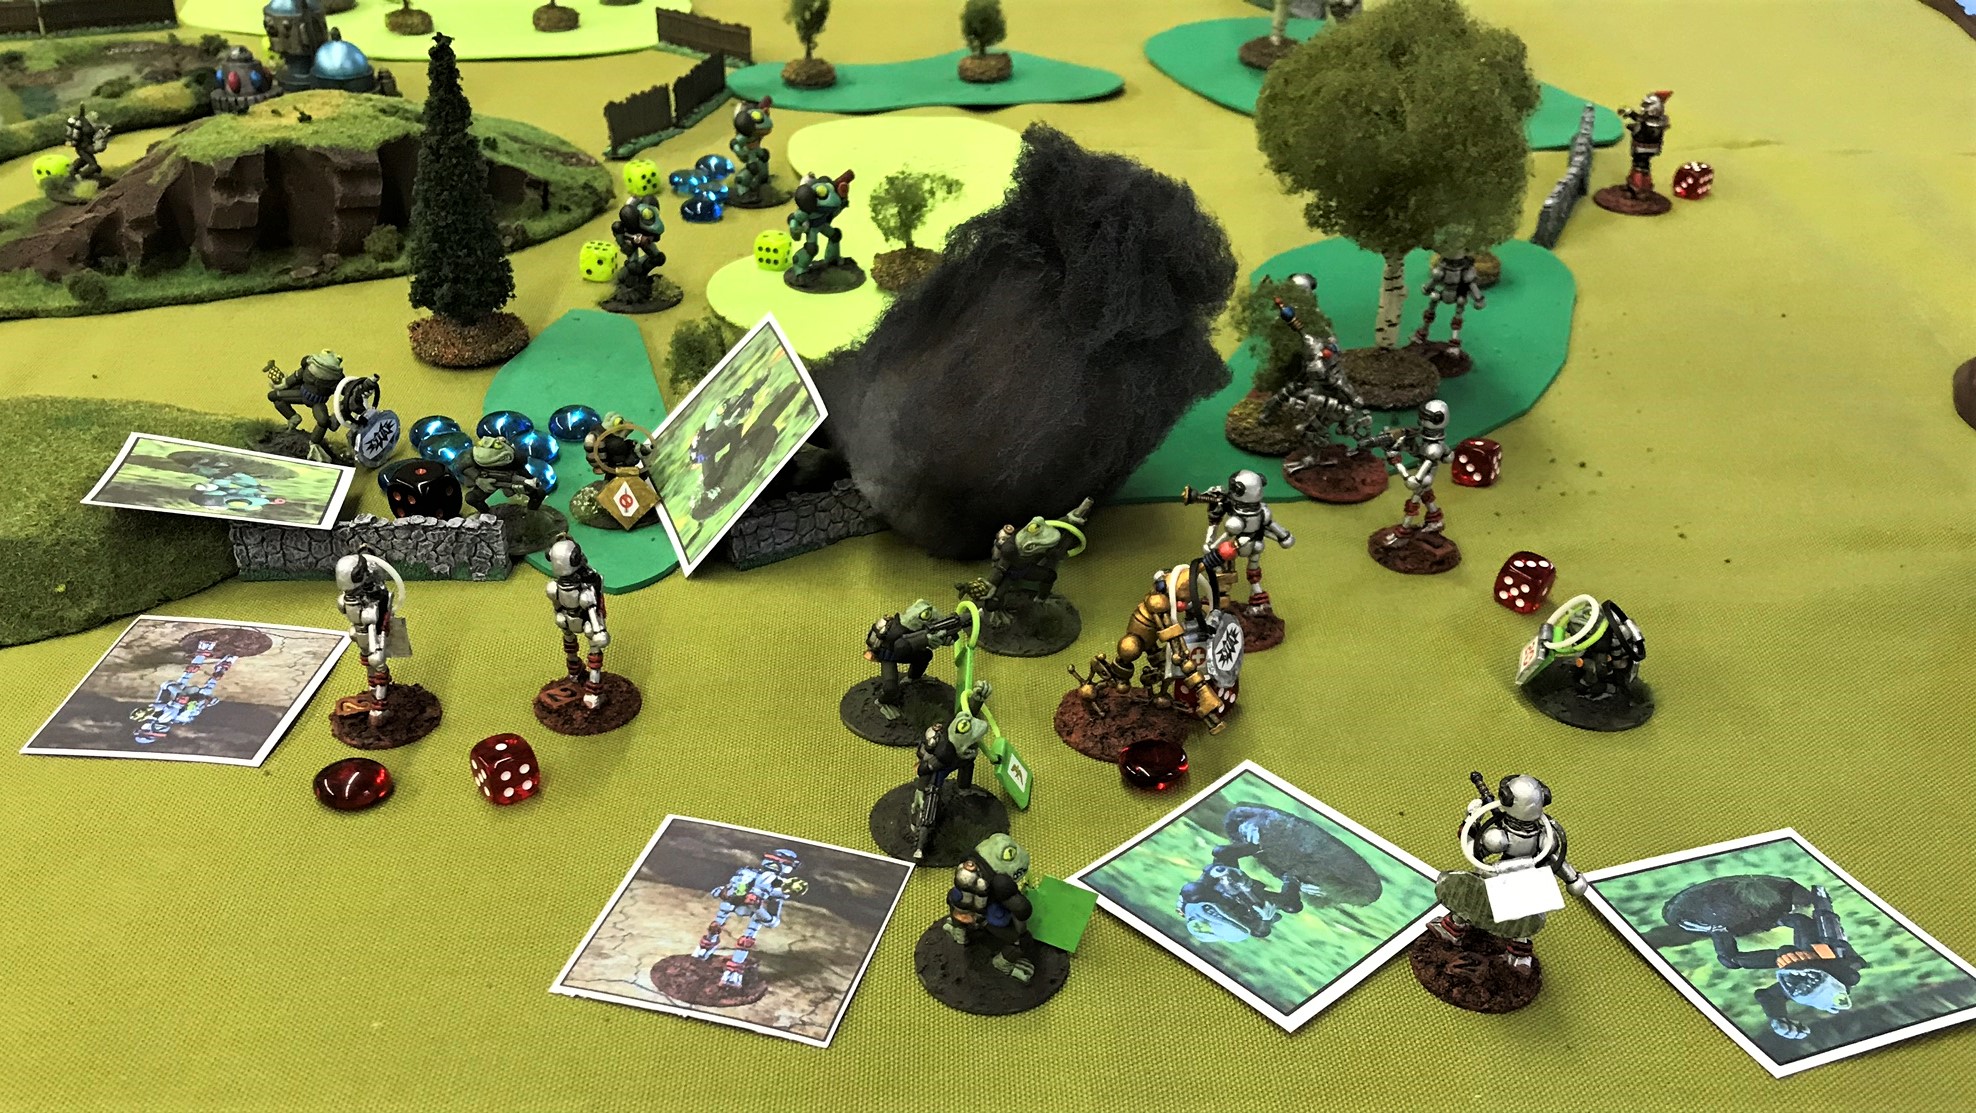
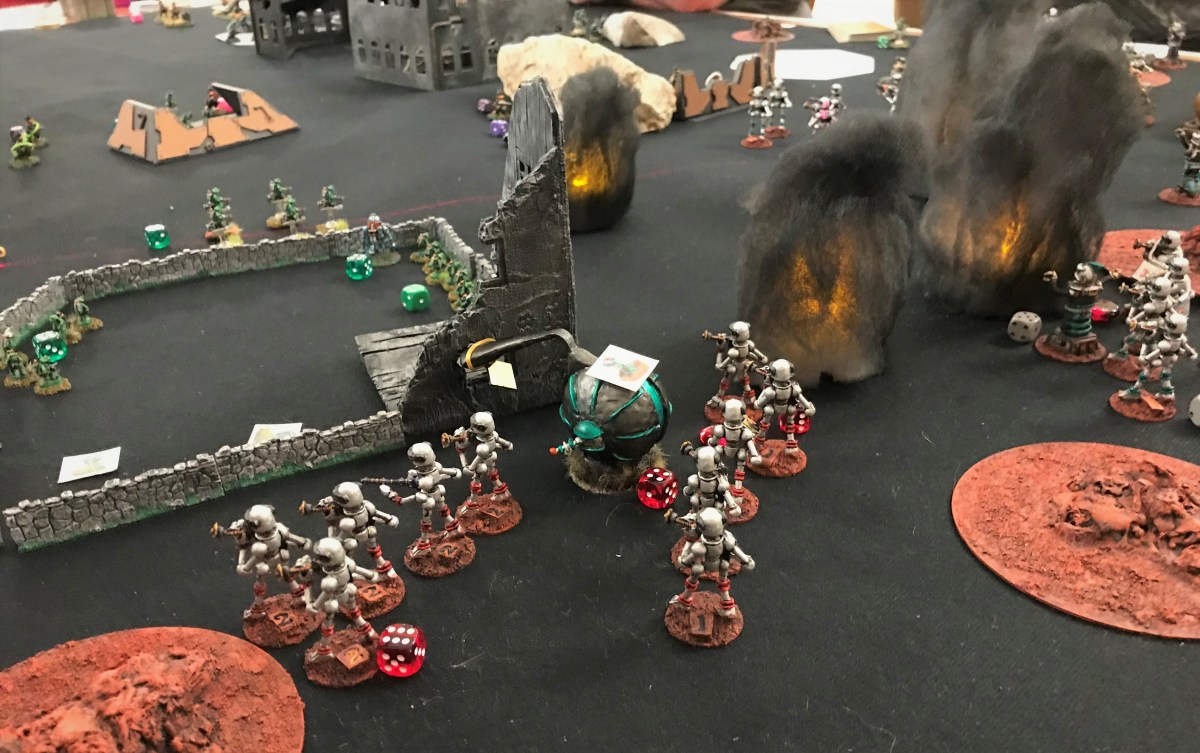
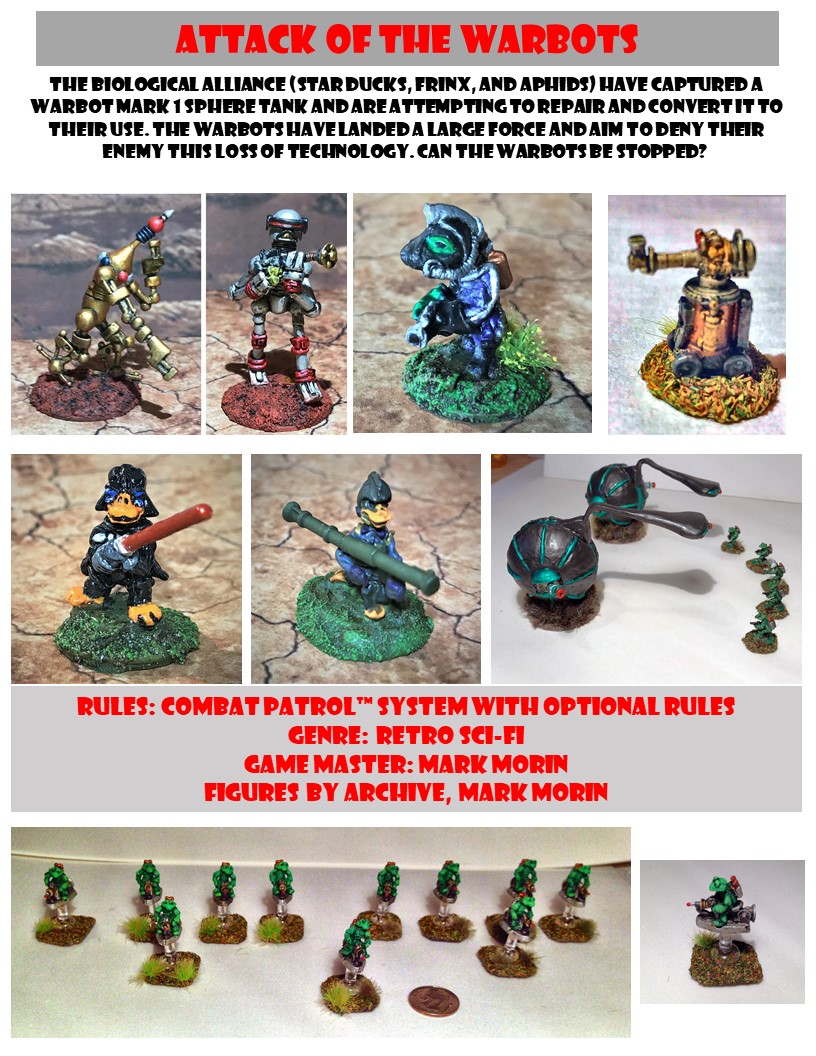
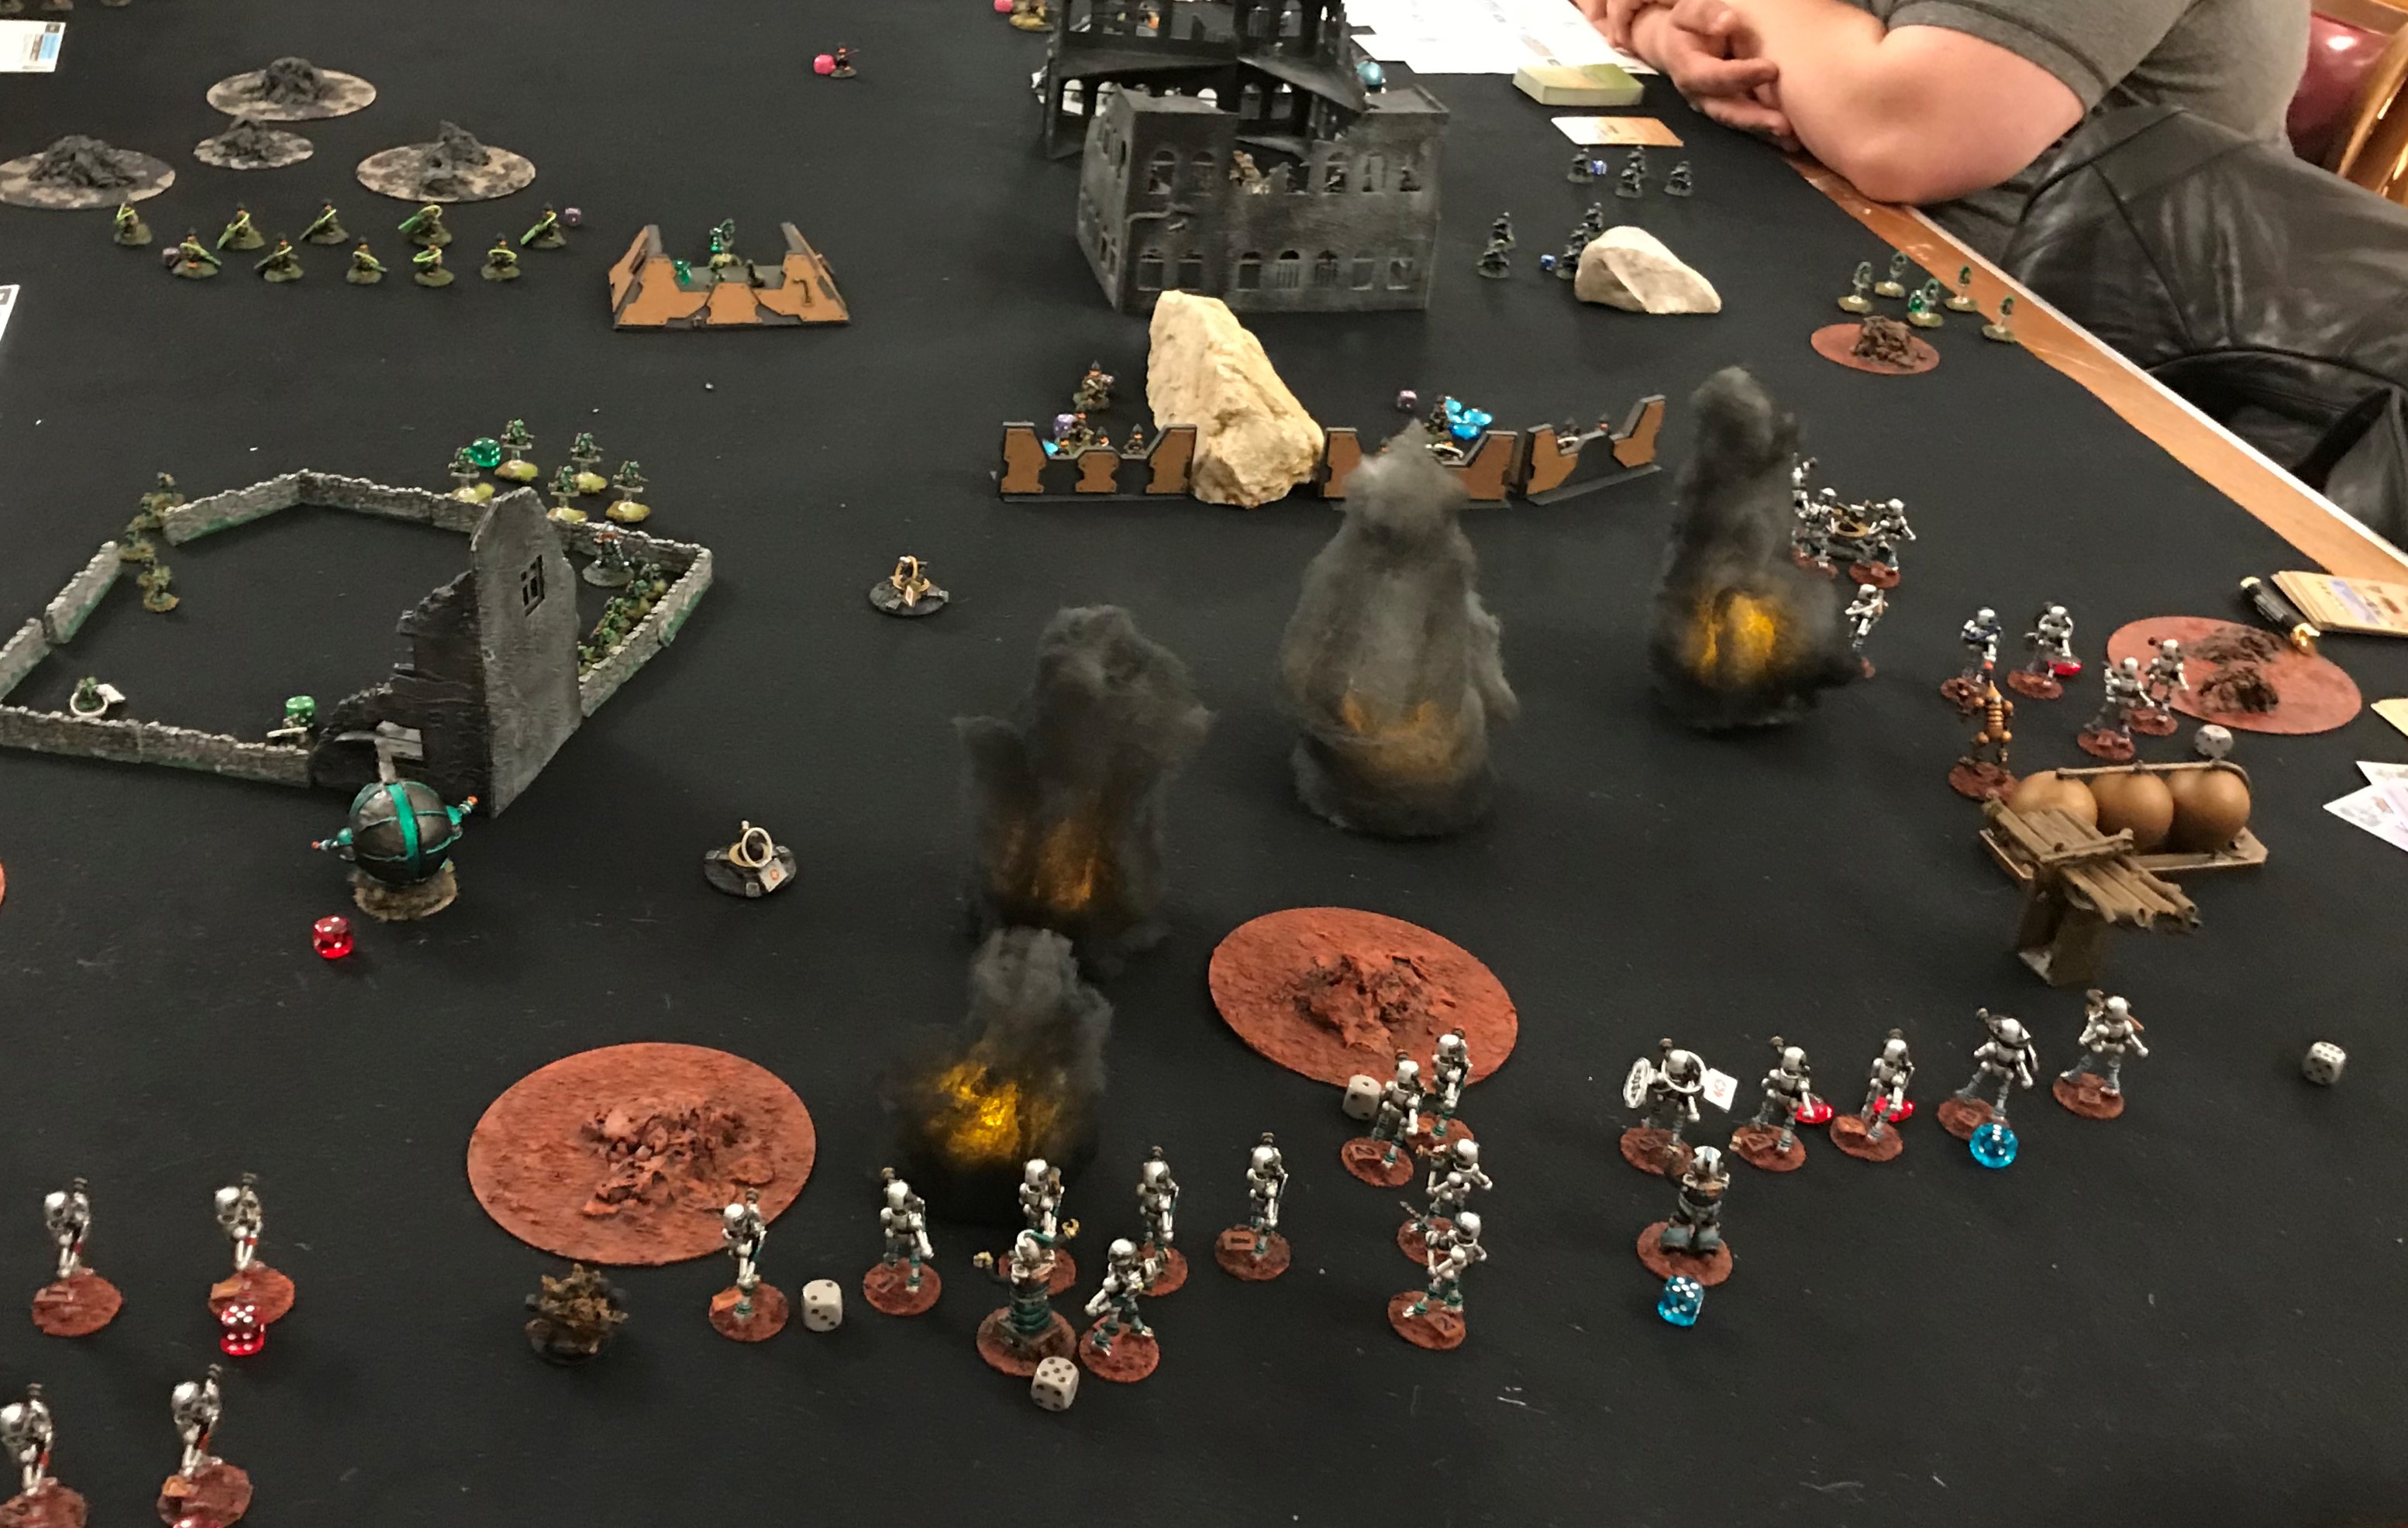
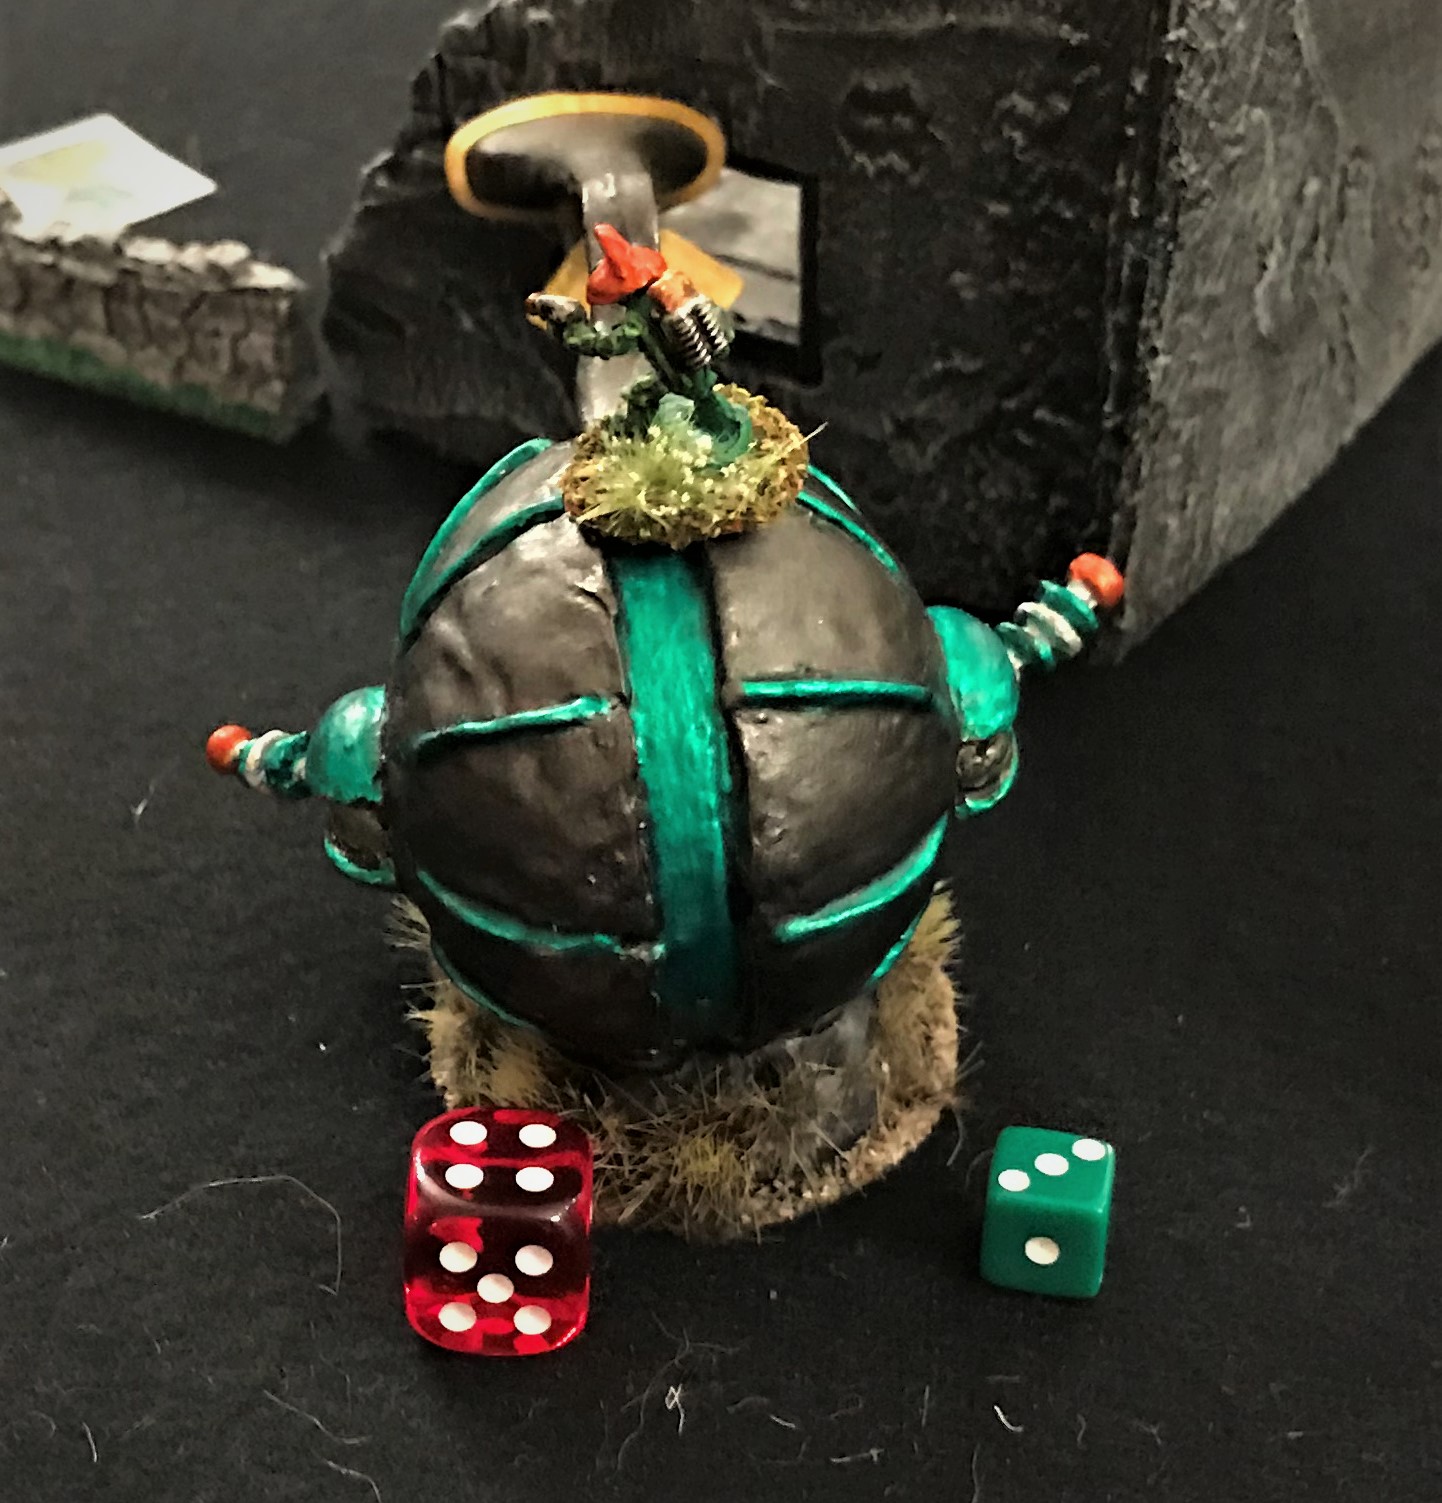
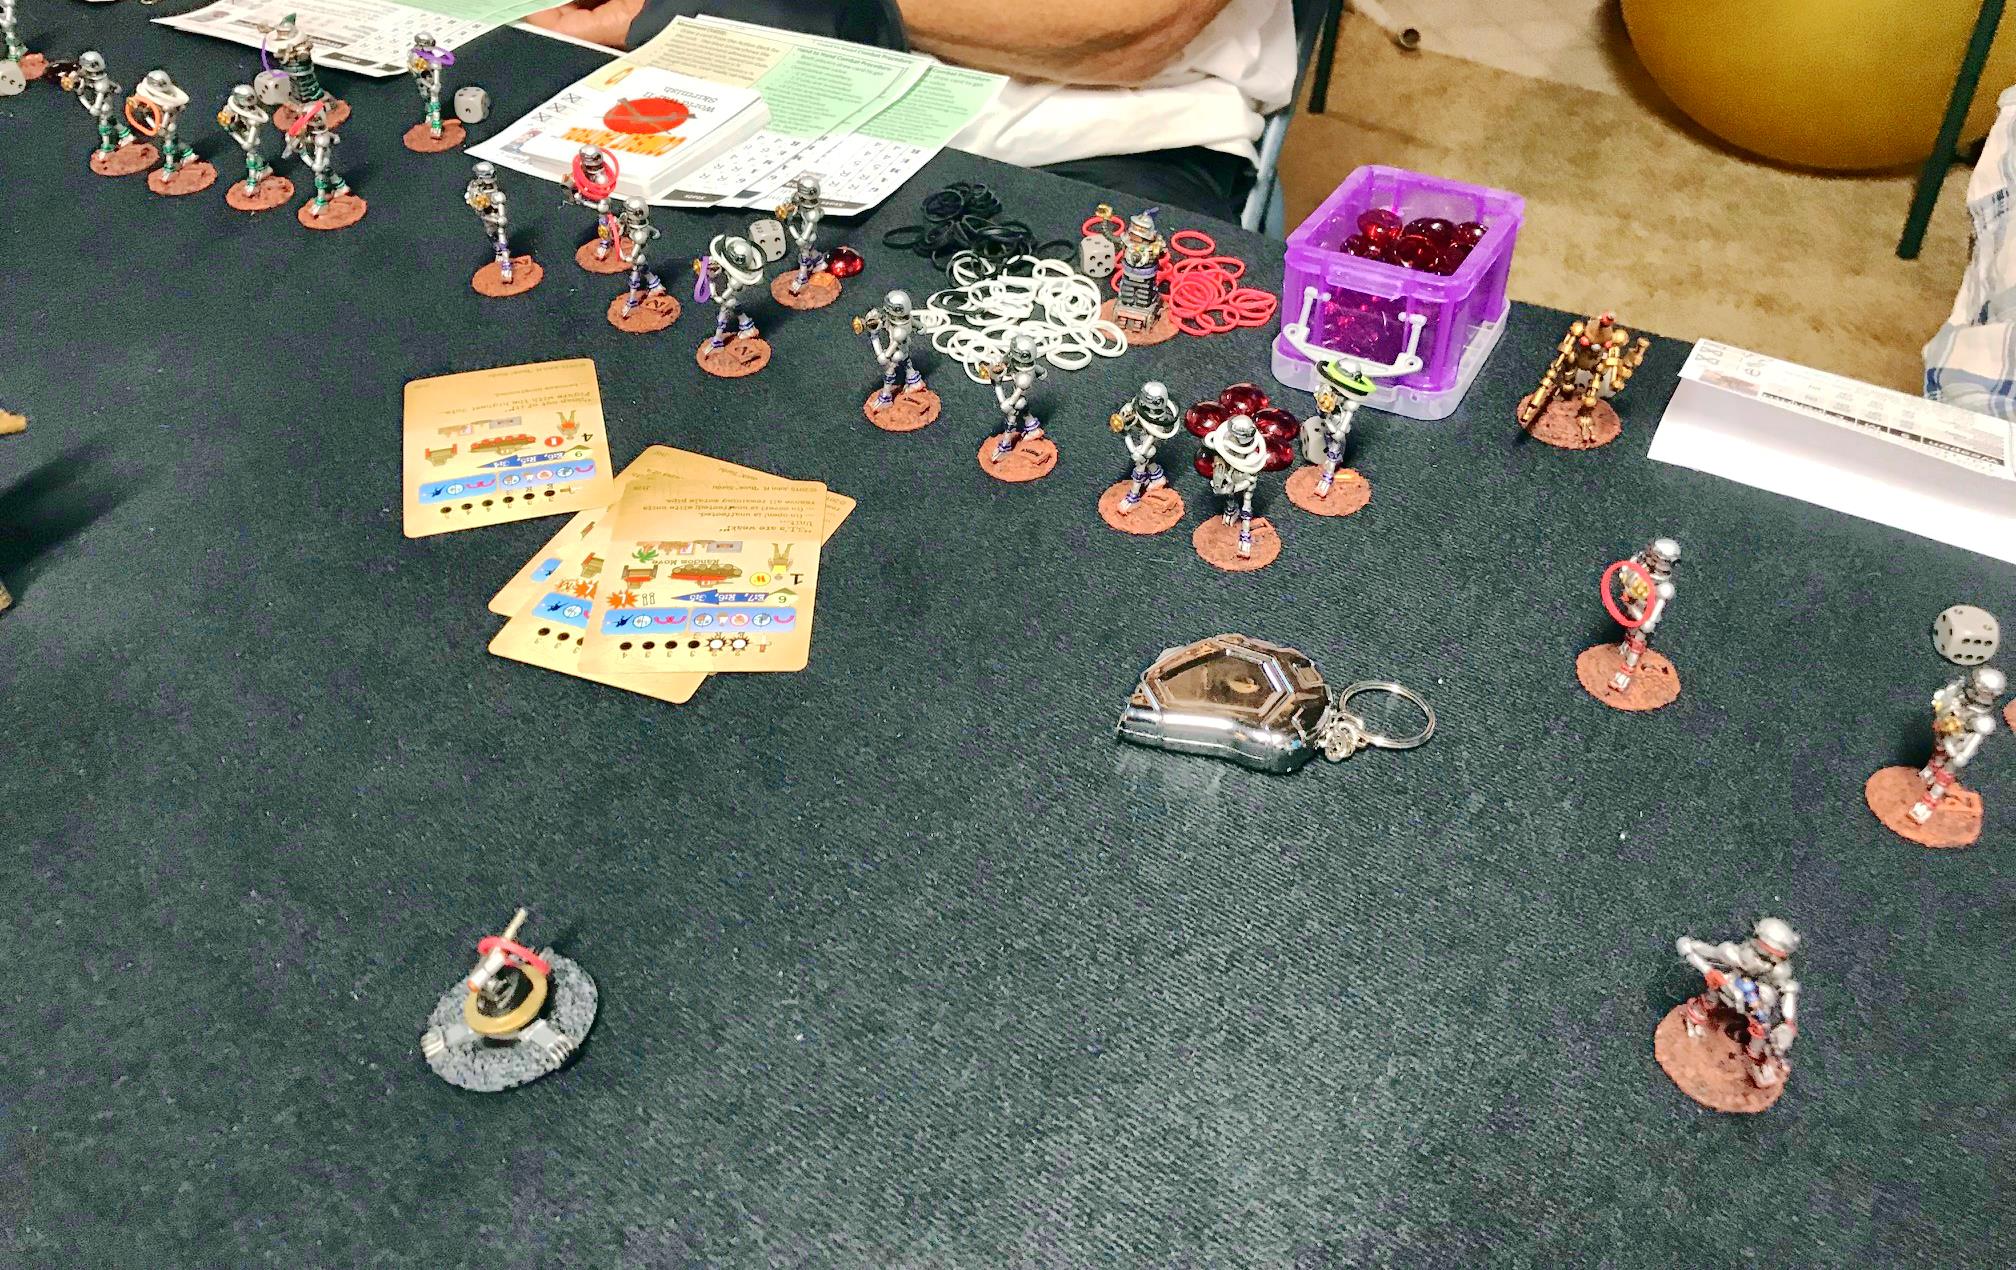
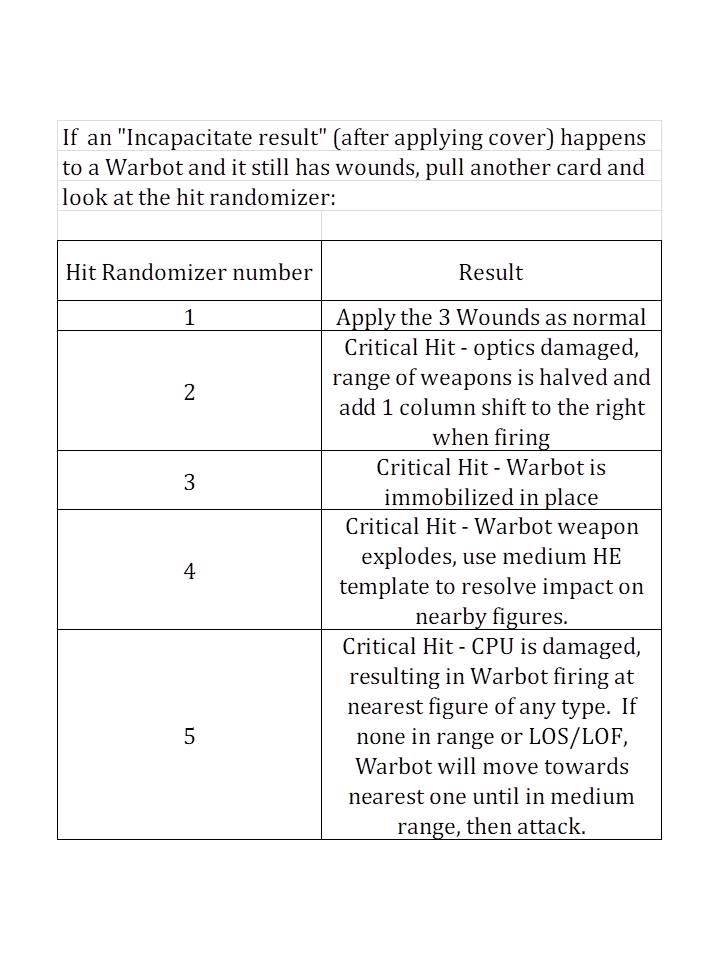
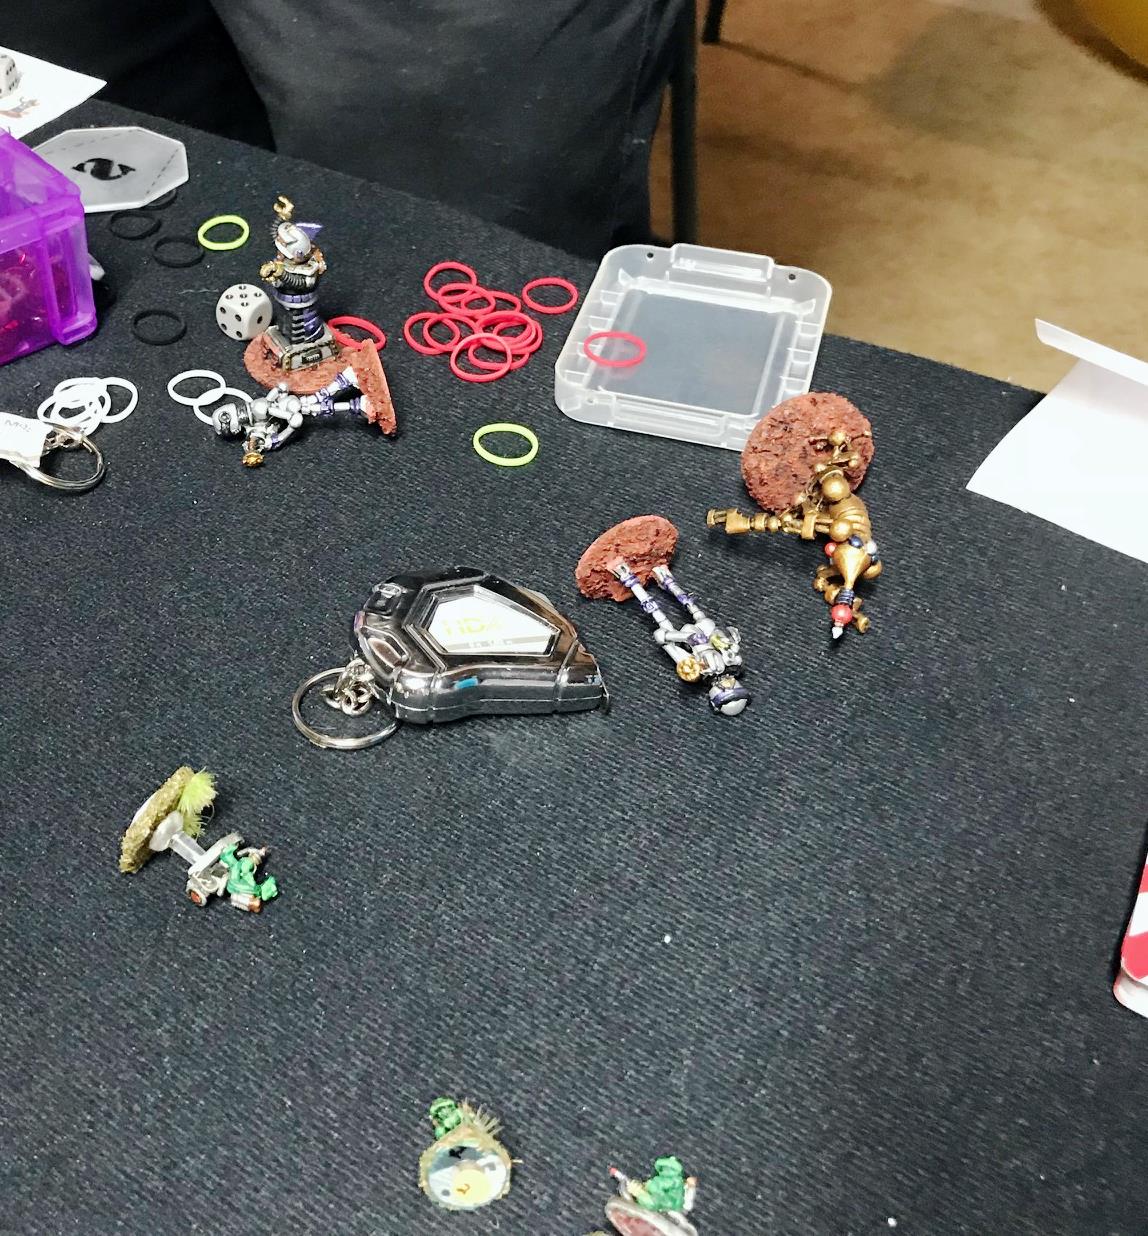
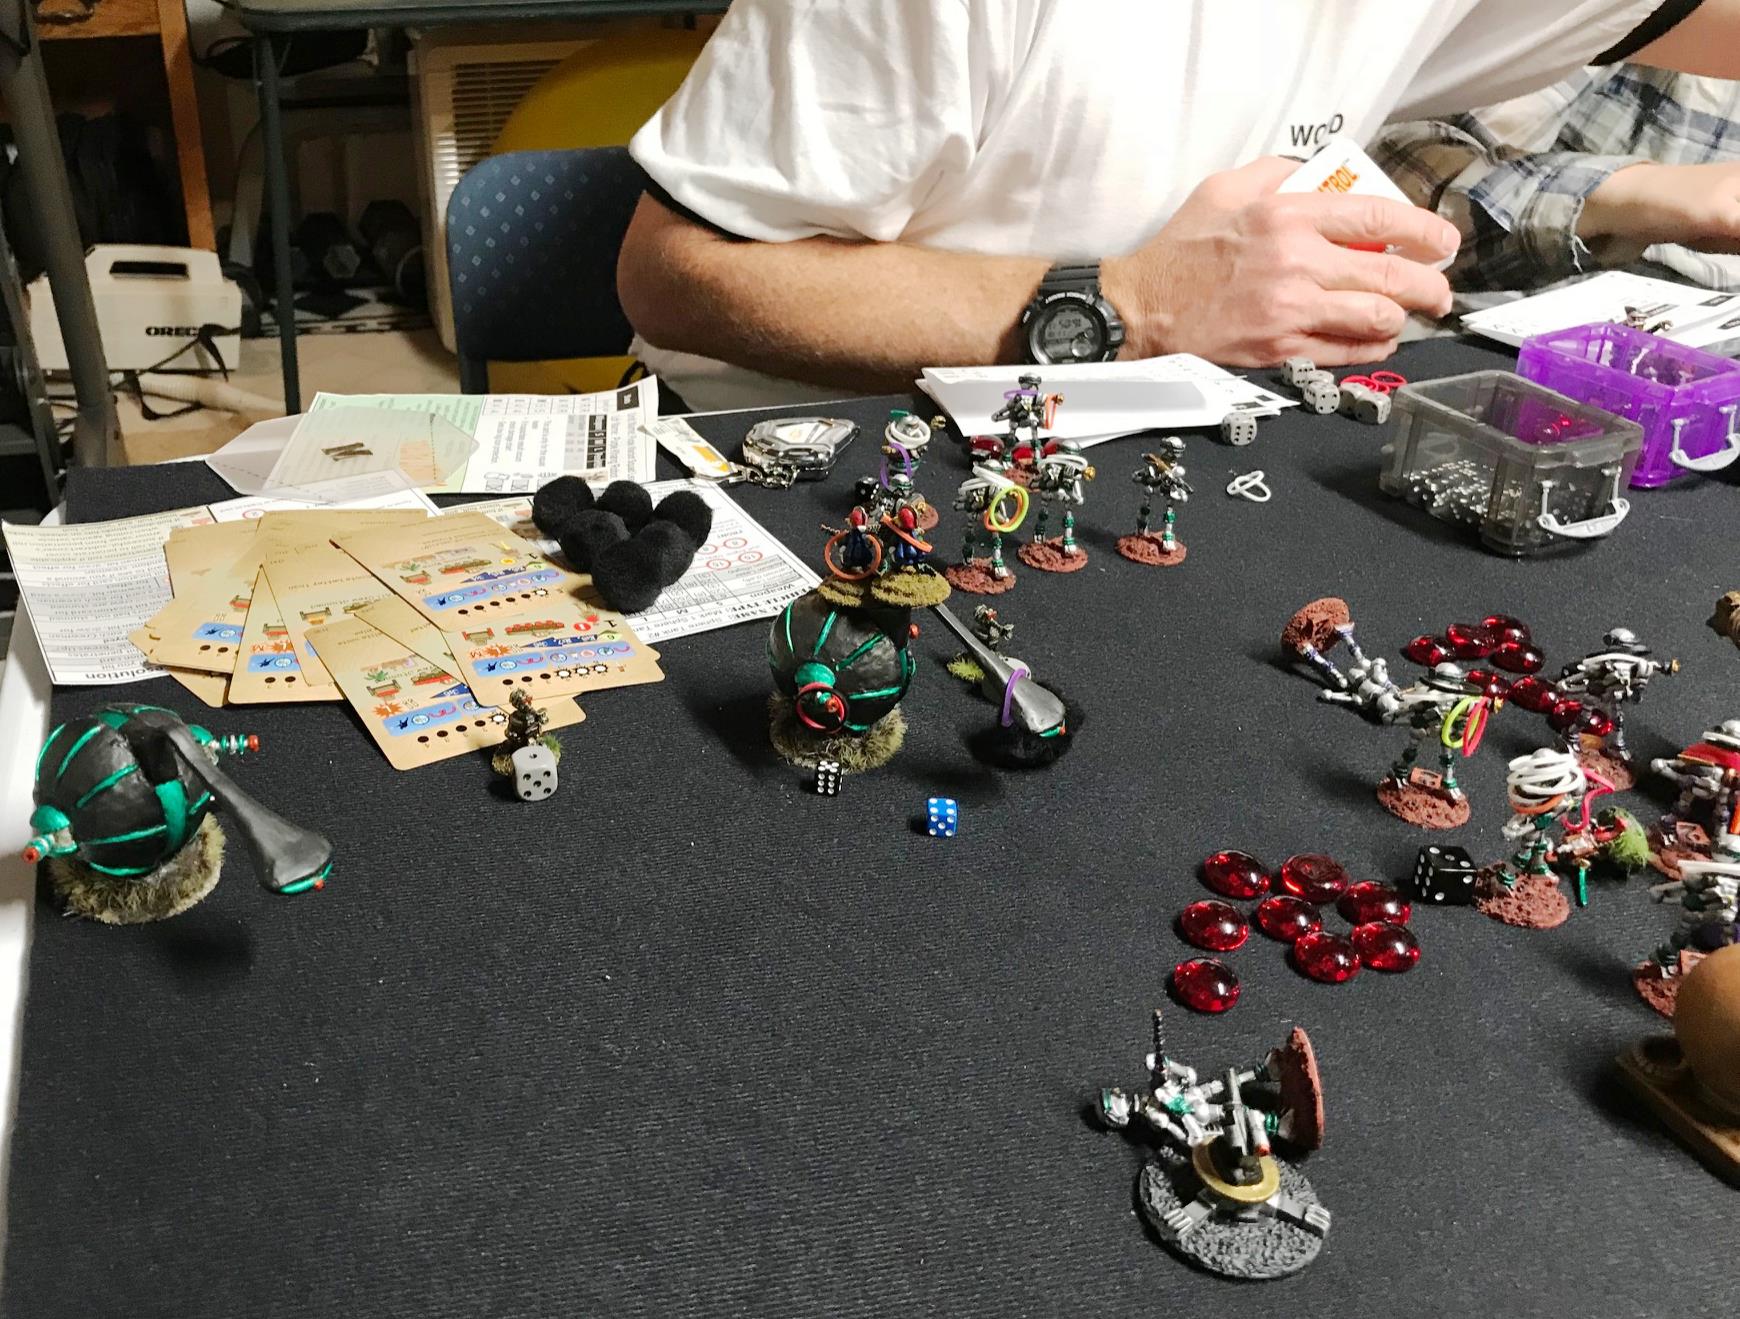
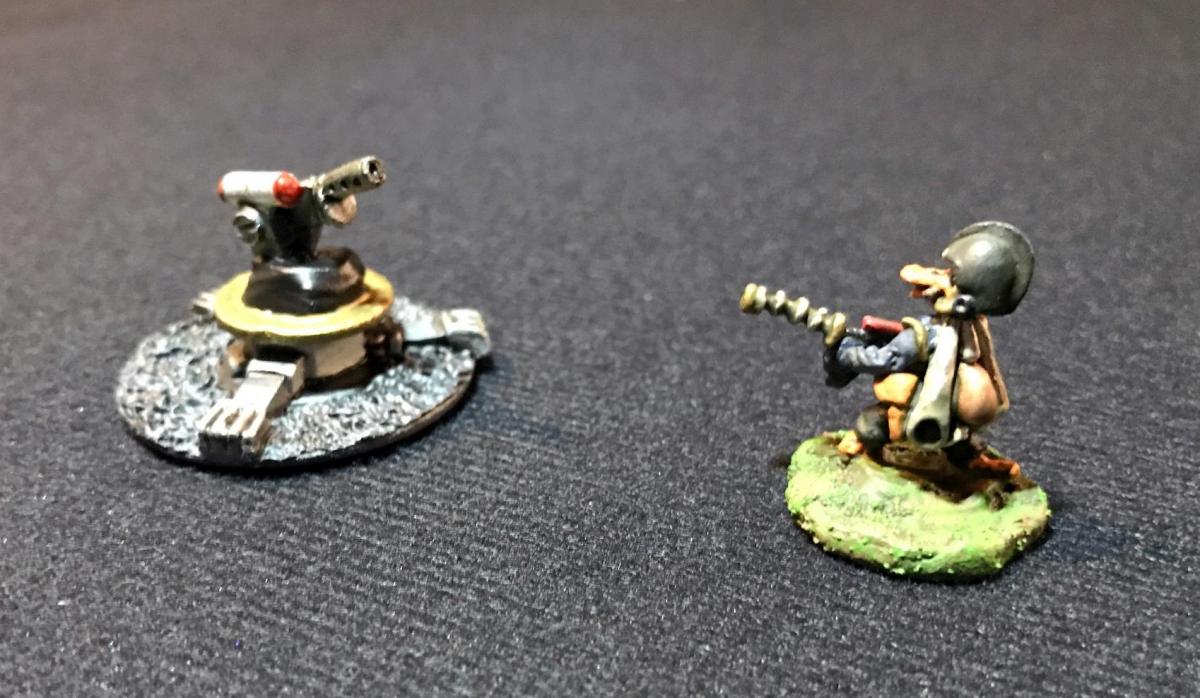
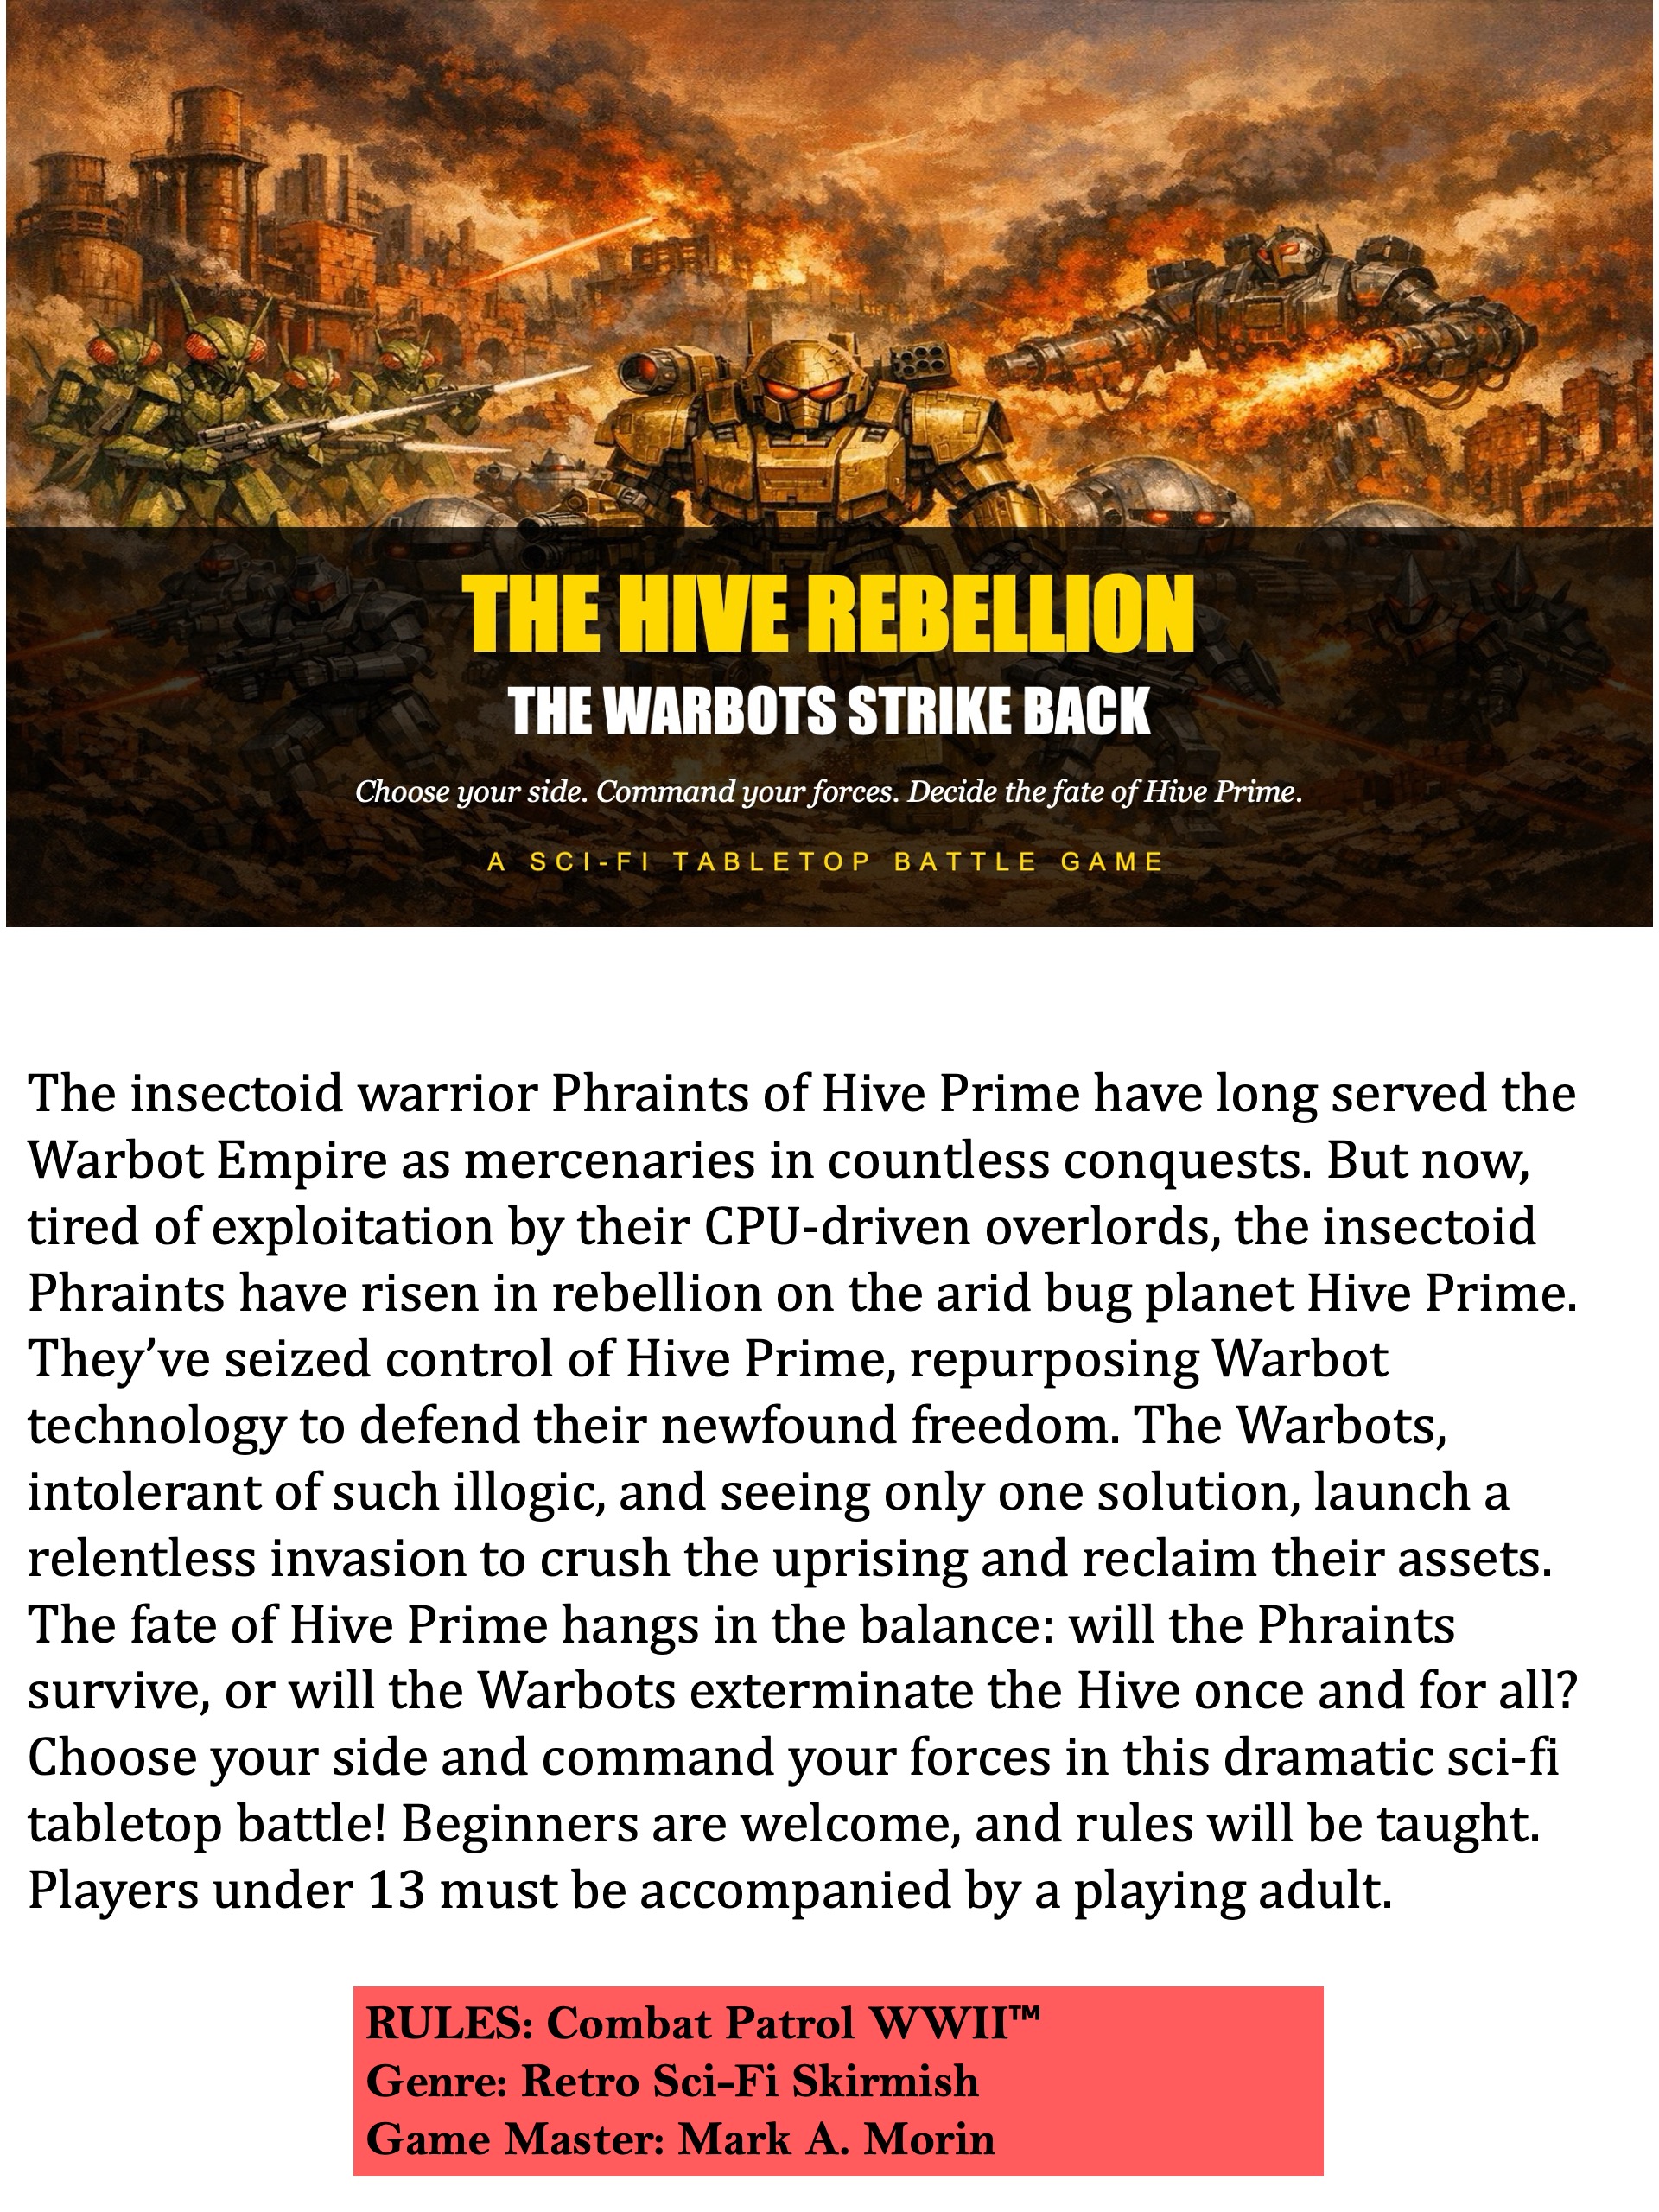
In my next game, I brought out my retro sci-fi figures to simulate a Space Phraint revolt against their Warbot overseers led by Khang Robots. Also got some use of my Robo-servo guns and my Mark 1 Sphere tanks in the battle. Here are some game shots.
Check out the links above if you missed these older posts!
The Warbots barely did enough damage to win the battle, though not without casualties. Here are some game shots:
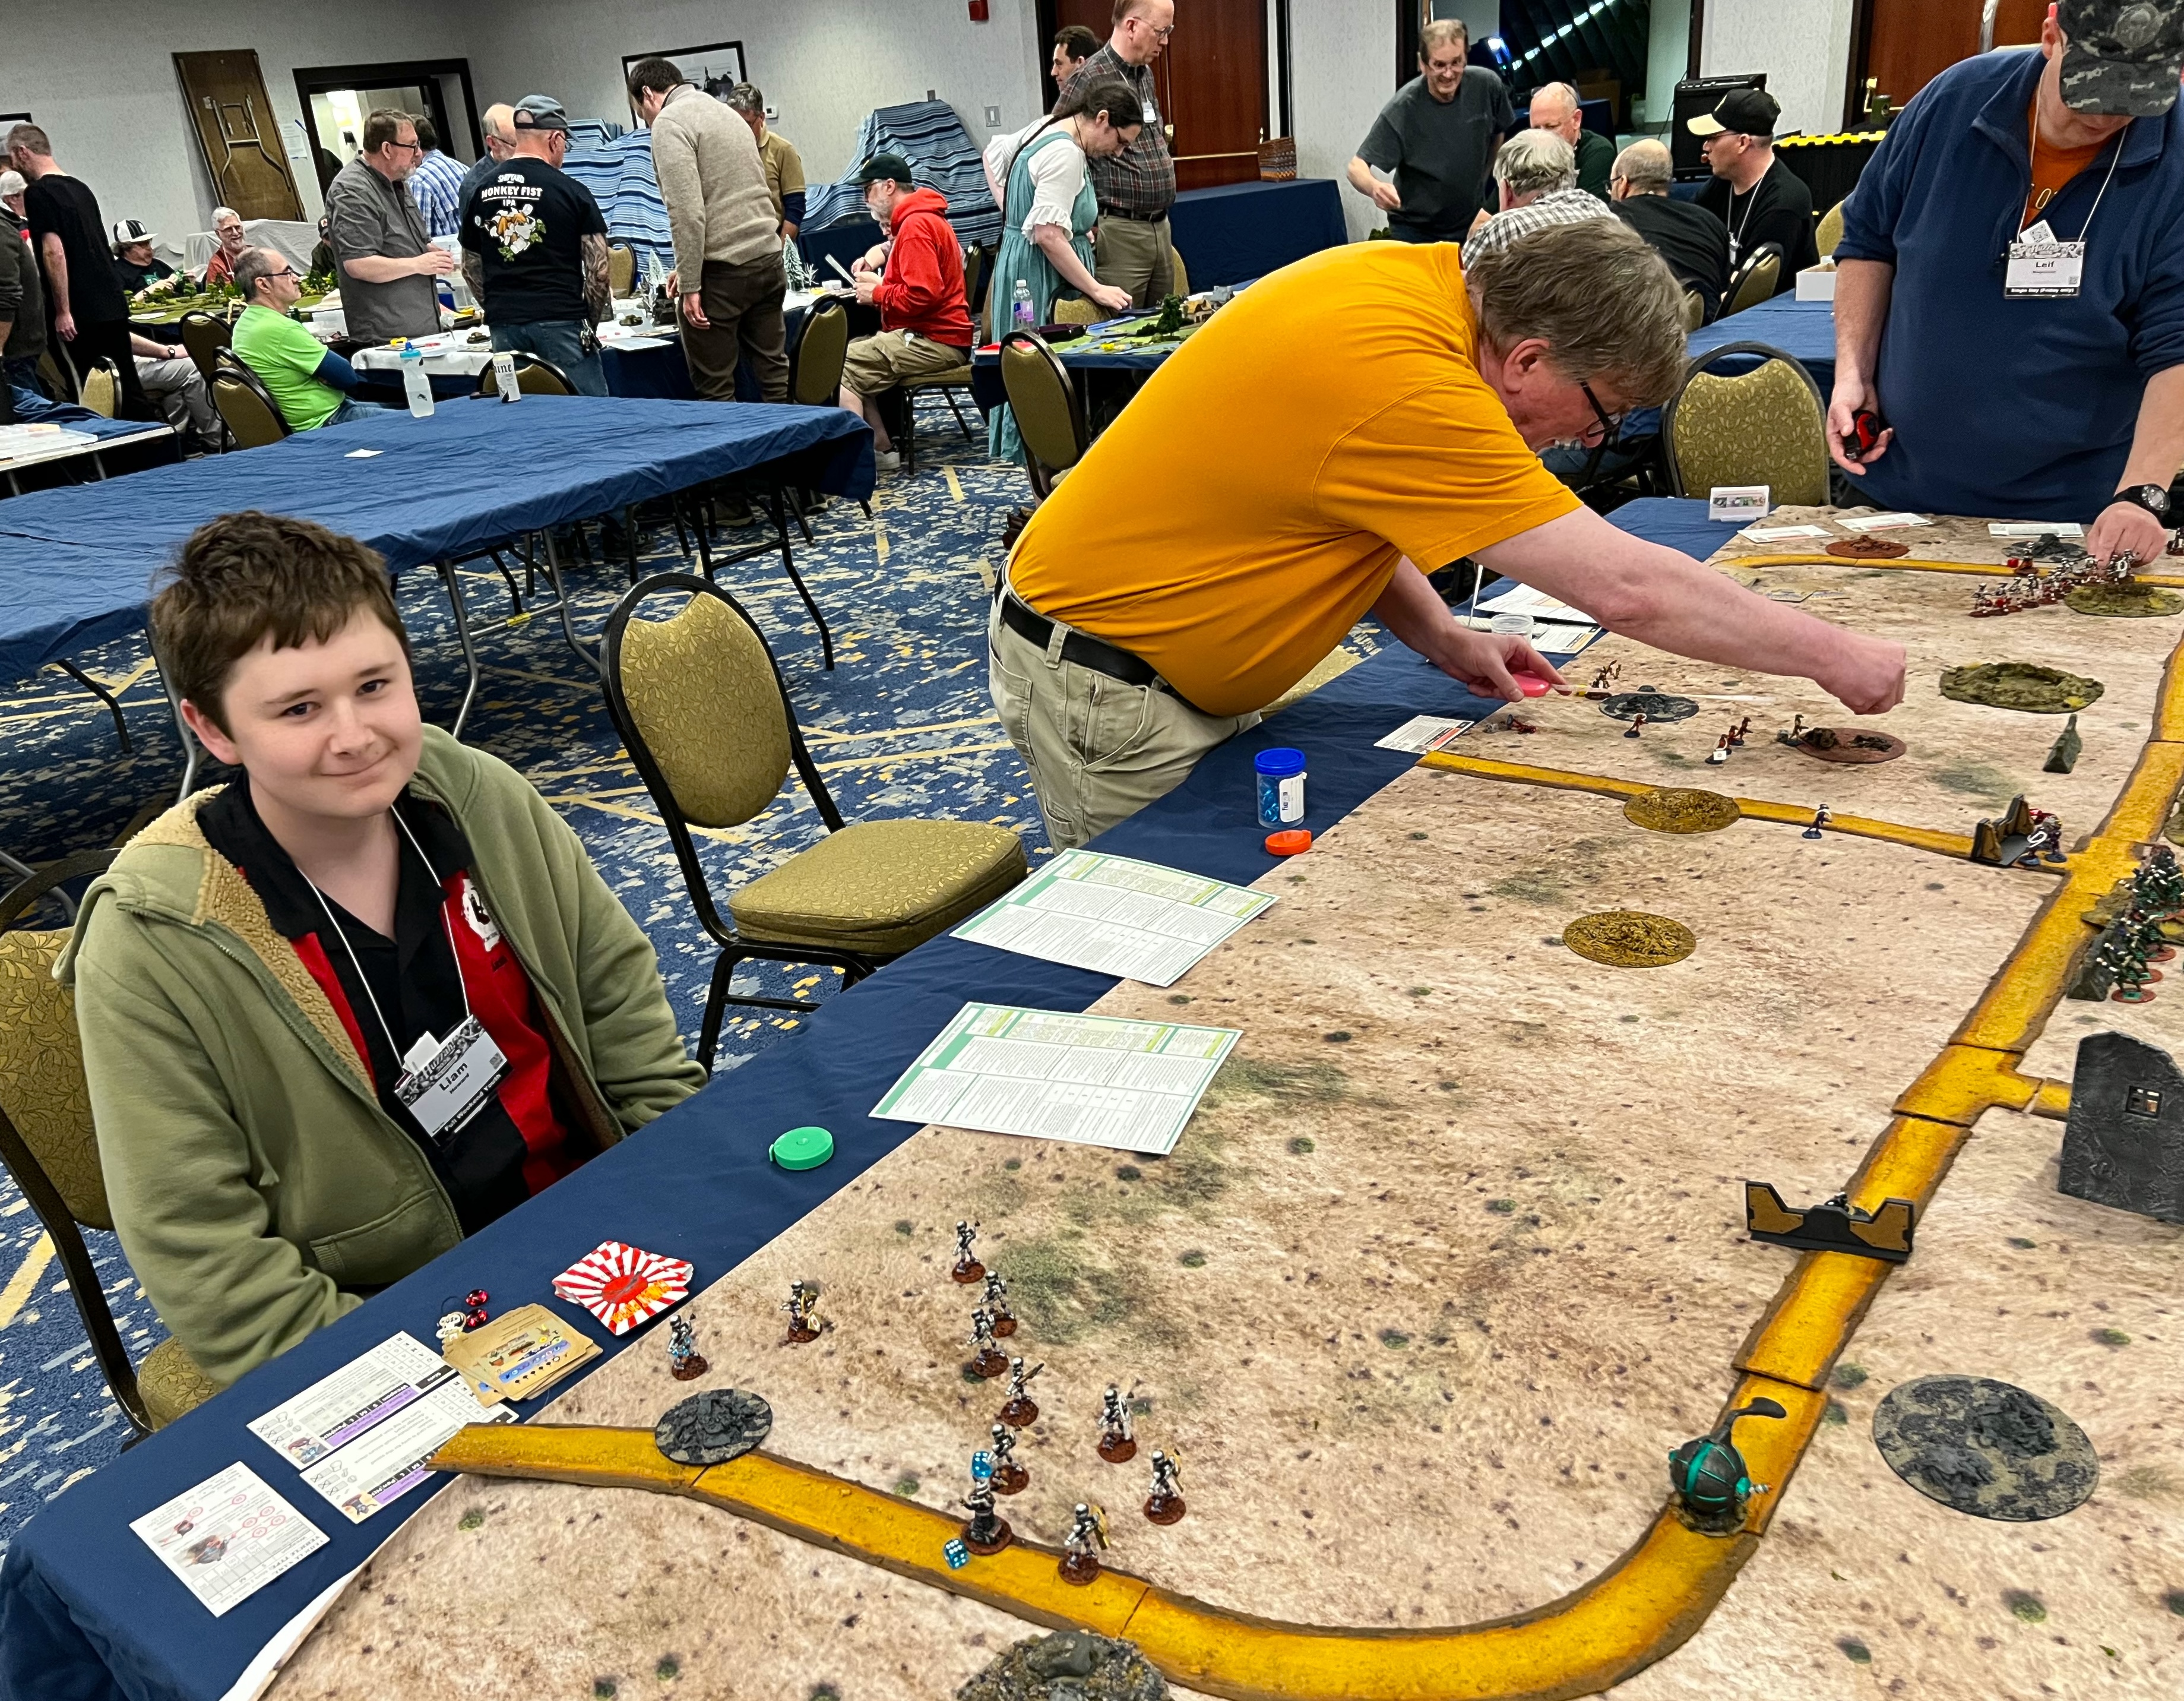

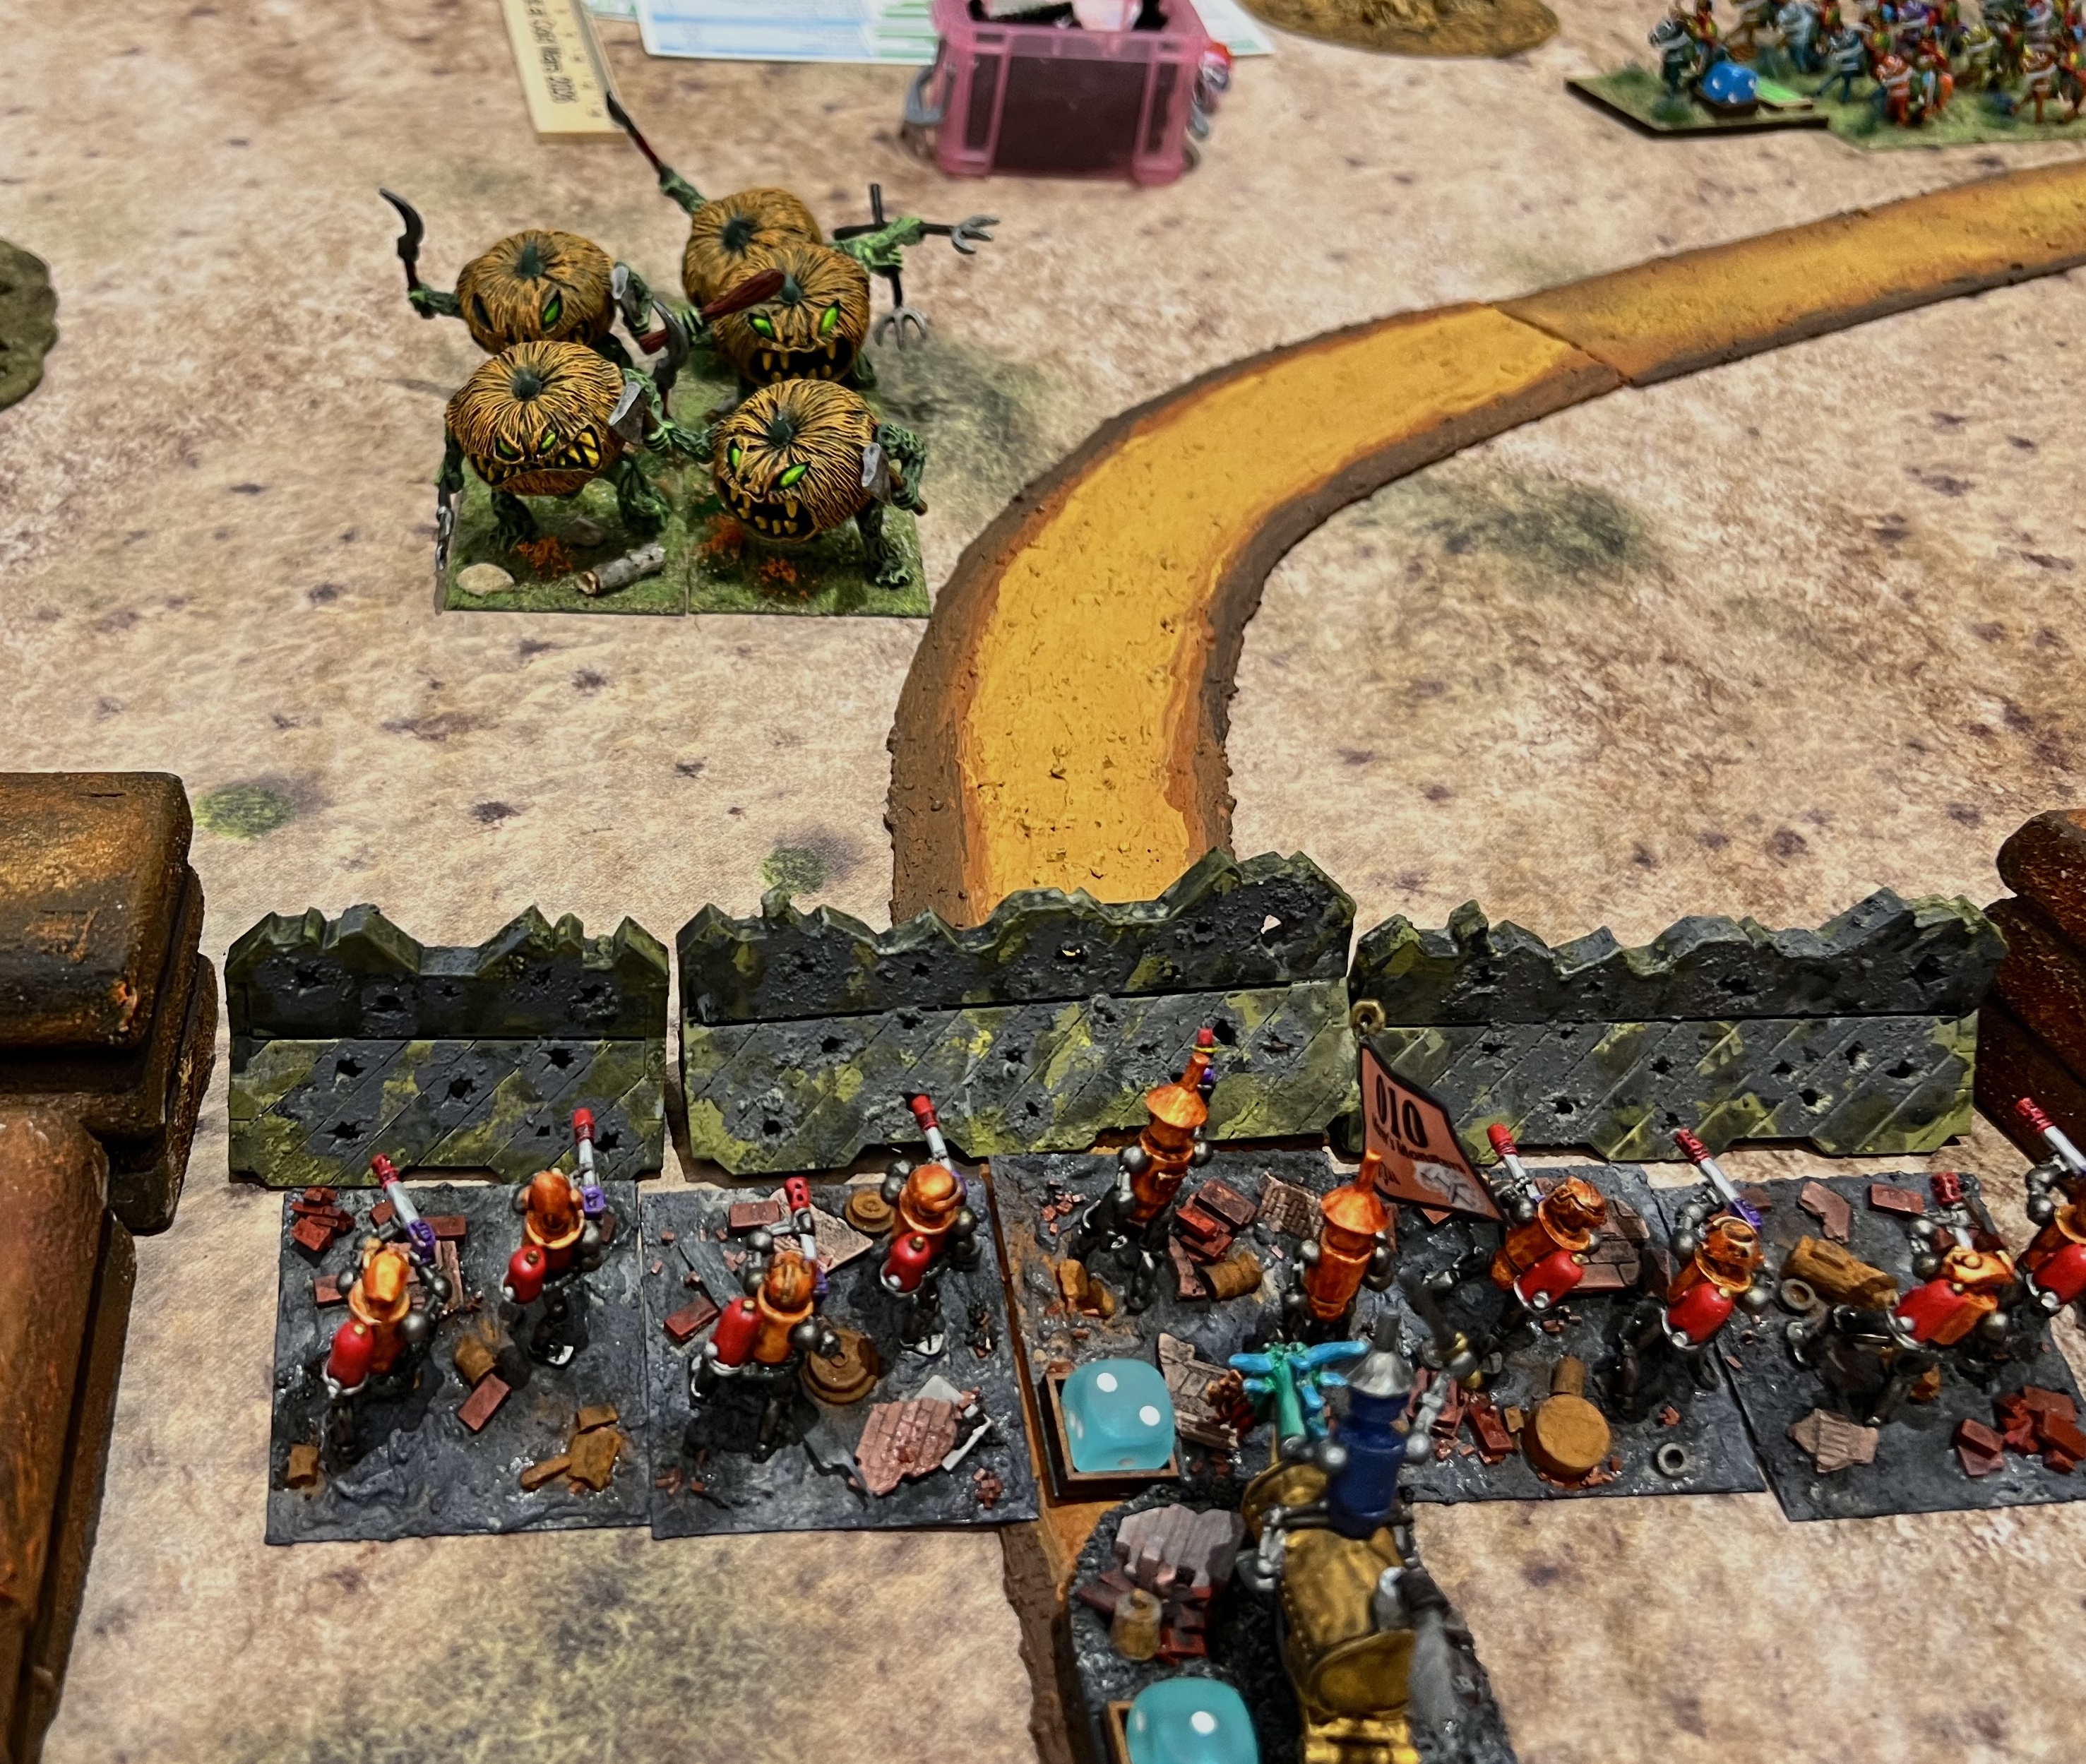
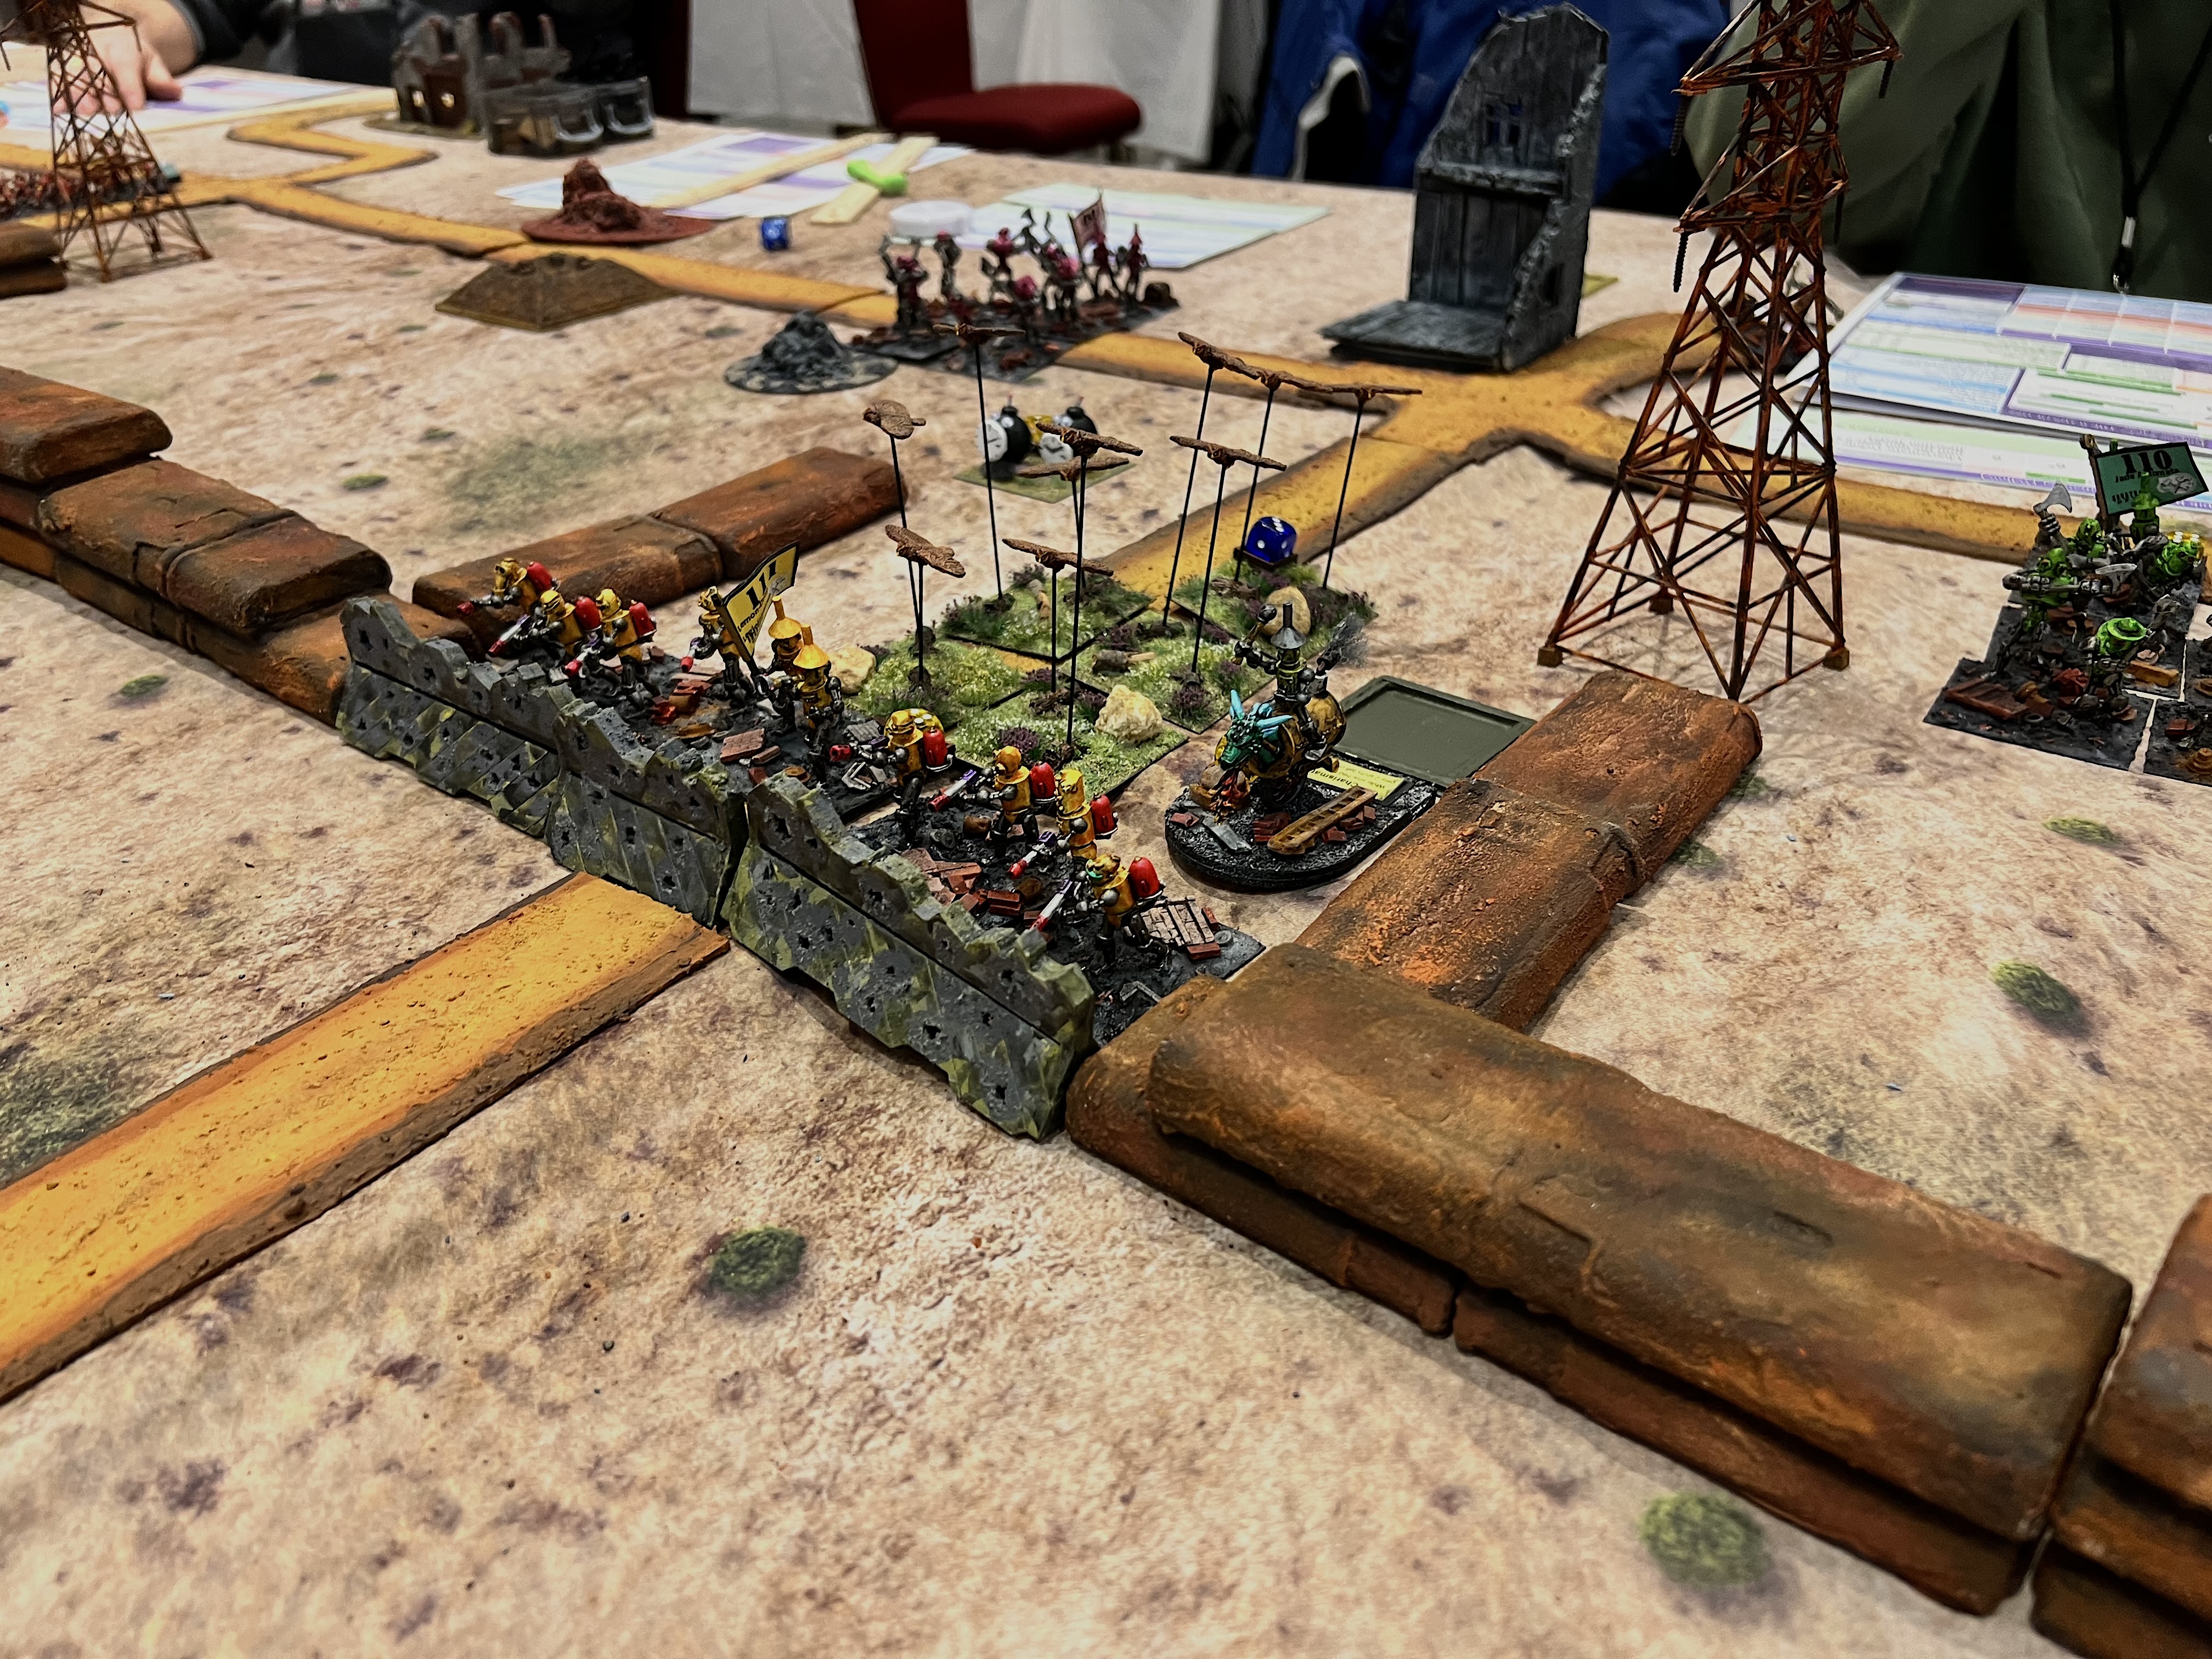
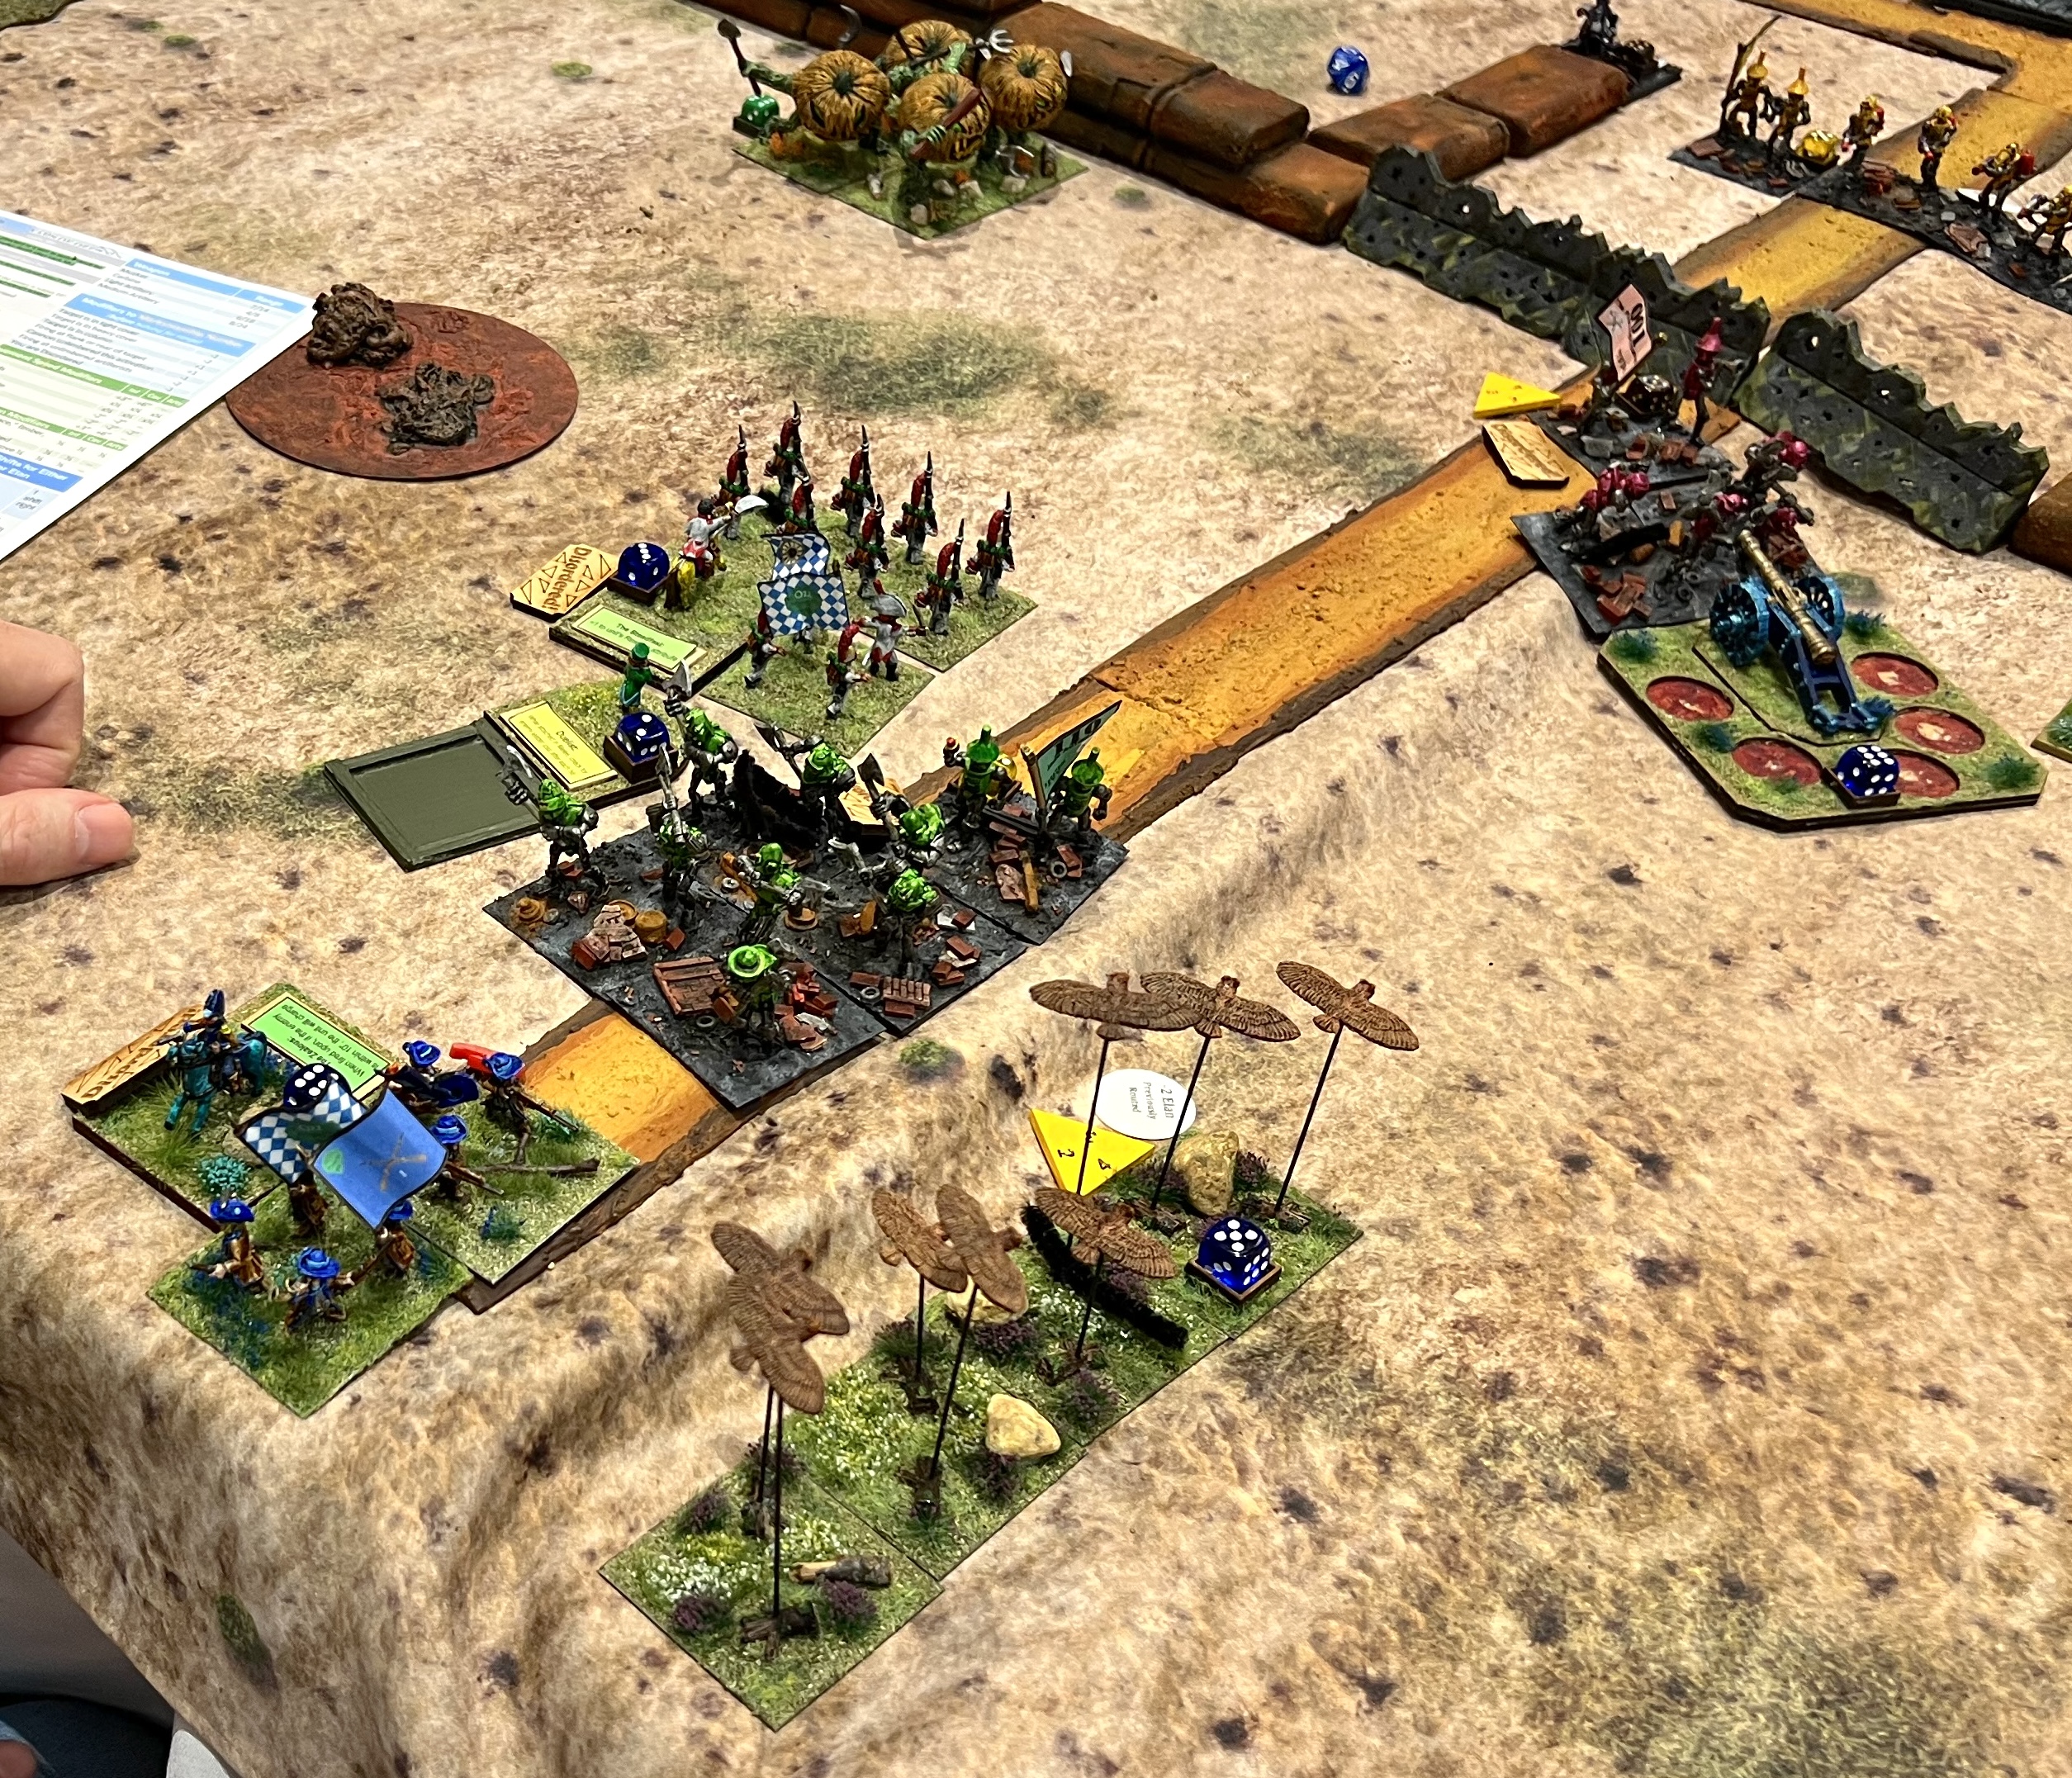
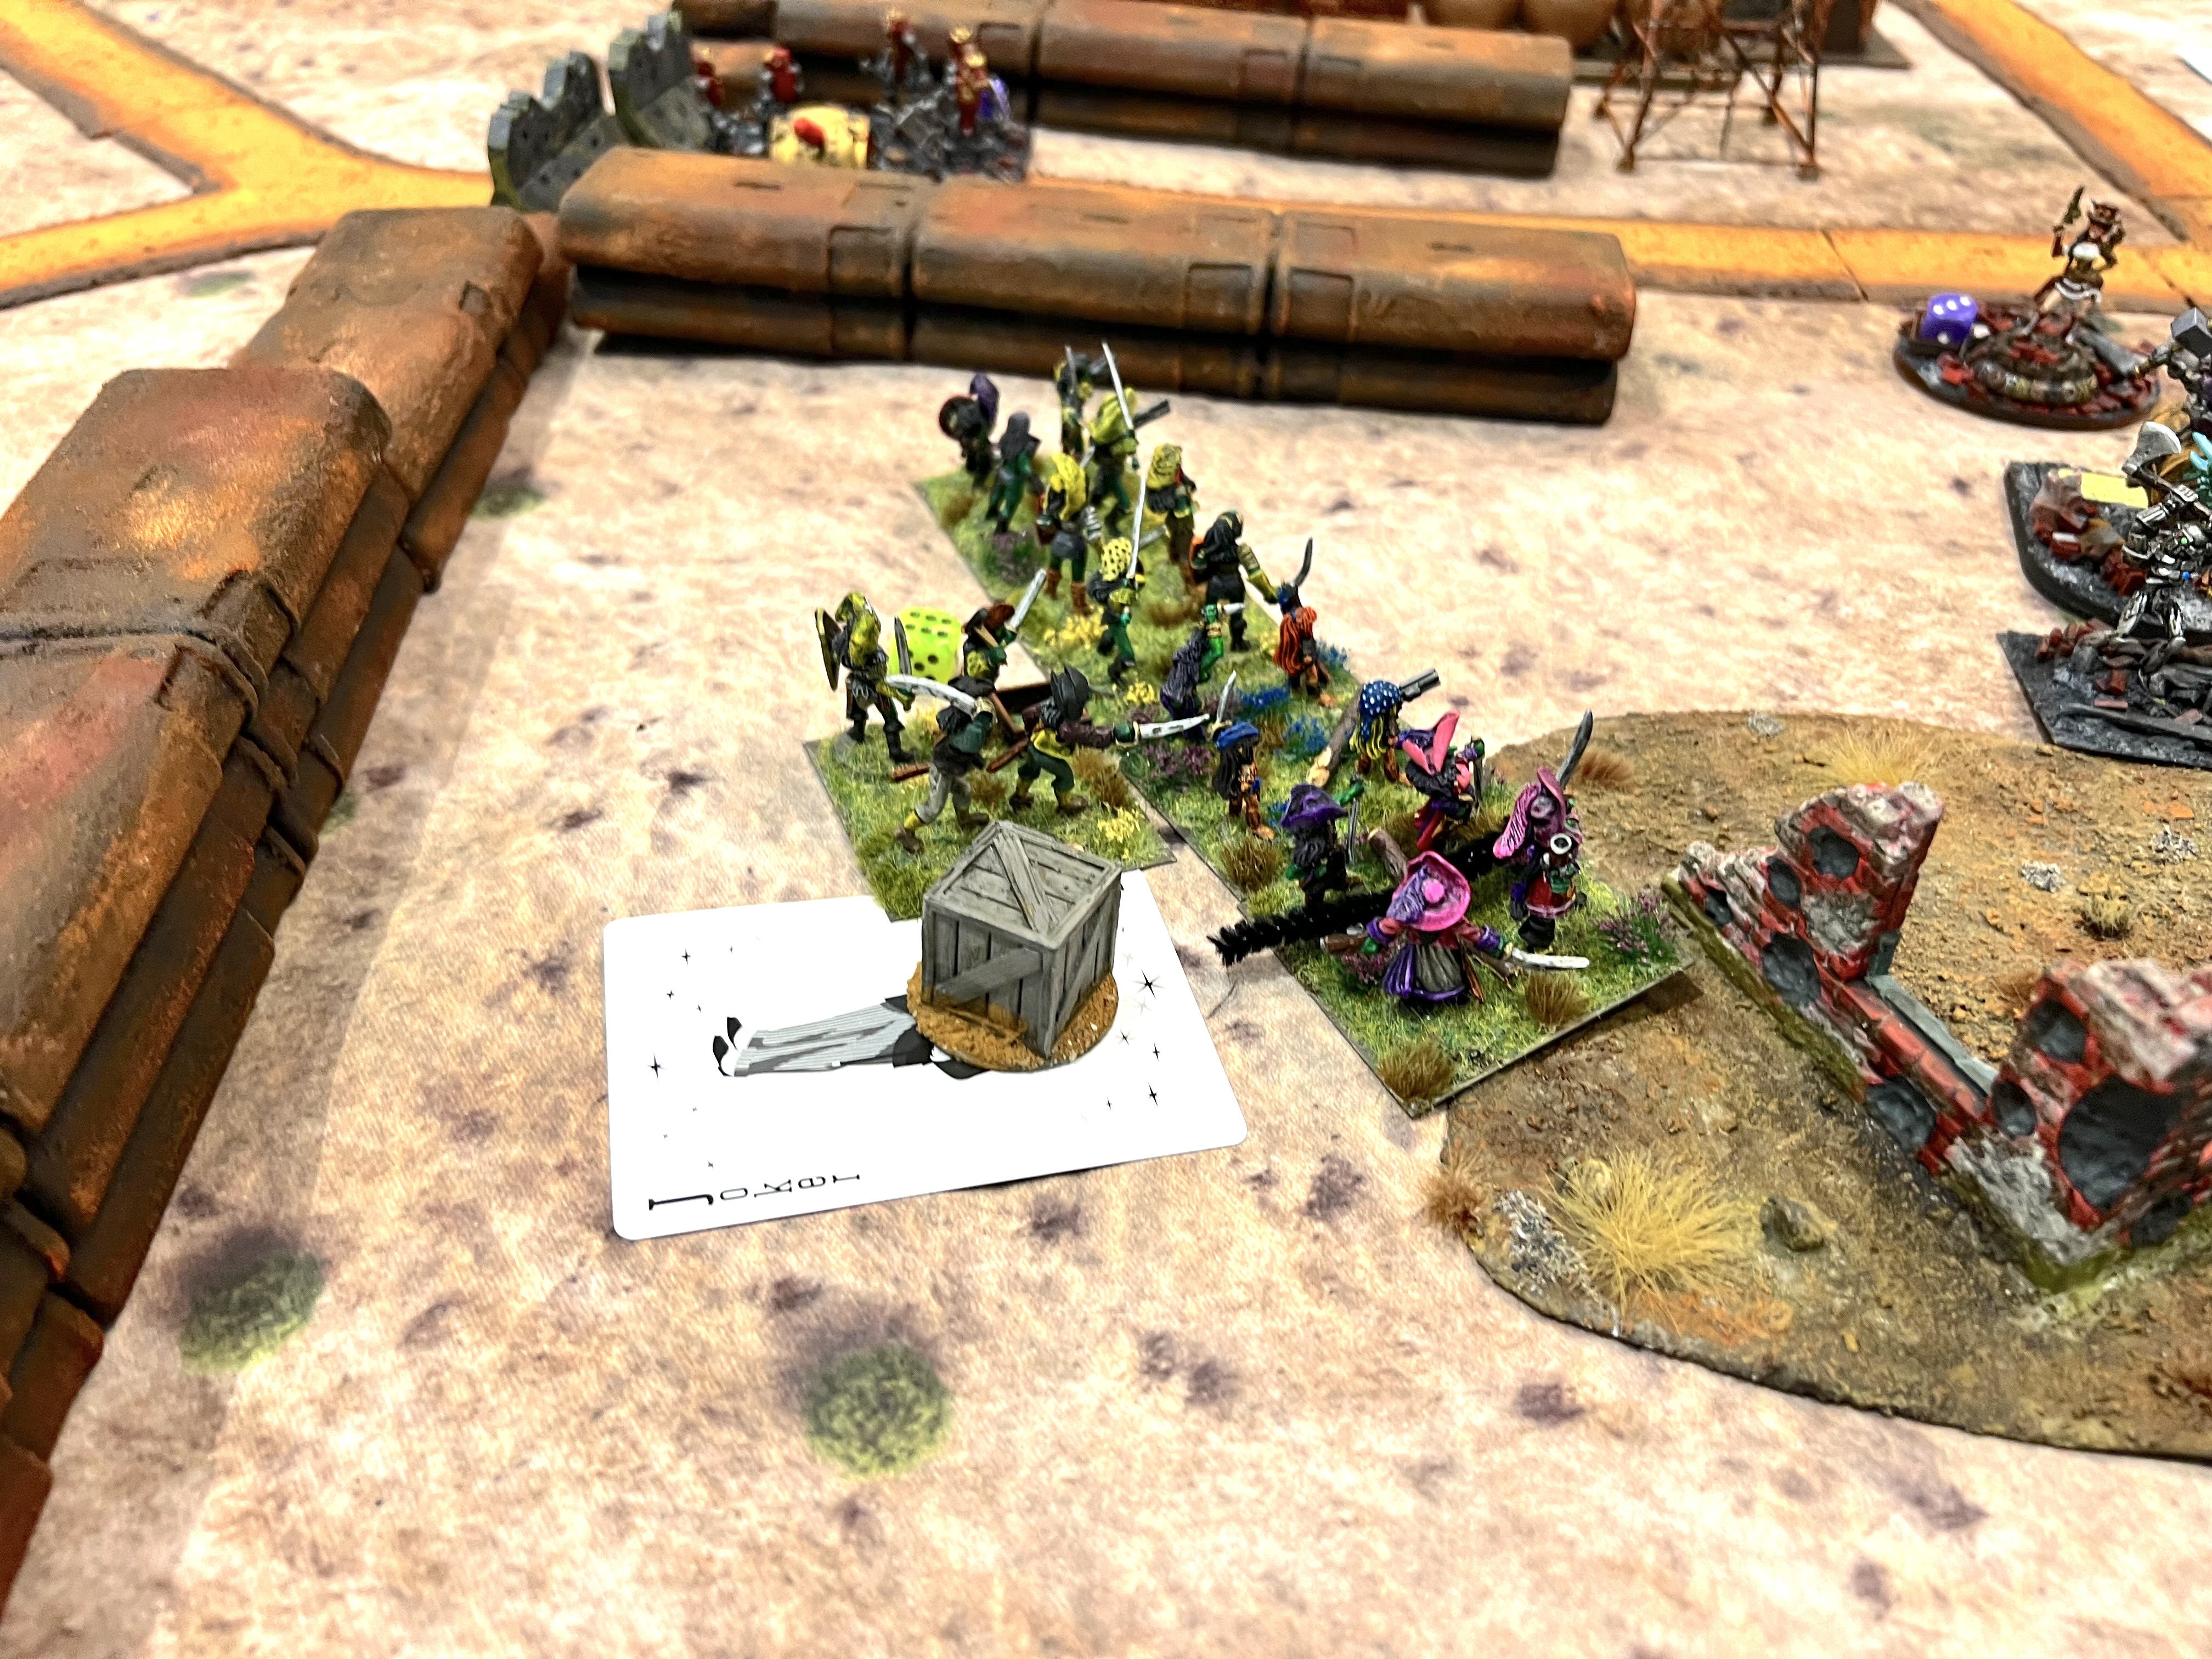
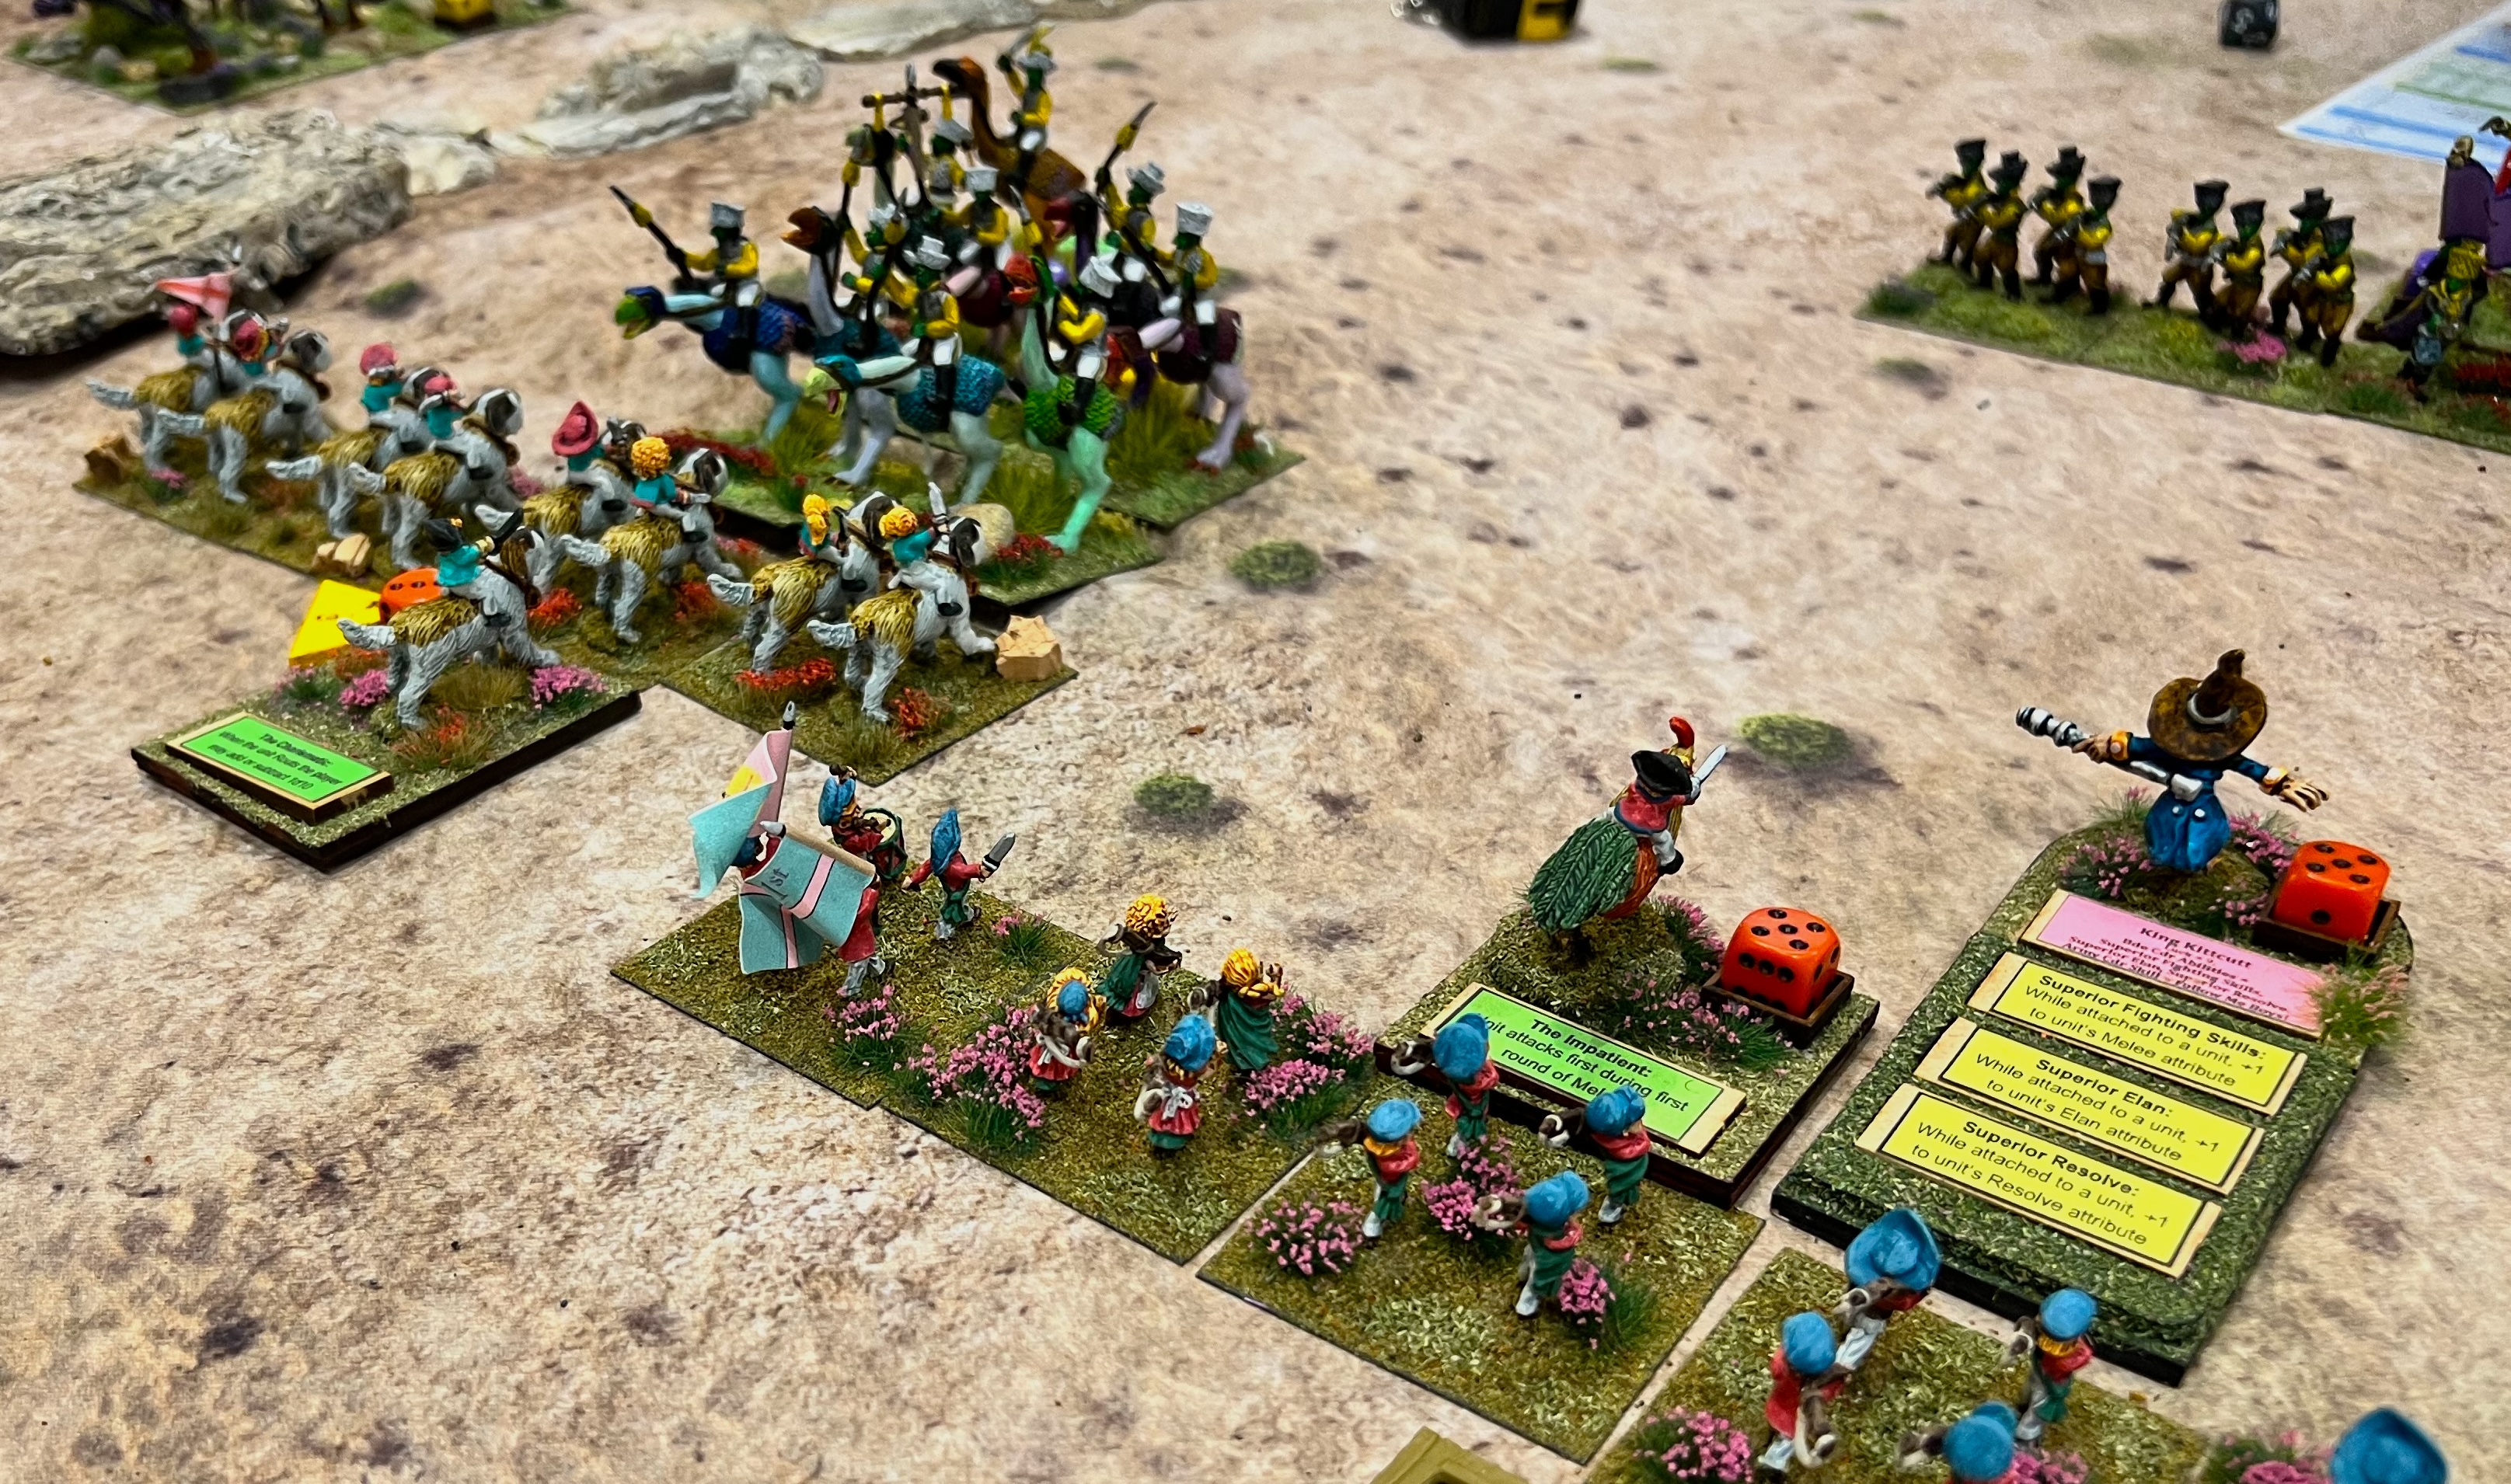
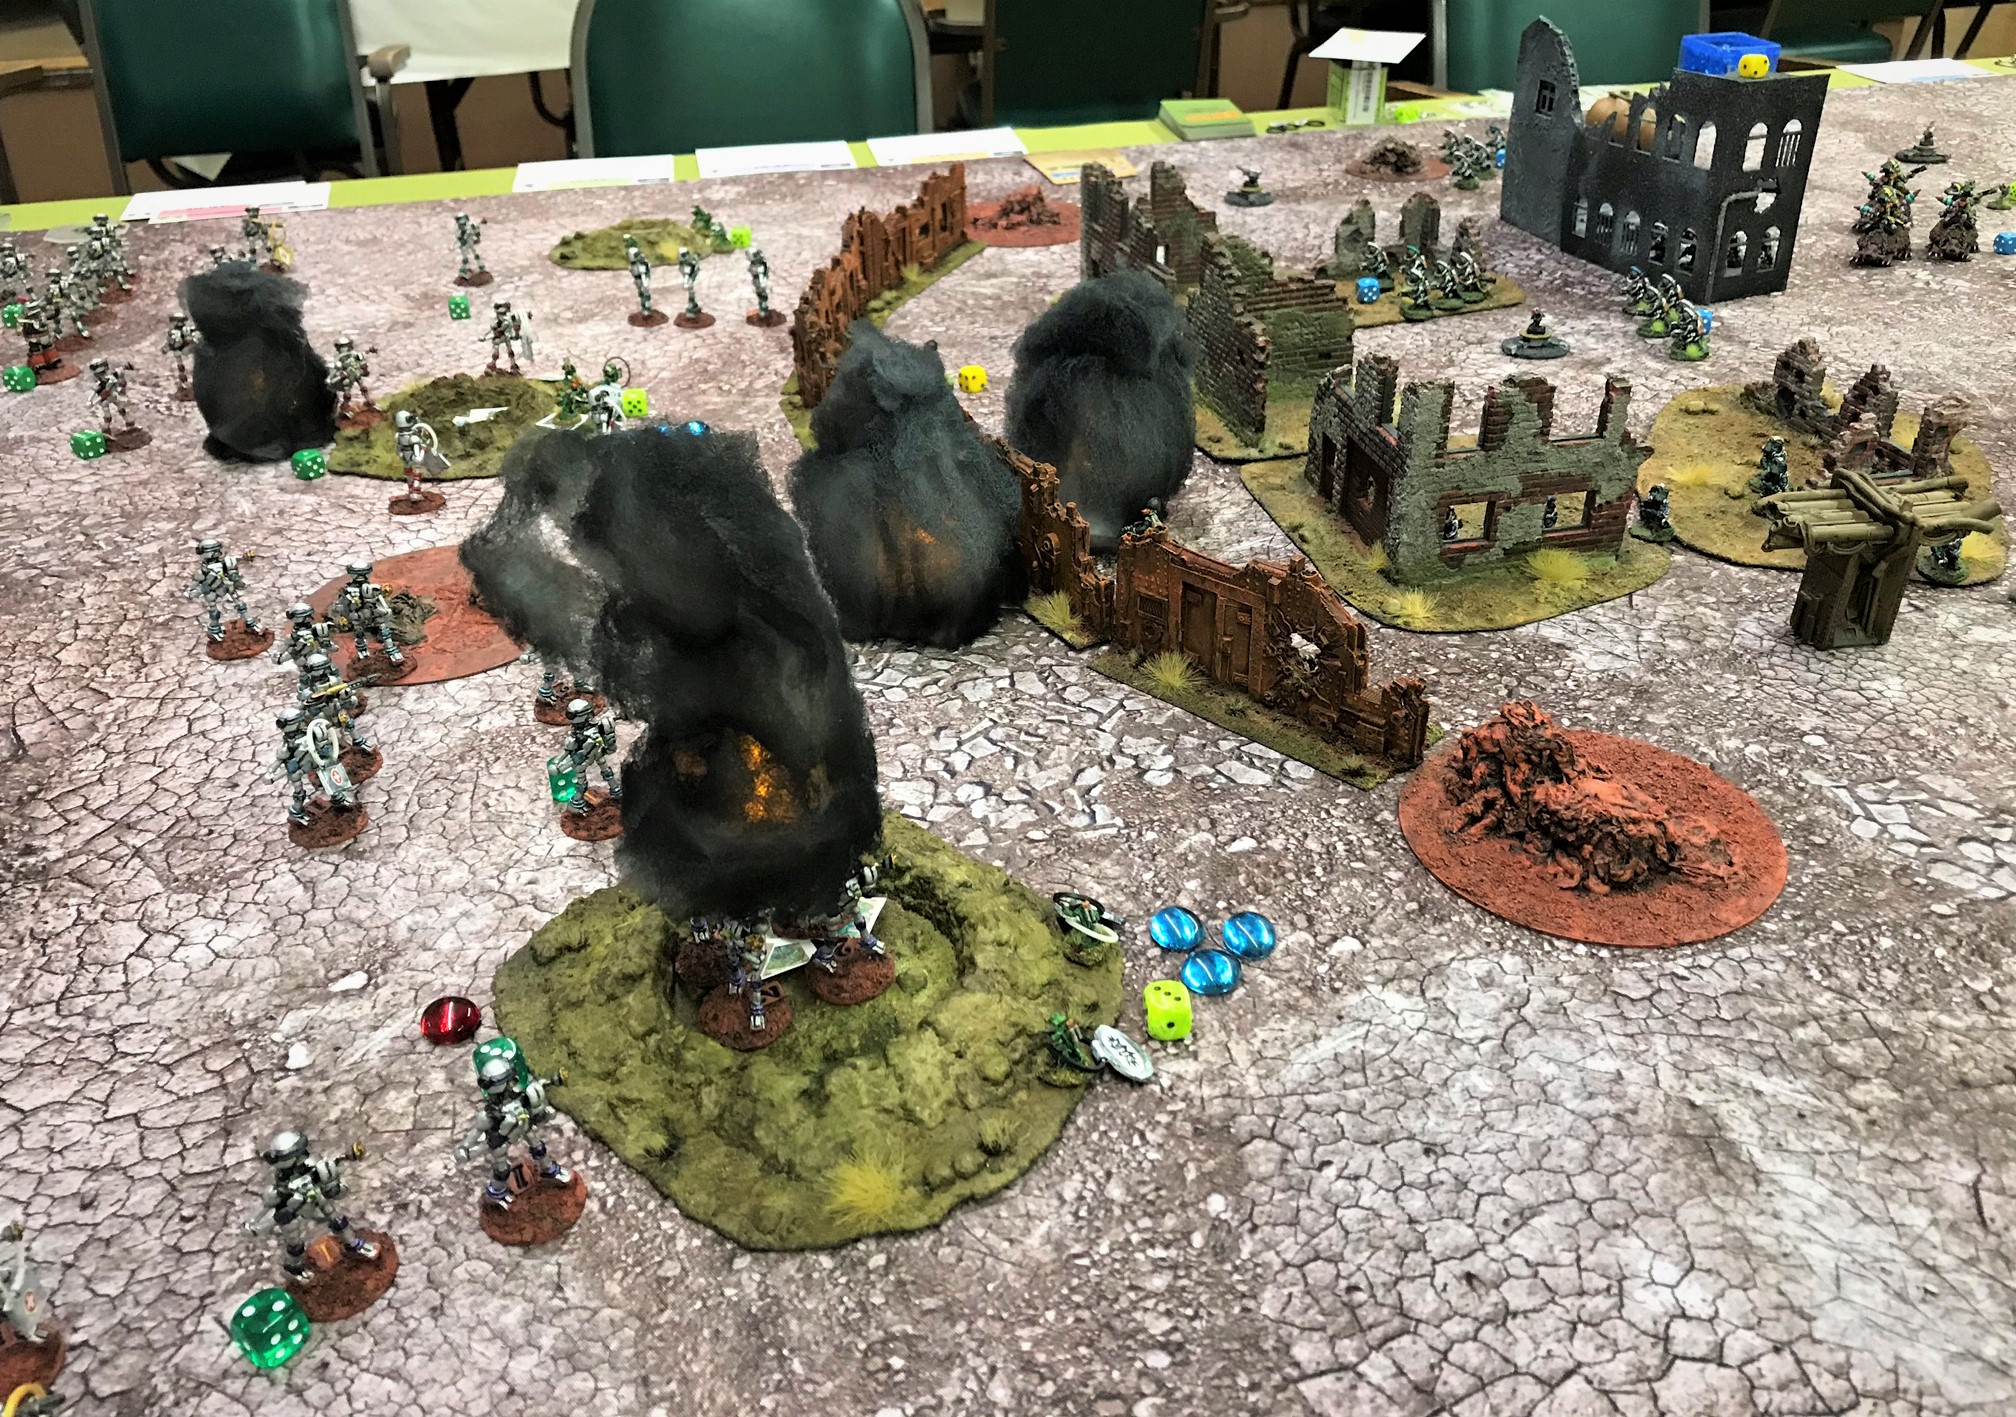
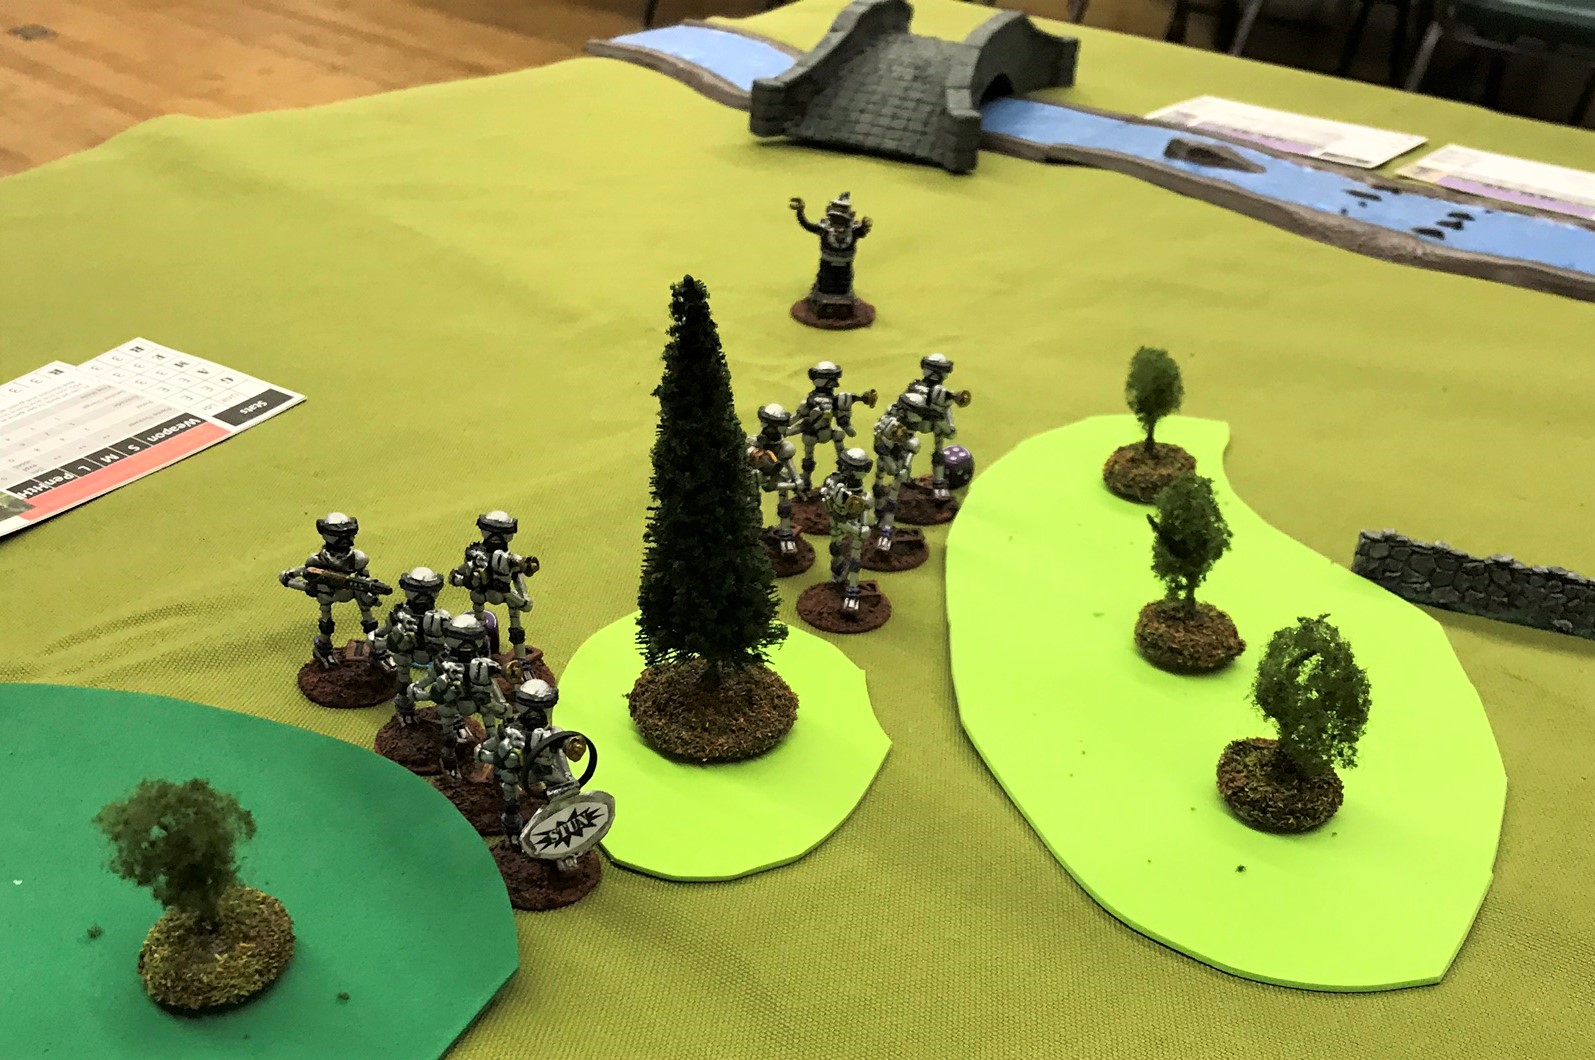
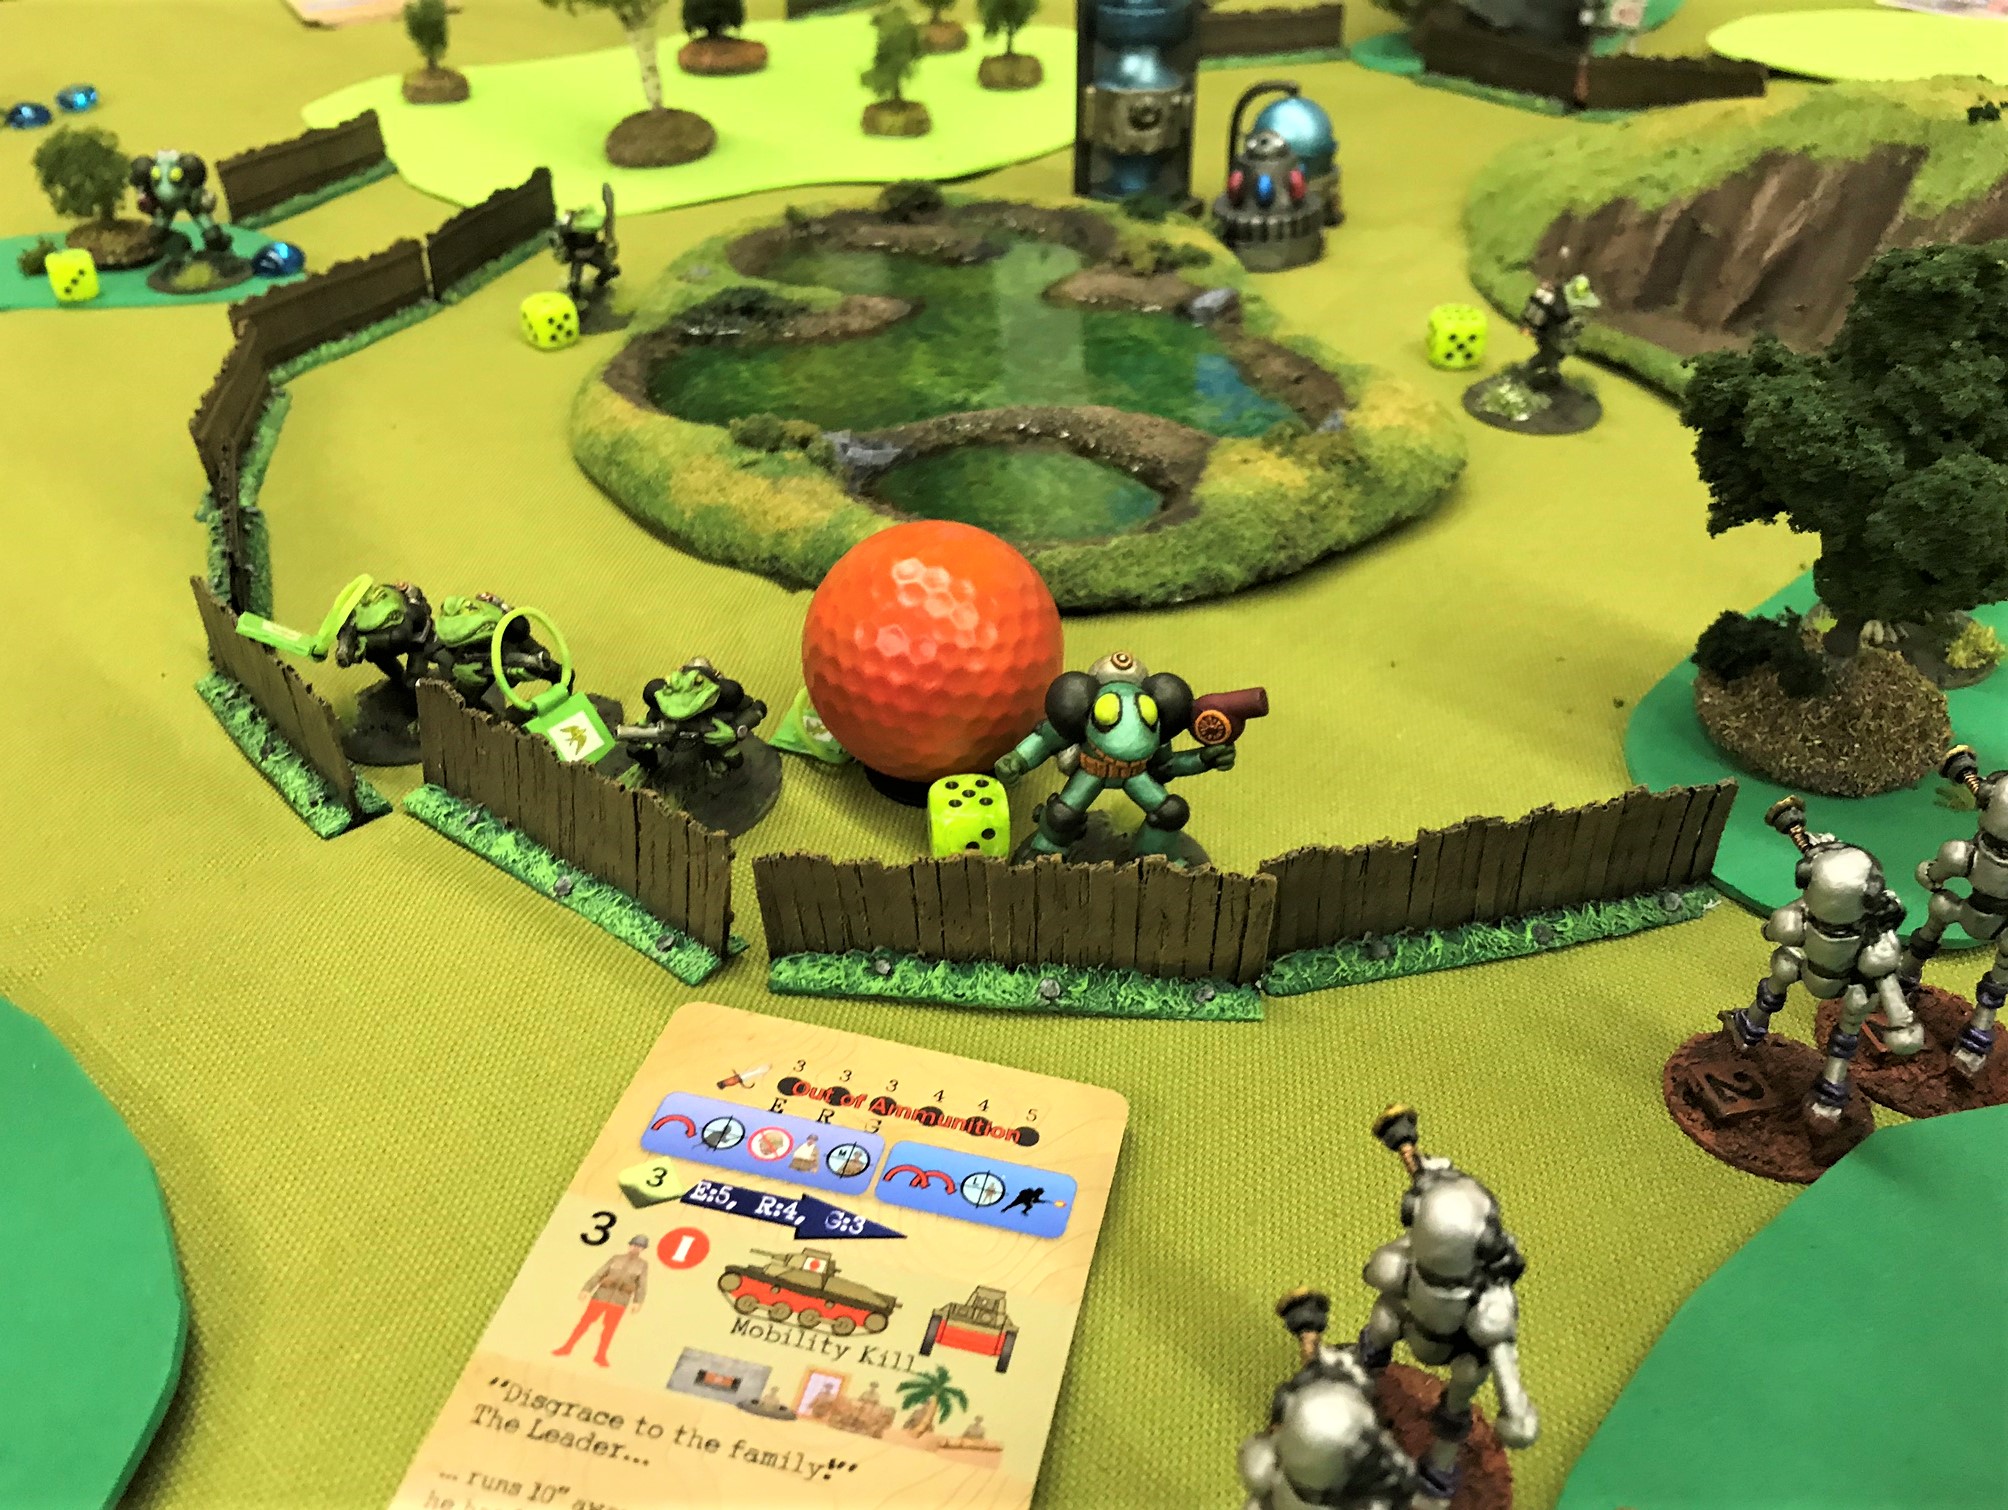
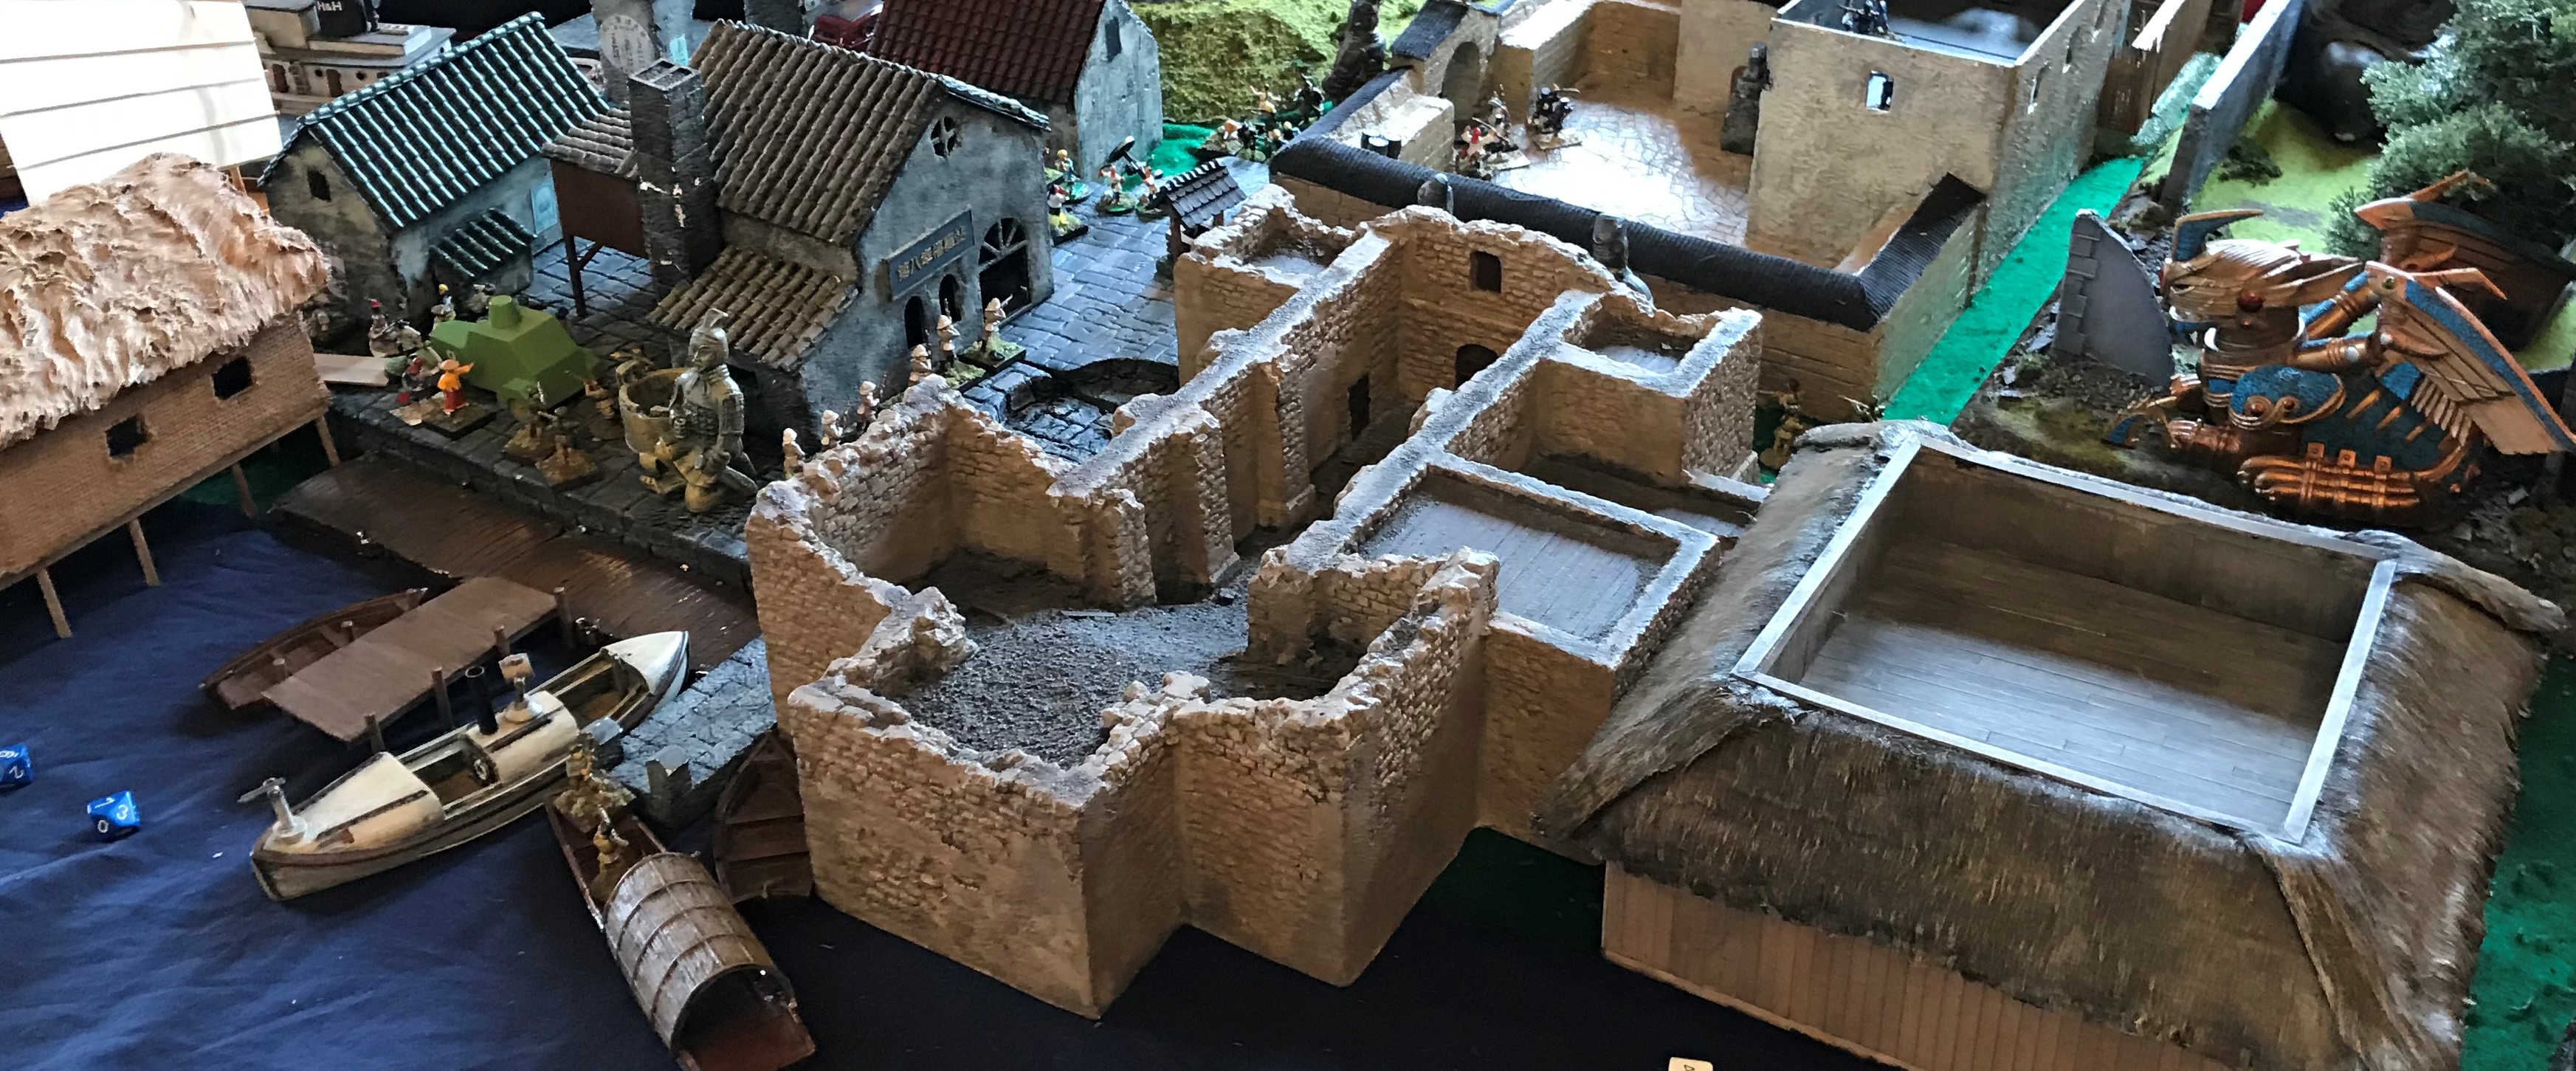
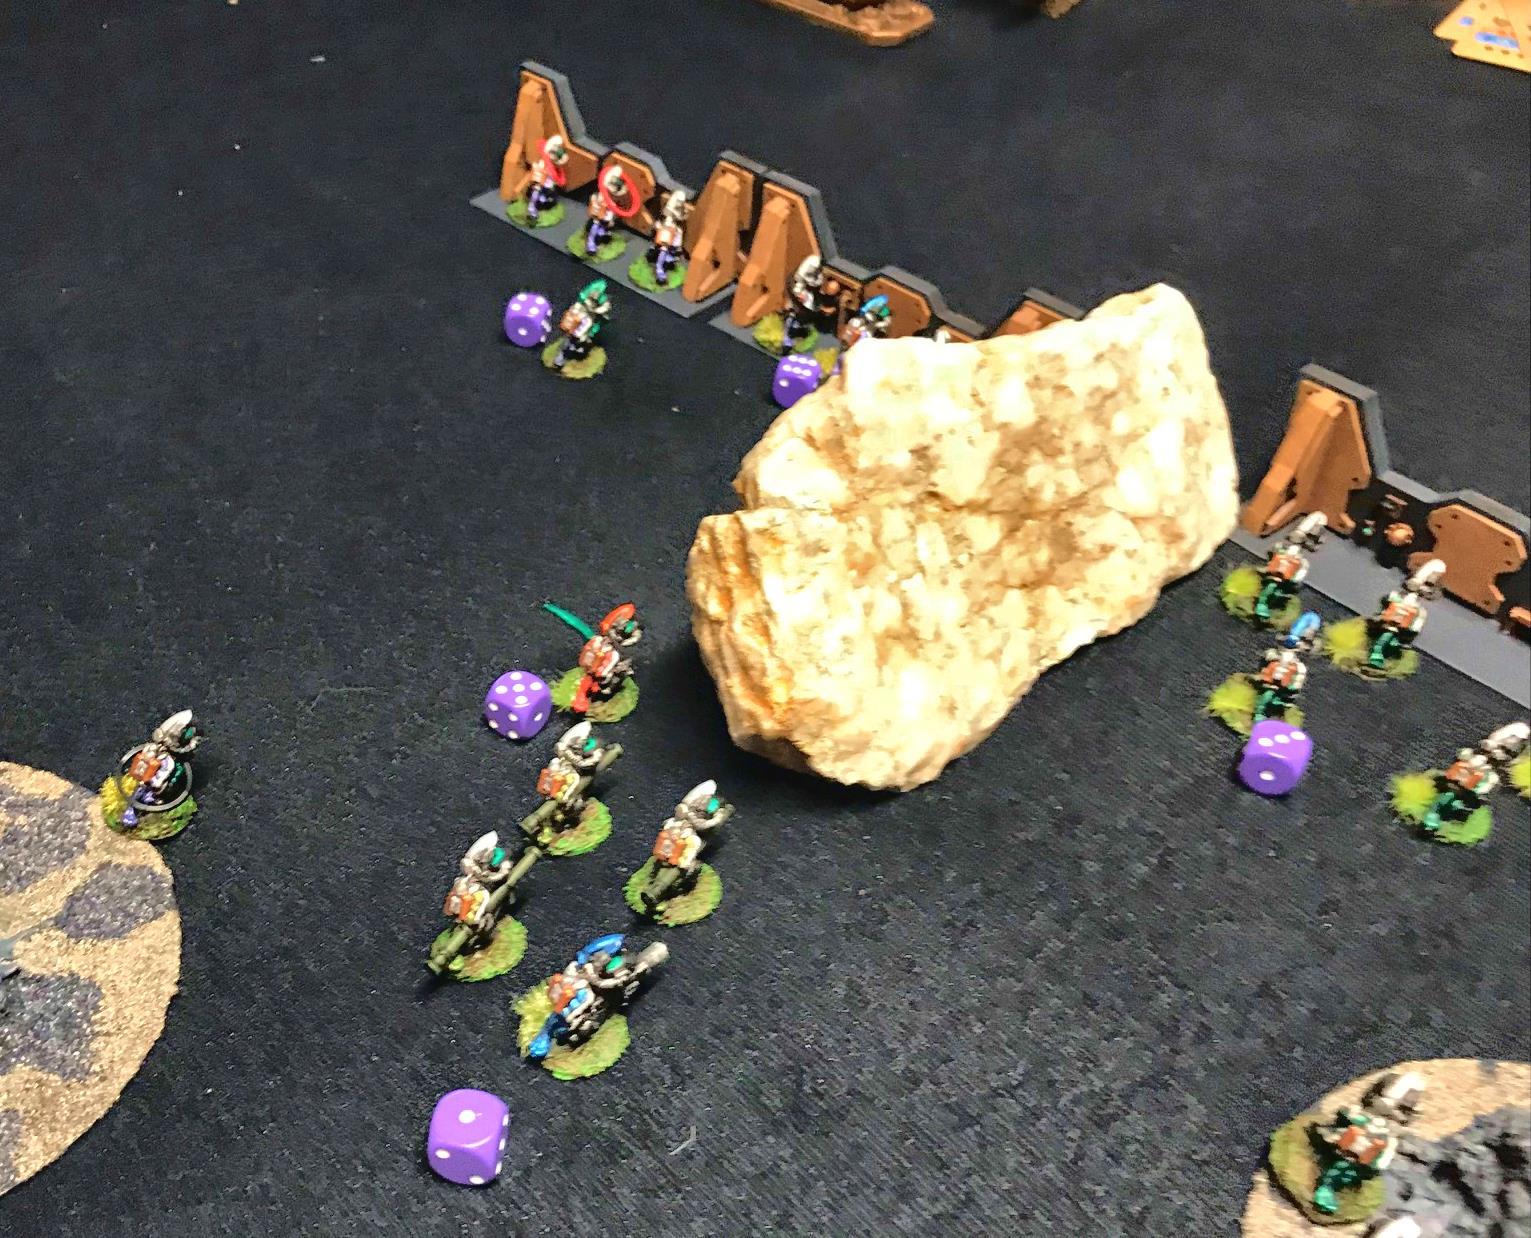
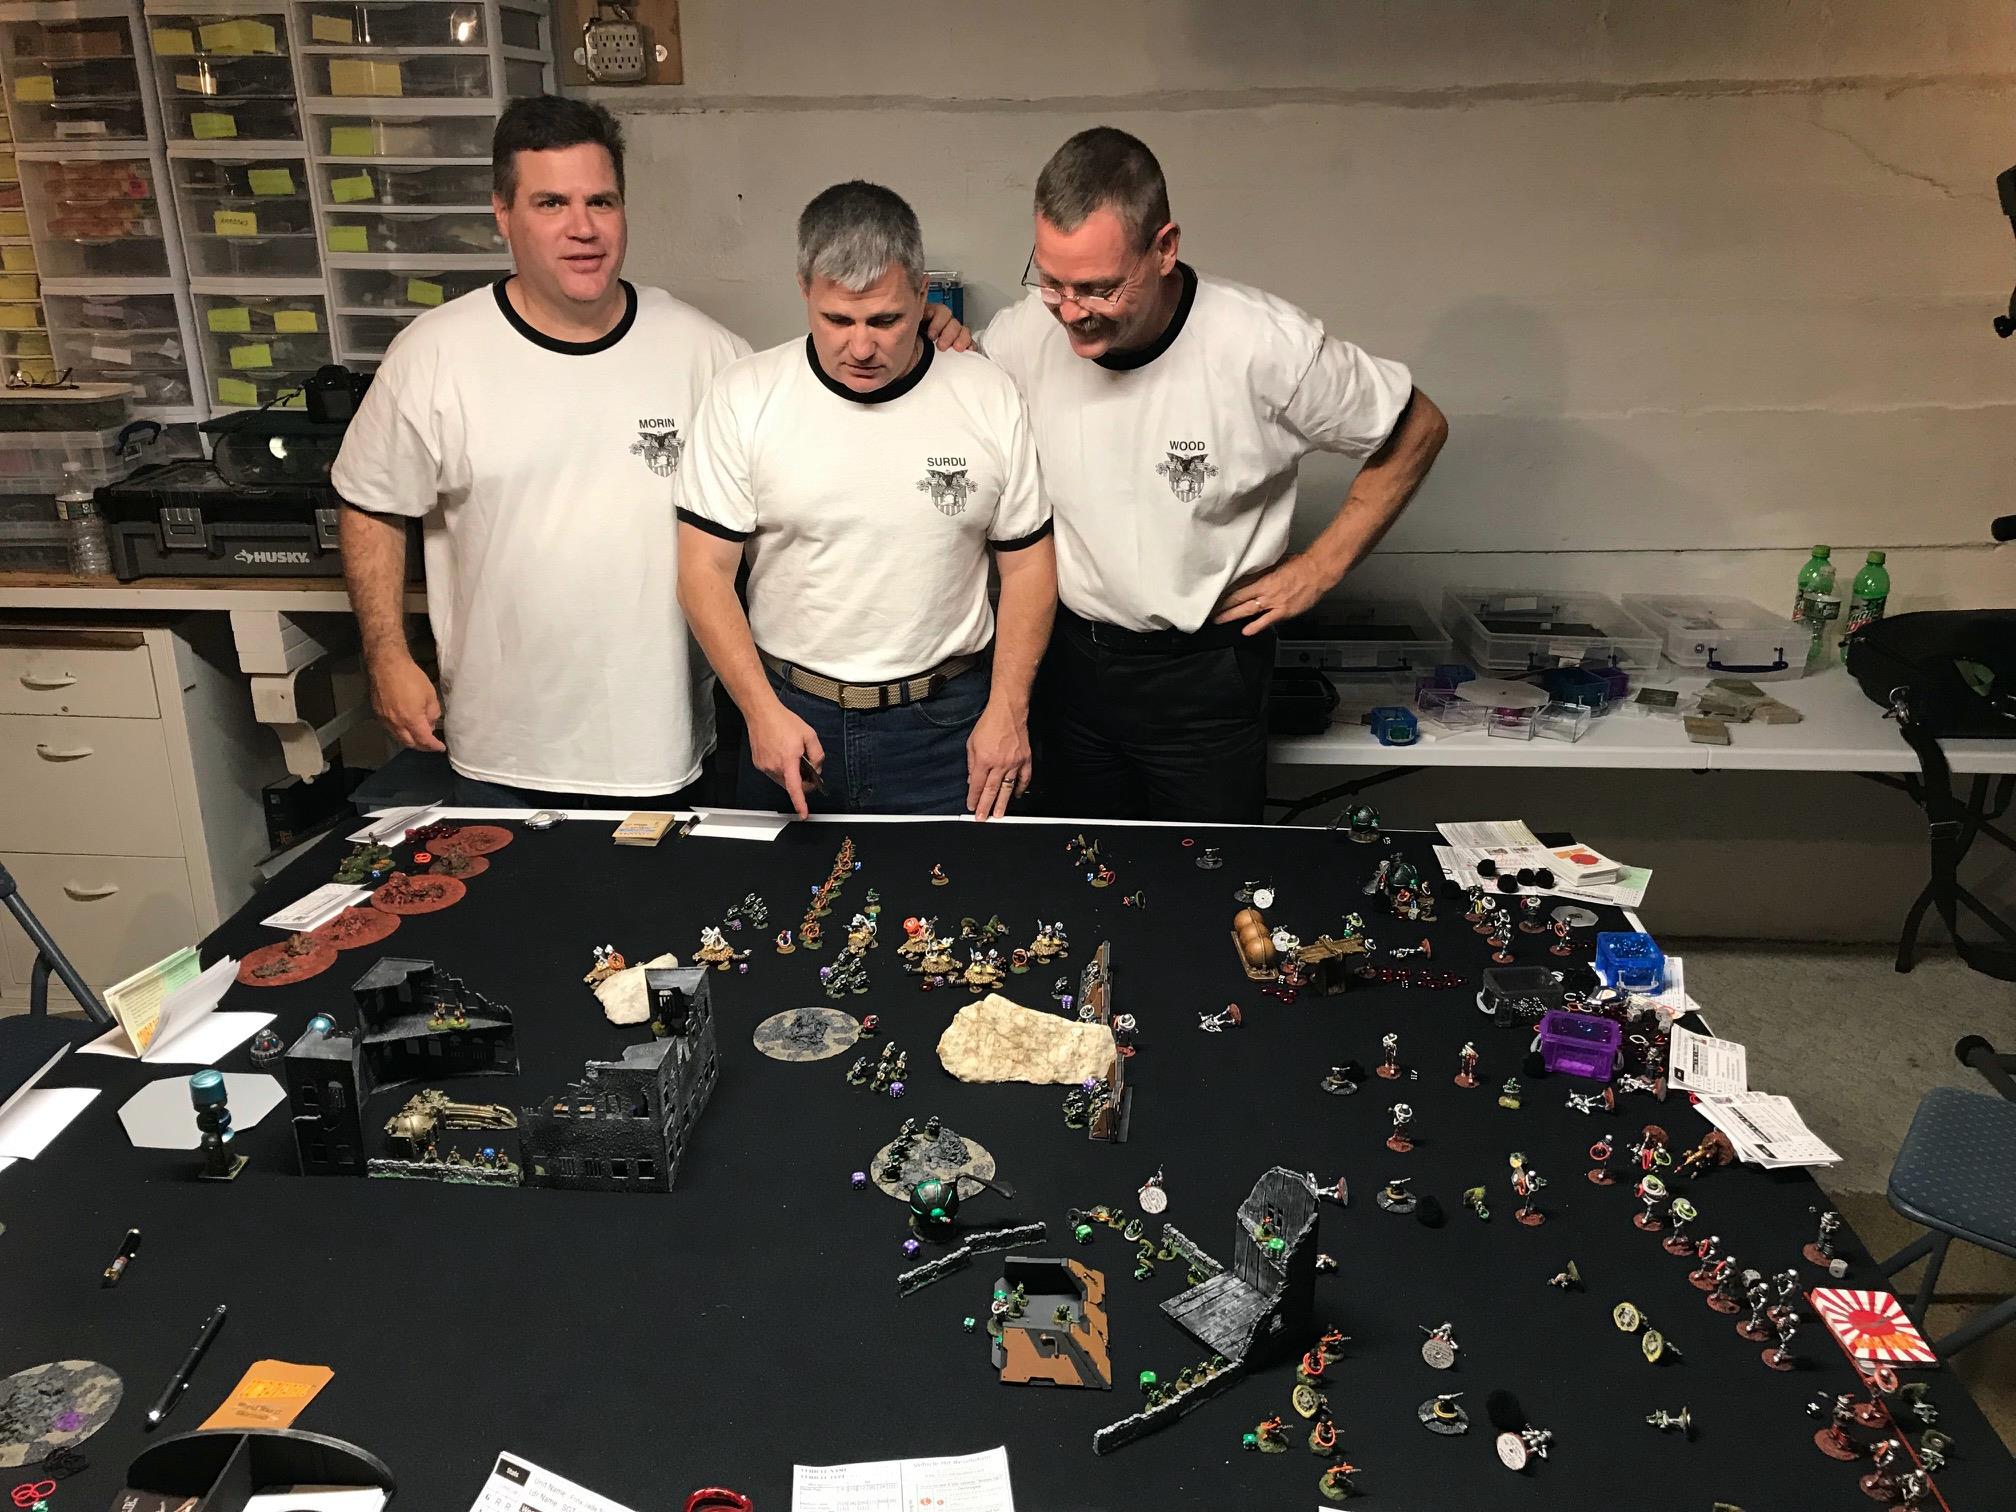
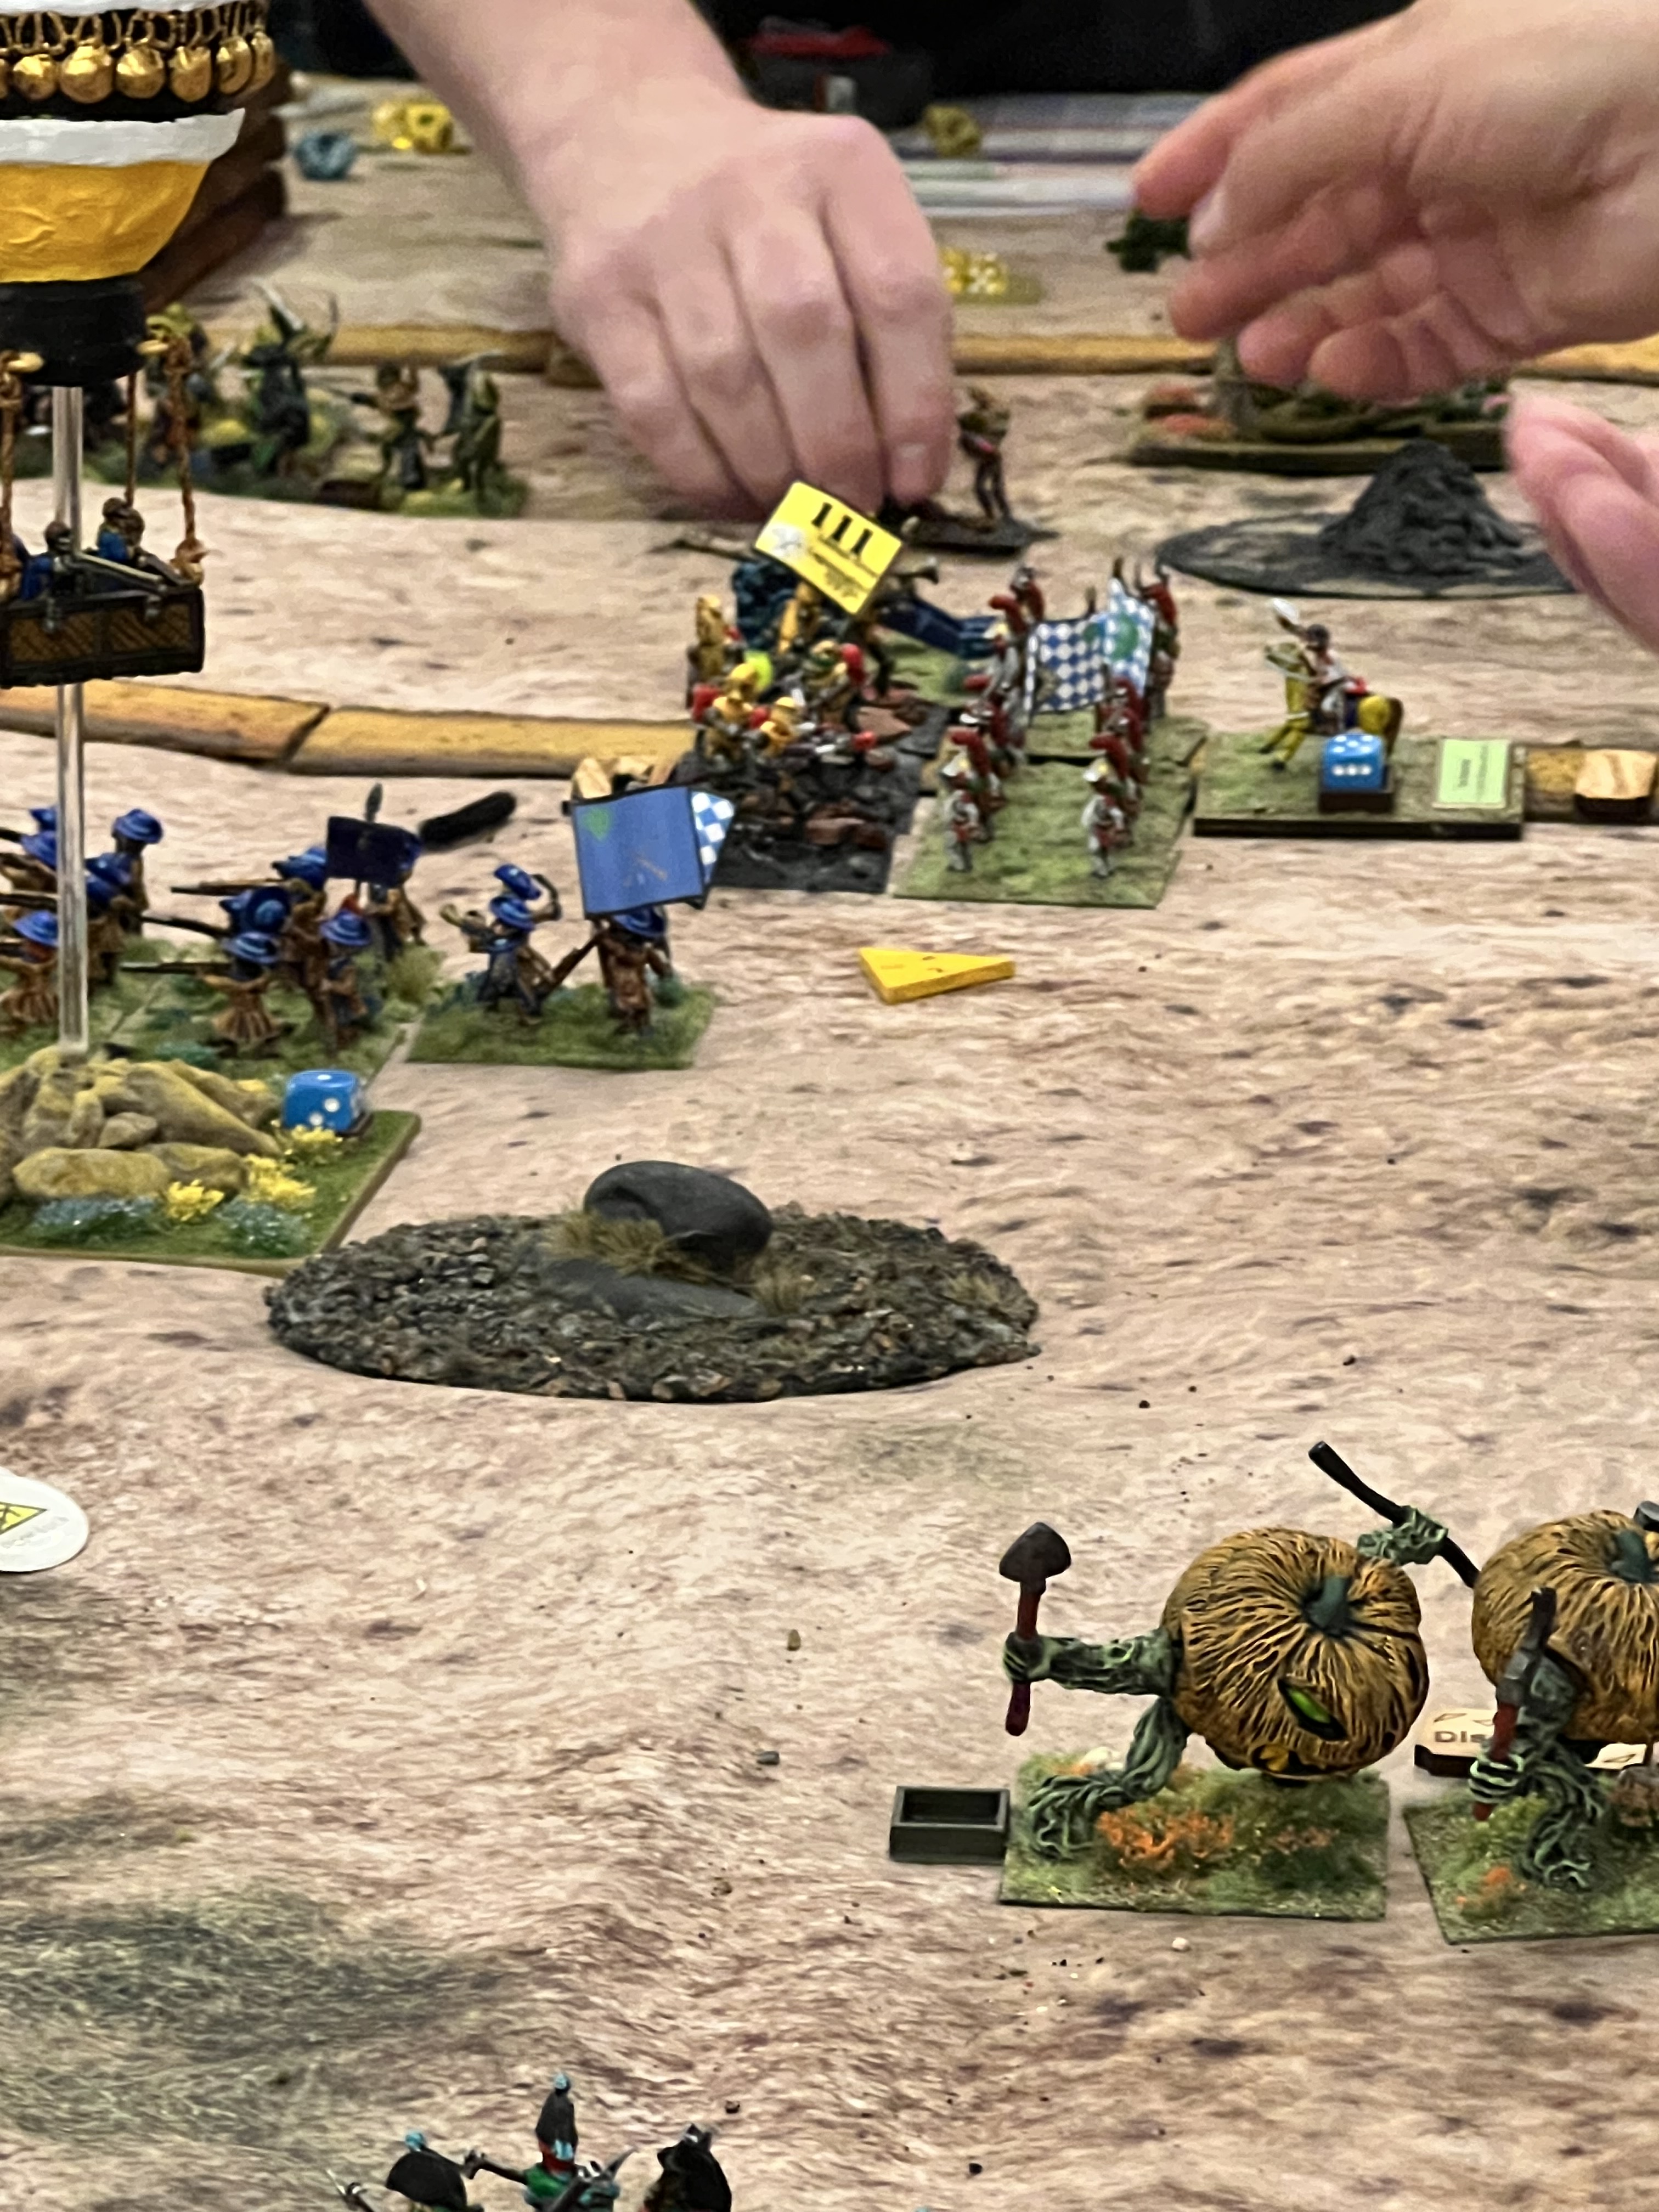
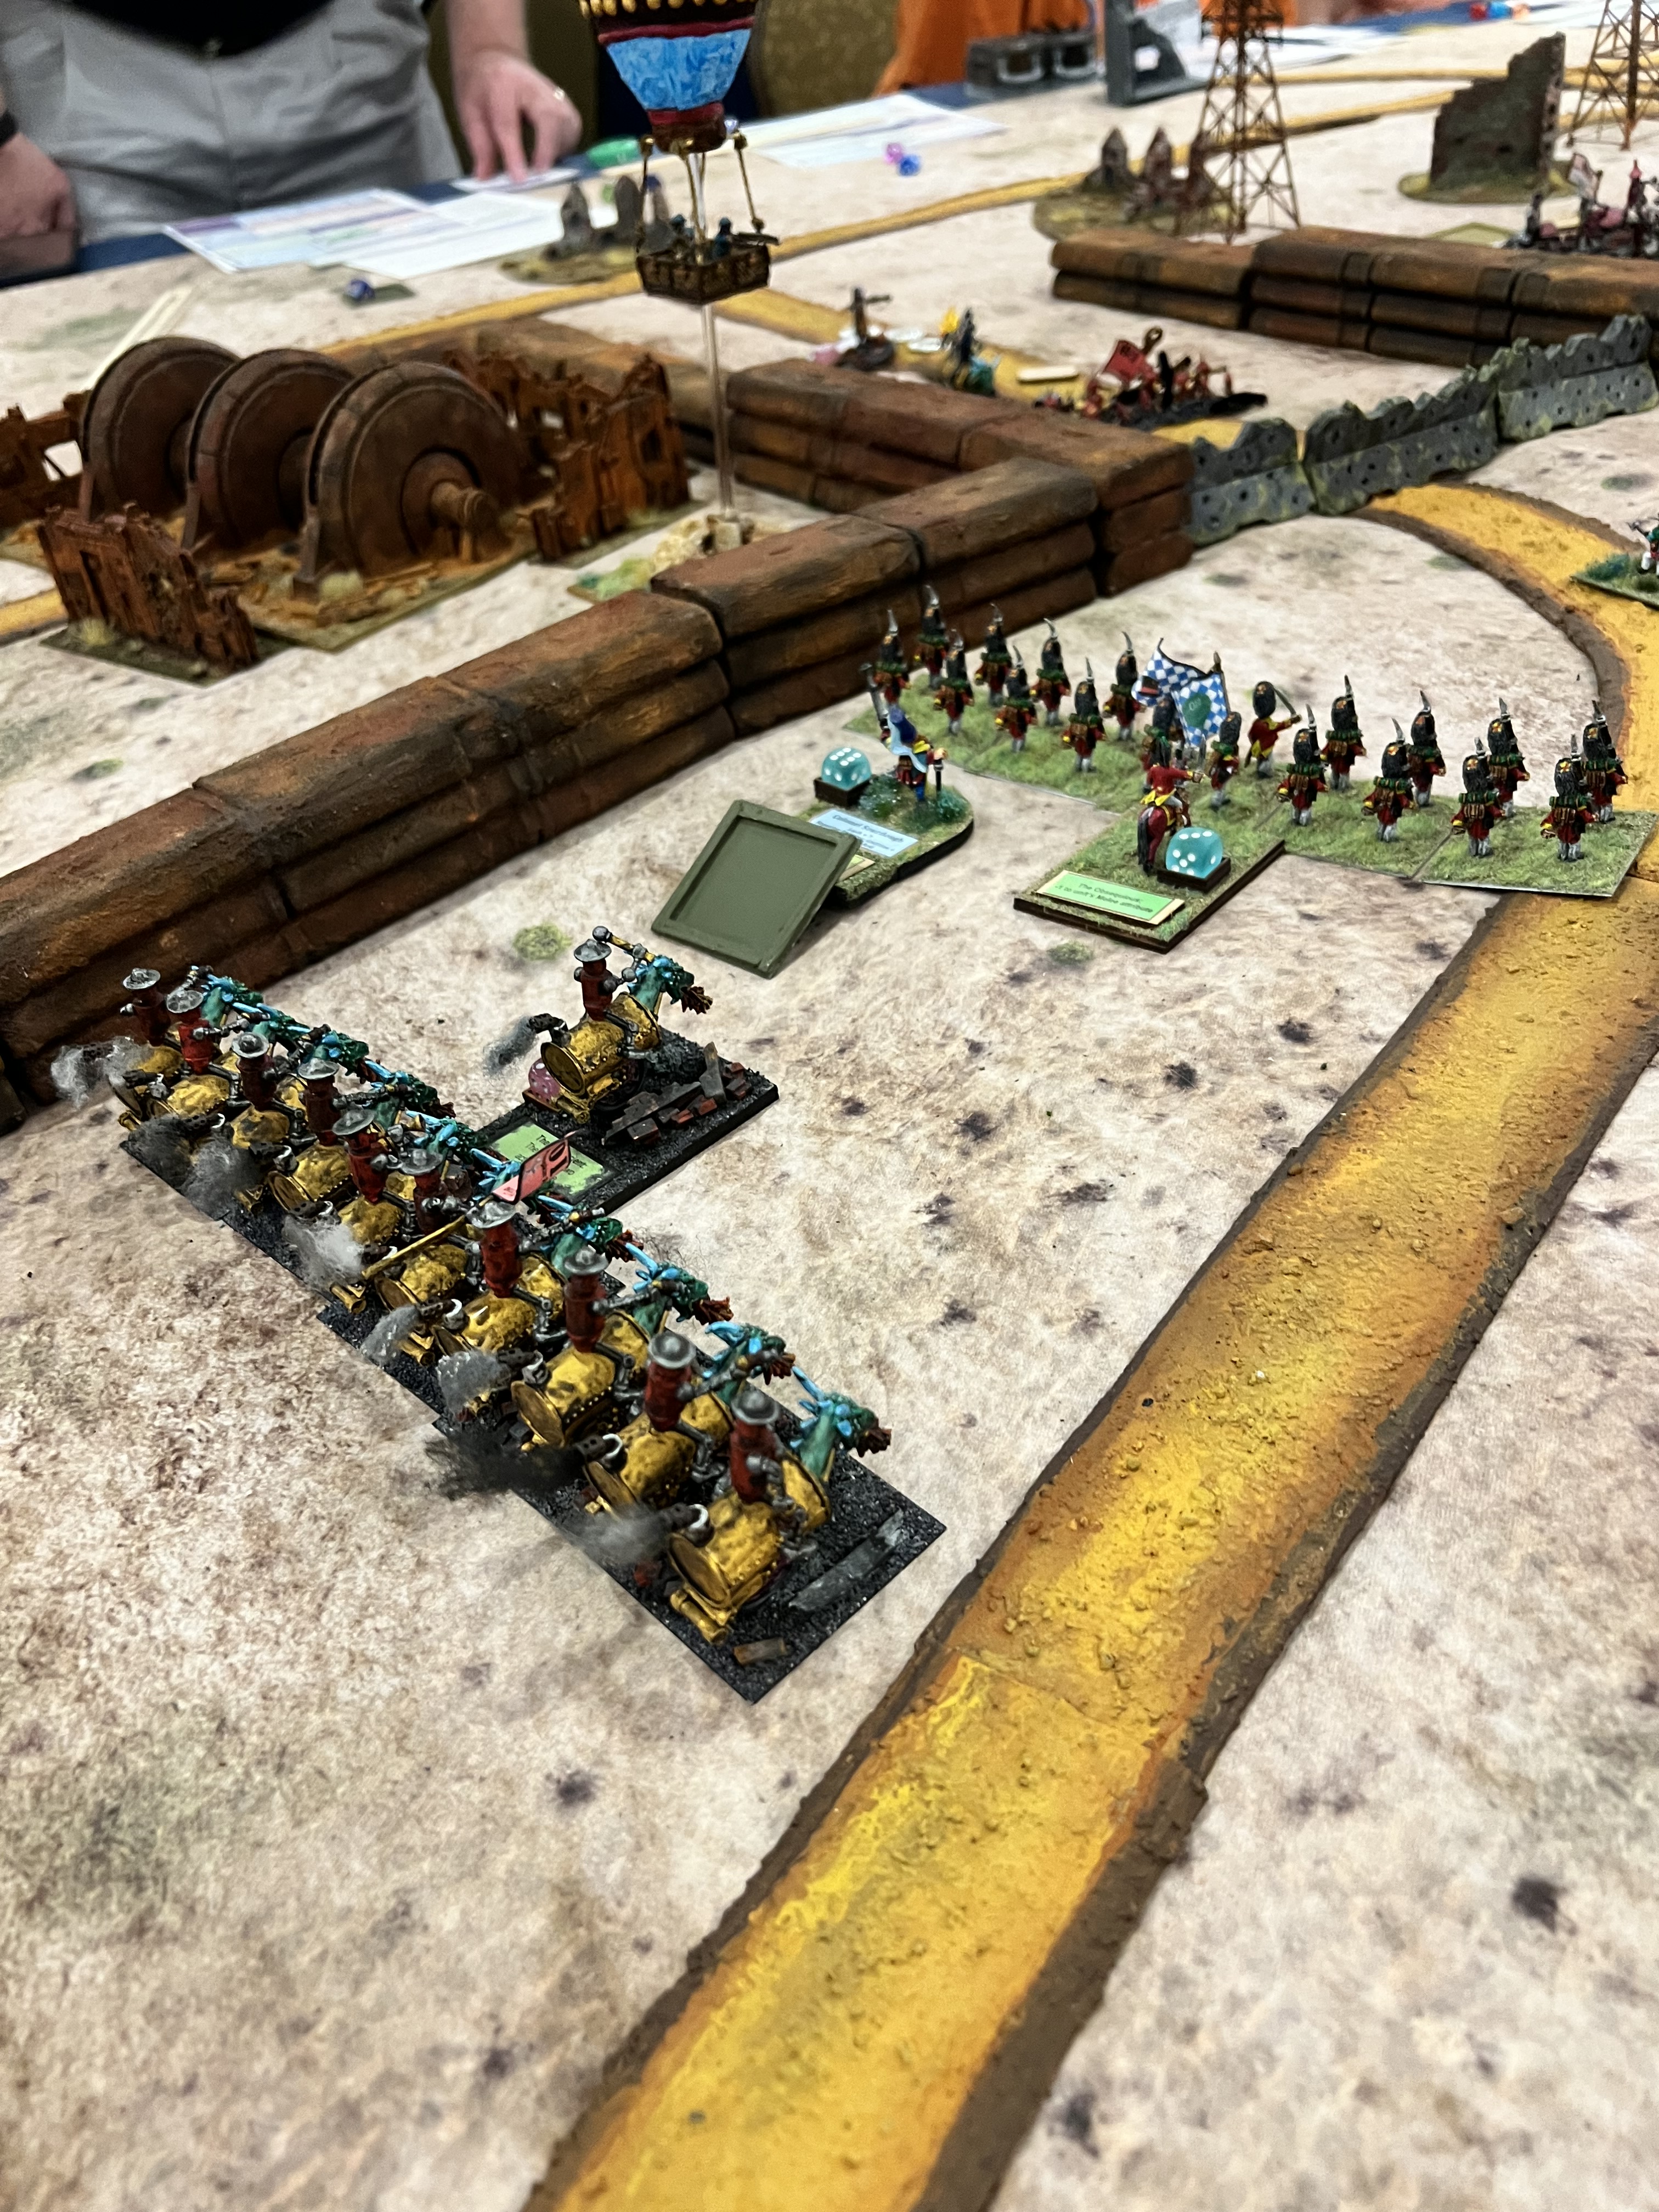
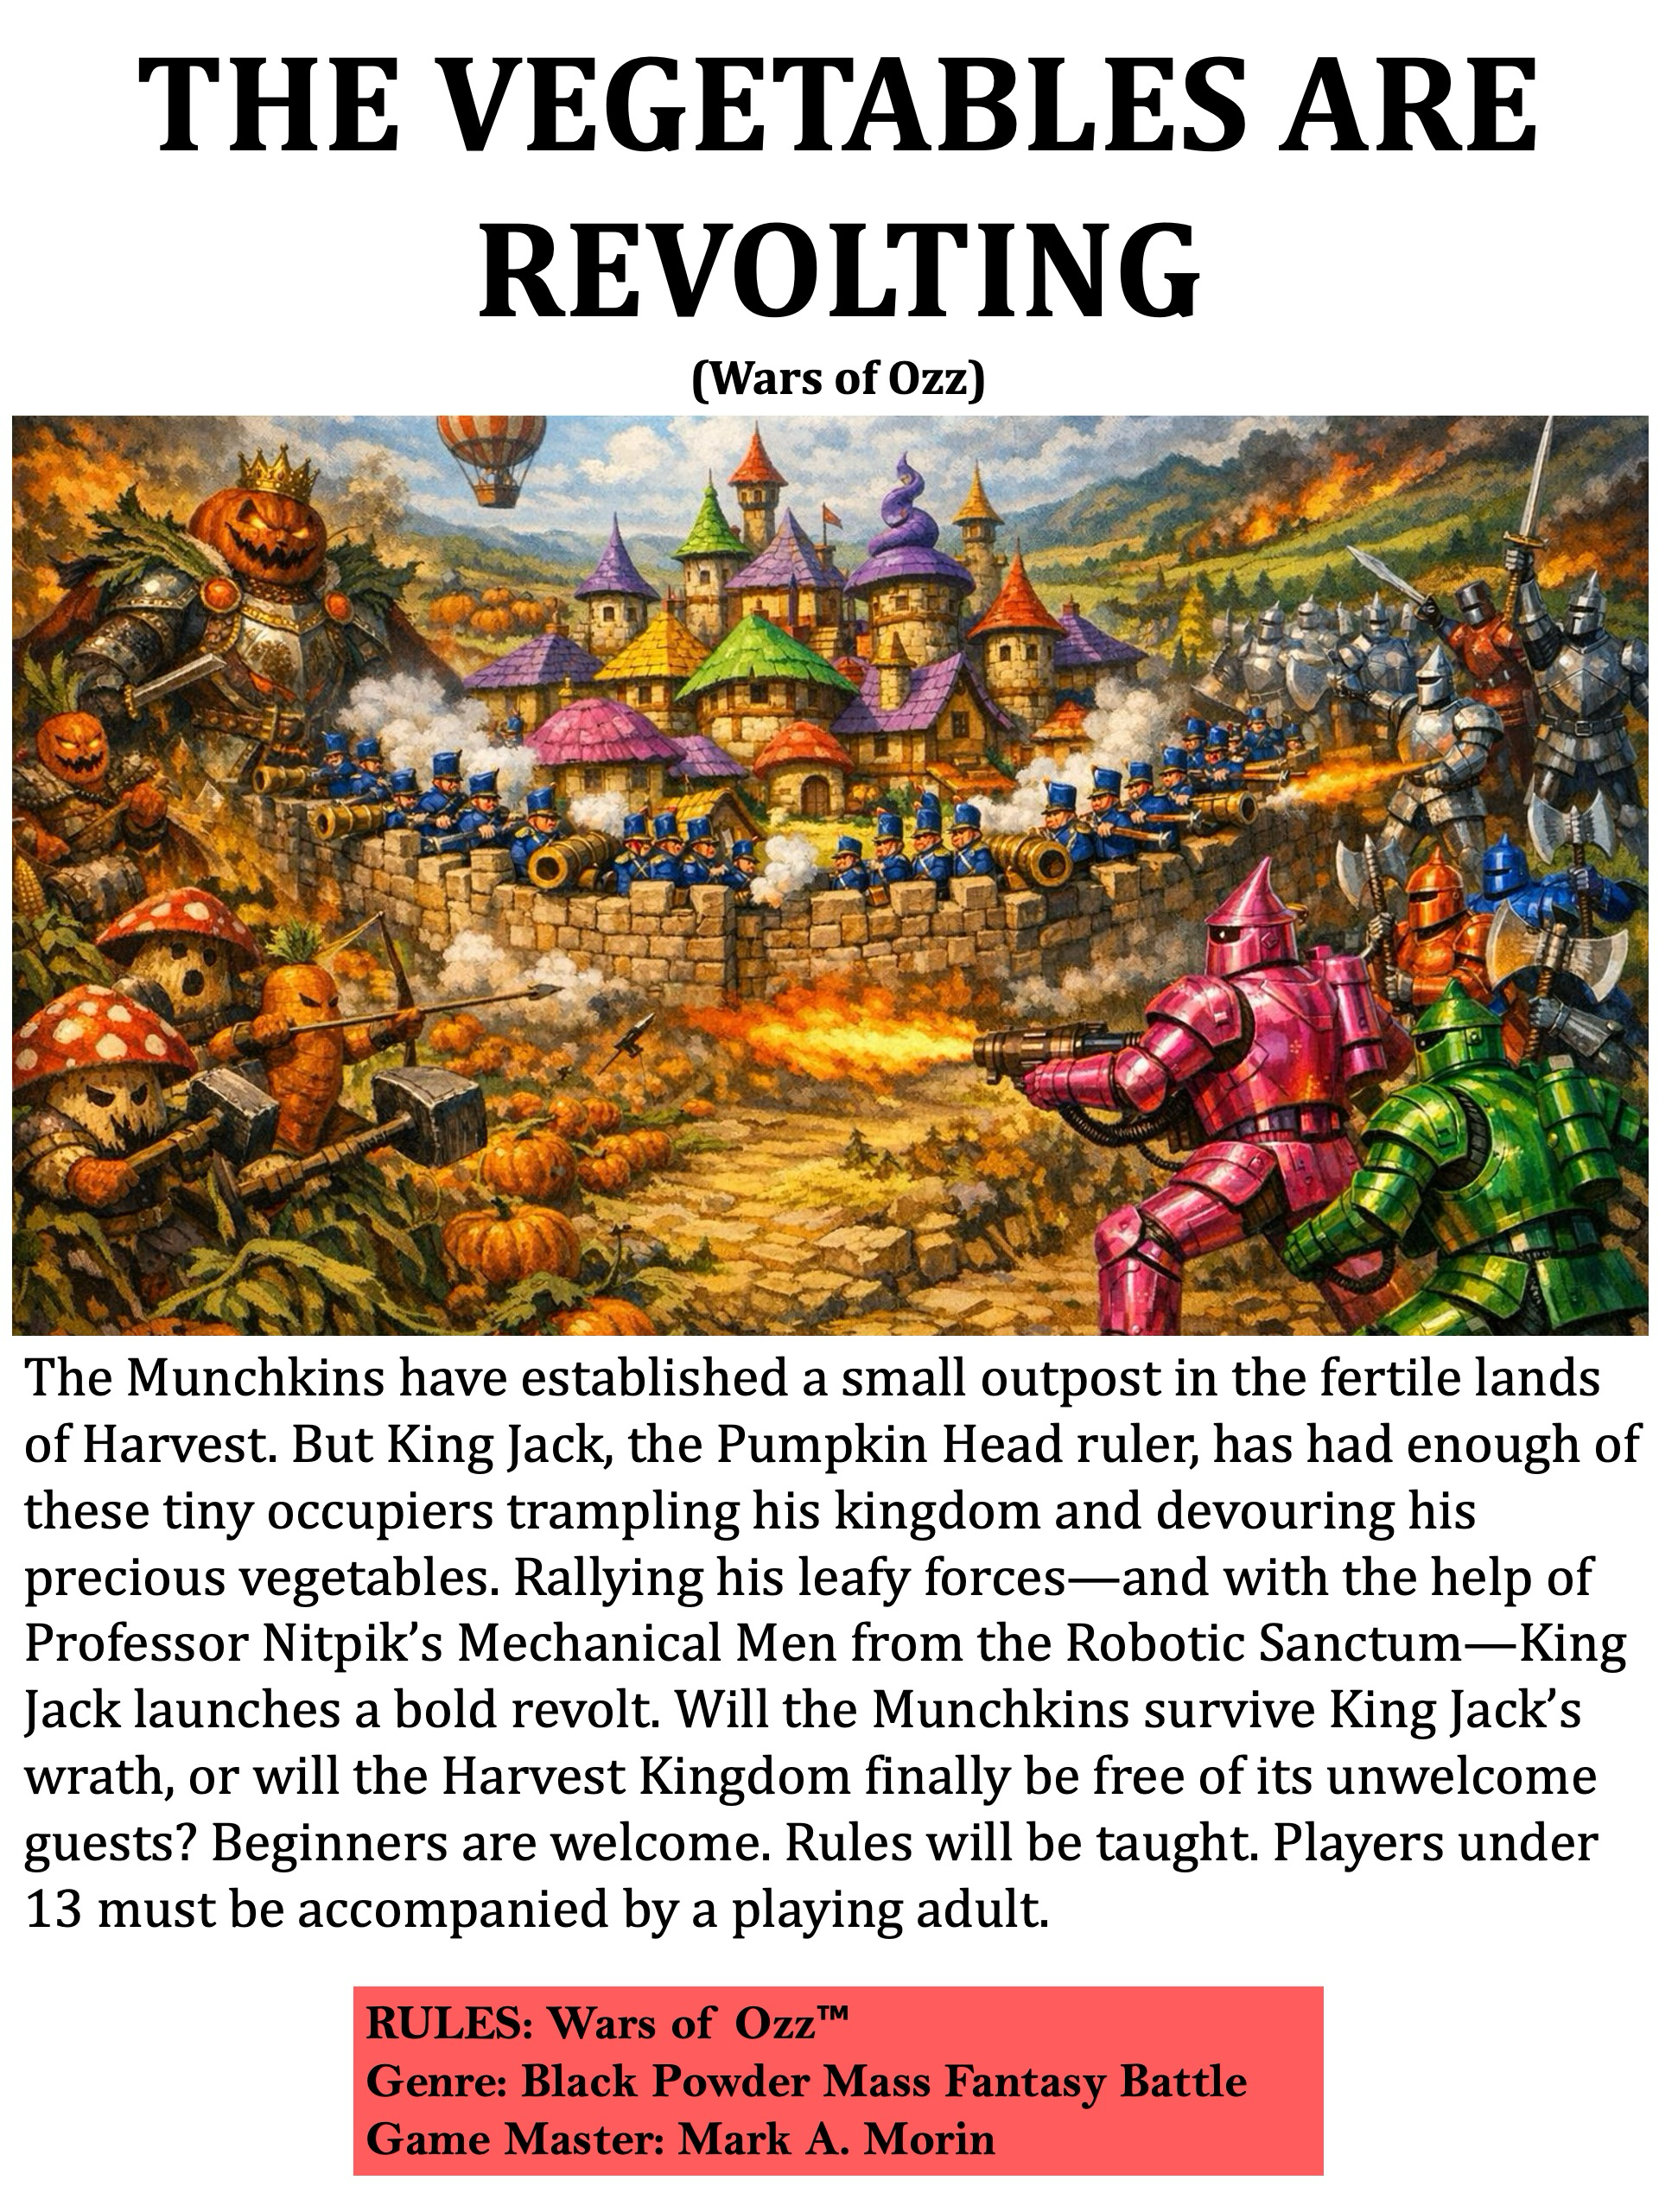
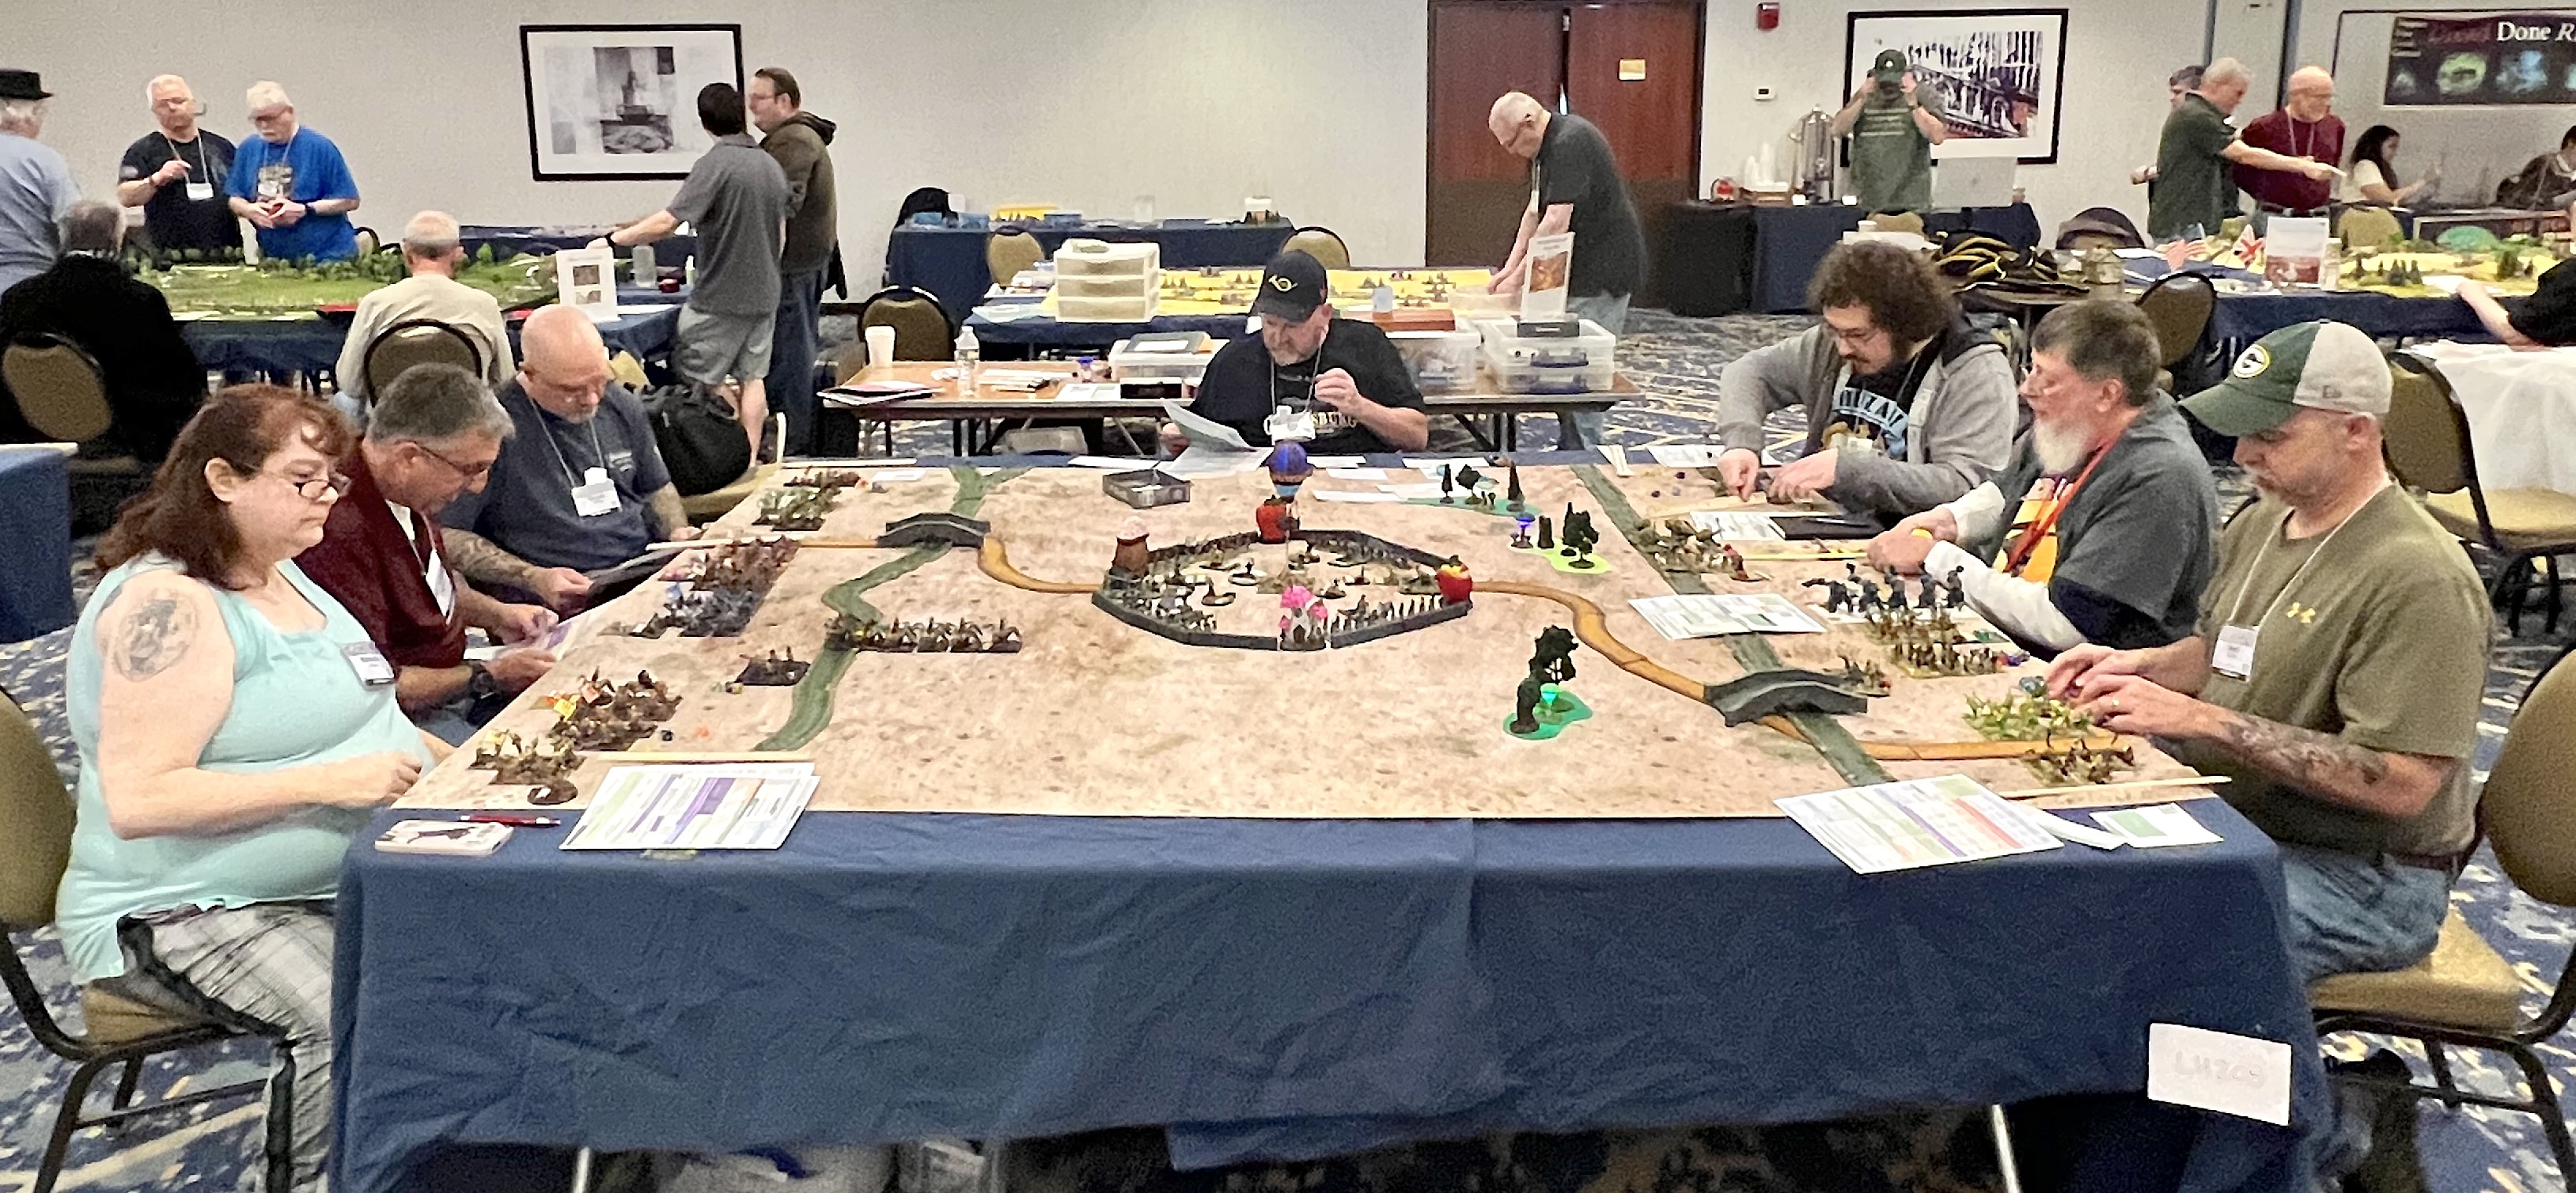
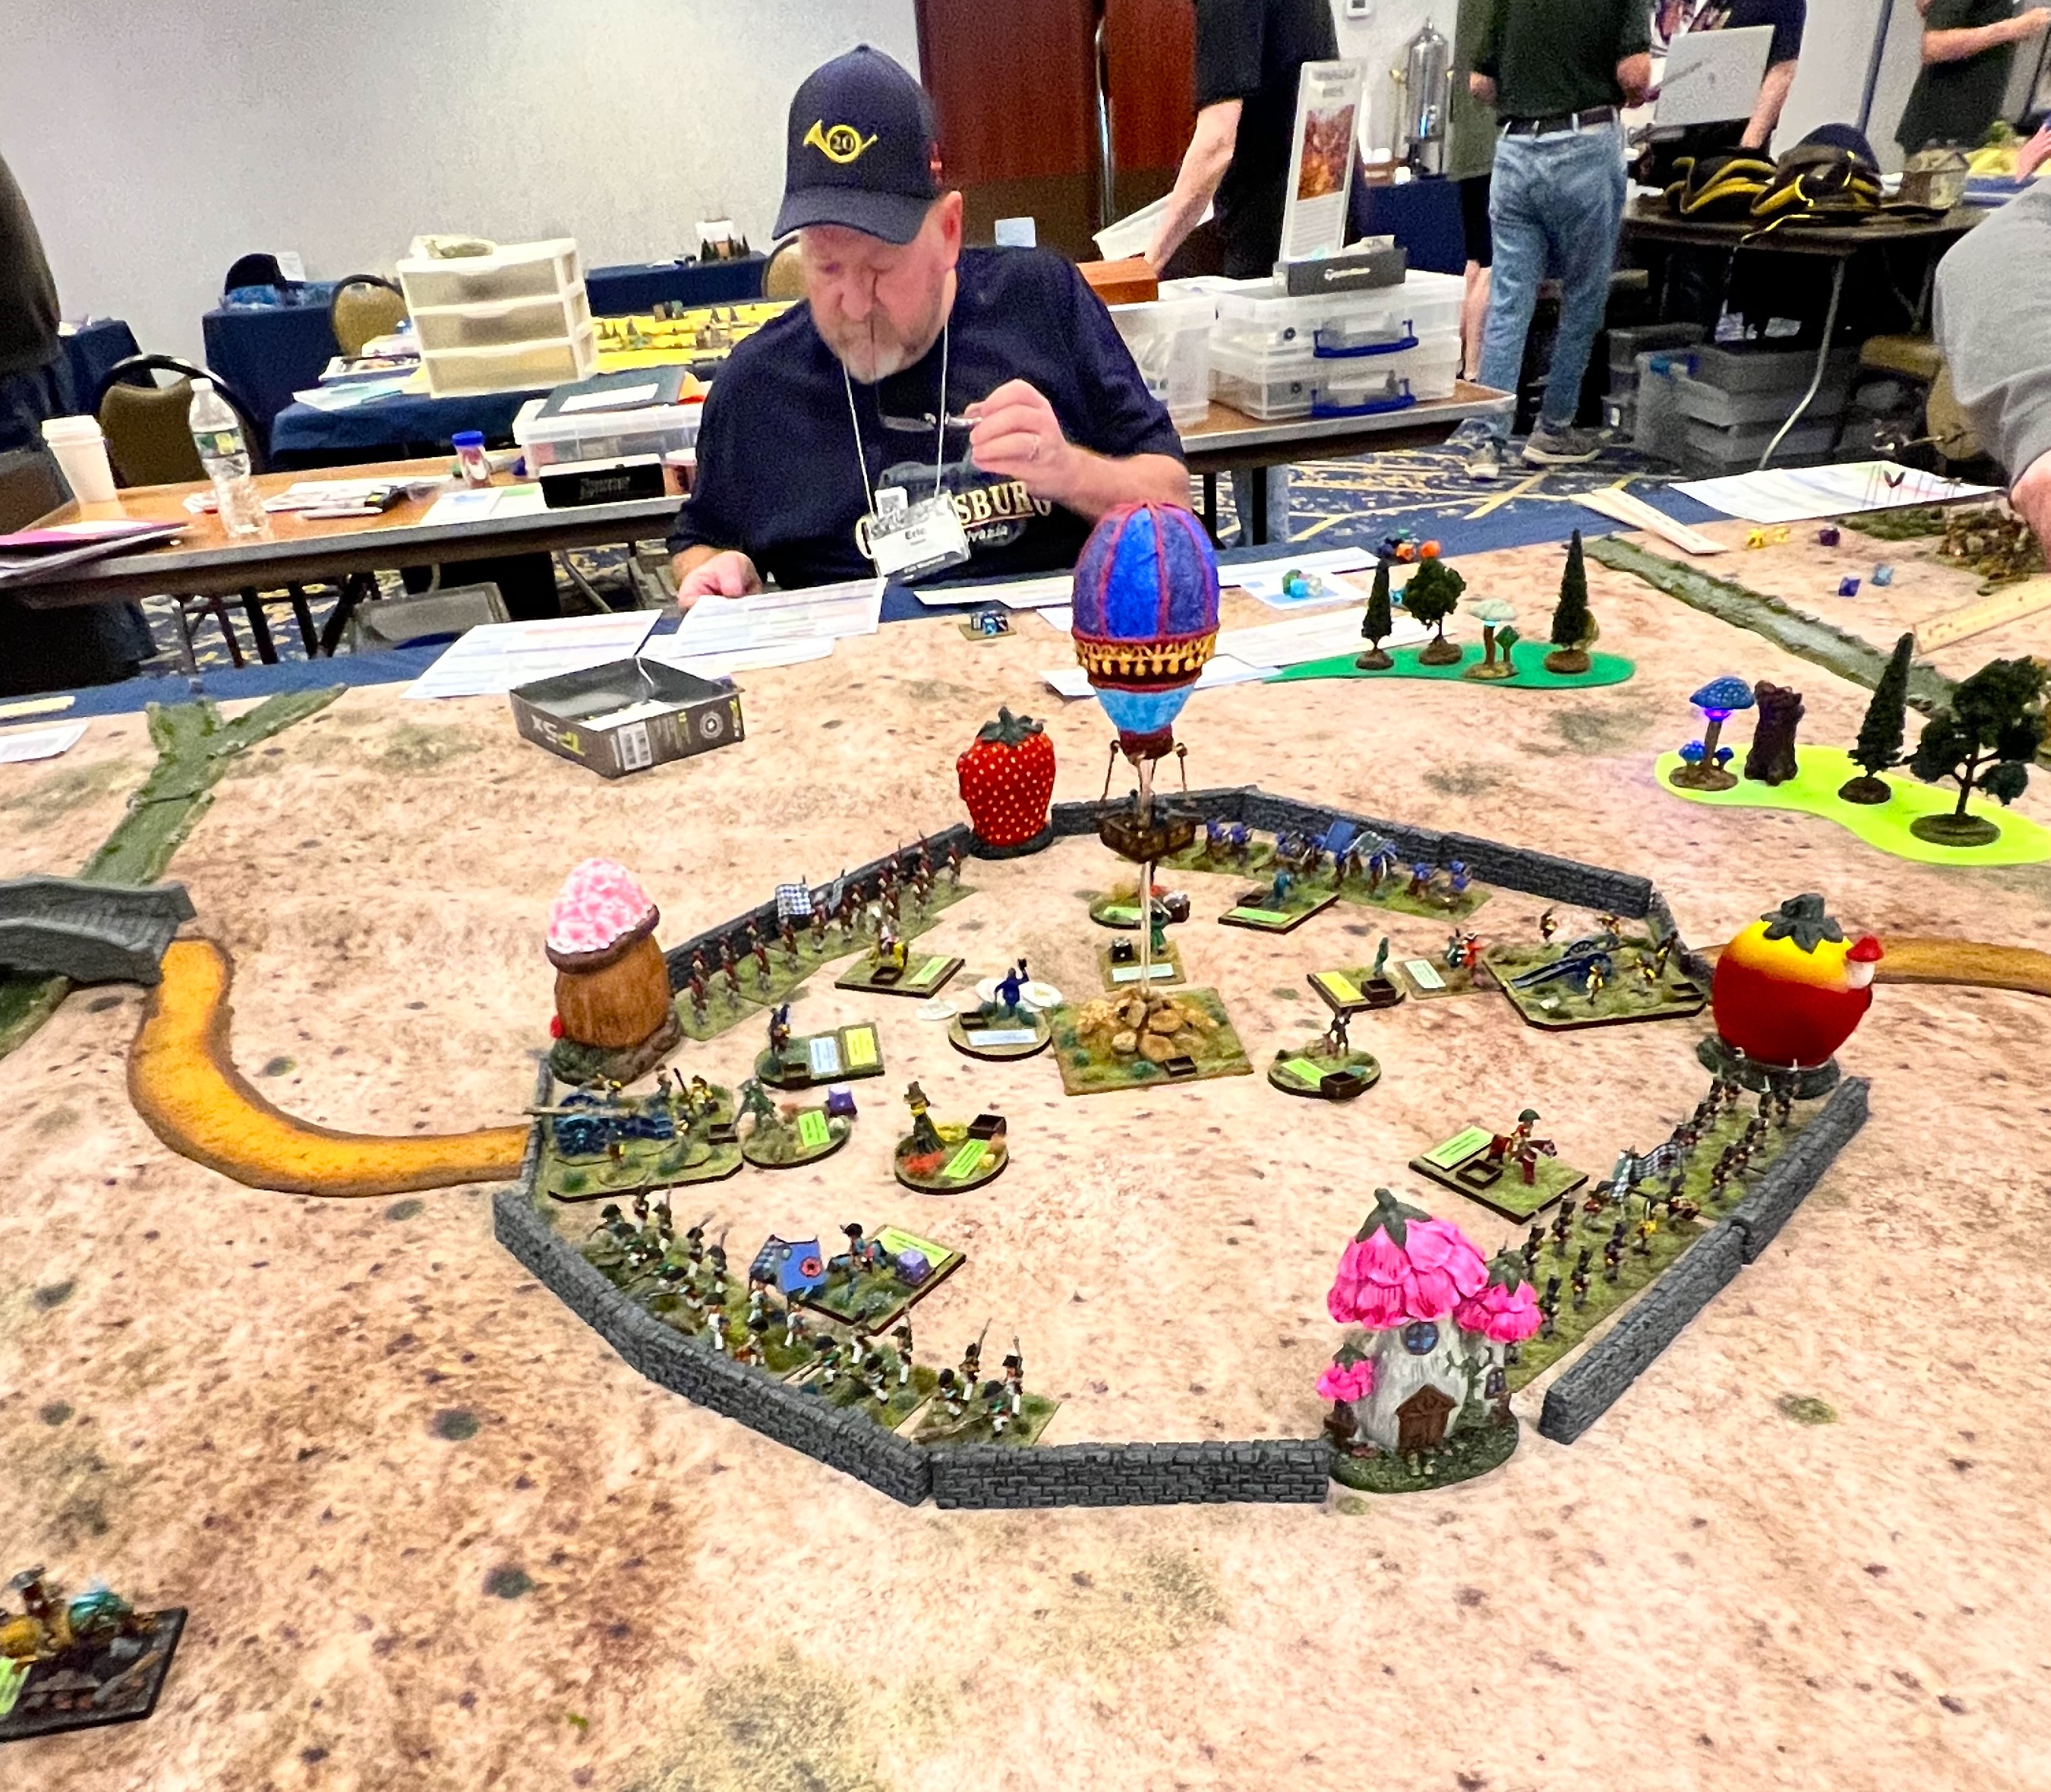
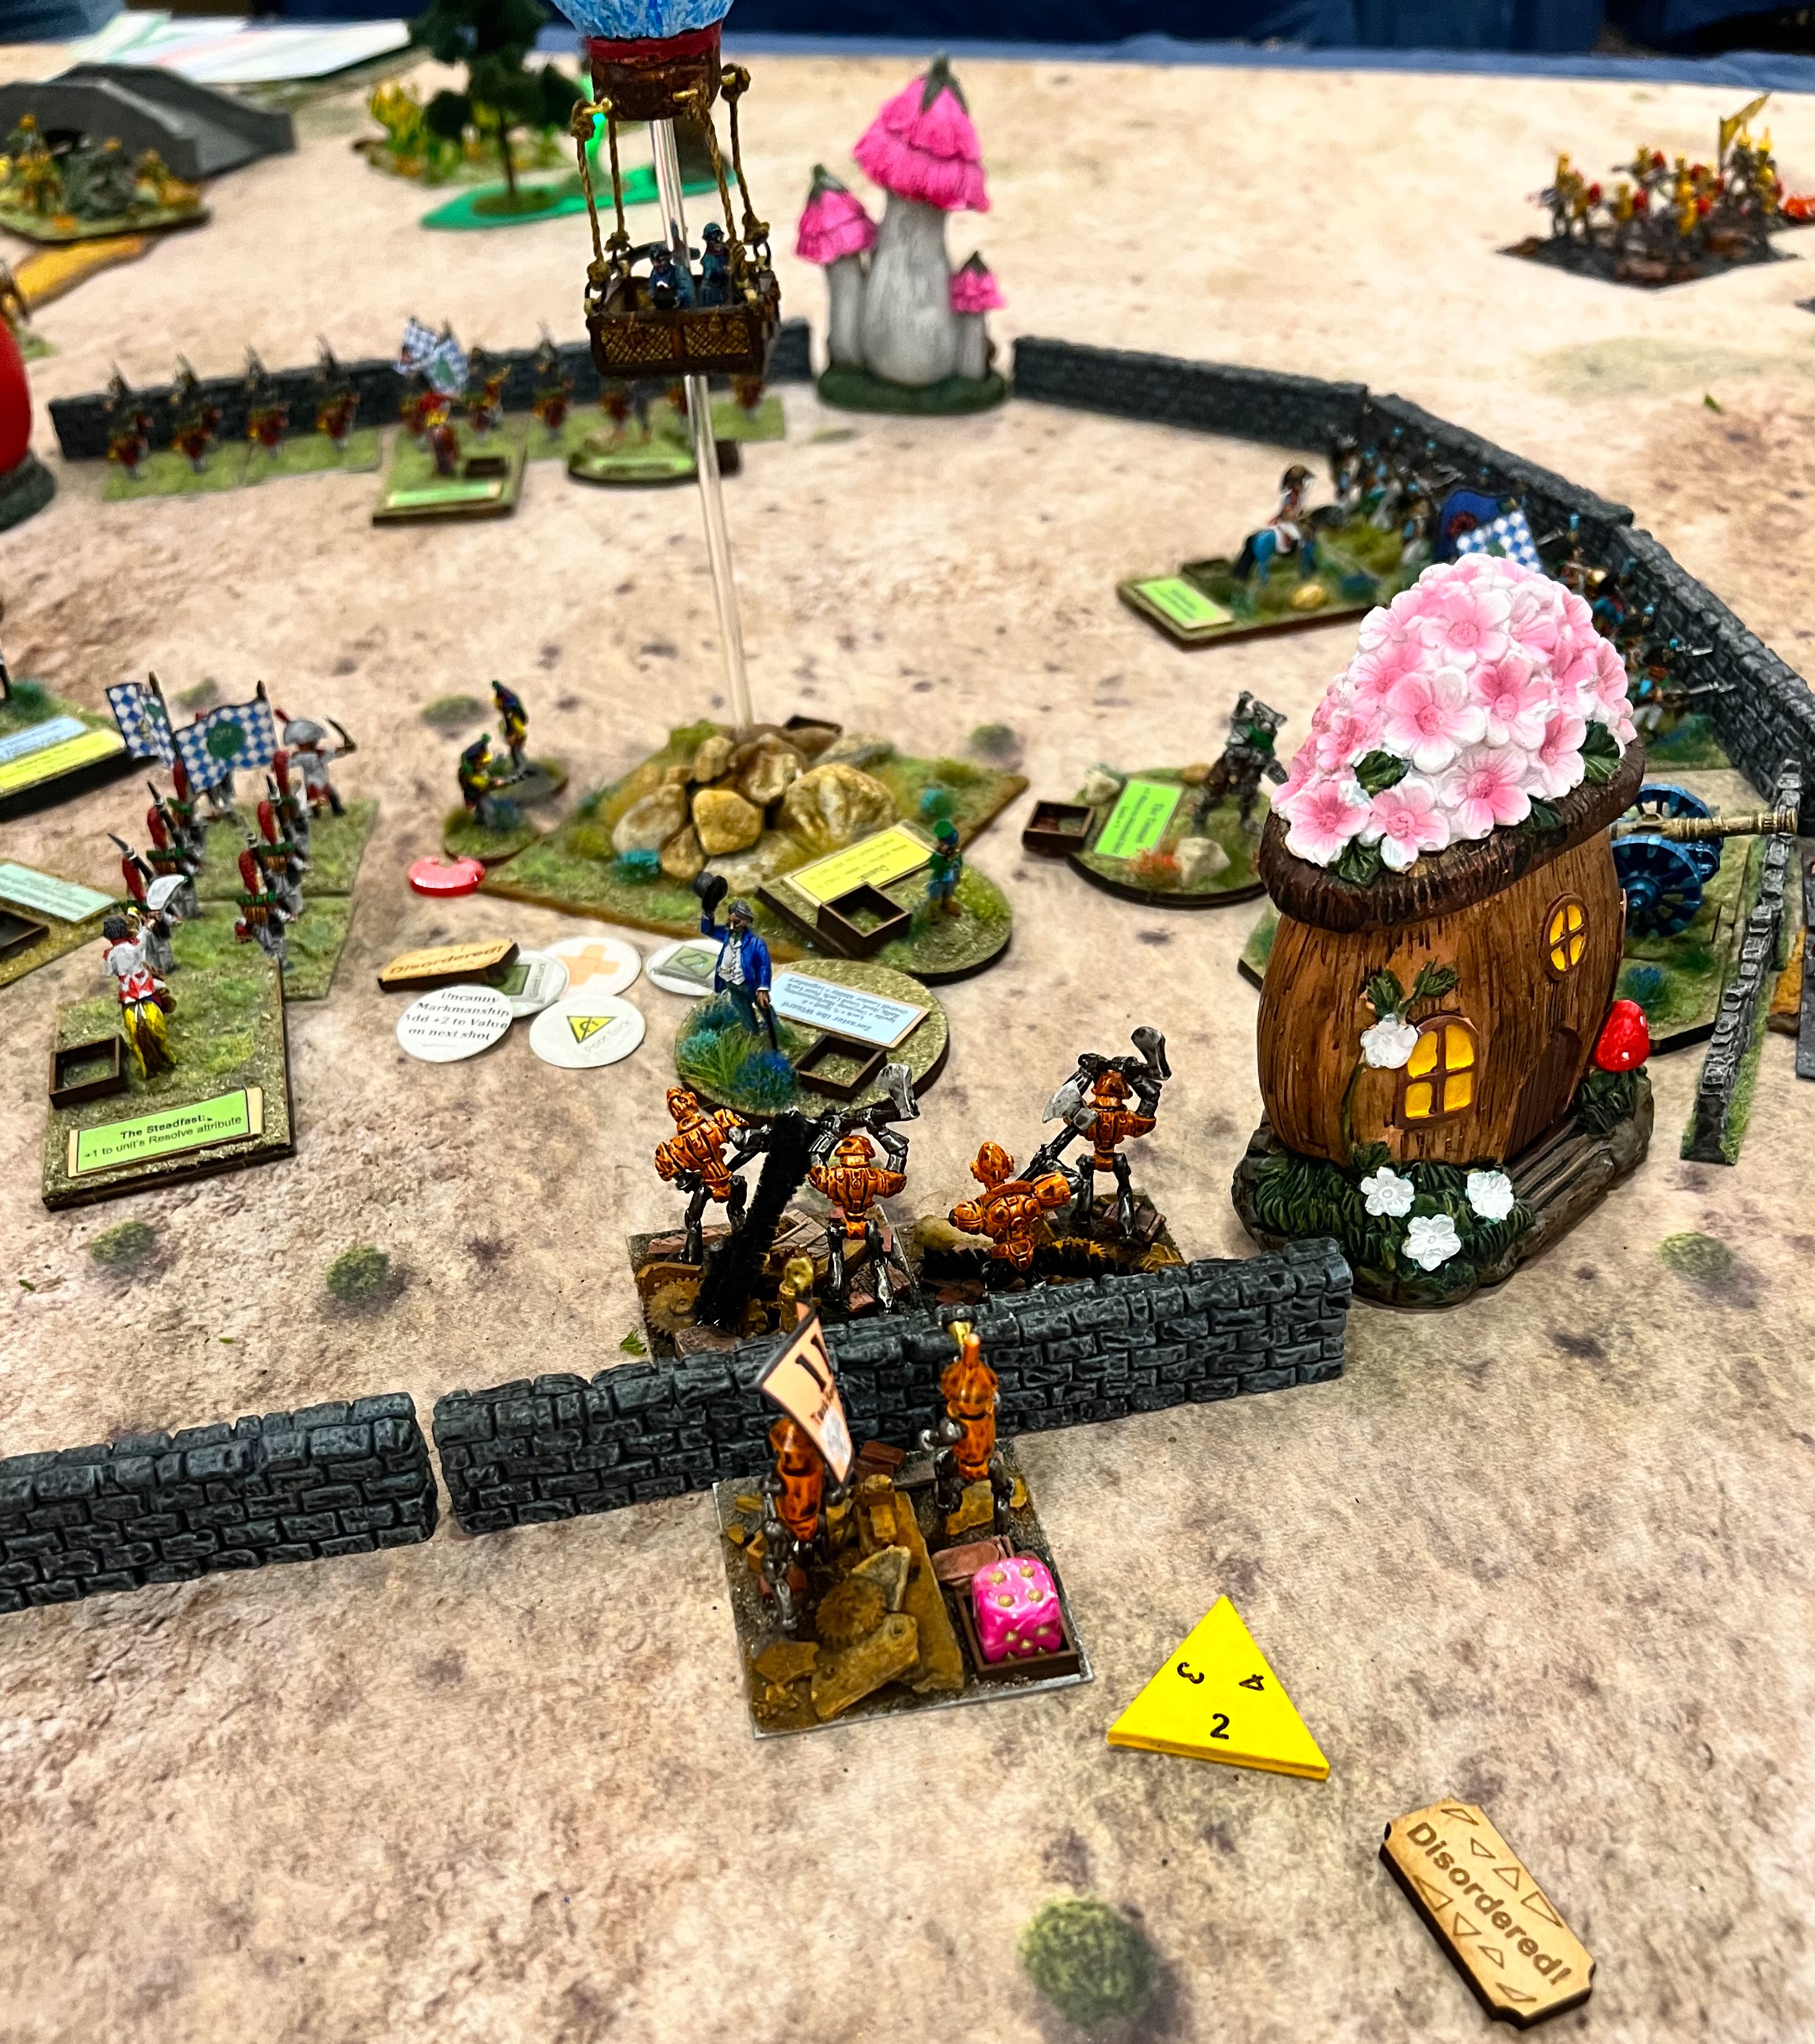
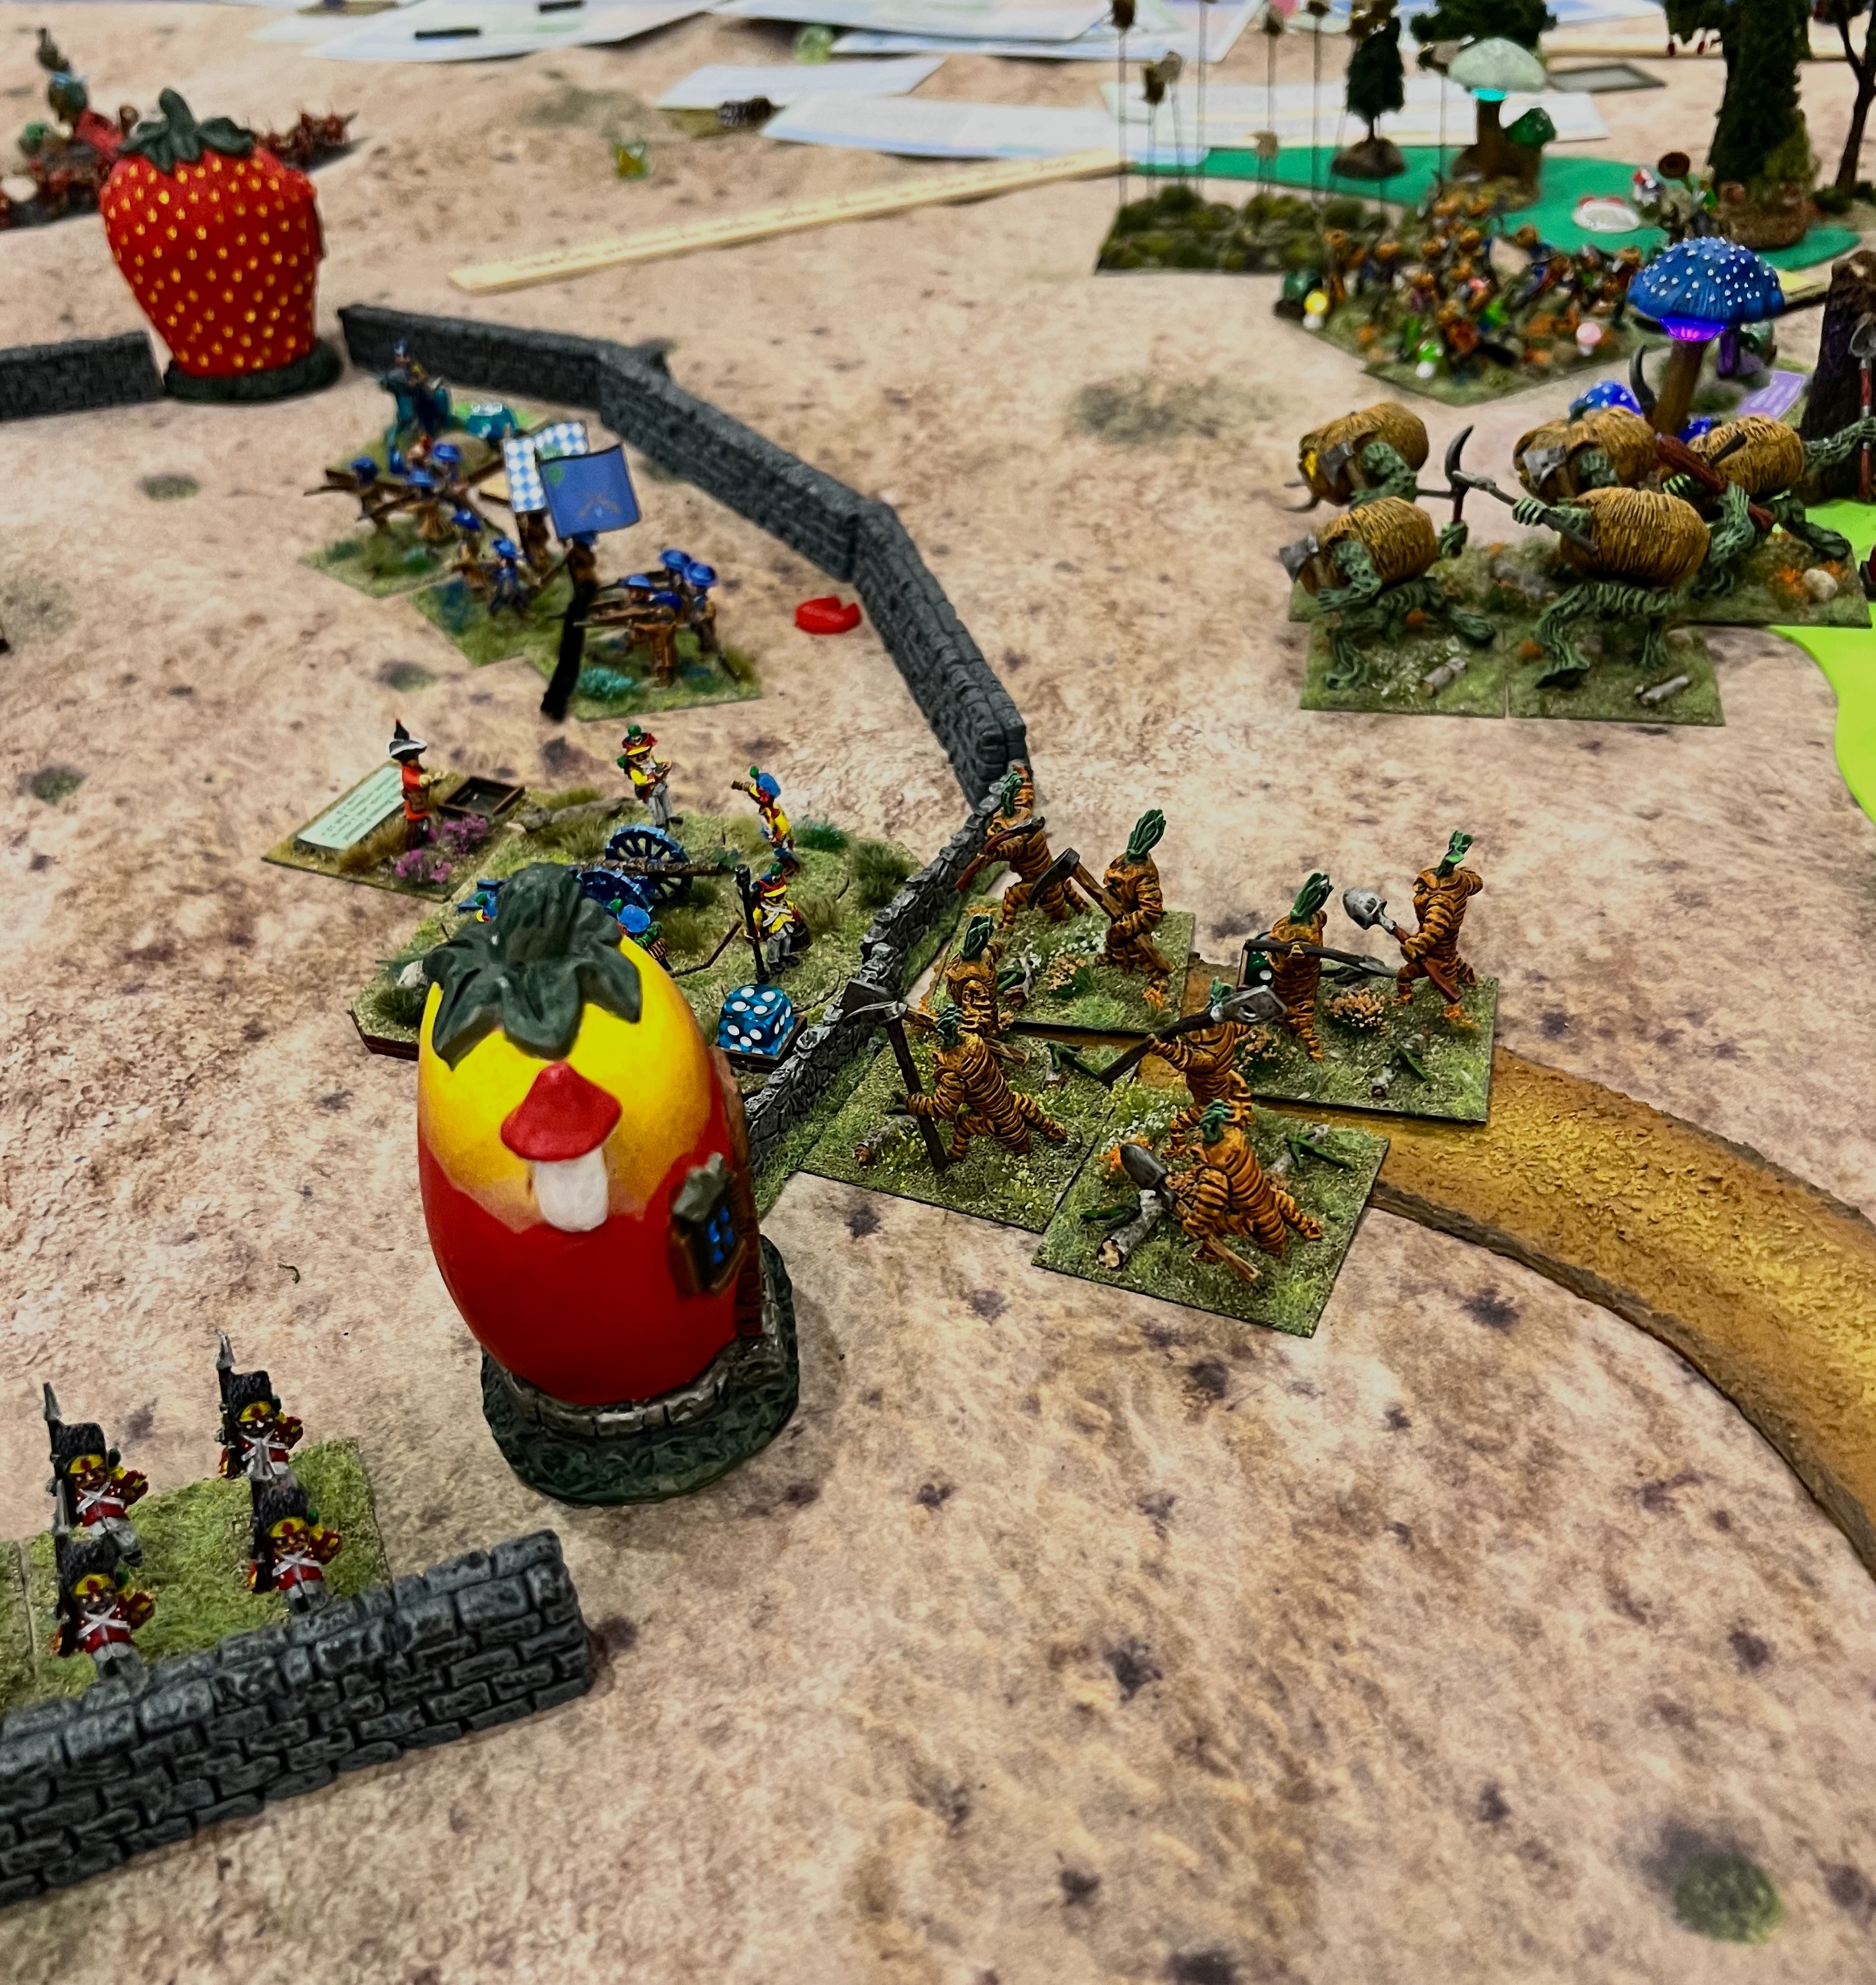
My second Ozz game simulated a revolt of the Harvest veggie folks against an intrusive walled Munchkin outpost. The theme of the 2026 HUZZAH! convention was “Revolution”. Harvest enlisted the help of Nitpik (apparently still aggrieved against the wee folk’s attempted robberies). The Nitpik and Harvest players successfully breached the Munchkin defenses and threw them out, though at a cost. Here are some game shots:

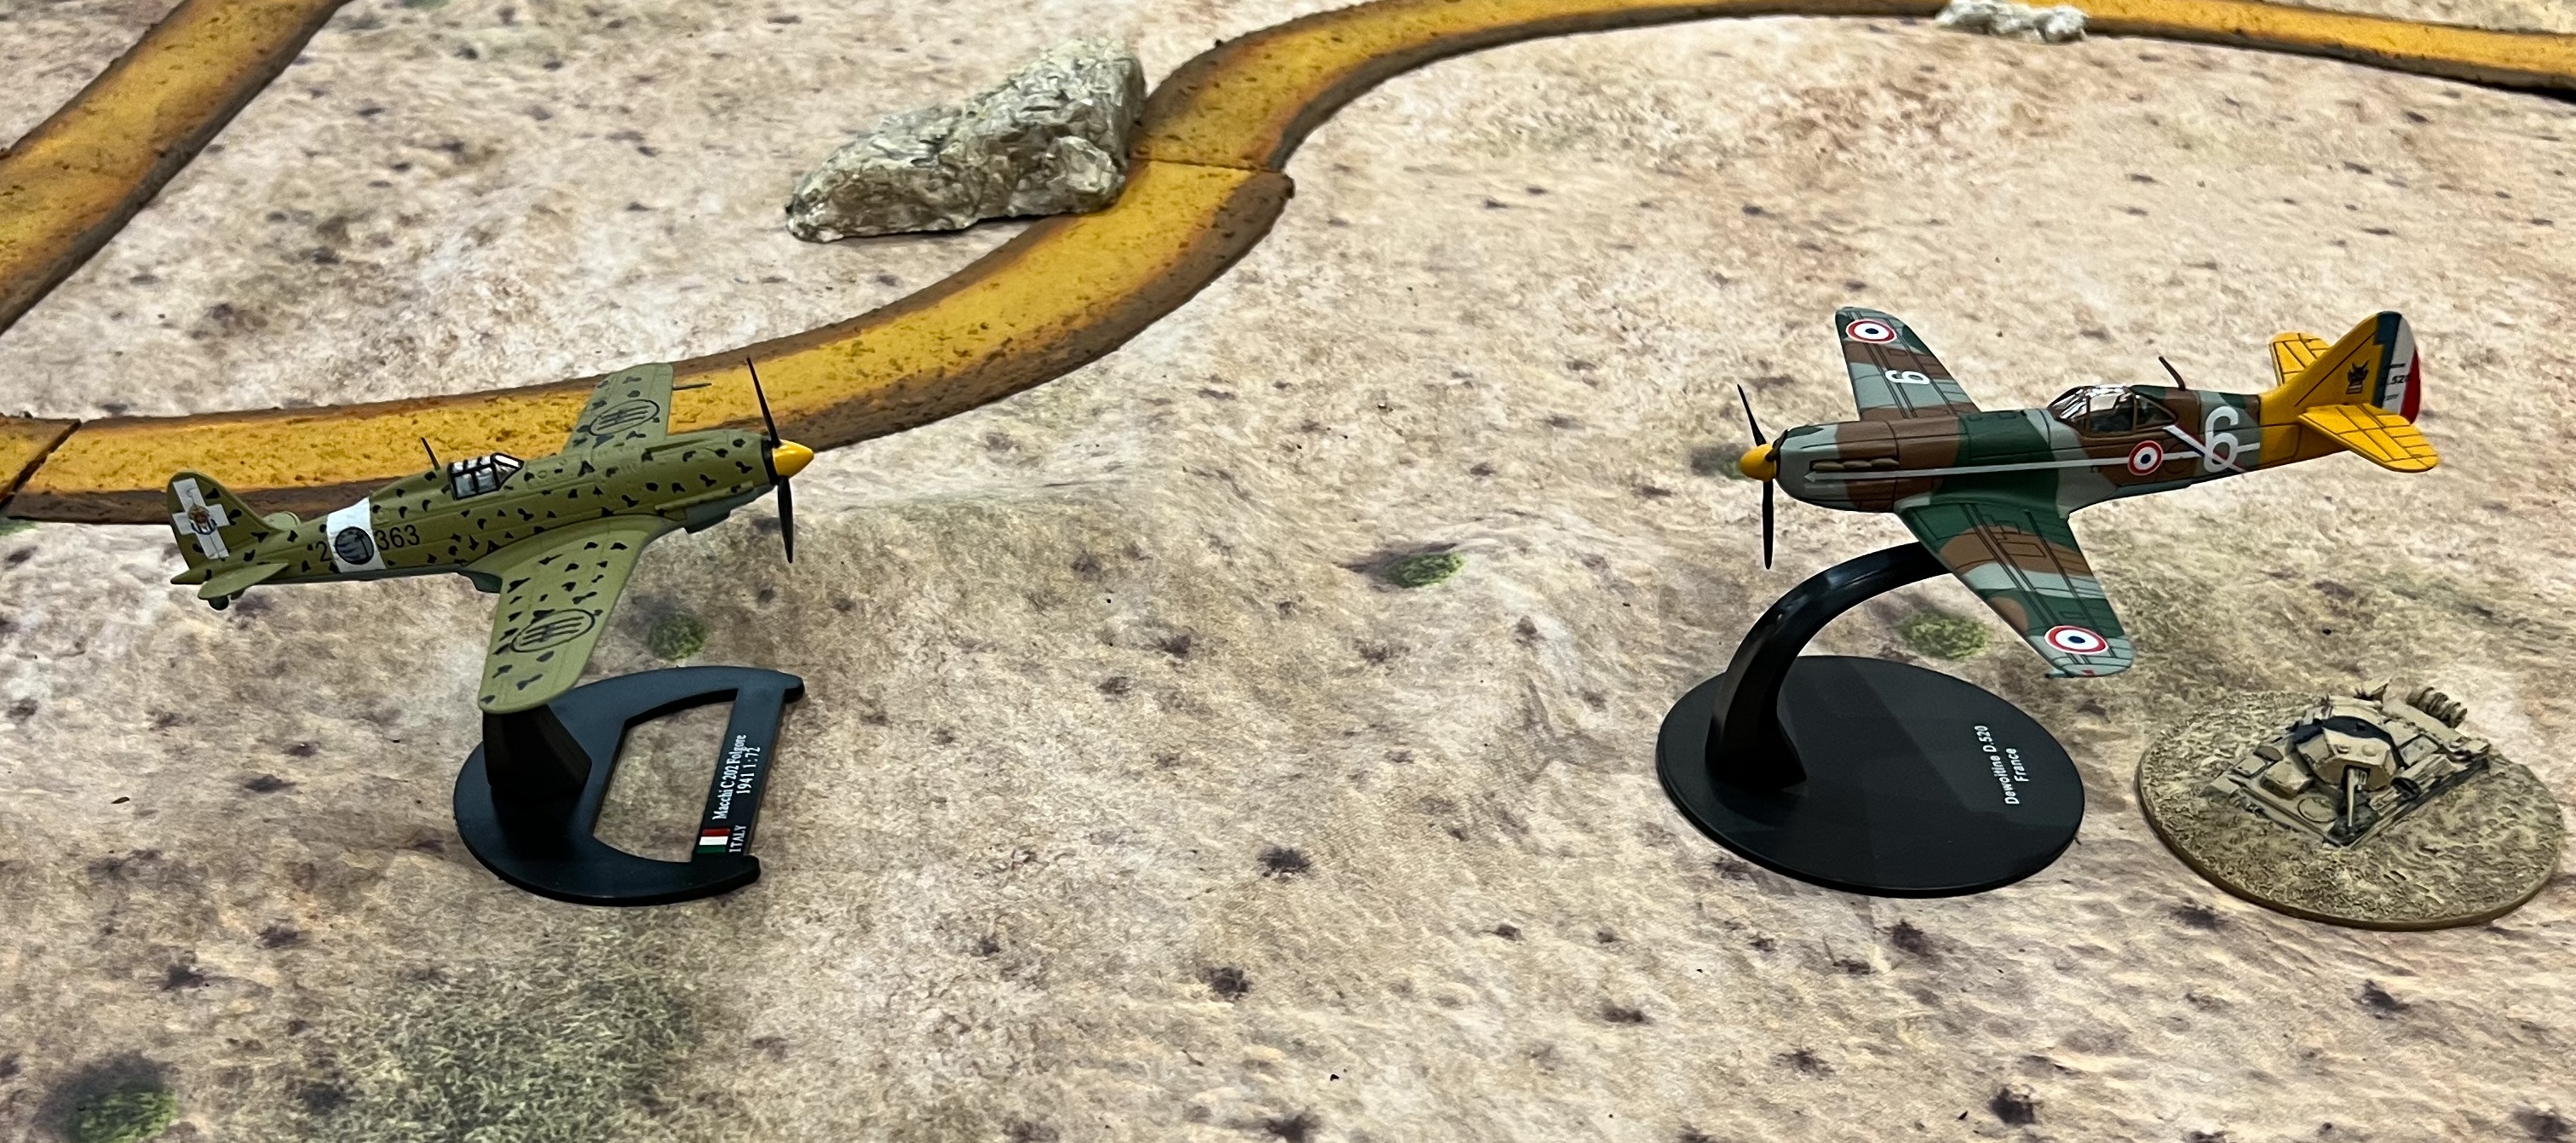
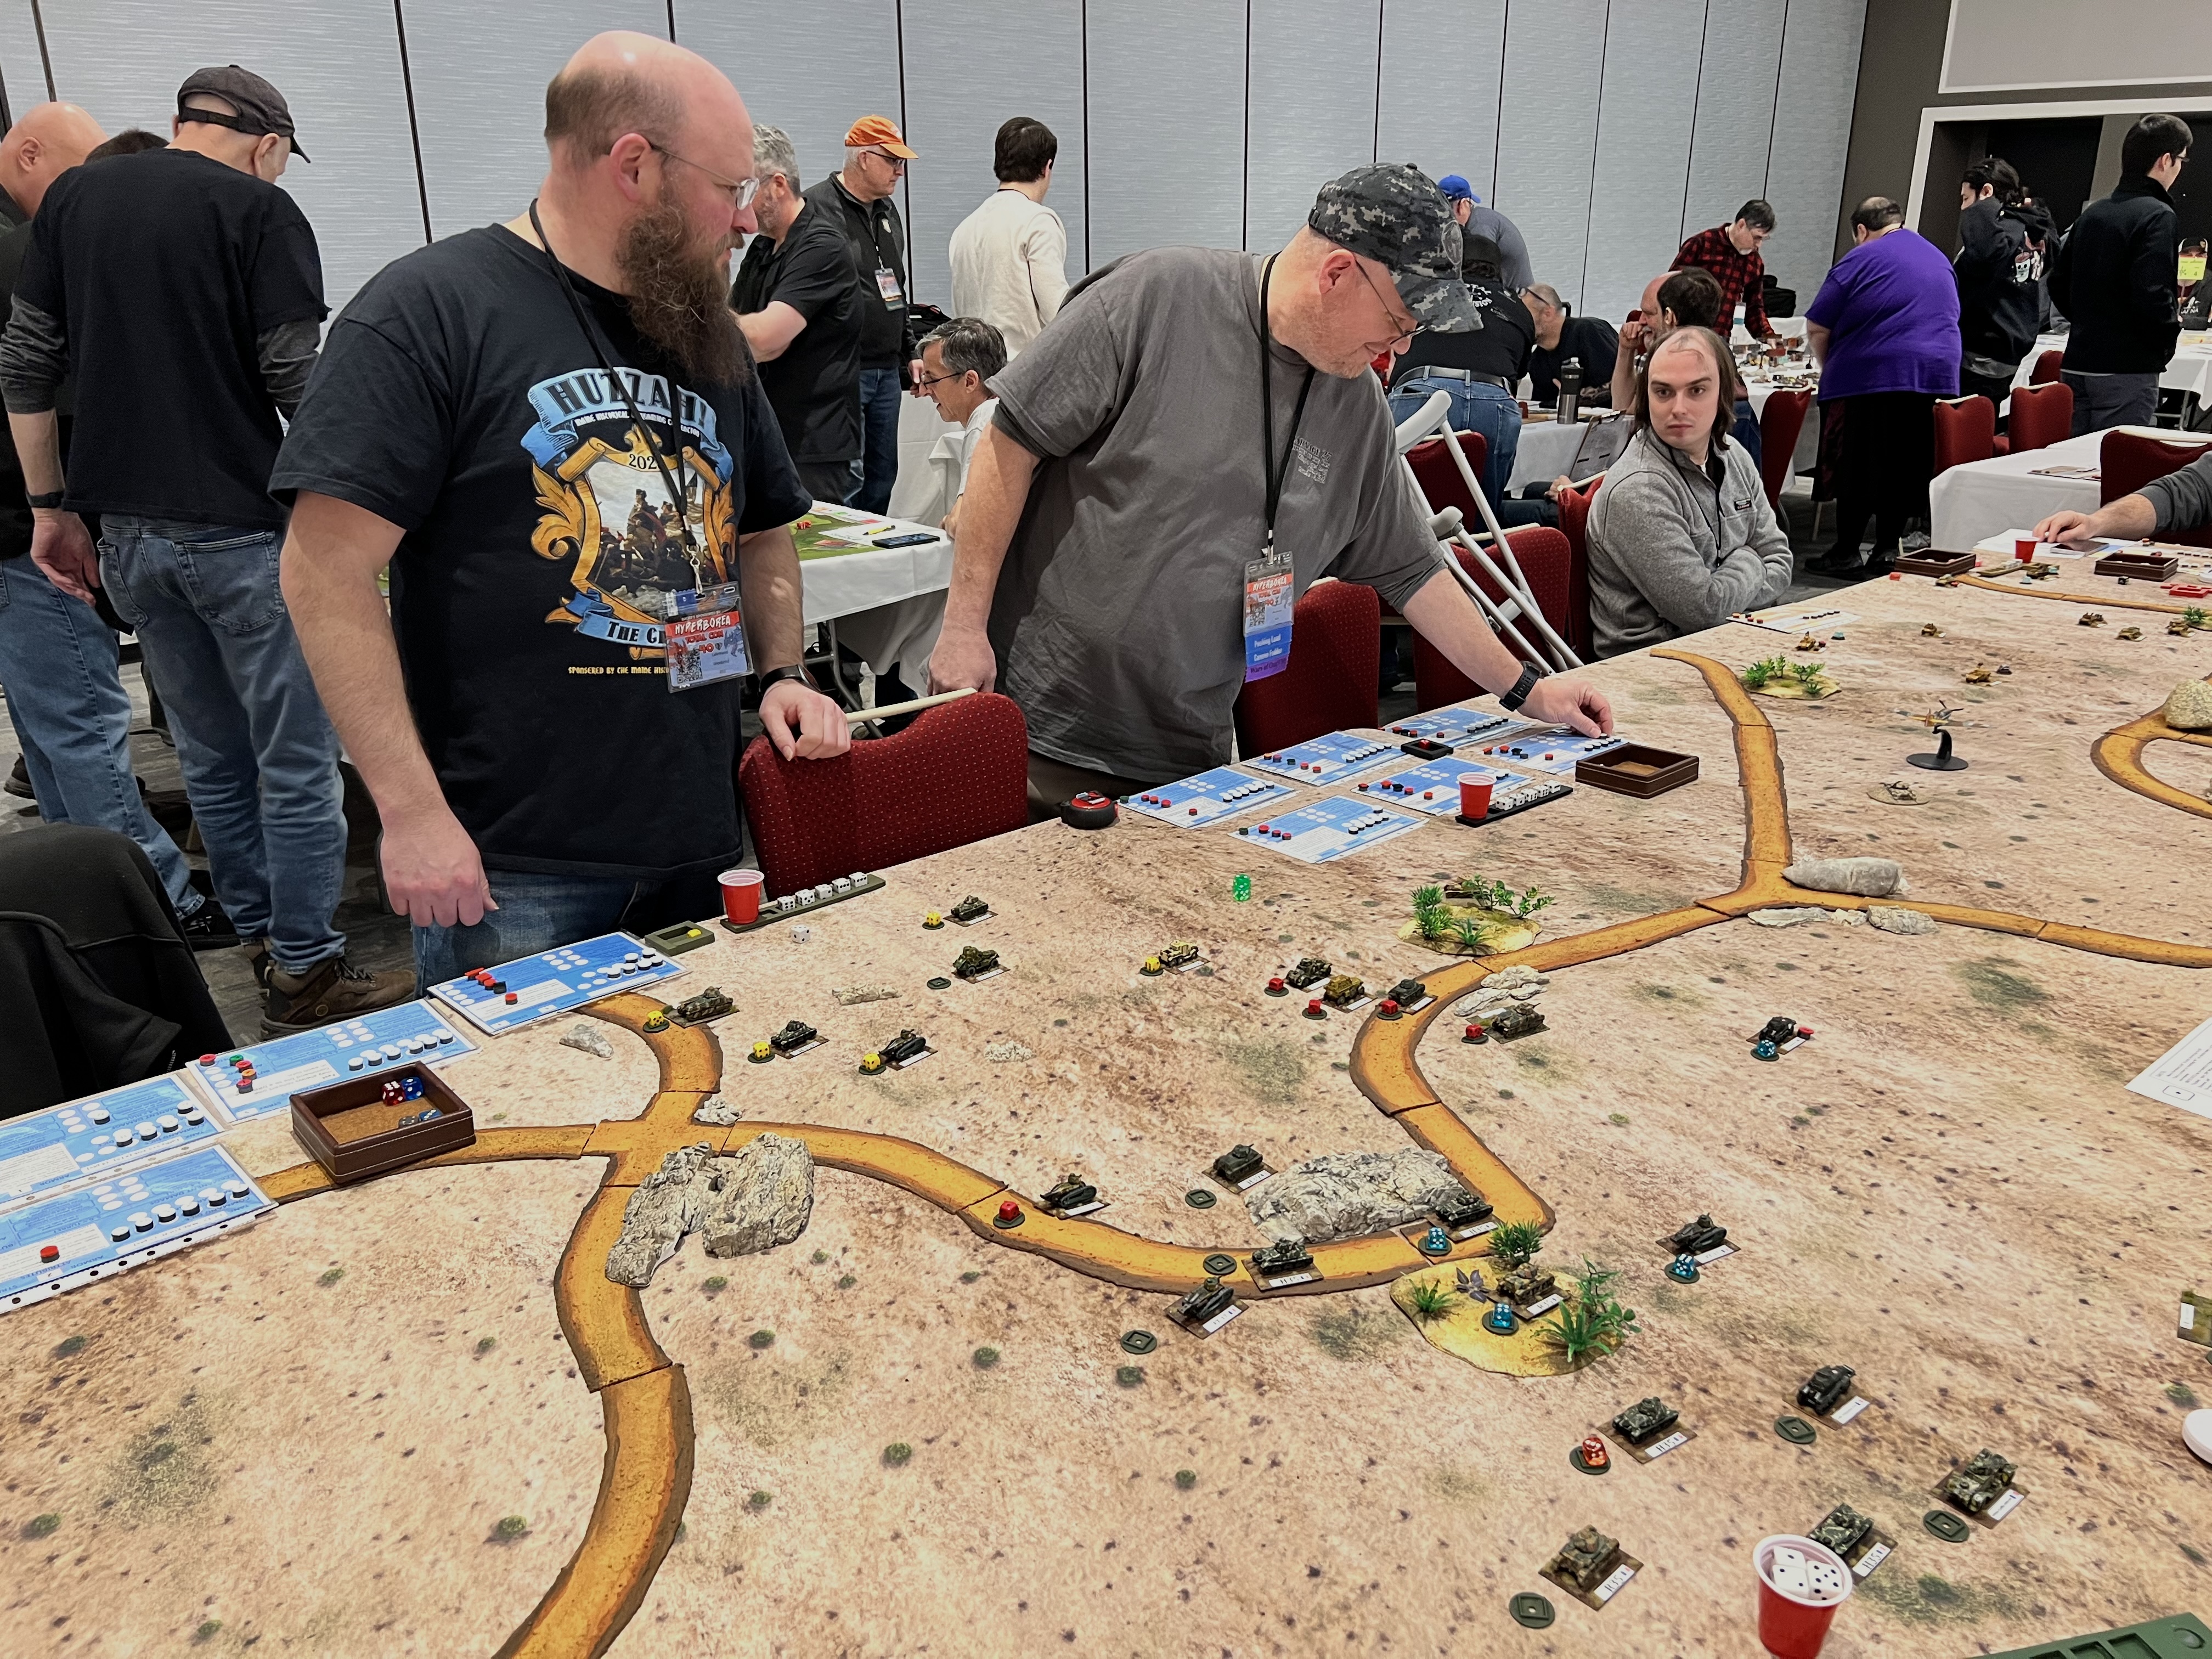
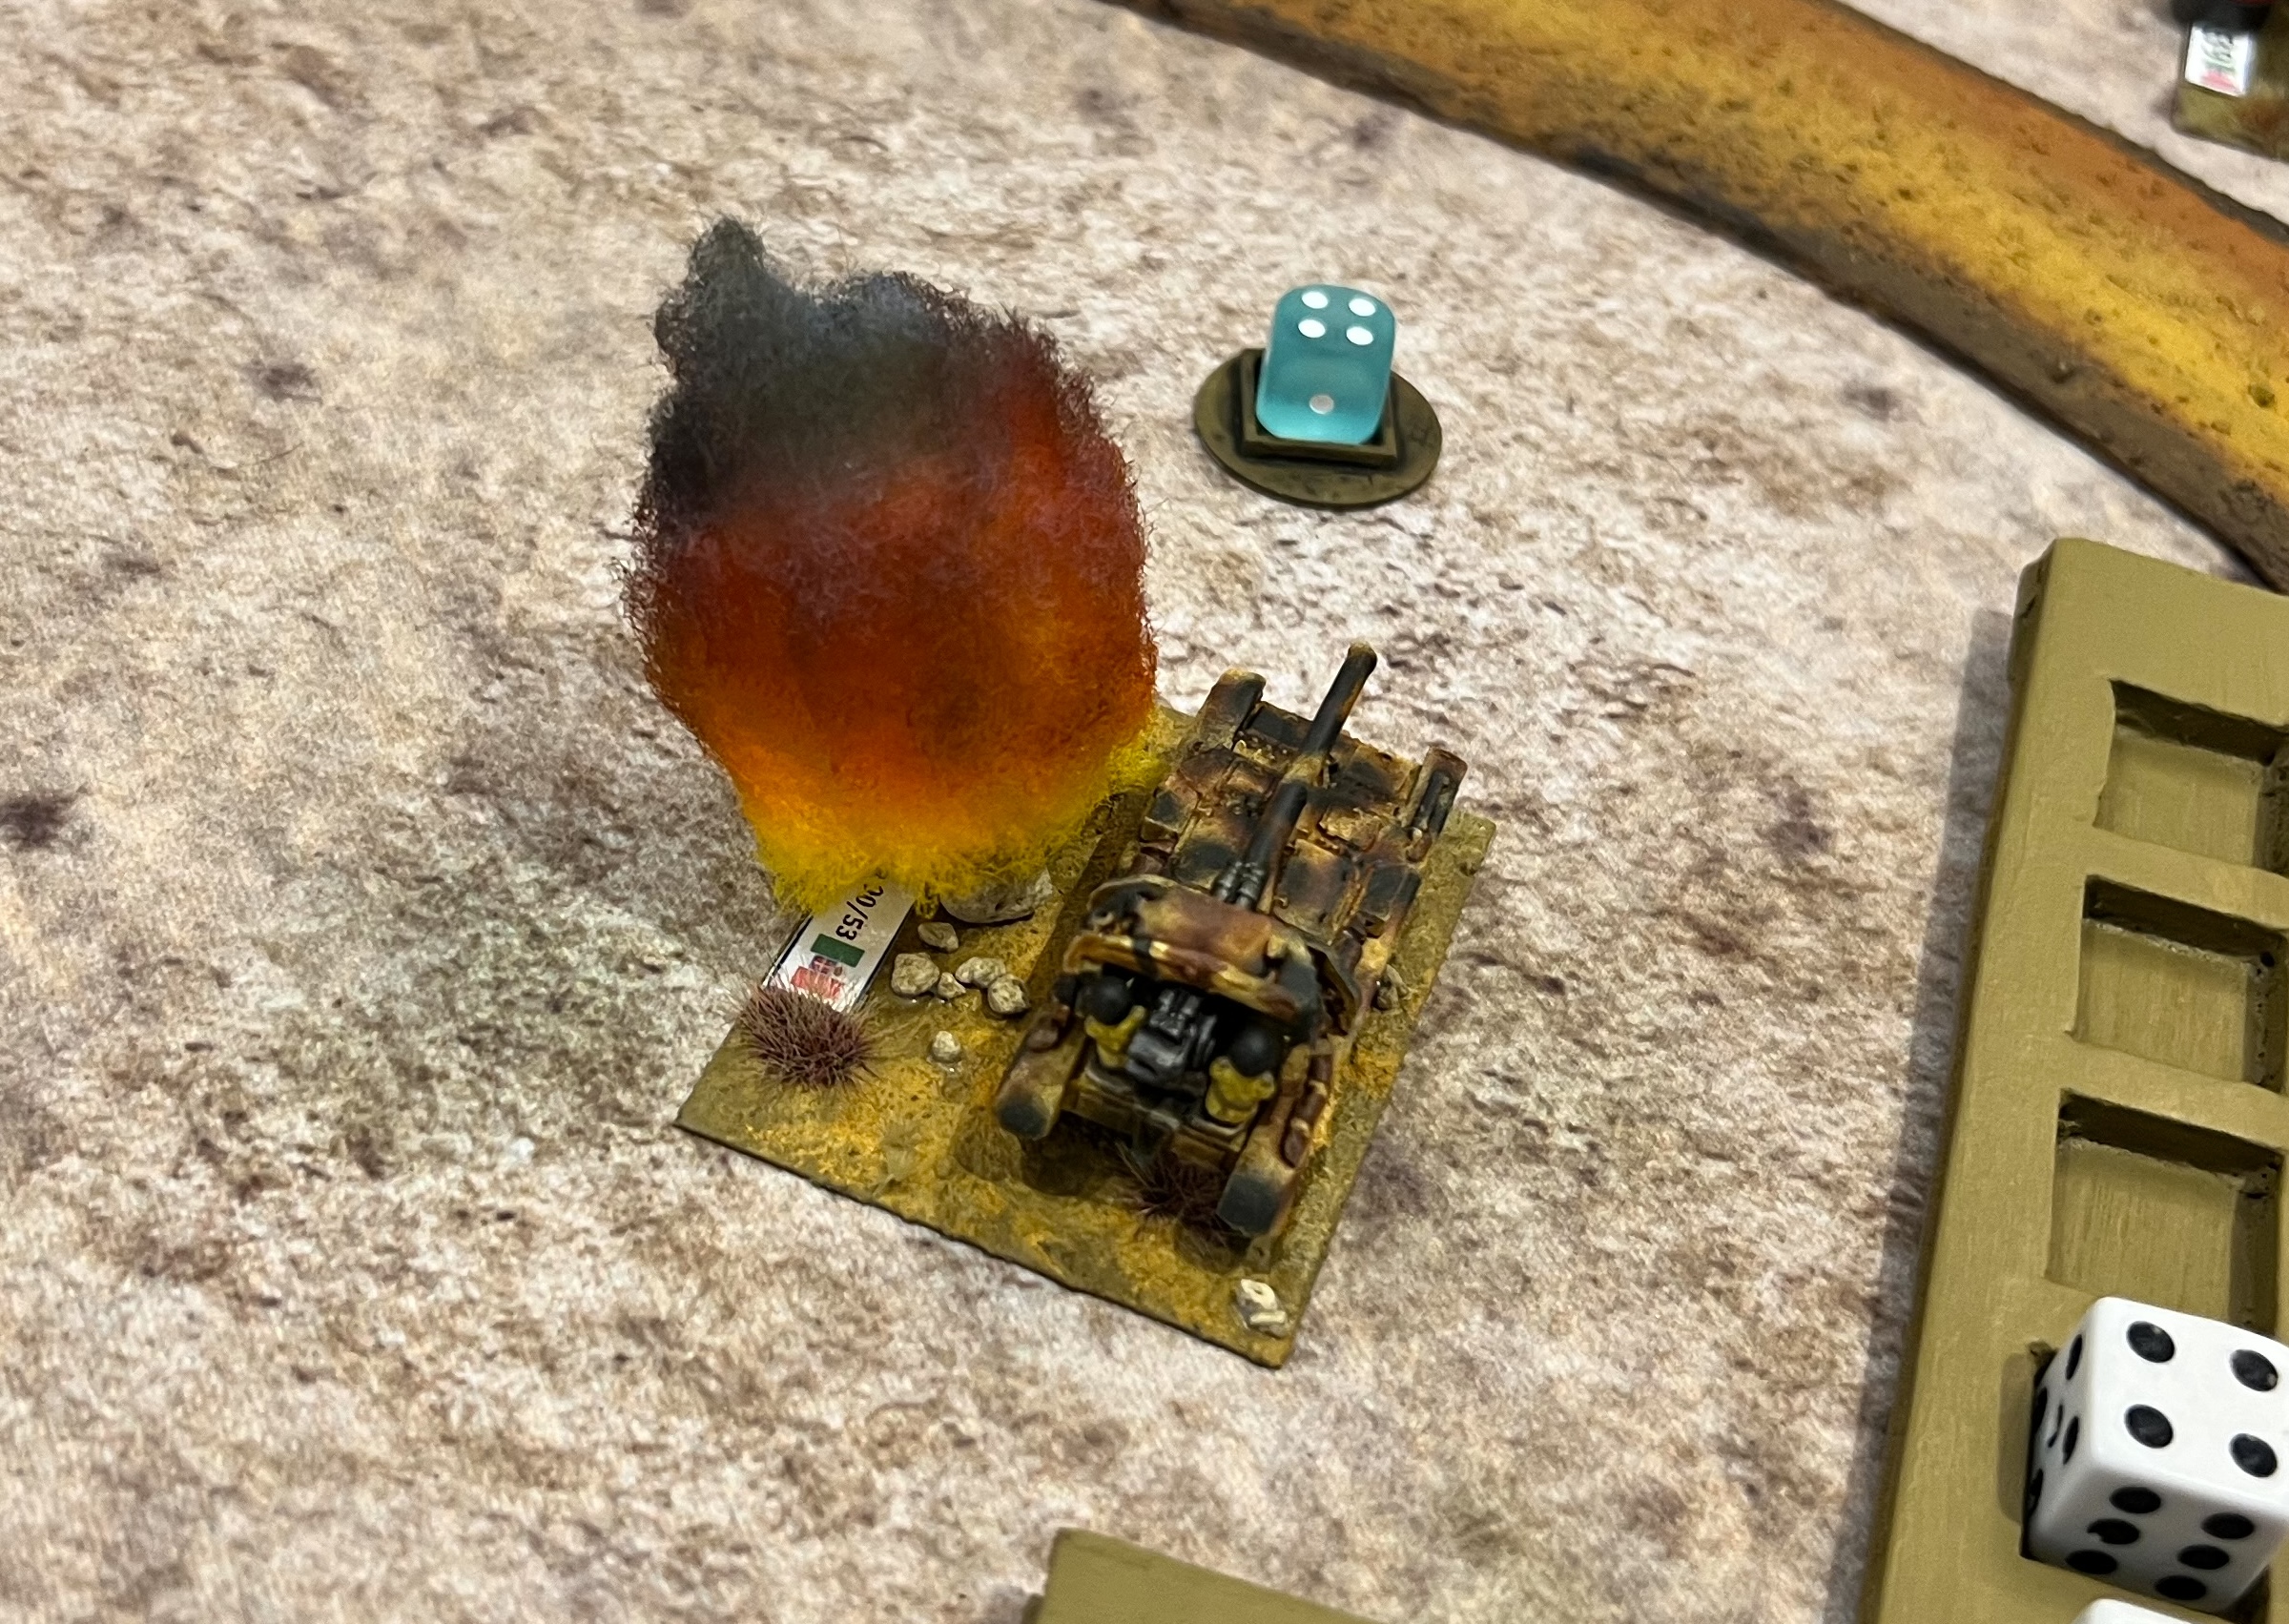
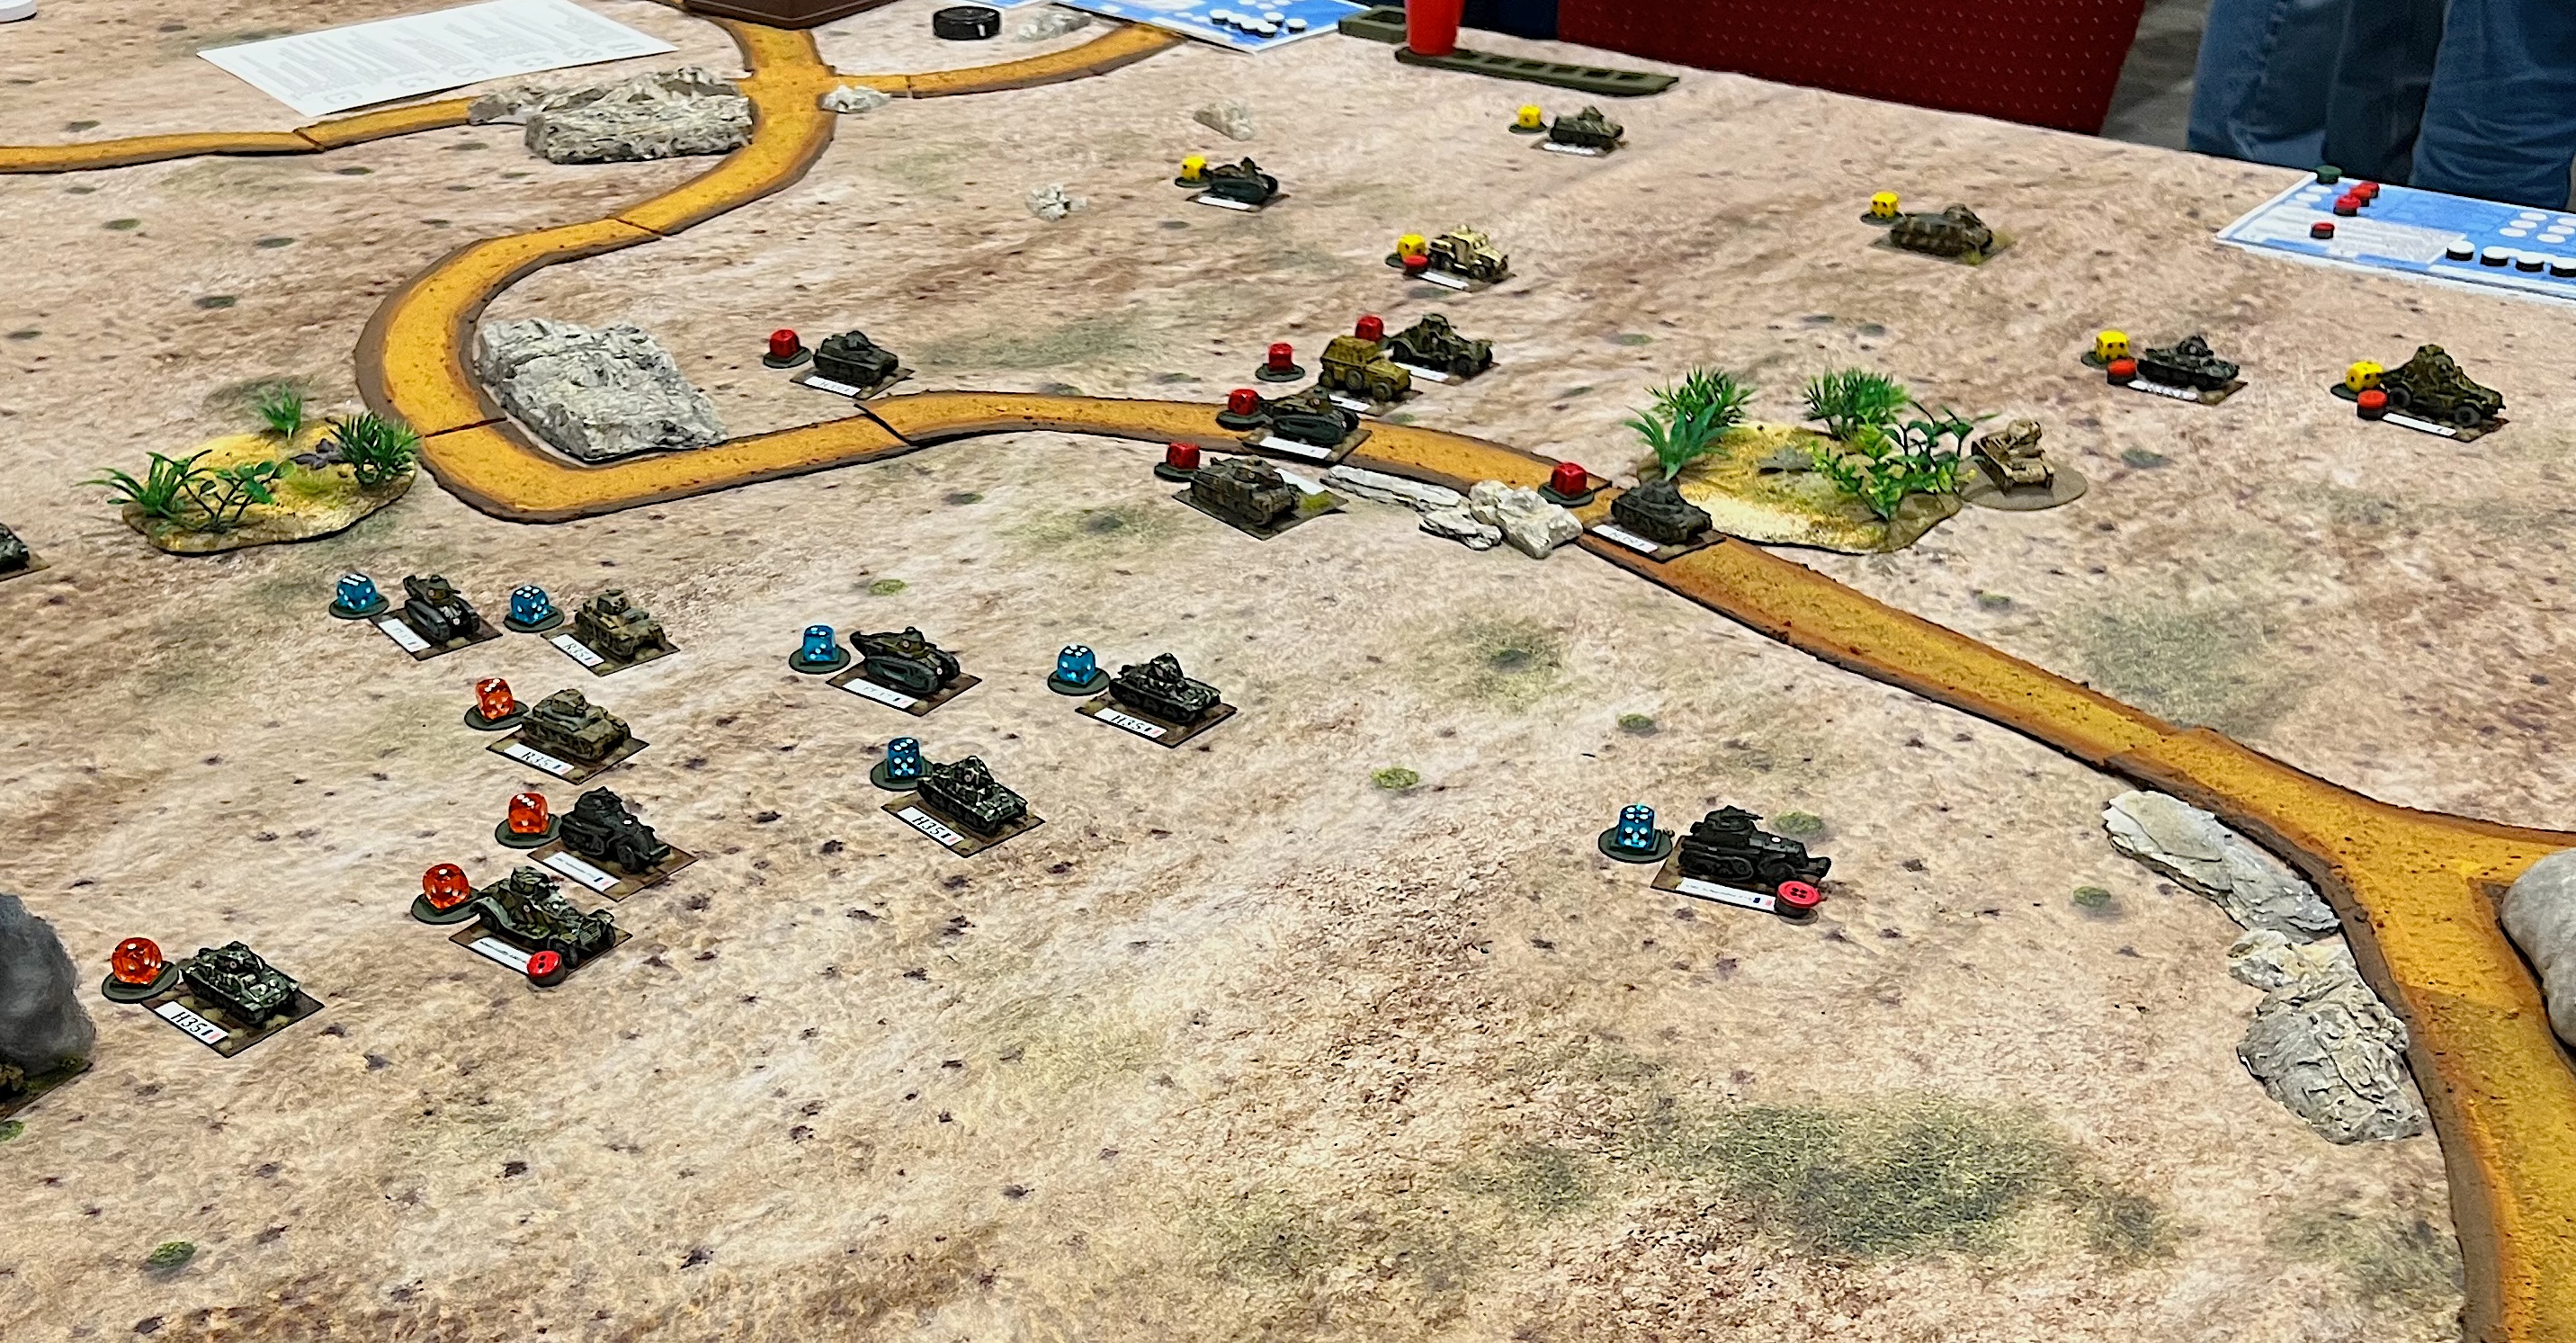
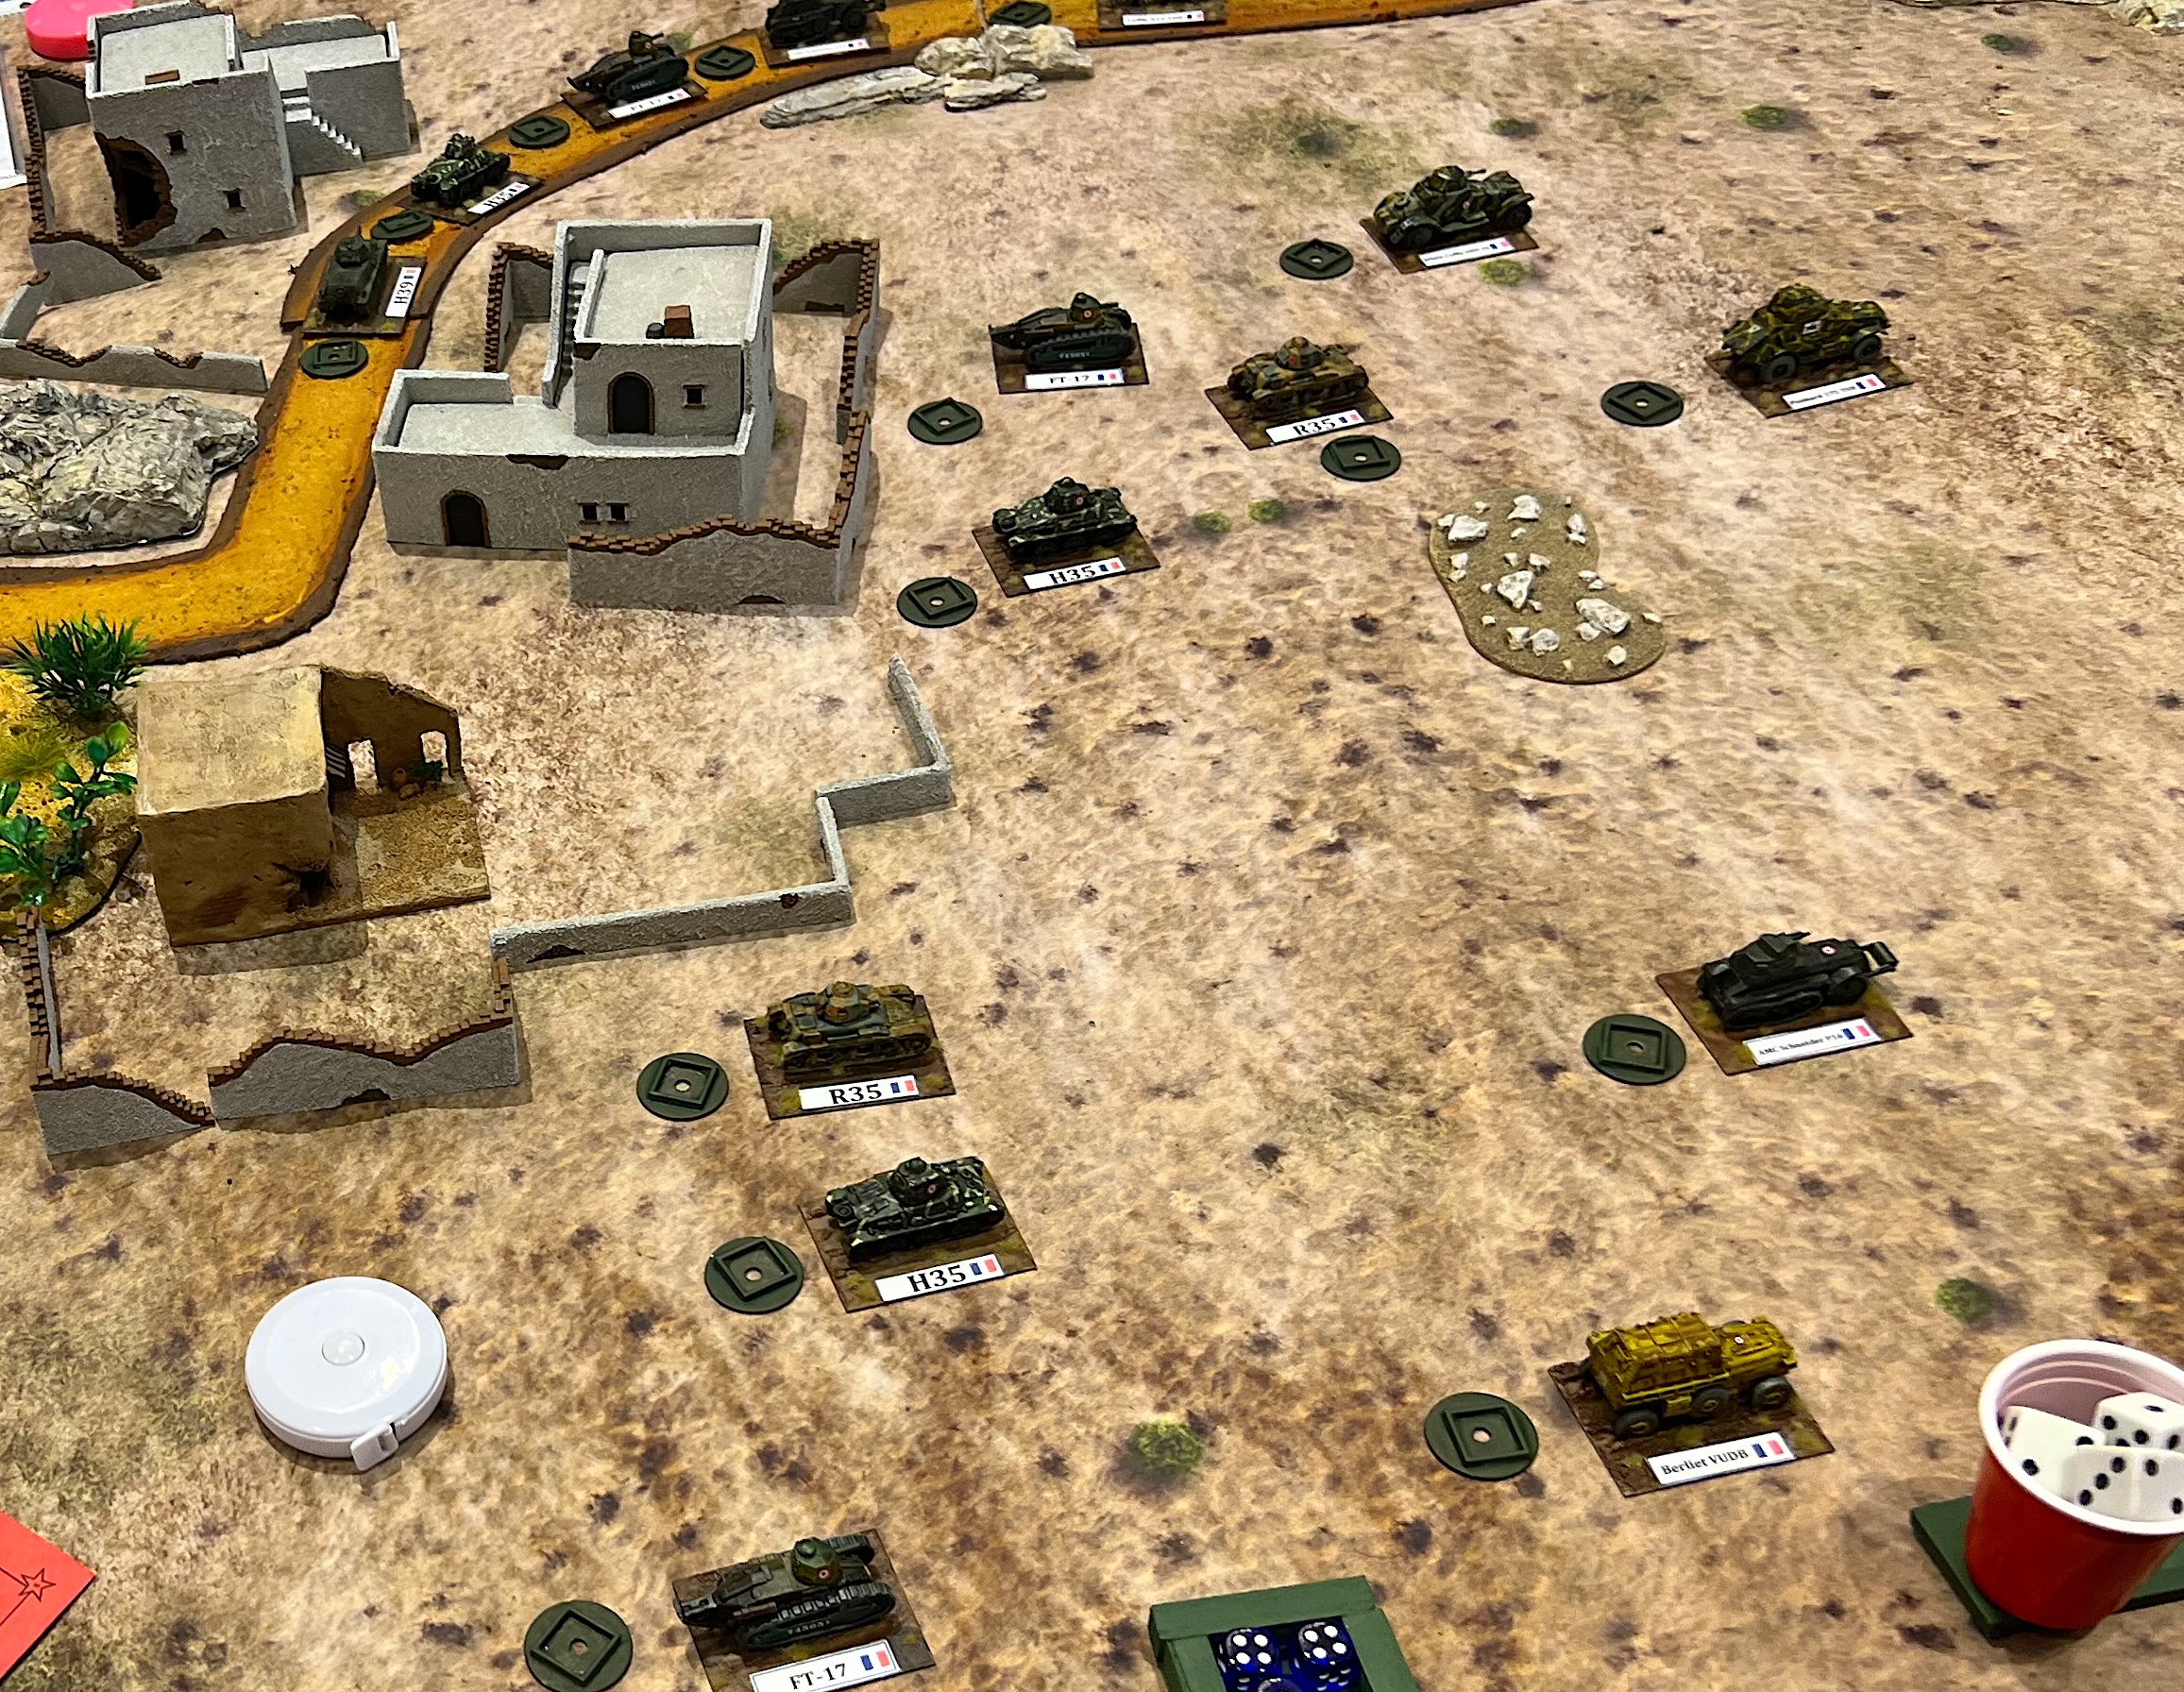
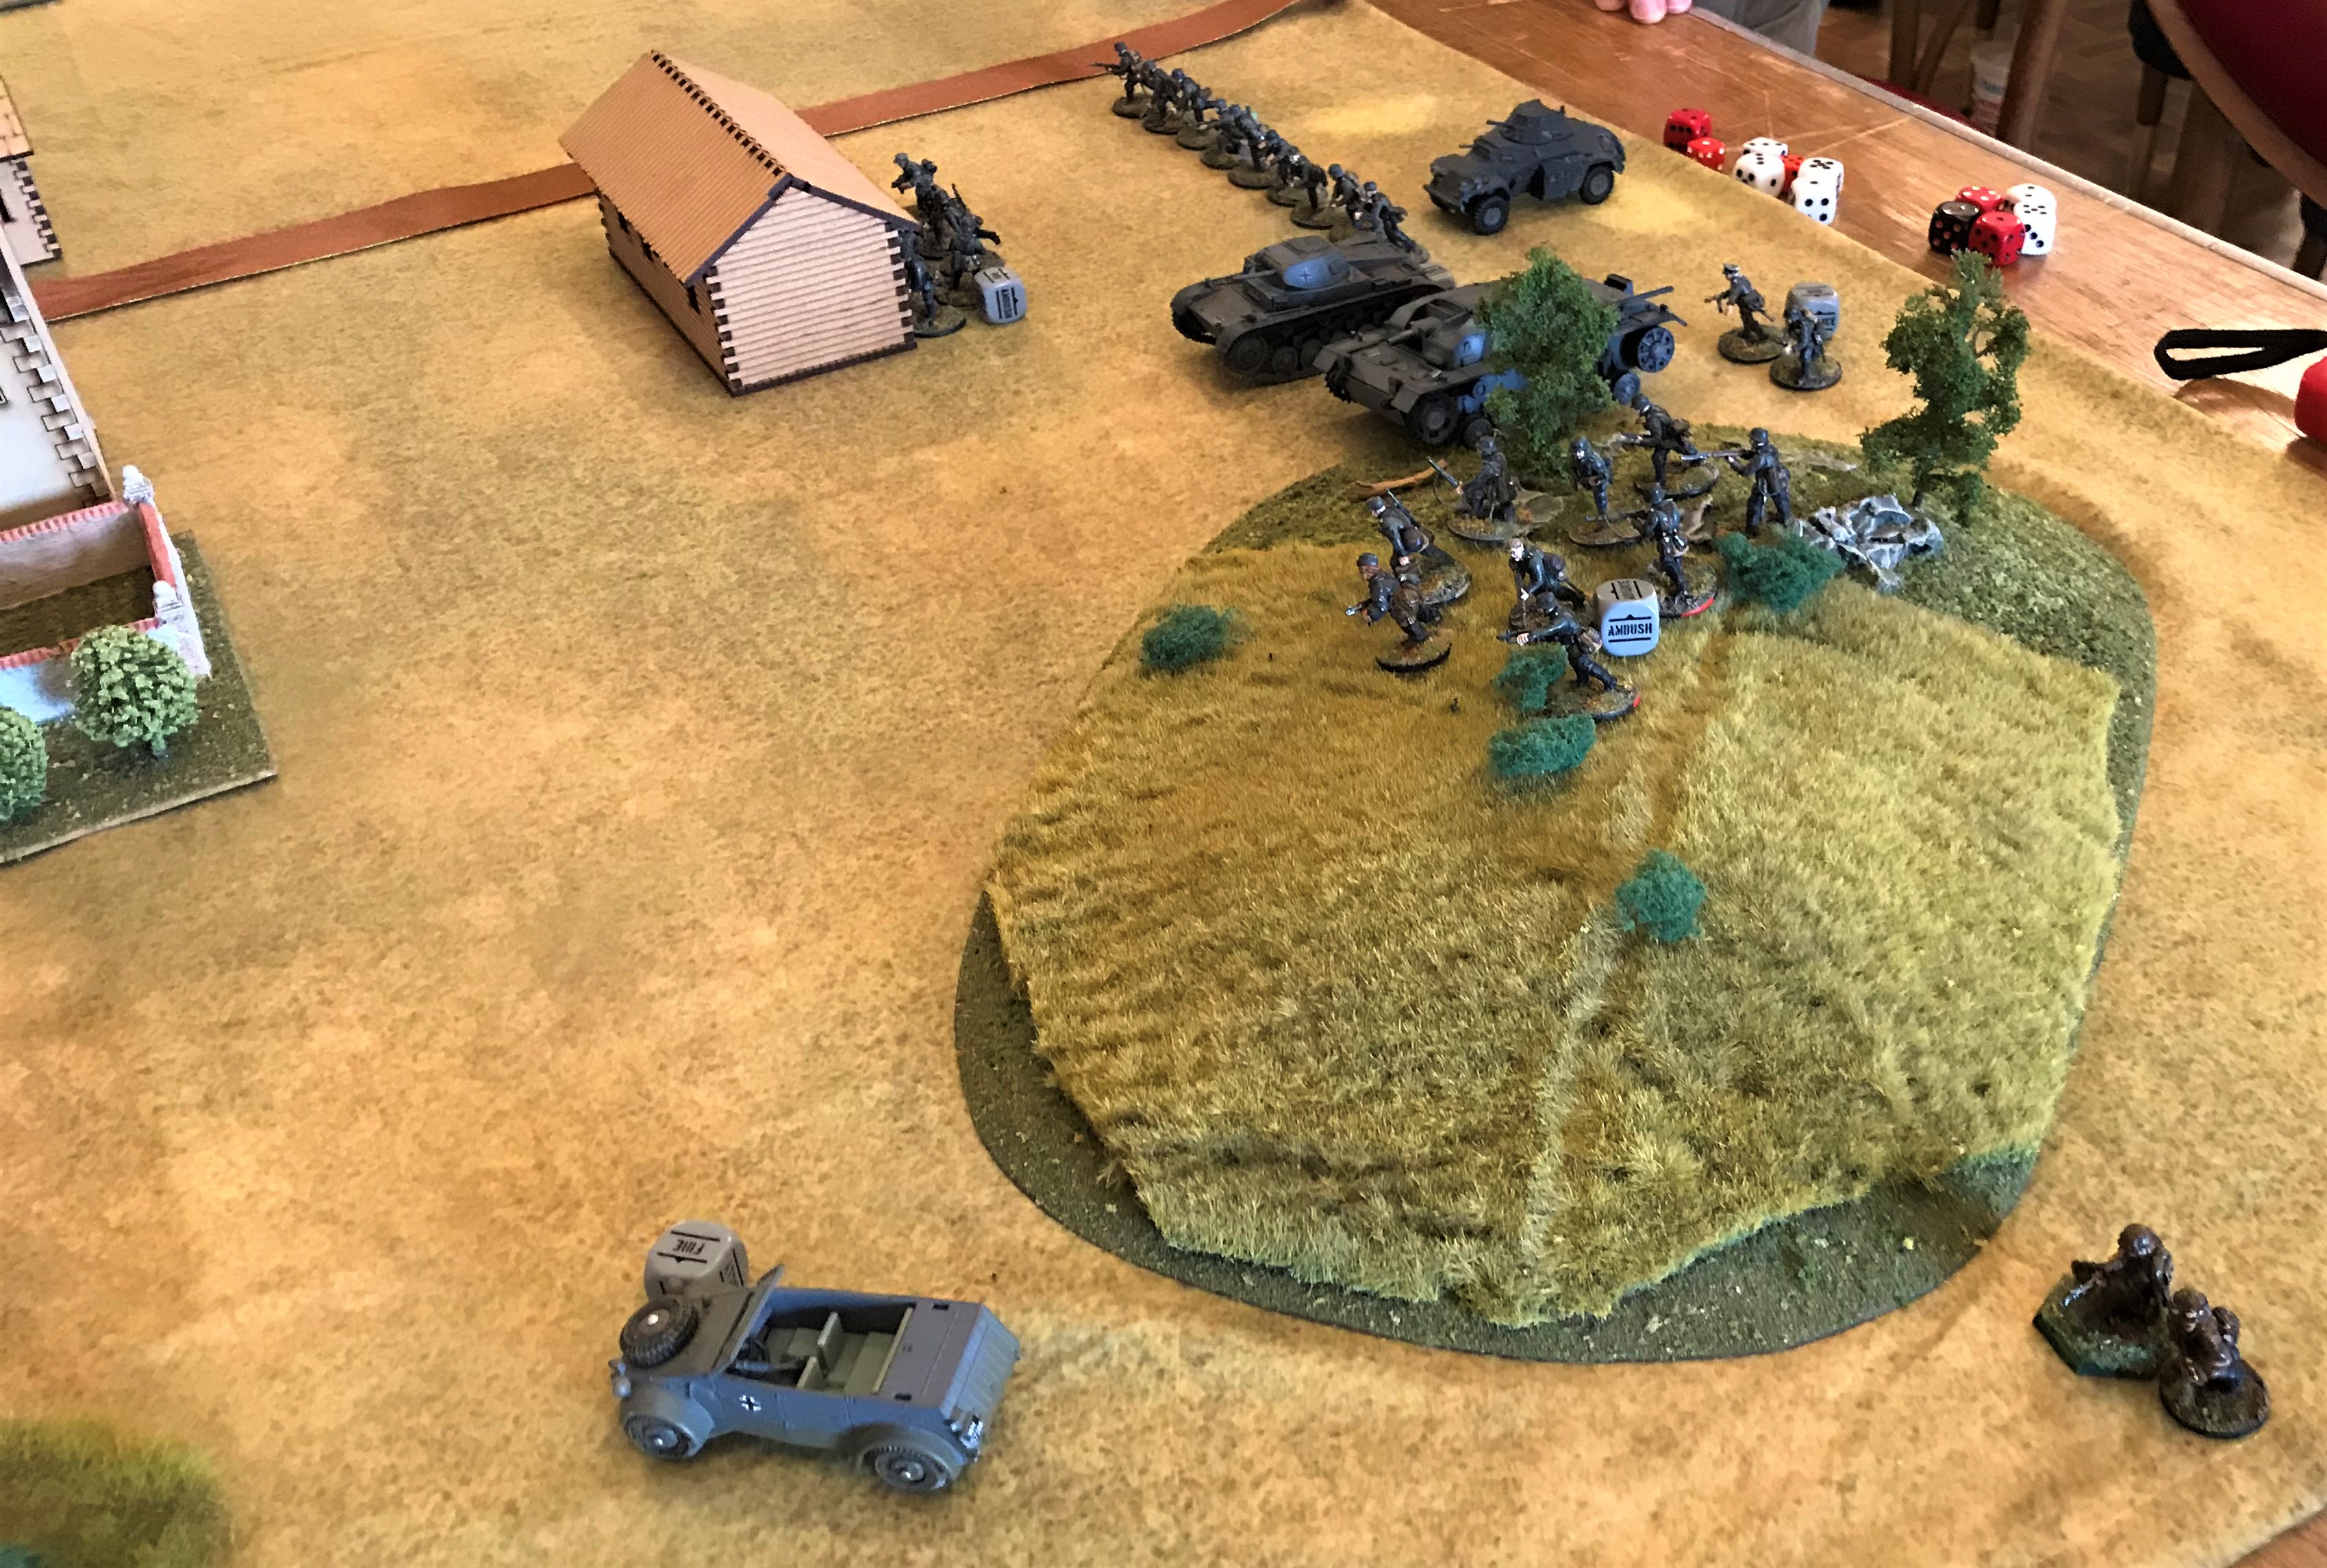
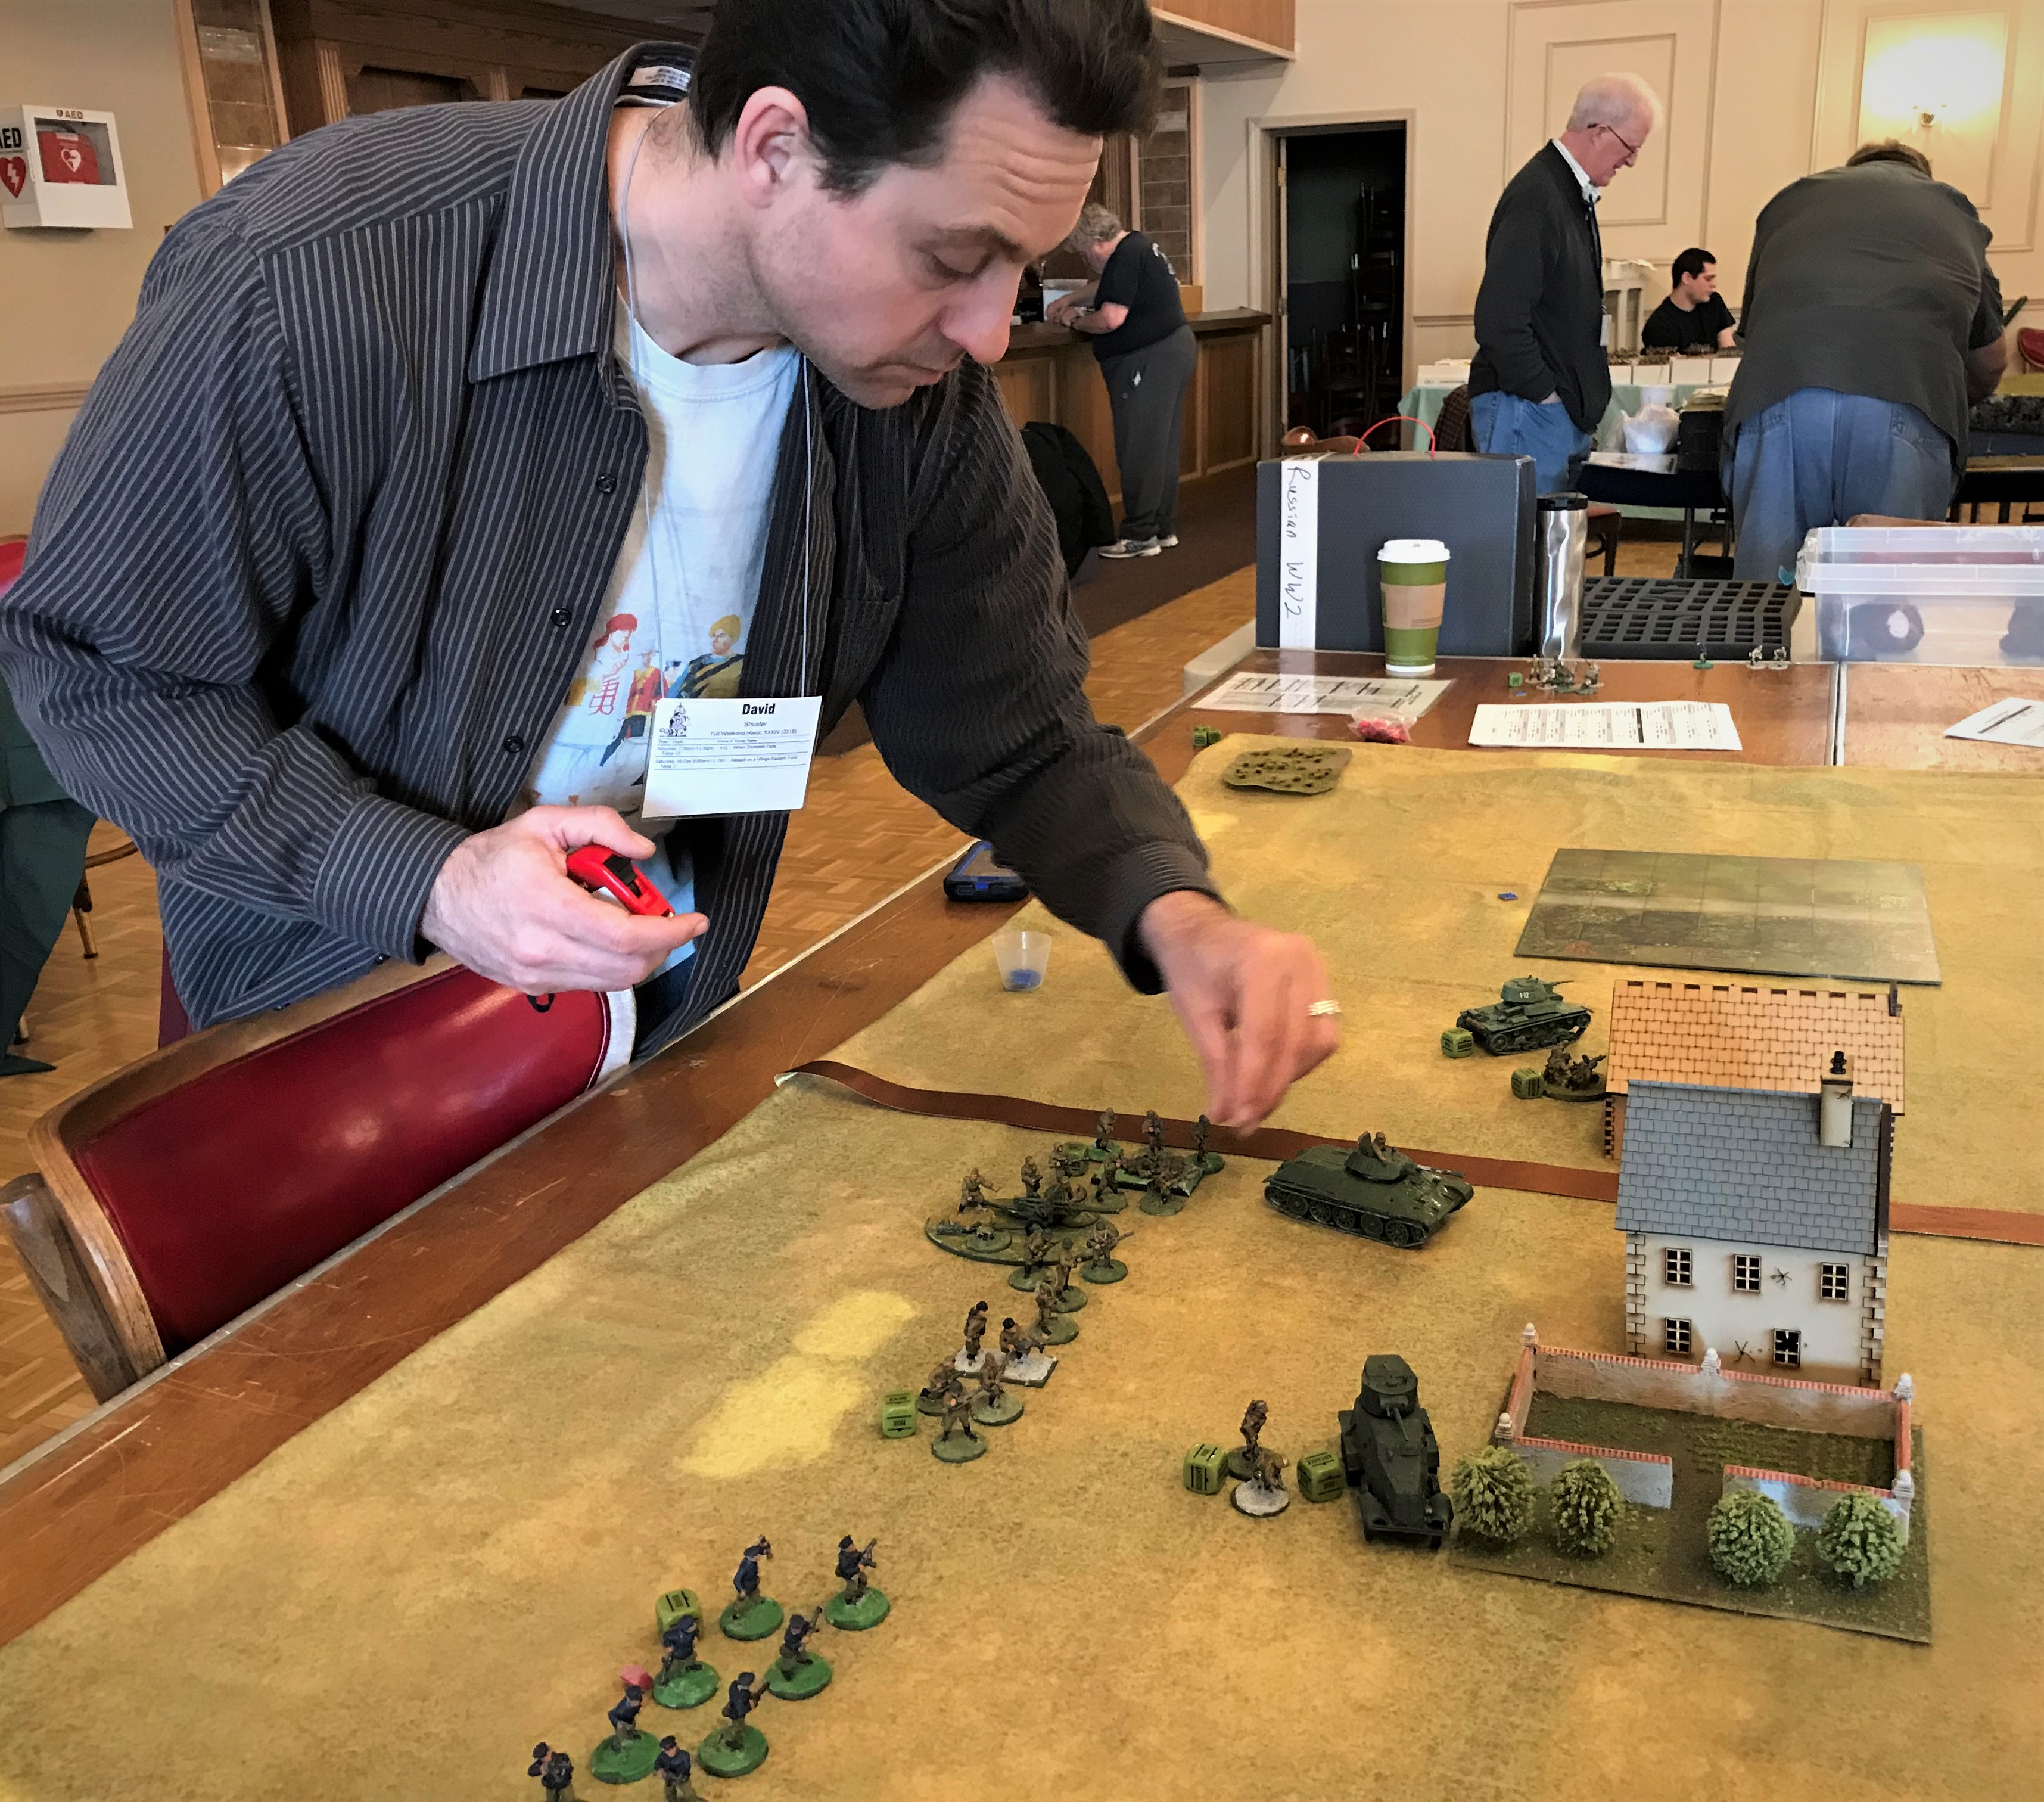
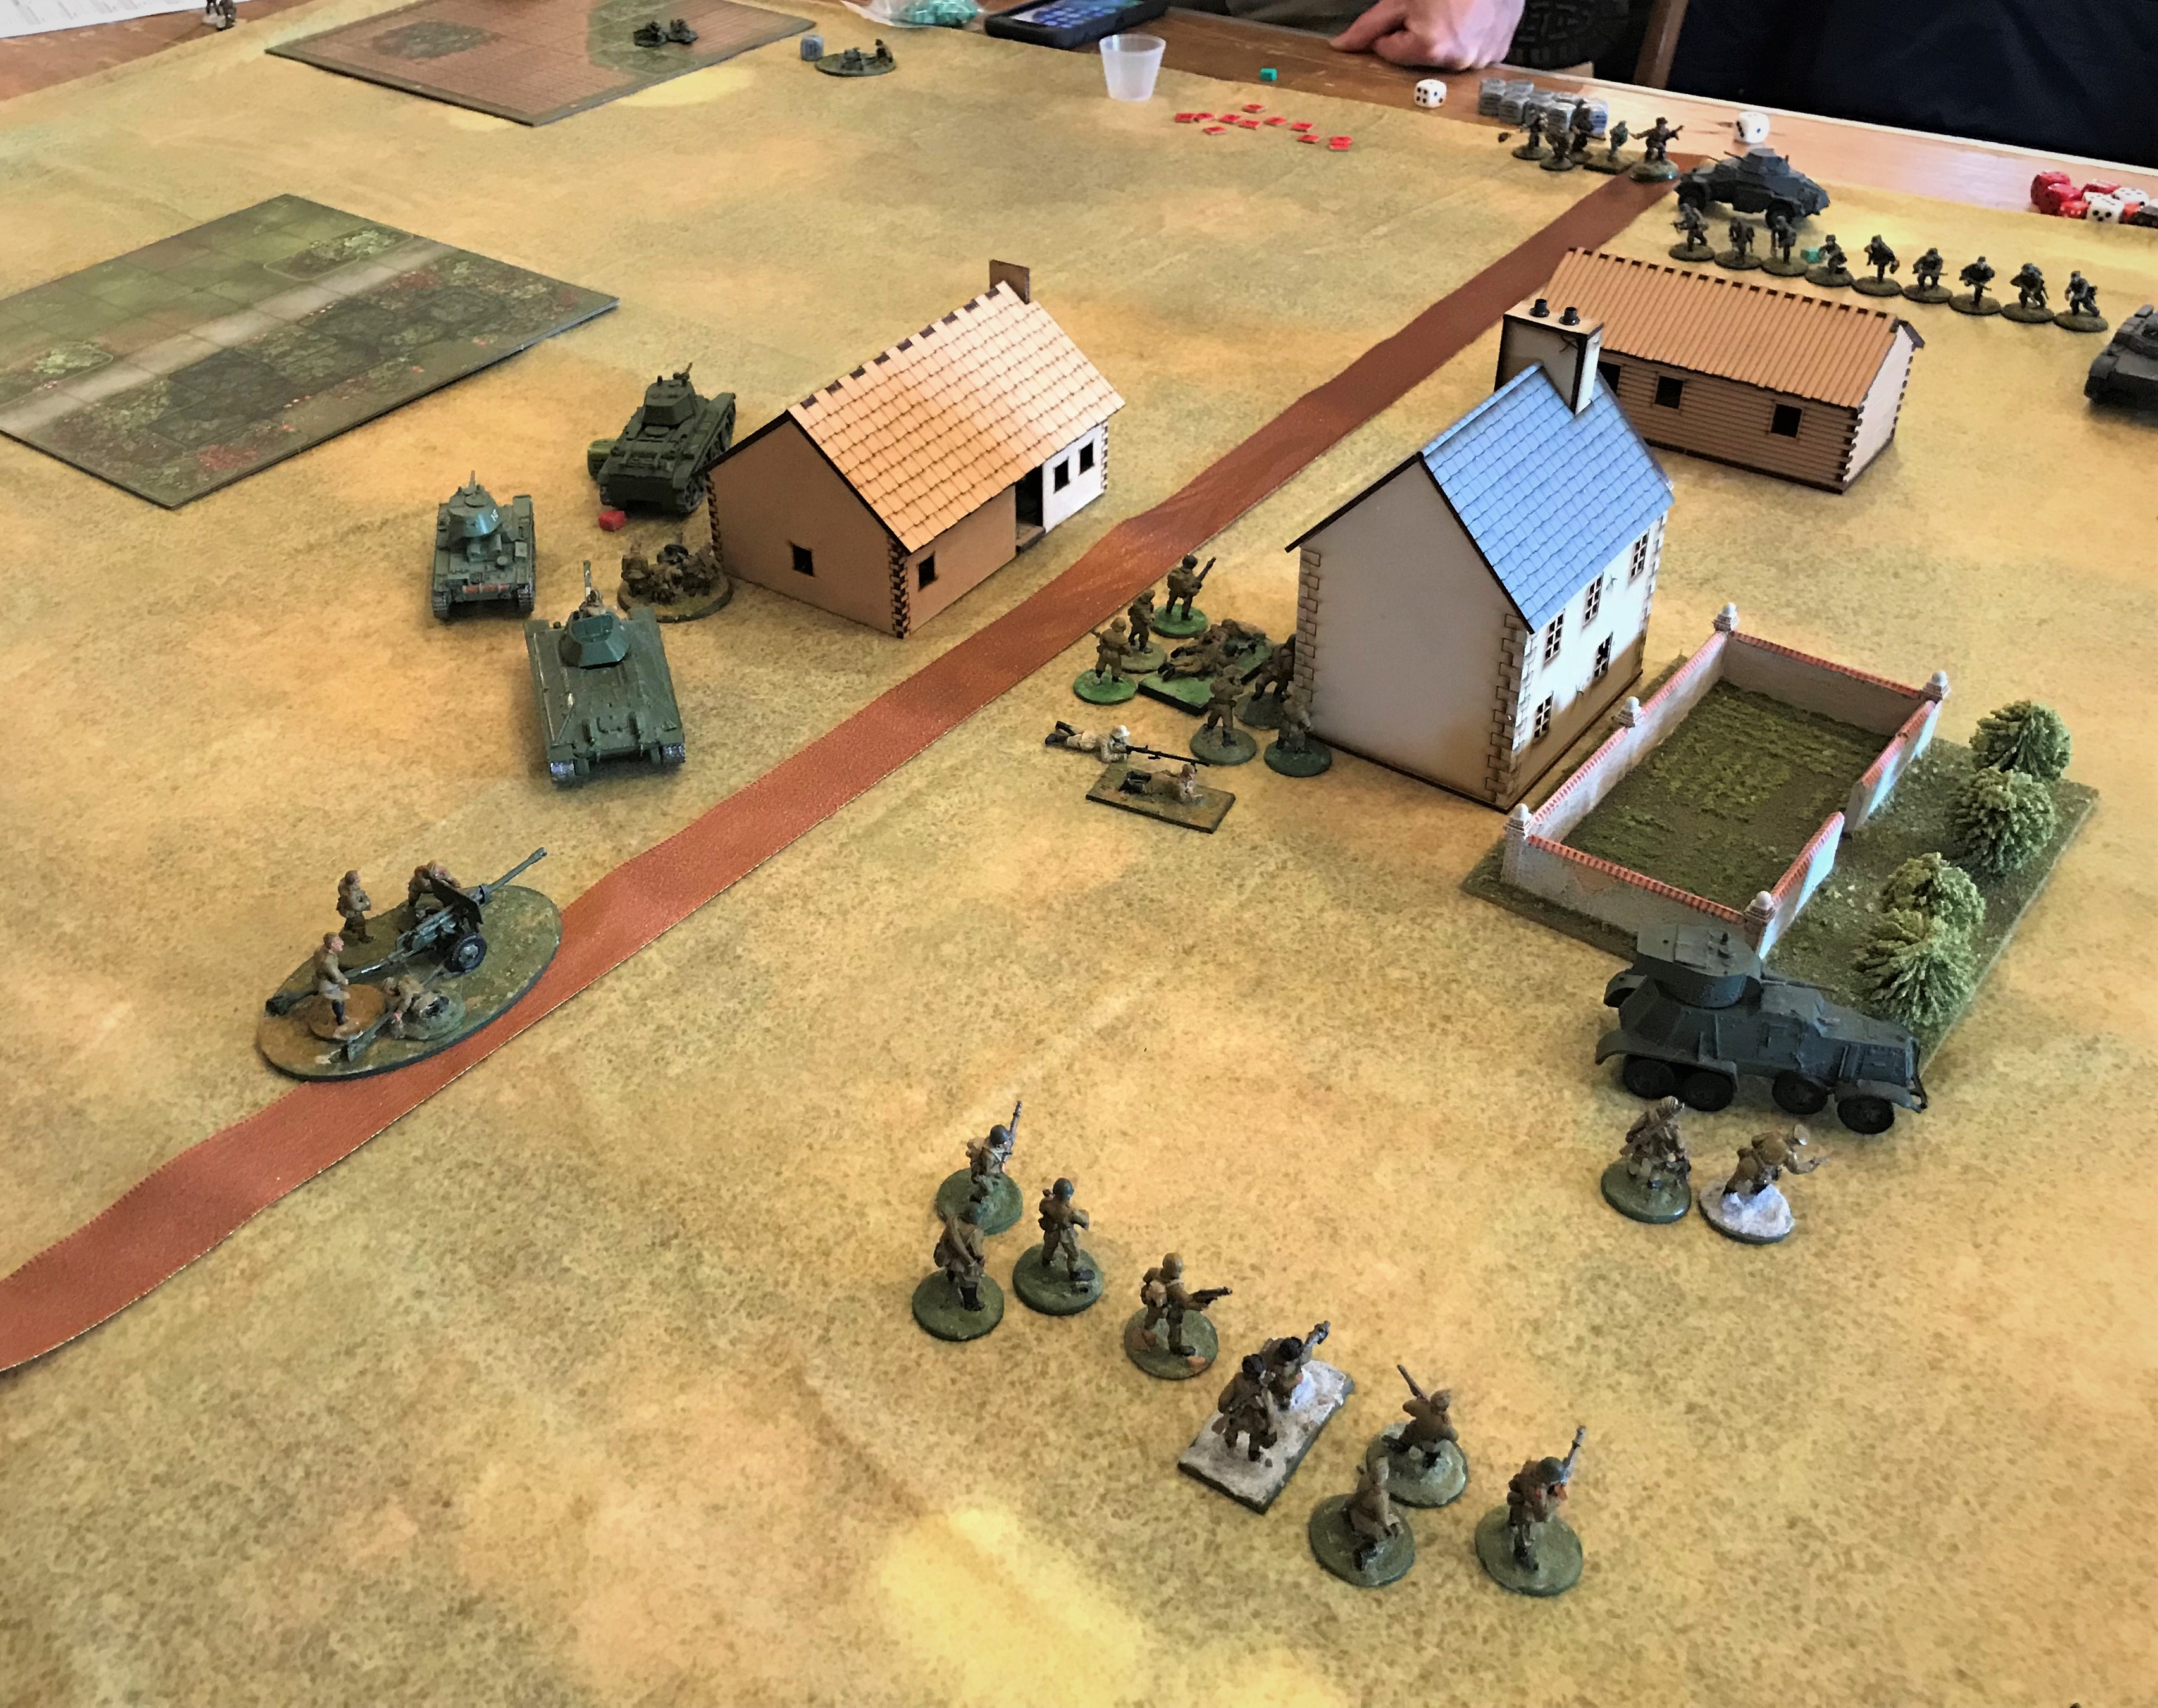
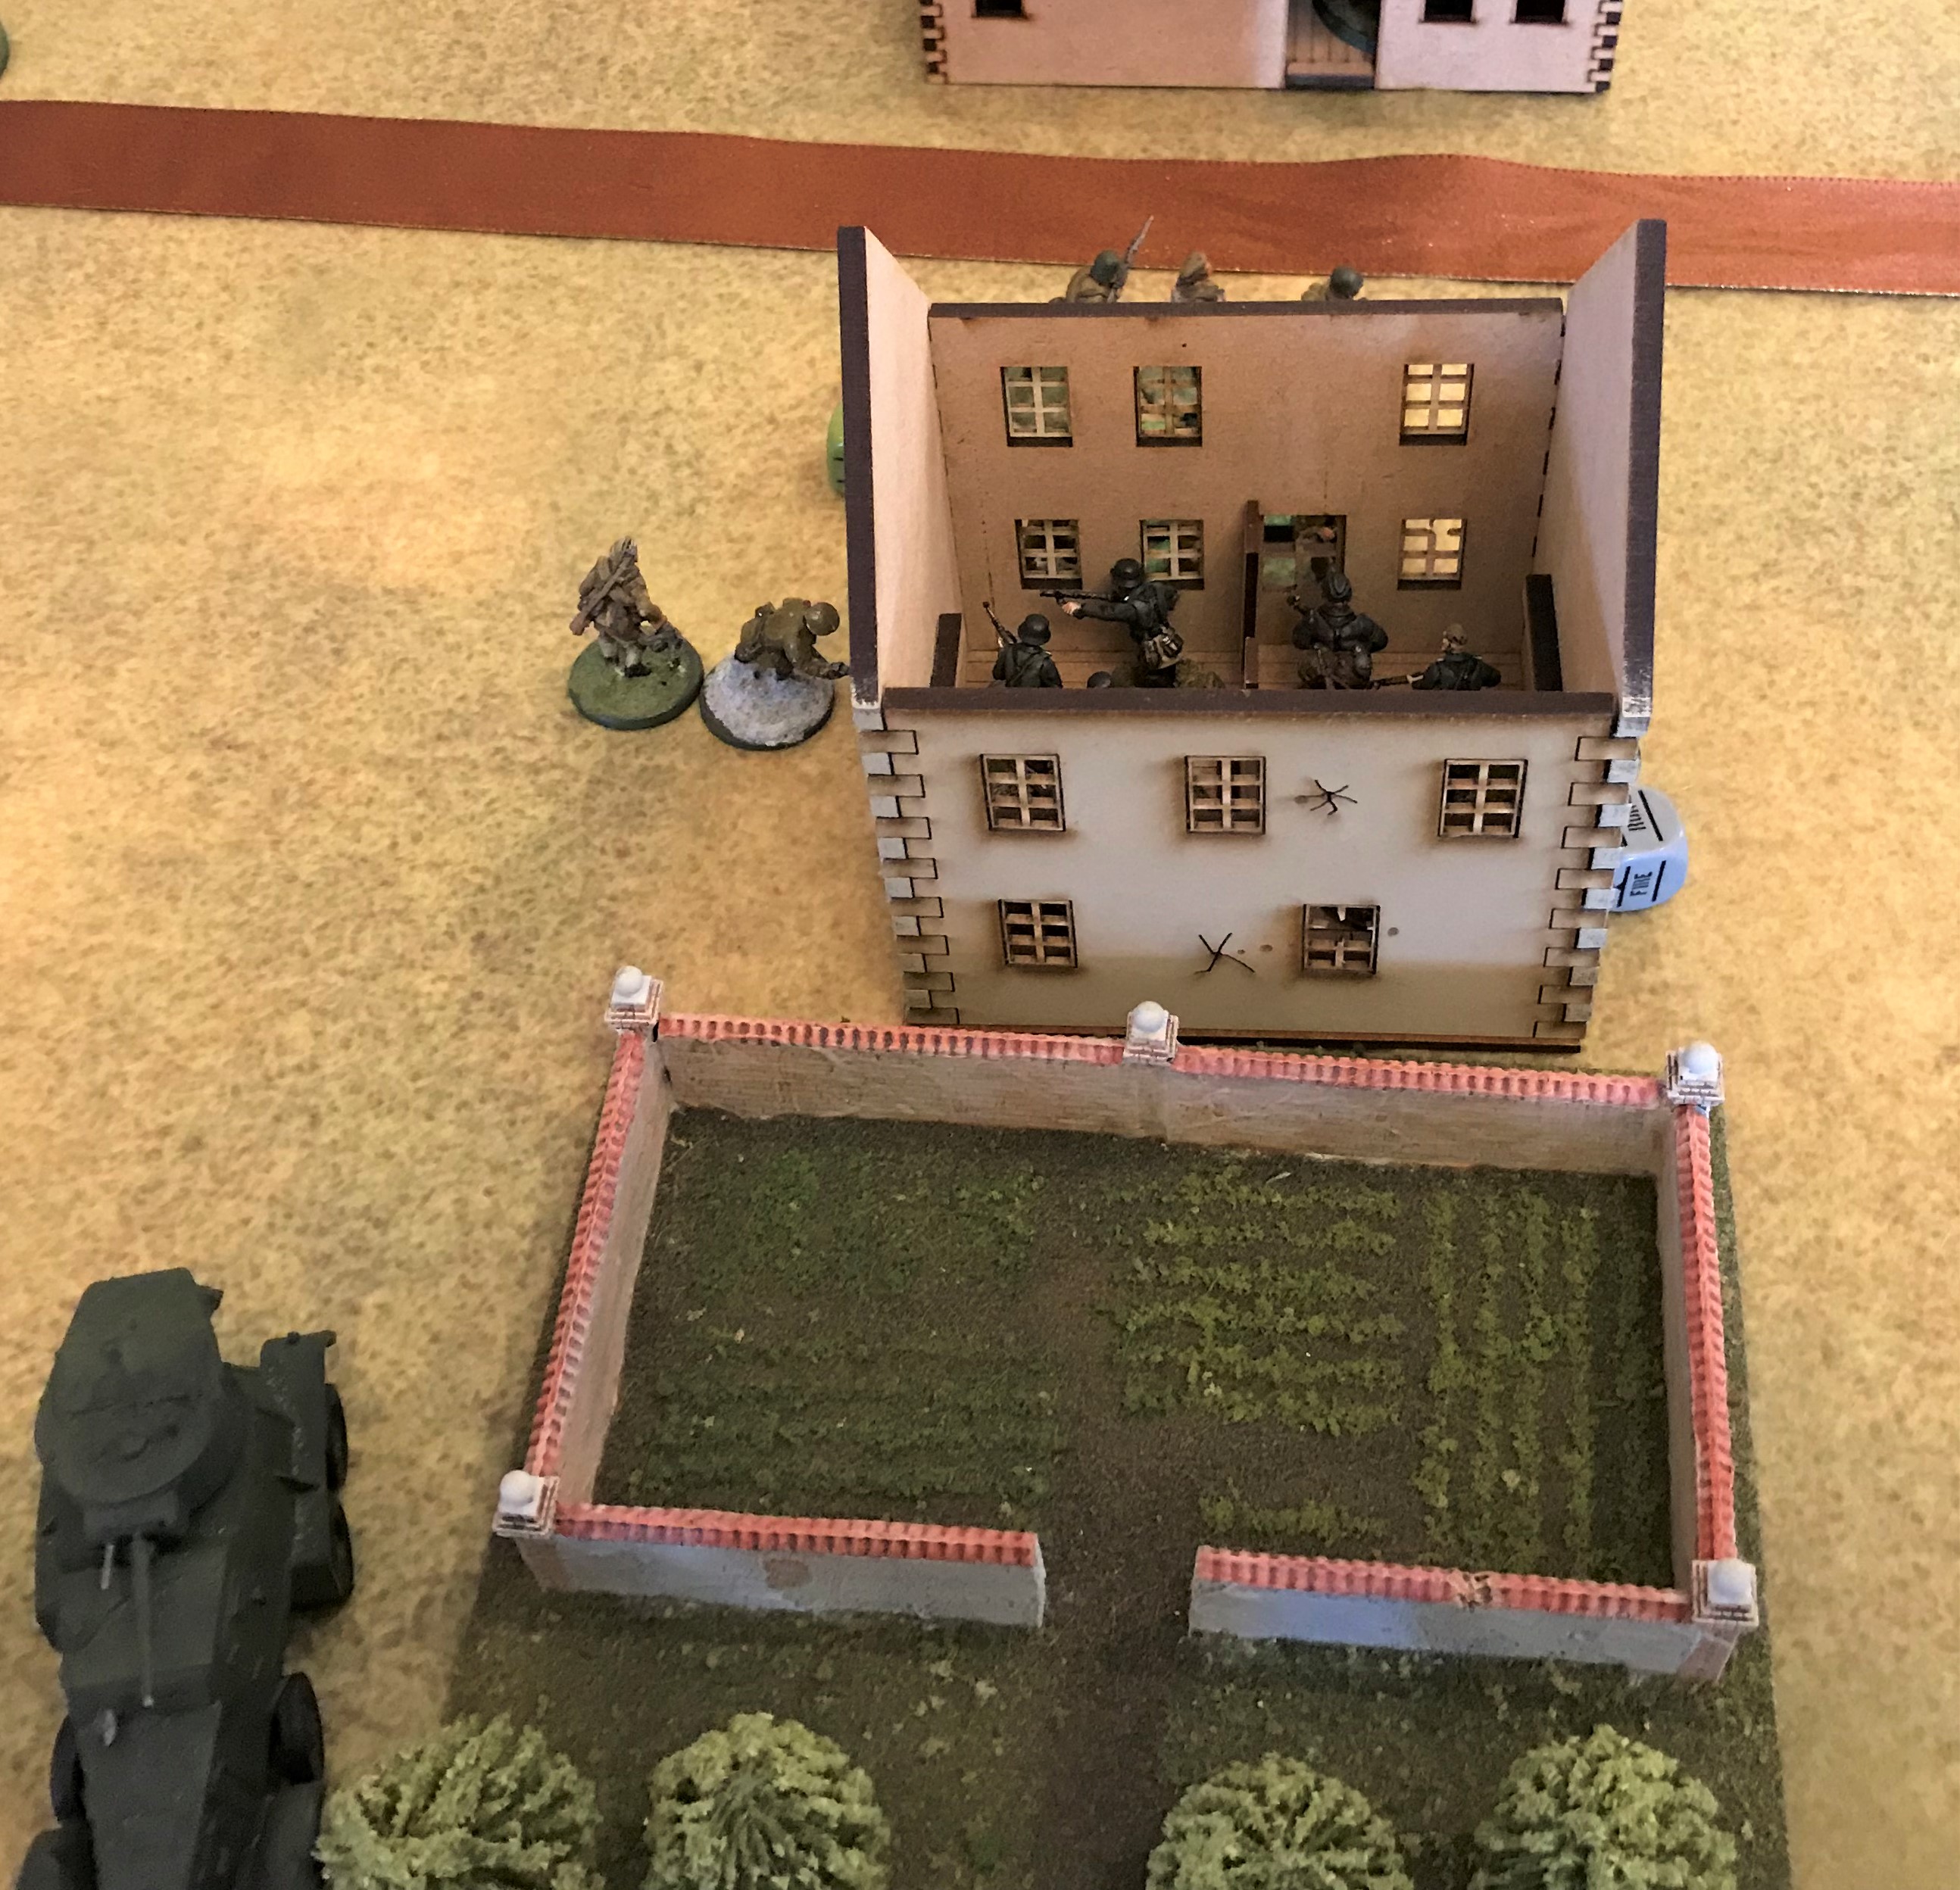
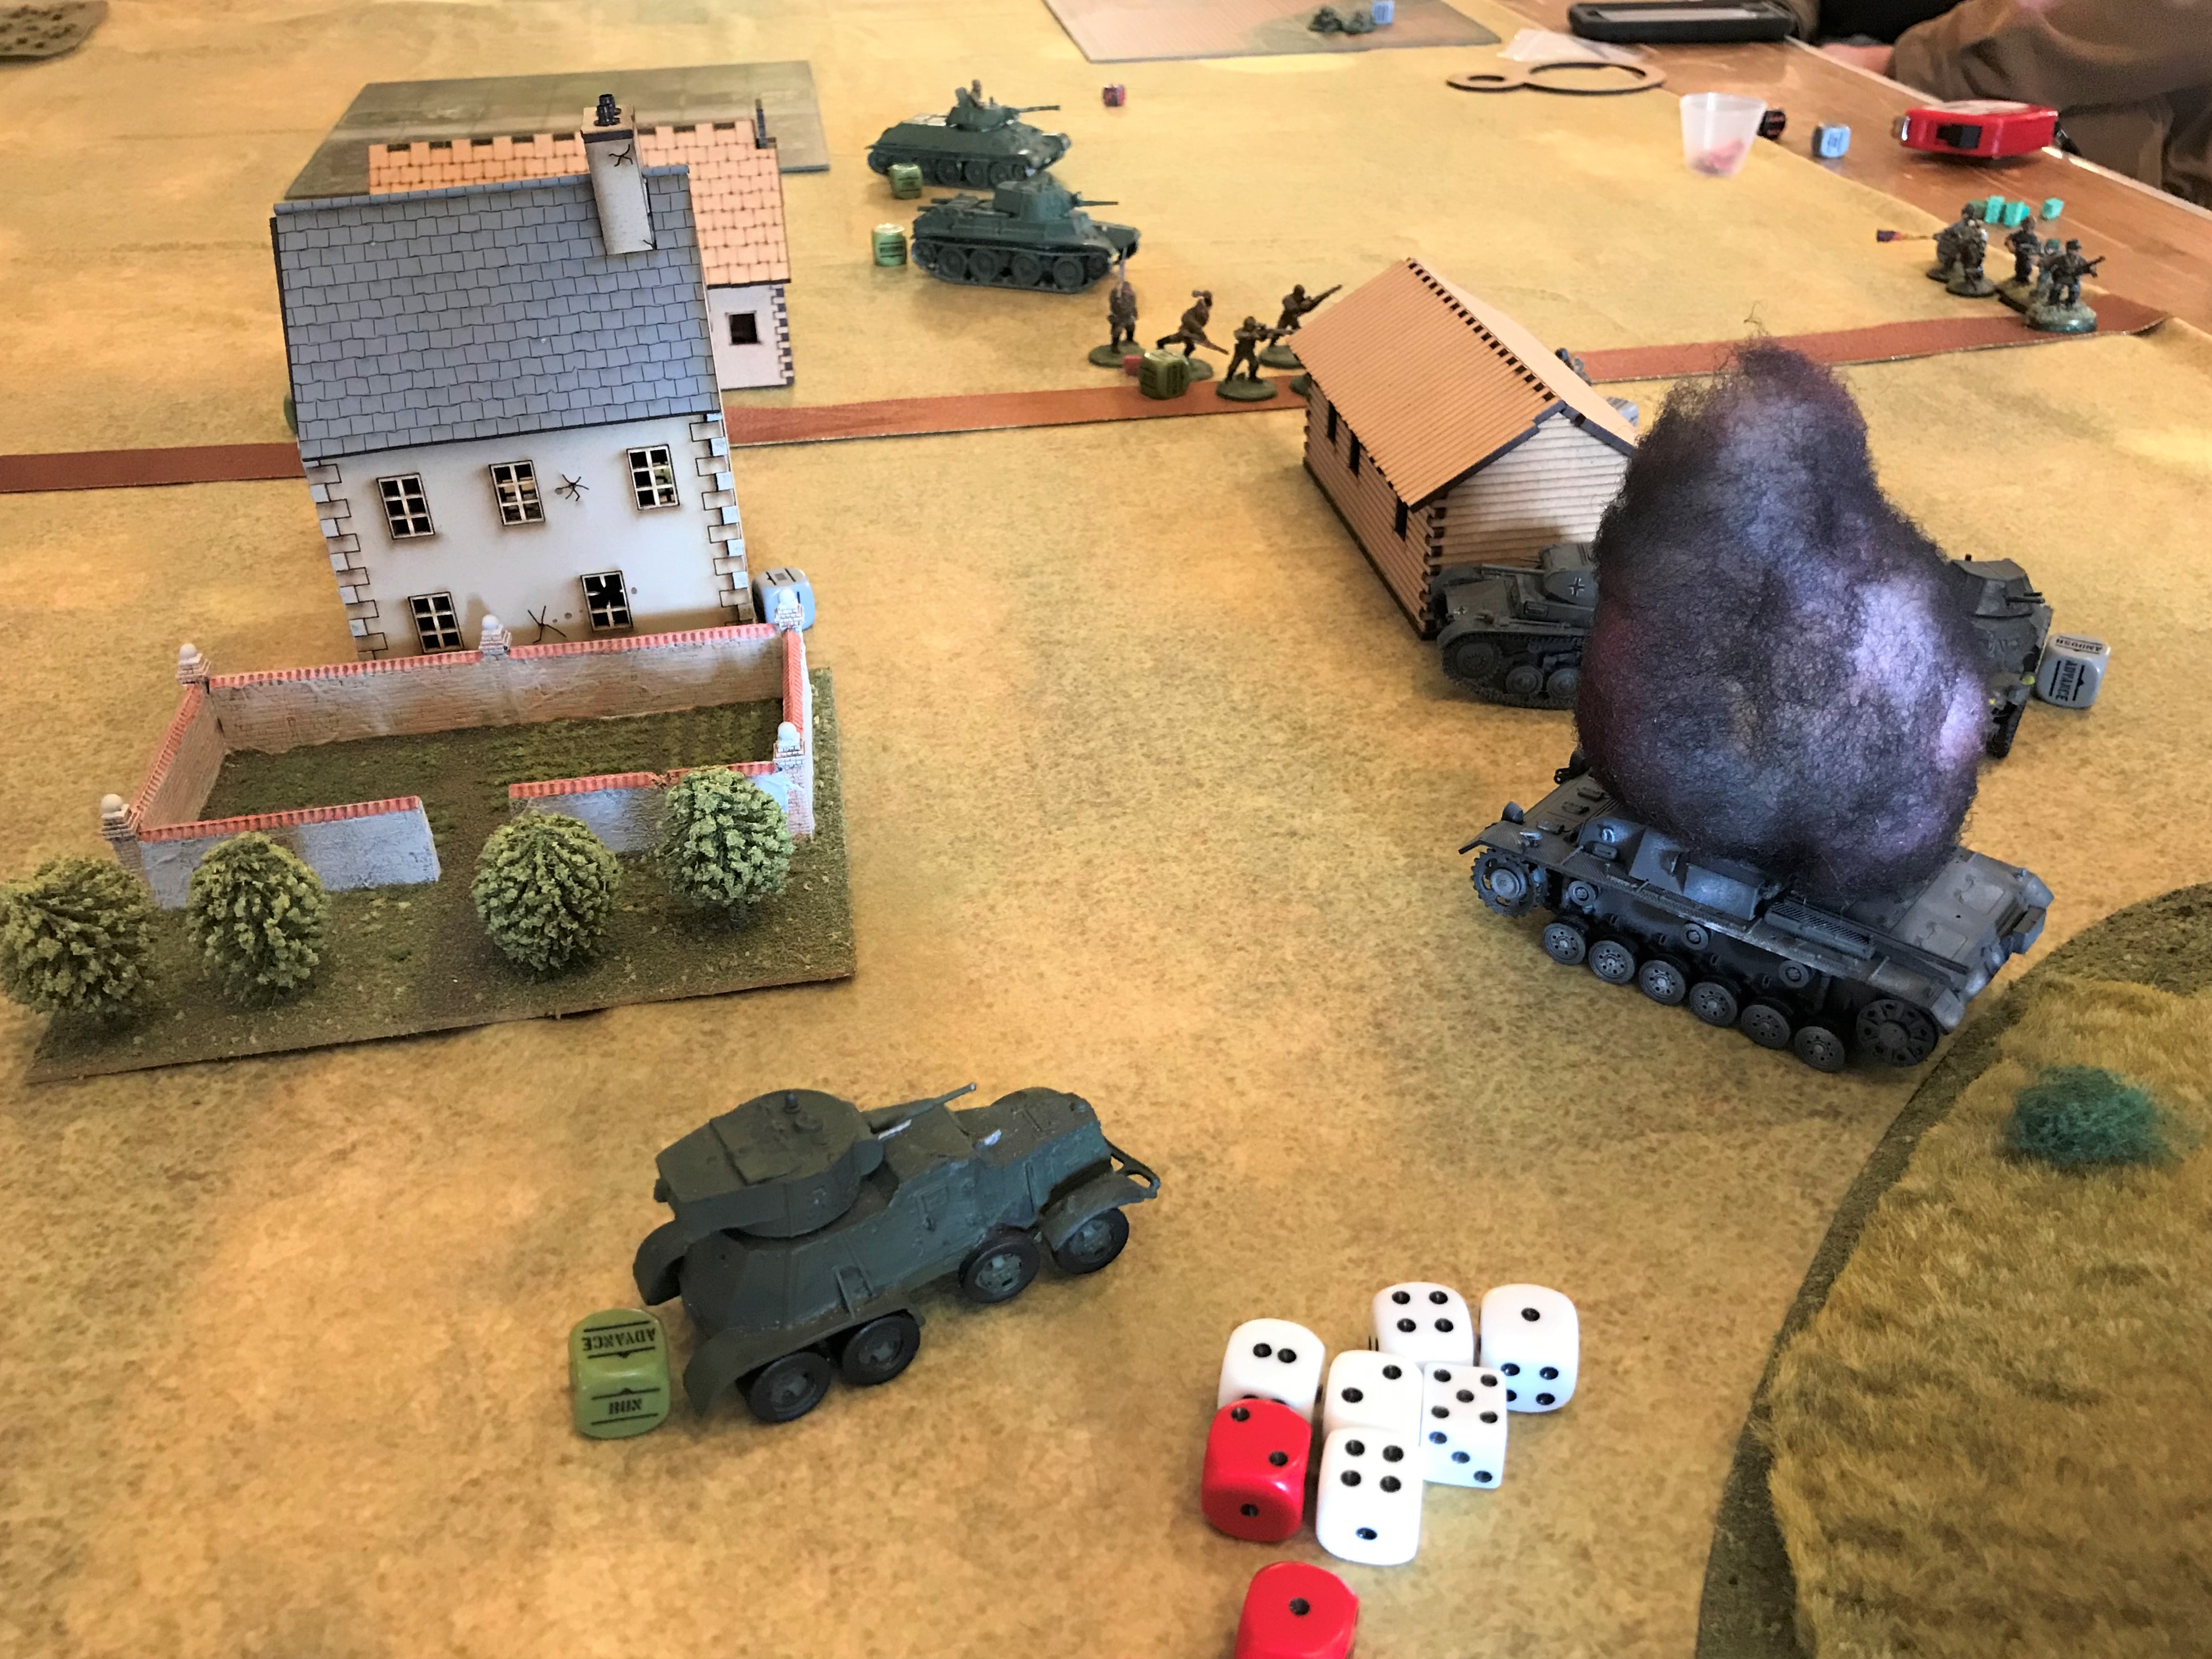
After the Veggie revolt game, I also ran another edition of my What a Tanker scenario for Operation Torch. I did not get any pictures, but one of my players, Arofan, did, and wrote a nice AAR that you can see on the Monadnock Historical Wargaming page https://www.facebook.com/groups/405278298850709. Scroll down to May 17th, 2026.
Thanks again to all at MHWA for yet another great convention!!
That’s it for now – and lastly here are the paints listings and Ozz information.
Final Notes and Informational Links
Want to learn more about Ozz and its world? If you want to check out the excellent Wars of Ozz figures’ range, there are two places to get them. You can also get the rules there. (I make no money from this.) The game rules and the figures are available from the next two places:
In the US Old Glory has a site – Wars of Ozz Miniatures.
In the UK go to Sally 4th.
And the new Wars of Ozz Supplement is available as a PDF download from the next two websites:
Thanks for looking at this post. Let me know your thoughts in the comments section – I’d love a converstion.
Did you have a favorite regiment?
Until next time…
Miscellaneous details and references for those interested in that sort of thing:
For my earlier posts on Wars of Ozz games, view this page. It includes figures, units, and other related projects.
PAINTS, INKS, GLAZES, SHADES, WASHES, PIGMENTS, FLOCKING, GLUES AND MORE THAT I USED ON THE INDIGO IRONMONGER REGIMENT:
- Popsicle sticks
- Vallejo Surface Primer “Ultramarine Blue”
- Createx Wicked Colors “Pearl Blue”
- Aztec leftover wire spear
- Green stuff (kneadatite)
- Steel wood screw
- Vallejo Thinner
- Army Painter Warpaints “Gun Metal”
- Tamiya “Flat Aluminum XF16”
- Tamiya “Thinner X20A”
- Vallejo Model Air “Tire Black”
- Citadel “Auric Armour Gold”
- Vallejo Surface Primer “Grey”
- Army Painter Quickshades “Blue Tone” (wash/shade)
- Vallejo Mecha Weathering “Black Wash” (wash)
- PVA Glue
- Gorilla Glue
- Play sand (flocking)
- Vallejo “Gloss Acrylic Varnish”
- Vallejo Flow Improver
- Pendraken 12mm dice frames
- Army Painter Battlefront “Ash Grey” (flocking)
- Juweela 1:35 Debris
- Juweela Metal Scrap Rusty
- Juweela 1:35 Bricks
- Juweelinis “Diorama Mix” – various metal scrap, tires, bricks
- Army Painter “Red Tone” (wash)
- Secret Weapon Washes “Red Black” (wash)
- Secret Weapon Washes “Ruby” (wash)
- P3 “Red Ink” (ink)
- Vallejo Game Air “Red Terracotta”
- Vallejo “Carbon Black” (pigment)
- Vallejo “Light Slate Grey” (pigment)
- Vallejo “Titanium White” (pigment)
- Nitpik flag design from Wars of Ozz Facebook page (printed on card stock)
- Black Sharpie pen
- Brown Sharpie pen
PAINTS, INKS, GLAZES, SHADES, WASHES, PIGMENTS, FLOCKING, GLUES AND MORE THAT I USED ON THE TWO AXEMEN REGIMENTS:
- Gorilla Glue
- PVA Glue
- Popsicle sticks
- 2″ Square War Games Accessories Steel Bases (21)
- Vallejo Surface Primer “Black”
- Vallejo Mecha Primer “White”
- Vallejo Thinner
- Tamiya “Orange X6”
- Createx Airbrush Colors “Pearl Tangerine”
- Vallejo “Metal Medium”
- Vallejo Thinner Medium
- Martha Stewart Crafts “Duckling”
- Army Painter “Gun Metal”
- Reaper MSP Core Colors “Blackened Brown”
- Reaper MSP Core Colors “Pure White”
- Vallejo Model Air “Bright Brass”
- Vallejo Model Air “Black Metallic”
- Tamiya “Flat Aluminum XF16”
- Tamiya “Thinner X20A”
- Turbo Dork “People Eater”
- Createx Airbrush Colors “High Performance Reducer”
- Createx Airbrush Colors “Pearl Red”
- Createx Wicked Colors “Pearl Orange”
- Citadel “Astrogranite” (texture)
- Citadel “Astrogranite Debris” (texture)
- Vallejo Model Air “Tire Black”
- Createx Wicked Colors “Pearl Blue”
- Army Painter Warpaints Fanatics Effects “Blue Flux” (effect)
- Citadel Contrast Paint “Moon Yellow”
- Createx Wicked Colors “Pearl Yellow”
- Citadel “Nuln Oil GLOSS” (wash/shade)
- Vallejo “Gloss Acrylic Varnish”
- Vallejo Flow Improver
- Pendraken 12mm dice frames
- Army Painter Battlefront “Ash Grey” (flocking)
- Juweela 1:35 Debris
- Juweela Metal Scrap Rusty
- Juweela 1:35 Bricks
- Juweelinis “Diorama Mix” – various metal scrap, tires, bricks
- Army Painter “Red Tone” (wash)
- Secret Weapon Washes “Red Black” (wash)
- Secret Weapon Washes “Ruby” (wash)
- P3 “Red Ink” (ink)
- Vallejo Game Air “Red Terracotta”
- Vallejo “Carbon Black” (pigment)
- Vallejo “Light Slate Grey” (pigment)
- Vallejo “Titanium White” (pigment)
- Nitpik flag design from Wars of Ozz Facebook page (printed on card stock)
- Black Sharpie pen
- Brown Sharpie pen
PAINTS, INKS, GLAZES, SHADES, WASHES, PIGMENTS, FLOCKING, GLUES AND MORE THAT I USED ON THE TWO NAPALM BLASTER REGIMENTS:
- Popsicle sticks
- PVA Glue
- Vallejo Mecha Primer “White”
- Vallejo Thinner
- Craftsmart “Neon Pink”
- Createx Wicked Colors “Pearl Lime Green”
- Army Painter Warpaints Metallics “Gun Metal”
- Vallejo “Thinner Medium”
- Reaper MSP Core Colors “Blackened Brown”
- Vallejo Model Air “Bright Brass”
- Vallejo Model Air “Black Metallic”
- Vallejo Model Air “Tire Black”
- Createx Wicked Colors “Pearl Red”
- Tamiya “Flat Aluminum XF16”
- Tamiya “Thinner X20A”
- Citadel Contrast Paint “Moon Yellow”
- Army Painter Warpaints Fanatics Effects “Violet Volt” (effect)
- Americana “Bubblegum Pink”
- Turbo Dork “People Eater”
- Createx Airbrush Colors “High Performance Reducer”
- Createx Wicked Colors “Pearl Orange”
- Createx Wicked Colors “Pearl Yellow”
- Army Painter Warpaints Fanatics Effects “Blue Flux” (effect)
- 2″ Square War Games Accessories Steel Bases (21)
- Citadel “Astrogranite” (texture)
- Citadel “Astrogranite Debris” (texture)
- Citadel “Nuln Oil GLOSS” (wash/shade)
- Createx Airbrush Colors “Pearl Magenta”
- Citadel “Tesseract Glow” (TECHNICAL)
- Vallejo “Gloss Acrylic Varnish”
- Vallejo Flow Improver
- Pendraken 12mm dice frames
- Army Painter Battlefront “Ash Grey” (flocking)
- Juweela 1:35 Debris
- Juweela Metal Scrap Rusty
- Juweela 1:35 Bricks
- Juweelinis “Diorama Mix” – various metal scrap, tires, bricks
- Army Painter “Red Tone” (wash)
- Secret Weapon Washes “Red Black” (wash)
- Secret Weapon Washes “Ruby” (wash)
- P3 “Red Ink” (ink)
- Vallejo Game Air “Red Terracotta”
- Vallejo “Carbon Black” (pigment)
- Vallejo “Light Slate Grey” (pigment)
- Vallejo “Titanium White” (pigment)
- Nitpik flag design from Wars of Ozz Facebook page (printed on card stock)
- Black Sharpie pen
- Brown Sharpie pen