
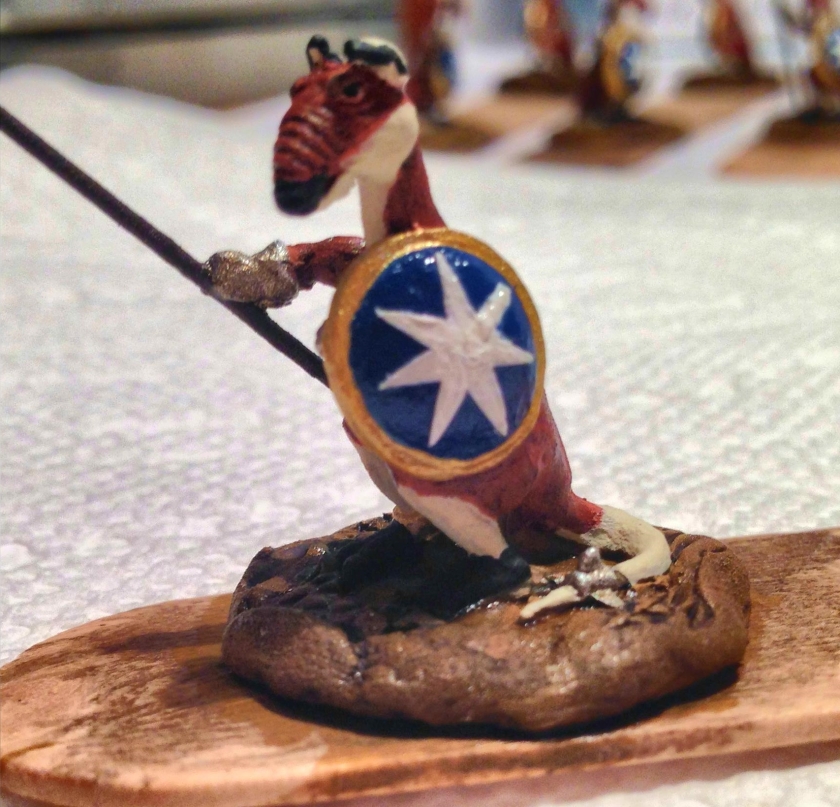
Back in 2016, I had finally completed an original Ral Partha “Rooman War Party” (#01-044) from 1977. This effort culminated in my building a 21-figure phalanx of pike-armed anthropomorphic kangaroos, replete with Australian 7-pointed stars on their shields.
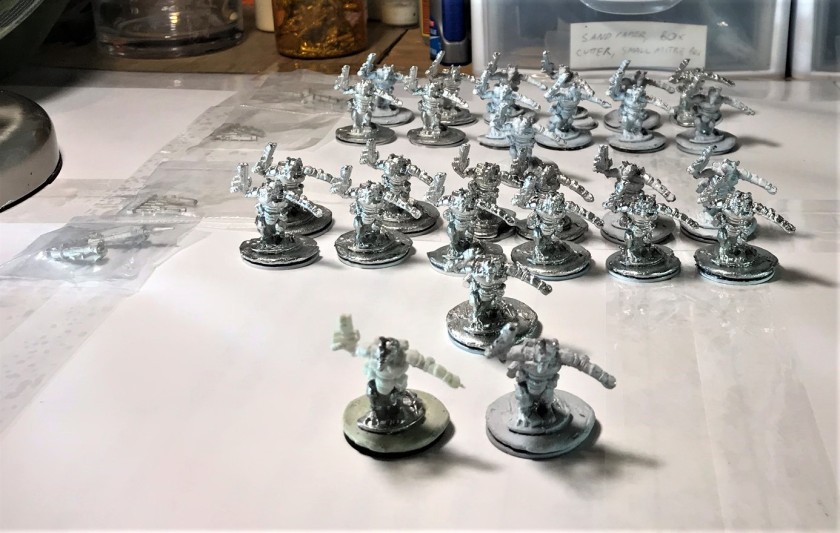
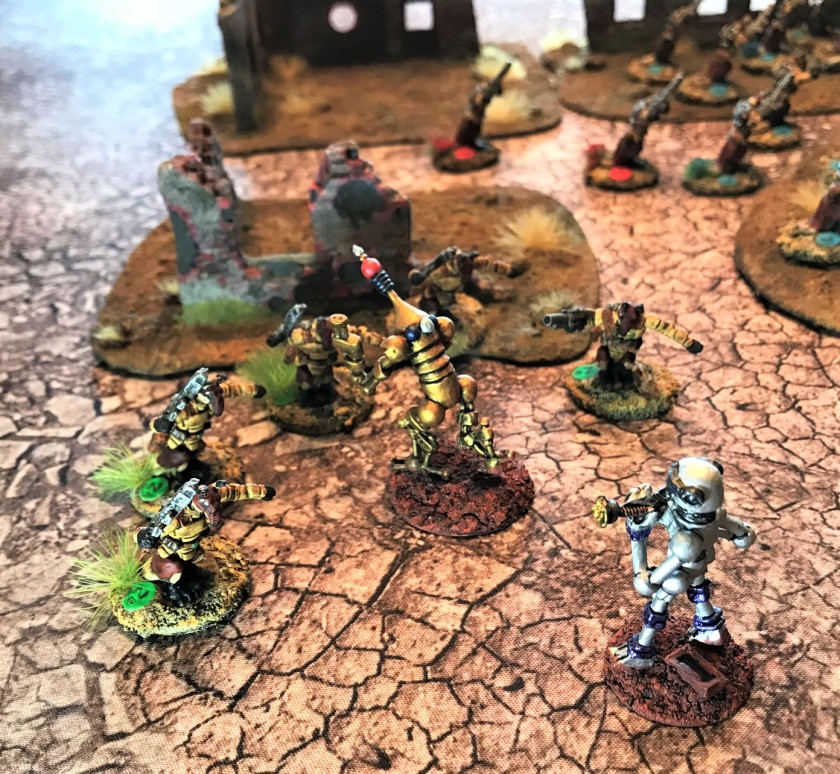
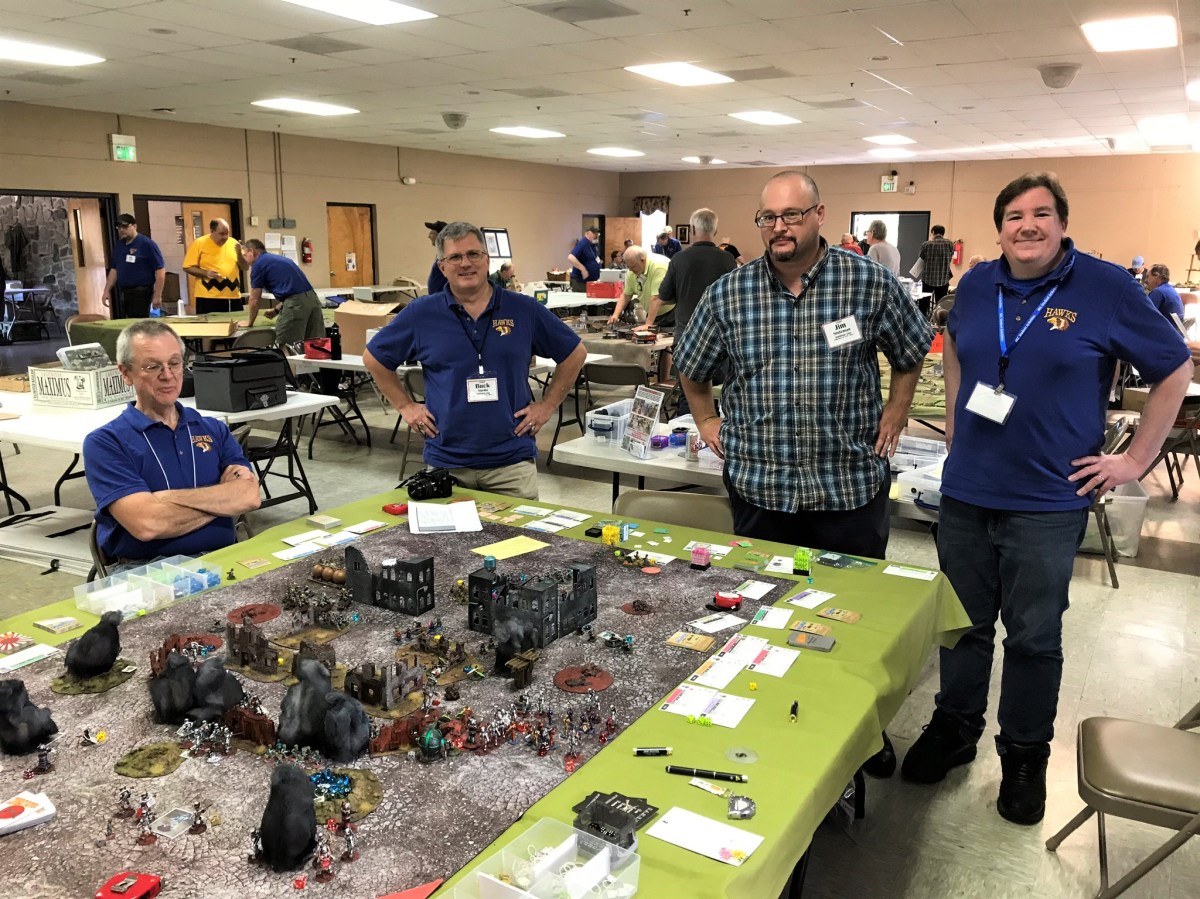
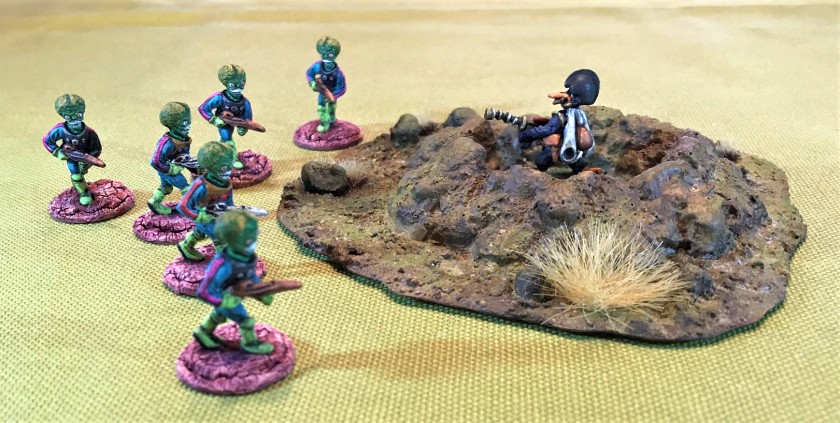
At that time, I also began to see that others, like the wonderfully named Imperial Rebel Ork (IRO for short) were doing amazing “kit-bashes” and conversions with different models. Of course, IRO uses plastic, and I’m more of an old school metal guy. I also was getting more into retro sci-fi figures and using them for skirmish games. I was inspired by IRO and Azazel (both Aussies) to push myself to do my own conversion. So, I combined two figures – a Ral Partha Rooman (25 mm scale) and a Reaper #80010, “Nova Corp Sergeant” (28 mm scale), made a mold, and cast a bunch of “Space Roomans” (in metal of course). You can read about that somewhat massive project here. Getting around to painting these took a bit longer, and even my good friend Buck Surdu painted some that I gave him much quicker than I did.

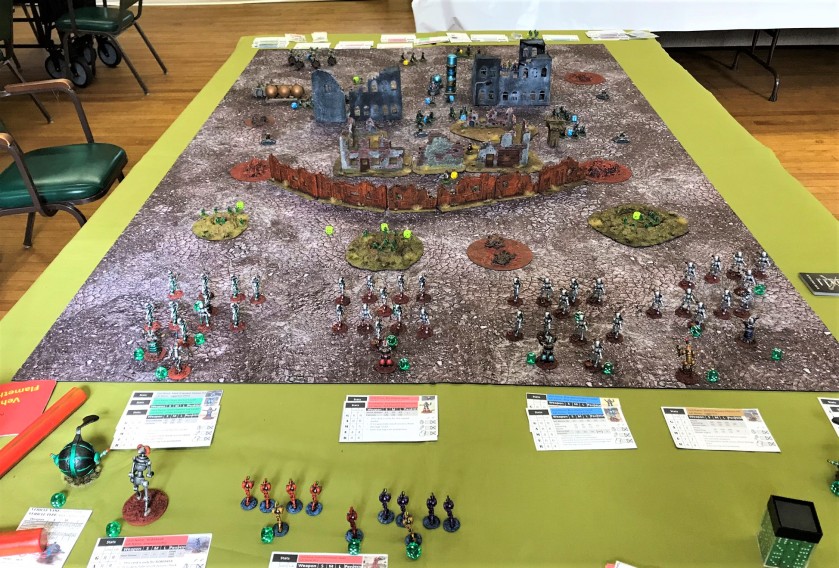
Azazel is kind enough to run a monthly community painting challenge – and October’s was “Unit-ed October”, and focused on units. So, I took this opportunity to get these done. Of course, this effort was slightly affected by some gaming and the Red Sox winning the 2018 World Series (YES!), but I got them (the Space Roos that is) done by October 31st, 2018. I will use them in Combat Patrol™ games.
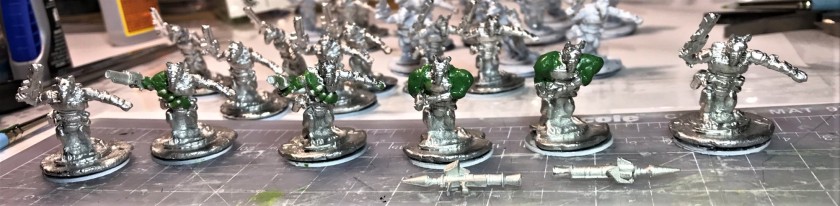
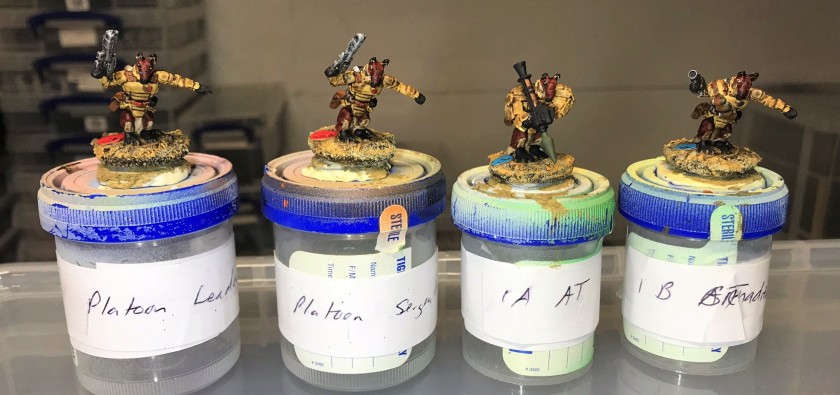
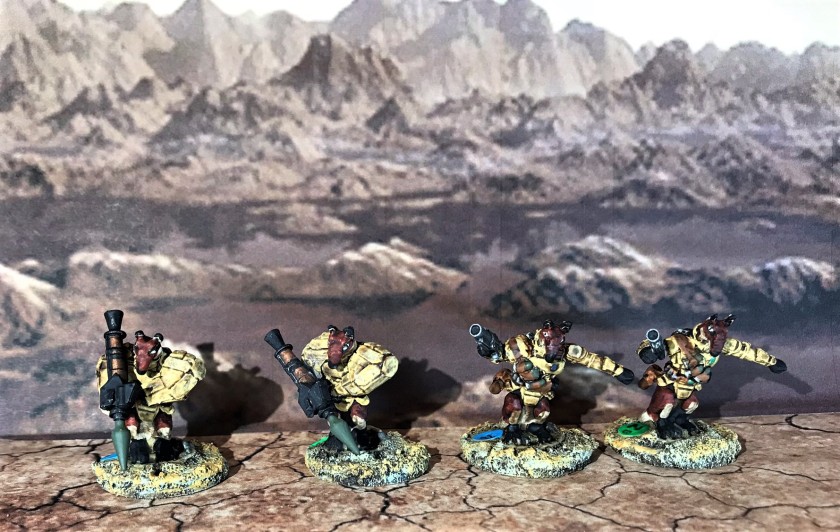
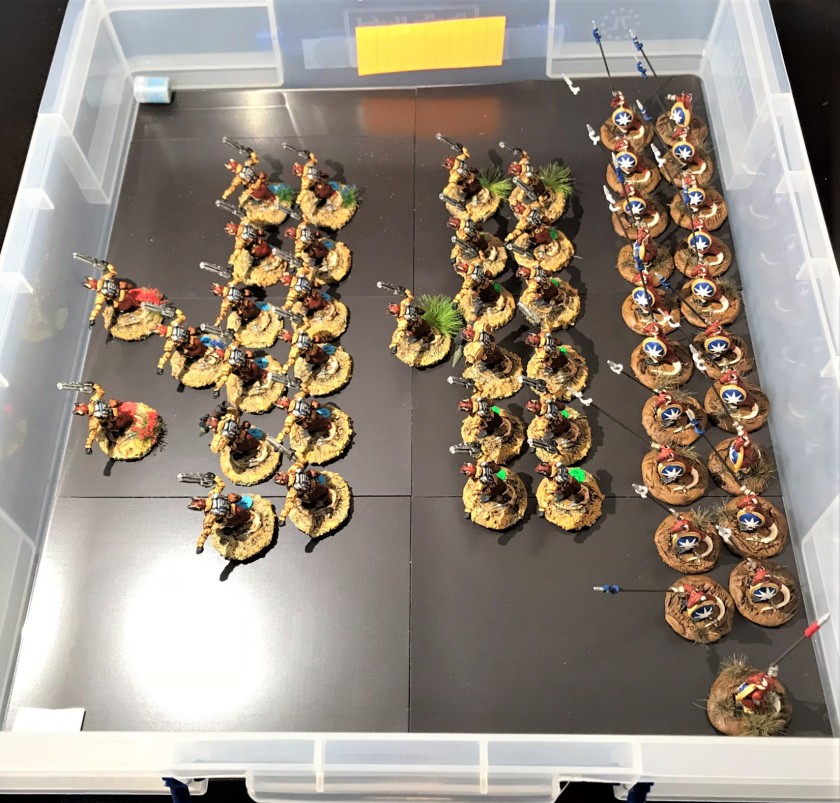
I decided to paint the Roos similar to the way I did the Roomans, except that I wanted a more dusty and dirty look to them, as they are intrepid infantrymen (infantryroos?). I also wanted to convert a couple of figures per squad (yes, a conversion of a conversion) to carry different weapons. In this case, I used a grenade launcher sprue from RBJ miniatures to make two Roos into grenadiers, and a different RPG sprue from RBJ to make two other Roos into anti-tank troopers. So my 28-figure platoon would consist of:
- Platoon Leader
- Platoon Sergeant
- 2 Space Roo Squads consisting of:
- 1 Squad Leader in each squad
- 2 teams of:
- 1 TL per team
- 4 Space Roos with assault rifles/blasters per team
- 1 Space Roo per team with either a grenade launcher or anti-tank weapon
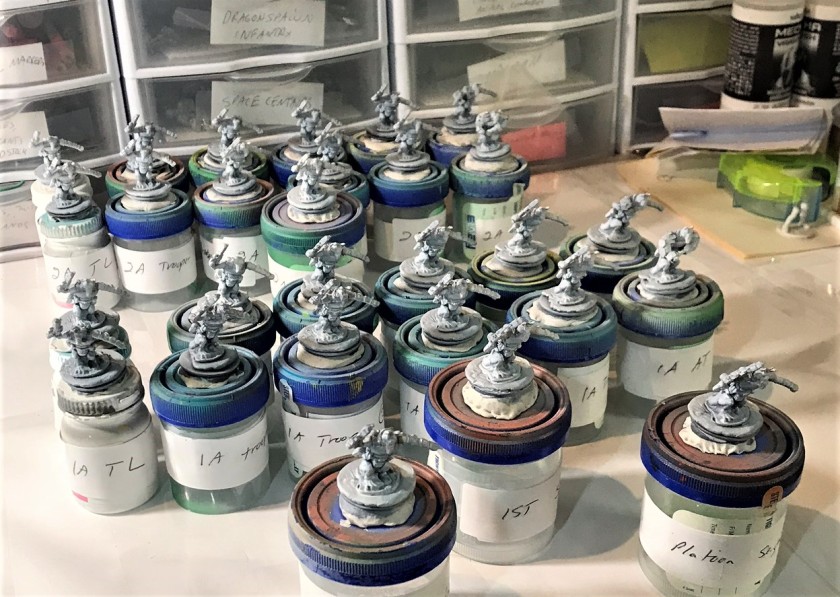
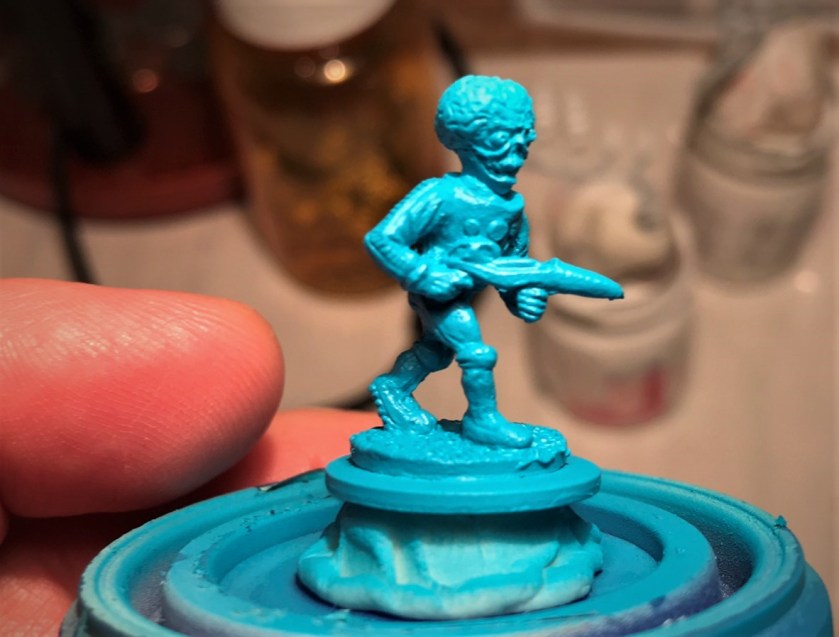
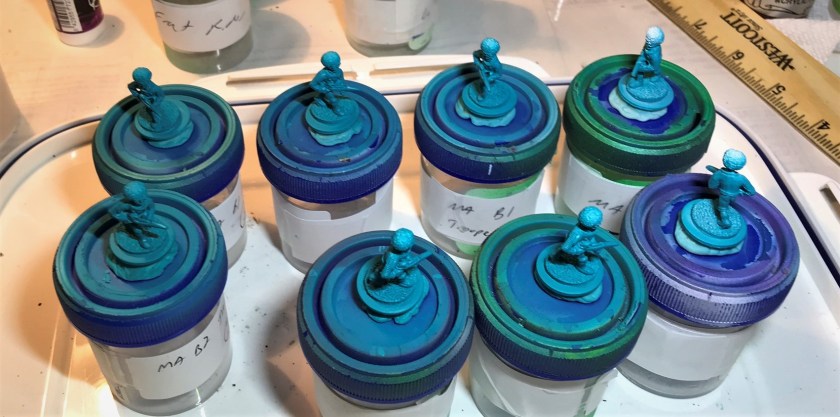
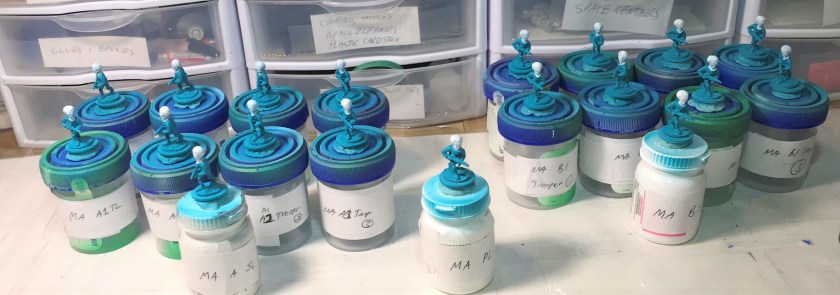
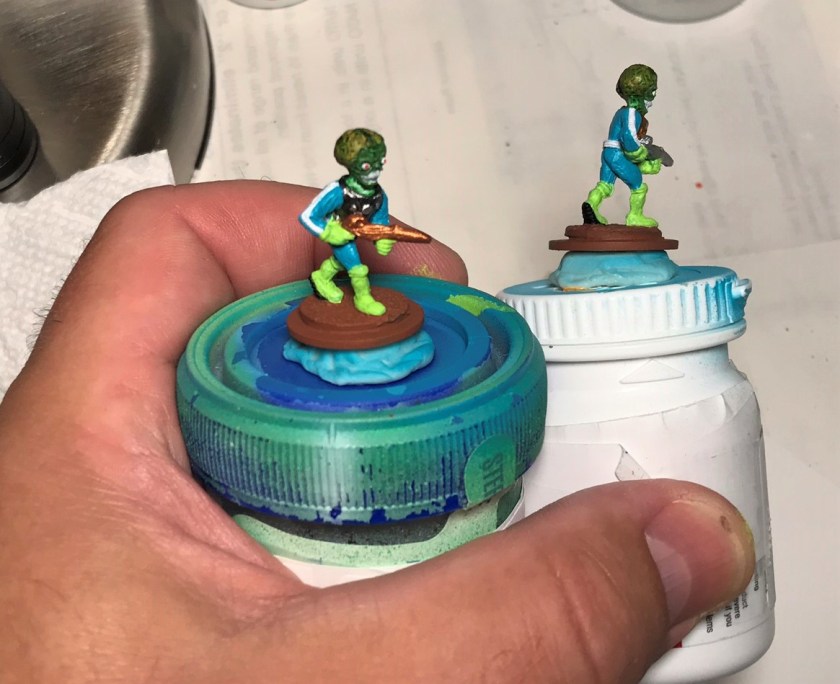
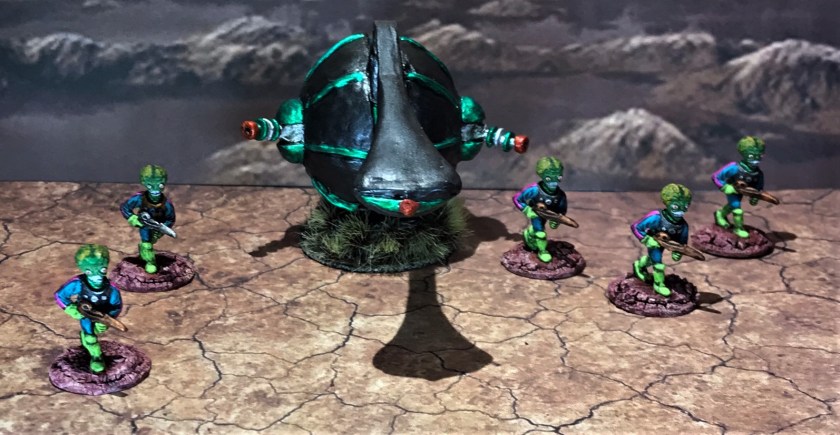
Two squads make a light platoon, but I think that they will be a potent elite fighting force on the tabletop. Also, these Roos are equipped with body armor on their torsos, and importantly, jet packs! I will also give them a higher rate of movement similar to what I did for the Space Phraints (1½ cards of movement). I cleaned and filed the models, and prepared them for conversion and priming by mounting them on 1″ steel washers.
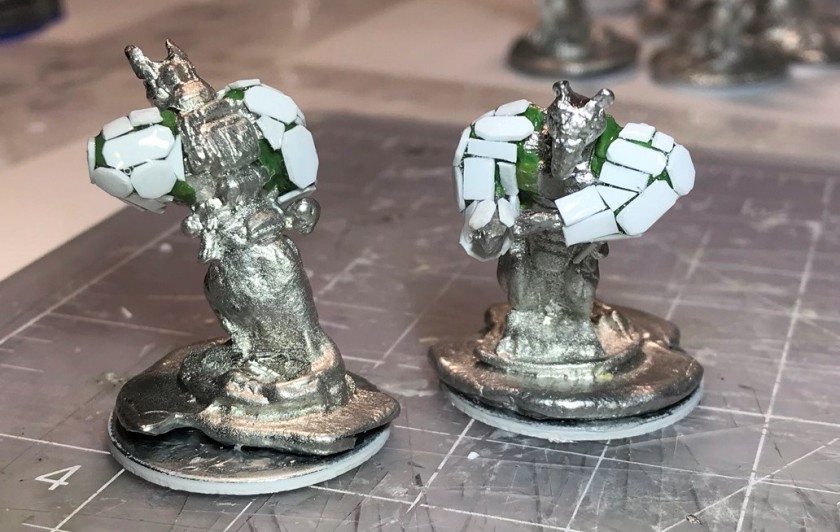
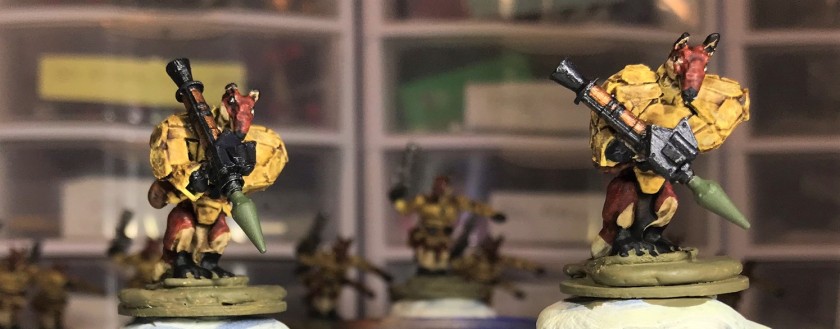
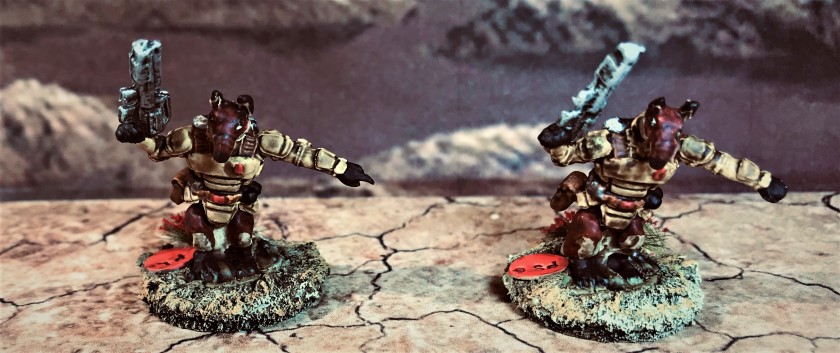
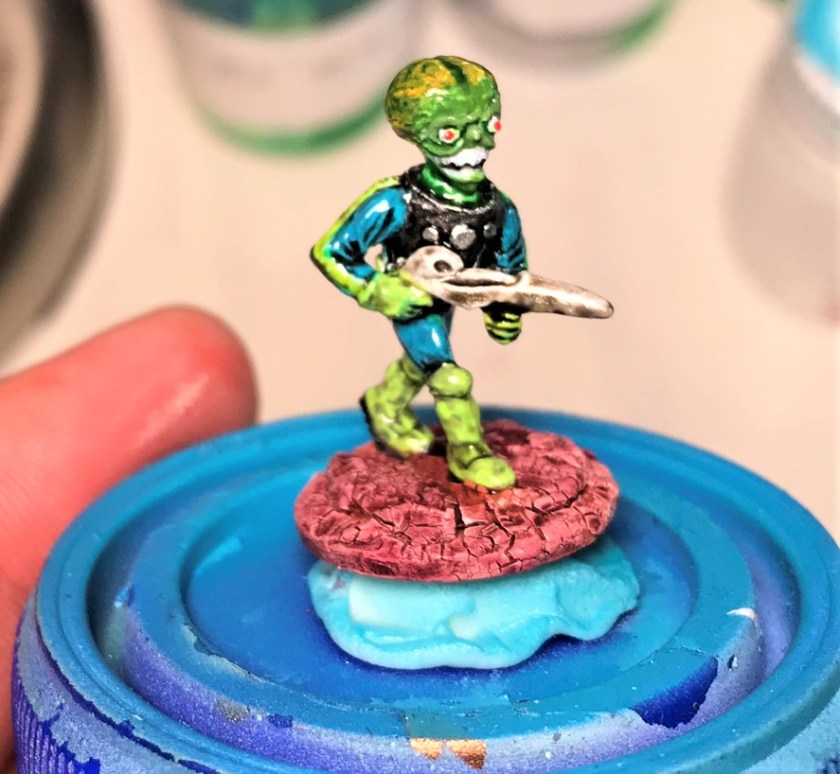
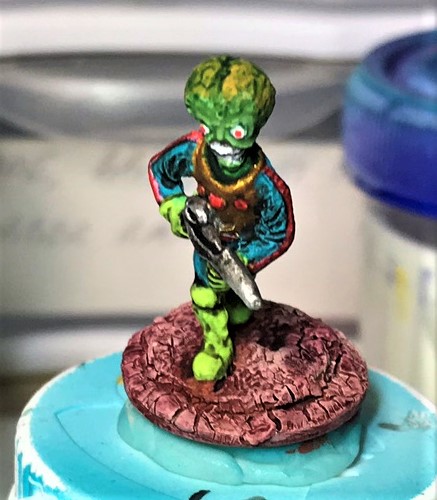
I had a tough time reorienting the arms of the RPG-armed Roos, and I needed to break them and use green stuff to create a proper pose. Pinning was not feasible unfortunately. I also used green stuff to mount the grenadiers’ launchers and to give them bandoleers of grenades. The grenadiers looked fine enough for the tabletop, but I was unhappy with the RPG Roos, as they looked “Popeye” like in their arms. As the Space Roos body armor gives them an angular body look, I decided to use a series of very small 2 mm polystyrene chips to create an “armored look” over the arms by affixing them with Gorilla glue.
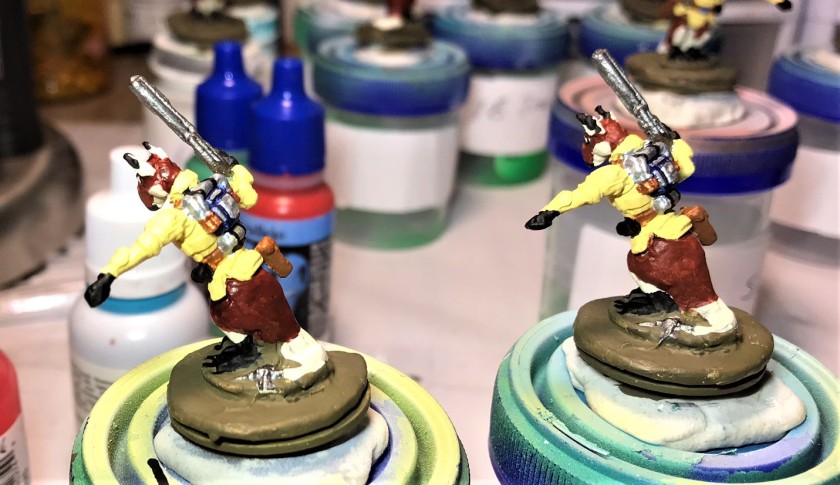
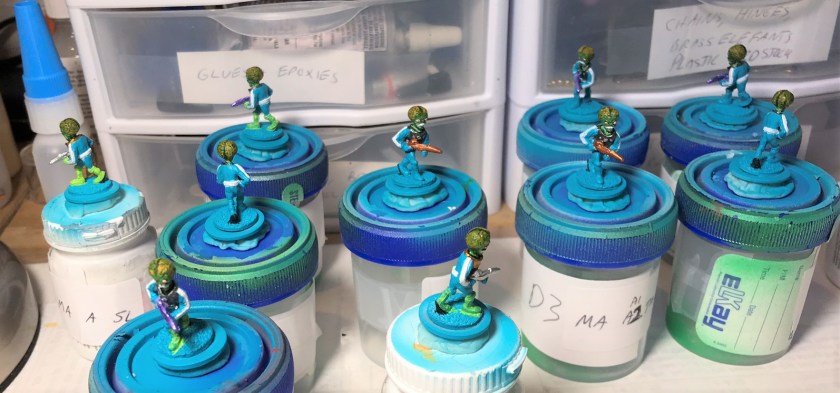
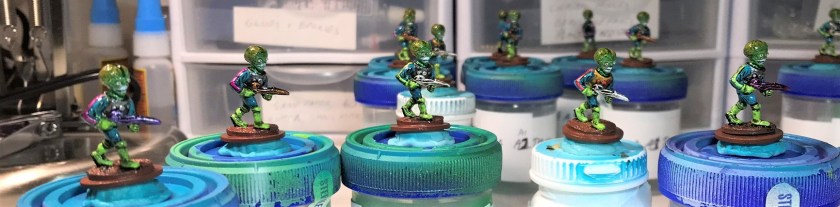
I ended up double priming these figures, as I knew that I would need to fix much with brushwork and painting. For example, there was a large indentation on the Roos’ left feet (paws?) that I needed to paint over. I thought that a thinned brush priming followed by a thinned airbrush priming would help. I think it did.
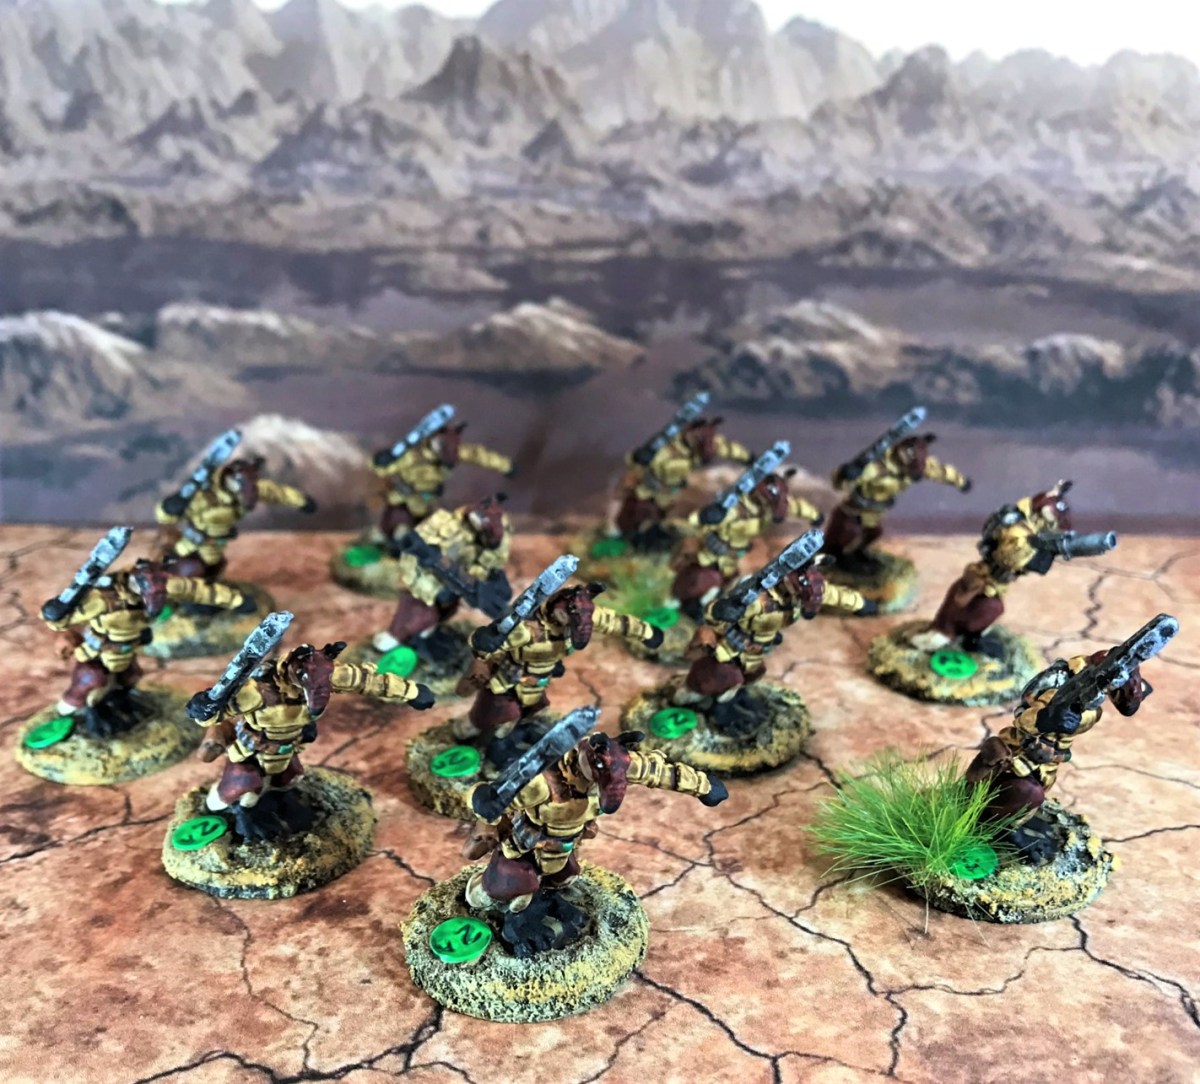
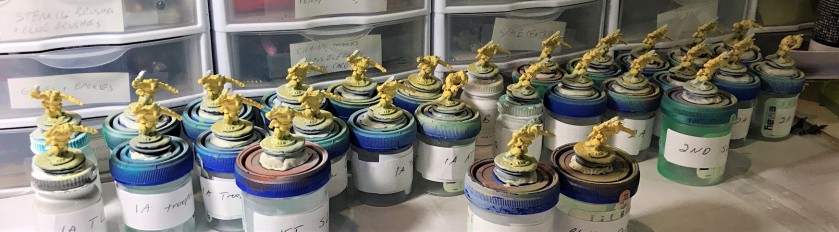
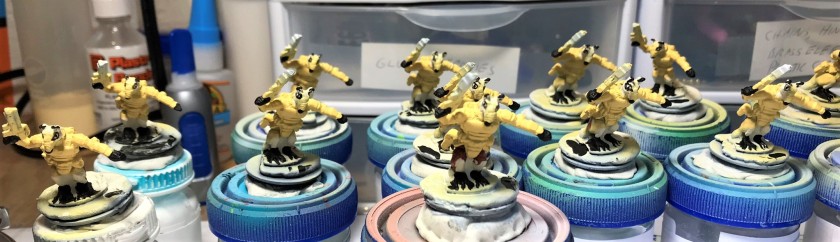
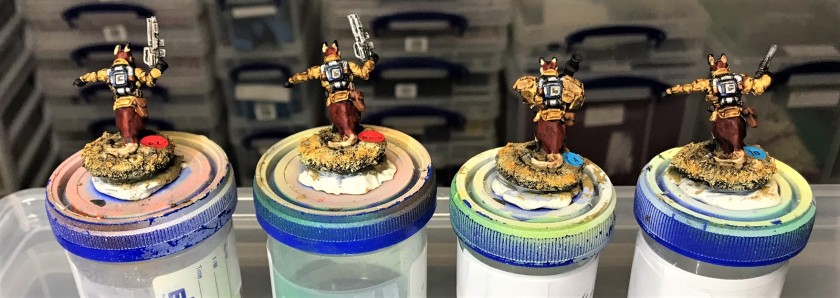
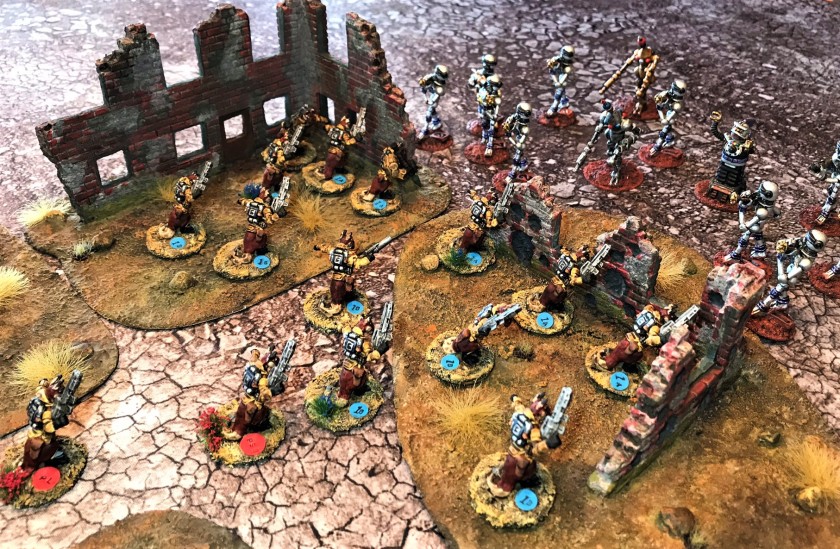
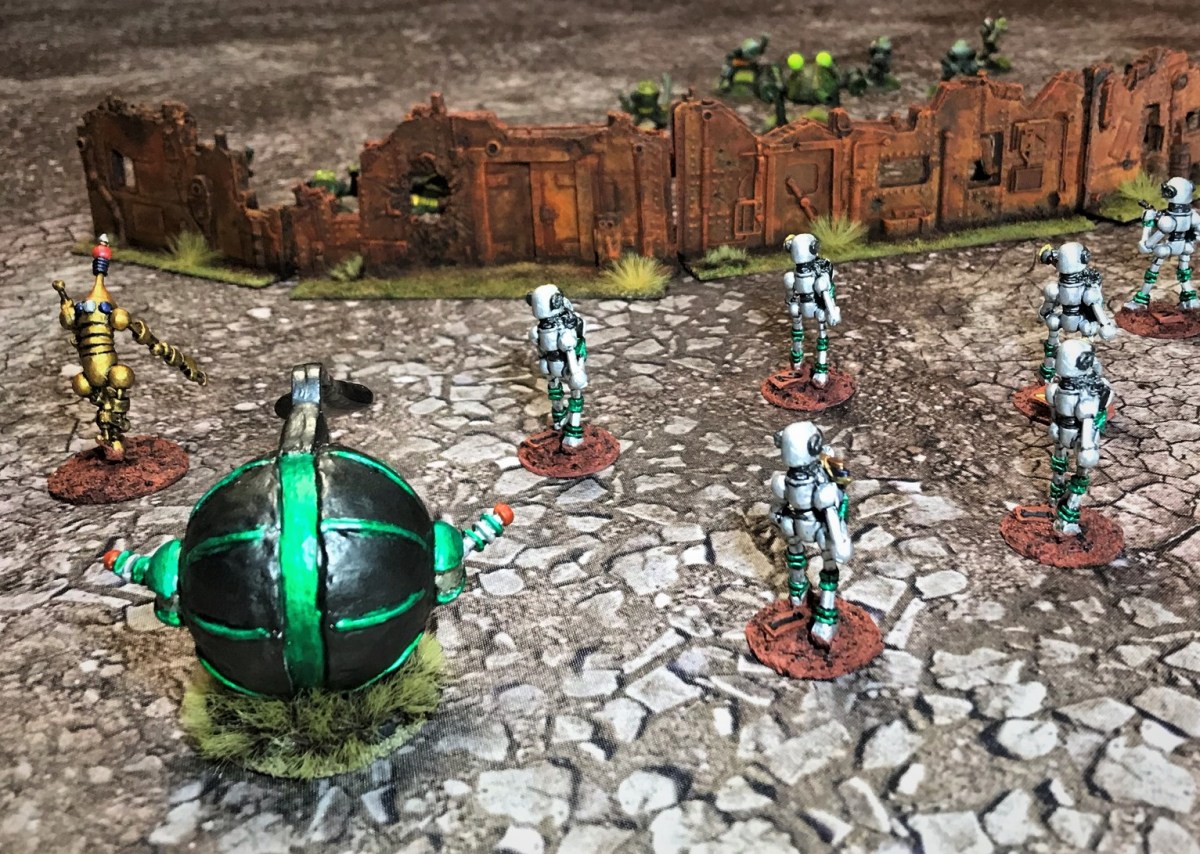
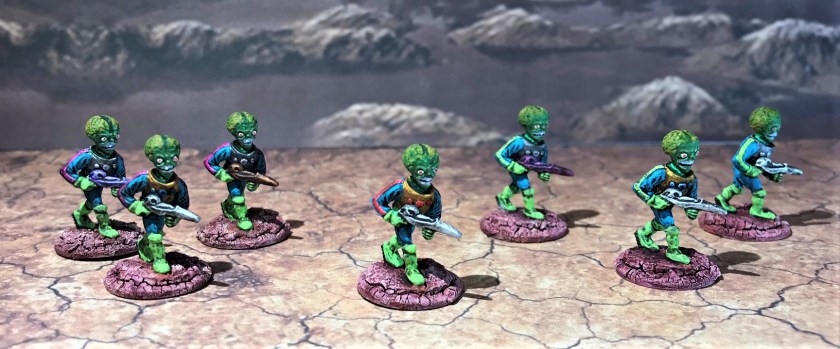
For their base colors, I went with a yellowy/sandy look for their armor, which I thought would reflect a desert or dusty deployment.
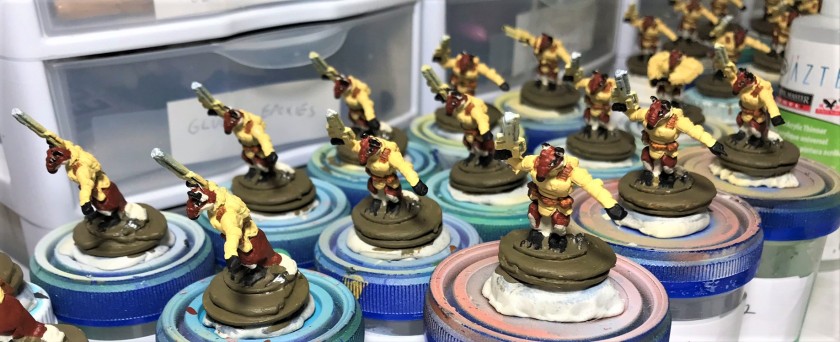


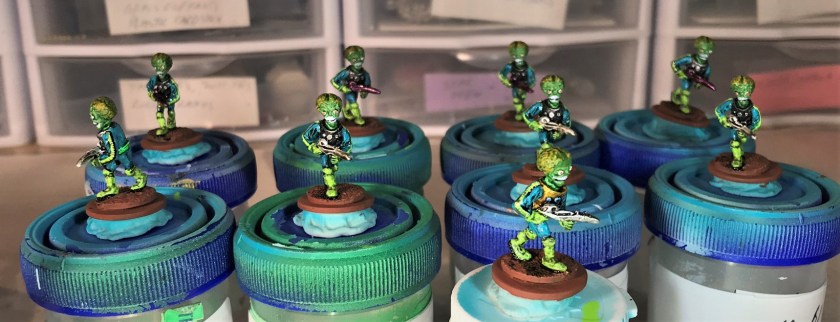
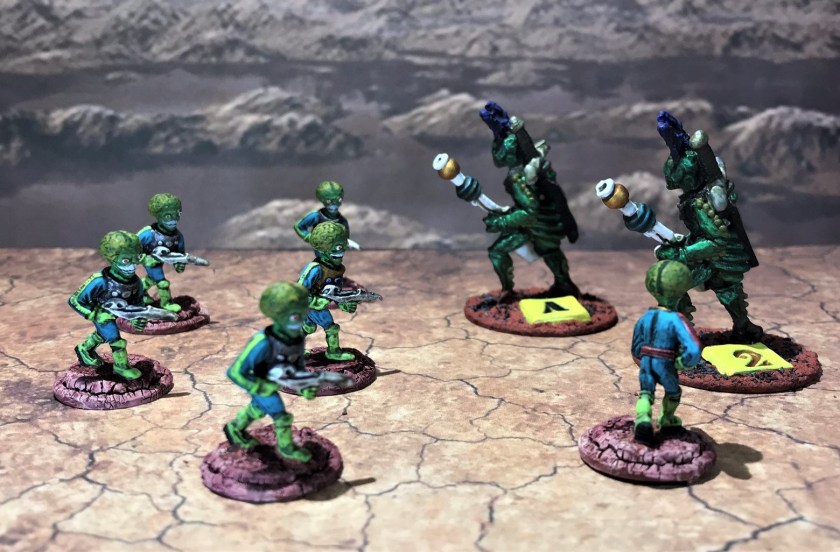
One of the issues I really want to focus on when I build a platoon is to make it easy for the players (some of us with “experienced” eyes) to see and identify a figure’s squad and team. I got some steel punches, and some jewelry stamps to make 1/4″ and 5/16″ placards that I could mount on the figures’ bases.


Next, I washed the figures twice with Citadel “Agrax Earthshade”. I then mounted the RPG’s with Gorilla glue.
Lastly, I used a whole bottle of Citadel “Armageddon Dunes” to fill and shape around the bases and let them dry and harden. The placards were mounted into this paint. Then I gave the bases a wash with “Agrax Earthshade” and two different dry brush applications (Polly Scale “WWII German Armor Light Tan” and Vallejo “Light Brown”). Then I gave everything two coats of matte varnish.

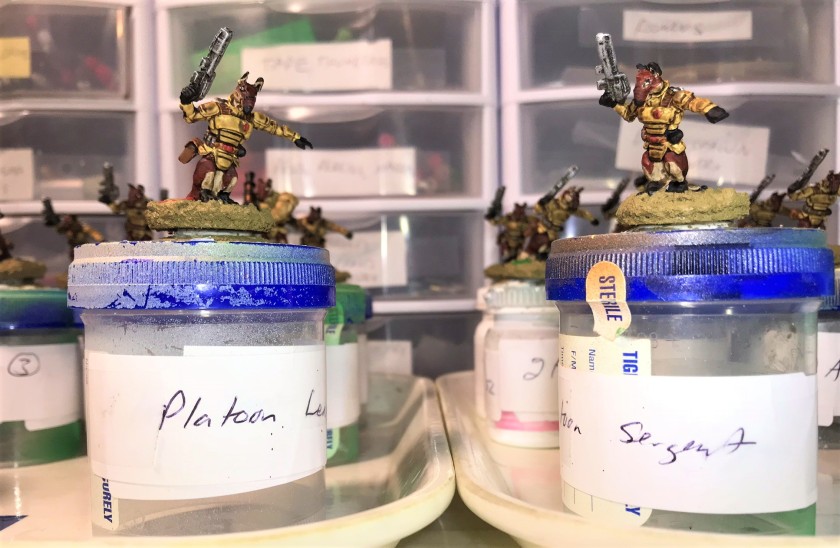

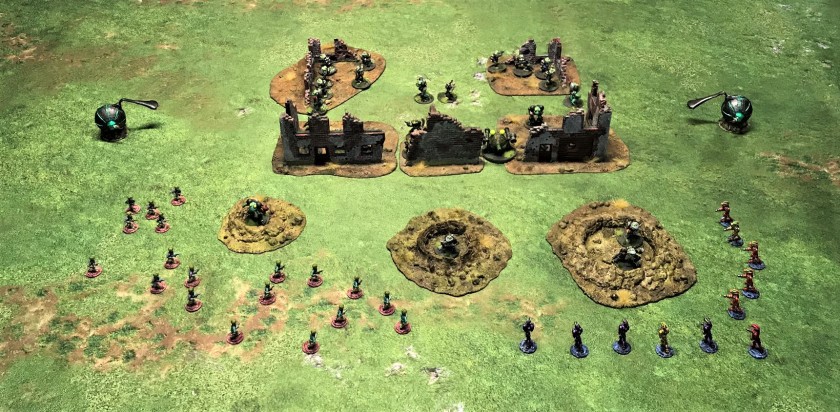
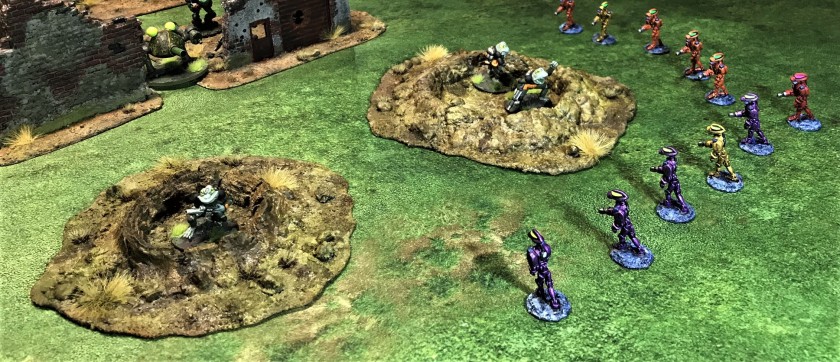
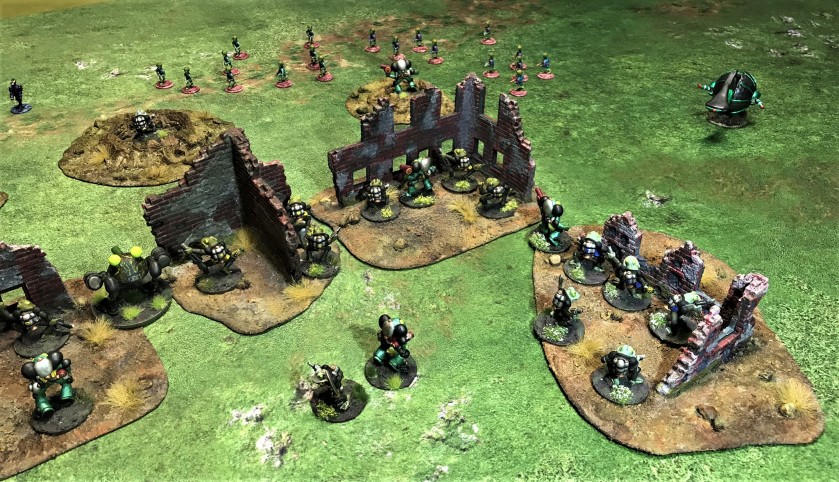
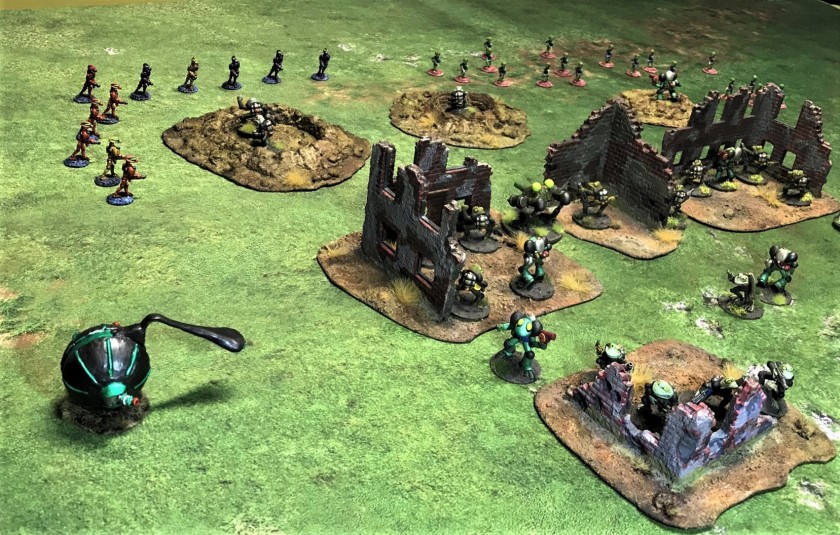
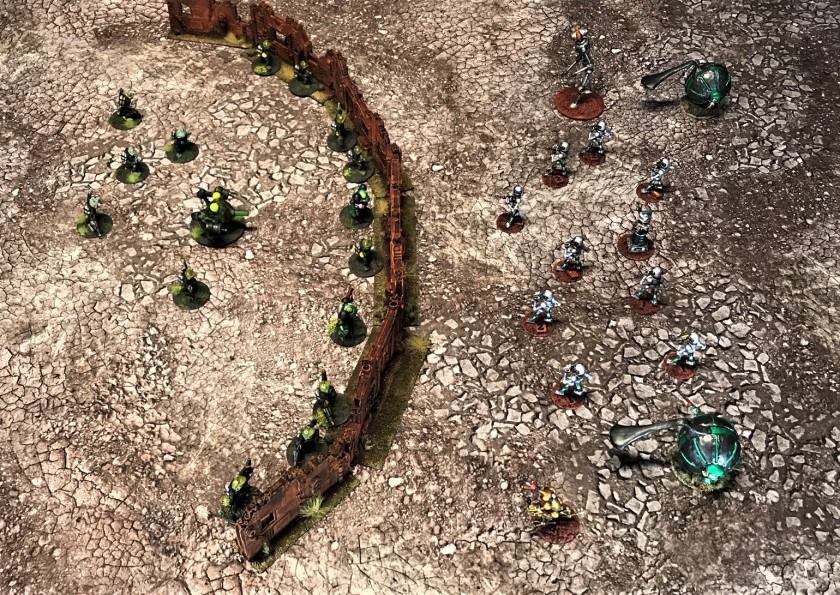
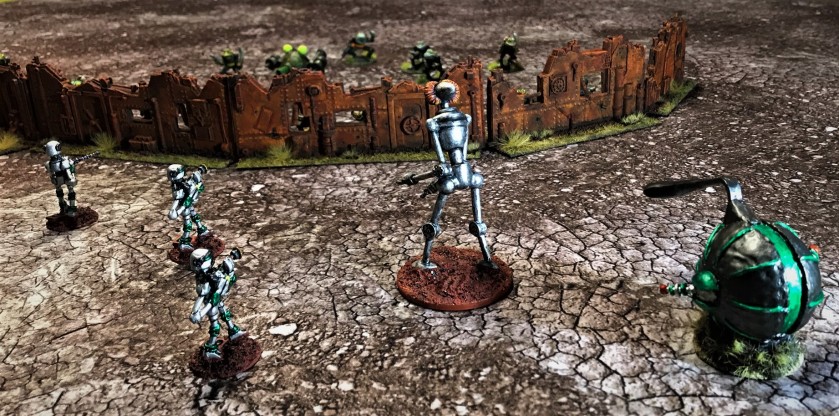
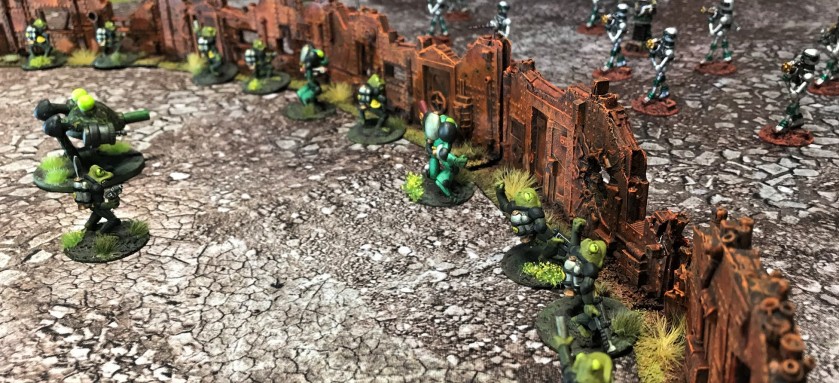
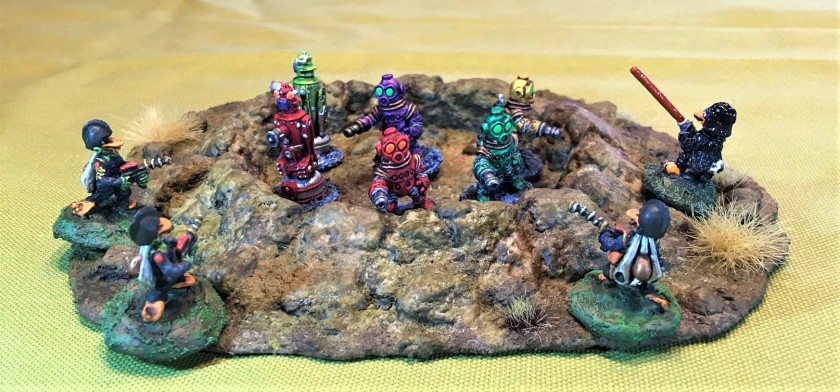
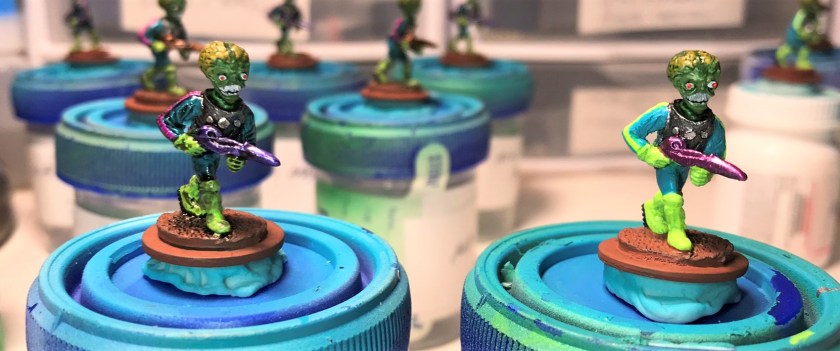
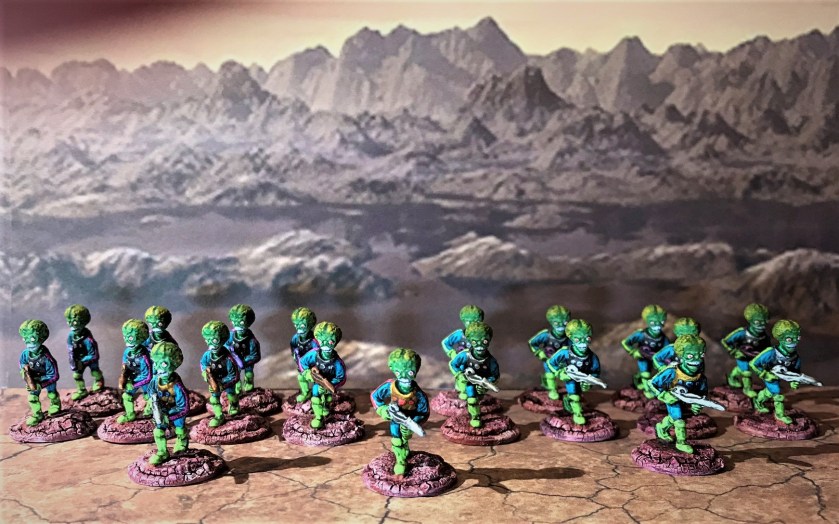
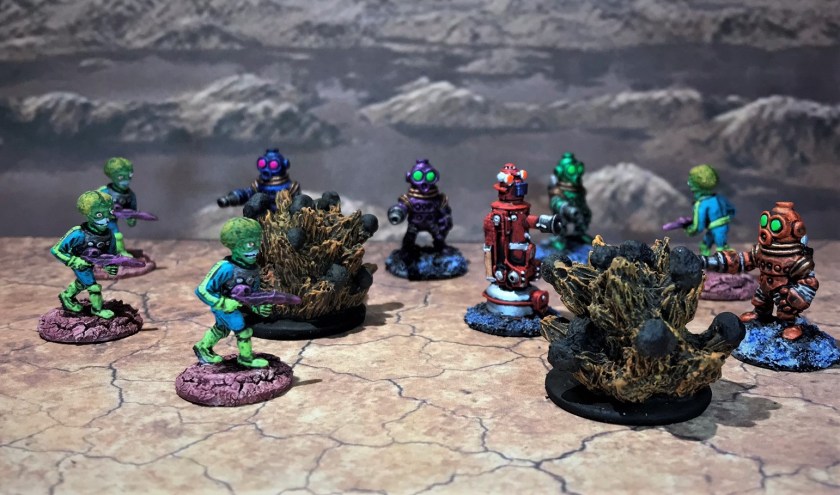
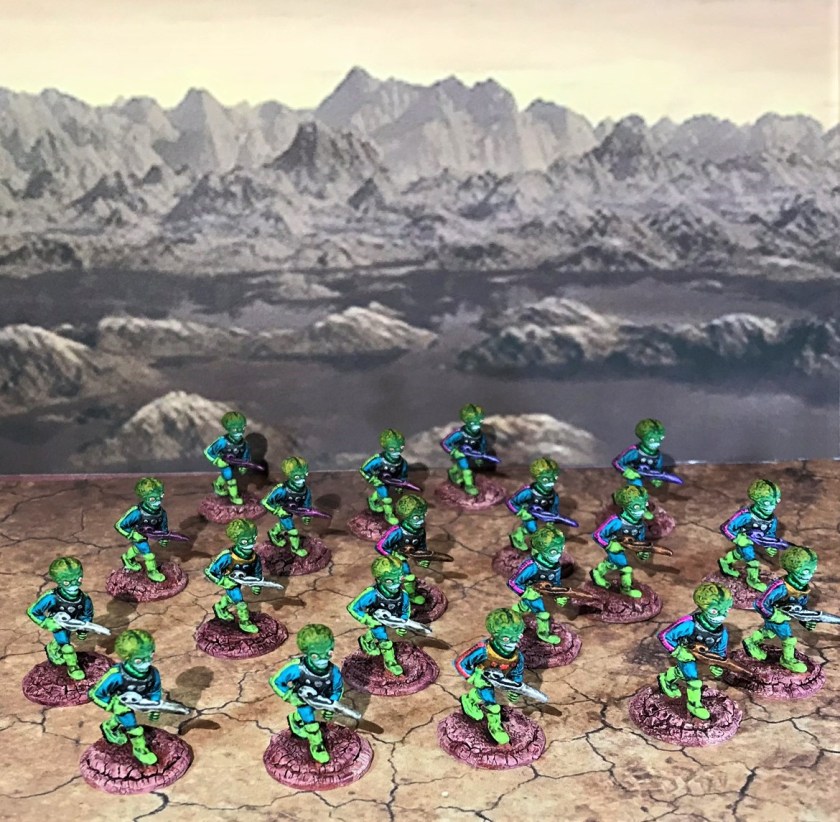
After adding some tufts from Shadows Edge Miniatures for even better identification, the platoon was finally done (I LOVE their tufts). I am happy with it, given the work and effort it took to bring it to life. So, now, appropriately, I will share with you some eye candy!


I am looking forward to seeing these guys in action soon. I appreciate your looking and hope that you enjoyed this post. I always read your feedback, so please let me know what you think in the comments section at the bottom of this post.
I dedicate this post to all my Aussie friends!
PAINTS, INKS, GLAZES, WASHES, AND FLOCKING USED:
- Citadel “Imperium Primer”
- Vallejo “Surface Primer – White”
- Vallejo “Flow Improver”
- Vallejo “Airbrush Thinner”
- Testors “Universal Acrylic Thinner”
- Vallejo Mecha Color “Sand Yellow”
- Vallejo Game Air “Red Terracotta”
- Citadel “Flayed One Flesh”
- Americana “Bleached Sand”
- Americana “Black Tie – Satin”
- Vallejo “Black”
- Vallejo “US Dark Green”
- Tamiya “Copper XF-6”
- Tamiya “X-20A Thinner”
- Tamiya “XF-49 Khaki”
- Vallejo Game Air “Weiss”
- Tamiya “Gun Metal X-10”
- Vallejo Game Air “Steel”
- Vallejo Game Air “Beasty Brown”
- Vallejo Mecha Color “Light Steel”
- Vallejo Mecha Color “Dark Steel”
- Vallejo Mecha Color “Metallic Blue”
- Vallejo Game Air “Electric Blue”
- Vallejo Mecha Color “Metallic Green”
- Citadel “Hexwraith Flame”
- Vallejo Mecha Color “SZ Red”
- Secret Weapons Washes “Just Red” (ink)
- P3 “Brown” (ink)
- Secret Weapons Washes “Armor Wash” (wash)
- Citadel “Nuln Oil Gloss” (wash)
- Citadel “Agrax Earthshade” (wash)
- Gorilla Glue
- Citadel “Armageddon Dunes”
- Polly Scale WWII “German Armor Light Tan”
- Vallejo “Light Brown”
- Vallejo Mecha Varnish “Matt Varnish”
- Shadows Edge Miniatures 6 mm “Dark Forest Red” (tufts)
- Shadows Edge Miniatures 6 mm “Dark Blue” (tufts)
- Shadows Edge Miniatures 12 mm “Wild Tufts” (tufts)
Thanks again for looking and for your feedback! ESPECIALLY AUSSIES!


