On July 20, 1520, Hernan Cortes and his Conquistadores found themselves at a significant historical juncture. They had been fighting the Aztecs in retrograde for weeks as they attempted to reach the safety of the lands of their Tlaxcalan allies. Every single one of the Spanish was wounded in some way or another – and they were exhausted from being pursued incessantly by the enraged Aztecs. Cortes and his men had been lucky to narrowly escape from the Aztec capital of Tenochtitlan during La Noche Triste. The safety of the lands of their Tlaxcalan allies lay past a nearby mountain pass, just beyond reach.
The Aztecs, with vastly superior numbers, had managed to nearly surround the Spanish and deny them their route to safety. The Conquistadores now were desperately defending a rocky outcropping with pikemen, halberdiers, crossbowmen, and sword and buckler men. The Aztecs wanted nothing less than finishing off the hated Spanish – either by killing them outright or by taking them as captives for ritual sacrifice to their god of war, Huitzilopochtli.
Here, both sides would fight the Battle of Otumba, and the fates of both the Spanish Crown and the Aztec Empire were in the balance.

You can click on the links I shared above and learn more about the Battle of Otumba. It was a near-run battle – and Cortes and his men were truly in danger of being sent off to oblivion at the hands of the Aztecs. The short version is that Cortes recognized that the Aztec attacks on his position were being coordinated by banners and signalers – all led by the High Priest of Tenochtitlan, Matlatzincatl. Cortes left the infantry on the outcropping to gather together what little cavalry he still had left. Cortes then personally led a cavalry charge to take out Matlatzincatl – and succeeded. Supposedly, it was Cortes himself who was able to dispatch Matlatzincatl with his lance.
At this point, the Aztecs had never before seen nor fought against a cavalry charge. It was indeed one of epic shock and awe. After the death of Matlatzincatl and his signalers, the Aztec attack broke up for wont of command and control, and Cortes and his men were able to make it to safety. This would allow them to regroup, get reinforced, and eventually destroy the Aztec Empire. Therefore, this was probably one of the Aztec’s last and best chance to annihilate the Spanish. By failing to do so – though many more battles would be fought – the seeds of the ultimate demise of the Aztec Empire were irrevocably sown.
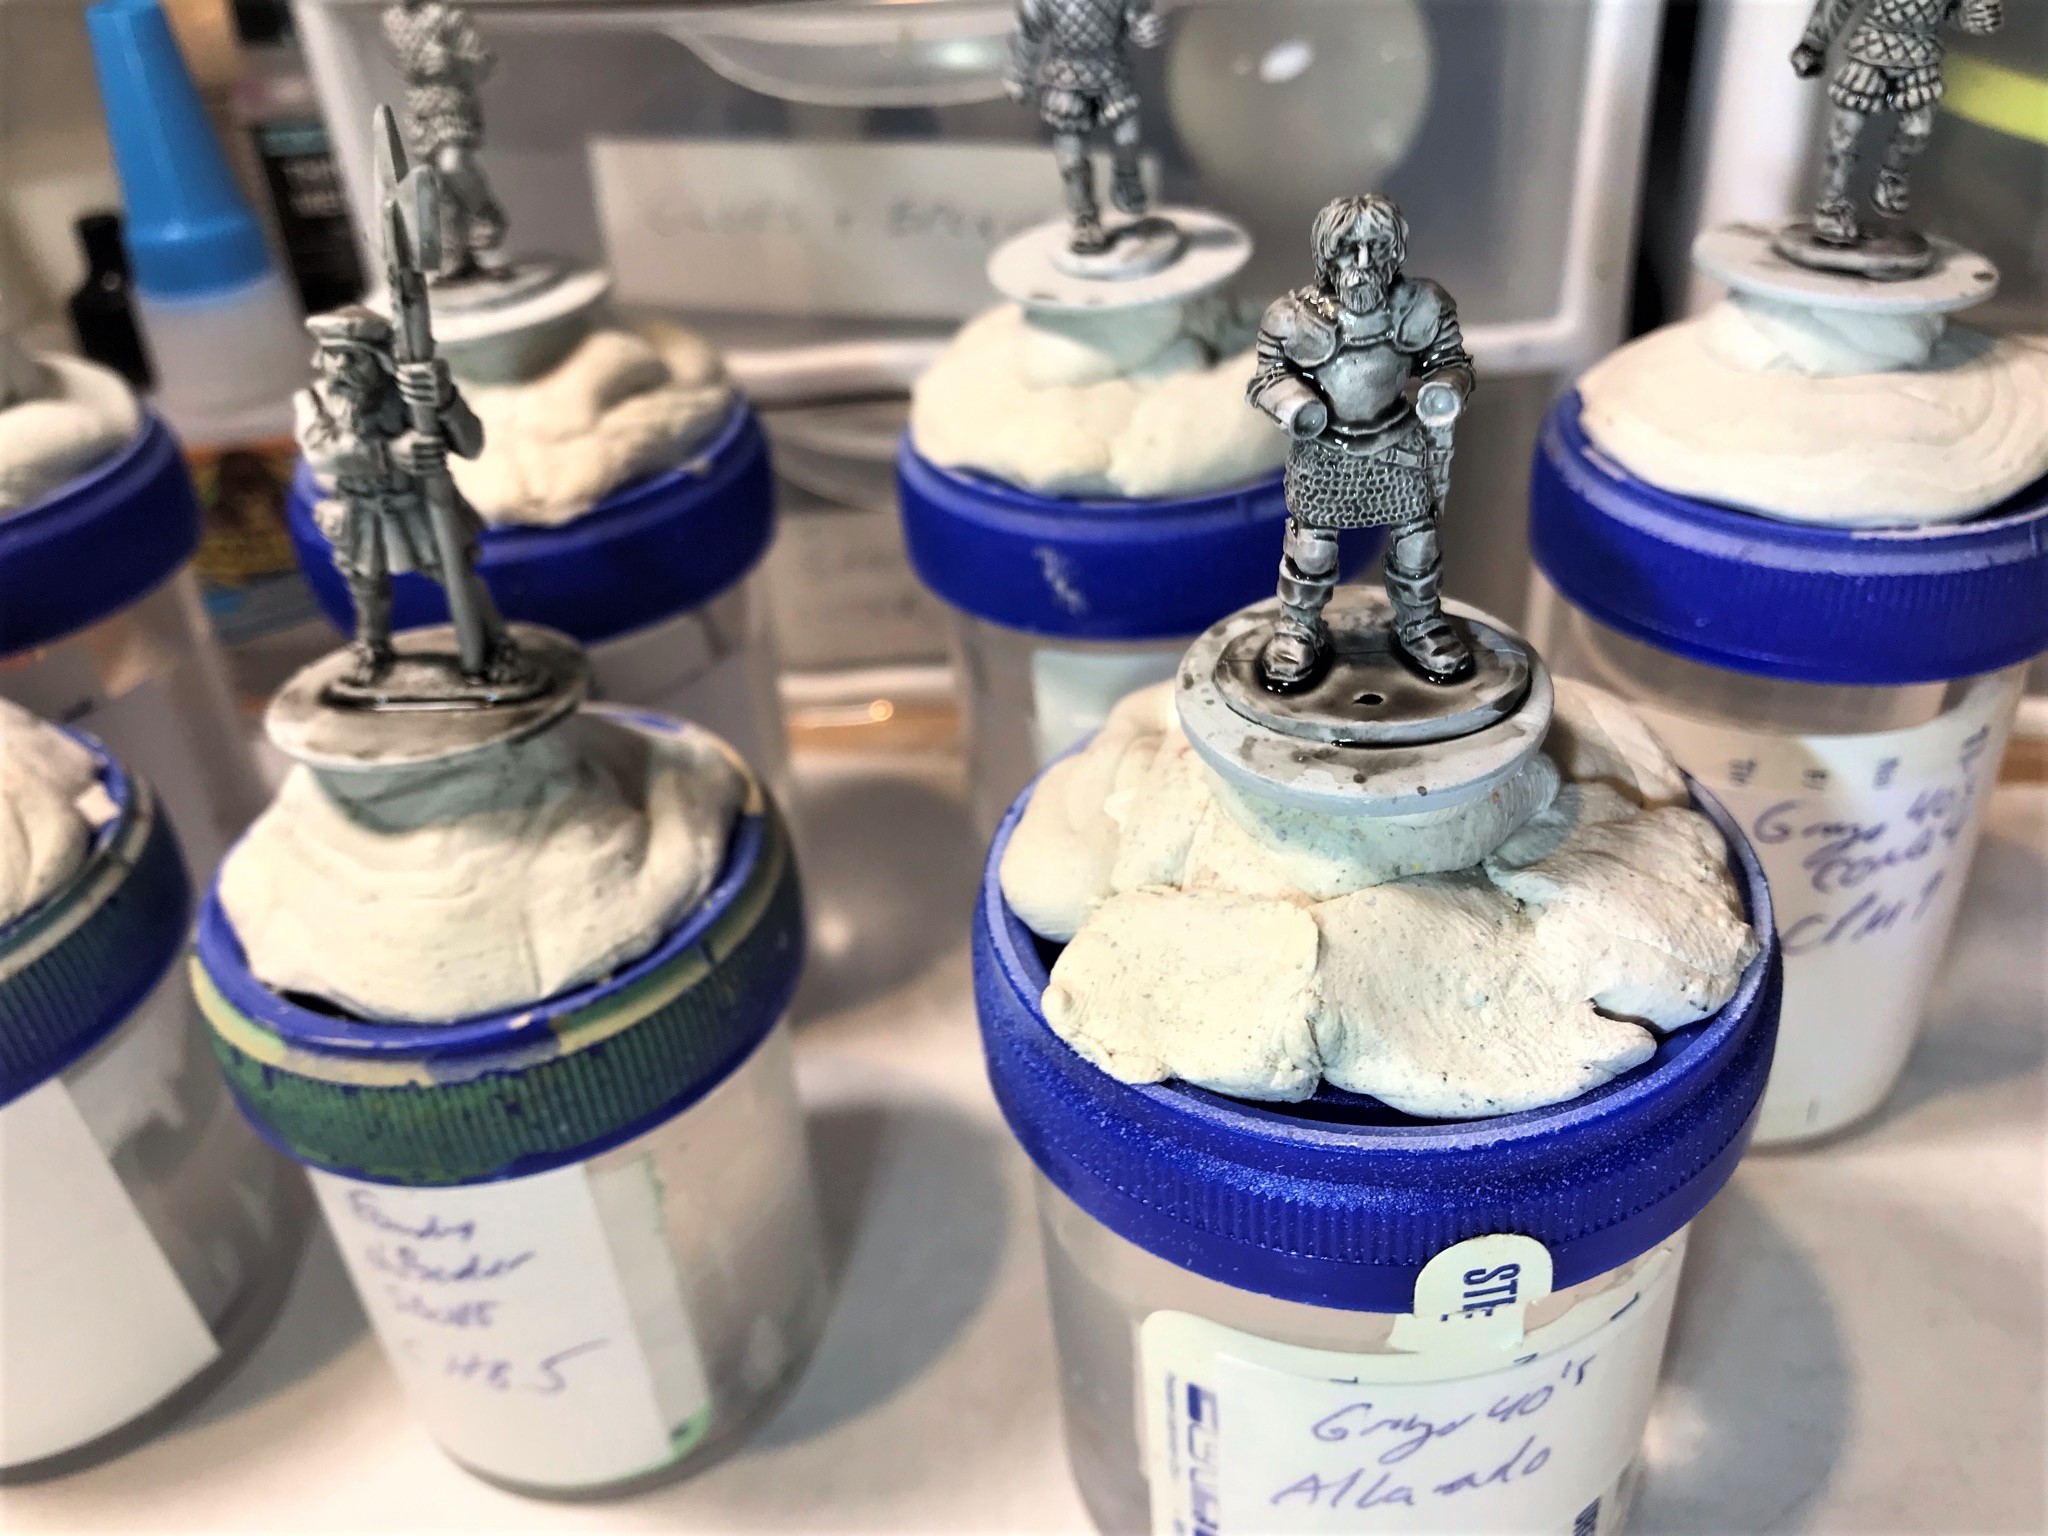
As one of my scenarios for my games of Feudal PatrolTM using my supplement for Civilizations Collide, I have designed a gaming scenario for the Battle of Otumba. It is a skirmish-type scenario but one that will hopefully evoke the spirit of the battle. For the Conquistadores, I already have adequate cavalry figures for Cortes’ charge. As discussed, from my research it appears that the Spanish took up their defensive position on the rocky hillock using pikemen and halberdiers almost in an infantry square. As I only had one pikemen figure that had come from Eureka Miniatures as a war dog handler, that would be insufficient to say the least.
My digging around websites yielded me three sources that I drew upon to remedy this shortfall: Eureka Miniatures USA (4 halberdiers from #100CON03); Wargames Foundry via Badger Games in the US (2 halberdiers from two #SBO16 that were part of a couple of artillery gun crews); Gringo 40’s (UK) (8 pikemen from #CONQ4 and a Pedro de Alvarado figure.) All of these figures were 28mm scale and metal. This group would get me to where I wanted to be.
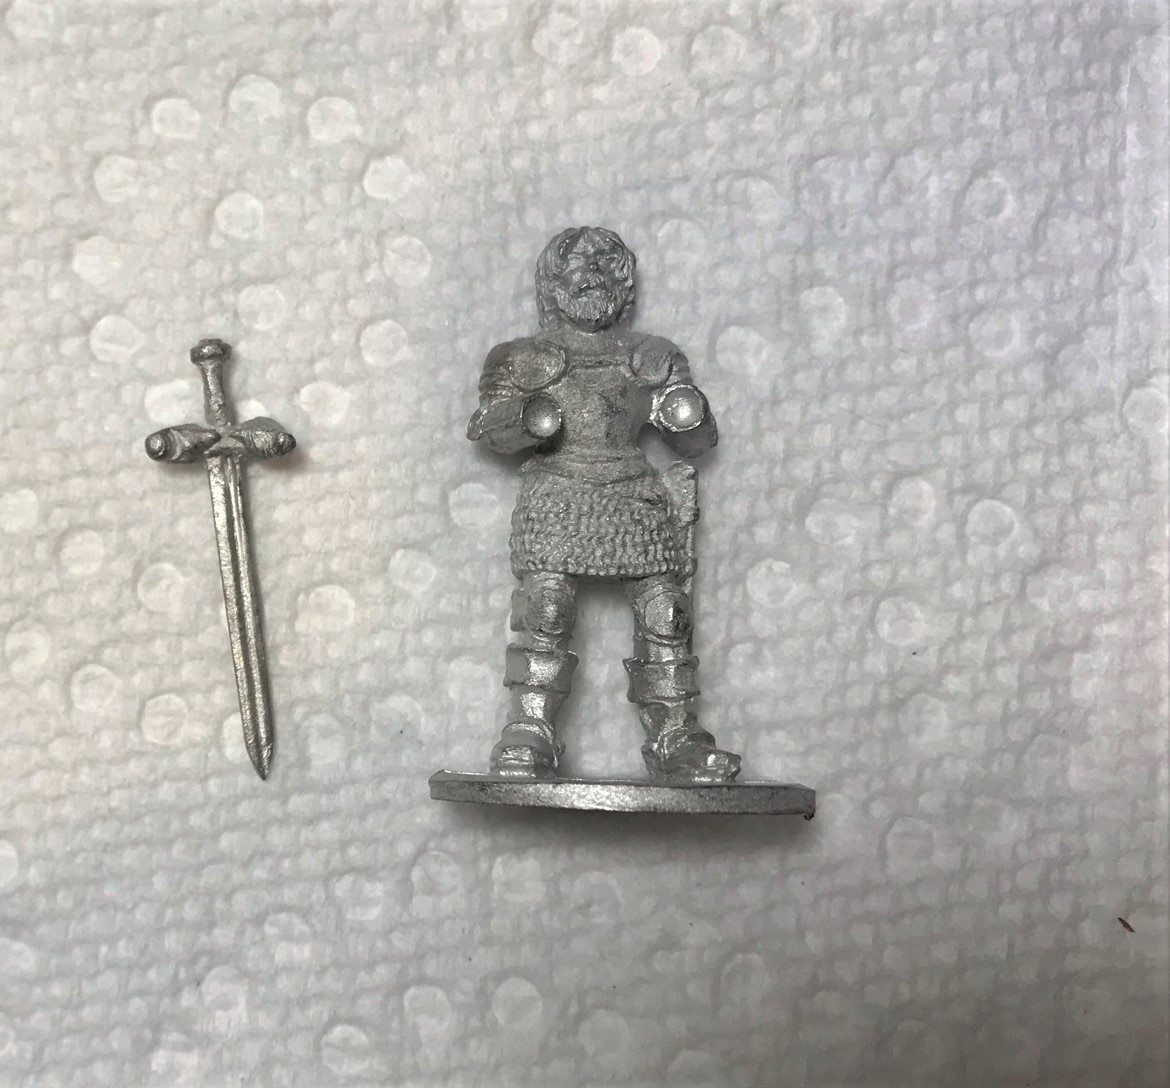
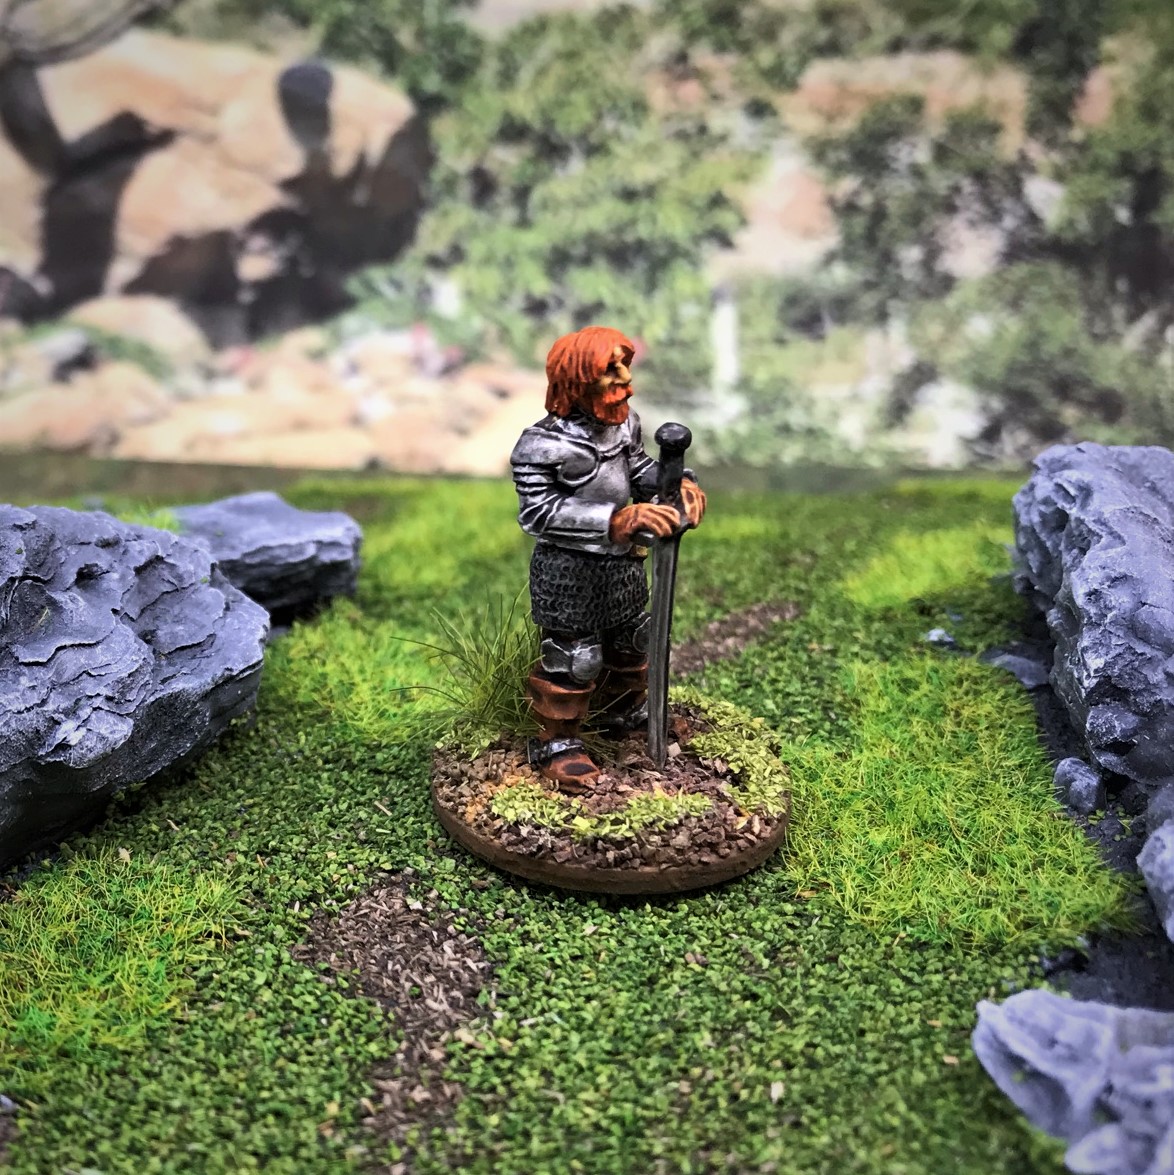
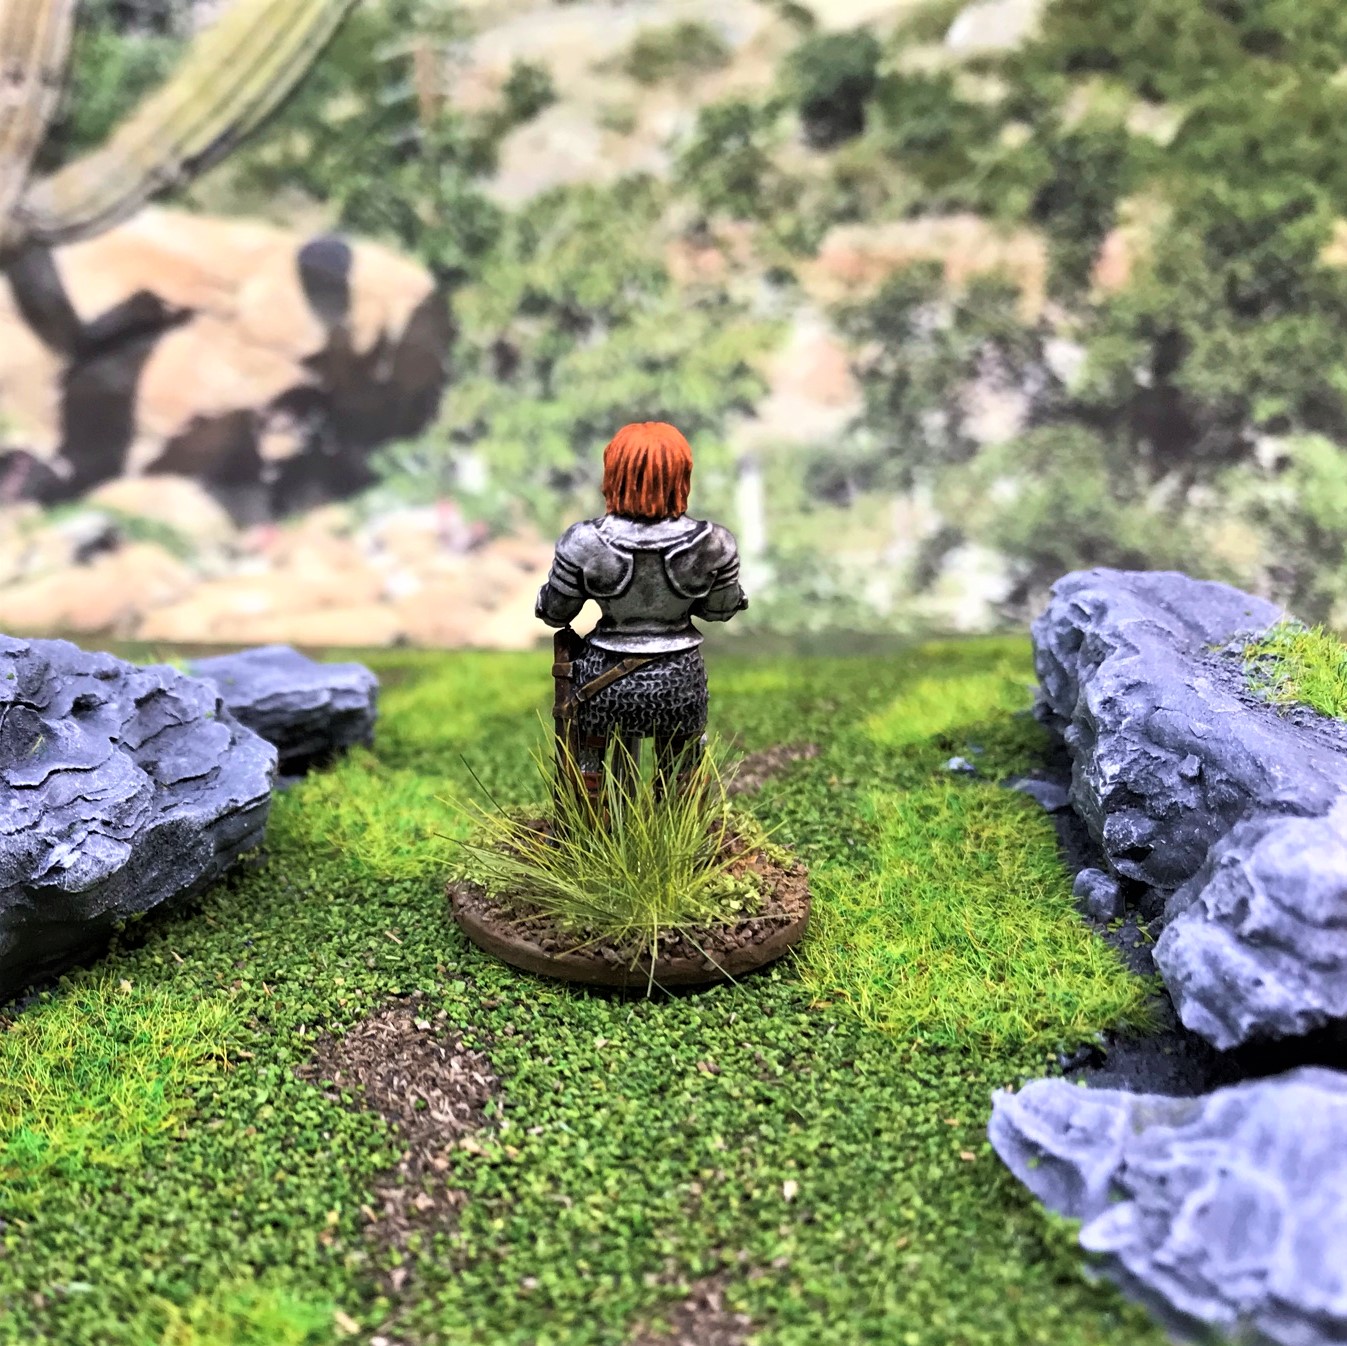
A side note about Pedro de Alvarado. He was a key lieutenant of Cortes and a prominent player in the Spanish Conquest. He was a redhead, which was a novelty to the Aztecs. He is remembered both for his skills as a soldier and especially for his cruelty and acts of mass murder on native peoples – both Aztec and Maya. However, he played a big role at many battles, including the Battle of Otumba, and as Gringo 40’s had his figure, I got him as well. As I always say, in the Spanish Conquest, there were few “good guys” on either side. History must be understood in the context of the period – and it was a brutal one.

These figures arrived in December, and were definitely in my sights as submissions for Dave Stone’s “Paint What You Got” painting challenge in addition to my war canoes and Aztec Serpent Statues.
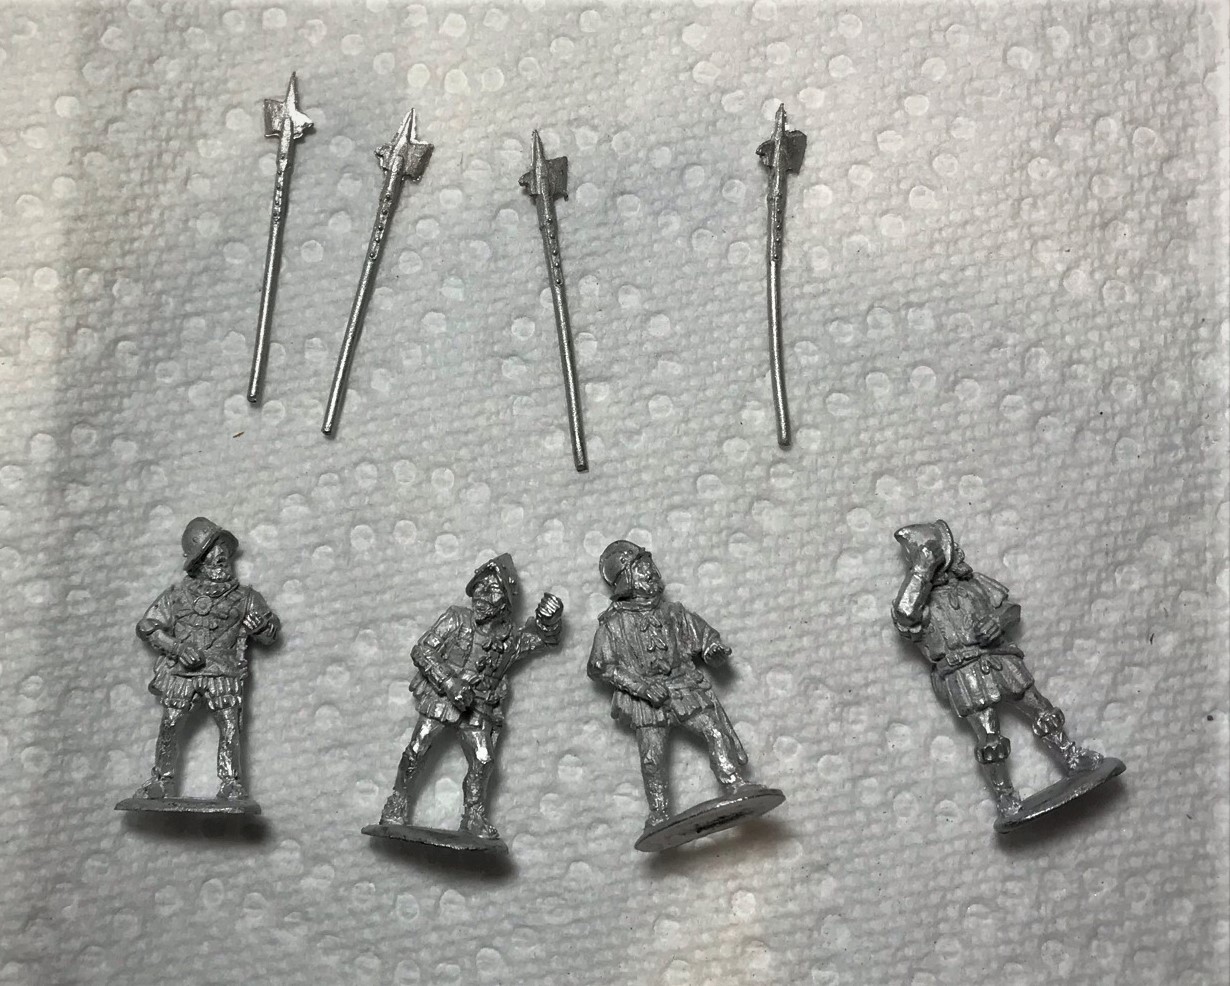
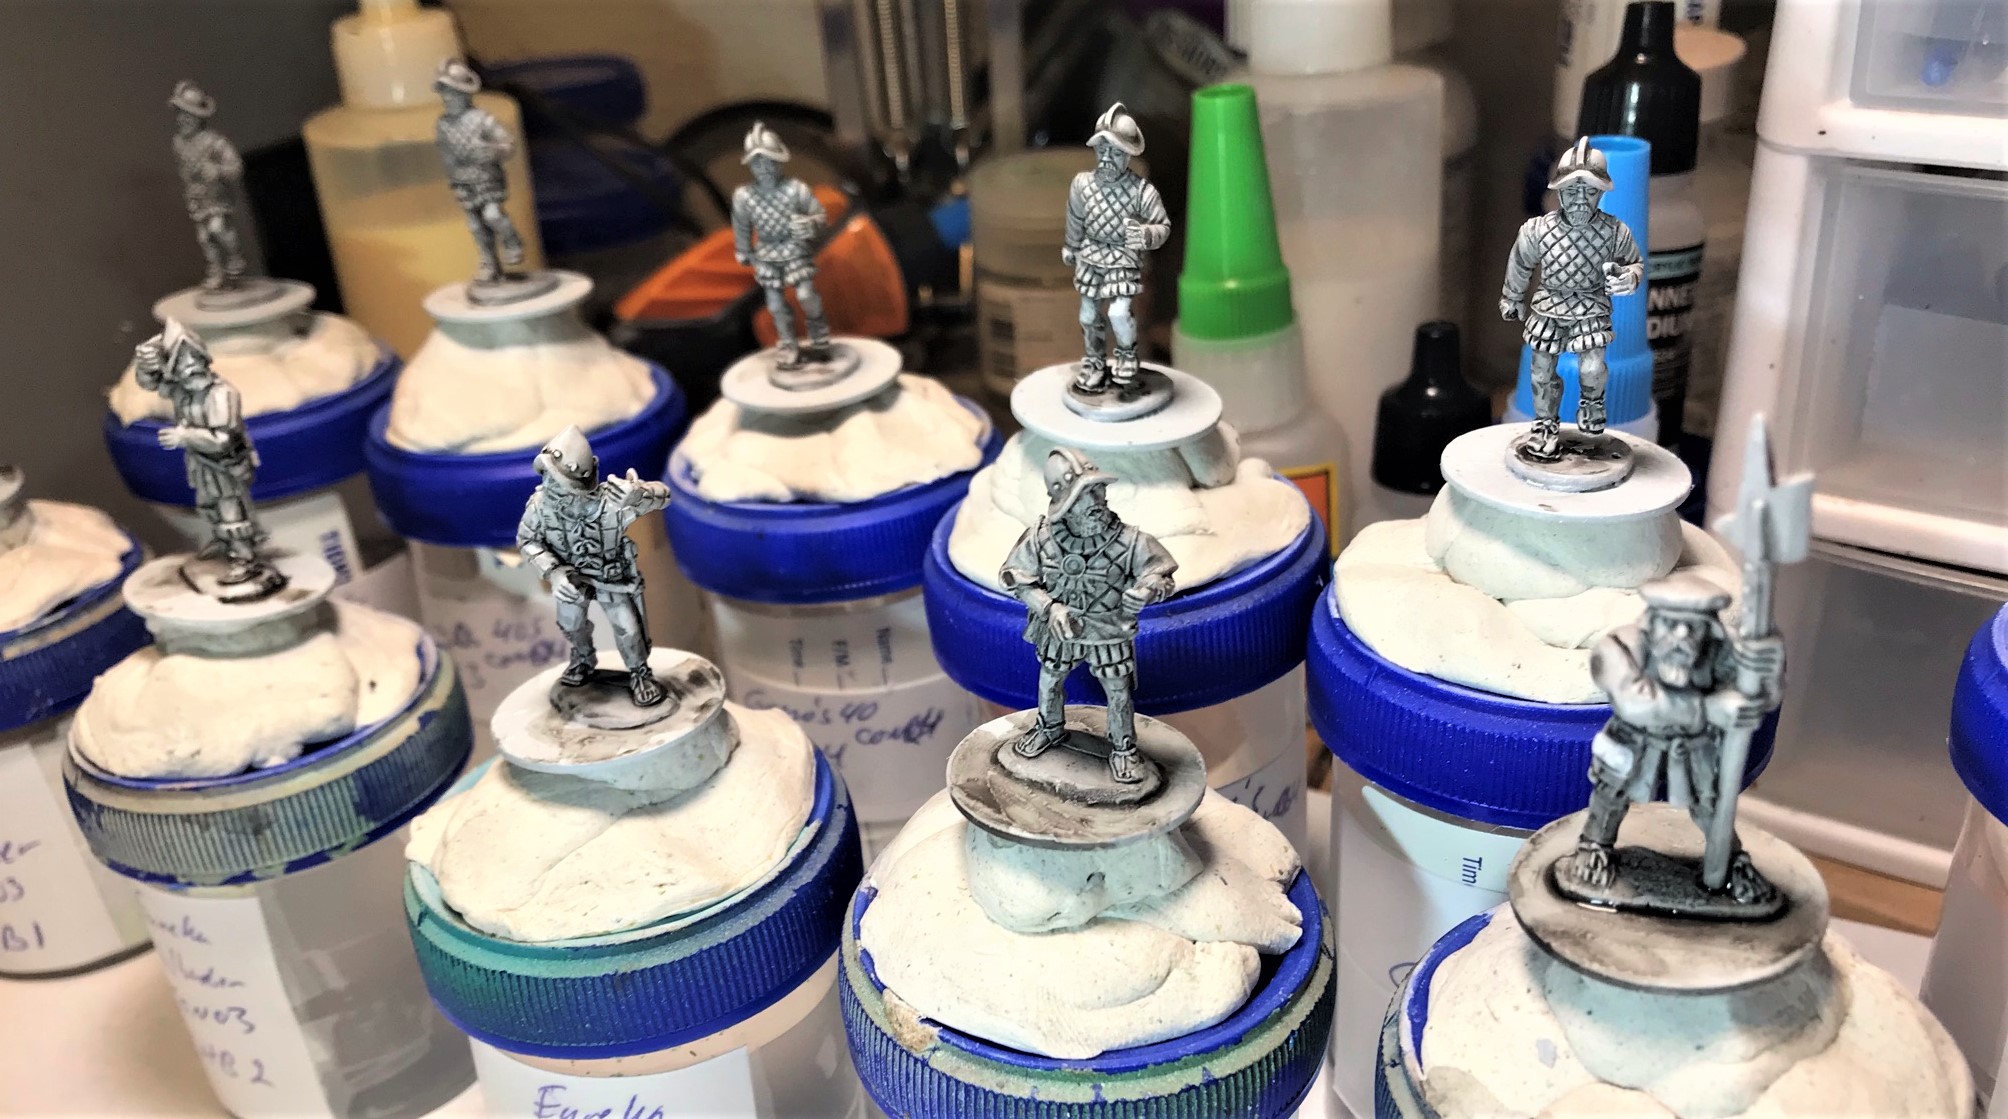
I filed and washed the 15 figures in preparation for mounting for painting and priming. However, let me share a few notes. I liked all of the figures as far as the sculpts go. However, the Gringo 40’s pikemen were only available in one pose – which I ordered nonetheless as I figured that I could deal with via a painting plan (so they would look different enough from each other). These also had a pike included – but it was a soft metal pike that would not have survived a gaming session.
I replaced them with ones from North Star Military Figures cut to the same size as the originals. I have used these spears on other projects – notably my beloved Rooman Pikemen – and they are nice but VERY sharp (I recommend filing down the tips a bit or you and your players will have a hypodermic battlefield with real blood).
The Gringo 40’s also came with nice swords that I liked. Both the pikemen and the halberdiers needed a good deal of pin vise drilling to accommodate their weaponry. Alvarado came in two pieces but is a great sculpt. The Wargames Foundry figs were also two of the same – so more challenge for me to make their appearance dissimilar. The Eureka halberdiers were nice too.


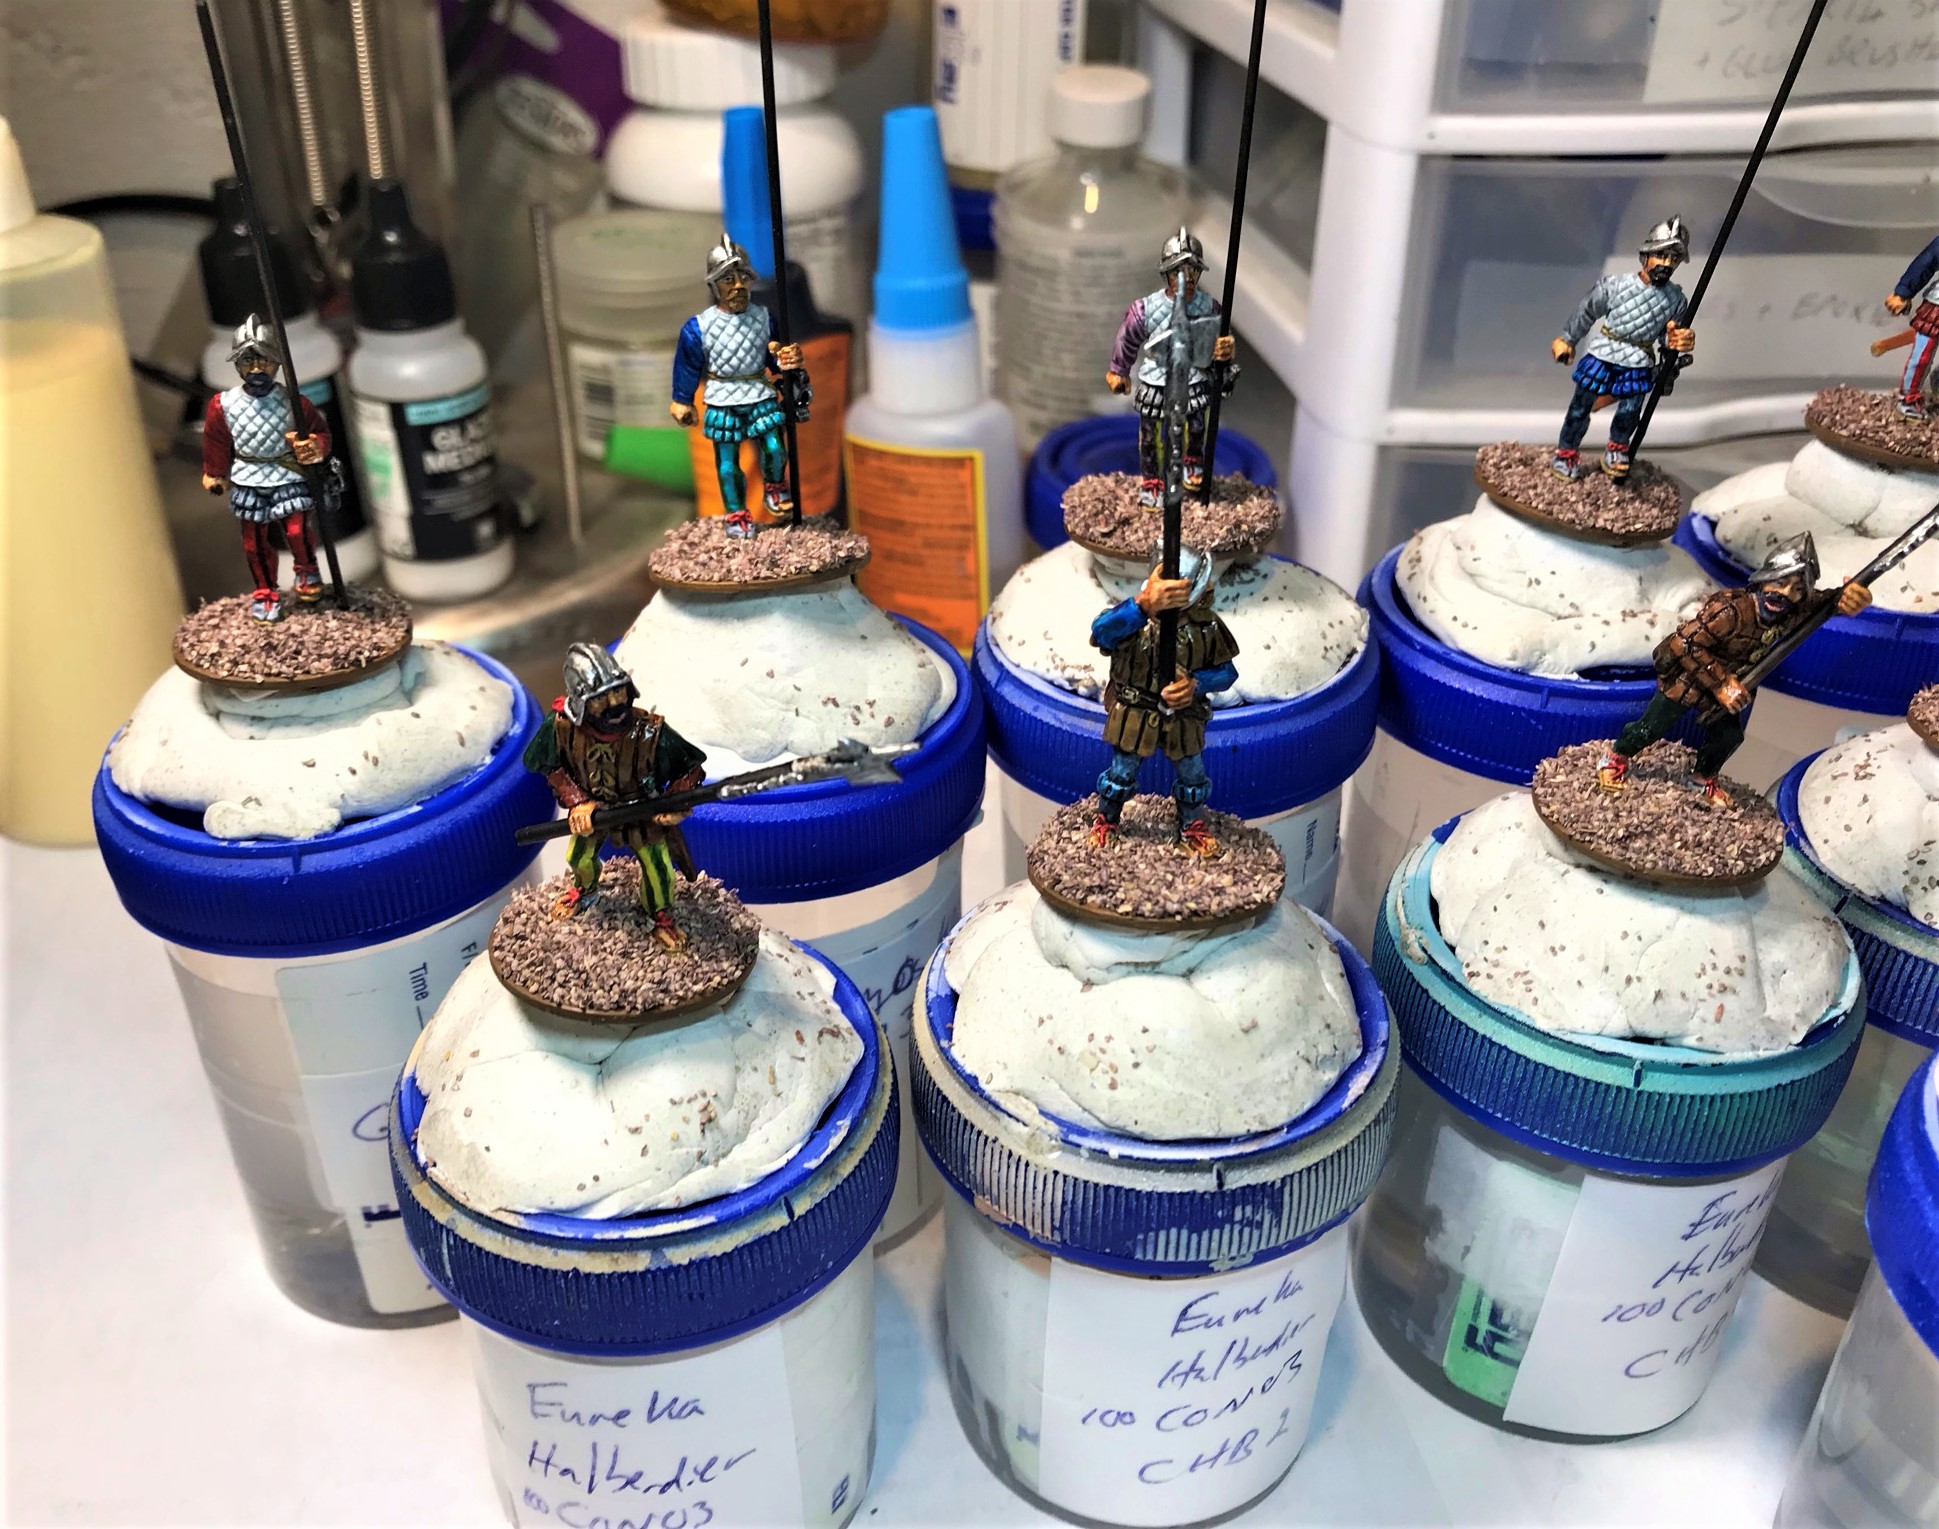
One of the challenges I found was airbrush priming of the pikes, halberds, swords, and Alvarado’s sword (and hands). This was difficult due to their being easily moved by the air pressure. I broke out my holder rack to use – and it helped – though I did need to deal with subsequently painting the parts under the clips.
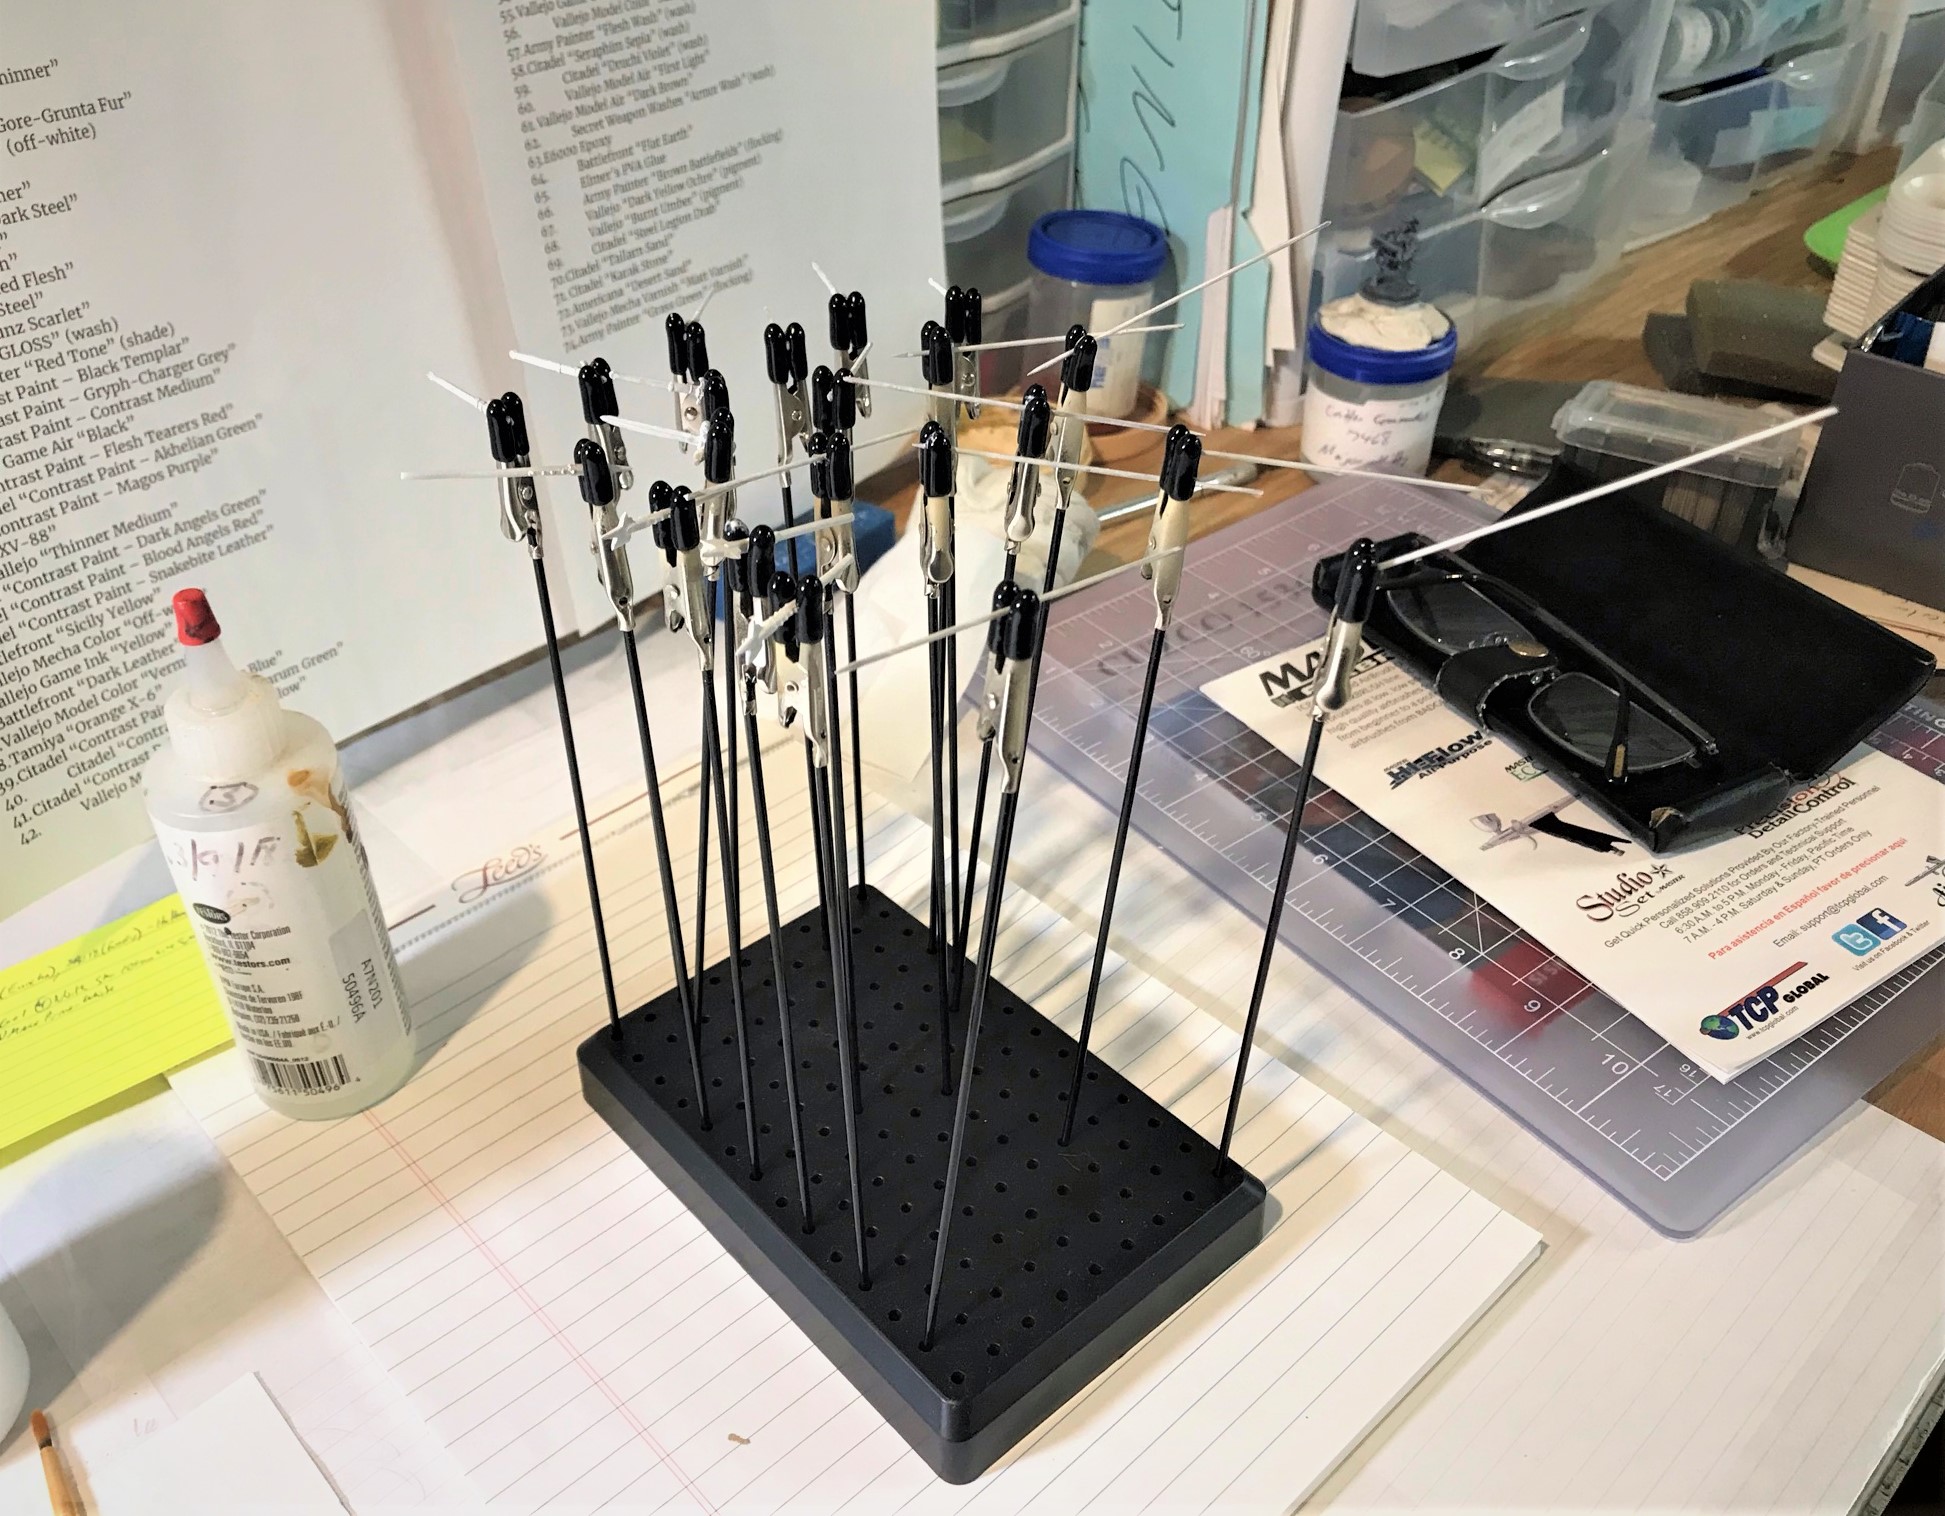
After priming in white, I washed them all with a 50% thinned application of Citadel “Nuln Oil” as shown below.

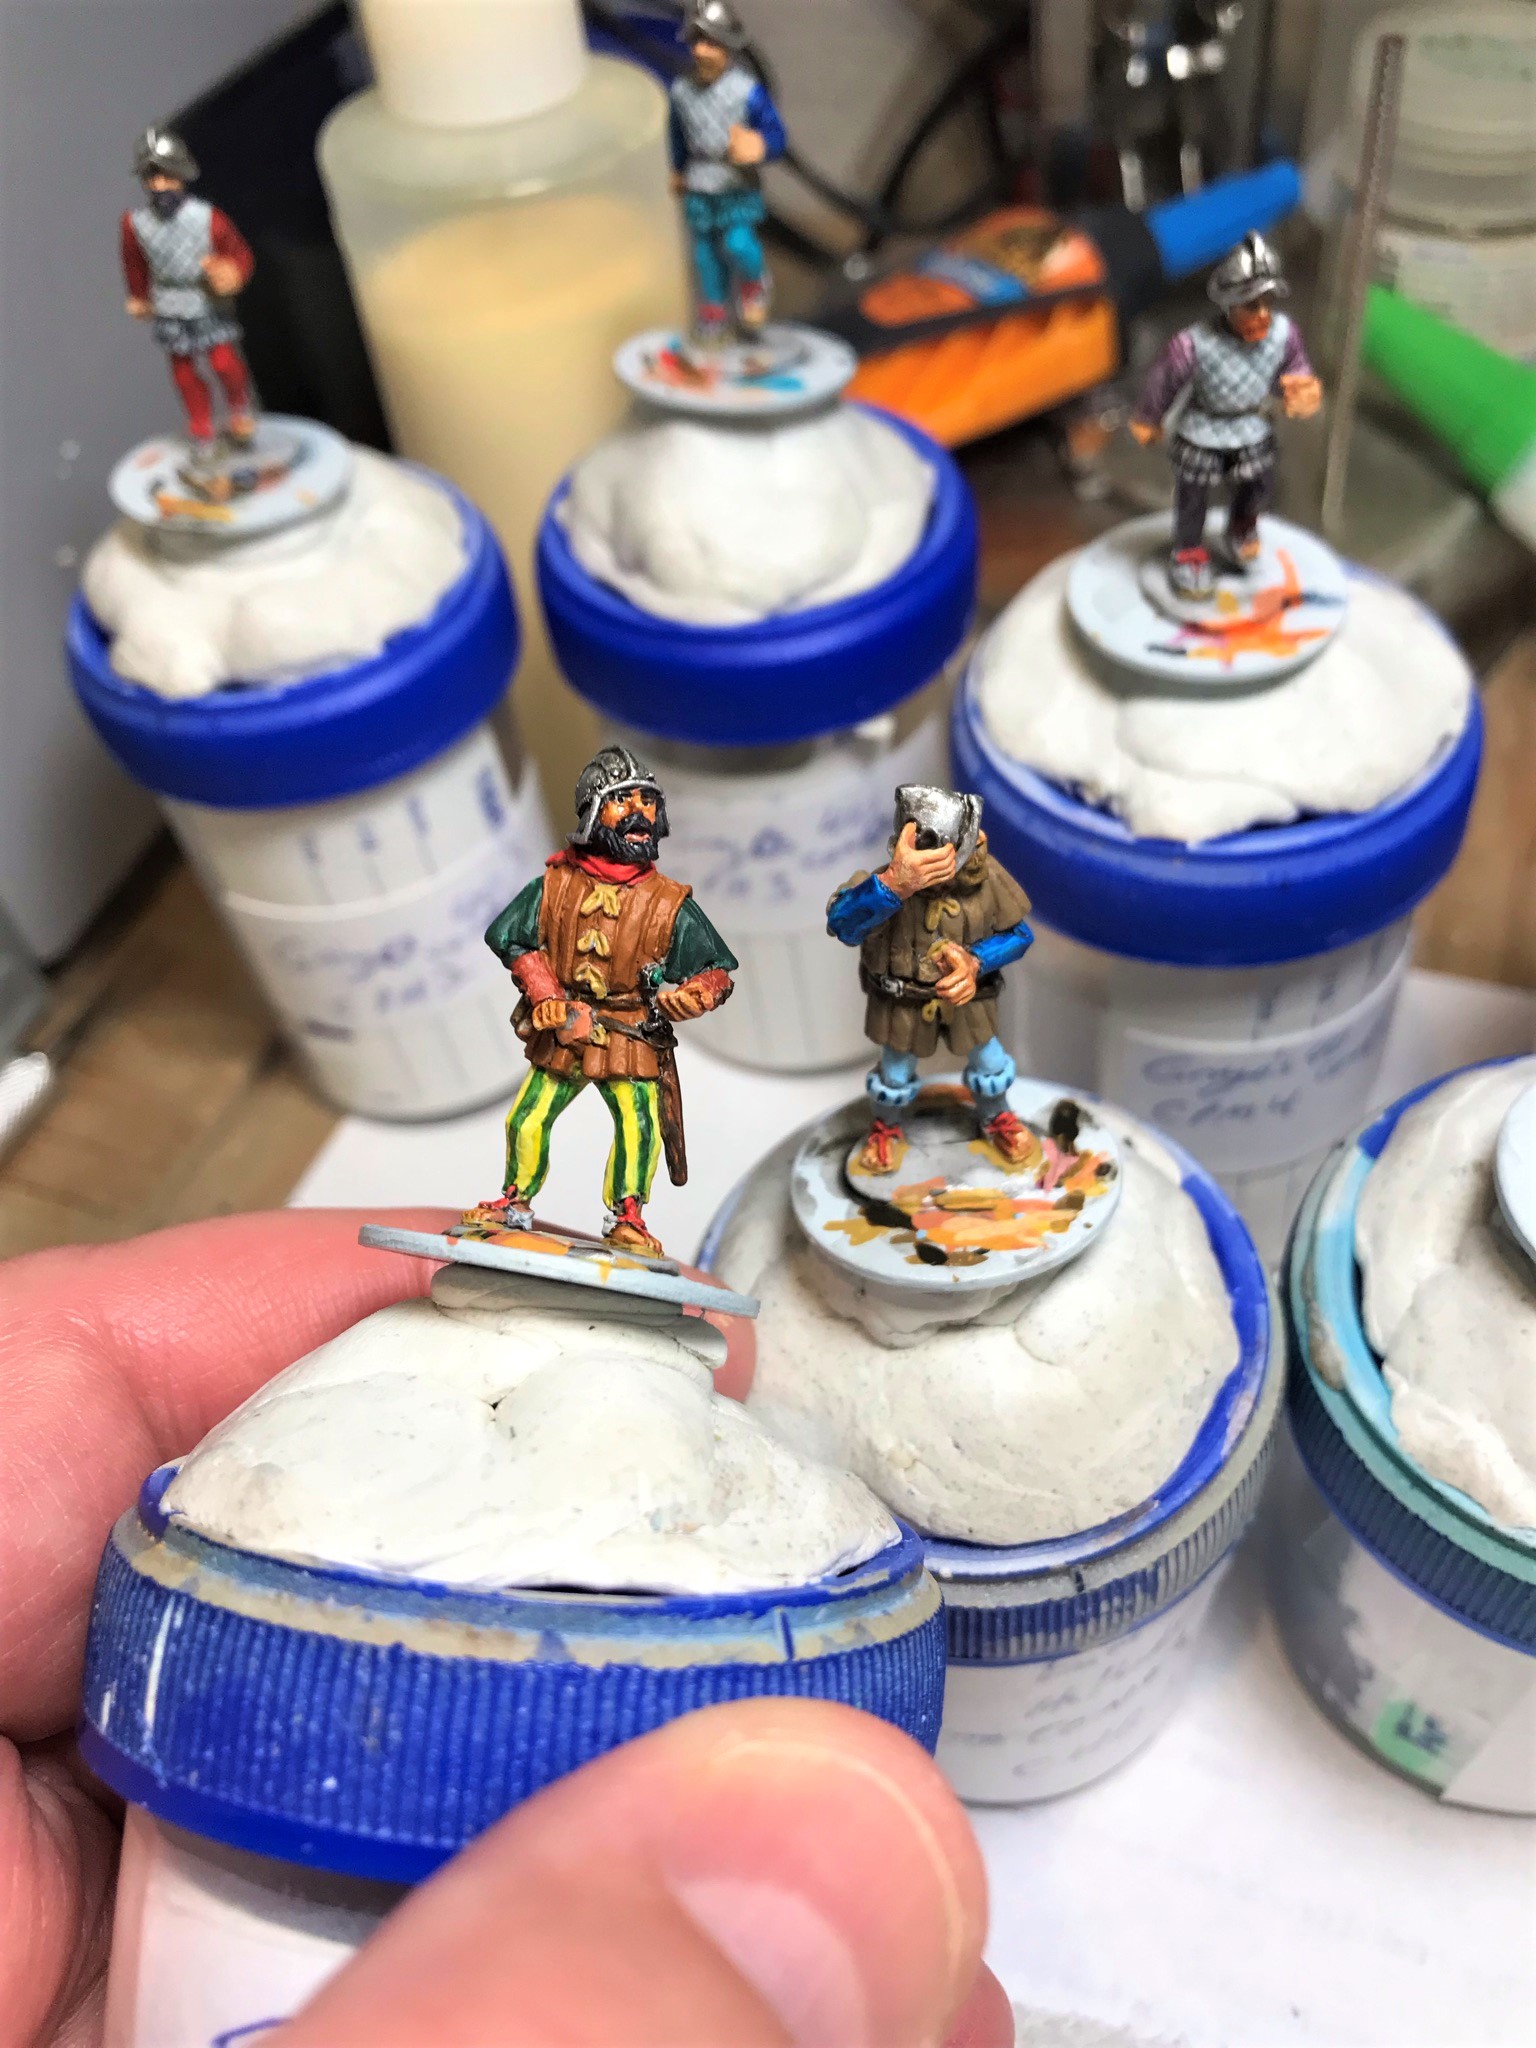
I worked on the base coats by using an Excel sheet paint plan as I needed a lot of paints to make this work – especially for the pikemen. I did make use of several contrast paints here as well – but I used them in combination with other products to shade and highlight. When you are trying to give 8 different pikemen different beards/hair, tunics, leggings, etc., you do end up with a good number of permutations! As usual, I list of all the paints, inks, washes, etc. that I used at the end of this post if that sort of thing interests you.

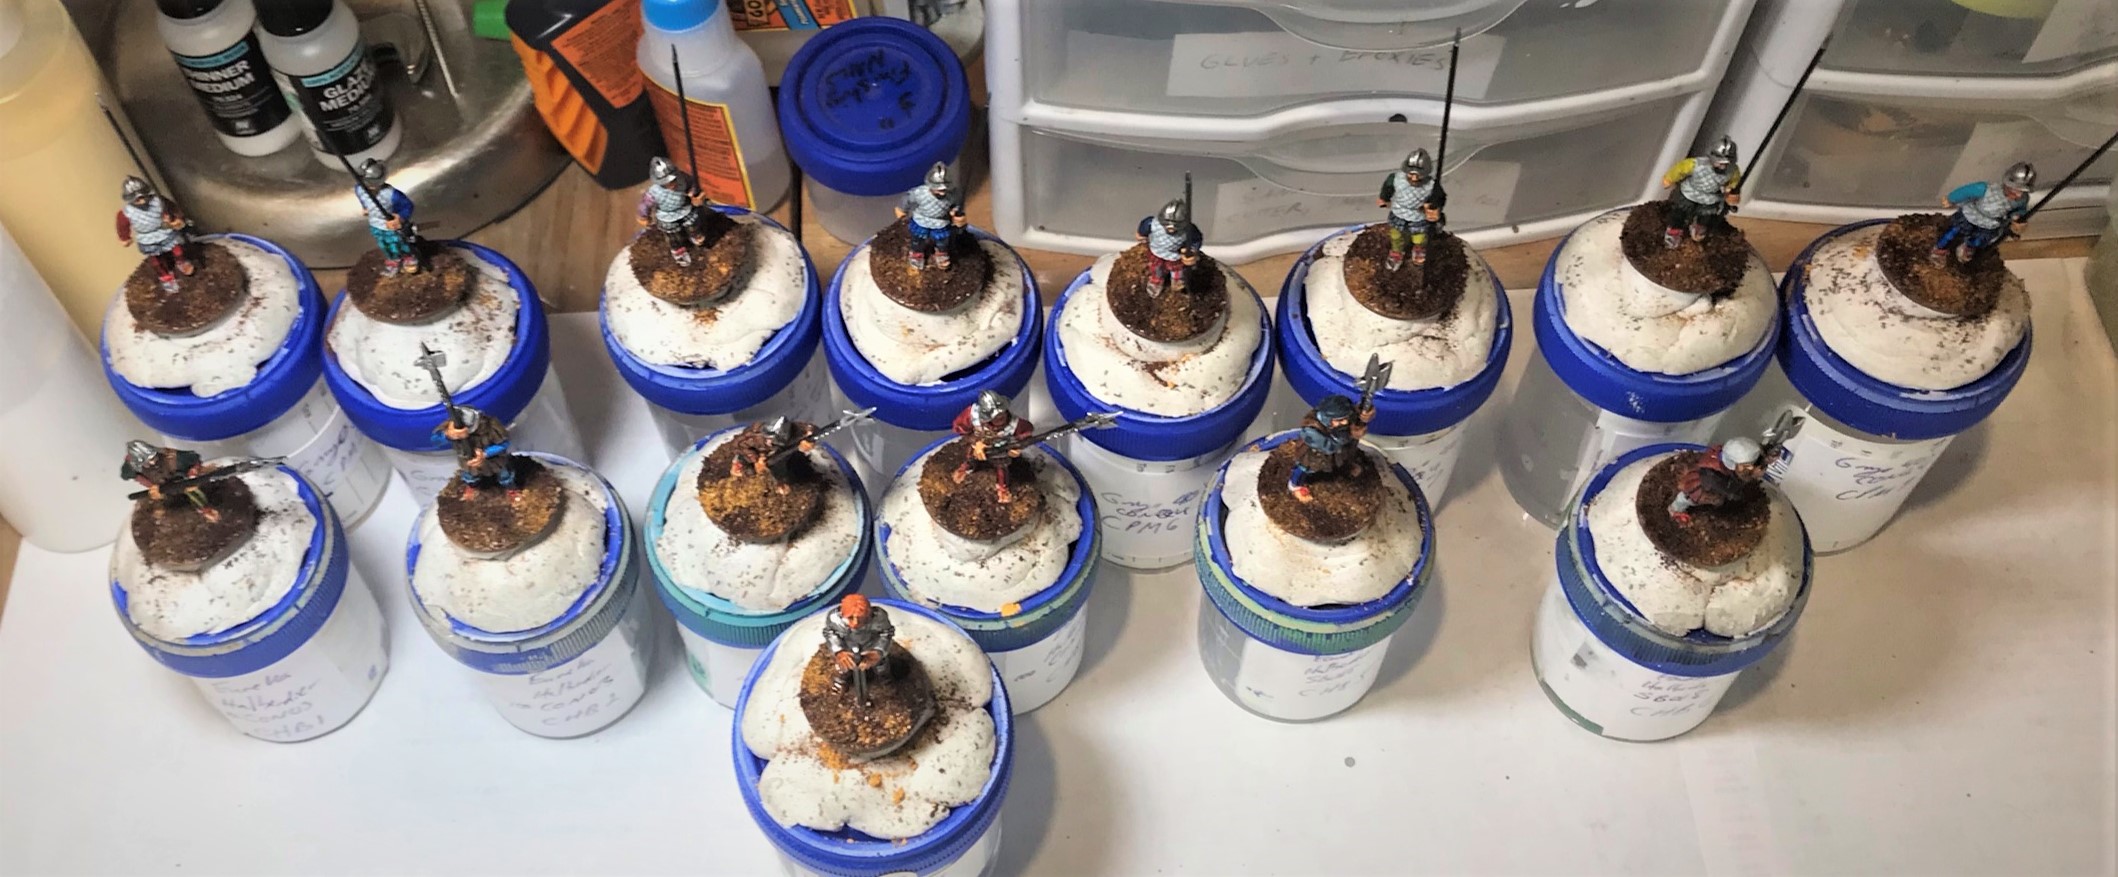
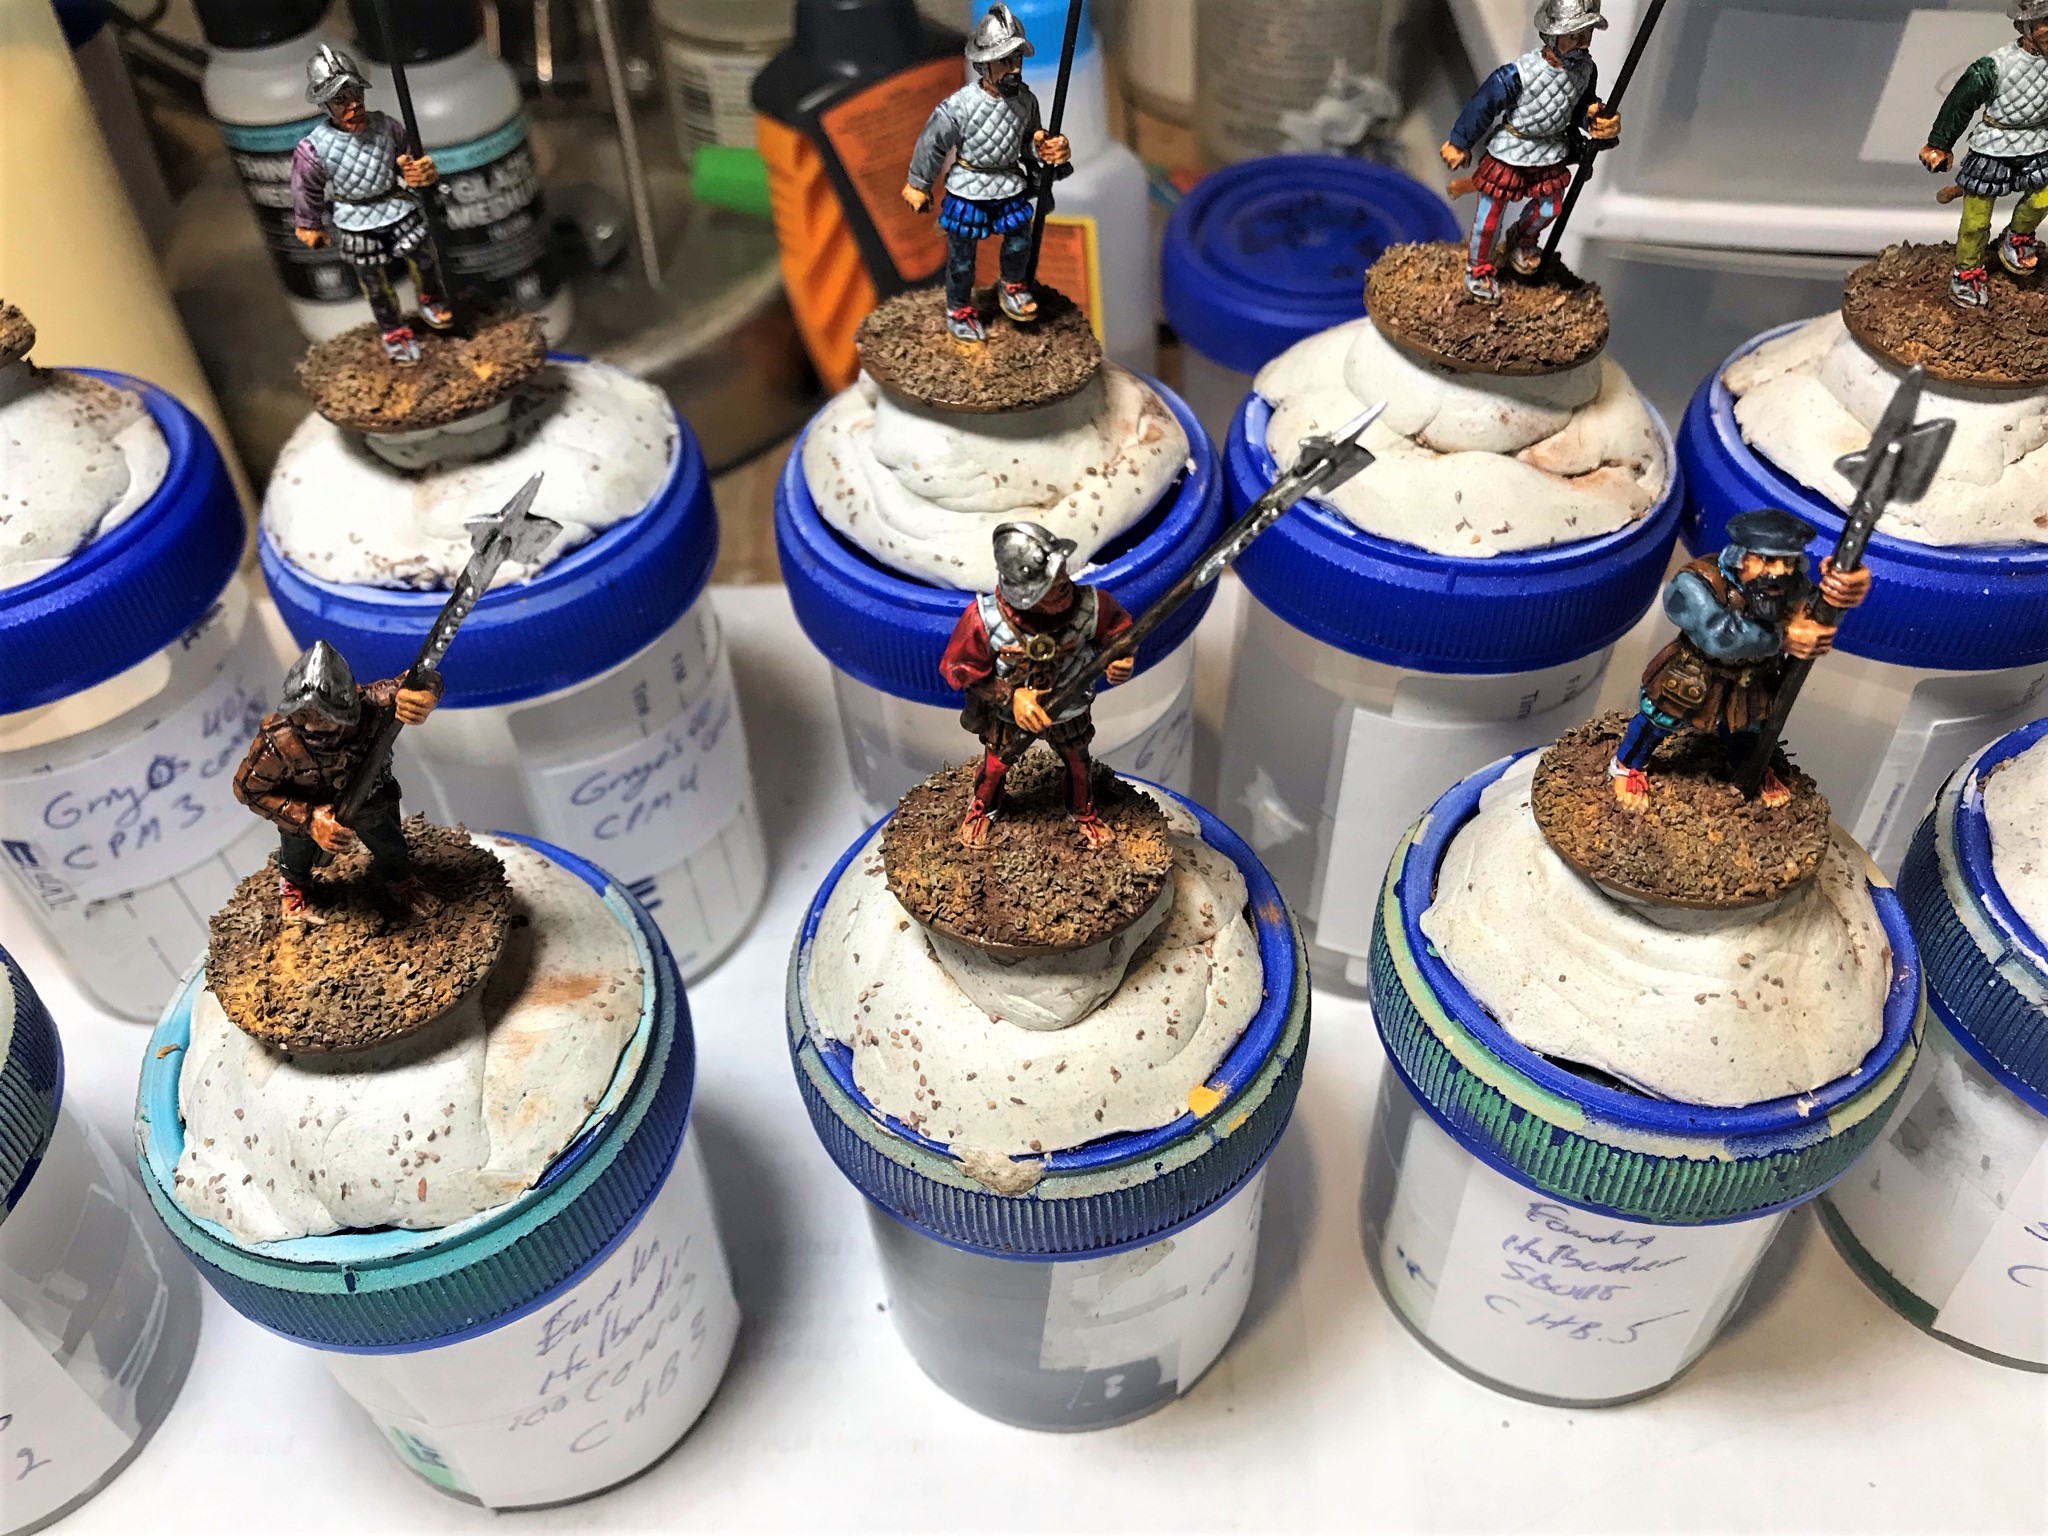
After the varnish dried, I added Army Painter “Grass Green” and 12mm jungle tufts from Shadow’s Edge Miniatures. I did add the tufts as they will help the bases blend with my rocky outcropping/hill I have for the battle – and I have found them to be the best tufts on the market.
I numbered my halberdiers CHB 1-6 and my pikemen are CPM 2-9. Alvarado is Alvarado! So, here they are as completed – first Pedro de Alvarado from Gringo 40’s:
Pedro de Alvarado

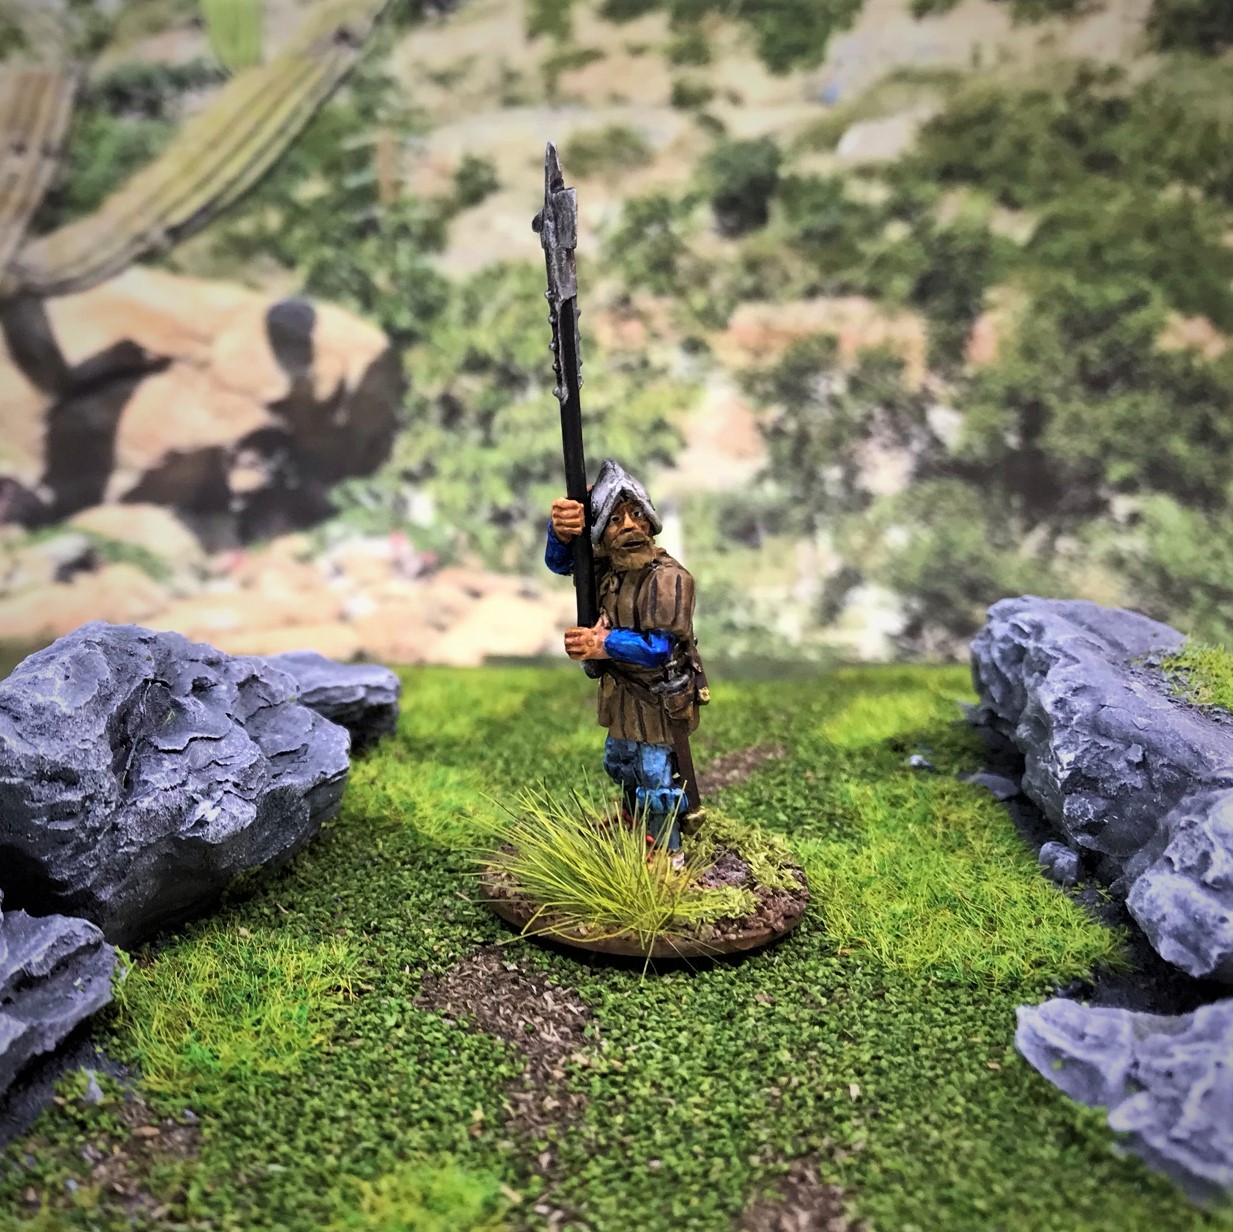
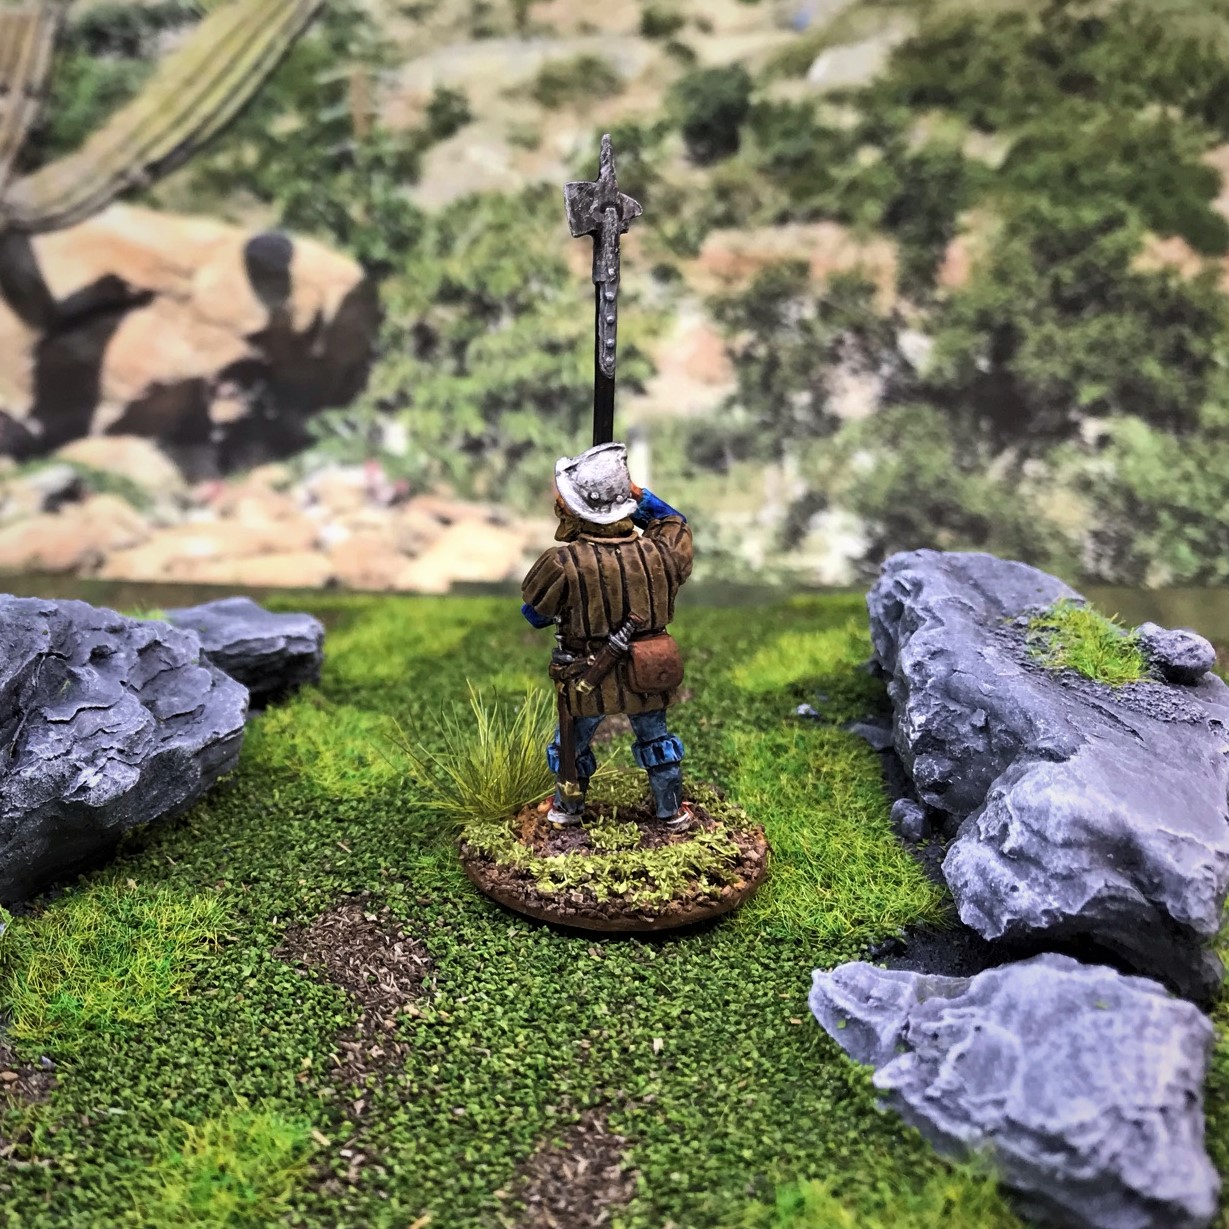
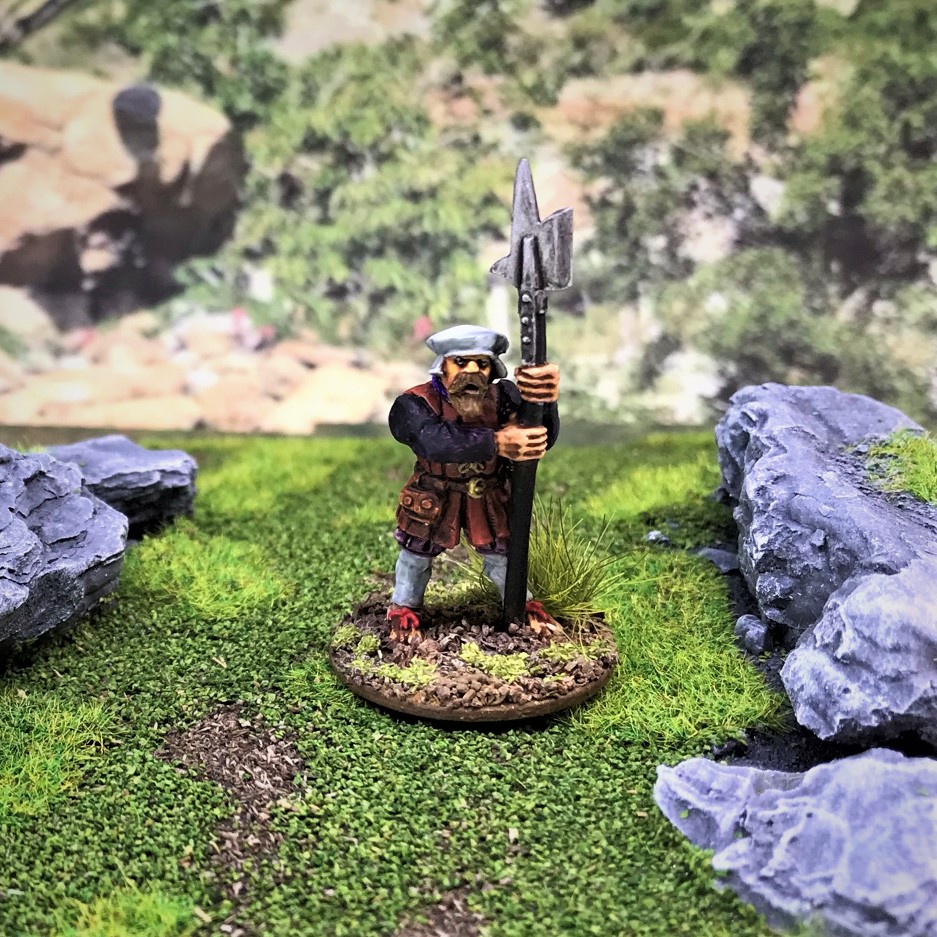
Next, the halberdiers. CHB1-4 are from Eureka, and CHB5 and 6 are the same figure from Wargames Foundry.
CHB1


CHB2
CHB3


CHB4


CHB5


CHB6
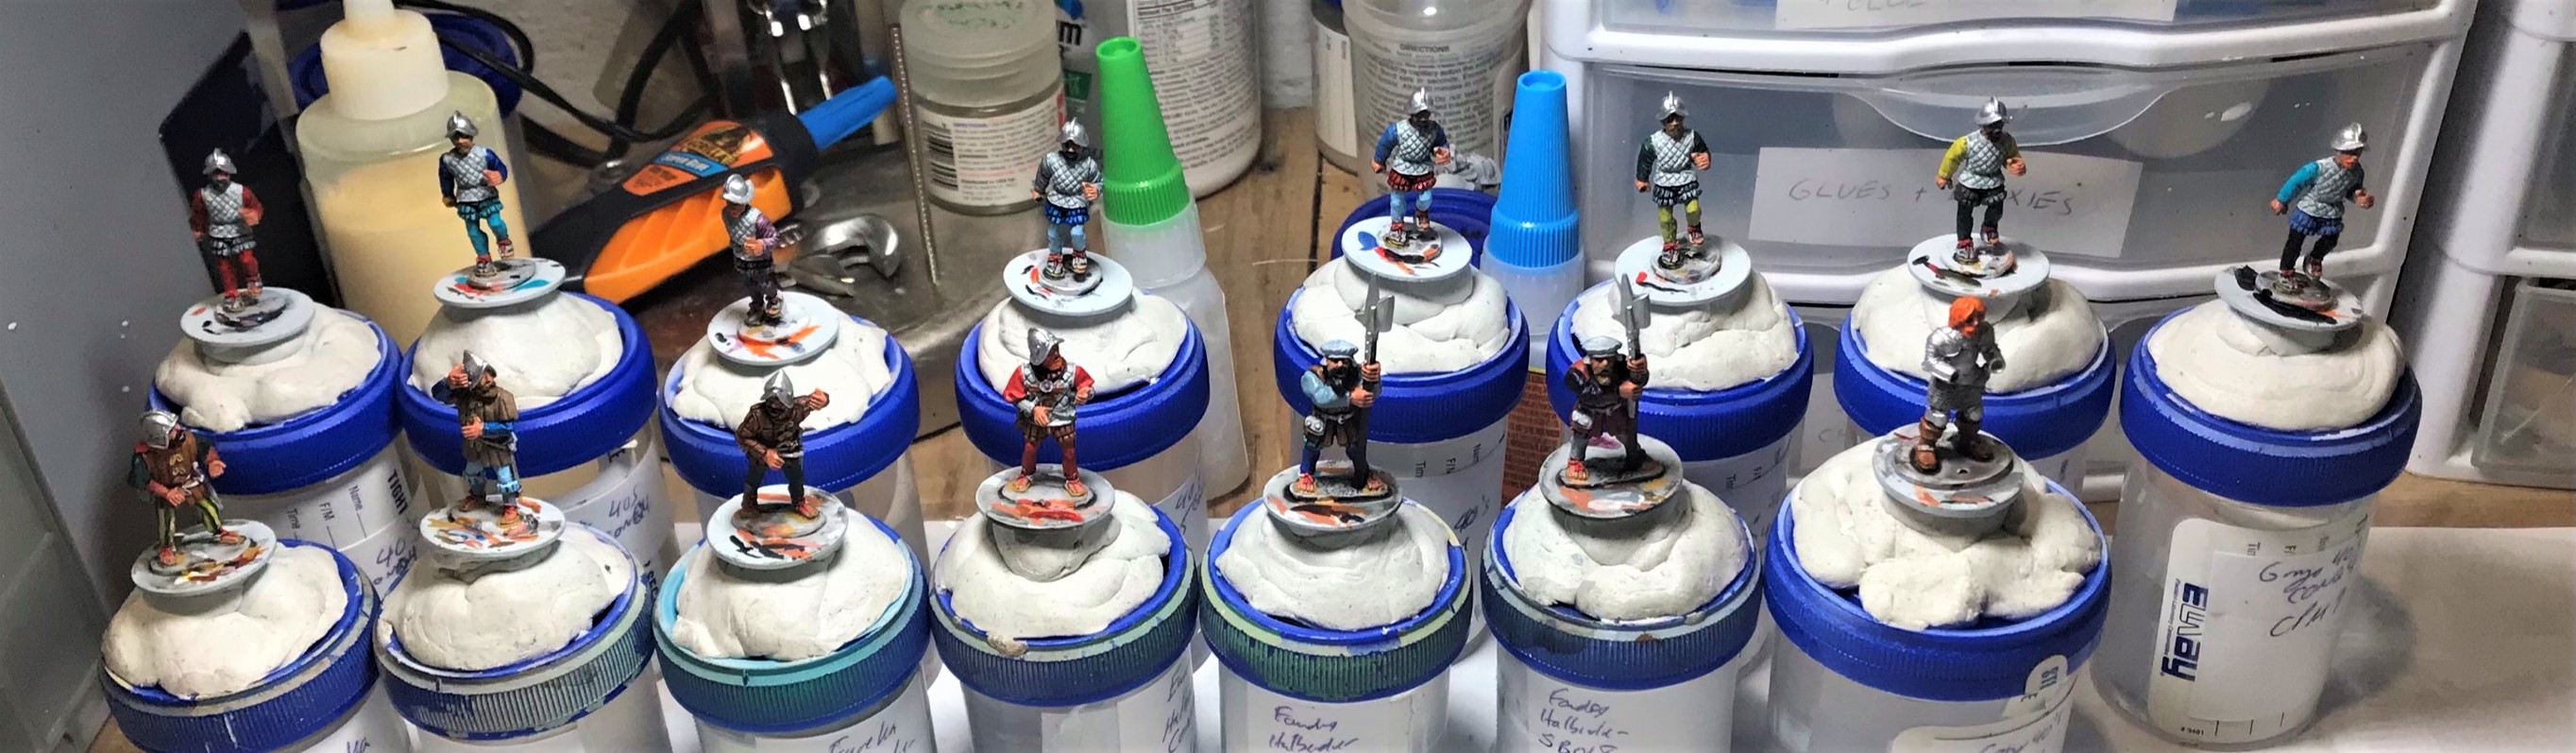
Group Halberdier Shot

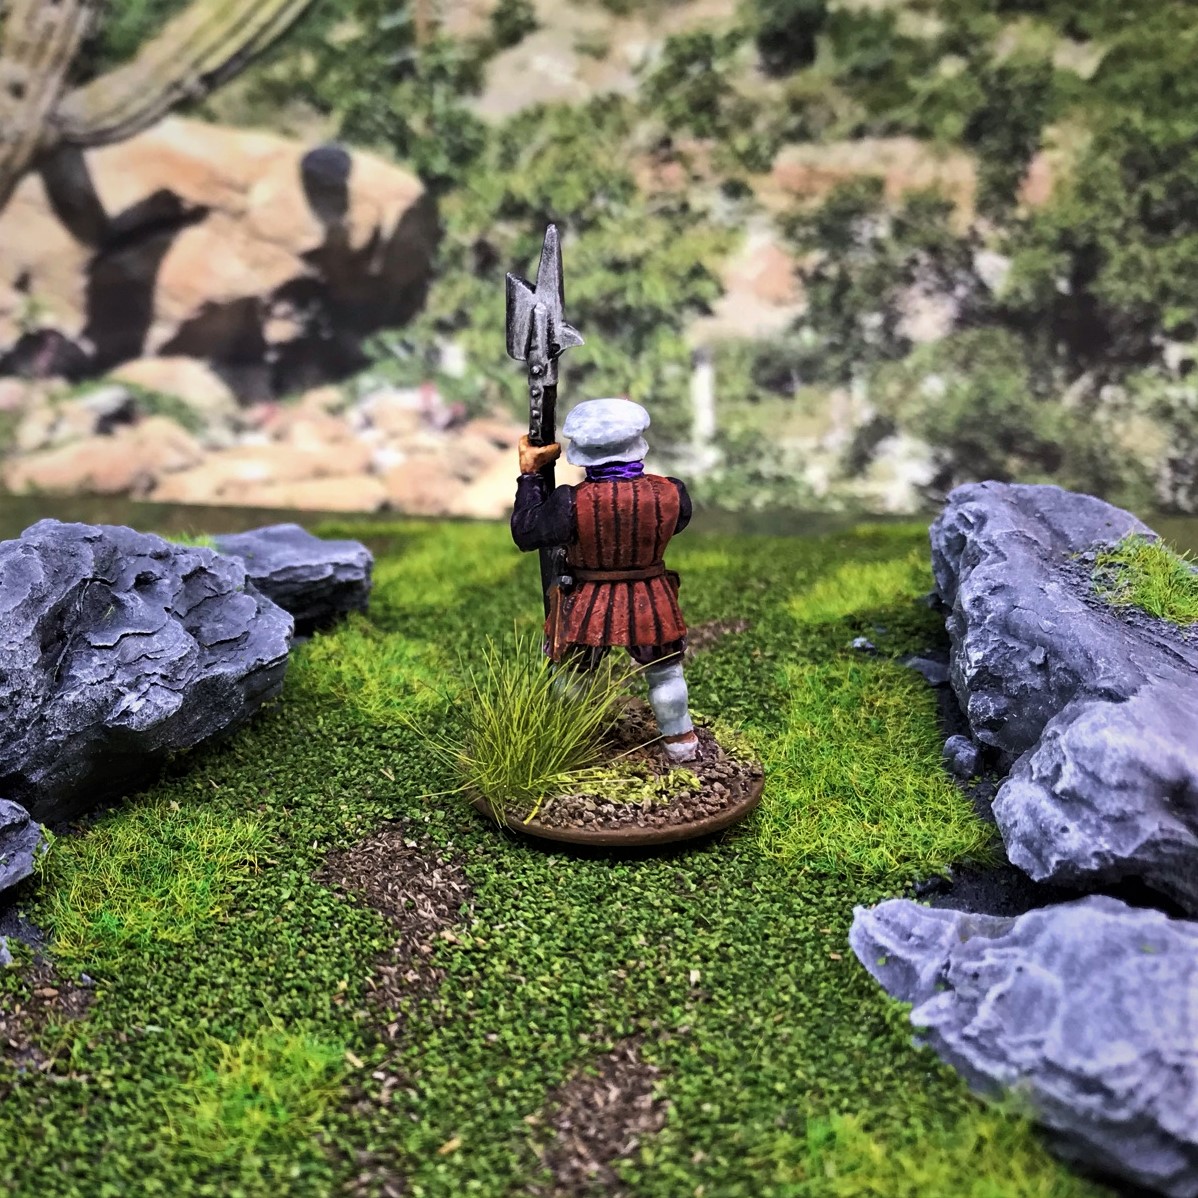
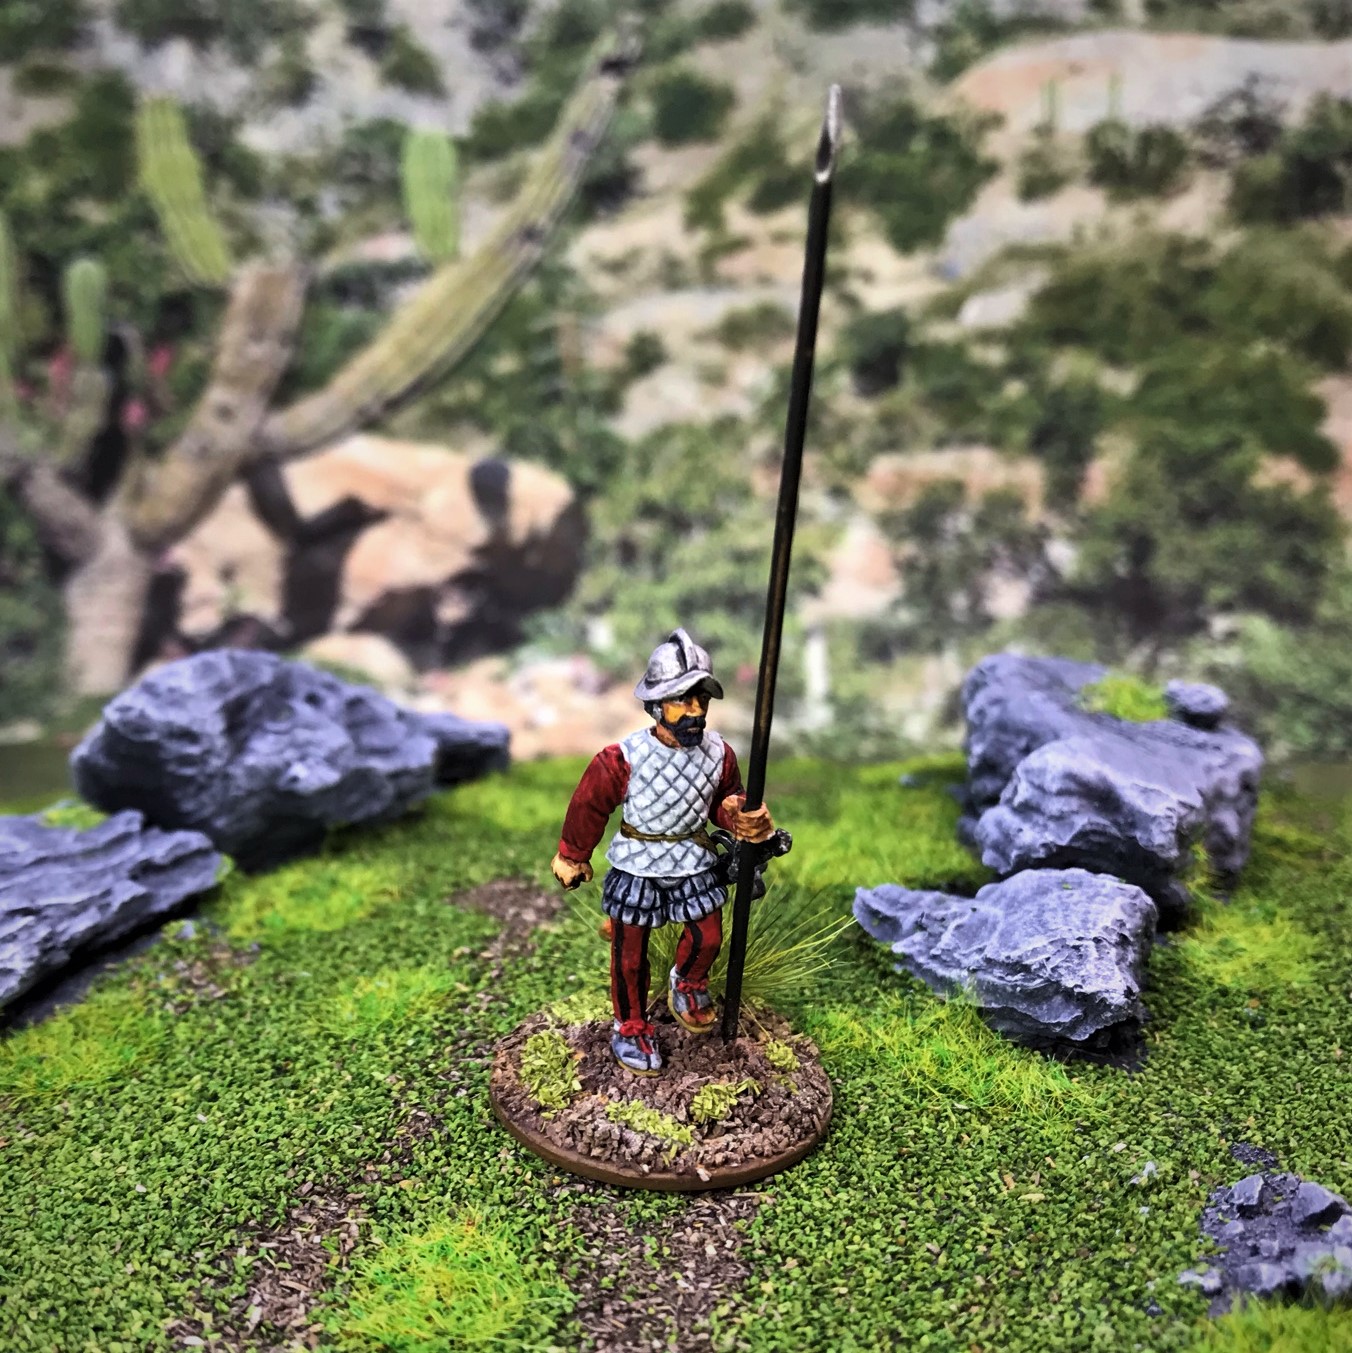
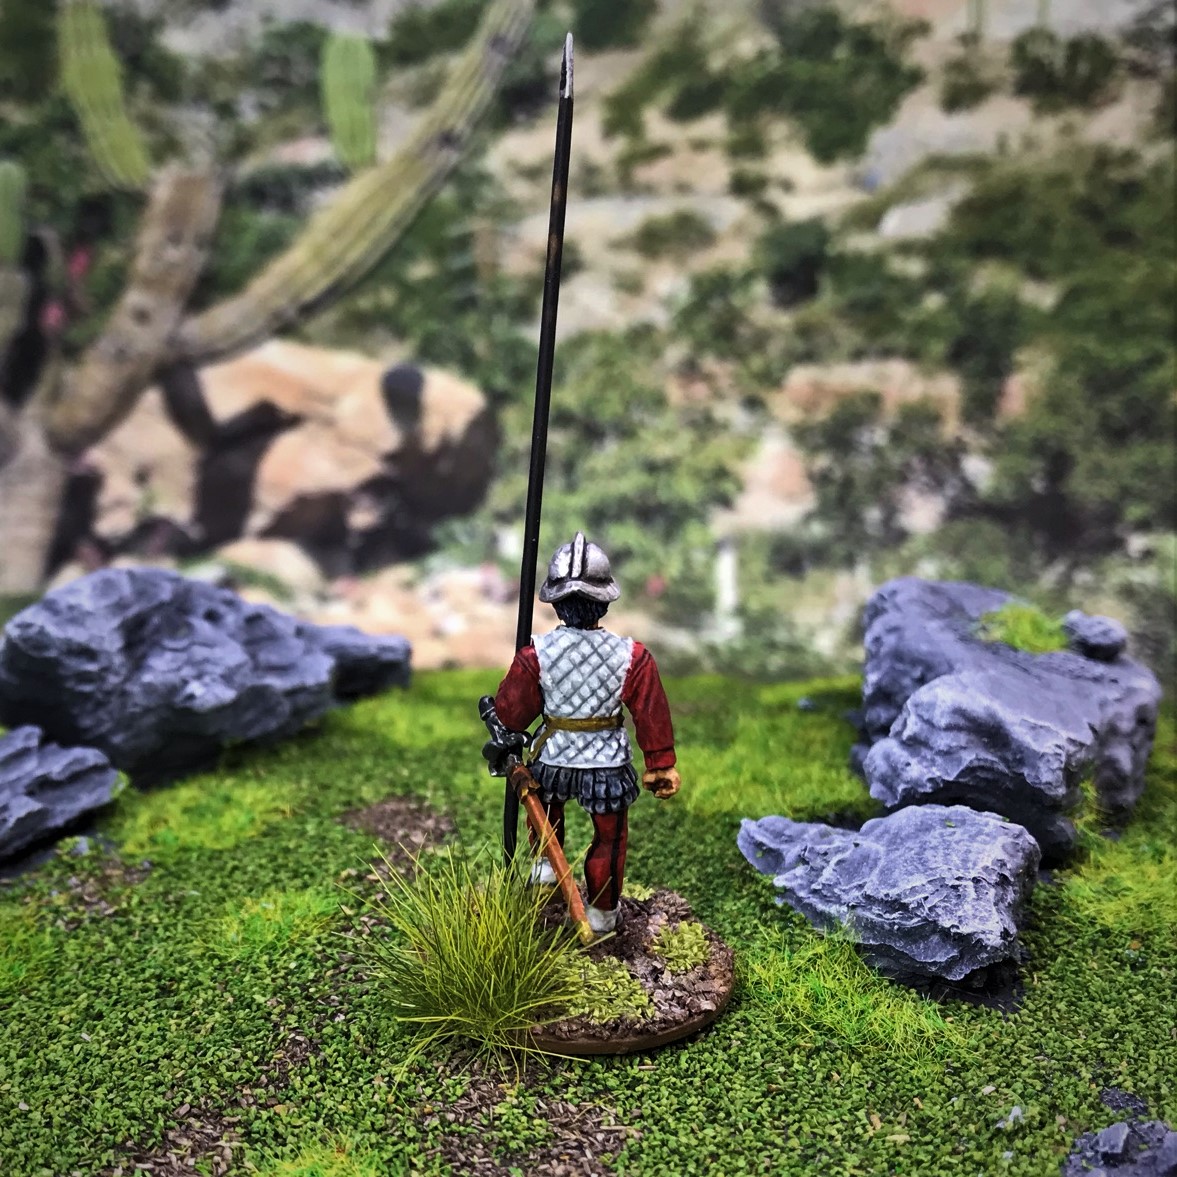
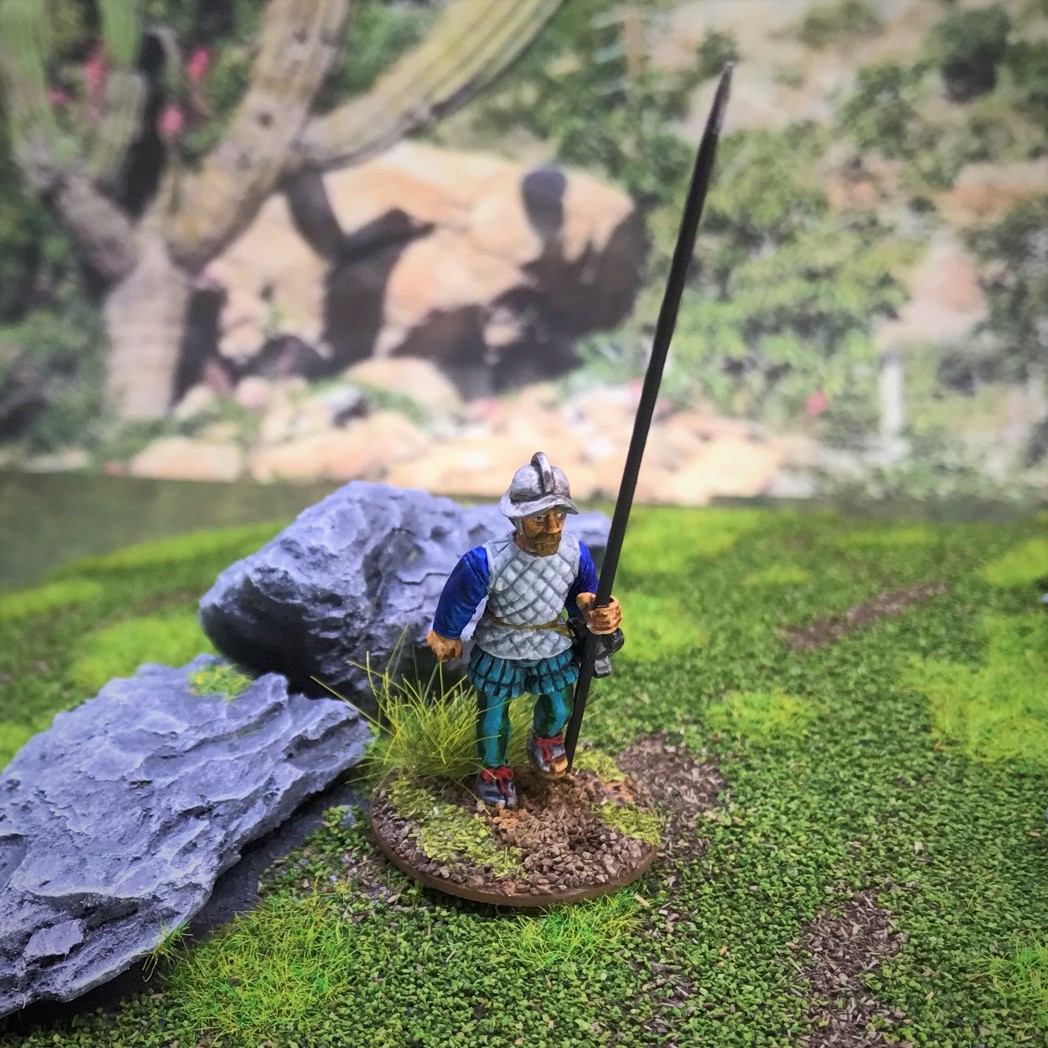
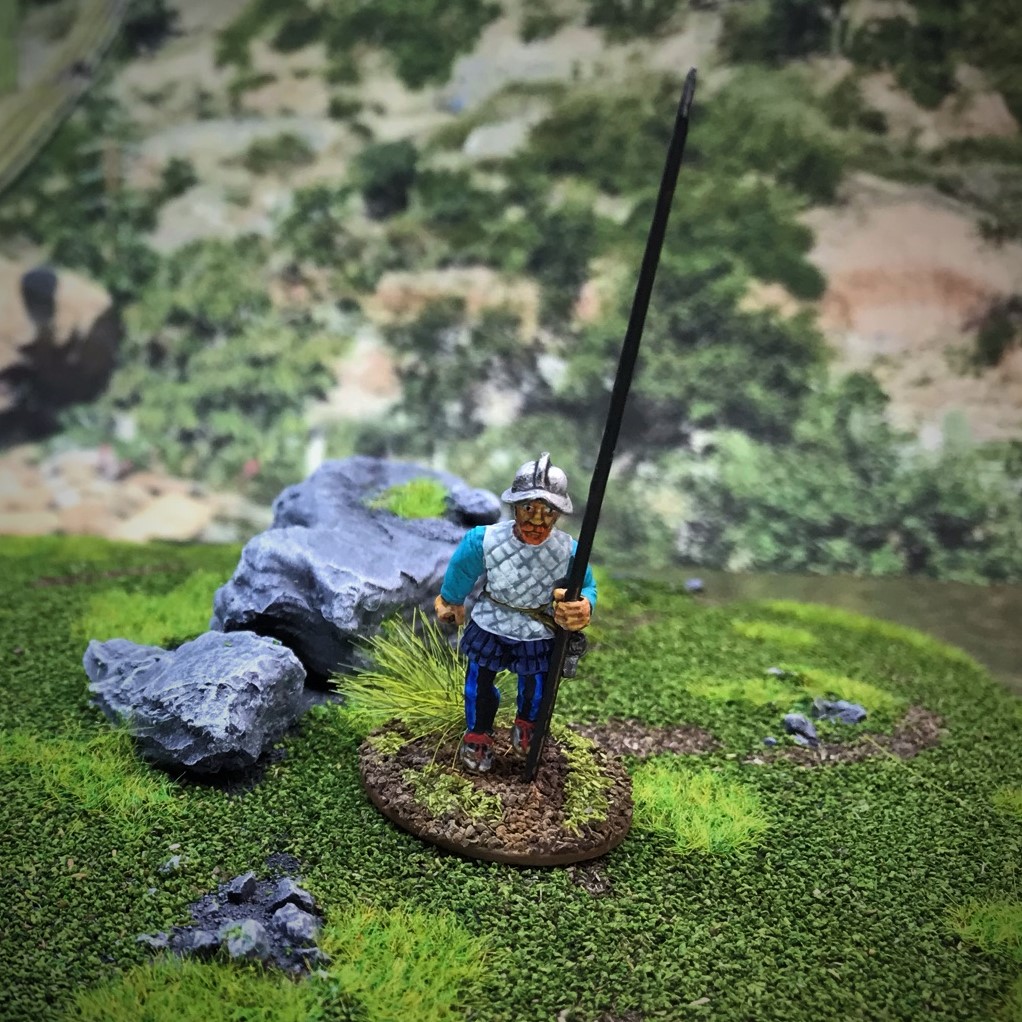
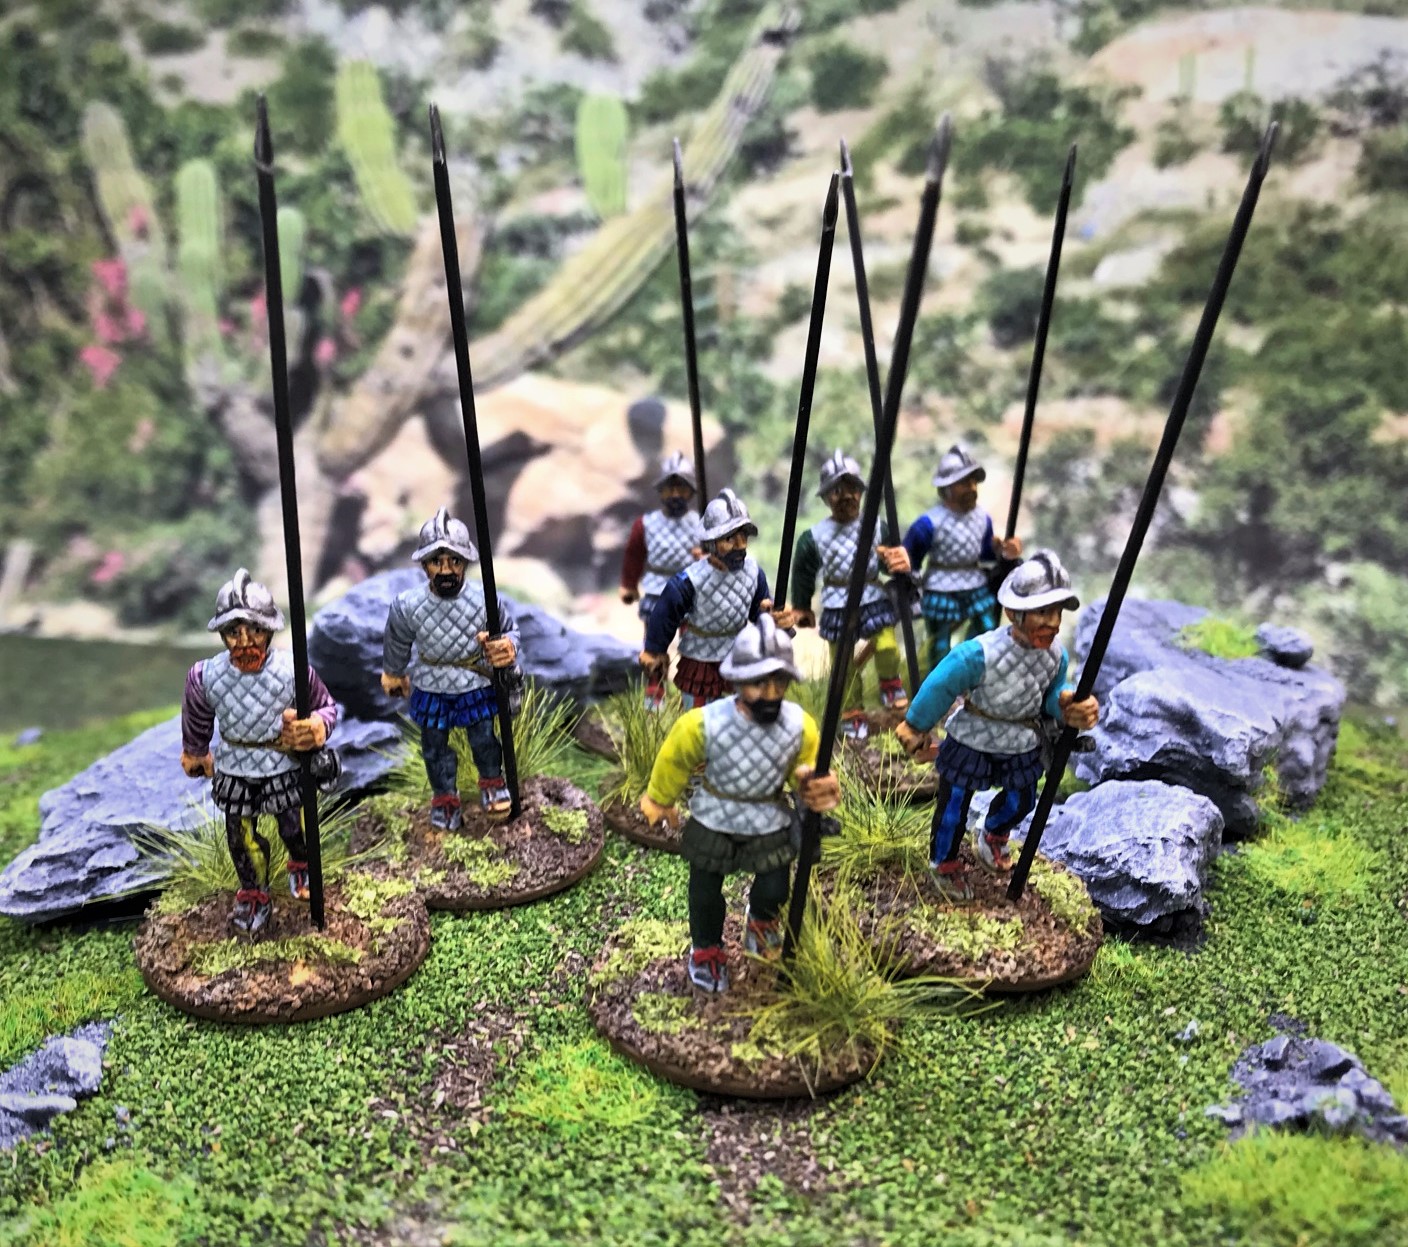
Lastly, here are the pikemen, CPM2-9. All are from Gringo 40’s and are the same sculpt – but hopefully I have varied them enough in color and appearance.
CPM2
CPM3
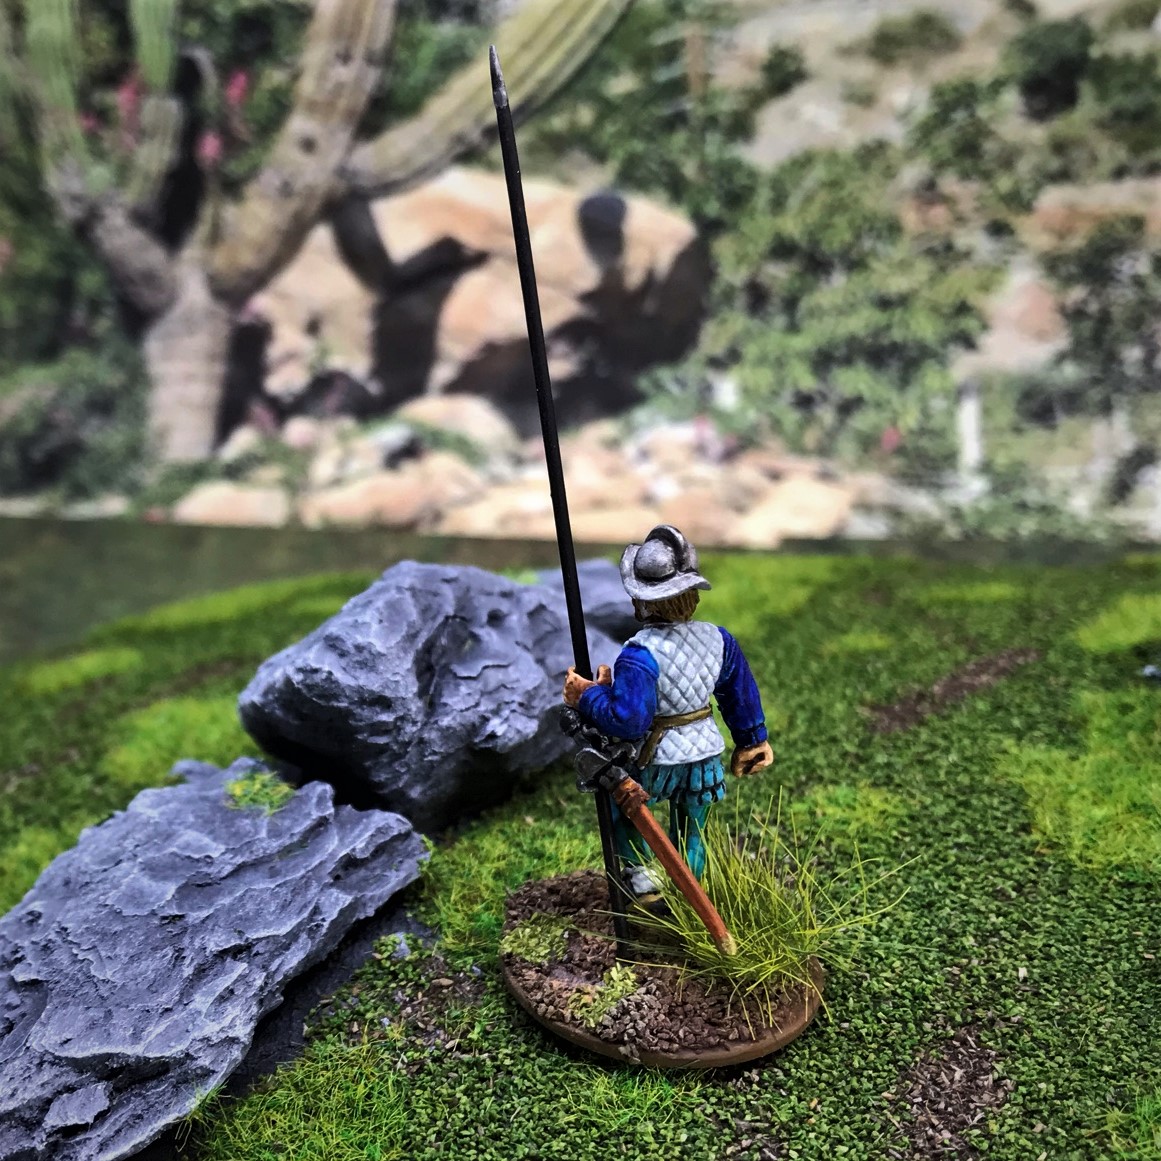
CPM4
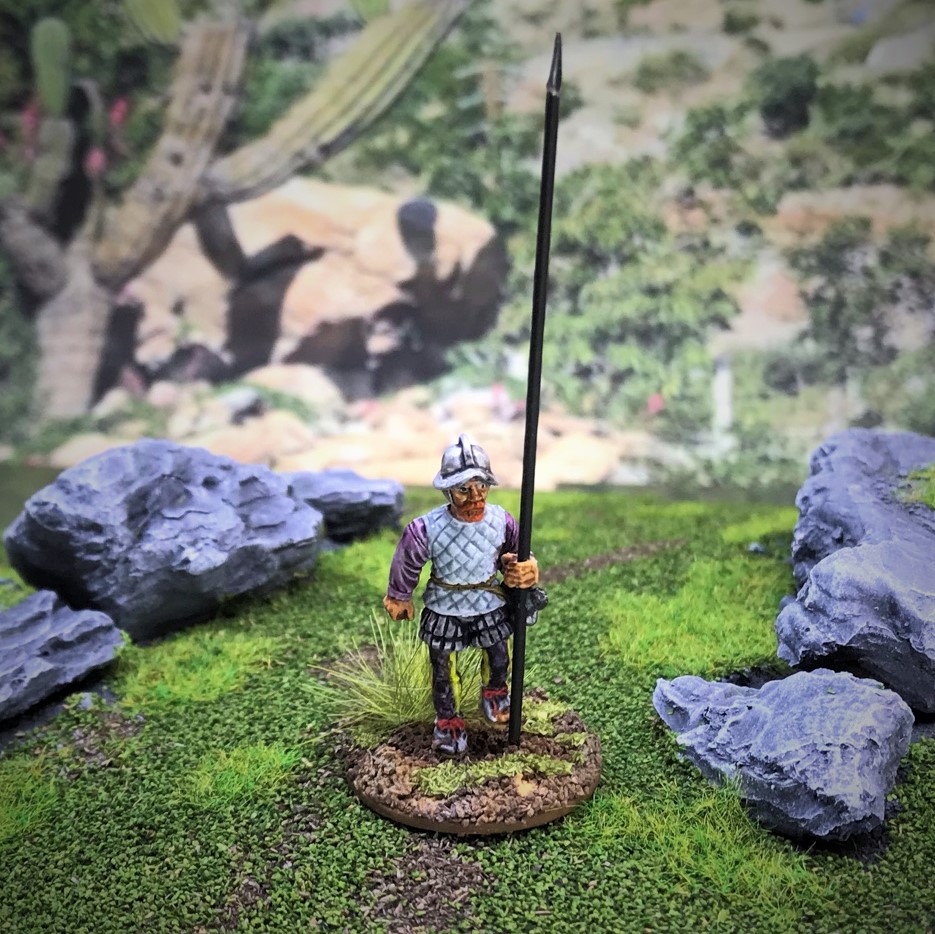

CPM5
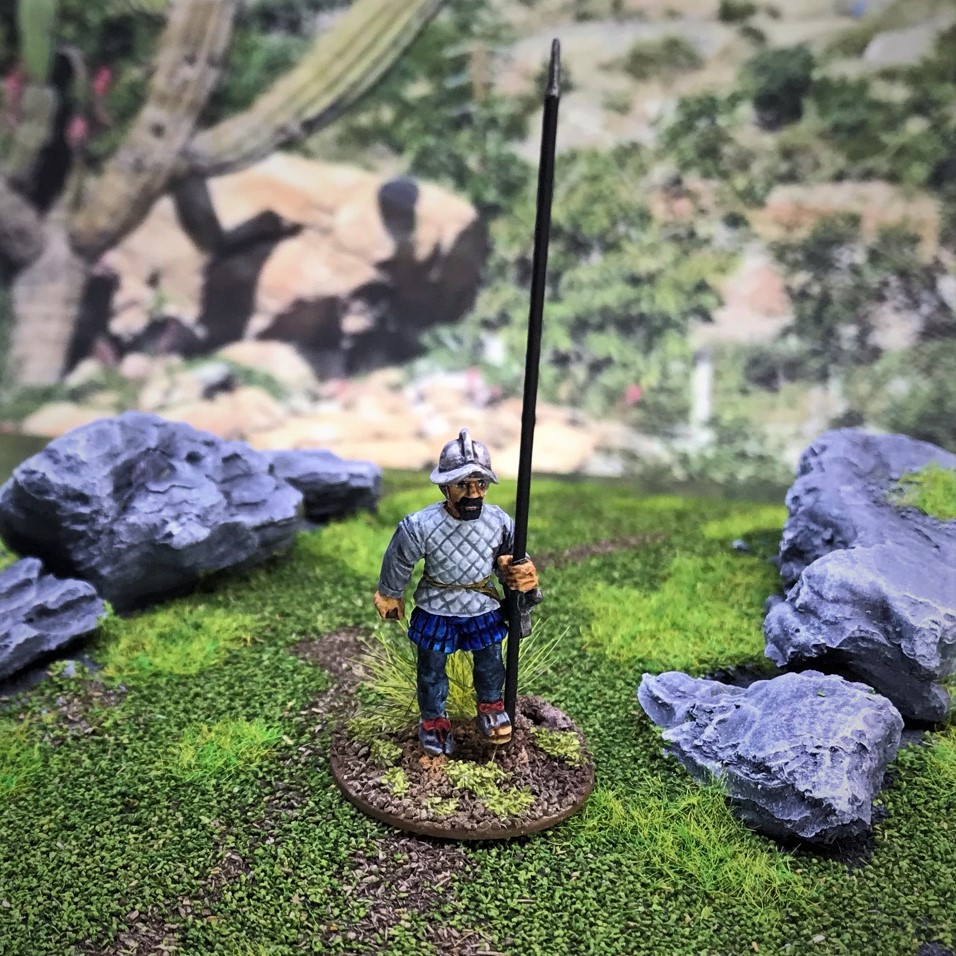
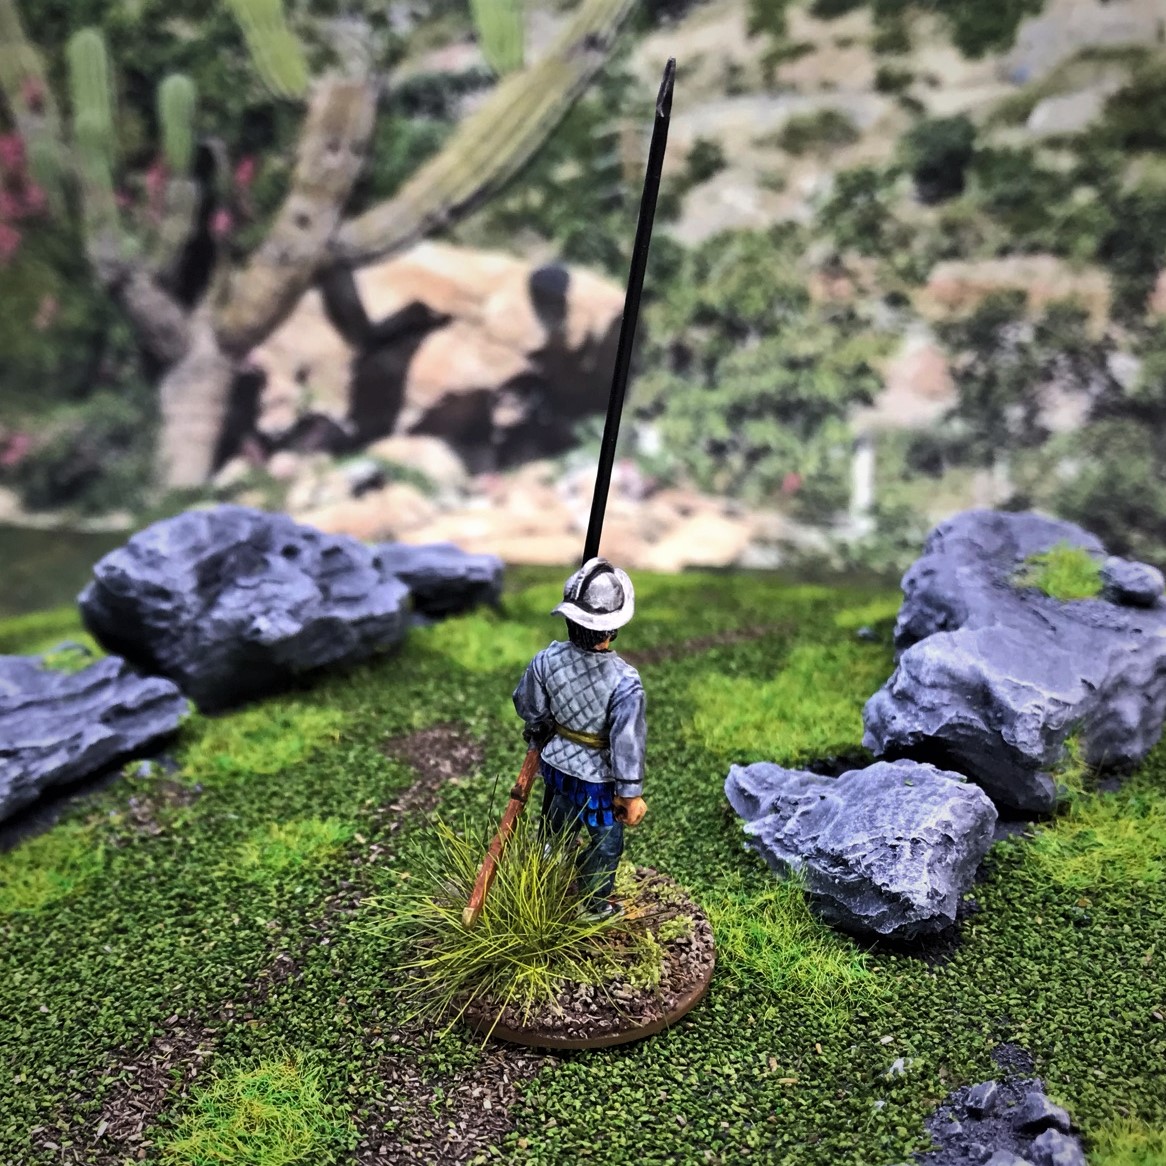
CPM6
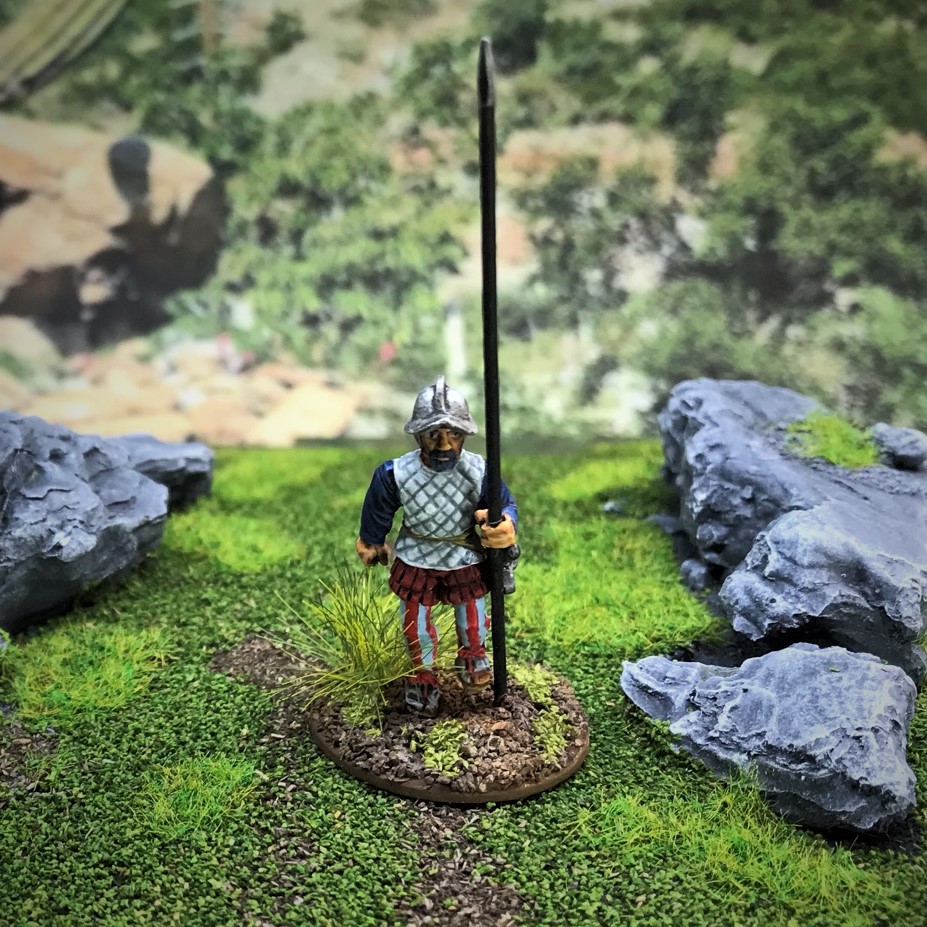

CPM7

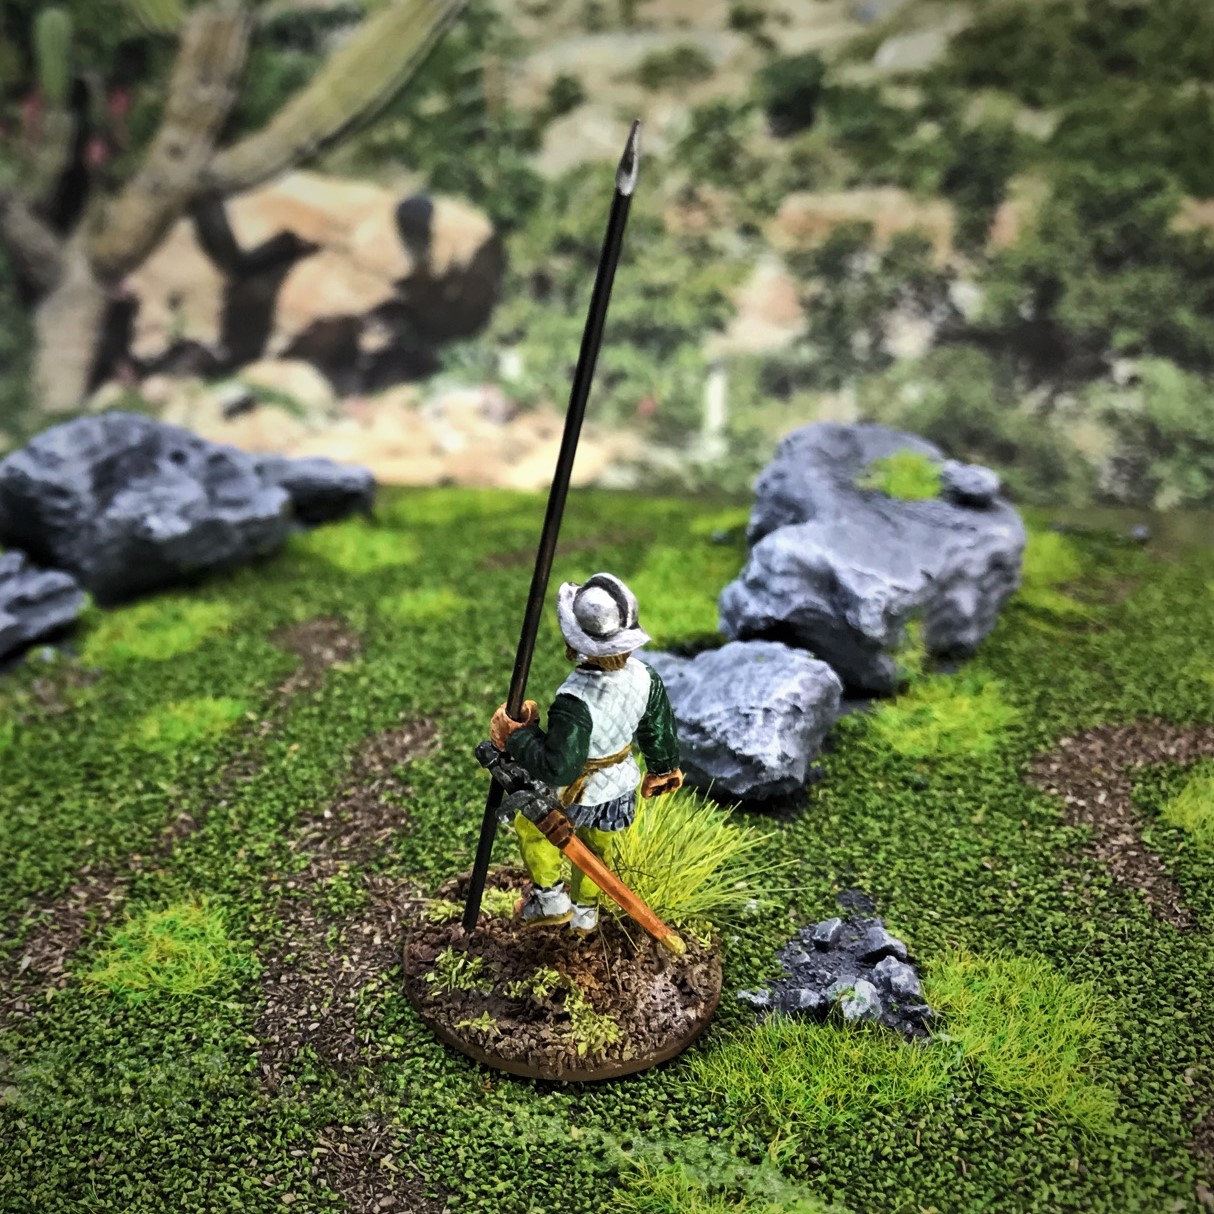
CPM8
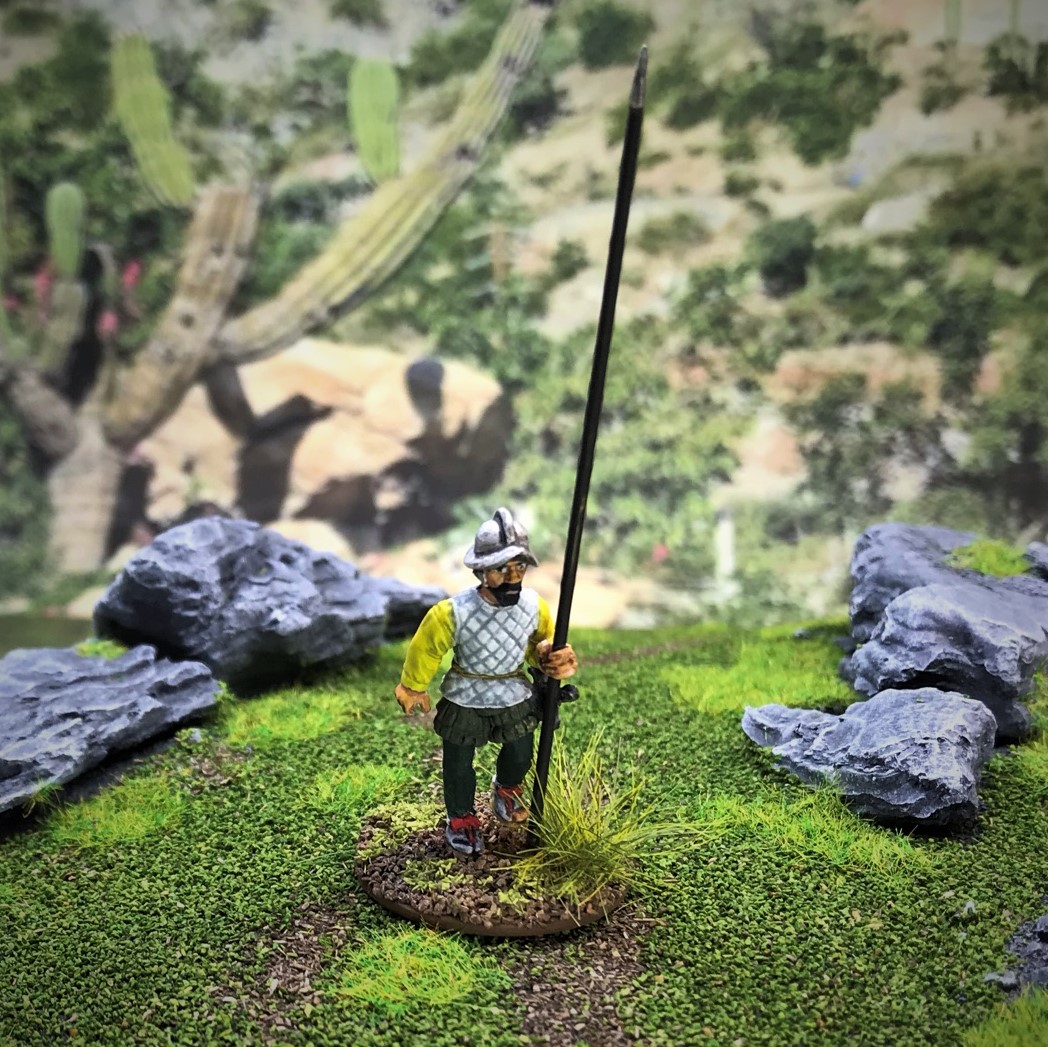

CPM9
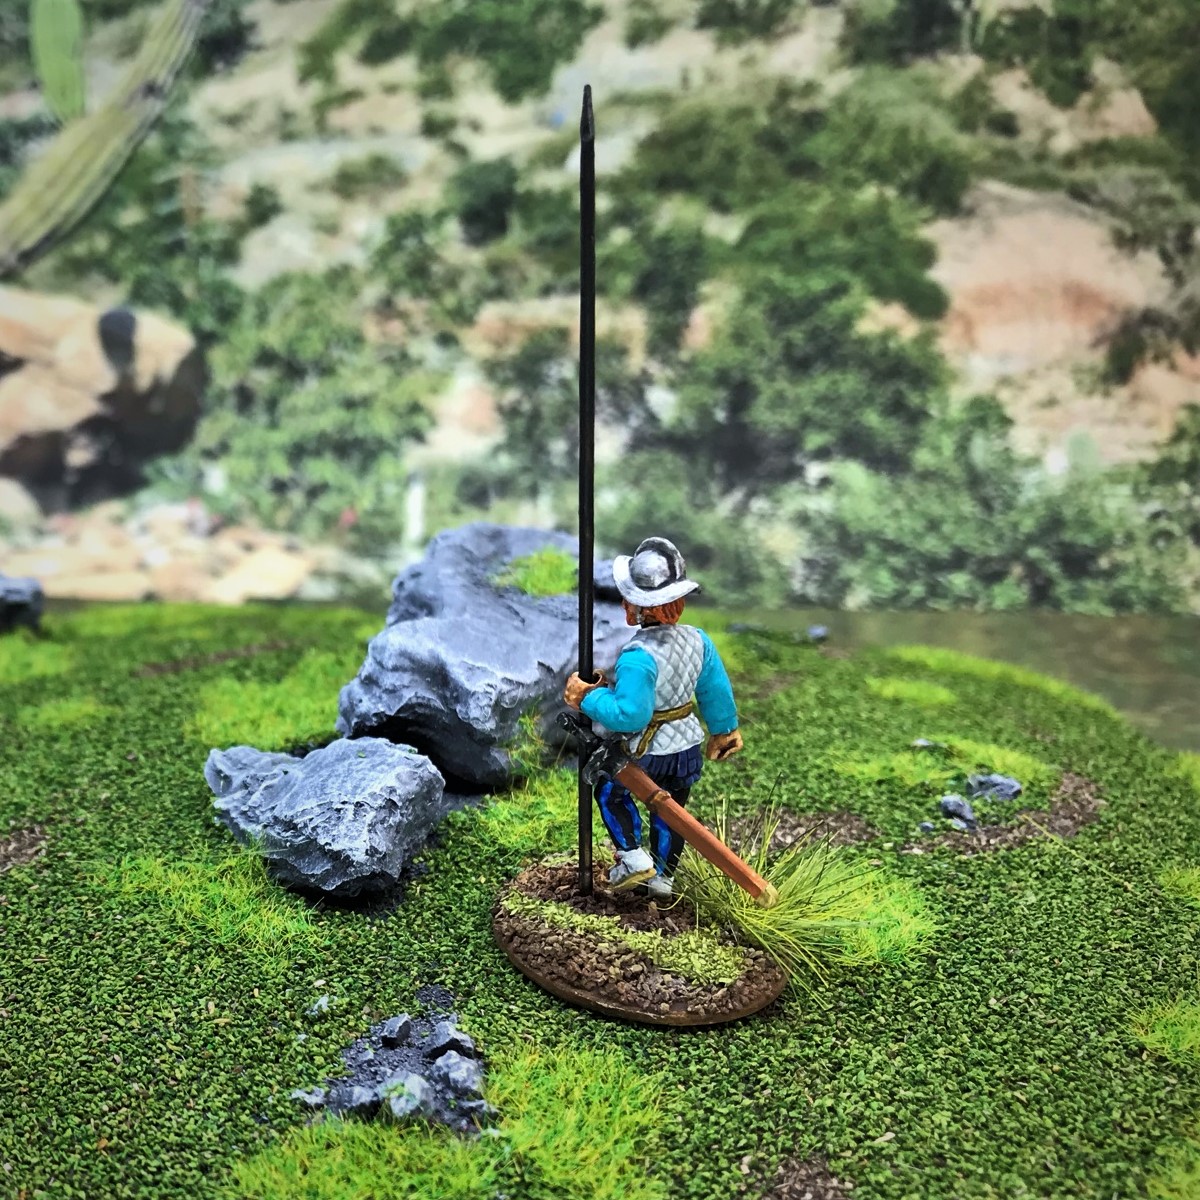
Pikemen Group Shot
All 15 of these Conquistadores

I am looking forward to their upcoming game at TotalCon36 in Marlborough, Massachusetts on February 27th. I am also running two other Spanish Conquest games there on Thursday, February 24 (Surprise Raid on the Aztec Outpost) and Saturday February 26 (Cortes’ Causeway Escape Attempt), as well as a What a Tanker game (France 1940) on Friday. Slots for all are still available – come on down!
I now have painted 92 Conquistador, 32 Tlaxcalan, and 109 Aztec figures since I started this project. I still have more to go – specifically brigantines and cannons with crews, and a good-sized group of Maya. I hope that you found this rather lengthy post interesting. Yes or no, let me know and thanks for checking in.
Miscellaneous details and references for those interested in that sort of thing:
For all of my previous posts on games, units, and other projects for my 16th Century Spanish Conquest supplement for Feudal Patrol™ – “Civilizations Collide” – please see this page.
PAINTS, INKS, GLAZES, SHADES, WASHES, PIGMENTS, FLOCKING, GLUES AND MORE THAT I USED ON THESE CONQUISTADOR FIGURES:
- Gorilla Glue
- 1/8″ x 1″ Everbilt Fender Washers
- Gorilla Glue Gel
- Poster tack
- North Star Military Figures 100mm wire spears
- Vallejo Mecha Primer “White”
- Vallejo “Flow Improver”
- Vallejo “Airbrush Thinner”
- Citadel “Nuln Oil” (wash)
- Vallejo Mecha Color “Off-white”
- Battlefront “Black”
- Vallejo “Thinner Medium”
- Army Painter “Tanned Flesh”
- Vallejo Model Color “English Uniform”
- Vallejo Model Color “Black Grey”
- Citadel “Troll Slayer Orange”
- Citadel “The Fang”
- Citadel “Contrast Paint – Volupus Pink”
- Citadel “Contrast Paint – Basilicanum Grey”
- Vallejo Model Color “Brown Rose”
- Citadel “Runefang Steel”
- Citadel “Contrast Paint – Wyldwood”
- Citadel “Skrag Brown”
- Vallejo Model Color “Vermilion”
- Citadel “Caliban Green”
- Vallejo Game Air “Sun Yellow”
- Citadel “Steel Legion Drab”
- Vallejo Model Air “Brown”
- Citadel “Contrast Paint – Gore-Grunta Fur”
- Citadel “Contrast Paint – Talassar Blue”
- Vallejo Mecha Color “Sky Blue”
- Vallejo Mecha Color “Grey Green”
- Vallejo Game Ink “Black Green”
- Secret Weapon Washes “Blue” (ink)
- Vallejo Game Air “Wolf Grey”
- Citadel “Contrast Paint – Apothecary White”
- Vallejo Model Air “Dark Blue”
- Citadel “Contrast Paint – Aethermatic Blue”
- Citadel “Contrast Paint – Shyish Purple”
- Citadel “Contrast Paint – Contrast Medium”
- Citadel “Contrast Paint – Magos Purple”
- Vallejo Game Ink “Violet”
- Citadel “Contrast Paint – Blood Angels Red”
- Vallejo Mecha Color “Turquoise”
- Citadel “Contrast Paint – Space Wolves Grey”
- Hataka “Gris Blue Clair”
- Citadel “Contrast Paint – Ultramarines Blue”
- Vallejo “Glaze Medium”
- Citadel “Castellan Green”
- Battlefront “German Camo Orange Ochre”
- Citadel “Contrast Paint – Snakebite Leather”
- Vallejo Mecha Color “Light Steel”
- Vallejo Model Air “Gun Metal”
- Vallejo Model Air “Bright Brass”
- Vallejo Model Air “Black – Metallic”
- Citadel “Waystone Green” (Technical)
- Citadel “Nuln Oil GLOSS” (wash)
- Vallejo Game Color “Bronze Fleshtone”
- Vallejo Model Color “Sunny Skin Tone”
- Army Painter “Flesh Wash” (wash)
- Army Painter “Red Tone” (shade)
- Citadel “XV-88”
- Army Painter “Green Tone” (shade)
- Citadel “Agrax Earthshade GLOSS” (shade)
- Citadel “Drakenhof Nightshade” (wash)
- Citadel “Seraphim Sepia” (wash)
- Vallejo Game Ink “Green”
- P3 “Red” (ink)
- Vallejo Game Ink “Yellow”
- Citadel “Lamenters Yellow” (glaze)
- Battlefront “Flat Earth”
- Vallejo “Satin Varnish”
- Elmer’s PVA Glue
- Army Painter “Brown Battlefields” (flocking)
- Vallejo “Dark Yellow Ochre” (pigment)
- Vallejo “Burnt Umber” (pigment)
- Citadel “Tallarn Sand”
- Citadel “Karak Stone”
- Vallejo Mecha Varnish “Matt Varnish”
- Army Painter “Grass Green” (flocking)
- Shadow’s Edge Miniatures 12mm “Jungle Tufts”