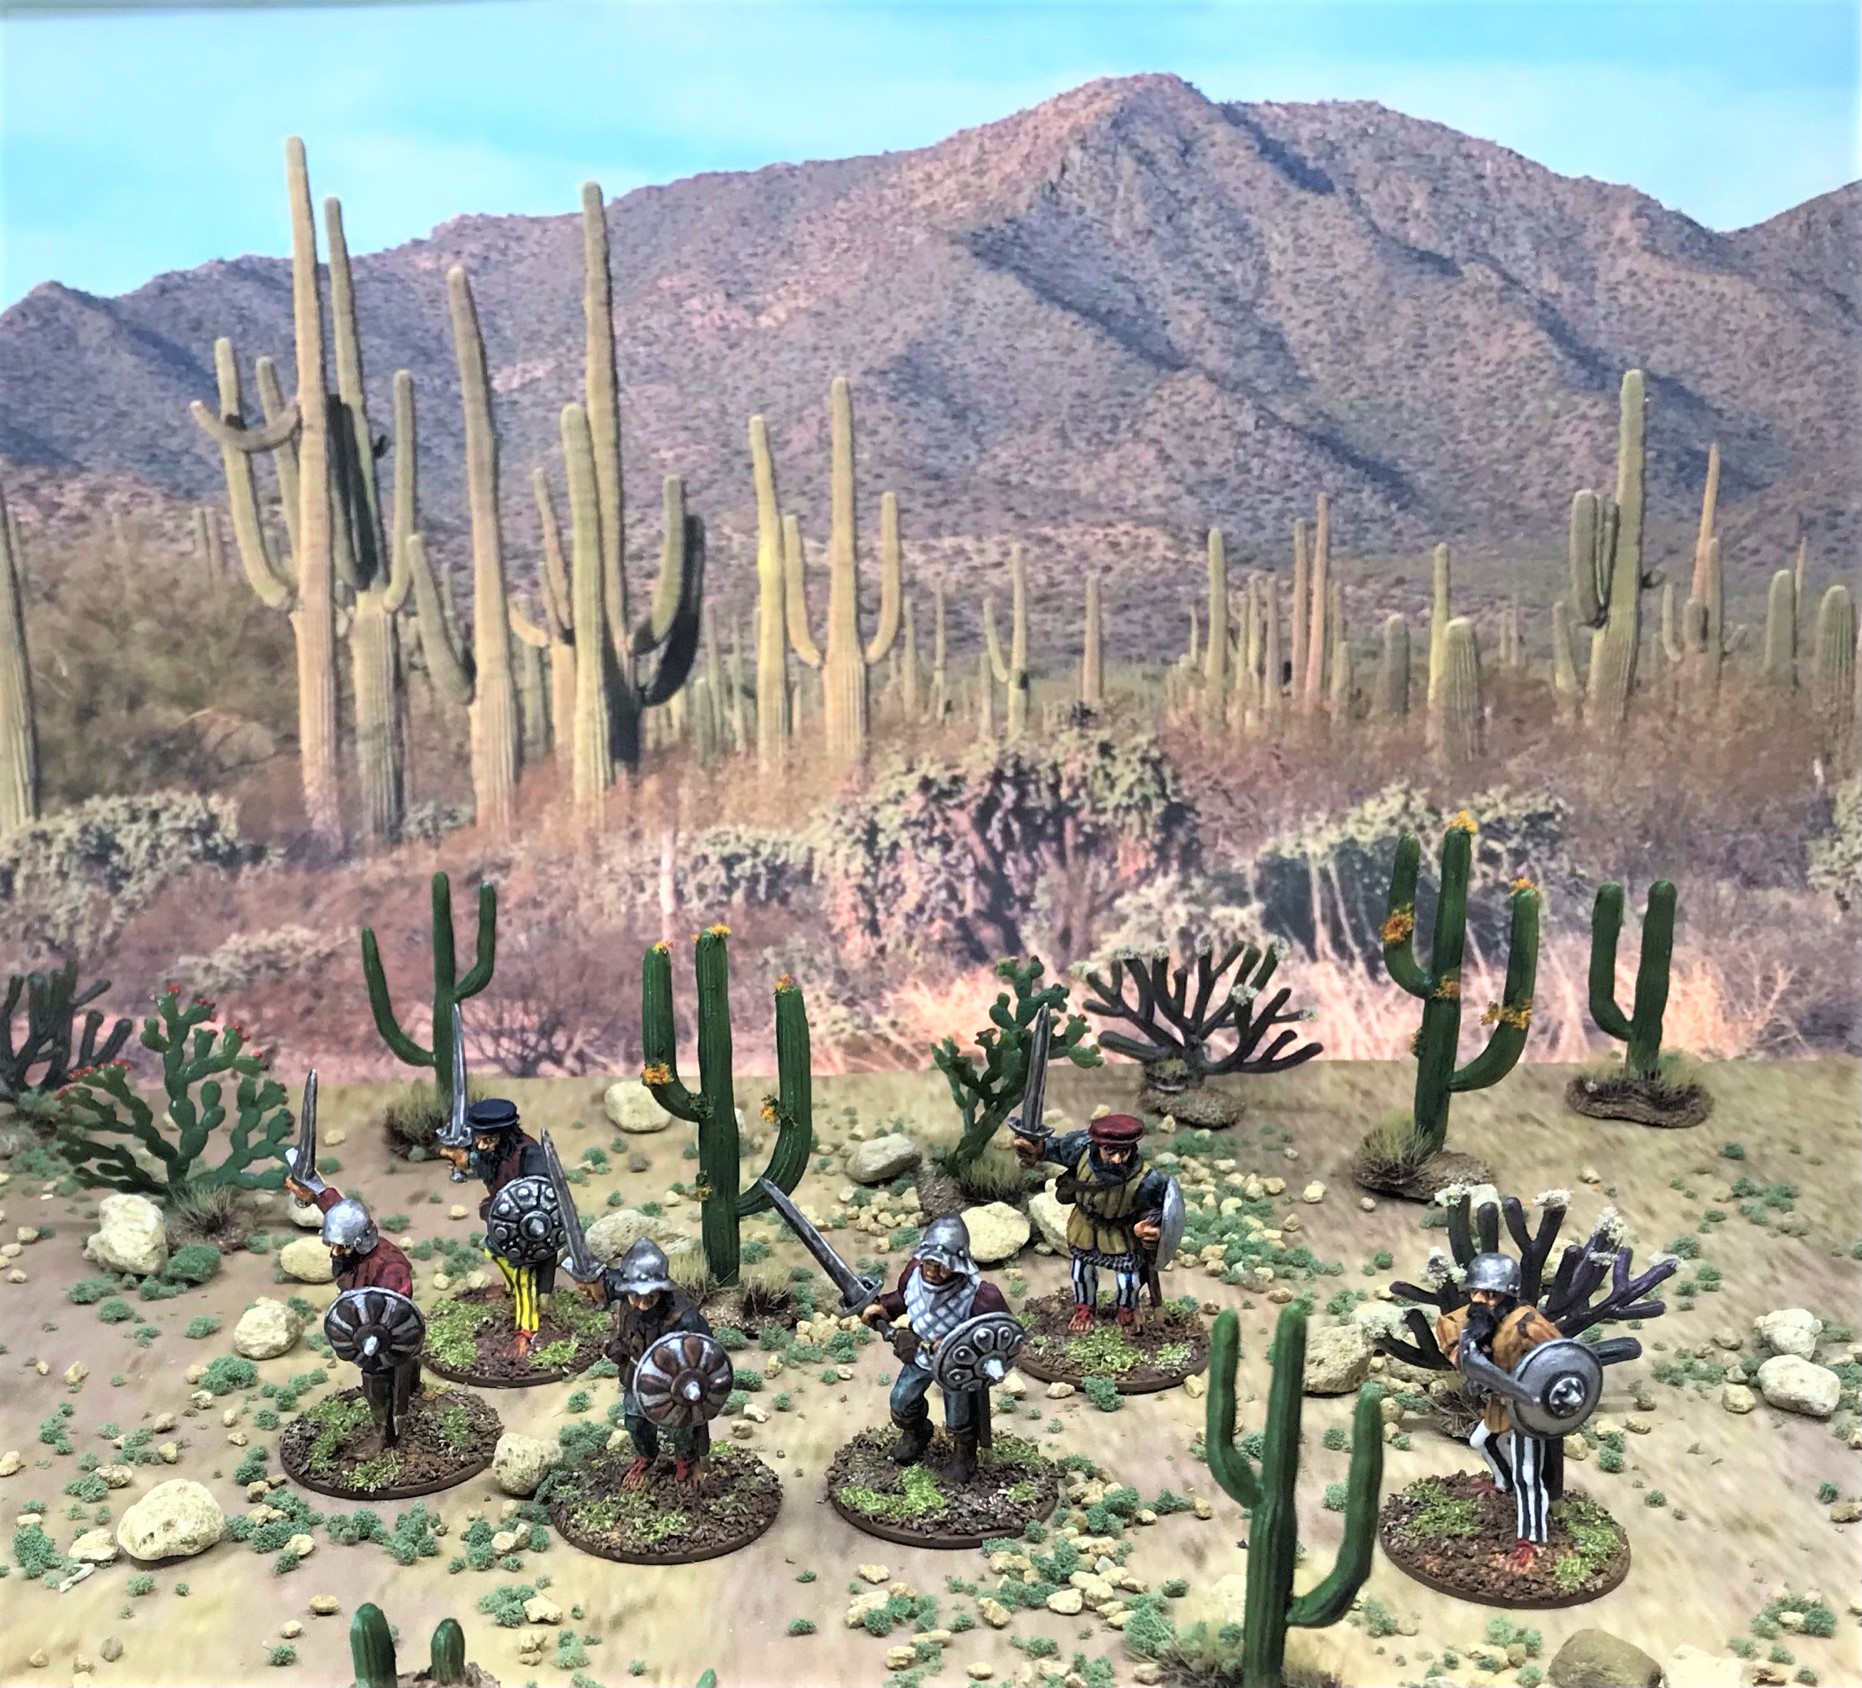
Now that’s not a short title – and this was a big project. But as I shared in my last post on Building Cortes’ Conquistador Fleet, I needed to kit out my Spanish brigantines with artillery and appropriate crews for my scenarios for my games of Feudal PatrolTM using my supplement for Civilizations Collide.
This post will cover that effort, as well as a brief review of the Army Painter “Speed Paints” that I used on the five crews. I also will share some additional photos of the firing/smoke markers and the storage/transport solution I arrived at for the fleet. The five are again El Dólar (The Buck), El Gregorio (The Greg), El Perro de Guerra (The War Dog), El Conquistador, and El Marcos (The Mark).
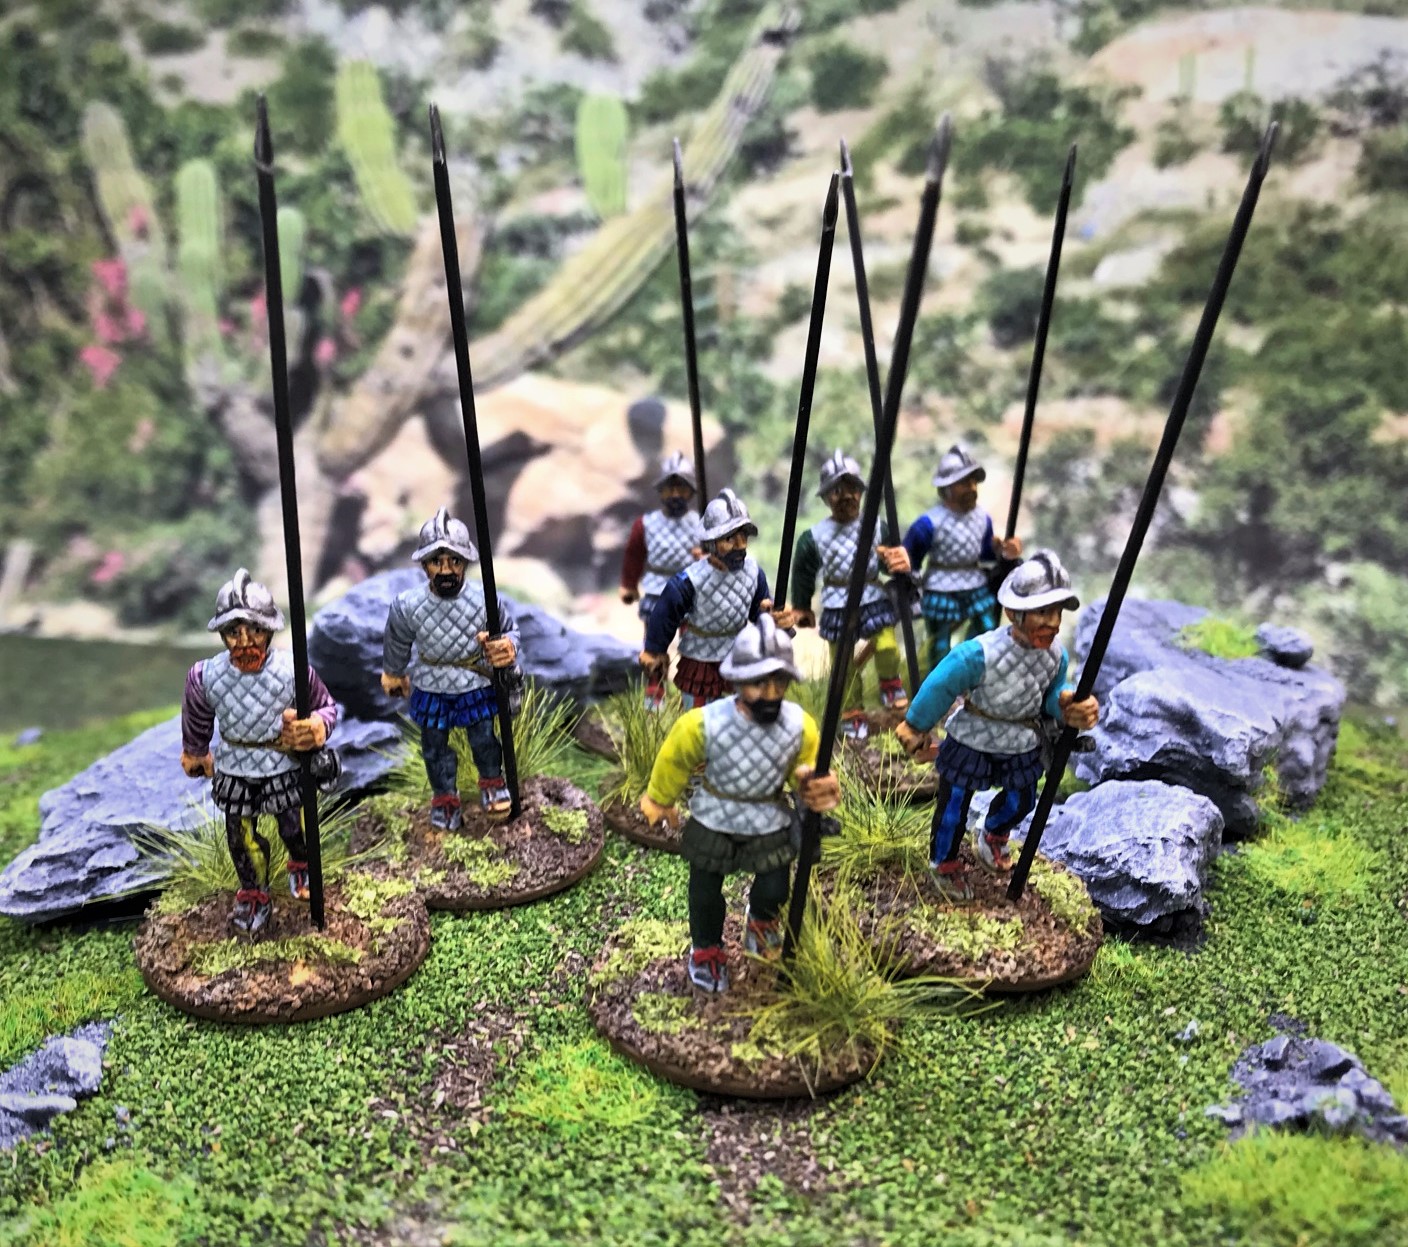
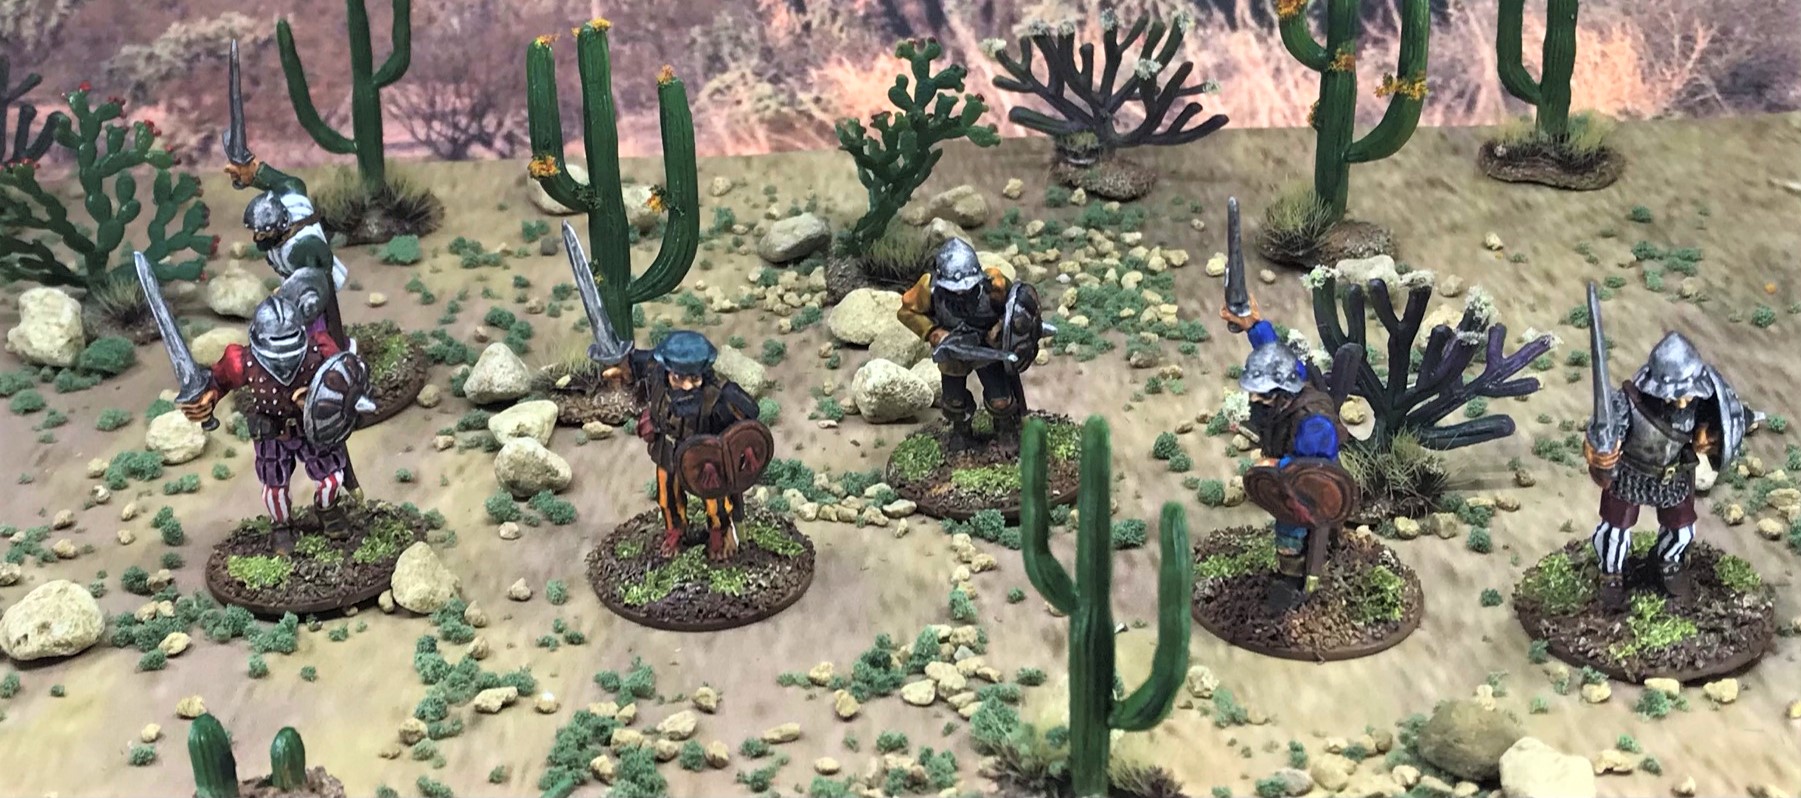
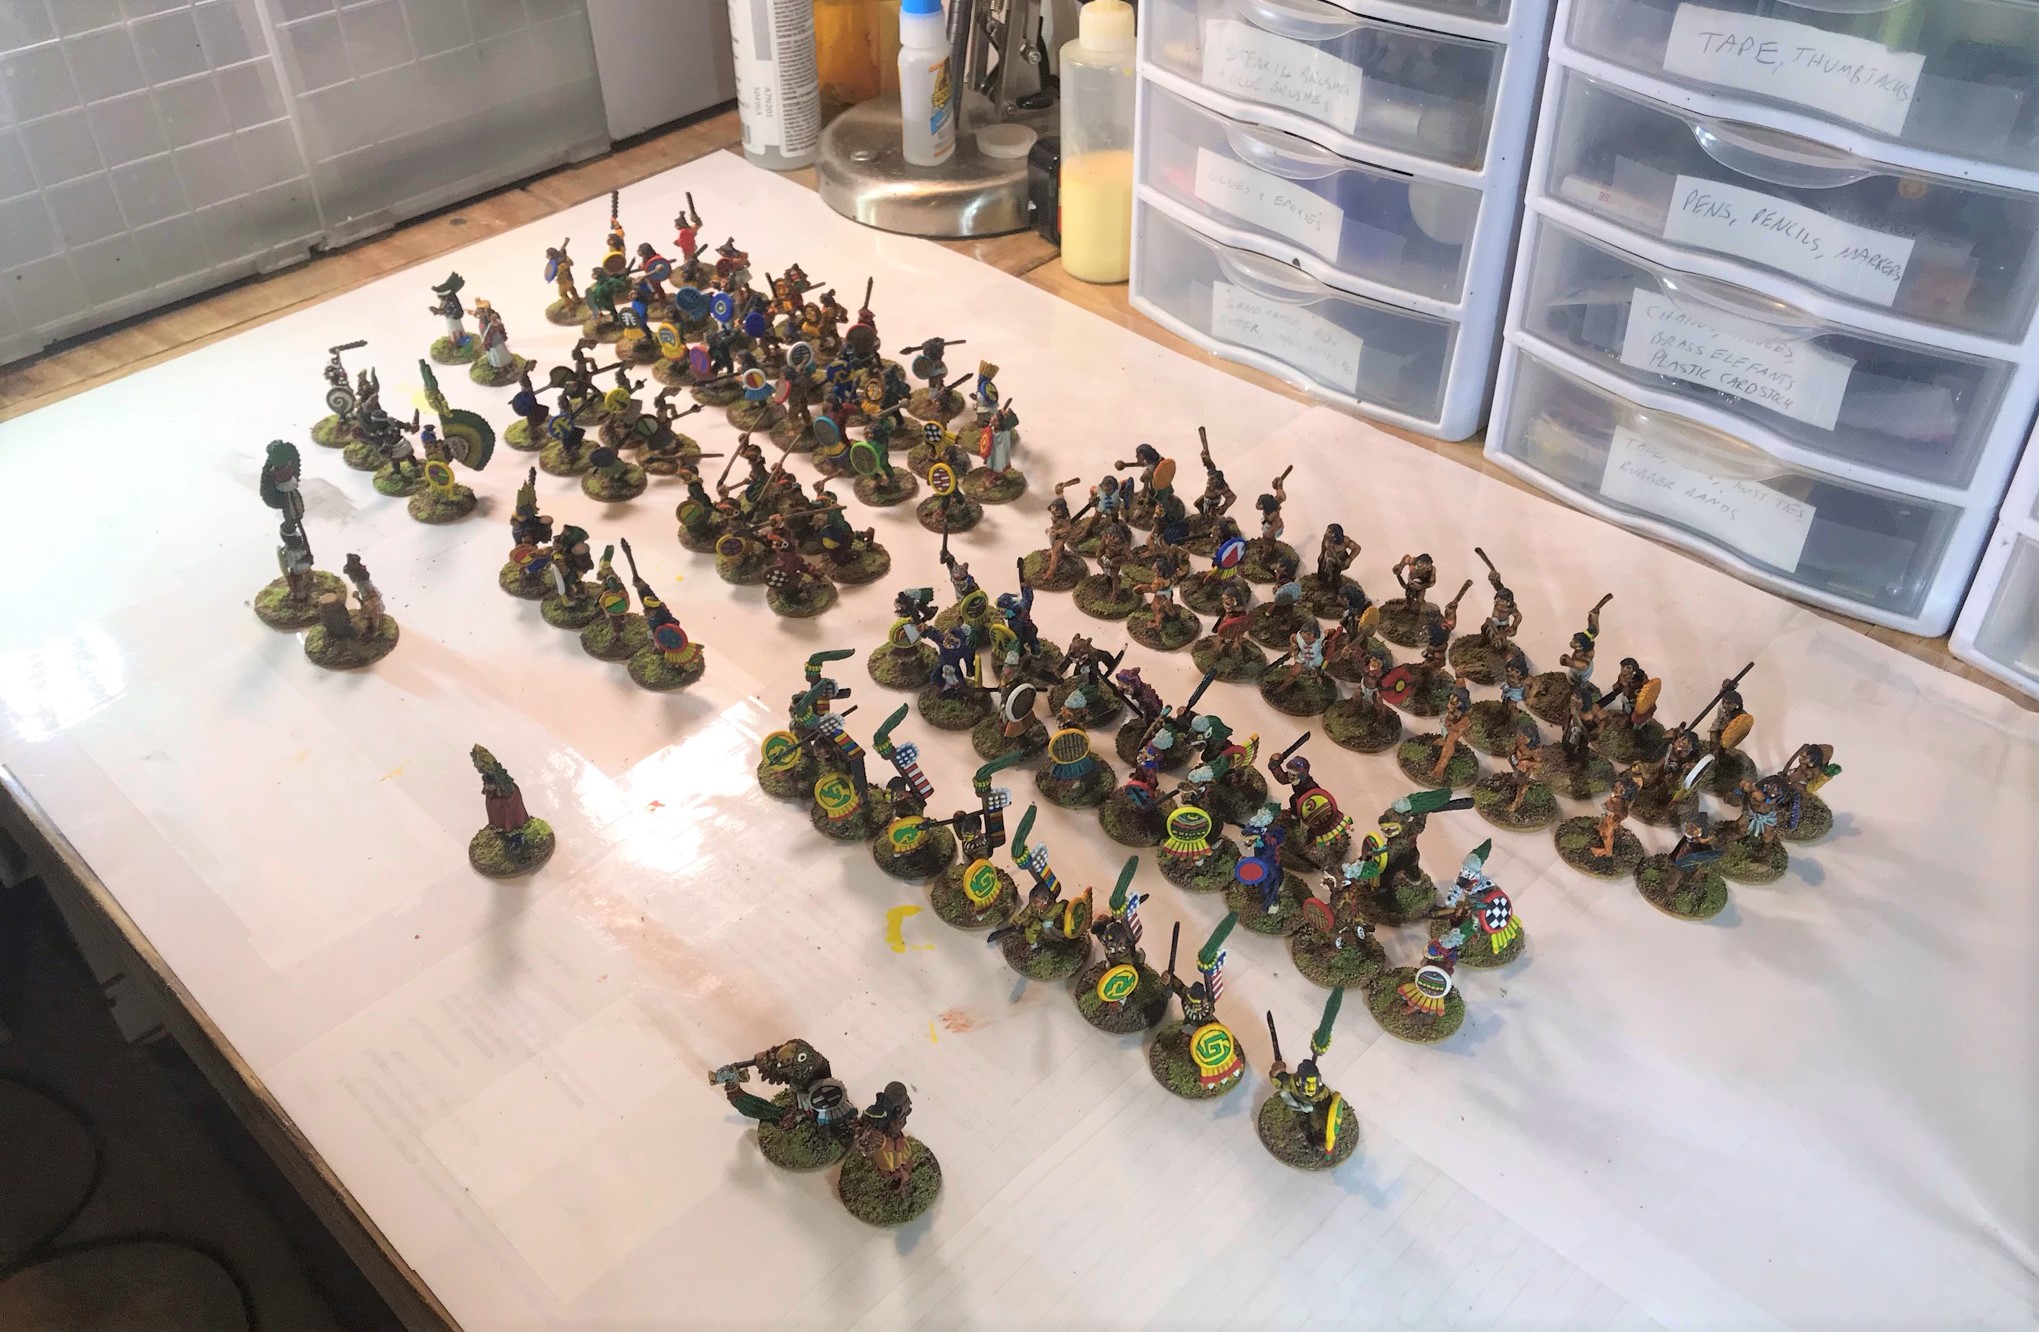
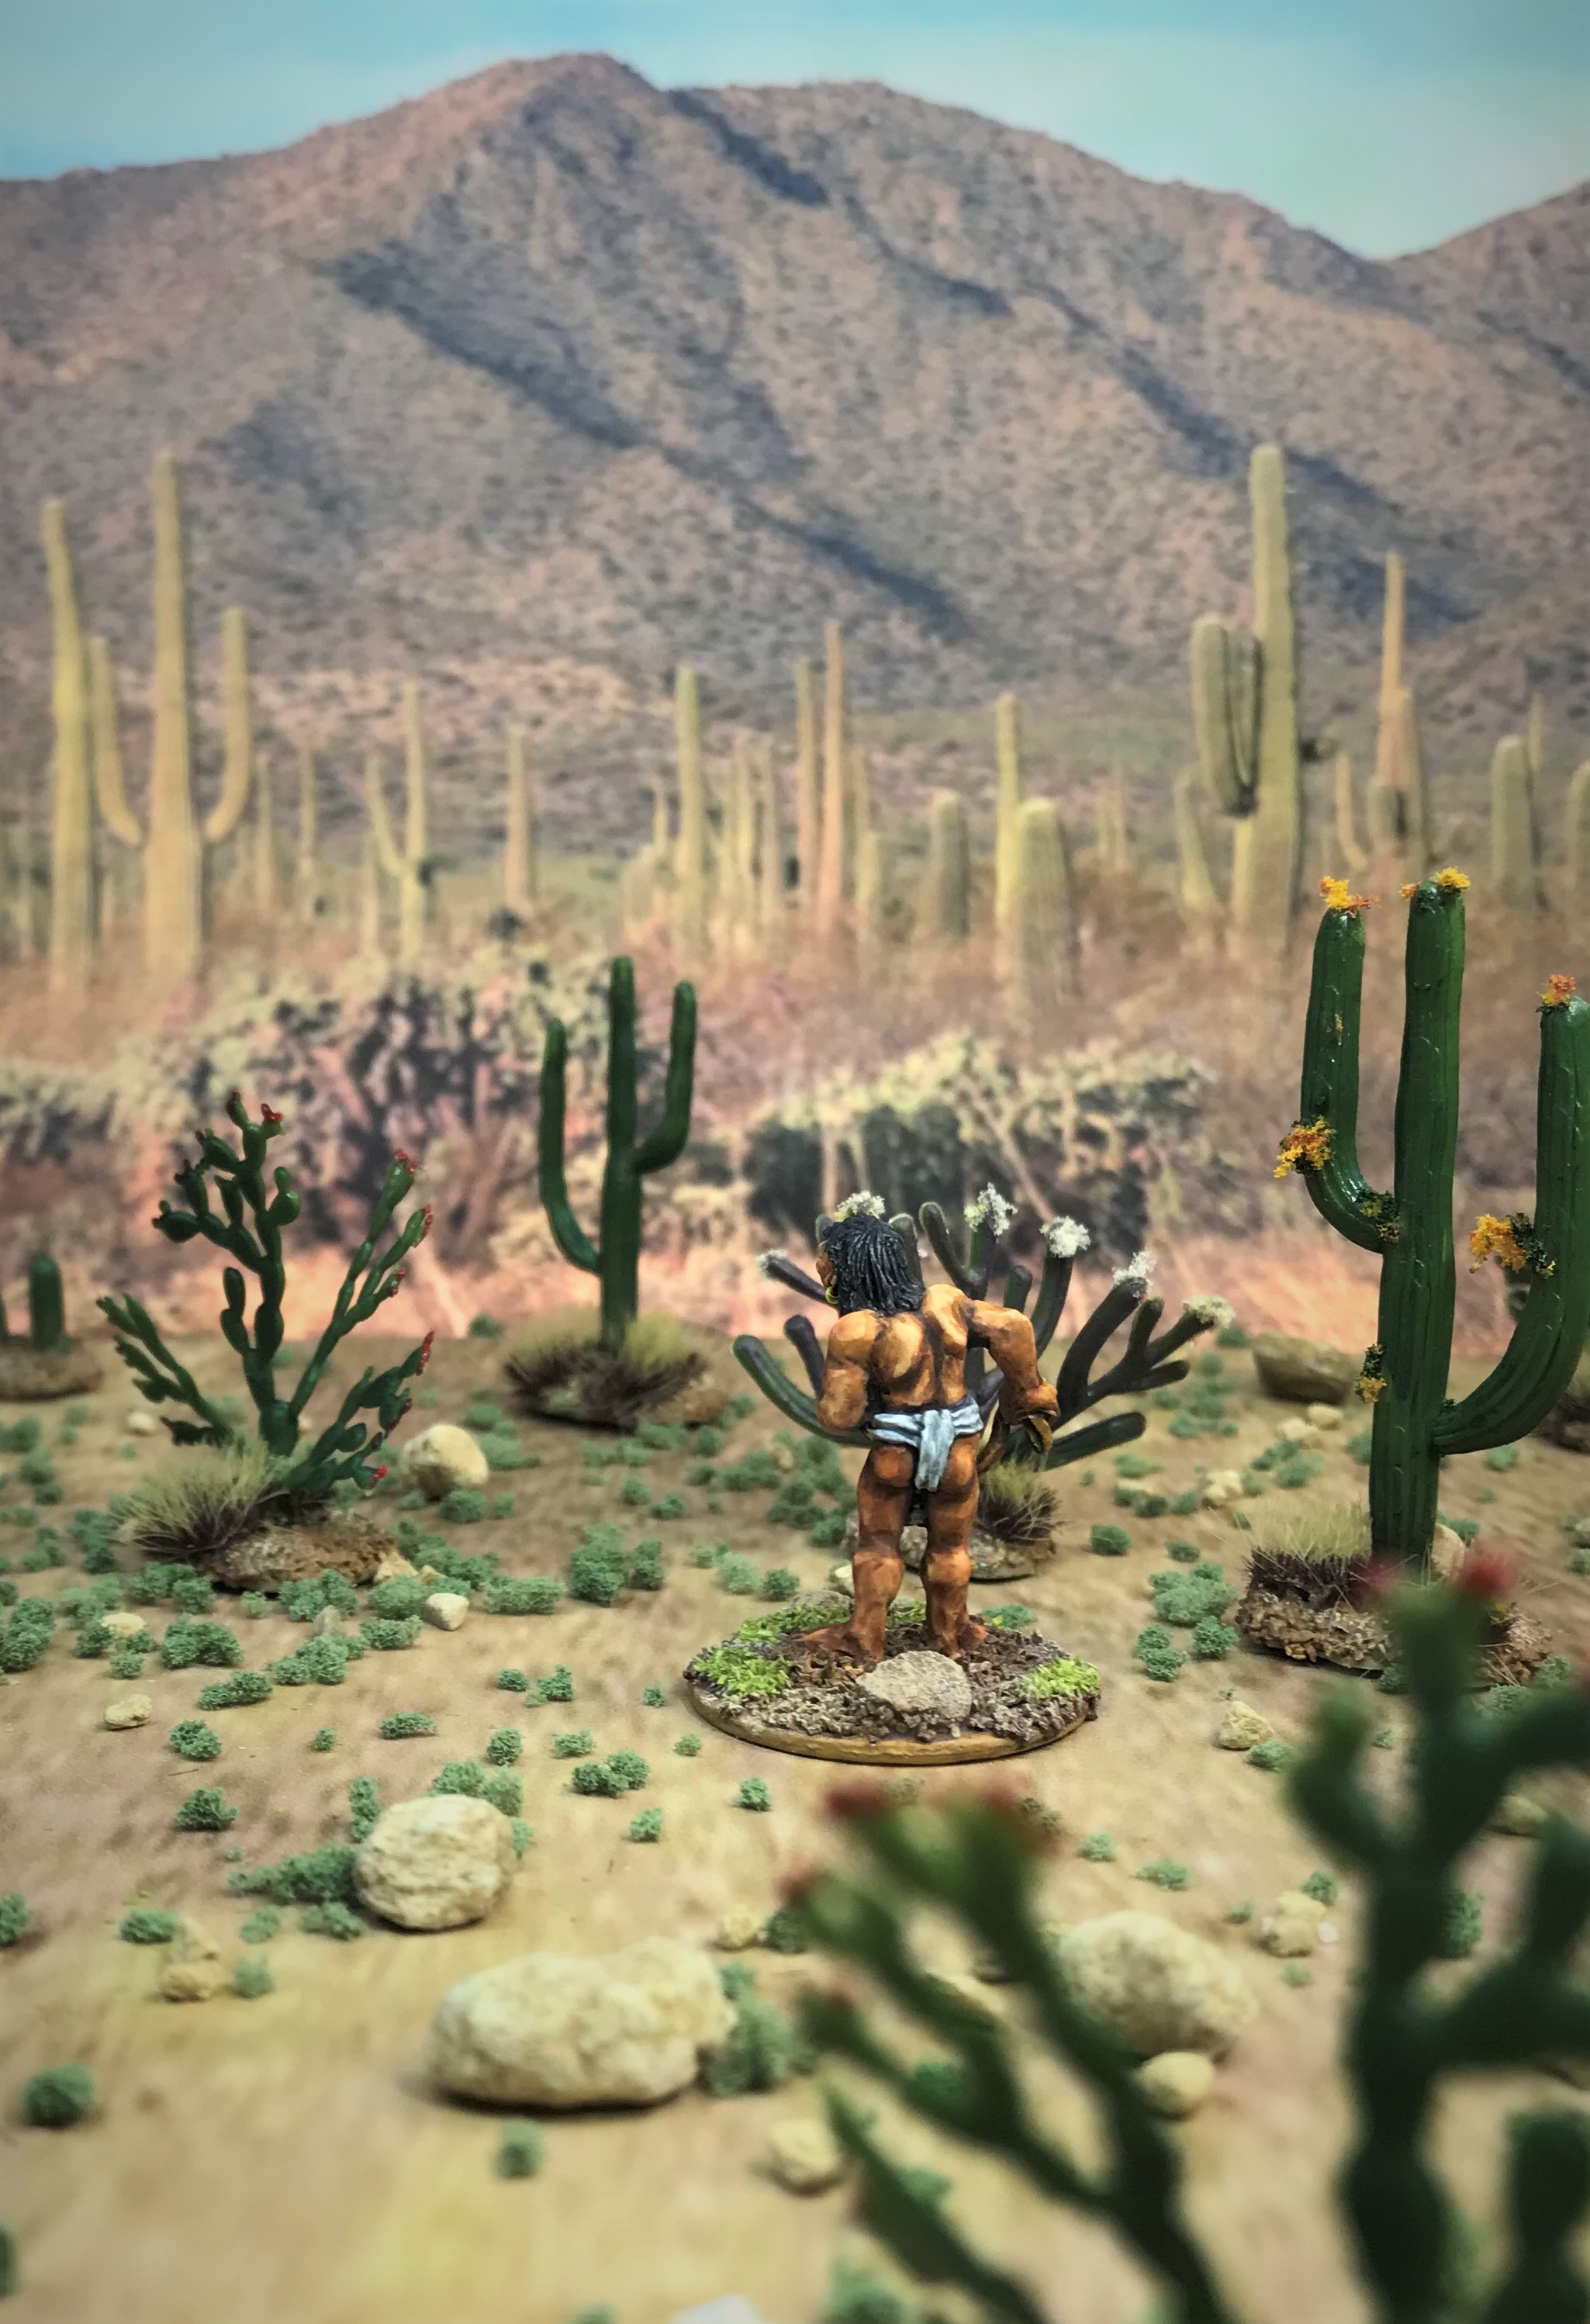
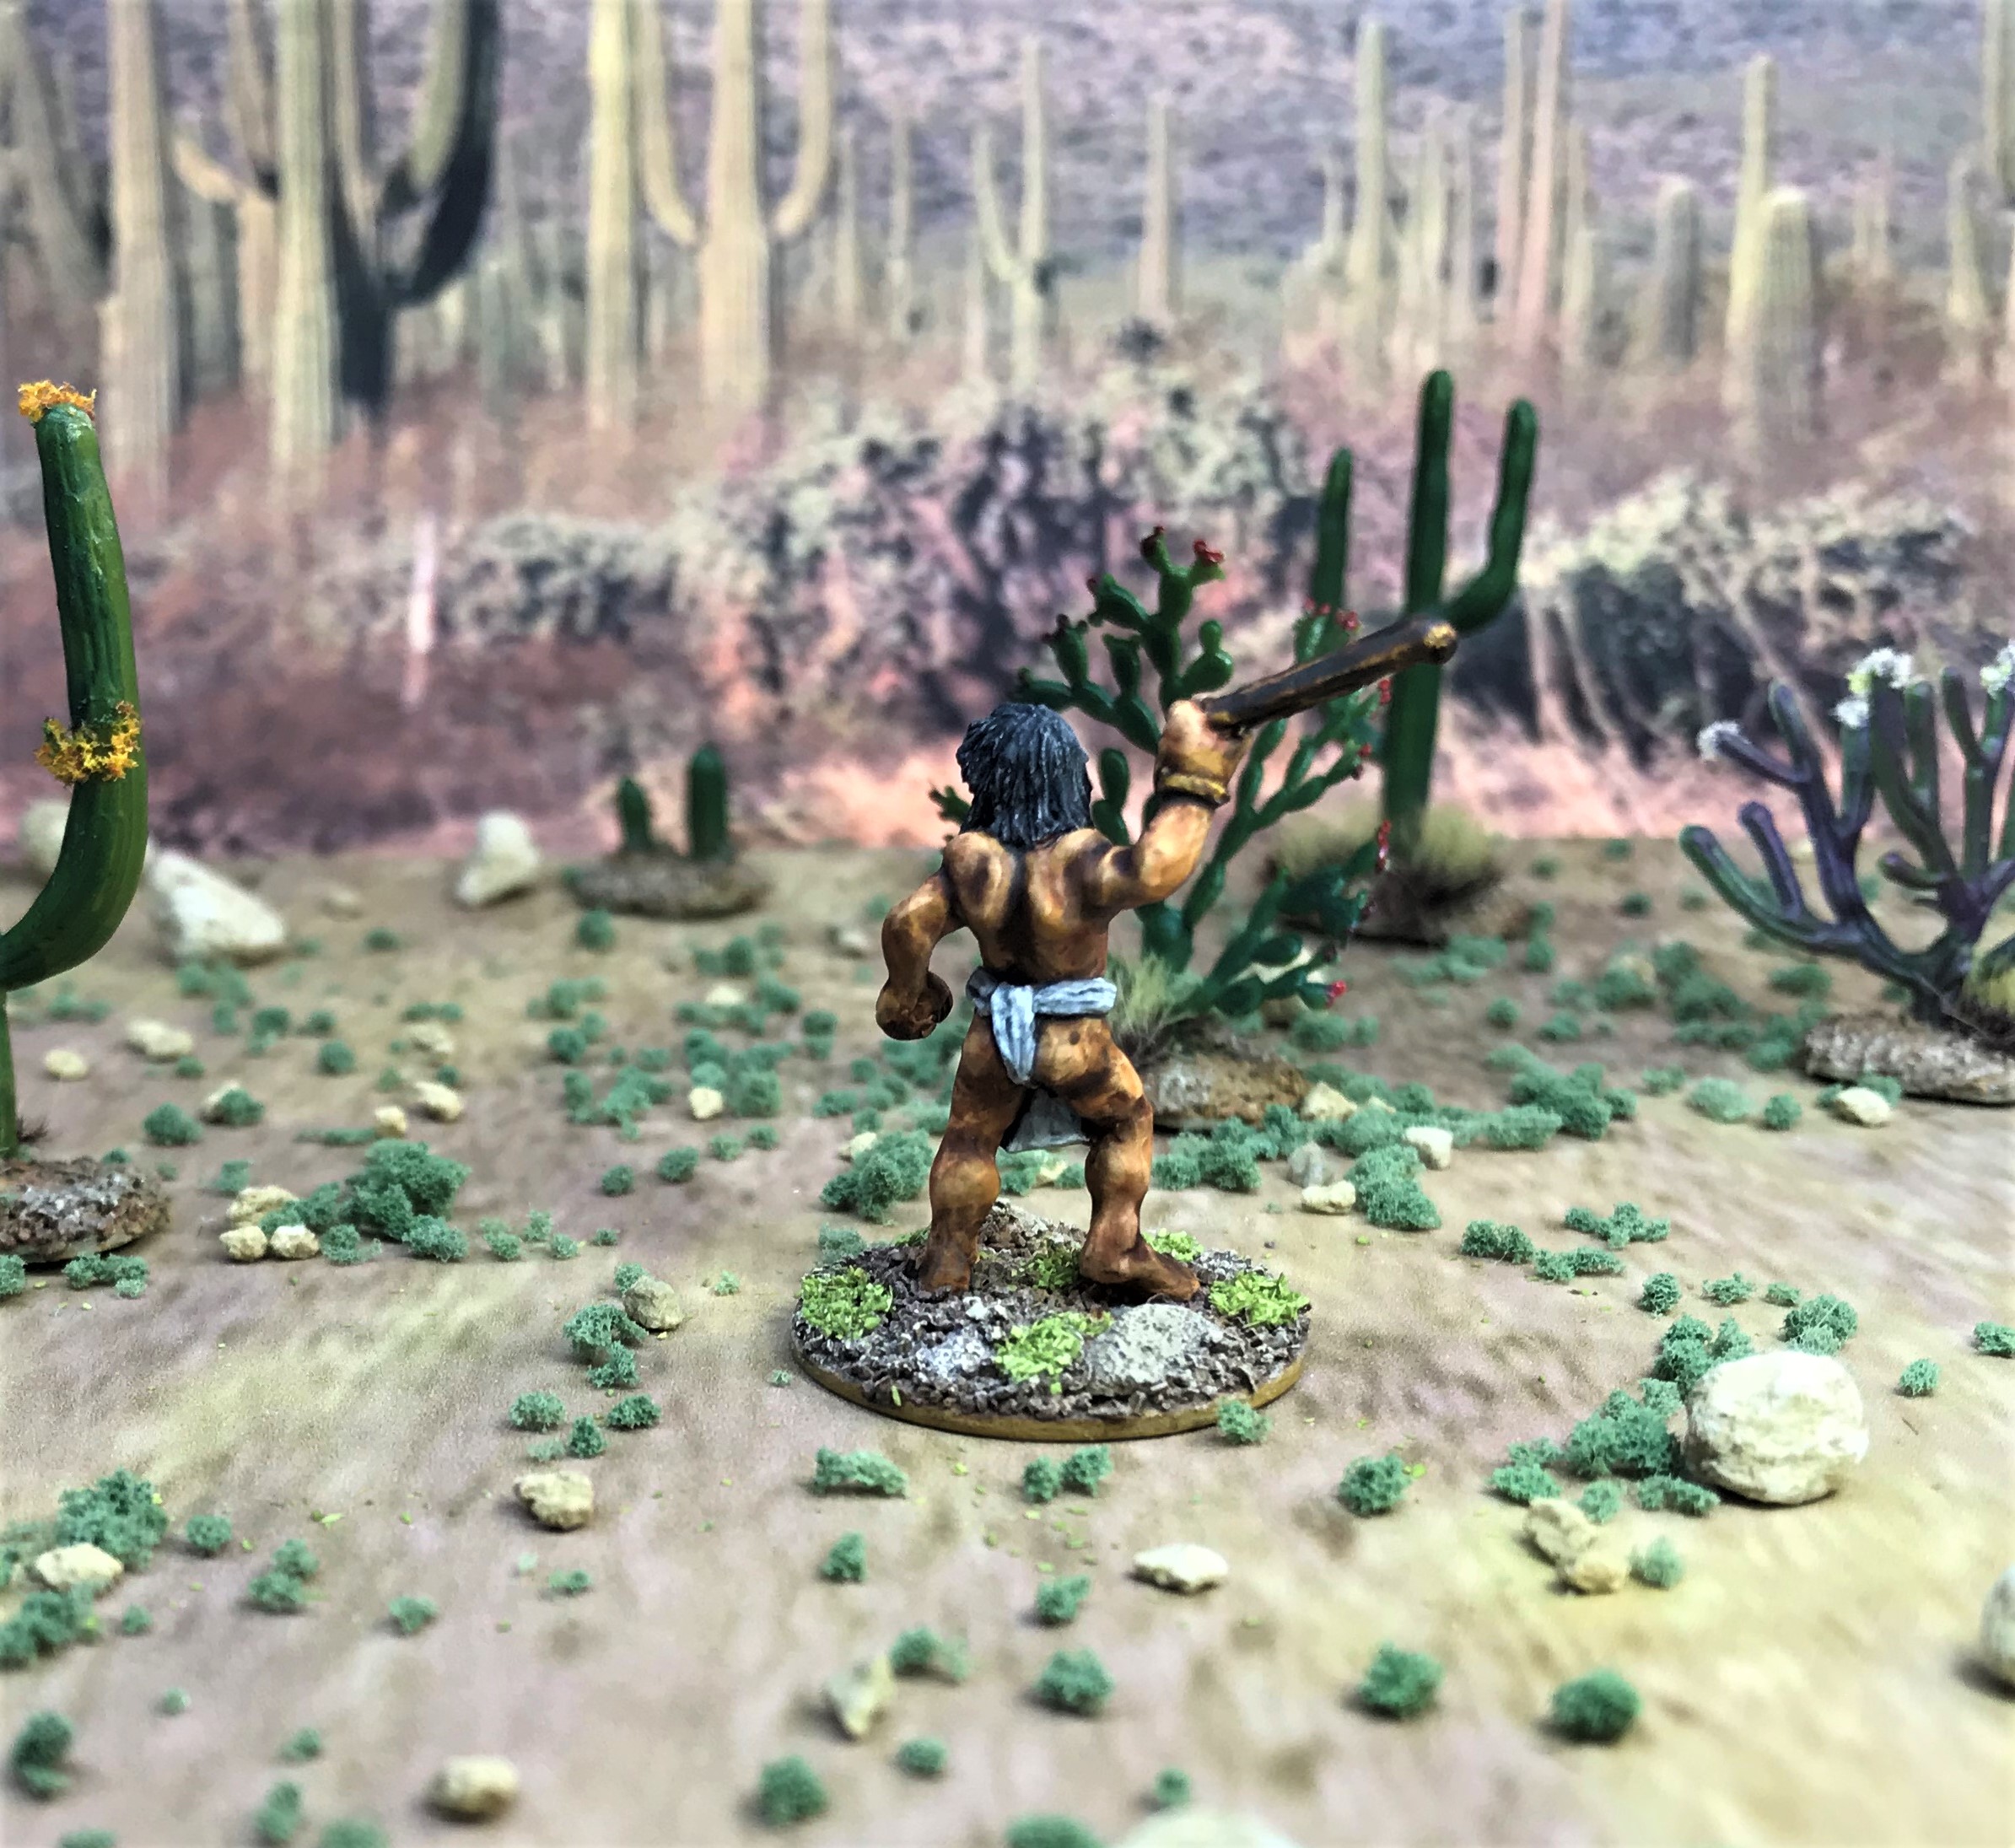
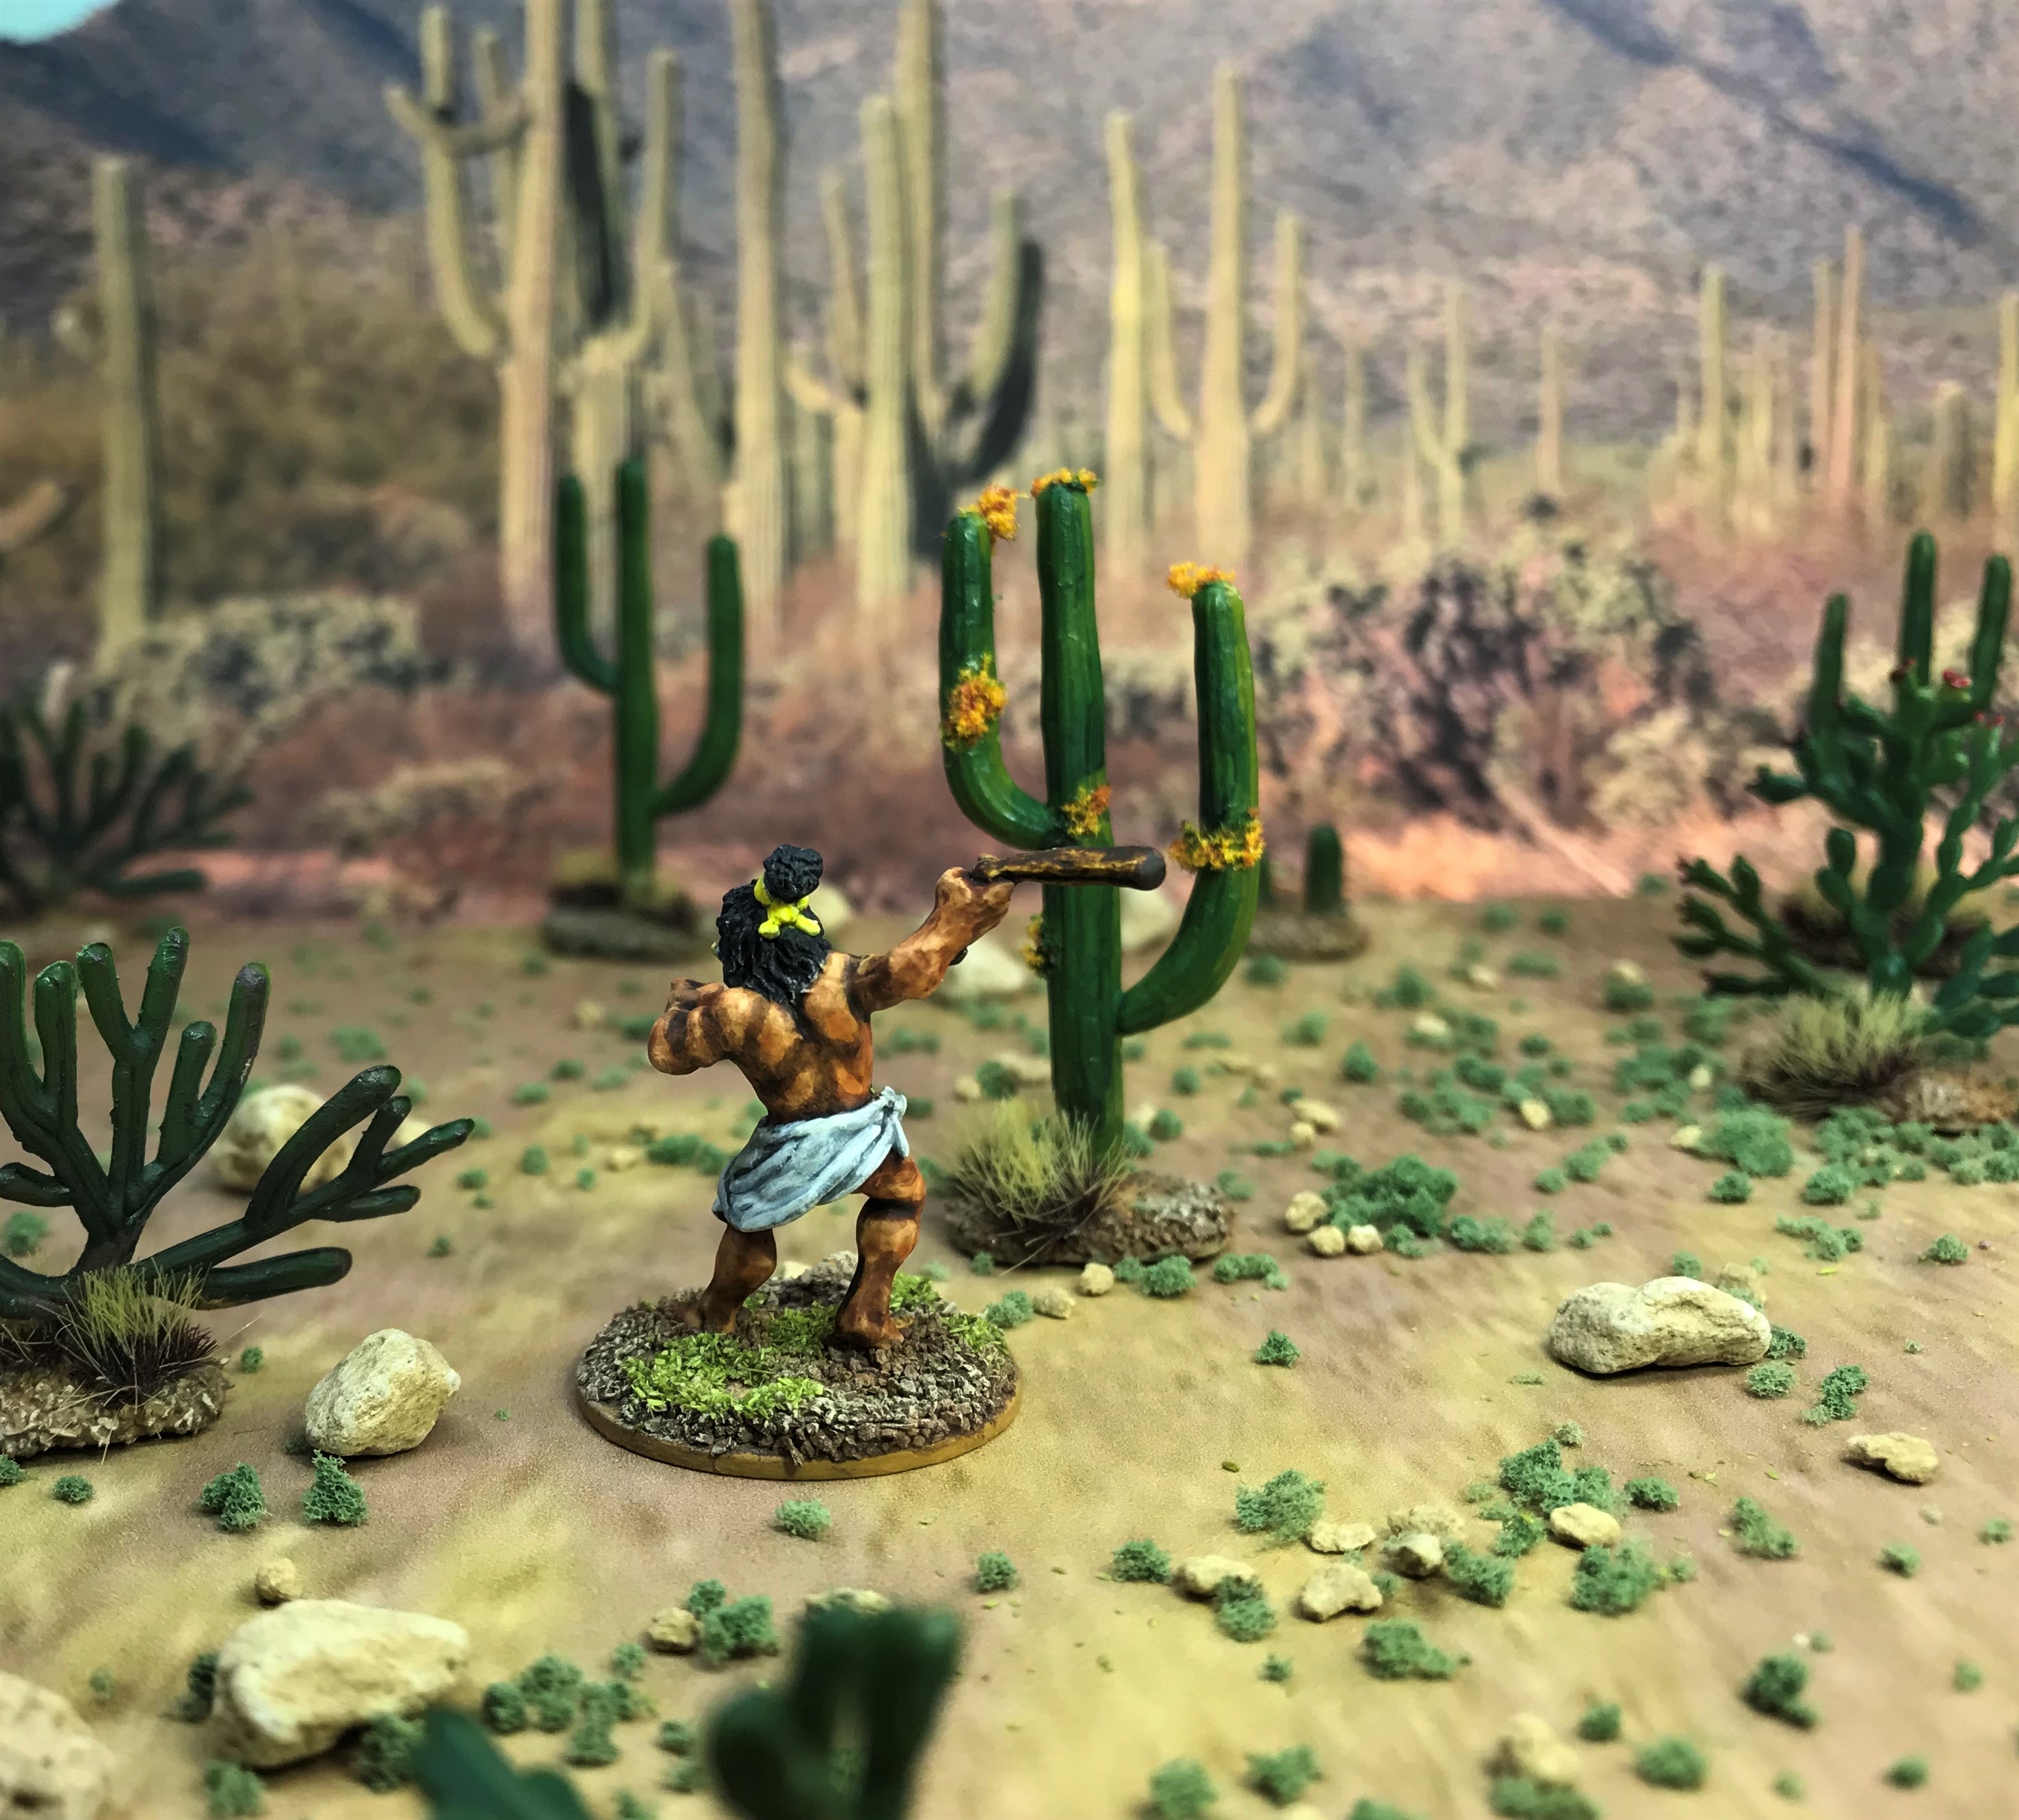
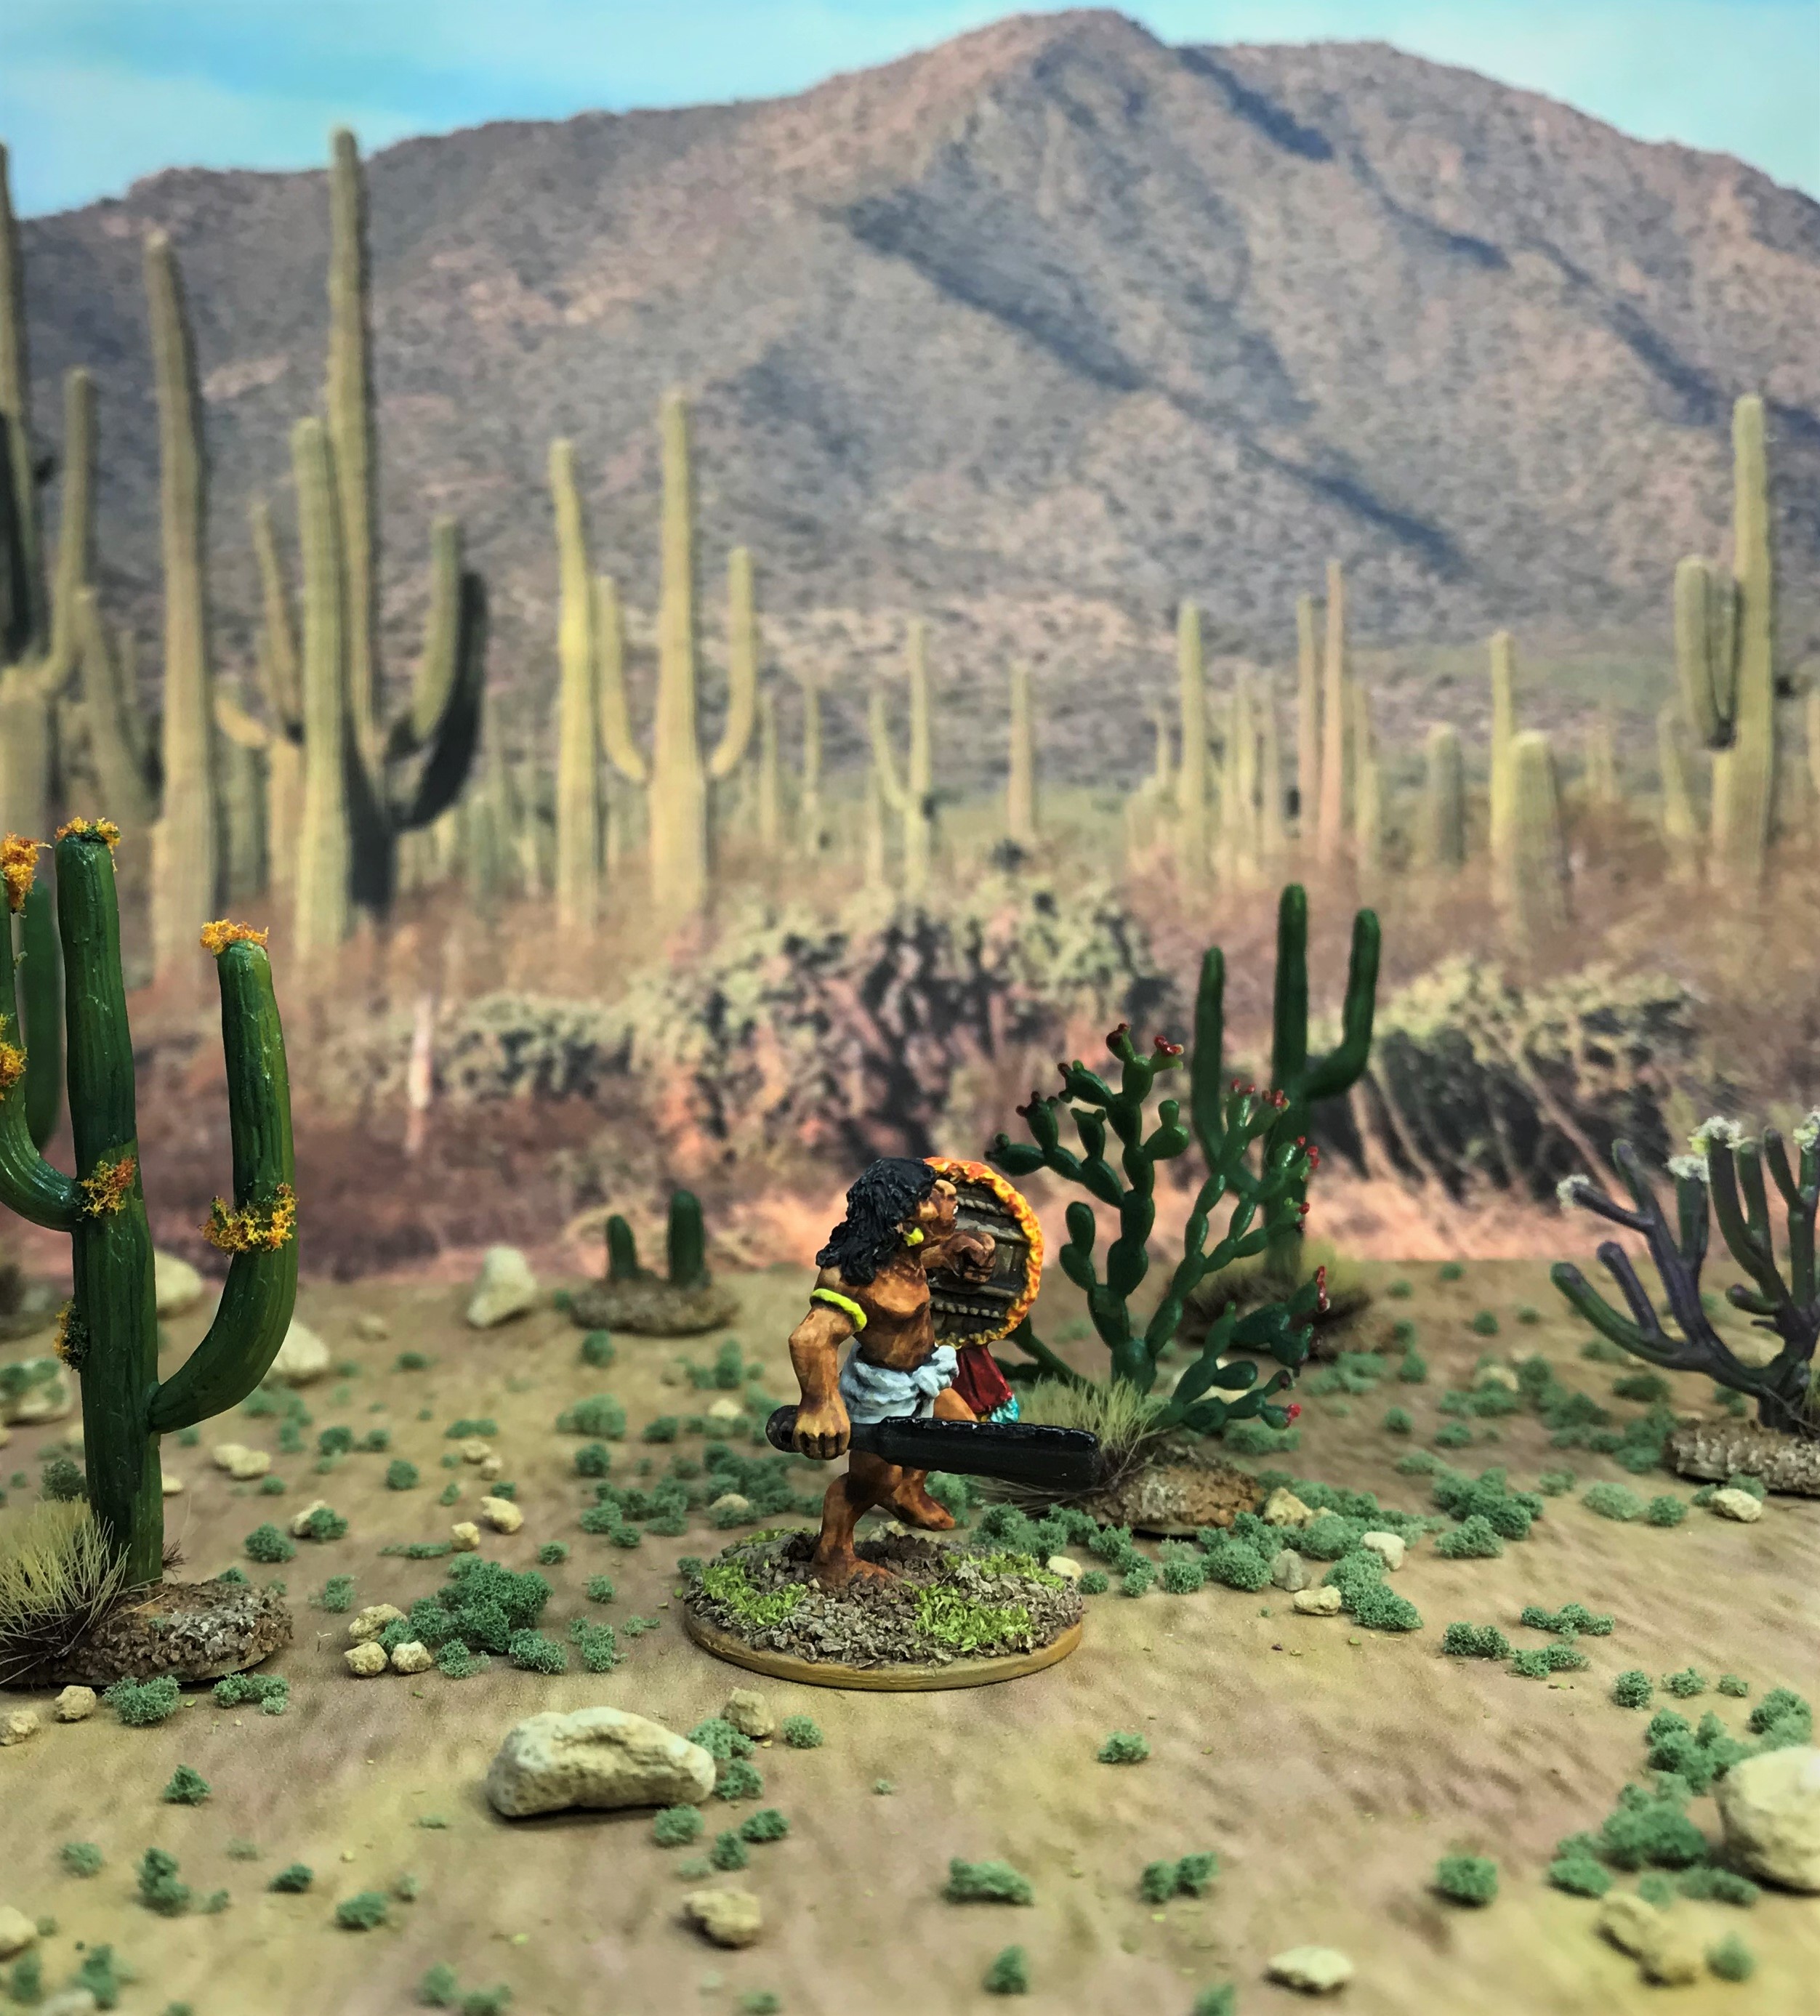
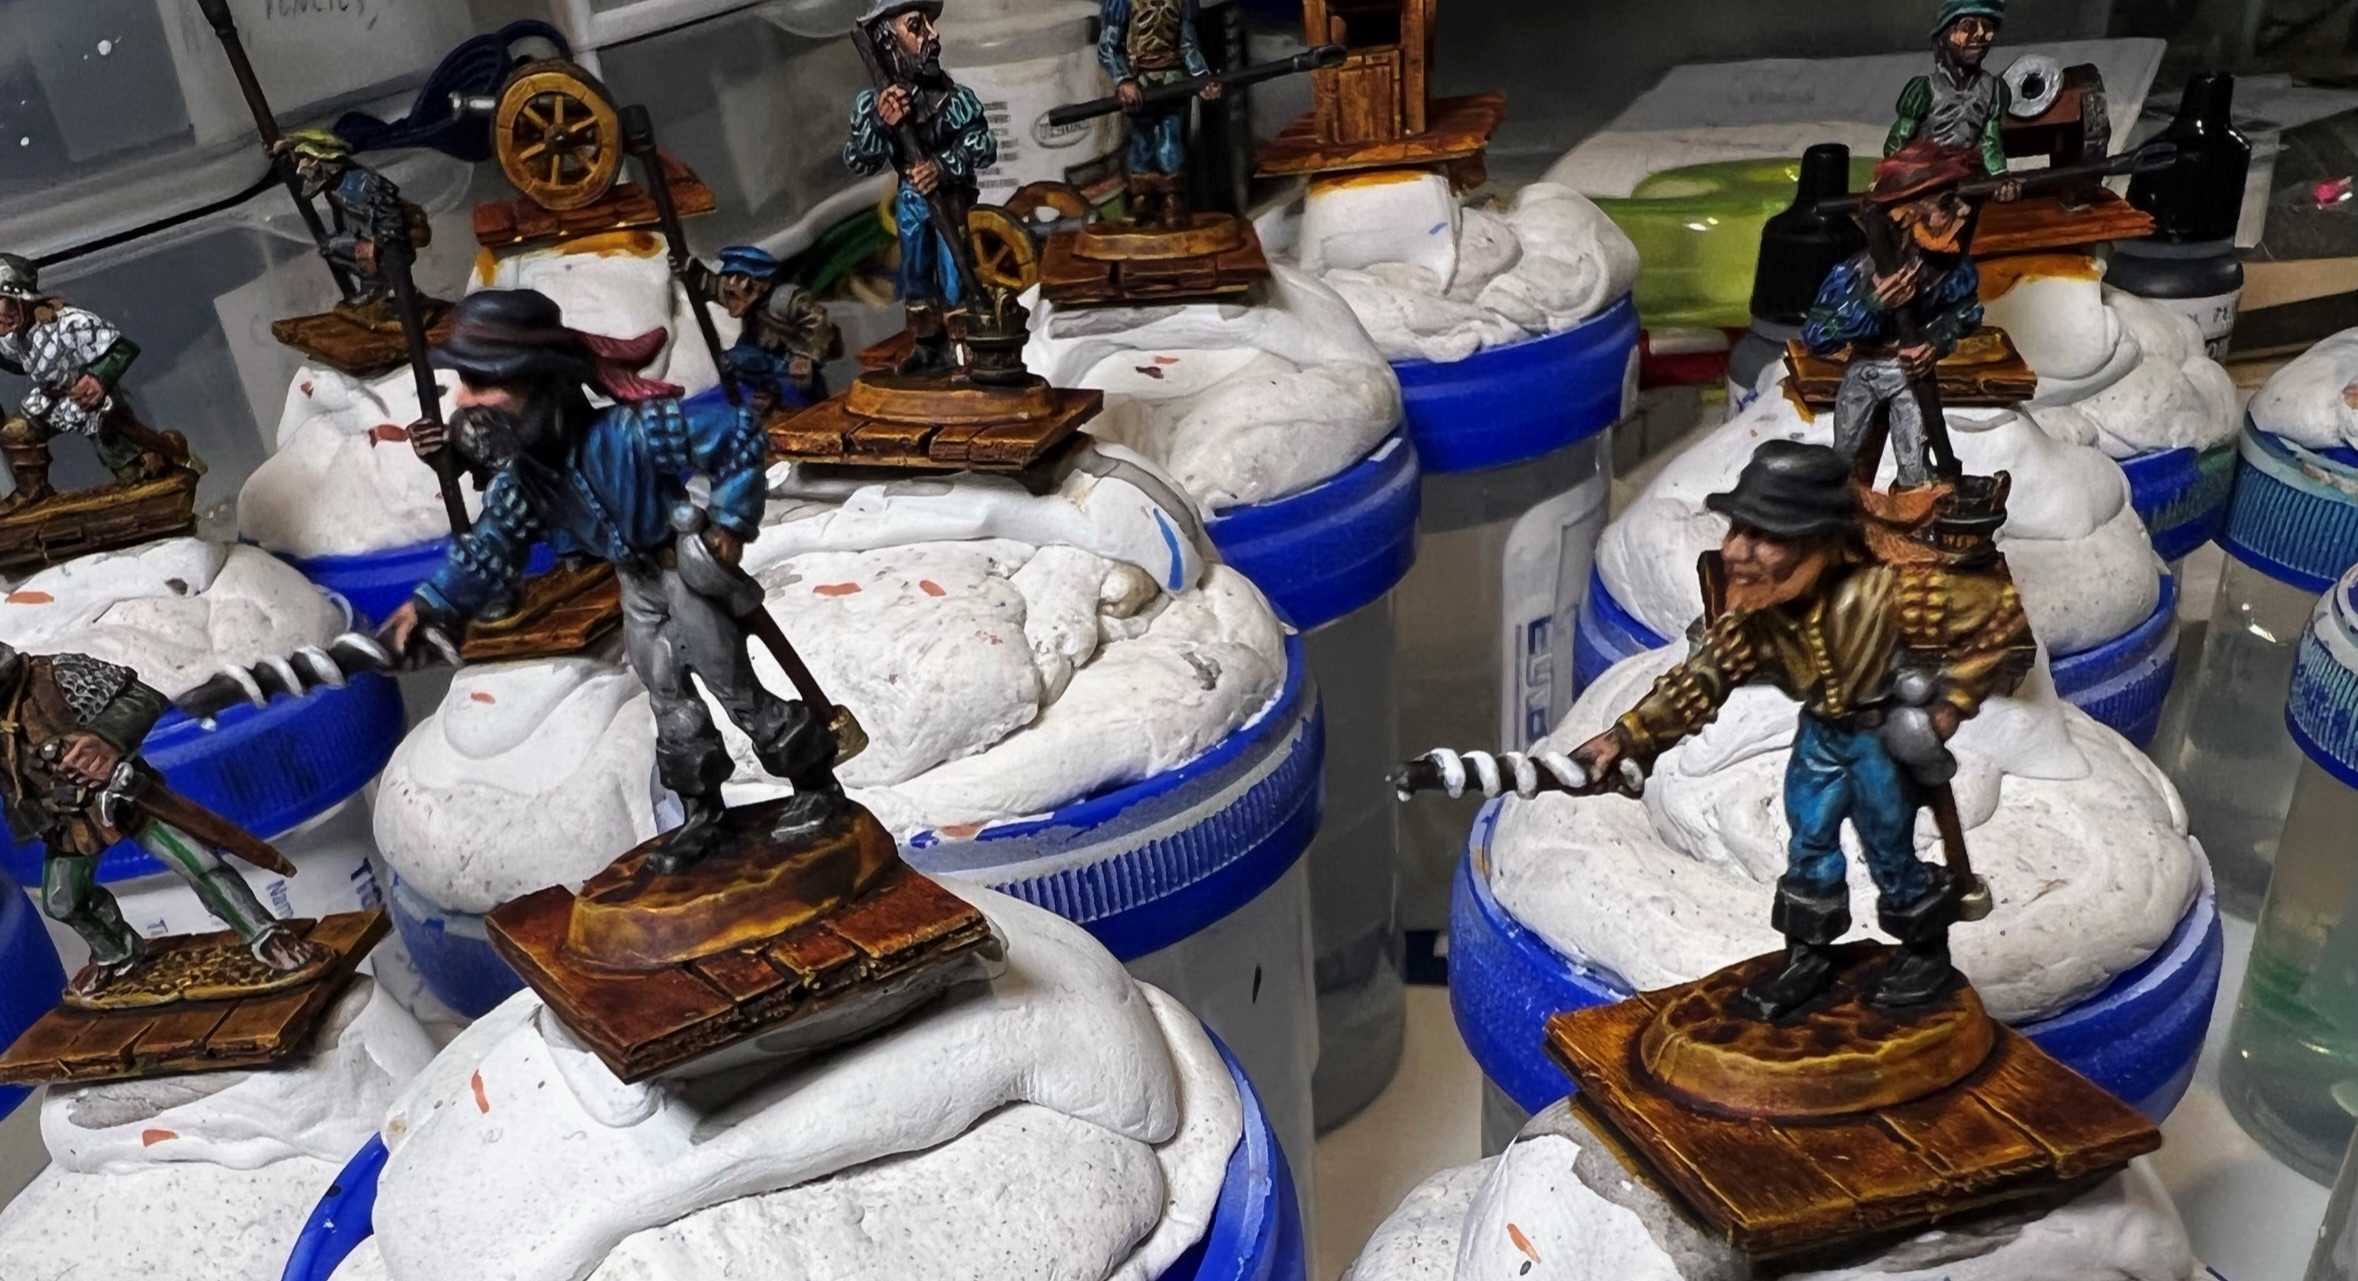
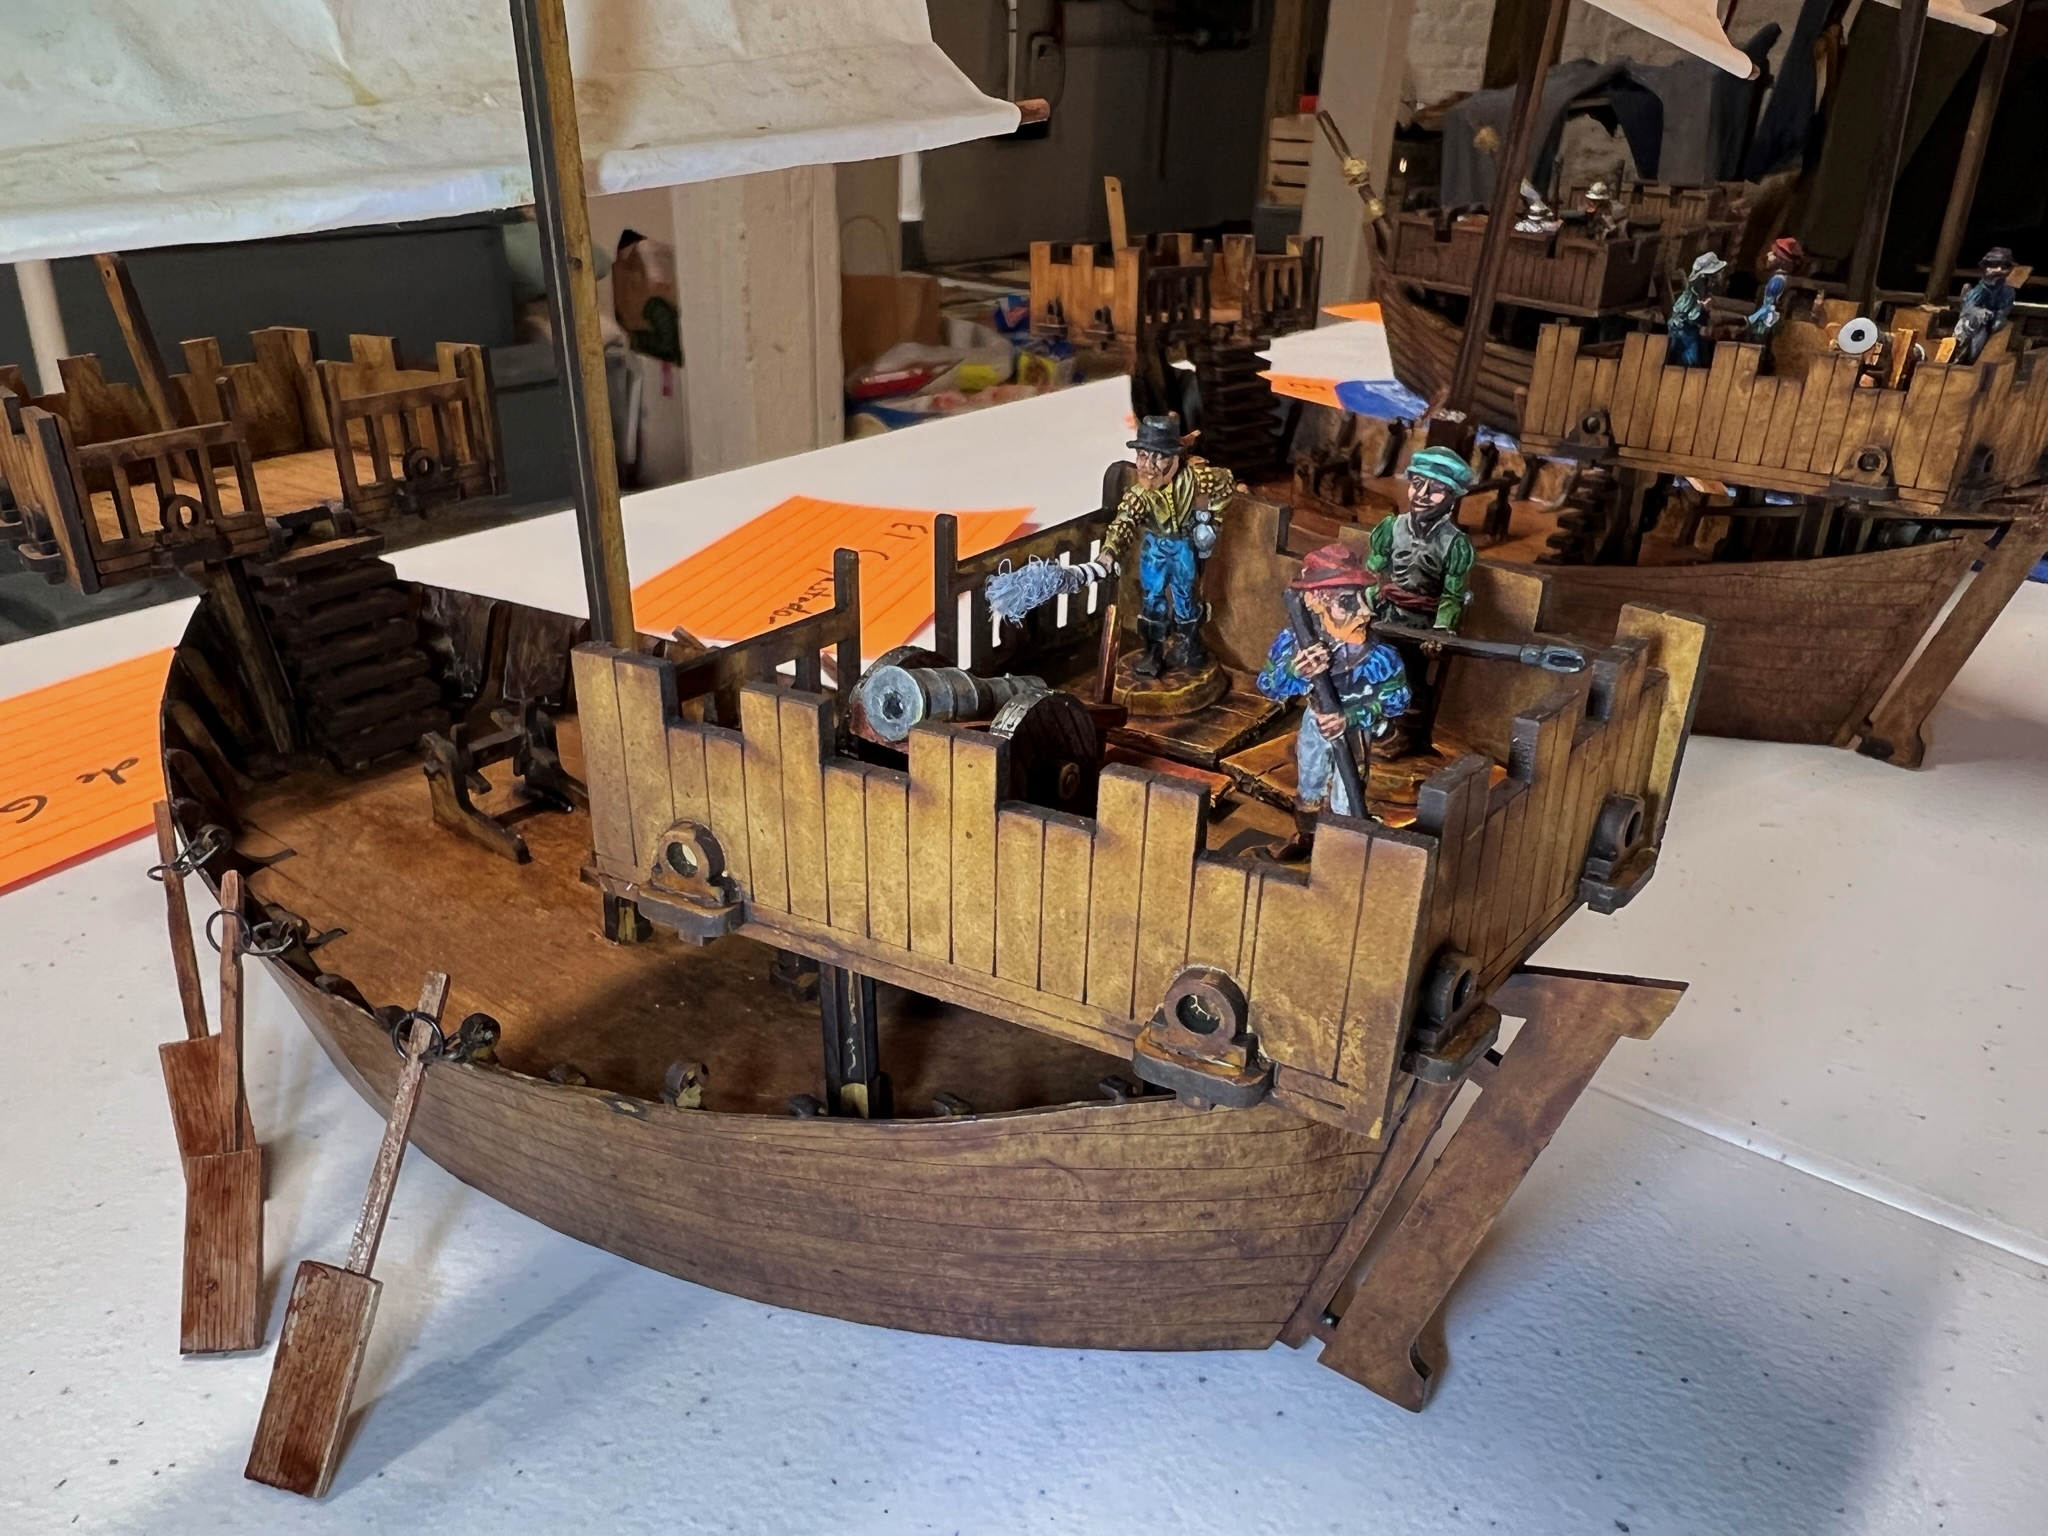
After looking at each ship, I decided that each crew would be a warband unto itself and be generally composed of three elements plus their Warband Leader:
- 1 Warband Leader
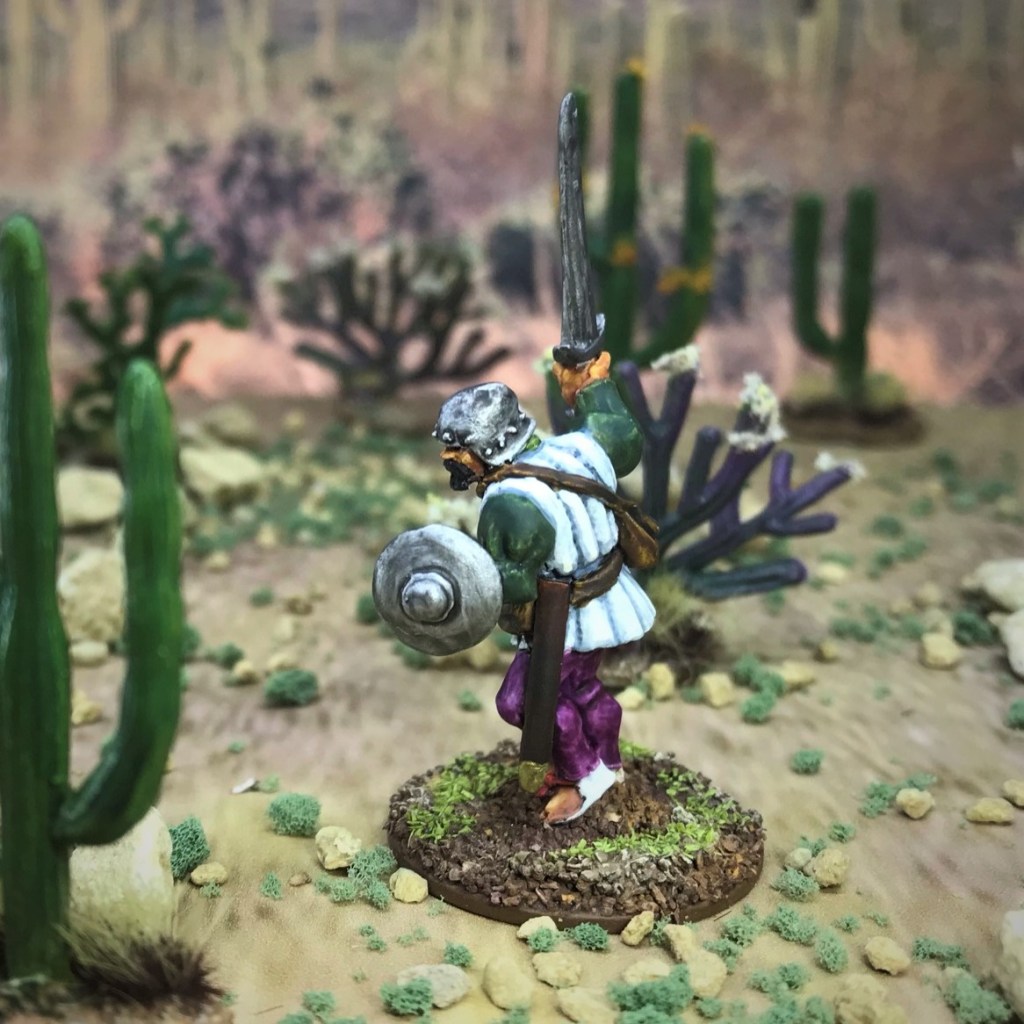
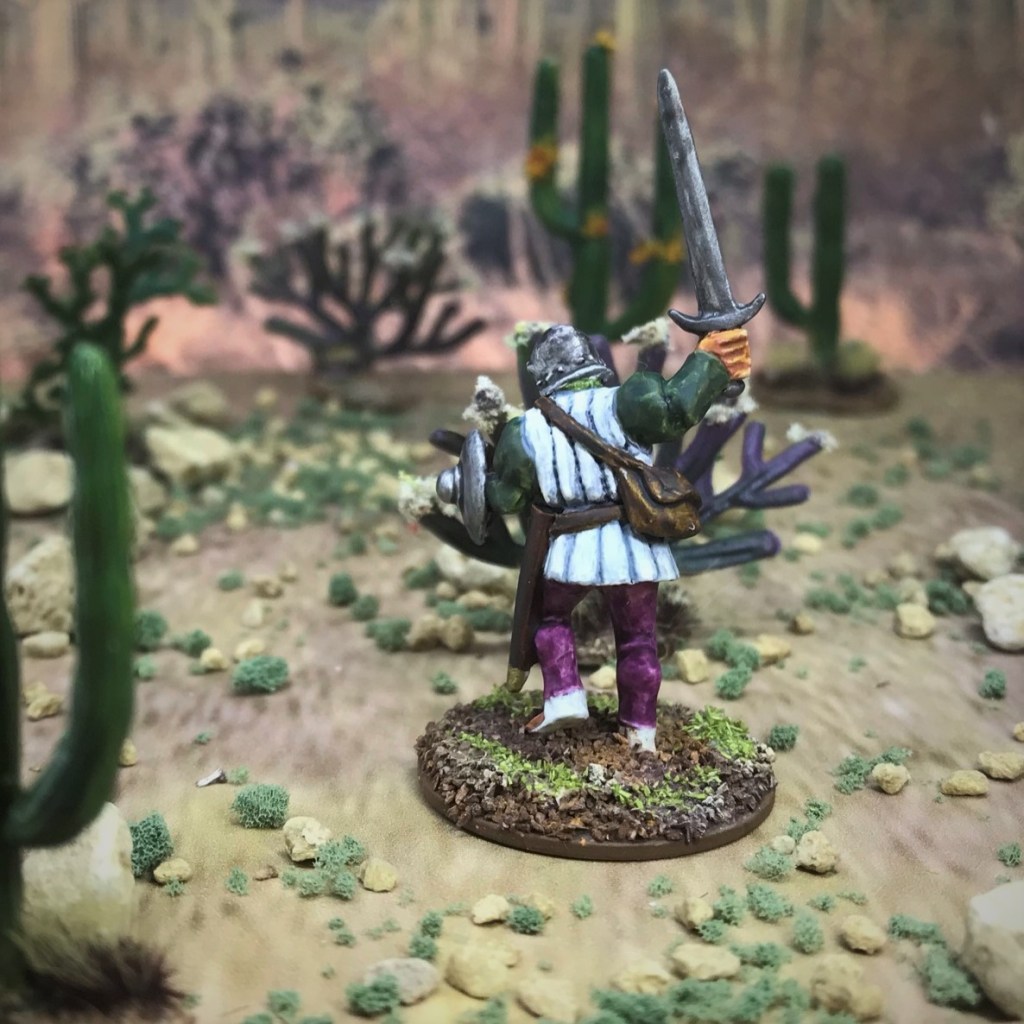
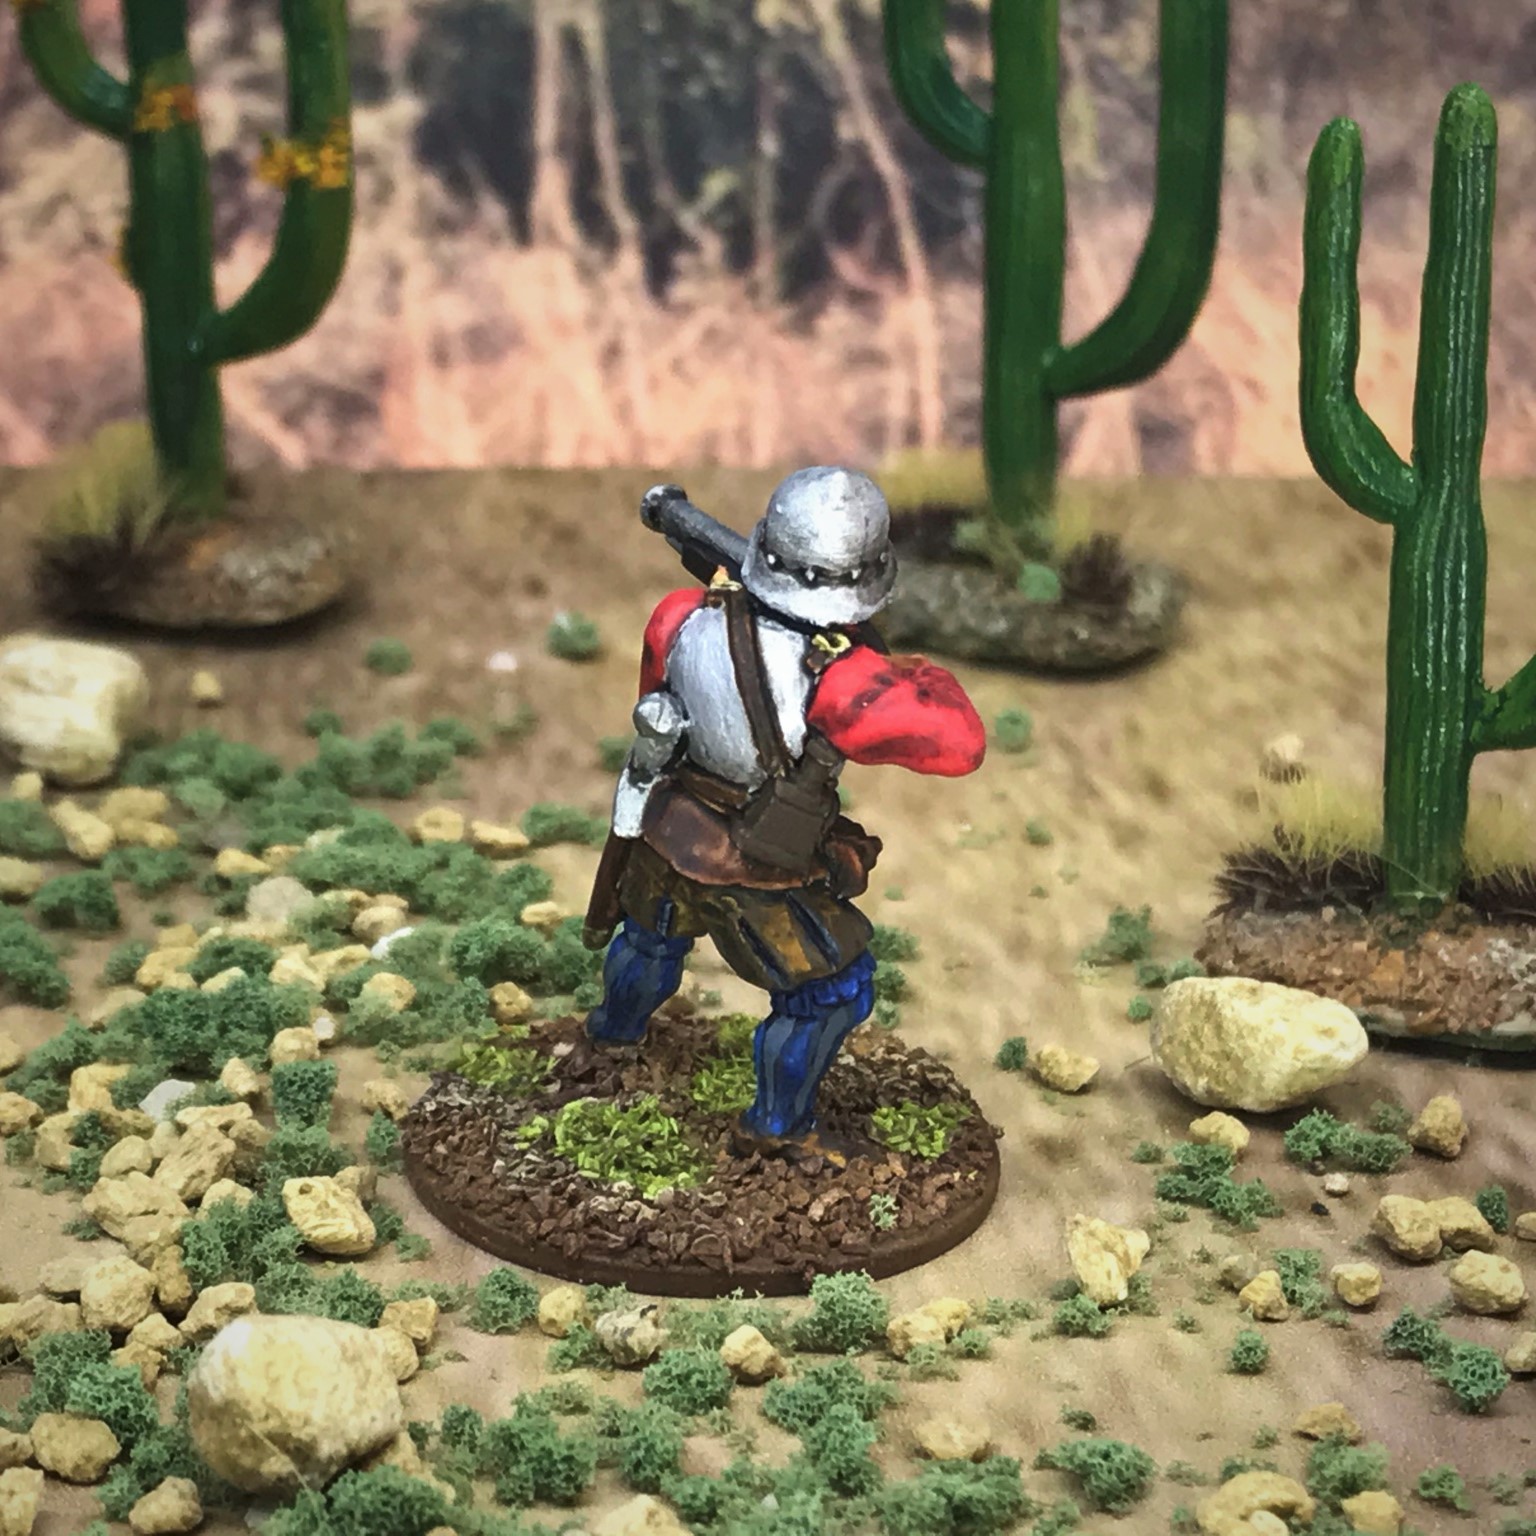
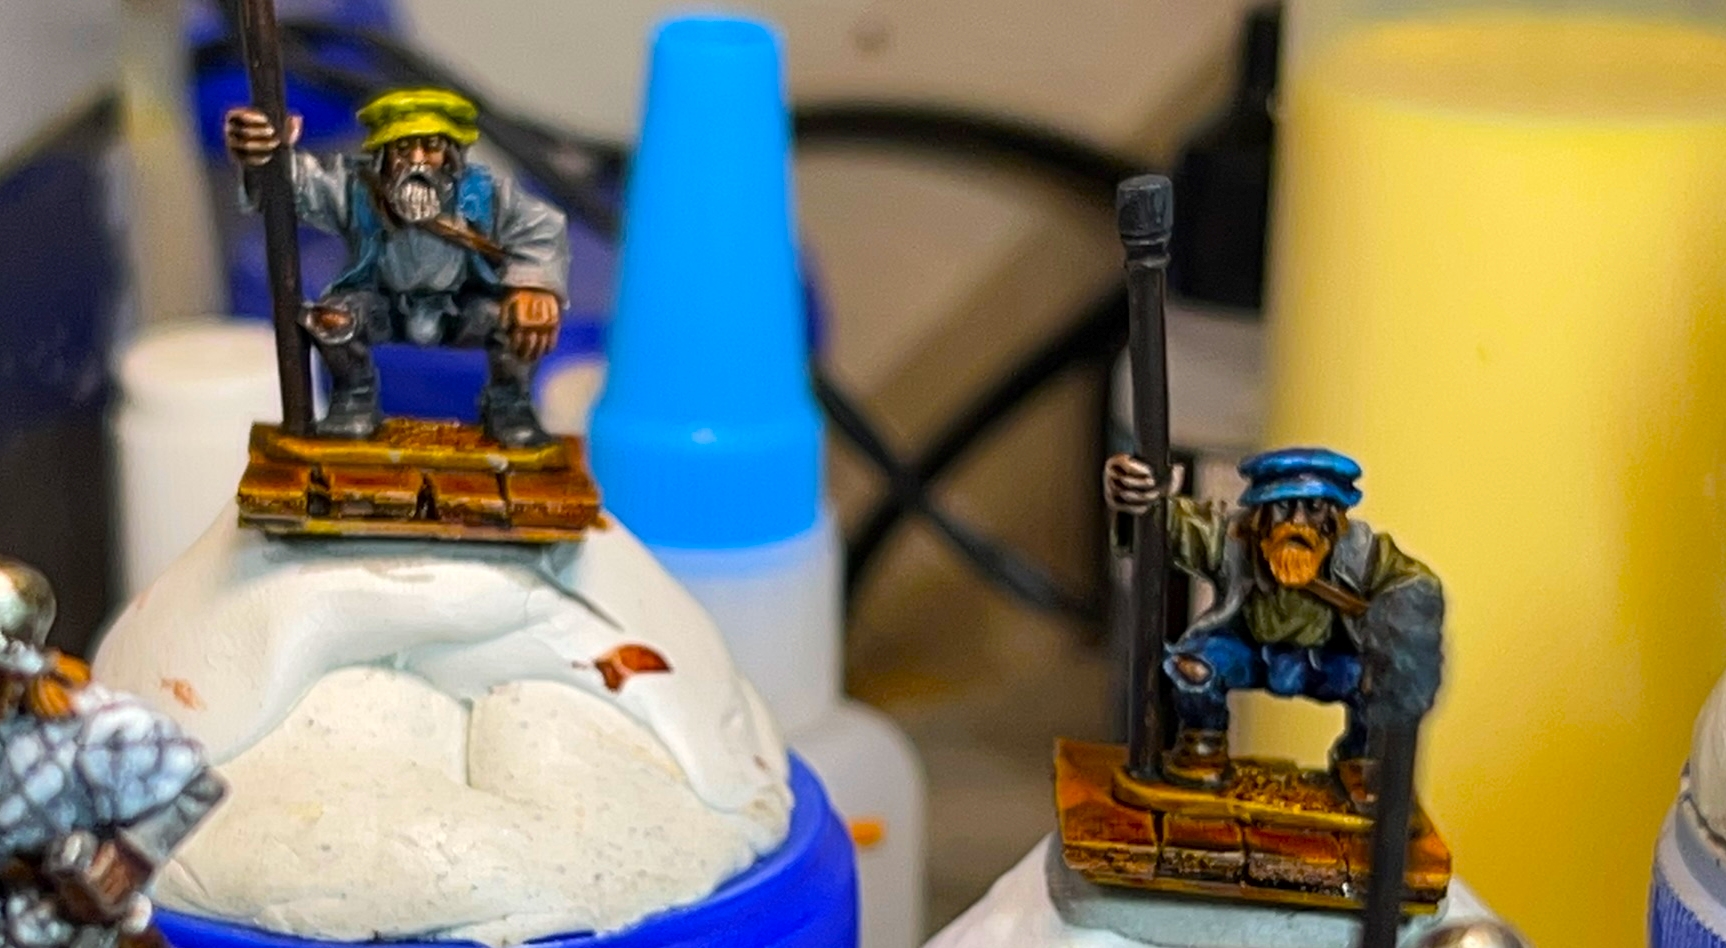
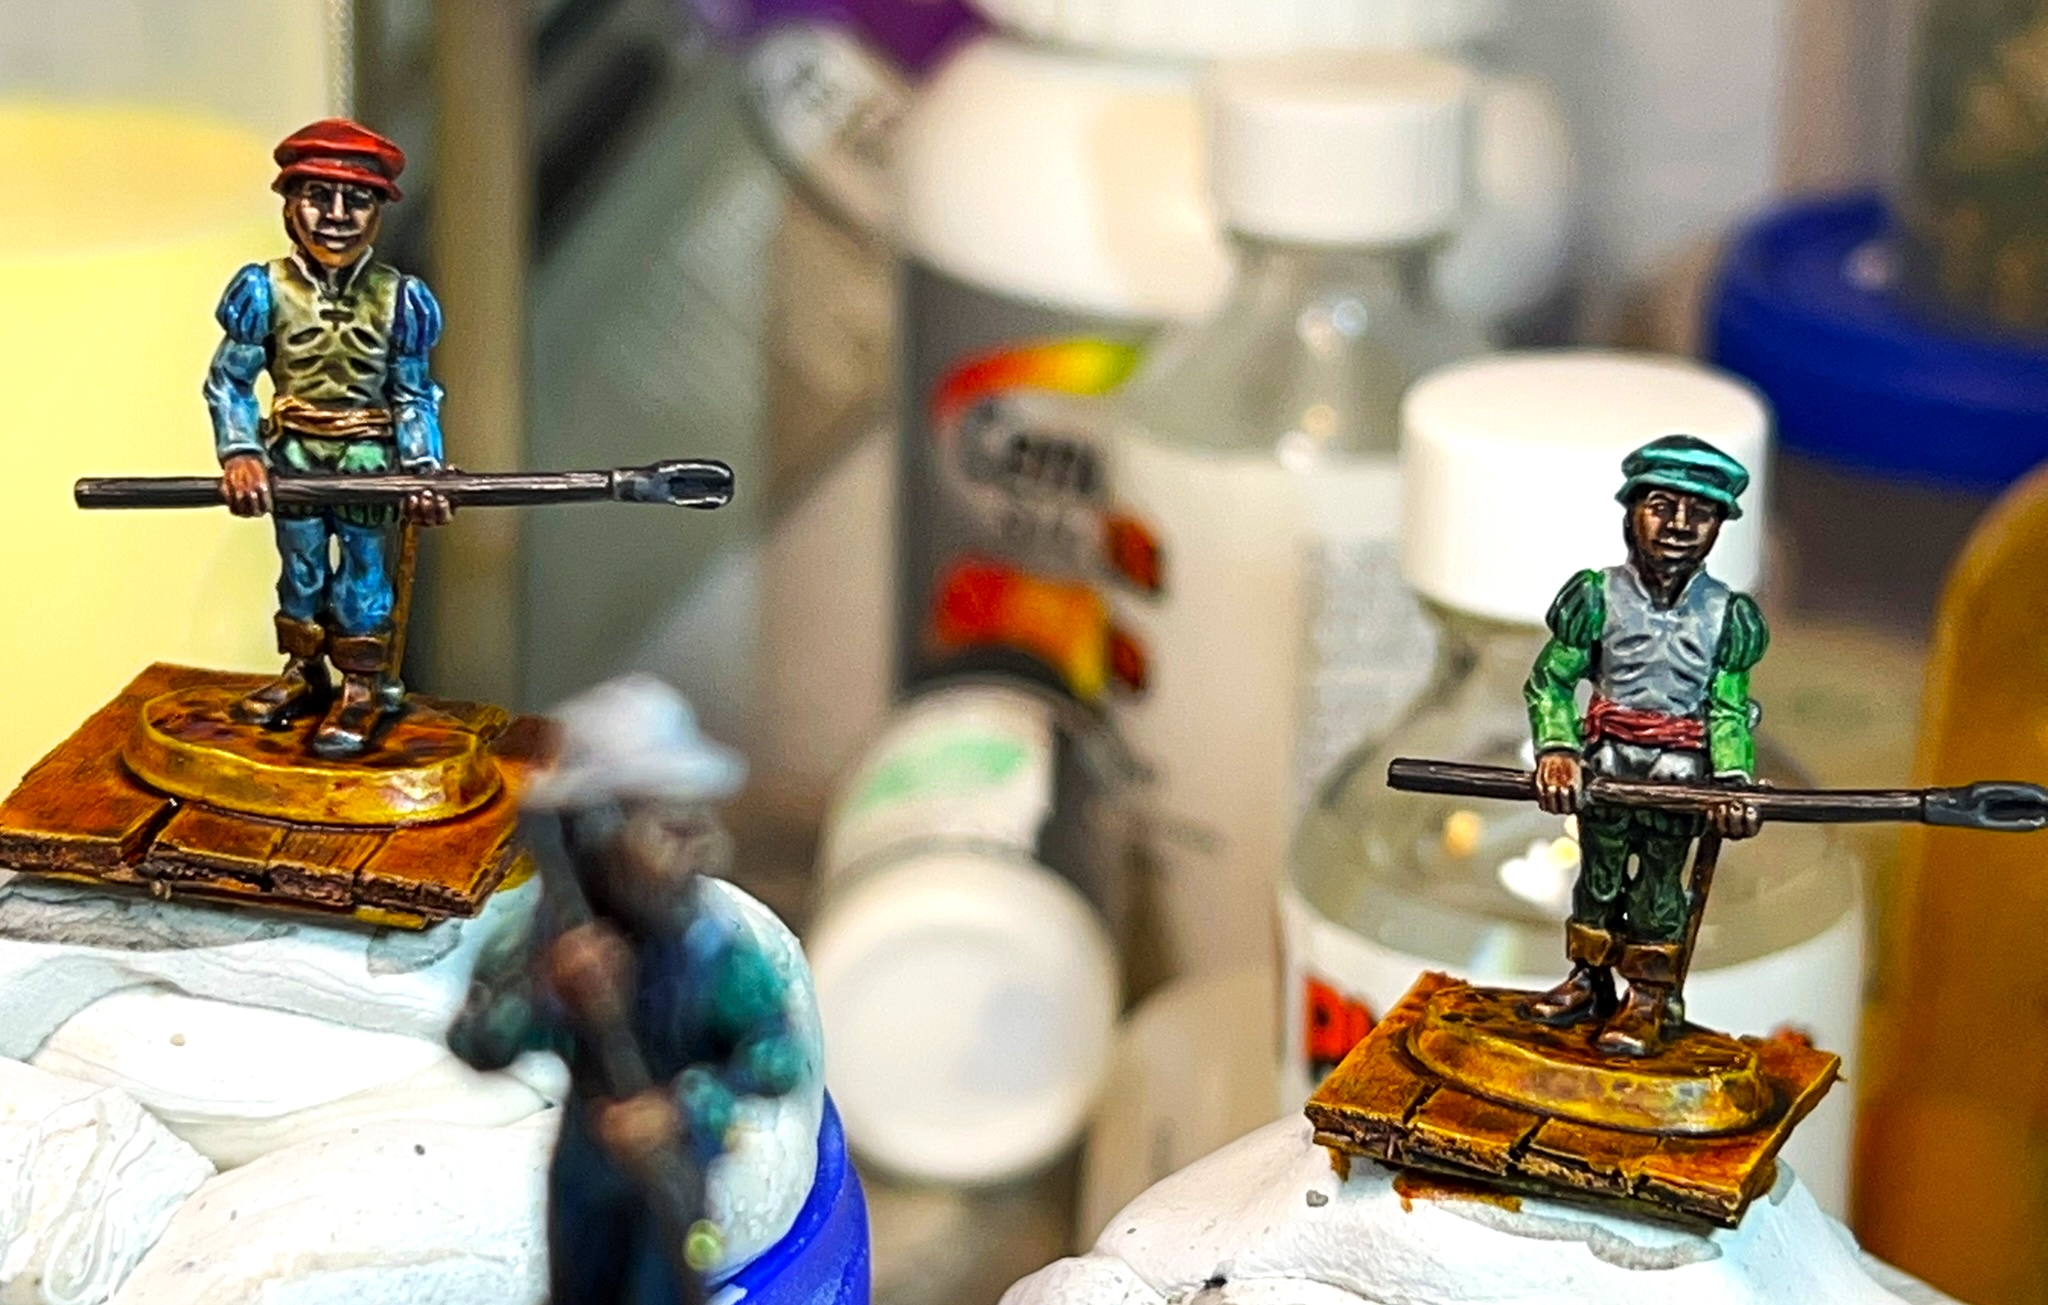
- Rowing/tiller Element – 6 Conquistadors rowing (3 per side), plus one at the tiller acting as their leader (7 total in that Element)
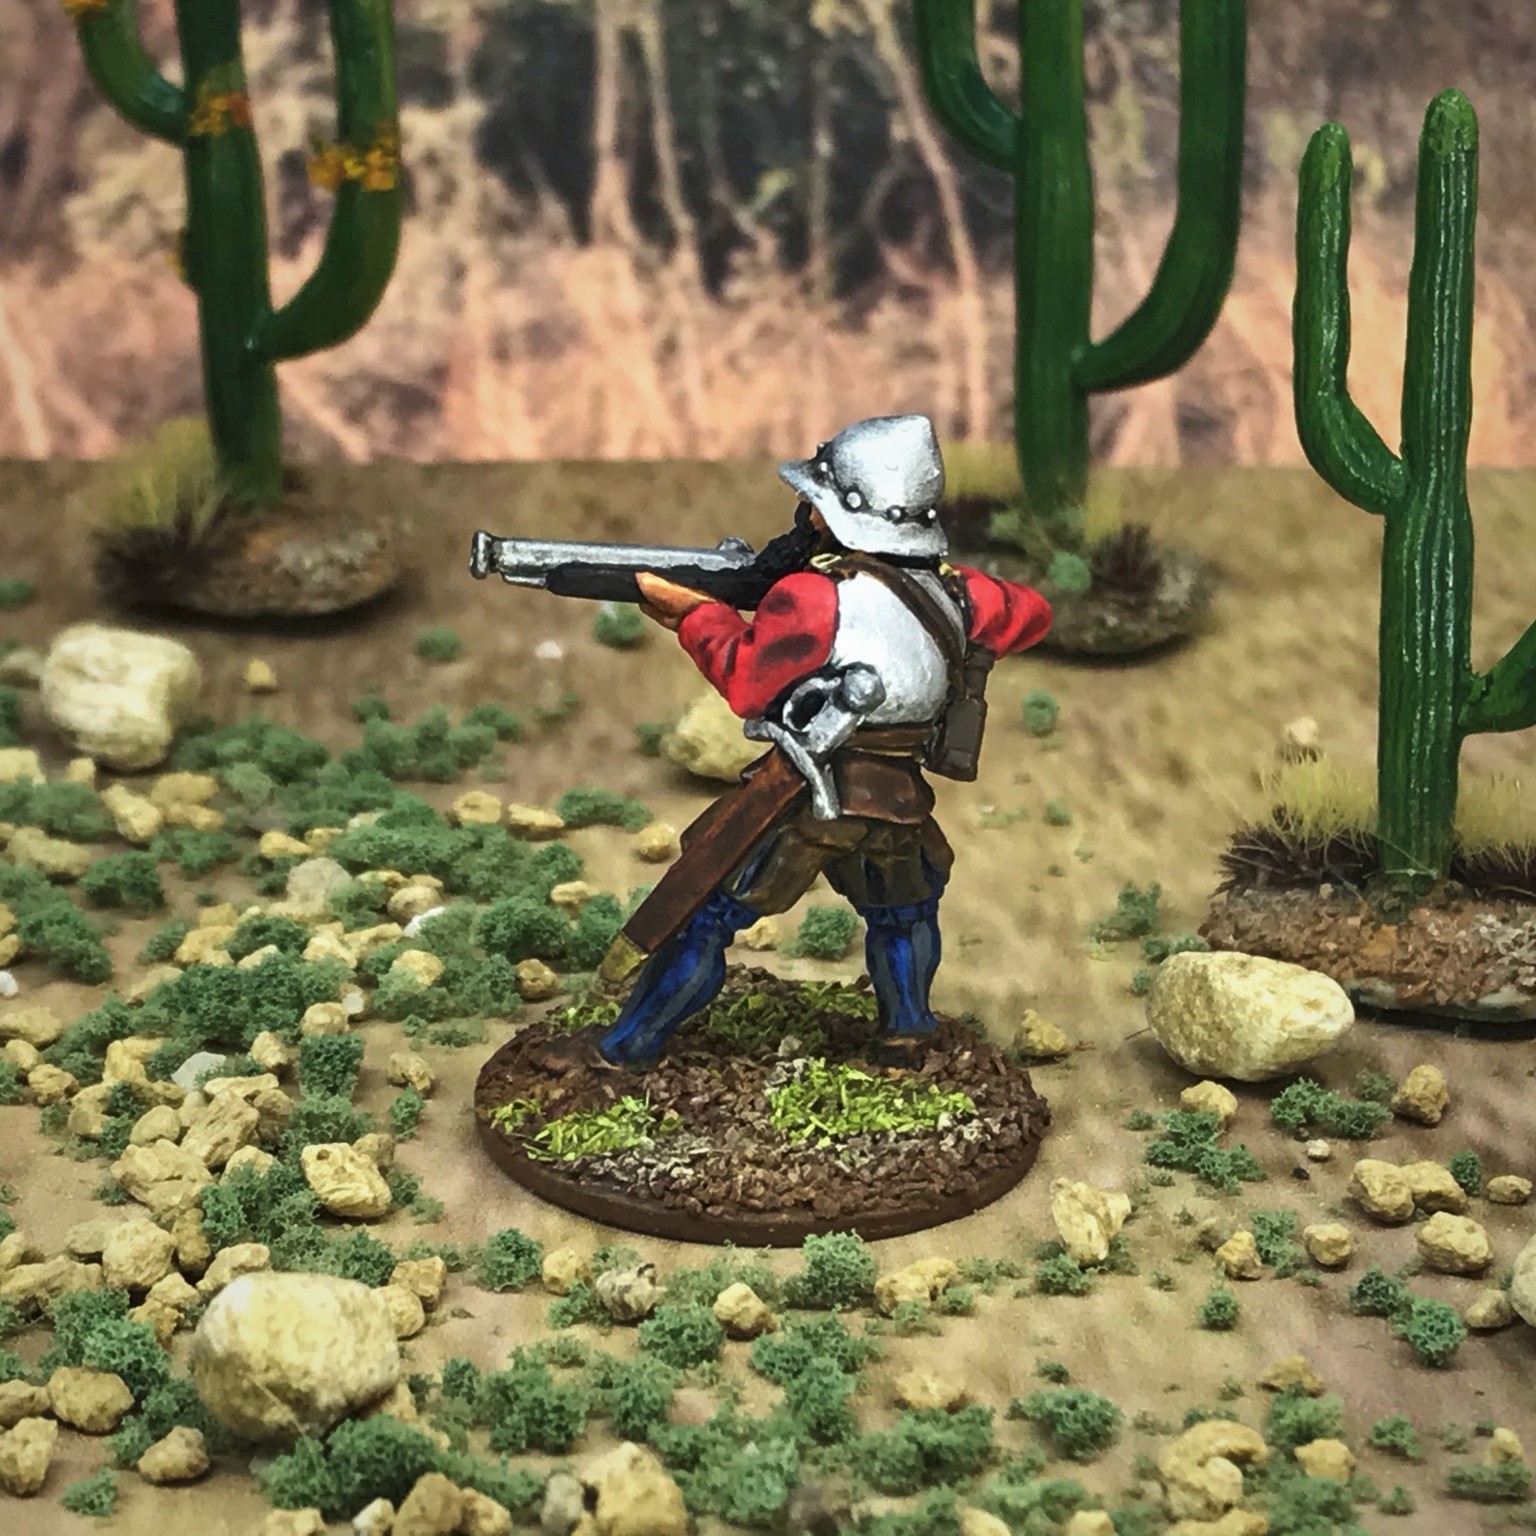
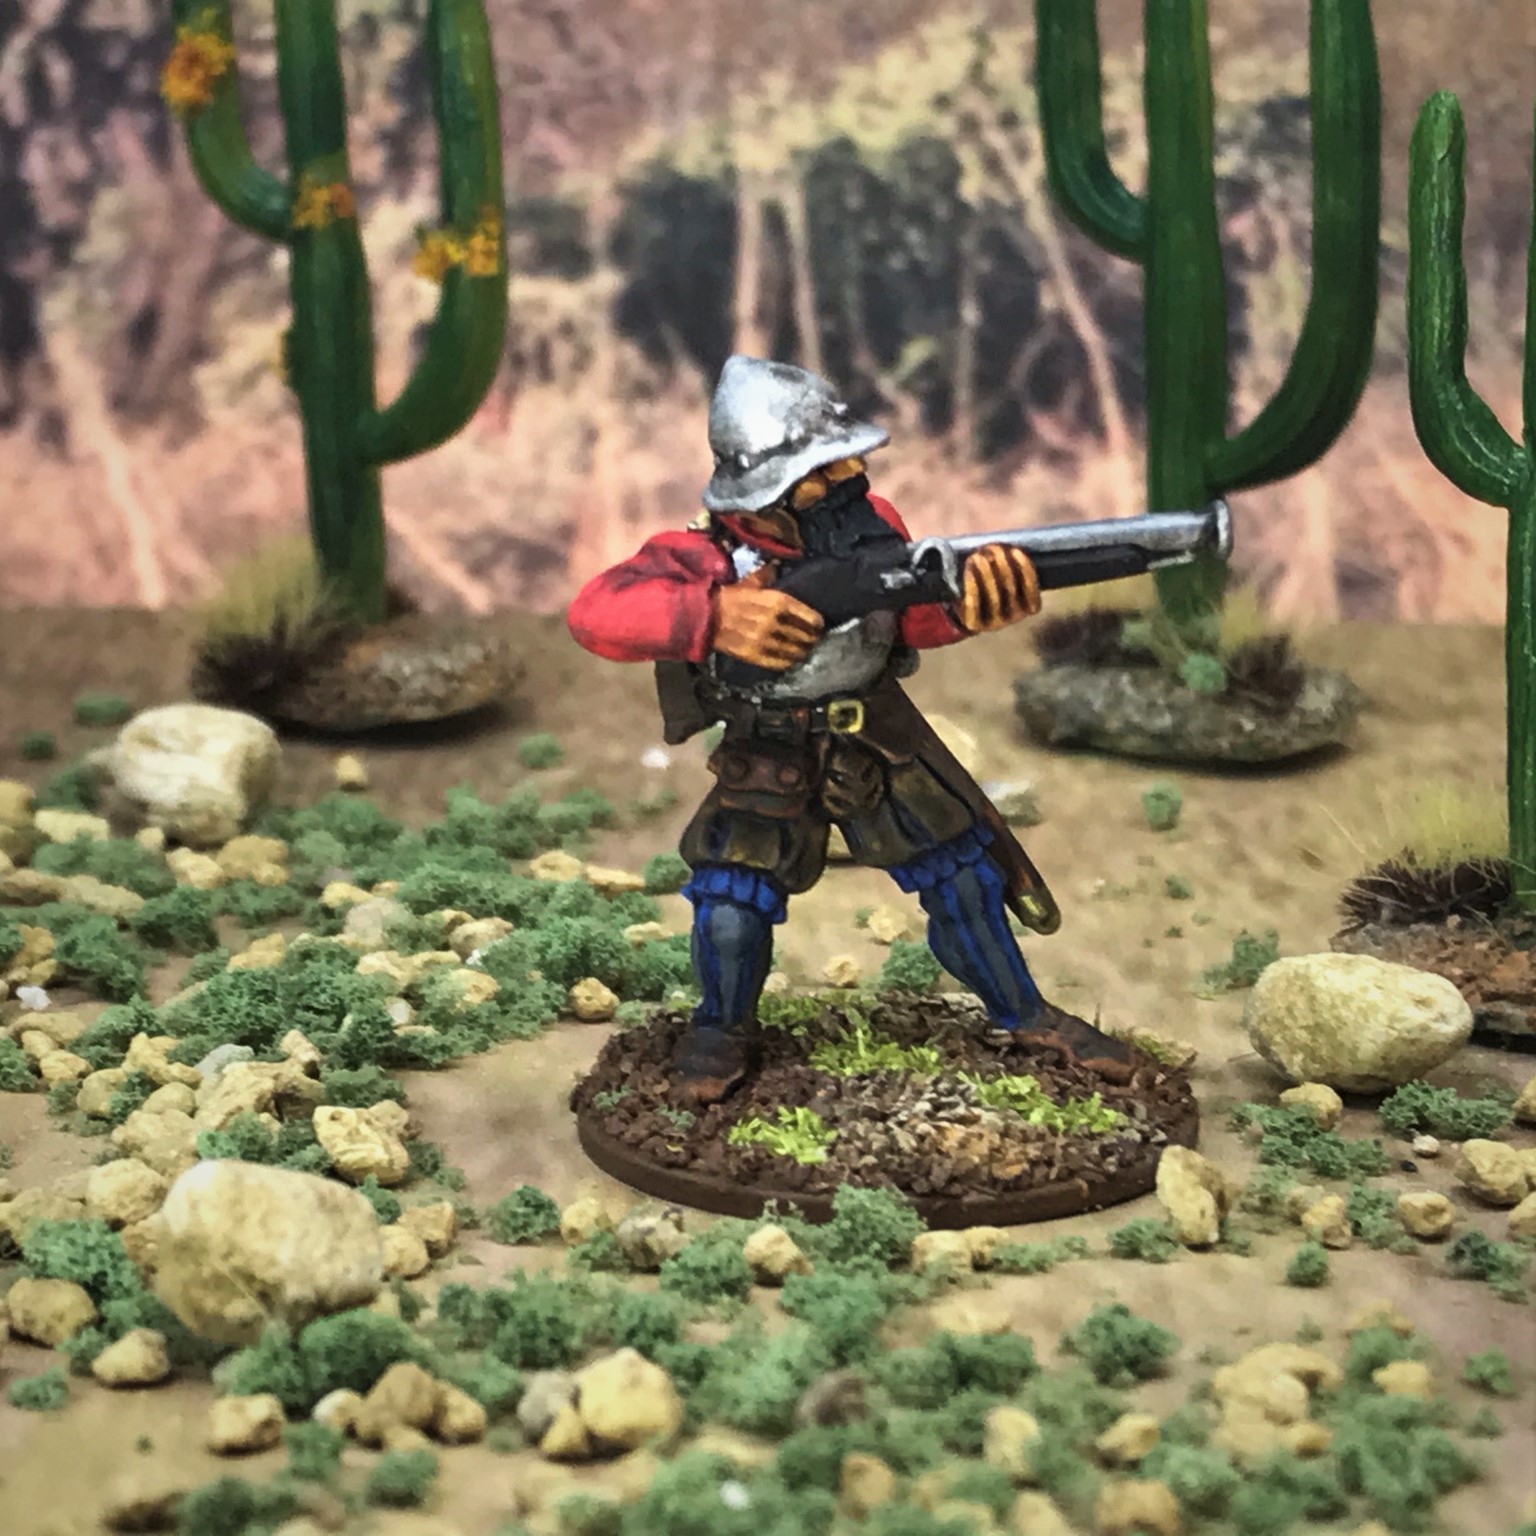
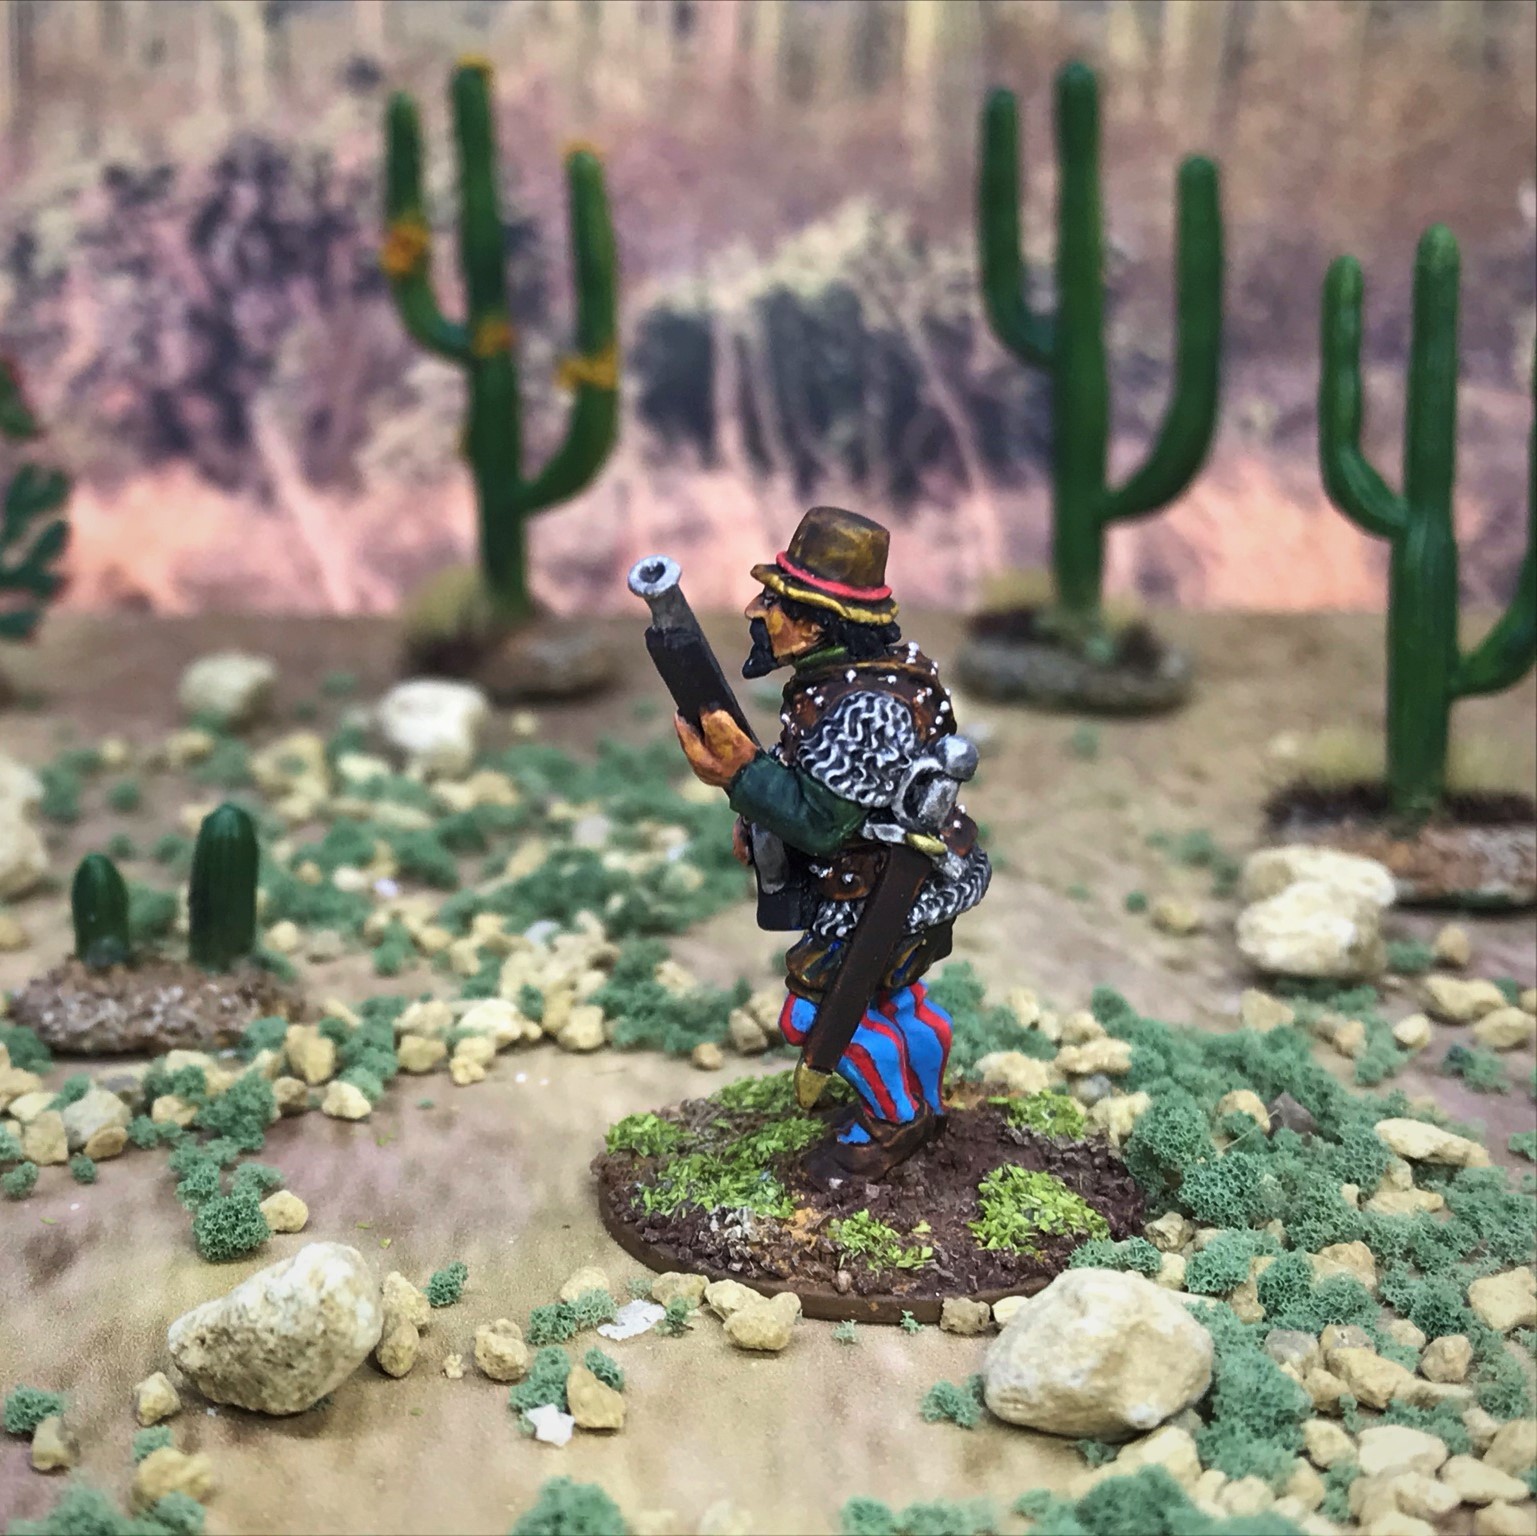
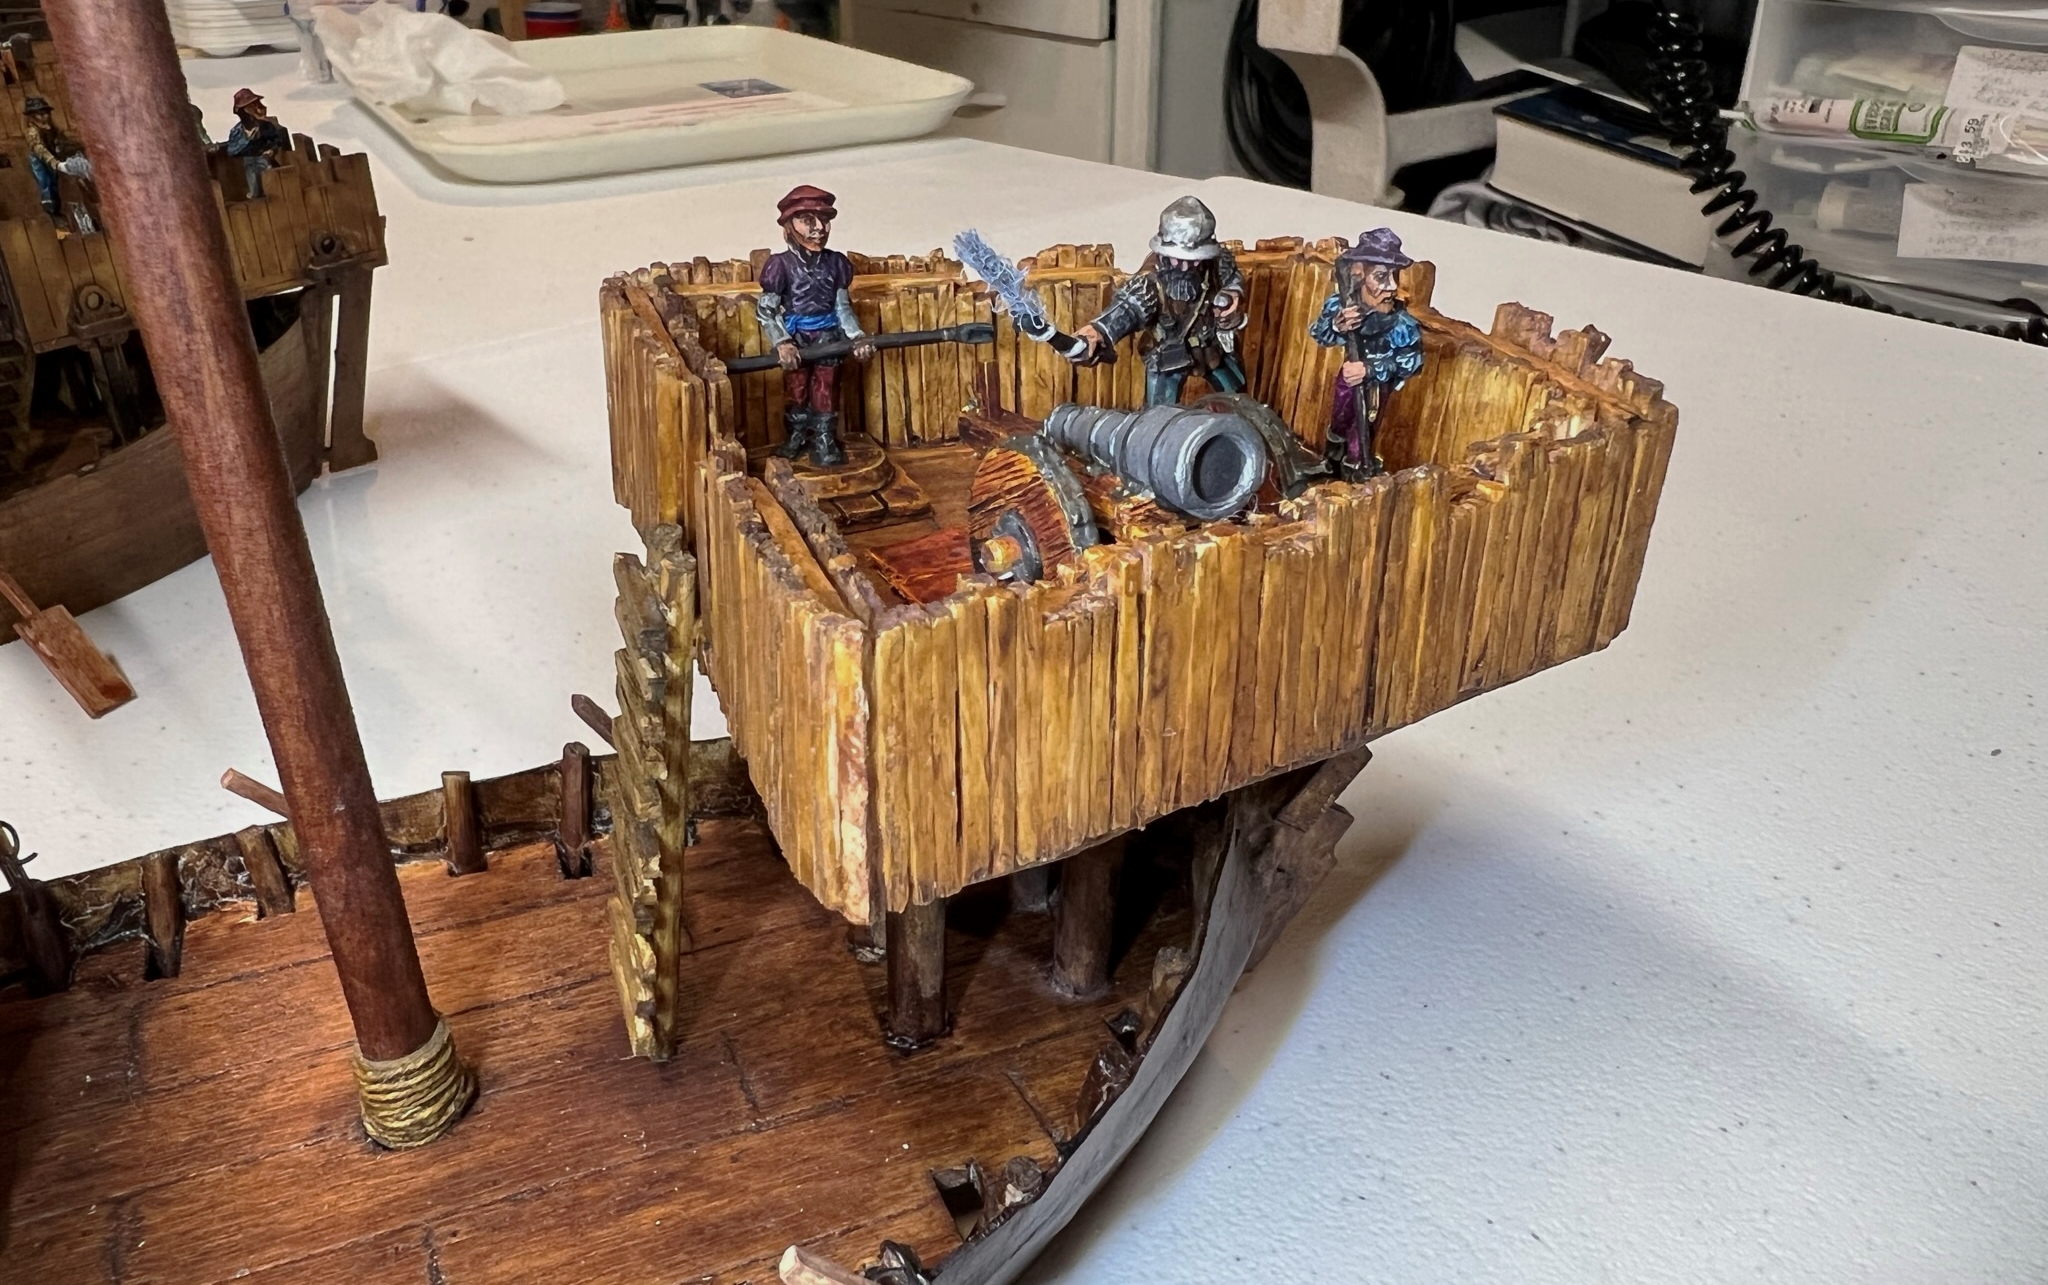
- Artillery Element – One falconet or lombard crew of three figures plus the gun with one of the crew acting as a leader
- Arquebus/crossbow Element – One to four figures deployed in the opposite castle (fore or stern) from the ship’s Artillery Element
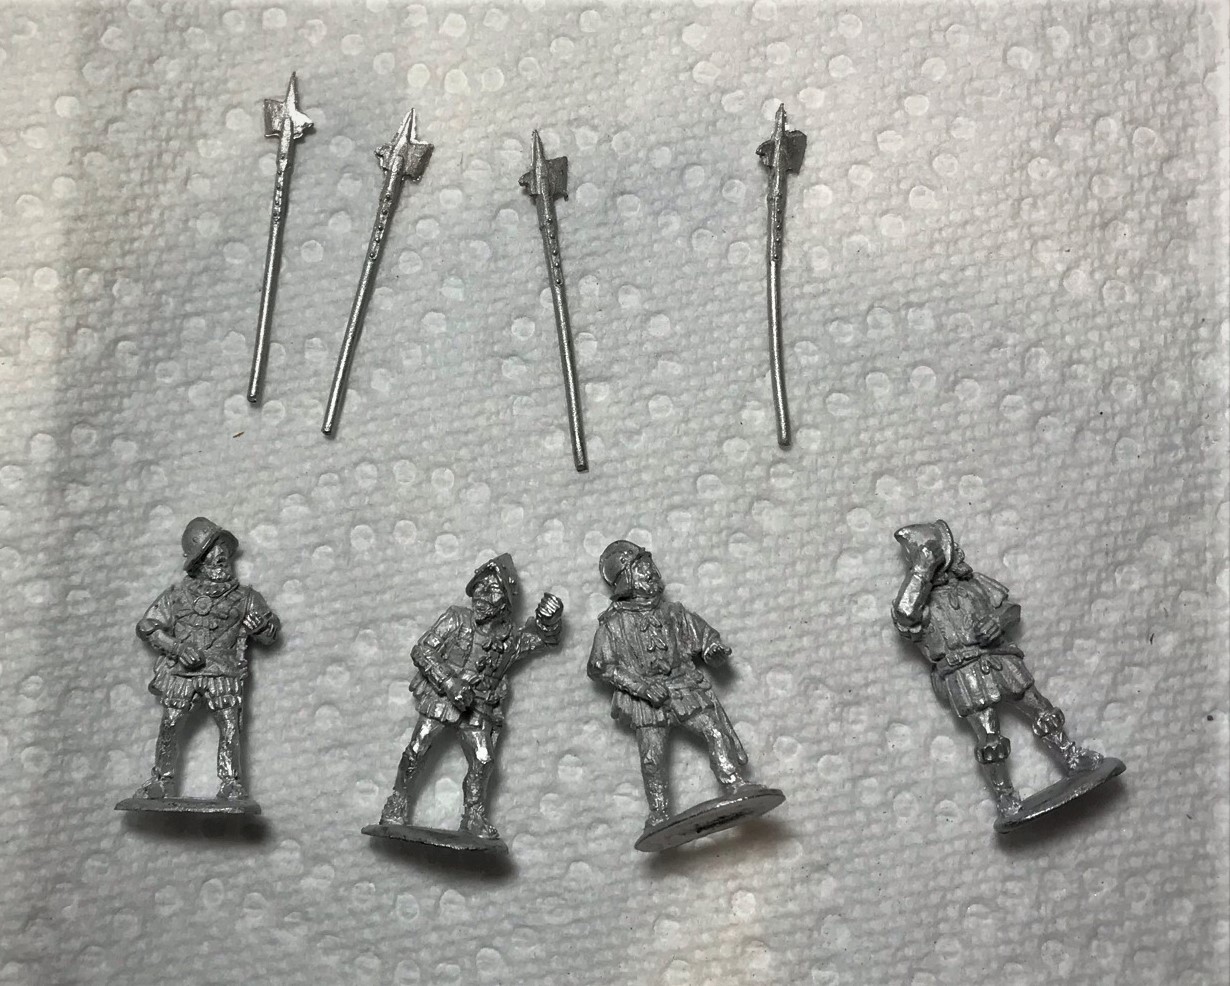
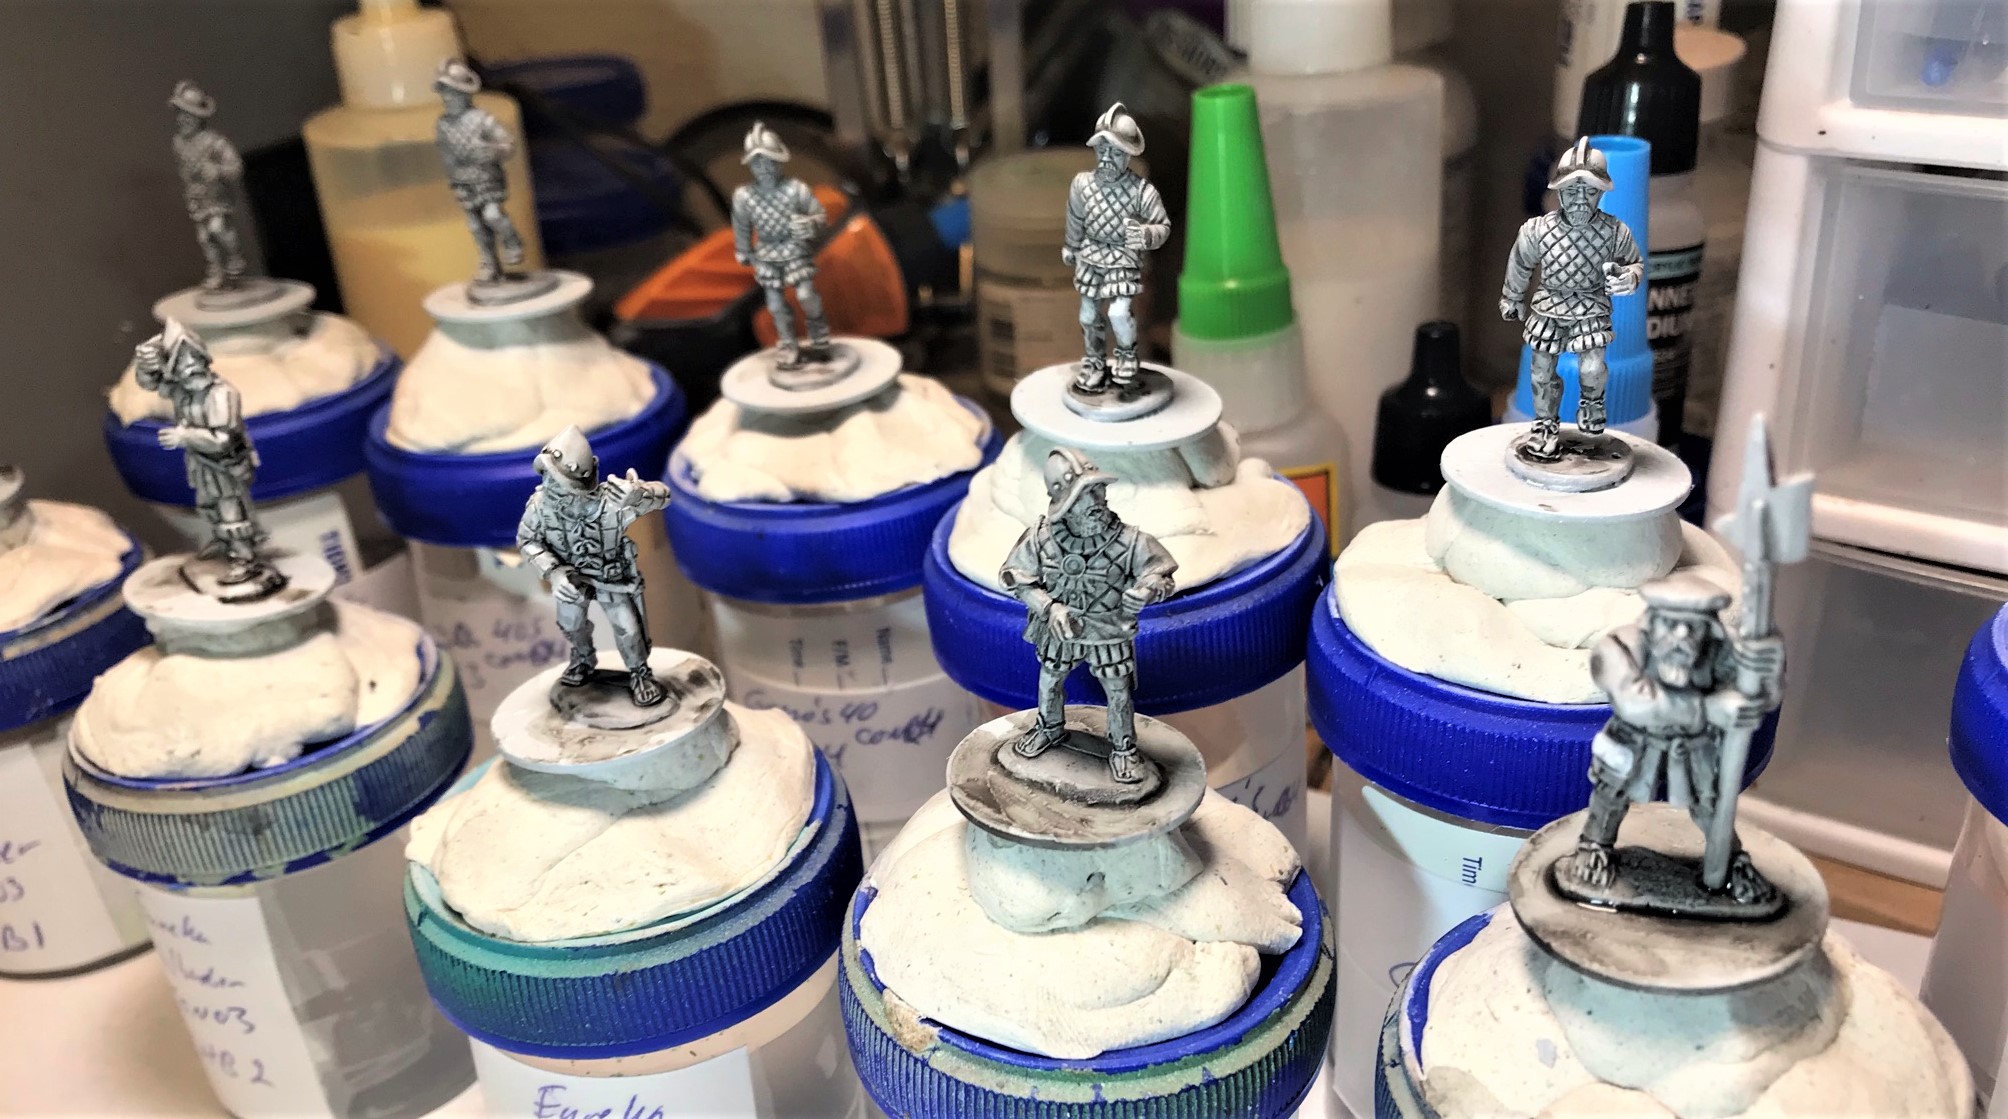
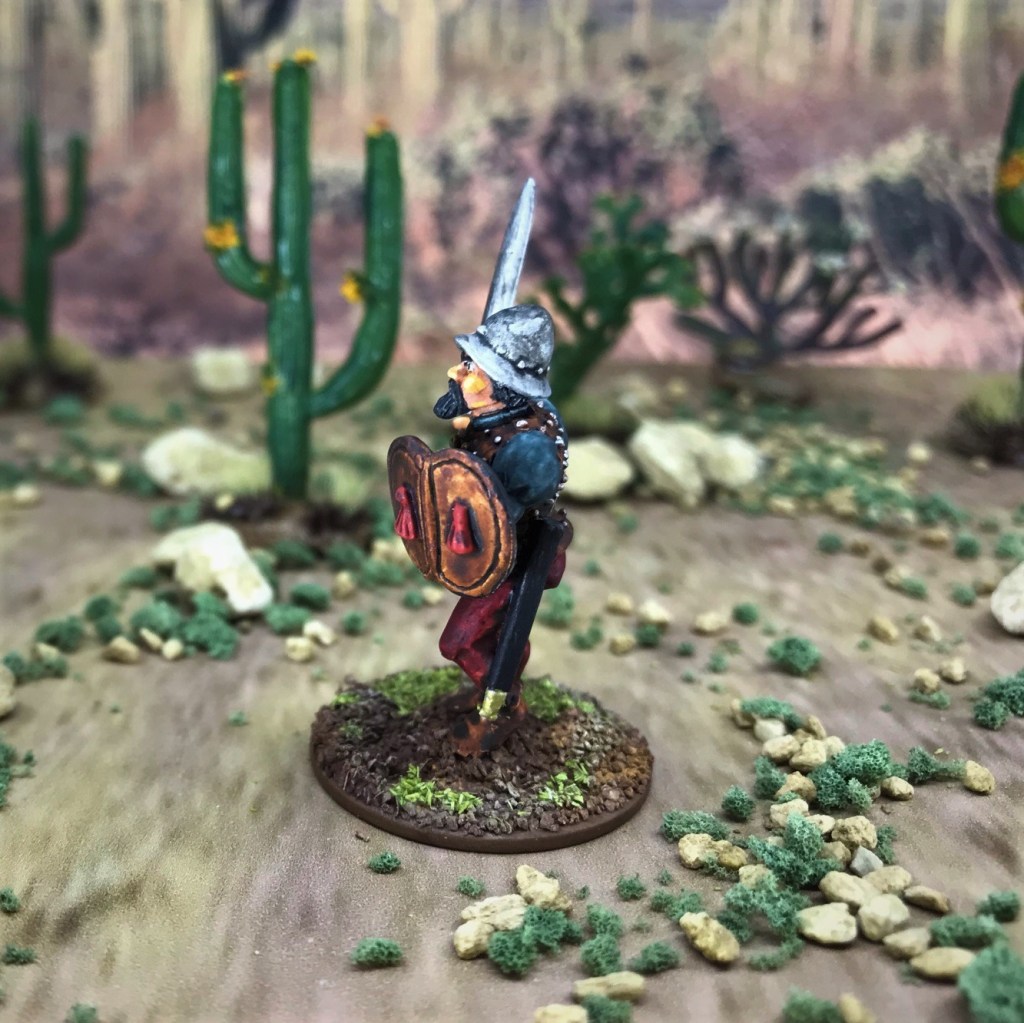
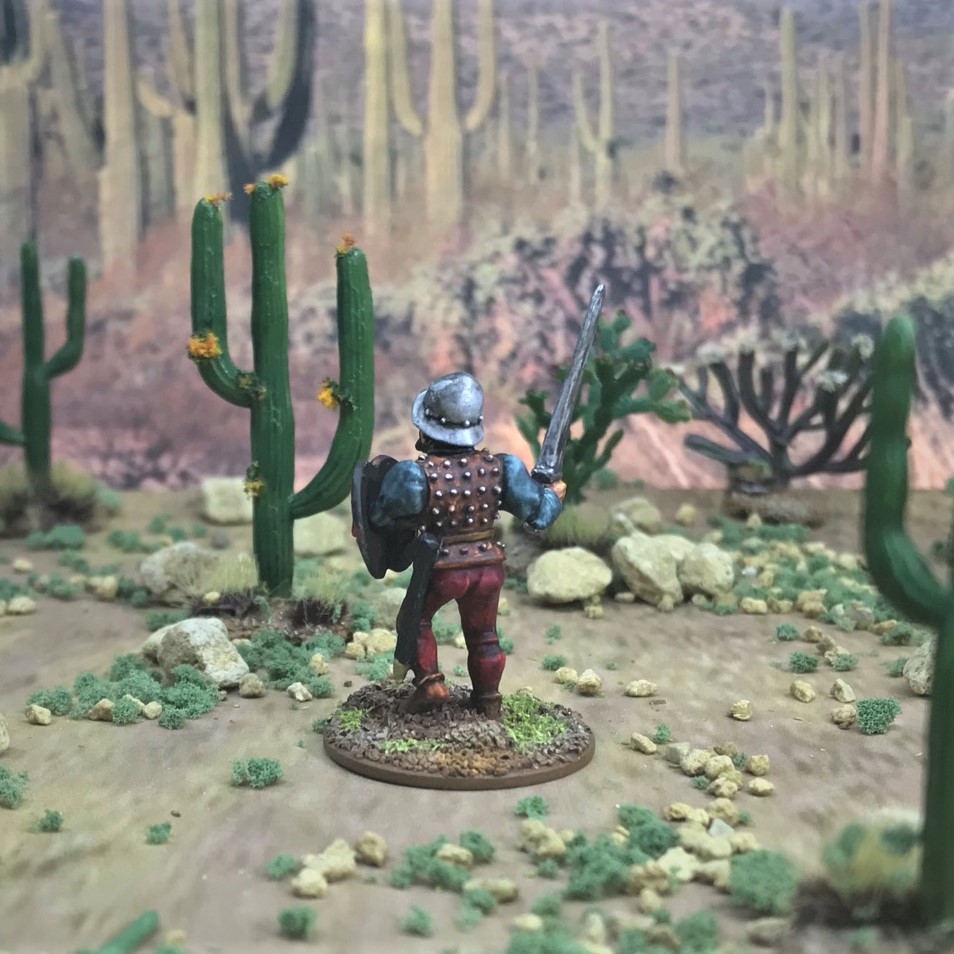
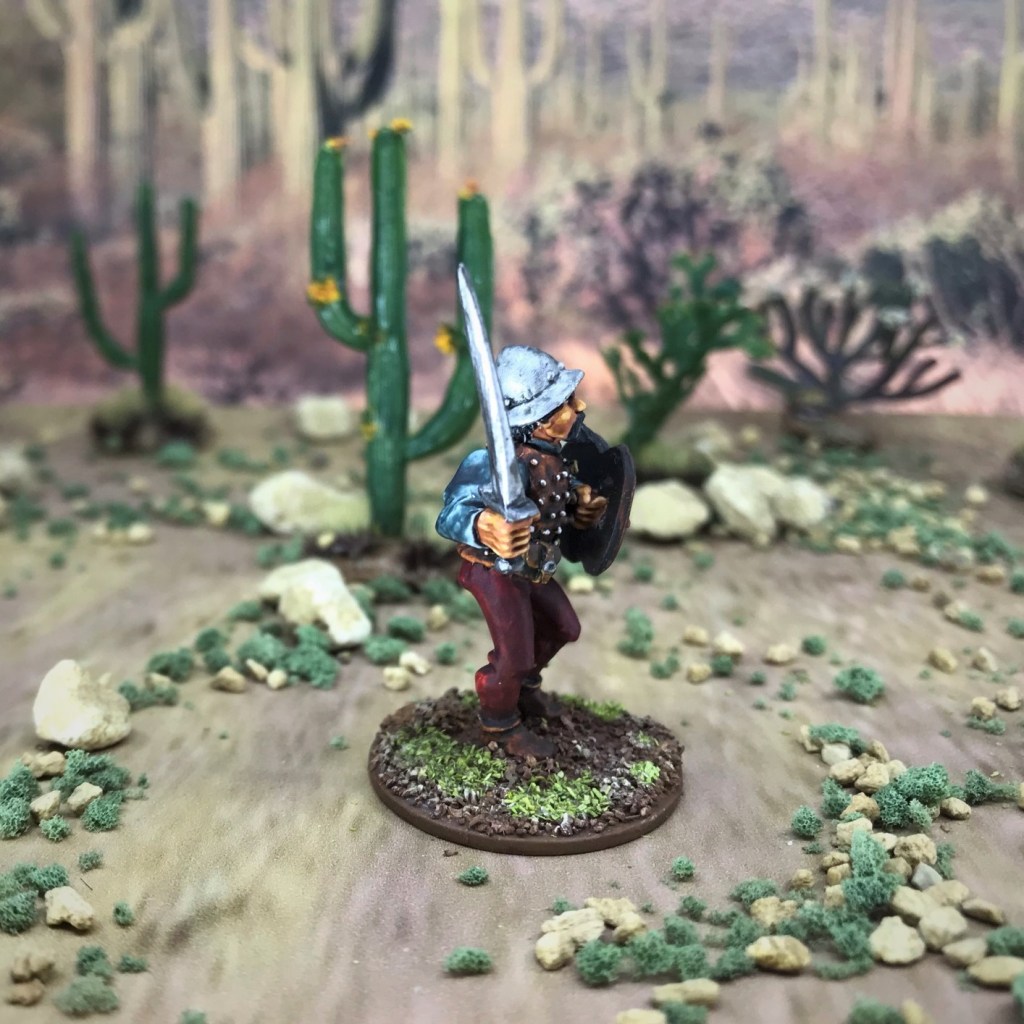
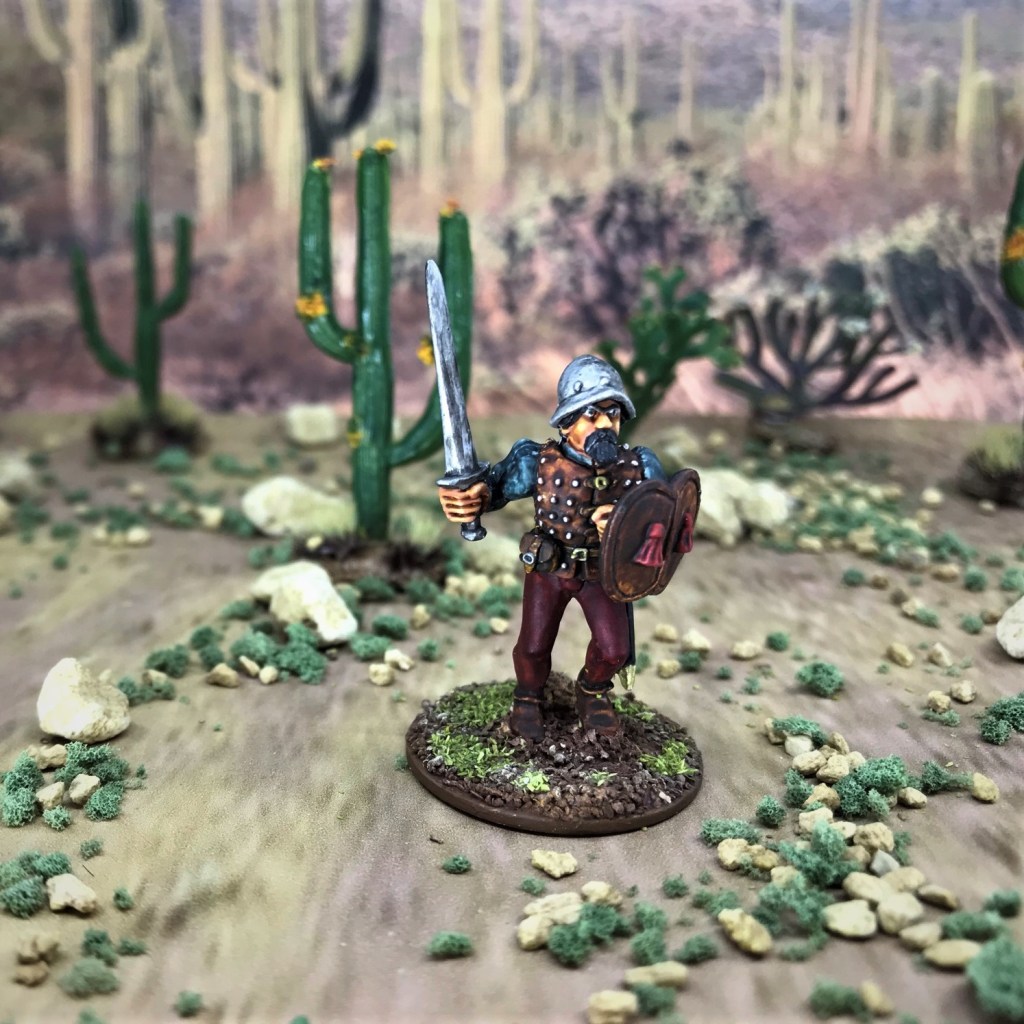
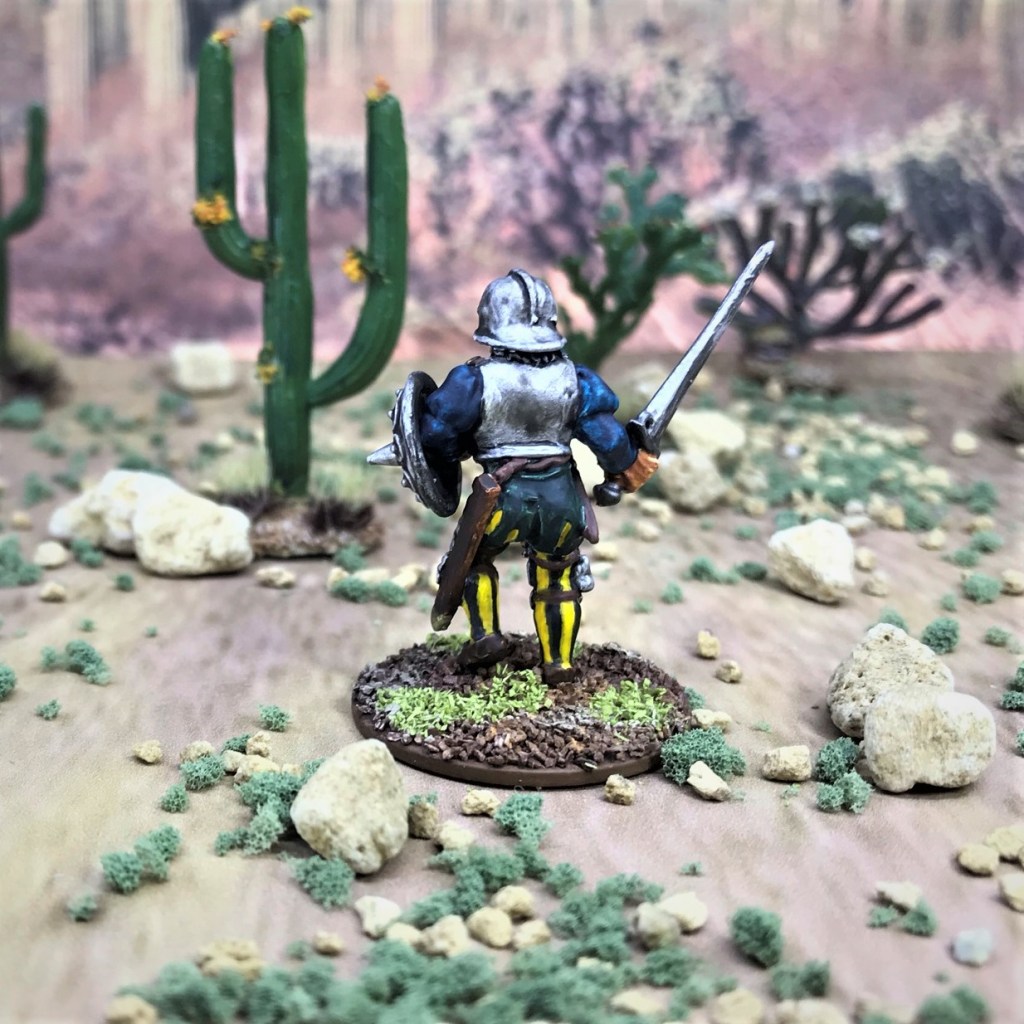
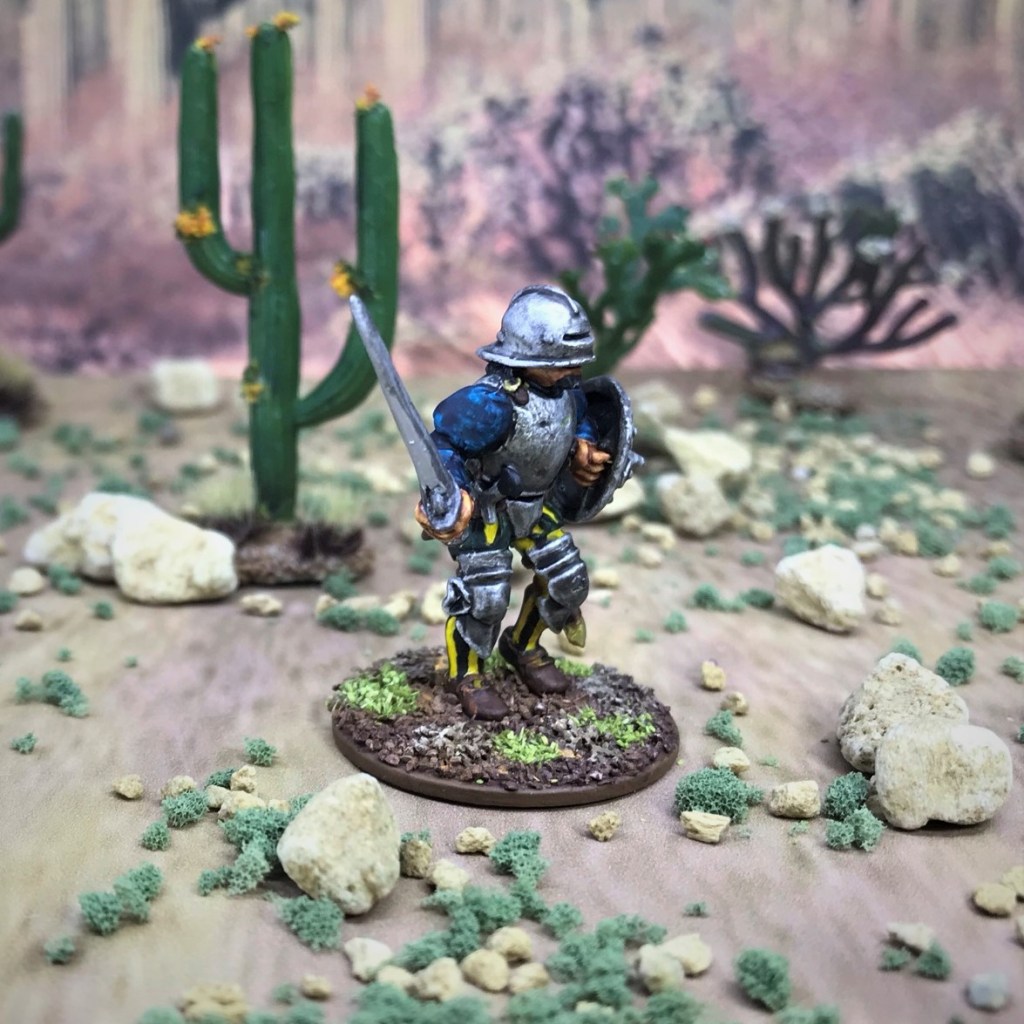
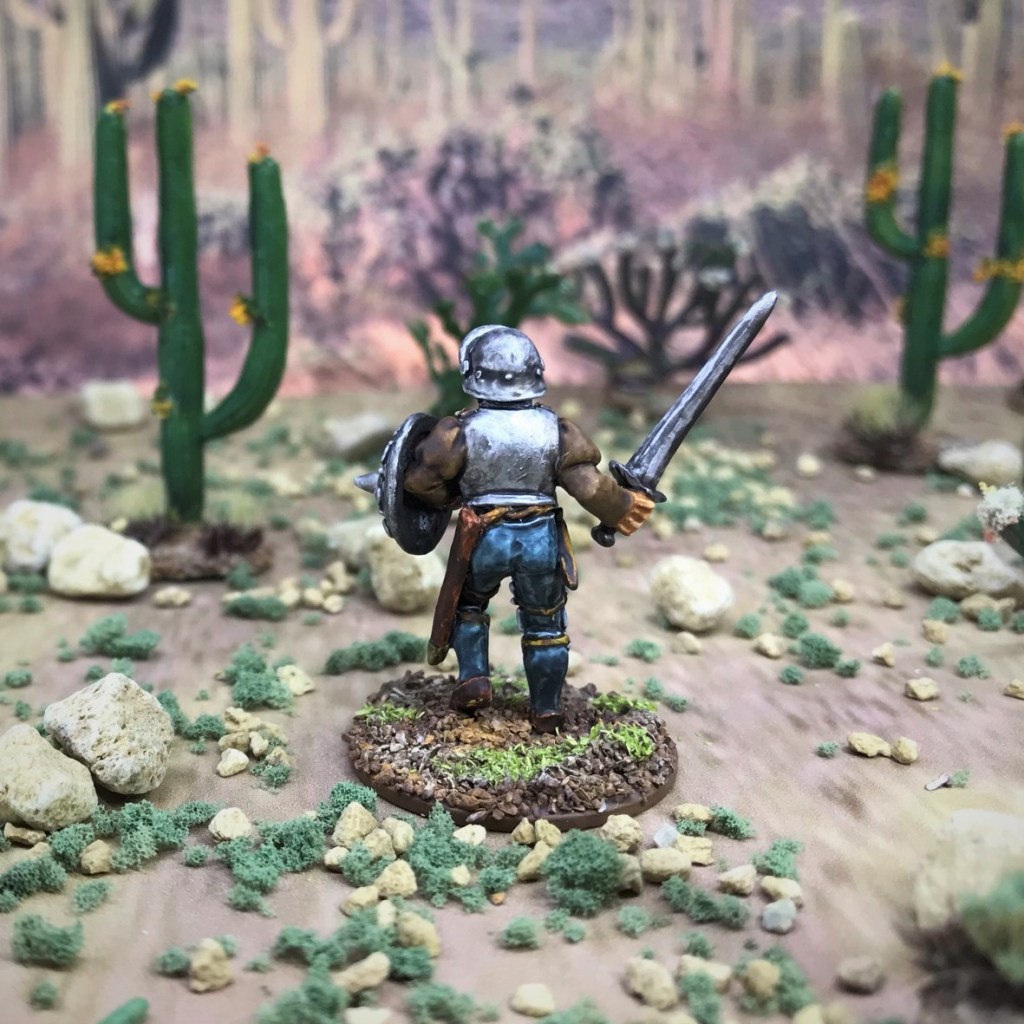
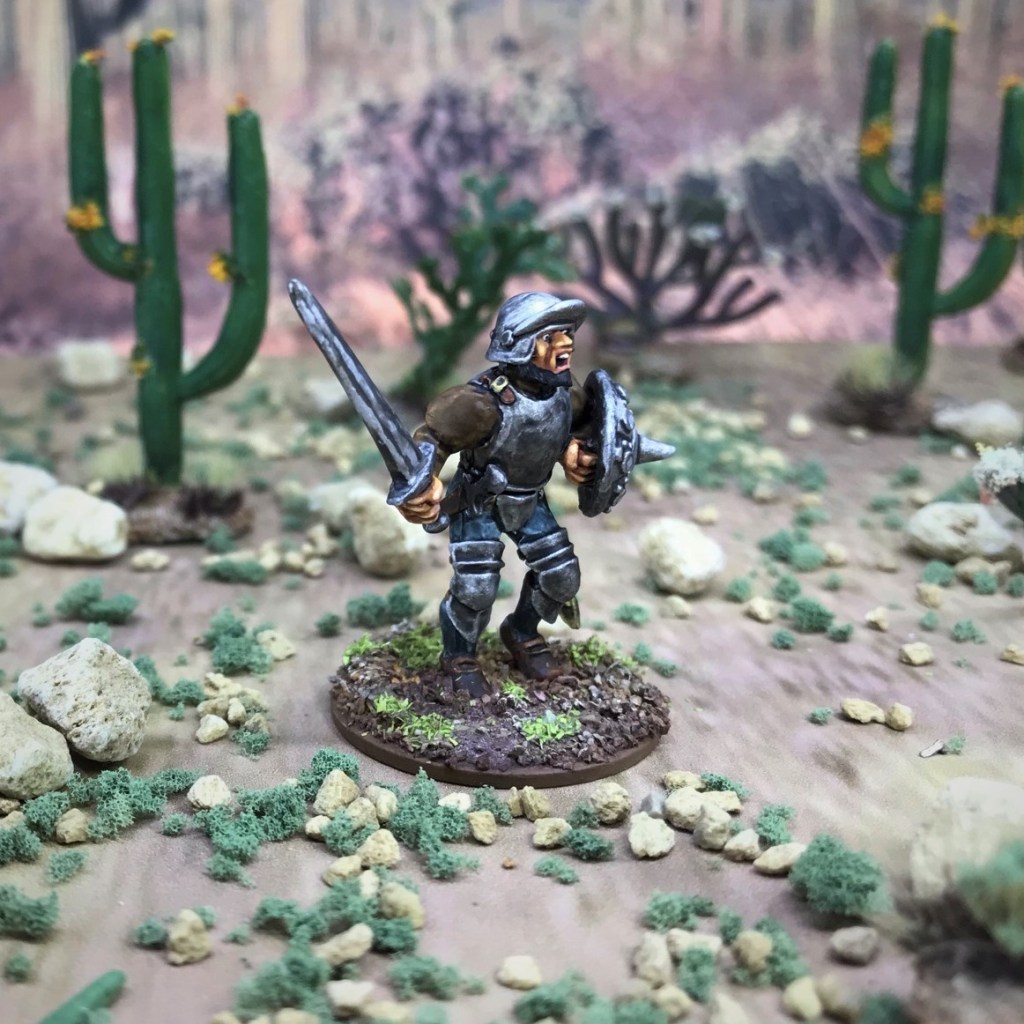
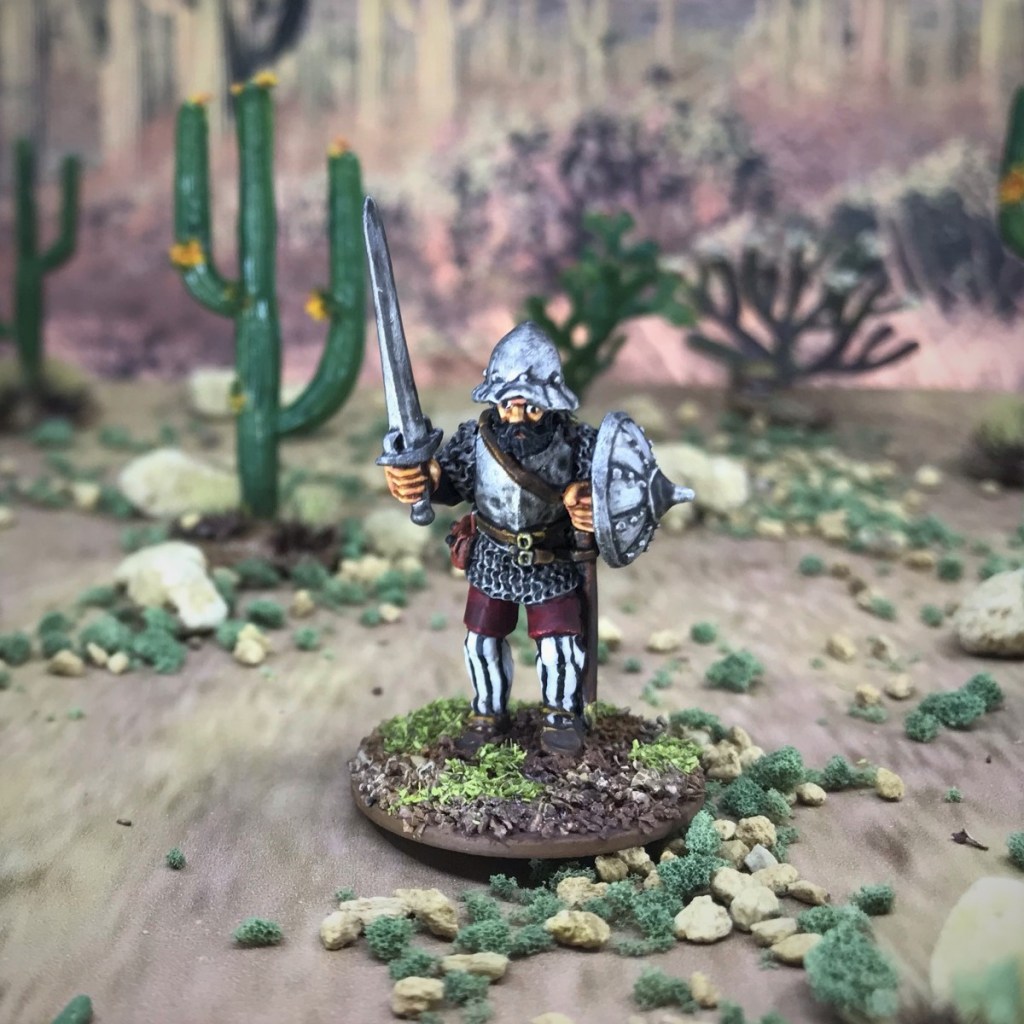
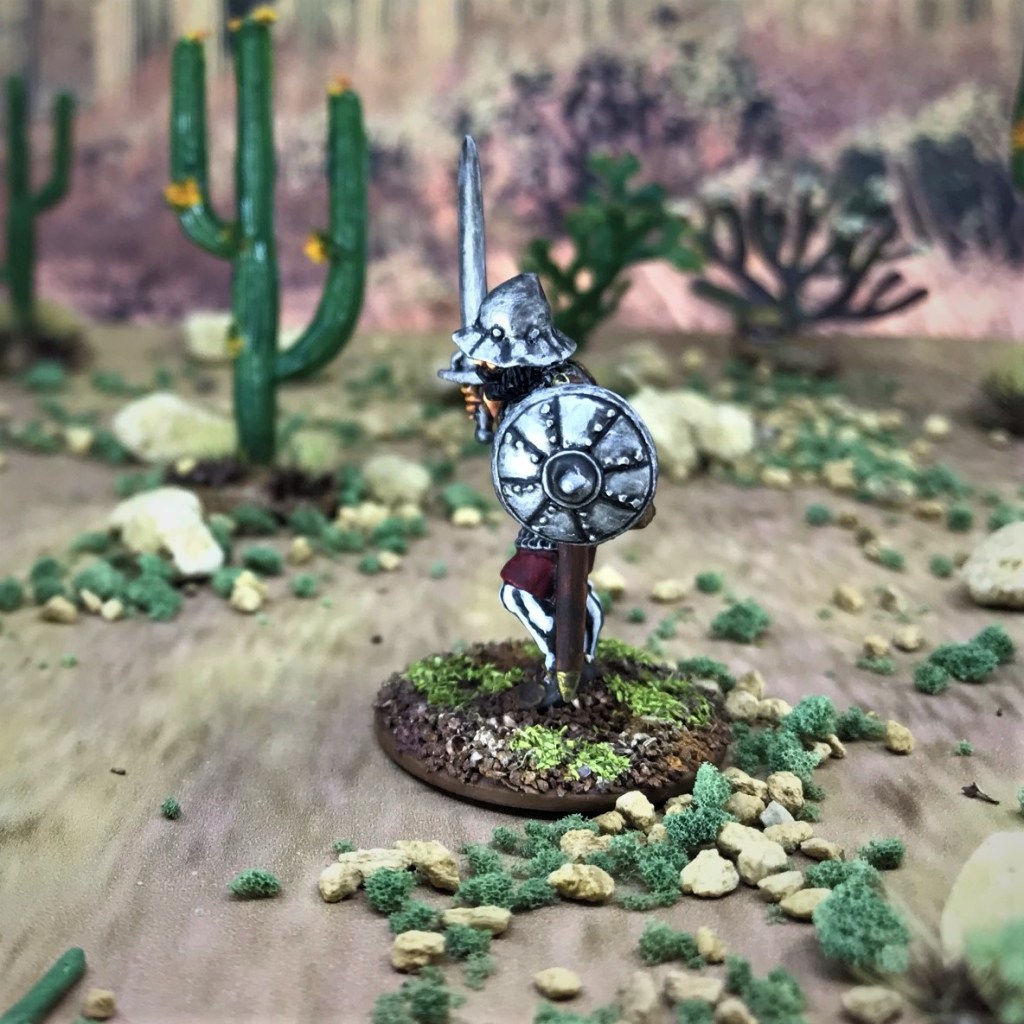
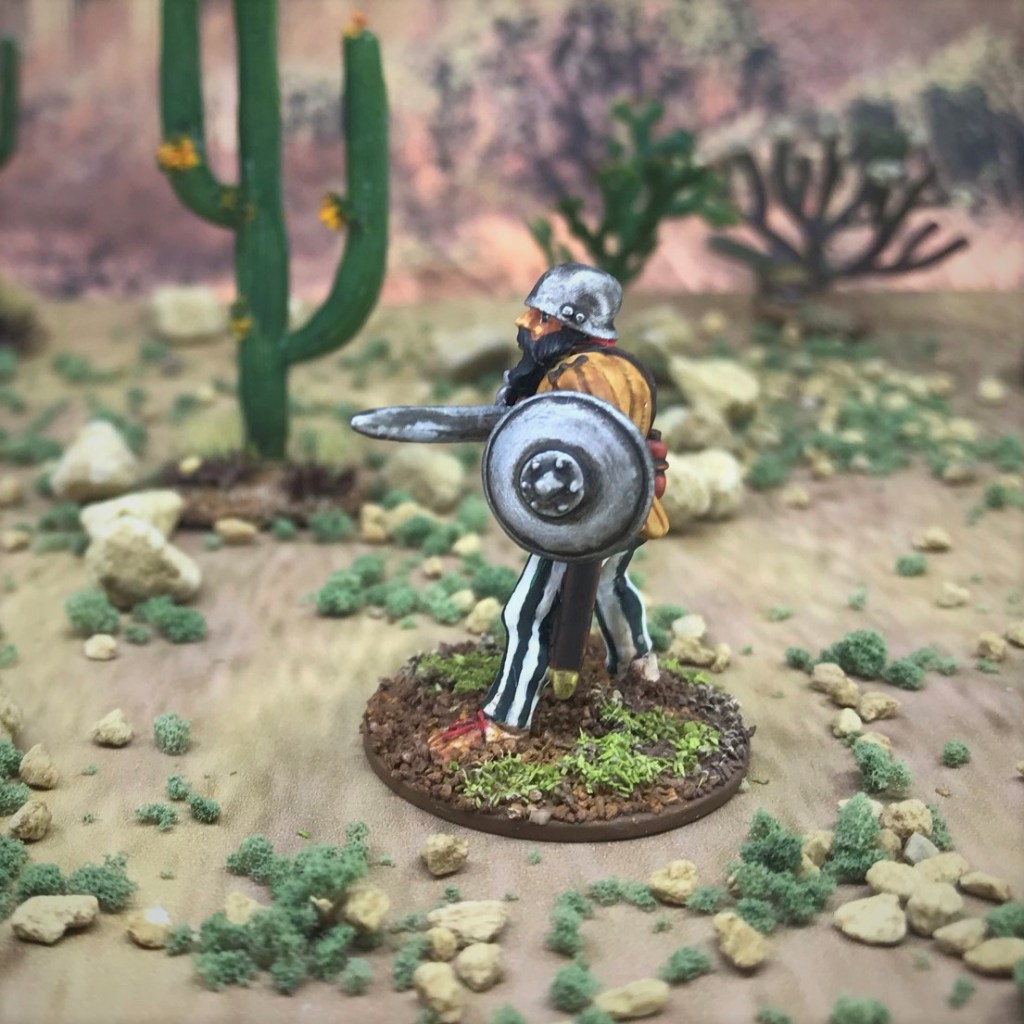
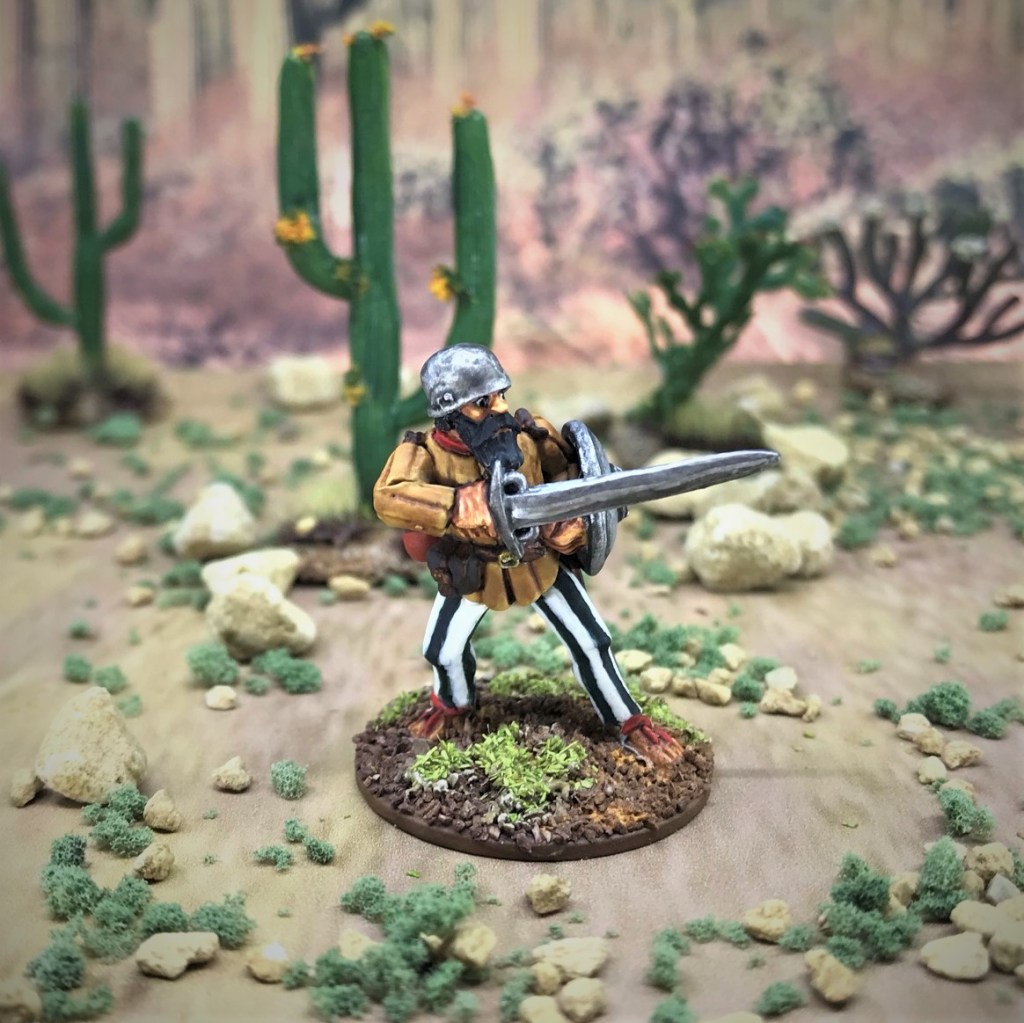
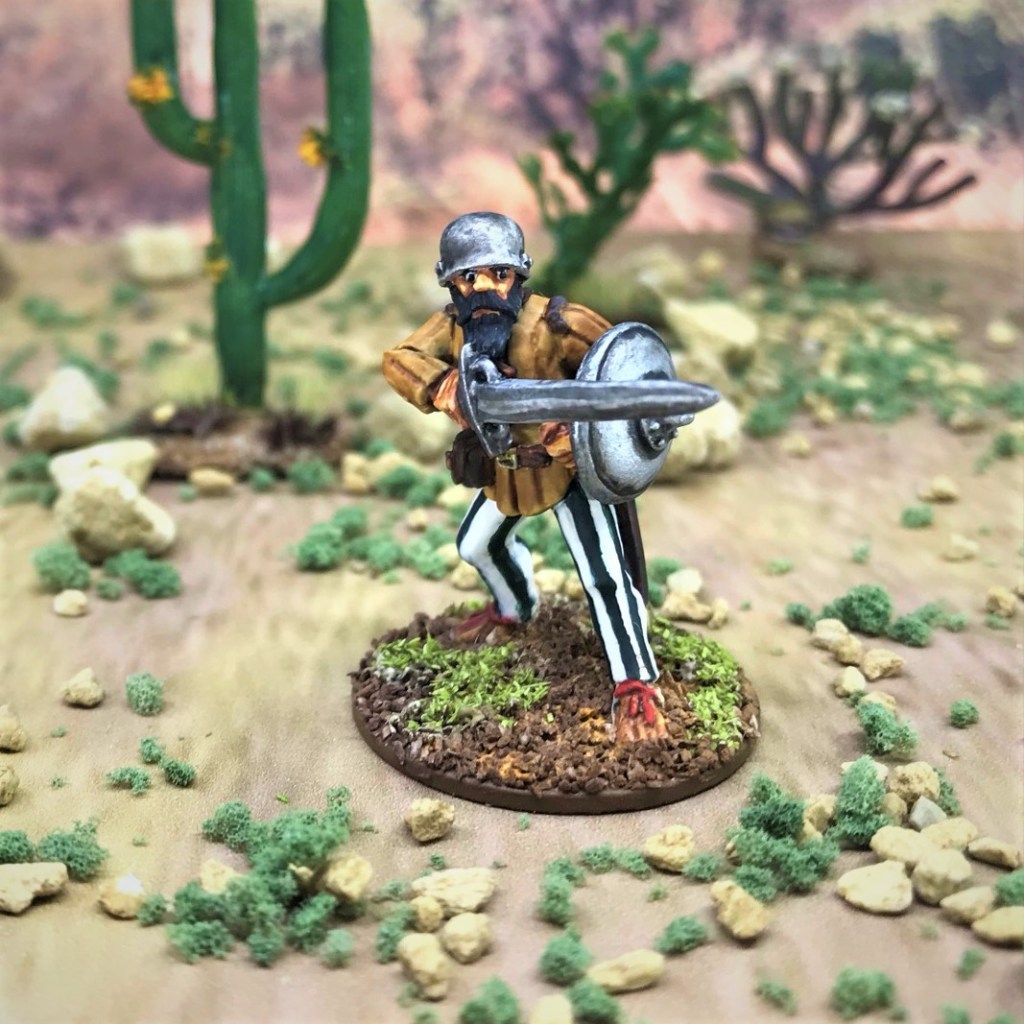
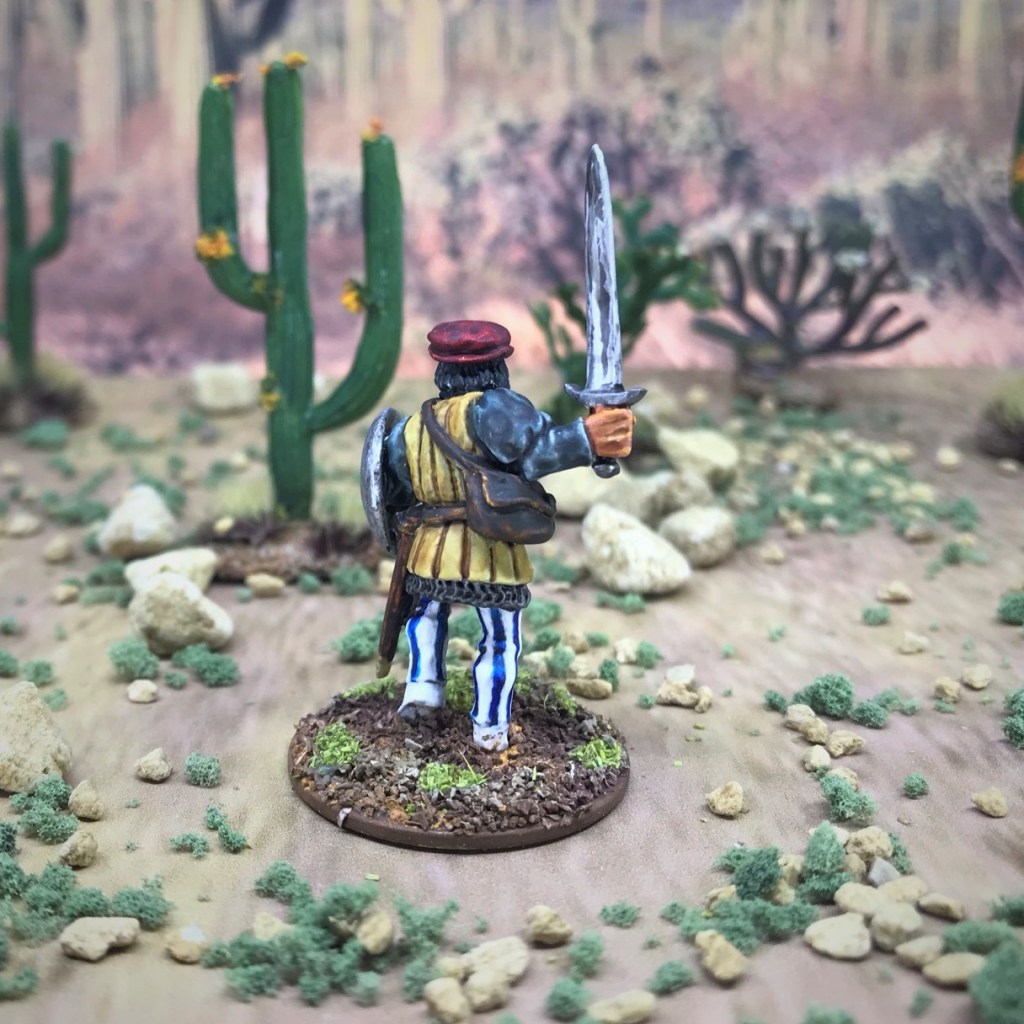
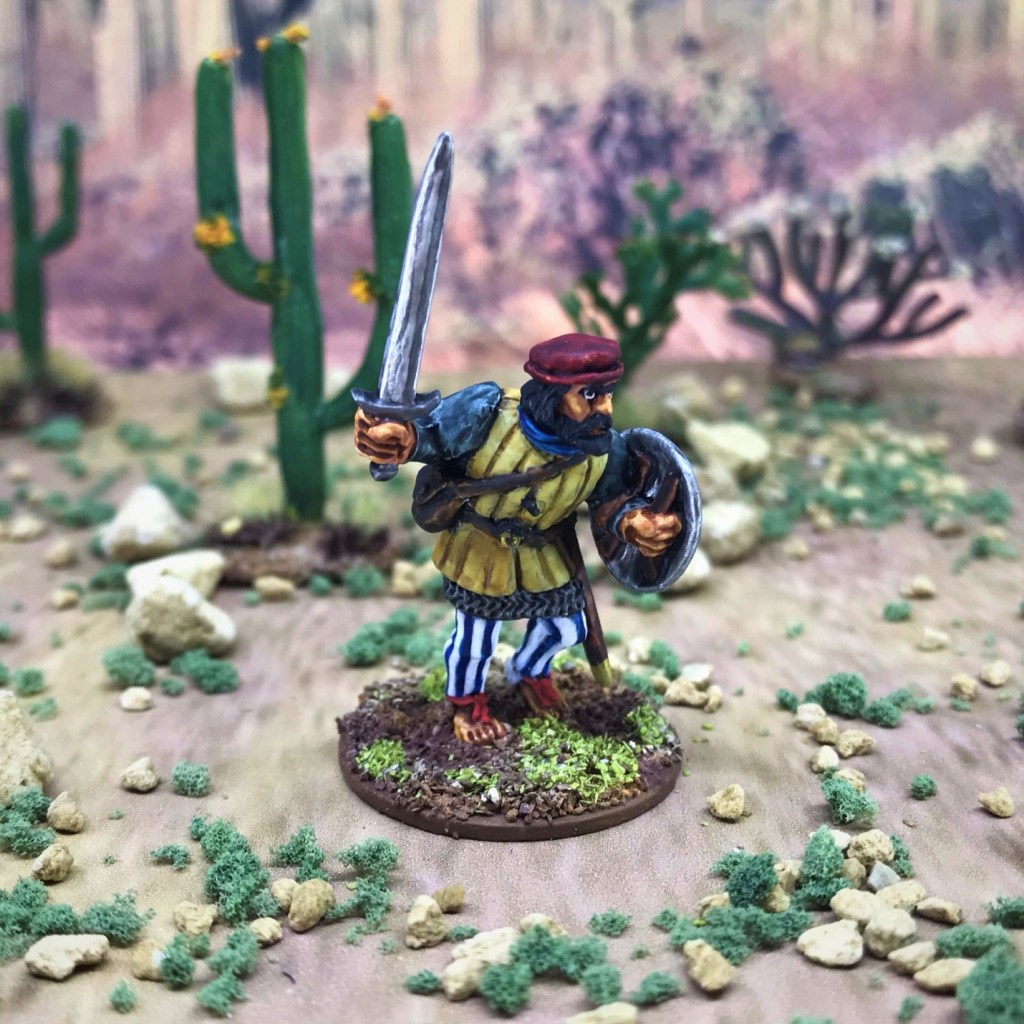
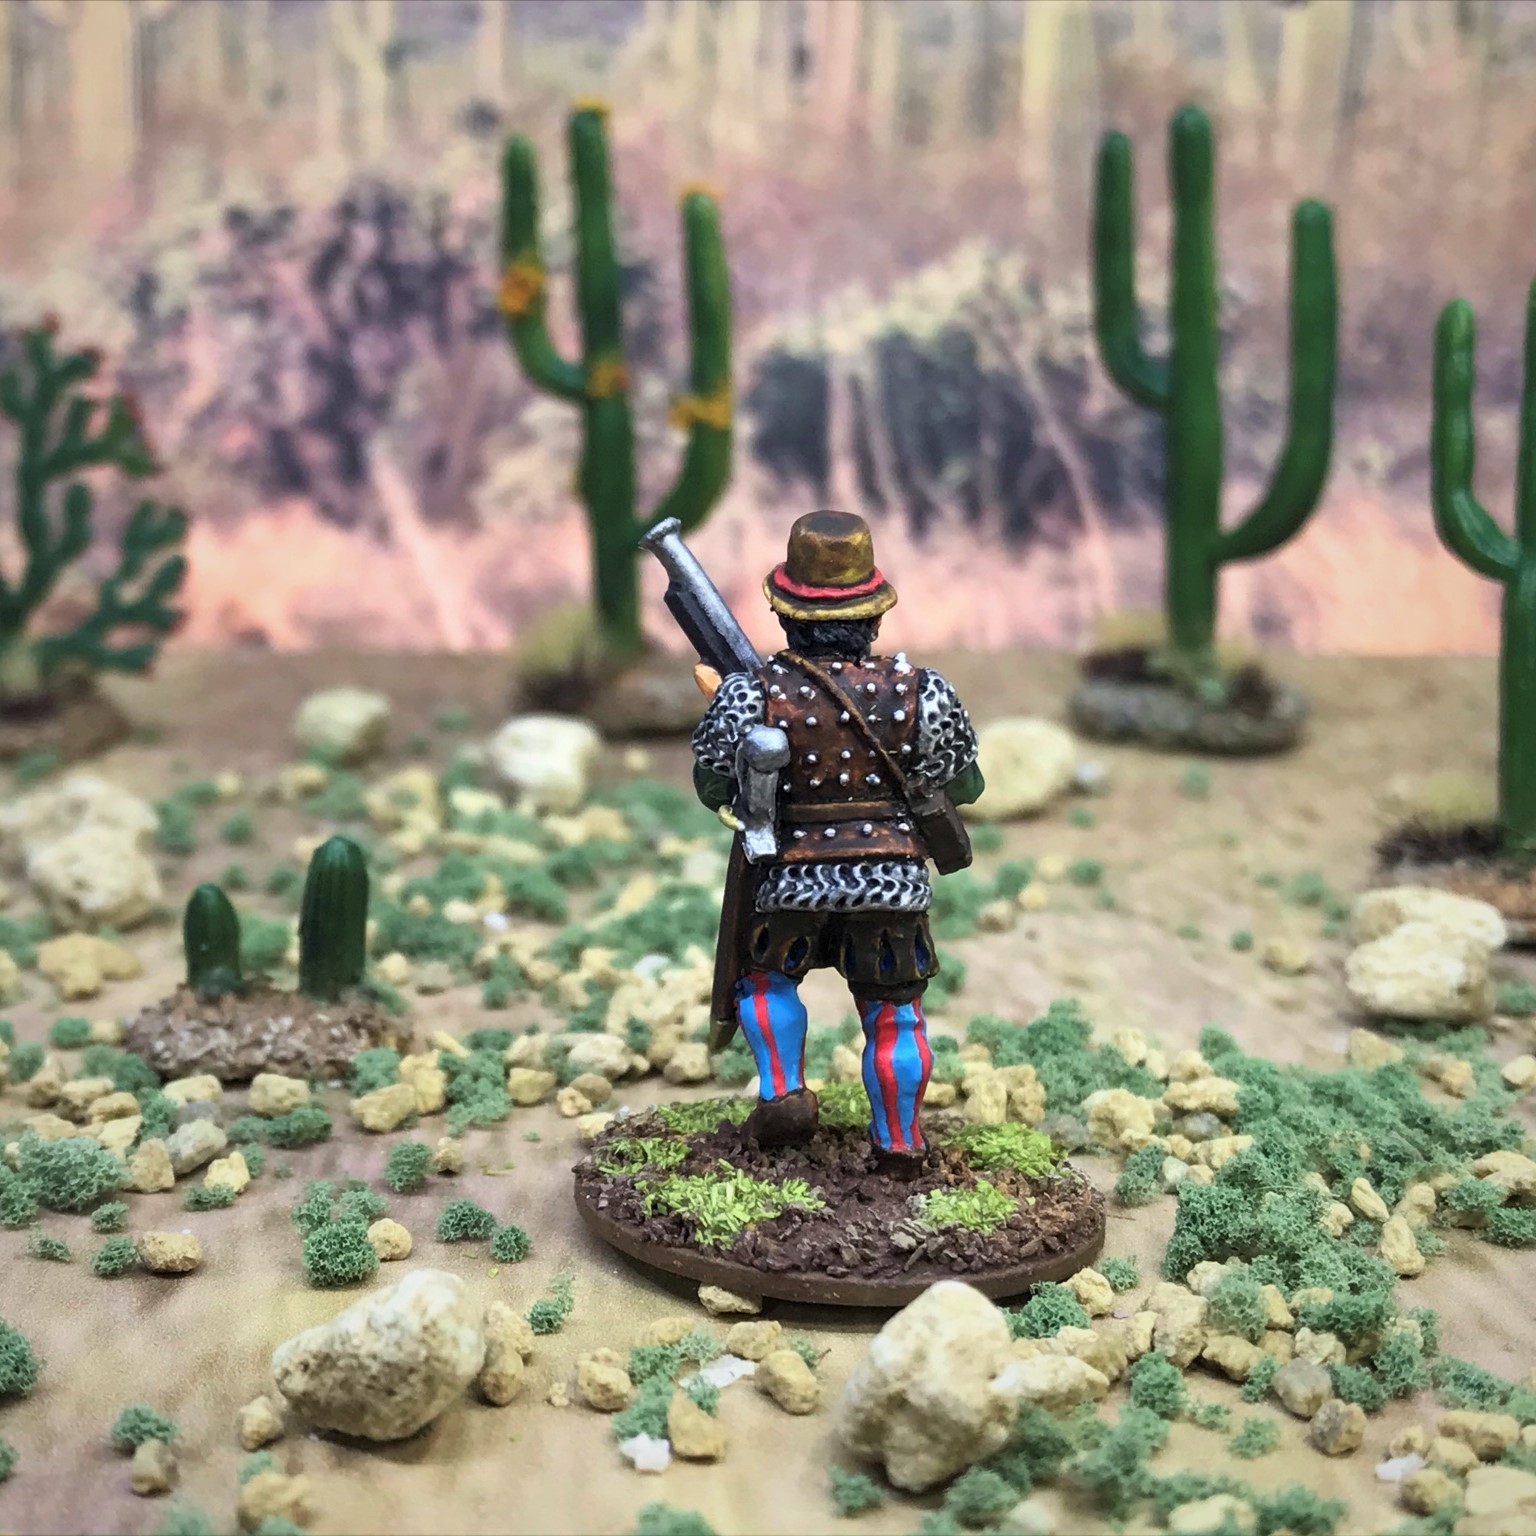
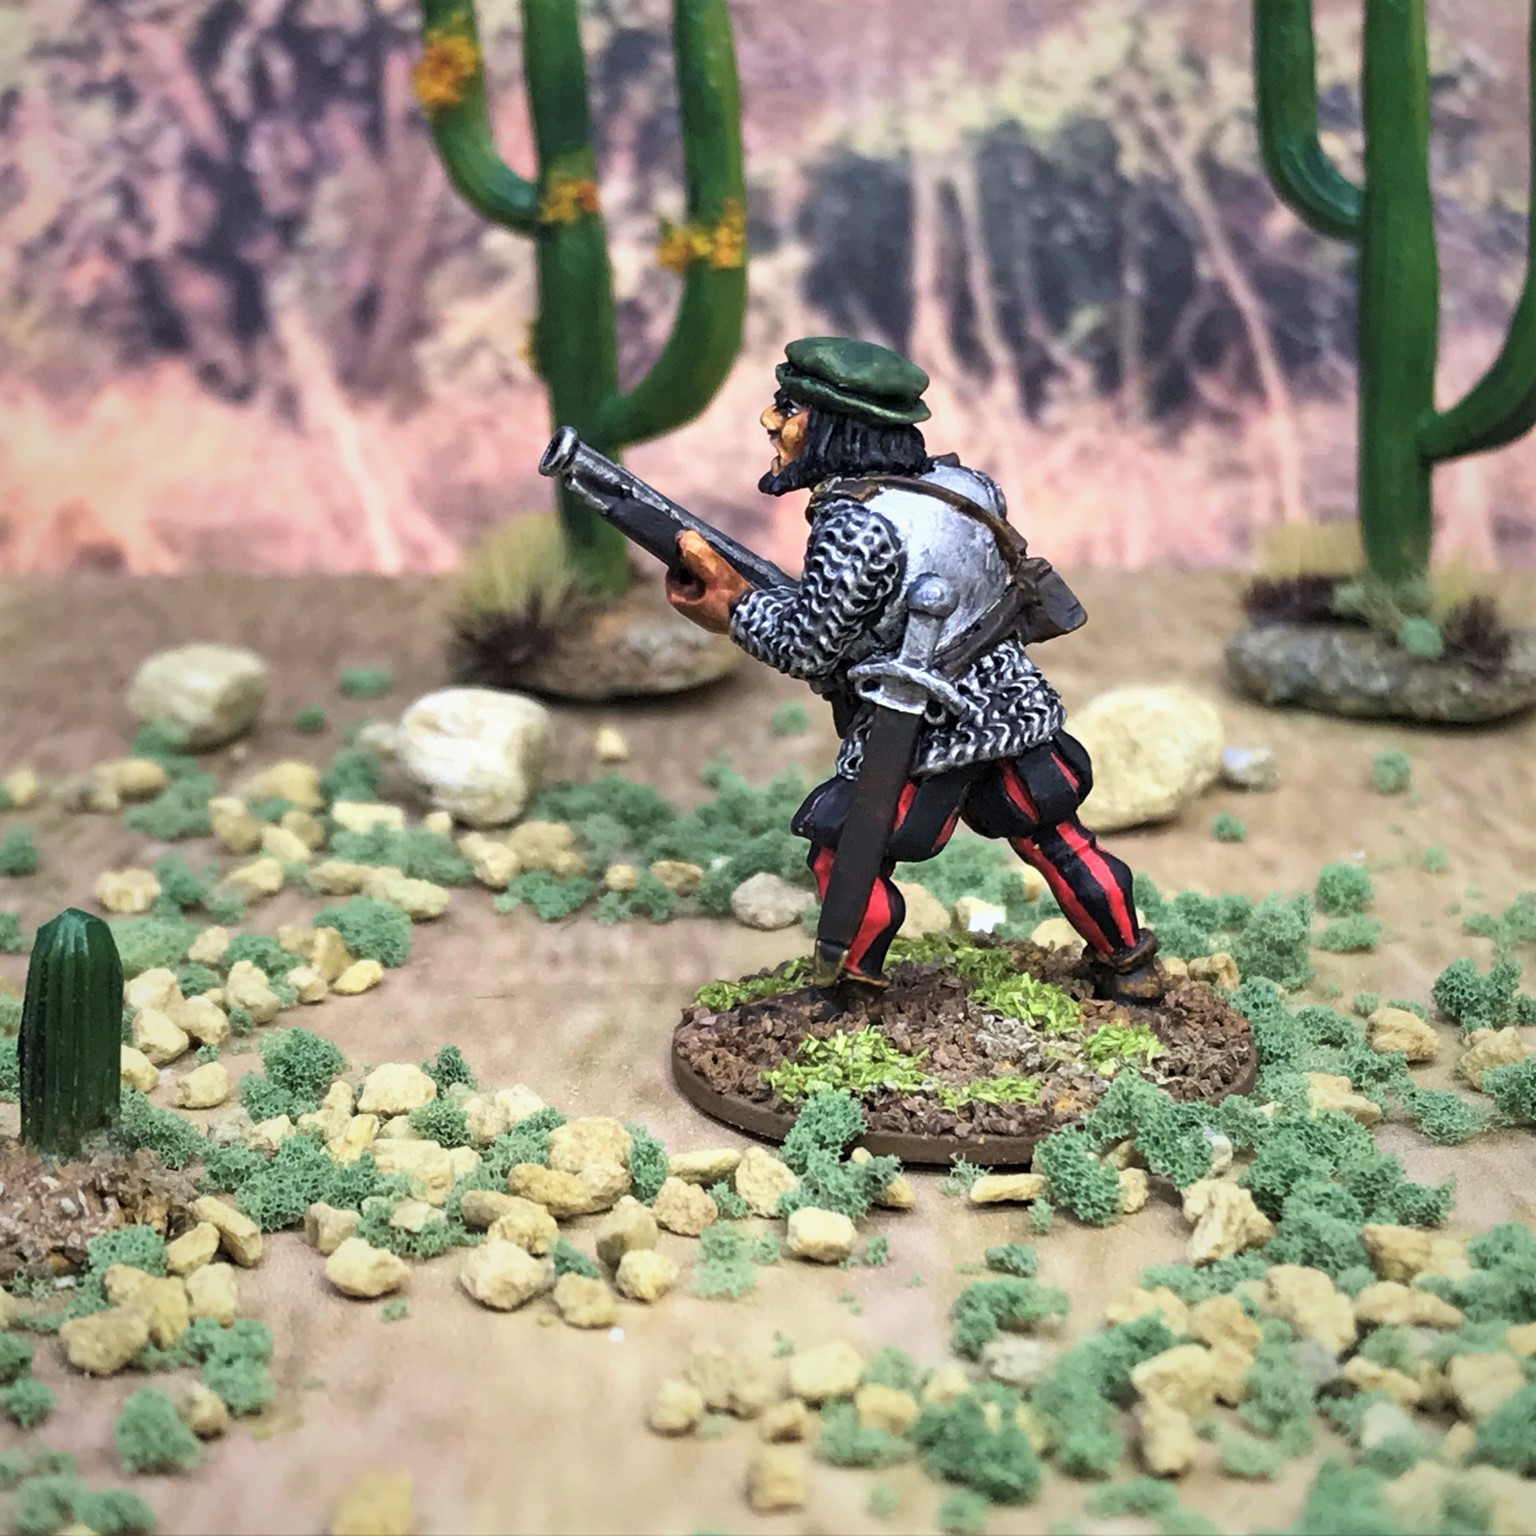
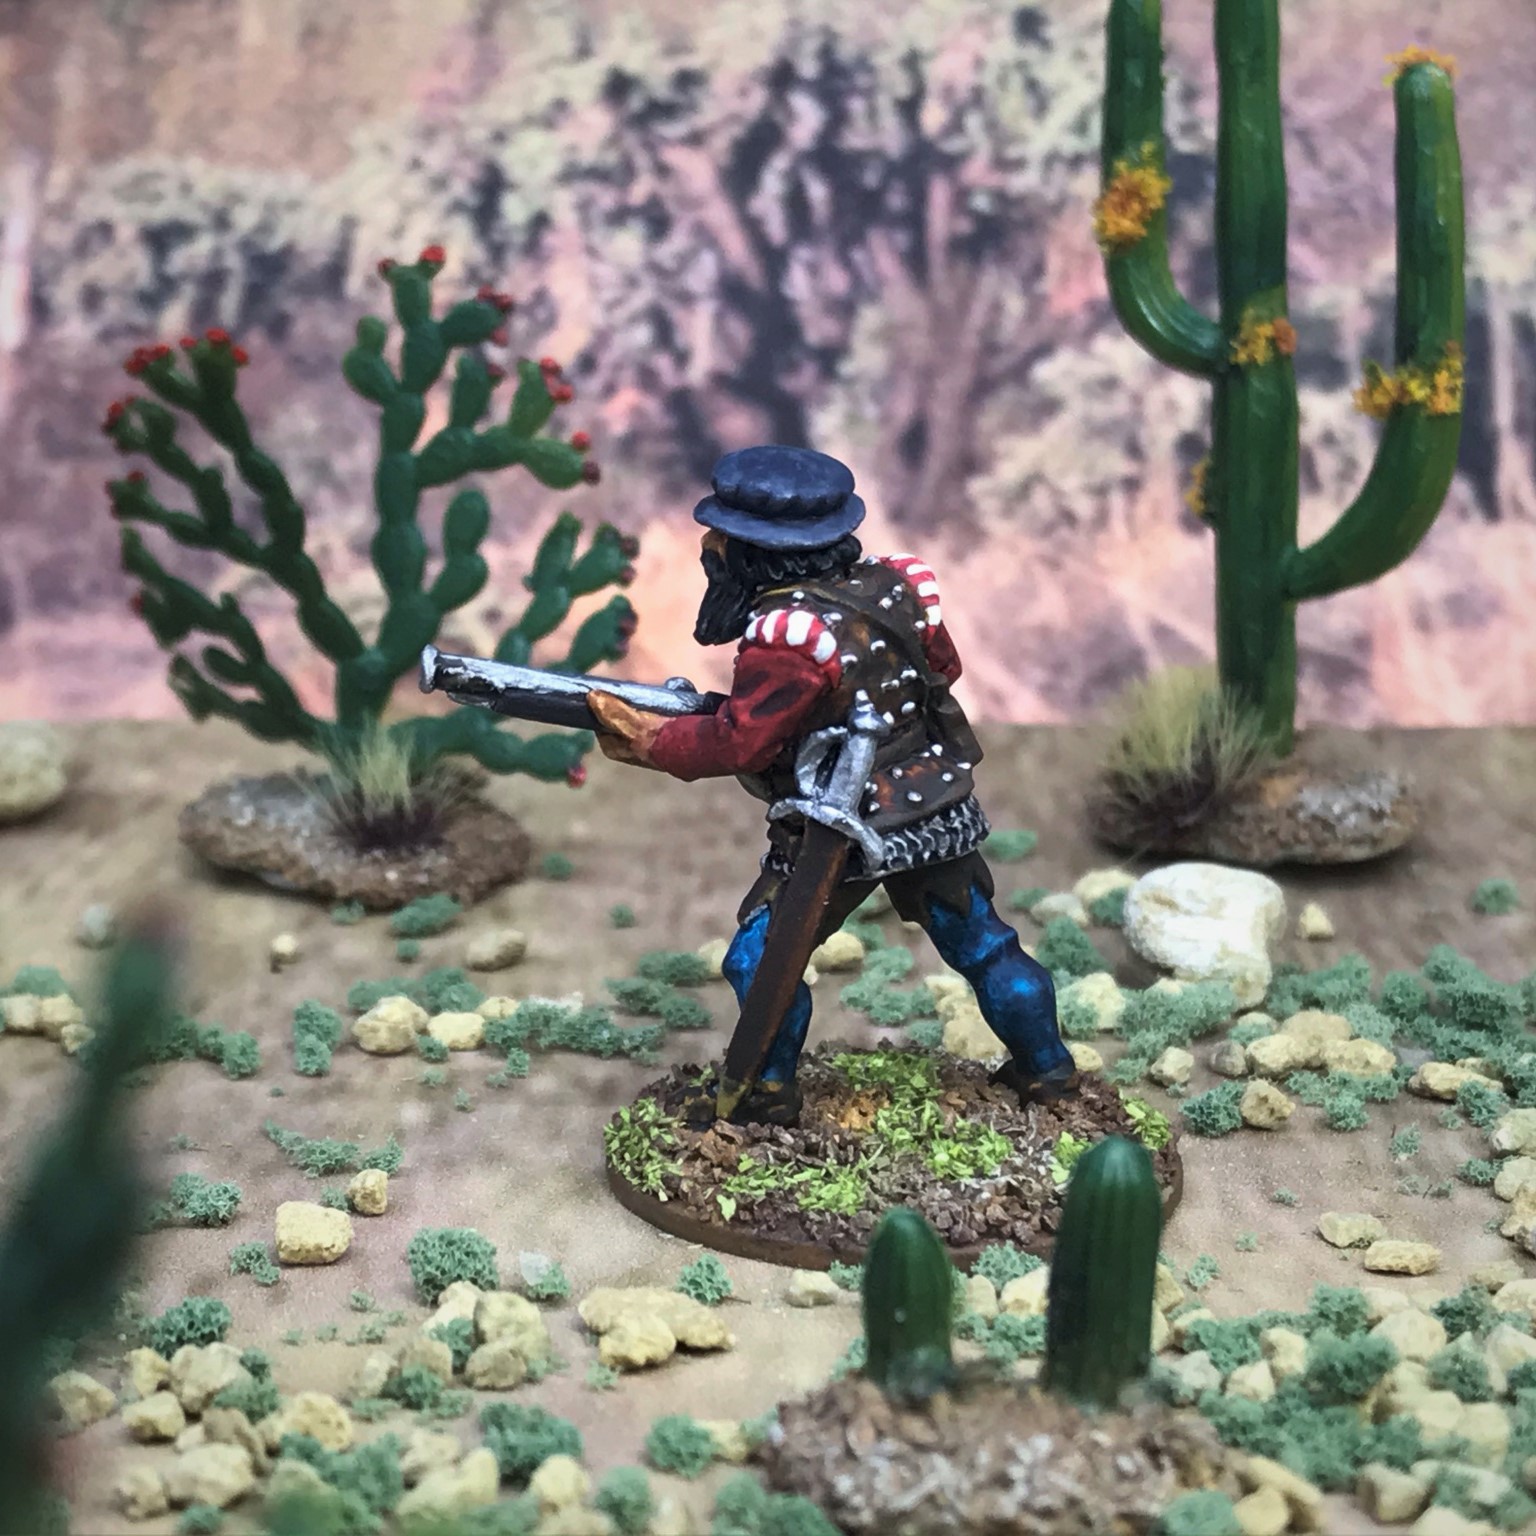
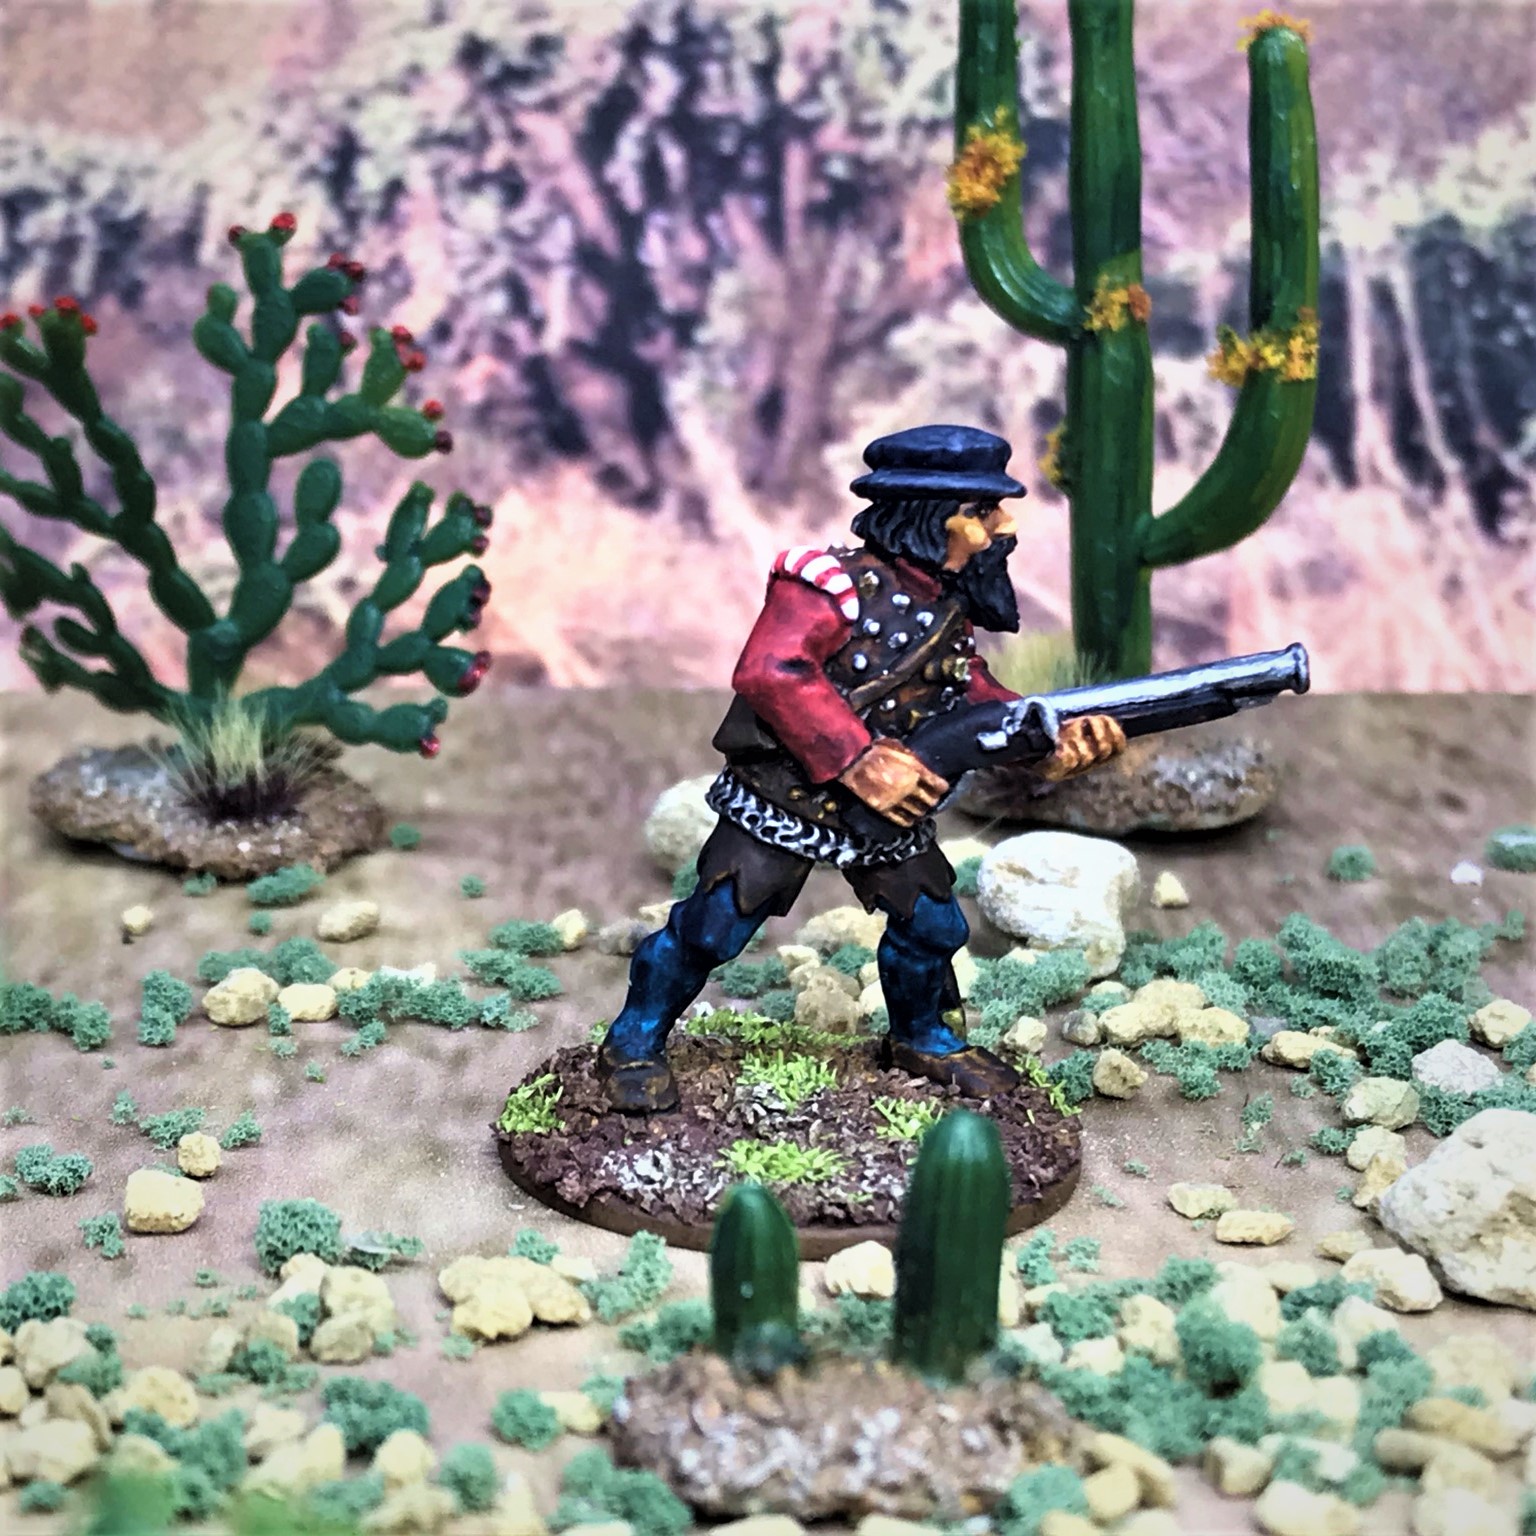
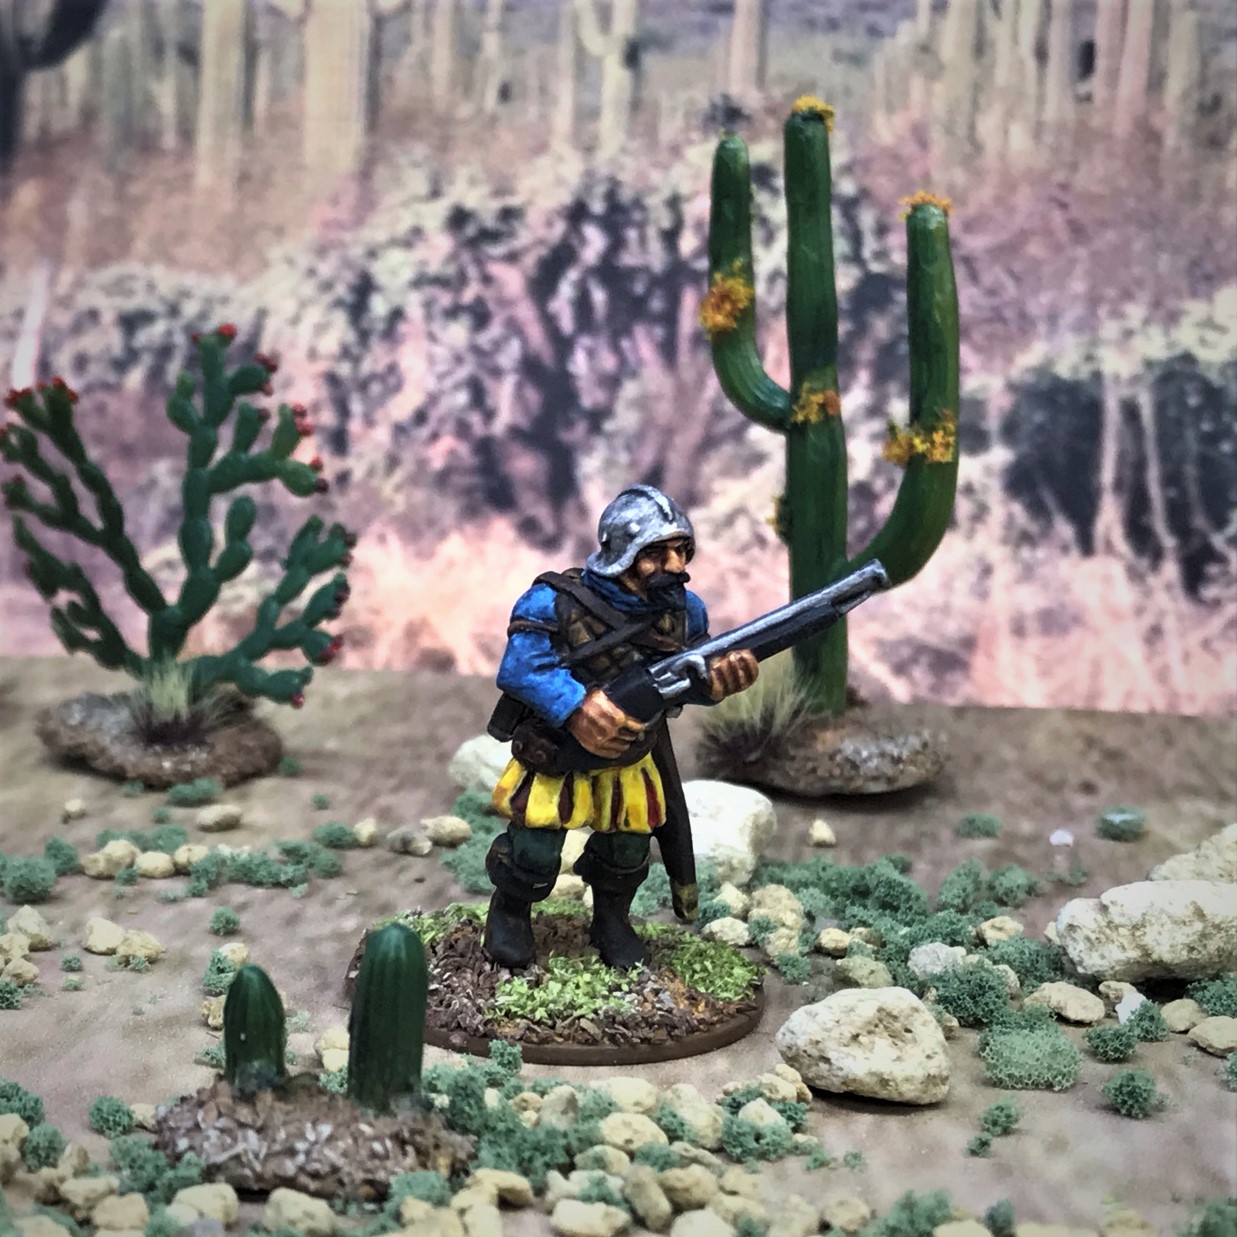
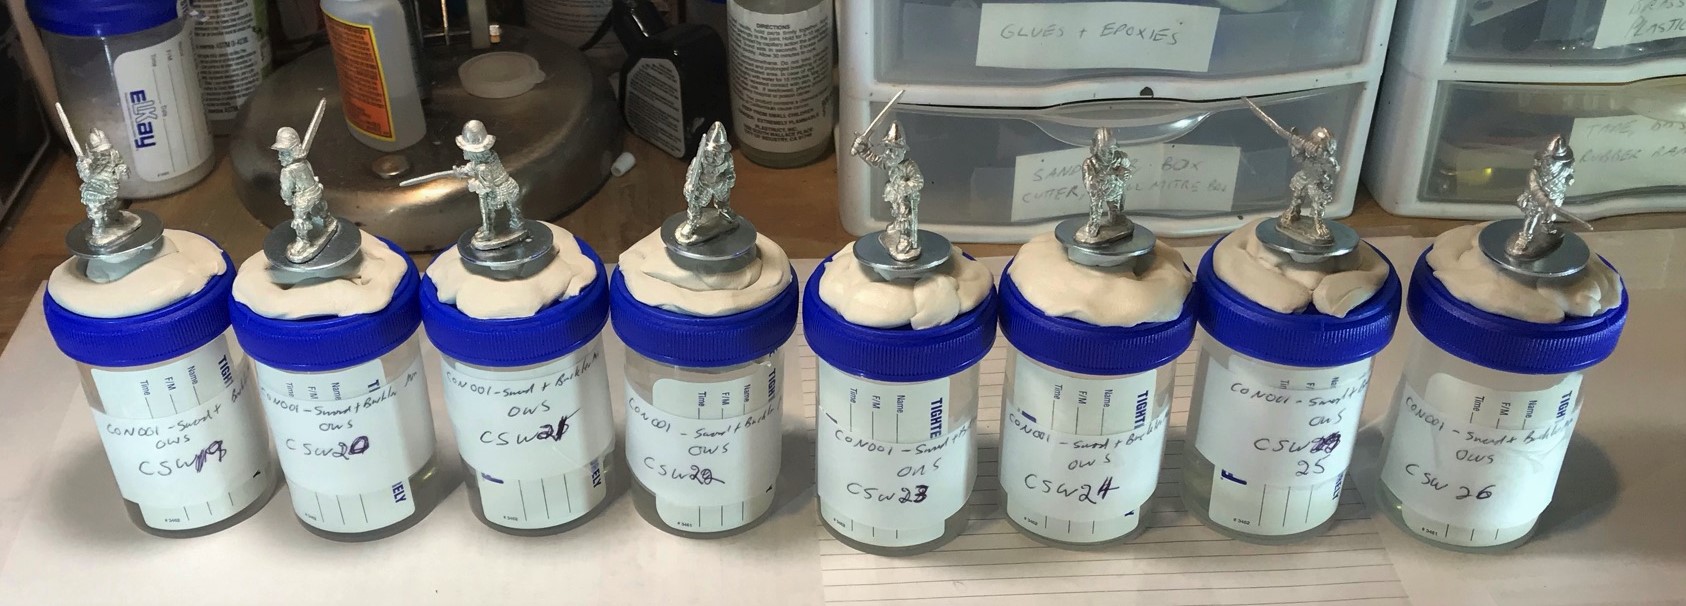
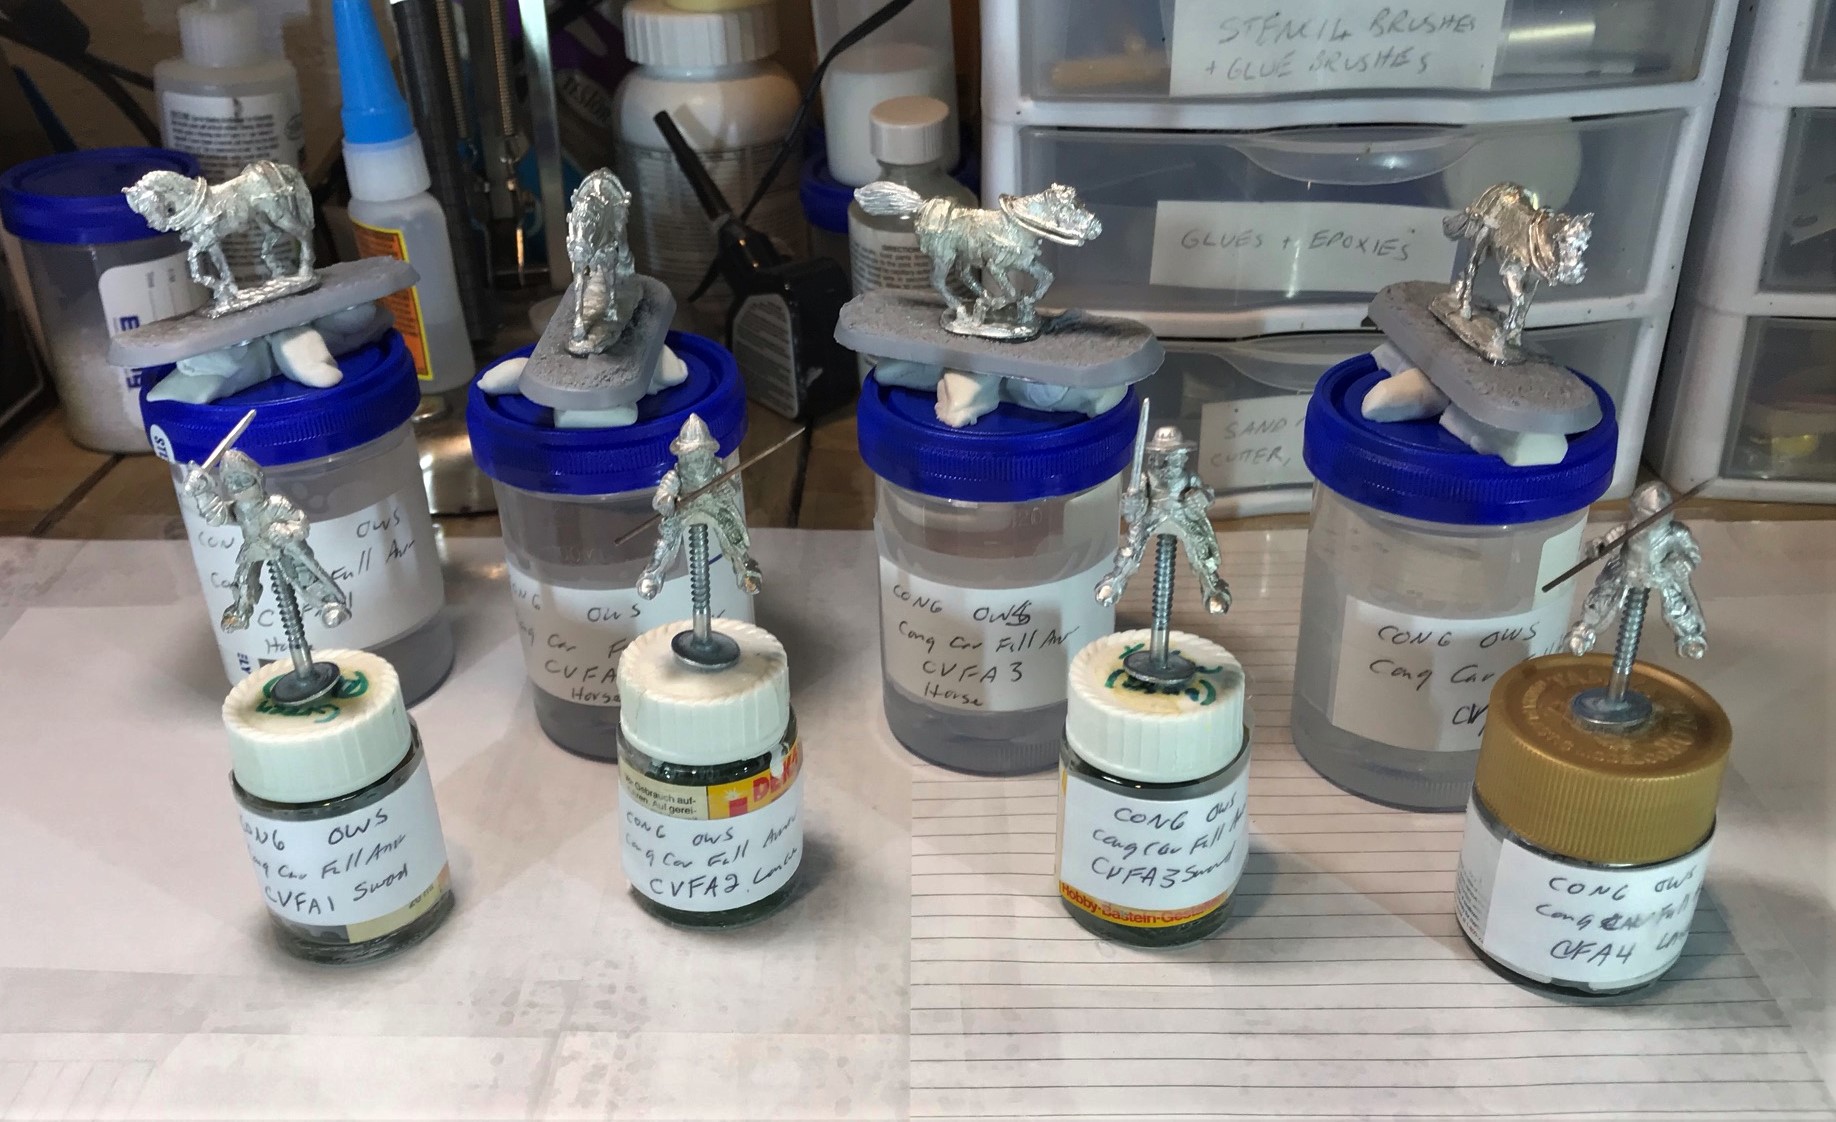
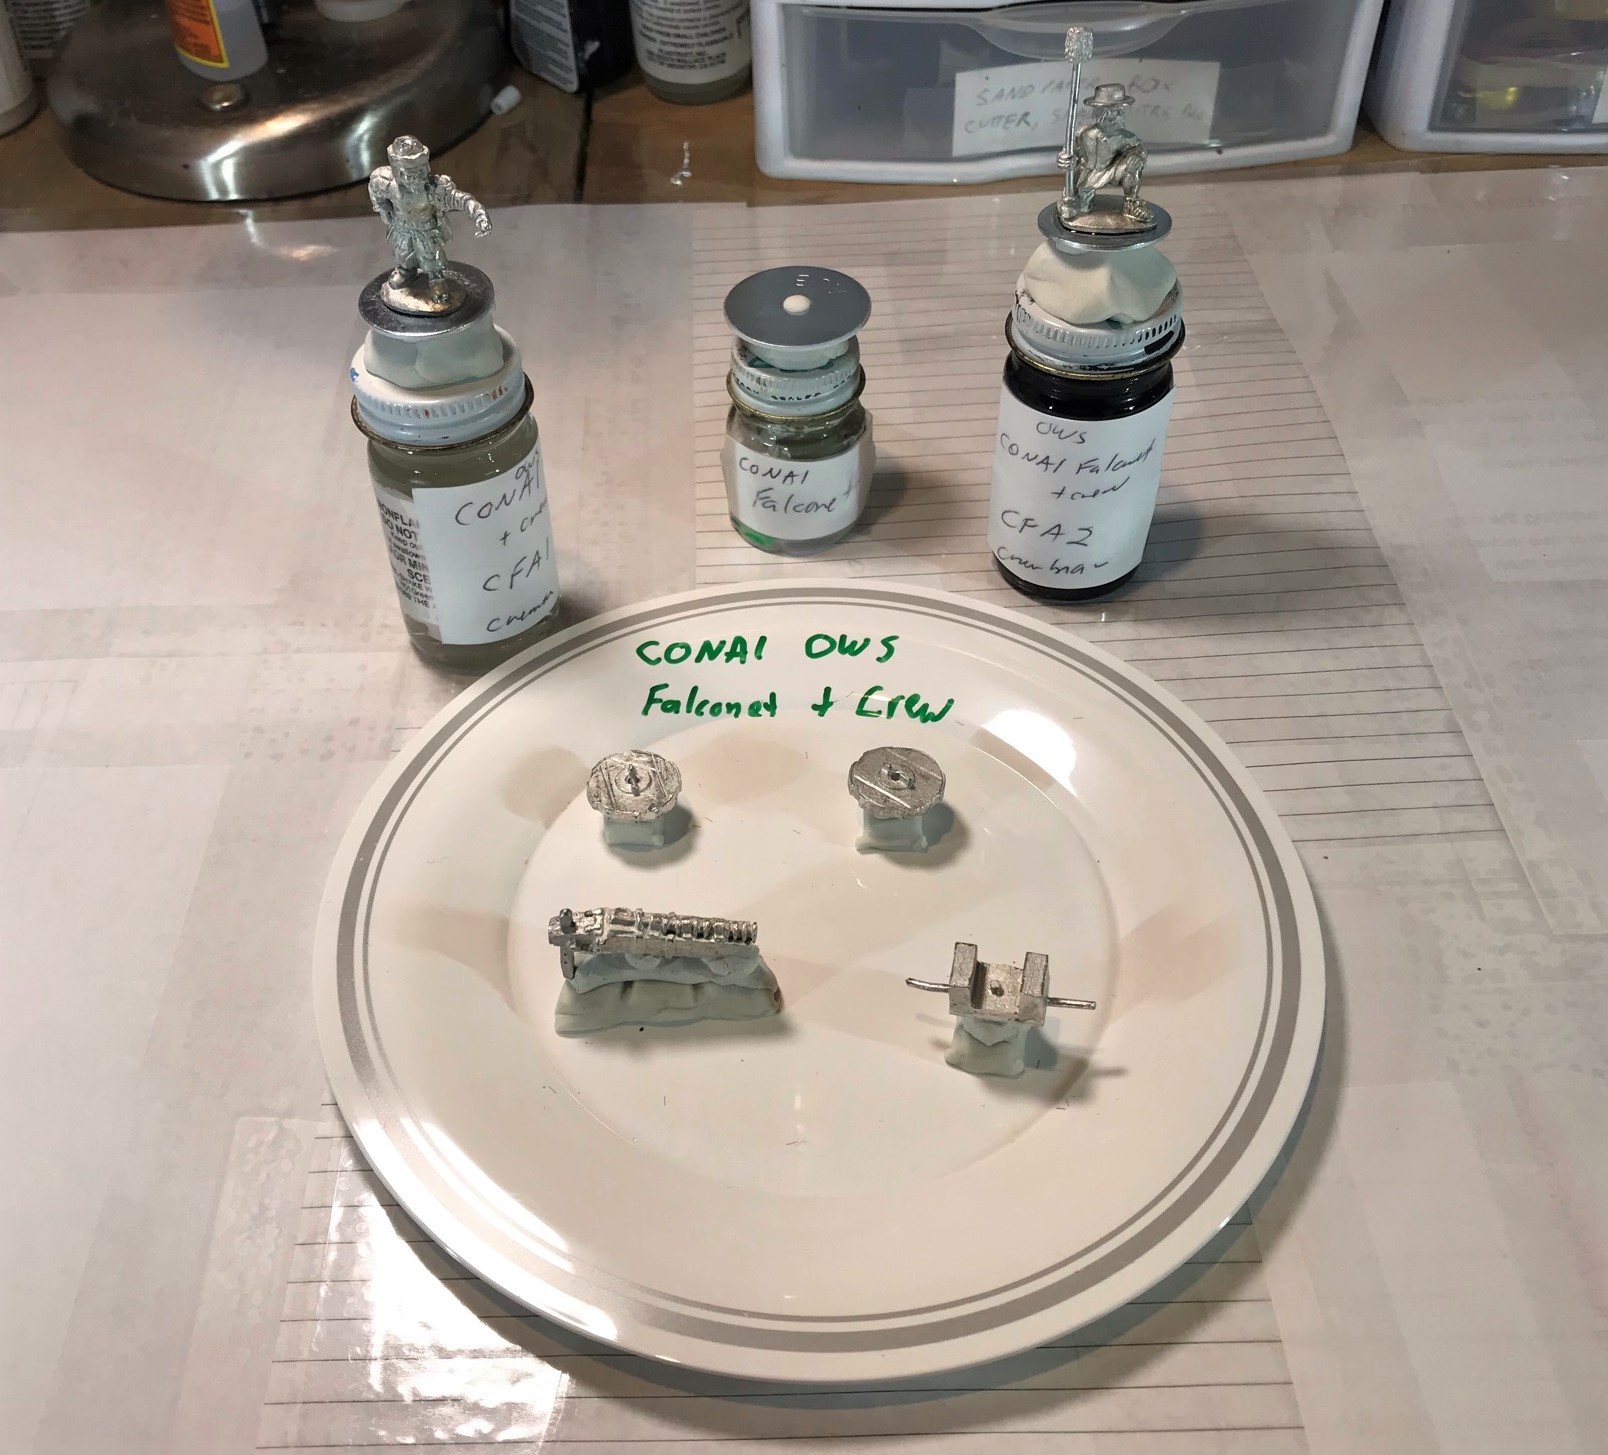
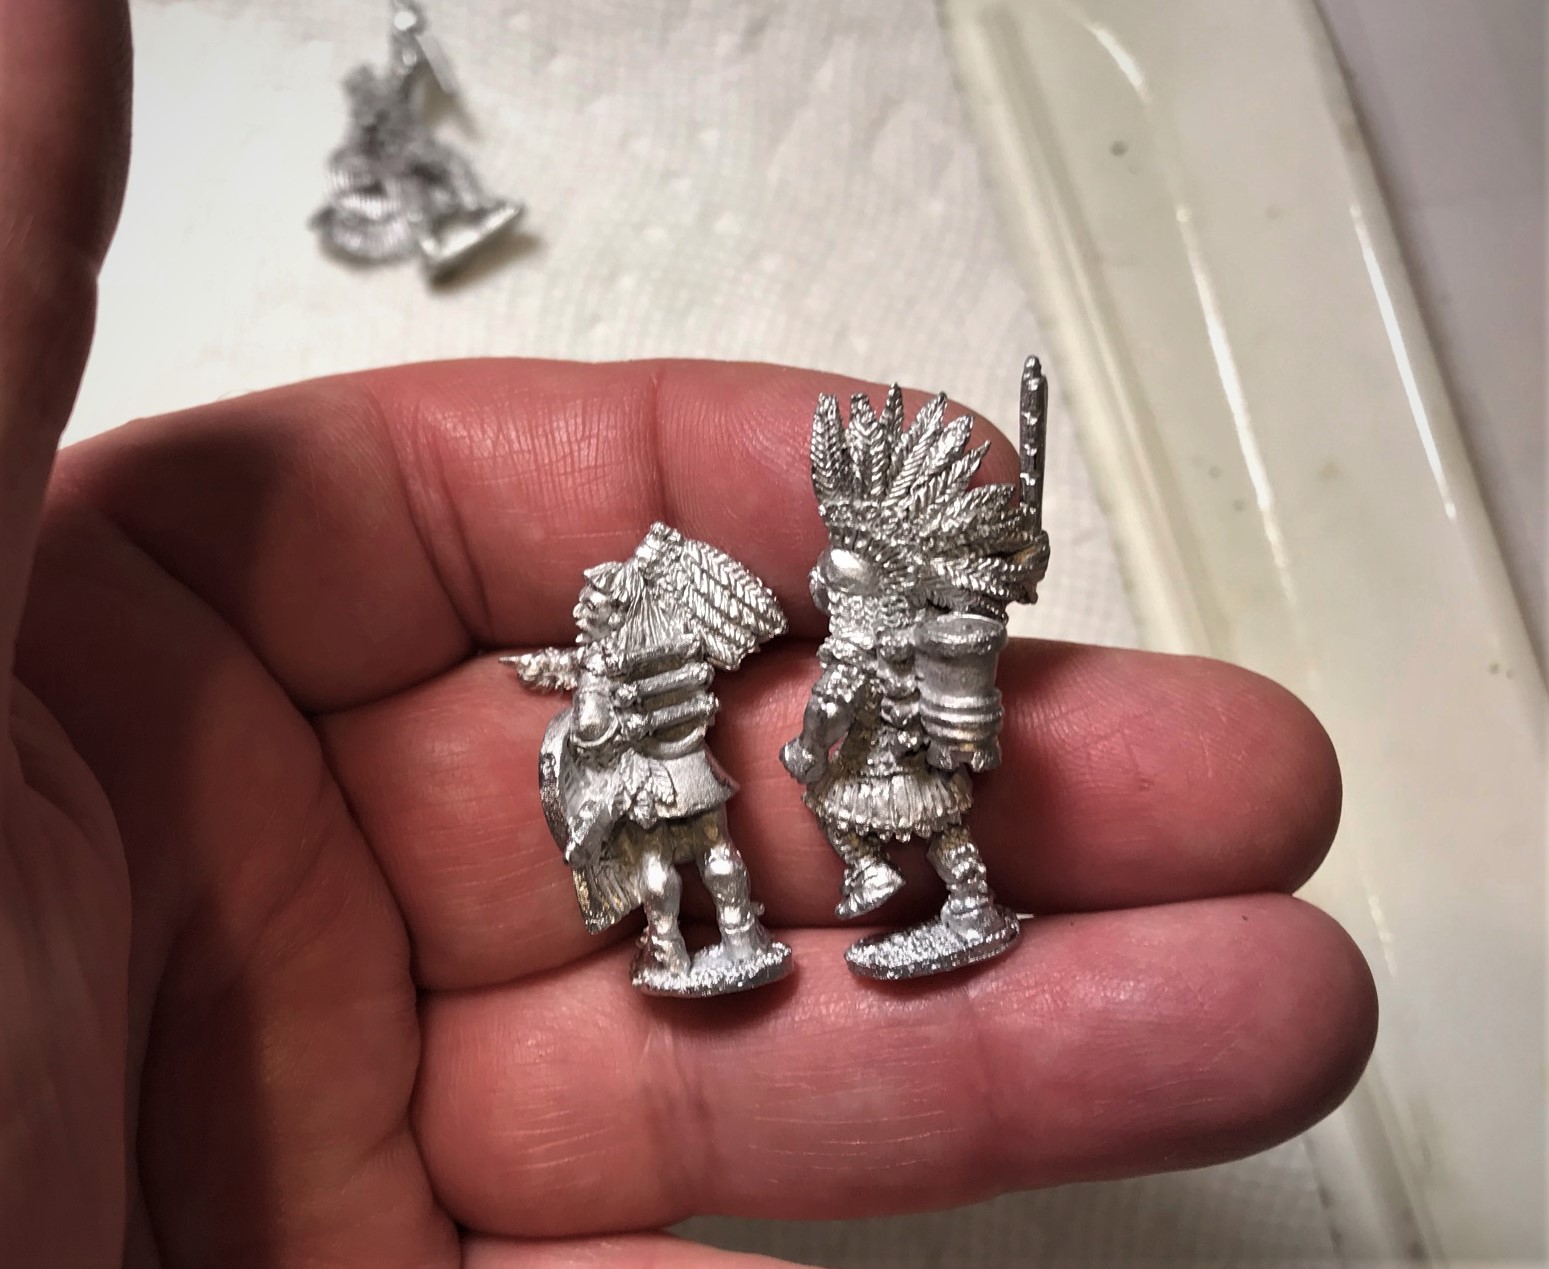
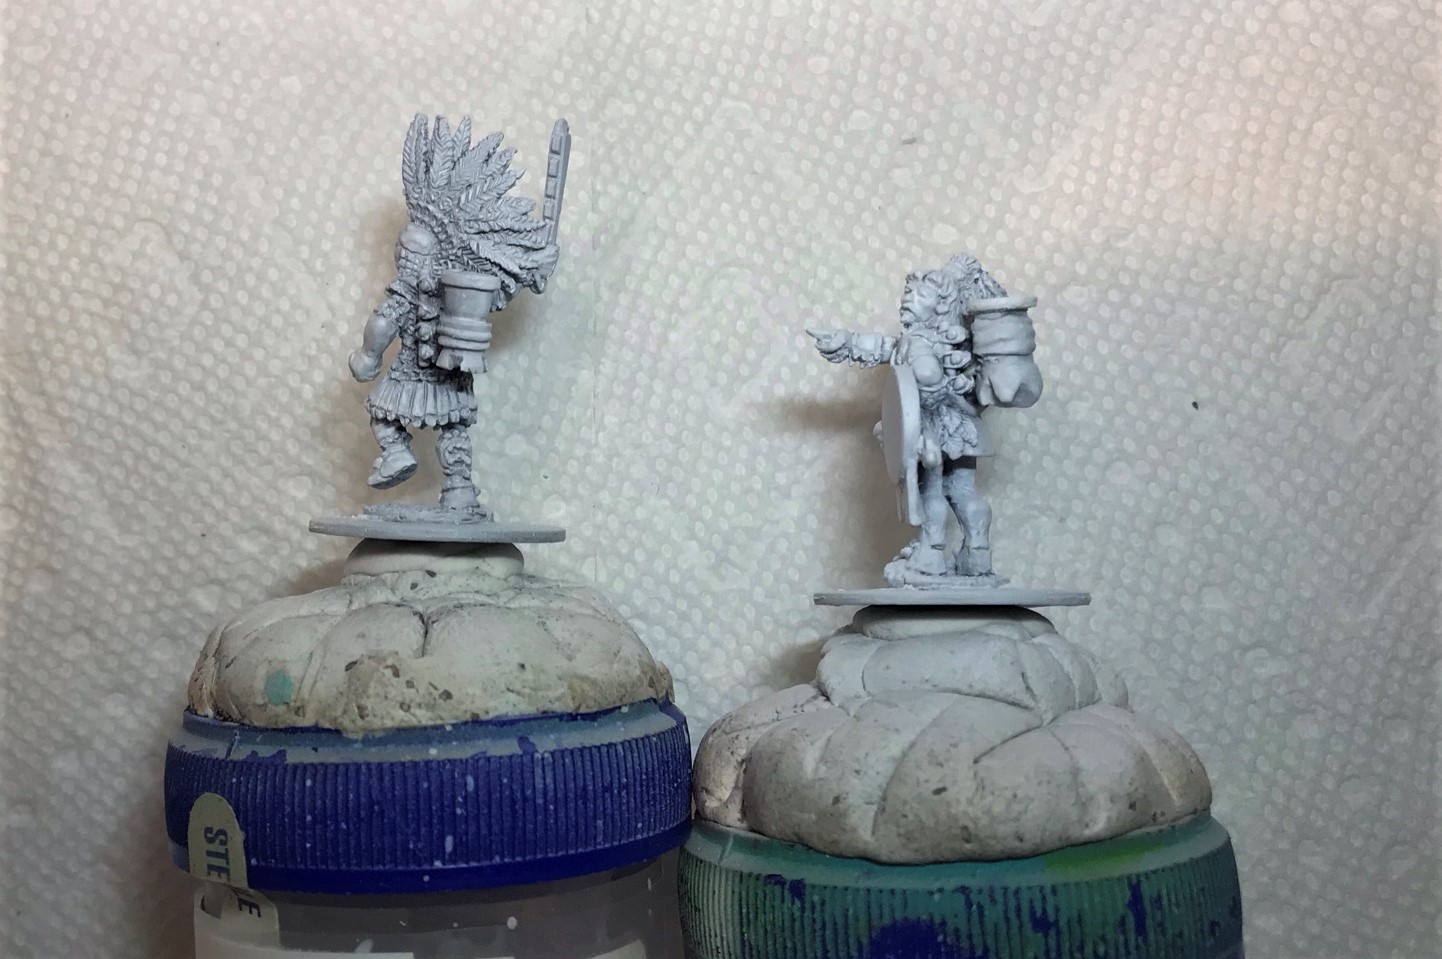
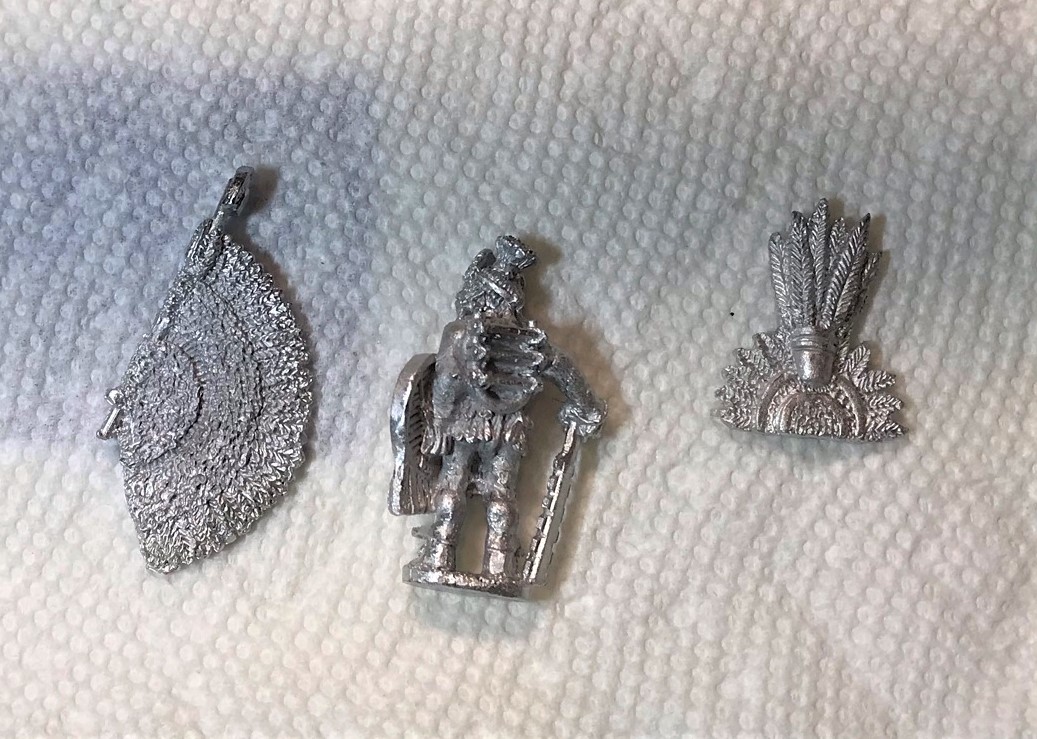
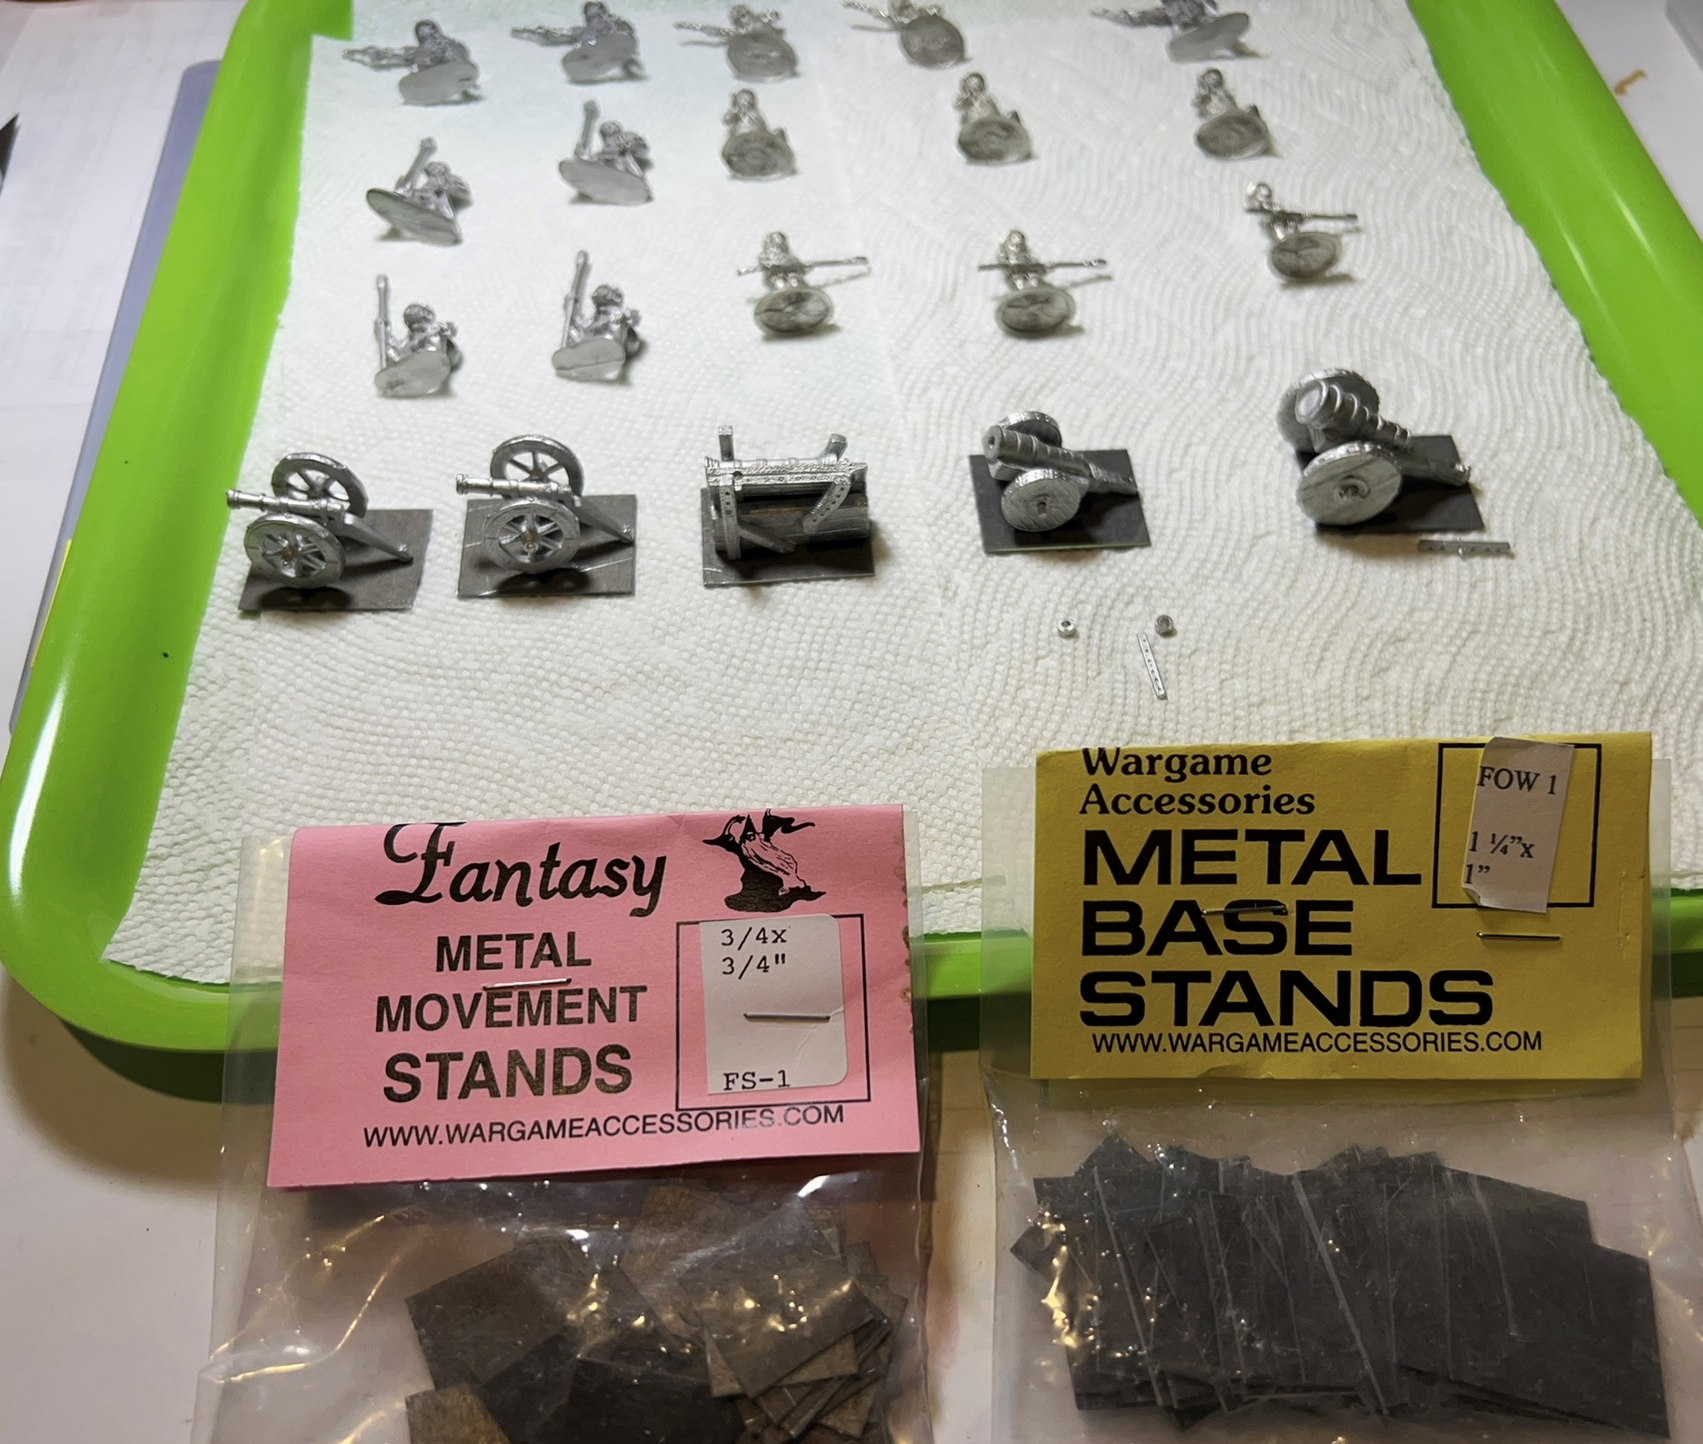
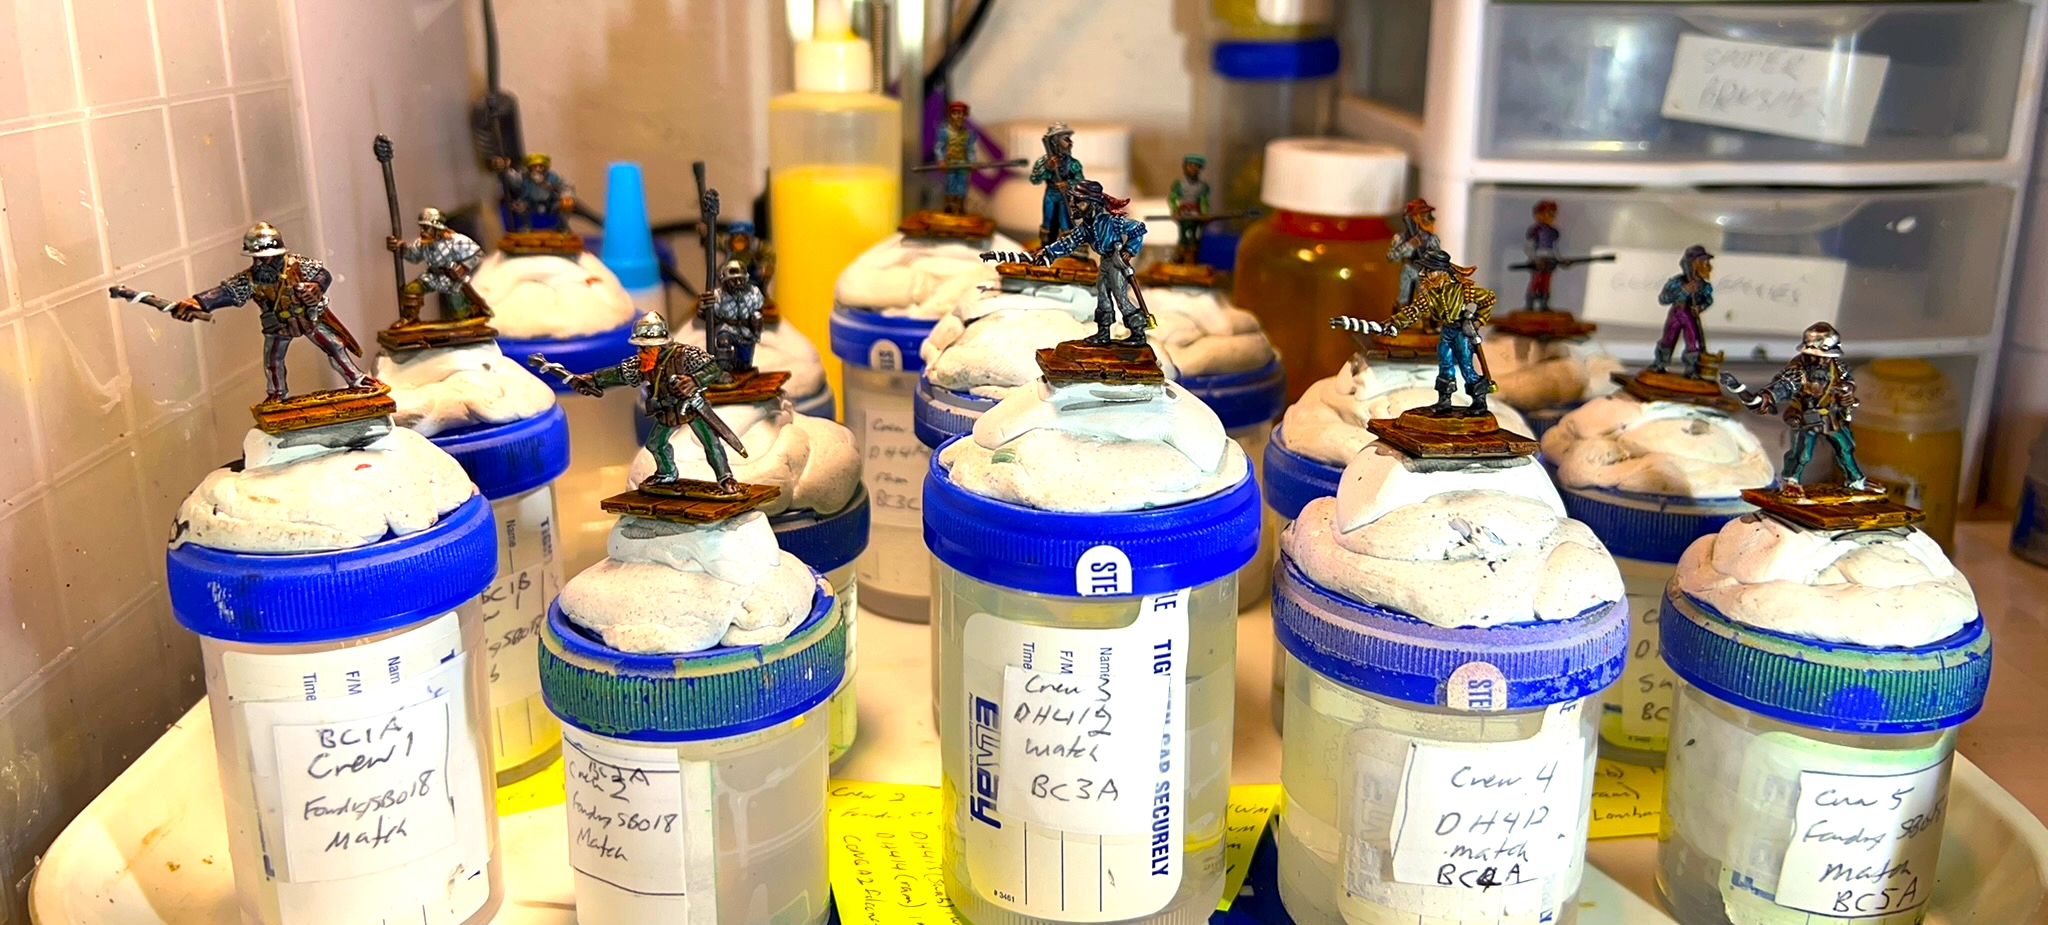
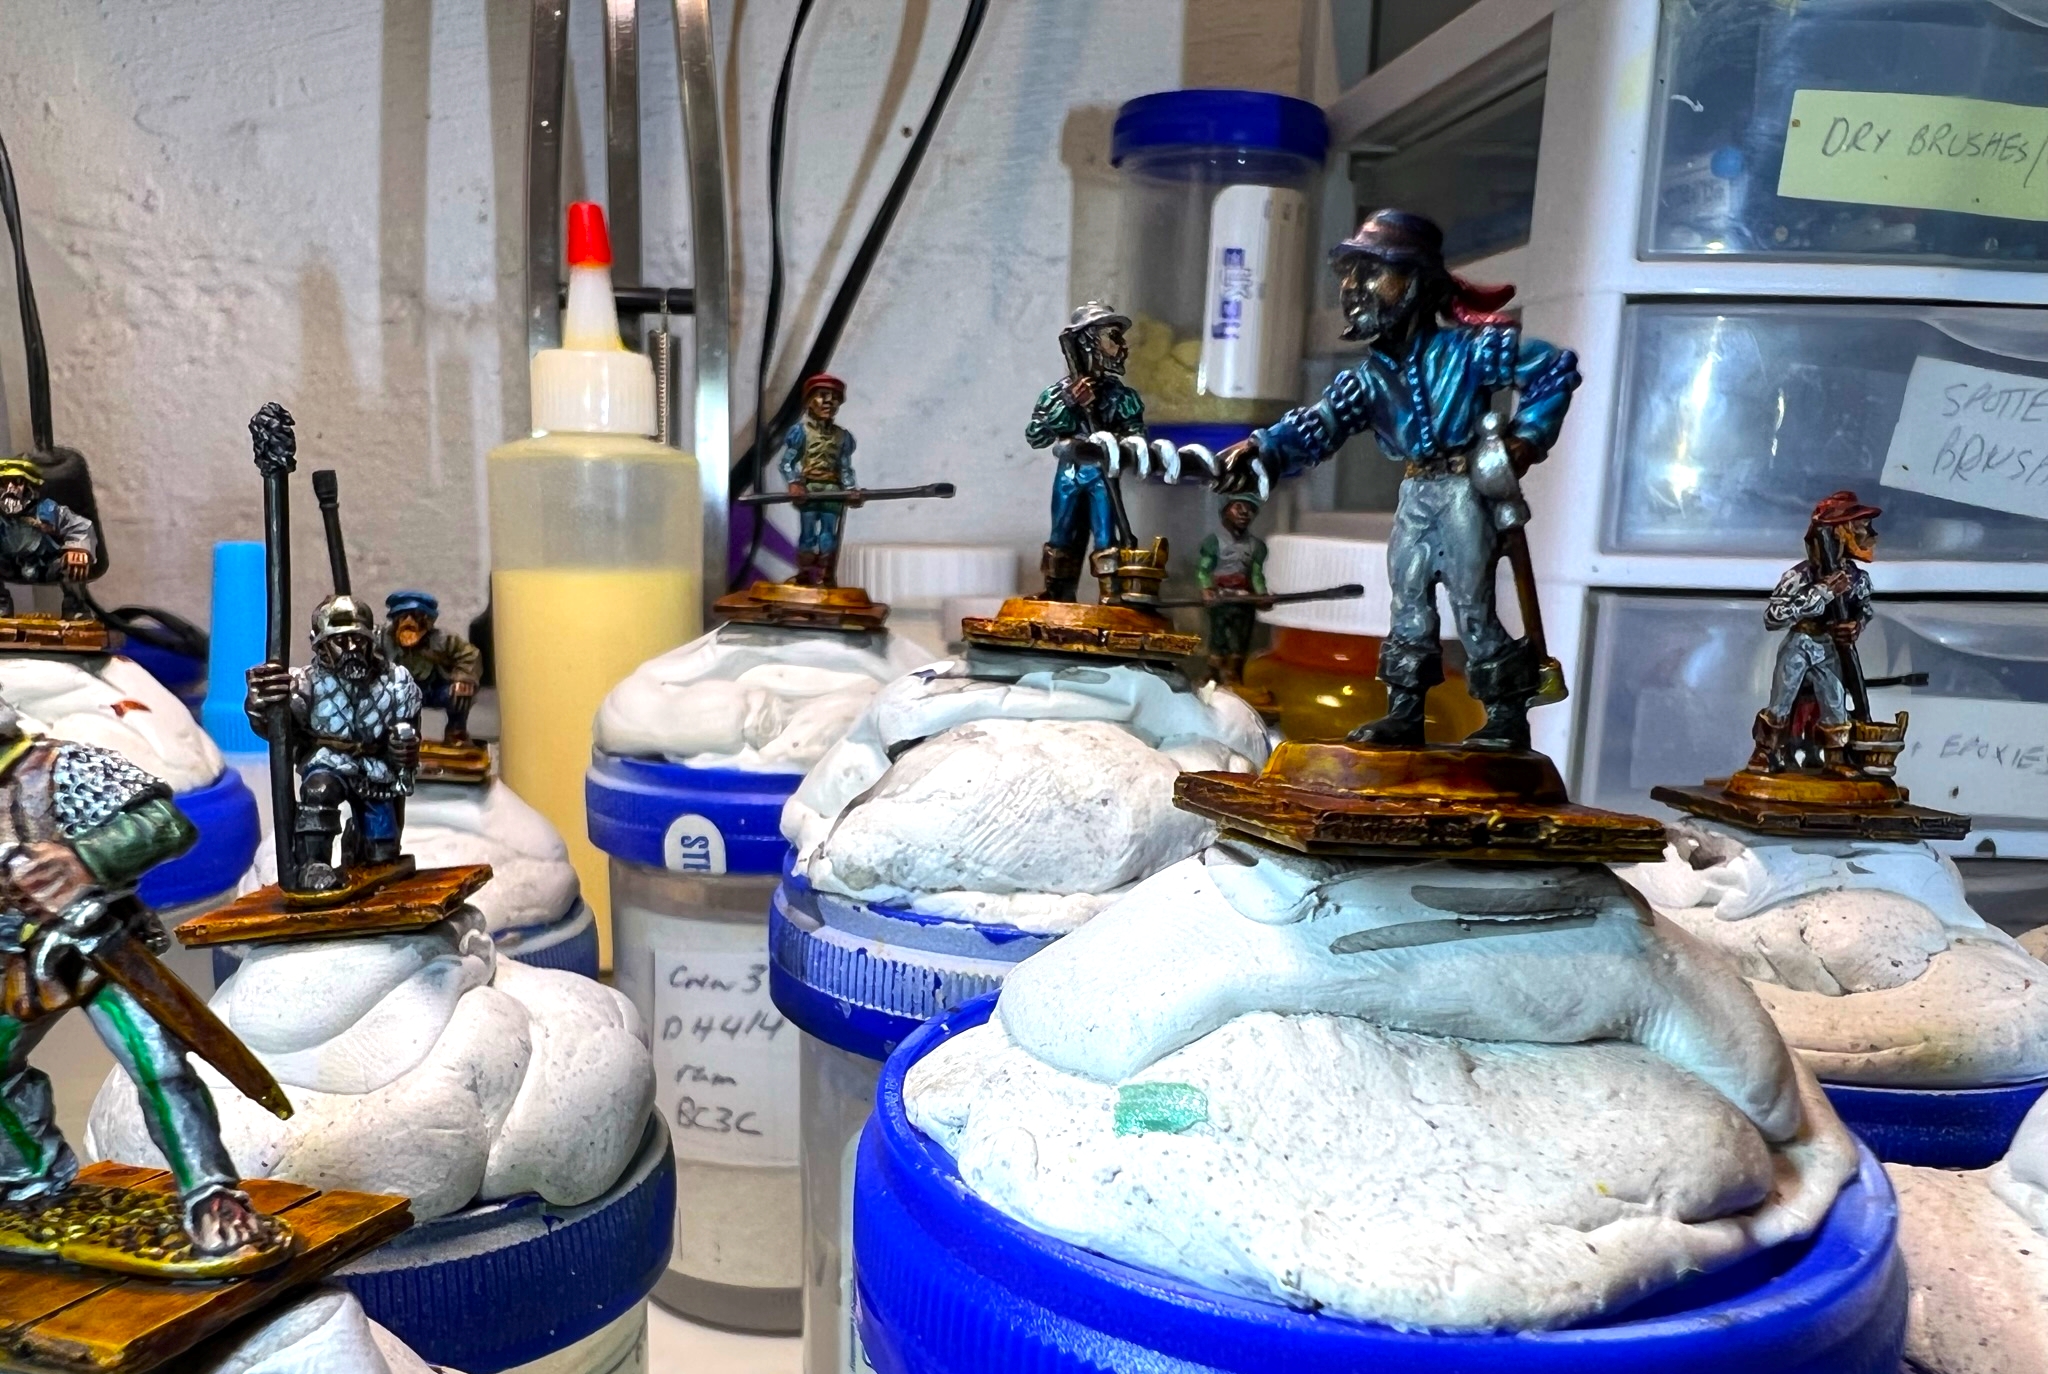
I needed a few criteria to be satisfied here. First, I wanted the 28mm crews and guns to be different both in terms of paint scheme and in terms of figures/poses. Given that, sourcing the crew proved to be a bit of a challenge. I found the one two-man crew set from Outpost Wargames (via Badger Games) that I previously painted for land warfare (detailed here) to be lacking for my needs here on ships due to size and composition. (I do like that set but not on a ship.)
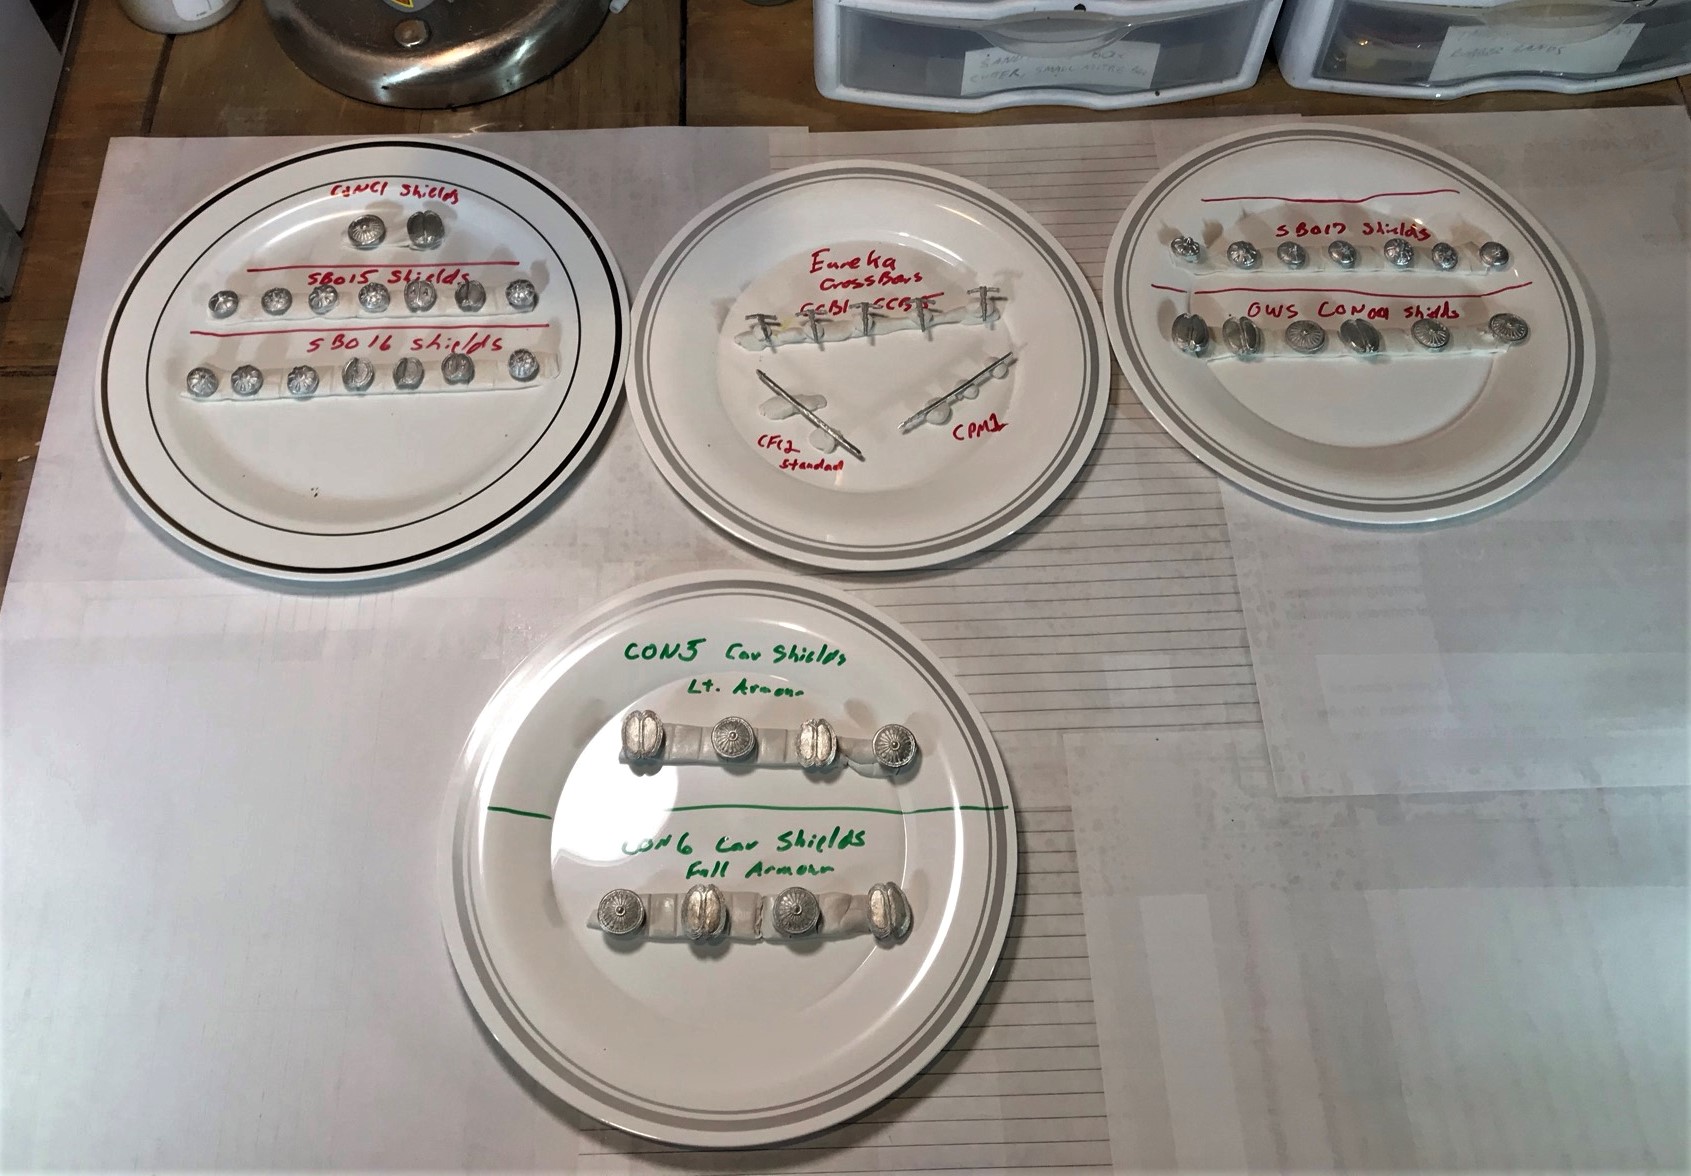
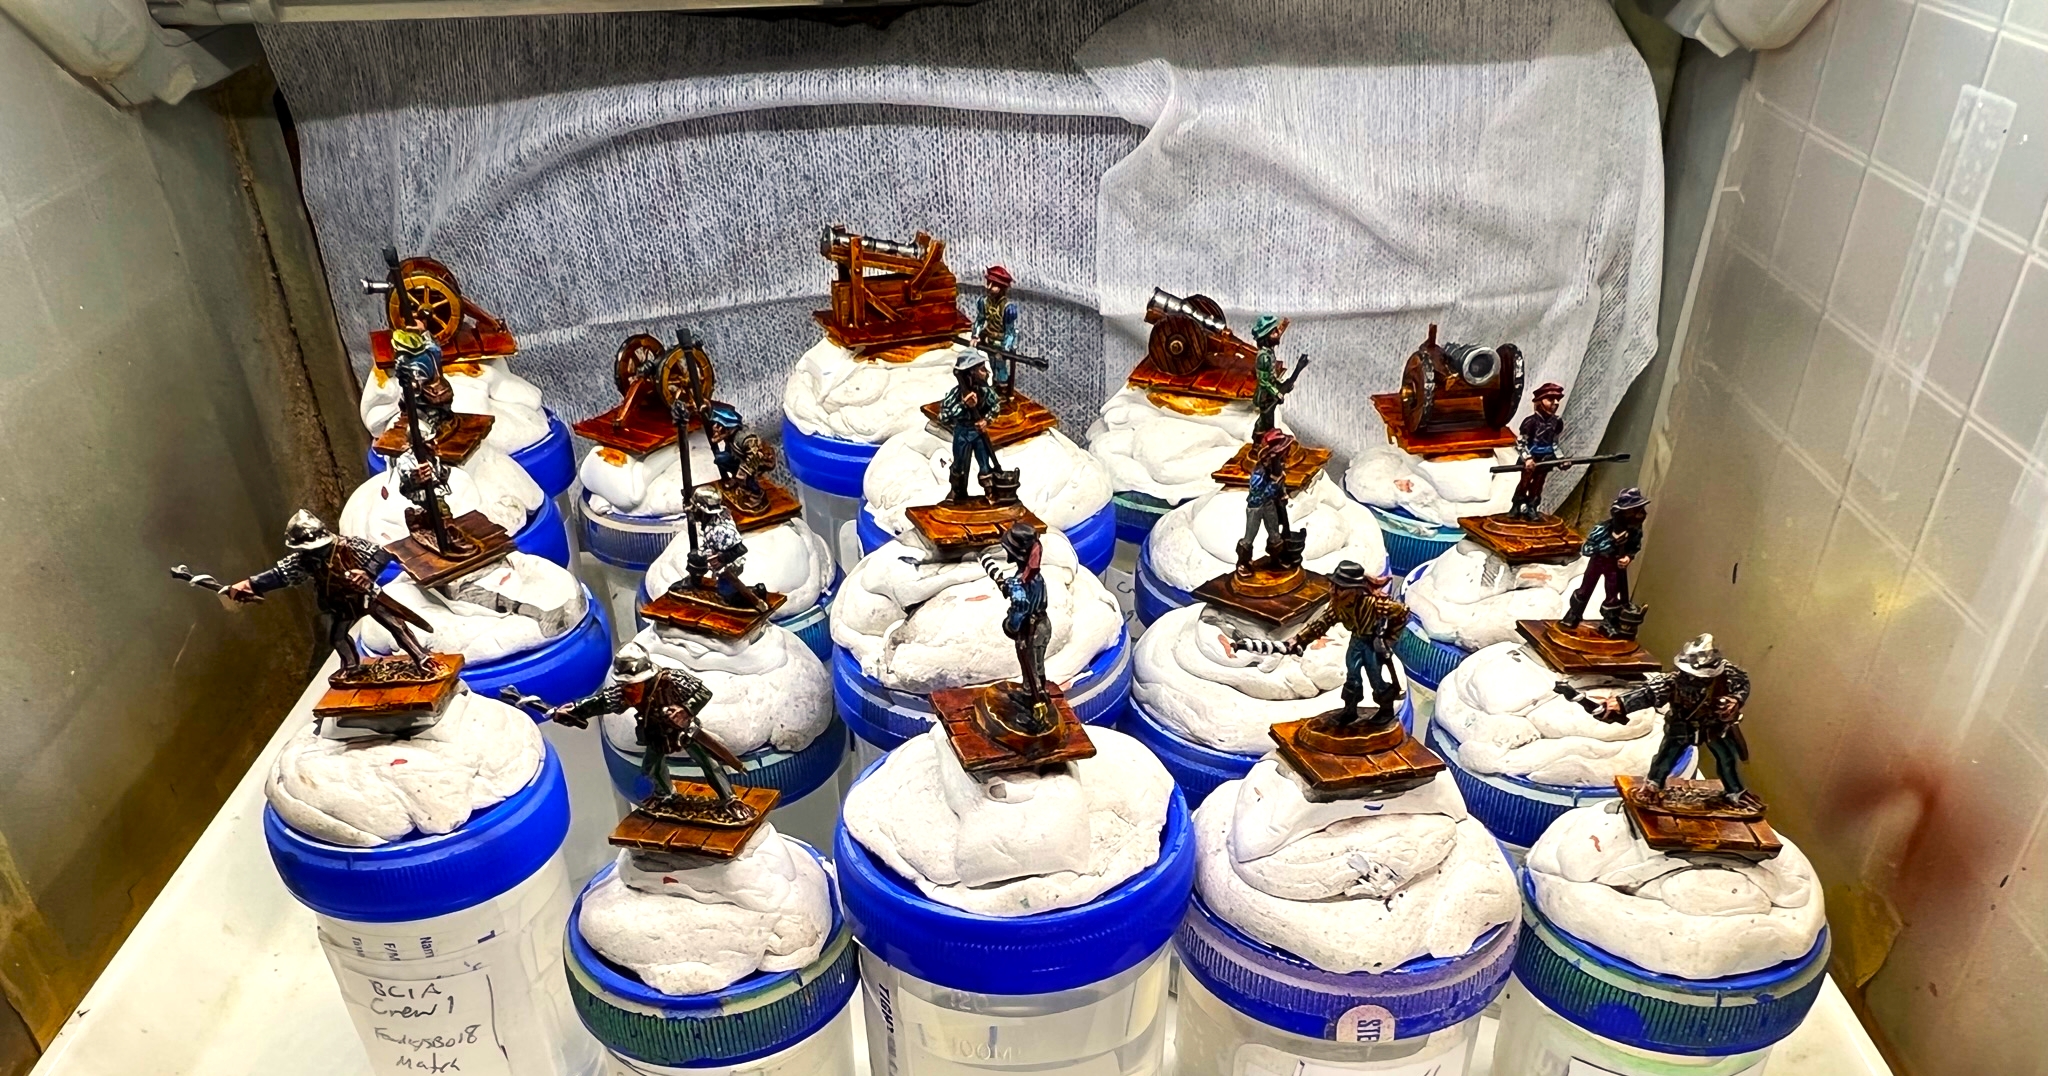
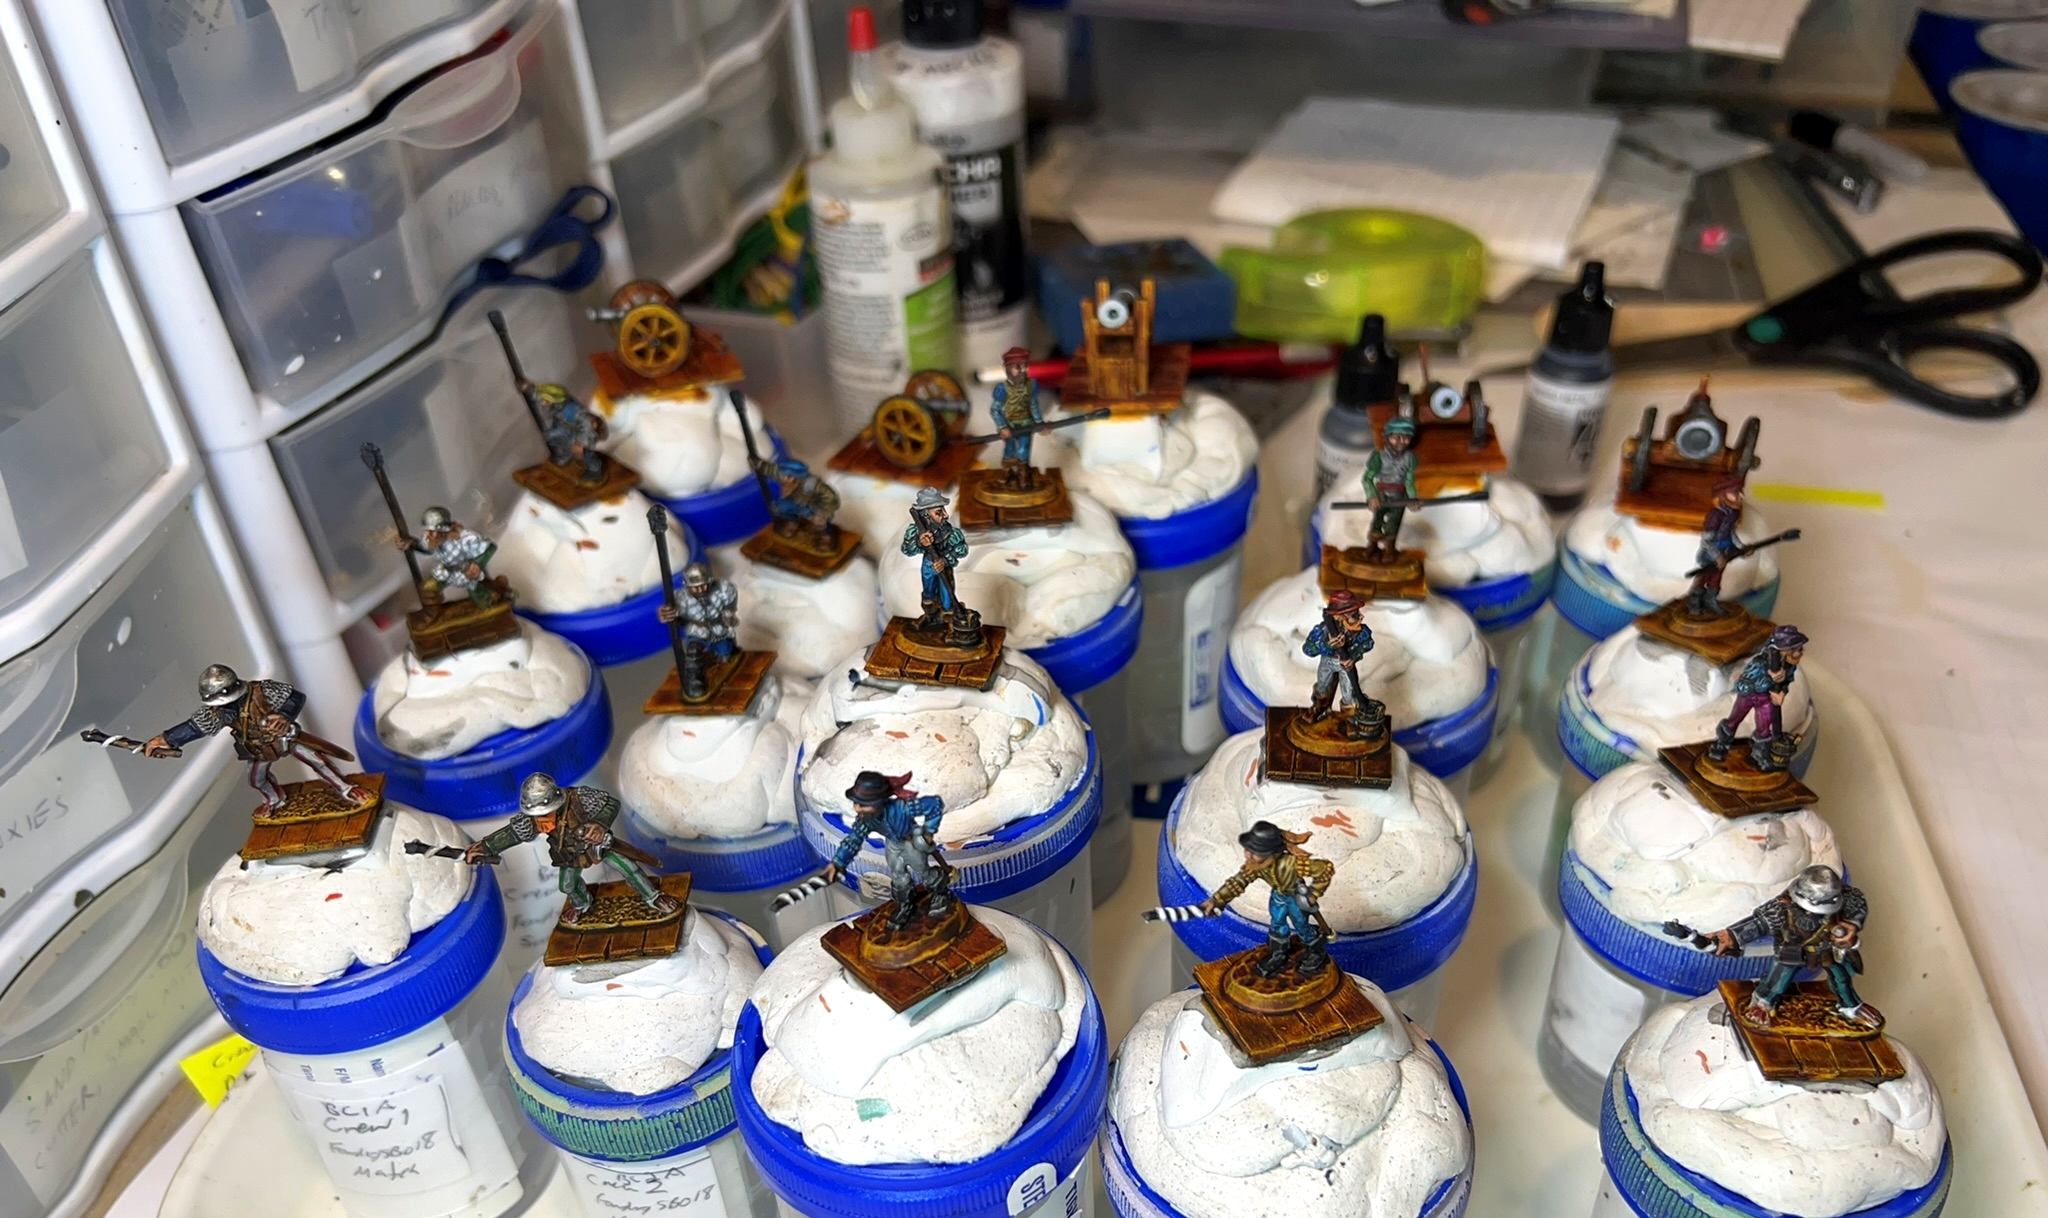
Secondly, I wanted their bases to reflect a ship’s deck. And yes – my other Conquistadors would still have ground-flocked bases – but the artillery needed to belong to a specific ship in my view and look just like that. Thirdly, deck space on the ships was tight. So, getting a three-man crew to fit with any gun would require that I use smaller bases than my usual 1″ bases – and I ended up using Wargames Accessories square .75″ for the crew members and 1.25″ x 1″ steel bases for the guns.
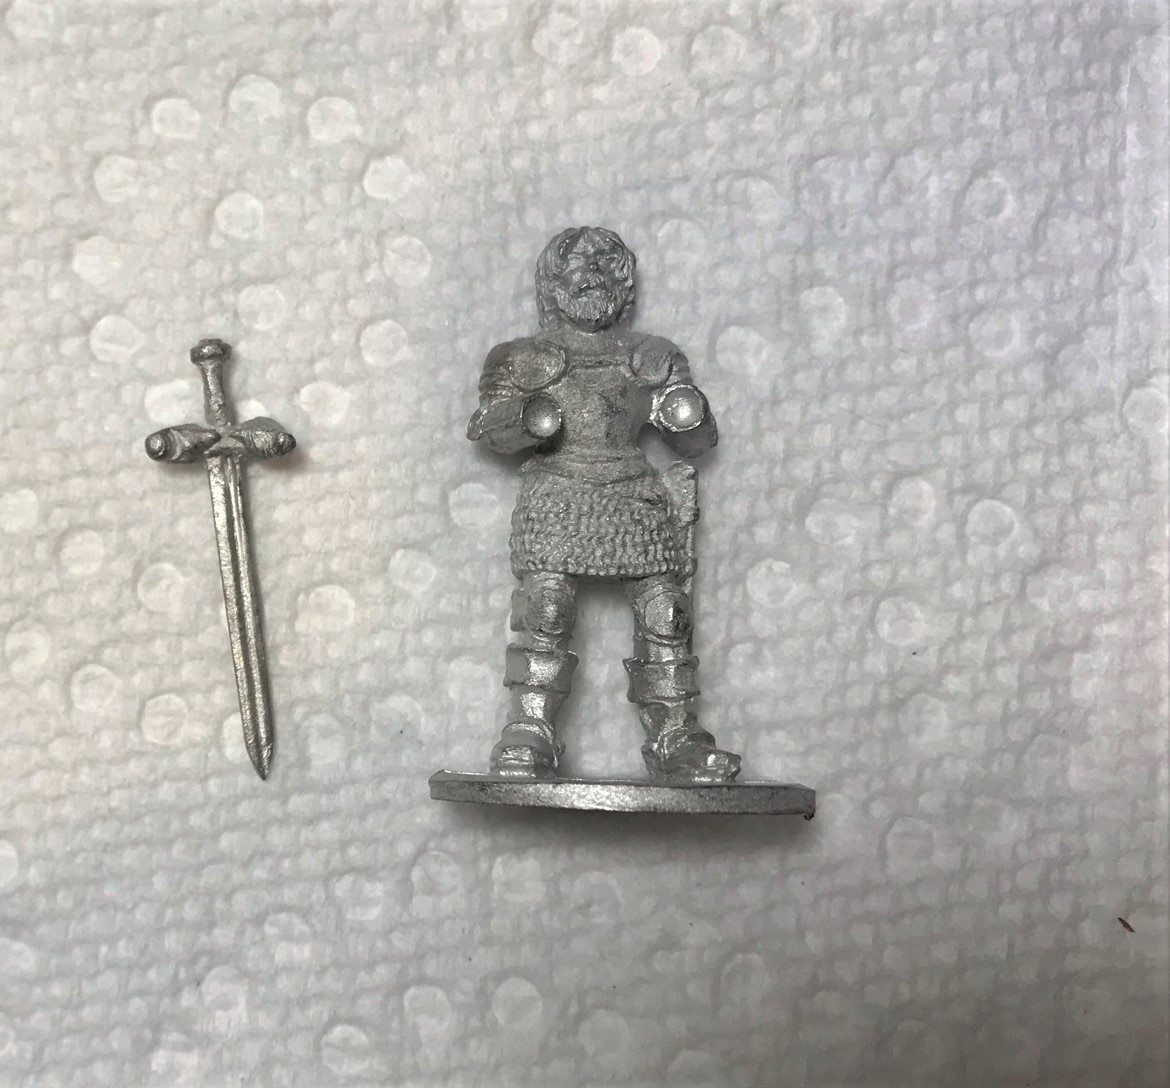
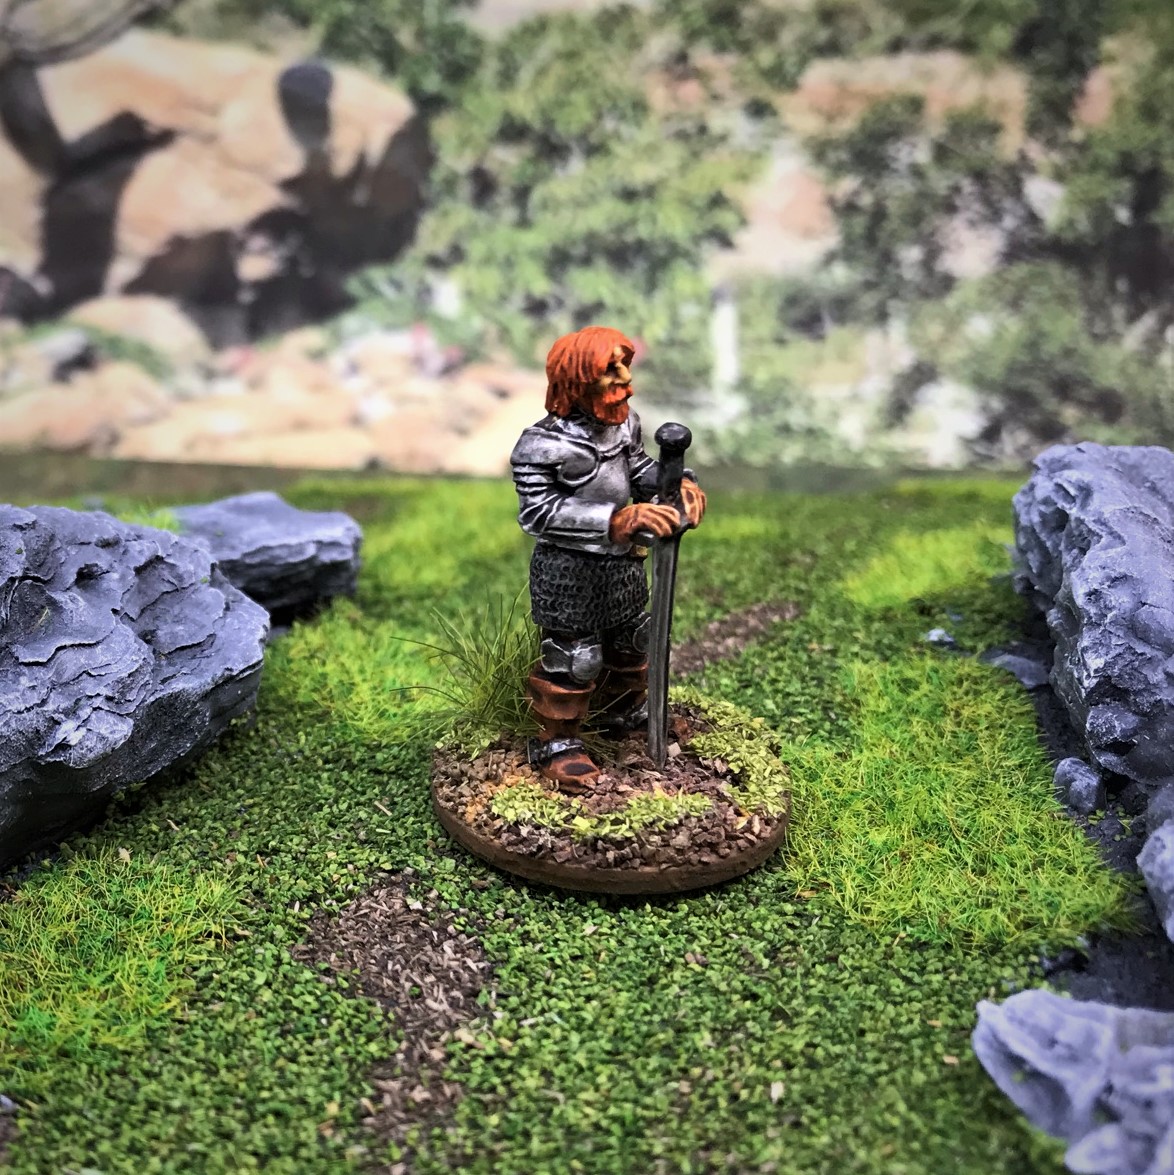
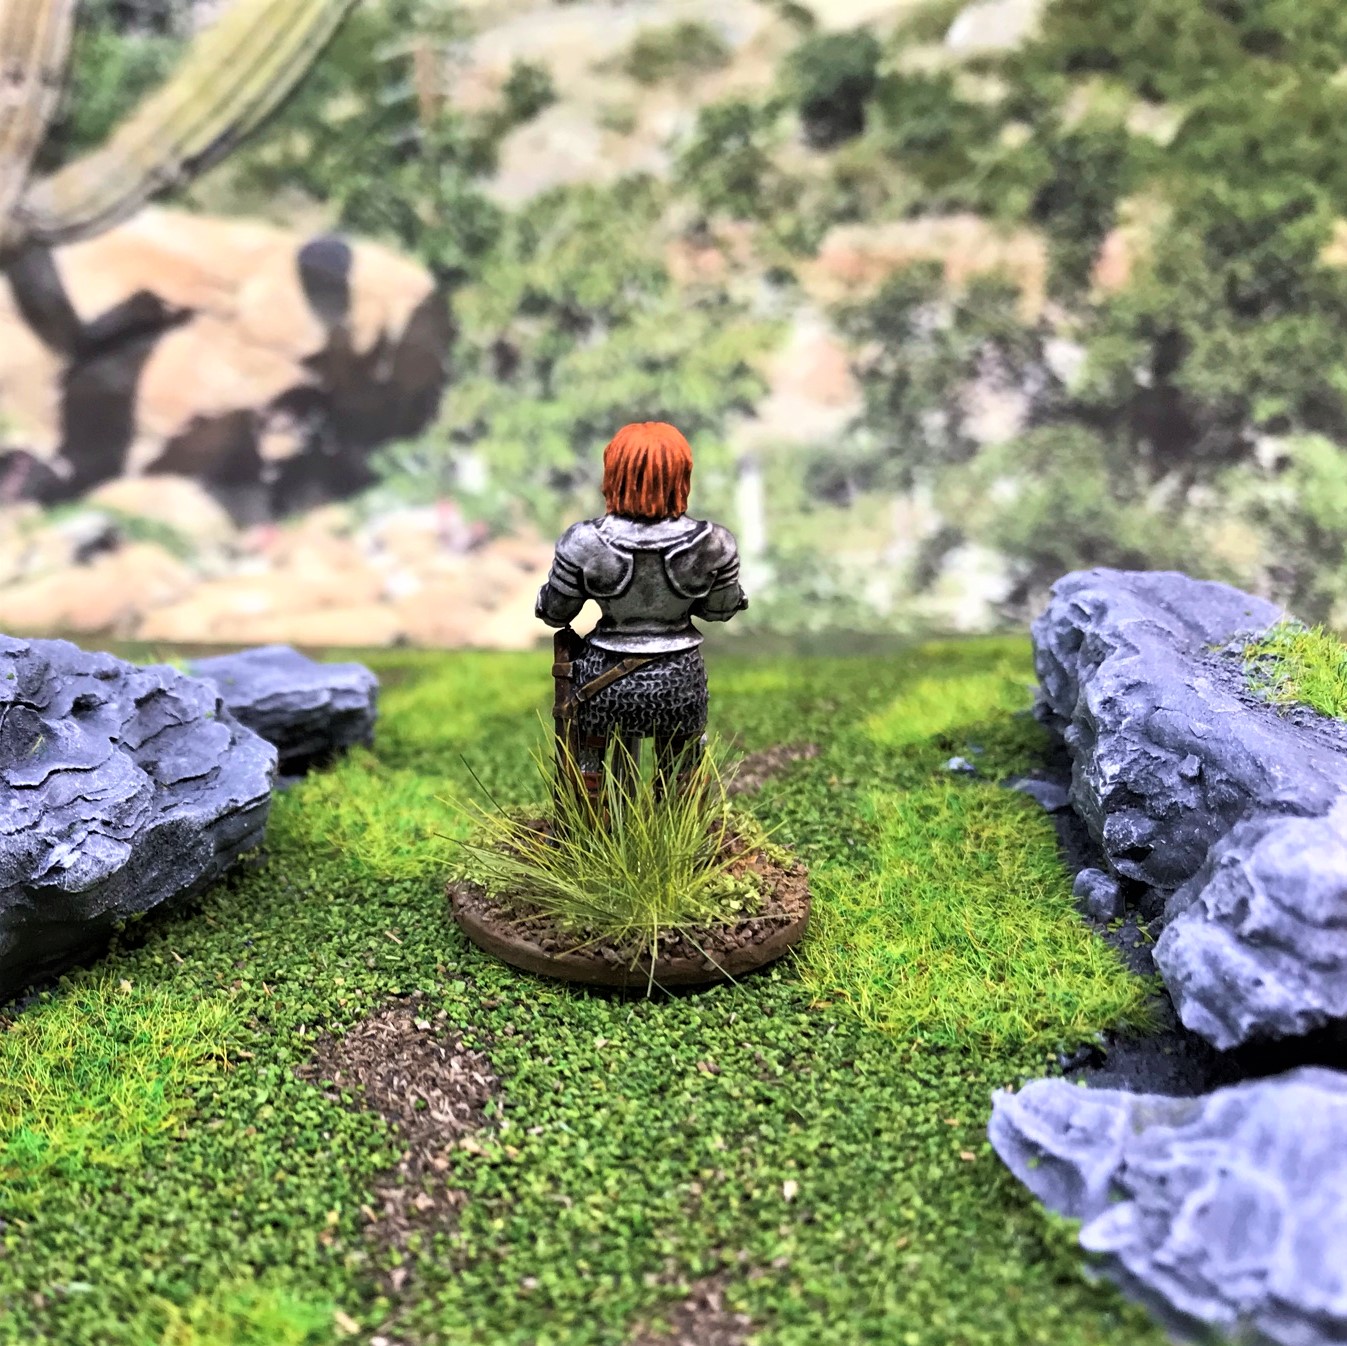
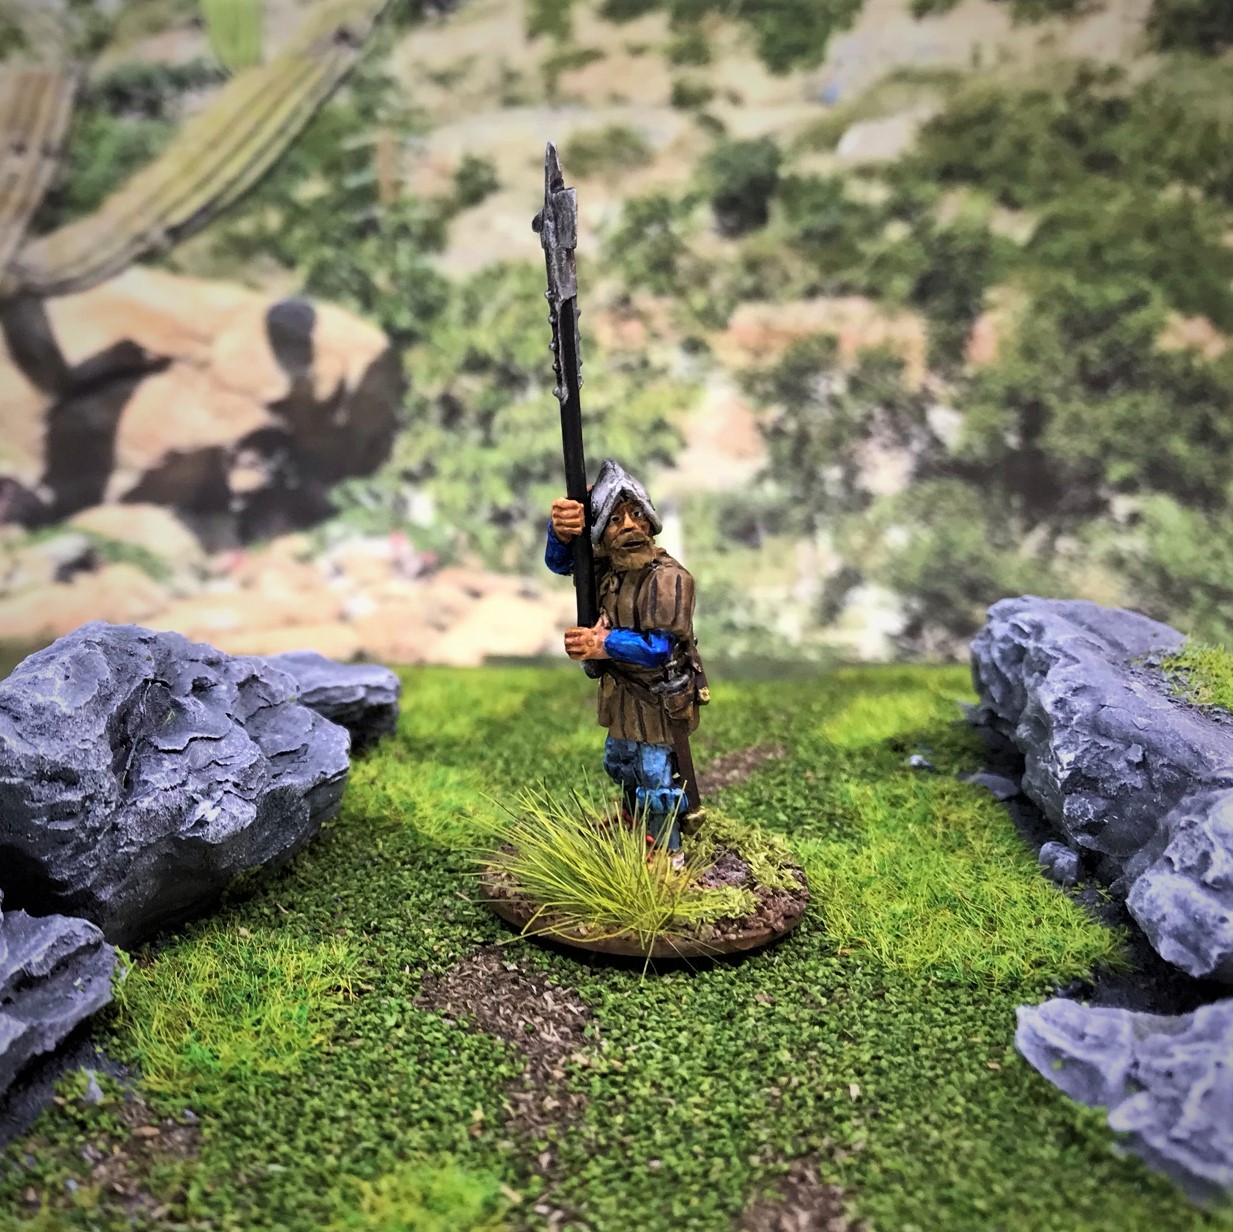
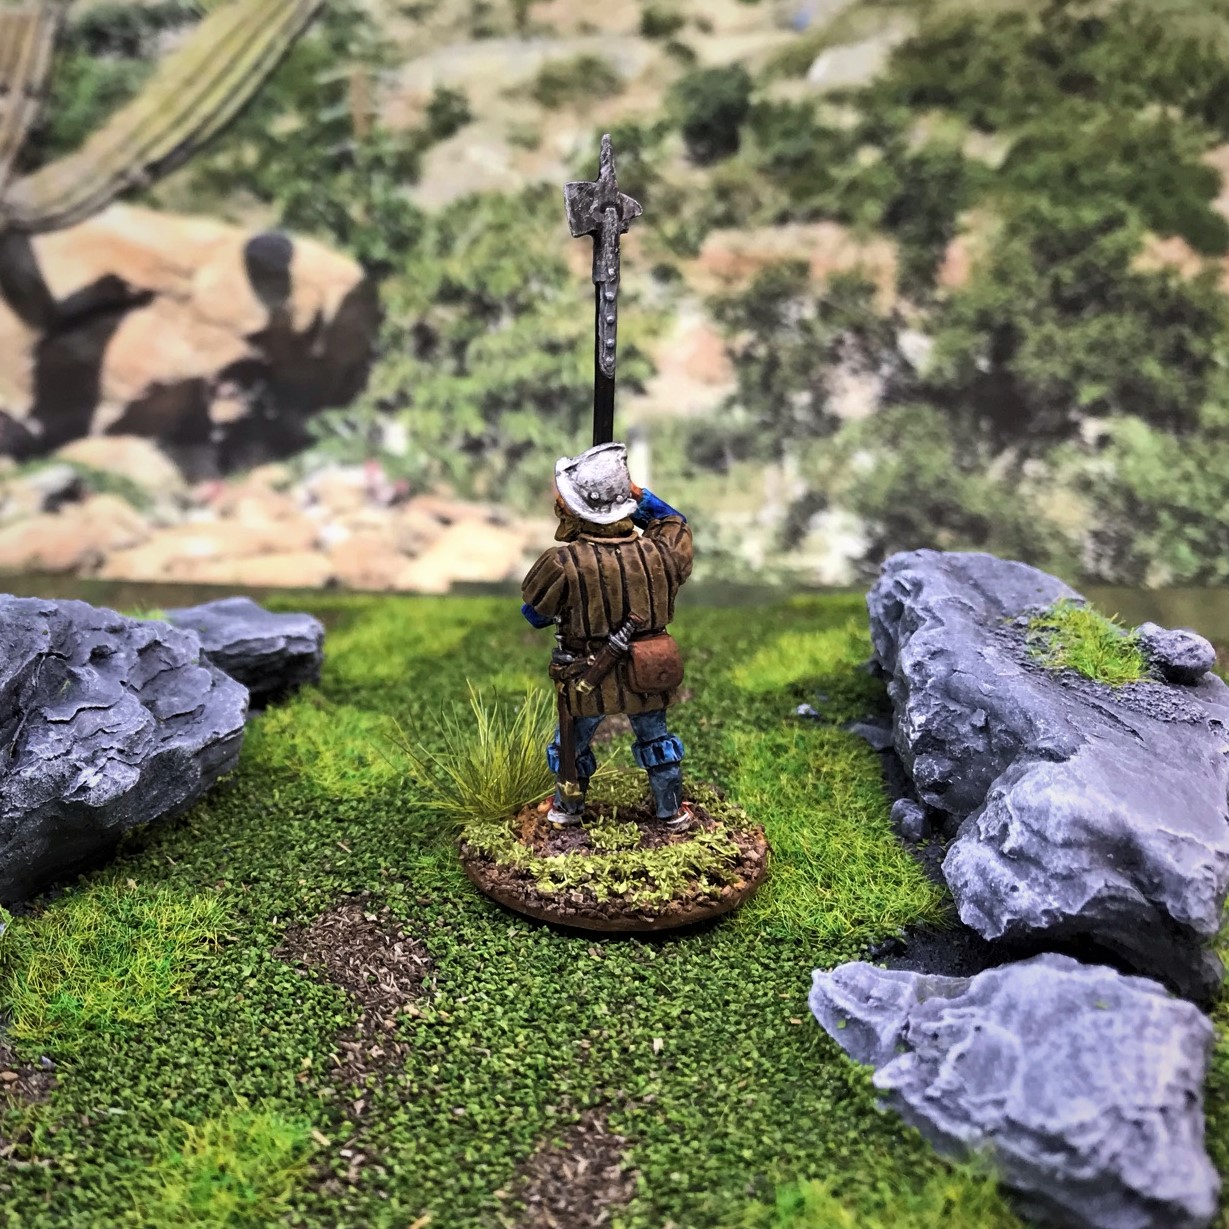
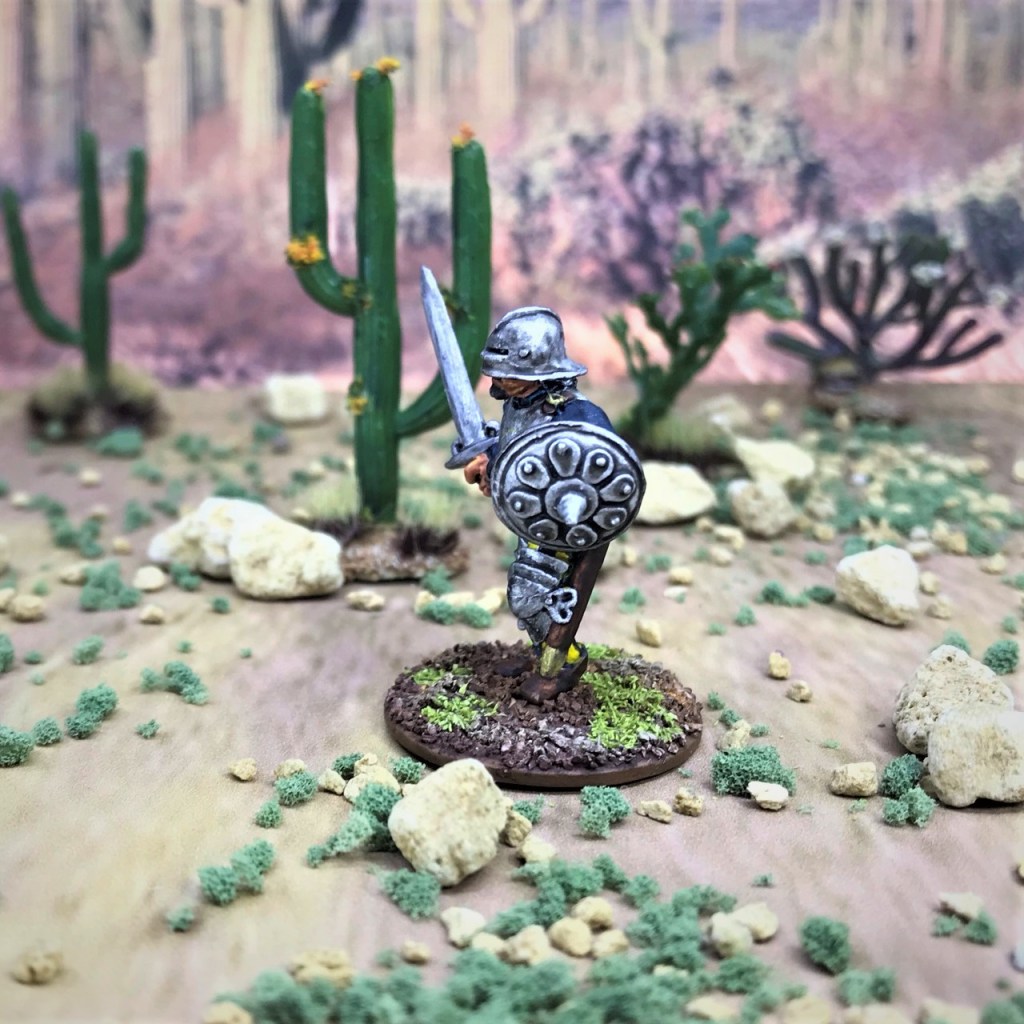
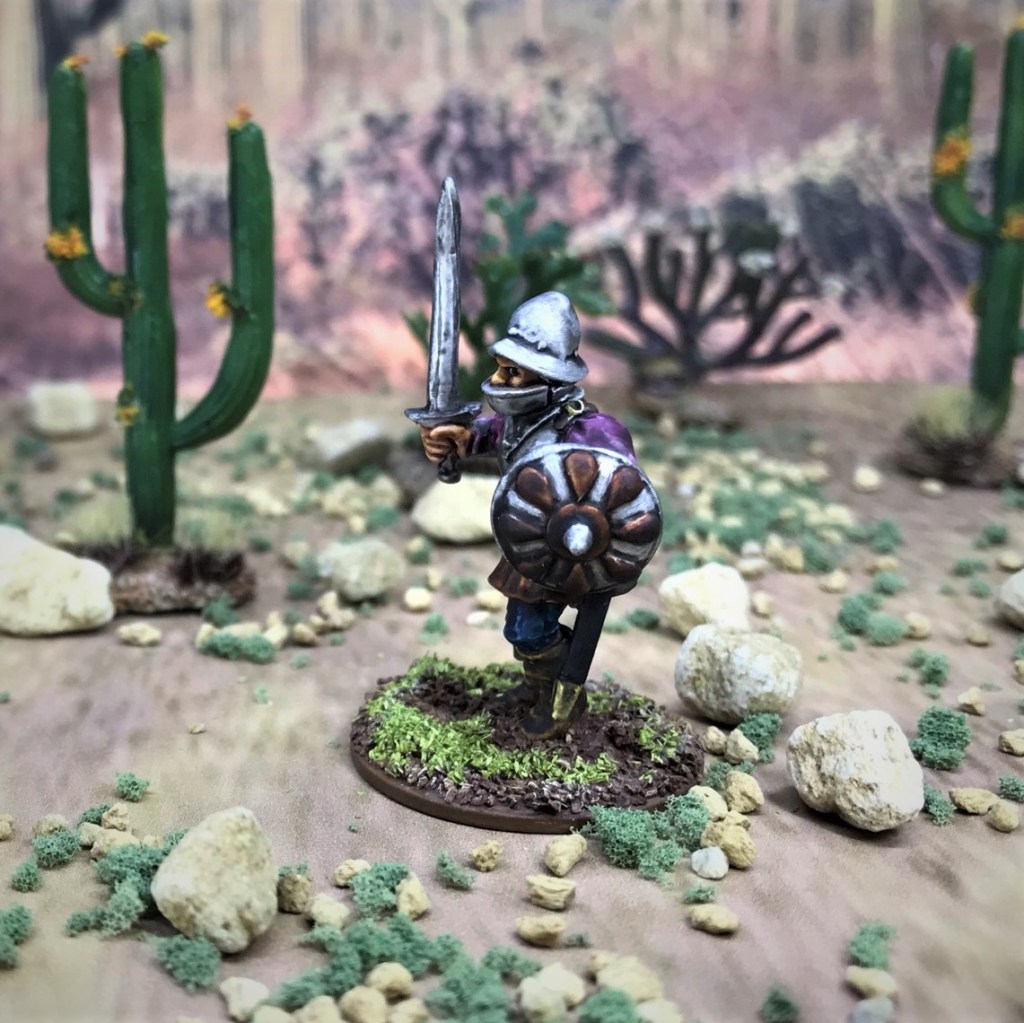
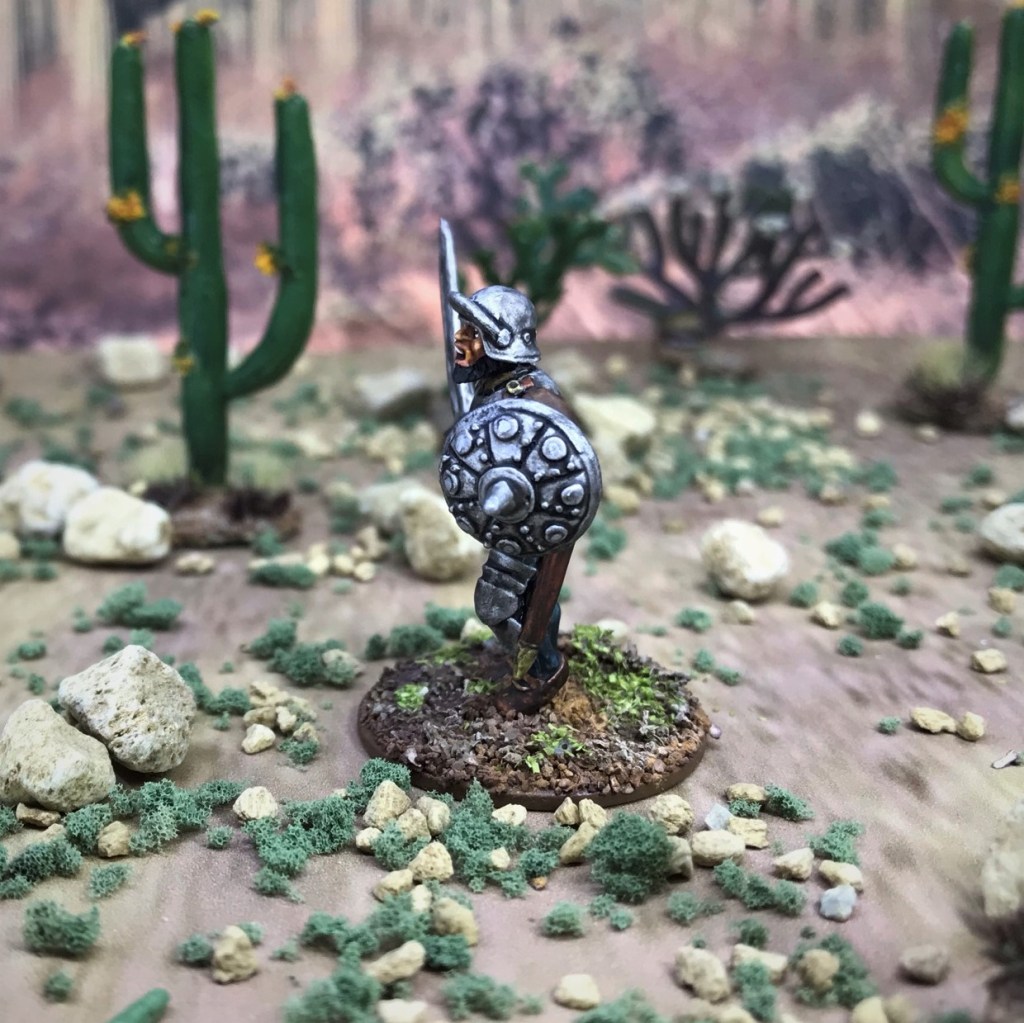
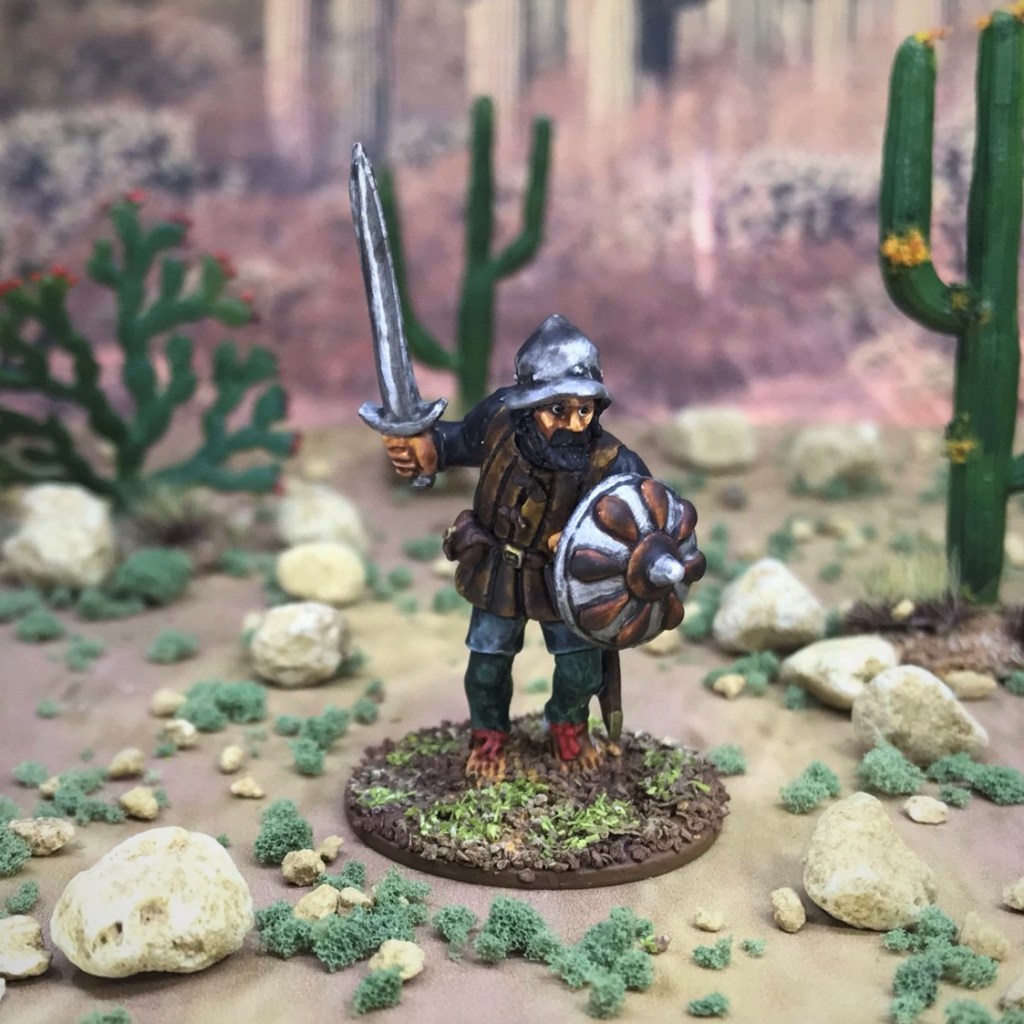
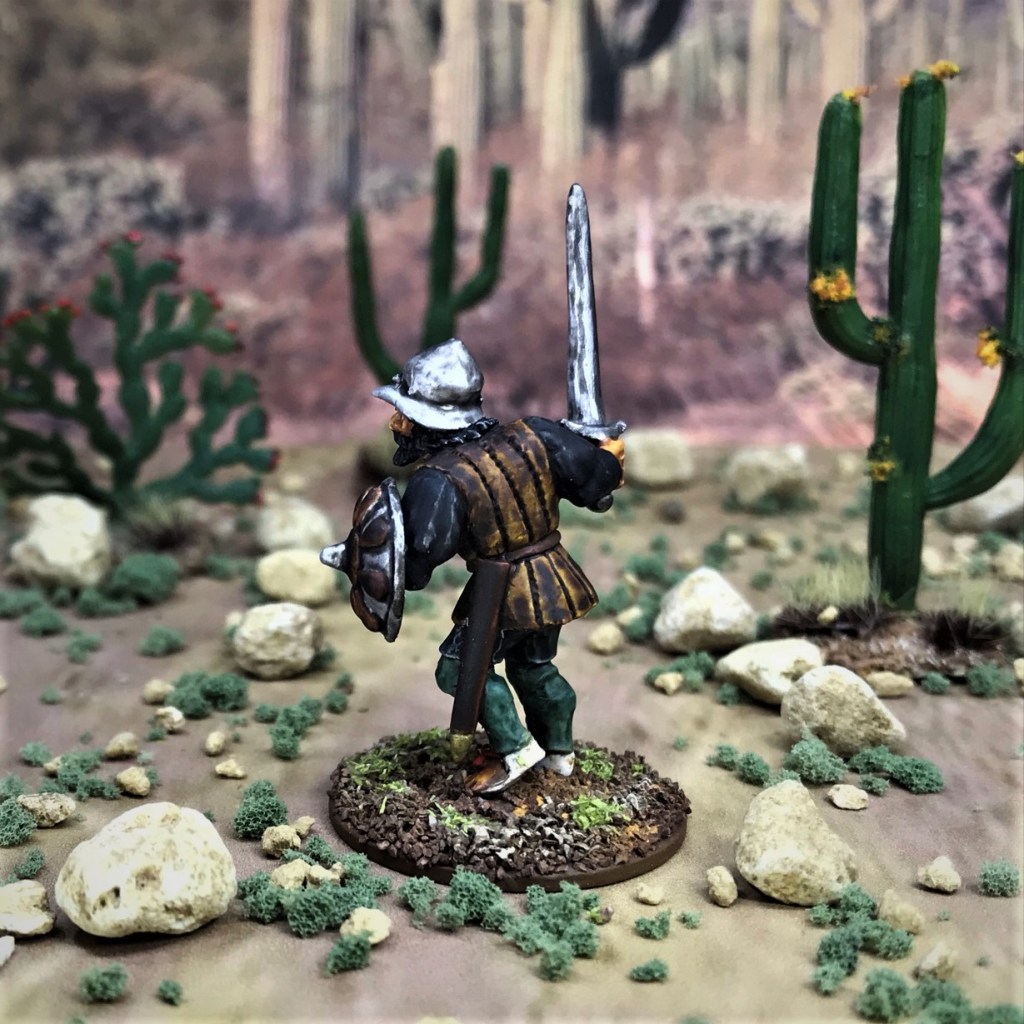
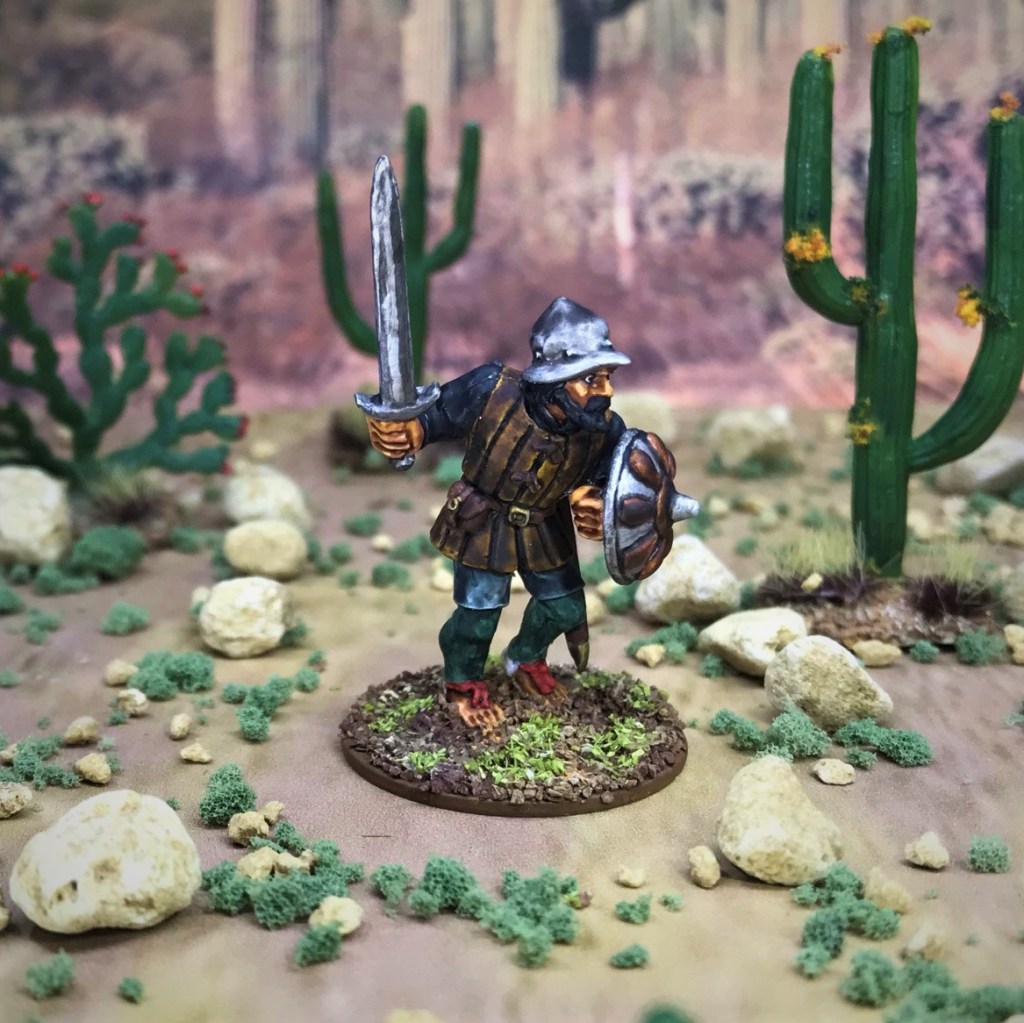
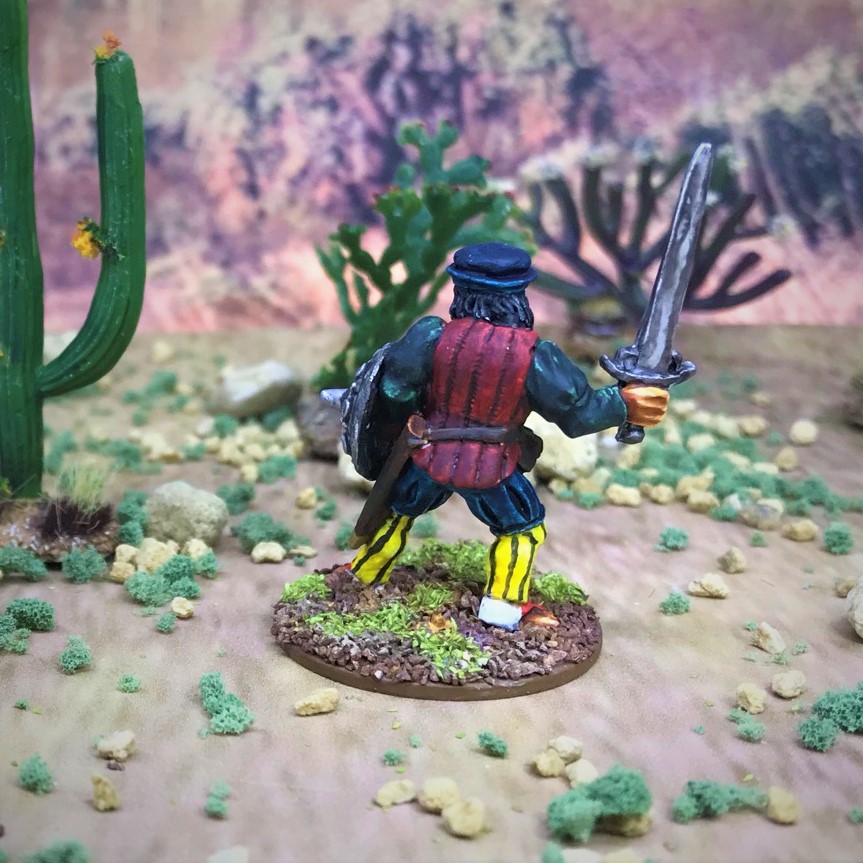
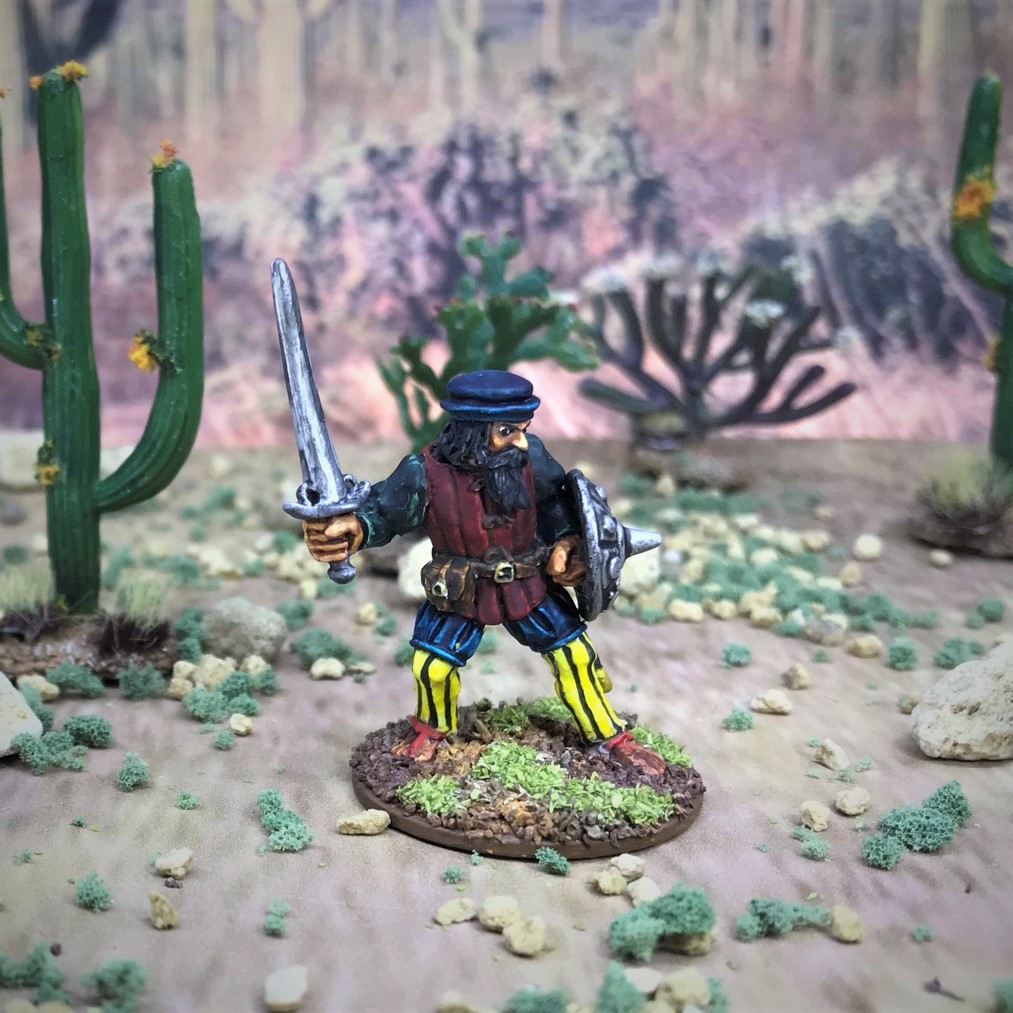
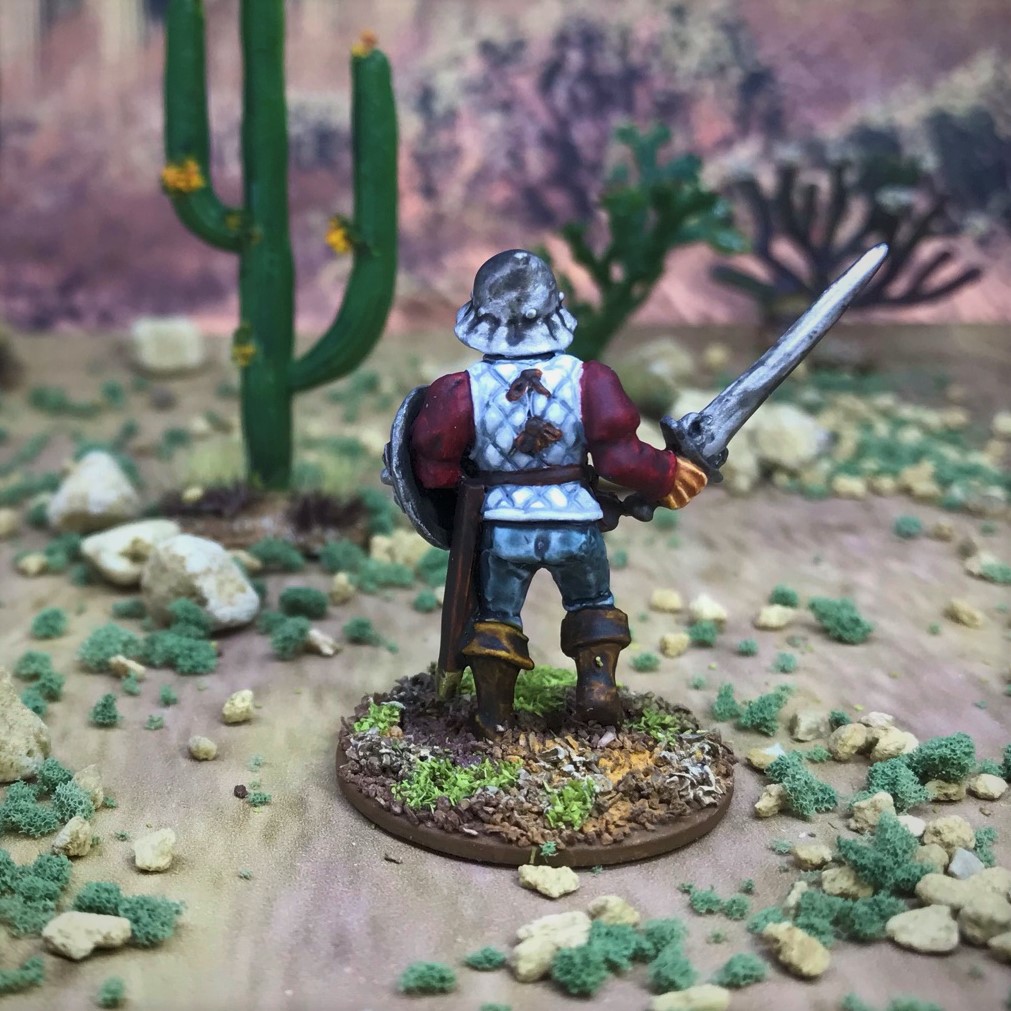
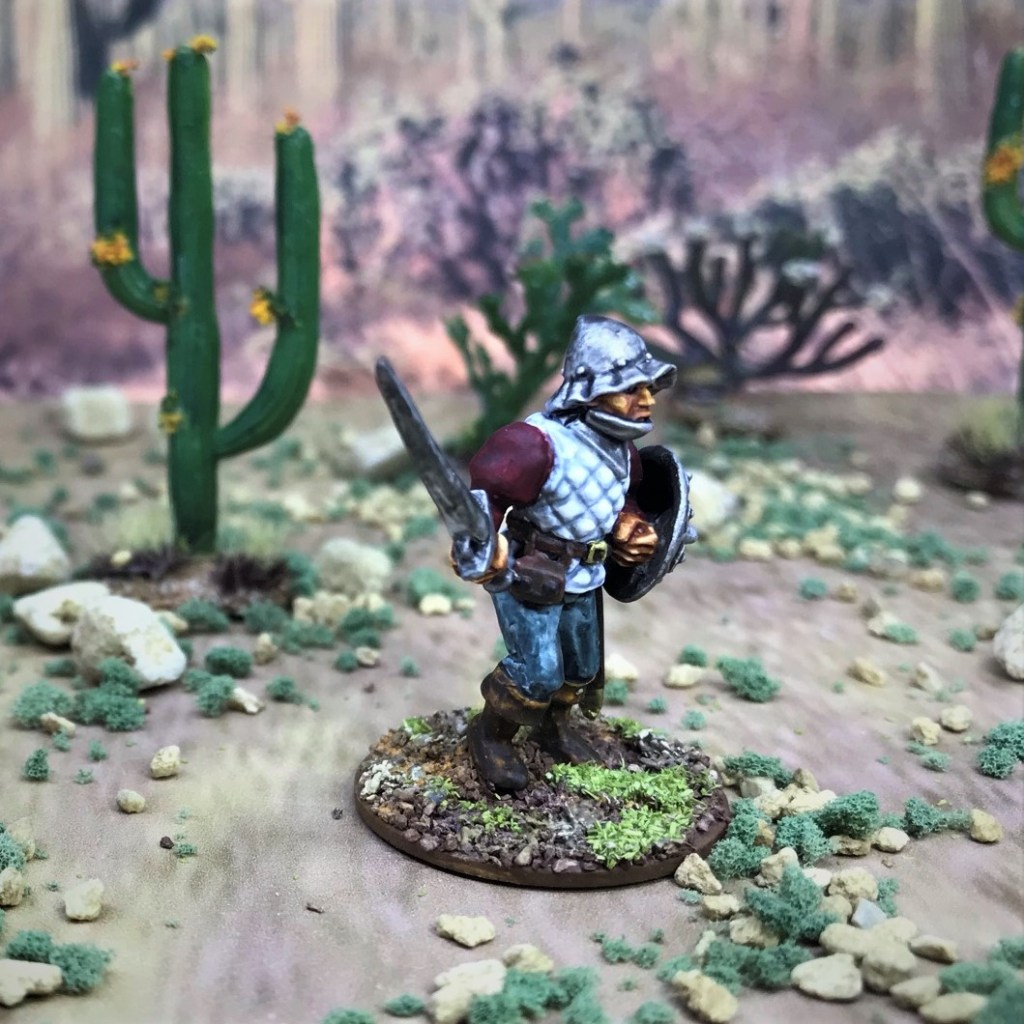
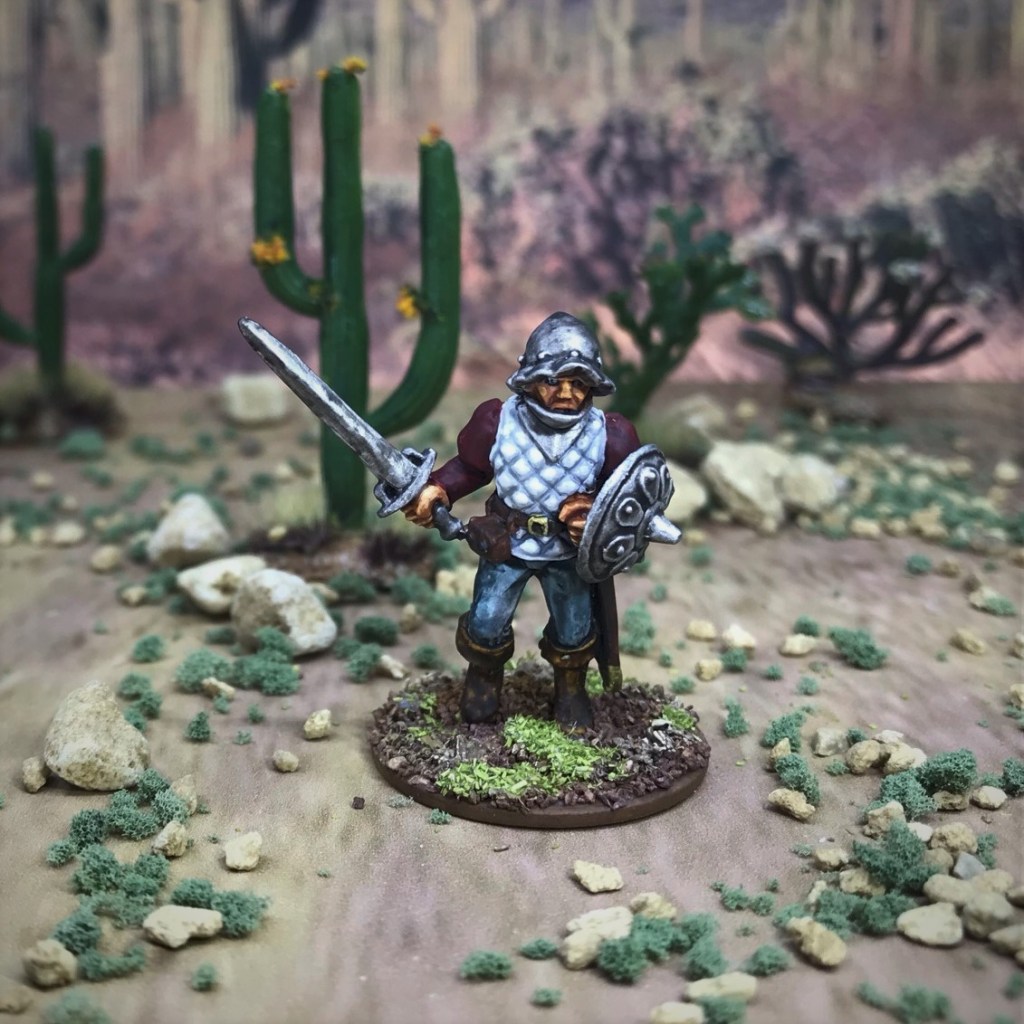
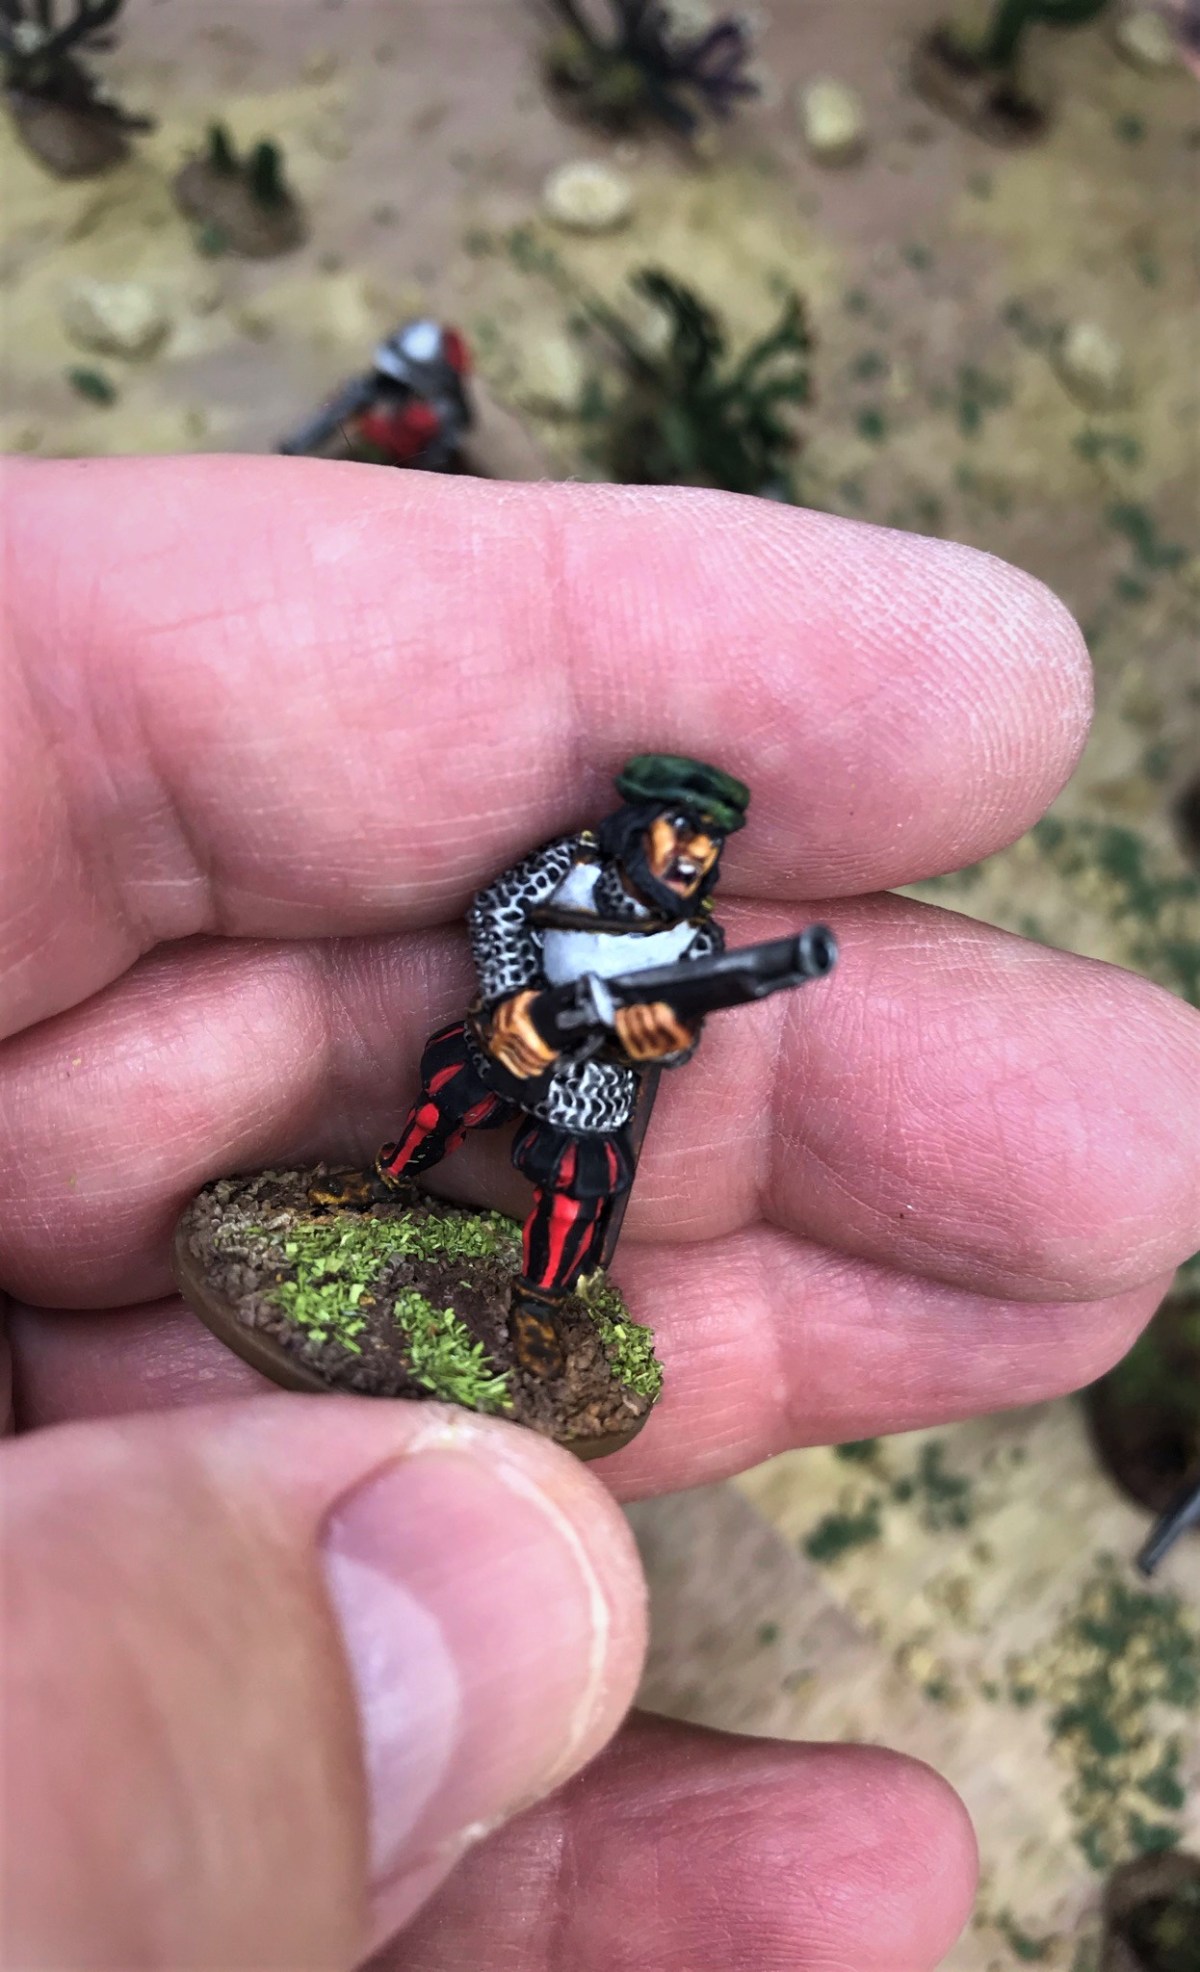
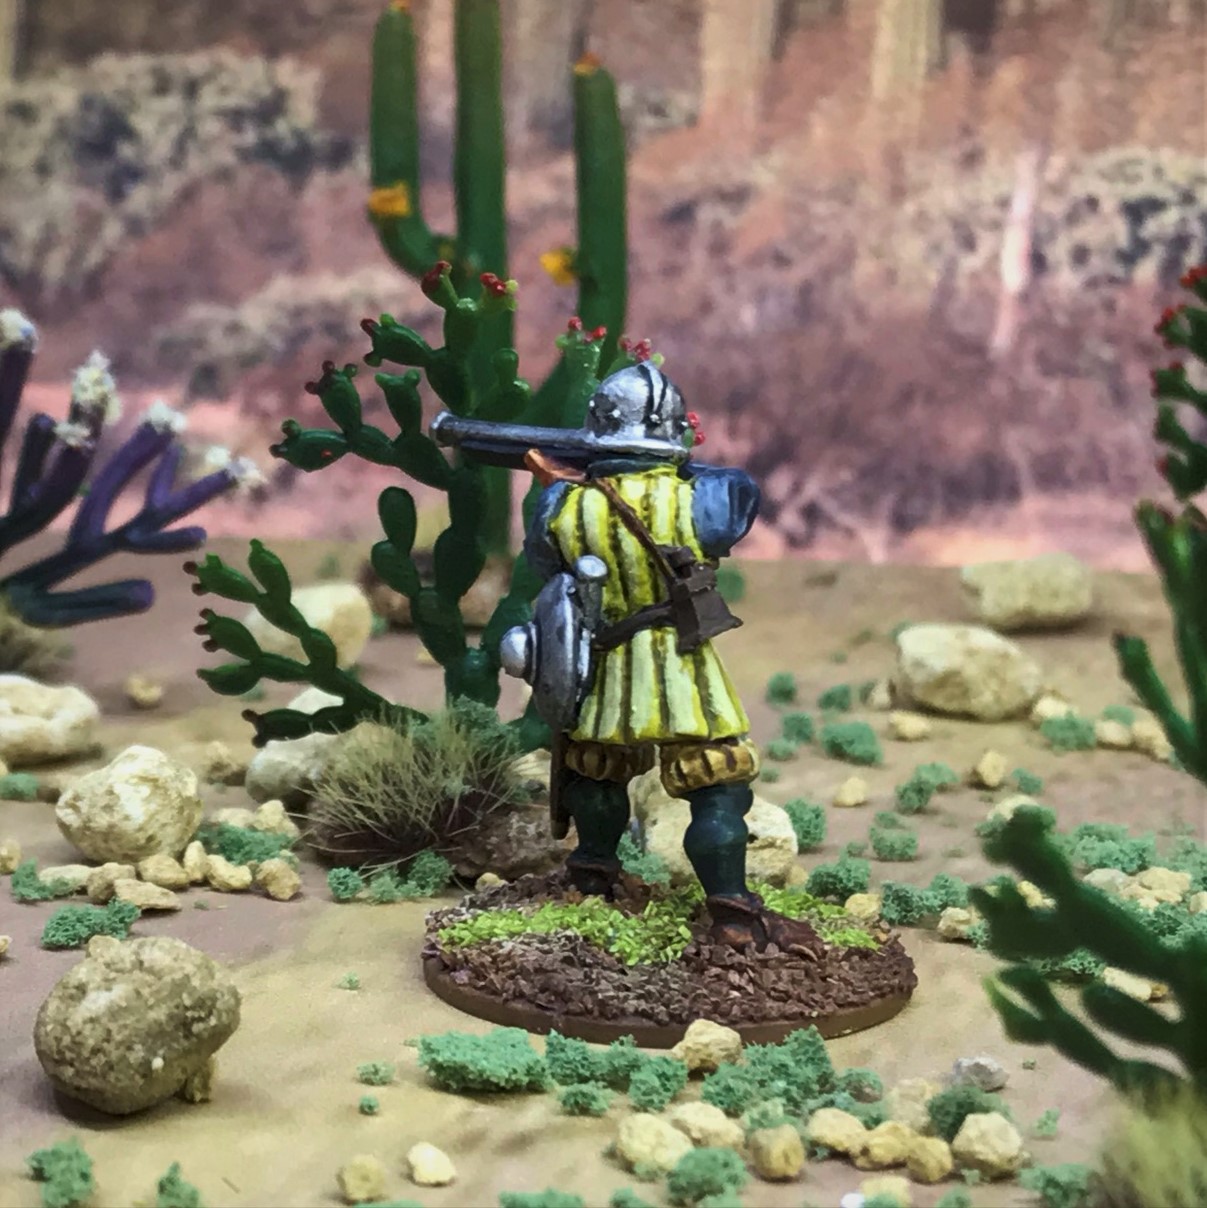
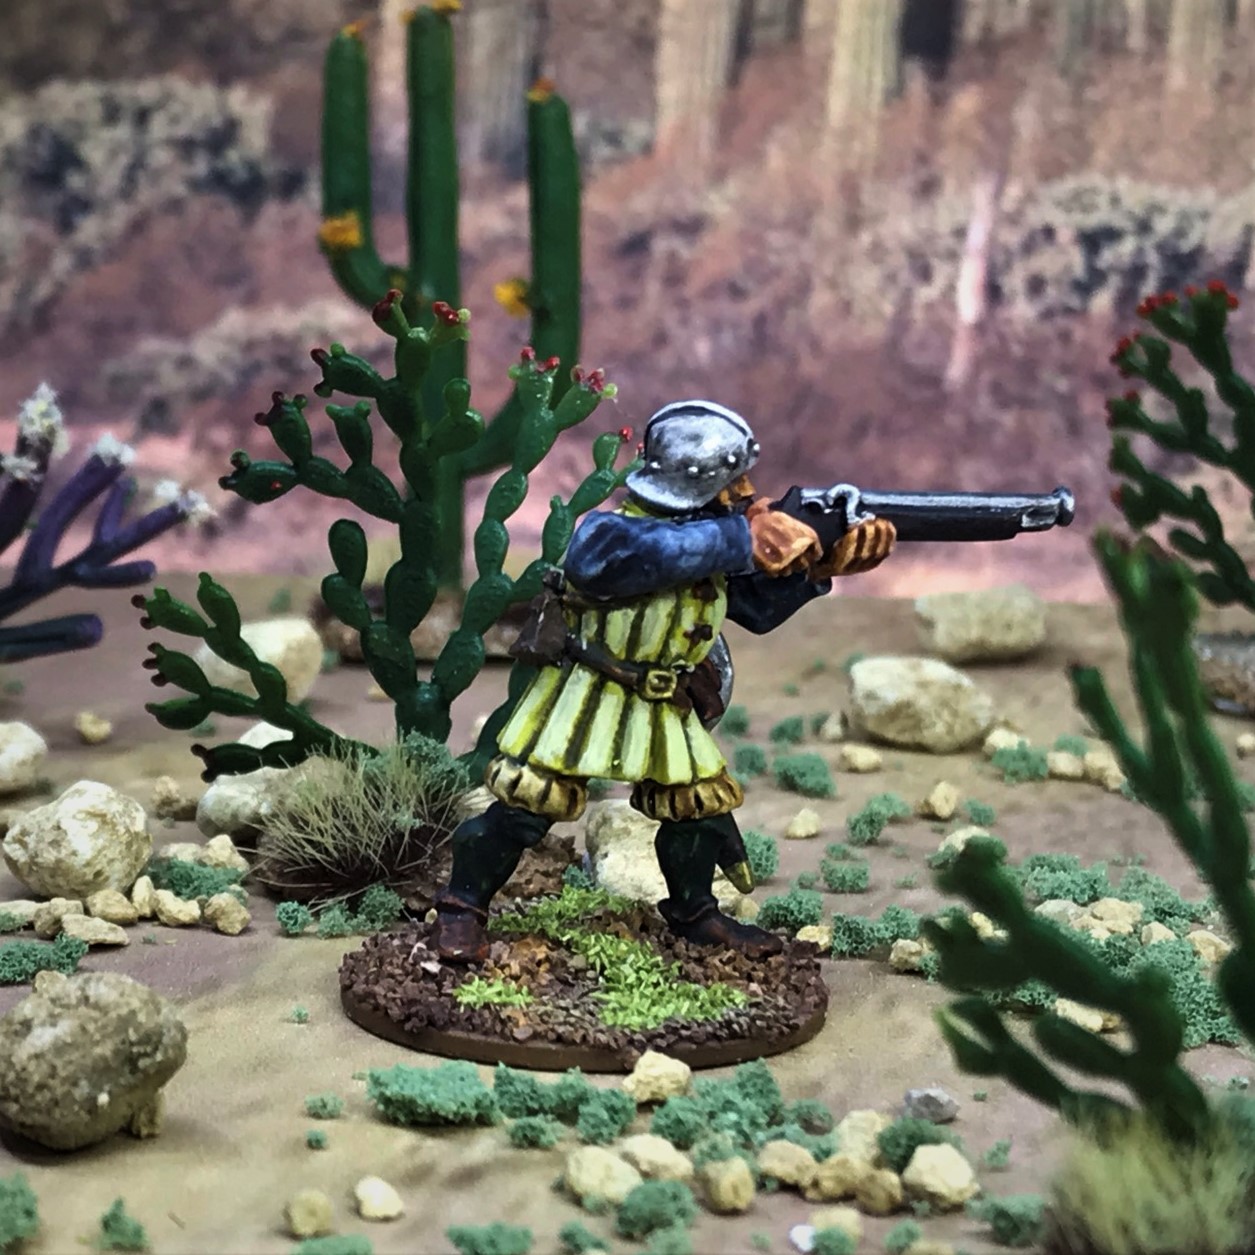
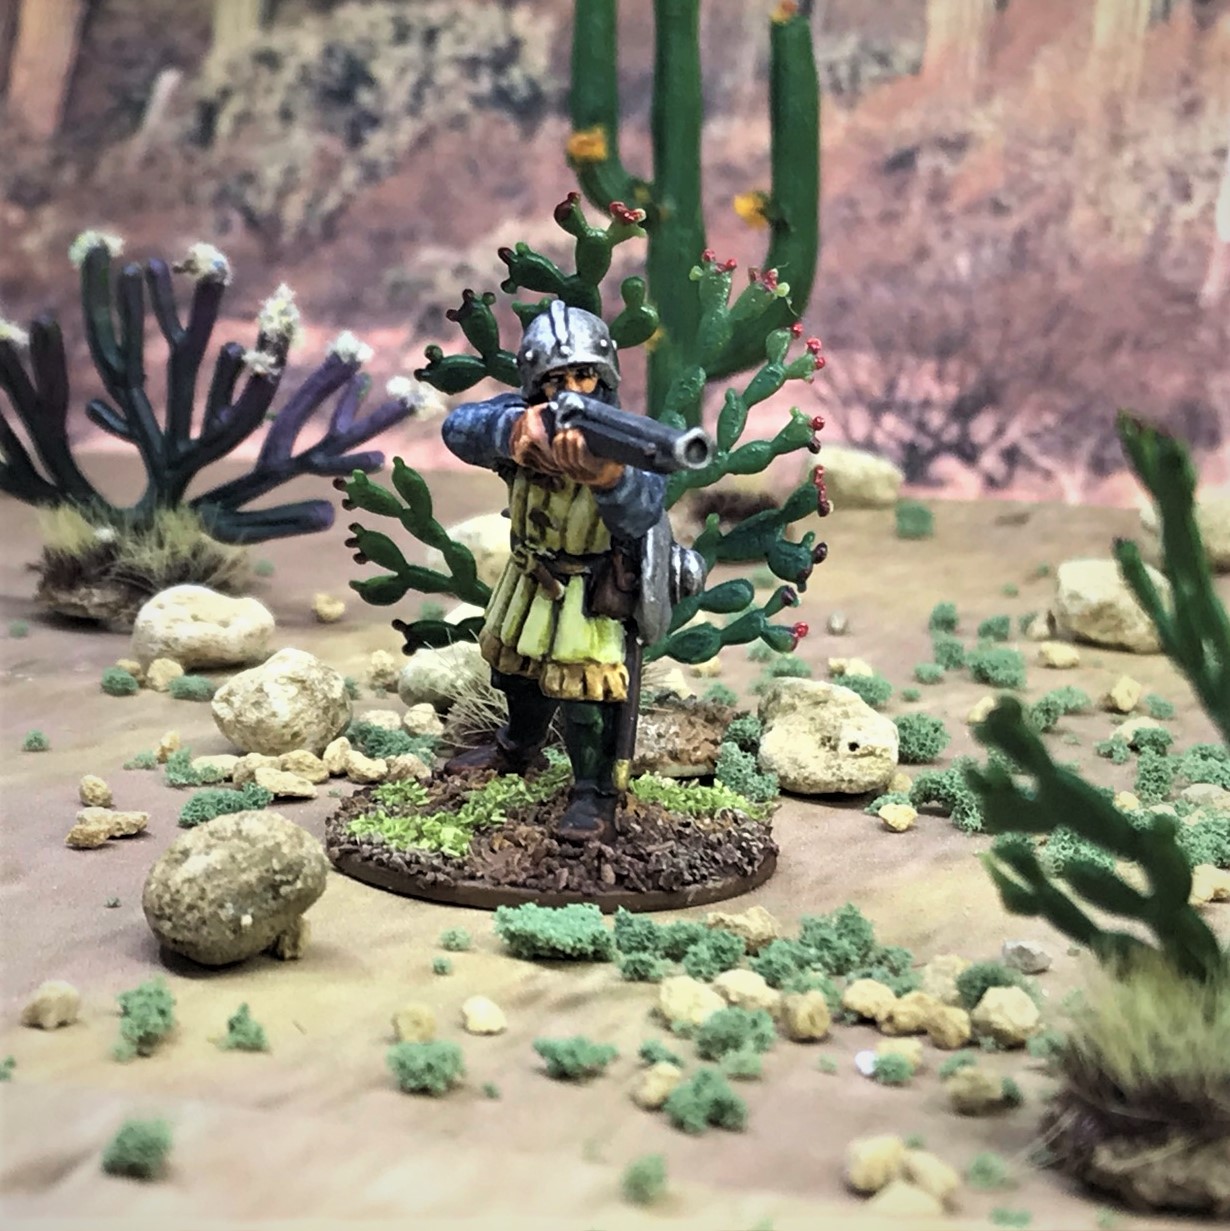
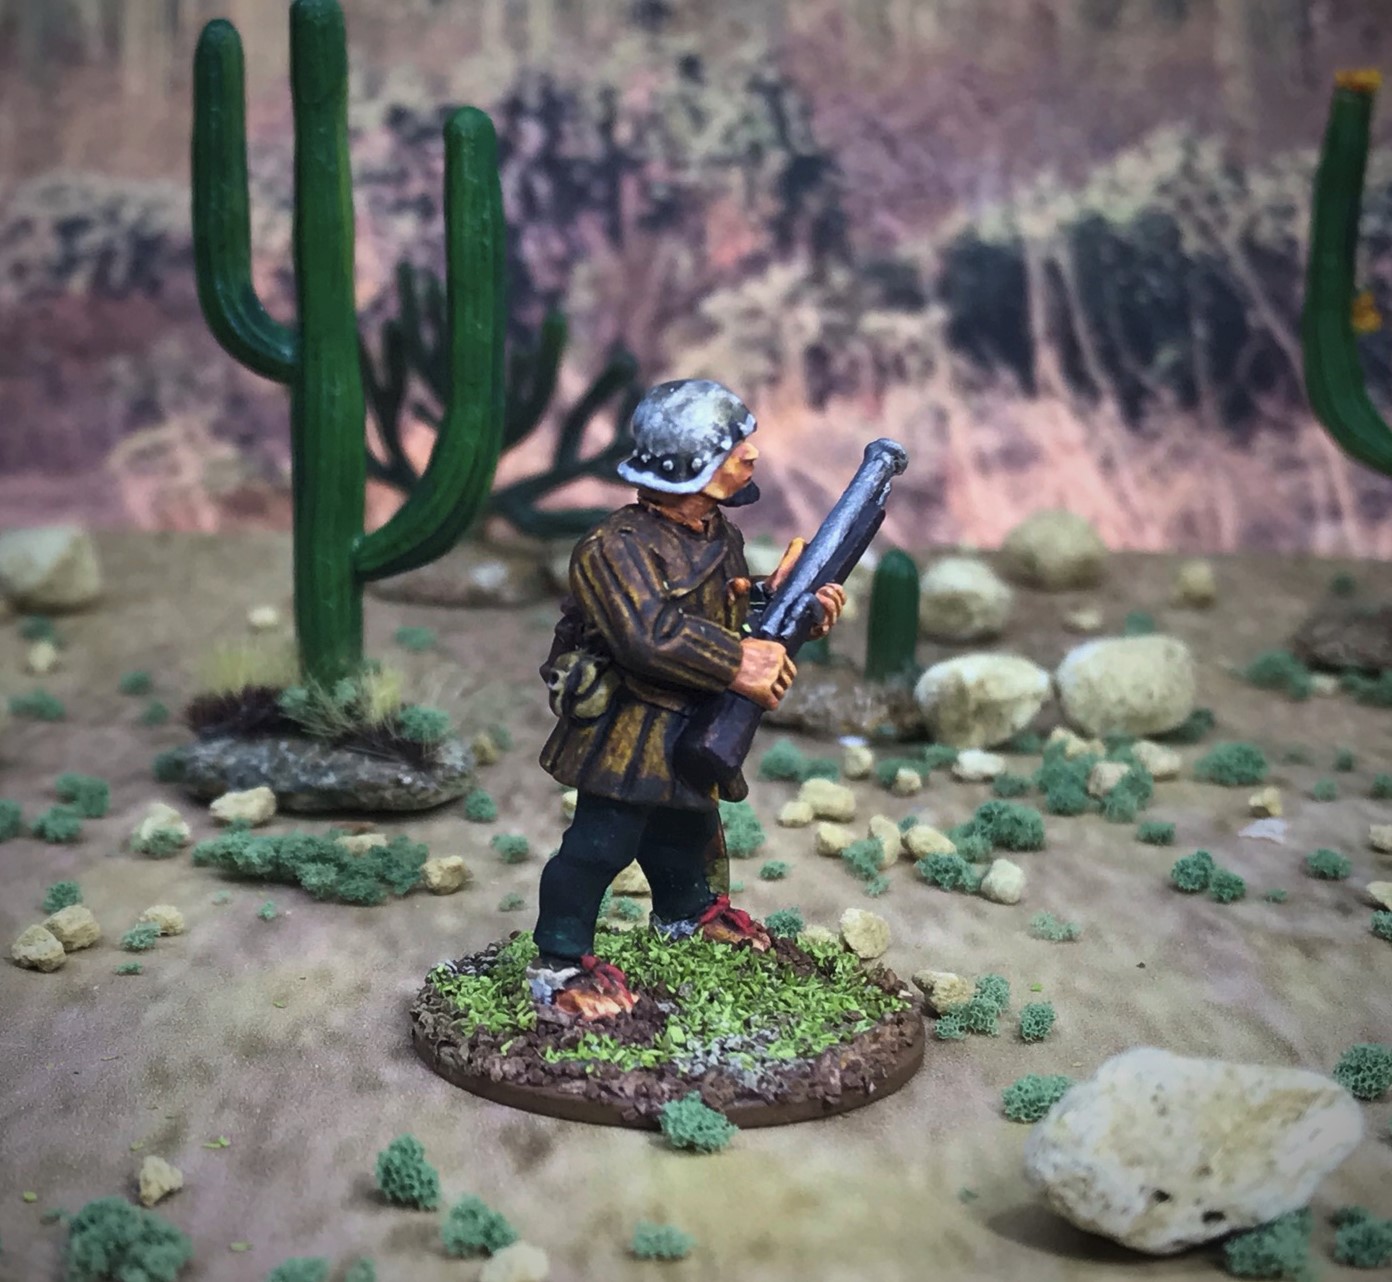
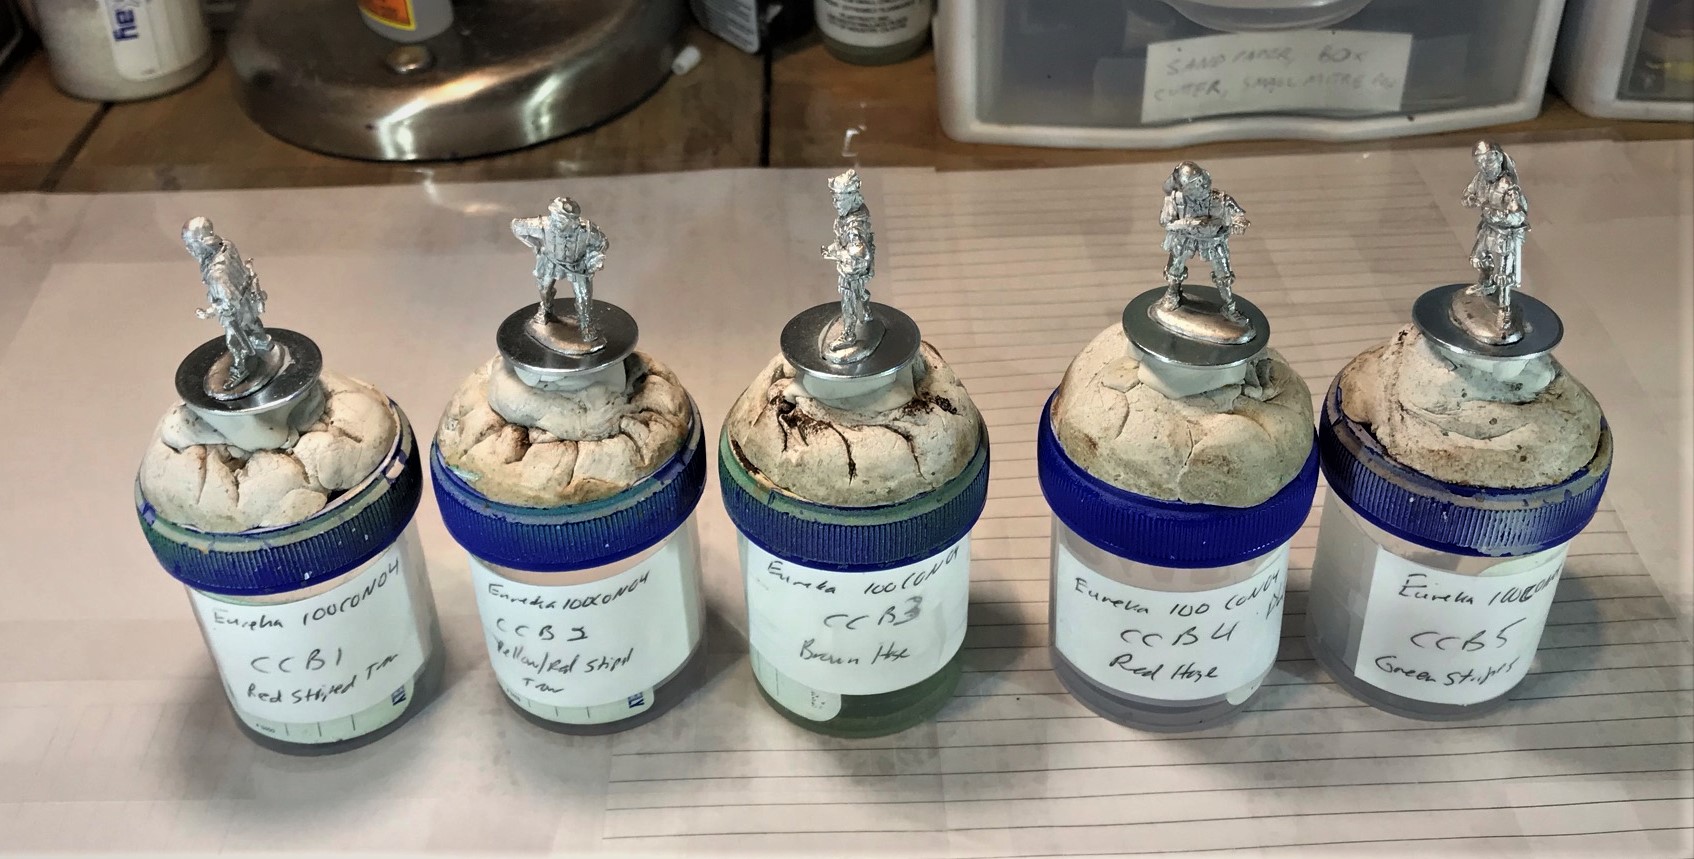
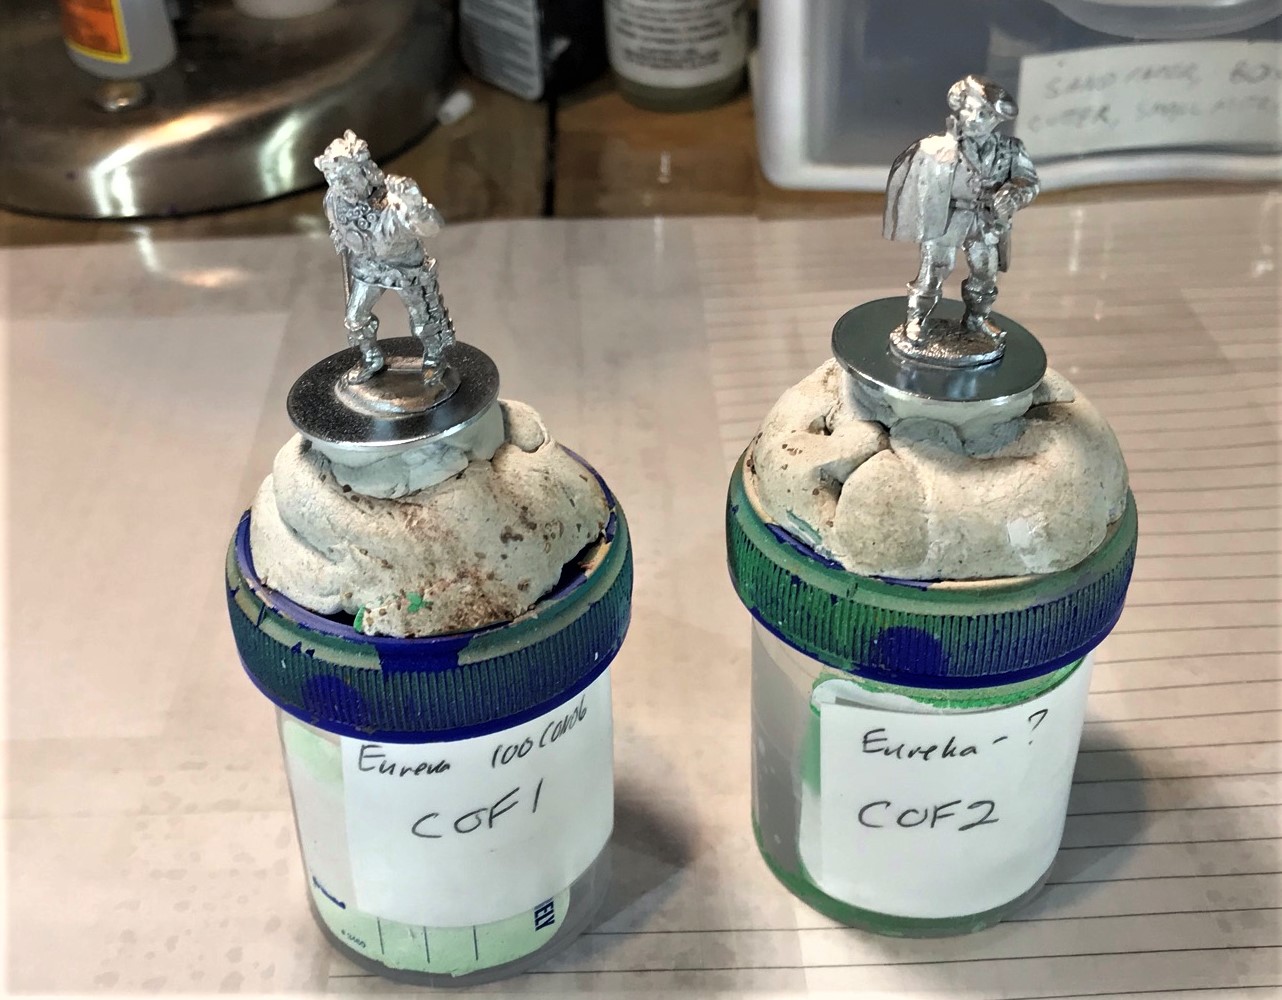
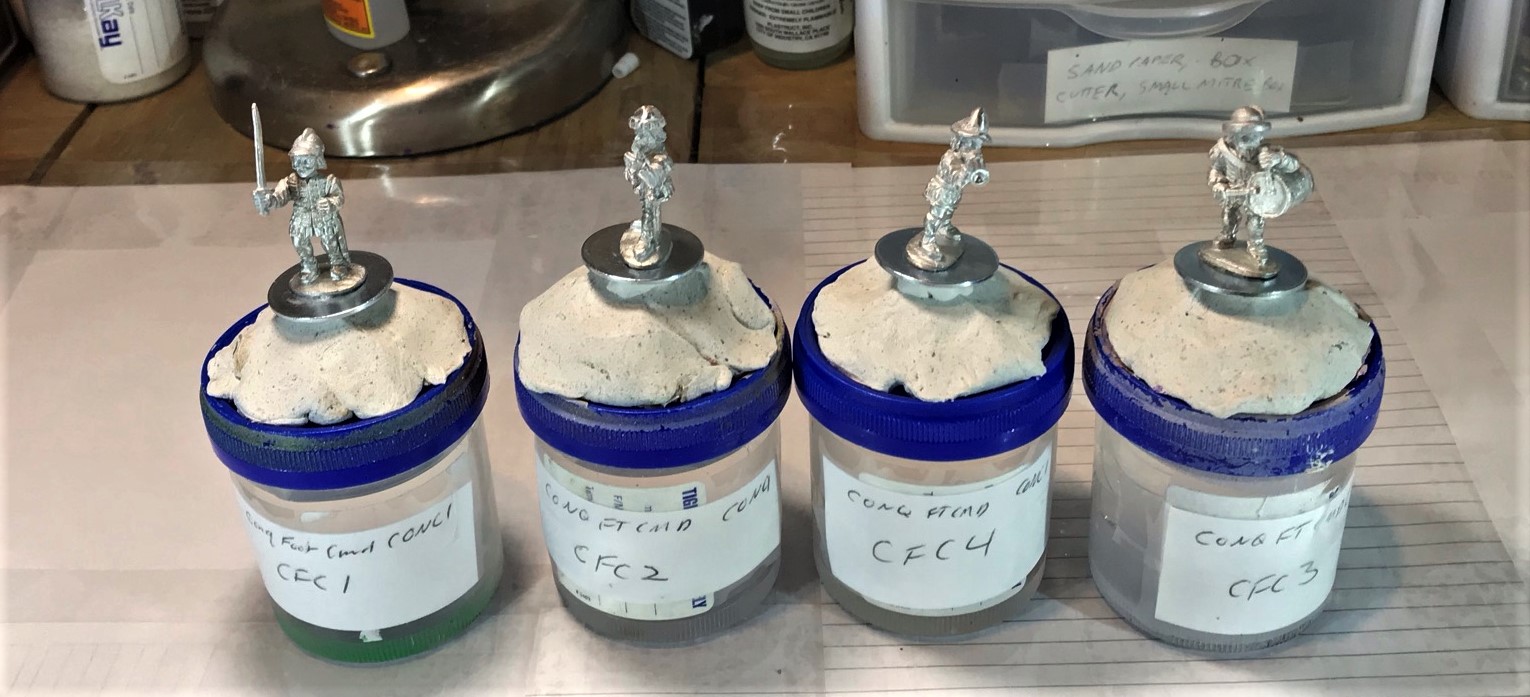
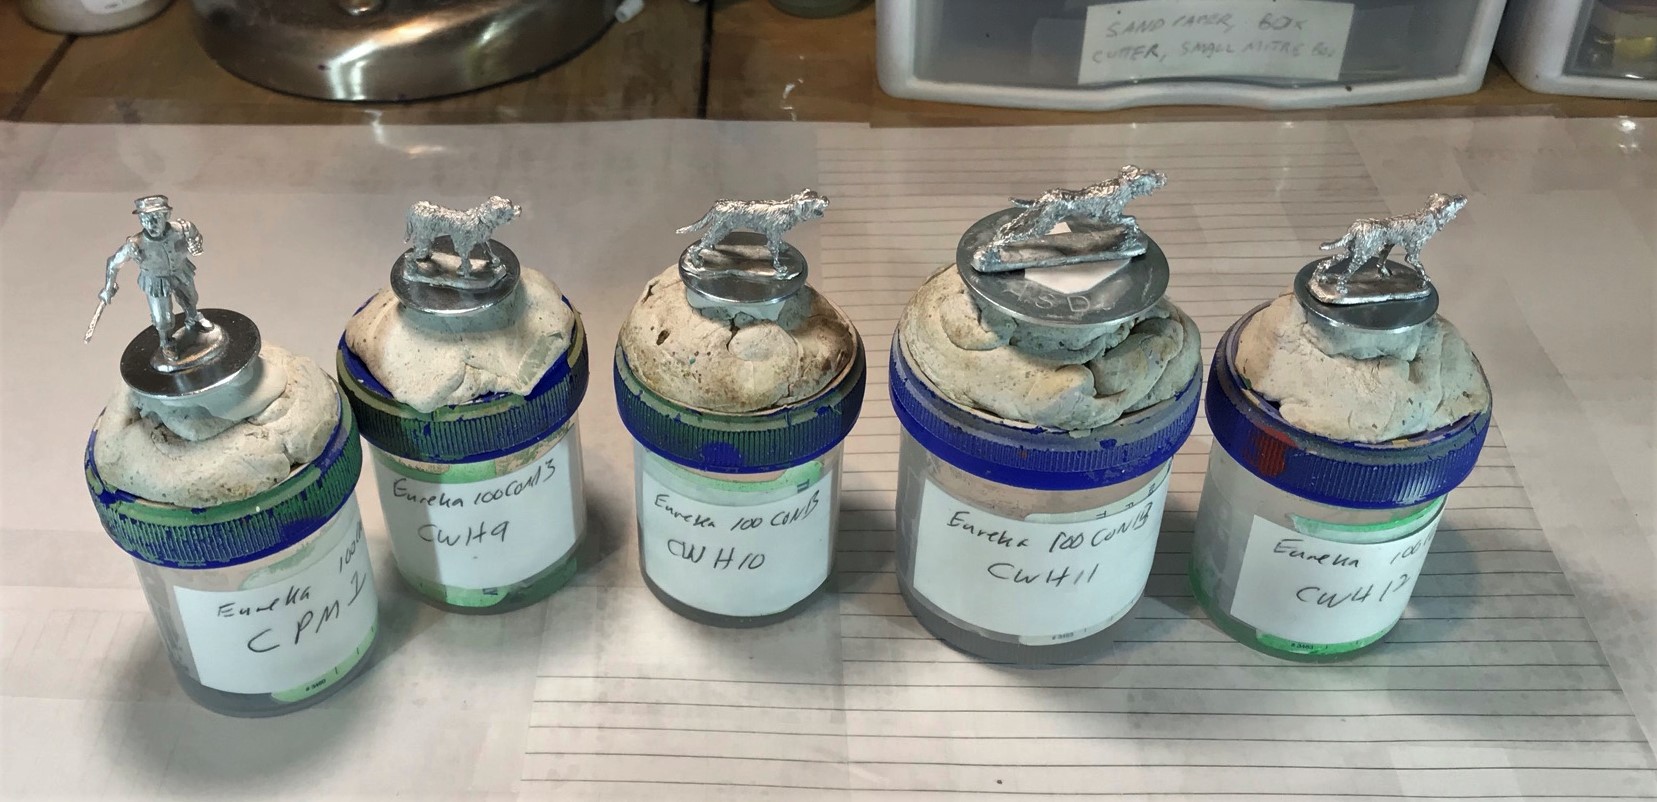
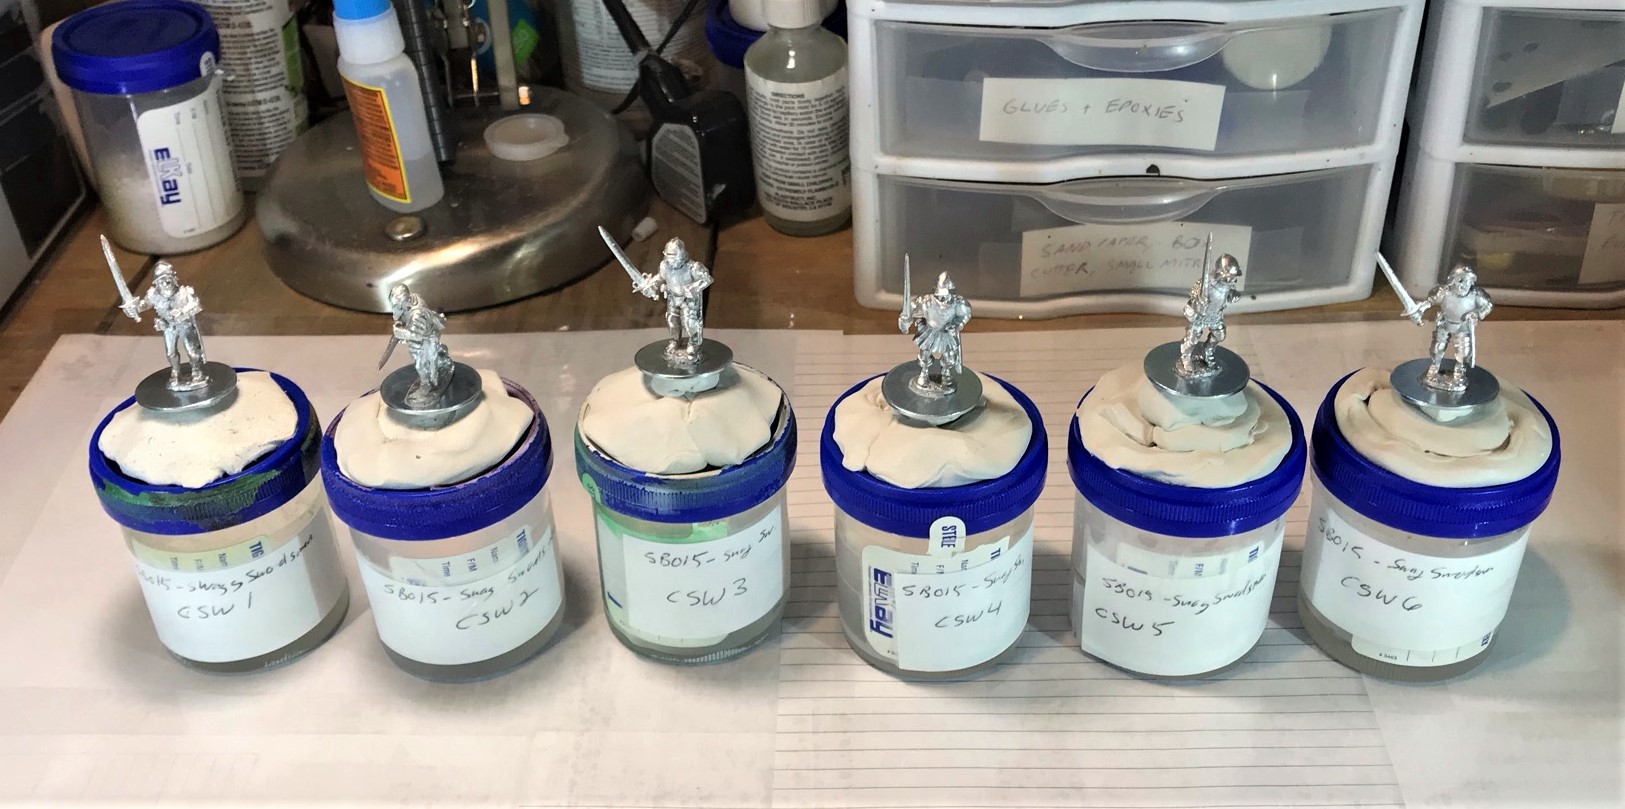
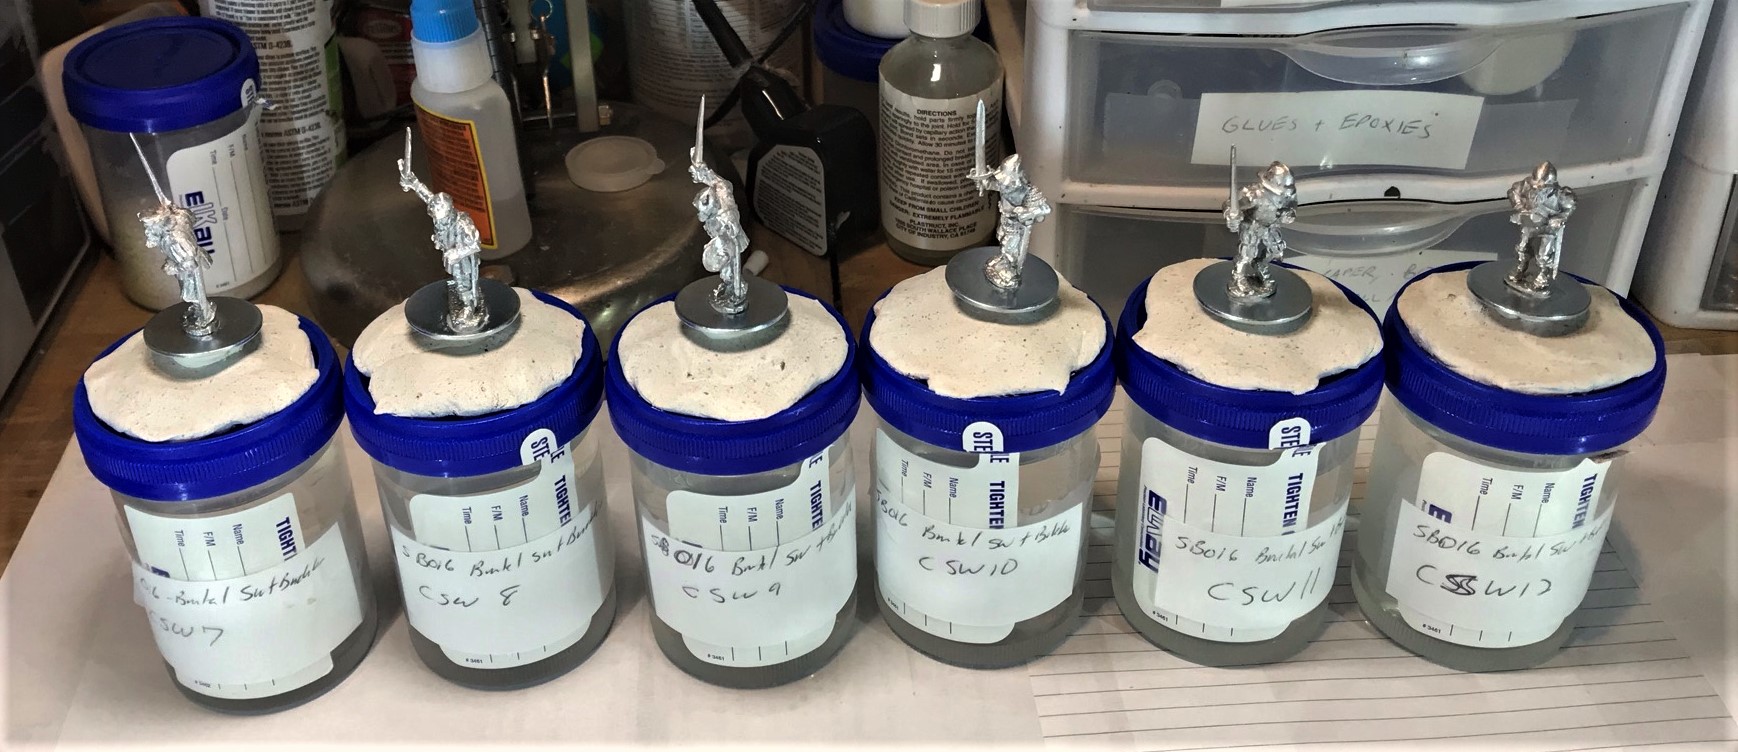
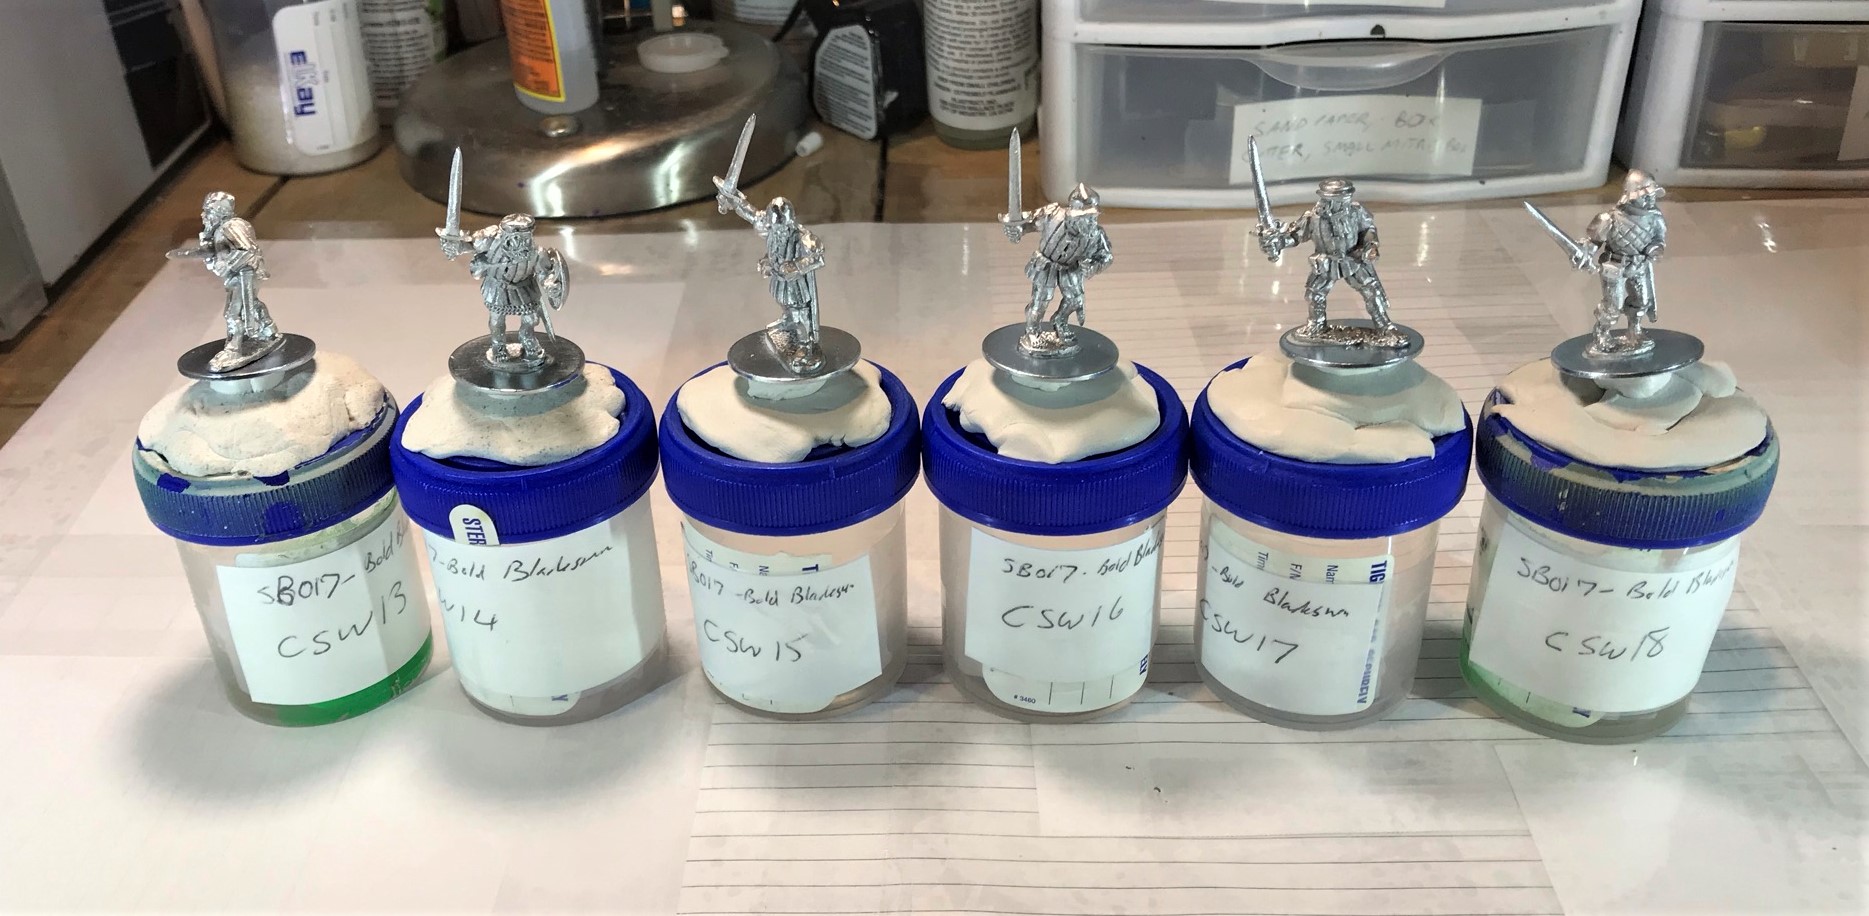
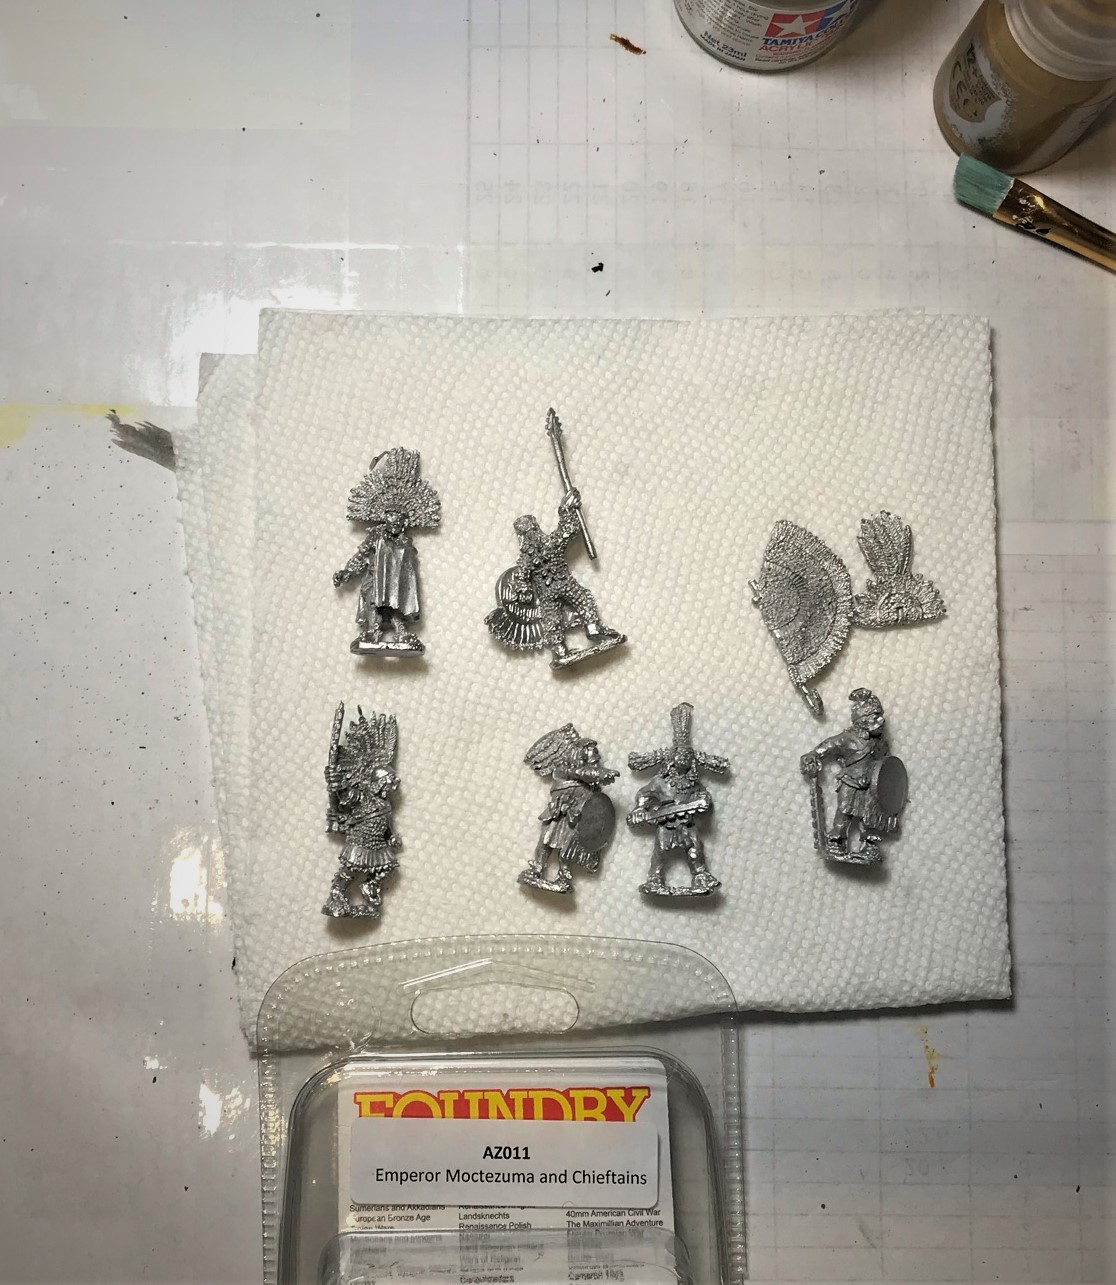
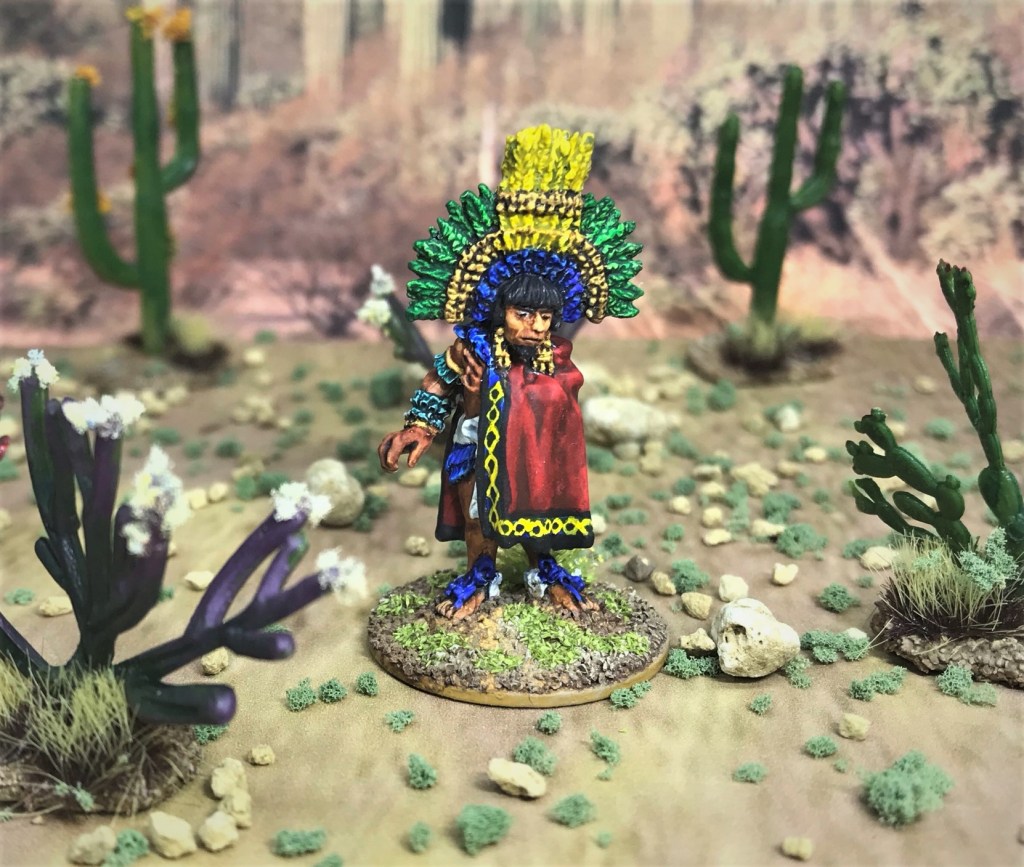
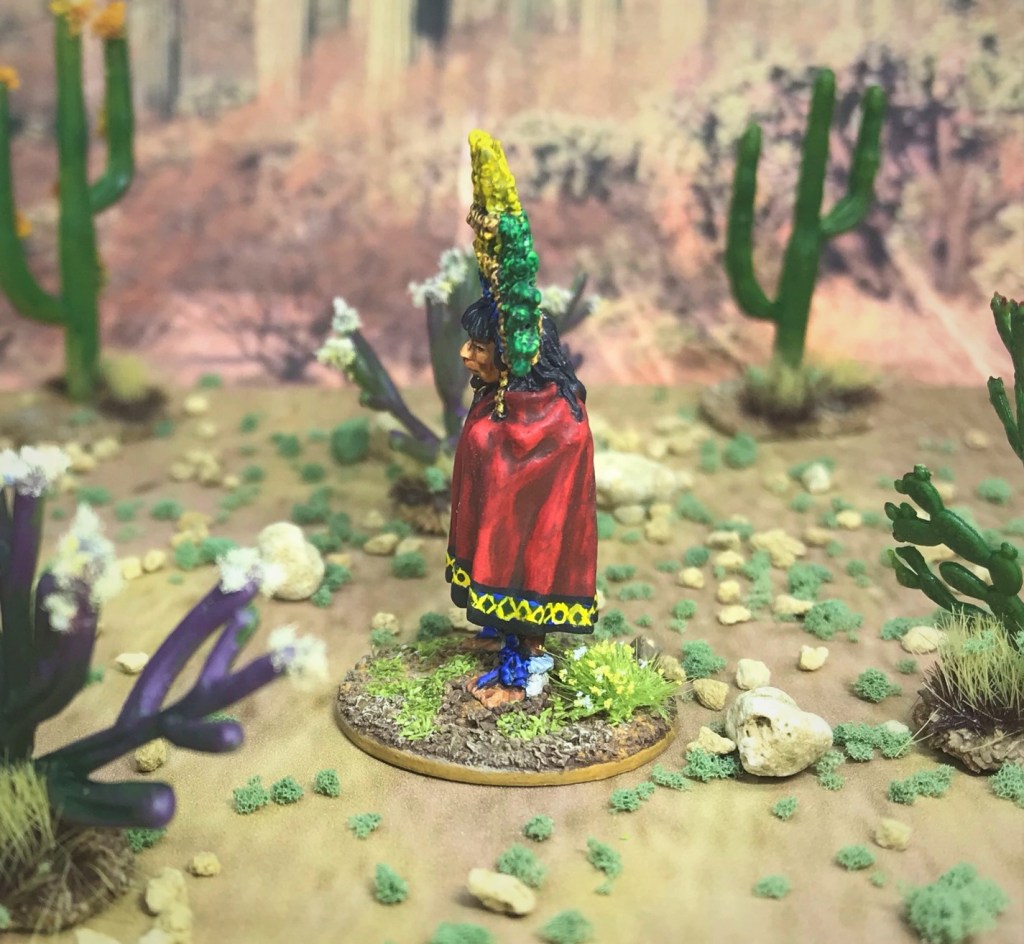
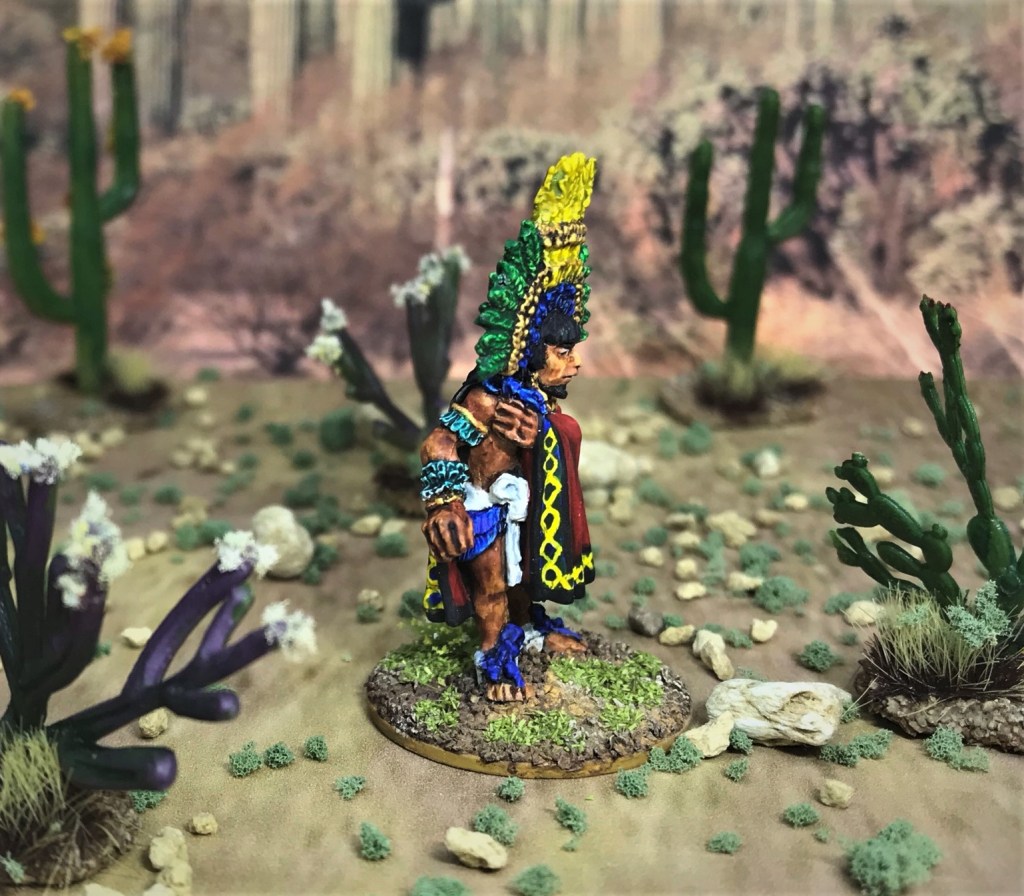
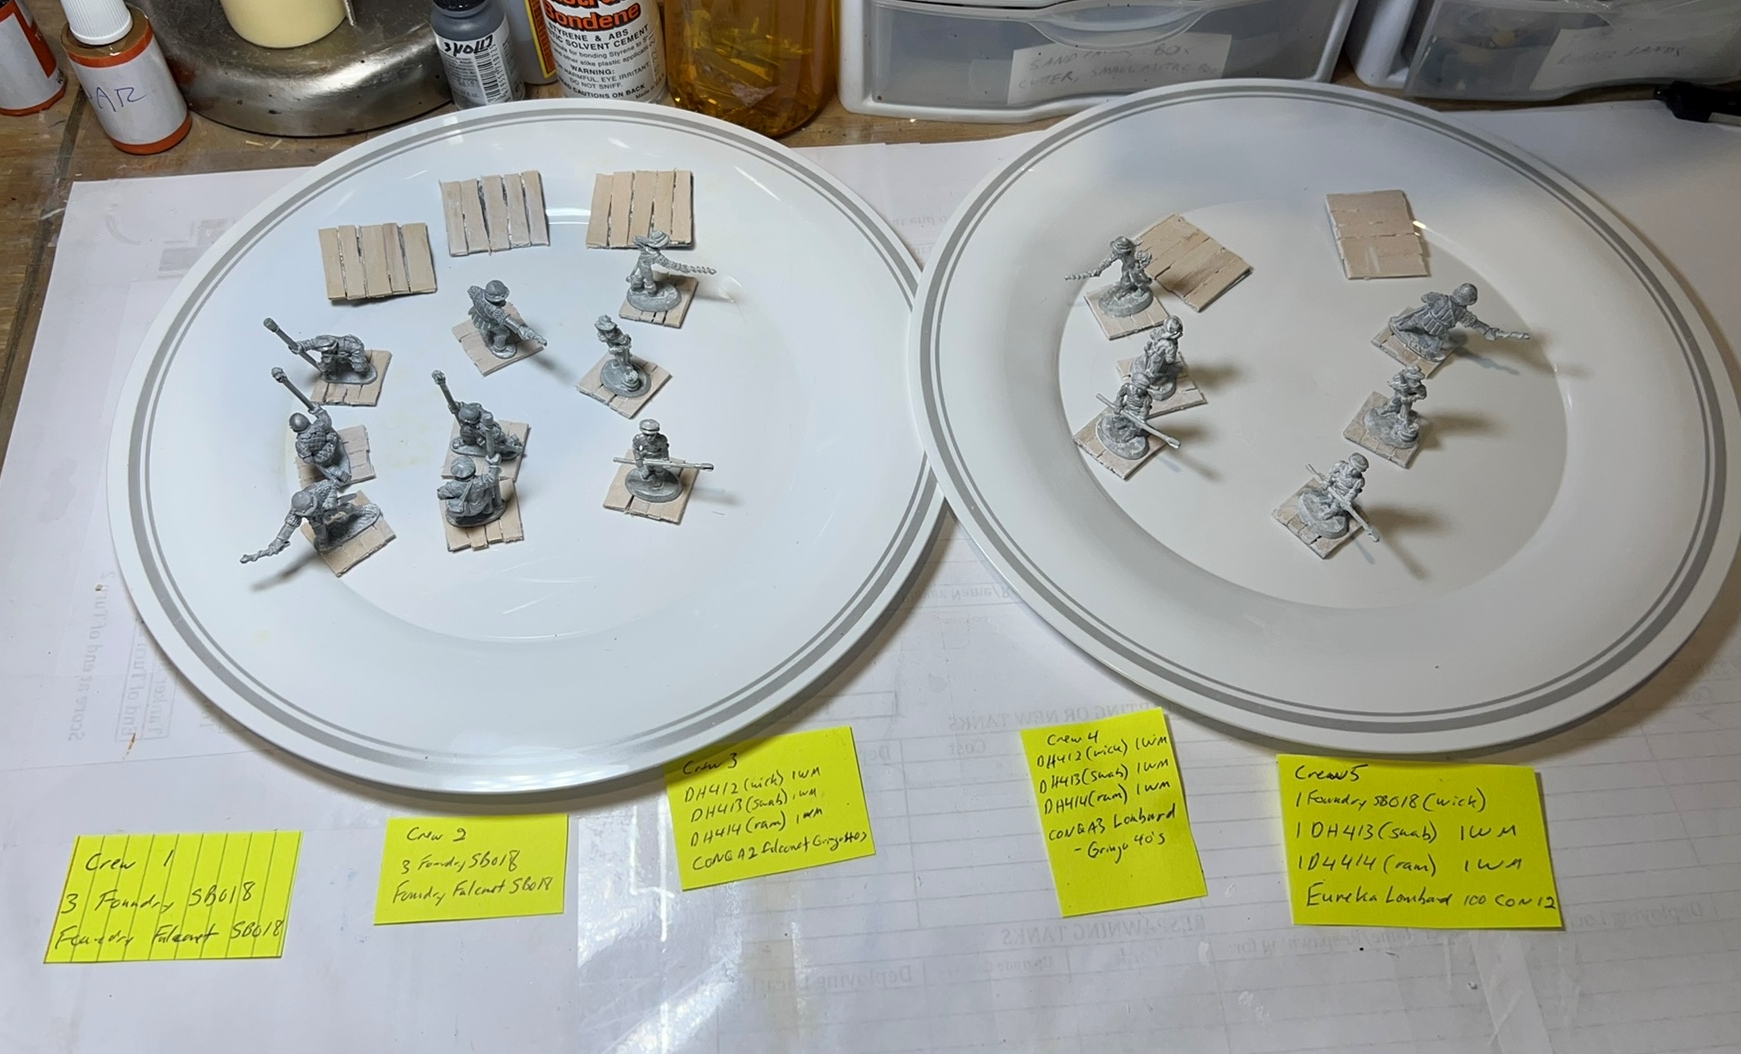
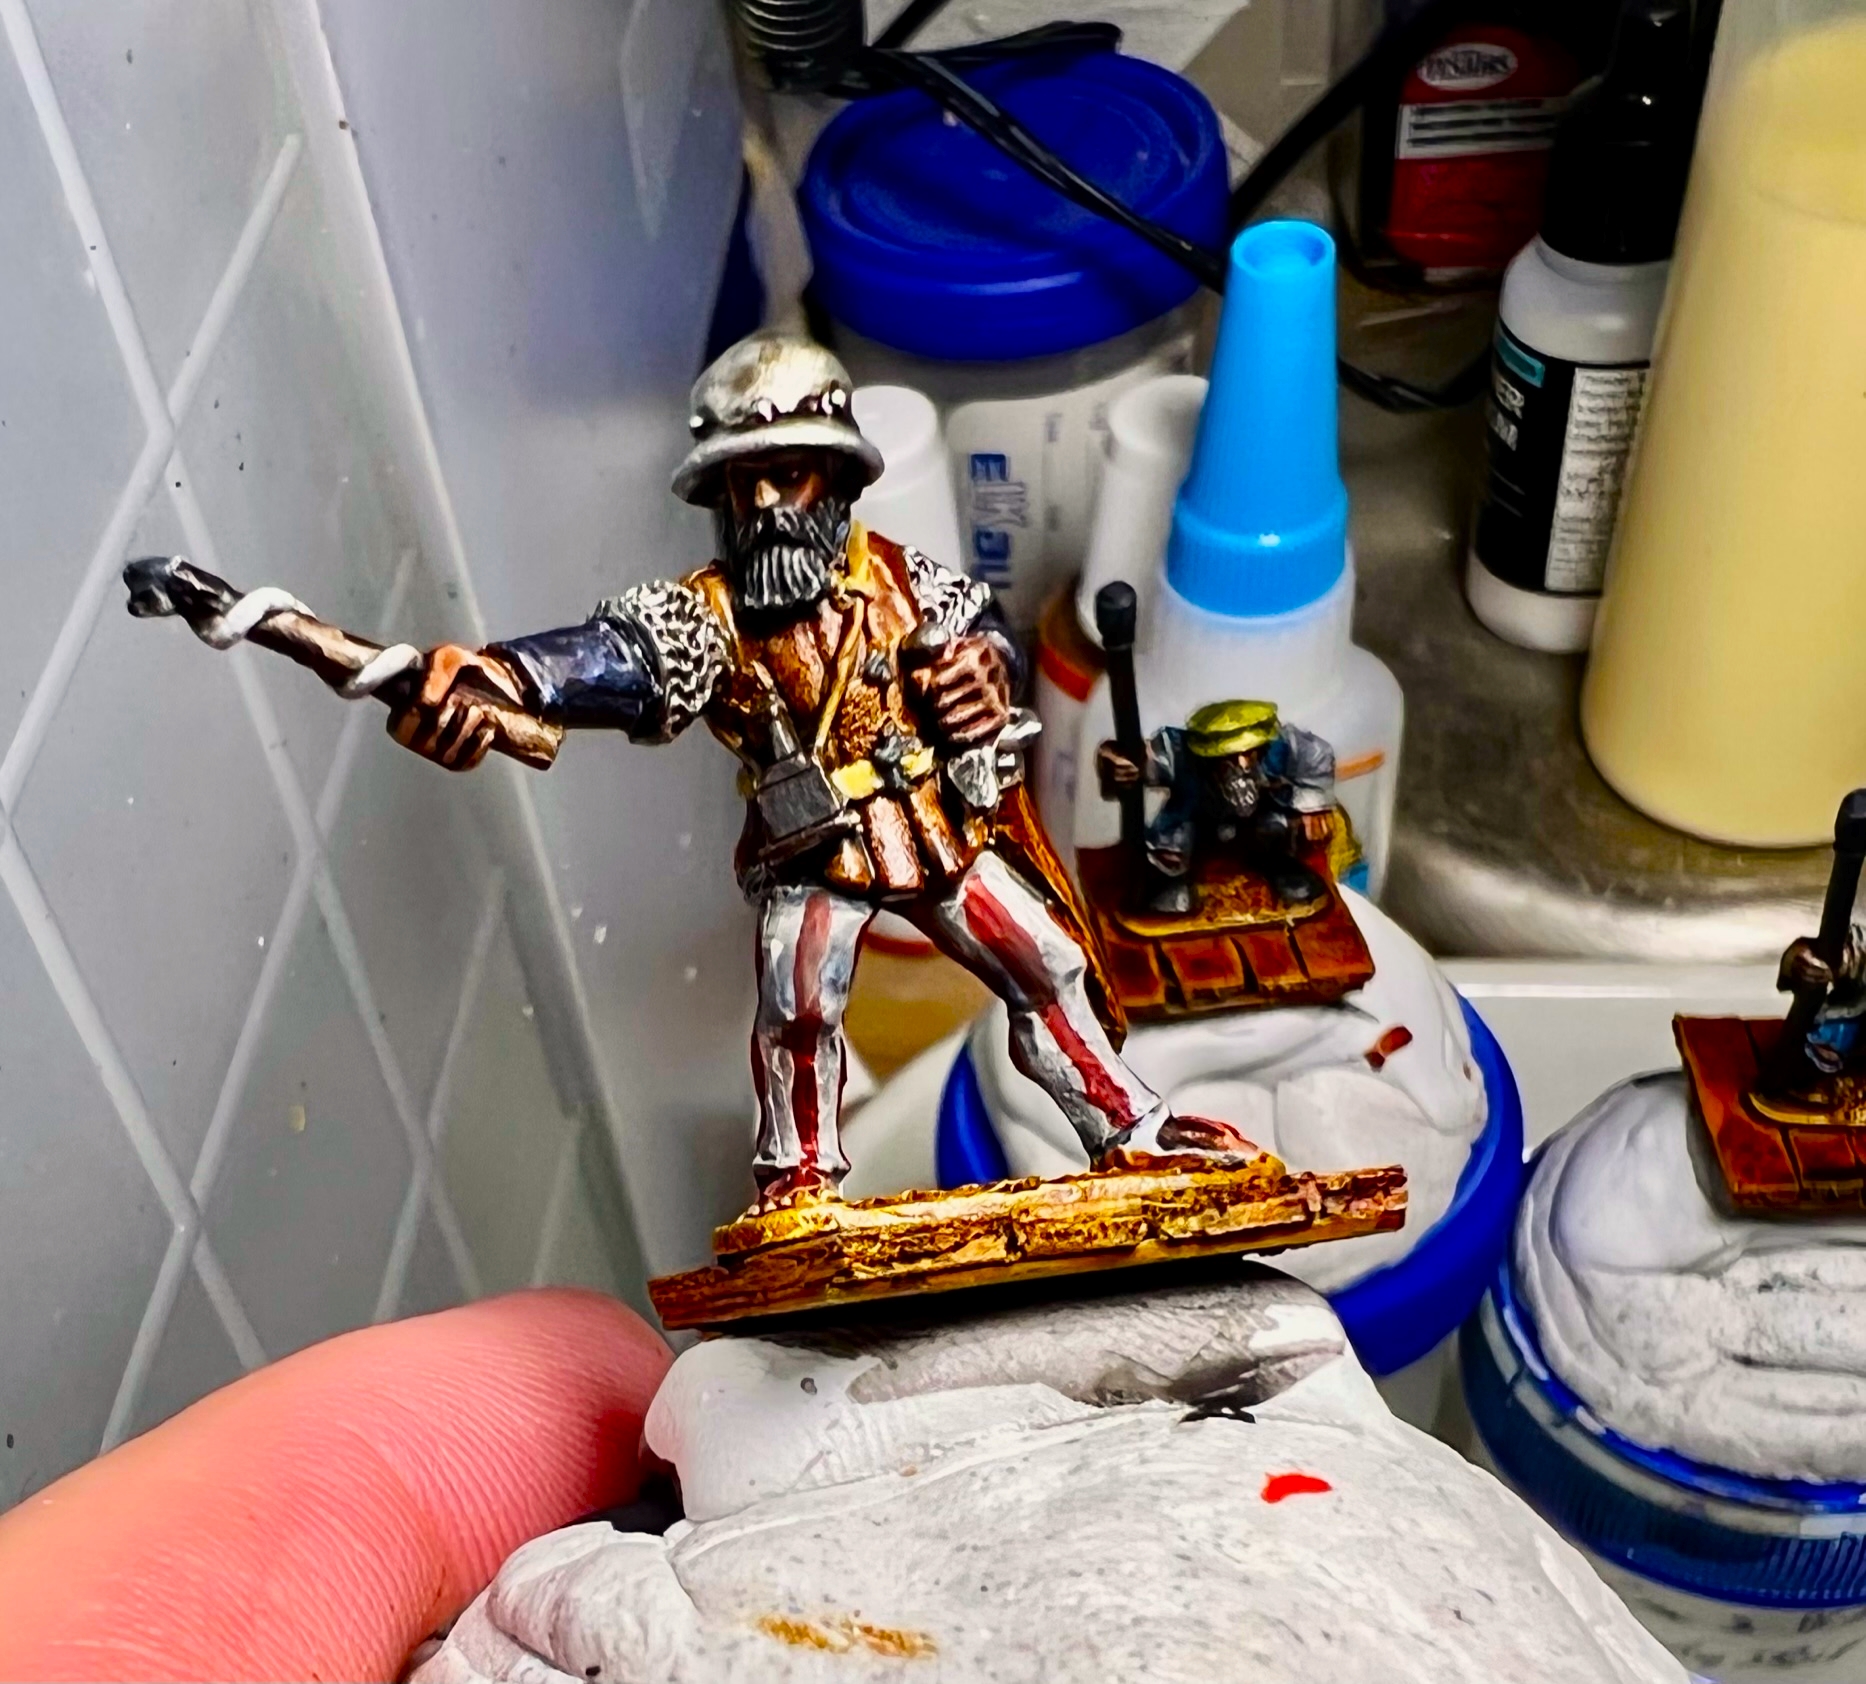
Wargames Foundry has a nice set (#SB018) available from Badger, and I used two of them – less the halberdier that I added to my land-based forces (and also used some as leaders/helmsmen). For the other three, I did a cobbling together of figures and guns from Gringo 40’s, Iron Wind Metals, and Eureka Miniatures.
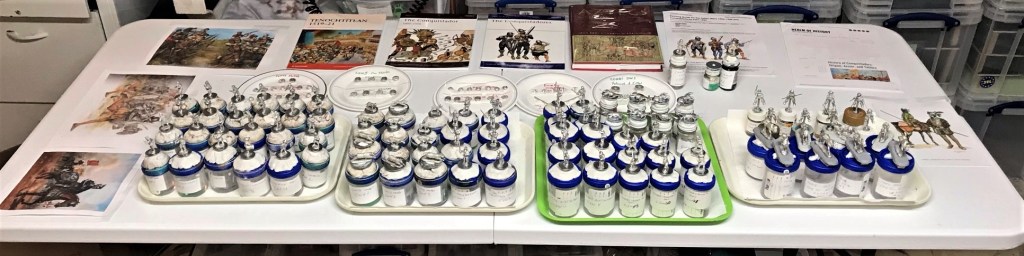
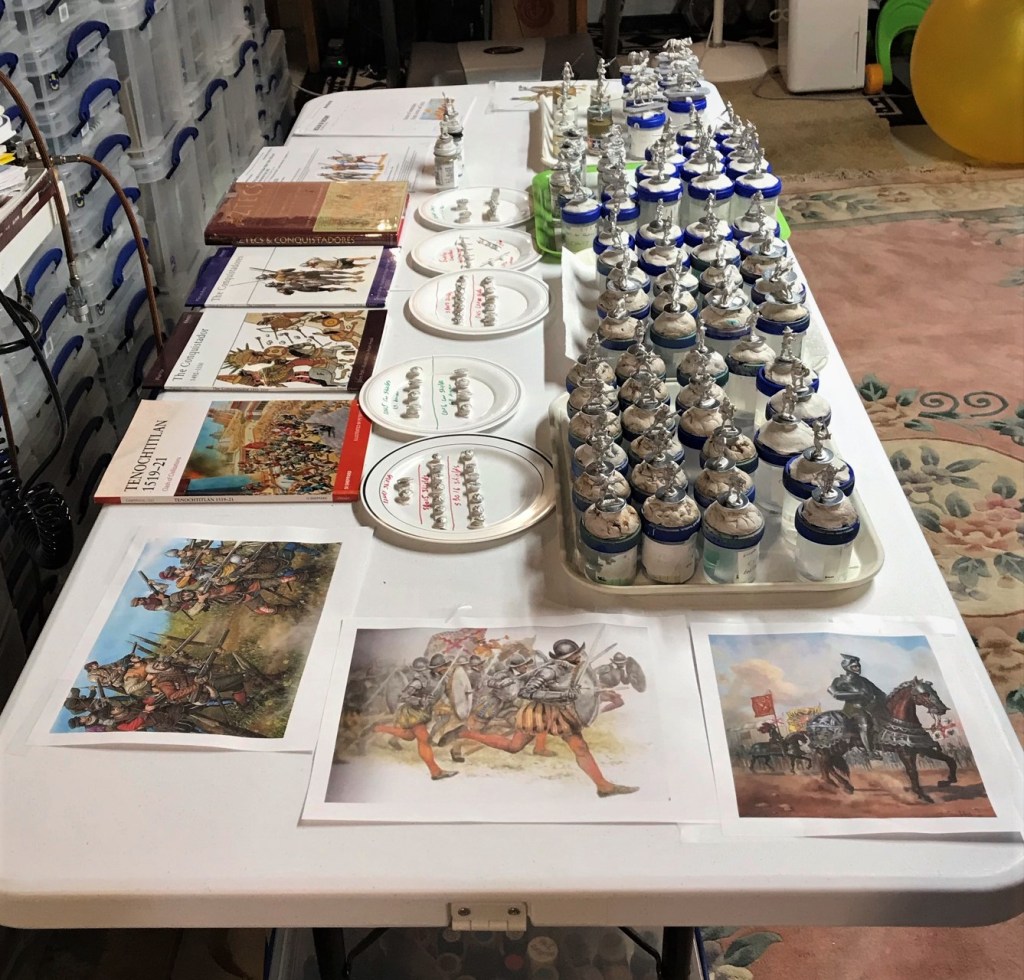
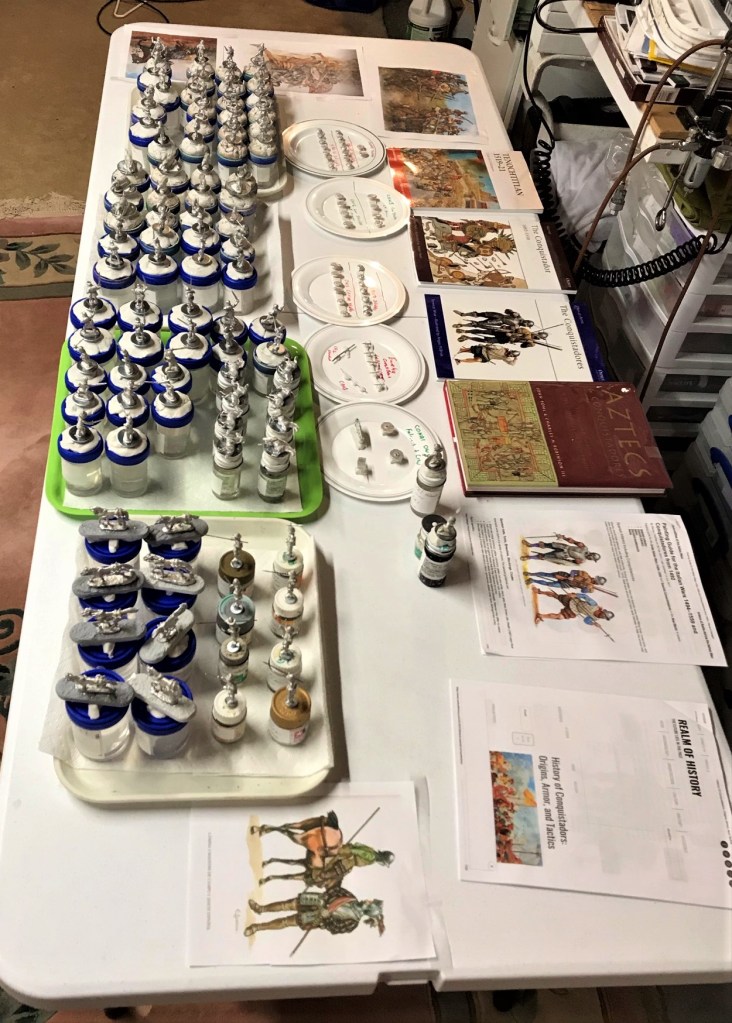
This project was going to have to be squeezed in between HAVOC 2022, my Florida trip, and get finished before HUZZAH 2022 where they would debut on the tabletop. I also received my Army Painter “Speed Paint” set and decided that this was a good time to try them out as completion speed was indeed of the essence.
The crews and guns ended up as follows for each brigantine:
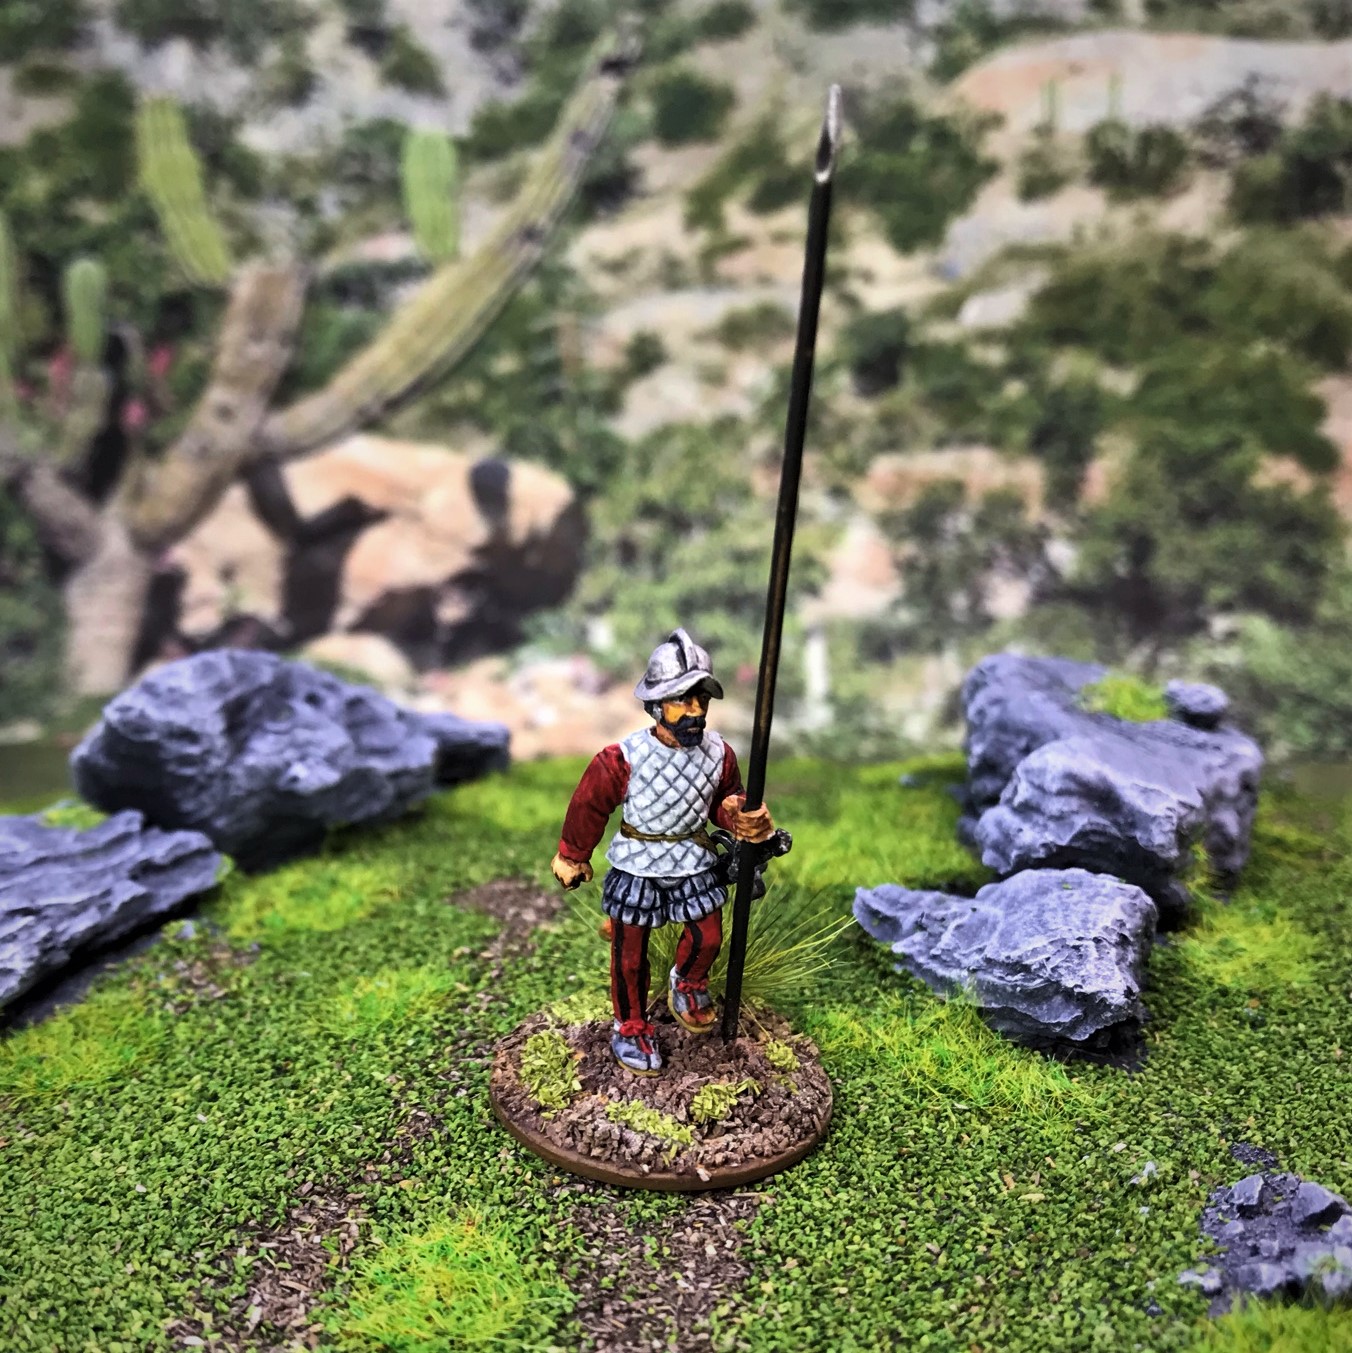
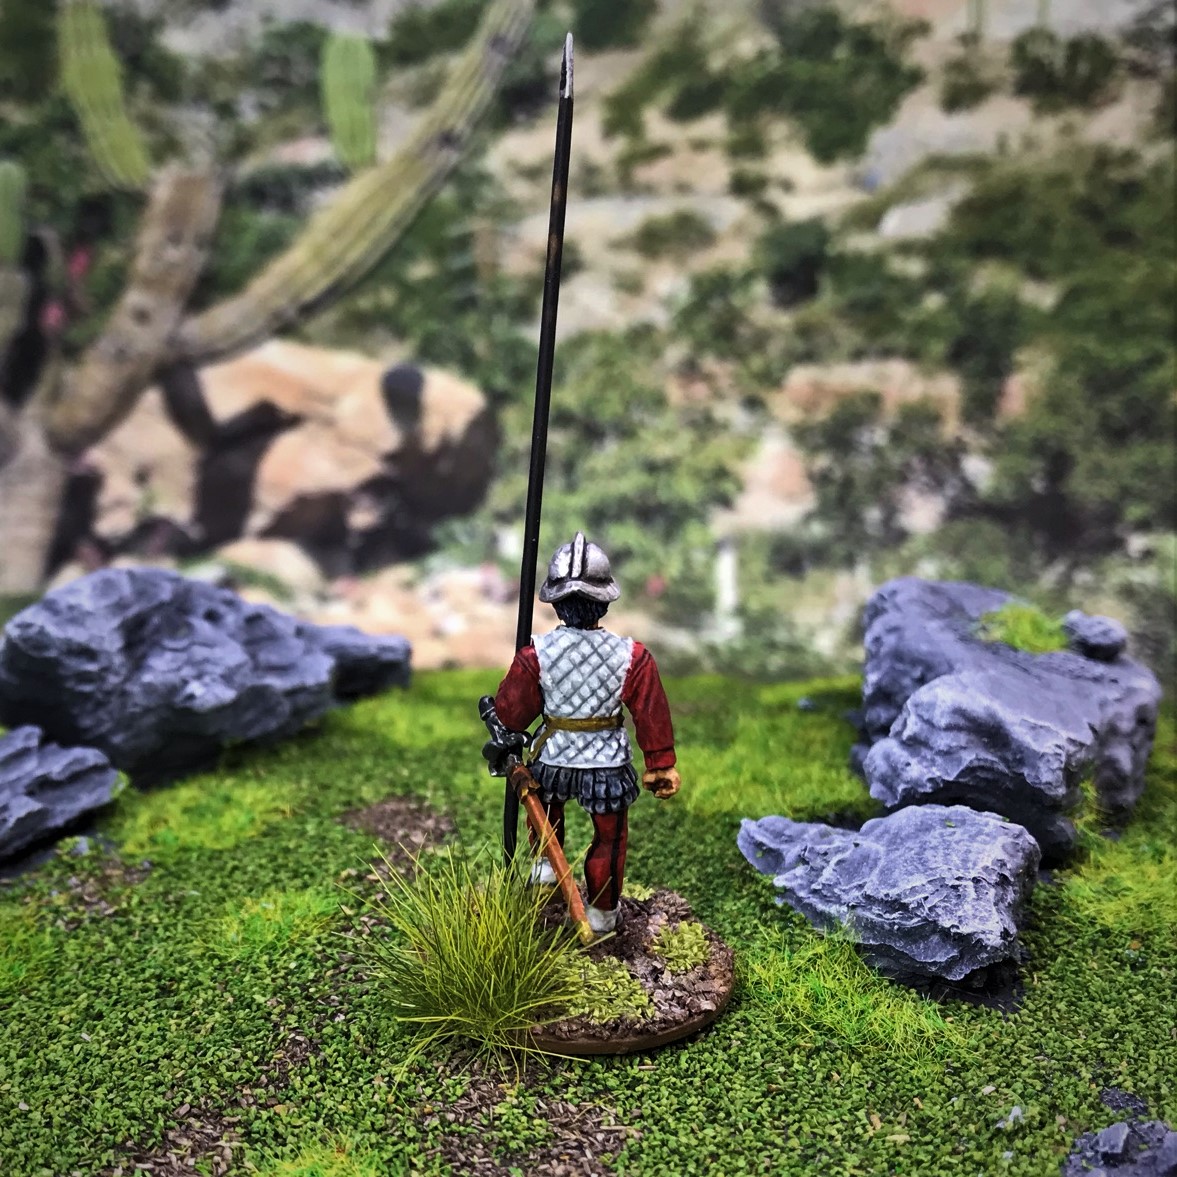
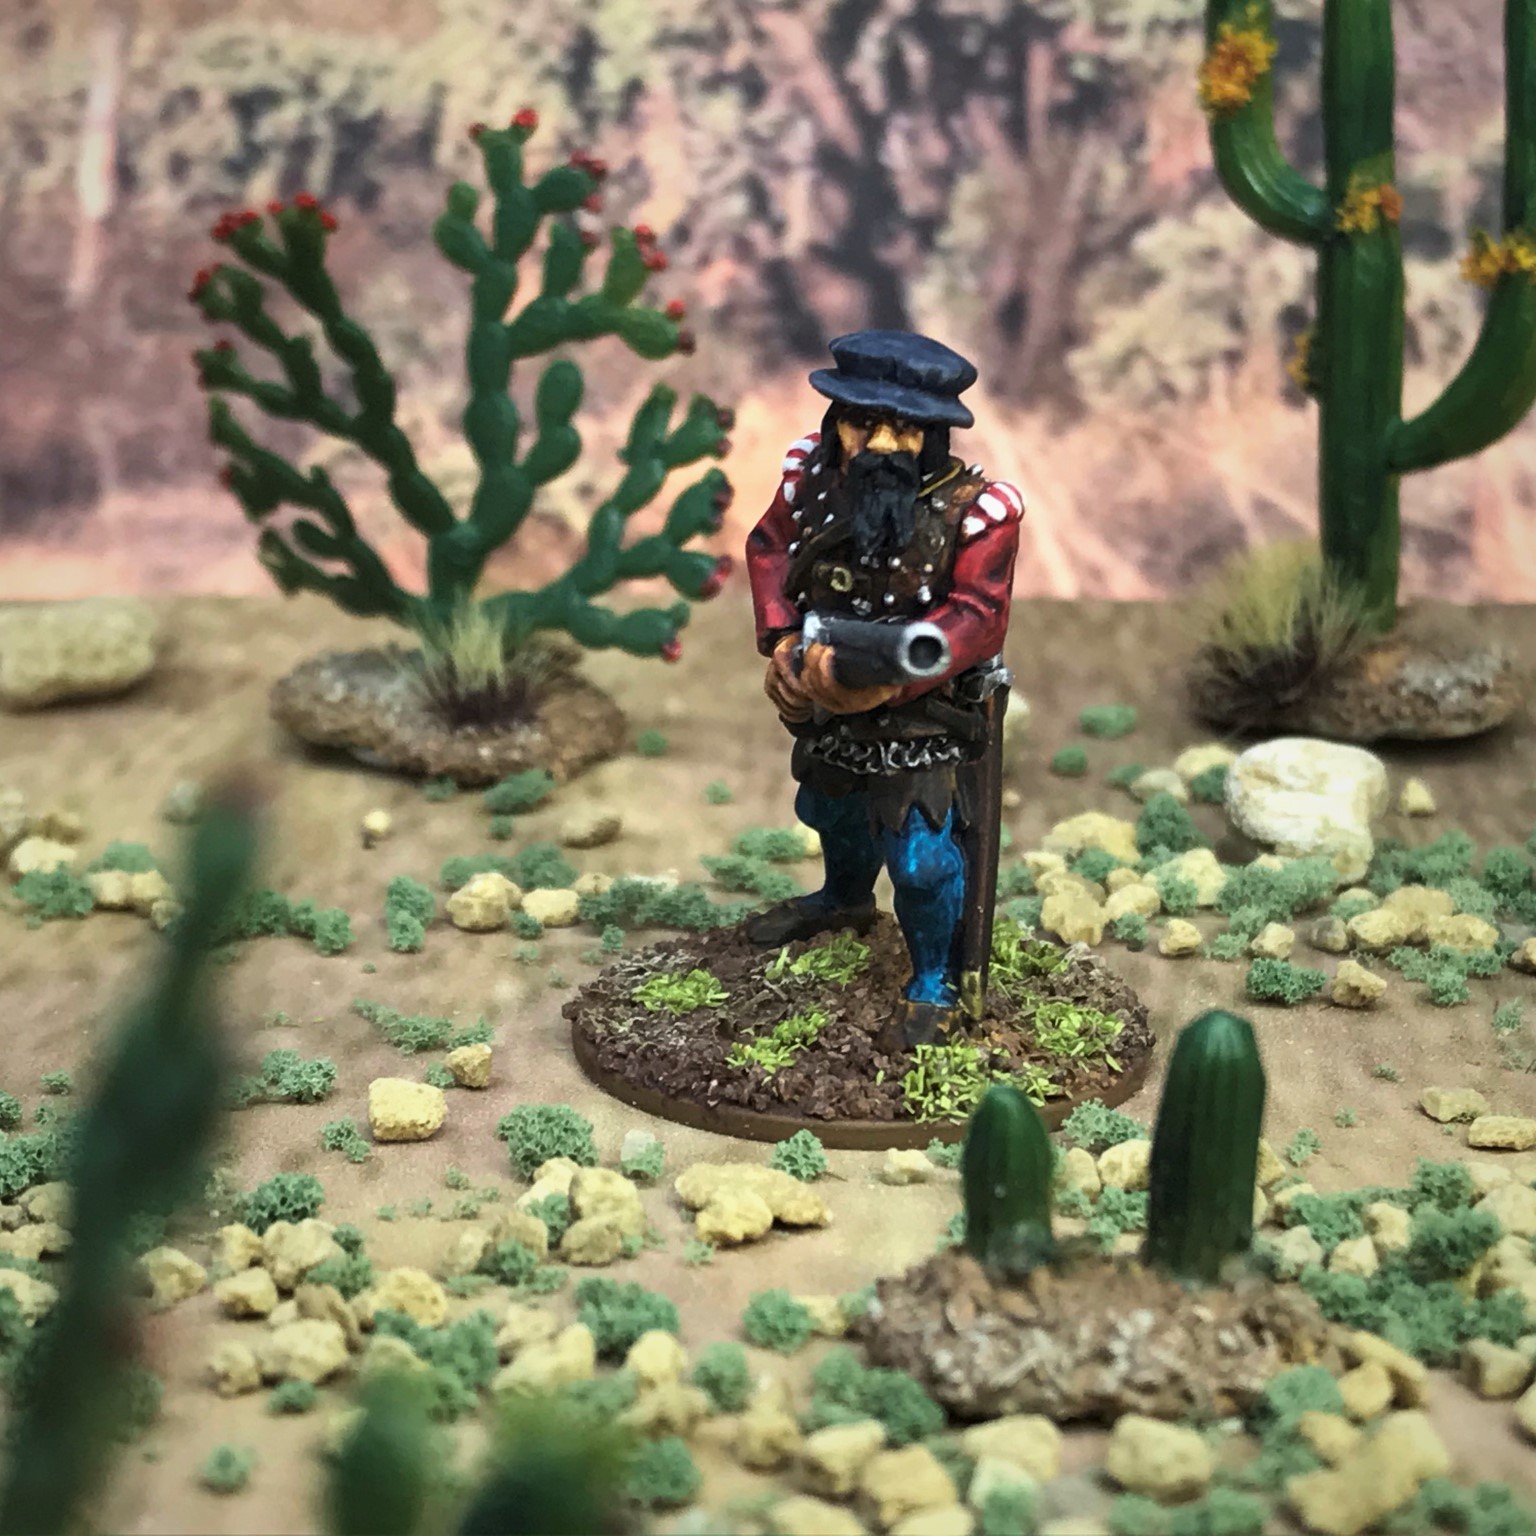
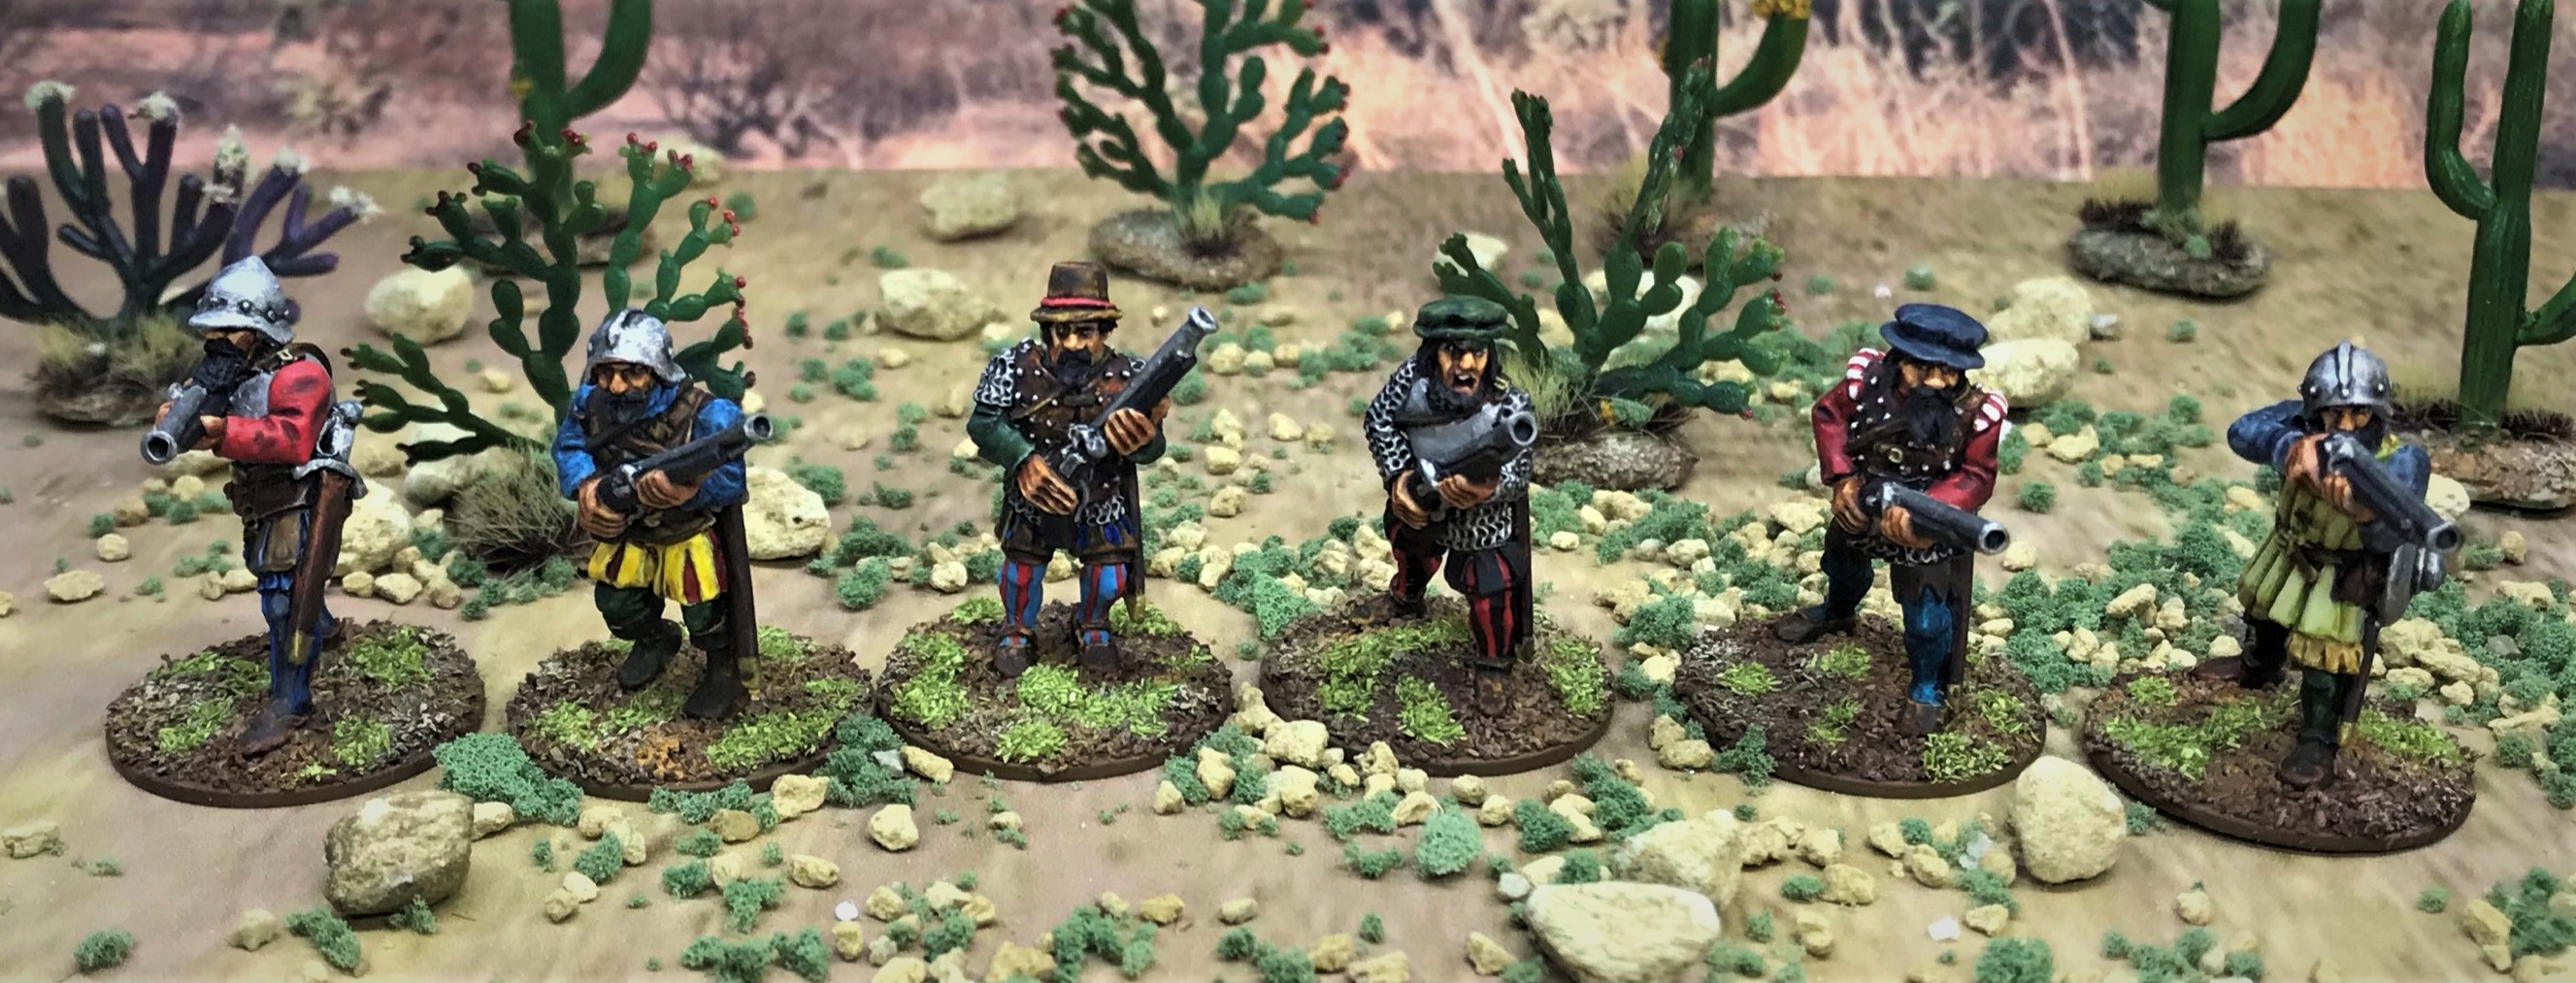
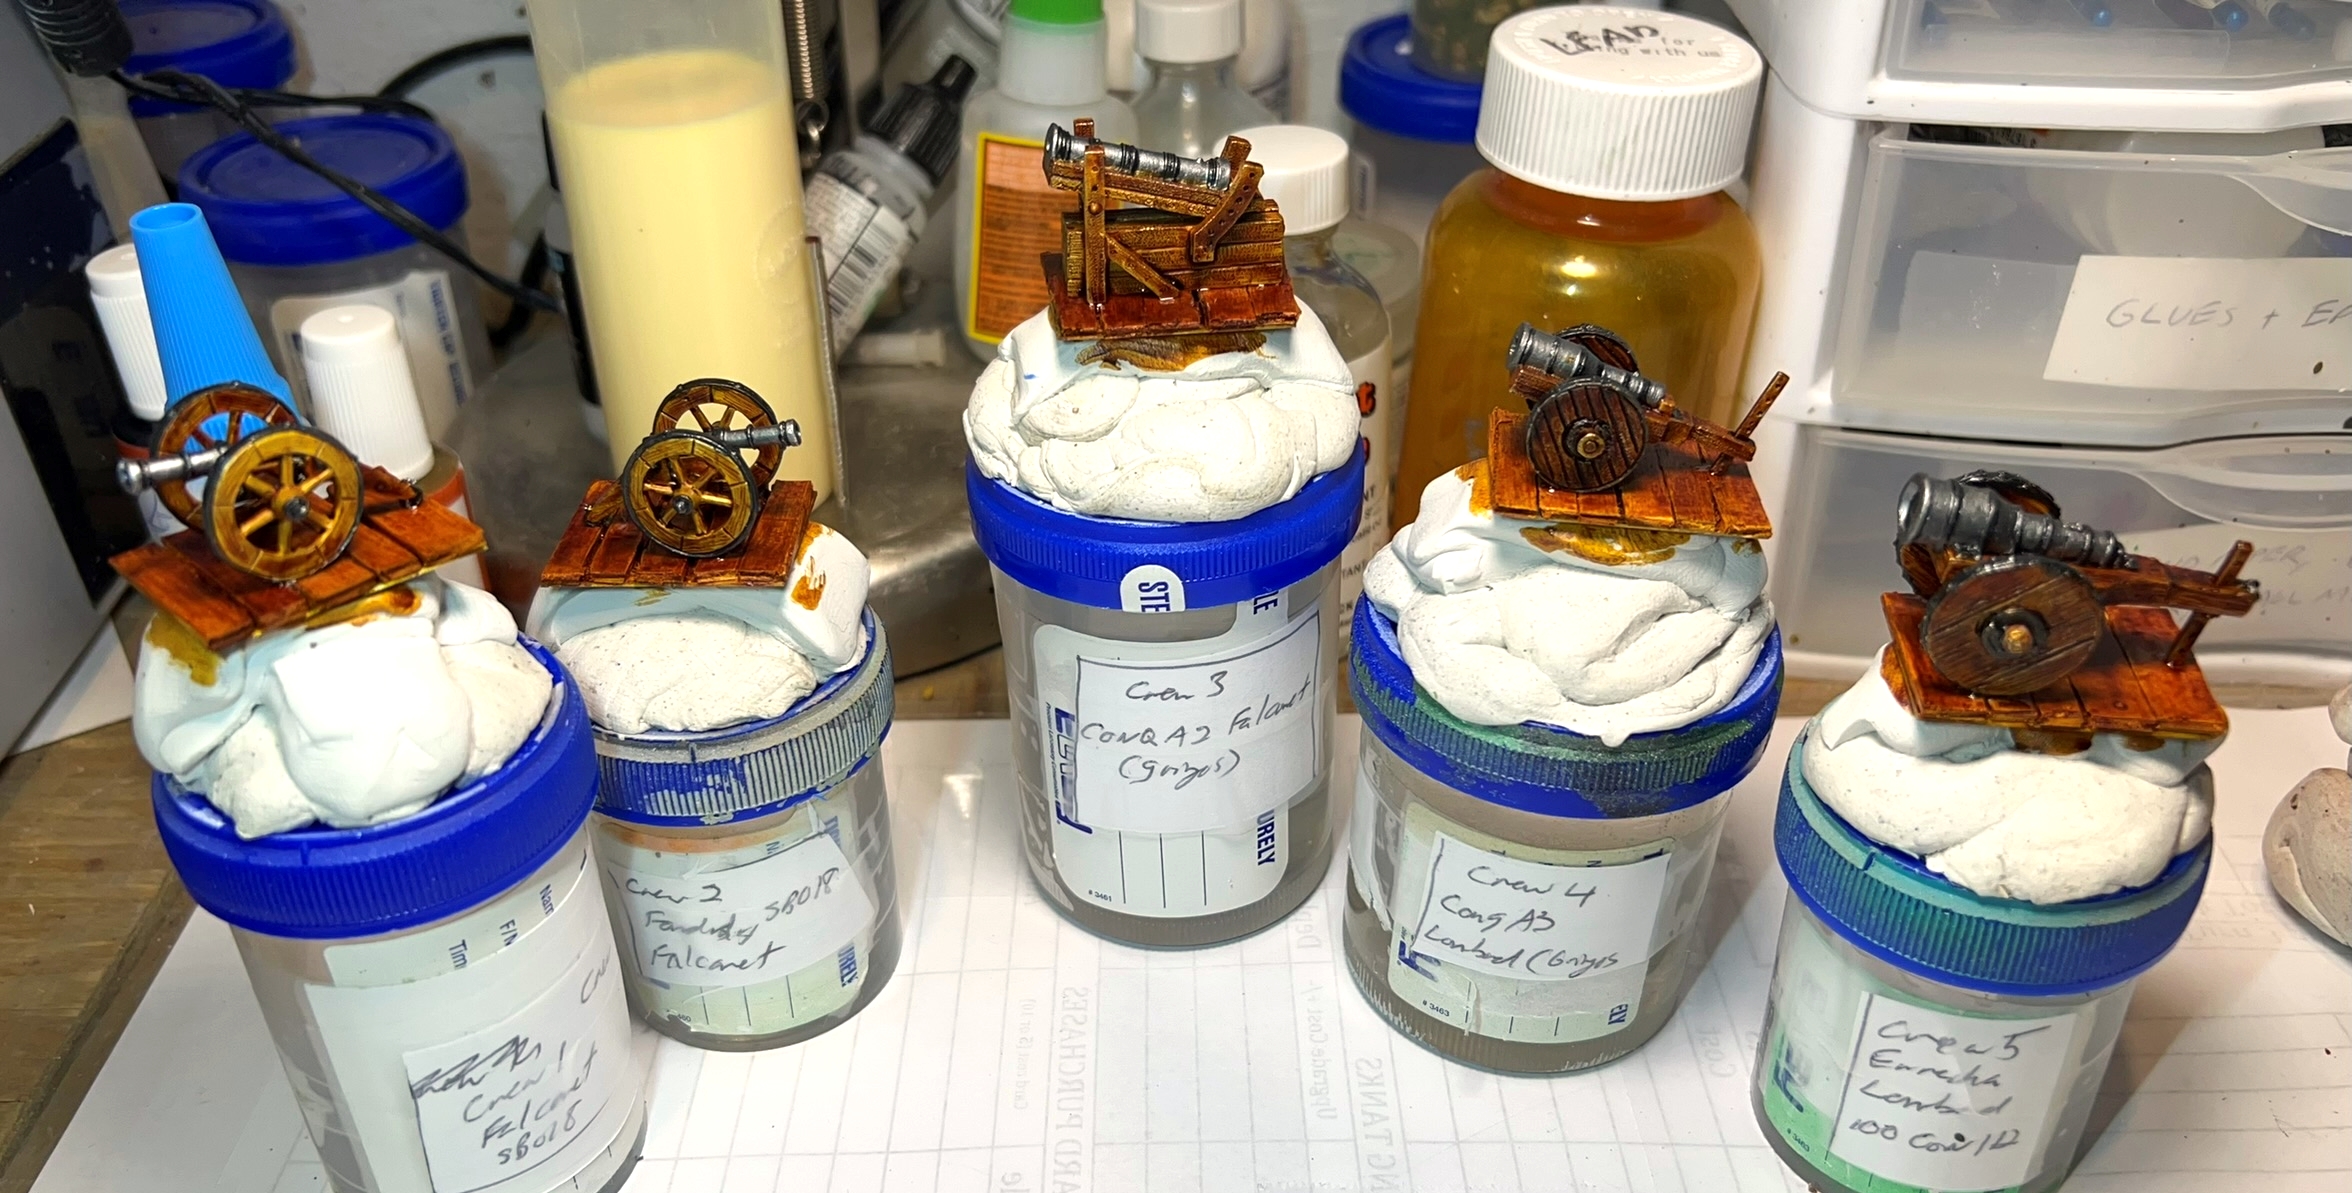
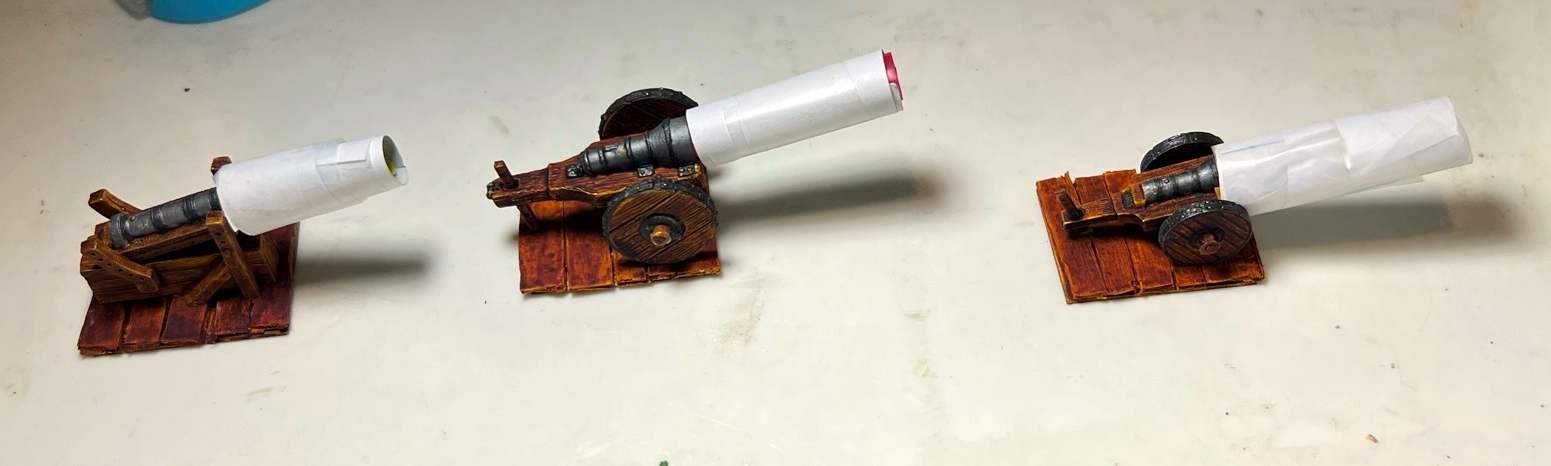
- El Dólar: a falconet and three crewmen from Wargames Foundry #SB018 to be deployed in the stern castle facing to the starboard side
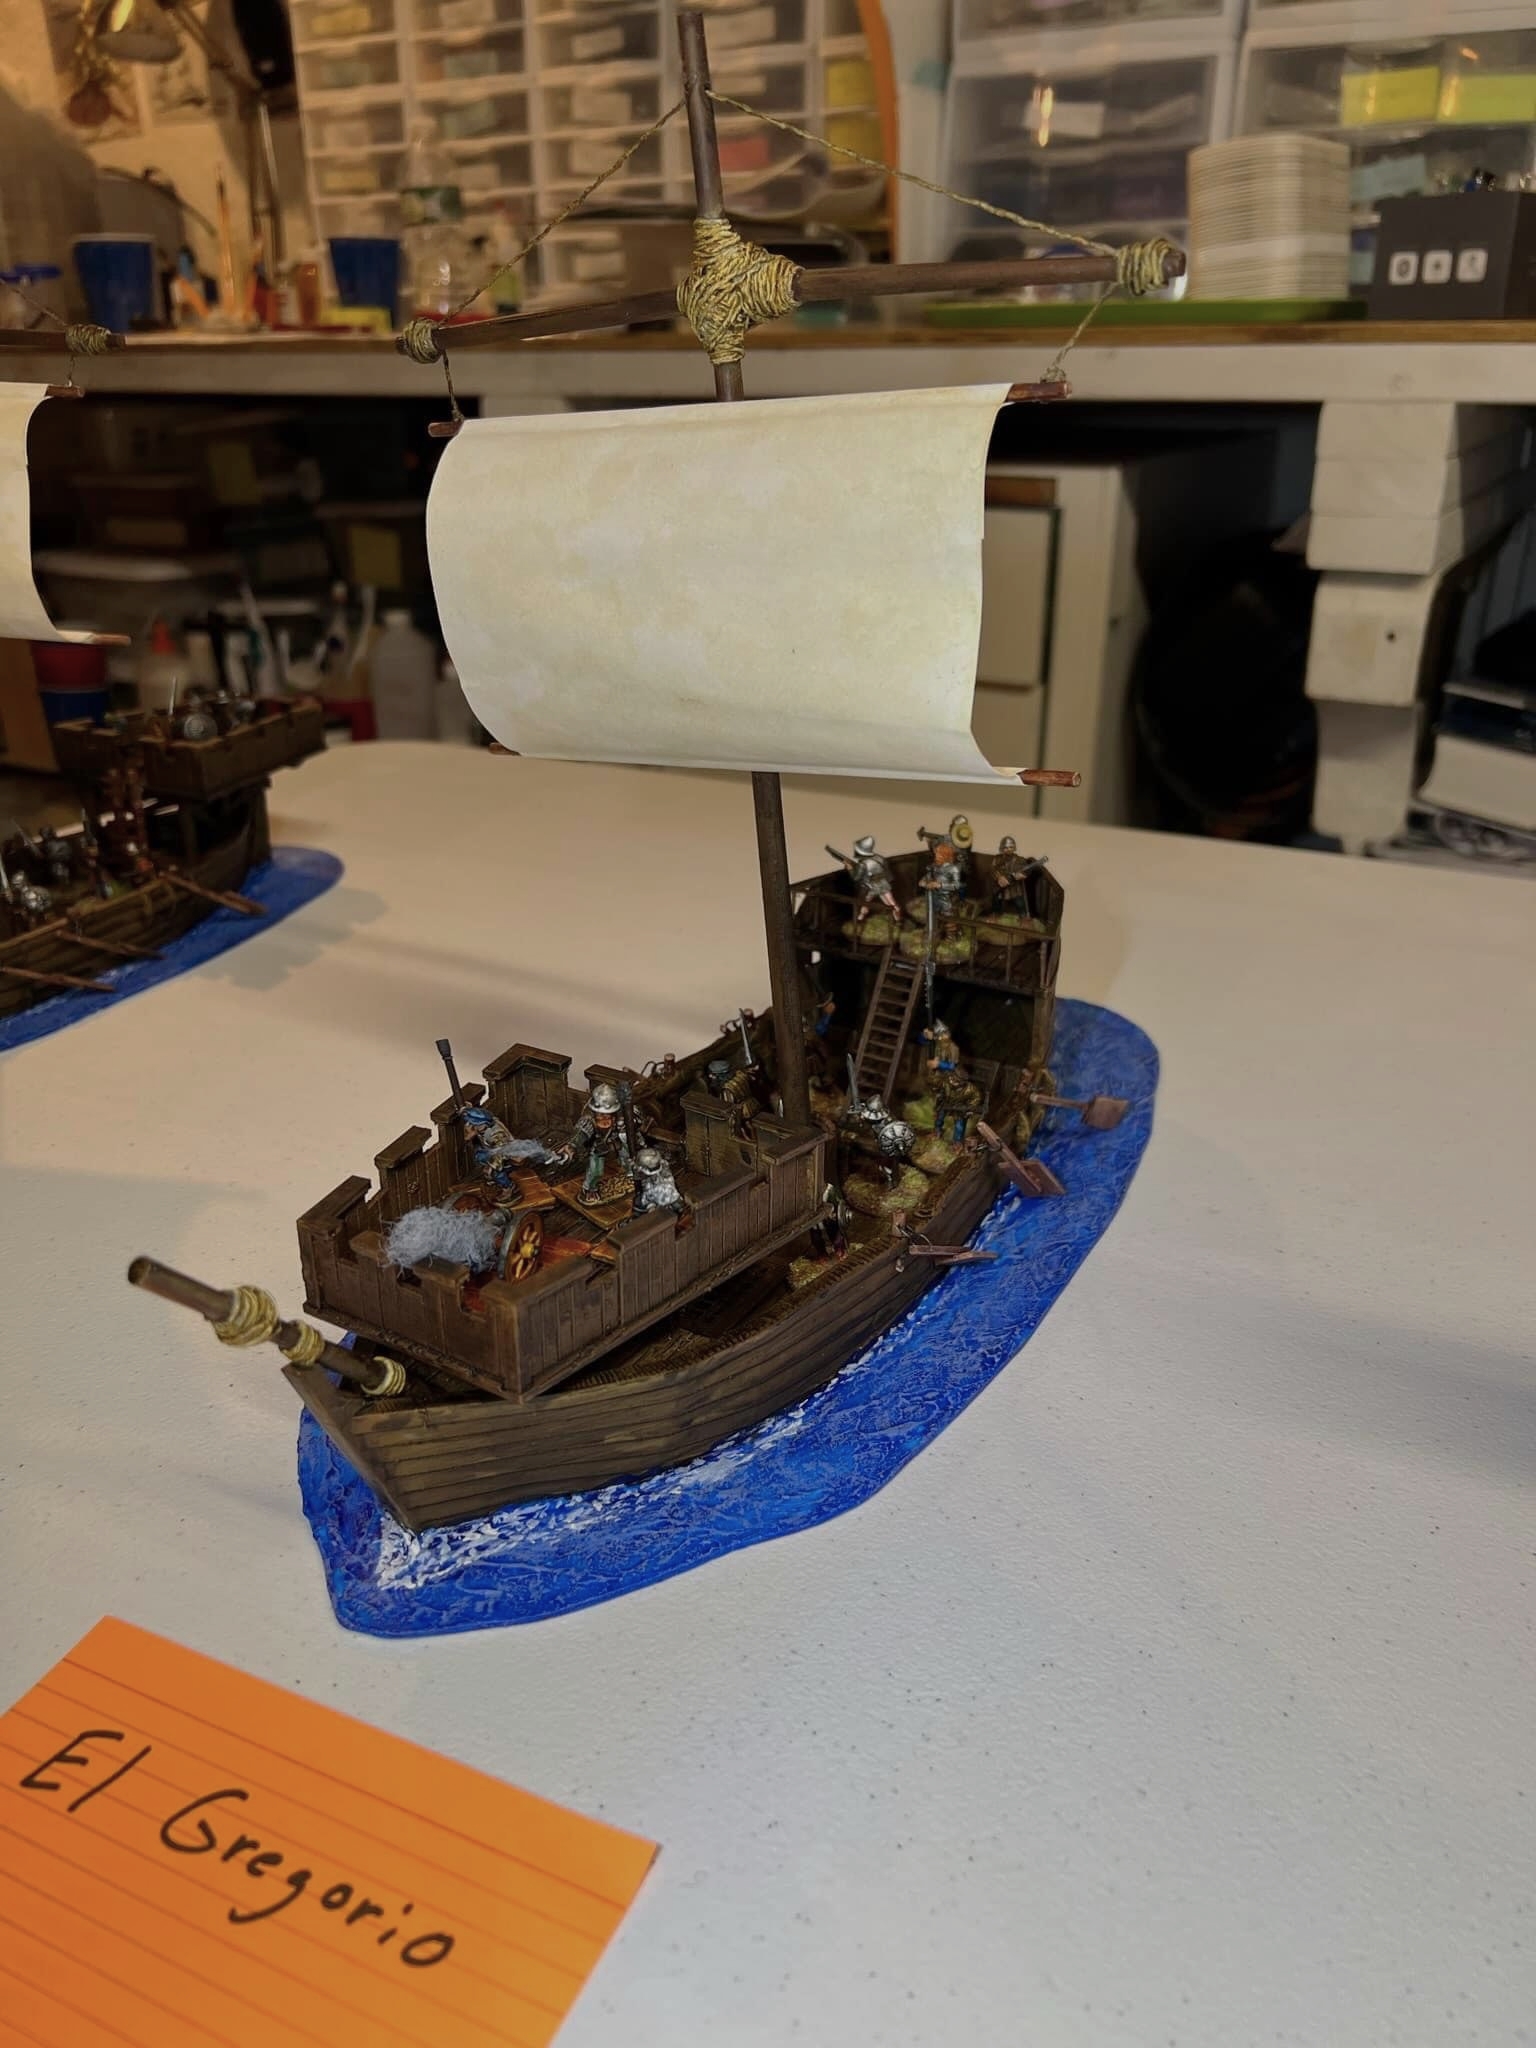
- El Gregorio: a falconet and three crewmen from Wargames Foundry #SB018 to be deployed in the forecastle facing forward
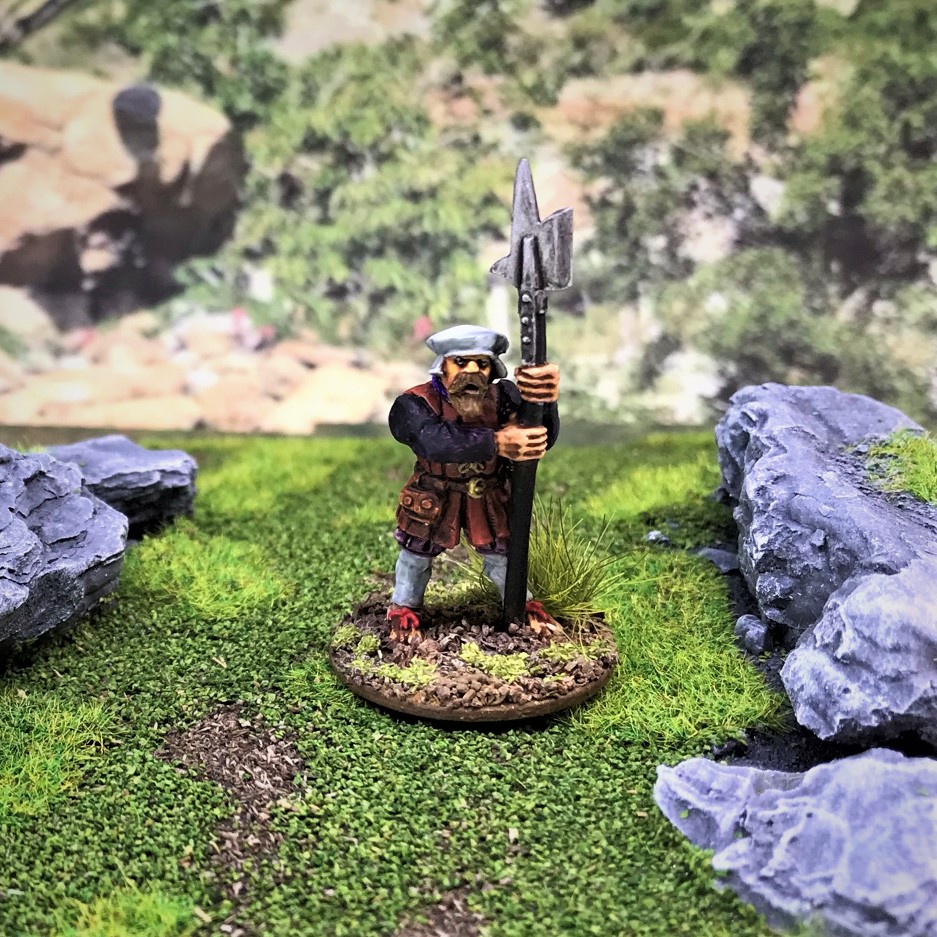
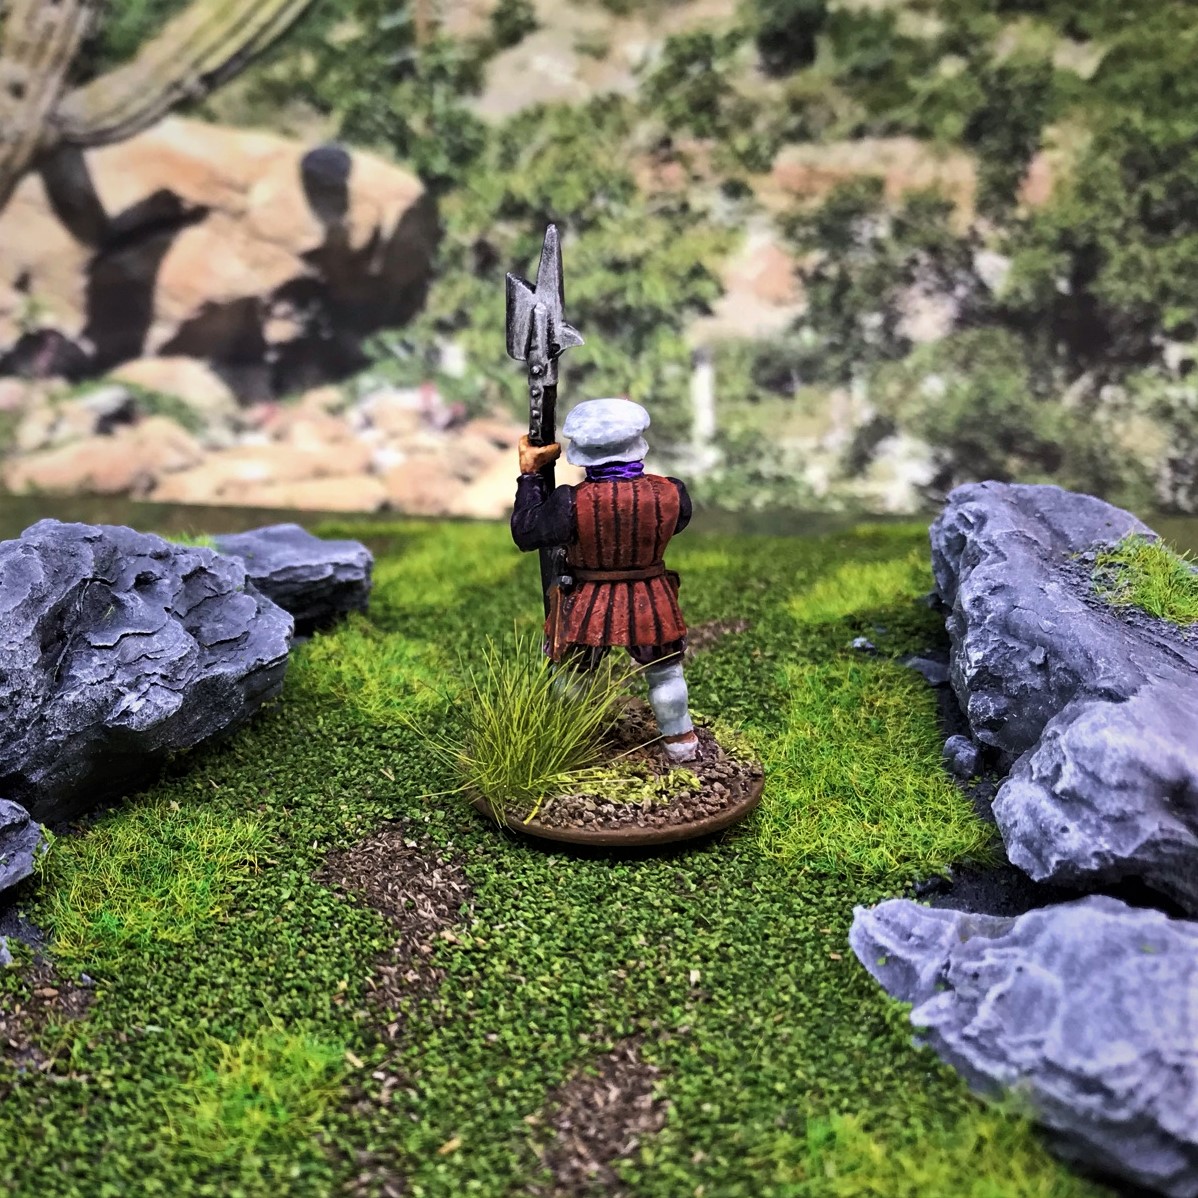
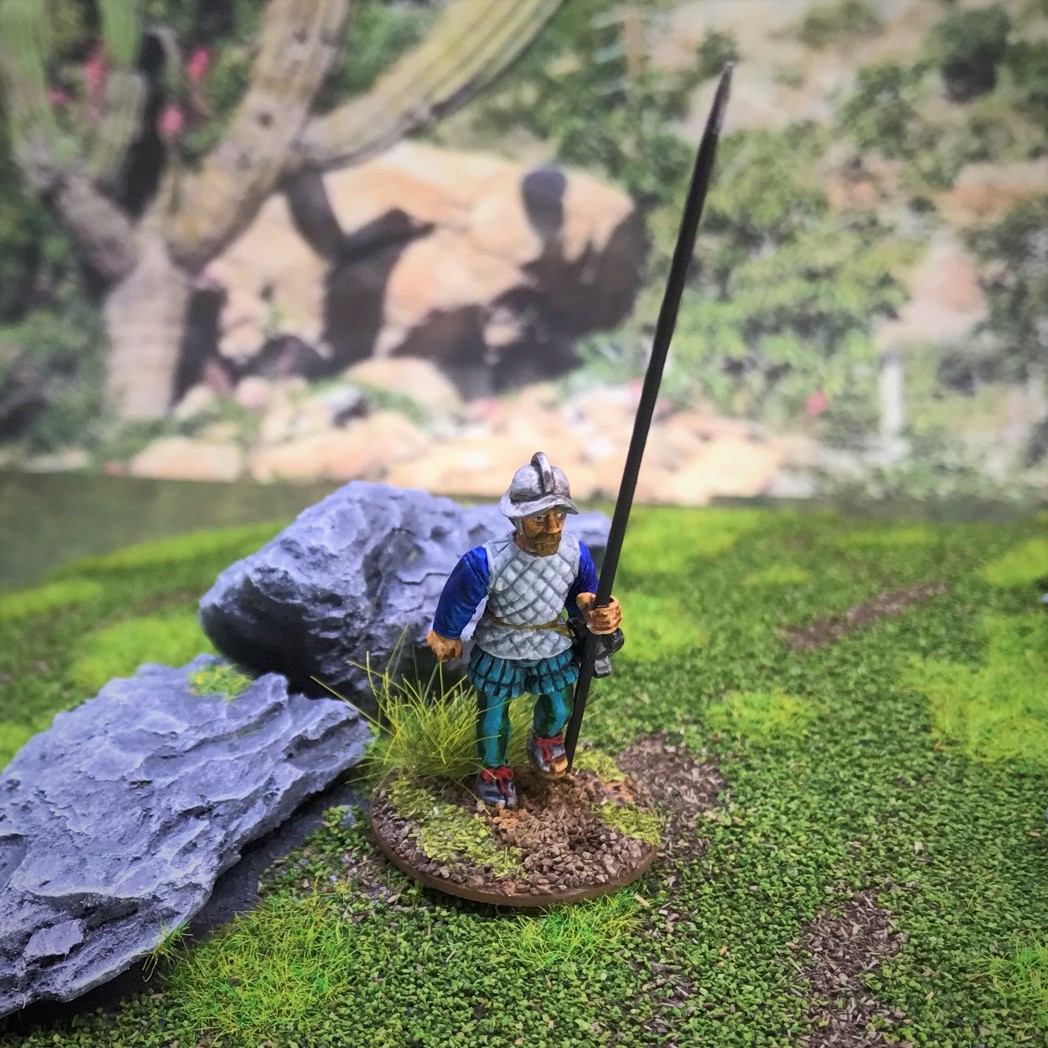
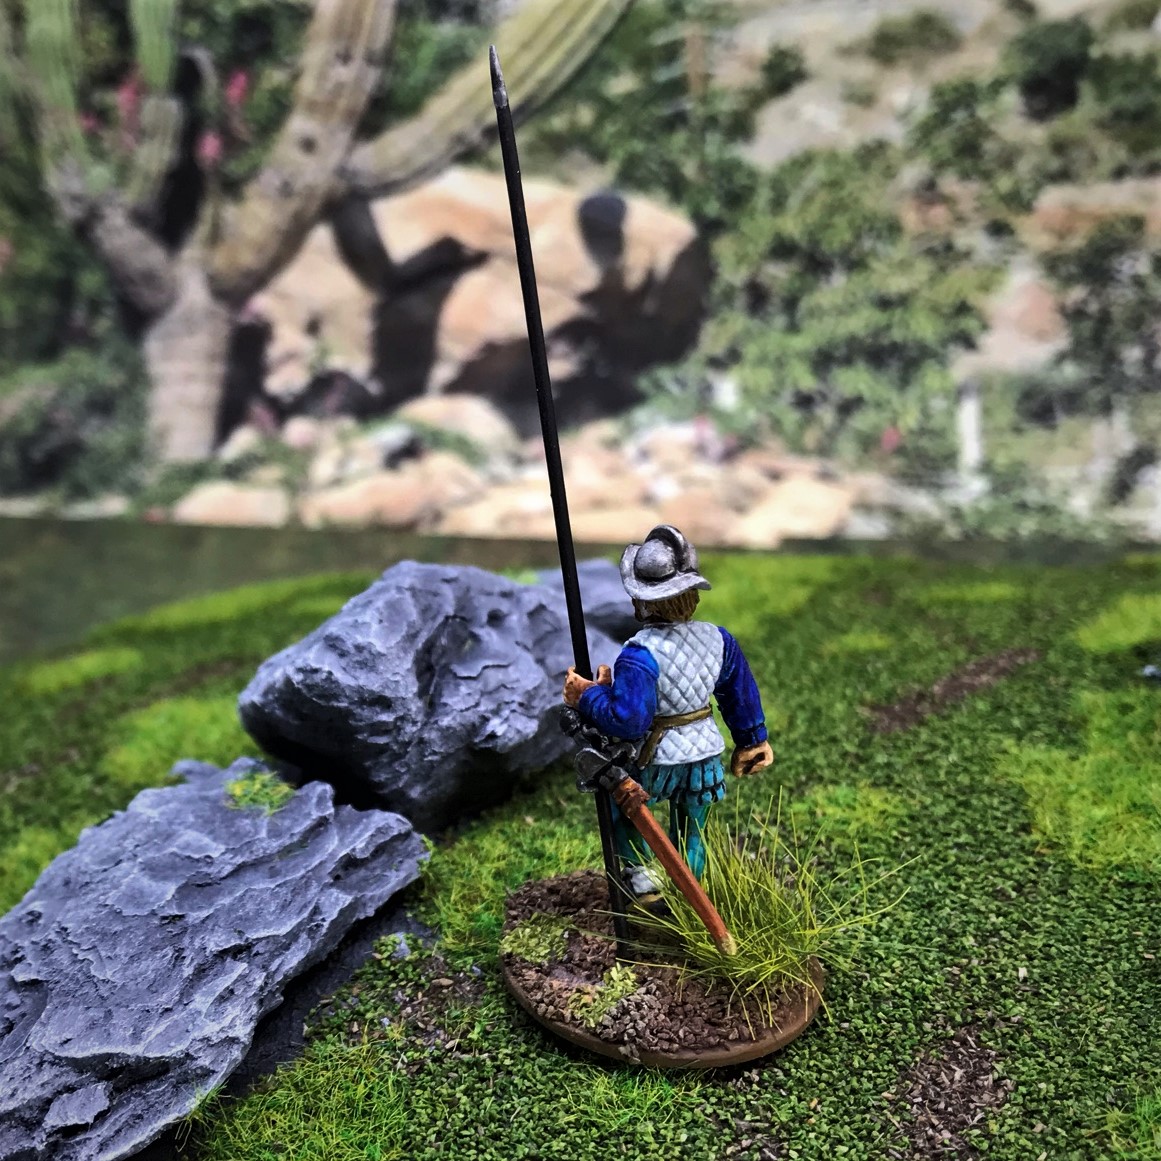
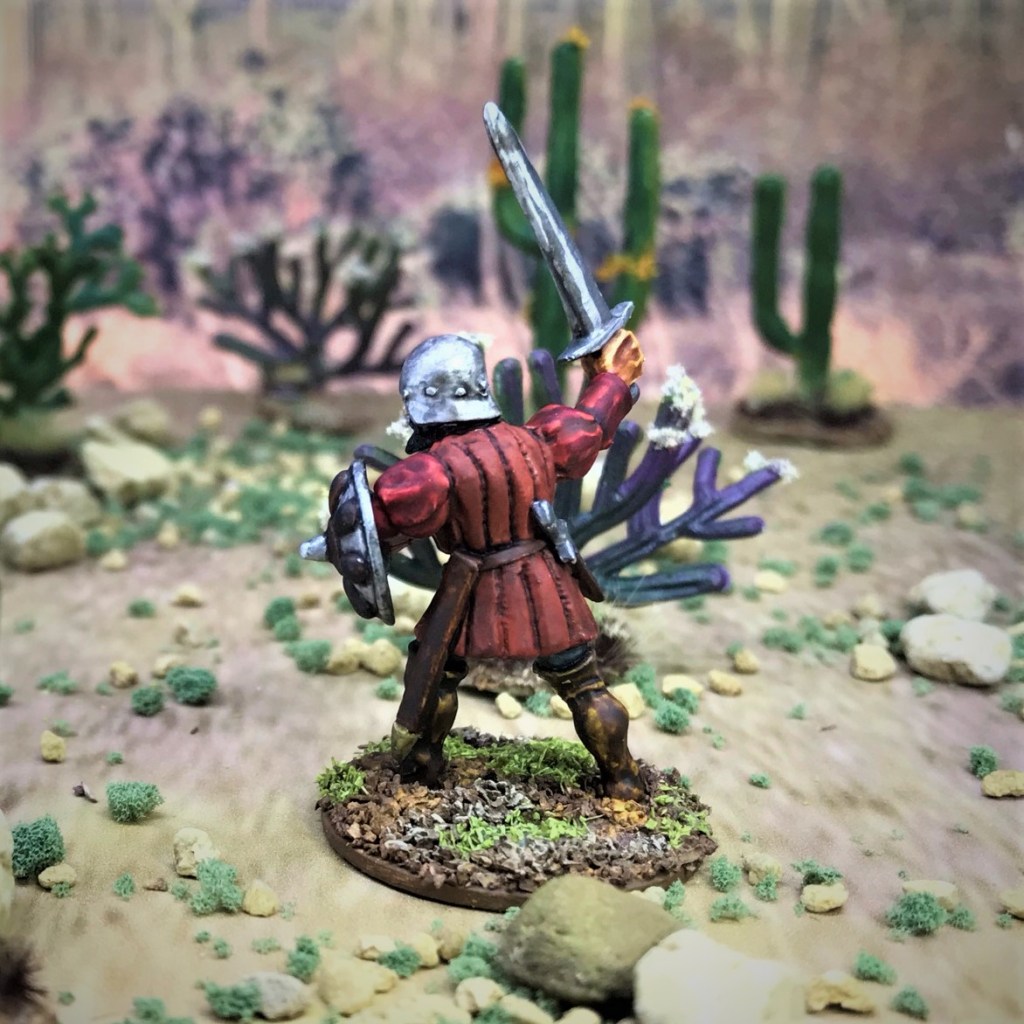
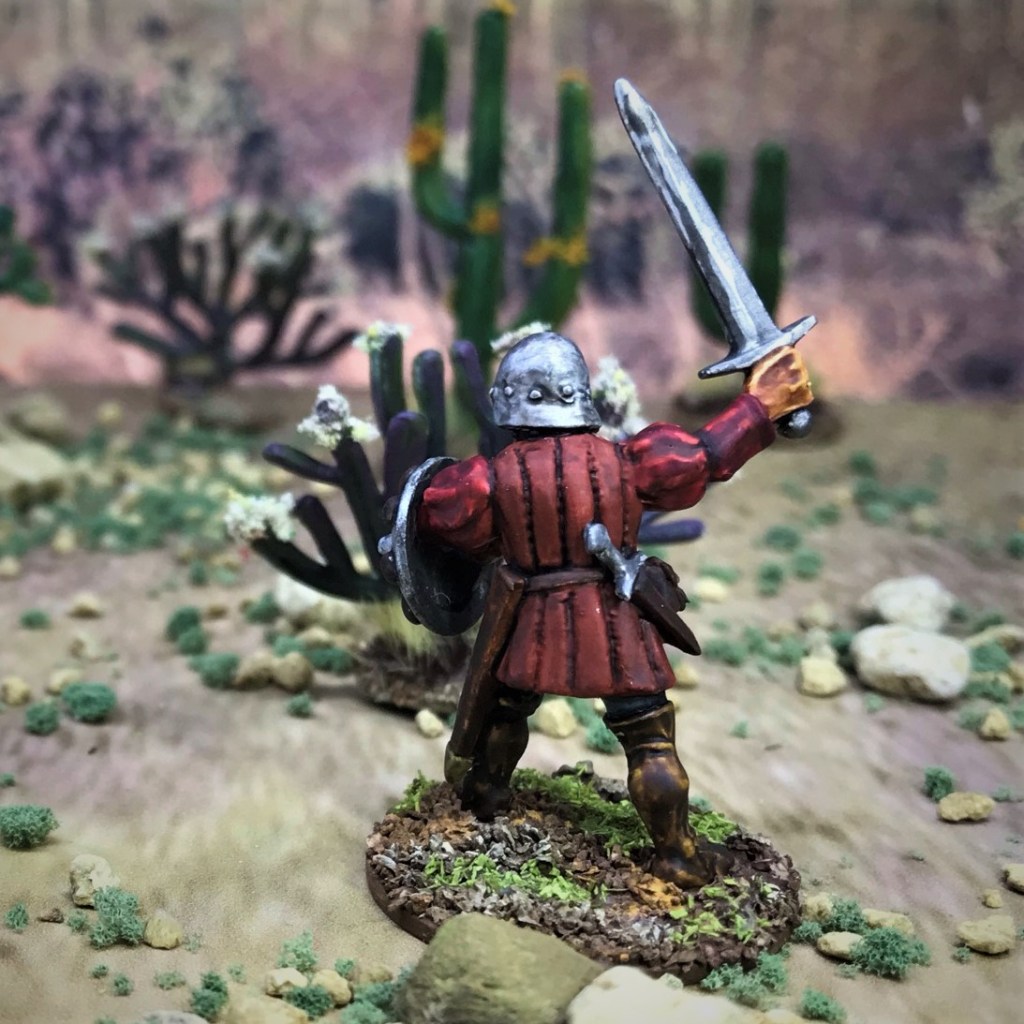
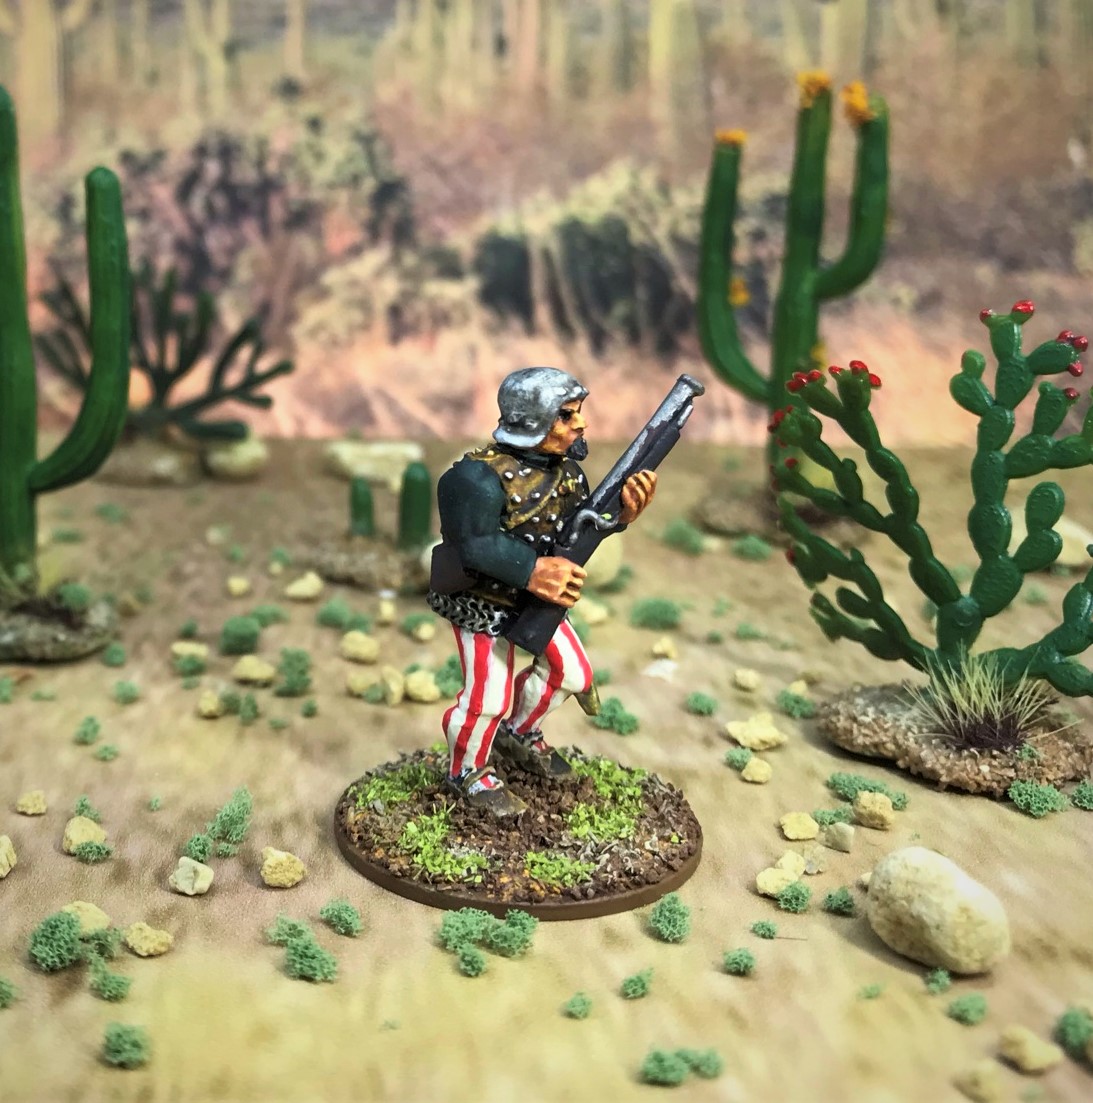
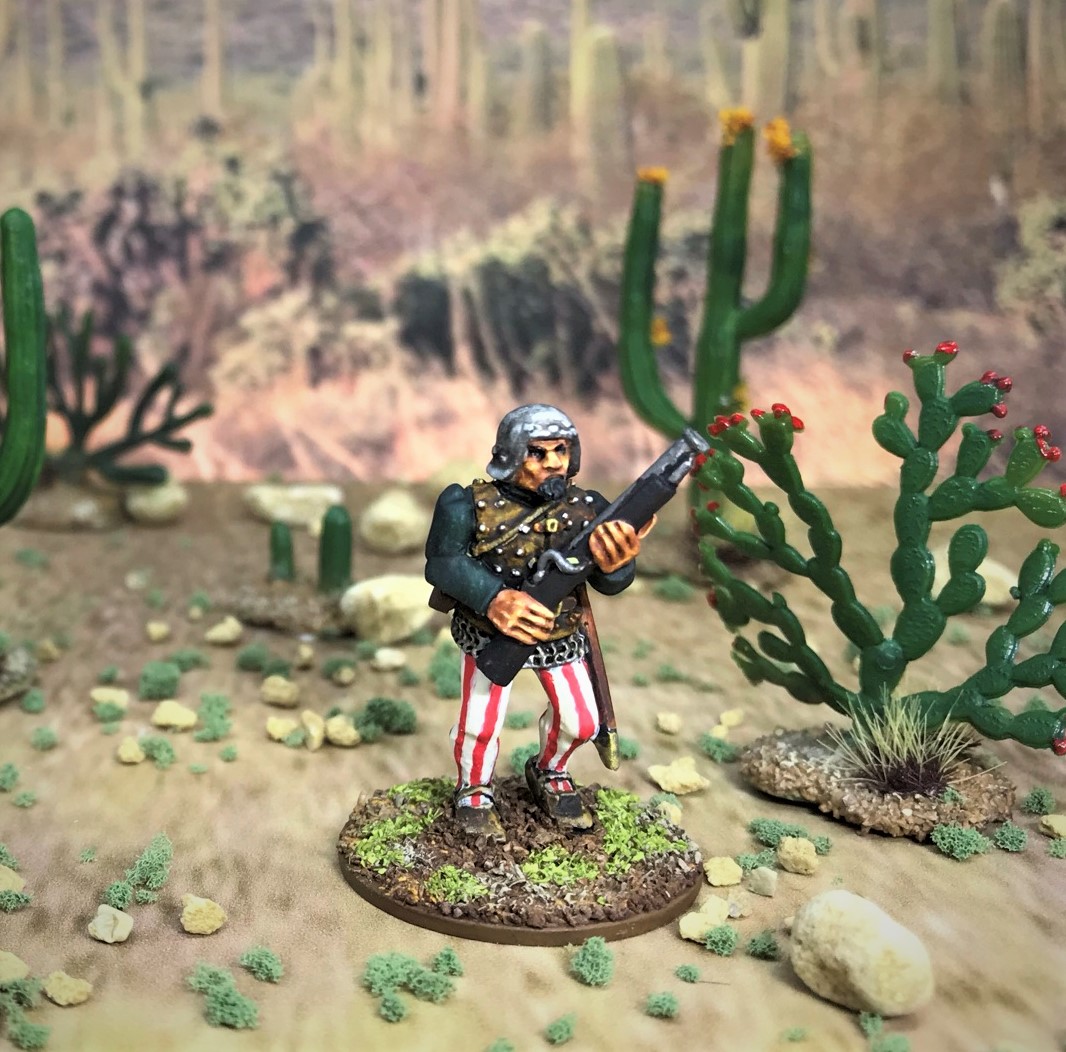
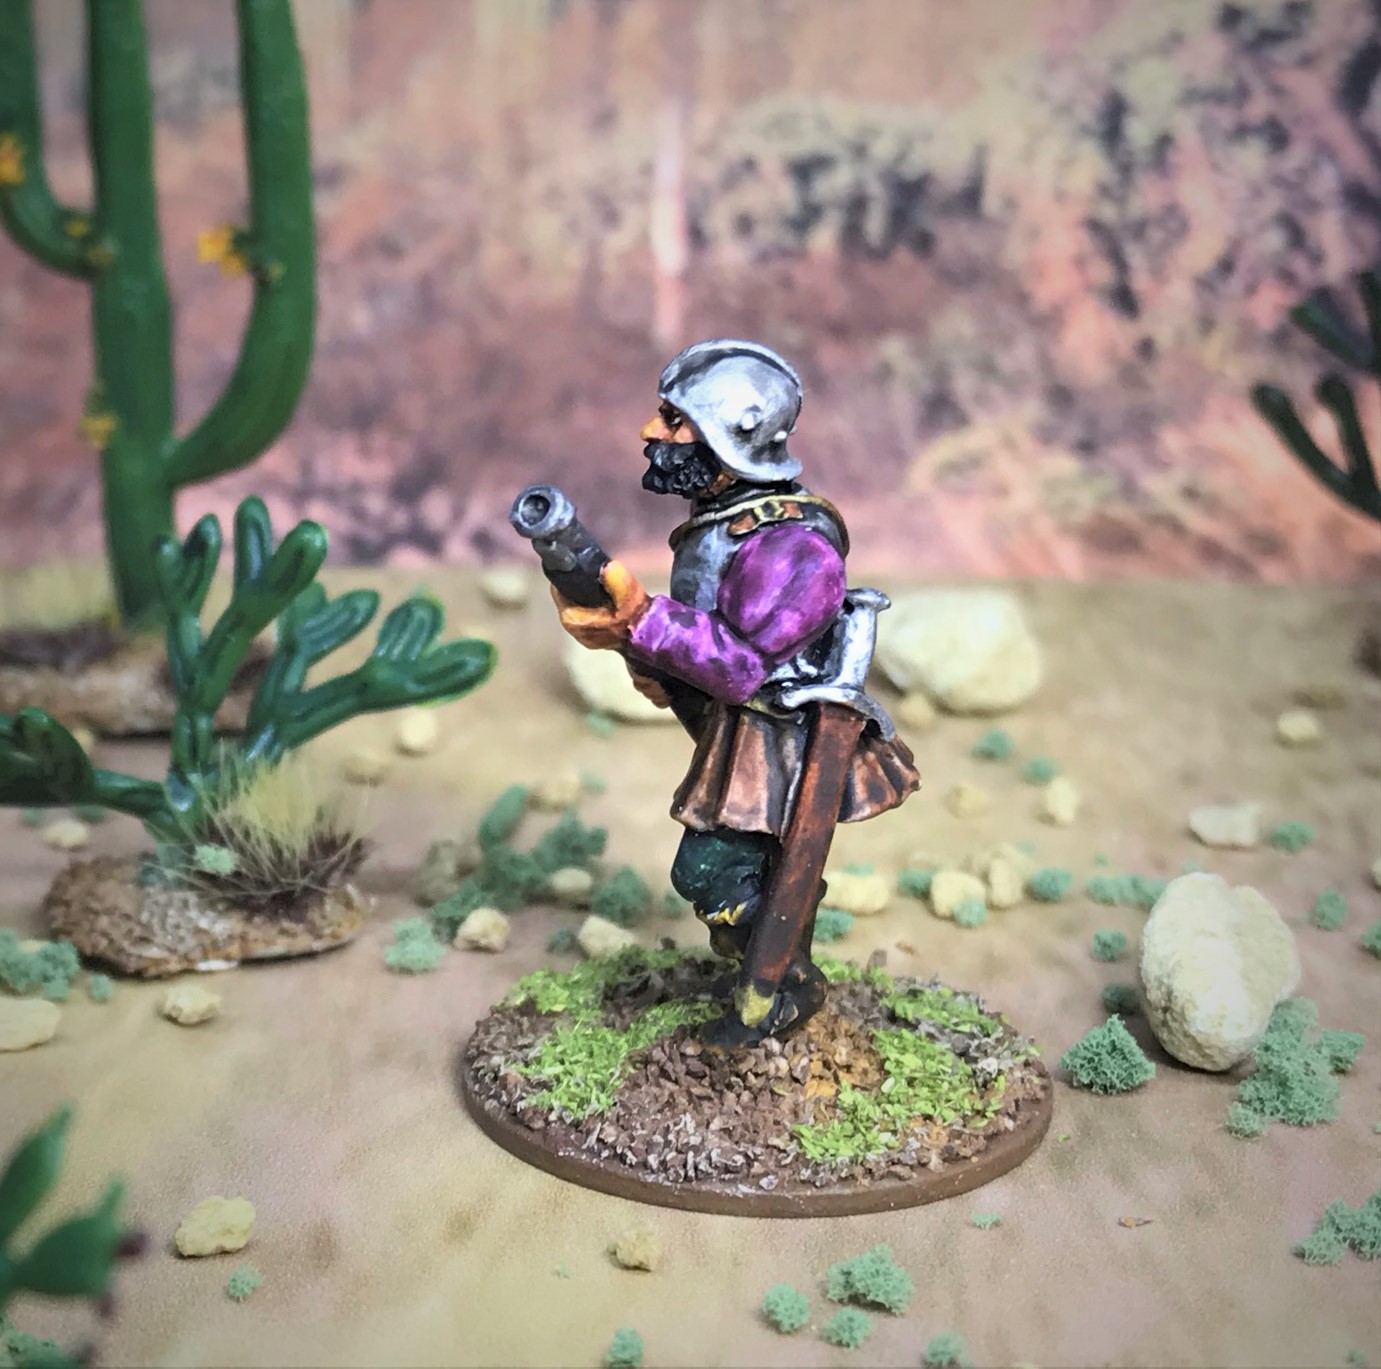
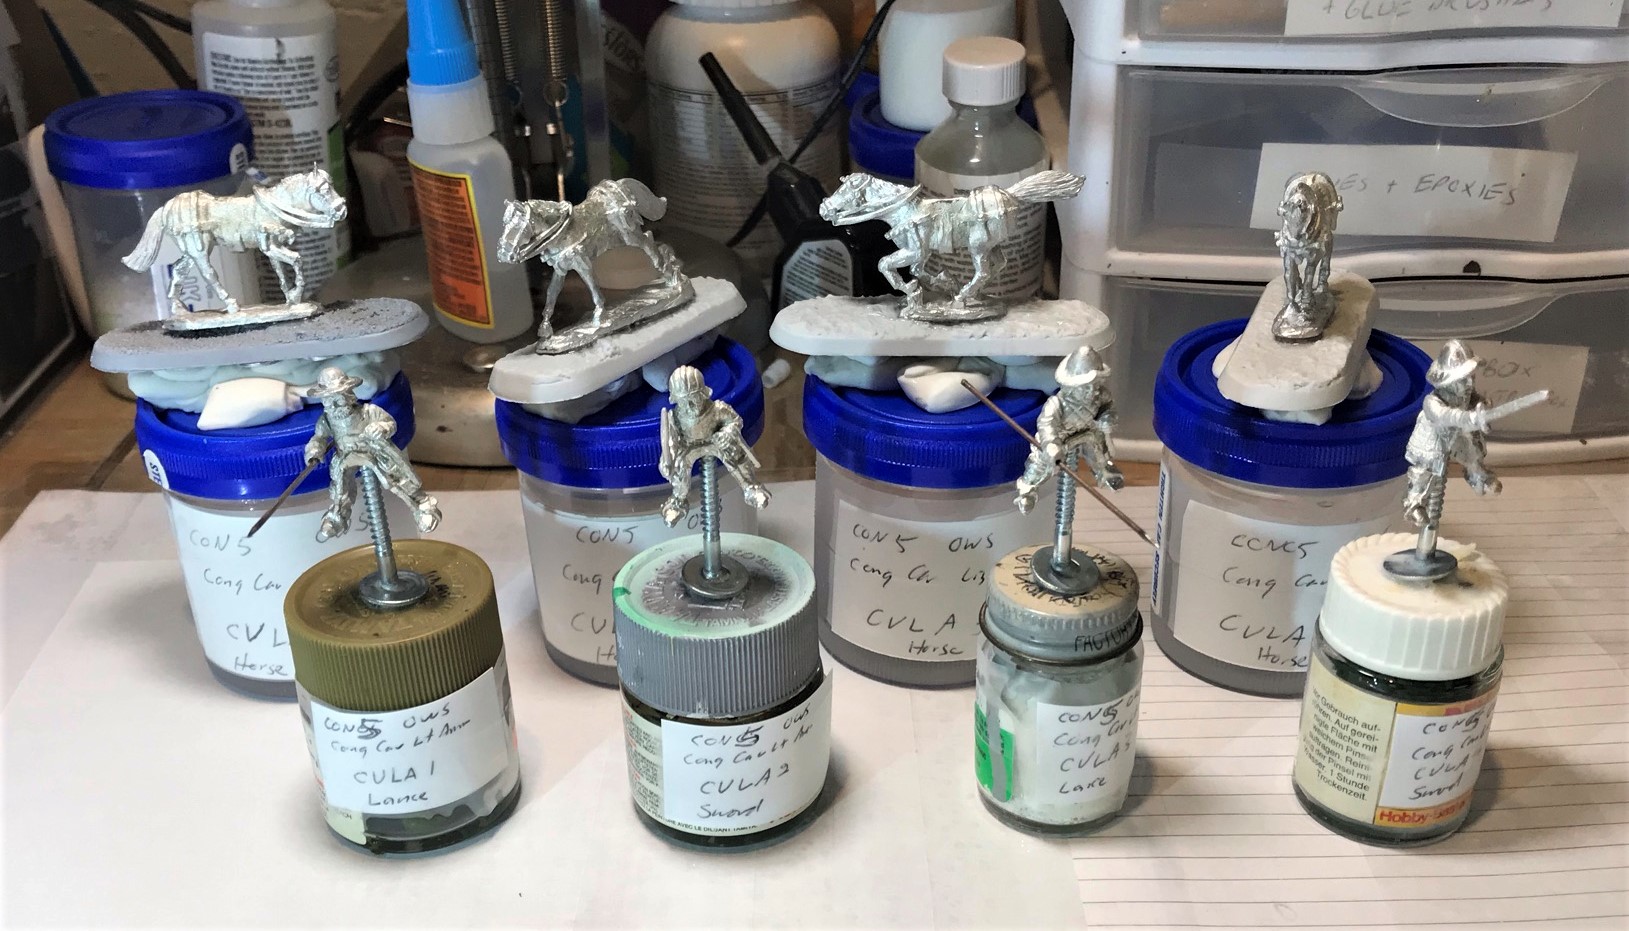
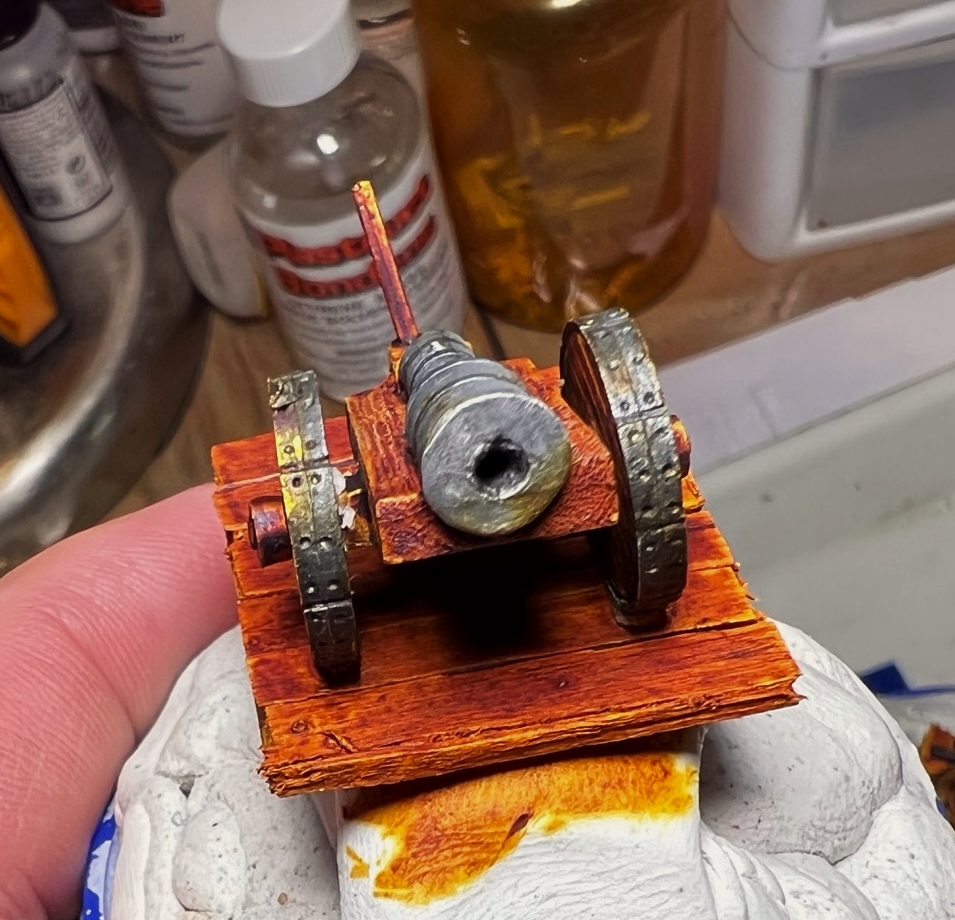
- El Conquistador: a Gringo 40’s lombard (#CONQA3), crewed by three Iron Winds Metals figures #DH412 (wick/match), #DH413 (swab), and #DH414 (ram) to be deployed stern castle facing to the port side
- El Perro de Guerra: a Gringo 40’s falconet (#CONQA2) , crewed by three Iron Winds Metals figures #DH412 (wick/match), #DH413 (swab), and #DH414 (ram) to be deployed stern castle facing to the port side
- El Marcos: a Eureka Miniature’s lombard (#100CON12), crewed by one figure from Wargames Foundry #SB018 (wick/match), and two Iron Winds Metals figures #DH413 (swab), and #DH414 (ram) to be deployed in the forecastle facing forward


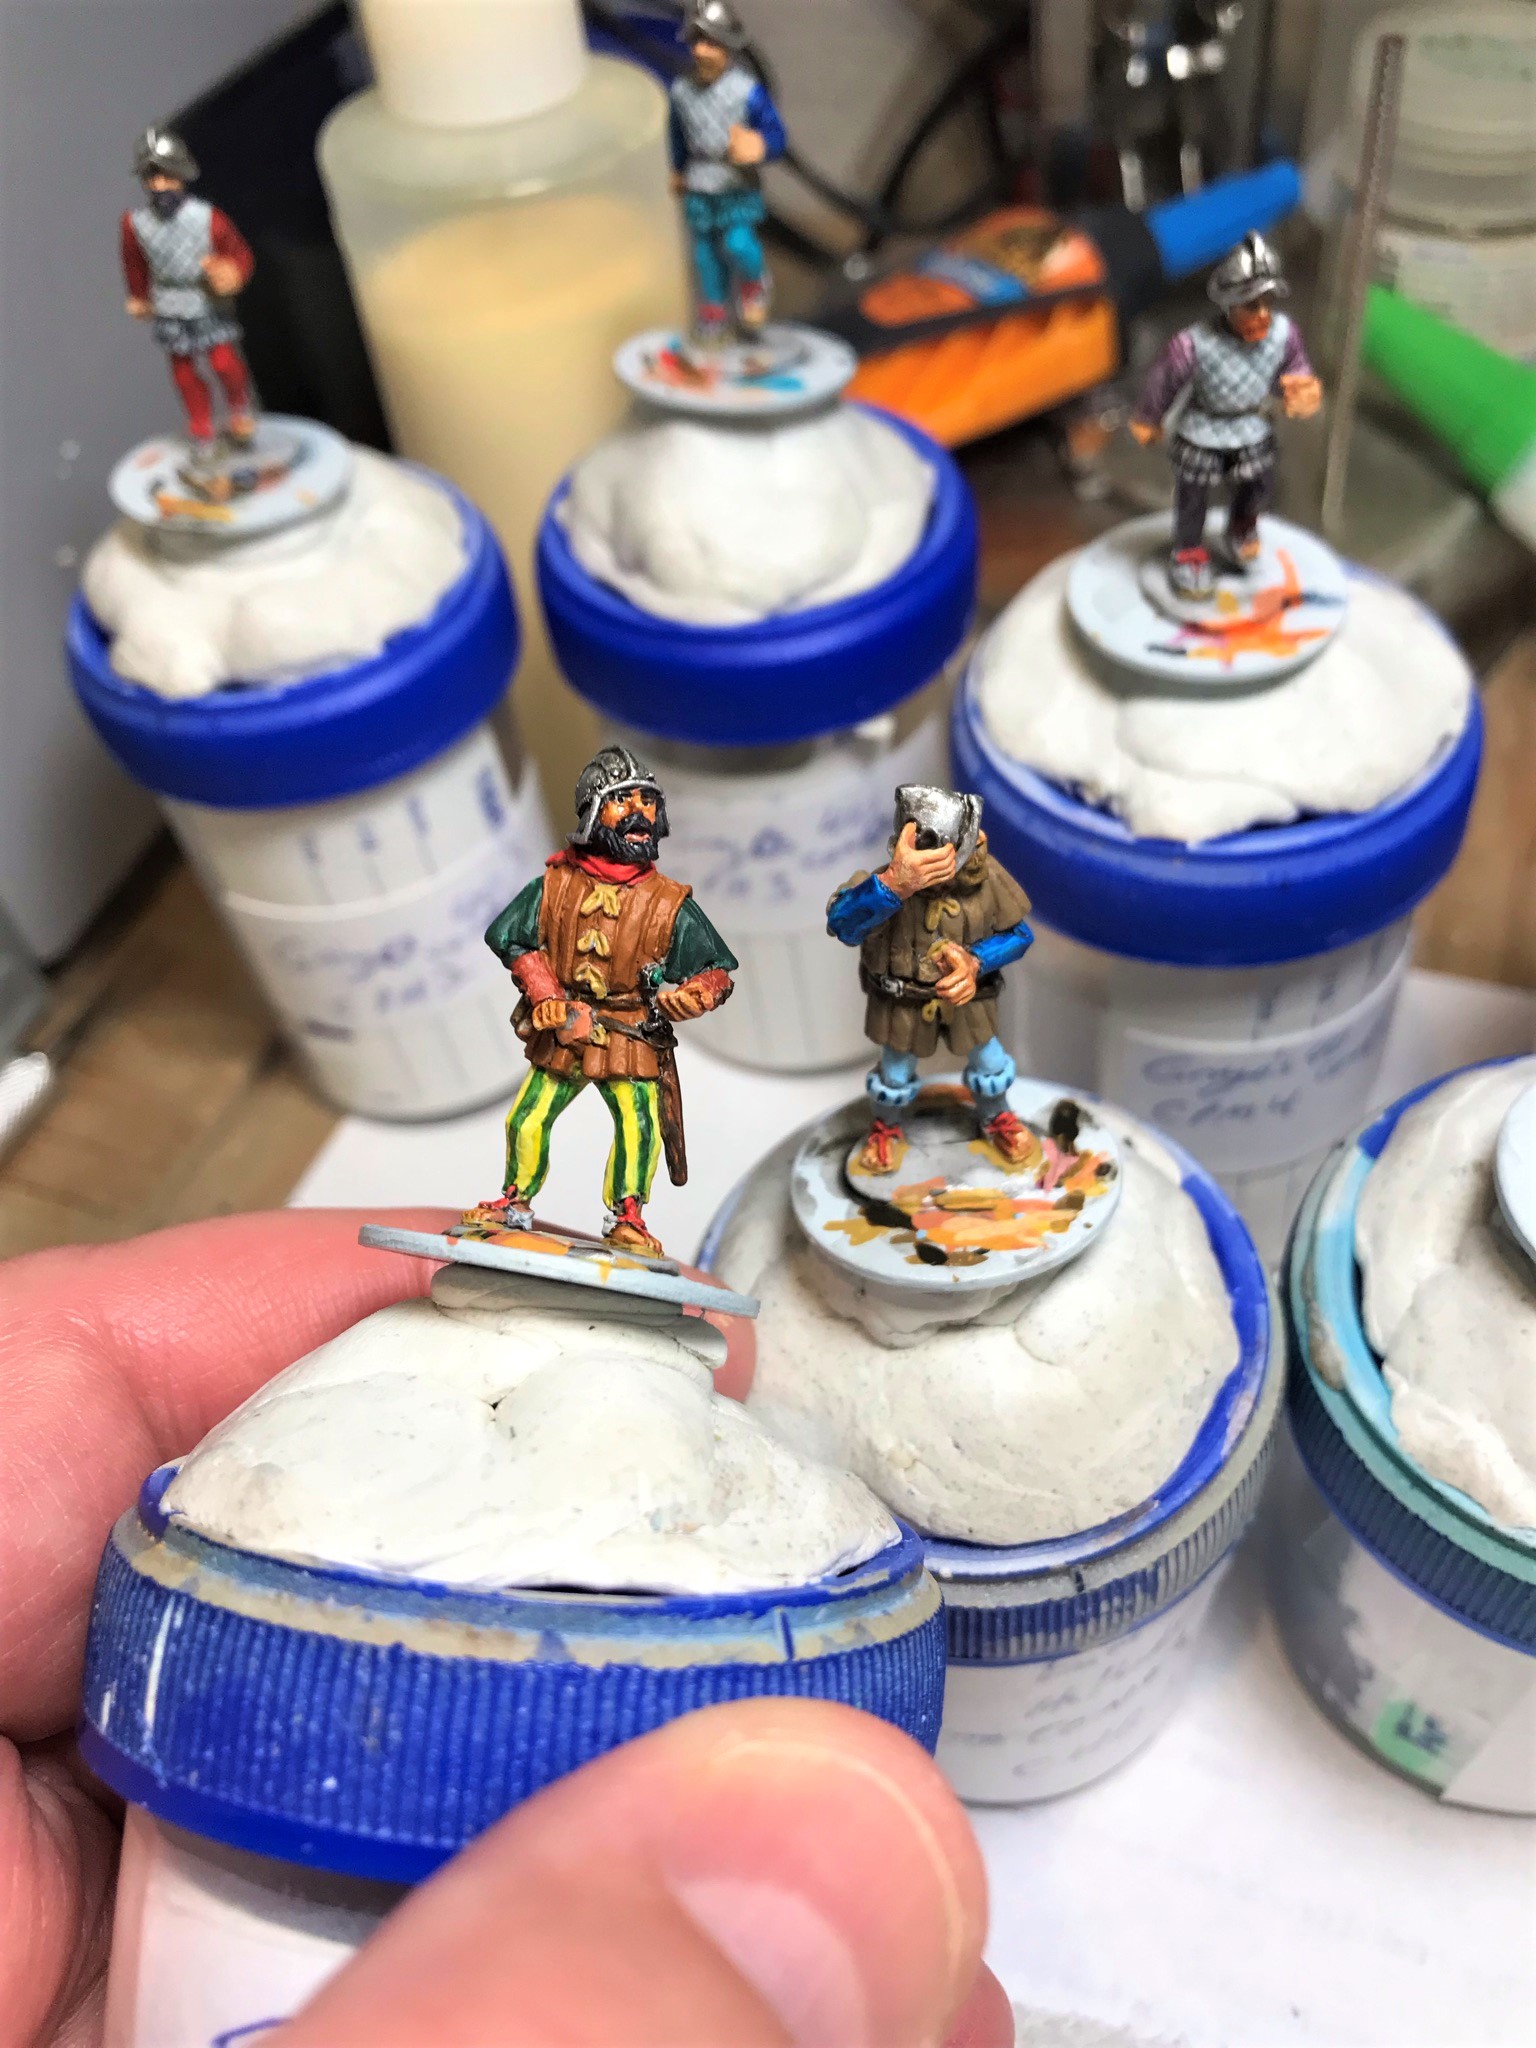
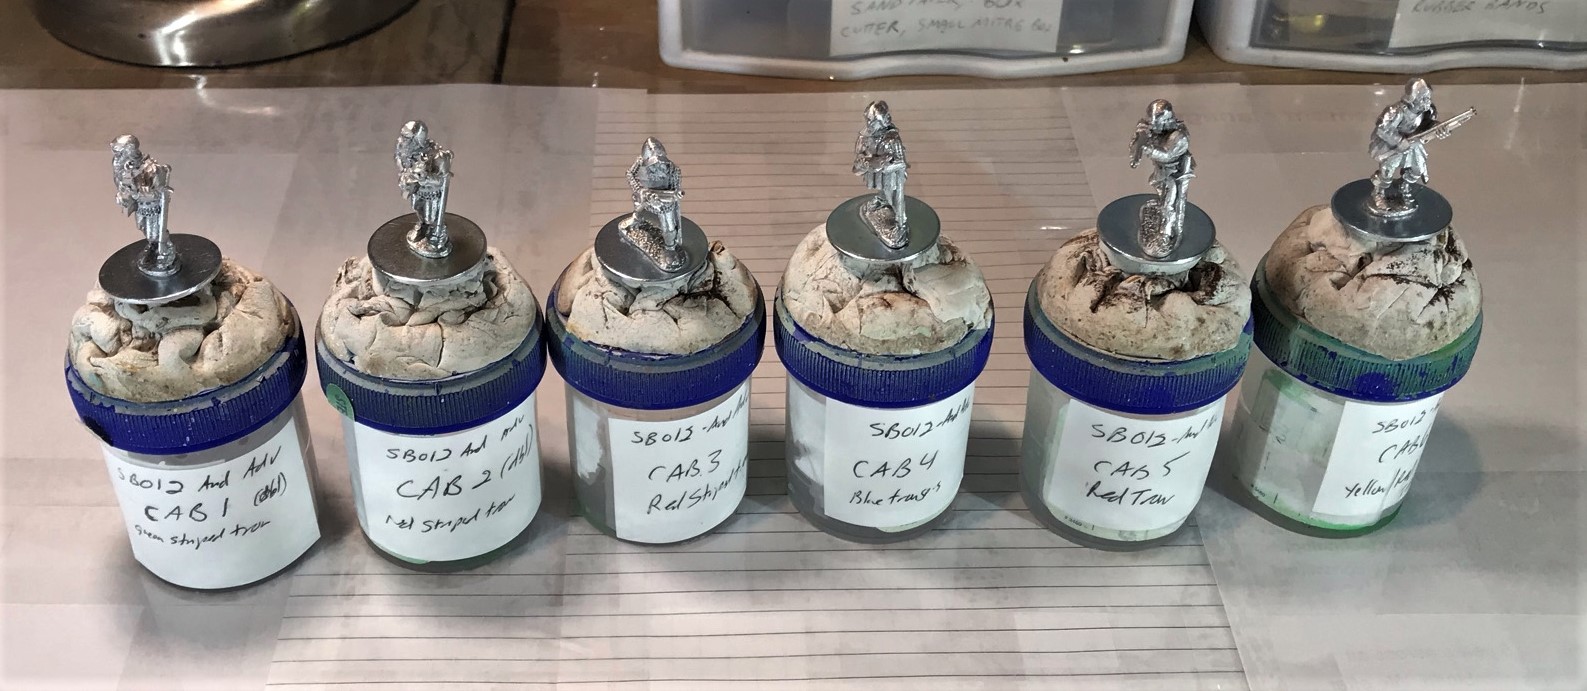
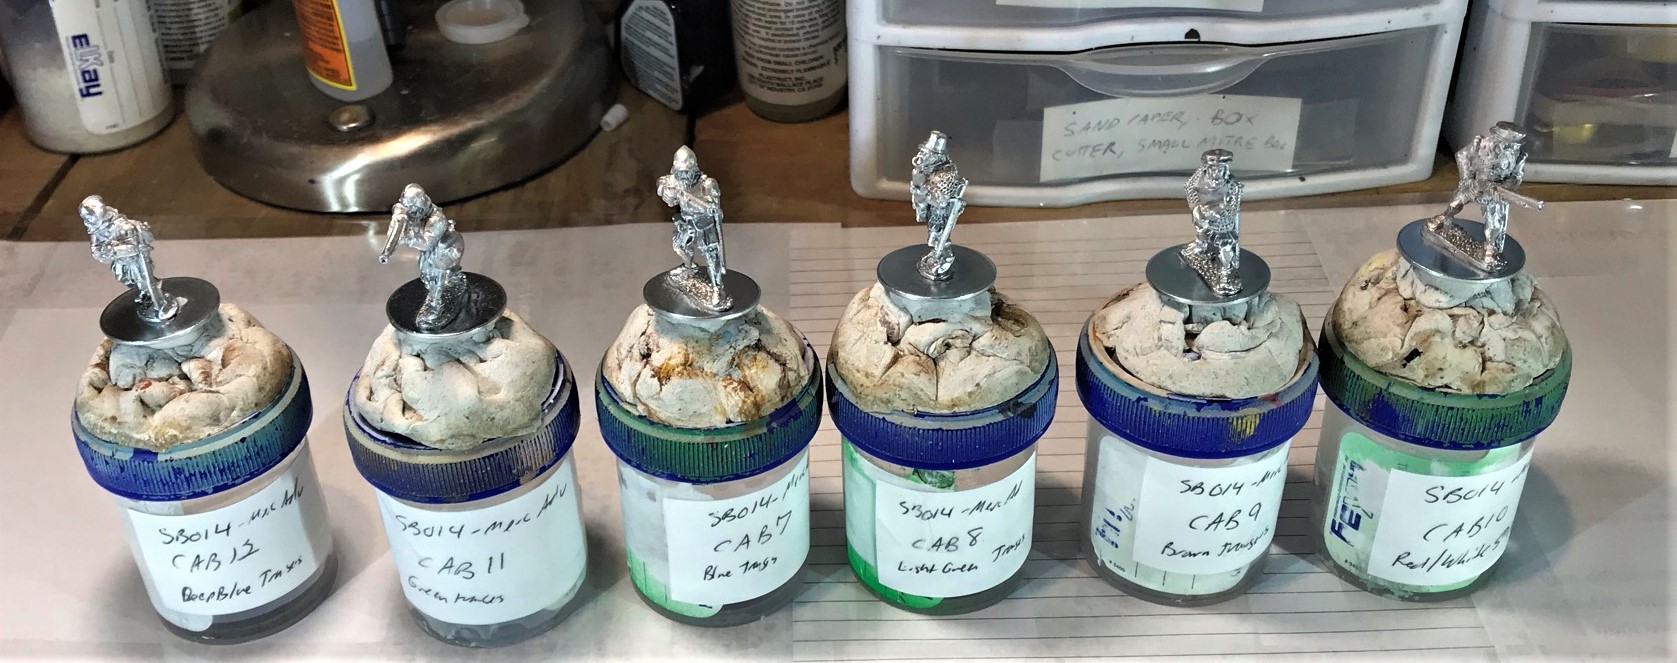
I broke into the Speed Paint set and made a comparison chart.


First, I painted the guns.
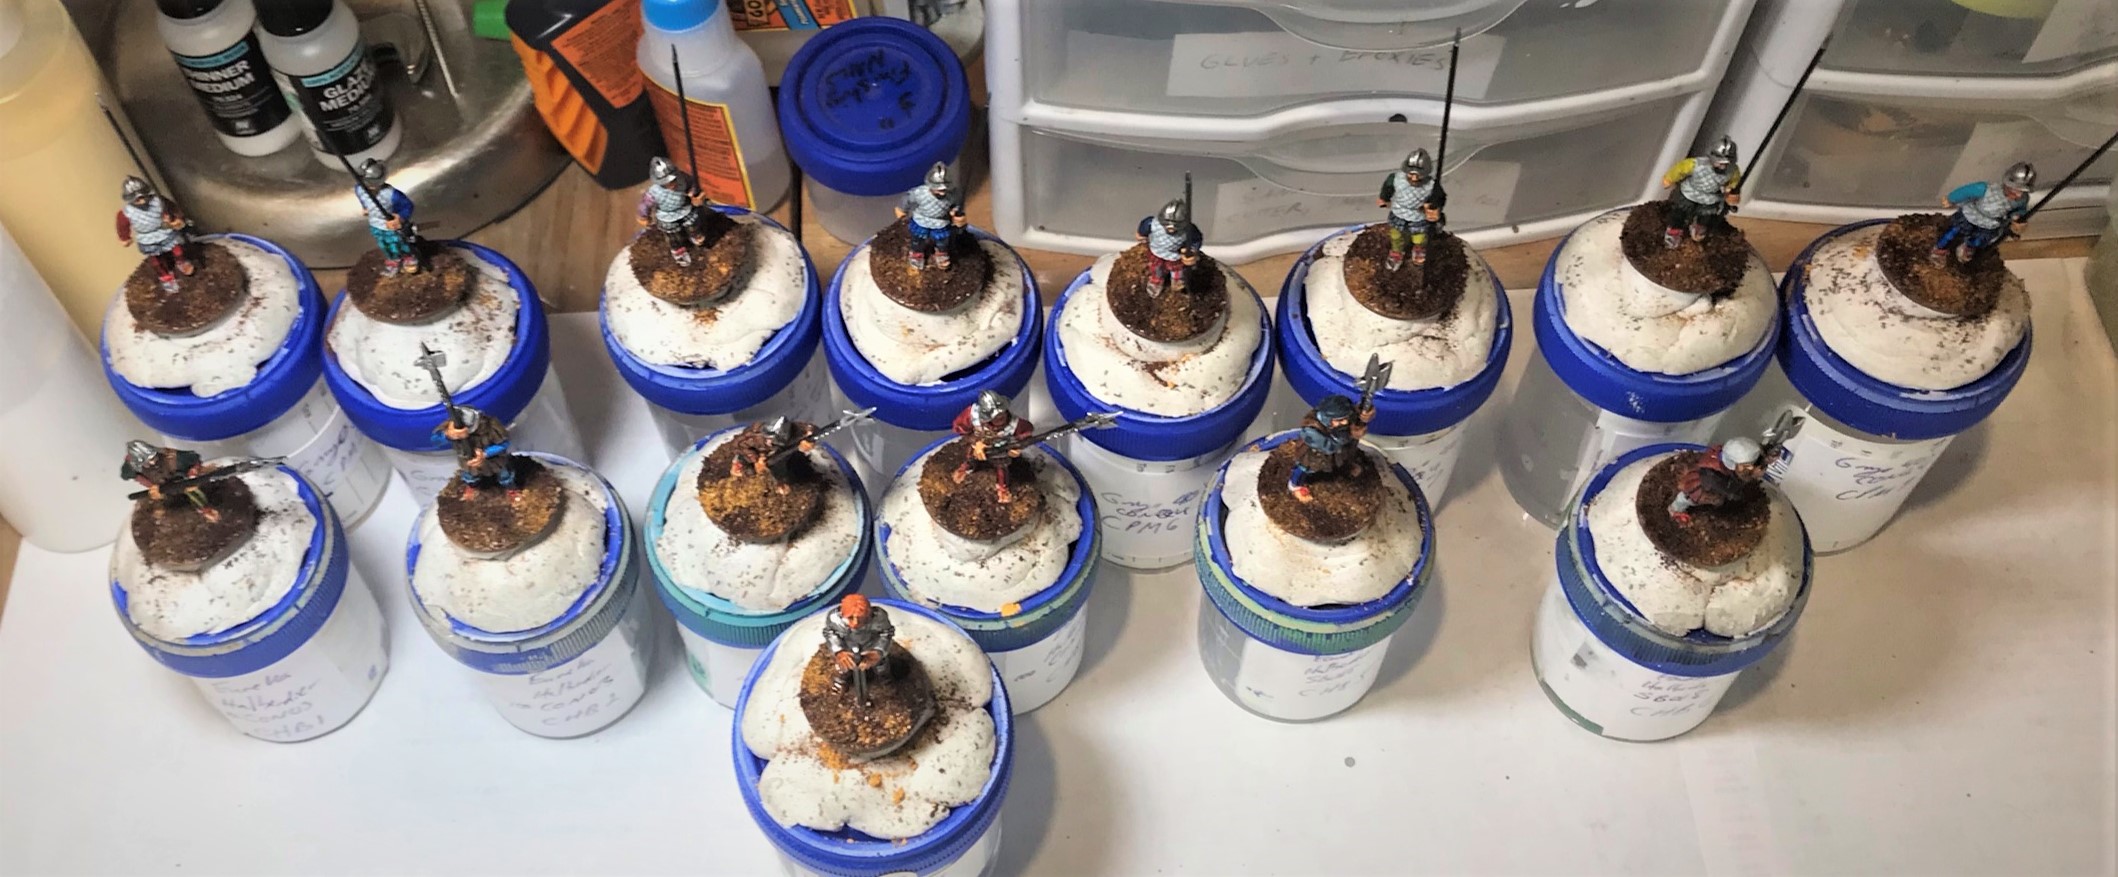
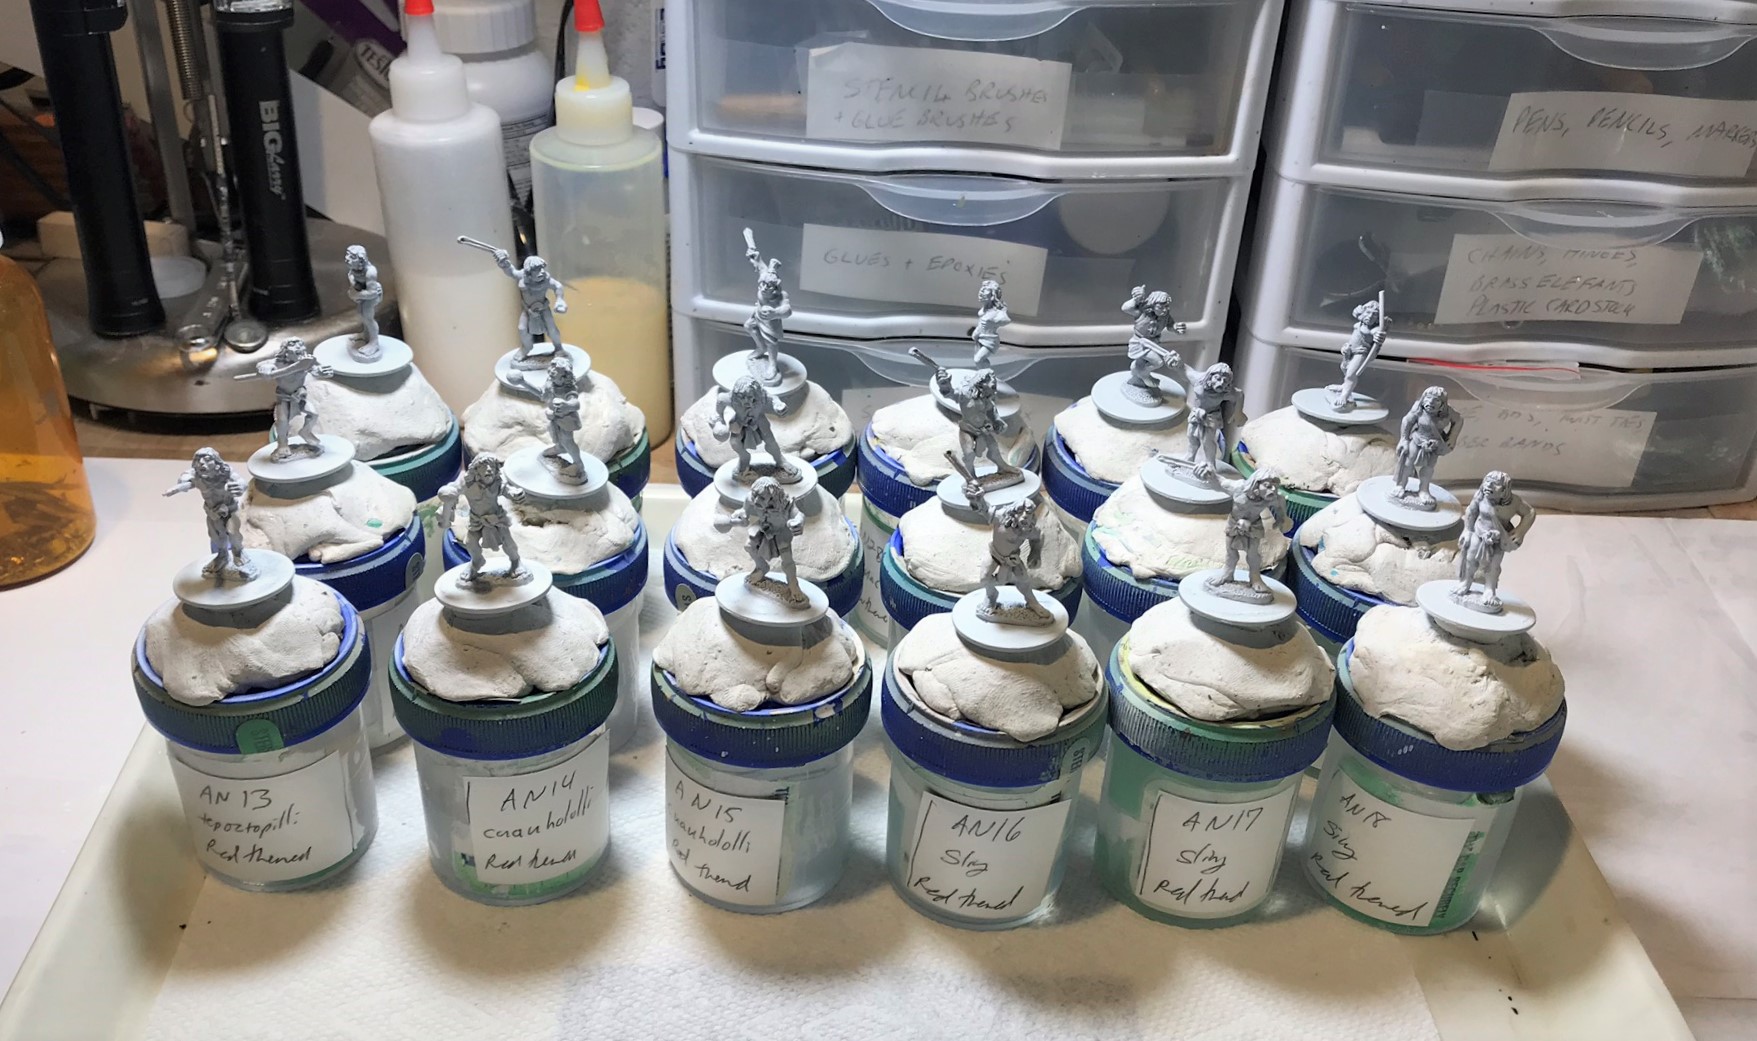
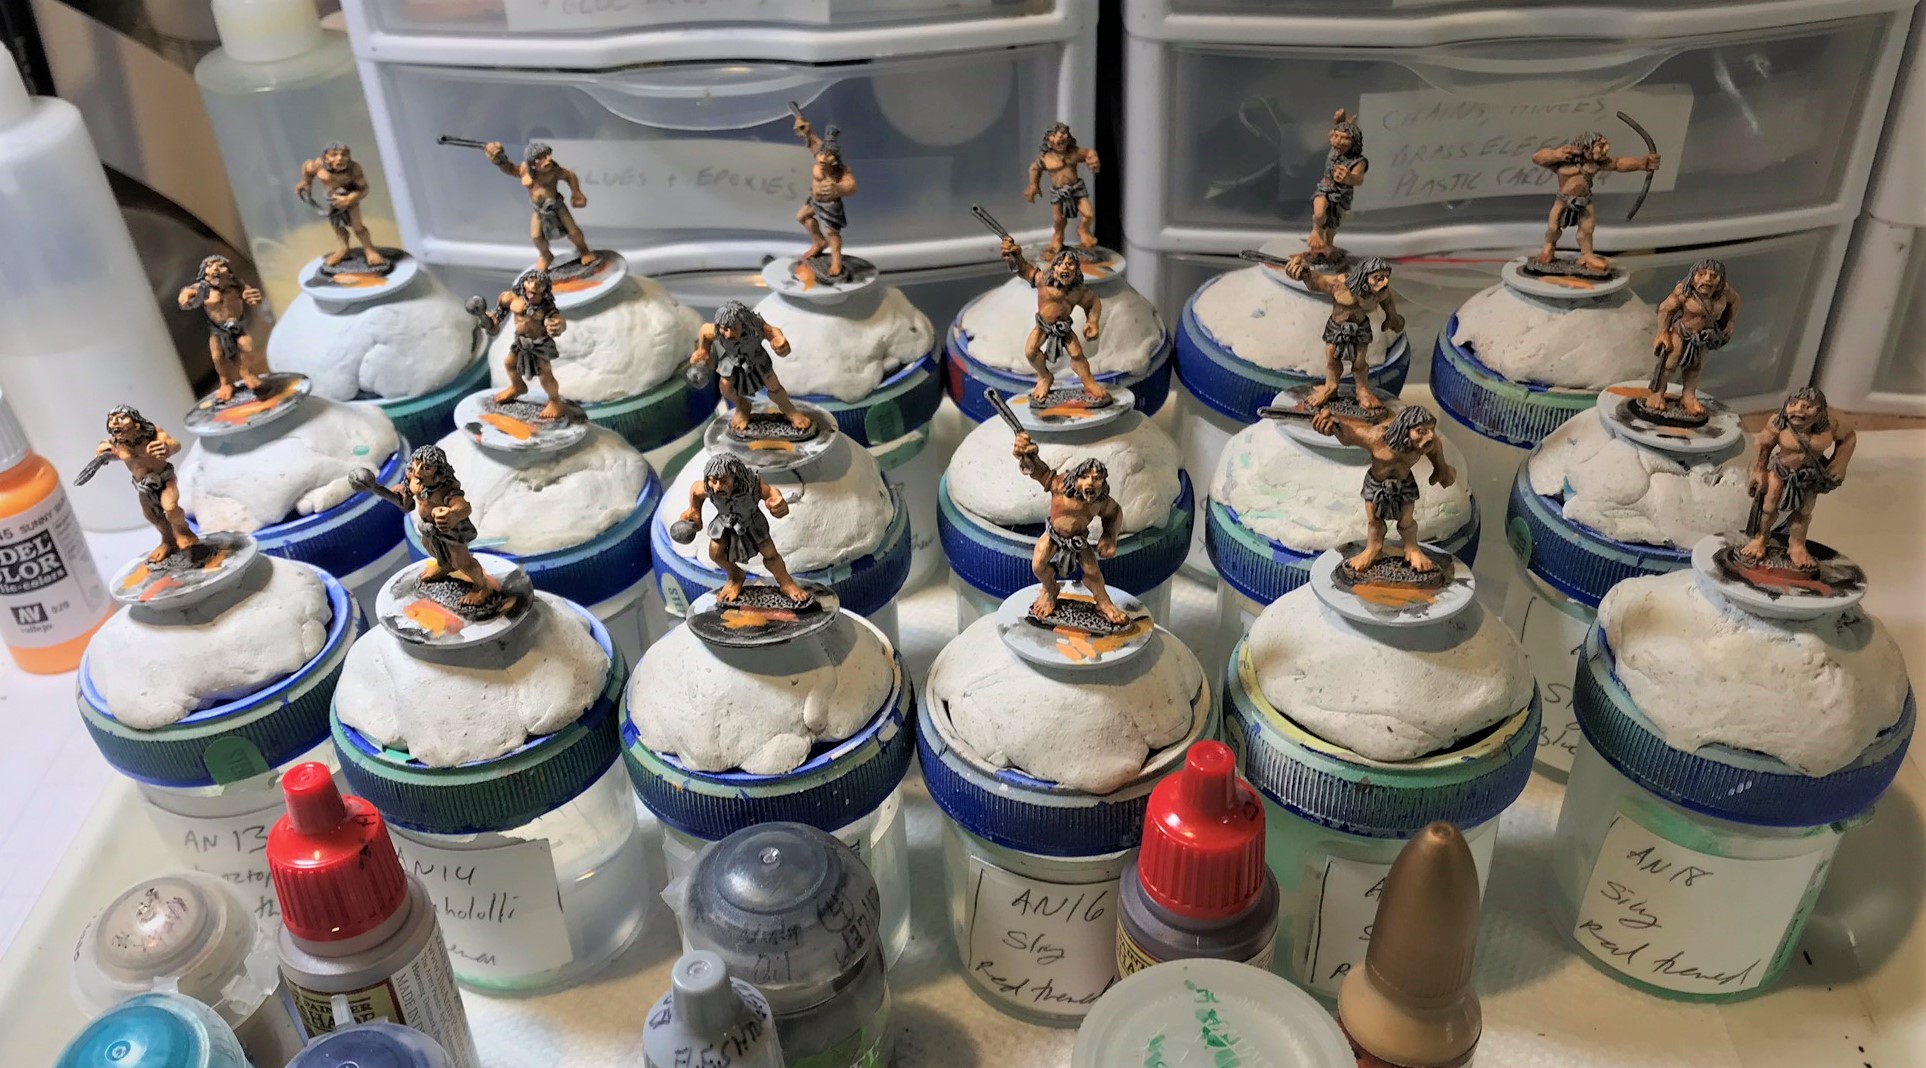
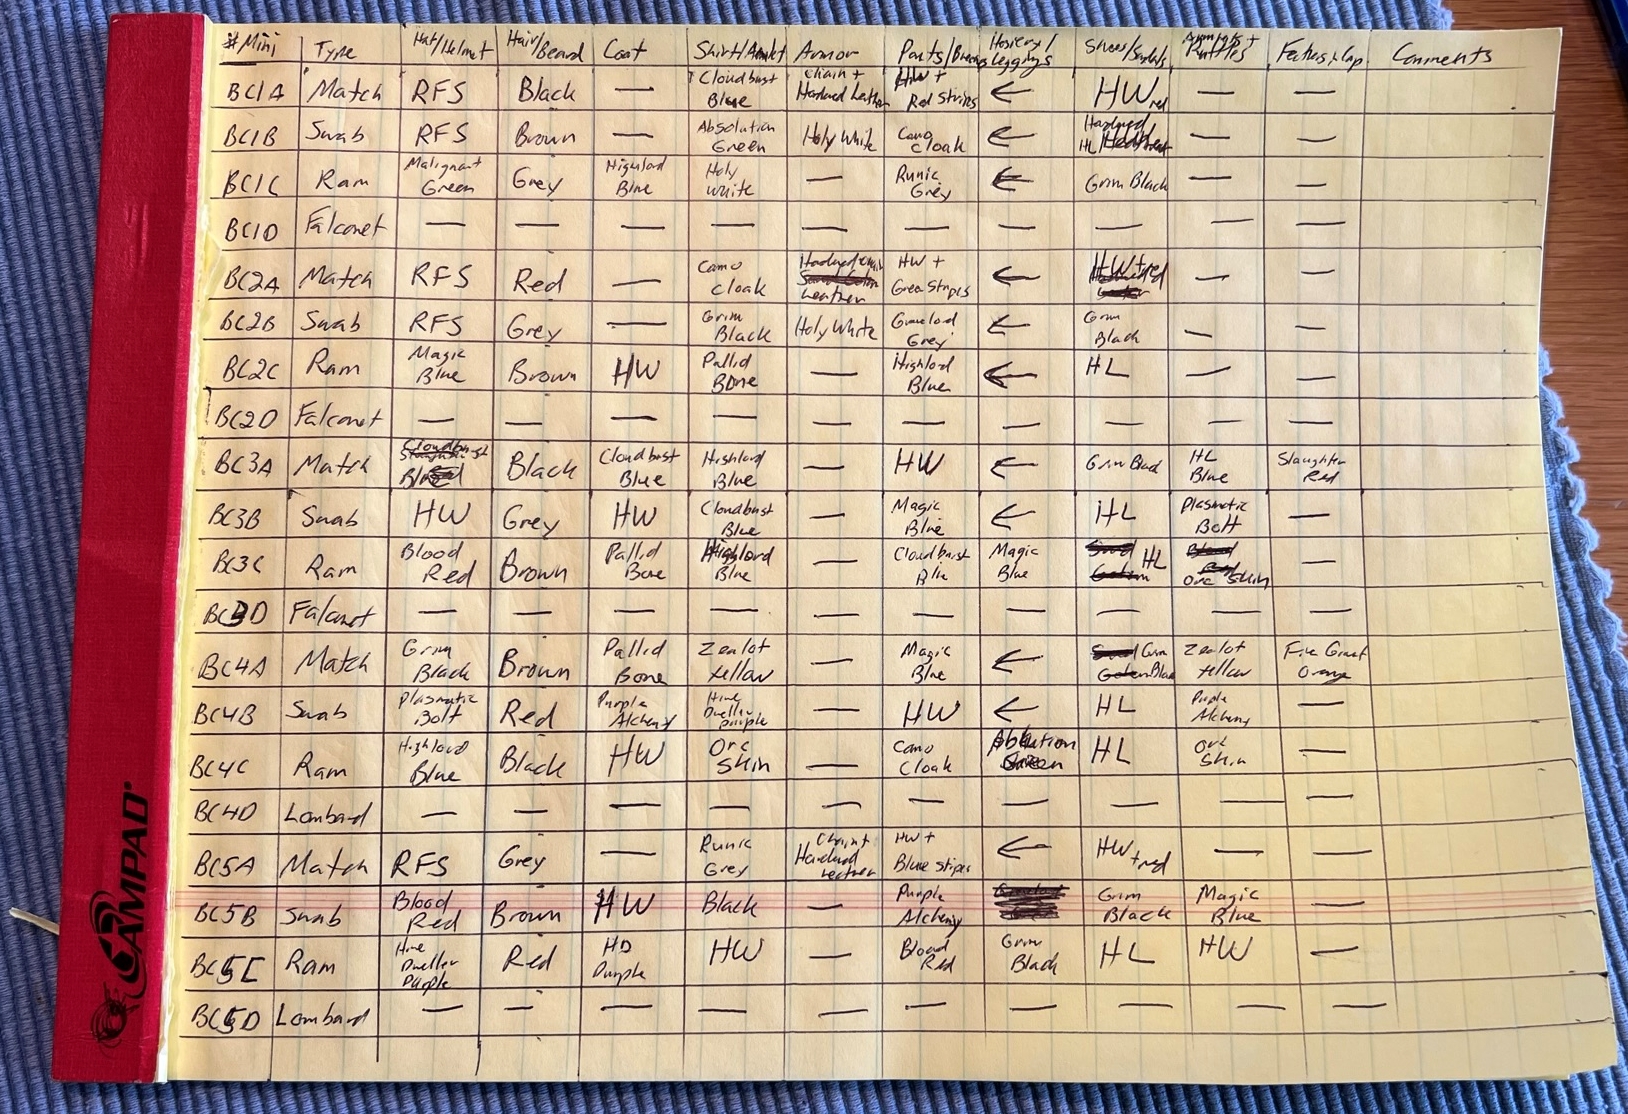
I needed a painting plan (starting point anyway) for the 15 figures. I tried to use as many of the Speed Paints as possible.
I returned from Florida on April 28th – and HUZZAH was 13 days away! I hit the Speed paints again.
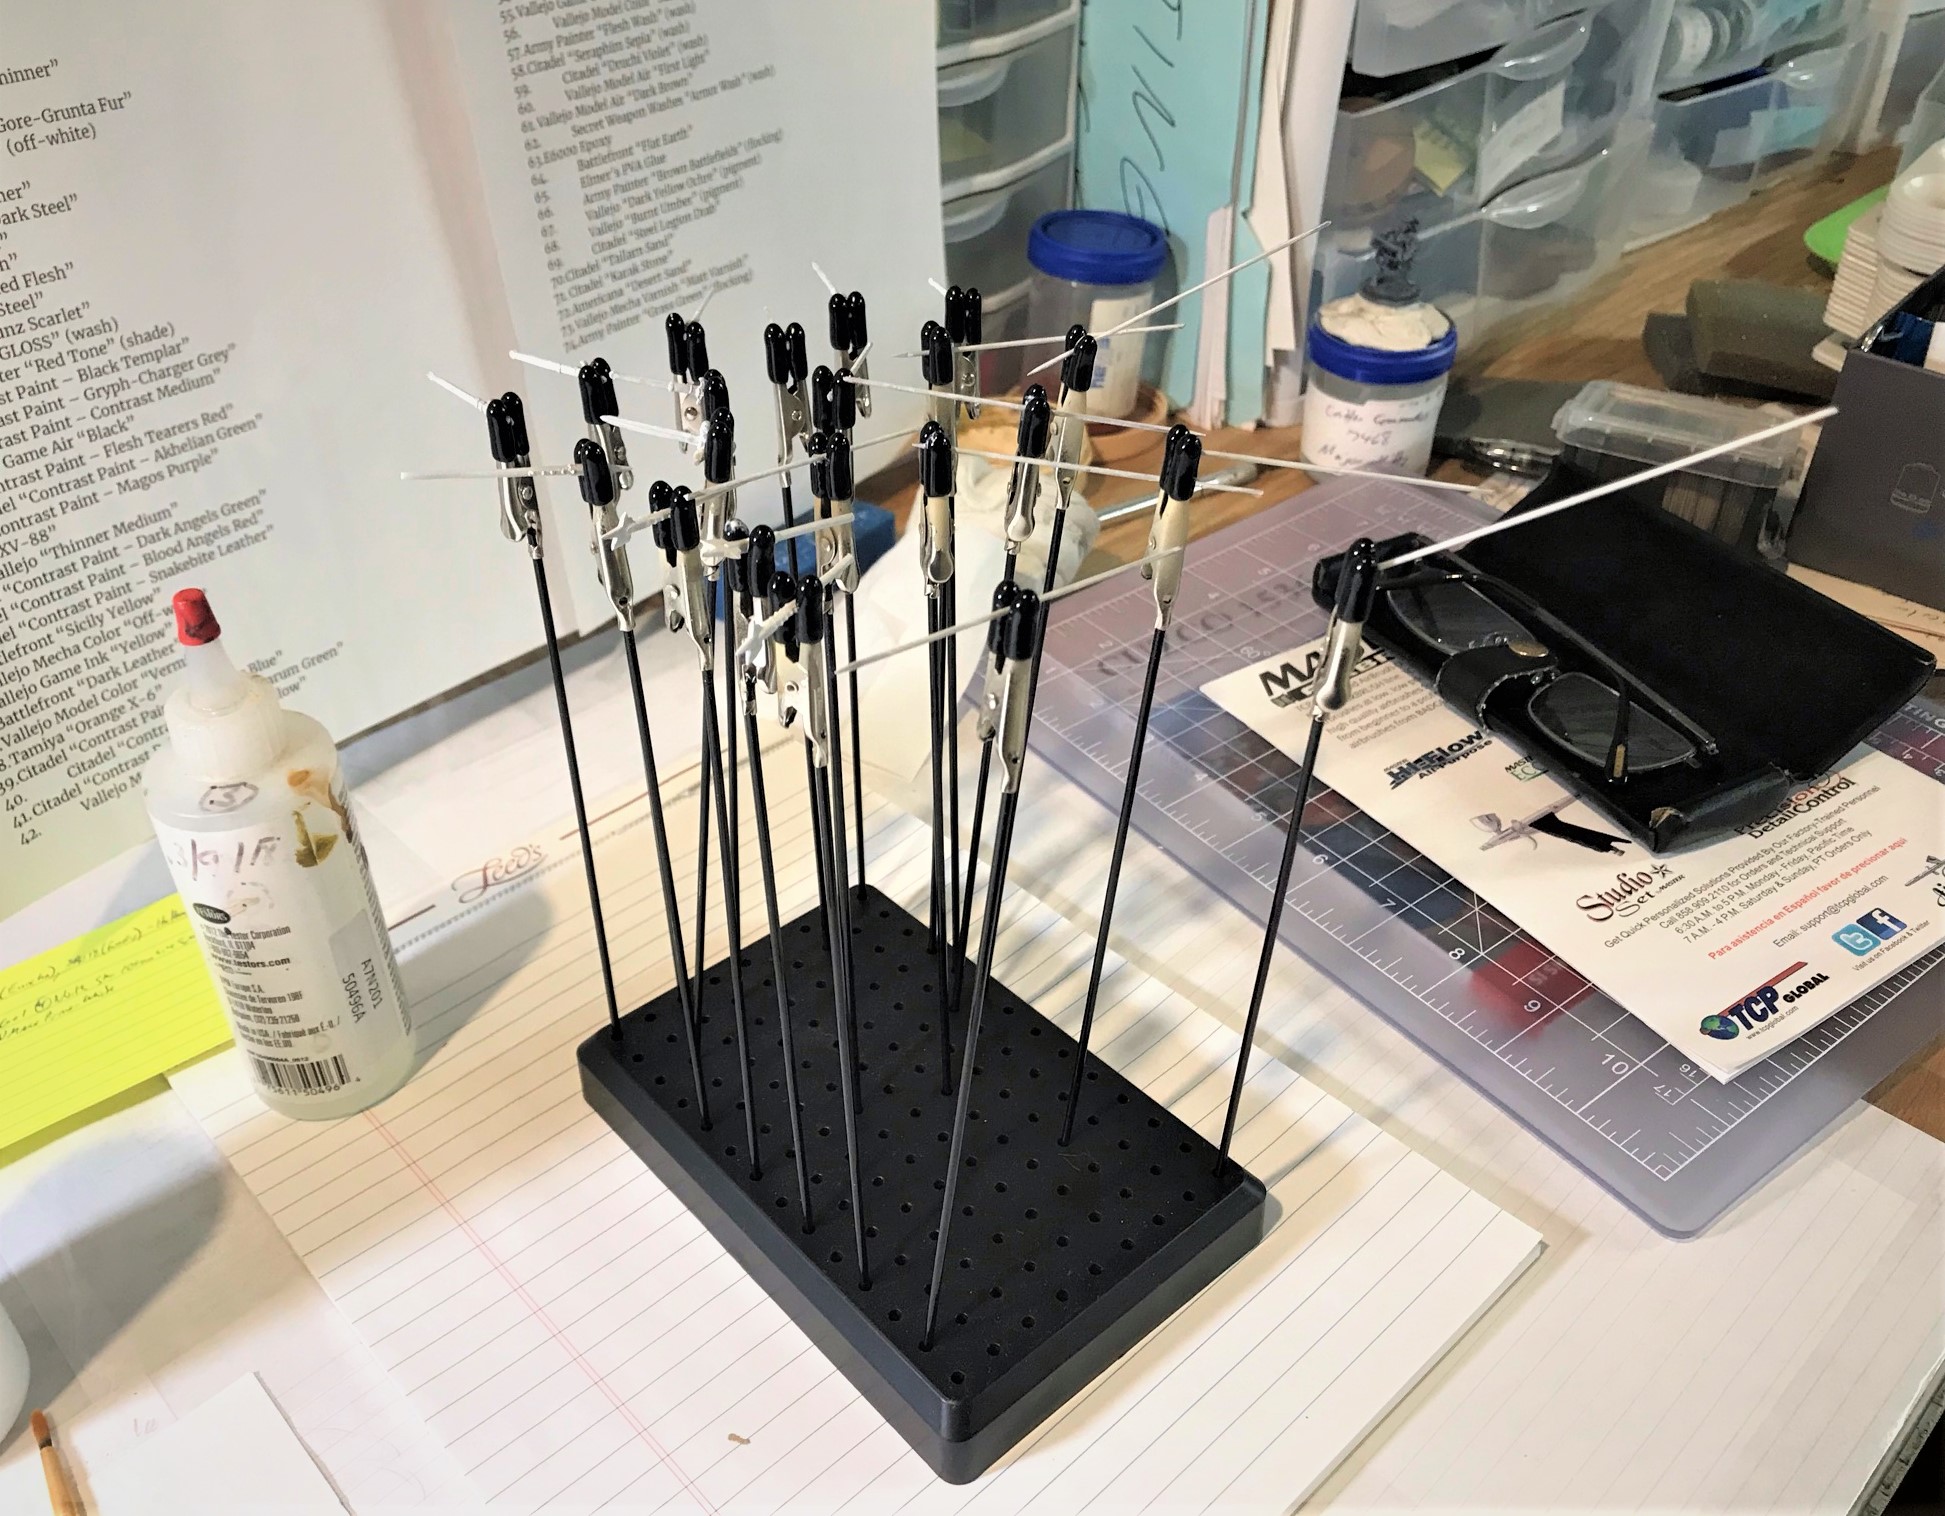
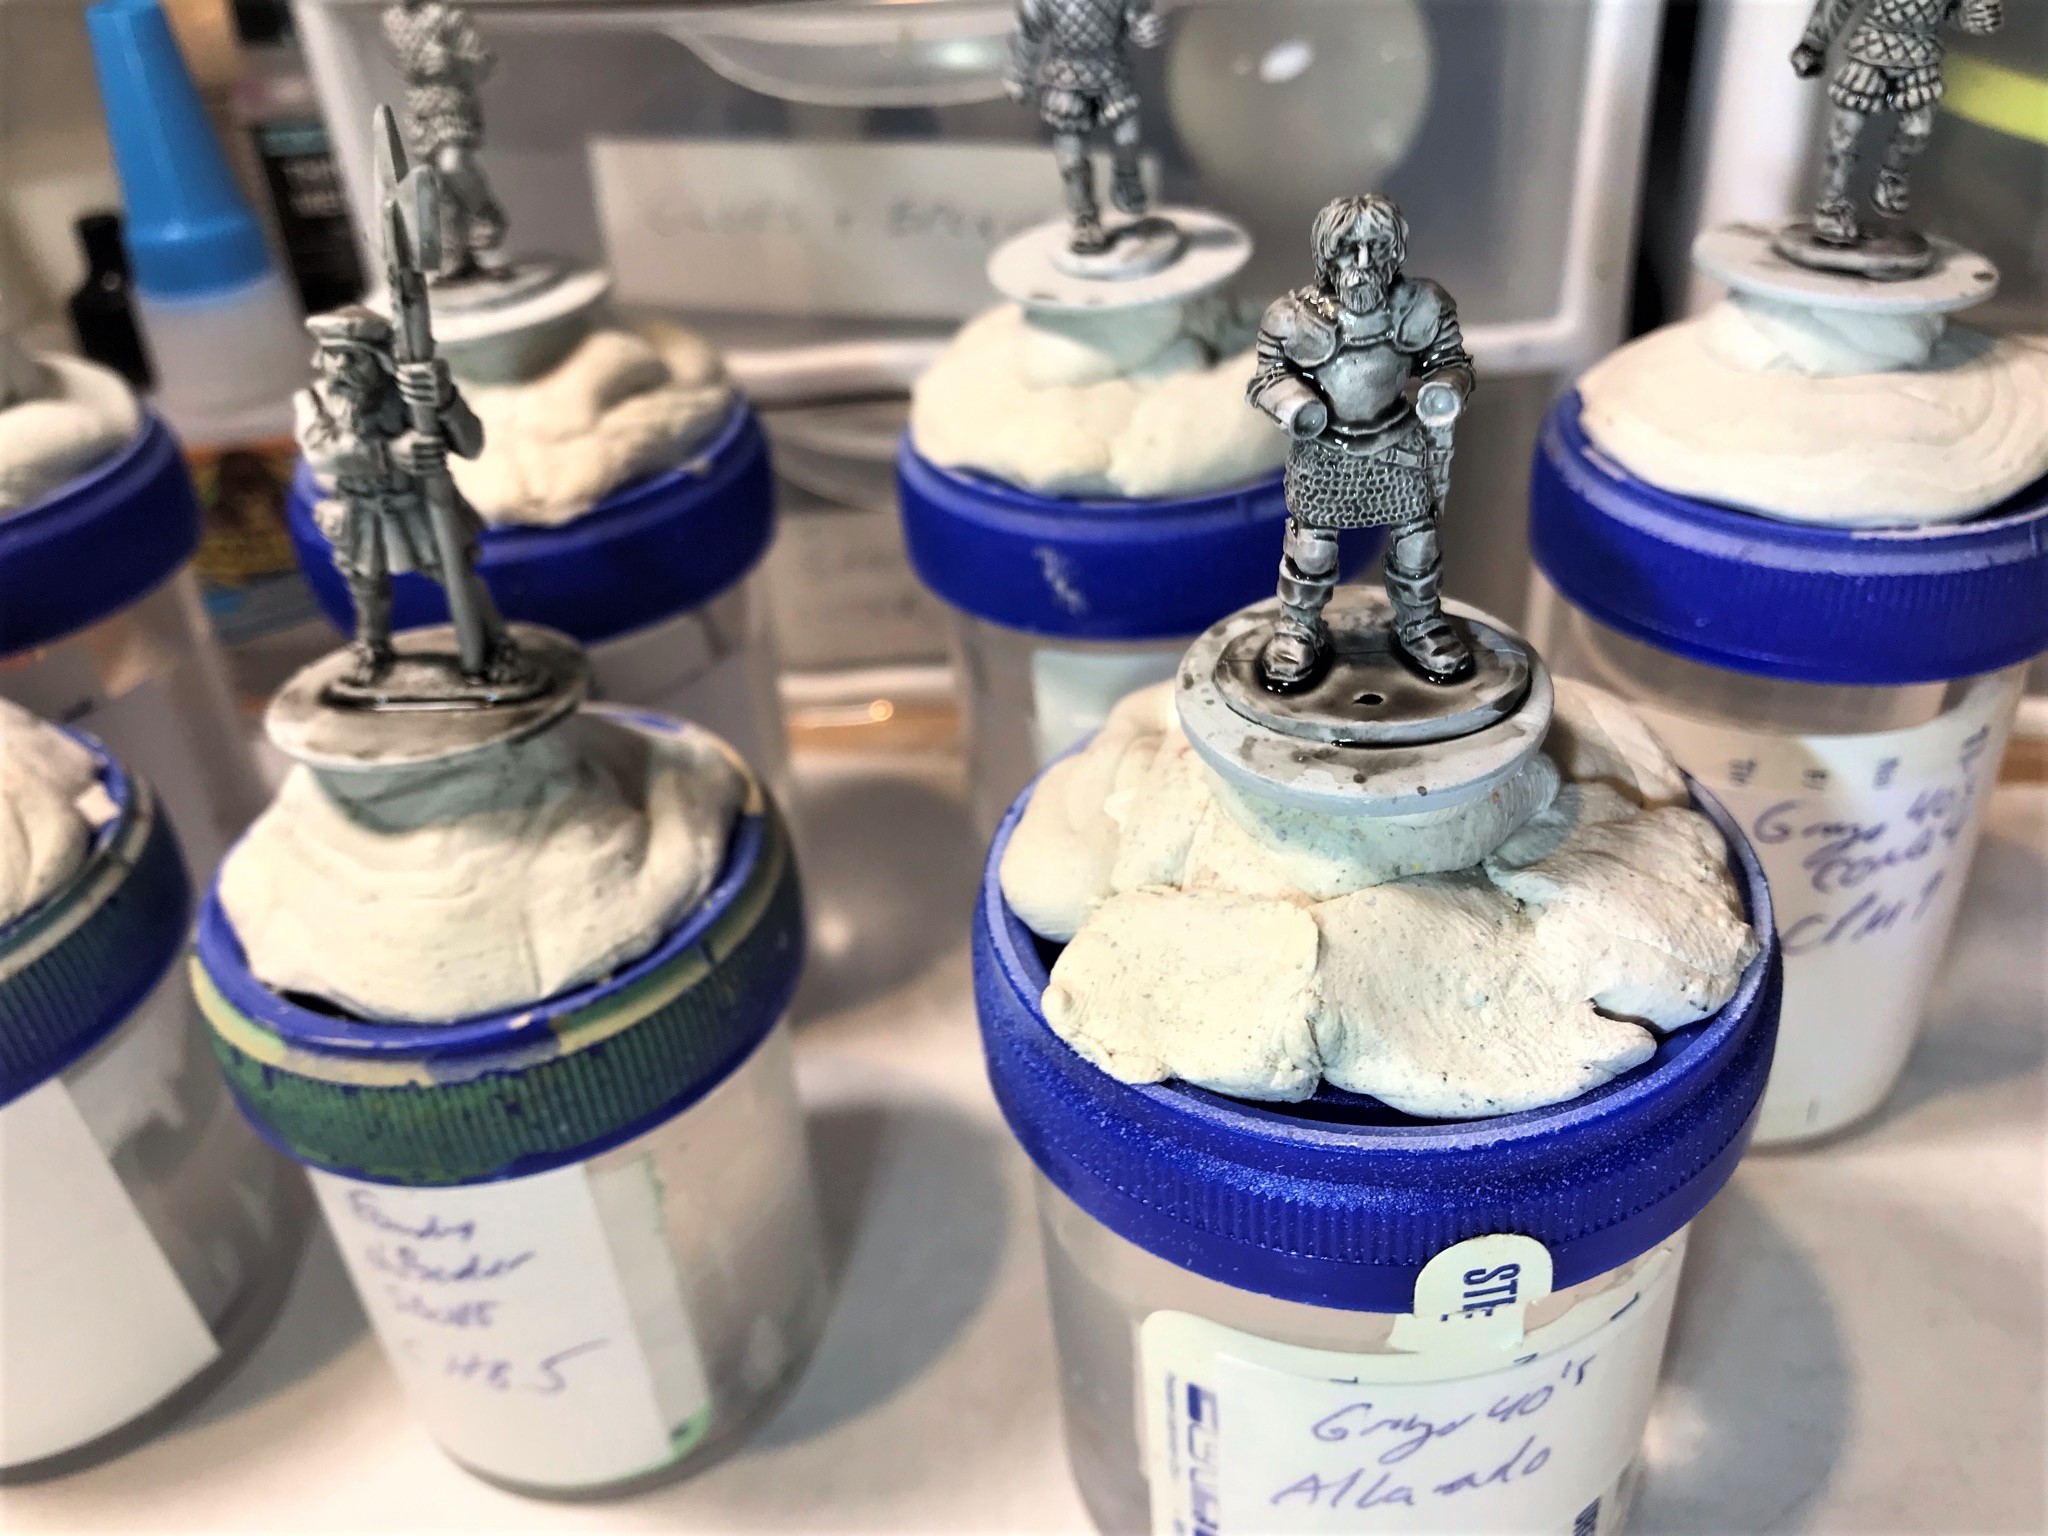
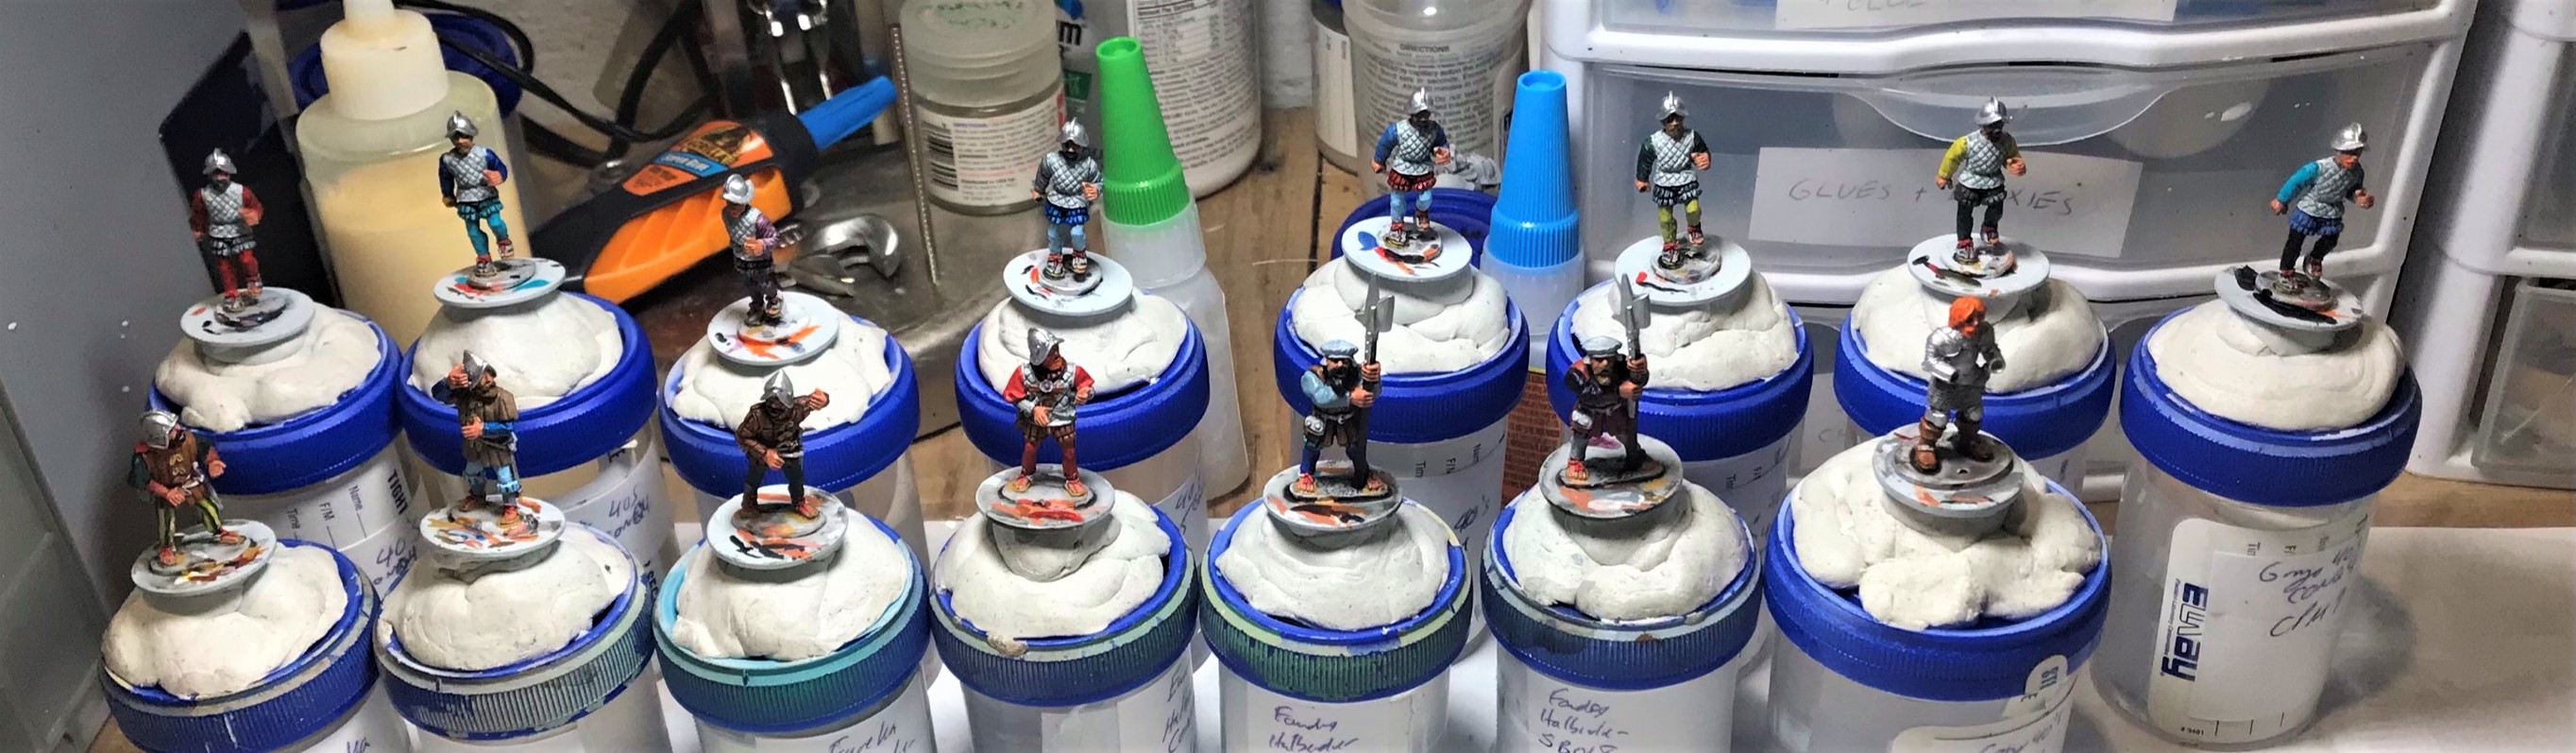
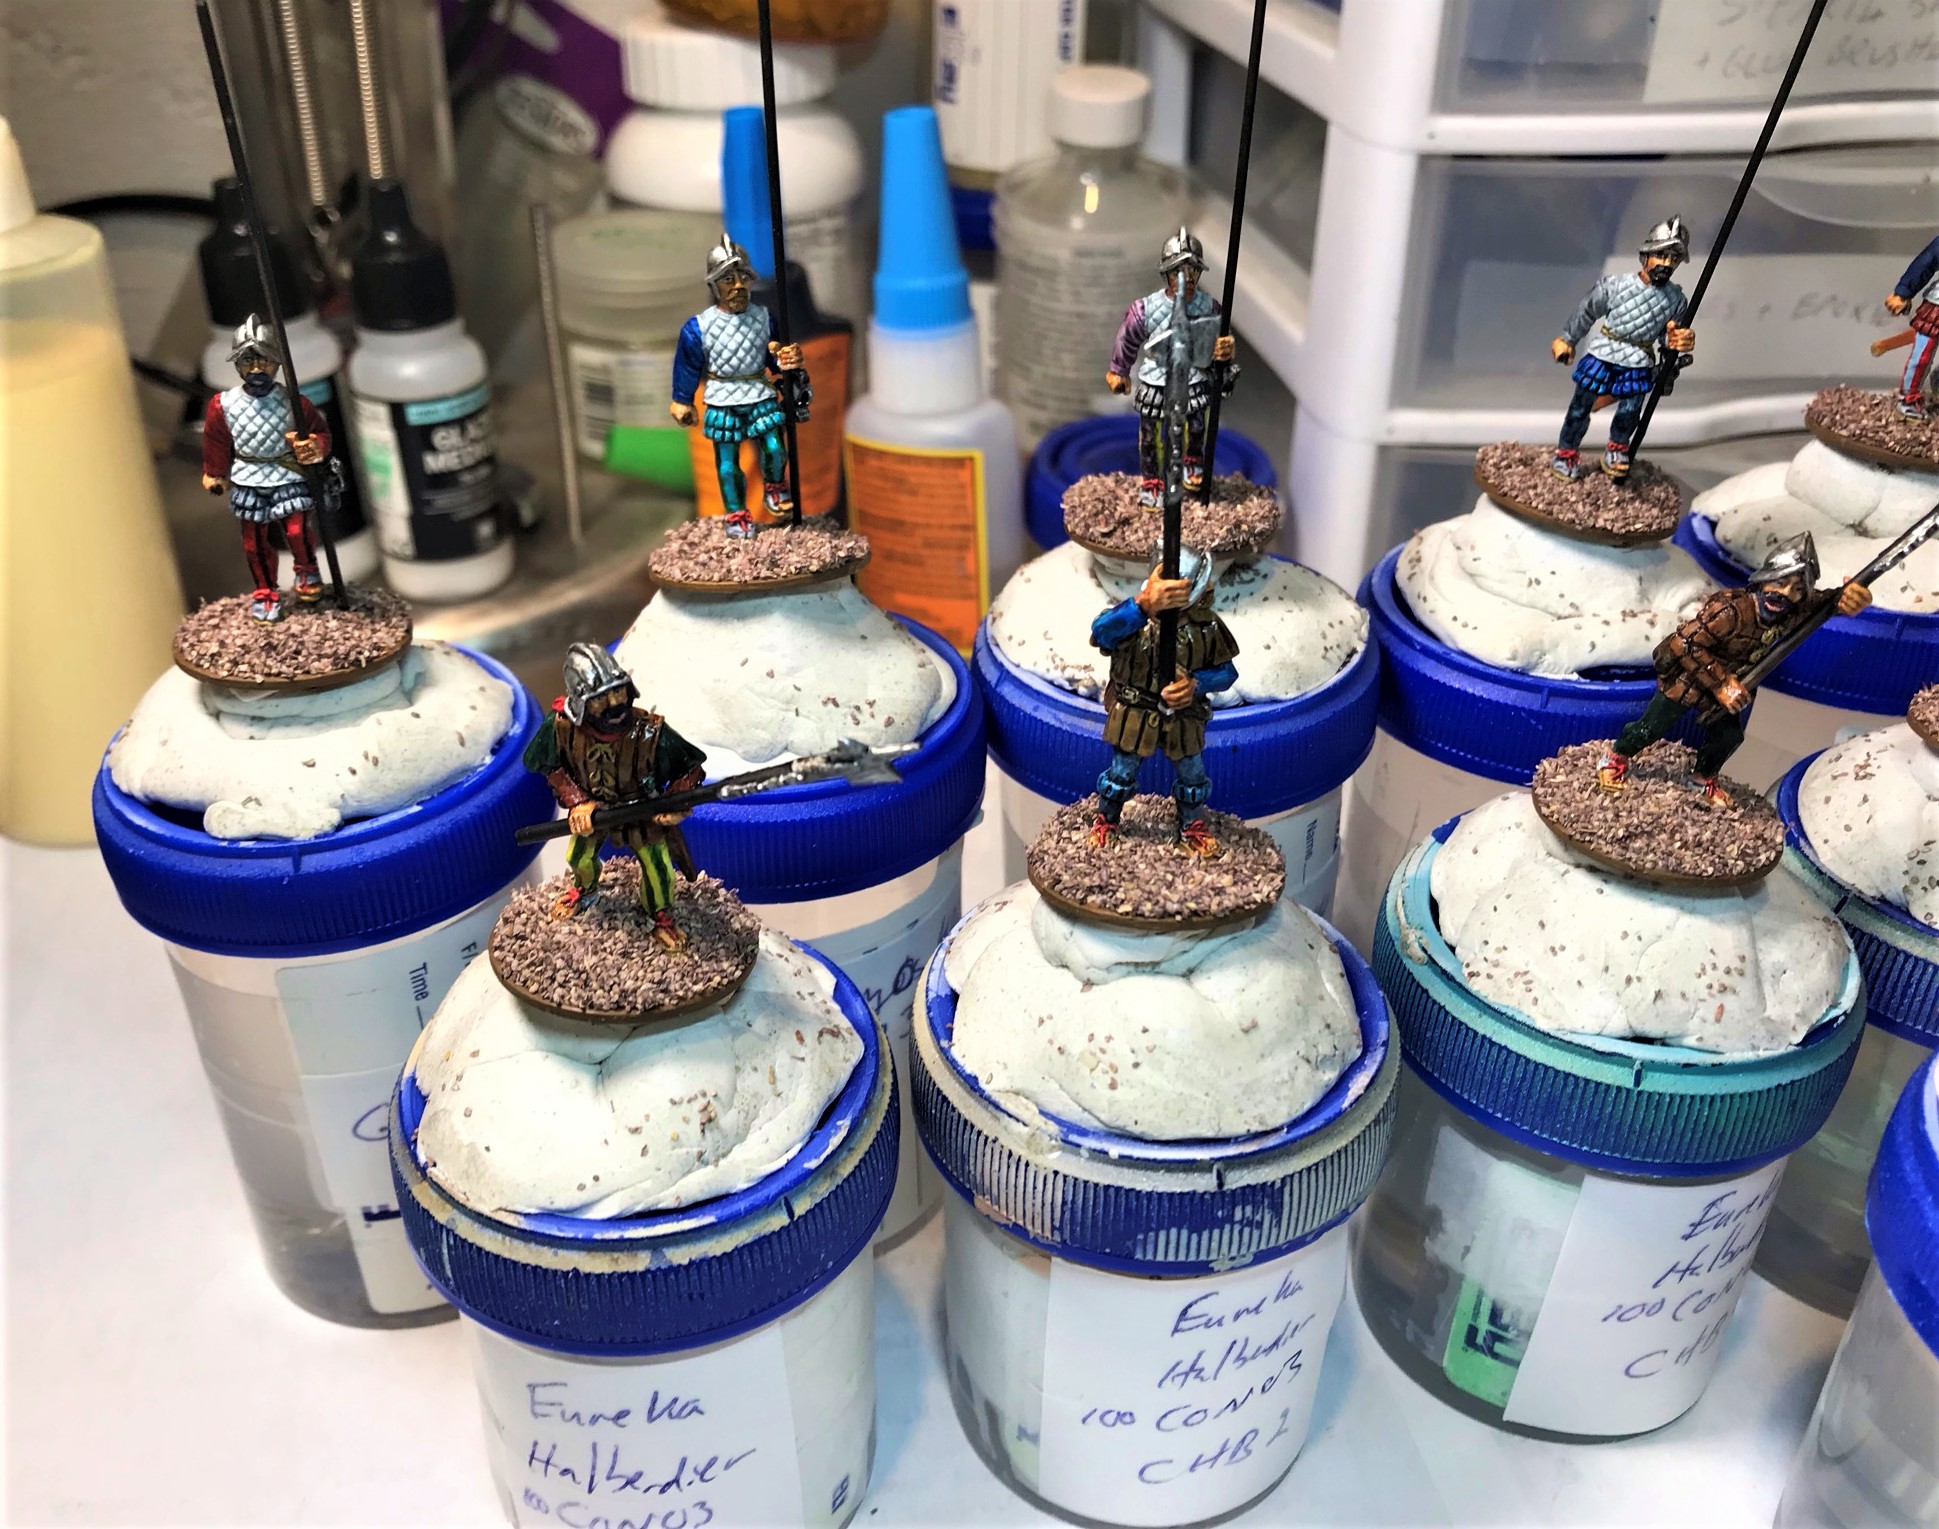
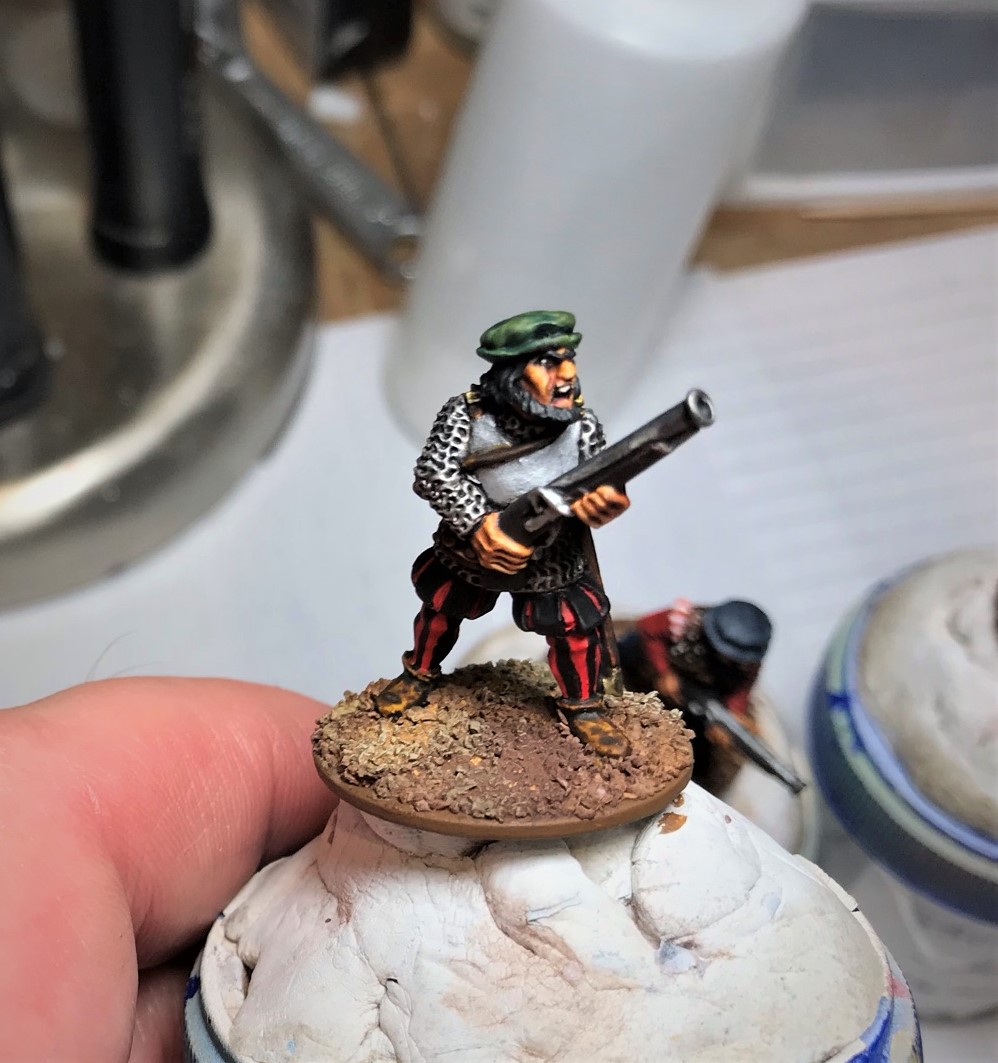
I did not take a lot of pics during the painting – but these are good I think.

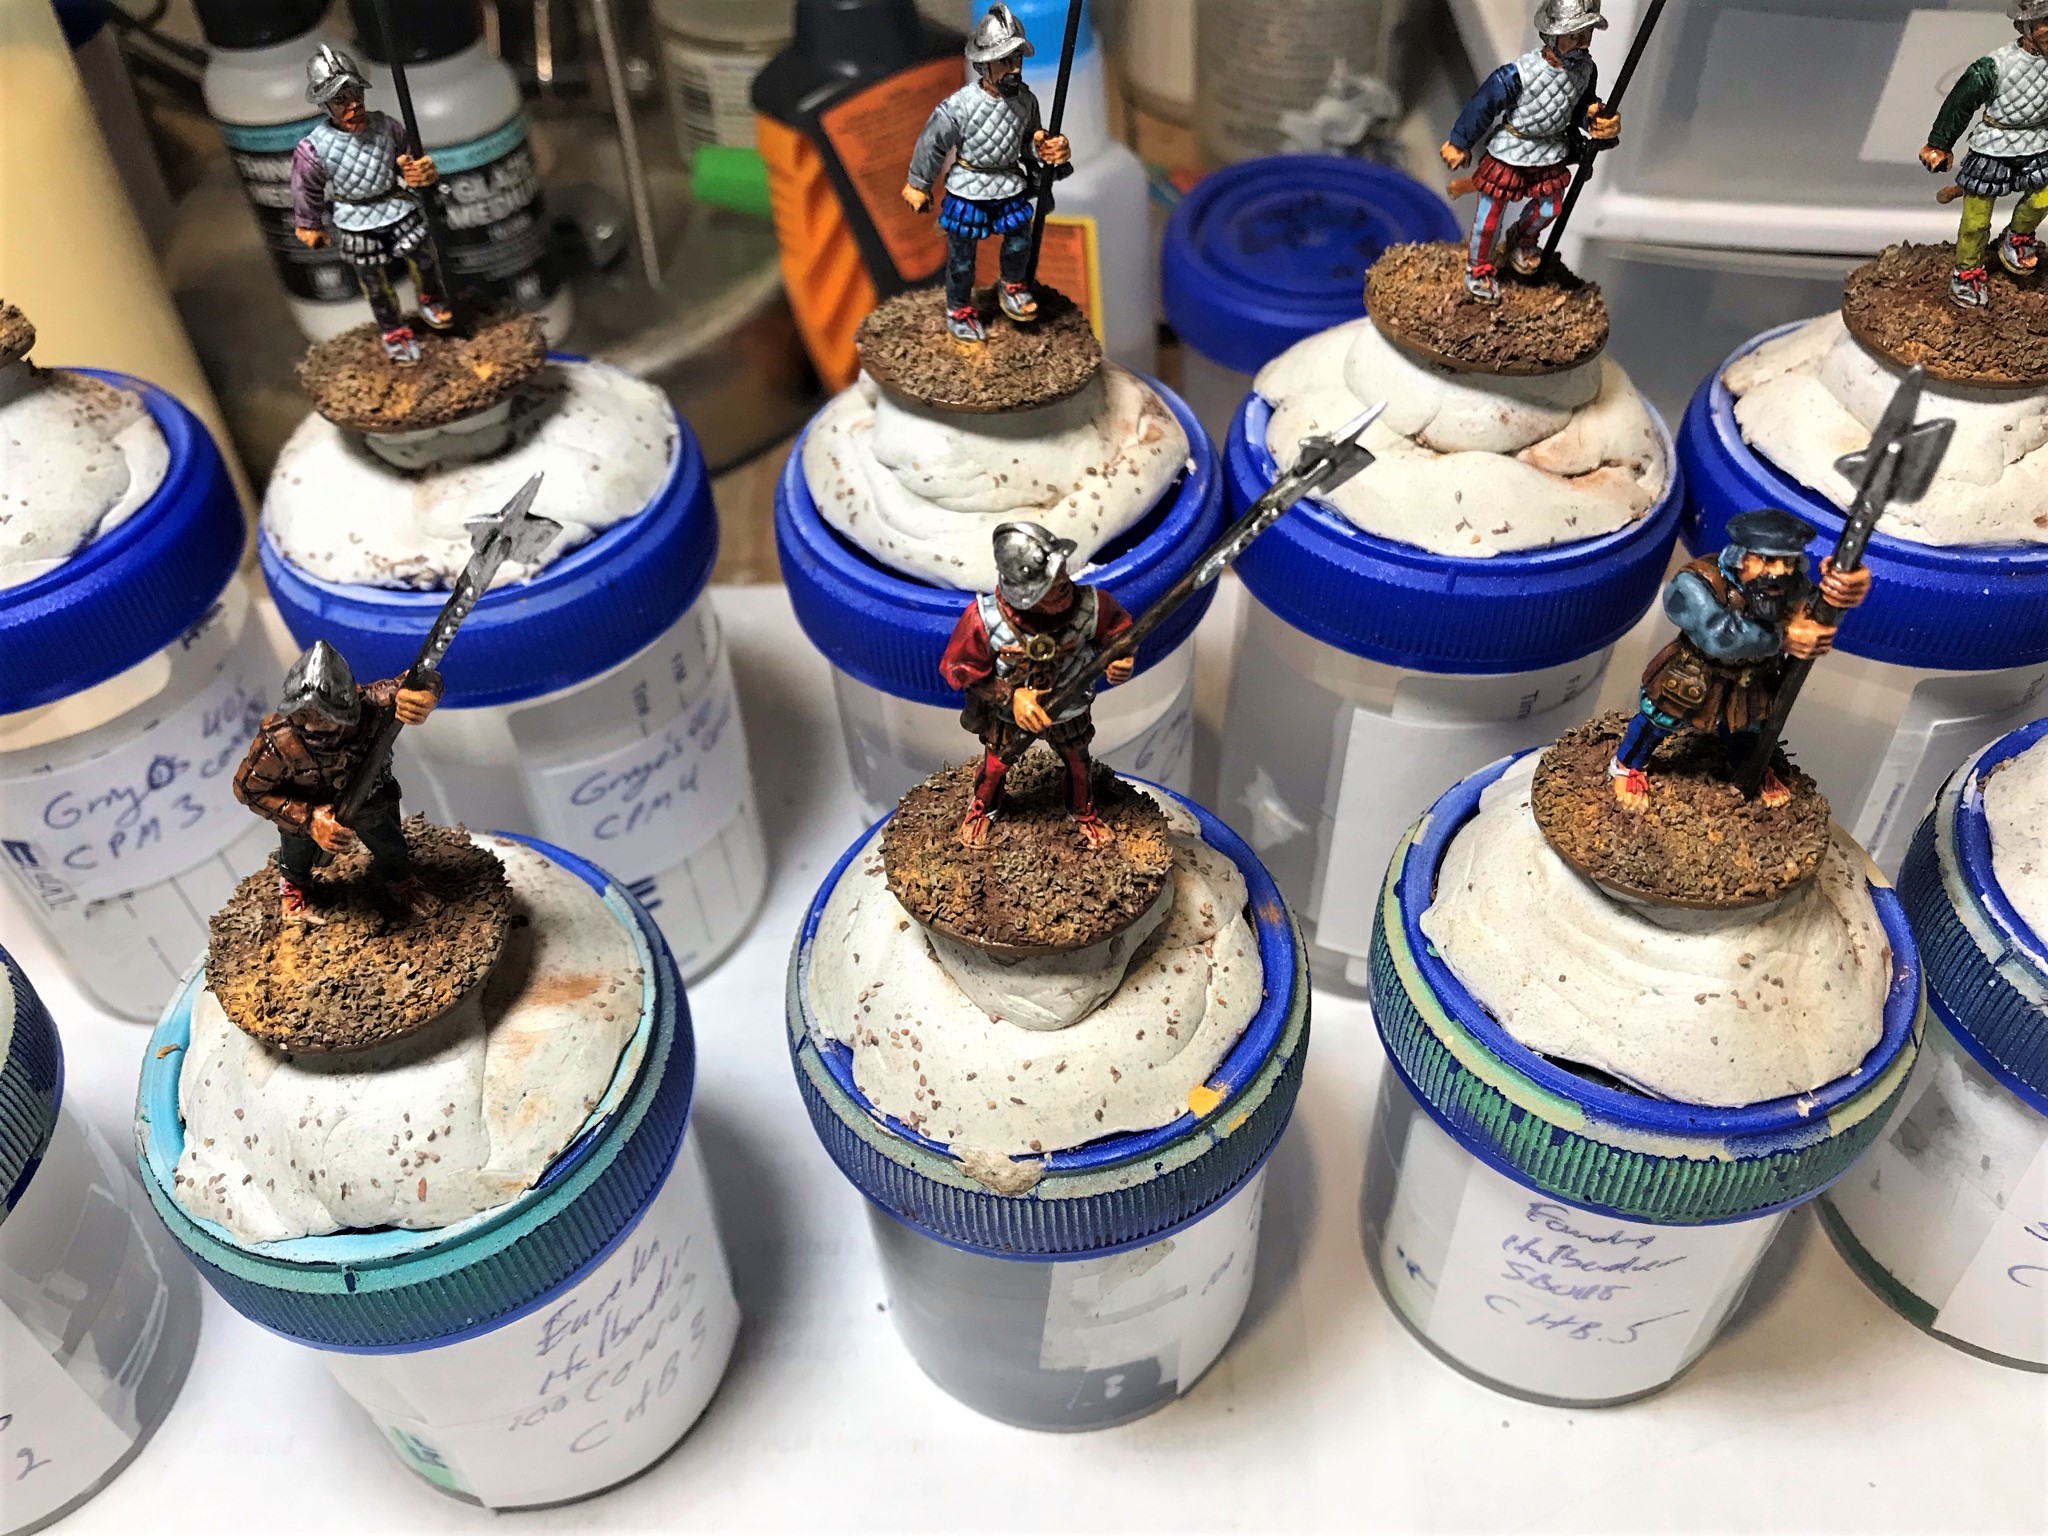
Next up was varnishing on April 30th. I waited as I had read on Azazel’s blog that the Speed Paints can reactivate – so I wanted to leave 24 hours+ to dry.
I did see some of the Speed Paint (“Sand Golem”) on the guns reactivate and migrate – but that was it. It was easily fixed.


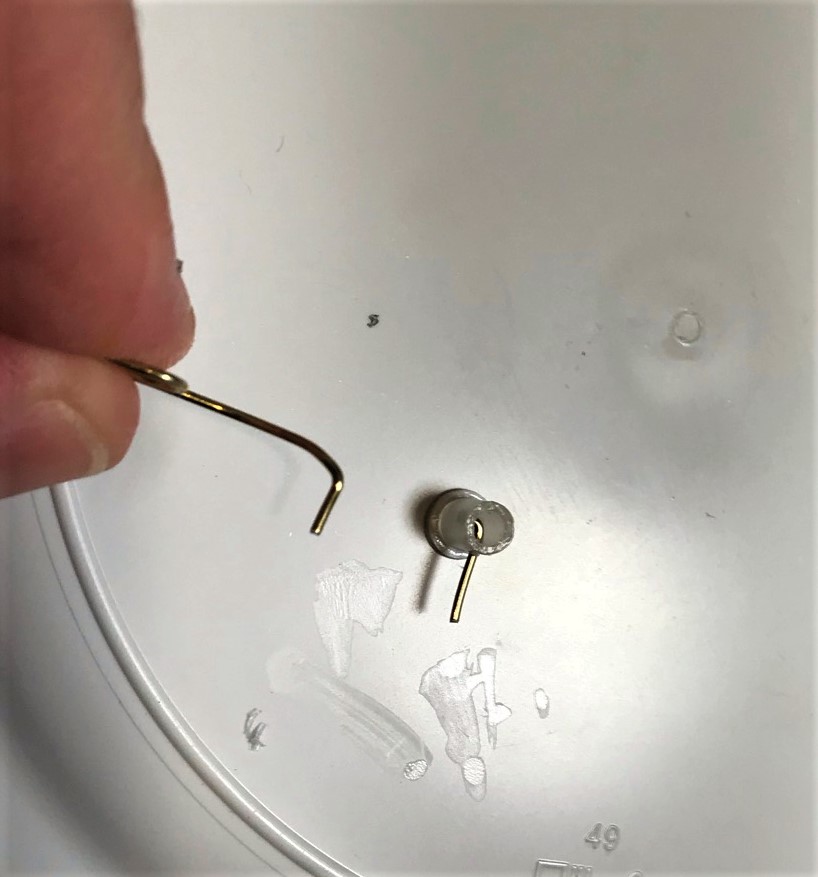
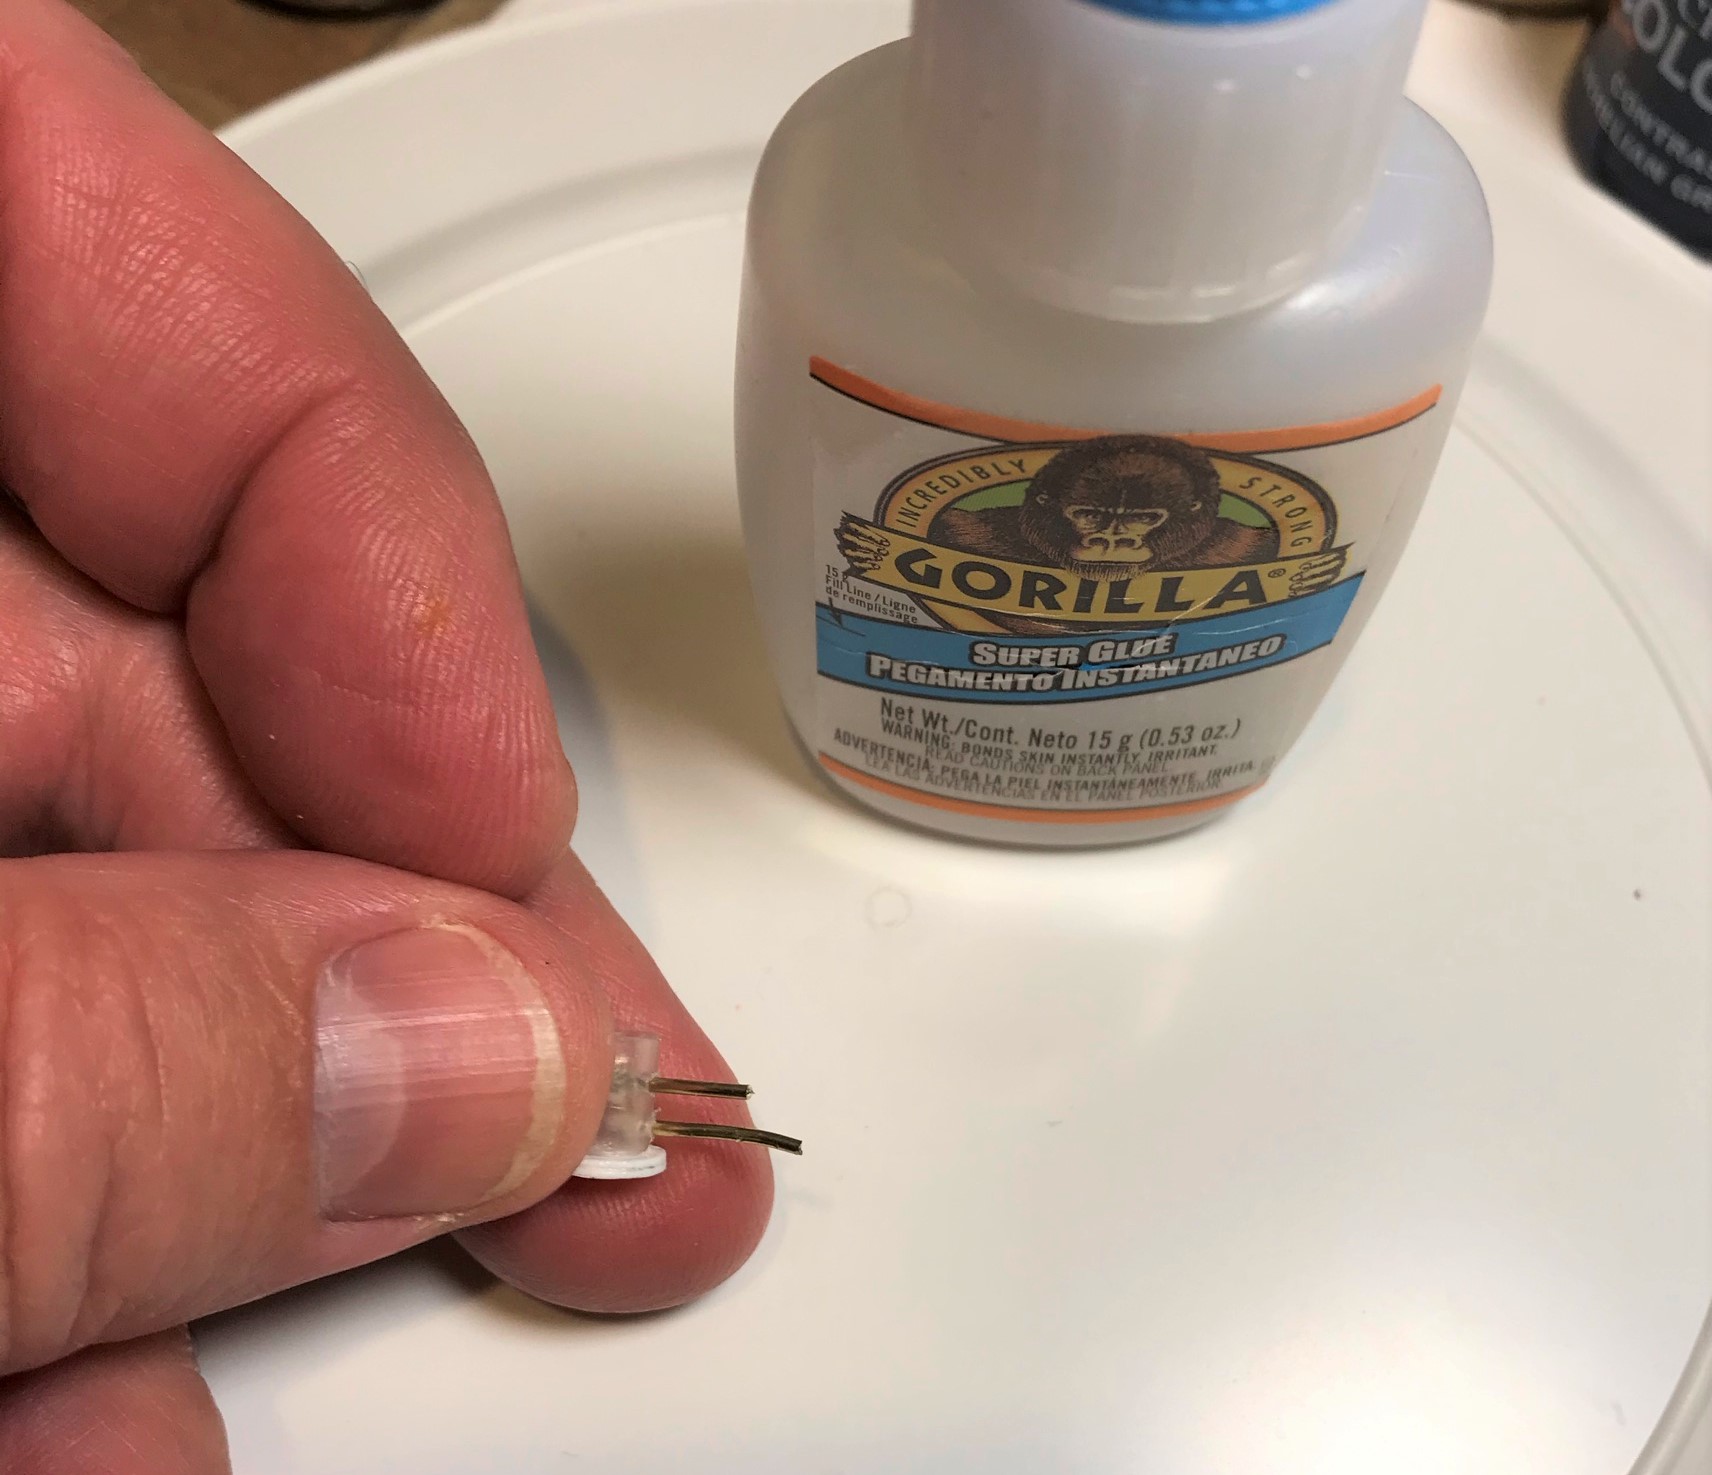
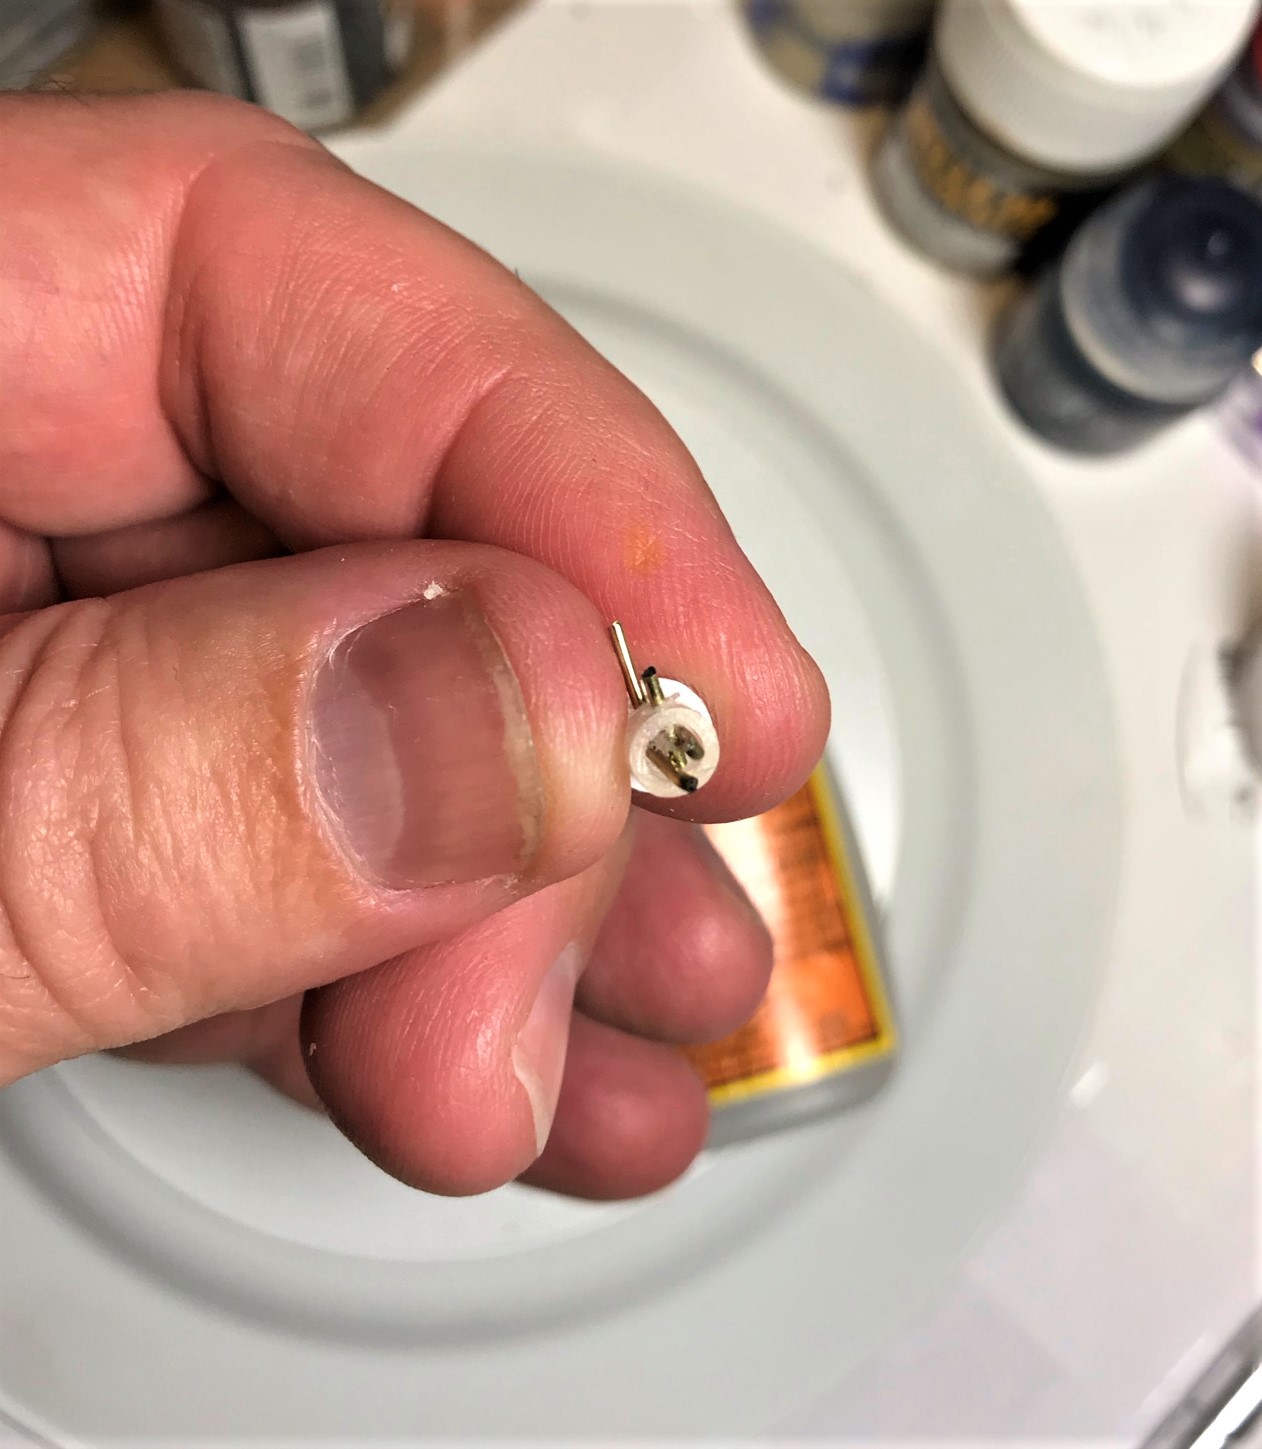
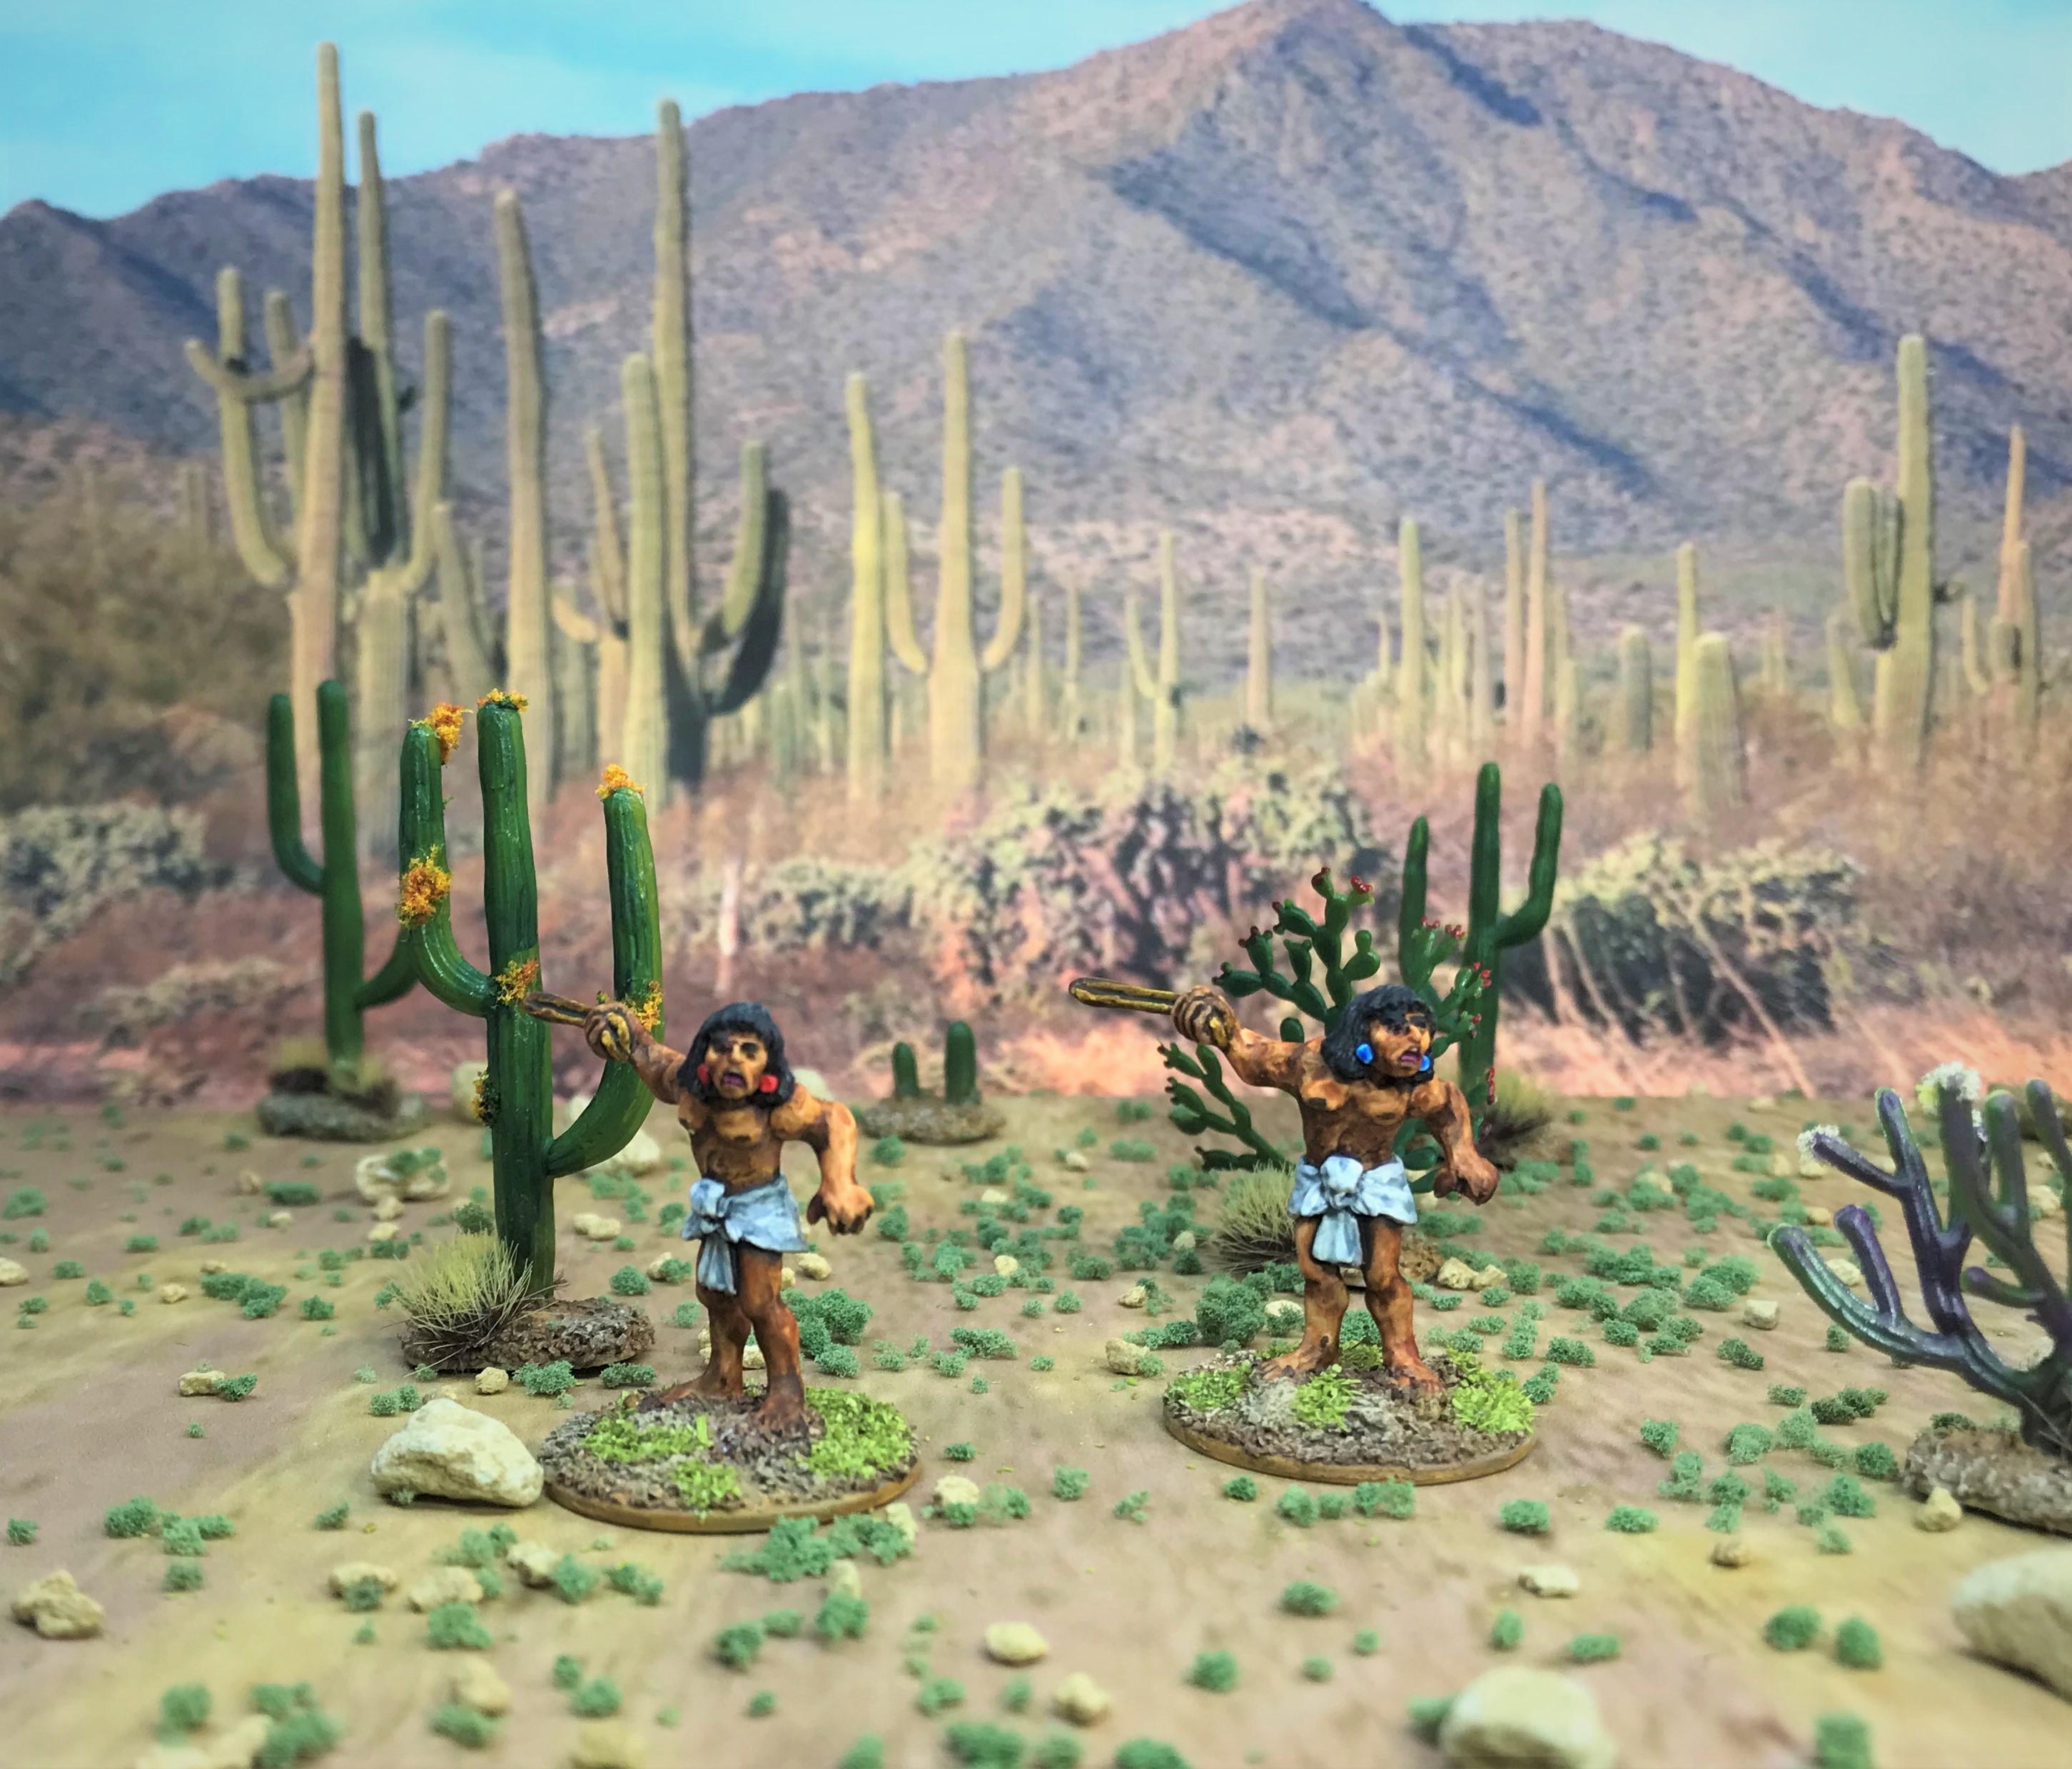
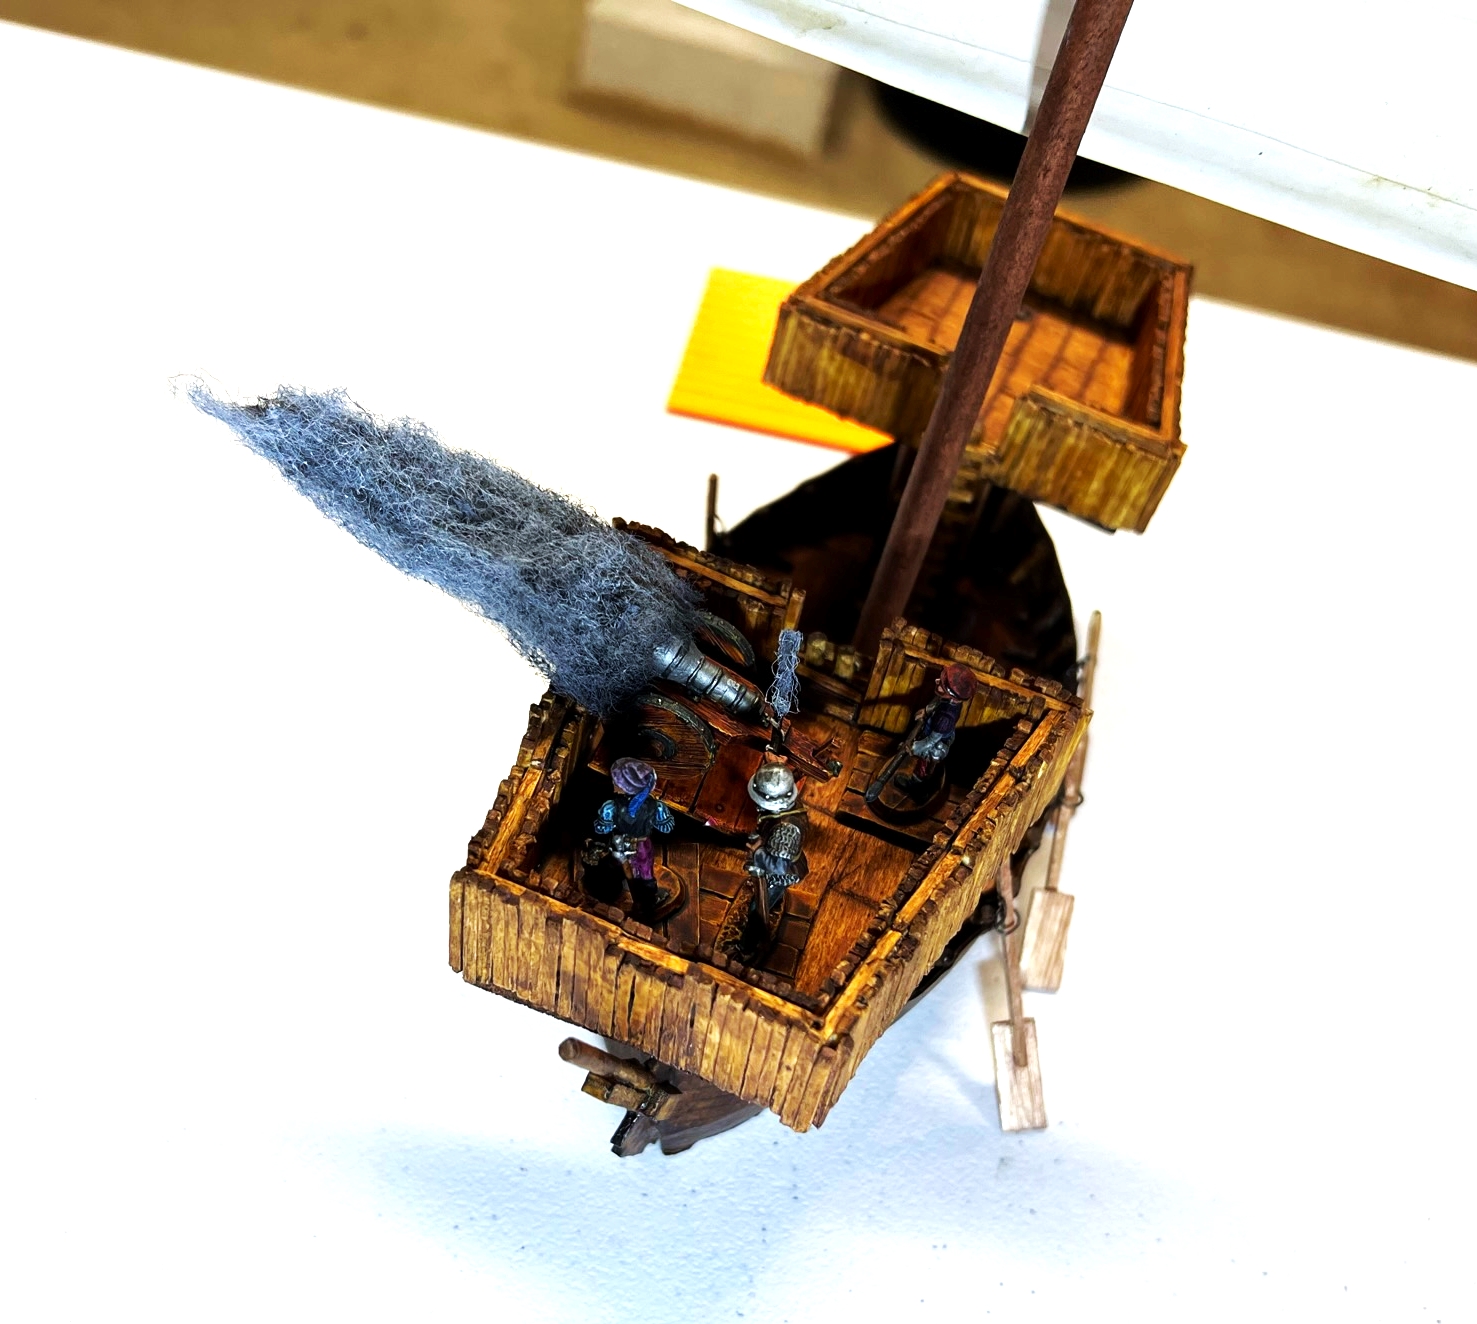
I then needed to add smoke to the figures lighting the fuses – and make smoke markers for the falconets and lombards.

Then I was on to making some big smoke markers.

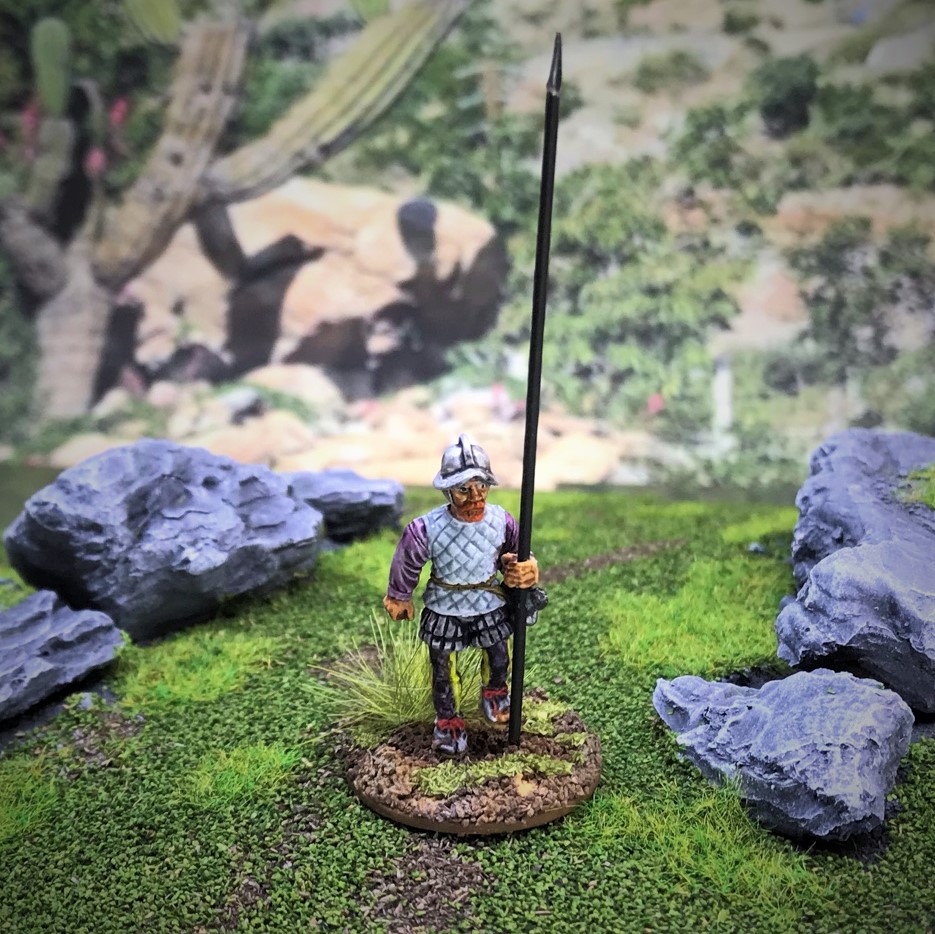
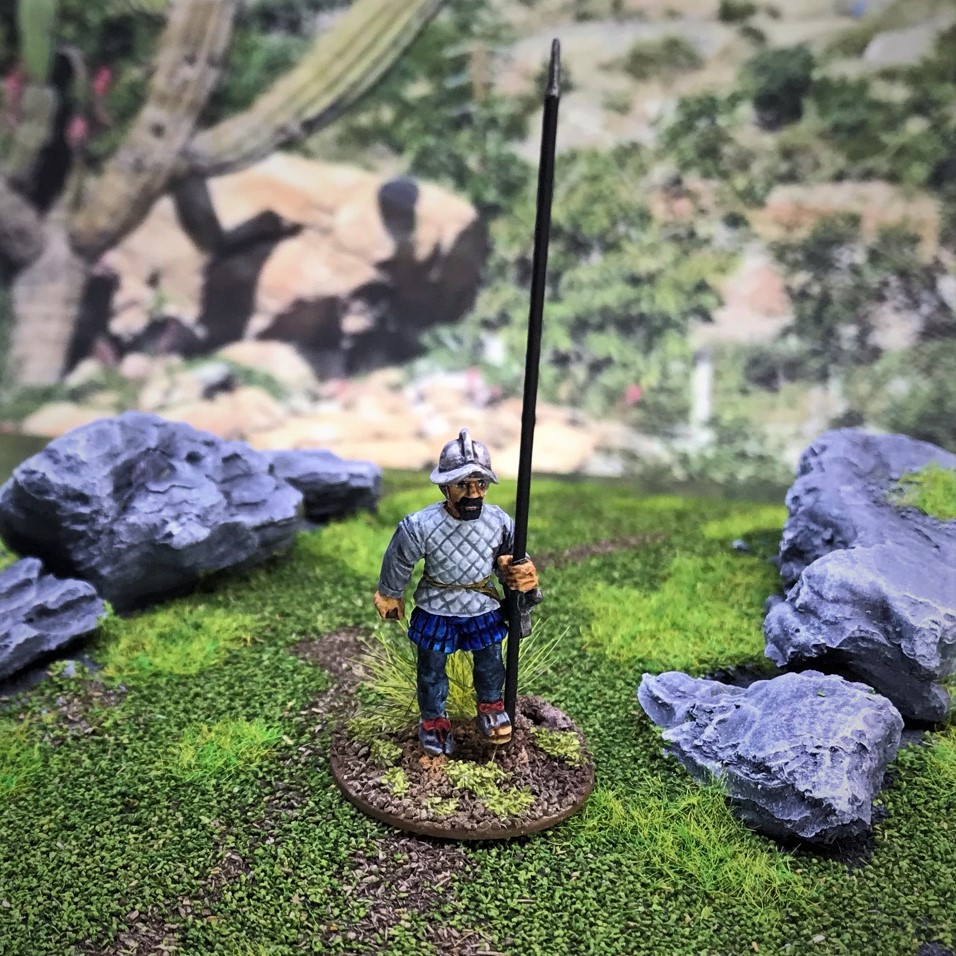
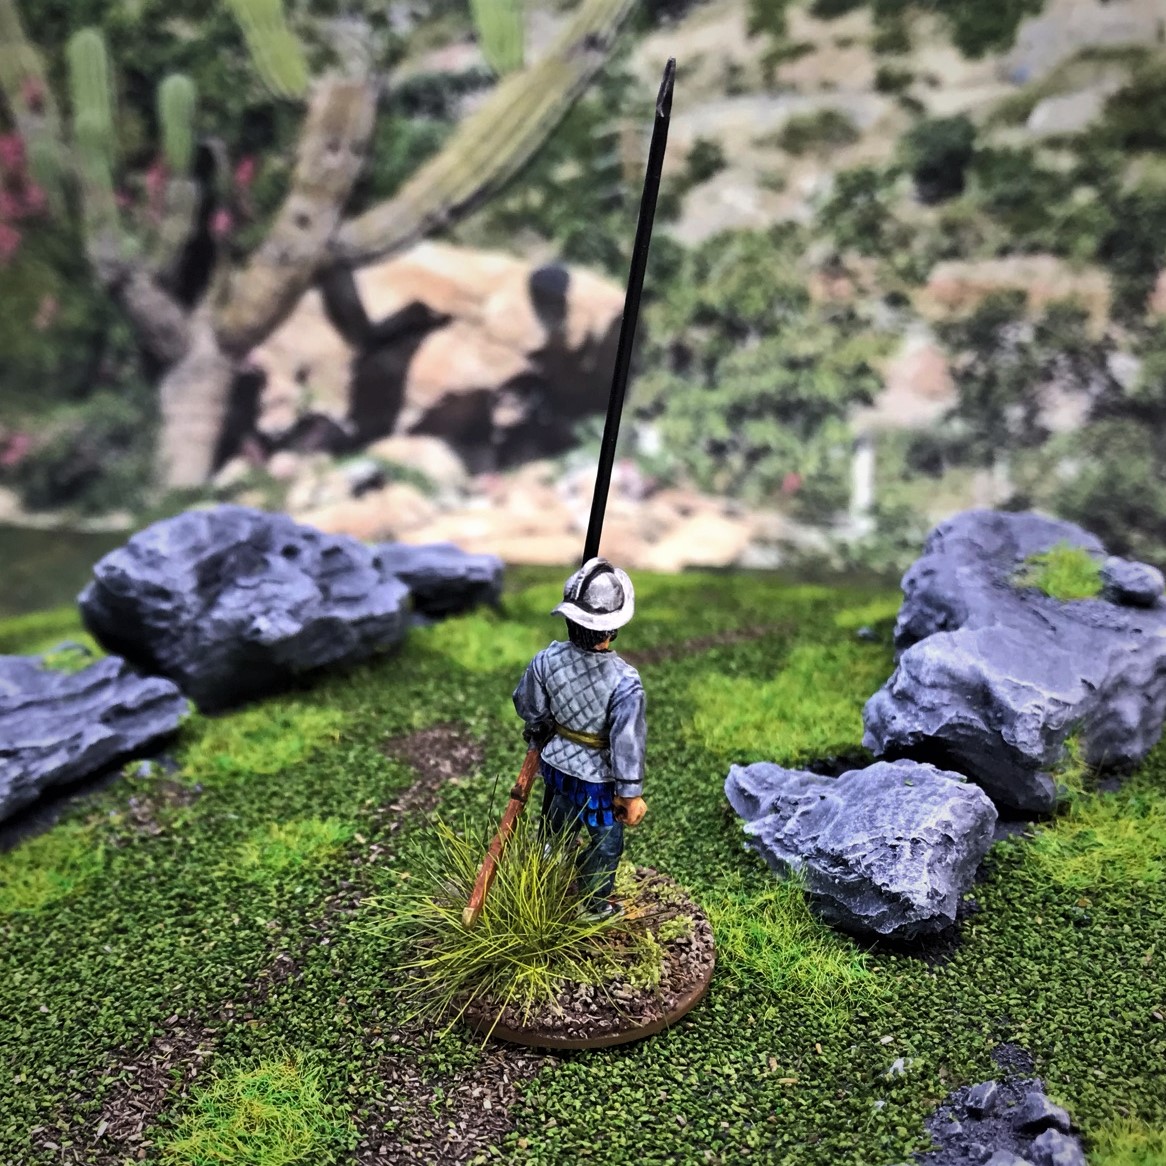
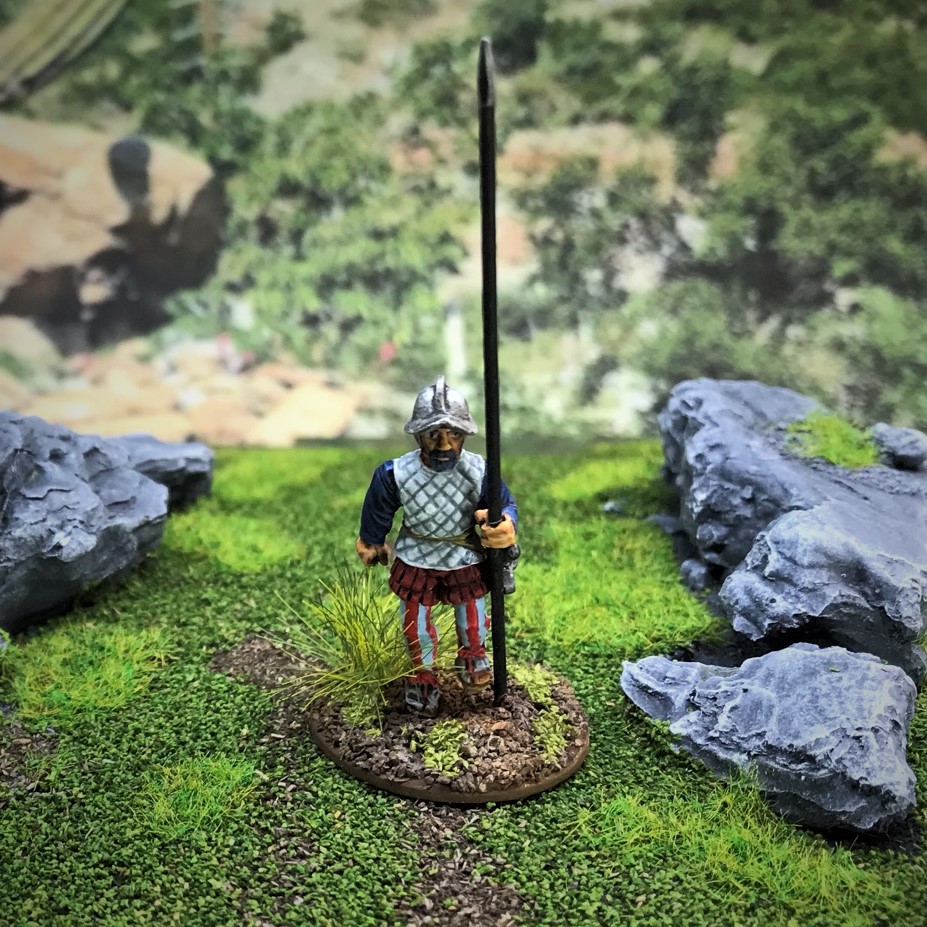
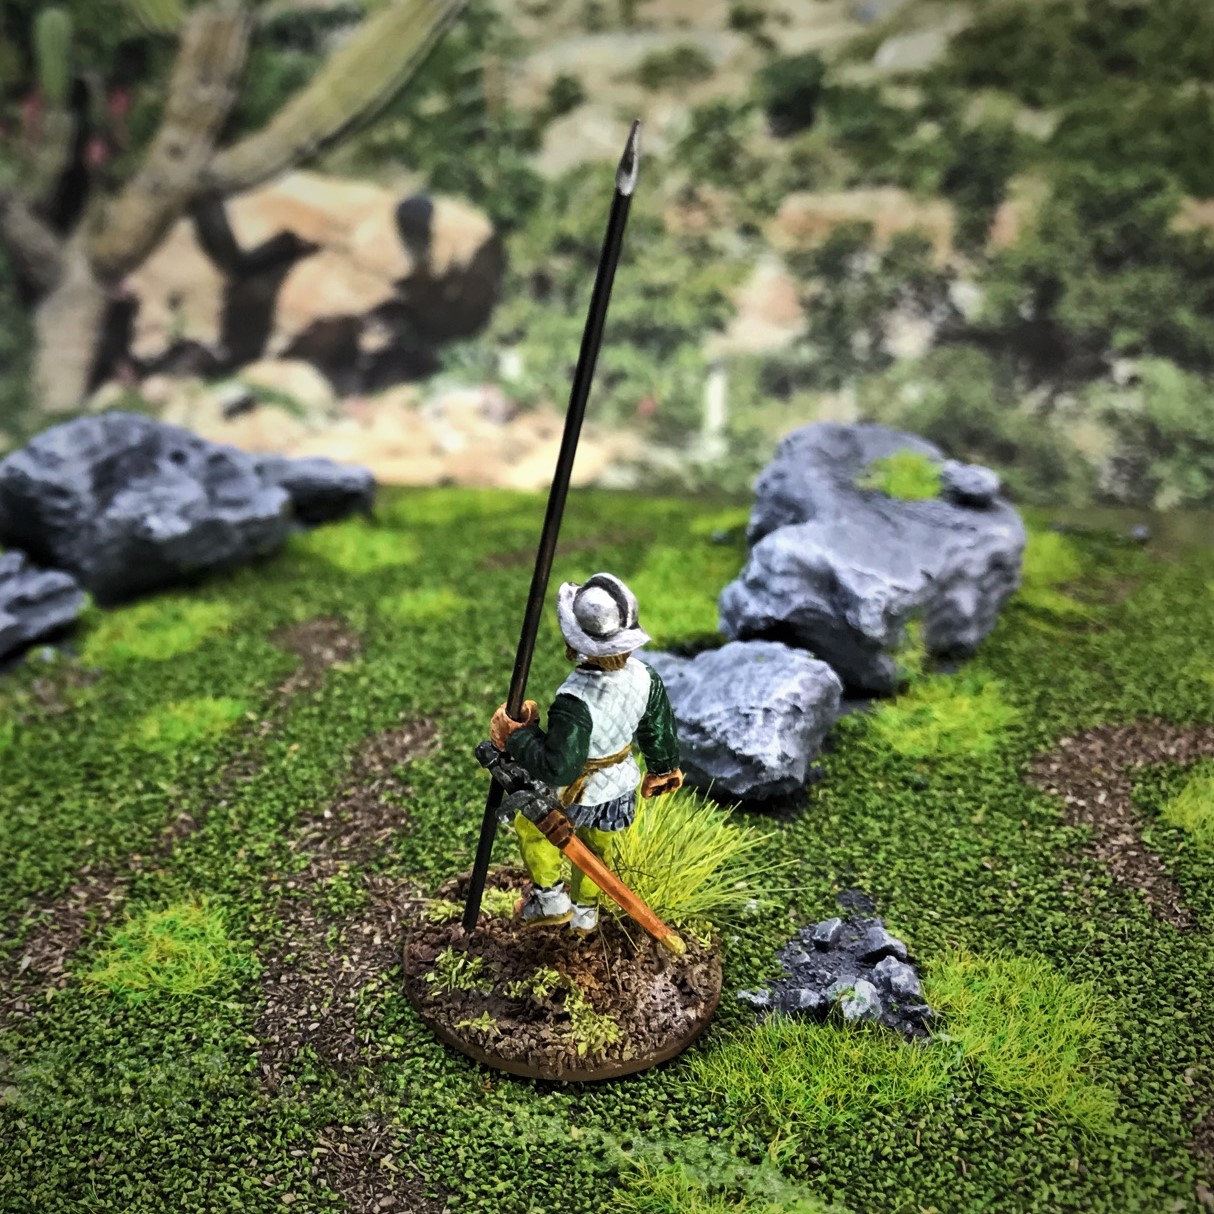
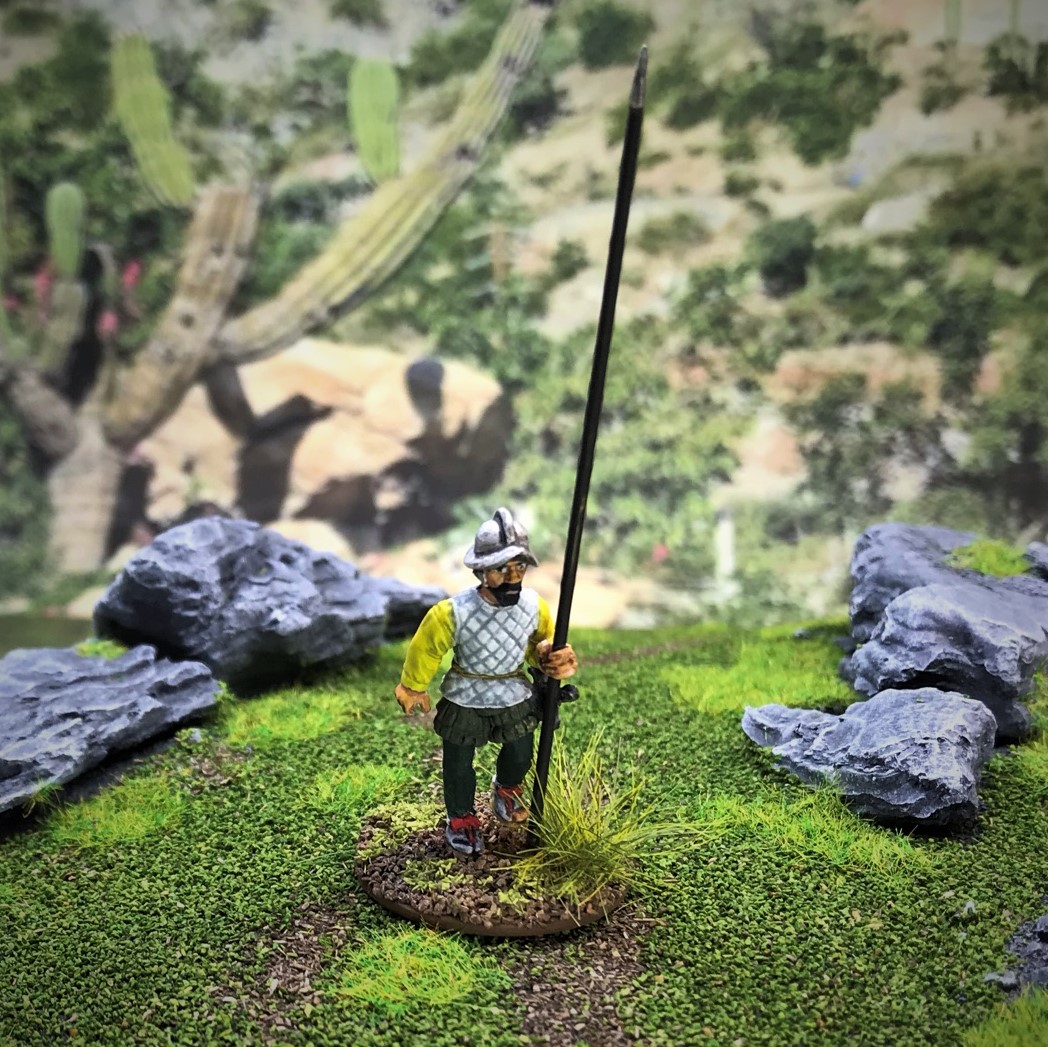
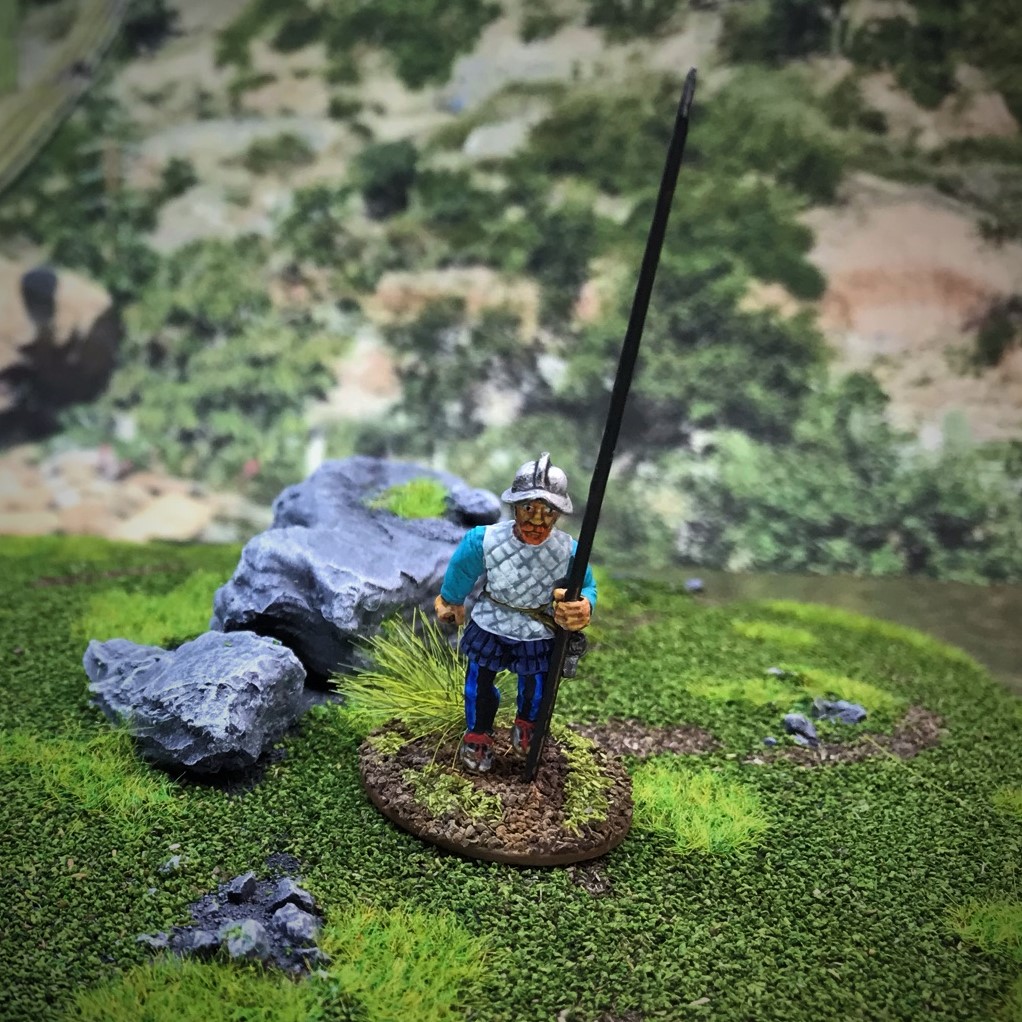
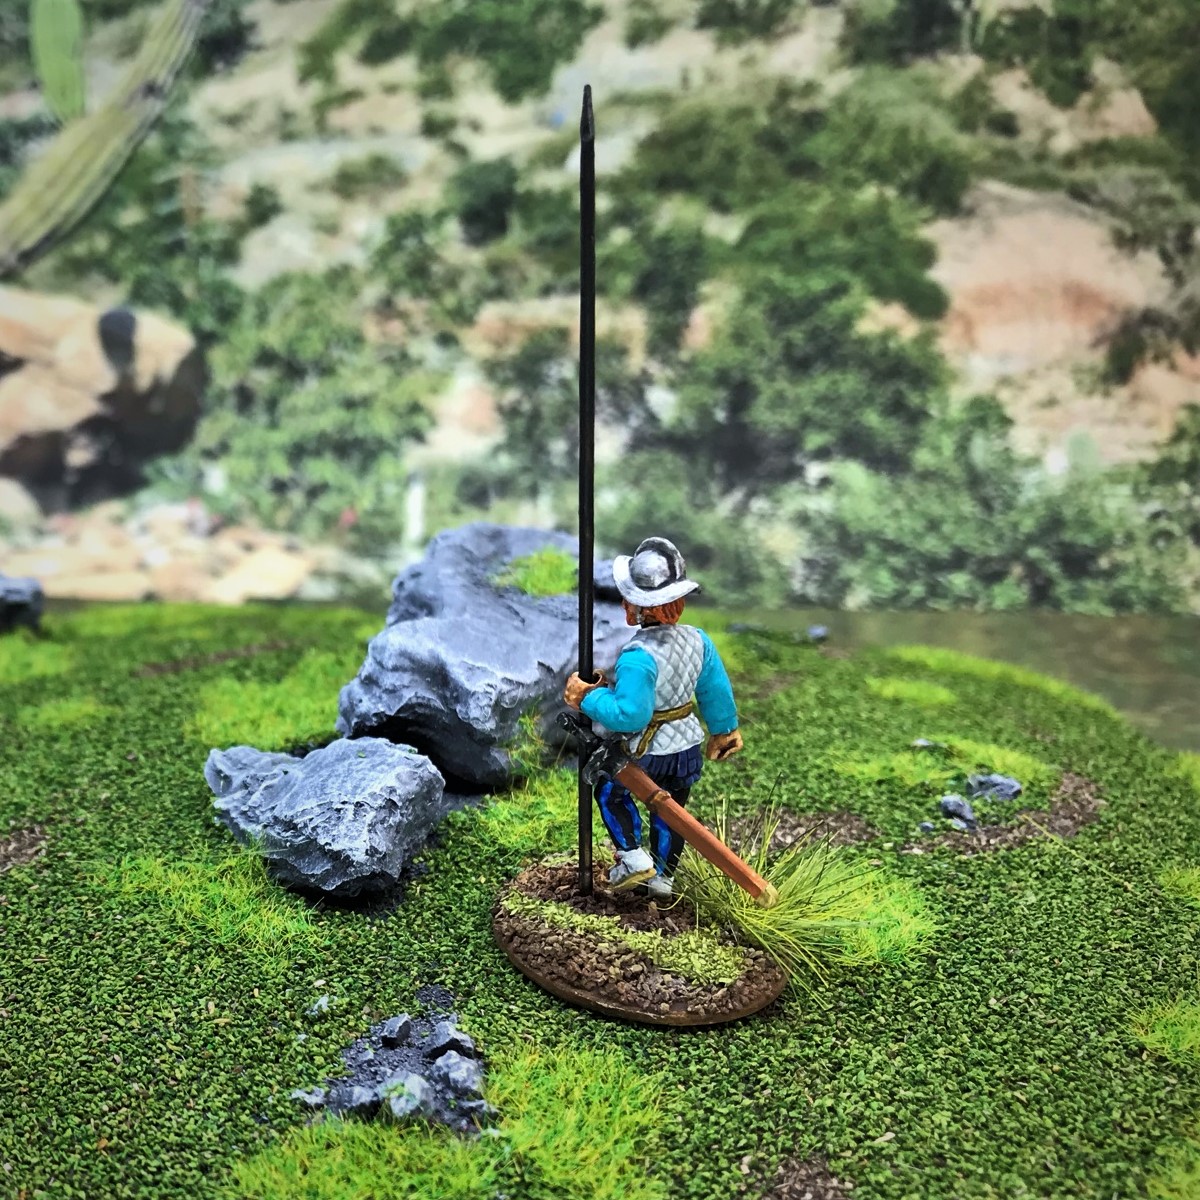
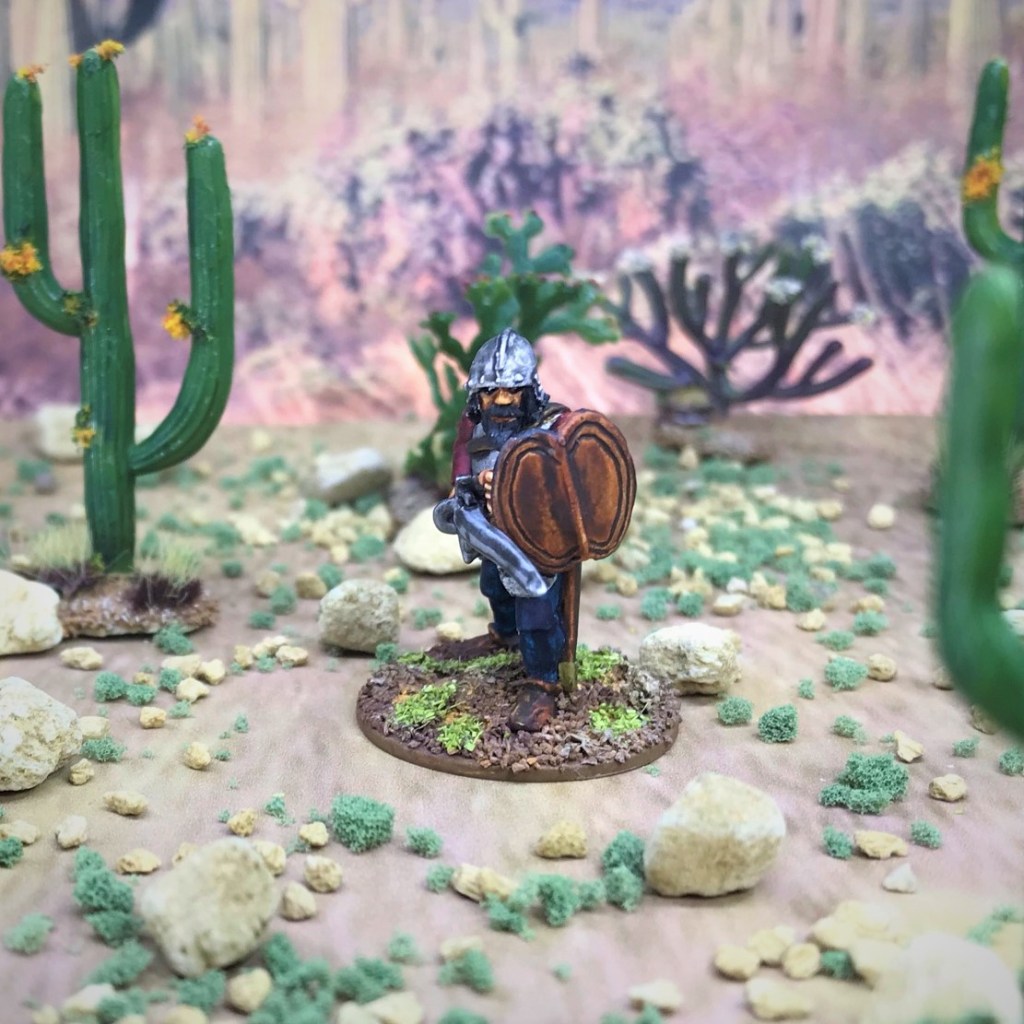
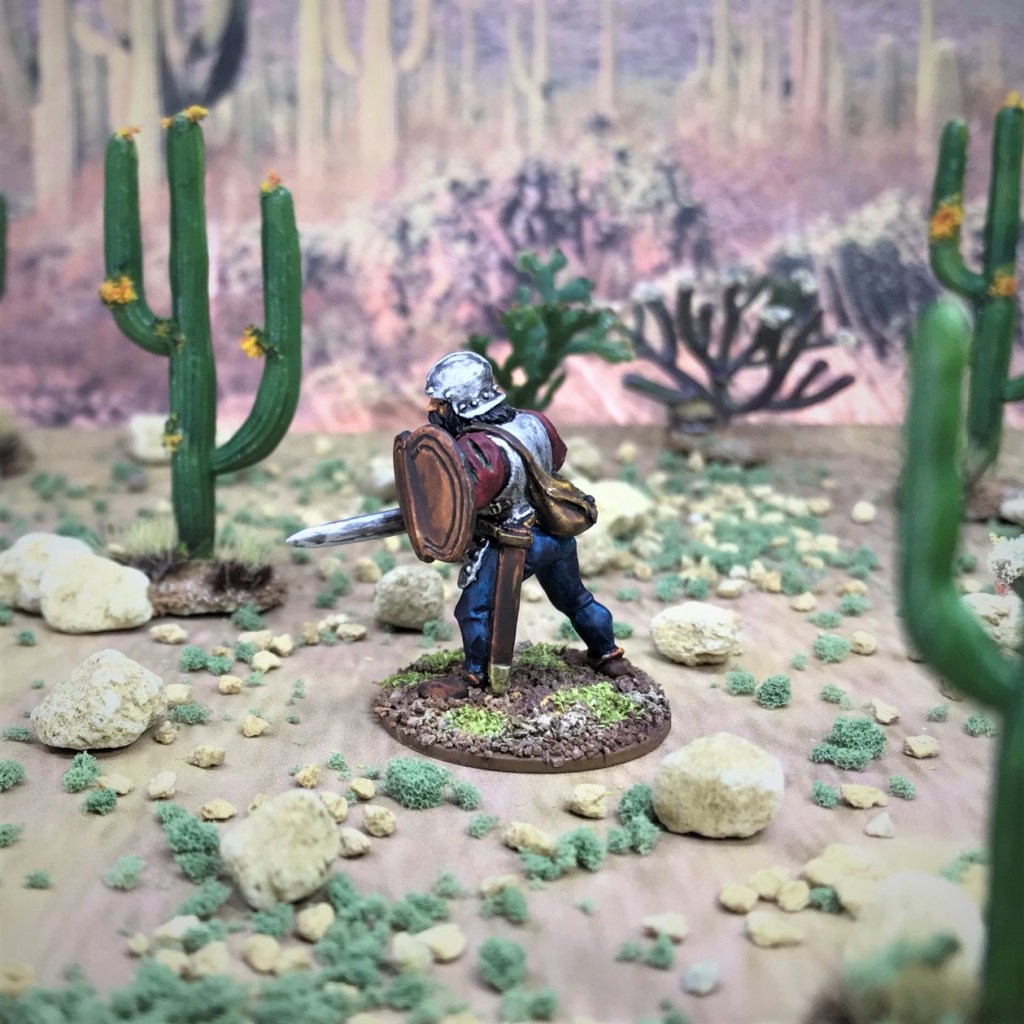
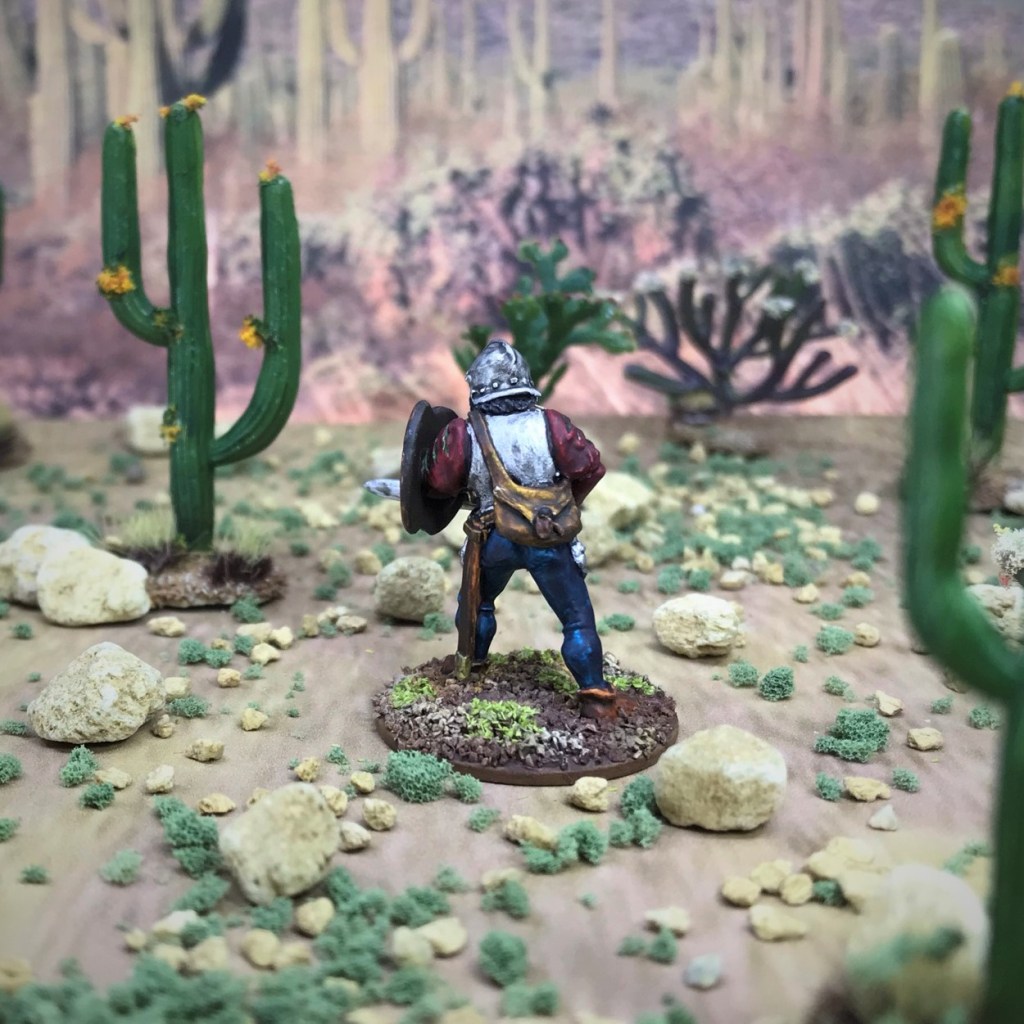
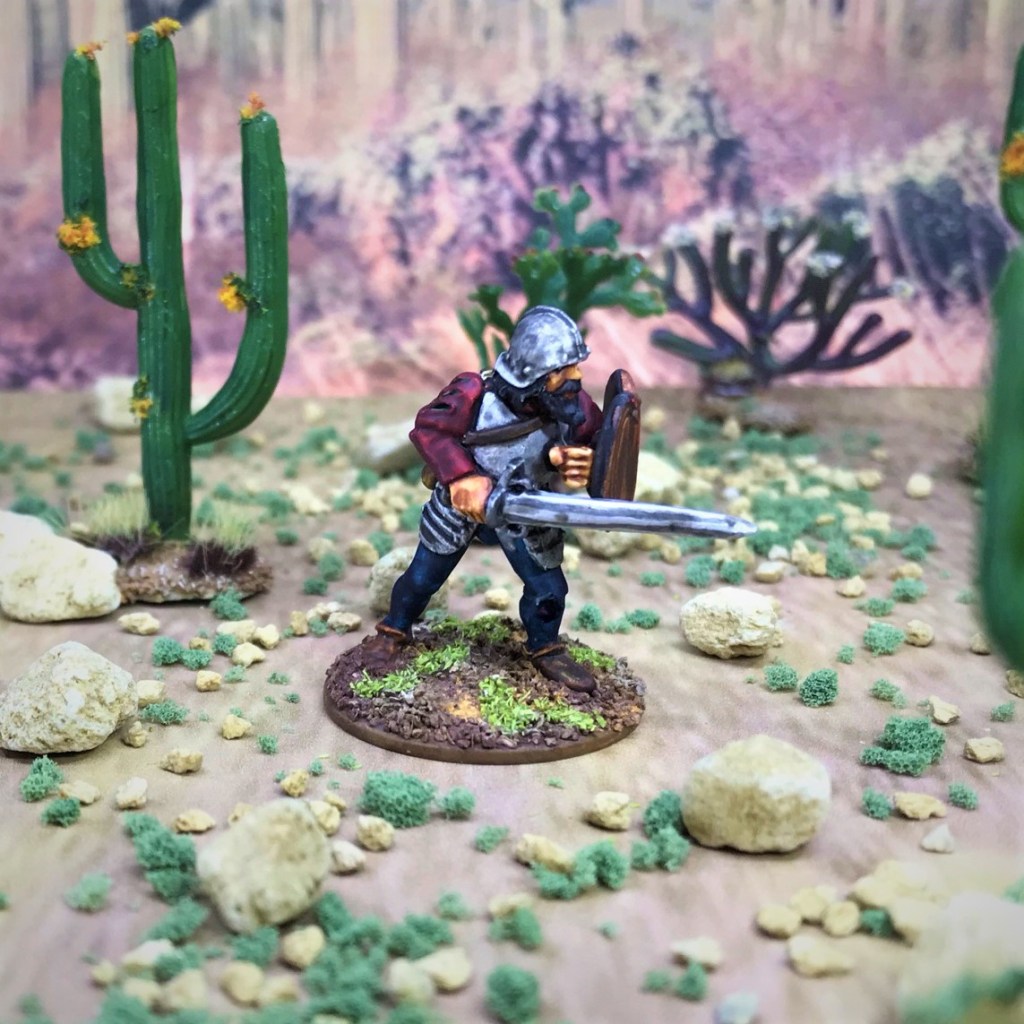
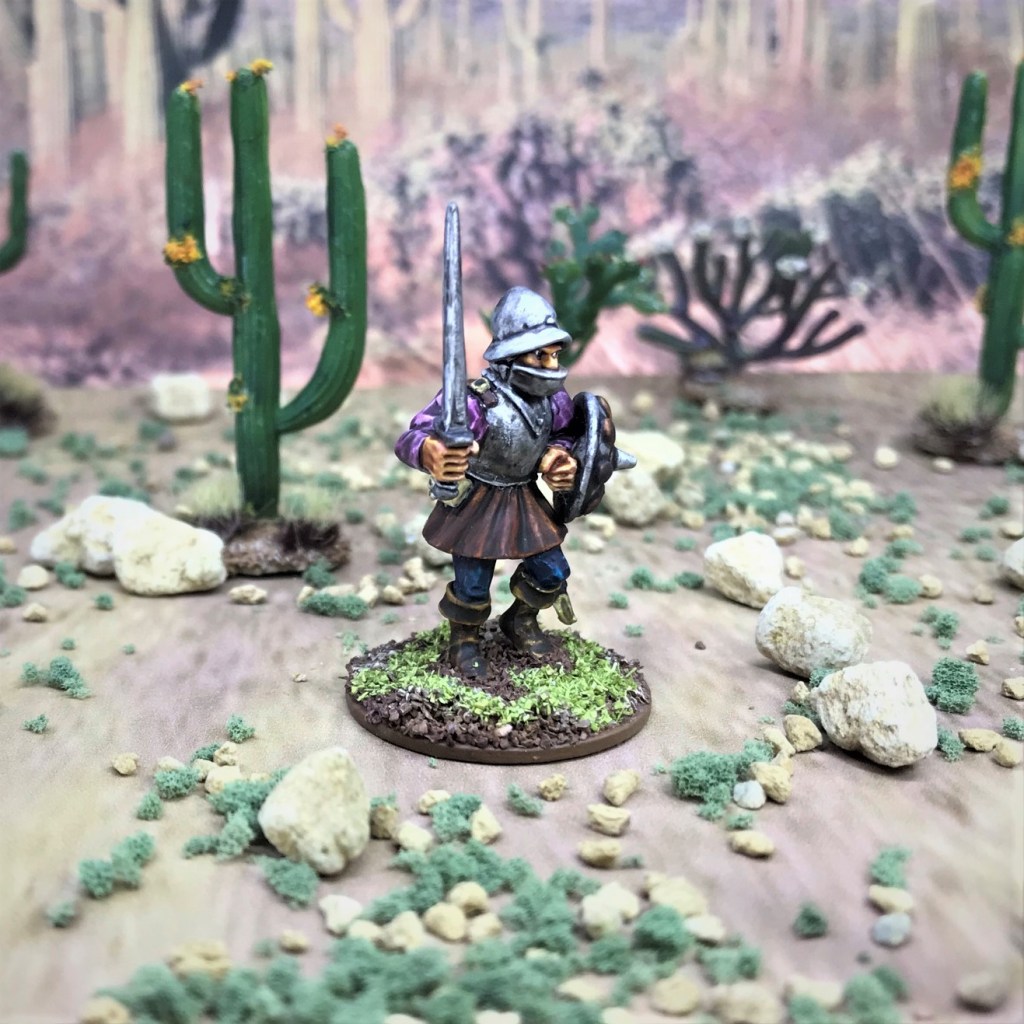
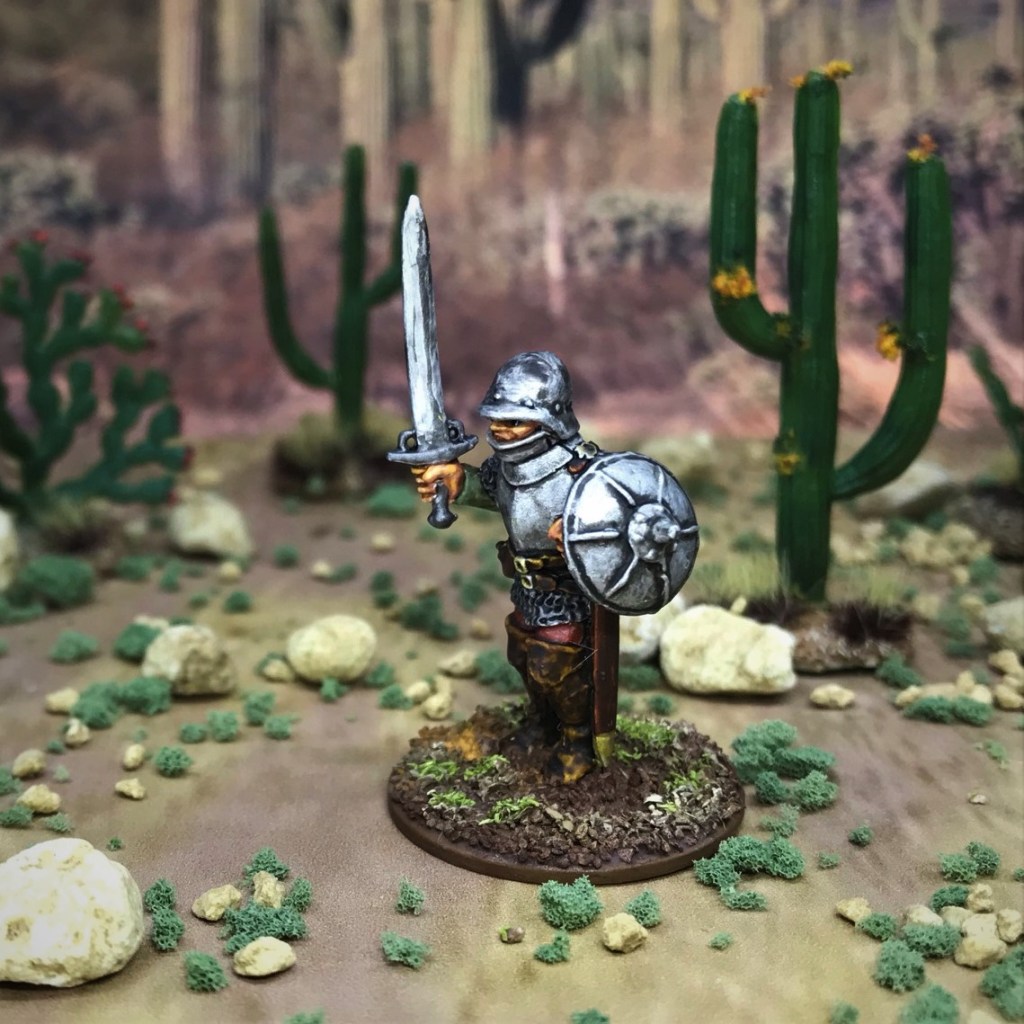
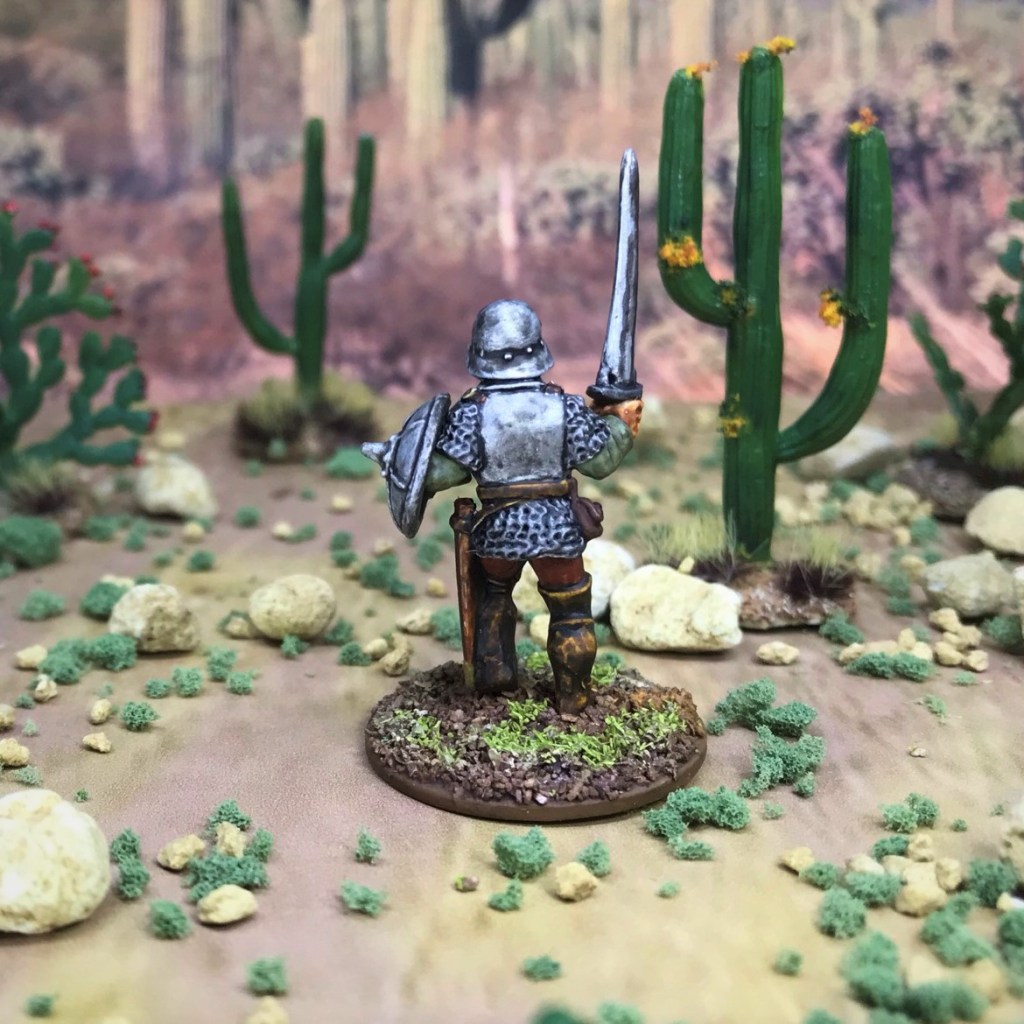
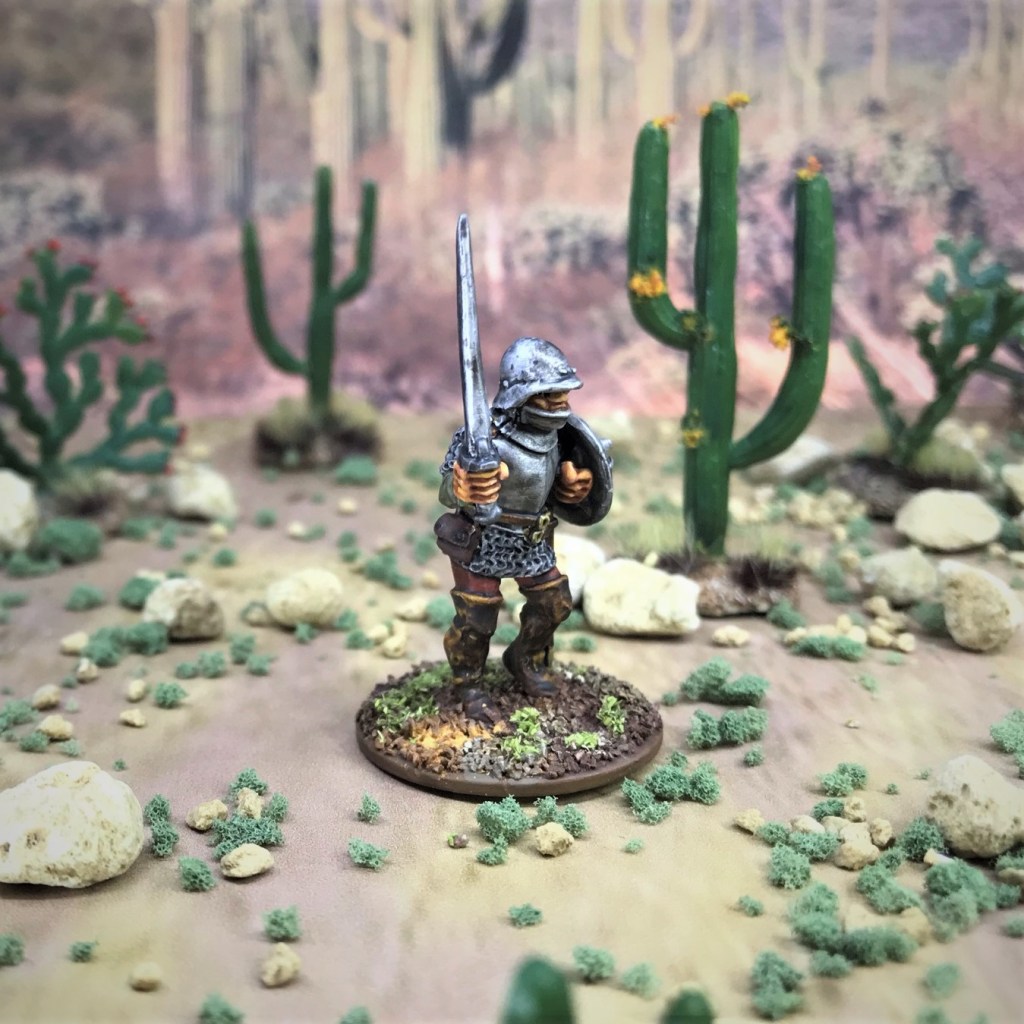
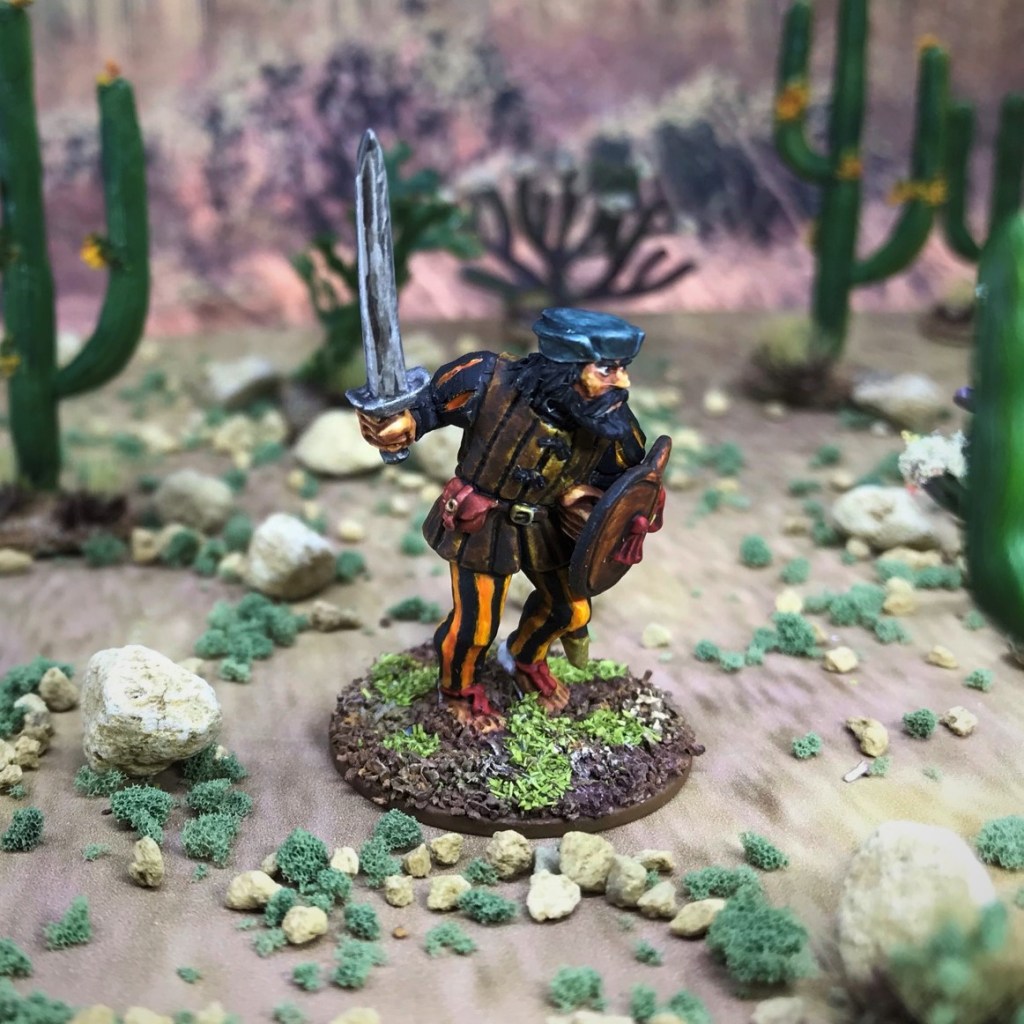
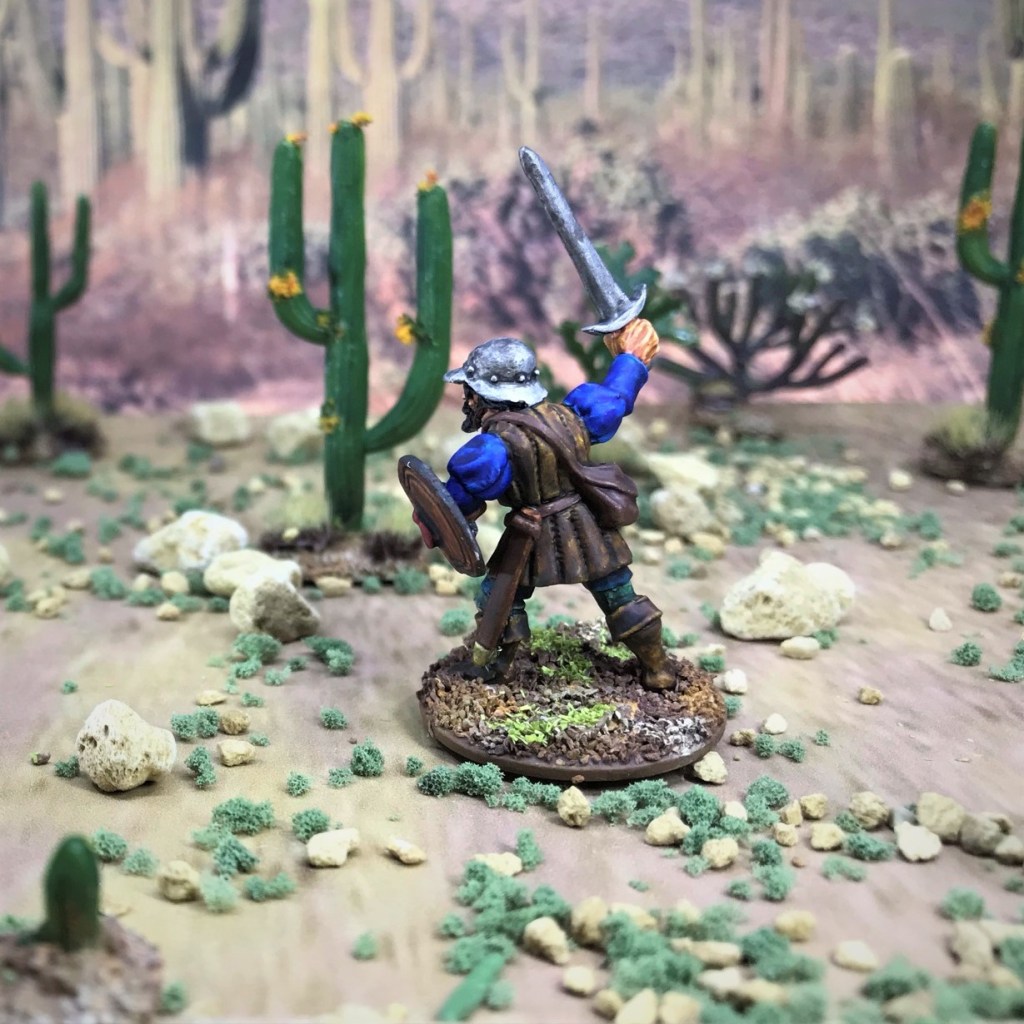
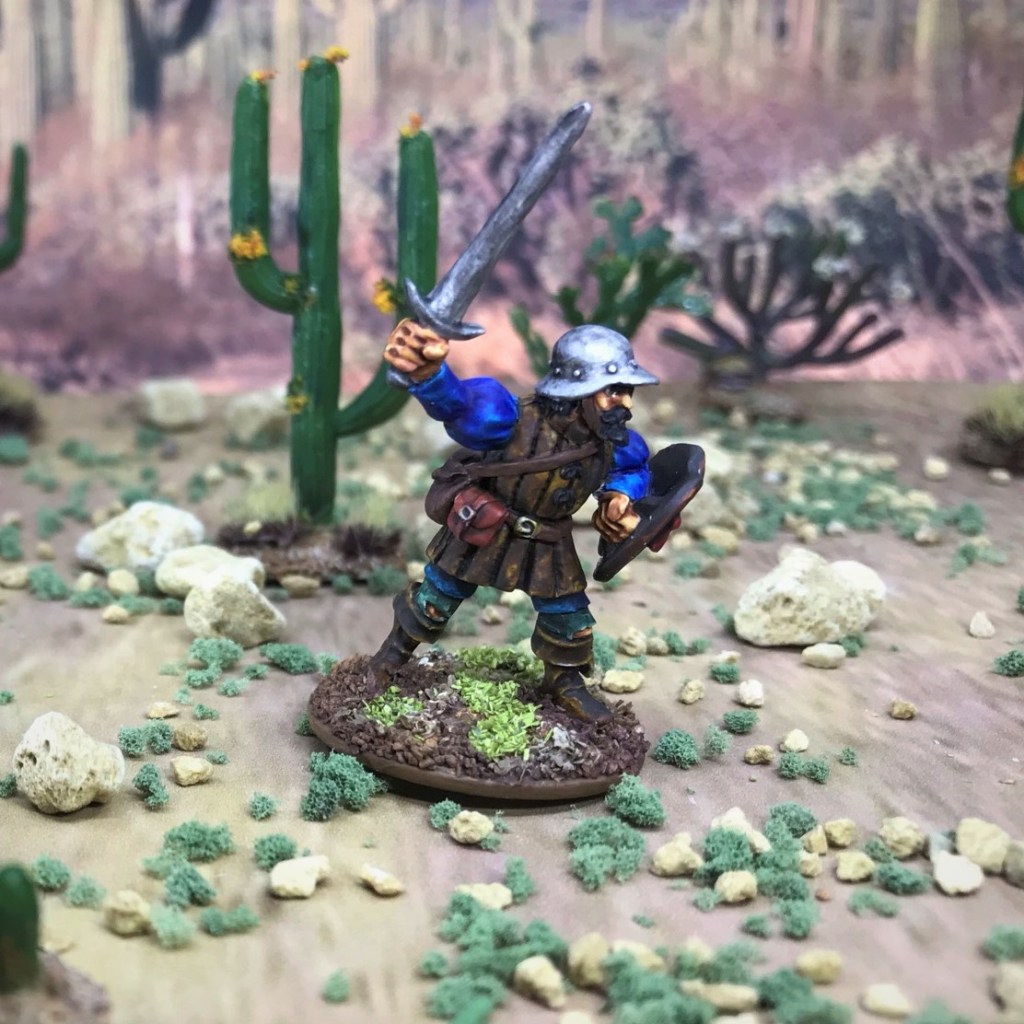
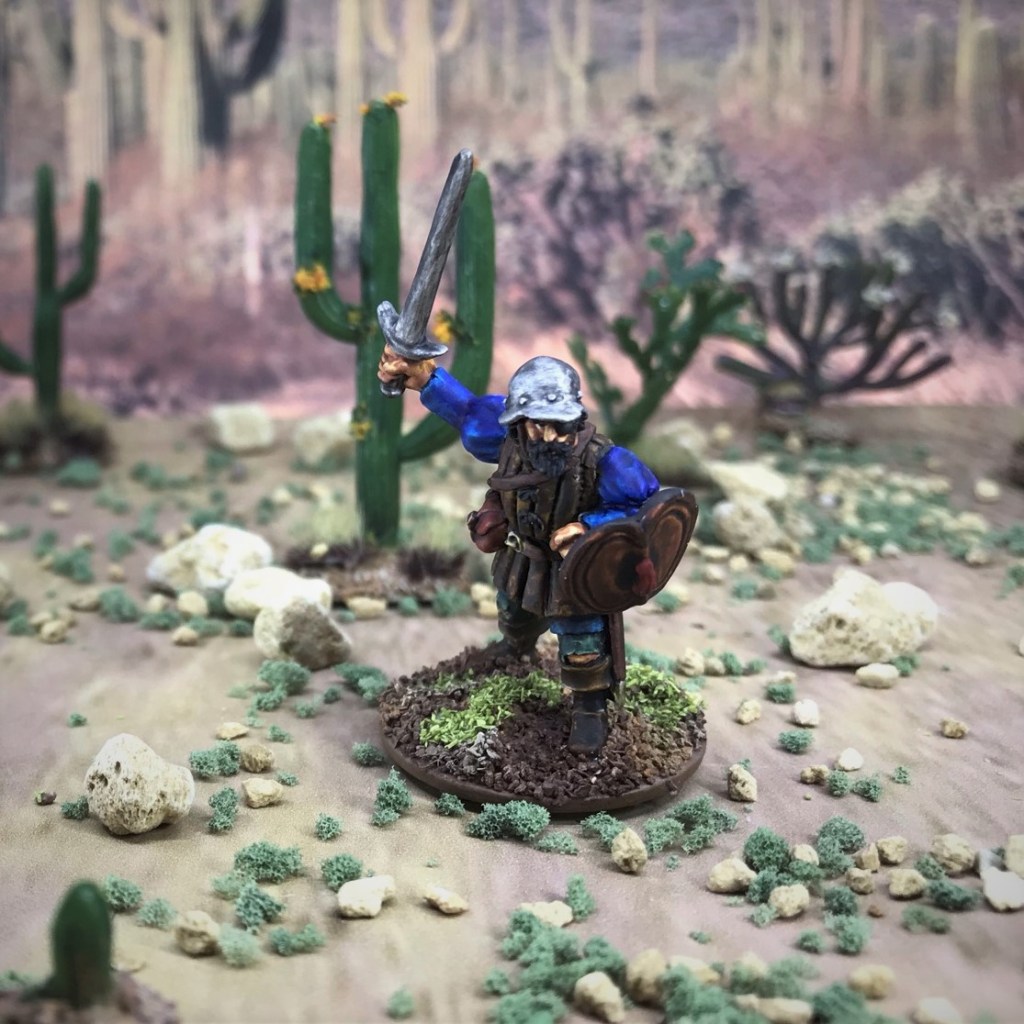
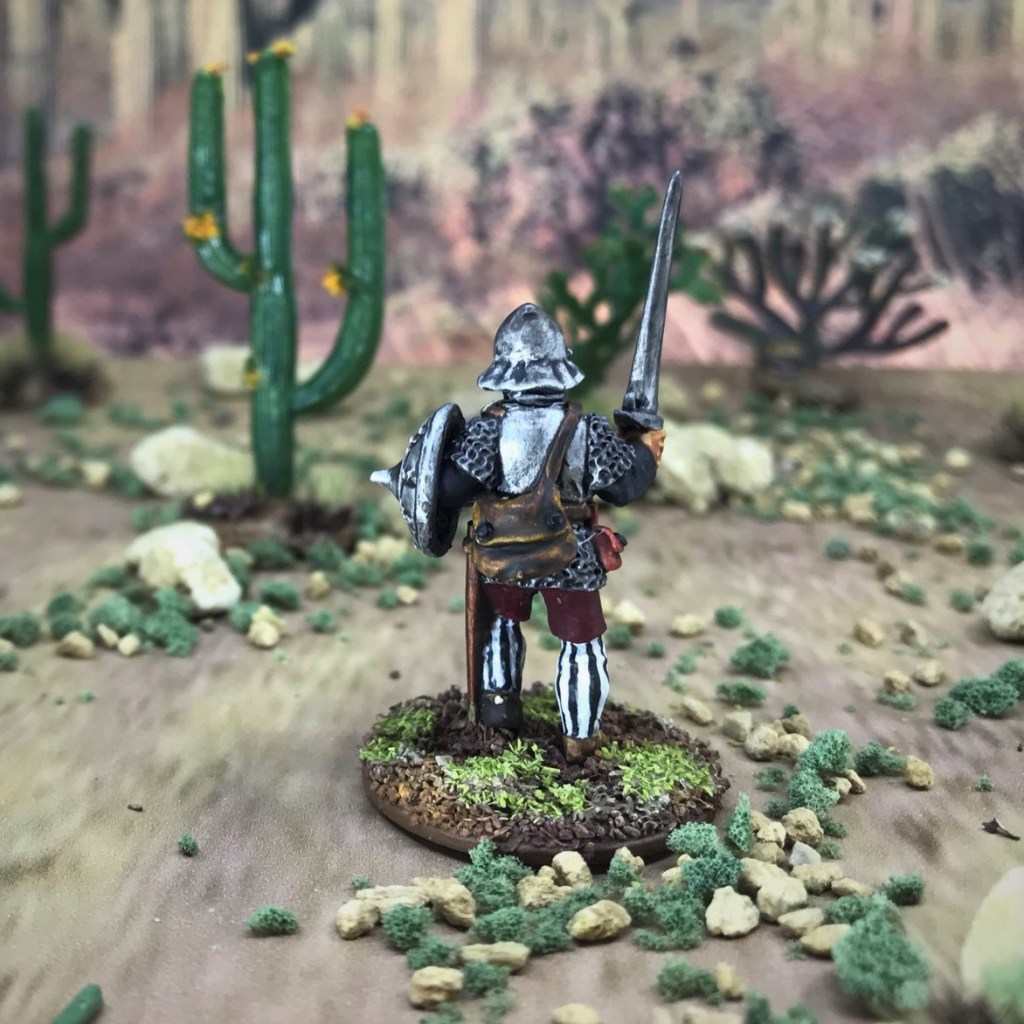
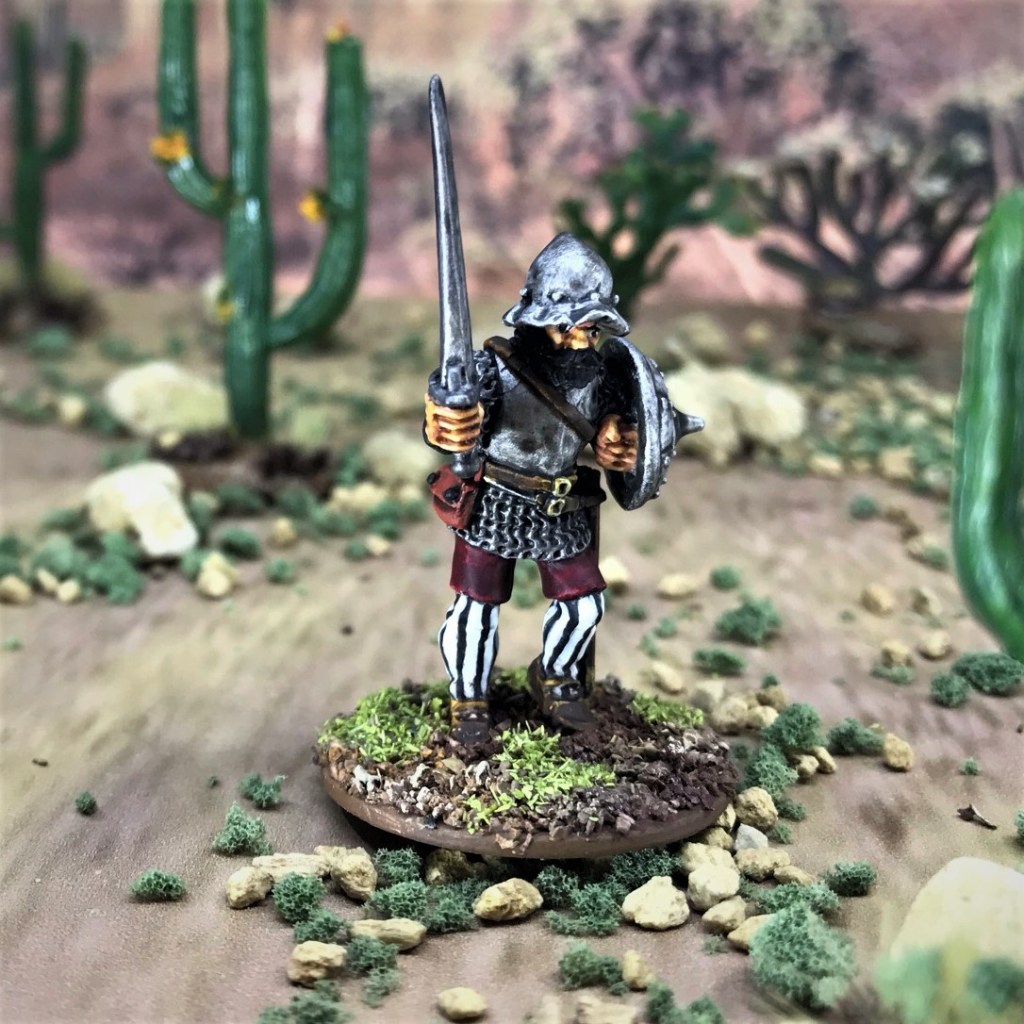
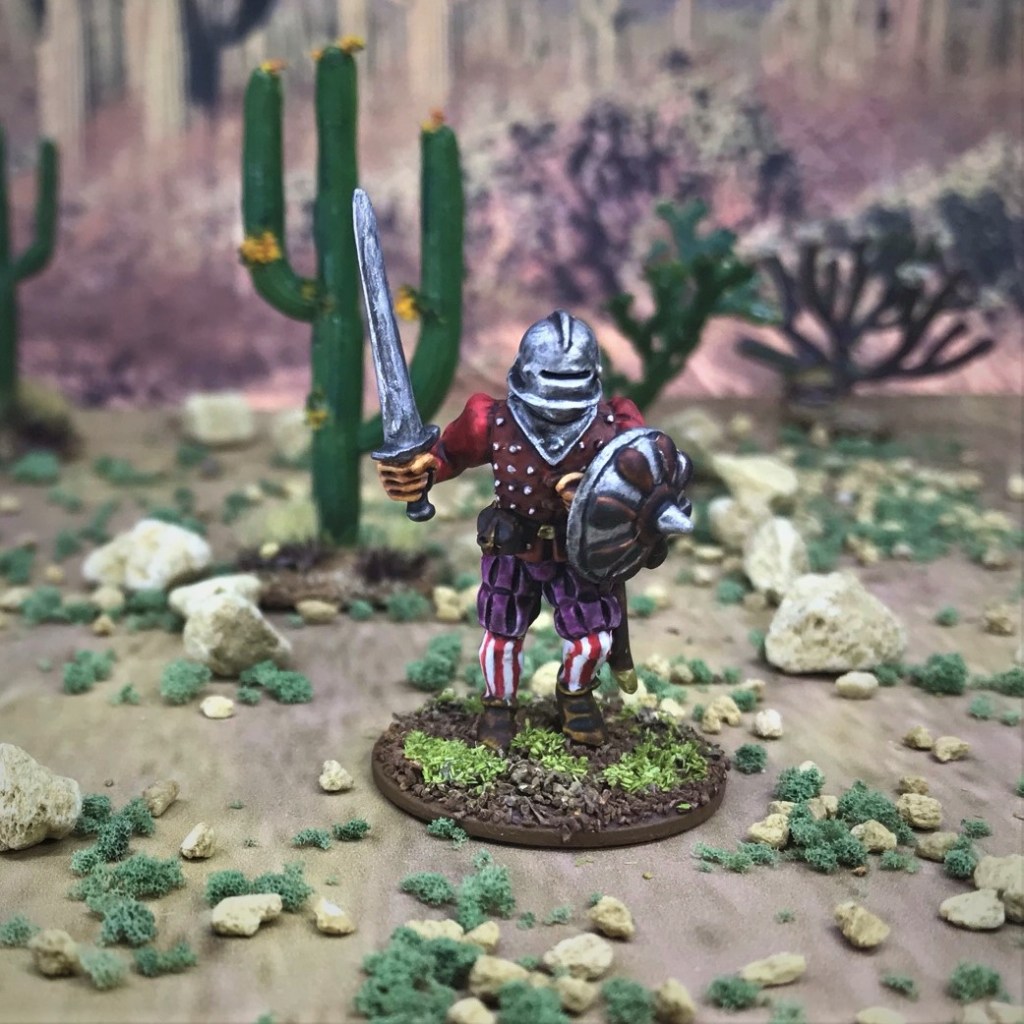
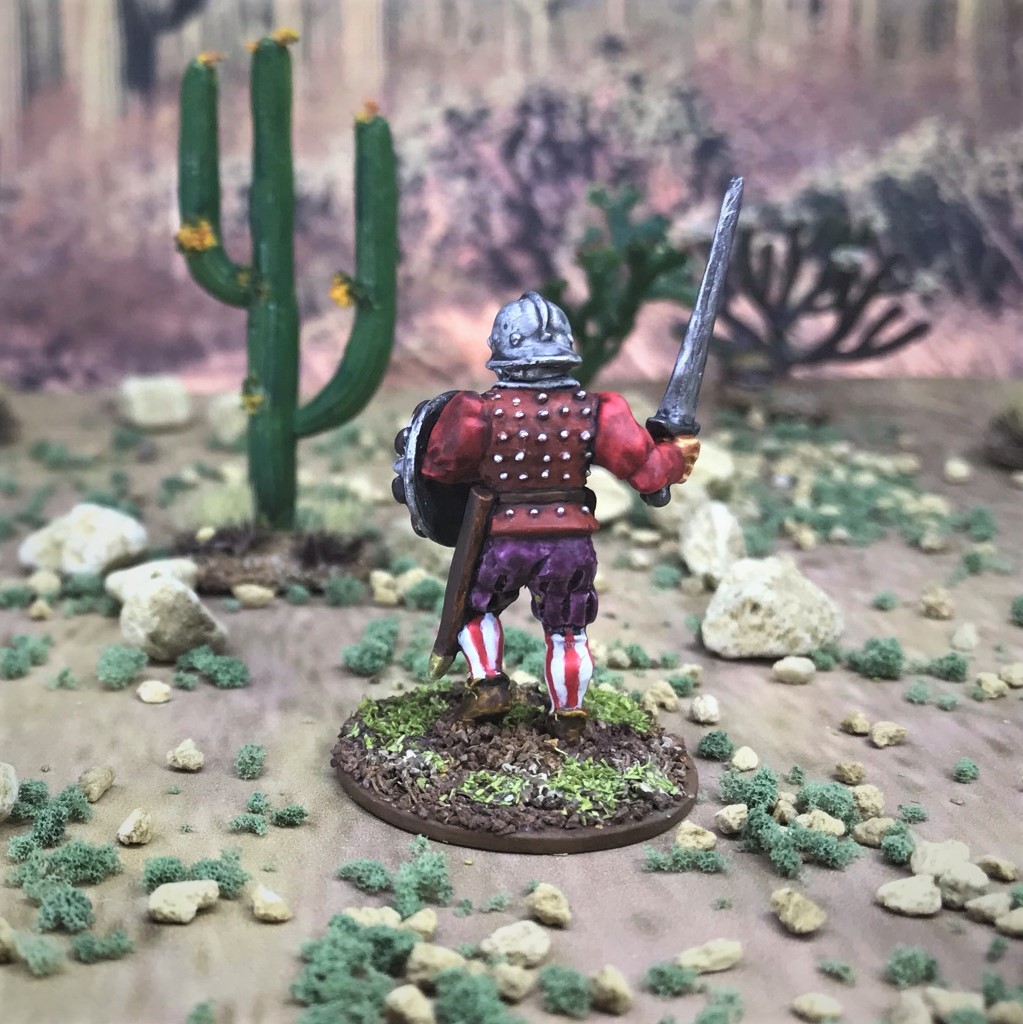
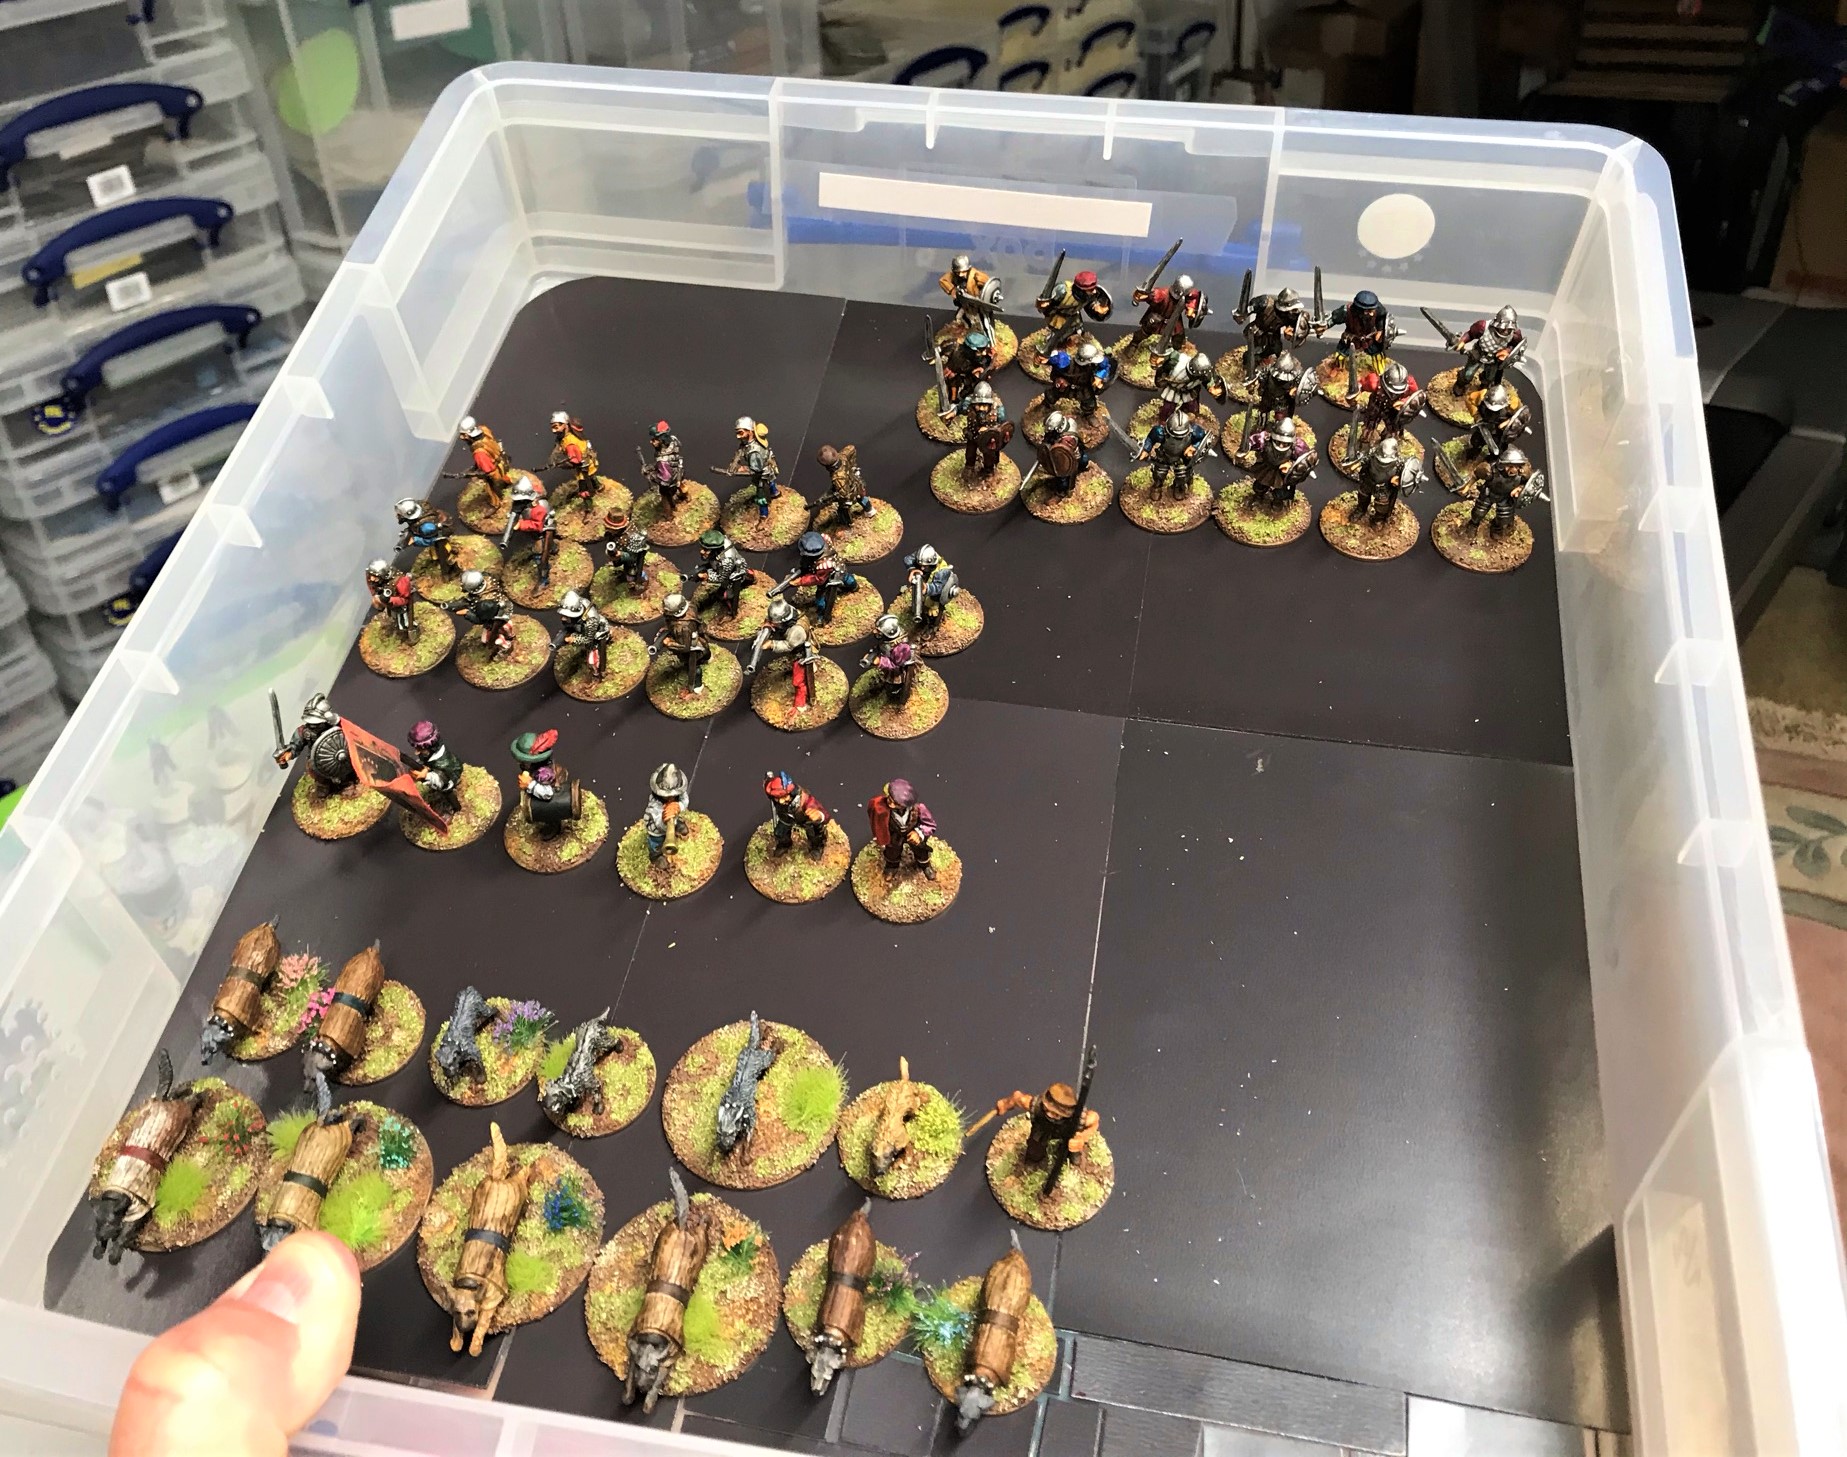
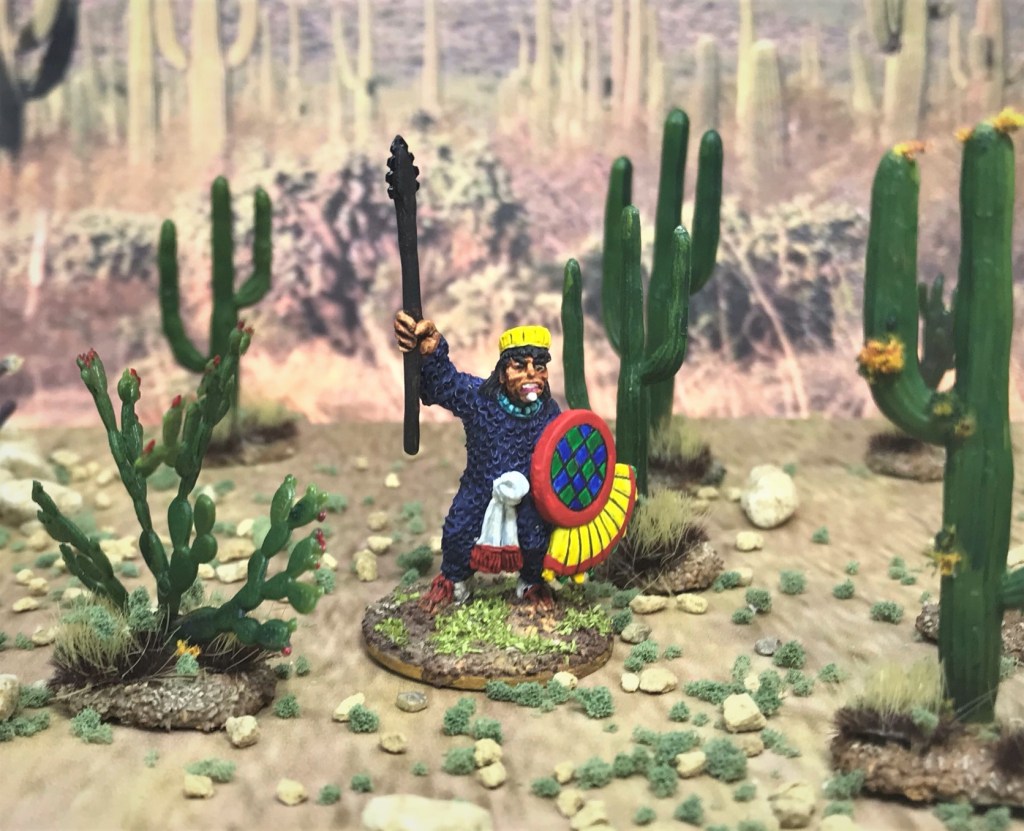
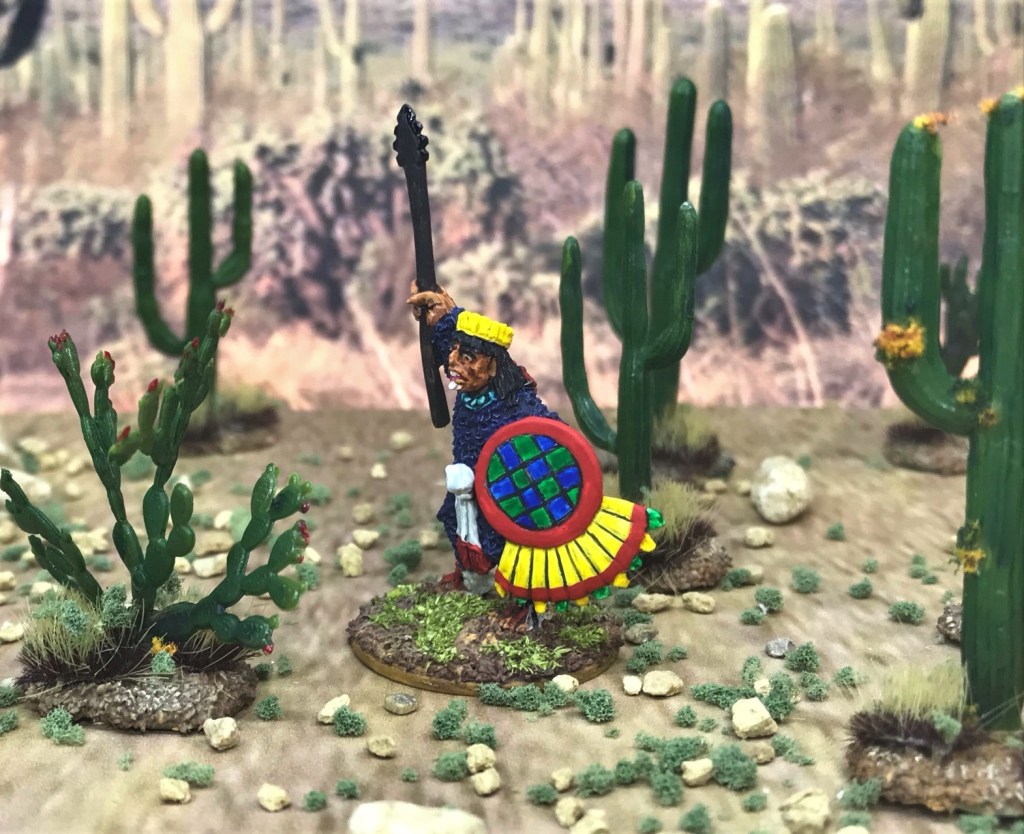
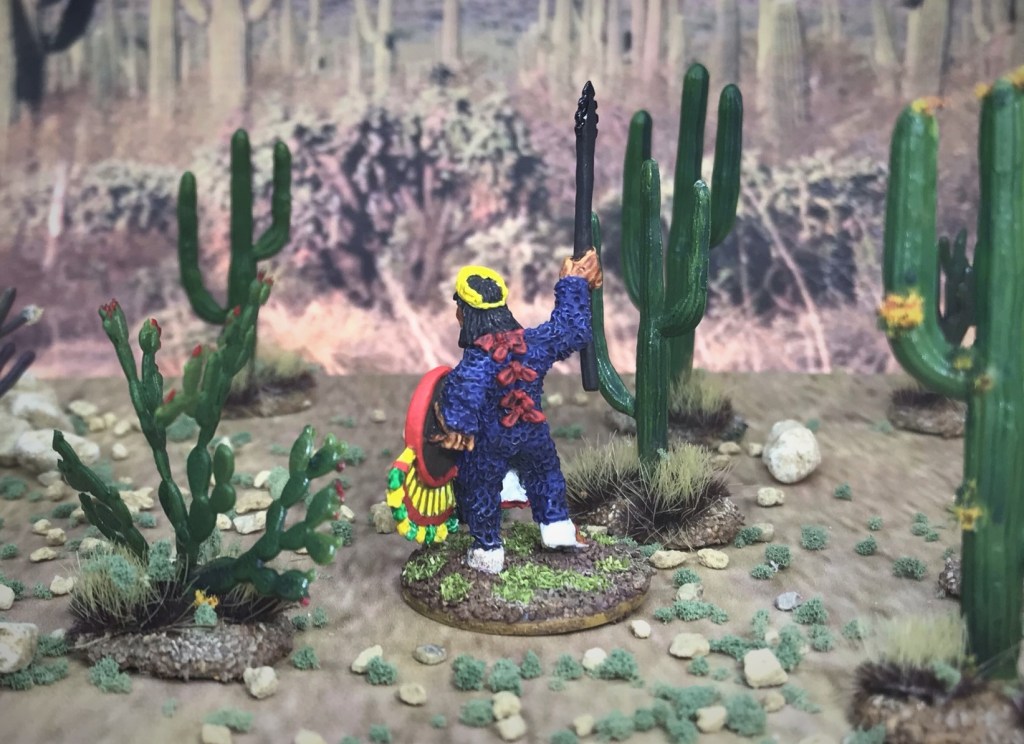
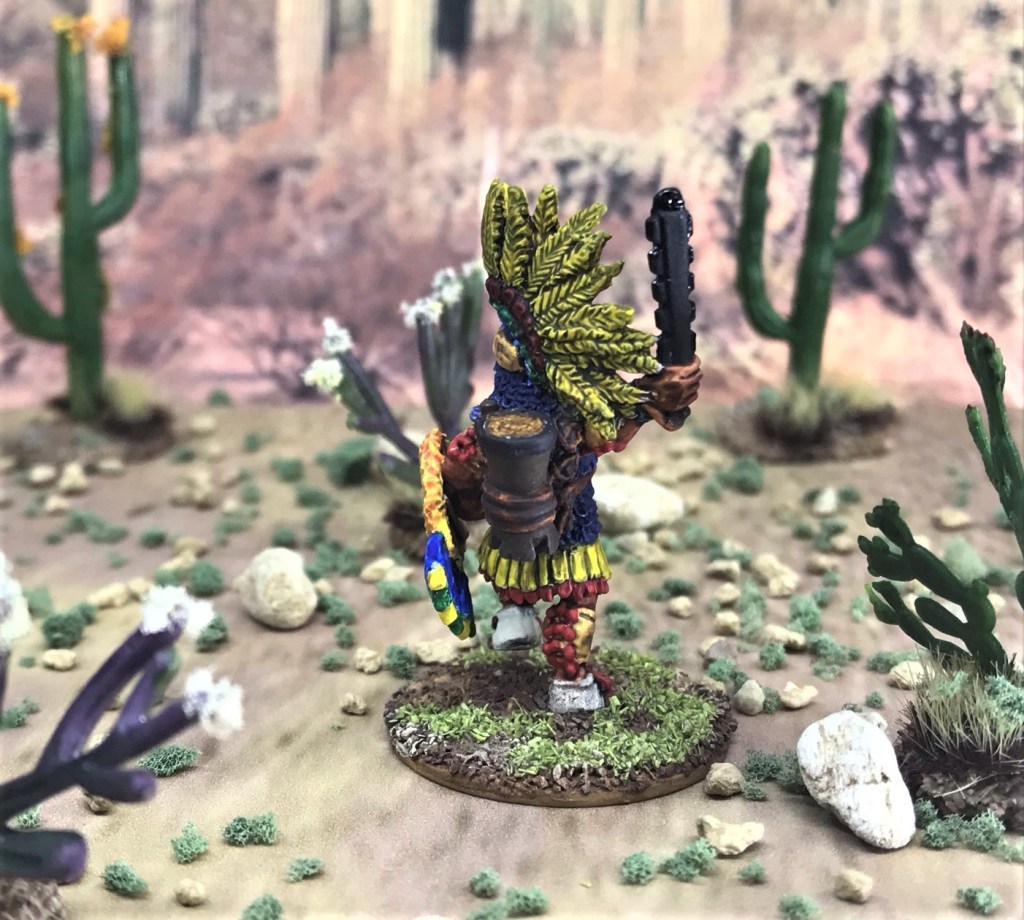
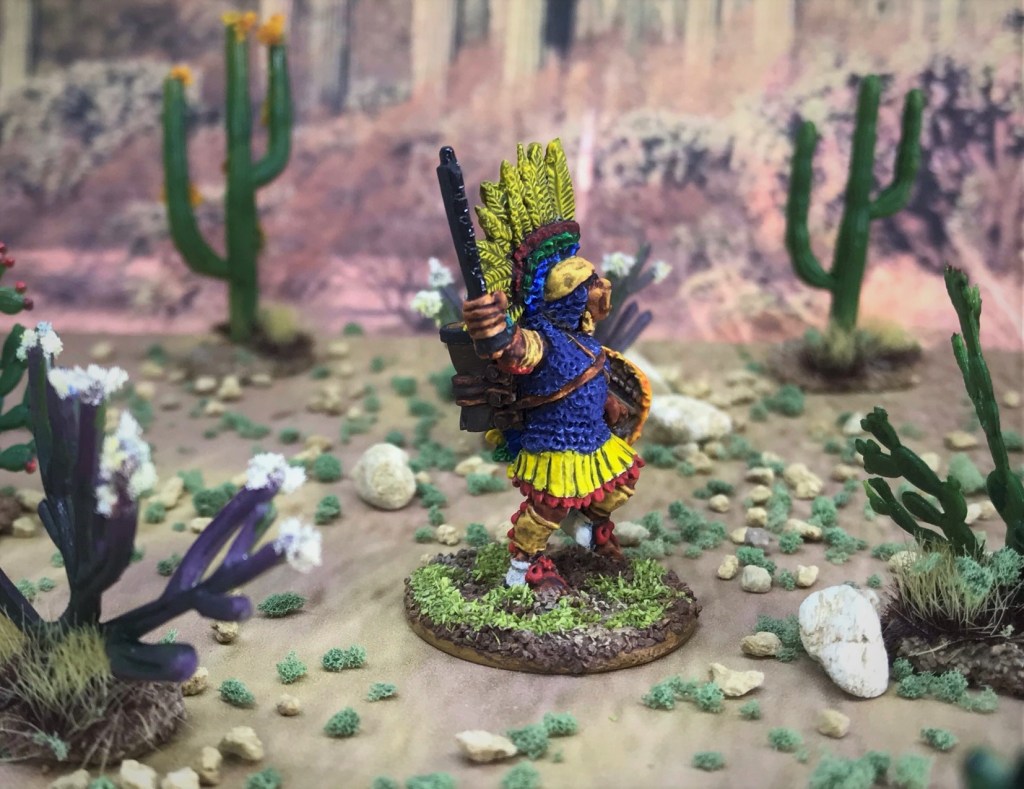
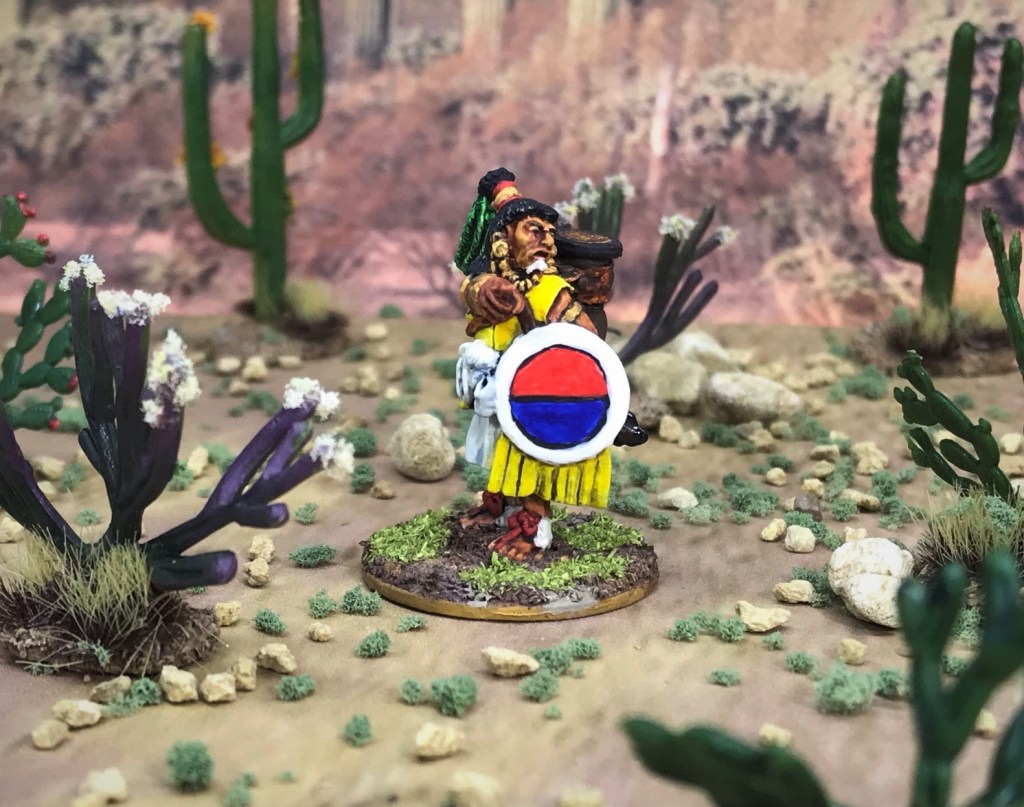
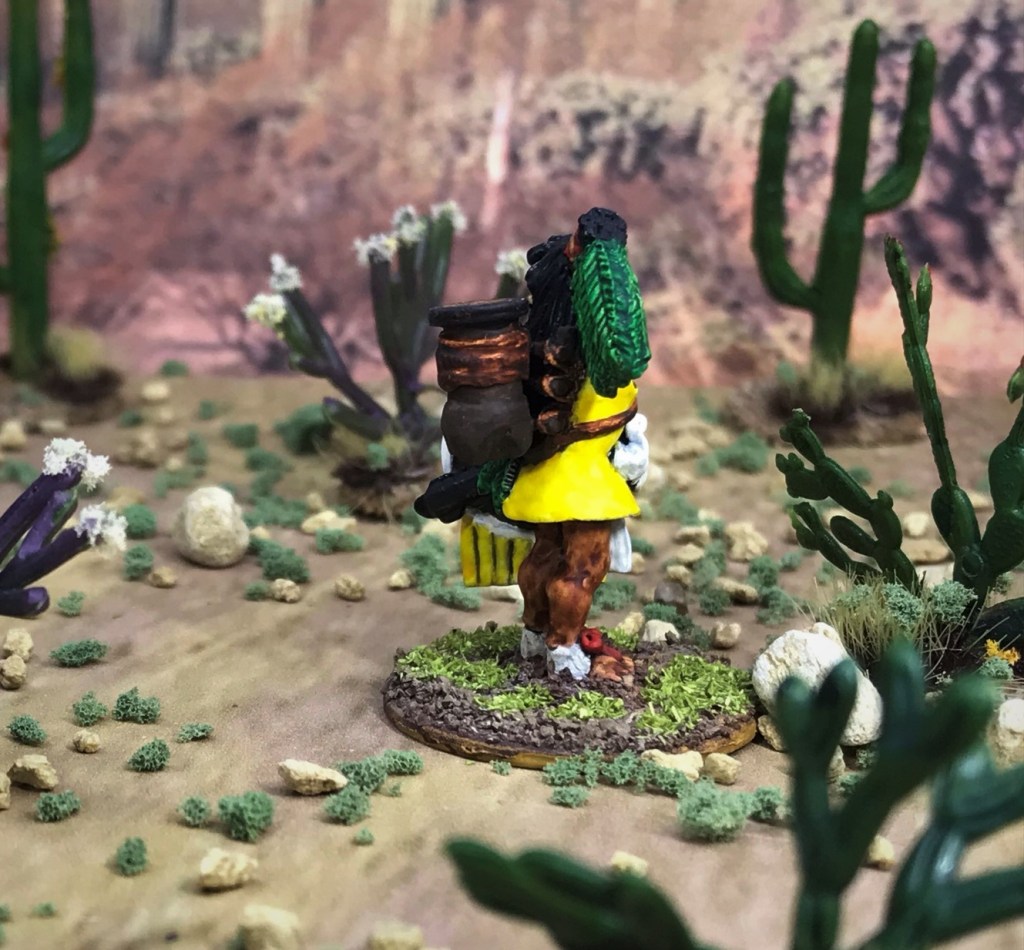
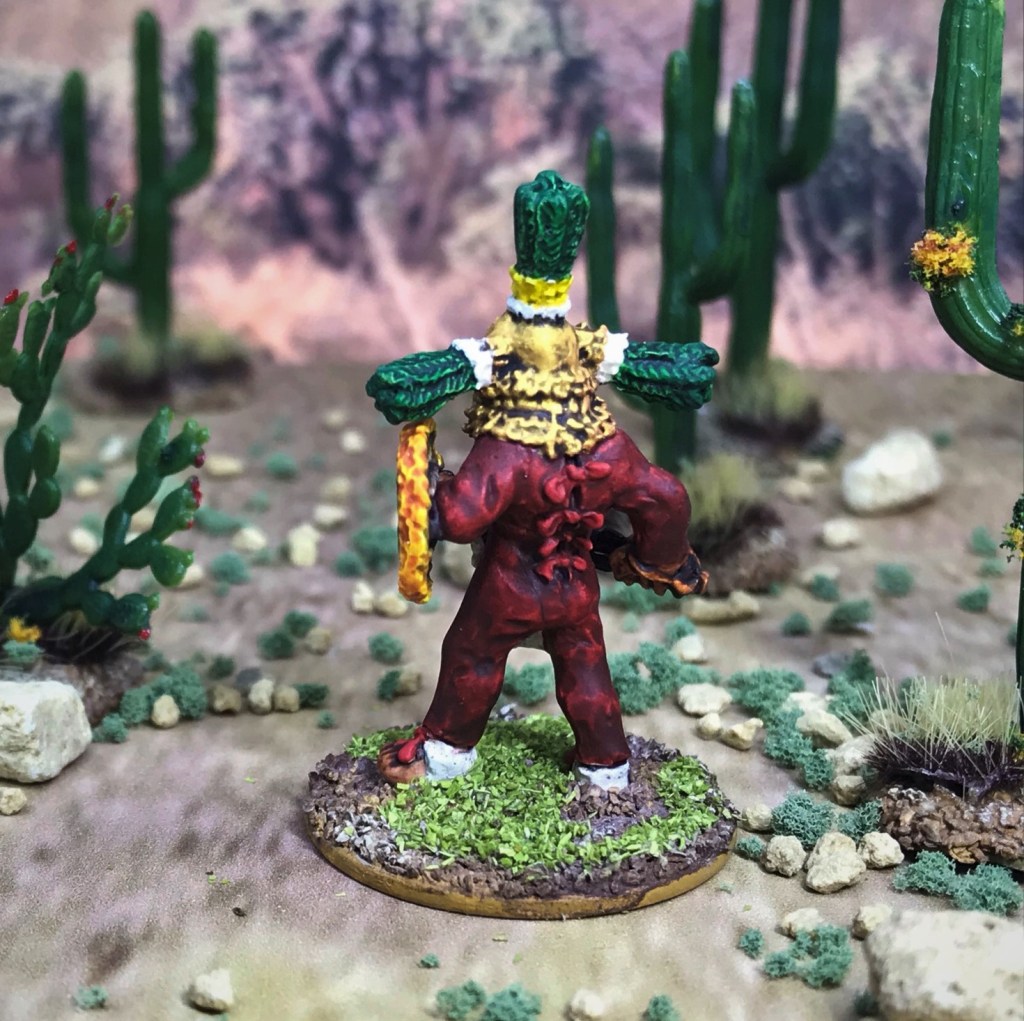
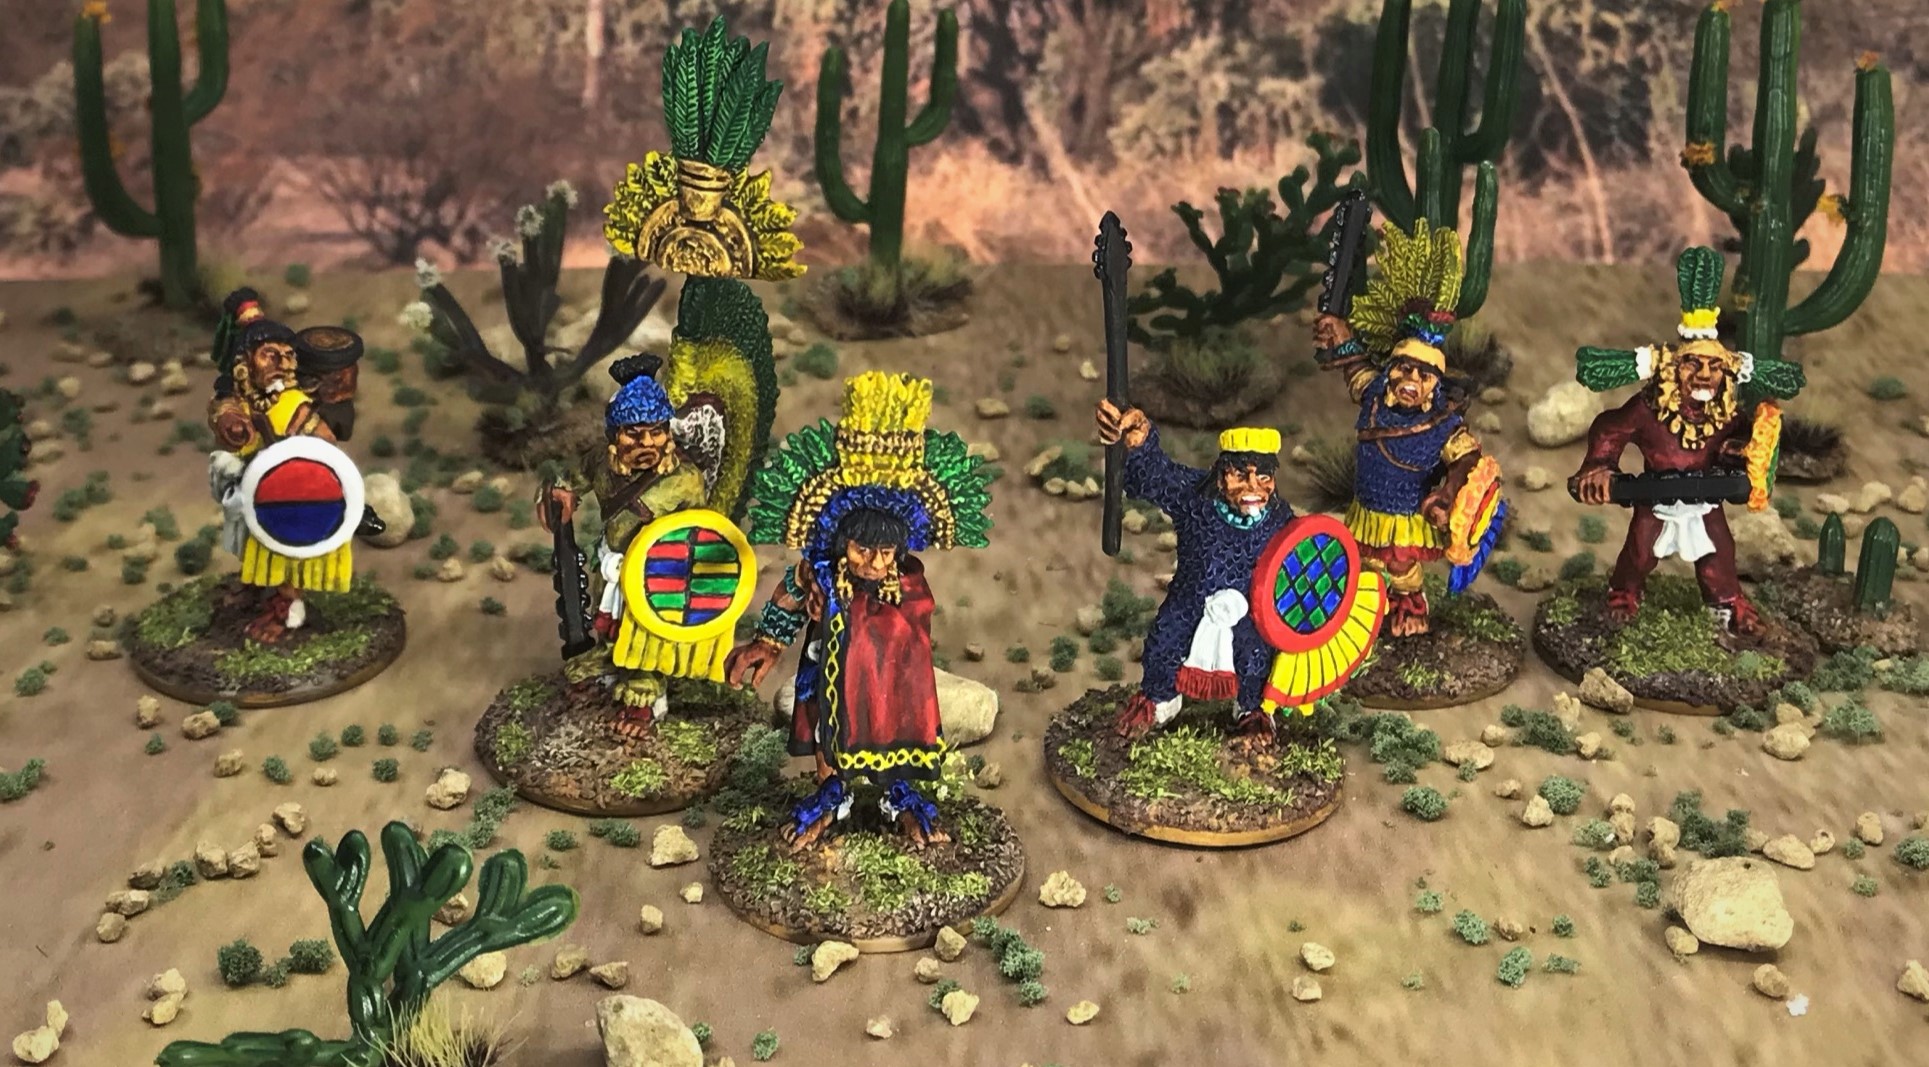
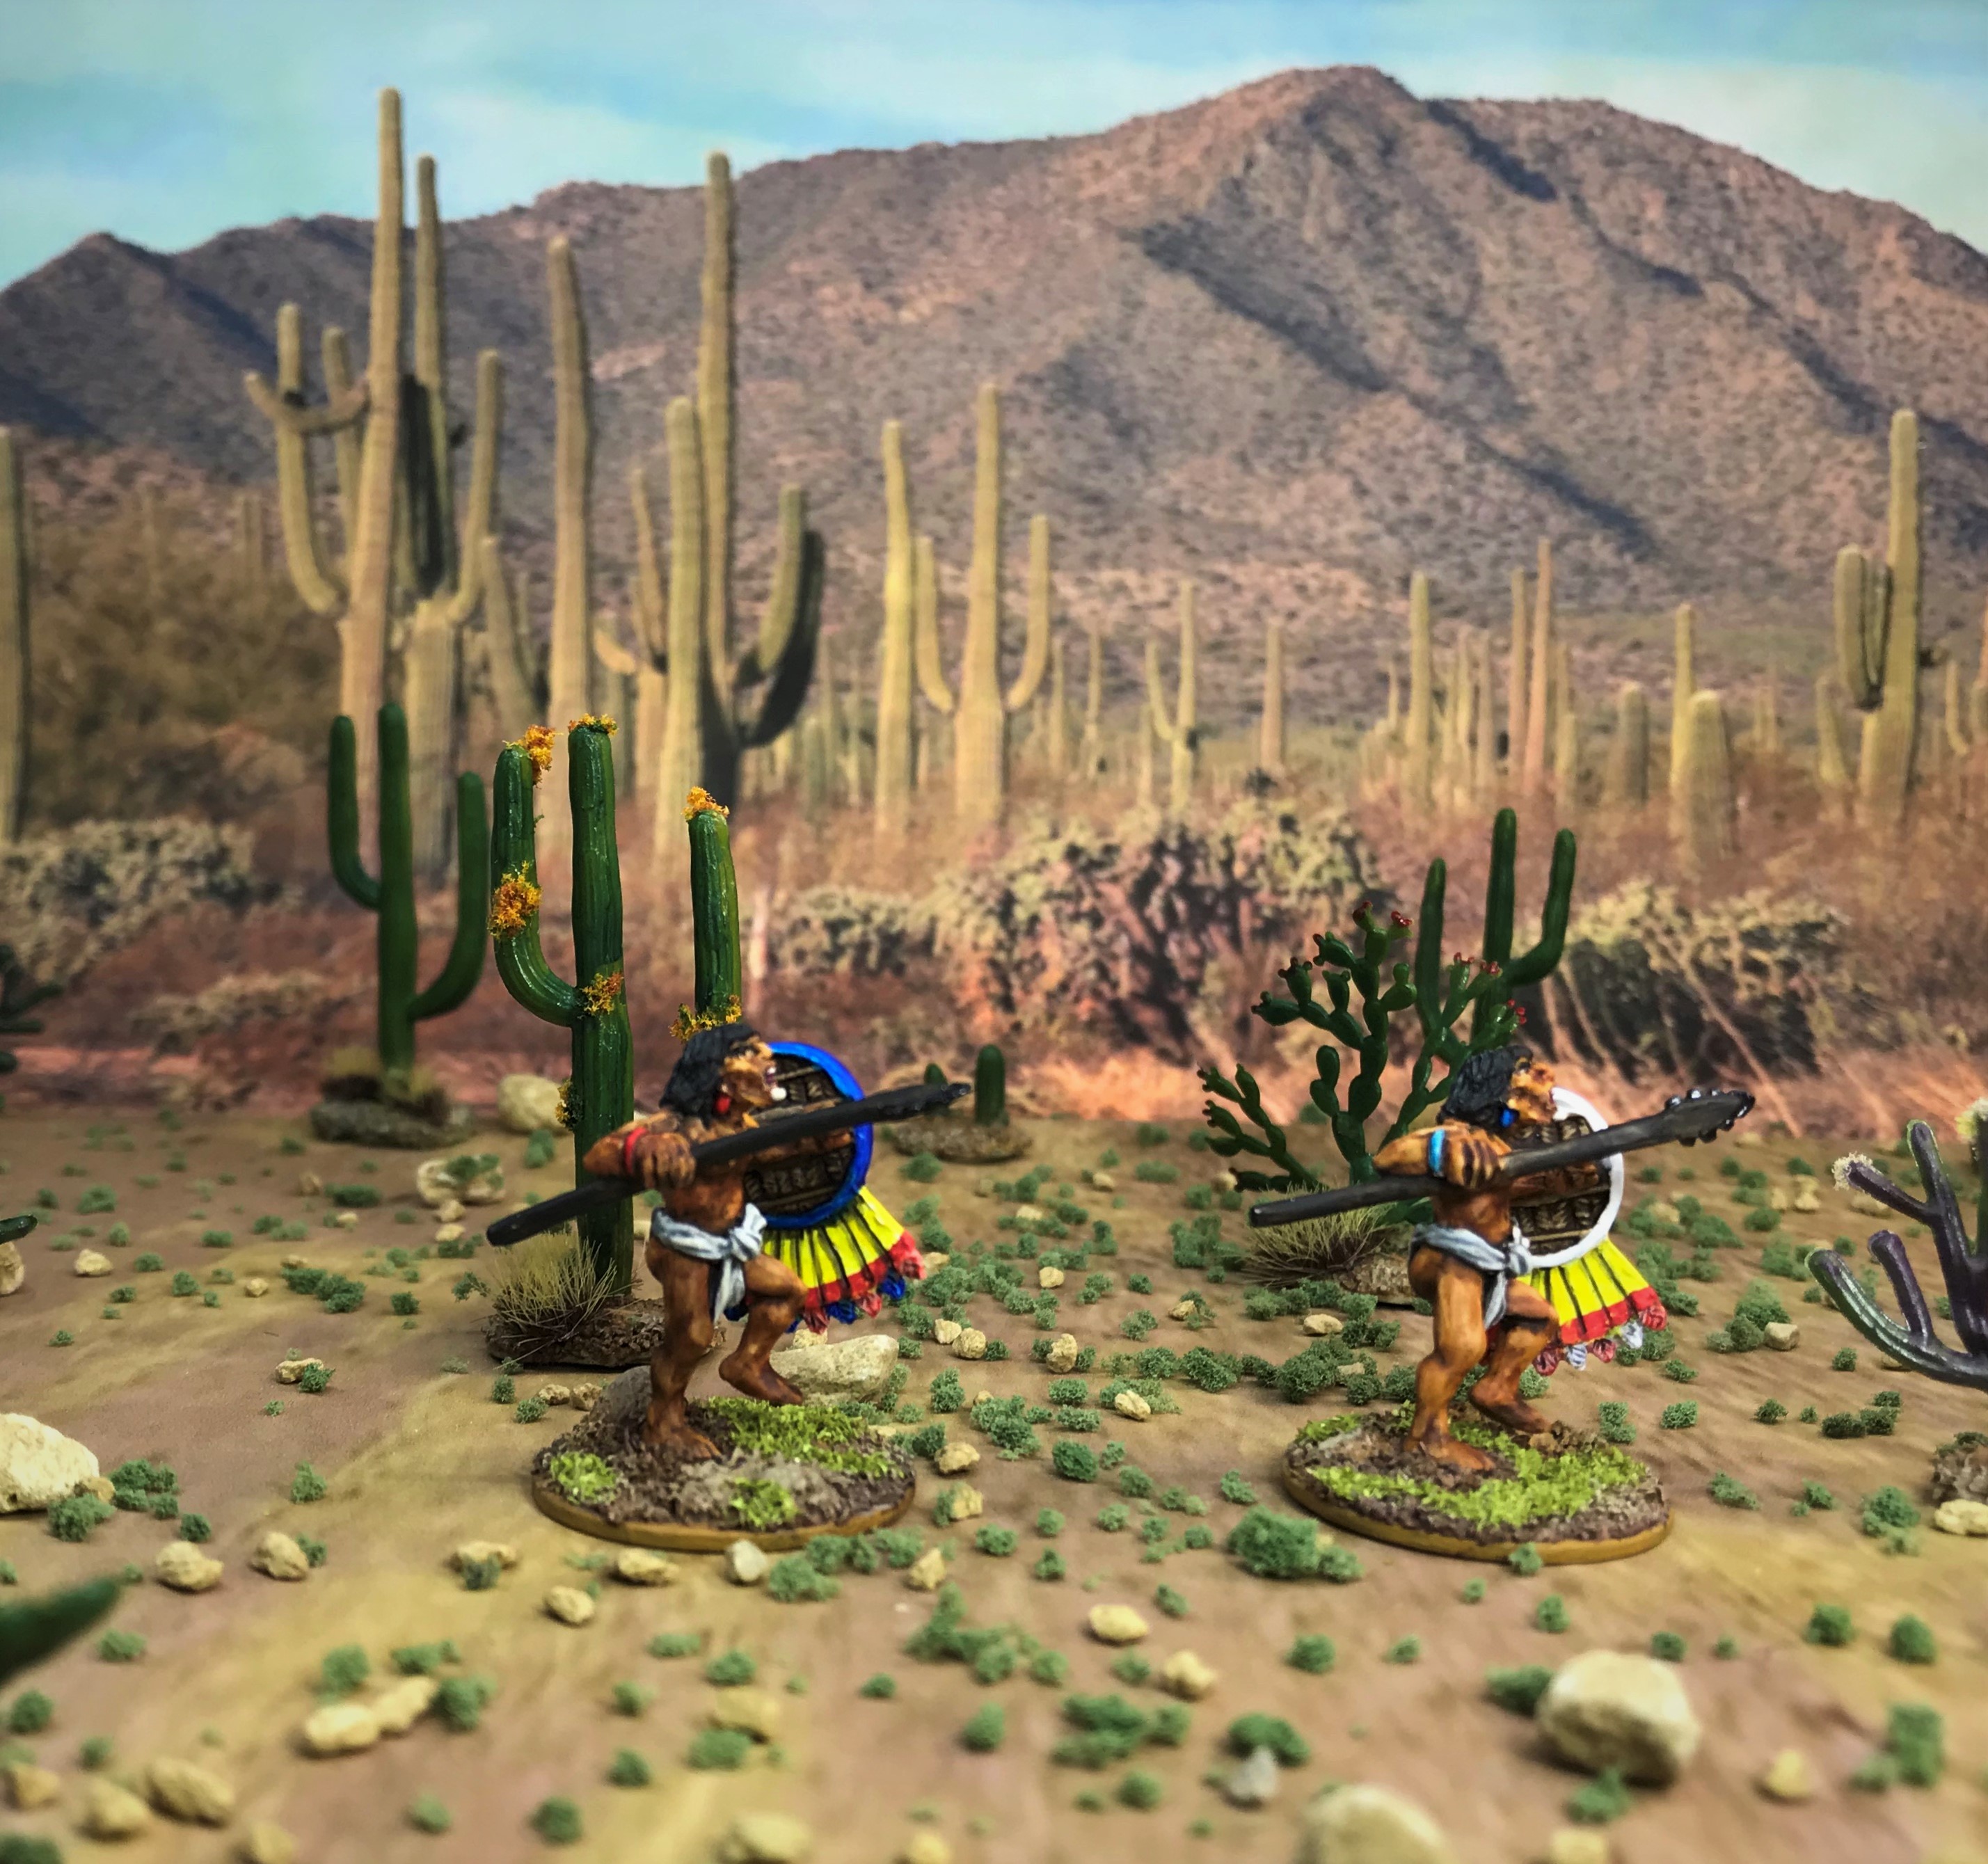
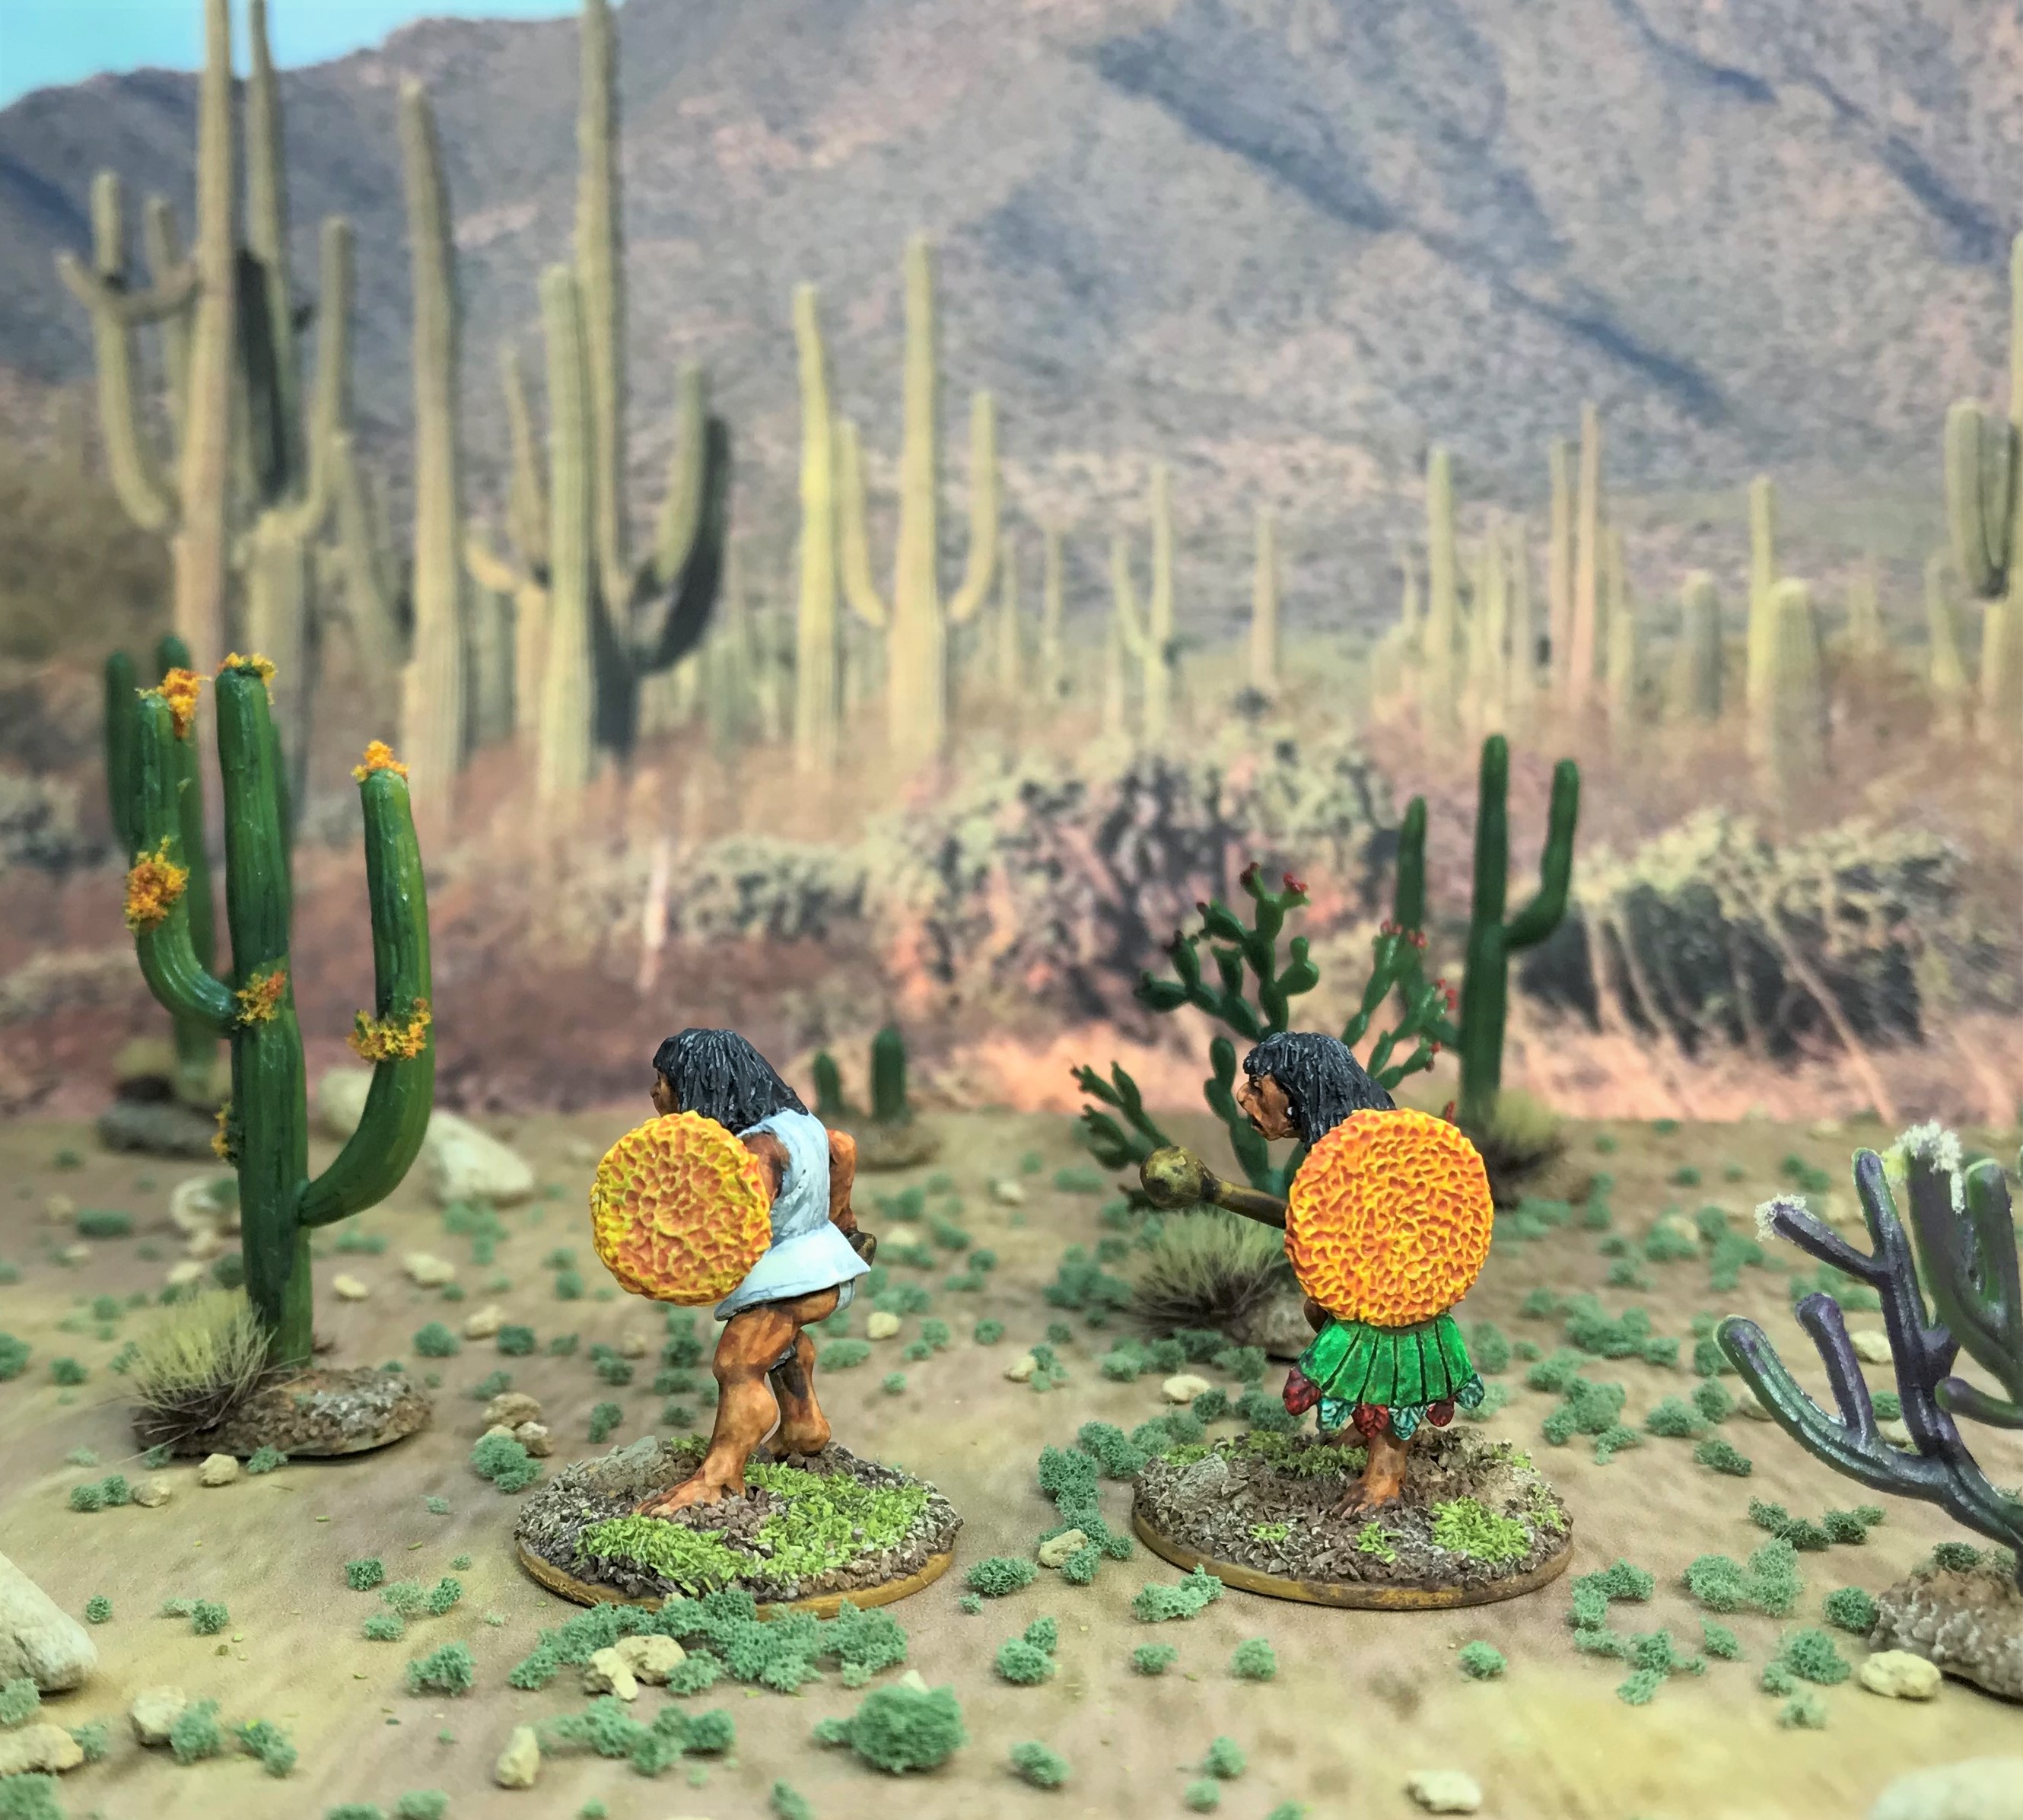
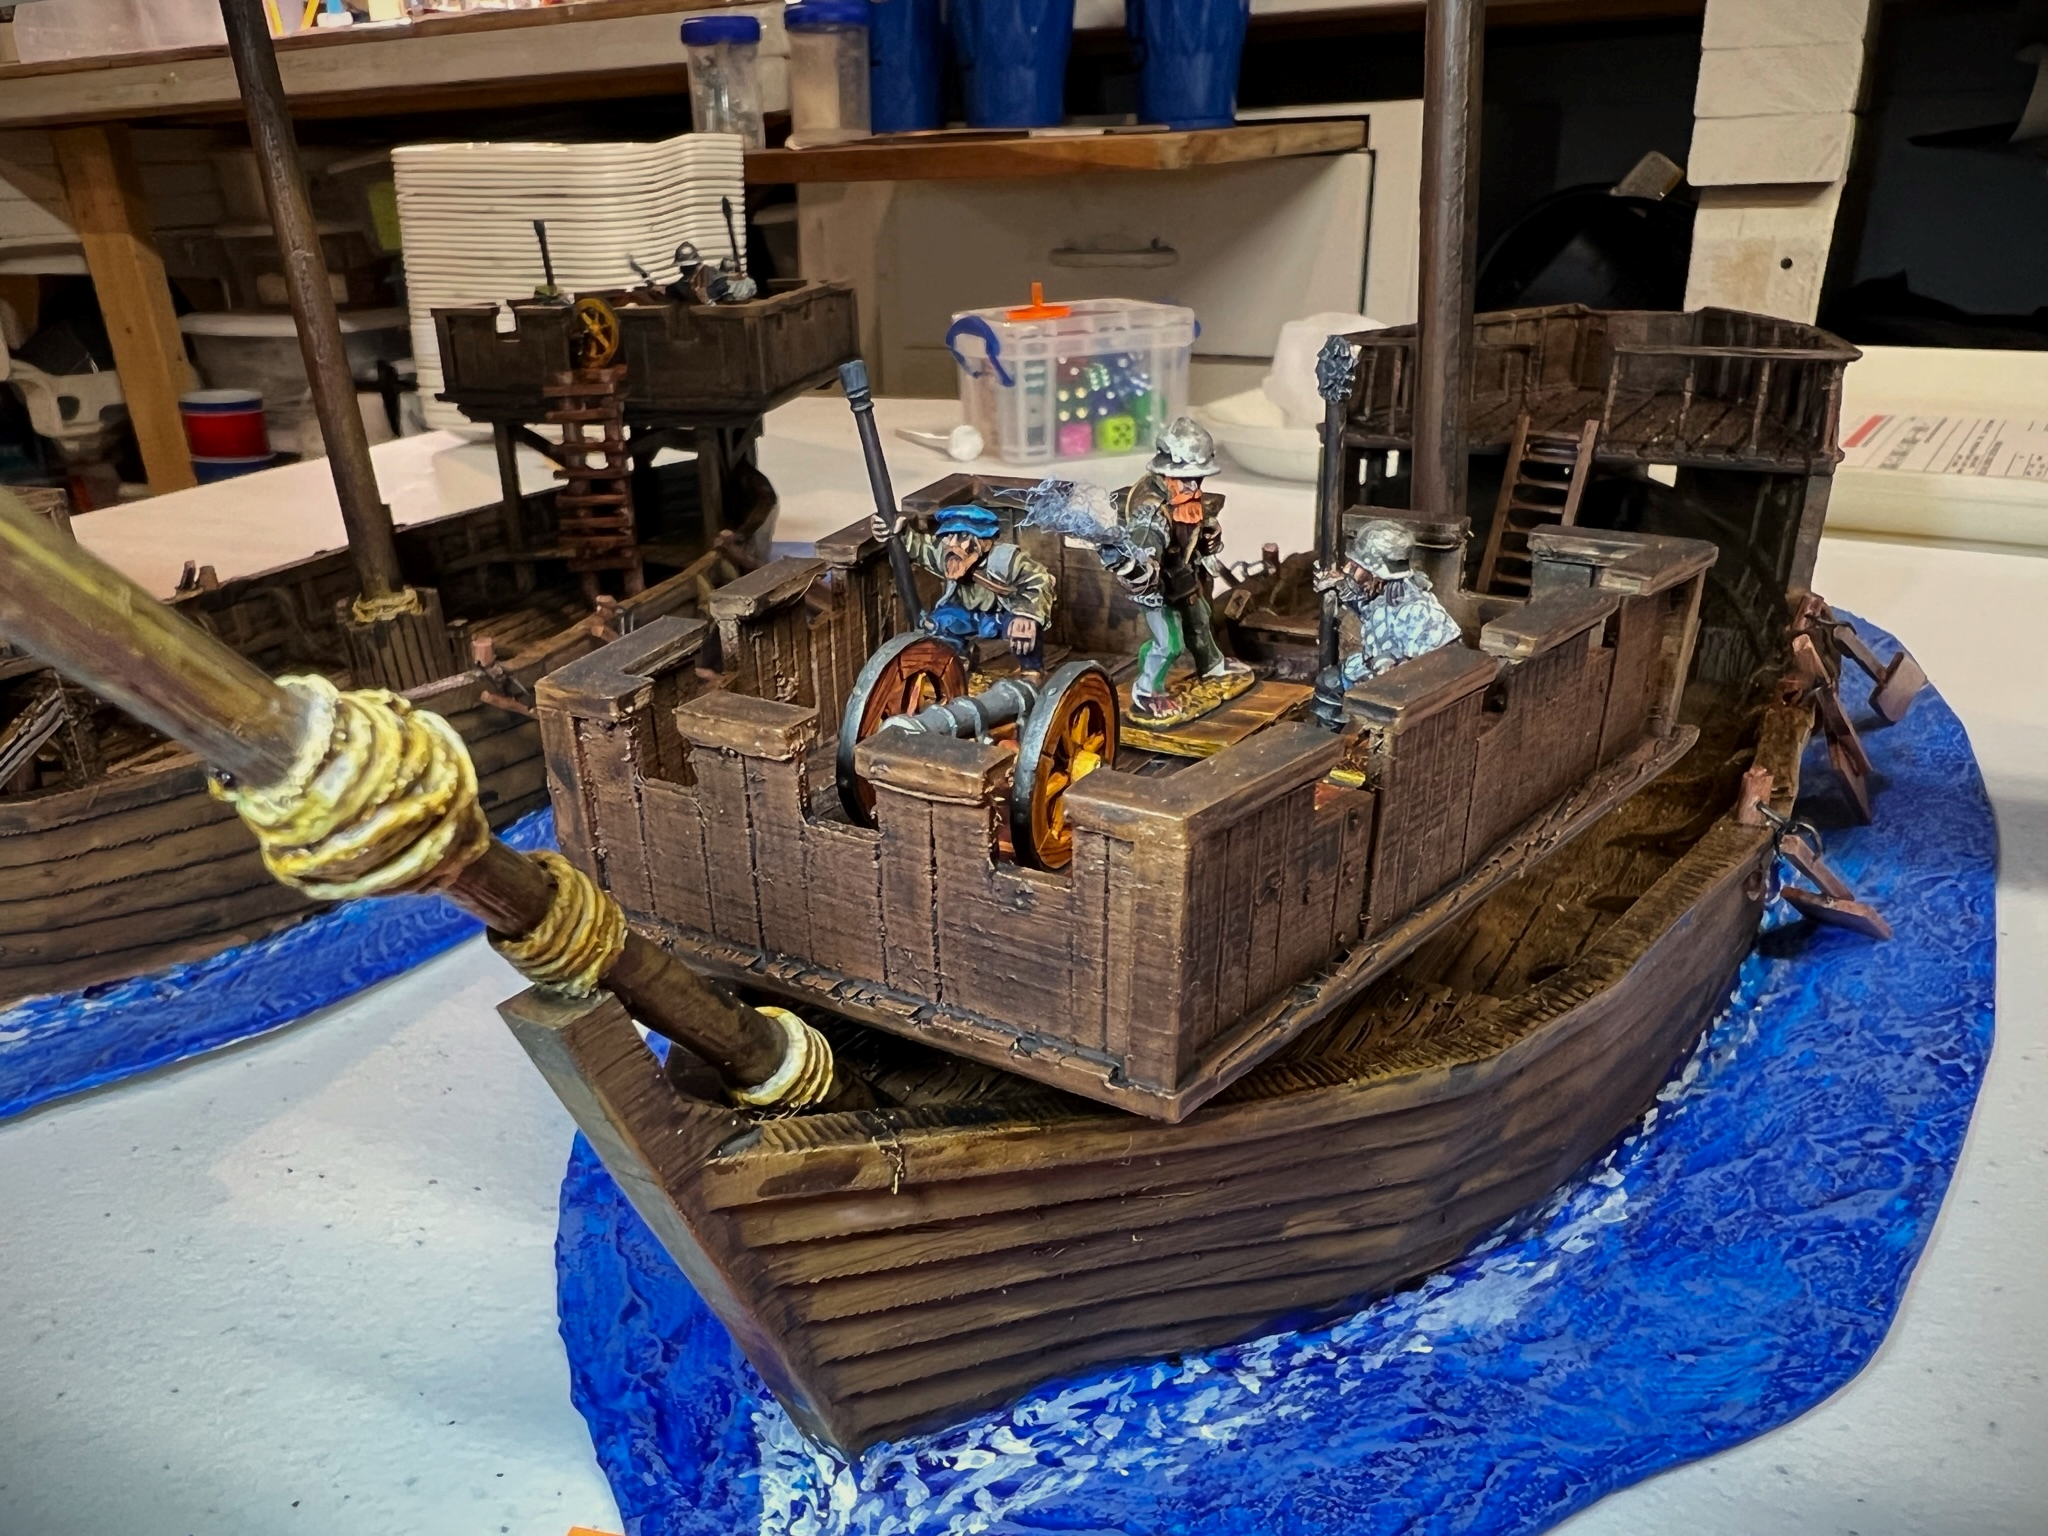
Finished eye candy time! Here are the completed cannon crews on each ship – plus I loaded up the ships with their entire crews for good measure.
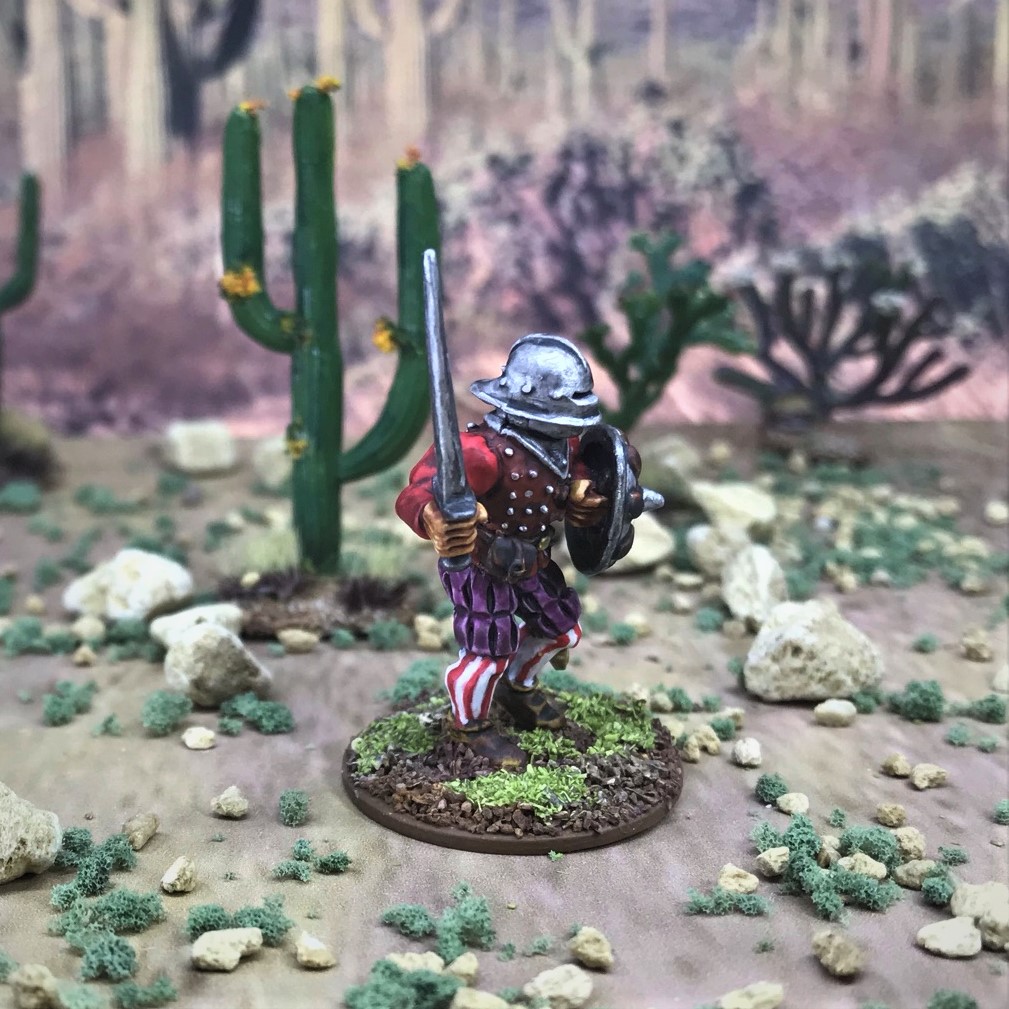
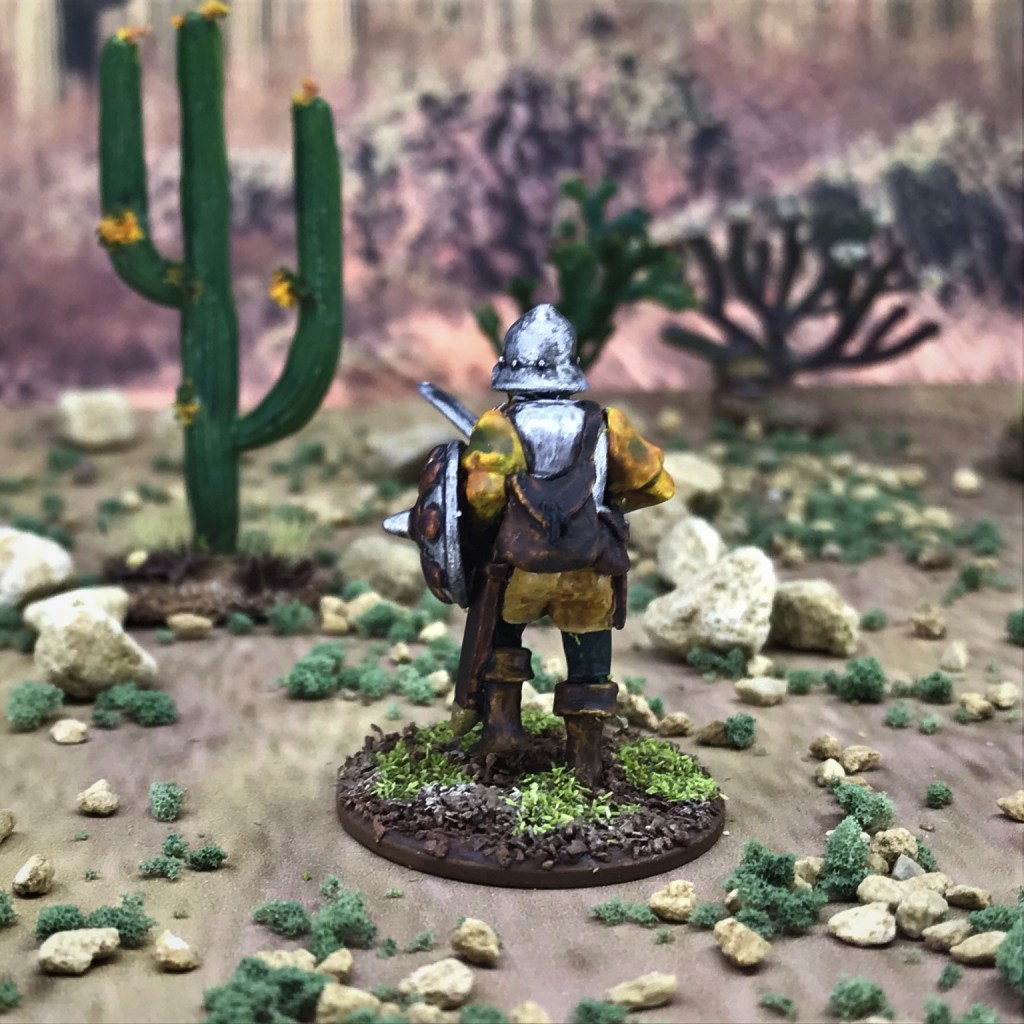
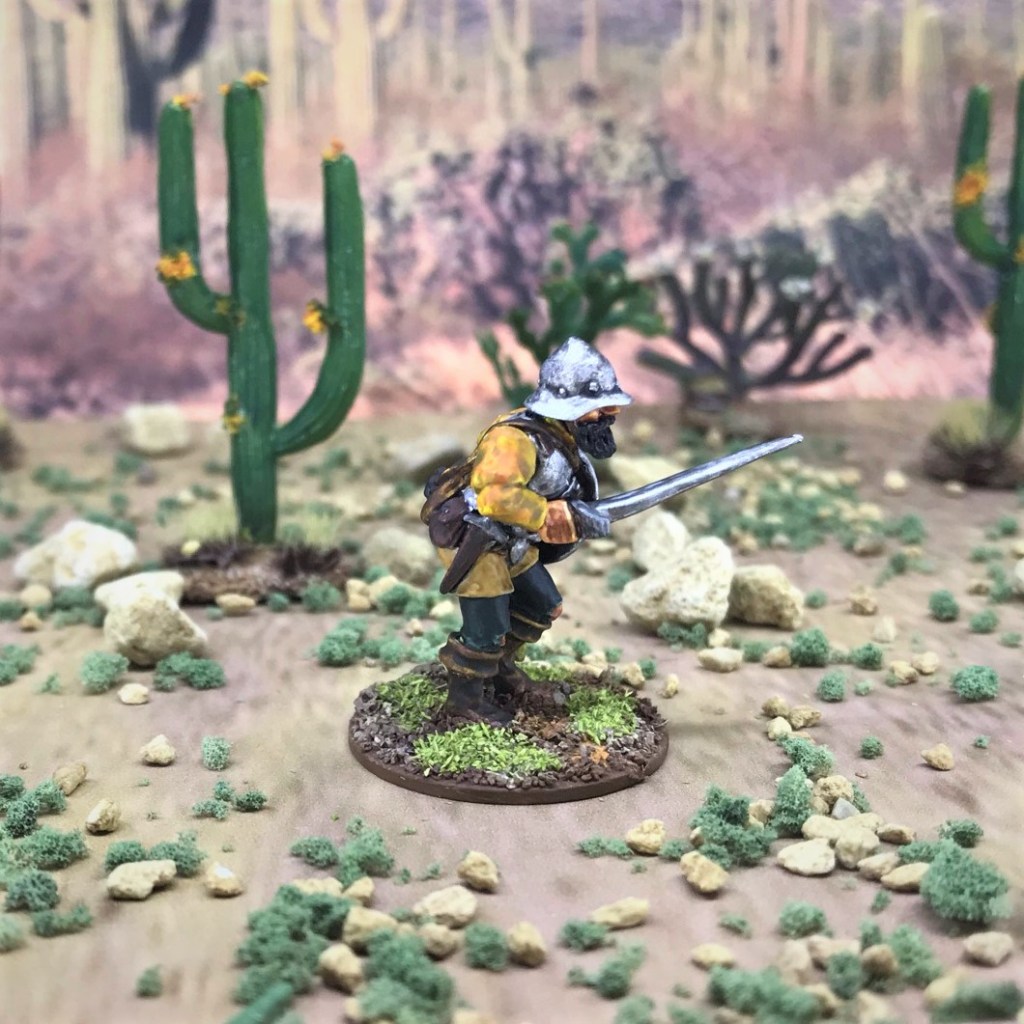
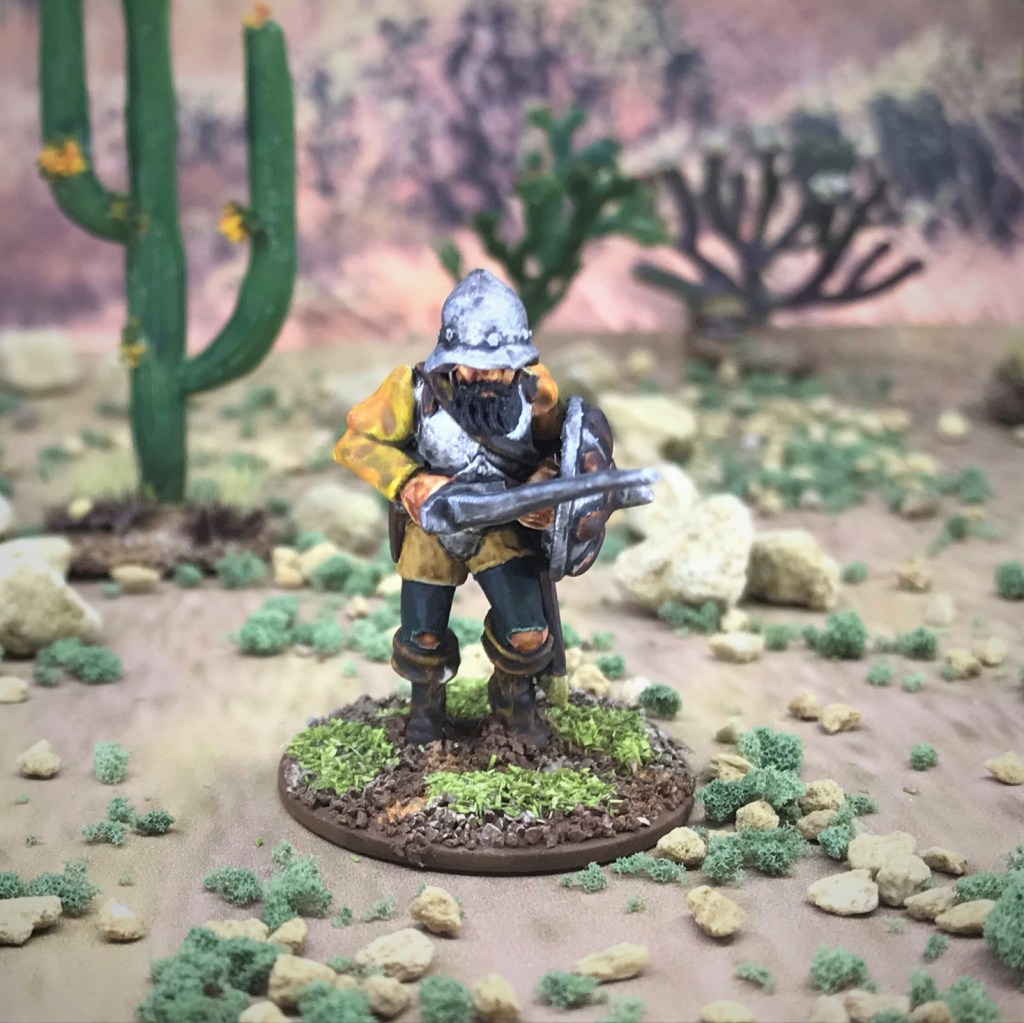
El Dólar


El Gregorio
El Conquistador


El Perro de Guerra

El Marcos

The Fleet Fully Crewed

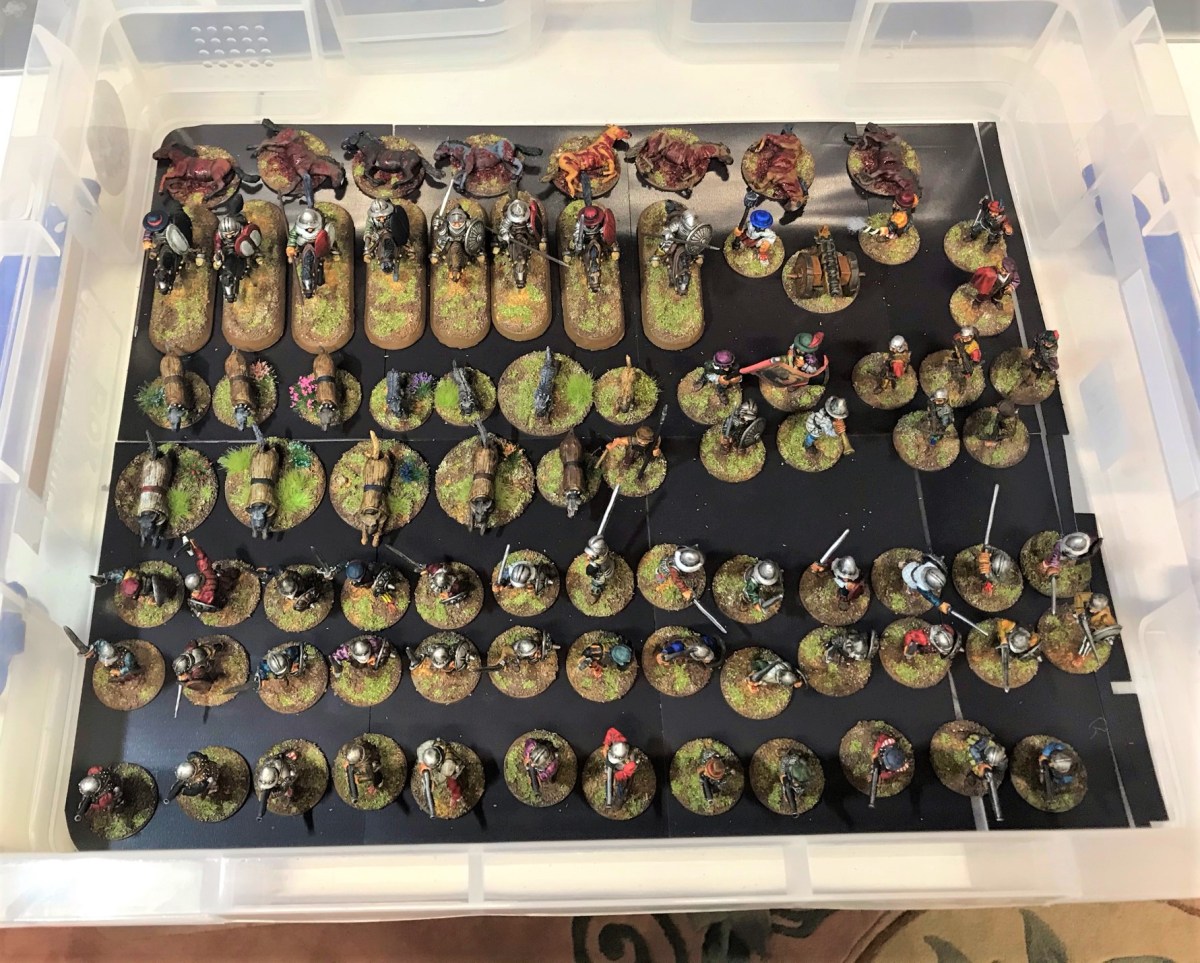
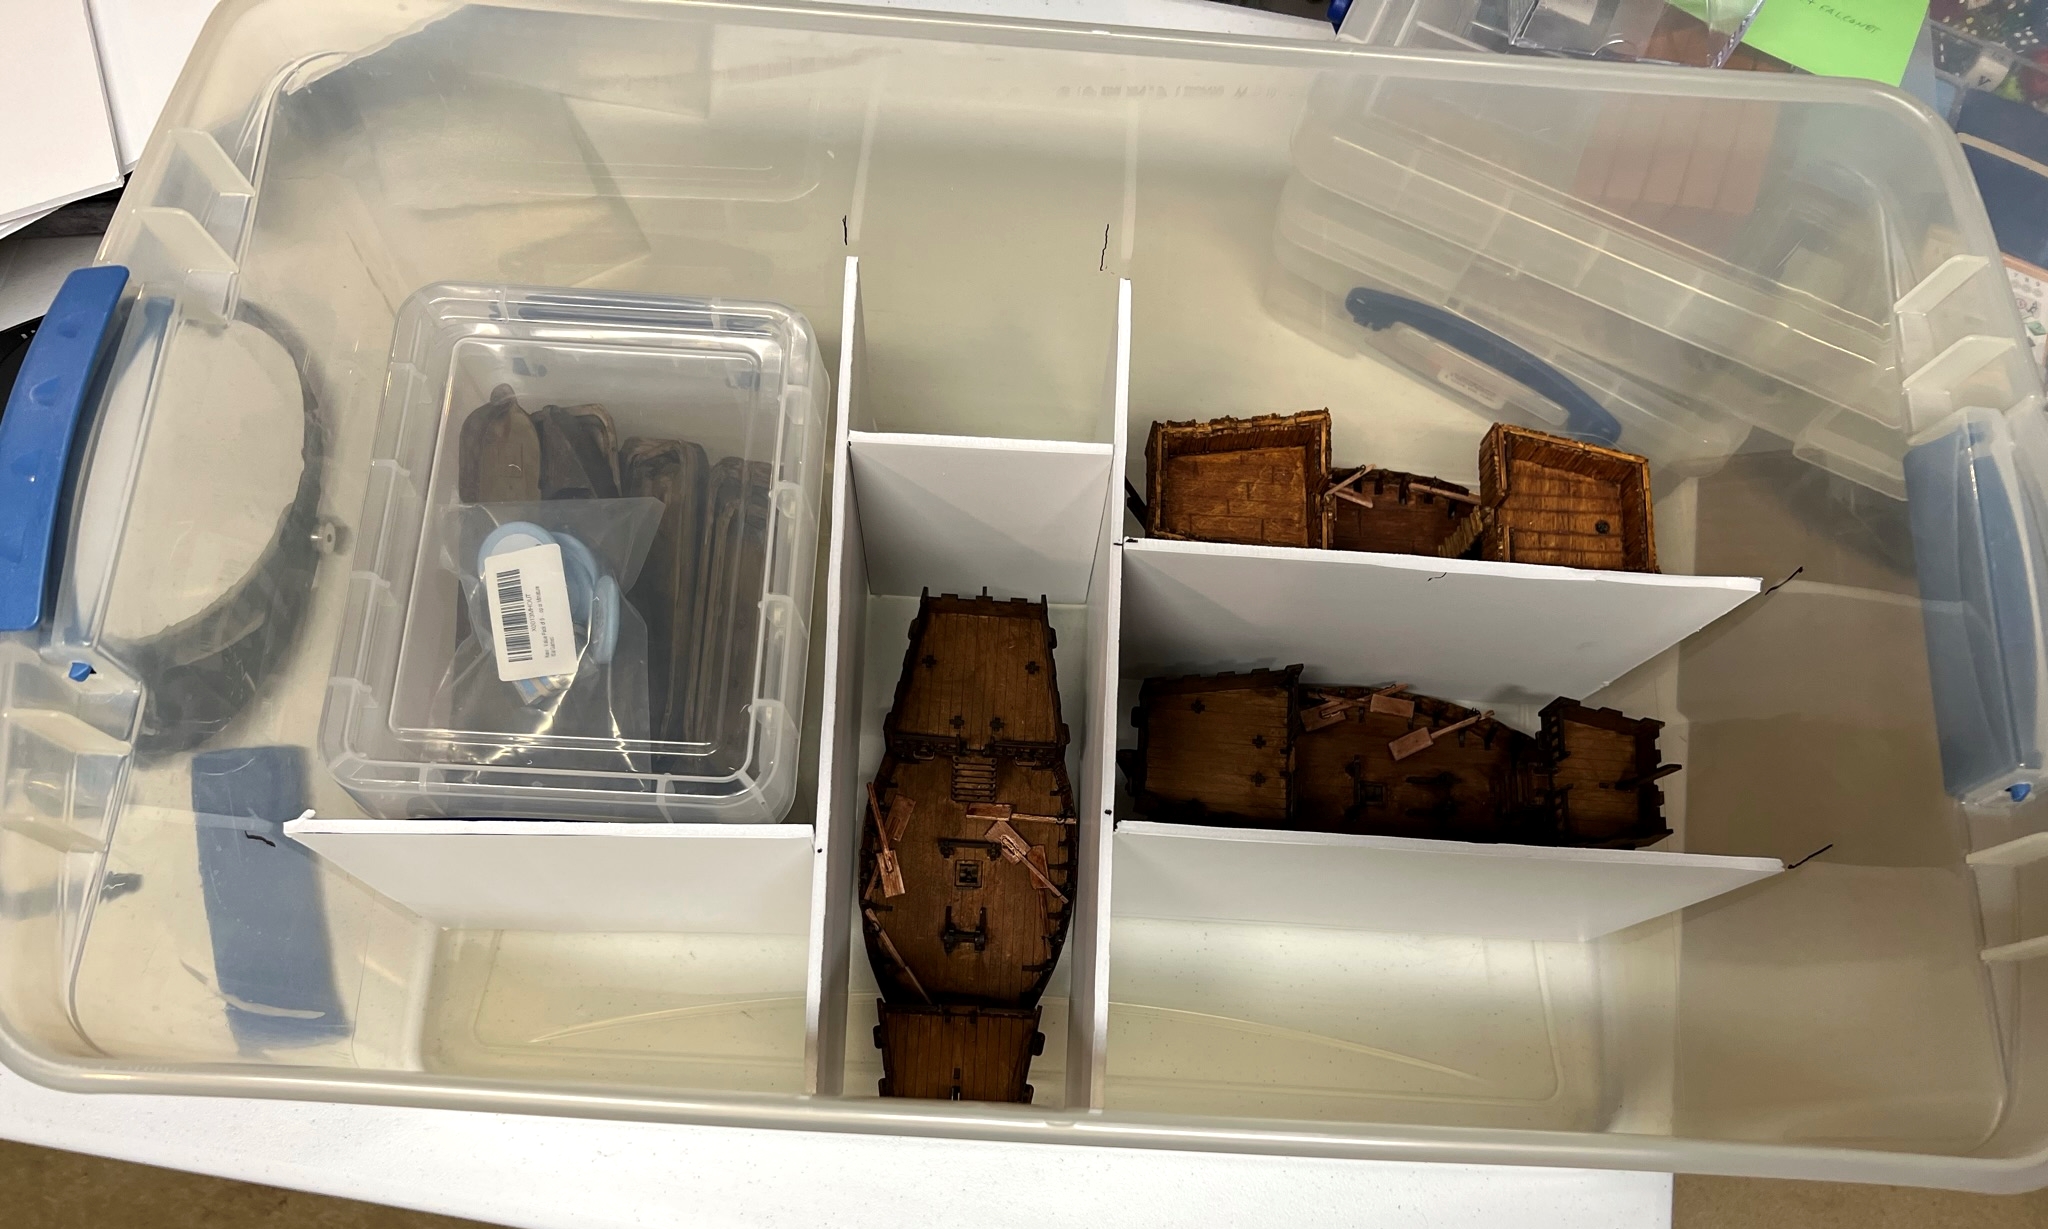
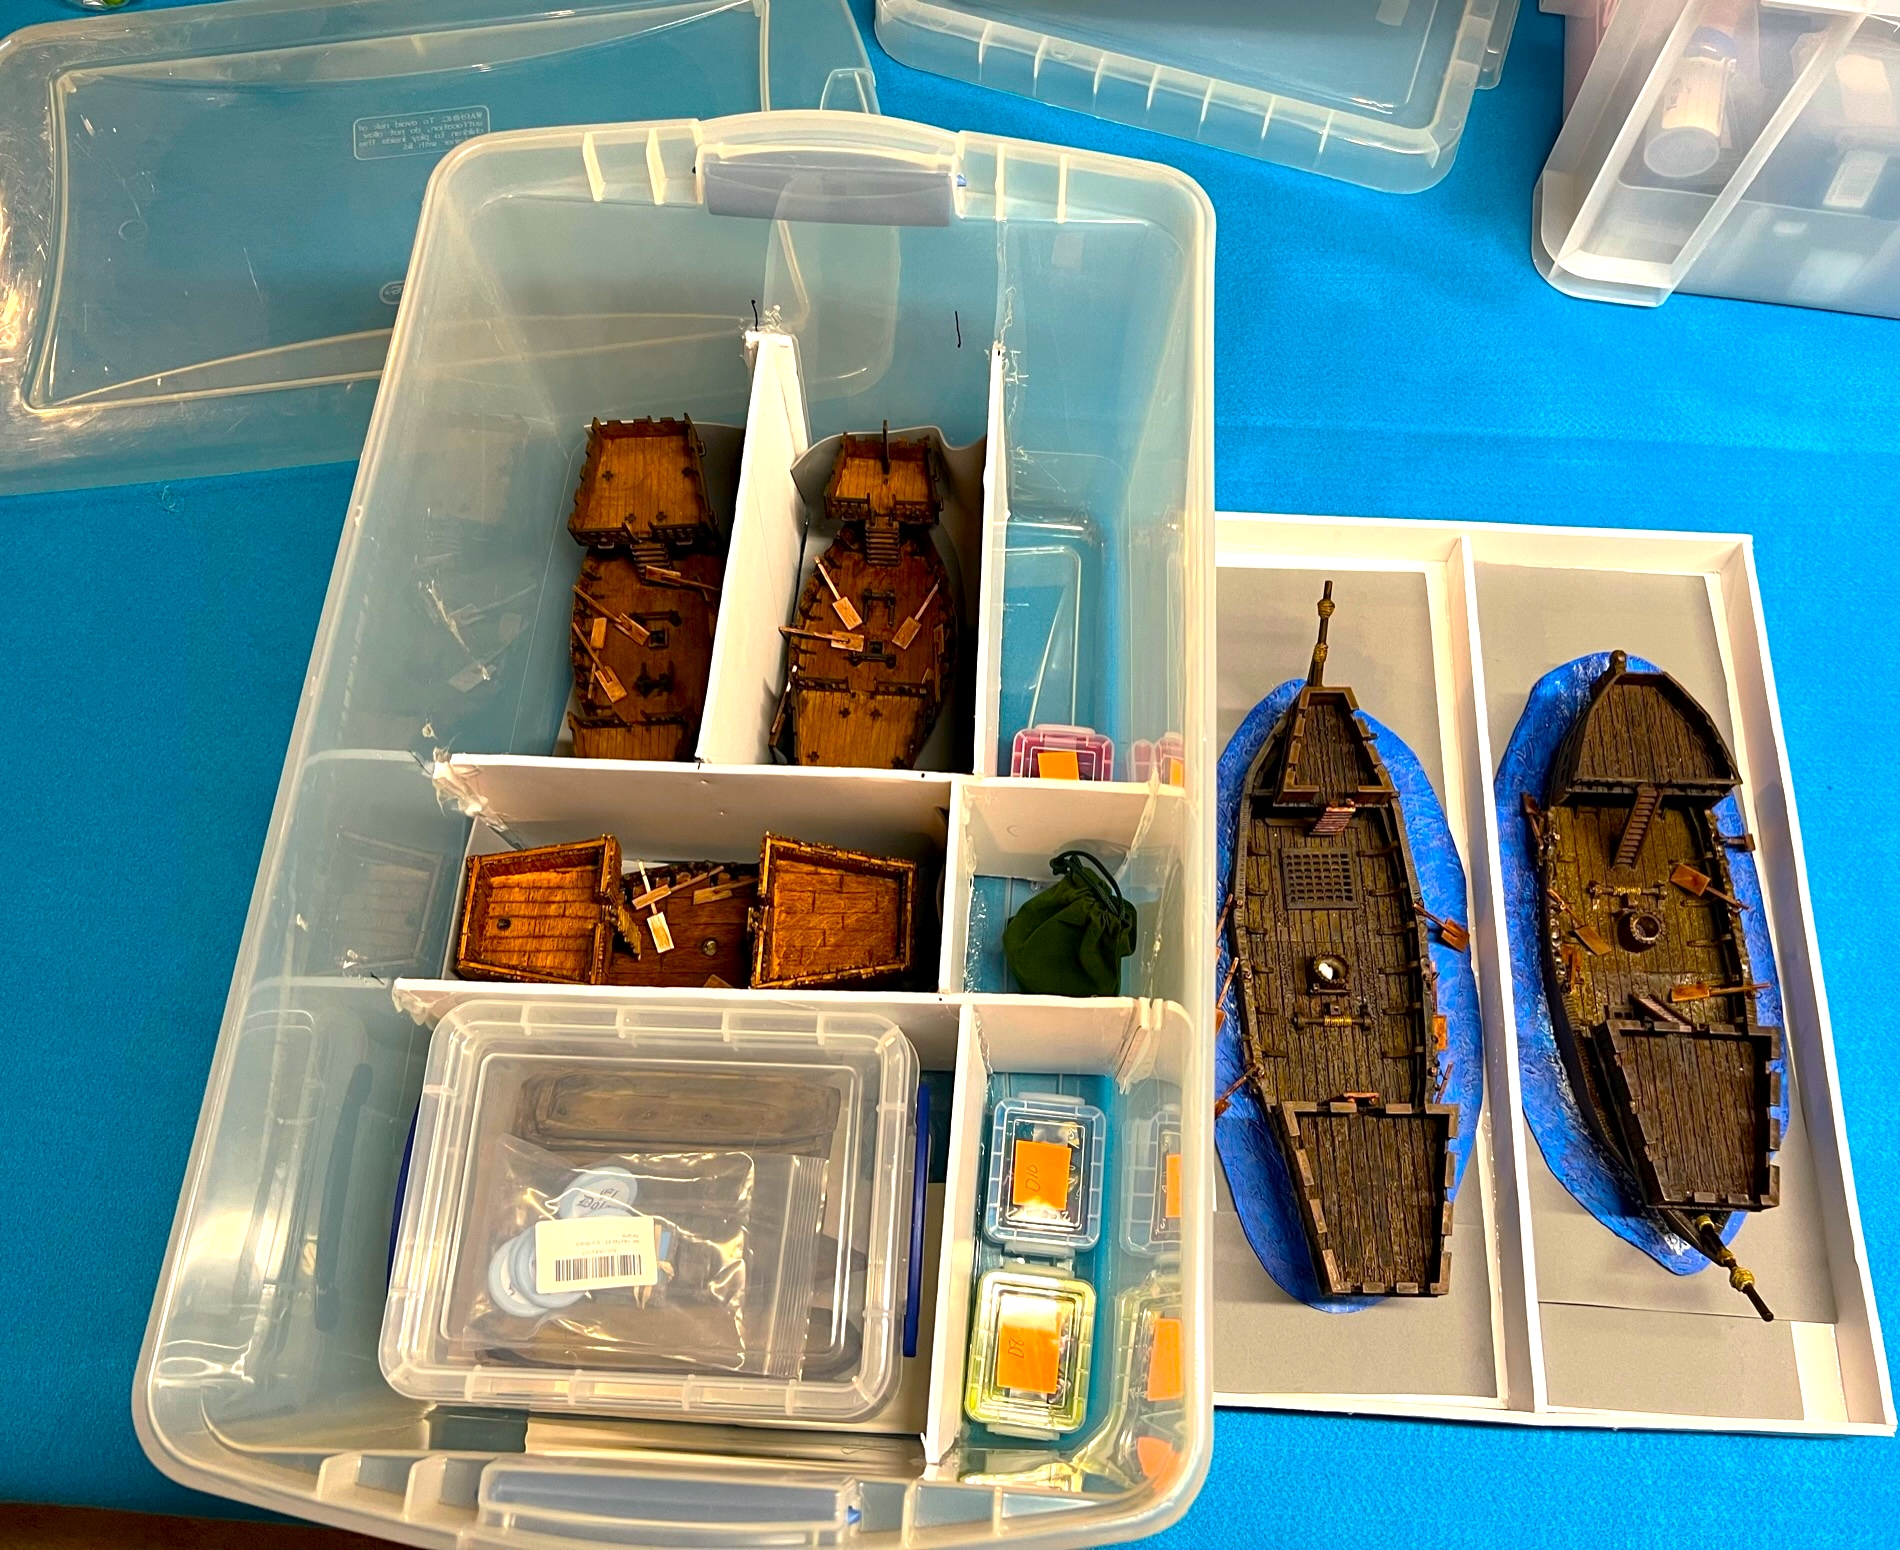
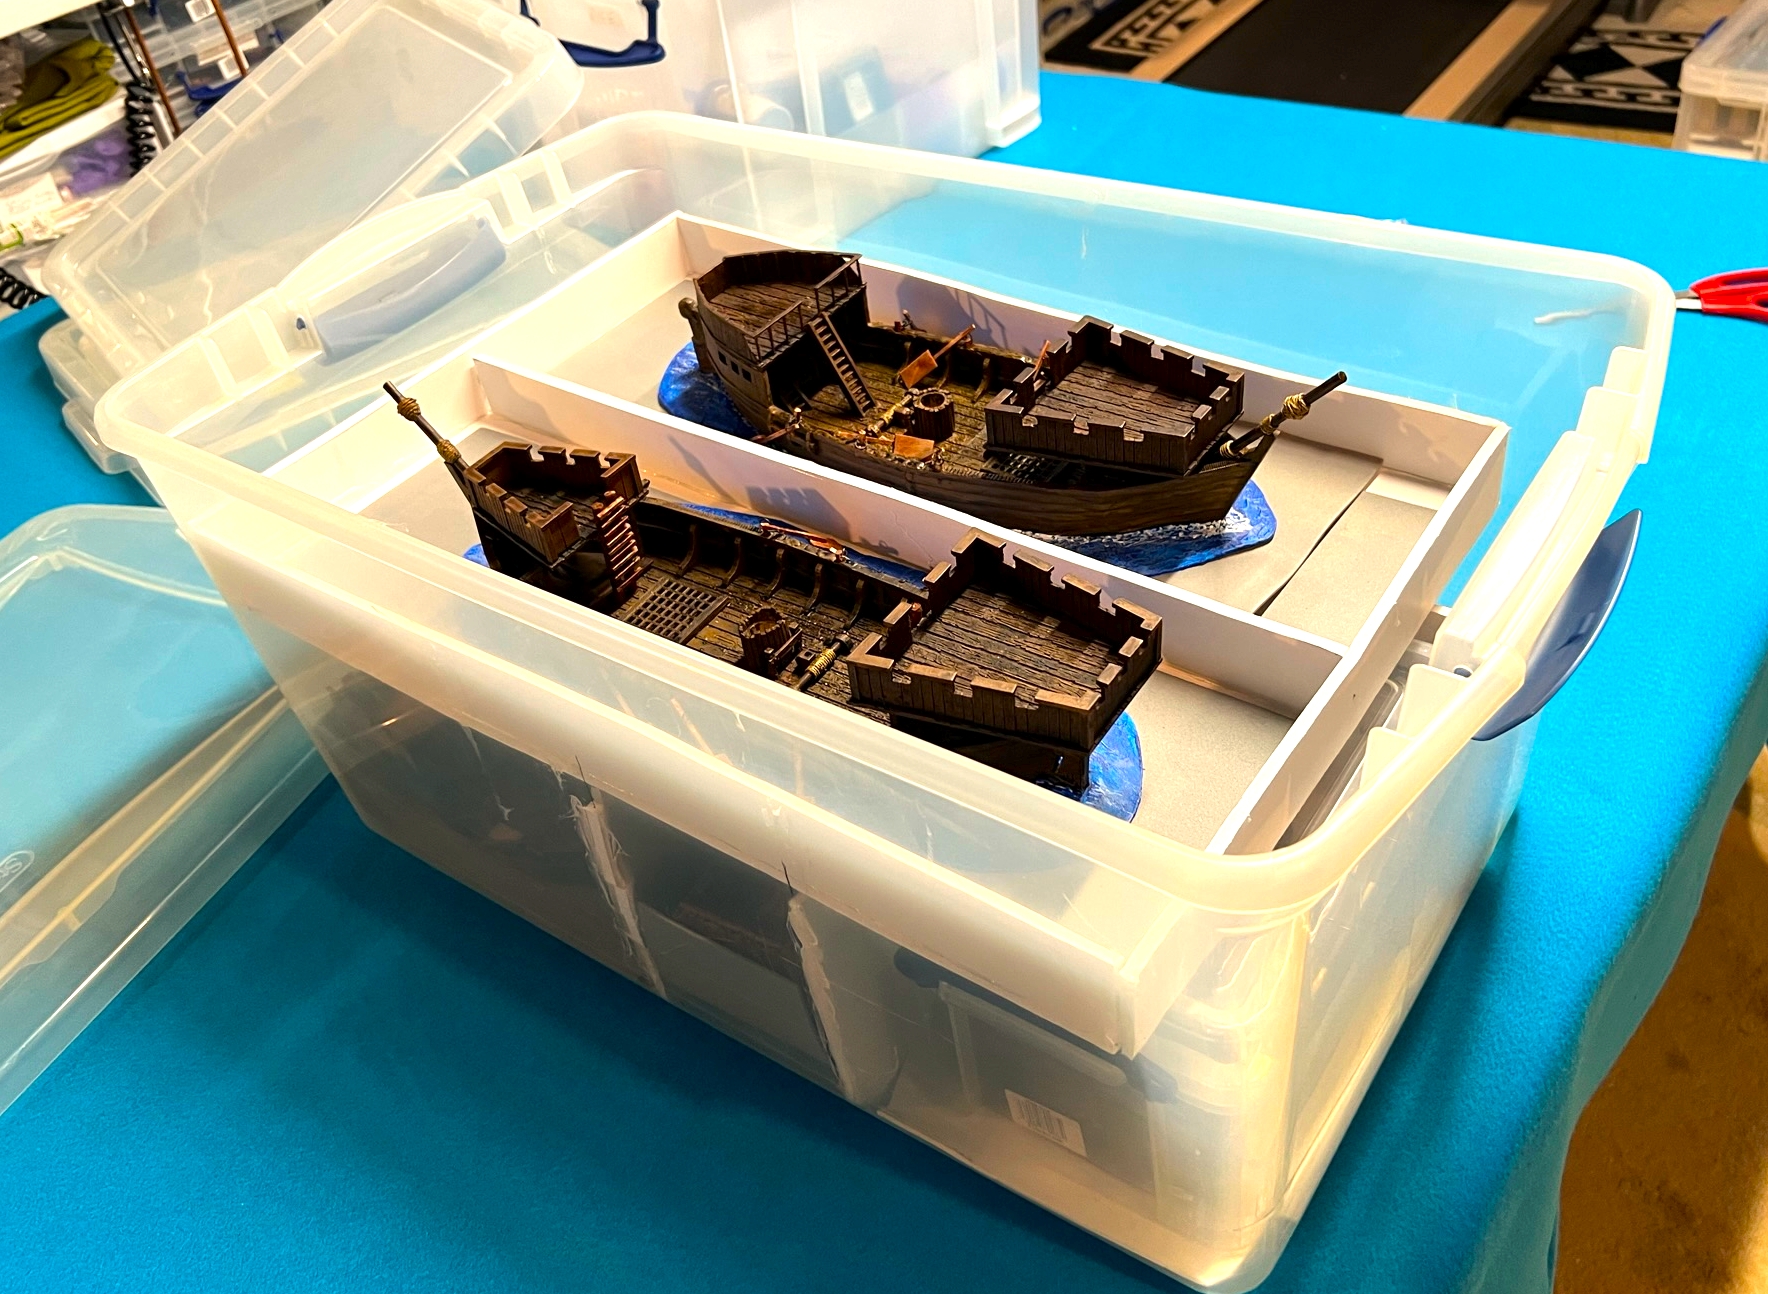
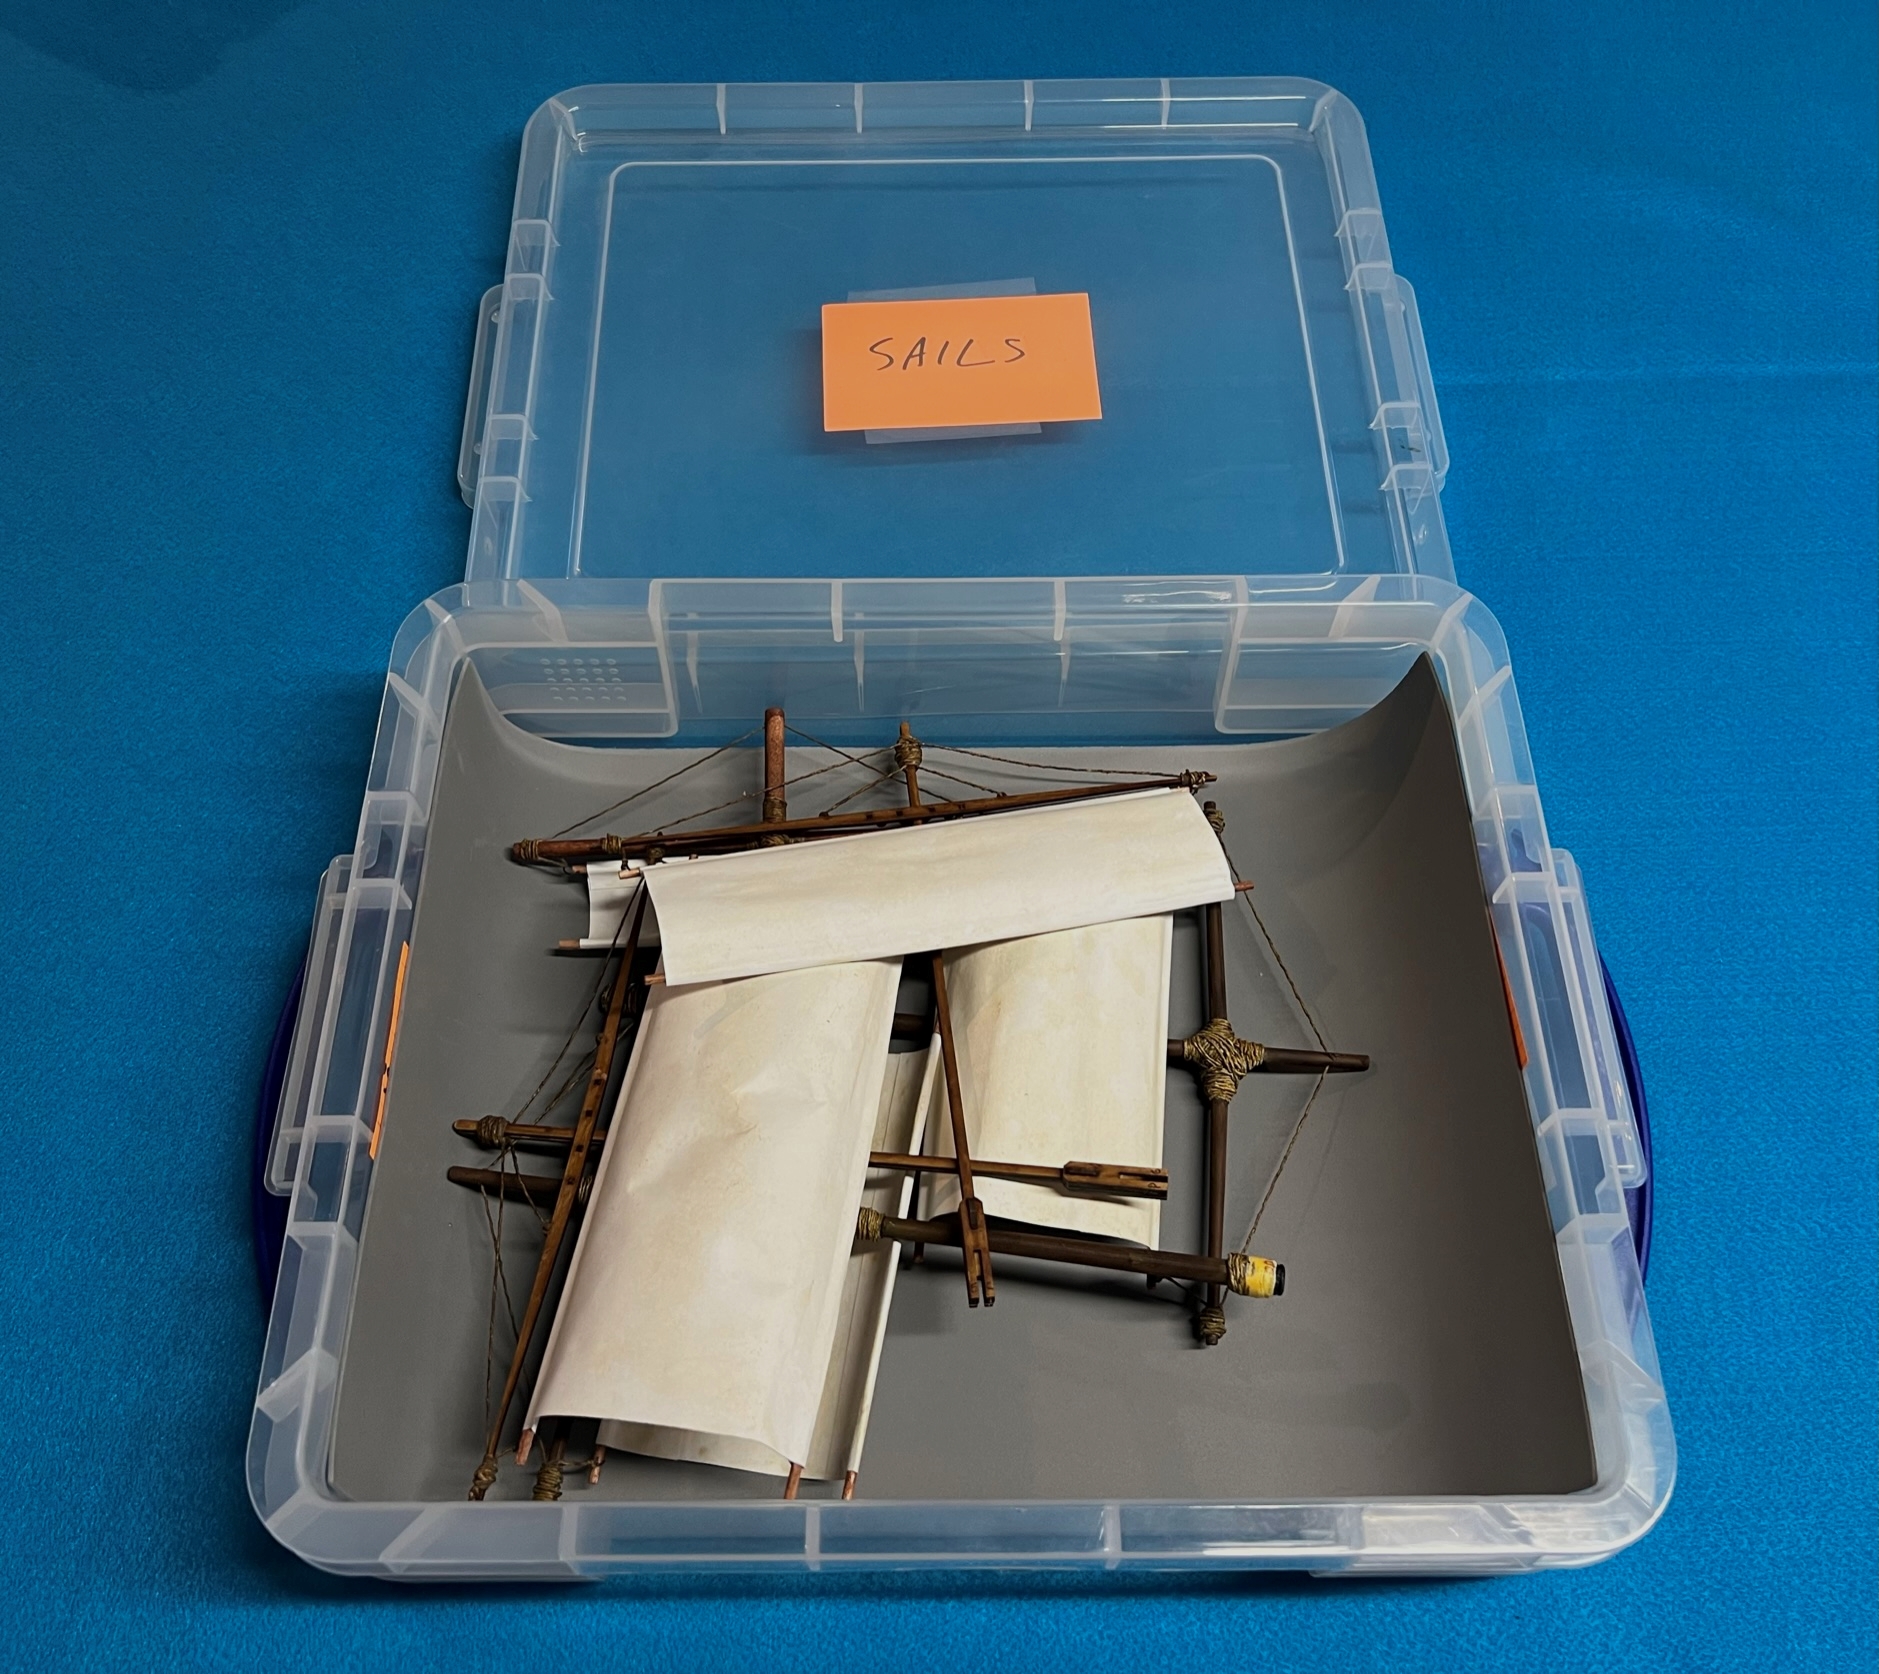
Oh yeah, to get these ships safely to conventions I built a transport box for the hulls with posterboard and hot glue (and minor burns) and used a Really Useful Box for the sails (the crews go with my other figures). I also used the box to fit in my war canoe box.

All of this got done just under the wire – next up I’ll show you how they did at HUZZAH 2022!
(hint – they were a big hit)…stay tuned…
Miscellaneous details and references for those interested in that sort of thing:
For all of my previous posts on games, units, and other projects for my 16th Century Spanish Conquest supplement for Feudal Patrol™ – “Civilizations Collide” – please see this page.
PAINTS, INKS, GLAZES, SHADES, WASHES, PIGMENTS, FLOCKING, GLUES AND MORE THAT I USED ON THESE CONQUISTADOR ARTILLERY CREWS AND GUNS:
- War Games Accessories .75″ square bases
- War Games Accessories 1.25″ x 1″ rectangular bases
- Gorilla Glue
- Elmer’s PVA Glue
- Popsicle sticks
- Army Painter Speed Paint “Sand Golem”
- Citadel “Nuln Oil” (wash)
- Vallejo Mecha Primer “White”
- Vallejo “Flow Improver”
- Vallejo “Airbrush Thinner”
- Poster tack
- Vallejo Model Air “Gun Metal”
- Vallejo Model Air “Black”
- Army Painter Speed Paint “Crusader Skin”
- Citadel “Runefang Steel”
- Army Painter Speed Paint “Malignant Green”
- Army Painter Speed Paint “Magic Blue”
- Army Painter Speed Paint “Cloudburst Blue”
- Army Painter Speed Paint “Holy White”
- Army Painter Speed Paint “Speed Paint Medium”
- Army Painter Speed Paint “Blood Red”
- Army Painter Speed Paint “Grim Black”
- Army Painter Speed Paint “Plasmatic Bolt”
- Army Painter Speed Paint “Hive Dweller Purple”
- Army Painter Speed Paint “Orc Skin”
- Army Painter Speed Paint “Gravelord Grey”
- Citadel “Skrag Brown”
- Army Painter Speed Paint “Fire Giant Orange”
- Army Painter Speed Paint “Slaughter Red”
- Army Painter Speed Paint “Camo Cloak”
- Army Painter Speed Paint “Hardened Leather”
- Vallejo Model Air “Chain Mail”
- Army Painter Speed Paint “Pallid Bone”
- Army Painter Speed Paint “Runic Grey”
- Army Painter Speed Paint “Highlord Blue”
- Army Painter Speed Paint “Zealot Yellow”
- Army Painter Speed Paint “Absolution Green”
- Army Painter Speed Paint “Purple Alchemy”
- Army Painter Speed Paint “Dark Wood”
- Vallejo Mecha Color “Off-white”
- Citadel “Balor Brown”
- Vallejo Model Color “Black Grey”
- Vallejo Model Air “Bright Brass”
- Citadel “Nuln Oil GLOSS” (wash)
- Army Painter “Tanned Flesh”
- Army Painter “Flesh Wash” (wash)
- Citadel “Agrax Earthshade GLOSS” (wash)
- Vallejo Model Air “Armour Brown”
- Vallejo Mecha Varnish “Matt Varnish”
- Vallejo Game Air “Black”
- Vallejo Model Air “Base Grey”
- Vallejo Game Air “Wolf Grey”
- Pillow batting
- Hot Glue