

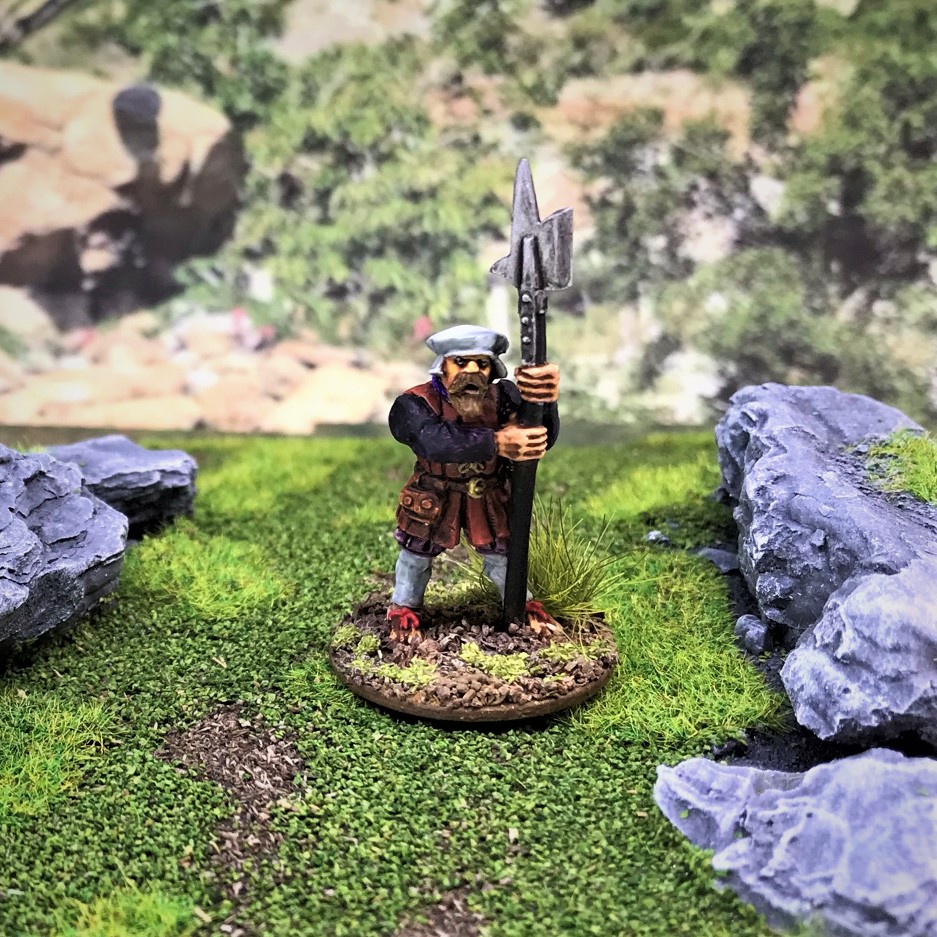
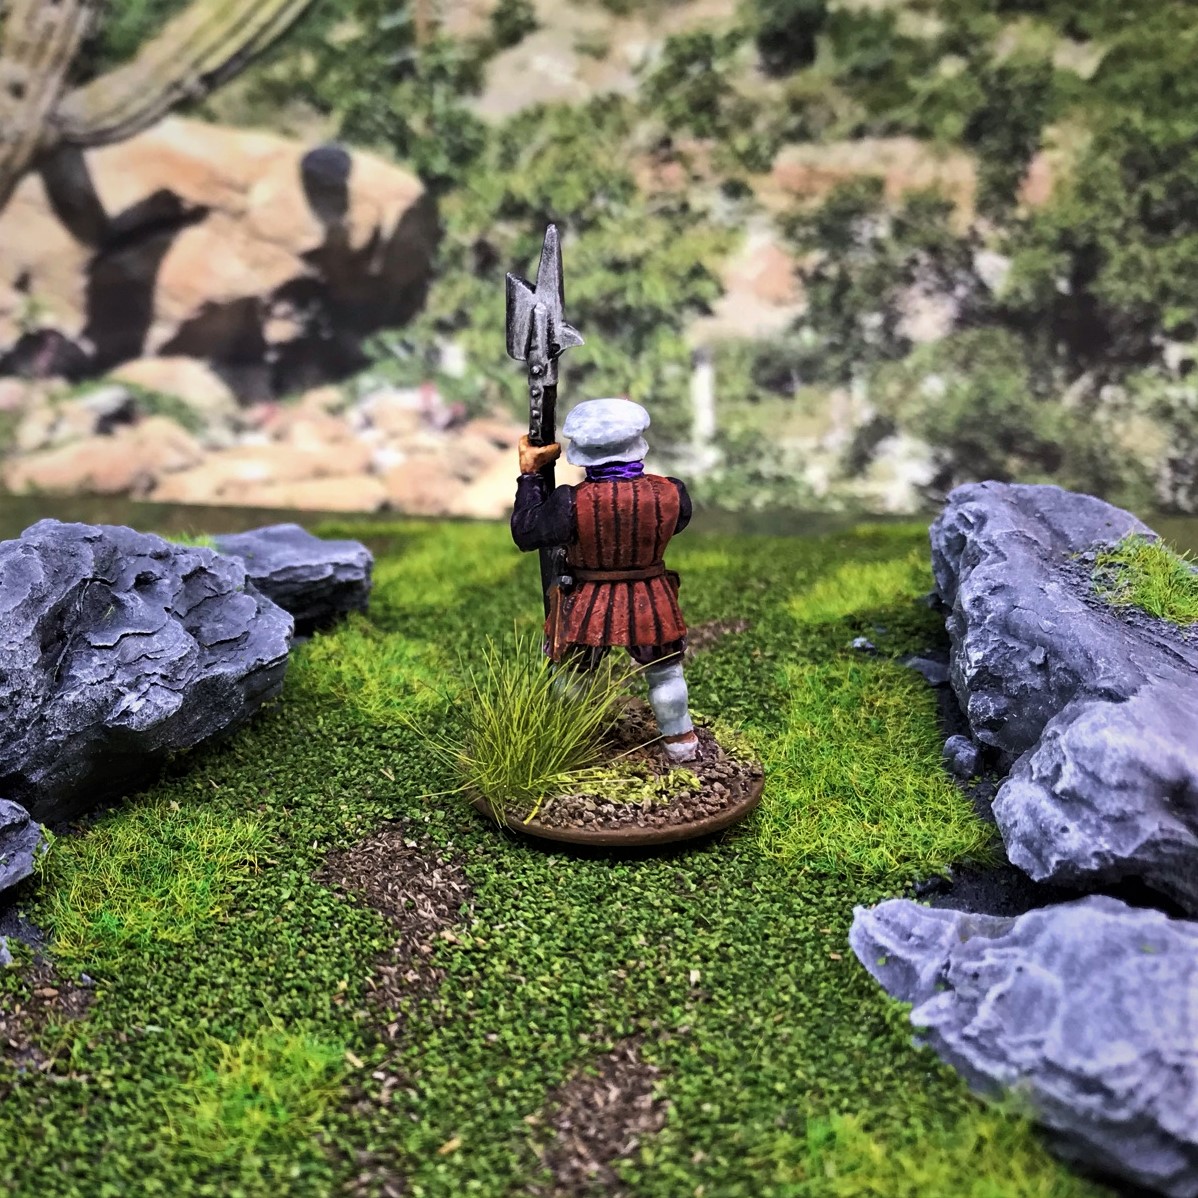
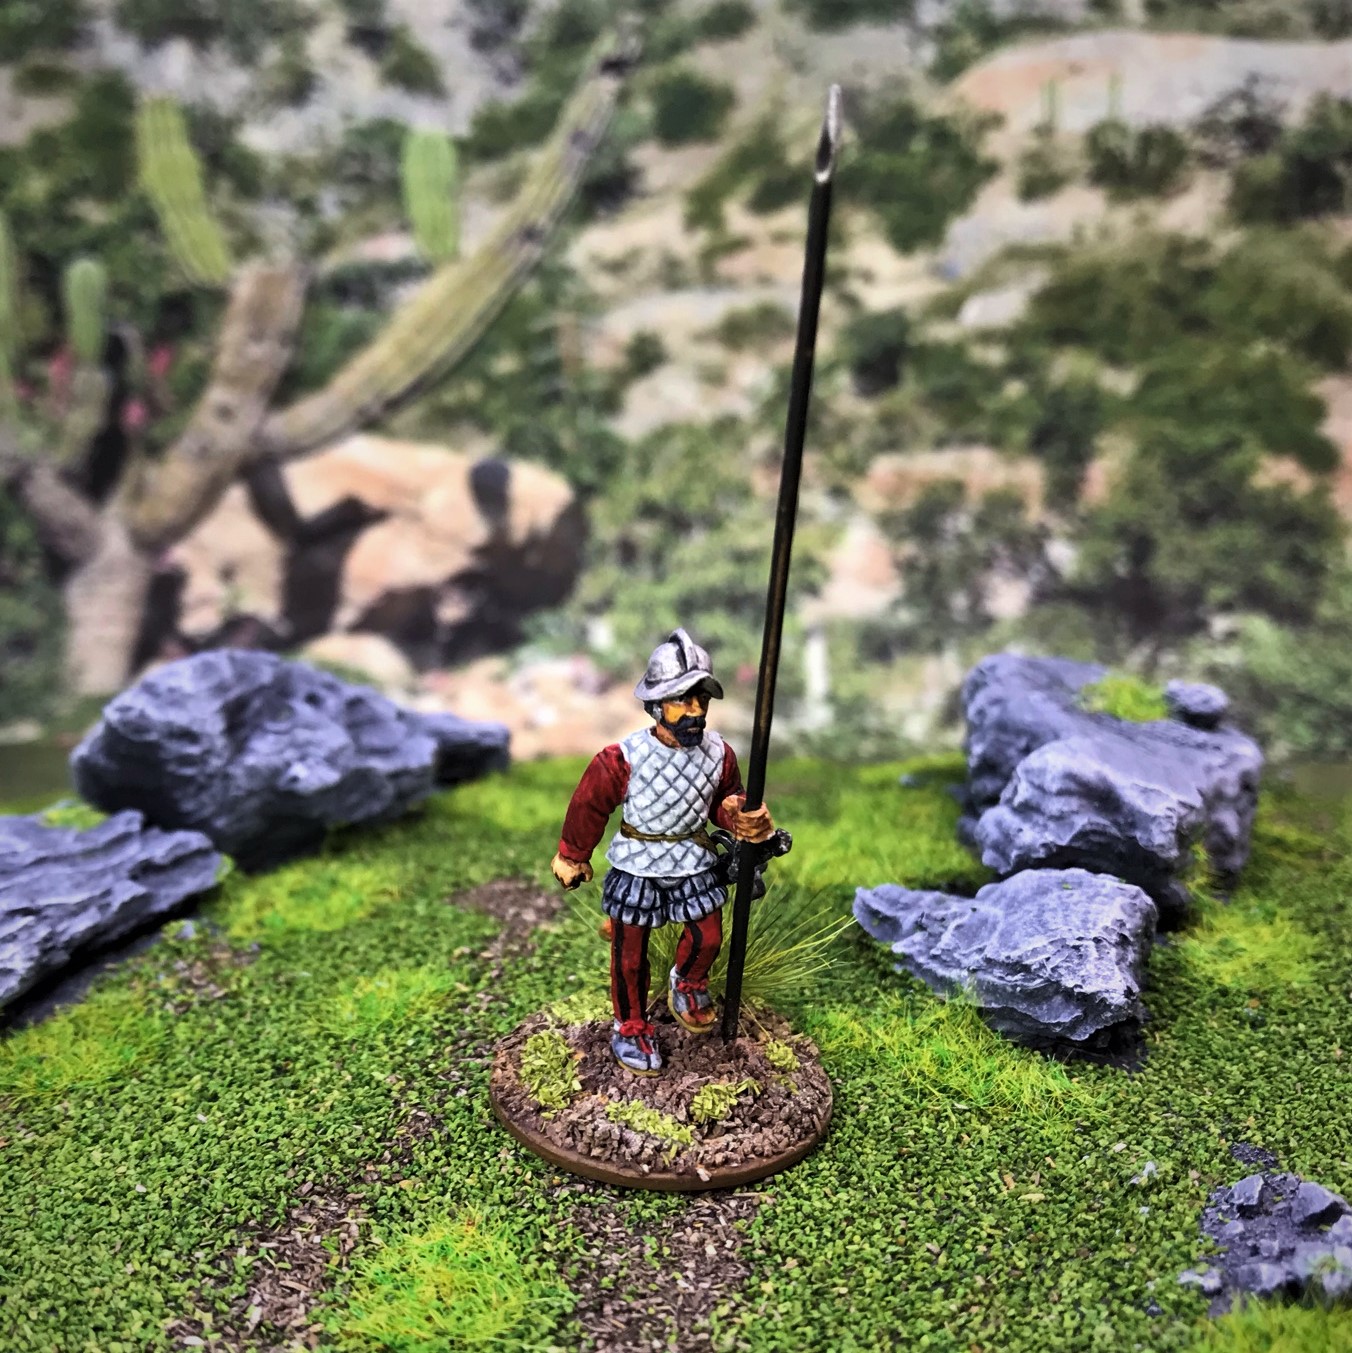
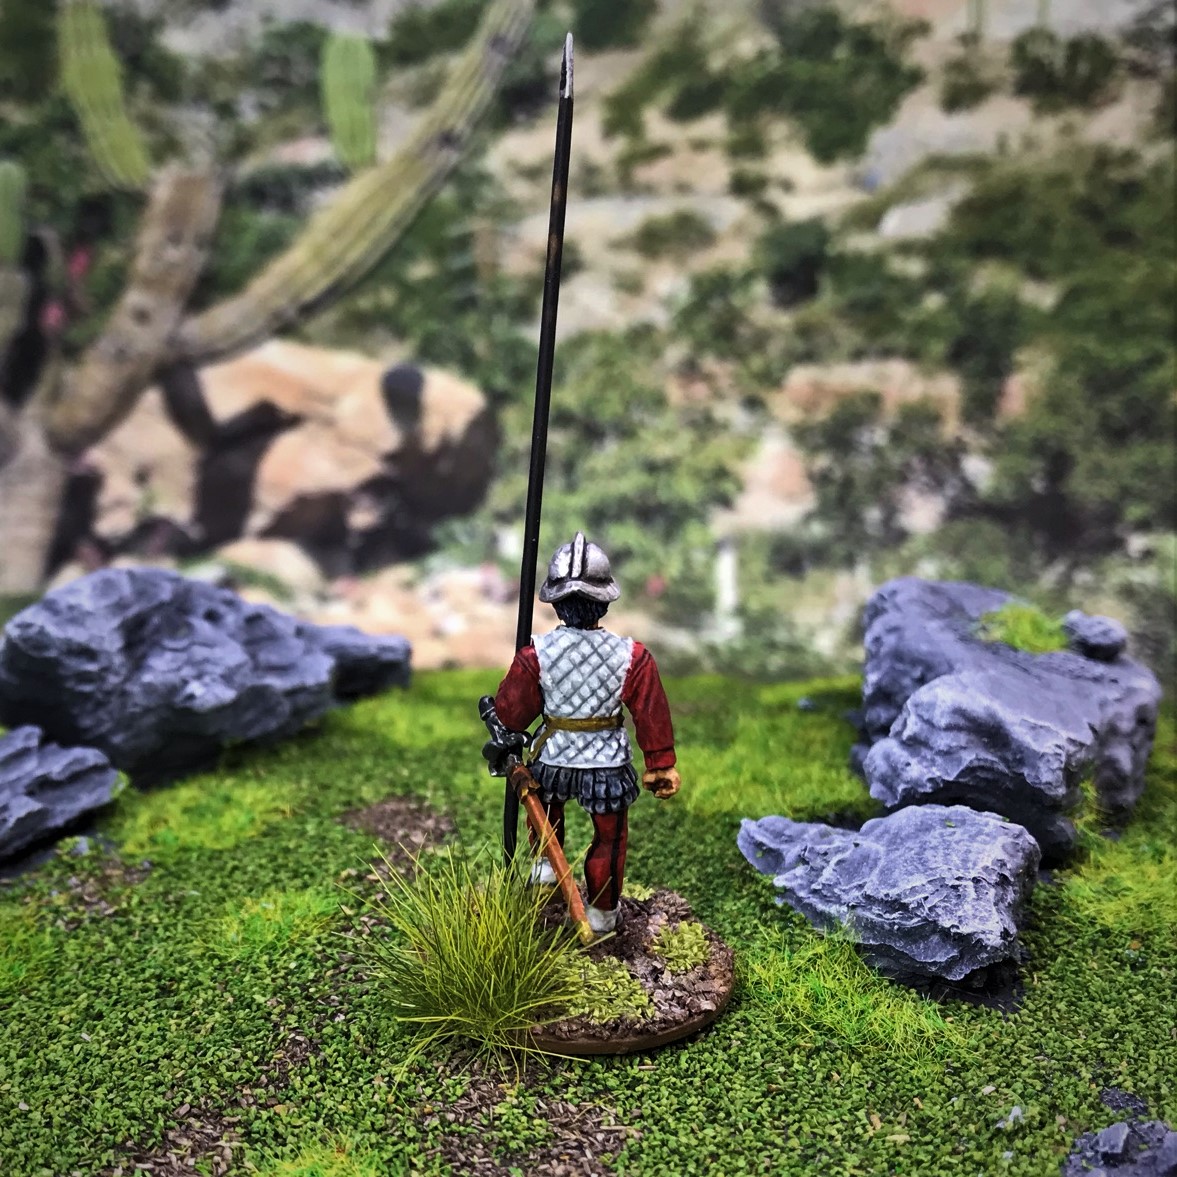
Pardon the pun, but this post marks the completion (for now) of all of my figures for my Spanish Conquest/Mesoamerican games. Many of you have been following my progress in this blog on my various Aztec, Tlaxcalan, and Conquistador figure projects over the last few years. To all of you, thank you so much for joining me on this long journey!
My first post was back on April 25th, 2020. Since then I have researched the period and written the period supplement for the Feudal PatrolTM rules by Buck Surdu. That supplement is called Civilizations Collide. It is free to download at that link. I have built multiple scenarios for gaming the period and eventually hope to have that available as a supplement as well. Until then, I have been running these games at multiple conventions, gaming events, and club meetings.
Just this year, I have run 18 Feudal PatrolTM games for this period at various of these opportunities. Most of these have been documented in this blog. I have posted on this blog no less than 58 different times on my Civilizations Collide projects and the games I have run (this post will be #59). All of those posts are catalogued here.
Project Background
The last piece of the puzzle that I wanted to fill in figure-wise was the Maya. To that end, last December I sourced 34 figures from Gringo 40’s in the UK to assemble a good-sized force for gaming. After the spring conventions, I honestly thought I would be onto getting these done quickly. As the title of this blogs is “Life, Golf, Miniatures, & Other Distractions”, well, that did not happen.
As it turned out, the weather this year was superb for golf – and I really got in a lot of rounds – close to 80+ rounds of golf since April. I still wanted to get the Maya done. So, in the summer, I decided to start. My goal was to try to get them done quickly and move on to other projects such as Buck’s Wars of Ozz rules and figures. To that end, I thought I’d use Citadel Contrast Paints and Army Painter Speed Paints that I had just received in conjunction with mass airbrushing to knock out the 34.
Not so fast as it turned out…
A couple of our blog buddies Azazel at Azazel’s Bitz Box and maenoferren22 at Bogenwald Random Painting and Terrain Making had discovered and shared on their respective blogs unsettling reports that Army Painter Speed paints had a reactivation problem – that is they bled out under other colors when exposed to wetness – such as another paint applied on the model. This news put a slowdown on my adoption of the Speed Paints – and for certain my Maya progress. The last thing that I wanted to deal with was a problem that would potentially ruin paint jobs.
Later Azazel did share this video with me that showed adding Citadel Contrast Medium to the Speed Paints negated the problem. I can say for sure that at least for me – this worked perfectly. Thanks Az! Also, there are a ton of YouTube videos on Speed Paint – many suggesting to treat them like you would use oils. But I digress.
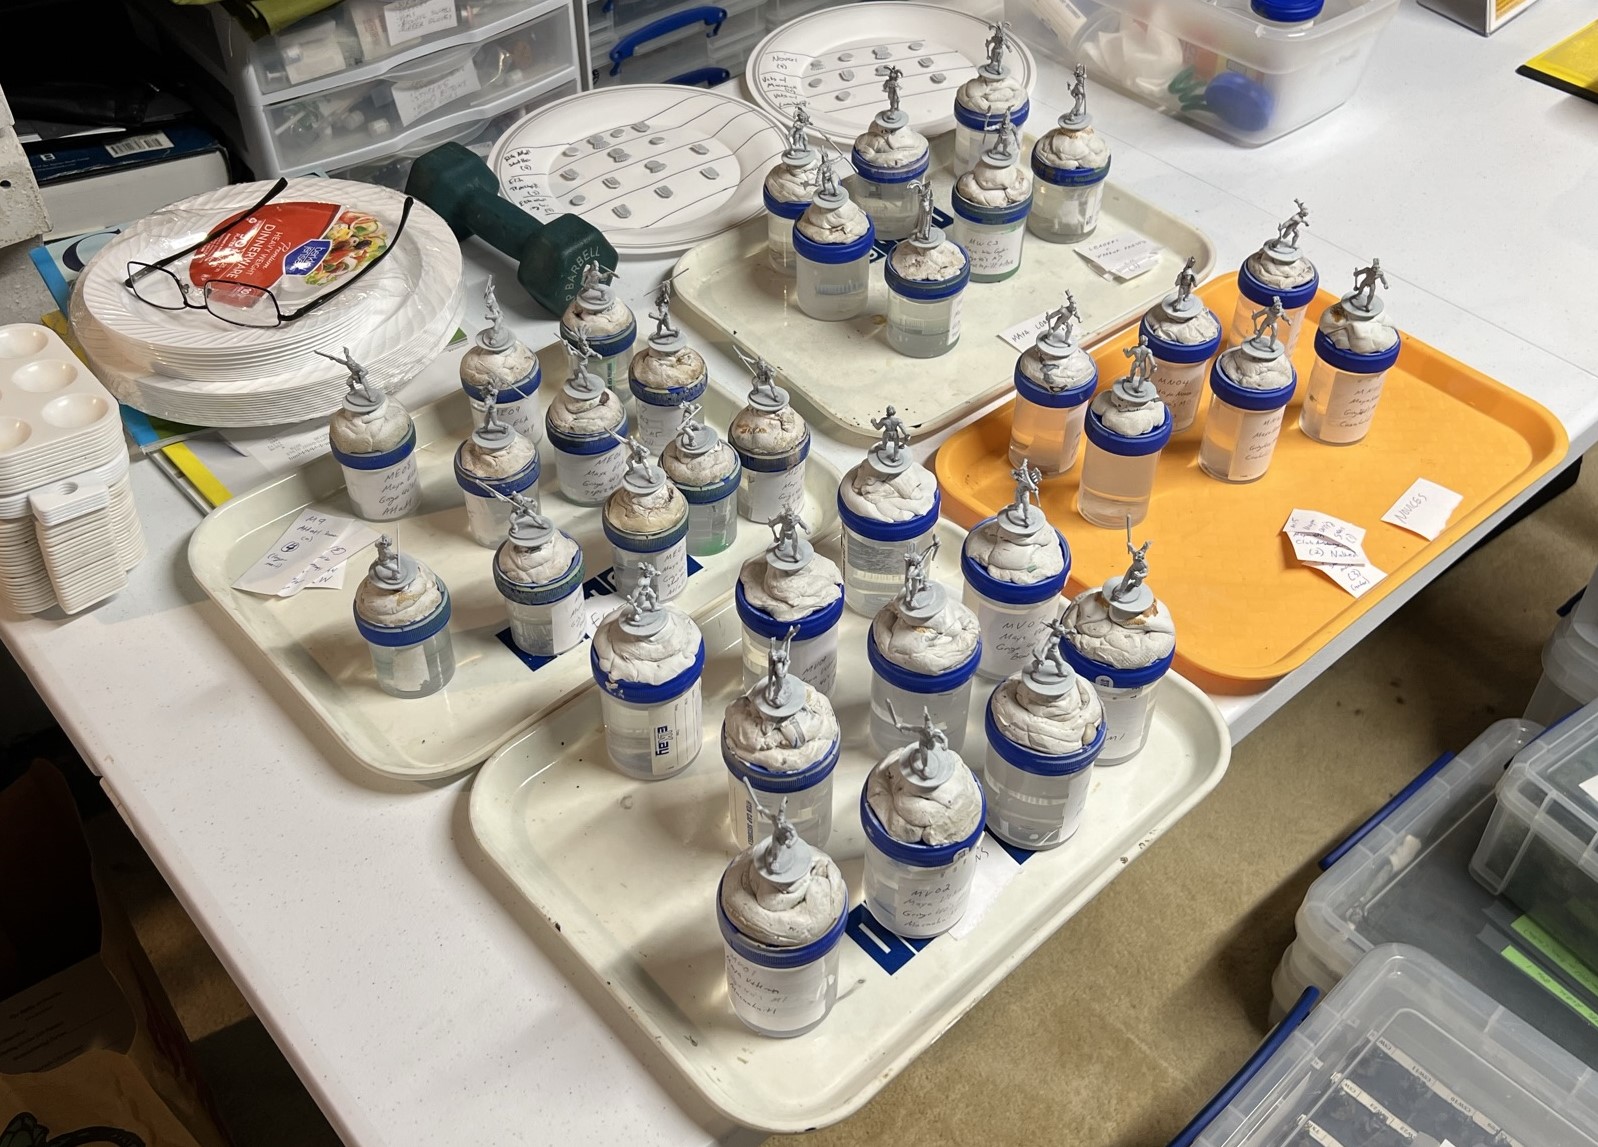
So, On August 23rd, I set out to get started on the Maya. I did get held up time -wise by golf as I wrote, plus my Woodstock rehab project called to me. On top of that I had an issue with Facebook where some of my own posts on pages that I am the administrator got marked as spam! While this is no longer happening anymore now (knock on wood), it did at the time also make me less motivated to paint. Why? well this is because I do share my posts on Facebook on appropriate hobby pages as well as on my own, and if I could not share them well I was less motivated to work on them until the situation got fixed. Lastly, I started painting with the Maya novices – who are – well – anatomically correct and totally naked as you’ll see at the end of this blog. Painting naked dudes did not get me motivated at all. The rest of these were sporting loincloths, so in the end, I got through all of these figures as you will see.
A Little History
I will have a few scenarios for the Maya. Their history is long and quite convoluted. They did NOT refer to themselves as “Maya”. They additionally had no unifying identity or government. They existed before the Aztecs – and indeed struggled against multiple invaders well after the Aztecs were long gone. Th0ugh the last Mayan city (Nojpetén) fell in 1697, there were revolts against multiple central governments by Maya descendants up and through the 19th century.
Also, the correct use of the term “Maya” versus “Mayan” can cause confusion. Here is a link that helps. Basically – use Maya!
The Maya were located more in the Yucatan peninsula area, Southern Mexico, Honduras, and Belize. They did not really interact with the Aztecs – though if the Spanish had not shown up that probably would have been their next conflict. Cortes first ran into the Maya when he arrived and fought them at the Battle of Centla. The Maya settled with him and told him of the wealth of the Aztecs – and that took the Maya were off the Conquistadores’ radar – for a while. After the fall of the Aztecs, Cortes sent expeditions into Maya territory. Some of these never were heard from again.
Let’s move on to discussing the Maya figures…
They all came from Gringo 40’s in the UK. I wanted some elites, some veterans, and some green troops. I also wanted some warrior priests and leaders. The available 28mm metal figures available from Gringo 40’s is excellent. The figures are very nice sculpts as well.
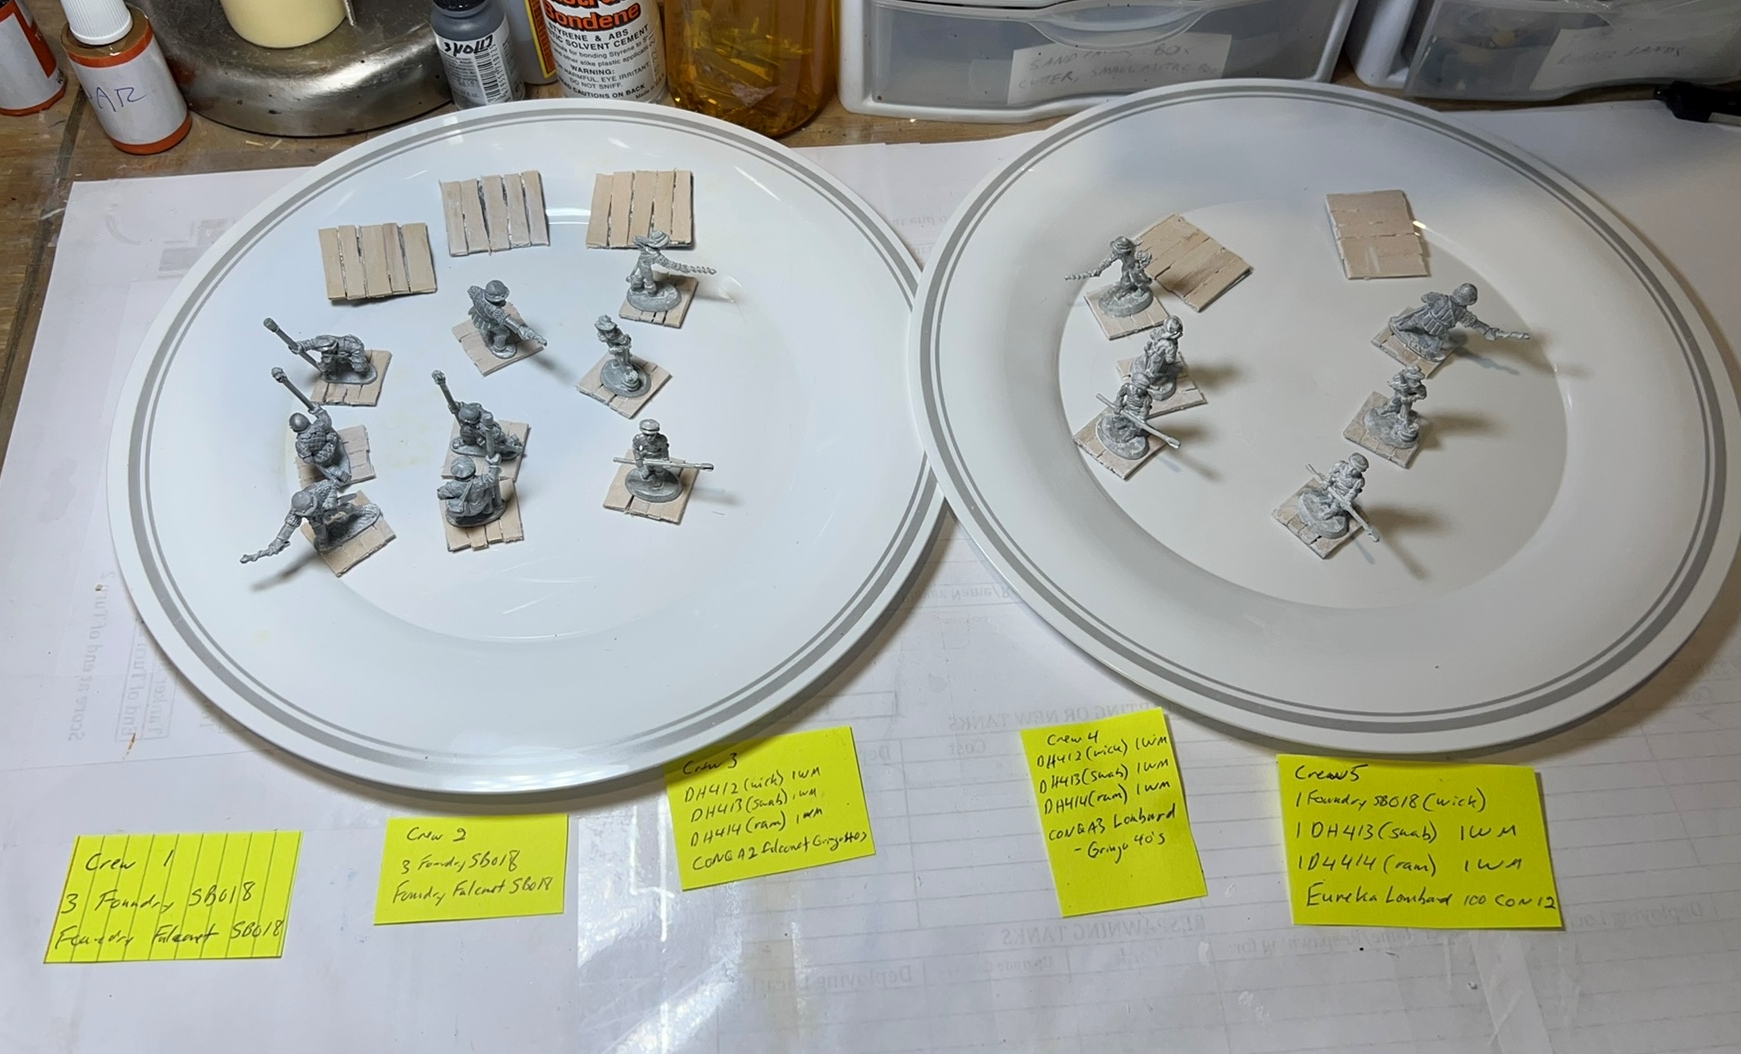
Here is the breakdown of the 34 that I bought.
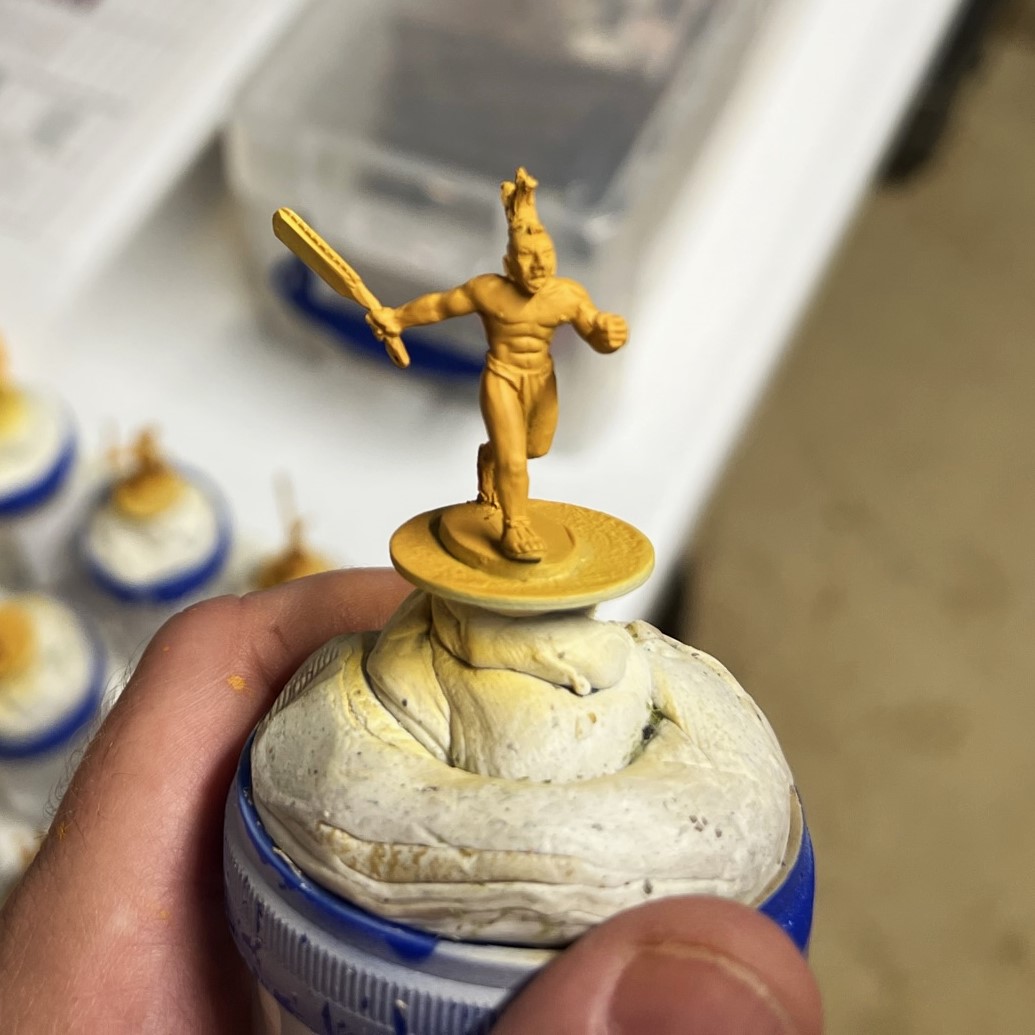
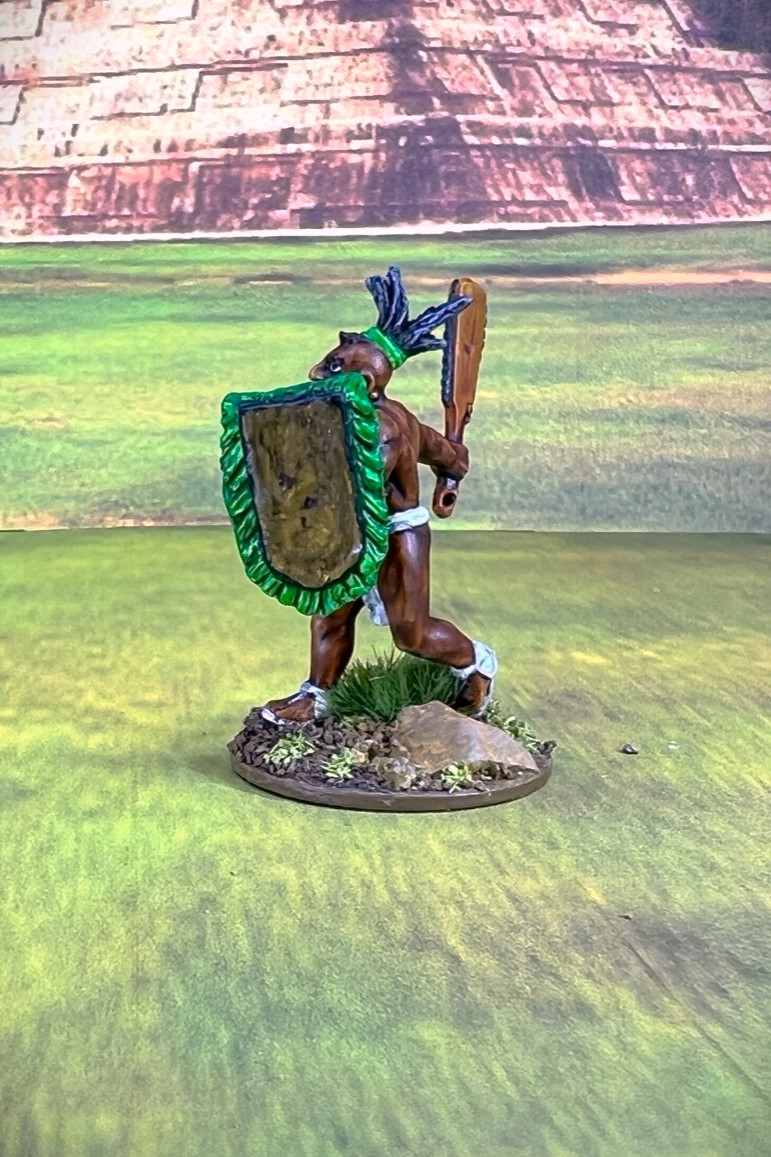
- Figure M1 – “Mayan Charging with Dual-edged Obsidian Club”. Got 4 figures to use as veterans ( designated in my system as MV01-MV04).
- Figure M2 – “Atlatl Thrower”. Got 4 figures to use as elites (designated in my system as ME01-MV04).
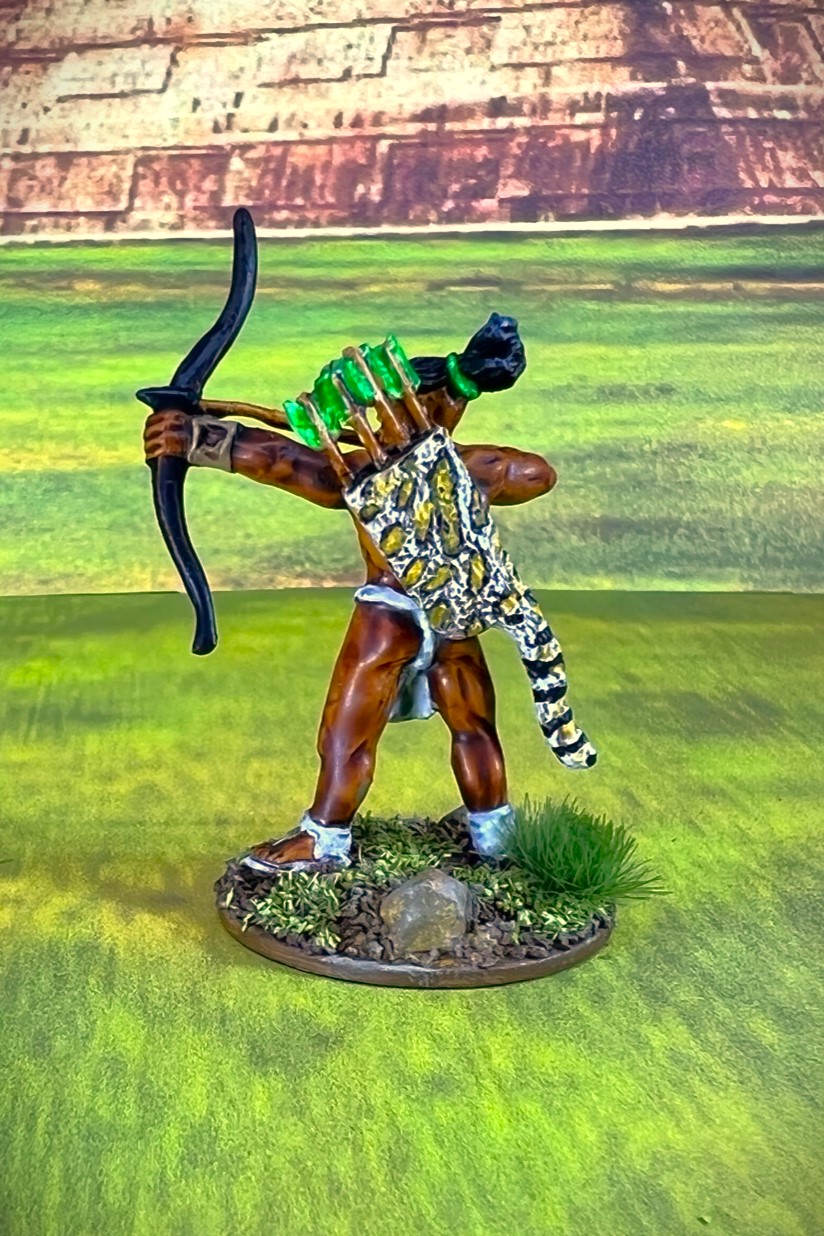
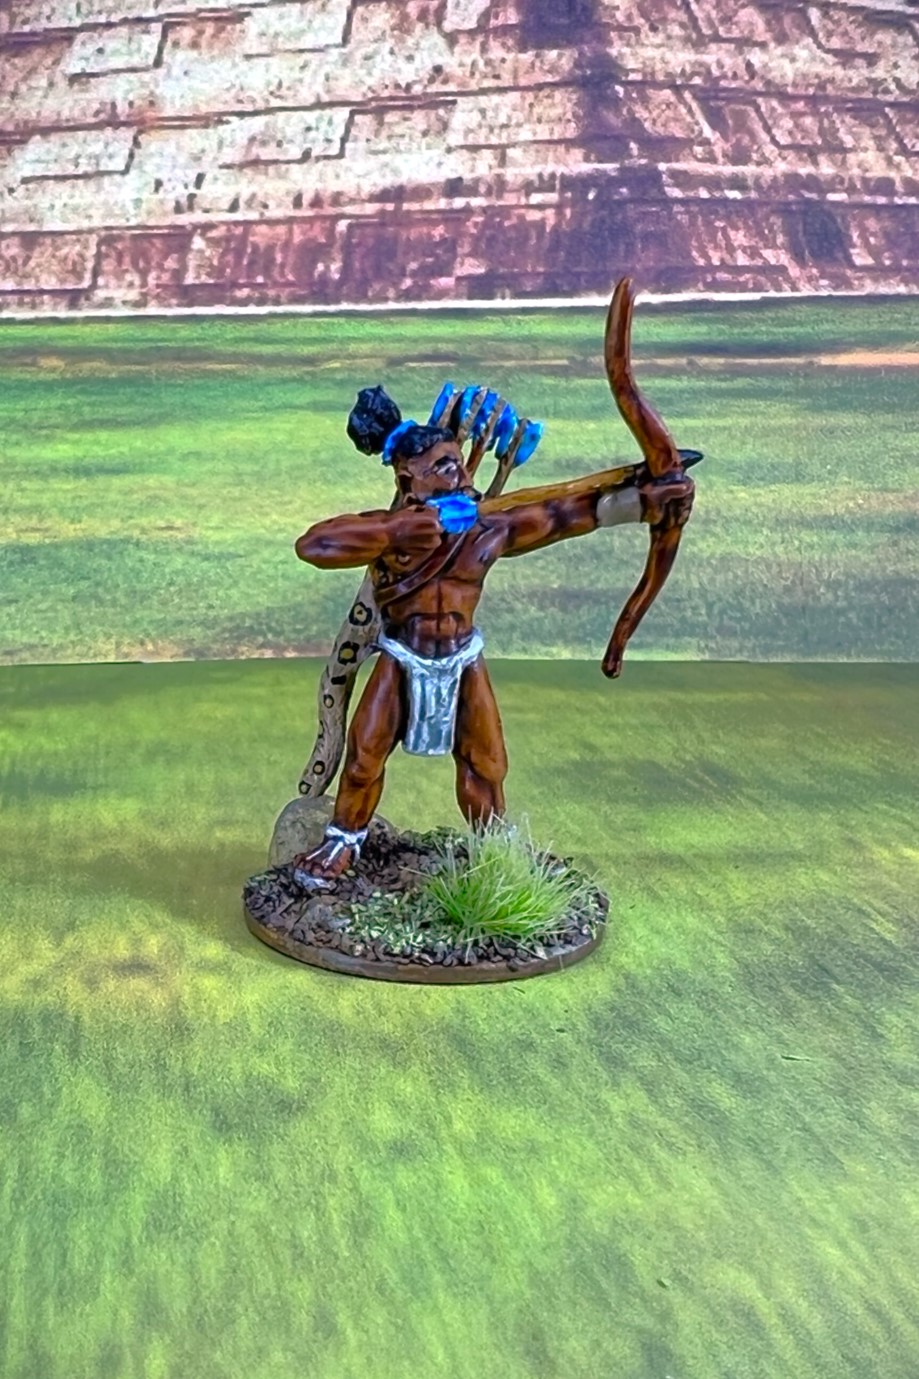
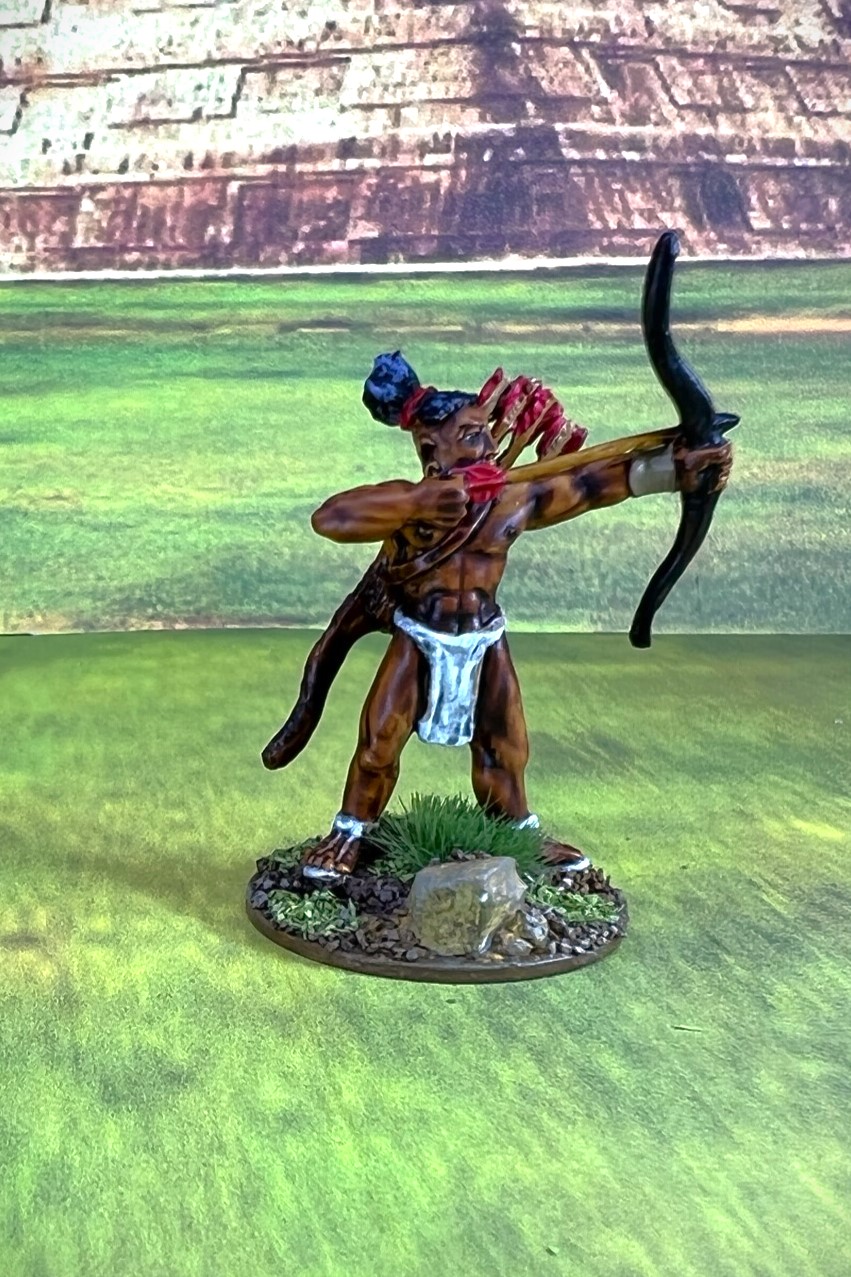
- Figure M3 – “Mayan Archer”. Got 3 figures to use as veterans (designated in my system as MV05-MV07).
- Figure M4 – “Mayan with Stone-Headed Mace”. Got 3 figures to use as novices (as they are naked – designated in my system as MN01-MN03).
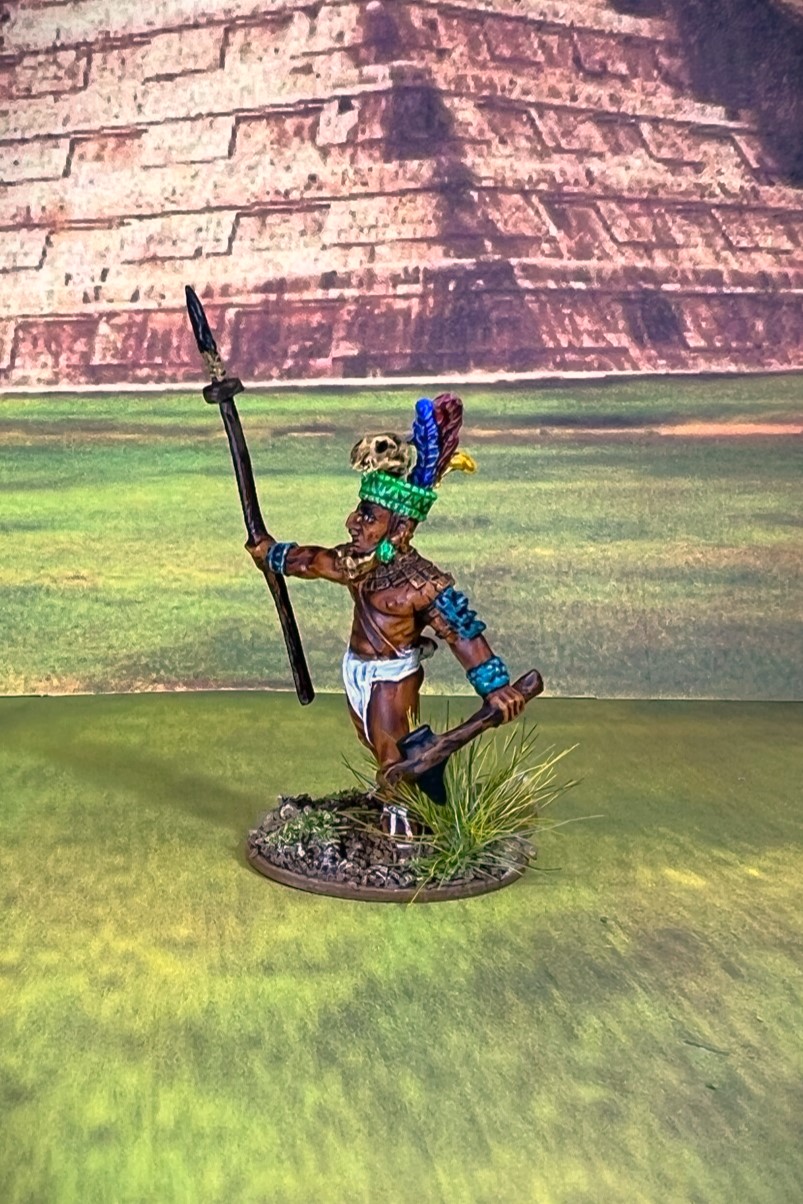
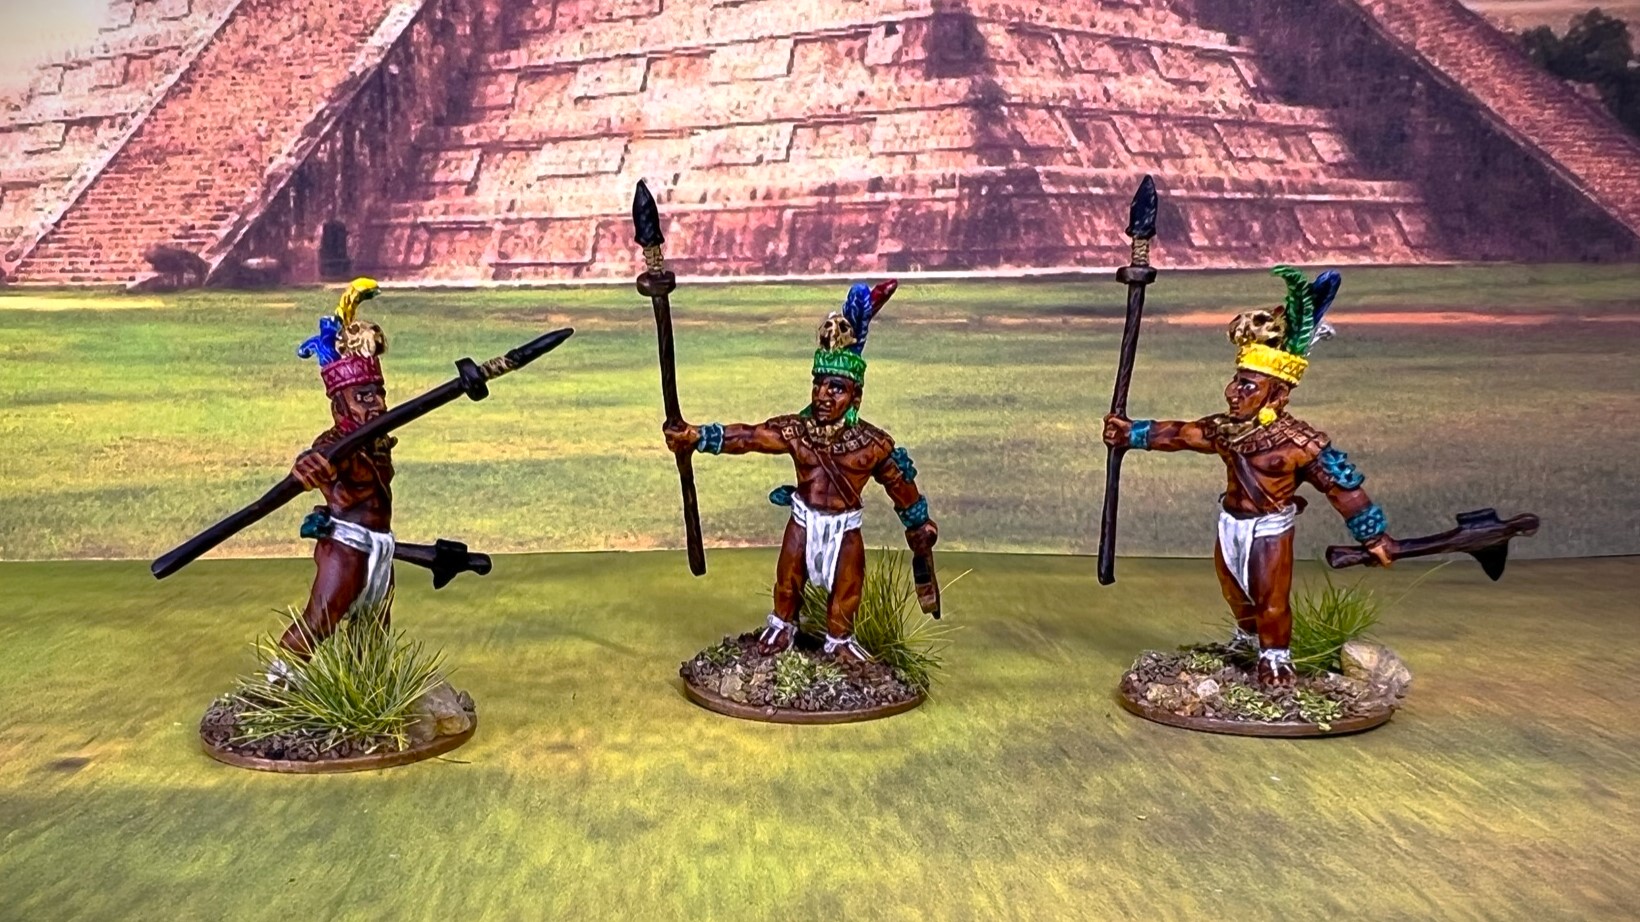
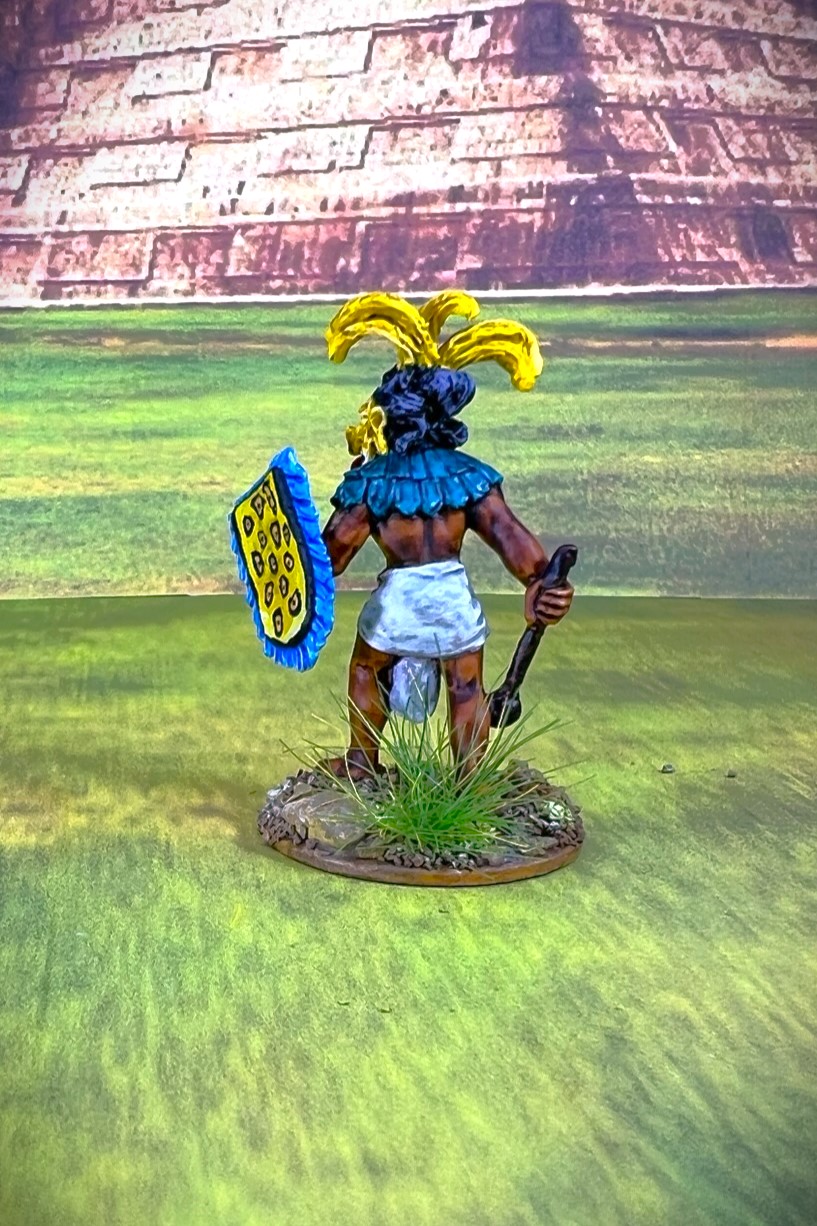
- Figure M5 – “Mayan Warrior in Headdress Advancing”. Got 3 figures to use as elites ( designated in my system as ME05-ME07).
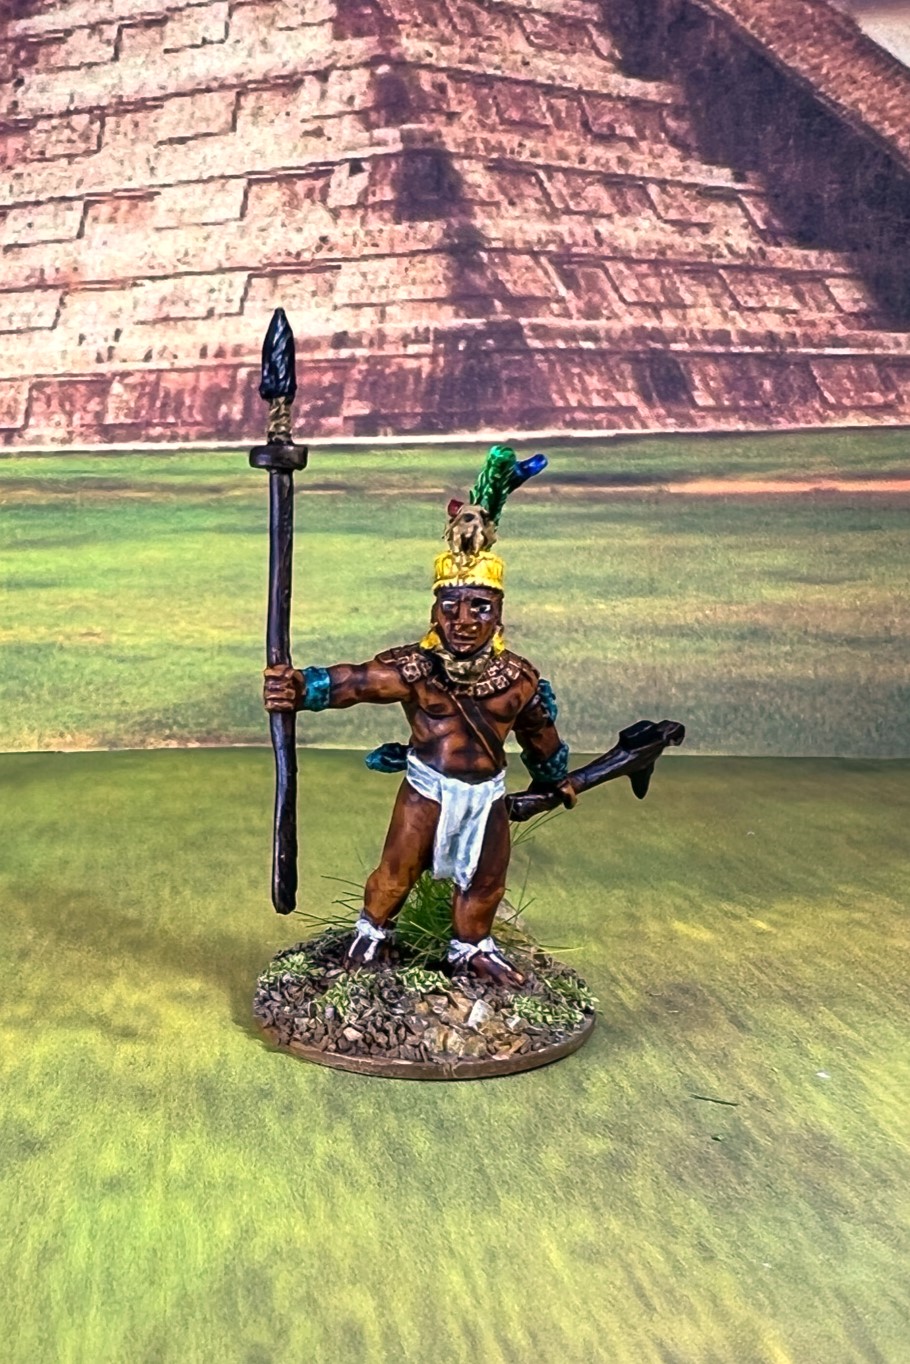
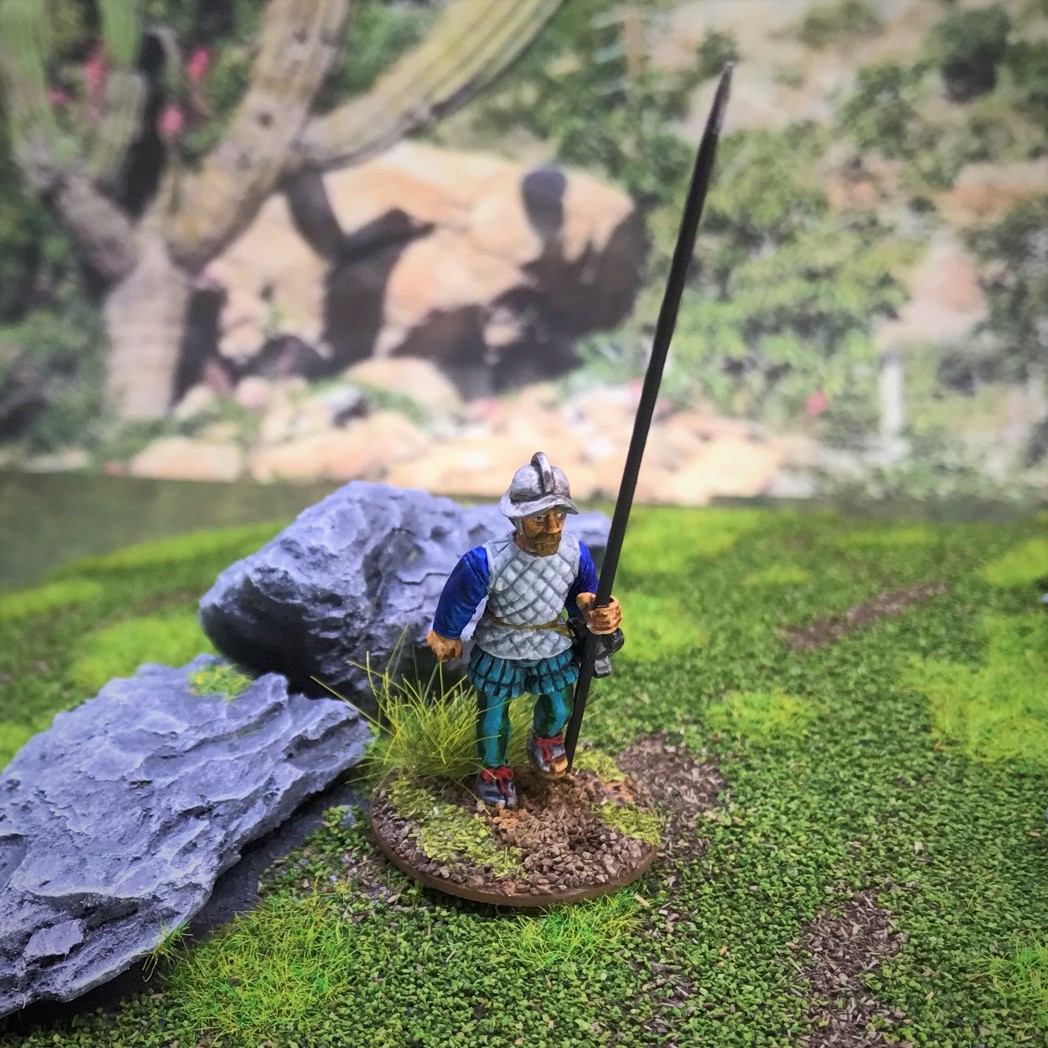
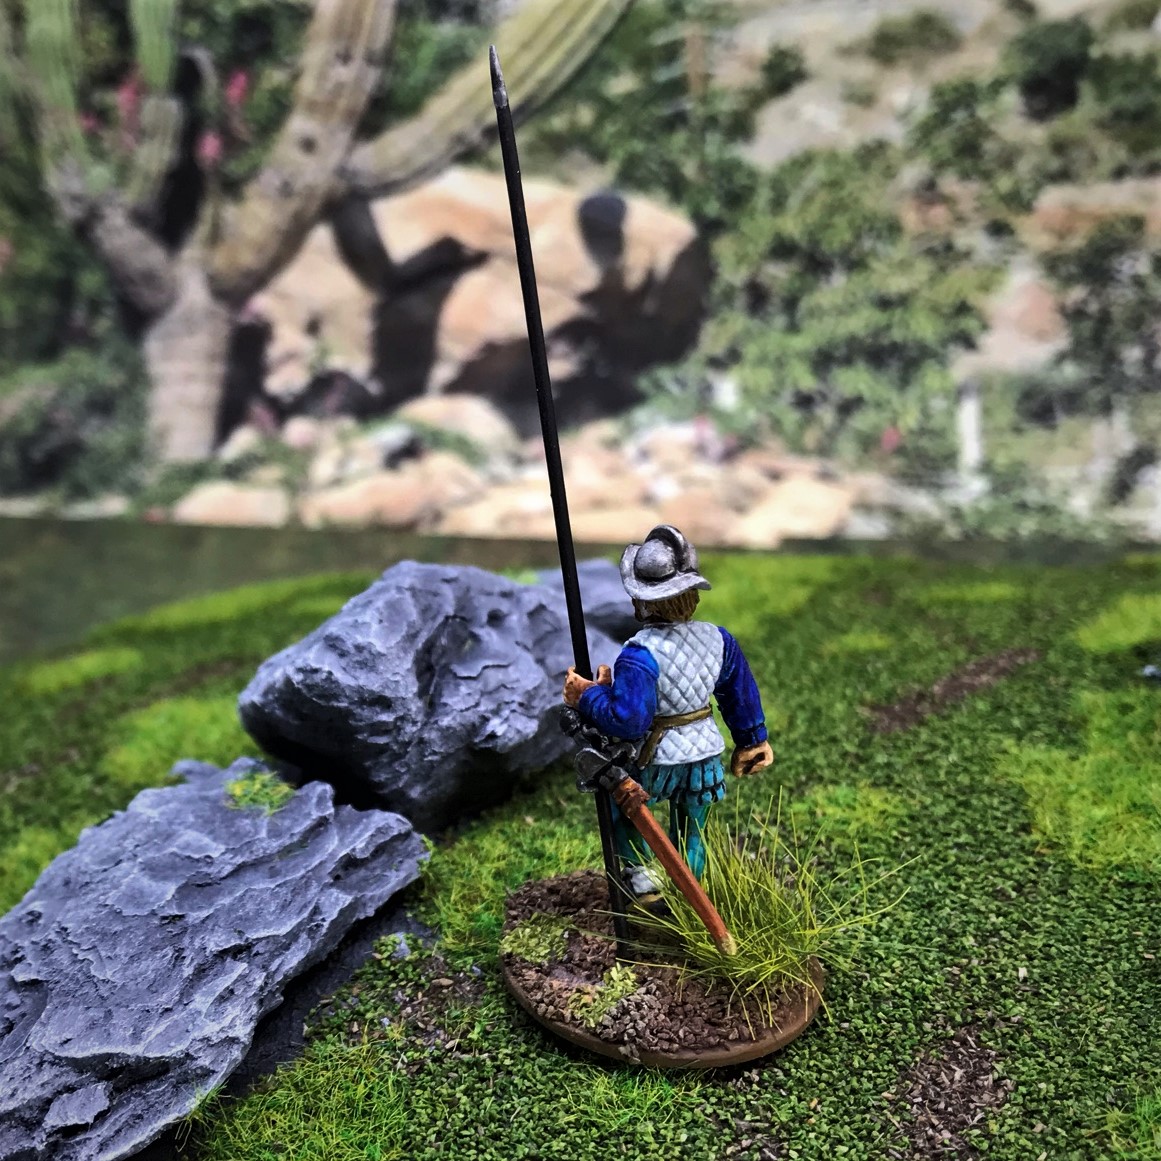
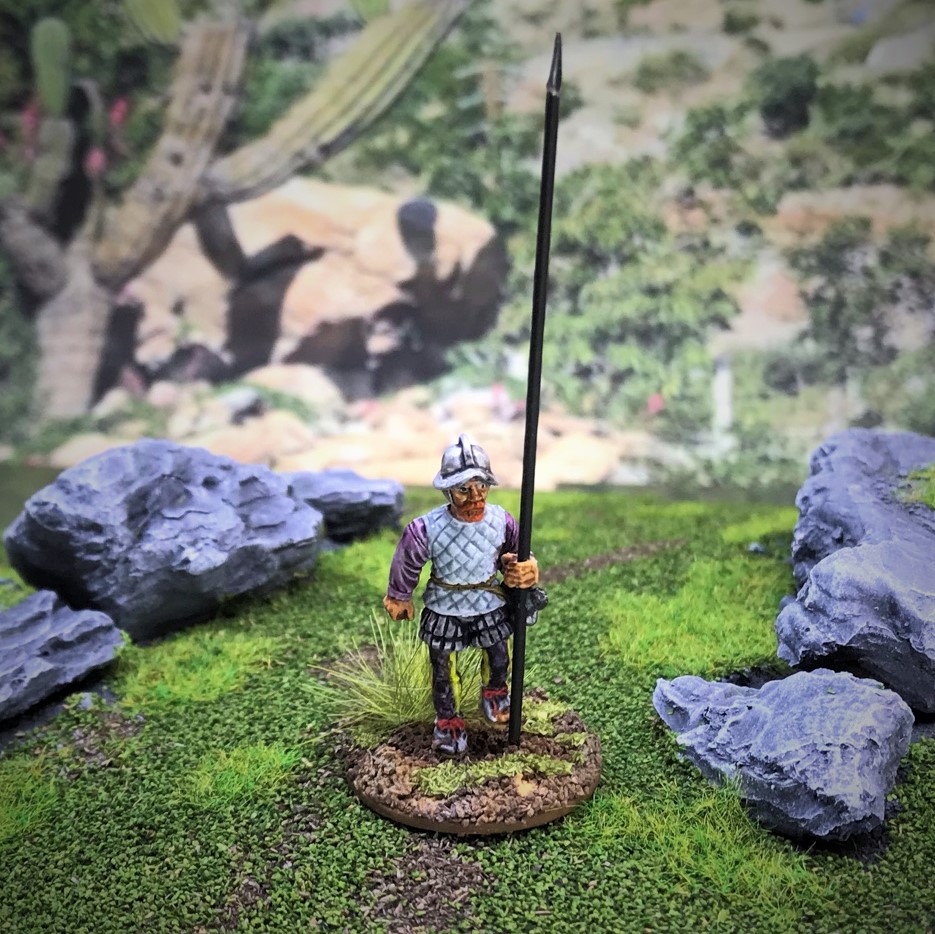
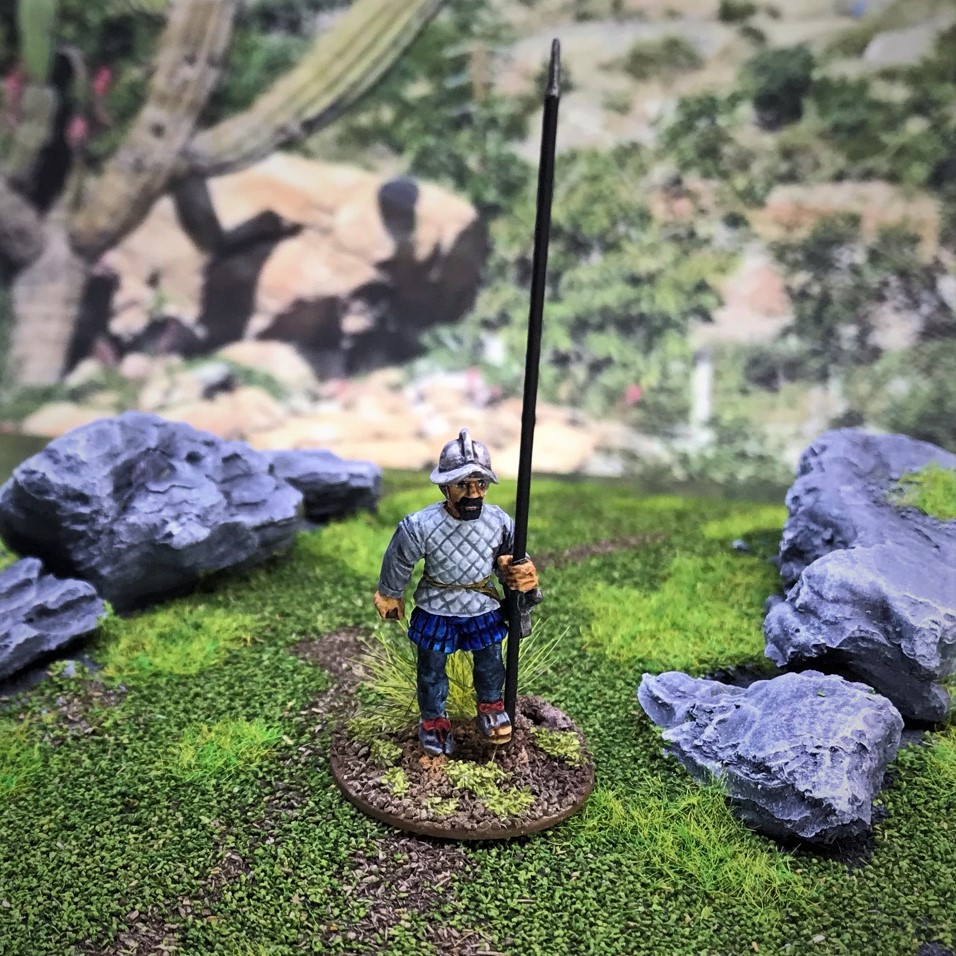
- Figure M7 – “Mayan War Chief”. Got 3 figures to use as leaders/captains (designated in my system as MWC01-MWC03).
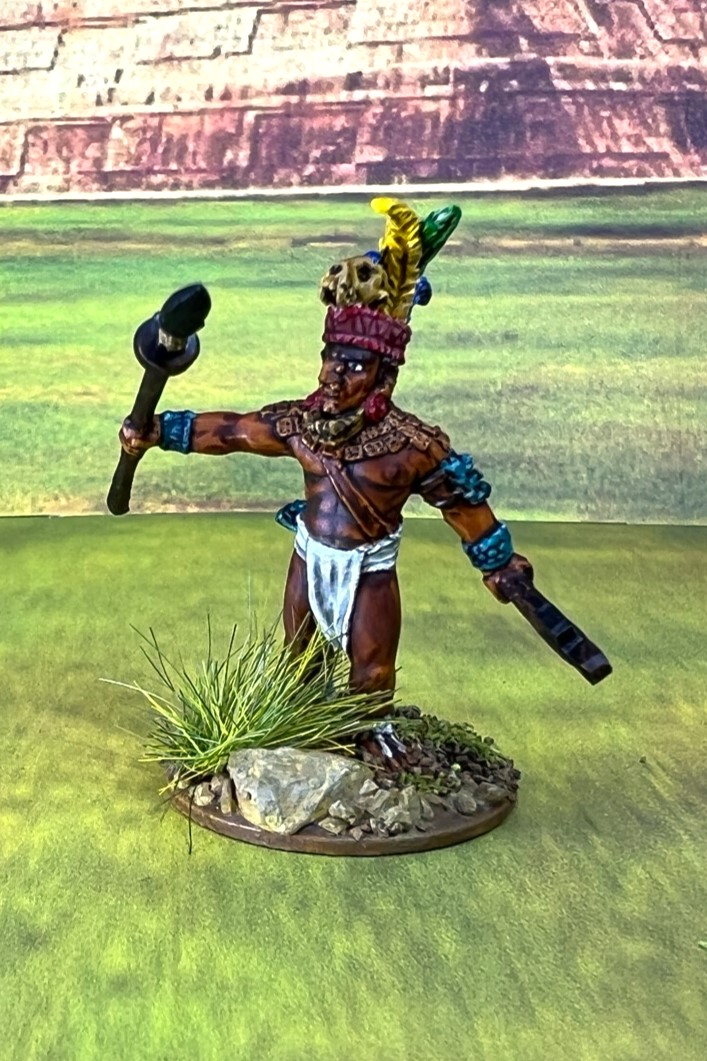
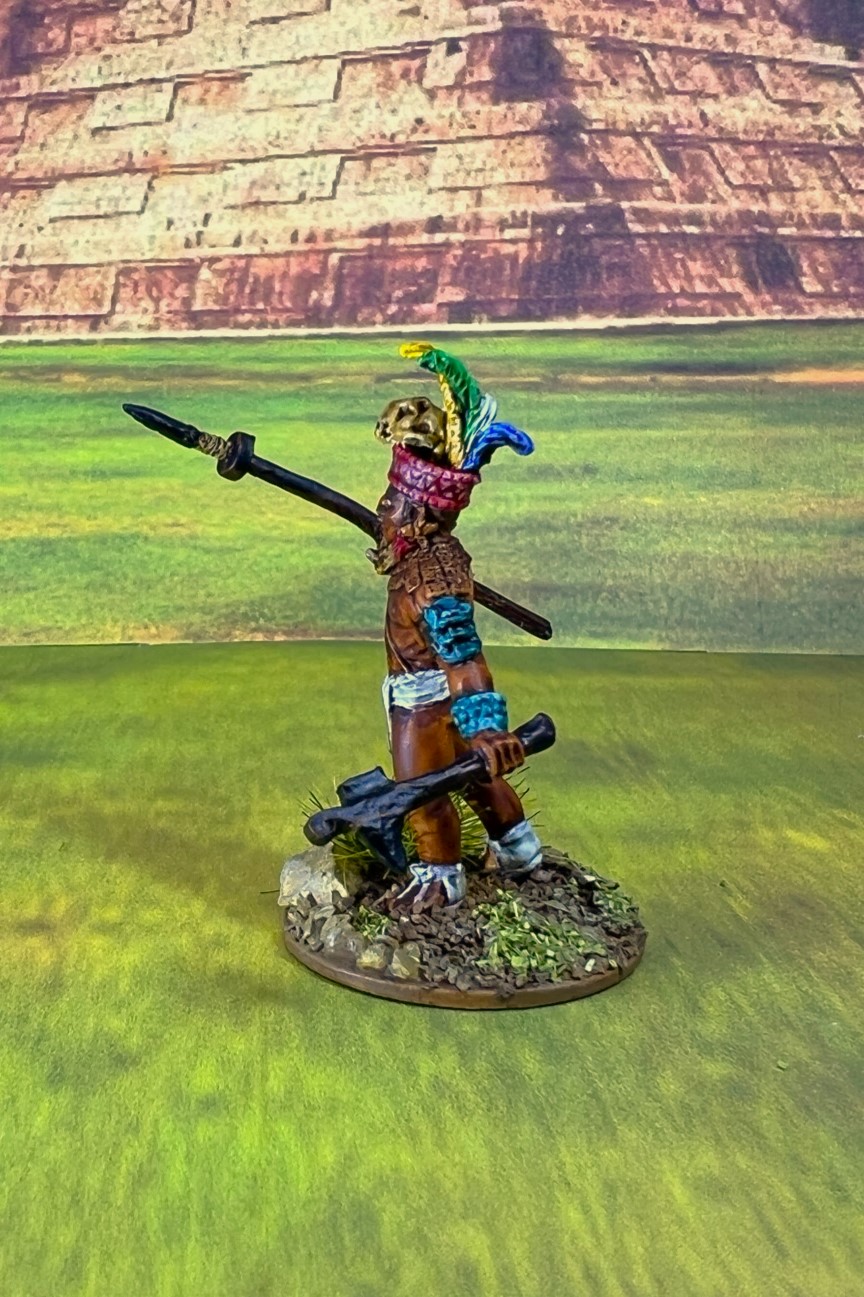
- Figure M8 – “Mayan Priest in Mask”. Got 3 figures to use as warrior priests (designated in my system as MWP01-MWP03).
- Figure M9 – “Atlatl Thrower (a)”. Got 4 figures with longer hair than M2 to use as elites (designated in my system as ME08-MV11).
- Figure M11 – “Mayan with Club Advancing (b)”. Got 2 figures to use as novices (as they are naked with longer hair than M4- designated in my system as MN05-MN06).
- Figure M12 – “Mayan with Club Advancing (c)”. Got 3 non-naked figures similar to the novices to use as veterans (designated in my system as MV08-MV10).
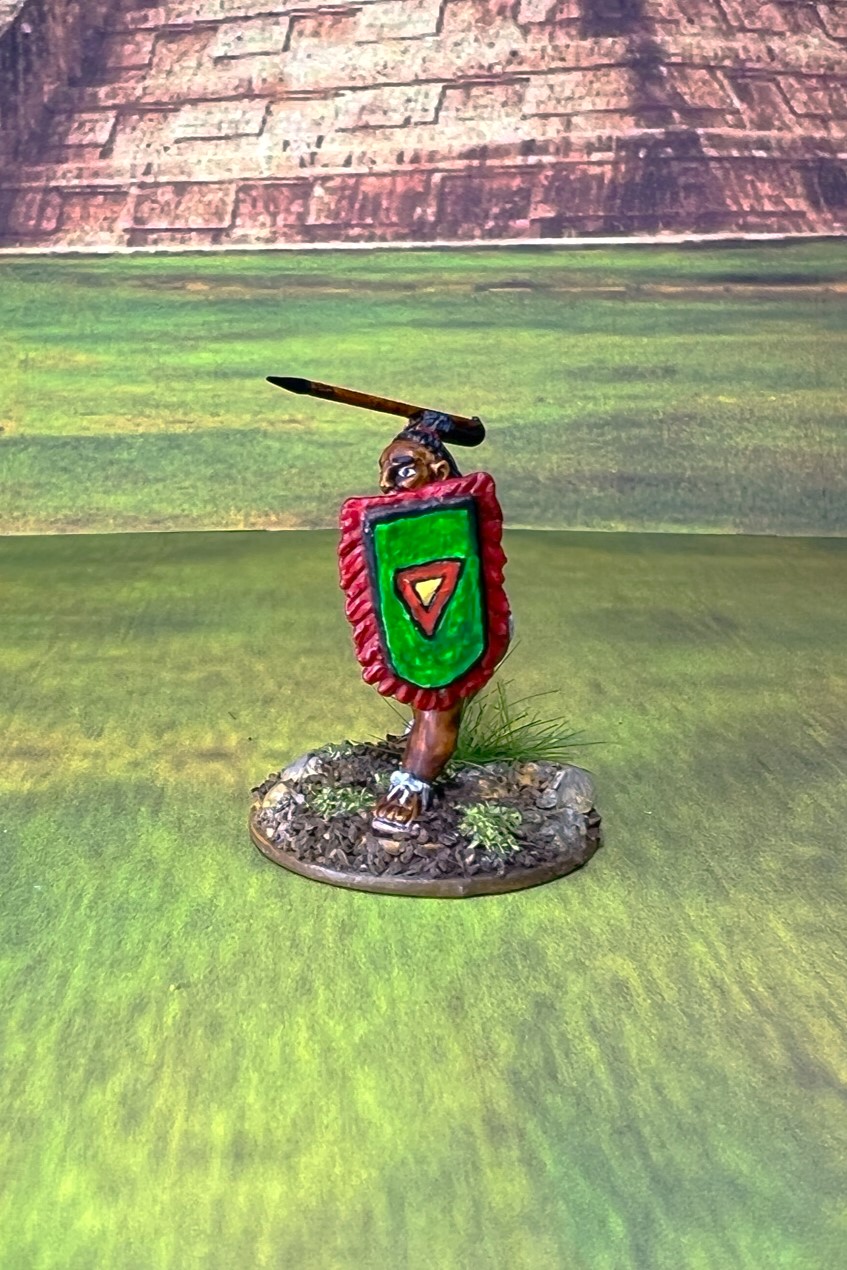
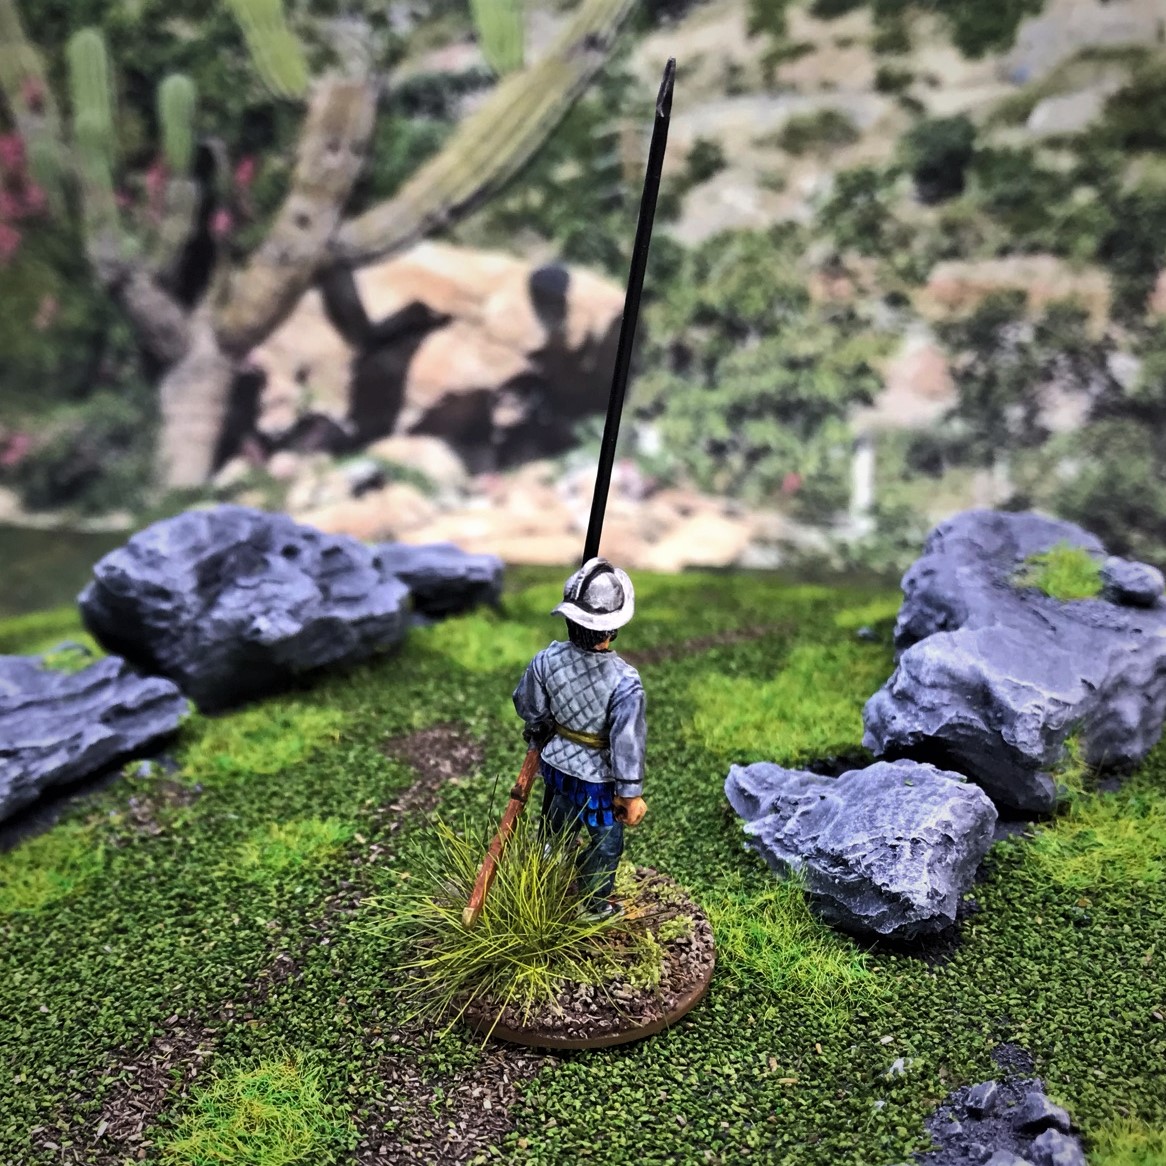
- Figure M15 – “Mayan Carrying Spears”. Got 1 figure to use as a novice (not naked – designated in my system as MN15).
- Figure M16 – “Mayan Chief”. Got 1 figures to use as Tabscoob, a Mayan War Chief (designated in my system as TABSCOOB).
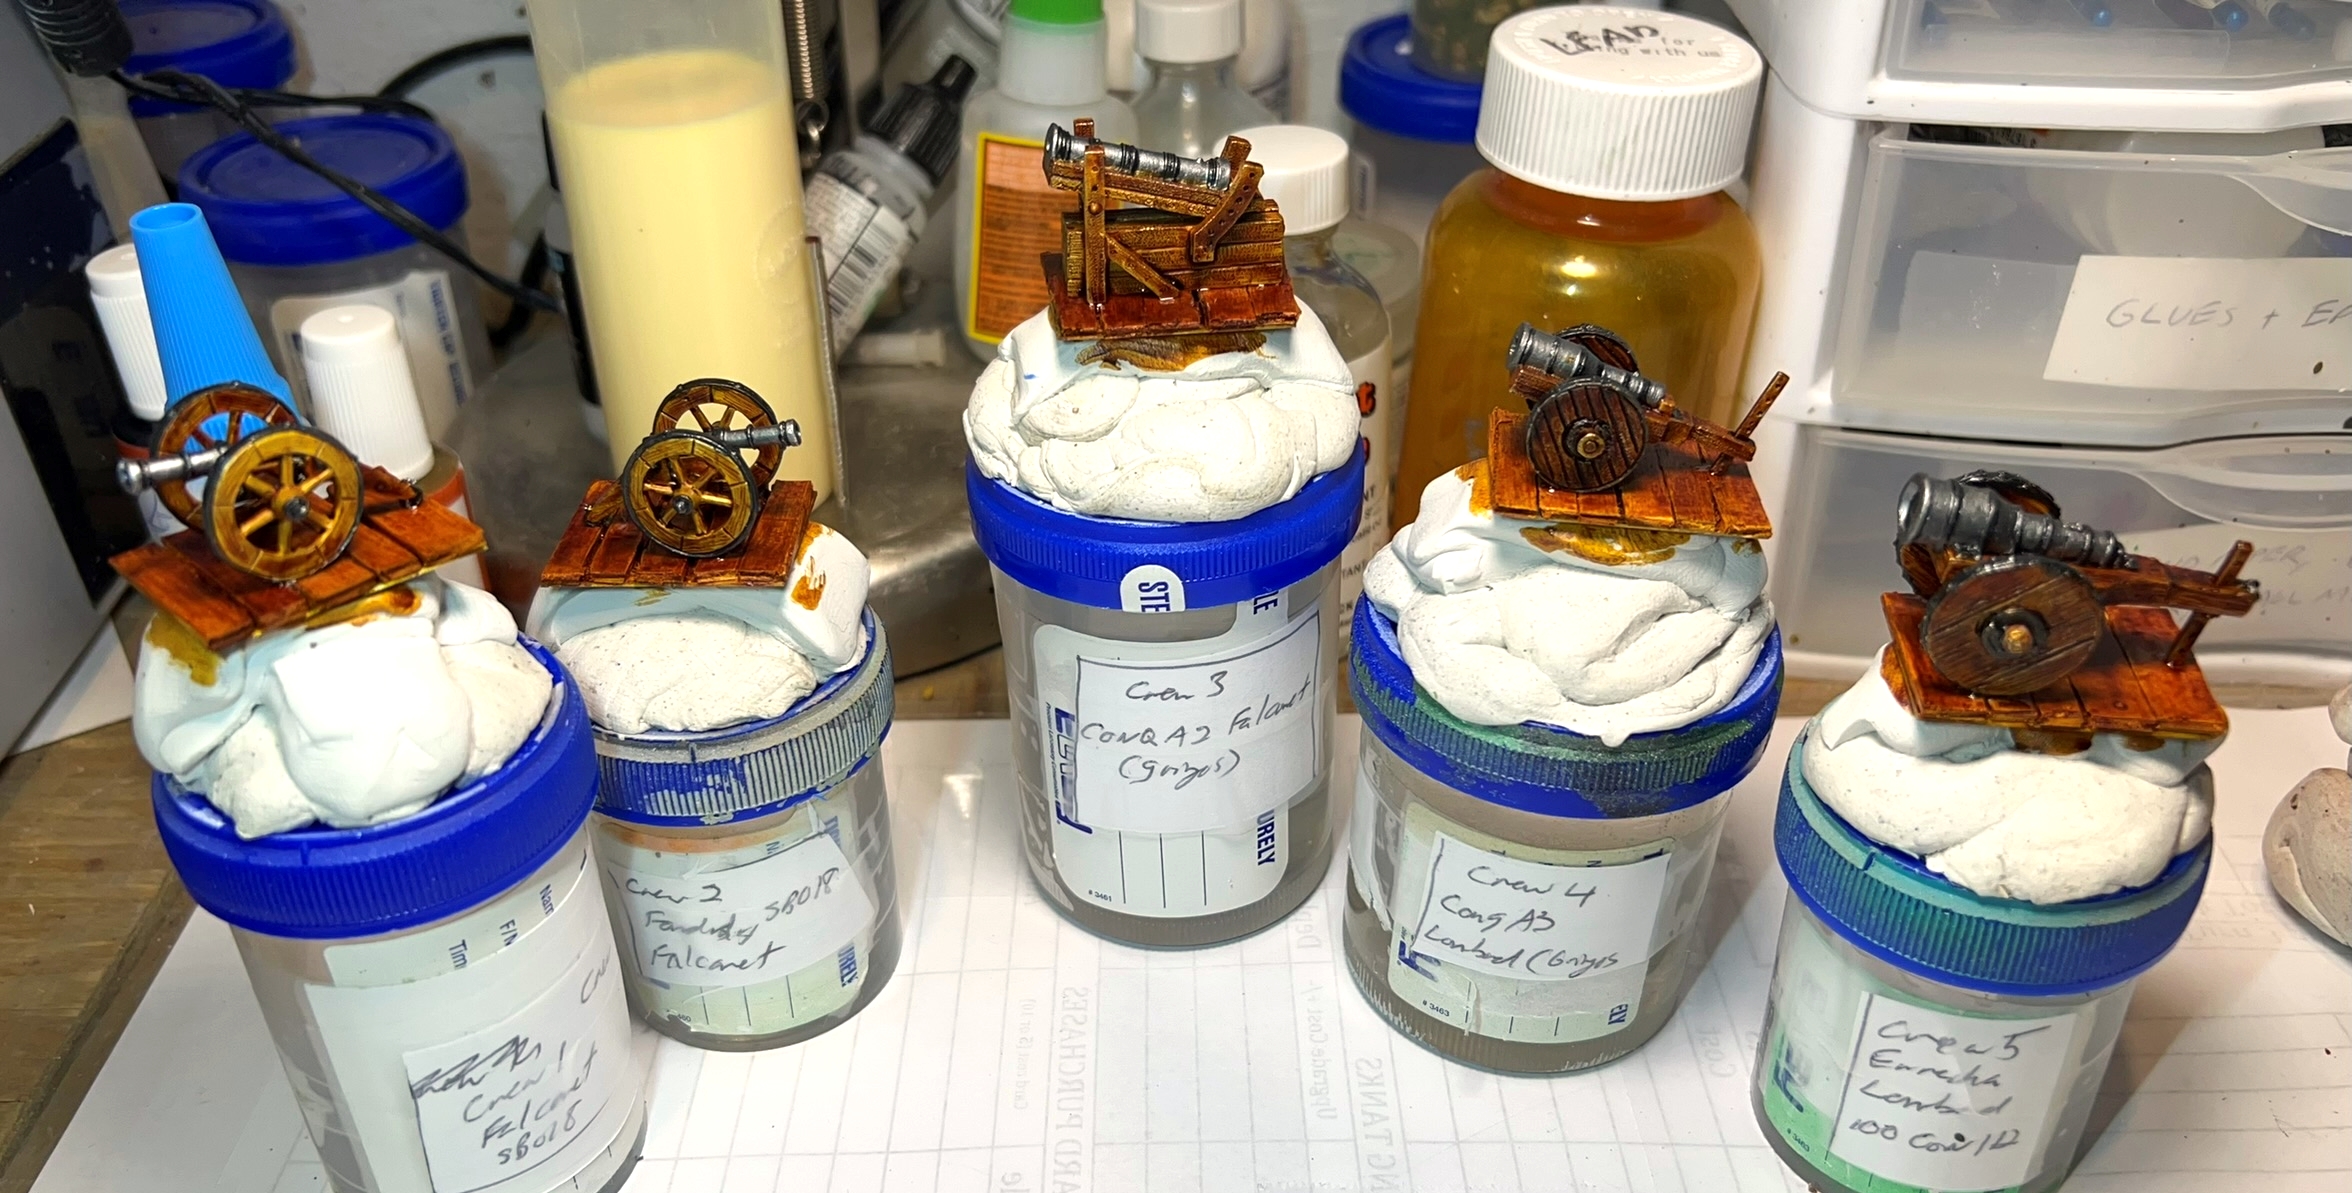
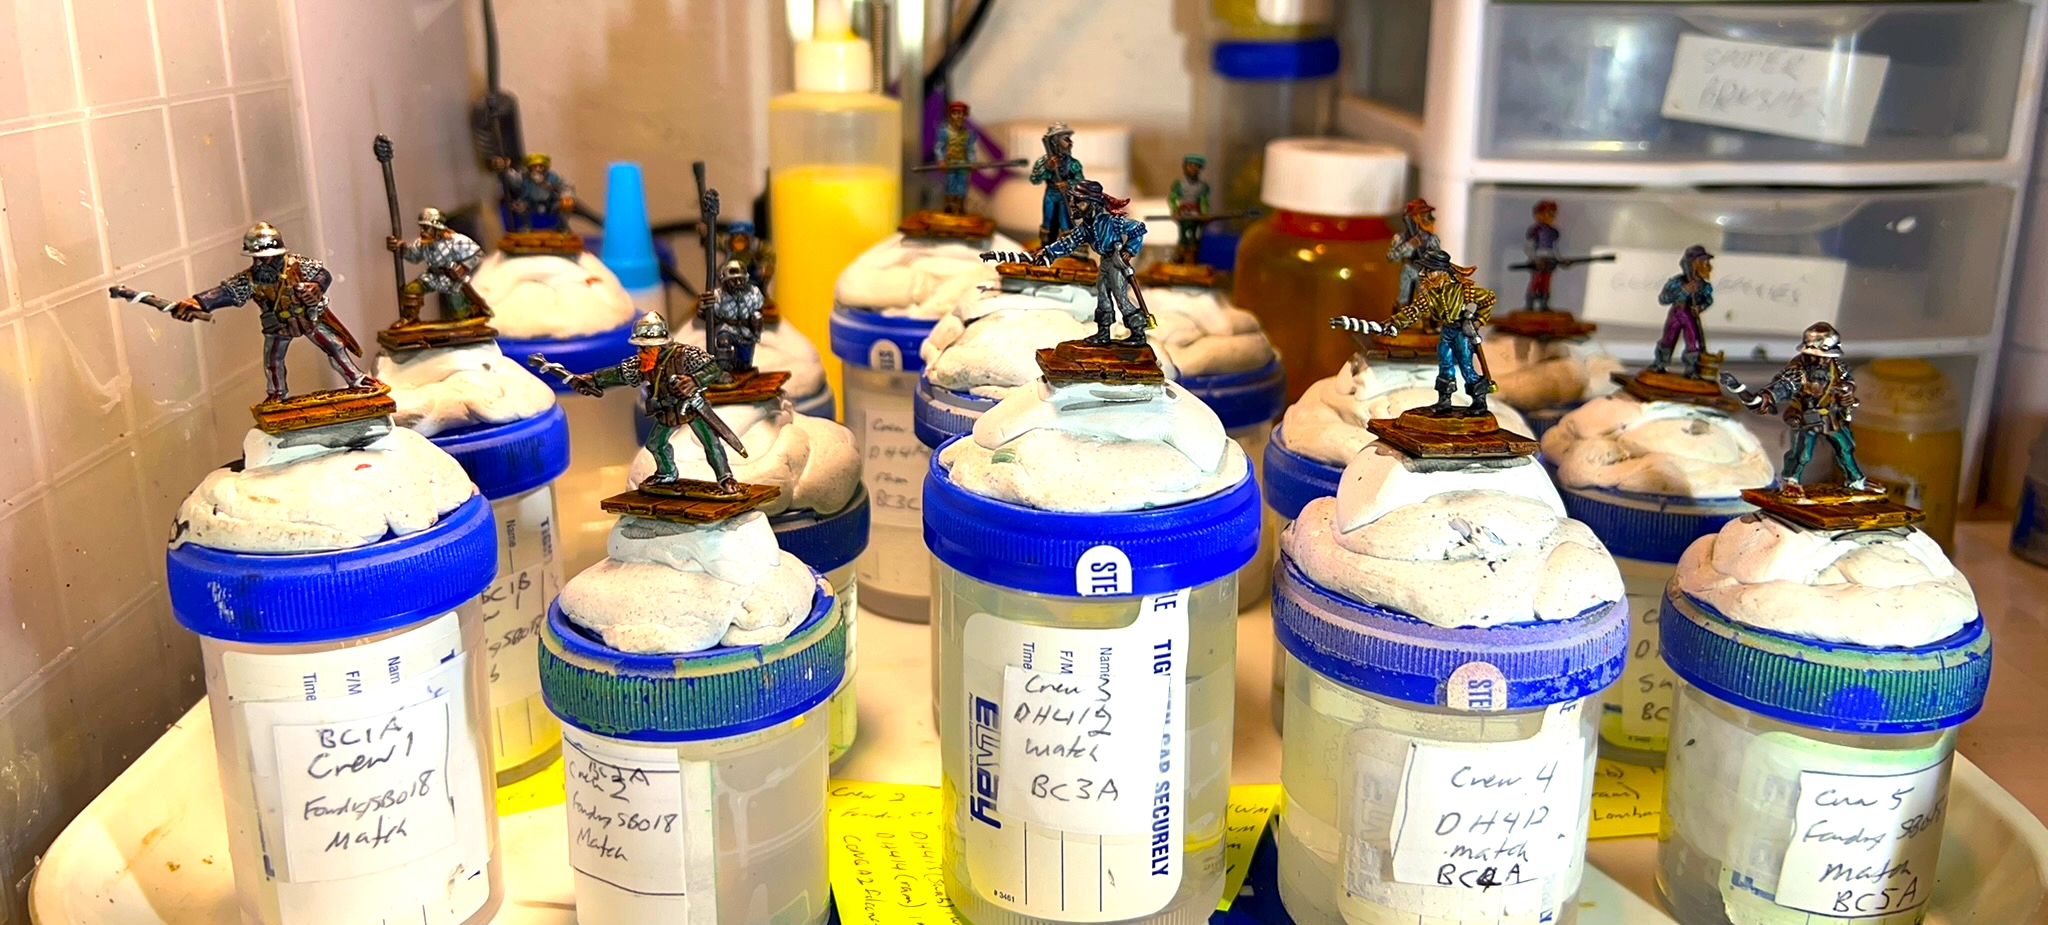
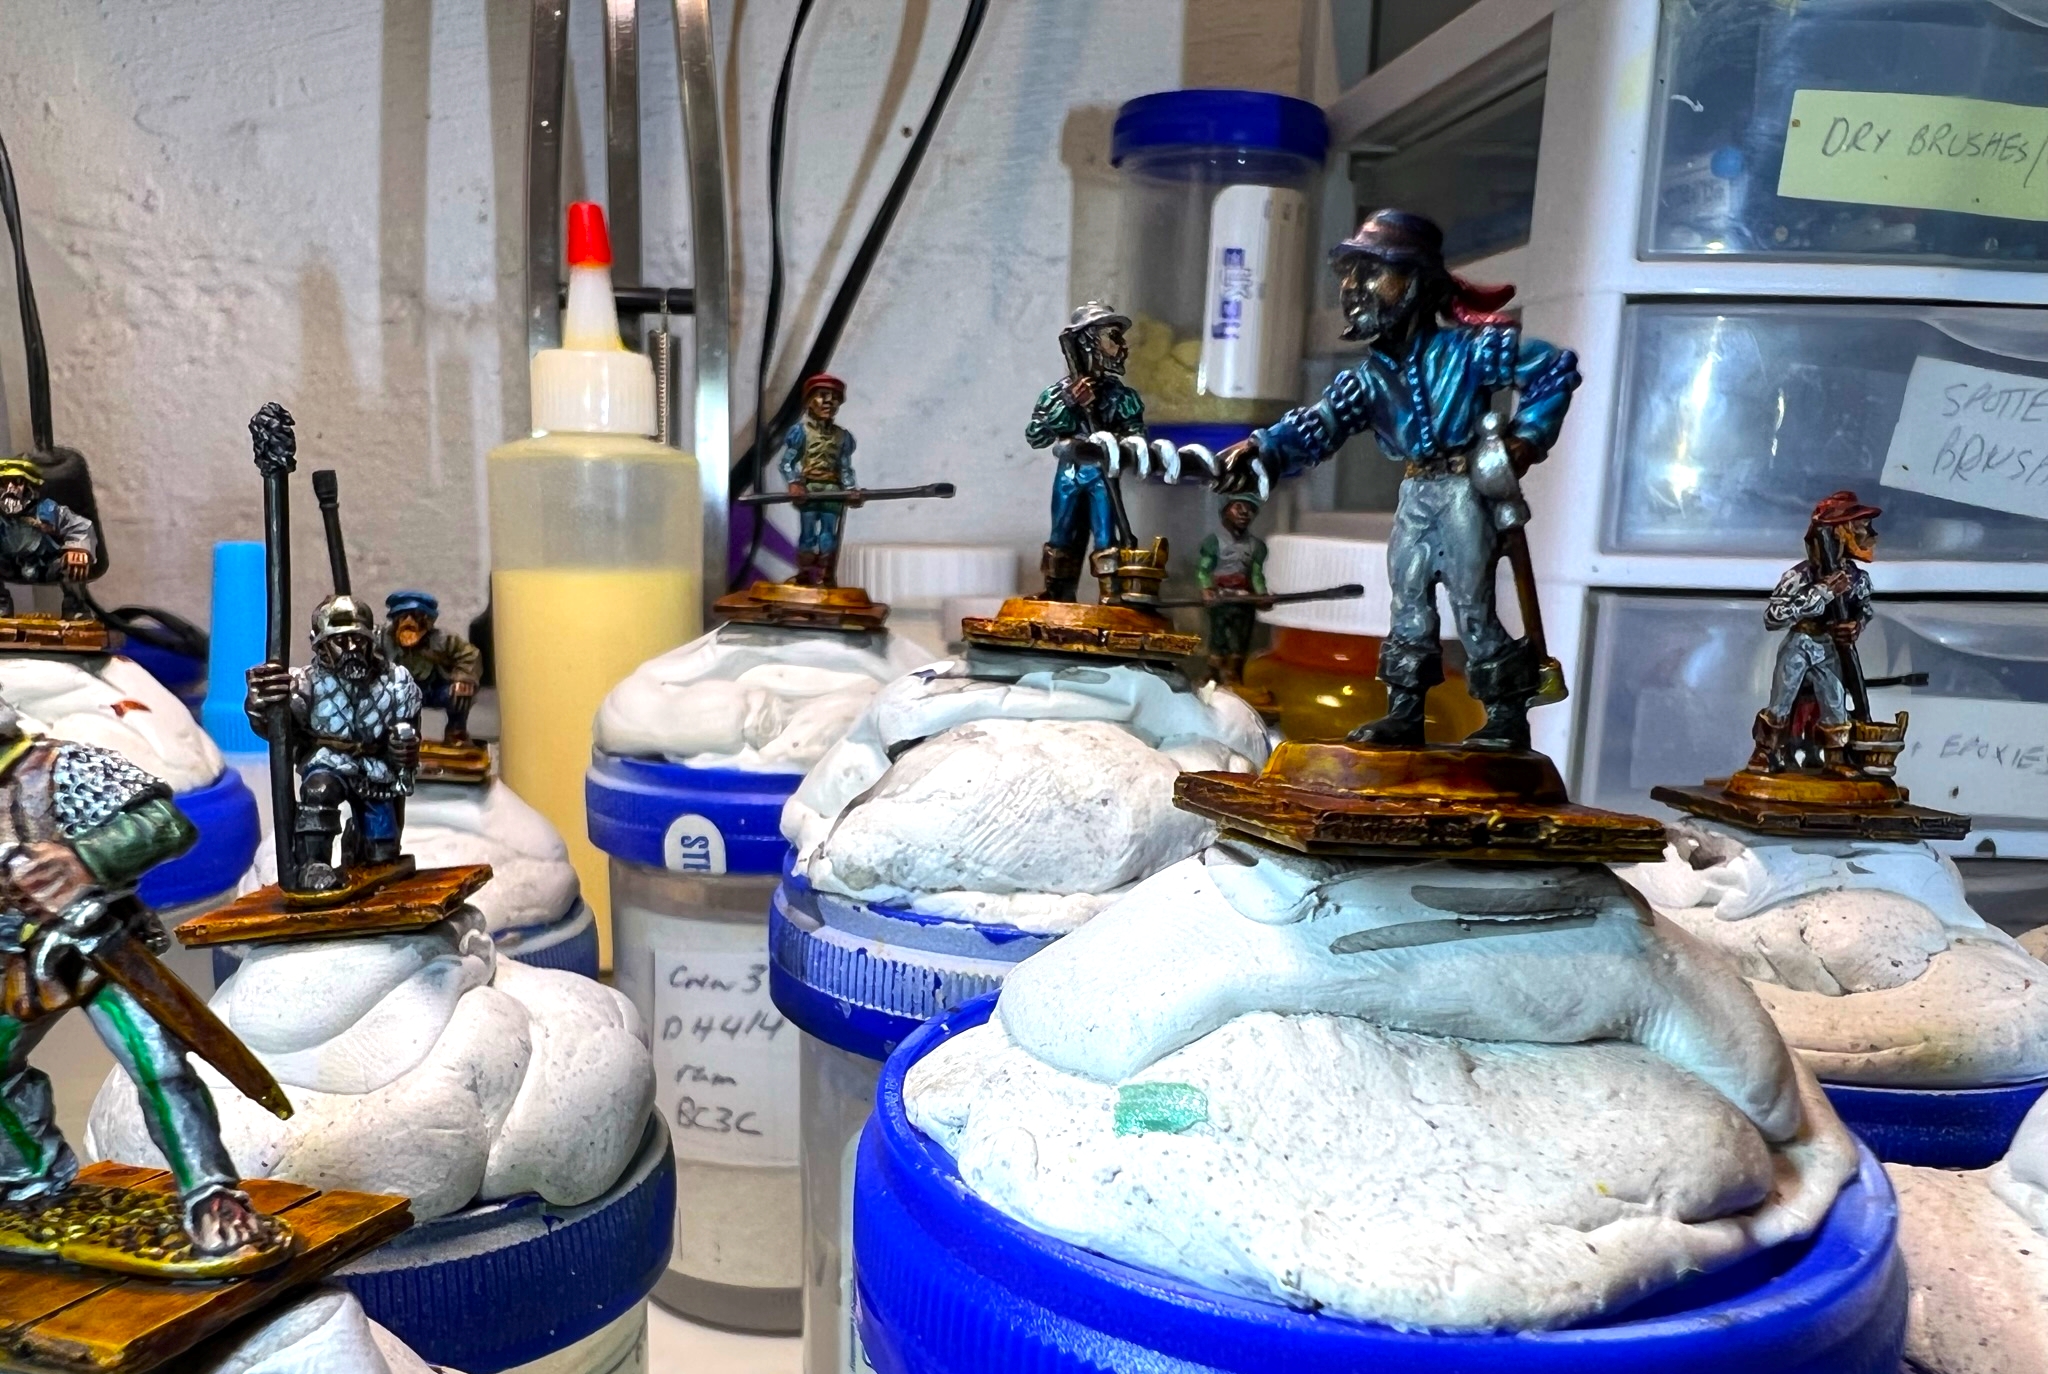
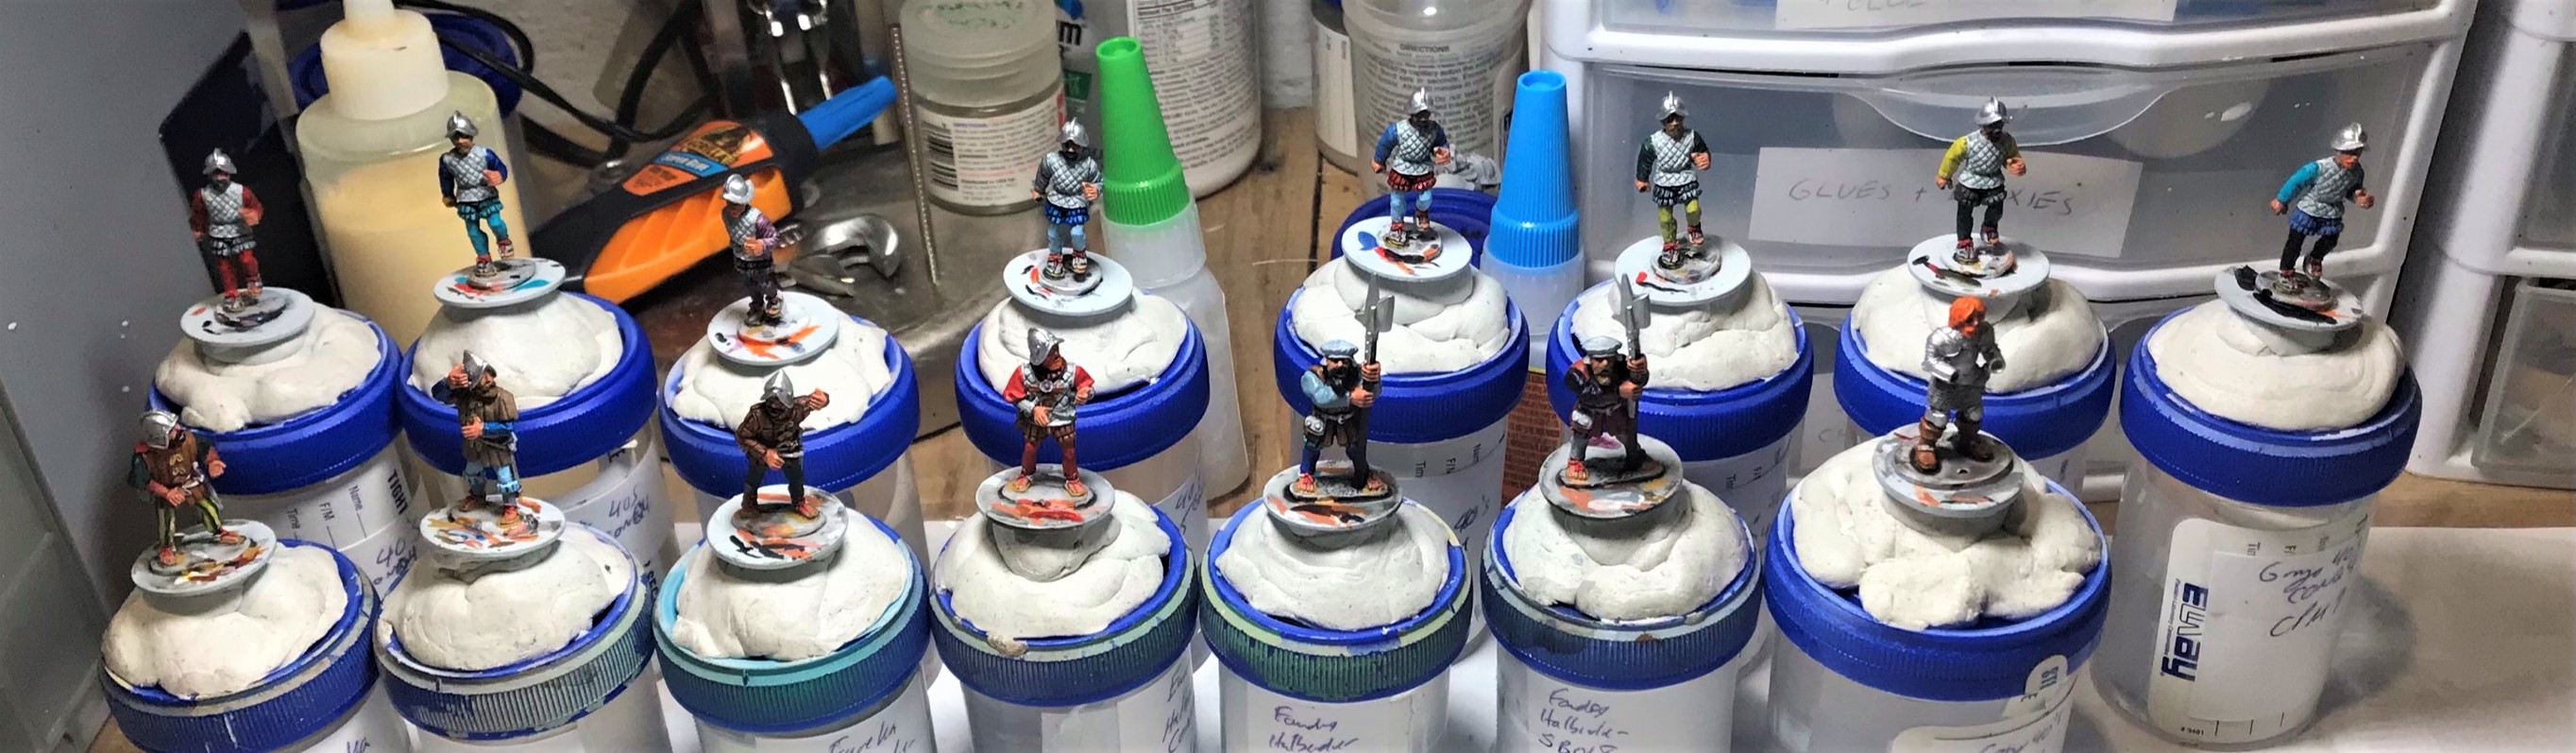
Most of these came with shields. A challenge with this project was that the figures did not really allow for much moving of their poses. Therefore, as you will see below, except for the M7’s (which had pose variability), I had to rely on different painting schemes, especially with regards to colors, and differently painted and shaped shields. I also flocked them slightly differently.
Still, tabletop differentiation and playability are important concerns to deal with when designing an army. To this end I replaced a few of the Gringo 40’s shields with Aztec extras that I had lying around from previous projects. I mixed up the shield shapes across the figures as you will see below.
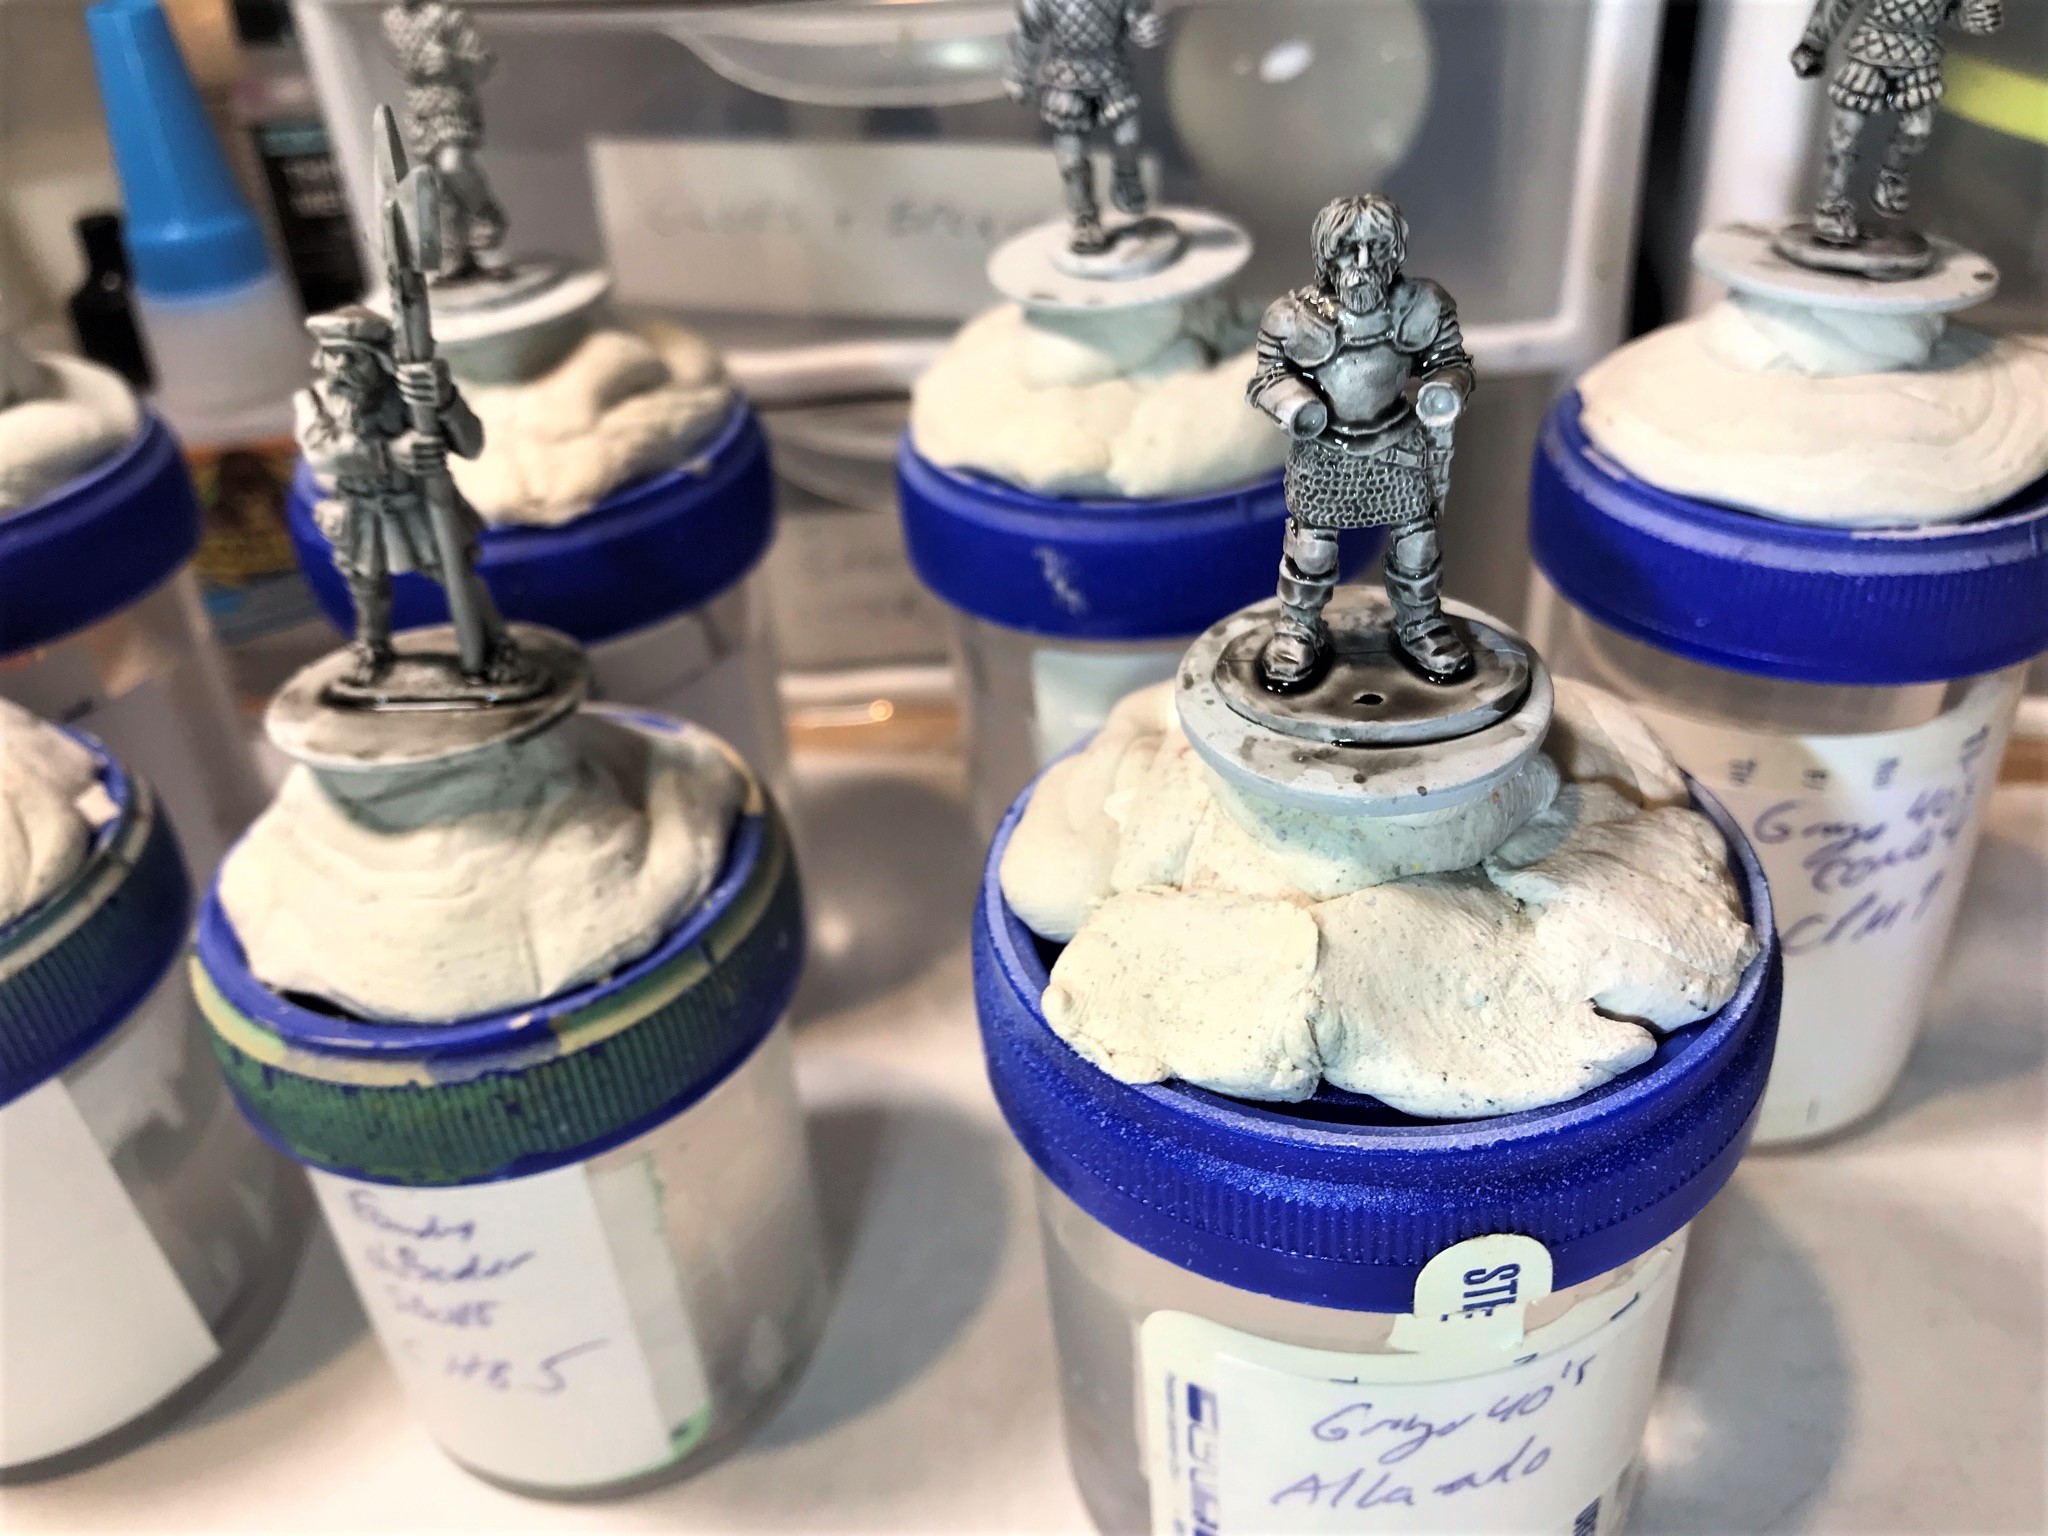
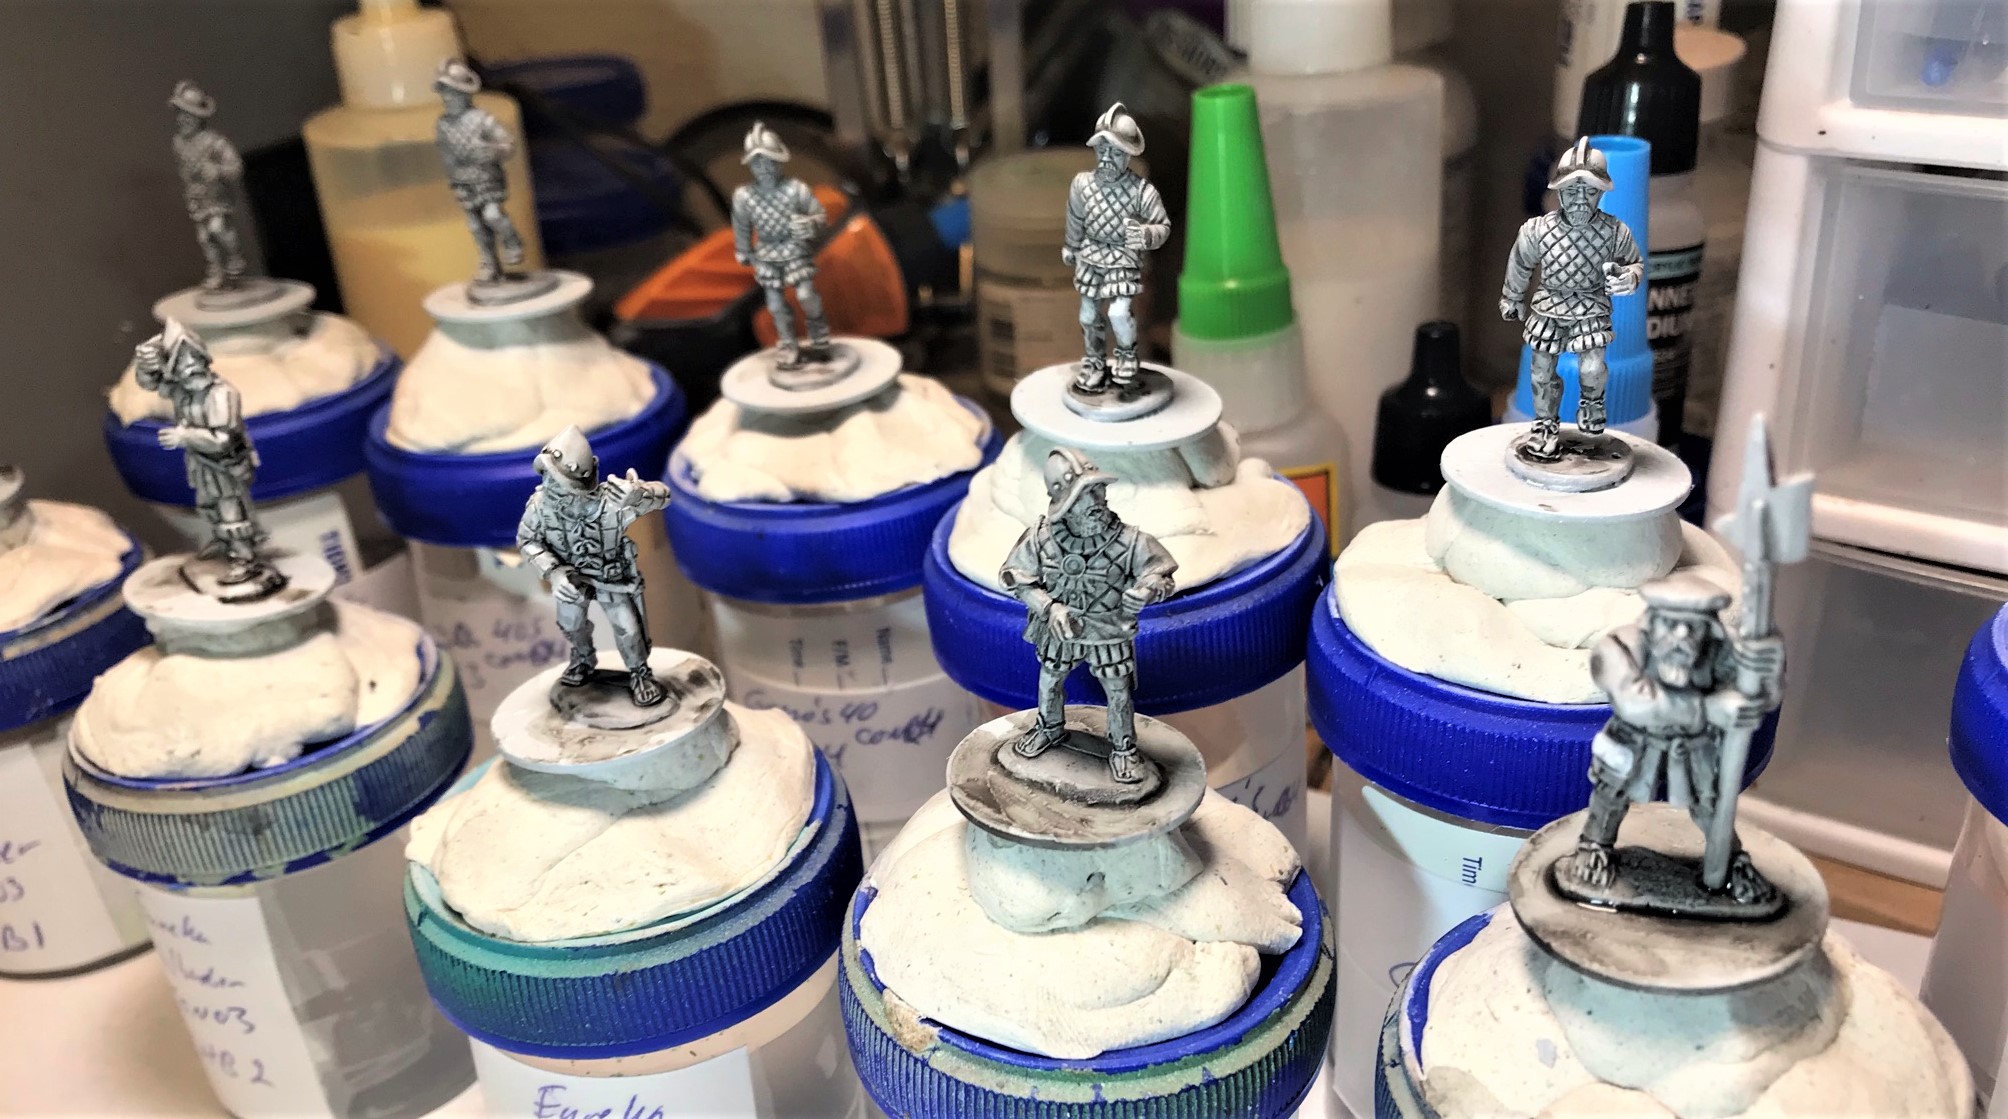
Process of Assembling, Painting, Etc.
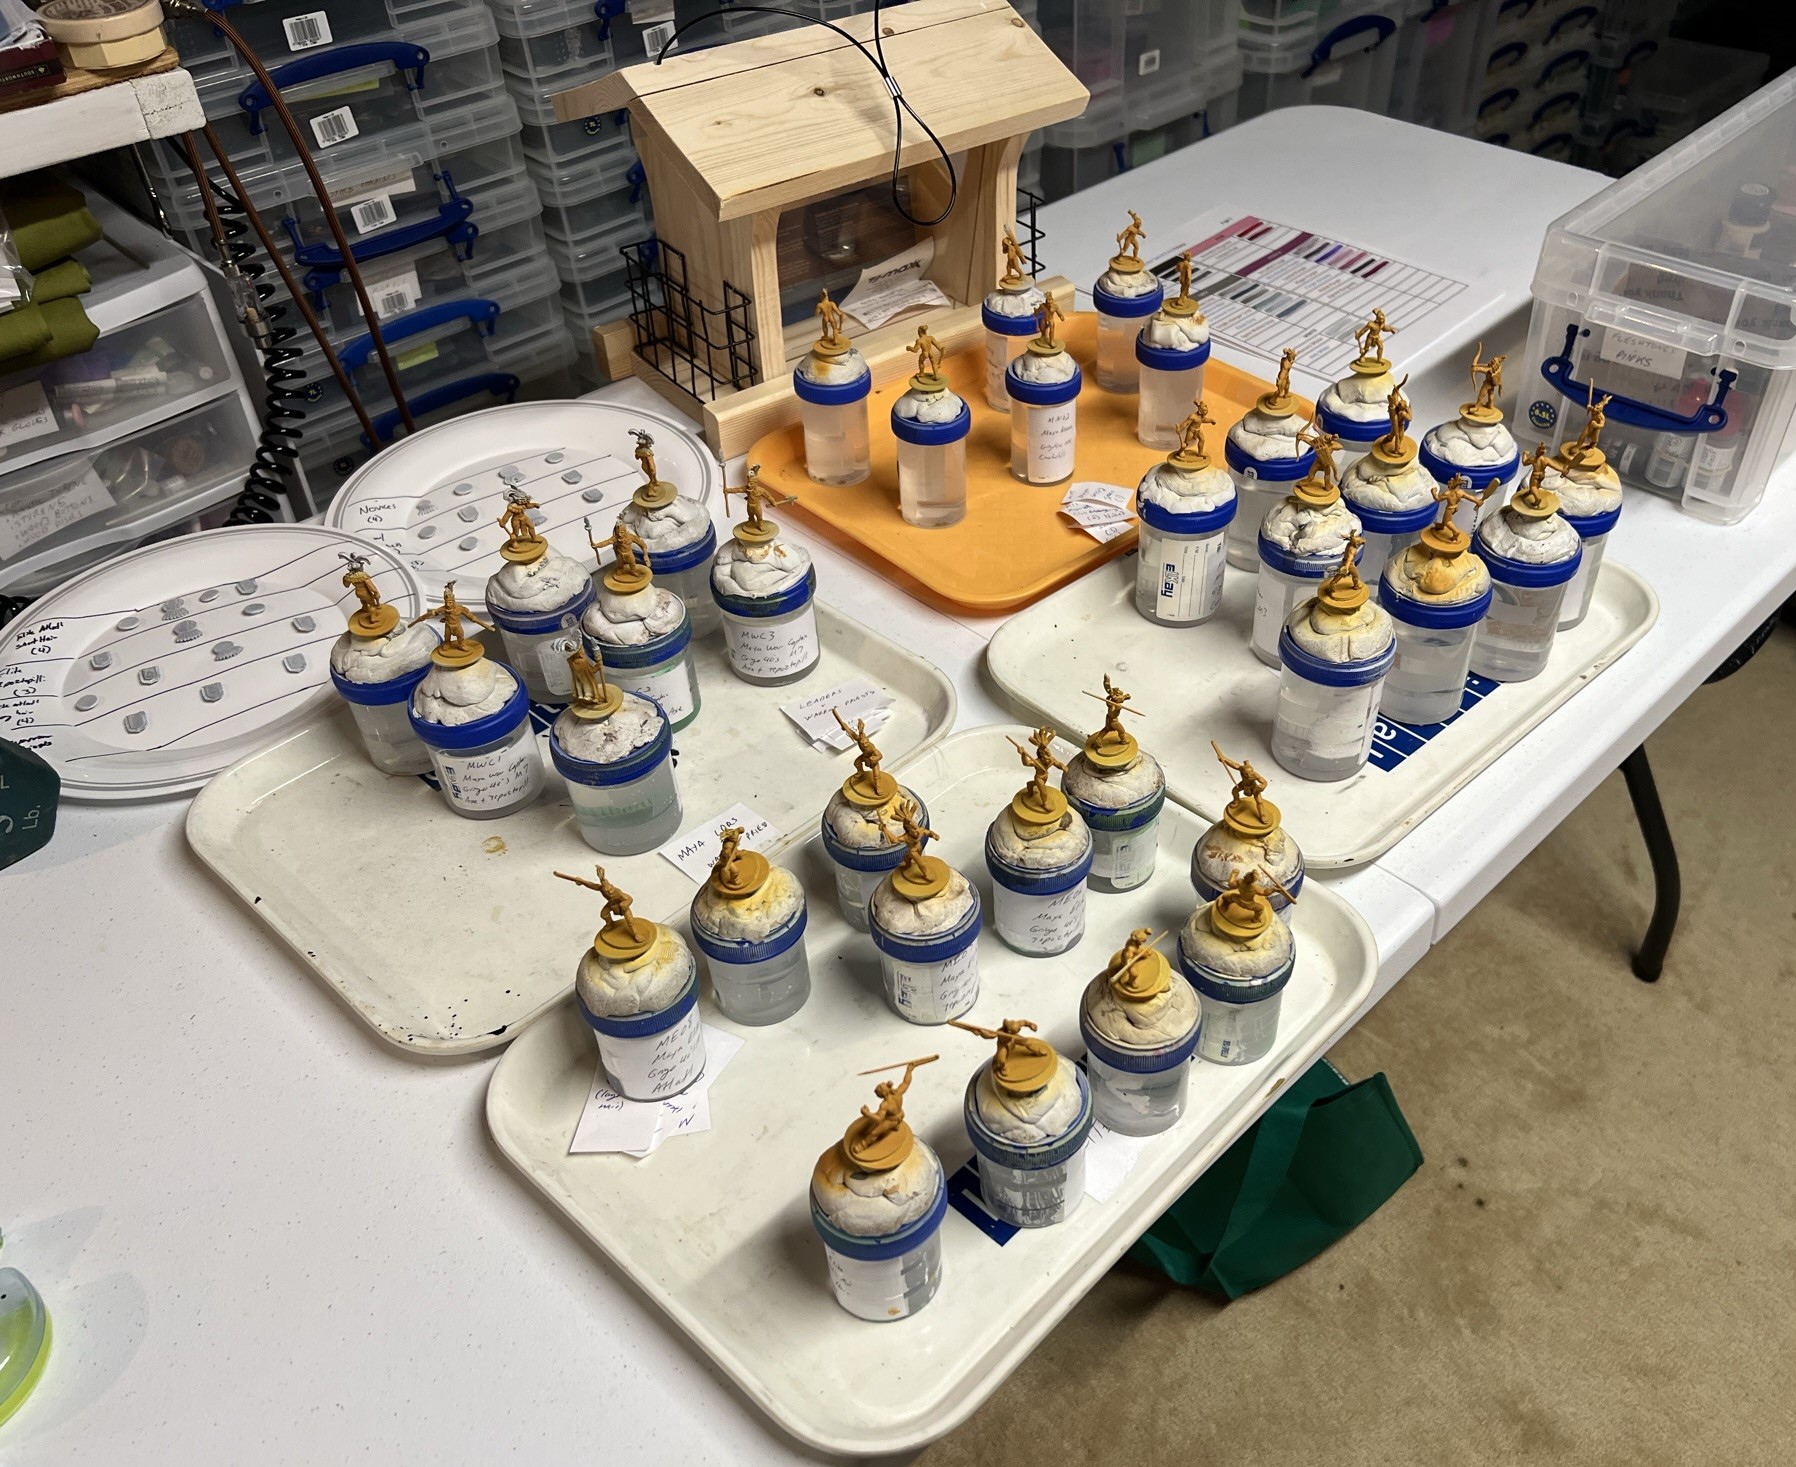
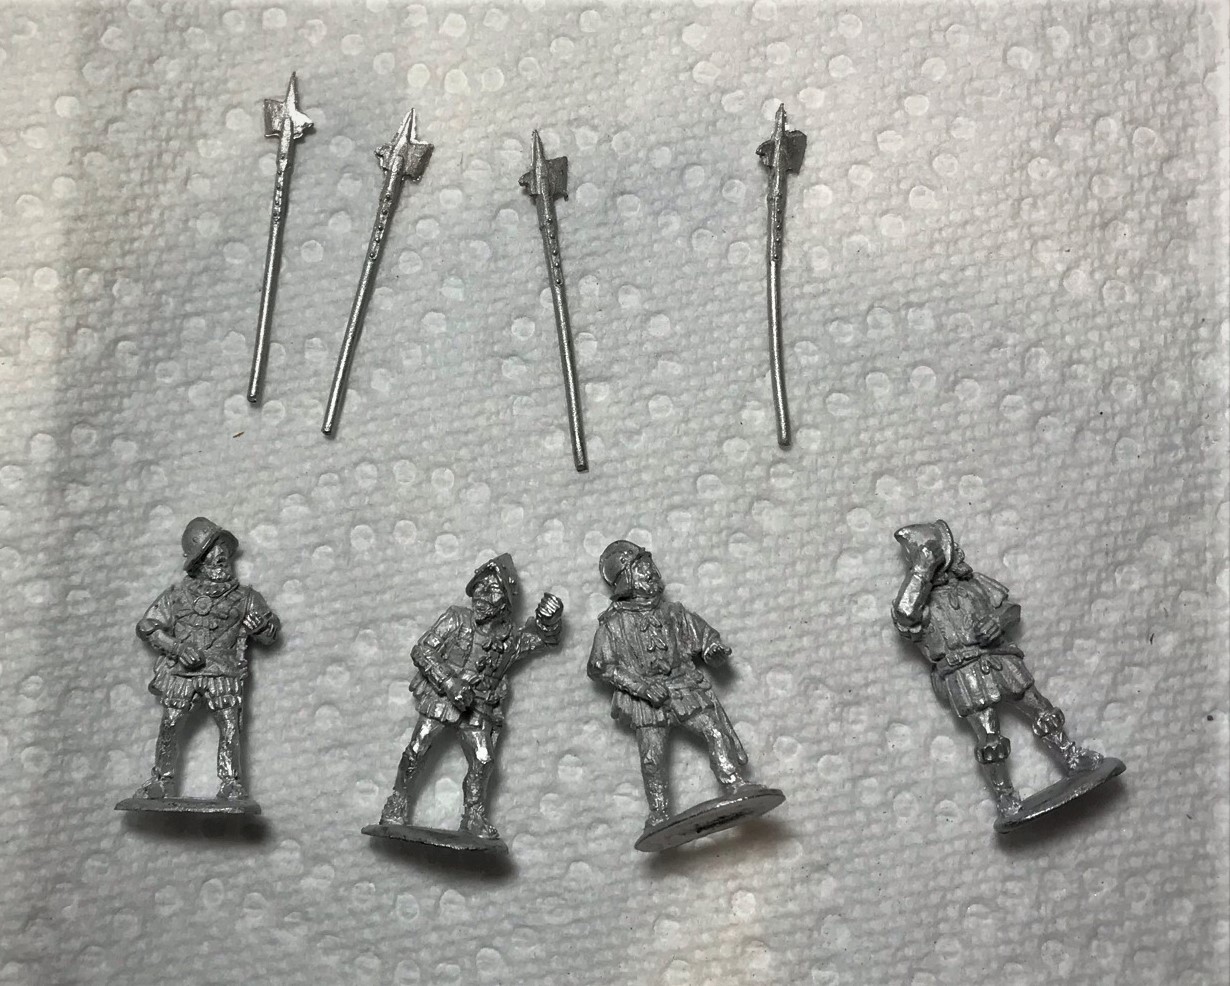
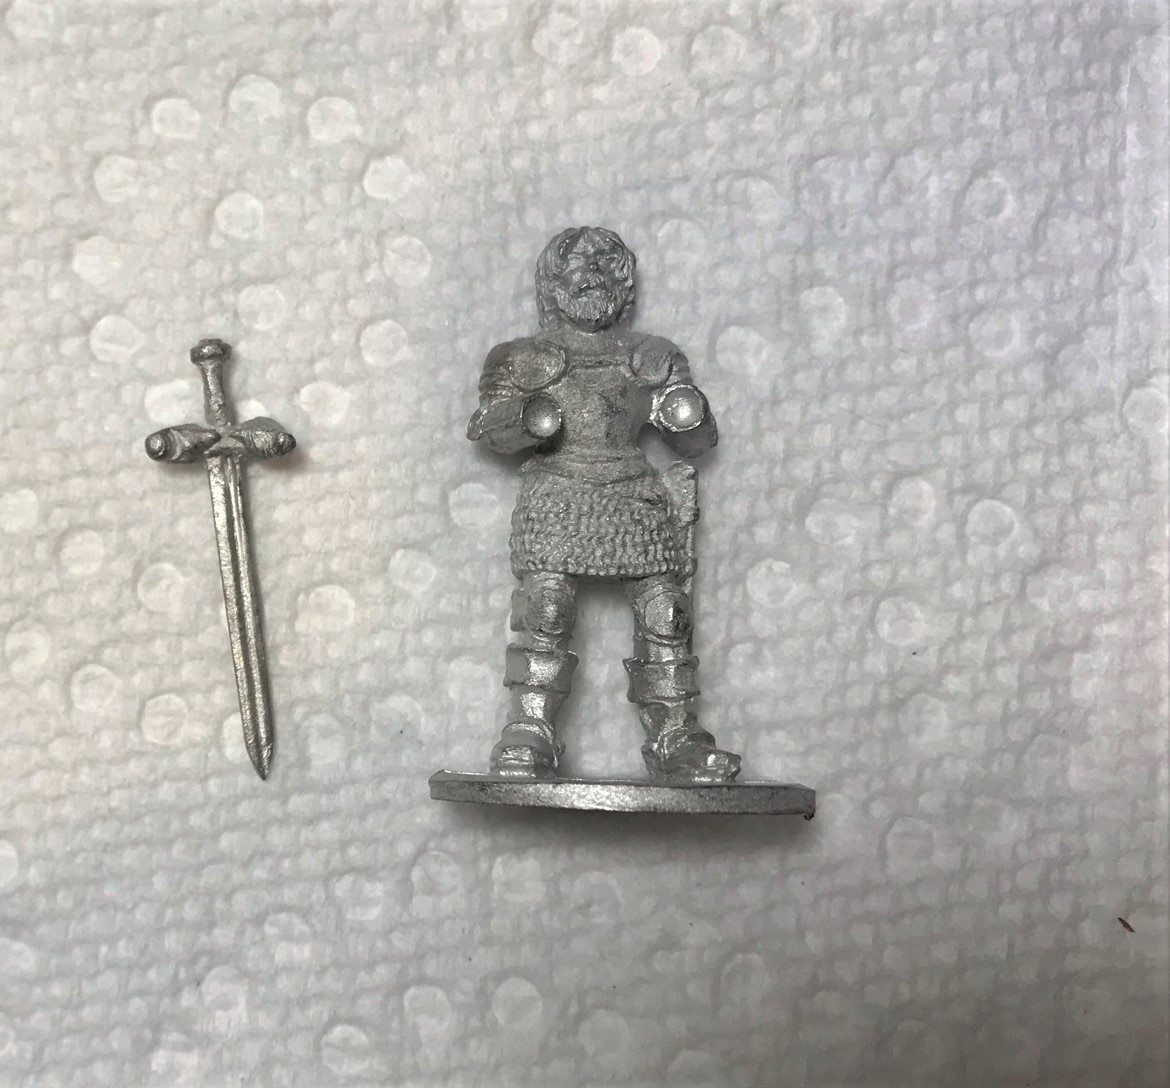
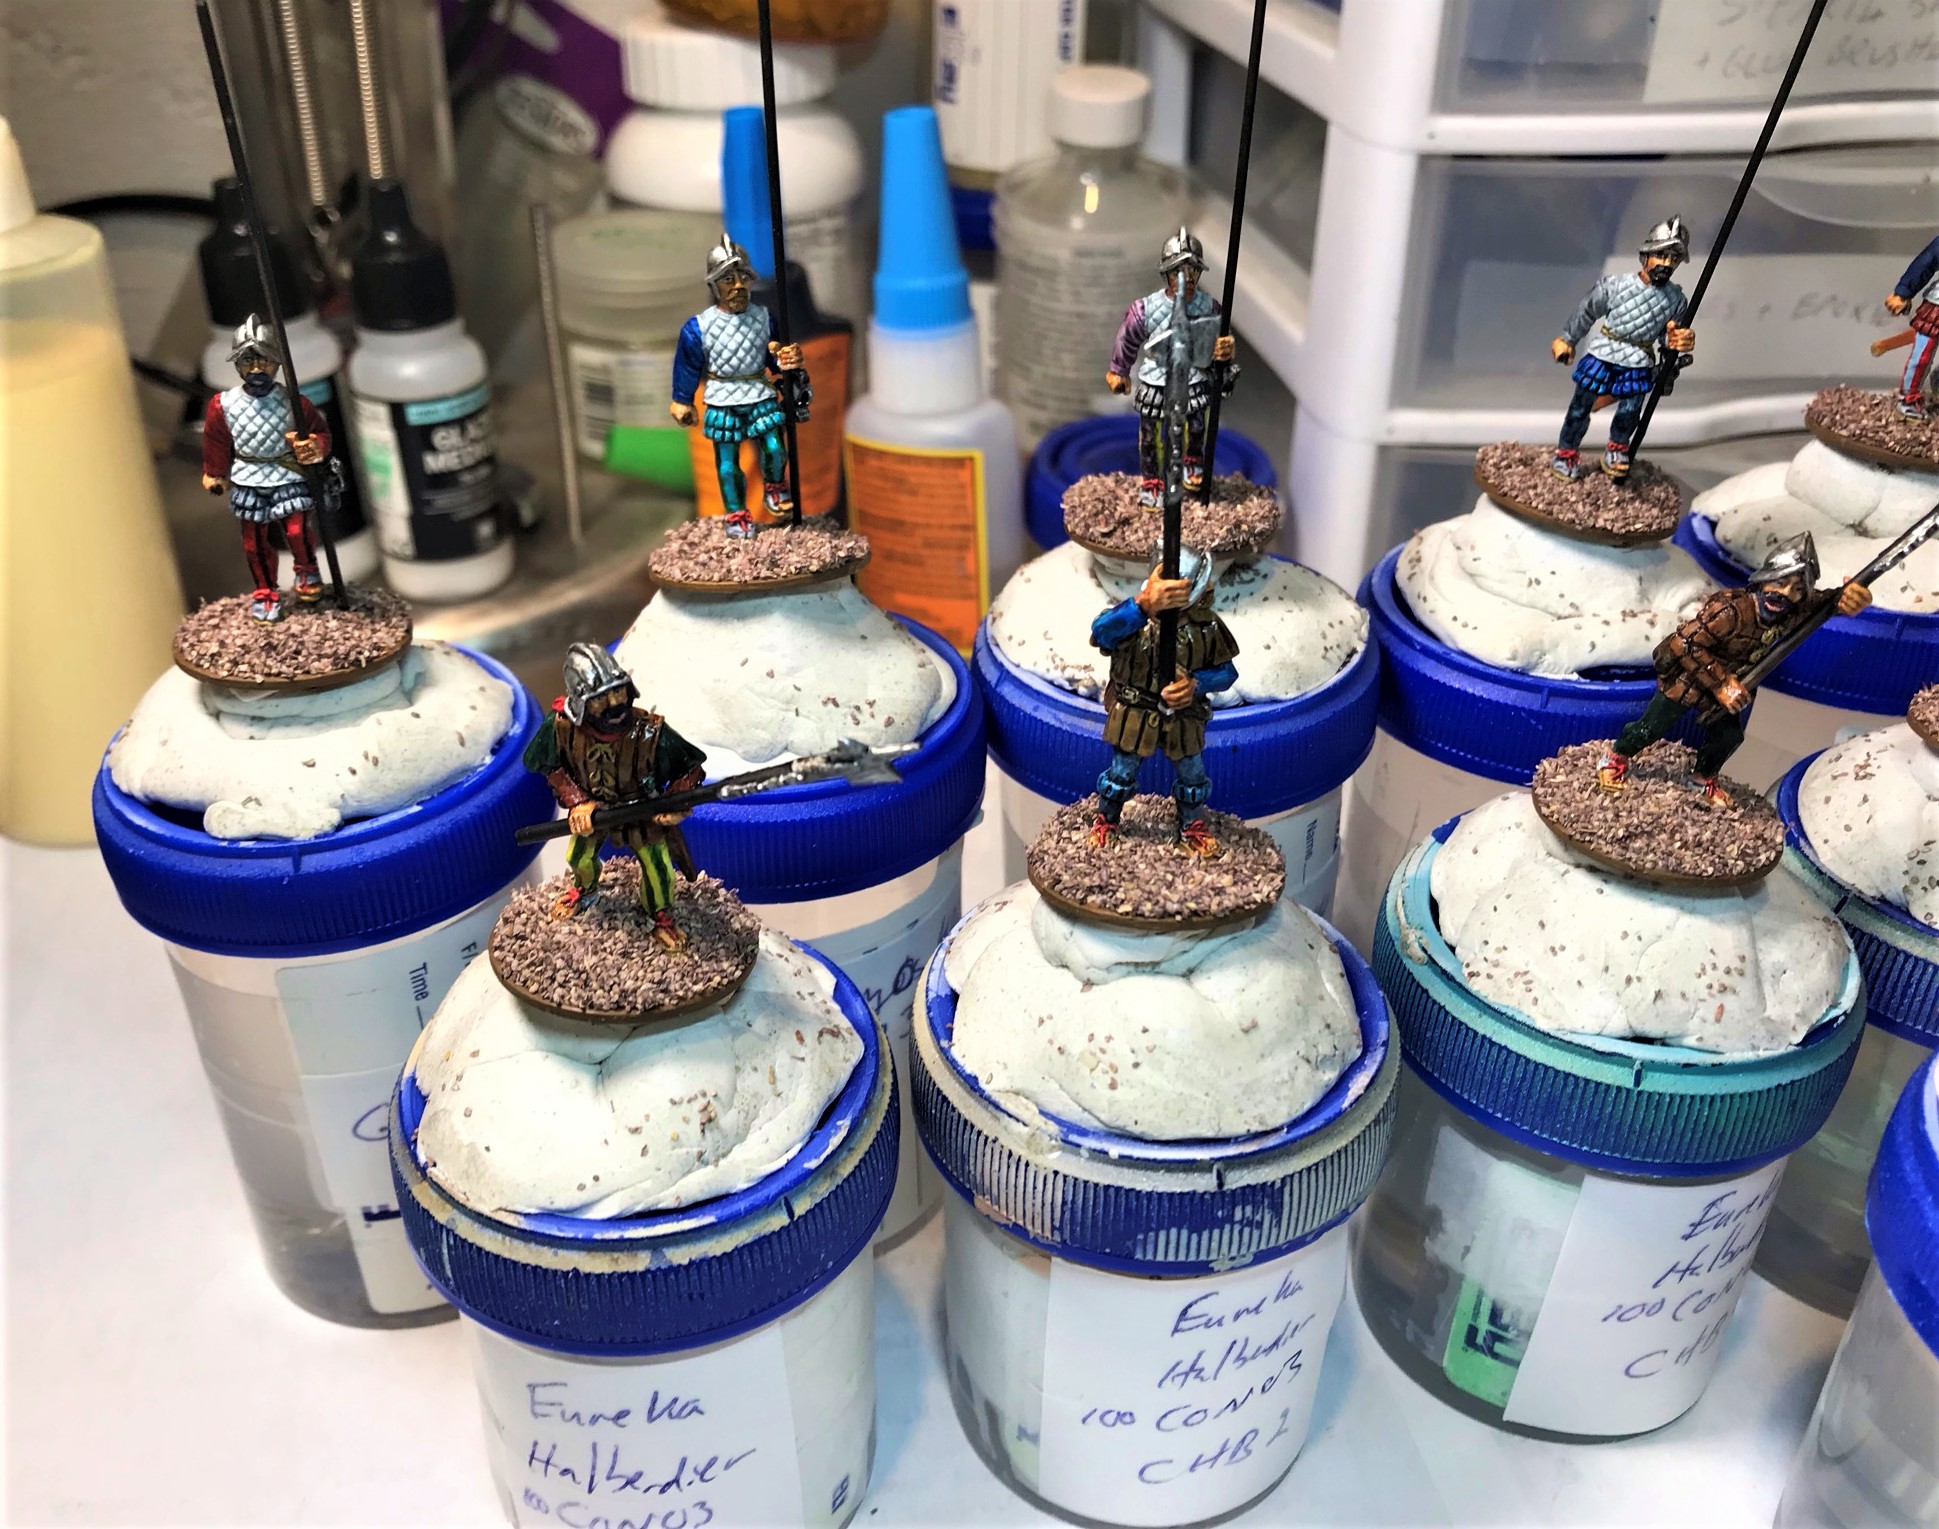
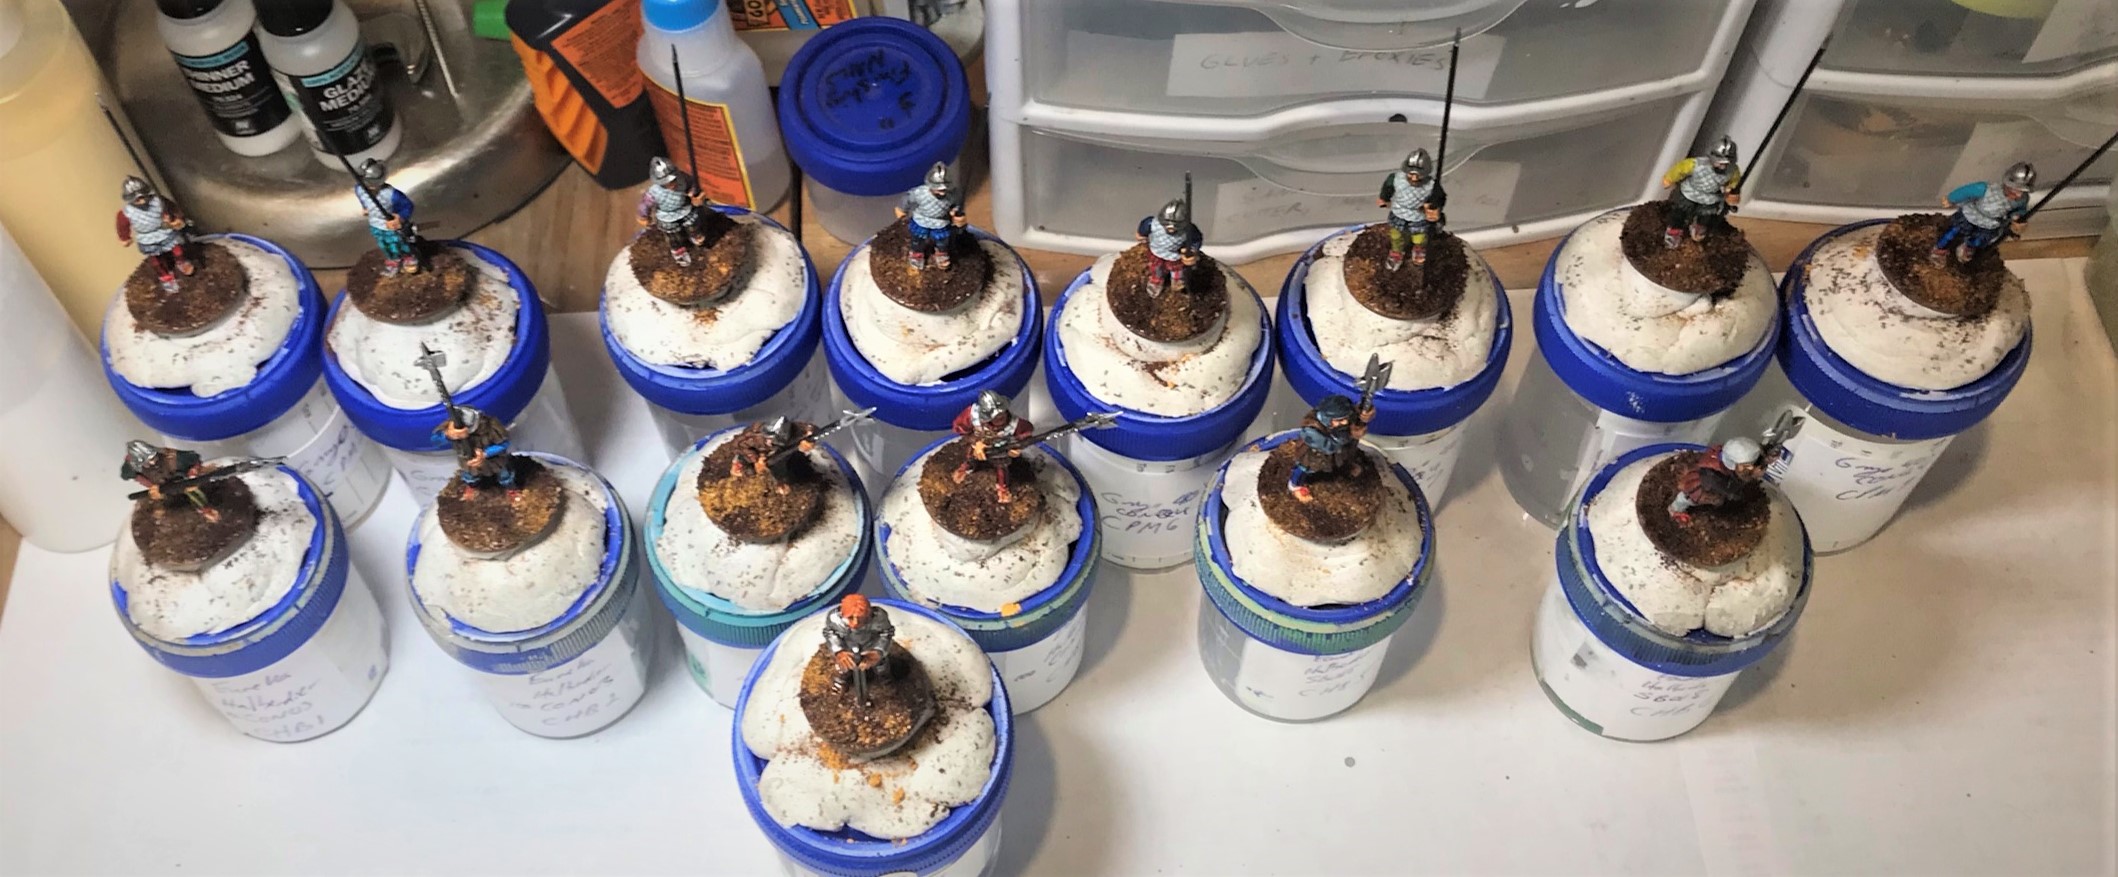
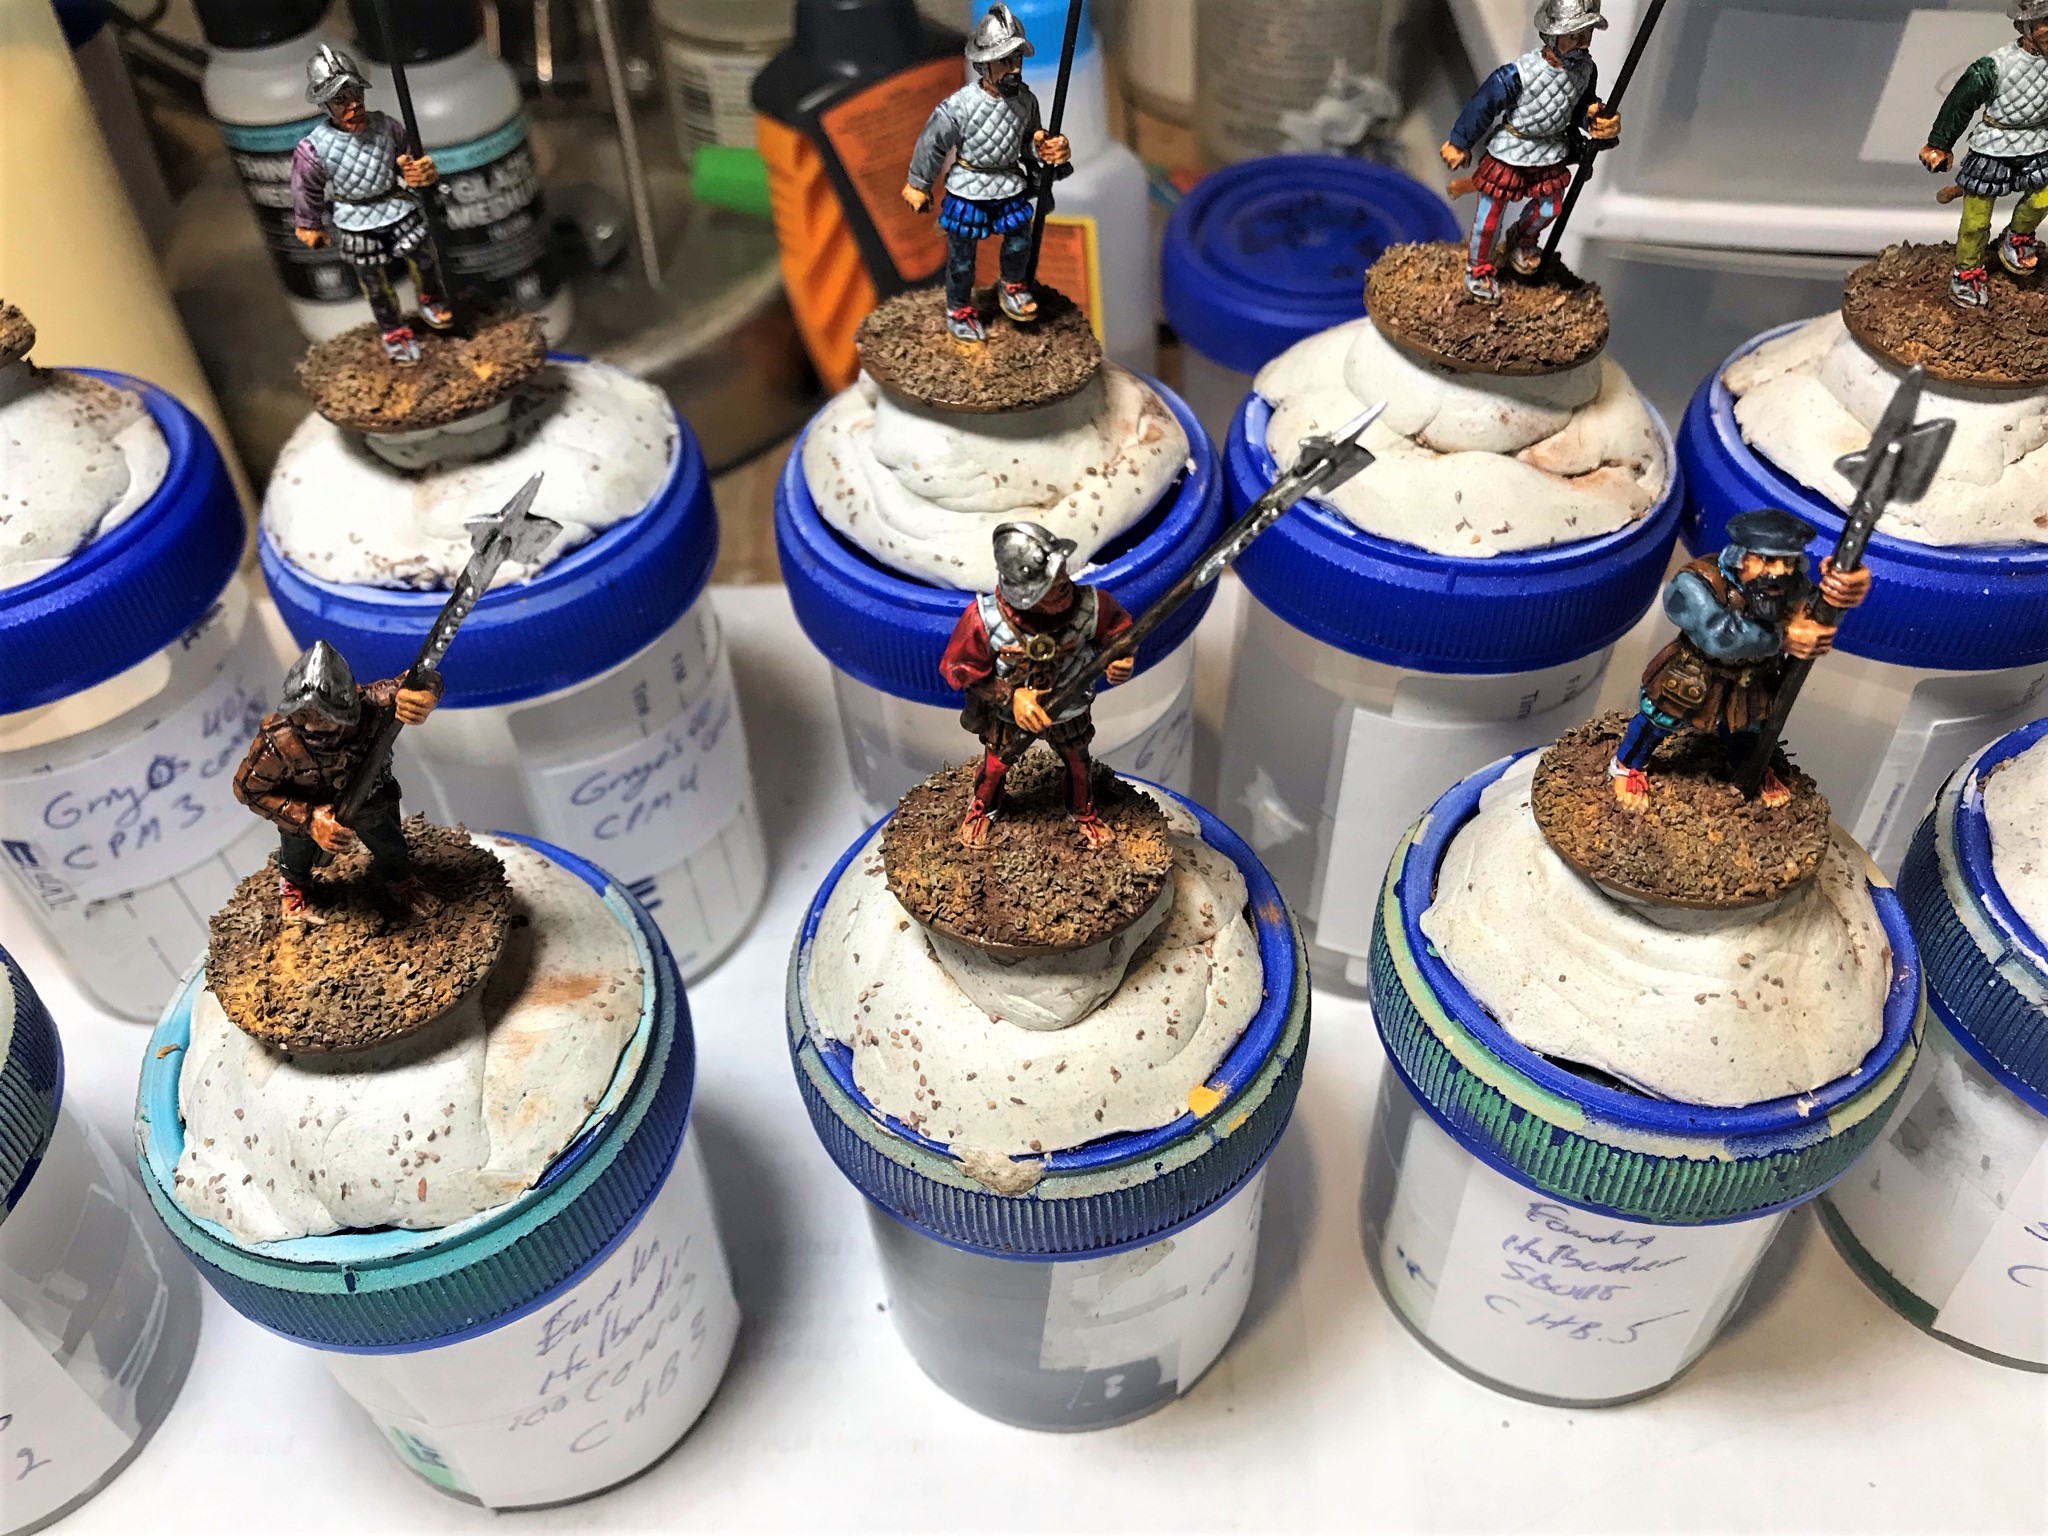
I assembled the M7’s – placing their arms in different positions. The atlatl’s provided for the M2 and M9 figures were too soft and bendy – as were the spears for the M5’s. I replaced all of these with wire spears cut to size. The M3’s needed their quivers to be attached, as did the spear bundle for M15. The latter two were addressed by drilling out holes with a pin vise, inserting paper clip wire, and affixing with Gorilla glue. I experimented with the flesh tones a lot (all of the paints and materials that I used are at the end of this post for those interested in that sort of information). After priming, I airbrushed a base coat, then worked on common colors across the range of figures. As the vast majority of the 34 figures were basically waiting for me to get them to the final varnishing and flocking stage, I did not have many blog posts to share with my readers – but hopefully this post will be a good explanation of why.

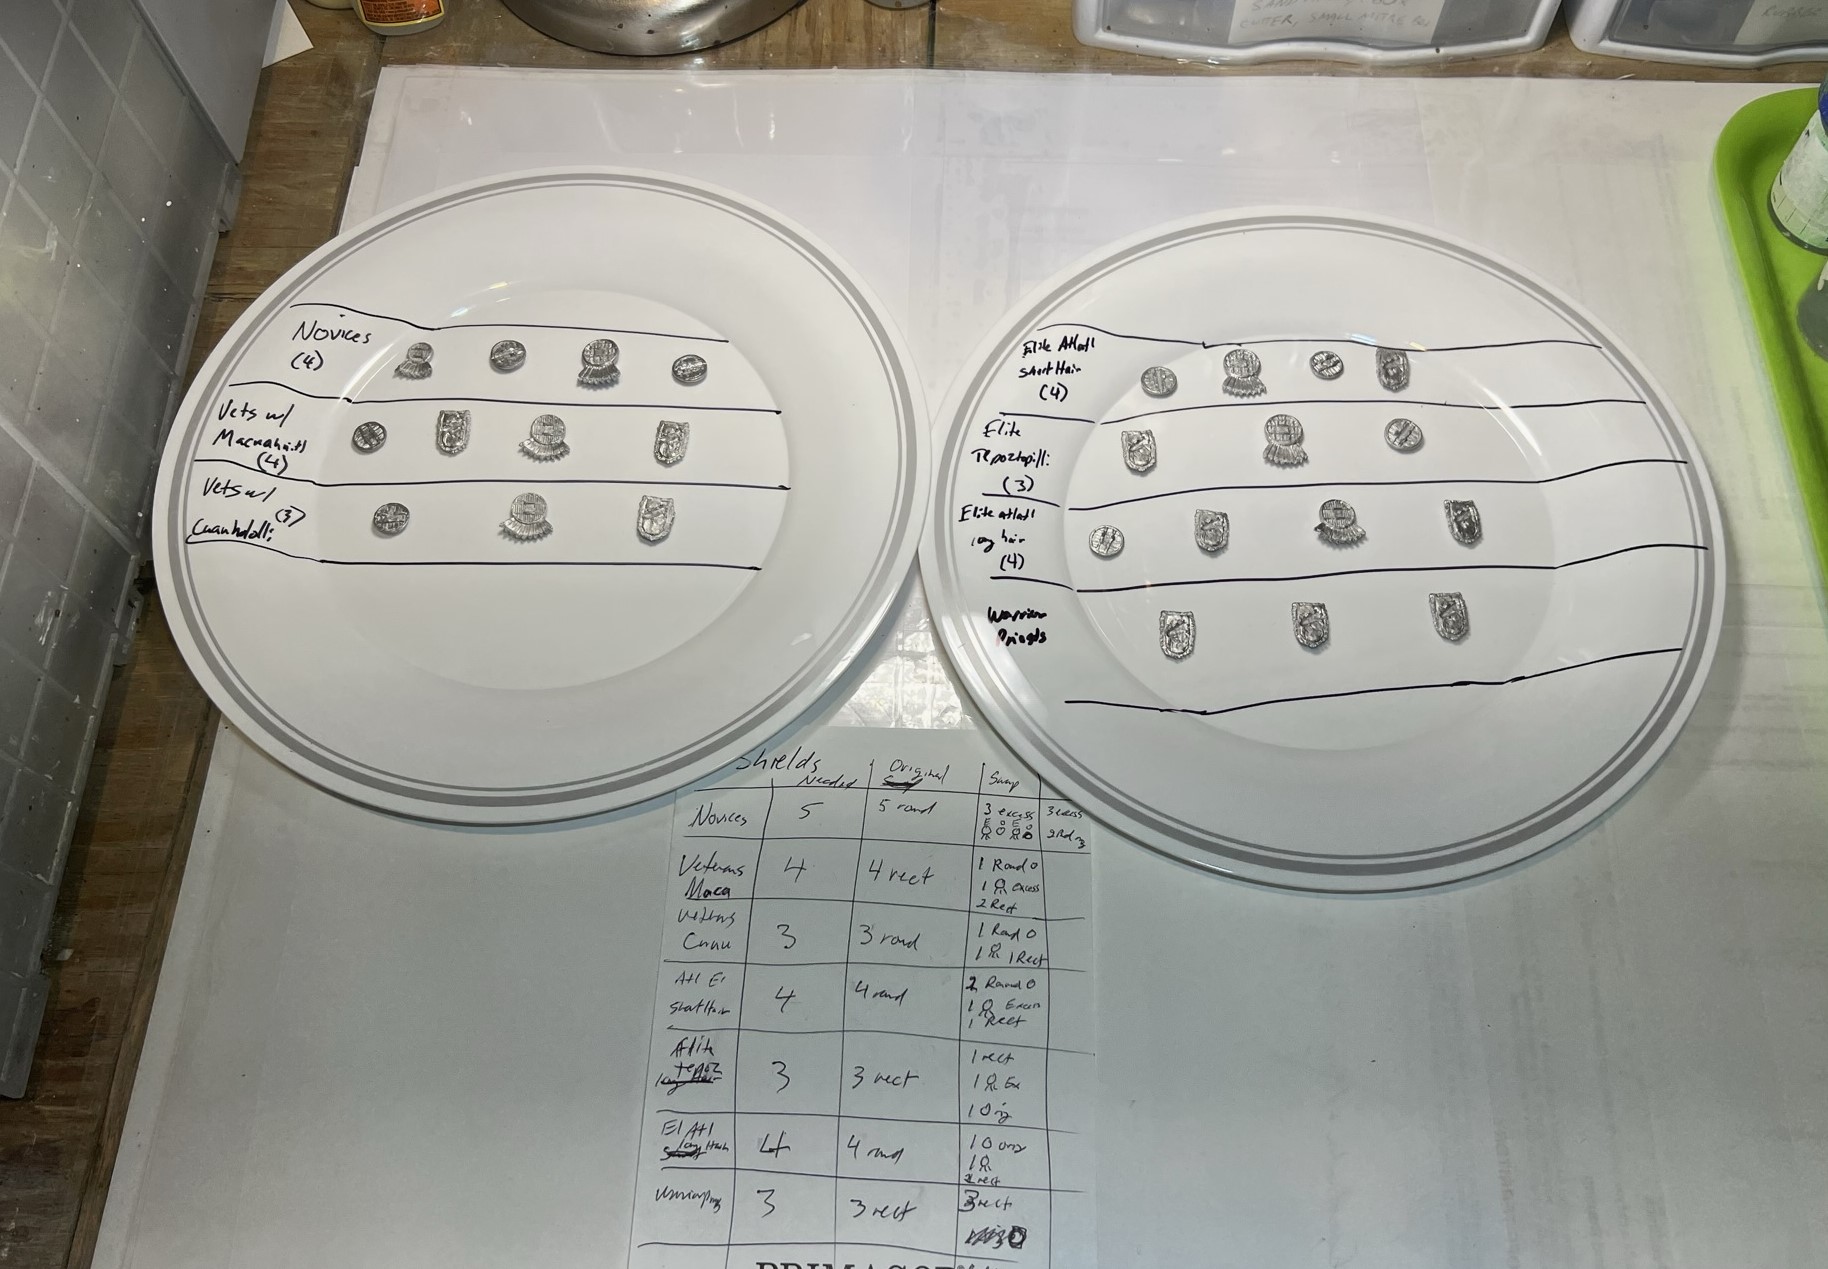


As for the shields, I did them separately – having googled some images that I thought would be appropriate. Unlike the Aztec’s shields, sources are far more limited. To a degree, I used artistic license here.


Then I just proceeded to paint the figures, then affix the shields, then flock and varnish them. This only took me from August to November!
The Figures
I will now showcase the figures – with some details as appropriate. I am going from the highest ranking to the lowest ranking figures, not in the order that I completed them.
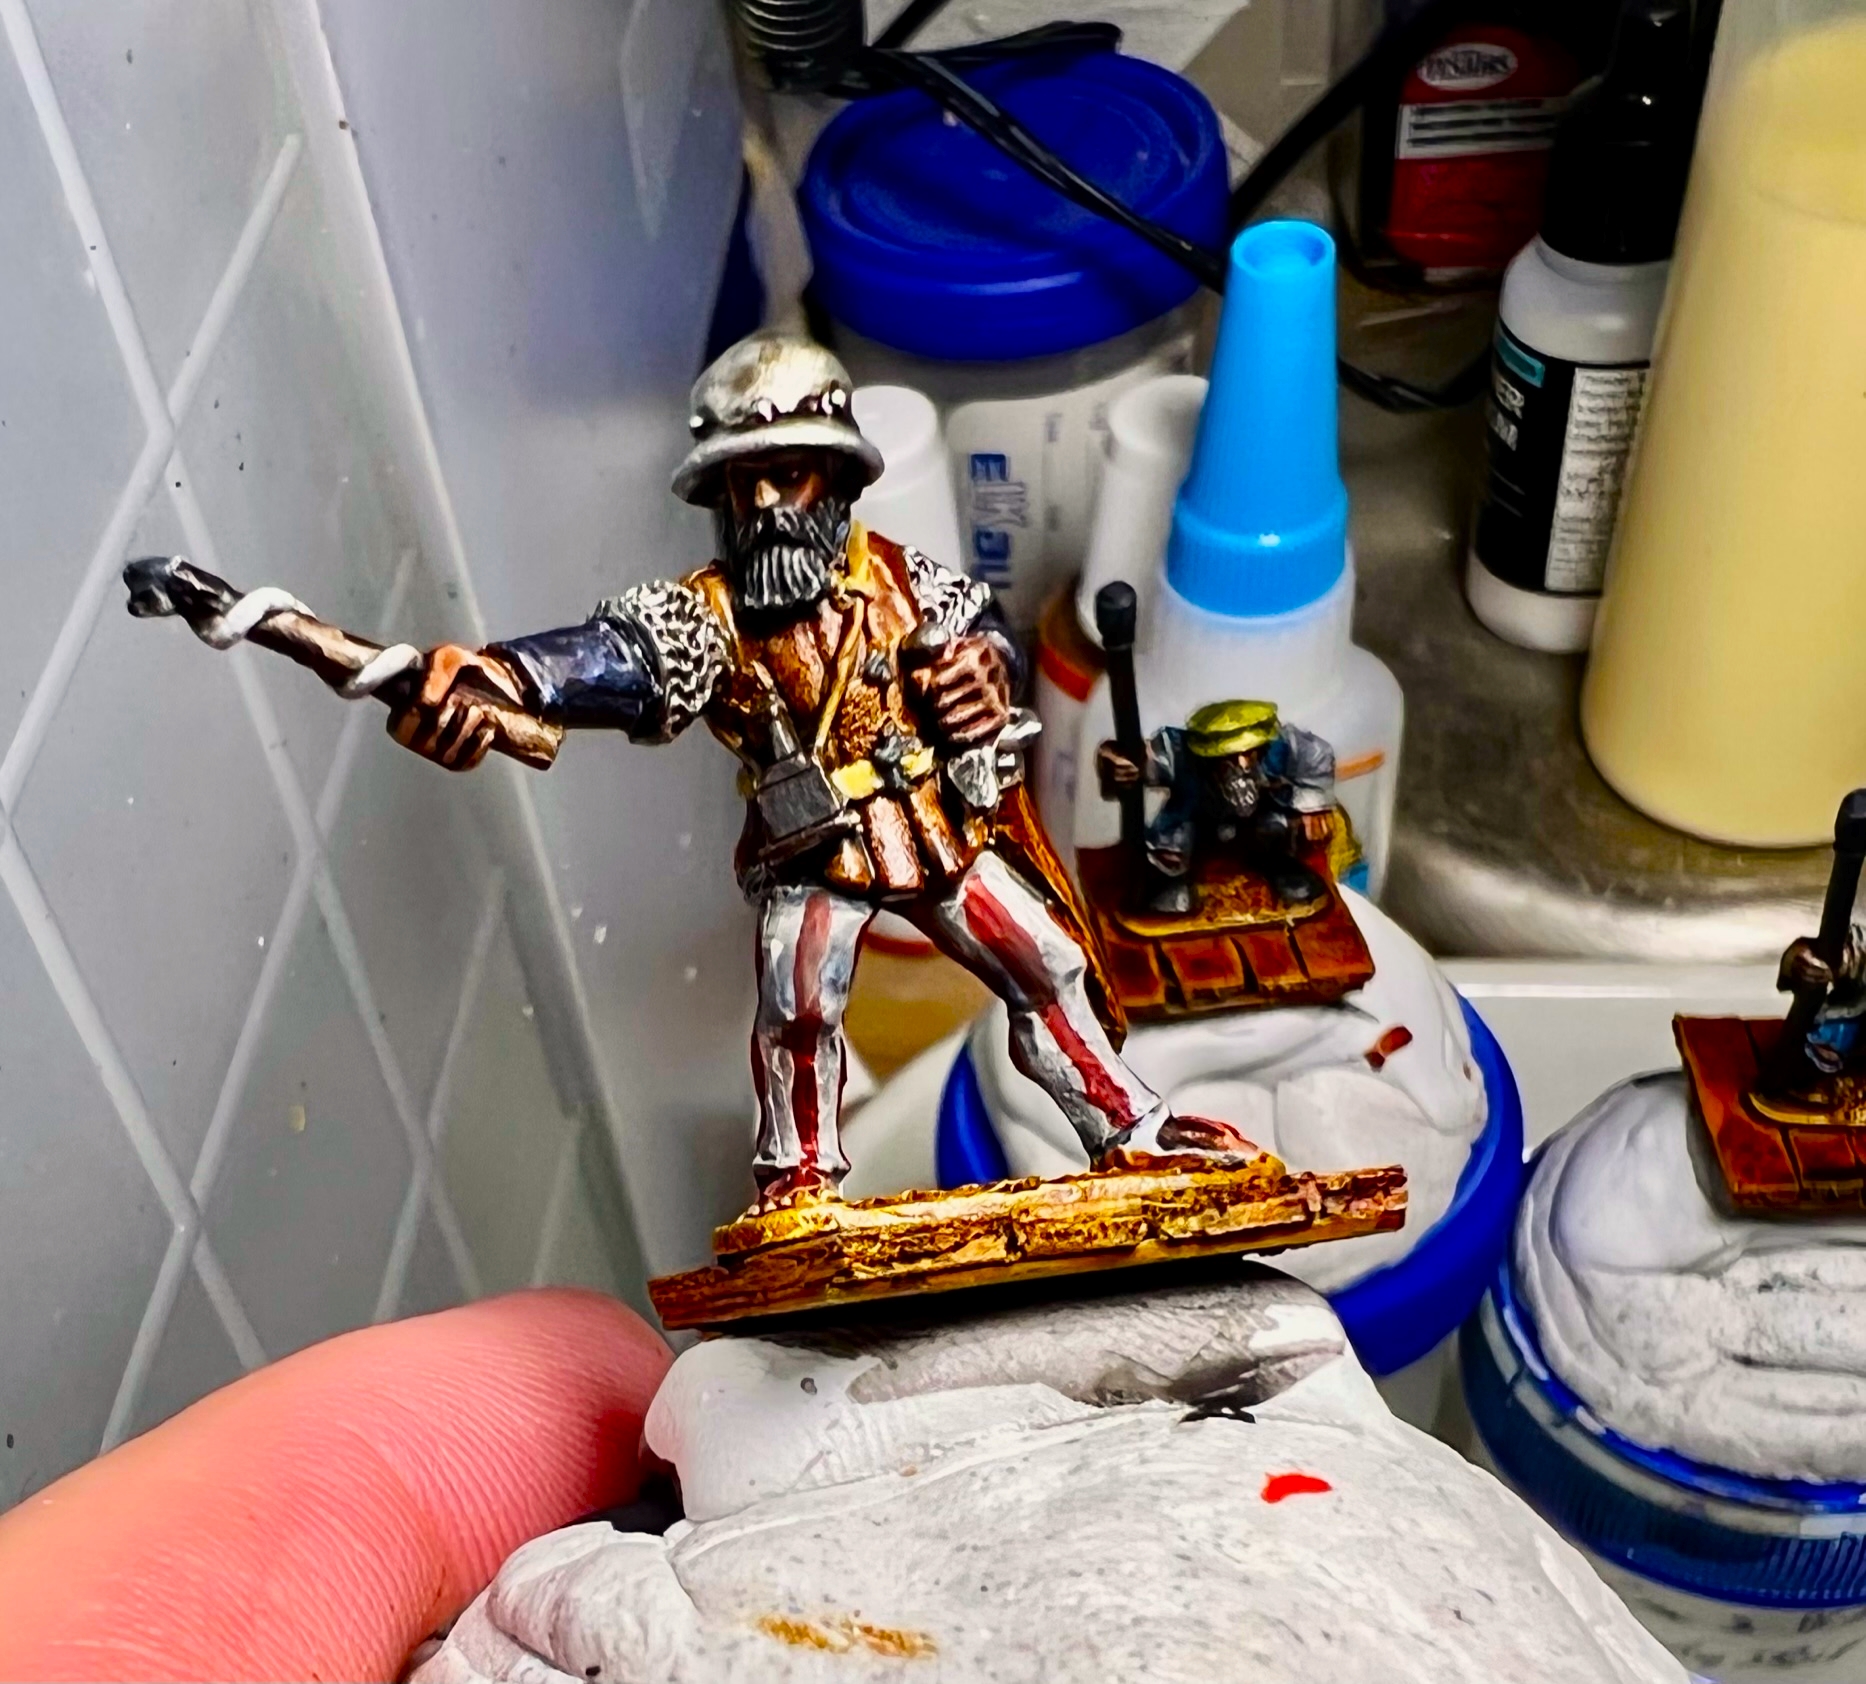
Tabscoob
Tabscoob was the Maya ruler that fought Cortes at The Battle of Centla. I loved painting this figure! The name of the Mexican state of Tabasco, and hence the hot sauce are derived from his name. This is figure M16.

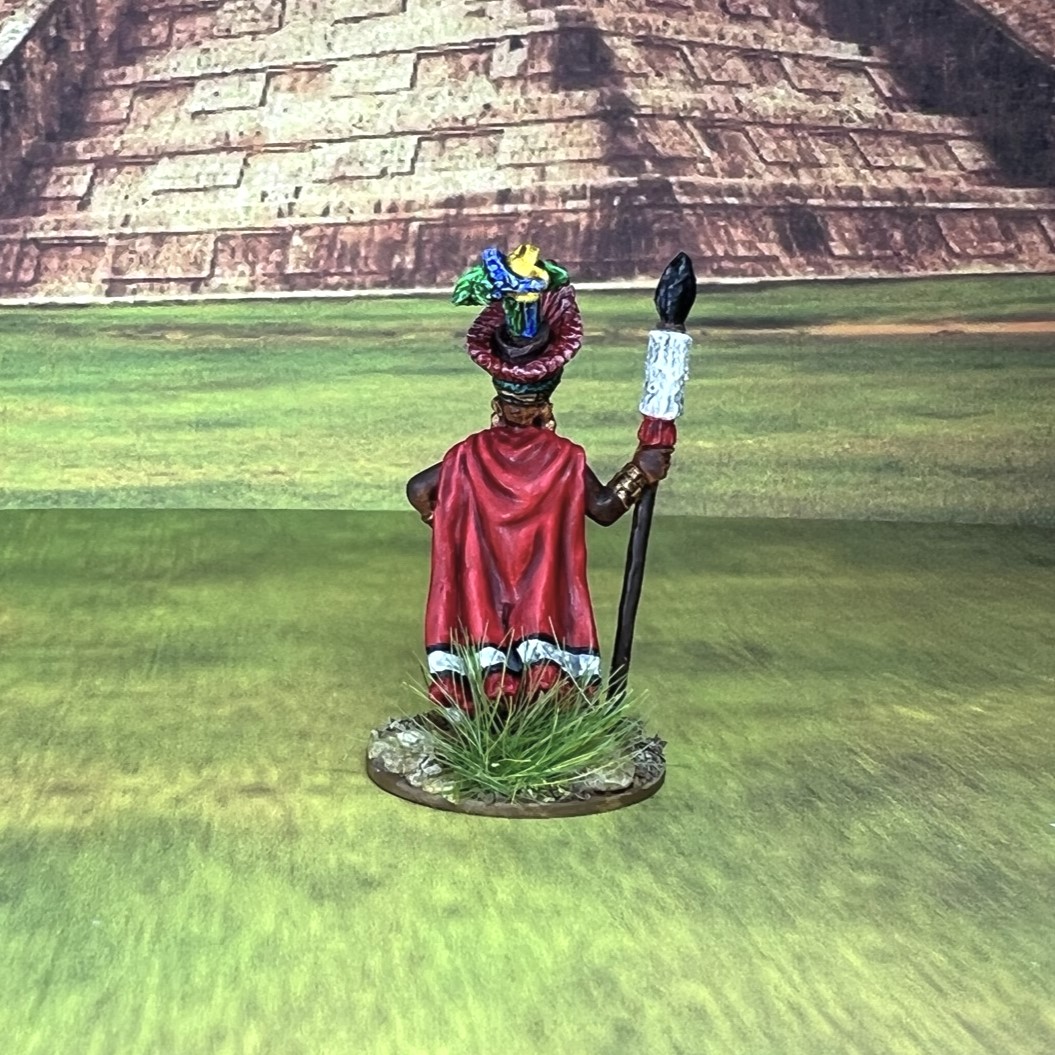
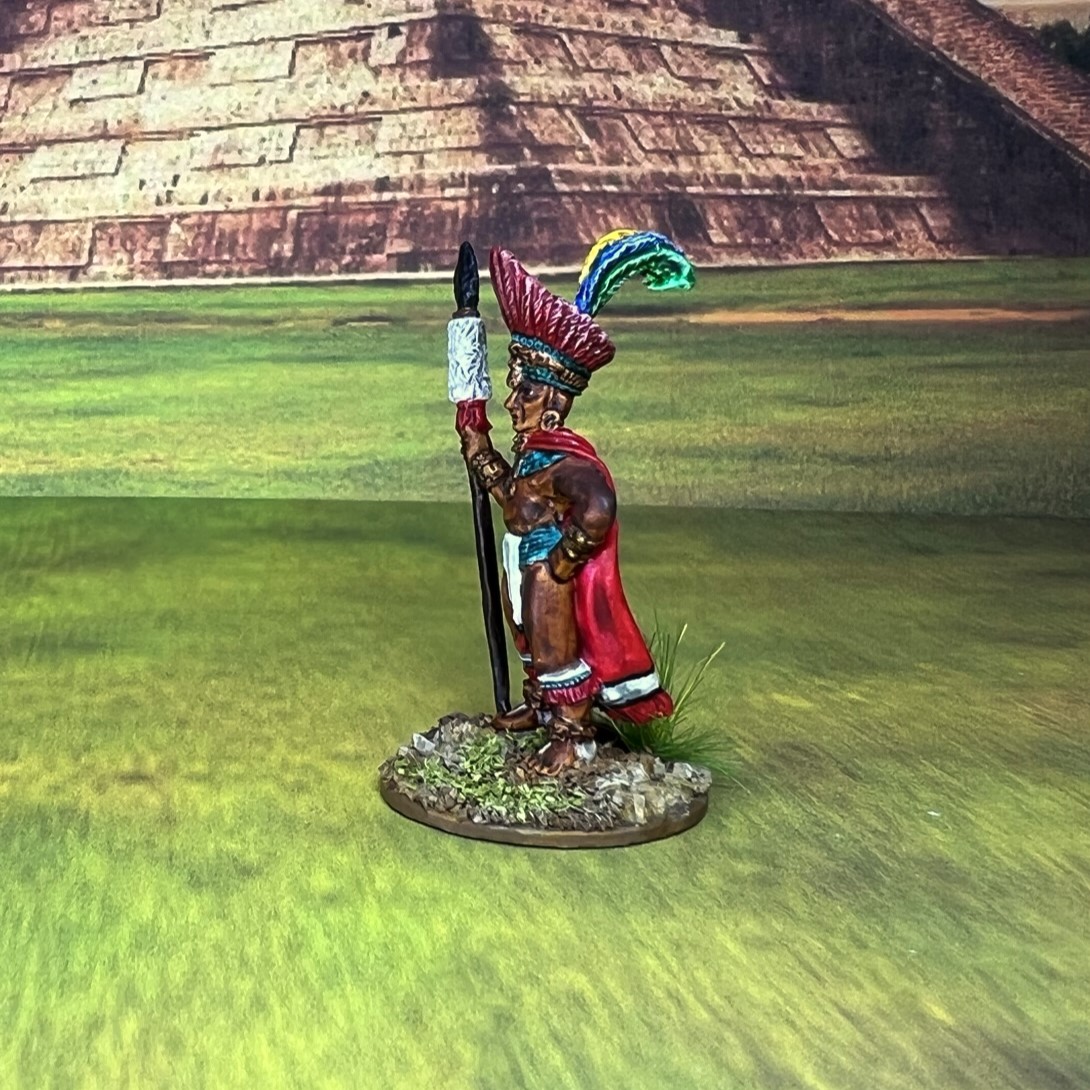
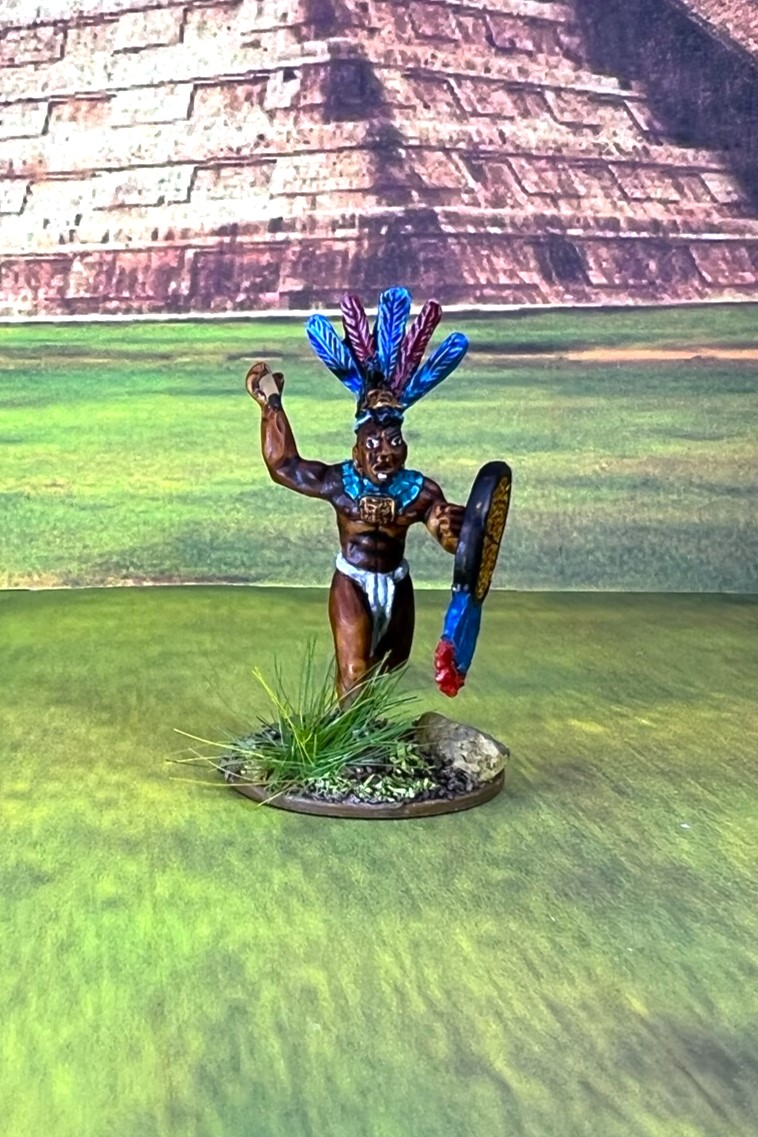
Maya Warrior Chiefs
There were three of these M7 figures. They will act as Warband Leaders in the games. Note the three different color schemes and arm positions.
MWC01

MWC02


MWC03


ALL MAYA WARRIOR CHIEFS
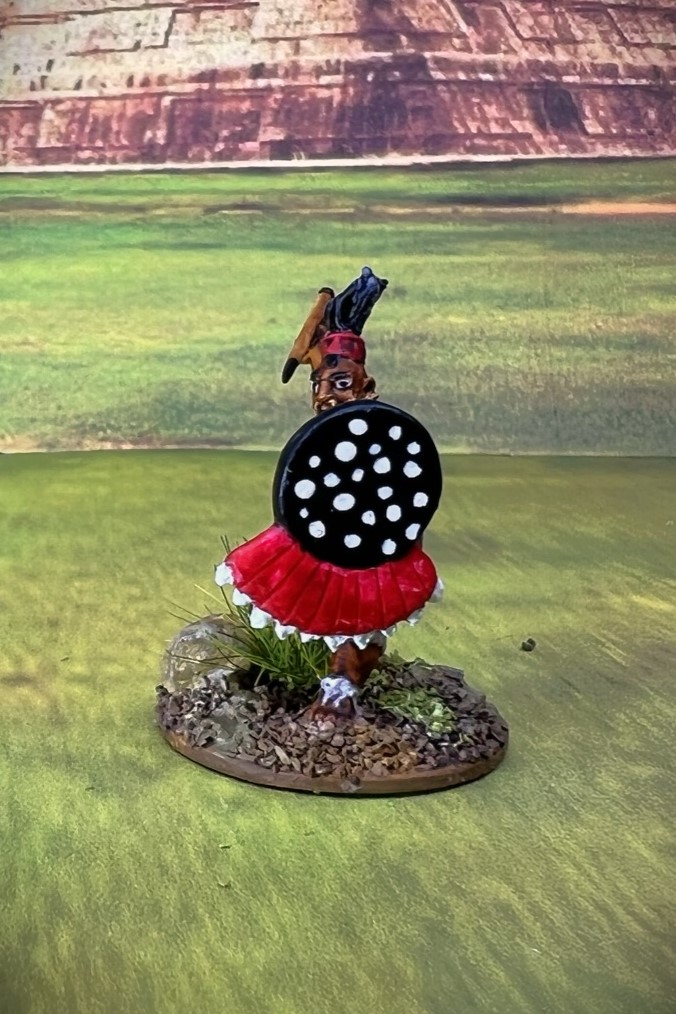
Maya Warrior Priests
I envision these as having the same role as the Aztec Warrior Priests in the games. They can help with Morale, and can fight as well. I’ve share only the back of MWP01 as the others are similar. I really like the masks. These are all figure M8.
MWP01


MWP02


MWP03

ALL MAYA WARRIOR PRIESTS

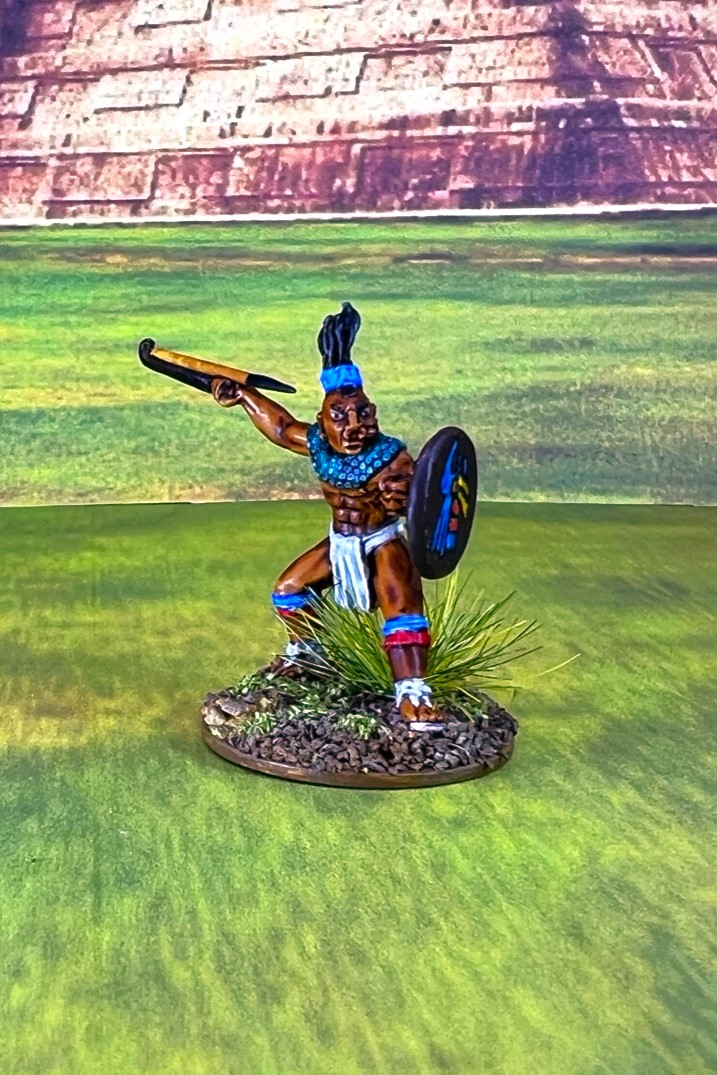
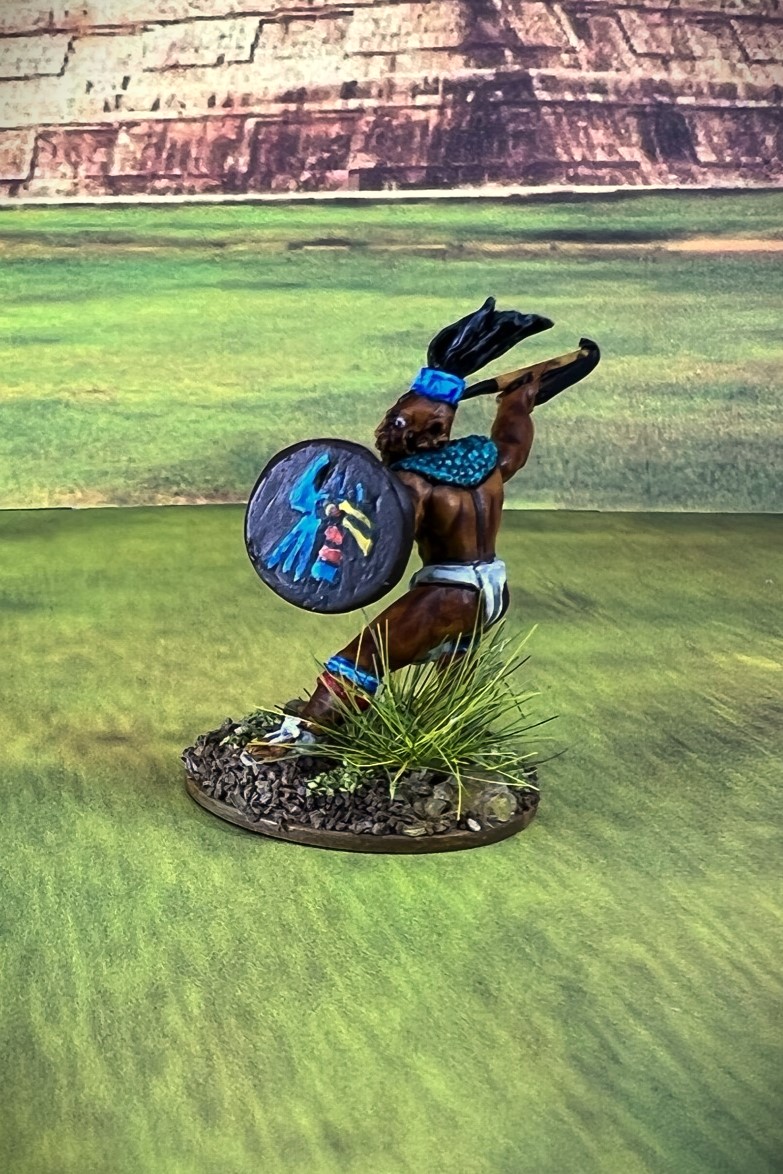
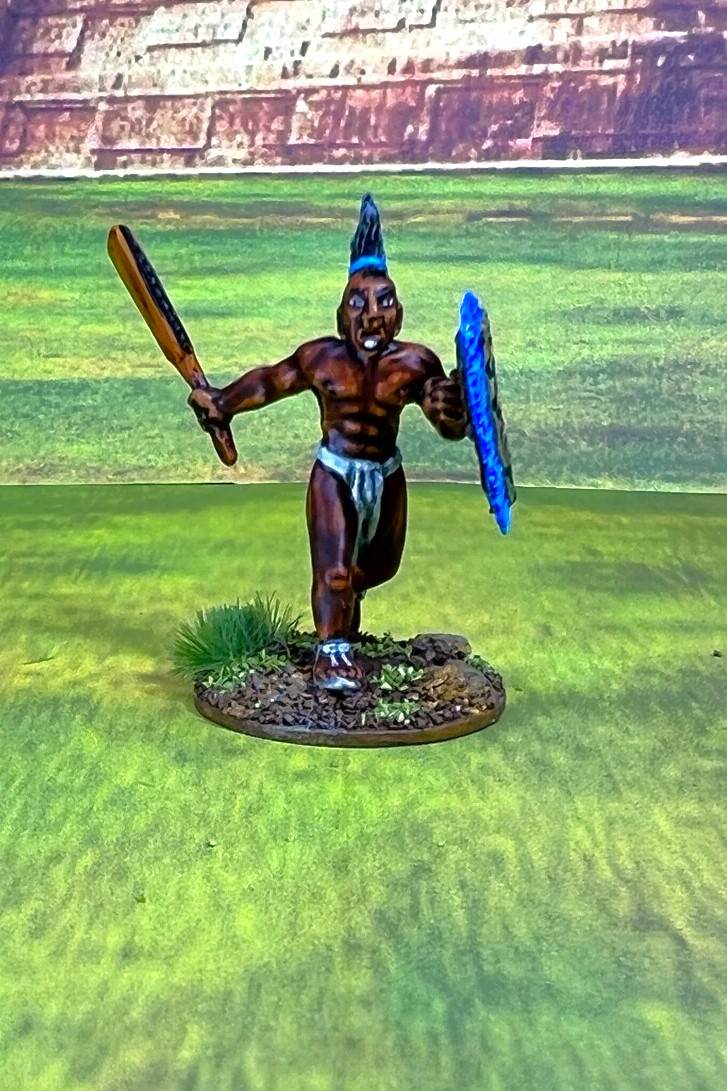
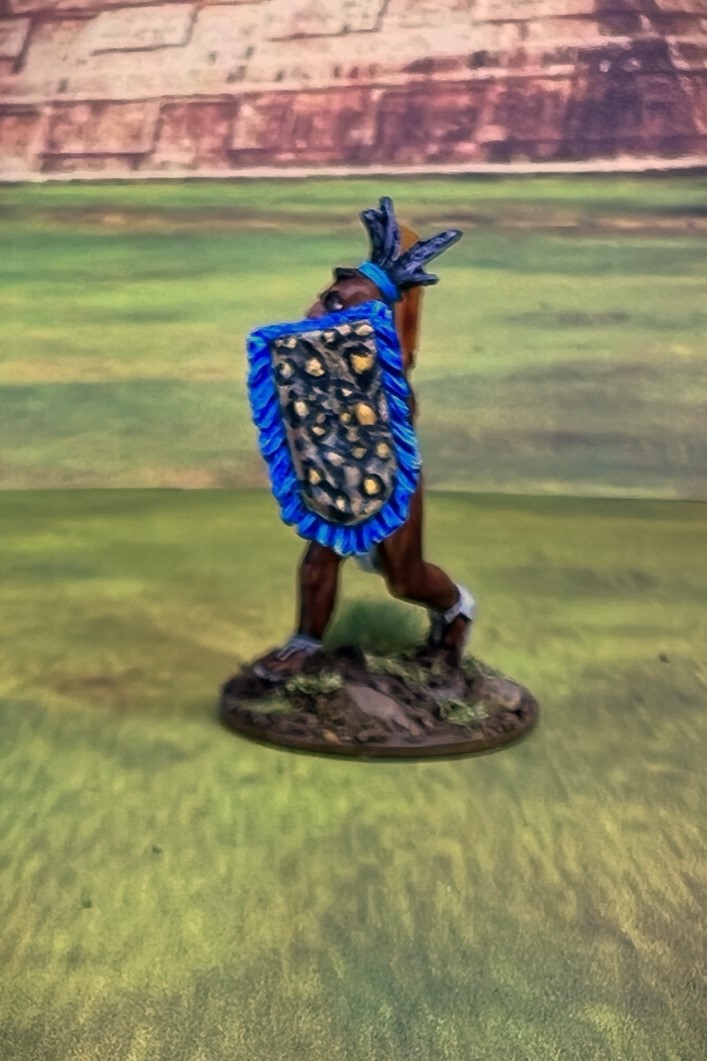
Maya Elite Warriors
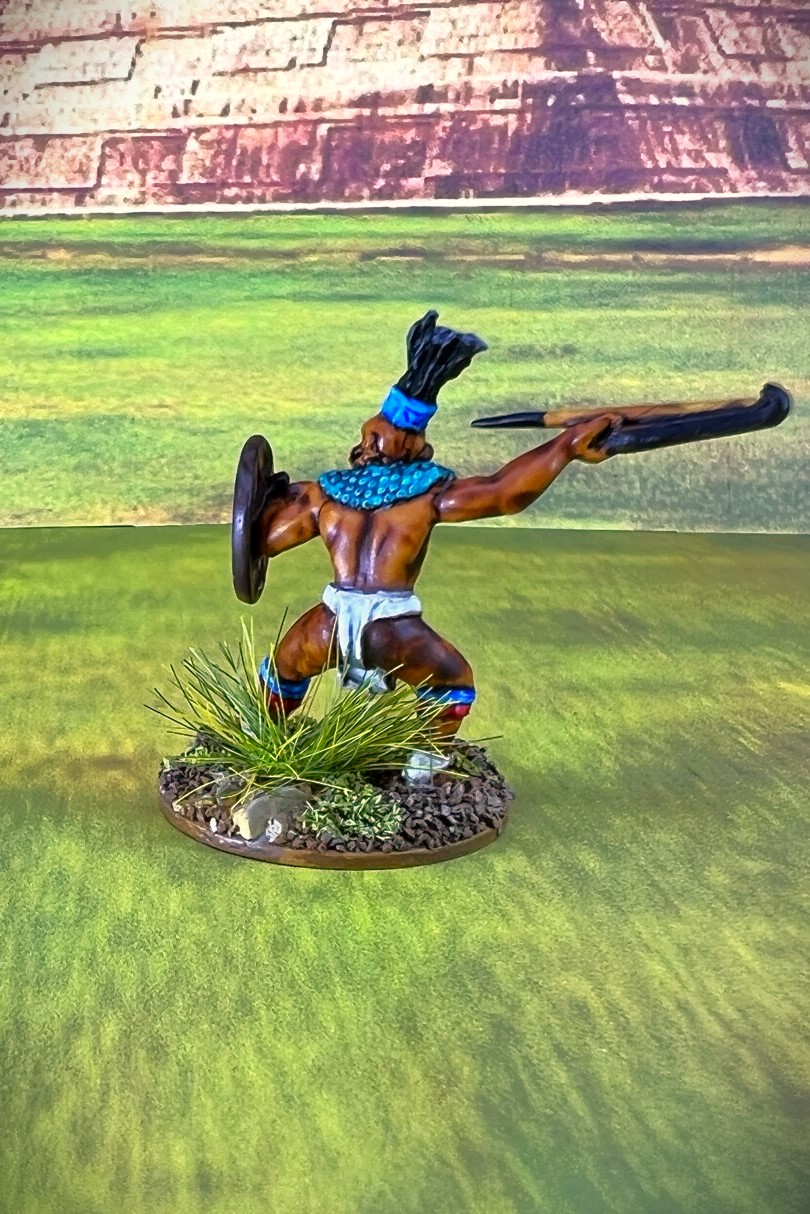
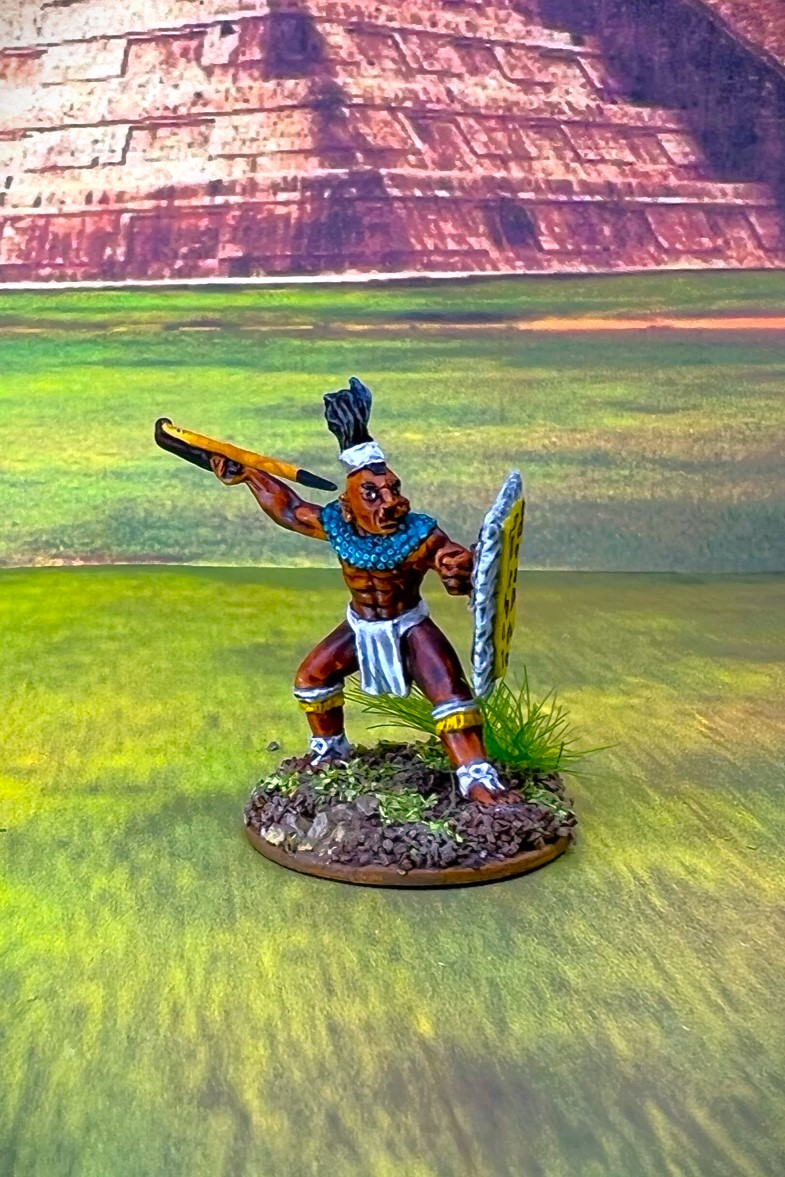
For the Elite figures, I had M2, M5, and M9 figures. The M2 figures (ME01-ME04) are armed with atlatls and have slightly shorter hair. The M5’s (ME05-ME07) have headdresses and are armed with tepoztopilli (thrusting spears). The M9’s (ME08-ME11) are armed with atlatls and have longer hair. Where the backsides are similar I only share one photo.
First, the four elite M2’s armed with atlatls.
ME01


ME02


ME03


ME04


ALL M2 FIGURES WITH ATLATLS

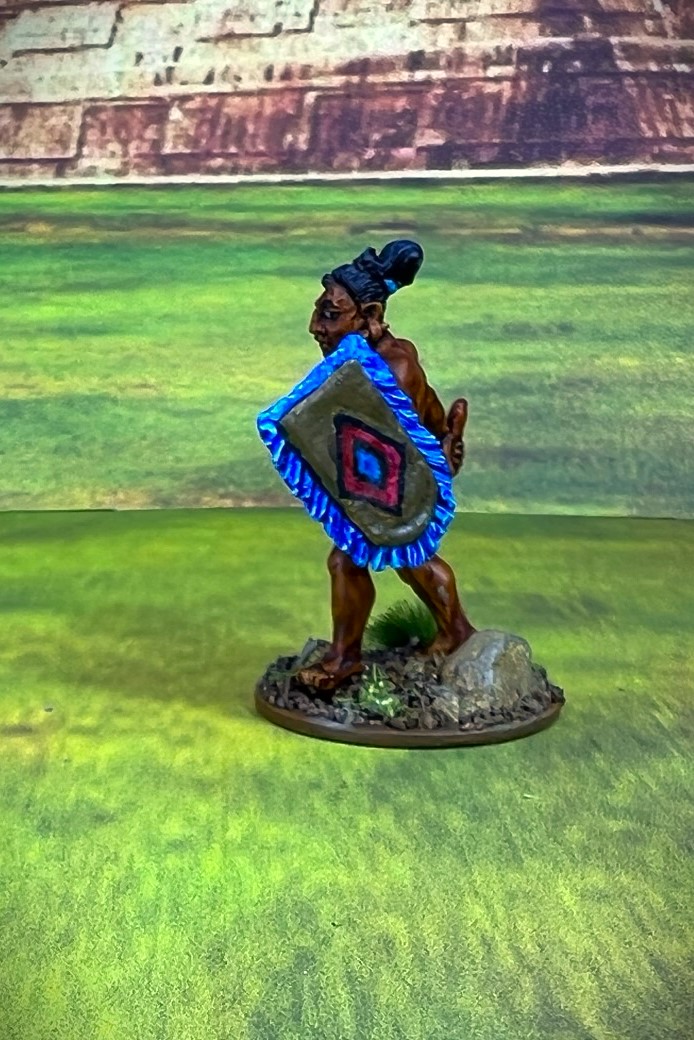
The next group of elites are the 3 M5 figures – armed with tepoztopilli (thrusting spears). I gave them different headdresses and shield designs, and was able to slightly alter the angle of each tepoztopilli.
ME05


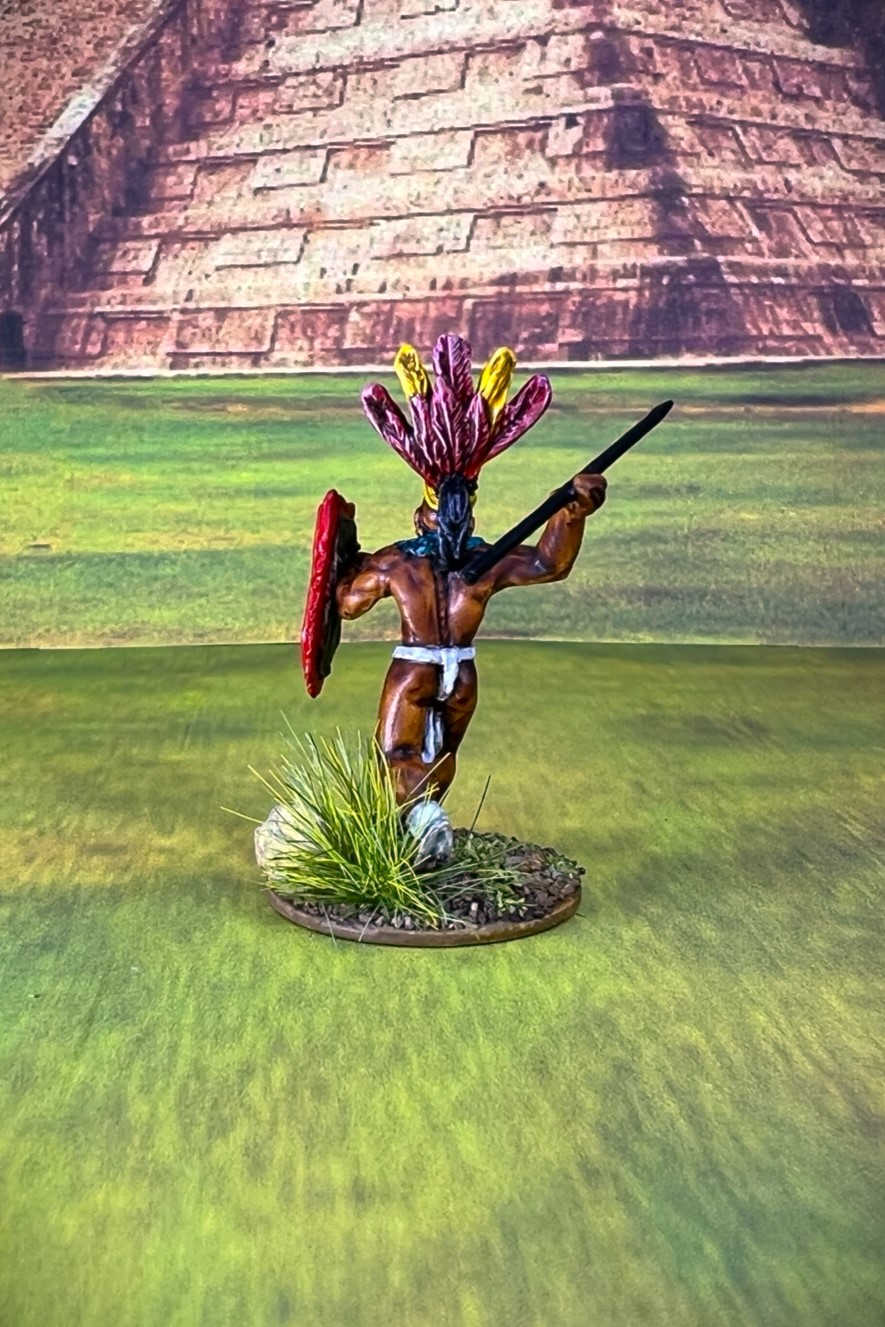
ME06

ME07

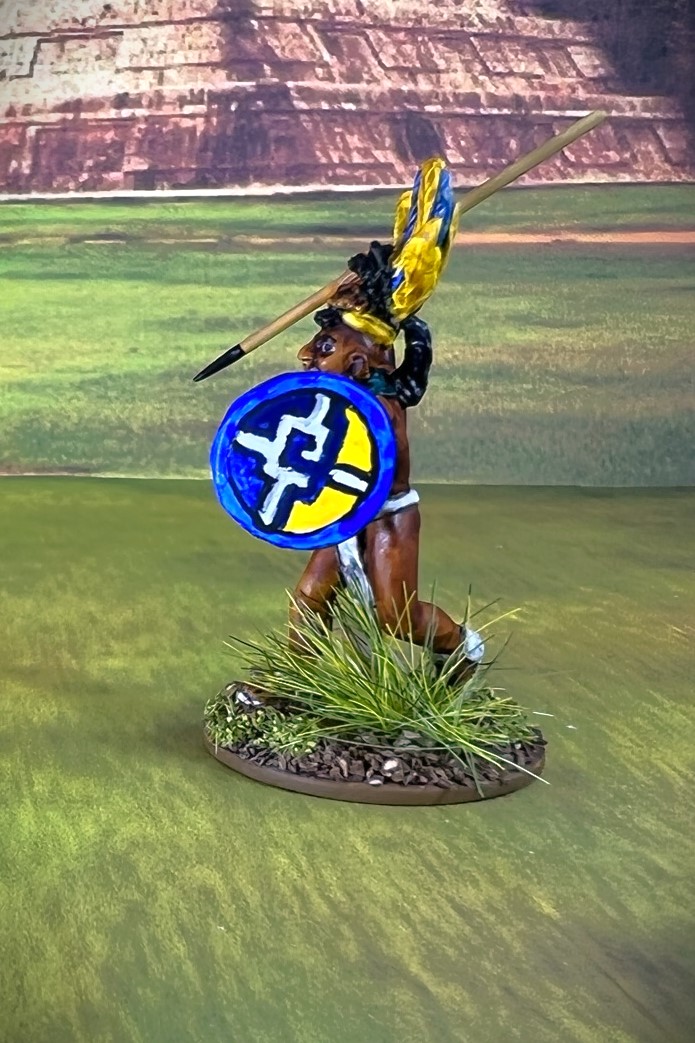
ALL M5 FIGURES WITH TEPOZTOPILLI
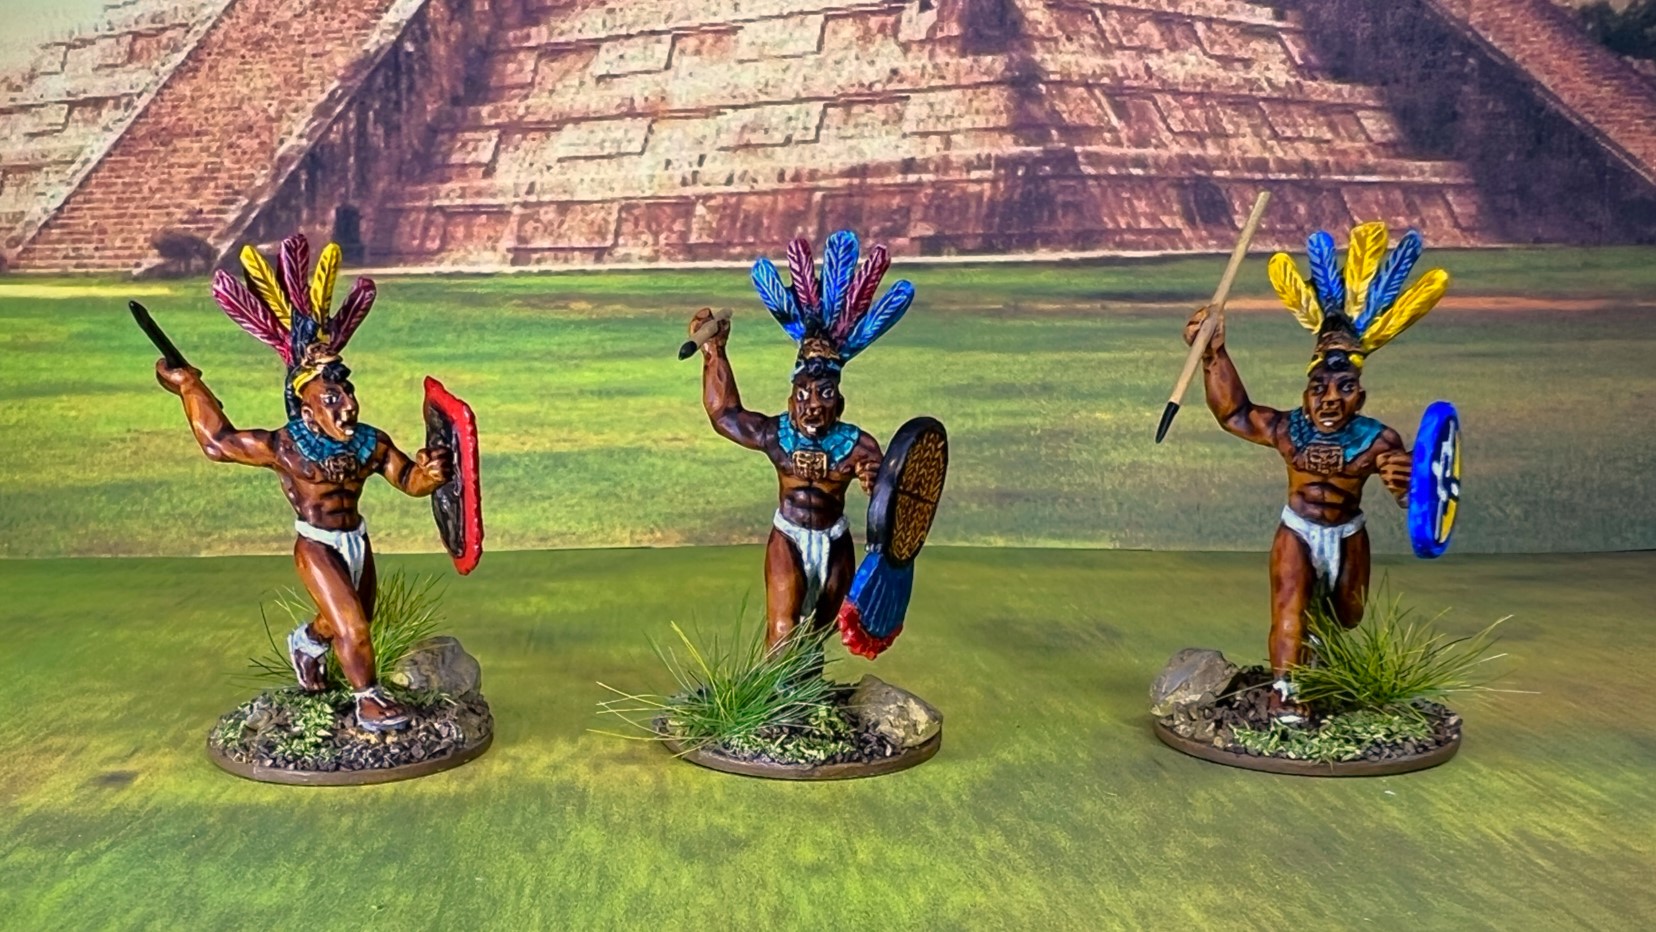
The last group of elites contains the 4 M9’s armed with atlatls. They have slightly longer hair than the similar M2’s.
ME08
ME09


ME10

ME11

ALL M9 FIGURES WITH ATLATLS

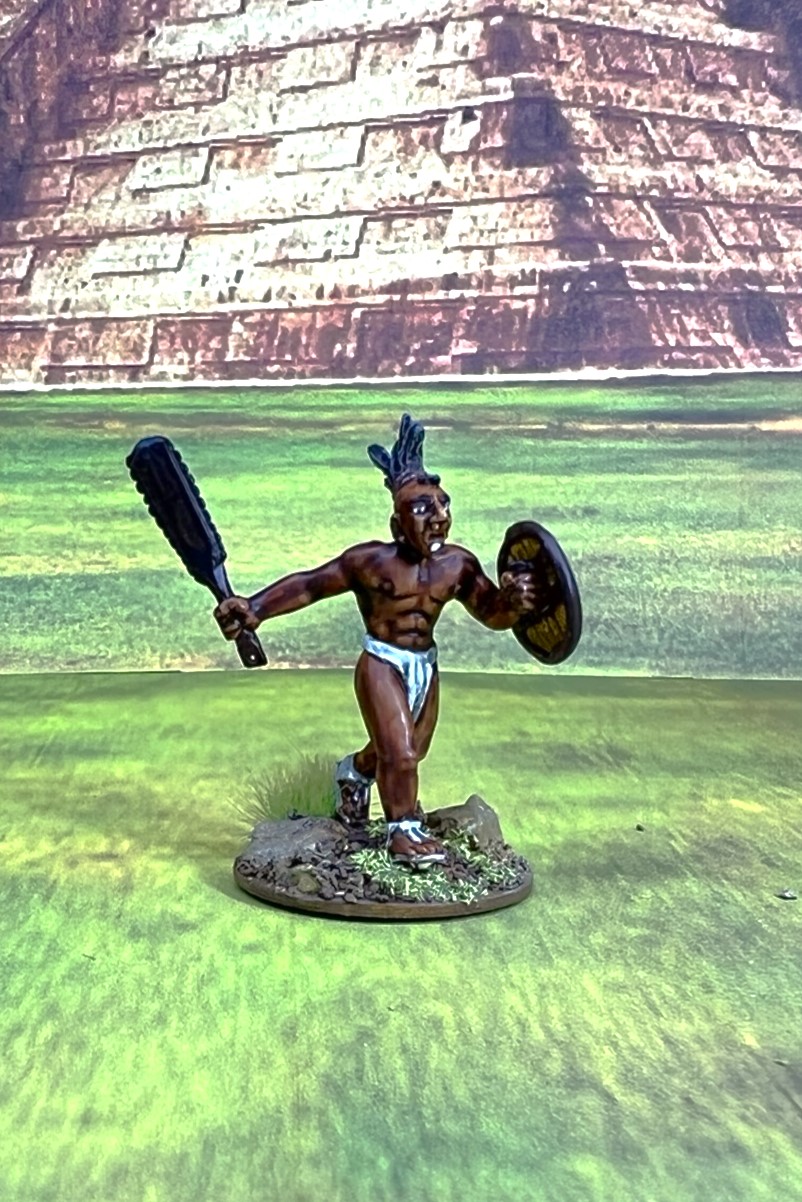
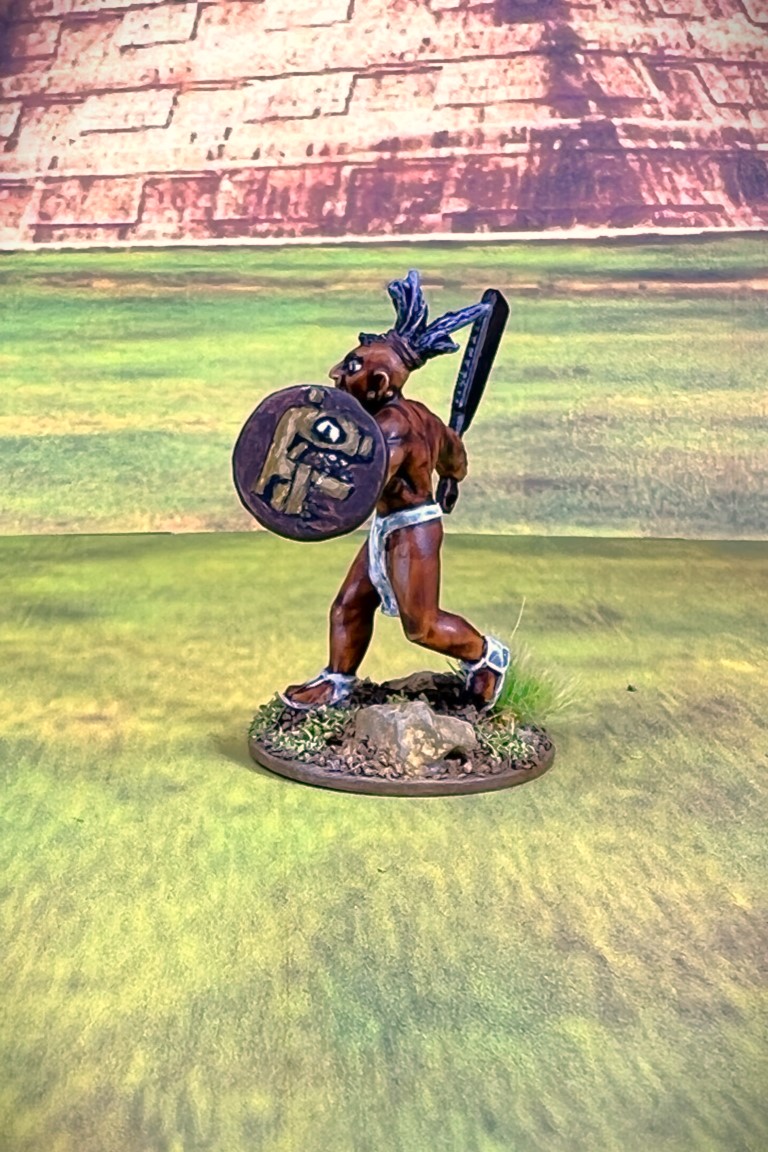
Maya Veteran Warriors
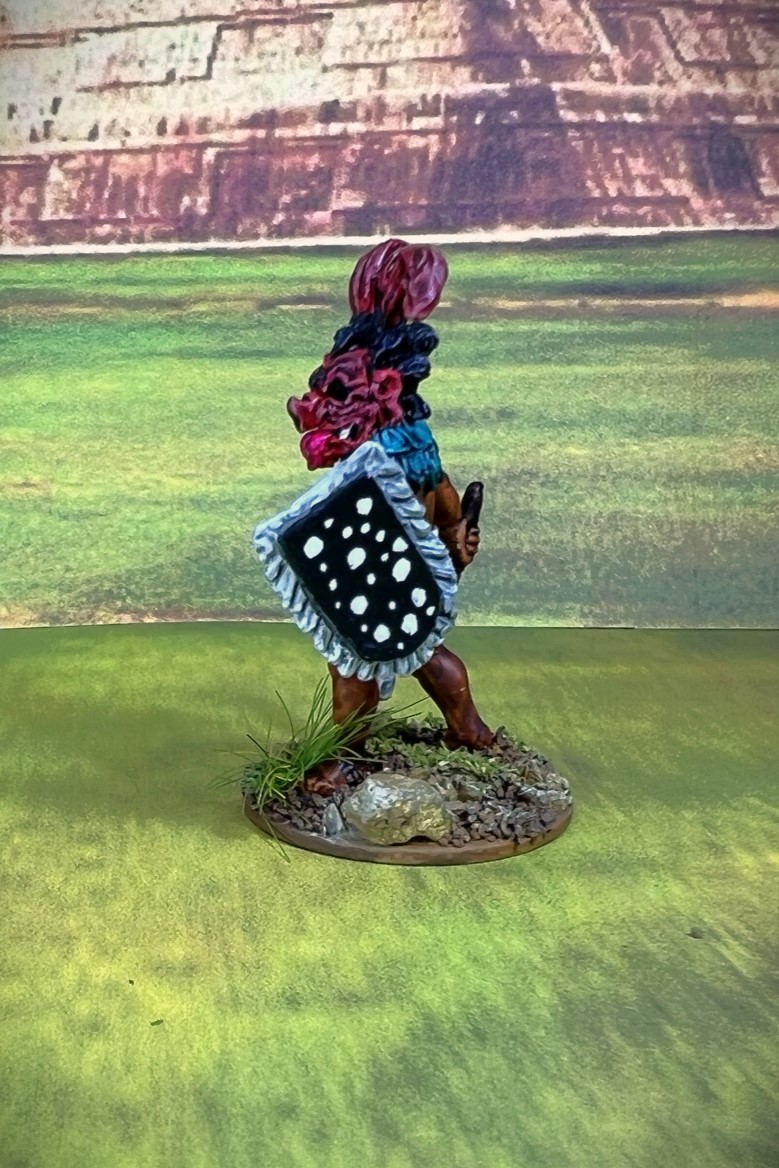
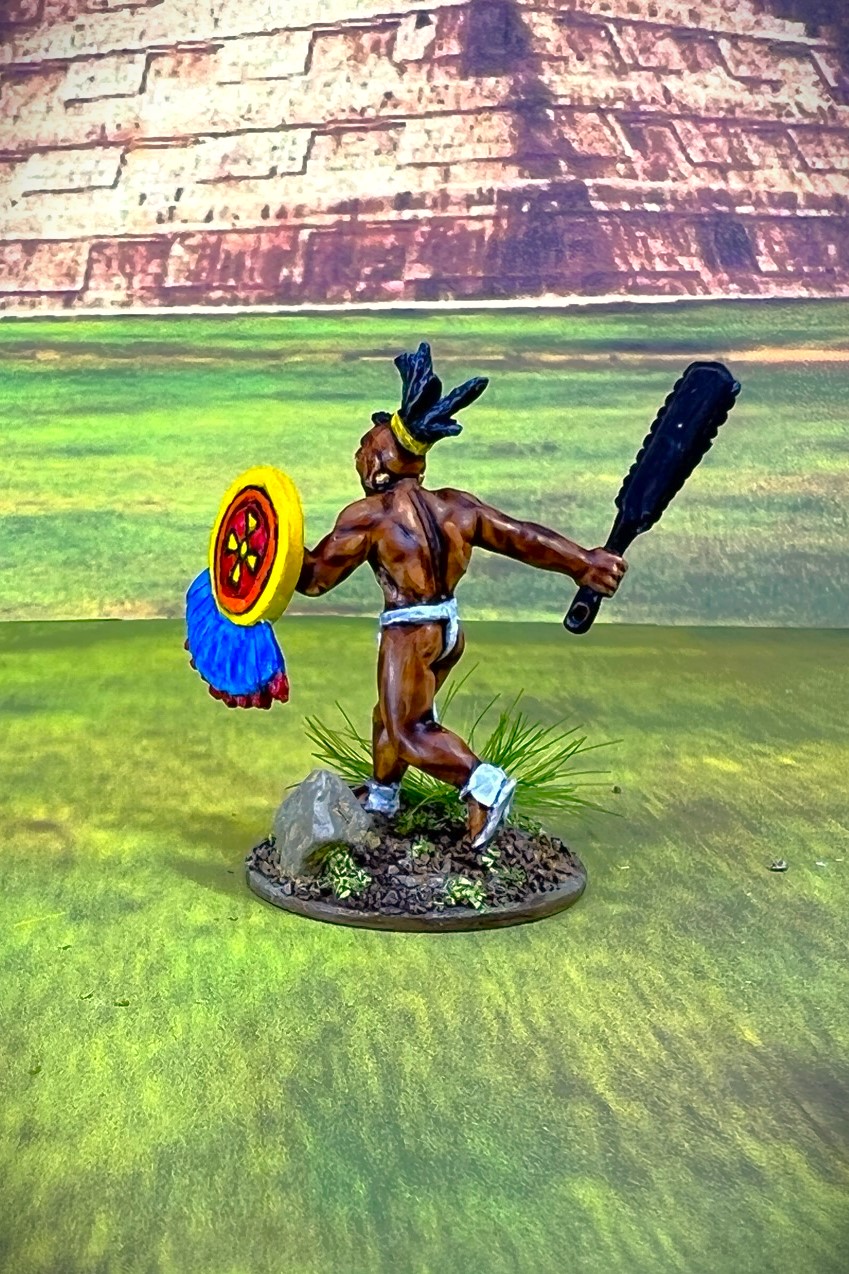
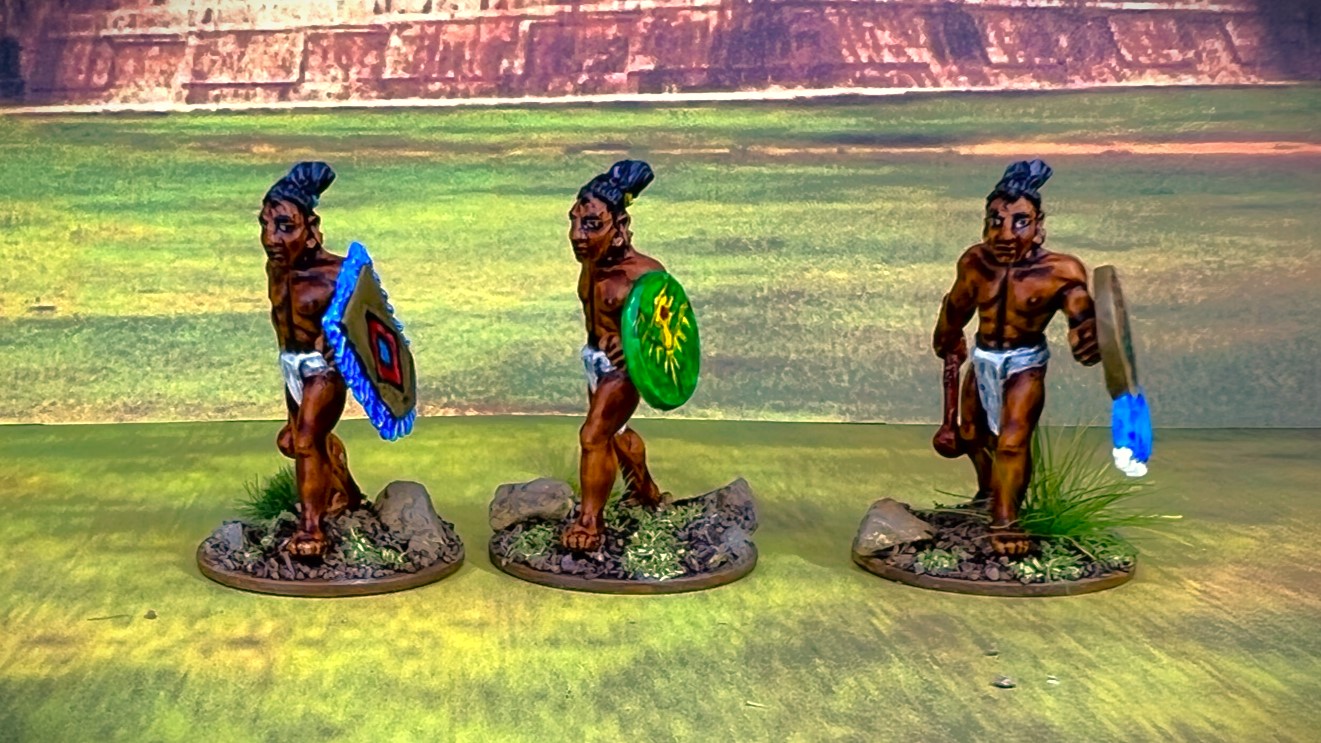
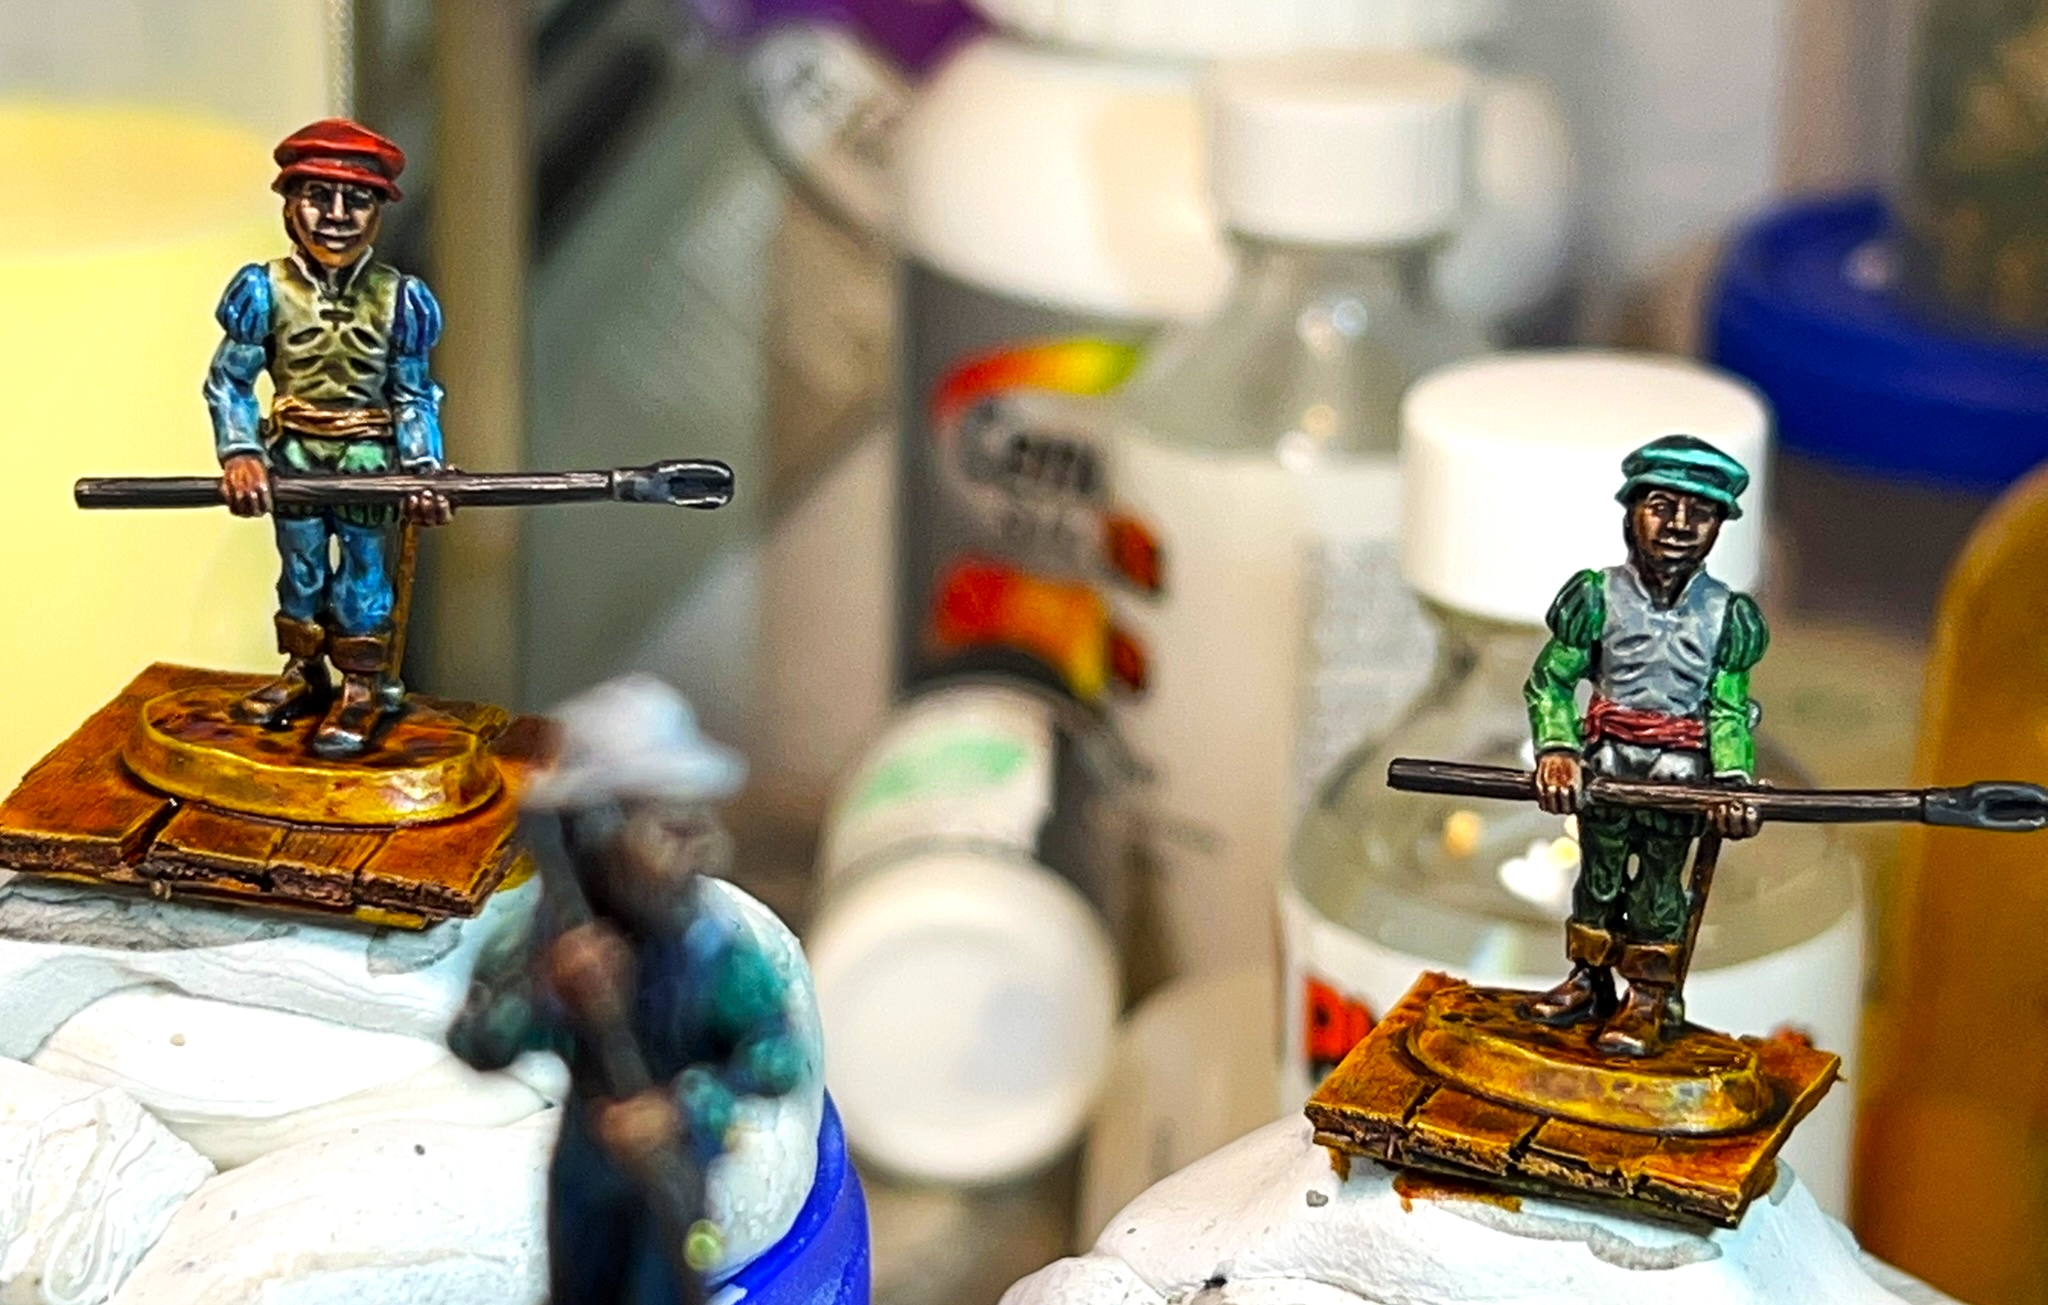
My Maya veterans came in three types – 3 M1’s with macuahuitls, 3 M3’s with bows, and 3 M12’s with cuauhololli. On the bows, I attempted to make the quivers look as they had been made out of three different kinds of animal hides: ocelot, jaguar, and capybara.
First, here are the 4 M1 figures.
MVo1


MV02
MV03
MV04

ALL M1 FIGURES WITH MACUAHUITLS

Next up are the 3 bow-armed M3 figures.
MV05

MV06

MV07

ALL M3 FIGURES WITH BOWS

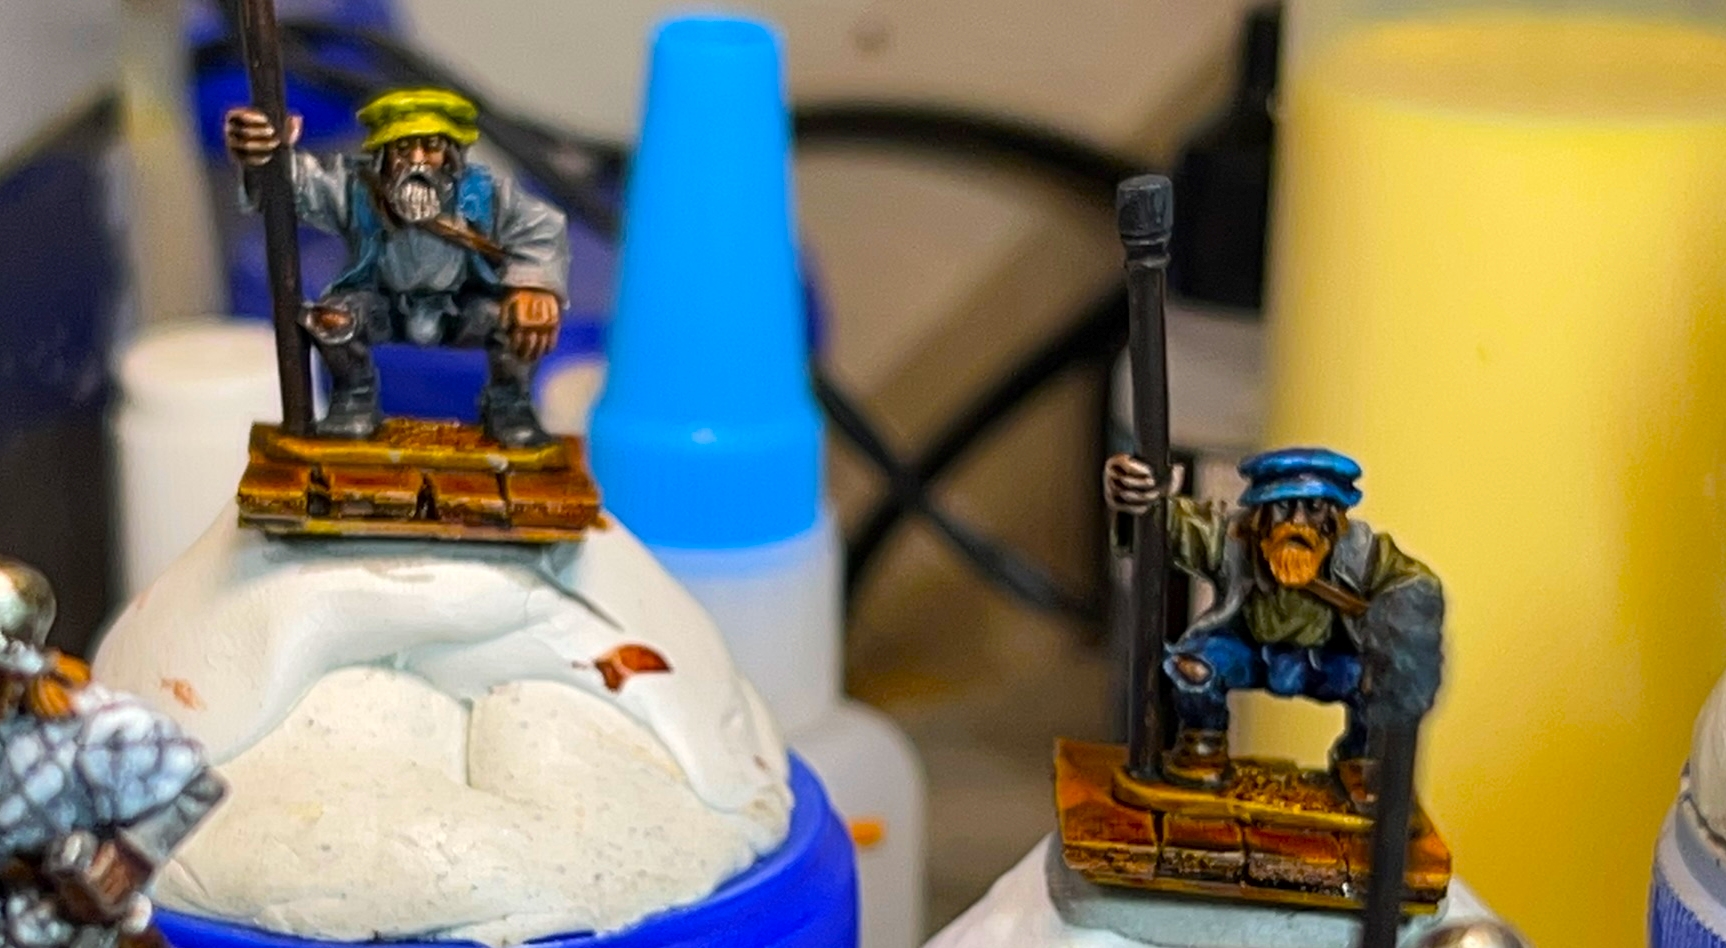
The last group of veteran Maya is the 3 M12 figures armed with cuauhololli (basically clubs). These figures are very similar to the Warrior Priests, other than the masks.
MV08


MV09
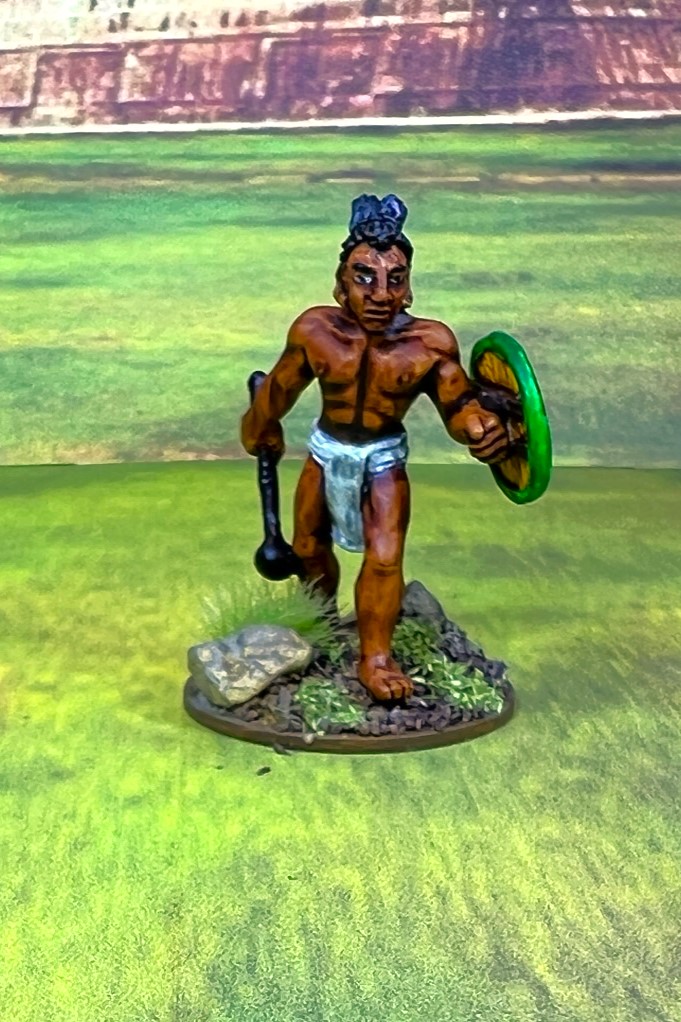

MV10
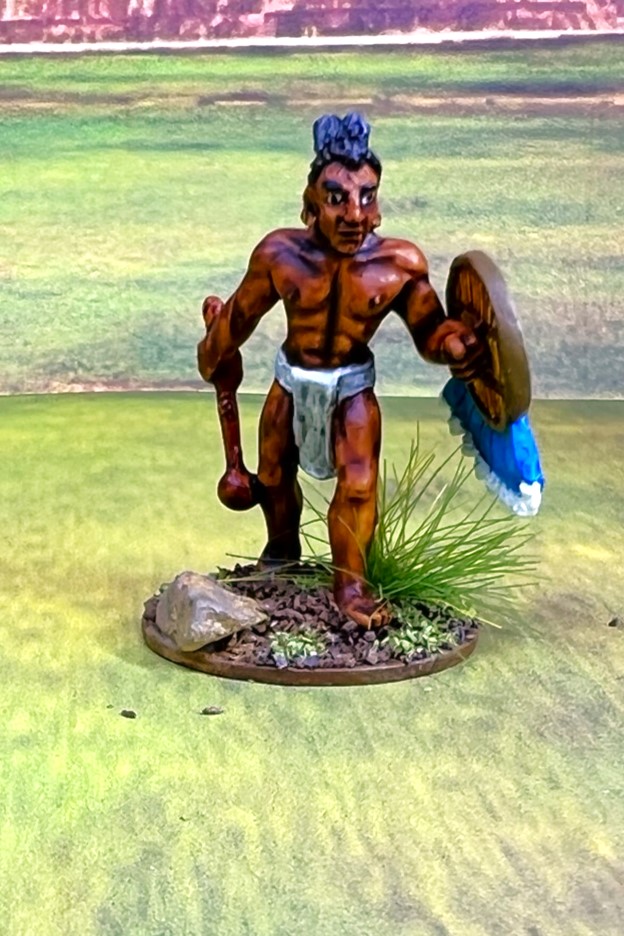
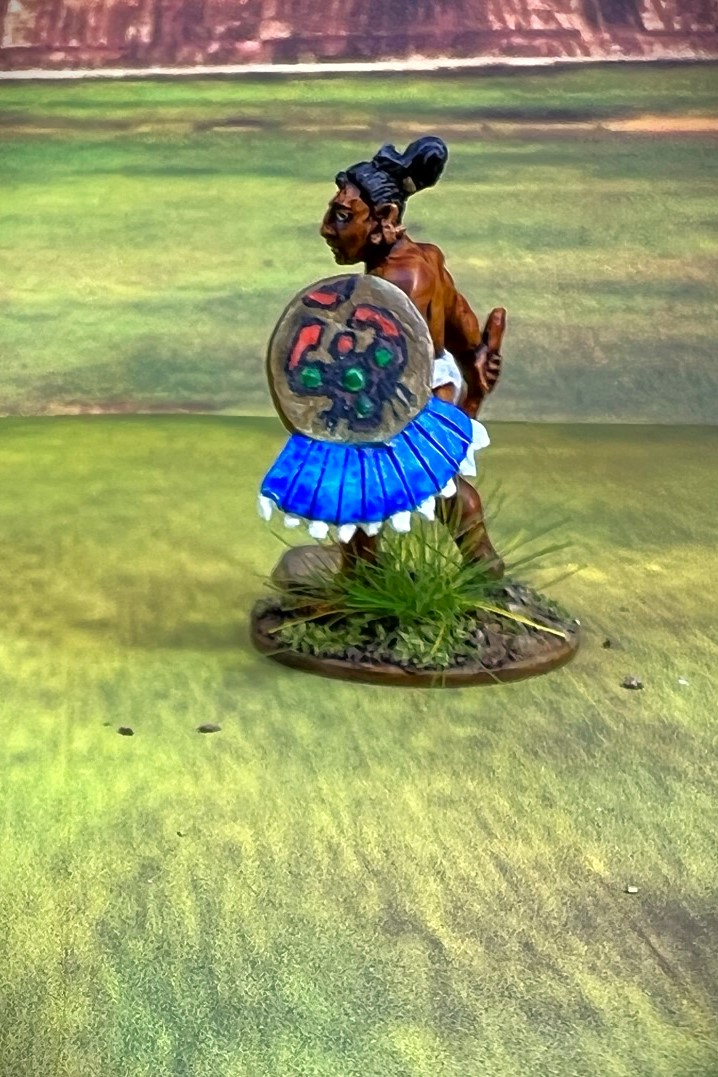
ALL M12 FIGURES WITH CUAUHOLOLLI
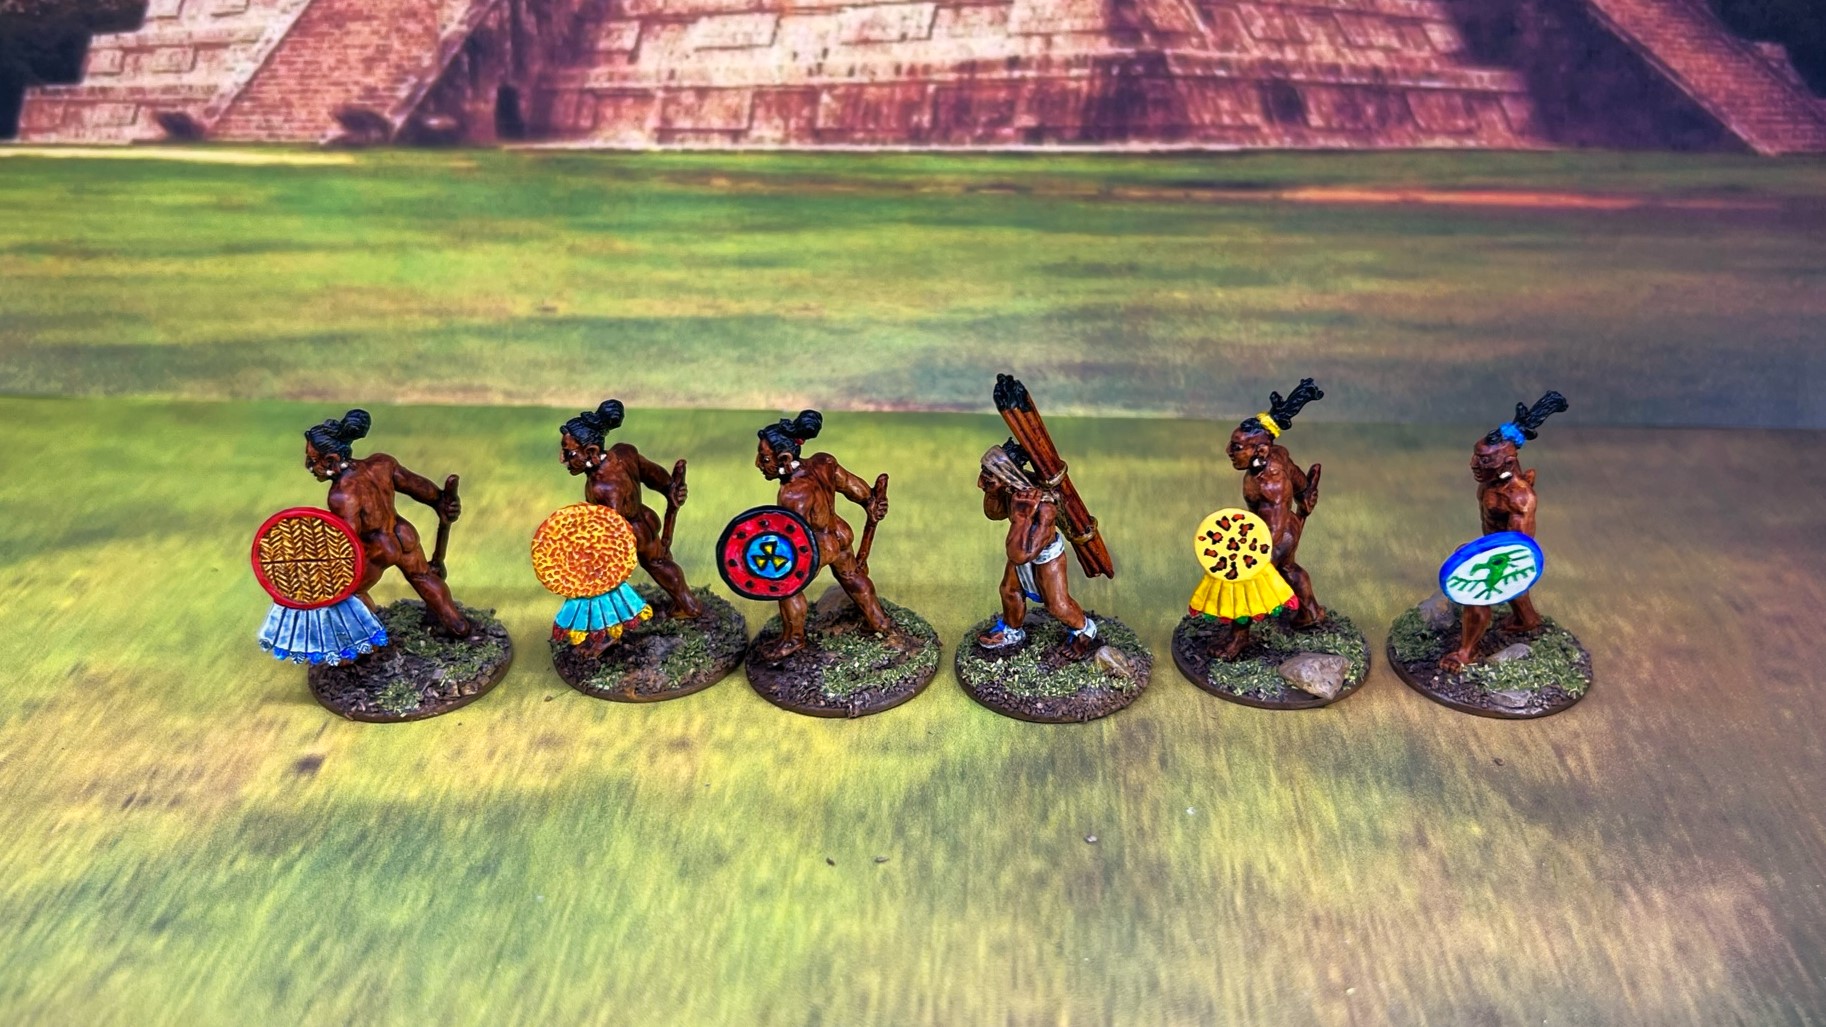
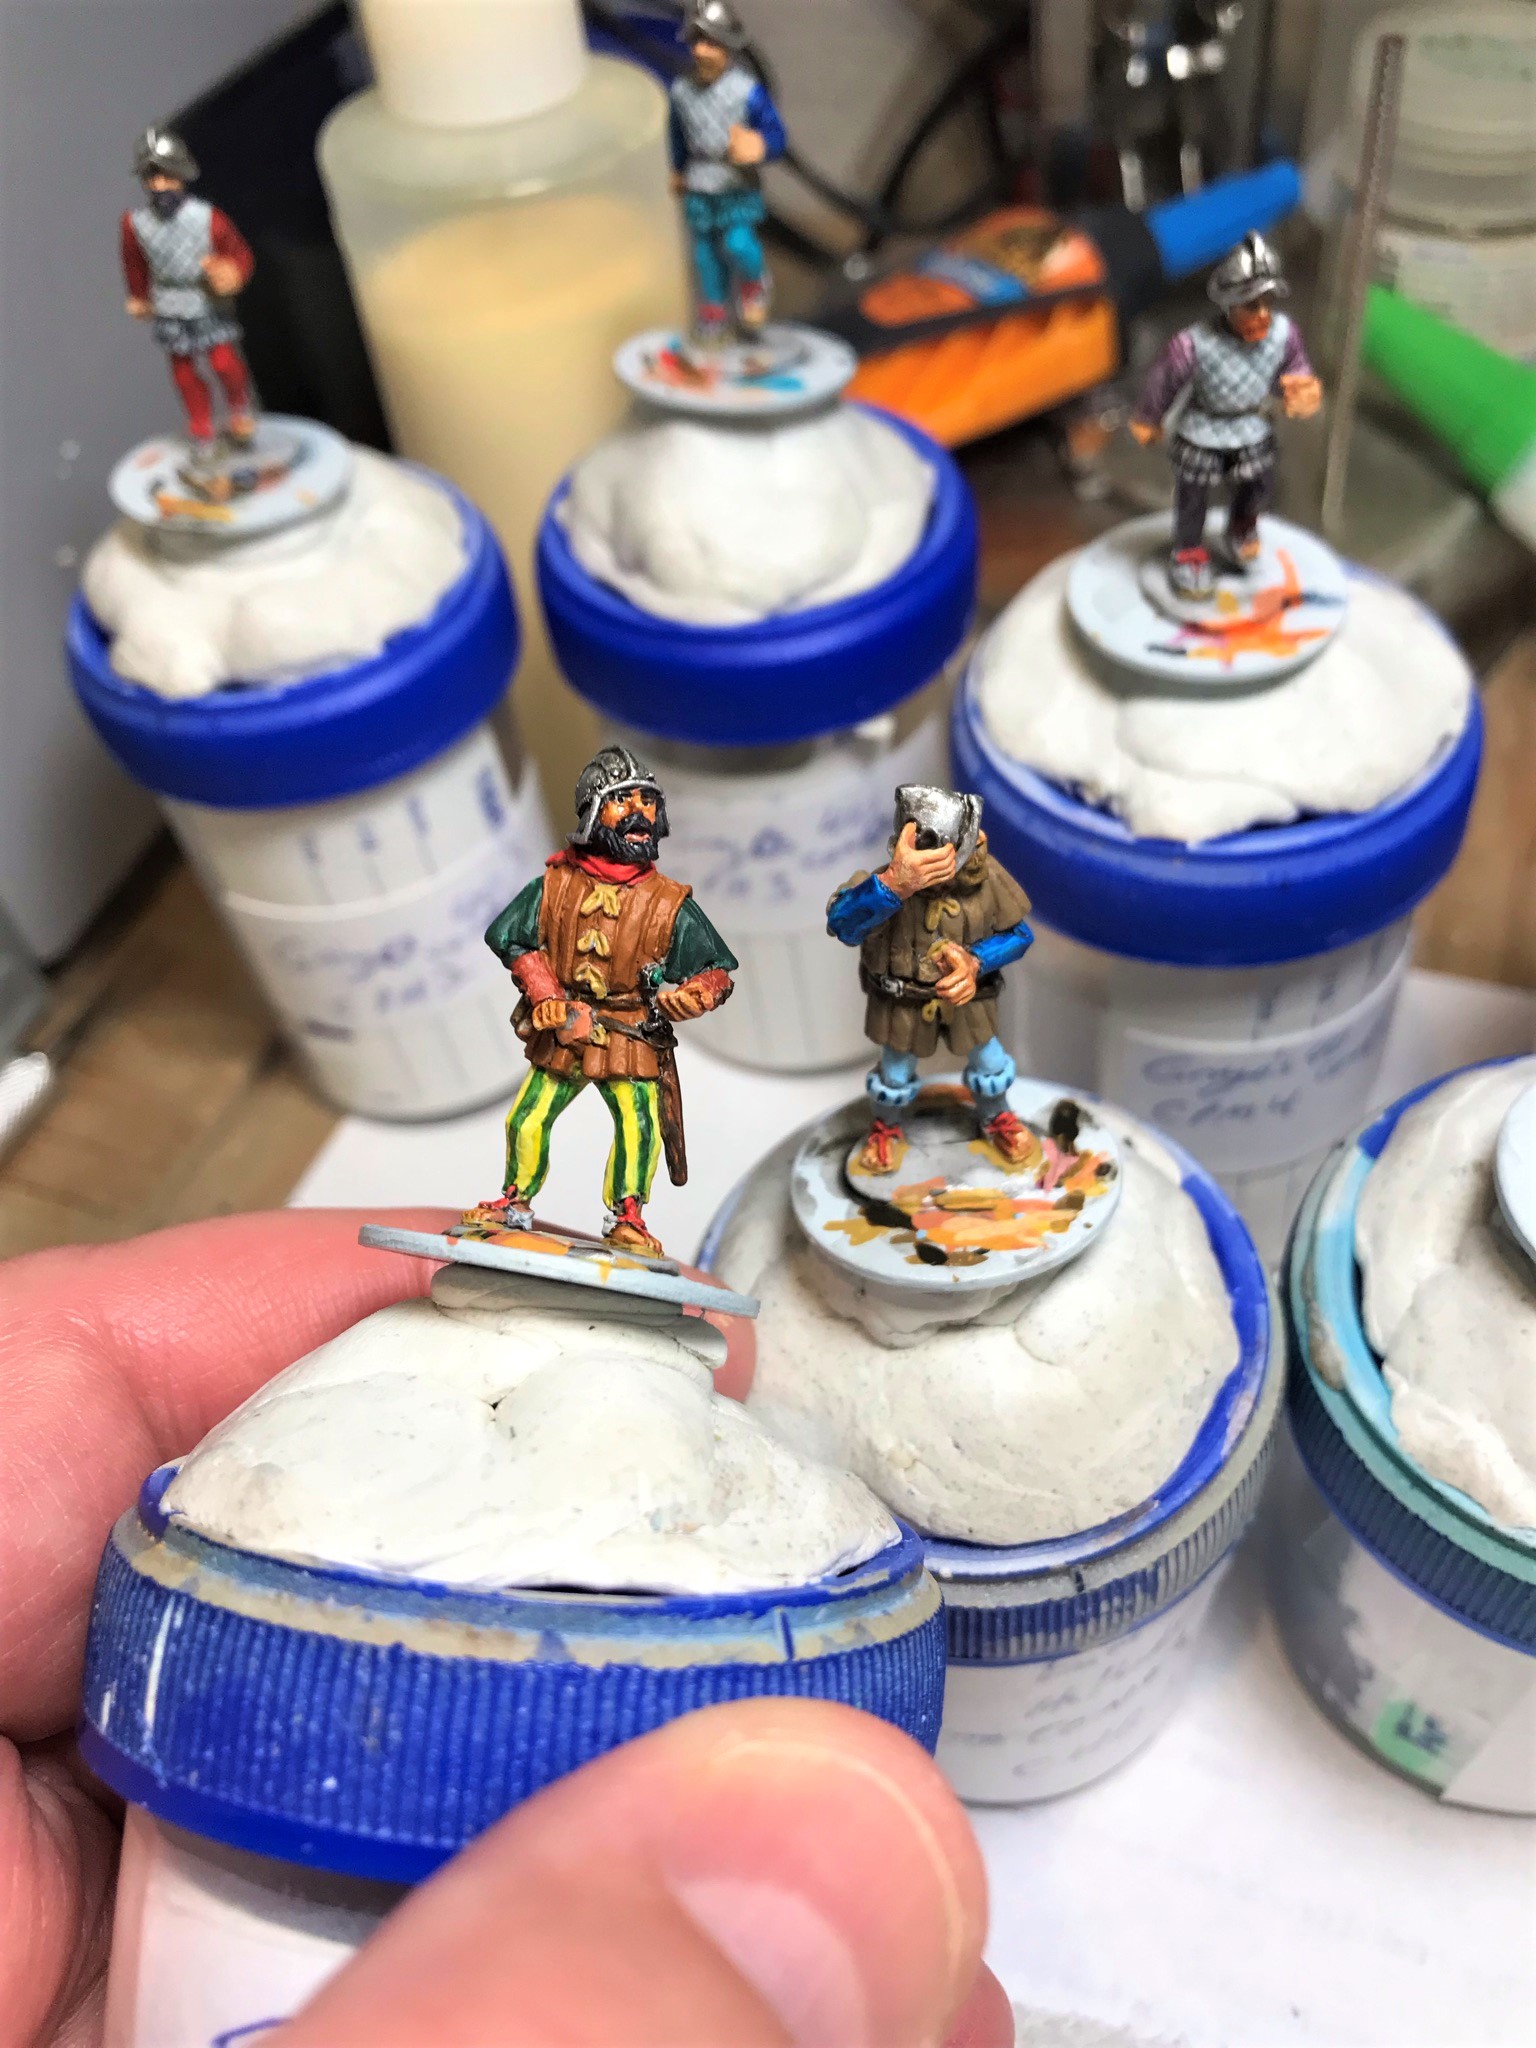
Maya Novice Warriors
And lastly, we come to the novices. I painted 6 up for my Maya forces. 3 M4’s armed with cuauhololli, 1 M15 with throwing spears, and 2 M11 with cuauhololli and longer hair. Only the M15 has a loincloth…so let’s just show 2 group shots…
ALL NOVICE FIGURES

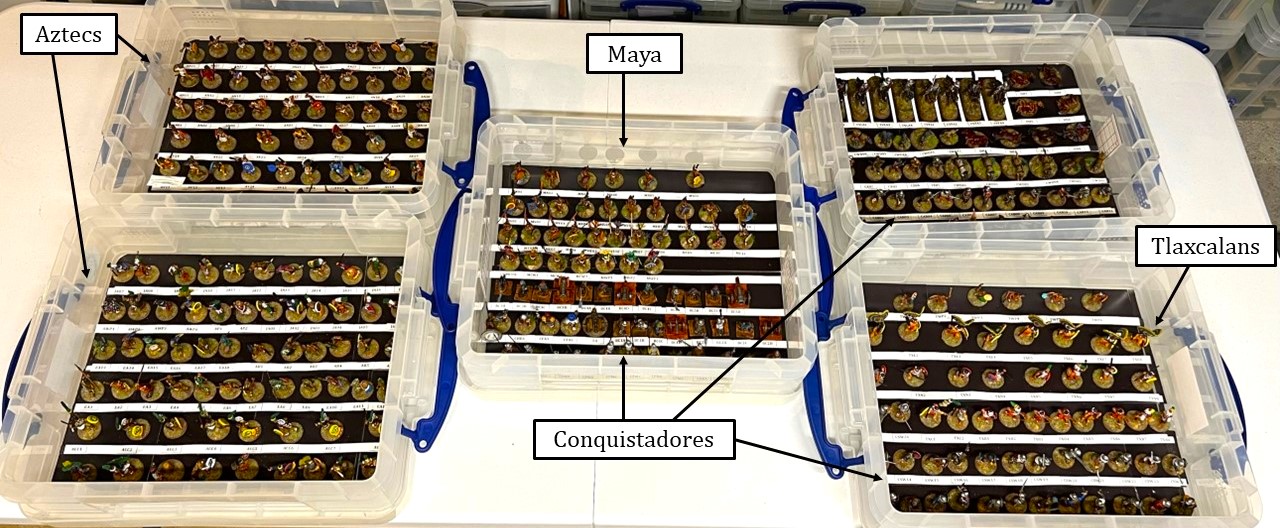
All Maya Figures

These 34 bring me to a grand total of…
300 Figures for the Spanish Conquest/Mesoamerican Conflicts!
A nice round number!
Now Azazel or Buck Surdu (or many of you) could paint that many in a far shorter time – but 300 is a lot to for me be sure and I’m pretty happy that I finally have them done and ready to game. That total of 300 includes:
- 121 Aztecs
- 113 Conquistadores
- 32 Tlaxcalans
- 34 Maya
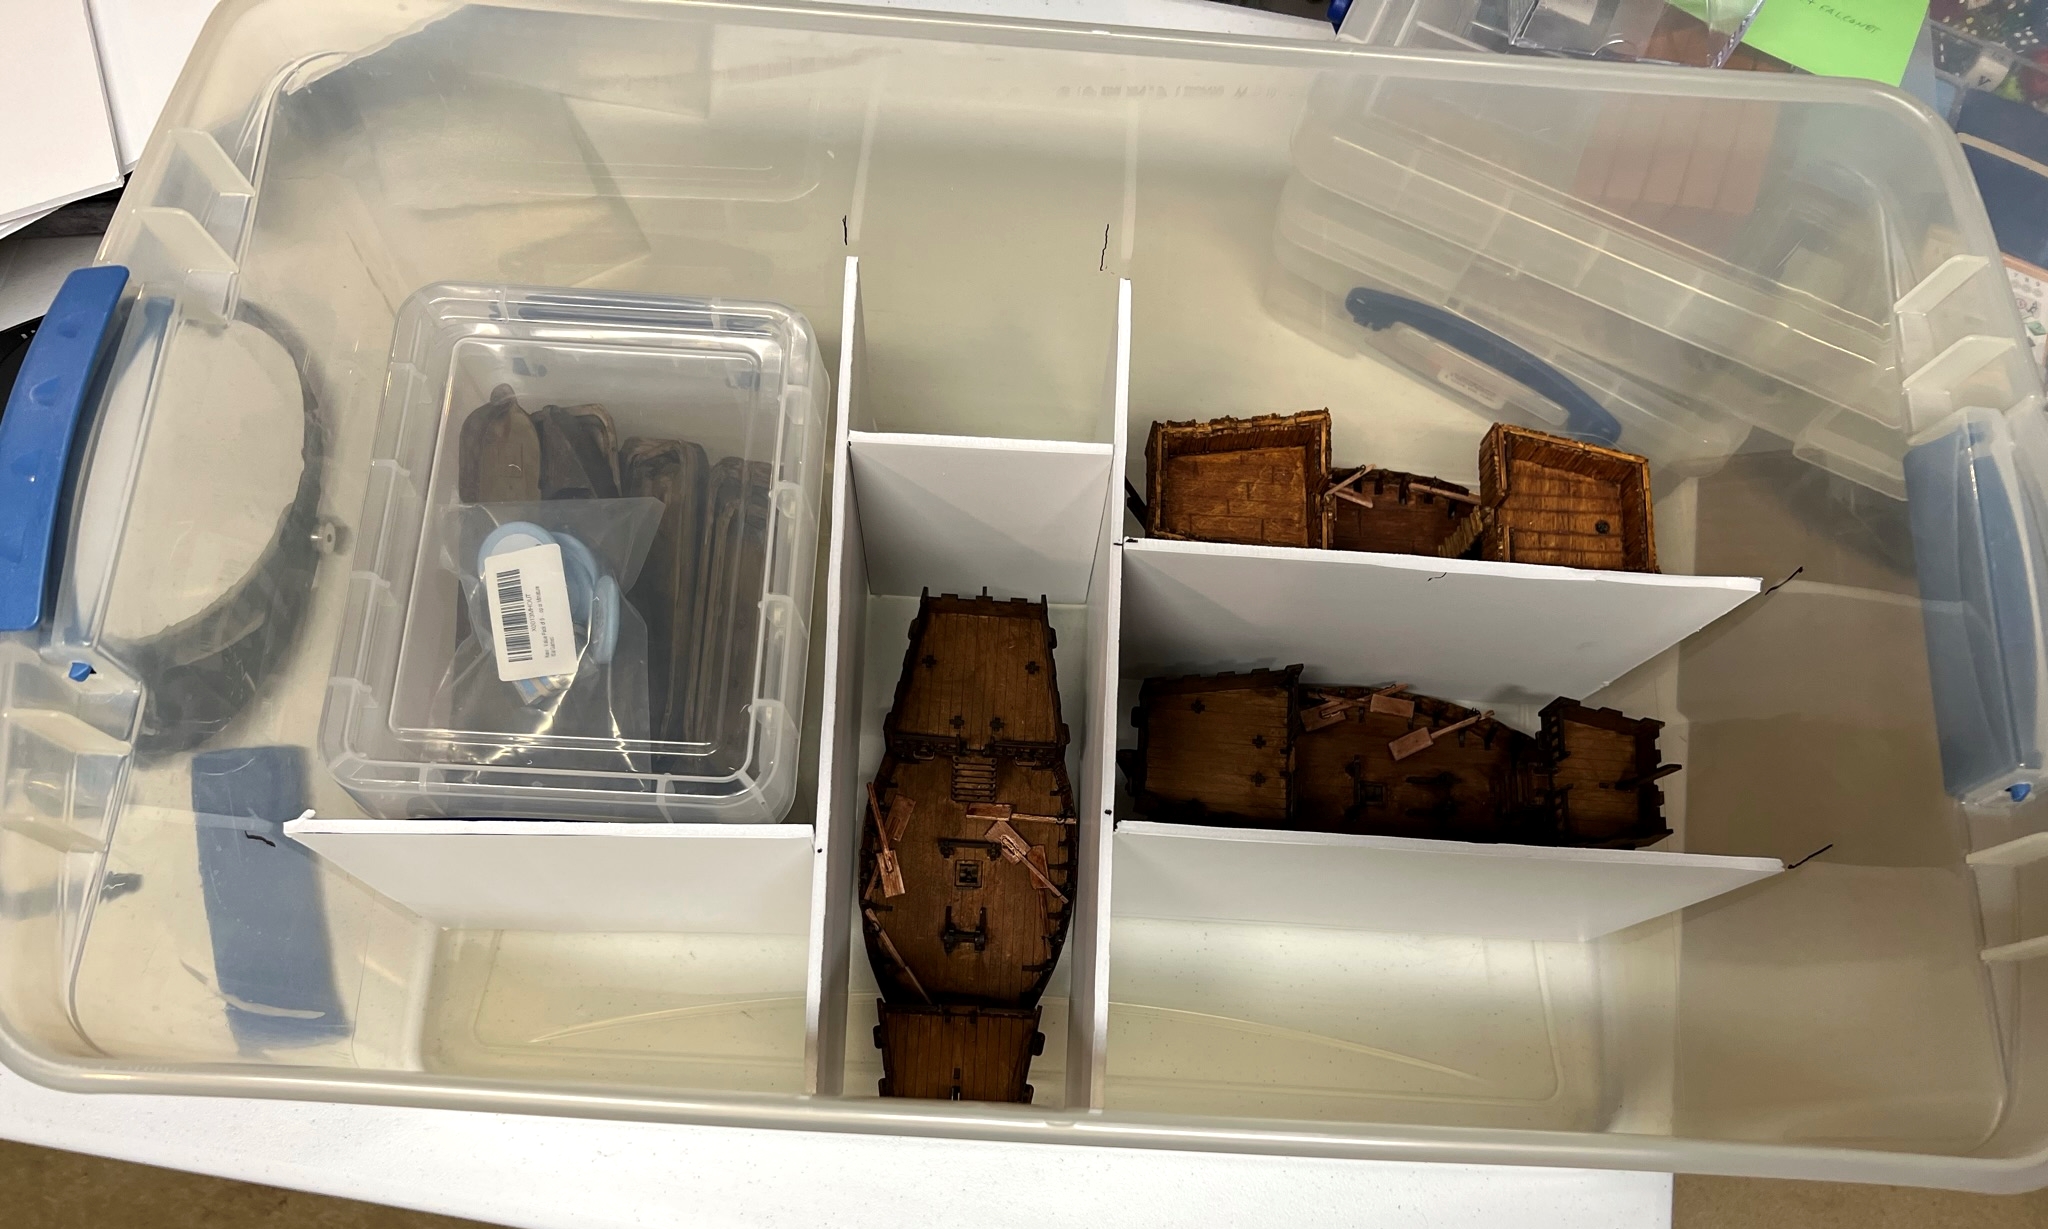
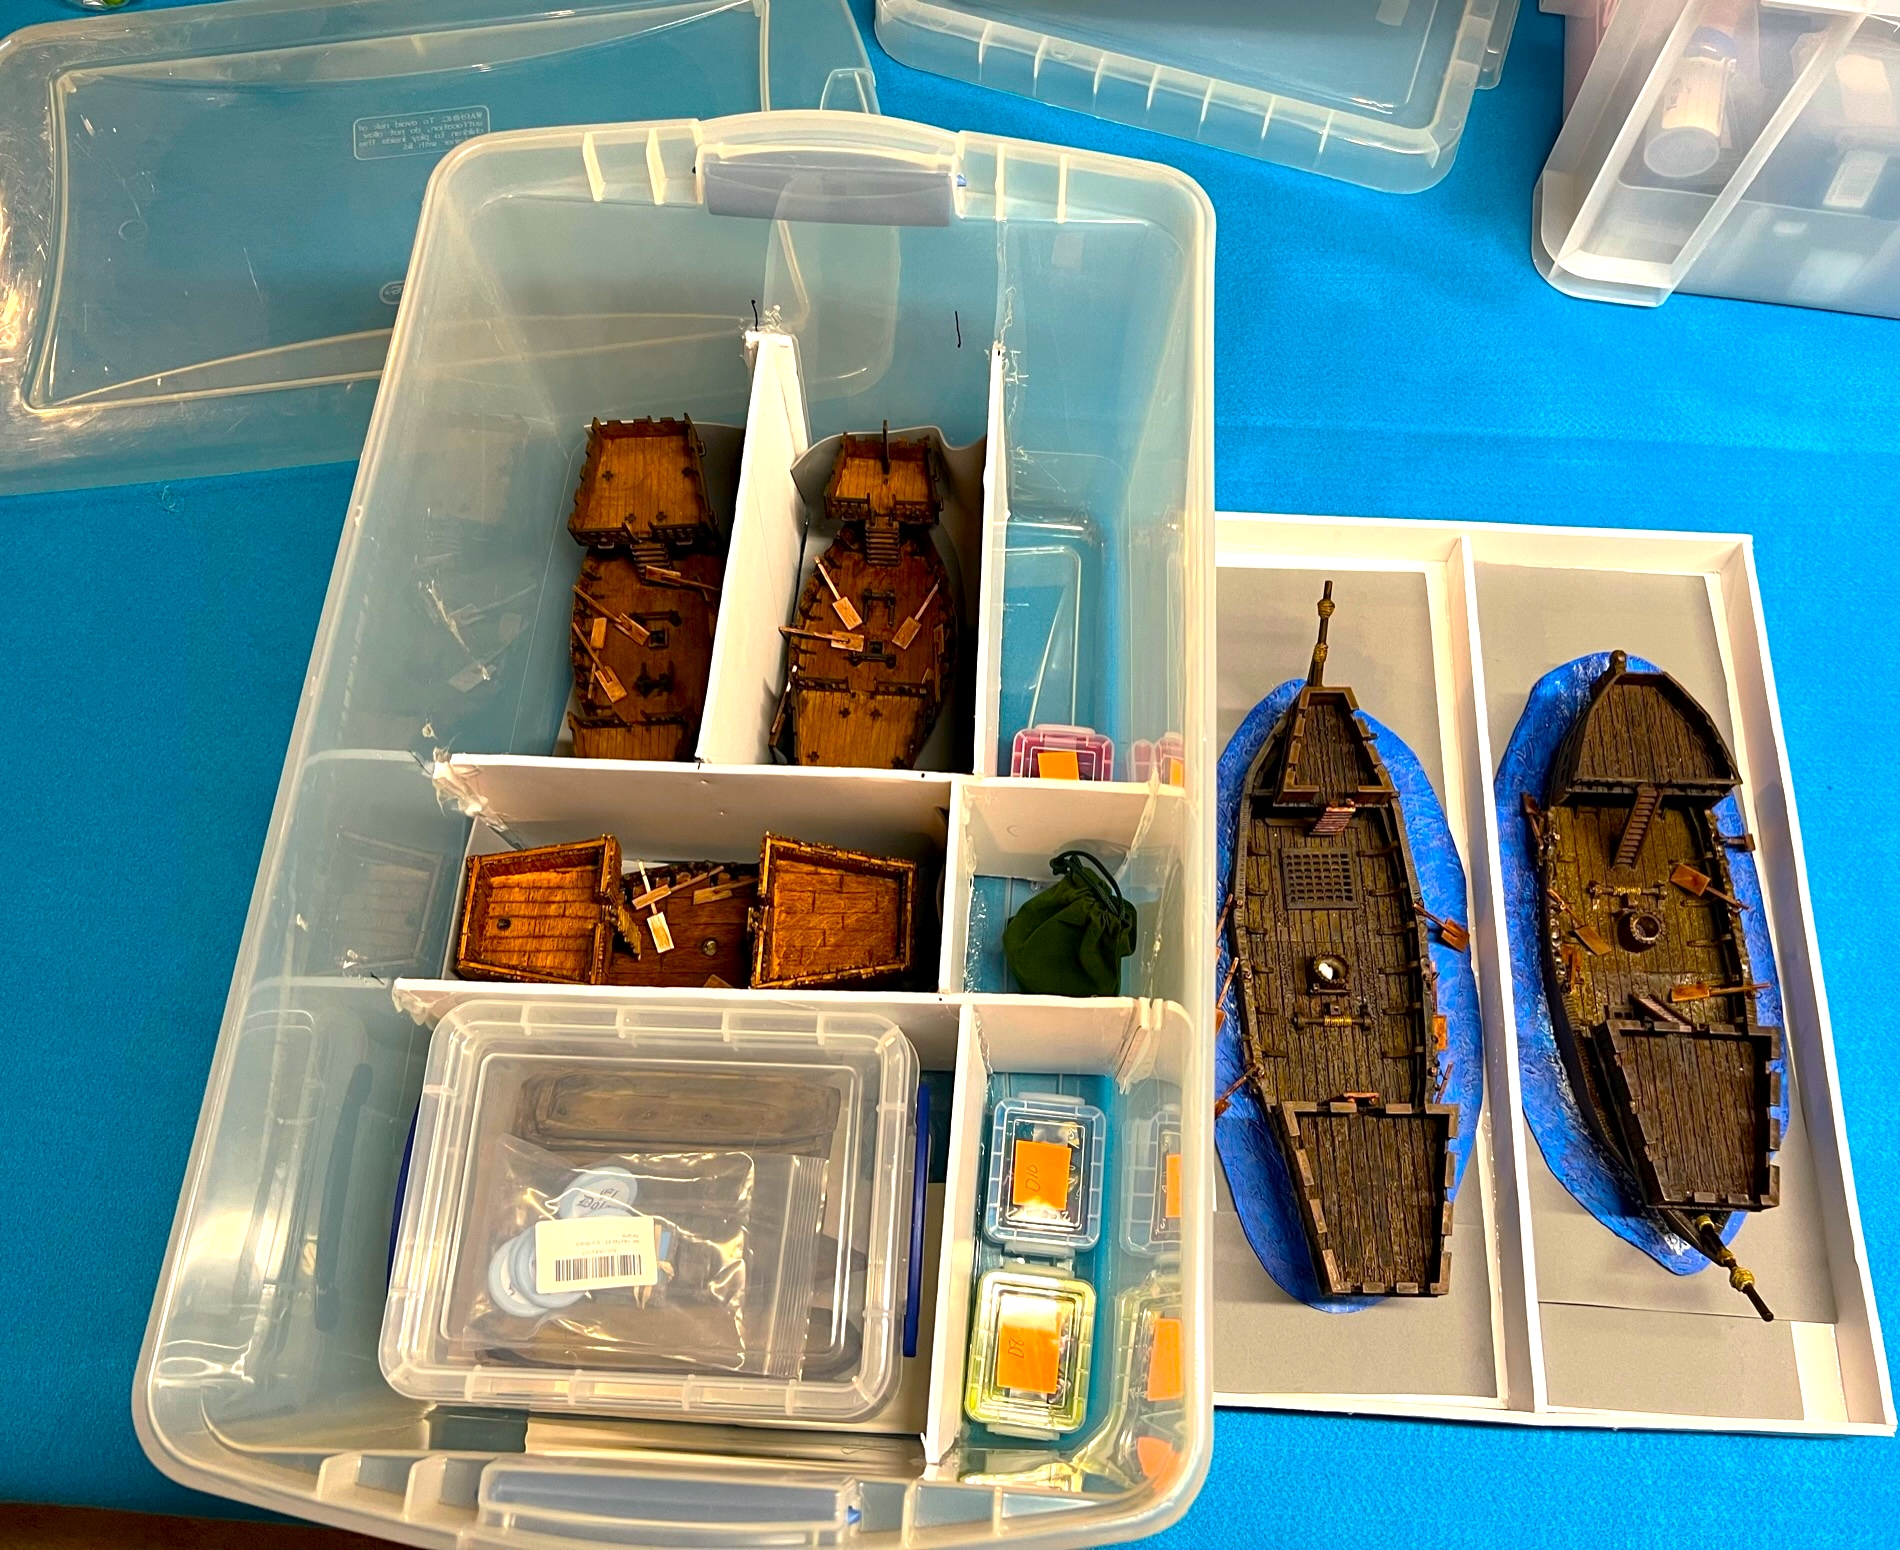
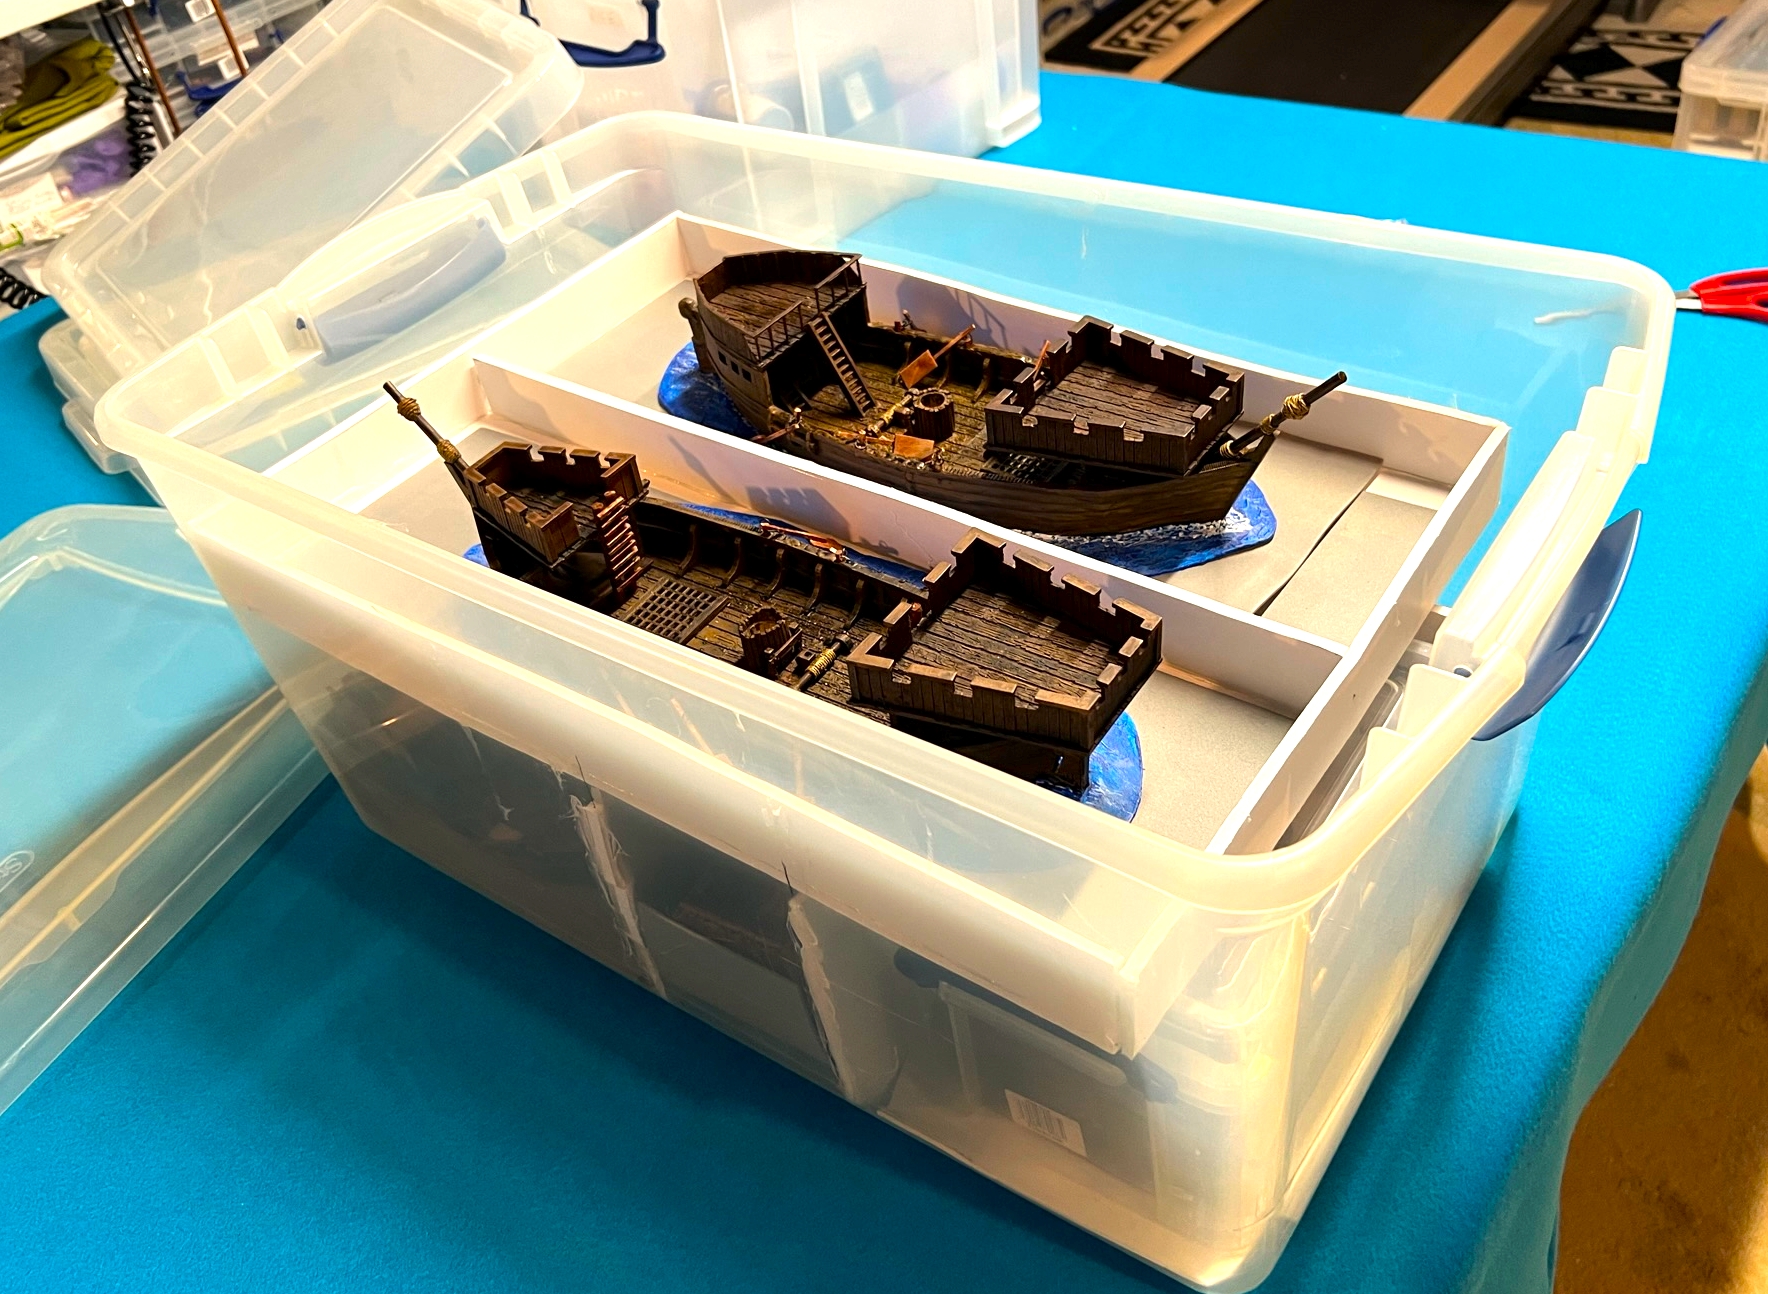
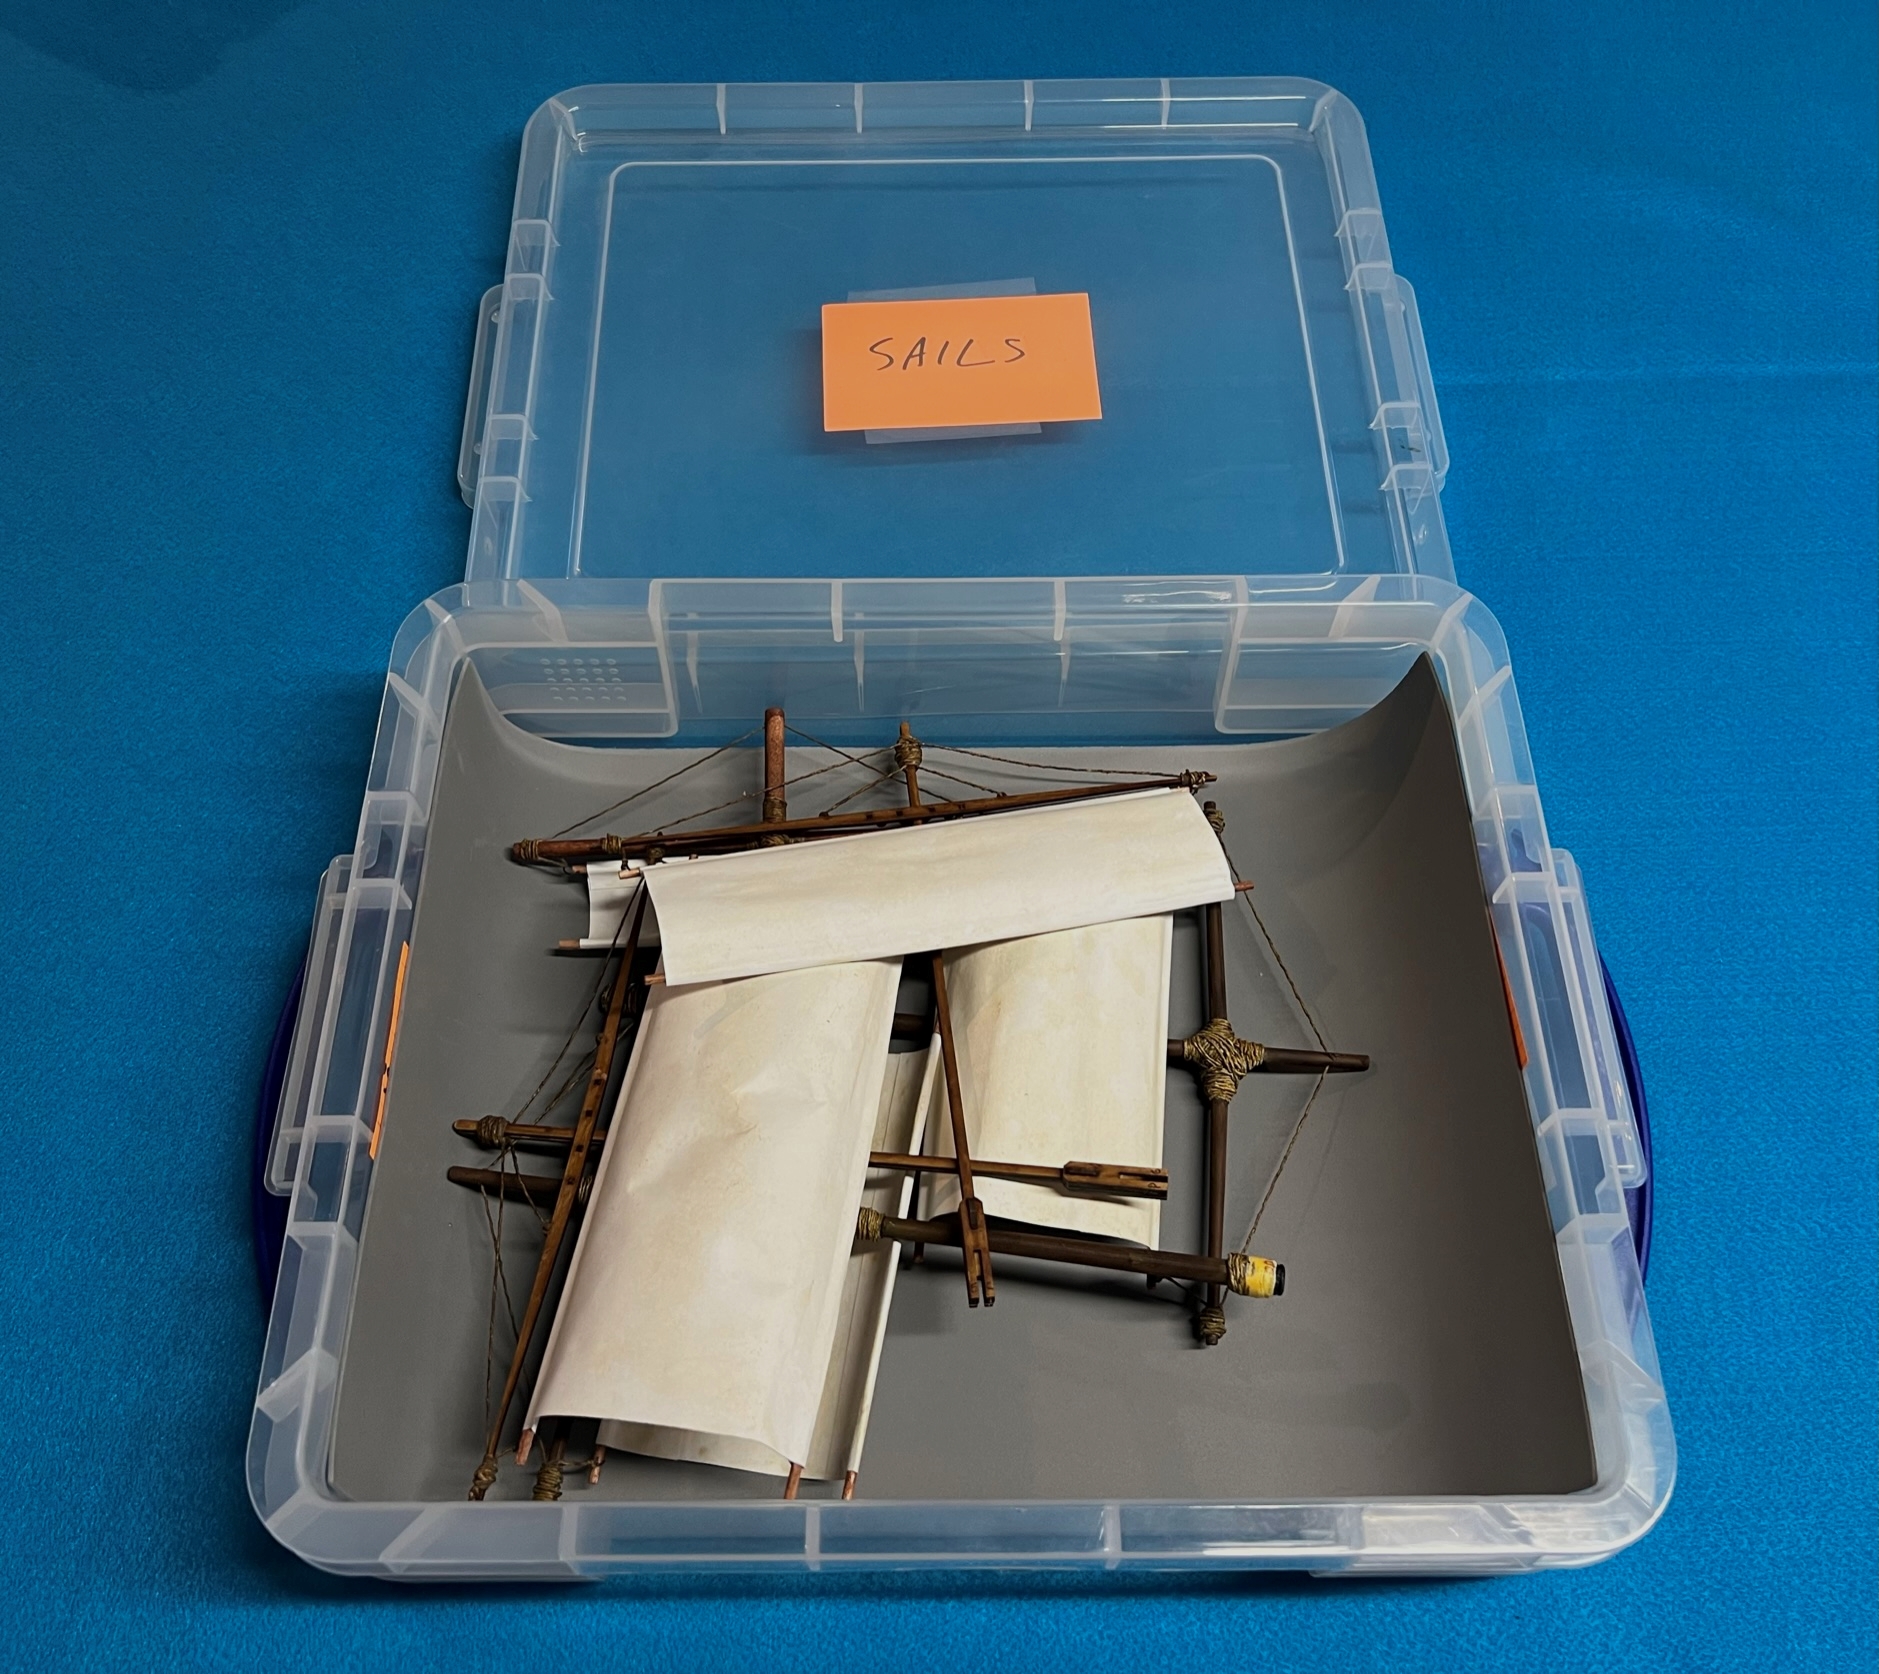
I am not counting brigantines or war canoes in that total by the way. I have them all in five 11-liter Really Useful Boxes – and there is a specific numbered individual spot for each and every figure. This allows me to quickly set up and take down games where the forces might change – especially at conventions. The boxes are lines with magnetic sheets and the figure bases all have steel underneath for safe transport.
Once again, thanks to you all for sharing this ride with me. It’s not completely over as I will be running many games going forward plus finishing the scenario booklet. One thing I’ve found is that my games are not the usual fare – which is great – it’s nice to bring something totally different to the tabletop.
Now I’ll get to start painting my Wars of Ozz figures. Thanks for taking a look and as always sharing your thoughts on this post in the comments section.
Miscellaneous details and references for those interested in that sort of thing:
For all of my previous posts on games, units, and other projects for my 16th Century Spanish Conquest supplement for Feudal Patrol™ – “Civilizations Collide” – please see this page.
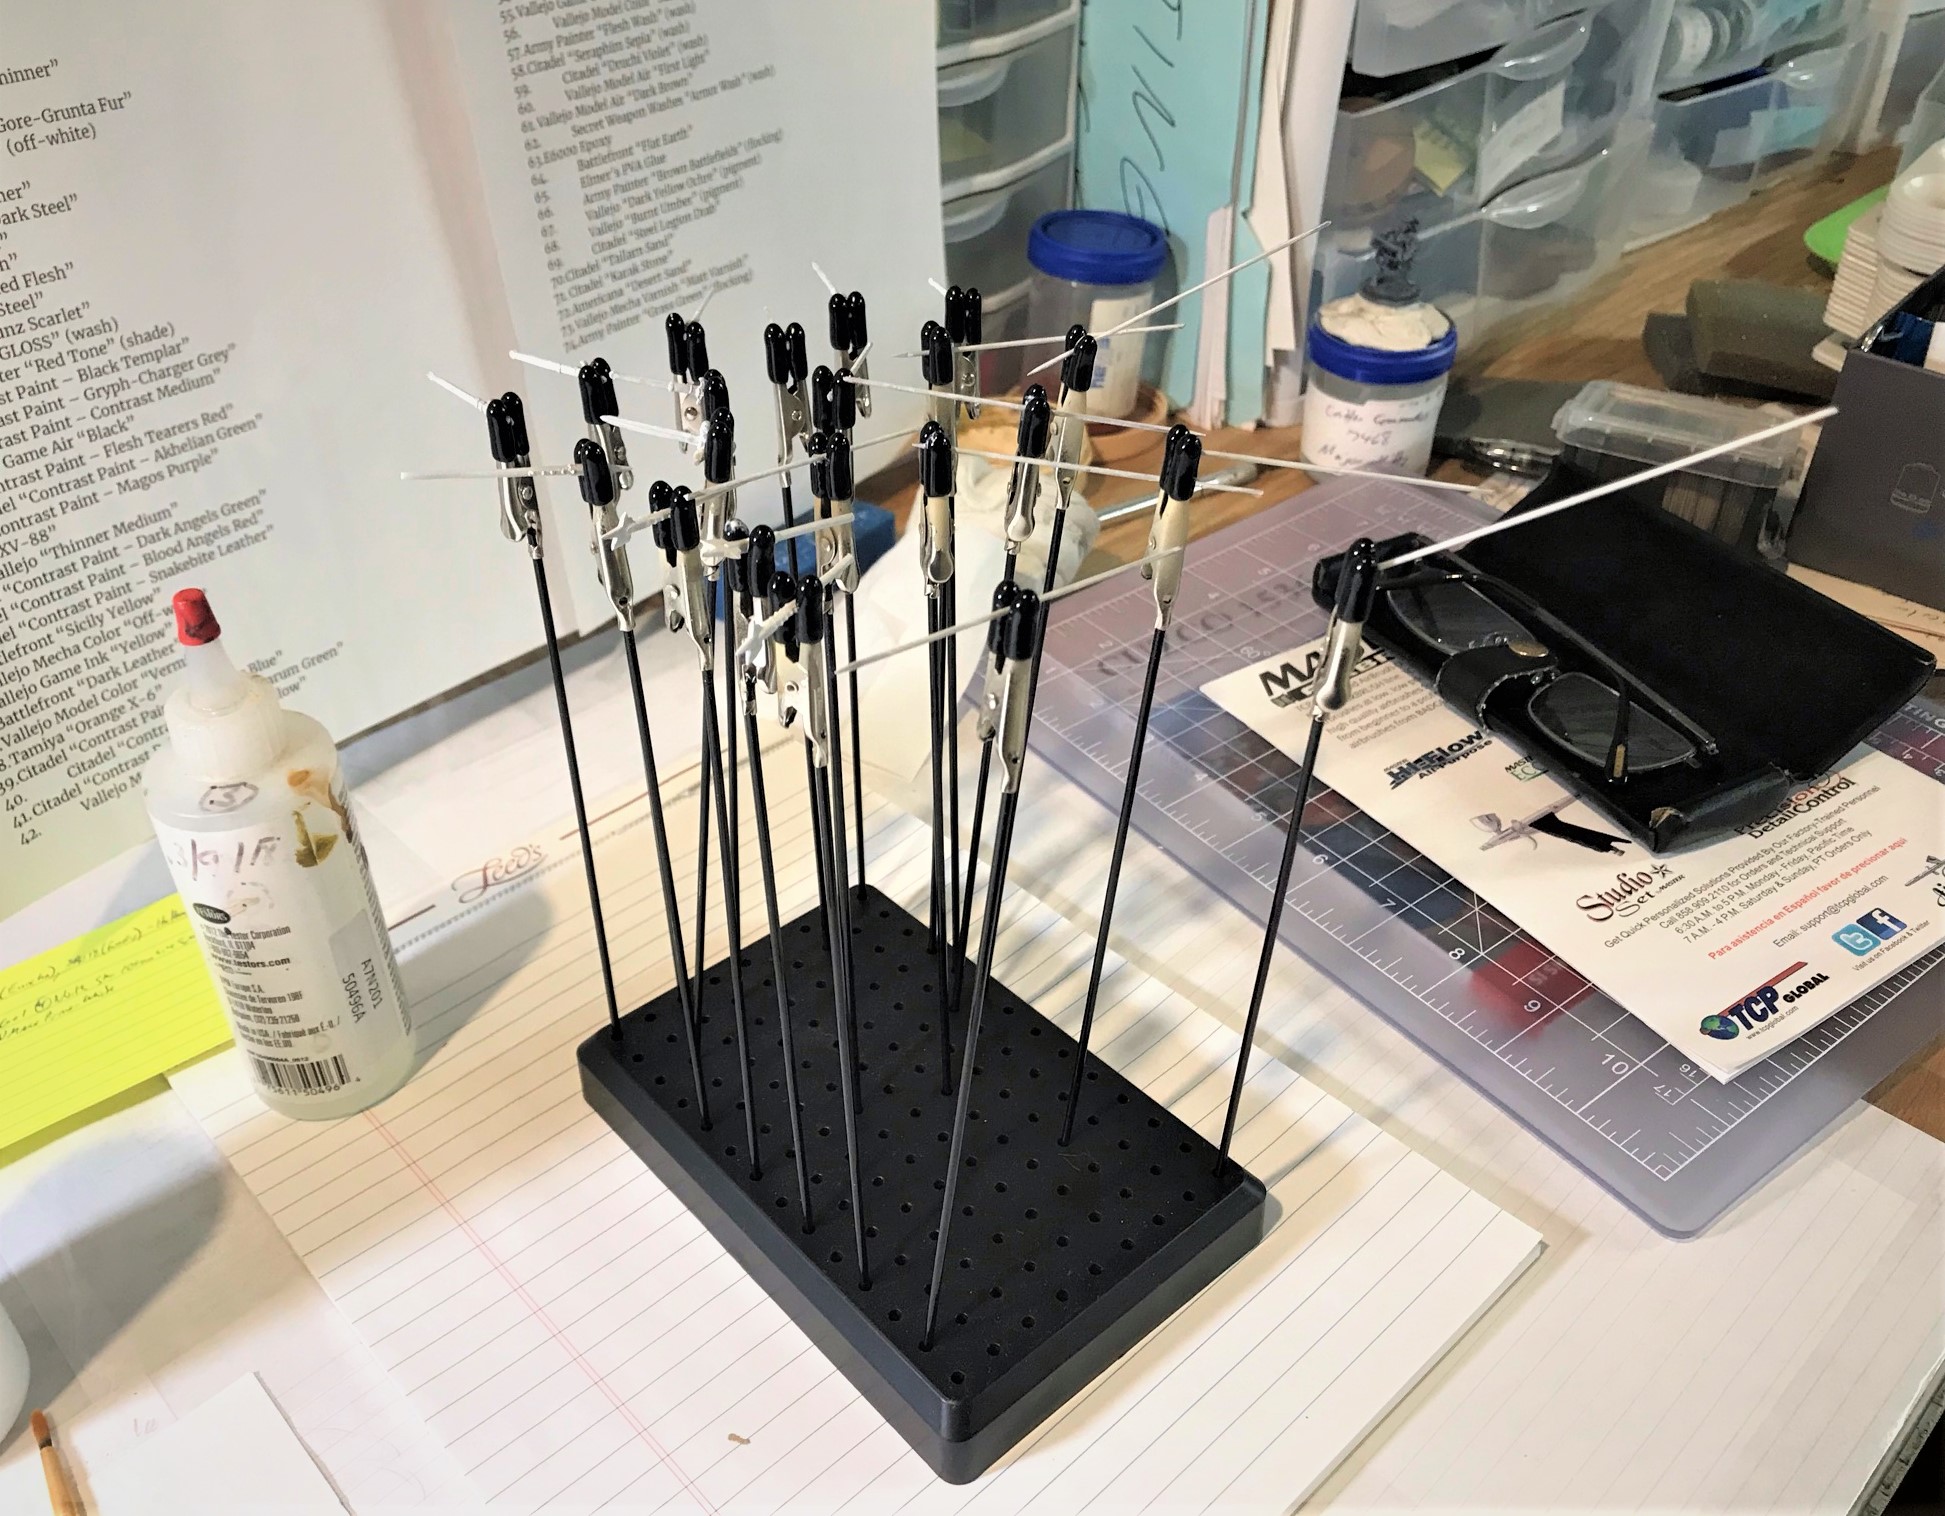
PAINTS, INKS, GLAZES, SHADES, WASHES, PIGMENTS, FLOCKING, GLUES AND MORE THAT I USED ON THESE MAYA FIGURES:
- Shafts from North Star Military Figures 100mm wire spears (leftover from building Conquistador Pikemen)
- Leftover shields from various Aztec projects
- Gorilla Glue
- 1/8″ x 1″ Everbilt Fender Washers
- Gorilla Glue Gel
- Poster tack
- Vallejo Mecha Primer “White”
- Vallejo “Flow Improver”
- Vallejo “Airbrush Thinner”
- Vallejo Game Color “Bronze Fleshtone”
- Battlefront “Skin Shade”
- Vallejo Model Color “Dark Flesh”
- Vallejo Model Color “Medium Skin Tone”
- Vallejo Model Color “Sunny Skin Tone”
- Citadel “Contrast Paint – Darkoath Flesh”
- Citadel “Contrast Paint – Fyreslayer Flesh”
- Citadel “Contrast Paint – Contrast Medium”
- Army Painter “Speed Paint – Grim Black”
- Army Painter “Speed Paint – Sand Golem”
- Vallejo Mecha Color “Off-white”
- Citadel “Ushabti Bone”
- Vallejo Model Color “Glossy Black”
- Vallejo Mecha Color “Black”
- Vallejo Model Color “Tan Earth”
- Citadel “Agrax Earth Shade” (wash)
- Army Painter “Speed Paint – Magic Blue”
- Citadel “Contrast Paint – Ironjawz Yellow”
- Citadel “Contrast Paint – Baal Red”
- Army Painter “Speed Paint – Holy White”
- Battlefront “Flat Earth”
- Citadel “Contrast Paint – Karandras Green”
- P3 “Sulfuric Yellow”
- Citadel “Contrast Paint – Imperial Fist”
- Army Painter “Speed Paint – Runic Grey”
- Citadel “Contrast Paint – Magmadroth Flame”
- Vallejo Model Color “English Uniform”
- Vallejo Model Air “Armour Brown”
- Battlefront “Sicily Yellow”
- Citadel “Contrast Paint – Frostheart”
- Battlefront “Worn Canvas”
- Secret Weapon Washes “Parchment”
- Vallejo Model Color “White”
- Vallejo Game Ink “Yellow”
- Citadel “Averland Sunset”
- Citadel “Gehenna’s Gold”
- Army Painter “Speed Paint – Dark Wood”
- Vallejo Mecha Varnish “Gloss Varnish”
- Citadel “Longbeard Grey”
- Citadel “Warpfiend Grey”
- Citadel “Seraphim Sepia” (wash)
- Army Painter “Speed Paint – Hardened Leather”
- Citadel “Contrast Paint – Gore Grunta Fur”
- Vallejo Model Color “Yellow Ochre”
- Vallejo Model Color “Light Brown”
- Vallejo Game Color “Livery Green”
- Armory “Dark Blue”
- Vallejo Game Color “Bloody Red”
- Citadel “Contrast Paint – Asurman Blue”
- Vallejo Game Ink “Blue”
- Citadel “Contrast Paint – Stormfiend”
- Vallejo Model Color “Prussian Blue”
- Citadel “Contrast Paint – Terradon Turquoise”
- Citadel “Cryptek Armourshade Gloss” (shade)
- Army Painter “Red Tone” (shade)
- Army Painter “Blue Tone” (shade)
- Vallejo Game Ink “Green”
- Army Painter “Speed Paint – Pallid Bone”
- Army Painter “Soft Tone” (shade)
- Citadel “Contrast Paint – Doomfire Magenta”
- Small hobby talus pieces
- Elmer’s PVA Glue
- Army Painter “Brown Battleground” (flocking)
- Vallejo “Dark Yellow Ochre” (pigment)
- Vallejo “Burnt Umber” (pigment)
- Citadel “Steel Legion Drab”
- Citadel “Tallarn Sand”
- Battlefront “Wool Brown”
- Citadel “Karak Stone”
- Vallejo Mecha Varnish “Matte Varnish”
- Army Painter “Grass Green” (flocking)
- Shadows Edge “Wild Tufts”
- Army Painter “Jungle Tufts”
- Army Painter “Swamp Tufts”


