

The city of Tenochtitlan, the capital of the Aztec Empire, rose out of Lake Texcoco on an island. This island was connected to the mainland by a series of causeways. Reclaiming land from a water body usually involves building up a surface of large stones on its bottom. These would build up into a dry surface, and would usually be supported and protected by revetments. In the case of my Aztec cityscape, the pavements’ sides that I made of MDF had nothing on the edges (except paint) next to the waterline – and I thought that needed a bit of work.
Speaking of work and the pavements, if you are new to this 5-part series on my Aztec cityscape build, you can view the previous two parts by clicking on these links:
- Building an Aztec Cityscape – Part 1: Causeways, Lifting Piers, and Removable Bridge Sections
- Building an Aztec Cityscape – Part 2: Pavements
This post will cover the revetments that I made for the cityscape, as well as some HO scale lily pad and cattail bases that I added as eye candy (and possible obscuration of gaps and even MDF warpage). As before, I will similarly share my WIP photos as well as my lessons learned.
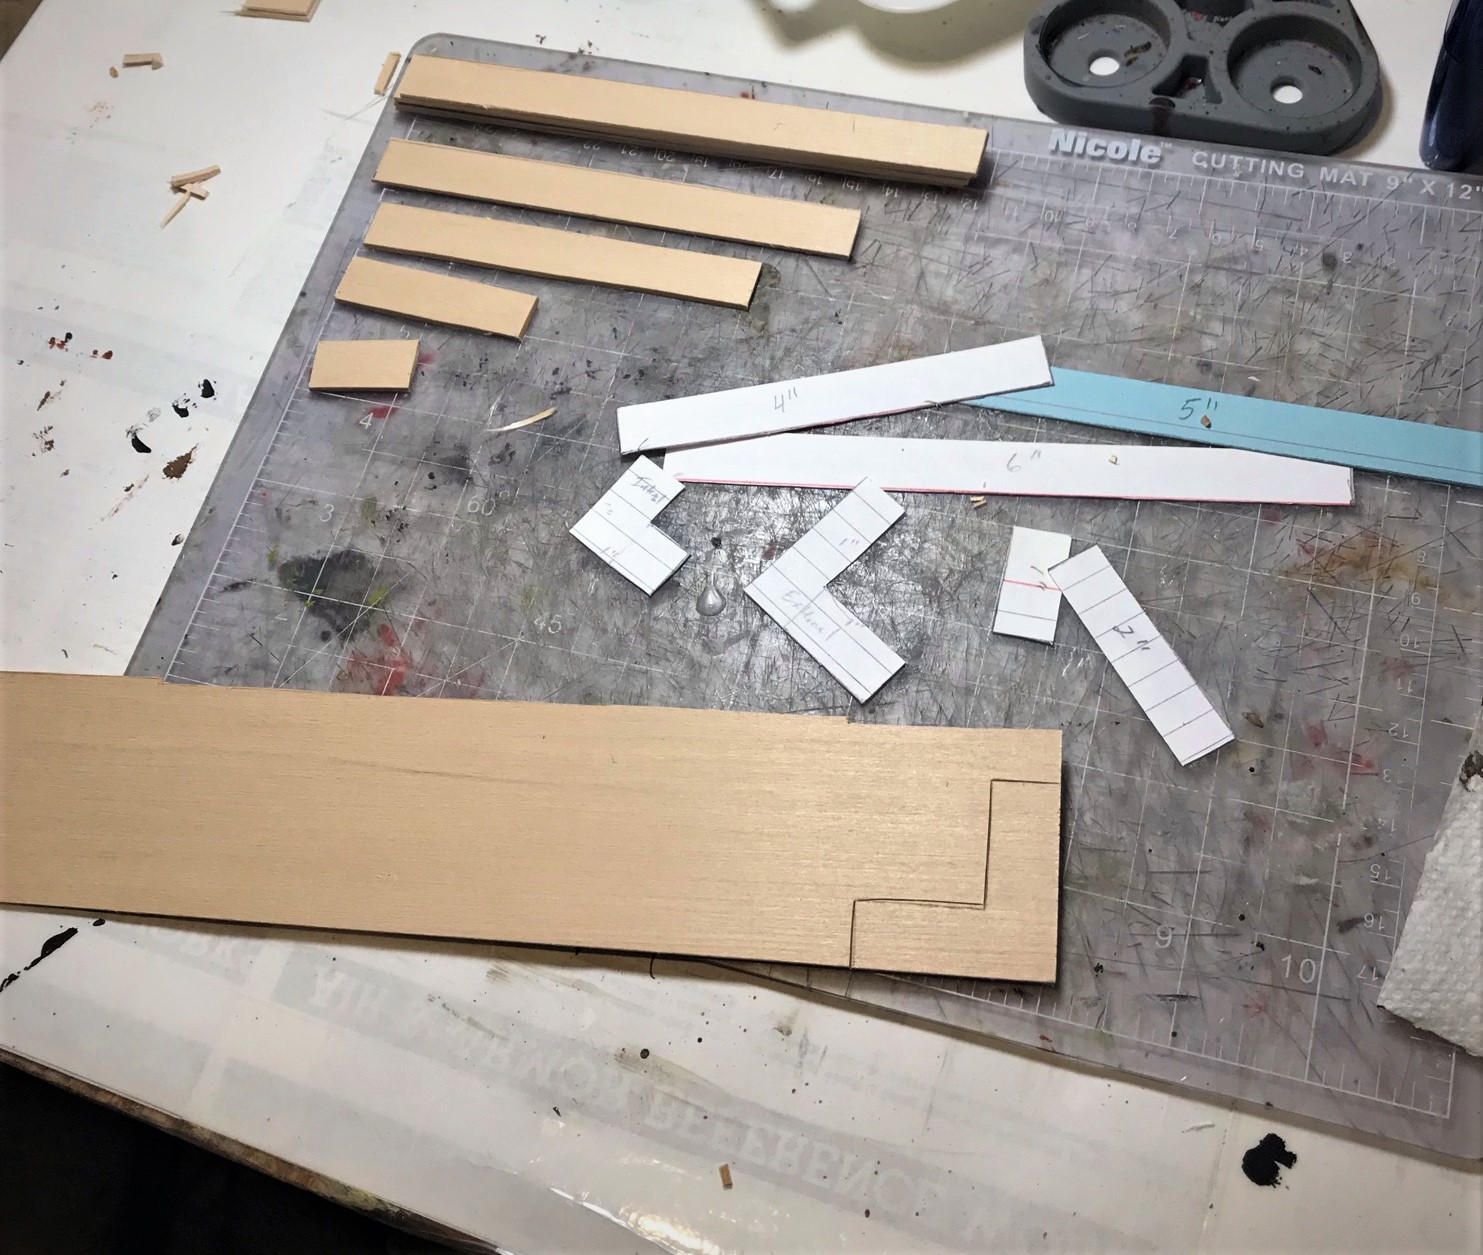
Readers of this blog know that I like a plan before building anything. I needed to figure out how many revetments to build – as I may or may not use all of my causeways or even my pavement tiles. Also, I had to figure out the sizes of inner corners versus outer corners (since they are differently sized up against the pavement tiles – so you just need to measure the side against the tiles).

I ended up following the same type of build and painting scheme as I did for the causeways – after all they had to match too aesthetically. As far as quantity, I ended up deciding to build 48 on 1/2″ strips of balsa. The breakout from the plan above came out to be:
- 6″ sections (10)
- 5″ sections (10)
- 4″ sections (10)
- 2″ sections (4)
- 1″ sections (2)
- External 1″ x 1″ corners (8)
- Internal 1″ x 1″ corners (4)
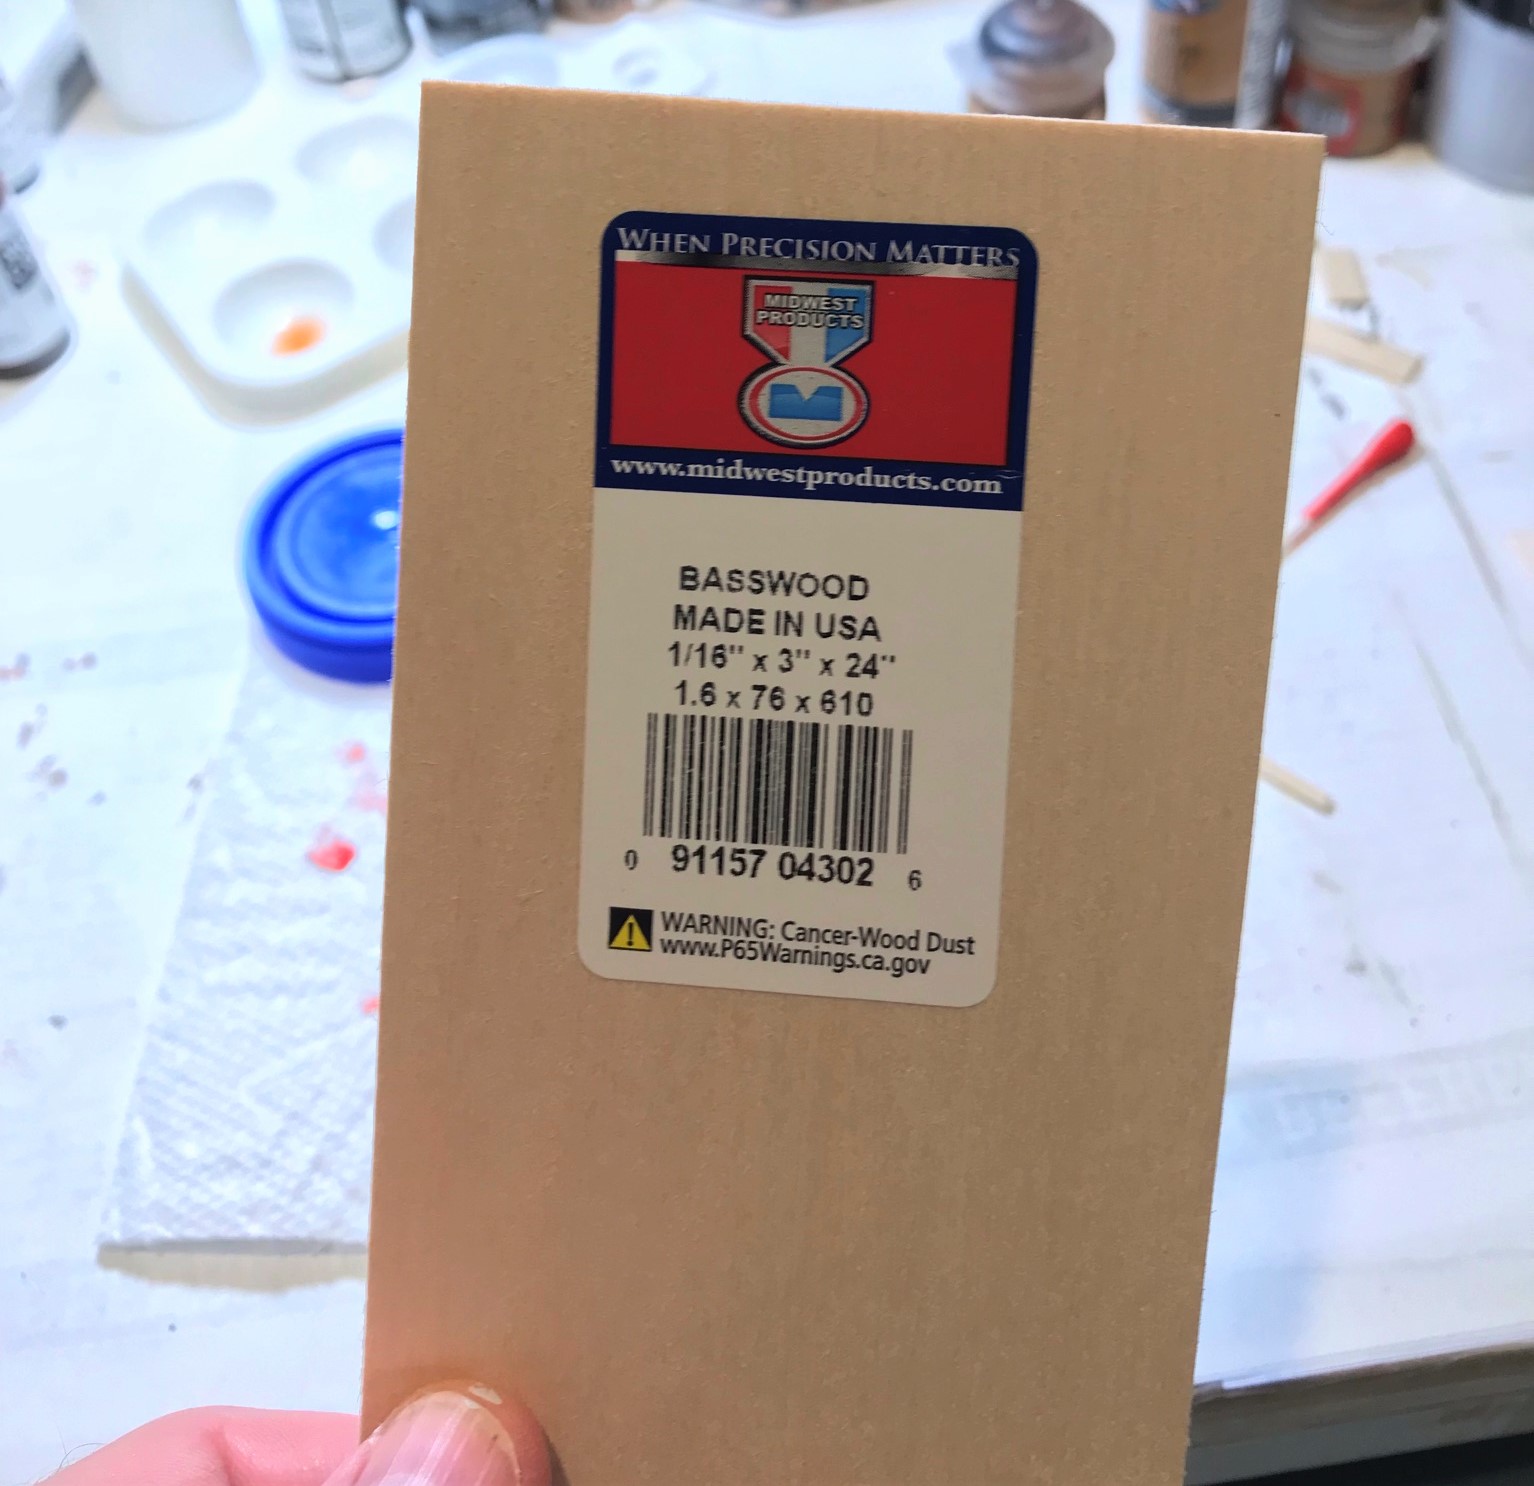
I made templates from 3′ x 5″ cards and used them to size and cut up some basswood (balsa like but stronger and denser) into the strips for gluing the rocks.
Once the bass wood pieces were all cut, the gluing began, similar to the process I used on the causeways. Each pebble had to be glued one at a time in 2-3 courses of different sizes – while letting each course dry before moving on to the next one. In terms of pebbles, I estimate that for the 184 linear inches that I put about 10-15 pebbles per inch. That means for the revetments alone I glued an estimated 1,840 – 2,760 pebbles/rocks!! Add in the six two-sided foot-long causeways, and that makes an estimated 4,720 – 7,080 pebbles that I glued down. Ok, now I know why these took so long!


After all had dried, it was on to painting the two-tone colors, and adding slime and shade to the rocks.


Next, I made some lily pads and cattails on some acrylic bases. These were HO scale from JTT Scenics that I got on Amazon. The link for the lily pads is here and the link for the cattails is here. I wanted to be able to further differentiate the lake and to have some verticality of structure along the waterline – such as you see in the picture below.

I bought some 2″ clear acrylic bases years ago (2017), and had some in storage. I thought they would work well for the lily pads. They come with removable protective paper over them so that they had no scratches.

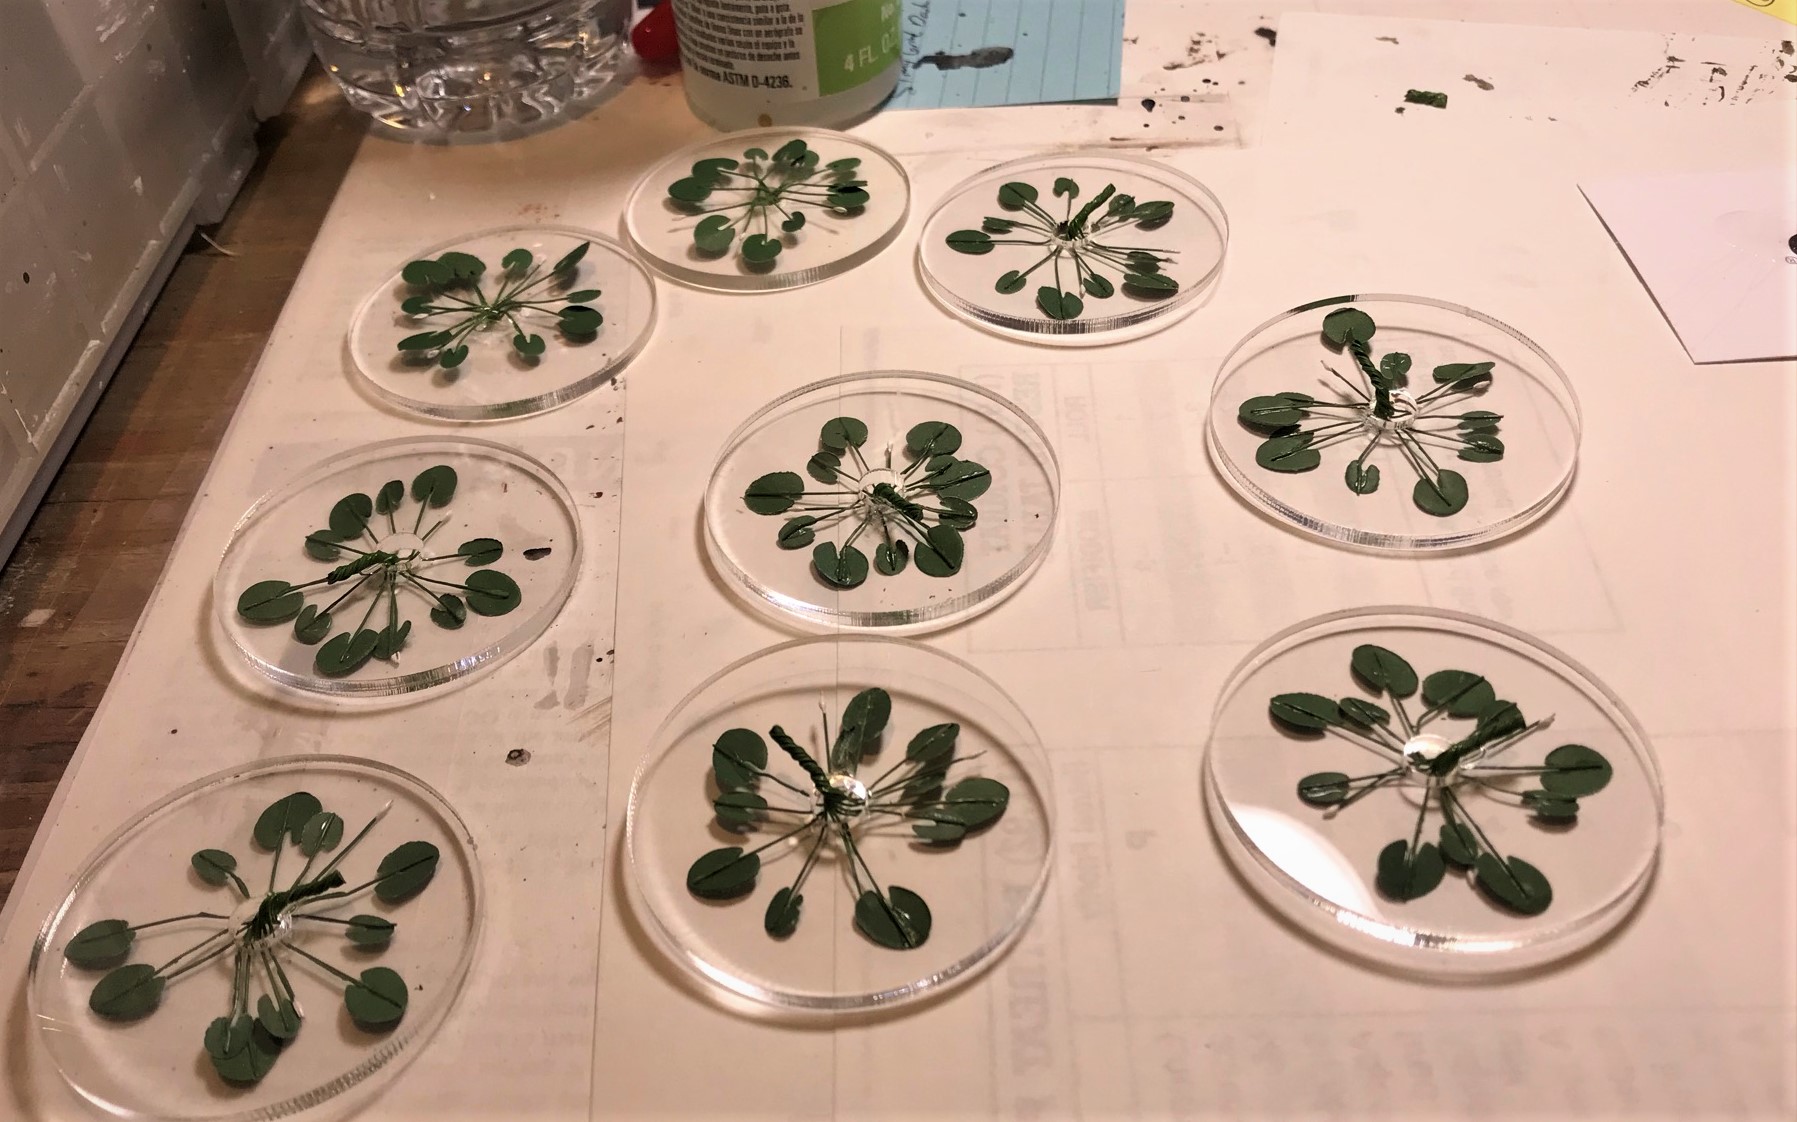

The cattails bases were basically half-moons I cut away (removing the center hole) with my scroll saw. Then I drilled holes to put 4 in each base. I used the Vallejo “Transparent Water” Environmental Effect in a similar way as the lily pads, and after I cut the cattail wires I placed the excess on the base as cattails that had fallen over.

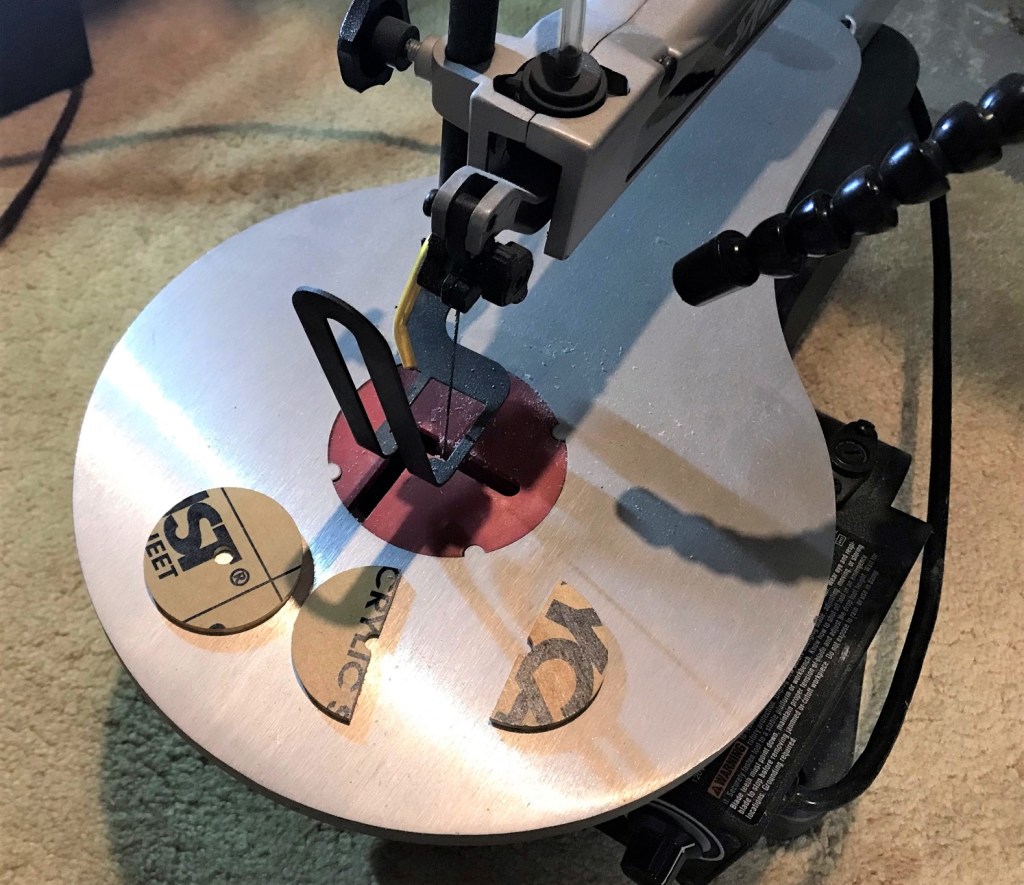
Cutting the discs 
Randomly drilling the discs 
Very clear acrylic even after drilling.


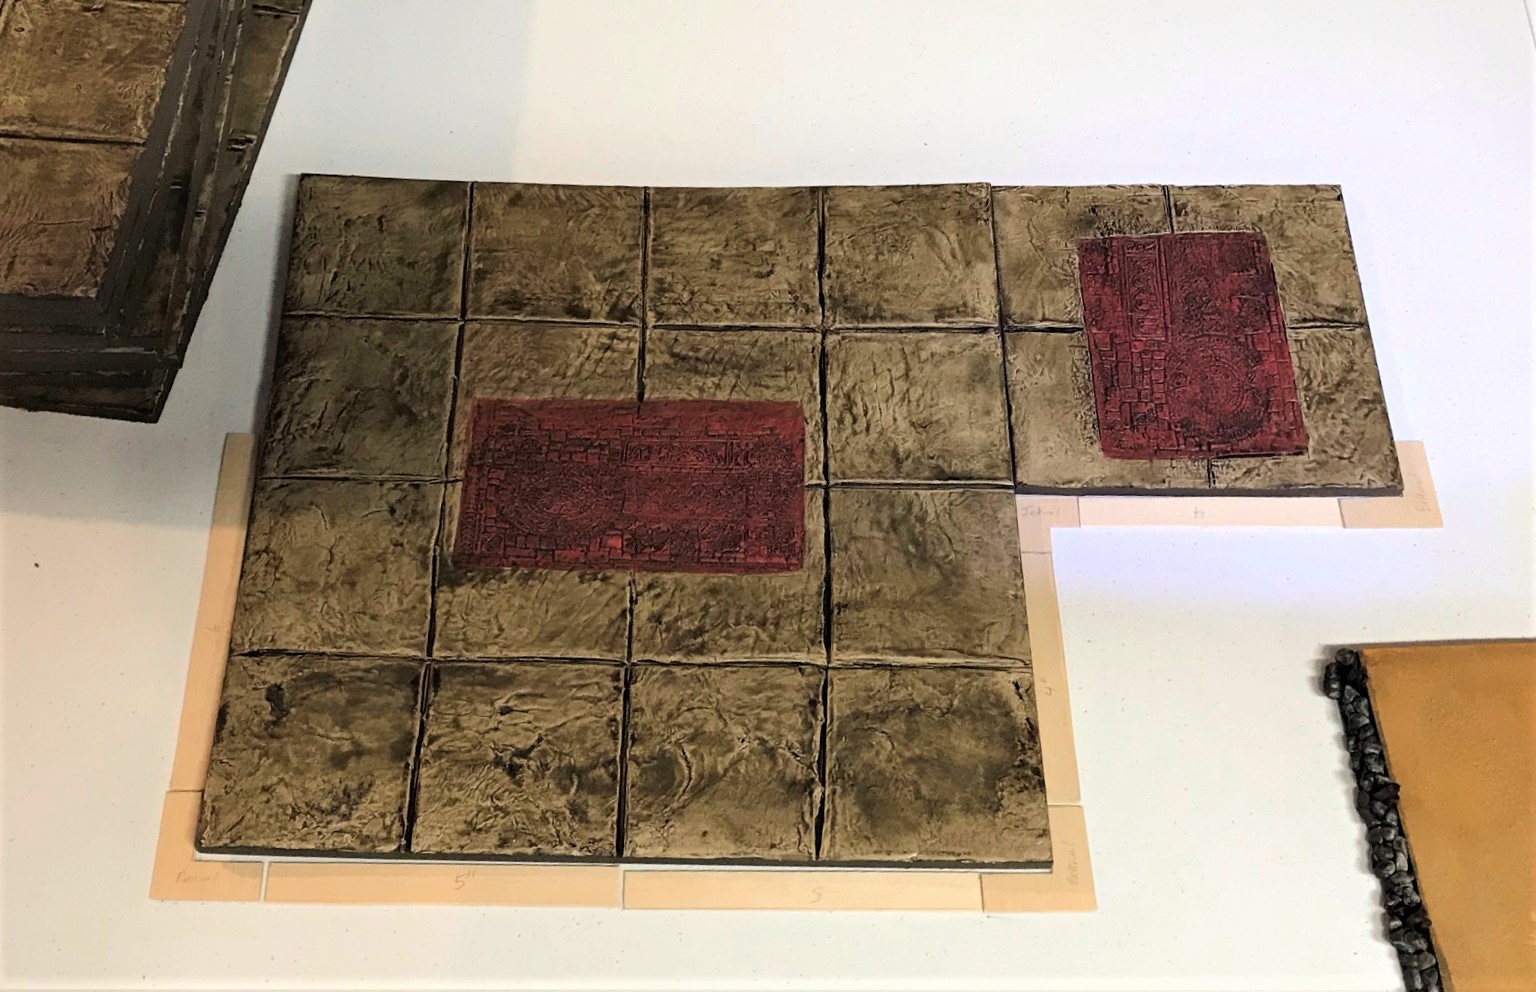
Now, let’s see how they look on the gaming mat!

The revetments help fix the gap – here before… 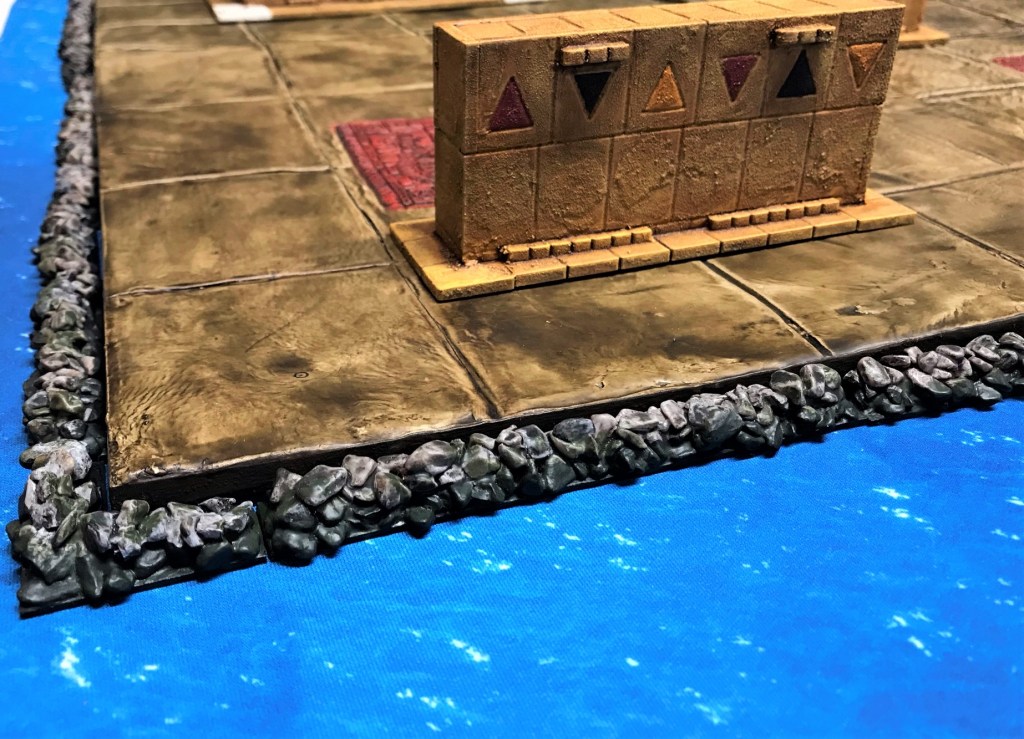
…and after placement.


My goal with these was to create a visual distraction form the MDF edges. I think that they work fine – and of course you can let me know in the comments section if I am off-base (really, you can) or how you might have proceeded differently. Again, I tried meet the Aztec criteria of symmetry.
Once again, these all more of my entries into Dave’s Season of Scenery Challenge!
Thanks so much for looking – I hope it was helpful or at least interesting!
My next post will cover Cortes’ War Wagons that he employed with his troops in their breakout/ escape from Tenochtitlan during La Noche Triste.
For all of my previous posts on games, units, and other projects for my 16th Century Spanish Conquest supplement for Feudal Patrol™ – “Civilizations Collide” – please see this page.
PAINTS, INKS, GLAZES, SHADES, WASHES, PIGMENTS, FLOCKING, GLUES AND MORE THAT I USED ON THESE TERRAIN PIECES/MODELS:
- Basswood (1/16″ x 3″ x 24″ pieces) (on revetments)
- Ashland Decorative Filler (rocks) (on revetments)
- Elmer’s PVA Glue (on revetments)
- Vallejo “Surface Primer Grey” (on revetments)
- Reaper MSP “Black Primer” (on revetments)
- Citadel “Nuln Oil” (shade) (on revetments)
- Vallejo Environment “Slime Green Dark” (on revetments)
- JTT Scenery Products HO Scale Lily pads
- Gorilla Glue
- Clear 2″ Acrylic Bases with center holes
- Vallejo Weathering Effects “Transparent Water” (on acrylic bases)
- JTT Scenery Products HO Scale Lily pads

Excellent work Mark. It is amazing how the little details make all of the difference. Cannot wait to see your first BR on the table top.
LikeLiked by 3 people
Cheers! I am planning on running this at Historicon, so that’s exciting too
LikeLiked by 2 people
Great work there Mark and well done on gluing down so many pebbles!
LikeLiked by 3 people
Thanks Steve, if PVA was radioactive I’d be dead or a superhero by now 🤪
LikeLiked by 2 people
Looking awesome Mark. The rock and plant pieces are really breathing real life into this project. For me it is always the little details like this that turn something good into something great. 🙂
LikeLiked by 3 people
Thanks Dave, glad you thought so too
LikeLiked by 3 people
Wow Mark the amount of effort and skill you keep showing on your projects is inspiring. I cant even hope to get to your level.
LikeLiked by 3 people
Great to hear from you Leif, and hopefully we can both game on this cityscape many times
LikeLiked by 2 people
Superb work mate! this project just looks better and better!
Cheers Roger.
LikeLiked by 3 people
Cheers Roger!
LikeLiked by 1 person
looking good; the scatter terrain reeds and other plants with the clear acrylic looks great
LikeLiked by 3 people
Thanks Dave, I’m happy I took the extra steps here
LikeLiked by 2 people
Amazing work Mark. That is an awful lot of pebbles to stick down. I’m really liking the aquatic plants too.
Cheers,
Pete.
LikeLiked by 1 person
Cheers Pete!
LikeLiked by 1 person
All really nice details Mark! 🙂 I wouldn’t have thought of doing the revetments separately. Good idea putting the flora on acrylic bases so that you can use it with either mat!
LikeLiked by 1 person
Thanks John. Hope the next posts will entertain you as well. The clear bases worked out well – first time that I tried sawing the acrylic.
LikeLike
The degree of attention to detail and historical accuracy with this project never ceases to amaze. Love the cattails!
LikeLiked by 2 people
Thanks Wudu! Still more to come and I hope you’ll like those too!
LikeLiked by 1 person
As always, I love seeing the process you used. That was a lot of rocks you glued. That would take so much patience to see that task through! I have used JTT for some terrain and was really happy with their products so I’m glad to see they worked well for you too. The aquatic plants look great and will help break up the water nicely. This was another fun read and I can’t wait to see more from this project!
LikeLike
I must have missed this post when it went up, but wow, that is absolutely amazing work!
LikeLike
Coming along nicely mate, a lot of nice tricks you have used, thanks for pointing out the Greenstuff rollers, checked them out and i reckon I will invest in some soon !! Cheers mate!
LikeLiked by 1 person
Thanks again Pat!
LikeLiked by 1 person
Wow! Very impressive once again, Mark! The planning, the many, many pebbles and the patience needed to assemble the revetments, the lily pads and cattails (ideas filed away and items added to a couple of online carts for later) – and put together they look fantastic!
LikeLiked by 1 person
I’d love to see what you do with those ideas indeed. I always think that the little details make all the difference. Glad you like them and cheers!
LikeLike