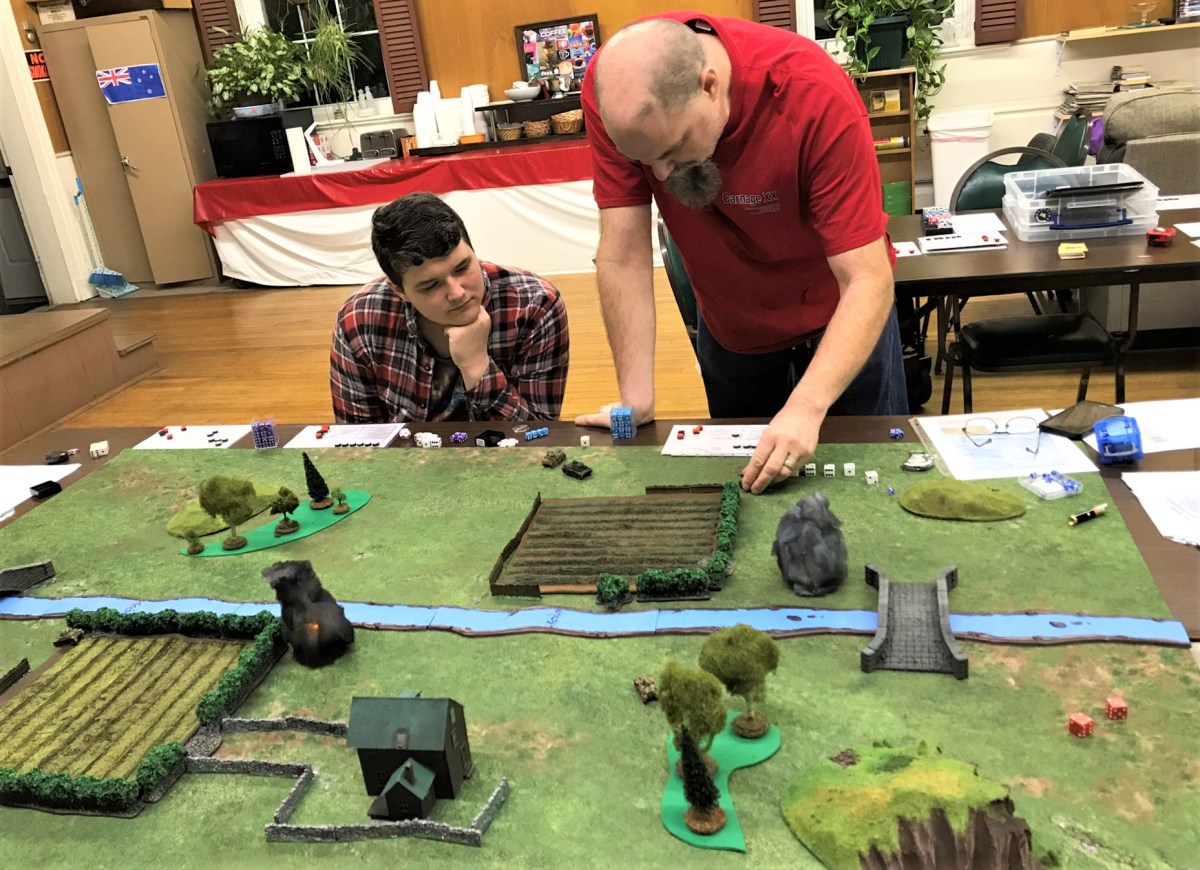
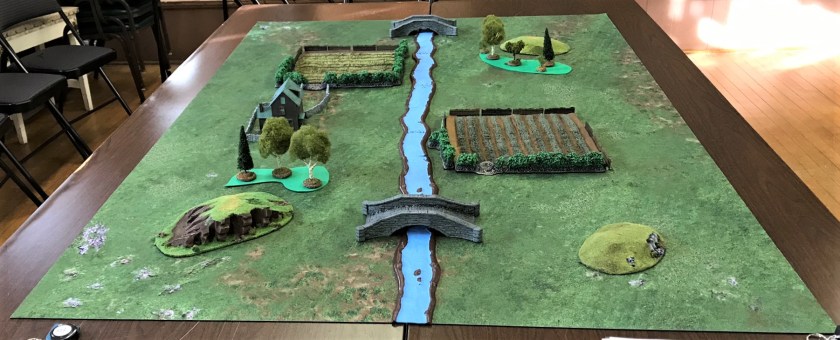
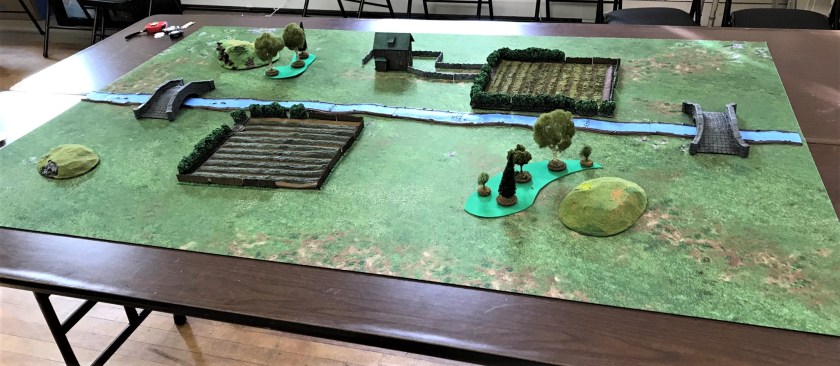
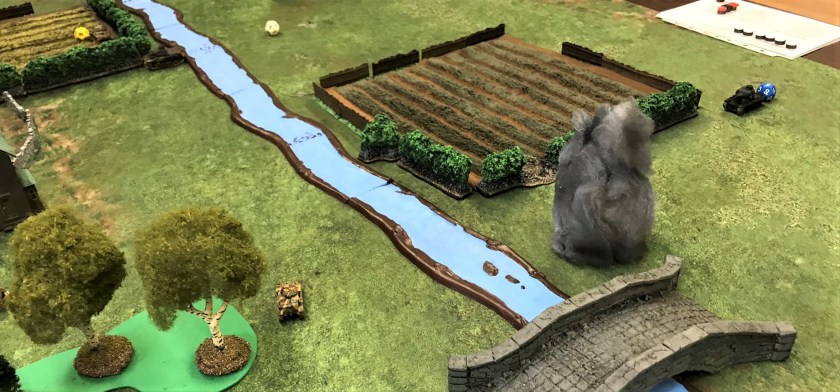
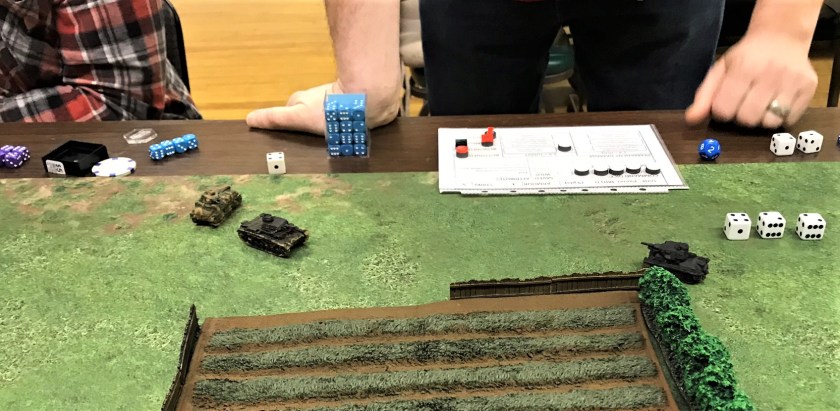
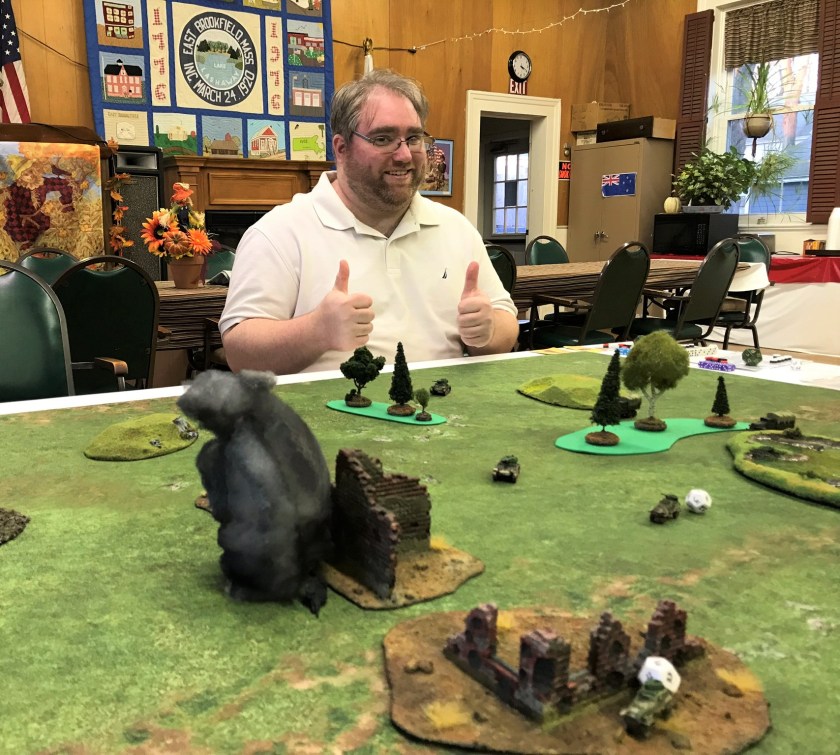
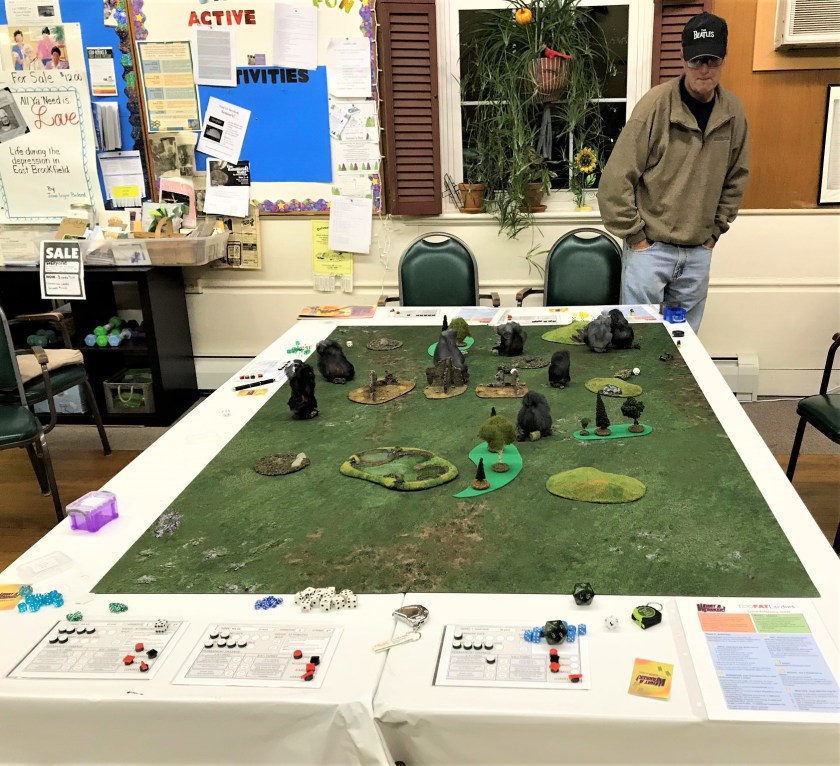
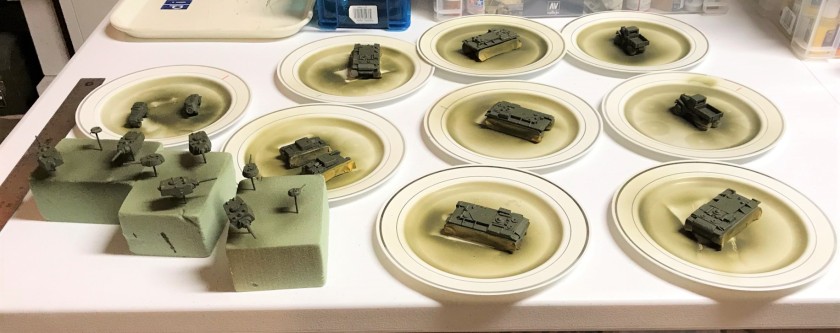
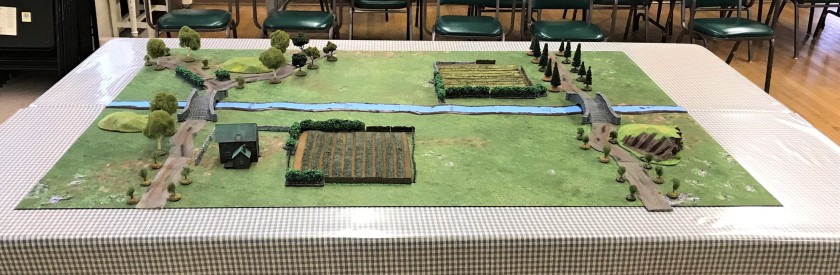
The monthly gaming day for the Mass Pikemen featured a rematch between panzers of the German Wehrmacht and tanks of the French Army. The scenario was one of May-June 1940, where equally-sized forces meet using the What a Tanker© rules and points system. The players each got 8 points per player to acquire a tank of their own. They deployed on opposite sides of the river, which also acted as an objective for the game. The deploying sides were determined at random, and were roughly similar in terrain.
Poker chips were used for accounting and for tallying the score. Points/chips were awarded for tank kills, and for having your tank at the end of the game on the enemy side of the river. If your tank was knocked out, you re-spawned as a tank of the same value on the next turn, and the side of the player who killed you got chips equal to the value of the destroyed tank. These chips could be used in several ways. The team with the most chips would win, and chips could be used to purchase another tank, a tanker card, or upgrade an existing or re-spawning tank. Alternatively, you could keep the chips towards your victory points.
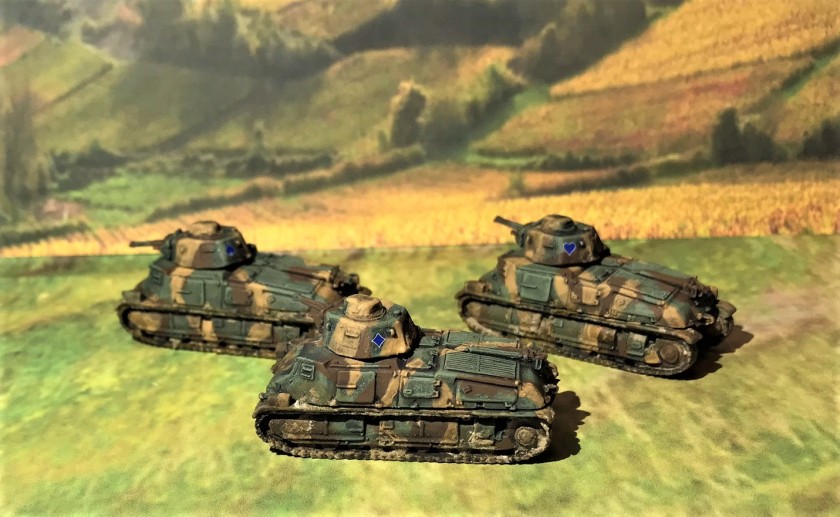
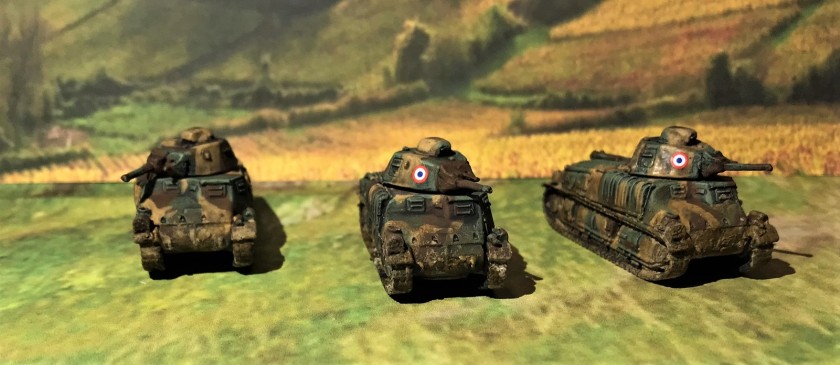
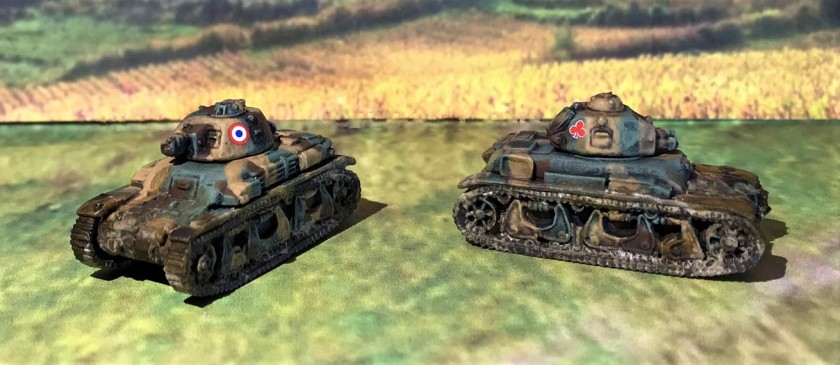
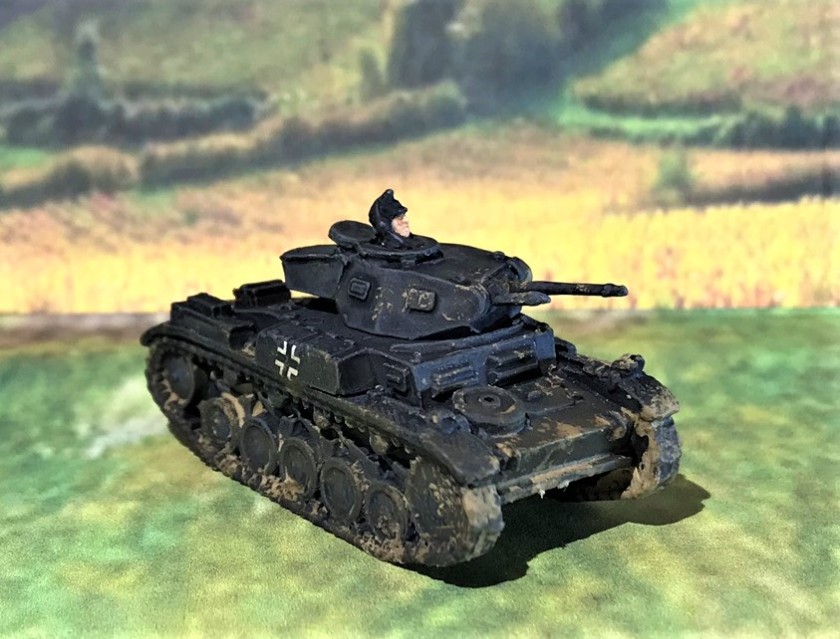
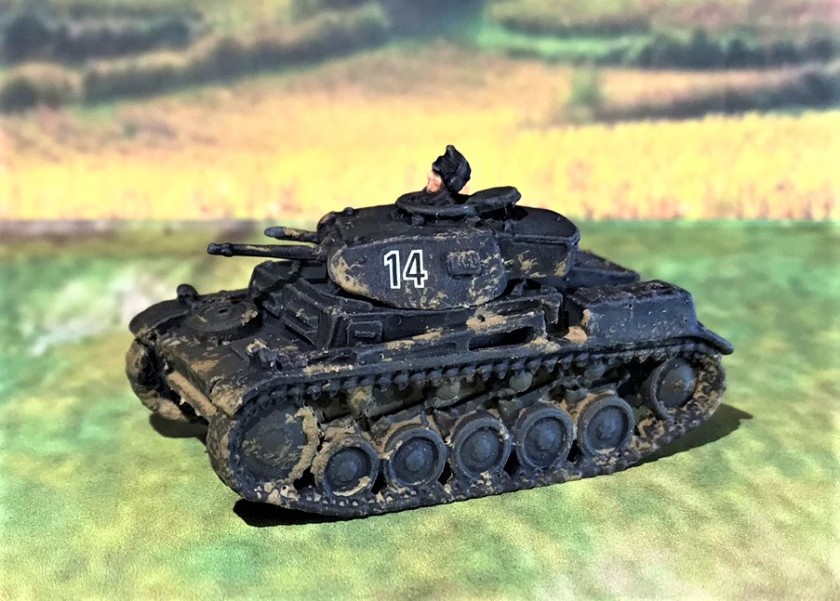
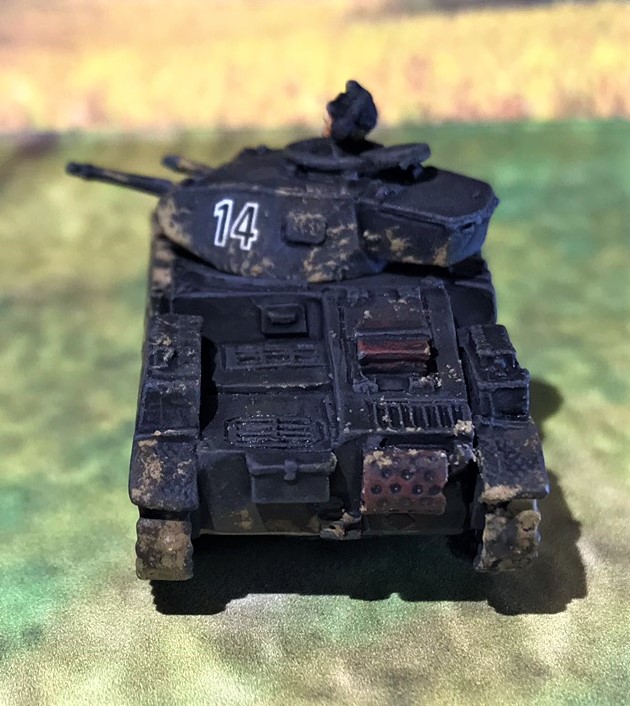
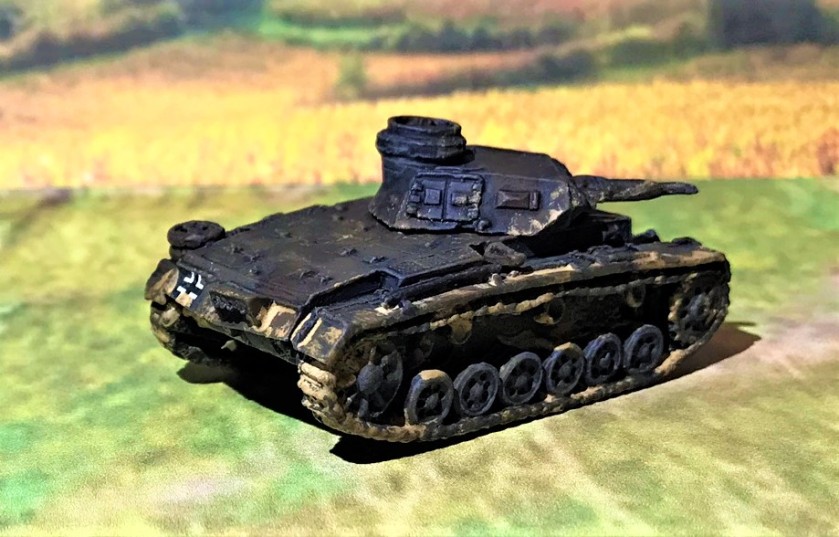
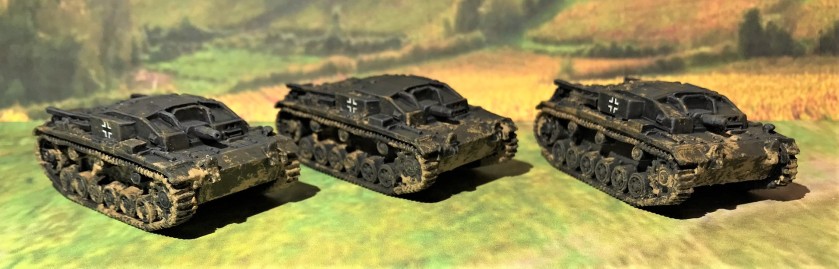
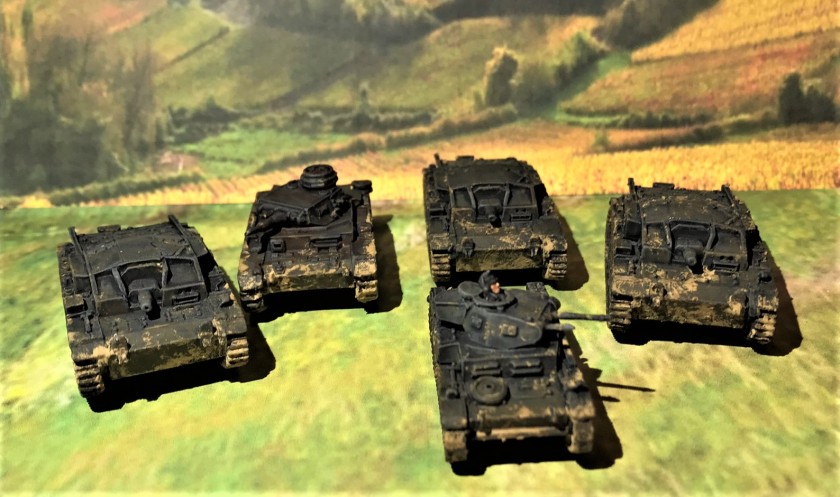
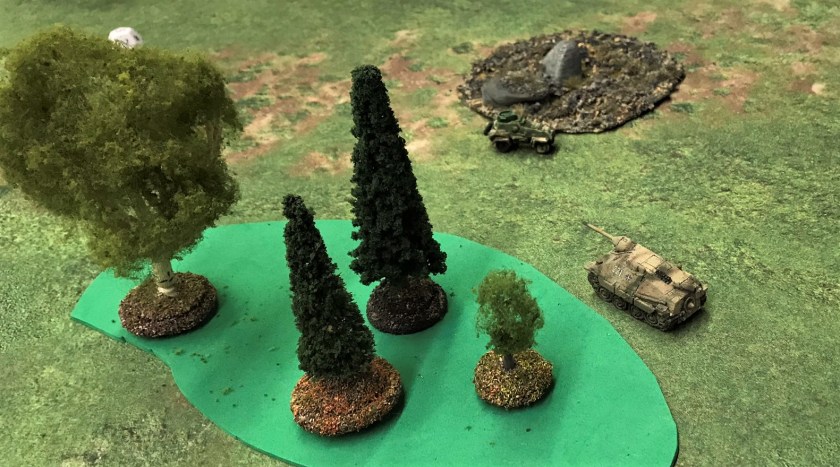
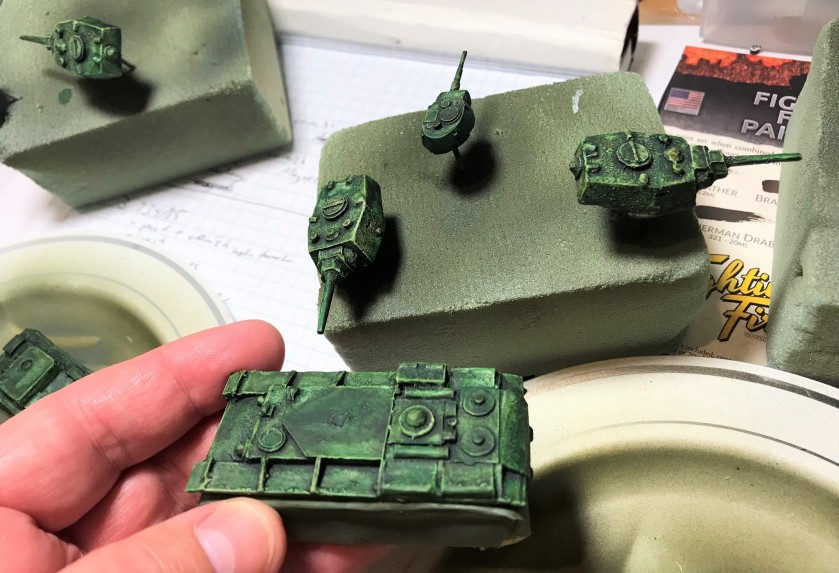
This was a rematch from a previous session as it was new for several of the players. The French started with two R35’s, and the German’s with a Panzer IIC and a Panzer IVD. Two late-arriving players also got/purchased two more AFV’s, a French SOMUA S35 and a German Sturmgeschutz Ausf. A.

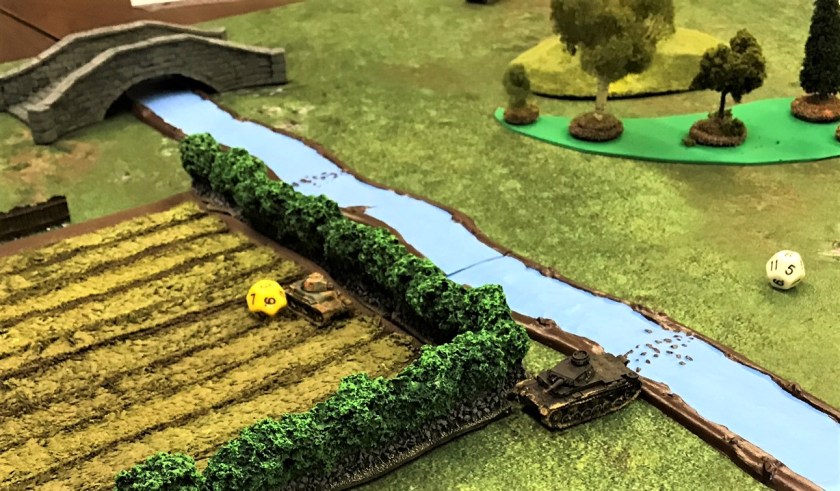
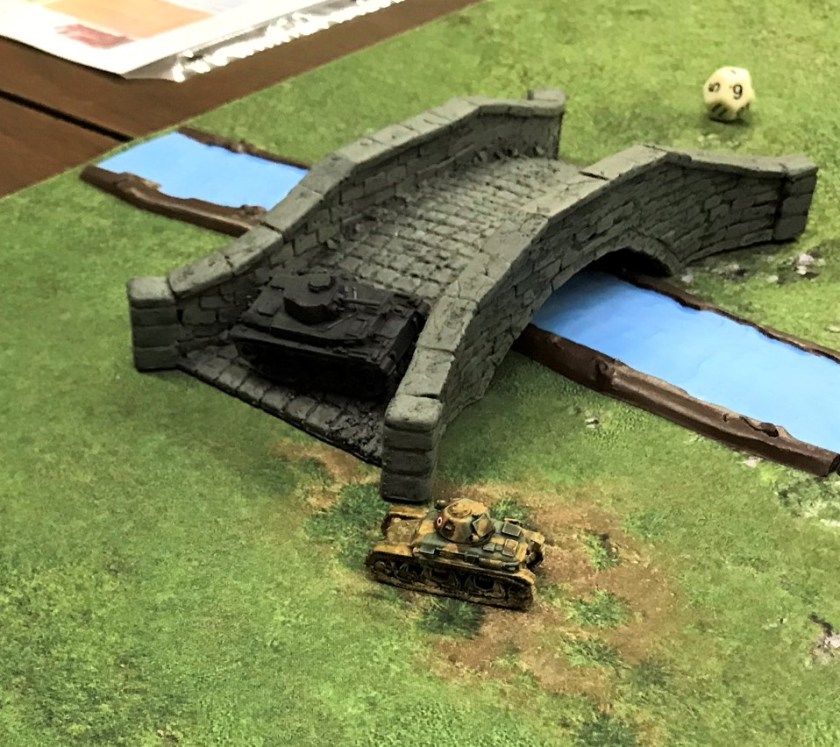
On one flank, a shootout occurred between a Panzer IIC and an R35 over a bridge on the French left flank. Initiative and the dice rolls went to the French R35, with the Panzer IIC taking temporary damage and being pushed back to its starting point, without damaging the R35. The German light tank barely managed to survive, exited the board, and re-spawned on the opposite flank to join the battle there. The little R35, a slow tank, had a long drive to rejoin the fray there.
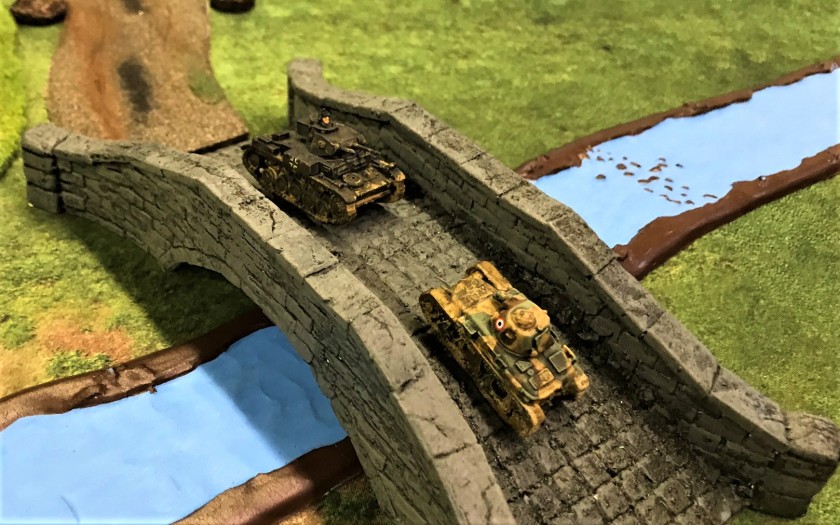
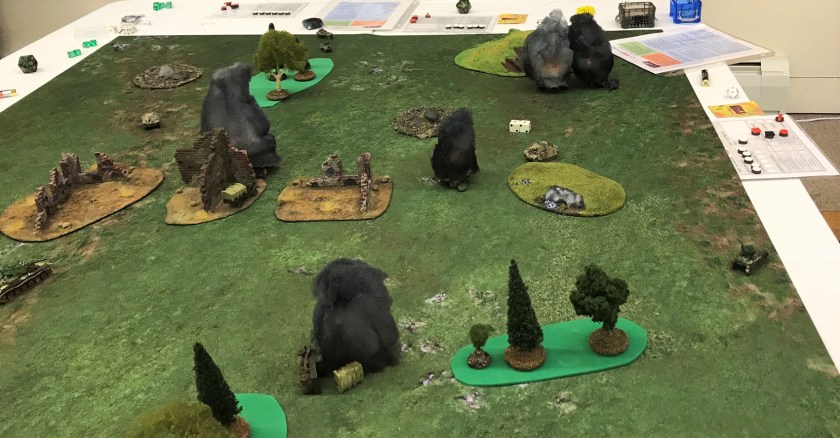
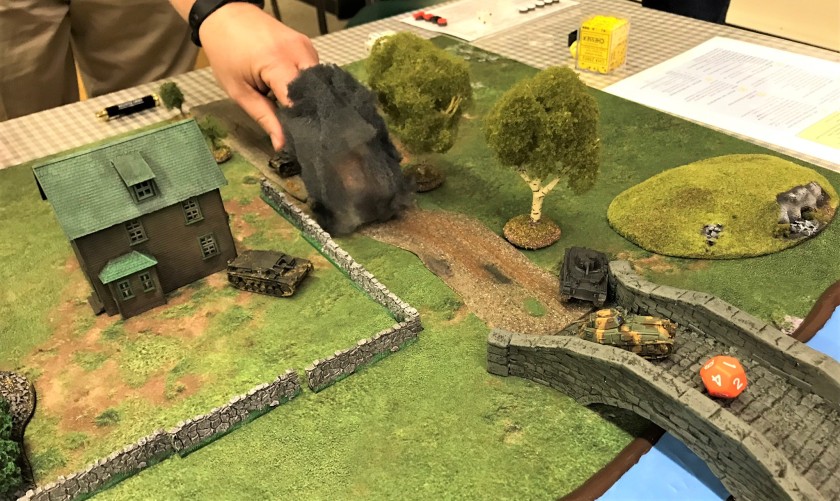
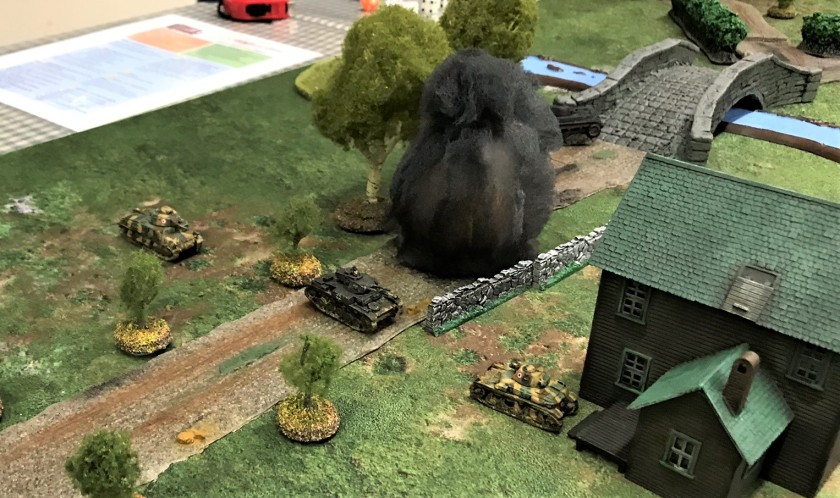
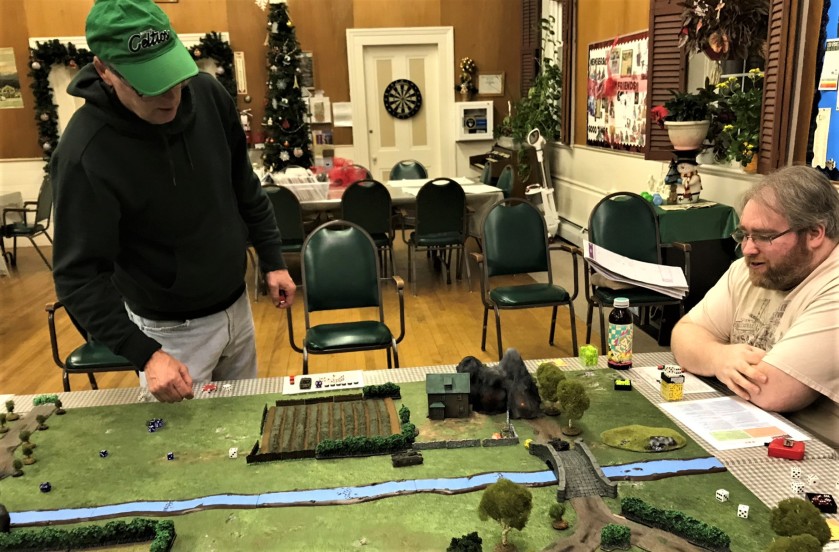
On the other flank, the other French R35 took up position at base of the other bridge. Eventually, it got a few flank shots on the opposing Panzer IV, causing damage, and pushing it back. The R35, smelling blood, advanced over the bridge, and took up a protected position by the farmhouse. The Panzer IV had lost most of its command dice, and was heavily damaged. Eventually, the R35 knocked it out. At this time the newly-re-spawned Panzer II from the other flank deployed nearby, as did the StuG. The Panzer IV was also re-spawned here, and the R35 was in deep trouble. The new French player got his SOMUA S35 and hurried to relieve the R35. The battle eventually became one of both sides driving around the farmhouse and trying to get advantageous shots.


The Panzer IV got first activation, and missed the SOMUA! The SOMUA then drove like a bat out of hell, taking up position behind the Panzer II that was menacing the R35.
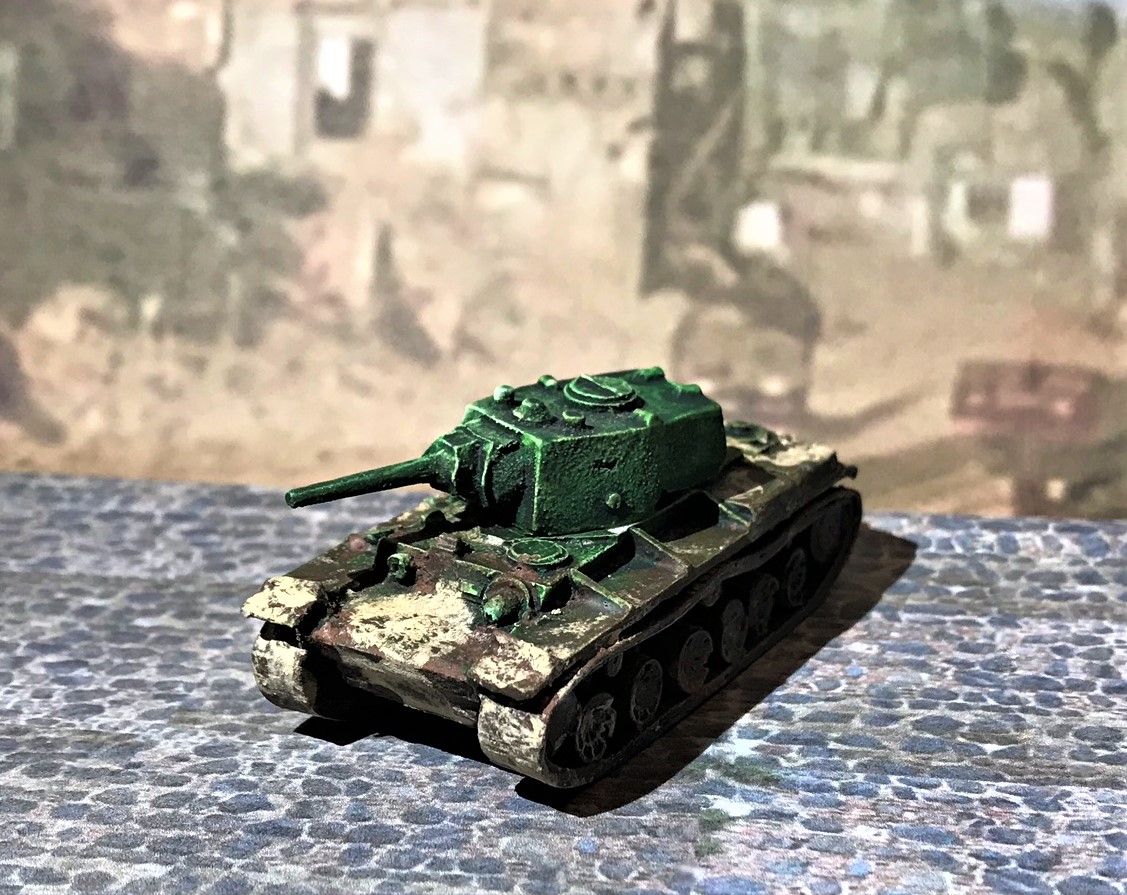
The Panzer II got activation next, and decided to avenge its comrade. A flank shot destroyed the R35. The next turn arrived with the SOMUA getting activation first, and lit up the Panzer II. The Panzer II re-spawned on the other side of the board, hoping to get some victory points by driving to the other side of the river. However, the R35 player re-spawned as well, and decided to use some of the French poker chips to get an upgrade, a heavy tank – the Char B1 bis – to confront this action.
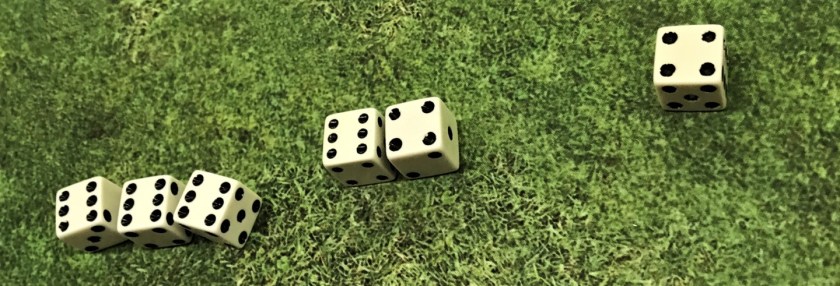
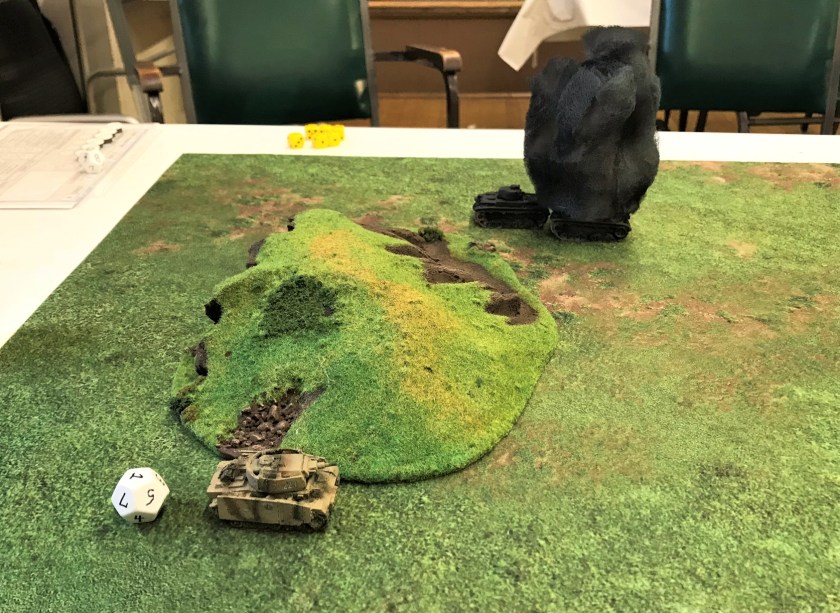
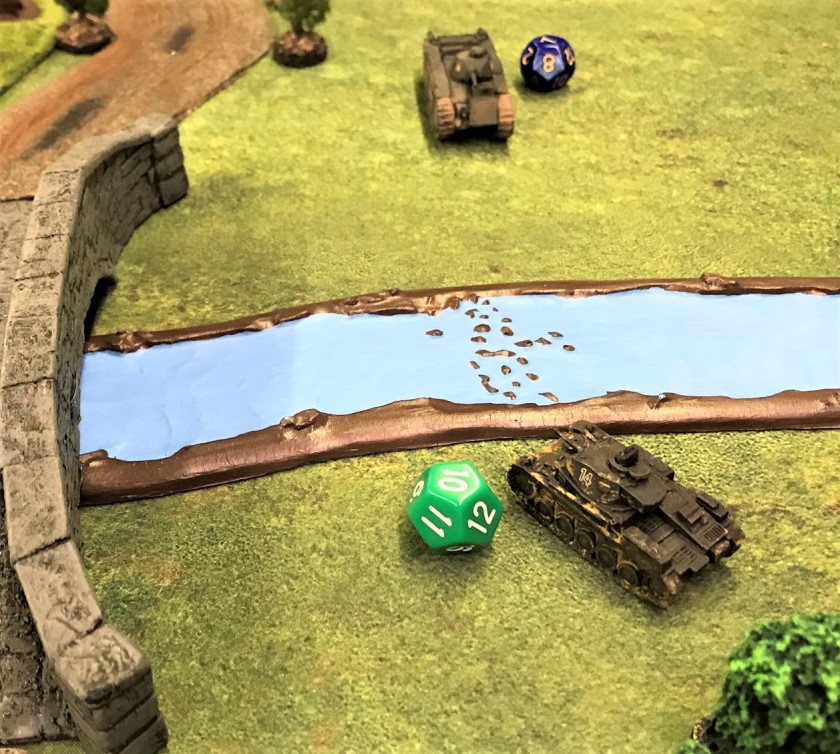
The Panzer II crossed the river at a ford by the bridge, and turned to face the Char B1, who had crossed the bridge. As you see below, the Panzer II rolled a “10” for activation, while the Char B1 rolled a “7”, so it activated first.
(A side note here – in the rules, D6 are used for activation, but I have found that this leads to way to many “dice-offs” and slows play. Instead, I use D12’s, and if a player banks a command die “6” for the next turn’s activation, he/she gets to add two to the roll, so the math works out the same as the original game).
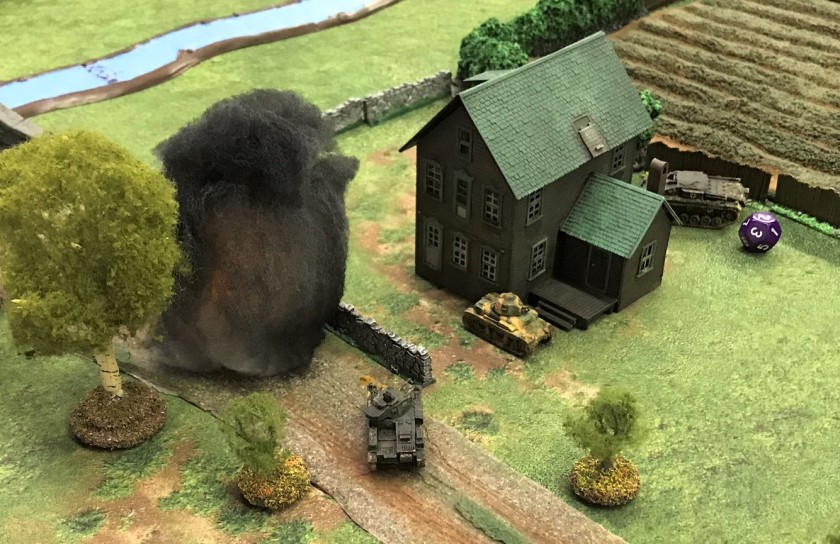
Back to the standoff between the German David and French Goliath…the Panzer II hits the Char B1 with a double -six roll, allowing it to get two extra strike dice – great news for the Panzer II. Unfortunately for him, the Char B1 is very heavily armored, and the hit fails to do any damage (well, maybe the paint).
The Char B1 returned fire, and you can guess the results…
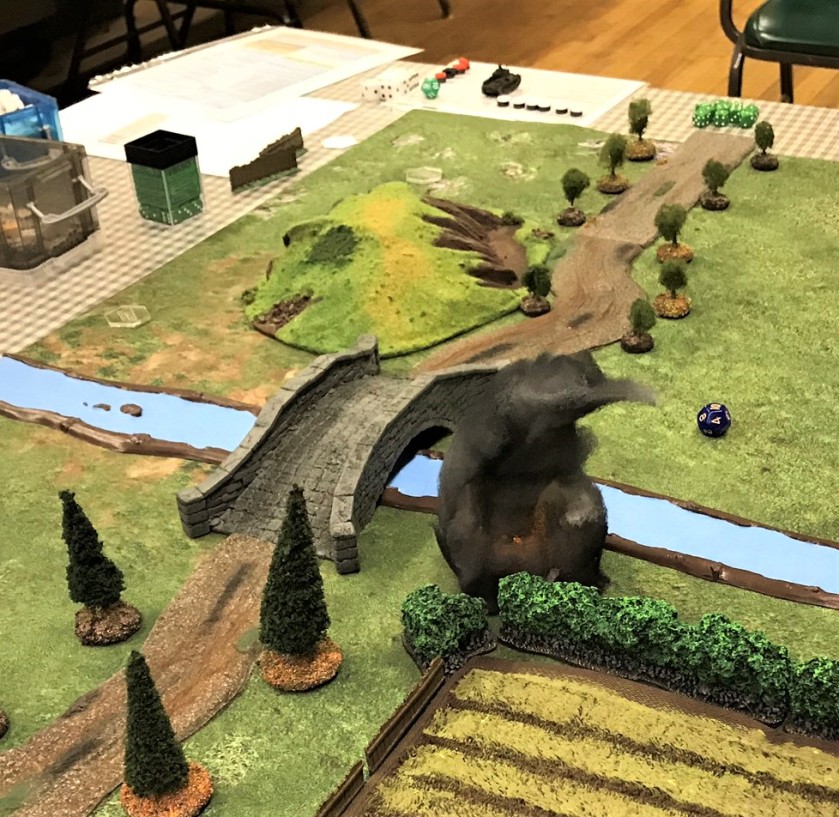
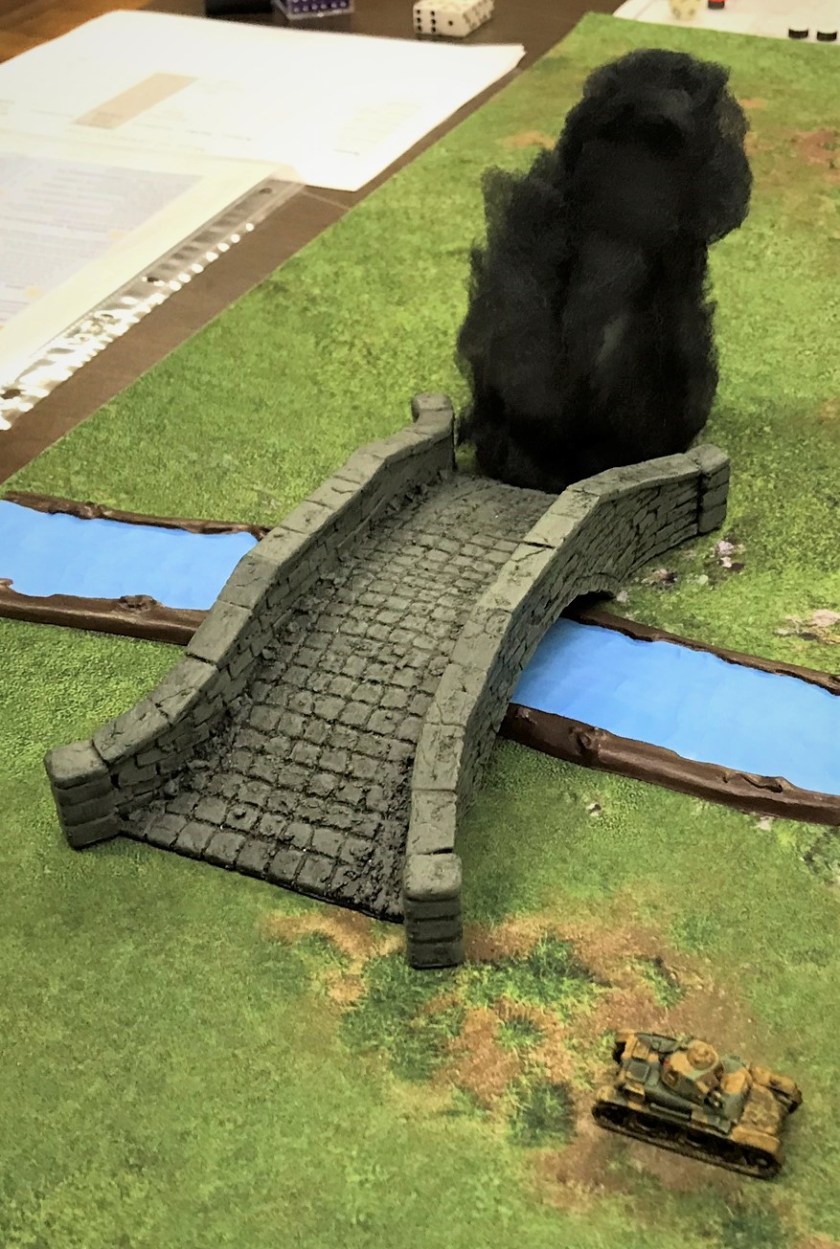
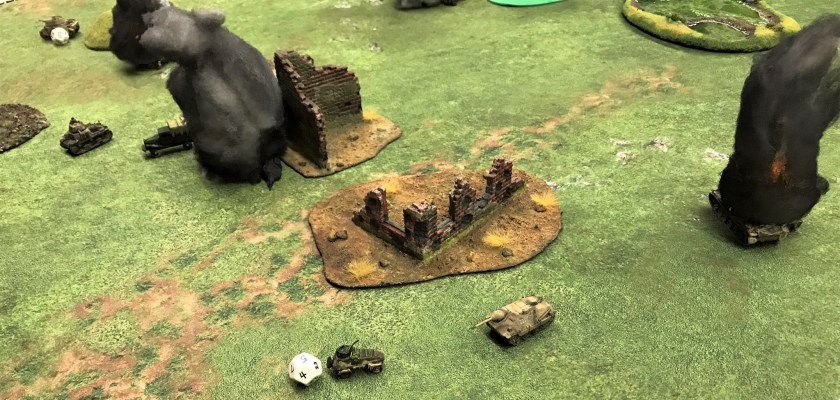
The surviving R35 finally made it to the other side of the board and took up position behind the StuG, who was more concerned with the SOMUA. The R35 rolled well, the StuG did not, and the German assault gun brewed up into a ball of flame and smoke. This left the Germans with only a Panzer IVD, and even with re-spawning, the game had gone too far in the French team’s favor. The final score, with all the points for being on the other side of the river, kills, and purchase debits, was 58-14 in favor of the French. I think the scenario is still balanced, but in the end maneuver and use of terrain both really matter in this game, and the French did better job of both in this game. They also got some bad luck for sure. I may add some points to the German side the next time I run this scenario.
Hope that you enjoyed this post! Please let me know your feedback in the comments section!
The next Mass Pikemen game will be on February 16th at 2 PM at the East Brookfield MA Senior Center (110 Pleasant Street), East Brookfield, MA. We will be having a GASLANDS game run by Jared Burns.
CASUALTIES:
- French:
- 1 R35
- German:
- 2 Panzer IIC’s destroyed
- 1 Panzer IIC evacuated
- 1 StuG III Ausf. A
- 1 Panzer IVD