

It’s been about a month since the last gaming convention I attended, and my how the world has changed. I cannot see how a large convention could be held right now (though Cold Wars indeed happened in Pennsylvania this weekend). There are a few upcoming gaming cons in obvious risk – and for now I think it useful to blog and paint and reflect back until this COVID-19 crisis passes (and that it will). Best wishes for health and happiness to all my readers all over the world, from the US to Australia to the UK, All across Europe, and Africa and Asia. Now with everything at a lock down or a standstill due to the coronavirus crisis, I thought it was a good time to write a post about the games at my last convention as a distraction.
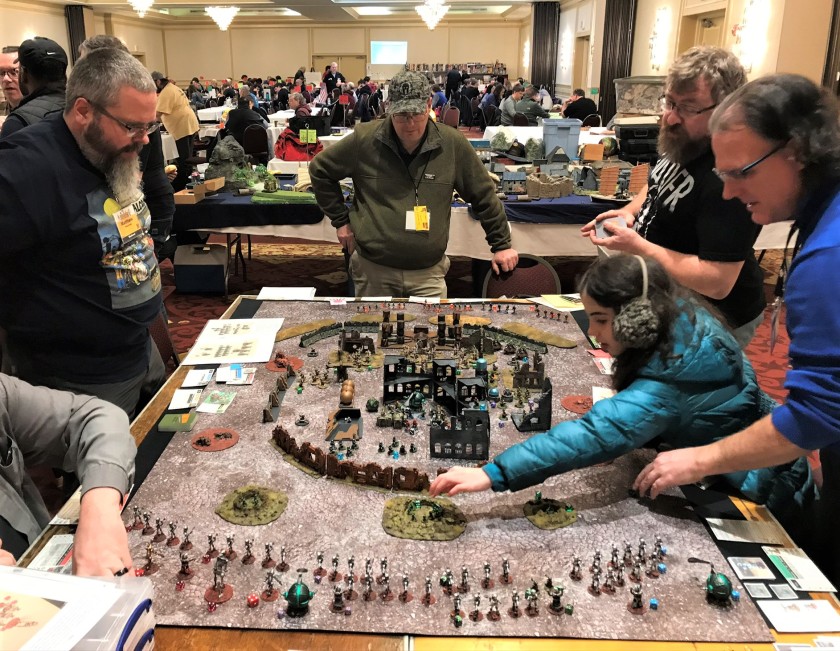
I had promised you great readers a few battle reports from TotalCon 34. It was a very large convention with around 600 attendees. Miniature games were a smaller offering there compared to RPG, LARP, board games – and a number of other offerings with which I was unfamiliar!
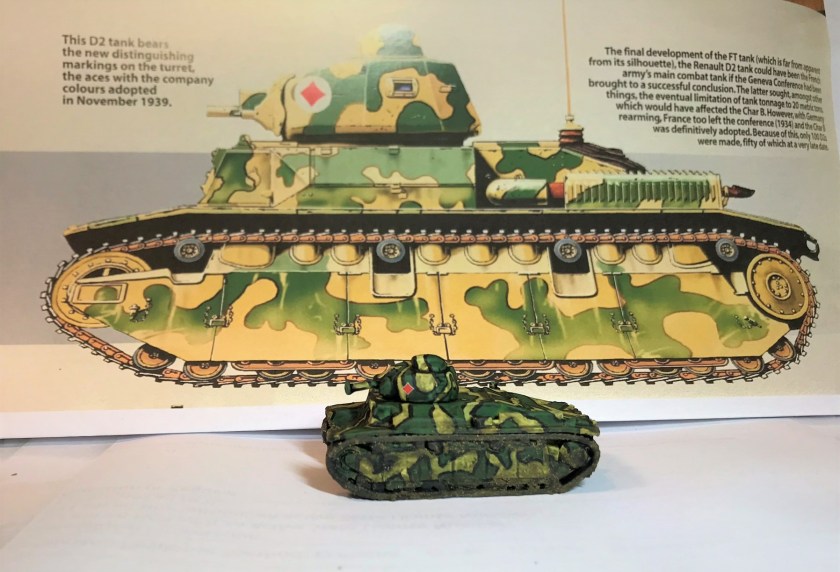
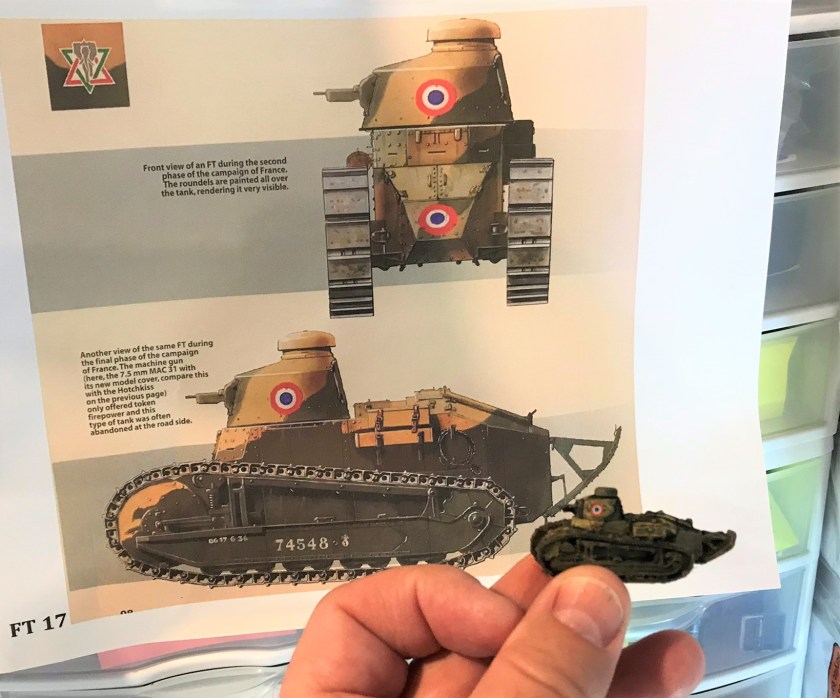
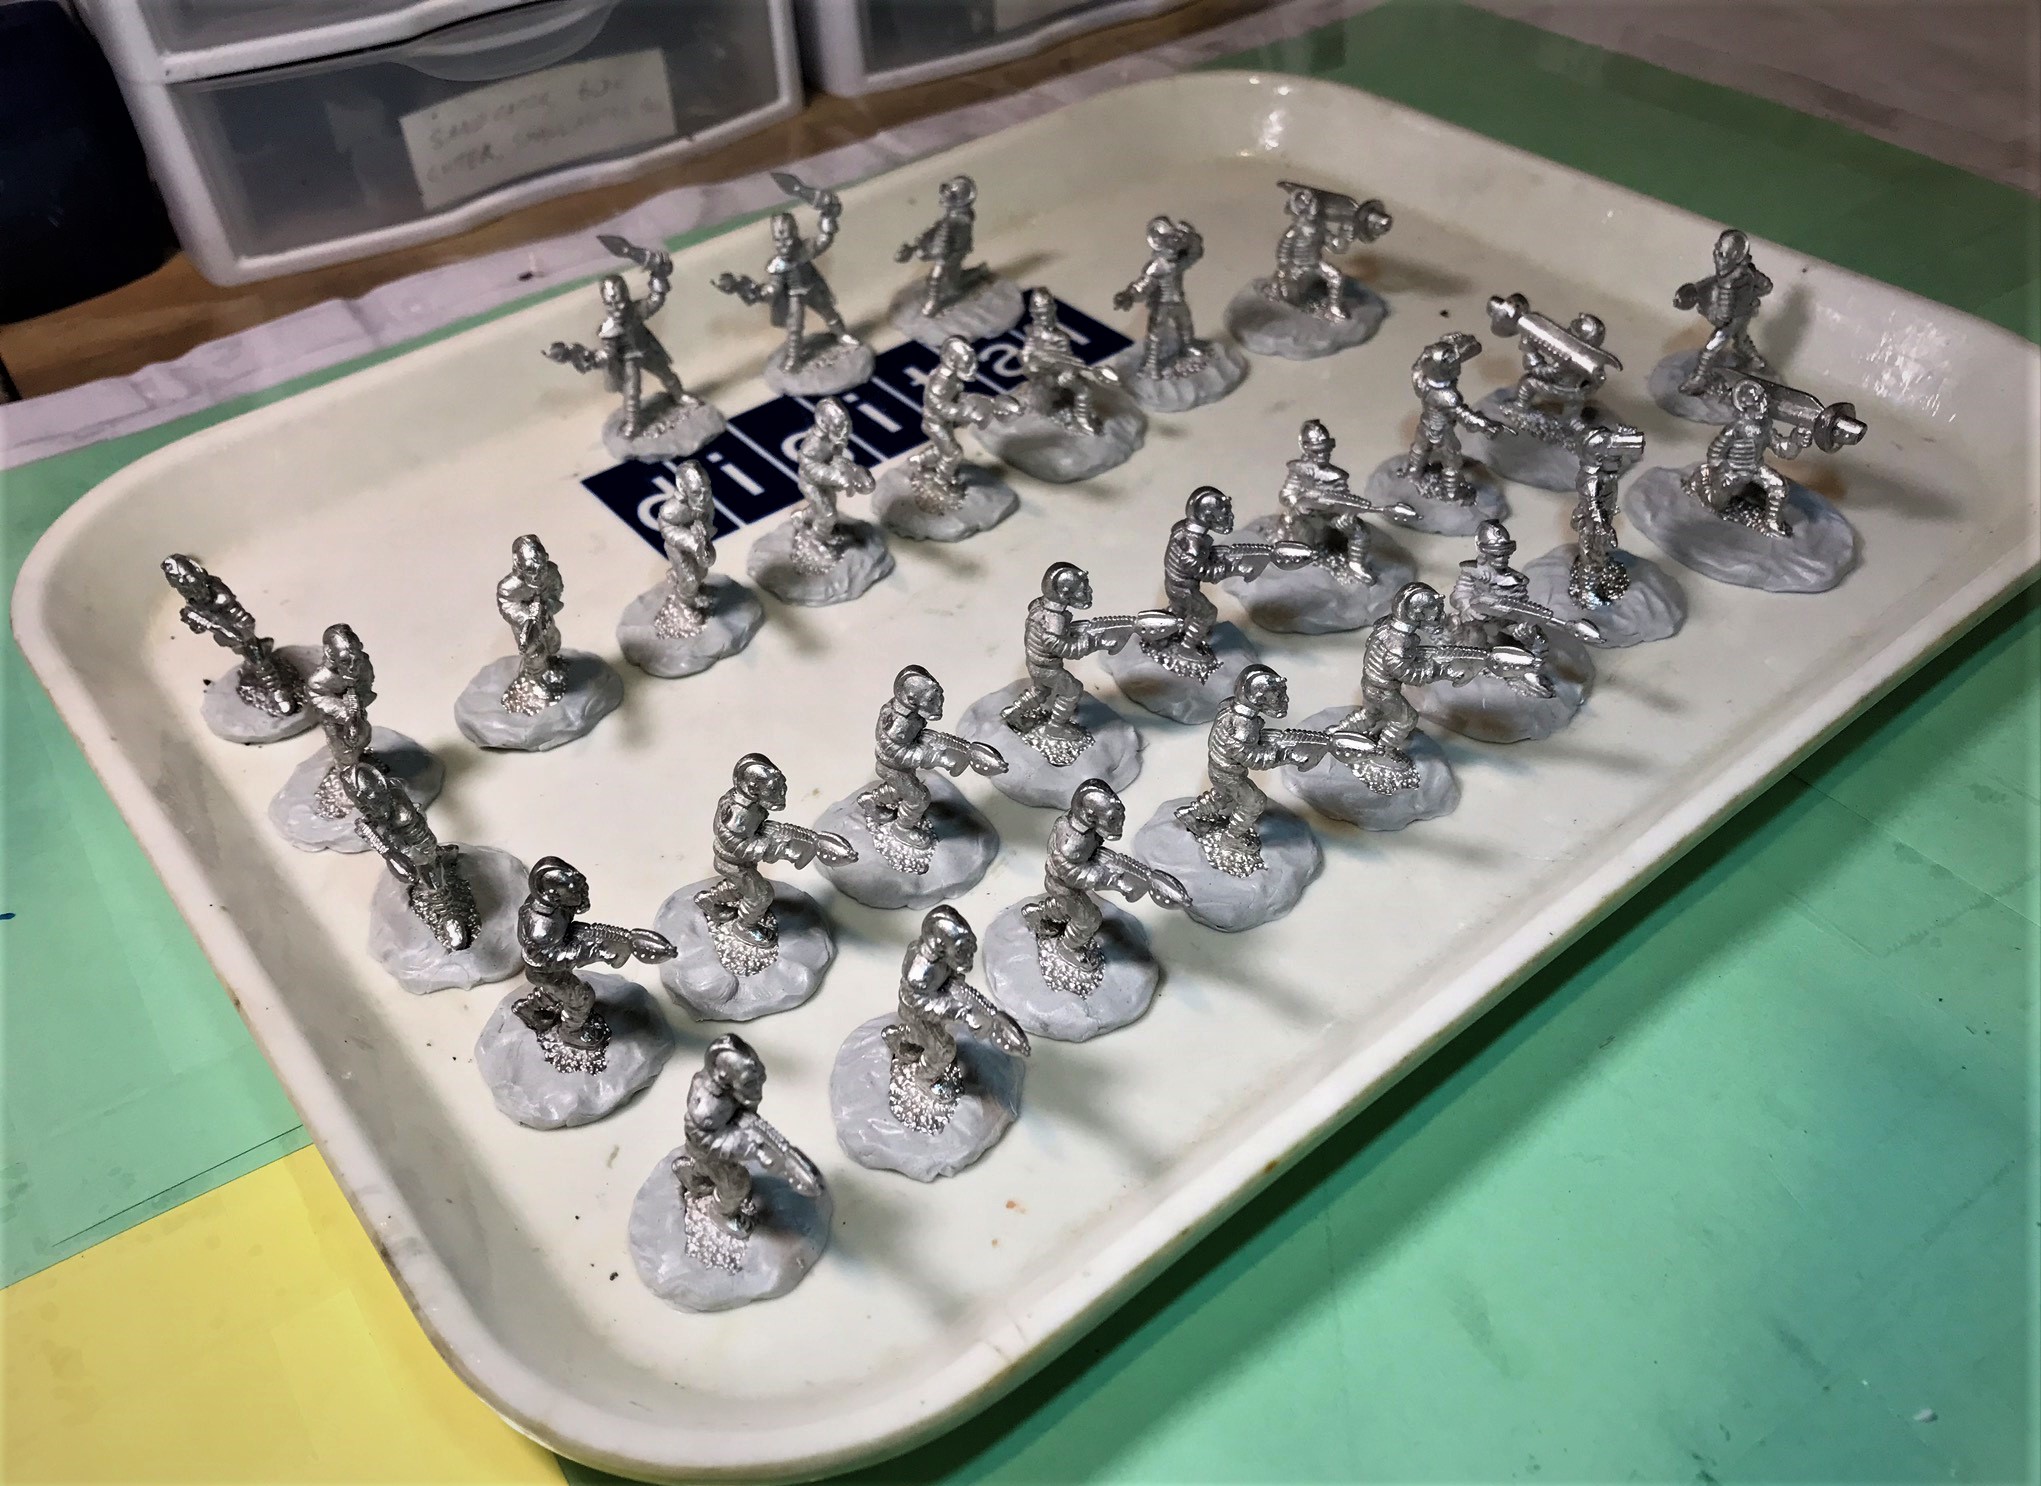
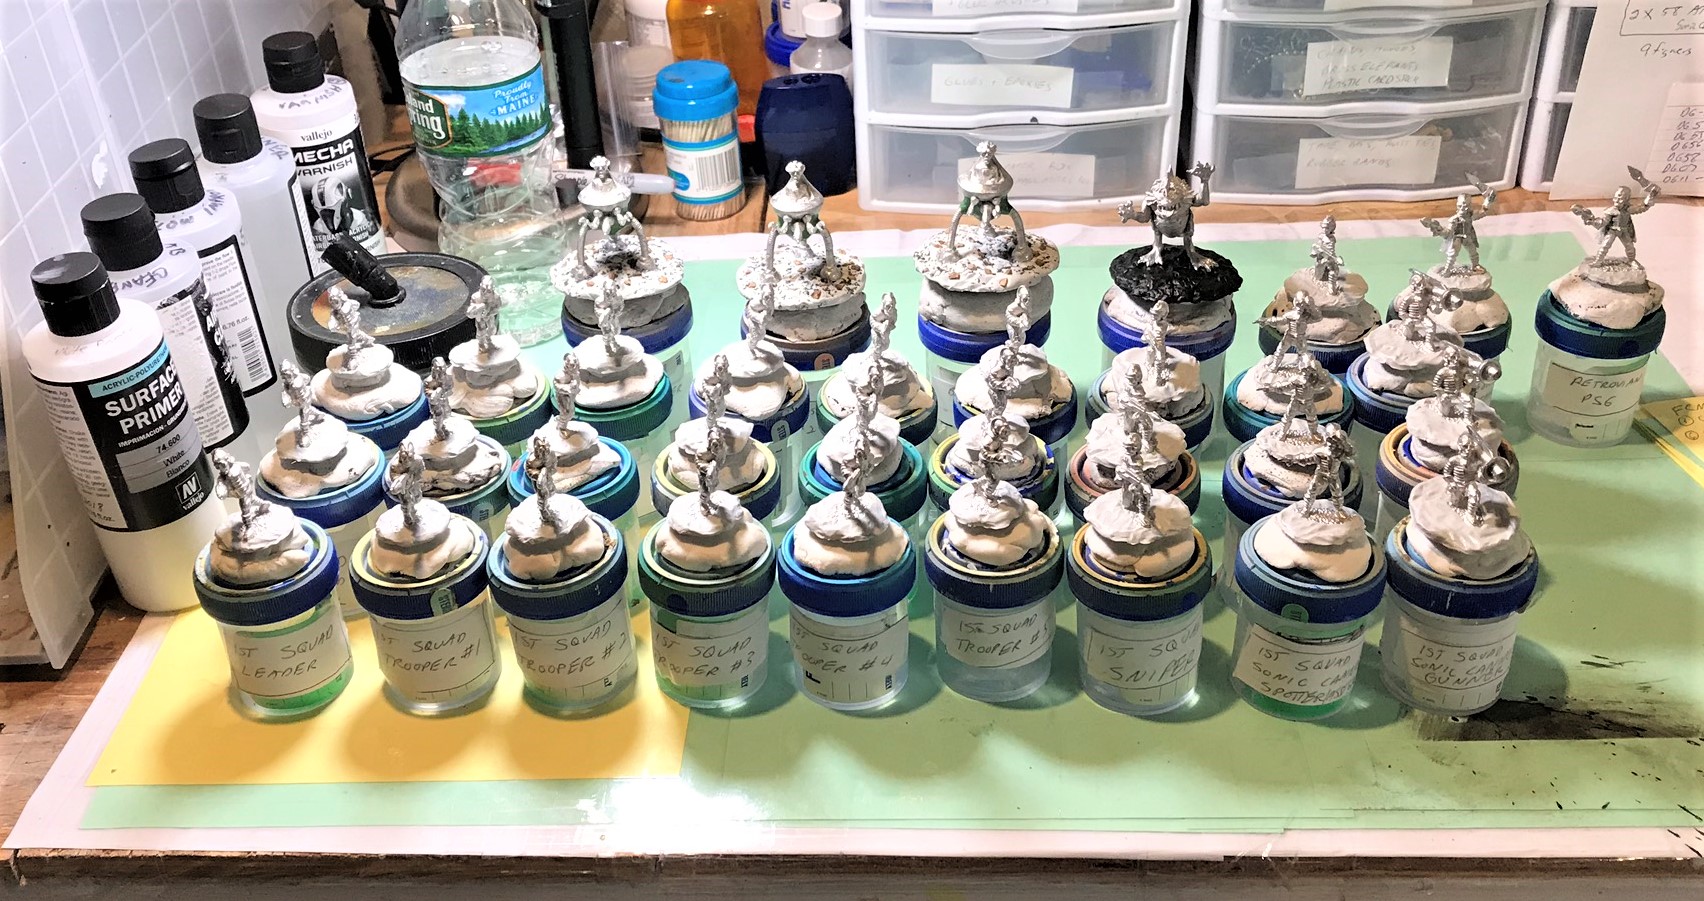
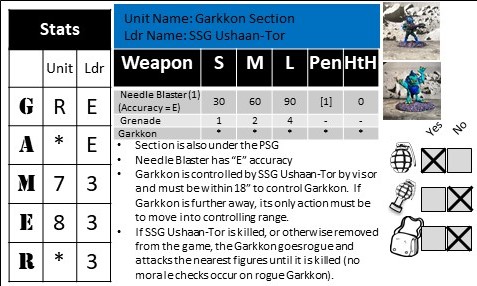
The convention was held from February 20-23, 2020 at the Best Western Conference Center in Marlborough, MA. I had signed up to run four games – two on Friday and two on Saturday. Two were Combat Patrol™ retro sci-fi games – “Space Cowboys versus Giant Zombie Cosmonauts” and “Attack of the Warbots” with my mostly OOP collections from Archive Miniatures, Mega Miniatures, War Games Supply Dump (and my own creations). The other two were scenarios for What a Tanker© that I have created and discussed previously in this blog: “Battle of France May-June 1940” and “Normandy Breakout!“.
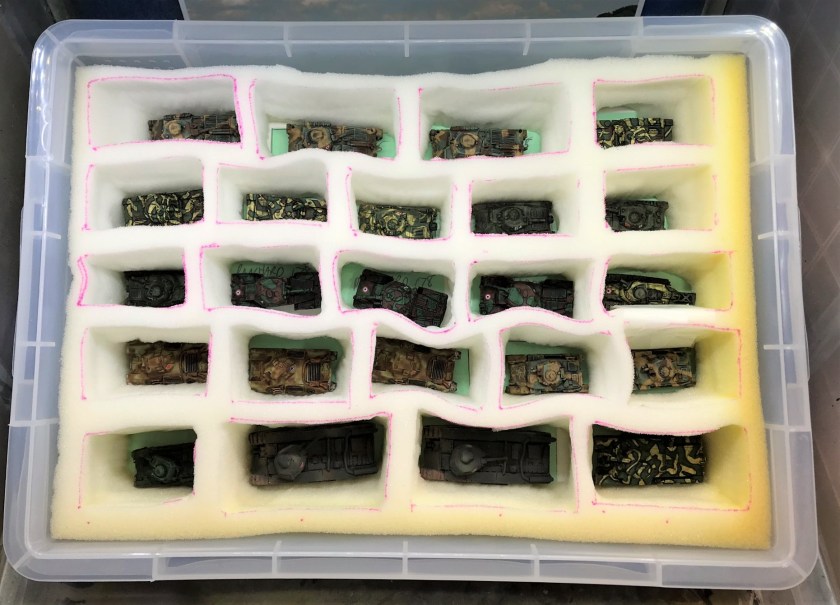
Running four different games in two days was a challenge (my vehicle was full of mats, terrain, and miniatures) but I pulled it off well enough I believe. I’ll share some photos and some descriptions of the action. I think the players had a good time. This post will be pretty photo-heavy.
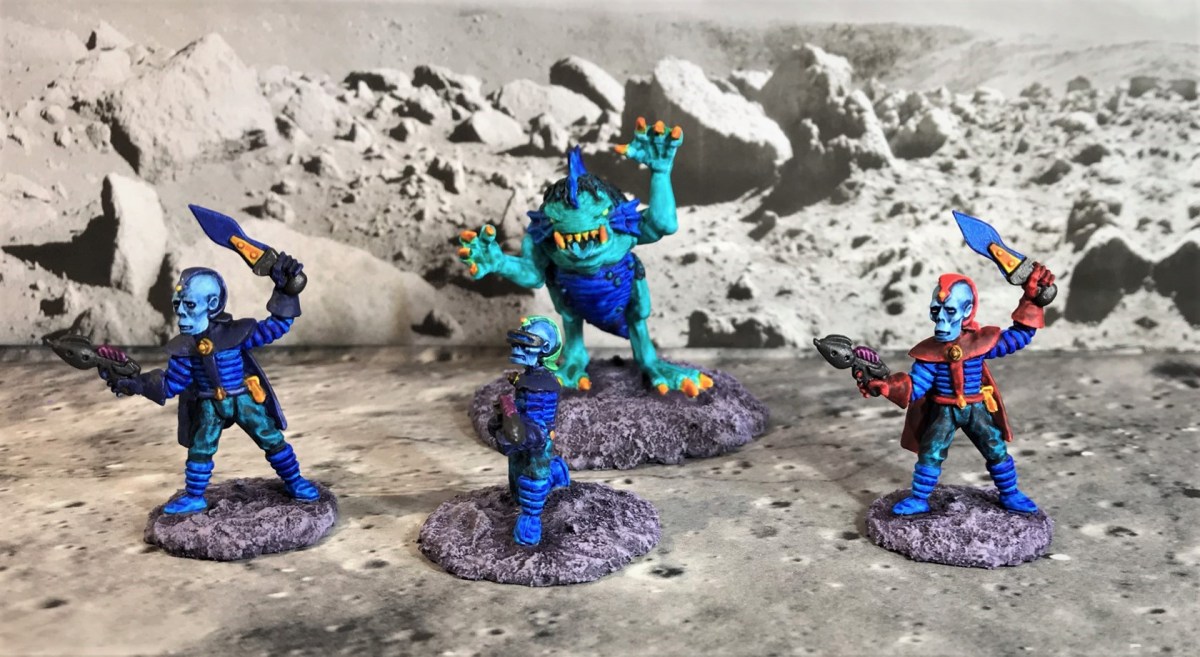
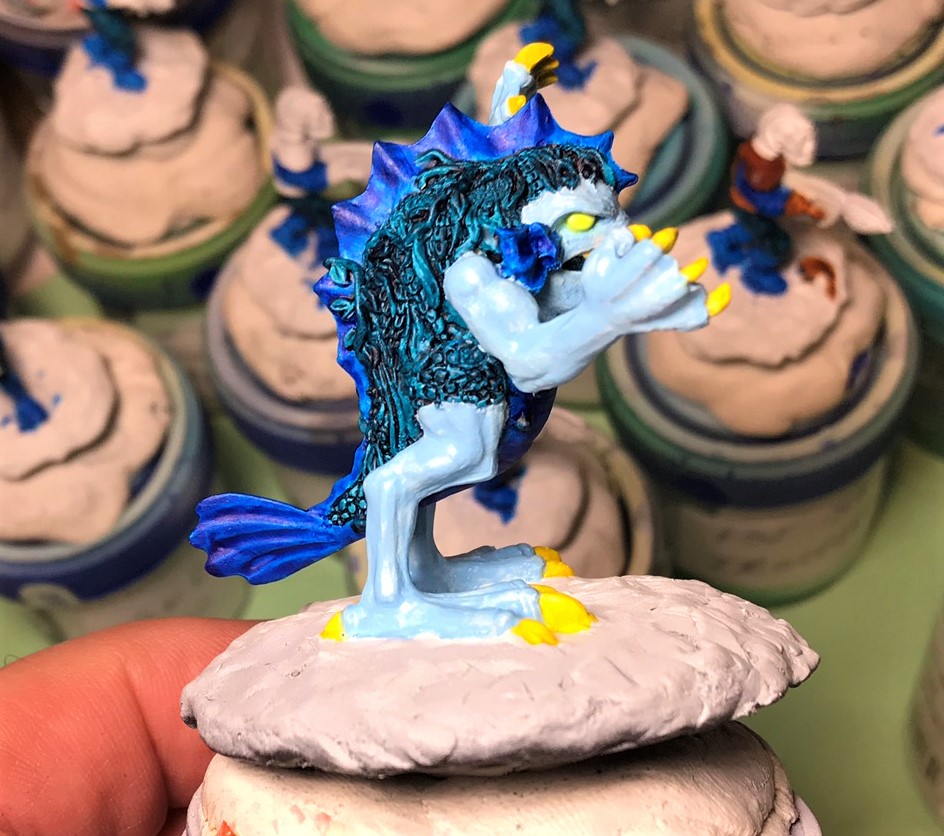
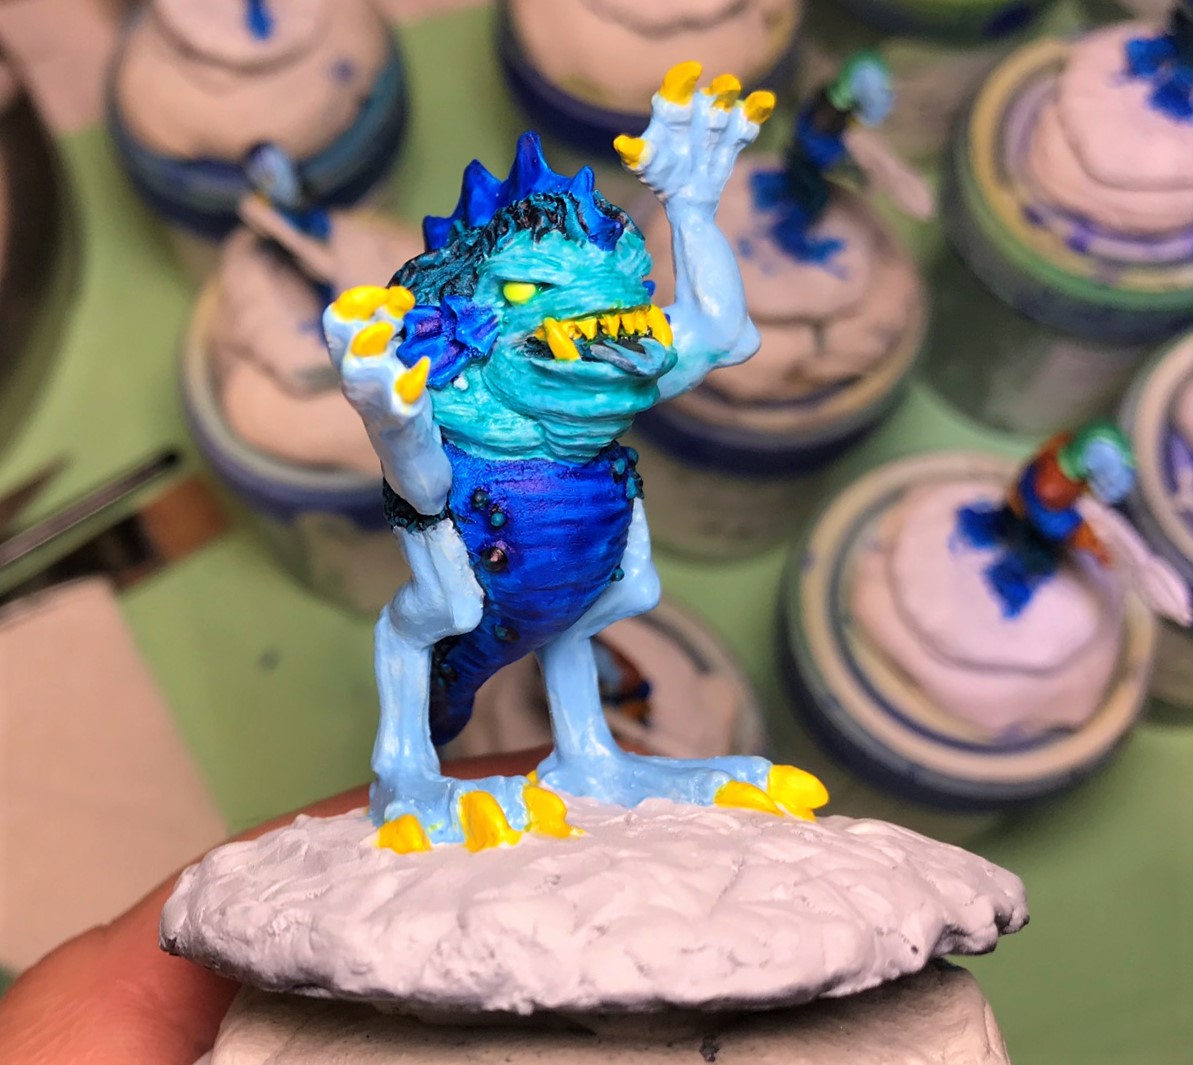
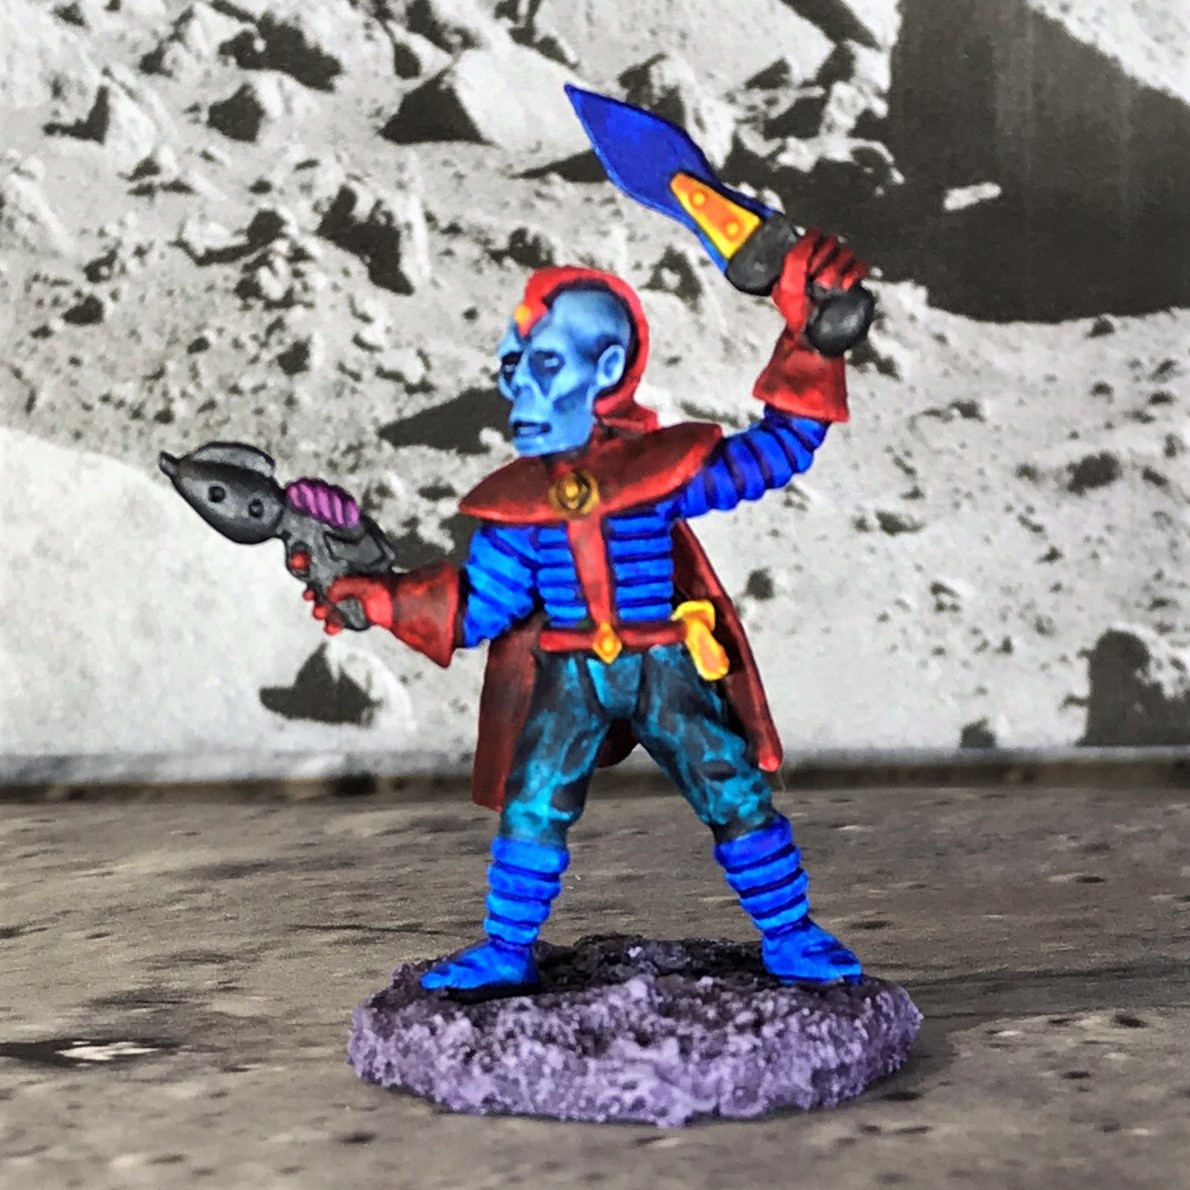
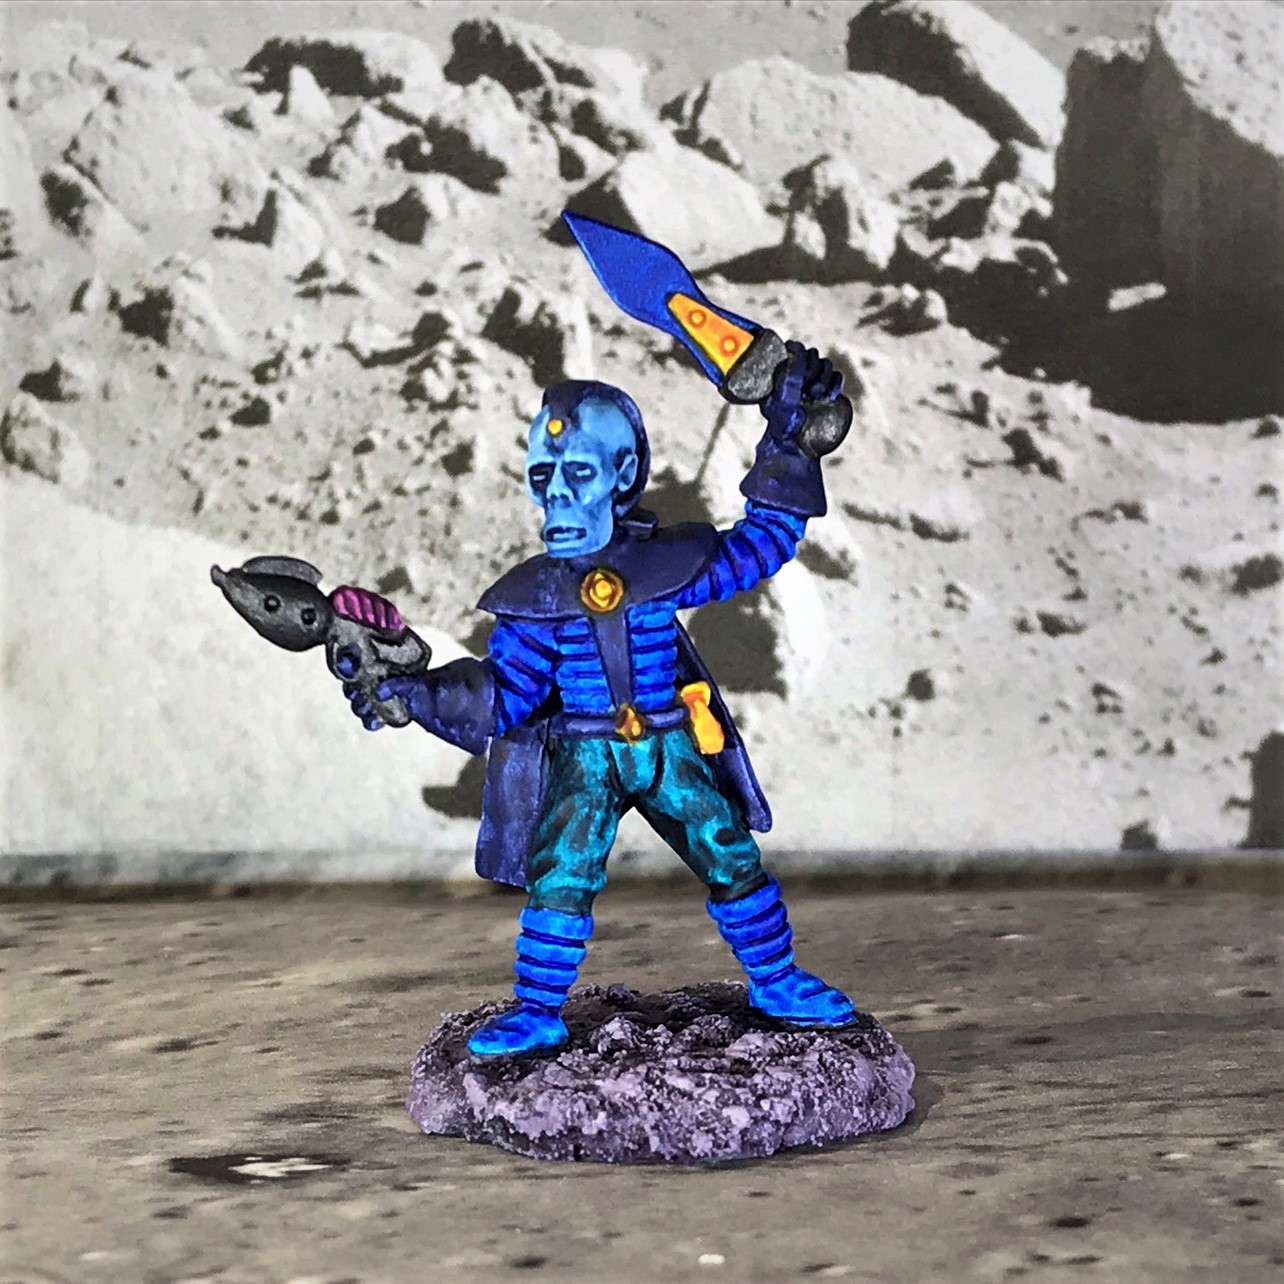
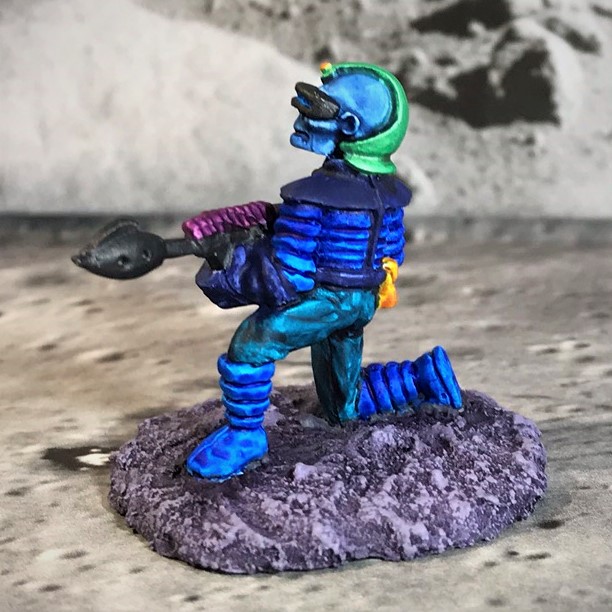
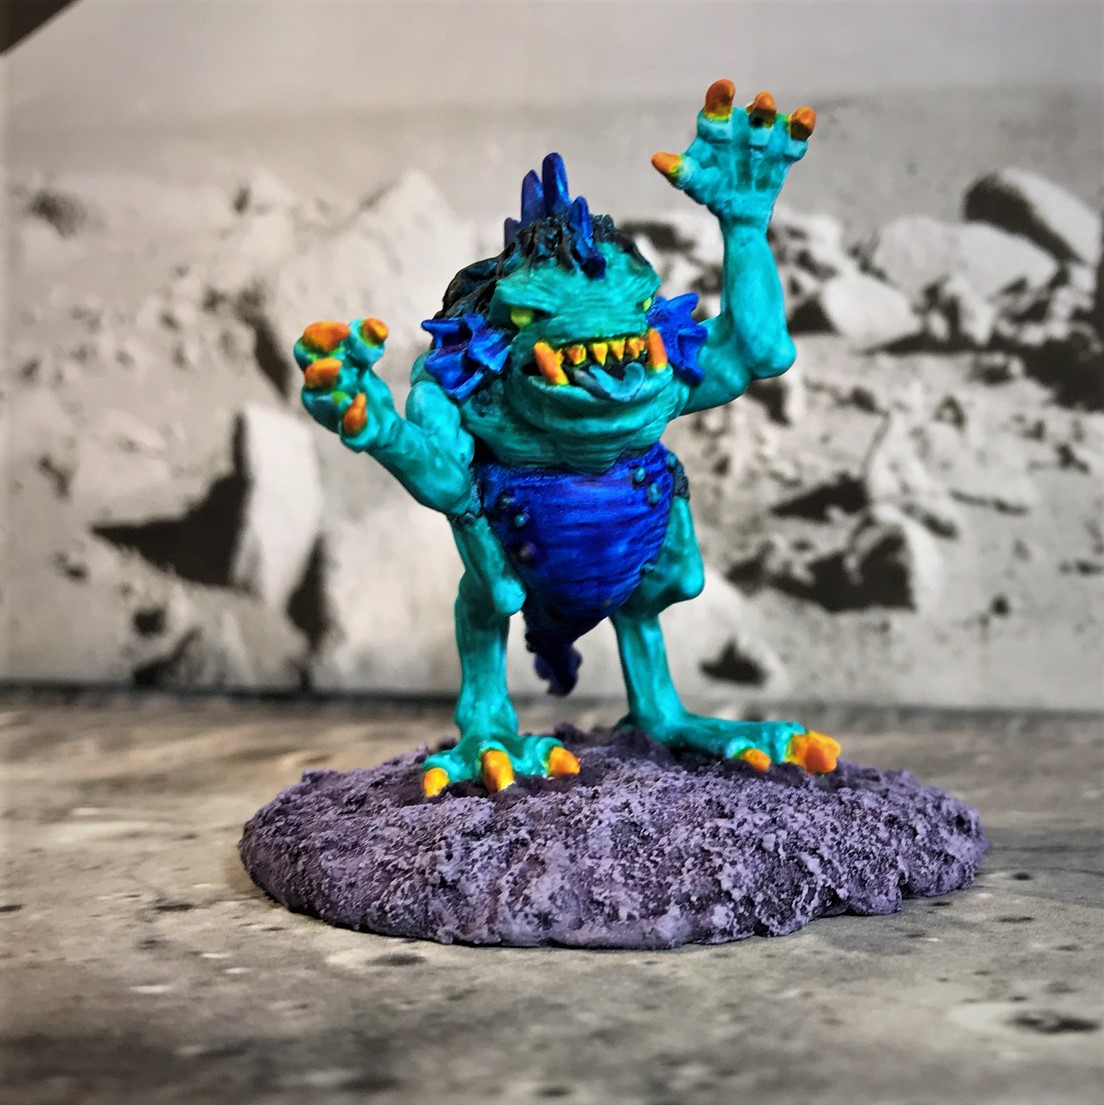
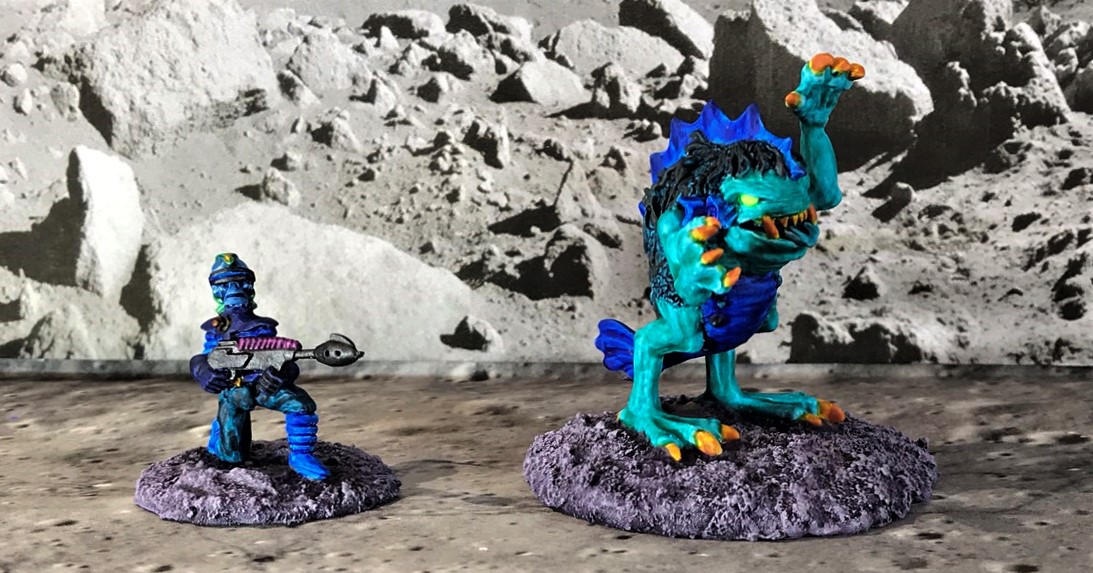
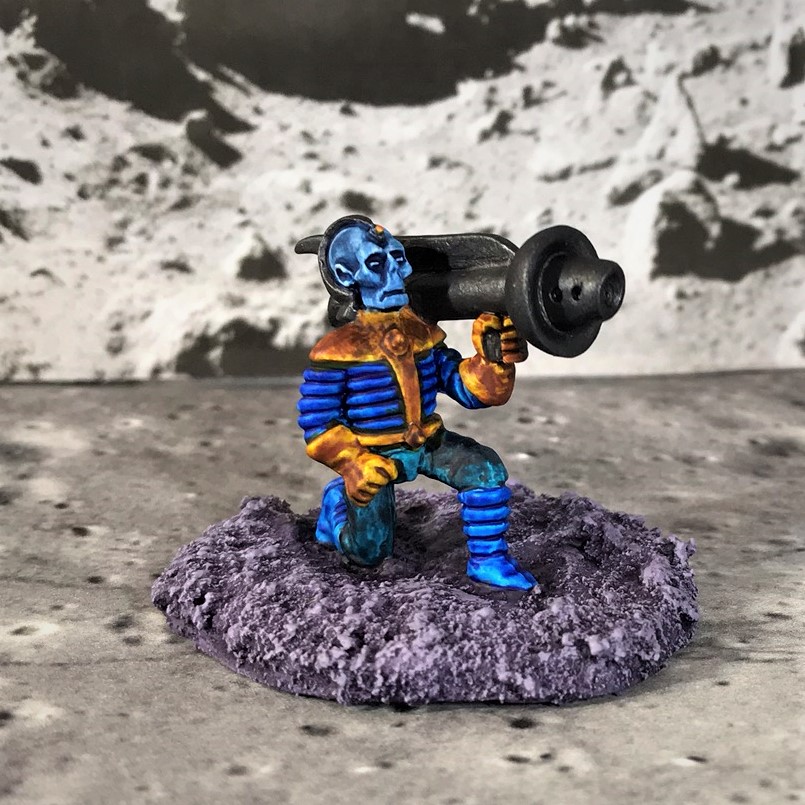
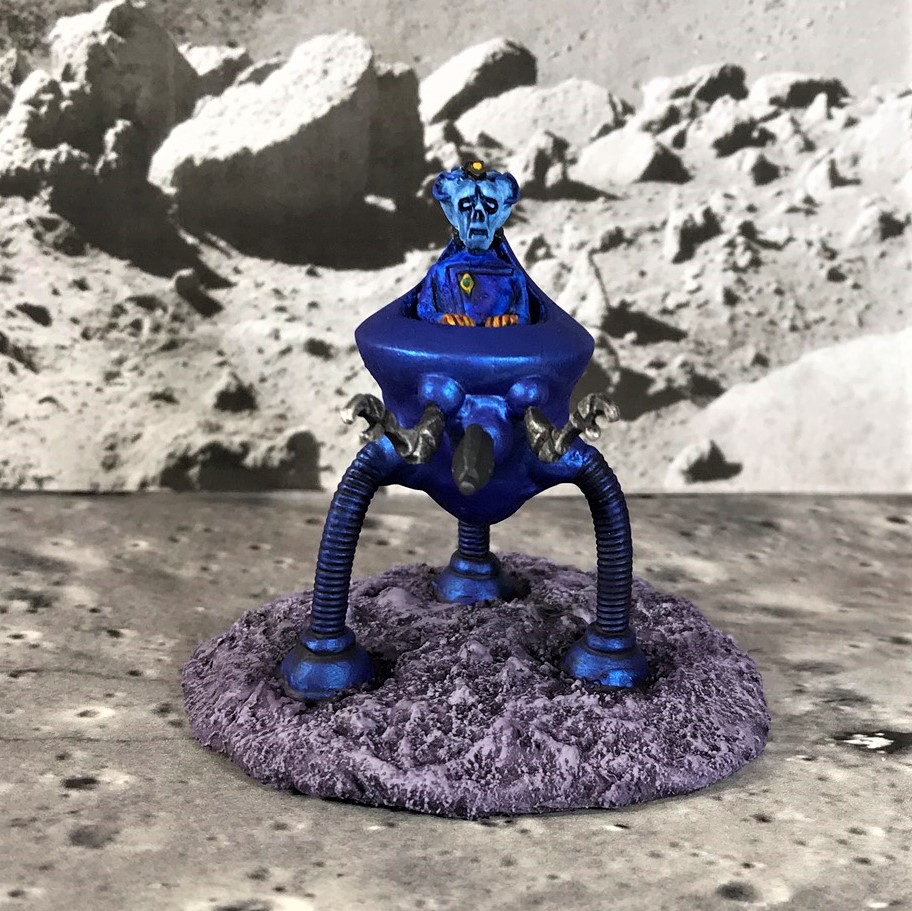
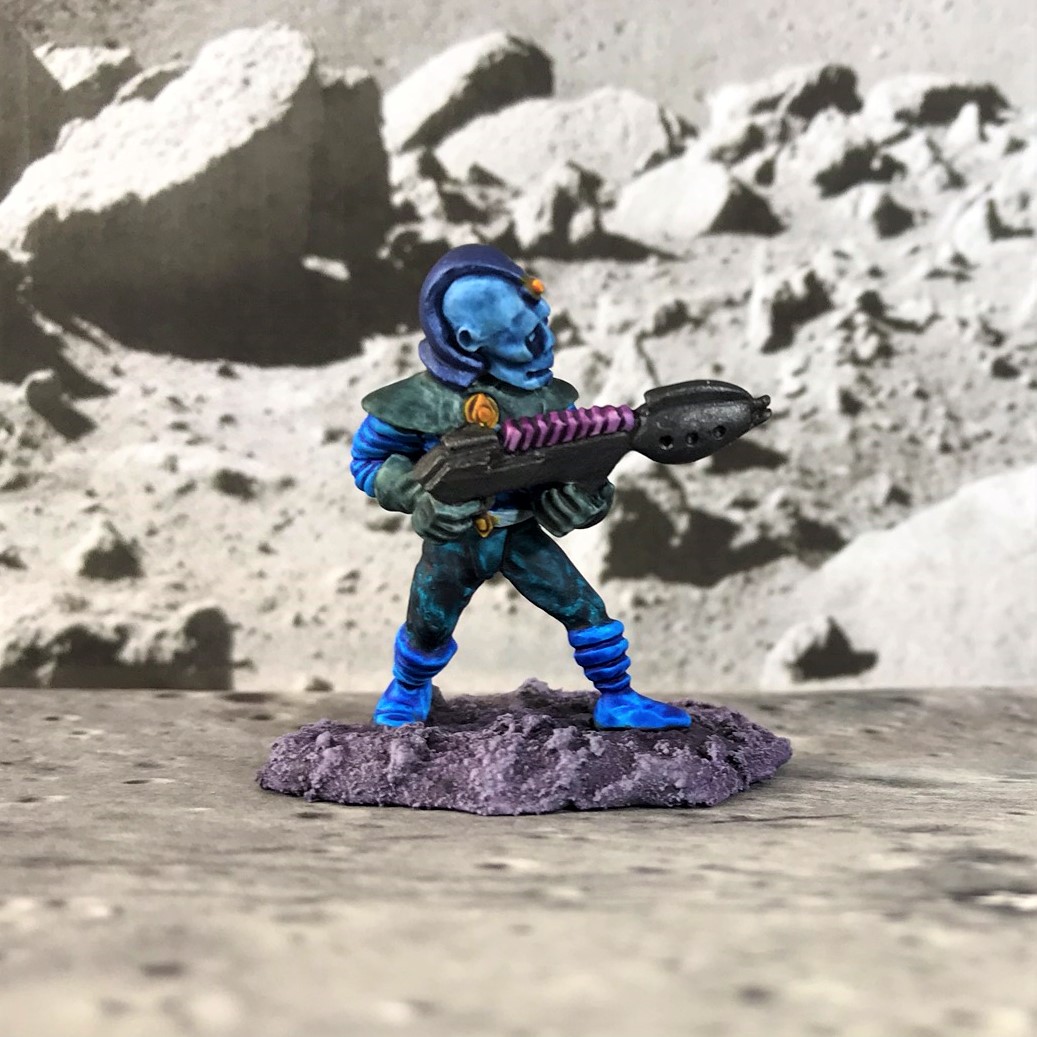
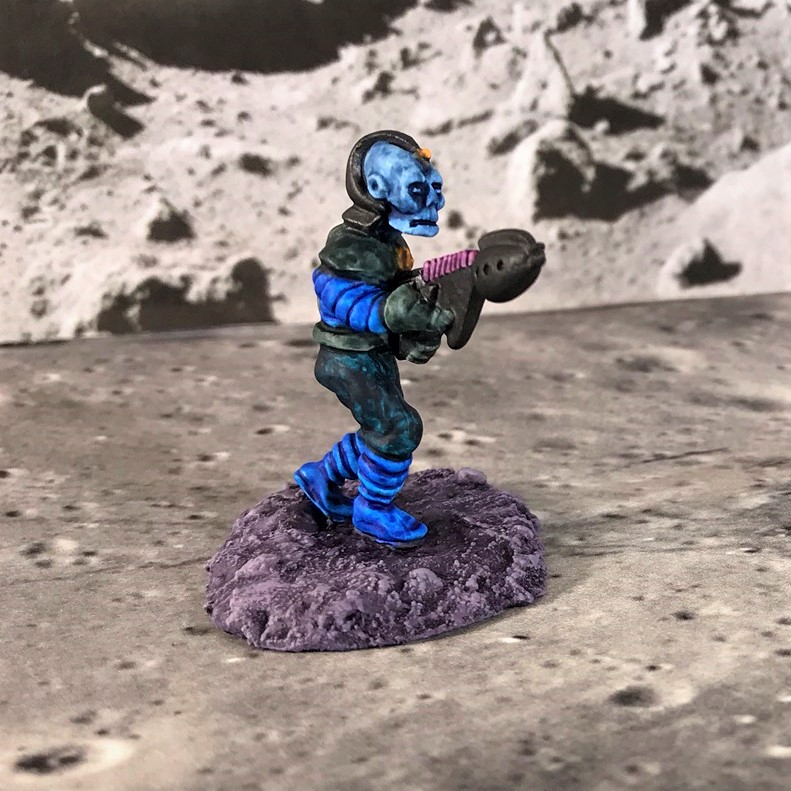
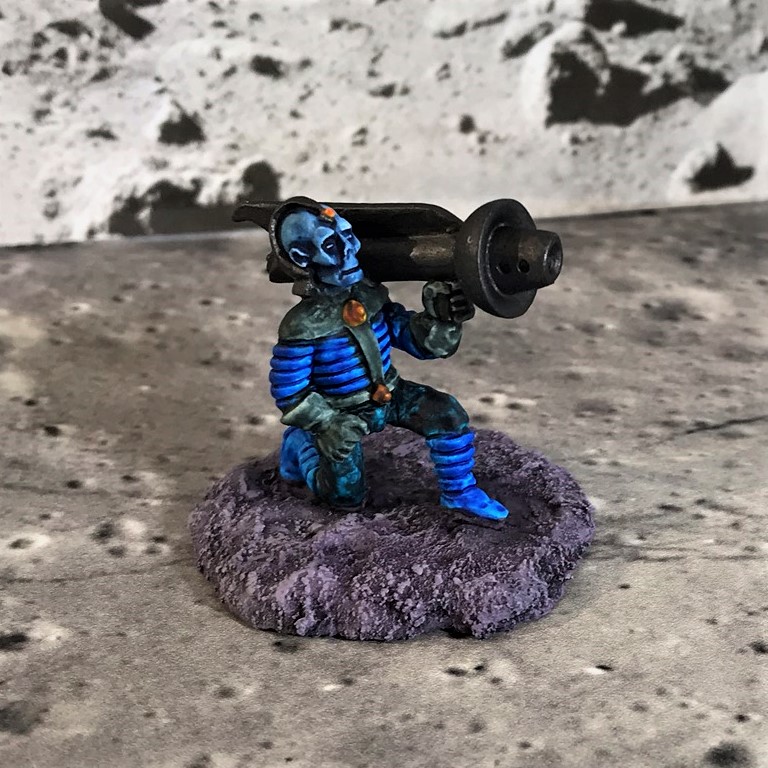
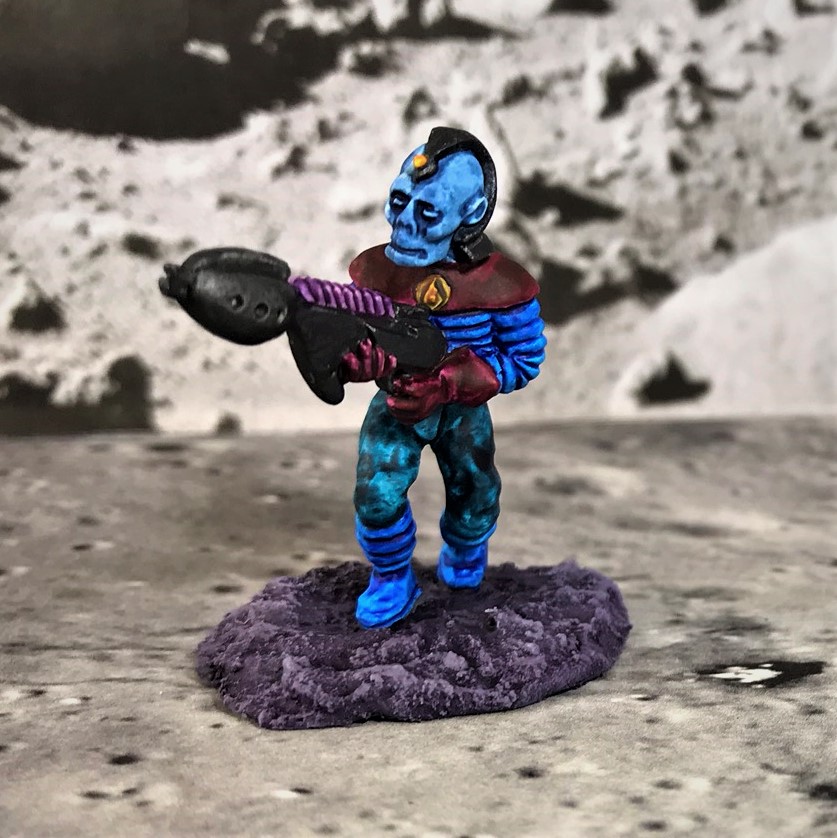
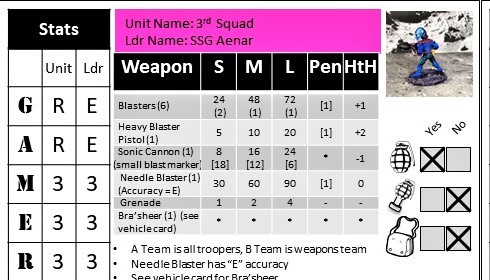
The first game I ran was on Friday was “Space Cowboys versus Giant Zombie Cosmonauts“. I had four players (though I could have accommodated 9). It turned out that I had two seasoned gamers on the defending Space Cowboys side and two younger players on the attacking Giant Zombie Cosmonaut/Martian/Retrovian side.
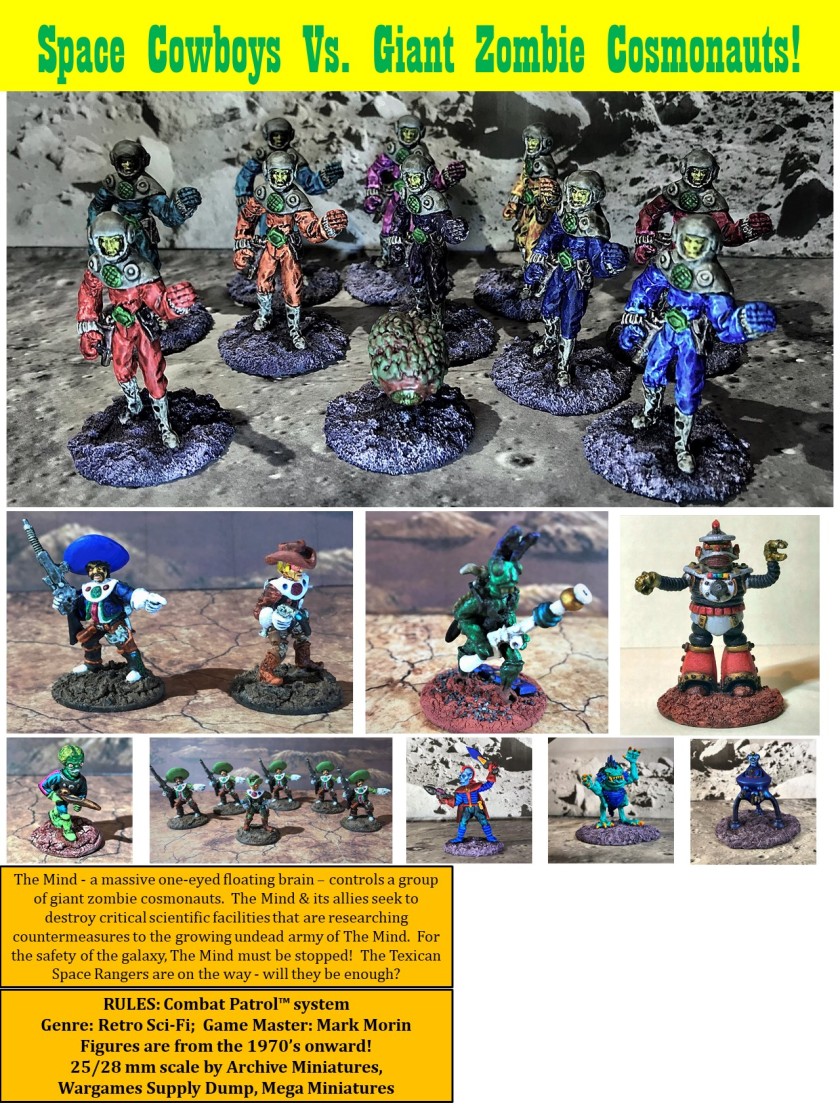


The game was a blast. The defenders took up good positions but the attackers’ pressure was building to a decisive point. Unfortunately, The Mind became vulnerable and the defenders’ gambit worked this time. The players quickly got used to the Combat Patrol™ system.
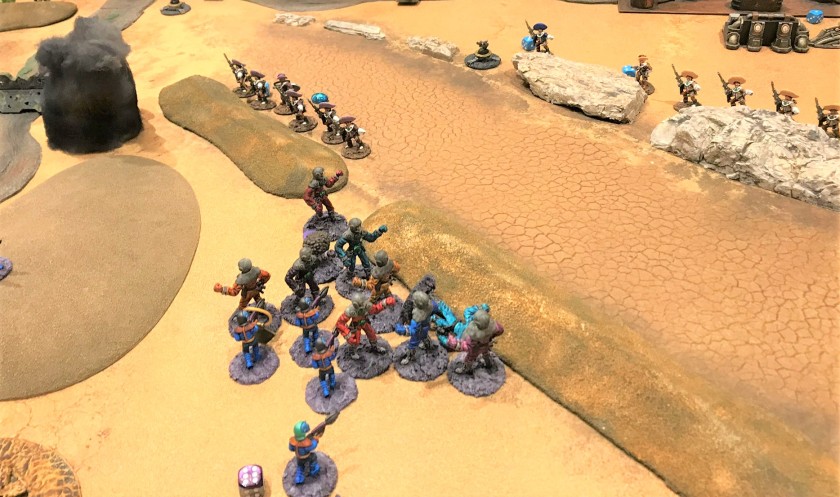
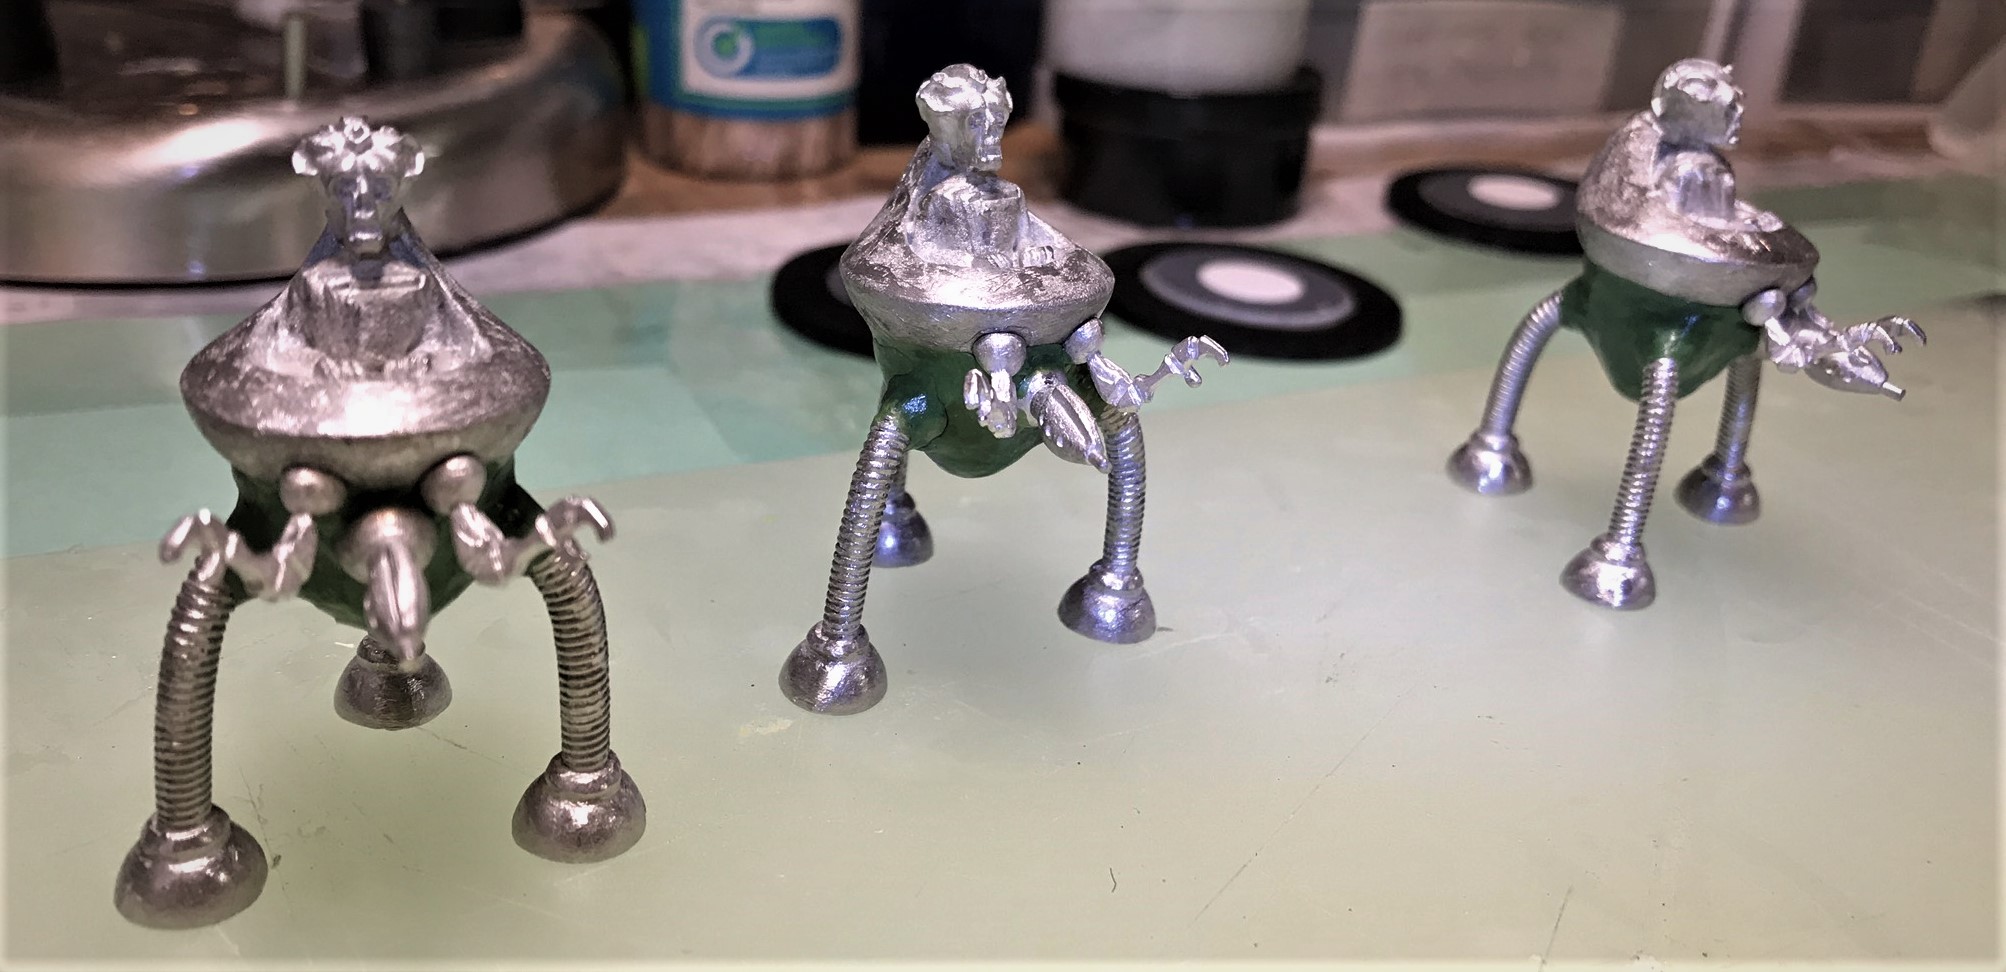
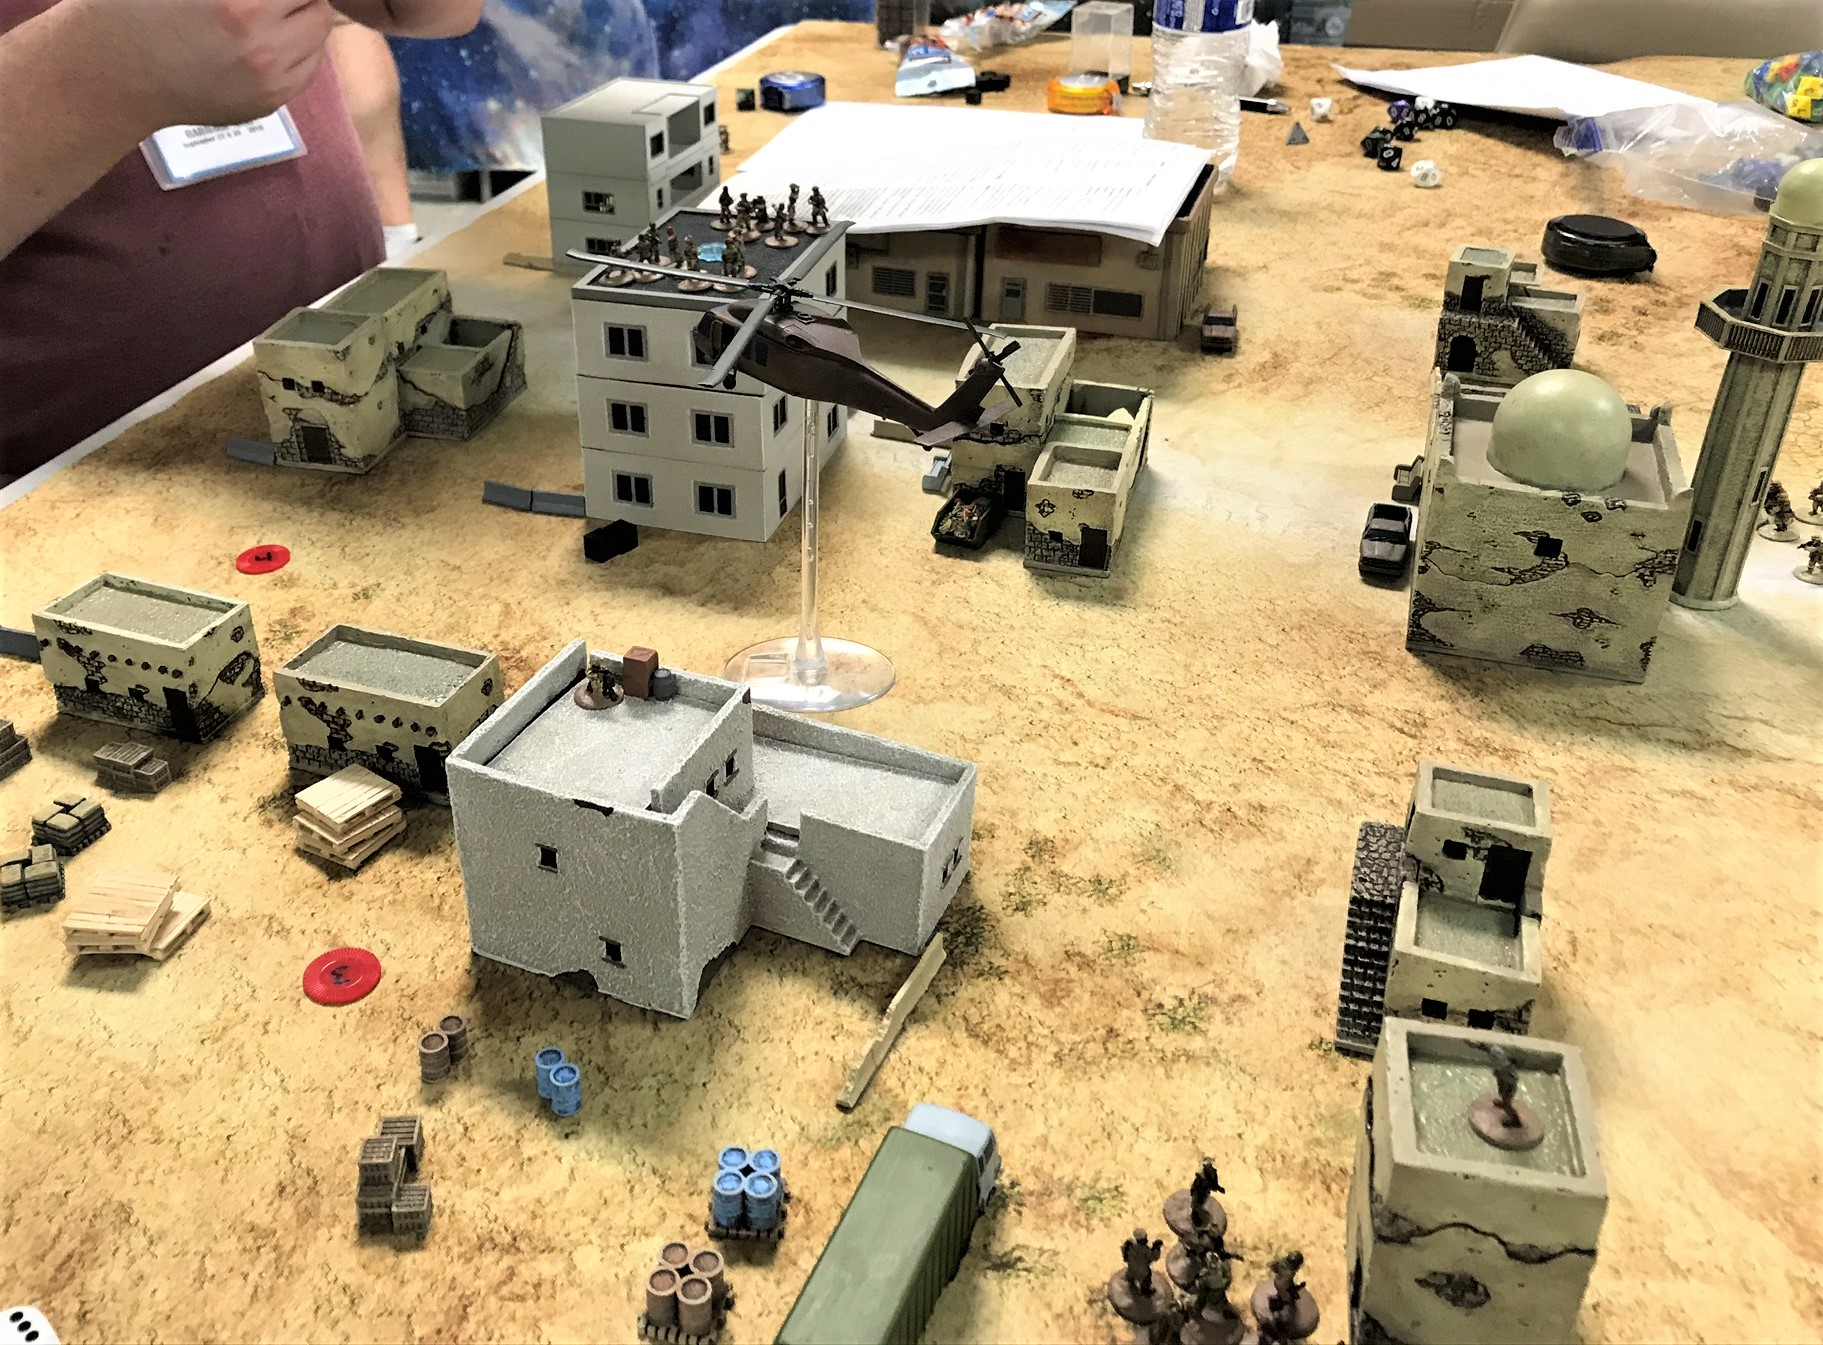
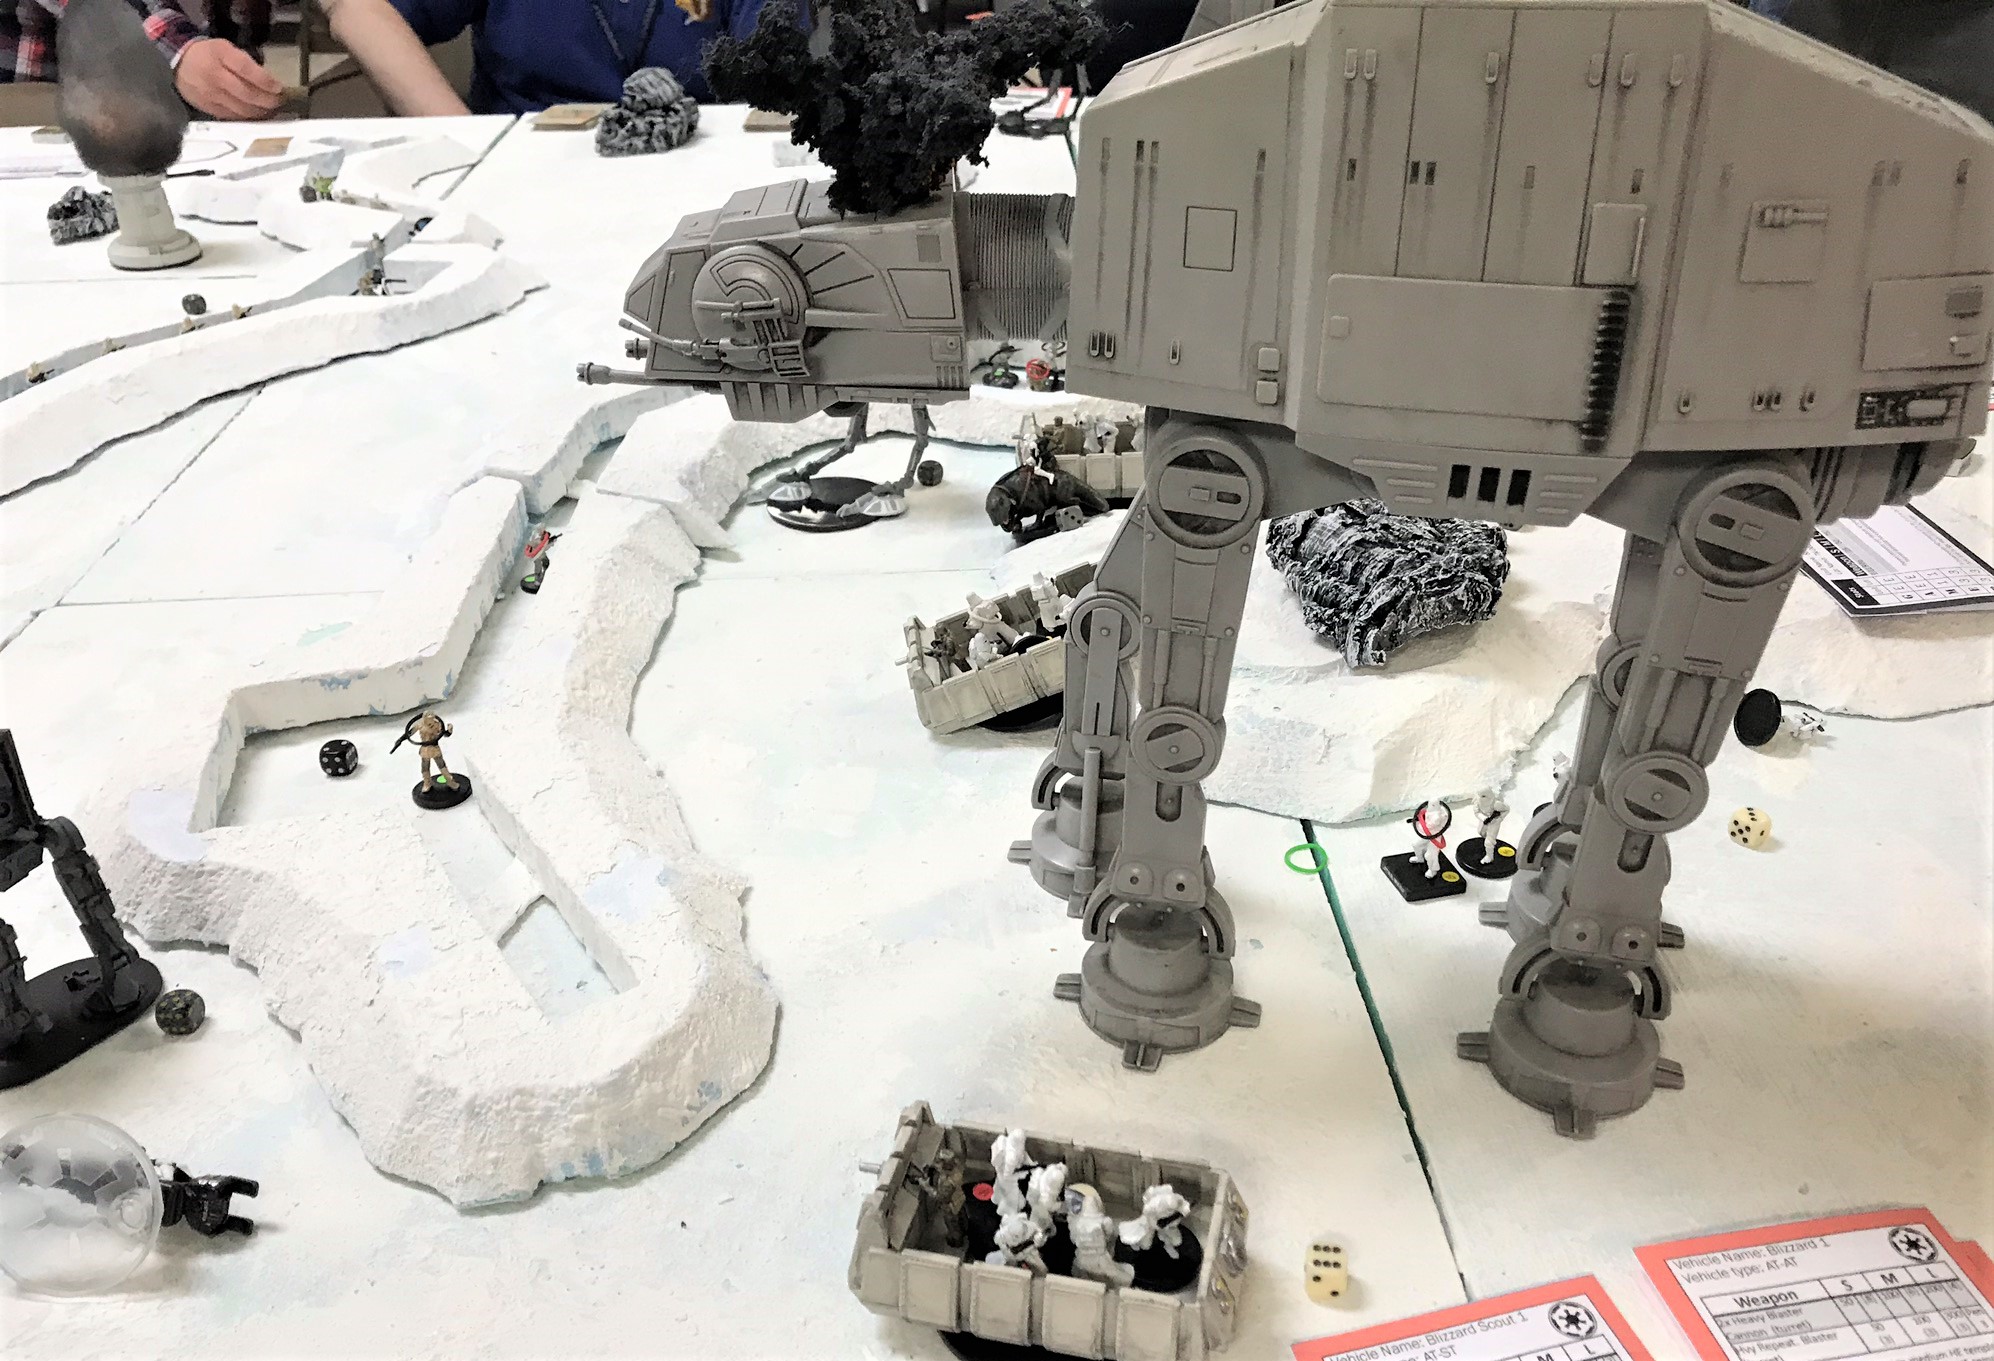
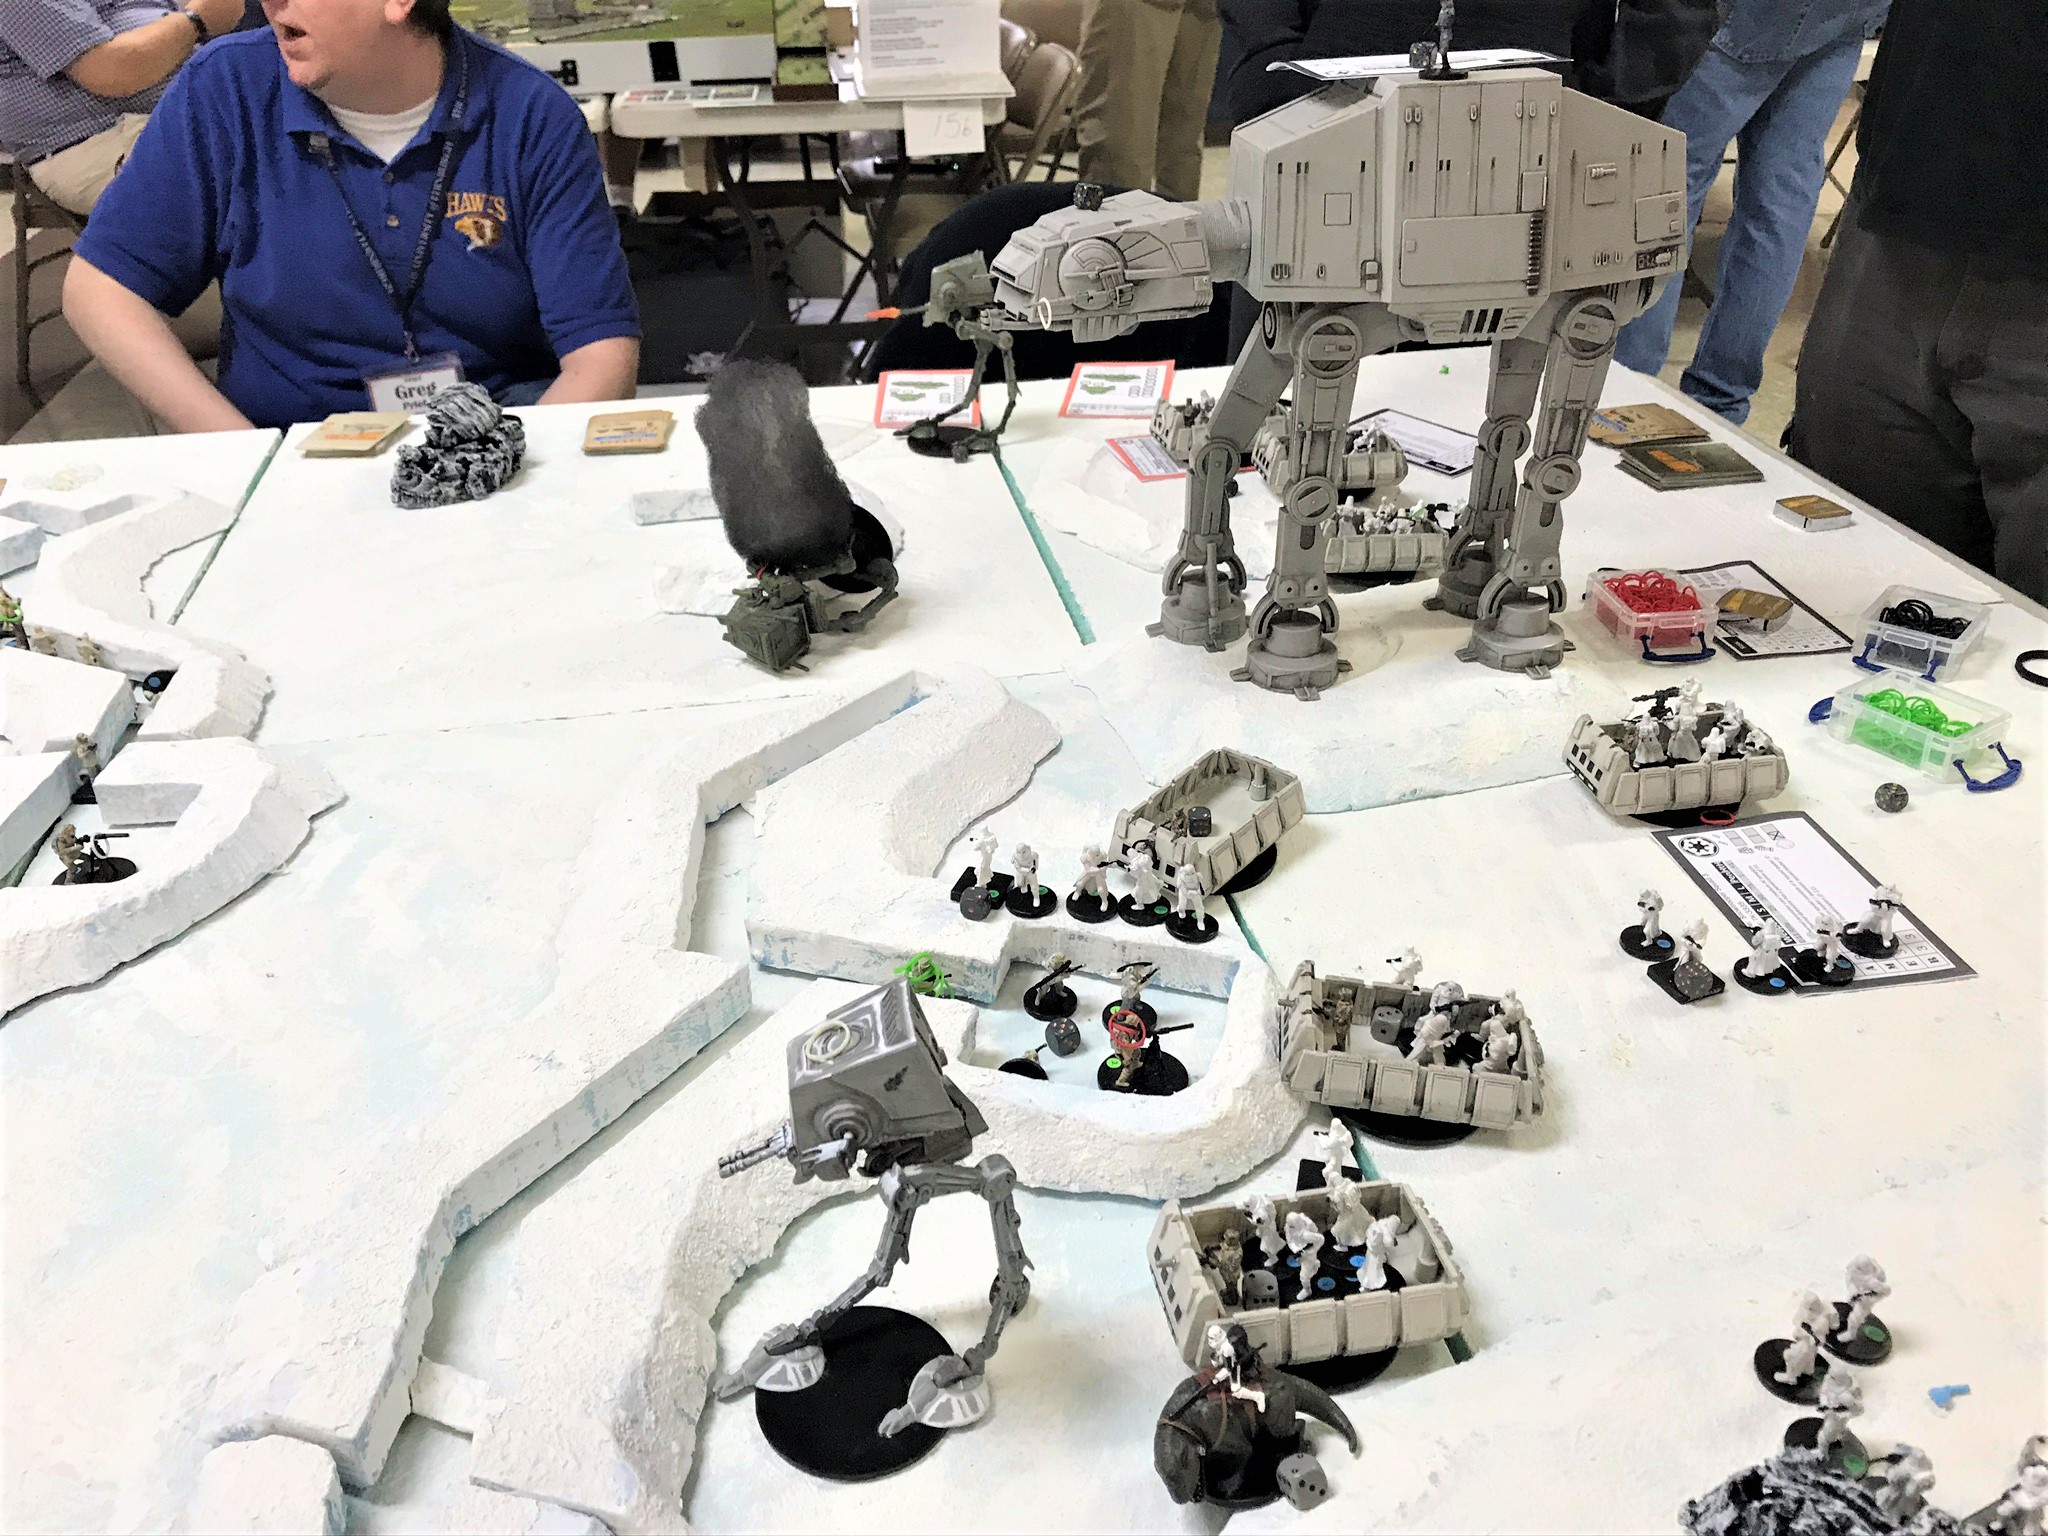
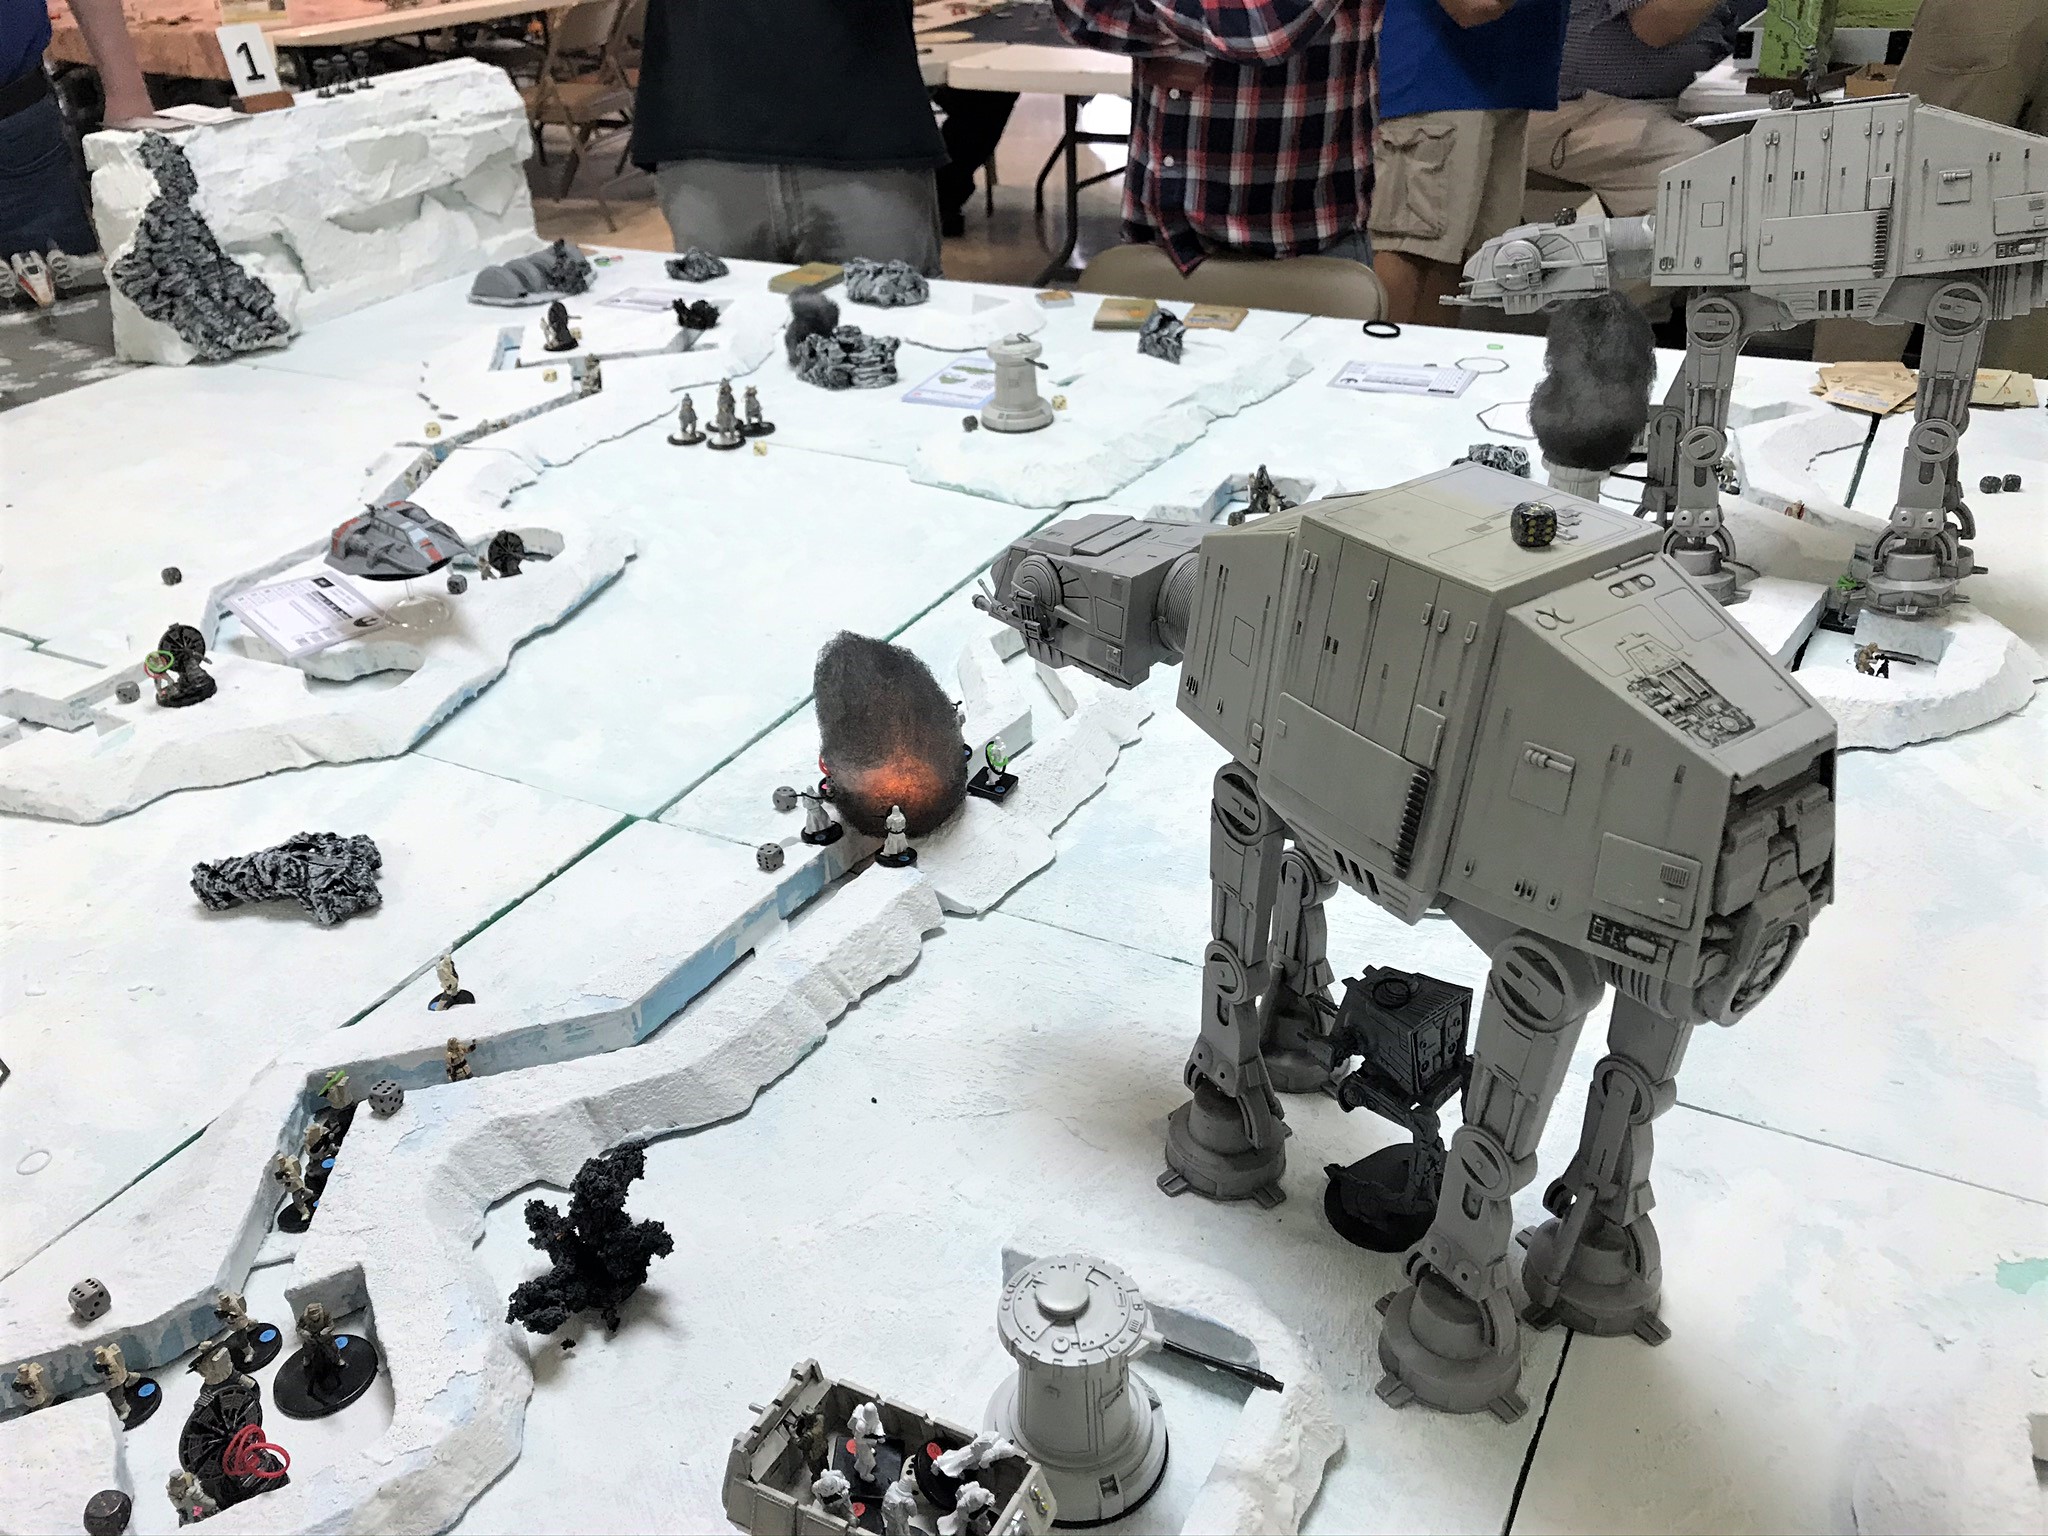
The next game was later that night, when I ran “Attack of the Warbots”. I have run this game several times, and it always is a crowd pleaser.

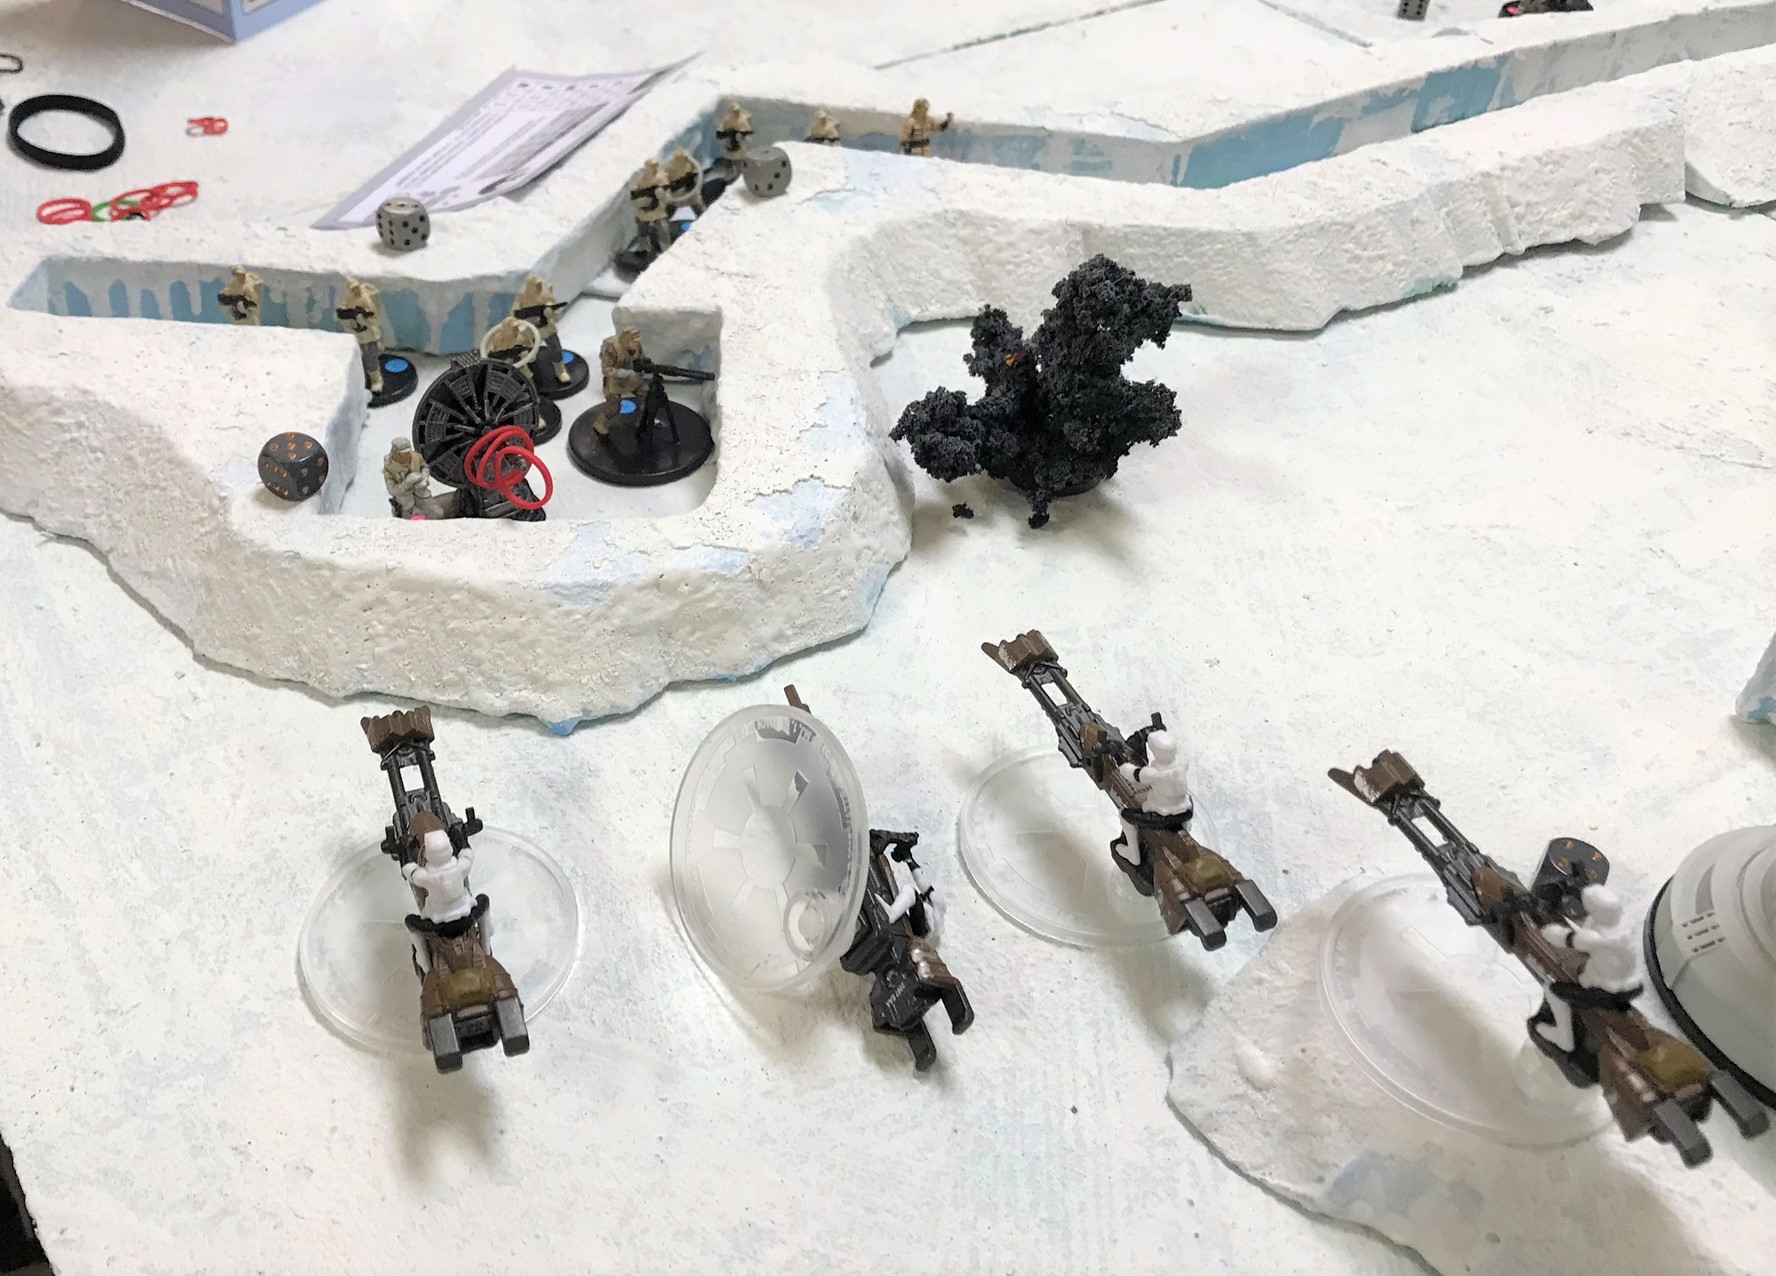
I had about 8 players for the game. The attacking Warbots made good progress initially in breaching the wall. However, the defenders jet-packed their bazooka-armed Star Ducks onto unprotected rooftops – and got pretty shot up.


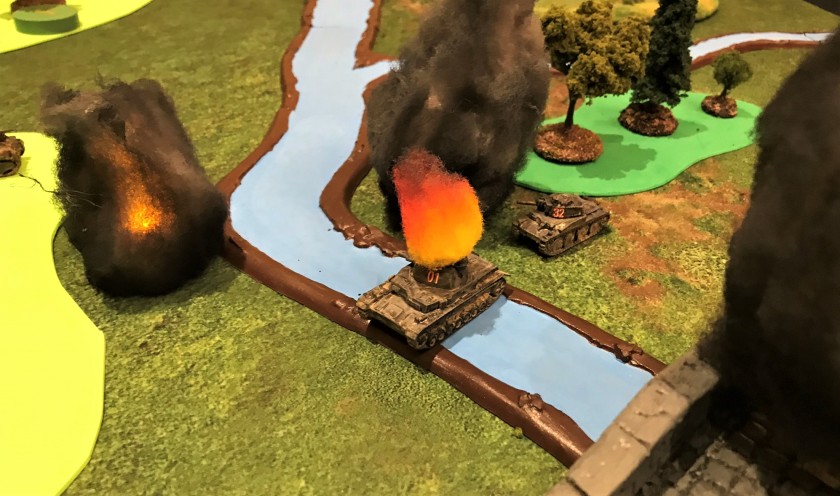
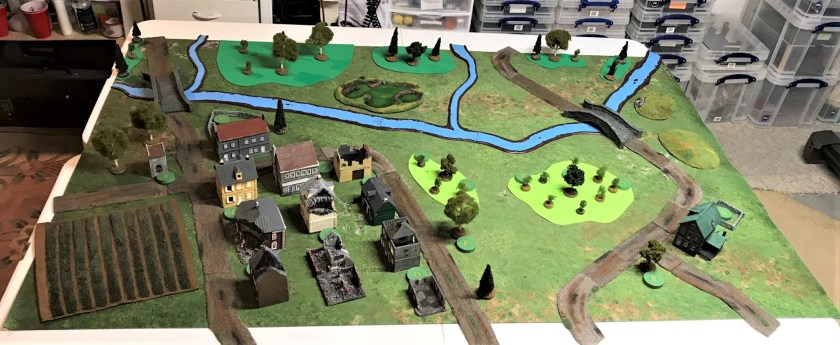
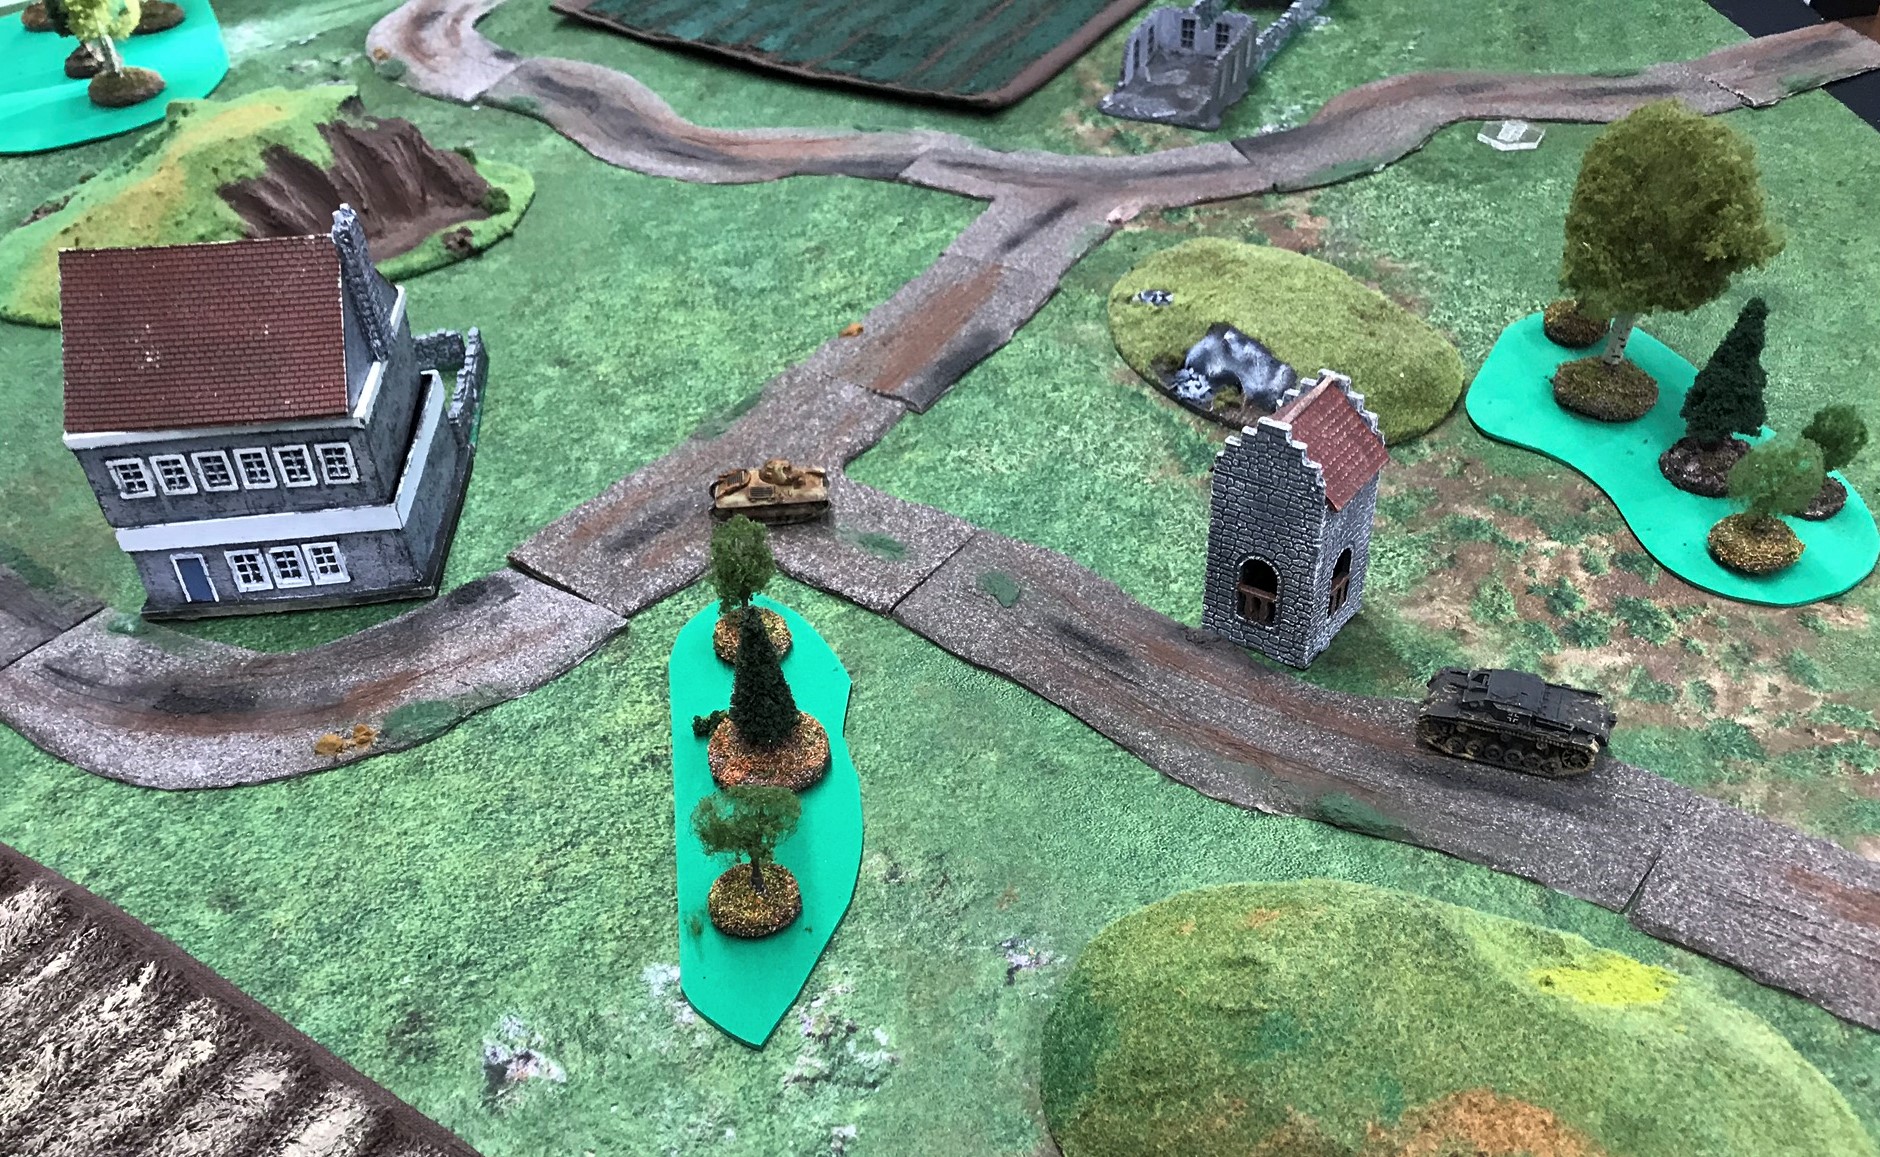
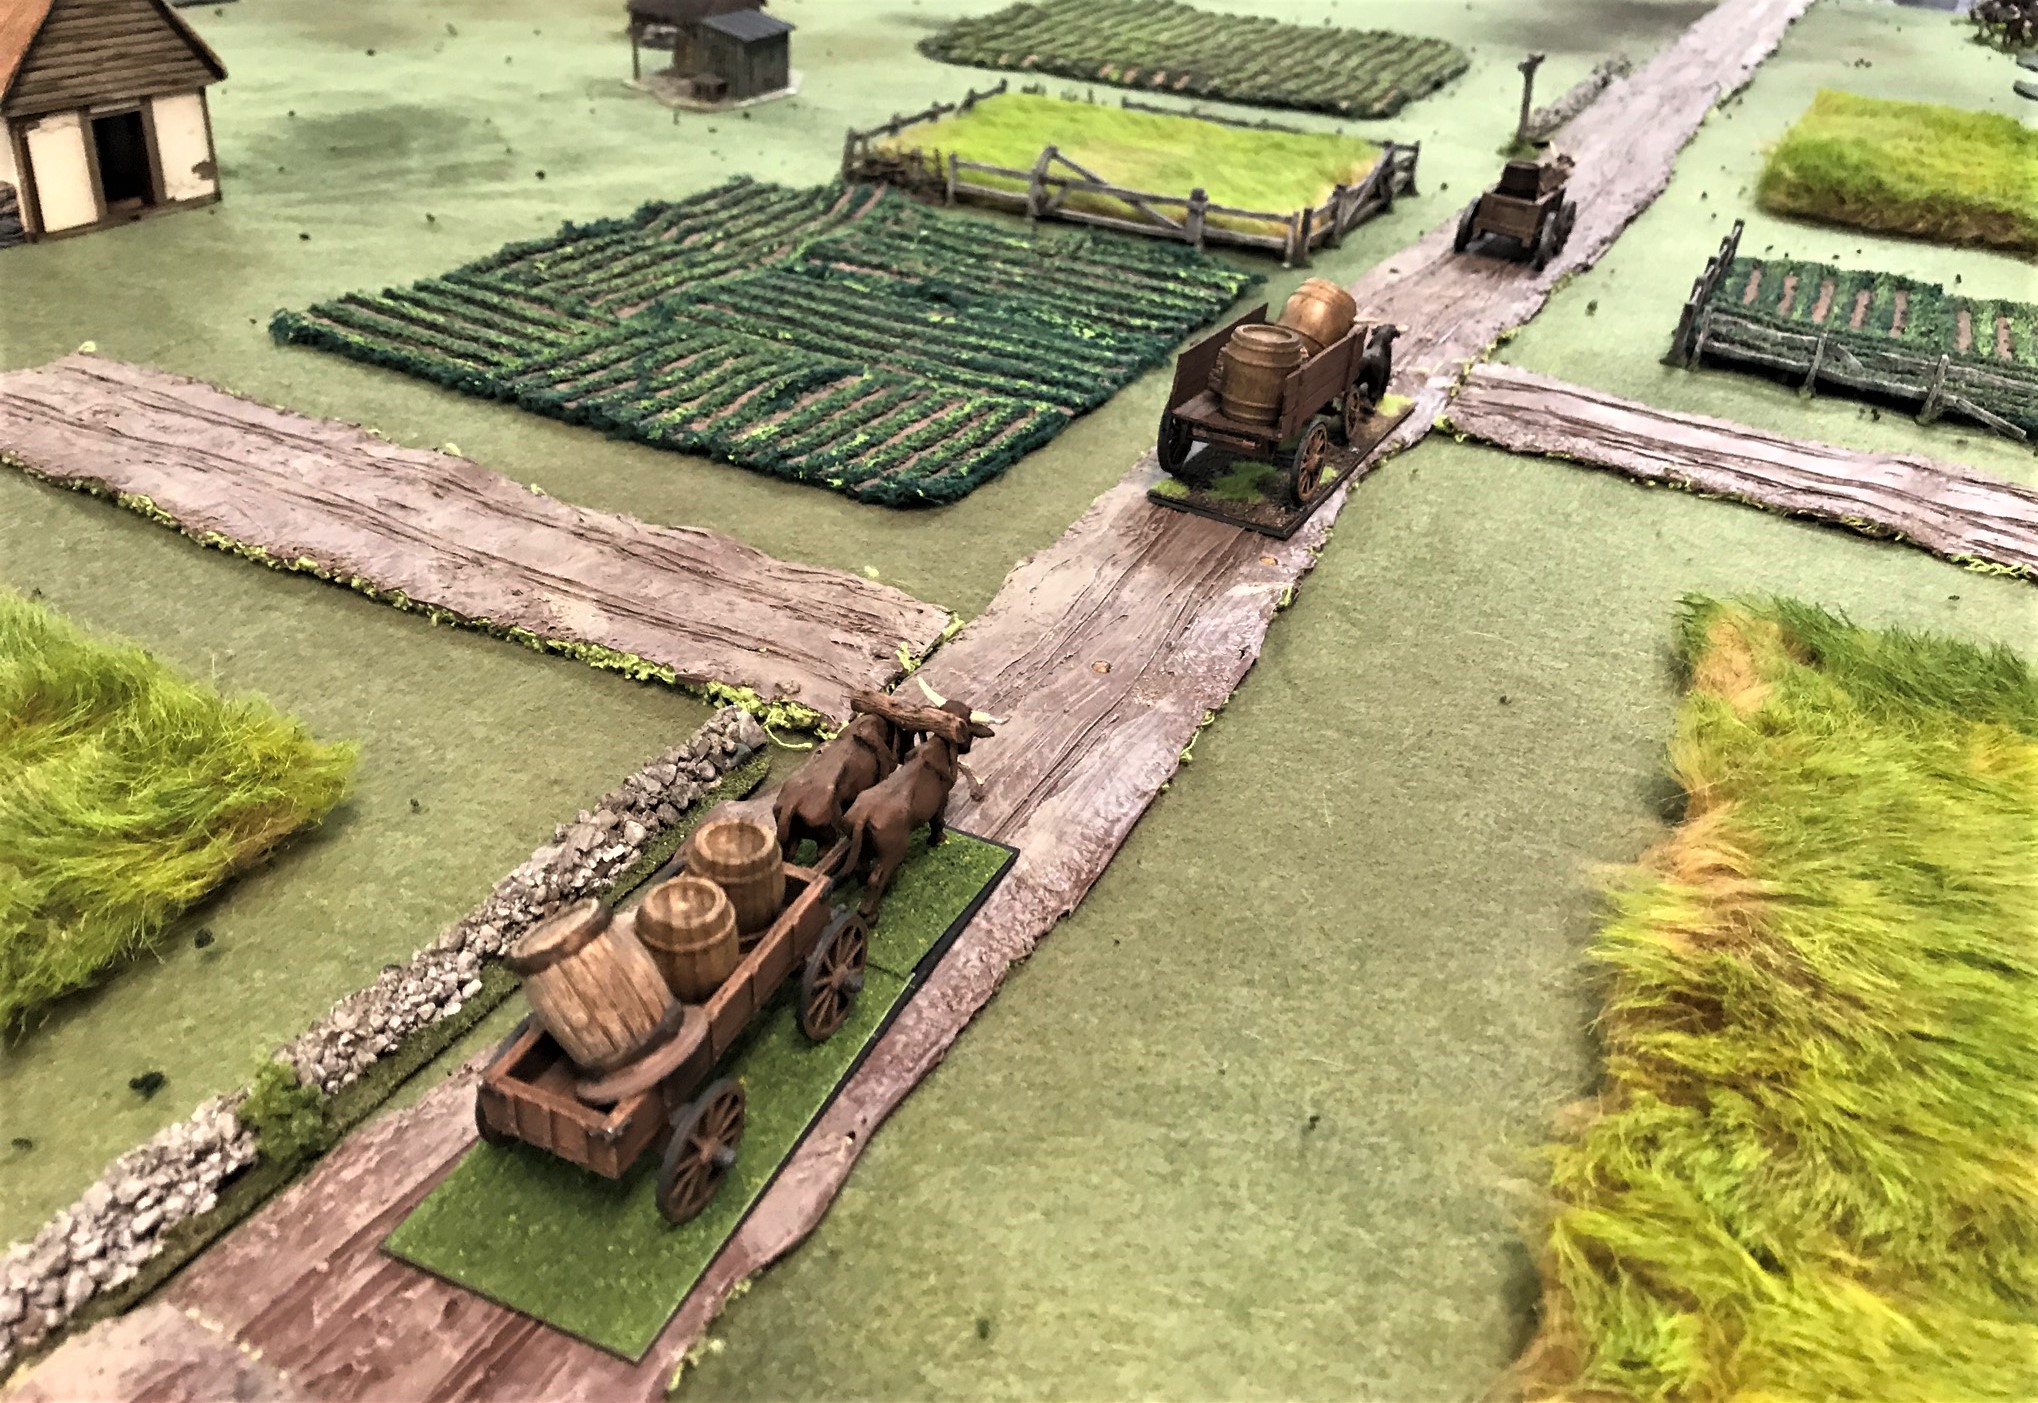
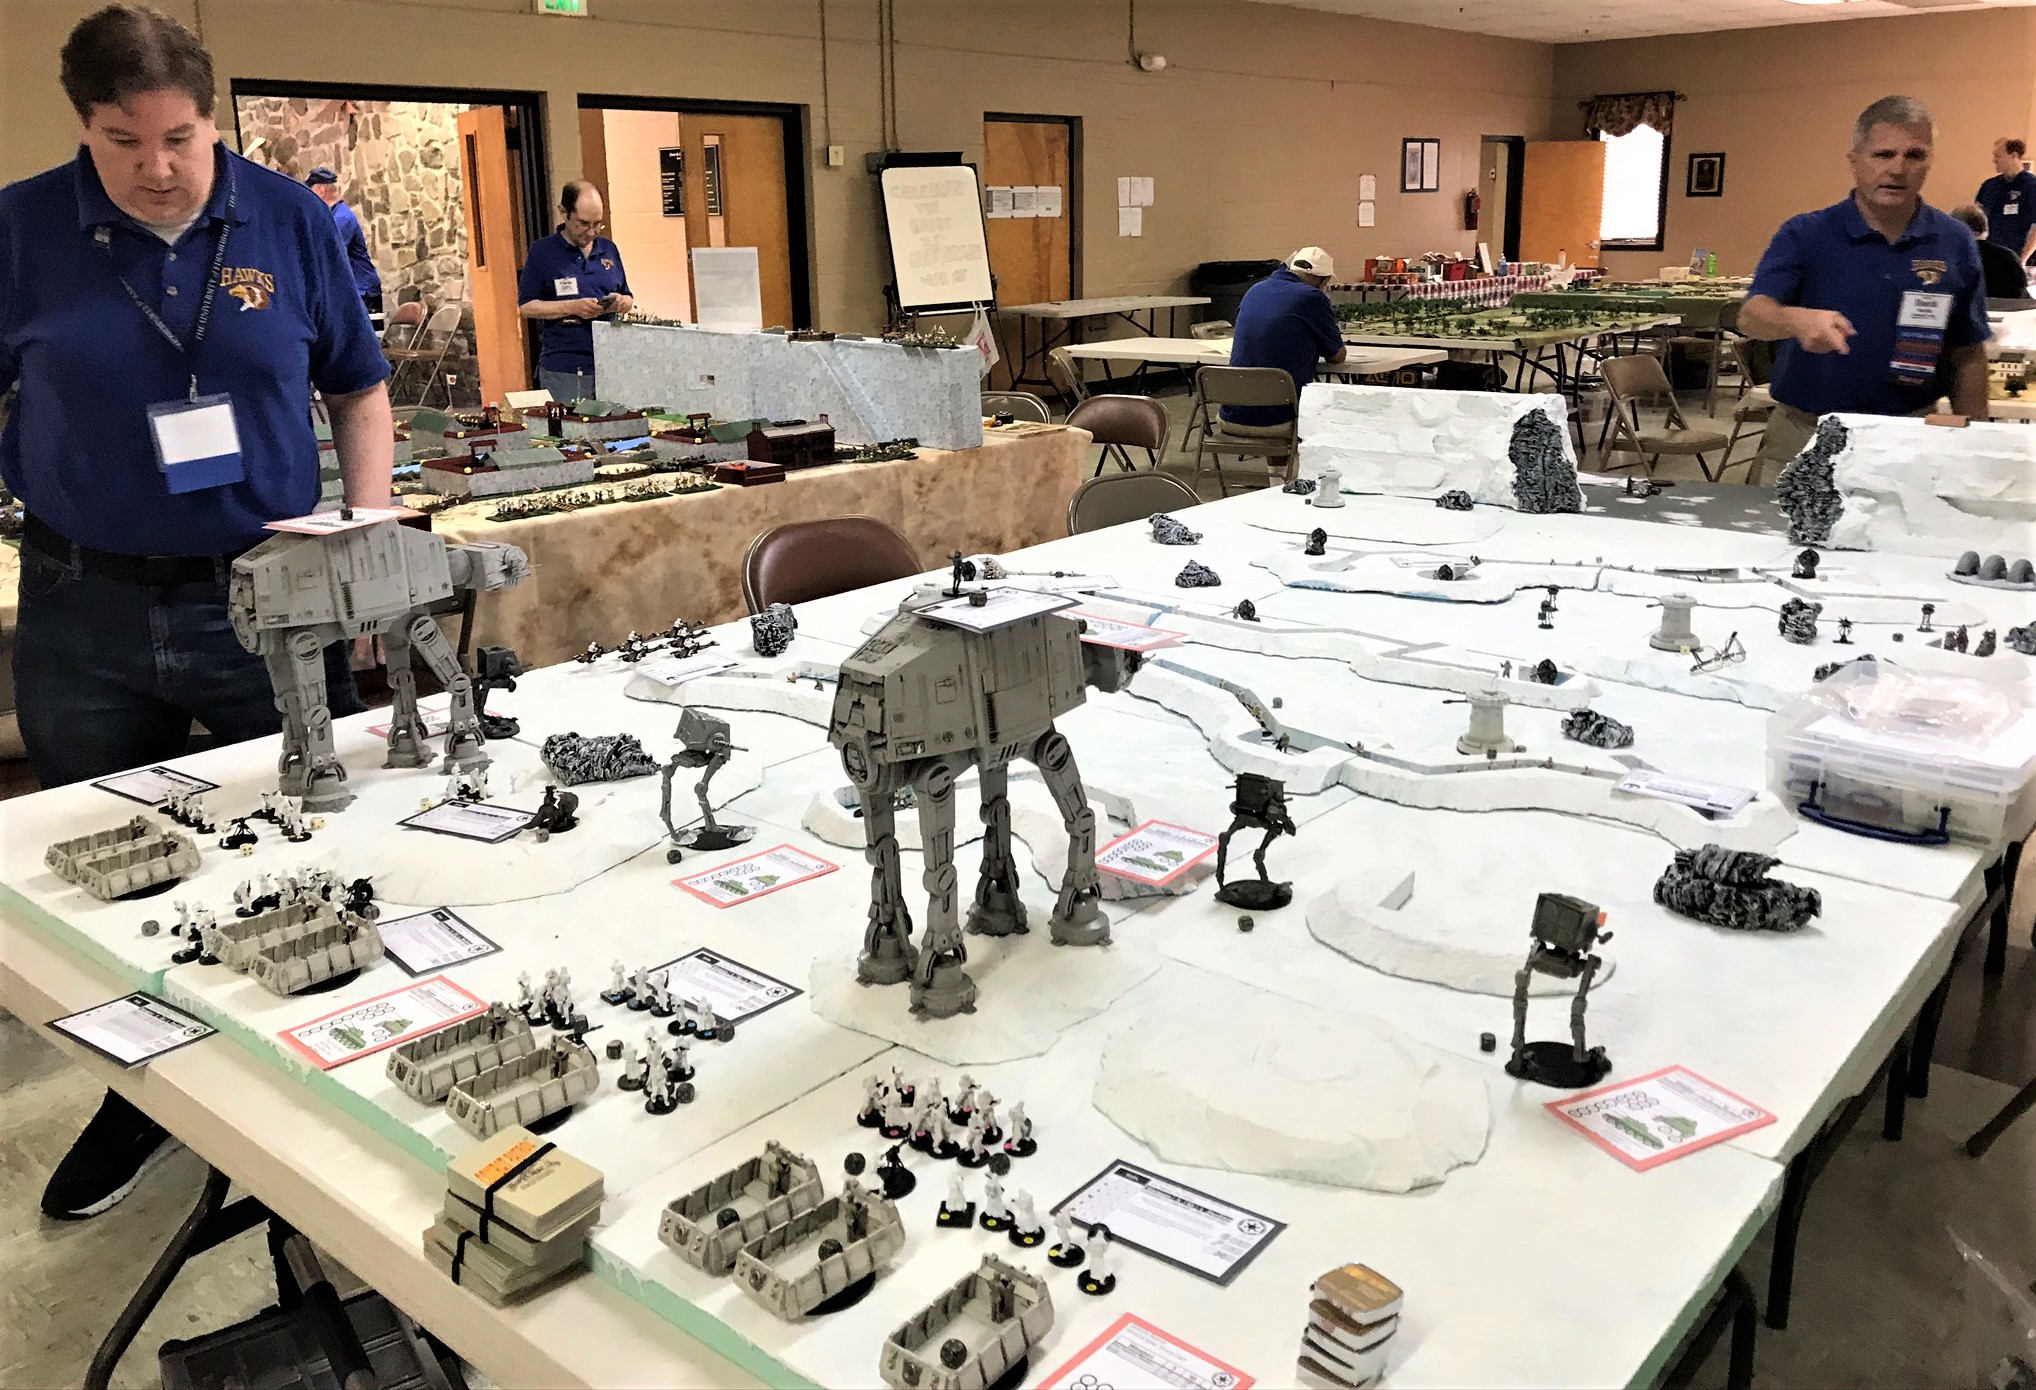
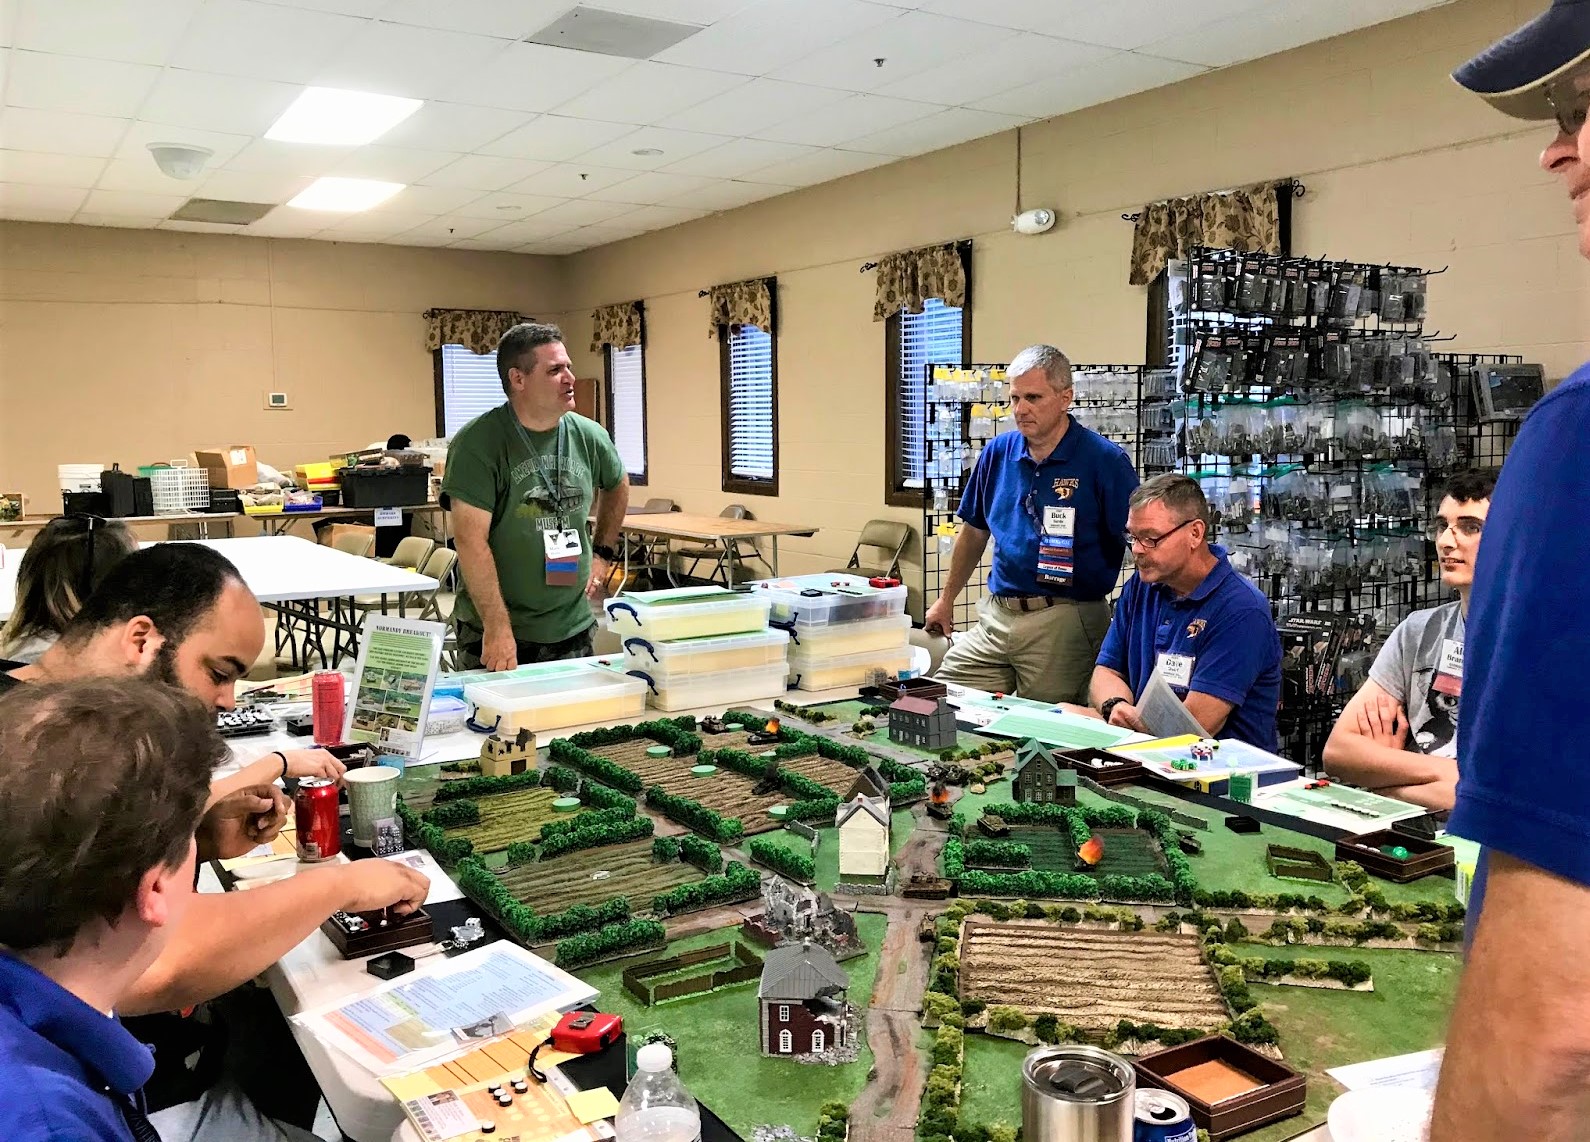
After this game, (which was around 11:00 PM+), I and some of the players cleaned this all up. As my next game was in the morning at 8 AM, I set up my Normandy Breakout! scenario for What a Tanker©! I have a lot of bocage (hedgerows) for this game as you will see. I got set up, and ambled off to my hotel room for a few hours of shut-eye.

This scenario is as described on the flyer above, but to be clear, the Germans are in hidden positions across the board known only to them and the GM (me). Additionally, the exact force composition selections on both sides are done secretly, as each side buys vehicles and Bonus Attack cards with points. Each side starts with 200 points.
Points are earned by the Allies (US and UK) for successfully reconnoitering hidden positions (which could have either possible or actual Germans there), for knocking out Germans, and for crossing the board and breaking out. Germans earn points for unreconnoitered positions, knocking out Allied vehicles, and can get a game bonus for limiting Allied crossings to zero or no more than 1 vehicle. The Germans vehicles are more expensive, so their defensive benefits need to be offset by successful ambushes and an overall defense against any Allied breakout. I announce only who is winning at the beginning of each turn, but not the exact score – so as to keep the game feeling crew-focused.
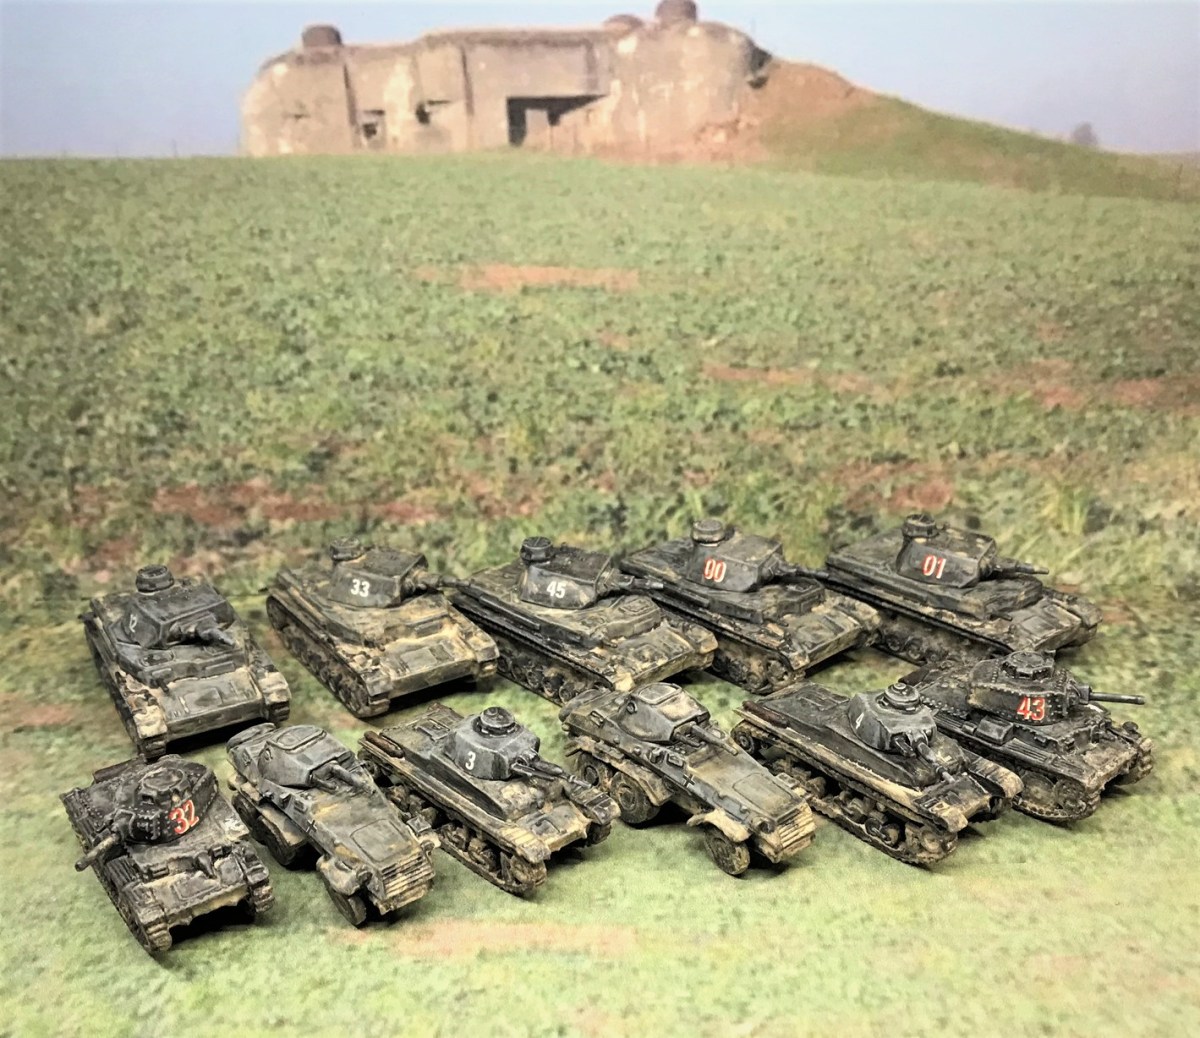
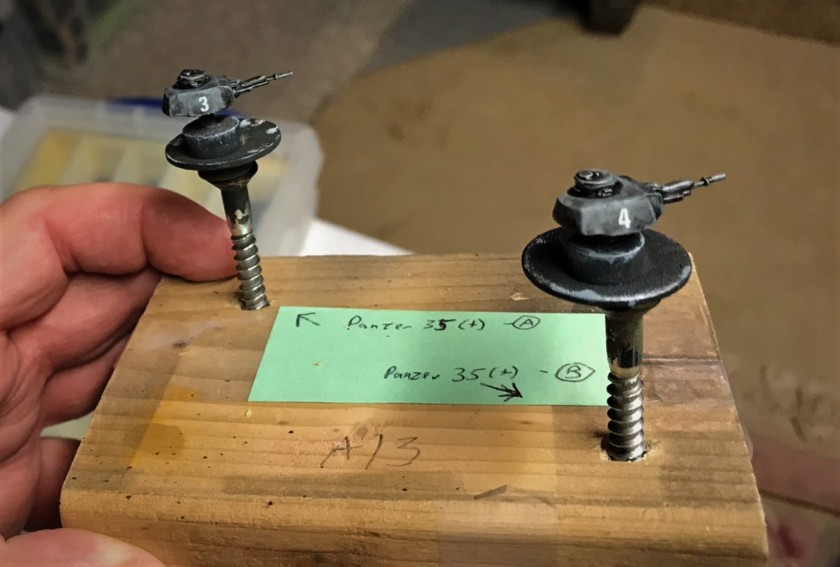
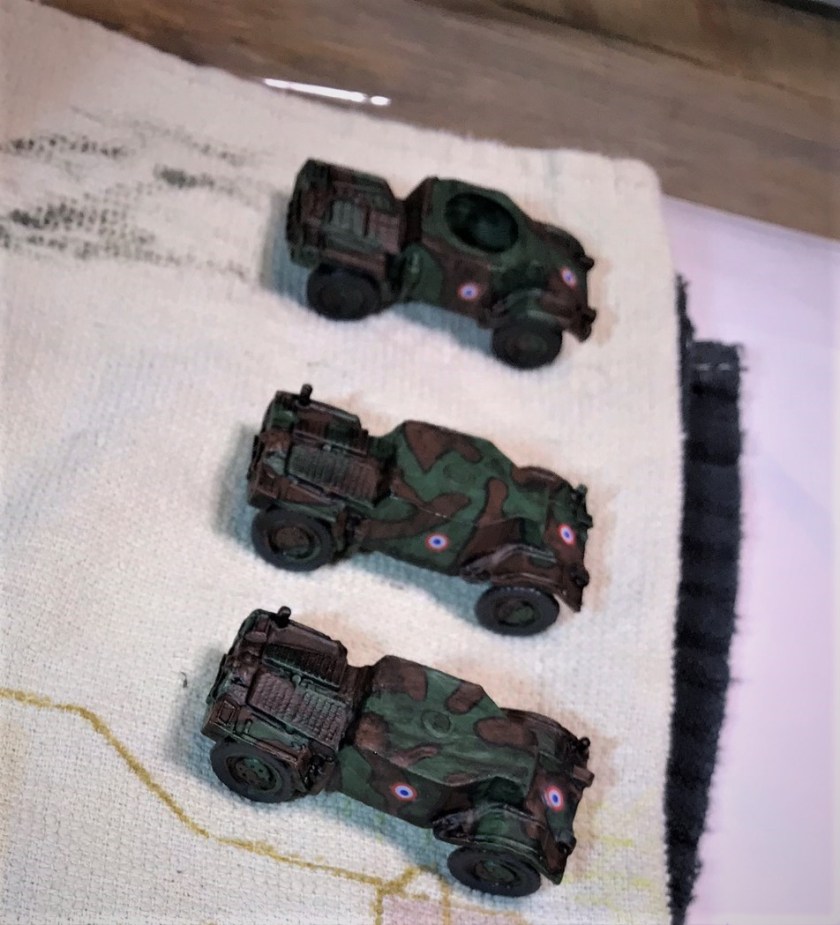
I had between 4 and 6 players (some joined mid-game). The Germans went initially with two 8-wheeled scout cars (an Sd.Kfz. 231 and an Sd.Kfz. 233, a Panther D, and a Tiger I, all of which deployed secretly. They loaded up on Bonus Attack cards as well.
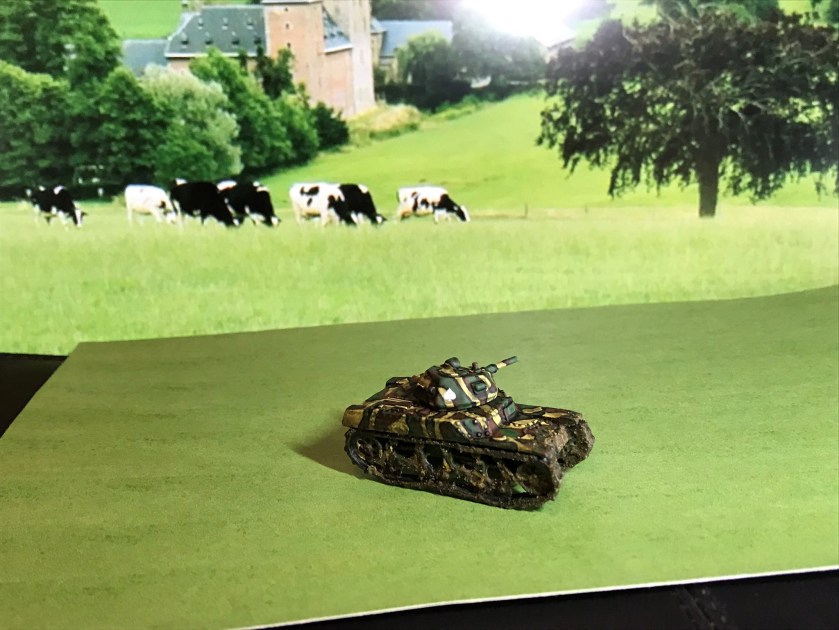
The US deployed on the left half of the board, and the UK/commonwealth on the right half. The US chose an M5 Stuart light tank (with recon abilities) and an M10 Wolverine tank destroyer to start, while the Brits took a Daimler Dingo scout car and an M4 Sherman. The Allies also maxed out their Bonus Attack cards possibilities.

On turn 1, the Allies spent 71 points on vehicles and cards. They successfully reconned 5 positions at 2 points each for 10 points, leaving them with 139 points at the end of the turn. The Germans spent 88 points on vehicles and cards. The German Tiger I ambushed and knocked out the British M4 Sherman for 14 points. At the end of turn 1, it was close – 139 to 126 in favor of the Allies.
On turn 2, the Allies respawned another British M4 Sherman for the destroyed one, and bought 1 more Bonus Attack card. This new vehicle was at no cost as the replacement cost as much as the previous loss (the Germans did get more points for killing that previous Sherman on turn 1). The M10 Wolverine rolled a great movement, and was able to breakout successfully, gaining the Allies 16 points and taking away half of any potential German end-of-game bonus for preventing Allied vehicle crossings. On turn 1, the US M5 Stuart had been able to move into a field and successfully recon a position where an Sd.Kfz. 231 was hiding. On turn 2, the Stuart activated first, and destroyed the German scout car, gaining 11 more points for the kill. The Germans for their part bought two more Bonus Attack cards for 10 points. Overall, the Germans had a weak turn, and only recovered 2 points by activating their Sd.Kfz. 233 before the US could find it. The successful M10 “Demon” crossing widened the score at the end of turn 2 to 161-118 in favor of the Allies.

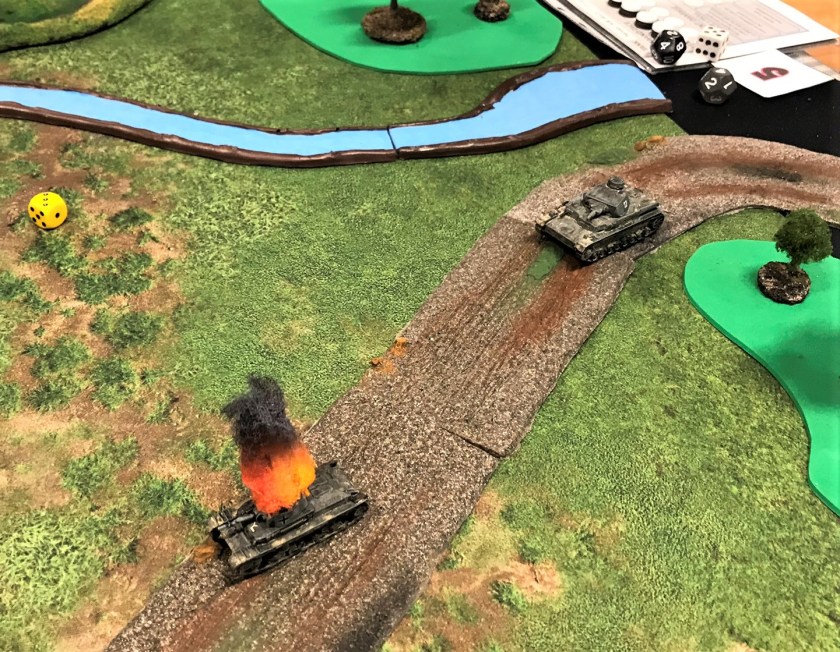
On turn 3, the Germans knew that they were losing, but not by how much. They made a bold move and chose an expensive new tank for a respawn of their lost Sd.Kfz. 231 – a Tiger II. The net cost was 18 points after “credit” for the “trade-in” in lieu of a free respawn of another Sd.Kfz. 231. Adding another Bonus Attack card brought the German spend for turn 3 to 23 points. The US player got a free respawning replacement M10 for the one that crossed on turn 2, so the Allies spent no points at all on turn 3. They did earn 6 points for reconning German positions. The Germans got a bit of revenge as a Panther activated and took out the M5 that killed the Stuart for 12 points, and the Tiger I moved to a crossroads and took out a second British Sherman for 14 points. The score at the end of turn 3 was 167-123 in favor of the Allies.

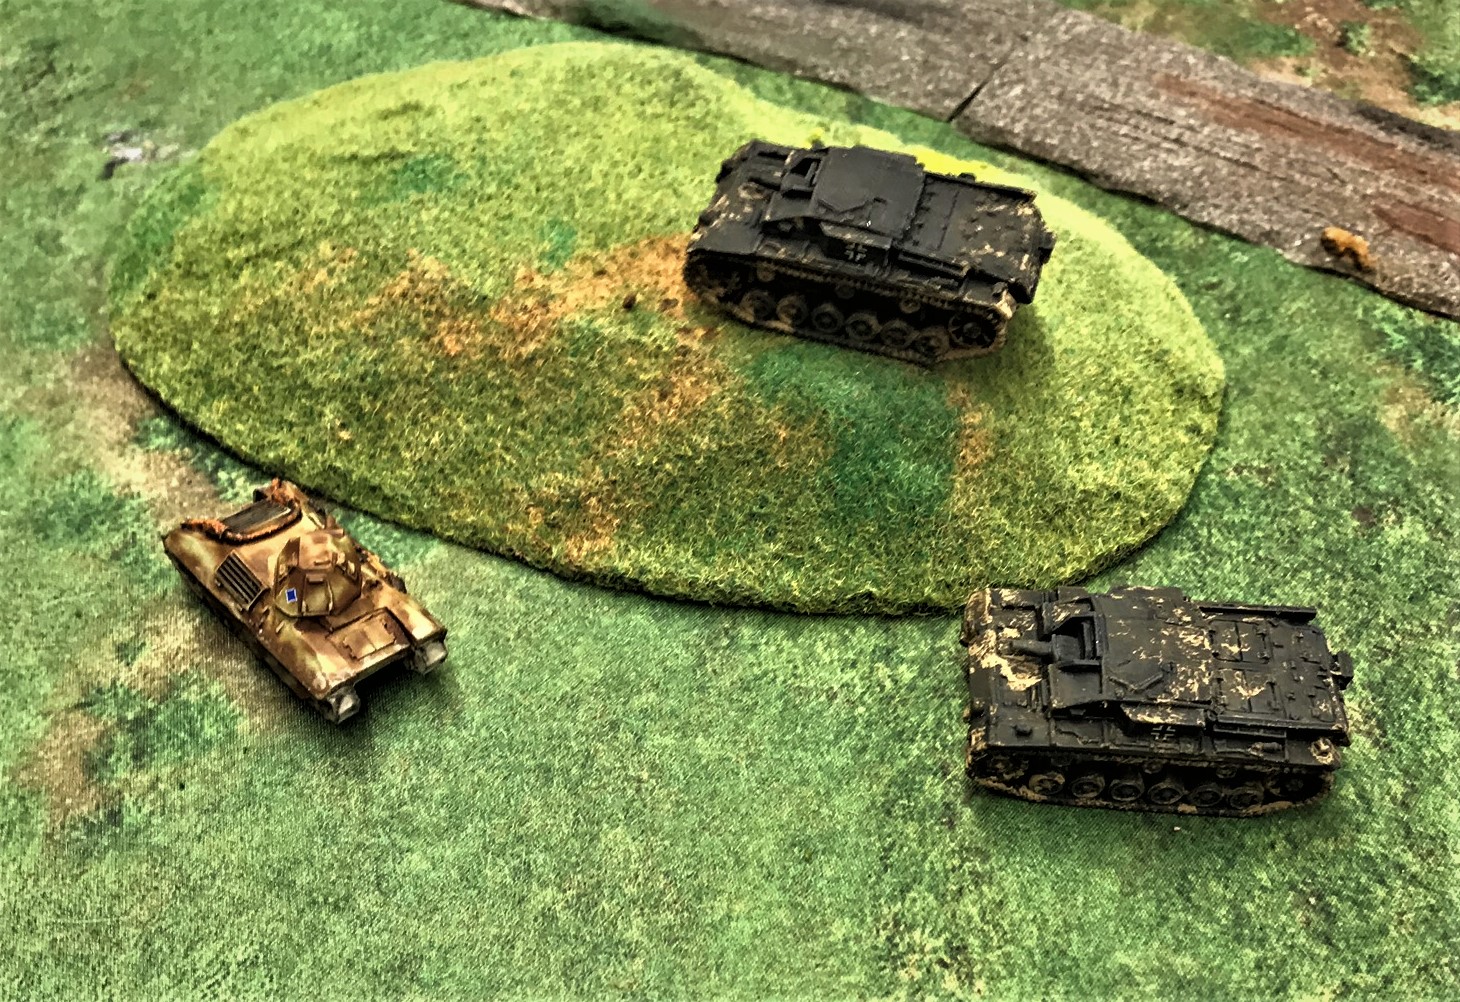
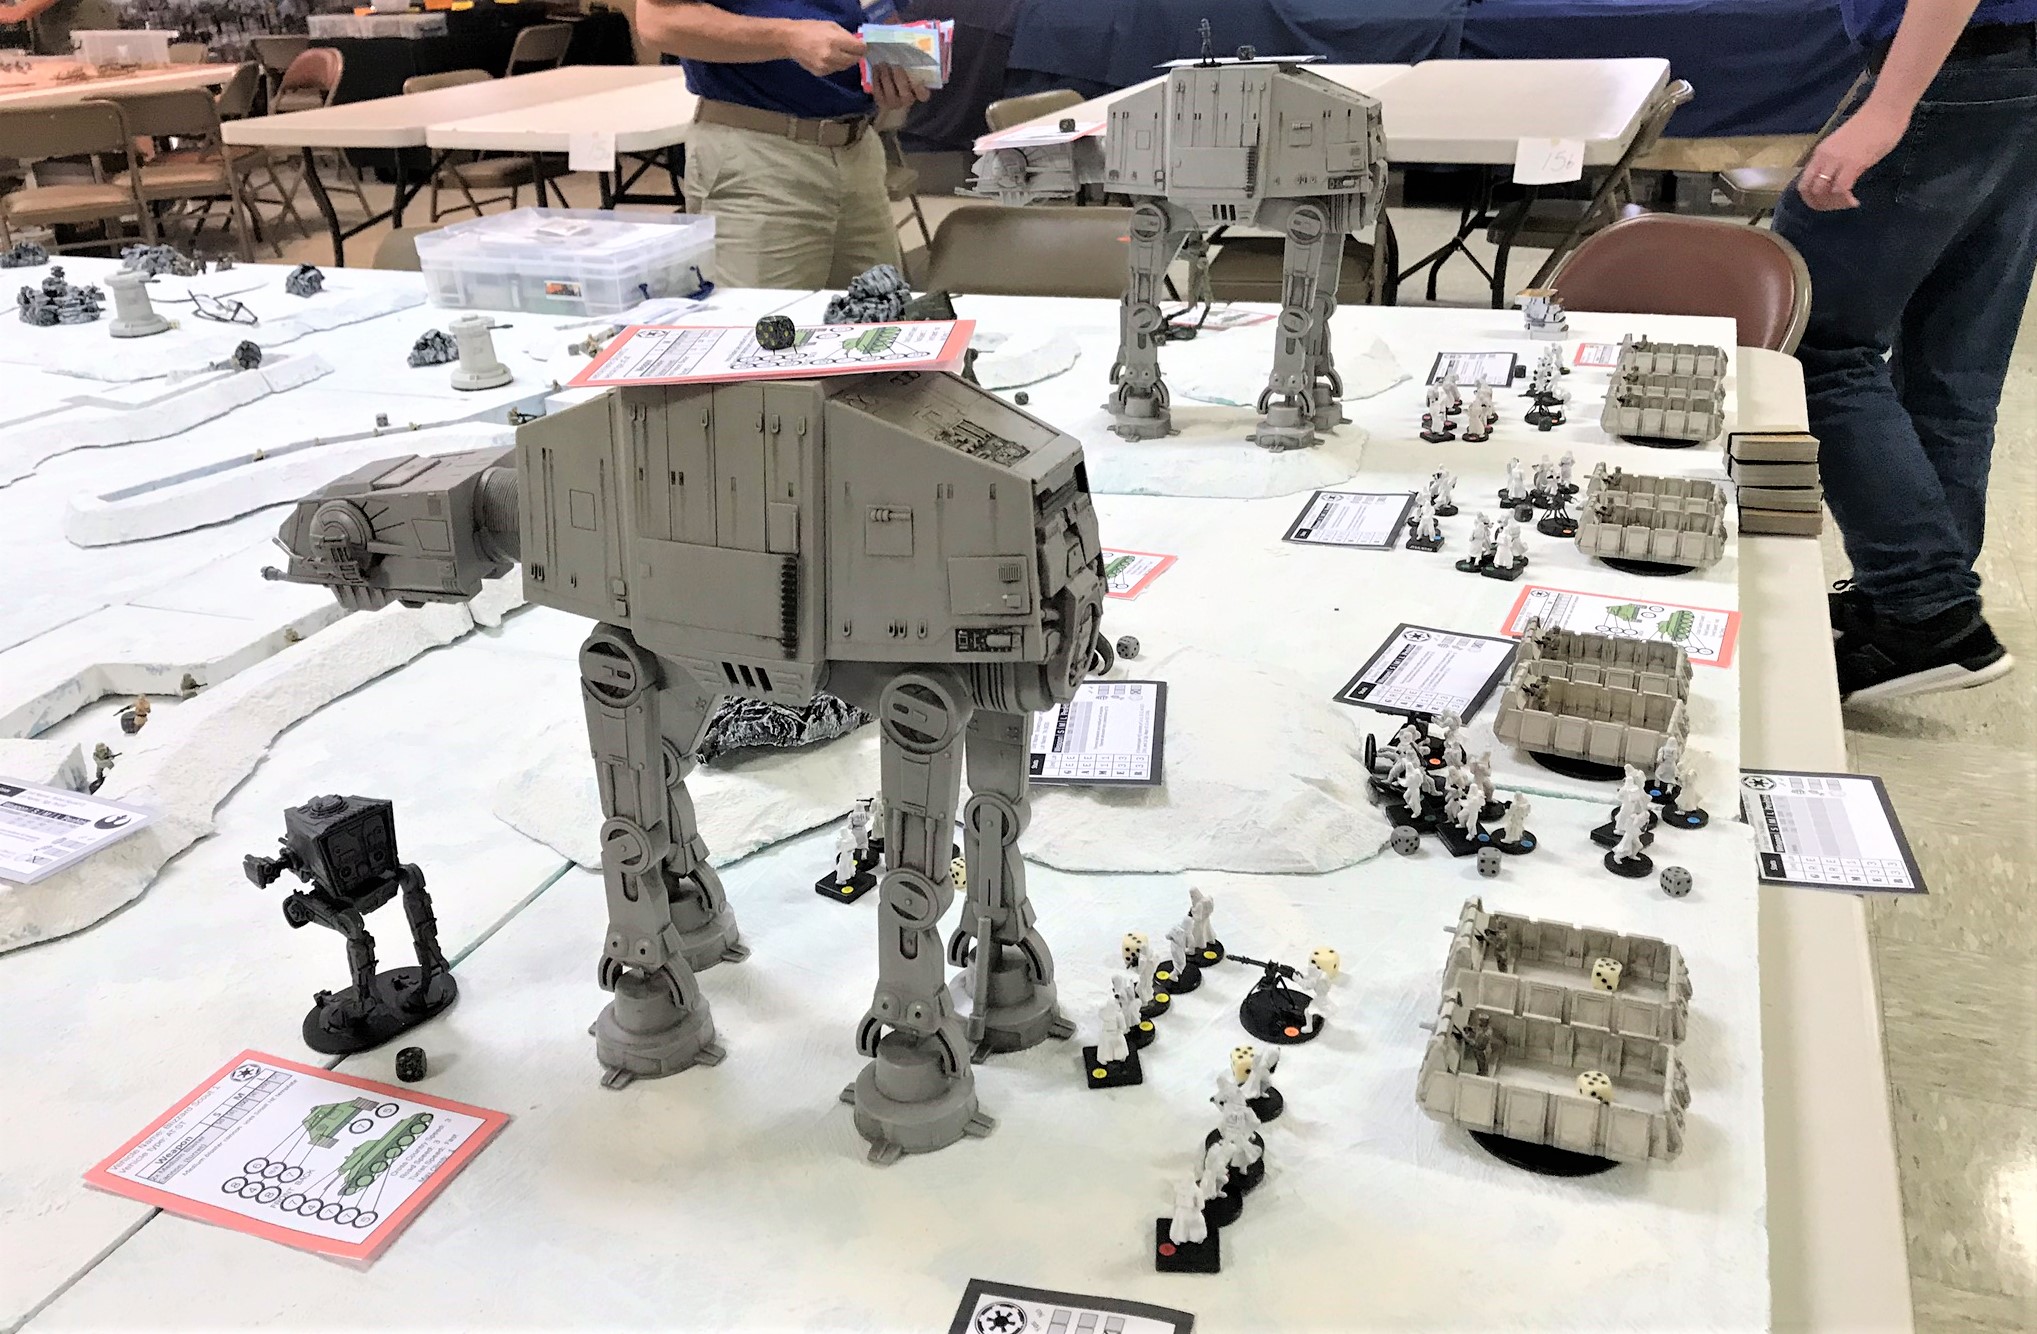
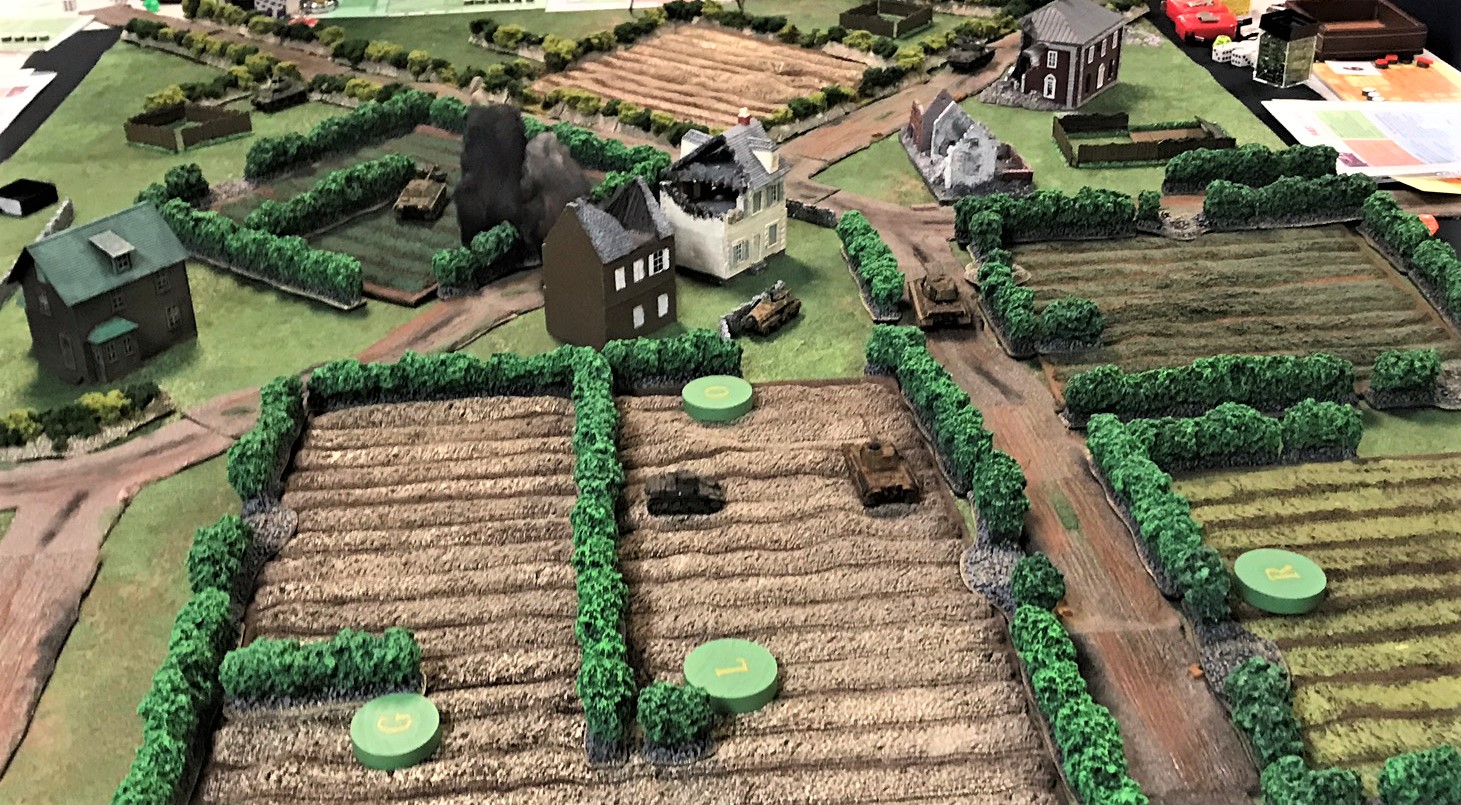
Turn 3 action – the destroyed the German scout car is the left. The Tiger I has moved to an excellent position at the crossroads and has knocked out the second Brit Sherman. The Panther (not seen ) was hiding at position “F”, and activated.

On turn 4, the Allies decided to get three more vehicles. Two were respawning ones for turn 3 losses – the US got a “free” M5 to replace the one killed in turn 3, and the Brits “upgraded” its second lost M4 Sherman to an M10 Achilles tank destroyer “Tabitha”. They also bought another M4 Sherman for a new very young player that joined the game, and a couple of Bonus Attack cards. The Allied spend was 24 points. The Germans only bought 1 card, for 5 points.
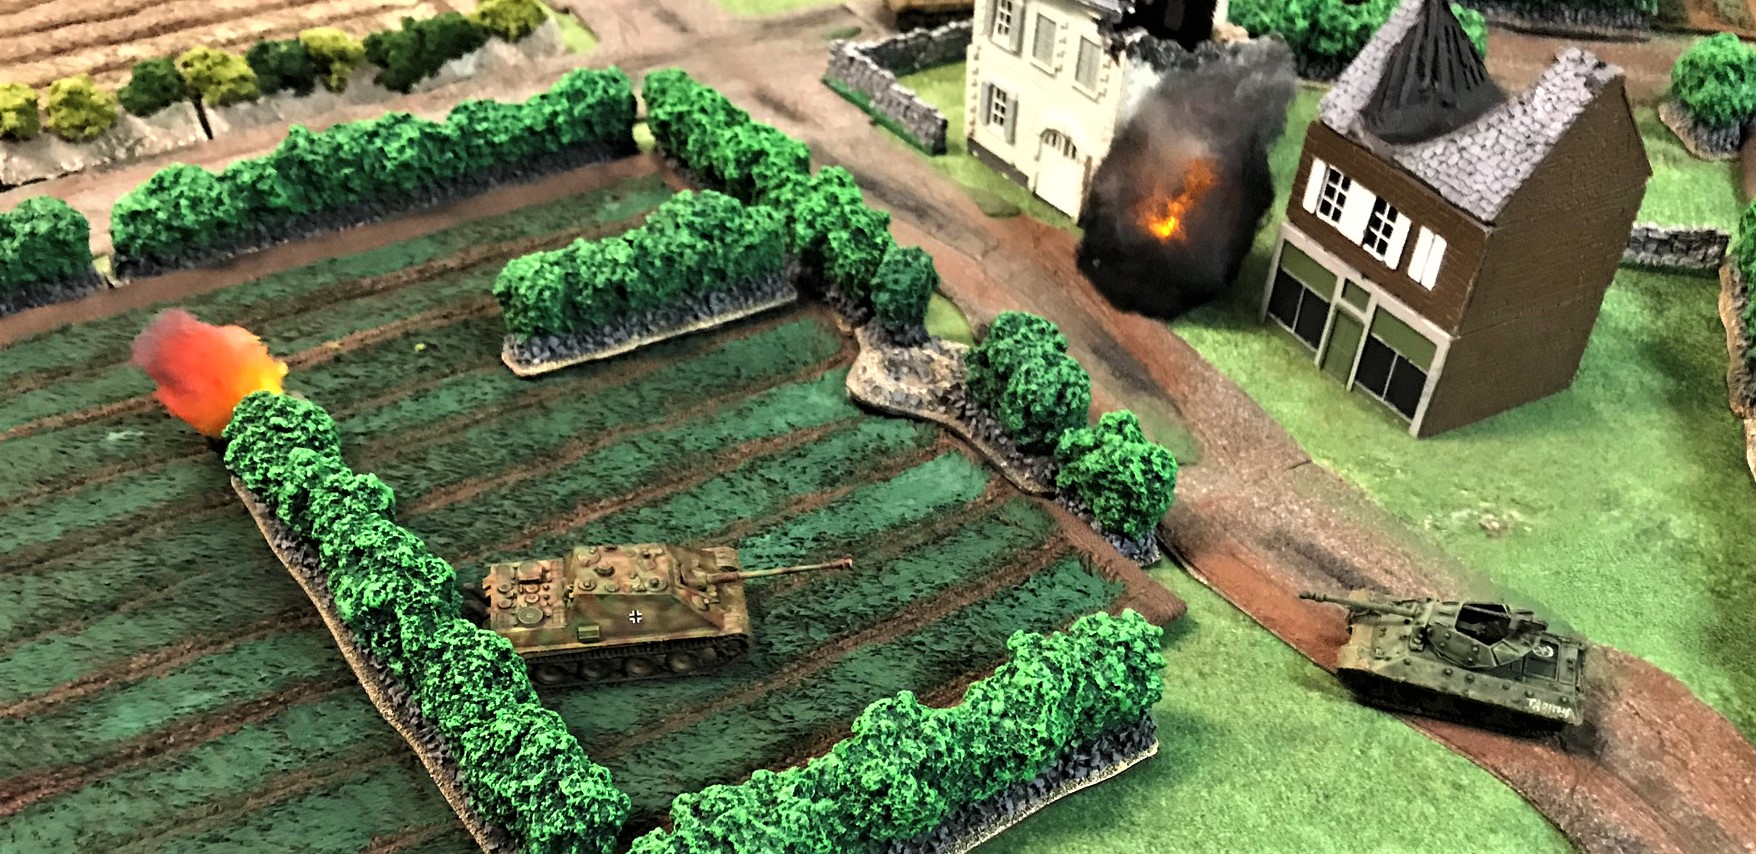
During turn 4, the Daimler Dingo had a fun time. It successfully reconned the hidden position of the Tiger II! Then, scared for its survival, it and its crew sped off down the road to cross the other side – gaining 7 points for crossing and thereby nullifying any potential German end-of-game bonus.
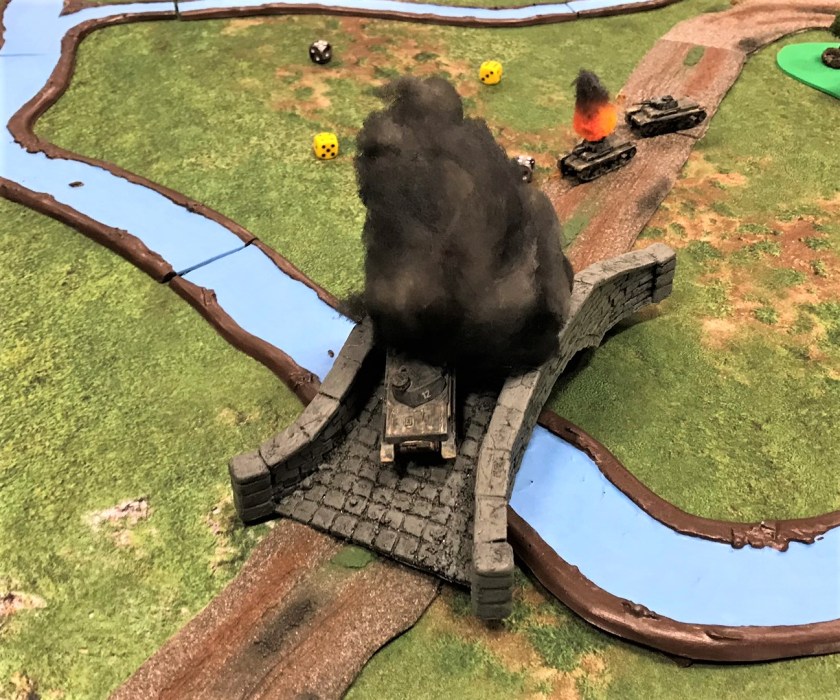
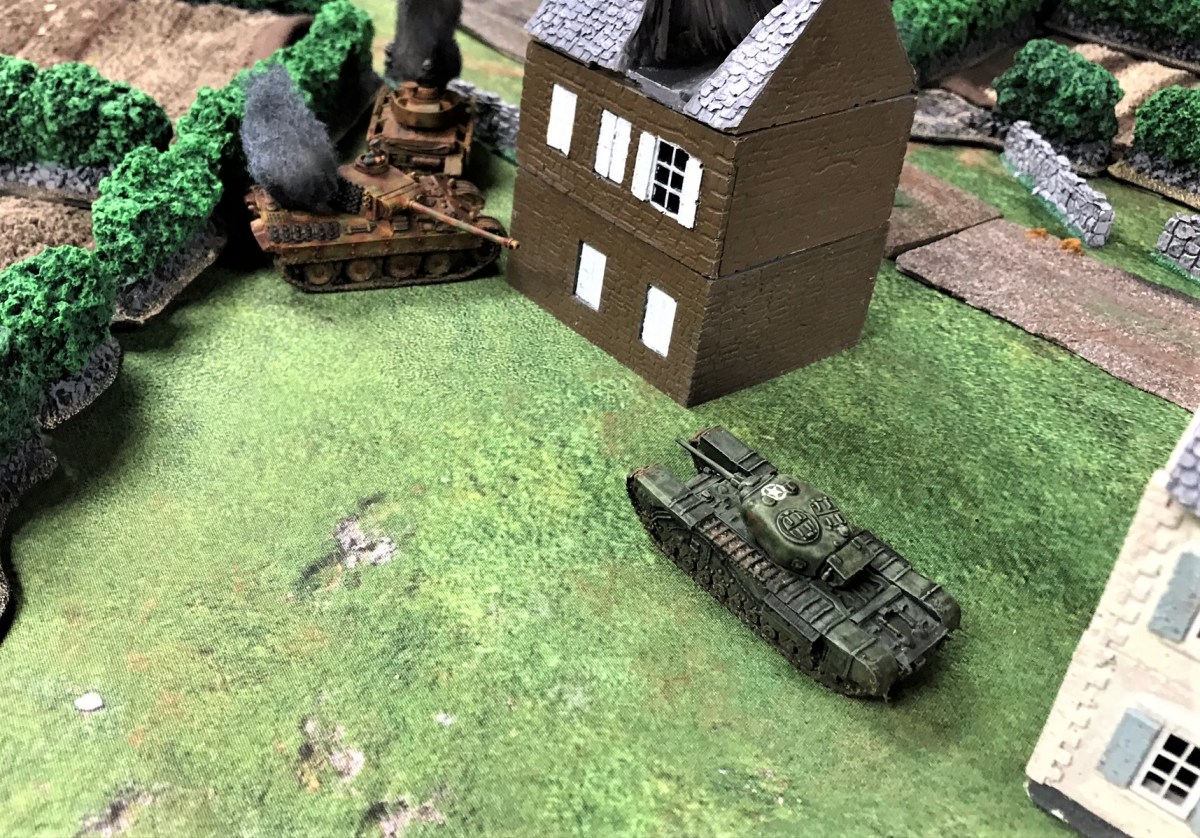
The Brit side then flanked the Tiger I at the crossroads with the M10 Achilles “Tabitha”. It took a quick flank shot on the German, and did some damage. It then called in the RAF (with a Bonus Attack card) which destroyed the Tiger I for a big 25 points. The Allies successes widened the score at the end of turn 3 to 177-118 in their favor.


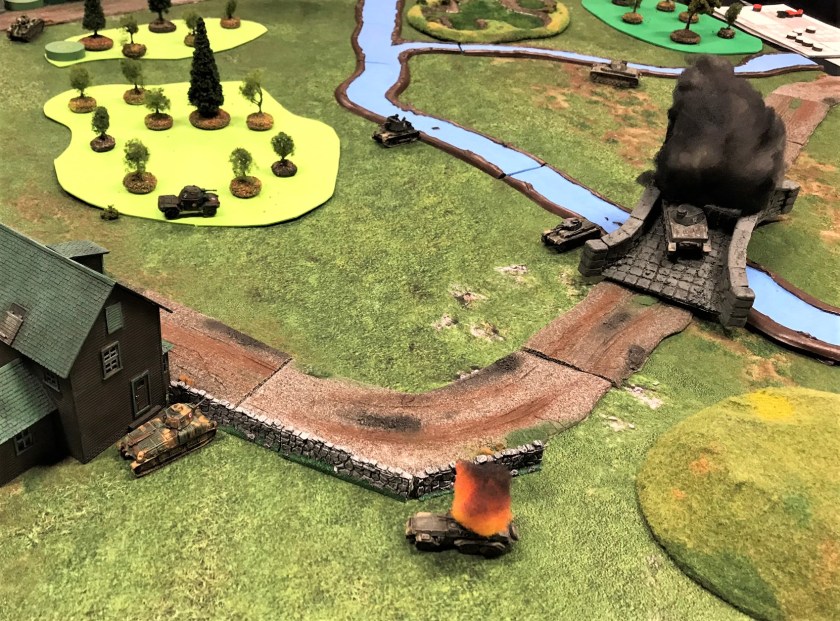
Turn 5 would be the last turn of the game. The Allies respawned another Daimler Dingo for the one that crossed in turn 4, and bought a couple more Bonus attack cards, spending only 10 points. The Germans were despondent, and decided to buy a Jagdpanther and a Bonus Attack card for 29 points.
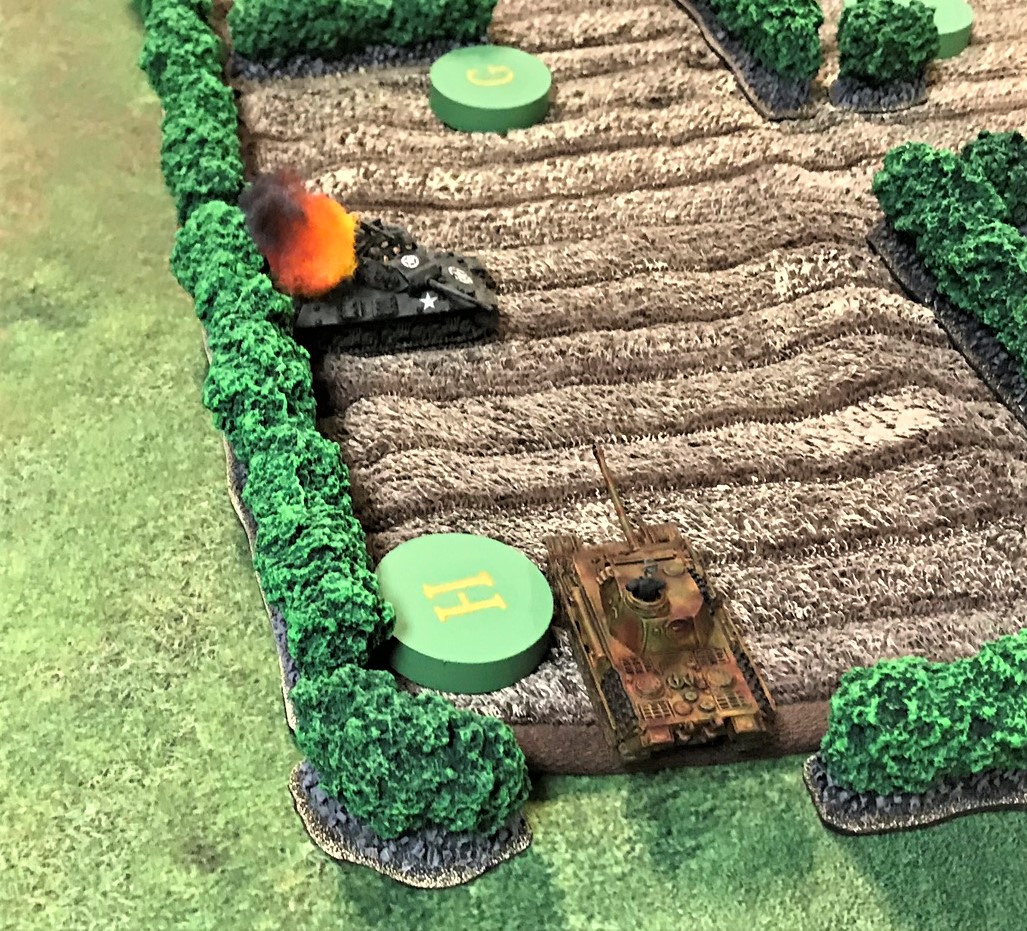
The M10 Achilles “Tabitha” fresh off the combined arms kill of the Tiger I maneuvered for a rear shot on the Panther – and killed it for 22 points. The Germans tried to hunt down a fleeing M5 Stuart. It lined up a deadly point-blank rear shot on the Stuart – only to miss the shot. It was emblematic of the German sides day. After another position was reconned, the day belonged to the Allies. The final score was a lopsided 191-89 in favor of the Allies.
This was the biggest disparity in this game ever (and I have run it many times). In my opinion, the Germans did not keep their eyes on the objectives. They also did not effectively take advantage of their ambush positions, and left too many openings for the Allies, who maneuvered their lesser vehicles much better than their foes. With that said, all had a fun game.

With some help from players, the tabletop was cleaned and it was time to take a break. I could have played a game but I decided to spend the next game slot relaxing as I felt a but tired.
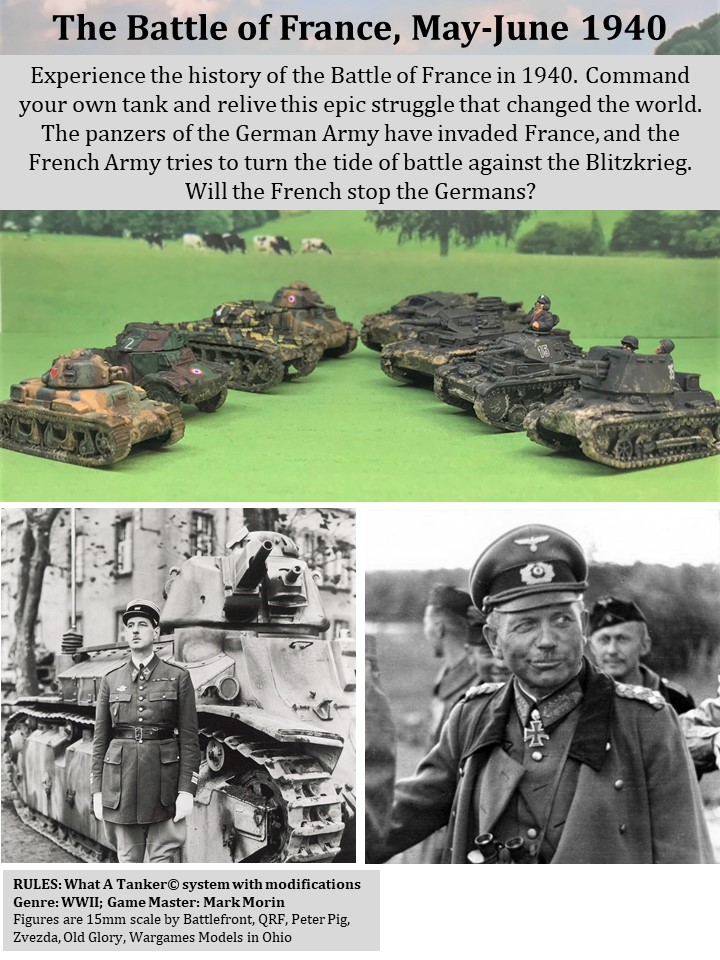
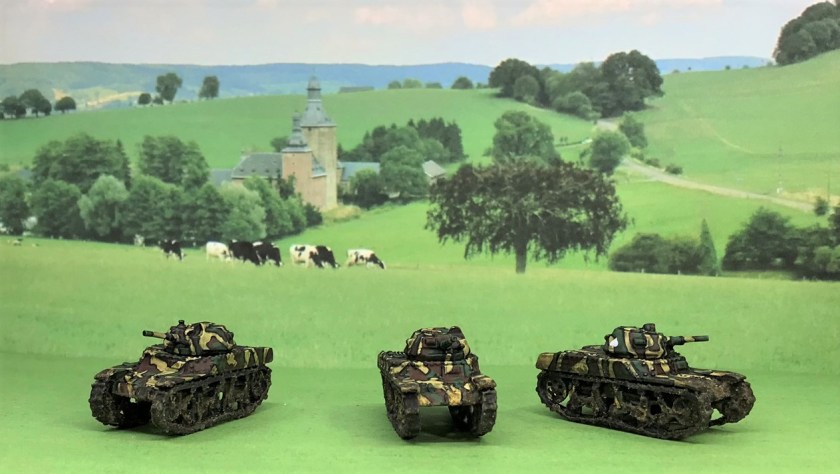
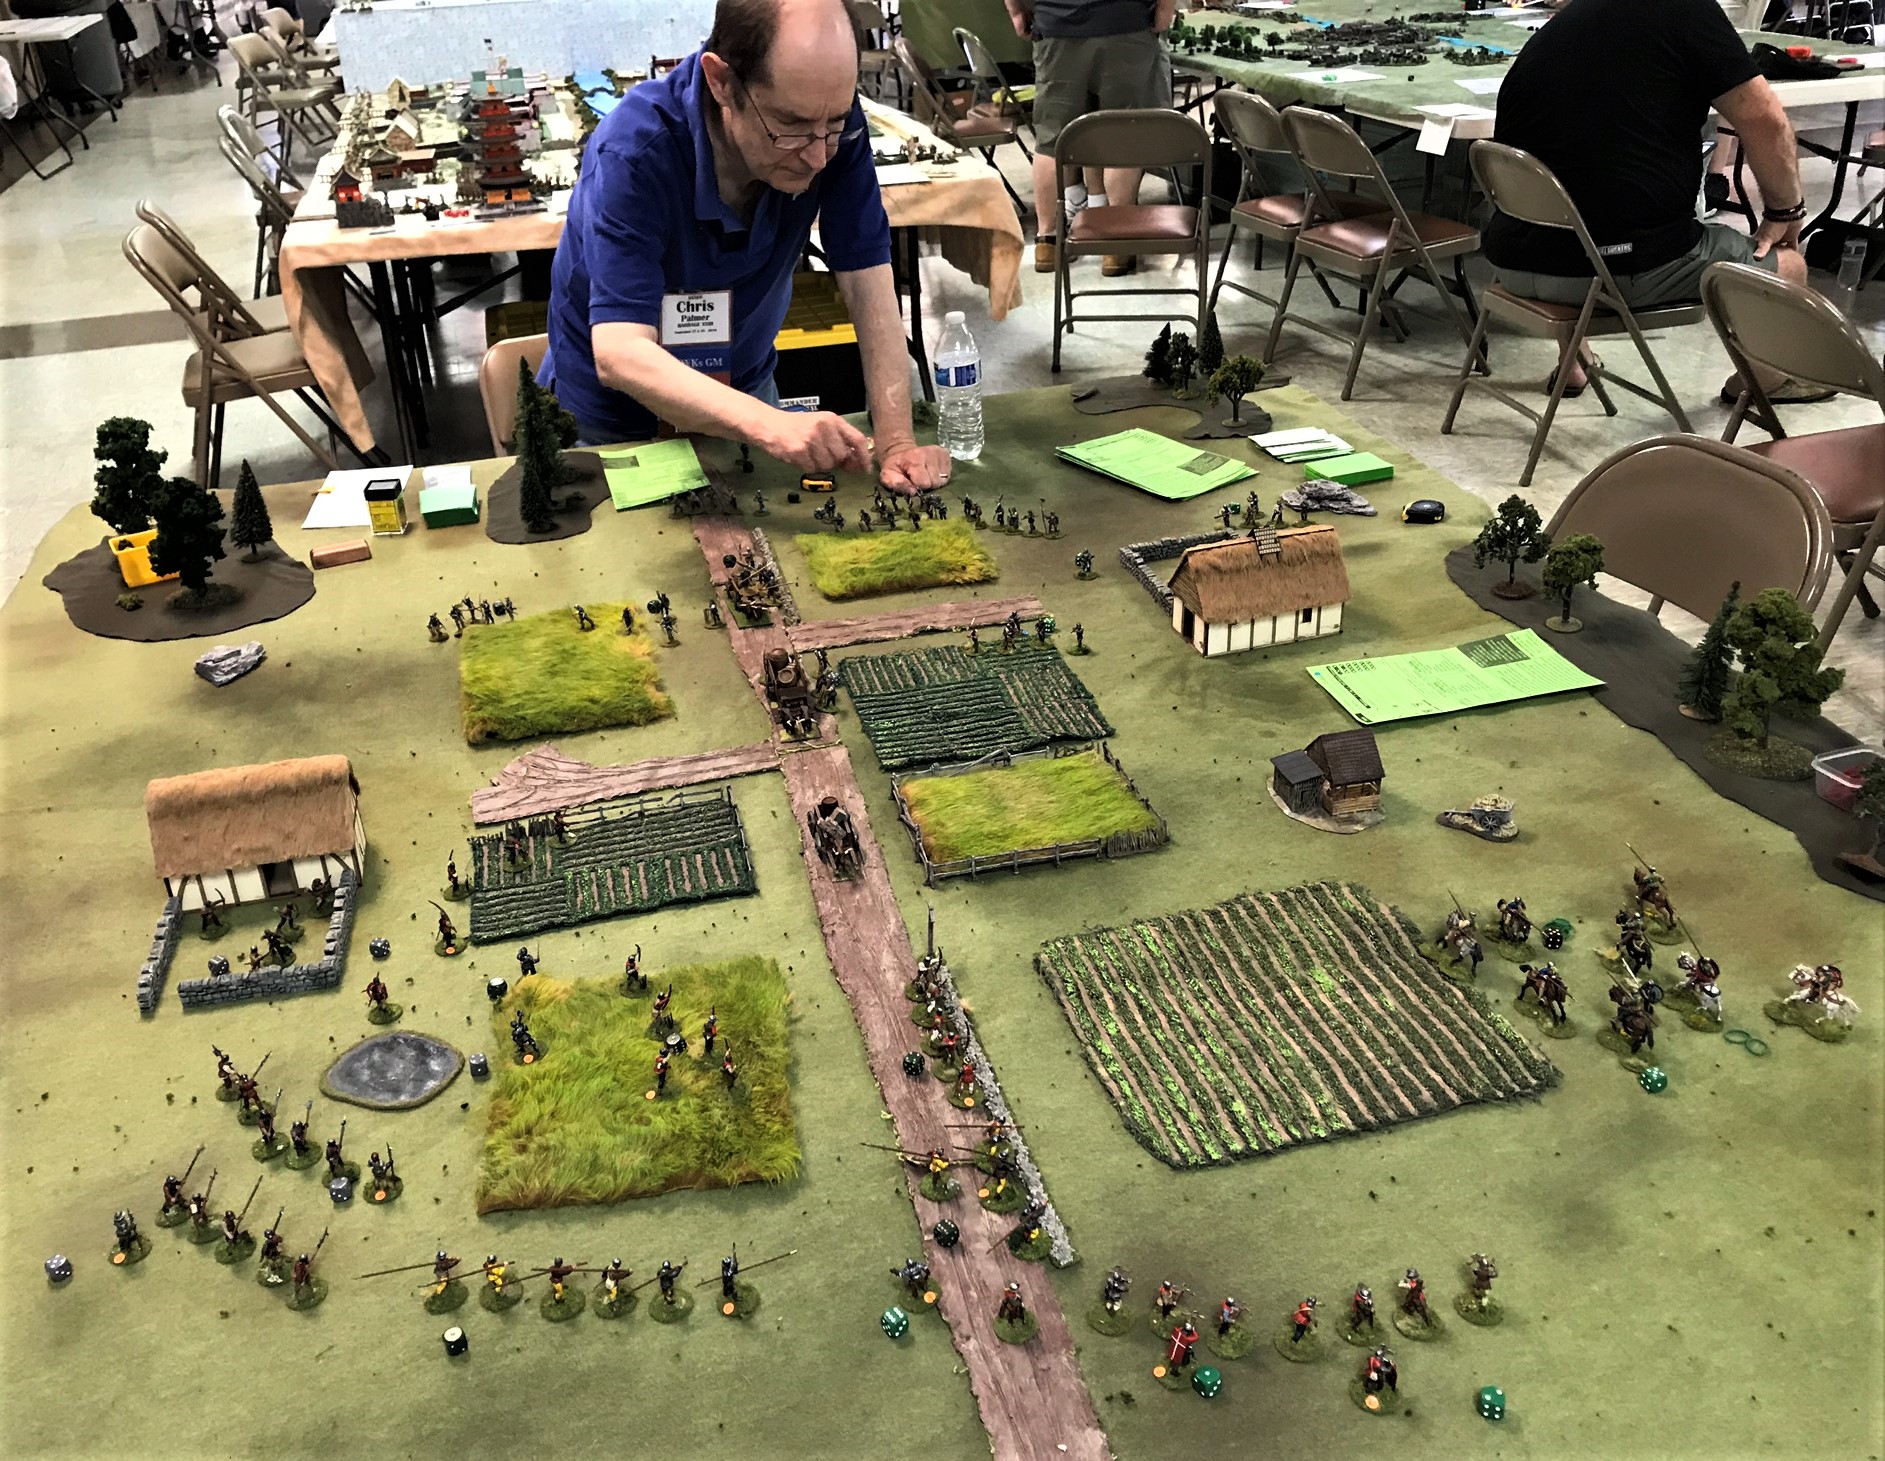
My next game was on Saturday night – “The Battle of France, May-June 1940” for What a Tanker©. The scenario reverses the previous game a bit, with the Germans attempting to break through the French defenses and head to the channel and cut off the Allied forces in Belgium. There are also two different Bonus Attack card decks that I made for this scenario. I described this scenario in my blog previously here.

I had originally 10 players signed up for this game, with 2 on a waiting list. I was disappointed that I only had 5 players show up – but it was fine. I had two German players and three French players.
Each side had 200 points at the start. Here again, the exact force composition selections on both sides are done secretly, as each side buys vehicles and Bonus Attack cards with points. Points here are earned by the Germans for successfully reconnoitering hidden positions (which could have either possible or actual French located there), for knocking out French vehicles, and for crossing the board and breaking out. The French earn points for unreconnoitered positions, knocking out German vehicles, and can get a point bonus for limiting German crossings to zero or no more than 1 vehicle. Similar to the Normandy Breakout! game, I announce only who is winning at the beginning of each turn, but not the exact score. This definitely keeps the game feeling crew-focused.
There are a couple more key additional nuances to this scenario. There are two bridges, and the French player can spend points to wire one, both or neither bridge for demolition. Any French attempts at demolition may be tried at any time, but are not guaranteed. They also get a “free” small minefield (that is not very effective) that is also secretly set at the beginning of the game. The French decided to wire the bridge on their right flank for demolition prior to the game, leaving the one on their left with the small minefield next to it. During the game (which I will discuss), the French did blow the bridge on the right, and were able to fool the Germans into believing that the other was wired as well. This rendered the minefield a non-factor in the game, but made the Germans attempt to ford the river.
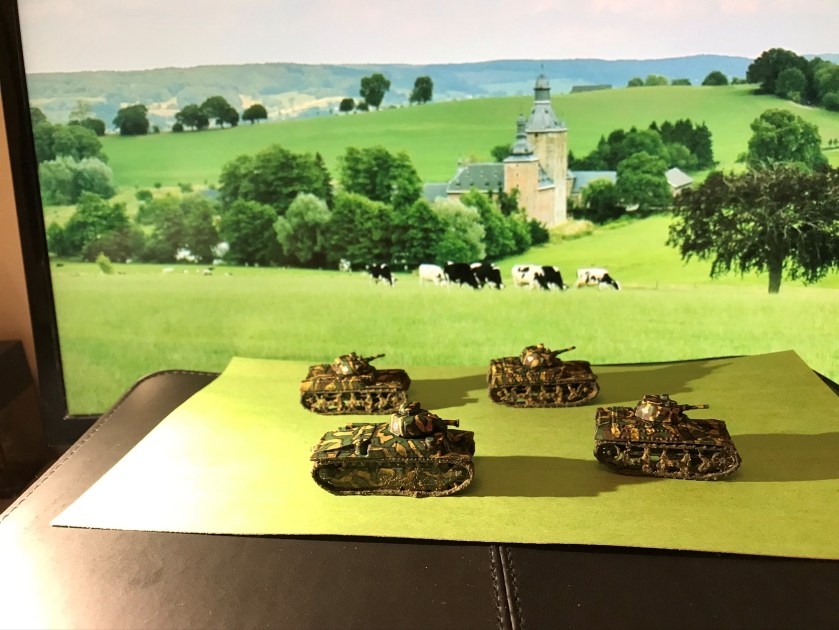
The Germans decided to buy 2 6-wheeled Sd.Kfz. 231’s and a Panzer 38(t) on turn 1. They also maxed out on Bonus Attack cards for a total of 50 points spent. The French deployed in hidden positions (half the tabletop is designated as under the control of French cavalry tanks, and the other half (mainly the town area) is under the control of French infantry tanks. The French bought a Panhard 178 armored car, a Char B1 bis, and a SOMUA S35. Their initial purchases all had radios (some French tanks do not), so they were able to max out their Bonus Attack cards. The total initial French spend was 71 points, including the wiring of the right flank bridge.
During turn 1, the Germans drove one of their scout cars onto the right flank bridge, and the French successfully destroyed the bridge with the German on it, gaining 11 points. This also spooked the Germans to avoid the bridge as they feared it was also wired (and it was not!). After this the Germans were forced to use fords to attempt crossing the river. The Germans did successfully recon one possible hidden position for 2 points. The score at the end of turn 1 was 152-140 in favor of the Germans.
On turn 2, the Germans respawned a Panzer IVD for the lost Sd.Kfz. 231 at no net point cost. They also reconned a couple of French potential positions for 4 more points. The French bought an additional SOMUA S35 for the cavalry for 10 points, and uncovered three of their own positions in order to meet a table-crossing threat from the surviving Sd.Kfz. 231 and a Panzer 38(t). This gained them 6 points. The Panzer 38(t) is a fast light tank, and was able to ford the river, along with the other scout car. The French recognized this threat, and attempted to deal with it by activating its vehicles in the town. The Germans used a Bonus Attack card to bring down smoke and obscure their movements. The score at the end of turn 2 was 156-136 in favor of the Germans.


On turn 3, the French hurriedly bought a Renault R40 for 8 points and tried to use it to stop the crossings. The French also bought more Bonus Attack cards for 15 points. The Germans bought nothing. During the turn, the Germans successfully crossed the Panzer 38(t). This despite the fact that at first the Char B1 crossed the smoke and missed it, and then the R40 shot at and missed it. This crossing earned the Germans 8 points, and limited the French end-of-game bonus chances.
On the cavalry side of the table, the Germans tried another smoke screen to protect a Panzer IVD as it crossed a ford. one of the smoke rounds hit the river mud and did not ignite – leaving a hole in the smoke screen. The French cavalry S35 did manage to shoot and damage the Panzer IVD on the other side, just after it forded the river. This pushed it back into the river. The French SOMUA then called in and then destroyed it with an artillery barrage using a Bonus Attack card, earning 8 points as well (and blocking that ford). The Germans also reconned another of the hidden positions for 2 points. However, the Sd.Kfz. 231 made it to within 1″ of the other side of the table – and the R40 had a rear shot aimed at it at turn’s end. The score at the end of turn 3 was 166-124 in favor of the Germans.


On turn 4, the Germans respawned the crossing Panzer 38(t) and the destroyed Panzer IVD for identical models, and added a Bonus Attack card for a total spend of only 5 points. The French bought 3 Bonus Attack cards in the hope of stopping the German scout car from crossing. The R40 activated first, and then missed the Sd.Kfz. 231. The German scout then crossed, ending any chance of a game bonus for the French and earning 11 points for the Germans. The score at the end of turn 4 was 172-109 in favor of the Germans.
I failed to get any more photos after turn 4 (I think I was getting tired!)
On turns 5 and 6, the French were getting desperate as they knew they had lost the game bonus. They bought an Hotchkiss H35, and a SOMUA S35 took out another Panzer IVD. The Germans bought a StuG III ausf. A. Both bought more Bonus Attack cards. The Luftwaffe was called in on the Char B1 bis and successfully destroyed it. That loss ended the game. The score at the end of the game was 159-89 in favor of the Germans.
Both sides played well, bu I have to say the dice abandoned the French at critical times. The Germans crossings sealed the fate of the game. It’s nice to see that both games results have differed each time and that no side has an advantage.
After this, I packed up with help (especially from Leif Magnuson – who was a BIG HELP THANK YOU!), and went home to sleep.
I hope you enjoyed these battle reports. Now that the COVID-19 is endangering lives, we’ll have to see if and when I get to run these games again soon. Let’s all hope for the best, and prepare accordingly.
Wishing all of you and your families safety and health!


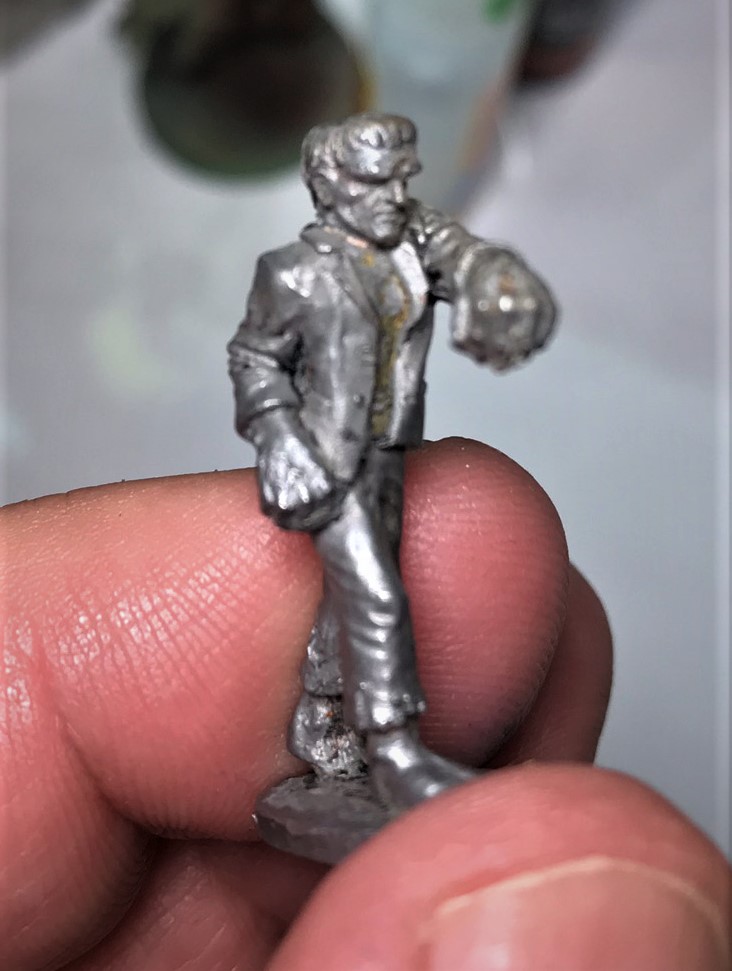
 left side close up")
 right side")
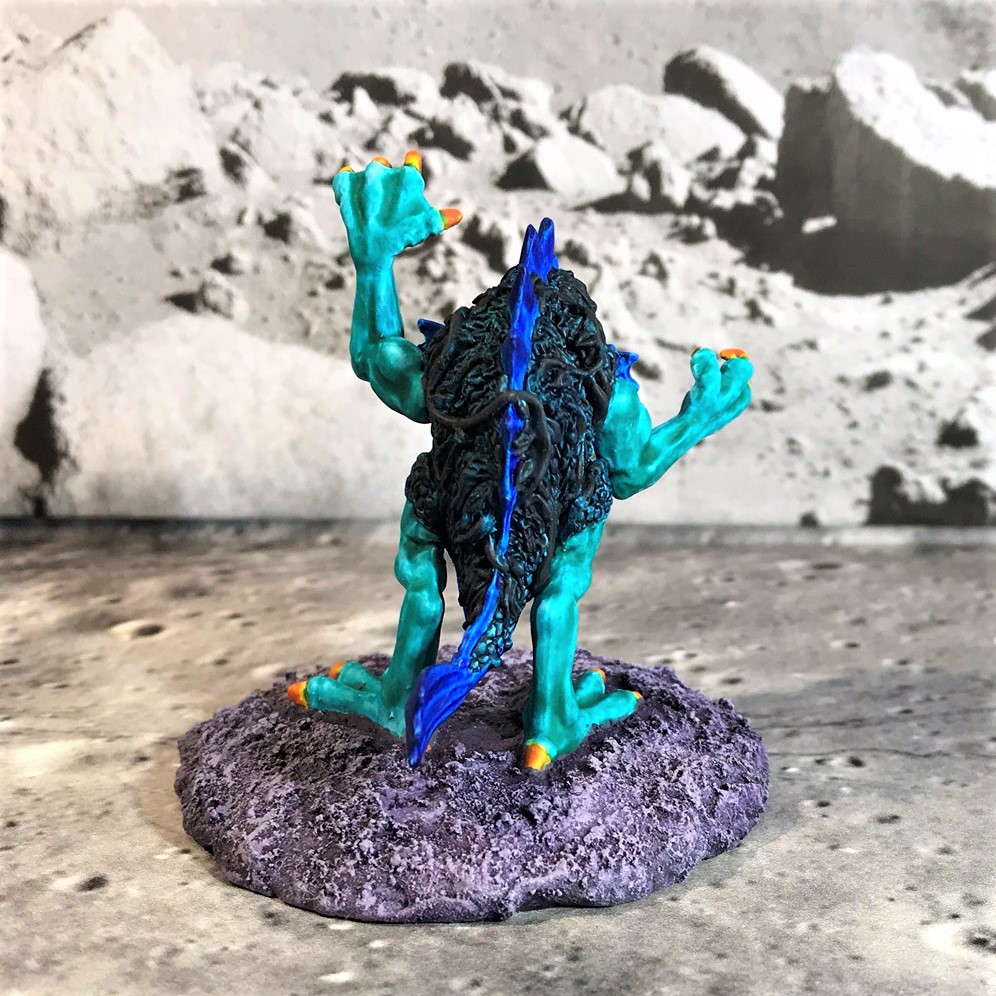
 rear view")
 frontal view")
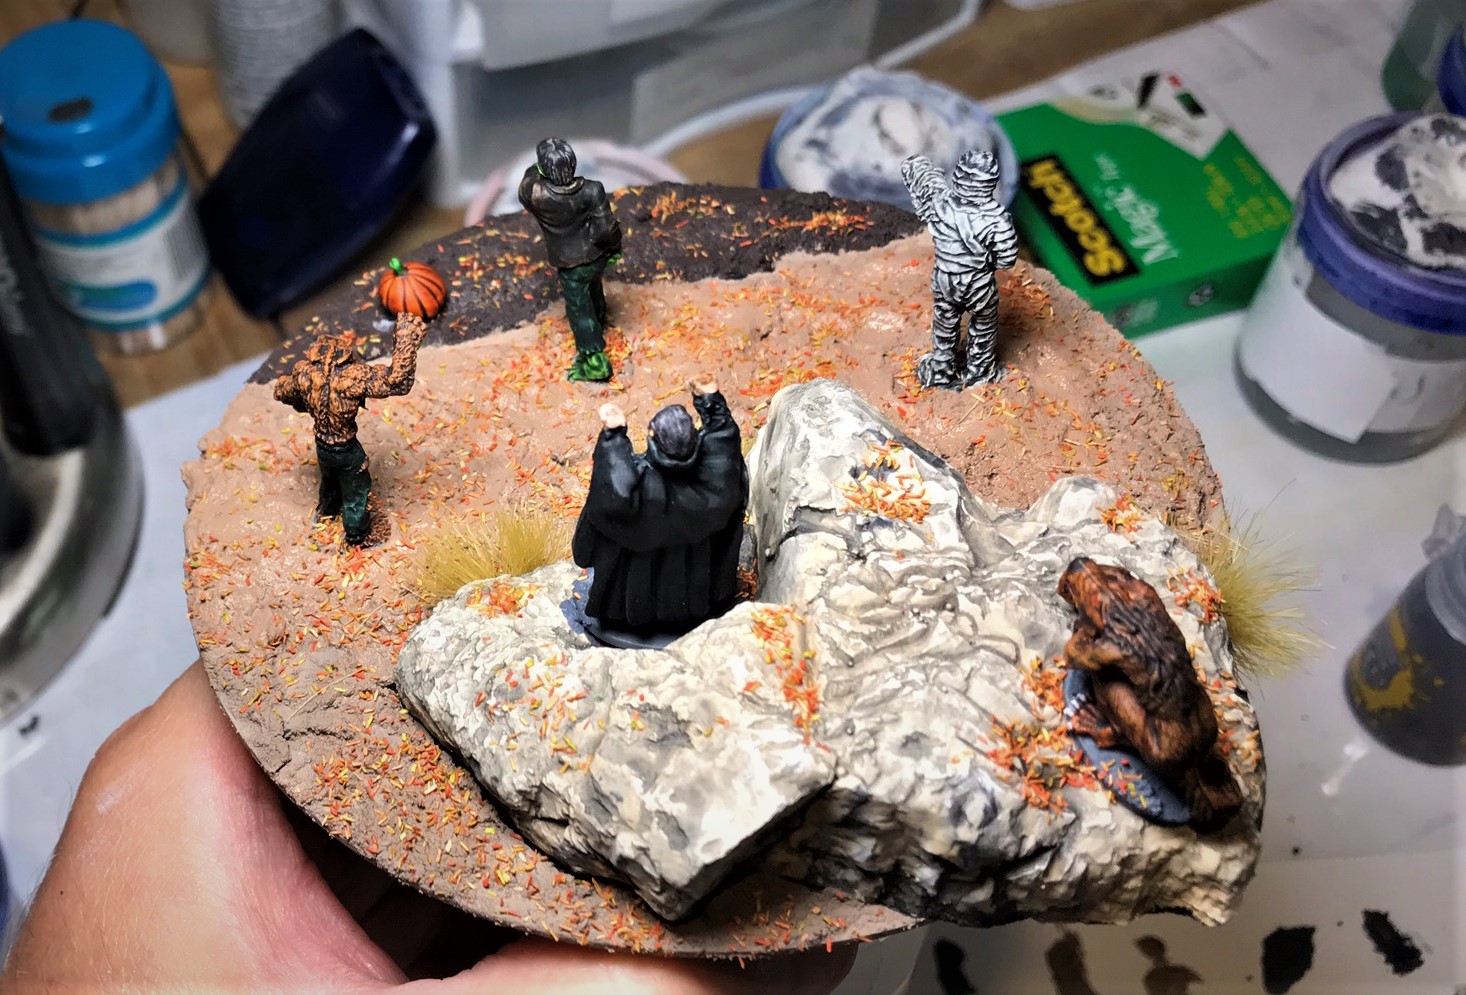
 left side view")
 rear view")

 frontal view close up")
 rear view close up")
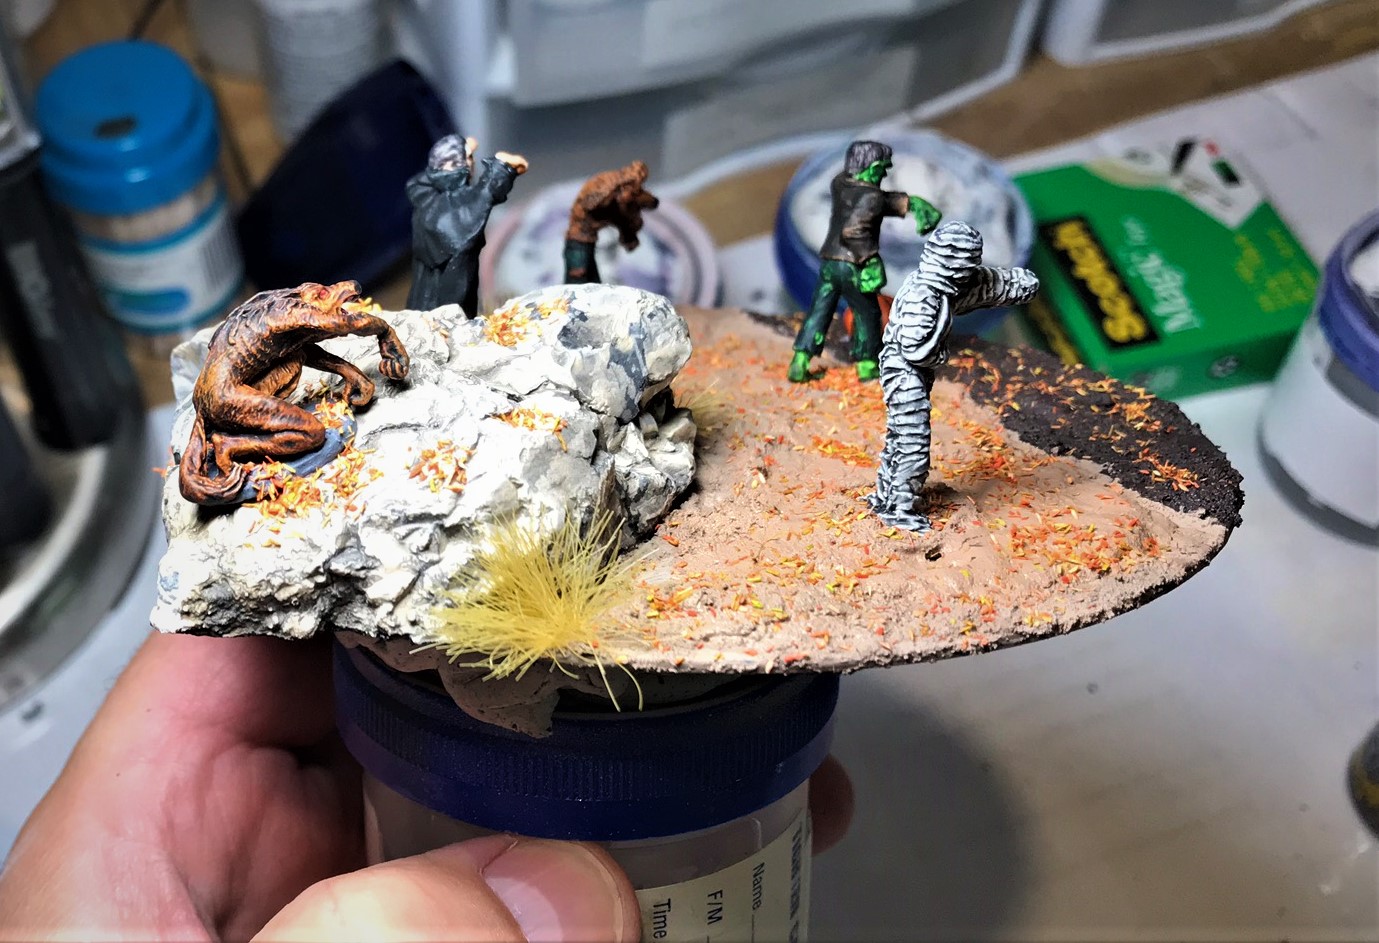
 frontal view")


 right side view")
 frontal close up view")
 rear close up view")


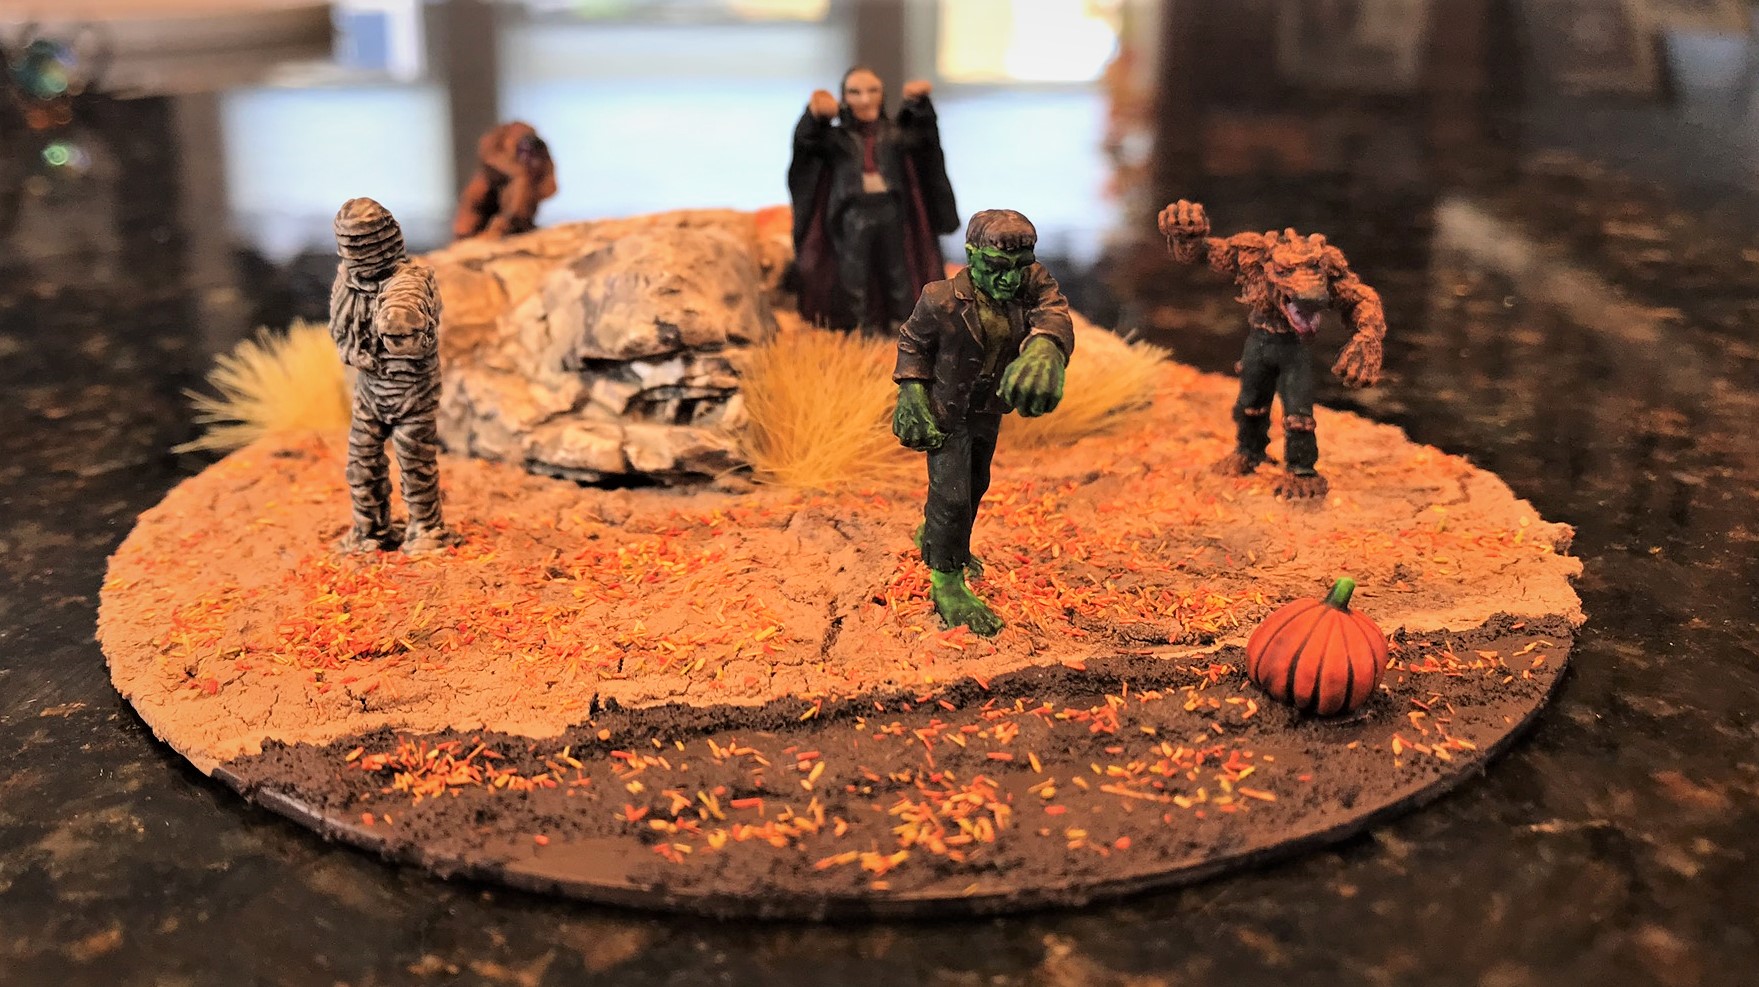
 front side")
 right side")
 rear view")
 right side")
 right rear side")


