

With my having committed to multiple upcoming games of my What a Tanker© Normandy Breakout scenario, I wanted to have everything as good as possible. I made smoke/blast markers with tea lights in the past that I have used in multiple games. They are great as mortar and artillery, especially with 28mm scale stuff, but not suitably-sized for use on 15mm scale tanks as markers. In the game, I wanted to be able to designate a knocked out tank better – and if possible – differentiate between a tank that was just knocked out (where the crew survives) and one that was both knocked out and brewed up (where the crew does not live). These are important distinctions in the game, as I allow crews that survive to get another tank and keep their training and experience (and bonuses) as they reenter the game.
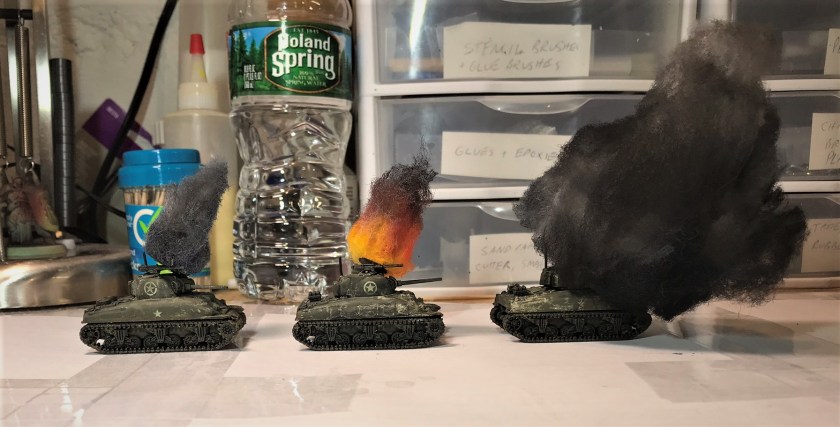
I also wanted to have a better looking tabletop where the tank wrecks are more visible and frankly more realistic smoke-wise. My older smoke markers are good for artillery-delivered smoke screens, but as you see below, I needed an improvement.


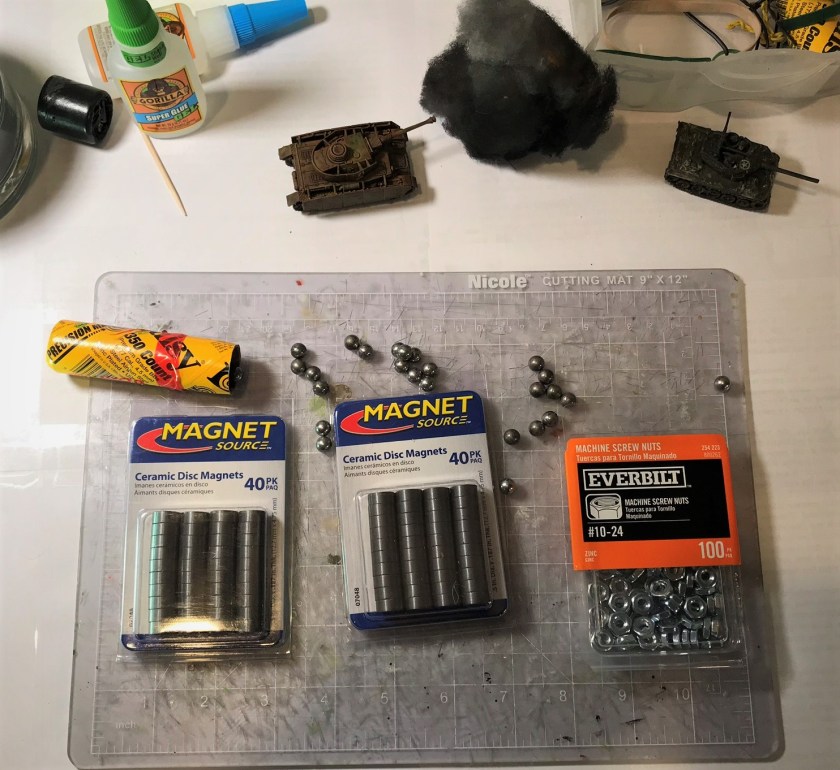
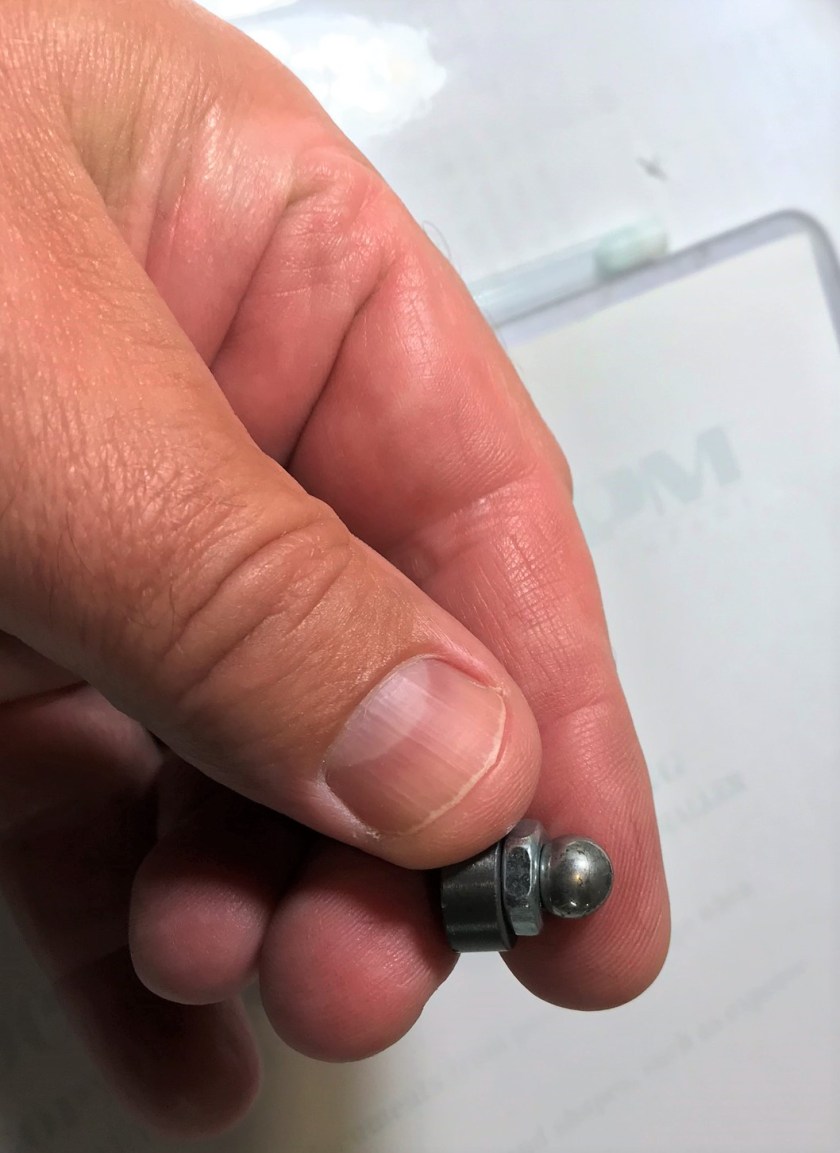
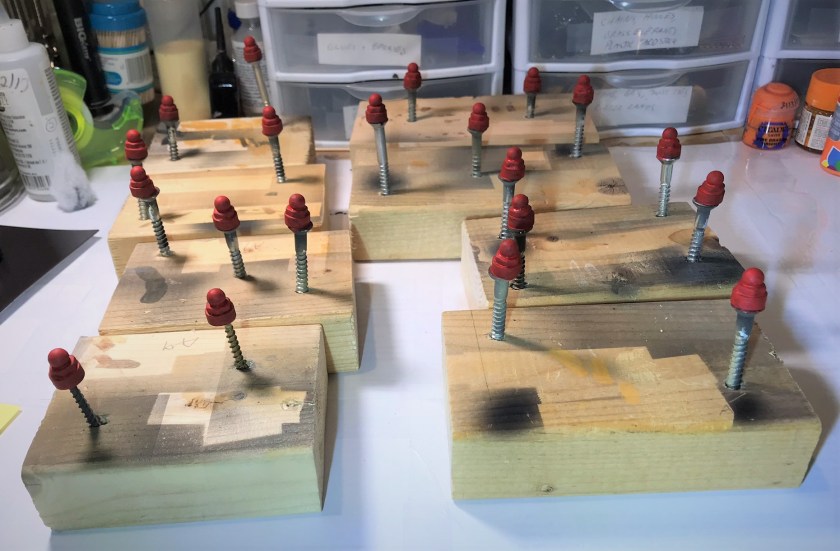
I set out to create a new set of markers that would look better, stay on the vehicles, and differentiate between brewed up and just knocked out tanks. As I use neodymium magnets in most of my tanks’ turrets and they are all similarly oriented in polarity, it was easy to devise a marker using a ceramic magnet as a base. The magnets I used were small enough and heavy enough to stay on the tanks – even those without magnetic properties. I used ½” ceramic magnets, #10-24 steel machine screw nuts, and more used ¼” (approximately) steel ball bearings from Jeff Smith’s broken fairway mower to build the core of the marker. Making sure that the polarity was correct (markers that would be pushed off the vehicles would serve little purpose!), I used Gorilla Glue to fuse the magnet to the nut, and the nut to the bearing. Then, I mounted the cores on screws and primed them. I planned for 20 to be black and grey smoke for disabled tanks, and for 20 to be full-on flames.
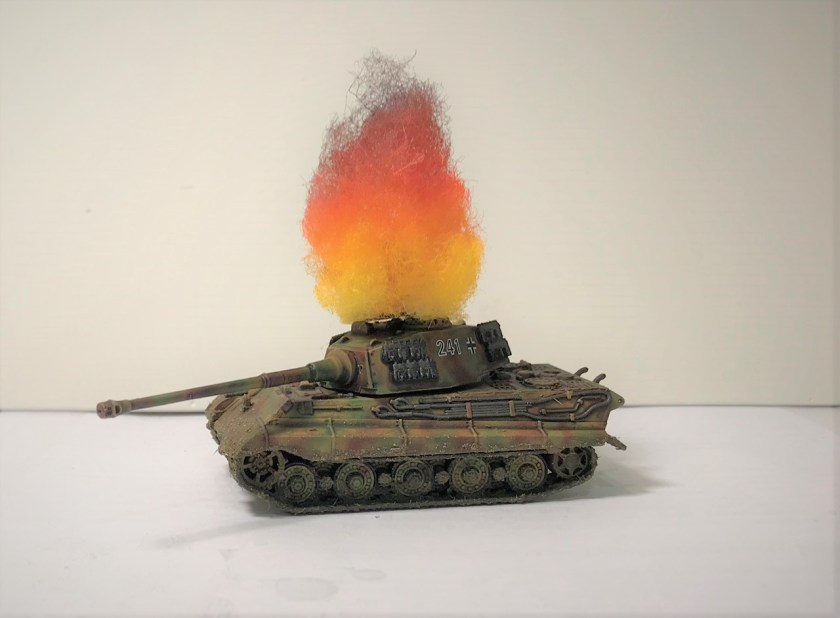
After the primer had dried, I painted the flaming cores red, orange, and yellow with cheap craft paints to simulate a ball of fire. Lastly, I applied gloss varnish to the cores to give more reflection. The smoke ones just got painted black. If interested, you can see a list of the materials I used at the end of this post.
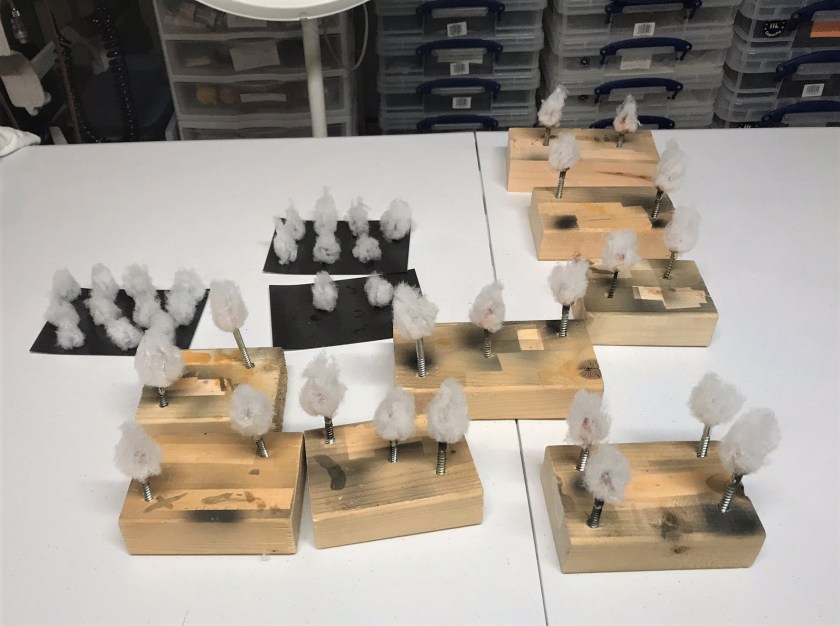
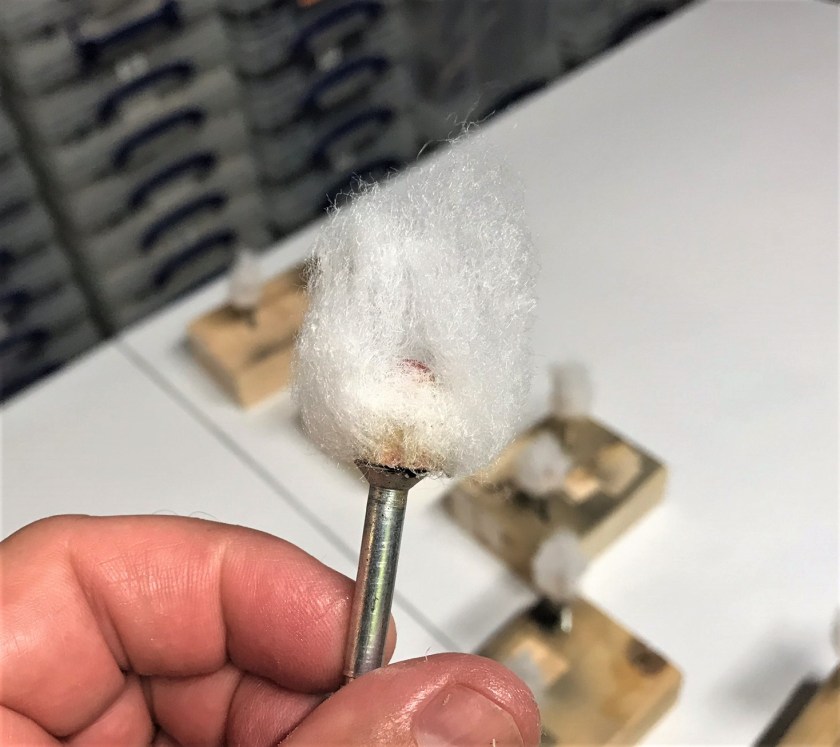
For surface smoke, I went with pillow batting cut off in thin strips of 1-1½”. As each core needed 4-6 strips, I cut nearly 240 strips. I hot glued the strips in a flower pattern on the cores.


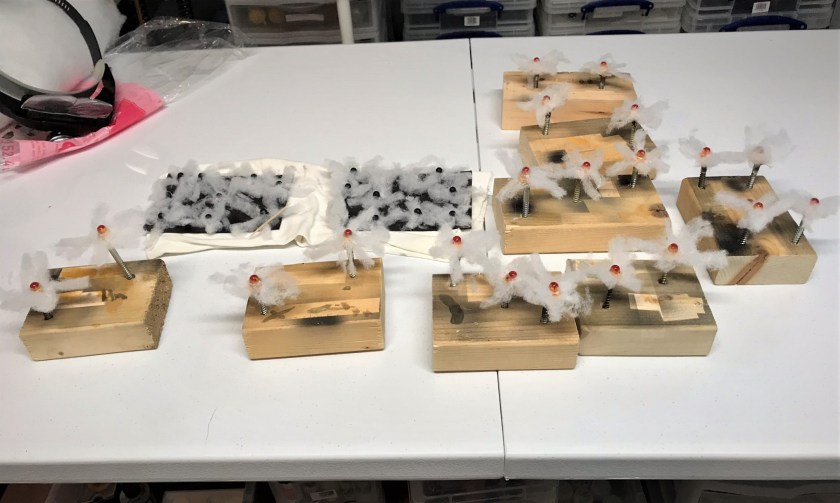
Now, I used a different product to connect the batting in a smoky shape. As I have built tanks, I have used decals. The best way to revitalize decals is to coat them with Microscale’s Liquid Decal Film. However, using this product on the decals as they are on your tanks themselves can ruin the underlying paint (unless used over varnish). But, this stuff makes a solid protective and nicely tacky coat – as I learned making placards for my Attack of the Warbots game. I applied the Liquid Decal Film to the strips, forming the small smoke shapes around the cores. I let these set up and dry. The stuff worked well, and I got the effect I wanted where you can see the cores on the flaming ones.
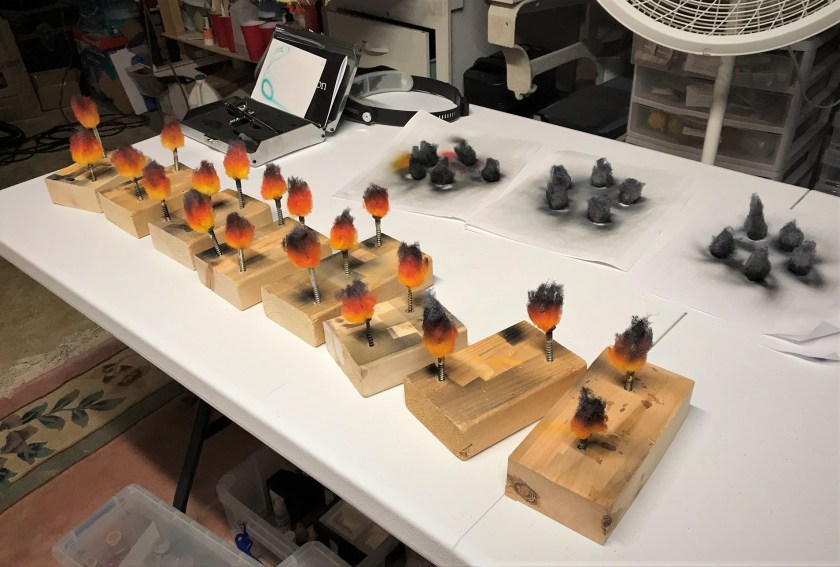
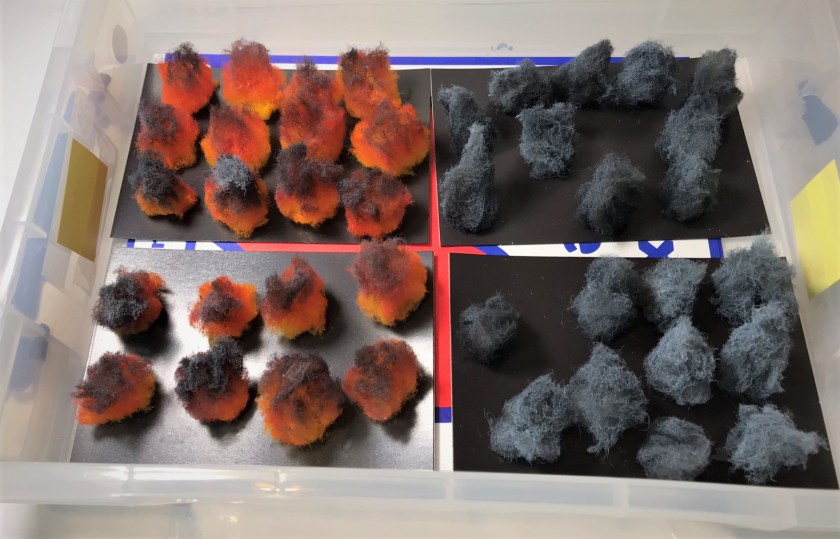
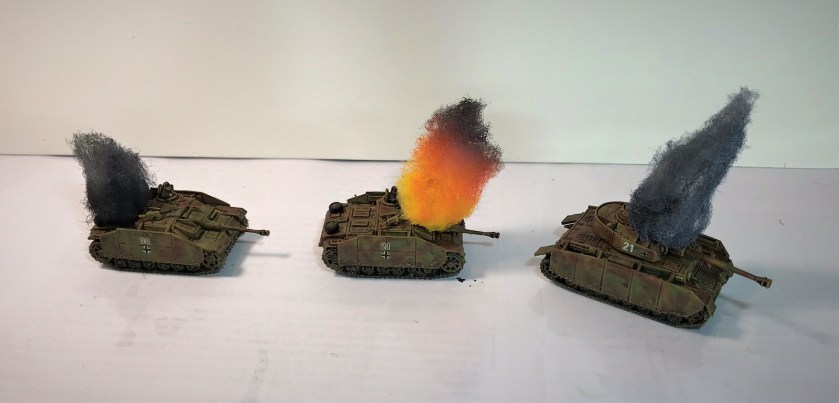
When I paint fire, I like to go from bottom to top with yellow, orange and red. Here, I decided to use glazes and inks for these colors with my Iwata Micron airbrush at 28 psi. This allowed me to really blend the colors – which were Citadel “Lamenters Yellow” (a glaze), P3 “Blazing Ink”, and P3 “Red Ink”. I then used two Vallejo Game Air paints – “Black” and “Wolf Grey” – to create a smoky effect. I also used these latter two on the smoky black/grey cores.


I also participate in my Australian blogging buddy Azazel’s mothly painting challenges. This month is “Awesome August” – and submissions were to be HUGE…or… as he wrote:
“If you really prefer to skip the biggies – that normal sized model that you’ve (ideally) done a job that you’re proud of converting or kitbashing, painted to the best of your ability. Remember, it’s not a competition – it’s a showcase – so your only competitor is yourself. So, the TL:DR is that August’s challenge is to complete something big. Ideally, really big. Or something small that’s ideally converted – and painted really well by your own standards.”
I think that converting ceramic magnets, nuts, used ball bearings, and pillow batting counts as a conversion! And not for nothing, I really like the paint jobs on these markers. So, this is my entry for Azazel’s Awesome August ’19 Community Painting Challenge .
I hope that you enjoyed this and maybe got some ideas – please share your thoughts in the comments section, and look you can forward to seeing these used in my after-action battle reports!
PAINTS, INKS, GLAZES, SHADES, WASHES, PIGMENTS, FLOCKING, GLUES AND MORE USED ON THESE MARKERS:
- Magnet Source ½” “Ceramic Disc Magnets”
- Everbilt #10-24 Steel nuts
- Used ~¼” steel ball bearings from Jeff Smith’s fairway mower
- Gorilla Glue
- Testors “Universal Acrylic Thinner”
- Reaper MSP “Black Primer”
- Americana “Primary Red”
- Craftsmart “Orange” (satin)
- Martha Stewart Crafts “Duckling Pearl”
- Vallejo “Gloss Varnish”
- Vallejo Mecha Varnish “Matt Varnish
- Loops & Threads “Classic Loft Batting”
- Microscale Liquid Decal Film
- Citadel “Lamenters Yellow” (glaze)
- P3 “Blazing Ink”
- P3 “Red Ink”
- Vallejo “Airbrush Thinner”
- Vallejo Game Air “Black”
- Vallejo Game Air “Wolf Grey”
Always love to get your feedback and read your thoughts? See you next time!

Inspired work Mark and a worthy entry to the August challenge.
LikeLiked by 2 people
Cheers Dave!
LikeLiked by 1 person
Brilliant, Mark! I was so impressed I confused myself and left a comment on the H.A.W.K.S. site first!
LikeLiked by 2 people
No worries and thanks John. The HAWKS are kind enough to share my blog. But any links that I share only work on my site – butglad you liked them!
LikeLiked by 1 person
Those are very clever- the perfect solution to your needs.
Cheers,
Pete.
LikeLiked by 2 people
Thanks Pete – glad you like them – but my wife has that honor 😁
LikeLiked by 3 people
Very impressive mate ,the work you have put into this is amazing ,and they look so real !
LikeLiked by 1 person
Thanks Pat!
LikeLiked by 1 person
Looking great Mark. I will Knick the idea for my desert game for our local Games day.
LikeLiked by 2 people
Love that term, knick! Good luck and thanks for the feedback!
LikeLiked by 1 person
Love the creativity Mark…..very cool concept and application. Even though I don’t engage in your art, I can appreciate it. The level of detail is pretty amazing…continue doing what you love and it will never be work.
All the best my friend,
Tod
Trinity, FL
LikeLiked by 1 person
Thanks very much Tod and congrats on the new job!
LikeLike
Nice job dude – perfect for the task, and those flaming ones are positively spectacular! Things like this make a huge difference imo
LikeLiked by 1 person
Cheers, Alex, and I agree. The pleasing part was that my concept for the flaming ones worked out better than I thought – and using inks and a glaze in the airbrush worked well. Even using the Liquid Decal Film was successful as a binder/glue. I love when a risk works out, but there were a few here. They will be used this Saturday – and we’ll see which unfortunate tanks will get to sport them!
LikeLiked by 1 person