

Back in November, I was happy to have an extended game of Combat Patrol™ using resurrected Archive Miniatures Star Rovers figures (specifically, Star Ducks, Frinx, Aphids, and Mark III Warbots). My old West Point buddies Dave Wood and Buck Surdu made the trek up from Maryland, and my daughter Ellen and her fiance Chris Smedile joined us for a fun game which was described here.
The game was a blast – and afterwards I thought that I could make some improvements that would make play easier and improve the tabletop aesthetics. The retro sci-fi aspect brought in some new elements. In a WWII game, I would normally use small rubber bands to designate the status of a figure with regards to wounds, being stunned, or being out of ammunition. This is to eliminate a lot of bookkeeping which can bog down a game. I also use glass beads to represent morale checks. In a WWII game, this works fine as most figures can only take 3 wounds before they are incapacitated. However, in the retro sci-fi game, I added other elements. One of these was allowing the Star Ducks to use their jet packs three times per game. Another was the Mark III Warbots, which can take up to 6 or 7 wounds, and who may take critical hits (see chart below) that adversely impact their capabilities.

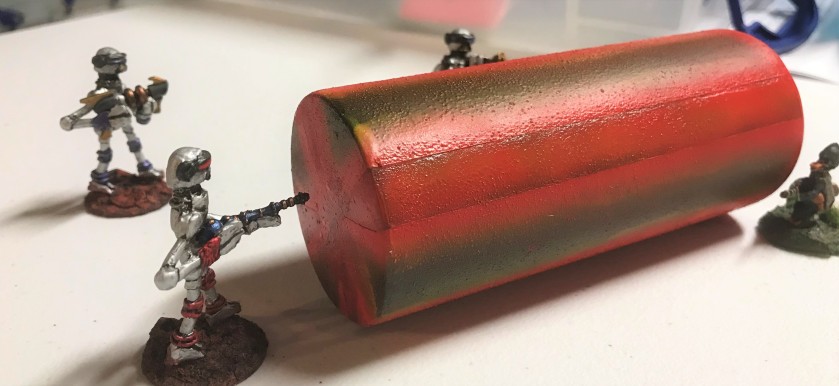
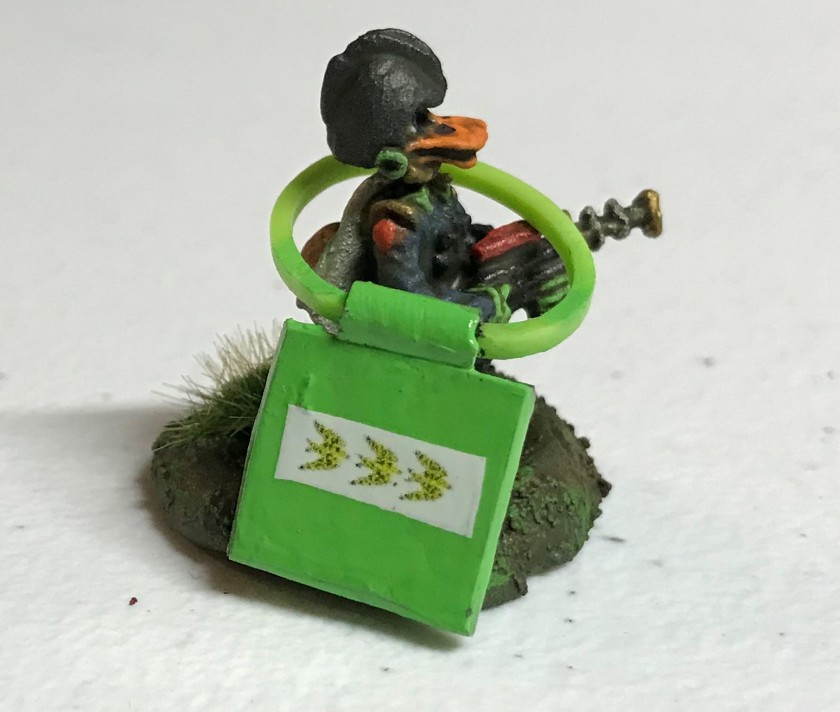
One issue with their high endurance this is that the Warbots can end up looking like they just arrived on Maui after getting several garlands of leis once the action gets going (see photo below).

I also introduced two breaching arc weapons and a plasma ball breacher that would be key elements of the Mark III Warbots capabilities. As a Army Engineer officer veteran, I thought that this would be fun, and I wanted some cool templates to represent these game elements. Lastly, I wanted to be able to have the casualties remain on the tabletop as a depiction of what happened during the game. This does not always work, so now I make casualty cards for my units that are sized to the figures size (I discussed this previously here).
So my list of improvements became:
- Create casualty cards for each unit/figure (done)
- Create templates for the plasma weapons (discussed in this post)
- Create specialized markers (placards with decals) for use with retro sci-fi Combat Patrol™ games (discussed in this post)
With any new project, I like to try new techniques and learn from trying them out. Here, I decided to try to use my airbrush to do more than prime, base coat, and varnish. I also wanted to use my computer and make decals for the placards. I had not really done any of these things in this way before, so I was going into uncharted waters. I will first discuss the plasma weapons, and then the placards.
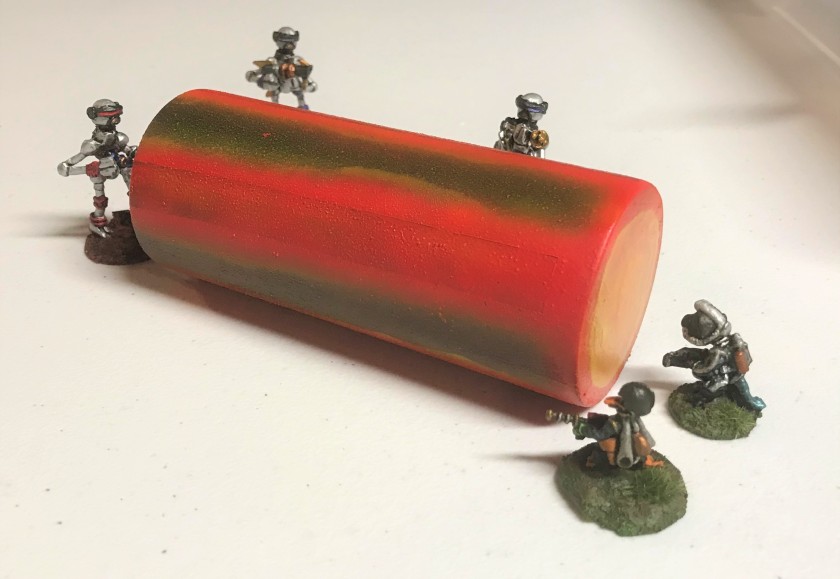
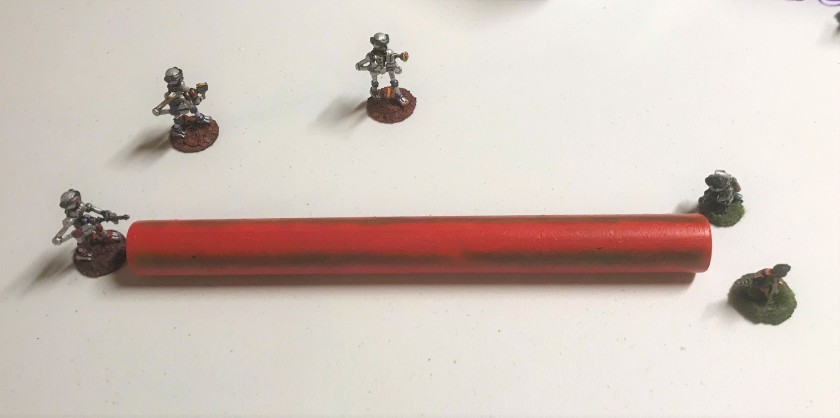
For the arc weapons and the plasma ball, I wanted something easy to sue that was durable and vibrant. The Warbots arc weapons can either shoot a 2″ cone (door-sized) for a distance of 5″, or fire a 1″ cone (window-sized) for a distance of 10″. This is to allow them to breach obstacles. The other weapon fires a plasma ball that can make holes (or dissolve stuff/enemies) – think of a really effective M203 grenade launcher. I found a some hardwood (oak or maple) dowels at Home Depot that would work well size-wise. As a golfer, I sacrificed one old Pinnacle for the plasma ball, and mounted it on a 1¼” washer (I don’t play Pinnacles anyways!).
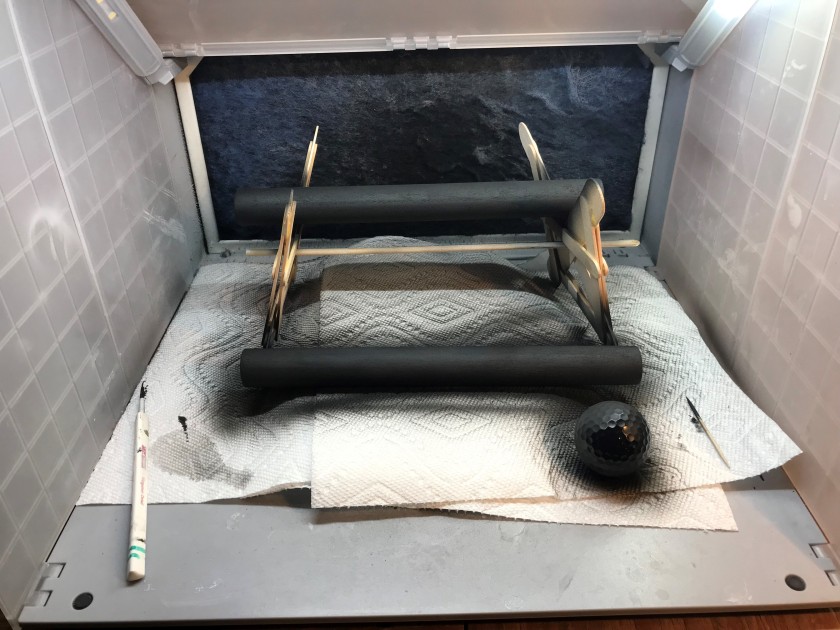
I used my circular saw and cut the dowels to size, and sanded them up a bit. Originally, I had thought I could use decals on them, but decided that I could not sand and varnish them enough for proper alignment and adhesion. Besides, this gave me the chance to play with my airbrushes. I gave them all a prime coat of Vallejo “Surface Prime Gray”, followed by Vallejo “Game Air Black”. I had some challenges with painting the longer templates due to their sizes and being too wobbly to reliably stand up for airbrushing. I made a cradle of sorts out of popsicle sticks that worked adequately – notwithstanding that I needed to be sure each coat was dry before I rotated them.


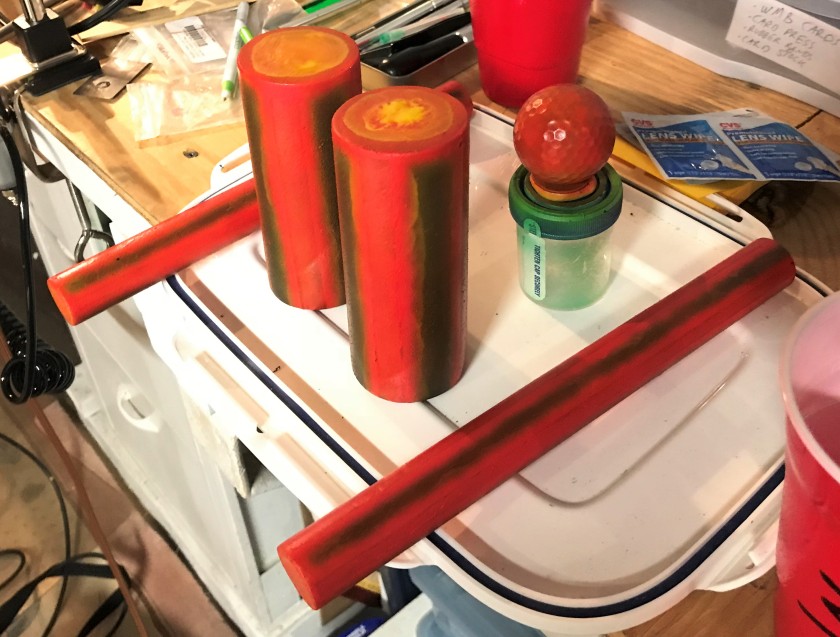
I used some Tamiya airbrush masking tape to make the center beam, and a crossing pattern where the beam would come out of the arc weapon. I started off with Createx “Brite Yellow”. I should have noticed that the label said “TRANSPARENT”! This took a few applications (that was a learning point). I then airbrushed Vallejo “Light Orange” closer to the masking and around the ends. I then removed the masking, and used Vallejo “Vermilion” on the beam centers and the cross on the ends. Lastly, I painted “Brite Yellow” on the ends and as edging on the beams (worked better). I did the same with the ball , but in a mottled pattern. They are not my best work, but they will serve the purpose.

The greater portion of the work came with the making of the placards. I decided that I would make the following 185 placards made for use in Combat Patrol™ retro sci-fi. Why that many – well that was basically an educated guess based on most games that I have played.
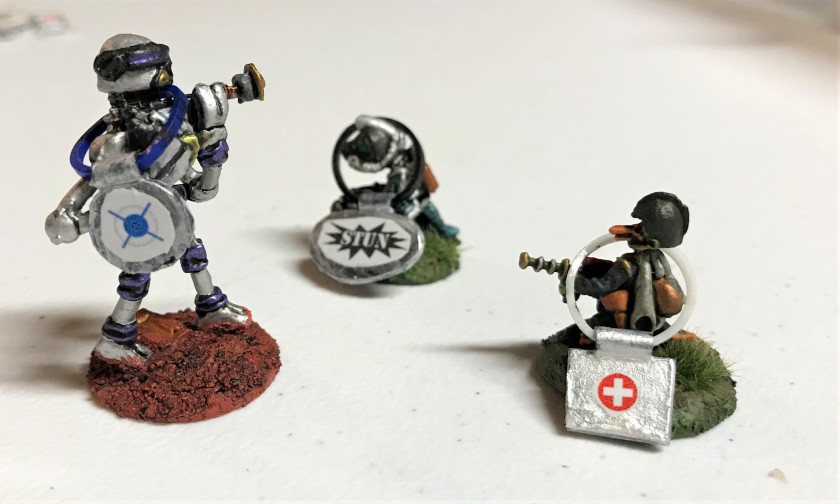
- 50 wound markers
- 15 1-wound markers
- 15 2-wound markers
- 6 3-wound markers
- 6 3-wound markers
- 6 4-wound markers
- 4 5-wound markers
- 4 6-wound markers
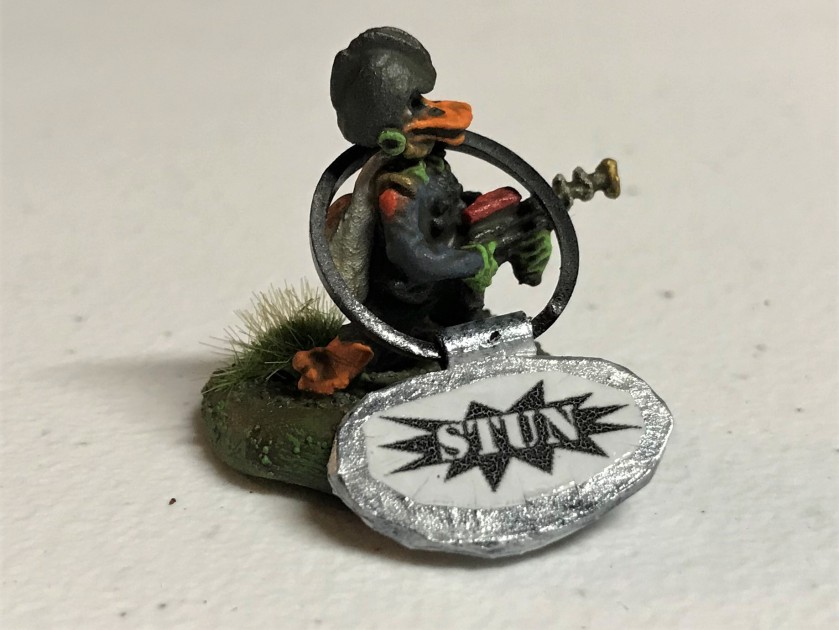
- 25 stun markers
- 10 critical hit – optics/sensors markers damage for Mark III Warbots
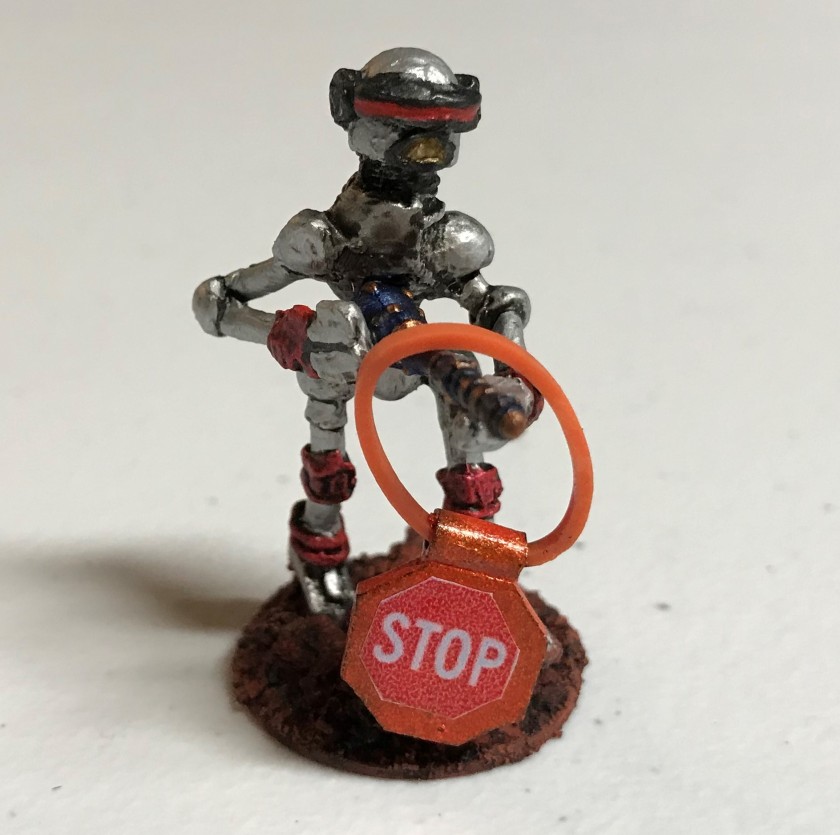
- 10 critical hit – mobility damage (“STOP”) markers for Mark III Warbots
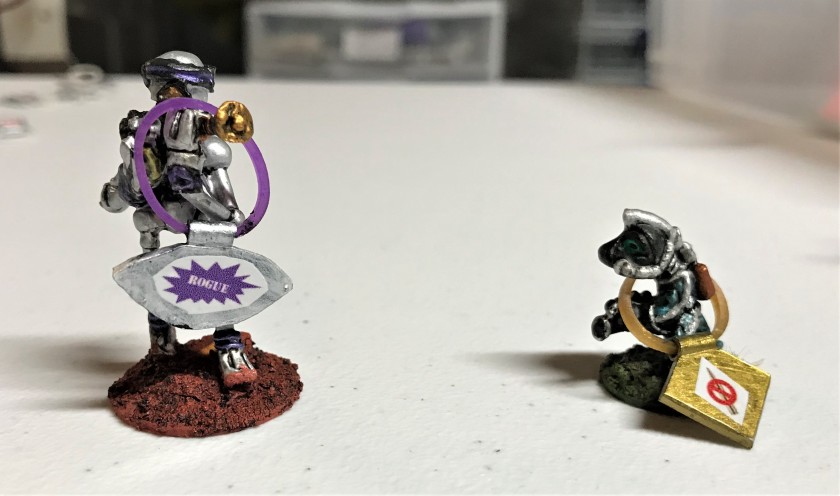
- 10 critical hit – CPU damage (“ROGUE”) markers for Mark III Warbots
- 20 out of ammunition markers
- 60 jet-pack use markers
- 20 for one use of jet pack in the game
- 20 for two uses of jet pack in the game
- 20 for three uses of jet pack in the game
My first effort was to try to sculpt with Apoxie Sculpt and to use stamps. I was very unhappy with the product, as I thought they would be difficult to read and not reliably reproducible.

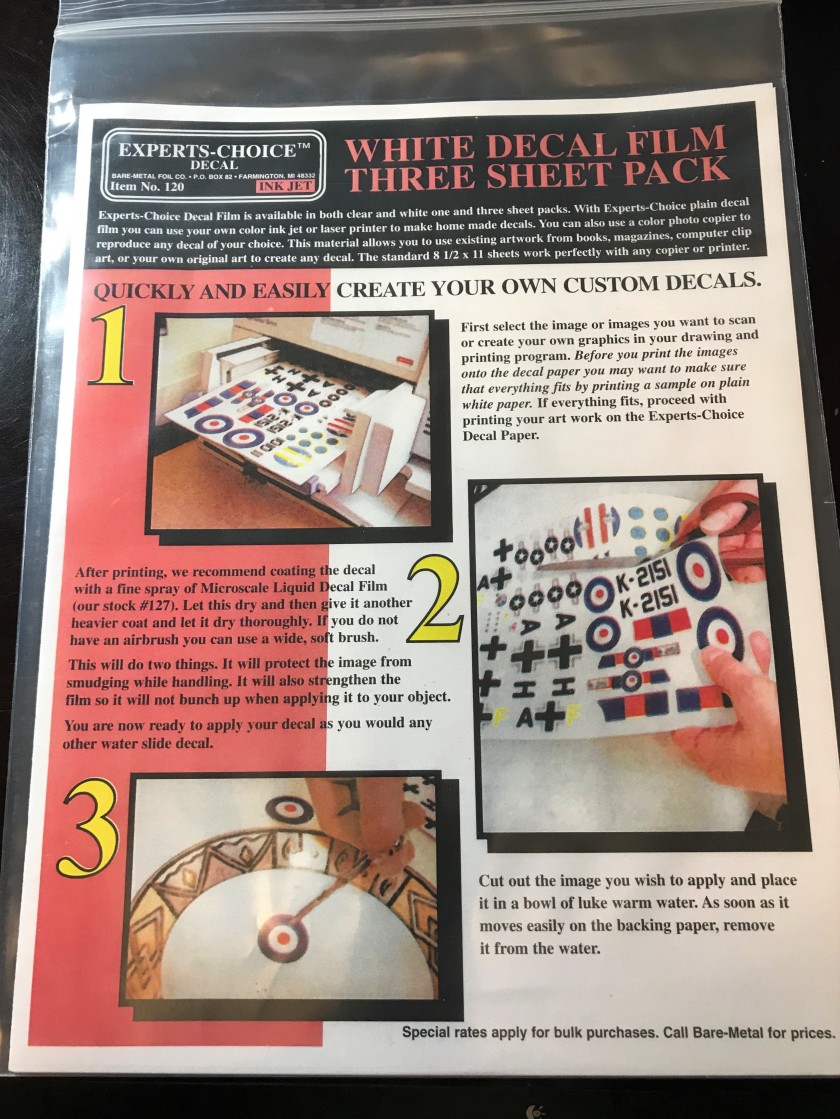
I then changed plans and decided to try to use polystyrene to see if that would work in conjunction with decals that I could print off on my HP Printer. I found a couple of decal products that I could print with – one was clear and from Testors and one white and was from Bare-Metal Foil Company. The Testors product has (6) 5.5″ x 8.5″ sheets, while the Bare-Metal Foil product was 8.5″ x 11″. I went with the Bare-Foil product for this as I thought it would be easier to print with and it had more space. I did notice that it had a white backing, which I thought would help with visibility once the decals were on the placards. Obviously, some uses would be better with a clear backing, so consider that.
I drew up some mock-ups out of paper to size my placards. I wanted them to have distinct colors (matching their rubber bands) and distinct shapes. Once I had the shapes, I designed the decals . I used Microsoft PowerPoint and Google to select images and shapes. This allowed me make a full landscape page image of the proposed decal. I would then save that PowerPoint slide as a JPEG, and insert that JPEG into a Microsoft Word document. I would then change the size of the JPEG (keeping the aspect ratio locked) and print off different sizes until they matched the mock-up placards. Once that was complete, I copied the requisite number of decals into the Word document, leaving adequate space for later removal by Exacto knife on the actual decal paper. I thought that one decal was adequate instead of double-siding the placards.
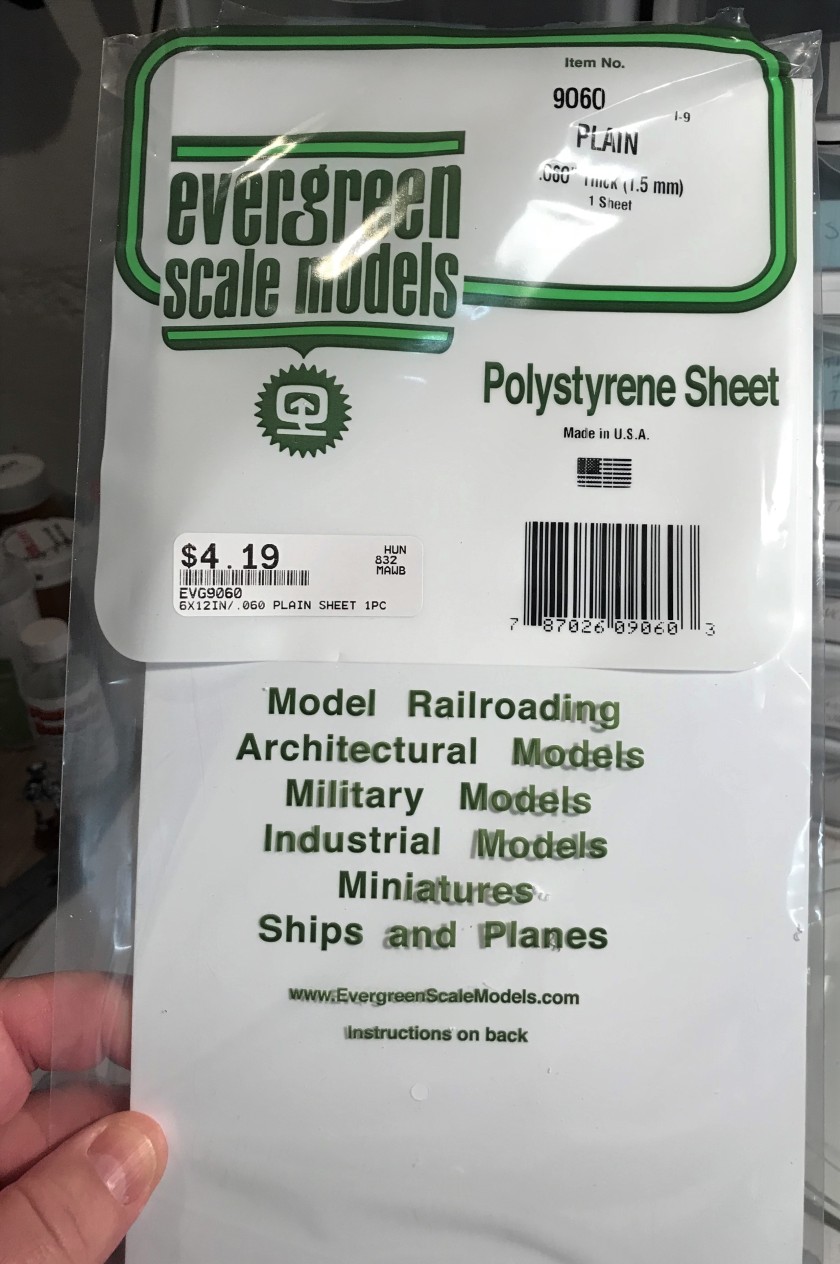
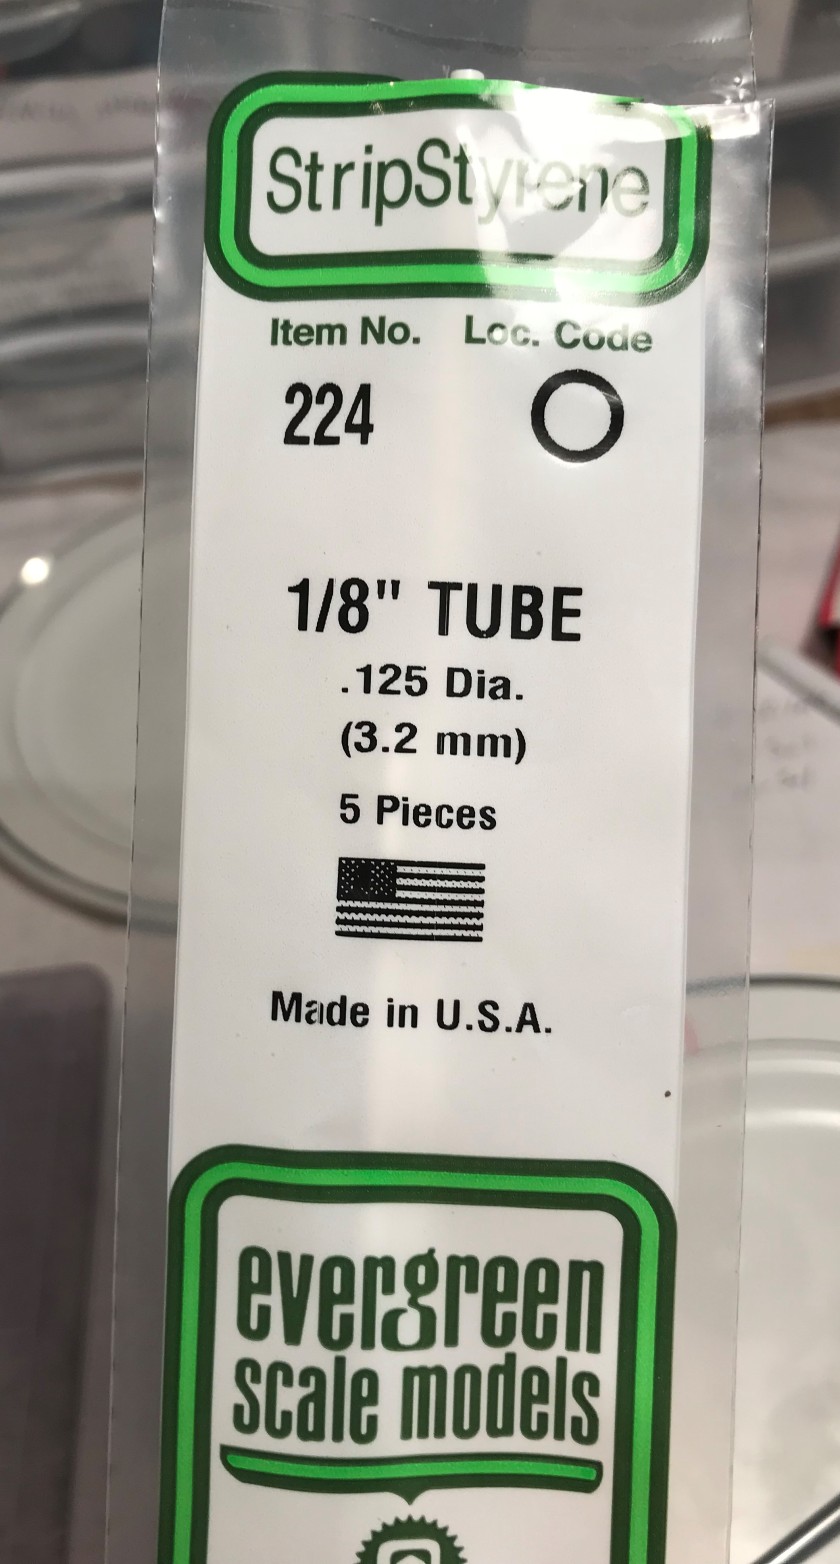
Before I could print off the decals, I needed the placards. I got .080″ thick Evergreen polystyrene sheets and 1/8″ tubes. These bond well by using Plastruct Bondene plastic solvent cement. I cut the shapes out with a template, and cut the tubes into 1″ sections. I then evenly split the sections lengthwise. Lastly, I cut the tubes into ¼” lengths. I took differently colored rubber bands, and slid them into the lengthwise cuts on the tubes. Then with the Plastruct Bondene, I attached the placards and the tubes. You do not need much of this stuff – and its good to hold the pieces together for a count of 10. I waited a few minutes, and reapplied the solvent over the attachment and the lengthwise cuts, sealing in the rubber bands as the cuts welded. The small rubber bands are the same as what we used before – they come from Michael’s and are used for some sort of young girls’ weaving crafts. I made 185 of these placards!

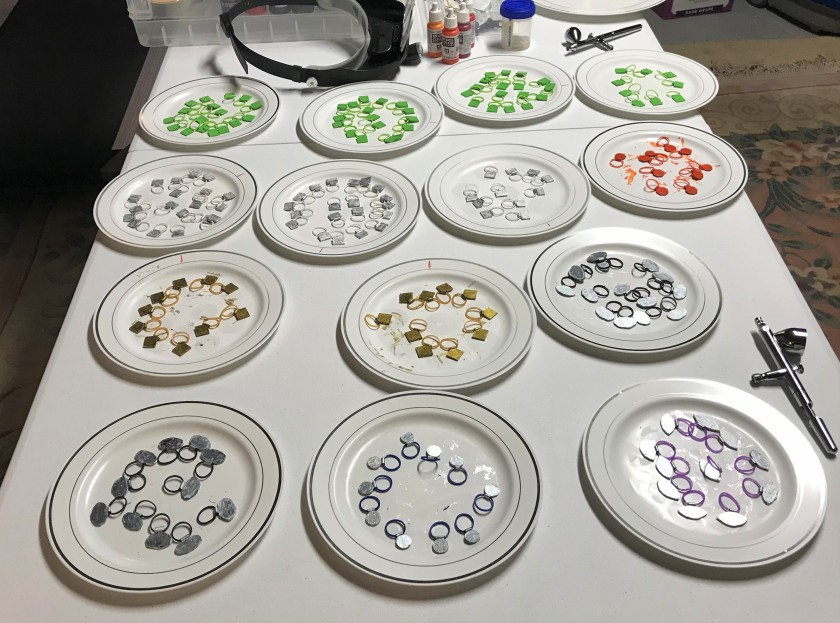
Then came the painting of the placards. I should have used my airbrush to prime them, but I wanted to use up some Citadel “Imperium Primer” I has. Plus, they were a little awkward to paint due to their configuration. After priming both sides, I laboriously (again I should have airbrushed) hand painted the placards as follows:
- Wound, Stun, Optics, and Rogue markers with FolkArt “Champagne” (metallic)
- Mobility Damage markers with Createx “Pearl Copper”
- Out of ammunition markers with Vallejo “Bright Brass” (metallic)
- Jet-pack use markers with Americana “Apple Green”
Once painted, and having painfully learned my lesson in terms of not using airbrush paints, I used my airbrush to coat the placards with Vallejo “Mecha Varnish Gloss”. This helps the decals to slide on properly.
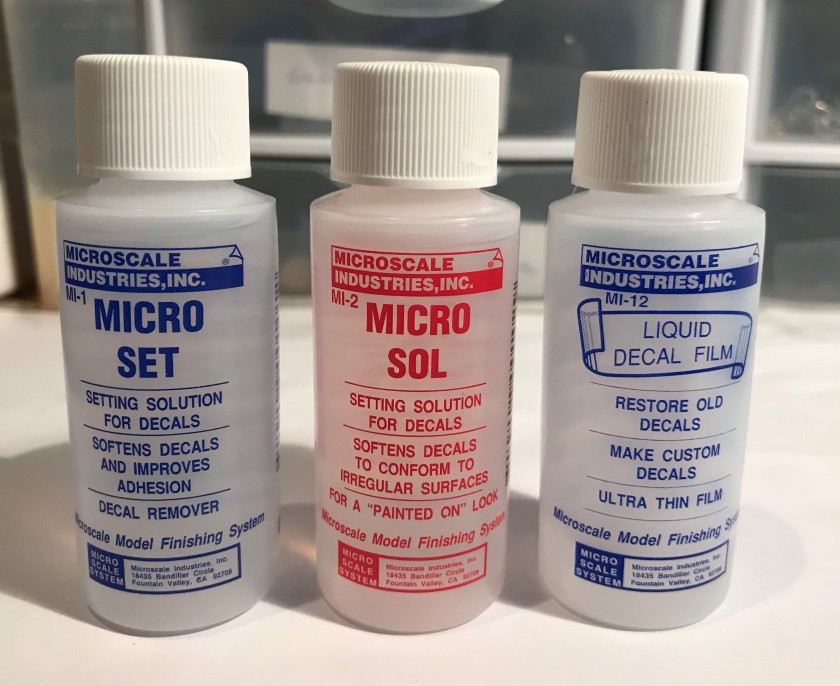
Printing off the decals was new for me. Apparently, there are several steps in addition to printing the decals! First, once you print the decals, you need to apply a couple of coats of a Microscale Liquid Film product (better done with an airbrush, but you can brush it by hand, allowing each coat to dry of course). This application protects the colors. Then the decals can be removed with an Exacto knife from the printed sheet and put into water, but wait, more stuff needed! You also need Microscale Micro Set applied to the surface prior to applying the waterslide decals. This product improves adhesion. then put on the decal, adjusting its location with a toothpick. Let this fully dry, and then another product, Micro Sol, is used to soften the decal and tack it down. Lastly, get the Microscale Liquid Decal Film back out, and put another coat on of that, and let it dry. This will log up any brush you use, so use an old one. Now the decal is protected! Again, repeat 184 more times…for this project.

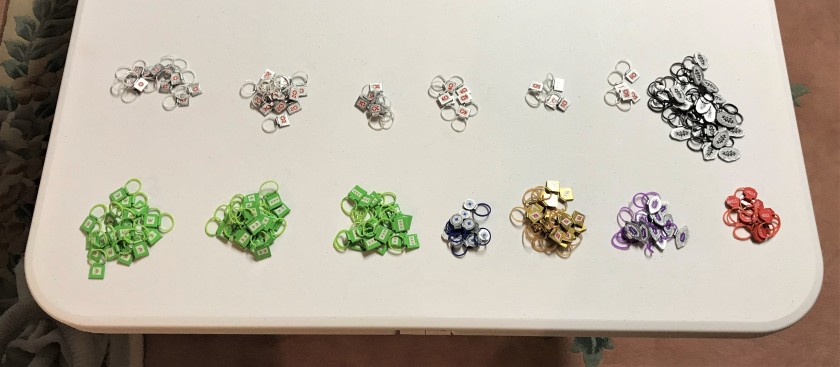

I have organized all of these into really useful boxes with extra rubber bands (in case I don’t have enough placards for some reason). Hopefully I get to play test their use soon.
Thanks for reading – and I hope you find this helpful! Please let me know in the comments section dear reader!

Well, you had your work cut out for you with all of that, but it looks well worth it! I think the placards work really well, so thanks for the run down on how you achieved it! Bet you’re pleased with the results!
Cheers,
John
LikeLiked by 1 person
Thanks John, so far I am but the real test is in the playing! Appreciate the feedback!
LikeLiked by 1 person
Love the arc and plasma ball. Well done sir. Also well done on the tweaks I reckon that’s part of the fun too.
LikeLiked by 1 person
Thanks IRO! Watching your production had me feeling guilty, especially with all the “uary “ challenges. Glad to add some more skills to the kit bag, however rudimentary (and fun)
LikeLiked by 1 person
Wow that was an awful lot of work Mark, but the results look amazing! they should add so mush more to your games both visually and with playability, great work all round sir! Though your Arc weapon marker really remind me “sticks of rock” sugary sweets we have over in the UK, mainly on sale at the seaside with the name of the place through he middle of them (sorry not sure if you haver these over there or if they are a British thing.
Cheers Roger.
LikeLiked by 2 people
Thanks Roger, I think we have something like that candy but I think they are just massive pieces of hard candy. Mine would be candy for maybe a beaver…which we have in over abundance here. Seaside sounds good, bring on summer! Thanks again for the kind words, really appreciate when I get some!
LikeLike
Those markers are awesome and would be great in many mini games! I’ve been thinking about a good way to mark statuses in Blood Bowl, and this is pretty inspiring.
For some strange reason, I wanted to see that black golf ball dry brushed with silver. No idea what you would do with it afterwards, but that was my crazy thought for the day.
LikeLiked by 1 person
Thanks Faust, glad you liked it. If you do make some for Blood Bowl, that would be cool and I’d love to see them.
The good news is I (or you) can easily airbrush a golf ball black and then dry brush it silver! I was going for a red/orangey/yellow plasma ball (somewhat Romulus Warbird) effect – playing on the Warbot closeness in naming!
LikeLiked by 1 person
Haha! I don’t know why that thought popped into my mind while reading. Maybe because the shapes of the black ball were already picking light. Like I said, crazy thought. I’m glad that it ended up working really nicely as a plasma ball marker!
LikeLiked by 1 person
It won’t putt well though!
LikeLiked by 1 person
Nice work here, Mark. A lot of work, bu it’s clearly been well thought through and will make a difference on the table. 🙂
LikeLiked by 1 person
Thanks Az, that’s my hope. As you can see, it was difficult to do a “uary” challenge with this project!
LikeLiked by 1 person
All good, Mark. Mine are designed to fit in with stuff people are working on or want to do anyway – and just help as a bit of extra motivation. 🙂
LikeLiked by 1 person
Good stuff, Mark. Lots of work, but some of it will make replicating the work faster in the future. I really need an airbrush!
LikeLiked by 1 person
If you do, don’t skimp. Hobby Lobby is best option with compressor and airbrush, just get on separate days and use coupon. Happy to help with that for you when it’s time.
LikeLike
I thought I found my compressor on Amazon, but you mentioning Hobby Lobby has me questioning my choice. So many options for brushes, too. I will definately take you upon the offer.
LikeLiked by 1 person
Glad to help, just let me know. Hobby Lobby’s coupon saves a bunch and they usually have some good brushes.
LikeLiked by 1 person