During the Allied breakout from Normandy in 1944, the British Army used several different tanks and tank destroyers. Some were American-made, some were British-made, and some were conversions of American vehicles. For my What a Tanker© Normandy Breakout Scenario, I had plenty of British Shermans, a couple of Fireflies, and a few Daimler Dingoes, but the available British vehicle menu needed some fleshing out. Clearly missing were the Cromwell Mark IV cruiser tank, the Churchill Mark IV heavy infantry tank, and the M10 Achilles tank destroyer. This project aimed to rectify that situation, especially as I plan to run the game at a few upcoming conventions (such as at BARRAGE and at the Mass Pikemen Gaming Club.
While looking at some images of these vehicles in my reference books, I came up with a new idea to incorporate into the project. First – a brief segue.
I started this blog back in 2015, inspired by my friend Buck Surdu’s blog. I was getting back into the hobby – and thought I’d share what I was learning about the gaming I was doing, the miniatures that I was working on, some history, and whatever I found interesting. Since then, I have posted 143 times (this post is #144), have 139 followers (thanks to all and I am always happy for more so feel free to follow if you don’t already!). I also learned of many others’ blogs and now I follow many of these. Several originate in the United Kingdom, Australia, and other Commonwealth nations. They inspire and entertain me, and perhaps they will do that for you as well. So, let’s get back to the idea I just mentioned. Perhaps I could work in a few of those bloggers into these vehicles and have them be represented in a small way in this project and the future games I run. More on that shortly…
Now, a few qualifying points. Each of the vehicles you will see below has a link to a blog – BUT, these are not the only ones that I follow and my goal was not to leave anyone out. However, I chose to include the following as ones that are among my faves, AND who have a connection to a place where, well, the Queen is on the currency (with two notable exceptions that I’m sure you’ll allow me). Also, I wanted to use Battlefront decals to both make the tanks both easier to identify on the tabletop (these are small 15mm scale tanks) and have some connections to the bloggers. Ease of identification on the tabletop is important, as most players have little knowledge of the history of the tanks. Of course, there are experts somewhere who can correct me – and that’s not an issue.
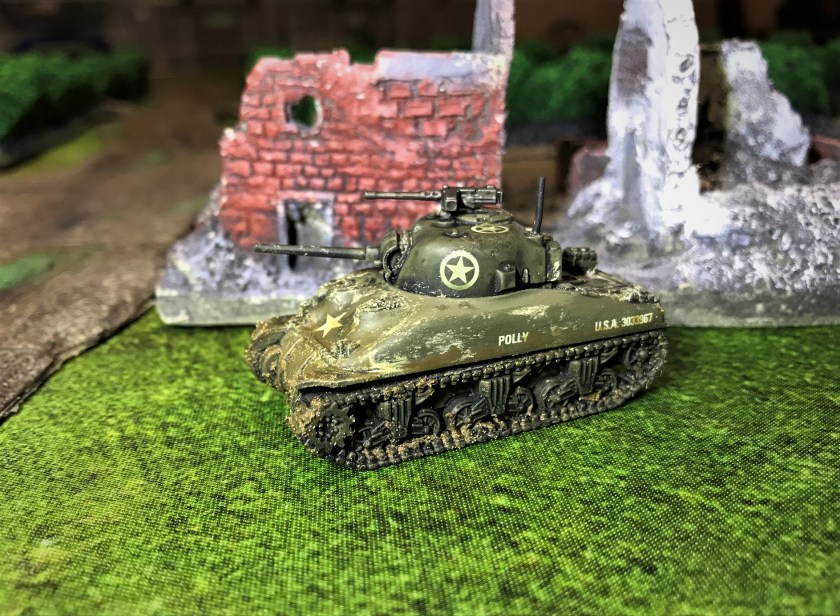
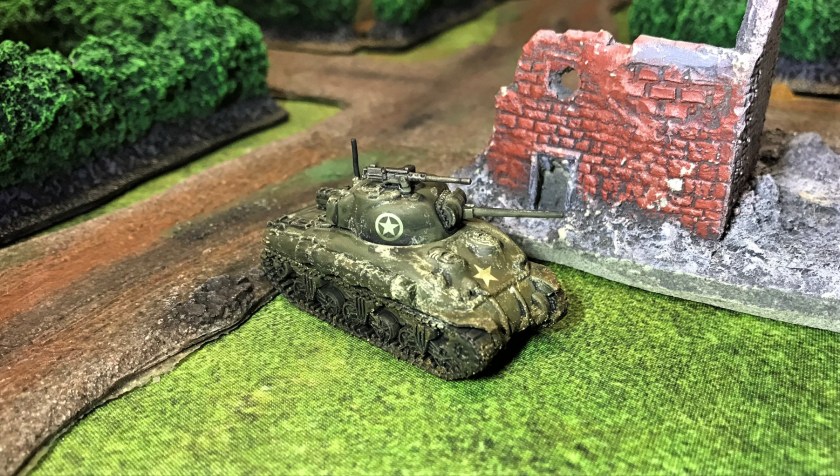
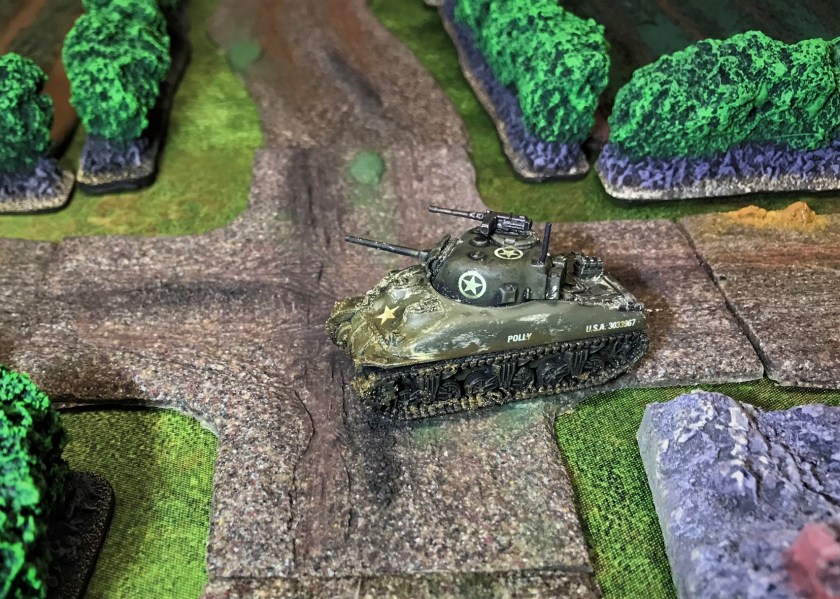
Truly, I wanted to be as authentic as I could, but as I tried to research British tank markings, frankly, I got more confused! The issue is not improved by any information about the decals from Battlefront. US tank markings are pretty straightforward comparatively (IMO). With 6 Cromwells here, I needed some variety! You will see I used a number of decals from varying Commonwealth nations – and different theaters – incorrectly – and on purpose! In addition to the decals, I varied spare road wheel and toolbox placements, as well as adding some freehand names to the tanks. My freehand work is OK for the scale here I think – you can be the judge – I had to use a spotter brush and still make them look like a crew added the names. Again, the decals I used below are not as historically accurate as possible, and that’s fine with me – they do accomplish the playability and blogger-linking goals I described.
So onto the project – I had 9 vehicles:

Box front of 5 plastic Cromwells

Back of box

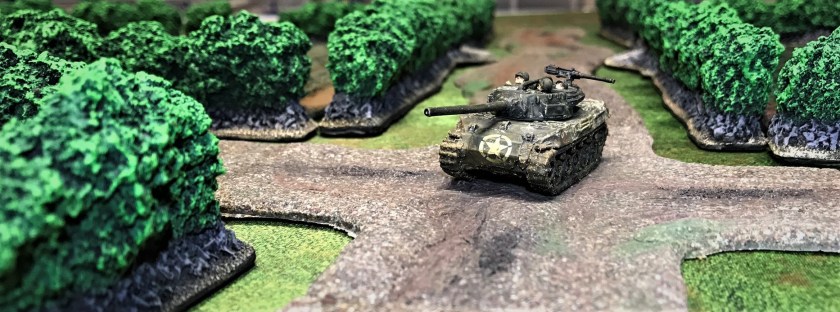
Resin and metal Cromwell Mark IV model

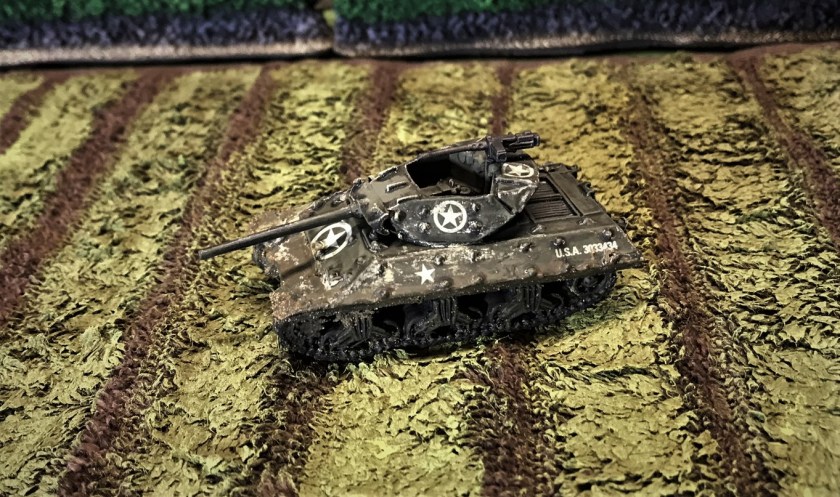
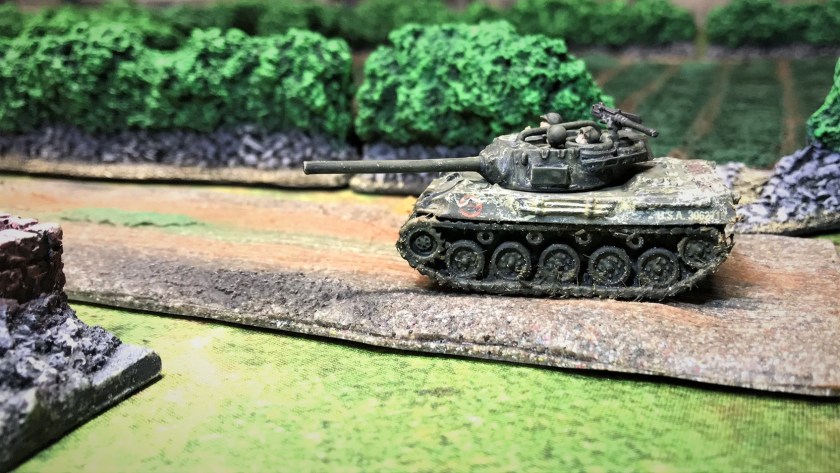
Old Glory M10 Achilles

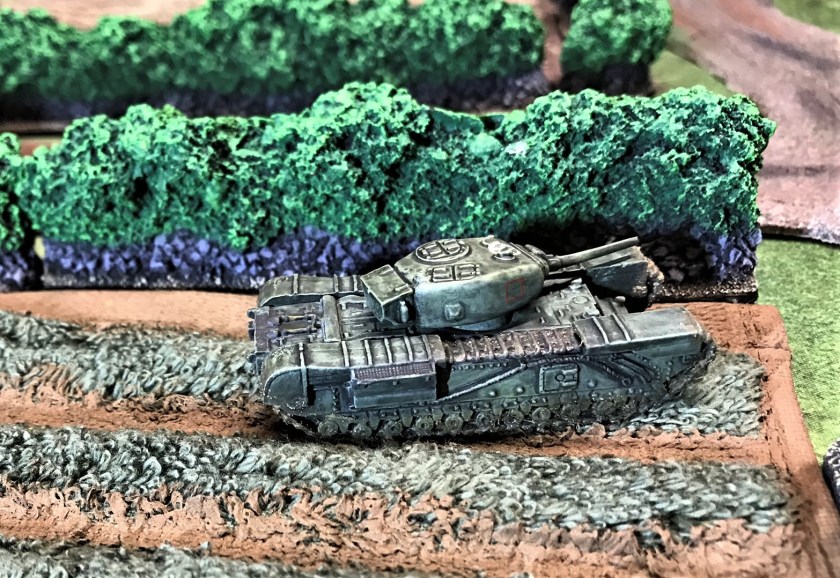
Resin and metal Churchill IV
Box front of 5 plastic Cromwells

Back of box

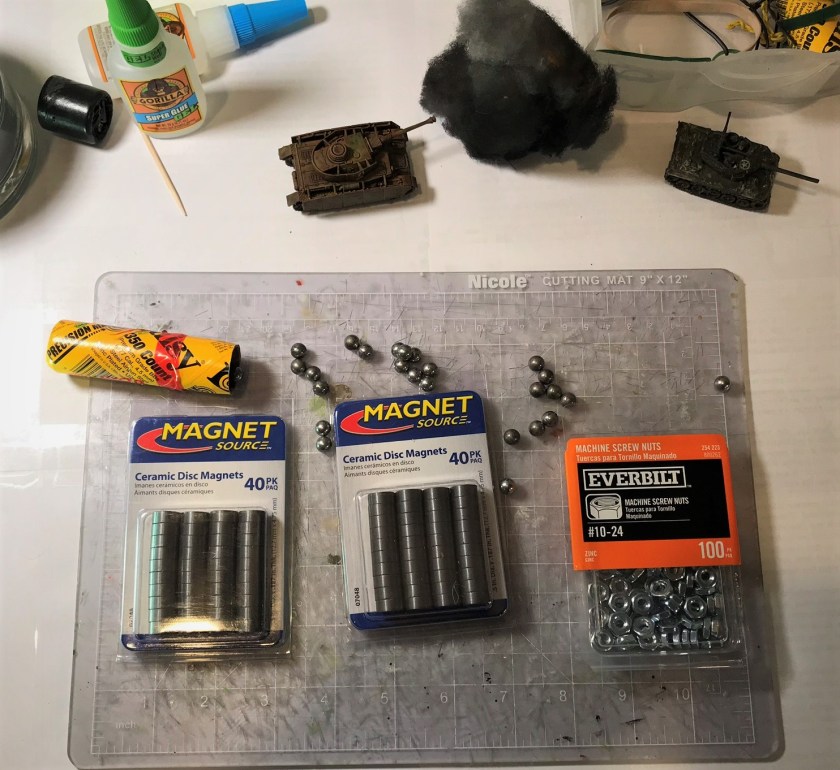
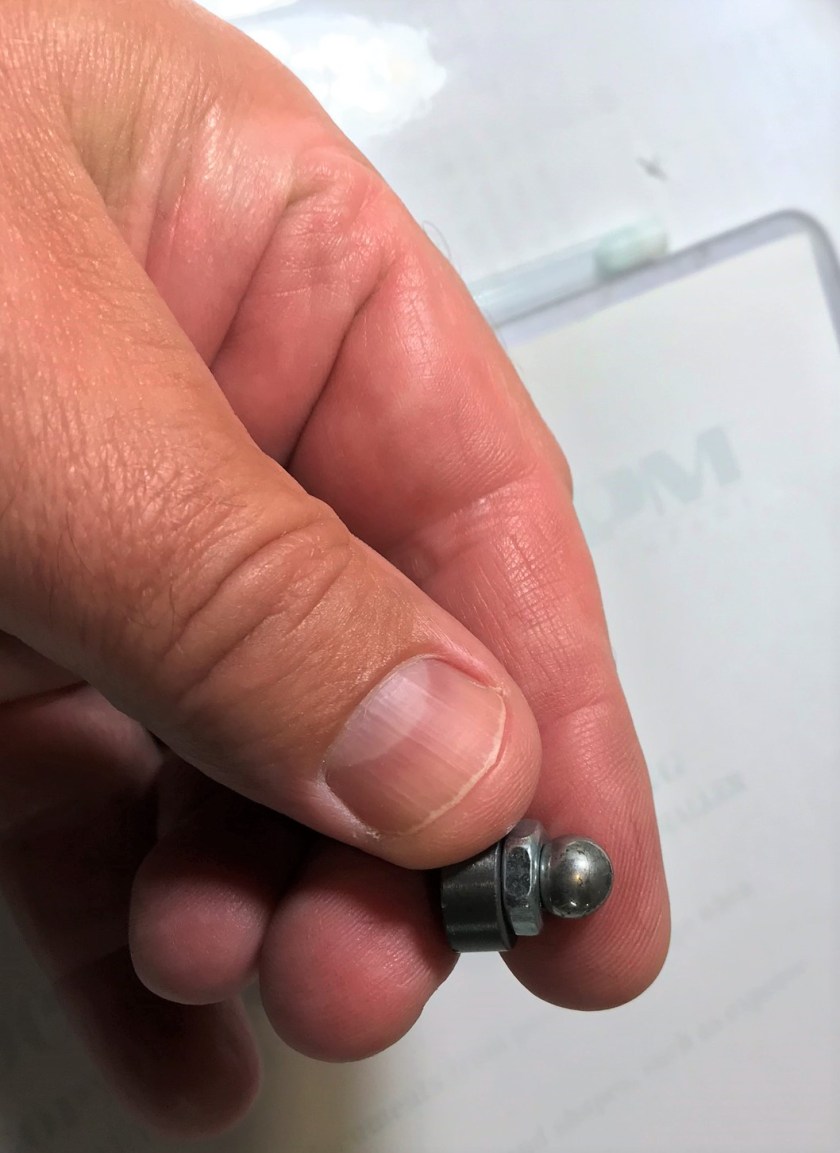
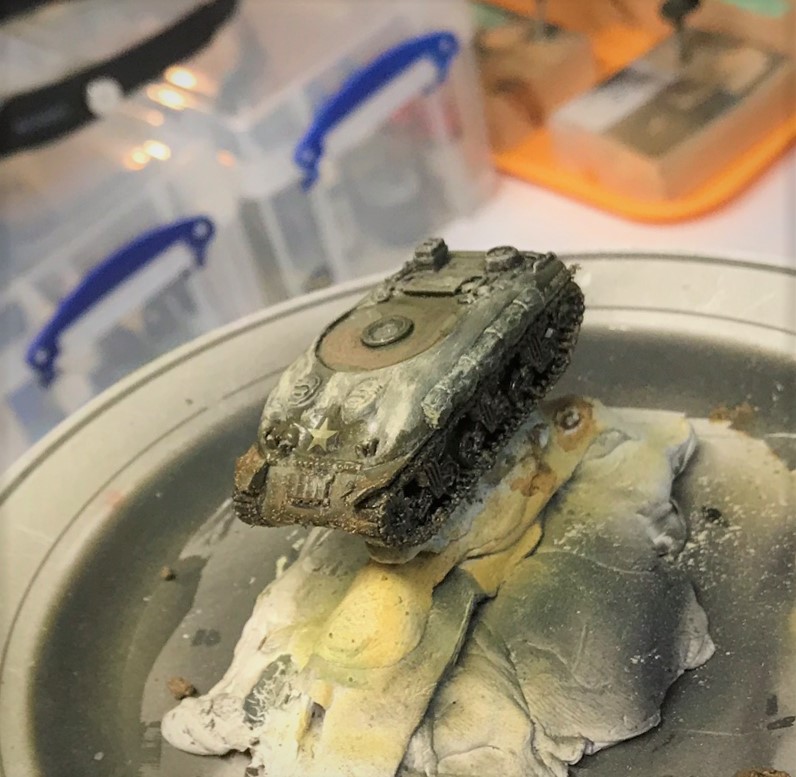
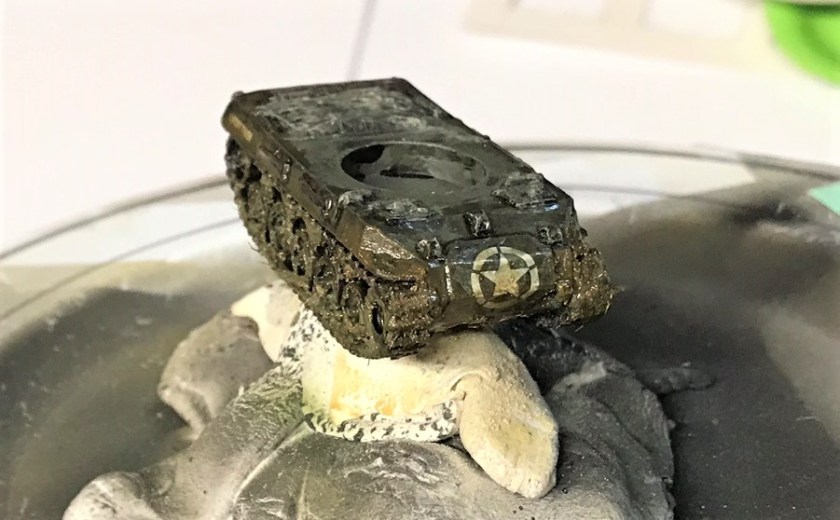
I added metal BB’s for heft

The casting for the Achilles needed work due to detail issues

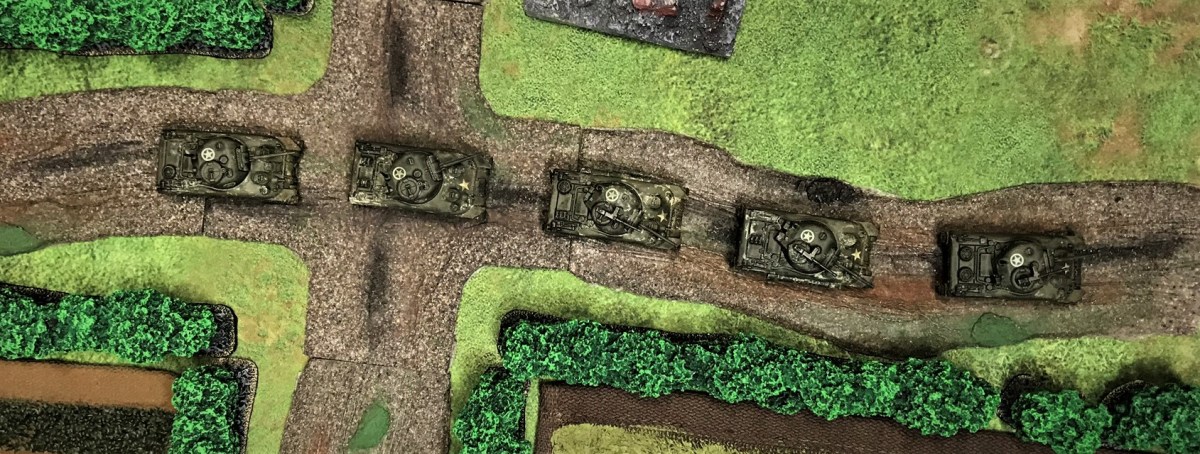
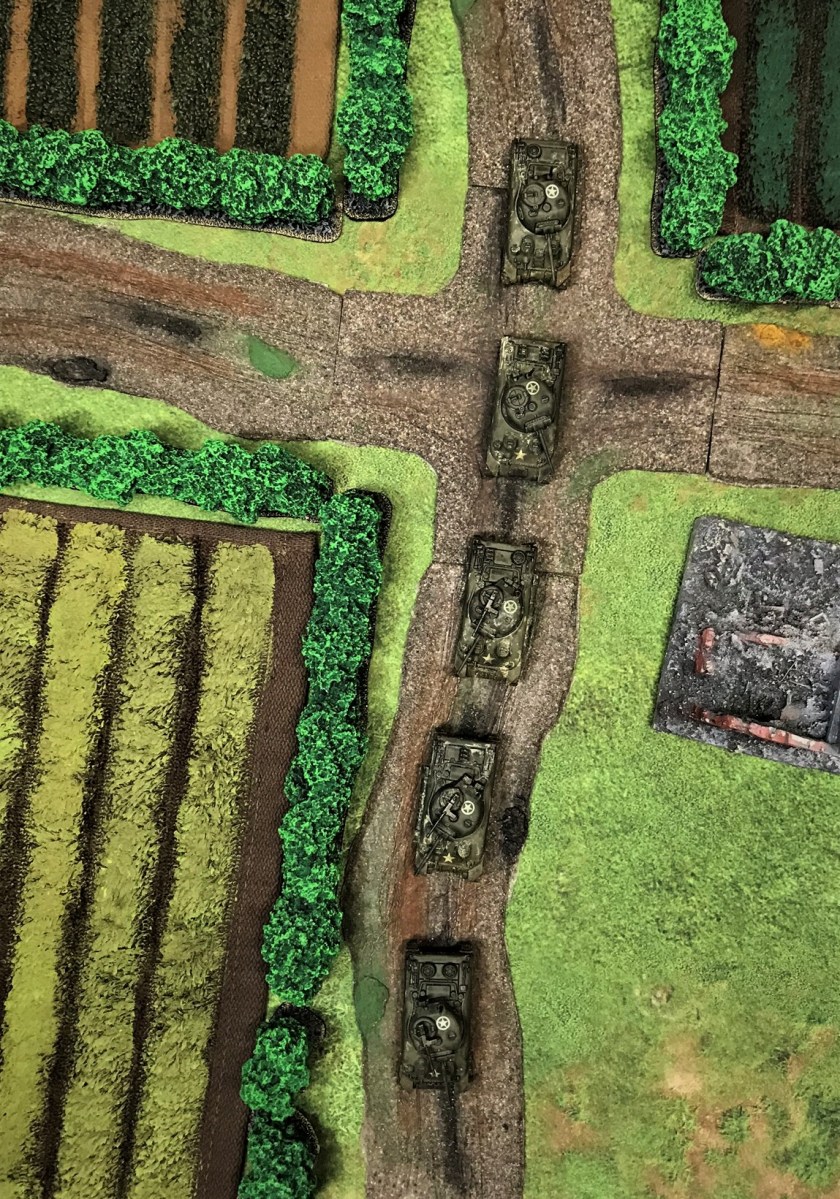
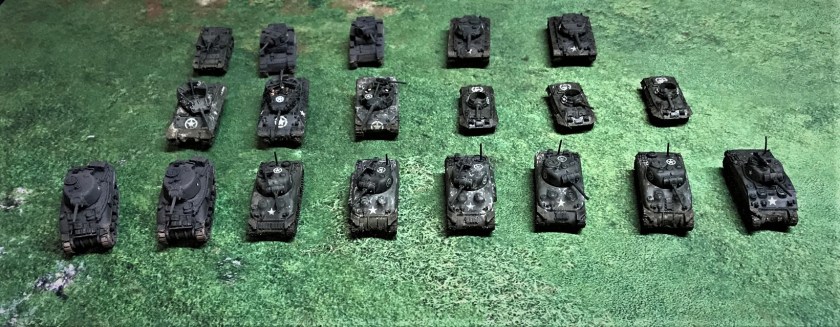
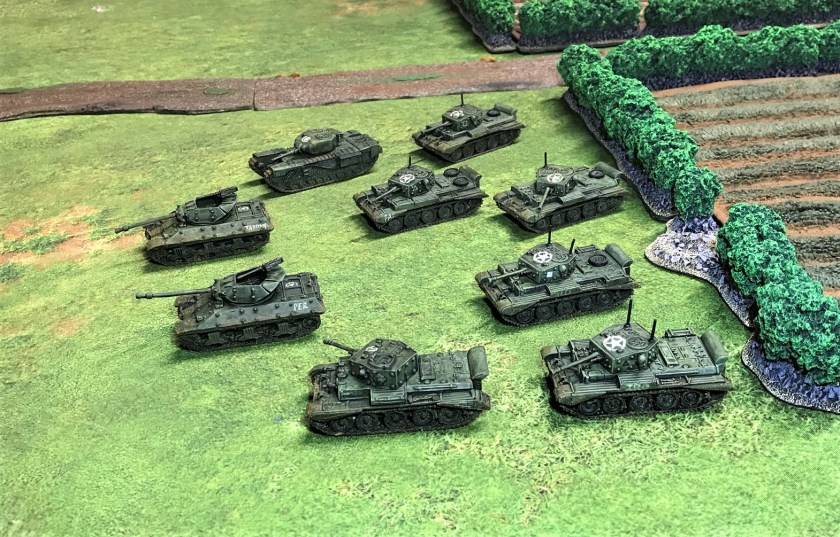
All the Brits!
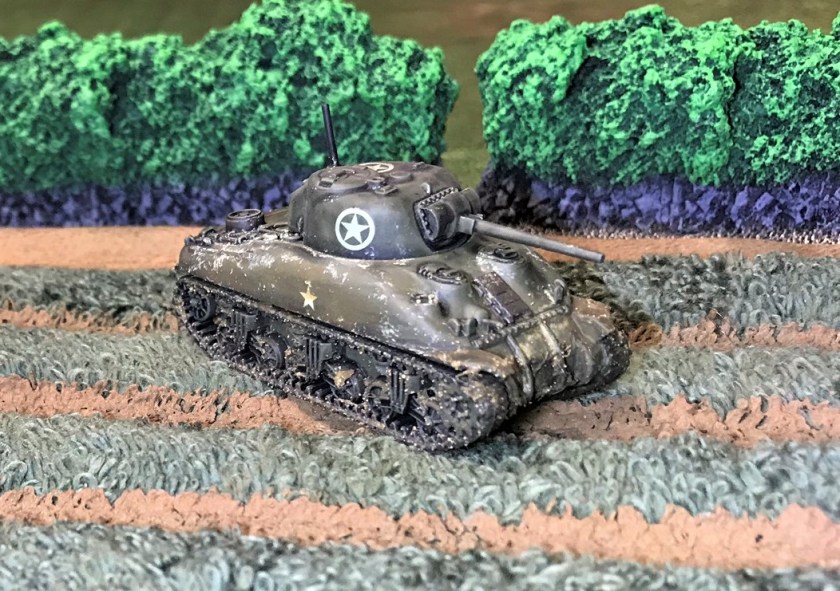
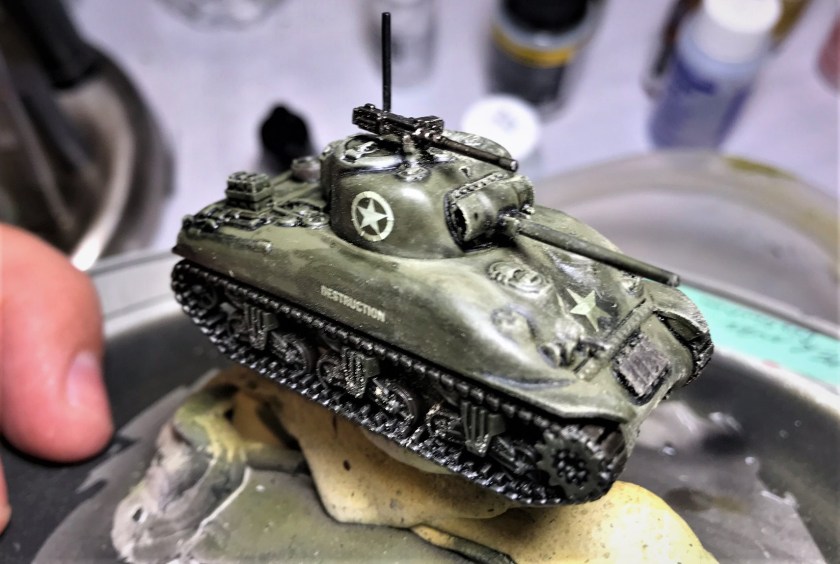
The Achilles had some casting defects that I remedied with green stuff. I also gave them some leftover plastic .50 caliber machine guns as the ones they had were too bendy. The plastic Cromwell’s got some BB’s in the hulls to add weight. I tried to make the tanks a lighter green so as to match the other ETO British Shermans I already had. I also added some radio antennae.
Now, in alphabetical order by name – and all linked blogs are worth checking out:
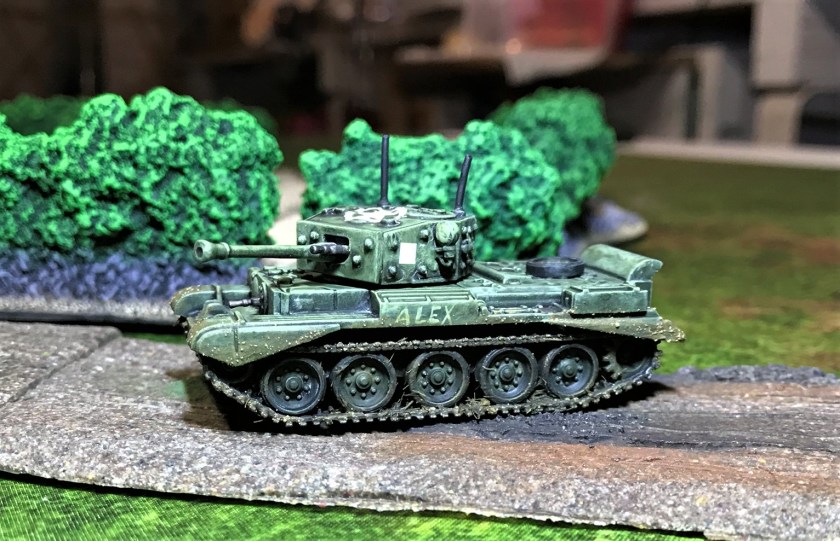
Alex
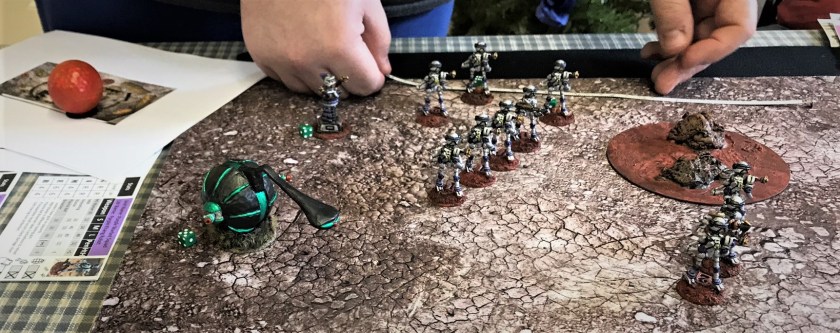
Alex’s blog can be found at Leadbaloony He does a great job with terrain and older GW Space Orks (I believe from the late 1980’s to early 1990’s) that are painted unbelievably well. I named a Cromwell Mark IV for him – it has a number 4 and solid white decals on the turret. The red and white unit decal is (I believe) an older one from the 21st Tank Brigade, which I chose because Alex is a British veteran.


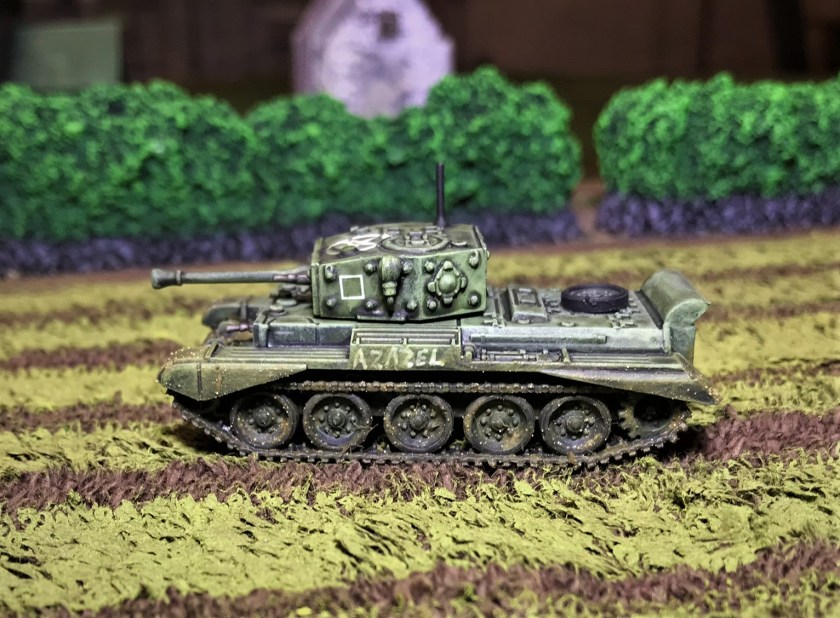
AZAZEL
Azazel’s blog can be found at Azazel’s Bitz Box. He is a fantastic painter and modeler and his interests run the gamut from terrain to 40K to Flames of War to board game minis and more. He still finds time to run a monthly community painting challenge. This July’s was “The Jewel of July ’19 Community Painting Challenge”, which included:
It’s for Vehicles. A Motorcycle or a Maus. A Starship or a Gaslands Car. A Panzer IV to a Kettenkrad. A Rhino APC or a Konigstiger or a War Rig or a M’ak I. (or M’ak II?)
This post is my second one for July’s challenge (here is my first). The challenges are a always LOT of fun to see and he is a great guy for doing it month after month. The Cromwell named for Azazel below has an open white square on the turret and a number 81. As Azazel is an Aussie, I gave the tank an ahistorical 9th Division (Australia) decal with a lovely platypus on it. The Aussies during the Normandy campaign were of course busy back in the Pacific theater fighting the Japanese, having already done their time fighting the Germans in North Africa. I am sure that this Cromwell will acquit itself well.


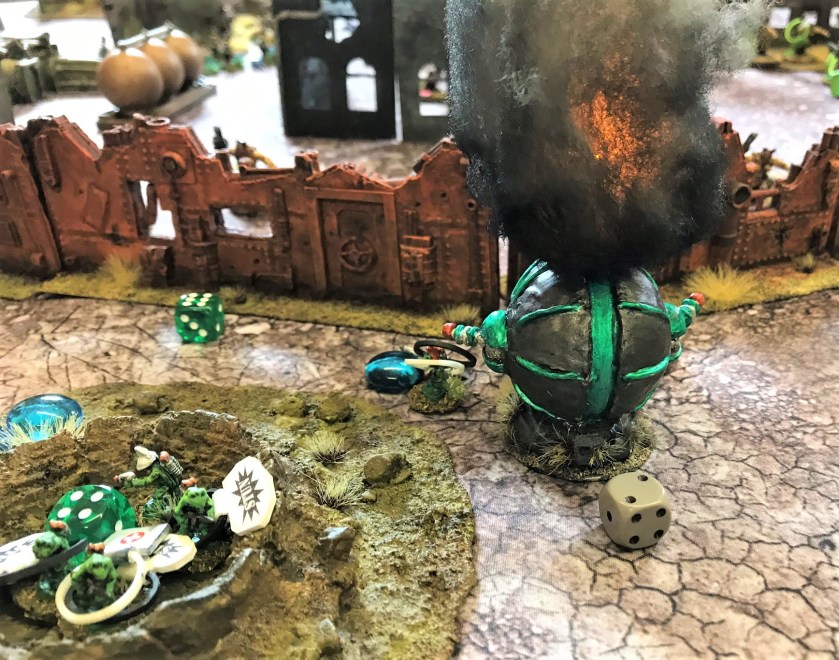
IRO aka Imperial Rebel Ork
Moving on to yet another Aussie, IRO, his blog is Imperial Rebel Ork . He is the master of kit bashing GW stuff into marvelous creations all his own. He creates new worlds of wonder is all I can say – and I recommend you take a gander. He also has a fine podcast he does with his buddy Warren (Waz), and its very funny and worth listening to (and not just because I made a promo on episode 14). They do indeed need a lesson on American accents that originate outside of the Deep South!
His imagination is wonderful, and you never know what he will come up with next. His Cromwell has a few markings that need explanation. The turret has a couple of 3rd Infantry Division (UK) triangle markings that I chose because I liked the look for the tabletop. There is a number 75 on the tank, and the unit marker is a later 21st Tank Brigade one (I think). I chose it because it had a devil/imp on it, and IRO is definitely that!


John aka JNV aka Just Needs Varnish!
I find John’s blog Just Needs Varnish! very interesting and informative, PLUS the guy really know how to paint and create games. His stuff ranges from WWII to lesser-known conflicts like the Paraguayan War and the War of Italian Unification. He does his research, and I really like his attention to detail. We are alike in that way I think. Most importantly, John loves tanks too!
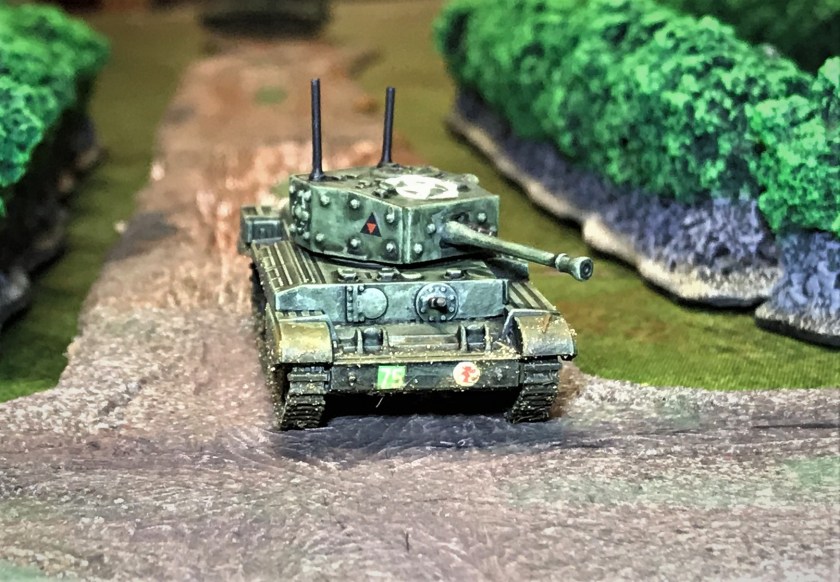
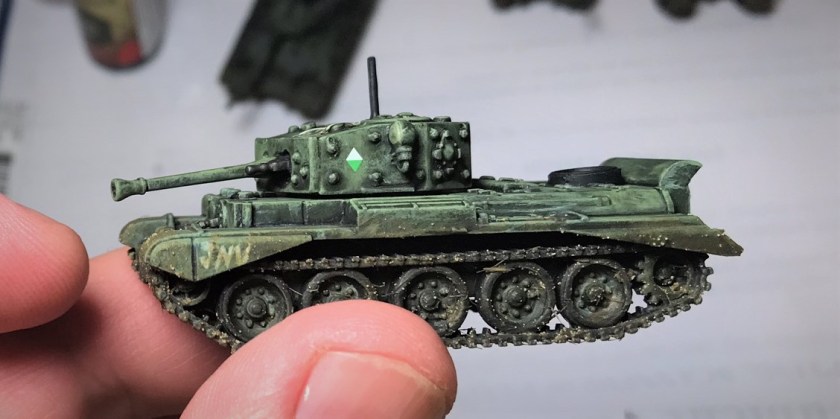
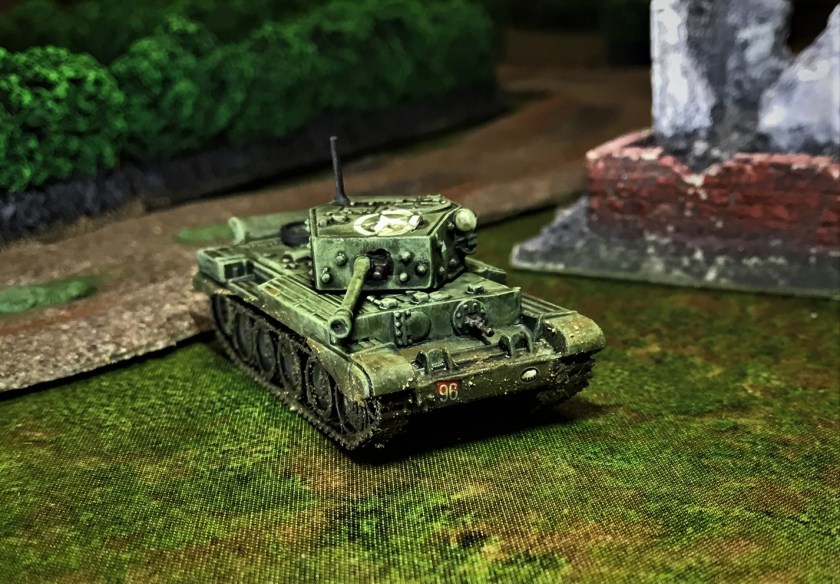
While John is a Brit, the tank with his JNV on it has turret markings for the 1st South African Infantry Division. As with IRO’s tank, these are of course not correct, but will visually helpful on the gaming table. The tank has a 96 number on it, and a British 2nd Armoured Brigade insignia from North Africa on the hull front.


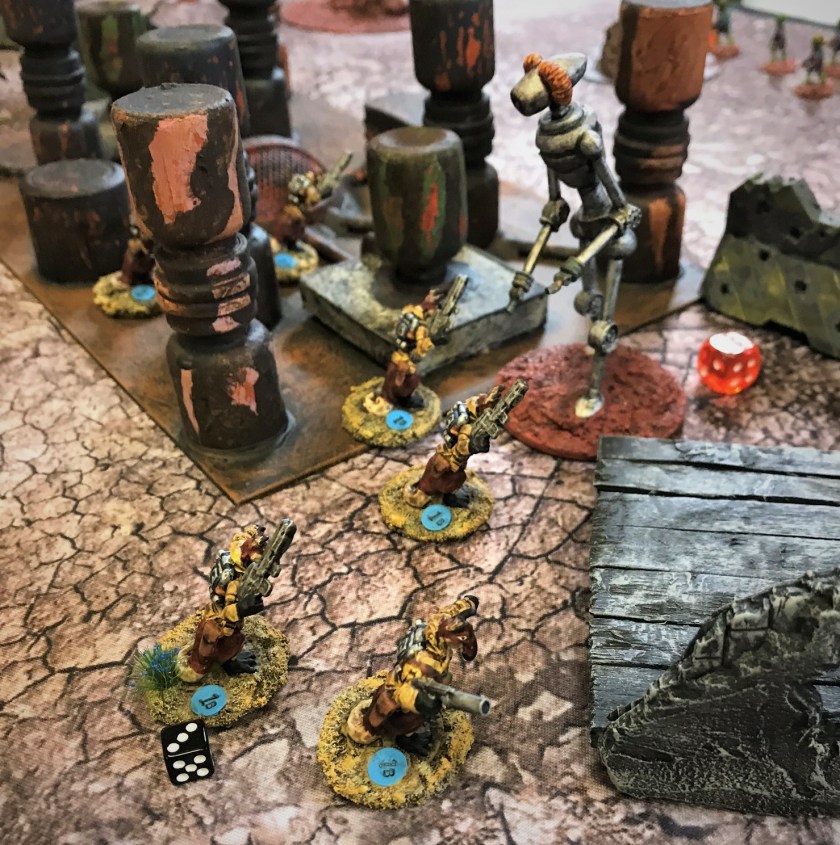
Pat’s 1:72 Military Diorama’s
Pat is a military modeler and not a gamer. He has a lovely blog Pat’s 1:72 Military Diorama’s that details his work from the medieval era to the English Civil War to WWII. His projects could be considered epic just from their size and scope, but the man does very high quality work too. As I call it, great eye-candy – check him out!
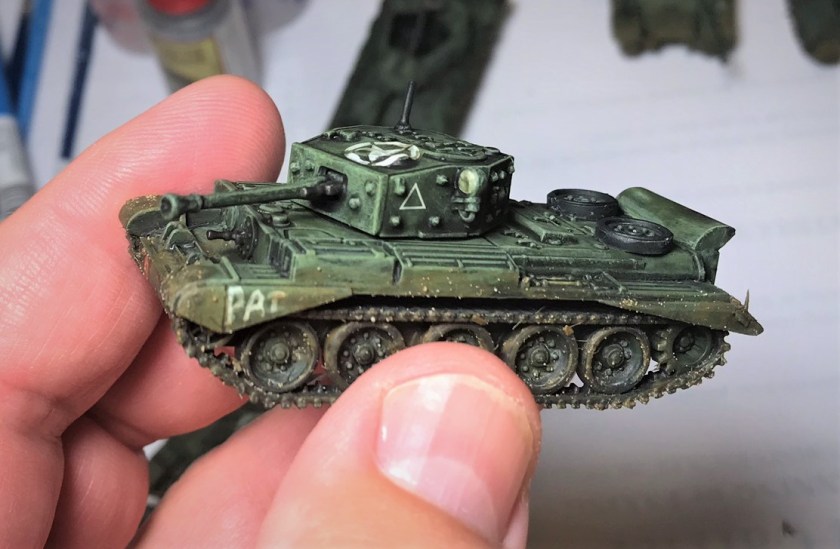
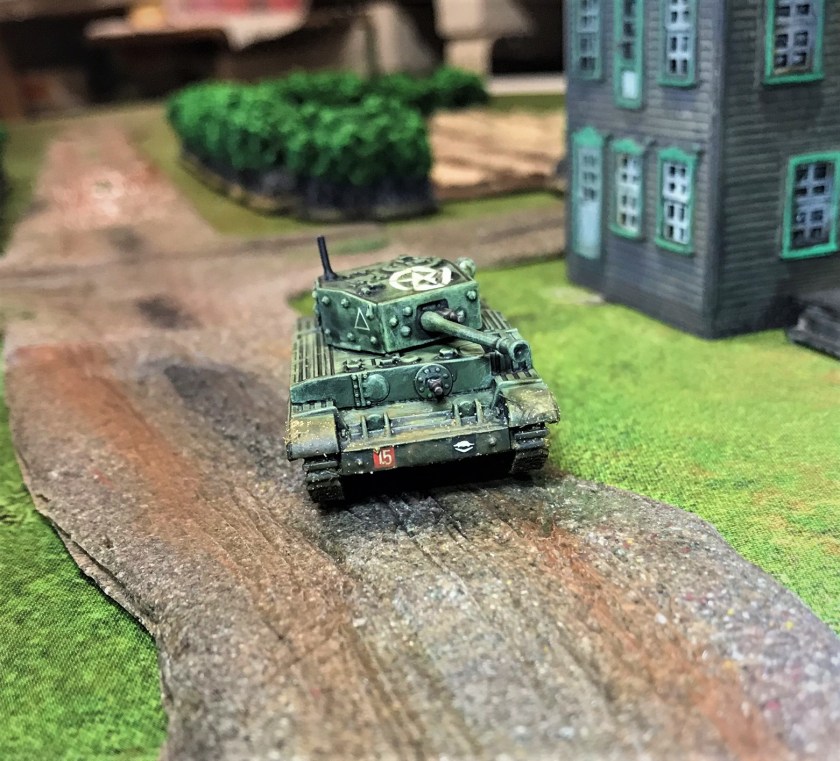
Pat is also an Aussie. His Cromwell has open white triangles on the turrets, and a number 15 on it. It also has the same Aussie 9th Division platypus marking as Azazel’s tank.

Per at Roll a One
Here is my first exception to the rule of having links to blogs of subjects of Queen Elizabeth – Per. Per is Swedish, and I believe lives in the UK, so we’ll include him here. His gaming blog is Roll a One which I follow on WordPress and on Twitter (though mine is also linked on Twitter I have little idea of what to do with mine on Twitter!). Per creates truly massive games, most of which deal with Sweden in some way or another. He has done WWII era what-if games with Swedish tanks, some unbelievable stuff for the Great Northern War in 6 mm, and lately some post-apocalyptic stuff that I really like. Similar to Alex, he creates very immersive games.
Now I have no Swedish tanks like the Stridsvagn m/42 (but Per does) – and I wanted to include him as I like his stuff. I’m also 1/8th Swedish, so I had a soft spot! Per, I named an M10 Achilles for you – but with no decals. Mainly this was because I could not find much in terms of references on such unit designations – and secondly because the model hull was not great for decals. It did get (like all my British here) a star to keep them safe from the RAF and USAAF misidentifying them. I did not buy a crew for this one.


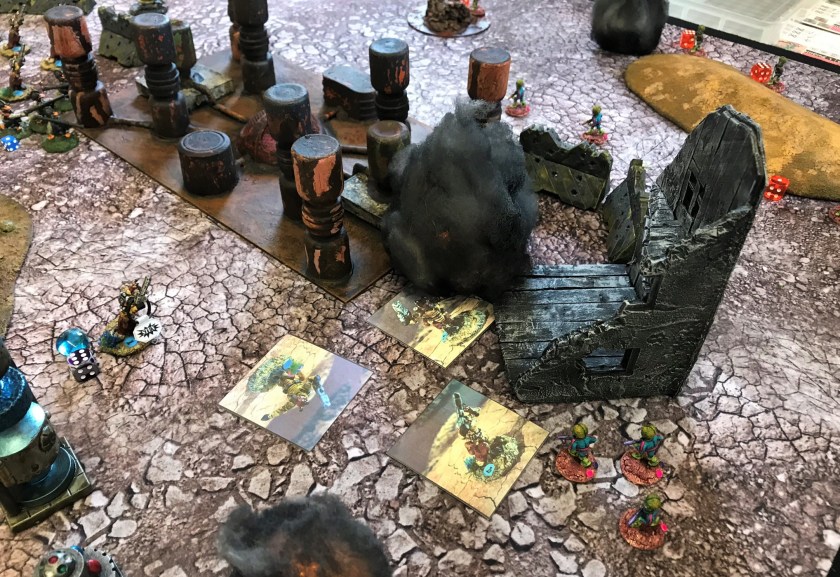
Pete at SP’s Projects Blog
Pete is another Brit with a fantastic hobby blog. His is SP’s Projects Blog, and is quite good and has a number of interesting projects from terrain to vehicles to infantry. I like Pete’s blog because he does a great job on his hobby work, and has a number of very interesting modern pieces. He is also well versed in history, and writes some of the best battle reports on his Necromunda games.
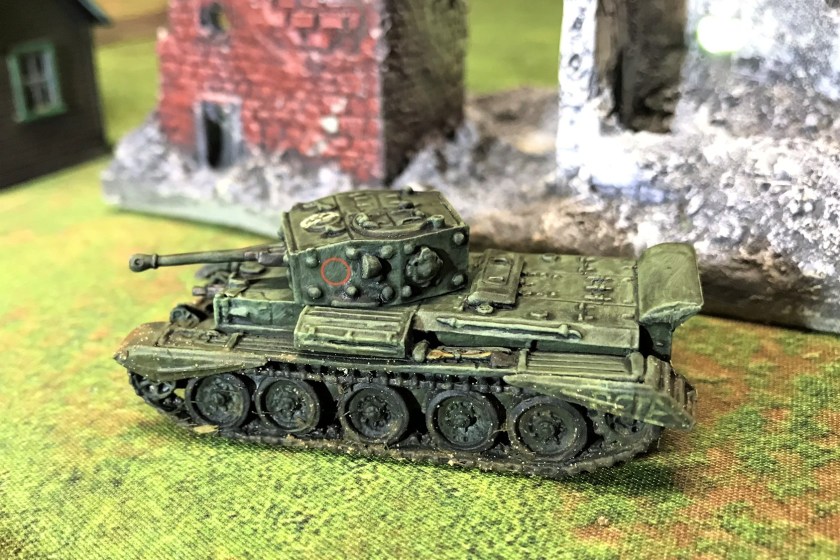
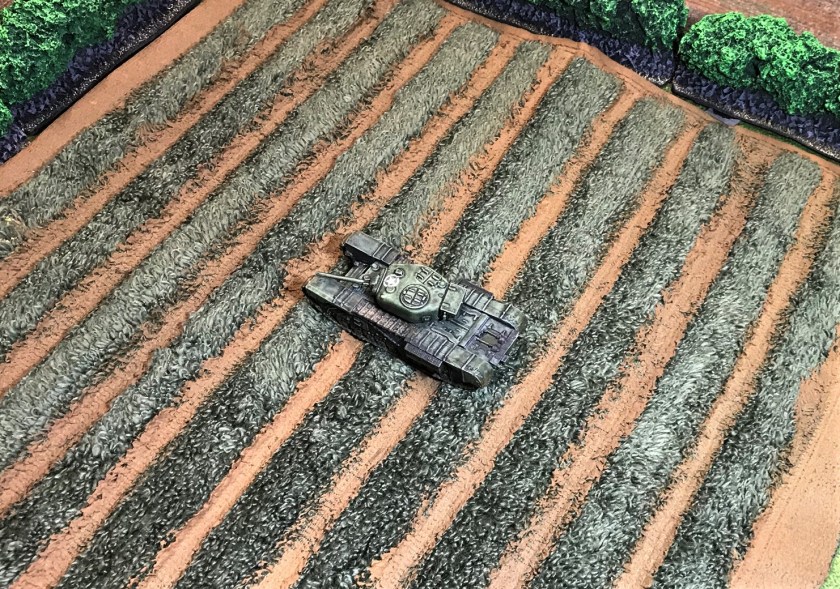
Pete’s Cromwell has turret markings with an open red circle. This is the only one I made that is resin and metal – the other 5 Cromwell’s were plastic. It has a number 91 on it, and an insignia from the famous 7th Armoured Division – who was in Normandy!


Tabitha
Now for a real exception – Tabitha is my granddaughter and only a bit older than 2½. She’s not a Brit or an Aussie, but she does light up our lives. I’m still waiting on her blog though…
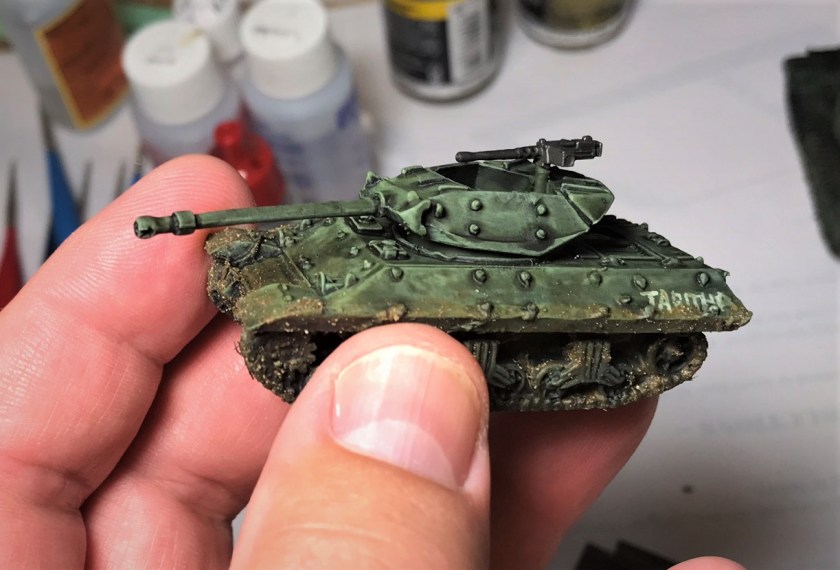
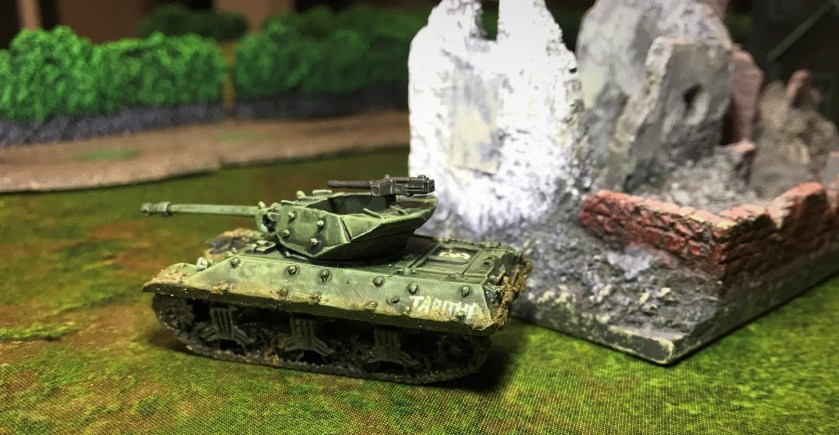
Similar to Per, she gets an M10 Achilles named for her. As she has Finnish heritage (through me and my daughter Ellen of course), in her stead I will recommend a full Finn – Mikko – and his blog here. Mikko’s blog is the wonderfully named Dawn of the Lead. Mikko is into pirates and zombies (and maybe pirate zombies). His painting is superb, check his stuff out.
Now back to Tabitha and her named Achilles. Also – I did not buy a crew for this one either!


TIM aka The Imperfect Modeler
Now last, but most definitely not least, may I present the last tank and blogger for this post! TIM aka The Imperfect Modeler (neither are his real names – he is actually Dave). His blog can be found here. It might be a shorter list to share with you what he is not into in terms of modeling. His dioramas and figures are 28mm to 54mm, and span the American West, WWII, fantasy, and much more. They are amazing, and you are missing out if you have not seen his stuff.
Dave also has a skill with writing and his blog postings are also very amusing. We are relatively close in age, and I appreciate especially his discussions on movies and music. His painting is top-notch, and his dioramas are stunning. It’s a shame he is not a gamer though, his tabletops would be mind-blowing.
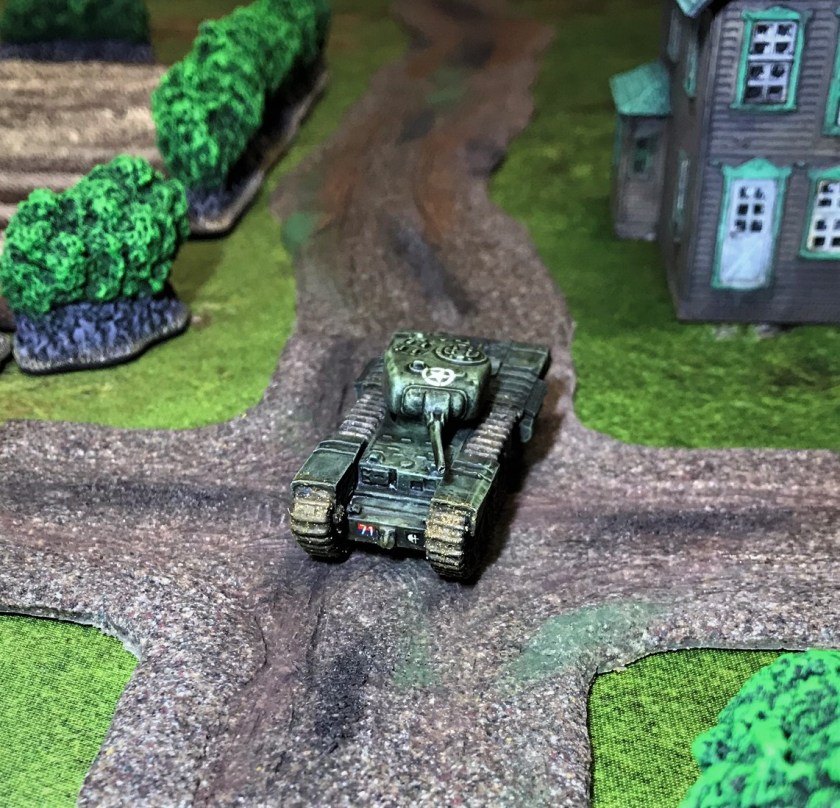
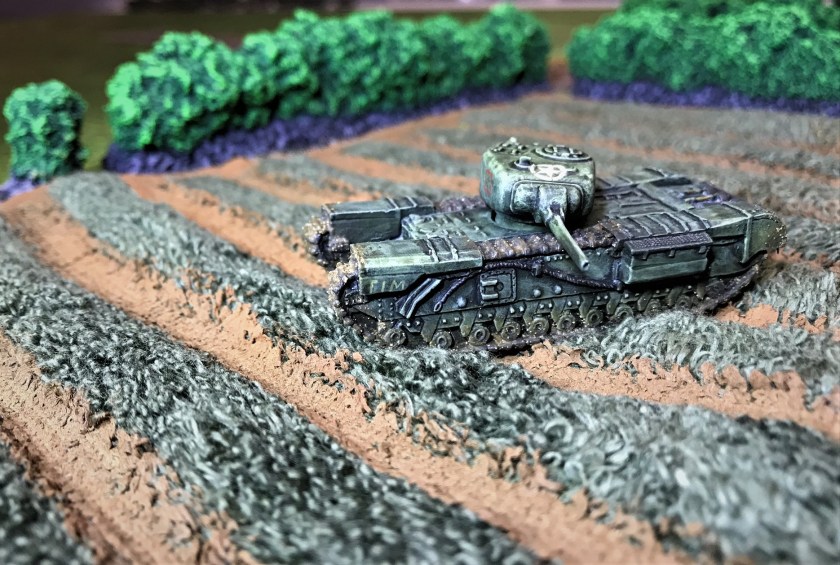
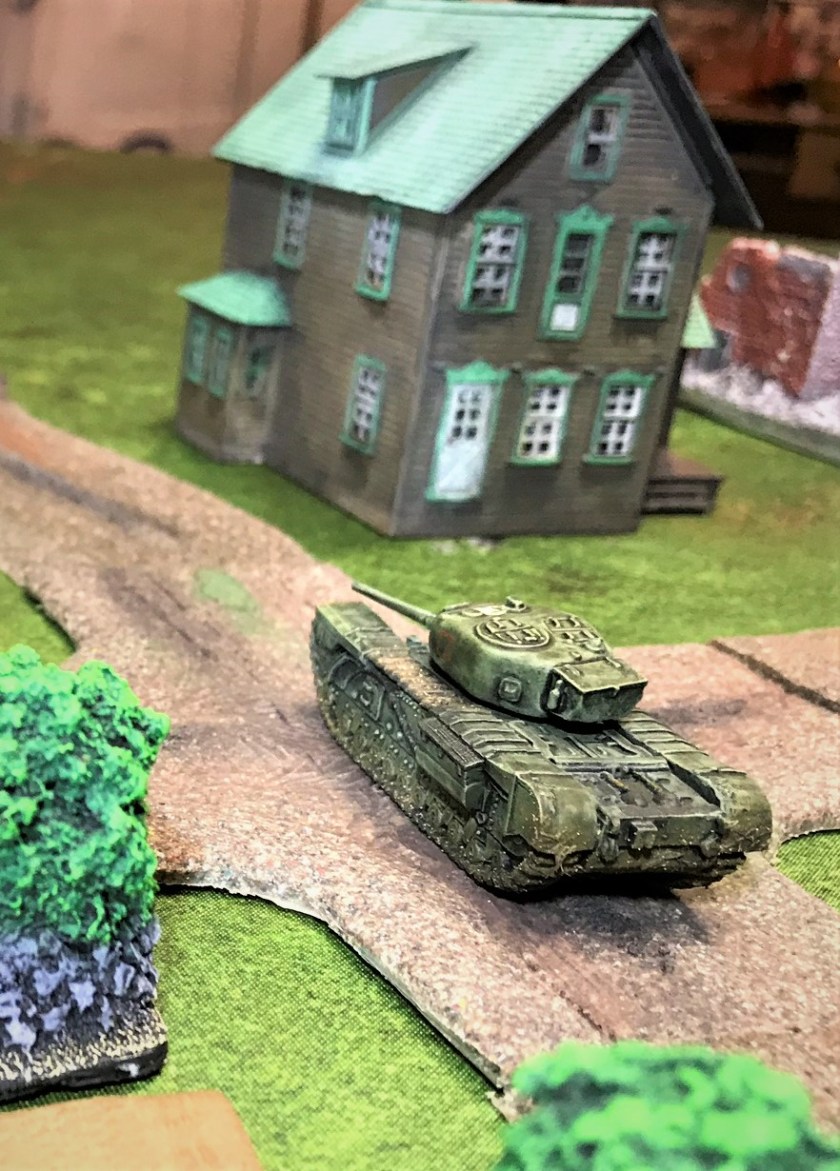
As Dave is a Brit, and a real man worthy of respect (just ask his wife), he gets the Churchill IV heavy infantry tank named after him. It has turret markings of open red squares, and a number 71 (which was a good year for him I understand). I chose the battleaxe symbol of the 78th Infantry Division for his tank (also not in Normandy, but worthy of Dave).


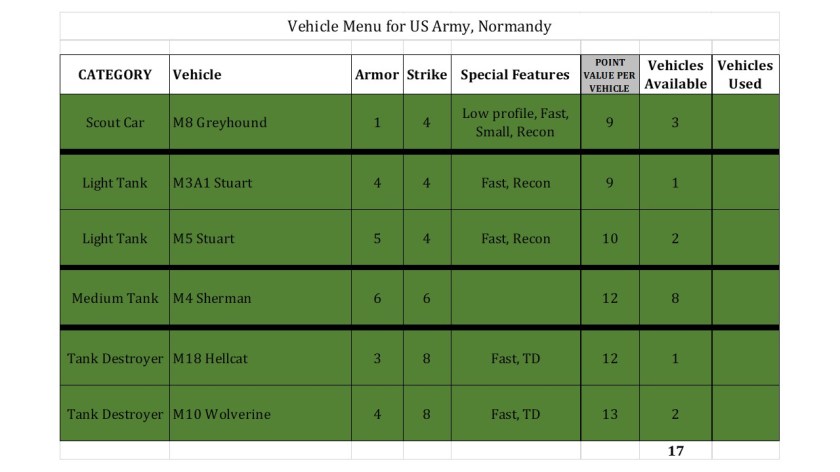
That wraps up the individual nods – please check them out! I’ll conclude with a group shot, my new British tank menu for What a Tanker© and the paints and materials I used. I hope you enjoyed this post, please let me know your thoughts, and I hope you found a new blog to enjoy! Up next, more Americans!

PAINTS, INKS, GLAZES, SHADES, WASHES, PIGMENTS, FLOCKING, GLUES AND MORE USED ON THESE VEHICLES:
- Gorilla Glue
- Daisy Air rifle steel BB’s
- Neodymium magnets (1/8″)
- E6000 epoxy
- Vallejo “Surface Primer – Black”
- Spare Battlefront plastic .50 cal machine guns
- Reaper MSP “Black Primer”
- Vallejo “Flow Improver”
- Vallejo “Airbrush Thinner”
- Vallejo Model Air “Olive Green”
- Vallejo “White”
- Vallejo Game Air “Black”
- Battlefront “Dark Gunmetal”
- Vallejo Model Air “Aluminum”
- Vallejo Model Air “Wood”
- Citadel “Typhus Corrosion”
- Citadel “‘ardcoat”
- Battlefront “Monty Shade” (wash)
- Army Painter “Military Shader” (wash)
- Vallejo “Surface Primer – Grey Primer”
- Vallejo “Gloss Varnish”
- Testors “Universal Acrylic Thinner”
- Decals from Battlefront
- Microscale Micro-Set
- Microscale Micro-Sol
- Microscale Liquid Decal Film
- Vallejo “European Mud” (Thick Mud)
- Vallejo “European Slash Mud” (Splash Mud)
- Vallejo “Crushed Grass” (weathering)
- Vallejo Mecha Varnish “Matt Varnish