2020 was – HOPEFULLY – a once-in-a-lifetime experience. As we all did, I had highs and lows on the personal side of life, the hobby side of life, and the golf side and others.
First, my deep thanks for all of you who regularly follow this blog and share your feedback with me. My thanks also to those whose blogs I follow. Your work inspires me.
As readers of this blog know, I am currently knee-deep in finishing up my forces for Feudal PatrolTM games. But I did set some goals back in January 2020 – so here I’d like to examine and share how I did – or did not do – versus those benchmarks, how my production was in 2020, how the blog did, and my personal highs and lows. I’ll also set some 2021 goals for myself. This is really to hold myself accountable here – and please know I’m open to any and all feedback.
How did I do versus my 2020 goals?
These are the goals I set for myself and how I did:
Games:
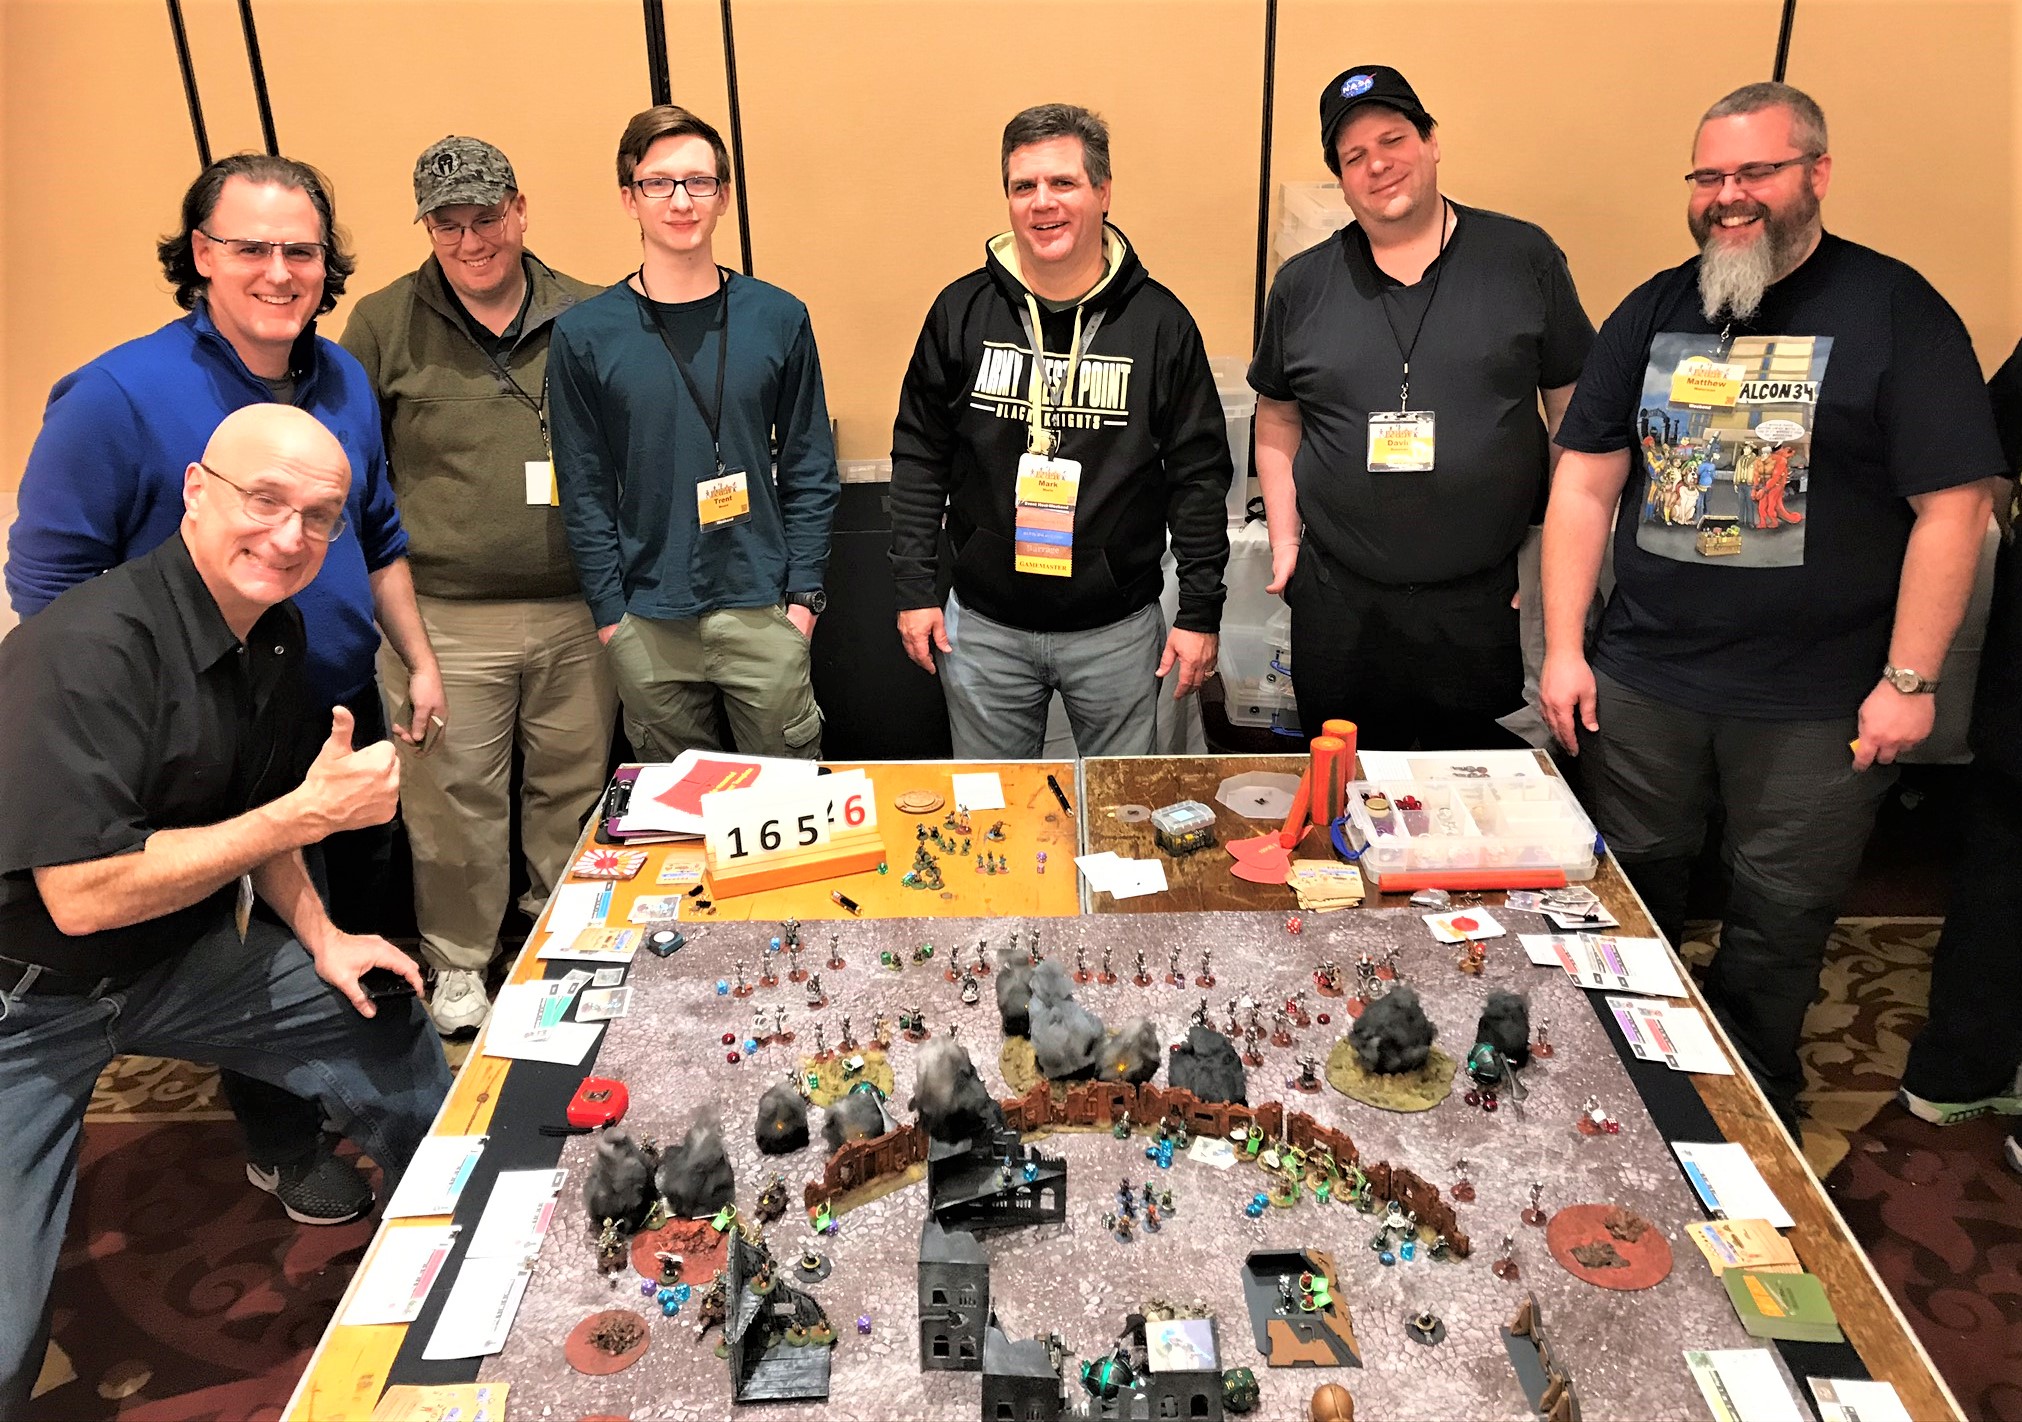
- Run convention games at TotalCon, HAVOC, HUZZAH, BARRAGE, and the Fort Devens Game Day (and a few more maybe) –
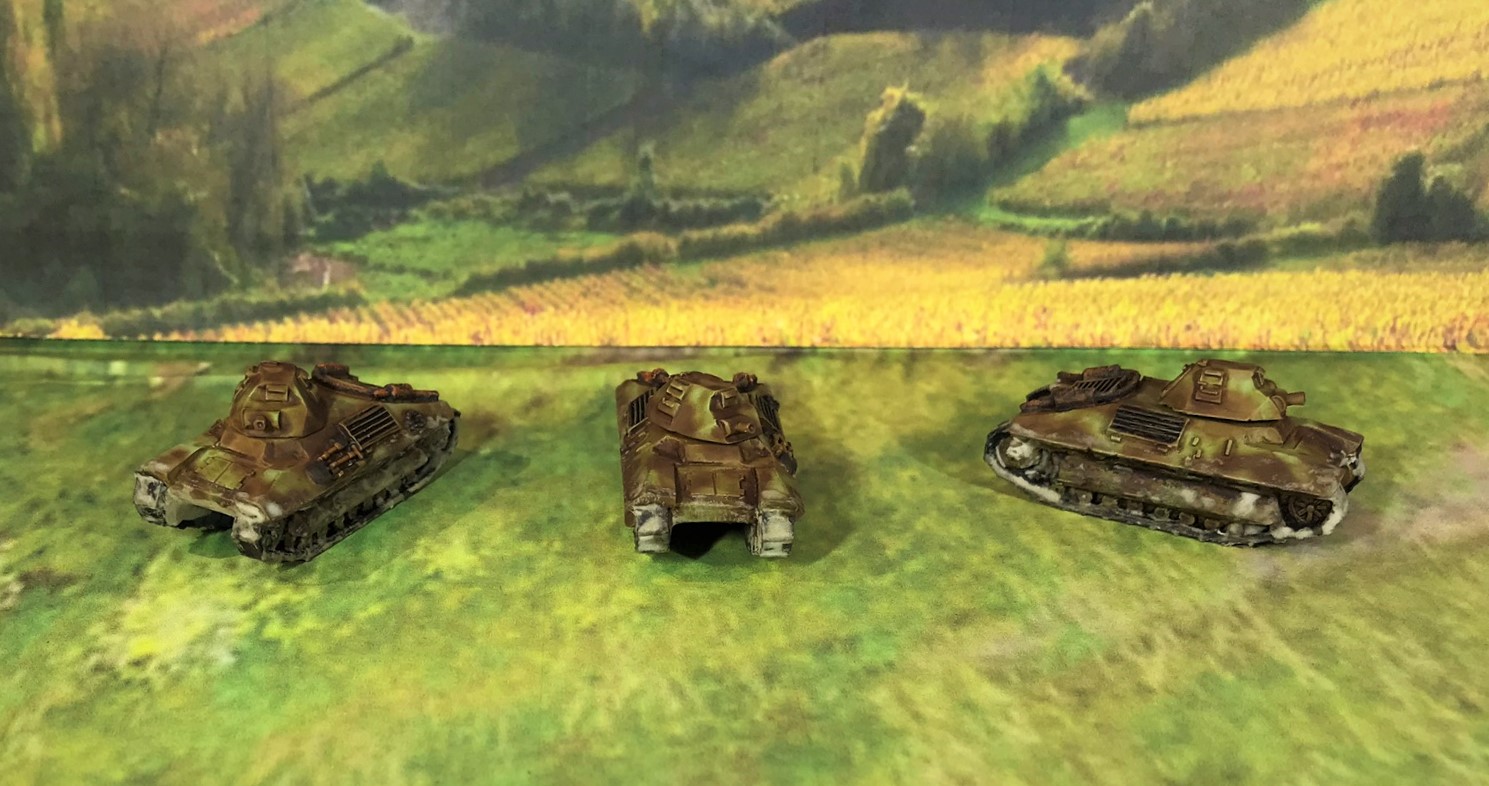
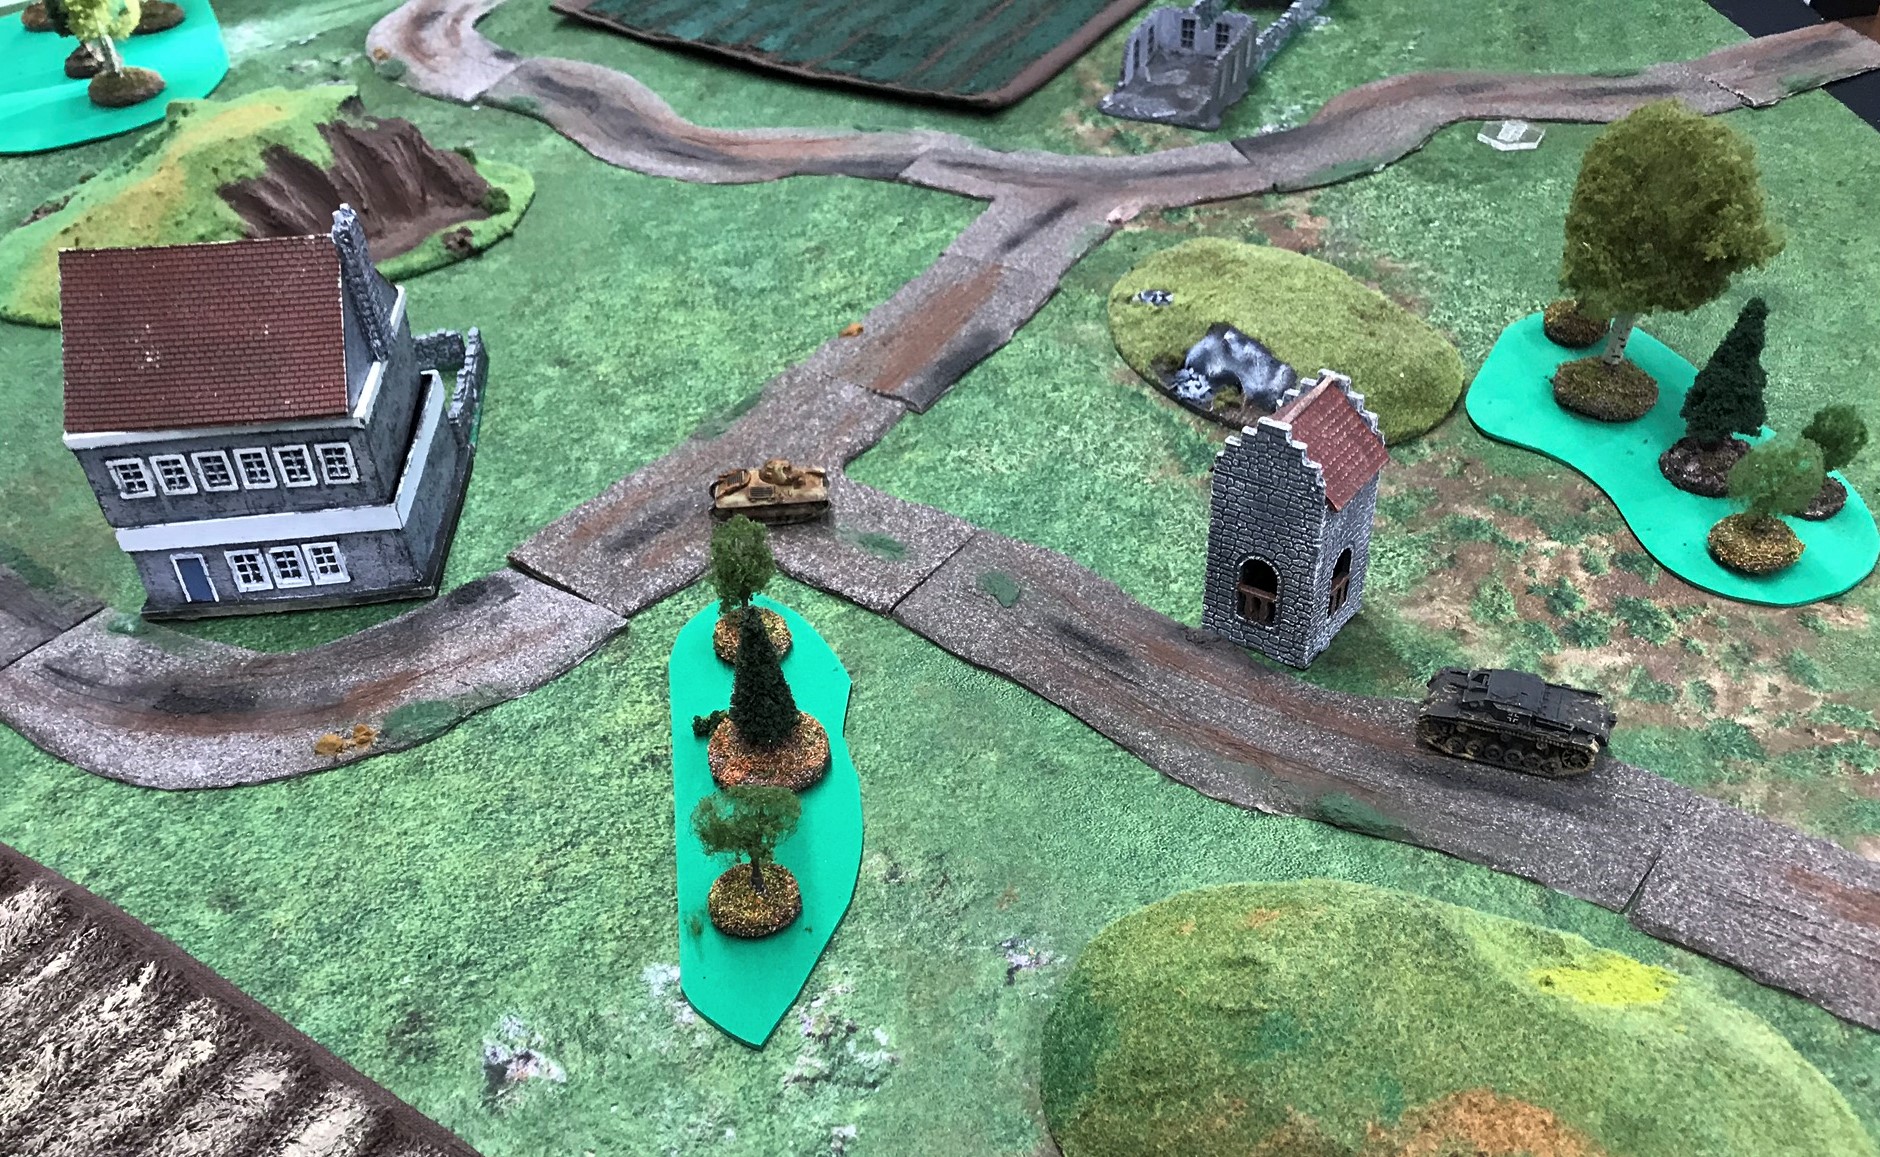
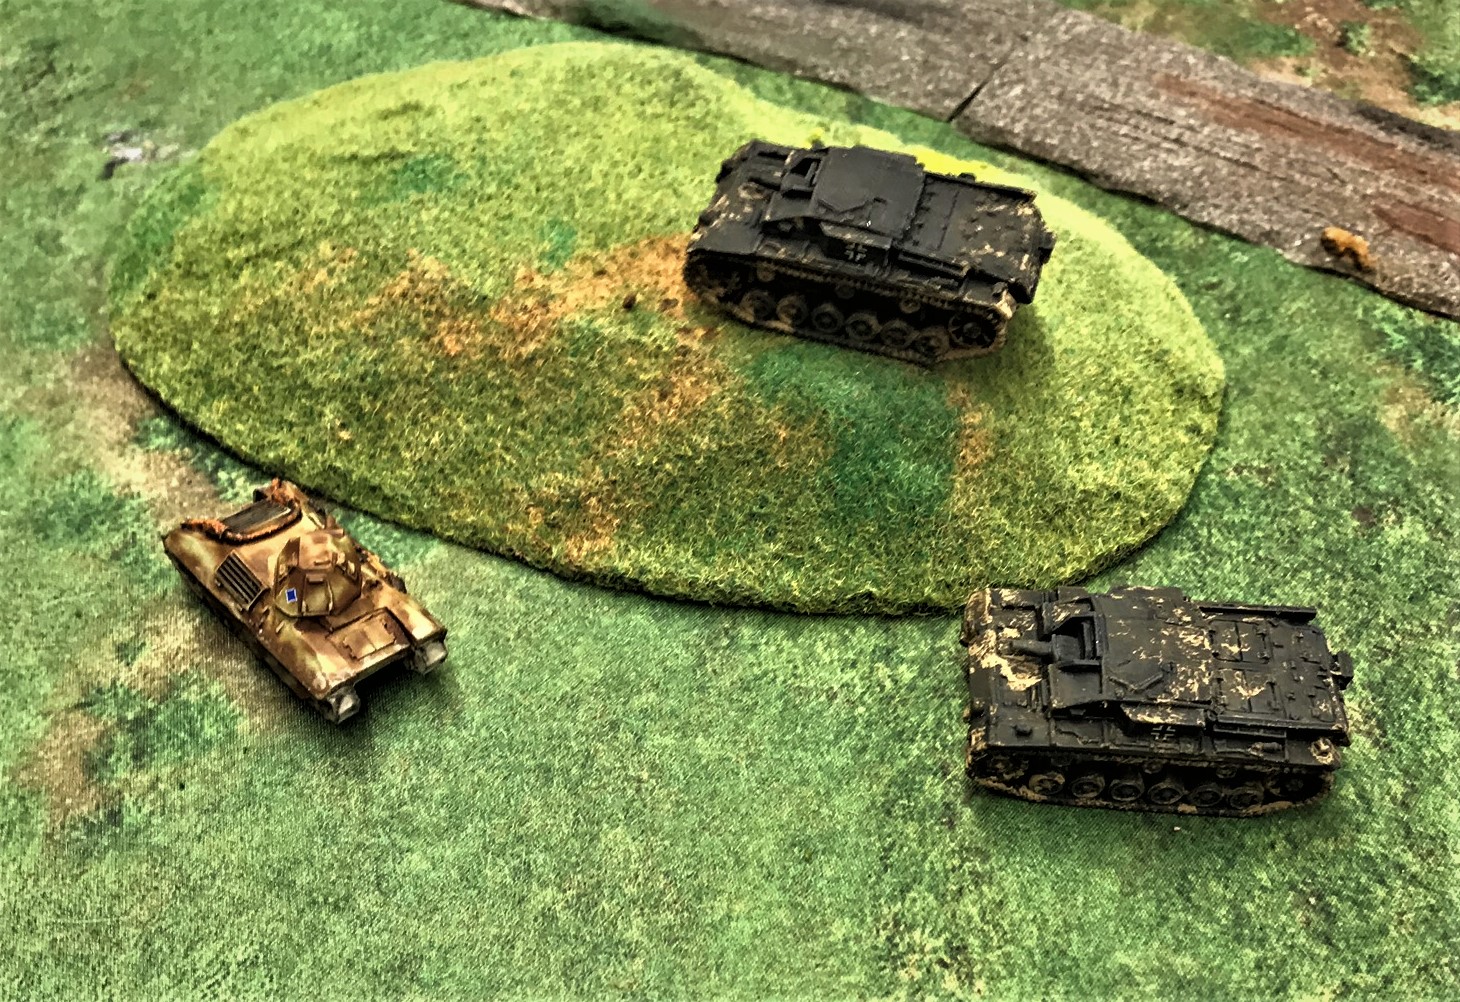
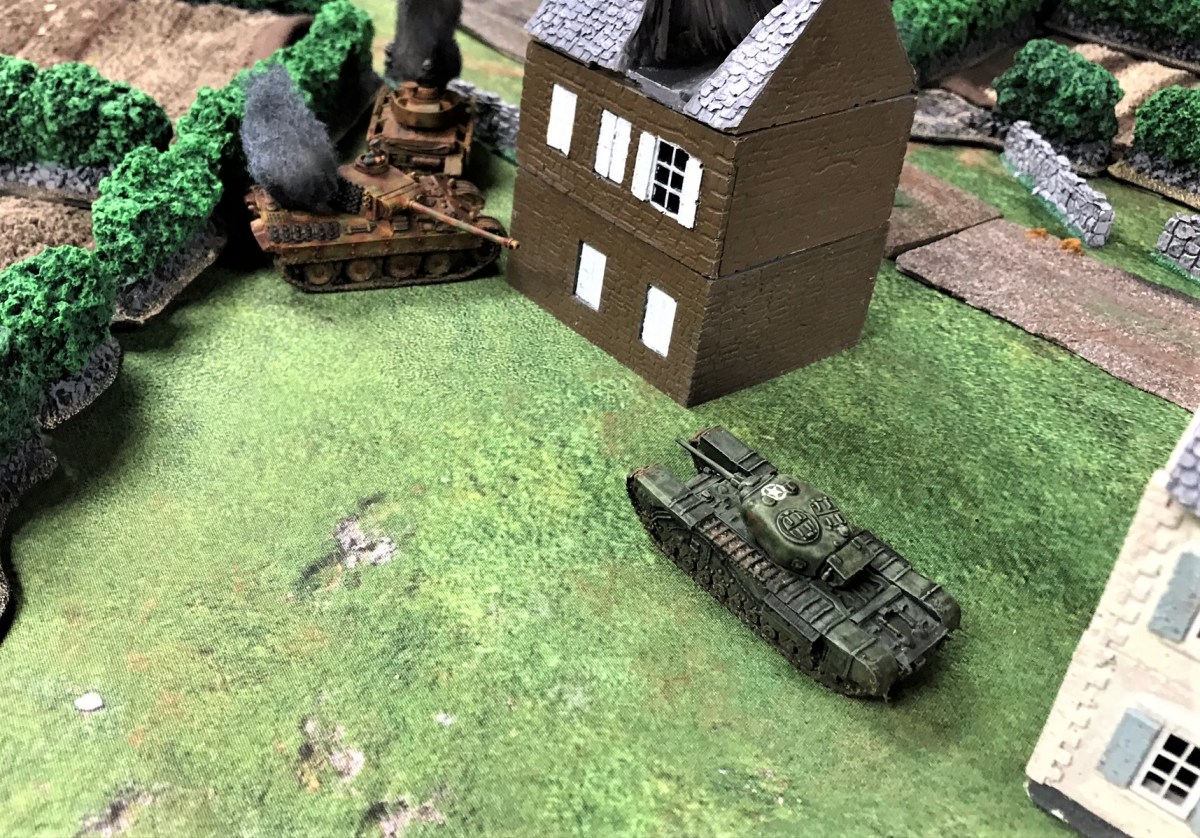
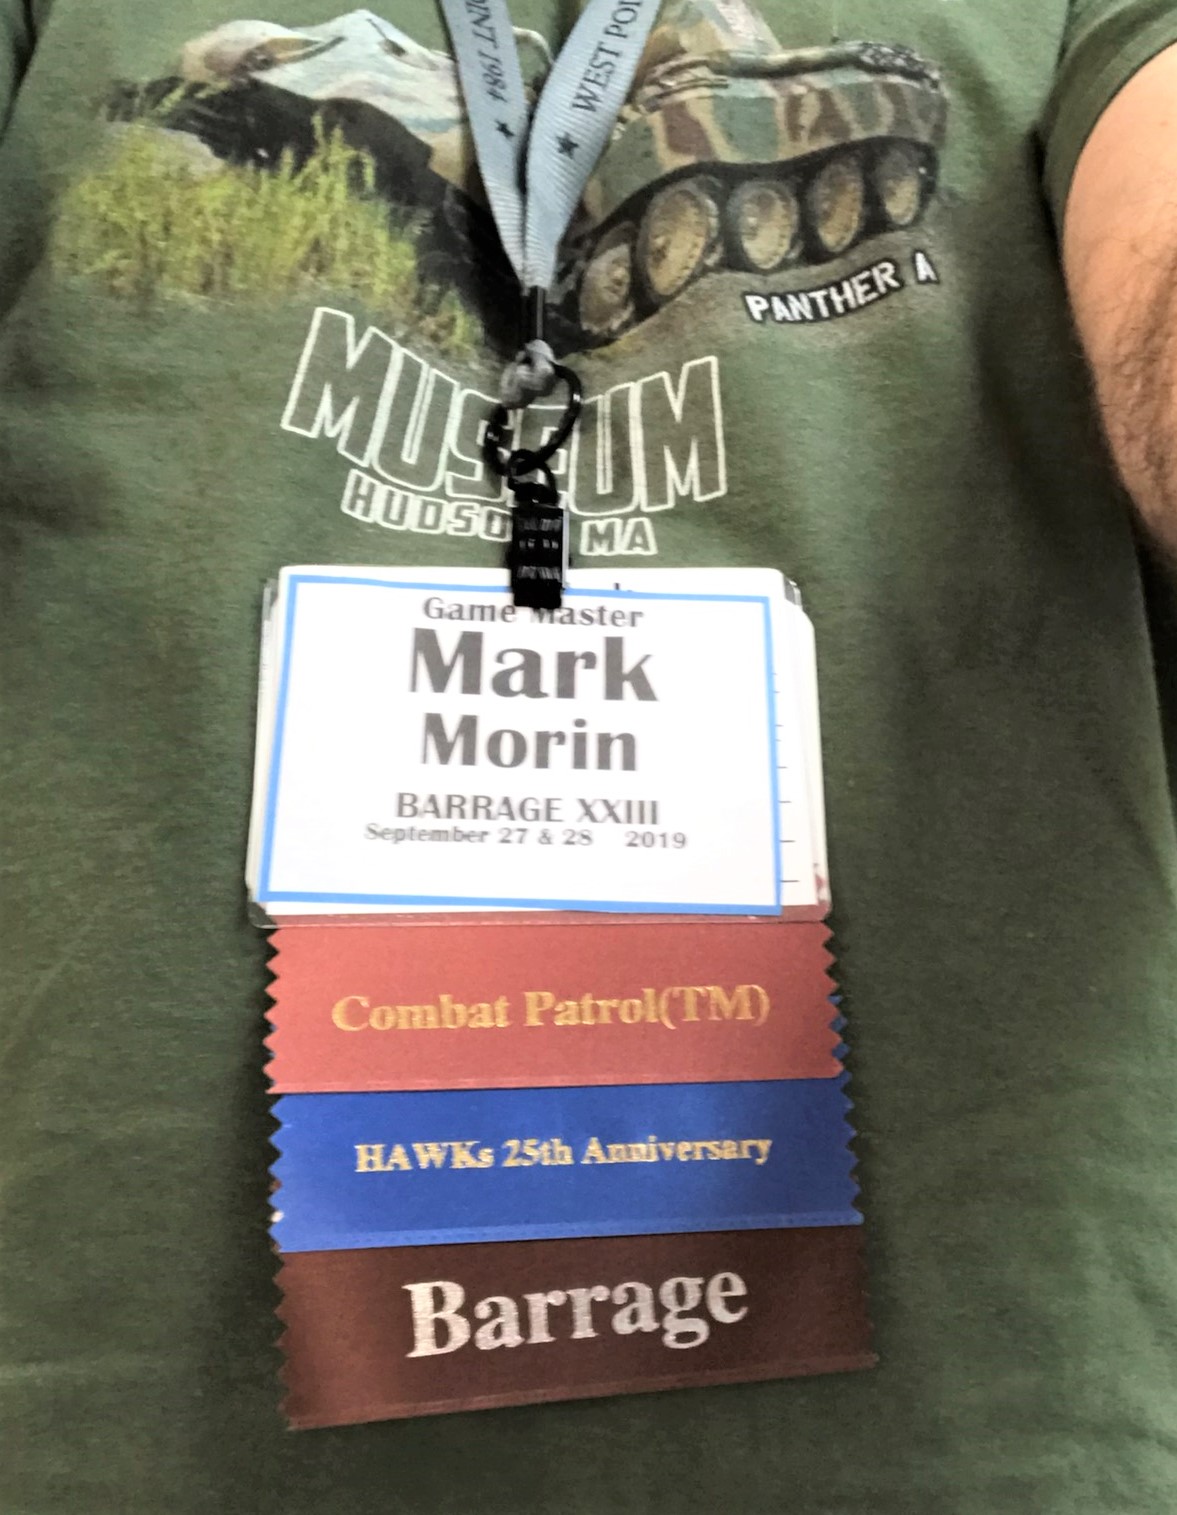
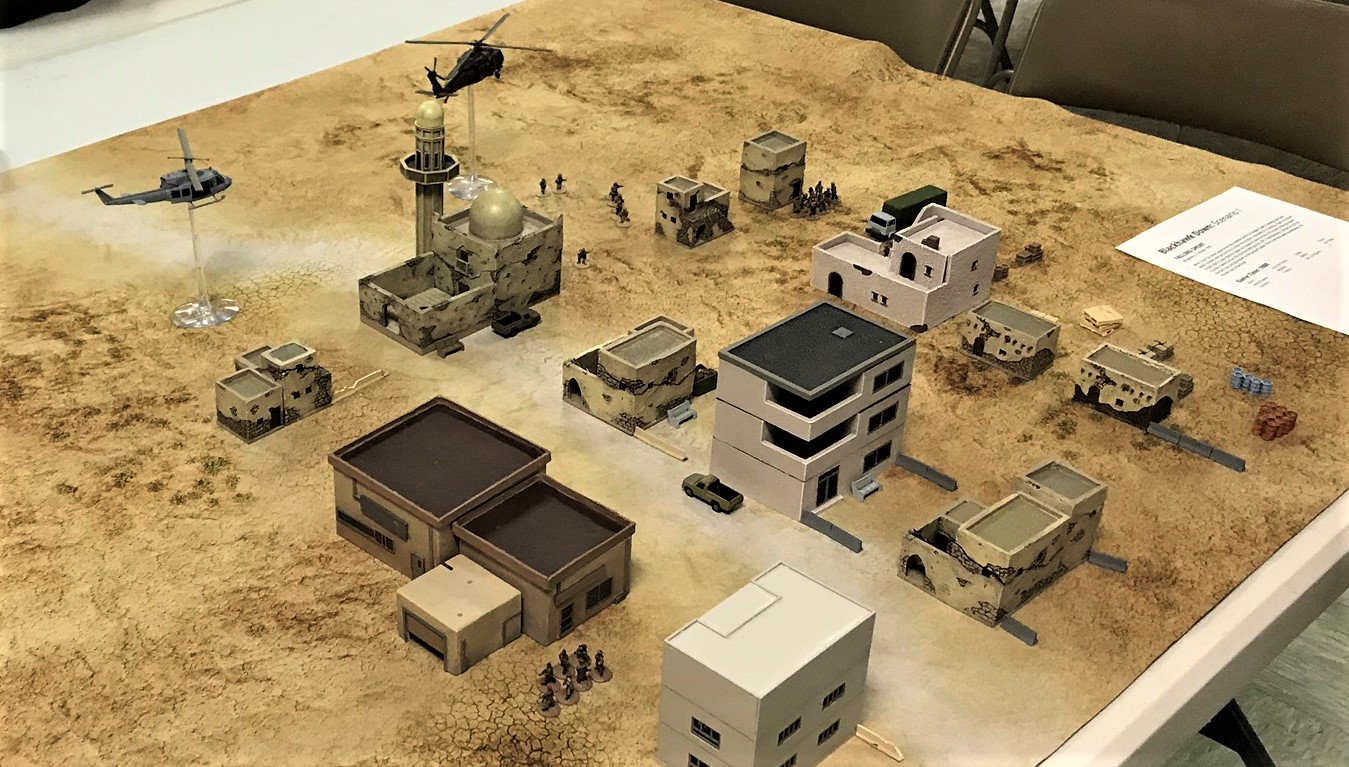
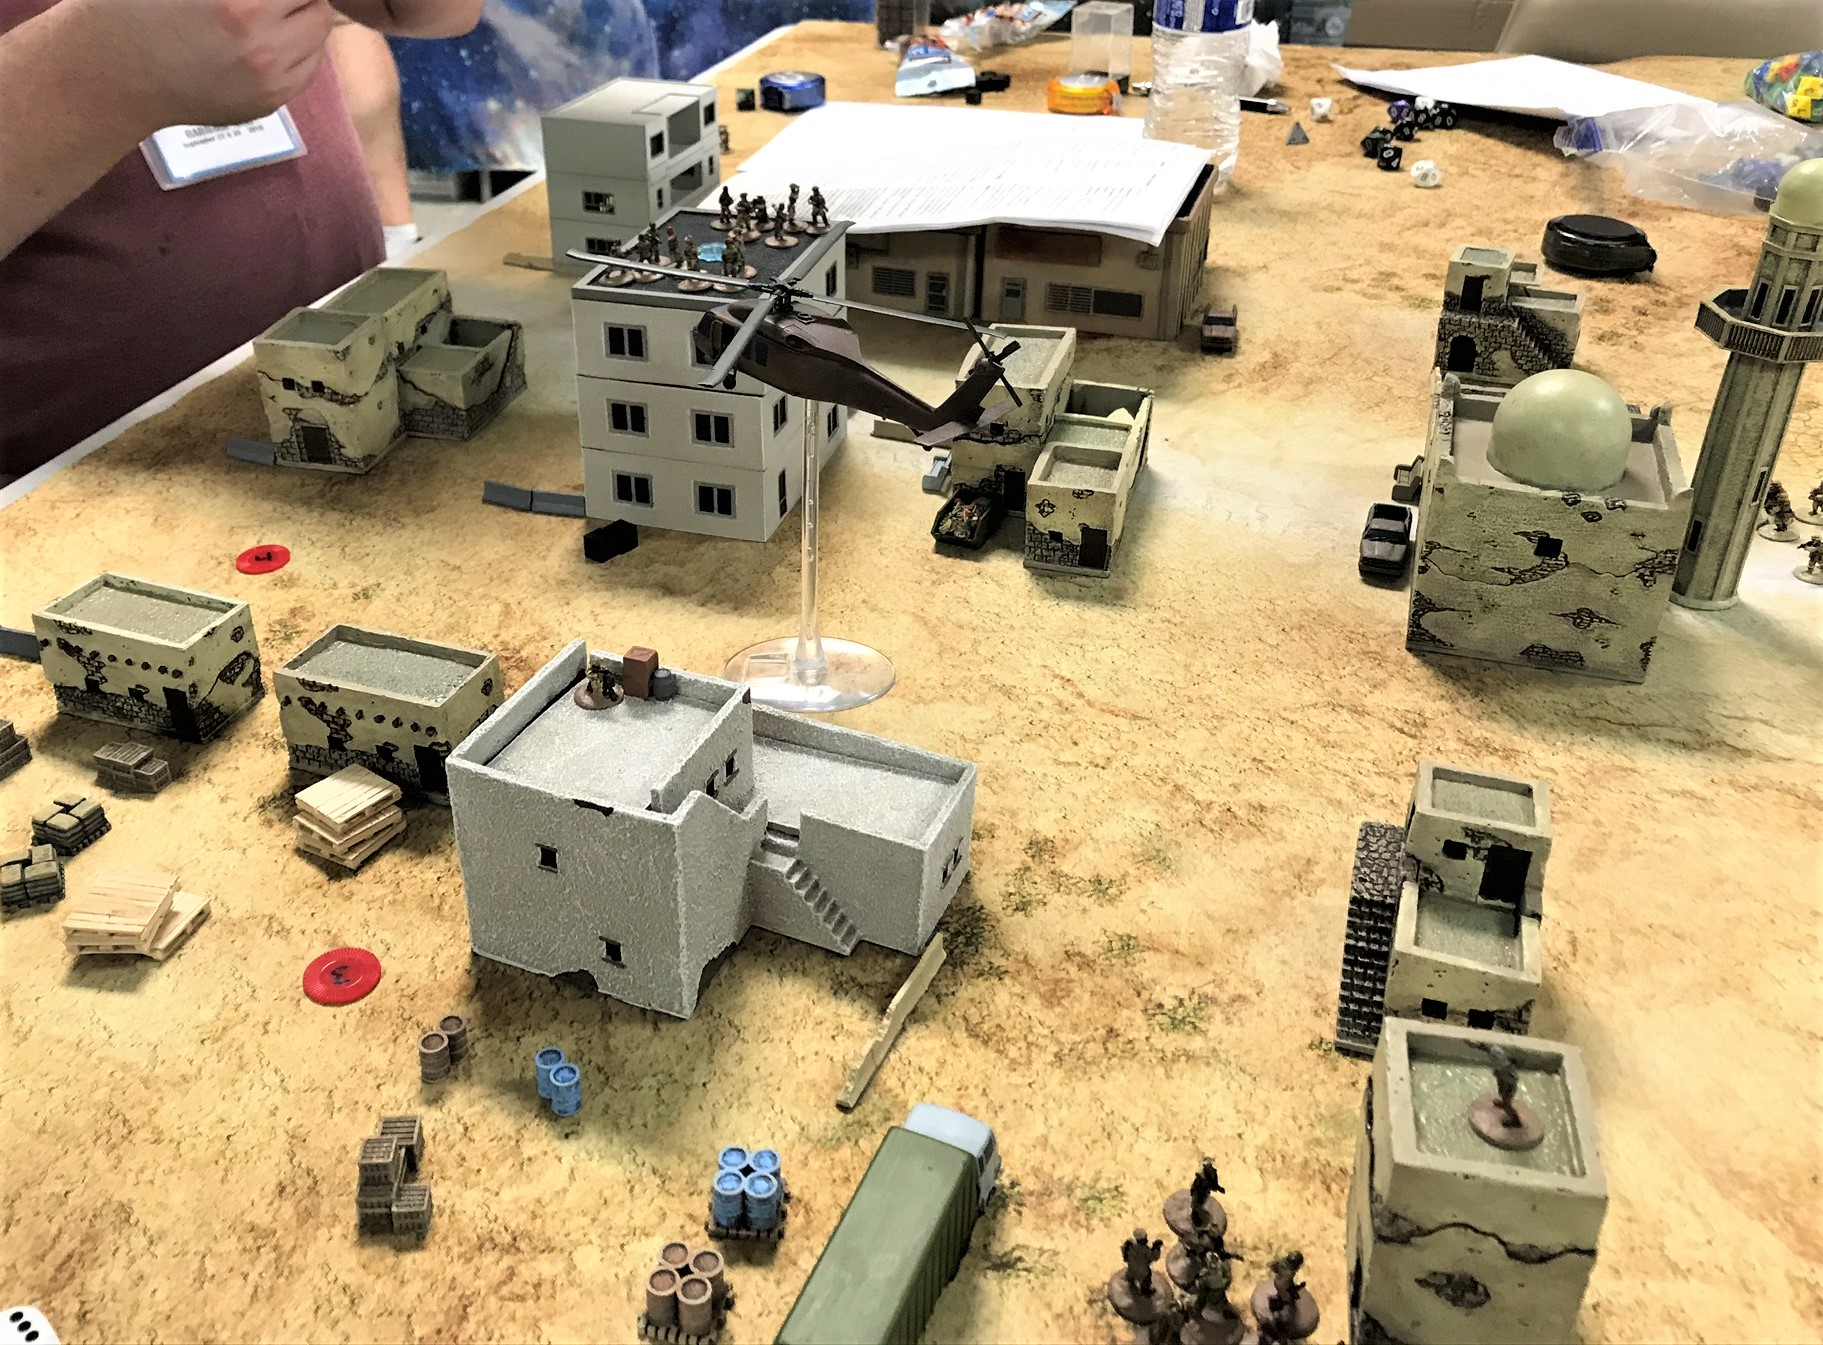
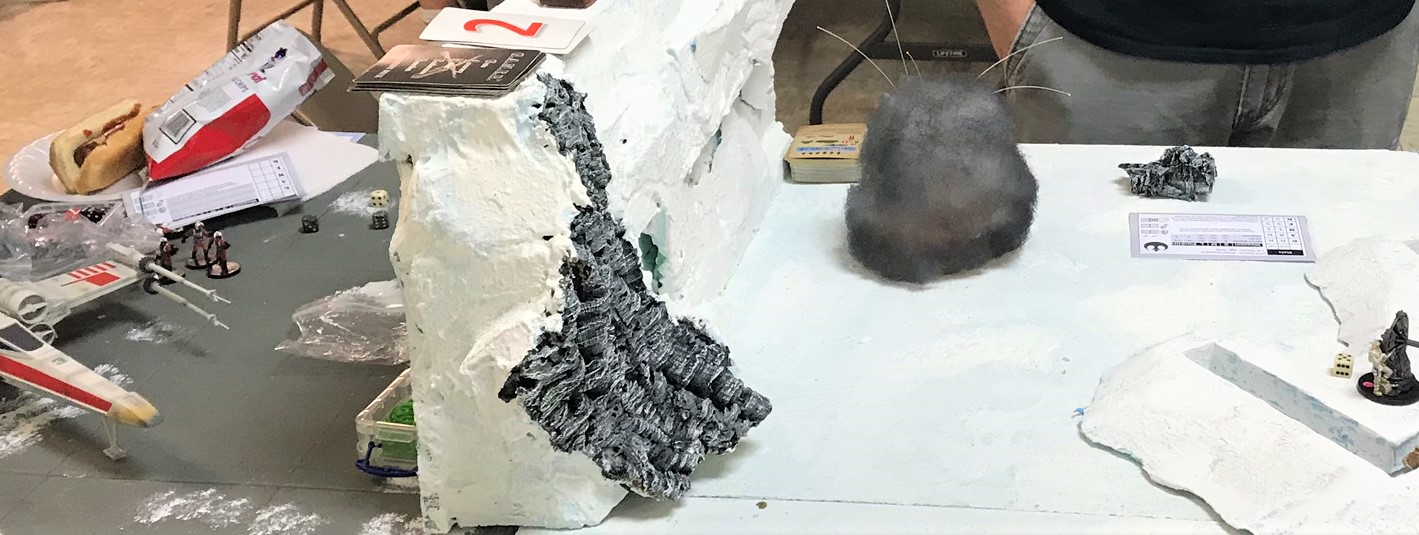
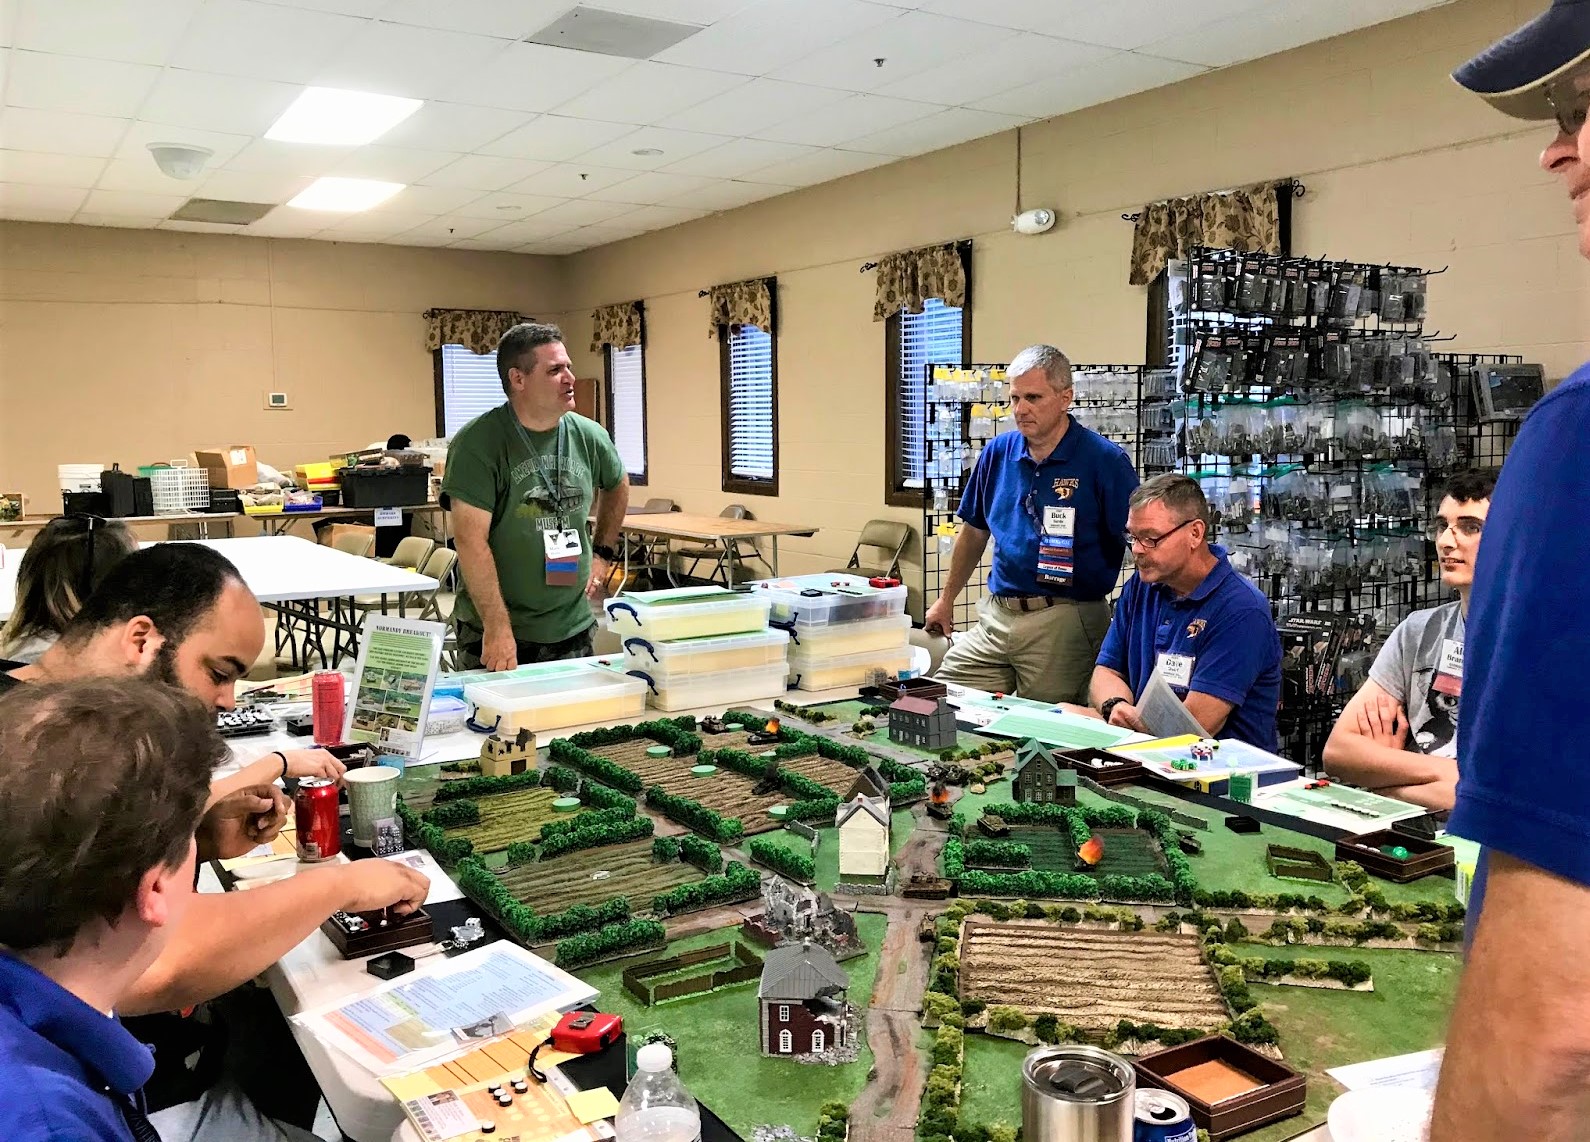
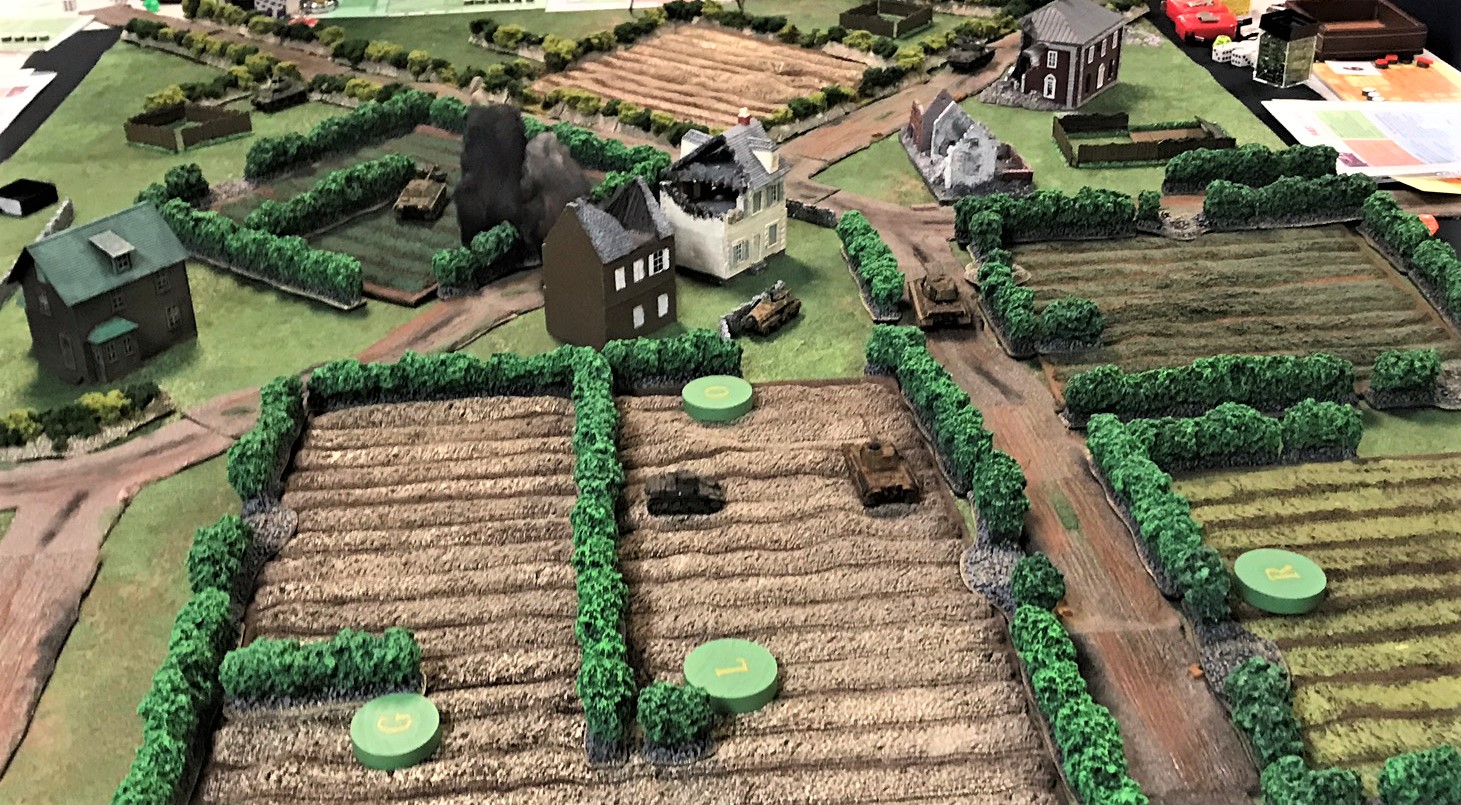
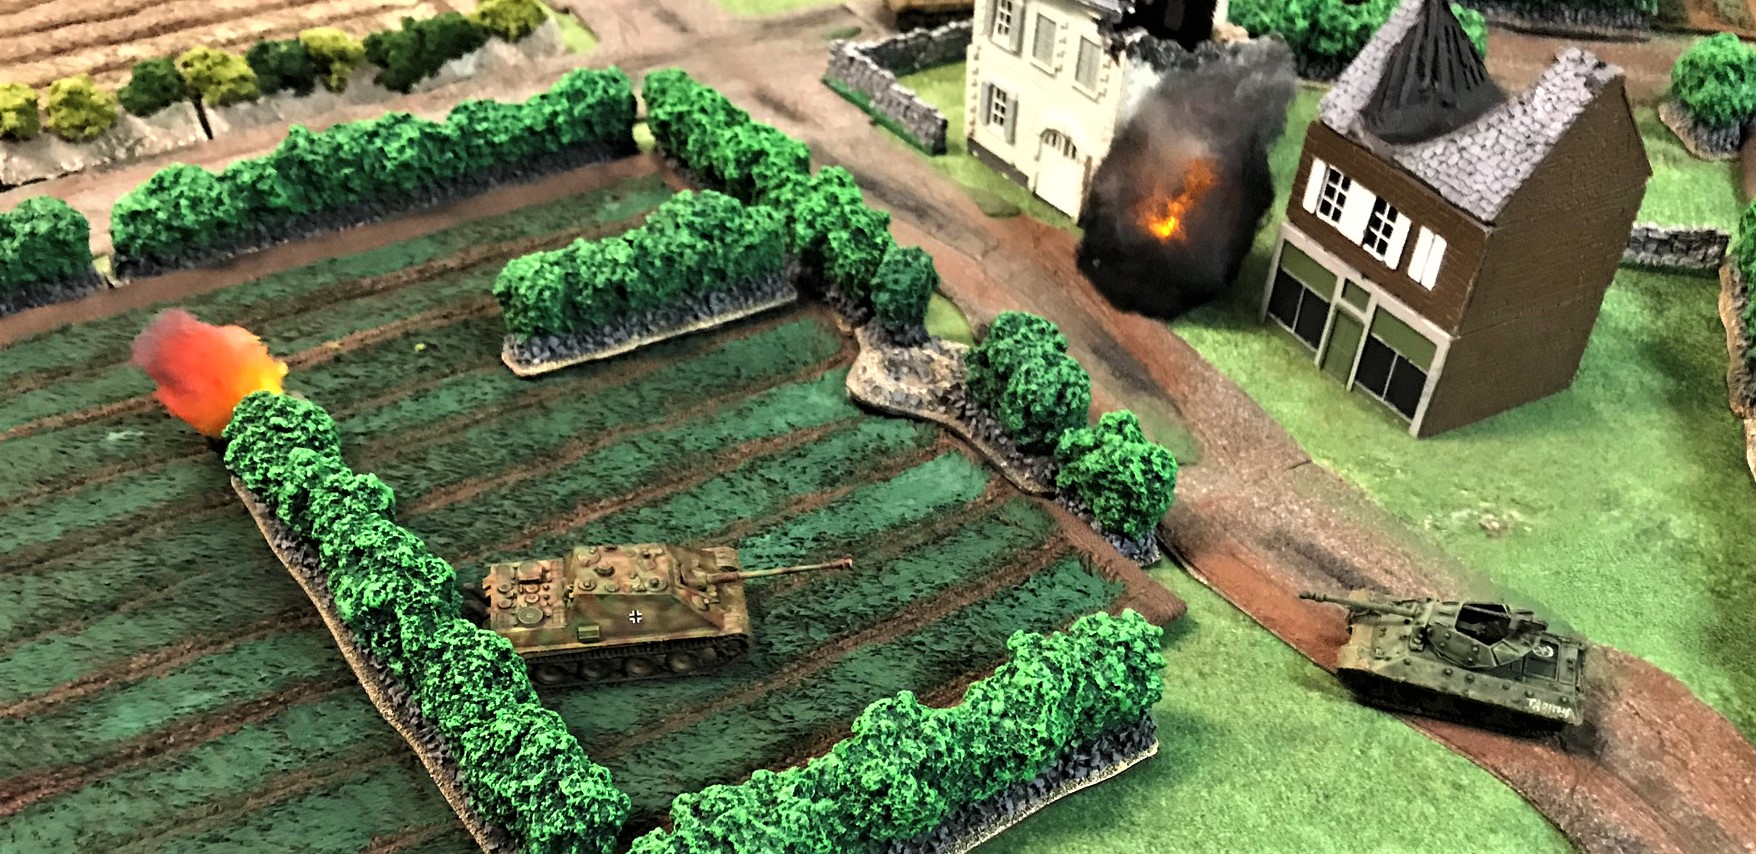
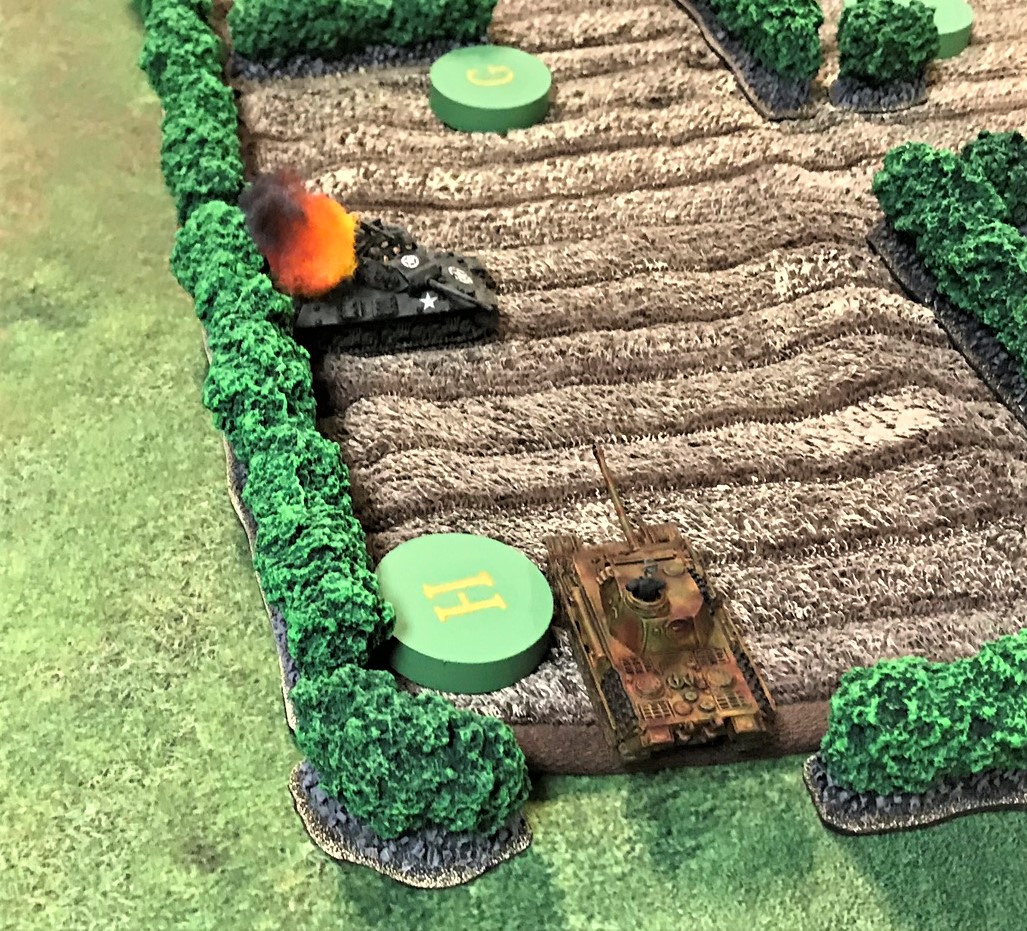
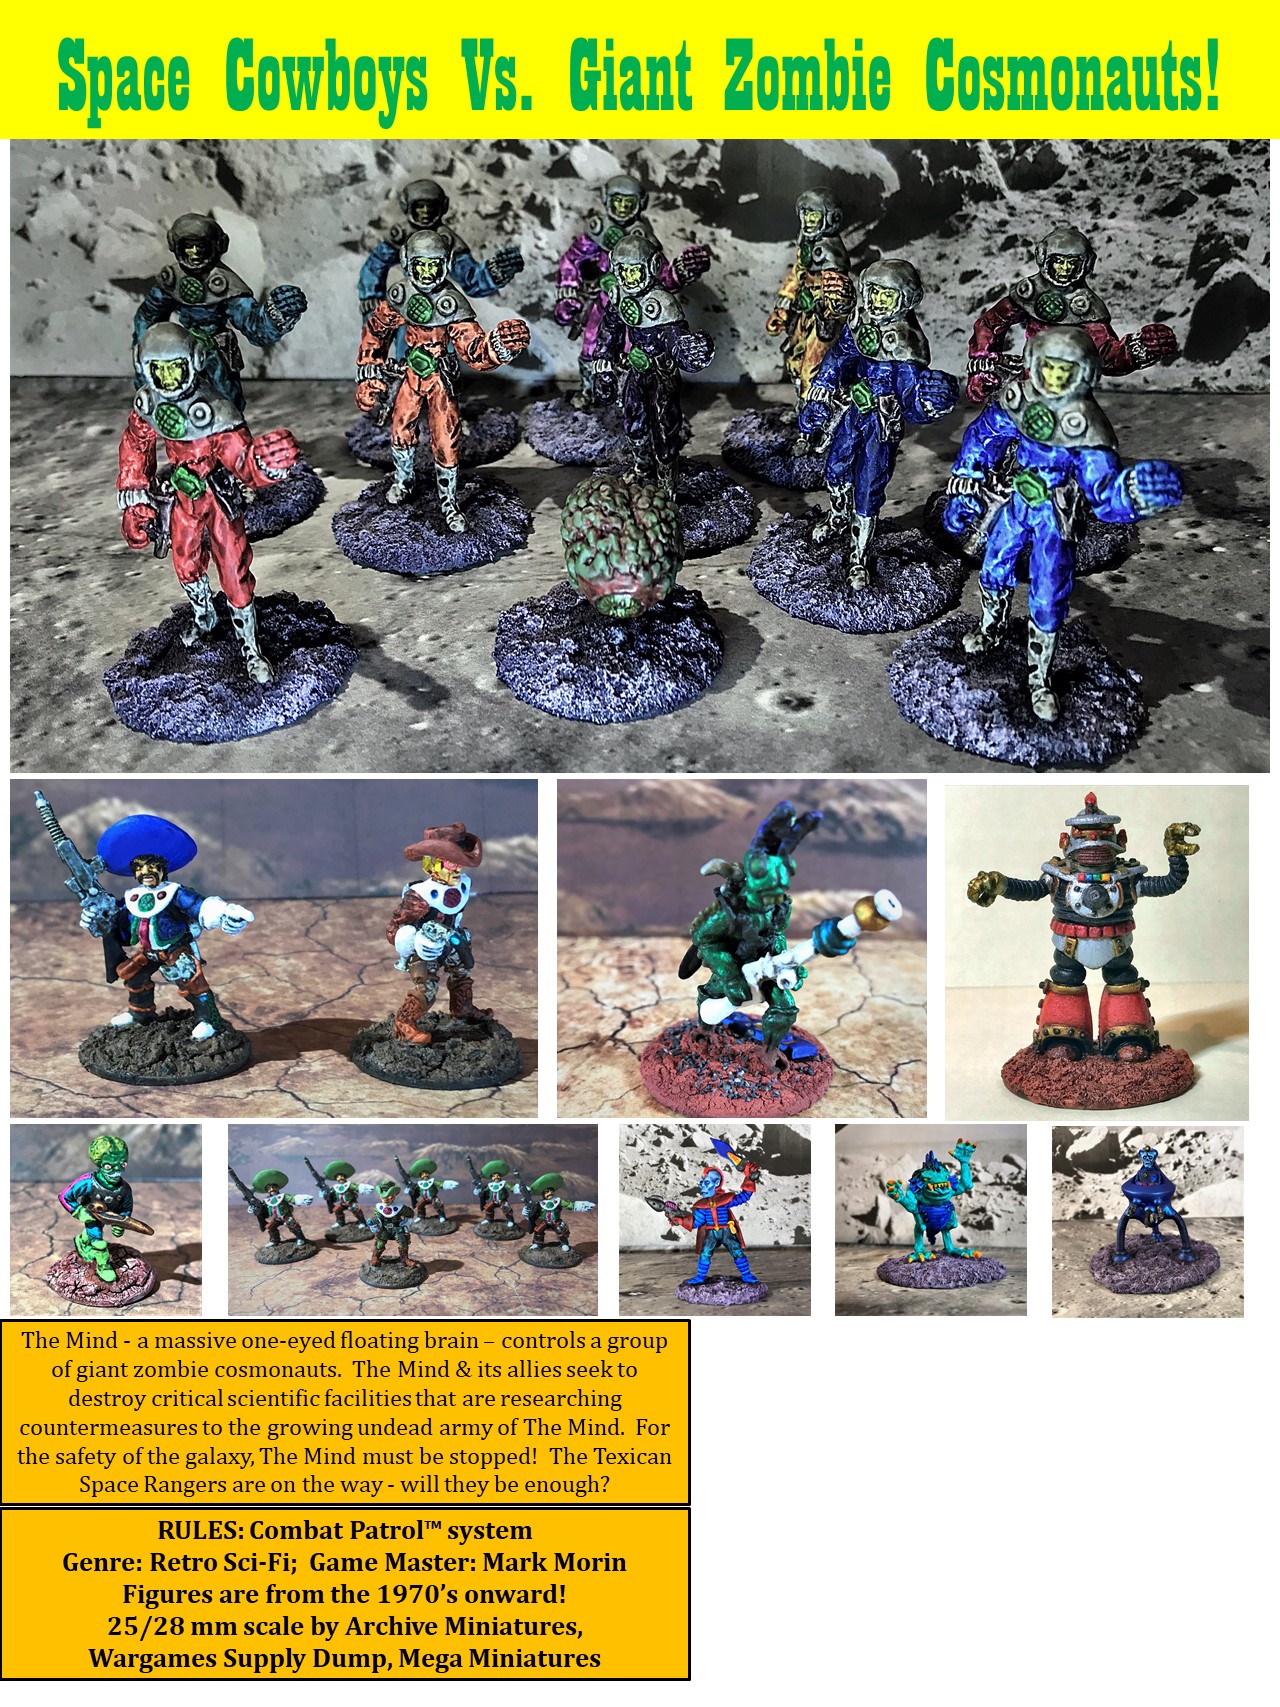
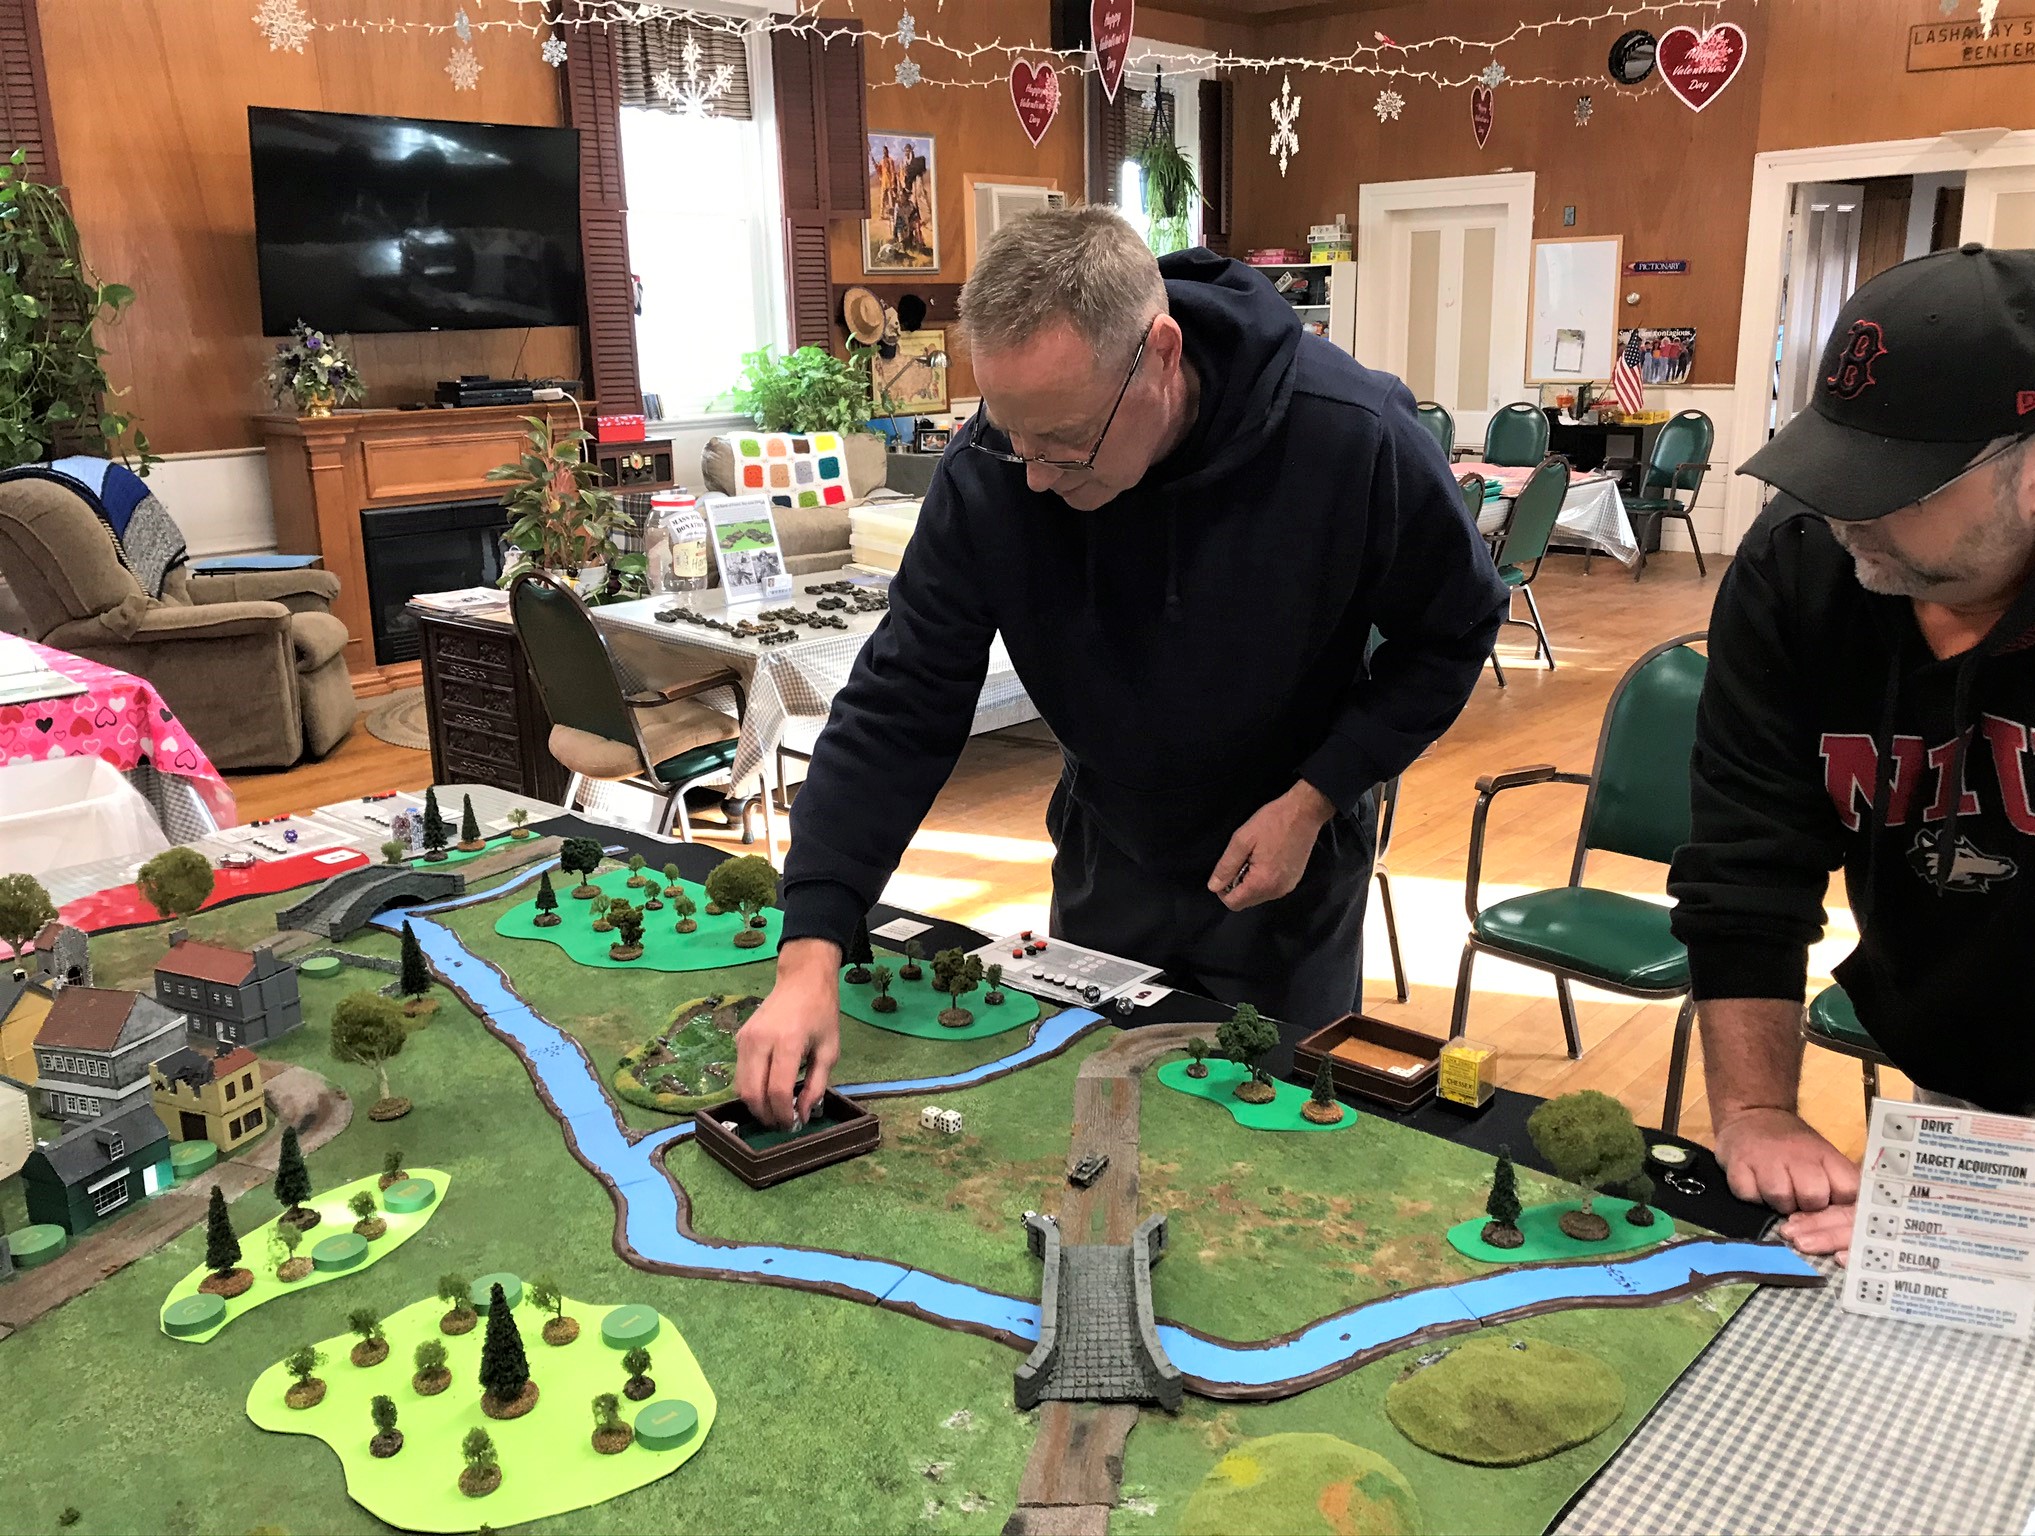
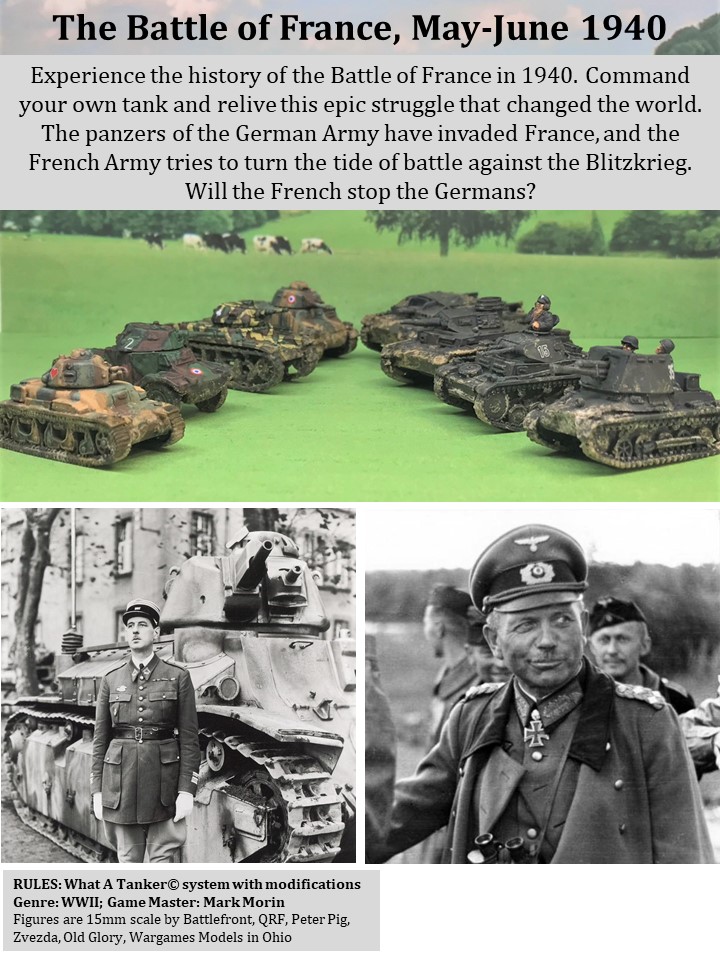
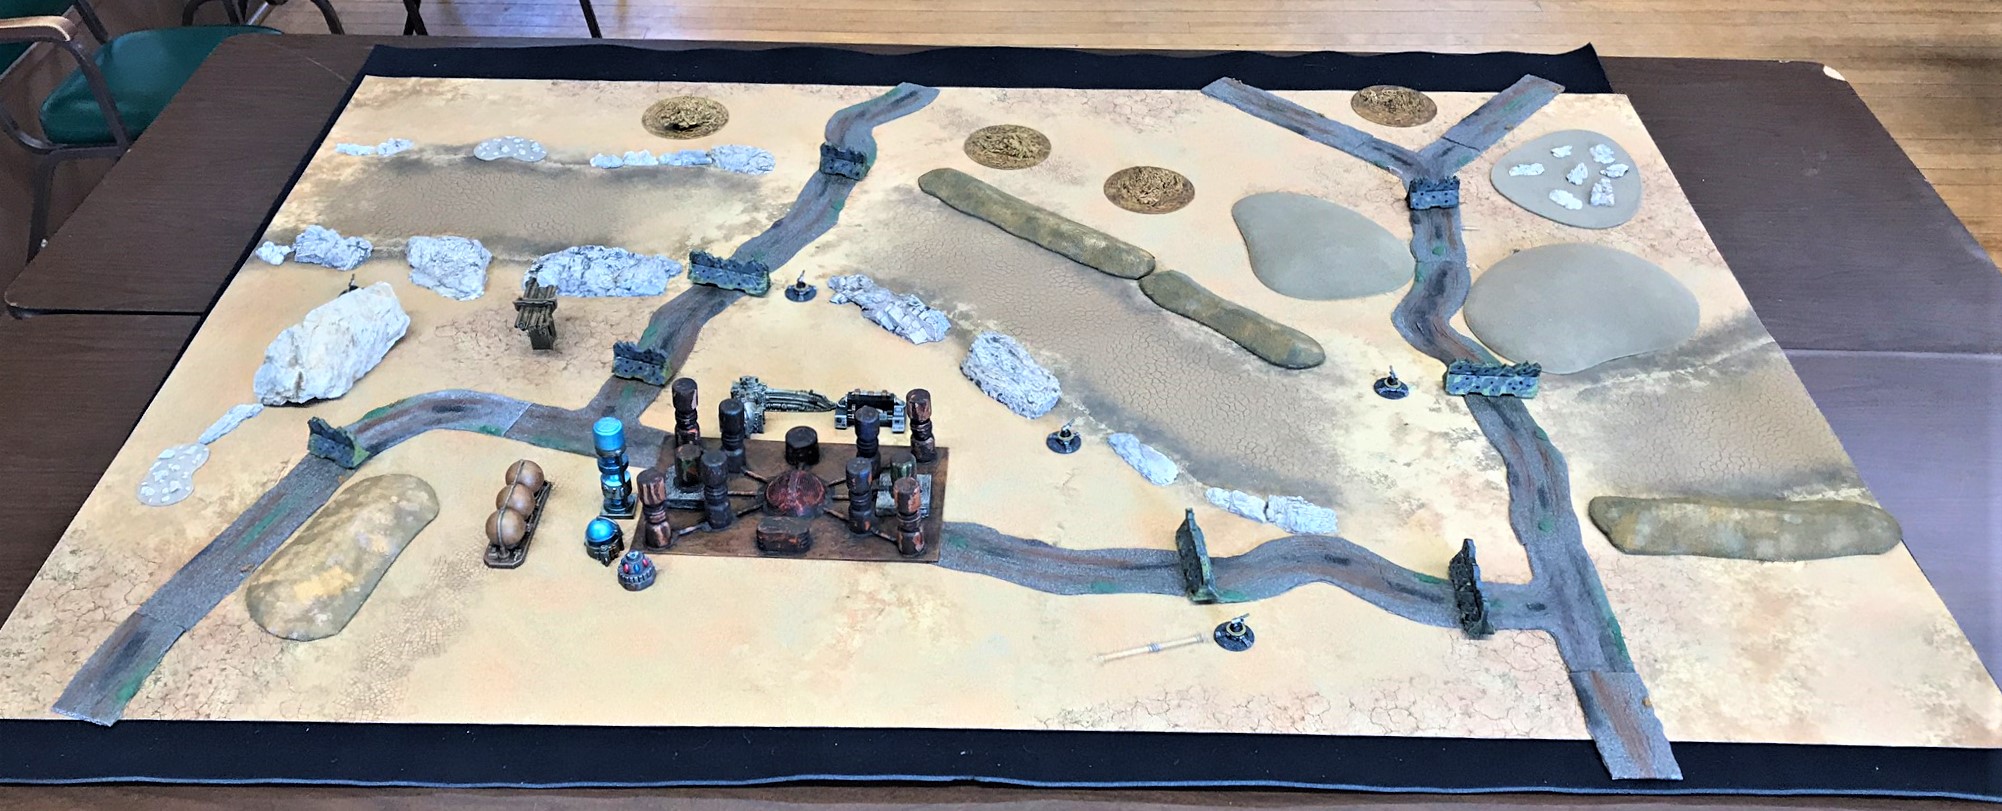
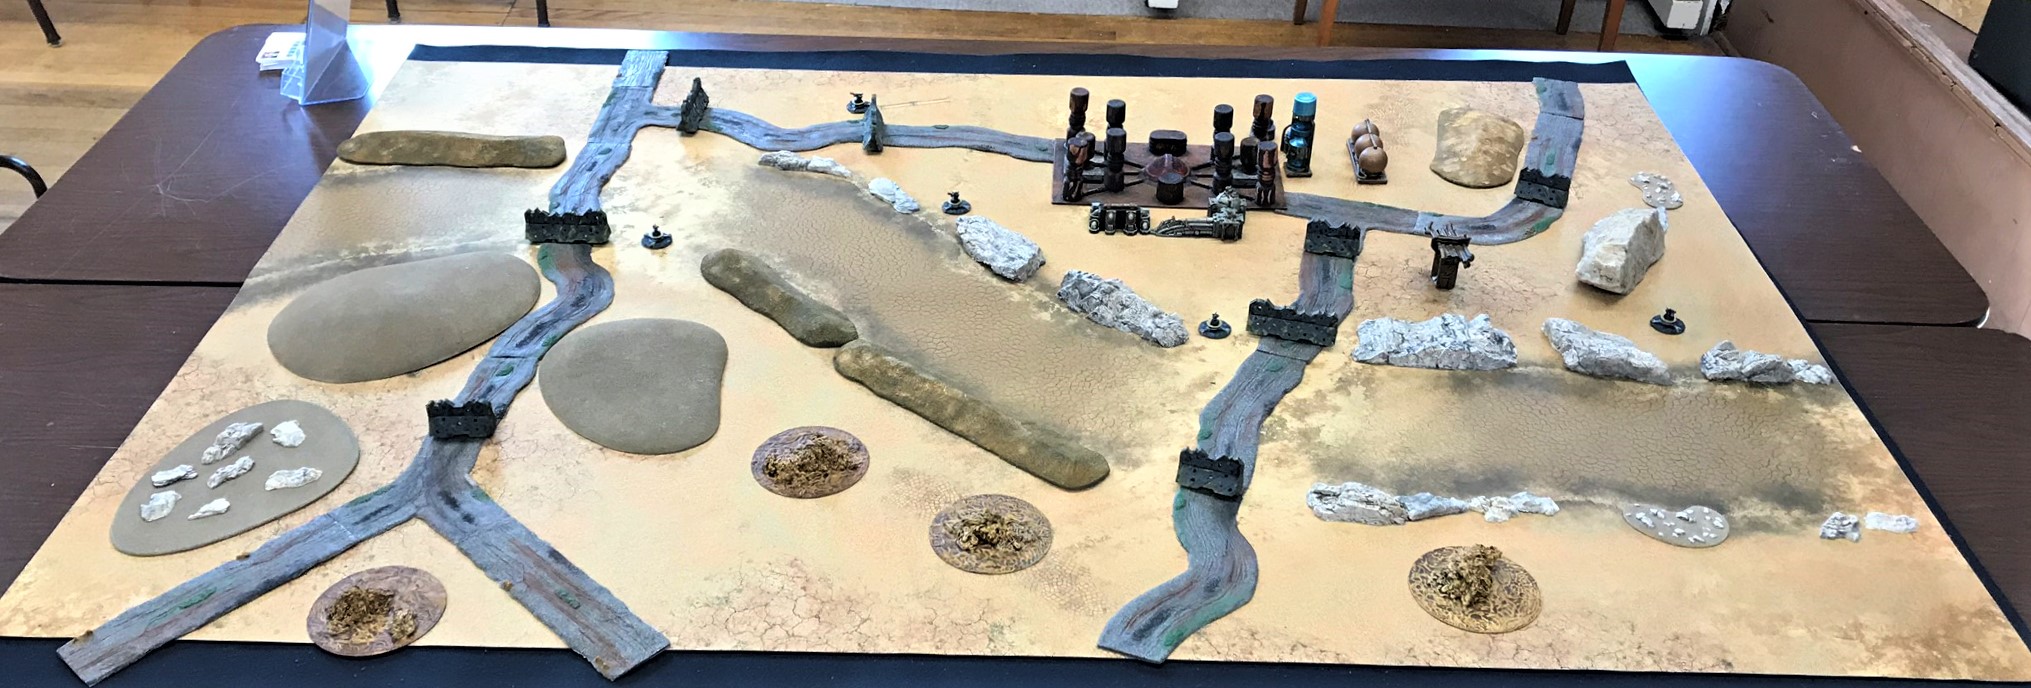
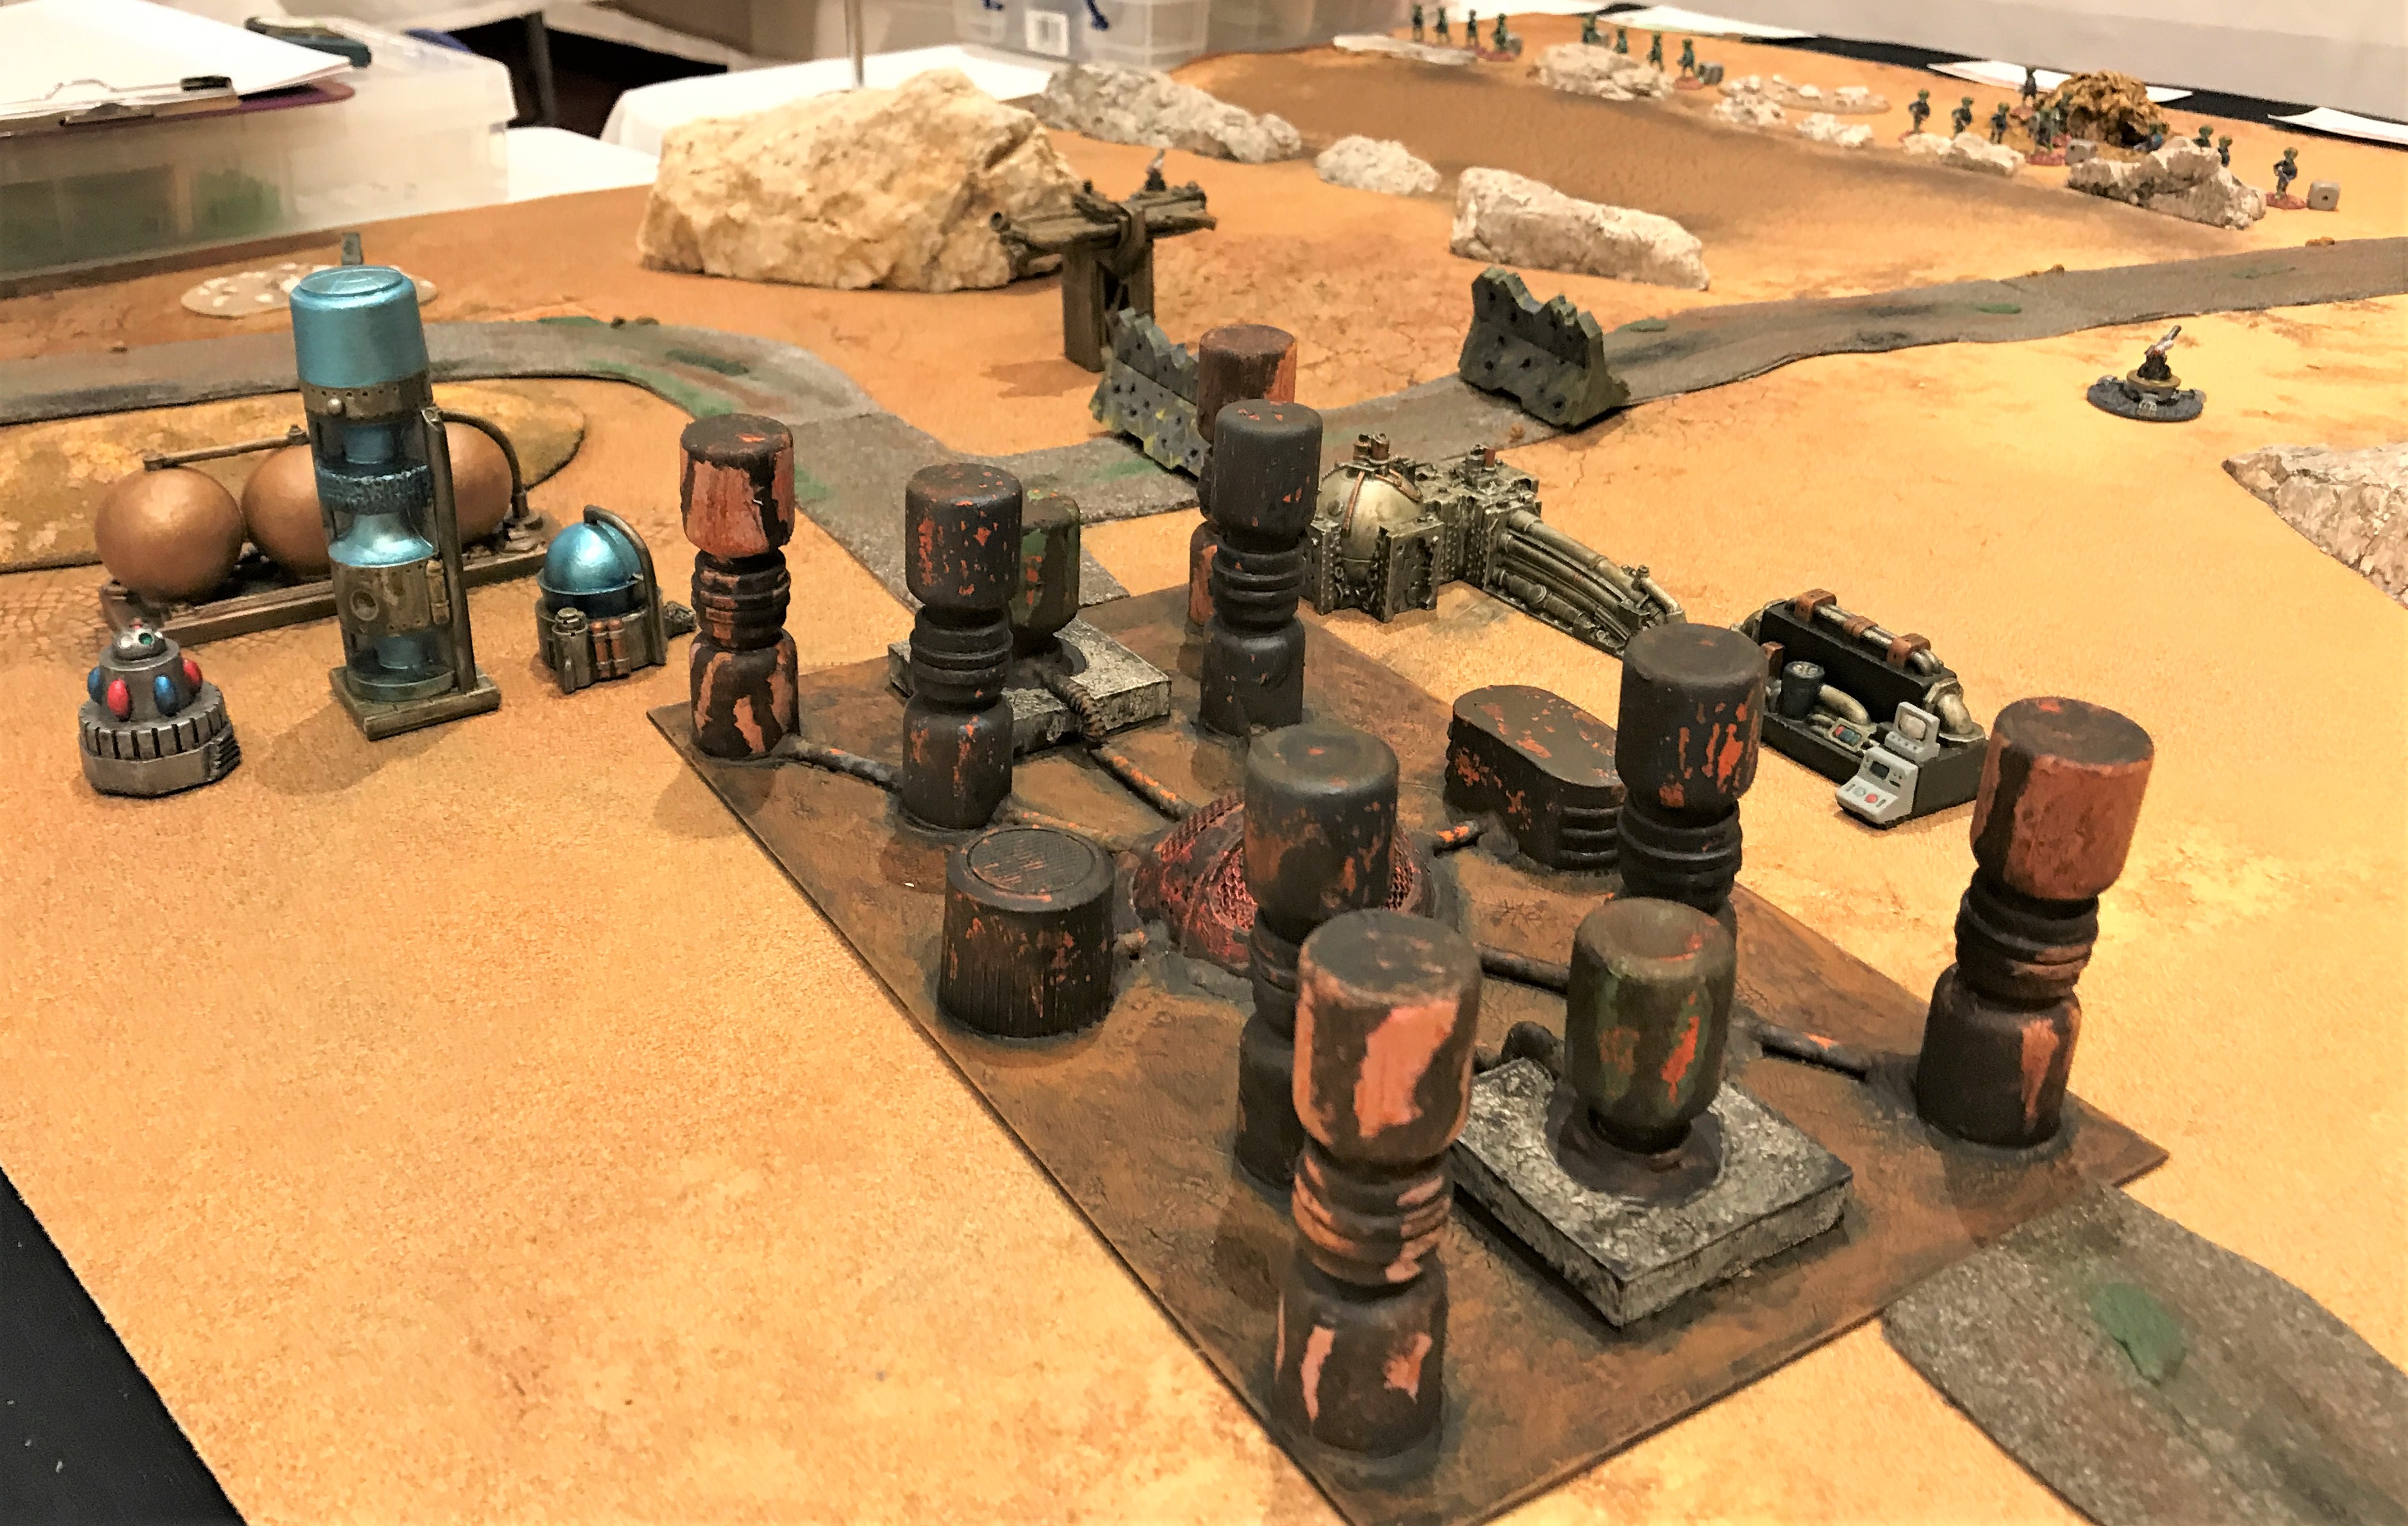
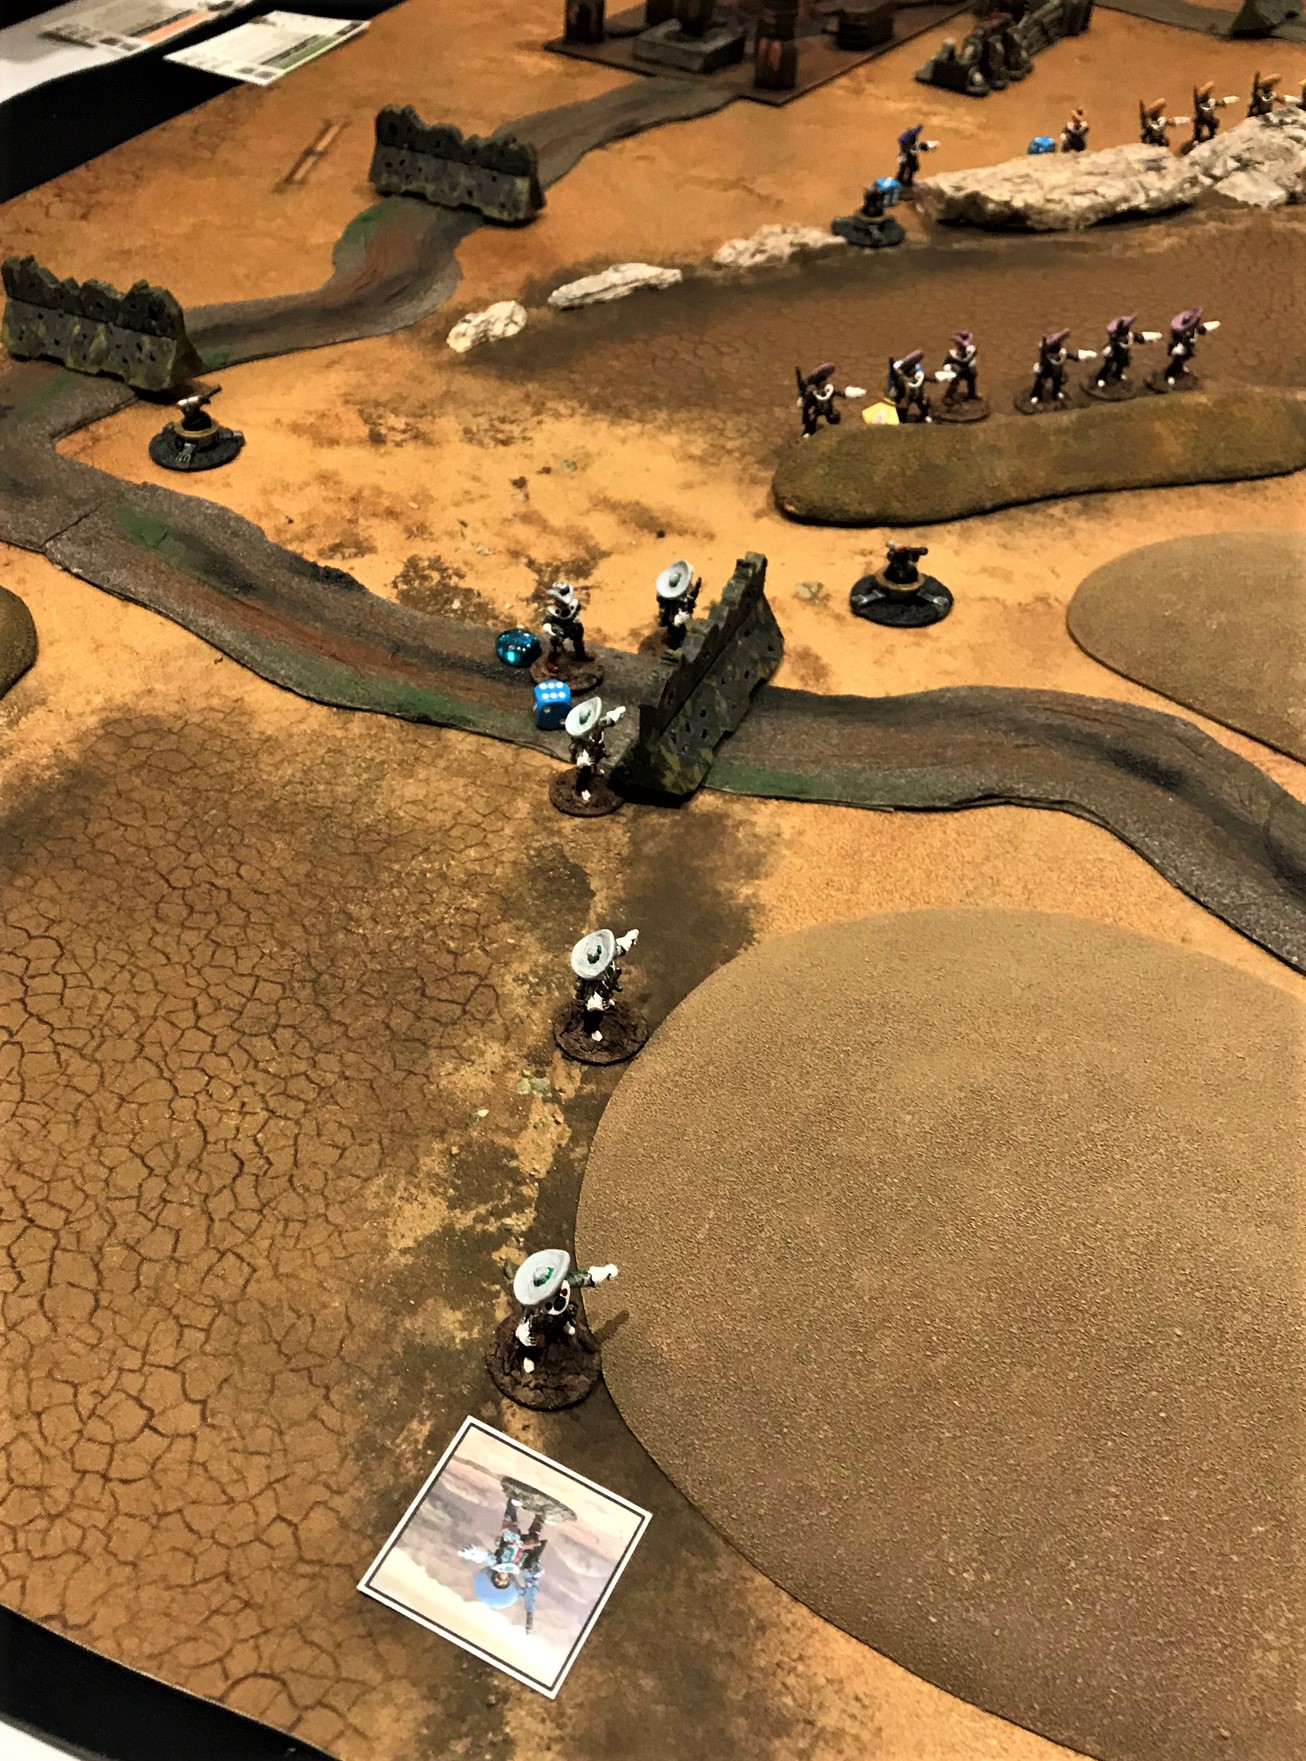
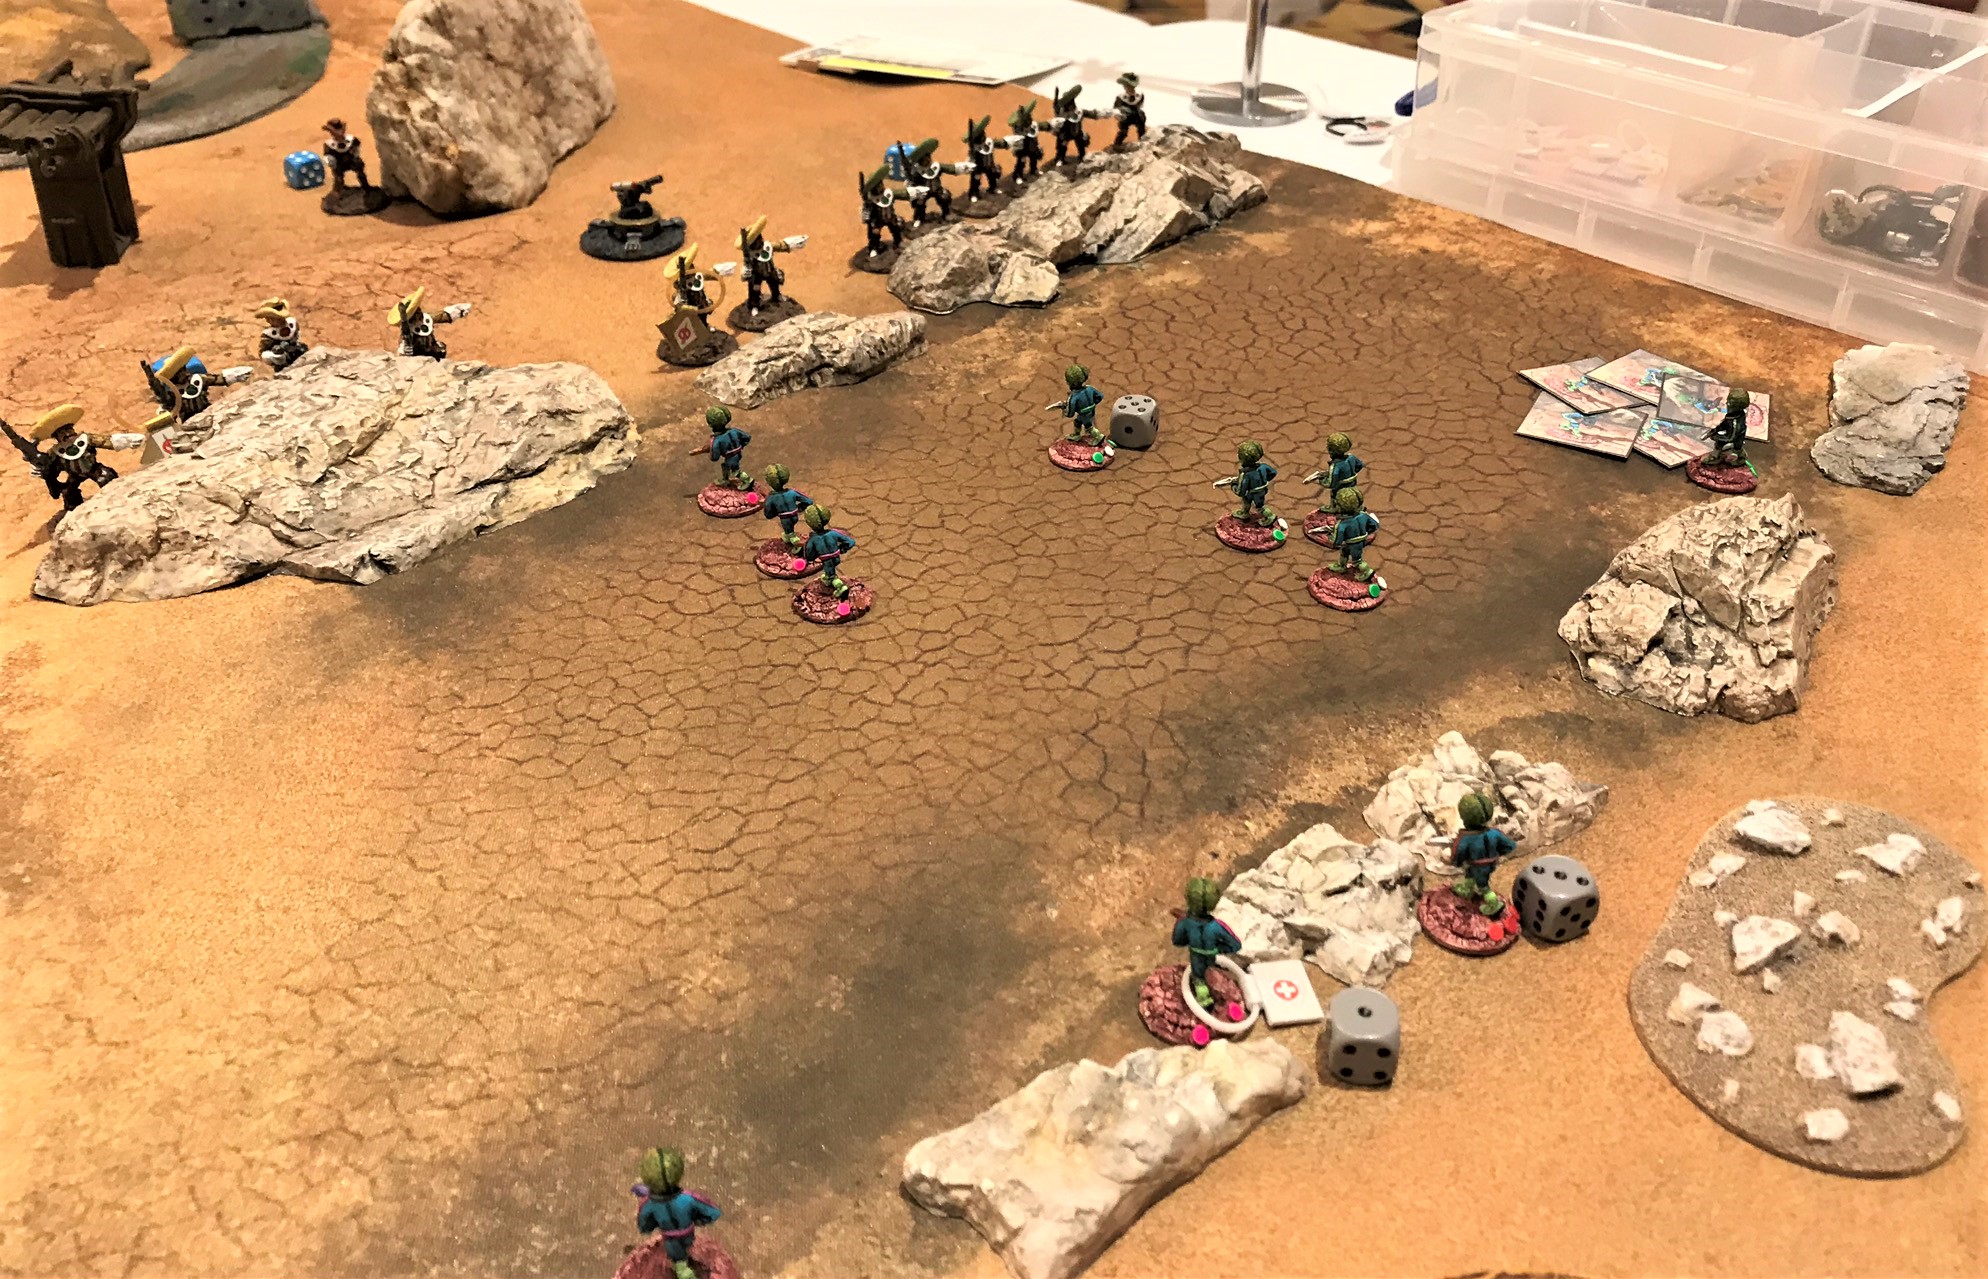
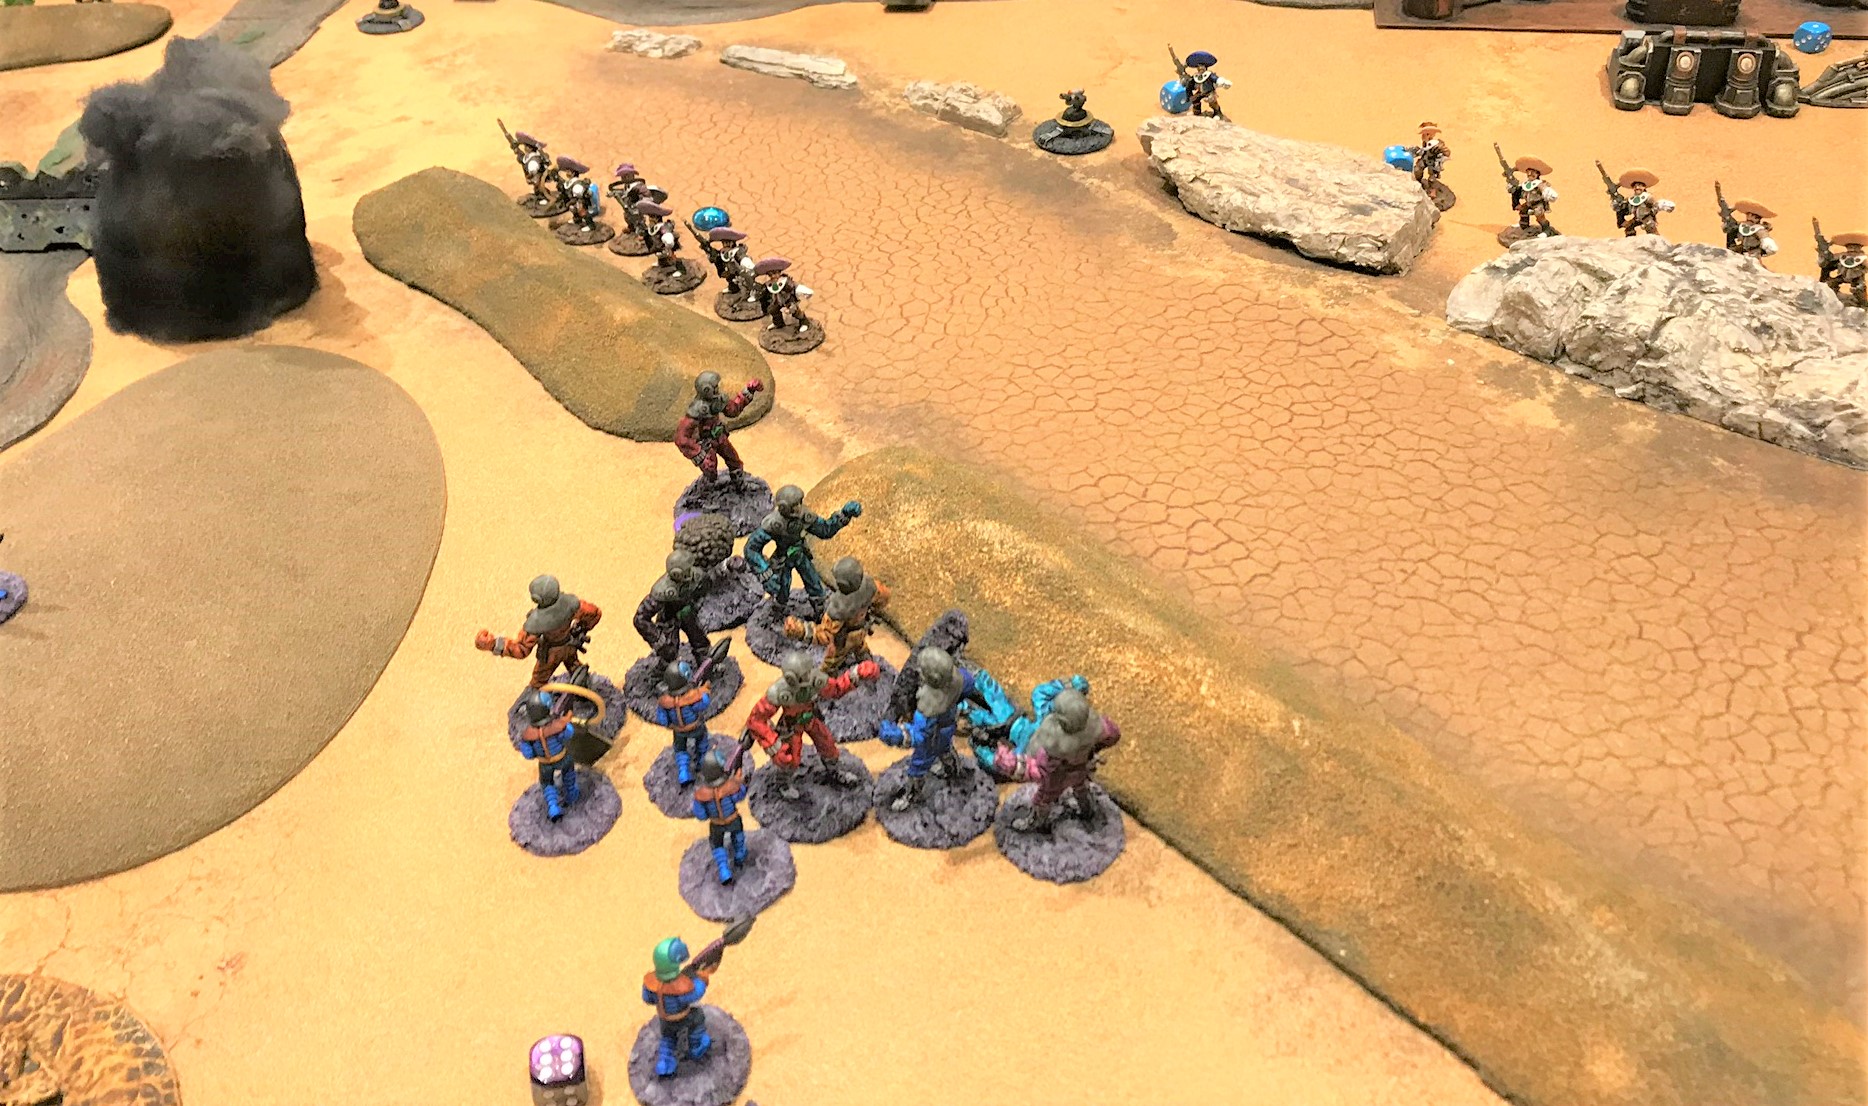
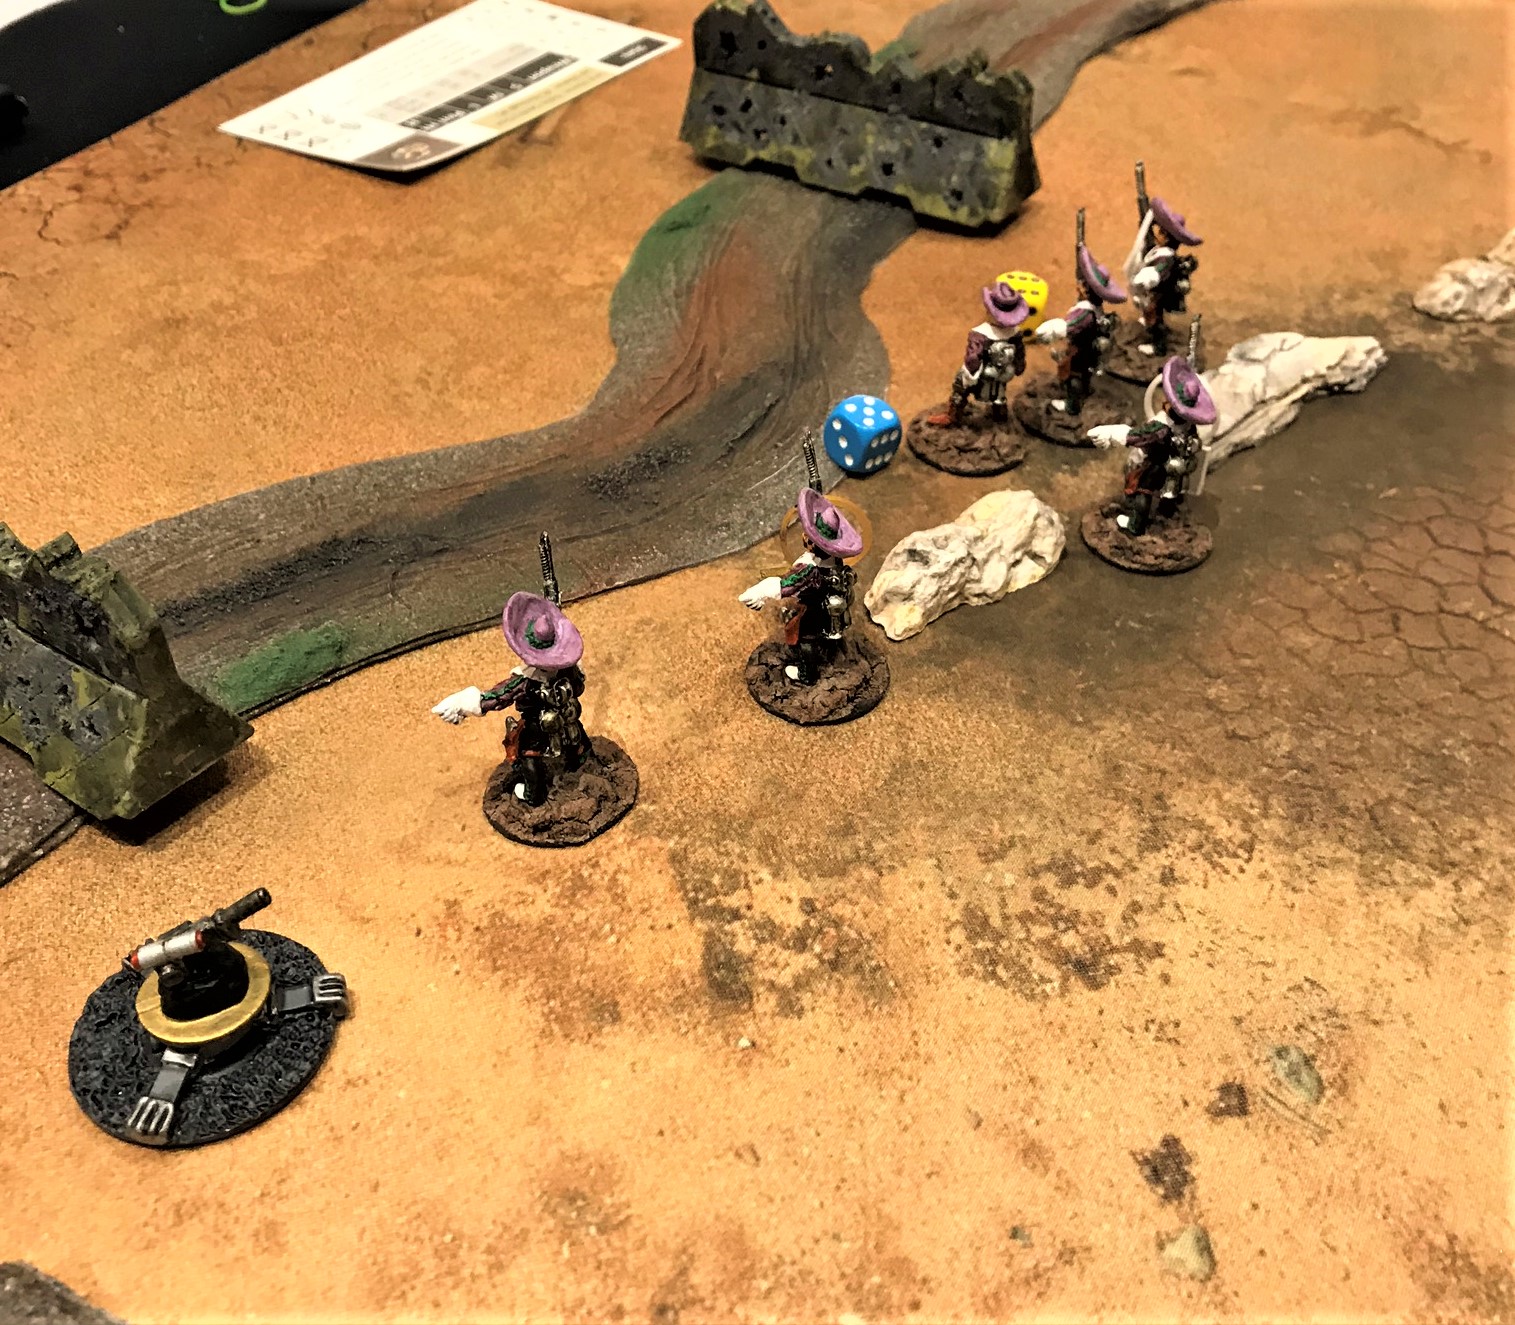
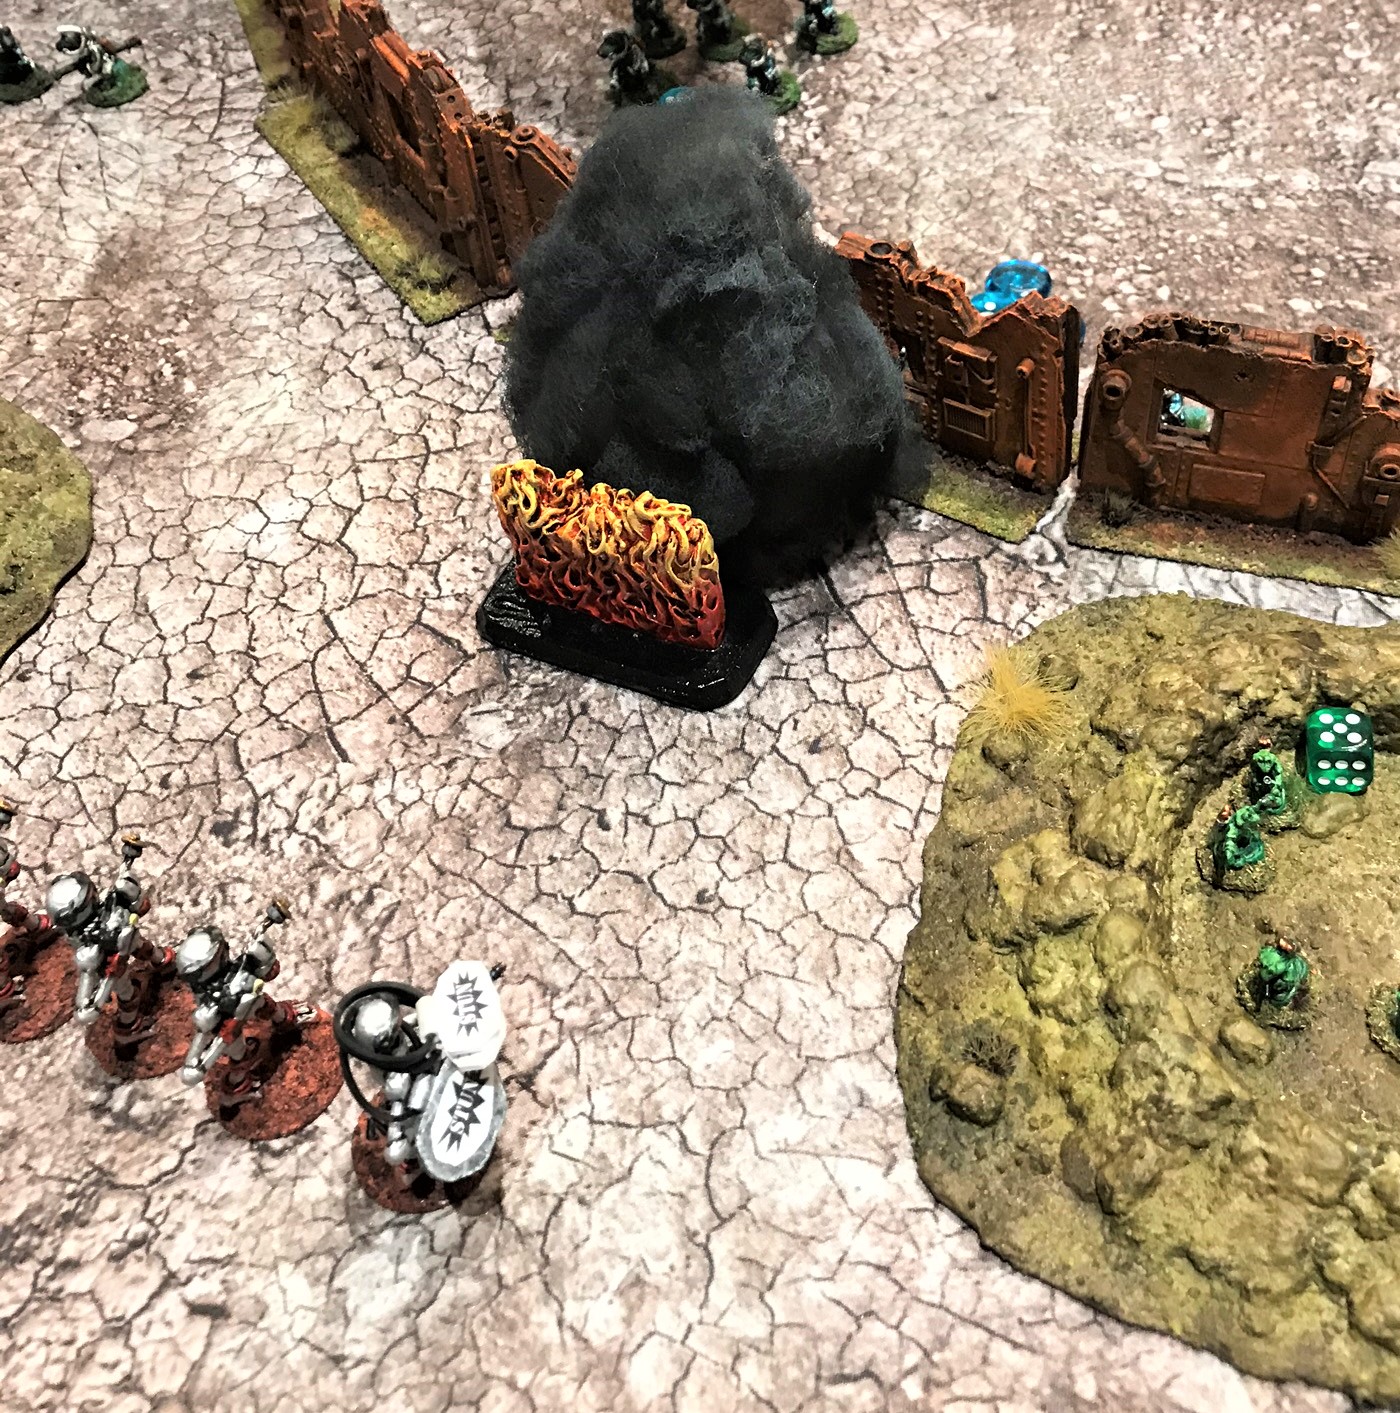
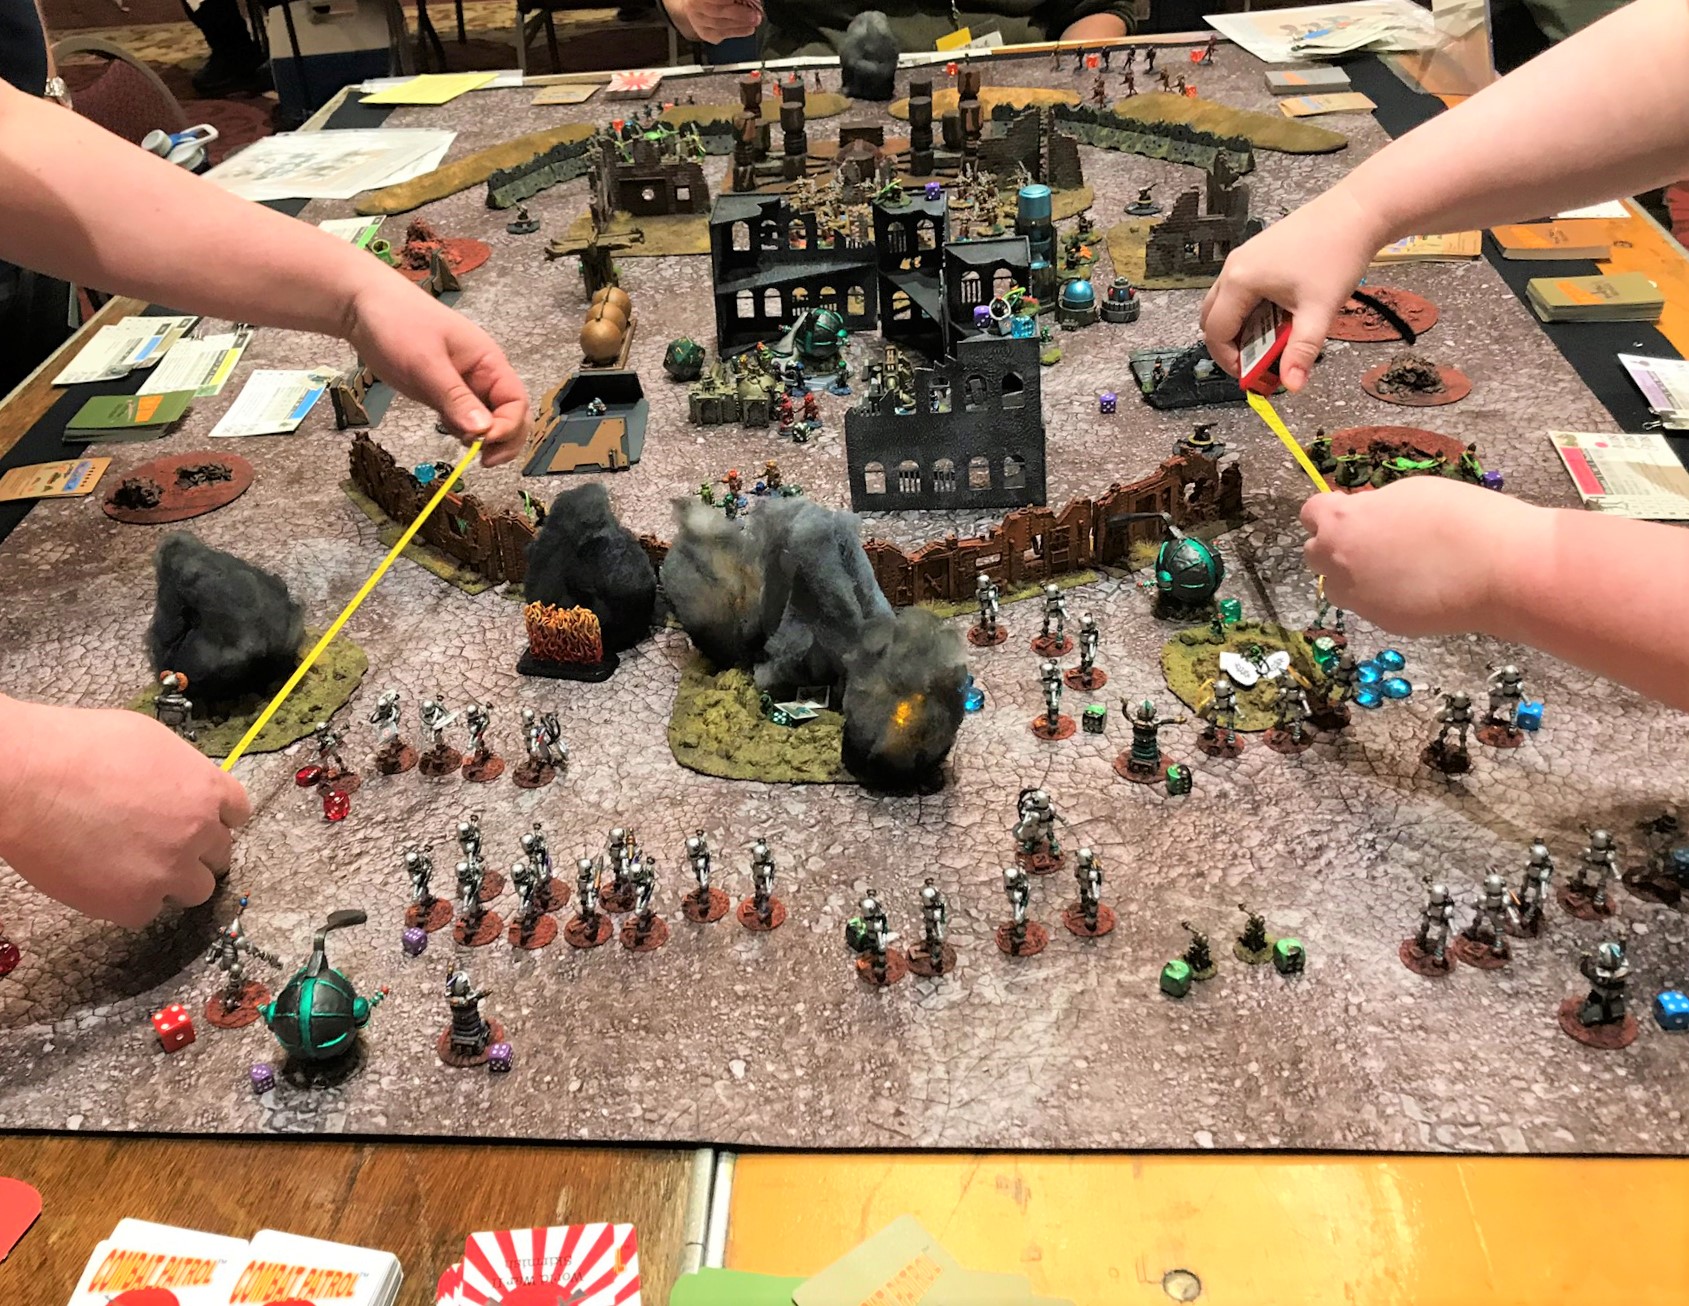
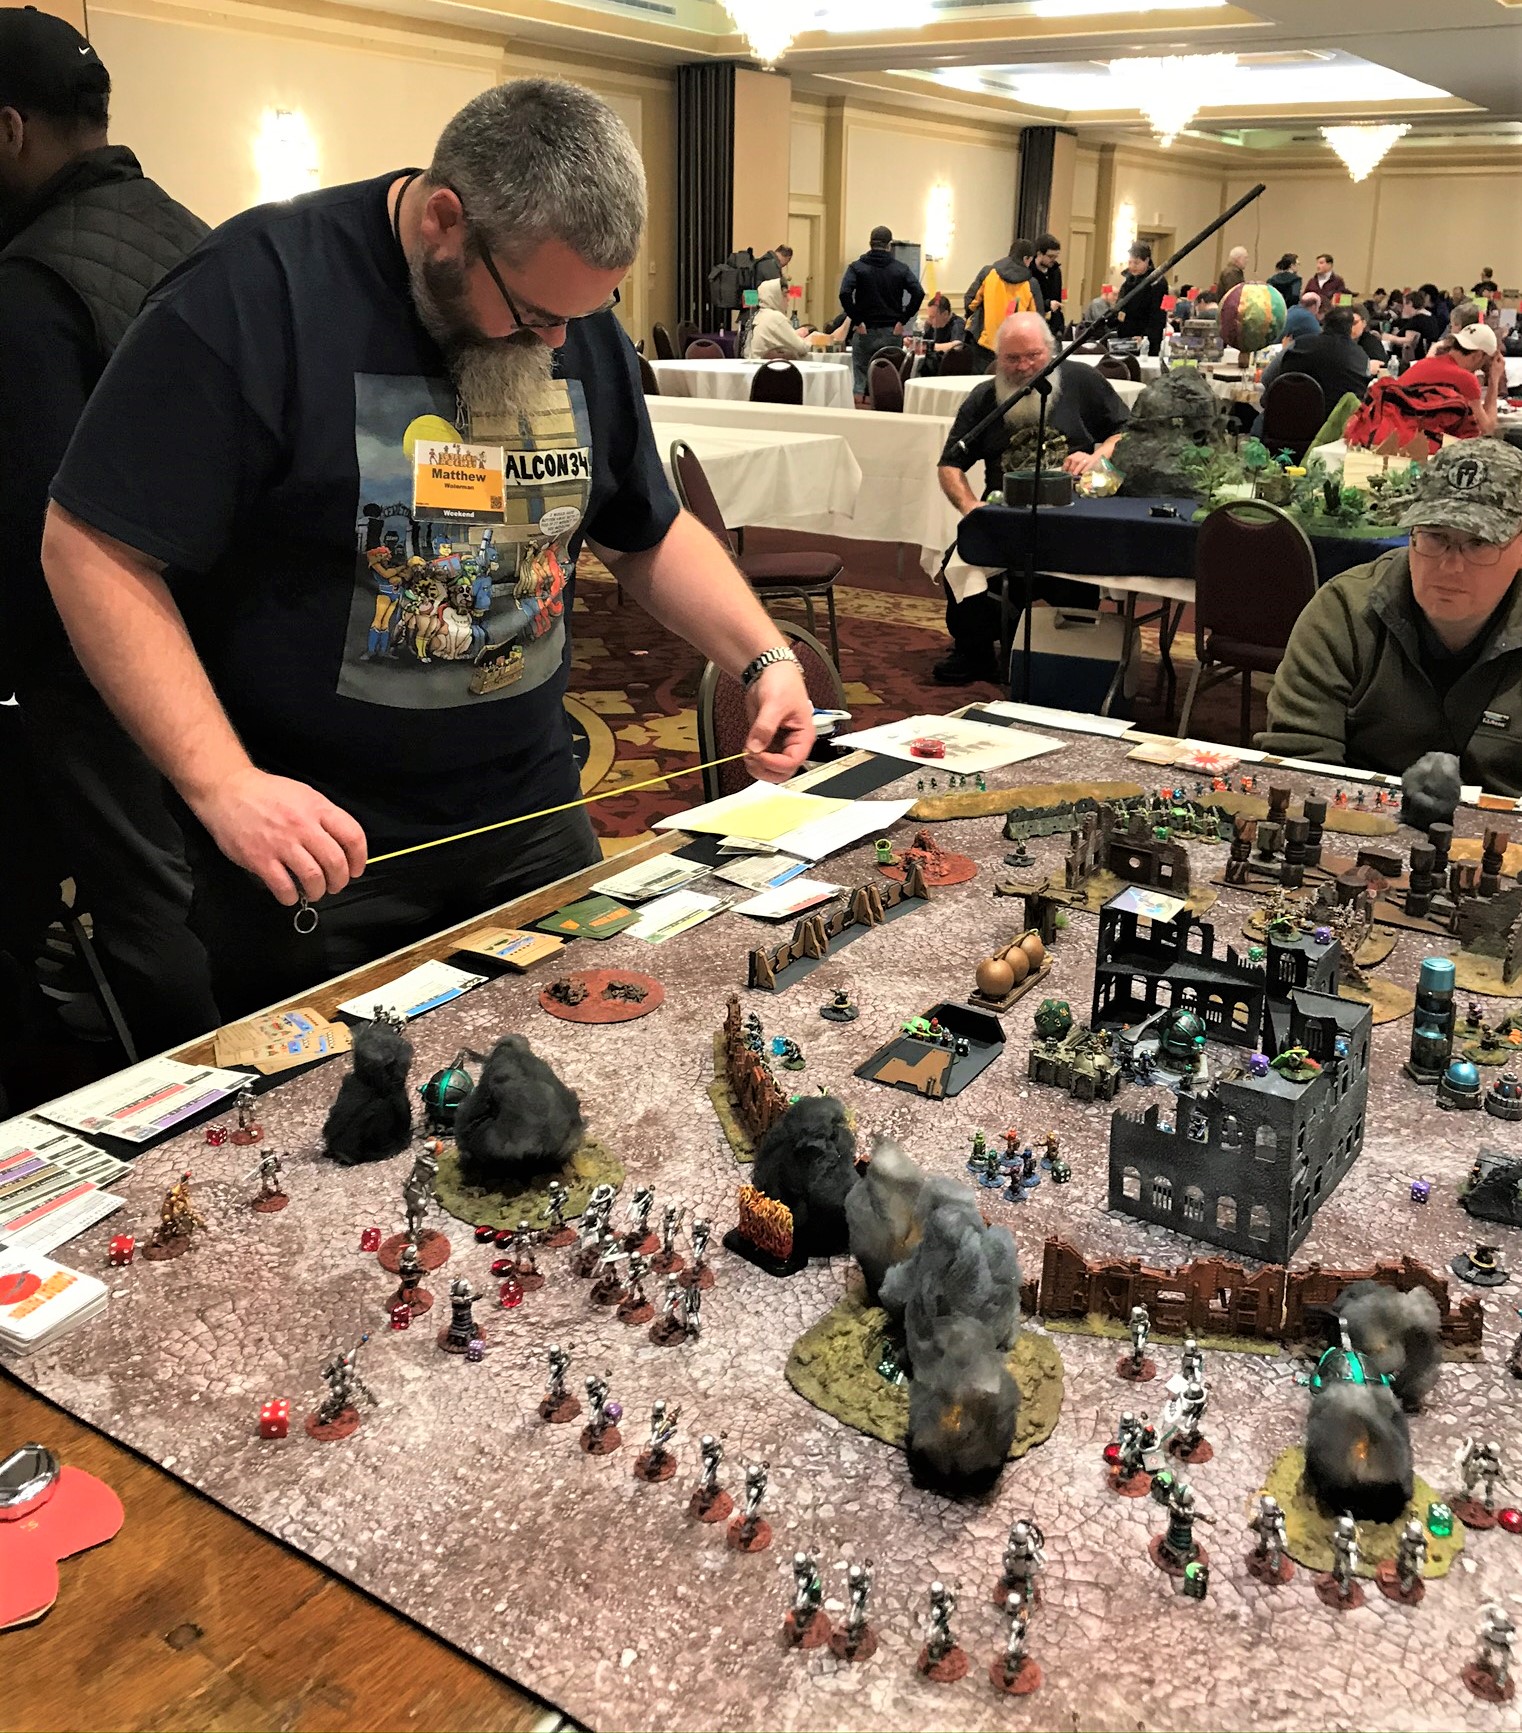
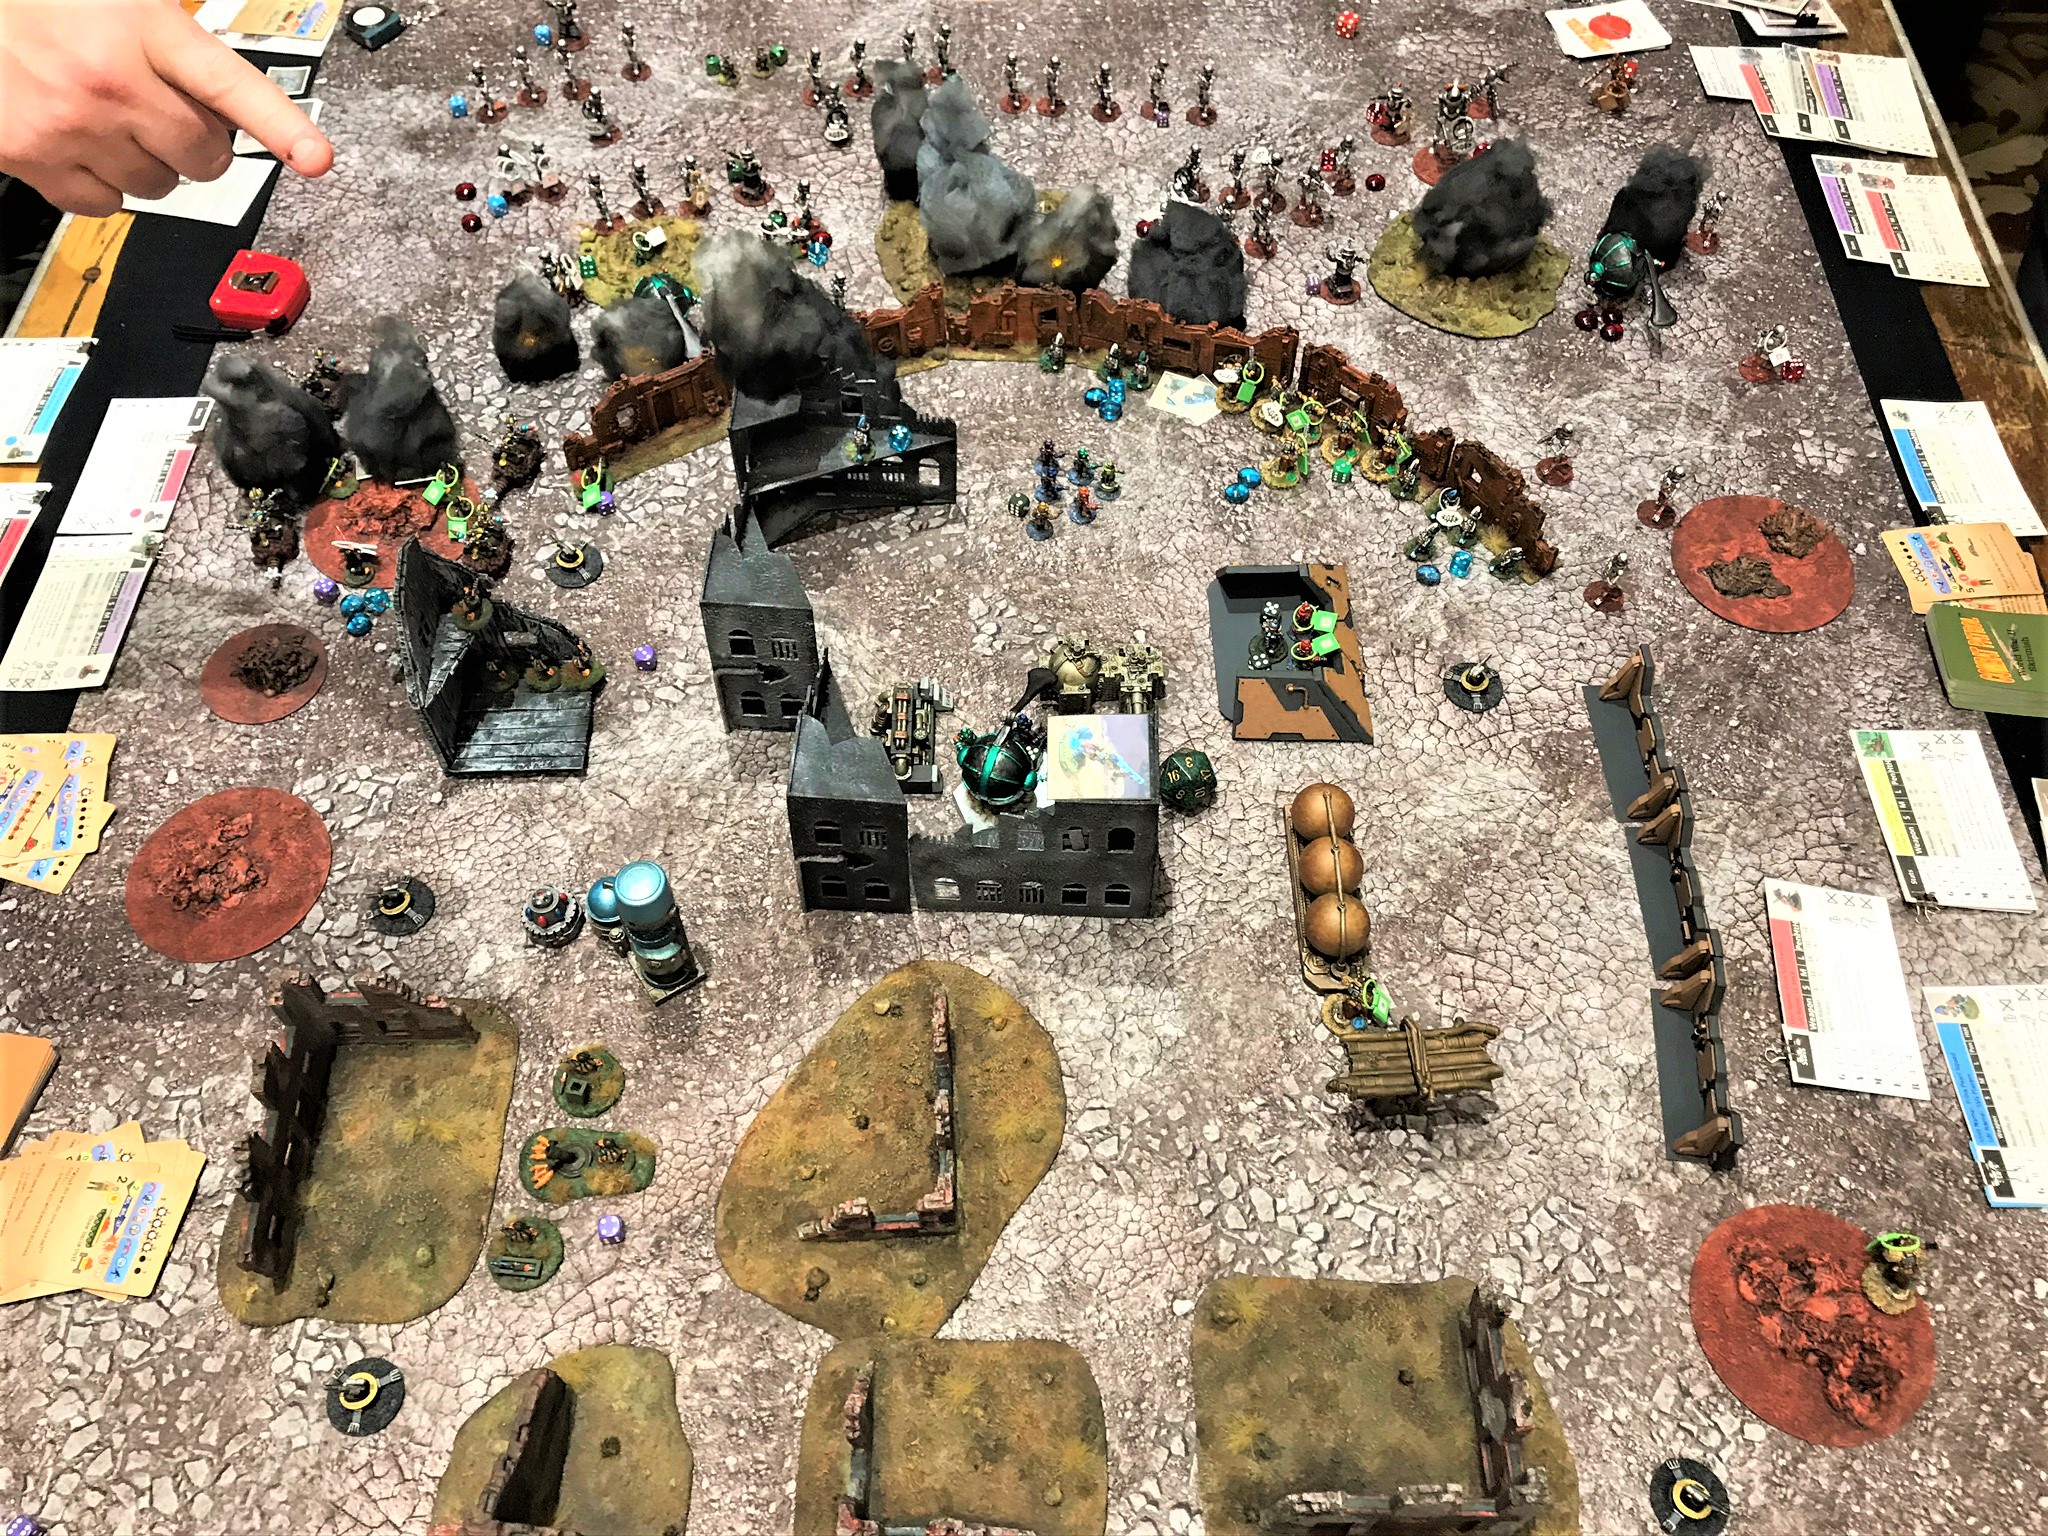
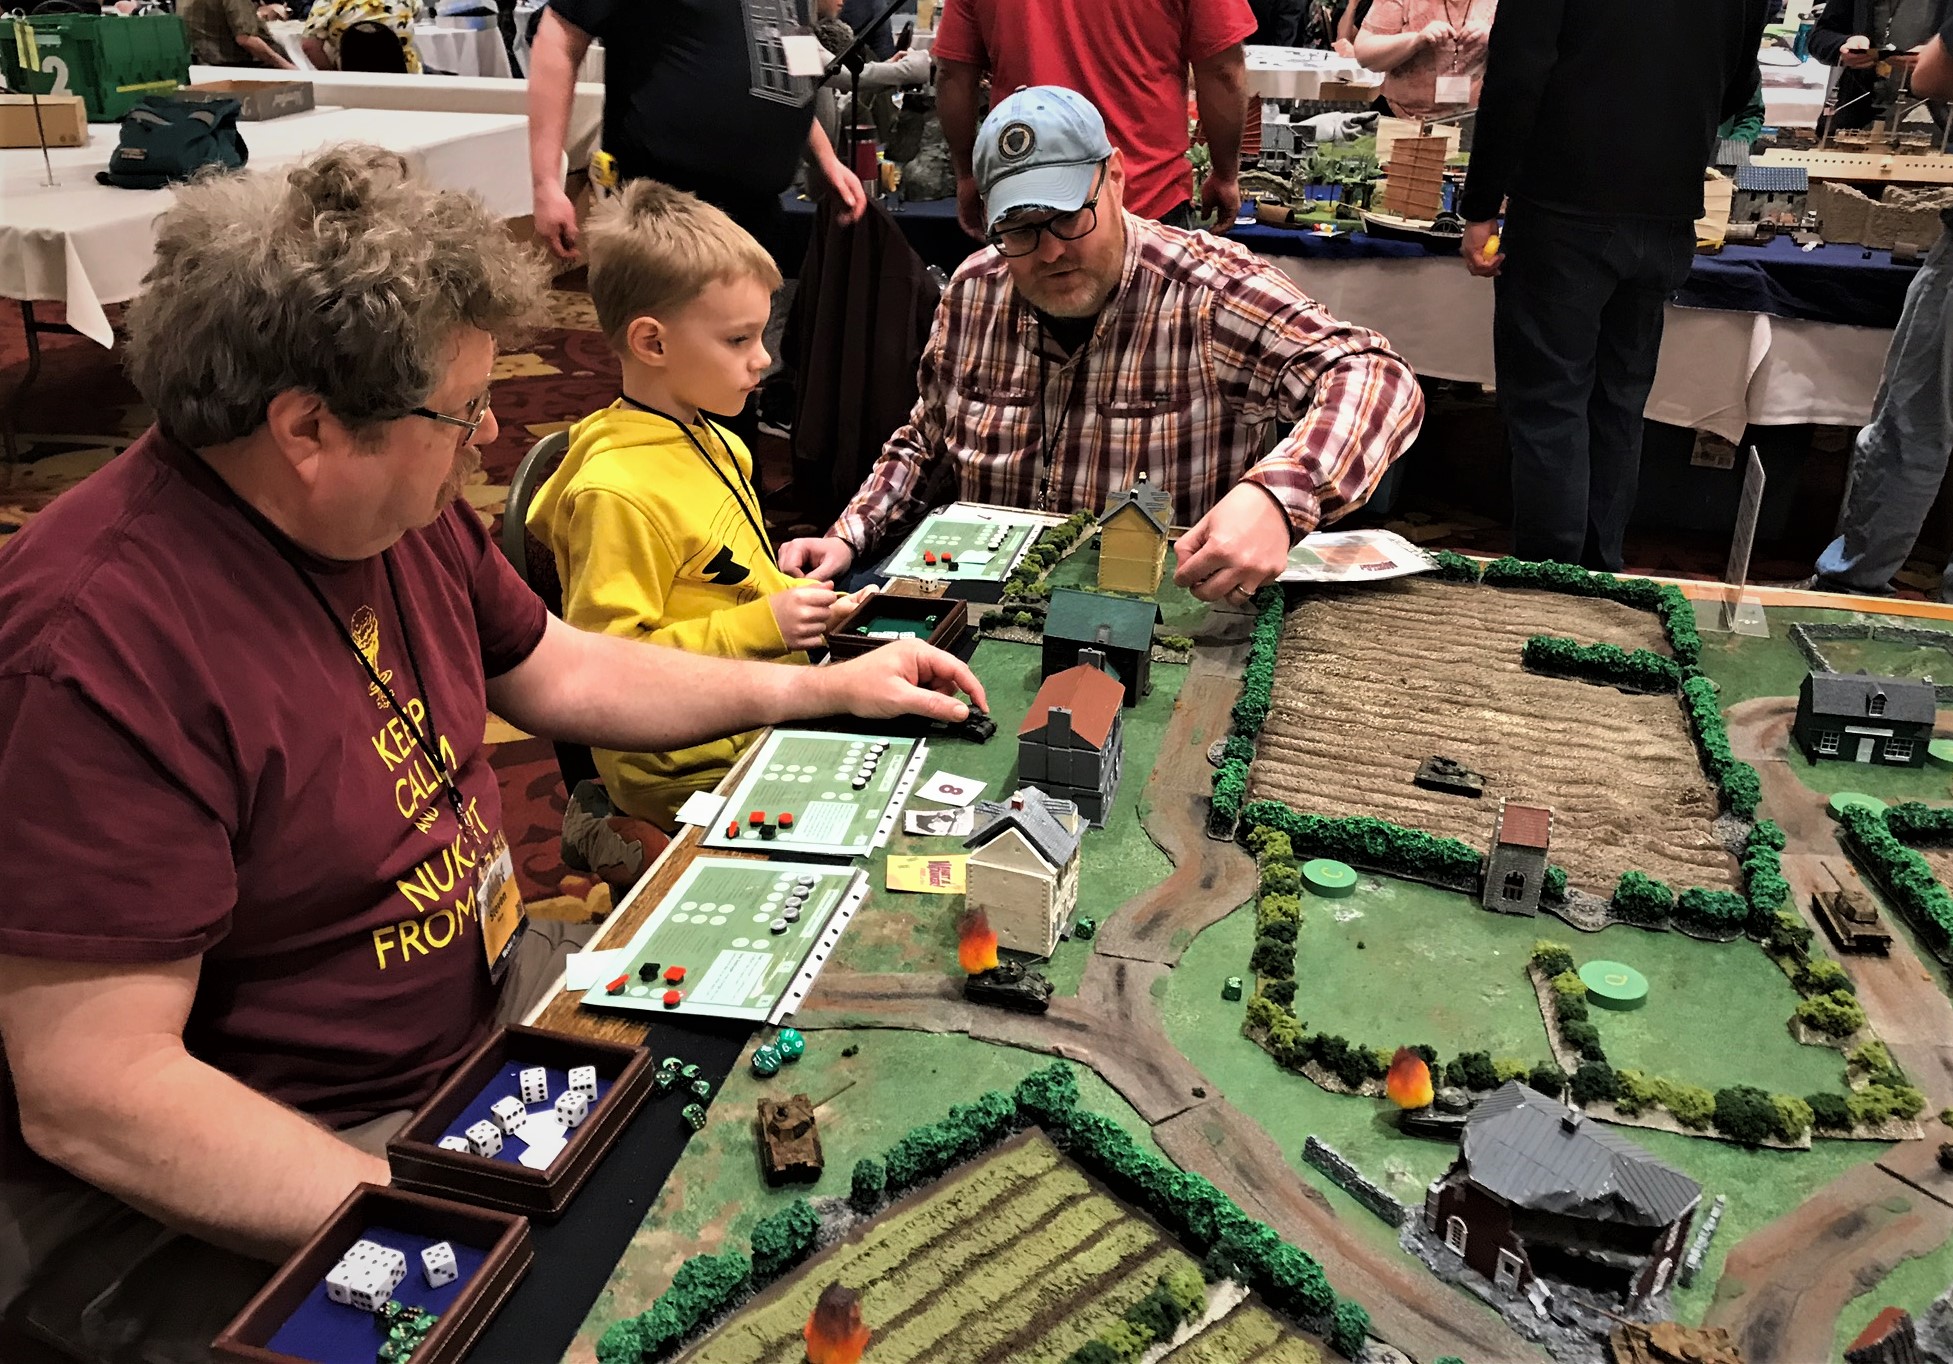
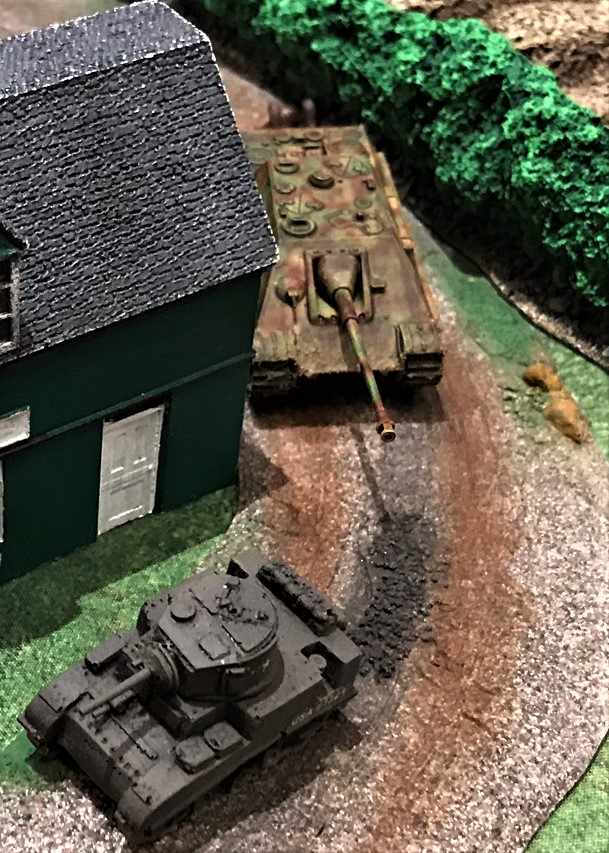
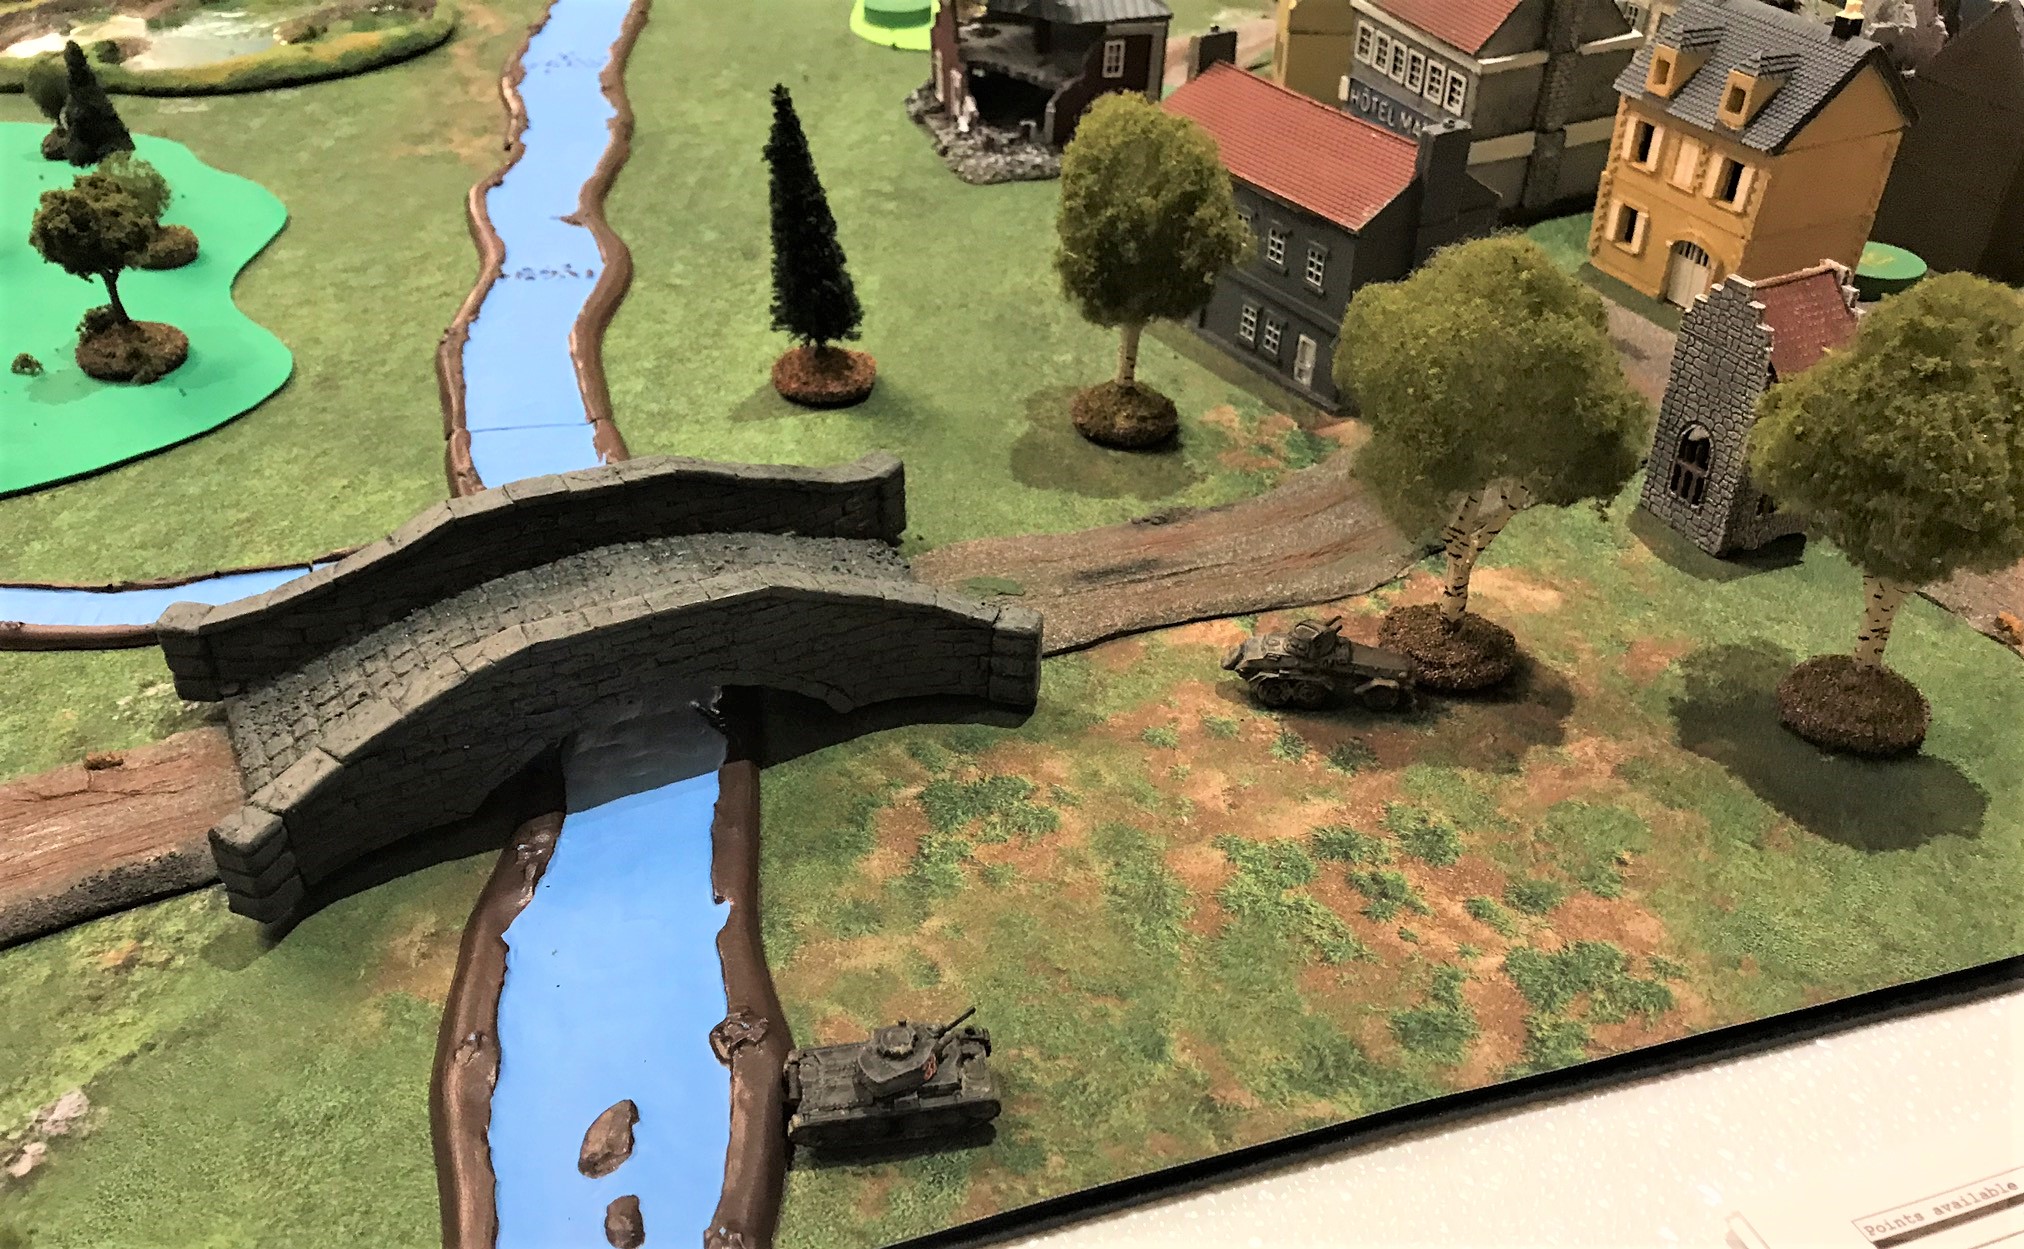
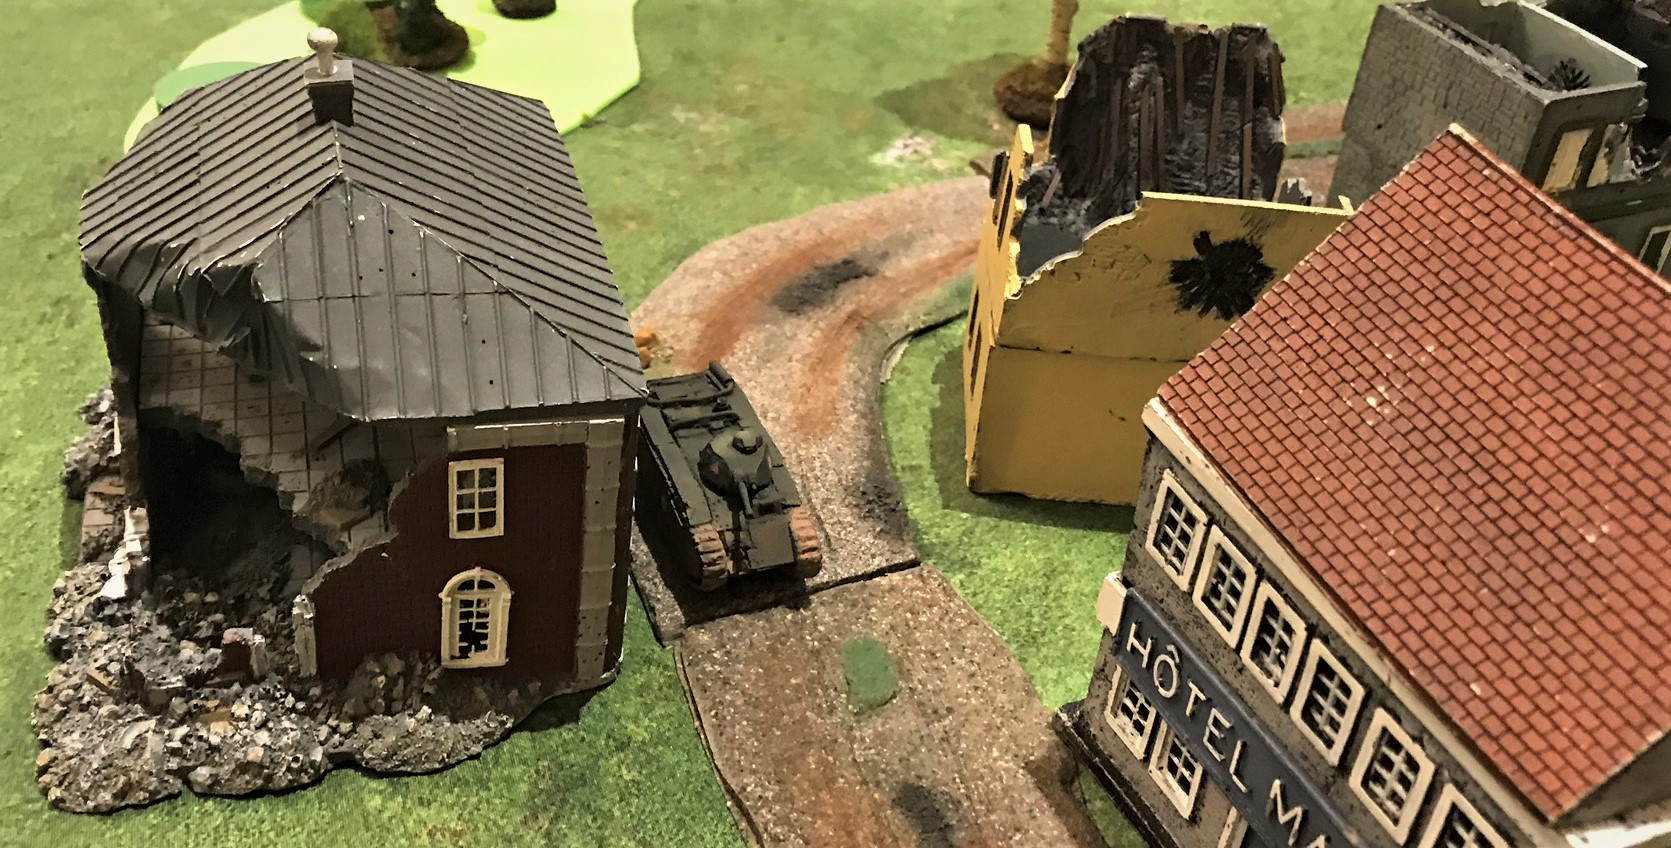
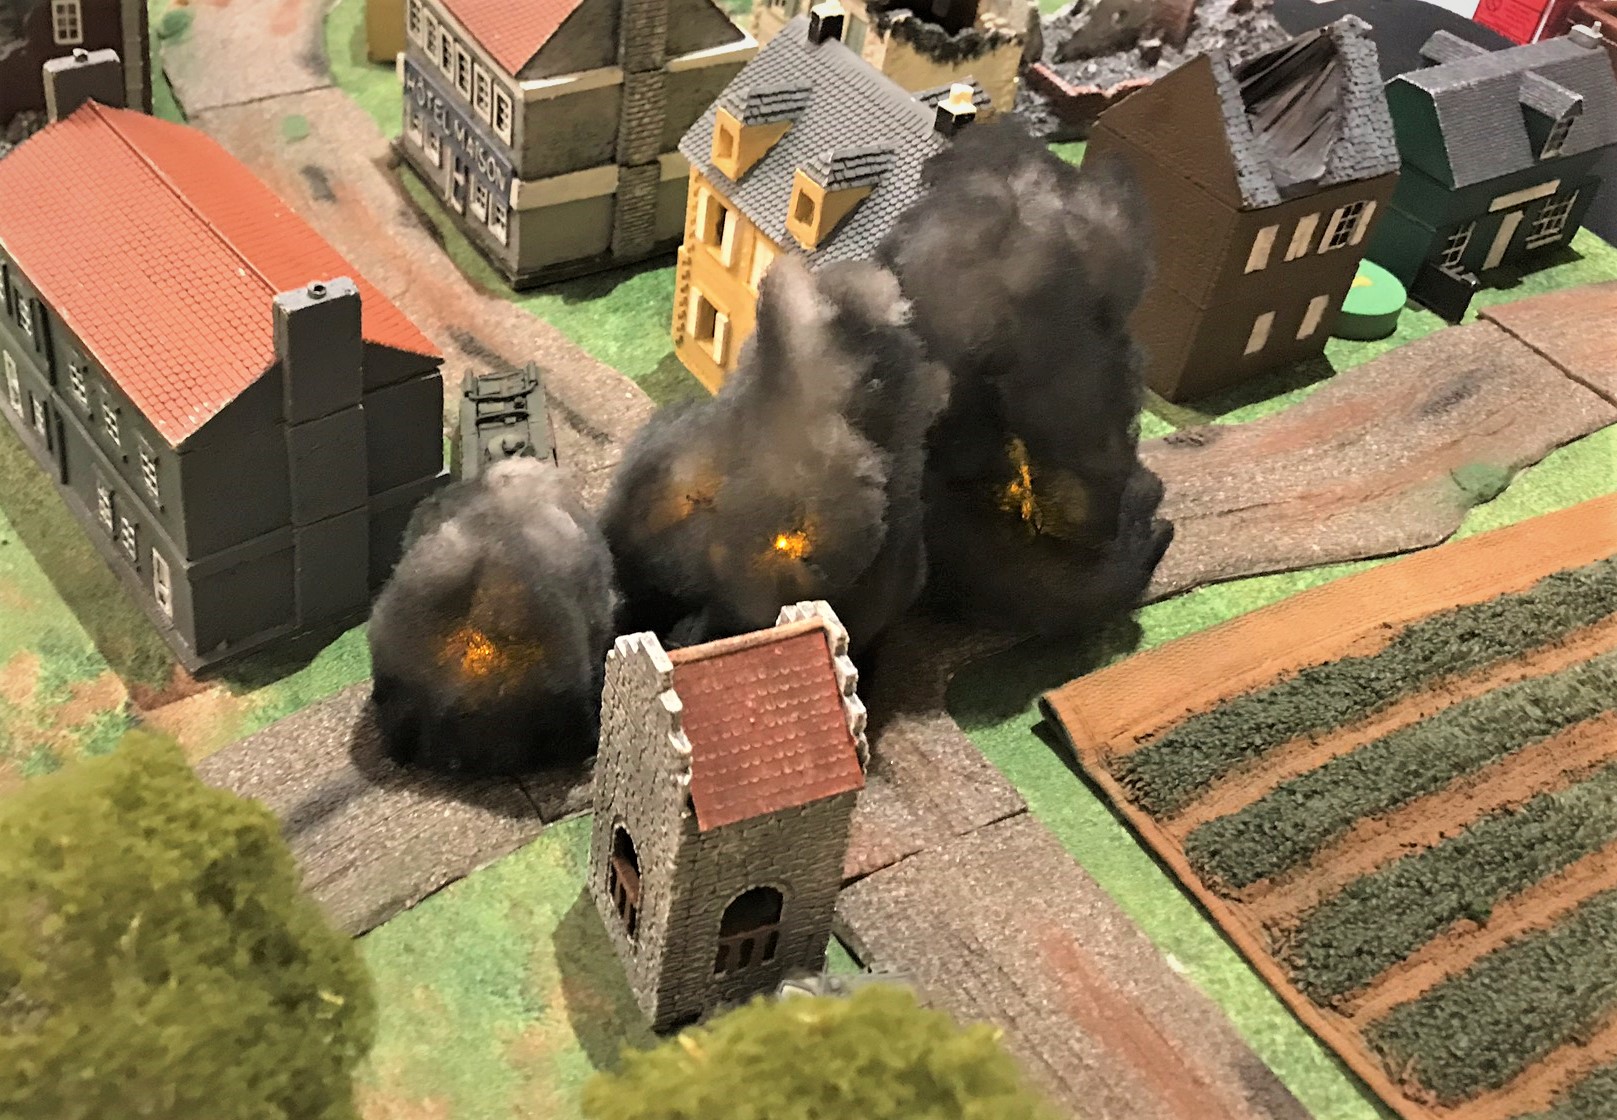
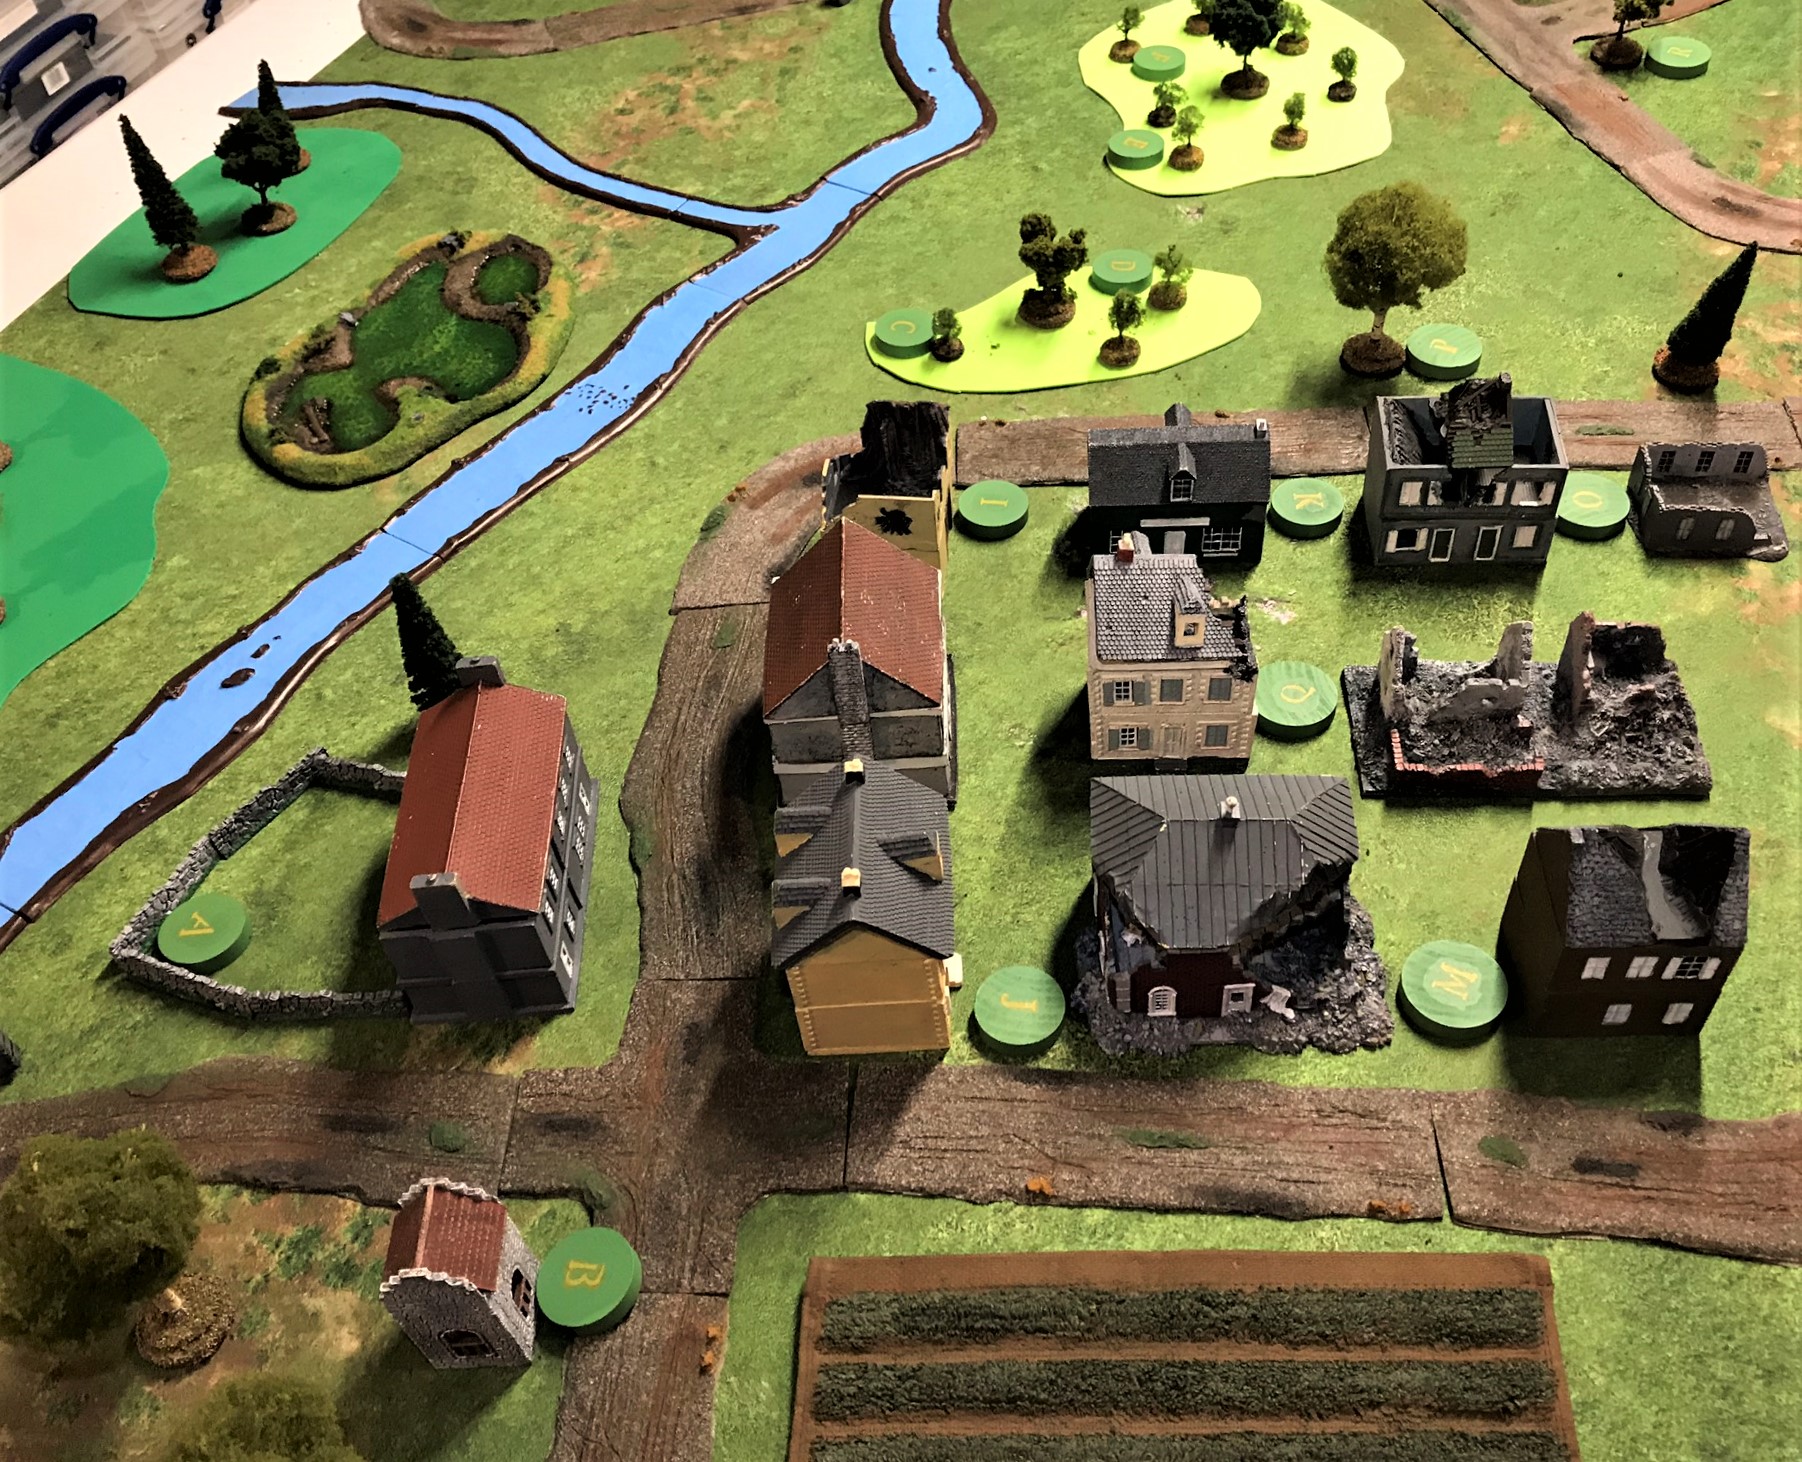
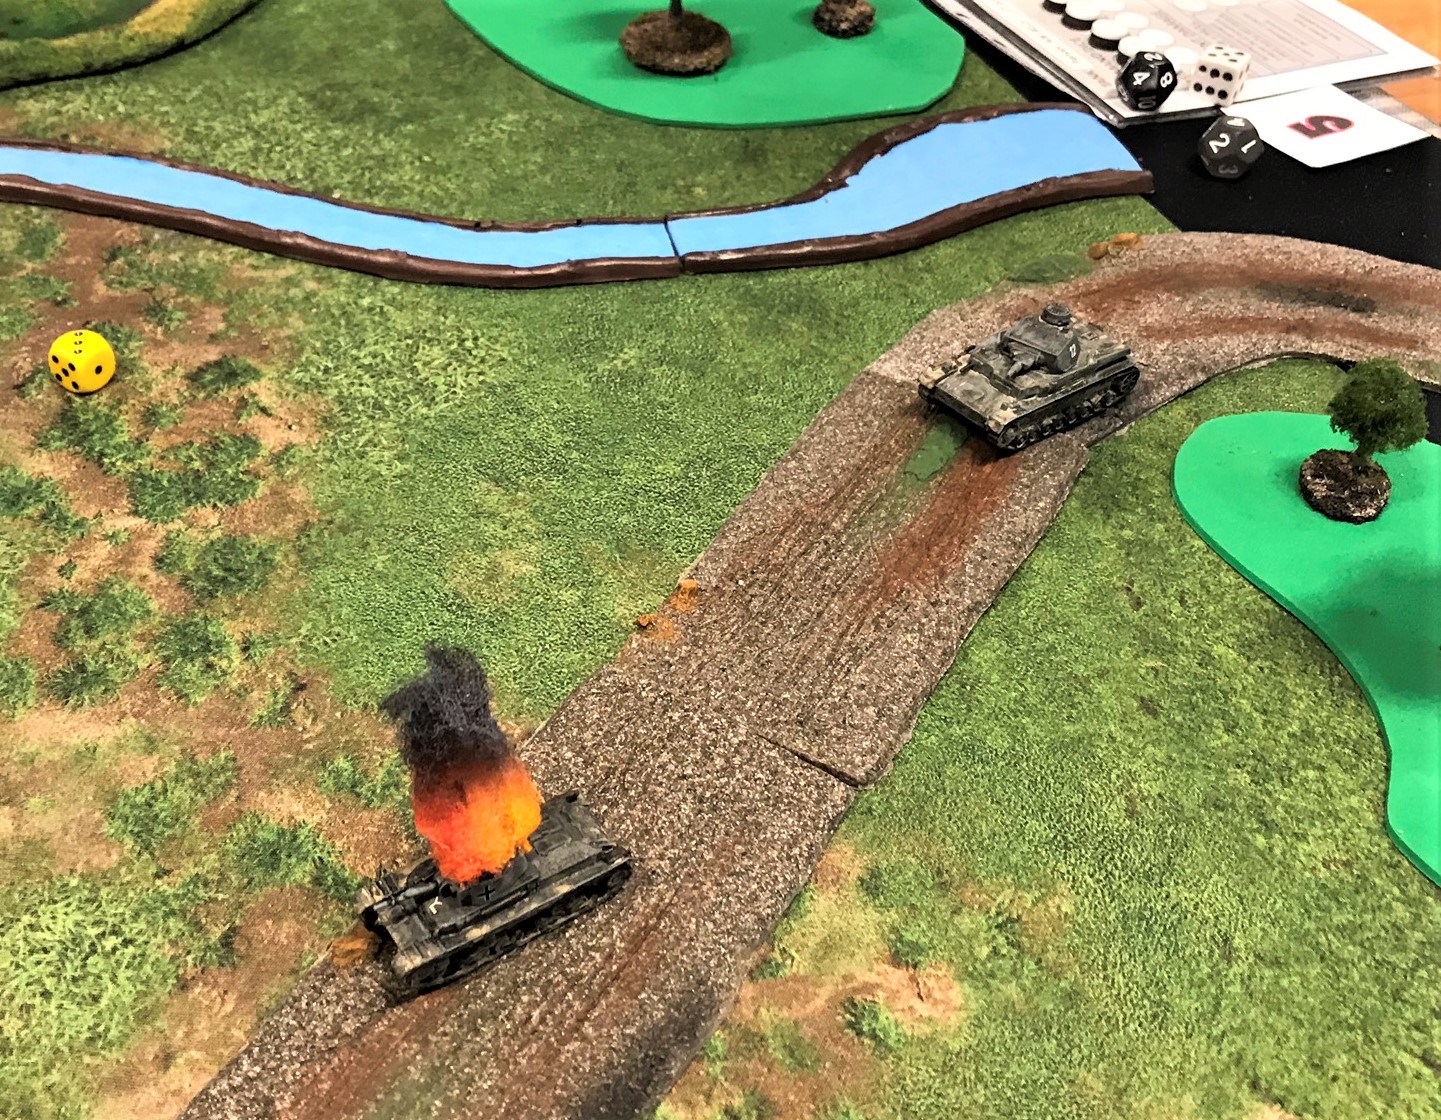
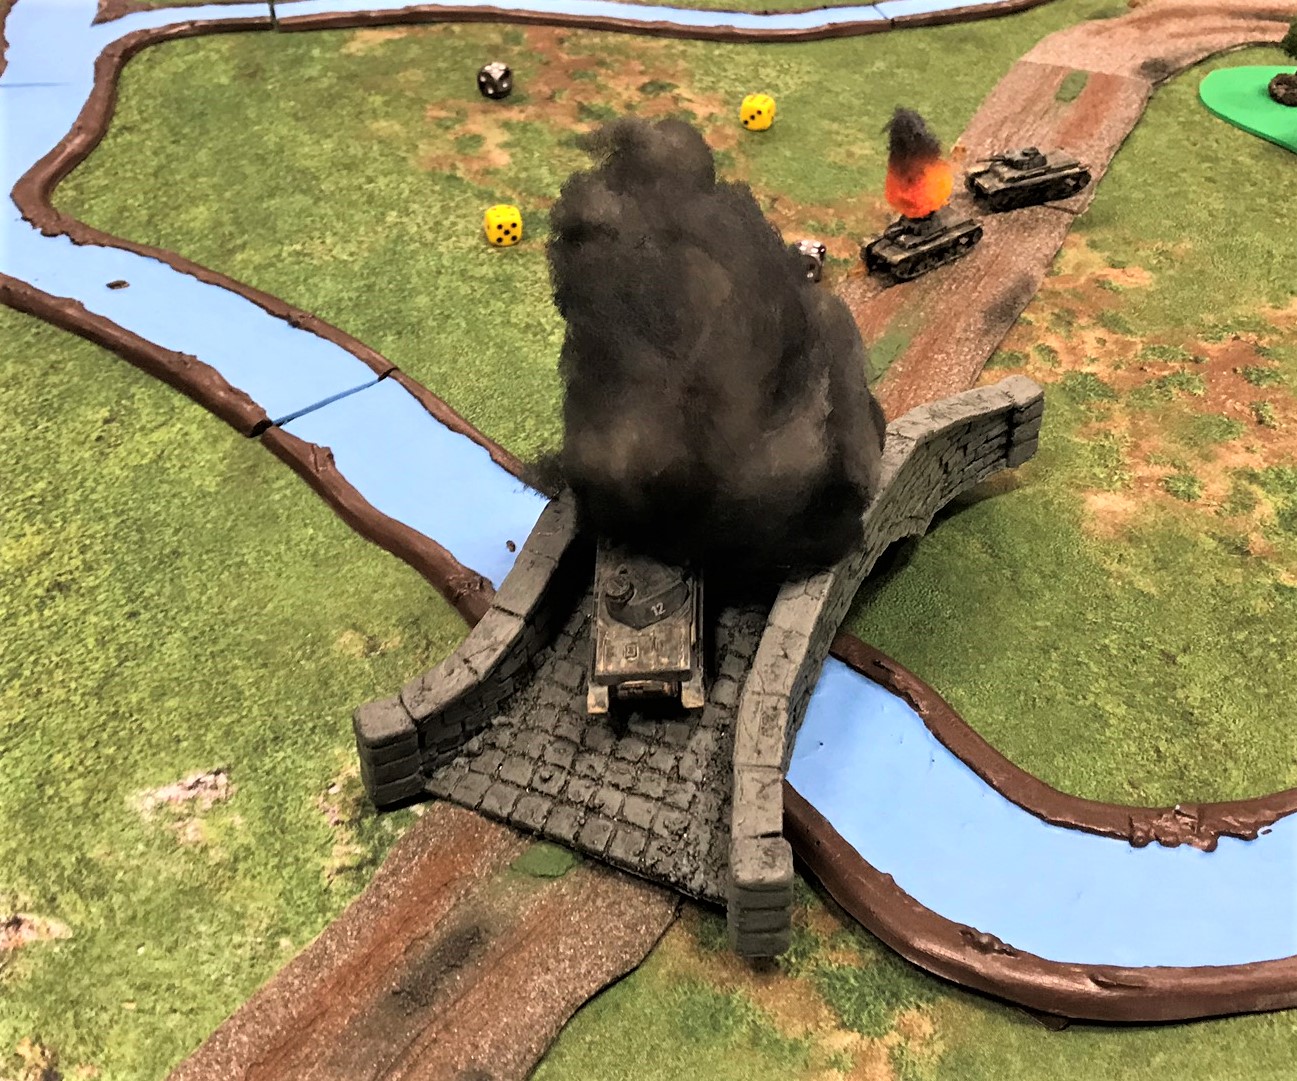
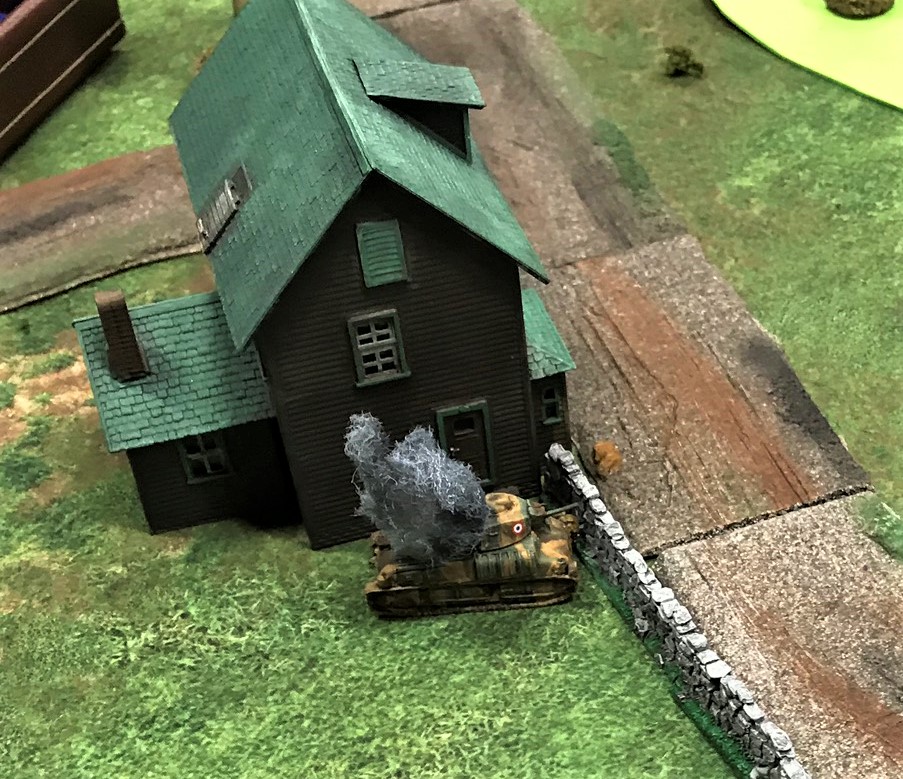
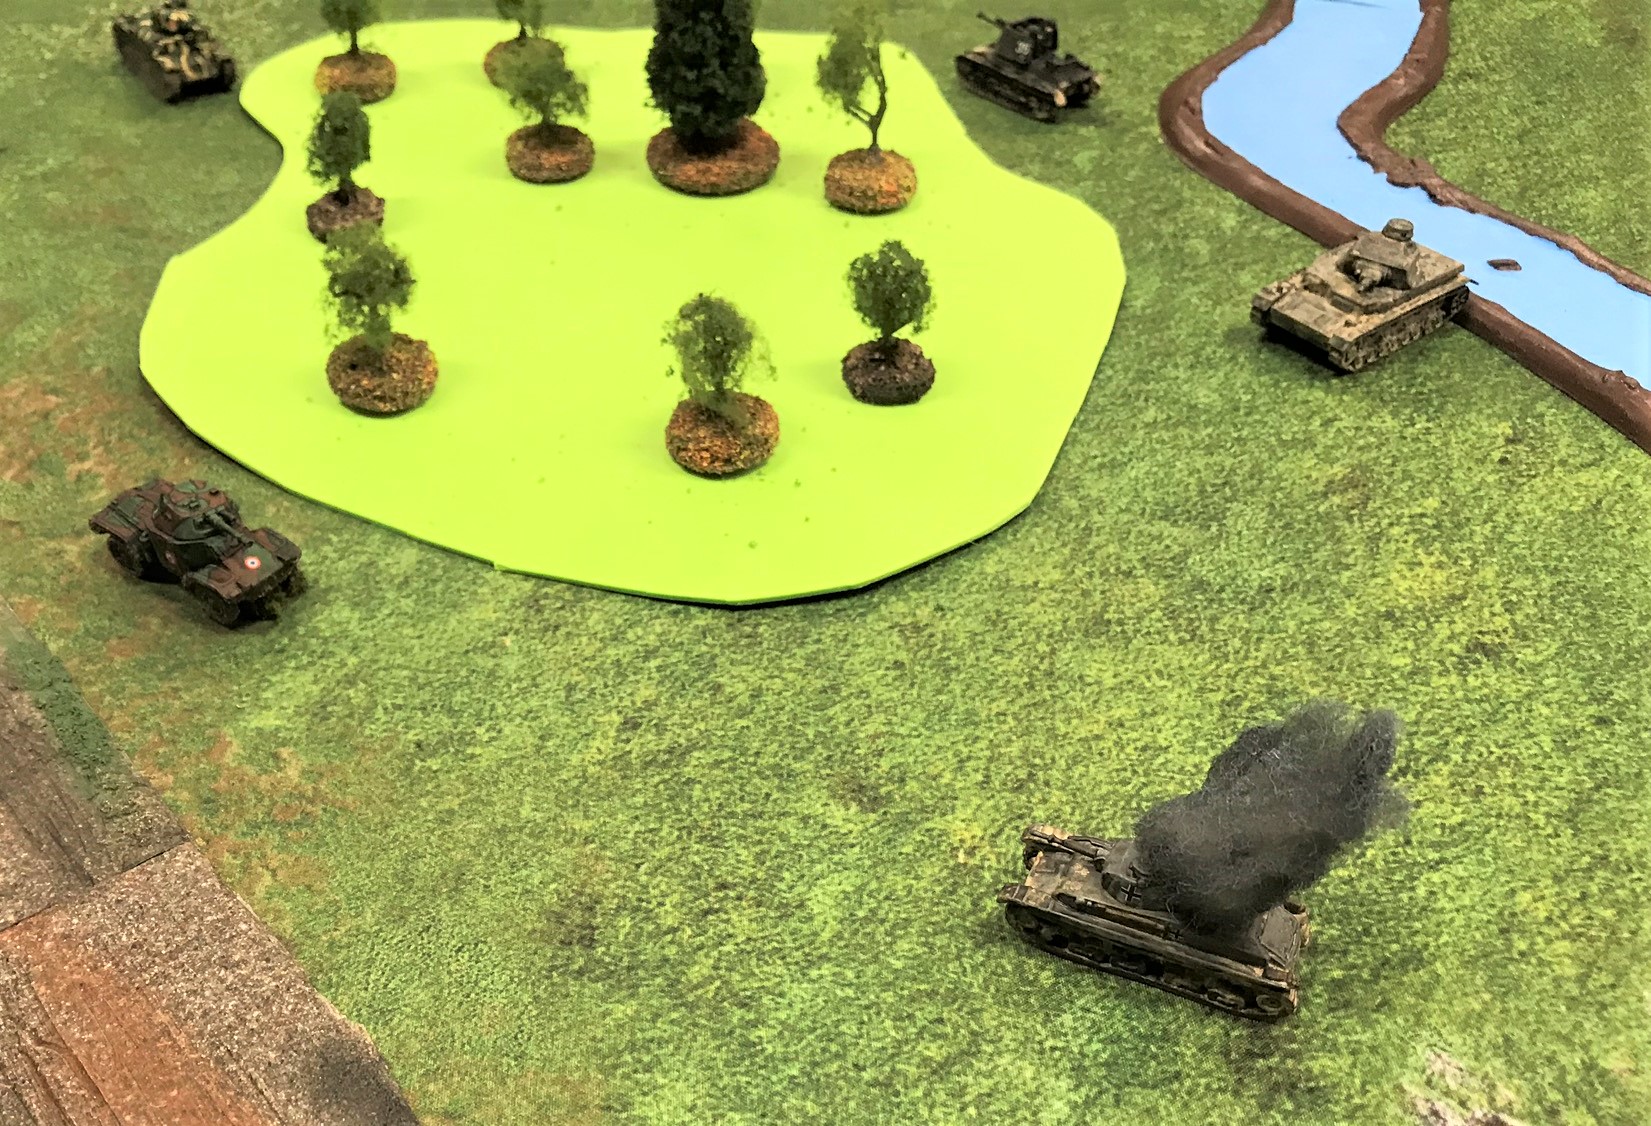
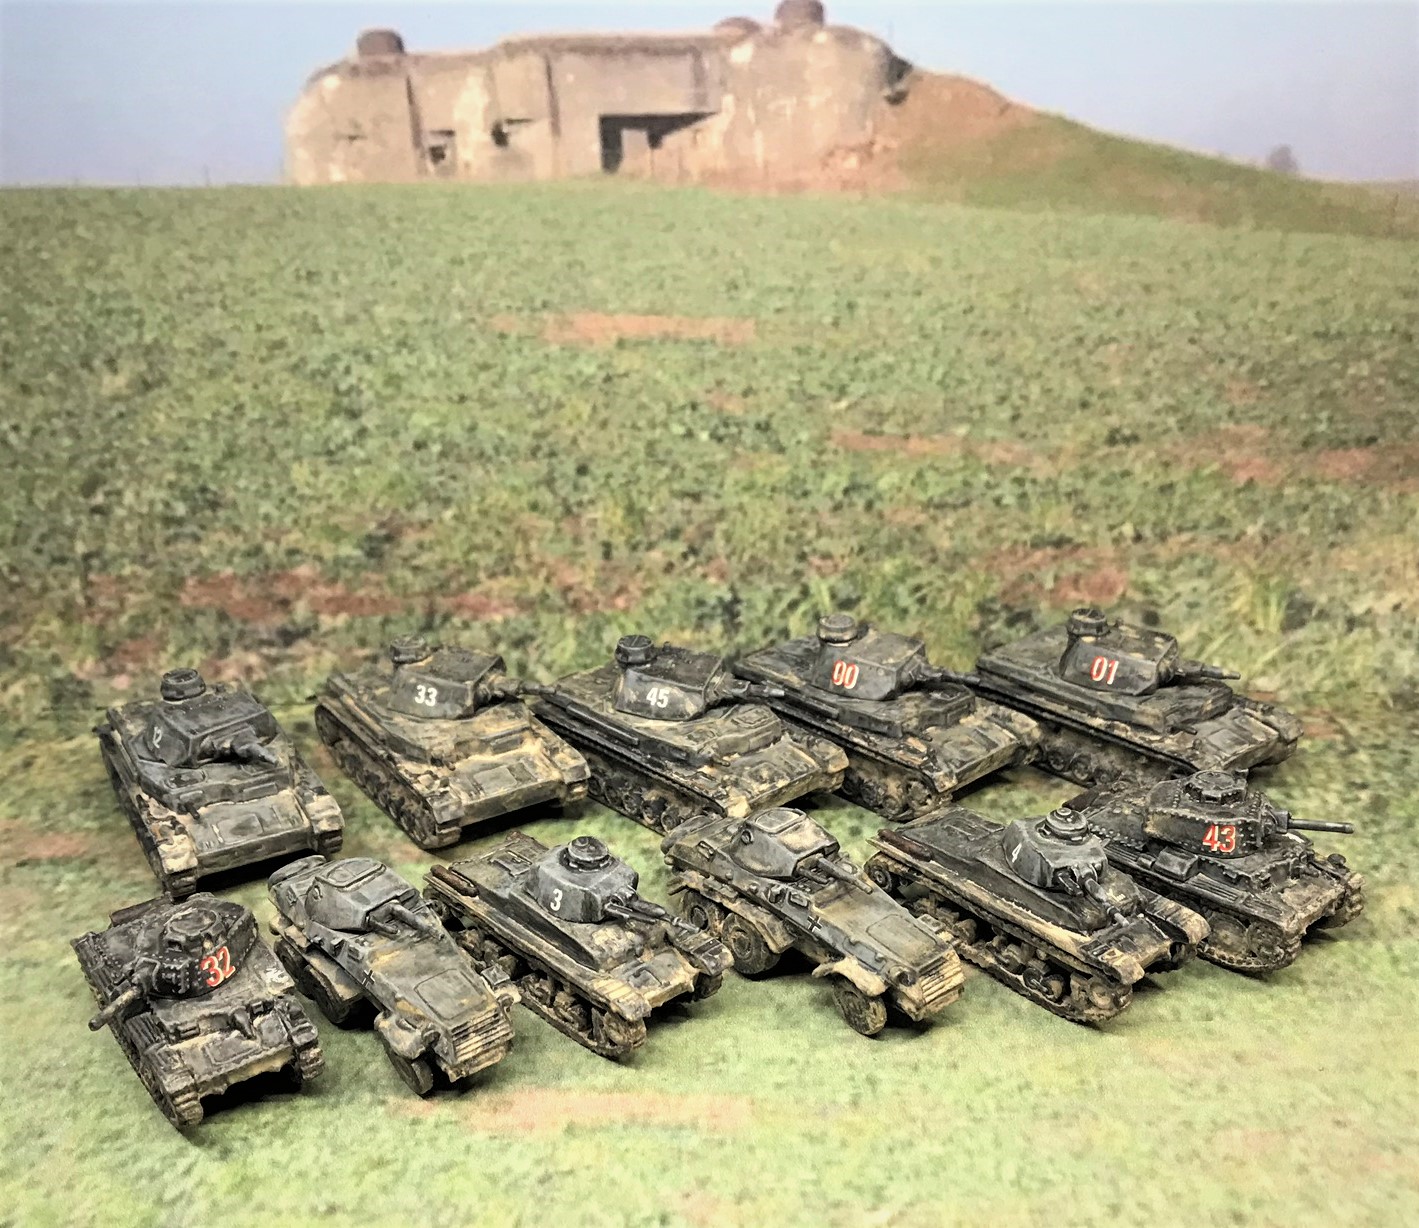
I did get to run four games (at the time it felt like too many) at TotalCon before the pandemic hit – two were Combat Patrol™ retro sci-fi games – “Space Cowboys versus Giant Zombie Cosmonauts” and “Attack of the Warbots” with my mostly OOP collections from Archive Miniatures, Mega Miniatures, War Games Supply Dump (and my own creations). The other two were scenarios for What a Tanker© that I have created and discussed previously in this blog: Battle of France May-June 1940 and Normandy Breakout!. I also ran one Aztec game virtually for Feudal PatrolTM using my “Civilizations Collide” supplement. The rest of the conventions never had a chance.


2. Grow the Mass Pikemen Gaming Club with new members and new GM’s
We had two gaming sessions before the pandemic – and we did add more members.
3. Support the Historical Gaming Club of Uxbridge
Well, that only happened until the pandemic.
Models
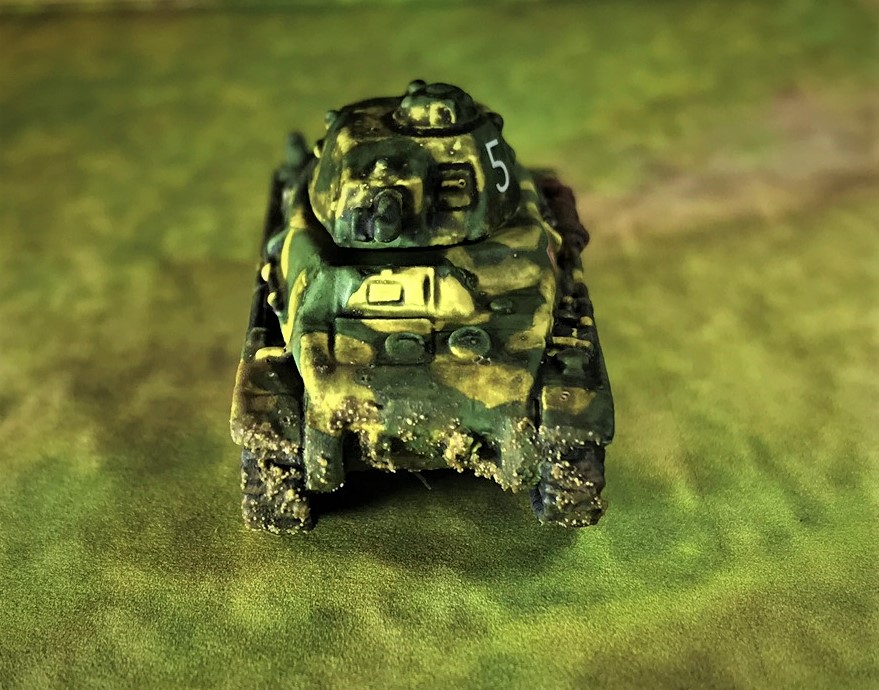
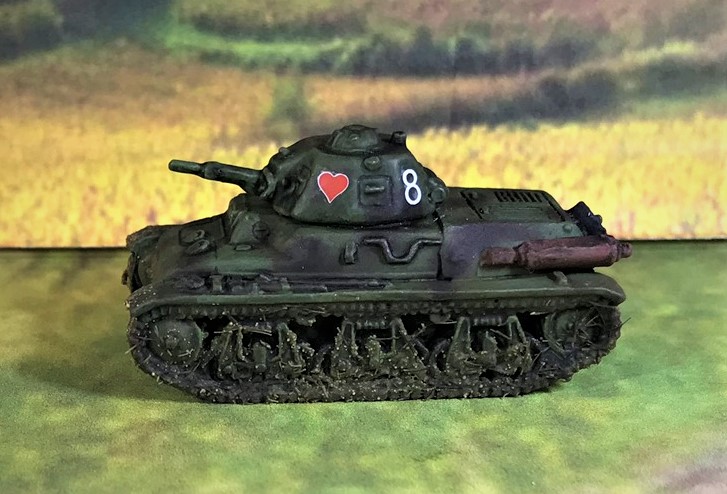
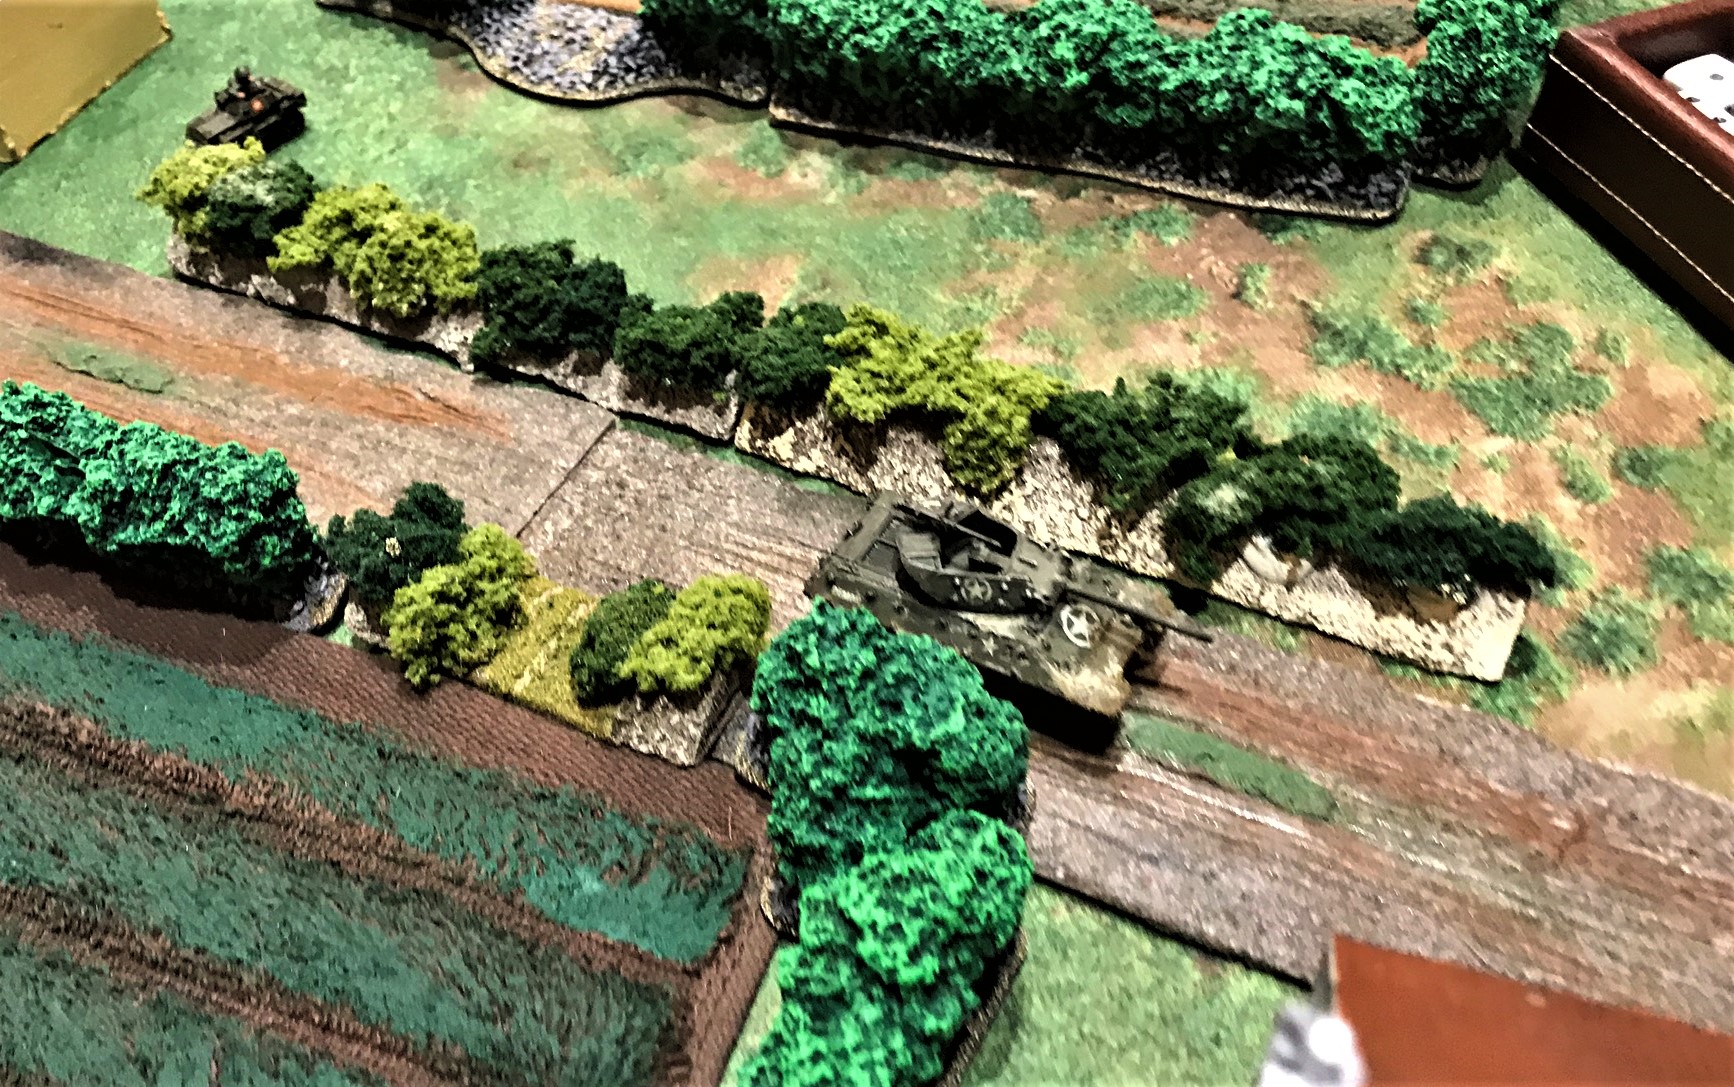
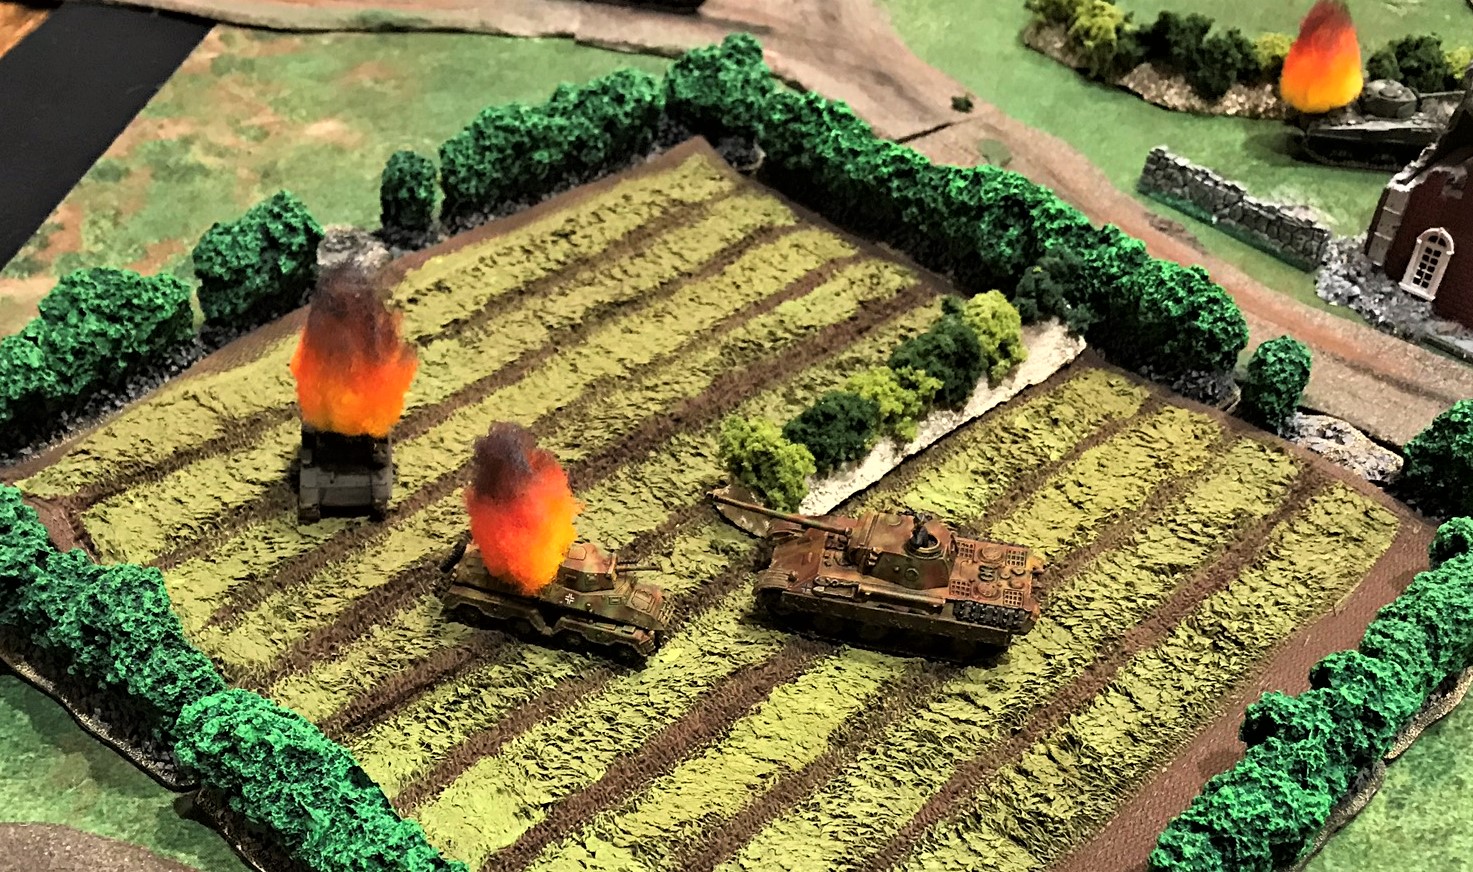
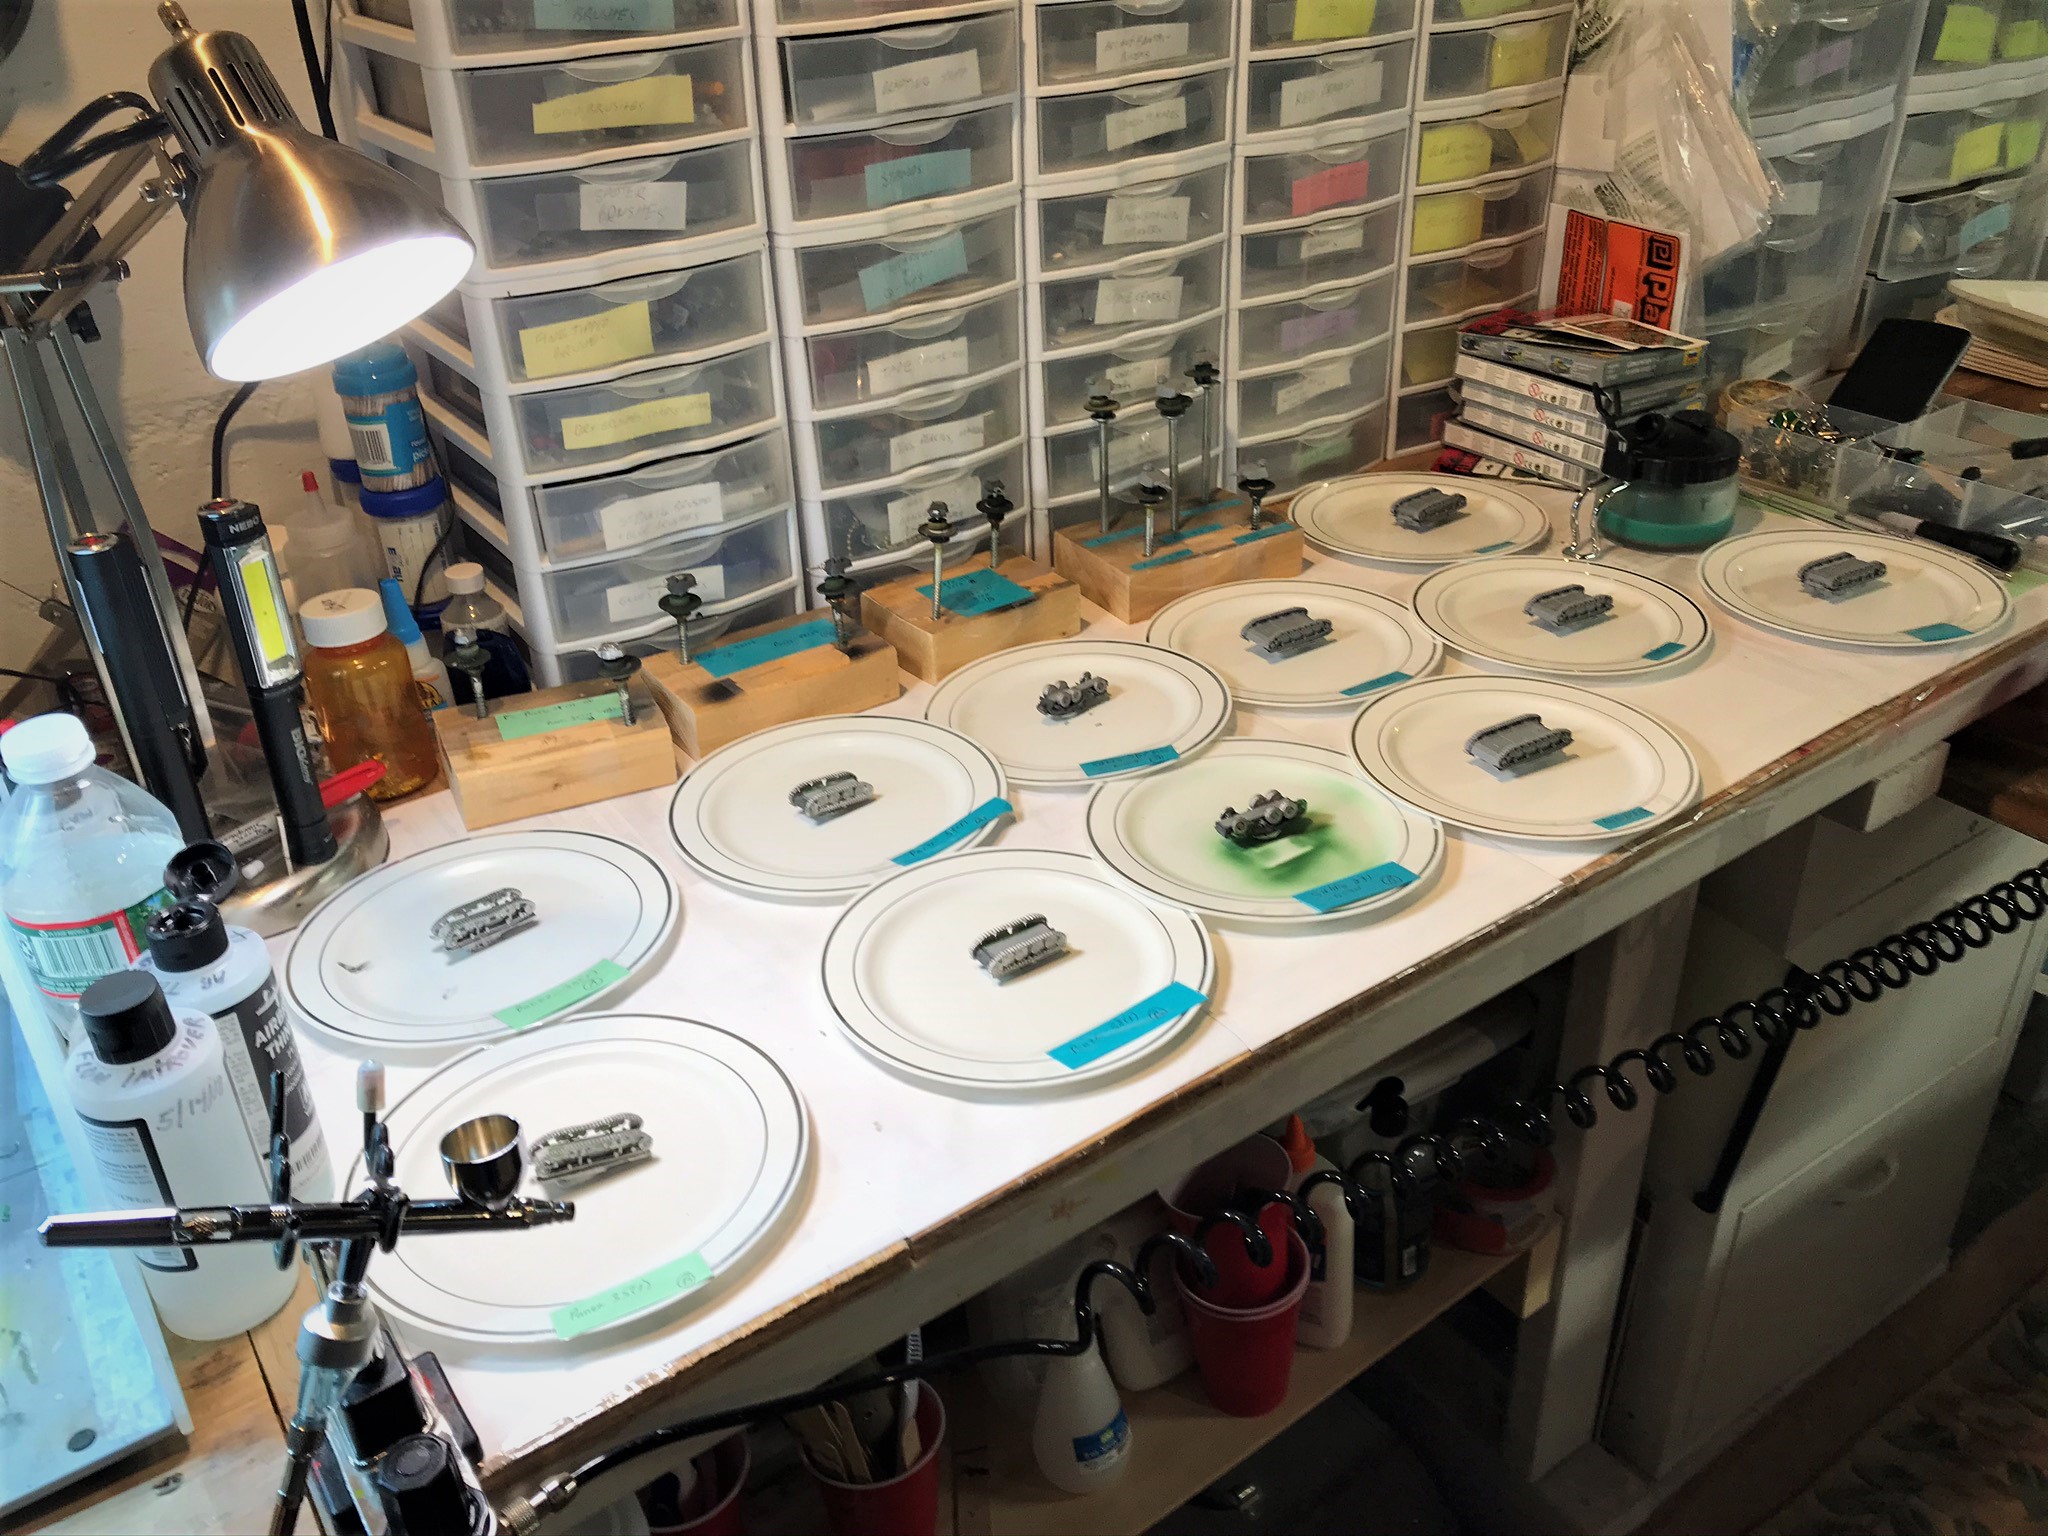
- Build a suitable force of French and German tanks for the Battle of France scenario for 80th anniversary of this event.
I did accomplish this but did not get to run anything for the 80th in May-June. I did get to run the game at TotalCon.
2. Build 2 or more new platoons for retro sci-fi games of Combat PatrolTM
Did not happen.
3. Start the Nomonhan project (or Khalkhin Gol).
Did not happen – but will eventually.
Other:
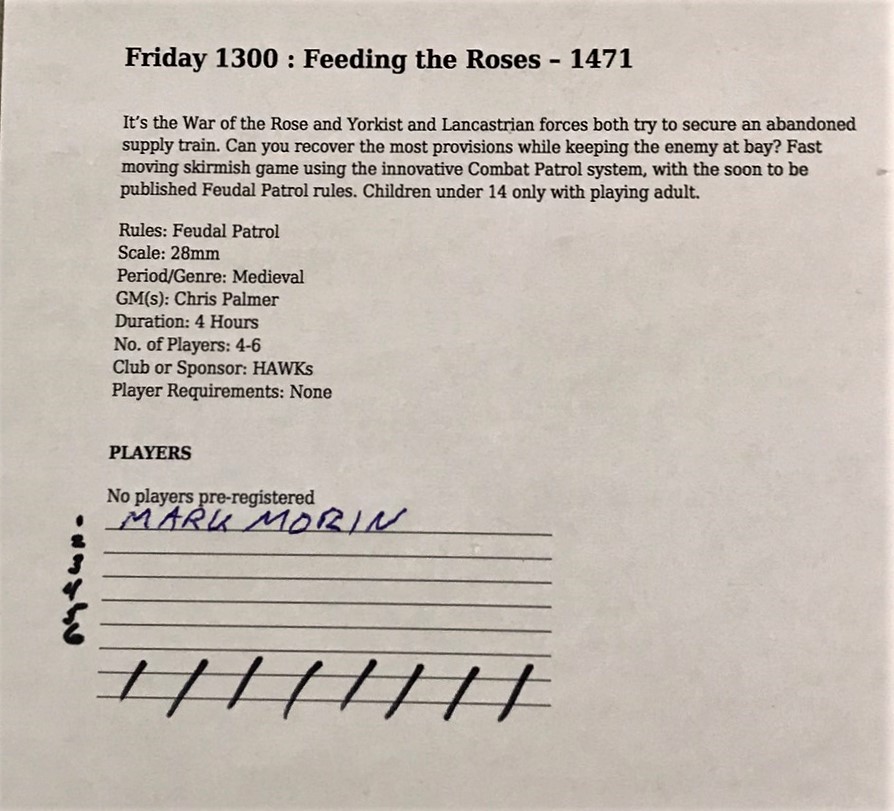
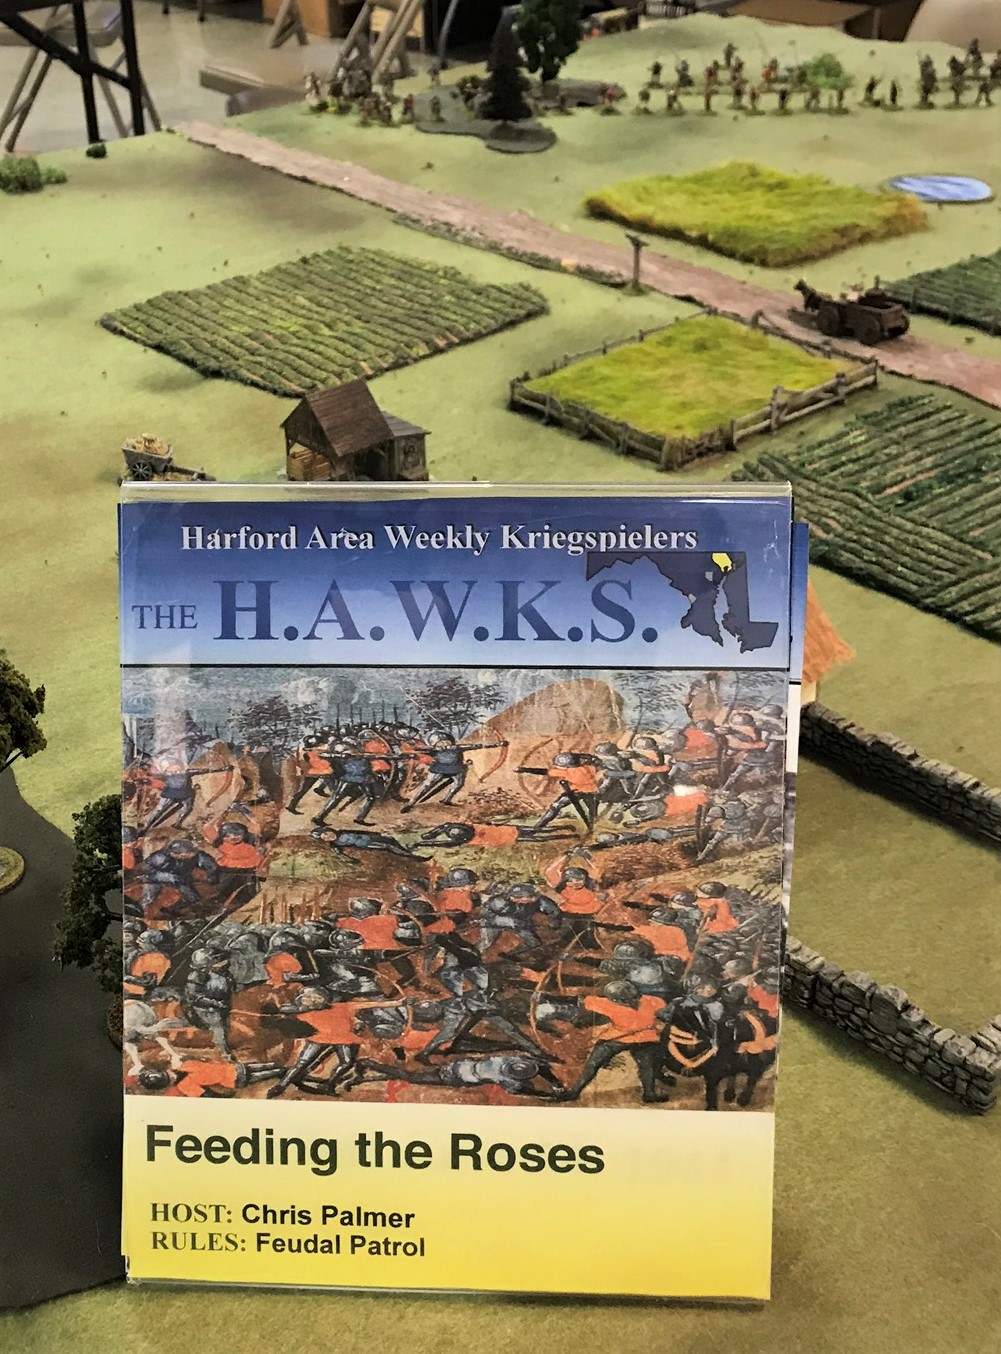
- Complete a supplement for Feudal PatrolTM for Mesoamerican warfare (Aztecs, etc).
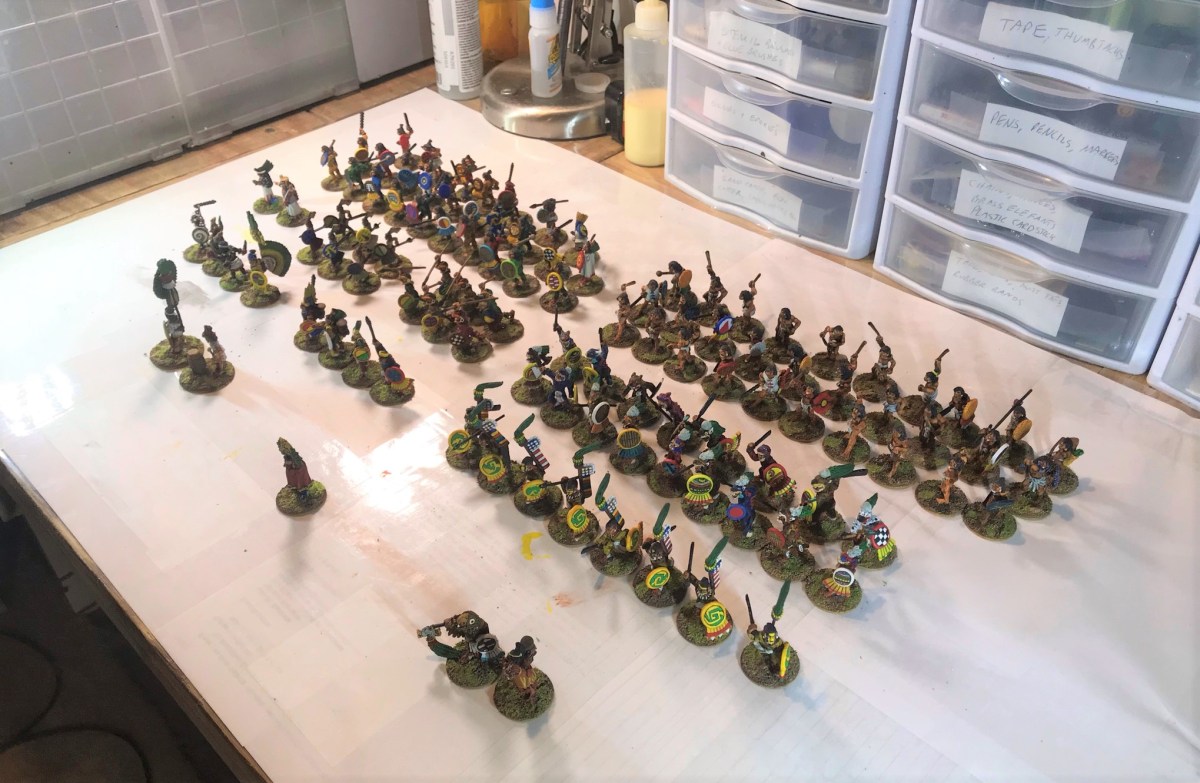
Yes – this was a big part of my February and March. Civilizations Collide was published on the Sally 4th website and Buck Surdu’s website as free downloads. This is the accomplishment in 2020 of which I am most proud.
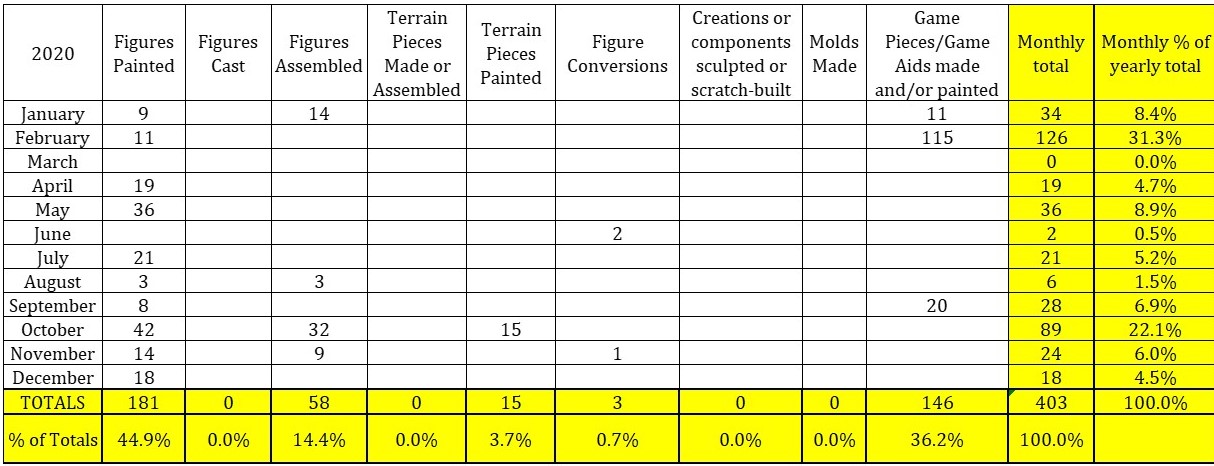
2. Be productive, but never sacrifice quality
Well, you dear reader can be the judge of that. I did paint 181 figures this year versus 153 in 2019. My project total was only 403 versus 775 in 2019, but I did a lot of scratch-building numerous game aids (410 to be exact while I only did 146 in 2020), so my production was different. Still, almost 181 figures is a lot!
3. Grow the blog and find new ones to follow!
I definitely did both of these. As for the blog, it grew by about 12% in terms of views and visitors, and my followers are up too. My posts were fewer by five – so that is something I need to work on.
4. Entertain my audience!
I think so – again – you are the judge of this, not me!
Golf
- Get my handicap below 14 (if I have enough non-gaming time!)
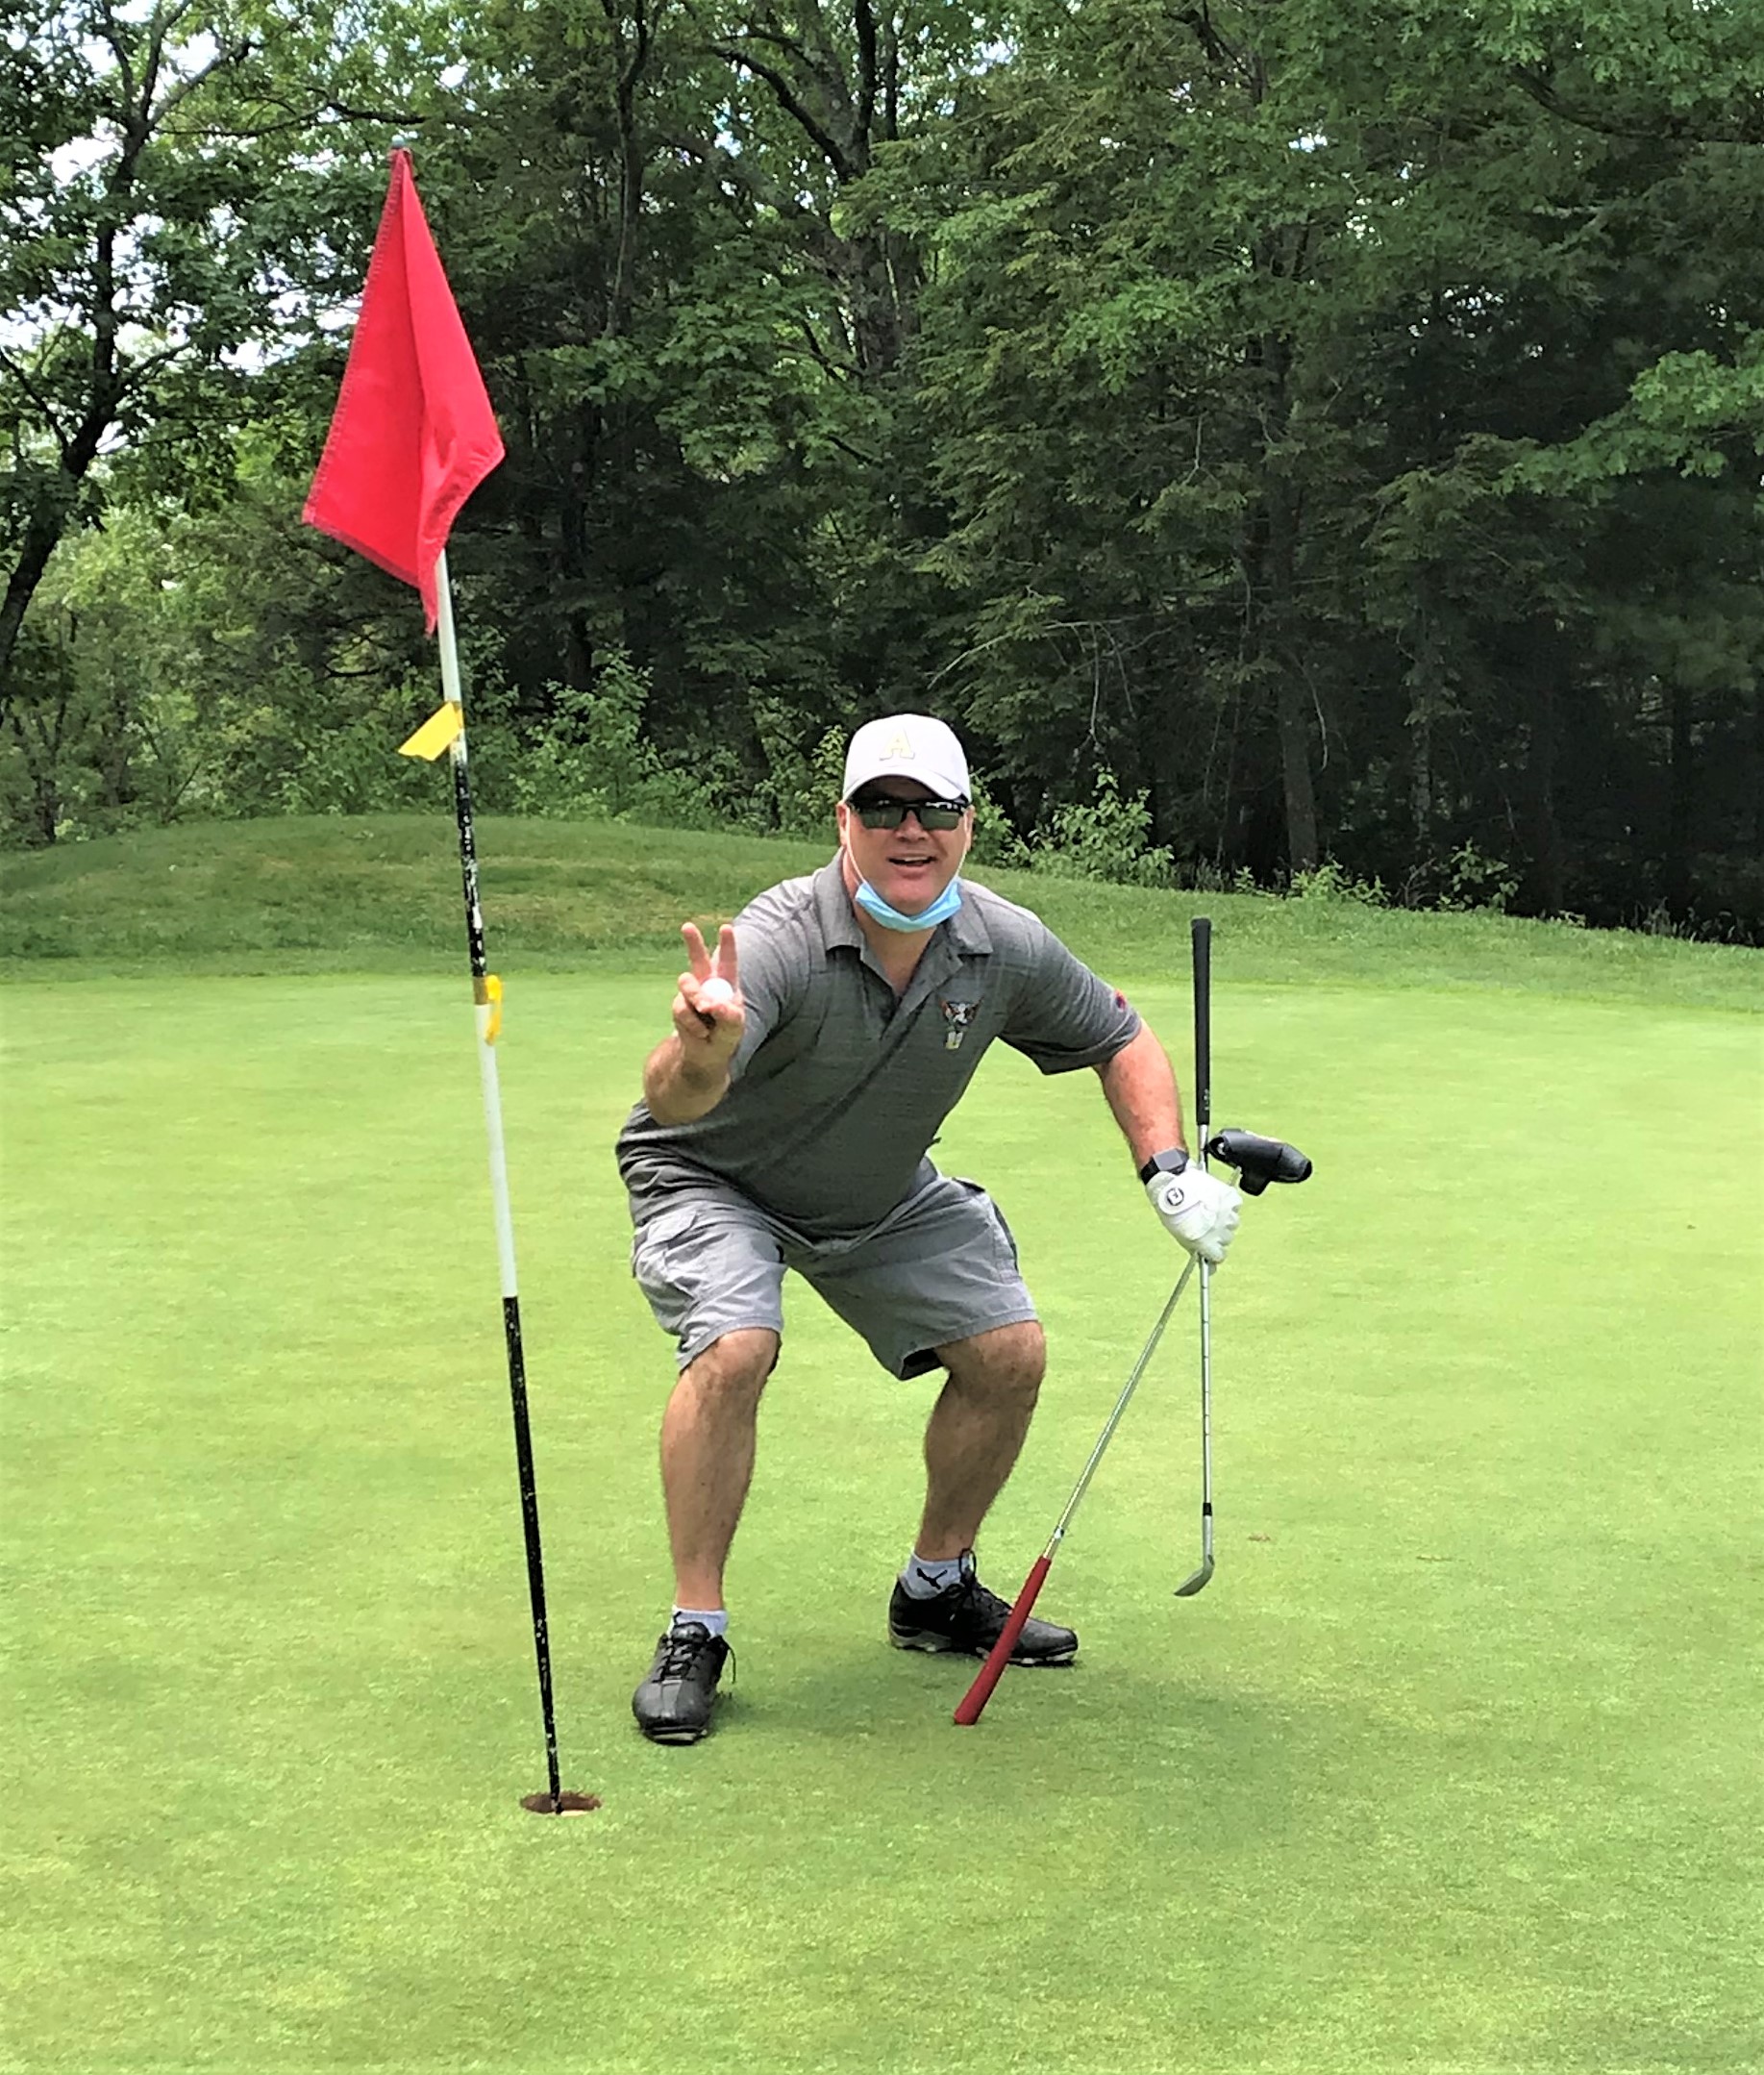
I did not achieve this. As my golf summary page shows, I only got down to 17.4. I was able to achieve a personal goal in that I got my first eagle in June!
Personal Highs for 2020
- Serving my Town (East Brookfield, MA) as the elected Board of Health Chairman during the pandemic. Duty called.
- Getting my supplement for Feudal PatrolTM published, Civilizations Collide.
- Seeing my Mark 1 Sphere Tank brilliantly displayed (just yesterday!) on IRO’s blog.
- Getting the eagle.
- Getting interviewed on the Imperial Rebel Ork podcast.
Personal Lows for 2020

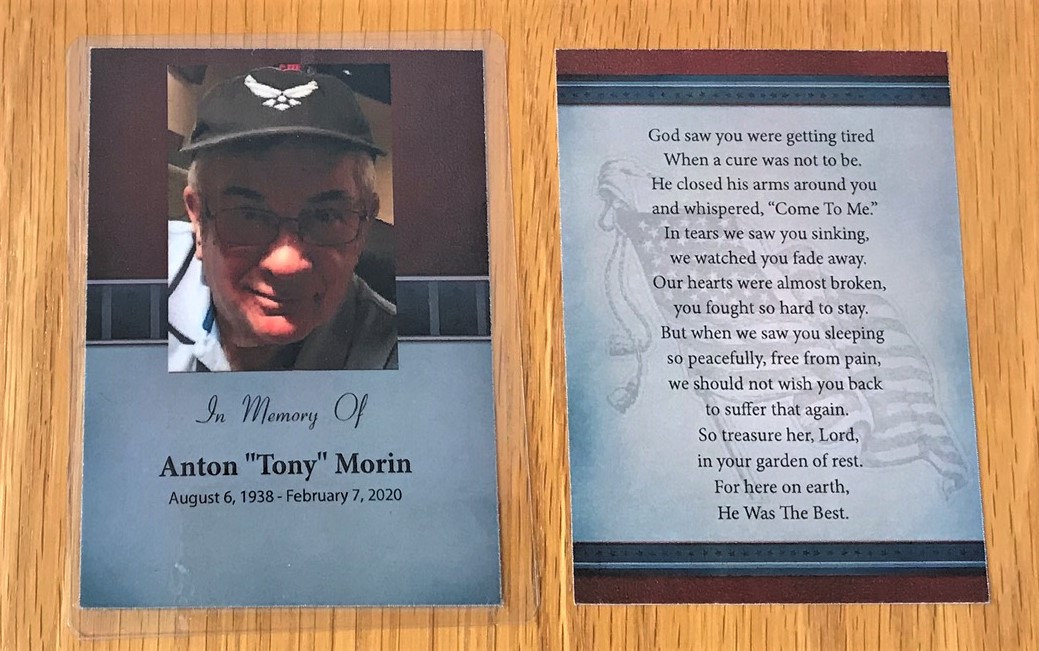
- Losing my Dad in February. This was one month before the pandemic really hit, so at least he did not die alone. Miss him terribly.
- COVID-19 Pandemic, aka the China Virus. ’nuff said.
My goals for 2021
Well, its time to set my goals for 2021.
- Paint 250 figures or more.
- Complete the figures and terrain for Civilizations Collide.
- Complete my figures for Wars of Ozz, ok at least 40 of them.
- Paint up a platoon from Wargames Supply Dump for Combat Patrol™ .
- Attend and run games at conventions or club nights or both, if possible – to include Combat Patrol™ retro sci-fi games, What a Tanker© Battle of France May-June 1940, and Aztec games (live or virtually) for Feudal PatrolTM using my “Civilizations Collide” supplement.
- Get my golf handicap down below 15.
- Play golf (in season) at least twice a week.
- Make between 30 and 36 blog posts of value and quality.
- Get back on the Imperial Rebel Ork podcast.
- Build a new garage. Well, pay someone to do that.
Again, thanks to all who make the time to read this blog – Happy New Year!
Lastly, here follows a detailed list of the 2020 production!
A list of my 2020 production
I do keep a running tally of my production:
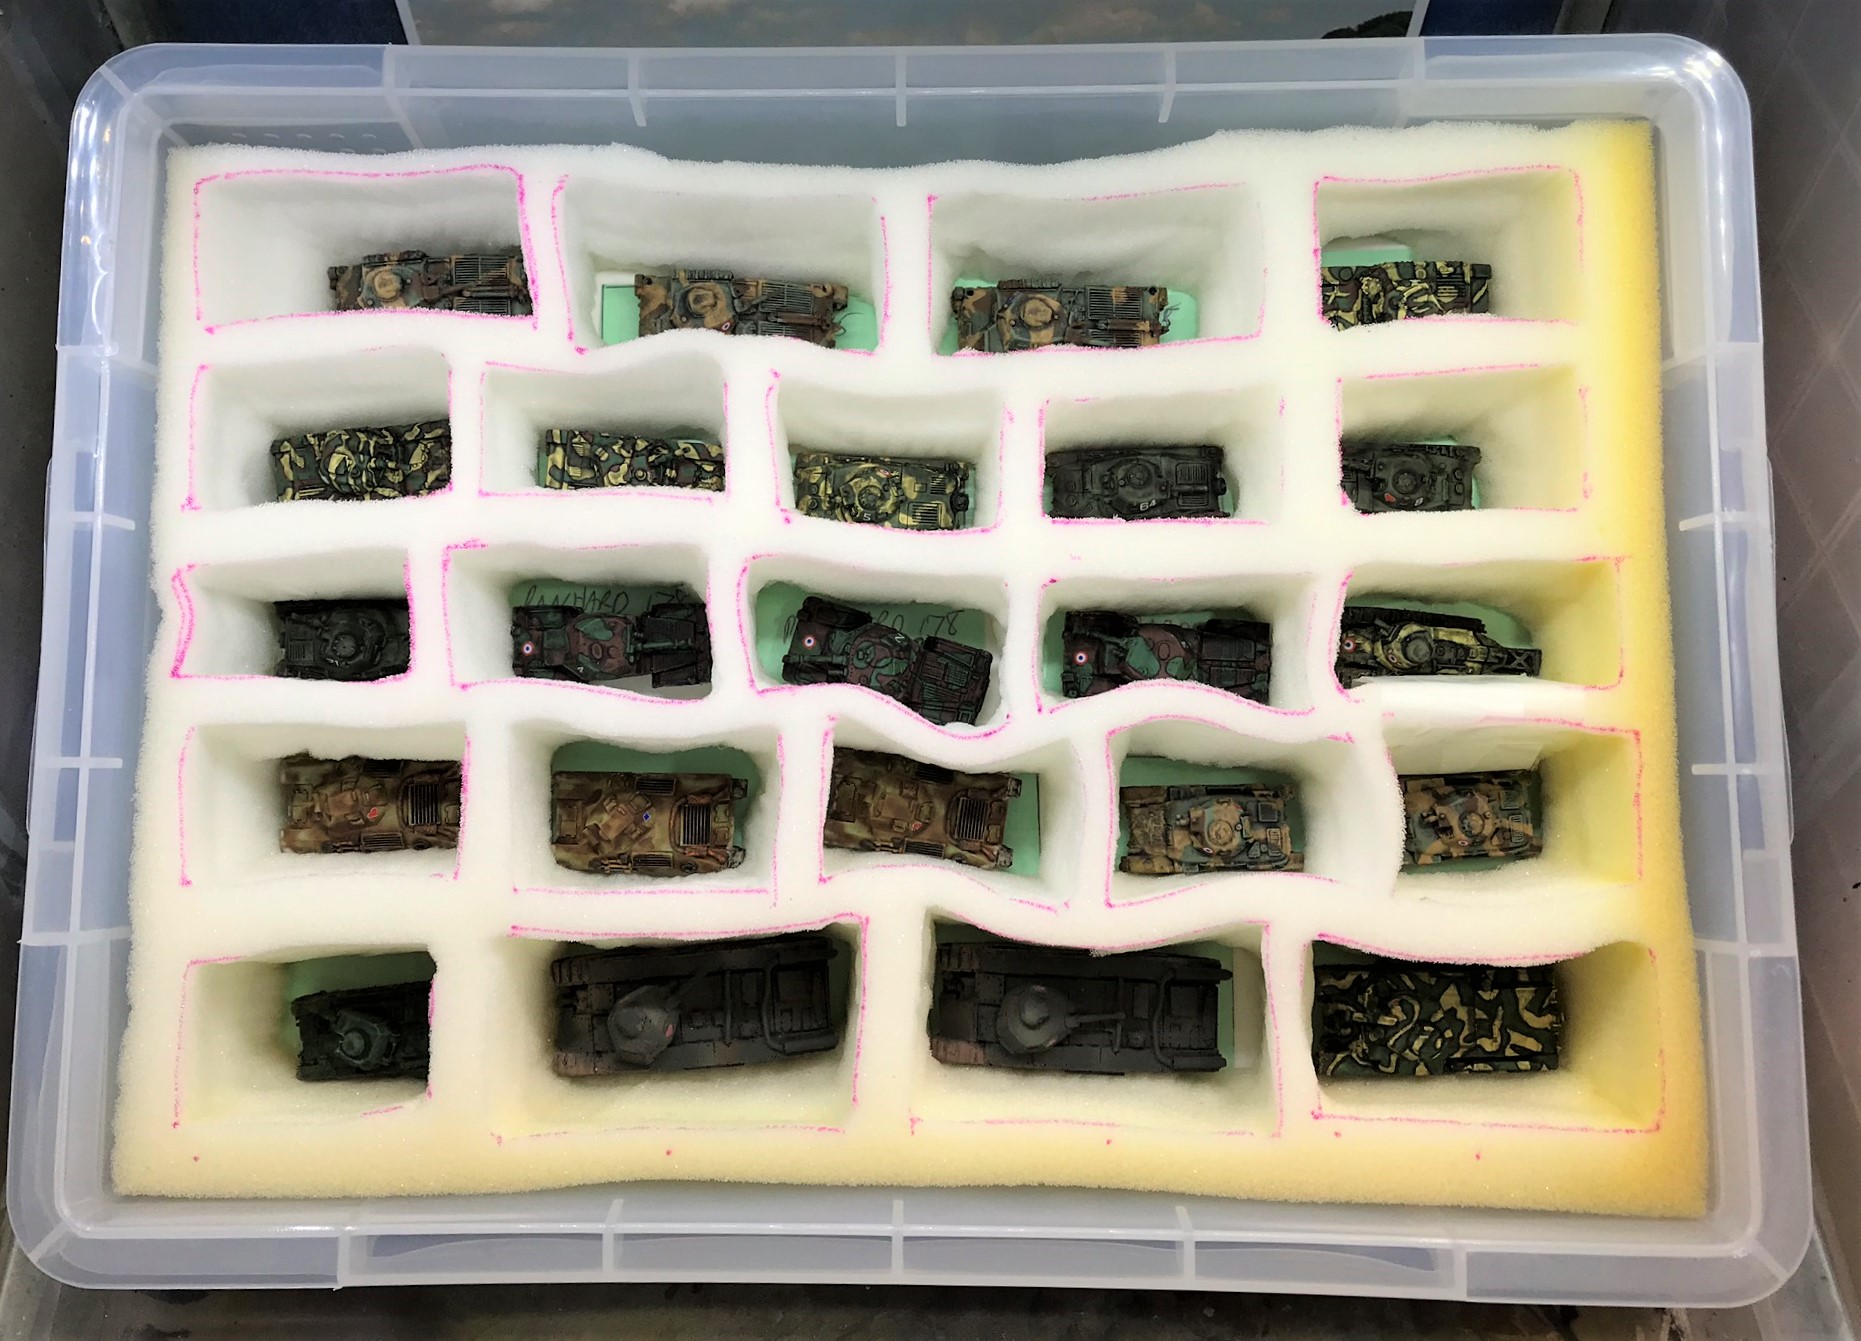
2020 Total Miniatures & Projects to Date: 403
- 181 figures painted
- 0 figures cast
- 58 figures assembled
- 0 terrain pieces made or assembled
- 15 terrain pieces painted
- 3 figure conversions
- 0 creation or component sculpted or scratch-built
- 0 molds made
- 146 game pieces/game aids made and/or painted
January: 34 projects
- Figures painted (9):
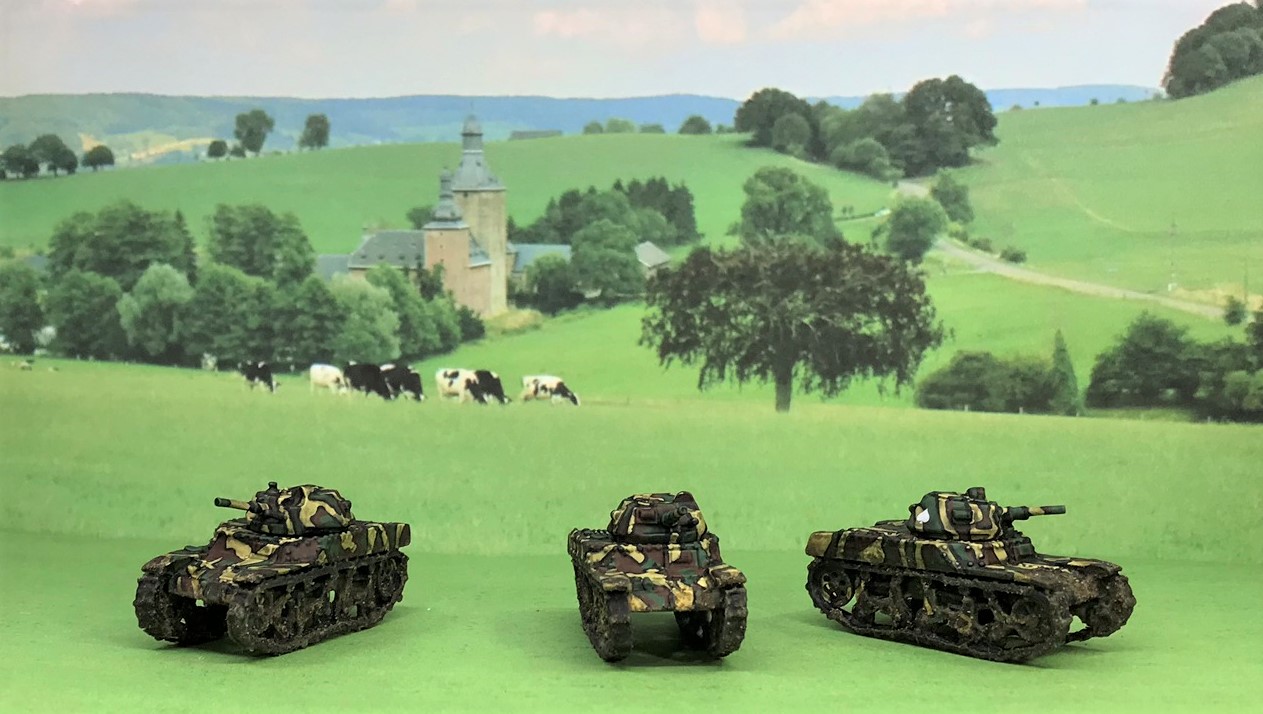
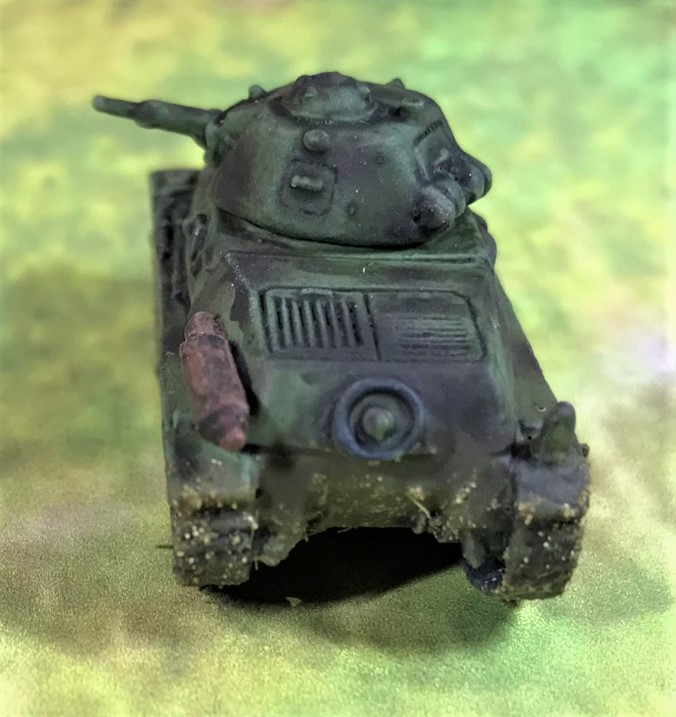
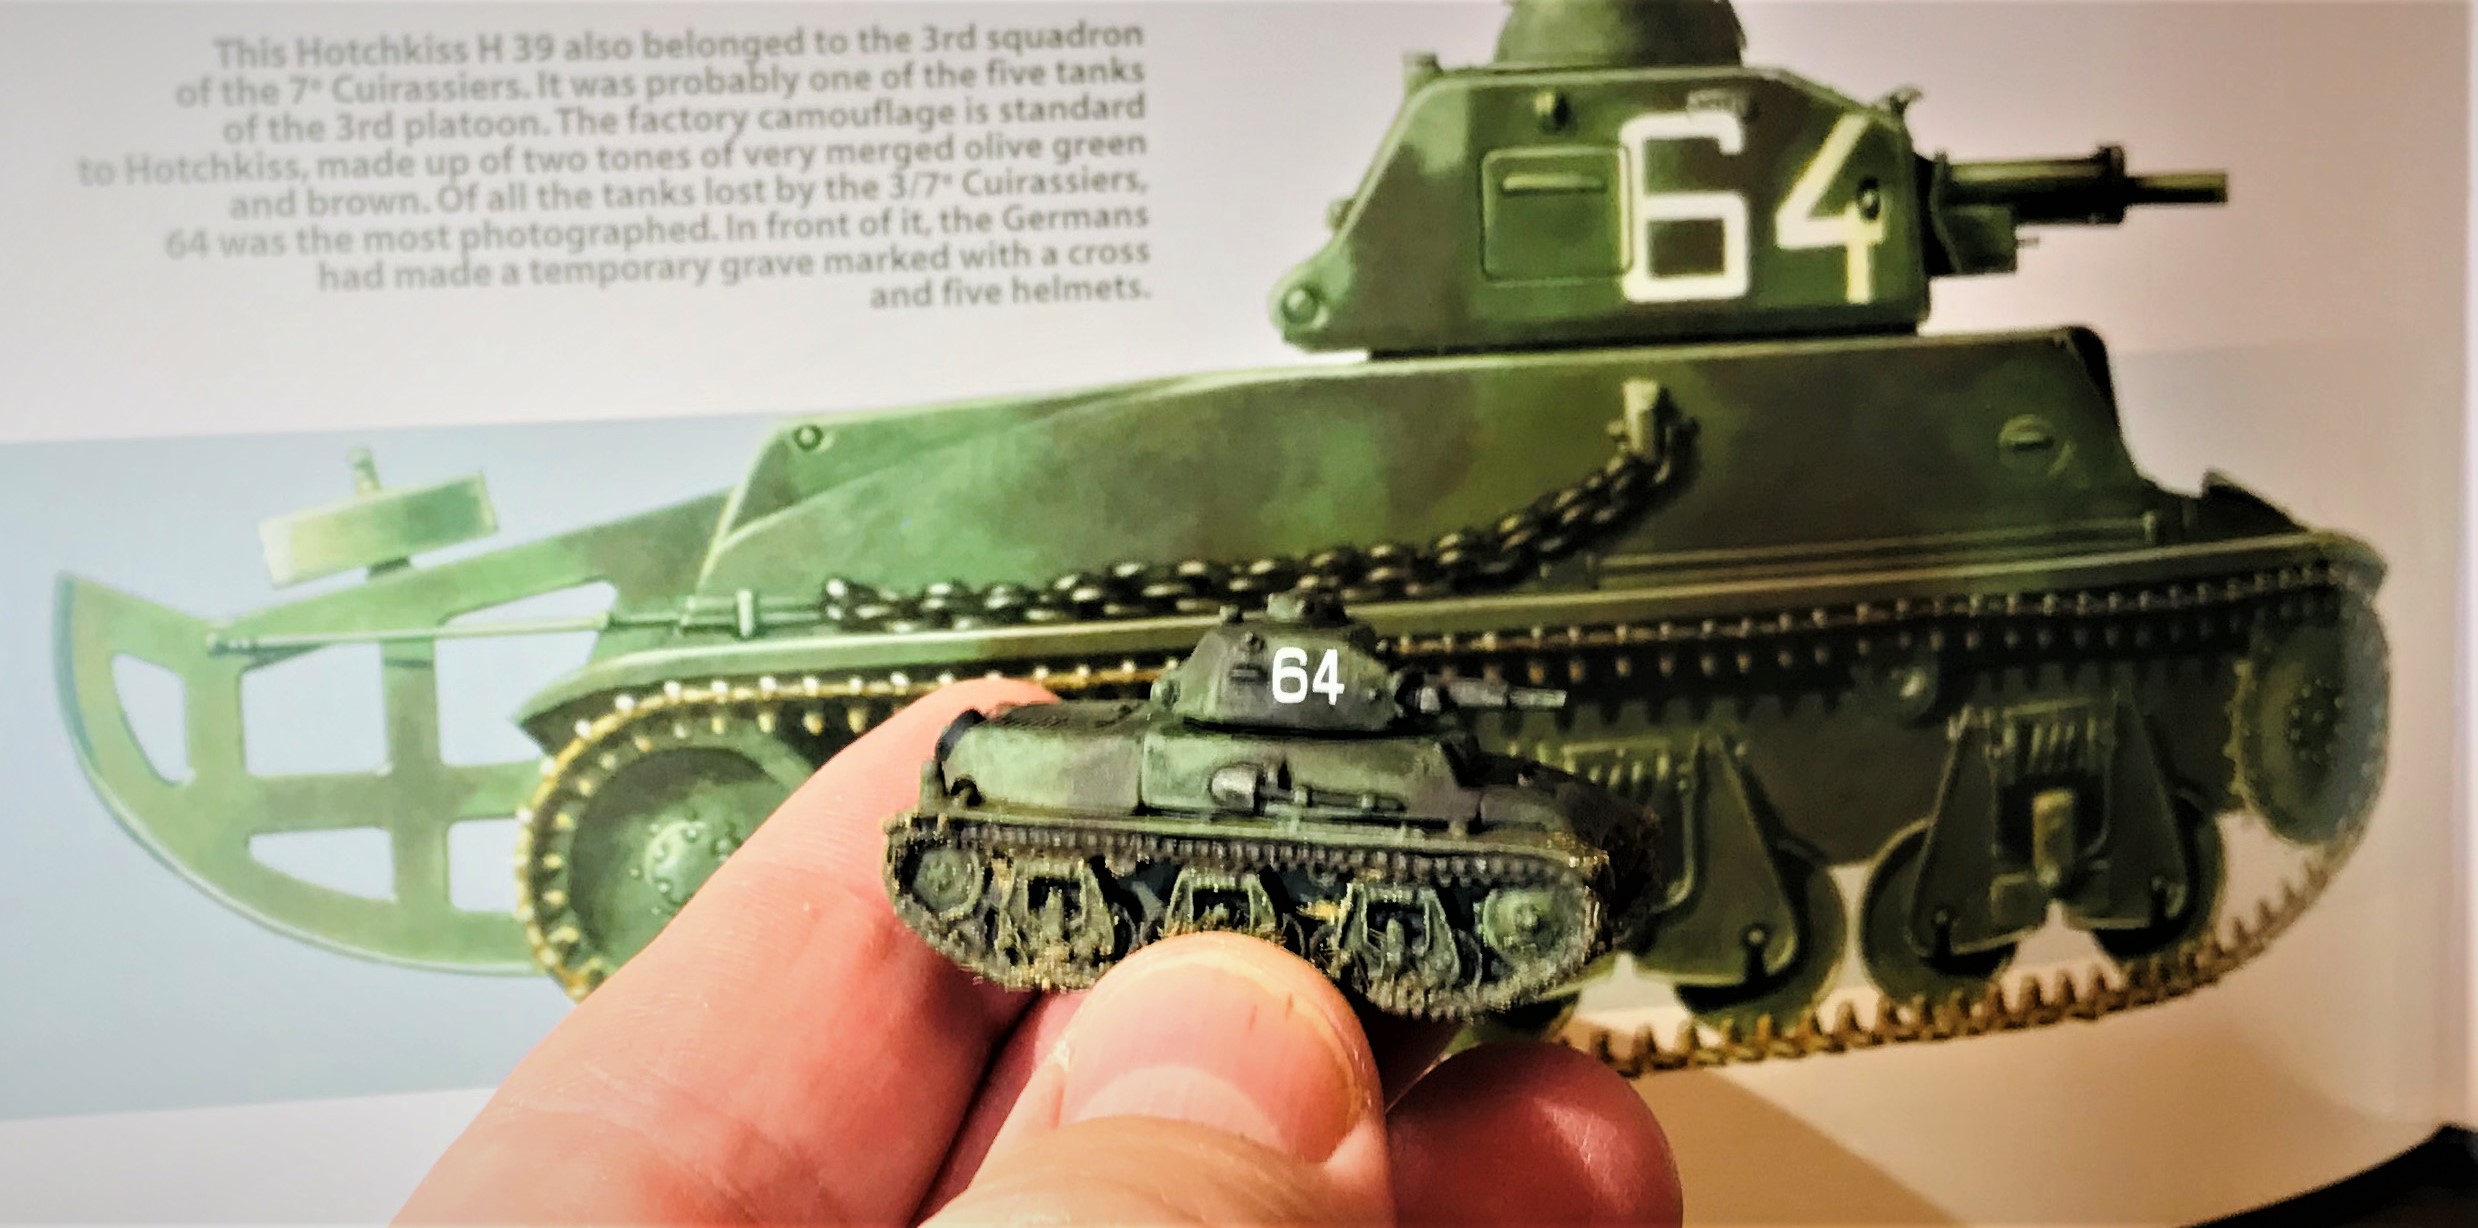
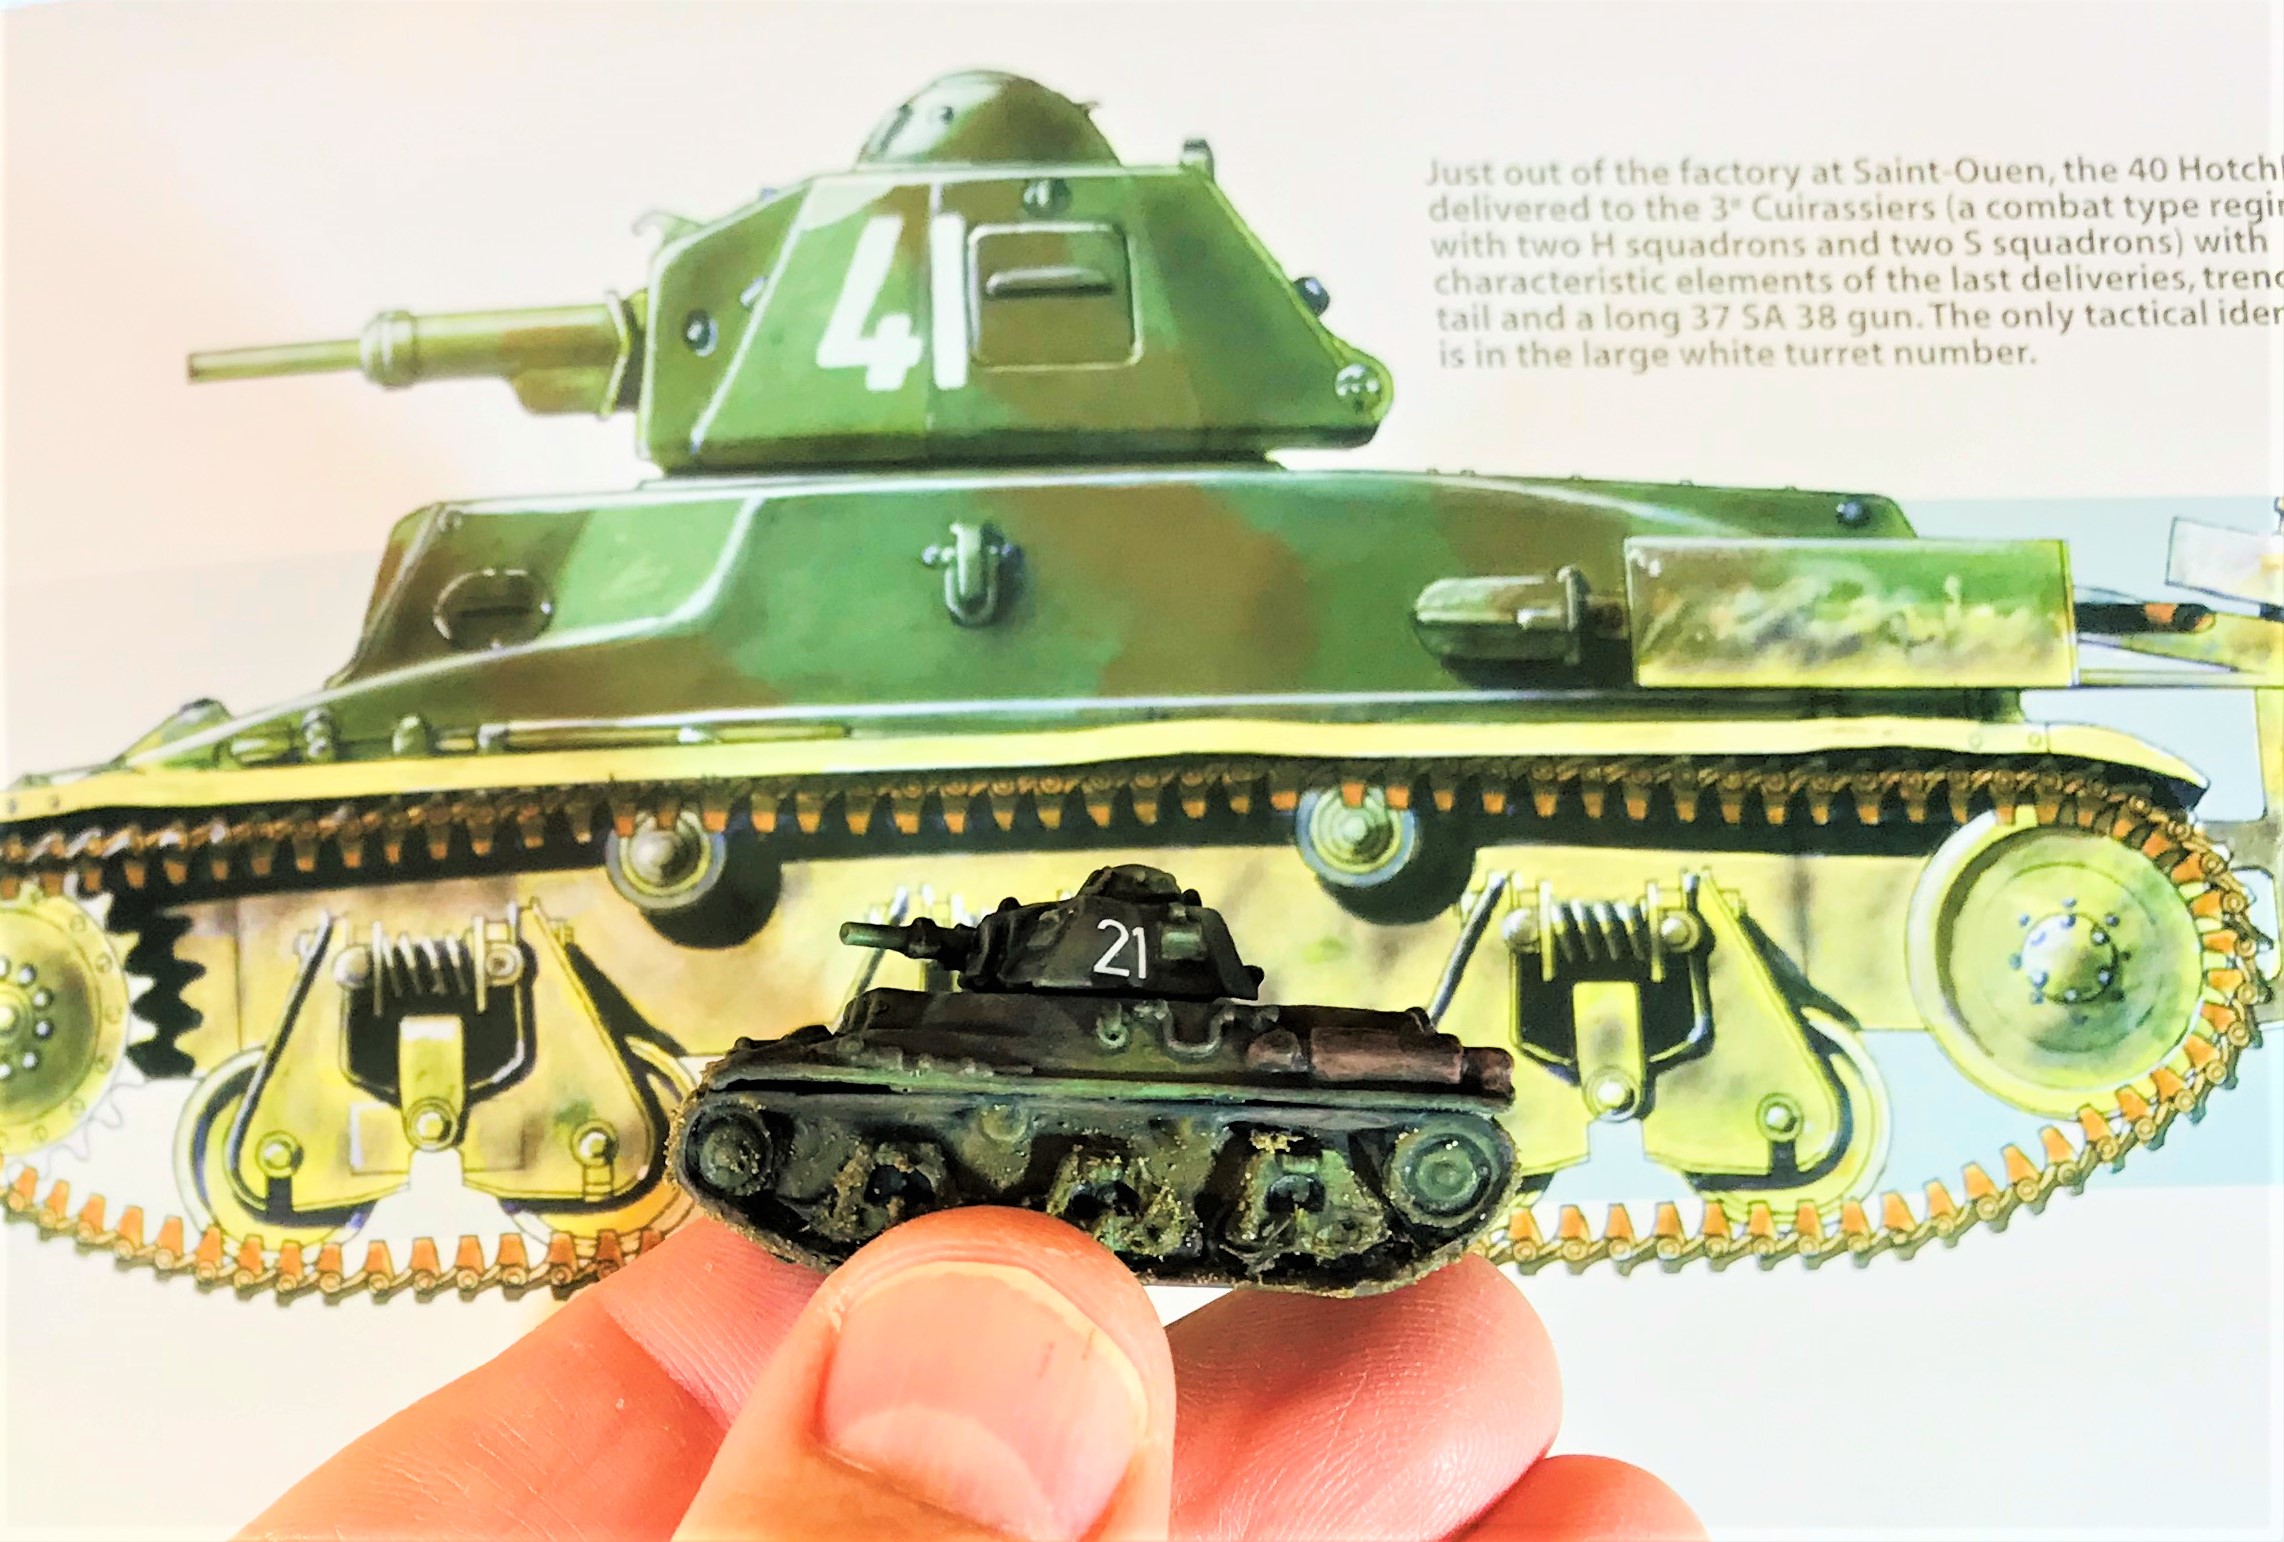
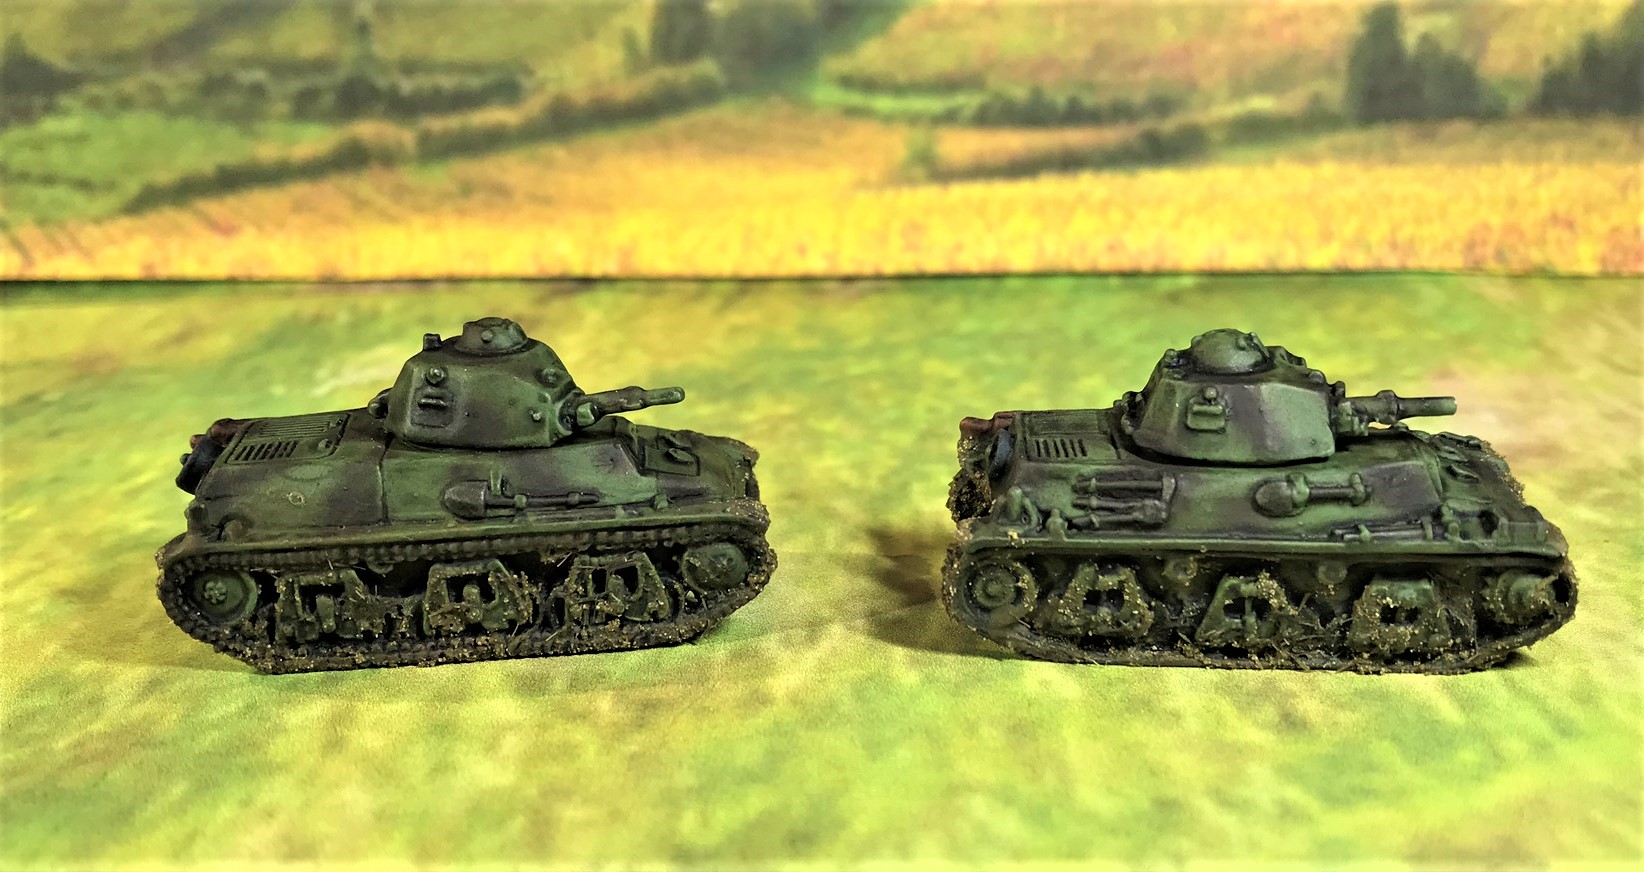
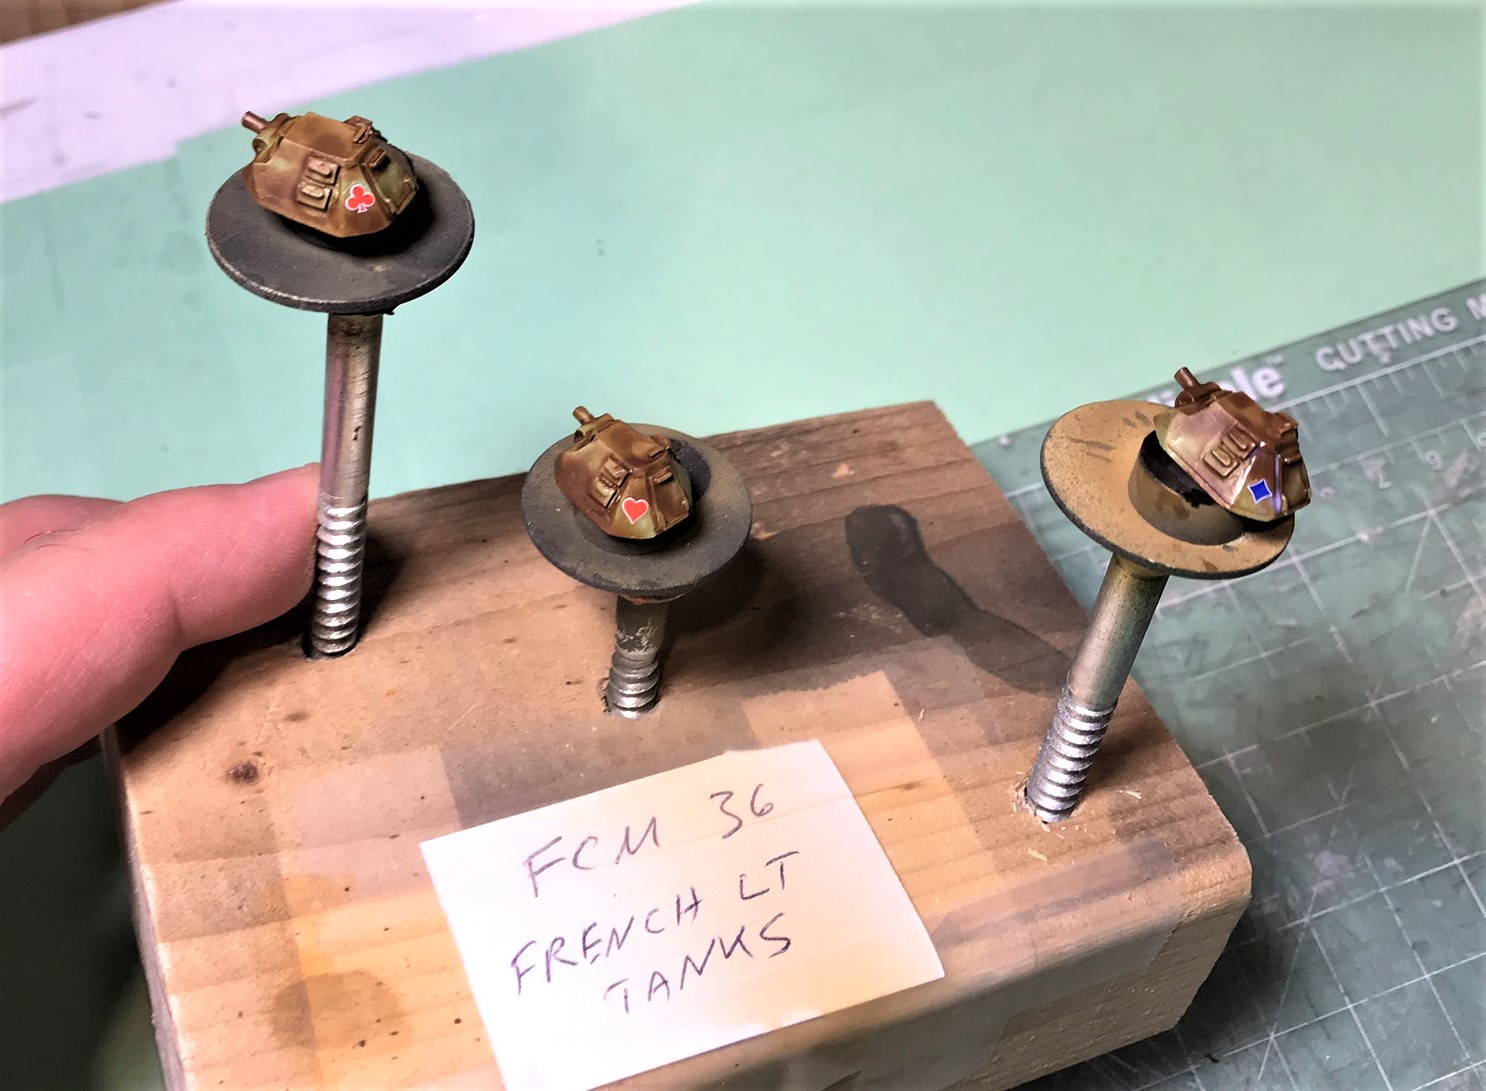
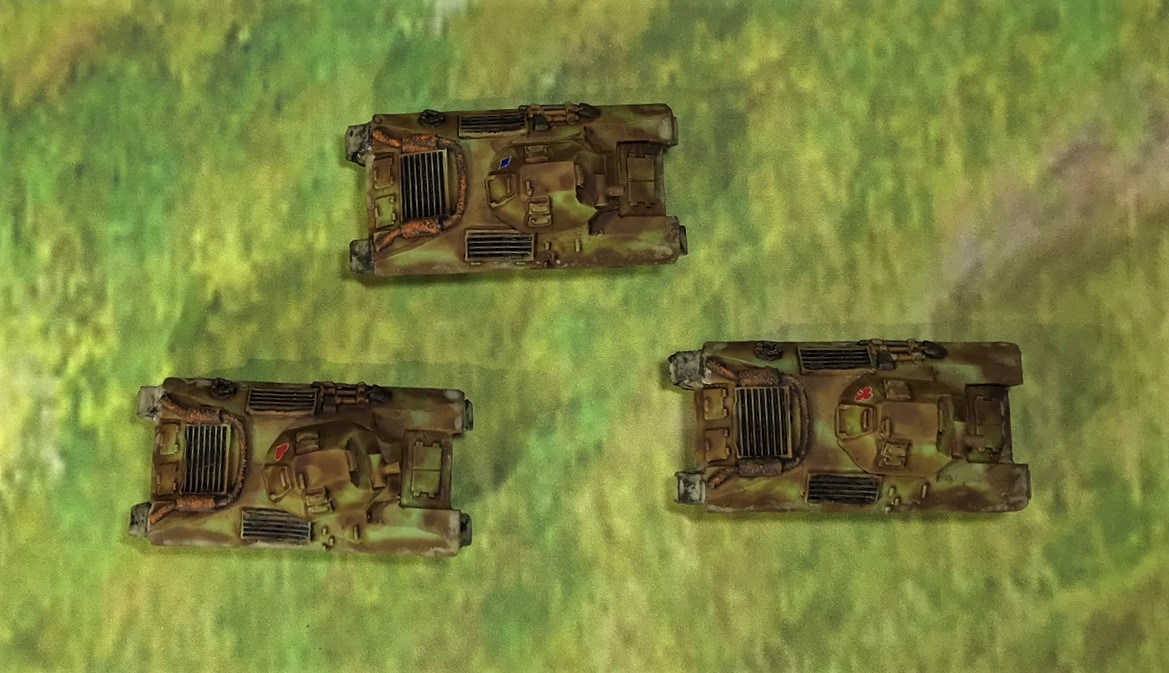
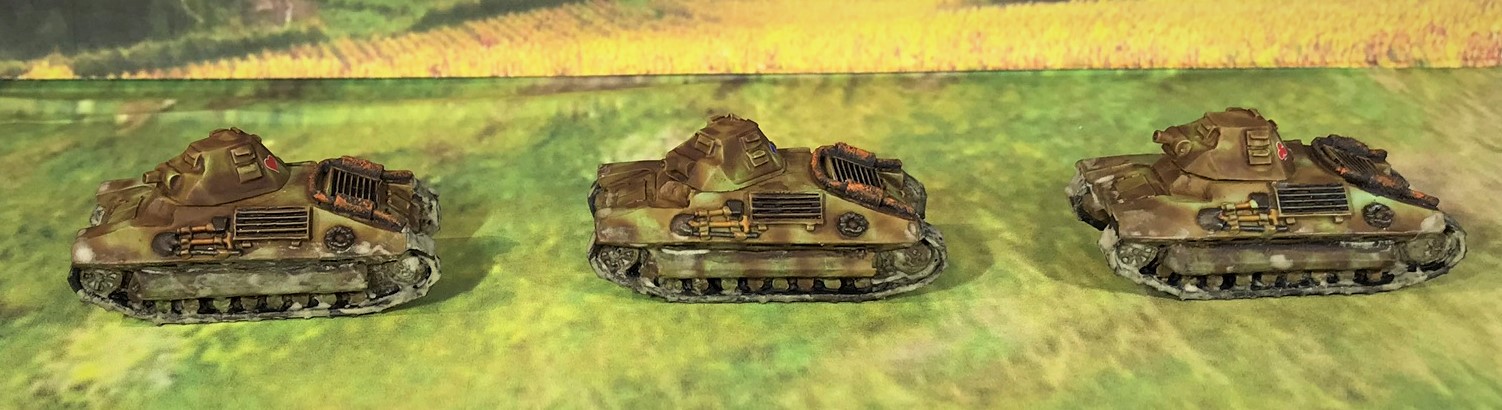
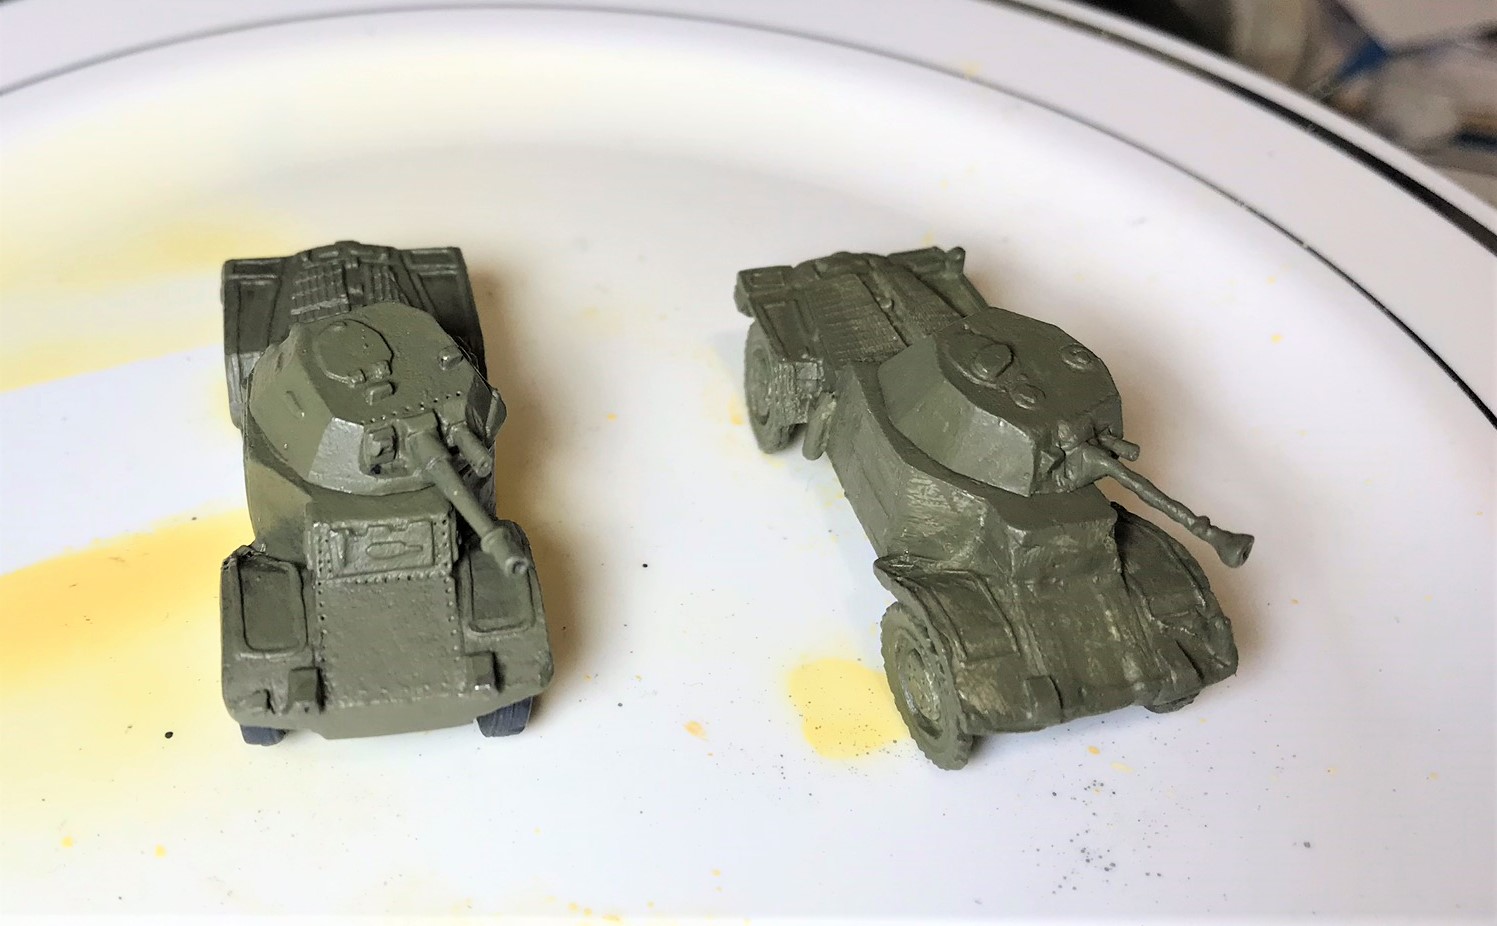
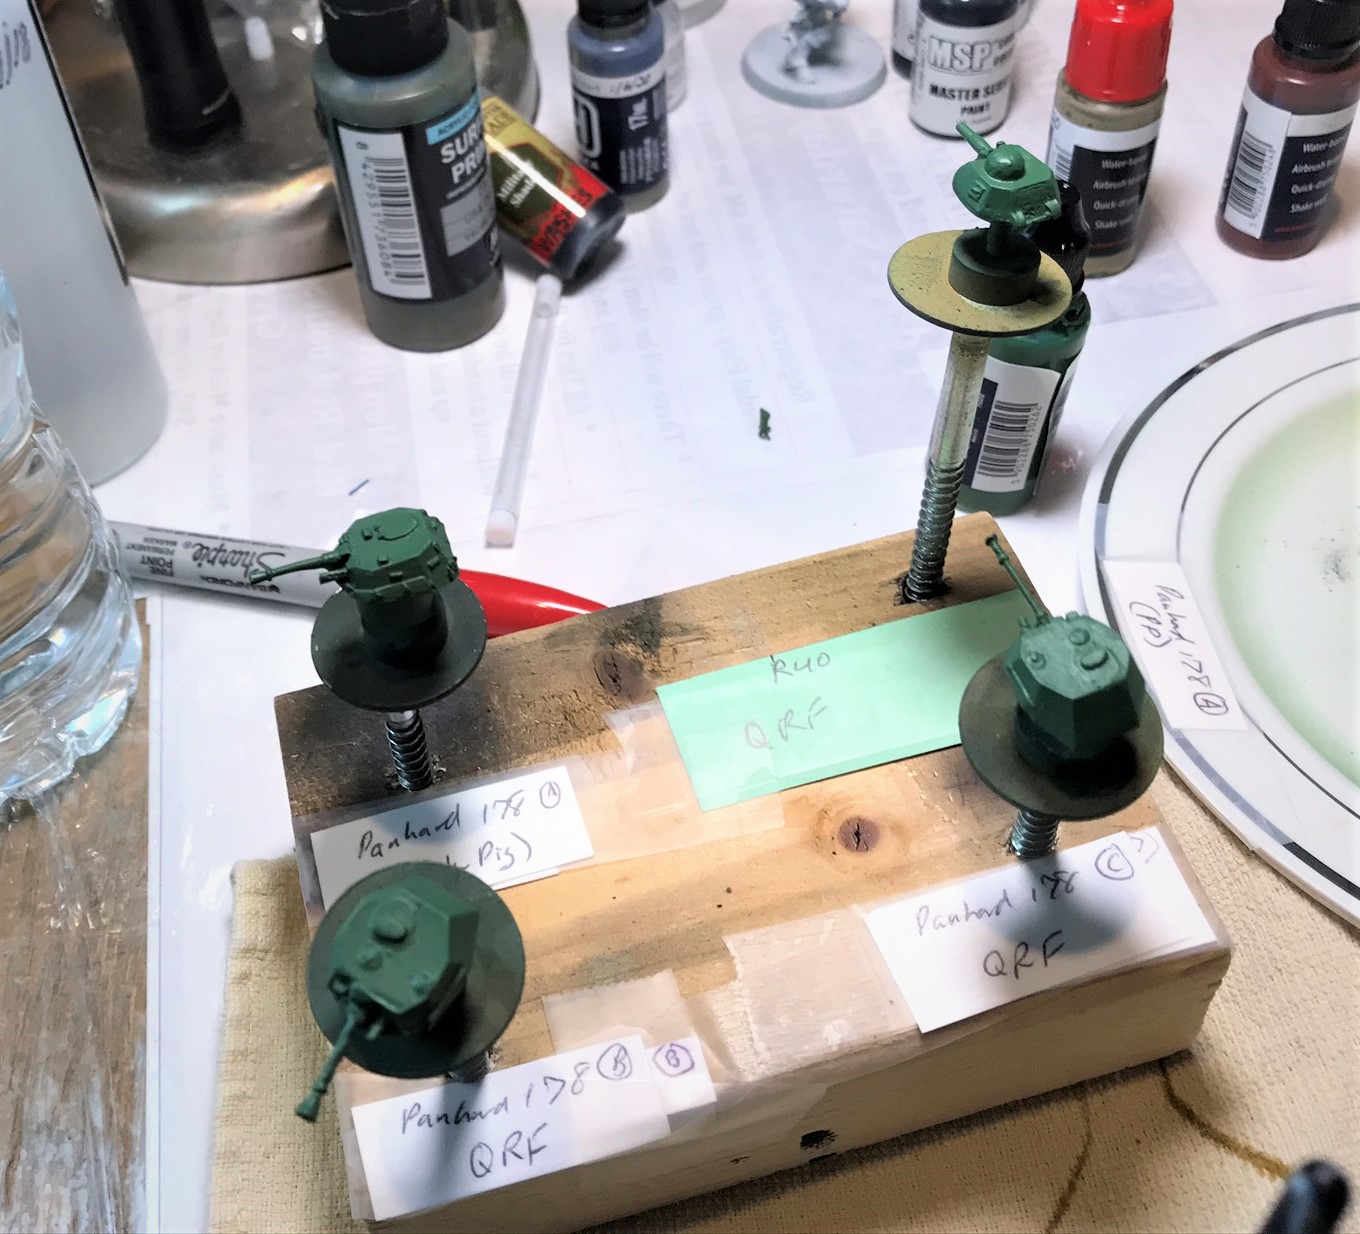
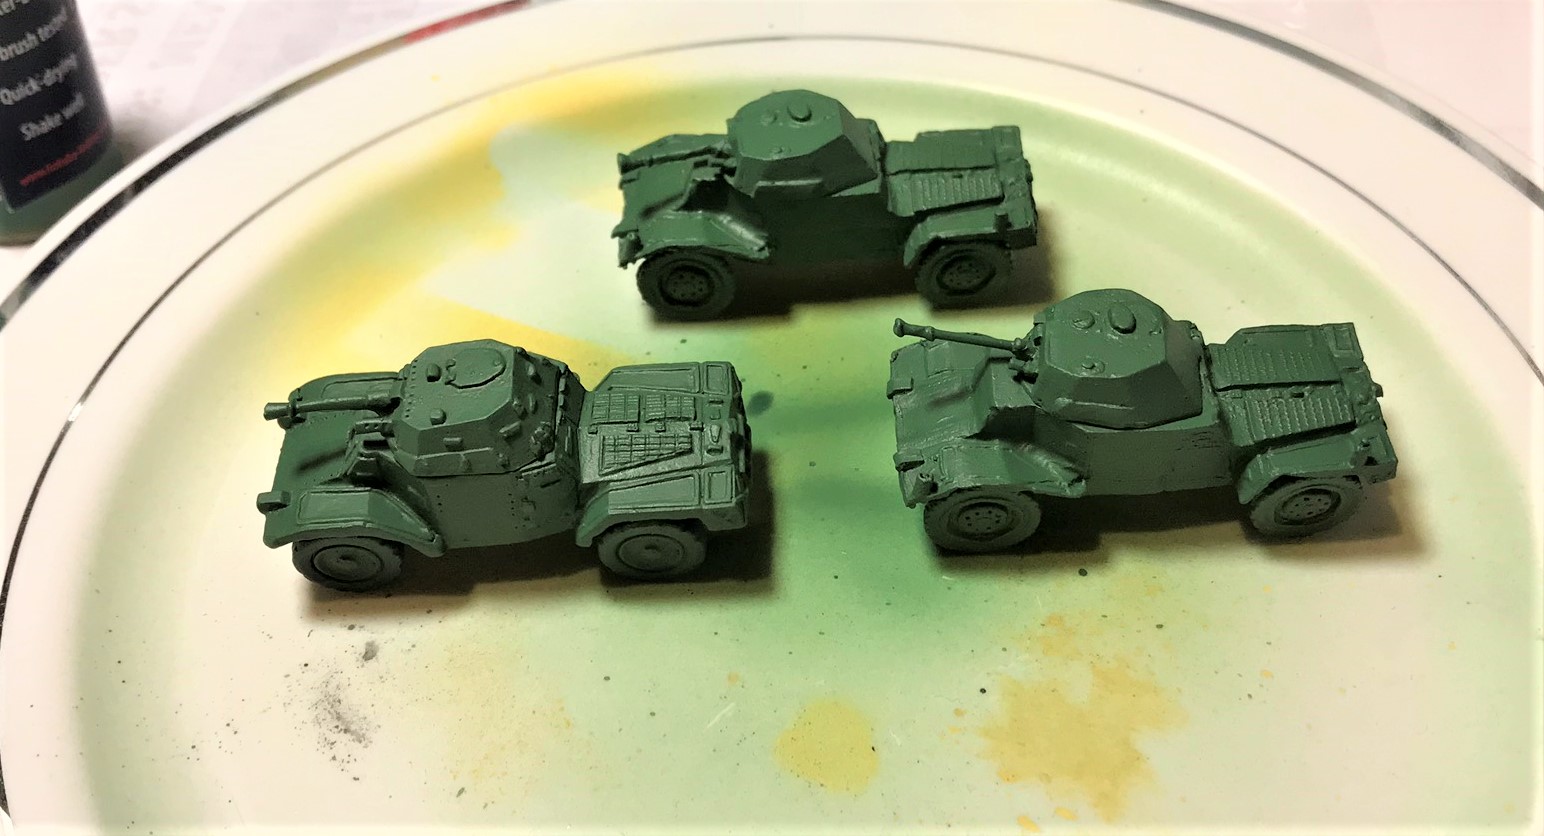
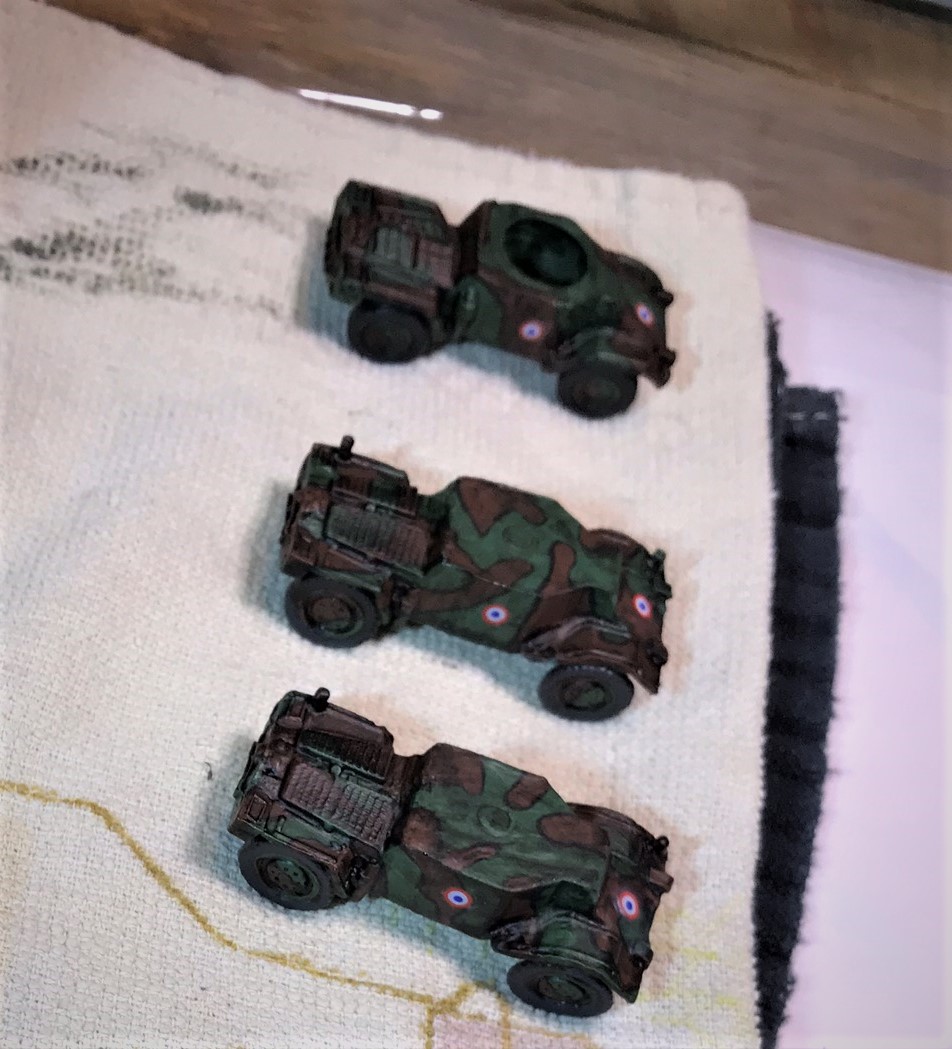
- 9 French tanks/armored cars painted for What a Tanker© for France 1940
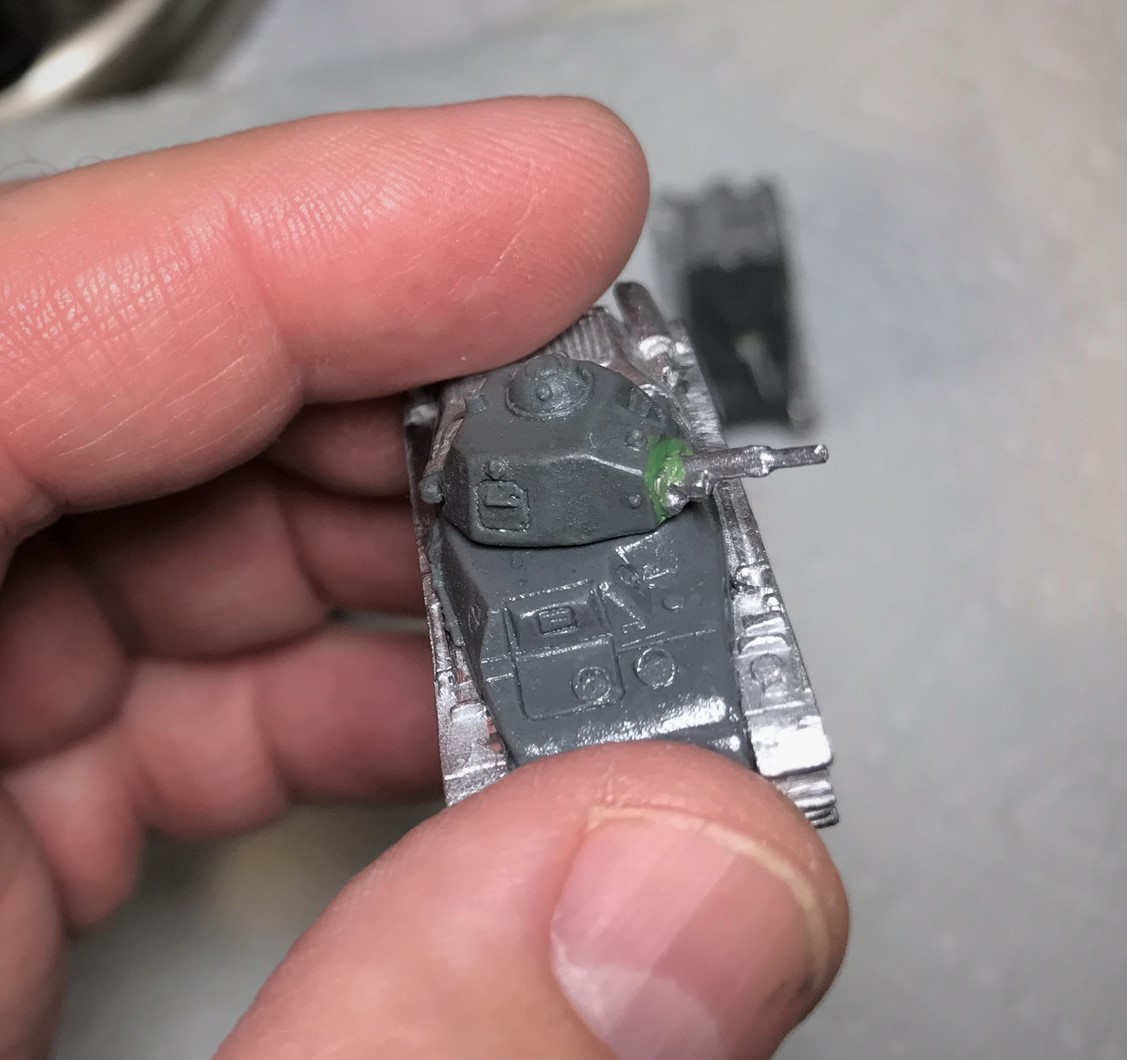
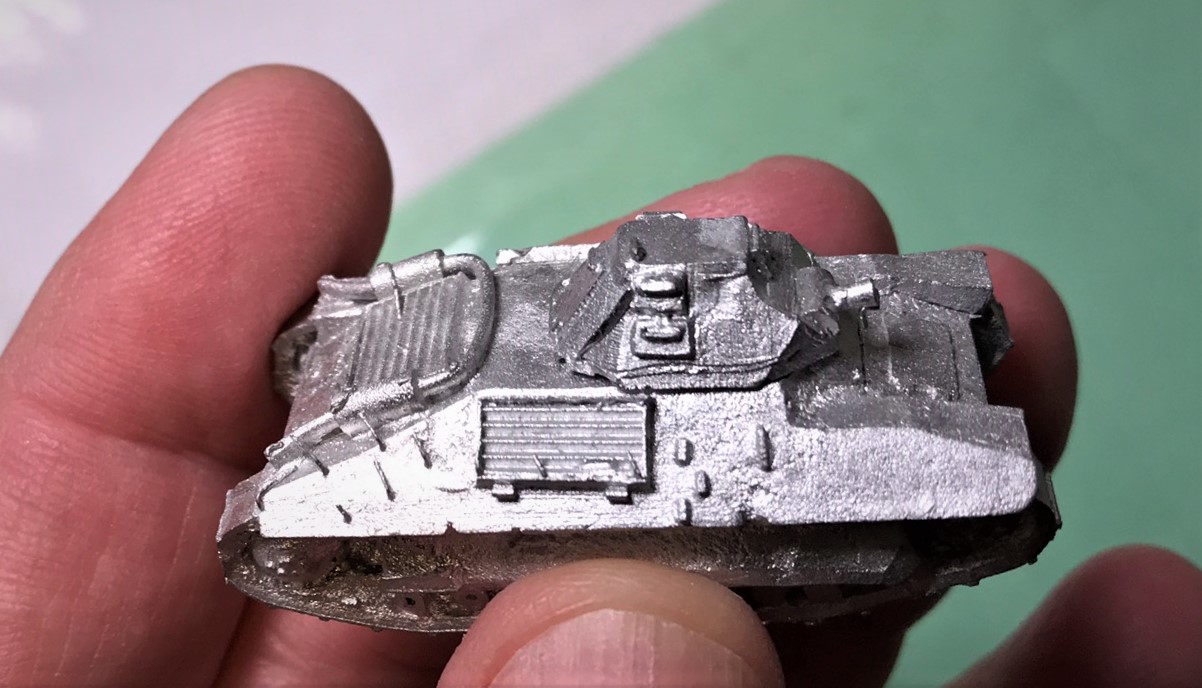
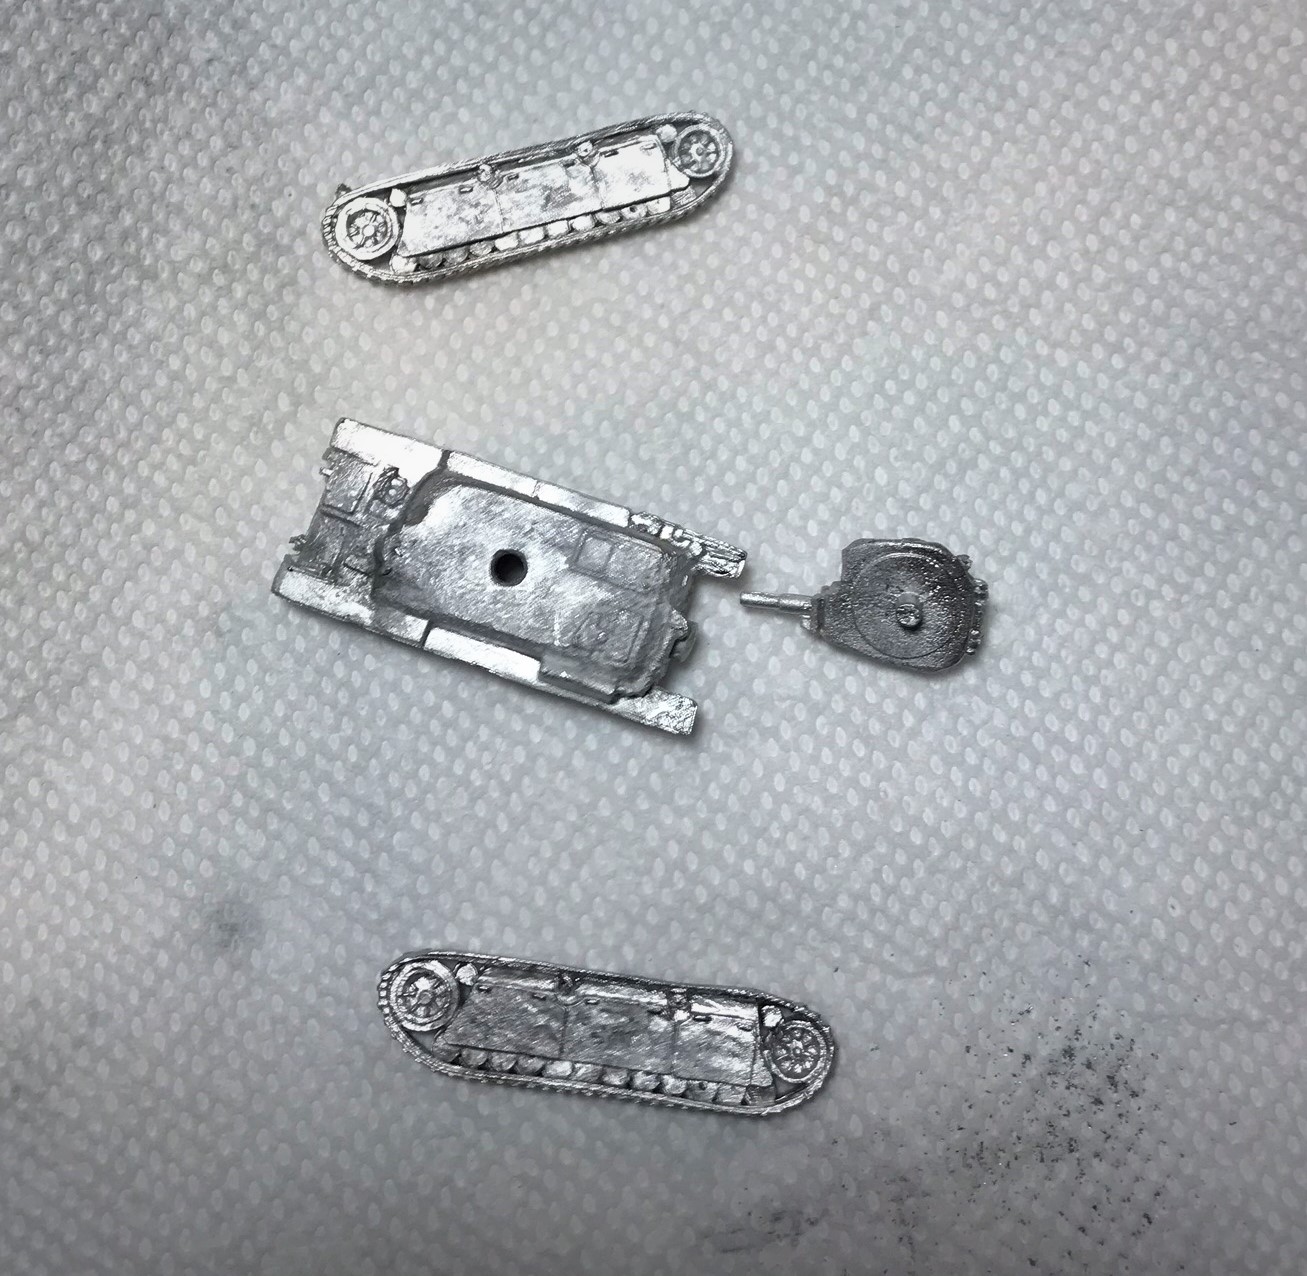
- 3 AMC 35 tanks (15mm/1:100 scale), from Old Glory (#CD606)
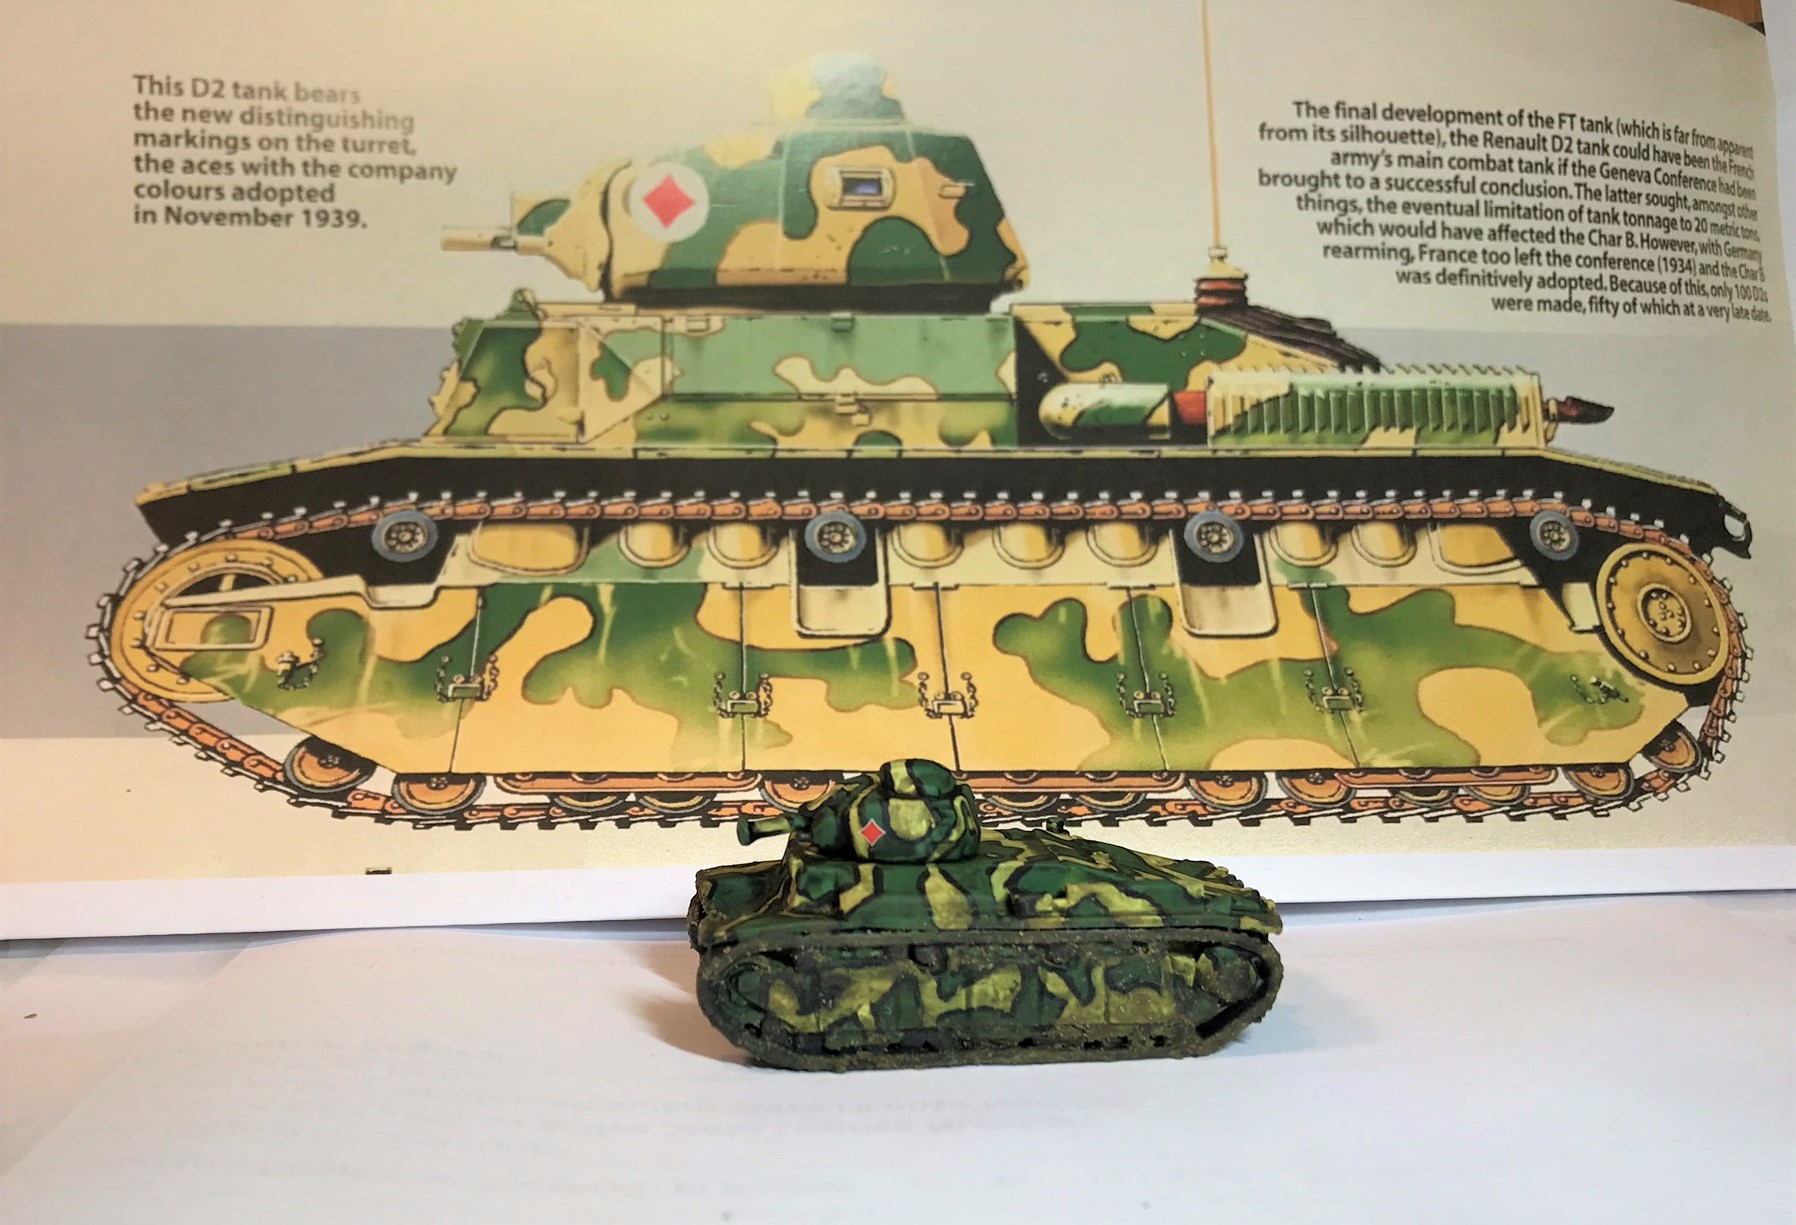
- 1 Char D1/D2 tank (15mm/1:100 scale), from QRF (#FFV10)
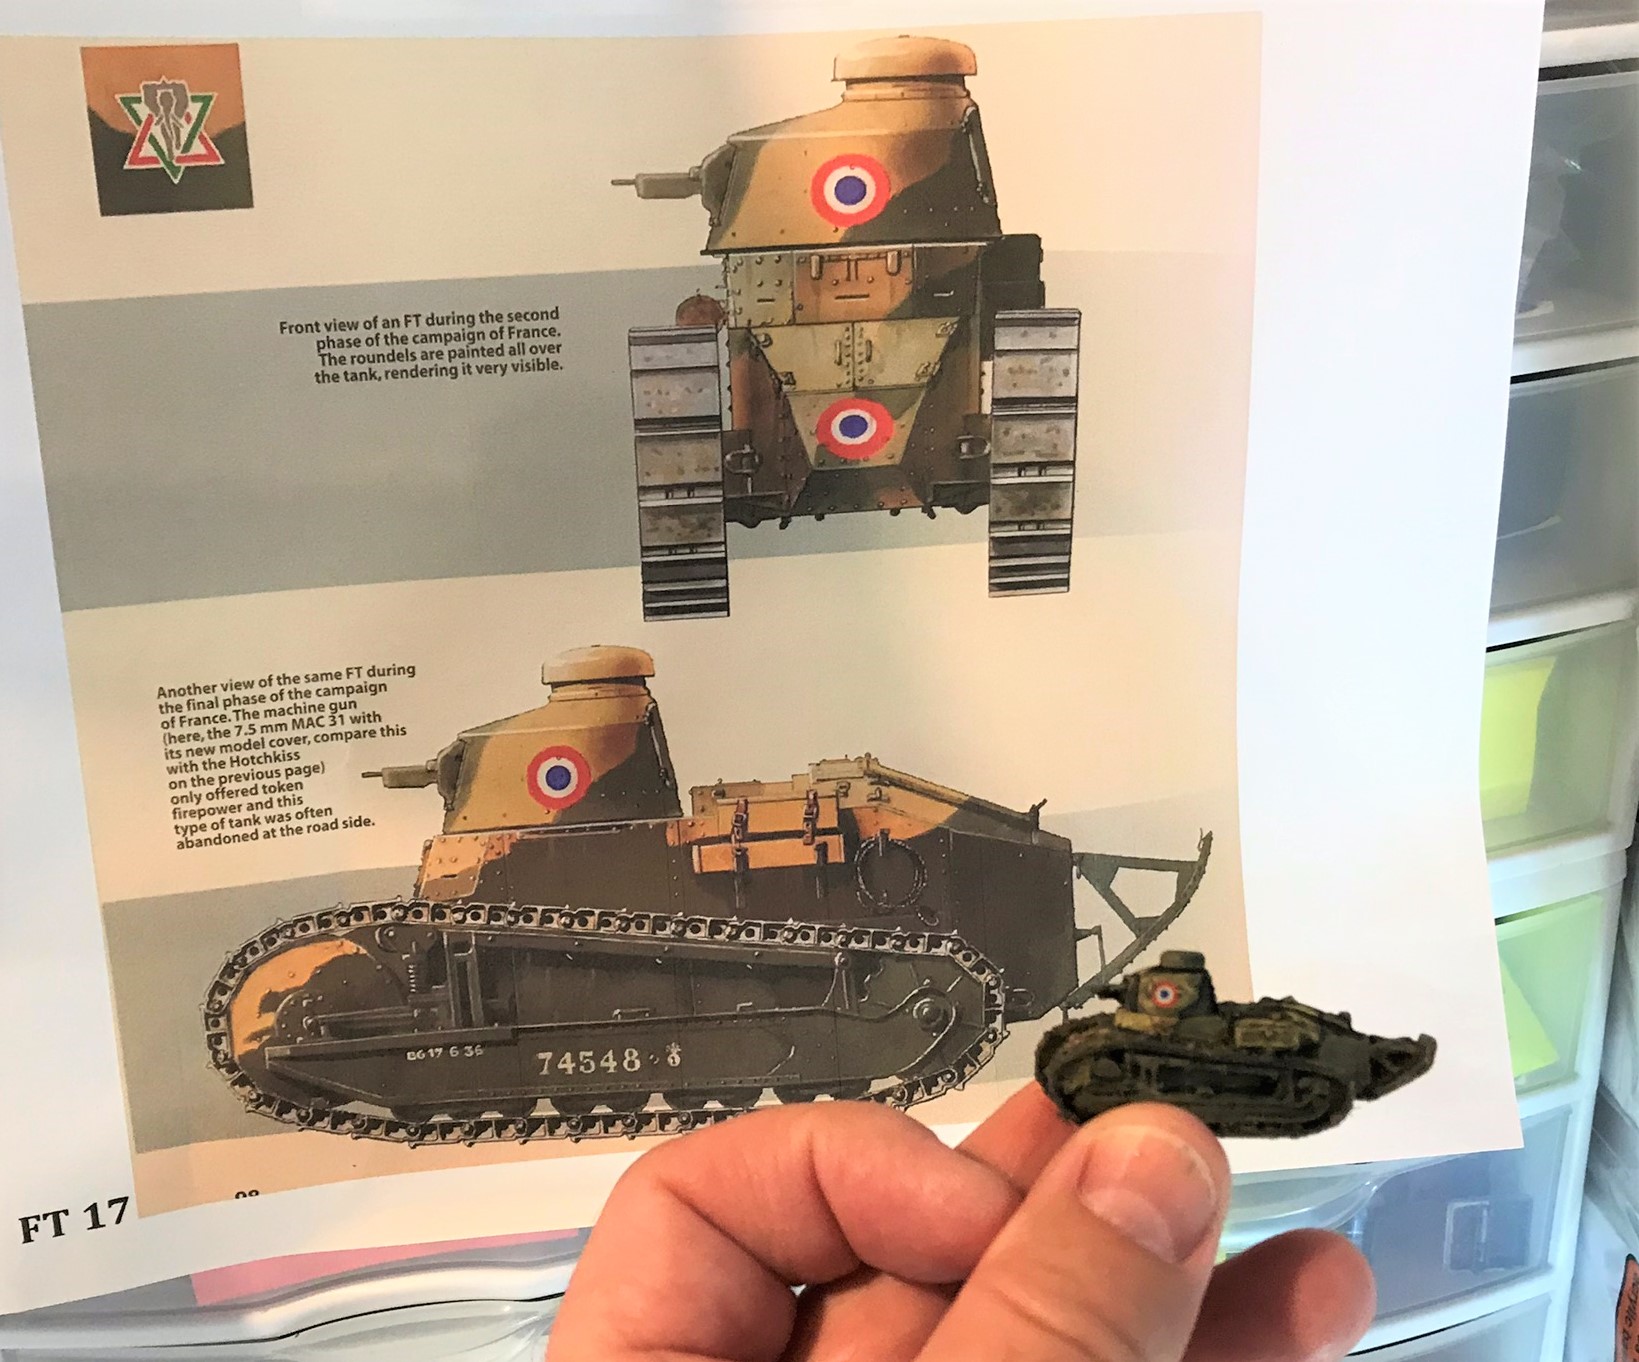
- 1 FT-17 tank (15mm/1:100 scale), from Peter Pig (#PP252)
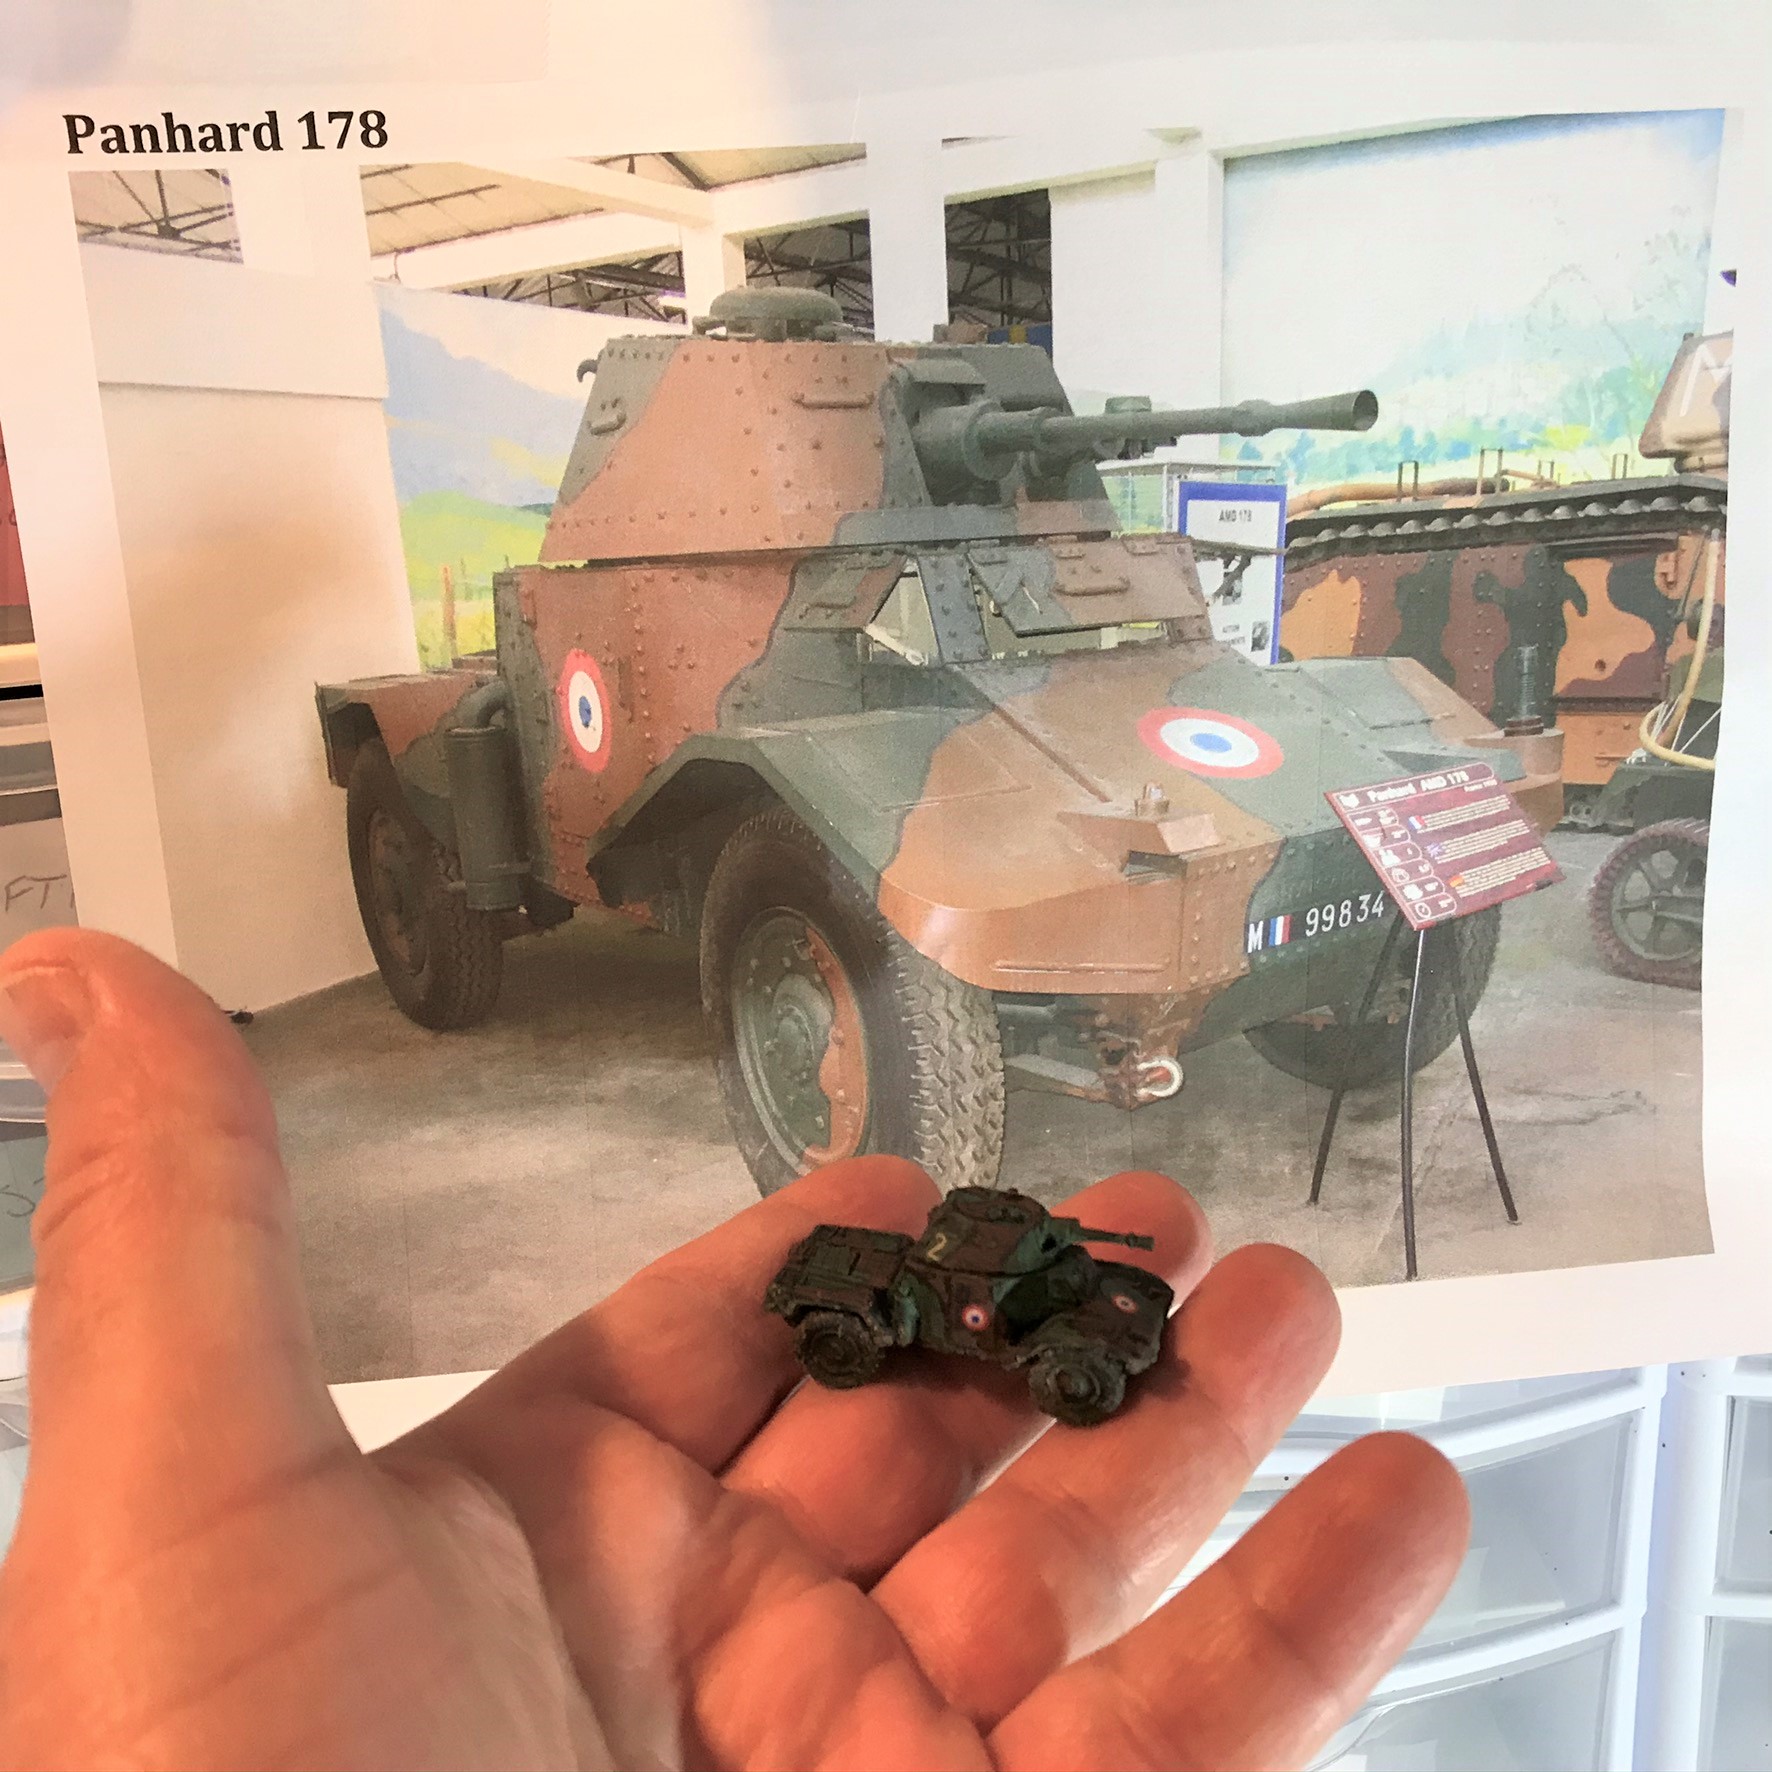
- 1 Panhard 178 armored car (15mm/1:100 scale), from Peter Pig (#PP25)
- 2 Panhard 178 armored car (15mm/1:100 scale), from QRF (#FAC01)
- 1 R40 tank (15mm/1:100 scale), from QRF (#FFV13)
- 9 French tanks/armored cars painted for What a Tanker© for France 1940
- Figures assembled (14):
- 3 French tanks/armored cars assembled for What a Tanker© in France 1940
- 2 Panhard 178 armored car (15mm/1:100 scale), from QRF (#FAC01)
- 1 R40 tank (15mm/1:100 scale), from QRF (#FFV13)
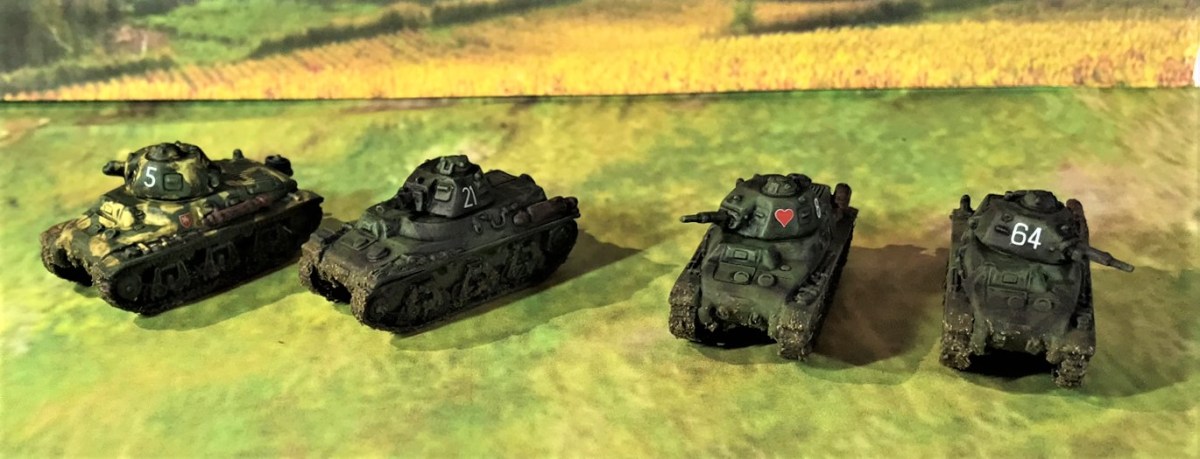
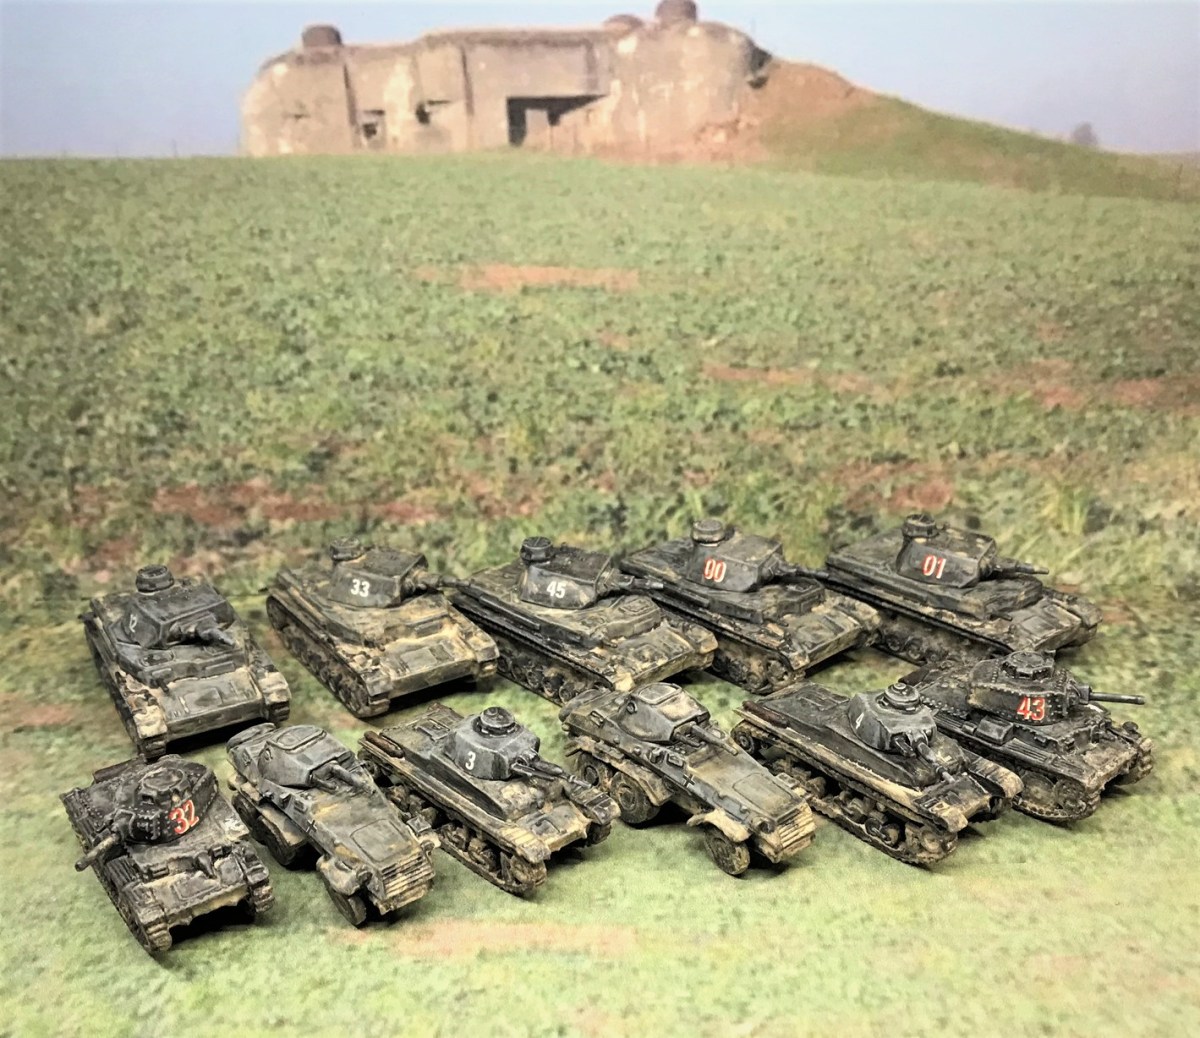
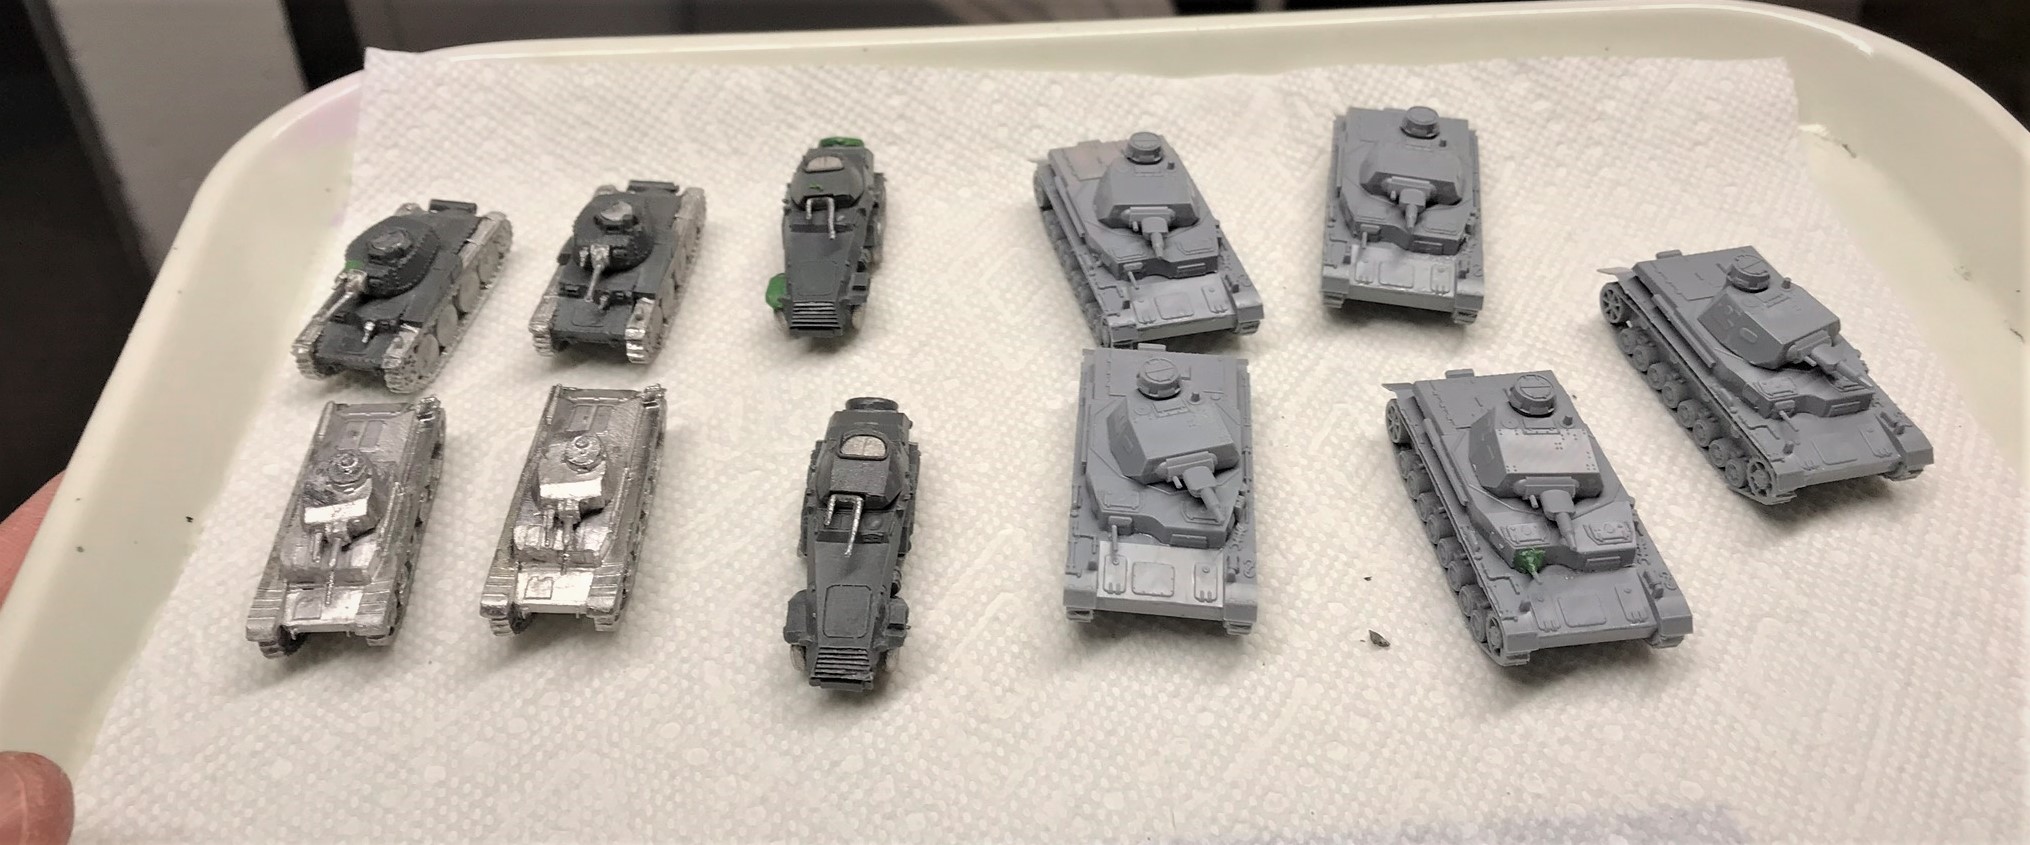
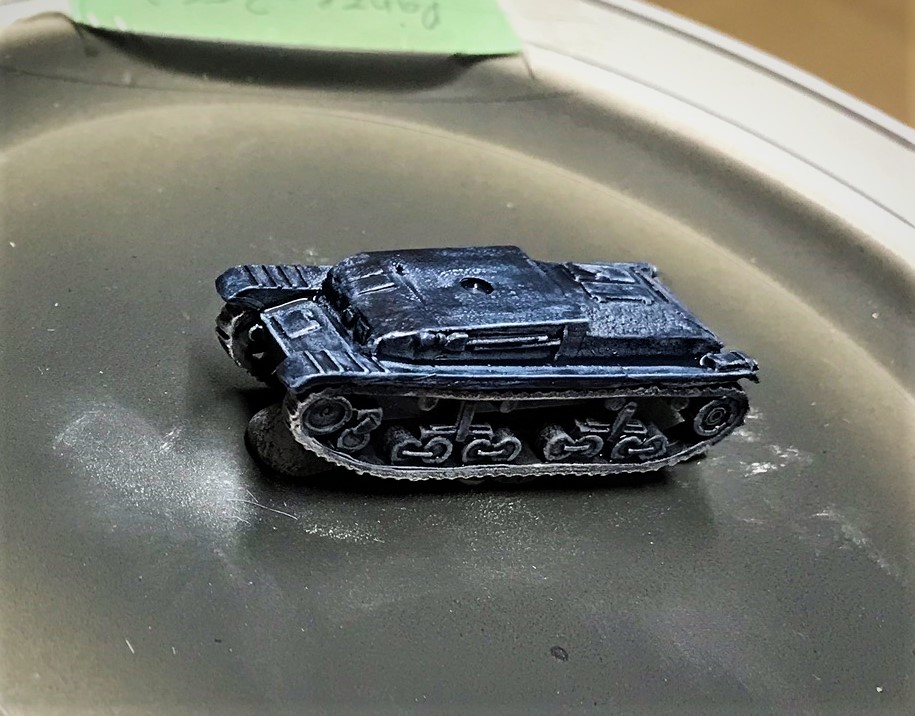
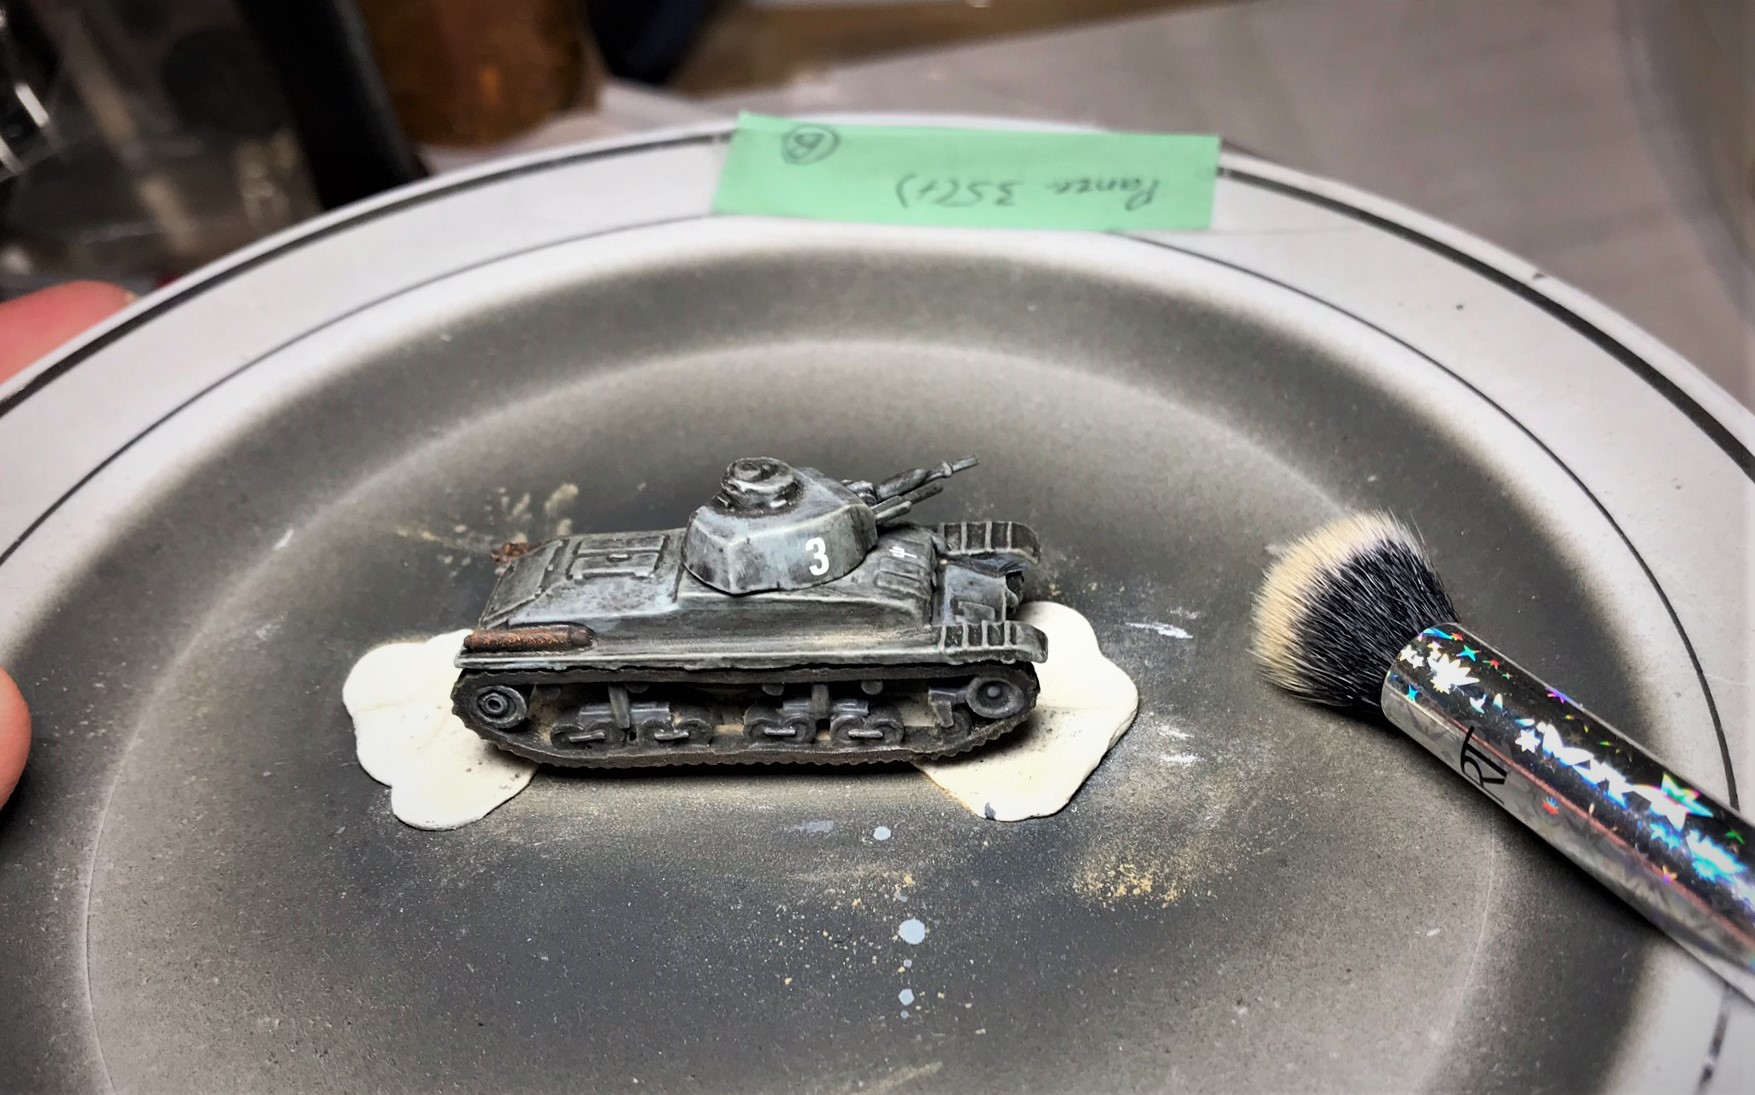
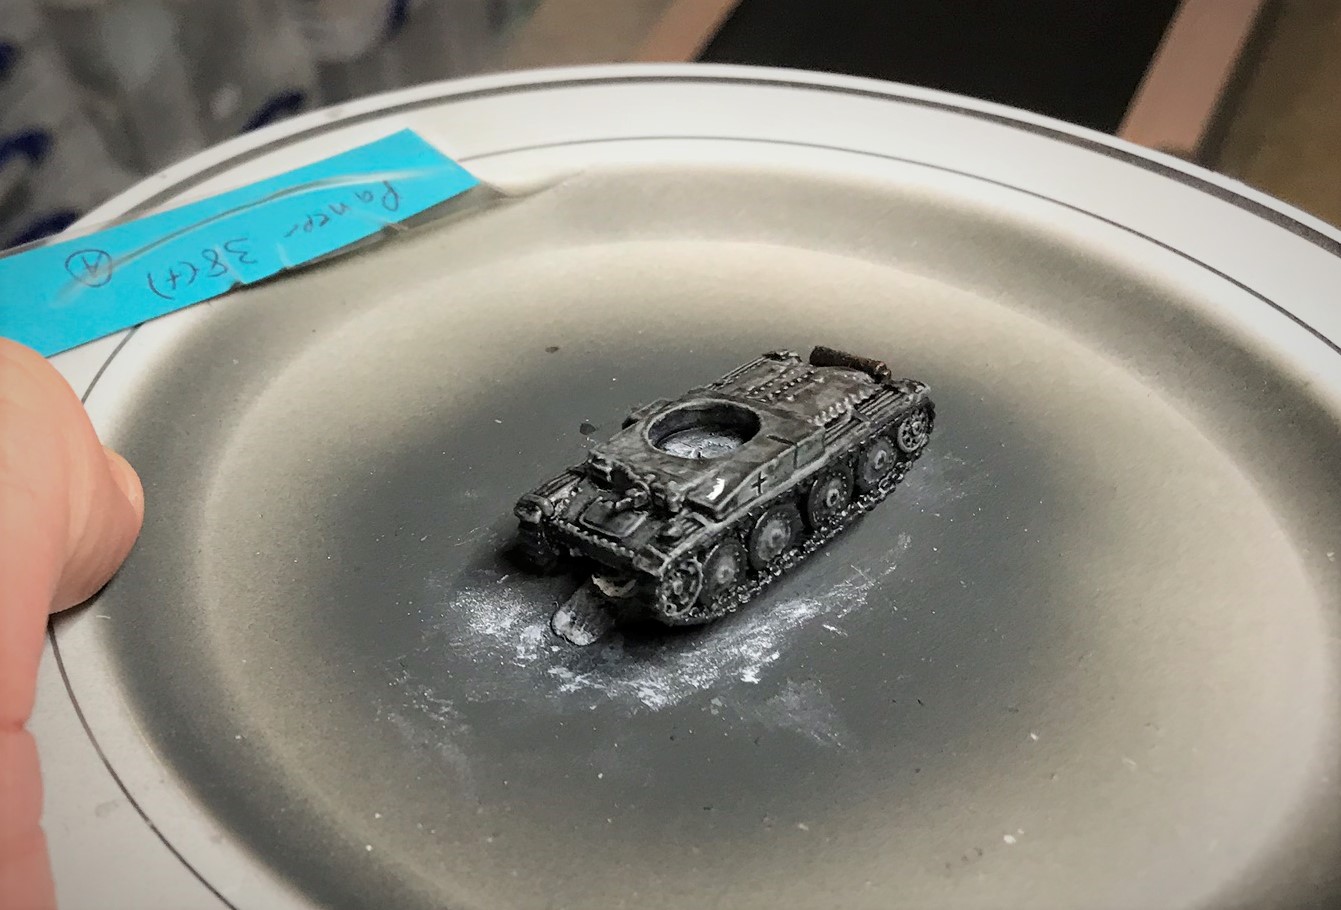
- 11 German tanks/armored cars assembled for What a Tanker© in France 1940
- 2 Panzer 35(t) tanks (15mm/1:100 scale), from QRF (#GFV28)
- 2 Sd.Kfz. 231 (6-rad) armored cars (15mm/1:100 scale), from Battlefront (#GE320)
- 2 Panzer 38(t) tanks (15mm/1:100 scale), from Battlefront (#GE022)
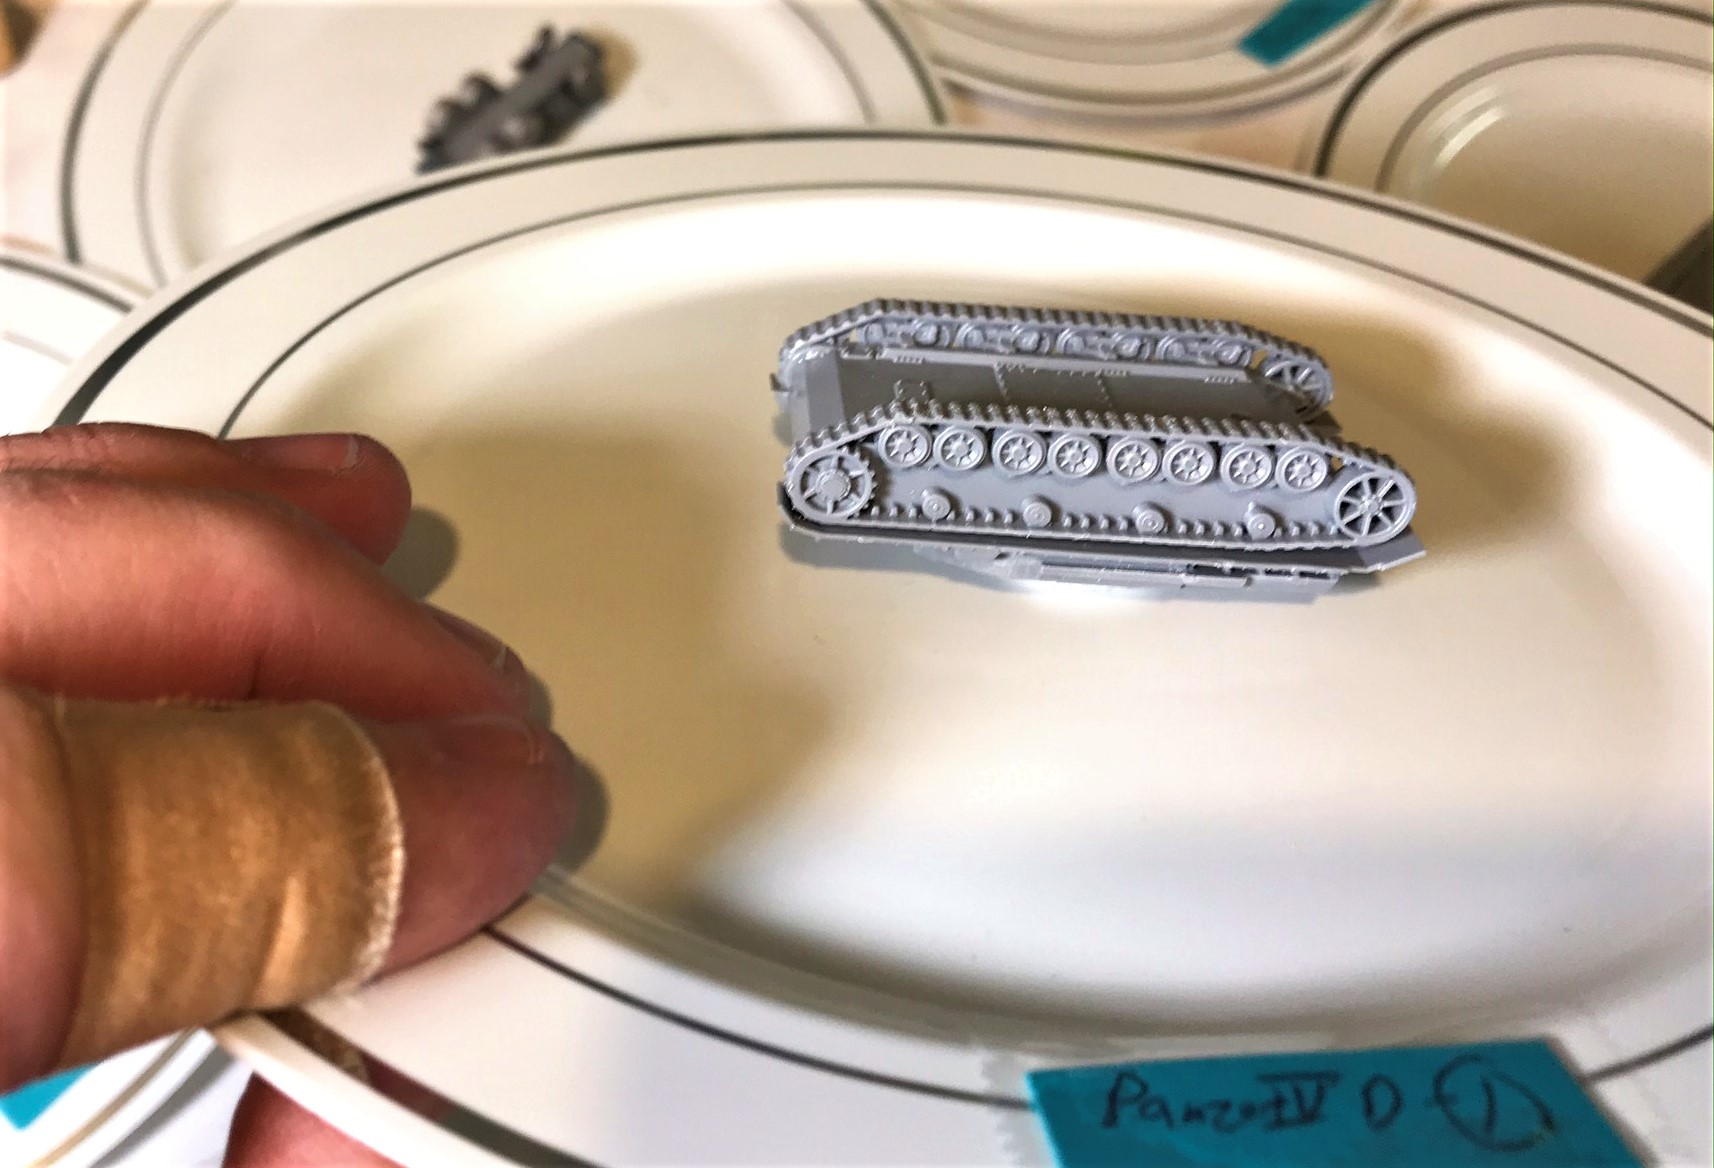
- 5 Panzer IV tanks (15mm/1:100 scale), from Zvezda (via The Plastic Soldier Company (#6151)
- 3 built as Panzer IVB
- 2 built as Panzer IVD
- 3 French tanks/armored cars assembled for What a Tanker© in France 1940
- Game pieces/game aids made or painted (11):
- 11 dashboards built for French 1940 tanks in What a Tanker© games
- 2 Panzer IVA dashboards
- 3 AMC 35 dashboards
- 1 Char D2 dashboard
- 1 FT-17 tank dashboard
- 3 Panhard 178 armored car dashboards
- 1 R40 tank dashboard
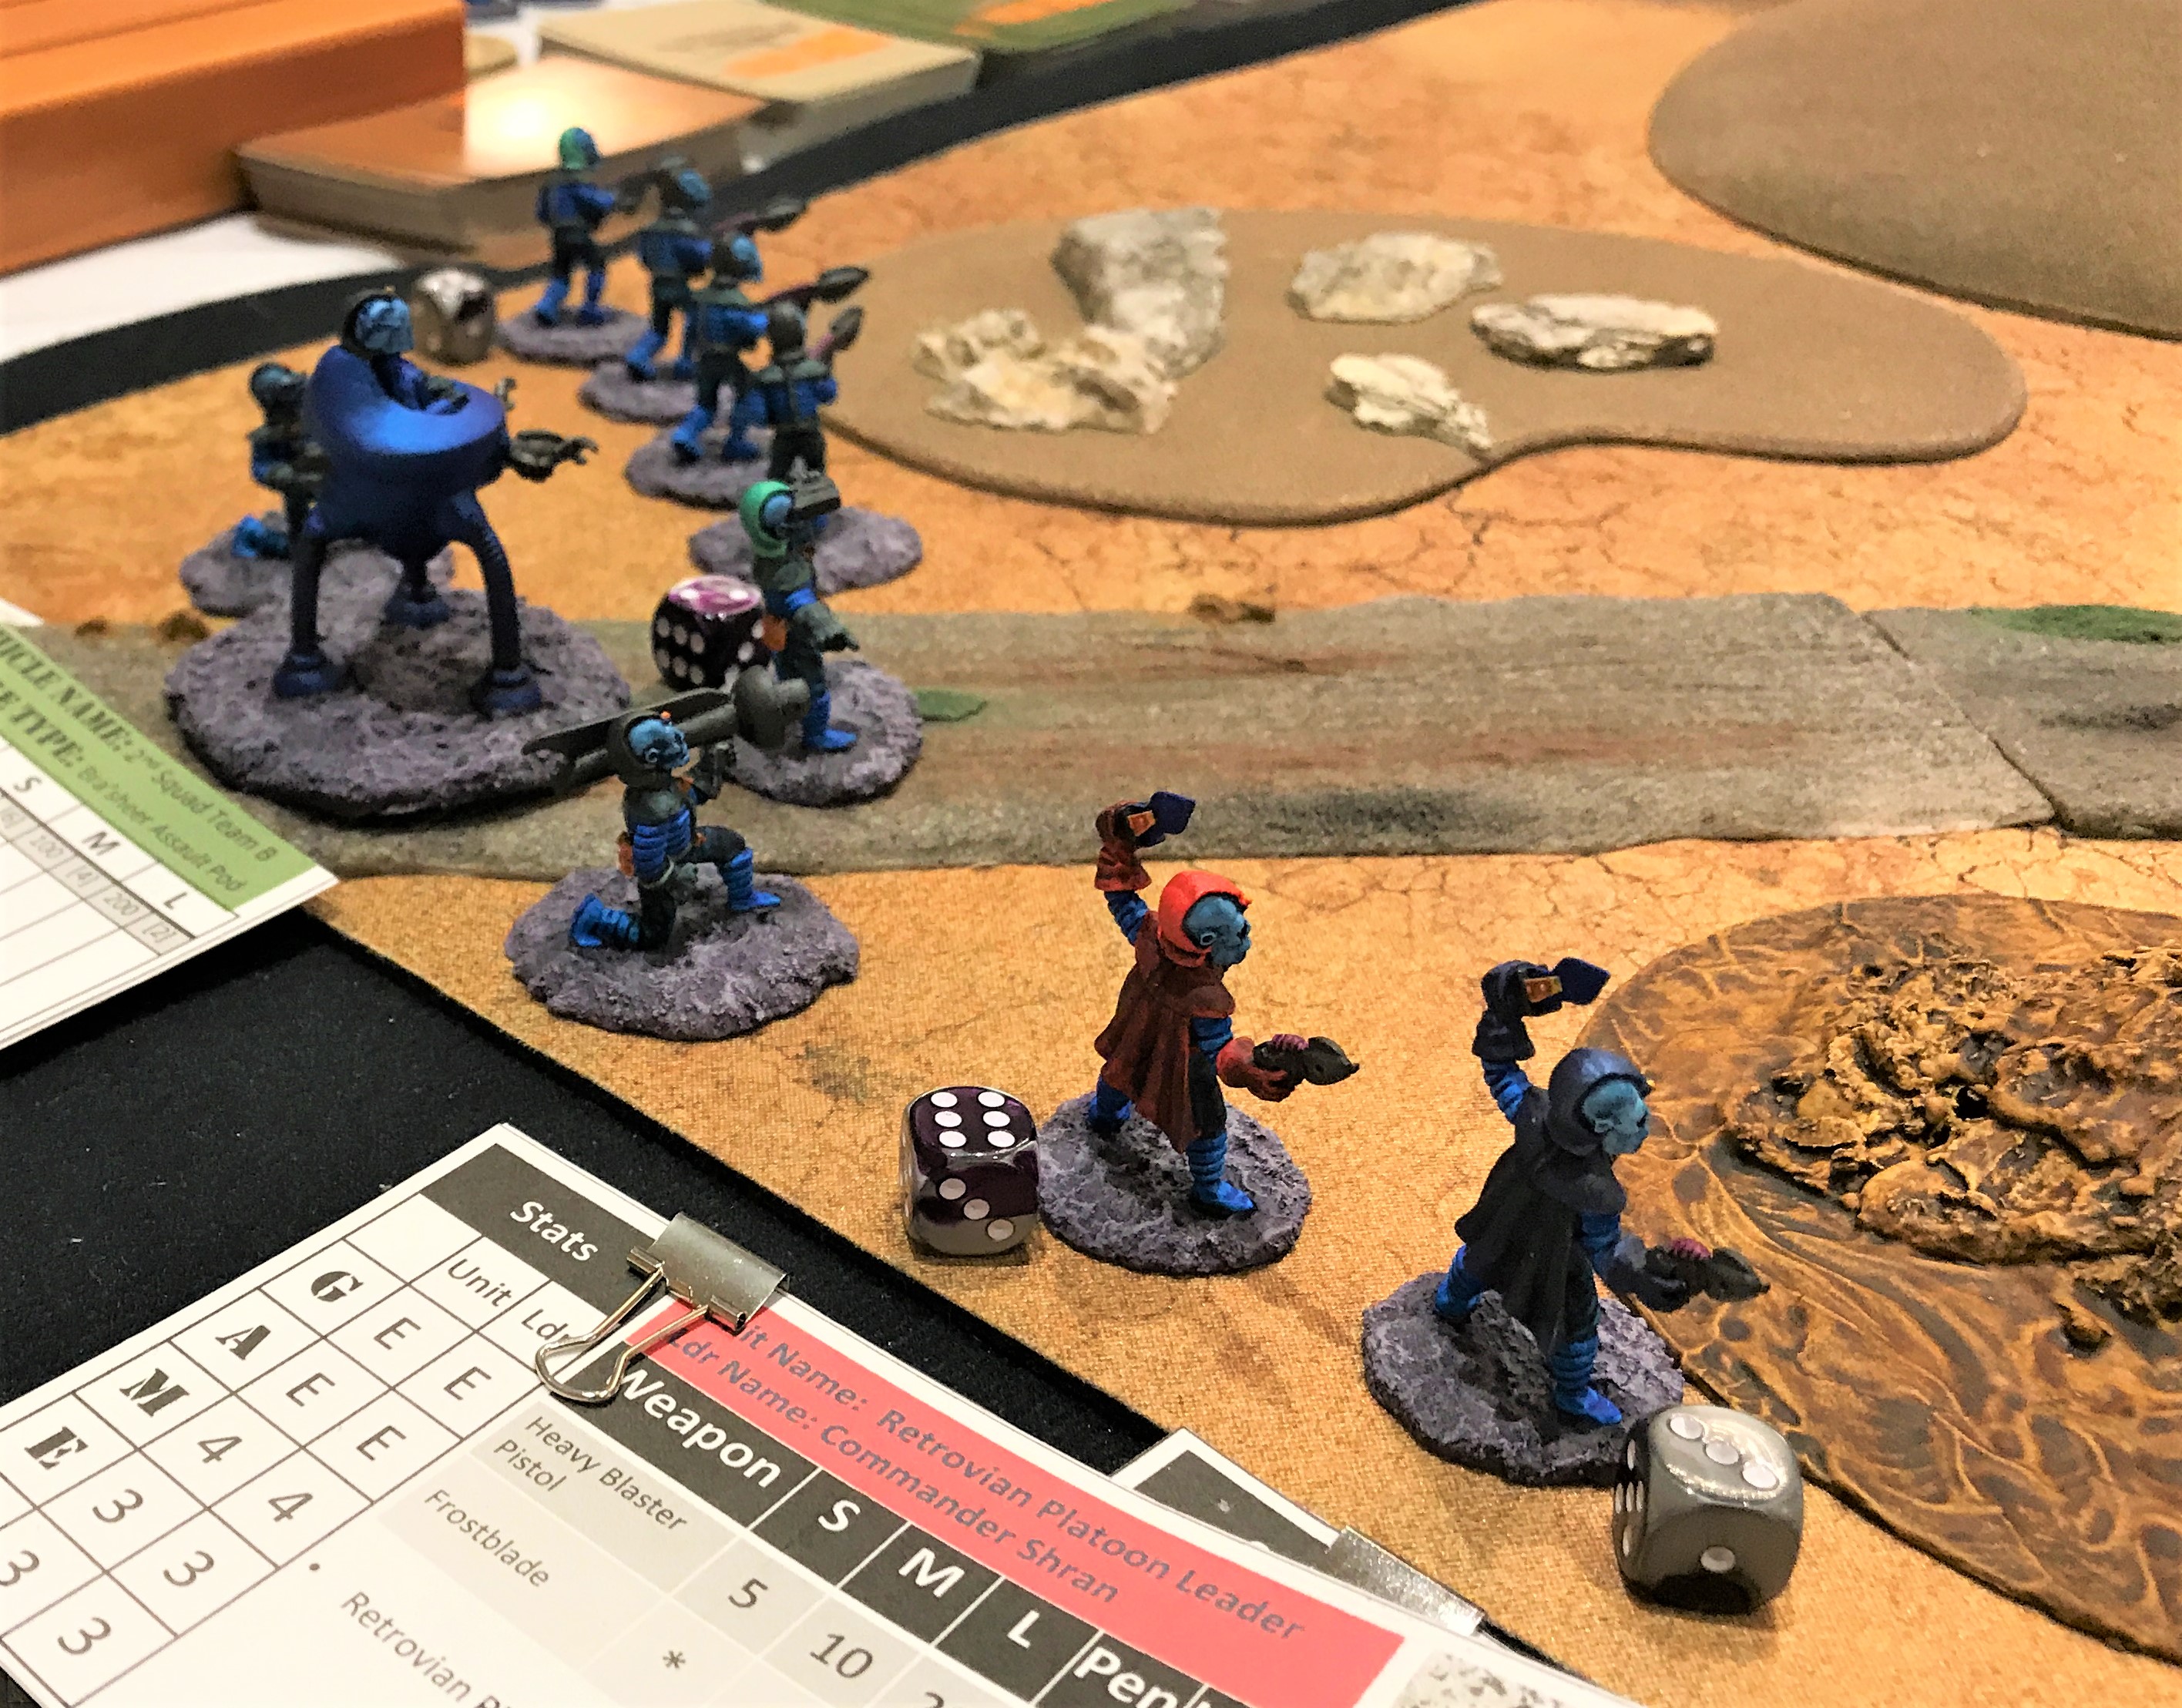
- 6 unit data cards made for my Retrovians use in Combat Patrol™ retro sci-fi games
- 3 vehicle data cards made for my Retrovians use in Combat Patrol™ retro sci-fi games
- 3 vehicle data cards updated for my Mark 1 Sphere tanks use in Combat Patrol™ retro sci-fi games
- 34 casualty cards made for my Retrovians use in Combat Patrol™ retro sci-fi games
- 11 dashboards built for French 1940 tanks in What a Tanker© games
February: 126 projects
- Figures painted (11):
- 11 German tanks painted for What a Tanker© for France 1940
- 2 Panzer 35(t) tanks (15mm/1:100 scale), from QRF (#GFV28)
- 2 Sd.Kfz. 231 (6-rad) armored cars (15mm/1:100 scale), from Battlefront (#GE320)
- 2 Panzer 38(t) tanks (15mm/1:100 scale), from Battlefront (#GE022)
- 5 Panzer IV tanks (15mm/1:100 scale), from Zvezda (via The Plastic Soldier Company (#6151)
- 3 built as Panzer IVB
- 2 built as Panzer IVD
- 11 German tanks painted for What a Tanker© for France 1940
- Game pieces/game aids made or painted (115):
- 11 dashboards built for German 1940 tanks in What a Tanker© games
- 2 Panzer 35(t) tank dashboards
- 2 Sd.Kfz. 231 (6-rad) armored car dashboards
- 2 Panzer 38(t) tank dashboards
- 3 Panzer IVB dashboards
- 2 Panzer IVD dashboards
- 104 “Bonus Attack Cards” built for What a Tanker© games
- 50 German cards
- 16 Infantry Assault cards
- 6 37 mm anti-tank gun cards
- 3 88 mm anti-tank gun cards
- 7 Artillery HE Support cards
- 10 Air Support cards
- 3 Artillery Smoke Support Cards
- 2 Radio problem cards
- 2 Quick Repair cards
- 1 Heinz Guderian Arrives! card
- 54 French cards
- 20 Infantry Assault cards
- 7 25 mm anti-tank gun cards
- 4 47 mm anti-tank gun cards
- 10 Artillery HE Support cards
- 4 Artillery Smoke Support Cards
- 2 Radio problem cards
- 2 Quick Repair cards
- 1 Charles de Gaulle Arrives! card
- 50 German cards
- 11 dashboards built for German 1940 tanks in What a Tanker© games
March: 0 projects
I did a lot of research in March and wrote Civilizations Collide, a supplement for the upcoming Feudal Patrol™ card-based wargaming system from Buck Surdu. The supplement covers the Spanish Conquest, to include the Conquistadores, the Aztecs of the Triple Alliance, Aztecs of the Aztec-Chichimec Alliance, the Maya, and the Inca. I cannot quantitate this as a hobby project, but it certainly was one!
April: 19 projects
- Figures painted (19):
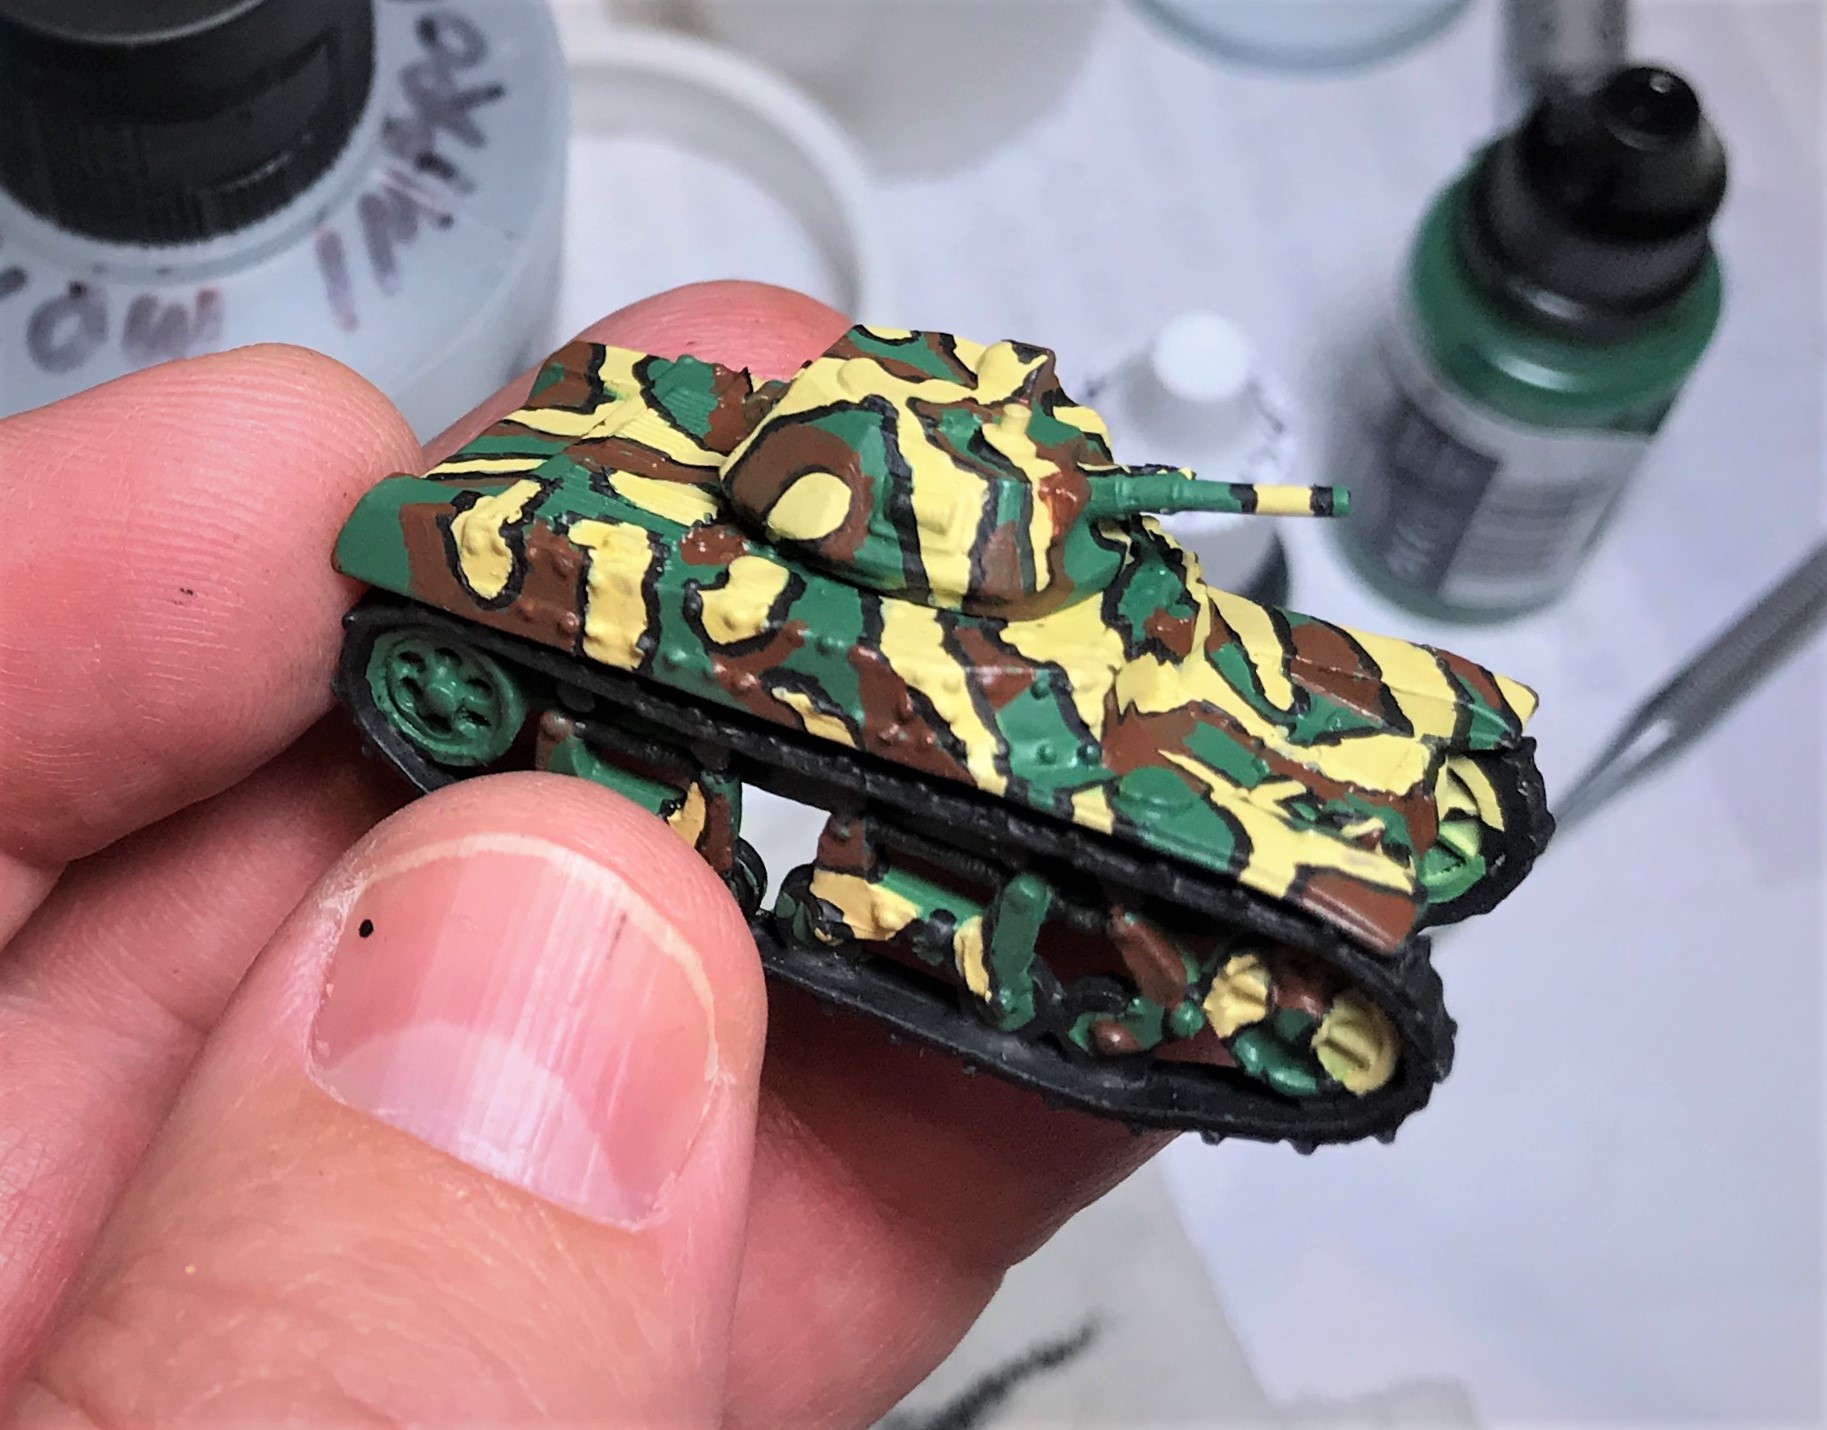
- 12 Aztec Novice Warrior figures painted for Feudal Patrol™ (28mm scale), from Wargames Foundry (#WF AZ018 Novice Warriors II)
- 7 Power-Armored Frinx figures painted/repainted for Combat Patrol™ retro sci-fi games (25mm/28mm scale) from Archive (#2040)
May: 36 projects
- Figures painted (36):
- 6 Aztec Eagle Warrior figures painted for Feudal Patrol™ (25mm scale), from Tin Soldier UK (#25 AZ4)
- 6 Aztec Arrow Knight figures painted for Feudal Patrol™ (25mm scale), from Ral Partha’s 1200 A.D. line (circa 1988), (#42-305)
- 12 Aztec Veteran Warrior figures painted for Feudal Patrol™ (28mm scale), from Wargames Foundry (#WF AZ017 Ixtlilxochitl’s Veteran Warriors)
- 12 Aztec Veteran Warrior figures painted for Feudal Patrol™ (28mm scale), from Wargames Foundry (#WF AZ023 Cuauhtli’s Veteran Warriors)
June: 2 projects
- Figures converted (2):
- 2 Aztec Jaguar Warriors converted from incomplete blister pack #AZ015 Chimalpopoca’s Jaguar Warriors
July: 21 projects
- Figures painted (21):
- 3 Aztec Veteran Warrior figures painted for Feudal Patrol™ (28mm scale), from Wargames Foundry (#AZ012 Heroes of Tenochtitlan)
- 2 Aztec Jaguar Warrior figures painted for Feudal Patrol™ (28mm scale), from Wargames Foundry (#AZ012 Heroes of Tenochtitlan)
- 1 Aztec Warrior Priest figure painted for Feudal Patrol™ (28mm scale), from Wargames Foundry (#AZ012 Heroes of Tenochtitlan)
- 7 Aztec Jaguar Warrior figures painted for Feudal Patrol™ (28mm scale), from Wargames Foundry (#AZ015 Chimalpopoca’s Jaguar Warriors)
- 8 Aztec Jaguar Warrior figures painted for Feudal Patrol™ (28mm scale), from Outpost Wargames Services (#AZ5 Jaguar Warriors)
August: 6 projects
- Figures painted (3):
- 2 Aztec Command figures painted for Feudal Patrol™ (28mm scale), from Outpost Wargames Services (#AZG001 General as Snake Woman Priestess w/Drummer)
- 1 Snake Woman General
- 1 Drummer
- 1 Folder Bot 3000 figure painted for Combat Patrol™ (28mm scale), from Armorcast Terraform Terrain Ltd (#Folder Bot 3000)
- 2 Aztec Command figures painted for Feudal Patrol™ (28mm scale), from Outpost Wargames Services (#AZG001 General as Snake Woman Priestess w/Drummer)
- Figures assembled (3):
- 2 Aztec Command figures assembled for Feudal Patrol™ (28mm scale), from Outpost Wargames Services (#AZG001 General as Snake Woman Priestess w/Drummer)
- 1 Snake Woman General
- 1 Drummer
- 1 Folder Bot 3000 figure (aka Bender) assembled for Combat Patrol™ (28mm scale), from Armorcast Terraform Terrain Ltd (#Folder Bot 3000)
- 2 Aztec Command figures assembled for Feudal Patrol™ (28mm scale), from Outpost Wargames Services (#AZG001 General as Snake Woman Priestess w/Drummer)
September: 28 projects
- Figures painted (8):
- 8 Tlaxcalan Archers painted for Feudal Patrol™ (28mm scale), from Outpost Wargames Services (#TX4 Tlaxcalan Archers)
- Game pieces made (20):
- 20 Skull tokens assembled for Feudal Patrol™
October: 89 projects
- Figures painted (42):
- 8 Tlaxcalan Novice Warriors painted for Feudal Patrol™ (28mm scale), from Outpost Wargames Services (#TX2 Tlaxcalan Novices in Padded Vests)
- 8 Tlaxcalan Elite Warriors painted for Feudal Patrol™ (28mm scale), from Outpost Wargames Services (#TX3b Elite Warriors in Feather Costume)
- 1 Tlaxcalan Captain painted for Feudal Patrol™ (28mm scale), from Outpost Wargames Services (#TXC01 Tlaxcalan Captain with Conch Blower)
- 1 Tlaxcalan Conch Blower painted for Feudal Patrol™ (28mm scale), from Outpost Wargames Services (#TXC01 Tlaxcalan Captain with Conch Blower)
- 6 Aztec Warrior Priests painted as Tlaxcalans for Feudal Patrol™ (25mm scale), from Ral Partha’s 1200 A.D. line, circa 1988 (#42-302 Aztec Warrior Priests)
- 18 Aztec Novice Warriors painted for Feudal Patrol™ (28mm scale), from Wargames Foundry Aztecs line (12 from 2 blisters of #AZ016 Novice Aztec Warriors I, 6 from 1 blister of #AZ028 Novice Aztec Warriors III).
- Figures assembled (32):
- 8 Tlaxcalan Novice Warriors assembled for Feudal Patrol™ (28mm scale), from Outpost Wargames Services (#TX2 Tlaxcalan Novices in Padded Vests)
- 8 Tlaxcalan Elite Warriors assembled for Feudal Patrol™ (28mm scale), from Outpost Wargames Services (#TX3b Elite Warriors in Feather Costume)
- 1 Tlaxcalan Captain assembled for Feudal Patrol™ (28mm scale), from Outpost Wargames Services (#TXC01 Tlaxcalan Captain with Conch Blower)
- 1 Tlaxcalan Conch Blower assembled for Feudal Patrol™ (28mm scale), from Outpost Wargames Services (#TXC01 Tlaxcalan Captain with Conch Blower)
- 6 Aztec Warrior Priests assembled as Tlaxcalans for Feudal Patrol™ (25mm scale), from Ral Partha’s 1200 A.D. line, circa 1988 (#42-302 Aztec Warrior Priests)
- 8 Aztec Novice Warriors assembled for Feudal Patrol™ (28mm scale), from Wargames Foundry Aztecs line (6 from 2 blisters of #AZ016 Novice Aztec Warriors I, 2 from 1 blister of #AZ028 Novice Aztec Warriors III).
- Terrain pieces painted (15):
- 15 cacti/desert bushes painted, weathered, and flocked (from JTT Scenery Products SKU #441980)
November: 24 projects
- Figures painted (14):
- 6 Aztec figures painted for Feudal Patrol™ (28mm scale), from Wargames Foundry (#AZ021 Tloxtoxl and the Priests of the Great Temple)
- 2 Warrior Priests
- 1 Priestess of the Temple
- 1 Priest of the Temple
- 1 Aztec Command Group (2 figures)
- 1 Aztec Captain
- 1 Conch Blower
- 8 Aztec Cuachicqueh (the “Shorn Ones” shock troops) figures painted for Feudal Patrol™ (28mm scale), from Outpost Wargames Services (#AZ006 Cuachic Warriors- body suit and back banner)
- 6 Aztec figures painted for Feudal Patrol™ (28mm scale), from Wargames Foundry (#AZ021 Tloxtoxl and the Priests of the Great Temple)
- Figures assembled (9):
- 8 Aztec Cuachicqueh (the “Shorn Ones” shock troops) figures assembled for Feudal Patrol™ (28mm scale), from Outpost Wargames Services (#AZ006 Cuachic Warriors- body suit and back banner)
- 1 Aztec Warrior Priest figure assembled for Feudal Patrol™ (28mm scale), from Wargames Foundry (#AZ011 Montezuma and Chieftains)
- Figures converted (1):
- 1 Aztec Chieftain converted to one with a signaling drum from #AZ011 Montezuma and Chieftains
December: 18 projects
- Figures painted (18):
- 6 Aztec figures painted for Feudal Patrol™ (28mm scale), from Wargames Foundry (#AZ011 Montezuma and Chieftains)
- 1 Montezuma
- 4 Aztec Chieftains/leaders
- 1 Aztec Warrior Priest
- 6 Conquistador figures painted for Feudal Patrol™ (28mm scale), from Wargames Foundry (#SB012 Audacious Arquebusiers)
- 6 Arquebusiers
- 6 Conquistador figures painted for Feudal Patrol™ (28mm scale), from Wargames Foundry (#SB014 Merciless Adventurers)
- 6 Arquebusiers
- 6 Aztec figures painted for Feudal Patrol™ (28mm scale), from Wargames Foundry (#AZ011 Montezuma and Chieftains)


 left side close up")
 right side")
 rear view")
 frontal view")
 left side view")
 rear view")

 frontal view")
 frontal view close up")
 rear view close up")


 frontal close up view")
 rear close up view")
 right side view")


 front side")
 right side")
 rear view")
 right side")
 right rear side")