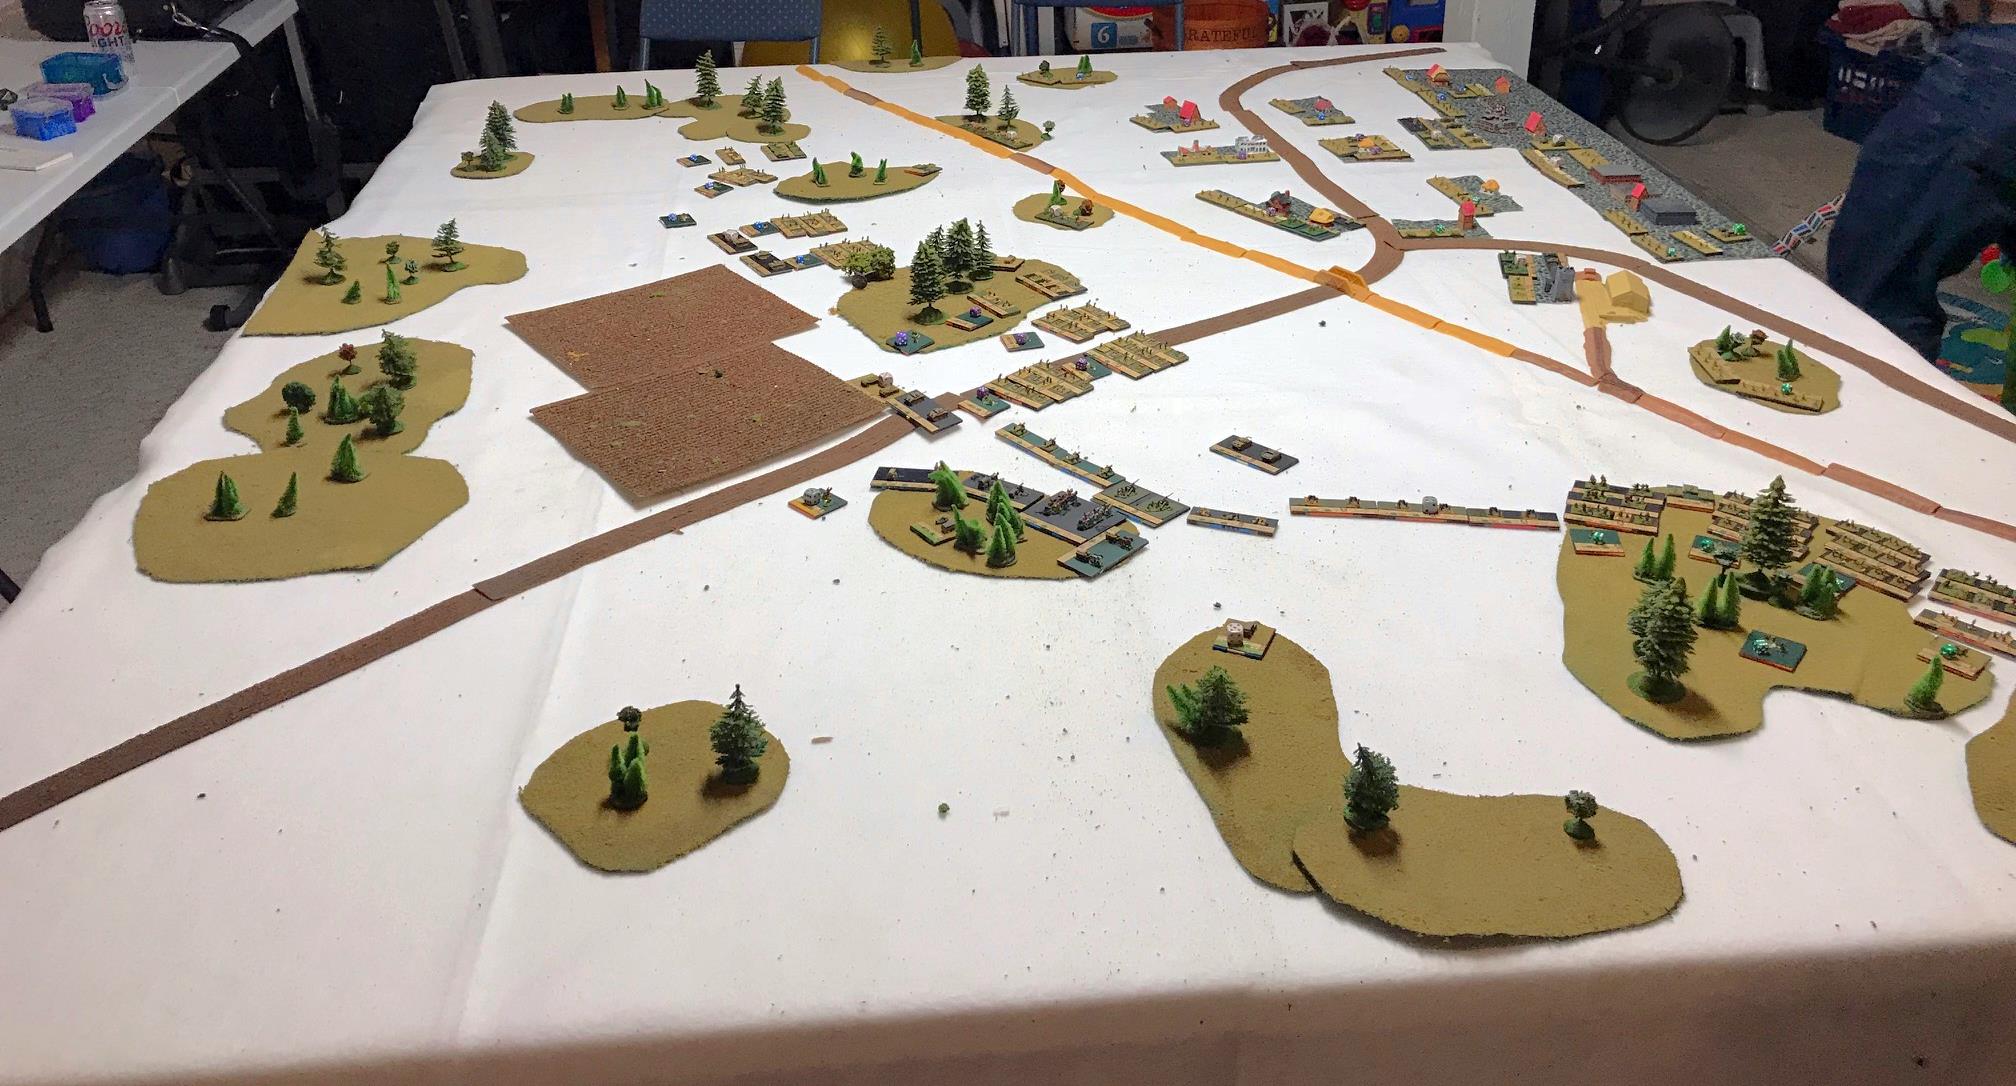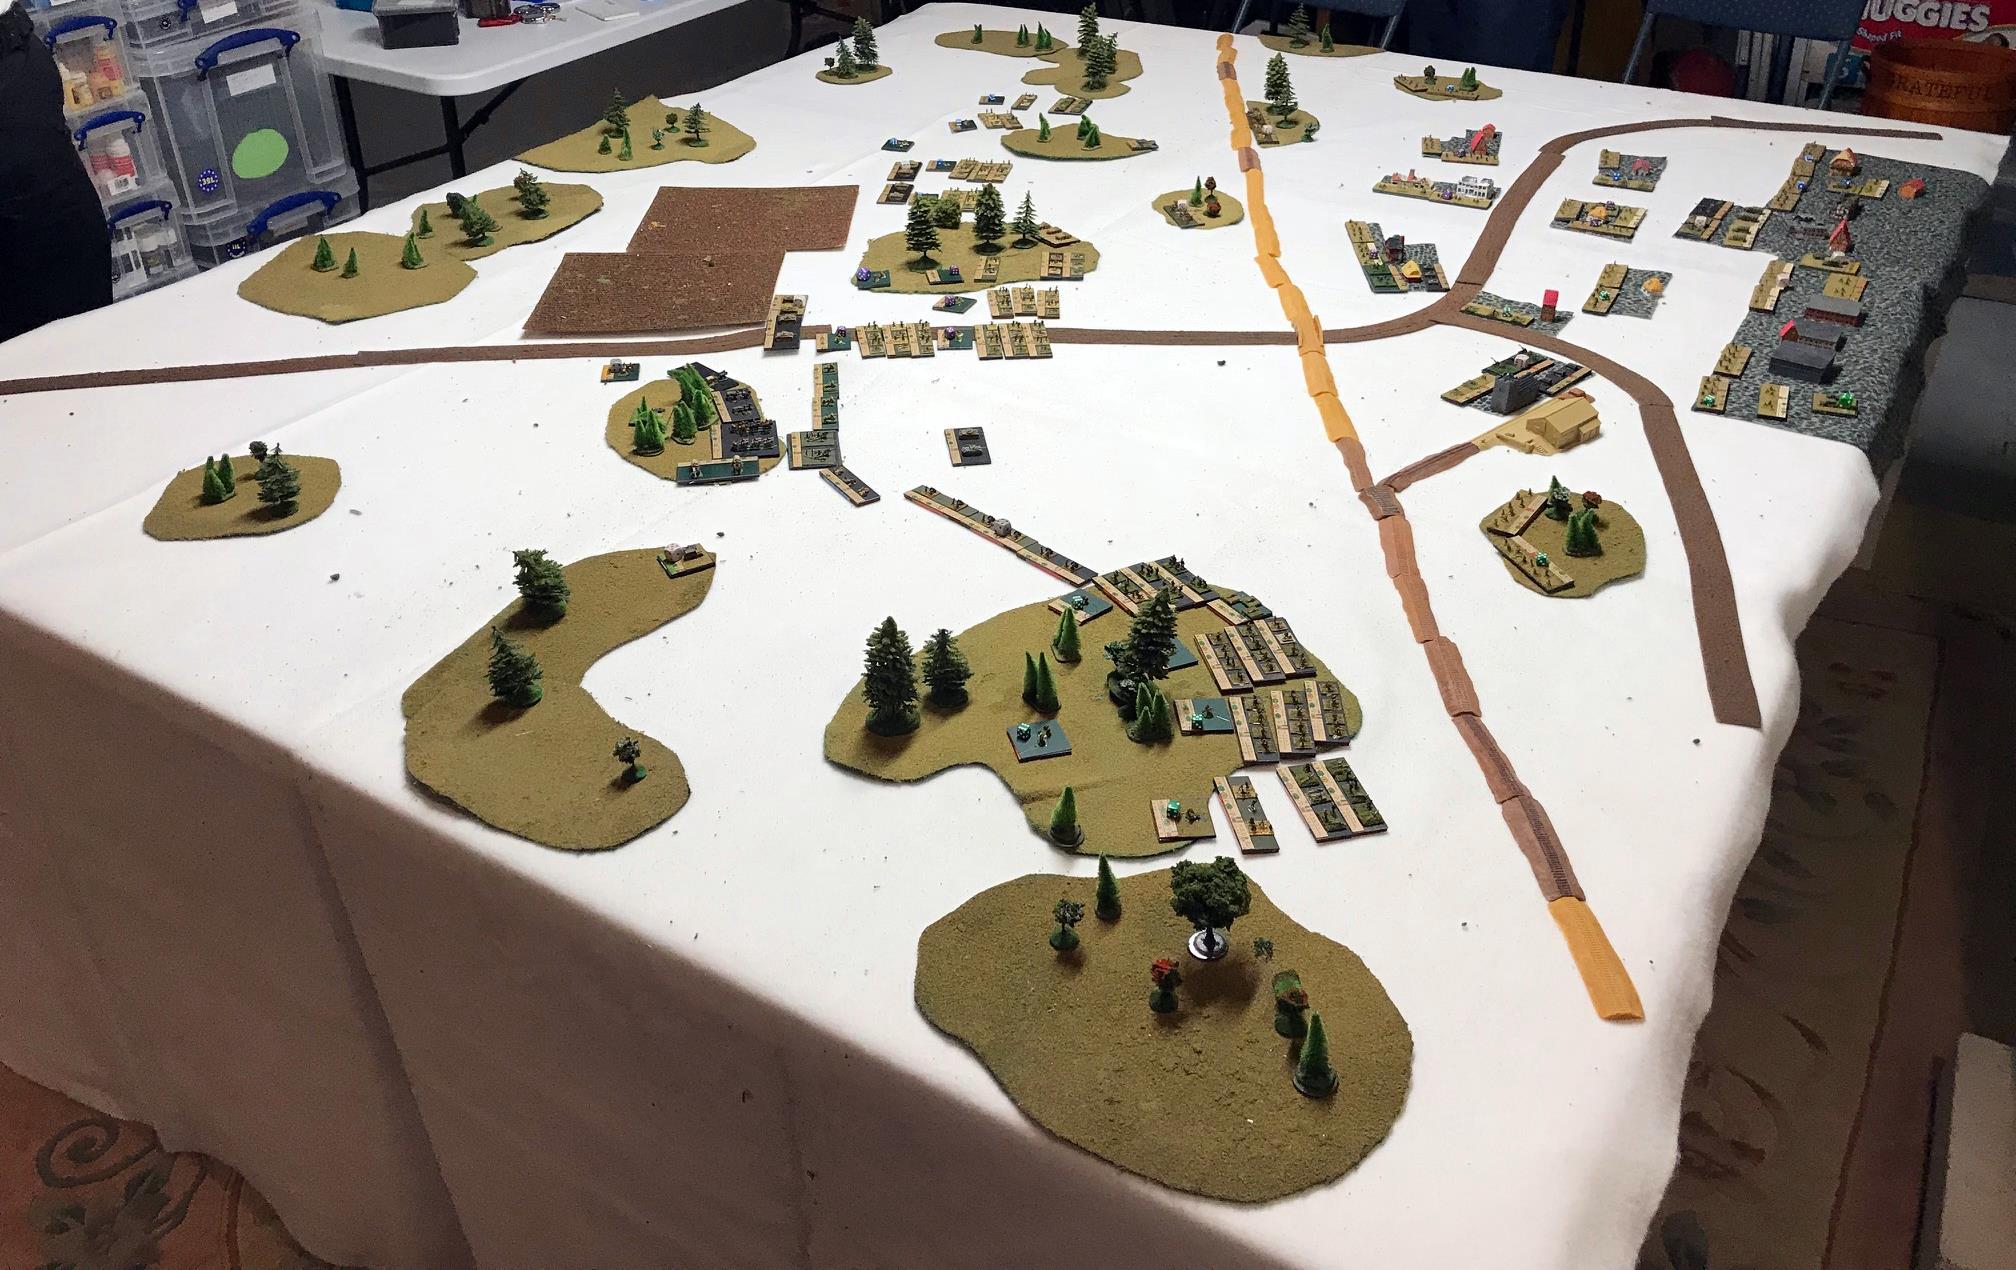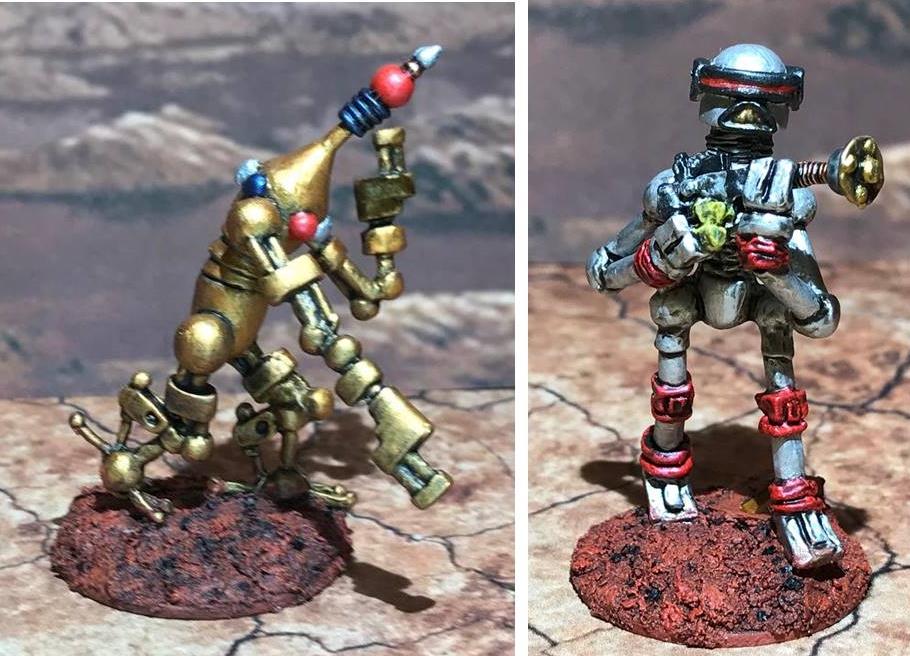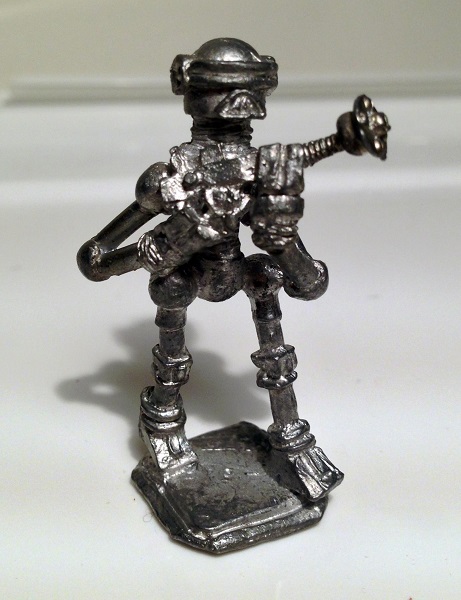
When I have wanted to demonstrate the effects of a grenade or a small explosion on a tabletop war game, I have been using cotton balls or other similar things, and this has not been a satisfactory practice for me. I wanted to have some better effects for grenade use in Combat Patrol™ games.
I saw some nice resin ones (ACFX034 Grenade Blasts) from Armorcast in their cinematic effects line. These were reasonably priced and looked good. I picked up 4 packs of two from their website.
As delivered
I washed them and let them dry, and then mounted them to 1″ steel washers that I had previously primed with Gorilla glue. I left the pyramid-like under-sprues attached as I thought that this would help with painting the blasts near the bases.
This approach did help, but I wish that I had cut them prior to painting them as this would have made removal easier later. I also tried my best to catch any areas that needed to be cleaned up in the way of excess resin. I mounted the washers with poster tack to the tops of specimen and old aspirin bottles for painting.
Using my airbrush, I primed them with Vallejo “Gray Surface Primer”. Once this was dry, I gave the blasts an airbrush coat of Vallejo “Game Air Black”.
After priming and first base coat of black paint
After this, I switched to the brush and gave the blasts a generous application of Citadel “Nuln Oil”. Then it was just a process of using series of dry brushings on the blasts working from bottom to top in varying degrees of color:
Polly -S “Demon Deep Red” (a survivor paint from 1984)
Americana “Primary Red”
Citadel “Fire Dragon Bright”
P3 “Sulfuric Yellow”
I then gave the entire surface a wash with Secret Weapons Washes “Sunshine Wash”. Lastly, I painted the blast rocks/ejecta with Vallejo “Gray Black”. At this point, I needed to remove the sprues and remount on the washers. I did this with a sprue cutter to minimize paint damage, but if I had done this earlier by sawing almost through the sprue I would have been better off and had less to fix!
Using gorilla glue, I reattached the blasts to the washers, and pushed the washers into the poster tack on the bottles.
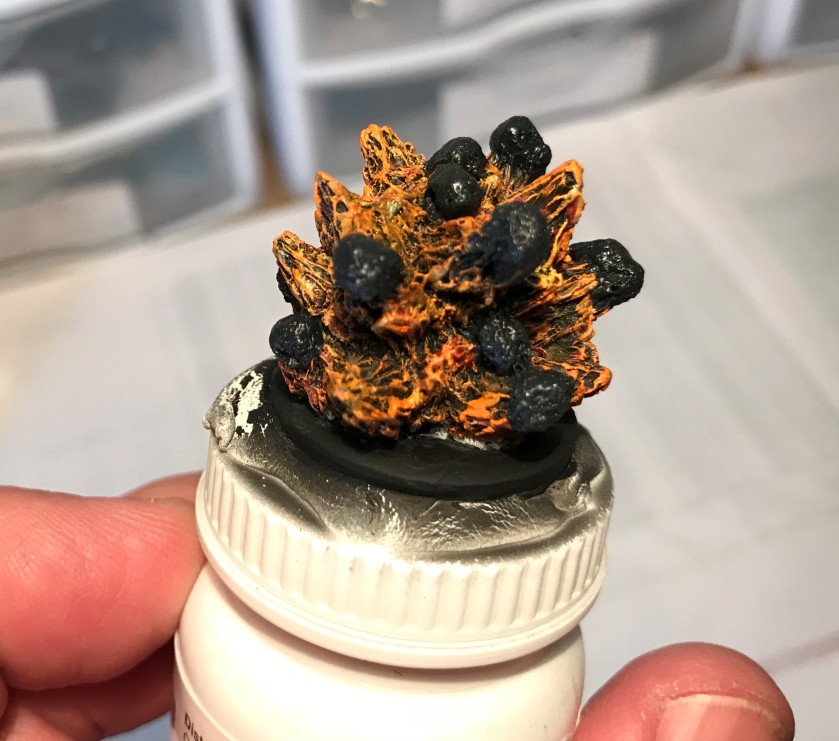
Fully base-coated
I used Citadel “Imperial Primer” to cover up the unpainted parts of the metal bases, and then applied Army Painter “Quickshade” (Strong Tone) with an old brush. I let this sit for a couple of days to harden and to dry. I then followed up on this with an airbrush application of Army Painter “Anti-Shine” varnish (just one coat). This suitably dulled the shine from the Quickshade.
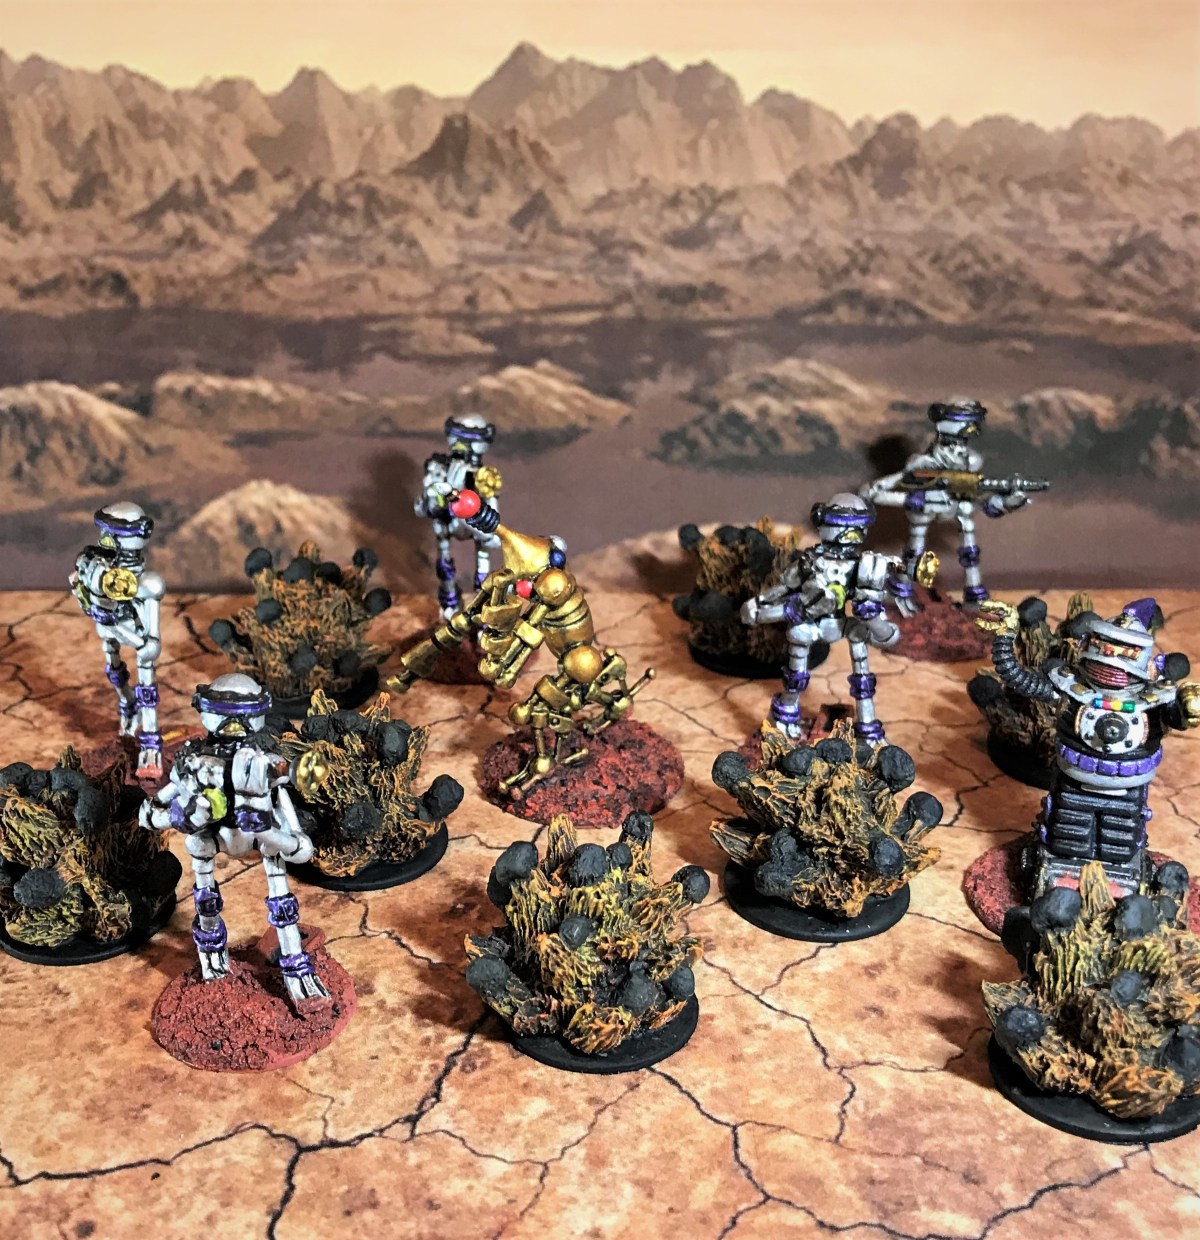
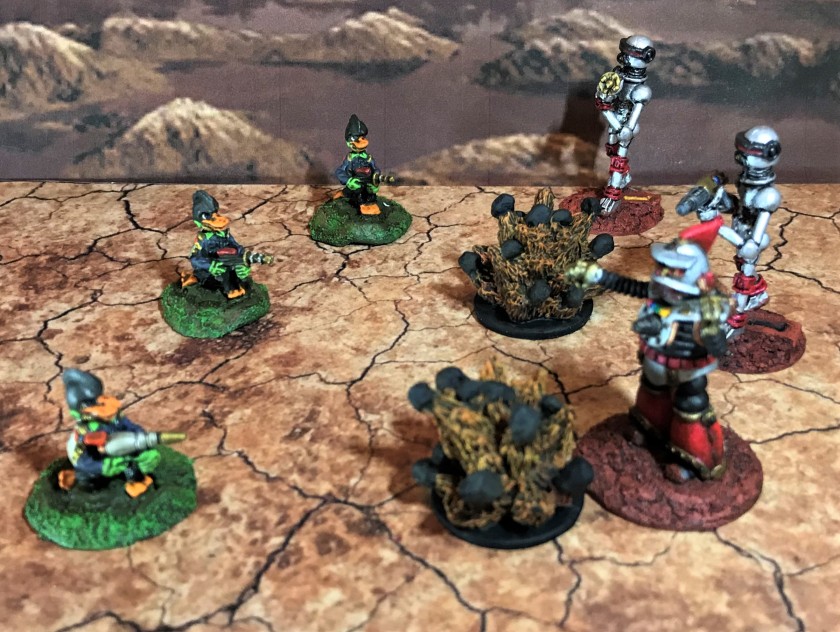
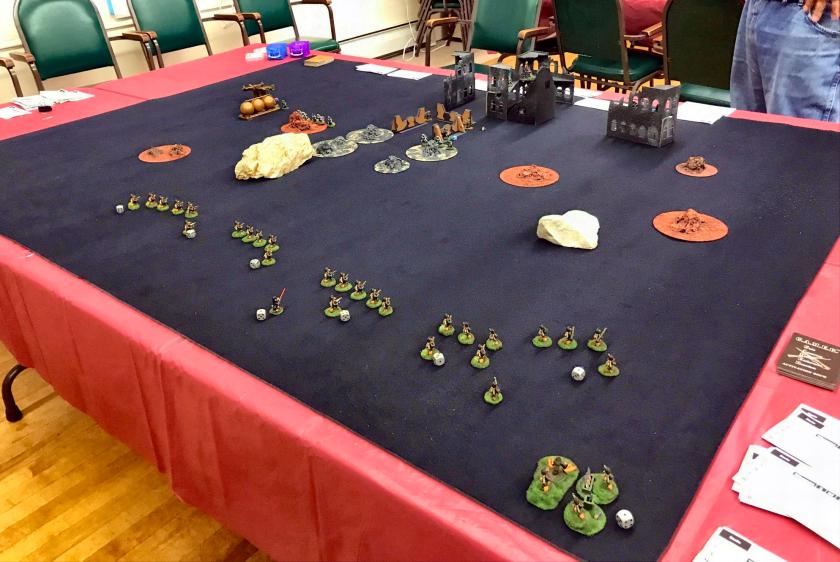
I plan to use these blasts to both designate where grenades or small explosions occur, but and to leave on the board as temporary impediments to line of sight. They are close enough to the Combat Patrol™ small explosion template in my view for that use (see below).
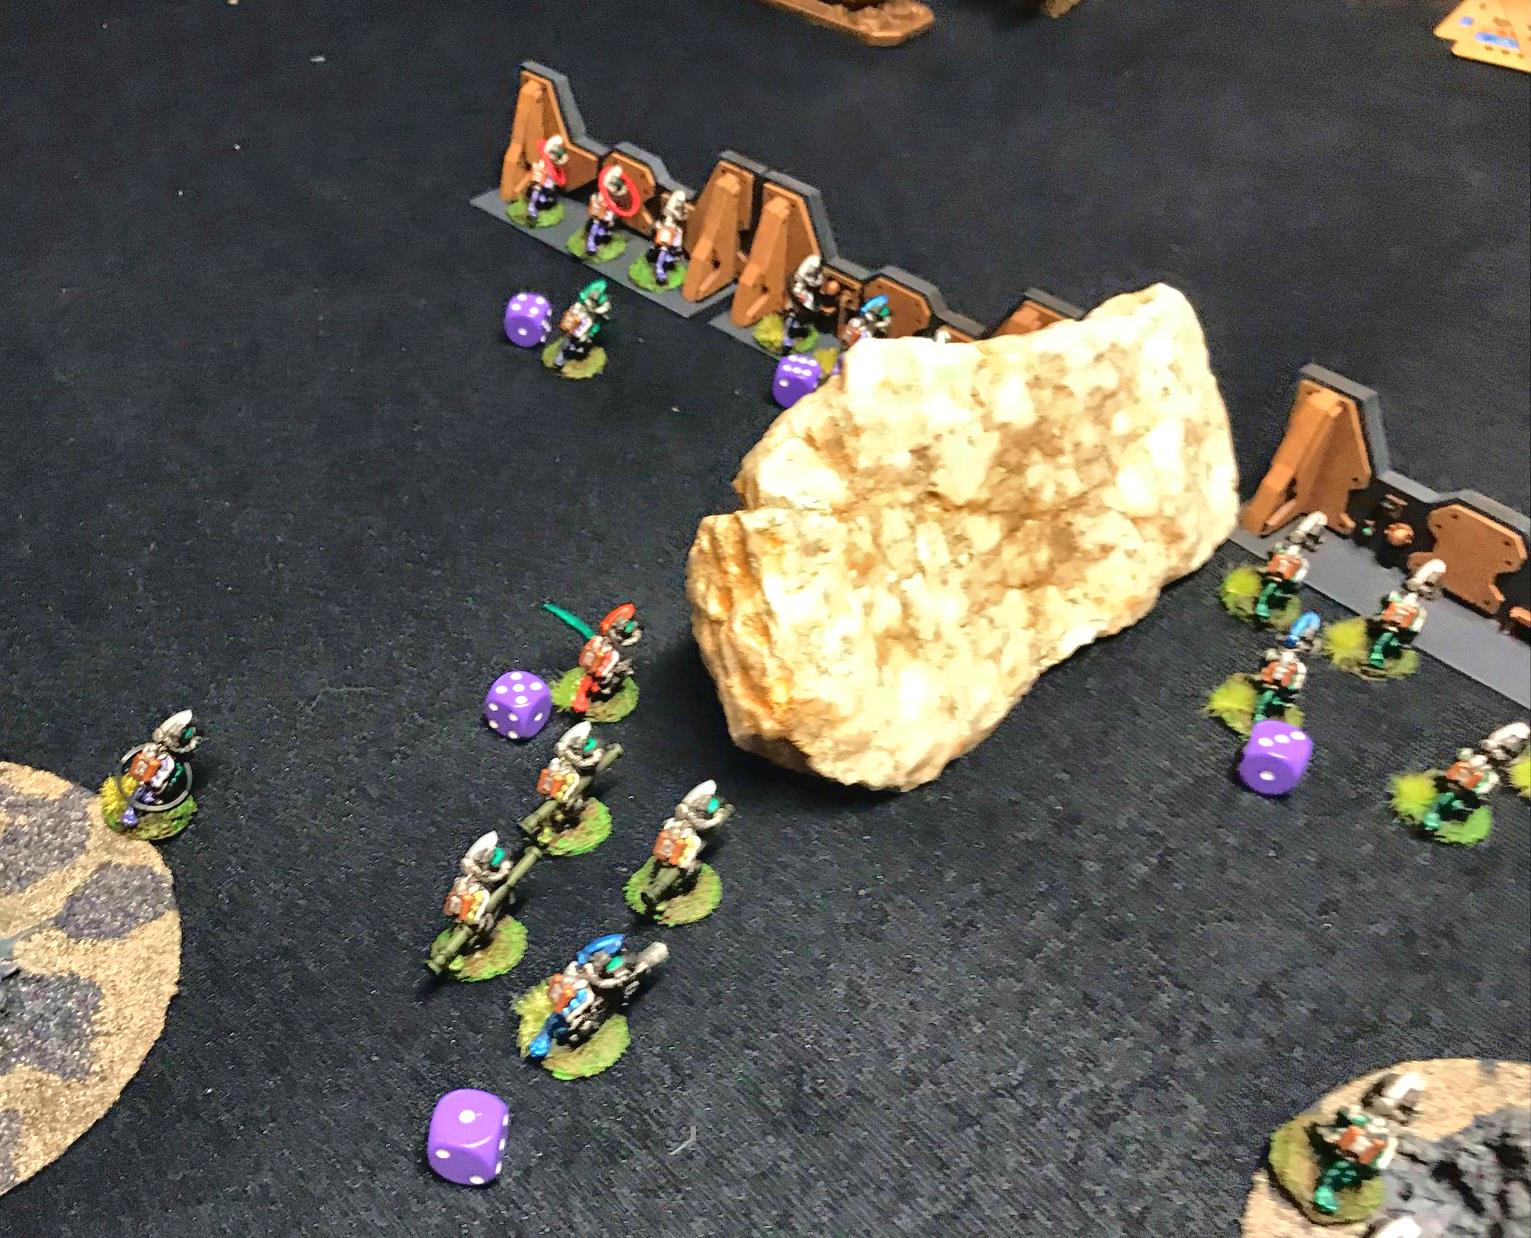
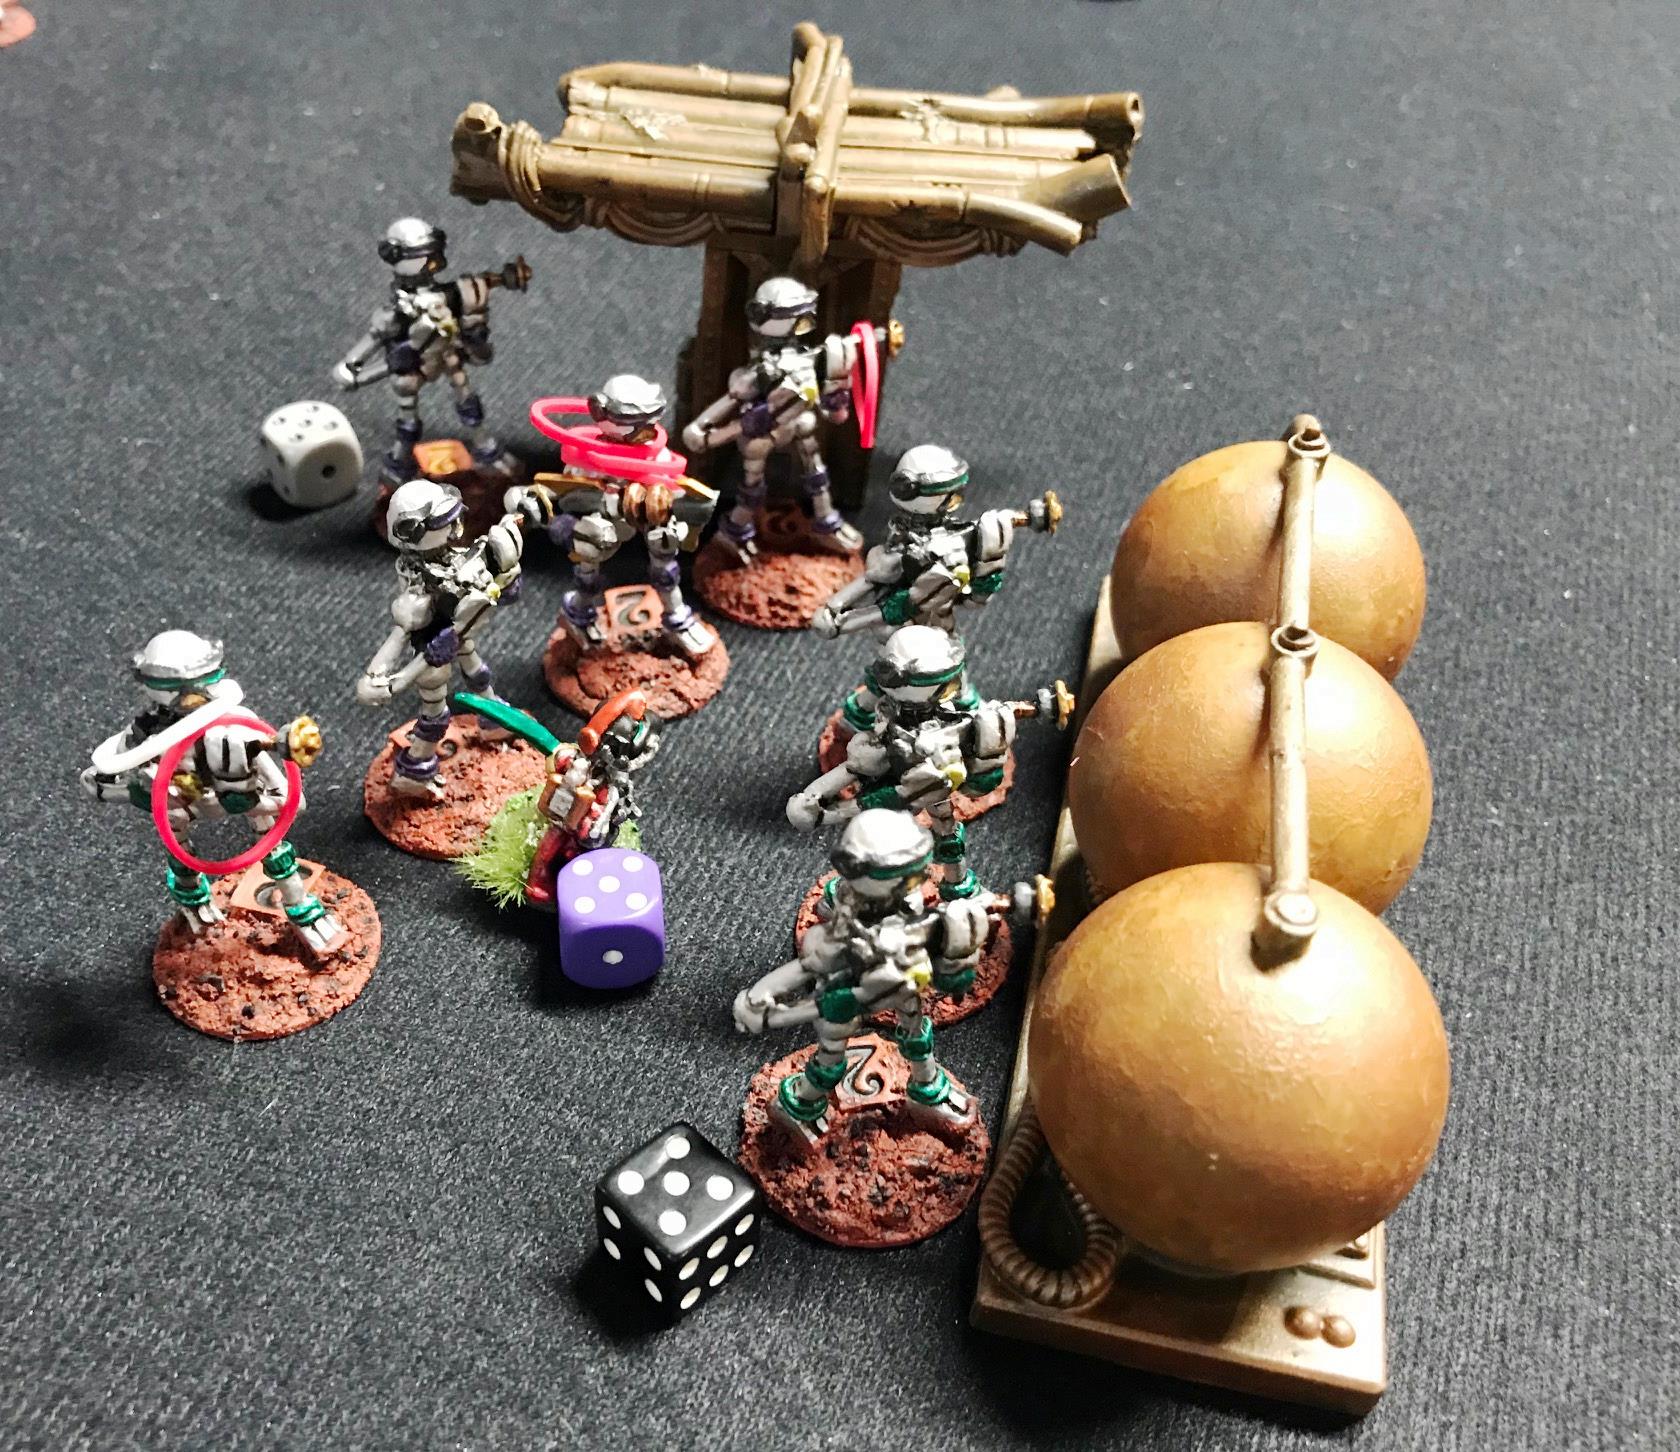
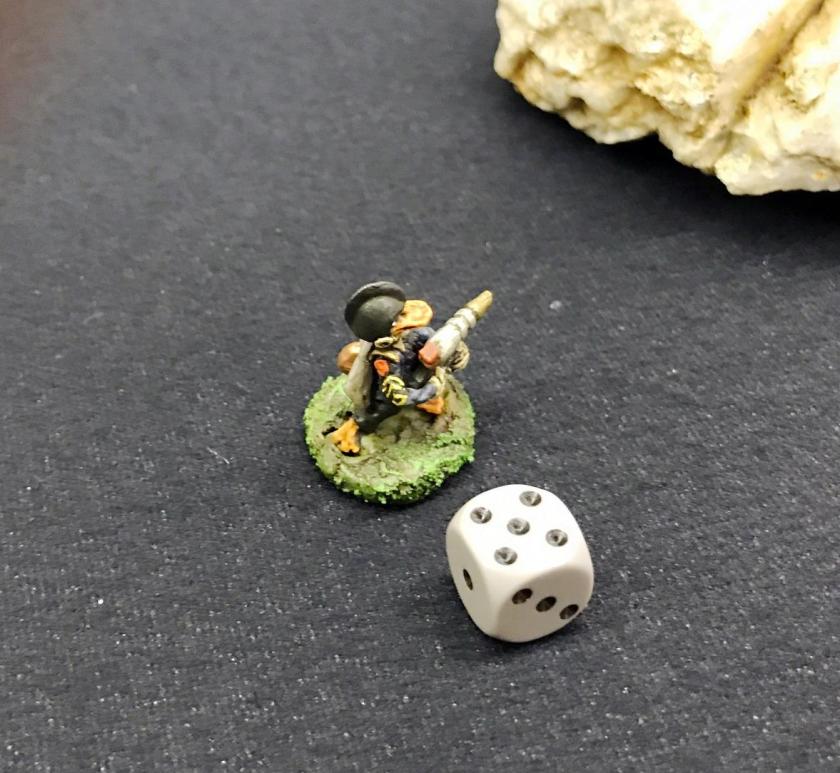
Star Ducks throw a couple of grenades at the Red Mark III Warbots and their Khang Robot leaderThe attacking Purple Warbot Squad and Juggerbot are bracketed by a flurry of small explosionsThe small explosion template and the Grenade BlastBOOM! First painting project of 2018 done!
I have to say that I like these, and am looking forward to using them in a game soon!
Thanks for looking – please share your thoughts in the comments section!
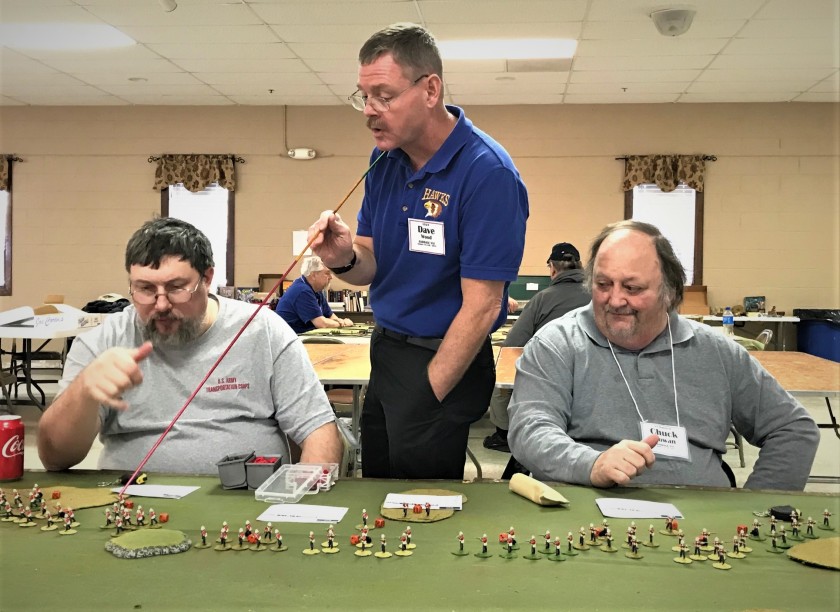
This gaming convention was held January 19-20 in Havre de Grace, MD, which is close to Aberdeen. It was a blast and well-run by the HAWKS gaming club.
I played many games over many time periods and genres. Mostly I played a lot of Combat Patrol™ games!
Second Boer War (modified Combat Patrol™)
Poland 1939 (Combat Patrol™)
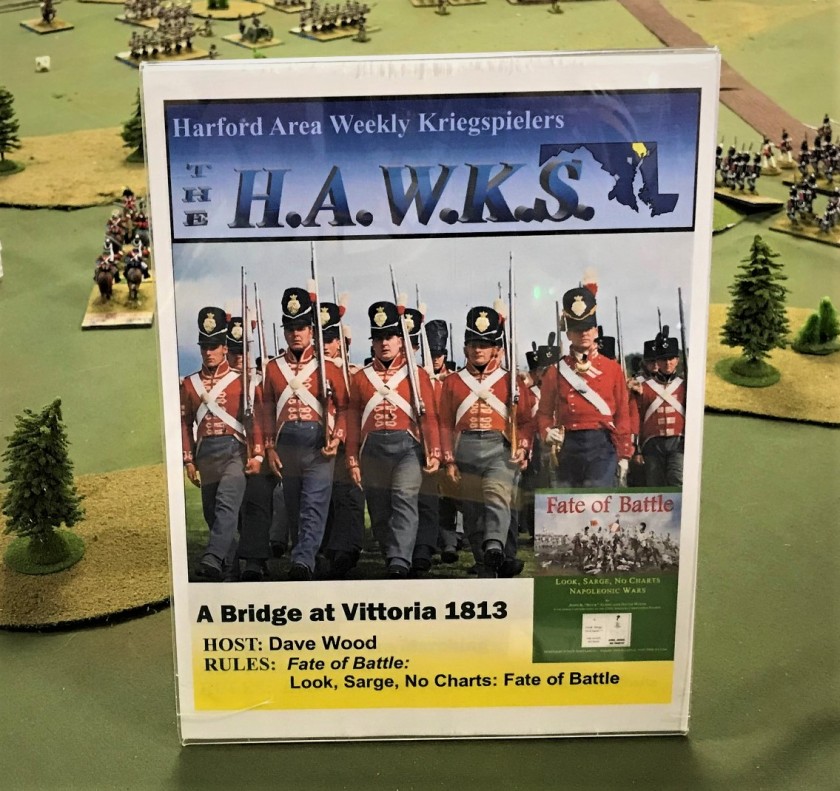
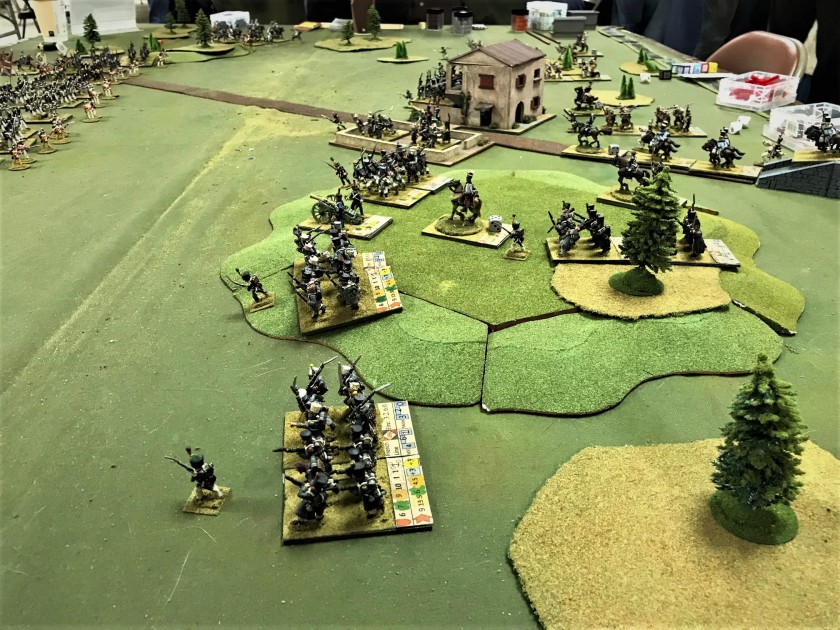
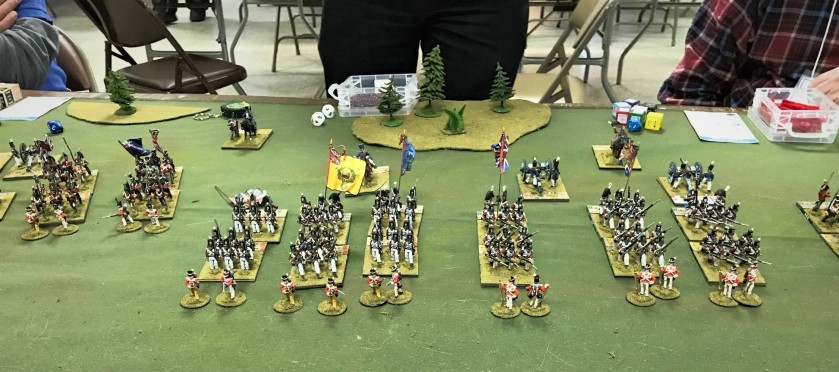
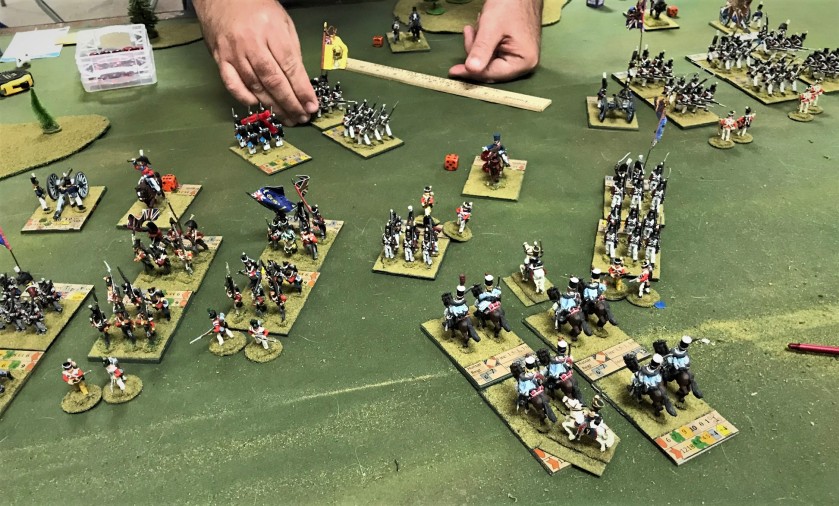
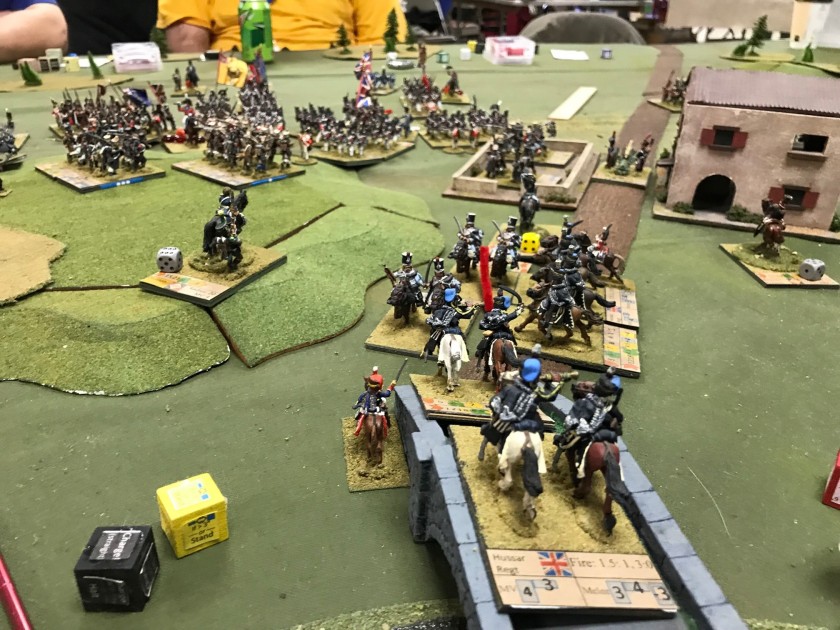
Napoleonic Era -Bridge at Vittoria (Fate of Battle)
Civil War skirmish (Brother vs. Brother)
Star Wars (modified Combat Patrol™)
Moro Insurrection (modified Combat Patrol™)
Tavern LARP (Blood and Swash)
You can see many more photos here of all the games, including the LARP that concluded the 1.5 days of gaming. I’m here wearing a Boston Bruins sweater or a West Point sweatshirt in these photos.
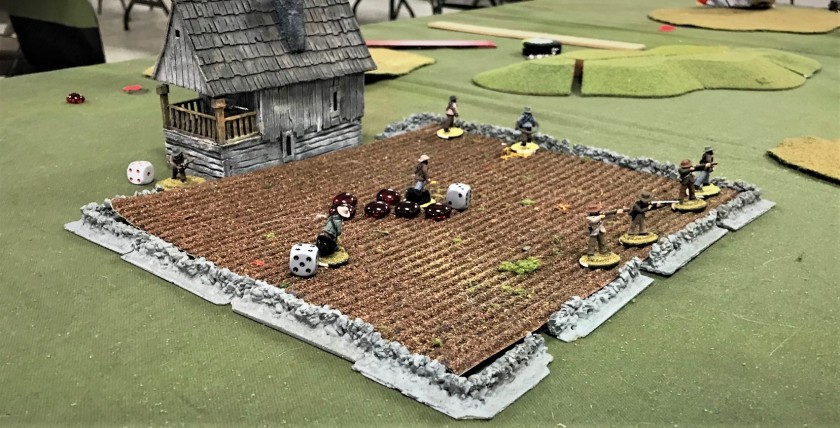
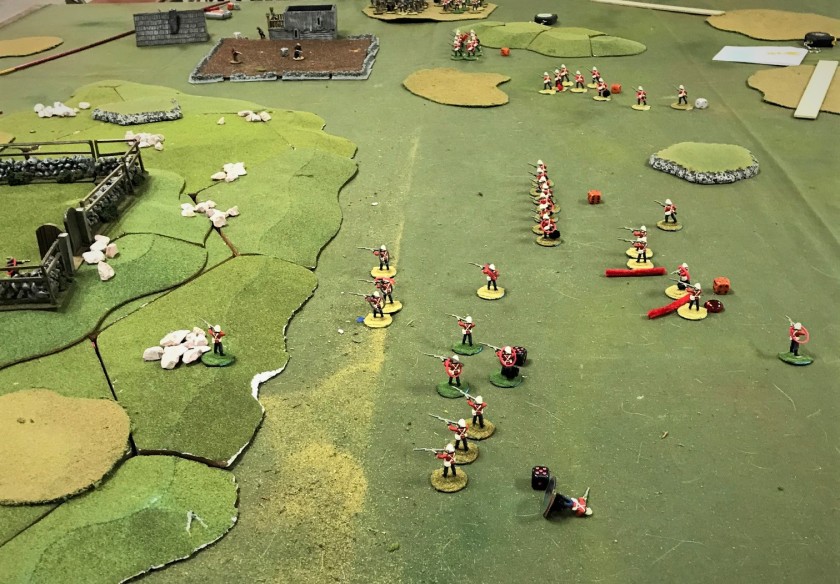
The first game I played was a Second Boer War scenario where the British were attacking the Boers defending a hill and farmstead. I played the Boers. The Brits needed to kill or capture the Boer leader, which they failed to do, so this was a good start for my day.
The British advanceThe British advance on the Boers. Their objective was the Boer leader in the farmhouse at the rear of the hill.Boers defending a wallThe Boers defending the wall in front of the farmhouse. These were fairly shot up by the Brits, but the Brits failed to capitalize on their marksmanshipDave Wood runs the gameBoers on the left flank get shot up in a fieldThe Brits haltThe Boer leader survives
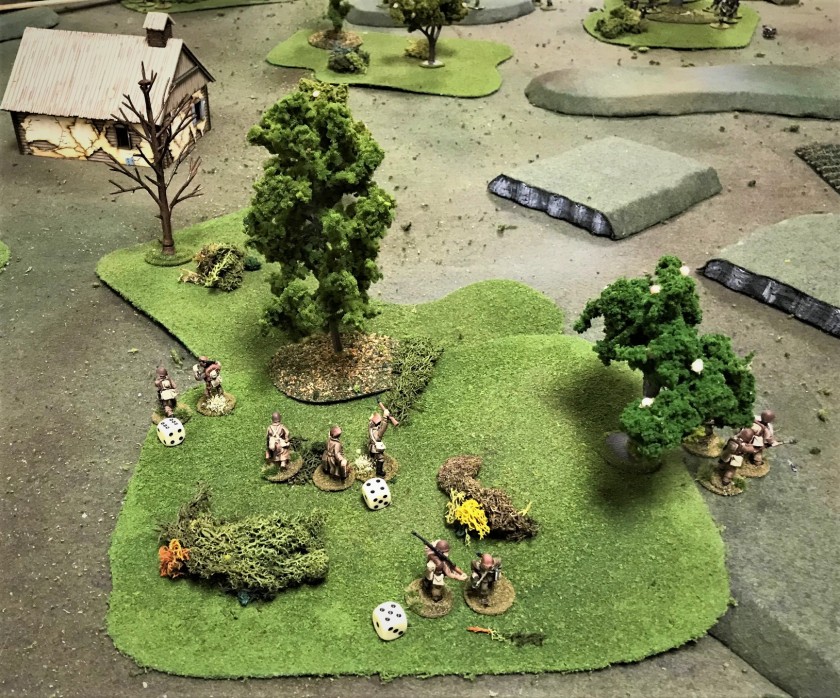
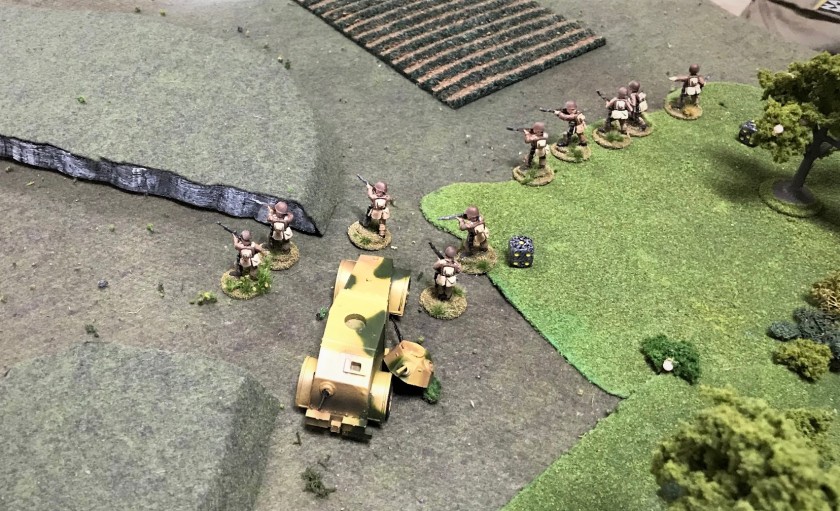
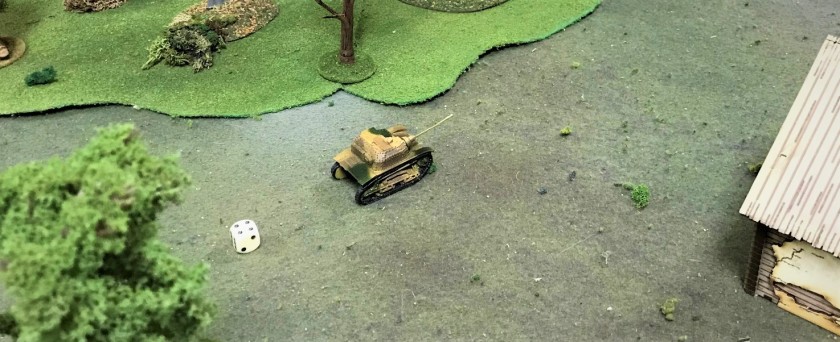
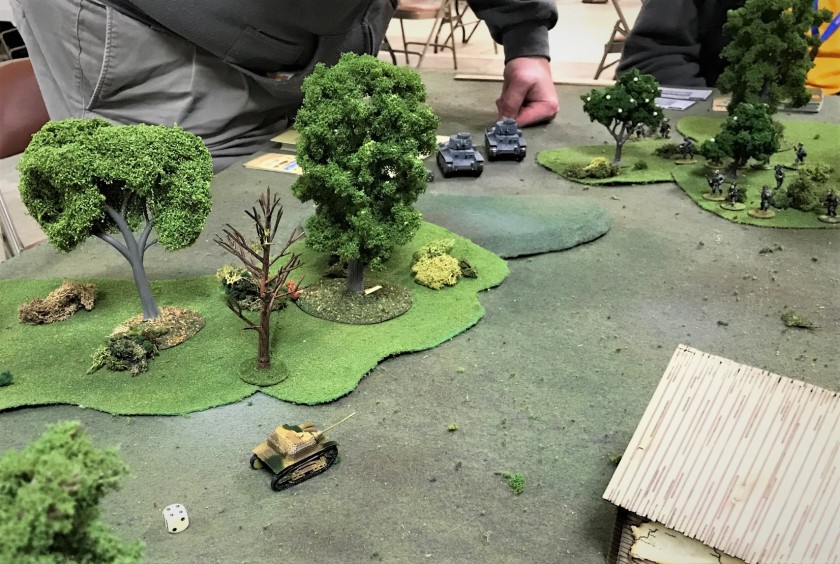
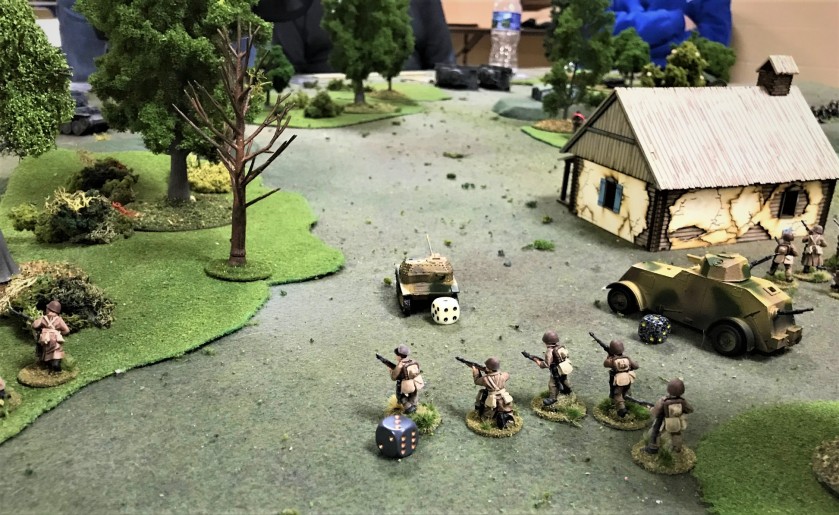
The second game that I played in was a scenario involving a German attack on the Poles in 1939, run by Buck Surdu. I was on the Polish side with two other players. The Germans had 4 Panzer 38(t)’s, and several squads of infantry, including some antitank rifles. The Poles had about the equivalent amount of infantry, but fewer machine guns. For armor, they had two TKS tankettes, one with a 20mm gun, and one with a machine gun. They also had 2 Wz. 28 armored cars. The surprise of the game was that German armor was decimated by the TKS with the 20mm (killed 3/4 of the panzers before being knocked out by the last panzer). In the end the game was called a German victory, but I felt we acquitted ourselves well.
Polish infantry moves through the woodsA Polish armored car is knocked out on the first turnThe TKS tankette that could…TKS tankette that knocked out 3 Pz 38tPolish infantry advance behind the armor. They were to be decimated by German machine guns in the woods to the left.The last stand of the TKS tankette
The next day I first played a Napoleonic scenario run by Dave Wood. I played on the French/Swiss side against a Portuguese and British attacking force. Their objective was the Vittoria Bridge. Eventually we were routed.
British and Portuguese attack from the rightInitial French defenses on the hill – bridge is on right.British advanceFrench troops hold the town, but were bypassedFrench cavalry charges to no availThe tide of battle turnsThe bridge is lost after the Swiss are dispatchedThe French survivors are surrounded
I then played in a Civil War skirmish for a short time between games using the Brother vs. Brother rules. It ended up being a draw.
I then moved on to a Star Wars Combat Patrol/Frostgrave mash up scenario, where I was on the side of the Droids vs. Clones of the Republic. We were supposed to grab crates of goods and move them off the battlefield. Our sides leader was killed on turn 1, and later the game had to be halted due to GM Greg Priebe’s refrigerator blowing up at home…sorry Greg!
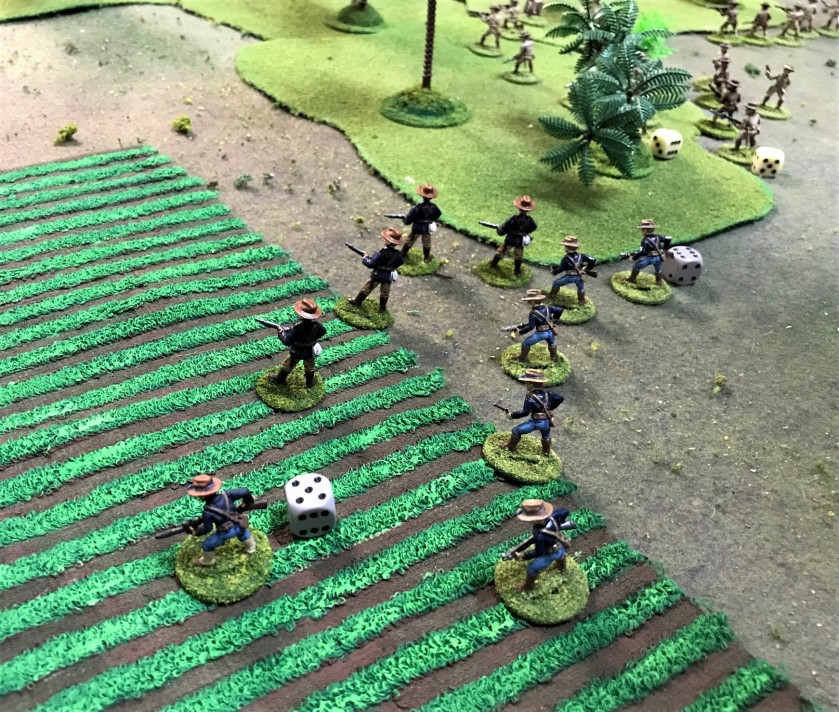
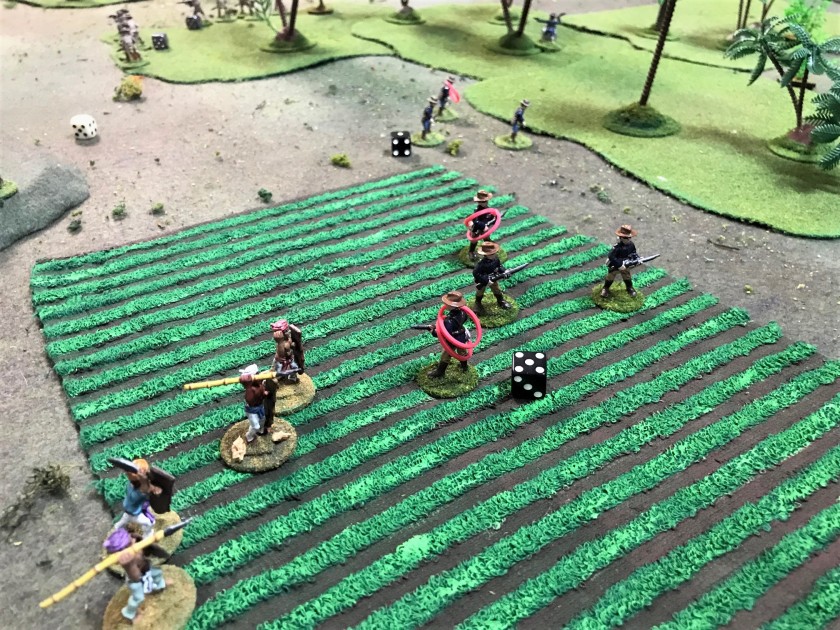
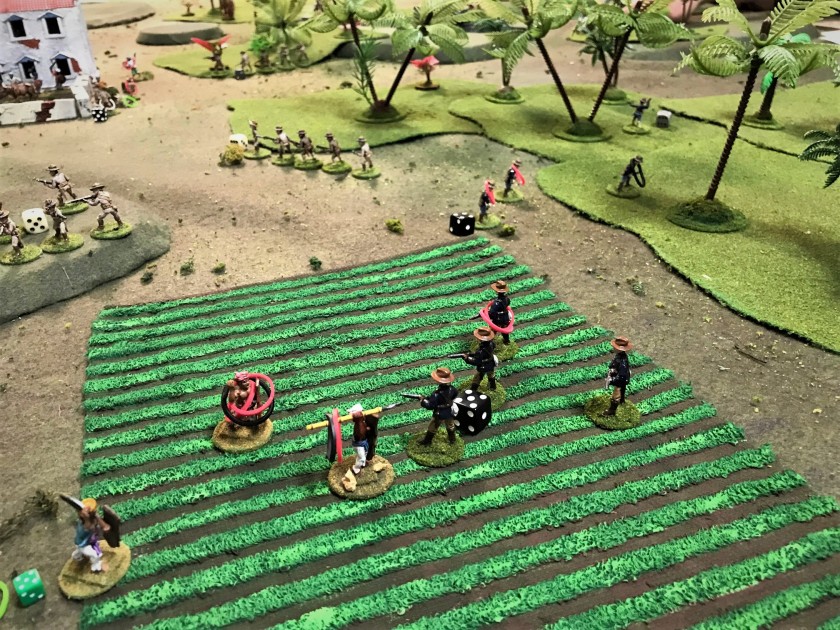
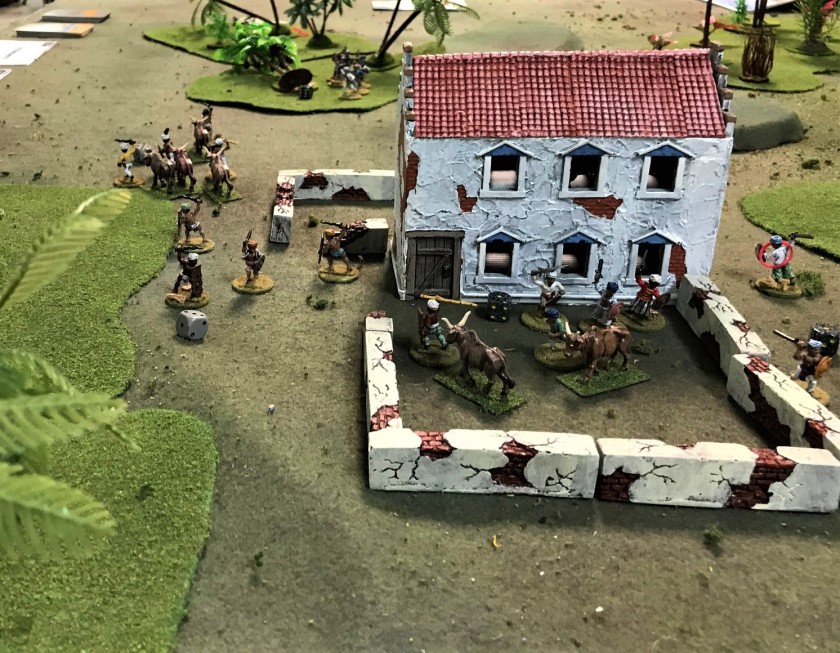
The last game was a Moro Insurrection scenario involving US and Moro troops trying to seize cattle from a pen. We had about 6 players. Buck Surdu ran this game using the Combat Patrol™ rules. I had a squad of US infantry that got caught in the open by the Moros, and got pretty shot up. It was a very bloody affair, with the Moros winning by getting the cattle.
Both sides head for the steak dinners…My squad before getting shot up and failing moraleThe Moros assault my squadAnother squad shoots up the Moros and helps mine, but too lateMoros head off to a feast
The last event was a LARP using the Blood and Swash rules. Three teams competed for a treasure chest. I was a Man-at-Arms, and got involved in a pretty close battle with Buck Surdu, another Man-at Arms. I nearly killed Buck, but he managed to kill me first. The good news for Buck was that his side won.
I had a great time, and want to thank all the HAWKS for a great gaming convention!!
I have been getting ready for Christmas, but I wanted to get at least a few things done hobby-wise before 2018 rings in. Last month, we had a rousing sci-fi game using Buck Surdu’s Combat Patrol™card-based rules (you can read about that game here).
We were able to use the new Japanese South Pacific decks for robot morale checks, and incorporated many of the rules from Greg Priebe’s superb Star Wars supplement. We also used some of my rule additions for Mark III Warbot casualties, special weapons, and a few other nuances.
One of the issues came in the way of finding an easier way of denoting casualties on the table and making play a little easier. As you can see below, we just tipped over the figures, and that became crowded! I do like to see the casualties on the table as it gives a nice account of what occurred in the game, but perhaps there is a better way? Also, given that the Warbots take many wounds, I also am making some play aids specifically for them and their weapons (and I will cover this work in a future blog entry).
Casualties litter the field/table last month
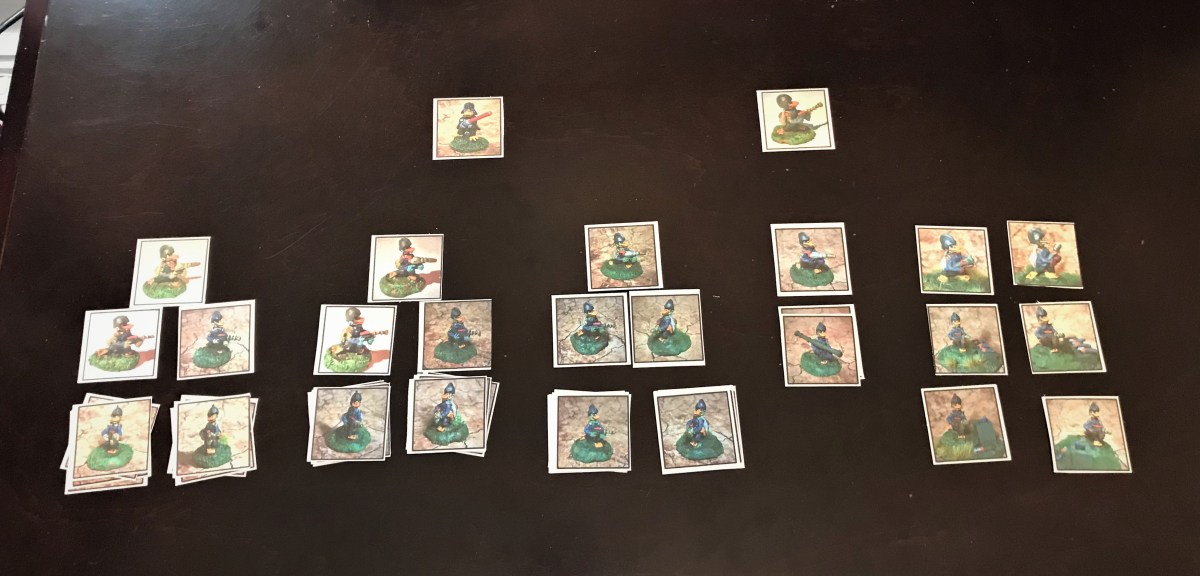
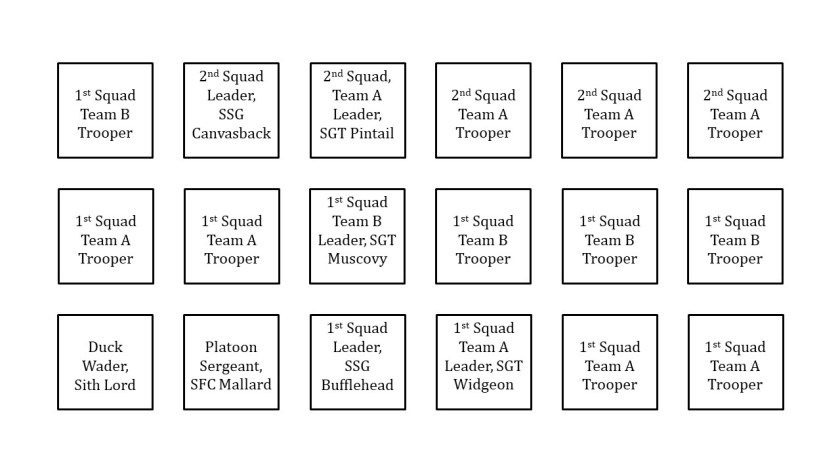
As for the casualties, Buck suggested that I could create some cards for the casualties that would take the place of the “dead” miniature on the table. This would allow for showing the results of the battle, and enable an easier playing experience.
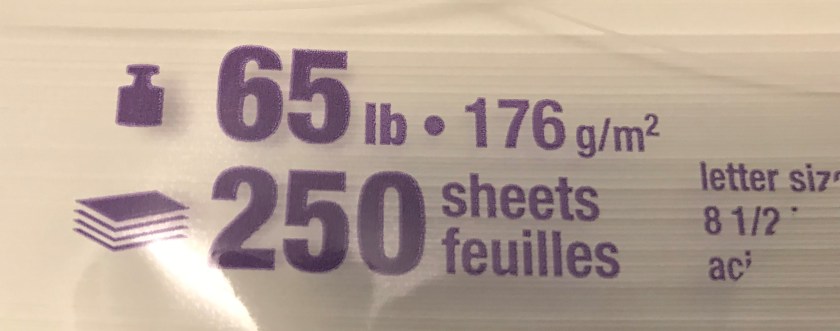
For this project, I bought a Fiskars® paper cutter from Michael’s. I had a 40% off coupon so I got it pretty cheaply. I used white 65-lb. card stock from Staples for the cards.
Fiskars paper cutter
I started out last week with the Aphid platoon. My goal was to make the card sizes as close to the actual miniature sizes as possible. The Aphids are really small, so their cards were small. I experimented with Microsoft PowerPoint, using the grid lines tool, and comparing what I printed with the actual miniatures. I ended up making the Aphids cards about ¾” – 3/8″ high by ¾” wide. I had a lot of variability as I got used to using the paper cutter. The pictures that I inserted into PowerPoint had different aspect ratios, and I remedied this when I moved on to the Star Ducks.
I do recommend using the aspect ratio tool when cropping pictures for this type of work. Additionally, the grid line tool in PowerPoint allowed me to make exact front and back cards by making sure that the sizes were the same and aligned. The easiest way to do this is to import your photos first, and then copy that slide. Then, you replace the photos on the second slide with the written cards. By printing these on both sides of the paper (use regular paper first, not card stock to check), they will line up perfectly. The only caveat I need to add is that you need to pay attention to the cards as you will need to reverse the text in the blocks so as to match the pictures – see below.
My PowerPoint page of 39 Aphid photos – note the reversing of texts below on the text portion The text section – I numbered these text box blocks and put up to the light to see which text went where – each is an individual text box
I printed these on card stock with a “thick paper” setting on my printer, and used two-side printing. I then cut them out using the Fiskars tool. There is a learning curve to the tool, and it worked out fine. The Aphids on Grav-Cycles were not sized to the miniatures, but I wanted all of the Aphids cards in their deck to be the same size, so I can live with that discrepancy. I did however want to improve for the next group of cards – which was for the Star Ducks.
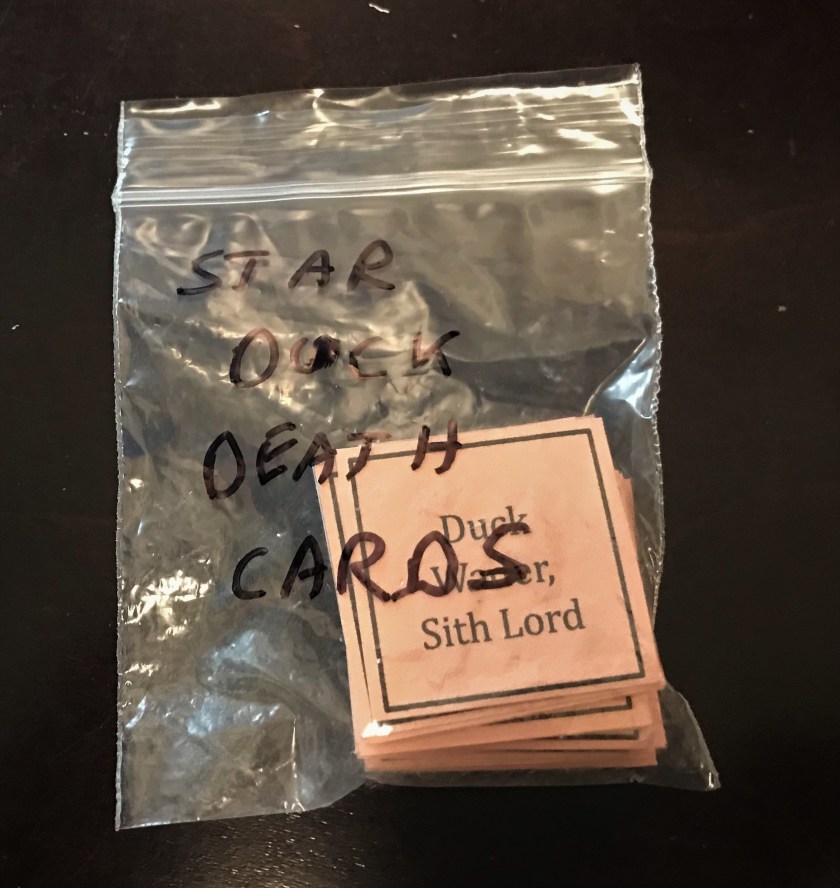
Here, I needed to make bigger cards, and went with 1½” by 1½”. I made a few important changes in my processes. First, I used the “aspect ratio” function when I cropped the photos – in this case using the “square” aspect. I also added a 2-point thick line on the pictures and the text boxes, which really made cutting easier. Lastly, I colored the cards text-printed side with light orange hue, to match their bills! I plan on having future unit casualty cards with different colors on the printed sides.
Page 1 of my cards (photo side). These when printed on a standard sheet of paper approximated the true sizes of the miniatures.The text block side of the PowerPoint, with adjustments so that the two-sided printing would line up properly. These were then colored orange as below.The photo sides of the cards after cutting – they are 1.5″ square
The printed sides of the cards with the orange backgroundsClose up of the cards
These were much better – and I feel confident that I can finish off cards for the Frinx and Mark III Warbots soon. My goal is that when I next run a game that these aids will make play even easier than Combat Patrol already is! These are not perfect, but are close enough and stiff enough to avoid becoming paper canoes!
Casualty cards, Death cards, whats the difference!
Please let me know what you think in the comments section – thanks for looking!
I have been accused of having a Boston accent, but this is not really true – I have a Worcester accent, or properly a Worcester County accent. Throughout my military and civilian career, my pronunciation of my name, Mark, sounds to others like Ma’k. My good buddy Buck Surdu has often shortened it to “Ma’k” on his blog posts. Last weekend (right before Thanksgiving) he and my other good buddy, Dave Wood, made the drive up from Maryland on a traffic-filled Friday afternoon for a Saturday full of gaming – and it was called “Ma’k Con”. My wife Lynn really helped out as well with her keeping us well fed. This blog post is about the gaming we crammed into that Saturday.
Buck and Dave got me into tabletop wargaming when we were back at West Point. Since then, Buck has published a myriad of rules for gaming, and Dave has contributed to many of those rule sets. The most recent rules that Buck published is a fantastically easy to play and streamlined card-based system for skirmish-level combat in WWII called Combat Patrol™. It is truly flexible, and has had optional rules and supplements written to cover different possible scenarios, to include the South Pacific theater, the Winter War, the Falklands War, the Napoleonic era, and even the Star Wars universe. These can be downloaded for free from his website, and the cards are available in the US from Drive Thru Cards and in the EU from Sally Forth. The rules are also available in book form from both On Military Matters and Sally Forth.
Buck recently added a new set of cards for the South Pacific, which have different morale results for Japanese troops. Readers of this blog know that I have been collecting and assembling units from the old Archive Miniatures Star Rovers line of figures, specifically Star Ducks, Power-Armored Frinx, Aphids, and Mark III Warbots. Additionally, I have been supplementing these forces with Khang Robots, weapons, Robo-Sentry Guns from War Games Supply Dump, and my own sculpt of a sphere tank. I also used some weapons from Bombshell Miniatures.
I decided that I would combine aspects from different Combat Patrol™ rules for a fun retro sci-fi game. Specifically, I would use the new South Pacific deck for morale results for robots, the new vehicle-mounted flame thrower template for my sphere tanks’ death rays, and the Sith rules from the Star Wars supplement. Also, I added in several rules from the optional rules. Lastly, I added my own special rules for the Mark III Warbots and their leader, Juggerbot, to account for possible effects that weapons fire could cause on their behaviors and capabilities.
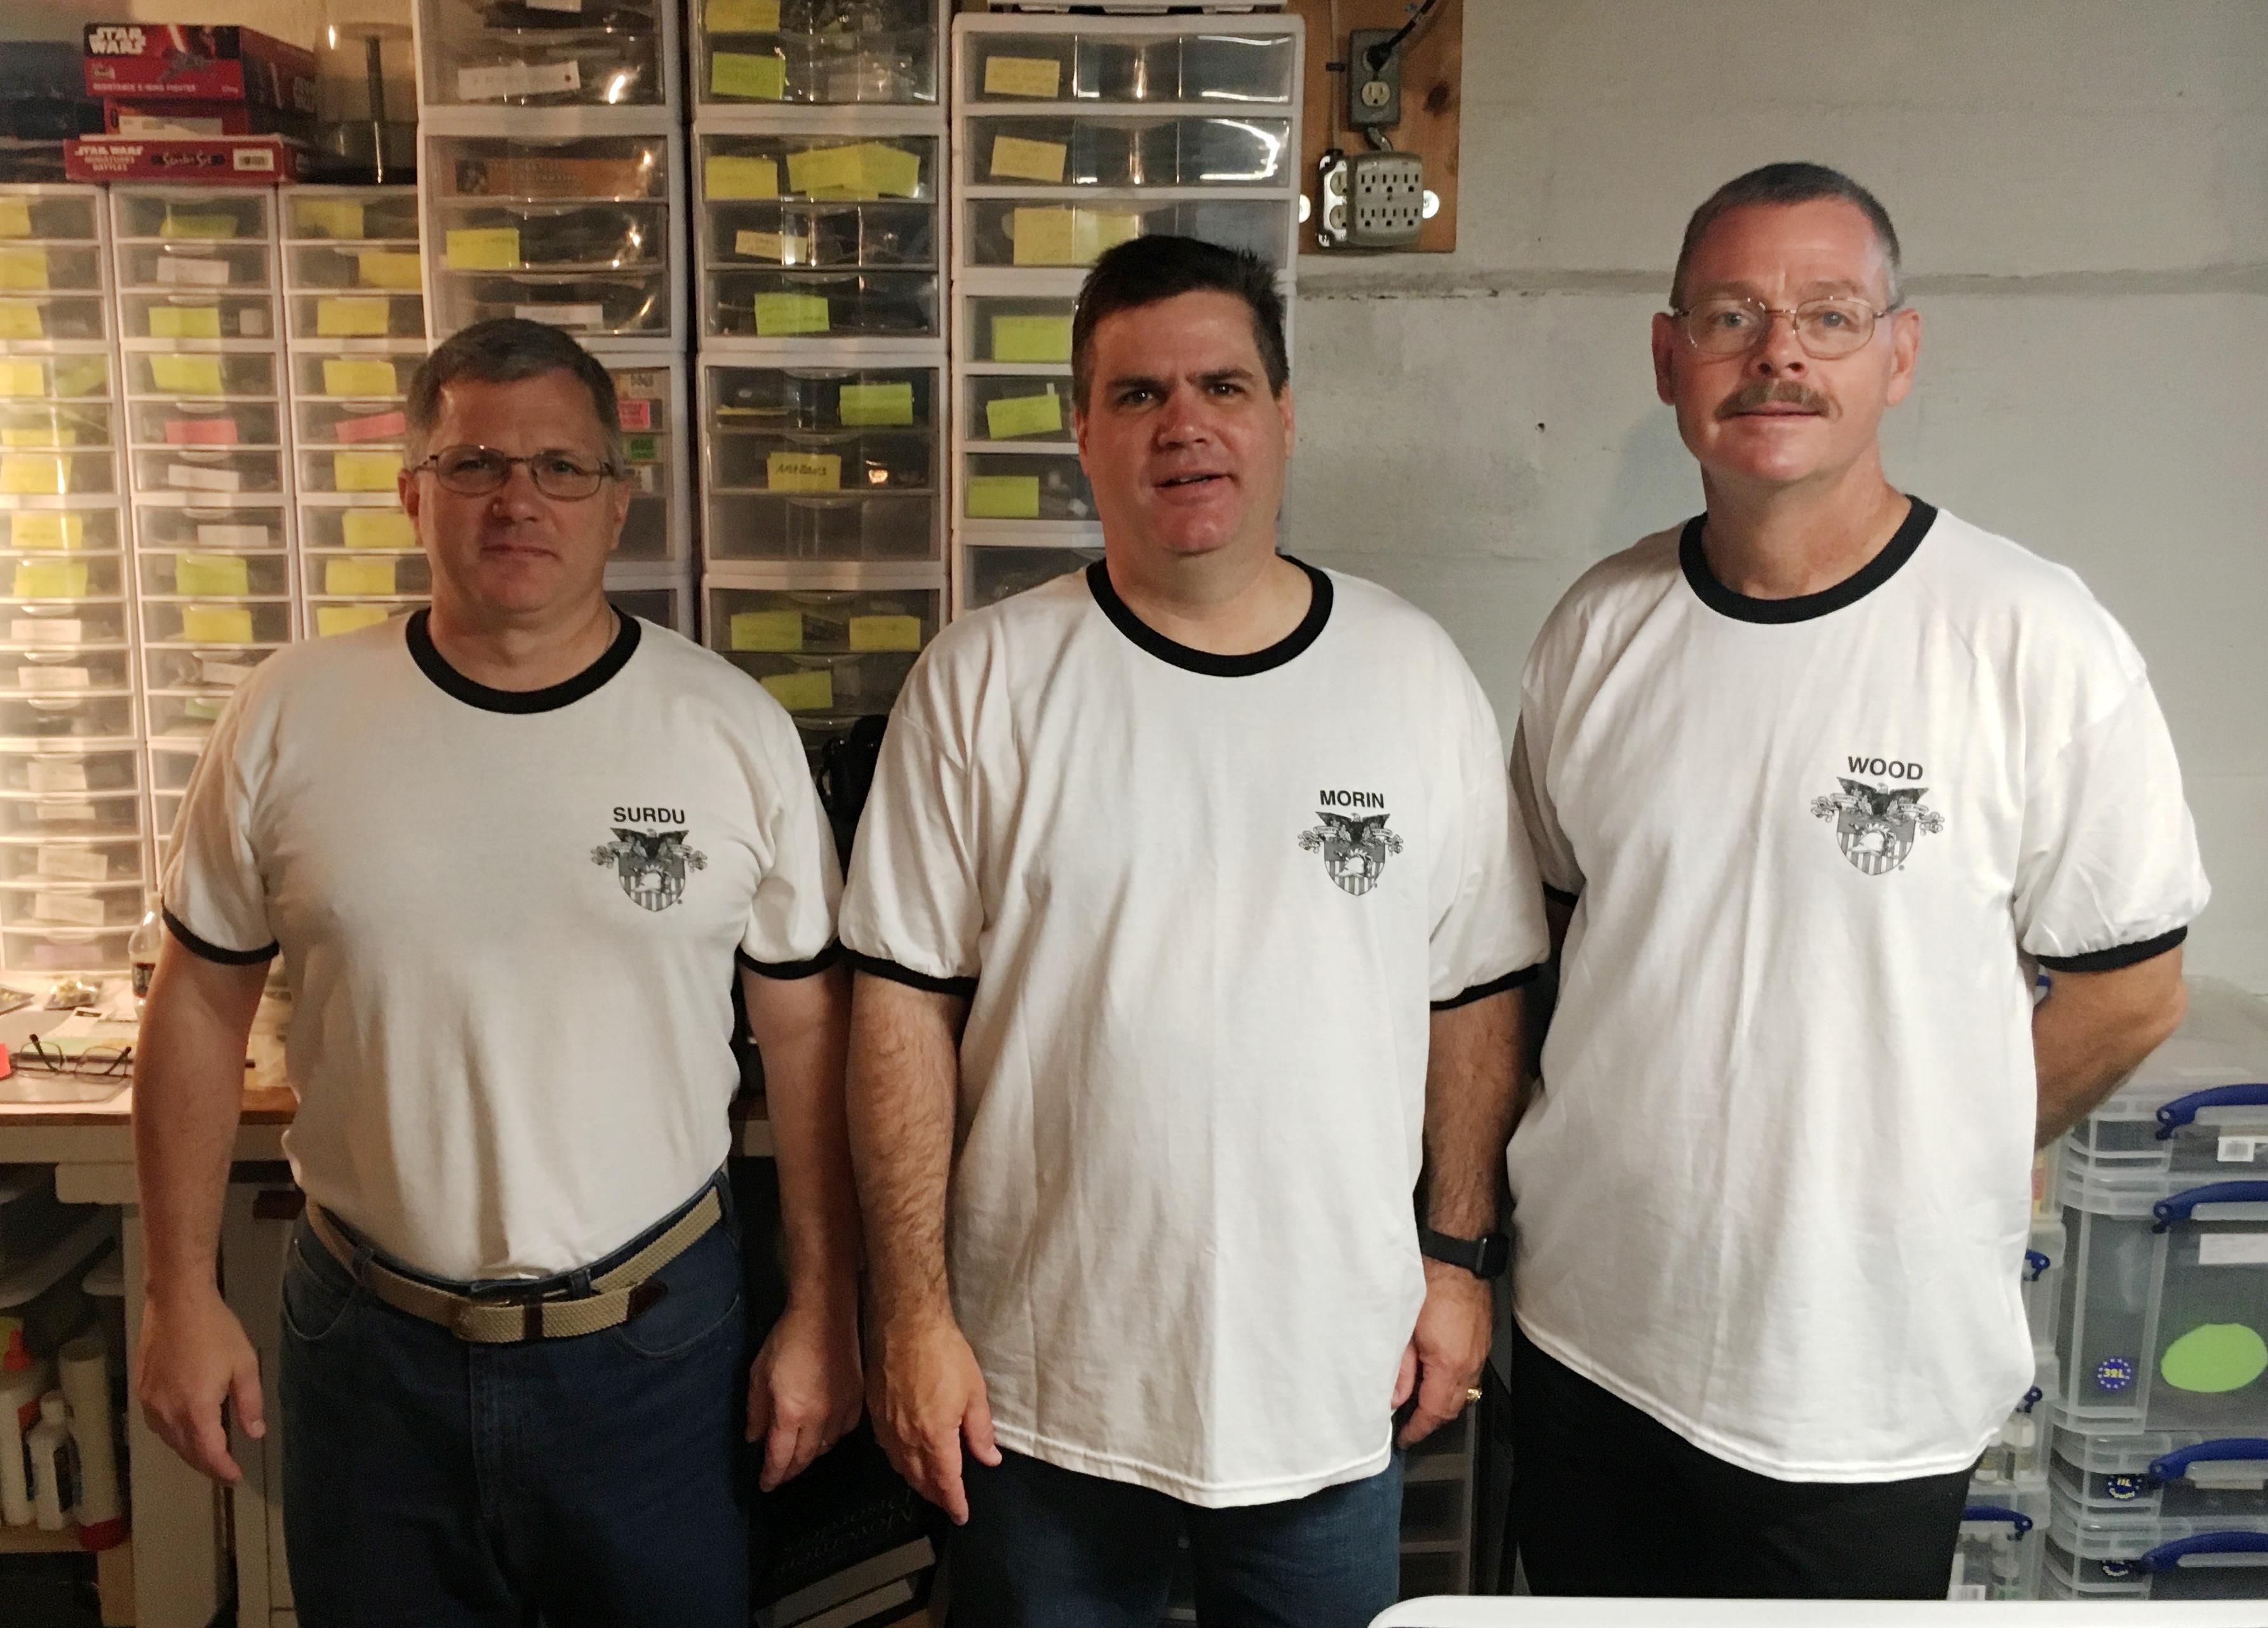
Upon arrival in Massachusetts, Buck surprised Dave and I with uniform t-shirts from West Point that we would have worn to gym or when we played sports. It was called Gym-A (Gym-Alpha) and we wore it for Saturday’s game marathon. Admittedly, both Buck and Dave wore it better than I did. We were also joined by my daughter Ellen Morin and her fiancé Chris Smedile.
Buck Surdu, me, and Dave Wood (US version for you UK followers) in our Gym-A shirts
The scenario was one where the Star Ducks, Aphids, and Frinx were allied against the cybernetic horde of attacking robots. The non-metallic forces had captured a robot Mark 1 Sphere tank. The Frinx were attempting to repair it so it could be used against the robots, who were to have two Mark I Sphere tanks of their own in the assault. The tanks have two side mounted laser cannons, and a Death Ray (think 1953 War of the Worlds movie). Dave and Ellen had the robots, while Buck, Chris and I defended.
Dave and Ellen prepare to attack. The Aphids are in the ruined building to the front, and there are the Robo-Sentry Guns acting as speed bumps to their front.
The Robo-Sentry guns slowed the attacking robots slightly, but allowed Aphid and Star Duck mortar fire to hit the Warbots near Juggerbot, damaging the robot leader, and causing some of his robots to go rogue, or blow up. When they went rogue, they would attack the nearest figure. Juggerbot ended up dealing with such a problem.
The battle begins with the Warbots clearing the Robo-Sentry gun defenses.
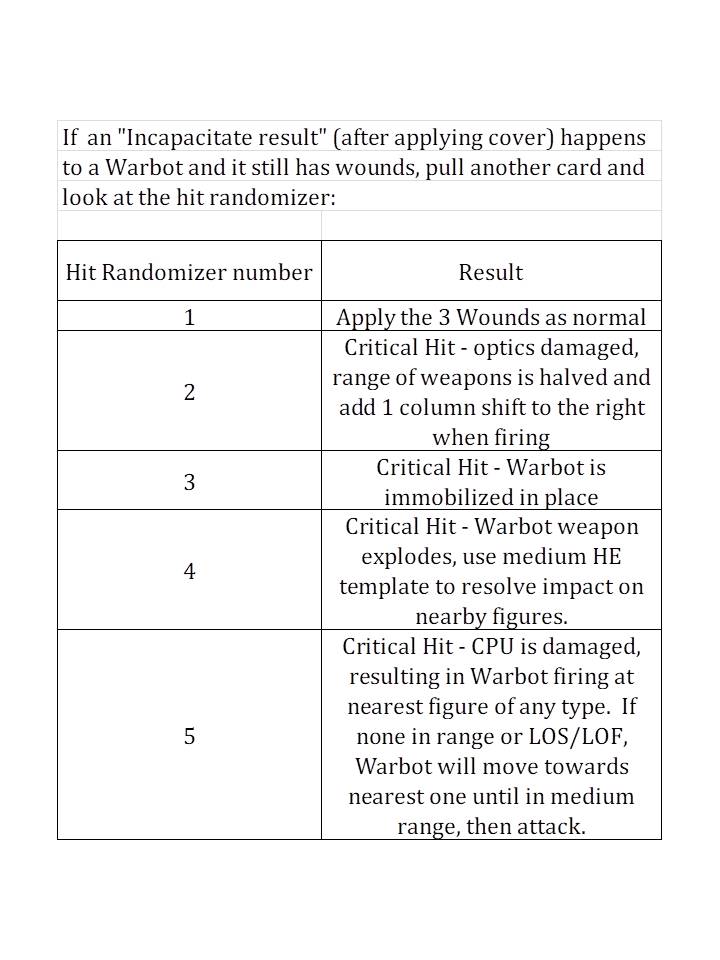
Normally, in Combat Patrol™ games, figures can take a certain number of hits, usually three wounds, before they die or are incapacitated. In this game Frinx had 4 wounds (because of their power-armor), most line Star Ducks had 3, and Warbots had 6. However, I allowed for critical hits as outlined below. This had a nice balancing effect on the game.
Warbot Critical Hit Chart – lots of 4’s and 5’s happened!
The Warbots also had some devastating energy weapons. The opposing forces had two “Sith Lords” (Duck Wader from the Star Ducks and Lt. Ma’k from the Frinx) with special powers from the Star Wars supplement. Early in the game, Buck moved Duck Wader up to engage the Warbots, only to get vaporized along with some Aphids by an arc weapon blast.
Duck Wader (center) near the corner where he was shortly vaporized thereafterThe Frinx AT section moves up – only to never make an impact
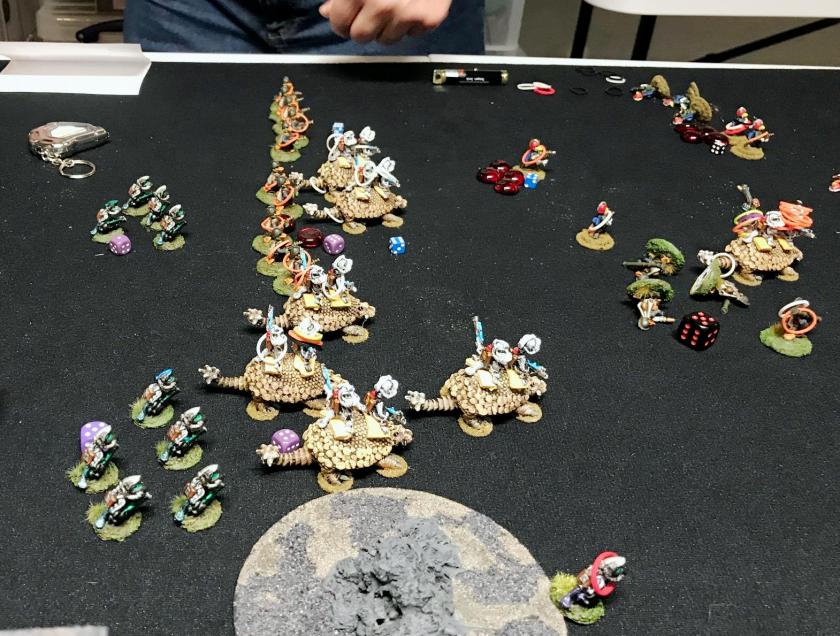
The other Sith, Lt. Ma’k, used his Force powers to fly into the middle of a group of 8 immobilized Warbots (they had drawn a “Hold until Death” morale result due to Frinx fire, but the robots could still fire).
Lt. Ma’k (a Frinx) then tried a Sith power – Force Blast – which damaged some robots’ weapons and caused them to explode. Additionally, friendly mortar rounds landed there (Lt. Ma’k did not care) and eventually he succumbed, as did several Warbots. Simultaneously, Juggerbot finally was destroyed by Aphids on Grav-Cycles. As he was the platoon leader, his destruction led to his unit becoming pinned – and only activating on black cards. This really had the effect of reducing the entire robot platoon’s combat effectiveness.
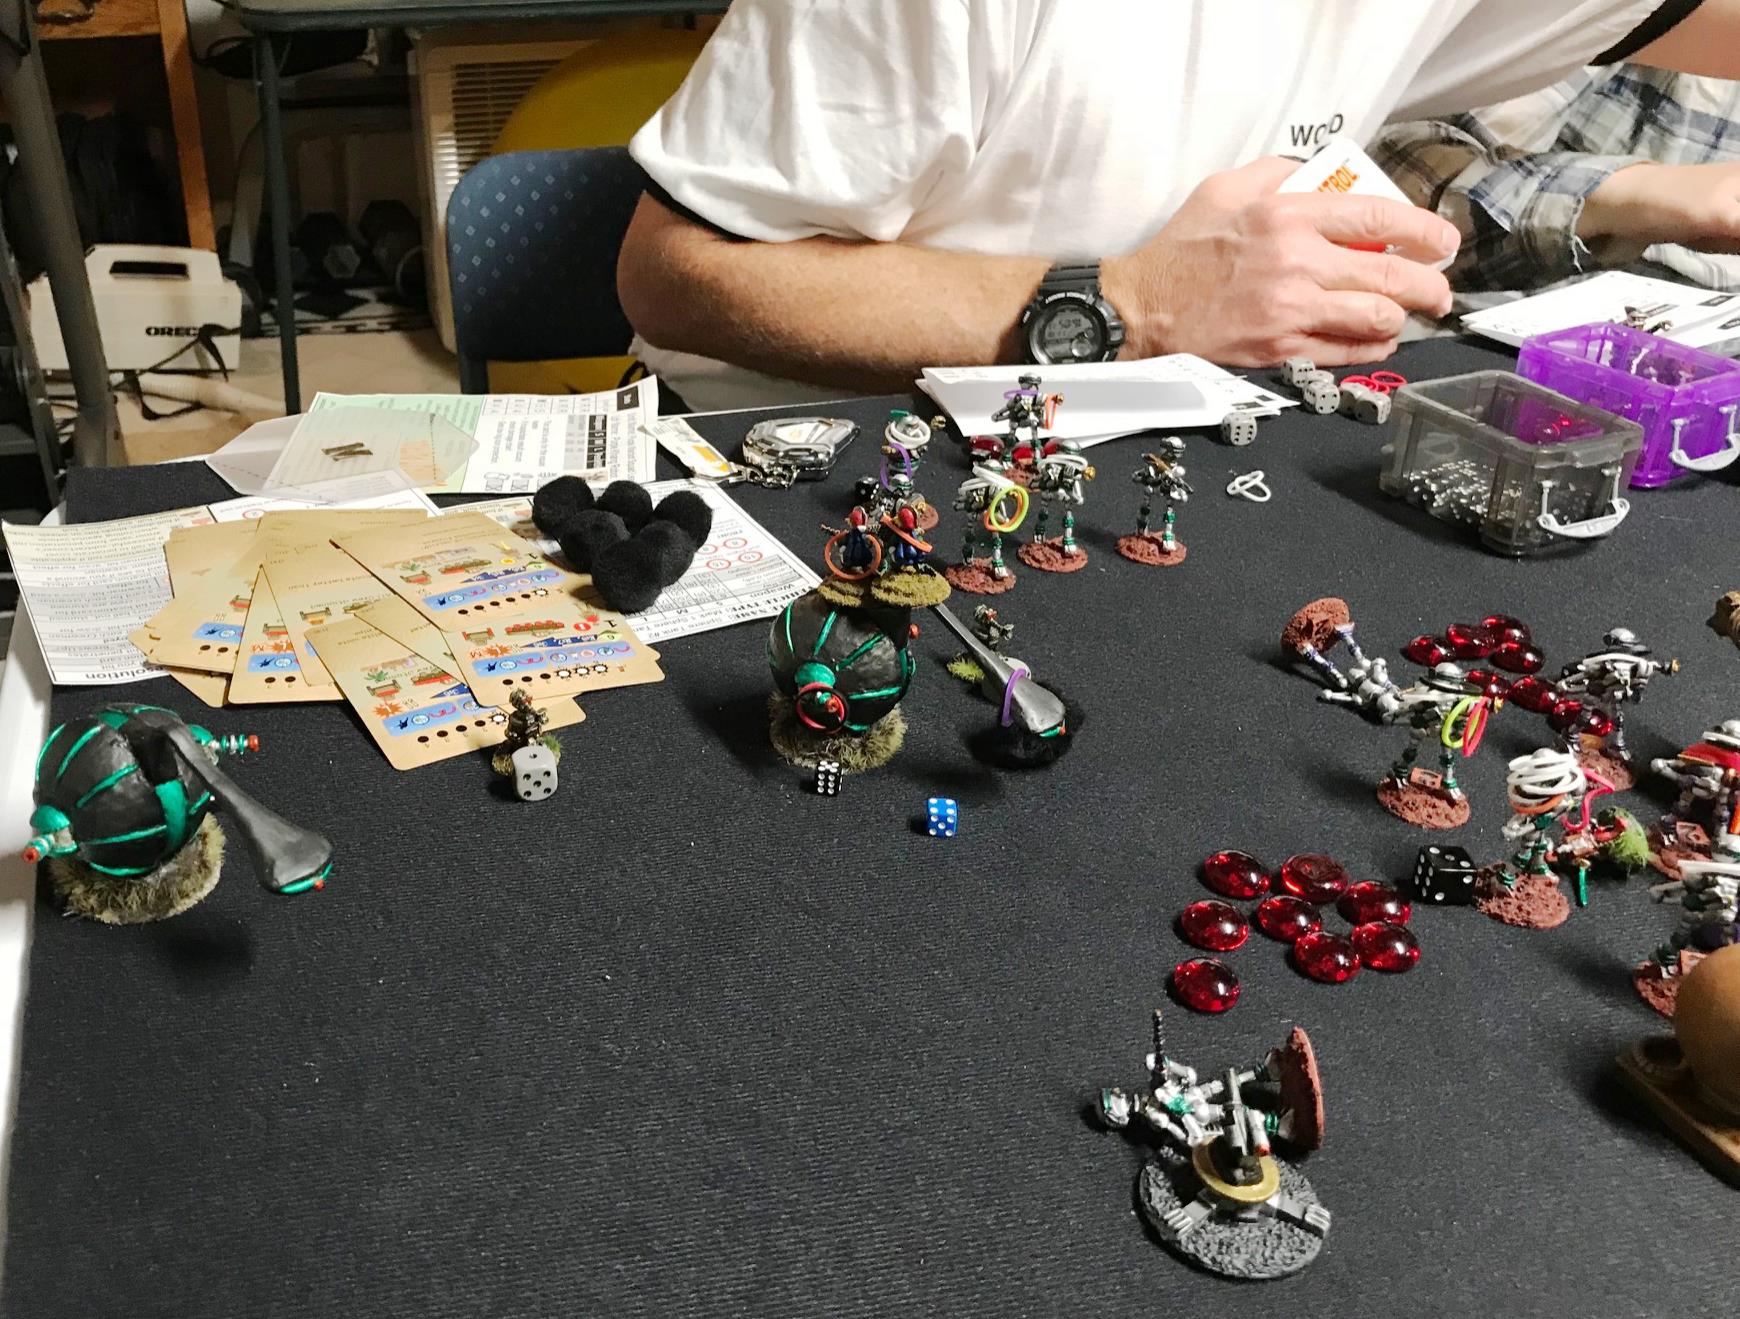
Lt. Ma’k (by the purple die) makes his last stand. Note the black die for the Warbot Green Team 2 due to a “Hold until Death” morale role. Later the entire Warbot platoon would get black dice (“pinned”) when Juggerbot was destroyed.The death (destruction) of JuggerbotAphids an Grav-Cycles make a desperate charge before dying to the last bug – but they sealed Juggerbot’s fateFrinx on Glyptodon cavalry move up before being taking heavy fire and being routed
At this point, the carbon-based living got very lucky and fixed their captured Sphere tank earlier than would have been expected due to Chris pulling some great cards. However, the robots got reinforcements in the form of two of their own Sphere tanks, a squad of Warbots, plus 2 self-propelled robot guns. Chris and Buck were able to immobilize one tank with some very lucky shots. The other annihilated a squad of Buck’s Star Ducks with a Death Ray Blast.
Buck’s Star Ducks are hit by Death Ray fireSome of Buck’s Star Ducks jet pack onto the immobilized Mark I Sphere tank. Their satchel charges (6) attacks all failed to destroy the tank.
By now it was dinnertime and pizza called, plus we wanted to move to the next game. It looked like a slight victory for the living forces, but casualties were high! The game turned out well and I may redo this scenario at Barrage in Maryland in January. Buck’s account of the battle is the next entry in this blog.
Surveying the carnageGreat Game!
Then we moved onto a play test of Dave’s micro-armor game of “The Battle of Nikolayevka (Nikitowka)” using the Look Sarge No Charts rules. This was a breakout of Italian forces on the Eastern Front in 1943 as part of the Battle of Stalingrad. So we had Italians and some Germans attacking a small town held by the Russians. The link above describes the historical battle well.
Buck attacked with a combined German/Italian force on the right half of the battlefield and I attacked along the left half. Dave defended. It was a tough slog, with the Russian artillery (they had no armor) making progress difficult. Later in the game Dave had us command reinforcements in the form of the Italian stragglers from an earlier phase in the battle. It was a good scenario, and interesting to see a primarily Italian versus Russian scenario.
Initial set up – Italians and Germans (on left) fight into the town to the right of the railway crossing (in light orange)Another view showing the town in the upper right. The attackers needed to get into the town so as not to freeze to death.Assaulting the rail line defensesBuck tries to get into the town
I think Dave will have a very good scenario for an upcoming convention!
The day flew by, and I am so appreciative that we West Point Old Grads had the chance to game together. Thanks to Buck and Dave, and Chris and Ellen! And of course, Lynn for her logistical support!!
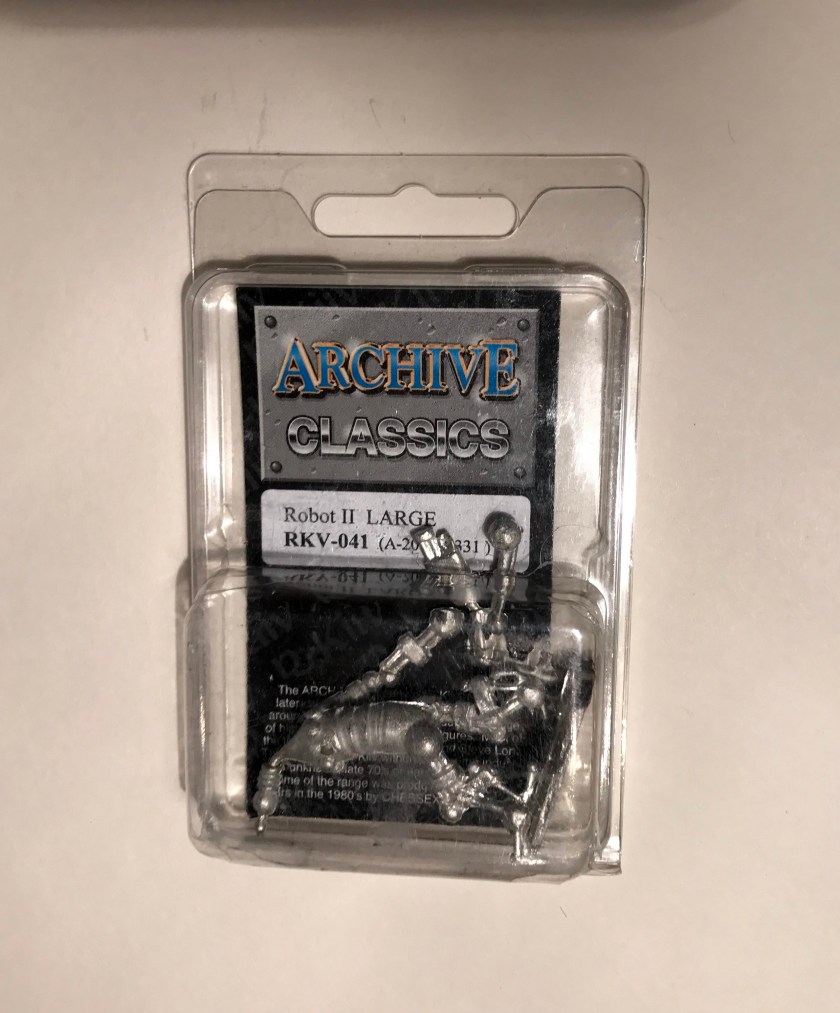
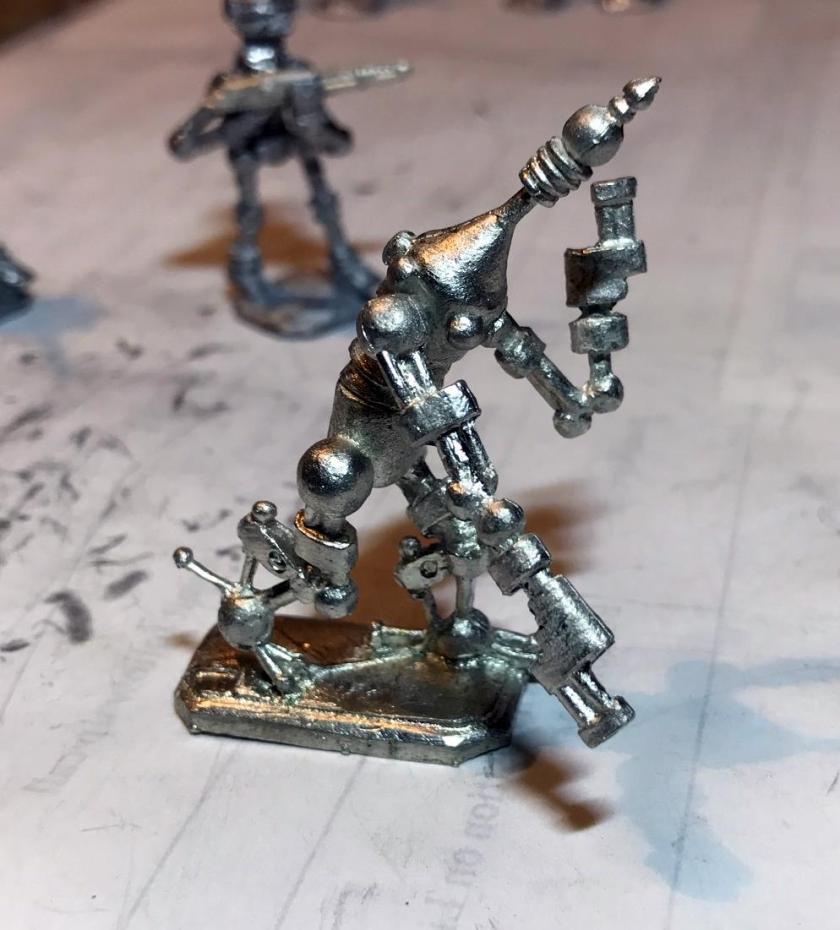
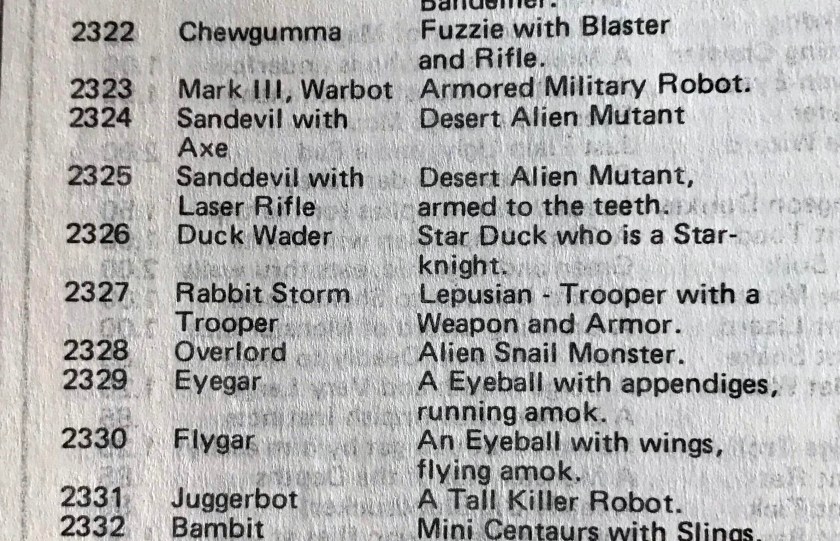
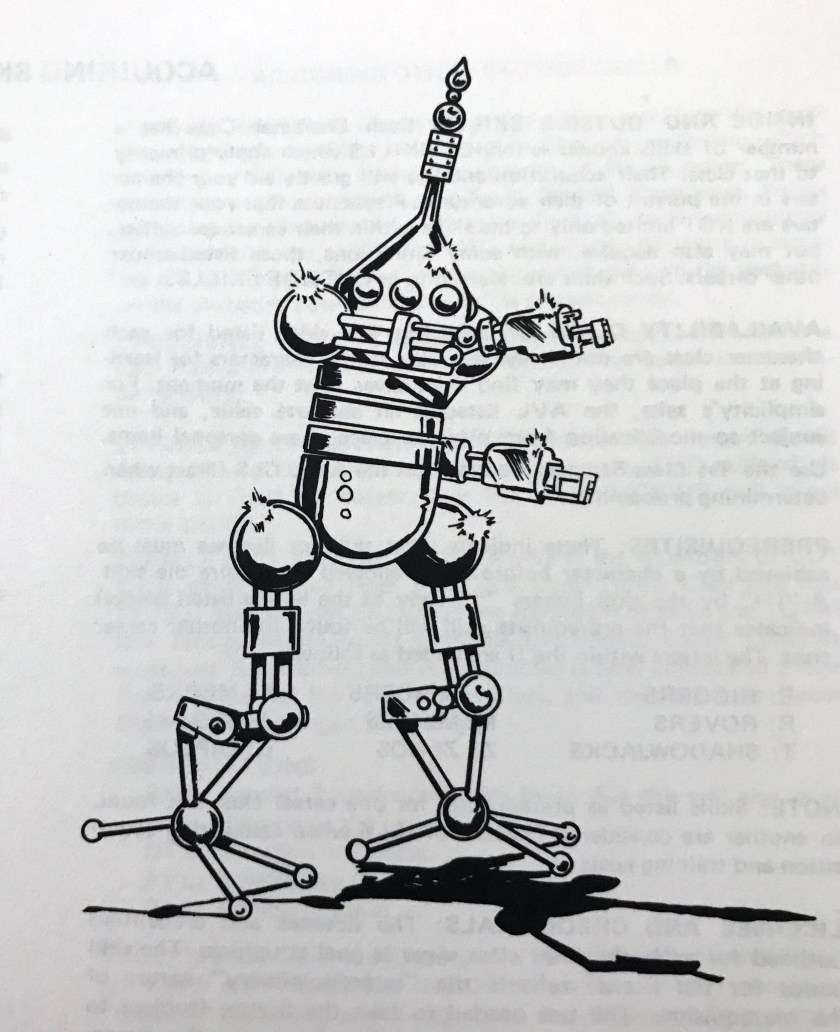
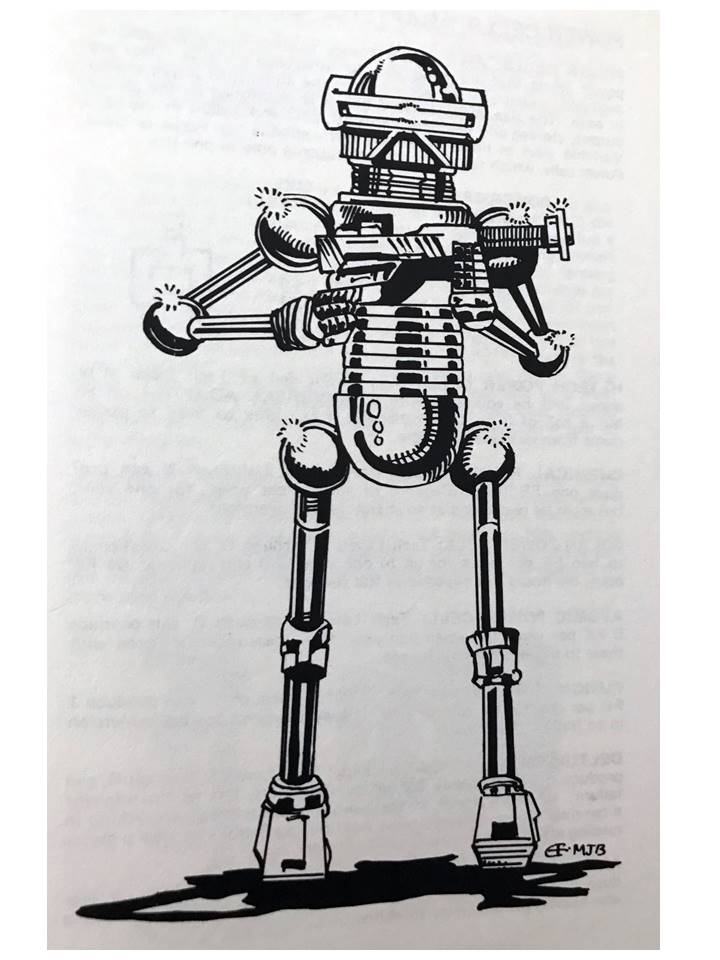
Followers of this blog may have wondered where I have been, why have I not been posting? Well, I have been working on building a platoon of Archive Miniatures “Mark III Robots” (#2323). The platoon will be led by Archive Miniatures “Juggerbot” (#2331). Both of these sculpts are from the vibrant imagination of Nevile Stocken, who was way ahead of his time with his work. Given that these figures were from the late 70’s and early 80’s, I have to think that they were inspired (especially the visors) by the original Cylons from the 1978 TV series Battlestar Galactica. I loved that show when I was a kid! So, I had to make them shiny!
Mark III Warbot inspiration?
These will be used in upcoming games using the Combat Patrol™ set of card-based rules. The figures are effectively 25-28mm, being large robots (larger than humans).
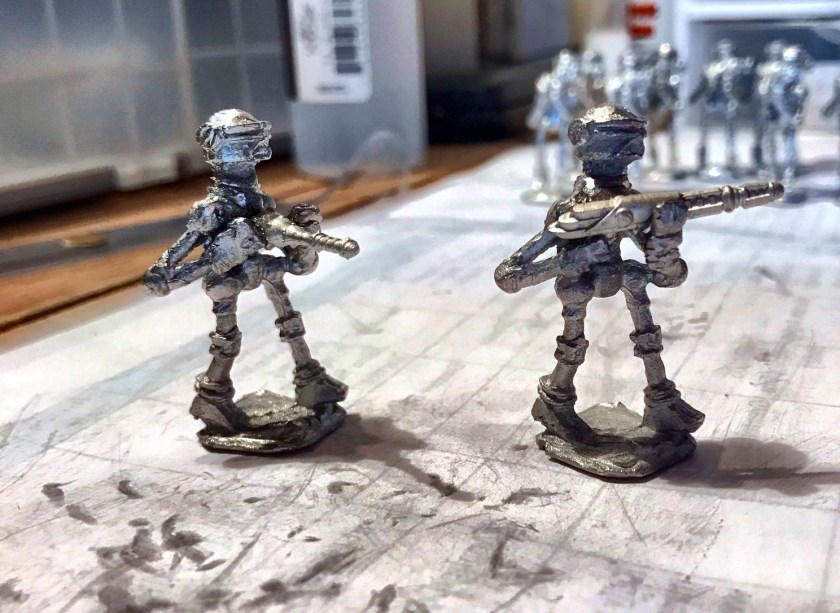
This long project started with making a mold and casting 38 out of the 40 Mark III Robots as described previously here. I wish that I could have just bought them, but my time machine is broken…and that made purchasing them an impossibility. The platoon will have 4 squads of 10 (5 per team), plus 4 squad leaders, and Juggerbot – so the platoon is composed of a total of 45 figures.
The original Mark III’s (there were no Mark I’s or II’s!) were from the Star Rovers line of figures made by Archive in the 1979-1981 timeframe. They are very tough to find on eBay or anywhere else. I managed to acquire two originals, but only one was fully intact, and it became the master for my recasting efforts. The other original I converted with another weapon.
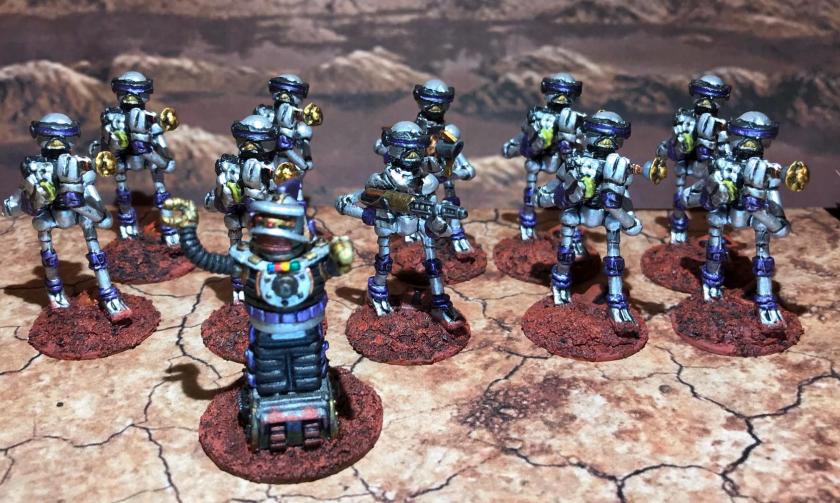
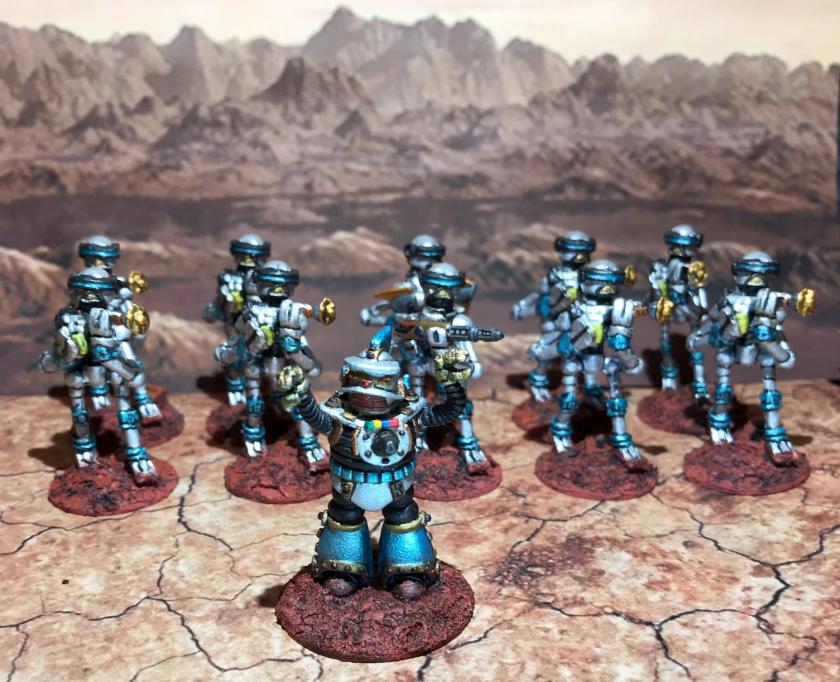
I found the Juggerbot kit on eBay, and decided that it would make an excellent platoon leader. For squad leaders, I have four War Games Supply Dump Khang Robots that were previously described in this blog here. Each Khang is color-coded (red, green, blue, and purple), and each squad in my platoon follows that scheme. Each Mark III Warbot Squad consists of the Khang Squad Leader, and two teams of five Warbots.
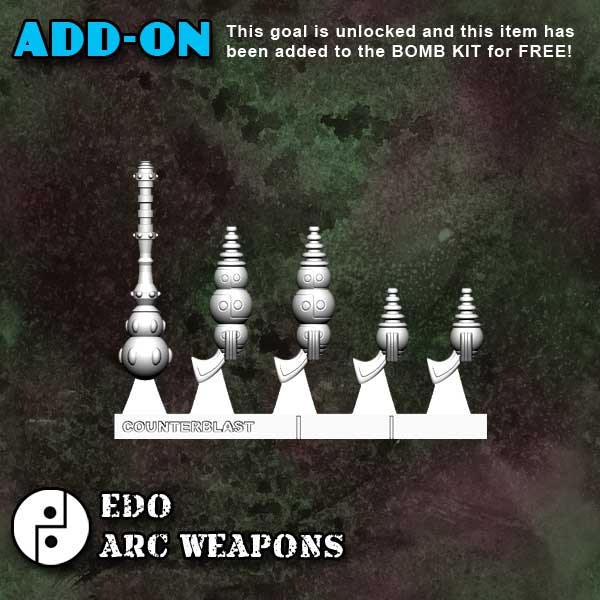
I converted one Warbot per team with a special weapon. Each squads’ Team 1 had a conversion with Bombshell Miniature’s “particle beam weapon” (BOM36016). I gave the Team 2’s two different weapons each. Two teams got Bombshell Miniatures large “arc weapon” as their conversion, while the other two got a large War Games Supply Dump retro sci-fi weapon from the WP01 “Weapons Pack 1”. All of the conversions I did were with these weapons, which are no longer available from either Bombshell or the now-shuttered War Games Supply Dump.
Conversion of these figures, as well as cleanup in terms of cutting and filing were major efforts in this project. I use mostly tin (about 67%) in my casting, and this made sawing away and filing pieces from them tedious as they are not as soft as a higher-lead alloy would be. Still, I was able to convert 7 of my castings plus the extra original for a total of 8 conversions. In most cases, I needed to bend the arms to accommodate the new weapons. My concept was for Team 1 to have one Warbot with a higher rate of fire weapon, while the Team 2’s would have specialized breaching or anti-armor capabilities.
My original Mark III Warbot with weapon intact. I had one other with a broken weapon, which I converted to another weapon.
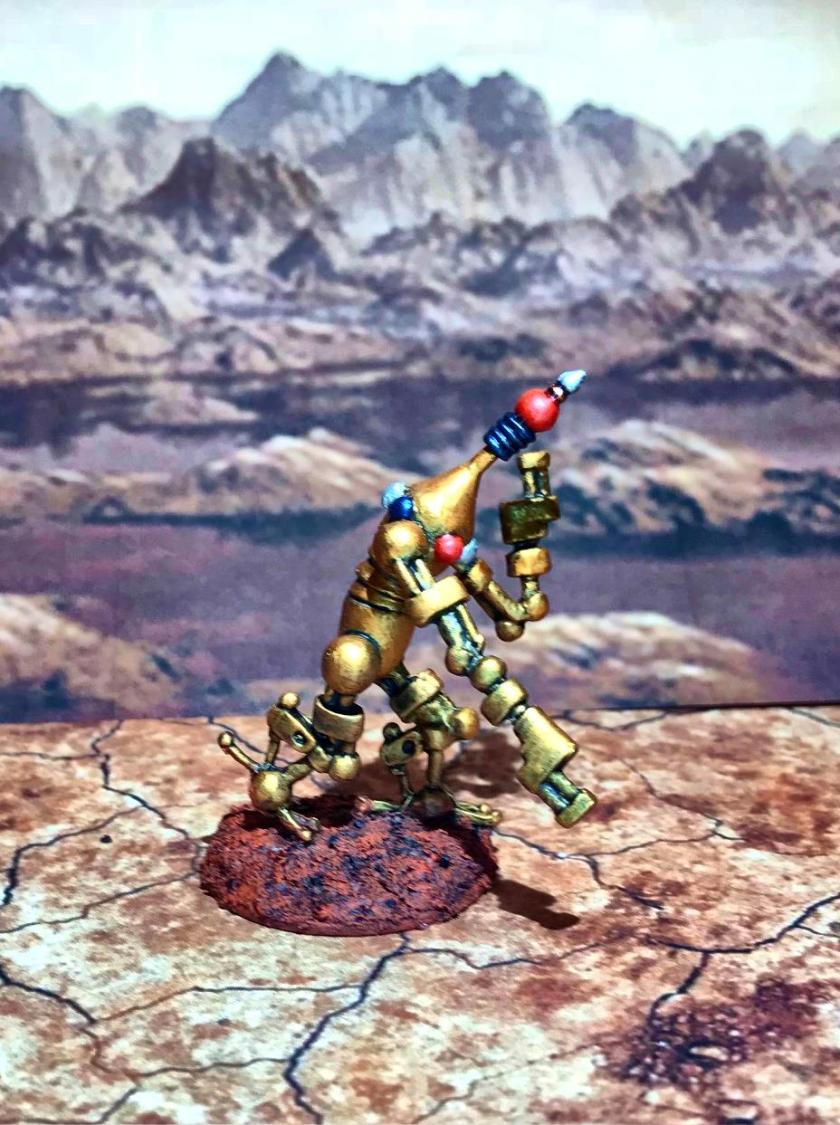
Juggerbot as received from eBay – obviously cast from a mold in the post-Archive eraJuggerbot contents – needed some TLC…glue, and pressure while the glue setAssembled and straightened Juggerbot
Bombshell Miniatures arc weapon sprue -I used two of the ones on the far leftI used the far left particle beam weapon for each Team 1 conversionFrom the 1981 catalogJuggerbot drawing from the 1981 Star Rovers game rule bookMark III Warbot drawing from the 1981 Star Rovers game rule book
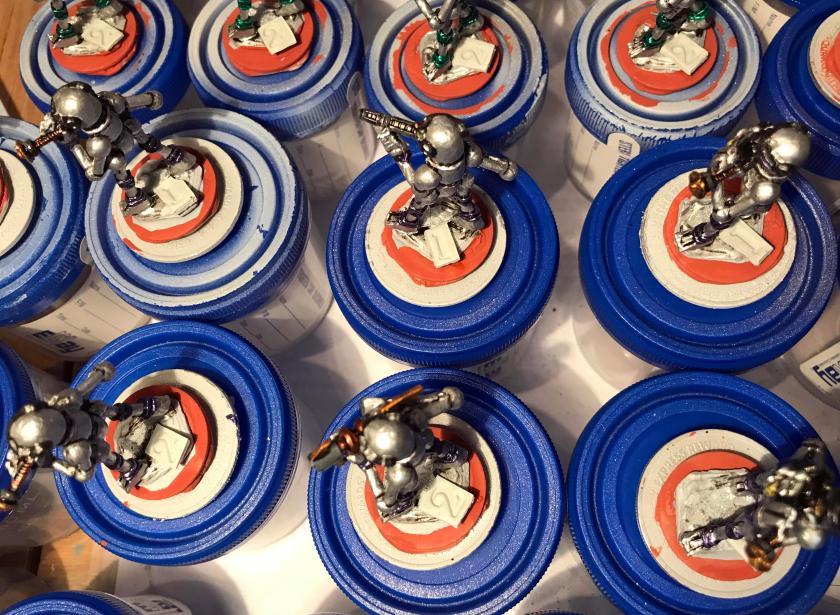
After cleaning up the figures, I made a plan to complete the conversions. I also wanted to try a few new things in making this platoon. I wanted to use my new airbrushes and spray booth, and I wanted to use poster tack on specimen bottles and grocery store coins to have greater ease of painting with both the airbrushes and traditional brushes.
After cleanup but before conversion – I ended up using 2 arc weapons (far left), 2 of the WSD weapons (2nd from left), and 4 of the particle beam weapons (far right) in my conversionsAfter conversion – arc weapon on left, particle beam on rightWar Games Supply Dump weapon conversionMounted on steel washers and ready for the poster tack and the specimen jars
After all of my conversions were complete, I mounted the figures on steel washers for eventual magnetized storage. I had to use a bigger washer for Juggerbot. The platoon was then affixed to outdated grocery store bonus coins and specimen bottles or just to the bottles themselves with poster tack. In the future, I will not use the coins, as it was just easier to use the bottles minus the coins. I used an Aztec airbrush to prime the figures with gray Vallejo “Surface Primer”, giving the figures 24 hours to dry. I had read that doing that is desirable so that this primer paint can harden.
Primed on the specimen jars
I then used Createx “Wicked Aluminum” airbrush paint (very sparkly) to base coat the Warbots using an Iwata Eclipse air brush – and I found this brush to be a much easier tool than the Aztec. I used Vallejo Model Air “Gold” to base coat Juggerbot with the airbrush.
Juggerbot base coatedClose up of Warbots base coated
I saw that the Createx paint had given the Warbots the appropriate shiny starting point for further development of the paint scheme I wanted, which was to be very retro sci-fi metallic, and reminiscent of the Cylons. Then I went back to the regular brush!
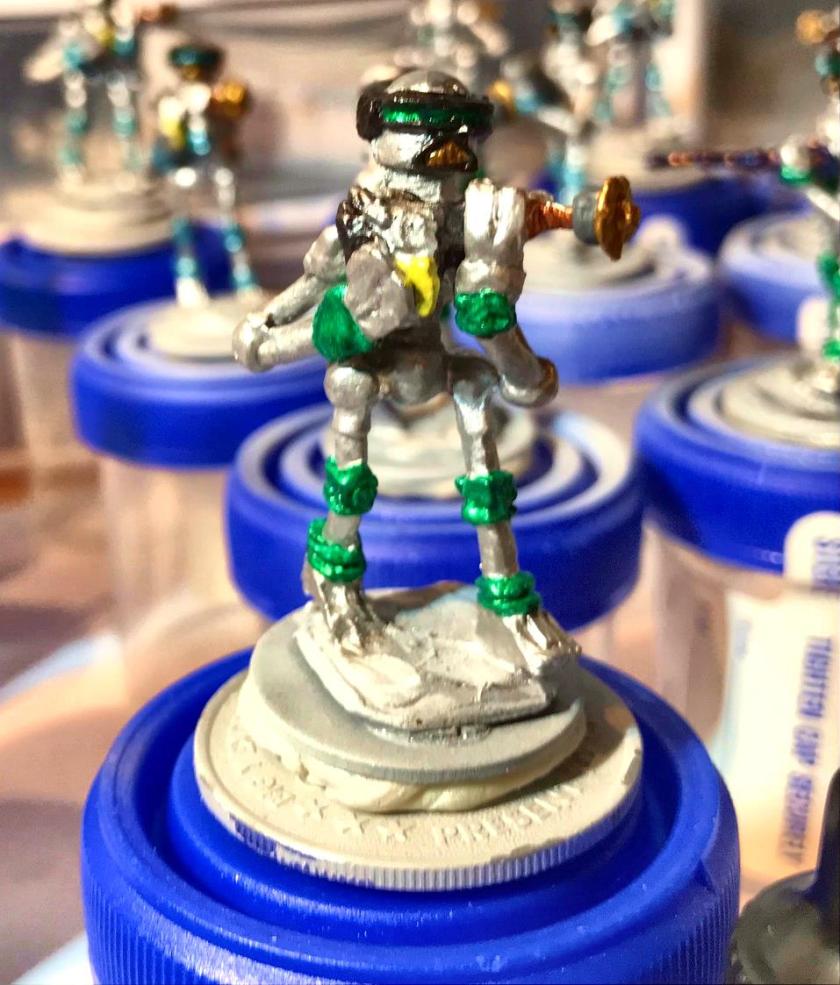
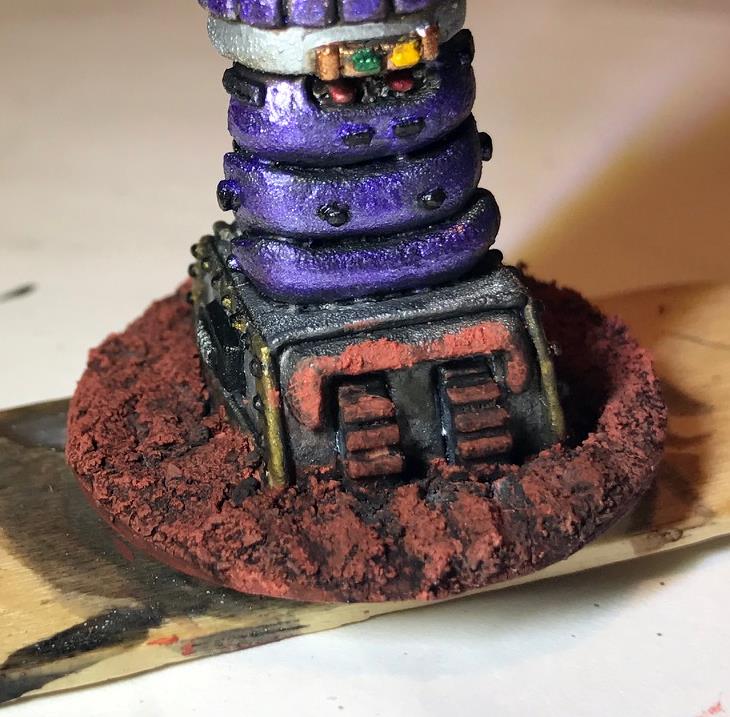
For my color schemes of red, blue, green, and purple on the Warbots, I went with DecoArt “Festive Red”, “Peacock Pearl”, “Crystal Green”, and Craftsmart “Amethyst” respectively. These metallic paints are great, but thick, and not easily thinned. Still, they worked well and I put these colors on the ankle, knee, and wrist joints for ease of tabletop play. I chose to use them as well for the visor interior colors, with Vallejo Model Air metallic “Black” for the outer parts of the visors. I then used “Gold” for the Warbot voice boxes and weapons tips on the unconverted troopers. “Black” was my choice for the rest of the weapons, offset with Vallejo Model Air “Steel” and Martha Stewart Crafts “Duckling” (this was a nod to my friend Buck Surdu, whose love of all things ducky and his take on the Mark III Warbots helped me plan out my approaches here).
For the common weapon barrels, I employed Vallejo Model Air “Copper”, and complemented them with Vallejo Model Air “Medium Gunship Gray”. Juggerbot had several lights on him, so Vallejo Model Air “Arctic Blue” and “Signal Red”, and “Aluminum” helped me with these details. I used these as well on the conversion weapons.
I then used several applications of Citadel “Nuln Oil Gloss” and “Black” on Juggerbot to shade the recesses of the figure. Moving back to the Warbots, I used “Aluminum” on the bodies, then similar to what I did with Juggerbot, I shaded with “Black” and “Nuln Oil Gloss”. Interestingly, I found that the inks really rolled off the figures, and the “Black” paint really helped with the shading.
I then added a healthy coat of Citadel “Ardcoat” to all visor and lighted surfaces. As a final highlight for Juggerbot and the Warbot weapon tips, I used Citadel “Retributor Armour”.
Juggerbot mid-stageEarly stage painting of Red Squad WarbotEarly stage painting of Purple Squad WarbotEarly stage painting of Green Squad Warbot
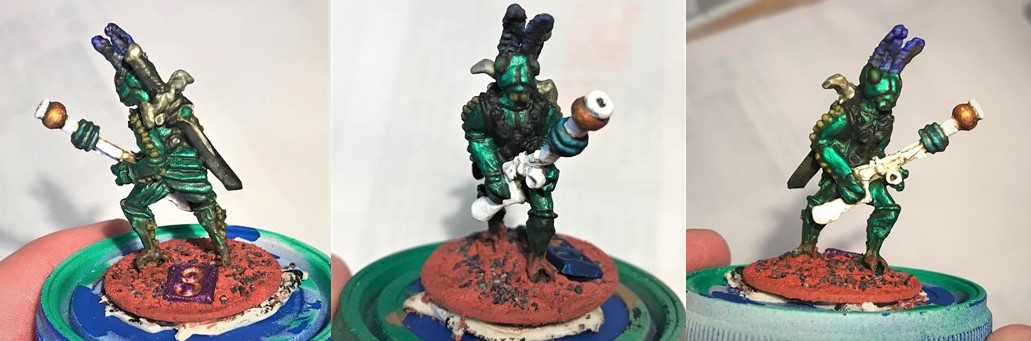
I decided that I wanted to be able to differentiate between the two teams within each squad. To do this, I experimented with kneadatite (green stuff) and Apoxie Sculpt and some numbered stamps. I found that the Apoxie Sculpt was easier to form, stamp, and once dry, cut. I applied these numbers to the figures’ bases with Gorilla Glue.
Figures with the numbers applied
I used Citadel “Imperium Primer” on the Apoxie Sculpt numbers, then added Citadel “Martian Ironearth” to them. Then, I built up the bases with Citadel “Martian Ironcrust” with a light sprinkle of Army Painter “Black Battleground” for more texture. After using both “Ironearth” and “Ironcrust”, I dried them to a crackly surface with a hand-held hair blow dryer. I highly recommend this technique.
After a day of drying, I dry brushed the bases with Armory’s “Red Brown” and “Brick Red”. I filled the numbers in with “Imperium Primer” for all troopers, with the team leaders getting “Retributor Armour” on theirs. Then it was back to the paint booth for two coats of varnish, this time with an Iwata Neo airbrush, allowing for adequate drying between applications.
Juggerbot ready for varnishThe platoon all varnished
I now needed to remove the figures from the bottles and coins. The poster tack was easier to remove when I did not use the coins. I lightly painted the underside of the bases with Craftsmart “White” so I could use a black fine-tipped Sharpie to write information on the figures’ bottoms.
Red Team 1 conversion with particle beam weapon – this is the other original Warbot that had a broken weaponGreen Warbot Squad with Khang Robot Squad LeaderLeft to right, regular trooper, particle beam weapon conversion, and arc weapon conversion of Green SquadPurple Warbot Squad with Khang Robot Squad LeaderLeft to right, regular trooper, particle beam weapon conversion, and War Games Supply Dump weapon conversion of Purple Squad Blue Warbot Squad with Khang Robot Squad LeaderLeft to right, regular trooper, particle beam weapon conversion, and War Games Supply Dump weapon conversion of Blue SquadFear the Juggerbot!Coming at youMr. Universe poseThe back viewAssembled Mark III Warbot Platoon, front viewAssembled Mark III Warbot Platoon, side view
I cannot express enough how much I like this platoon! The figures started off pretty rough, but in the end, I was able to make a nice unit for tabletop gaming. It did take me a couple of months, but it was worth it. They will be in action this upcoming weekend, as they make their tabletop debut – stay tuned, and let me know your thoughts below!
To round out September, the Mass Pikemen Gaming Club ran a game during which the Star Ducks attacked the positions held by the Power-Armored Frinx. Both of these forces are from Archive Miniatures circa 1979-1981. You can learn more about their origins here. Click on Star Ducks or Power-Armored Frinx to learn more about their platoons. We used the Combat Patrol™ system, with modifications to approximate the abilities of the Star Ducks to use their jet packs, and the durability of the Frinx as a result of their power armor. The Frinx also had the support of two Archive RVS86 “Robot Cooks” which were analogous to small self-propelled guns.
Two RV86 supported the Frinx
The scenario was one where the Frinx, led by Lieutenant Ma’k were defending some old ruined buildings that held some lost technology – and the Star Ducks, led by Duck Vader, were hell-bent on getting into the building and killing Frinx in general. The Frinx, on their part, desired to dispatch the Star Ducks with extreme prejudice.
The Star Ducks advance in the foreground, the Frinx defend the buildings and barriers.
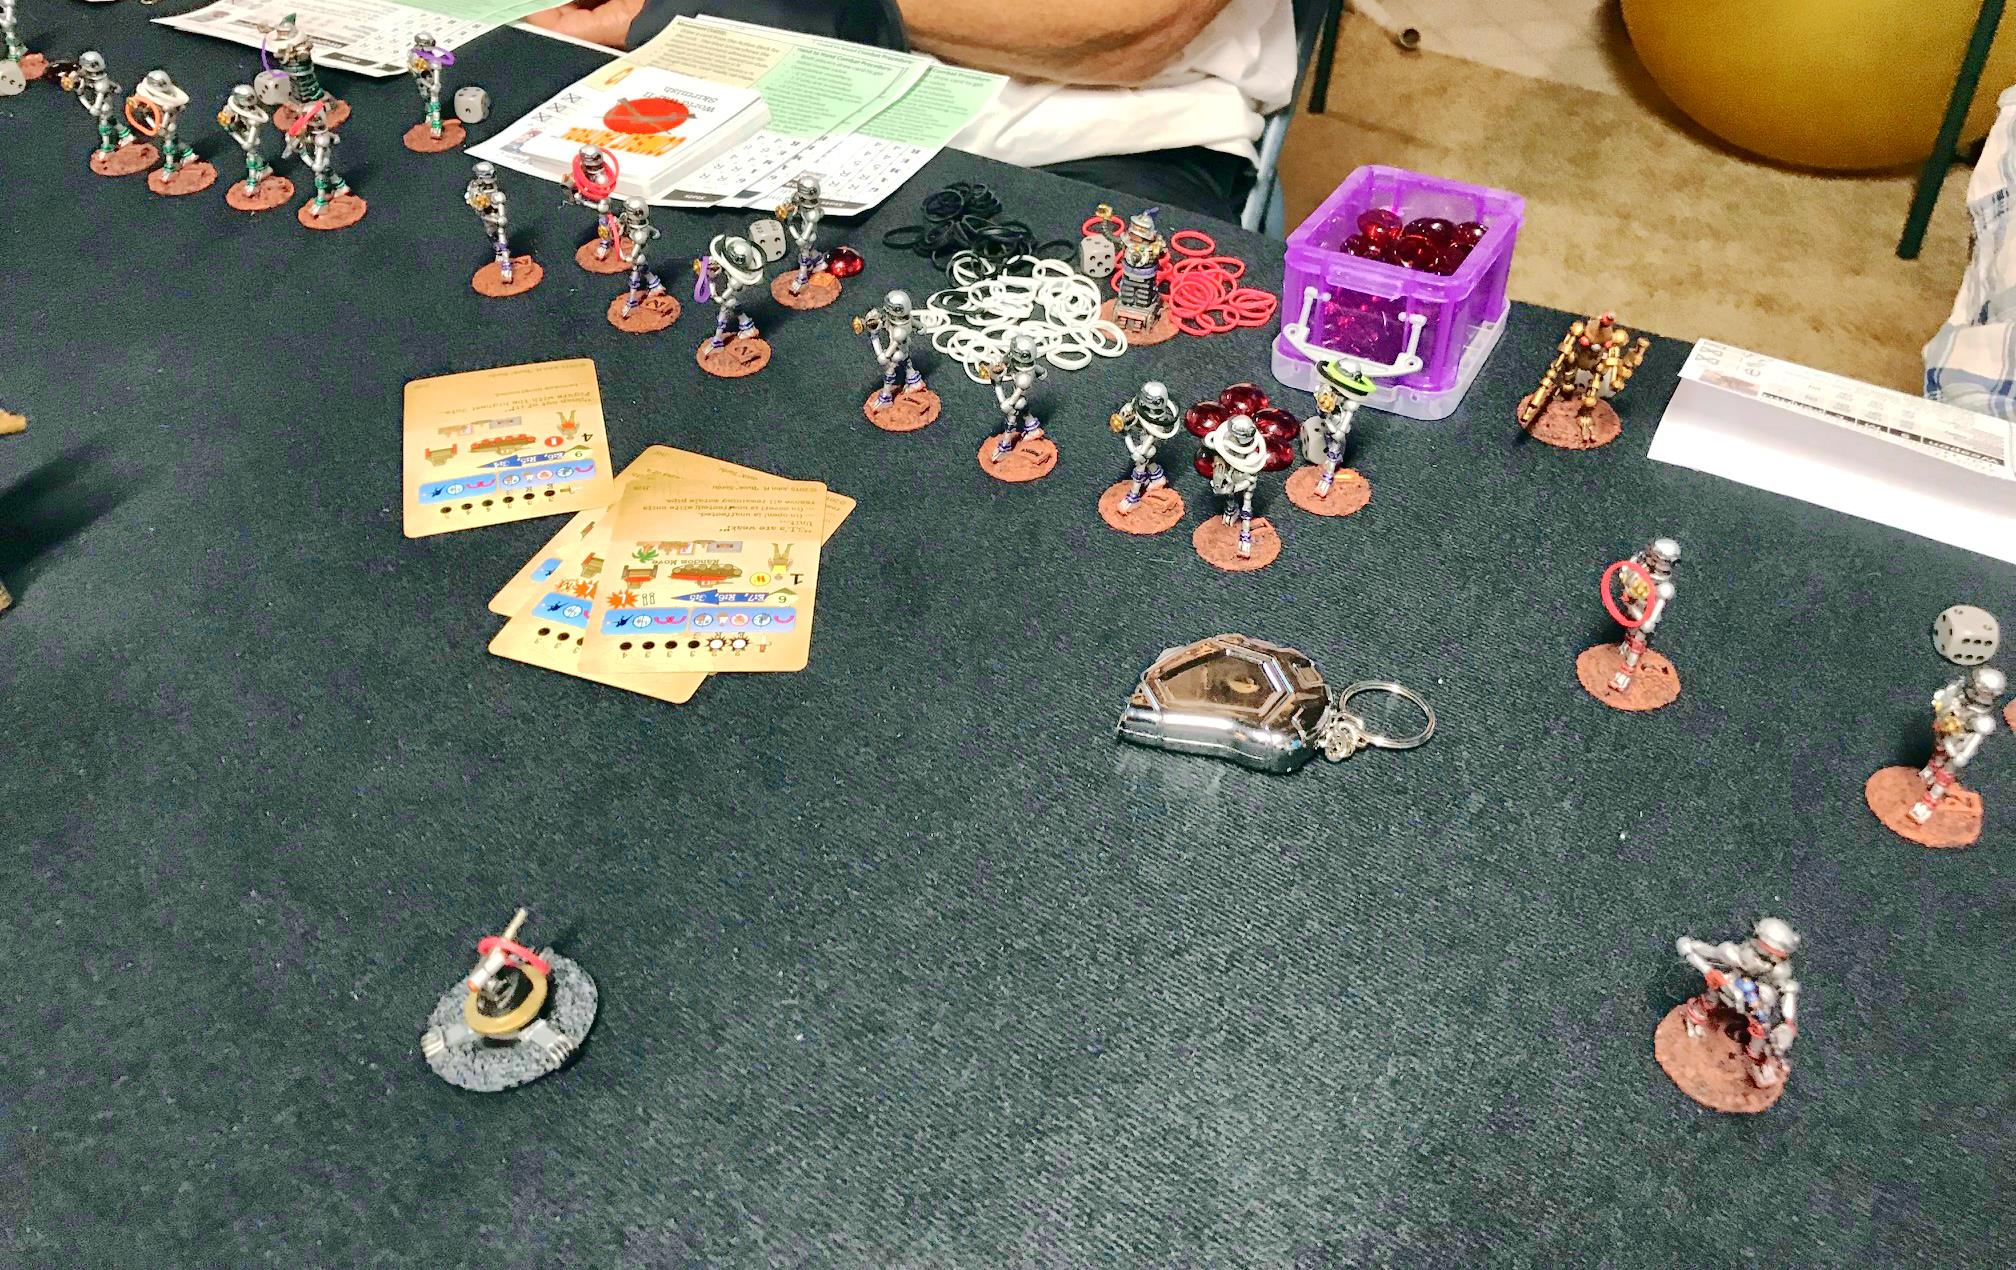
The Star Ducks used their jet packs to quickly advance towards the buildings on the Frinx’s left flank. You can see the small purple rubber bands on the Star Ducks, which indicate the number of “jumps” that they have taken. Due to limited fuel, the Star Ducks have only three jumps per game, but they do help!
Approaching the Frinx positions, the Star Ducks move quickly using their jet packs.
The initiative switched to the Frinx, who then bracketed them with bazooka fire. The white rubber bands indicate wounds, while the glass beads indicate a team must take a morale check for each one the next time they are activated. We use red rubber bands to denote a weapon that has jammed or is out of ammunition. We also use black rubber bands to denote figures who are stunned.
The smoke from the Frinx anti-tank rockets surrounds the Star Ducks, as they take wounds from the explosions
In the middle of the table, a pitched ray gun/blaster battle left several dead and wounded Frinx. The Star Duck team making this assault was however, annihilated, as Frinx Staff Sergeant A’Haze led his Frinx ably and directed their fire.
The Star Ducks do significant damage to the Frinx defending the barriers and slag mounds – note the dead Frinx, the multiple wounds, and the multiple morale pips. The Star Duck A team was wiped out here.
The only Star Duck survivor in this area was Staff Sergeant Bufflehead.
SSG Bufflehead watches his A team die valiantly.
And then this happened…and the other RV86 was immobilized as well by bazooka fire from the other flank.
Meanwhile, back at the buildings, the Star Ducks jumped again, going over the ruined buildings, and assaulting the Frinx from the rear. This move was met effectively by the Frinx with Platoon Sergeant First Class Grengelu’s automatic grenade launcher, wounding and killing several Star Ducks.
After the vertical envelopment, the Frinx make the Star Ducks pay. Note Frinx LT Ma’k in the upper floor on the left – his blaster also hit several Star Ducks.
However, there were enough Star Ducks to close with the Frinx in hand-to-hand melee (or is it claw-to-wing?) and begin to clear the buildings. SFC Grengelu was overcome and killed in the scrum.
Everybody gets in the fight!
SSG Bufflehead is surrounded by Frinx in melee
At this point, the game was called due to time and was determined to be a draw. While the Star Ducks had cleared one building completely, and another one partially, they still had a couple more to go. Casualties were high on both sides!
The game was a lot of fun and the battle was touch and go all night. Once again, Buck Surdu’s Combat Patrol™ system demonstrated its great versatility and ease of play!
I hope you enjoyed this battle report – please share your feedback in the comments section!
This post is about another group of miniatures that I acquired in March from the recently closed Wargames Supply Dump (thanks so much Roger!).
These are DG-08 and DG-09, Khang Robots. One model is tracked, the other has legs. I purchased 2 kits of each type of robot.
I’m currently planning on building out a series of different squads and platoons for use in retro-sci-fi skirmish games using the Combat Patrol™ system of rules. I have described previously here in this blog my casting work on making a platoon of Archive Miniatures Mark III Warbots. I thought these Khang Robots would be great as leaders for that platoon. They look so very retro! The tracked version really evokes the old “B9” from the 1960’s TV series Lost in Space.
Additionally, I eventually will be painting up a unit of WSD Khang troopers, and I can use these four robots to augment those forces as well.
The kits arrived, and I washed them with a light scrub with soap and water, and let them dry. Once dry, I assembled them with super glue. I tried to glue each robots’ arms so that they would each have a different position for better aesthetics. After they were together, I affixed them to 1¼” steel washers using Loctite glue for ease of eventual magnetic box storage. Then, I used poster tack to affix the models to popsicle sticks for ease of painting. This is now my new favorite tactic as it is very easy to remove after painting.
I then primed them (top and bottom) with Krylon “Ultra Flat” white matte spray paint. This allows me the option to write (with a fine-tipped Sharpie) on the washer bottoms with info that I’d like to have on them, such as the model’s name, the date of completion, my name, and any unit identification.
After the primer dried, I gave the models an aggressive wash with Citadel “Nuln Oil”.
The kits as they arrived
The Khang Robots unassembled and drying after cleaning
Assembled and based awaiting priming
After priming
I used Vallejo Model Air Metallics “Steel” as the primary base coat for the models’ helmets, shoulders, belt, and claws. I painted the waist/ribbed chest area with Citadel “Mechanicus Standard Gray”. Then, for a shiny rubber-like look on the ribs, boots, and legs, I applied a coat of Armory “Gloss Black”. For the front of the tracked bases and the chest-mounted cannons, I used Vallejo Model Air Metallics “Gun Metal”. Then I highlighted the shiny parts on the shoulders and helmets with Vallejo Model Air Metallics “Aluminum”. For the voice box (cannot really call it a mouth!) I added a light coat of Citadel “Spiritstone Red”.
Moving on to some of the details on the helmet, arm sockets, “ears”, and back components, I found a great solution with Vallejo Model Air Metallics “Copper”. There were several lights on the front and back of the robots, and for these I used a spotter brush with Citadel “Yriel Yellow”, Vallejo Model Air Metallics “Signal Red”, Craftsmart “Sapphire”, and DecoArt “Crystal Green” – varying the lights a bit in the front.
For the vents in the front of the tracked figures, I used “Gloss Black”, with “Steel” on the vents. I then extensively used Vallejo Model Air Metallics “Gold” and Craftsmart “Onyx” on bolt straps and bolts respectively throughout all the models. I also used “Onyx” to highlight the “Gloss Black” painted parts.
I then chose some bright-colored metallics to theme the robots and make them easier to identify on the gaming table. My four choices were: DecoArt “Crystal Green”, “Festive Red”, “Peacock Blue”, and Craftsmart “Amethyst”. I painted with these as you see below – as highlights on the robots’ helmet crests, “ears”, belts, boots, and backs of the lower chassis (all depending on the models). I did a lot of highlighting!
This completed my initial base coating and highlighting. For the bases, I thought I’d use Citadel “Martian Ironcrust”. This texture paint has a nice crackling effect if you use a blow dryer between applications (as I did) to dry the paint. I also added some Army Painter “Black Battlefield” into it when it was still moist – and this worked well to give a realistic texture. For the tracked models, I tried to make a track and chassis impression with the “Martian Ironcrust”. I also tried to show the accumulation of dust on the tracks and boots with this texture paint. I think it worked well enough.
Early base coating, front view
Early base coating, back view
I then moved on to serial washes with Citadel “Agrax Earthshade” on some lighter parts and “Nuln Oil” on others such as the ribs. For the robots’ claws, I found that Citadel “Seraphim Sepia” gave a unique metallic tone to the claws. On the bases, “Agrax Earthshade” really enhanced the cracks and gave a lot of depth to them. I used a lot of washes to give depth to the figures.
Ready for varnish
Close up of my attempt to create track and chassis marks, and accumulation of dirt
I then waited a day or so for the humidity to go down and for the temperature to be adequate for varnishing. I sprayed the models with one coat of Krylon “Clear Matte”, followed by two coats of Testors “Dullcoat”, allowing for adequate drying time between applications.
The Red Khang Robot
The Blue Khang Robot
The Green Khang Robot
The Purple Khang Robot
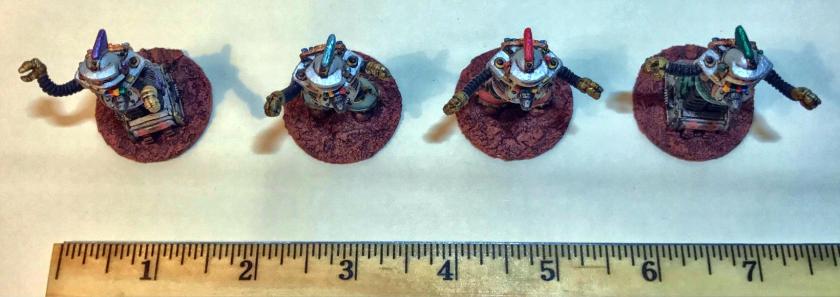
Nice view of the tops of the Khang Robots
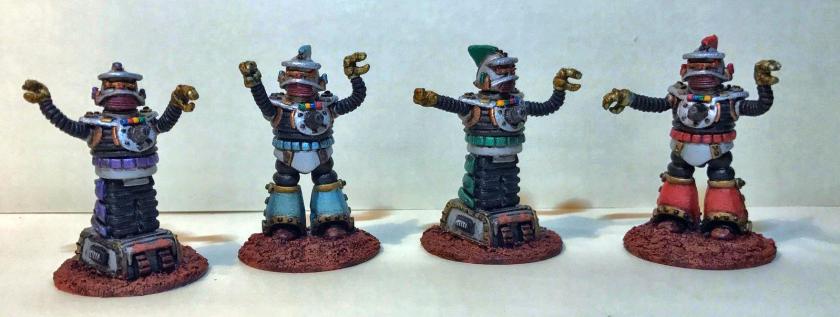
Group shot!
These are pretty cool figures – and the downside is that pretty cool figures have a lot of details! The upside is they give the painter a tremendous opportunity to create a nice visual product. These are really fun retro sci-fi figures – and I hope that I did achieve success with these four. I really like them, and am motivated to get going on the Mark III Warbots to complete the platoon – and to use my new airbrush to prime, base coat, and varnish this my next project. Stay tuned, and let me know your thoughts in the comments section! Thanks!
This is from Buck Surdu’s blog – nice addition to the Combat Patrol rules!
Announcing the Release of the South Pacific Supplement for Combat Patrol™: World War II. Like all the previous supplements for Combat Patrol™, this supplement is FREE to download as a .pdf. Why a South Pacific Supplement? Fighting in the South Pacific during World War II was unique compared to other theaters, even other parts of…
Back in March of 2017, I read that WSD (Wargames Supply Dump) in the U.K. was shutting down its website and its figures from the Dirk Garrison line would no longer be available. Very bad news! I had not yet had the chance to buy any of these, and their retro sci-fi look lured me in to try to get a few before it was too late.
I was able to get a few different sets, which I will be painting up and using in my retro sci-fi games using the card-based Combat Patrol™ system.
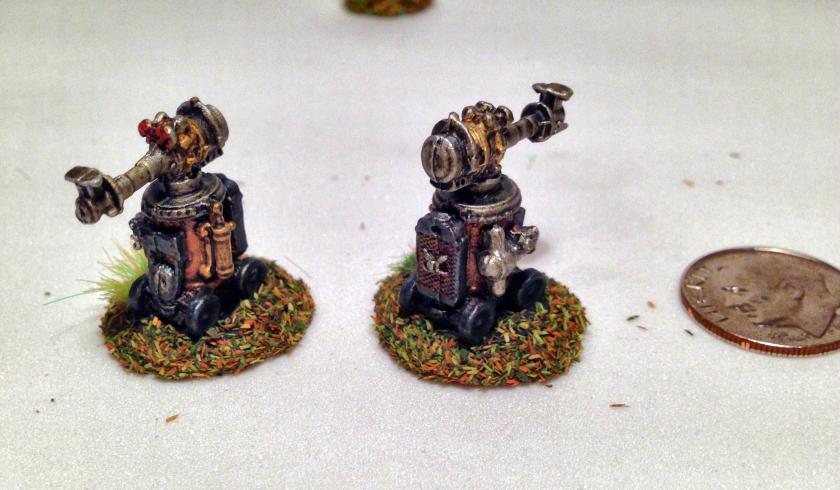
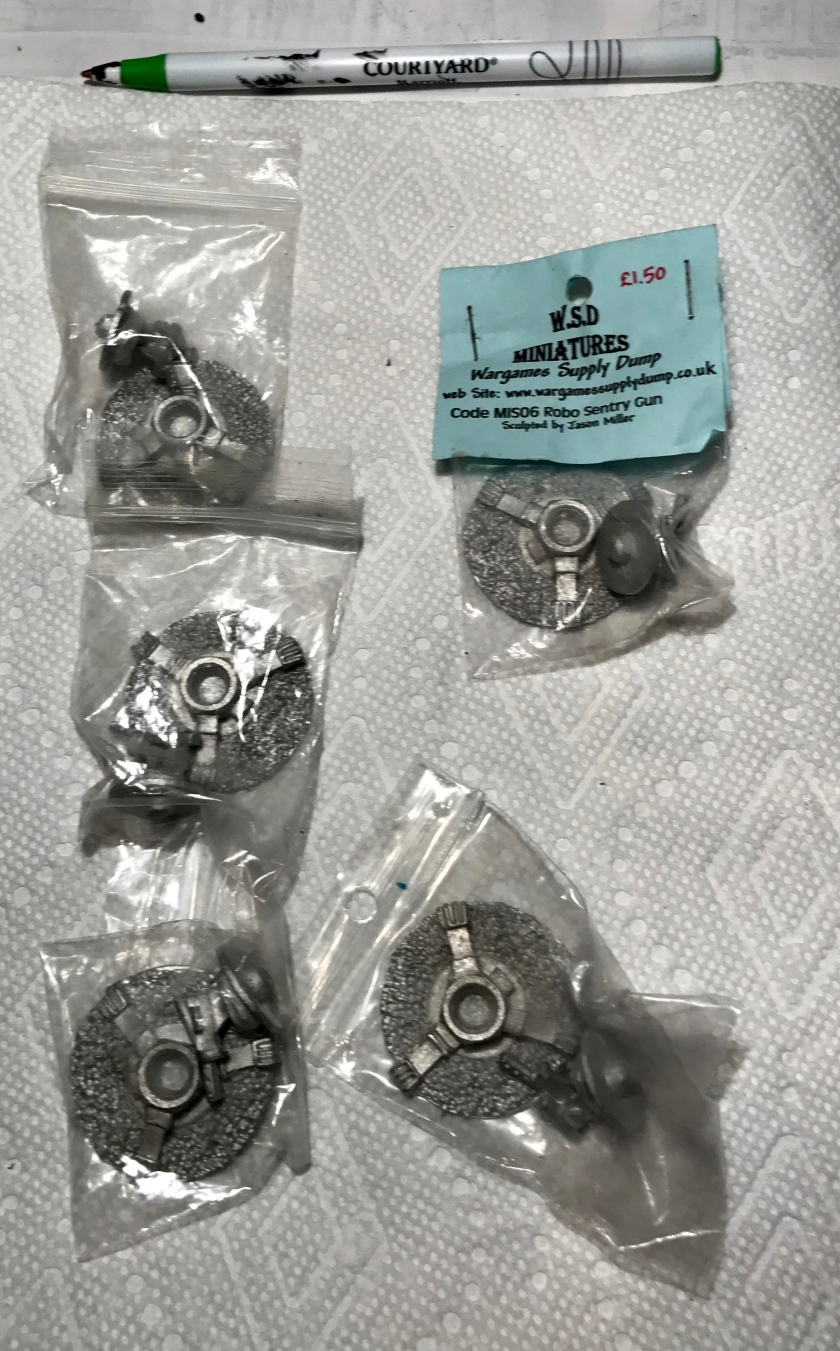
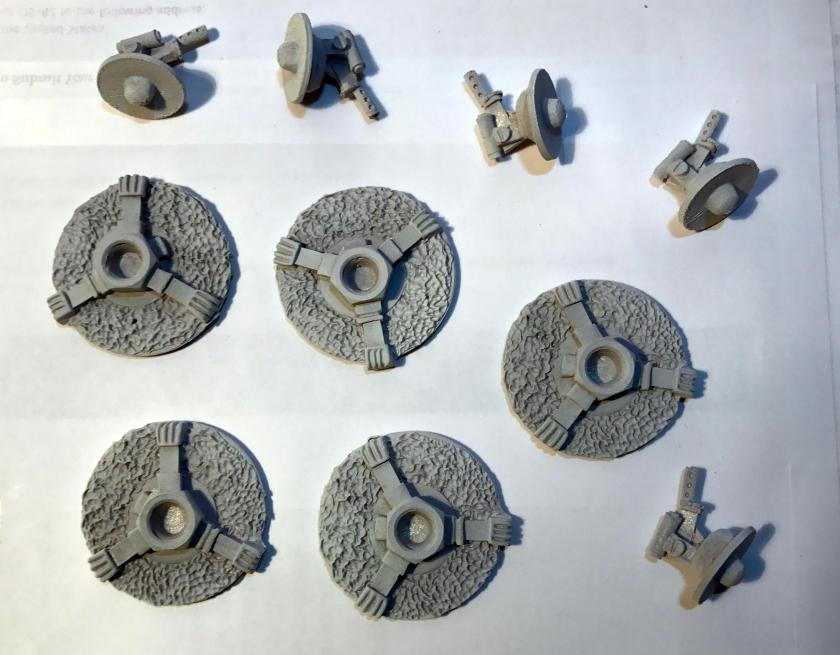
The first ones I started were MIS06 “Robo Sentry Guns“. These came in a two-pieces per kit. As you can see below, the models were not greatly detailed, but very nice for what I wanted – unmanned and immovable guns for attacking infantry (or vehicles) to deal with during a skirmish. They were sculpted by Jason Miller. I wanted to buy 10, but only 5 were left by the time I tried to buy them. I grabbed them as they were heavily discounted!
The Robo Sentry Guns as shipped
The Robo Sentry Guns primed
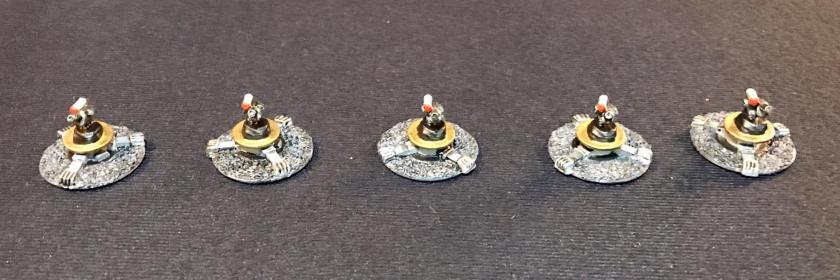
I affixed the bases to a 1¼” steel washer using Loctite glue. This tactic allows me to use magnetic sheets to easily store them in plastic boxes. I then primed them with Krylon “Ultra Flat” matte spray paint. I also made sure that I painted the bottoms white as well, as I find that leaves me the option to place information on the bottom that I’d like to have once the models are done, such as the model’s name, the date it was finished, and any unit identification, etc. I just use a fine-tipped Sharpie.
I decided to paint the two parts separately, base coat both, and then assemble the kit after that. I also made a change in my process in that I used 3M white poster tack from Michael’s to affix the bases to popsicle sticks for painting instead of white glue. This worked MUCH better – and the tack is reusable – so I was happy to discover this would work and so well. The models stayed affixed very well.
I started brushwork with a wash of Citadel “Nuln Oil” over both pieces. I followed this with a heavy dry brushing with Citadel “Mechanicus Standard Gray”. Then, I switched to Vallejo Model Air “Medium Gunship Gray” for the tripod legs (with a brush – no airbrushing was done on these models). For the tripod feet, and the center mount, I used Vallejo Model Air “Steel”. The gun itself was mounted on a rock-like structure on a washer disk. I thought the rock made little sense for a robo sentry gun, so I decided to obscure it with Armory “Gloss Black” (still good from 1996!). I then shaded the tripod base with “Nuln Oil”. I subsequently used Secret Weapons Washes “Heavy Body Black” on the base, followed by lightly dry brushing and stippling it with “Mechanicus Standard Gray”.
At this point, I glued the two pieces together with wood glue, and let the assembly dry overnight. To further obscure the rock, I used Vallejo Model Air “Gold” on the washer – with an eye towards mimicking the coloration of the lunar modules from the Apollo missions. I thought it worked well, though it took three coats to get it properly covered.
On the gun, I used Vallejo Model Air “Gun Metal”, with Vallejo “Aluminum” on the optics. On the optics I then painted the ends with “Gold” and Citadel “Spiritstone Red”. I finished the gun with Secret Weapons Washes “Armor Wash”, with some light highlighting with “Gun Metal”. Once dry, I applied two coats of Testors “Dullcoat”, allowing for adequate drying between coats.
Robo Sentry Guns facing forward
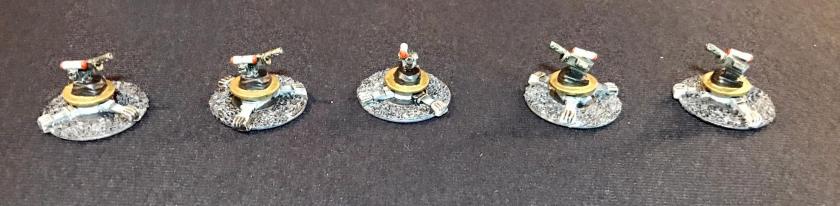
Robo Sentry Guns in different poses
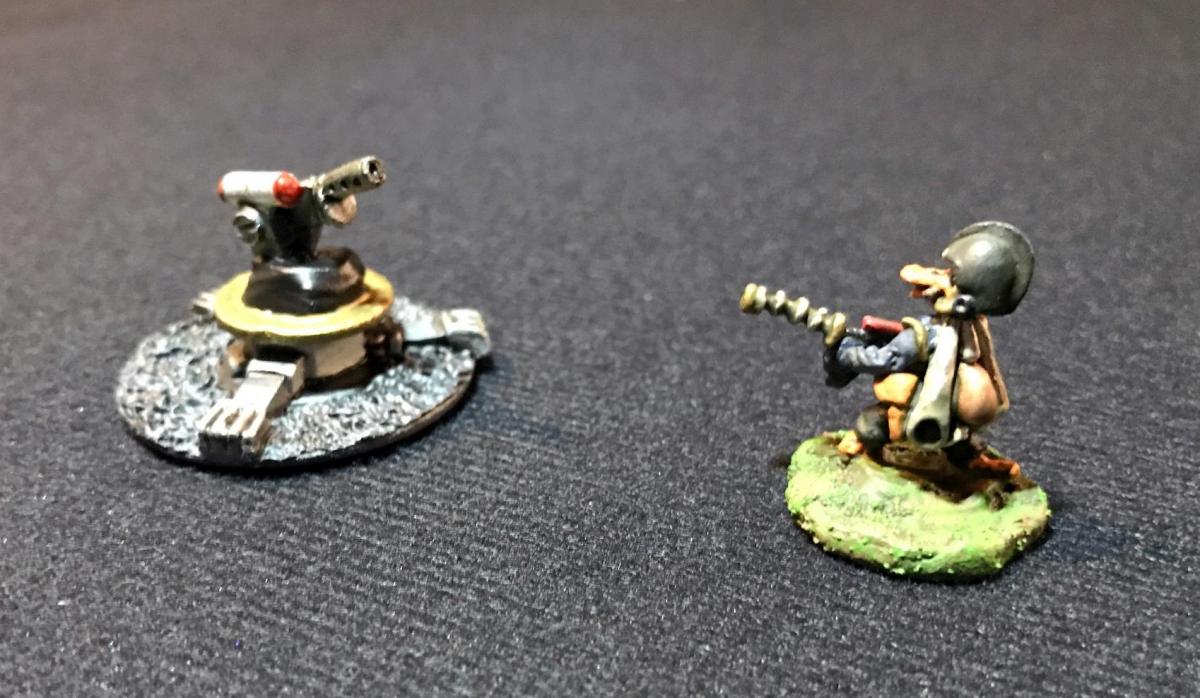
Close up of Robo Sentry GunShowdown with SFC Mallard
I think these will be a nice addition to my Combat Patrol™ games, as I can use these in multiple situations as a GM. I like the retro sci-fi look, and as I move into building a Robot army, these will fit in nicely (more to come on those in future blog posts). I also added a photo to the Lost Minis Wiki on the model, as there was none there. Still, sad to see that WSD will no longer produce these cool minis.
I have long been searching for the Archive Miniatures Frinx on Glyptodon (#2042) from the Star Rovers line. This three-figure kit was made in 1978, and was composed of two power-armored Frinx riding a glyptodon. So what is a glyptodon? A glyptodon is basically a prehistoric armadillo – and the size of a small car. Its a quirky kit, reminiscent of a Tusken Raider riding a Bantha in Star Wars.
At long last, my good friend Buck Surdu acquired one kit at exorbitant price on eBay. The plan was to create some Frinx recon sections for use in retro-sci-fi games using the Combat Patrol™ gaming system by recasting.
The original kit in unopened bag
Archive card in bag
Contents of the kit
The kit itself held two glyptodon halves, two rear feet, two bridle bits, one metal reins set, one forward facing Frinx, and one Frinx facing right. Clearly, I needed to consolidate in order to effectively cast this set via gravity casting. My first decision was to abandon any idea of casting the metal reins. I wanted to use the bridle bits, and use some string or similar material for reins when I paint the kit.
The bridle bits were very small as you see below. I used a small pin vise and drilled out a place for the bits on the glyptodon. I secured the bits with super glue, then filled in around them with green stuff. I also opened the bridle bits up, for if I left them closed they would not been locked in by the Quick-Sil and would not have cast well.
The small bridle bits
The other challenge was that the original glyptodon figure was not well formed or cast. There were large seam lines and gaps on each side. My concern was that this gap would wreak havoc with molding as the Quick-Sil RTV that I use would easily expand into every crevice. It also would look lousy.
Good view of the gap between the glyptodon halves on the right side
Similar gap issue on the left. Note the rear feet are unattached.
Interior view of the bottom glyptodon half – note the Archive 78
Top half of the glyptodon
As you can see, because the glyptodon was in two pieces with a hollowed out middle, I needed to address this and the seam issue. Therefore, I decided to fill the middle and the gaps with green stuff. I then affixed the rear feet with super glue, followed by adding green stuff around the gaps there as well.
Green stuff to the rescue
Nice view of the modified bridle bits
While I smoothed out the seam lines, I still had unsightly lines that would show up on every cast. I decided to use more green stuff to add a band of tiny armor plates around the base to smooth out the seams – and it worked. I thought that I should keep the figure as original as possible, so the additional plates were left as a lower band, and not over the whole figure.
The glyptodon with its new armor plates added, left side view – no unwanted lines!
Rear view after adding armor plates
Right side view after adding armor plates
I then moved on to the riders, and was surprised to see the beginnings of lead rot under their saddles. This discovery made me very happy that I was going to preserve this kit through cleaning and ultimately recasting. I did my best to clean off the oxidation with soap, water, a toothbrush, and an aqueous pewter cleaner.
Lead rot begins…before cleaning
Ready for molding
I made two new mold designs – one for the glyptodon and one basic type for the two riders as shown below. The major concerns that I had with the glyptodon mold were easy flow of alloy, adequate venting, and adequate cooling with so much molten metal. With the smaller molds, I had the same, but I really just wanted great details.
First half of the glyptodon mold
First half of the front Frinx rider
First half of the rear Frinx rider
All three molds completed
All three molds worked well, with small modifications to ensure good casting. I was able to successfully cast 14 sets (42 total figures).
14 sets!
You can see below a comparison of the recasts and the master figure.
Frontal view of recast and modified master figure
View of right side
Rear view
Left side view
They are officially now in my painting queue (which has grown a bit long so I will wait to cast more figures until I have painted some). Overall, I am pleased with how they came out – please let me know your thoughts in the comments section!