The 2026 TOB Season is in the books. We successfully beat out a massive nor’easter to get in the last 18 holes of the season for the FINALS. We did have a little rain, and a LOT of putt-moving wind – let alone how it moved all of the other shots.
The event was held on Saturday, September 26th at Quail Hollow Golf and Country Club in Oakham, MA. We had more golfers in the FINALS this year – 115. on 29 teams in 3 different divisions. Unfortunately we had one no-show.
In all, five places in each division were awarded cash, which worked out to 17/29 teams. There were a huge number of skins – 17 in total across the three divisions. And we had 4 more teams win in the closest to the pin replacement drawing. So 25 teams won something. Below I’ll focus on first and second places. Let’s get into the results!
Nicklaus Division
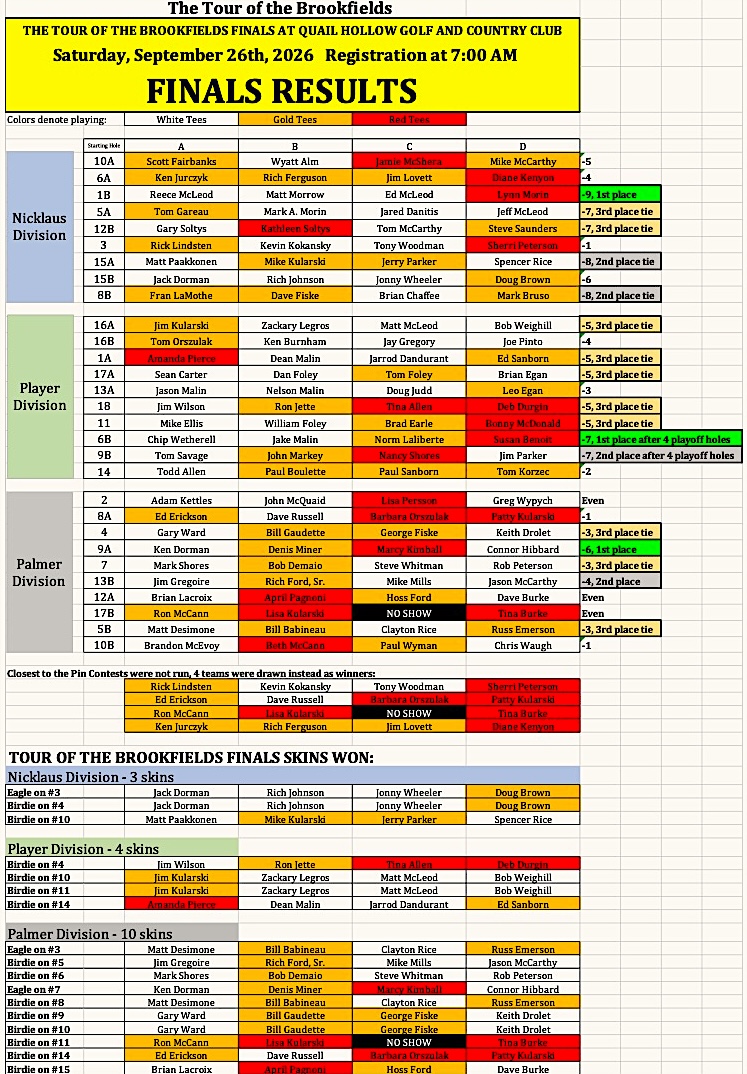
In the top division, Nicklaus, the team of Reece McLeod, Matt Morrow, Ed McLeod, and, Lynn Morin won. They secured the victory by a single stroke by coming in at a hard-fought 9-under par. This was the best score of the FINALS tournament. Close behind them were two teams tied at second place at 8-under par:
Matt Paakkonen, Mike Kularski, Jerry Parker, and Spencer Rice
Fran LaMothe, Dave Fiske, Brian Chaffee, and Mark Bruso
Well done all!
Player Division
In the middle Player Division, there was a tie between two teams at 7-under par after 18 holes of windy and sometimes rainy golf. This led to a dramatic 4-hole sudden-death playoff on the 18th hole. Coming out on top after this battle was the team of Chip Wetherell, Jake Malin, Norm Laliberte, and Susan Benoit!
Chip’s team edged out the valiant foursome who took second place. That team’s members were: Tom Savage, John Markey, Nancy Shores, and Jim Parker.
Congrats to both teams!
Palmer Division
Lastly, in the Palmer Division, the team of Ken Dorman, Denis Miner, Marcy Kimball, and Connor Hibbard achieved victory with a two-stroke lead over their next competitor. They achieved a score of 6-under par.
In second place, at 4-under par, was the team of Jim Gregoire, Rich Ford, Sr., Mike Mills, and Jason McCarthy.
A great job by both!
Total Results Listing
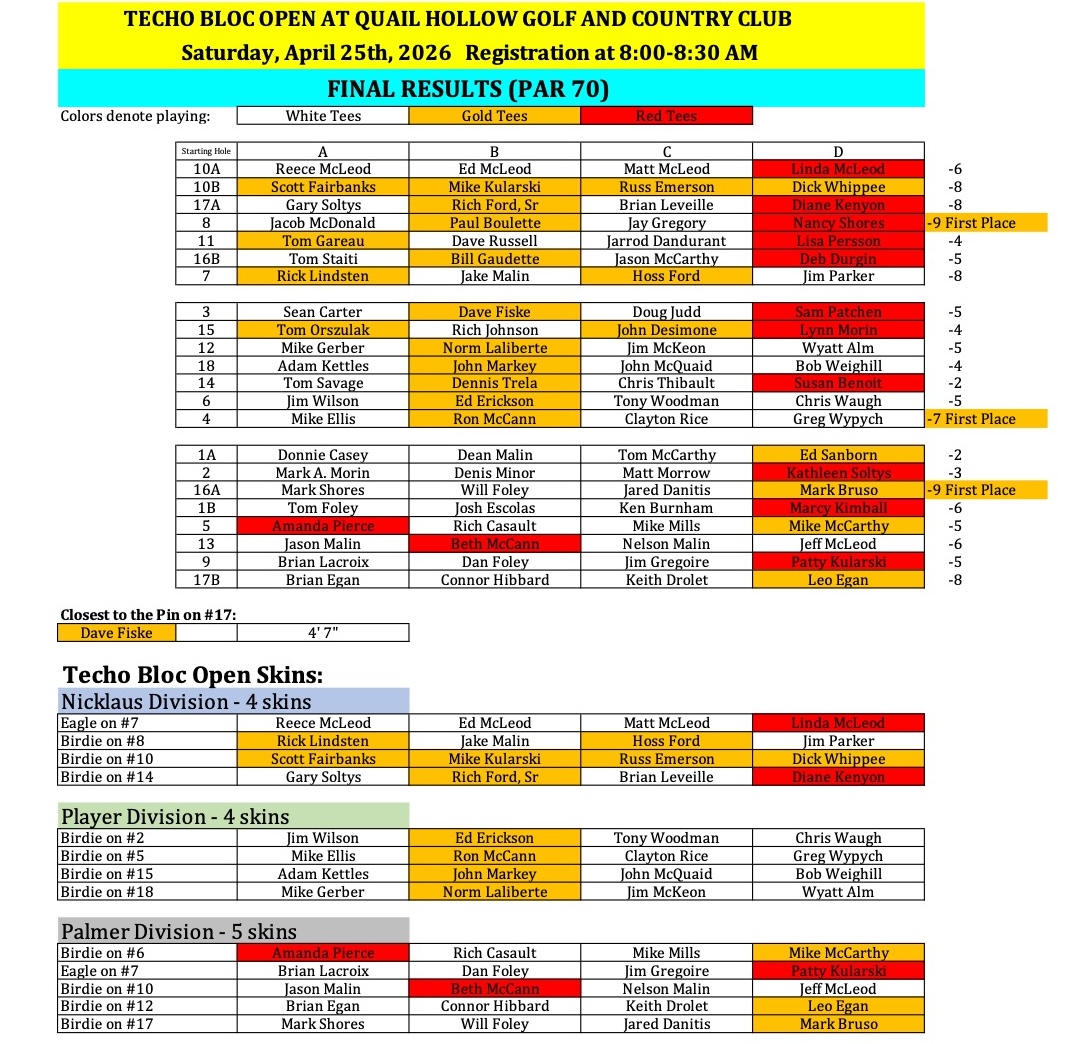
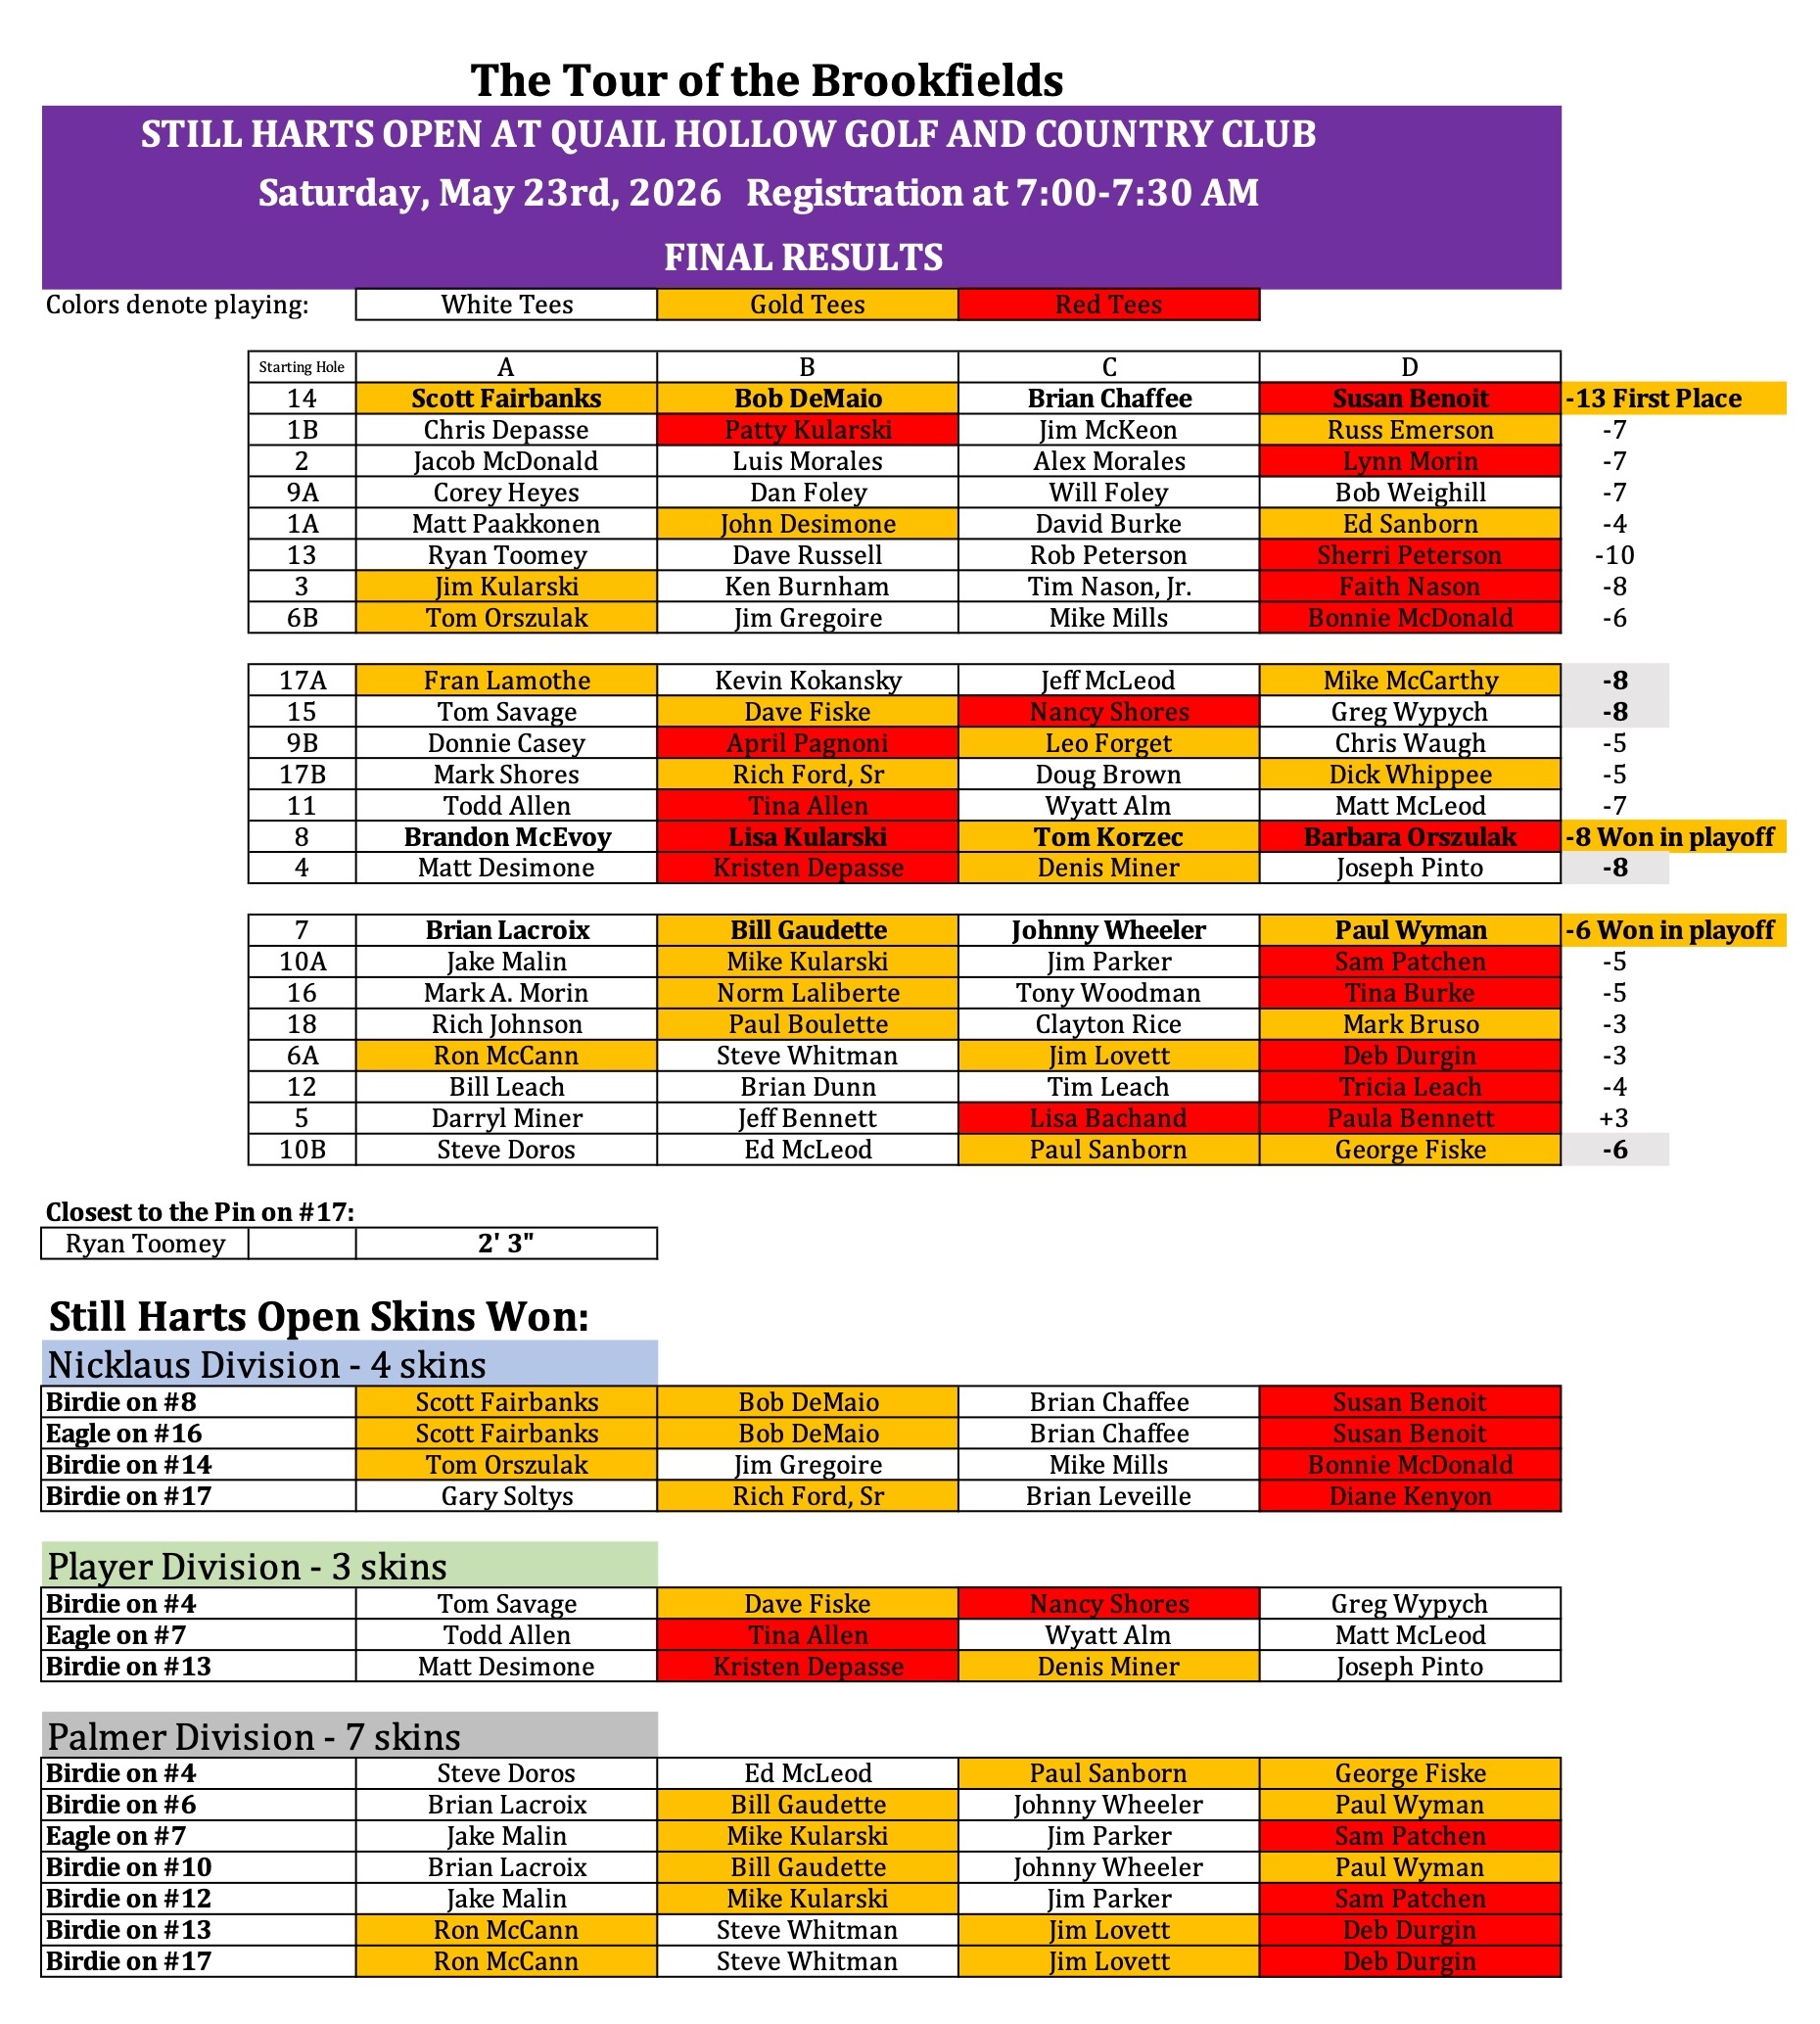
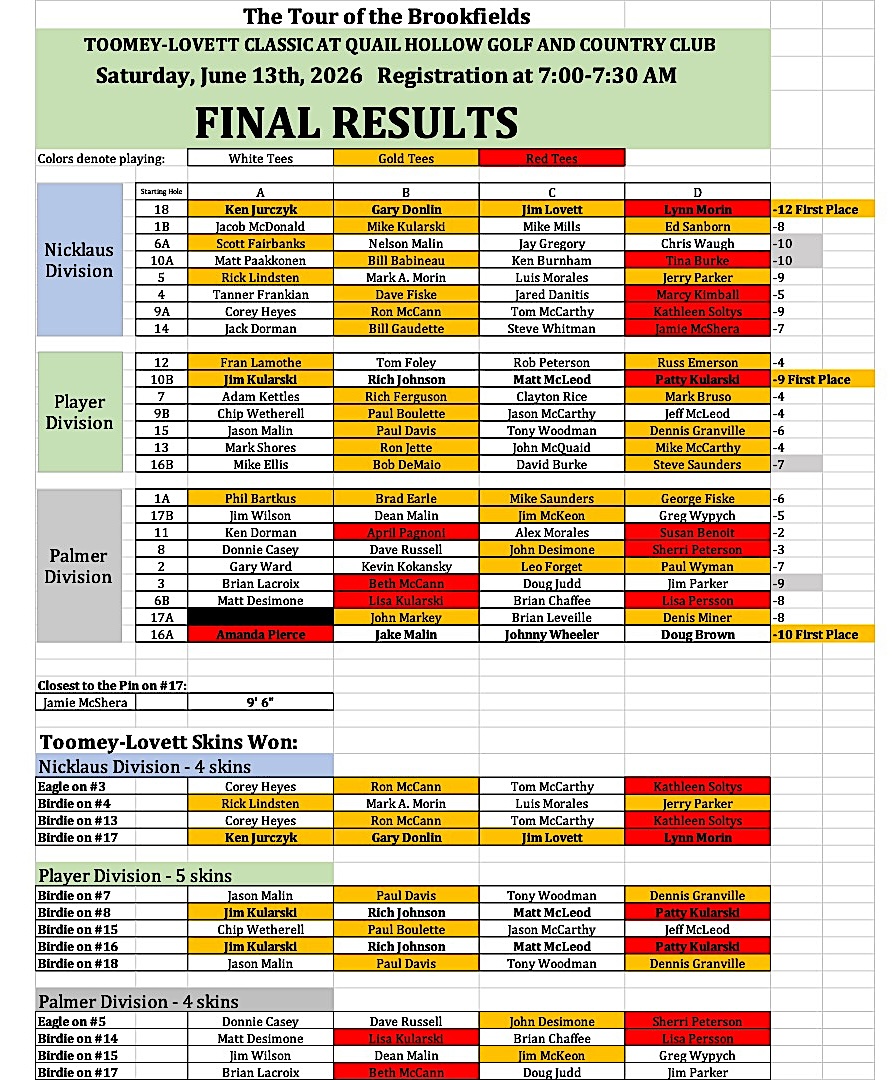
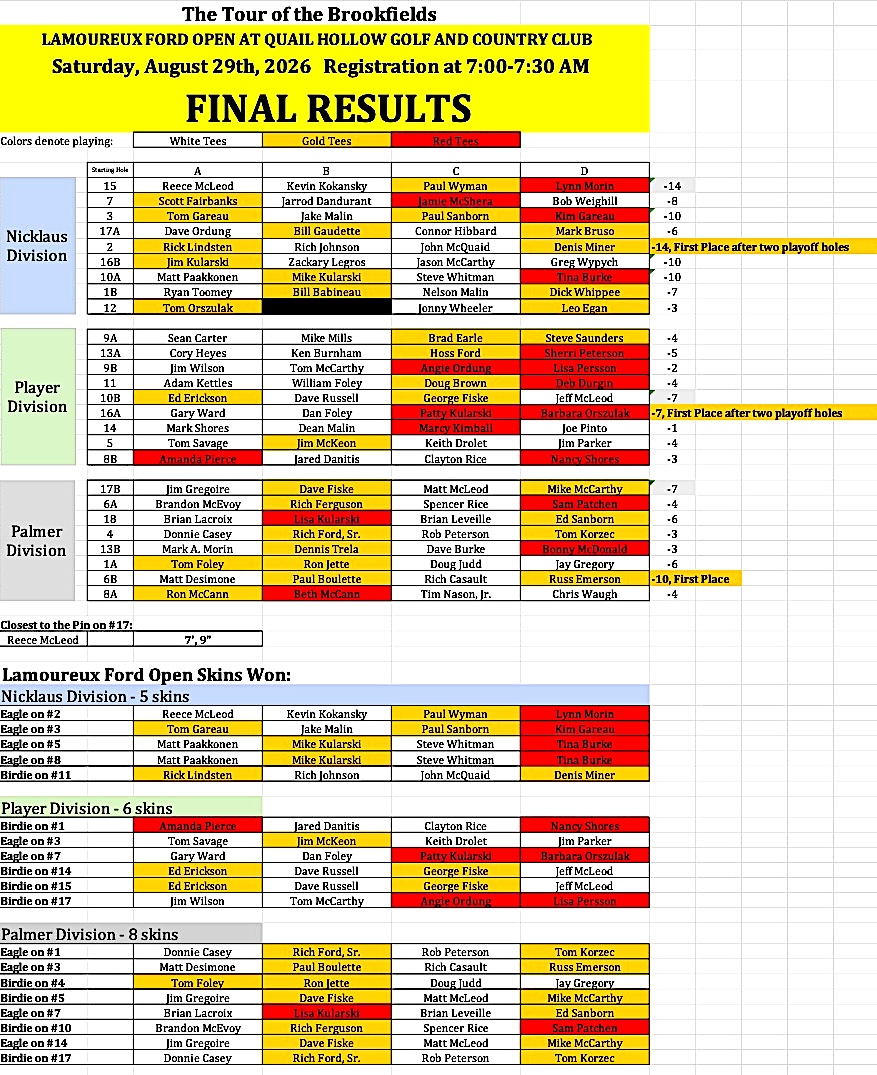
Below you can see the results of all three divisions, as well as the skins and the closest to the pin drawings. We did not have closest to the pin contests this year – instead we had four drawings – and the winners are also listed below as are the Skins won by division. Click on the image to get a better view:
Special thanks again to all of our sponsors this year:
Extra special thanks to Carl Fitz, Colleen Fitz, Matt Paakkonen, Tara, Kenny, and all the staff at Quail Hollow. They work so hard to make the Tour of the Brookfields possible – and we greatly appreciate all they do.
Next Year and Some Photos
We hope to have all of our players return next year plus some more. Recruit a few yourselves! When we know some details, we will share it with you on the Facebook page and in this blog. The Committee hopes to meet before the snow flies to capture any lessons learned and make next year even better!
One thing we are possibly looking at is a mid-year “Grand Tour of the Brookfields“. This would replace the FINALS as our annual big event and would include a player draft night similar to the FINALS. The difference would be that we would have some flexibility with regards to the weather we face in late-September and early October. With the FINALS as we have been doing it – we have little to no backup dates – whereas a mid-year event like a “Grand Tour of the Brookfields” would give us that. Like I said, nothing is set yet, but if we go in that direction we may need to set qualifications that are different in terms of events played. So stay tuned.
2027 Dates for the Tour of the Brookfields
By the way, next year marks the 47th year of the TOB!! Here are the event dates for next year – sponsors TBD as we flush out any changes in format. Of course – a draft night is TBD depending on what we decide to do. All are on Saturdays – plaeas mark your calendars:
April 24th
May 22nd
June 19th
July 24th
August 21st
September 11th
October 2nd
Personally, I want to afain credit and thank the Committee for being a great team. George Fiske, Brad Earle, Ed McLeod, Mike Kularski, and Matt Desimone, you guys are AWESOME. It is wonderful to work with all of you on the TOB Committee!!!
Special thanks to Matt Paakkonen and John Desimone for running the pari-mutuel! You guys did great!
By the way, PLEASE subscribe to this blog. You’ll get any updates on the TOB. (You will also get a good view of my many somewhat hobby projects that involve historical miniature gaming and more). I don’t monetize this blog.
Photos for the event really came at a premium – and thanks to my lovely wife Lynn Morin for getting in a few that I can share.
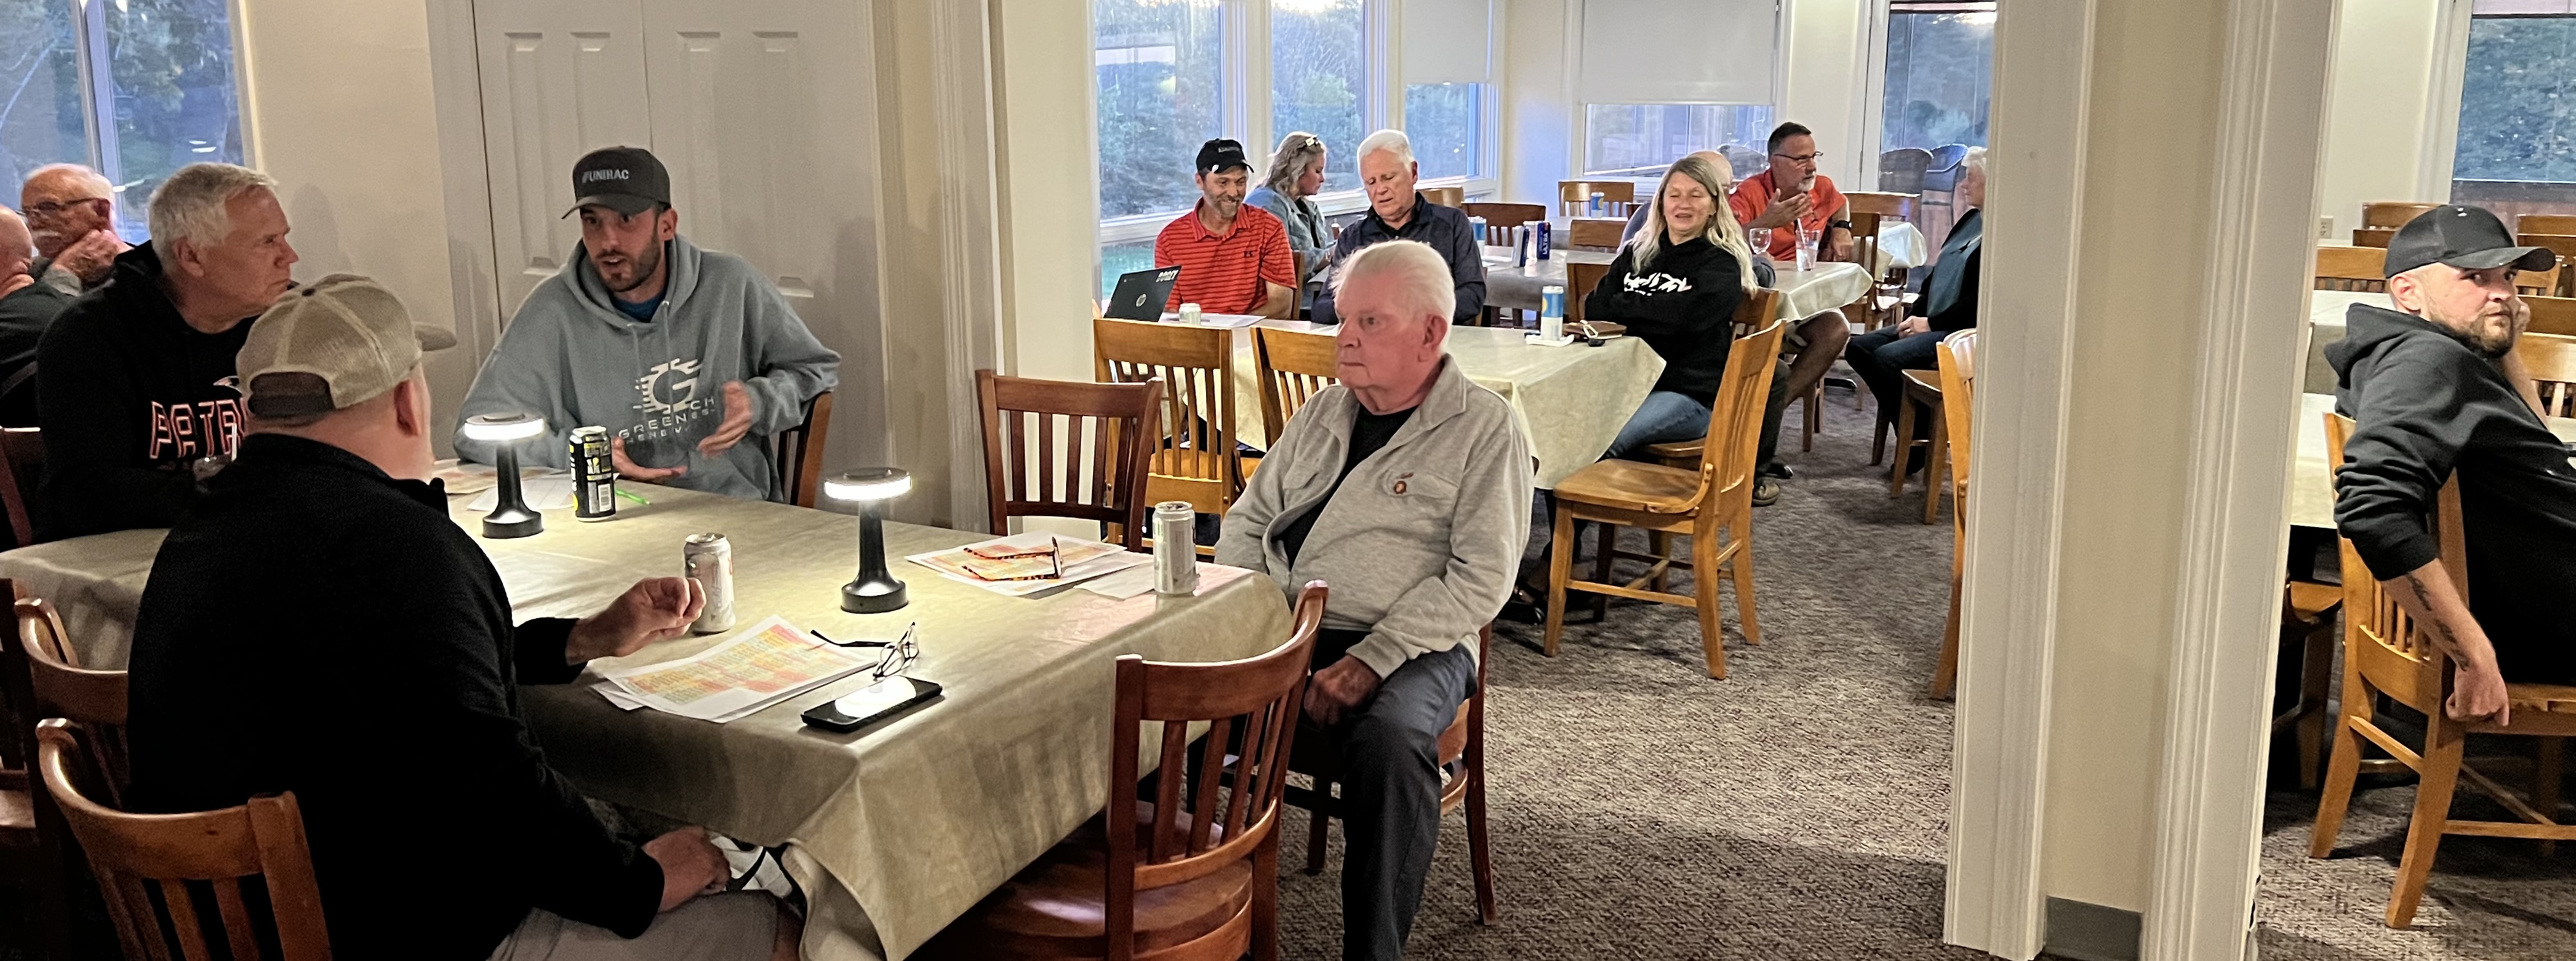
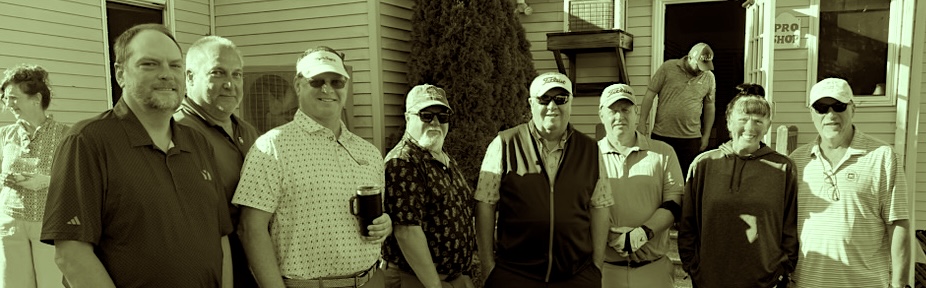
Now some photos from the Thursday Draft Night and Saturday’s FINALS!!
Draft night photos
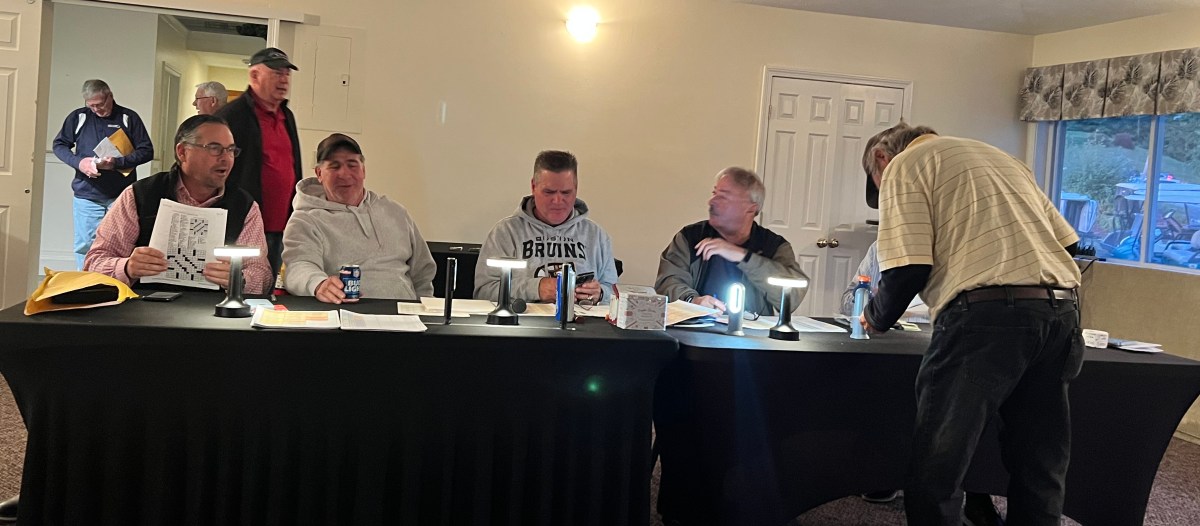
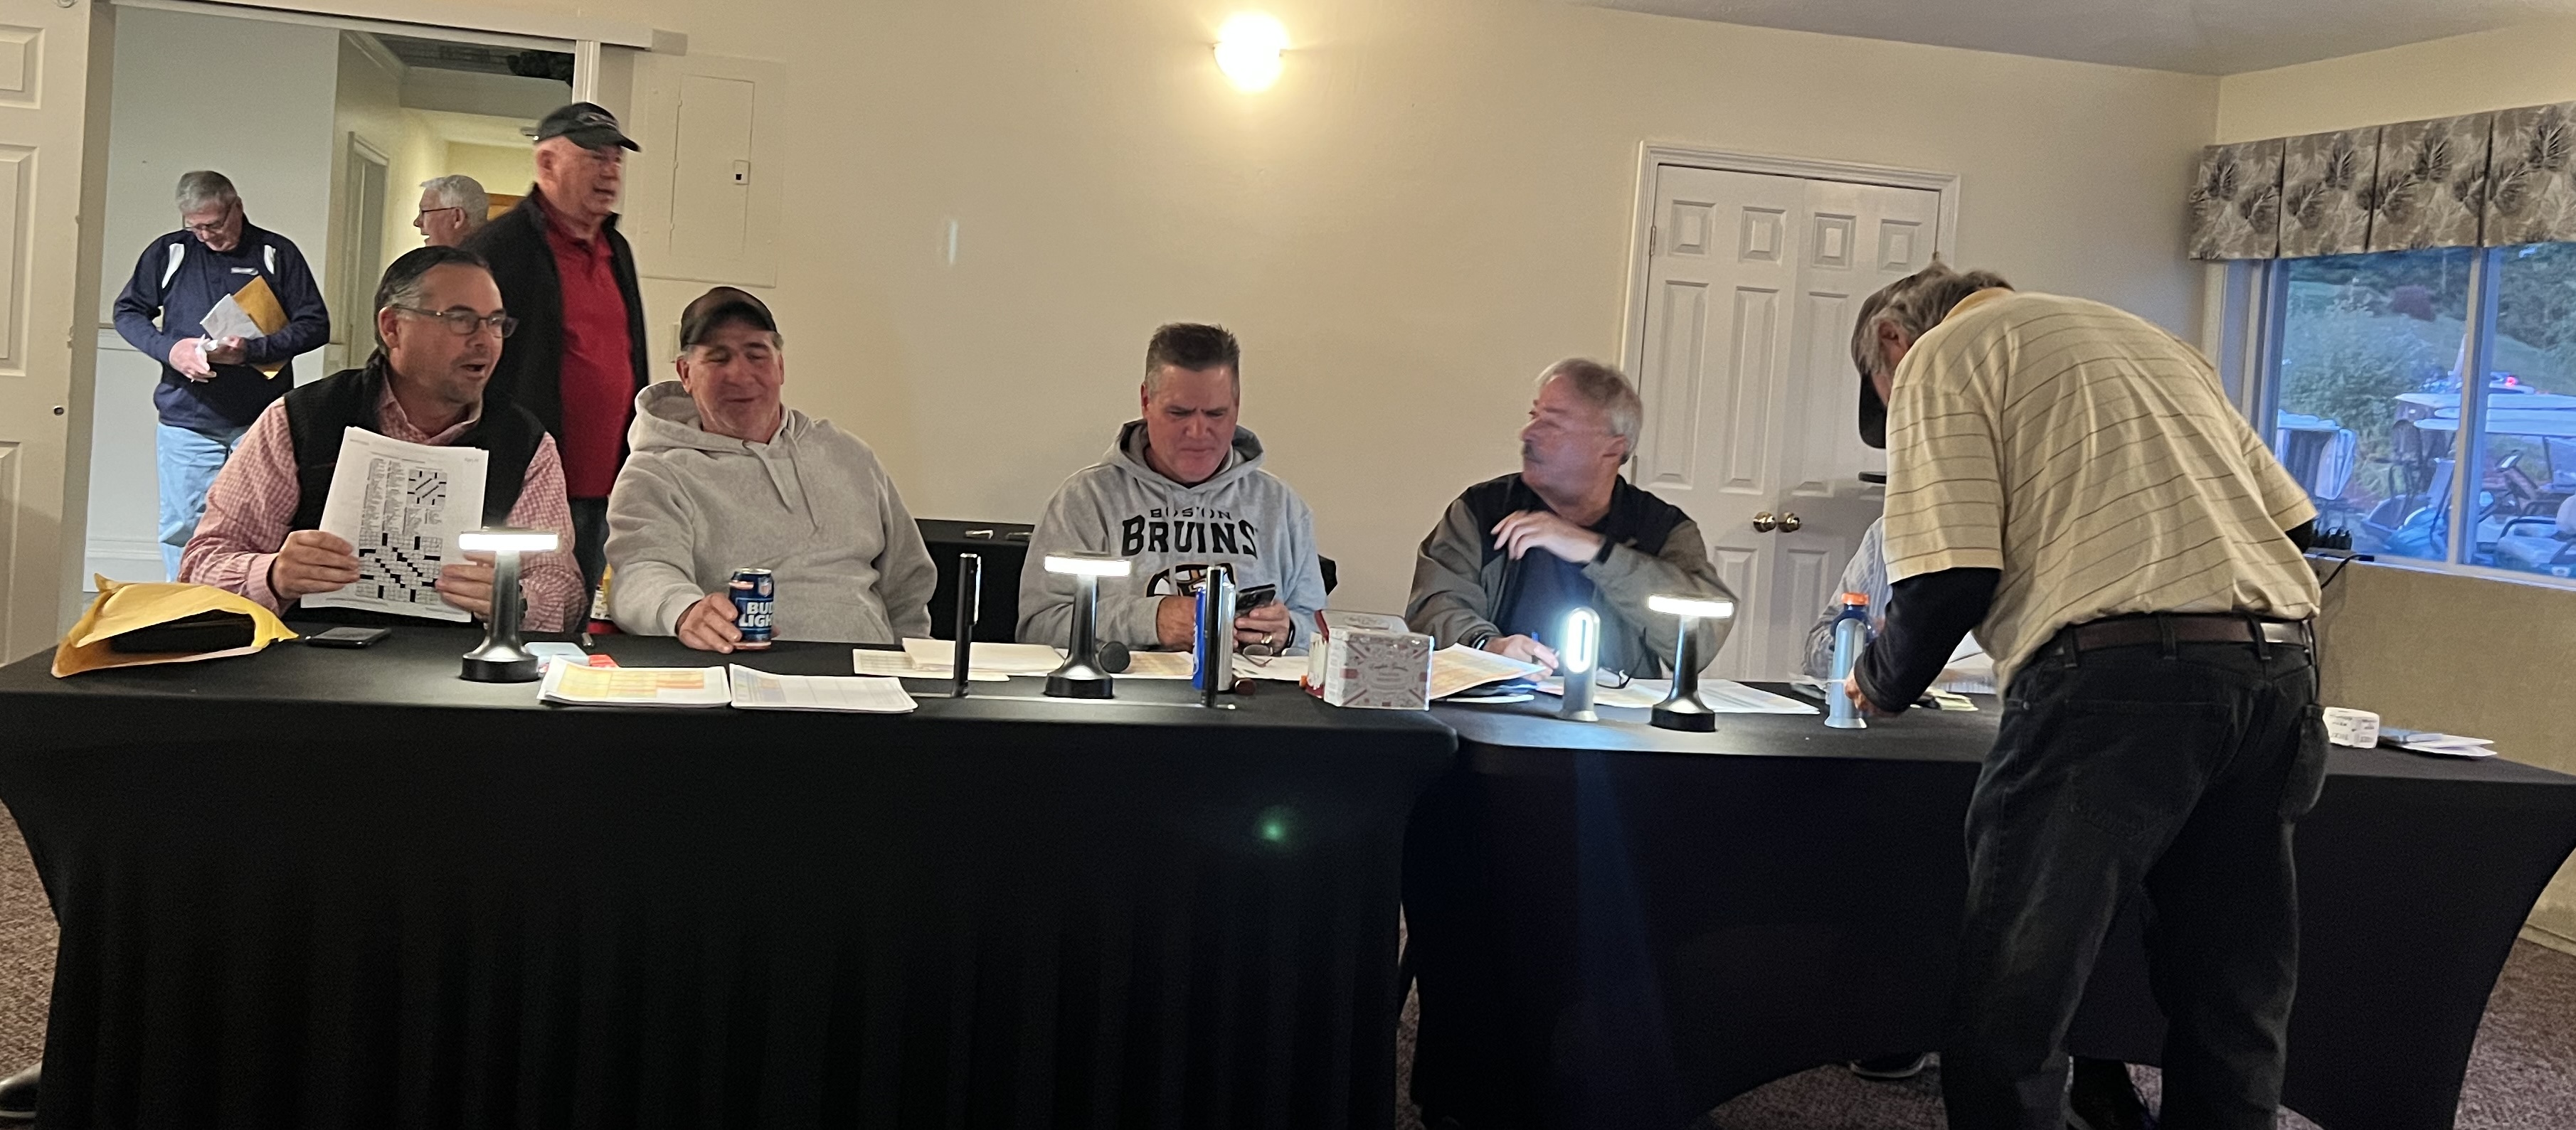
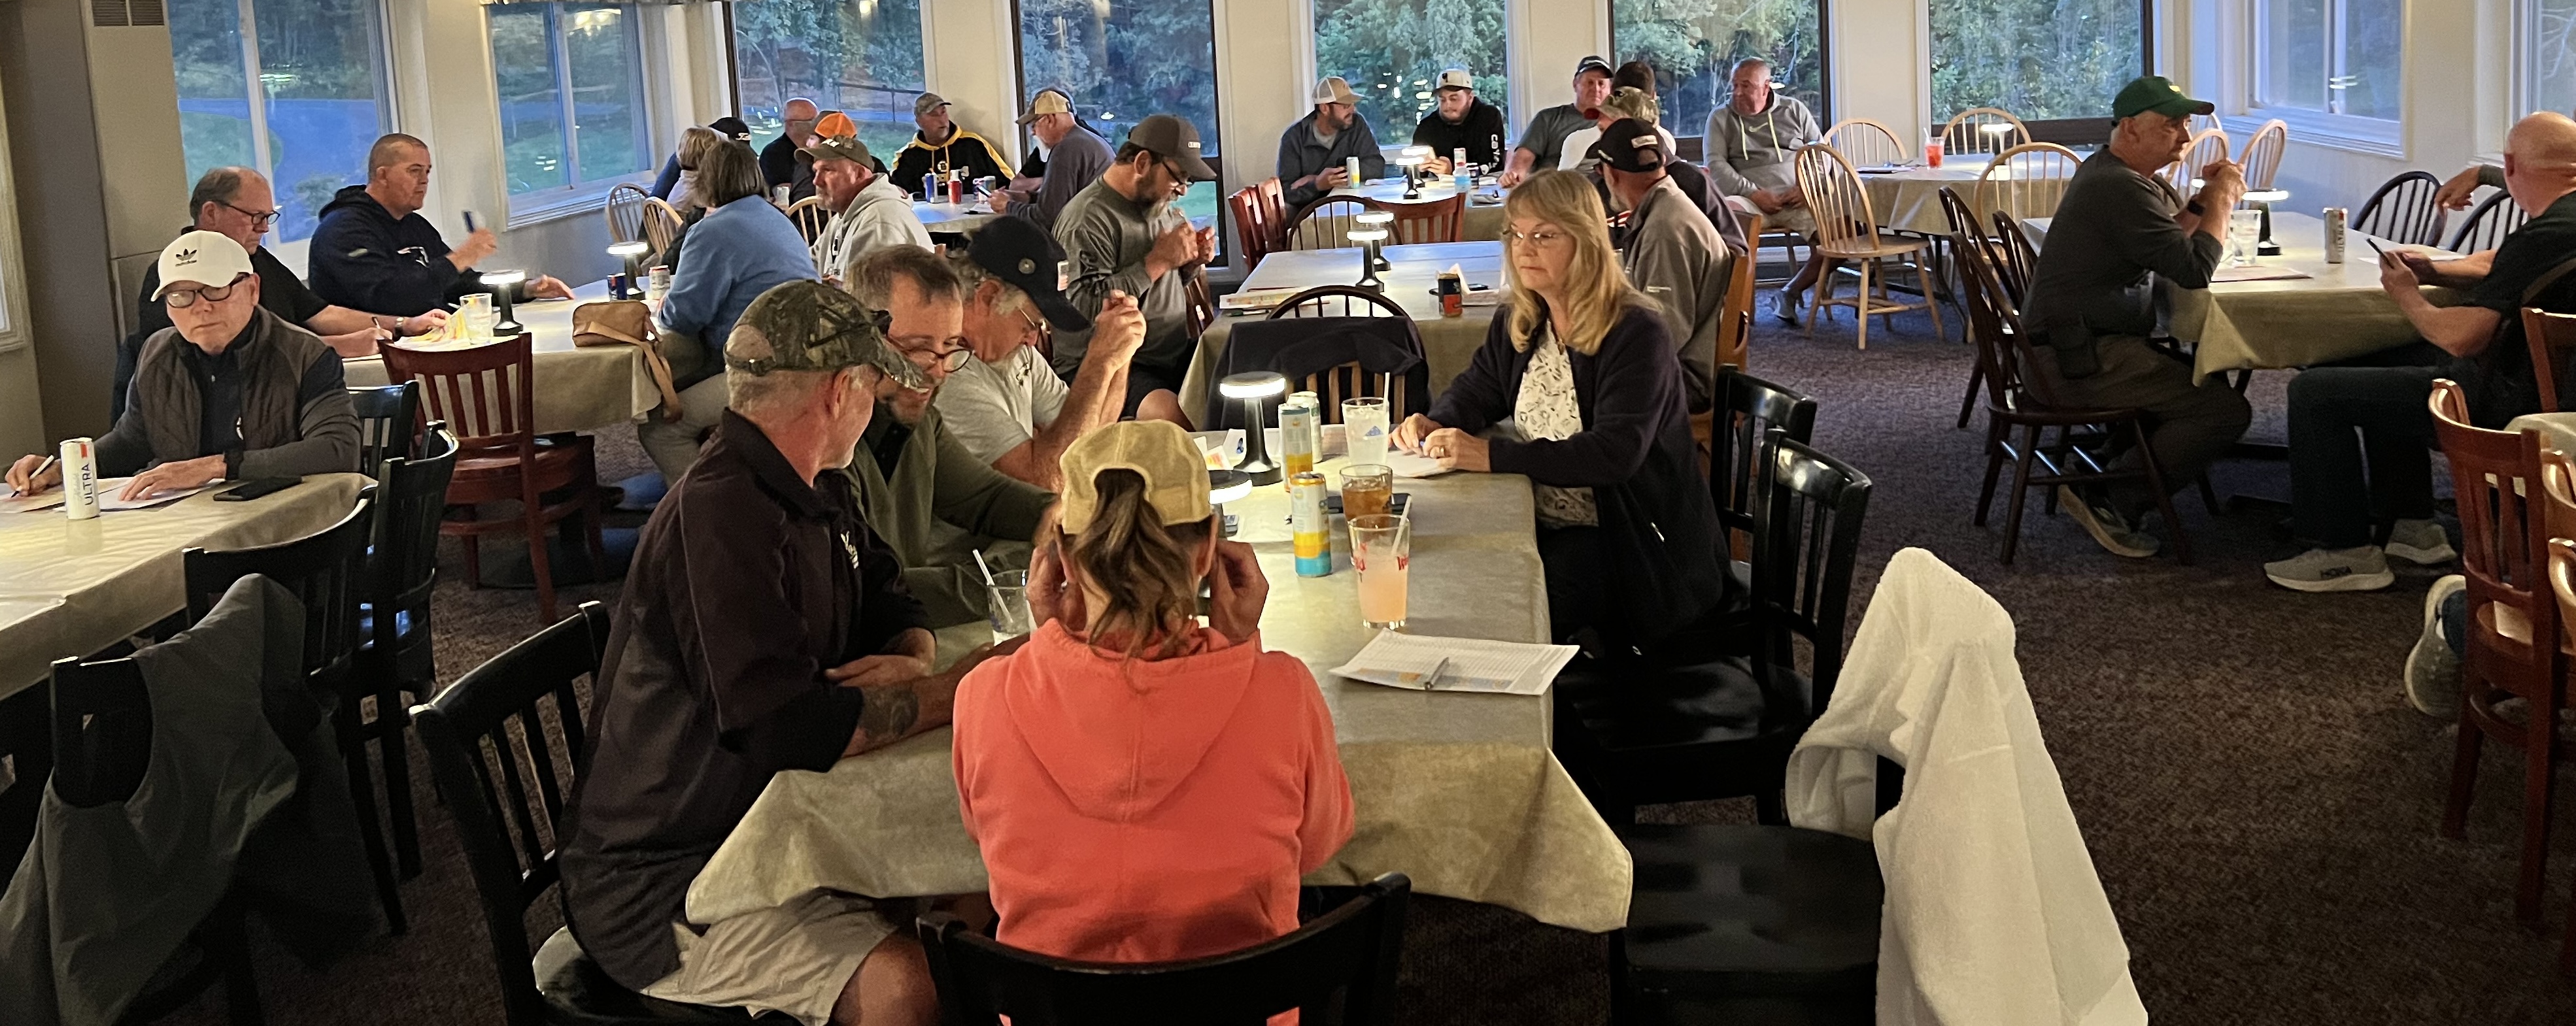
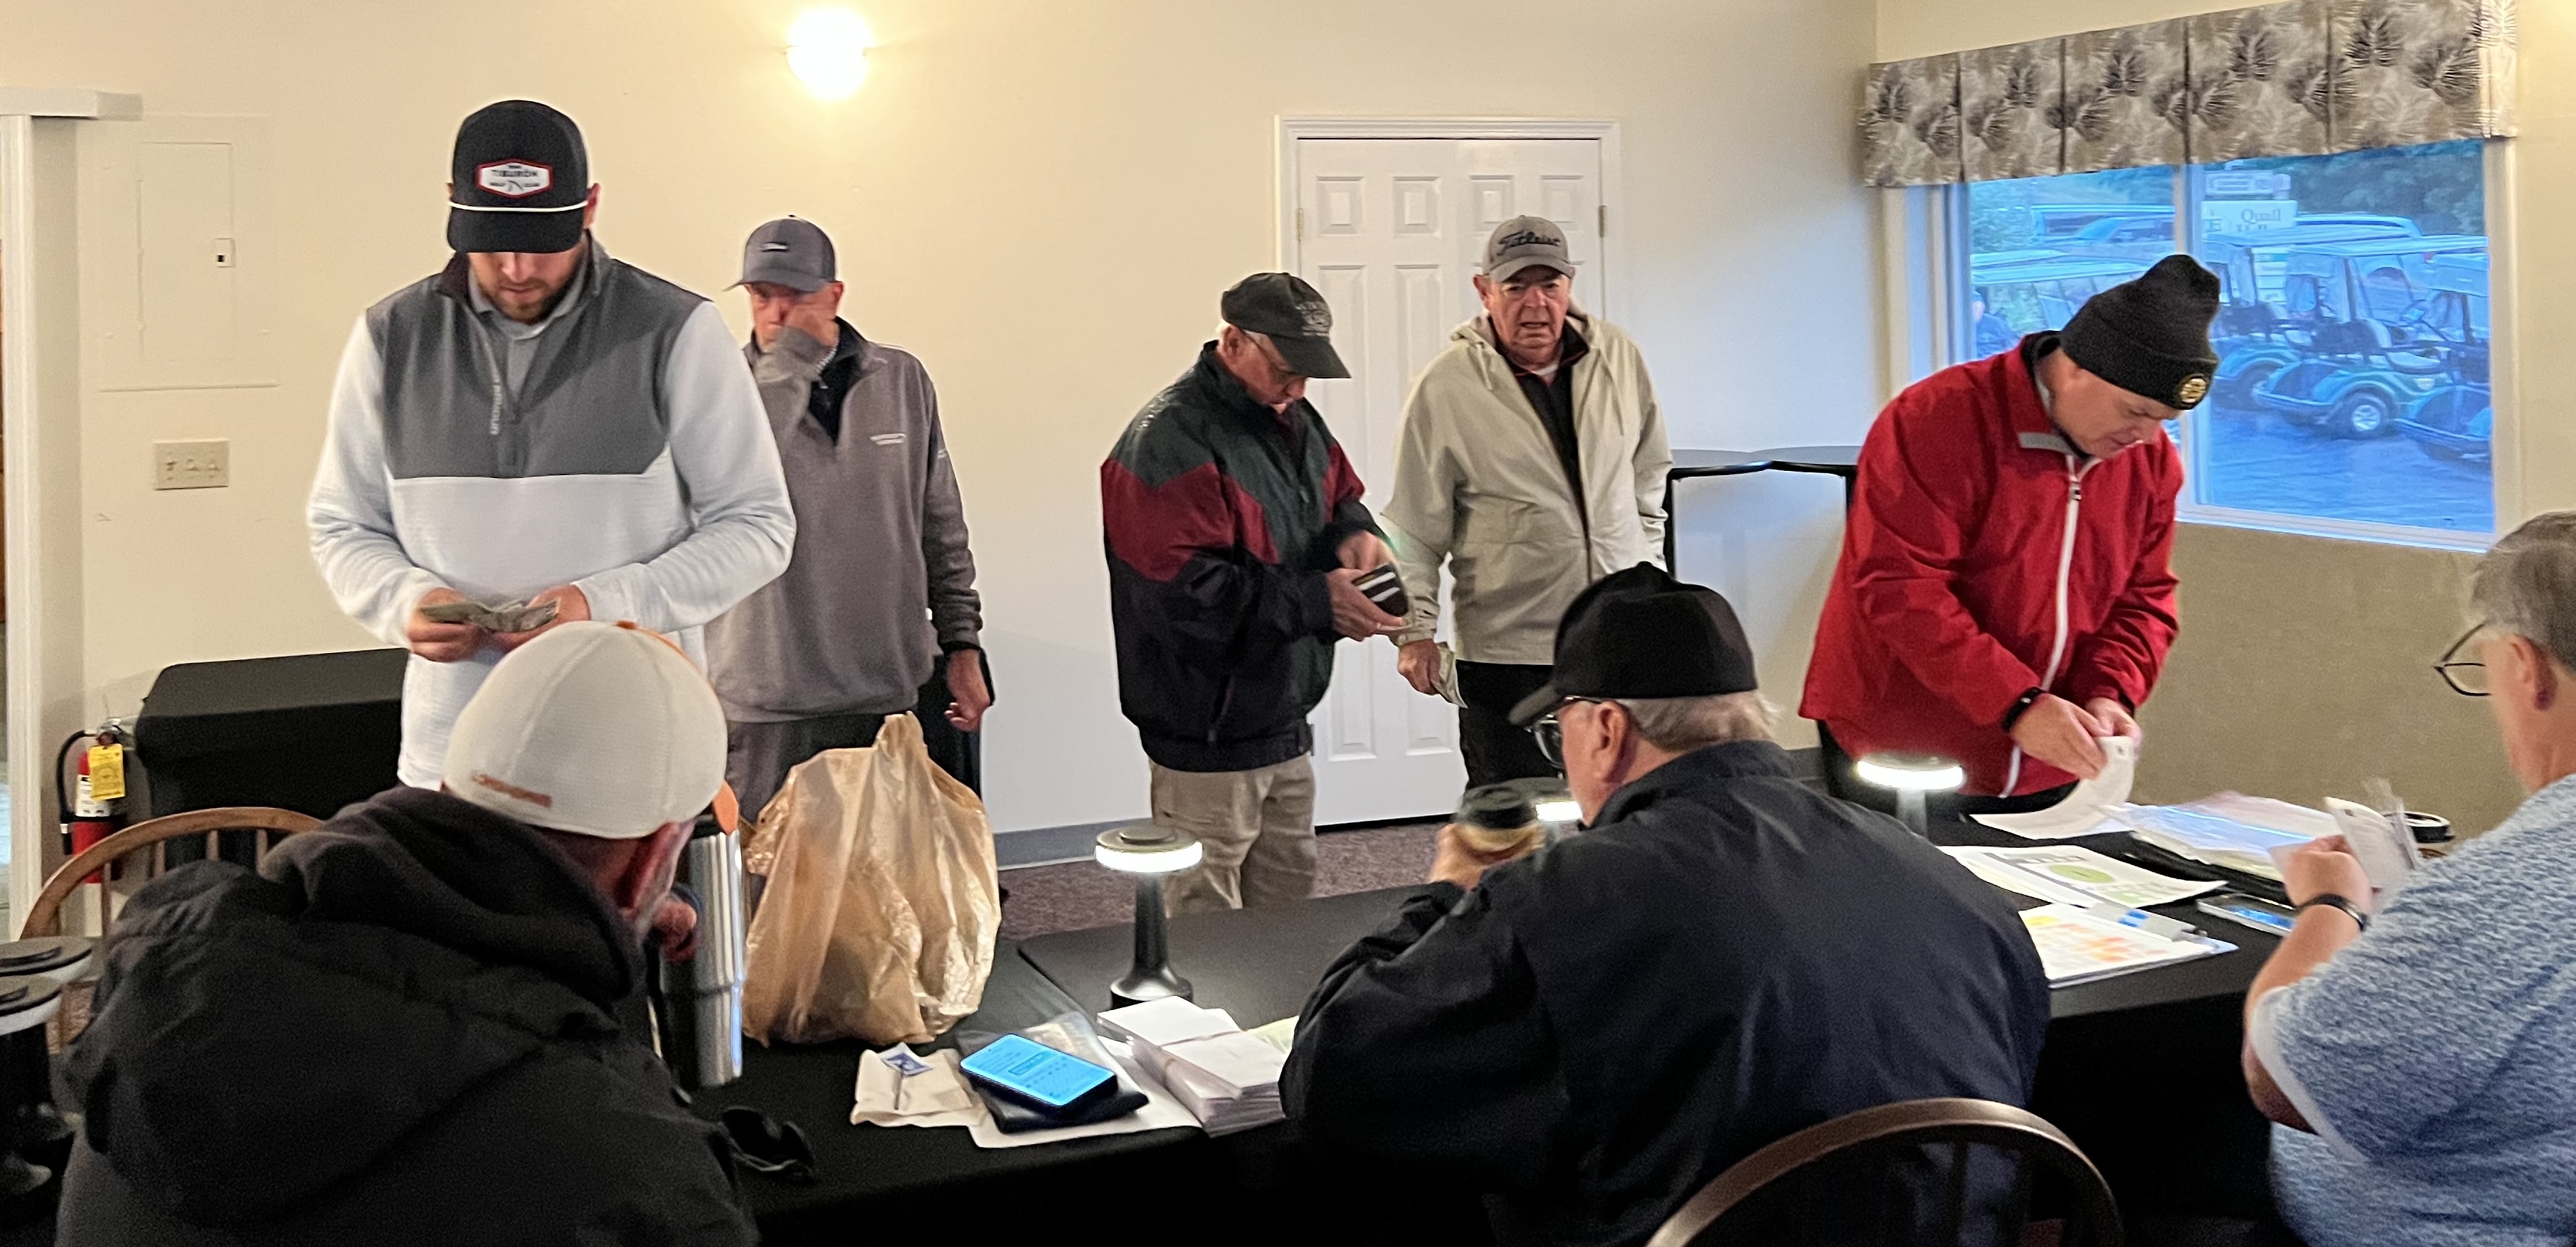
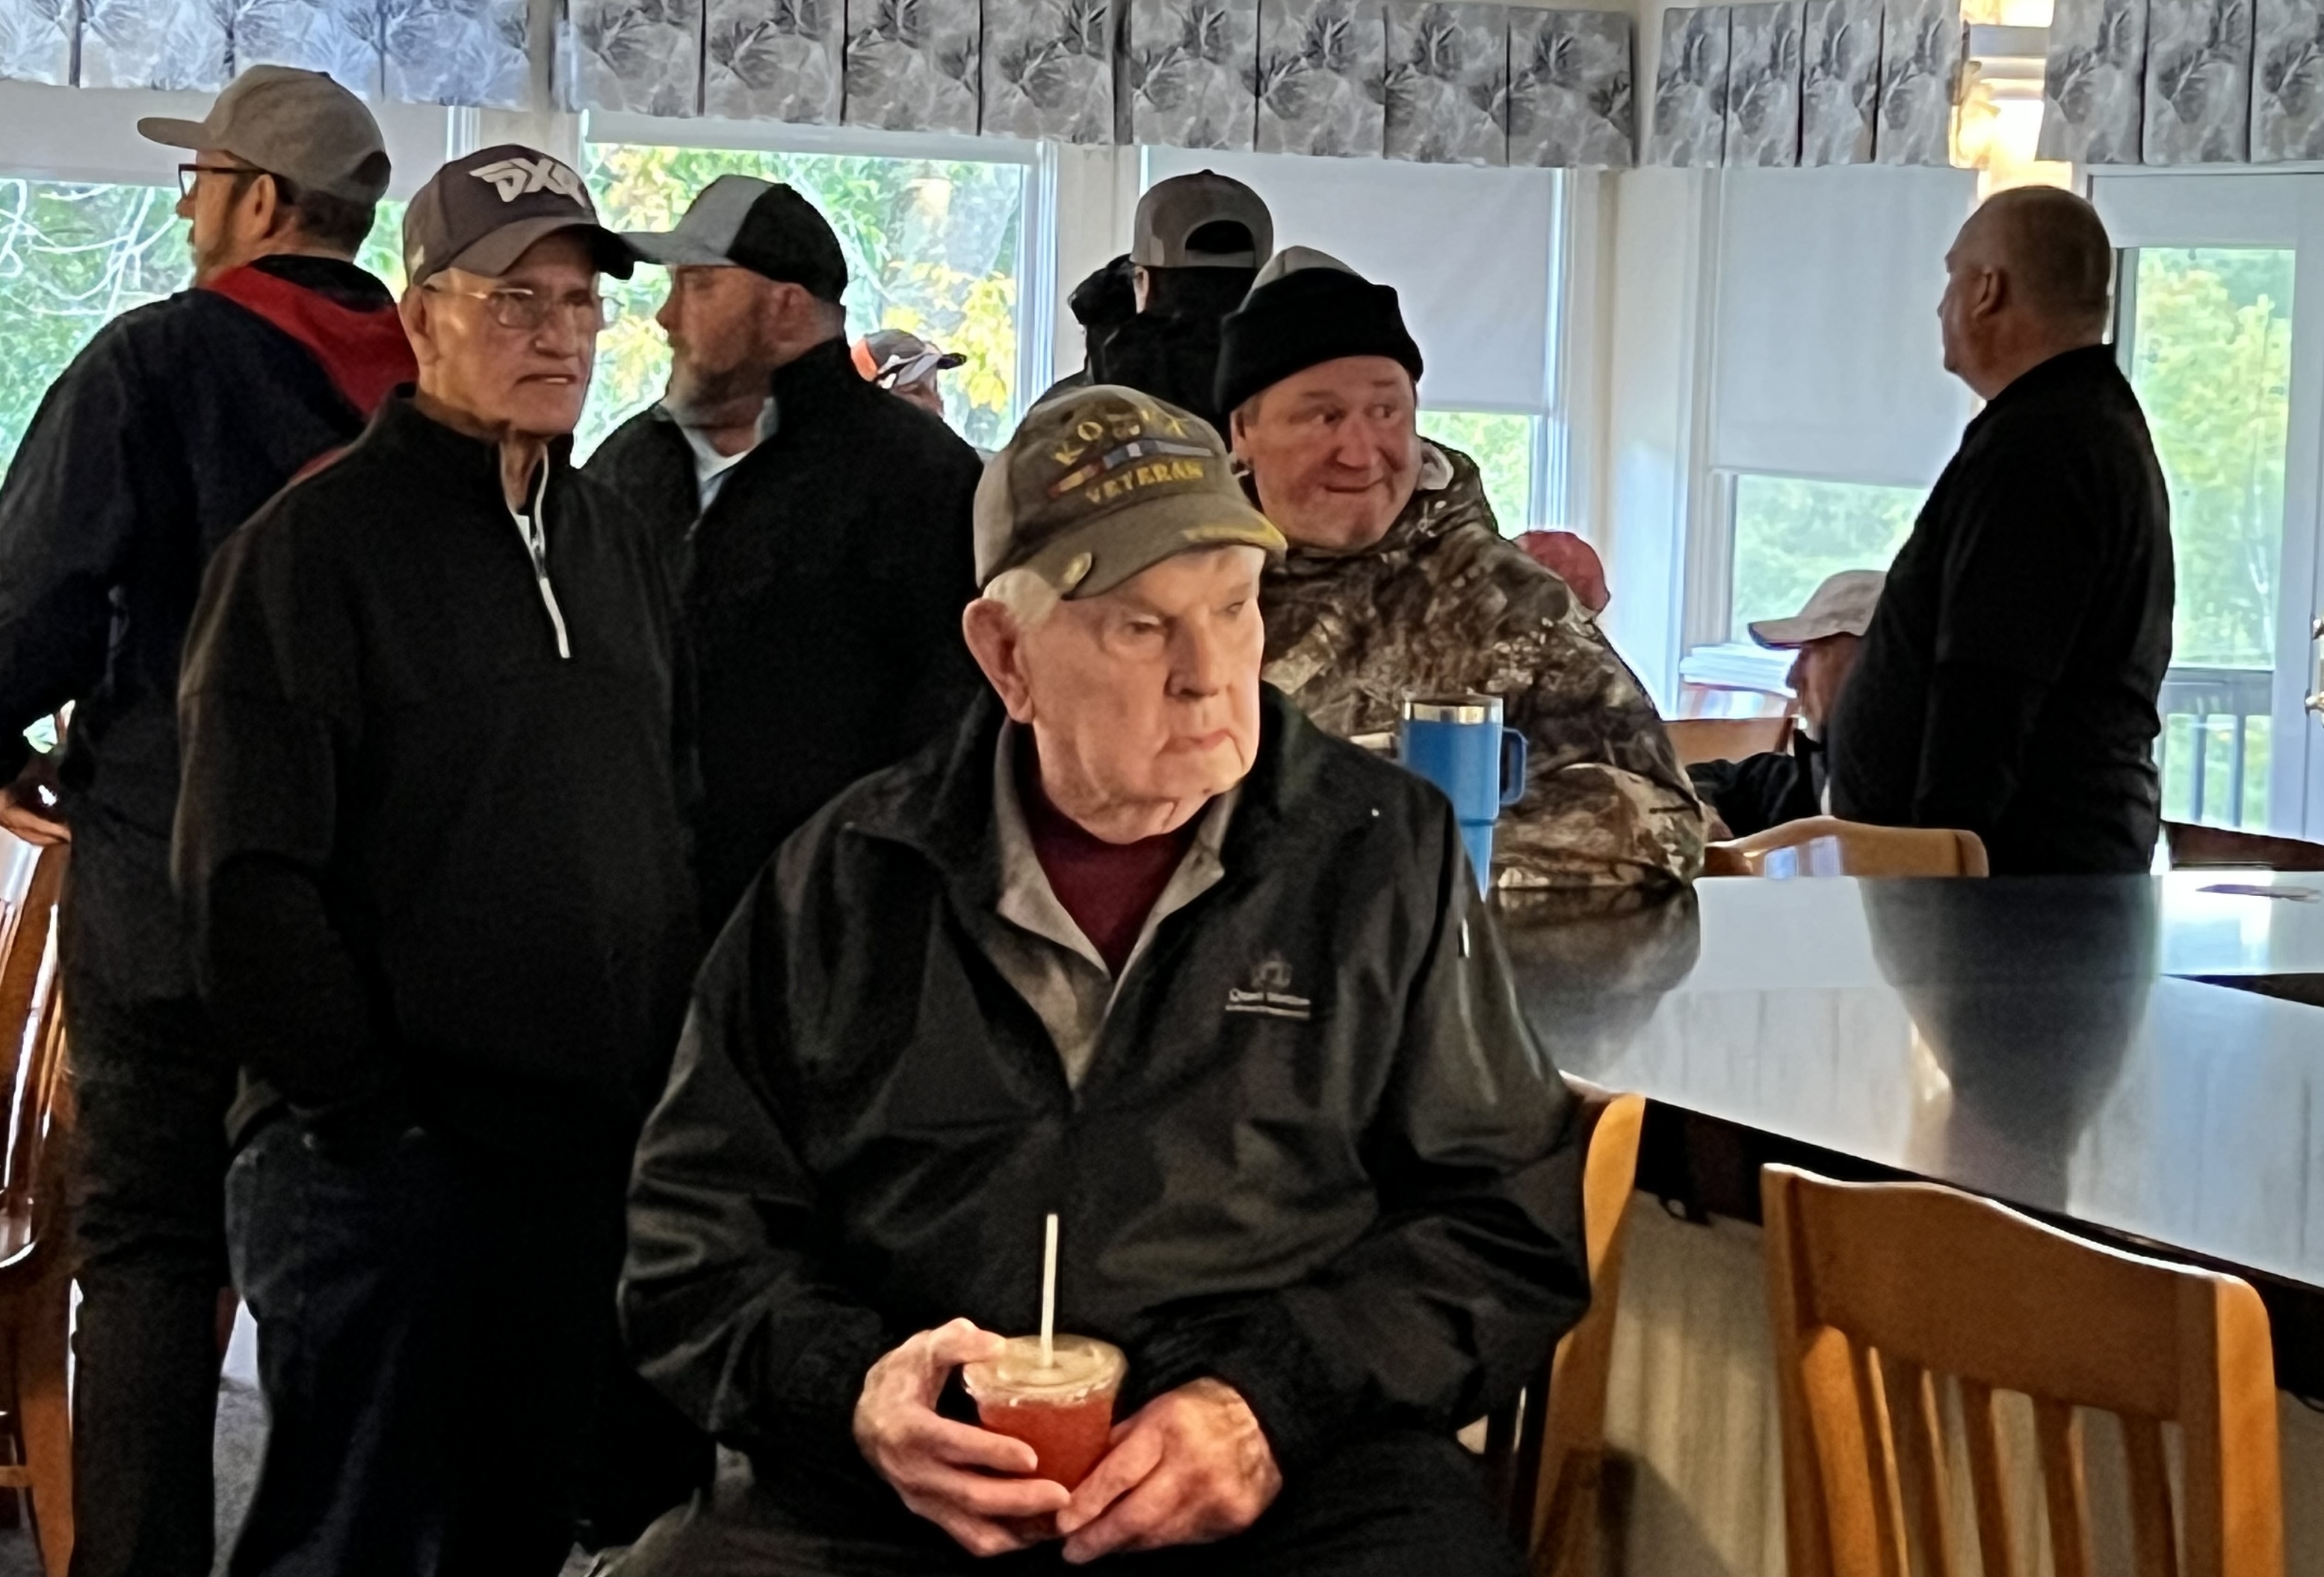
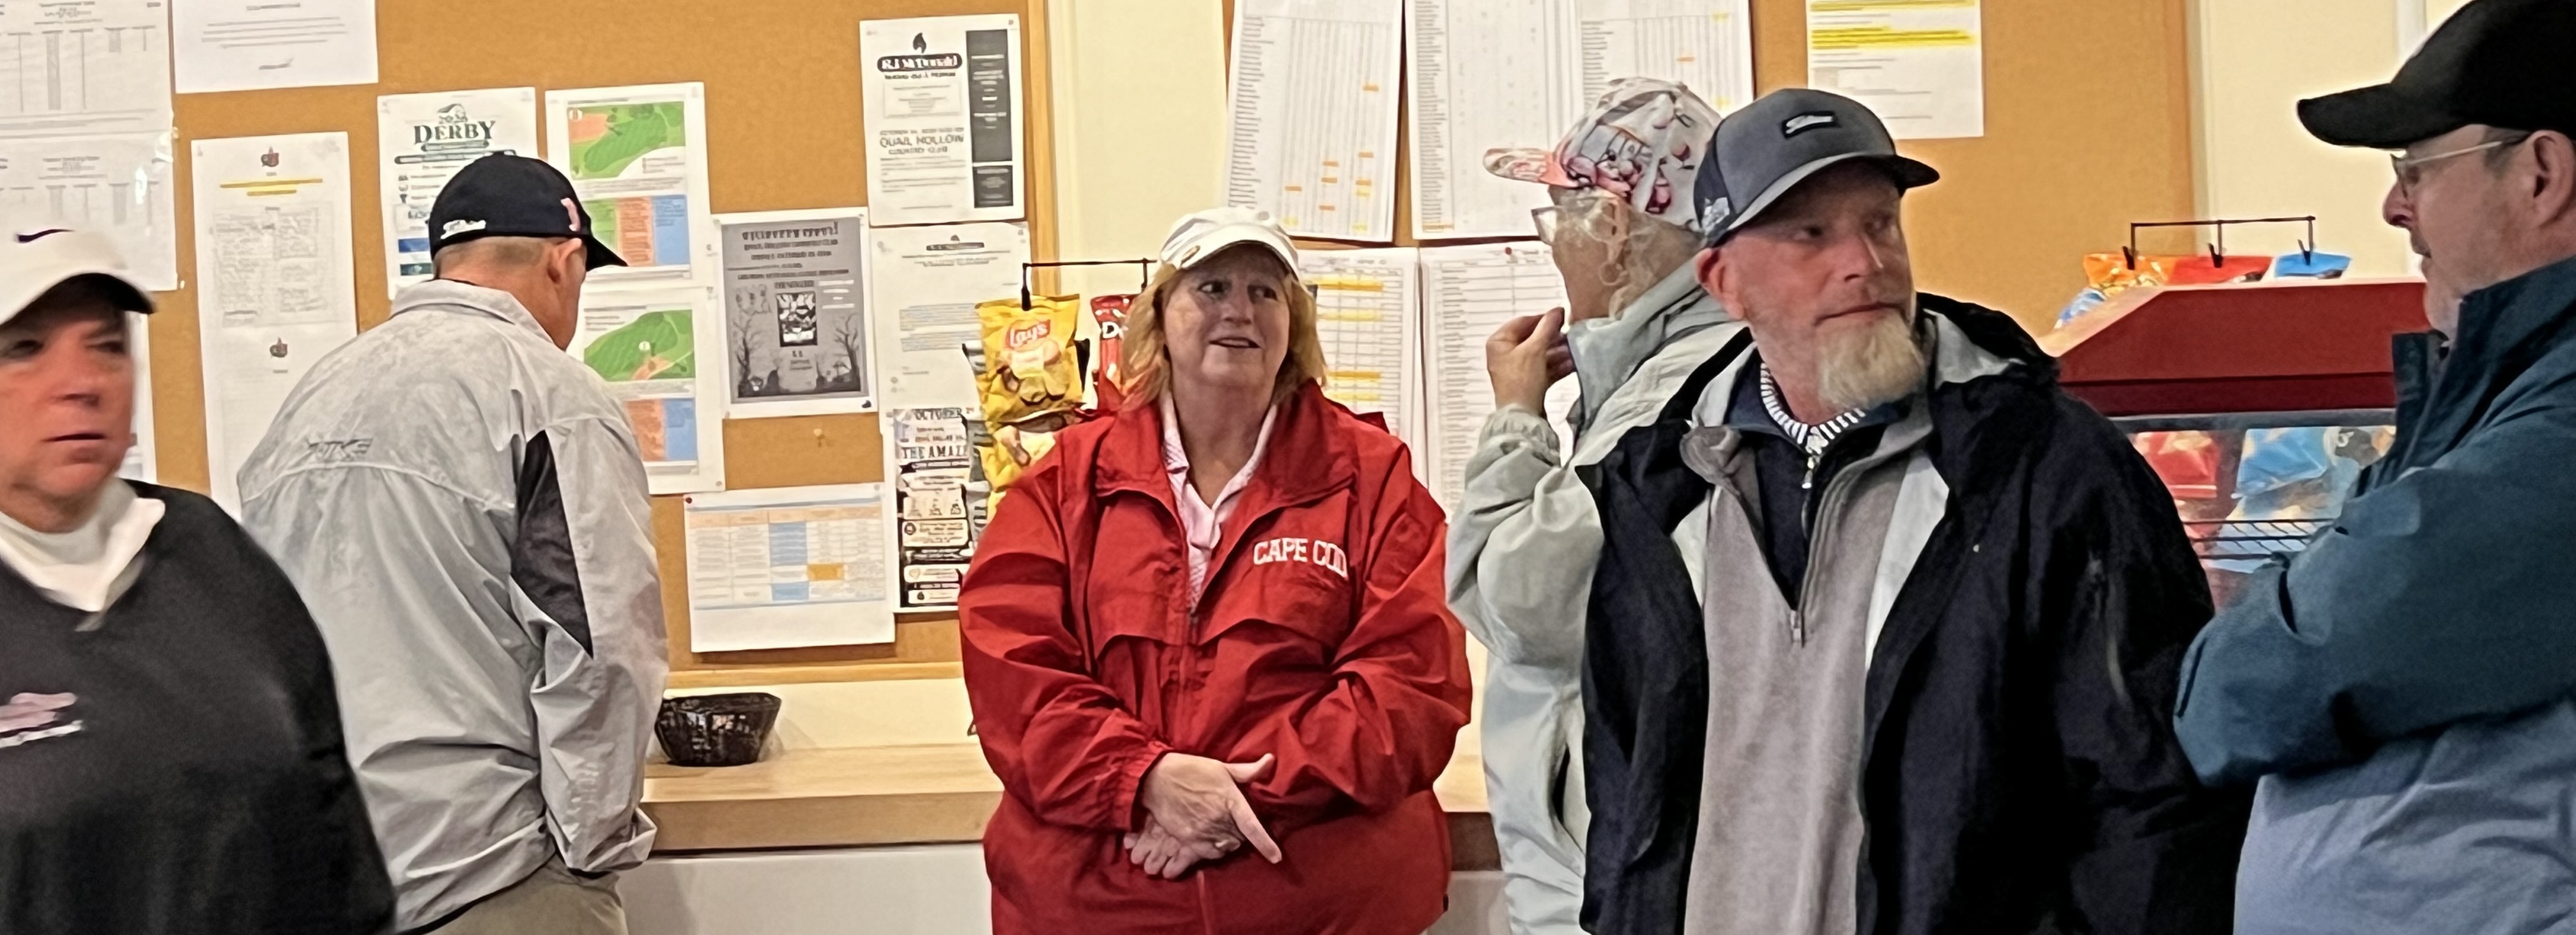
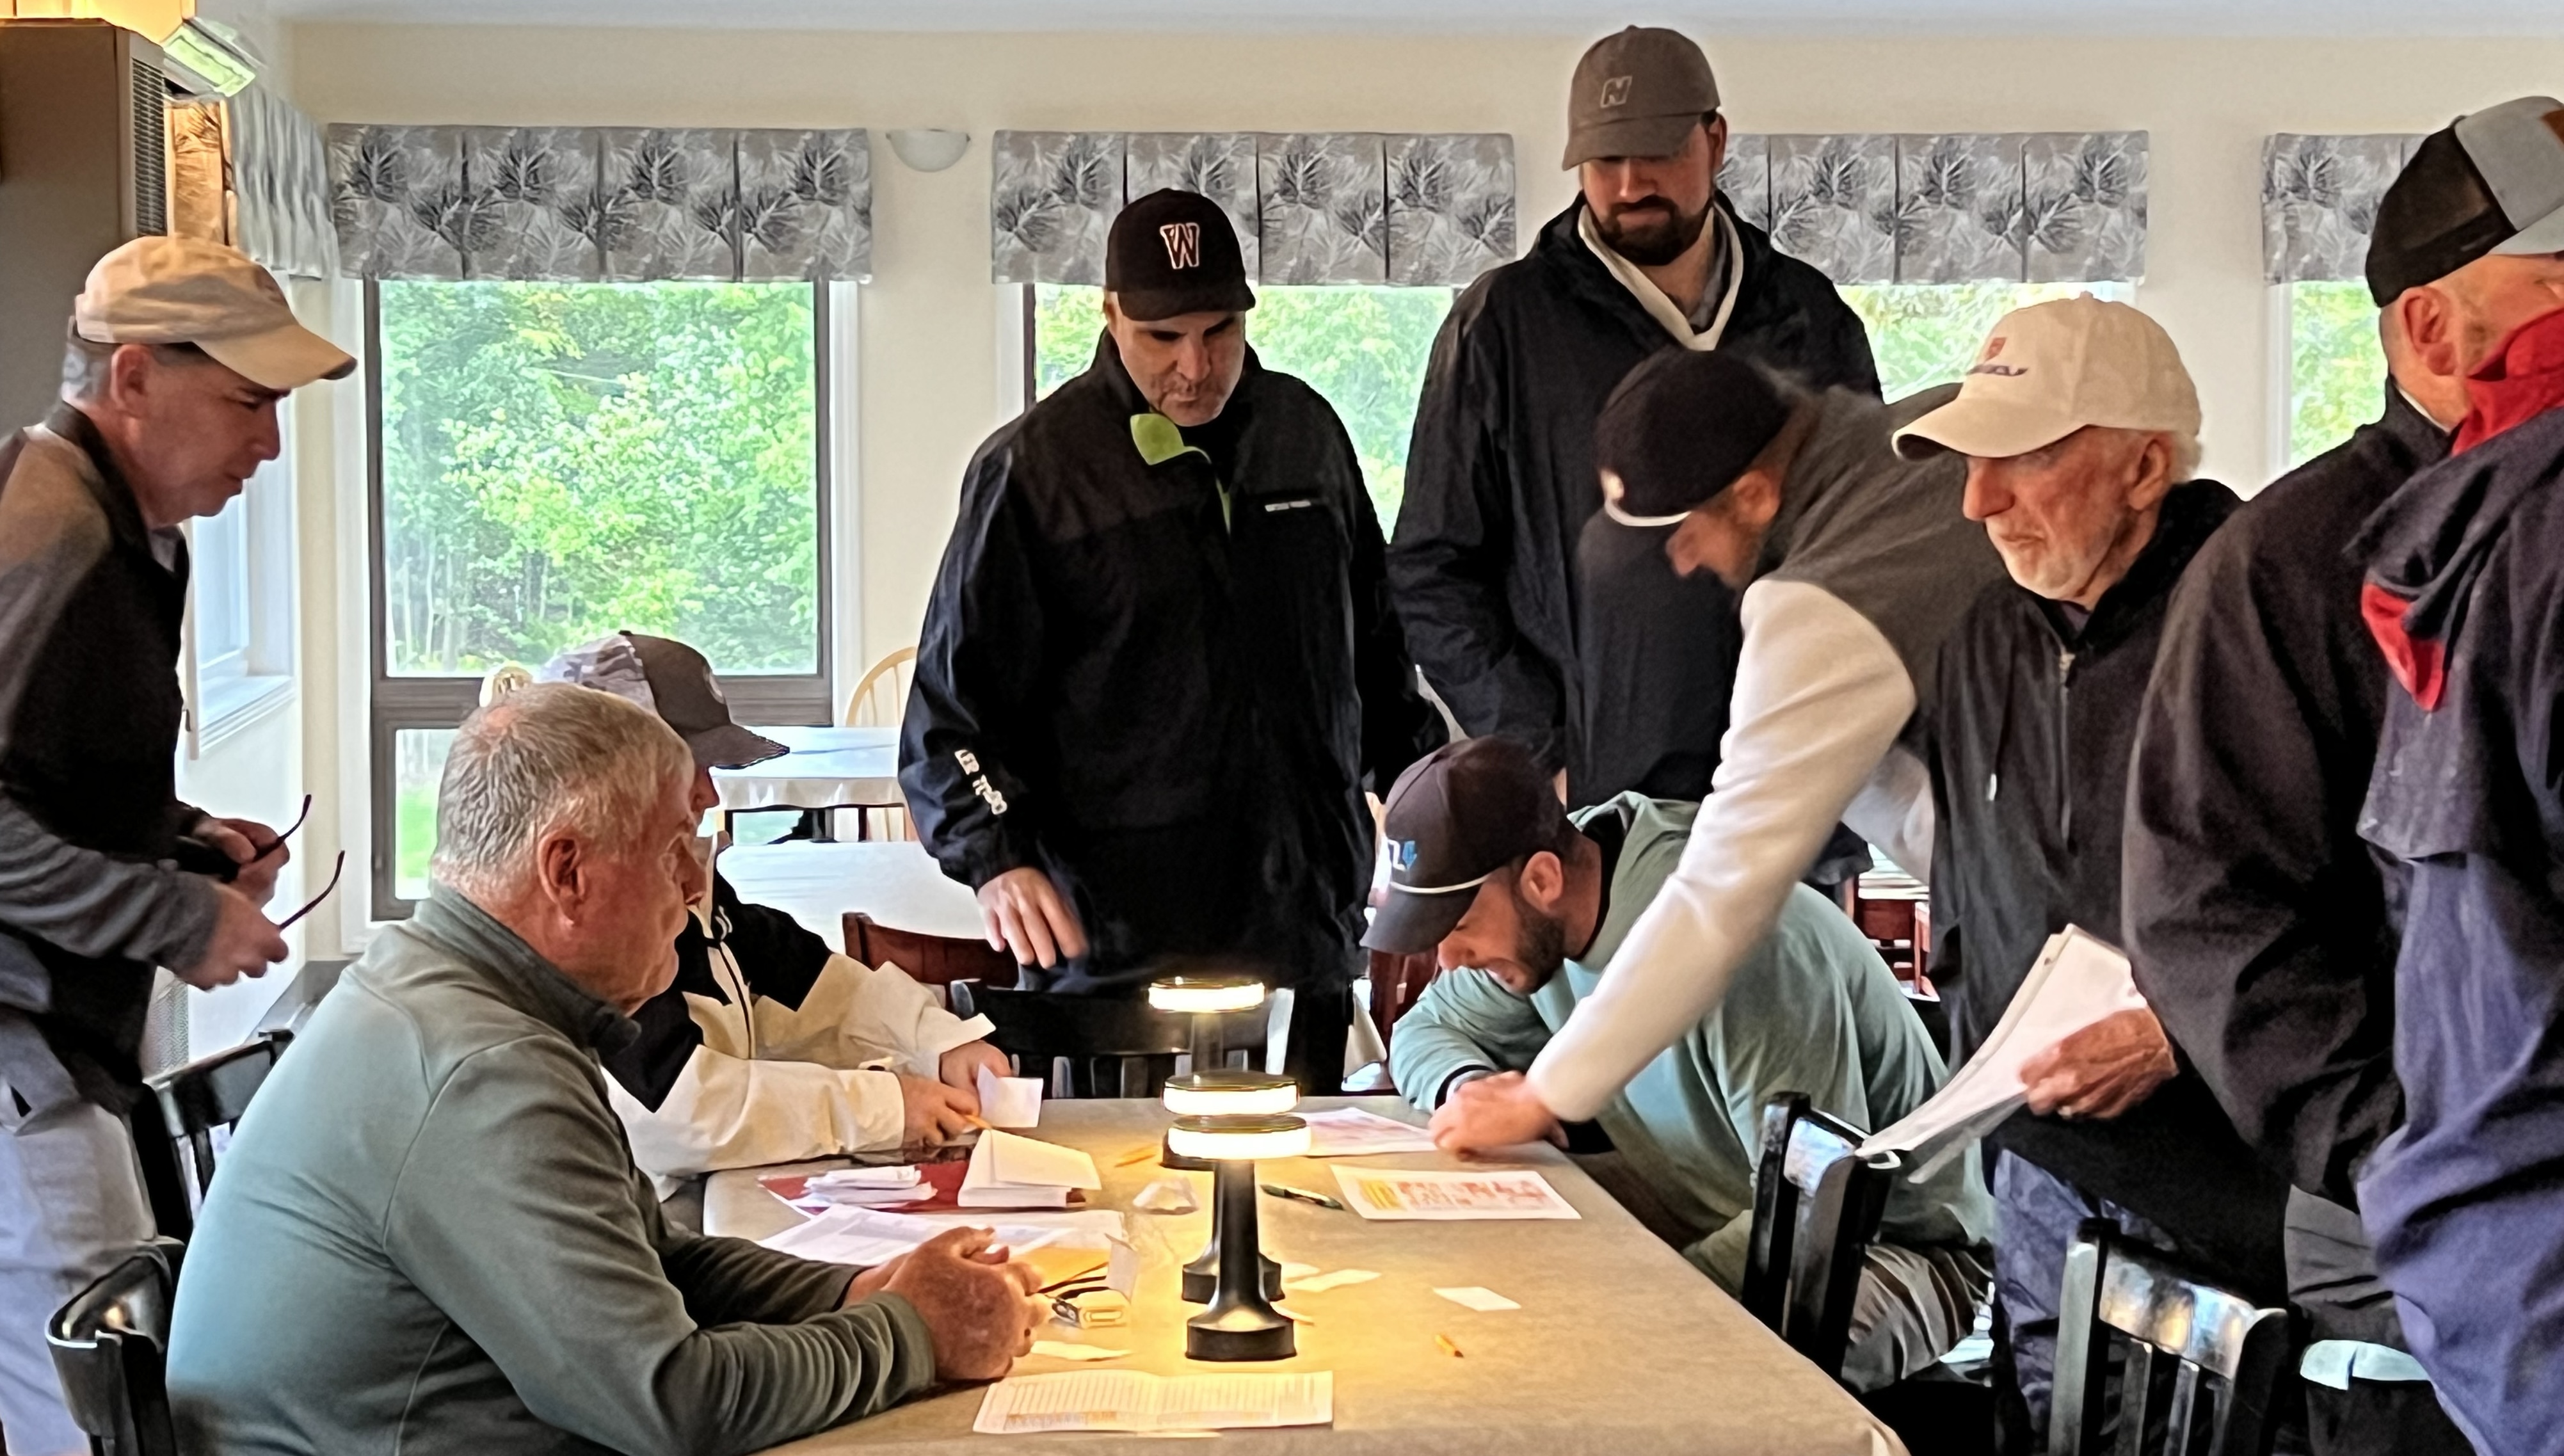
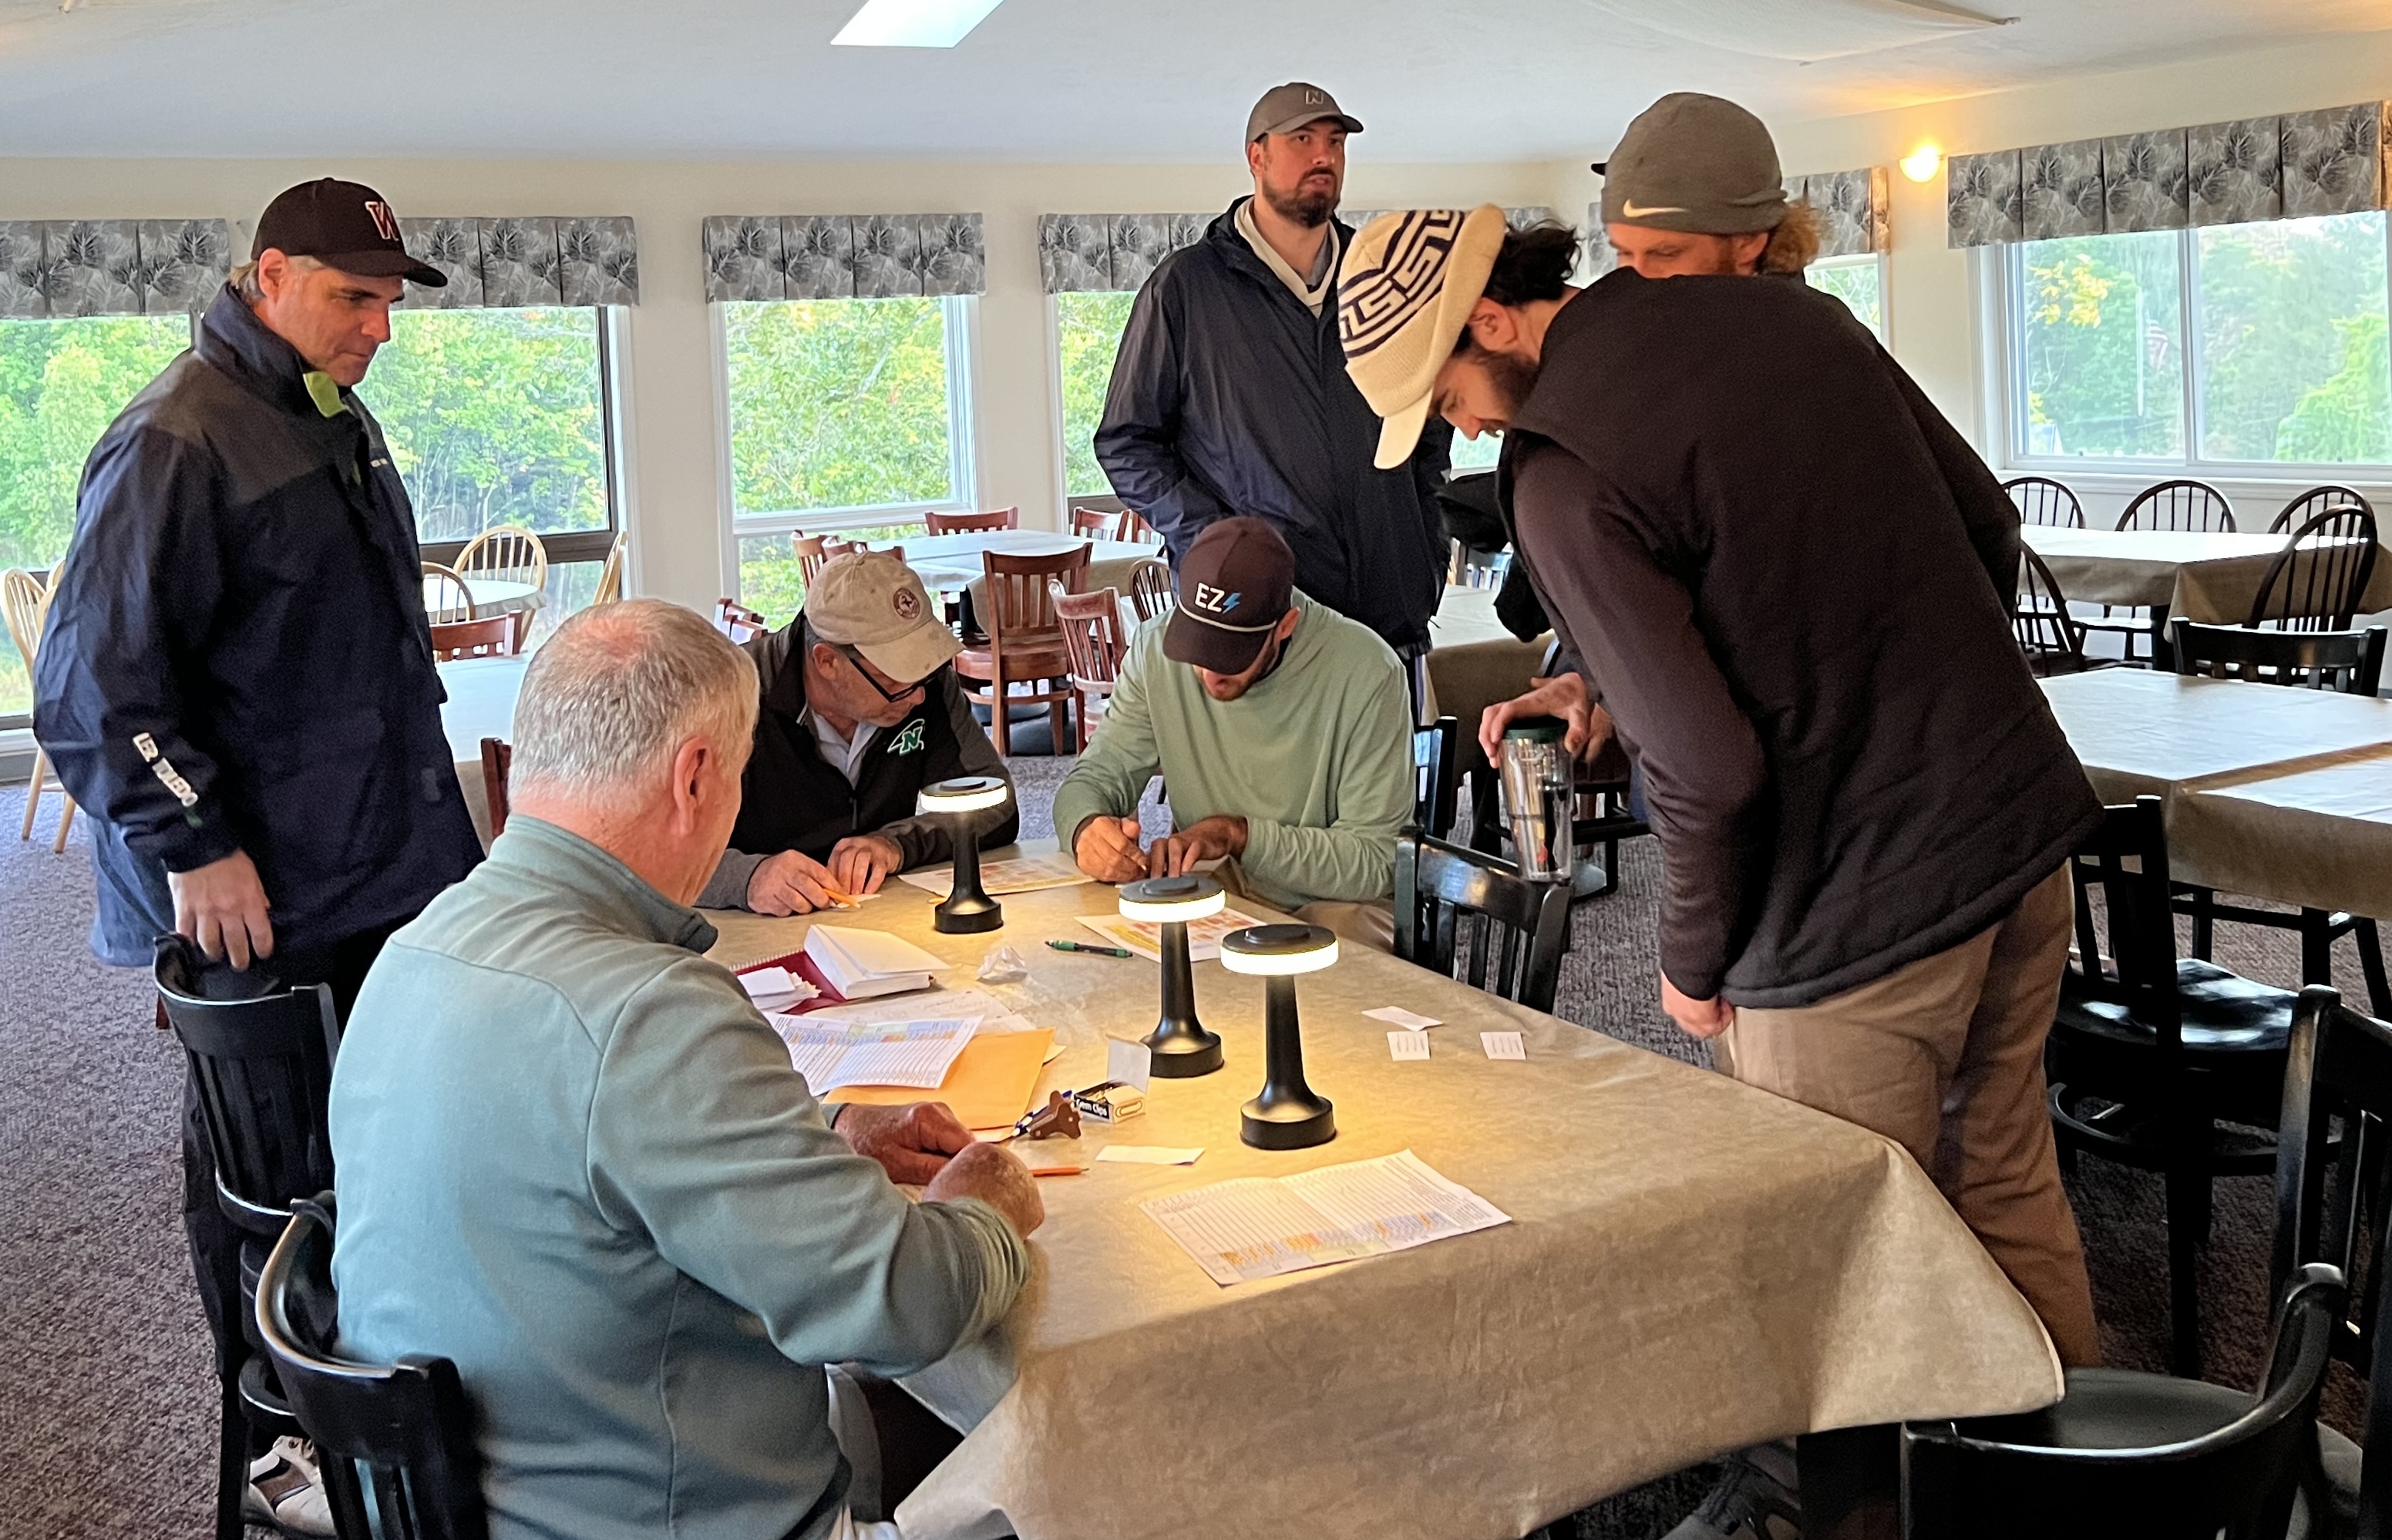
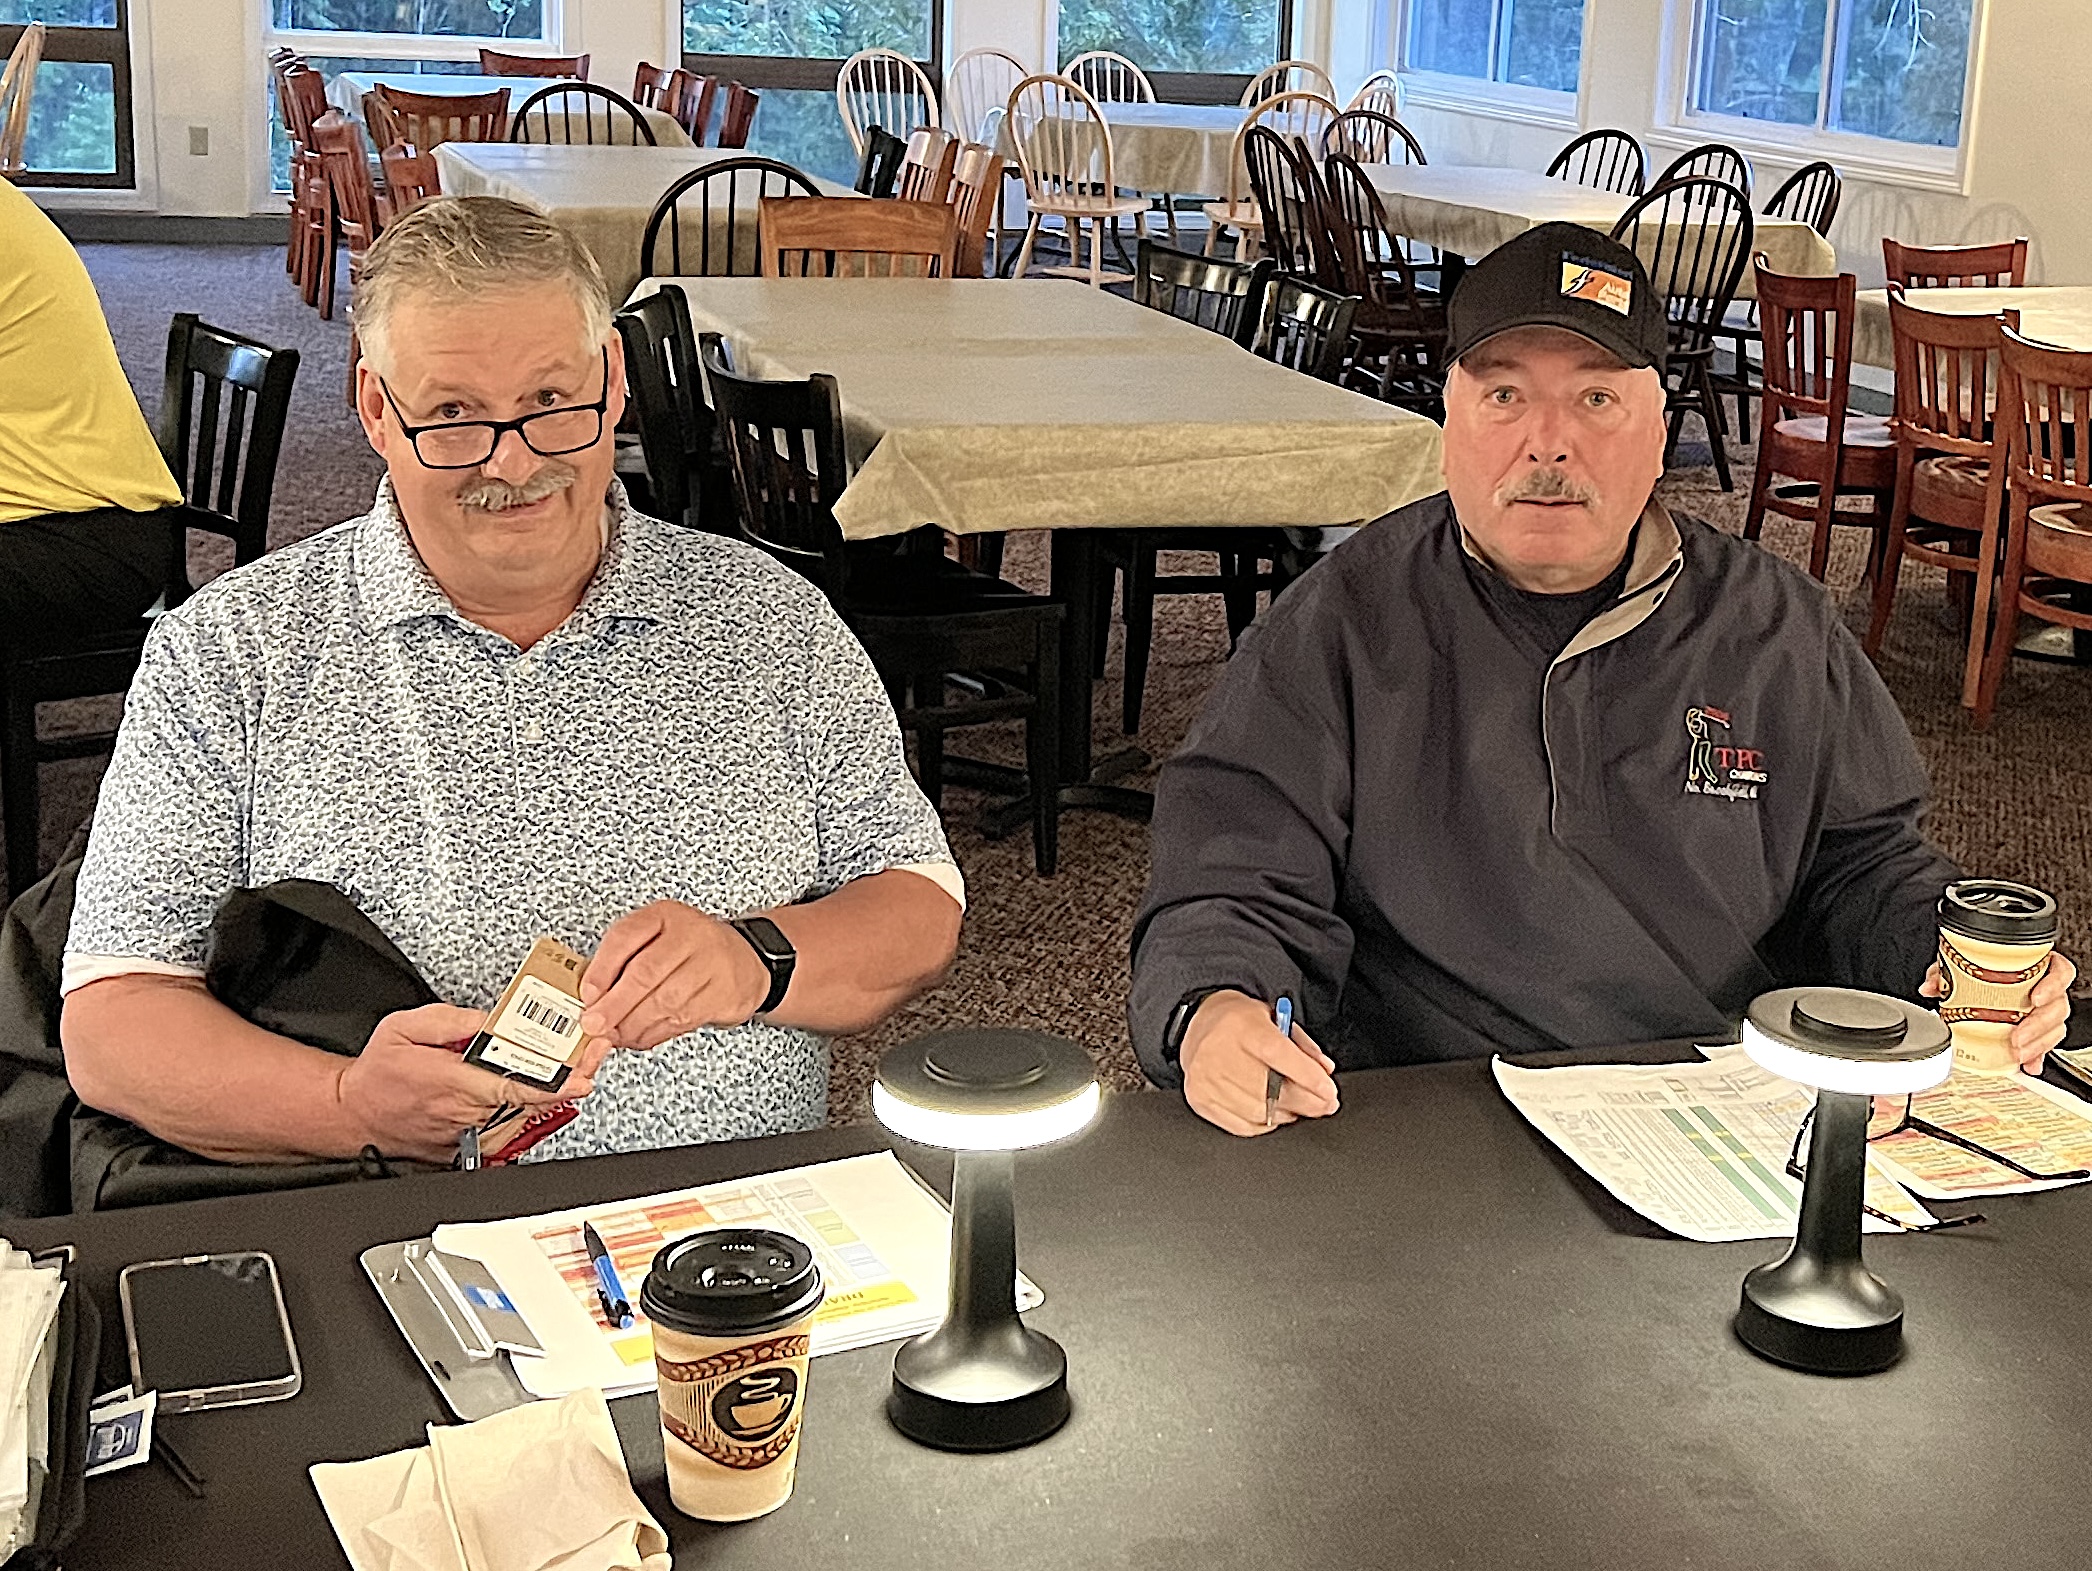
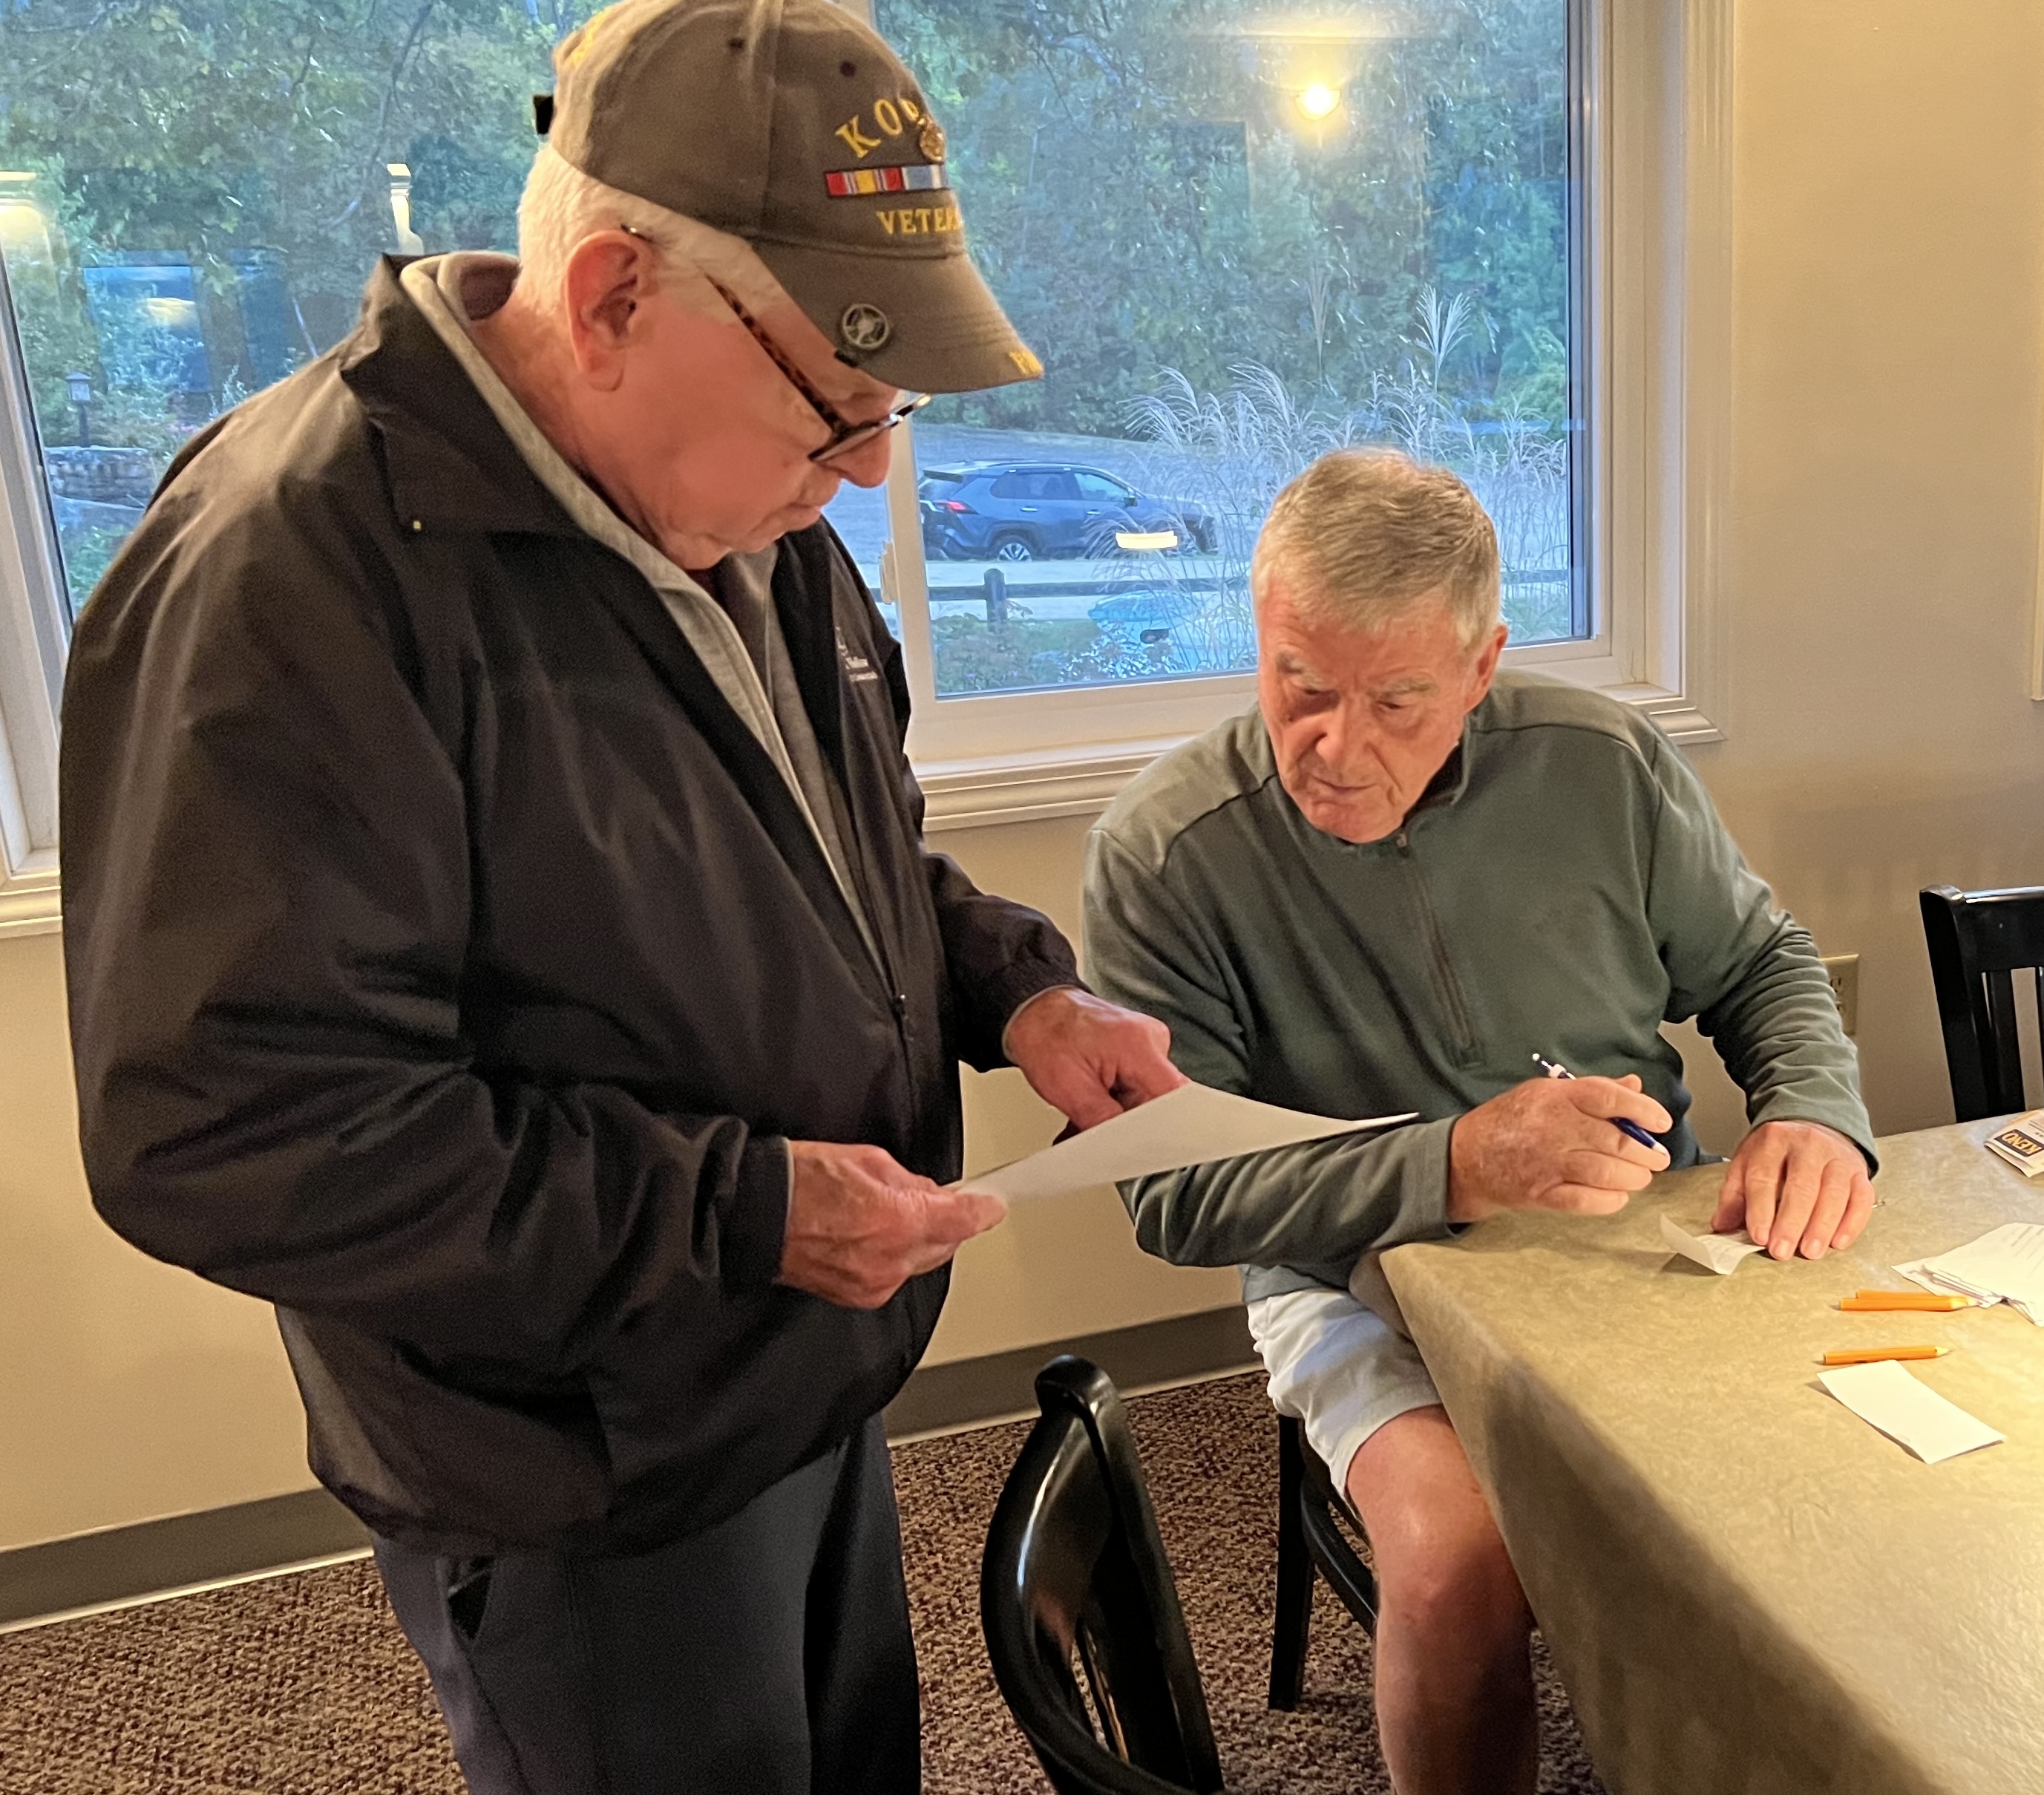
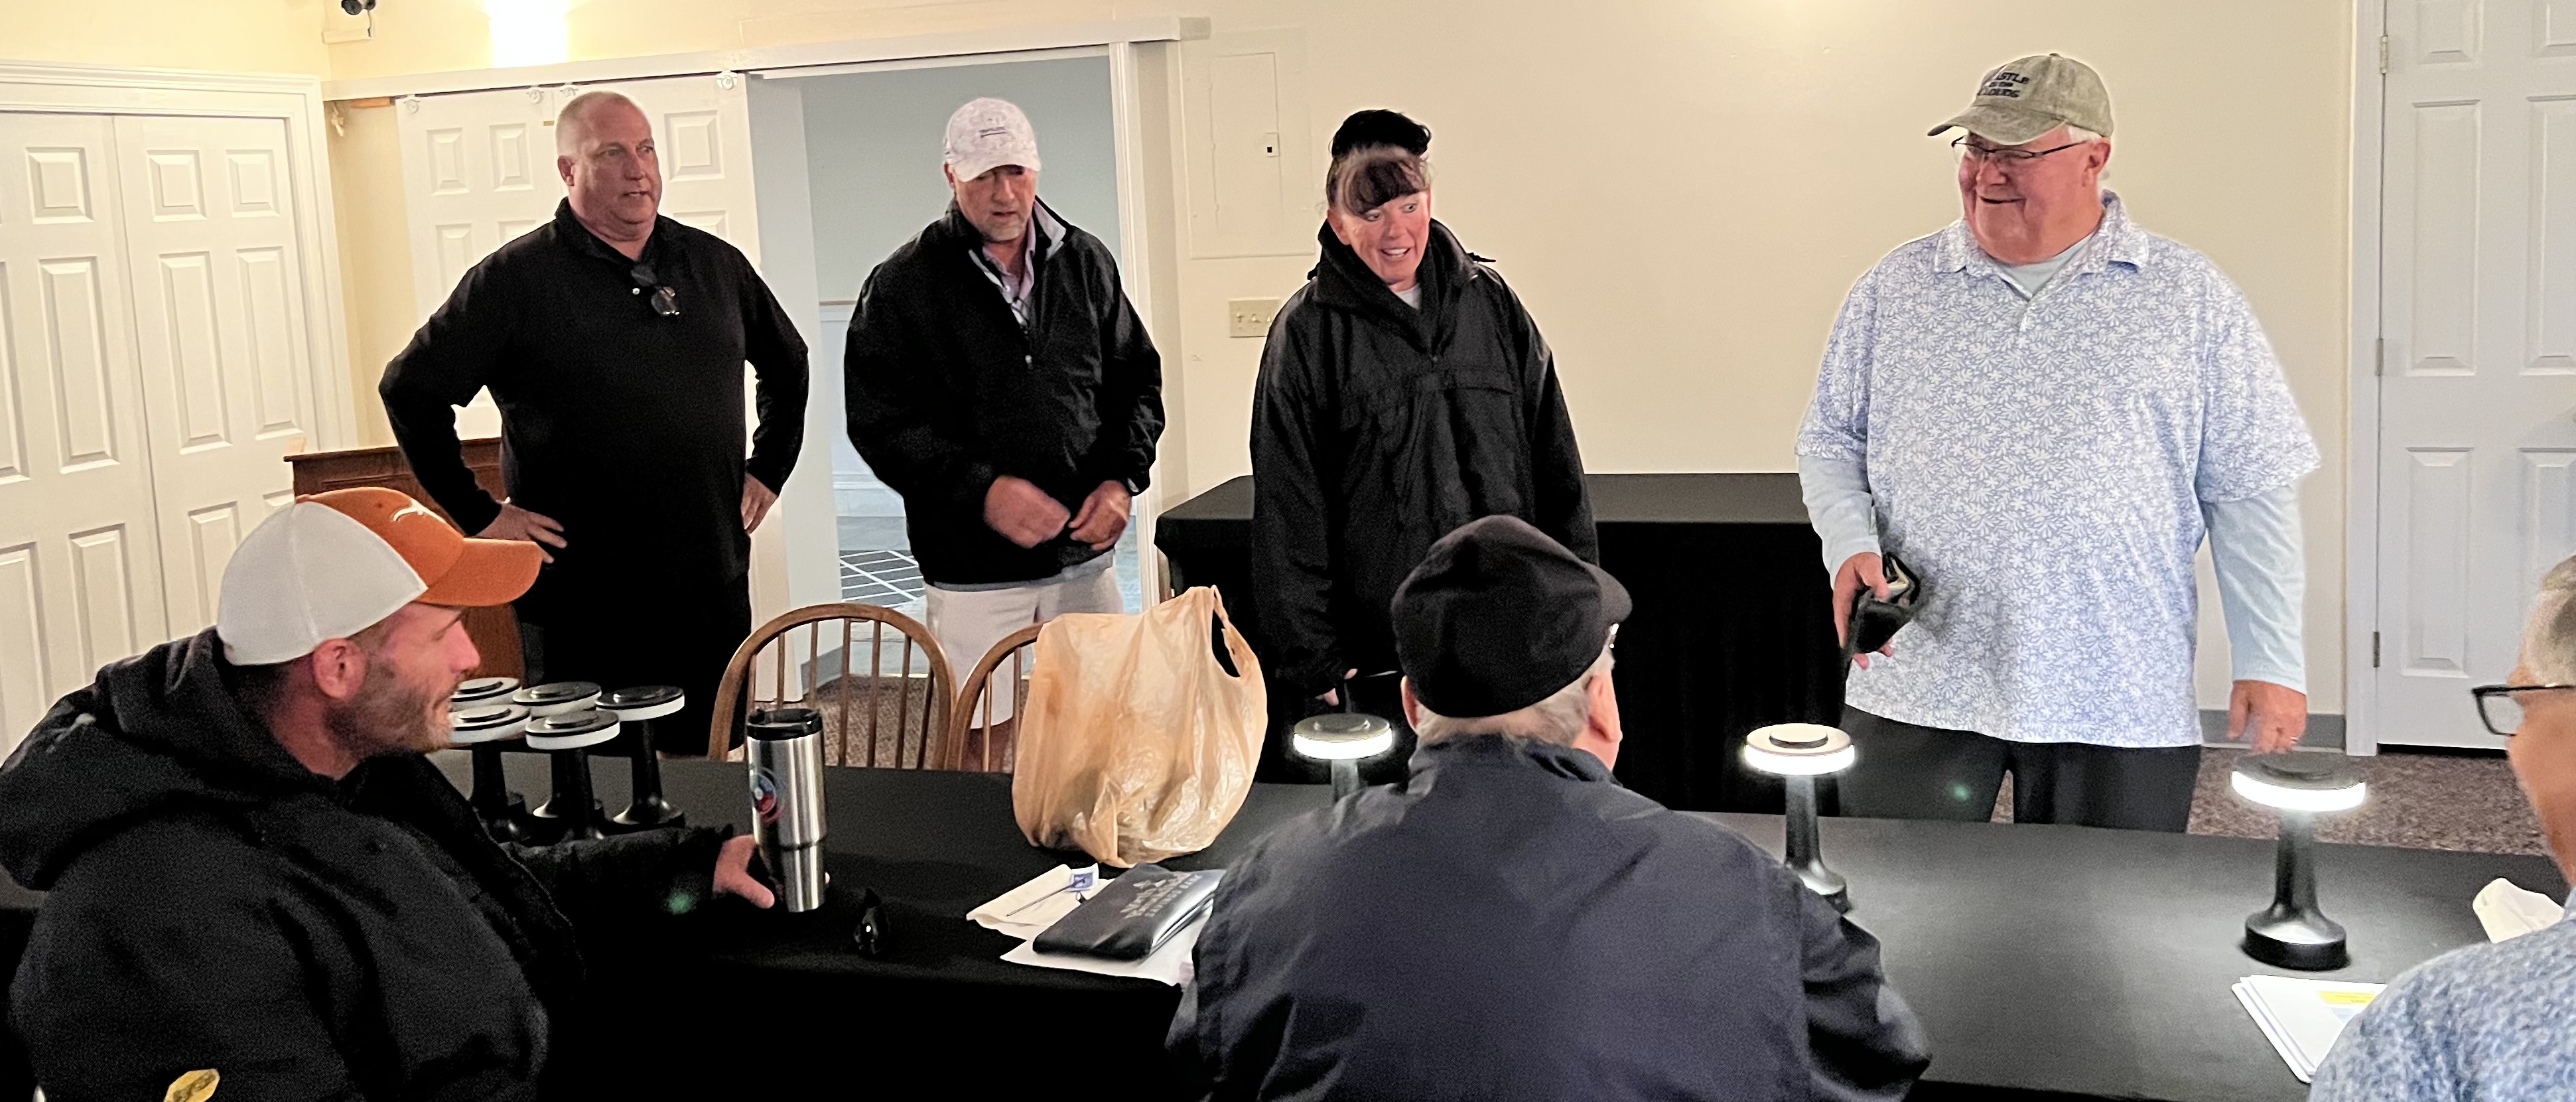
Saturday’s FINALS Photos (as we stay warm and dry in the clubhouse, register, and get any pari-mutuel choices in)
You can also add comments here at the end of this post. Please do!
The Draft night starts at 7 PM SHARP on Thursday, September 24th!
Arrive early!
I recommend that attendees arrive by 6:30 PM to get their handouts and to get good seats. I understand that food will be available for purchase.
If an A player is late, we will still continue at 7 PM. In the absence of an A player when we start, the committee will pick for you. Hence, please plan accordingly. All players are welcome, but A players need to come to pick their teams. The prizes and more will be covered there and then. If you need to make picking arrangements, speak directly with a committee member as soon as possible.
All are welcome and encouraged to attend the draft as it is a fun and exciting night! Plus, you can help make your team better by just giving your input to a team captain who could benefit from your knowledge! Two or three heads are better than one!
As the FINALS for the 2026 Tour of the Brookfields season is Saturday, September 26th, I need to share information!
This blog post will have all of the pertinent data for all players. It will highlight the information for the A players. This information will give all players access to the exact same data to use for the Draft Night.
I will share the files here (which are downloadable) and screenshots of the files, with some explanations.
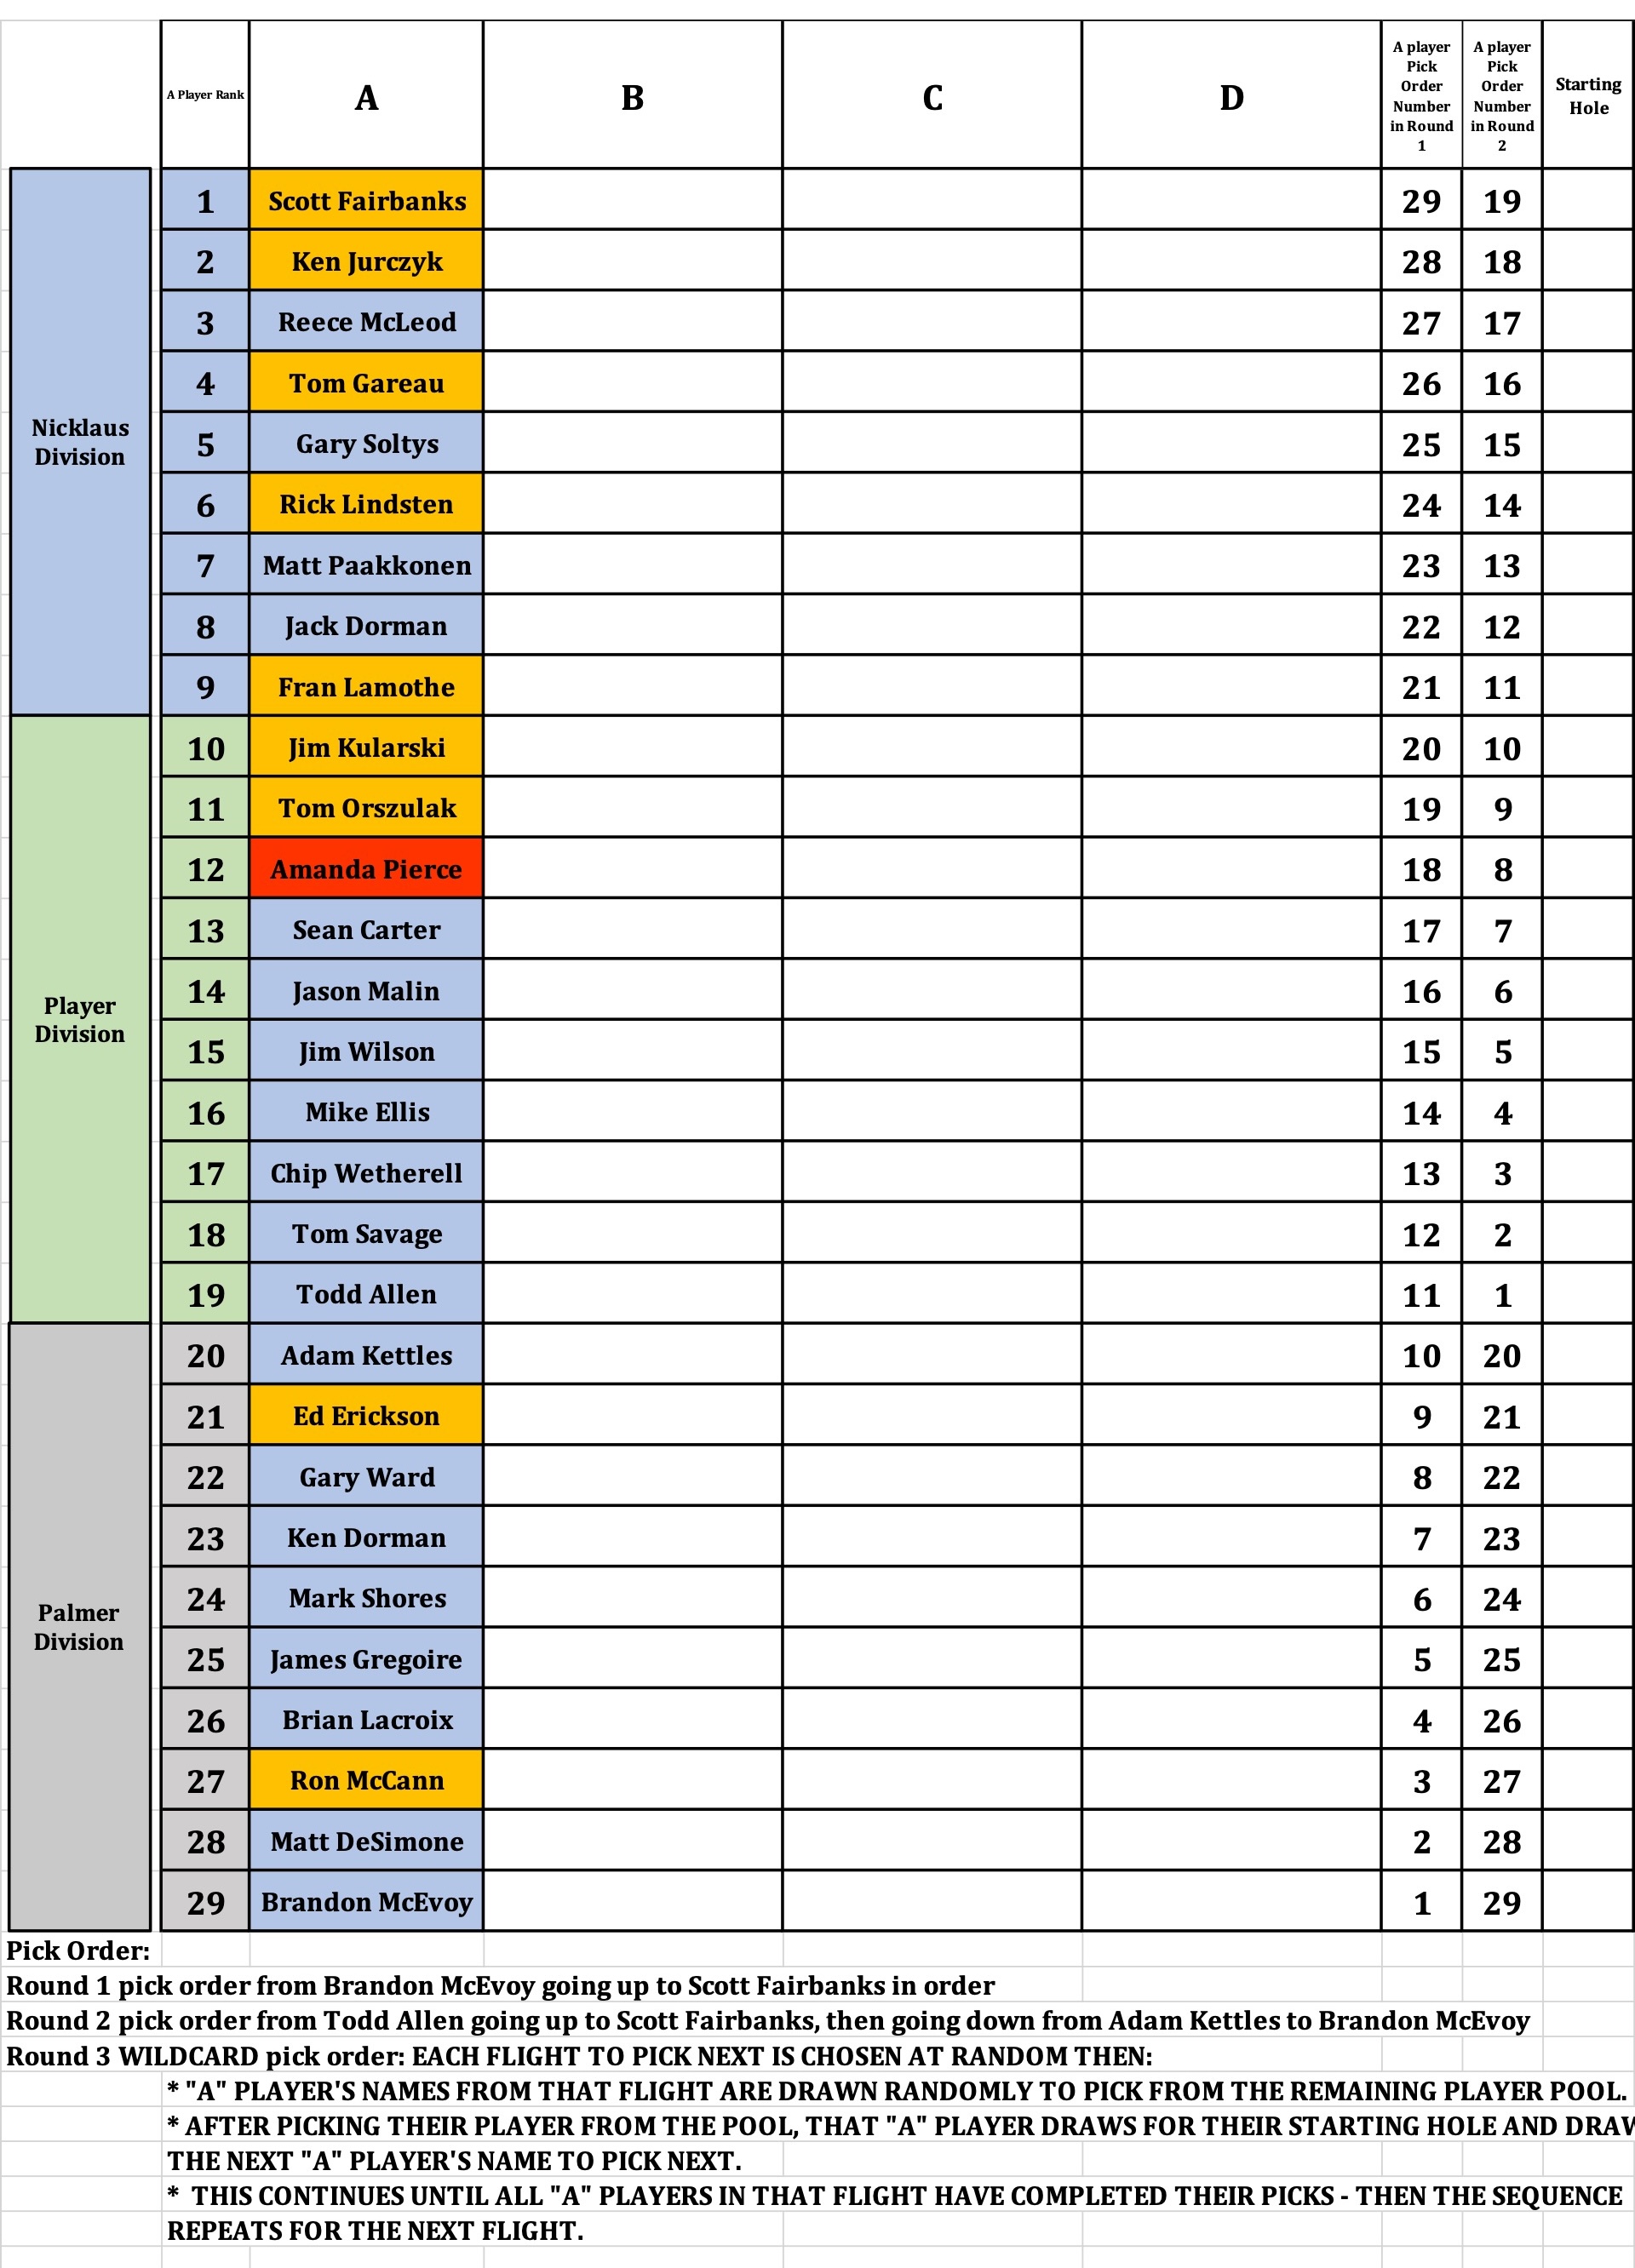
The “A” Players Ranking and Order of Pick Sheet
The screenshot below shows the pick/fill in sheet for the Draft Night, to include the 3 divisions/flights.
NOTE: ALL FILES AND SCREENSHOTS HAVE BEEN UPDATED WITH CHANGES AS OF 9/20/2026
In Round 1, the “A” players will pick in order starting with Brandon McEvoy going up to Scott Fairbanks who will pick last in the first round. Players can choose any remaining player (B, C, or D) from the player pool when their turn comes.
In Round 2, the “A” players will pick in order starting with Todd Allen and going upward to Scott Fairbanks. After Scott picks, the order will go downwards from Adam Kettles to Brandon McEvoy in order. The second round ends with Brandon McEvoy. Again, players can choose any remaining player from the player pool when their turn comes.
Round 3 is the “WILDCARD” Round. Each flight will be randomly selected to go first, then second and then third. When a flight is chosen, all of the “A” players in that flight will then be also chosen in a random order. They will pick their final player from any of the remaining players from the player pool. At this point, they will also choose their starting holes at random as well.
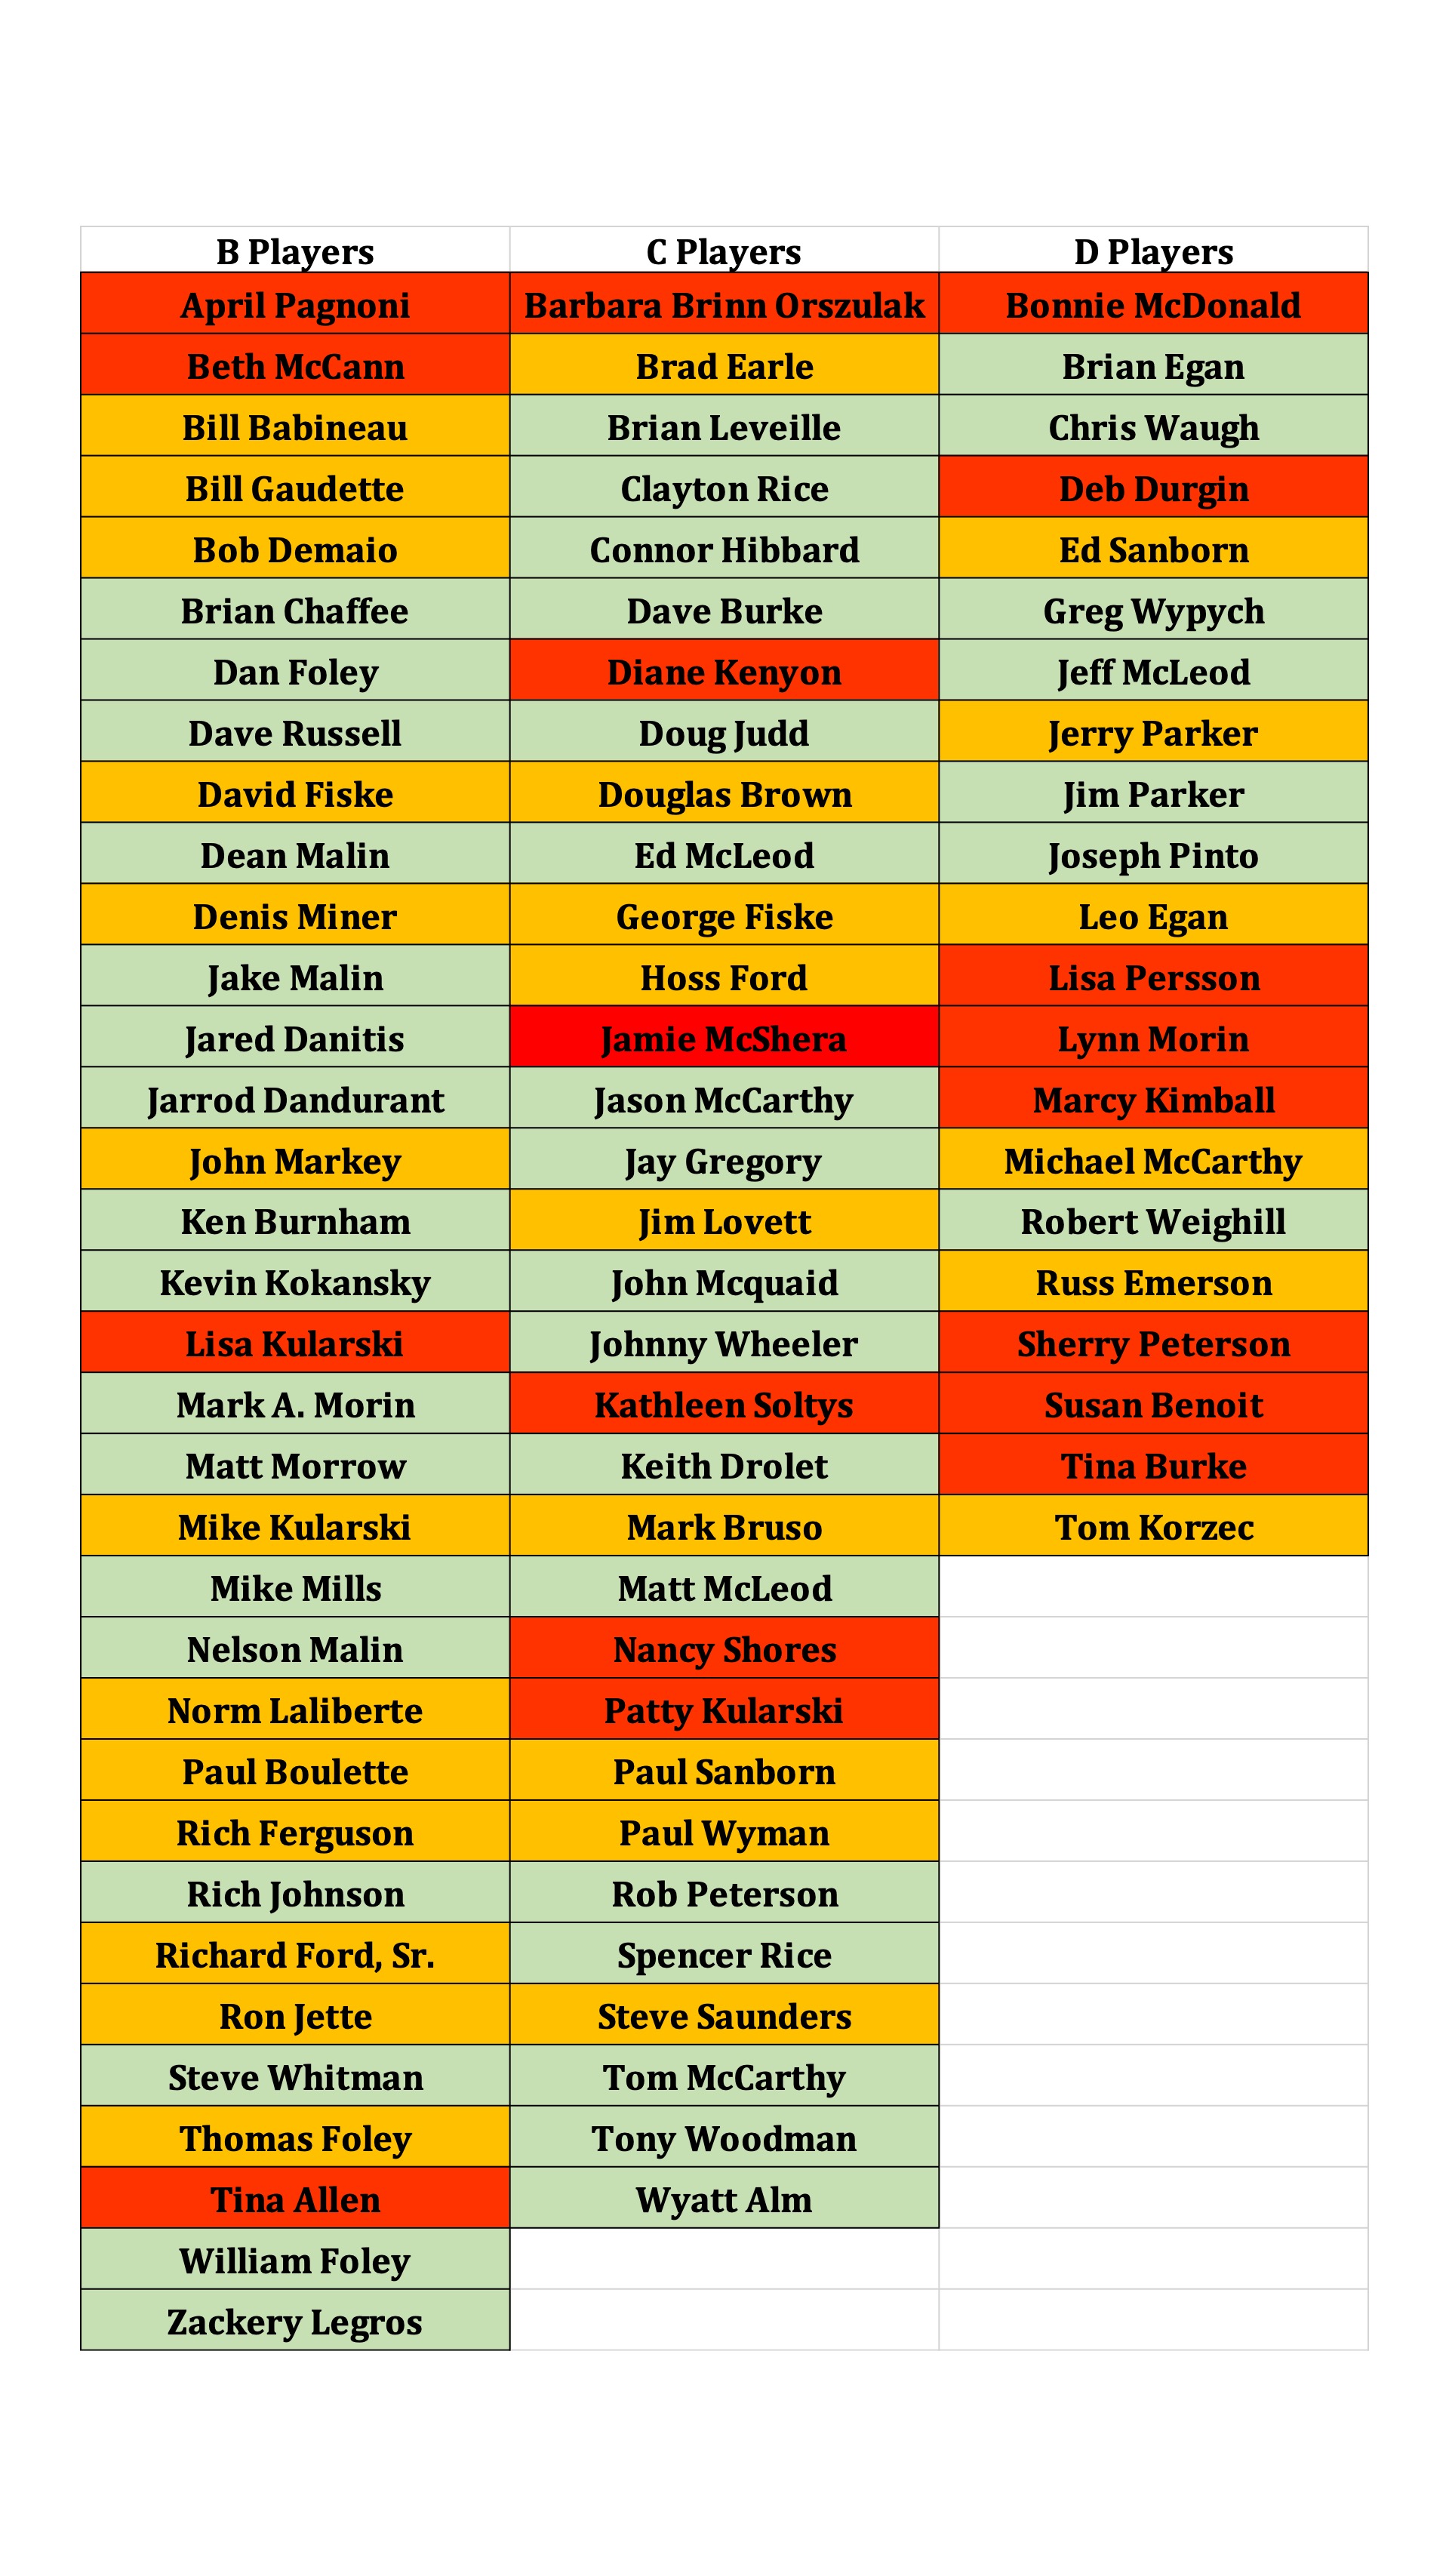
The player field for 2026 is shown below. They are listed in order alphabetically by first names.
Below, you can download an Excel file. It has both the A Player rankings/fill in pick sheets and the 2026 field of B, C, and D players.
Consolidated Results for ALL 2026 Regular TOB Events
We had all 6 regular season events this year. The screenshots for each event is below, followed by a consolidated Excel file with that you can download with the same information.
Lastly, here is the Excel file that you can download with the same information:
I hope that you are looking forward to the Draft Night as much as I am. It is always a fun and exciting event that you shouldn’t miss.
I always suggest that everyone comes. You may help your A player with a pick. You may have knowledge that he or she does not. If you are not there – well you cannot help! Plus there are some extra activities that you won’t want to miss – like:
Announcing the payouts
Details on the $25,000 hole in one chance on hole number 4
The opening of the 2026 amazing pari-mutuel (like last year)
The drawing for $100
The drawing for a FREE entry into the FINALS ($200 value!)
How could you miss all this?
The teams will be finalized that night and published for the FINALS. Registration for the FINALS opens at 8 AM on Saturday, September 26th – don’t be late!
See you all on the draft night – Thursday September 24th!!
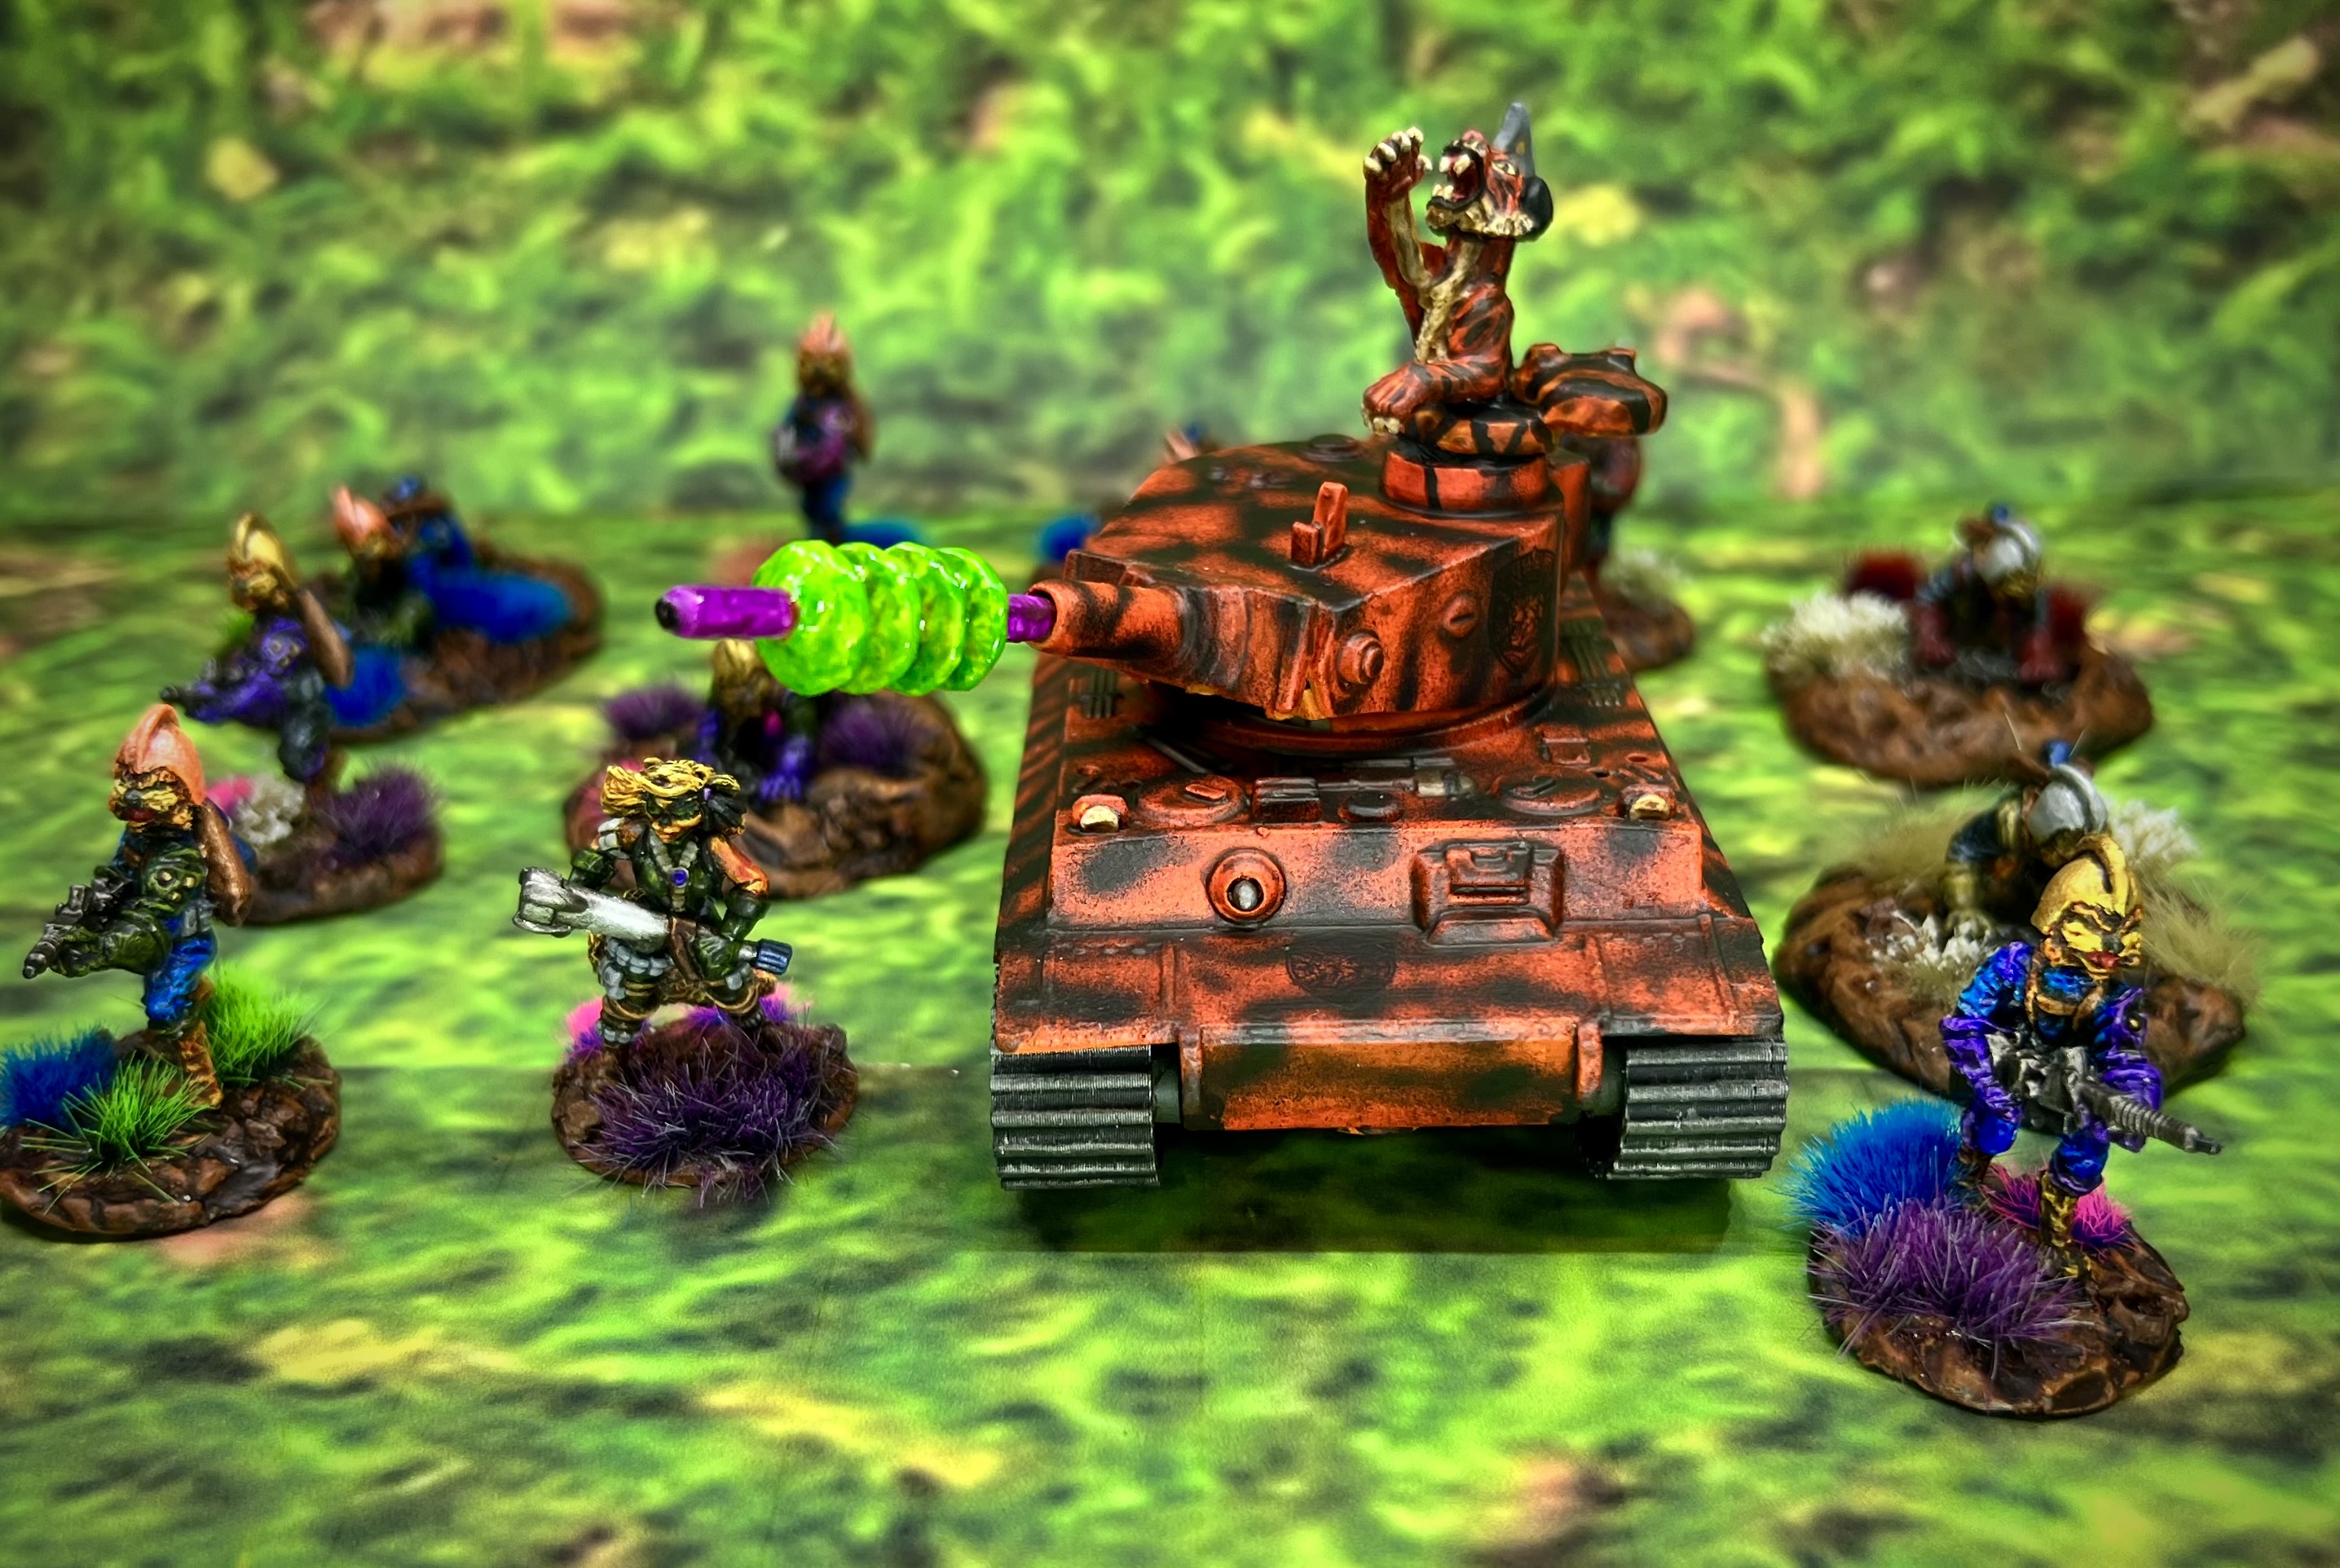
This project was a lot of fun! It allowed me to be creative and model something a bit different than just painting up a standard vehicle or unit of miniature troops. Retro sci-fi is a great genre to do just that.
Infantry need armored support in the retro sci-fi universe! I mentioned in my blog post on the Felynxii Imperial Scouts that I had a concept of adding armor to their force. I use Buck Surdu’s Combat PatrolTM WWII rules with my retro sci-fi modifications for these tabletop games. But, how to add an armored element?
First, let’s look at obvious inspirations – many vehicles have been given cat-like names. The US had the M10 Hellcat tank destroyer, The Germans have had many from the Luchs (lynx), Puma, Leopards, Panther, and … two types of TIGER!
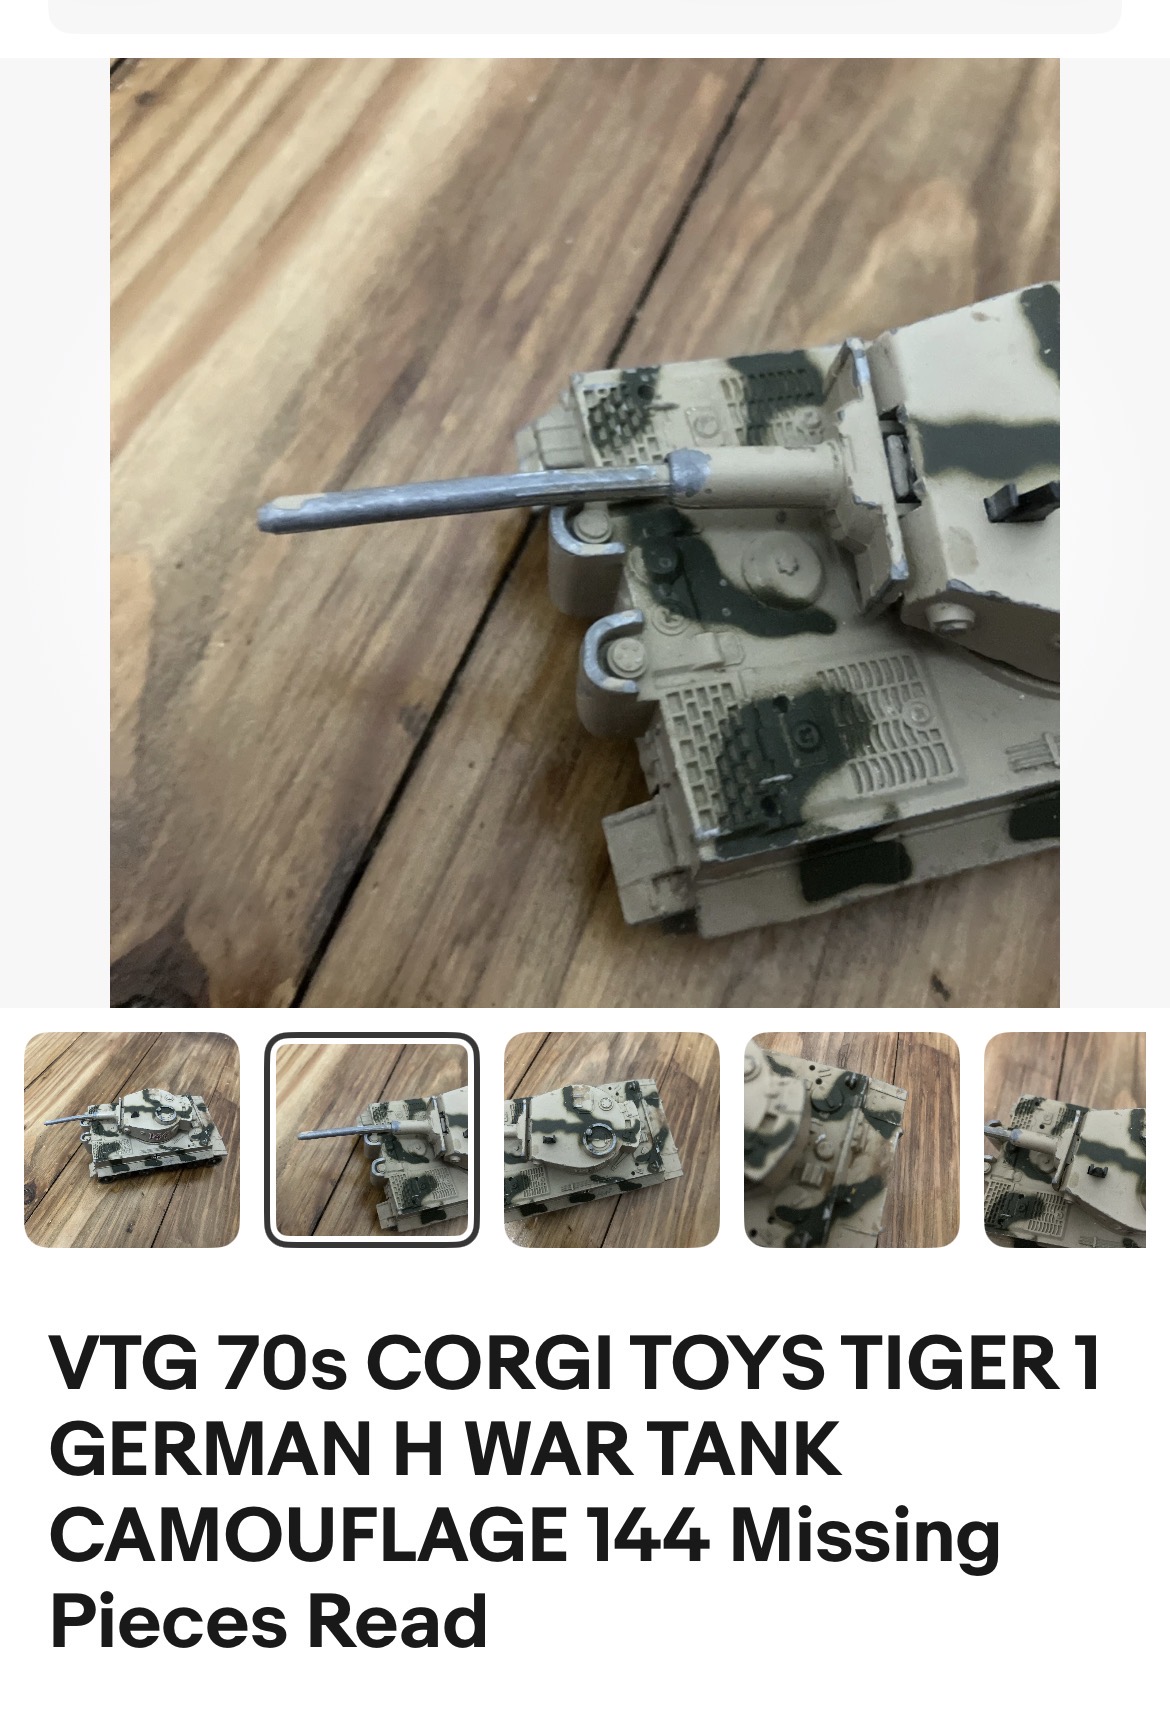
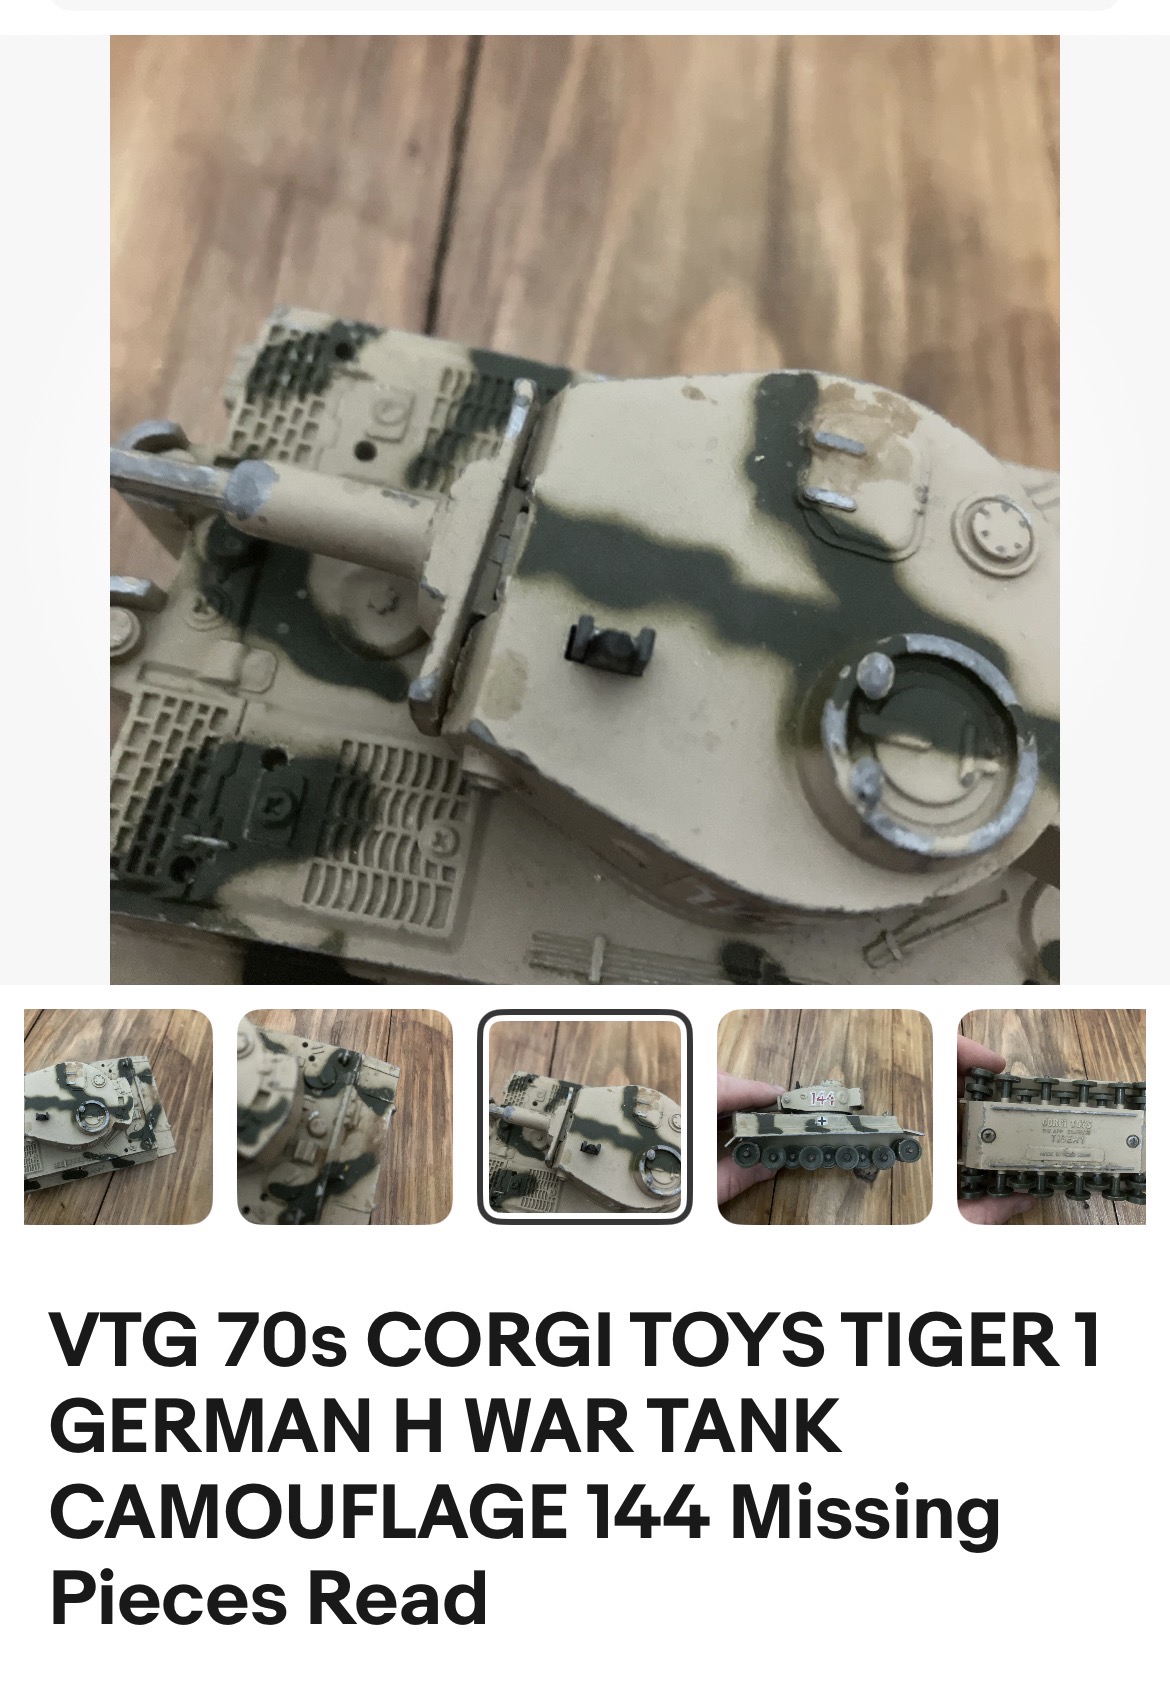
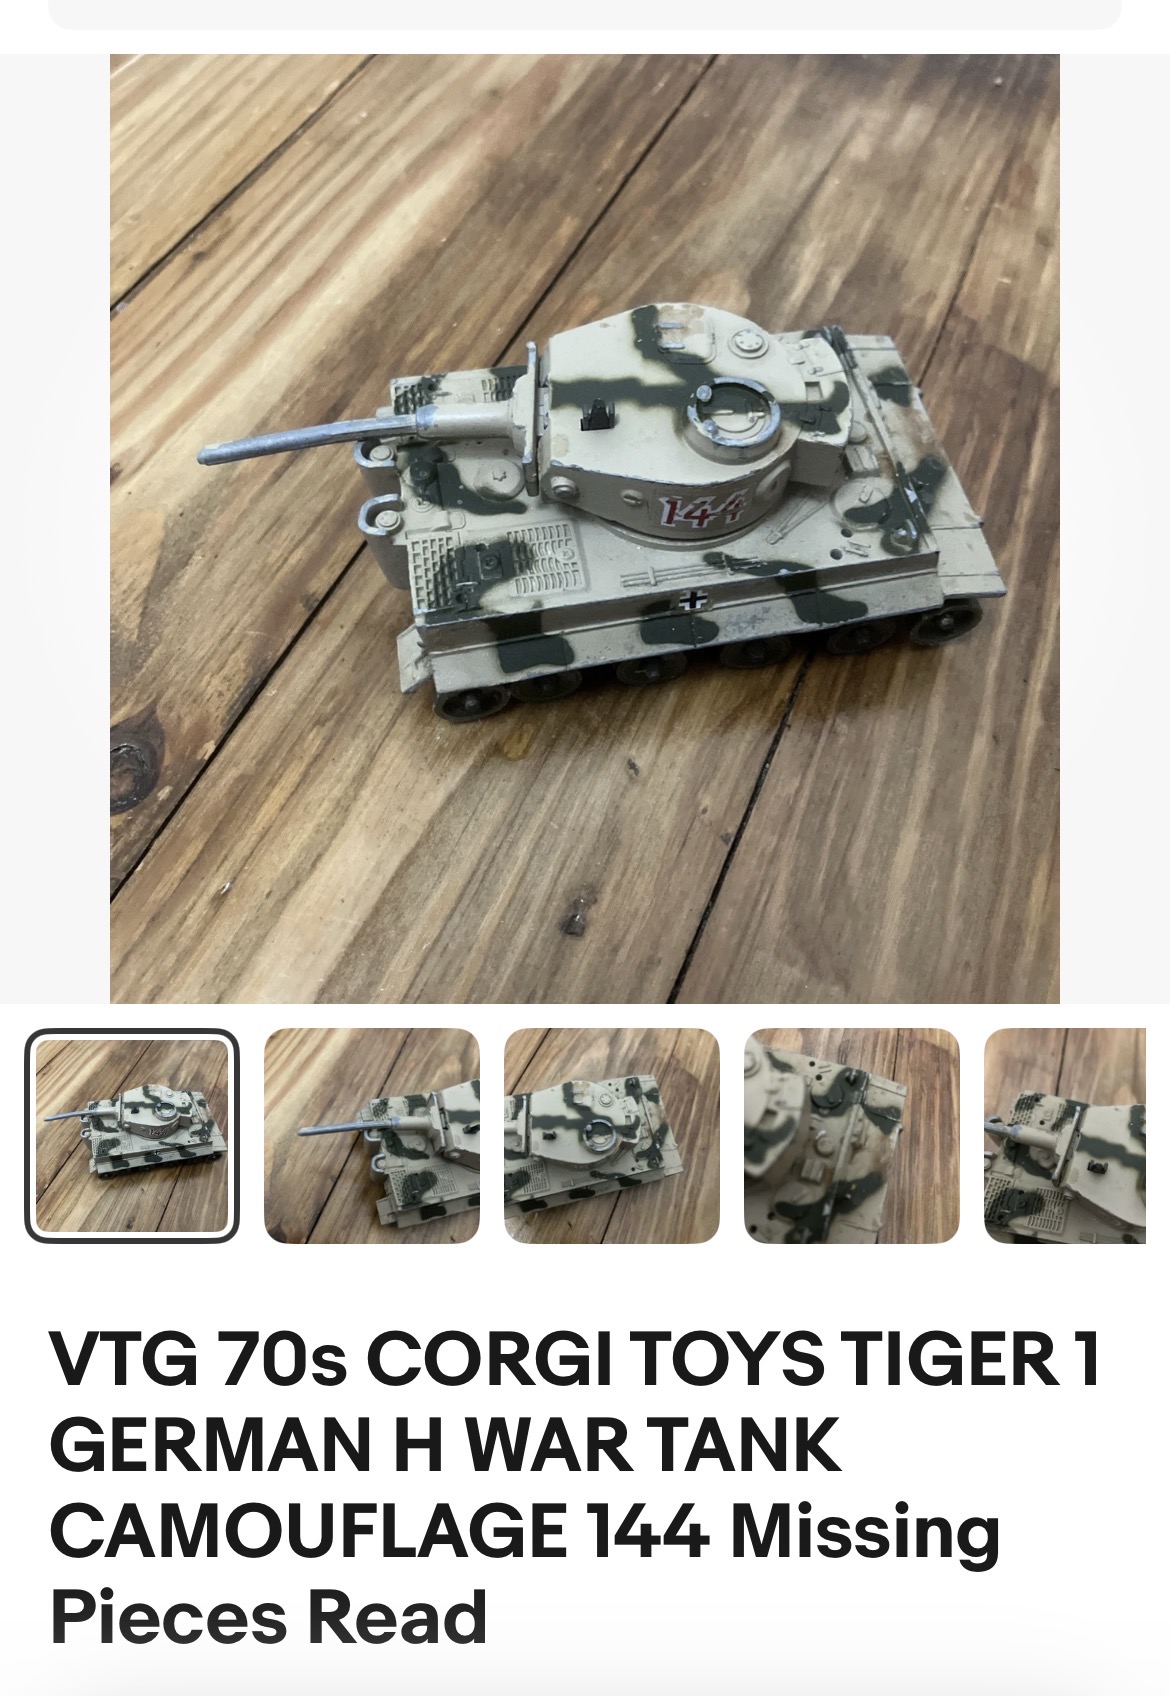
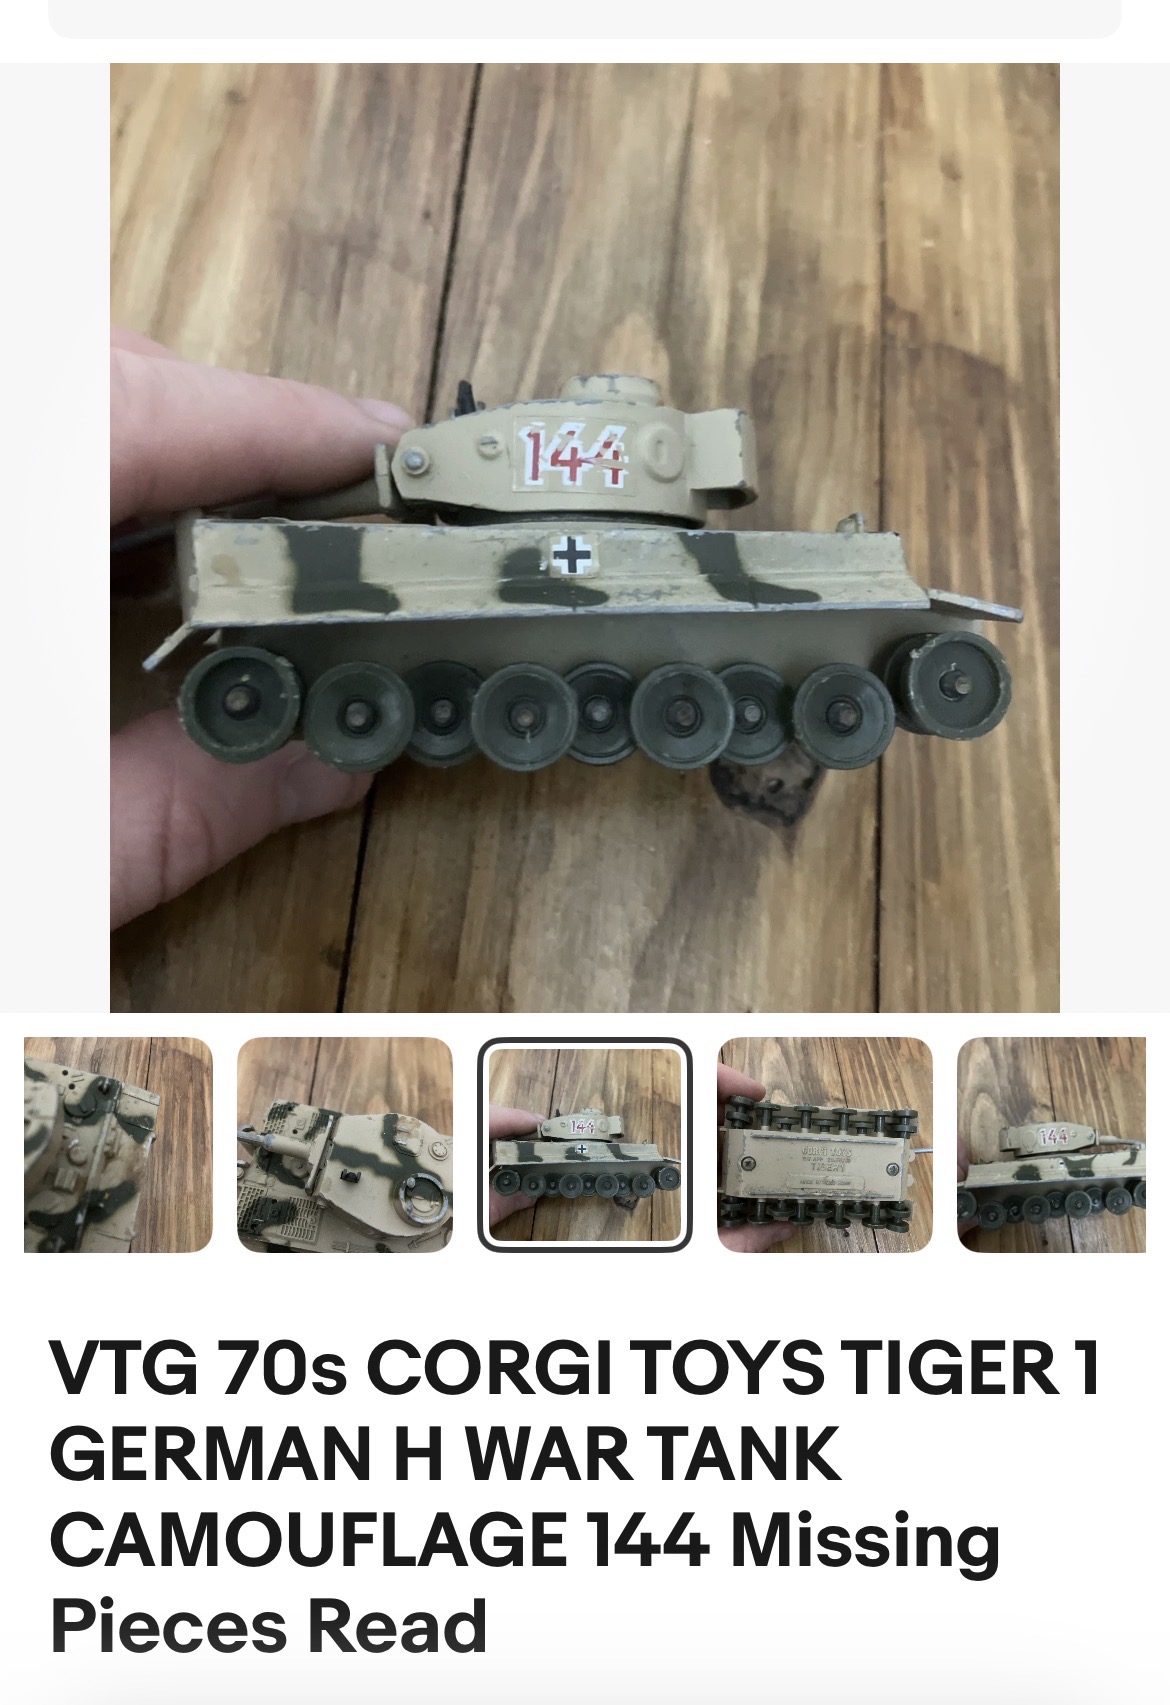
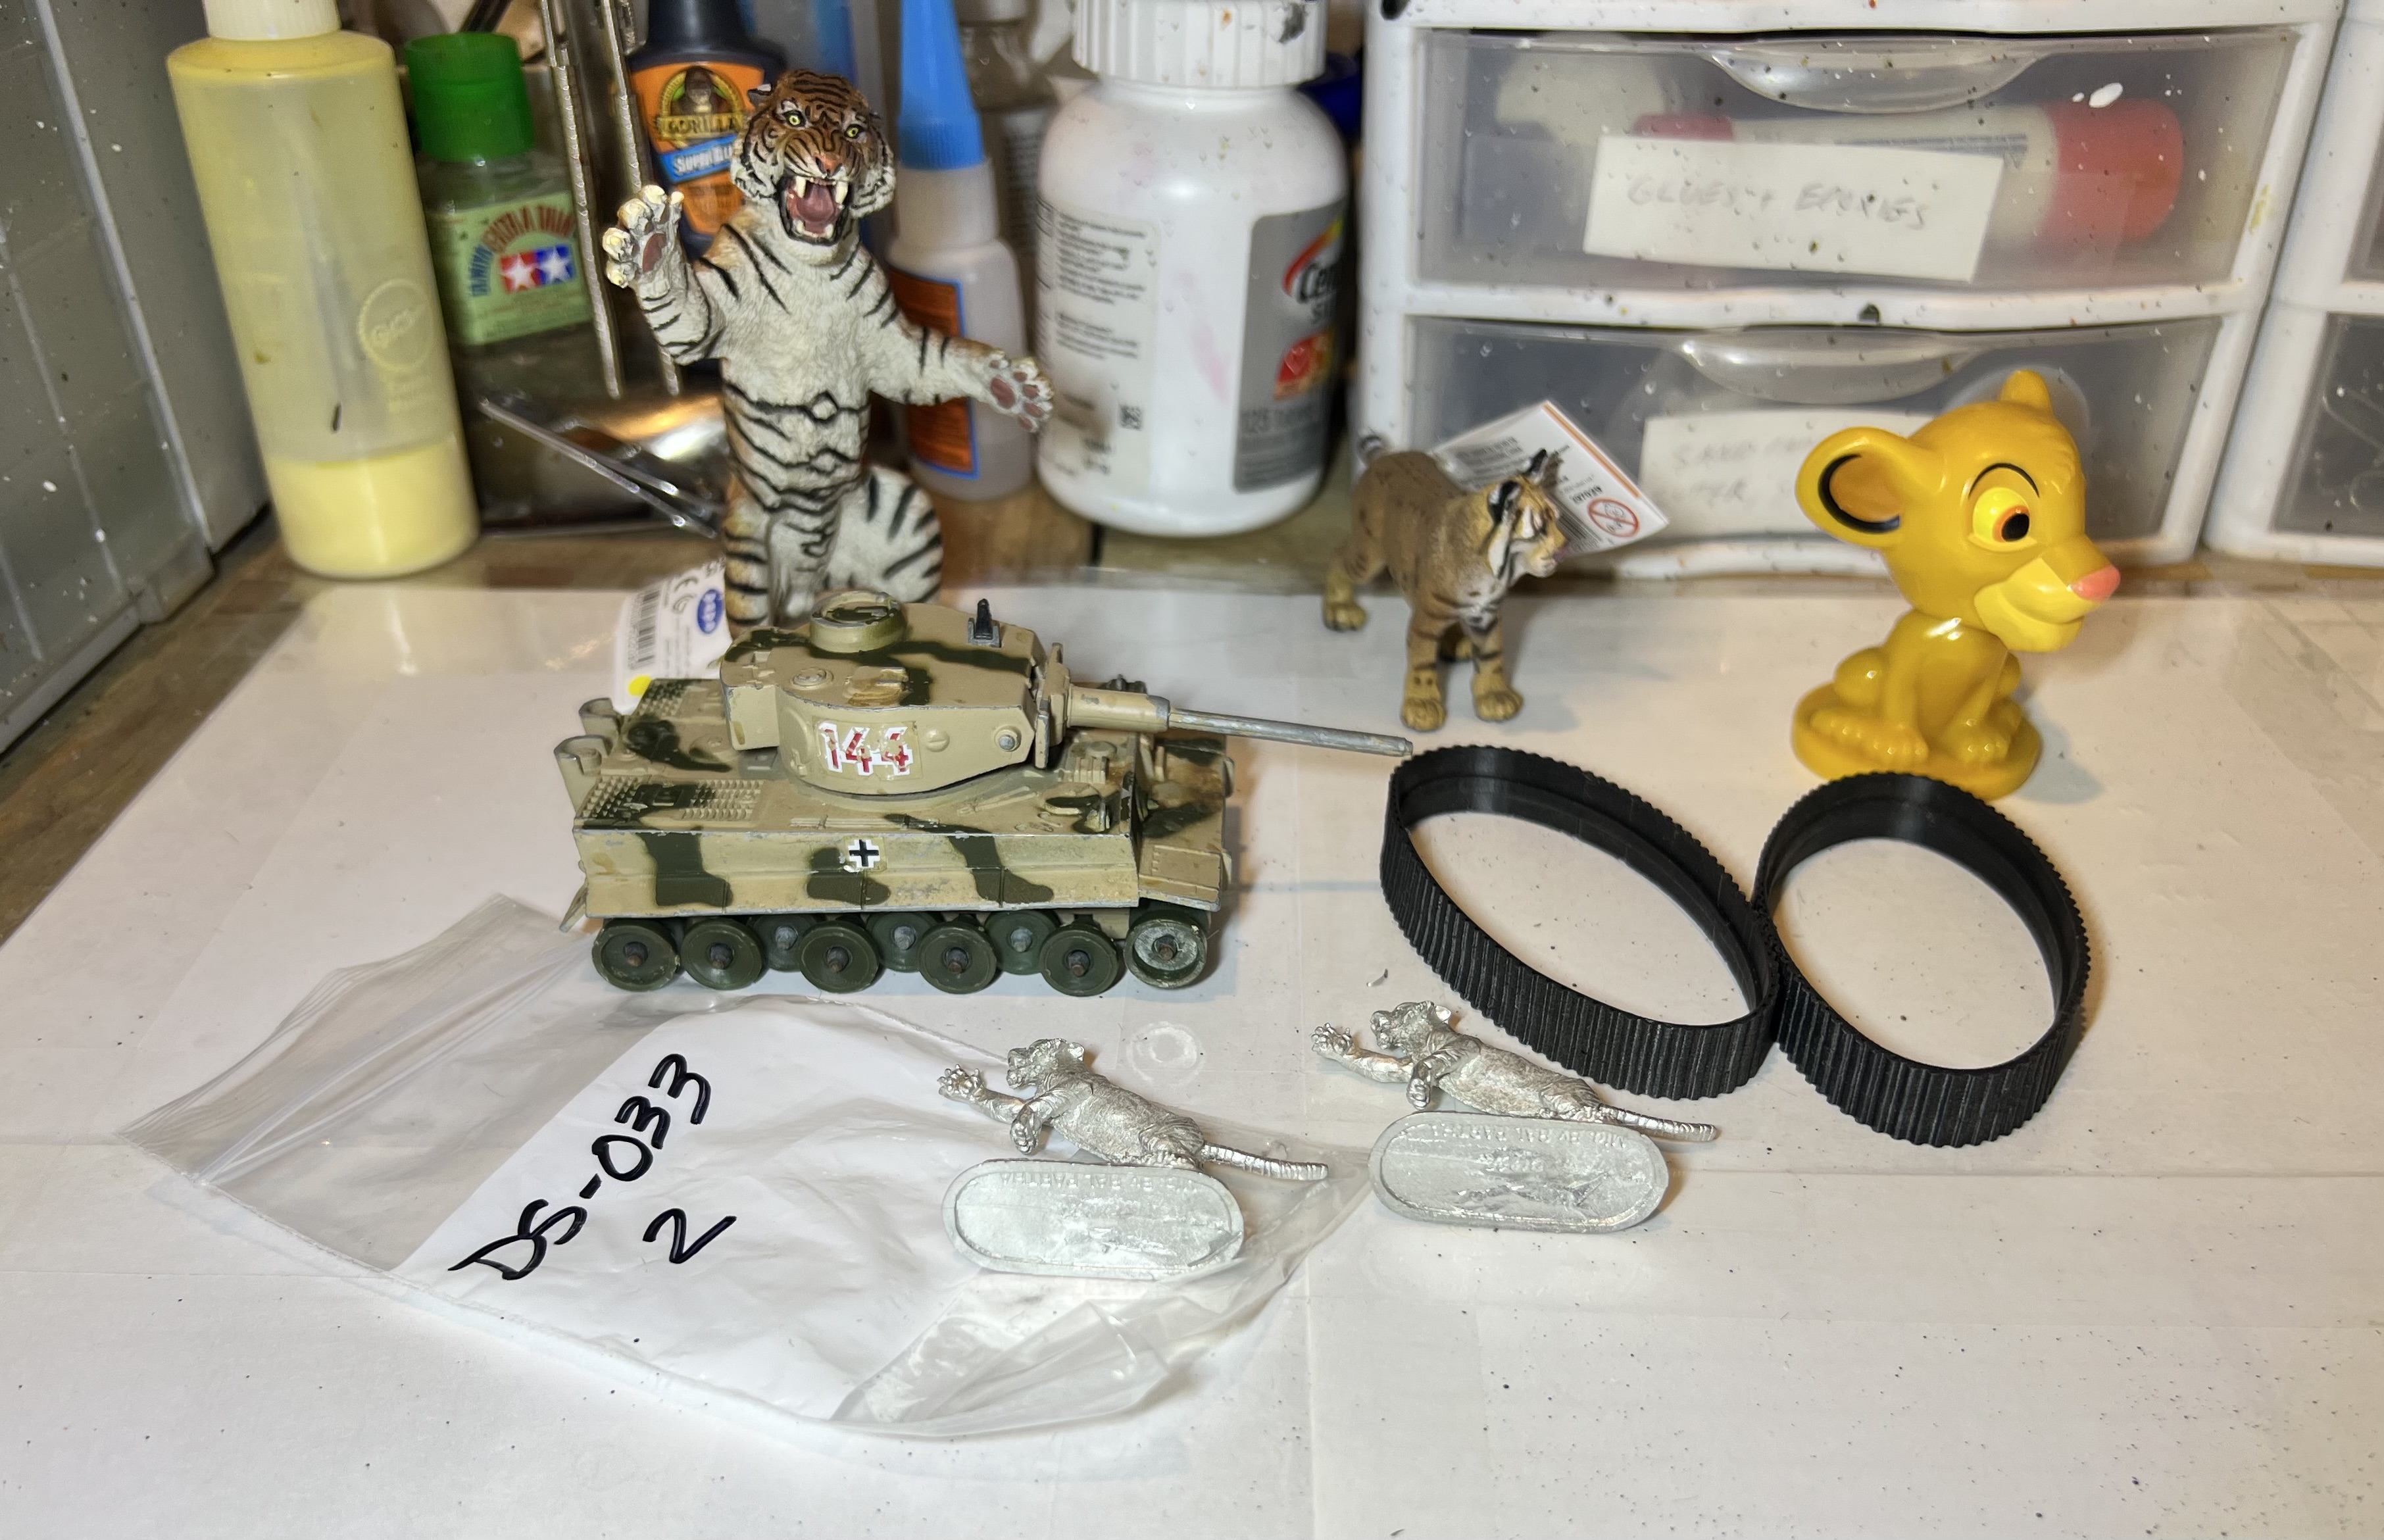
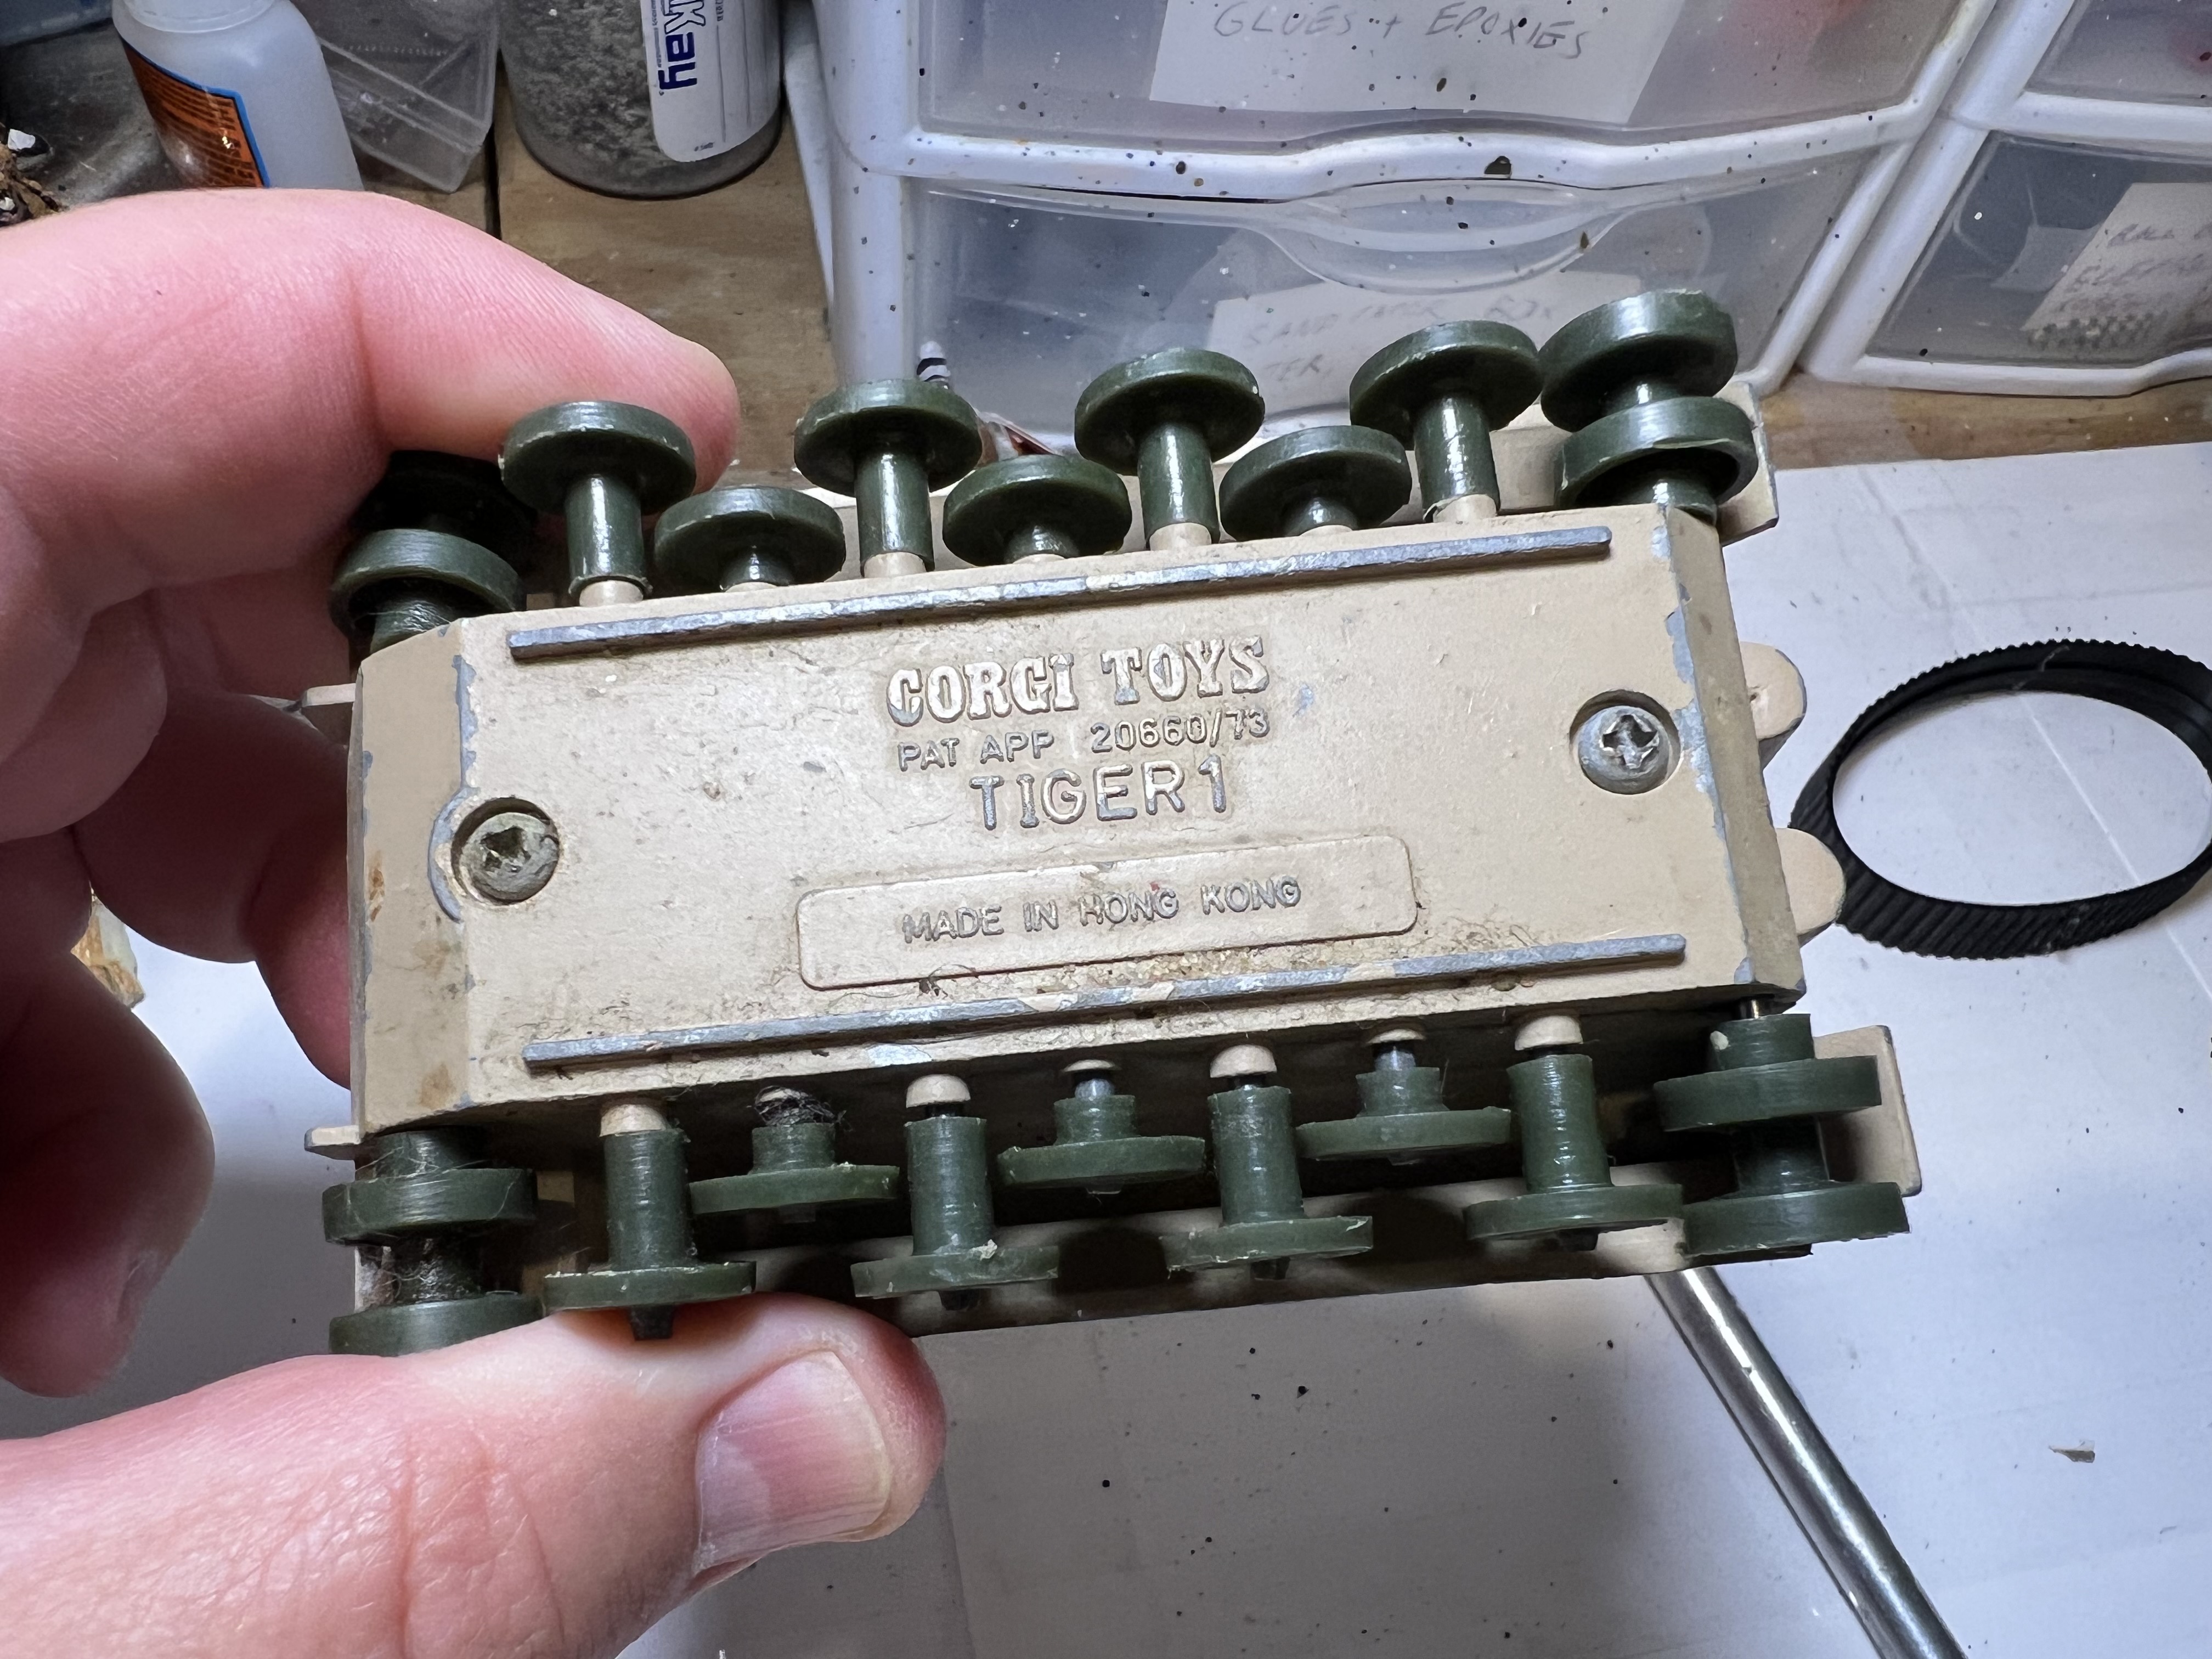
So I began my search for a suitable toy tank or model to use that was of a workable scale. I have read often that some gamers prefer 1:48 scale or 1:56 scale for 28mm game vehicles. I was agnostic on this debate – I just wanted a good feline-inspired tank. Then I saw this old and somewhat beat-up Corgi toy from the 1970’s on eBay.
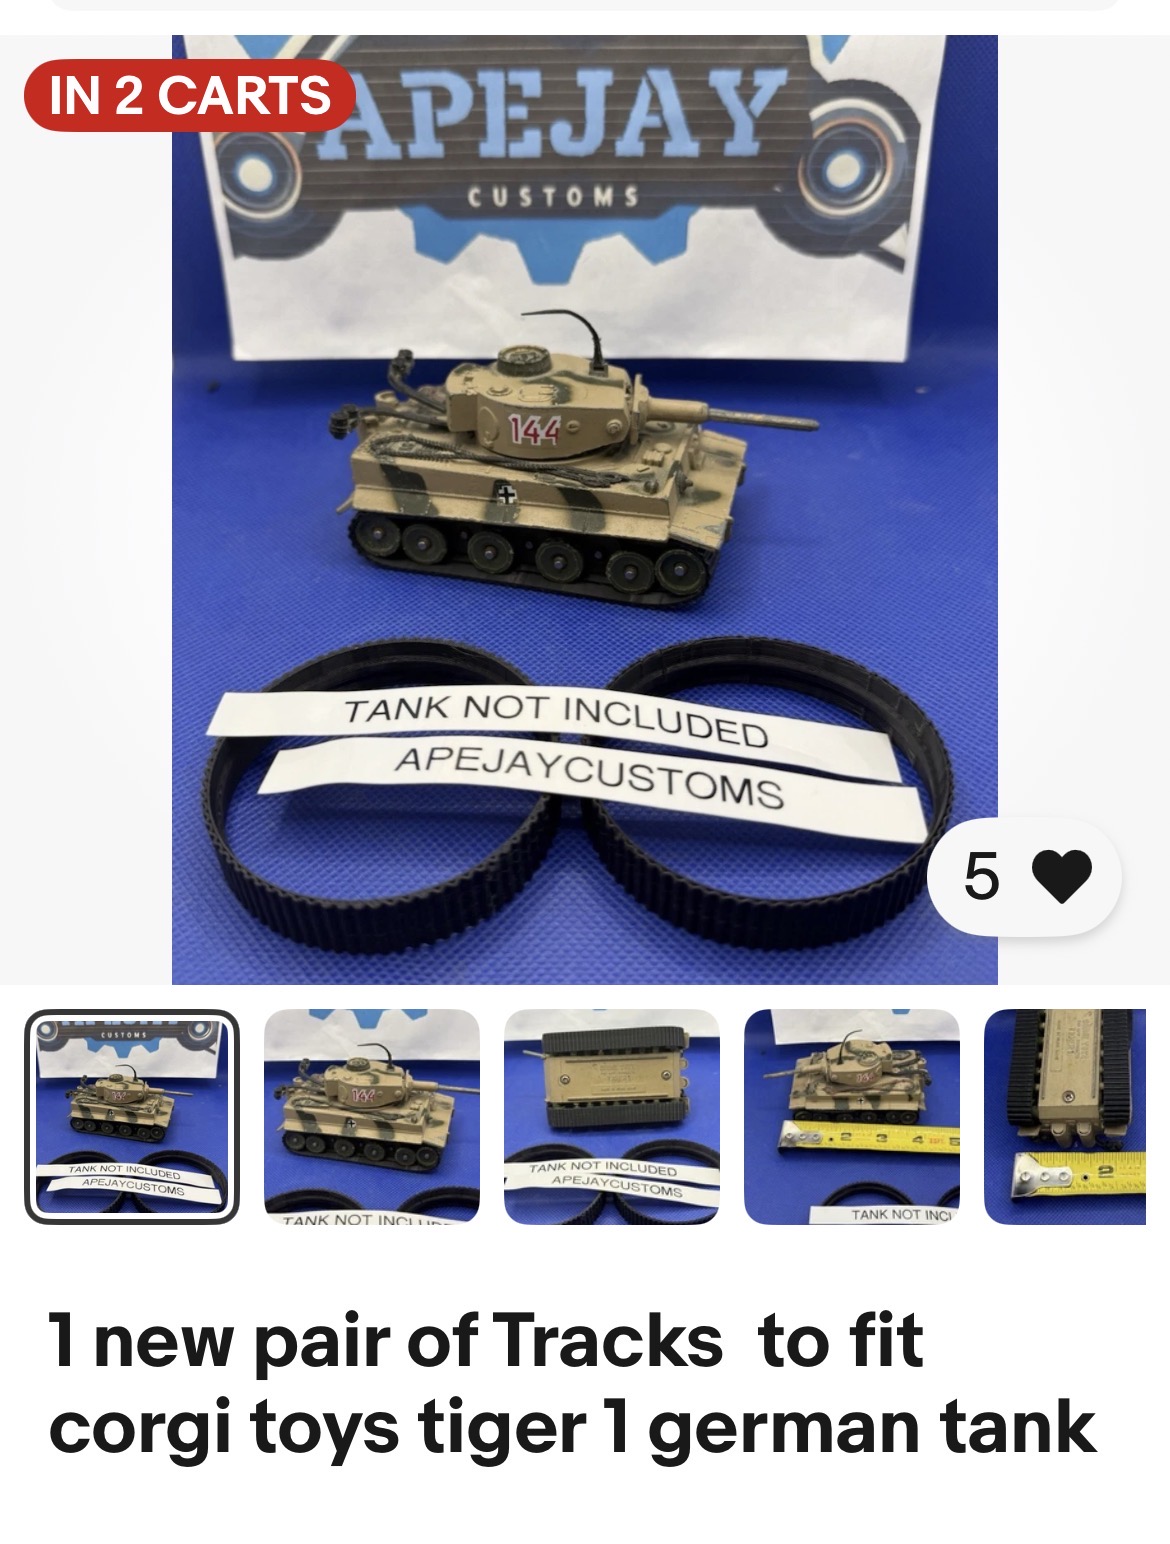
I thought this might work. The Corgi Tiger tank scale was about 1:50 (right in the middle of the two common scales). But I didn’t want to fabricate tracks. Luckily eBay had a seller (apejaycustoms) that 3d-printed tracks for a toy Corgi tank! That’s amazing!
Including shipping, I bought the tank for $12.30 and the tracks for $13.15.
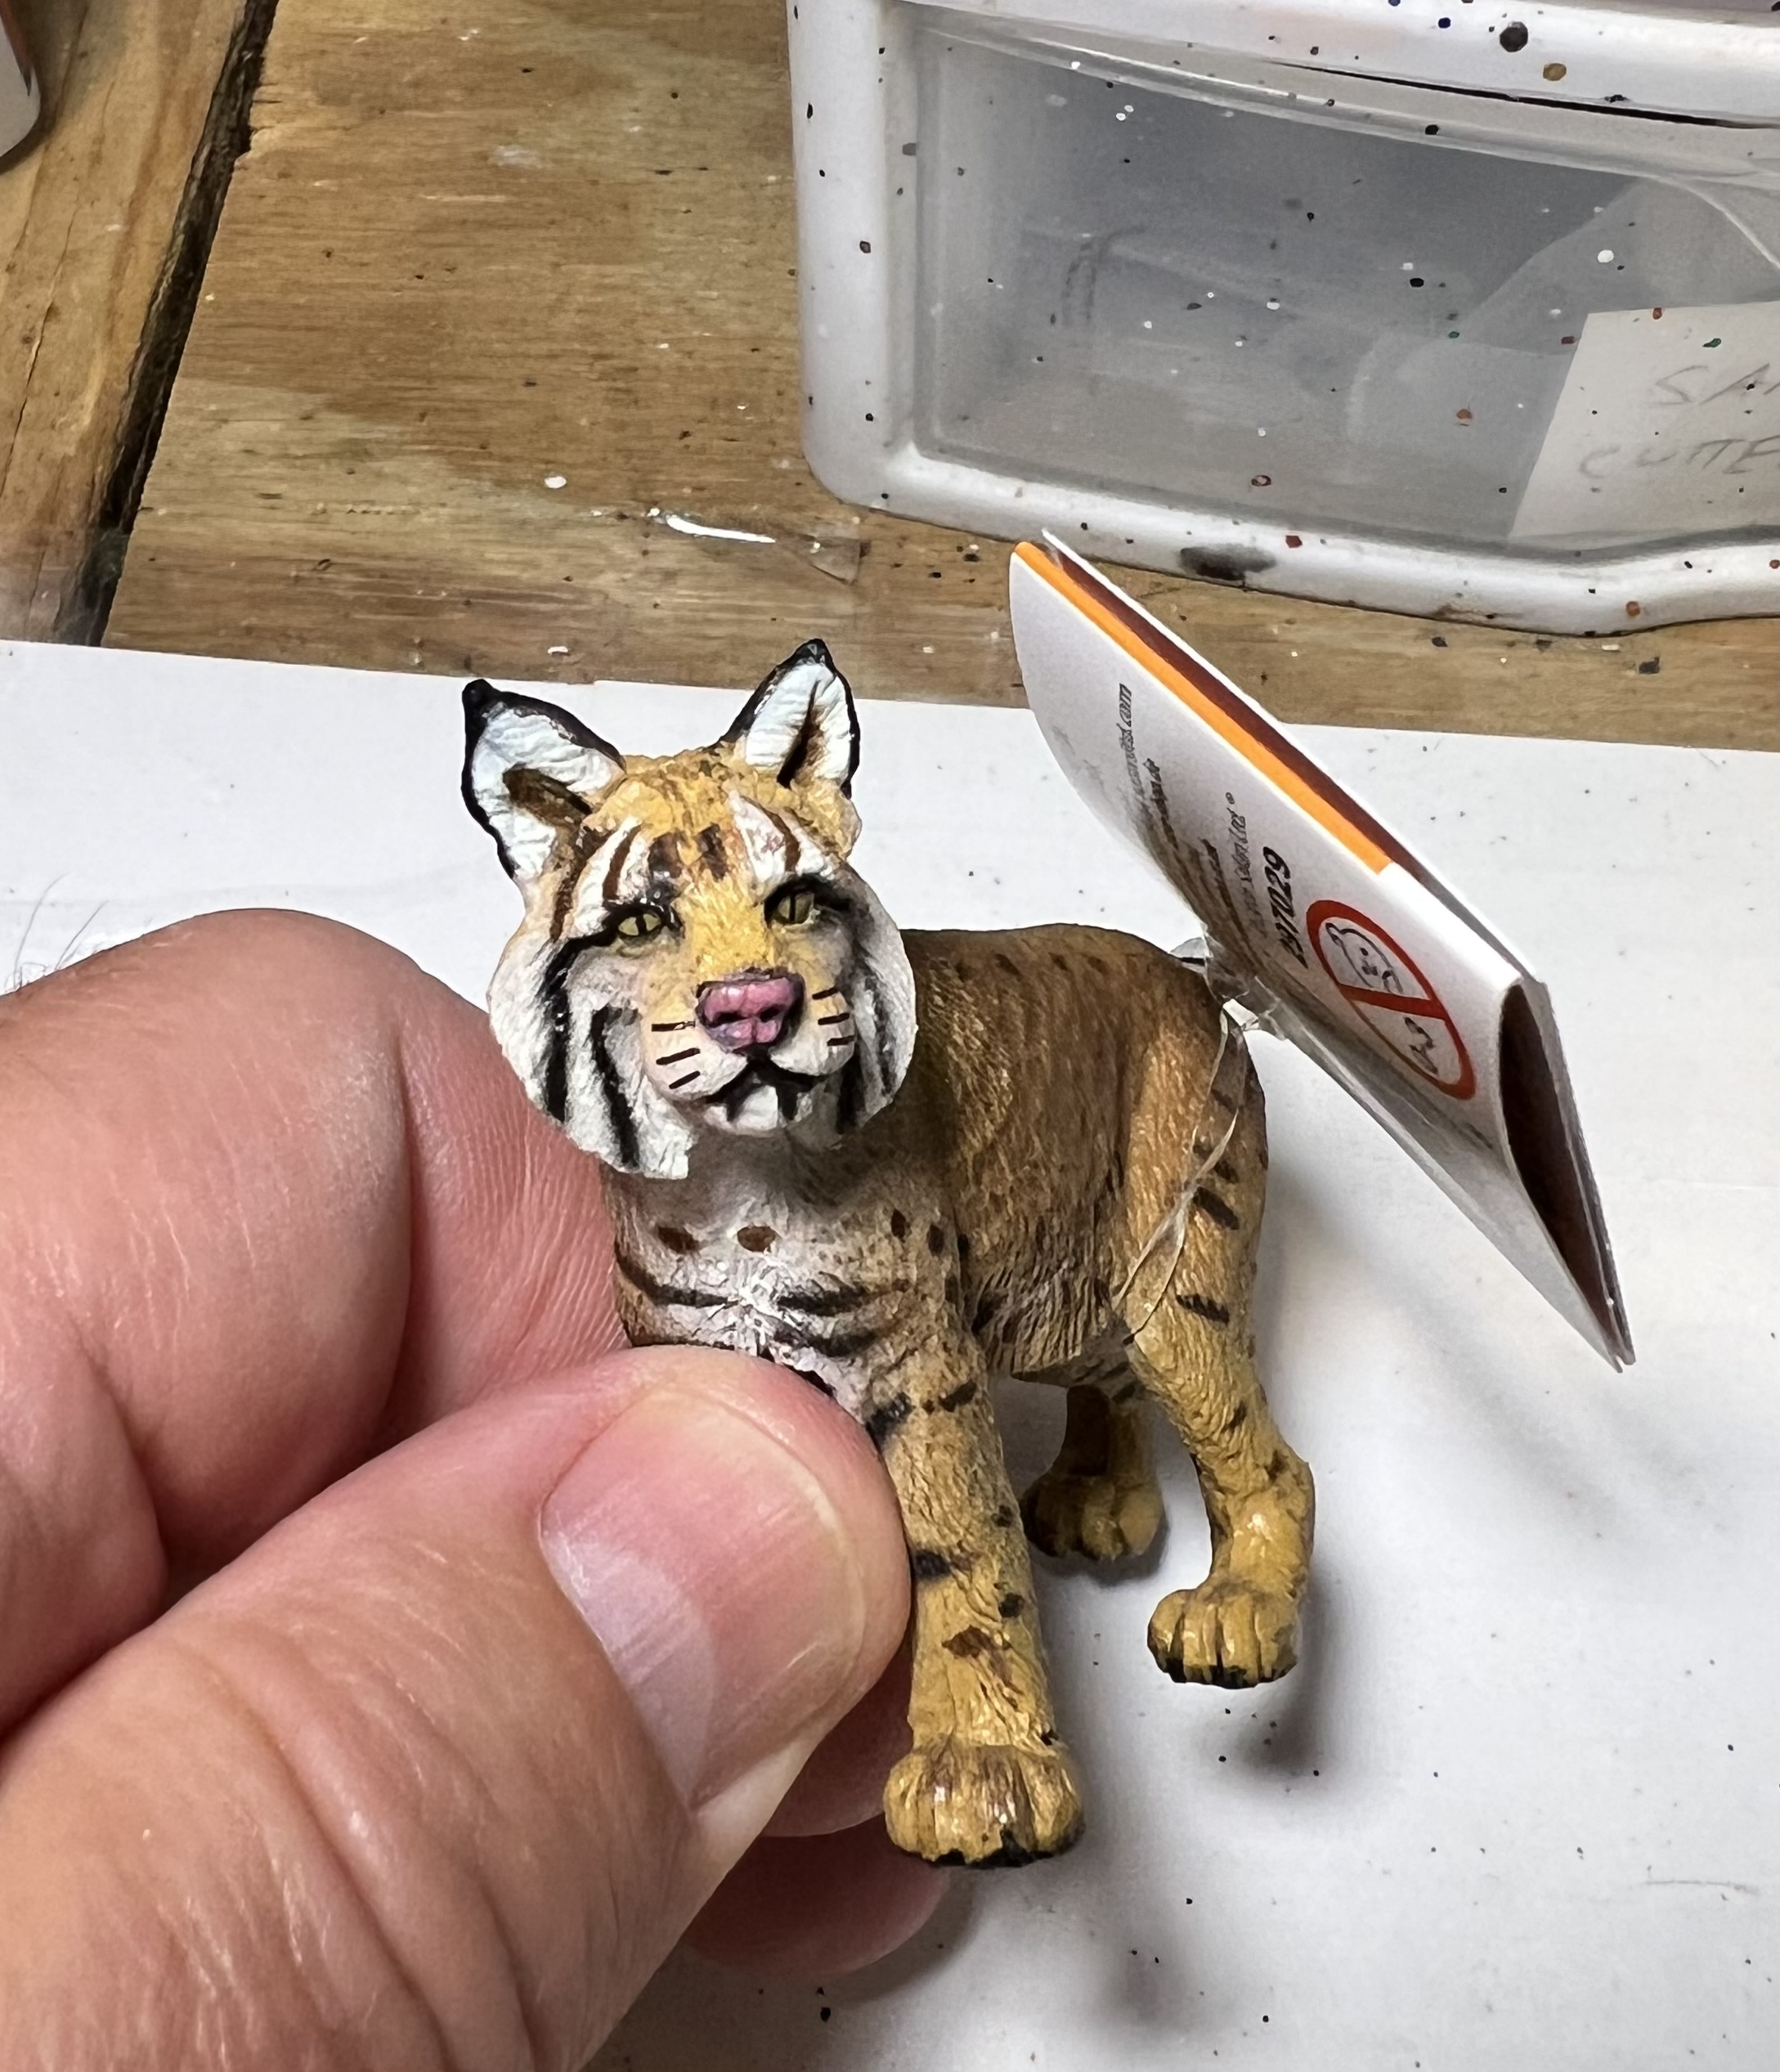
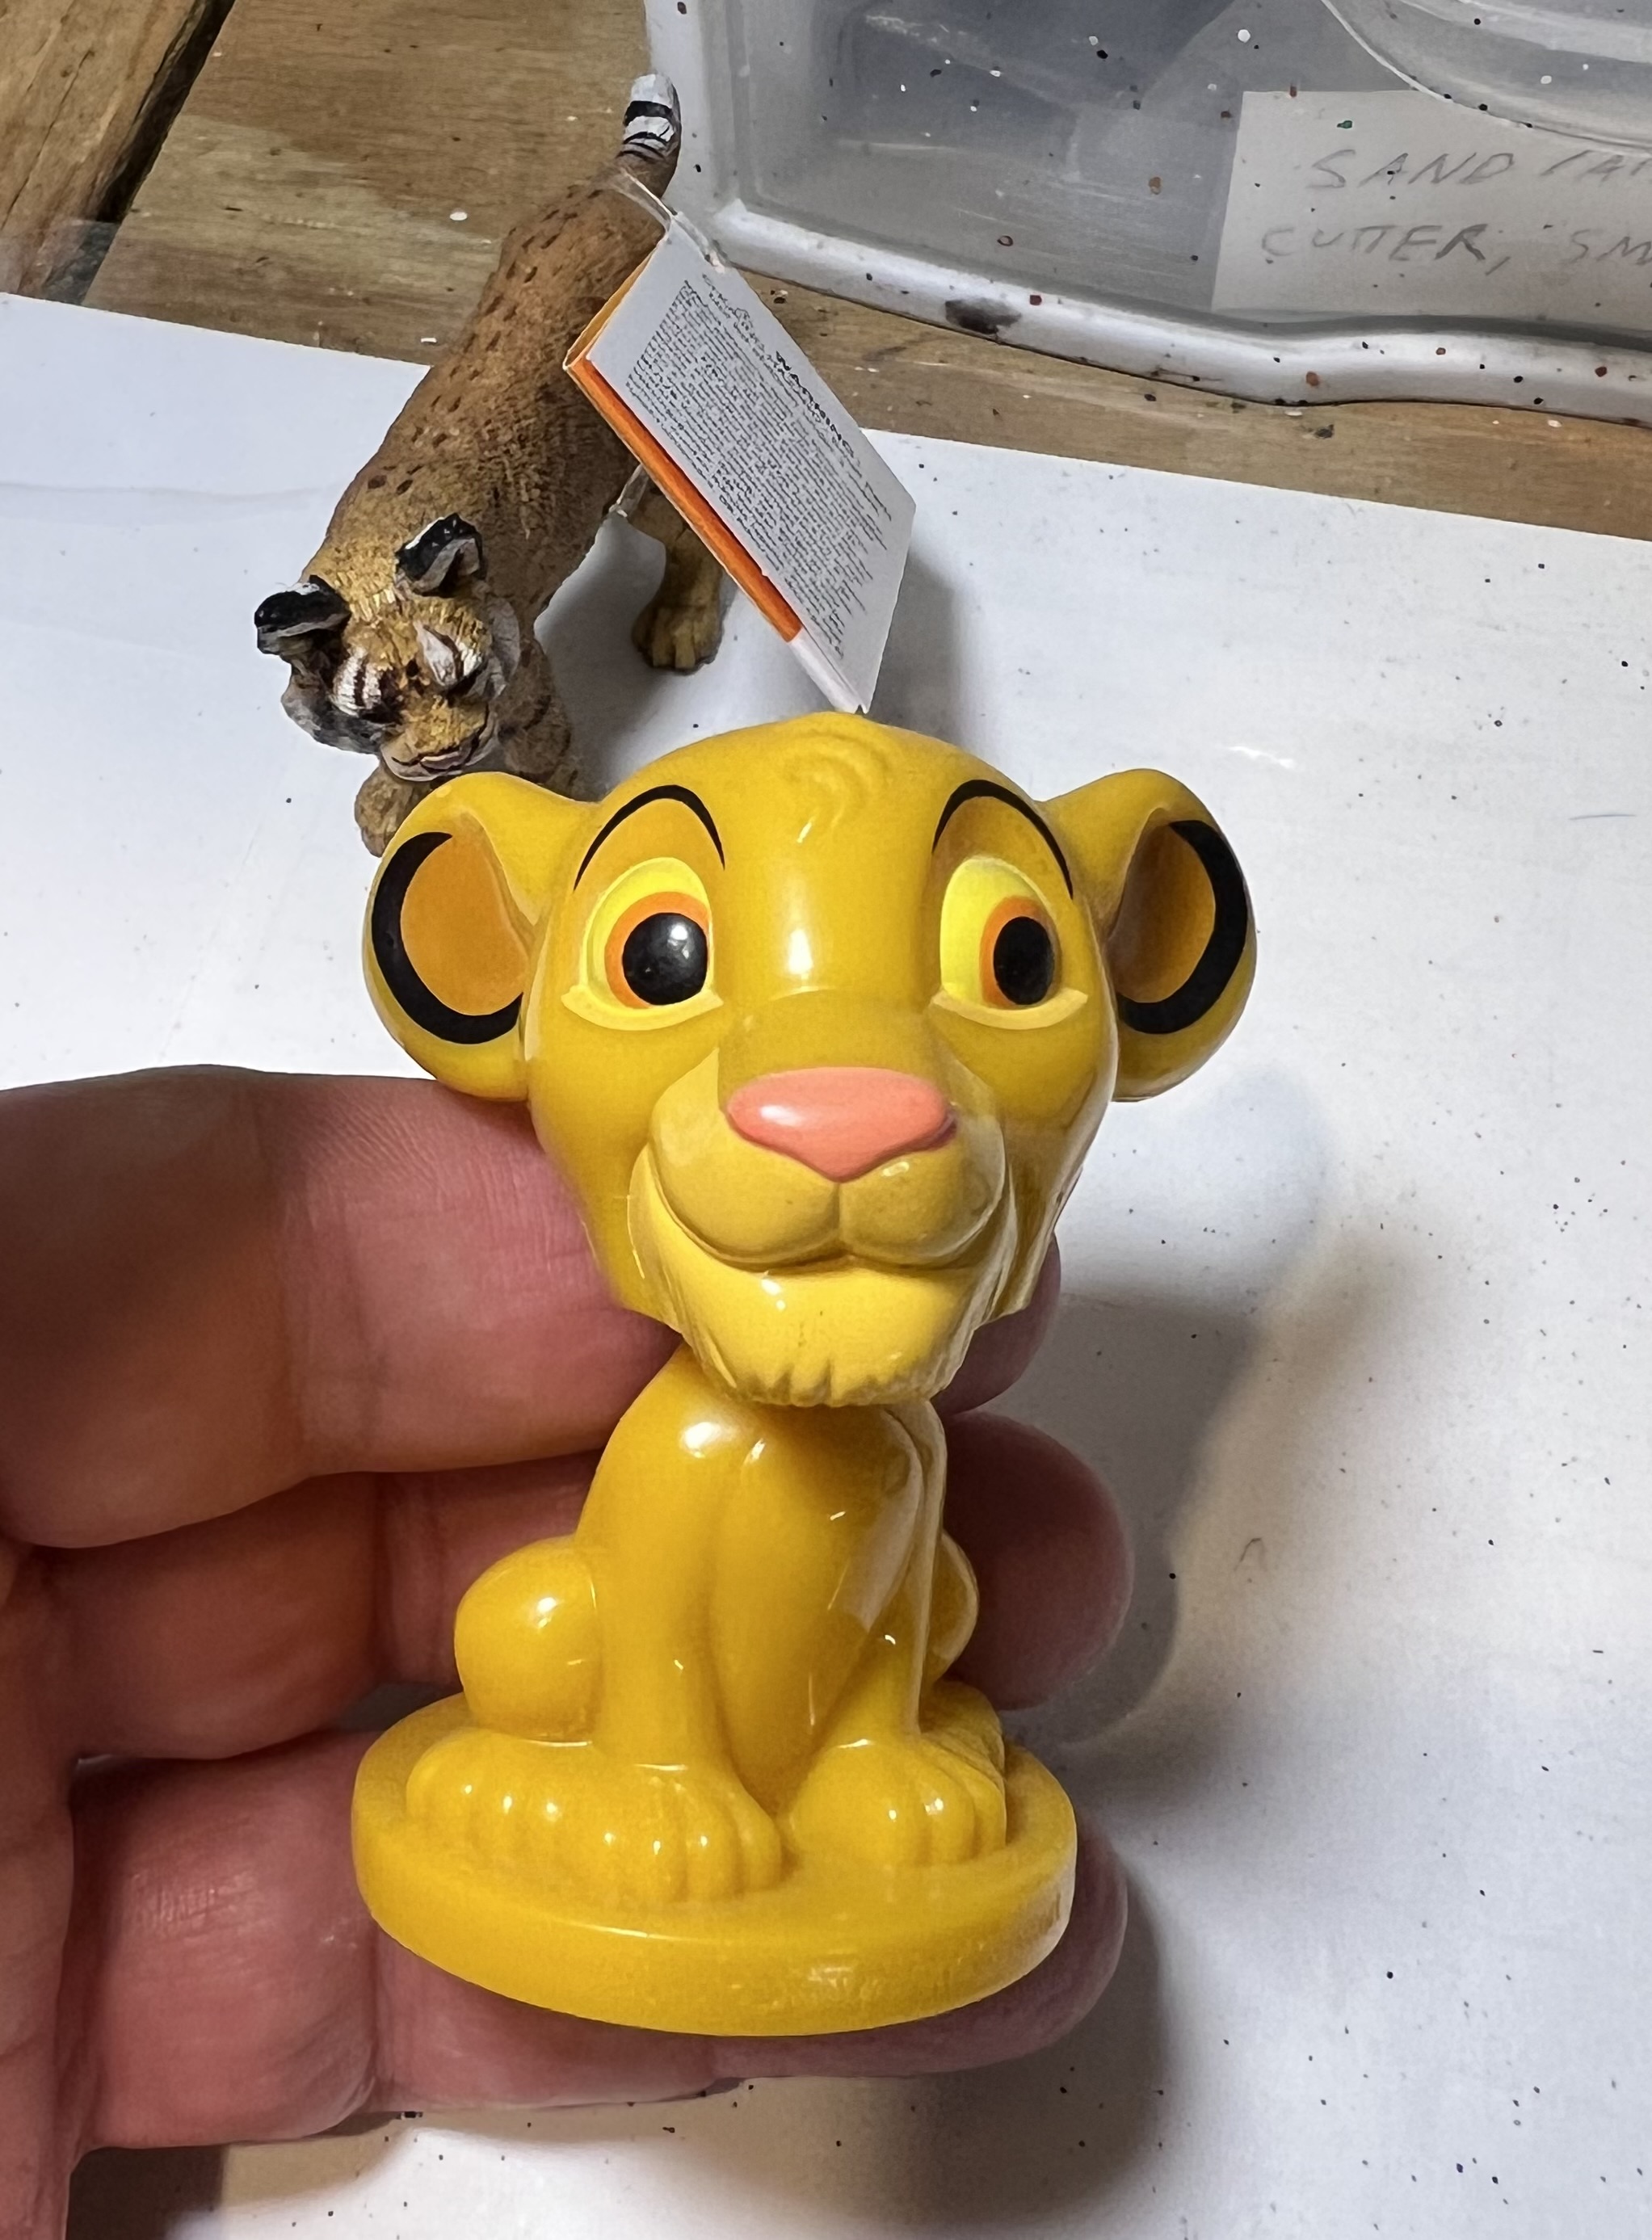
I could have stopped there – but as most of you know that I usually don’t. What if the Tiger could be commanded by – A TIGER! That would certainly mesh with the feline Felynxii army.I looked at a few options on eBay and in local stores – and bought the following options with the idea that I could possible remove the head and put on the top of the tank in the commander’s cupula:
A resin LynxA Lion King plastic bobbleheadA resin tiger
All of these were too big – though the tiger figure was in the end useful to help me pattern tiger stripes. All ended up as gifts to my grandaughter post-project.
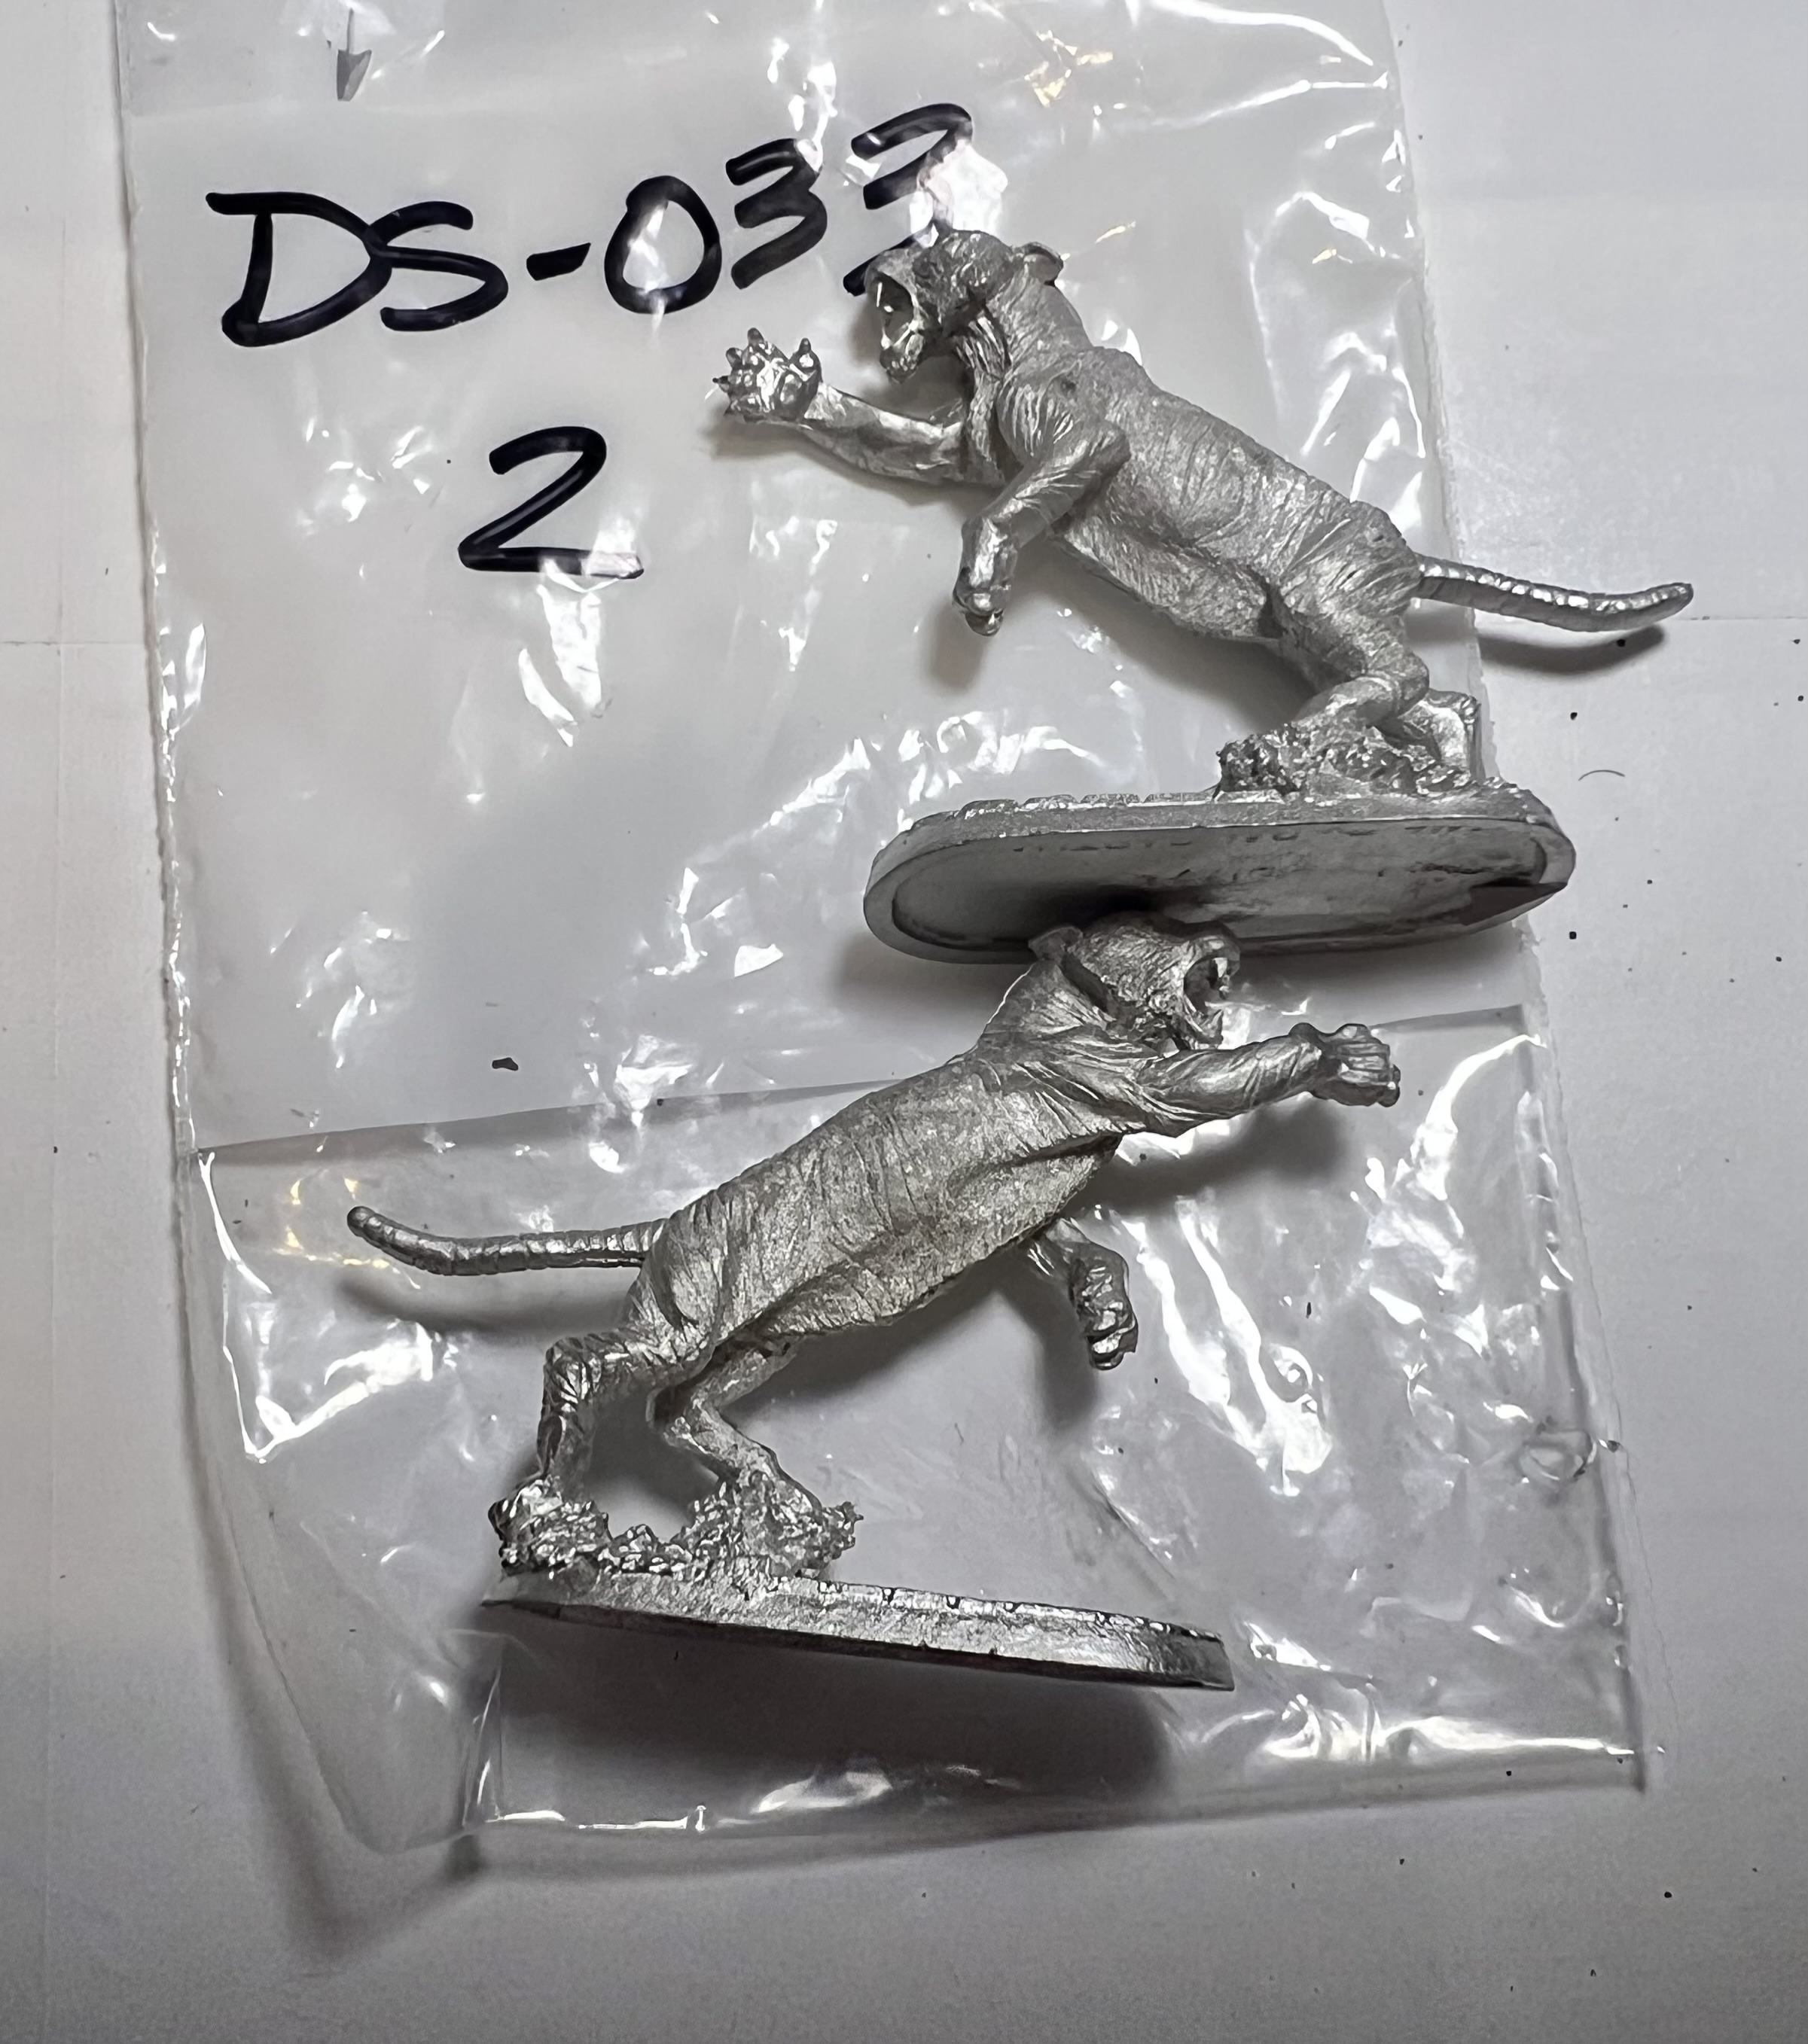
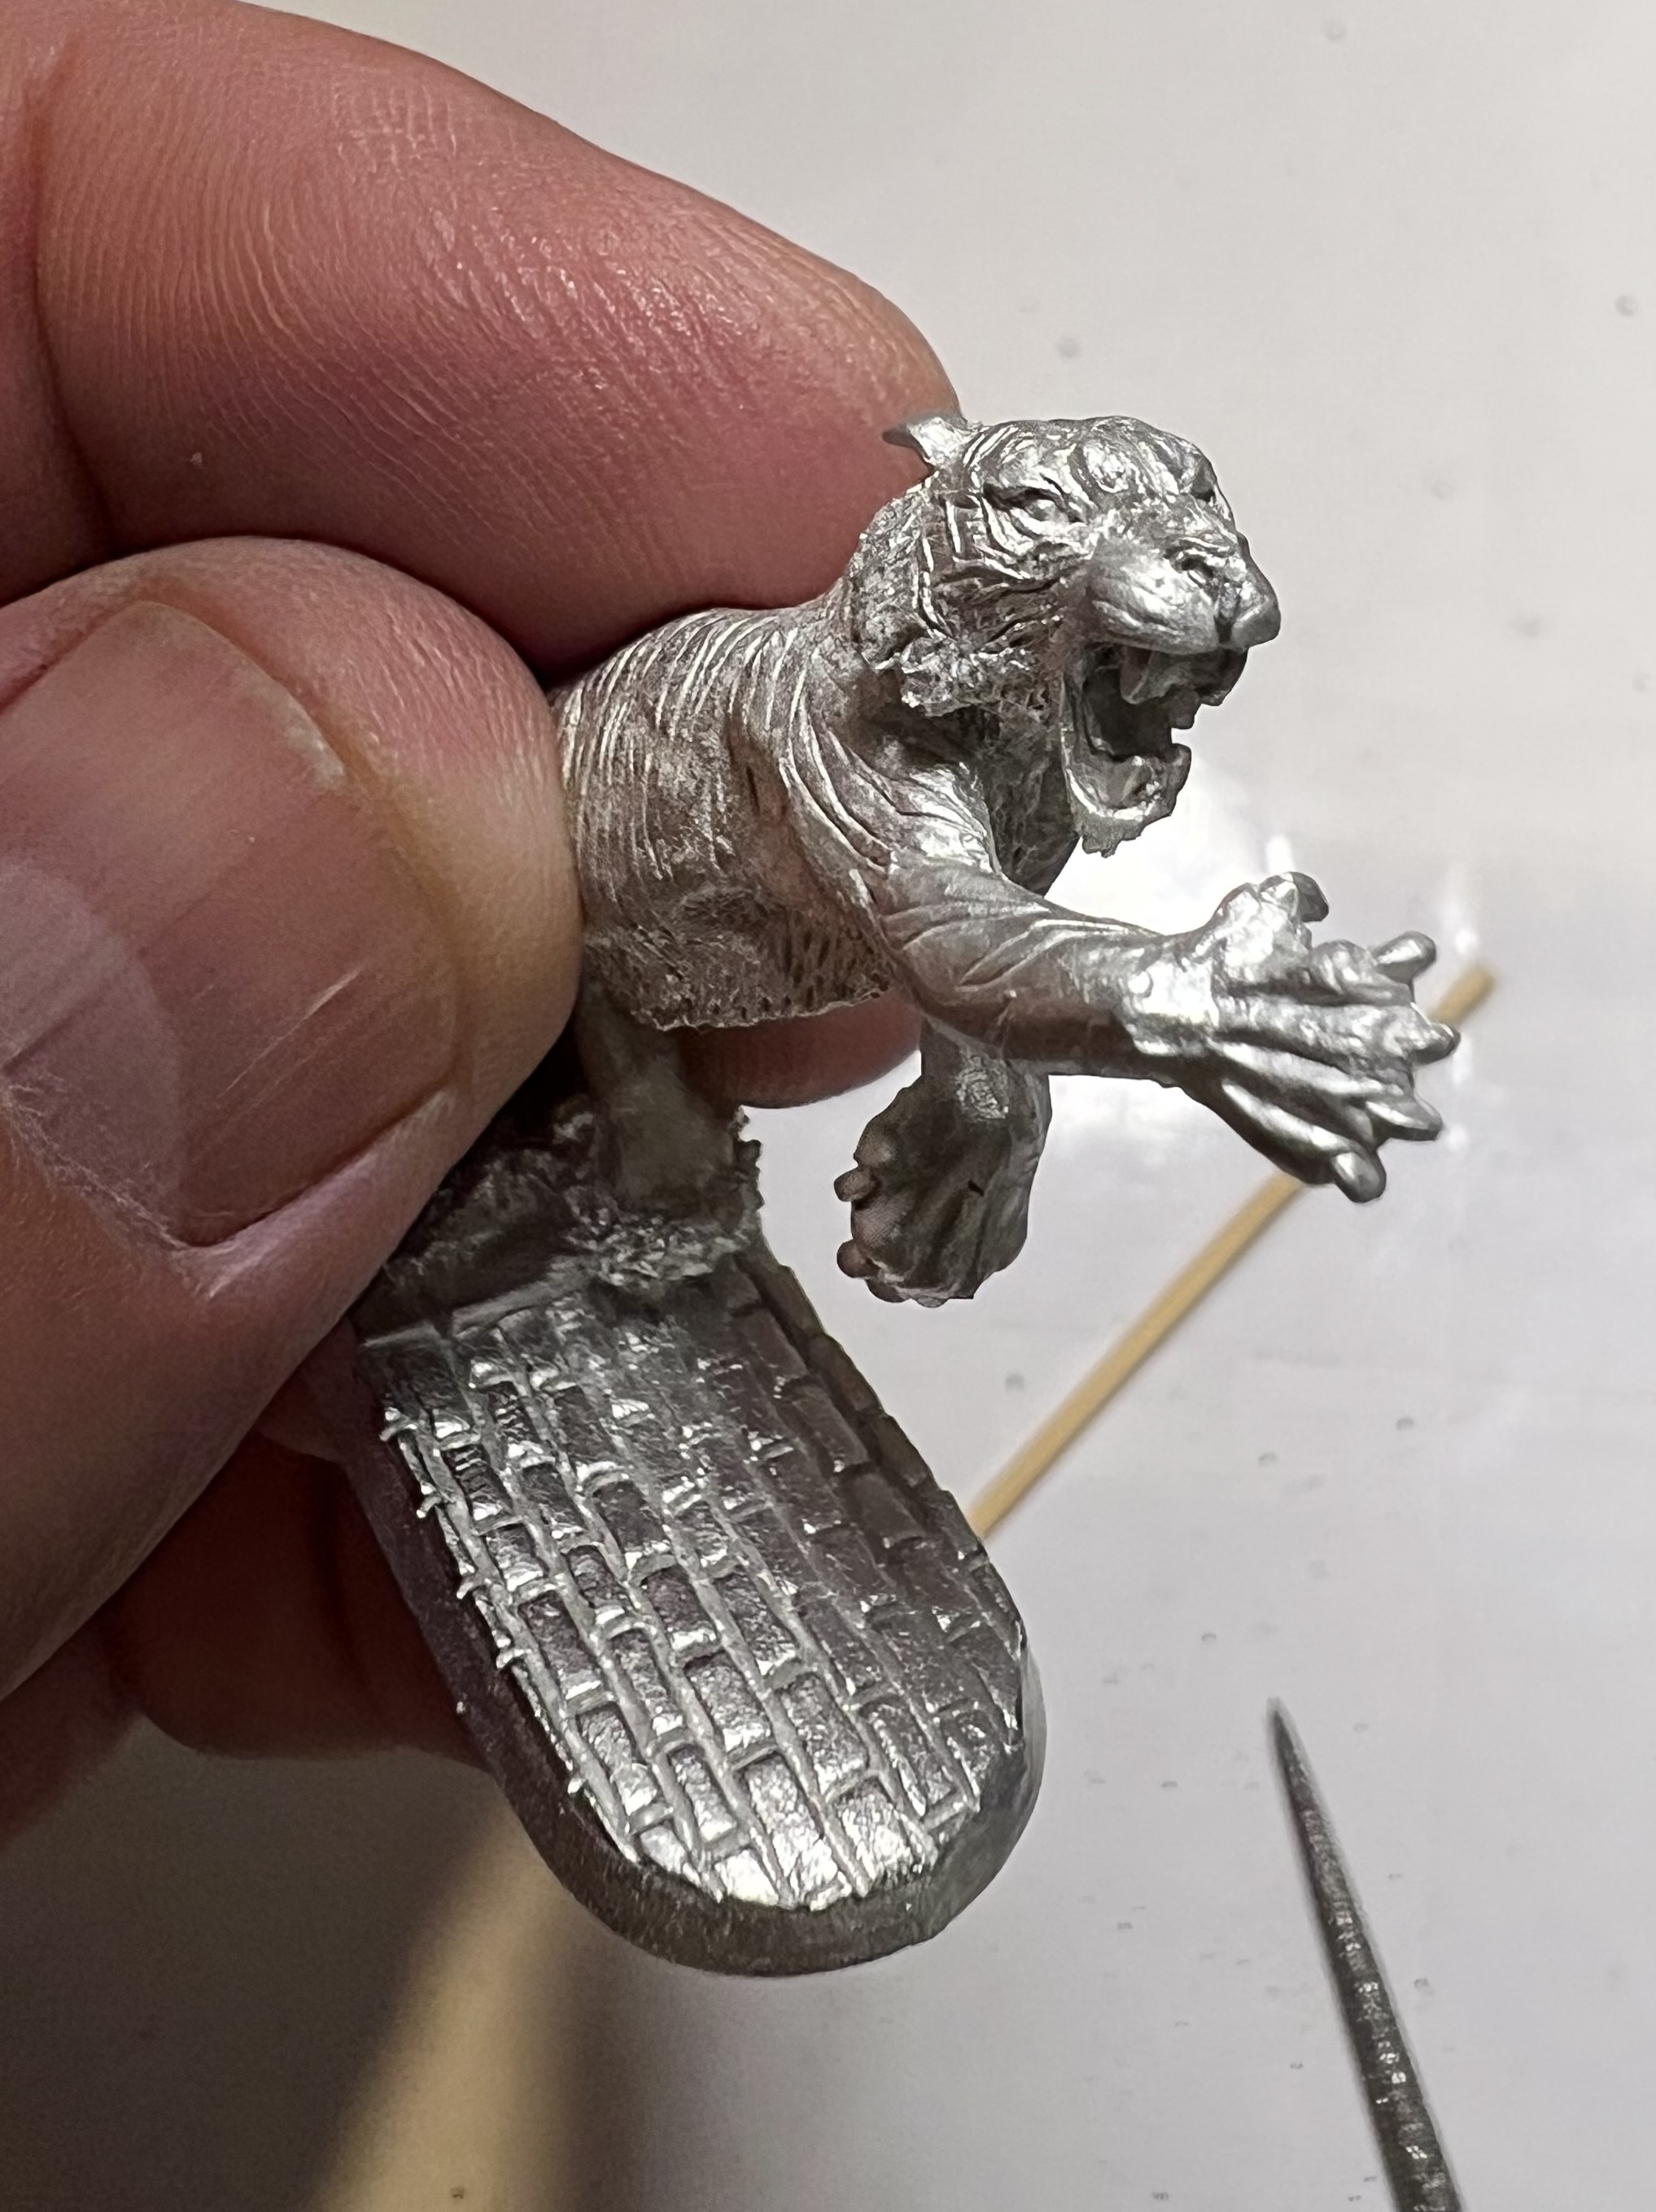
My ultimate tiger solution came with my finding a 25mm scale figure from Iron Wind Metals. It was – “Male Shape Shifter (Tiger Form)”, SKU DS-033. I’m pretty sure it was originally a Ral Partha figure, so in my mind it qualifies as an “Old School Mini”.
I thought I could modify it to work as a tank commander. I ordered two just in case for $28.90 including shipping. While 25mm is a bit smaller than 28mm – it was close in size to the Felynxii infantry from 1977. So all of them are 1970’s-era products.
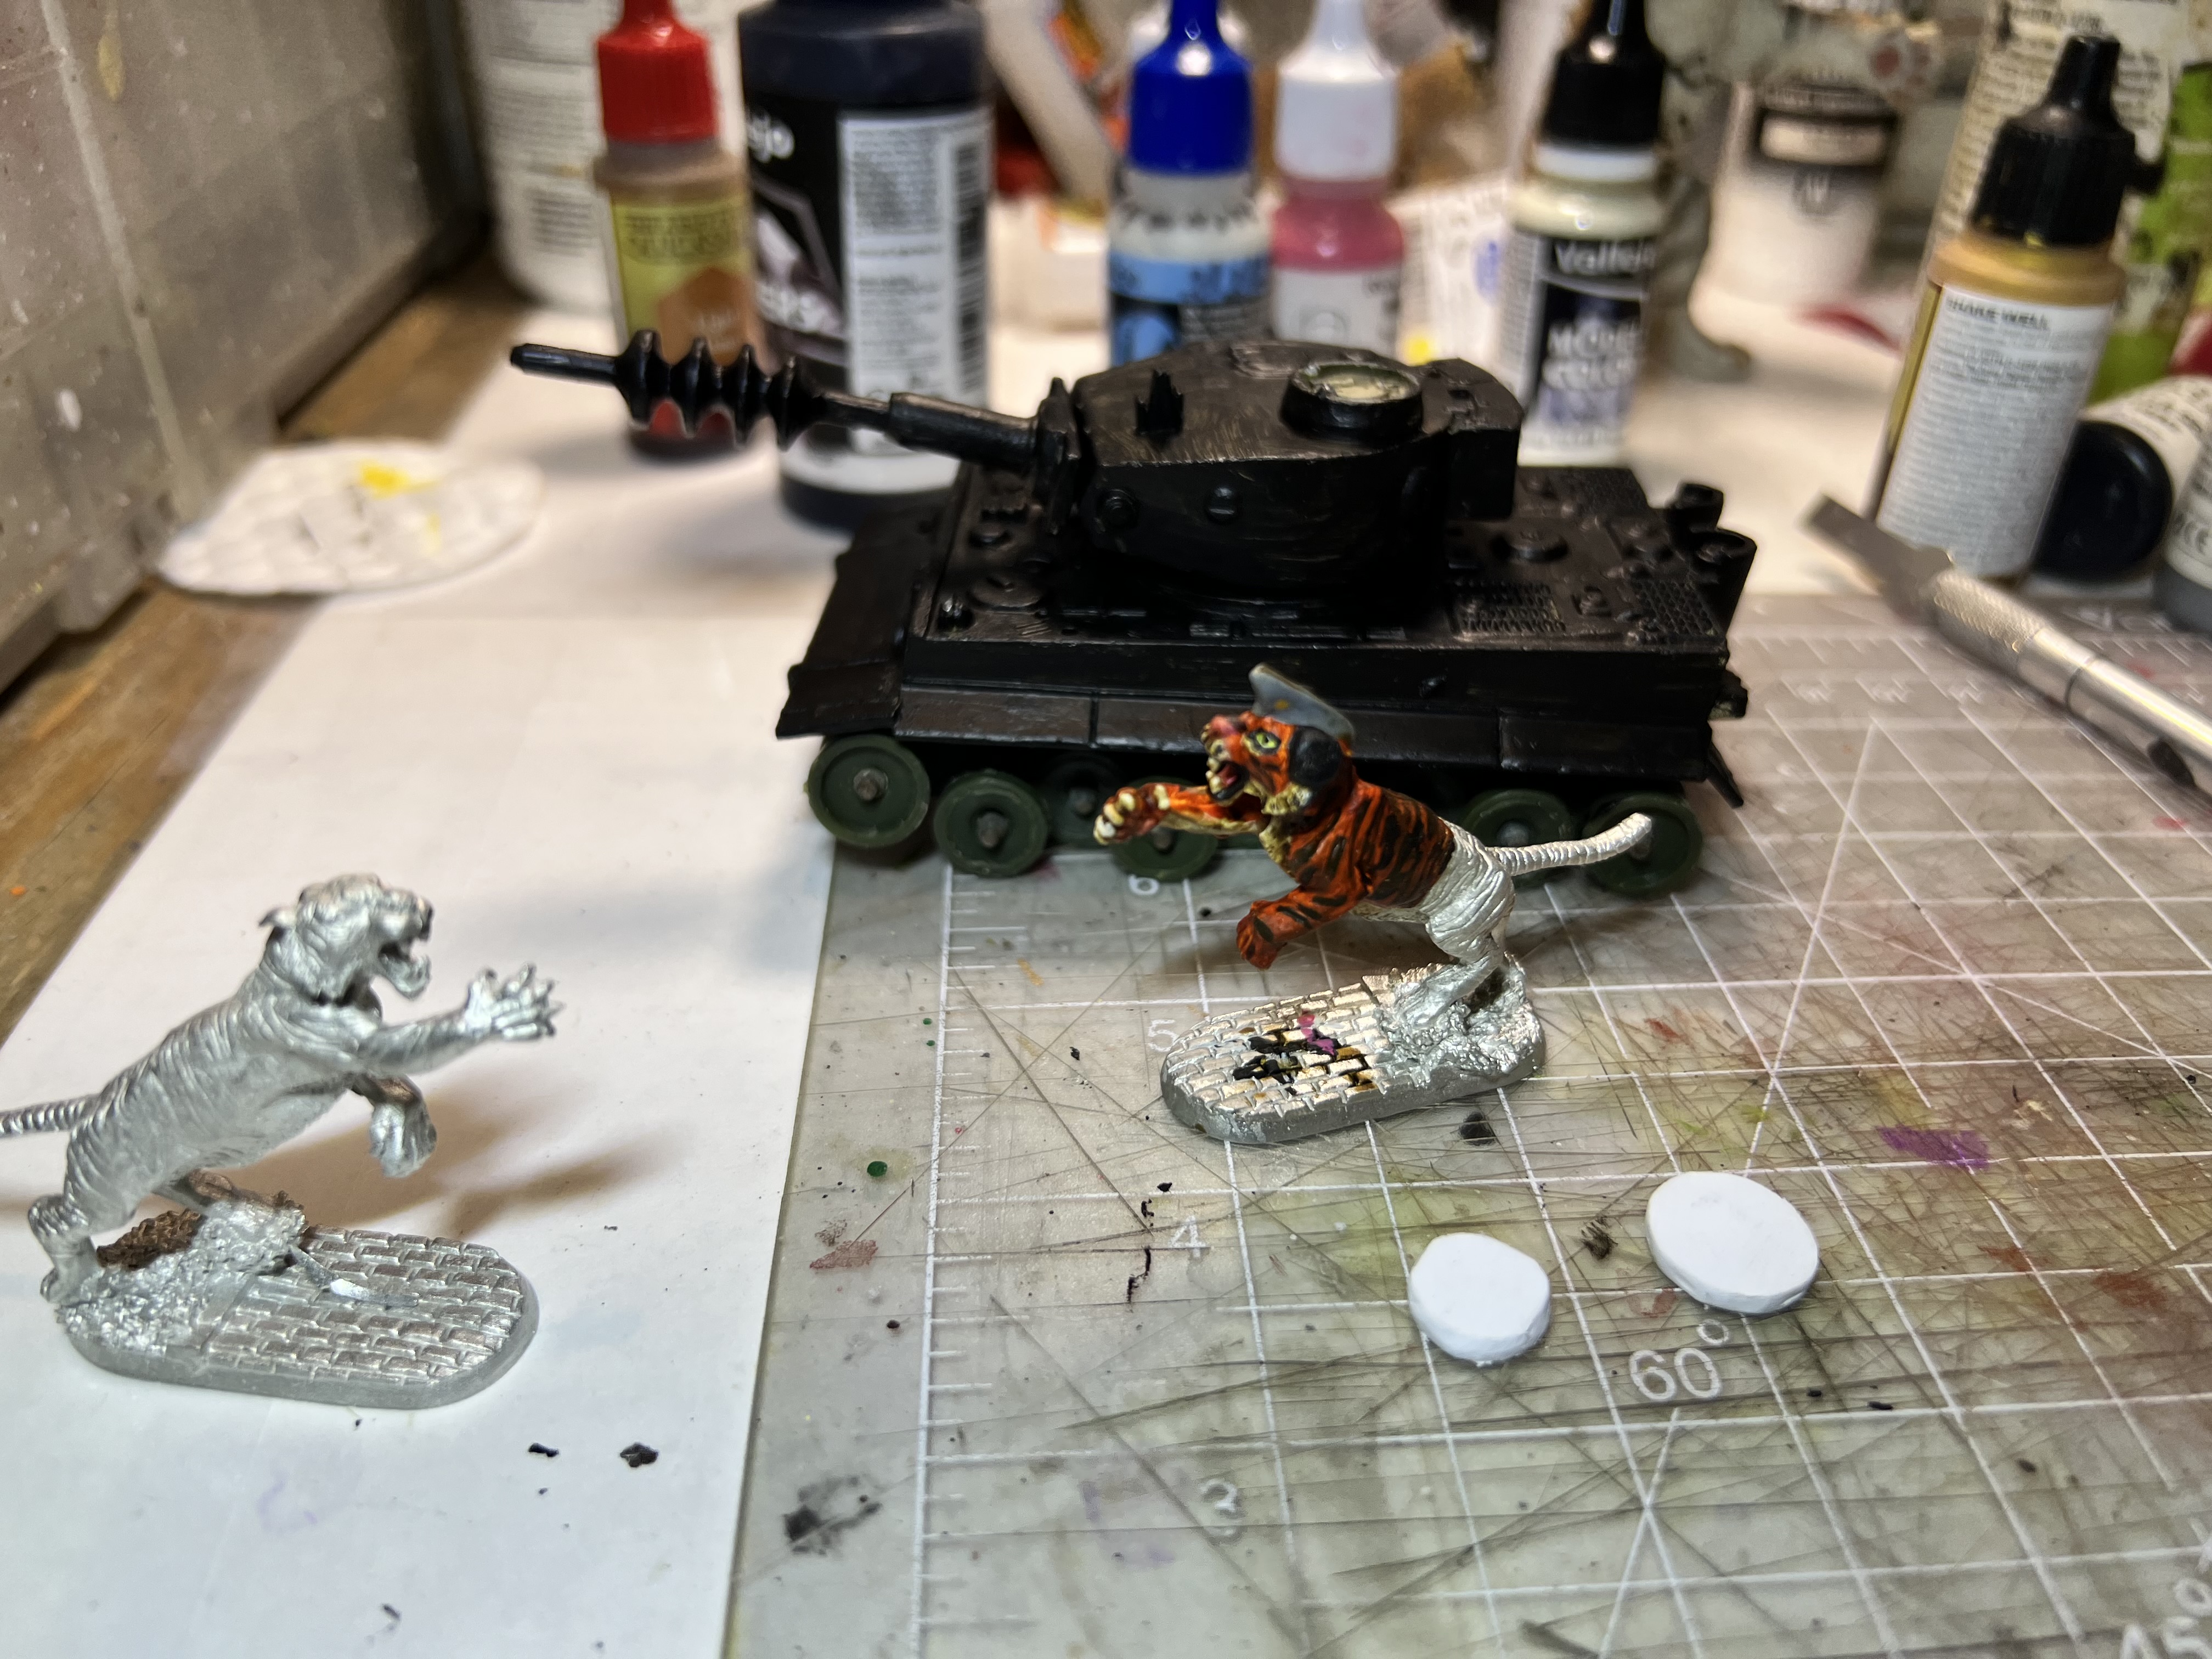
Materials assembled for consideration and planning!
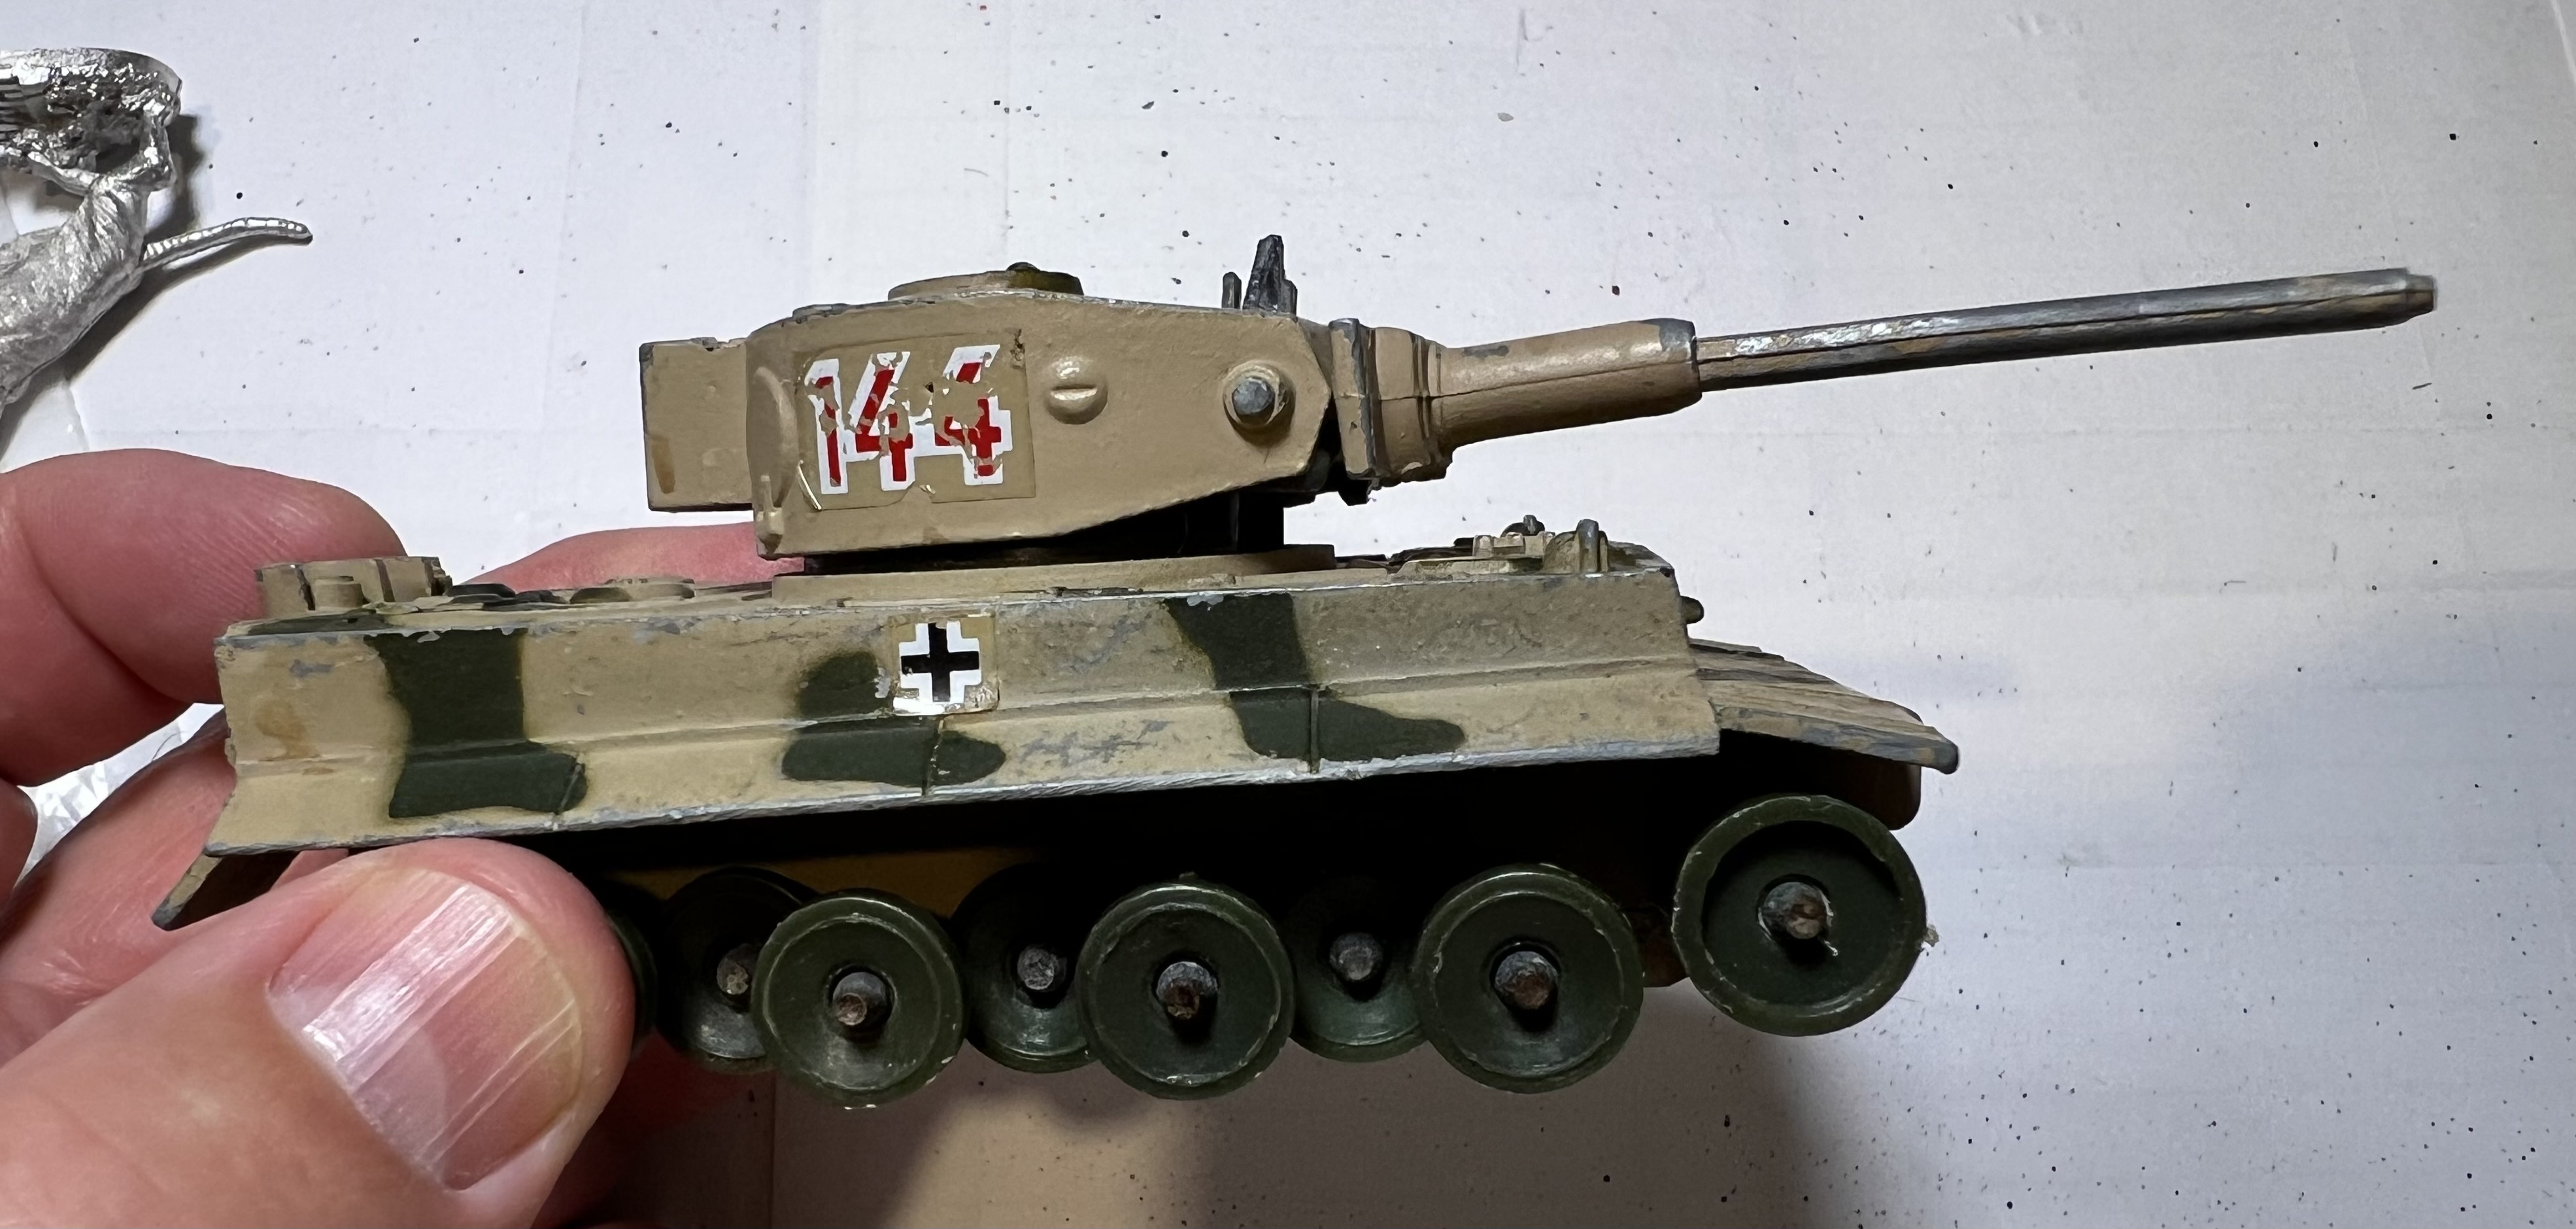
The Corgi tank needed work!
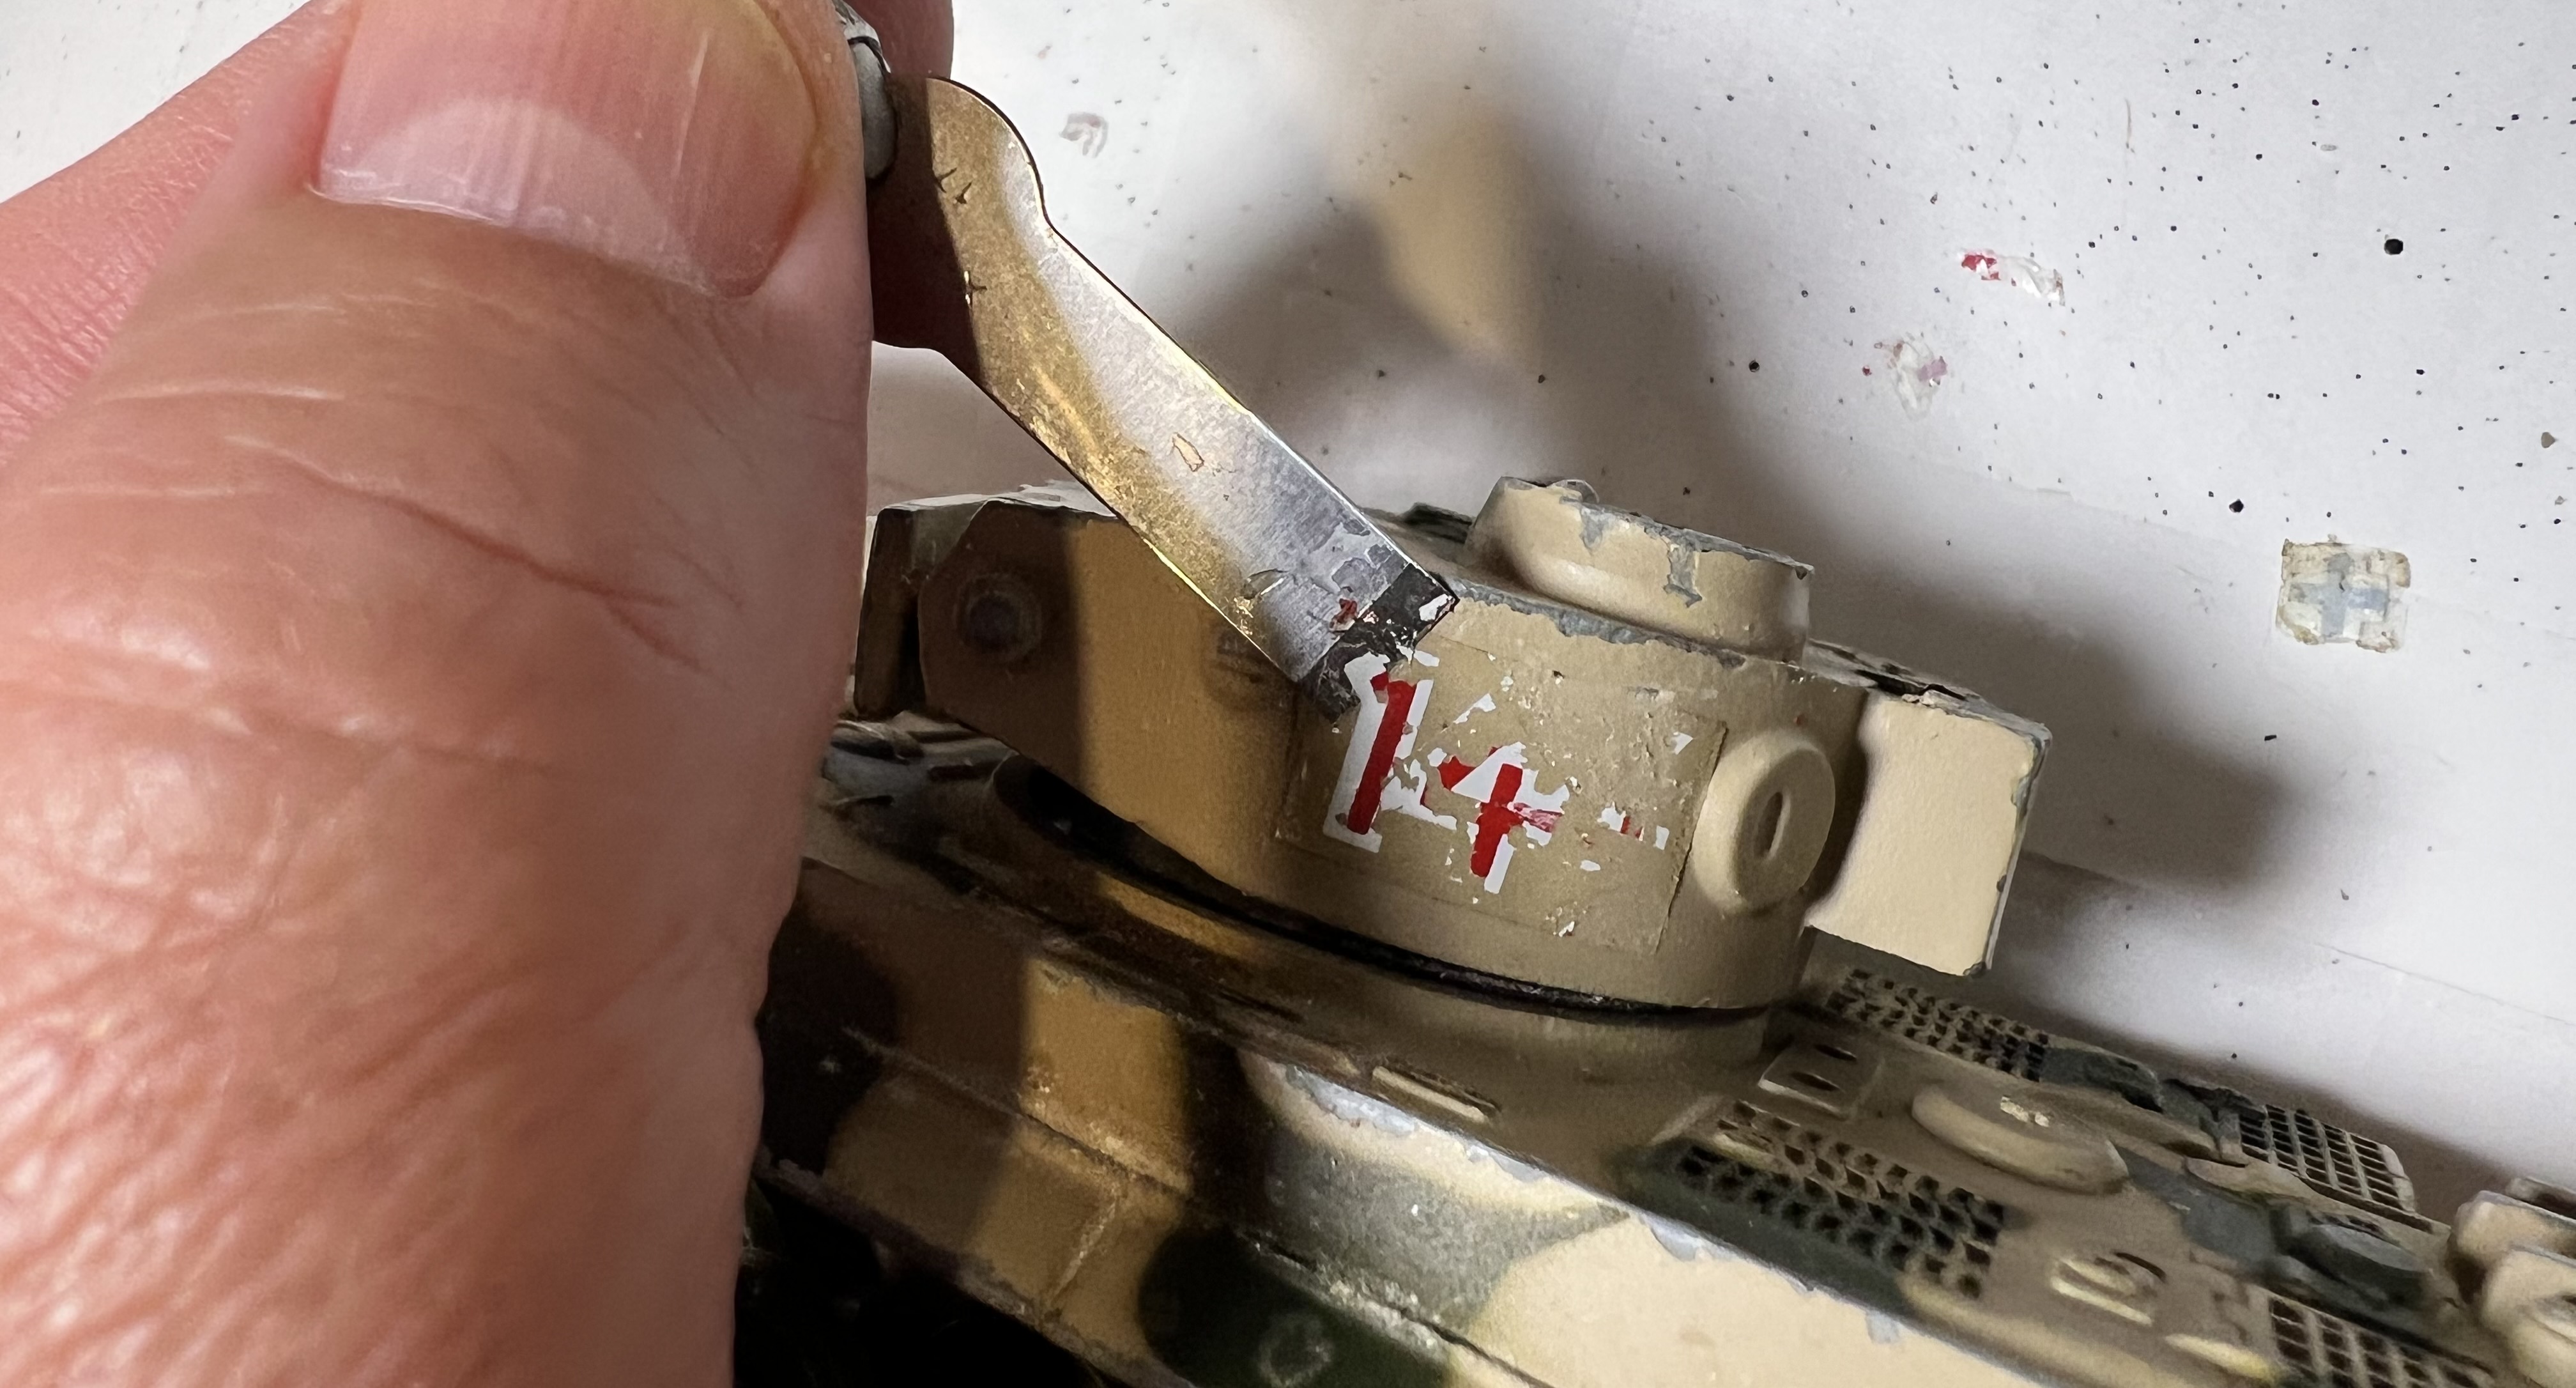
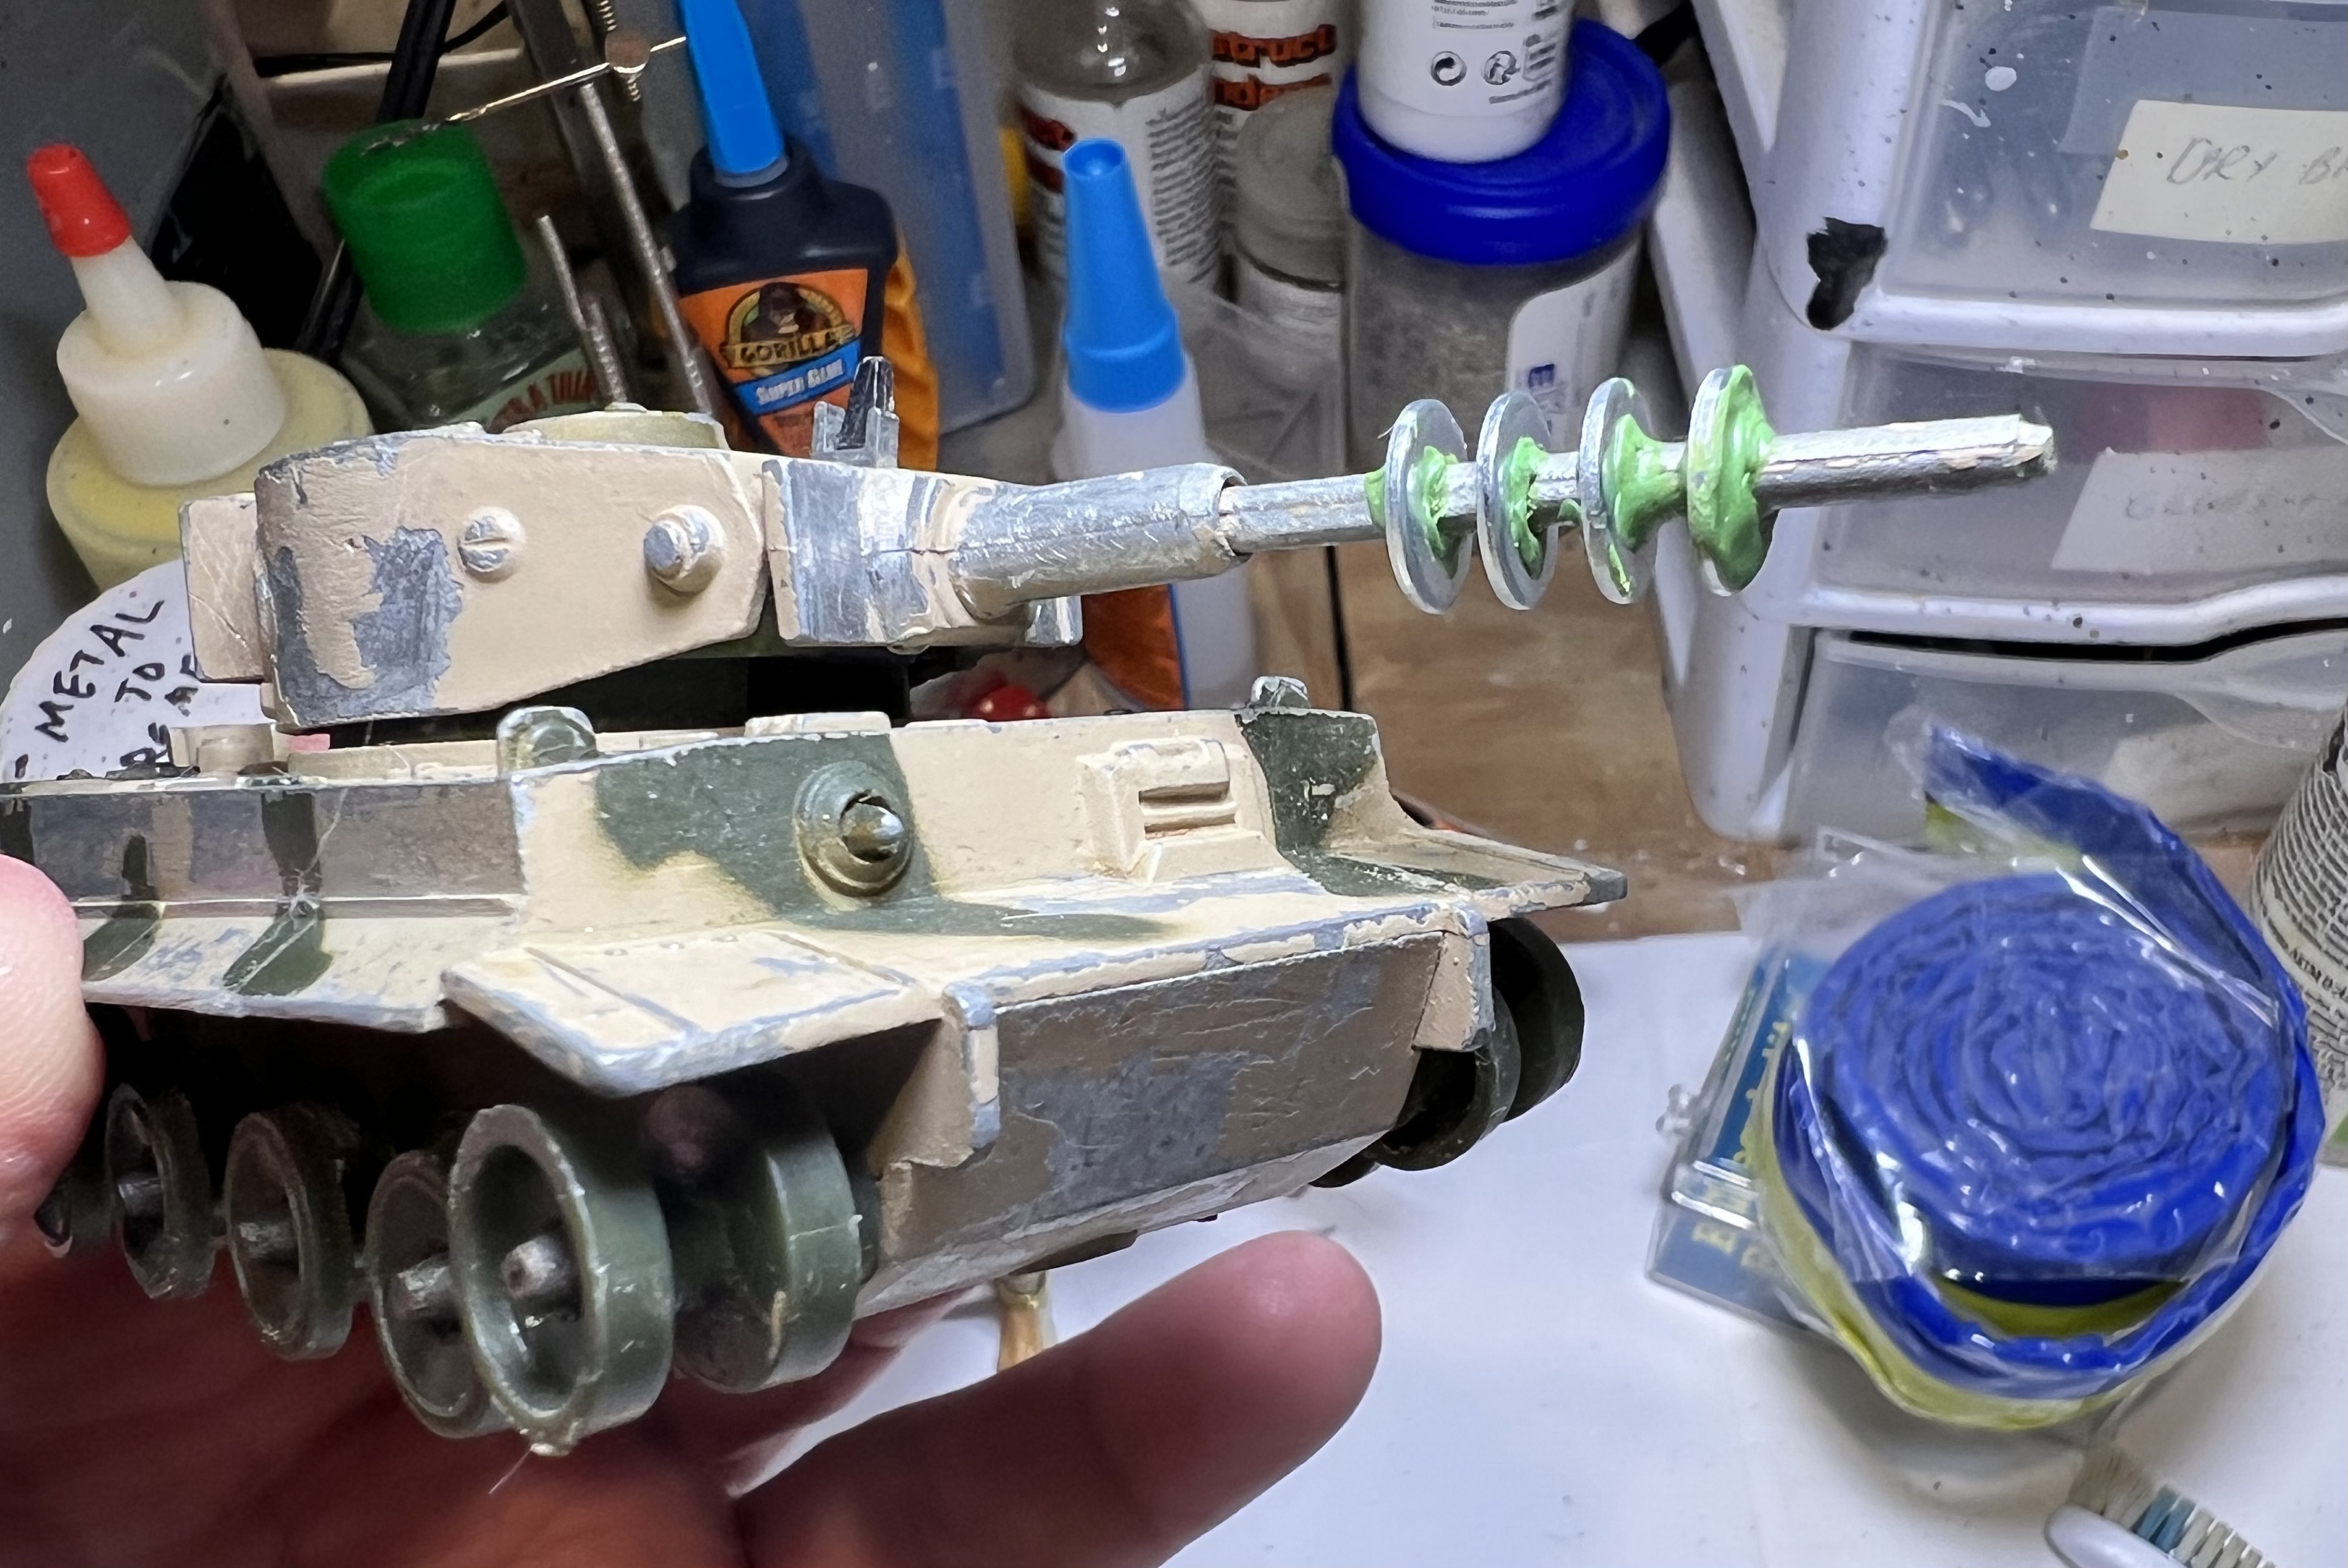
Need to remove decals and chipped paint! The barrel was also bentStill see rug fibers in the roadwheels from old play.
As to making this old toy a retro sci-fi tank, a few additions and modifications were needed. First, some clean up of the old decals and chipped paint.
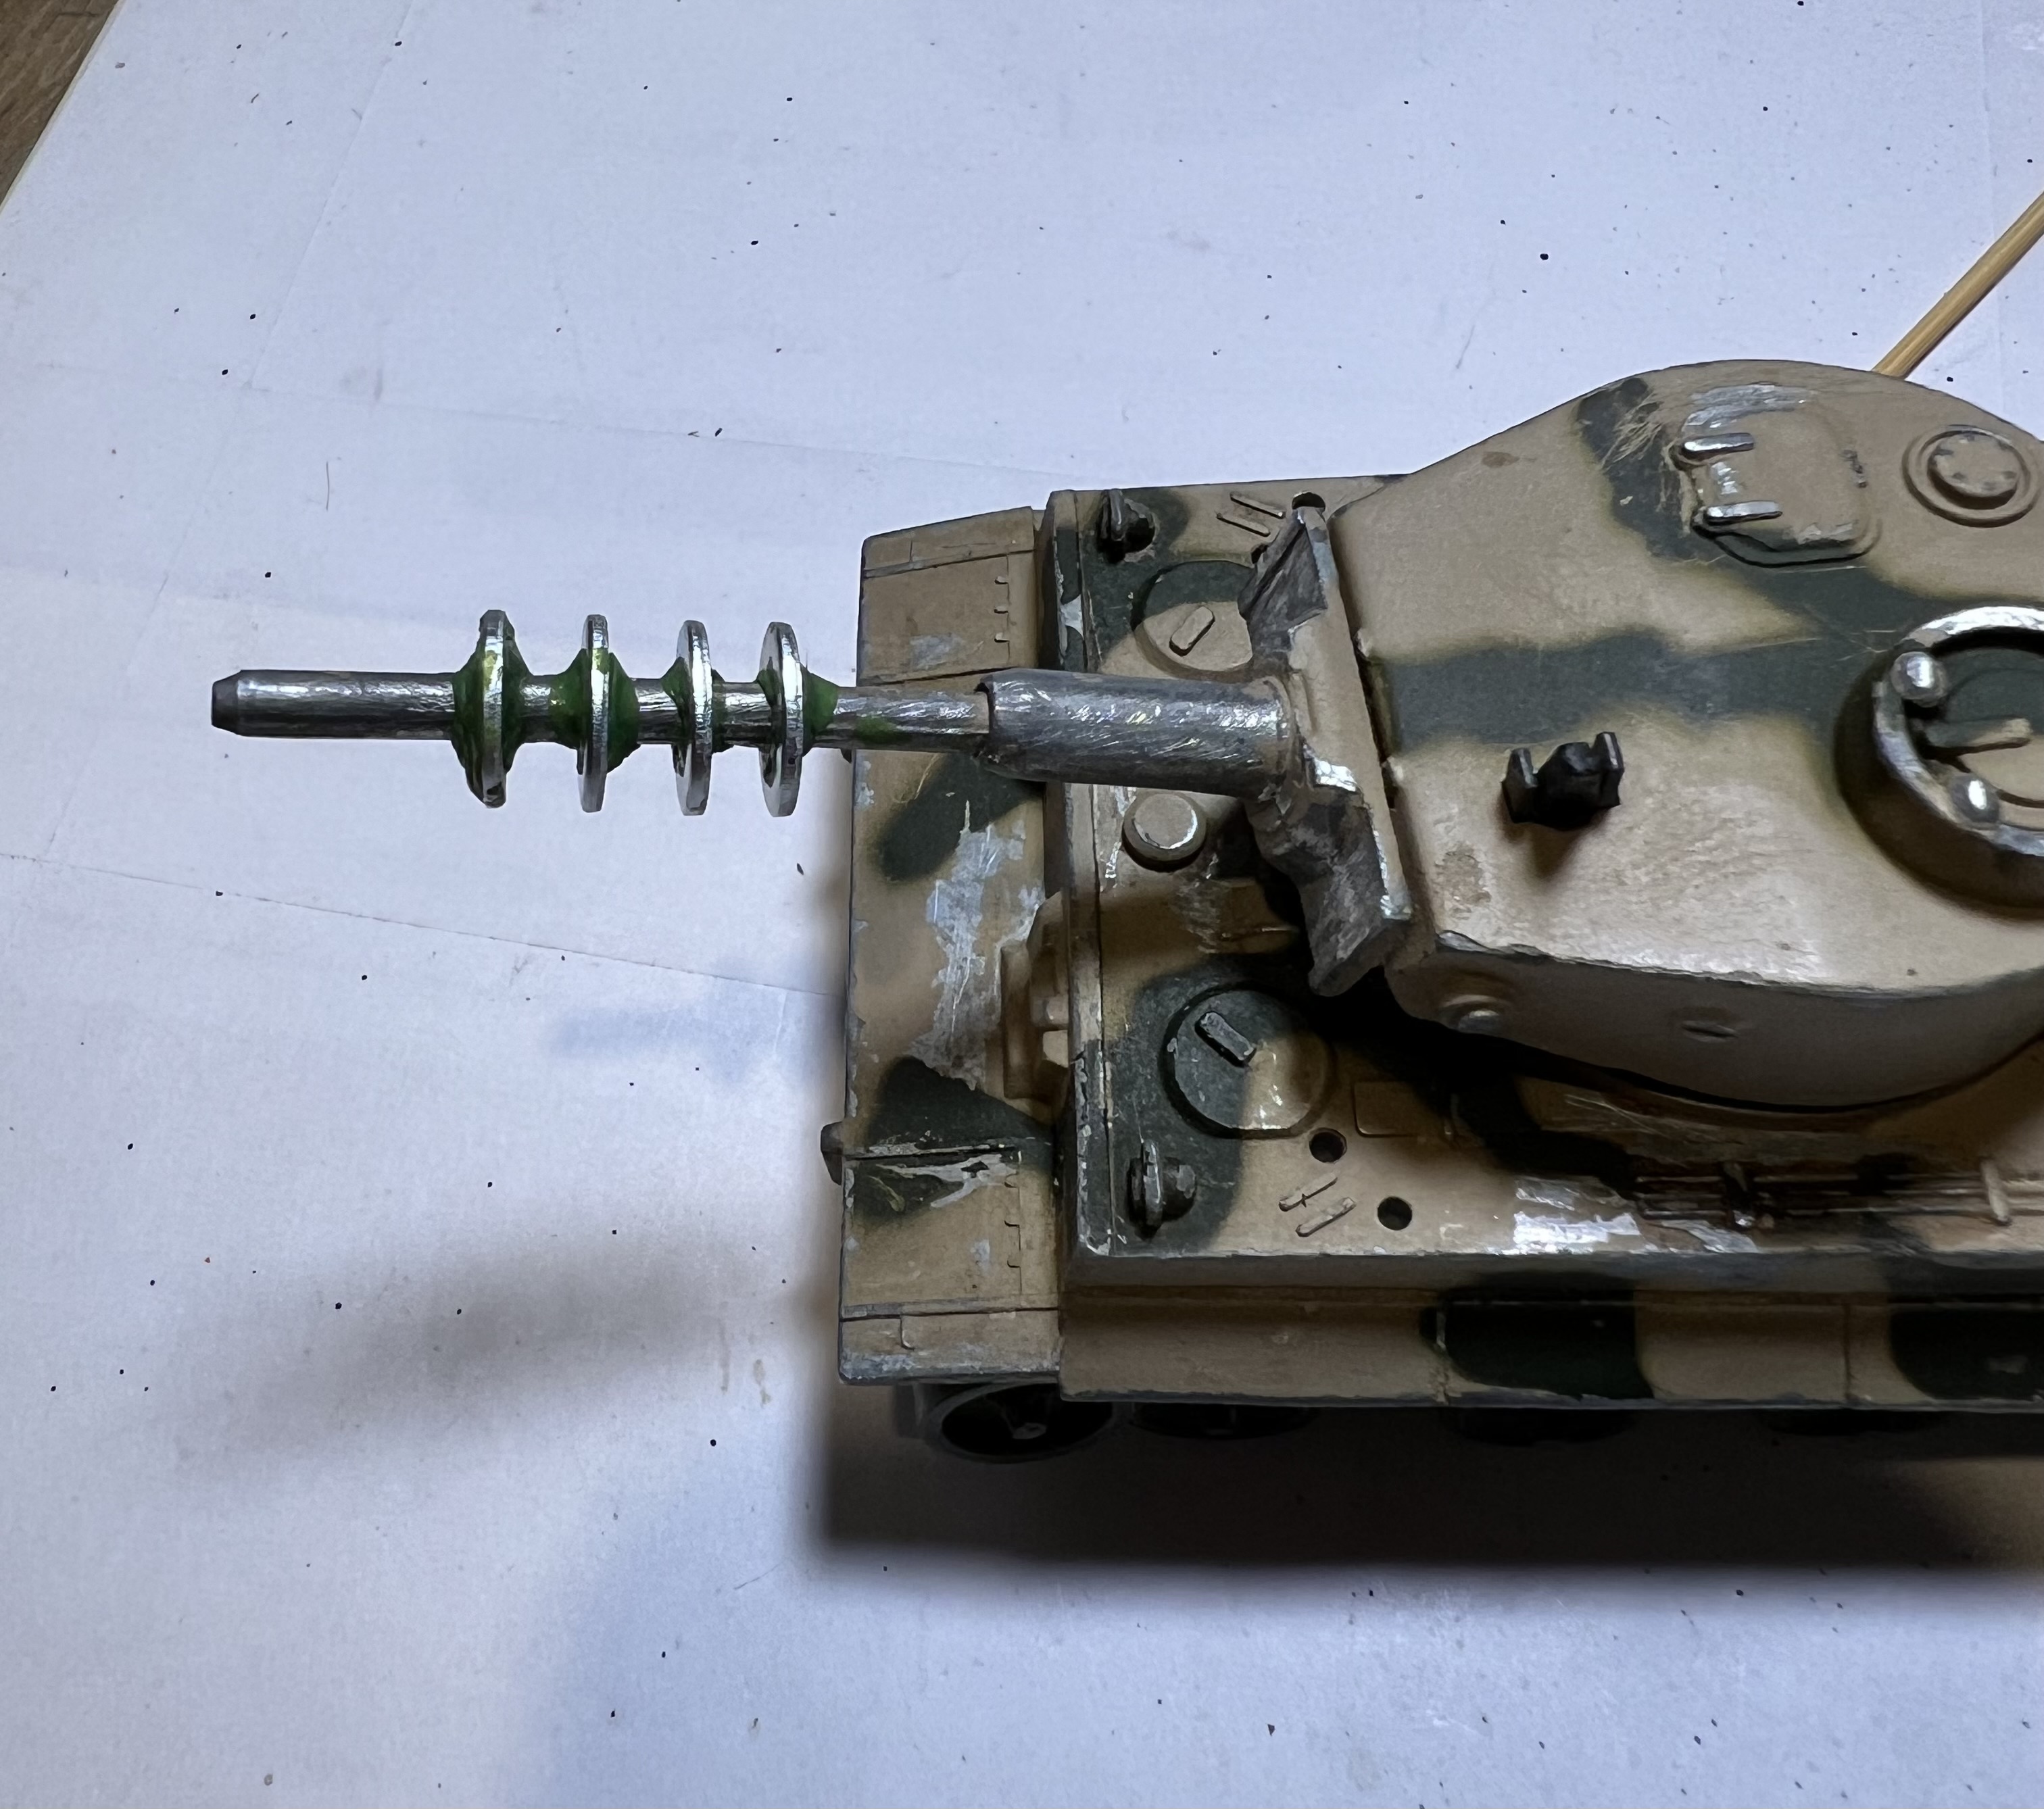
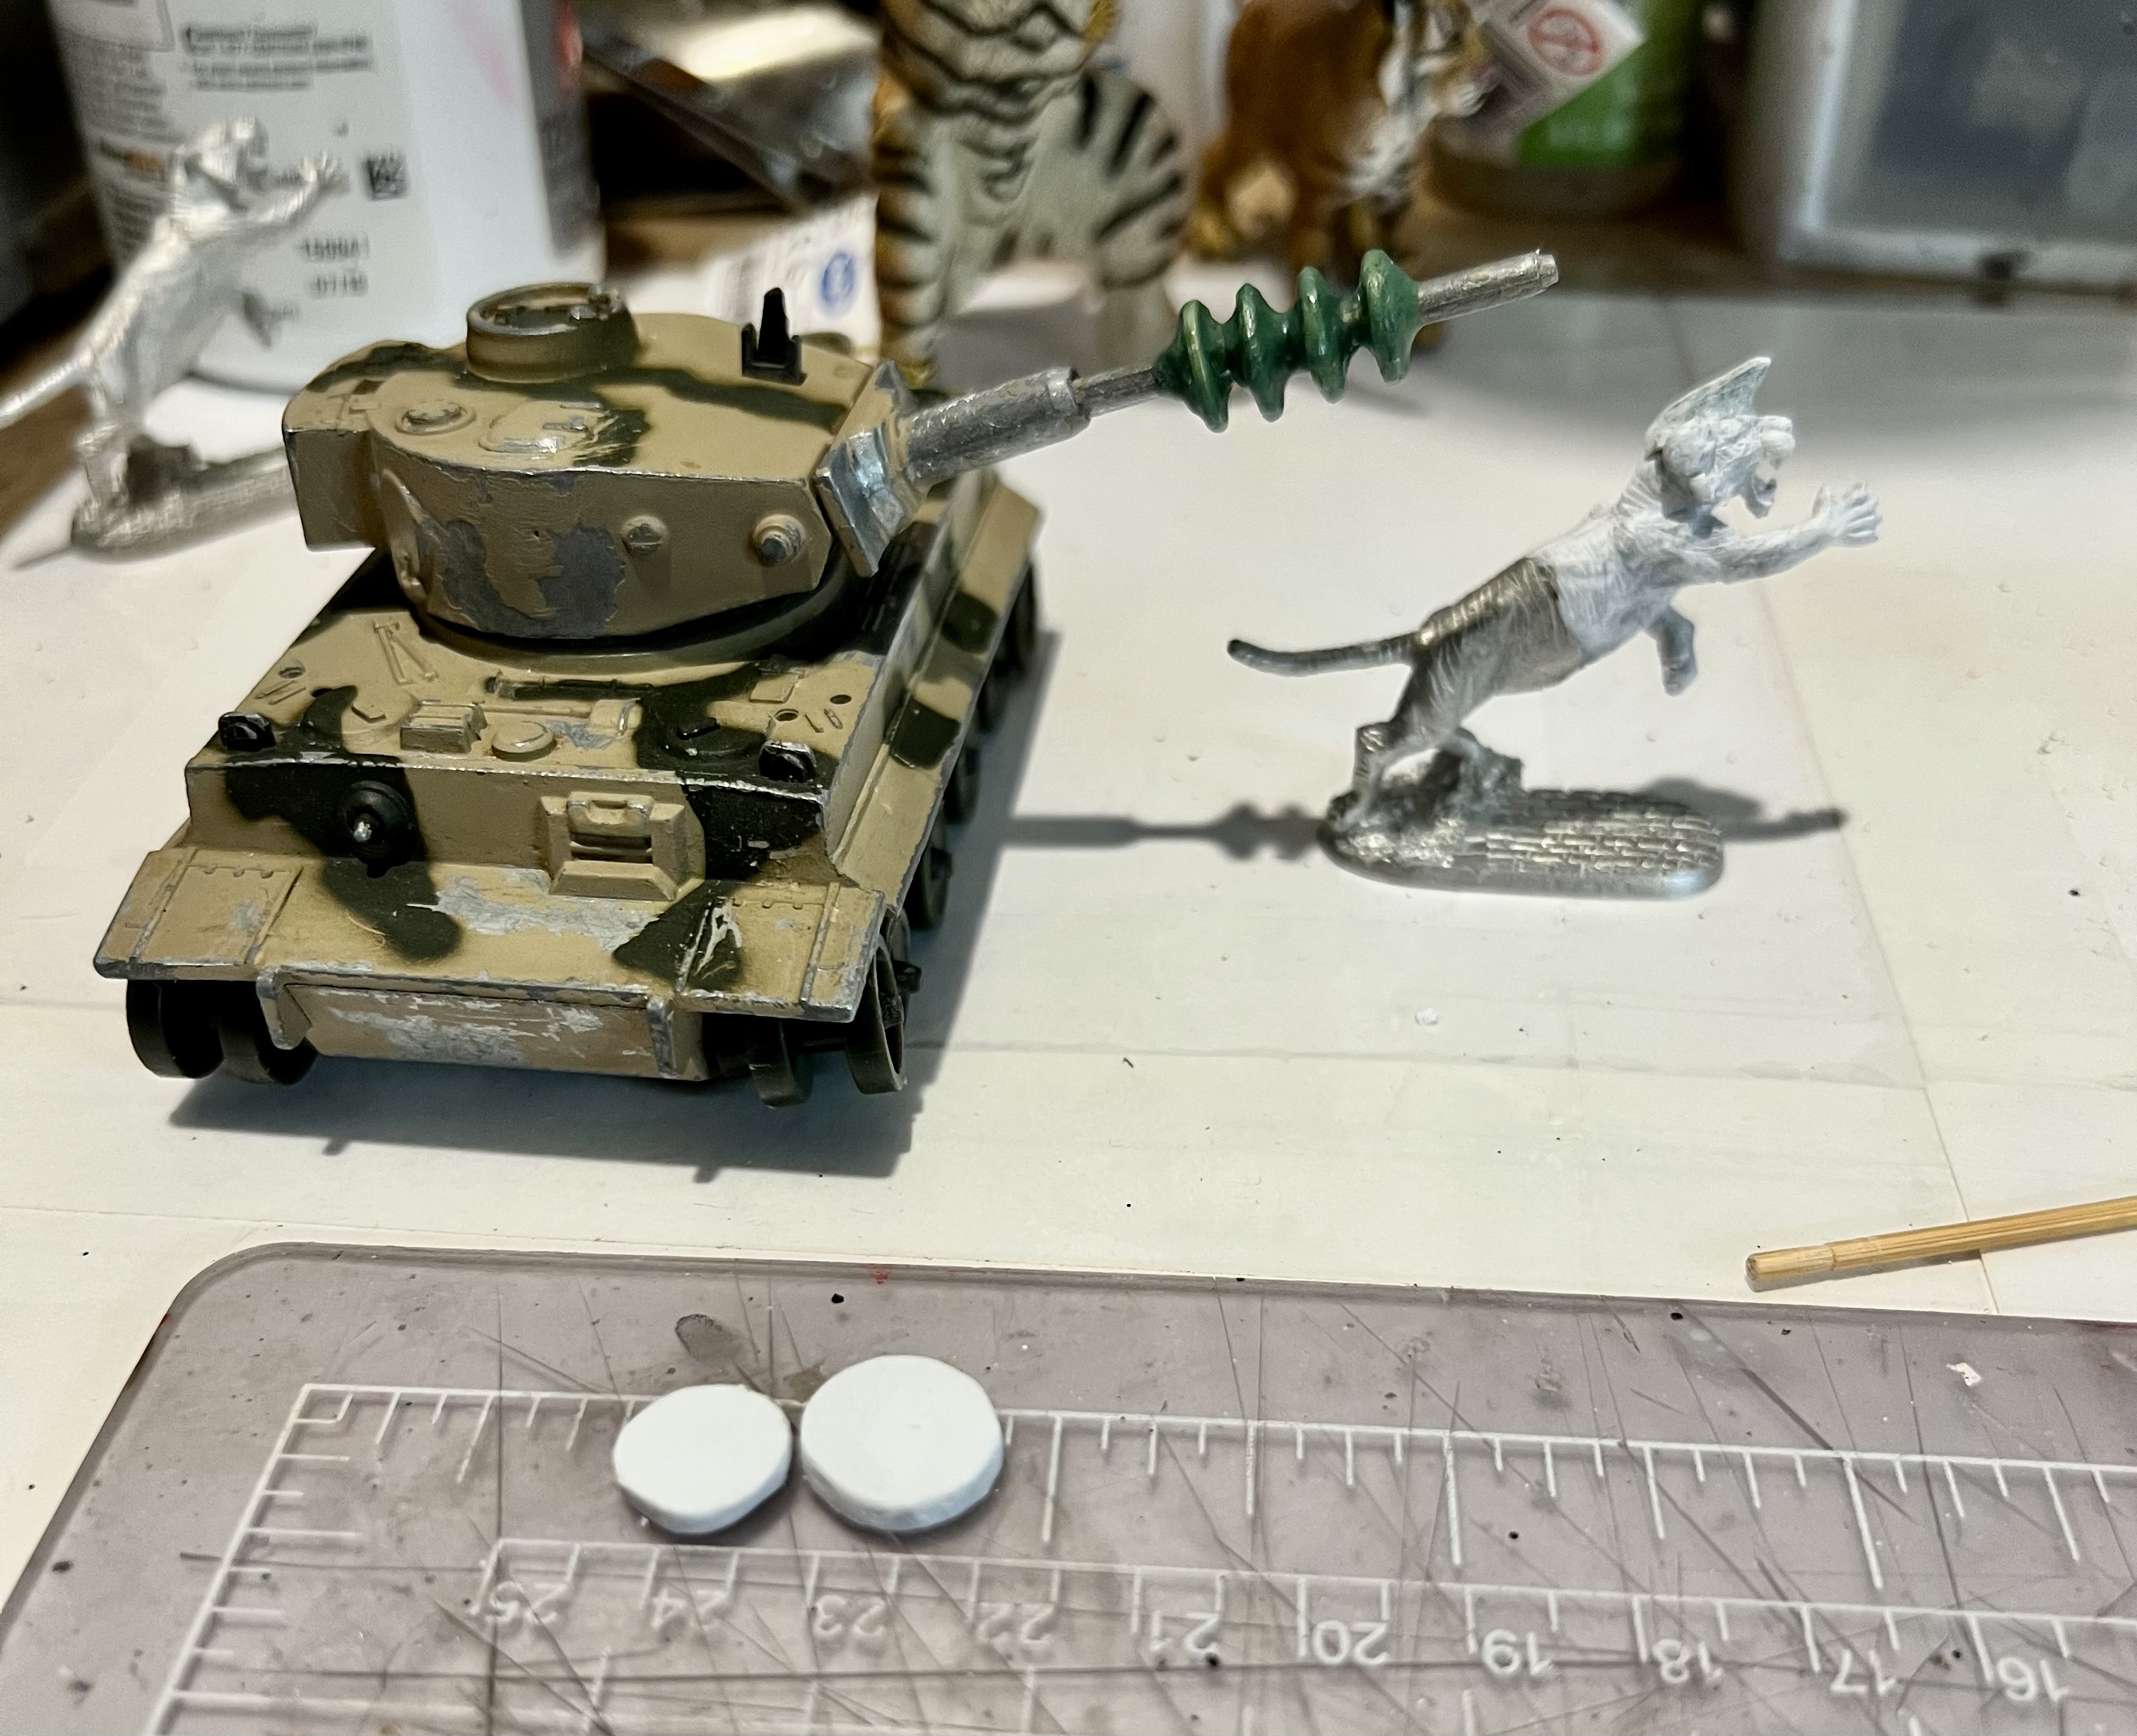
Of course, I thought it needed a big ray gun. After doing my best to straighten the gun I used a file to remove (as much as possible) its pot metal mold line. Using green stuff I added some number 6 Everbilt steel fender washers to the gun. This step was inspired by the fantastic efforts at kneadatite sculpting shared by two of my blog buddies – Roger (of Rantings from Under the Wargame Table – and Dave Stone of Wargame Terrain Workshop – check them both out). While I could have gone here with the thin look of the washers as they were – looking like a 1960’s TV Lost In Space weapon – I wanted them to be more retro sci-fi looking. Addditionally, I did worry that using the washers as initially secured would not be as secure as tabletop play might demand. That necessitated a two-step sculpt to give the main gun a more hefty look.
Step 1 was to get the washers fixed in place for 24 hours – before going on to further sculpting.Another view of step 1.
While that cured, I went to work on planning out work on the tiger commander figure. I planned to have the figure’s head – or preferably its torso – coming out of the tank’s hatch. I realized that drilling out the Corgi tank commander’s hatch to insert a figure was impractical due to the thickness of the metal and the size of the hatch.
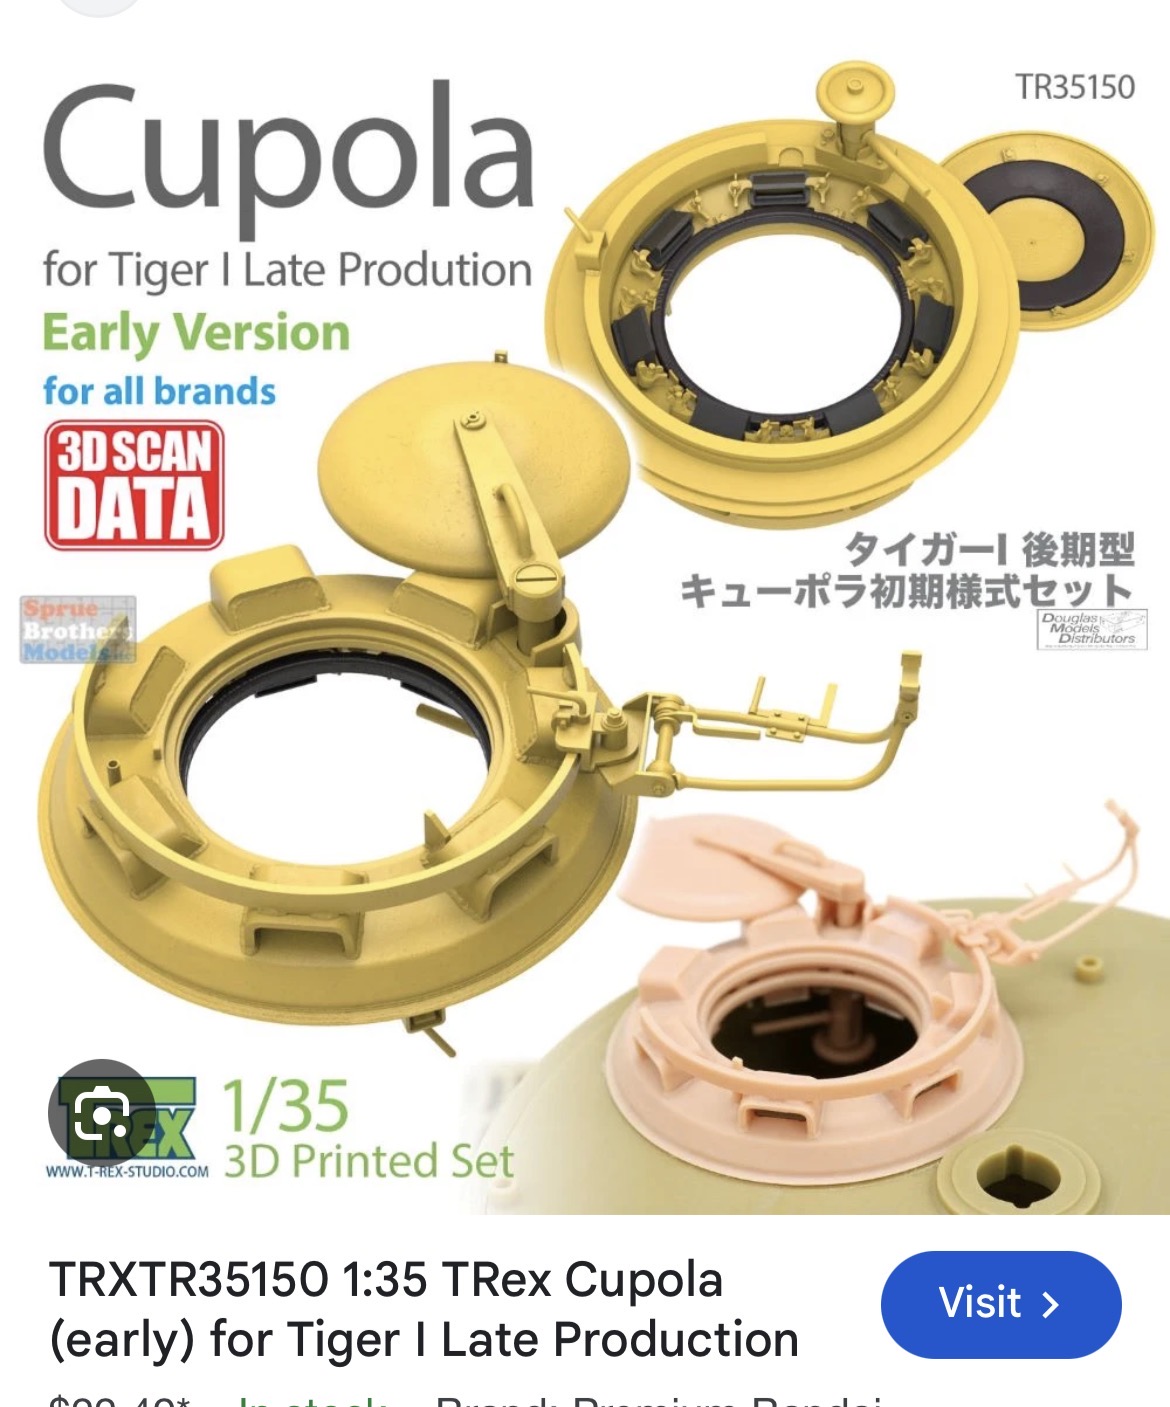
Doing a bit of research gave me insight into the different types of cupola’s that WWII Tiger I tanks had. One type swung up vertically, while another rorated out on a lateral swing arm. That would be my solution – build a cupola/hatch to mount the commander. It would also enable me to work on the cupola/hatch/tiger assembly separately from the toy tank.
Inspiration from eBay yet again. This would be the basic orientation of my cupola.
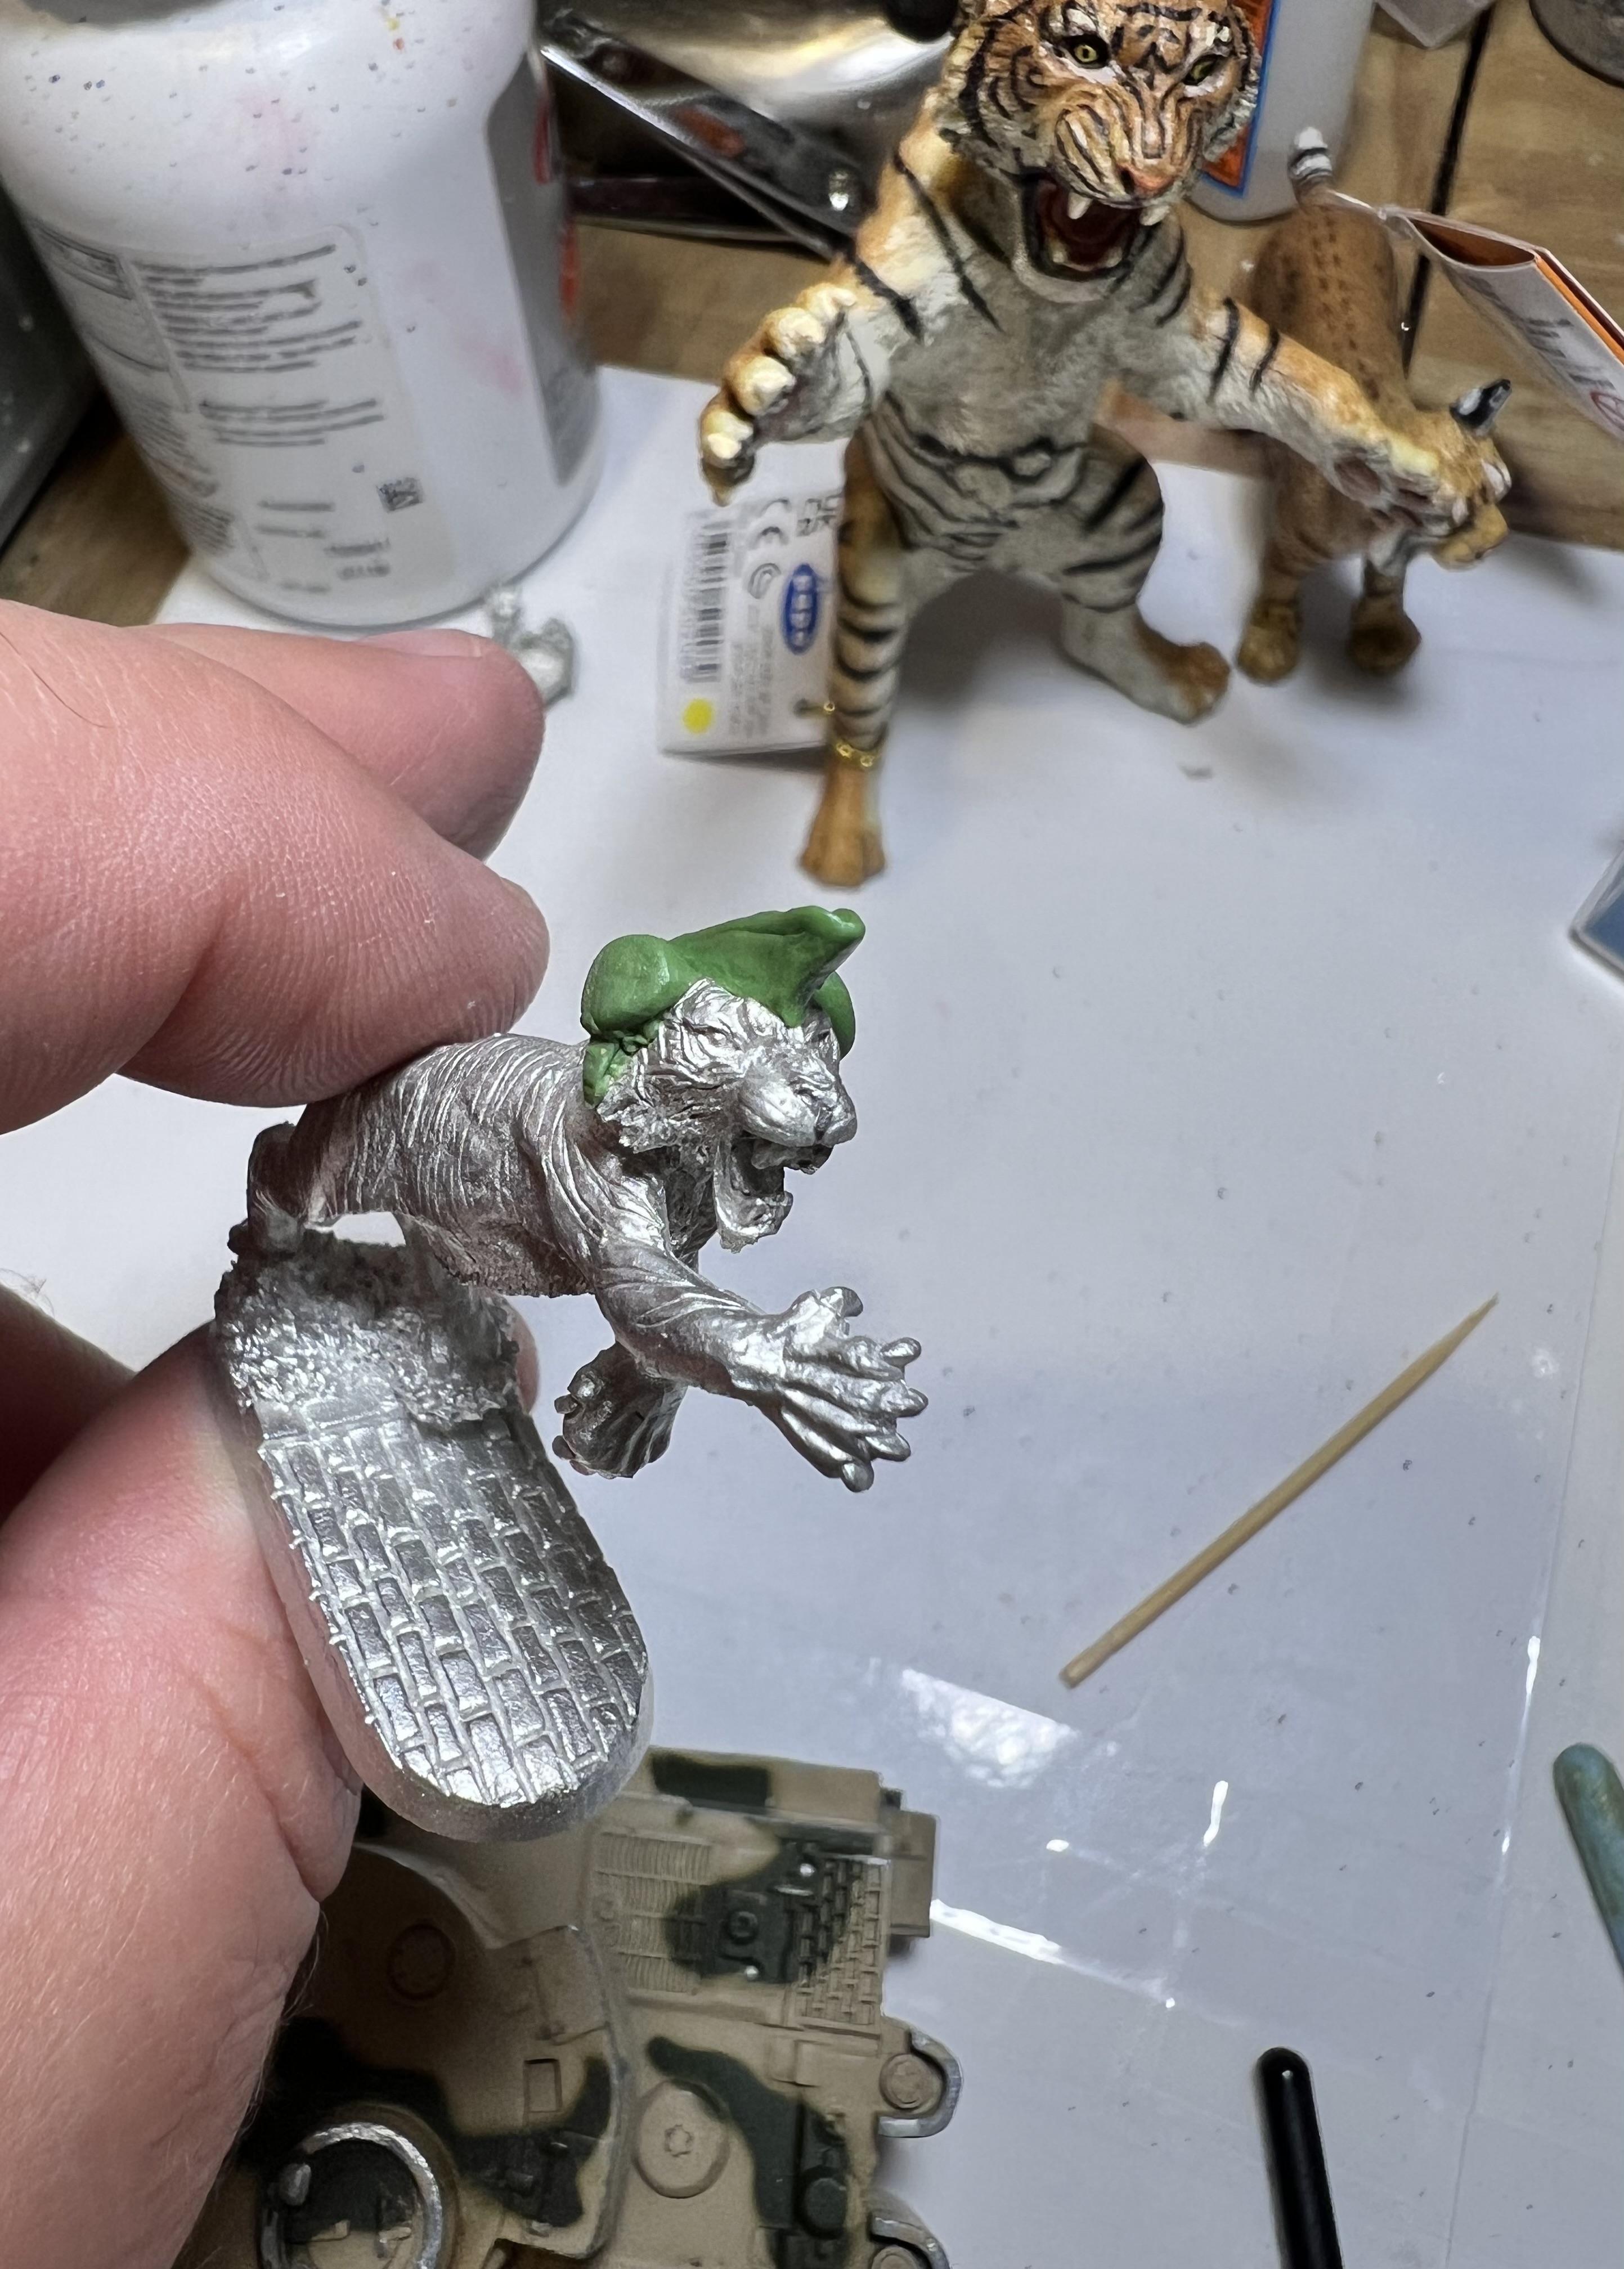
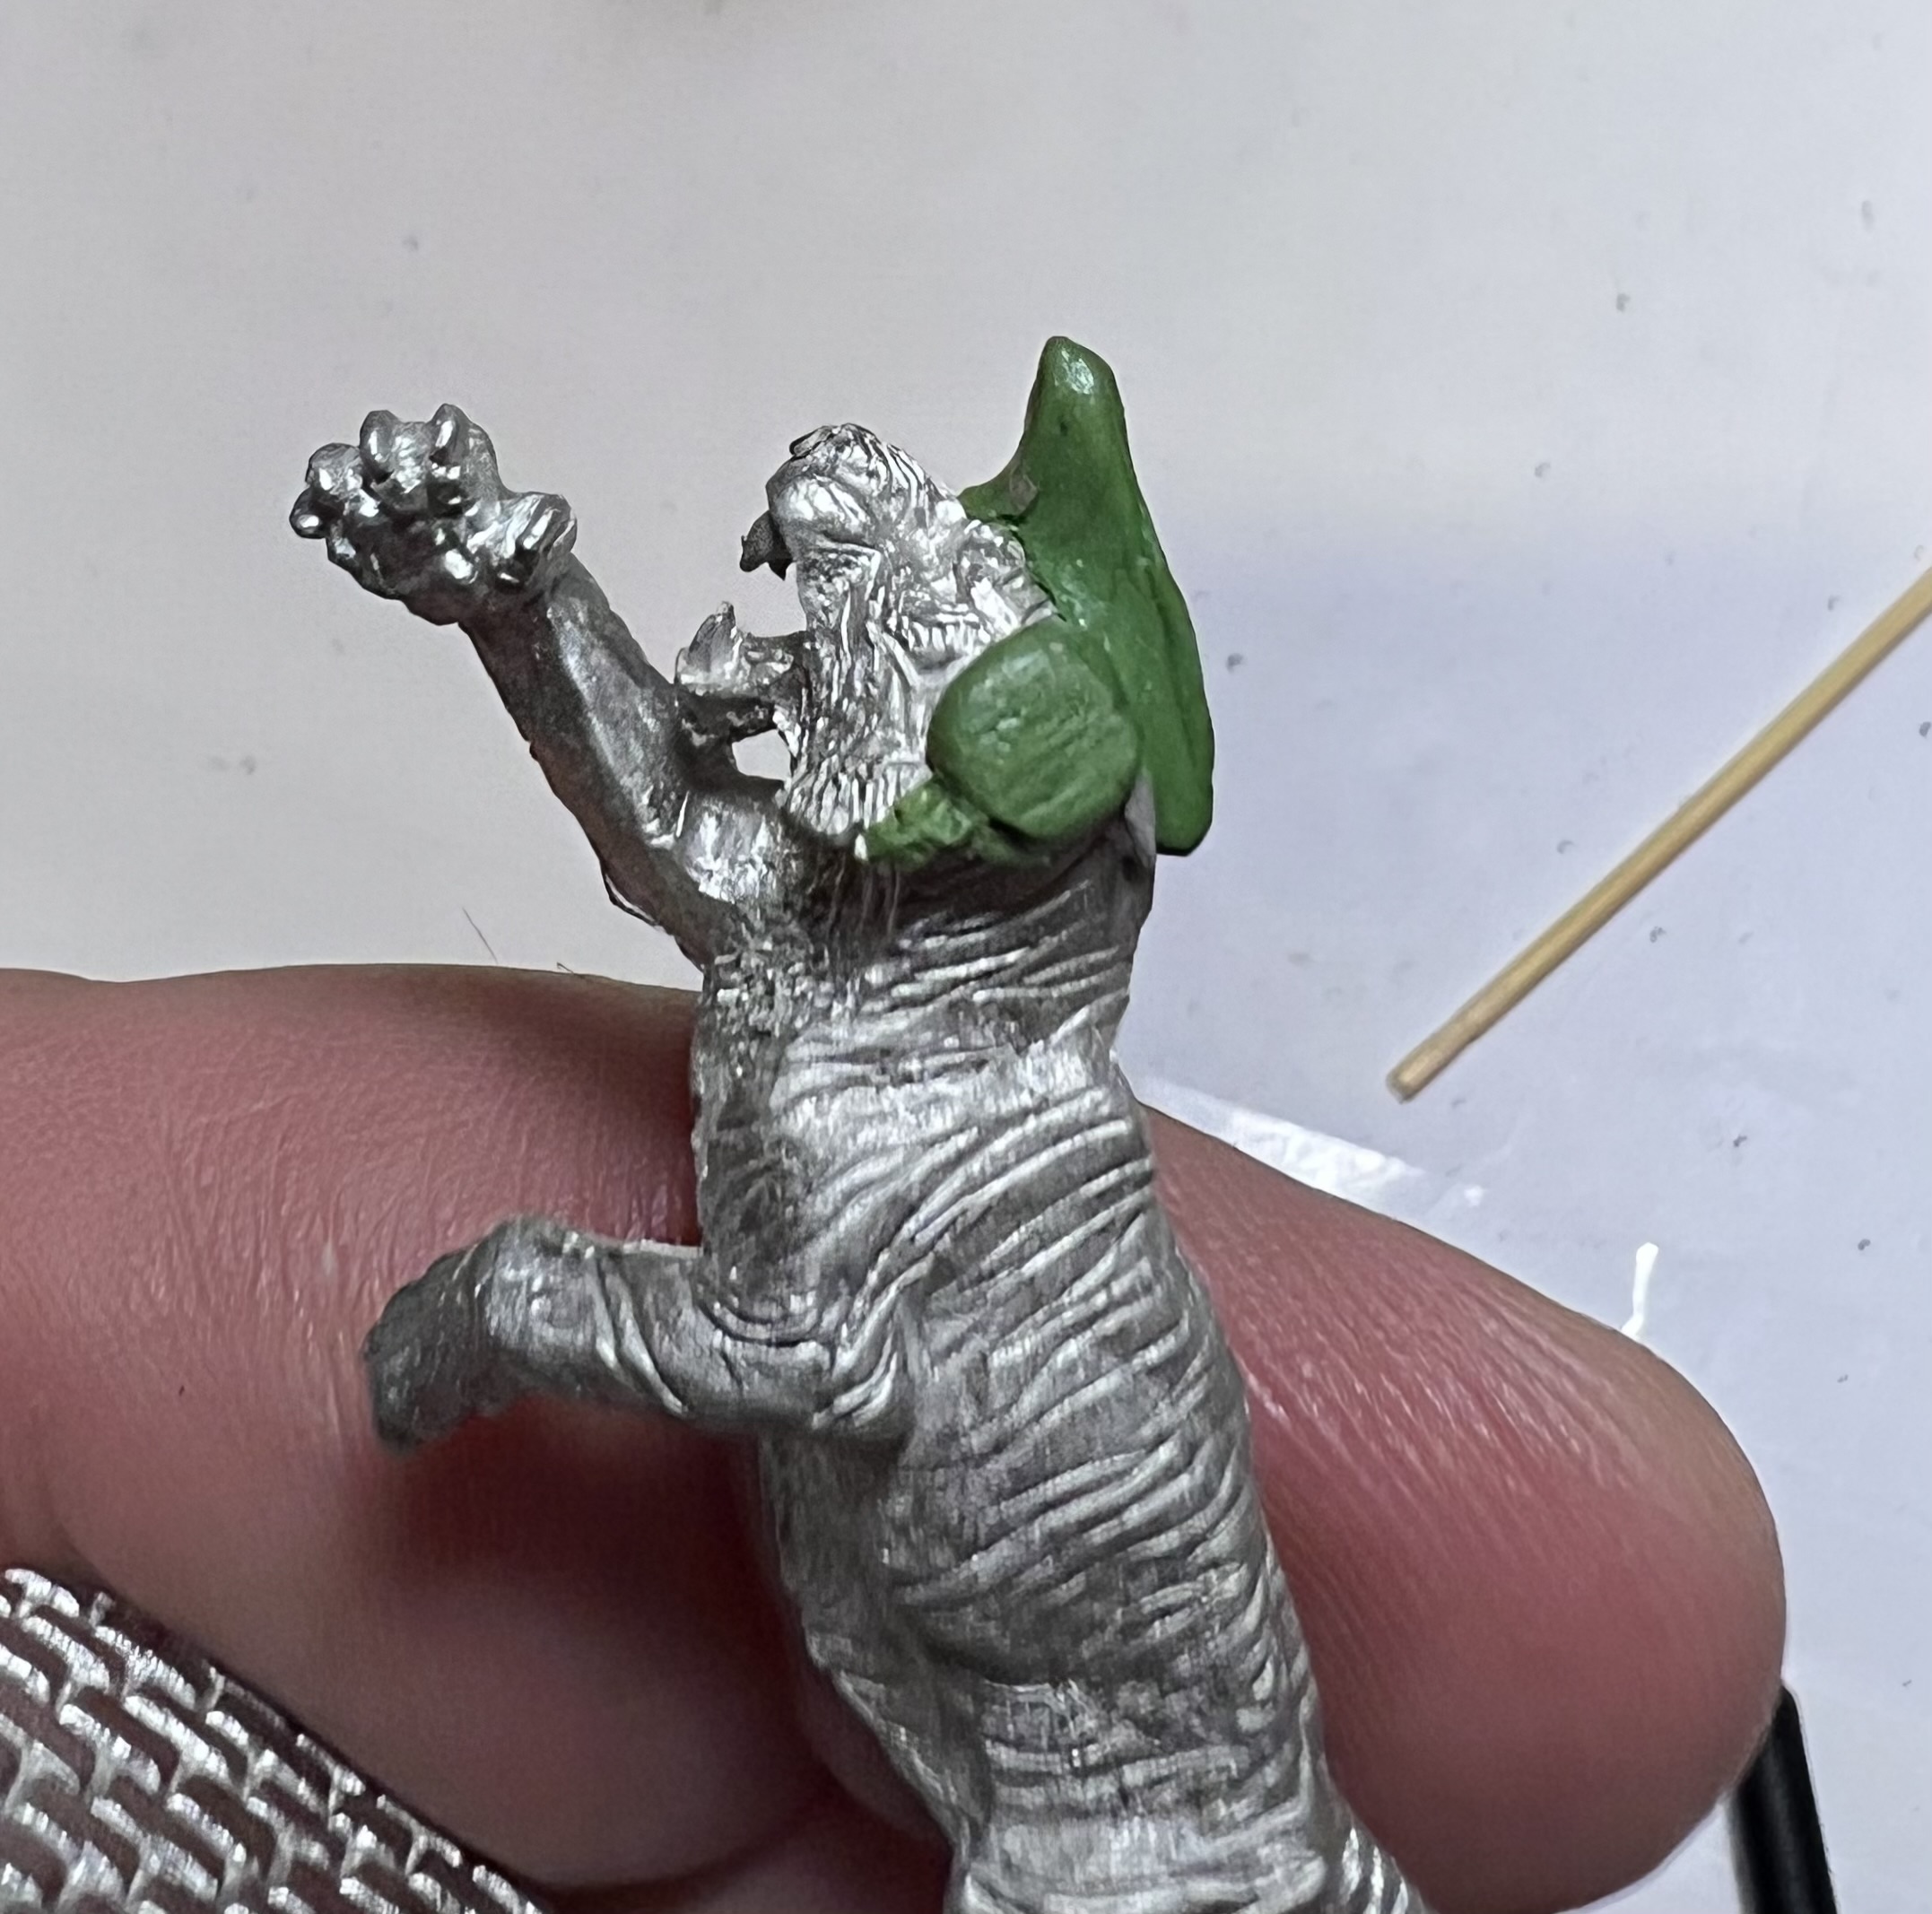
Now that I knew what I would do with the tiger figure, it was time to prime and paint it. However, I before I got to that stage – I chose to modify the figure as a tank commander with a green stuff-sculpted set of headphones and a garrison cap.
As received.After cleaning up the figure.Headphones and garrison cap added
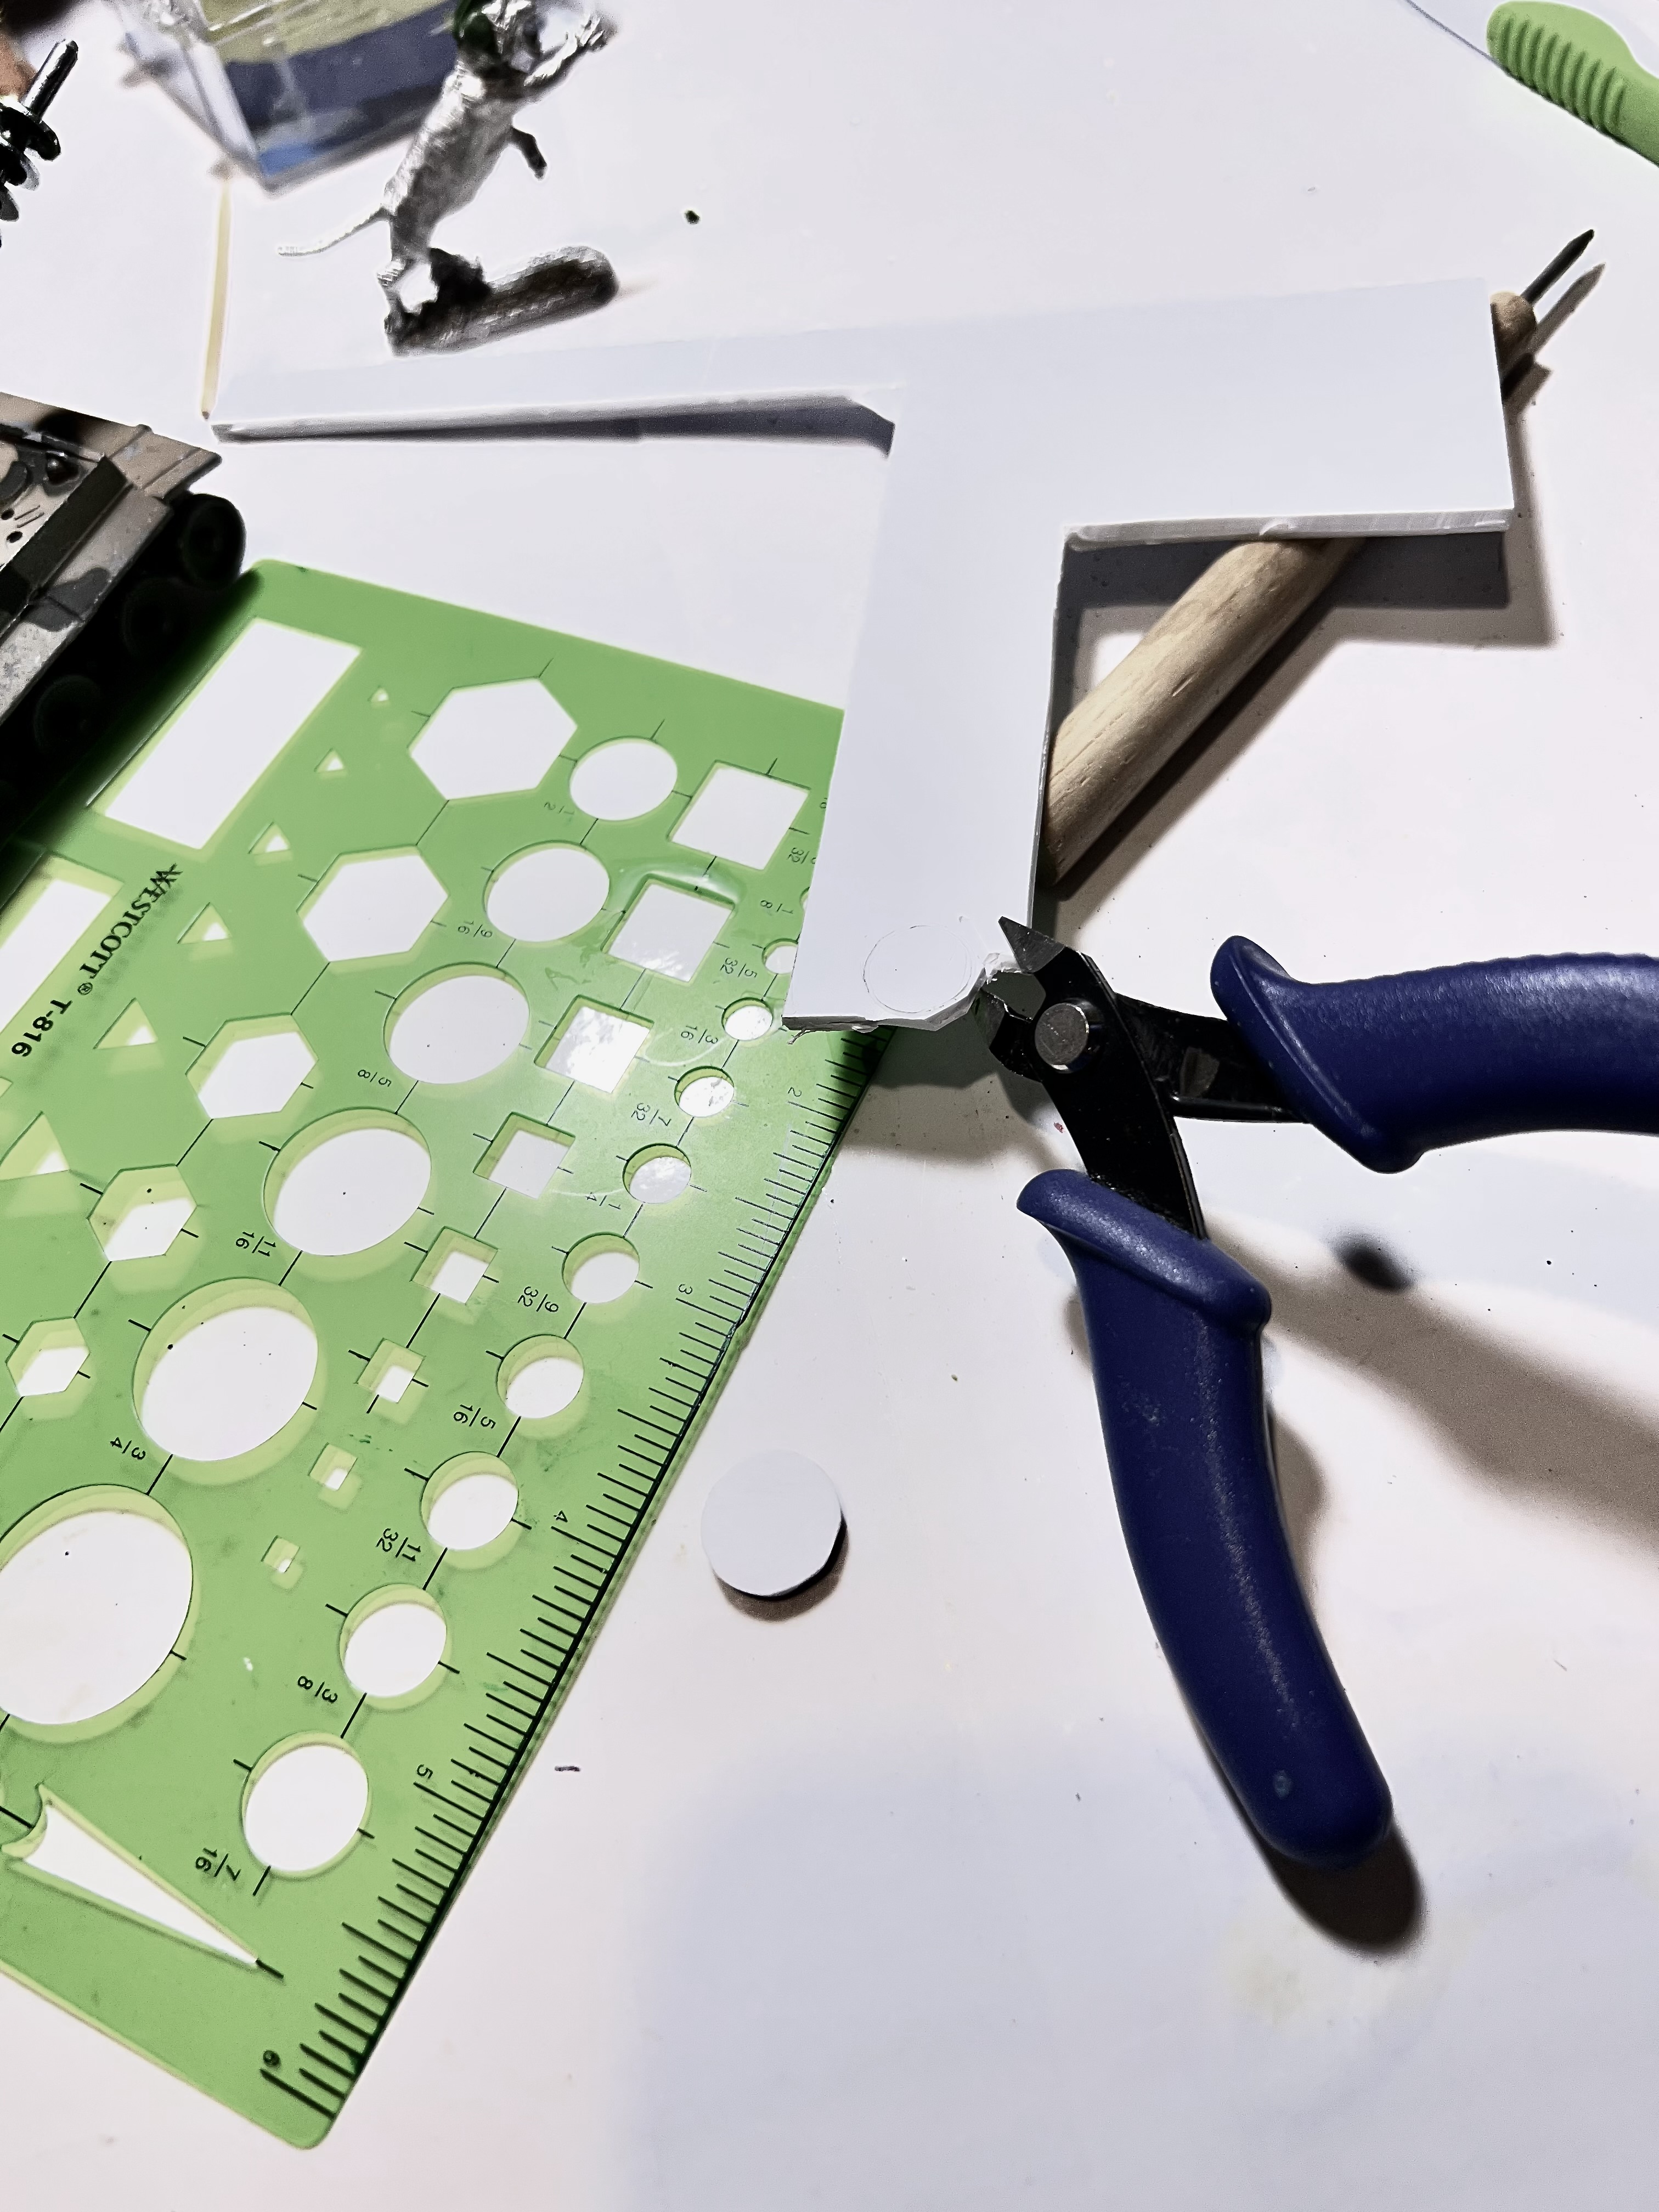
While that green stuff set up, I cut out the cupola/hatch pieces from plasticard. There were 2 differently-sized pieces used. I sized them with a plastic drafting template. Then I cut them with a sprue cutter and sanded them as round as I could. Then I went back to the tiger commander and primed the top half so that it would cure.
The next day I moved on to “Step 2” of the main gun sculpting. This way I could smooth out the “insulator” shapes over the washers on the gun and be assured that they were structurally stable and durable enough for play.
Here you see the results of the step 2 sculpting of the main gun, the primed top half of the modified commander, and the two hatch pieces.
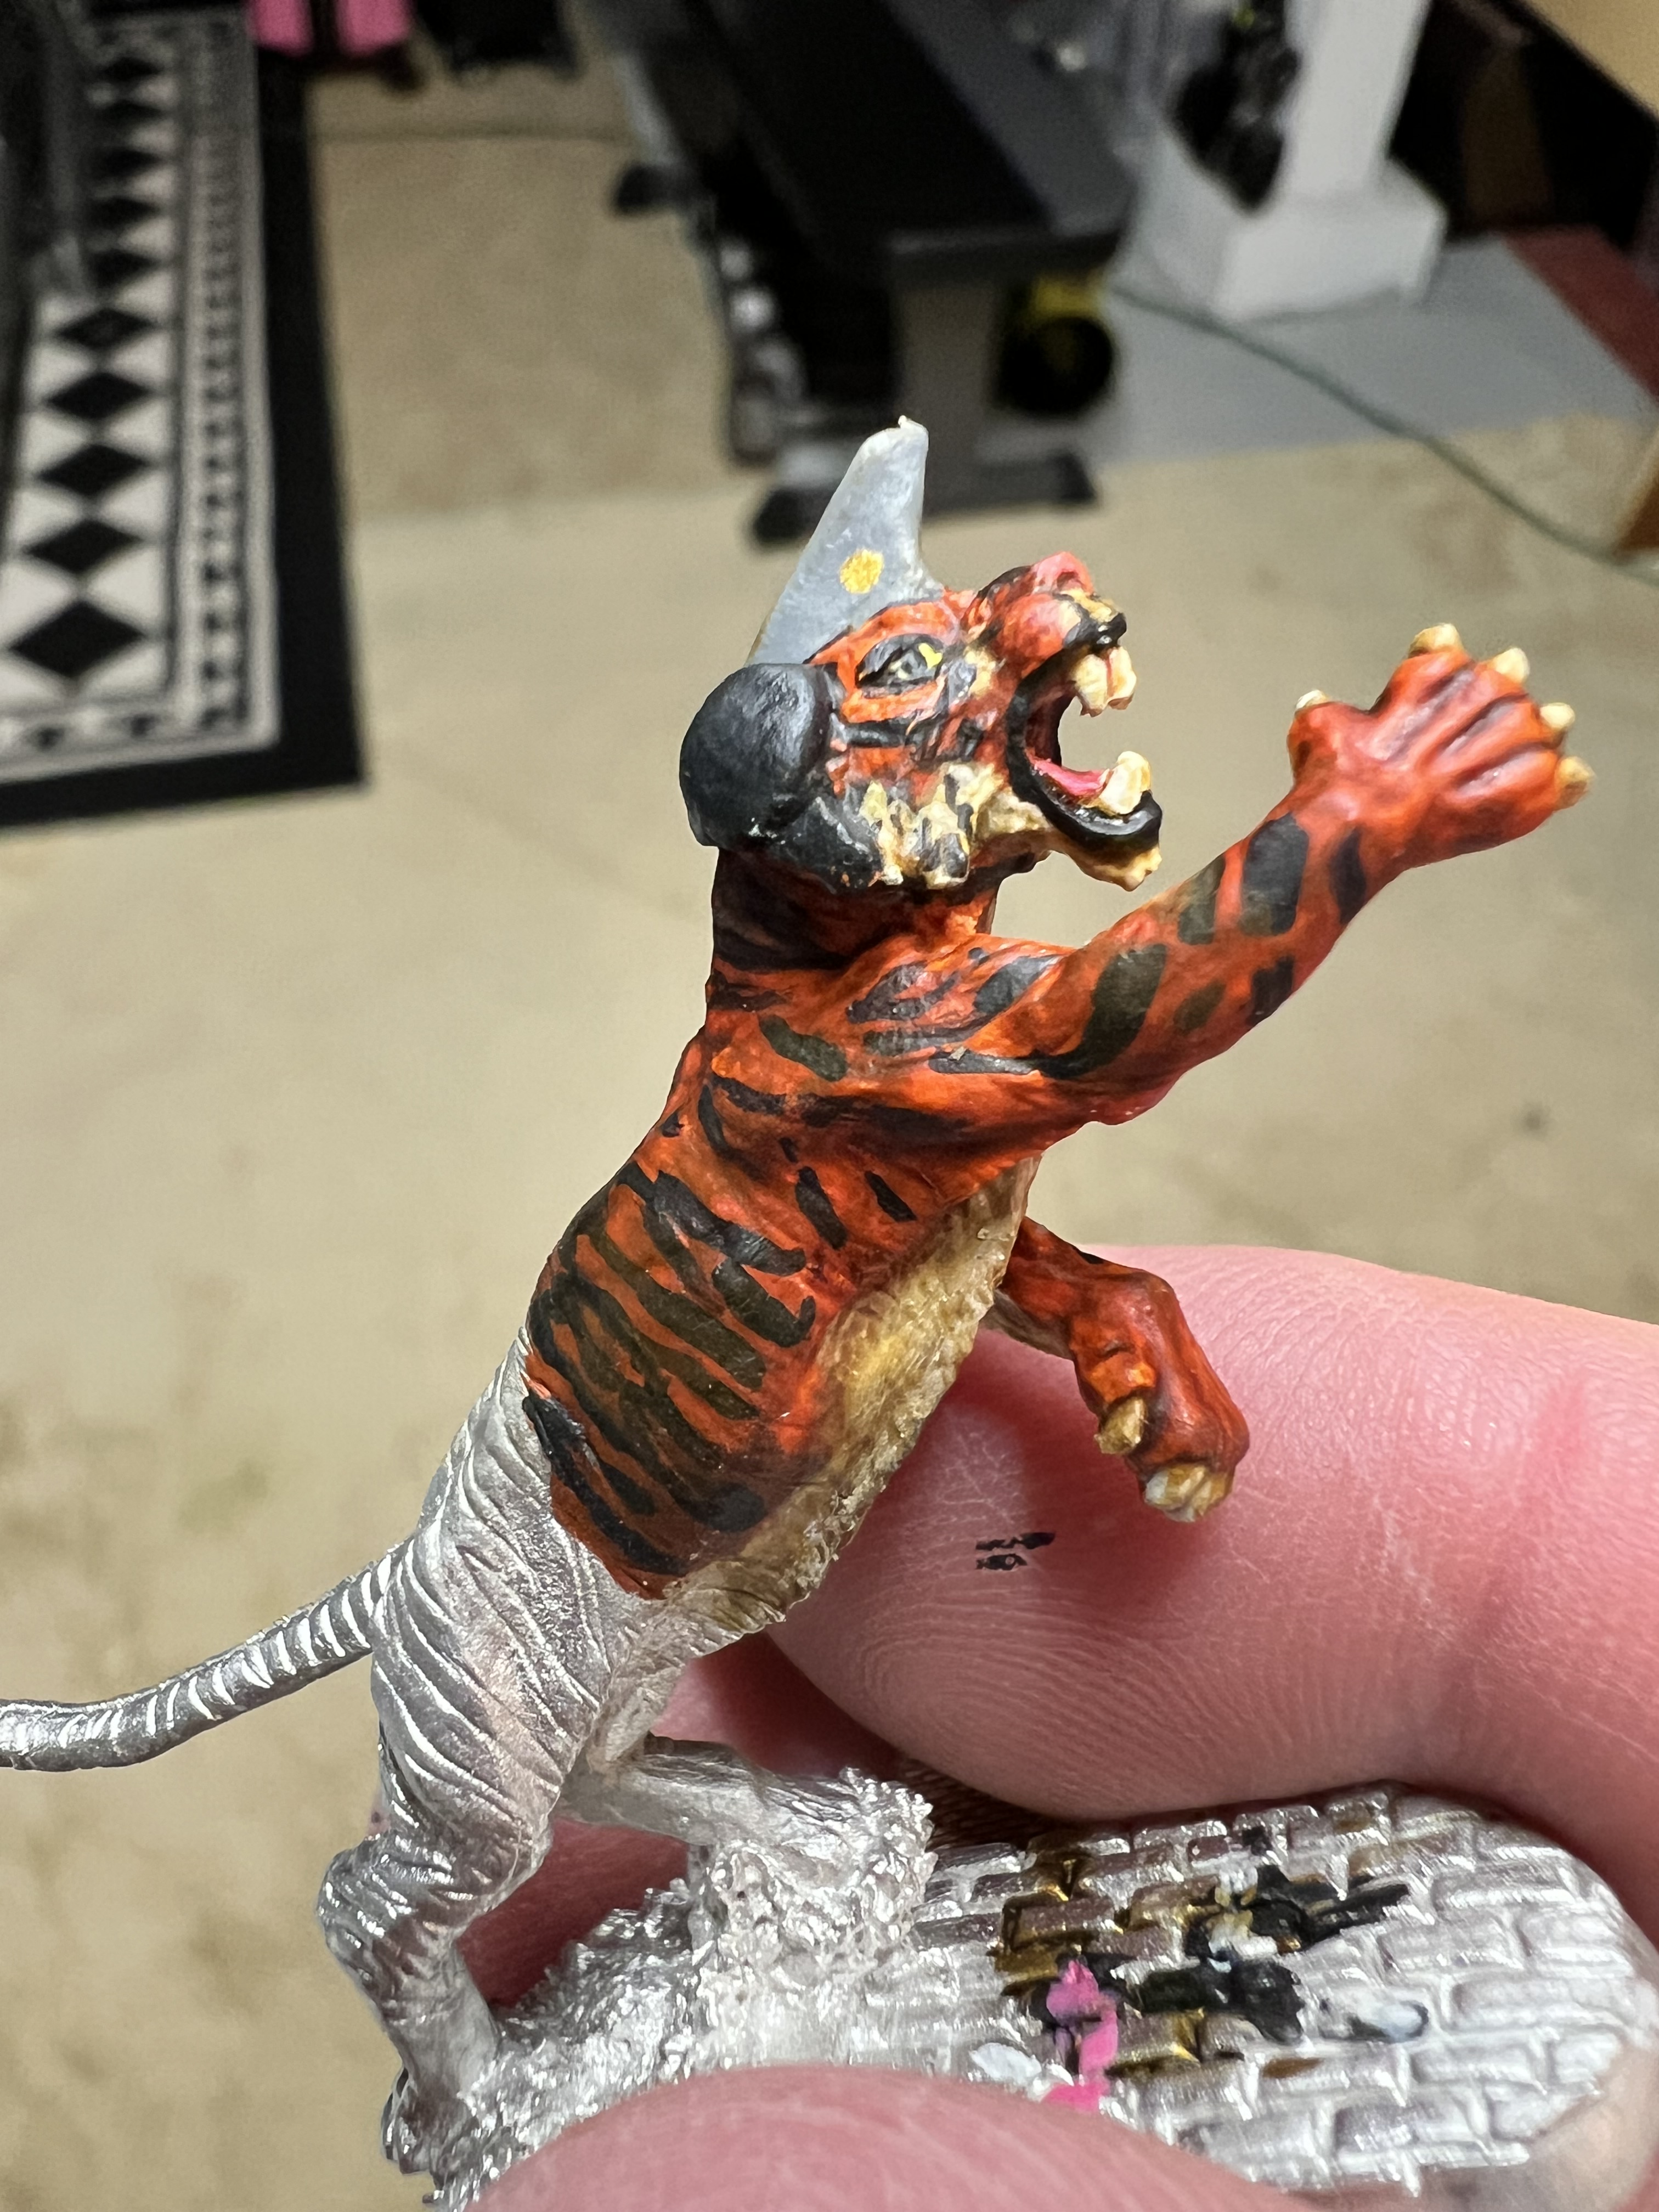
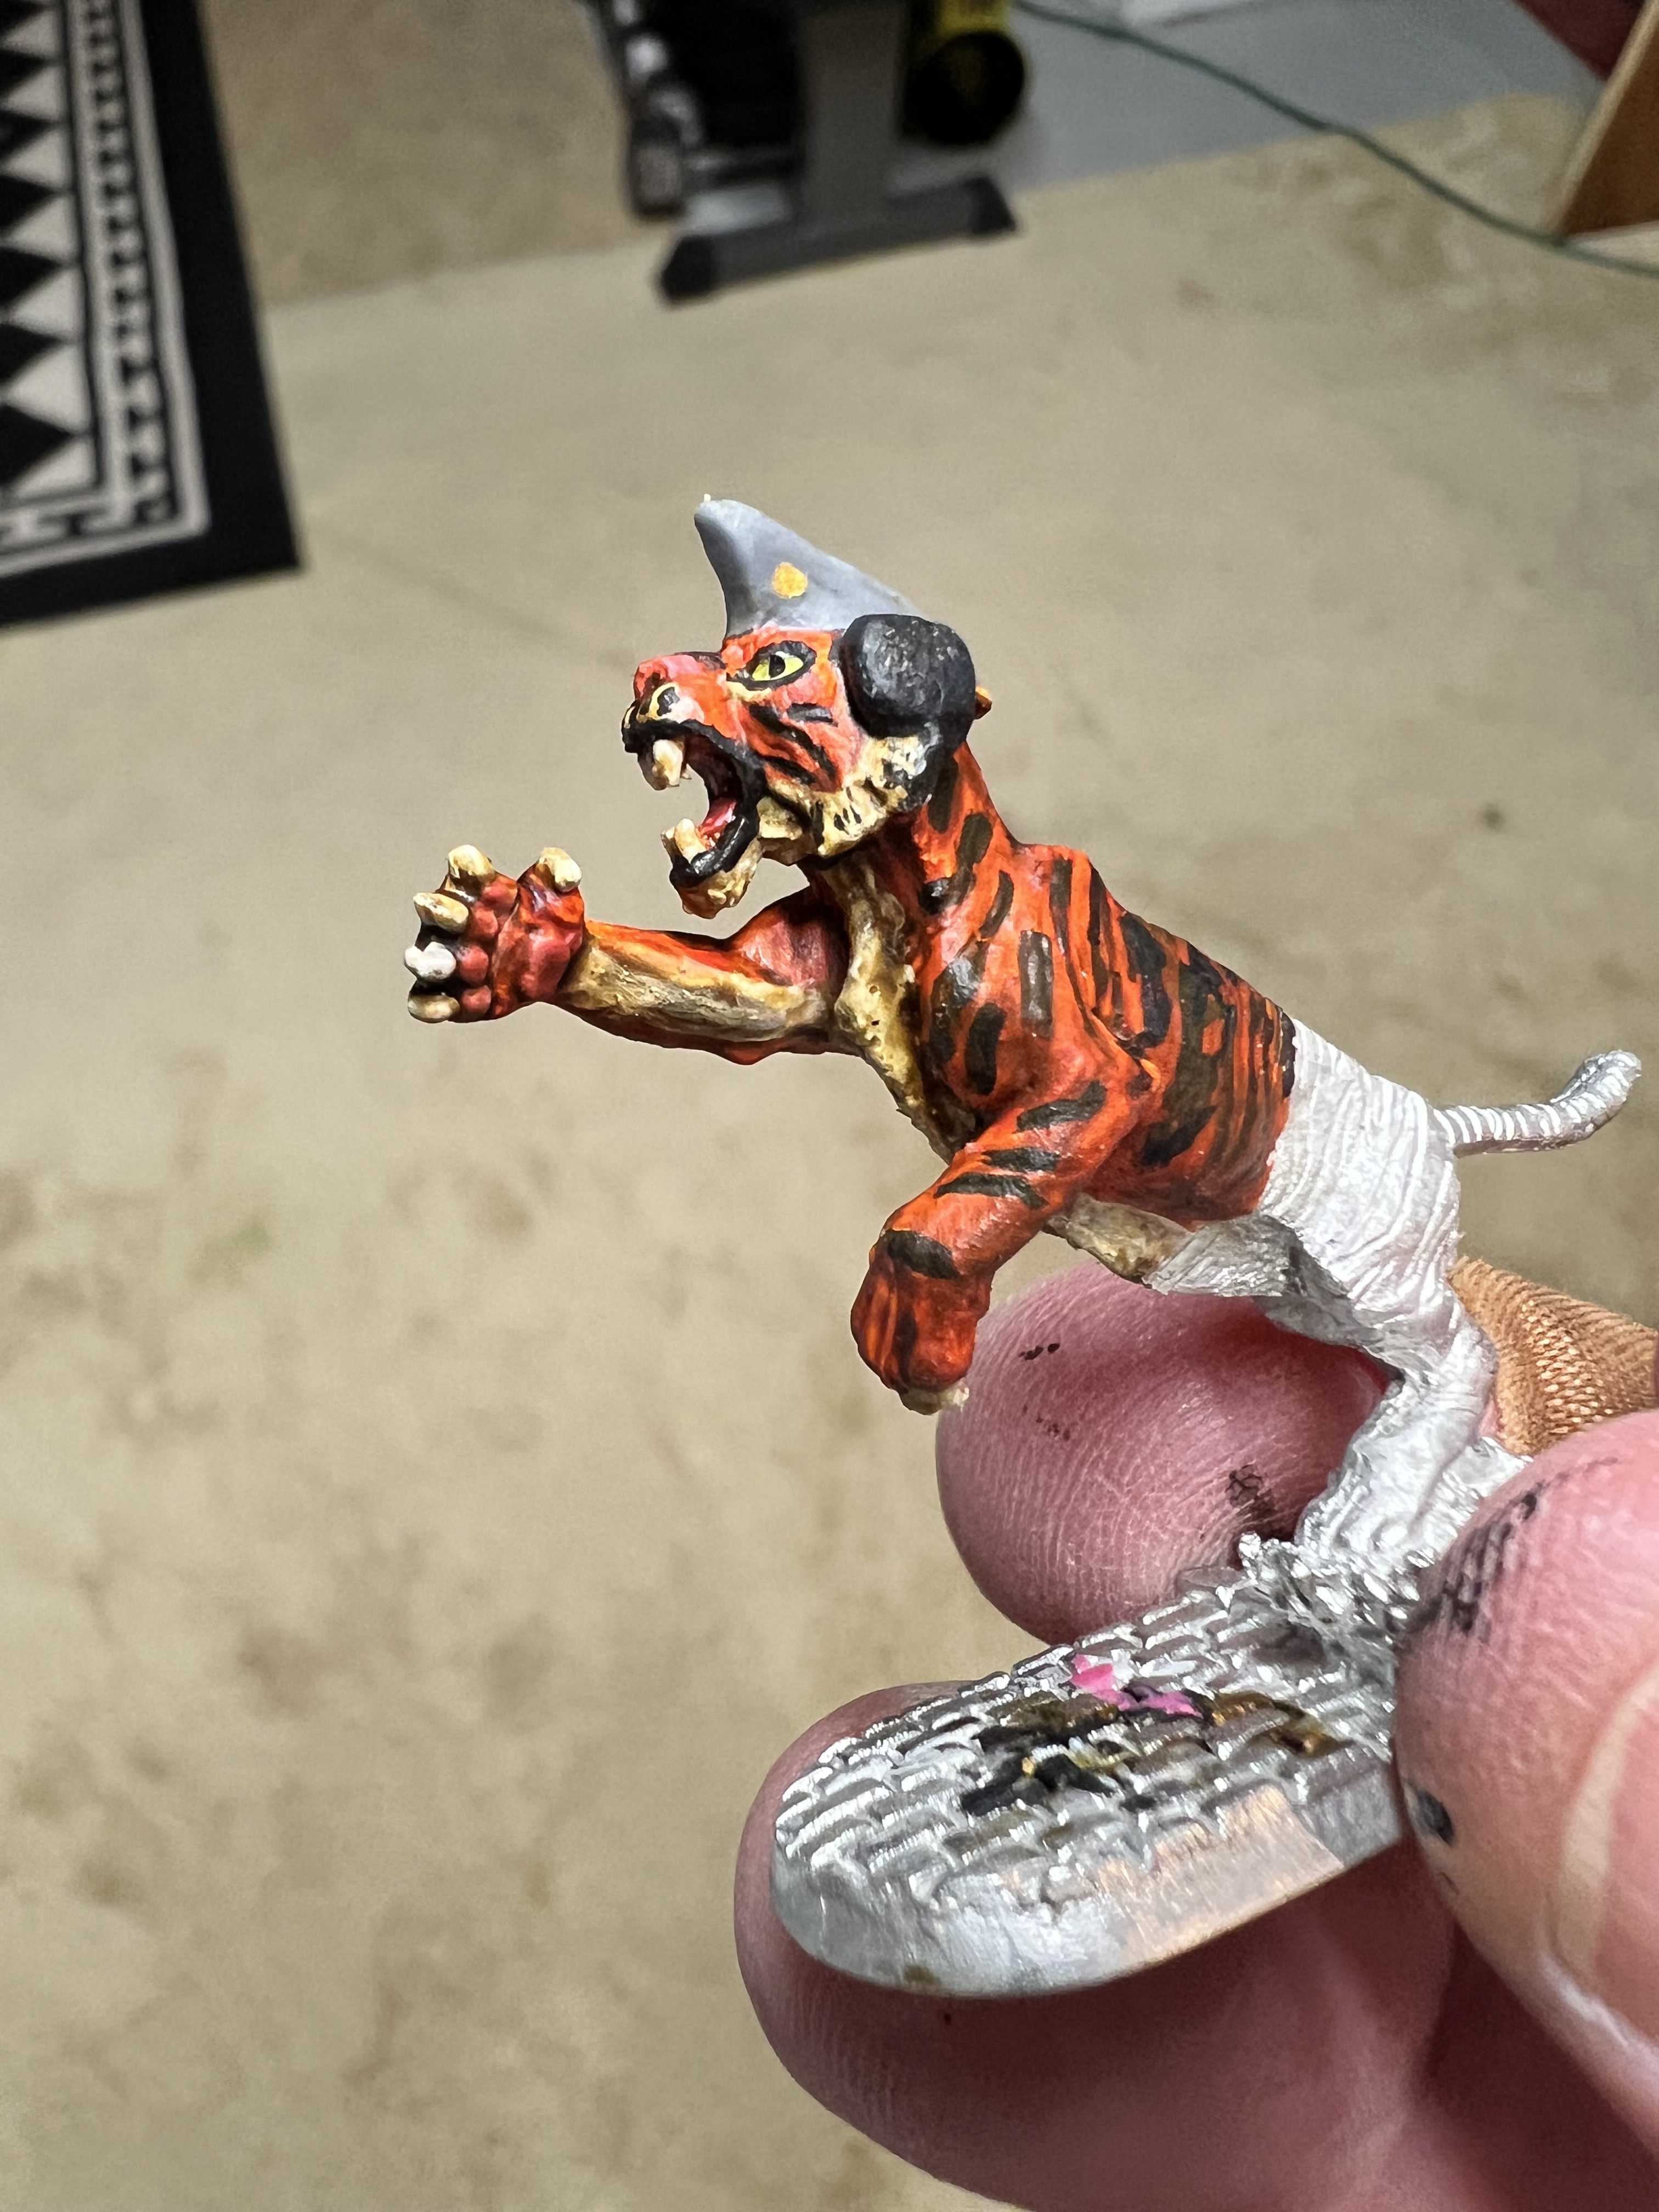
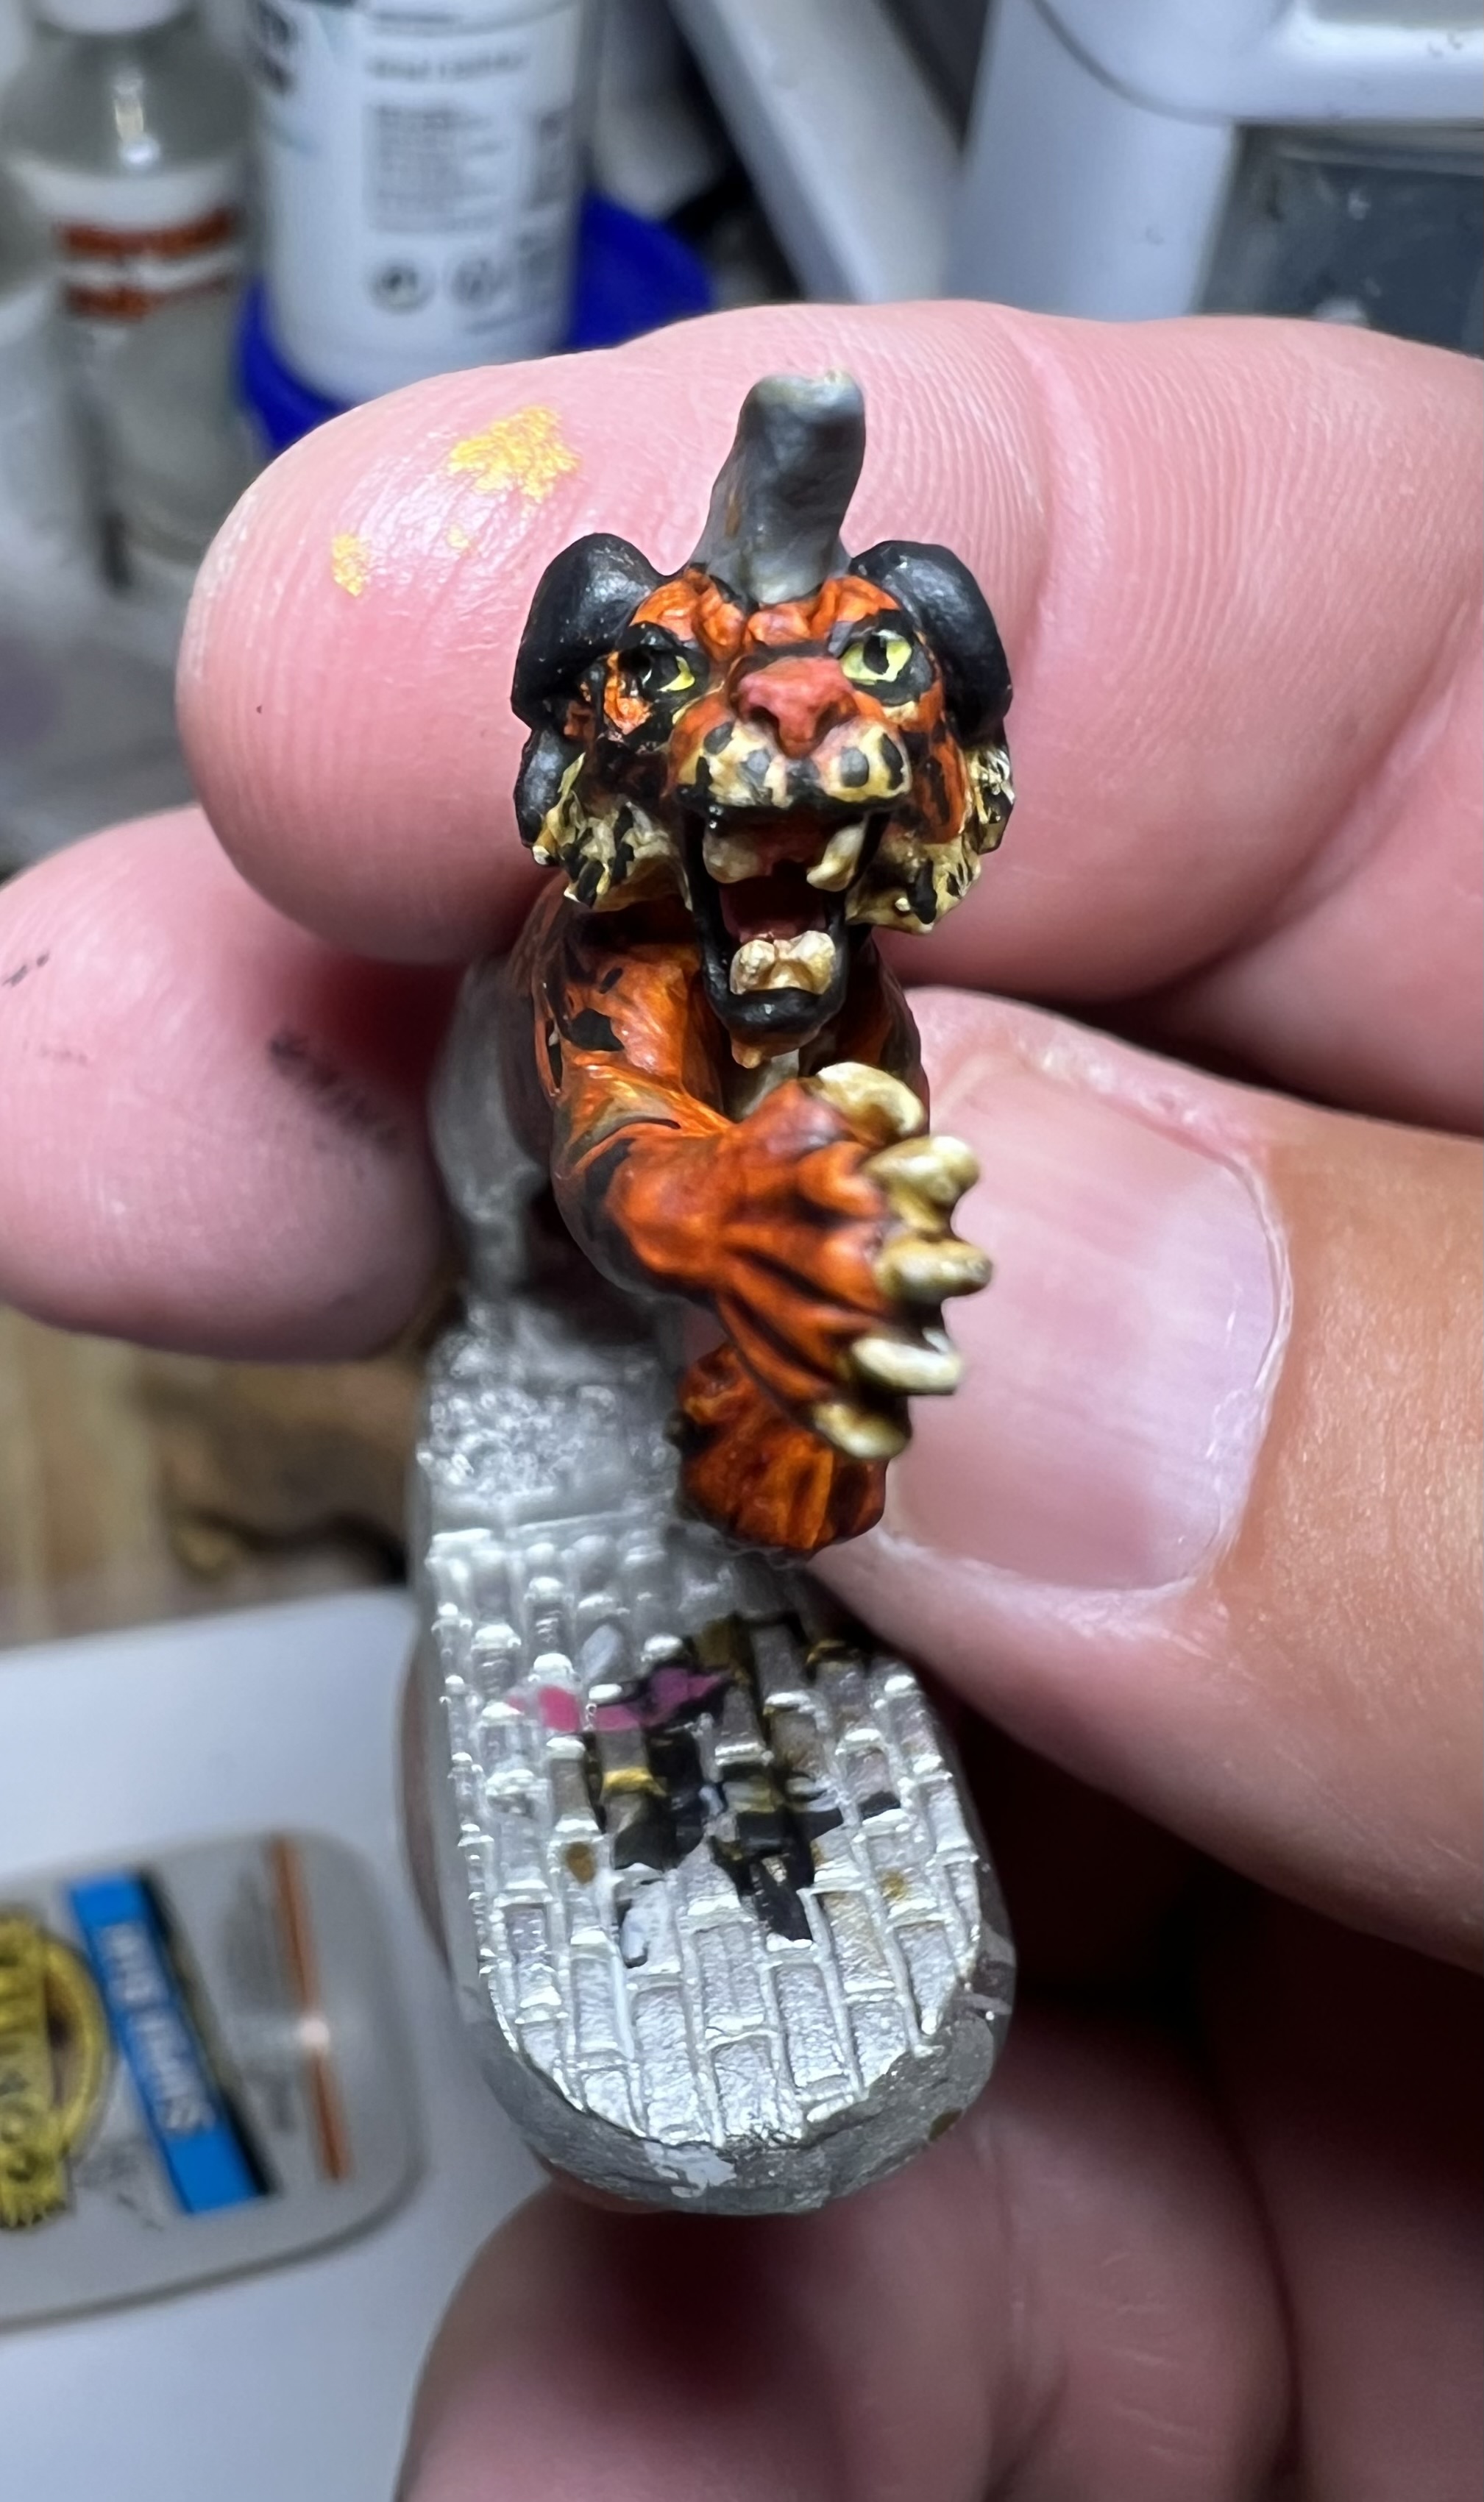
Leaving the bottom half of the figure unpainted helped me with ease of holding it for painting. The big resin tiger figure was a good model for patterning the stripes. Below are some images of how the painting went.
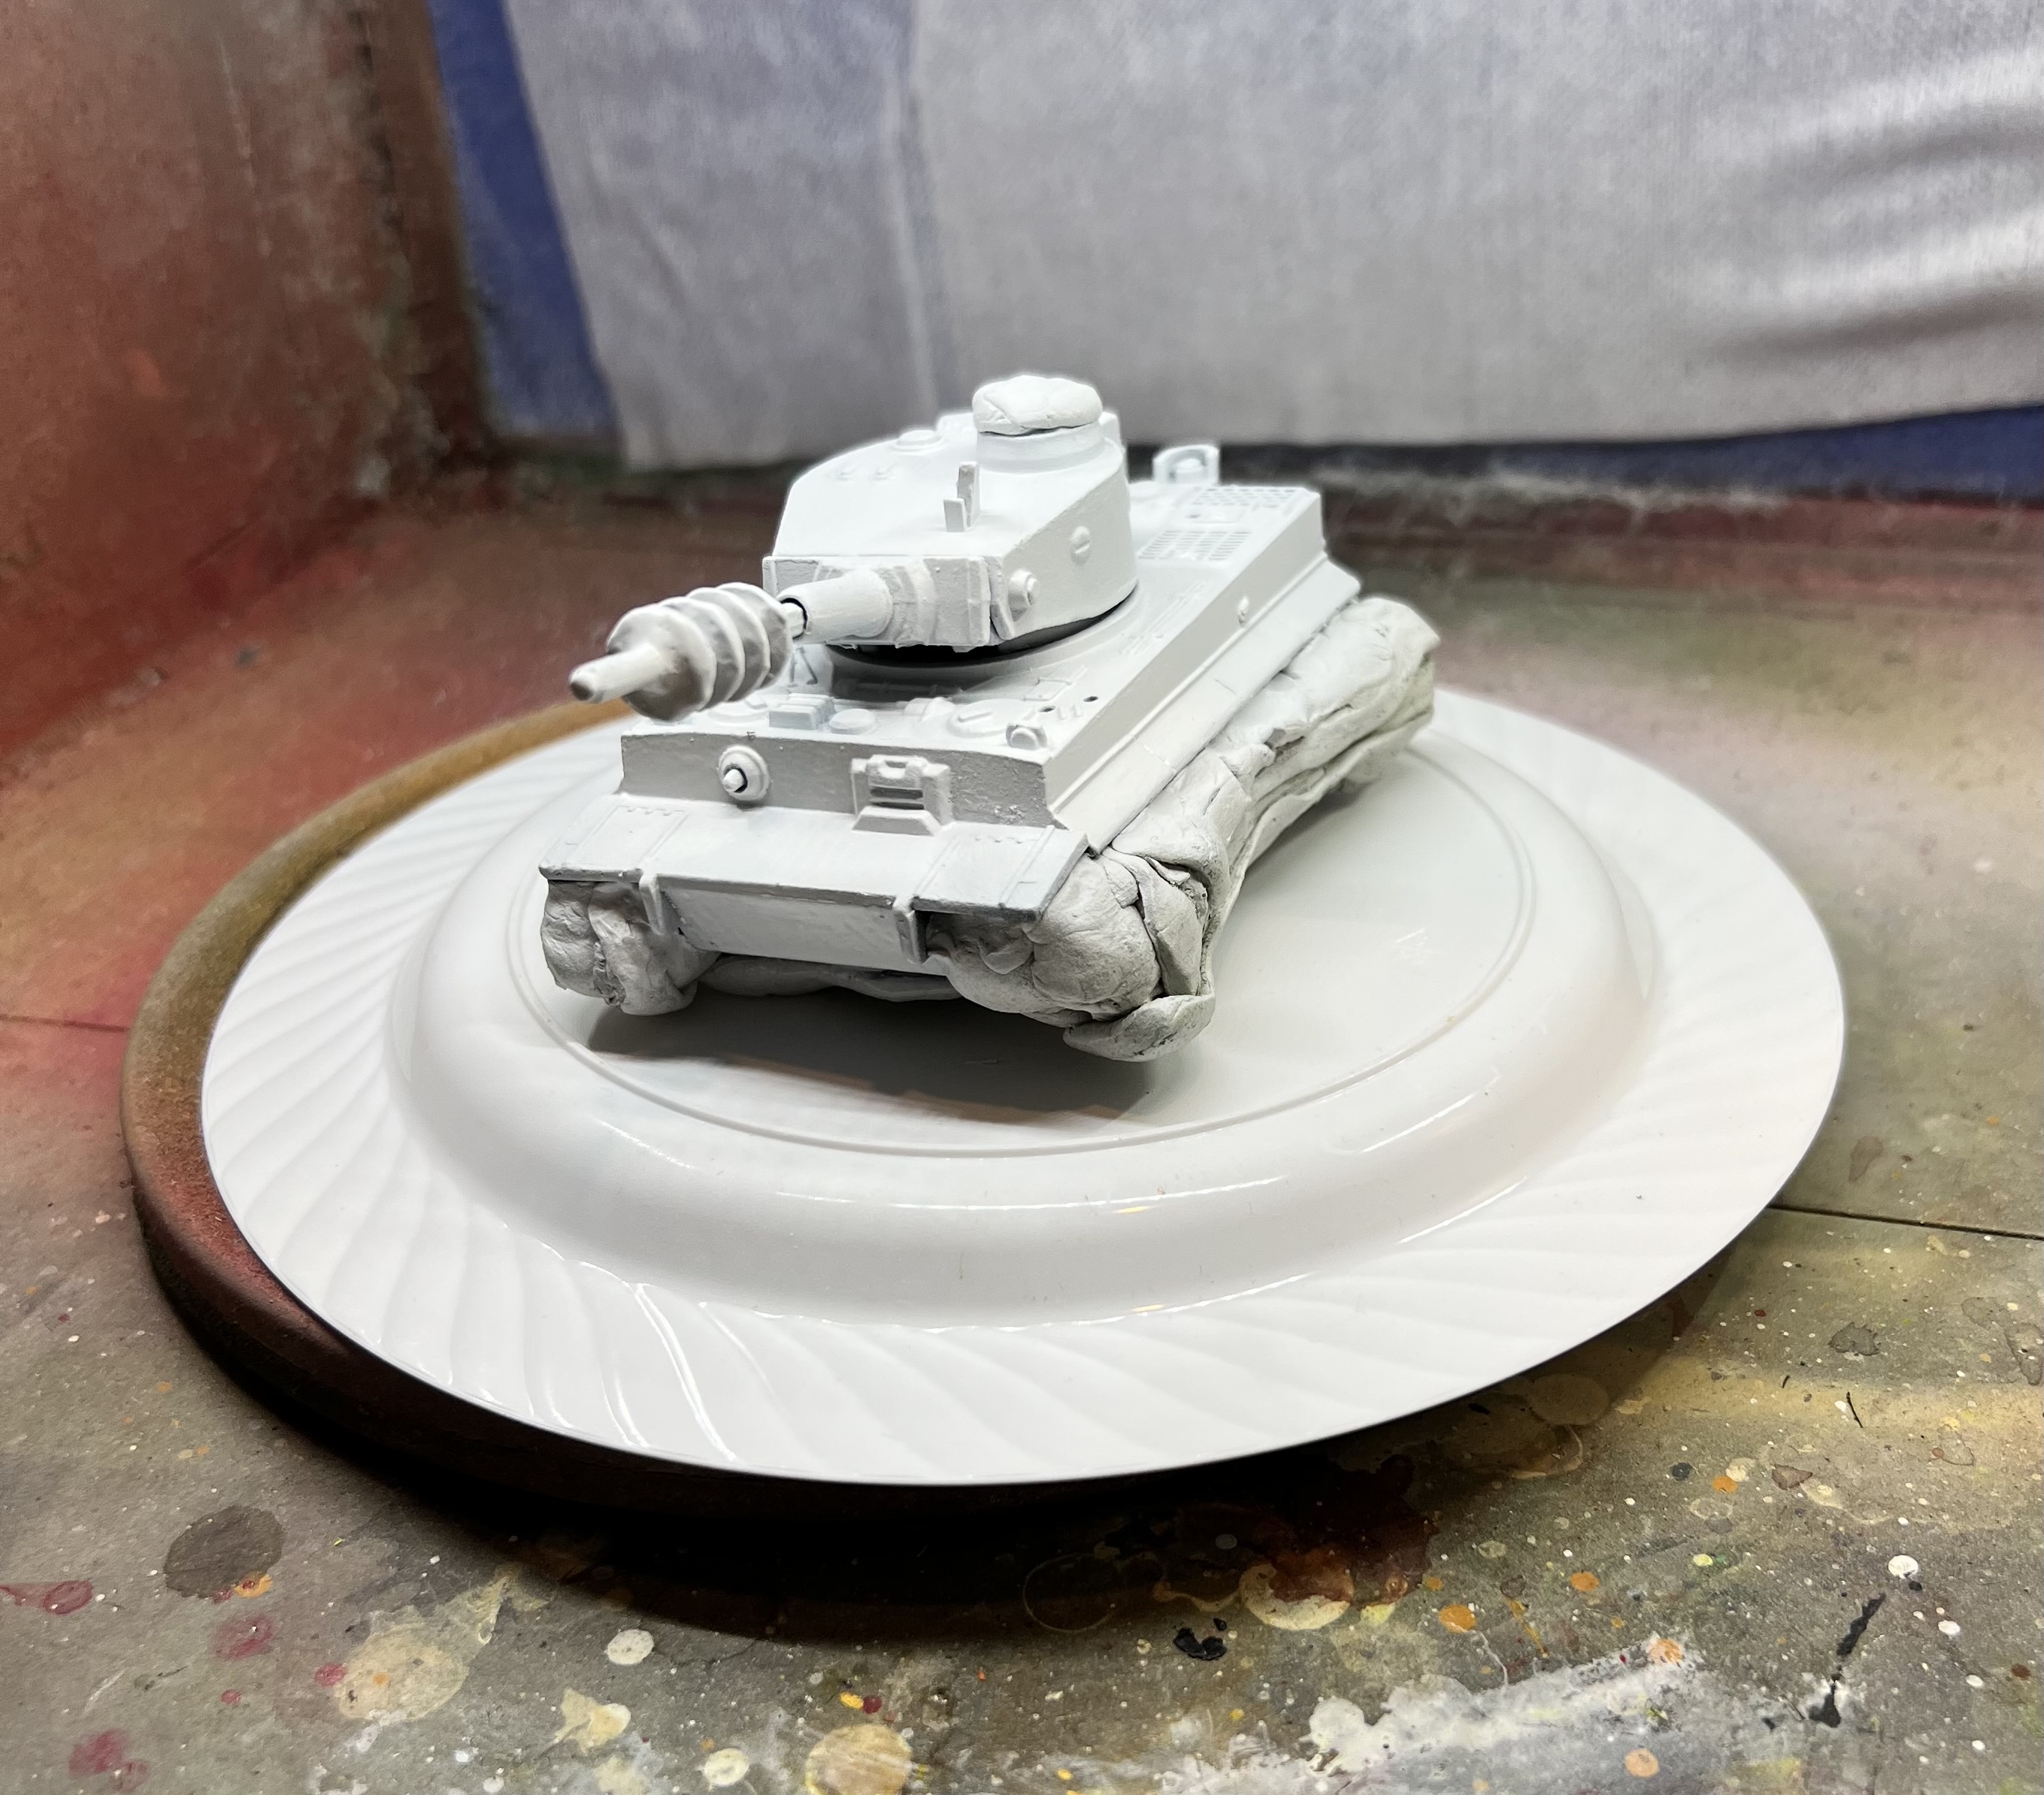
Switching back to the tank, it was time to prime it. Wanting to make sure that it got a good prime over the old factory paint job, I double-primed the tank. First, I applied a black coat, covering everything except the cupola area, the very bottom of the toy tank, and the plastic road wheels. I let it cure for 24 hours.
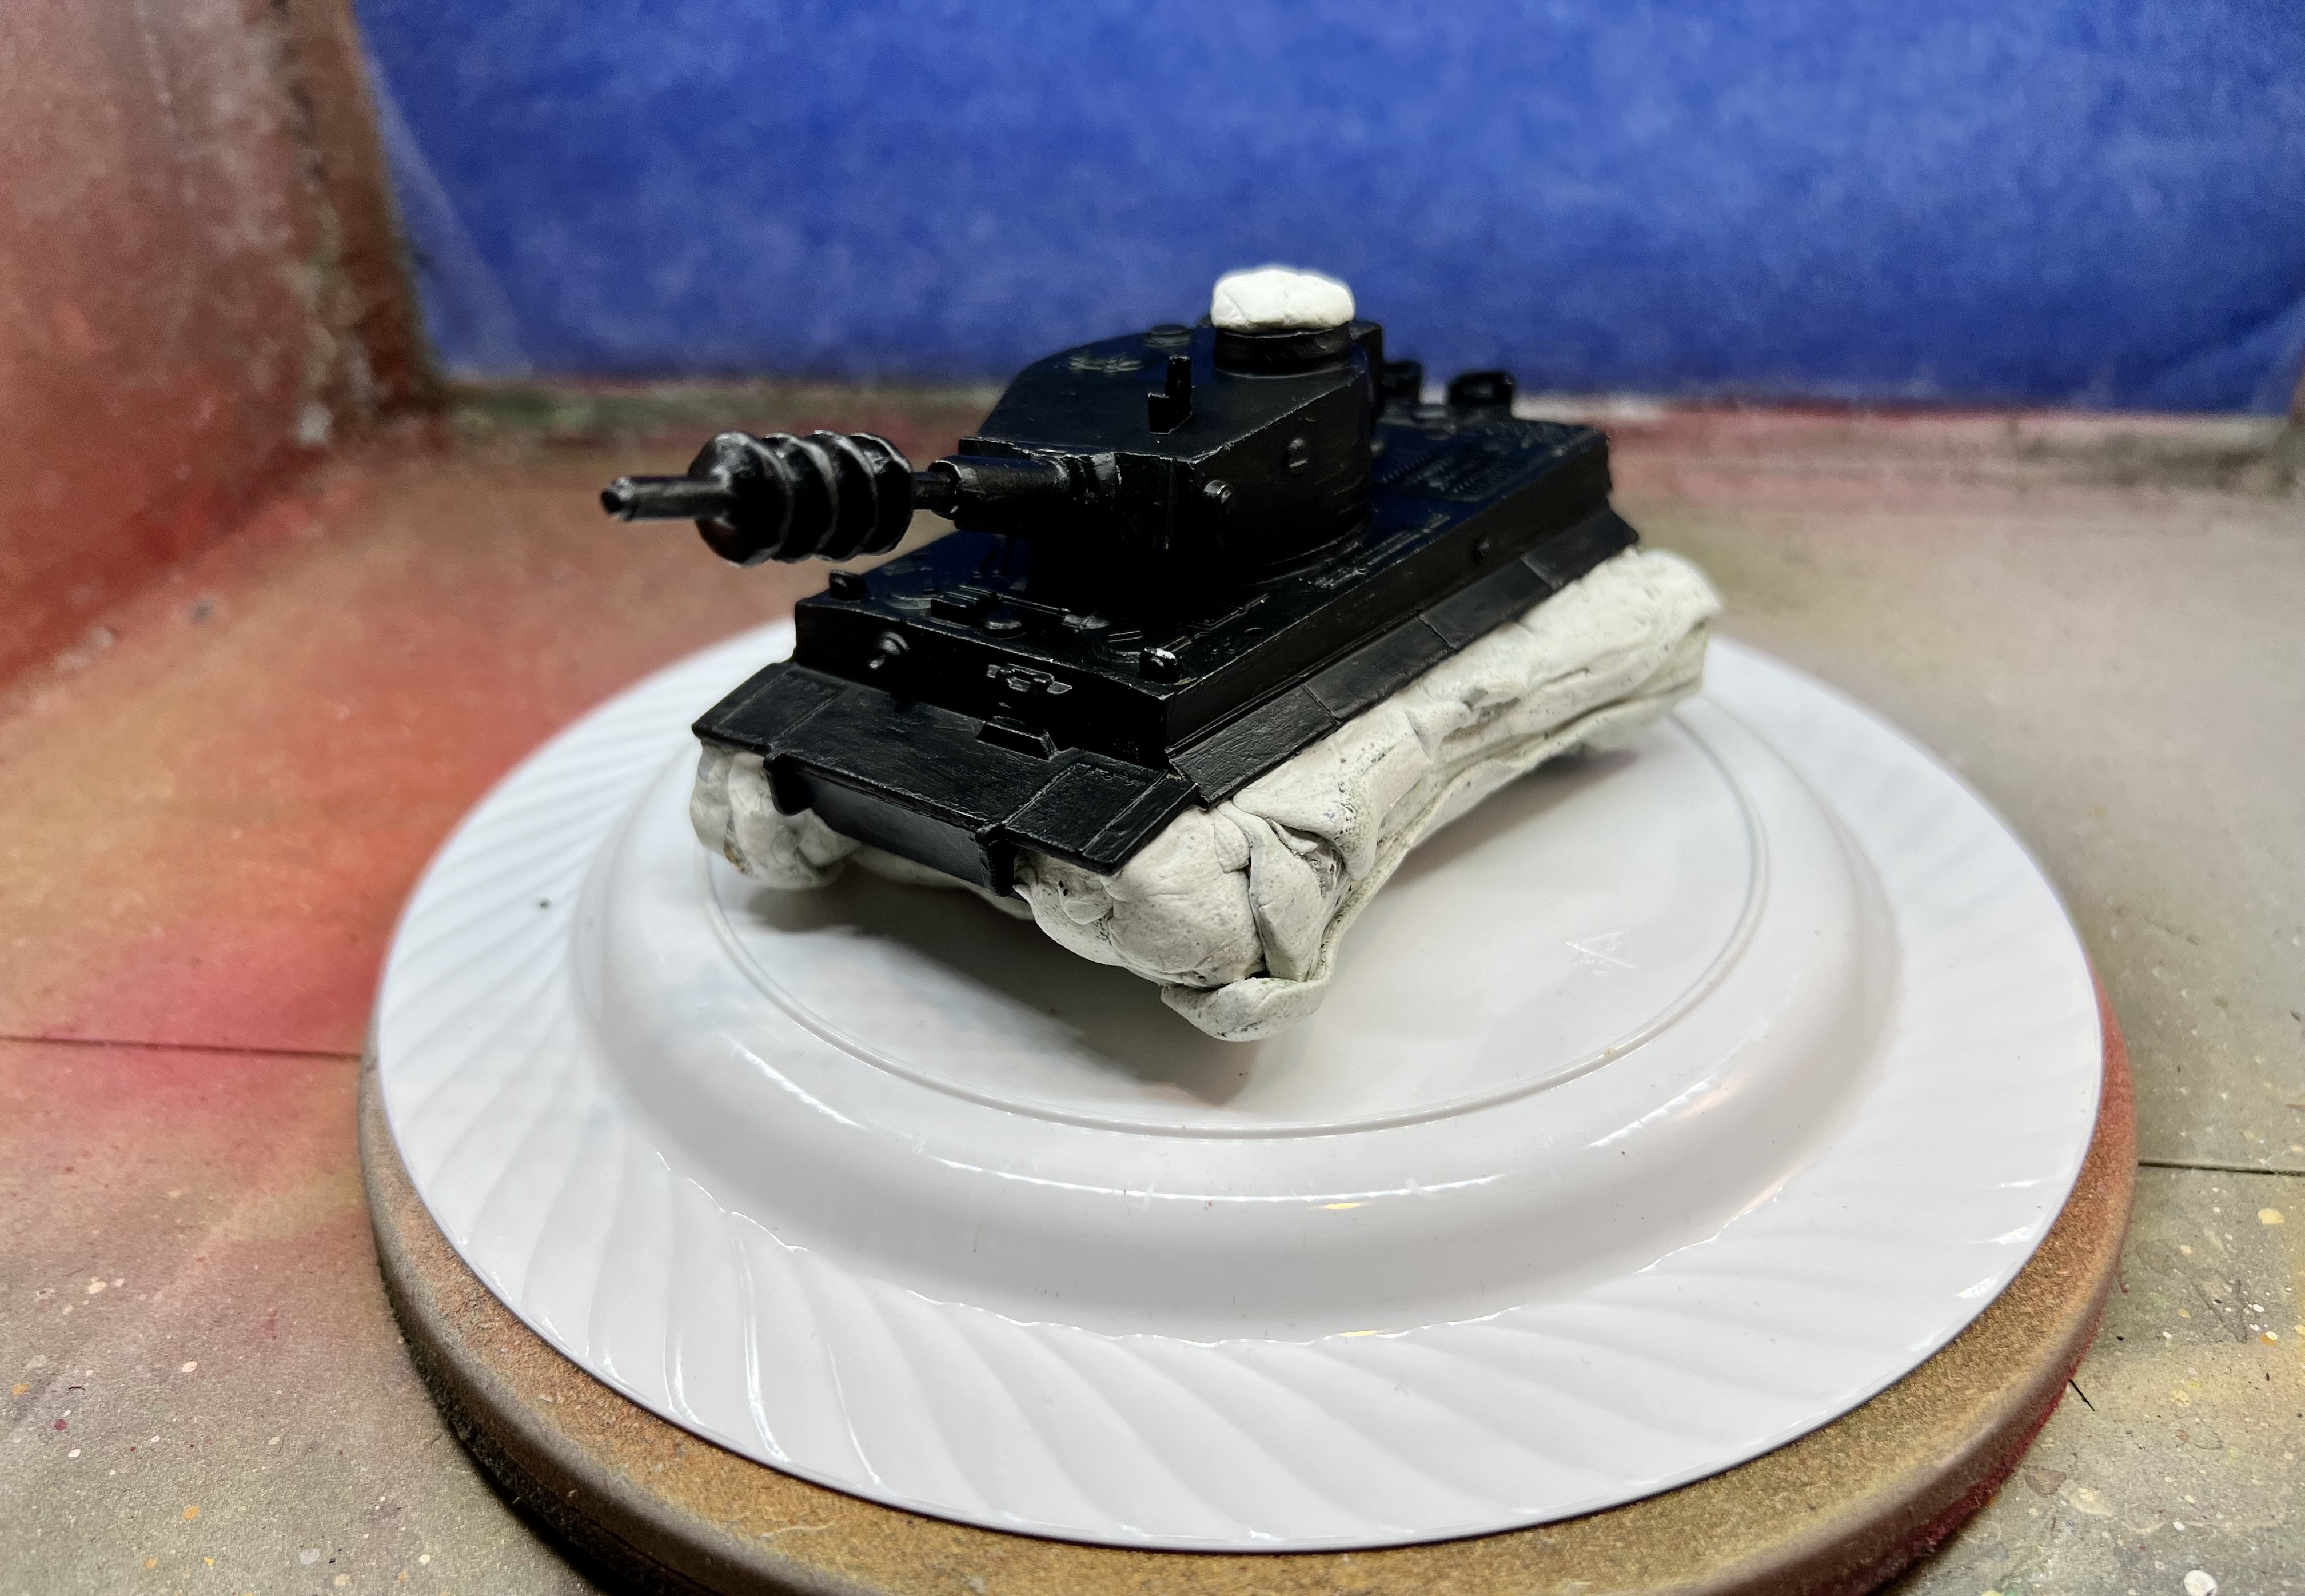
Then, I needed a second coat of white. Note that after the black coat was brush-applied to the toy tank, I blanked off the road wheels and the top of the existing hatch/cupola with poster tack. I did that for the wheels so as to keep the plastic green color intact – plus I thought that any paint on them would be very fragile and prone to rubbing off easily. For the cupola, I wanted to leave a somewhat bare surface so that the tiger commander assembly (when completed) would be easily attached with green stuff.
The tank primed black (I avoided the wheels), next to the painted commander, the cupola parts, and the unpainted tiger figure.Wheels and cupola masked with poster tack before adding white primer.
It was now time to return to the tiger commander and the hatch/cupola assembly.
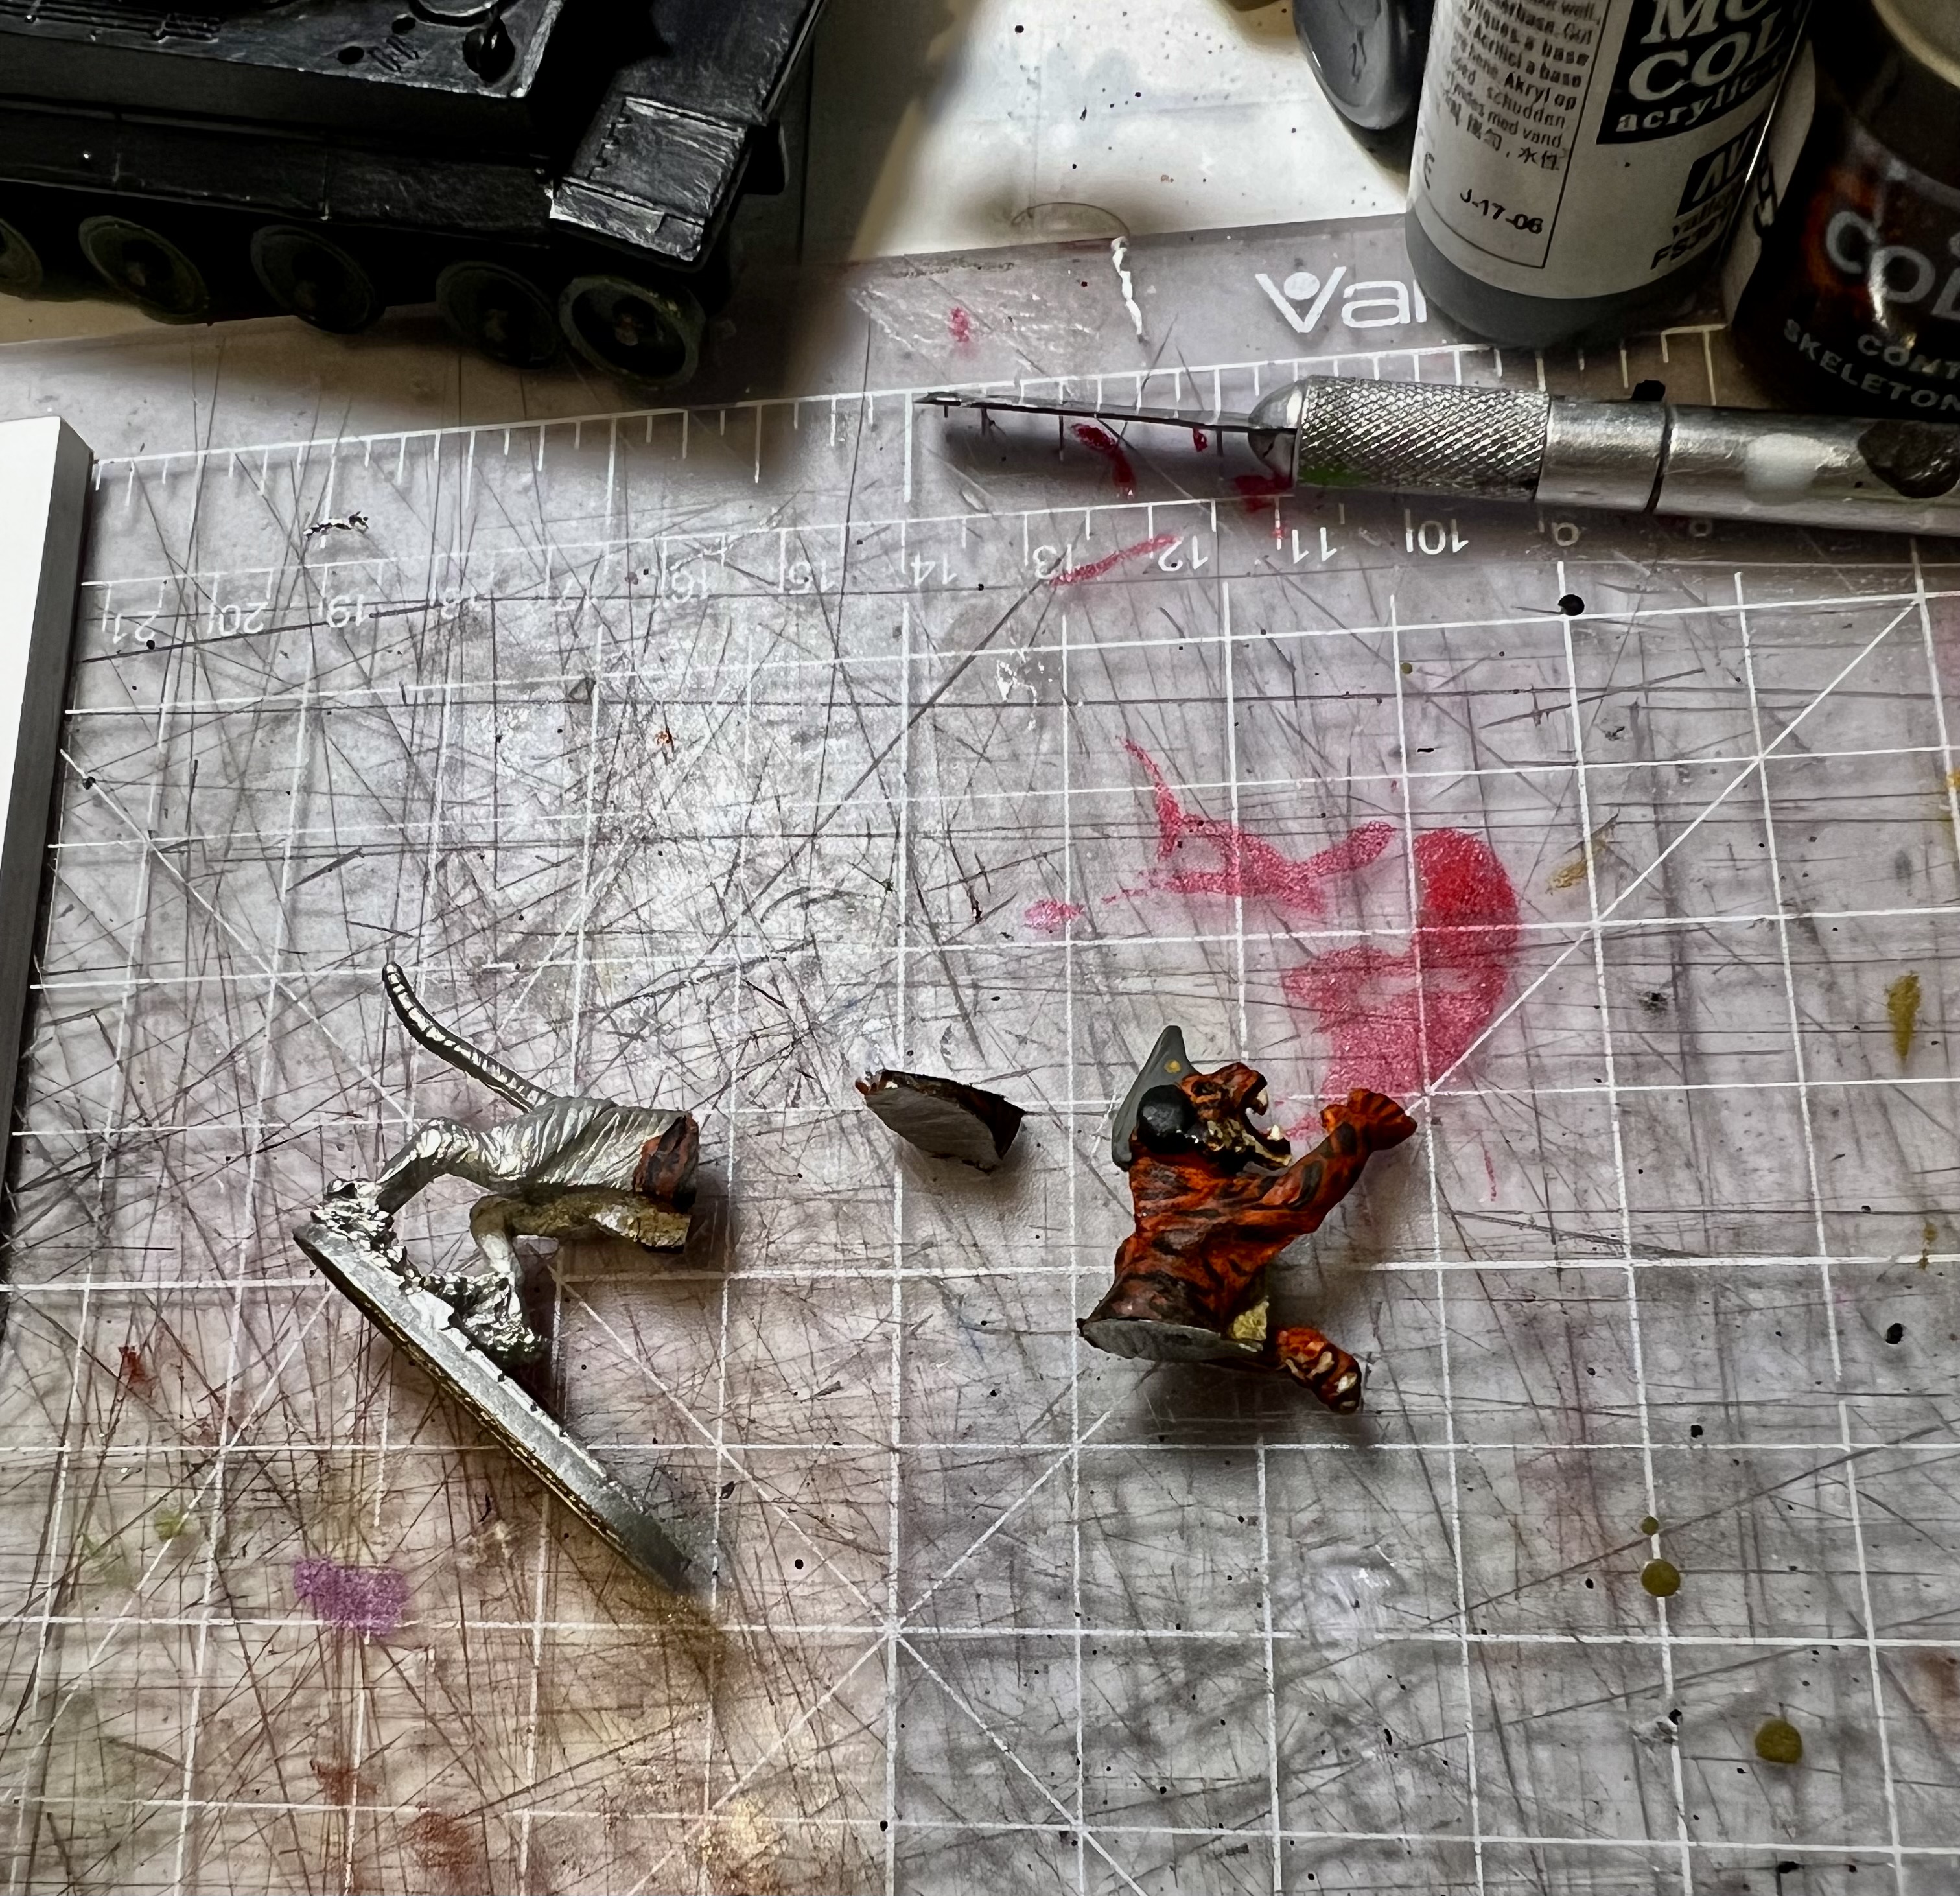
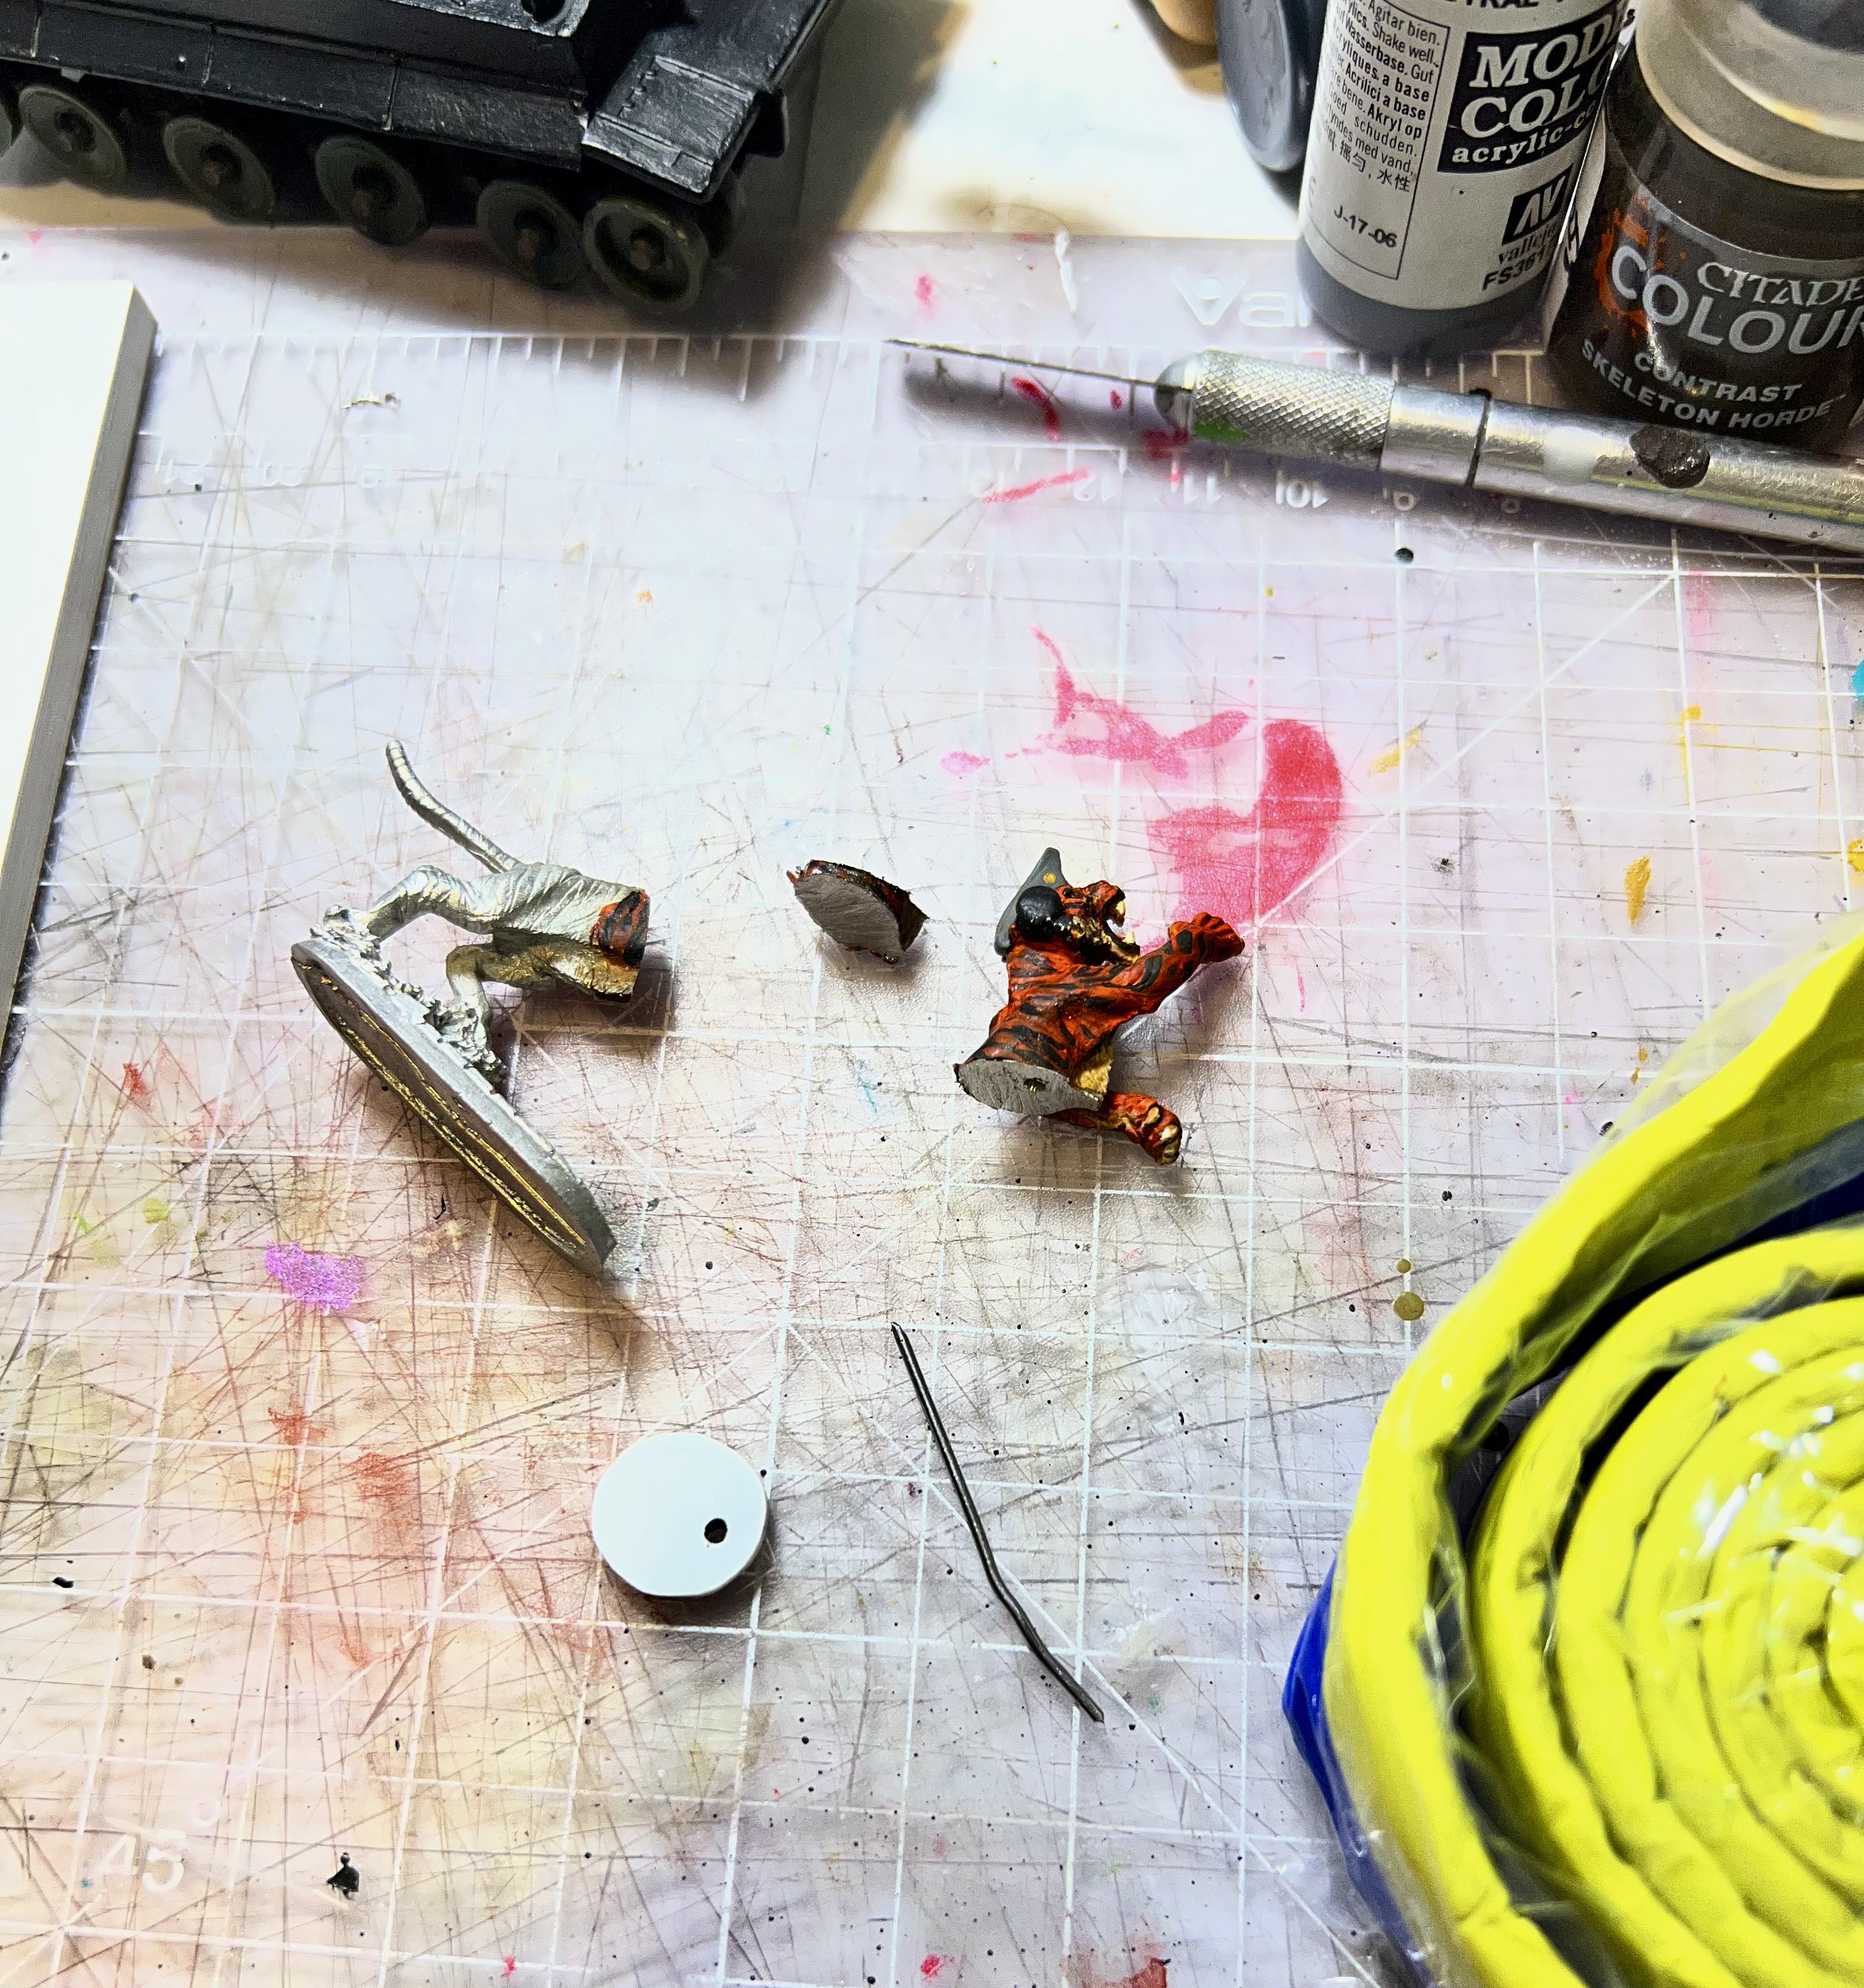
The tiger commander got a coat of varnish which I let cure. Then it was time to saw the figure in half. I was not sure of what angle to take with my jewelry saw. In the end, it took two slow cuts. I needed some minor touch-up work on the figure afterwards.
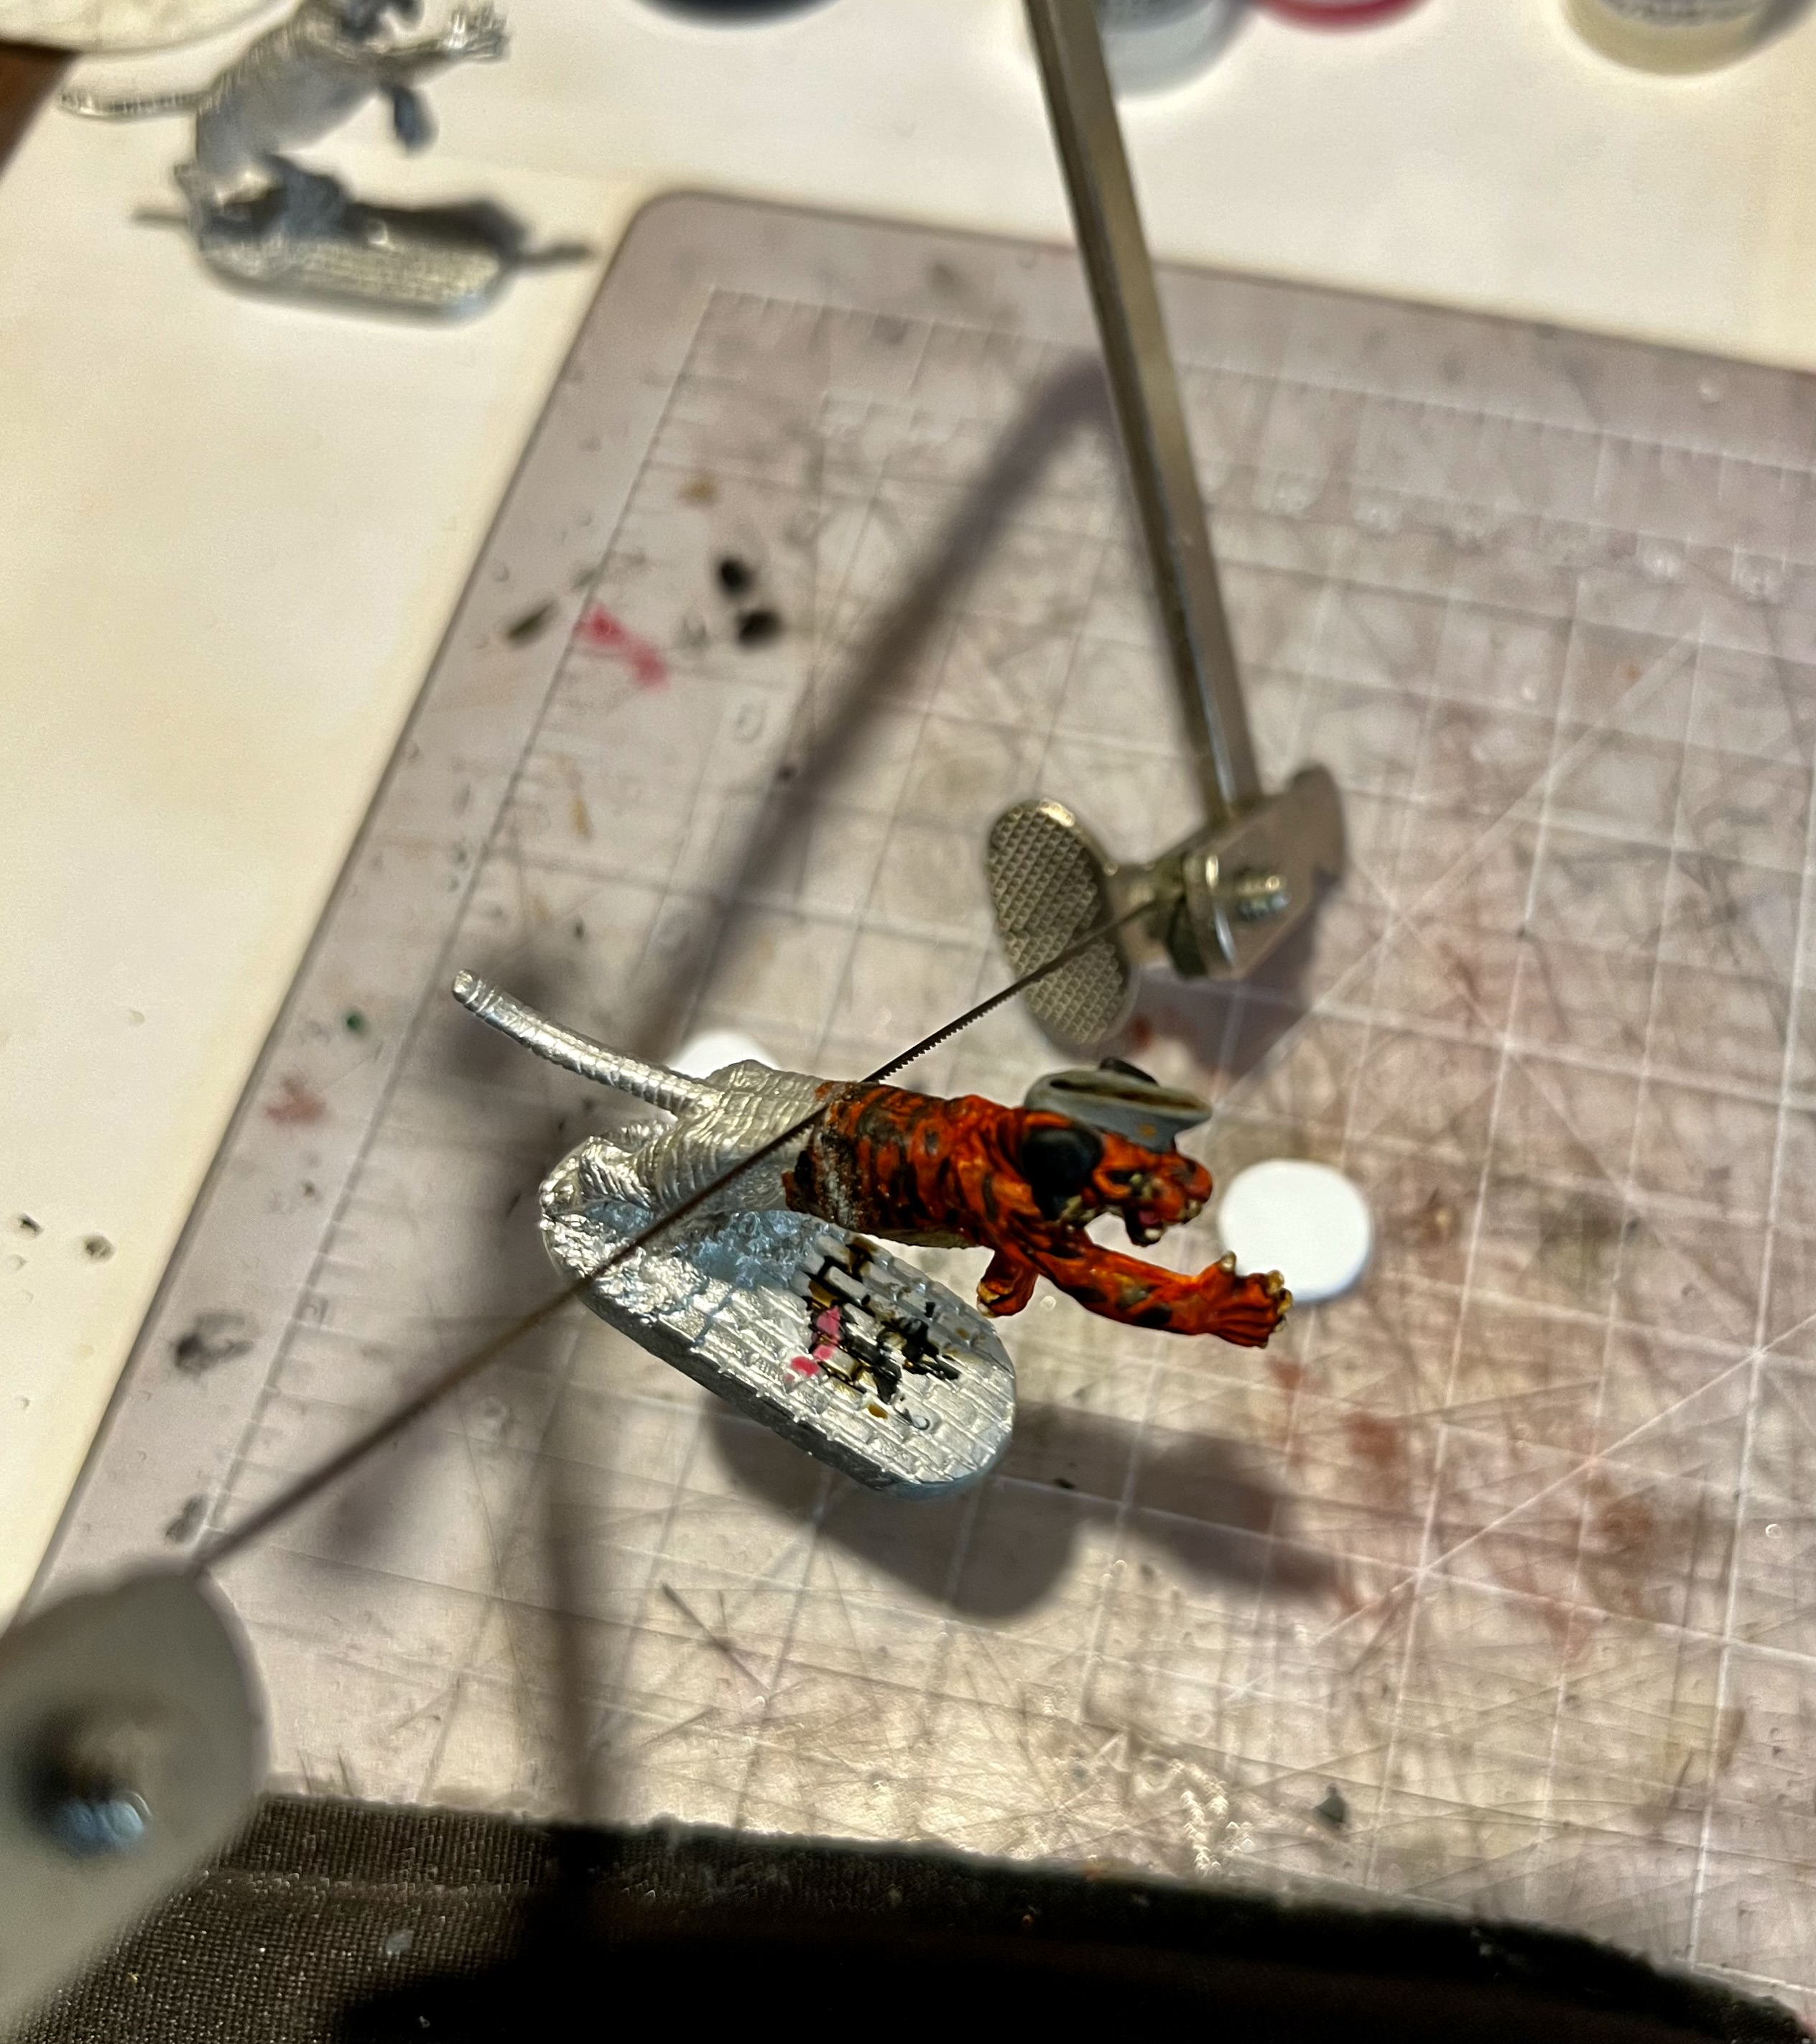
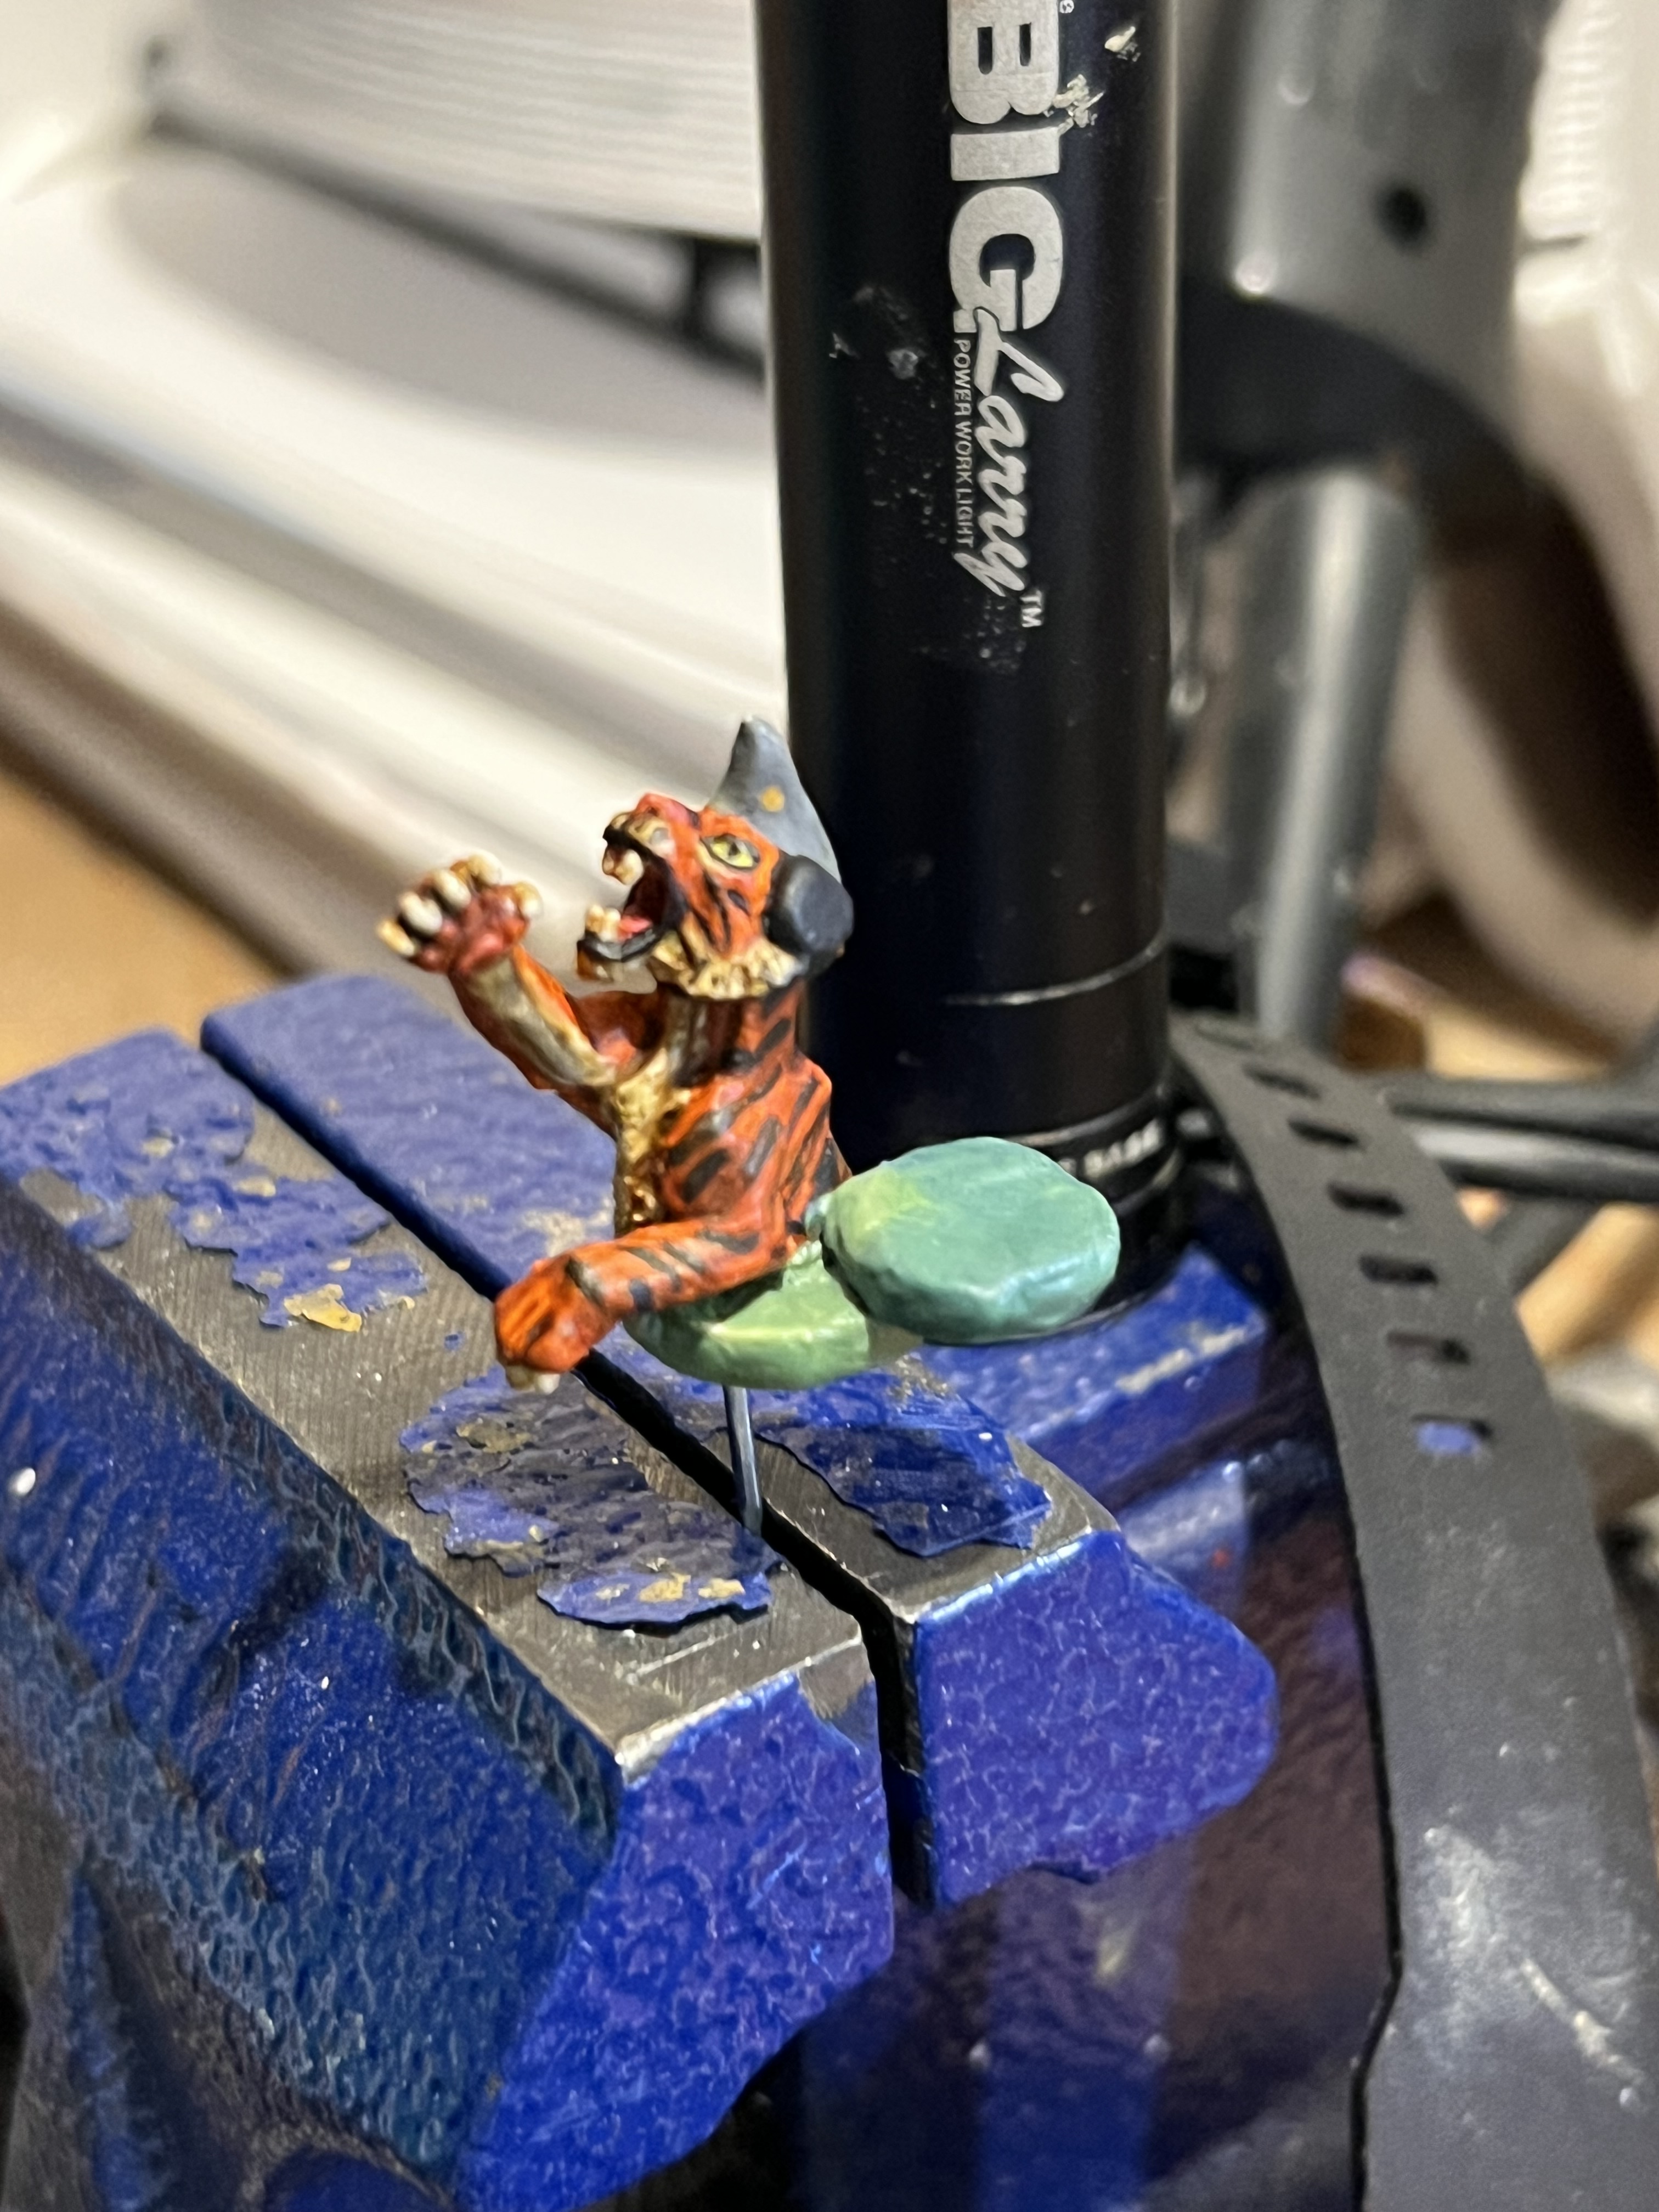
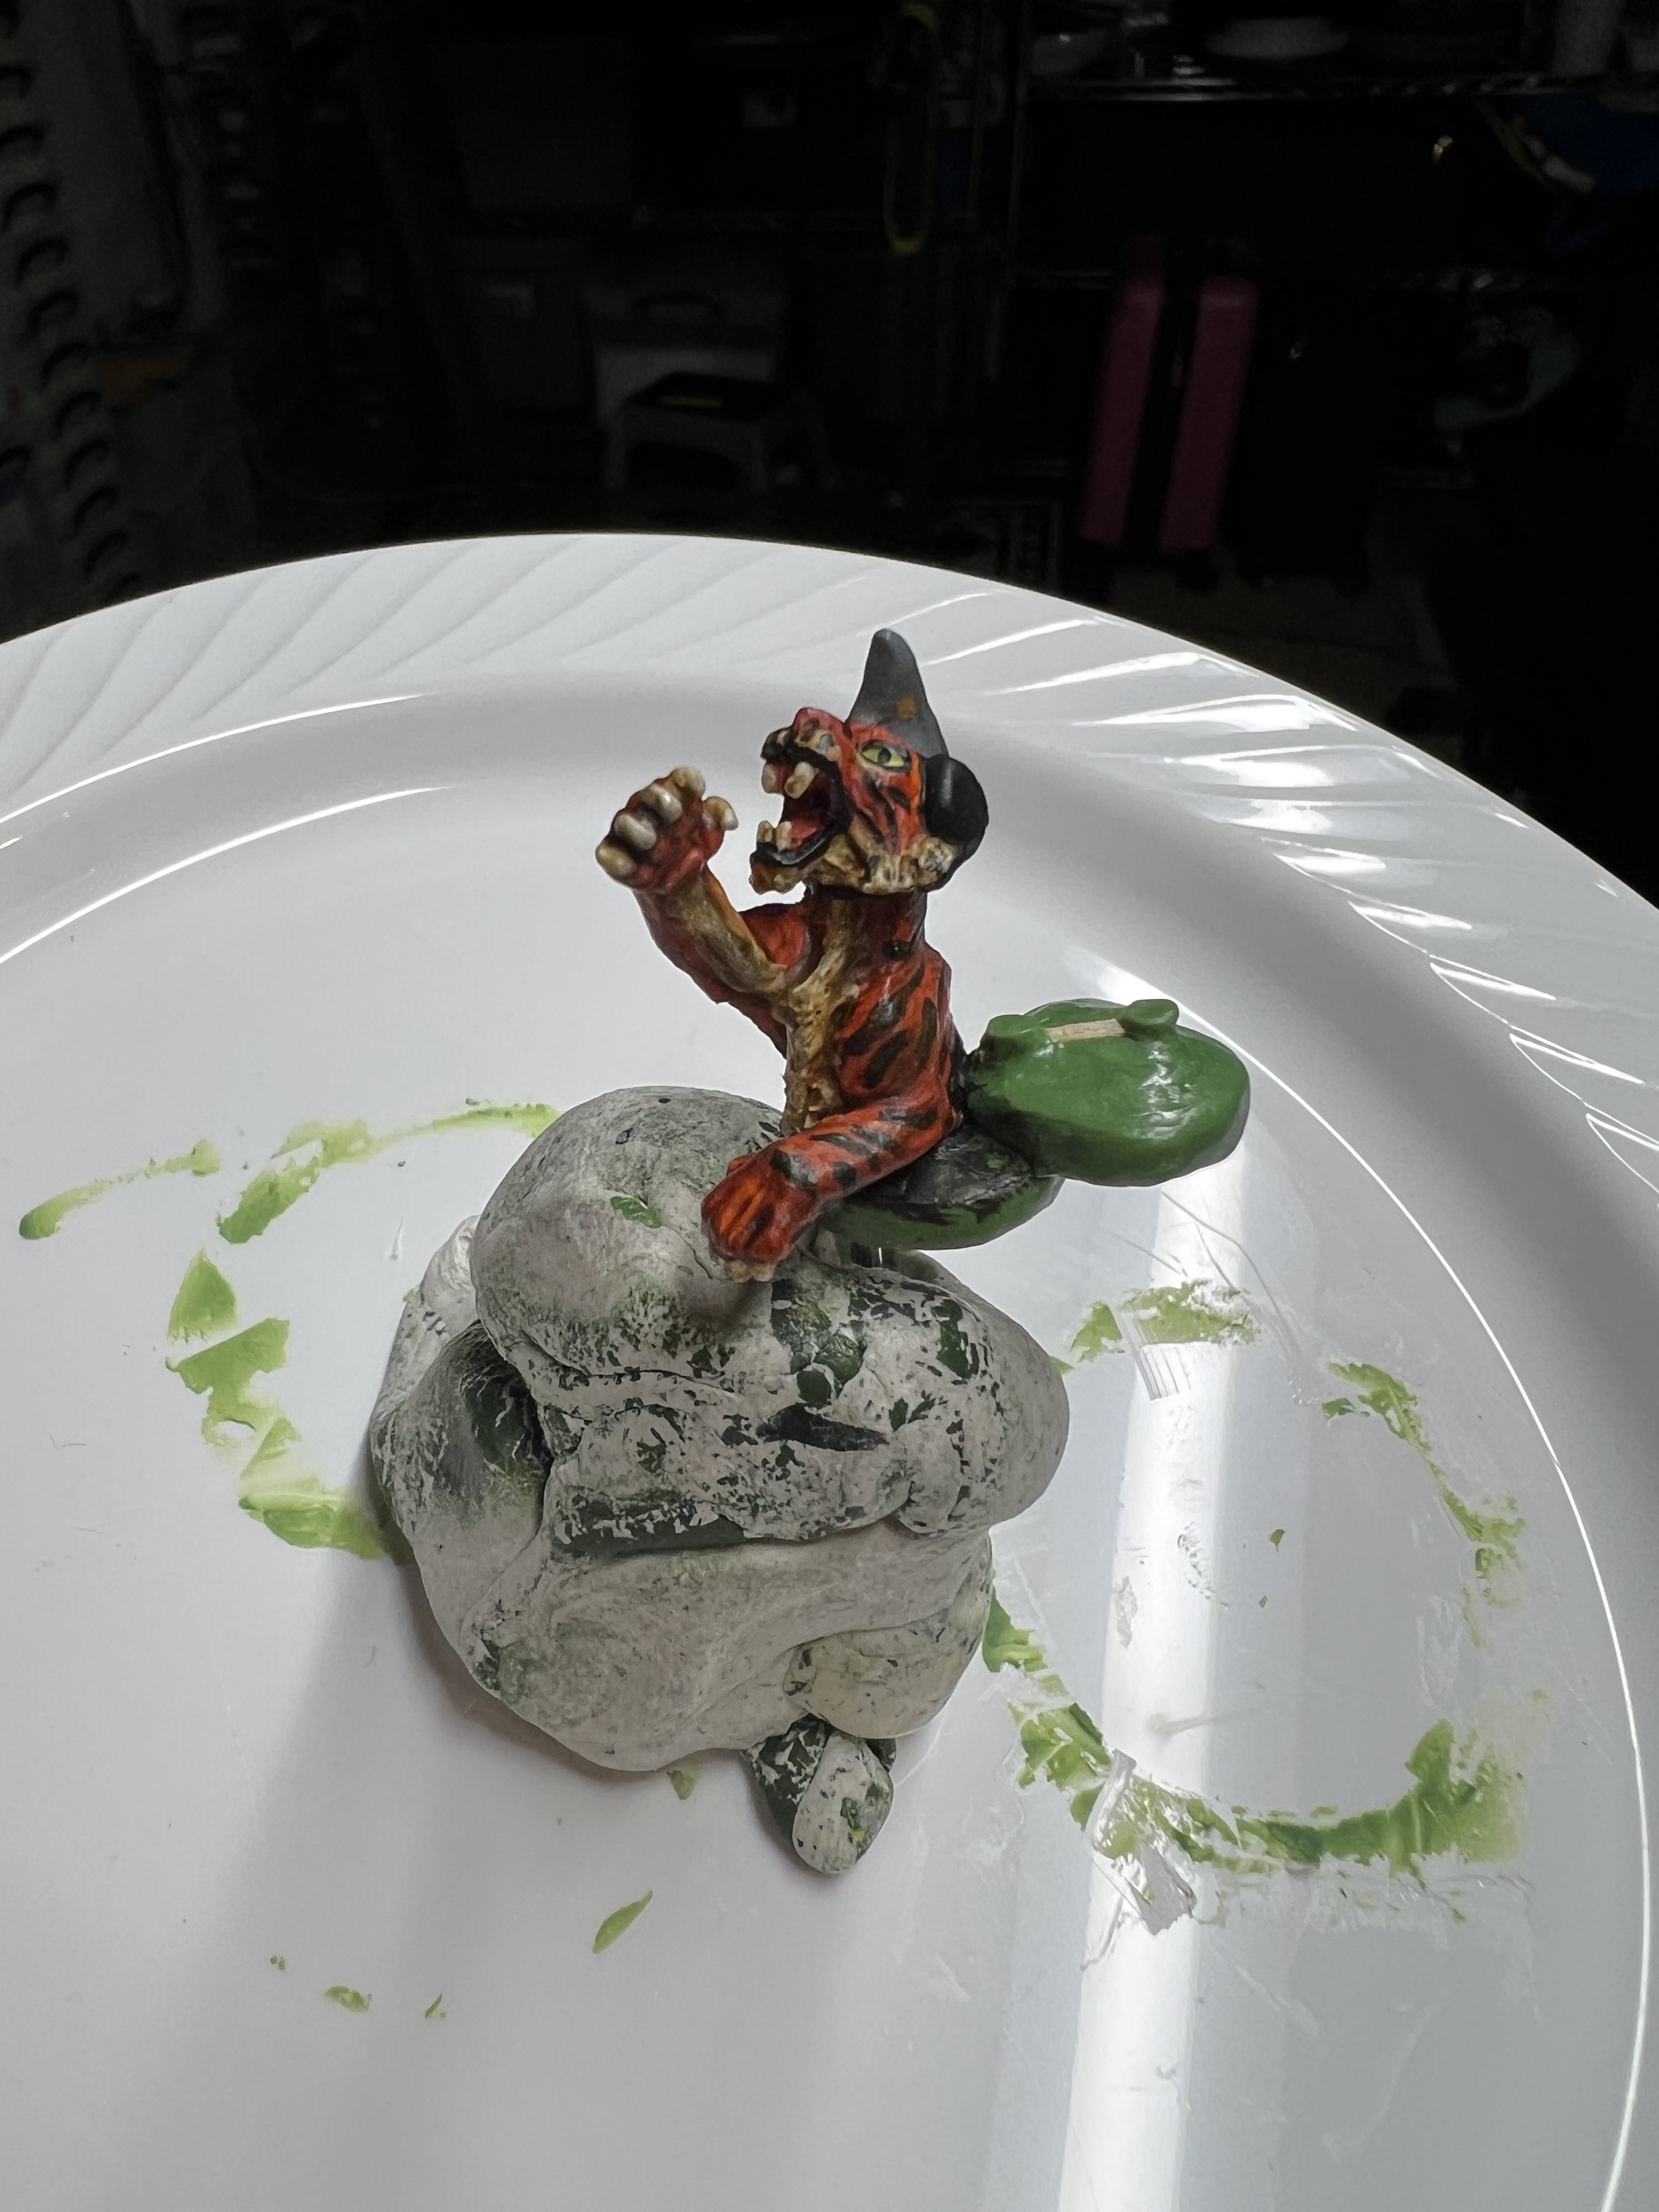
The larger cupola piece (the base part) was drilled out as was the bottom of the tiger figure. This allowed me to embed a paper clip wire through the bottom of the plastic disc and into the hole I drilled into the base of the figure. I secured this combination with green stuff over both sets of plastic and let it set. By doing this, I was able to do a couple of things. First, this allowed me to construct the hatch top in the swung out position as you will see below. Also, later I did eventually drill more holes into the bottom of the plastic disc in a honeycomb fashion – which provided more surface area when I used green stuff to attach the commander/hatch/cupola assembly to the Corgi tank.
First cut!The results of the second cut showing the slice removed after the first cut.The drilled holes, hatch base, and paper cut wire.I set the hatch.cupola/tiger assembly into my vise using the extended piece of paper clip wire – and once that had set I added more details.
Those details included adding the swing arm (a toothpick shard) and some green stuff detail to the top. After this cured, I primed and painted it.
The hatch details added and the beginning of priming and painting.
Let’s now go back to my progress on the Corgi tank. I had the priming completed with the tank now primed white.
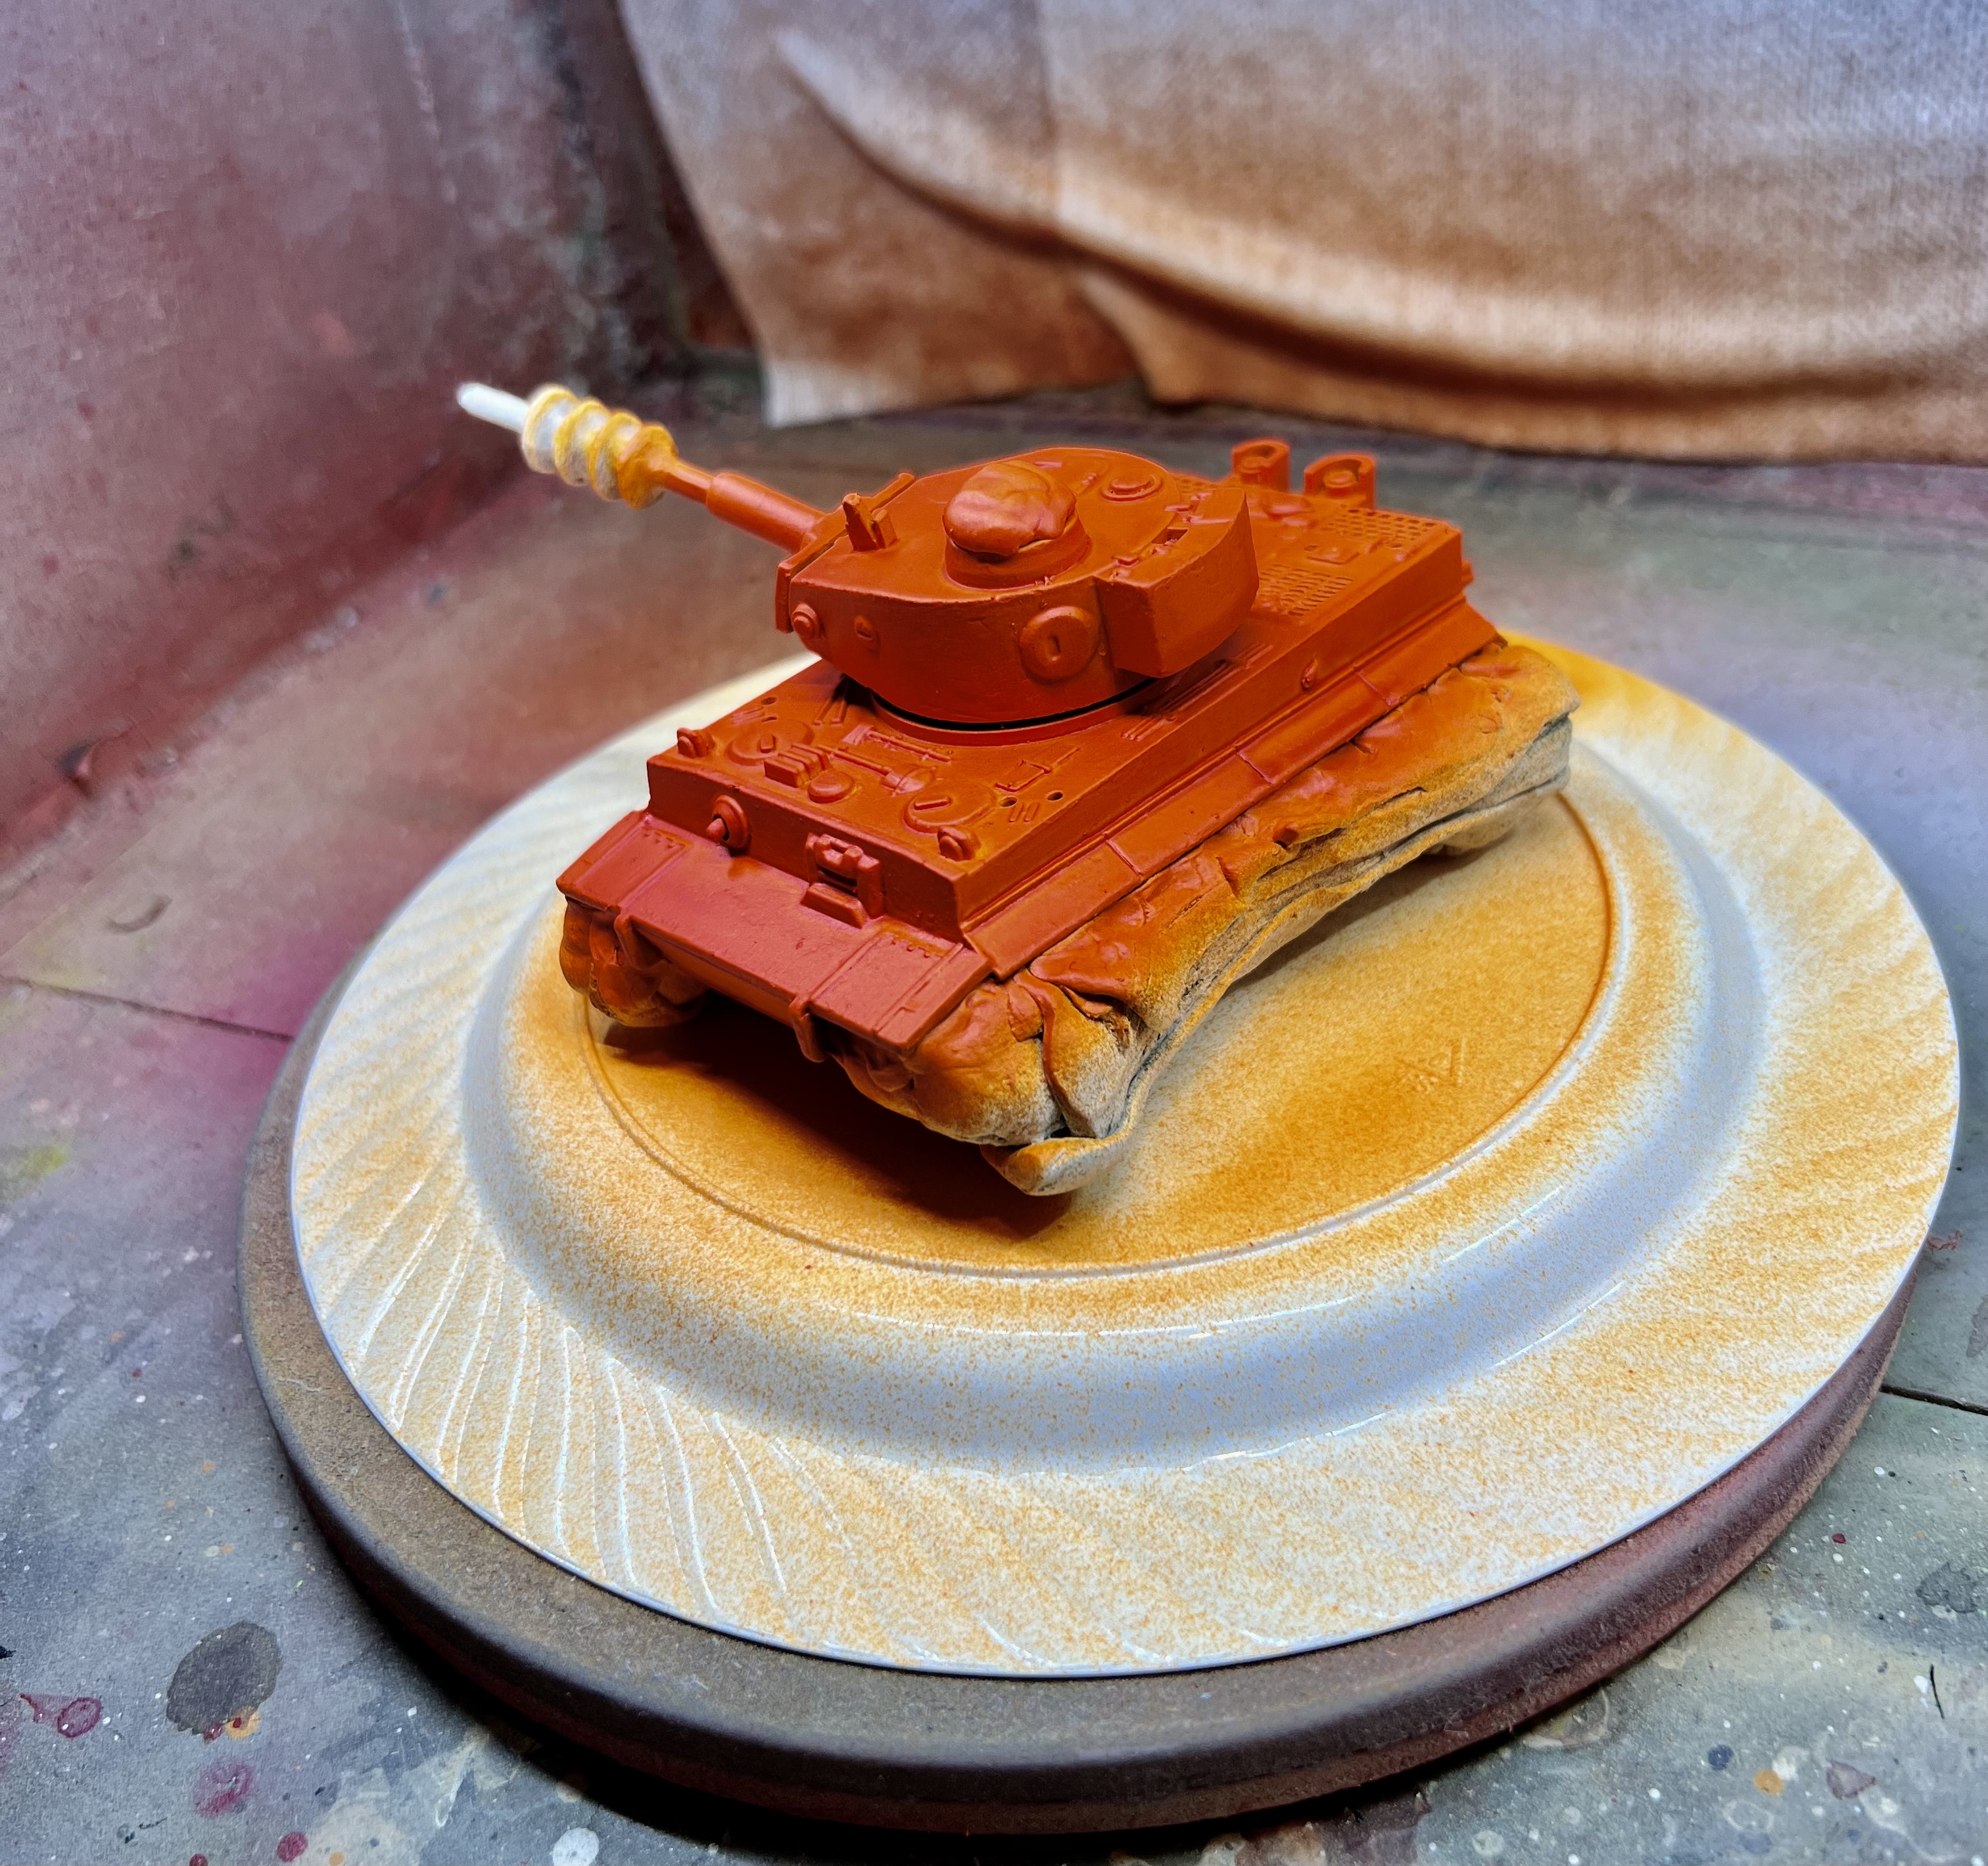
It was now time to make it really a “Tiger”. First some hot orange:
Added orange with my airbrush.
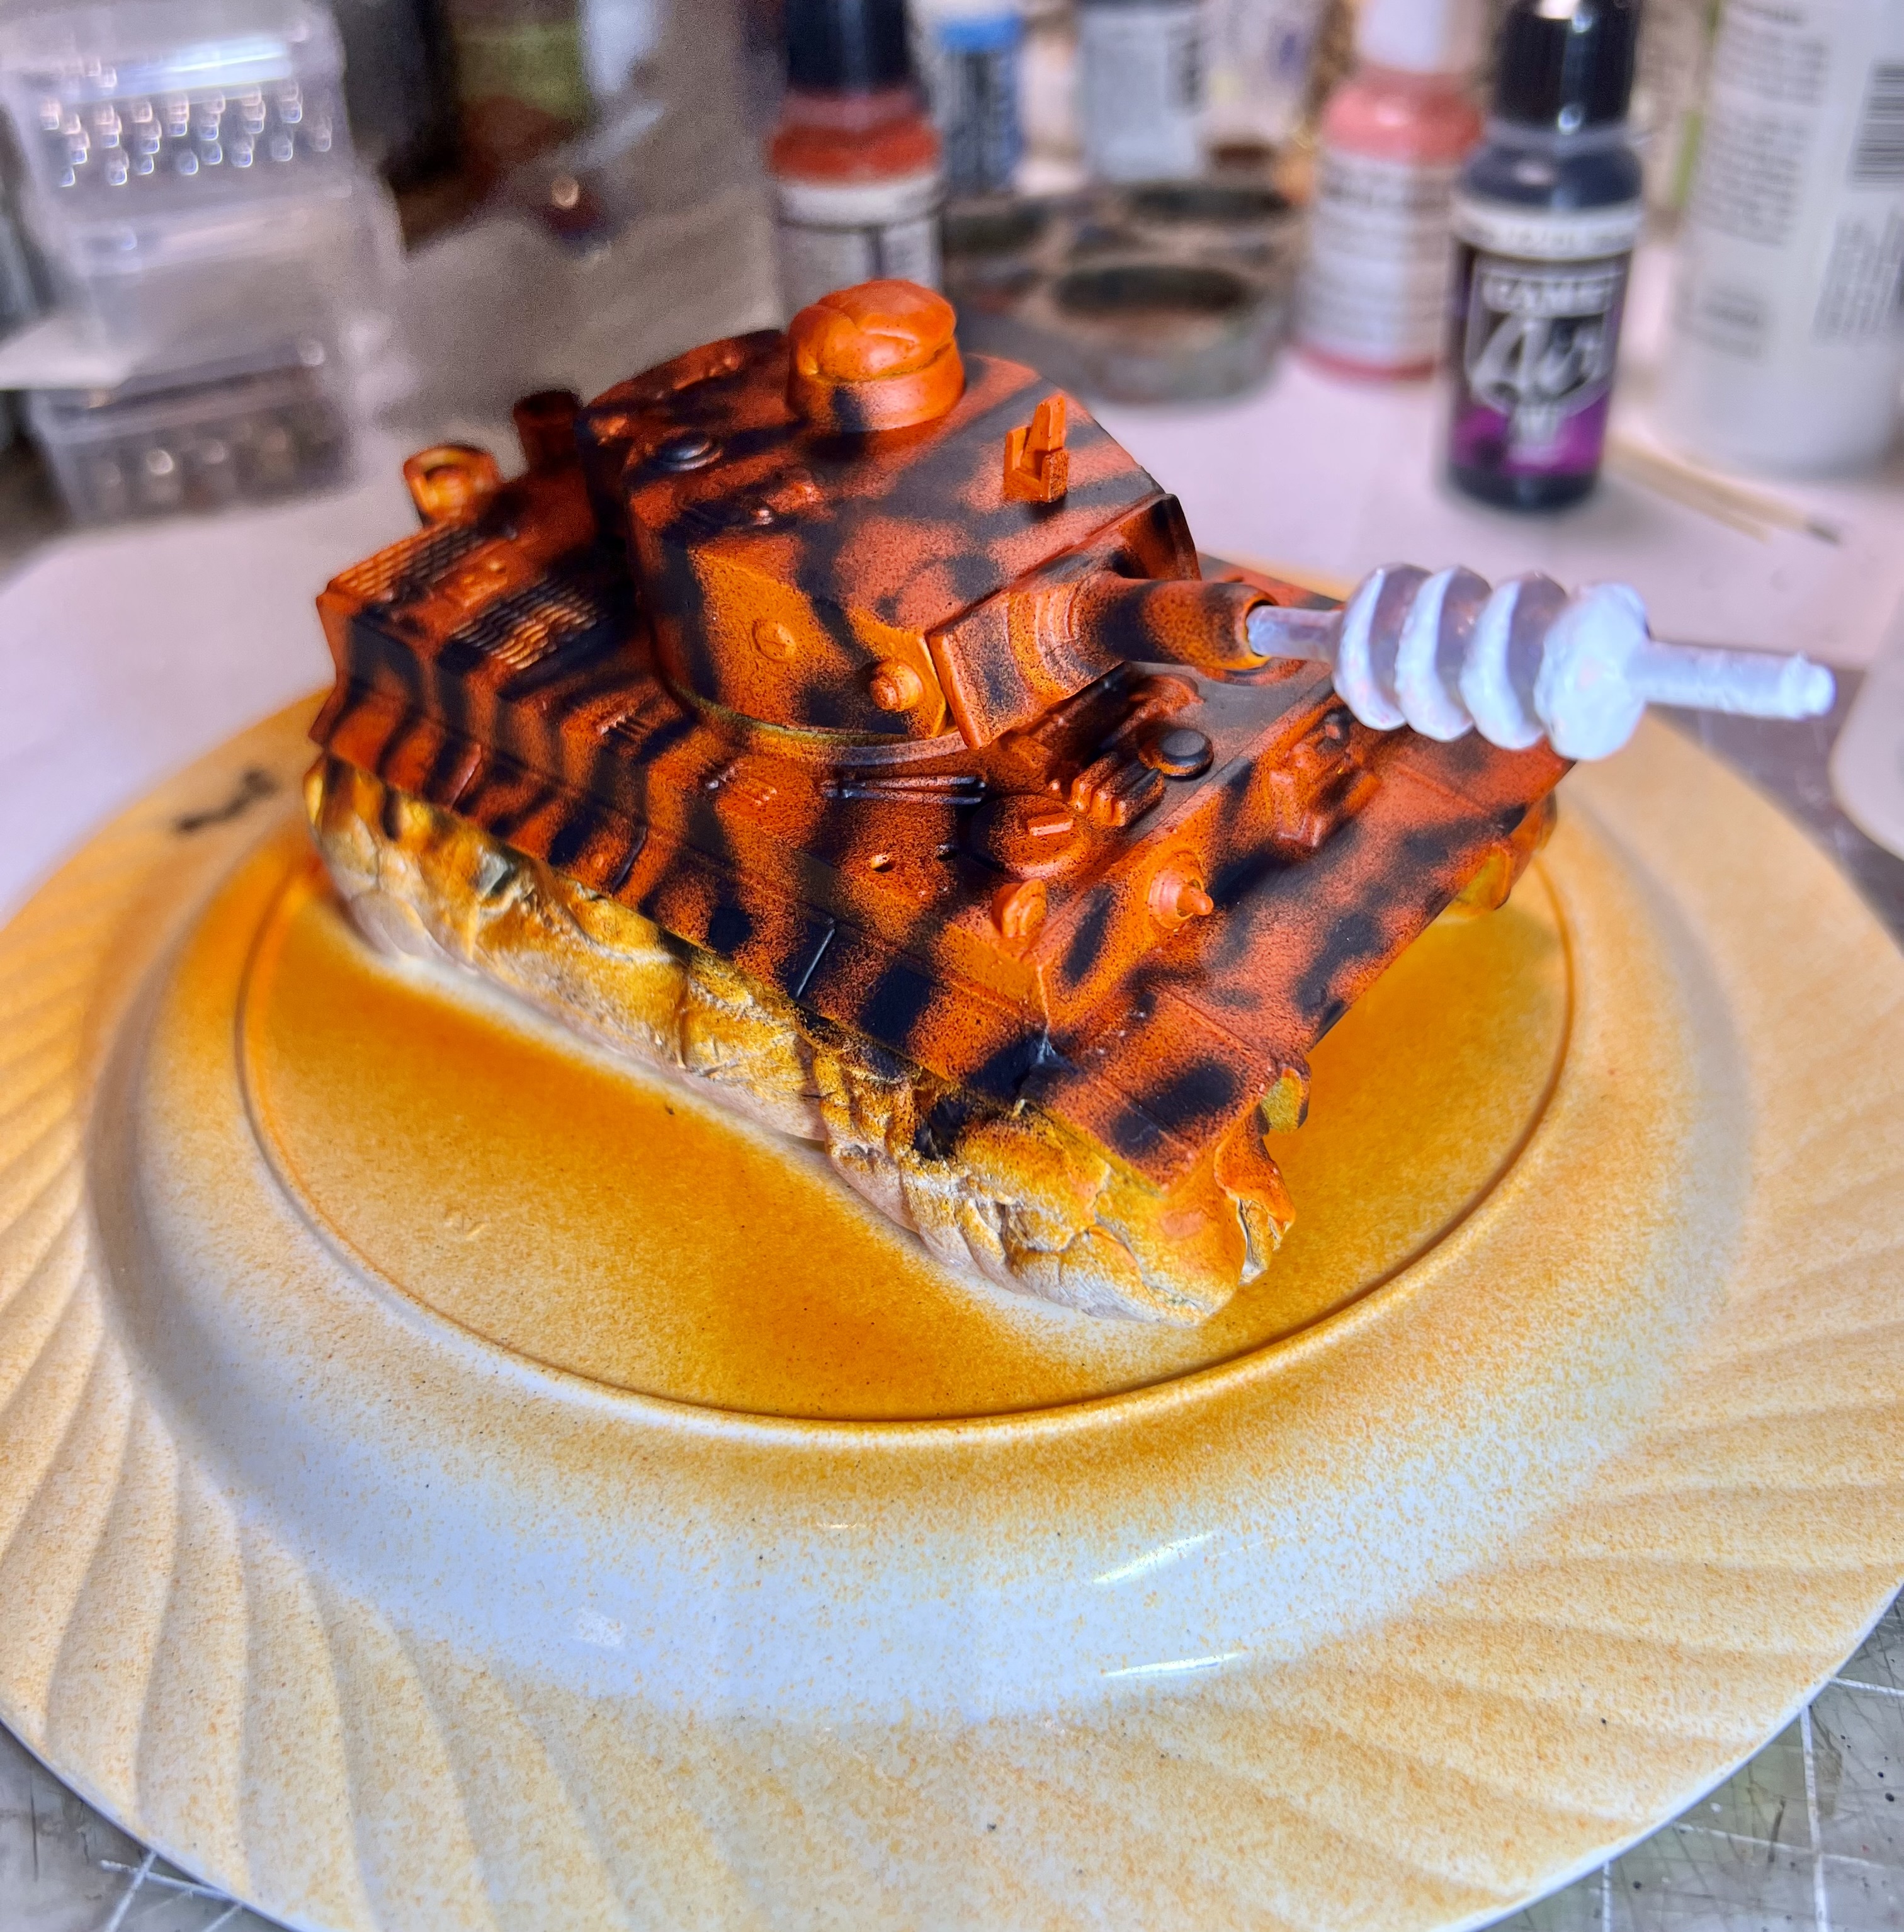
Then airbrushing some black stripes!
Looking tiger-y.
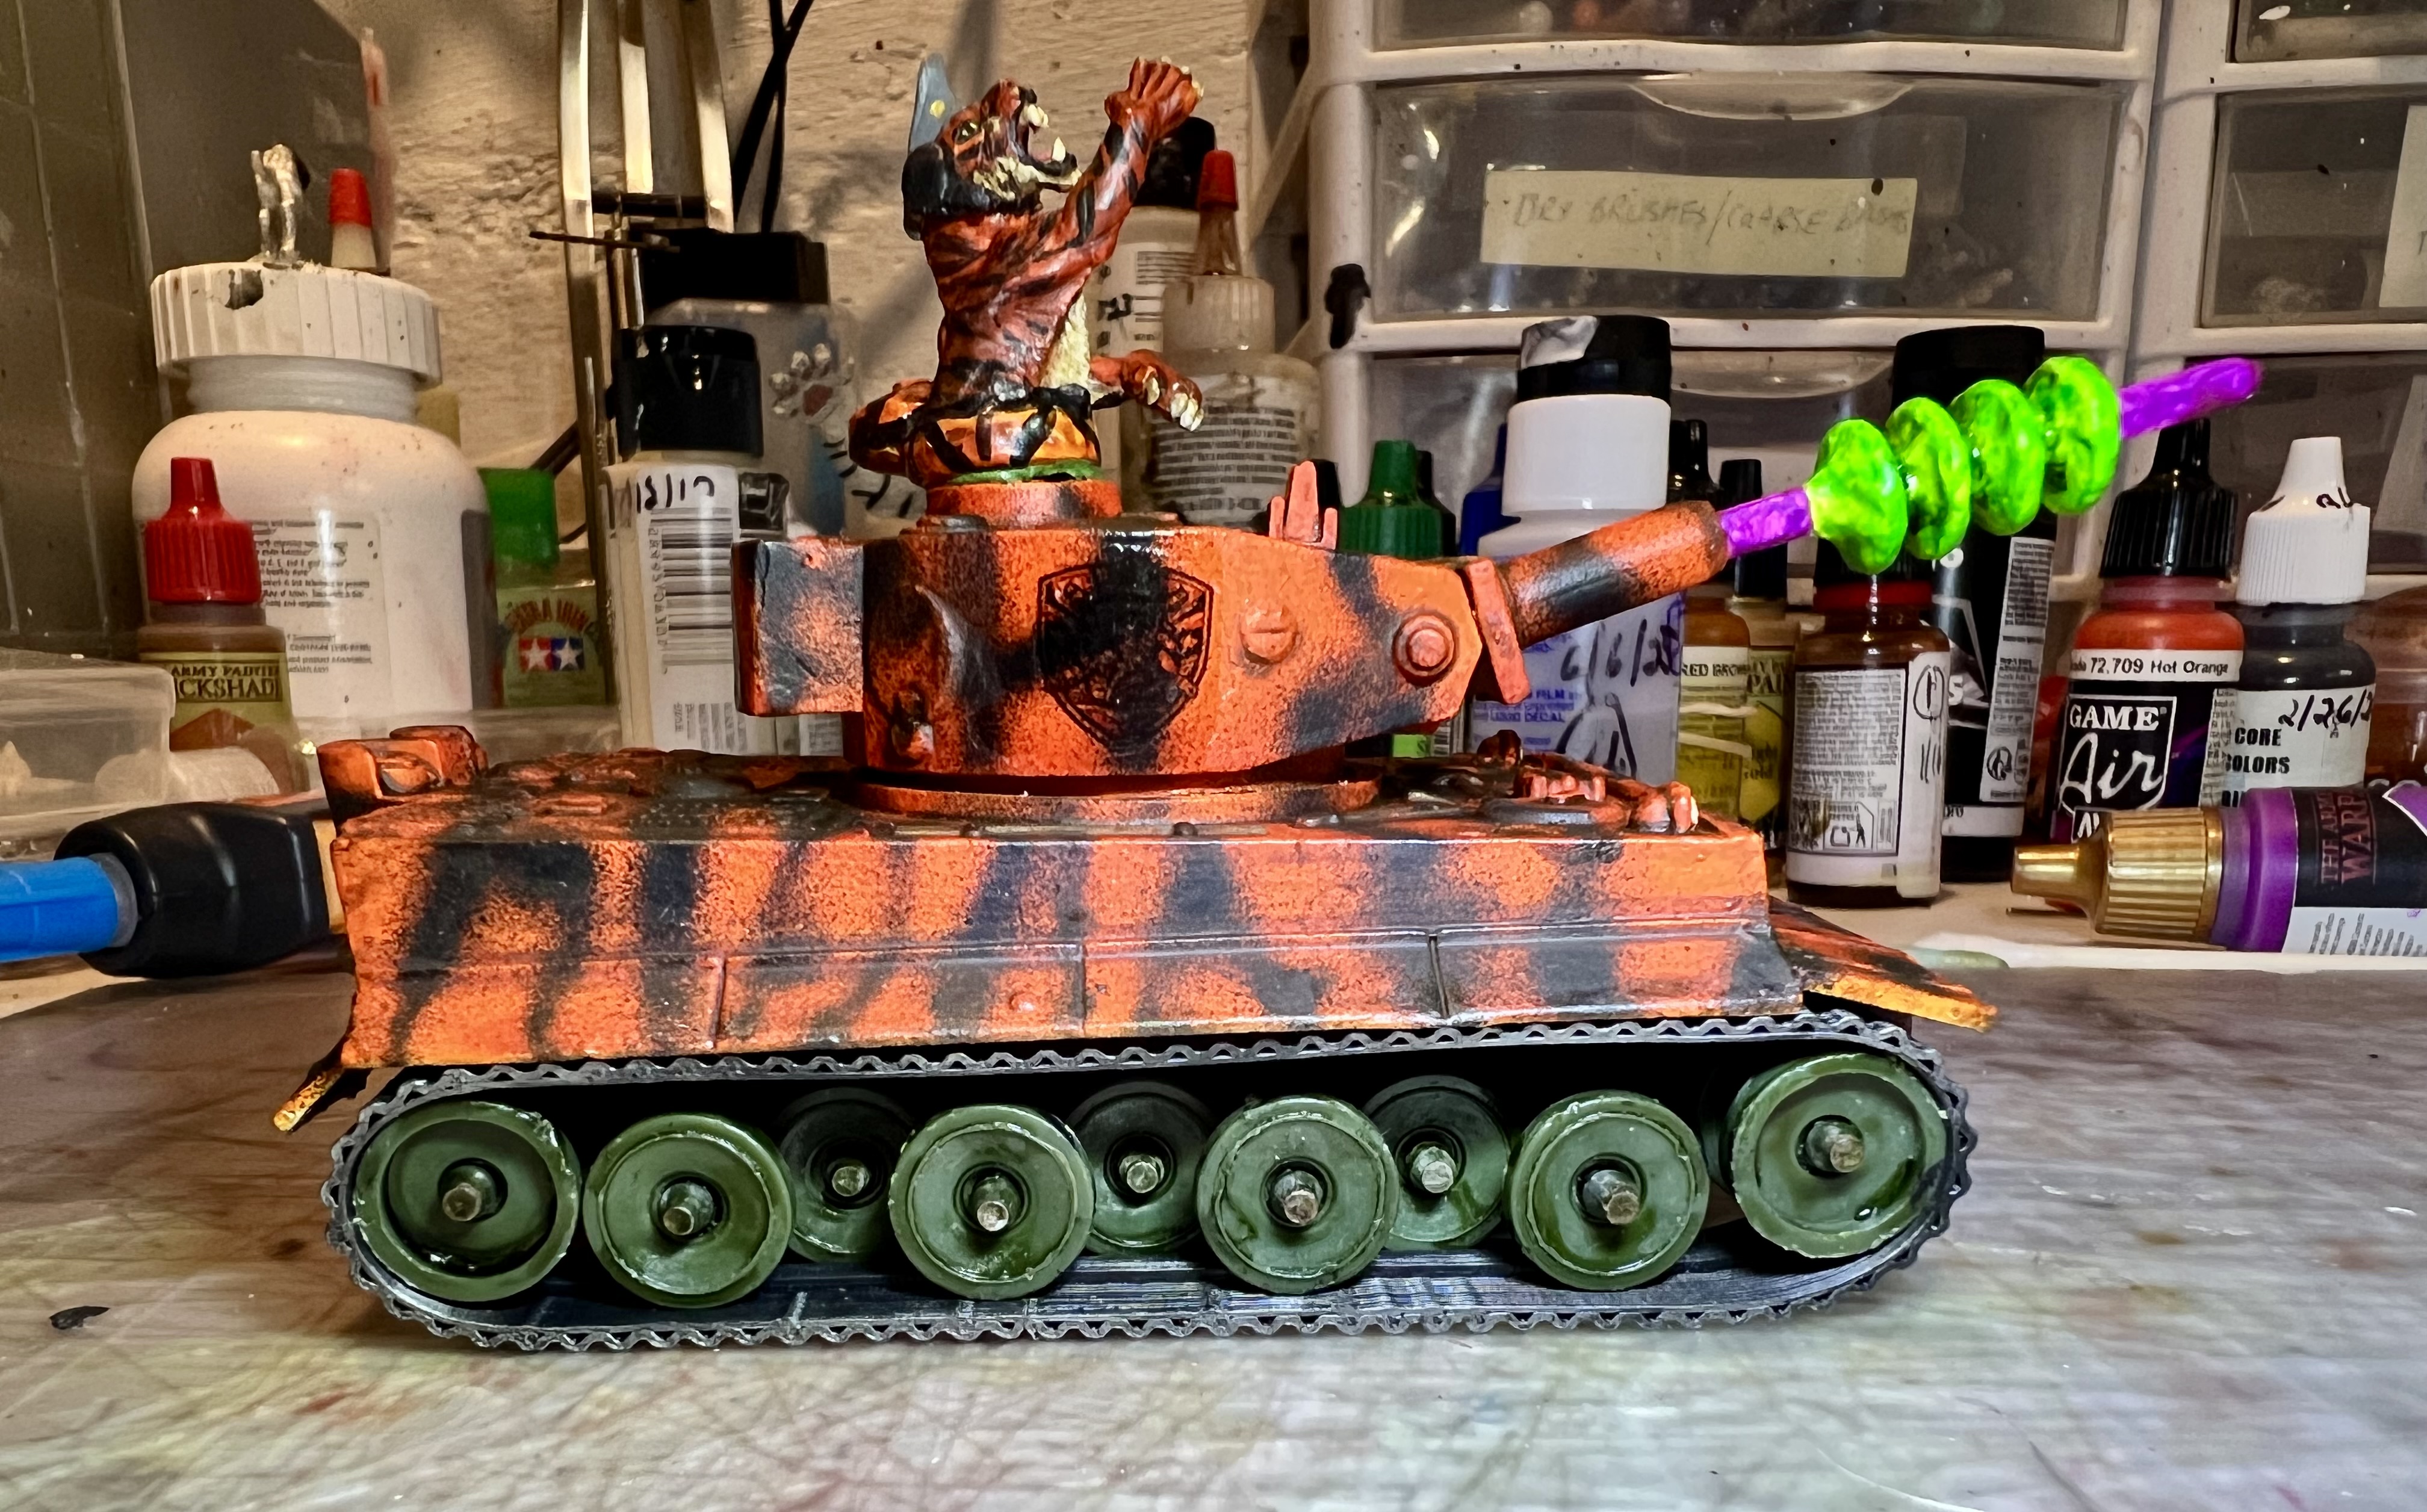
Keeping the tank on the plate, I painted up the detailed parts. The gun I wanted to glow green and purple. After removing the poster tack and more touch up work, I attached the previously dry-brushed tracks.
At this point, I wanted to give the tank a few decals – but what? I told CoPilot what I wanted for a design, and it came out perfect.
It says Imperial Felynxii!
When printed on decal paper, the design is less obvious and more black.
Felynxii design for insignia decal.
As for the attached decal looking black and less obvious – that frankly helps in my view and not hurts. It blended nicely with the stripes, and is subtly visible. I attached two decals on the side of the turret, one on its back. I also put one on the front of the hull.
The weight of the sci-fi addition to new main gun kept pulling itself down. To remedy this, I secured the gun in the elevated position.
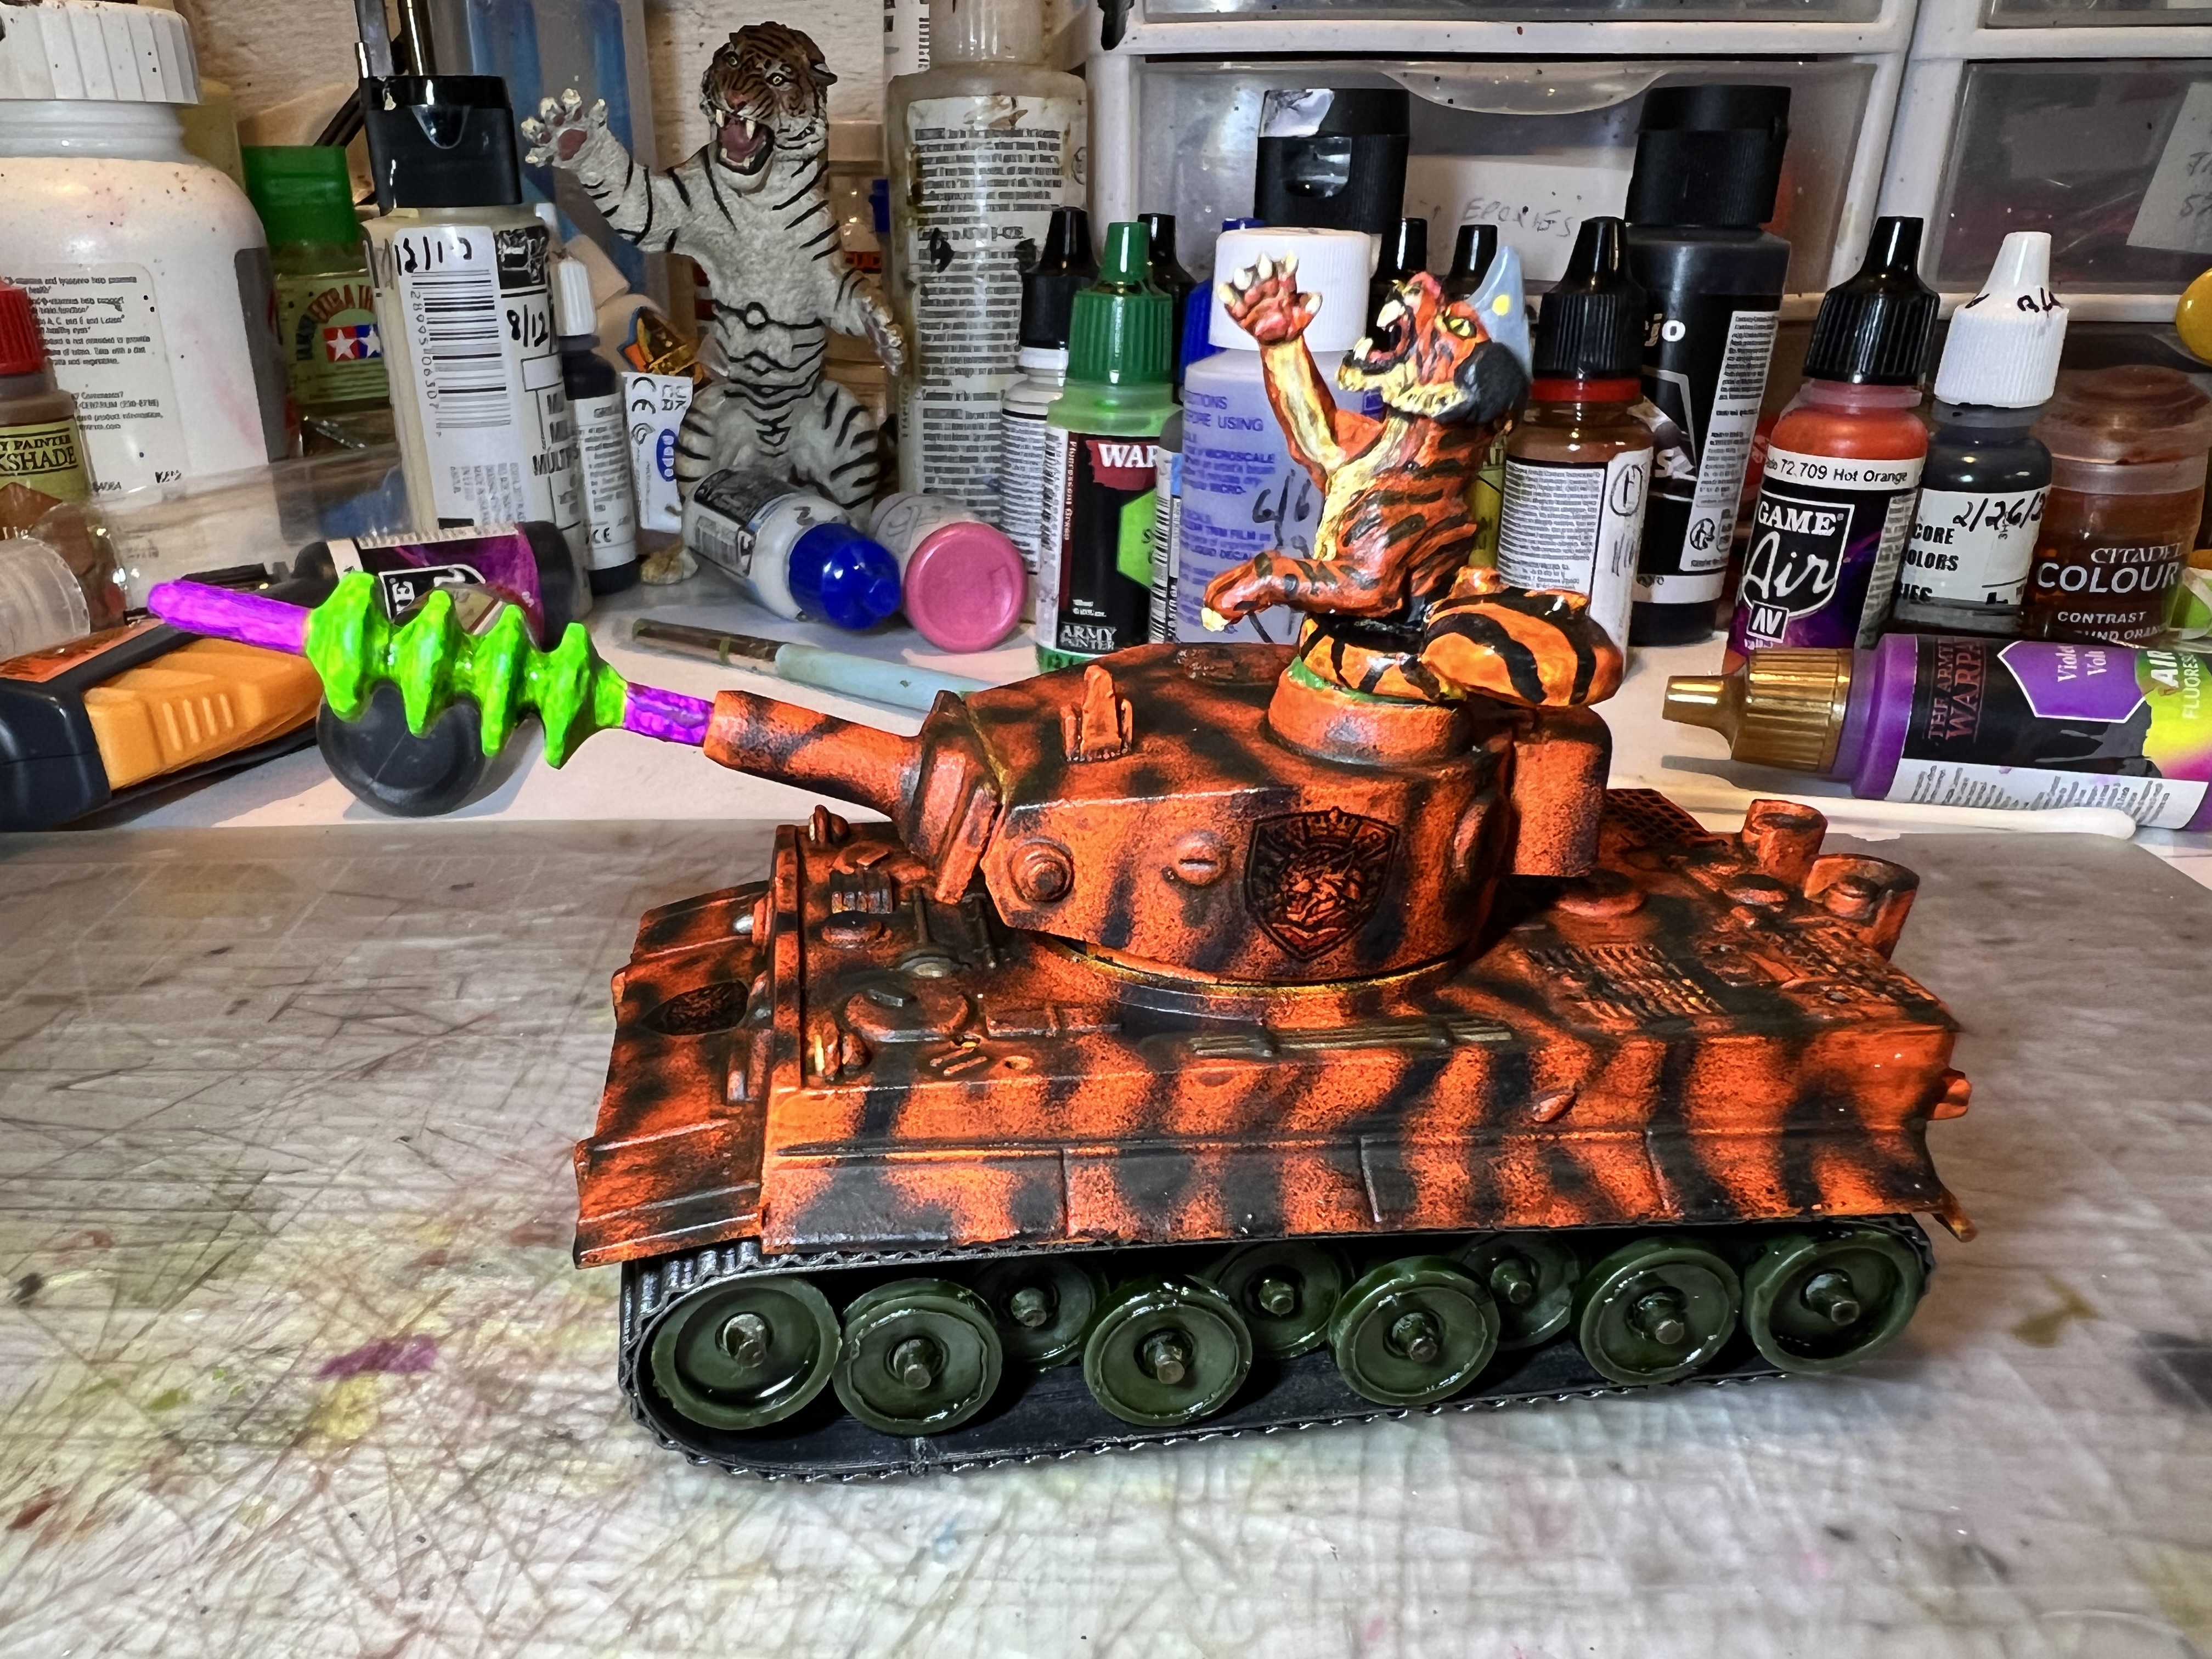
The roadwheels got a light coat of green tone to dull the plastic. Here’s what my work area was looking like:
This particular post is just what I did – could I have done something differently? Sure. But, I thought the sequence of events was worthwhile to share. Please let me know what you think in the comments section.
Eye Candy
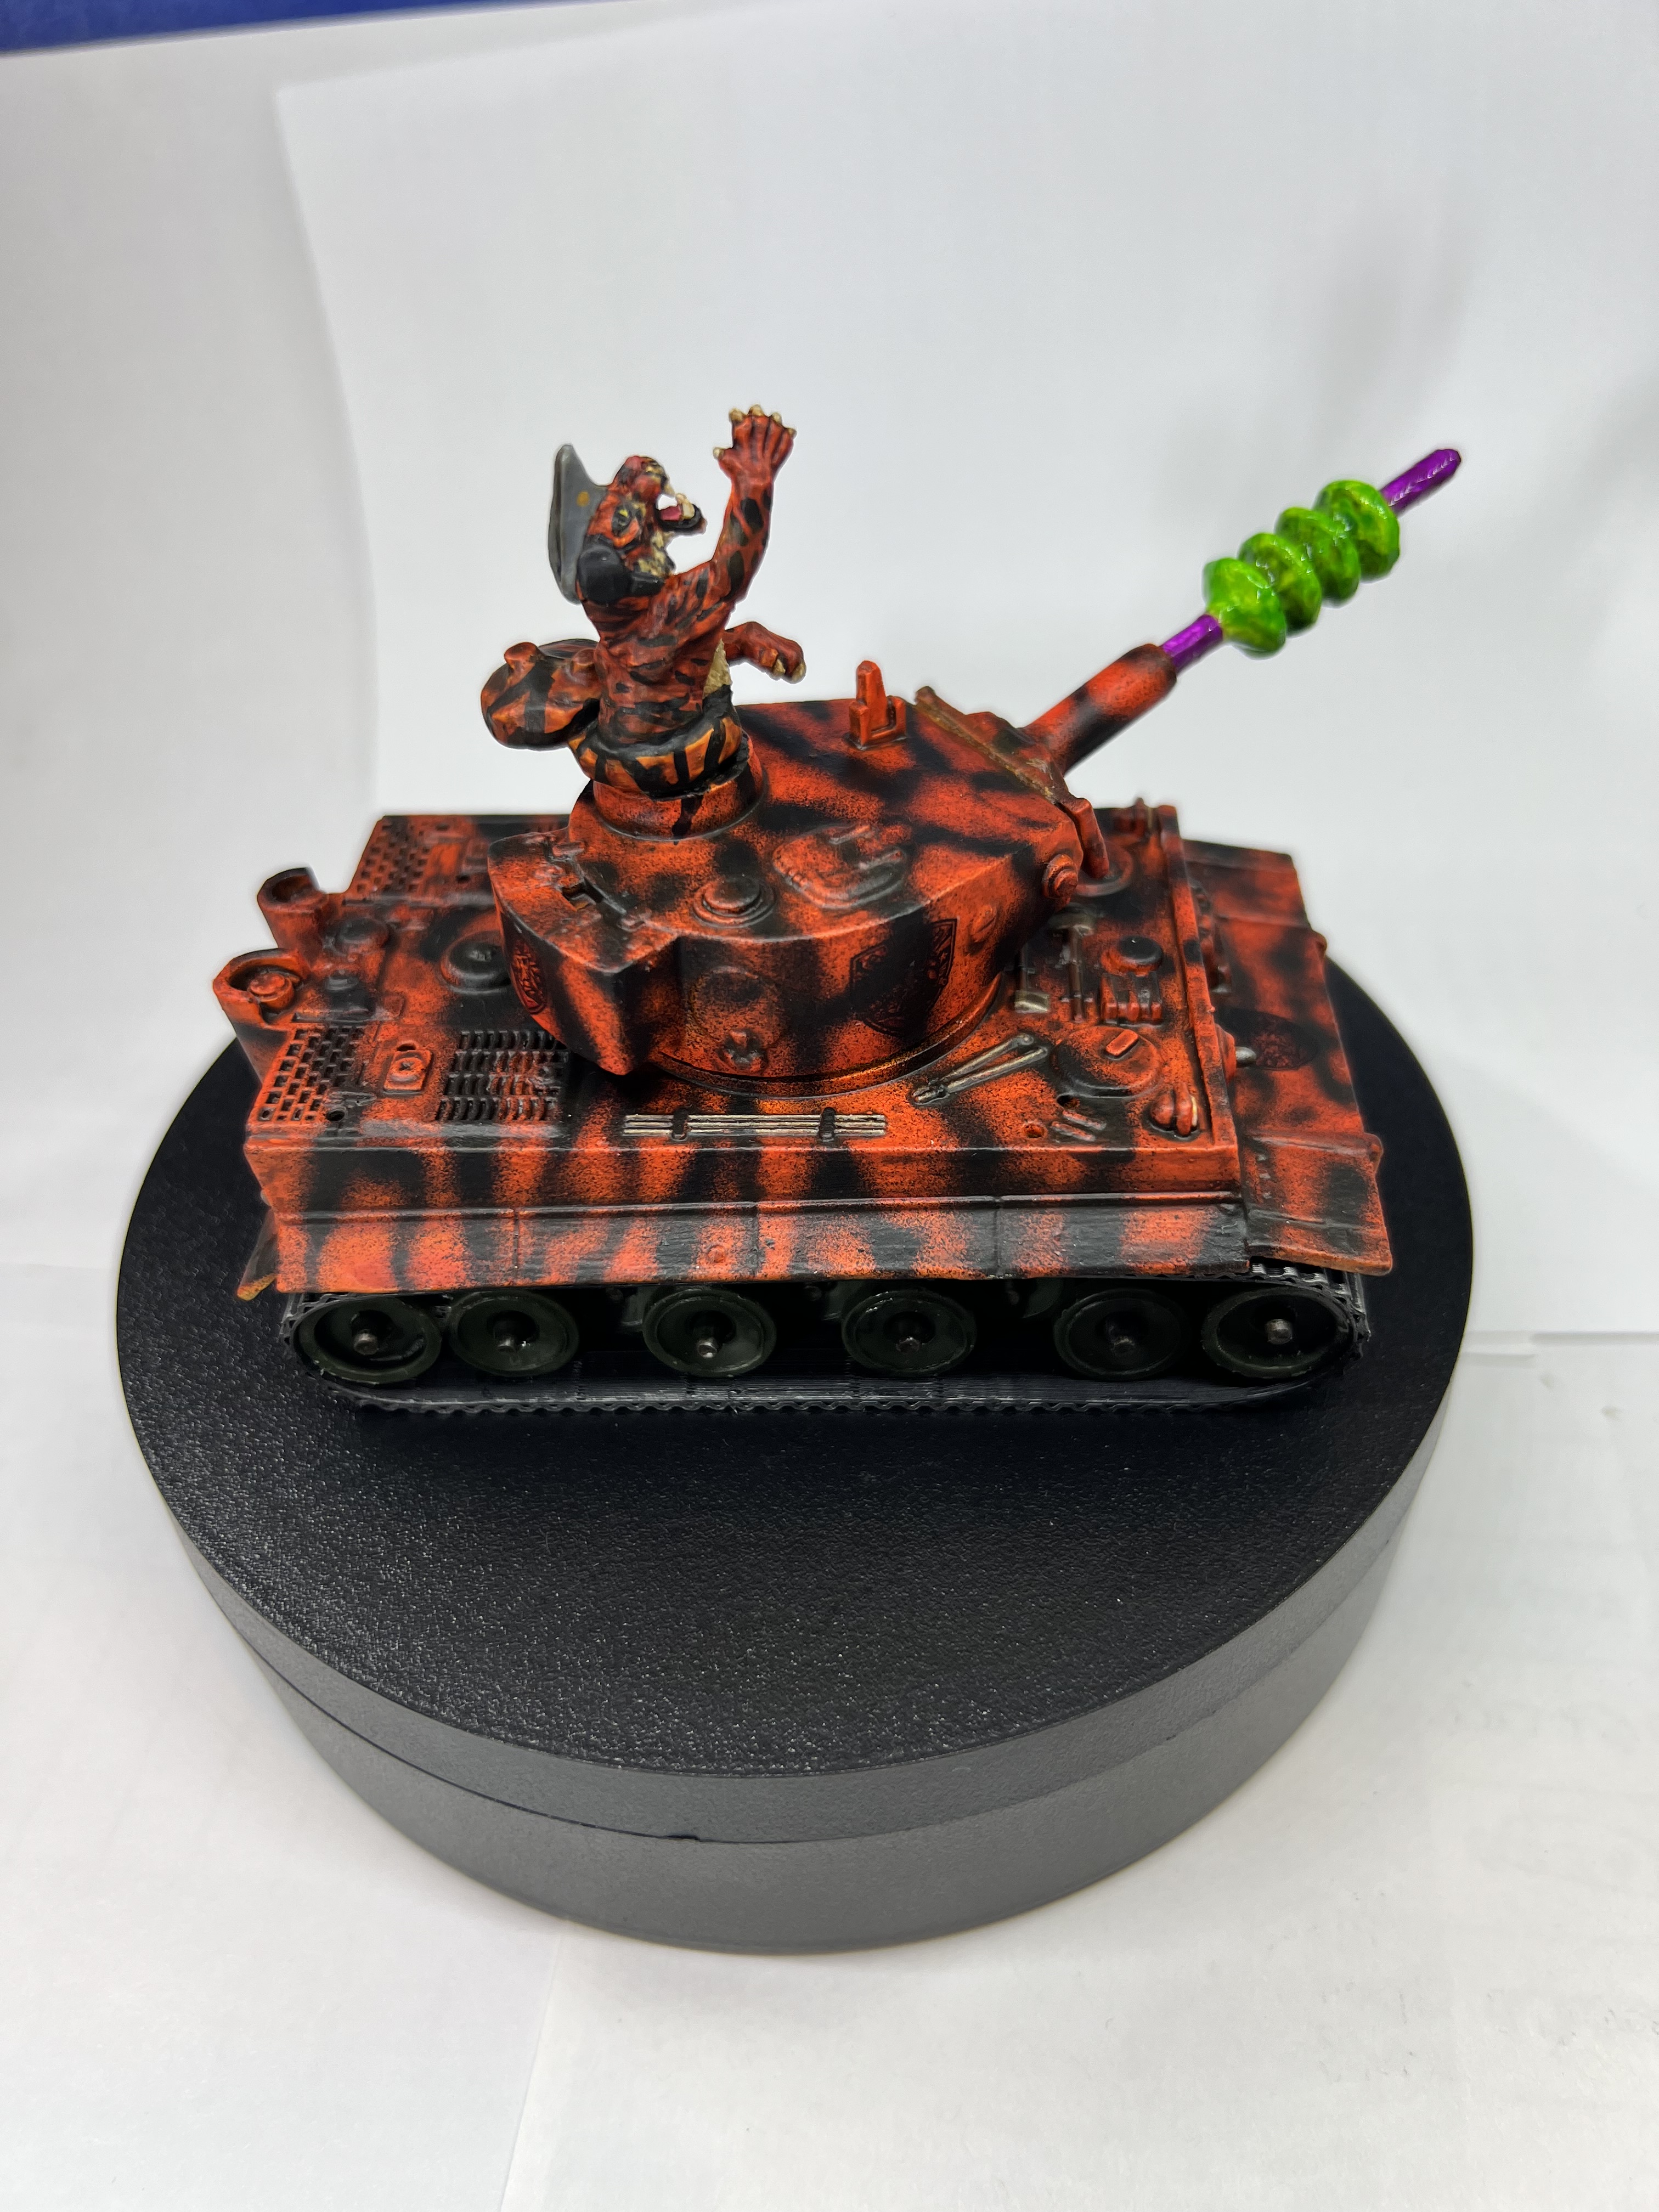
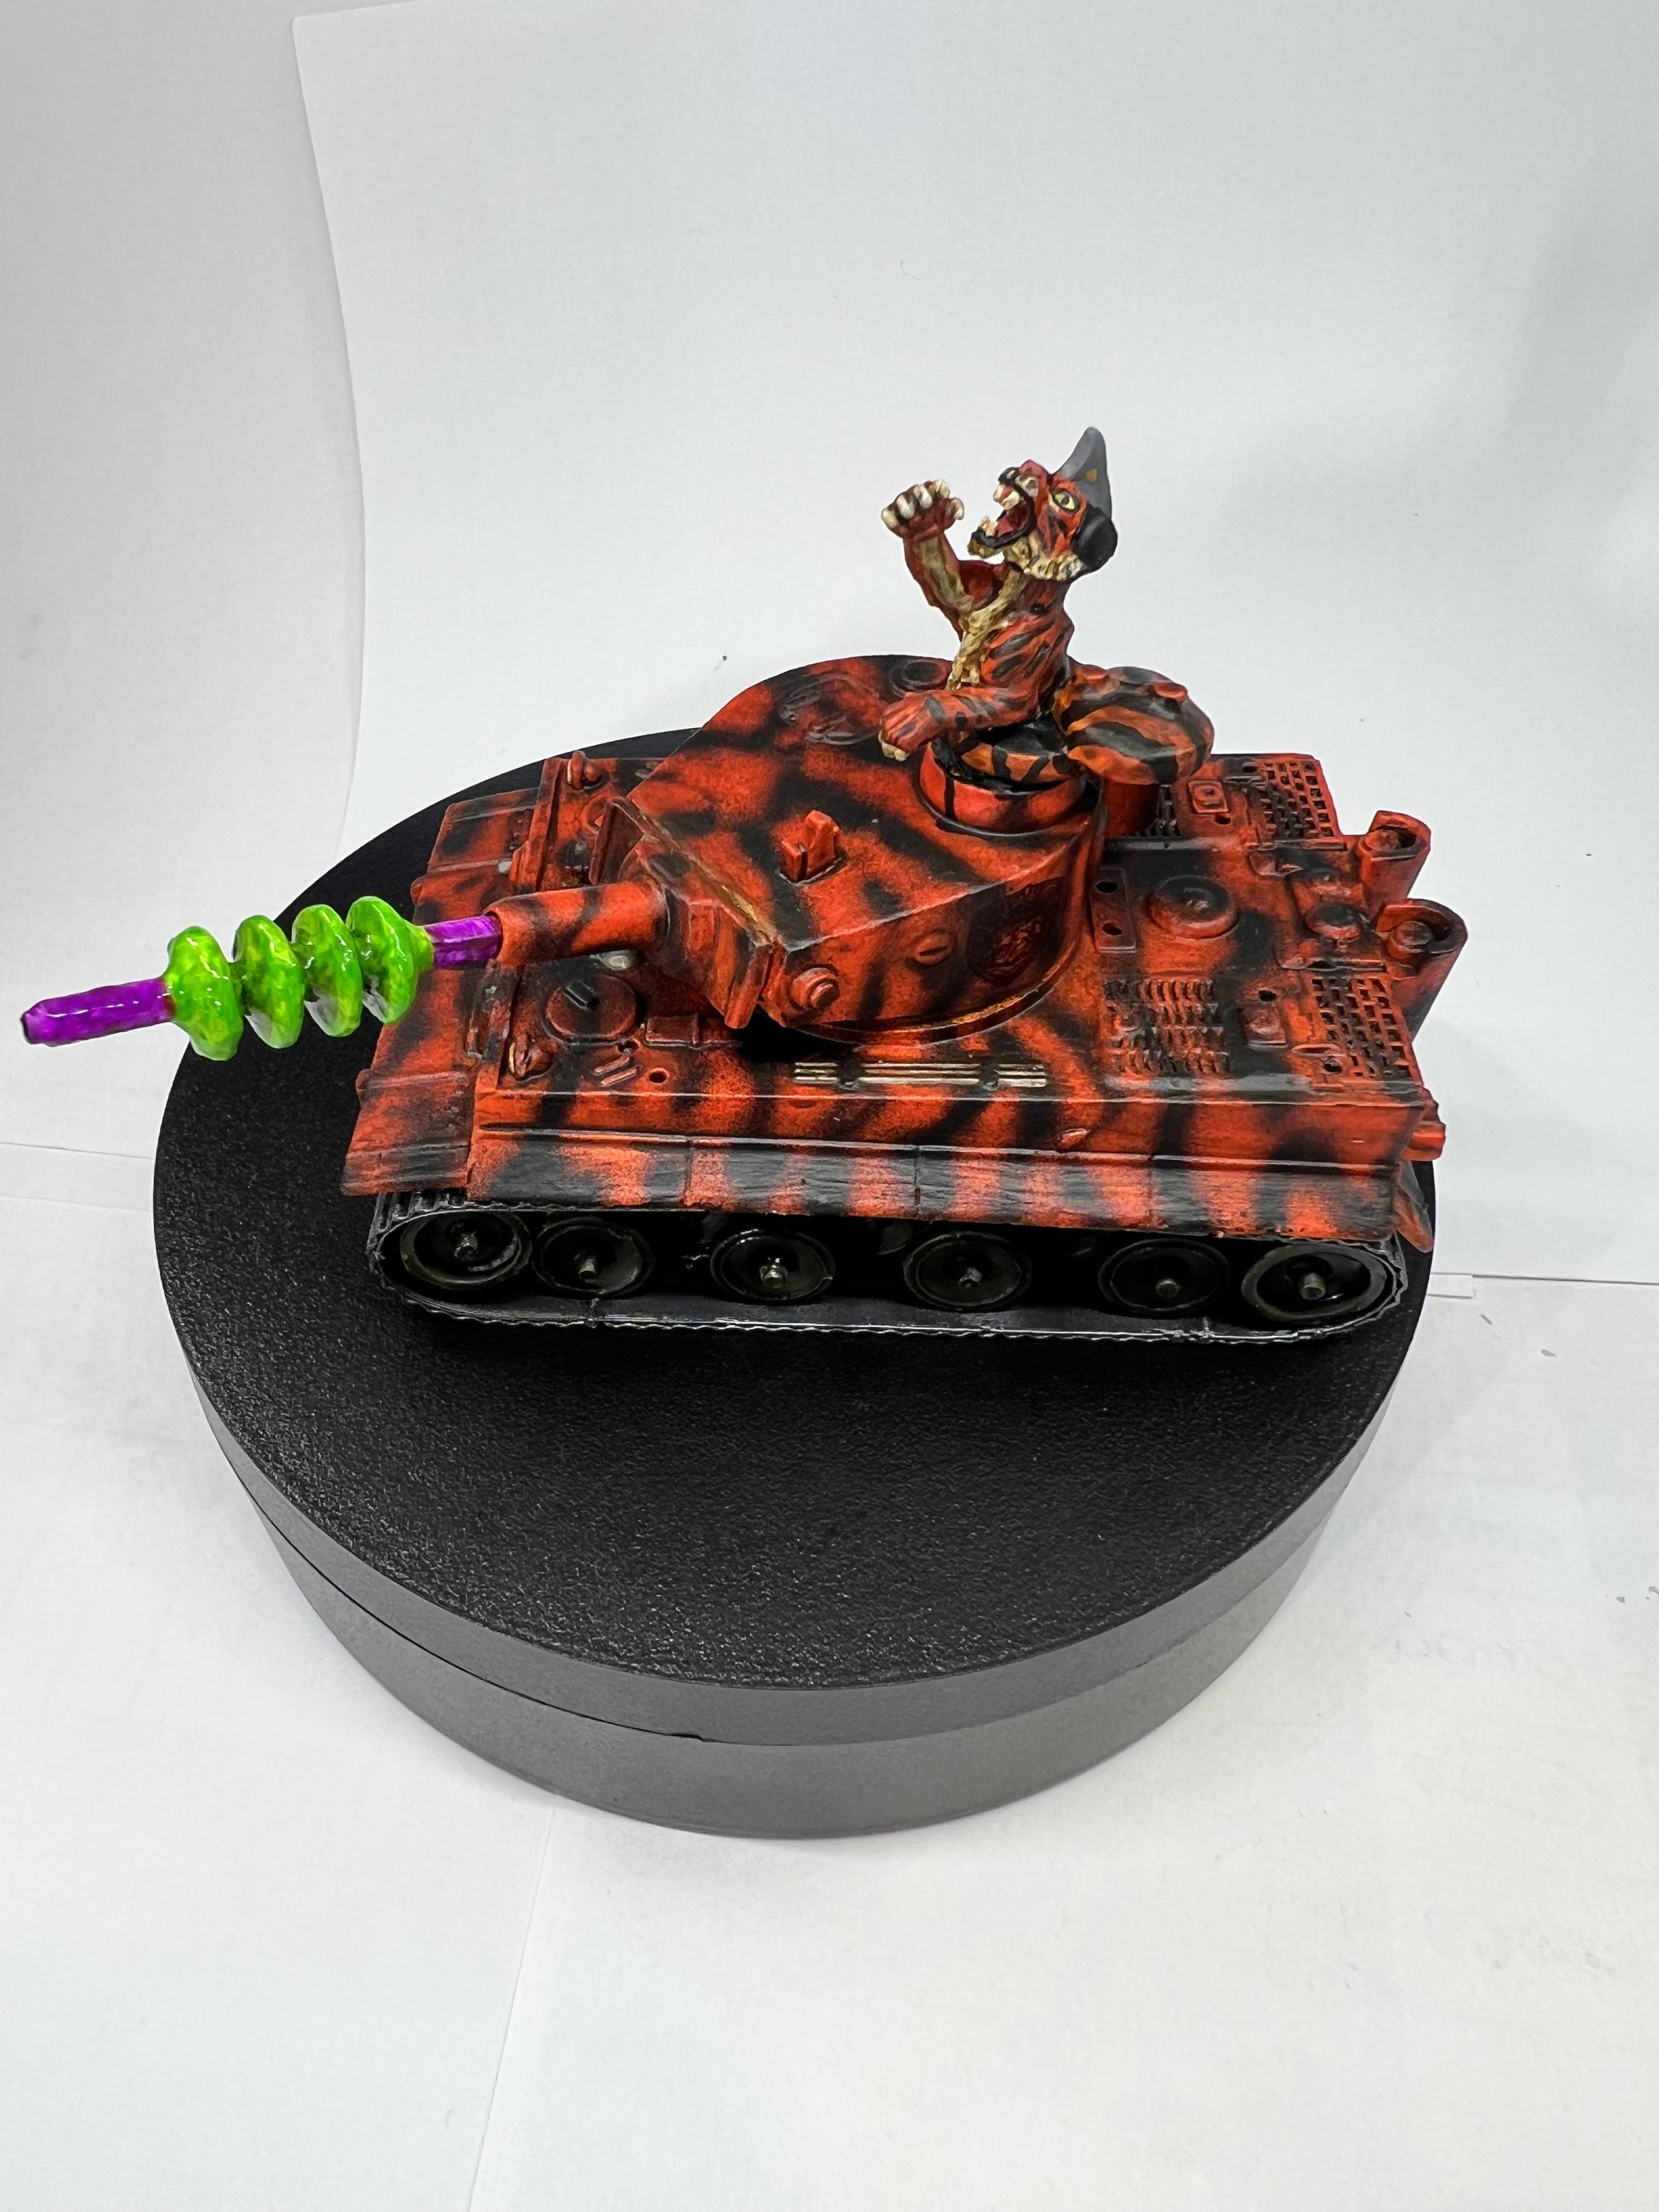
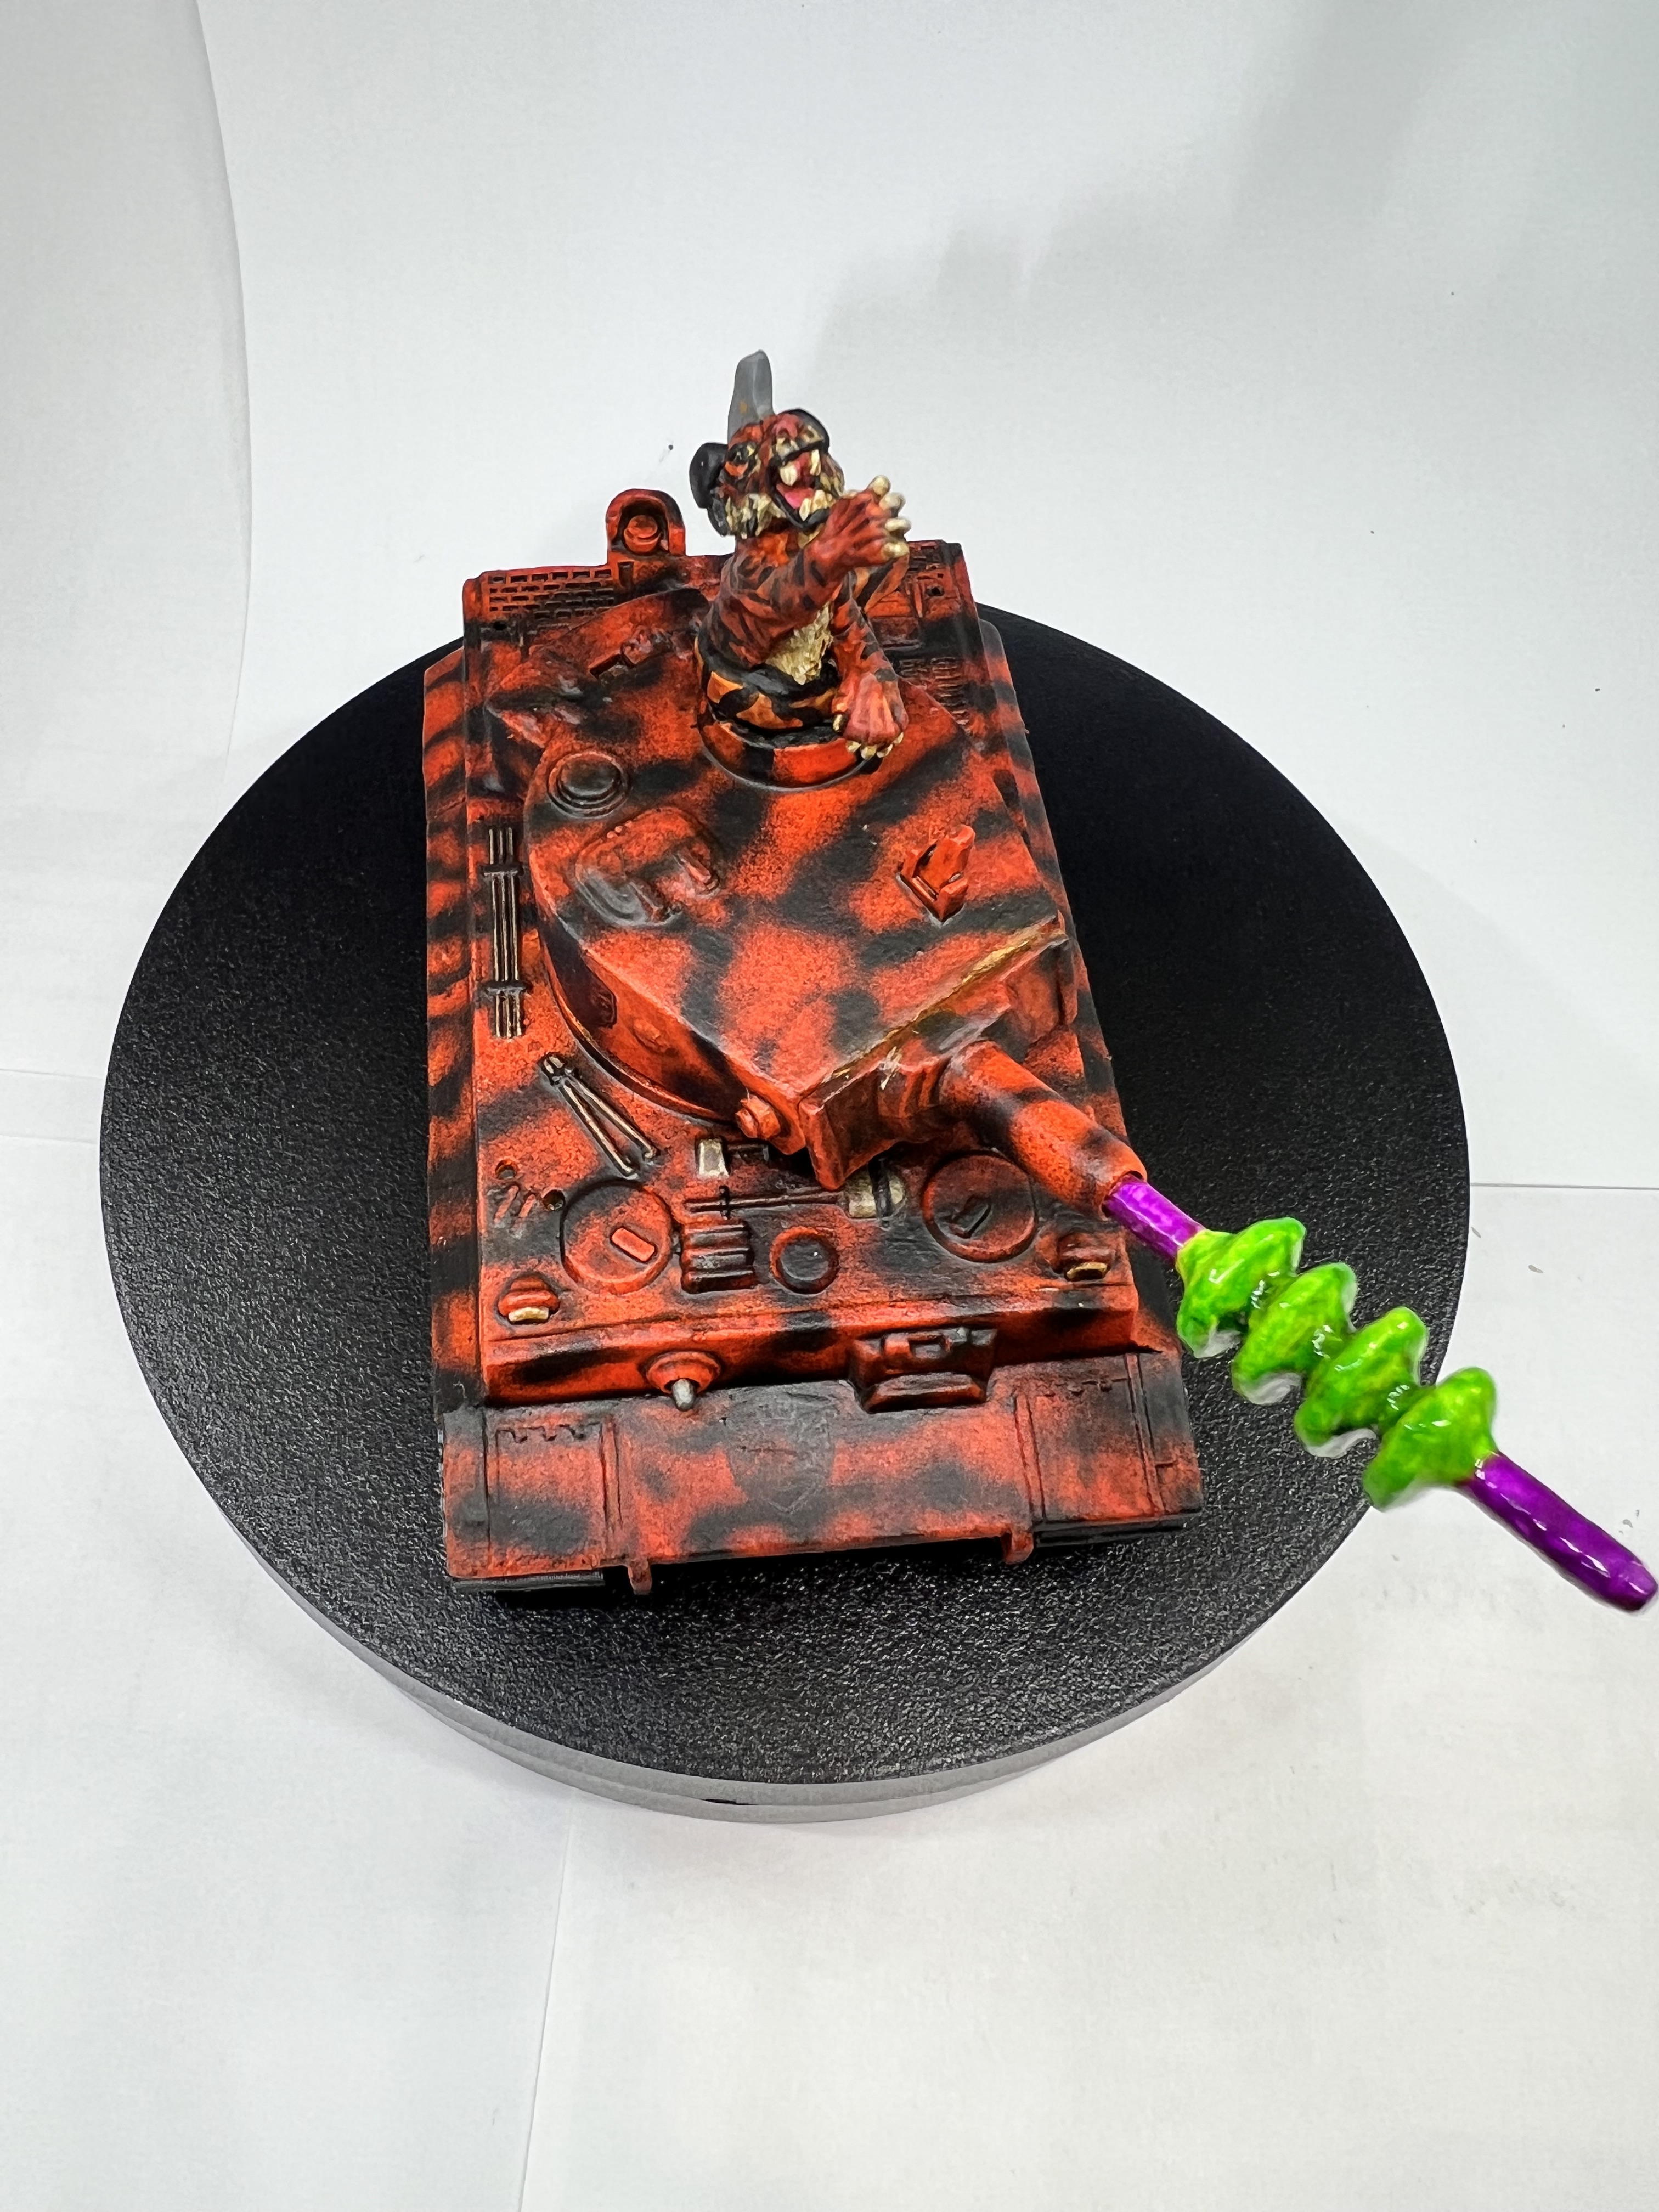
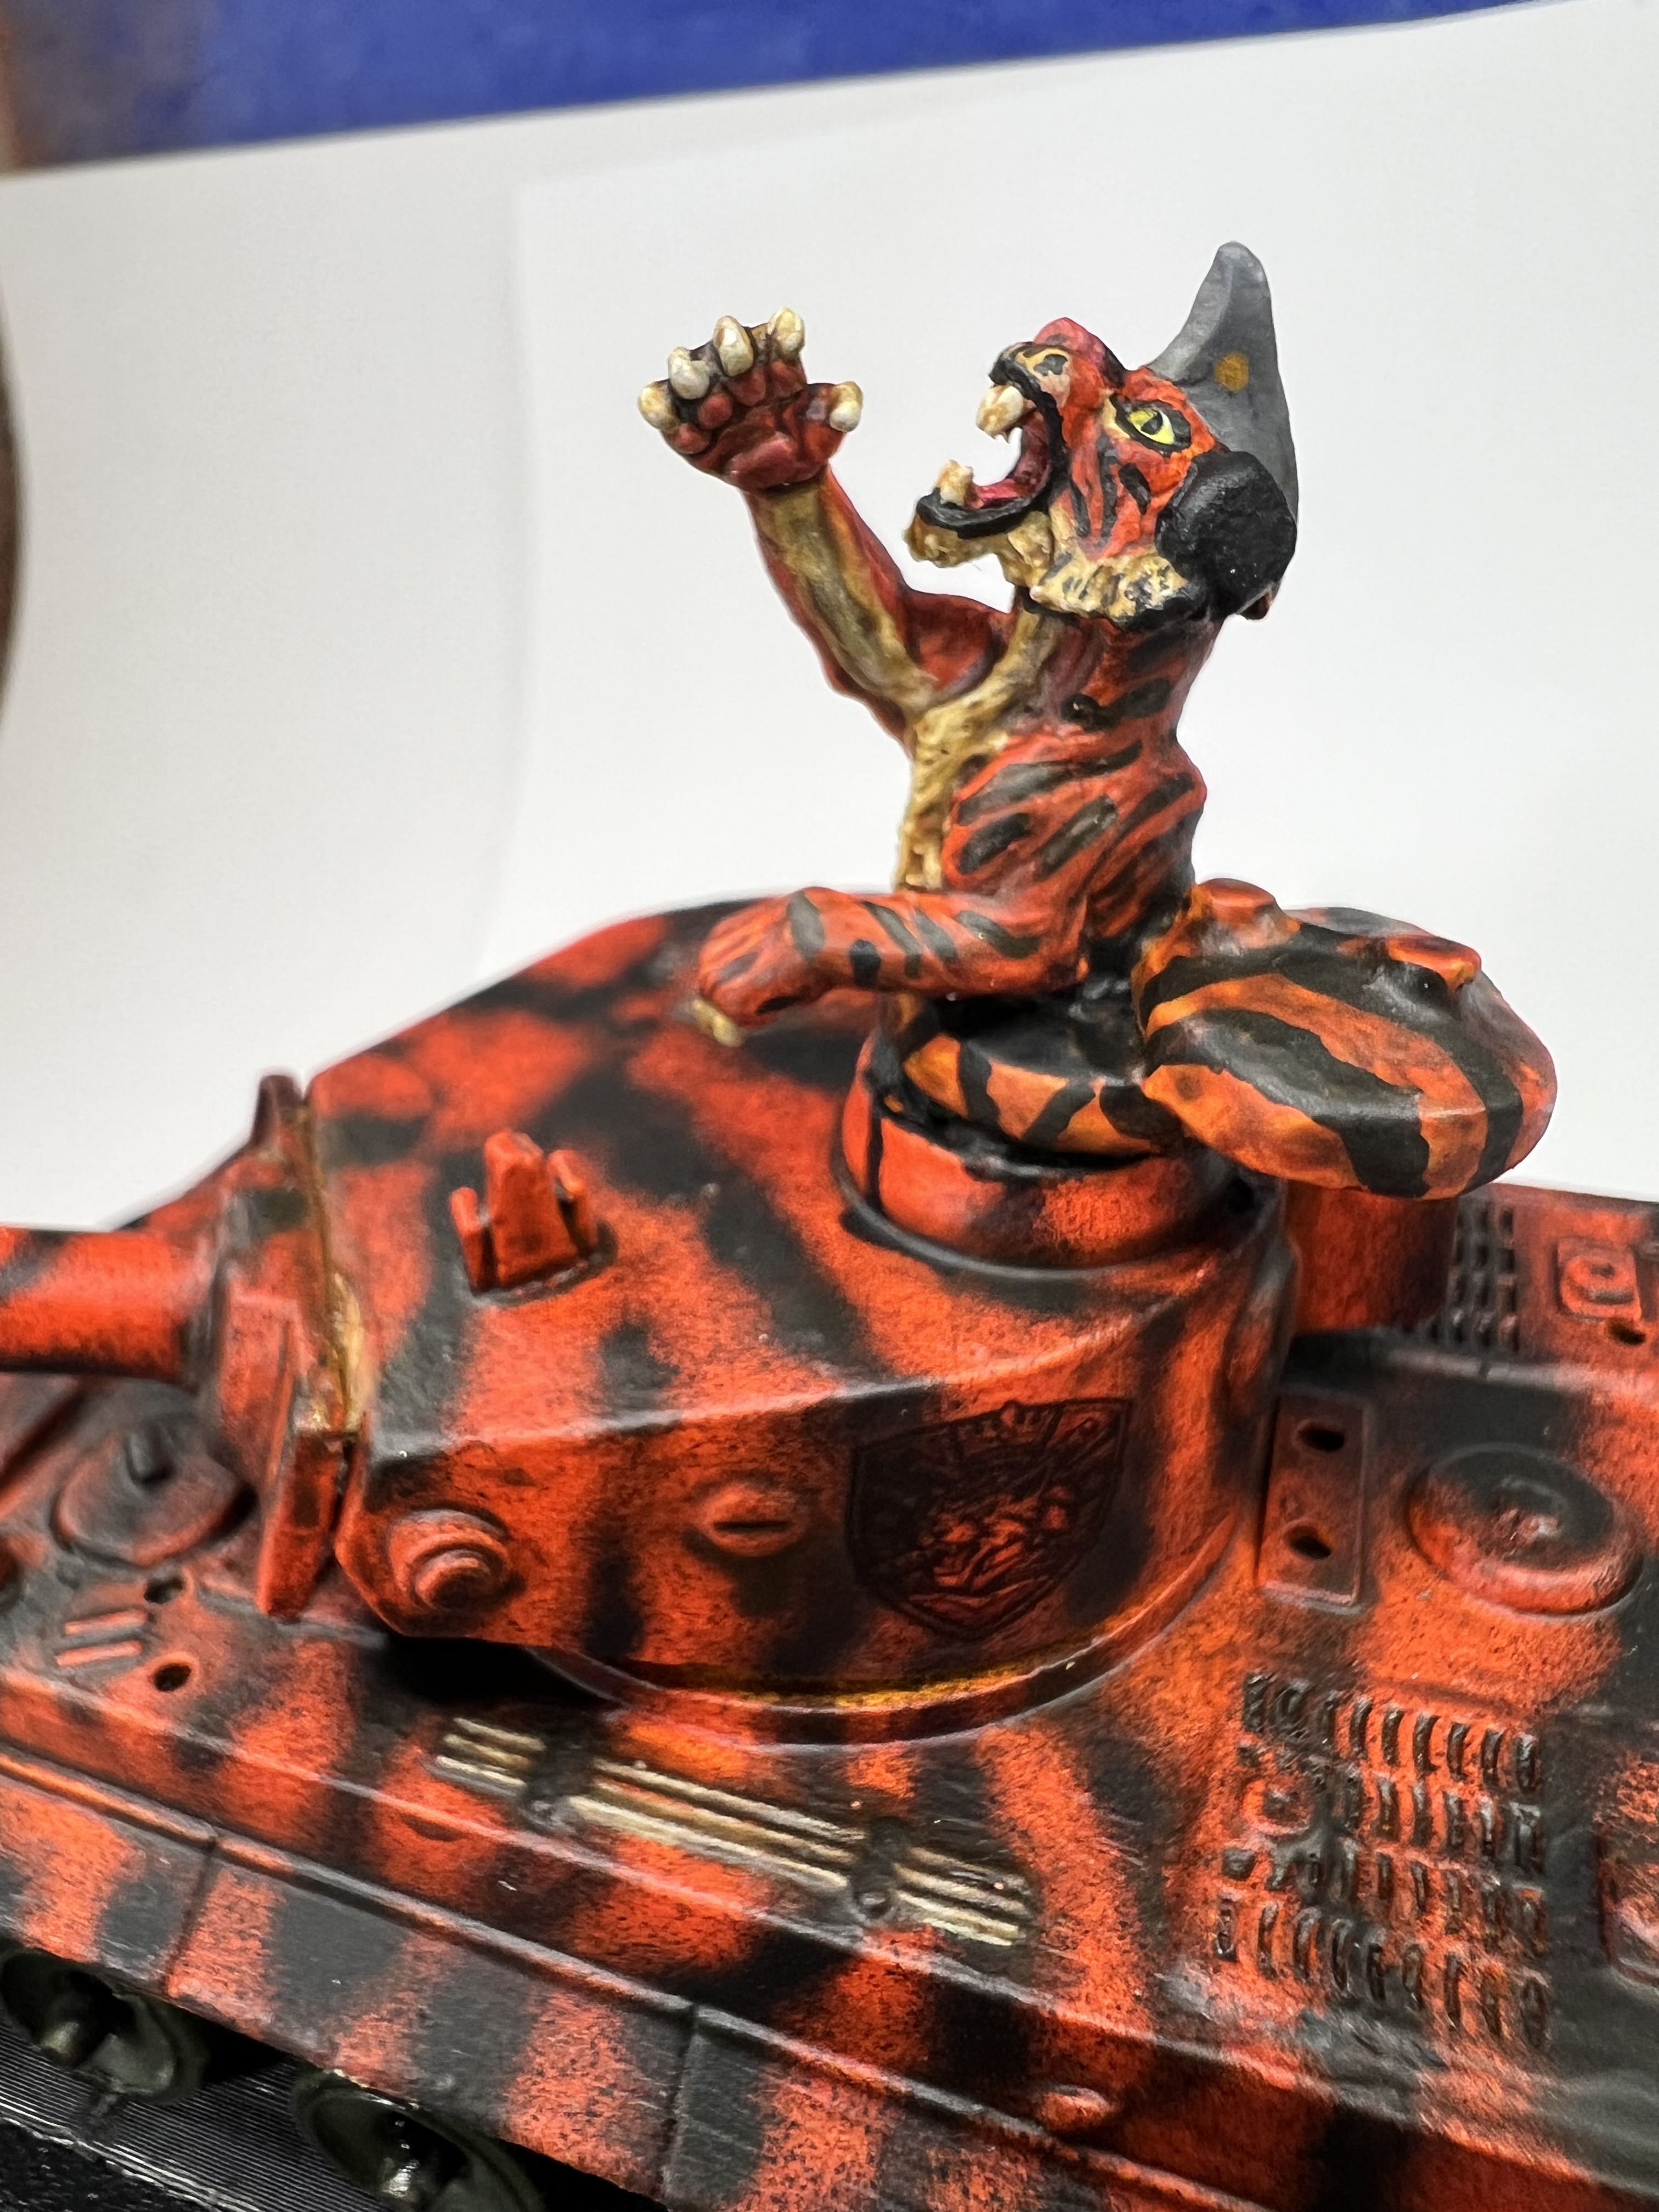
Last but not least, I’d now be honored to share with you some eye candy – AND my first try at a movie of the finished work that you can check out – with an appropriate sound track. Then I’ll list all the paints etc. that I used here as a reference. The other references will be links to my pages on these types of projects.
Right side view.Left side view.Front top view.Close up view of the cupola/hatch with the tiger commander.Imperial Felynxii attacking!
Below are a list of some references and links that might also be of interest. I use them to refer to when I forget painting schemes that I want to replicate.
References:
For a consolidated list of links for any of my previous “Anthropomorphic Figure Project Posts”, please see this page here.
For a consolidated list of links for any of my previous “Old School Miniatures” blog posts, please see this page here.
For a consolidated list of links for any of my previous “Figure Conversions” blog posts, please see this page here.
For a consolidated list of links for any of my previous sci-fi/retro sci-fi blog posts, please see this page.
For a consolidated list of links for any of my previous “Scratch-build Projects” blog posts, please see this page here.
PAINTS, INKS, GLAZES, SHADES, WASHES, PIGMENTS, FLOCKING, GLUES AND MORE THAT I USED ON THIS FELYNXII TIGER TANK:
Poster tack
Vallejo Primers “White”
Corgi Toys Tiger I metal toy tank
3D-printed replacement tracks for Corgi Tiger I from eBay