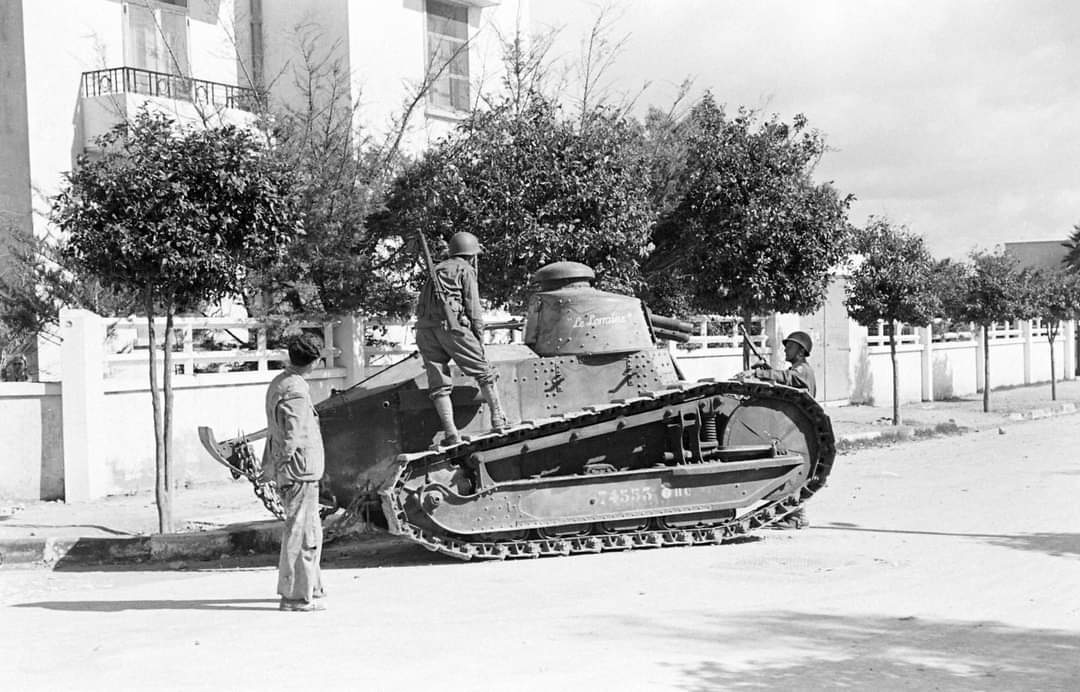
In November 1942, the Vichy French had a 8 division’s worth of troops in her colonies – from Morocco to the Levant. Under the terms of the Armistice of 22 June 1940, Vichy France was still obligated to defend its unoccupied lands as a neutral state.
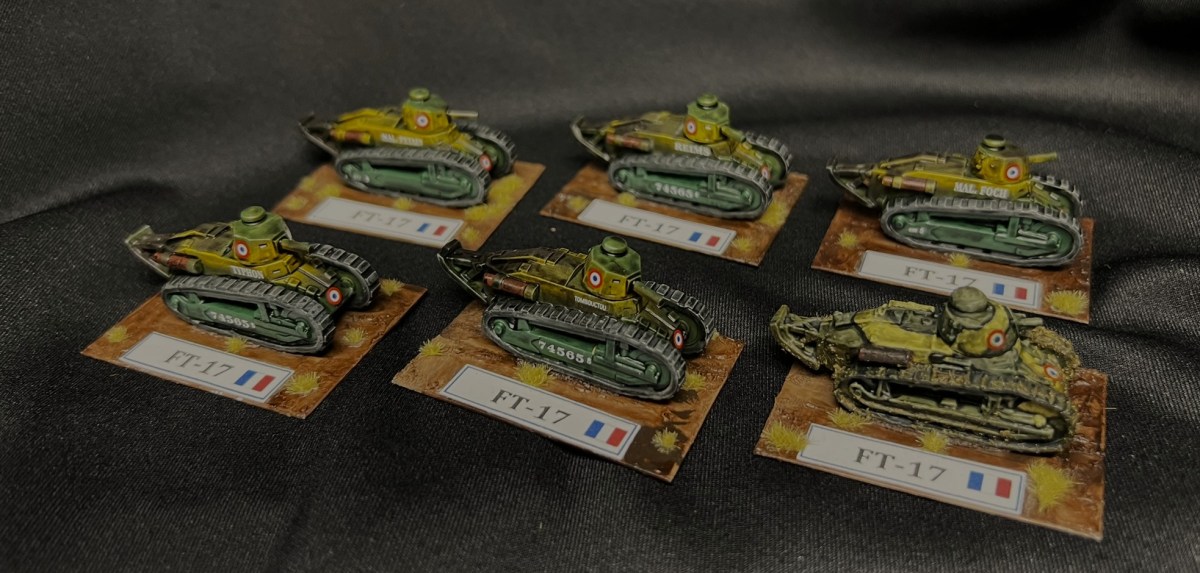
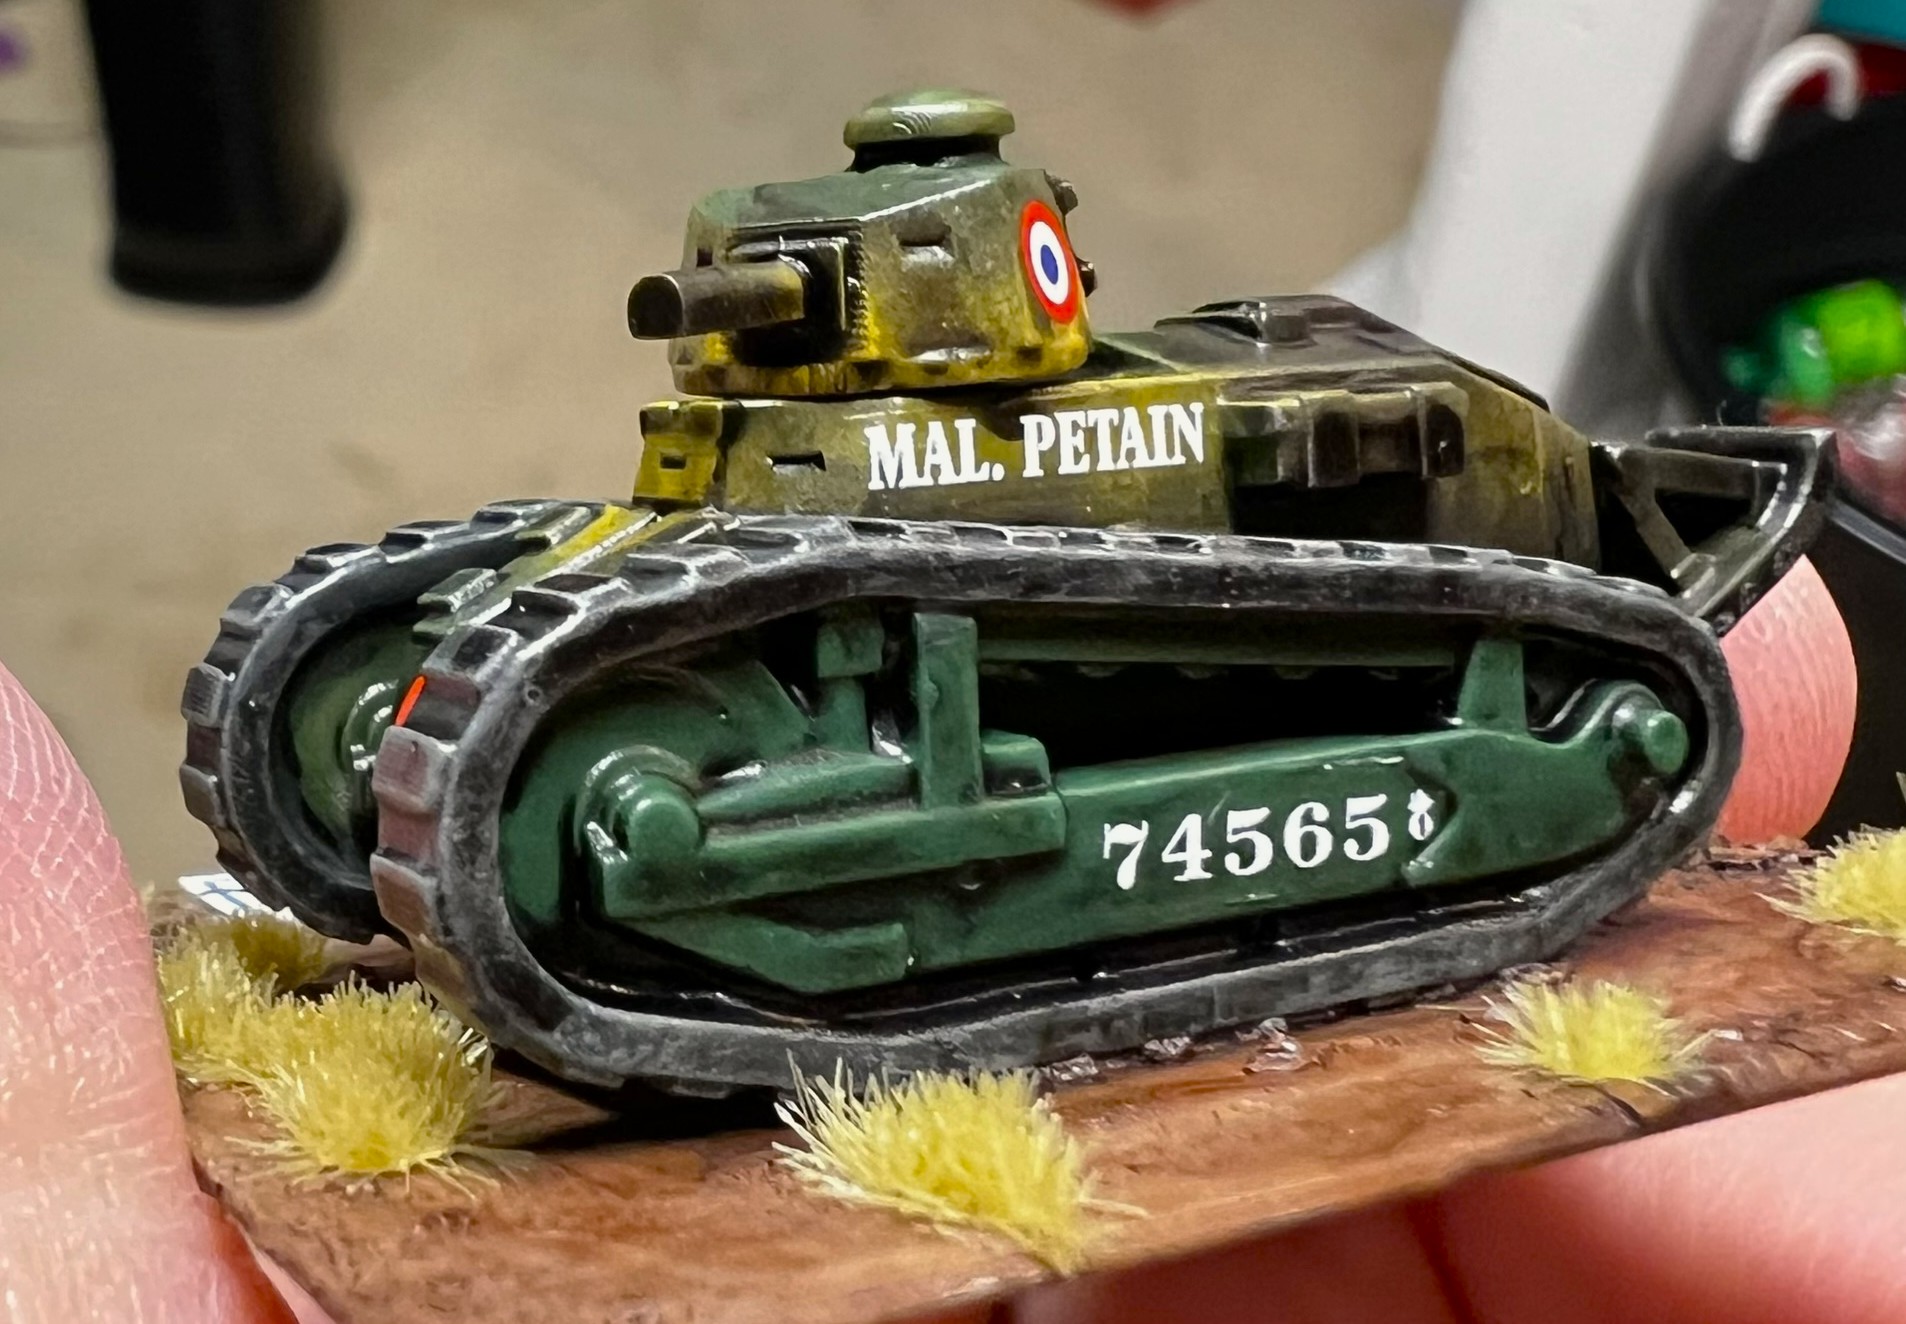
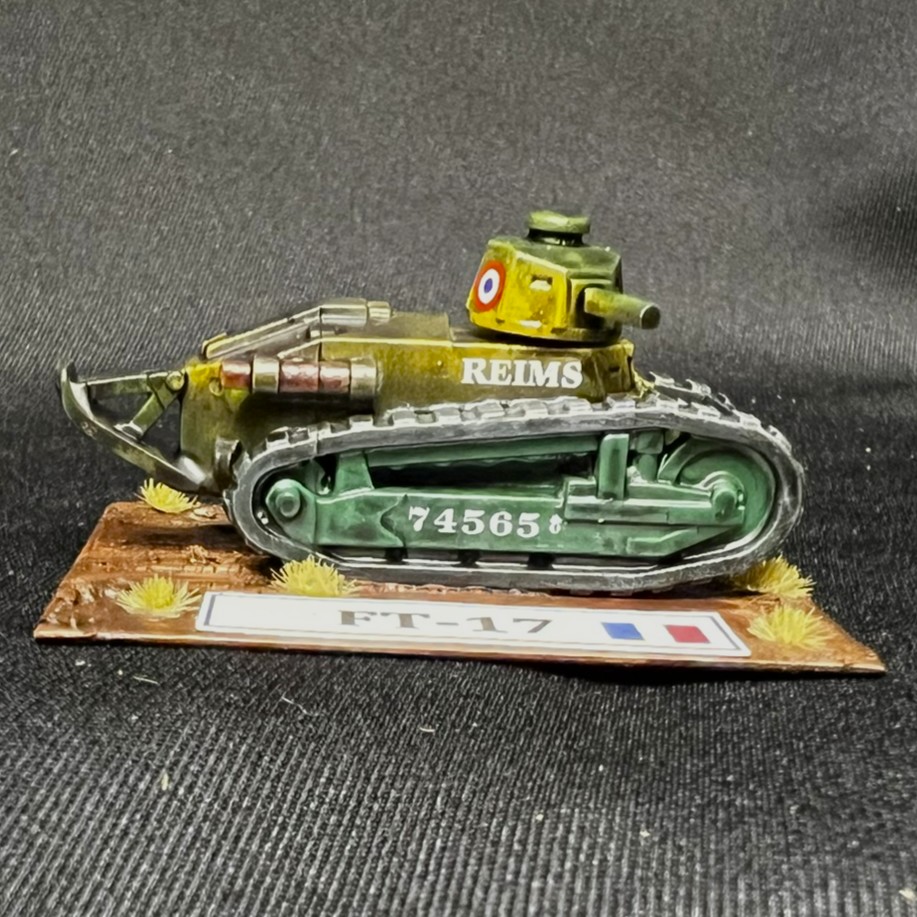
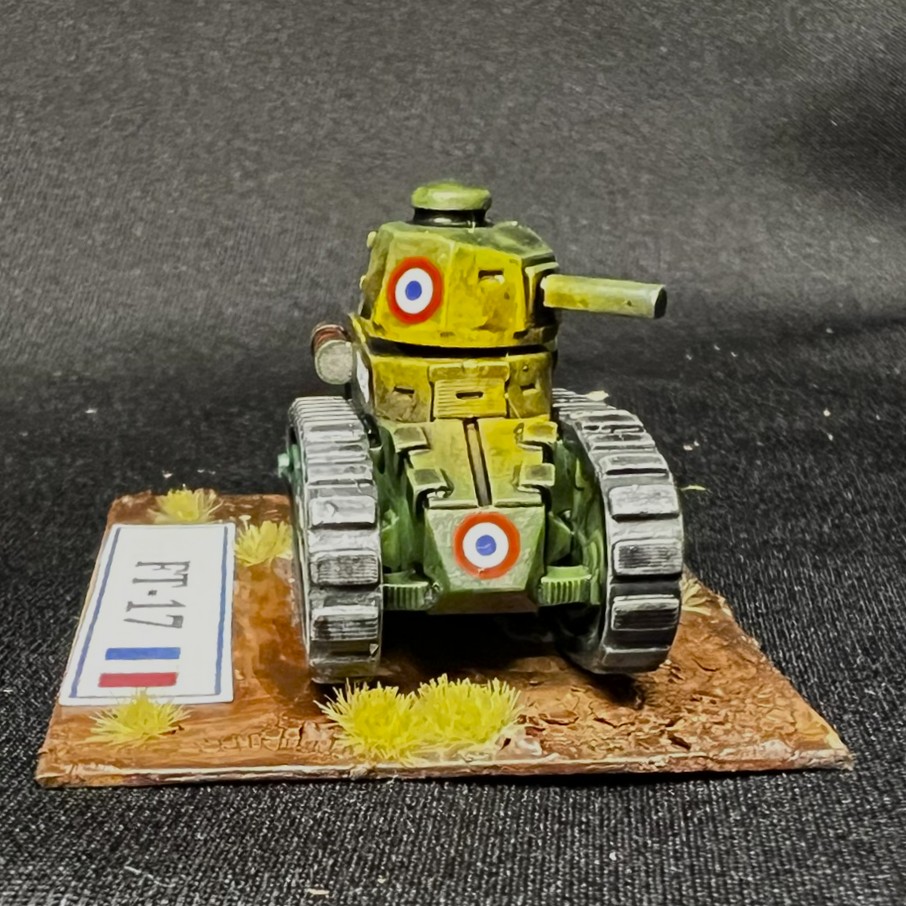
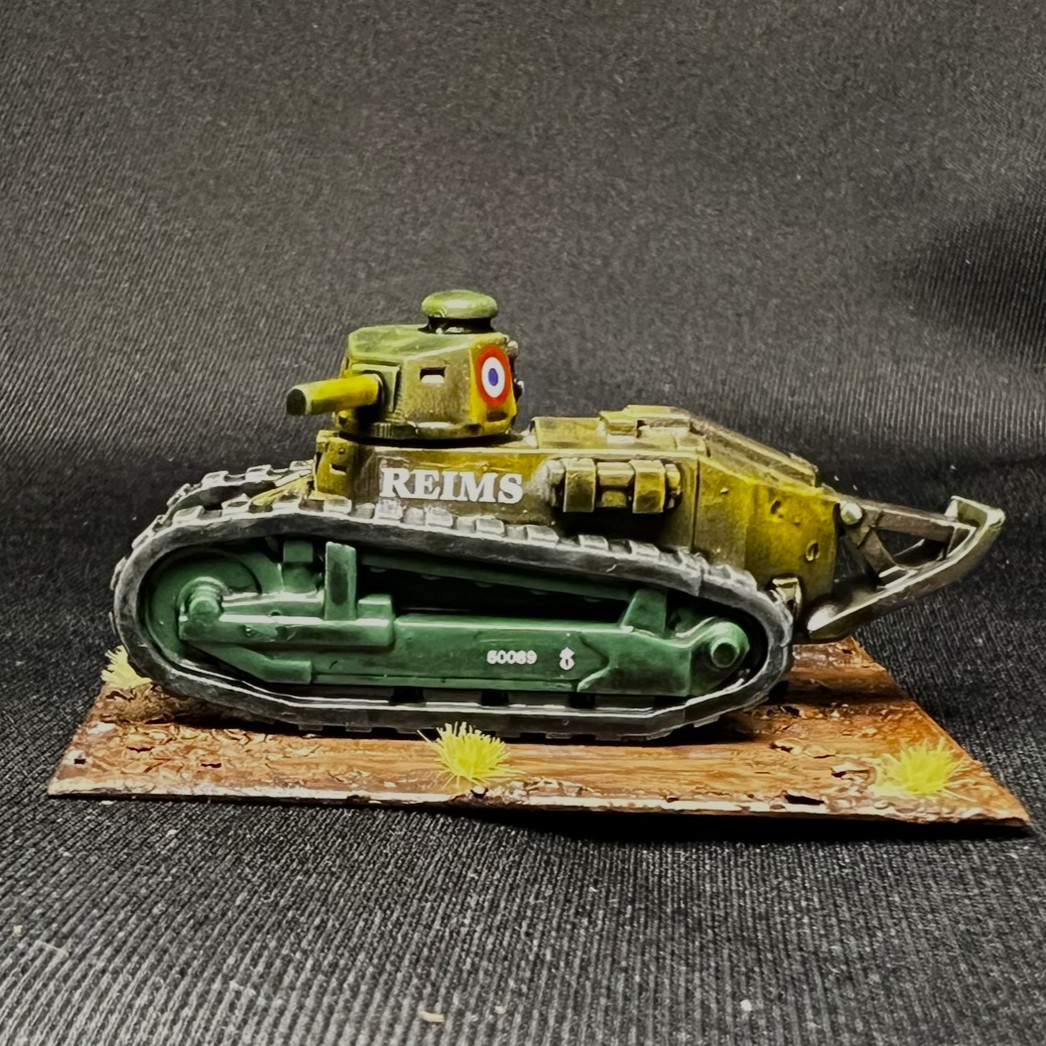
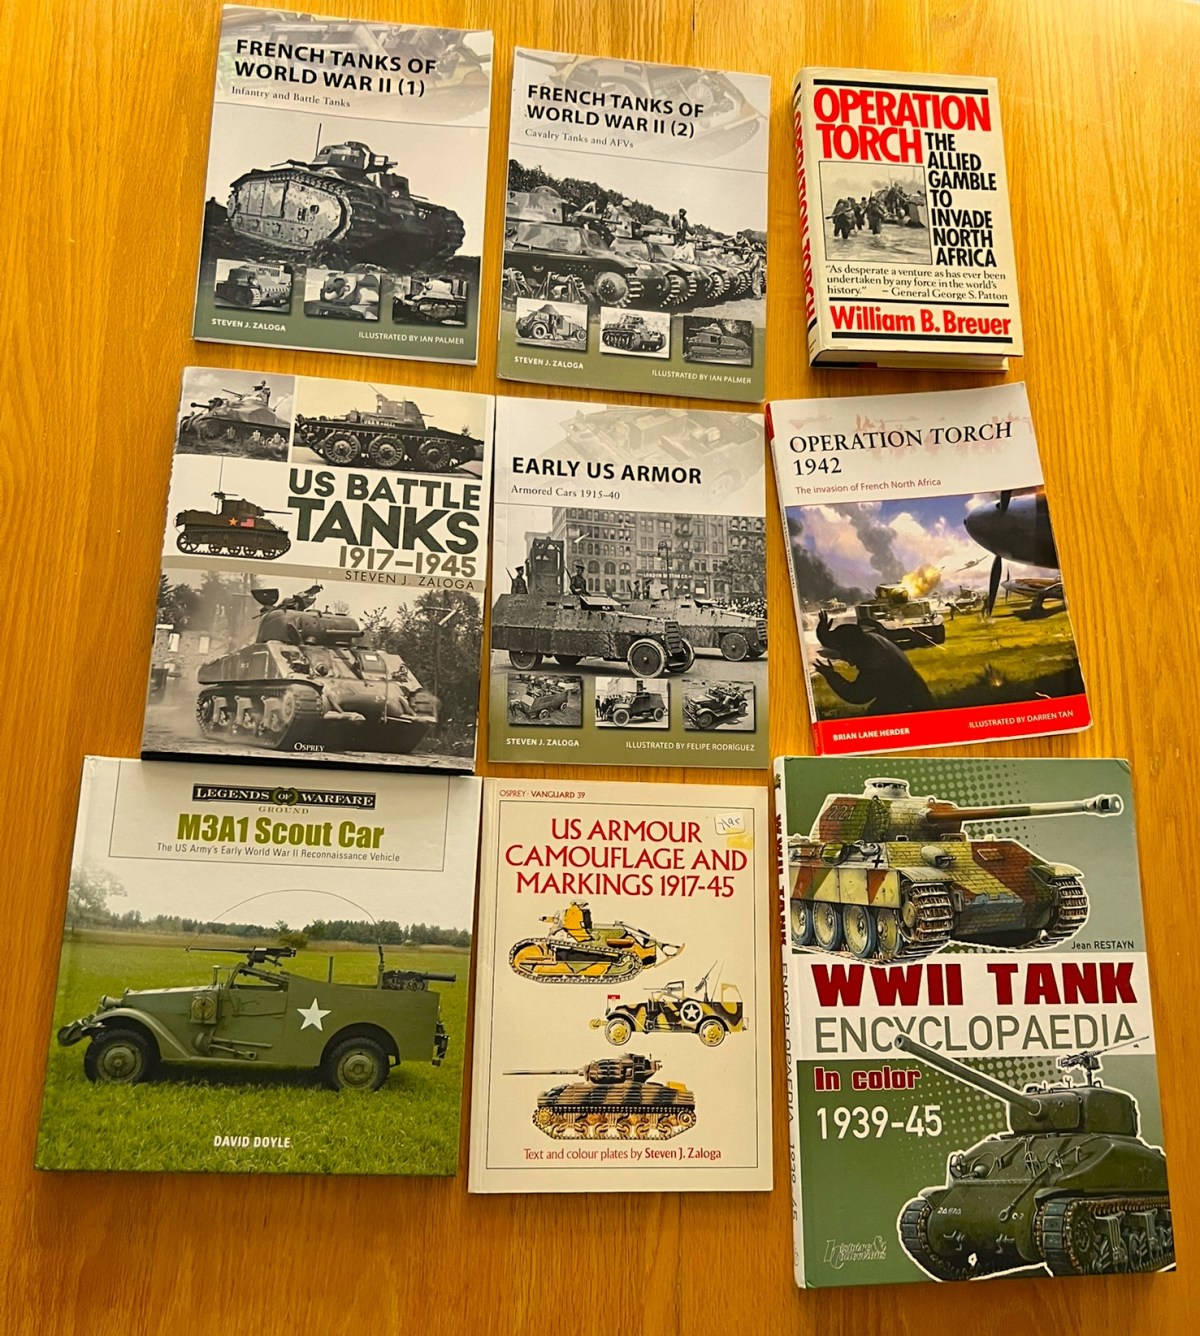
And yes, they had more tanks than just the FT-17’s you saw in my last post. In addition to those old WWI relics, Vichy had Hotchkiss H35 and H39 tanks, as well as Renault R35’s. Both of the Hotchkiss models were “cavalry” tanks, in that they had been forced as a light tank on the French cavalry in the 1930’s (and later forced on infantry tank regiments as stopgaps). Contrastingly, the R35 was an “infantry tank”. After the Armistice, the Vichy Army had both types in the colonies. I did read somewhere that some R35’s were hidden away under hay bales behind horse barns to keep prying German and Italian officers of the Armistice Commission from finding them.
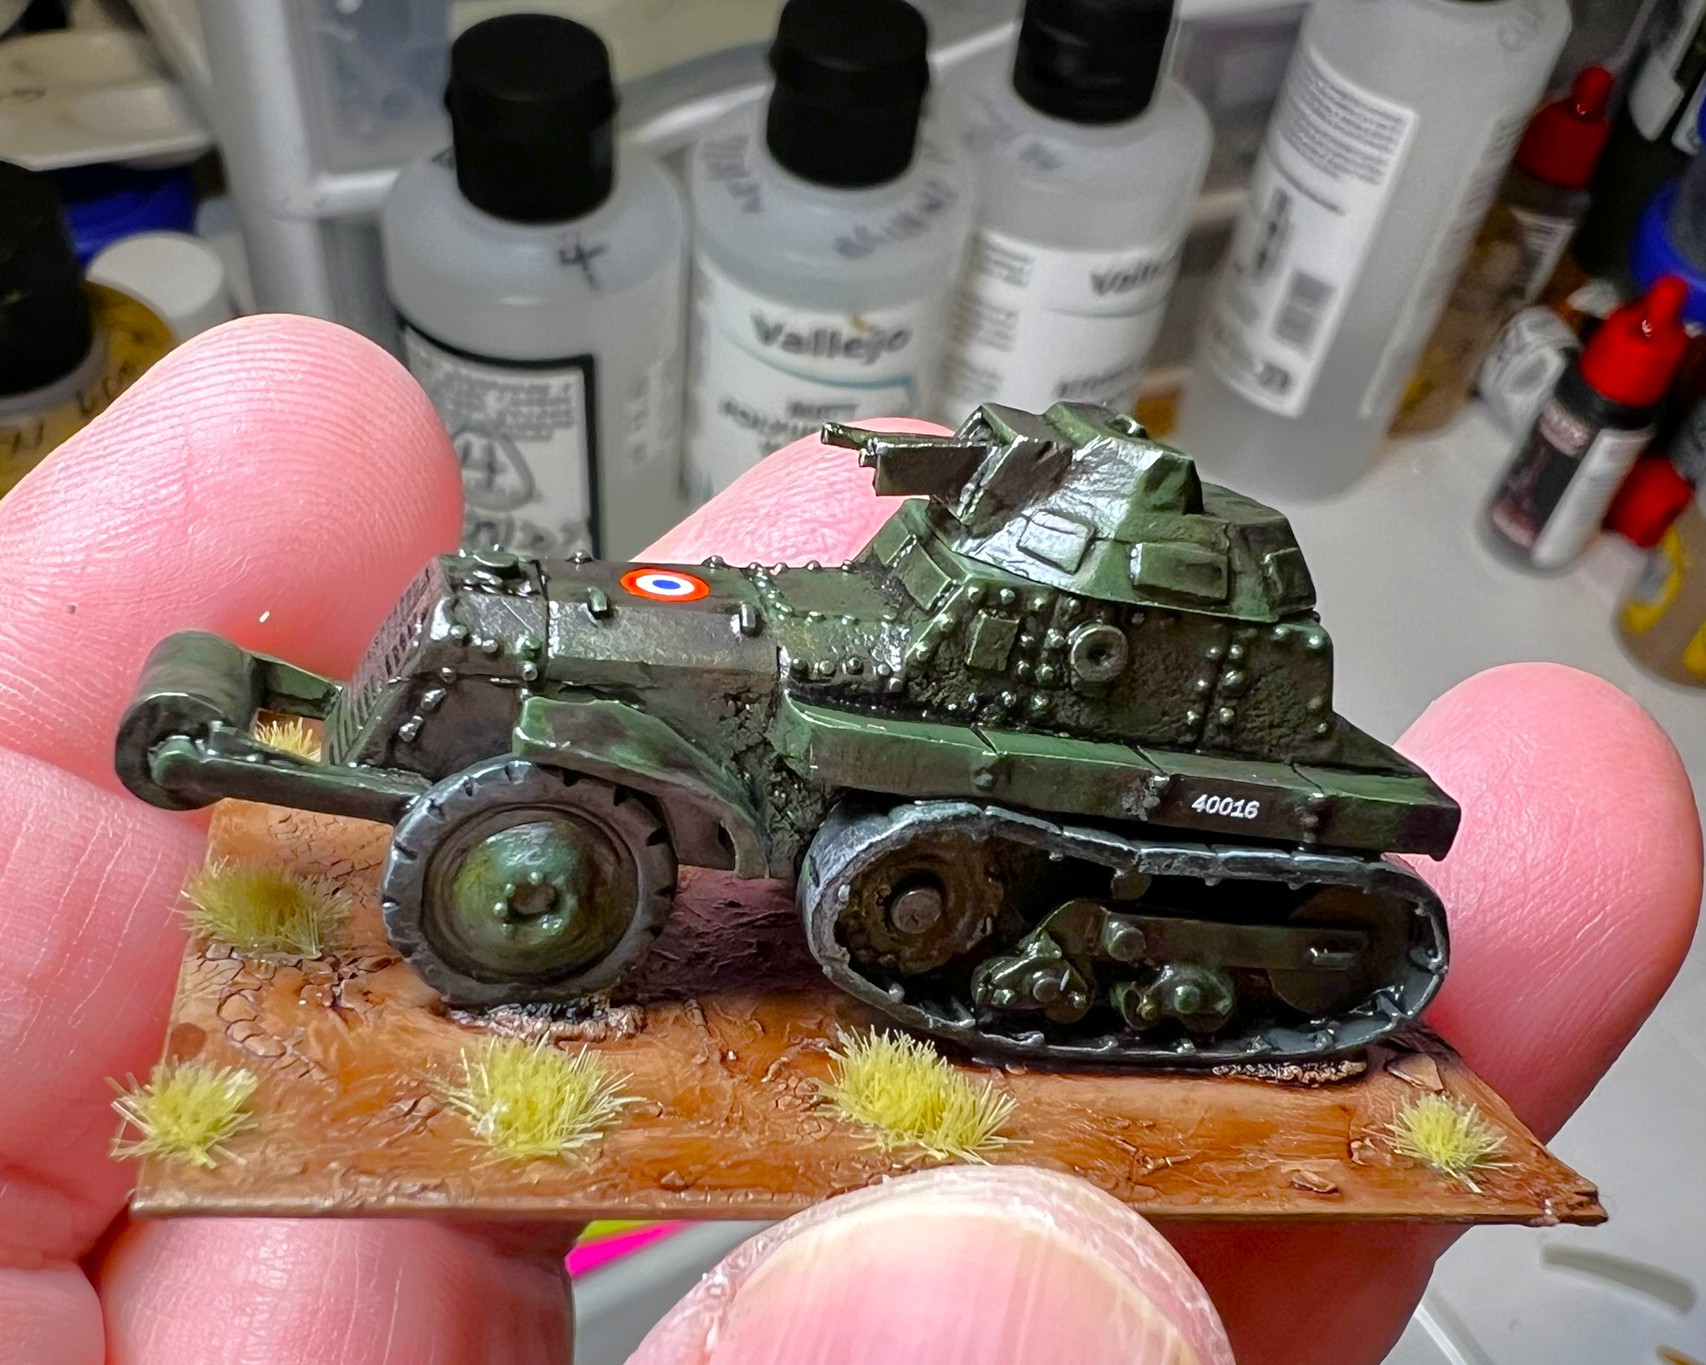
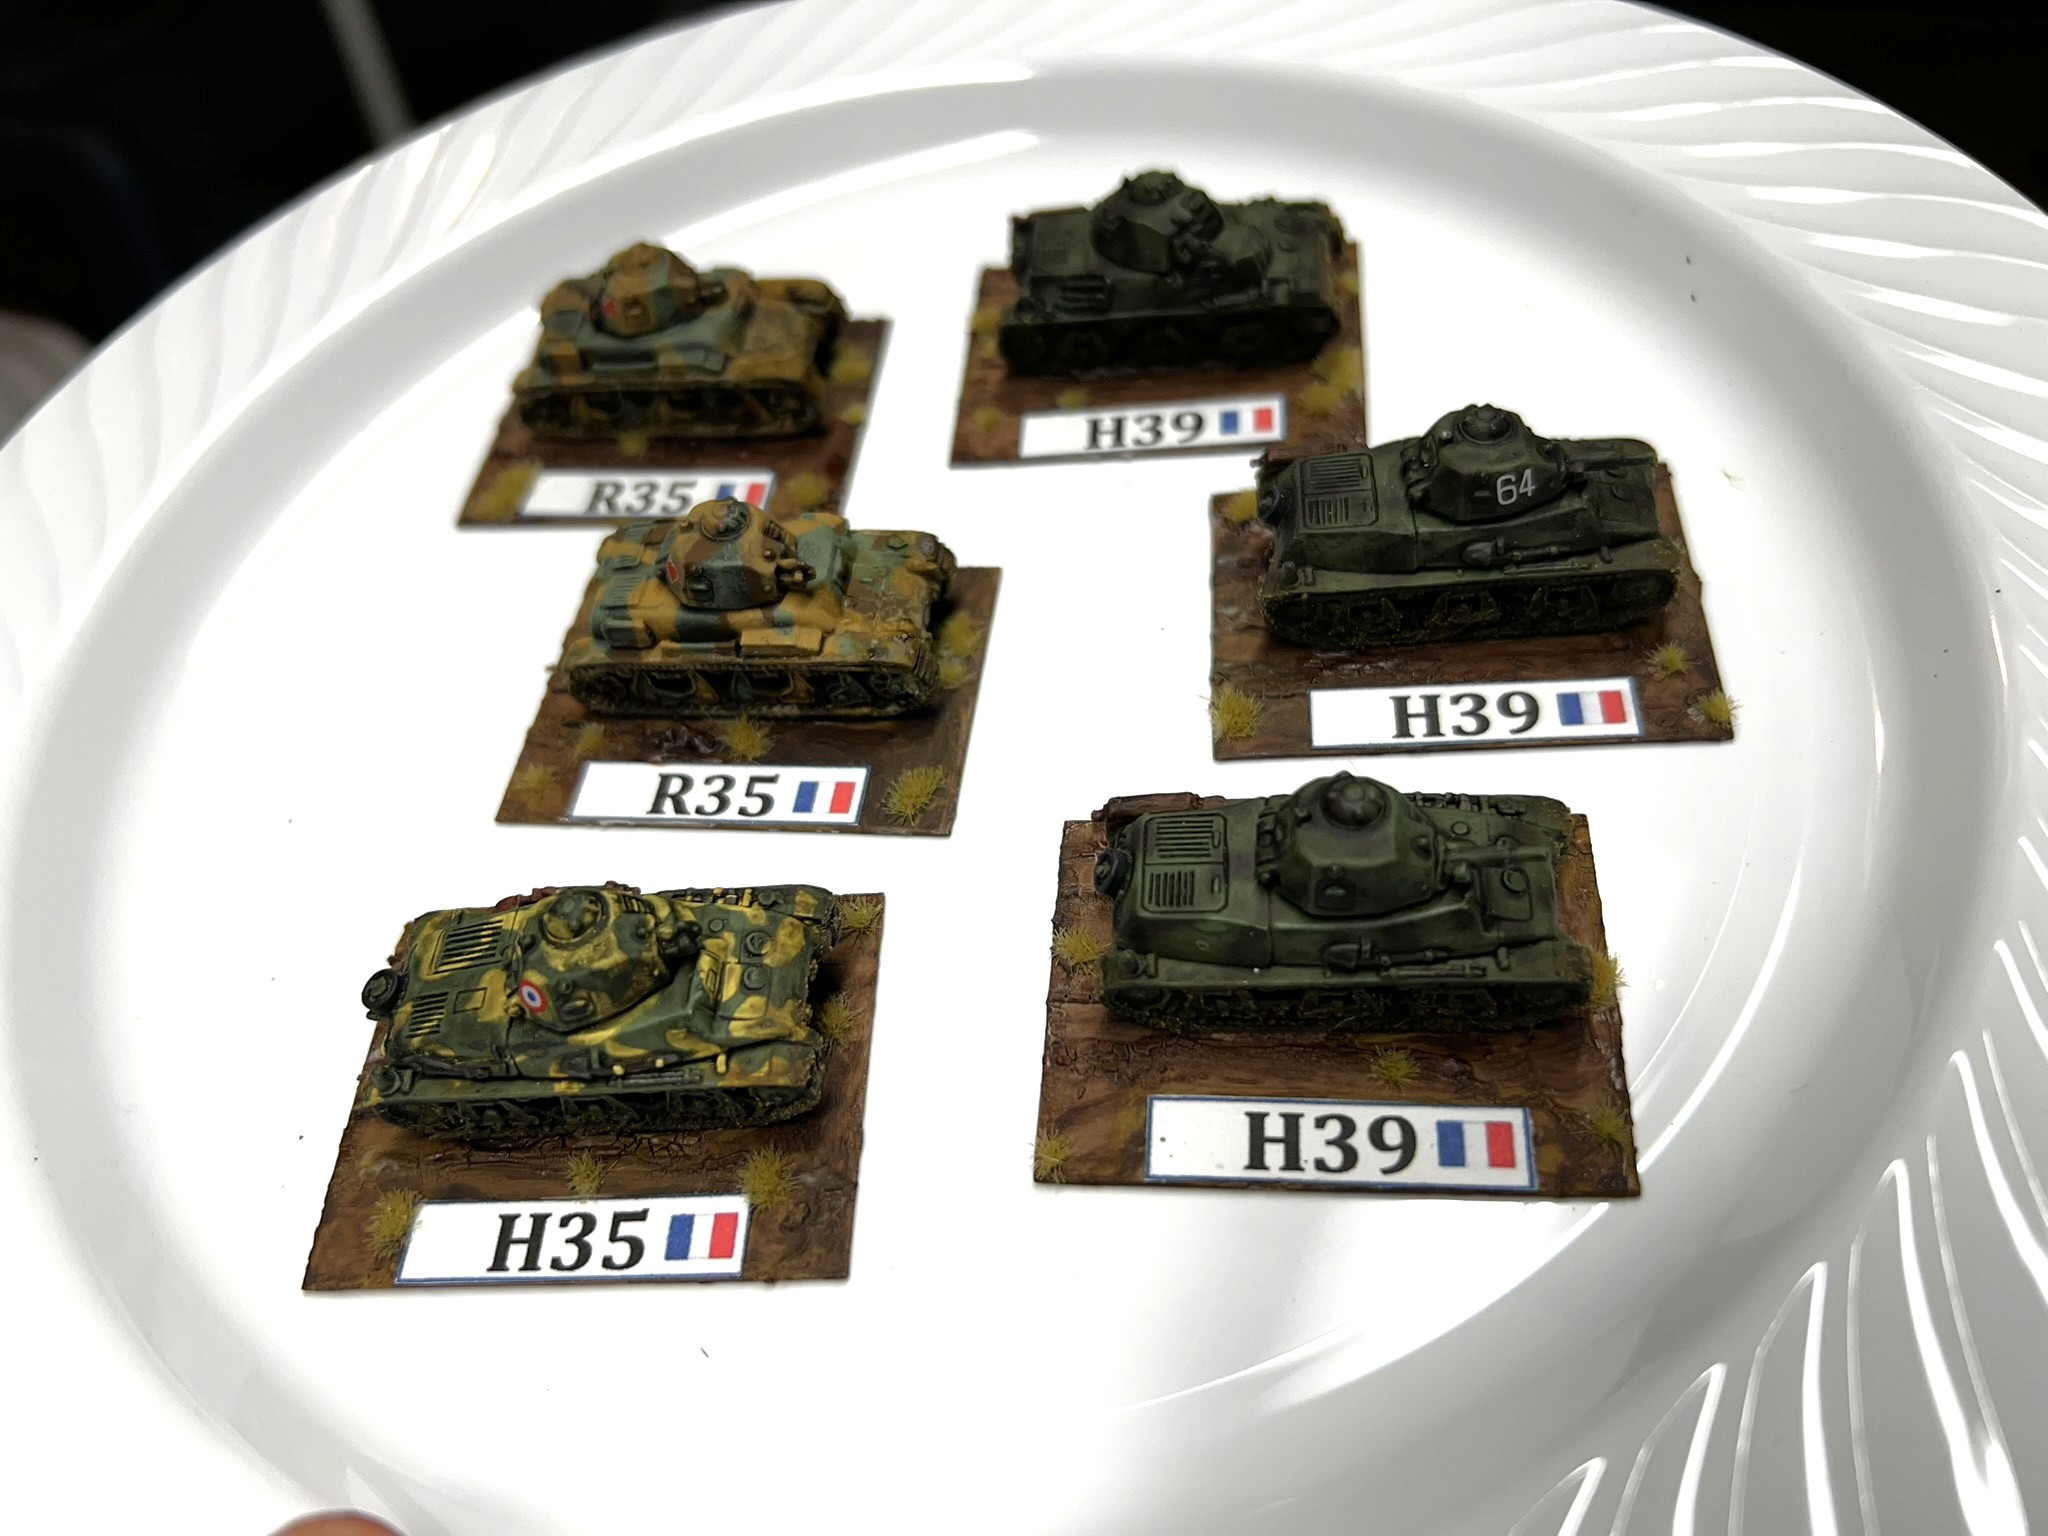
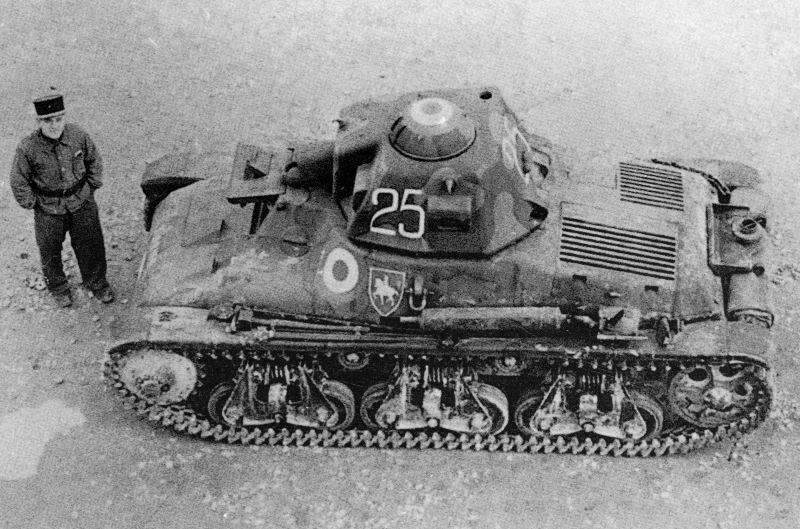
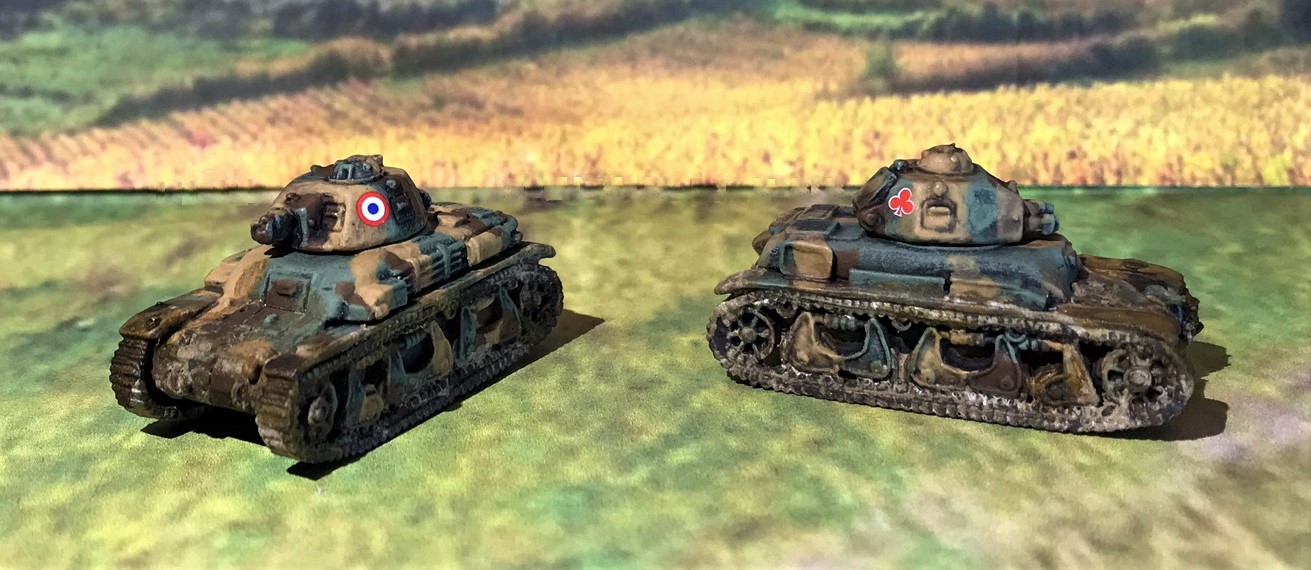
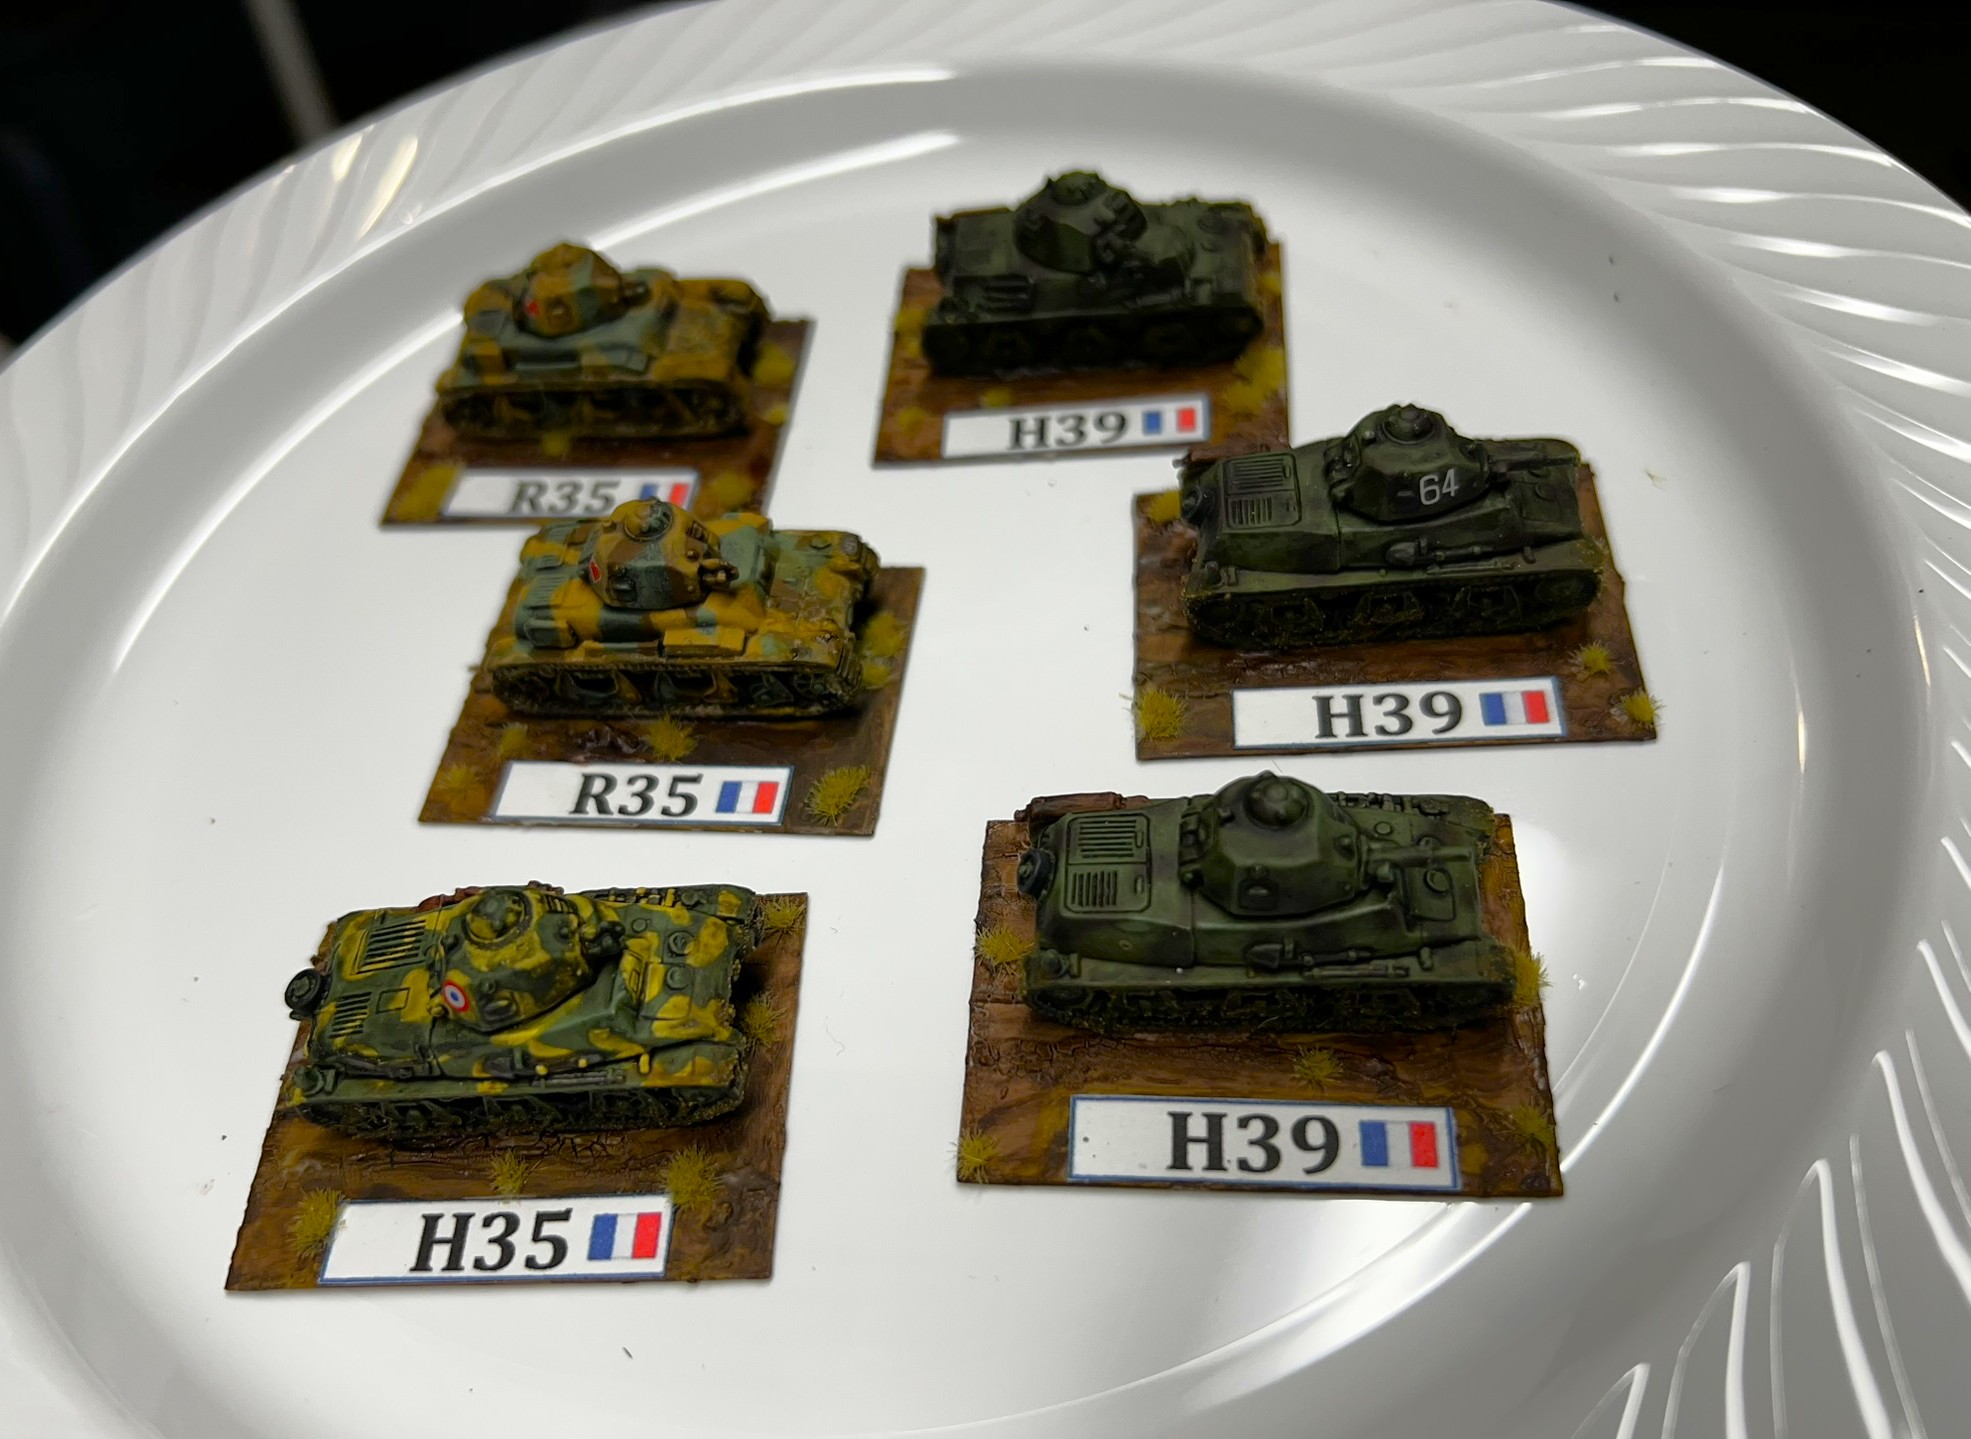
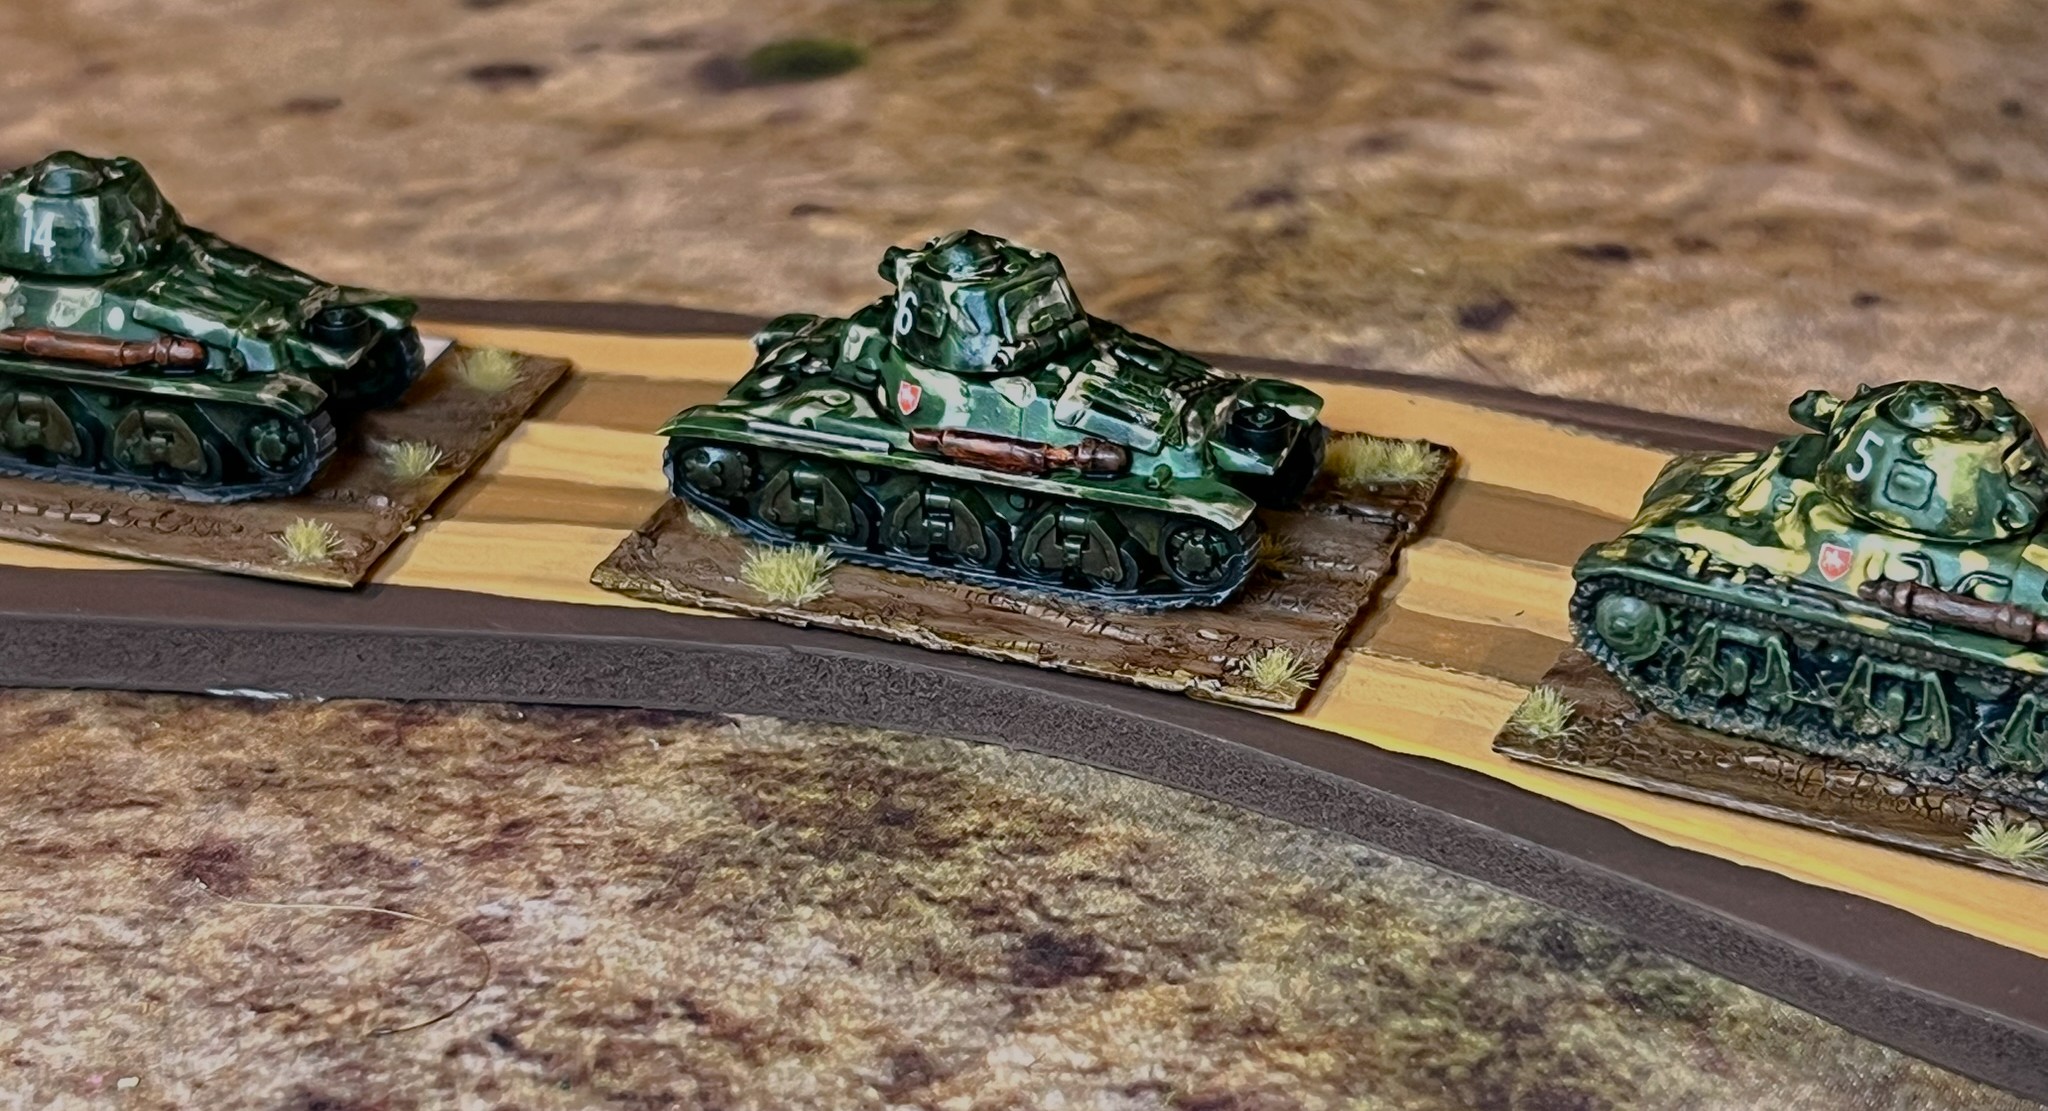
The H35, or Char léger modèle 1935 H, was a two-man tank, armed with the same cannon as the FT-17 (the Puteaux SA18 37mm cannon). The H39, or Char léger modèle 1935 H modifié 39, was a 1938 upgrade of the H35 that also got a better engine, and a newer and longer 37mm gun – the SA38 cannon, that supposedly had increased armor penetration over the SA18 (how much I cannot find!). Both variants were in North Africa in November 1942. There are only two observable differences to an outsider between the two models. Both have different engine deck configurations and the mufflers of H35’s point forward – while H39 mufflers point rearward.
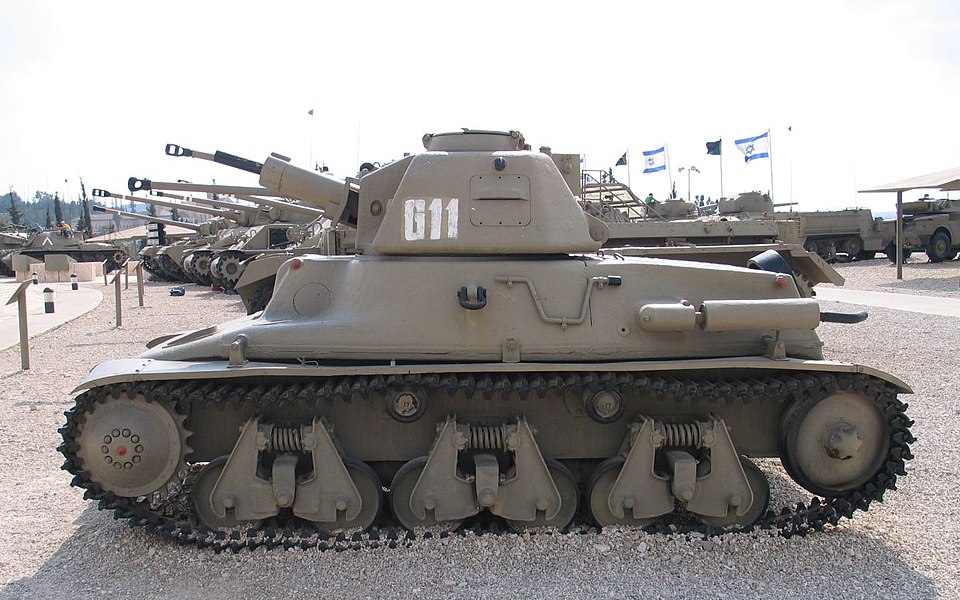
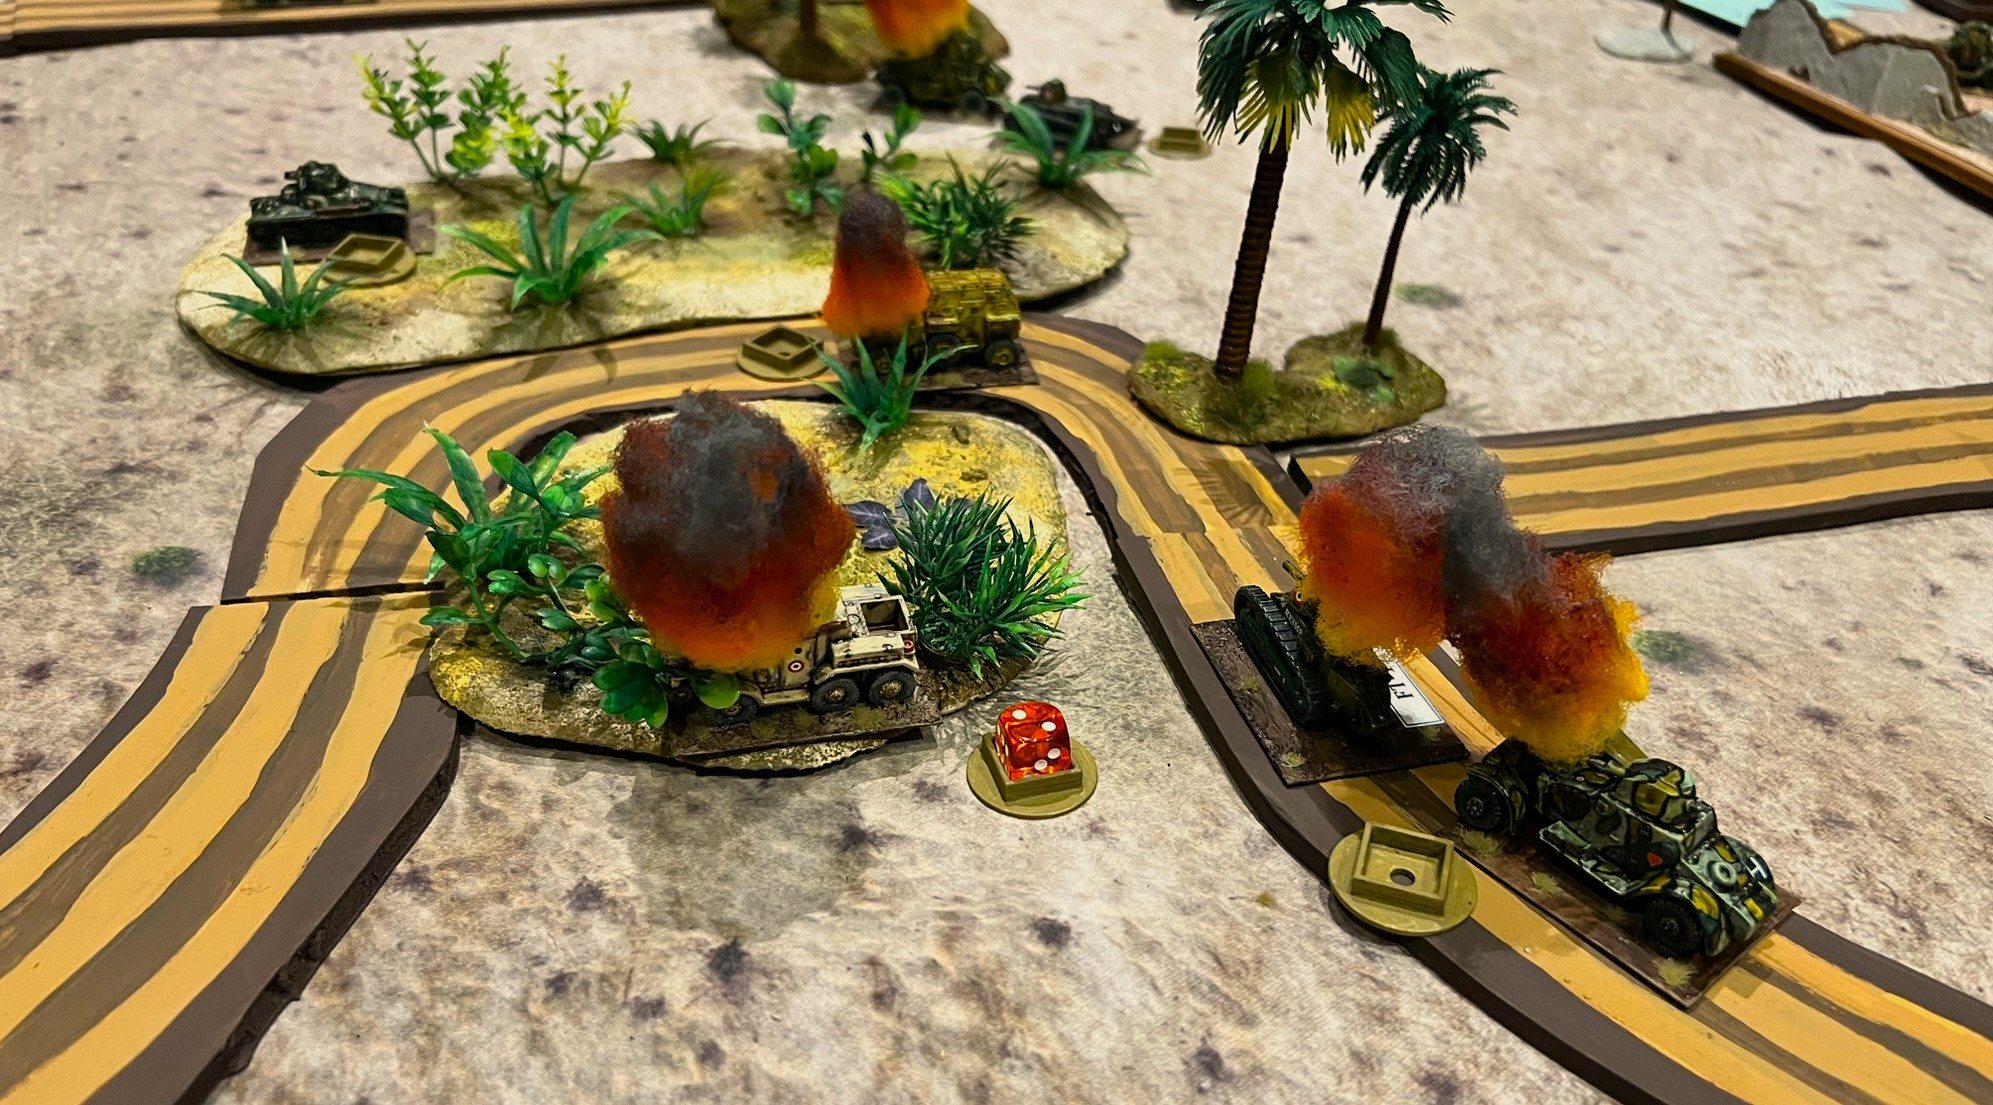
As for the R35, or Char léger Modèle 1935 R, it was an infantry tank under French Army doctrine. It too had a two-man crew, and was also armed with the Puteaux SA18 37mm cannon. It was thought to be slightly better mechanically than the H35/H39 variants. As the Armistice forbade Vichy from having pure tank units, these and the Hotchkiss tanks would be spread around into combined-arms units. These Vichy tanks and armored cars would play a role in Operation Torch in November 1942 against US forces in Morocco (and Algeria as well).

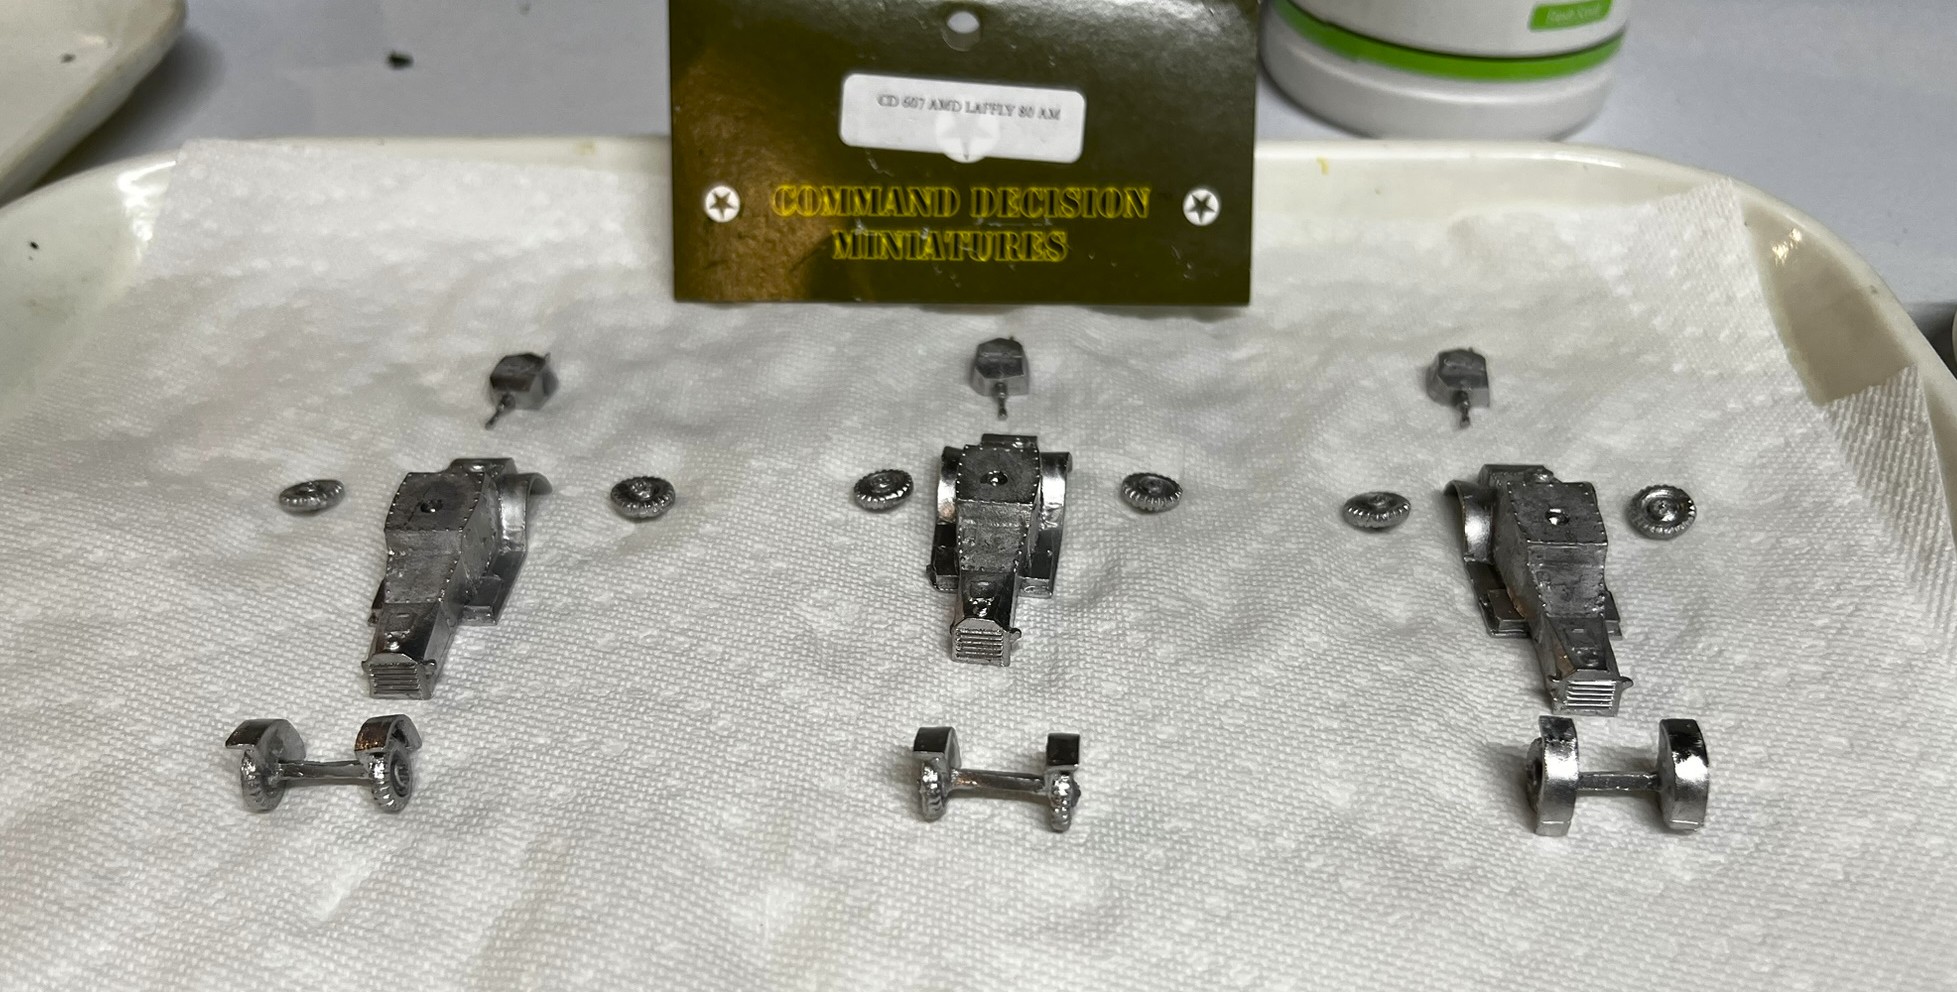
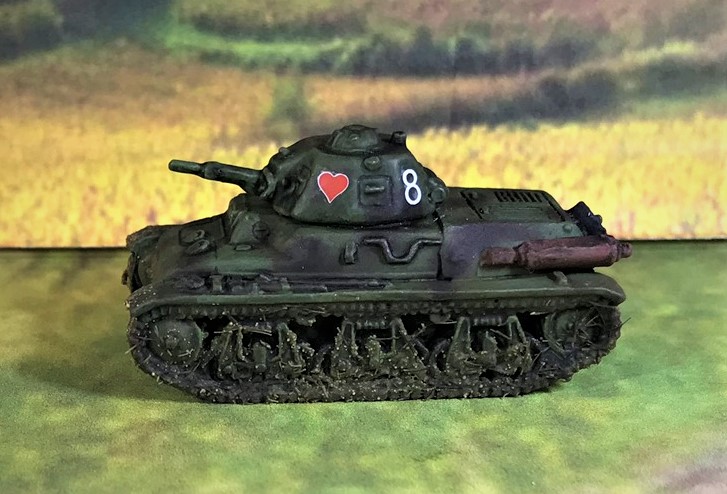
In gathering appropriate models for my What a Tanker game for HISTORICON, I started with looking for H35 and H39 metal or 3D-printed models in resin. I found a two listings for some on eBay. One was for Sarge_s Stuff – he had H35’s that could be bought individually – and I ordered 4 of them. The other site was the same one I bought the FT-17’s from earlier – jacobsminis (aka HobbyHouse&Miniatures.LLC). I ordered 5 from HH&M as that was the minimum order. The tanks from HH&M were (and still are) listed as H39’s, but when I got them I realized that they were actually H35’s. Unlike their excellent FT-17 models, some of these had printing errors, and I ended up using just 2 of these. However, I did use all 4 of the Sarge_s Stuff ones as H35’s. For H39’s and R35’s, I decided to rebase the ones that I painted a few years ago. I had 1 H35 and 3 H39’s (documented here) and 2 R35’s (documented here). I rebased all 6 of these.
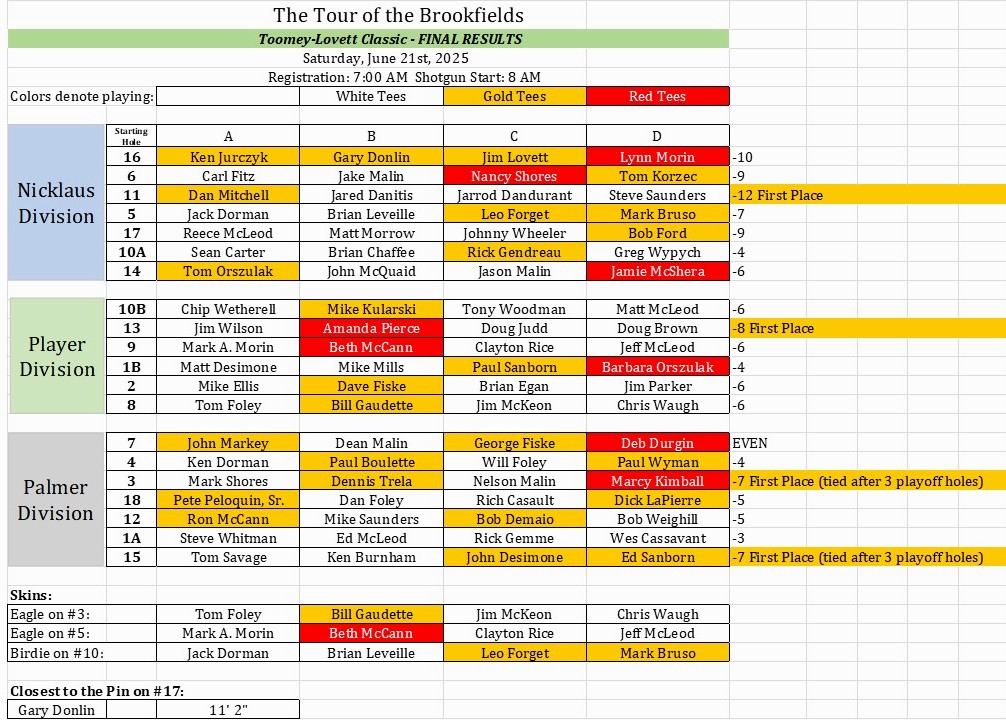
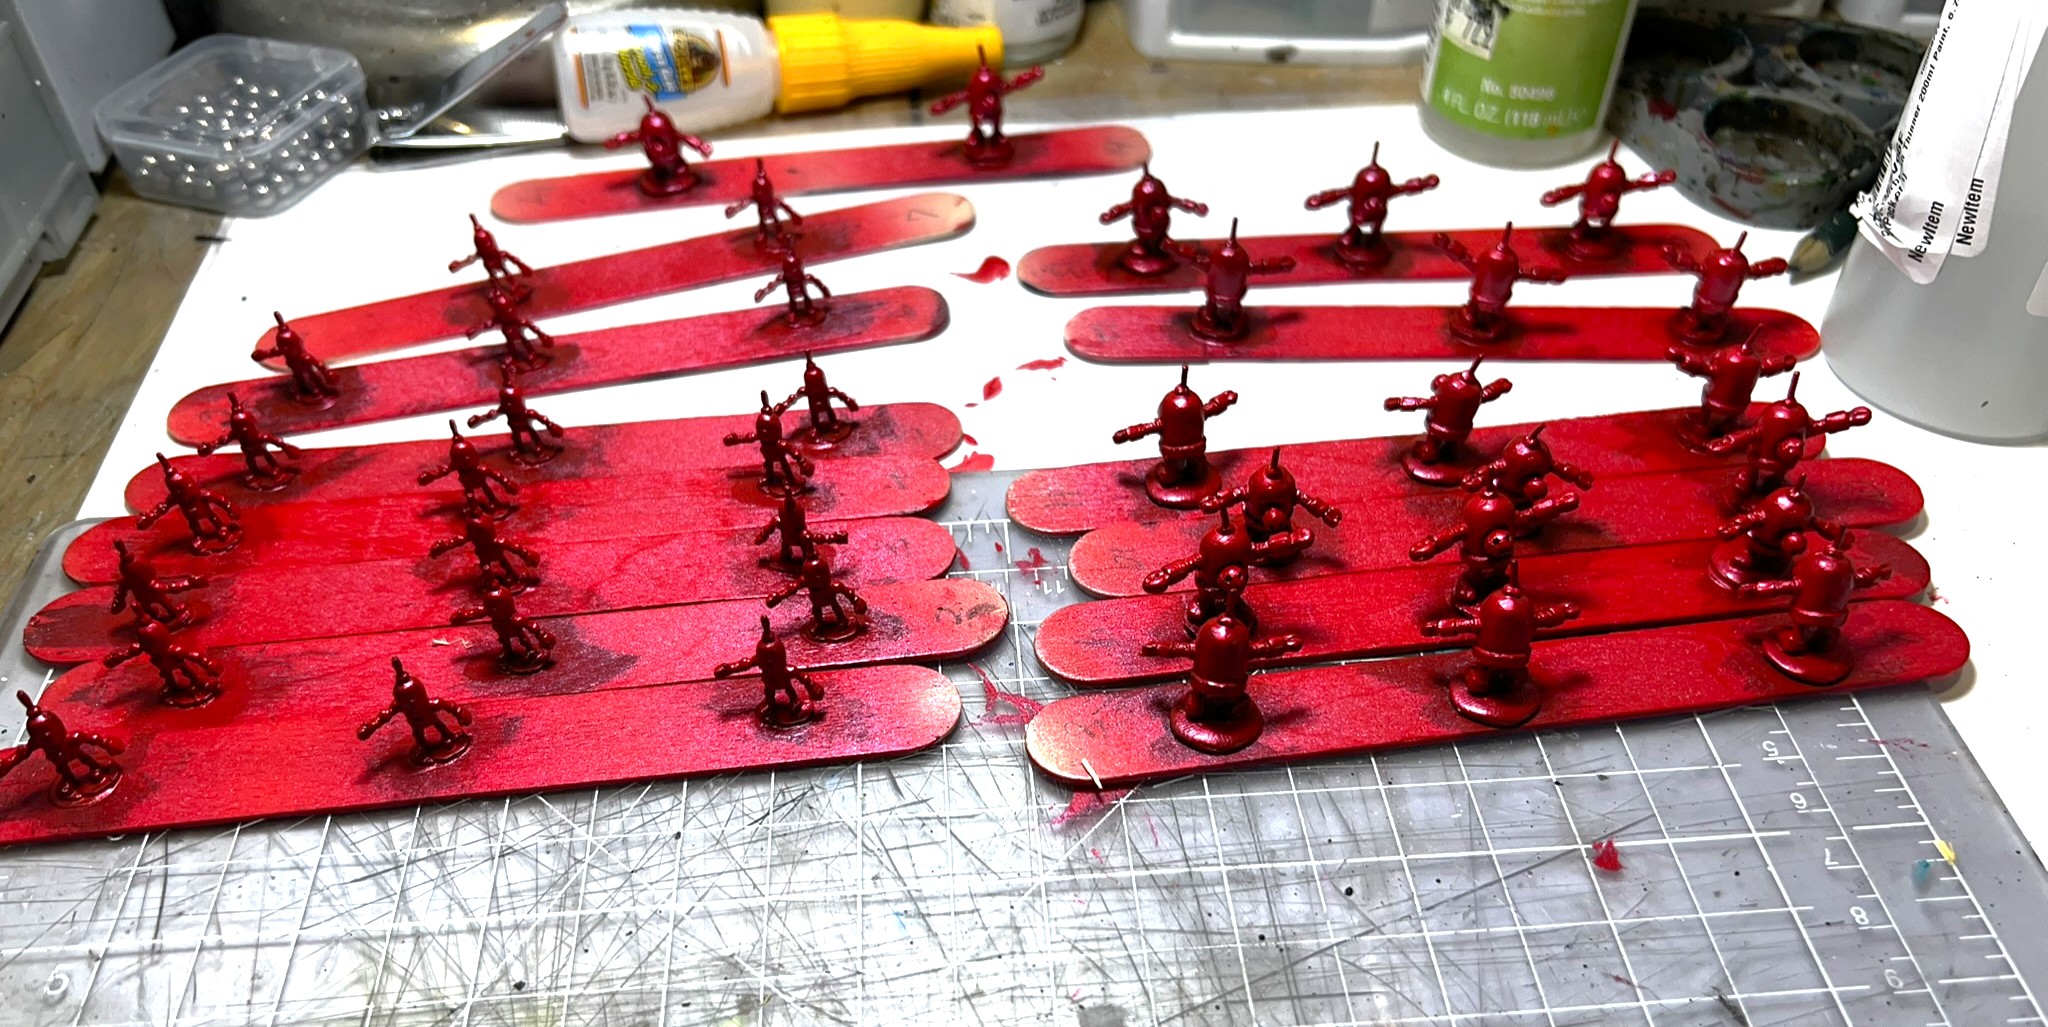
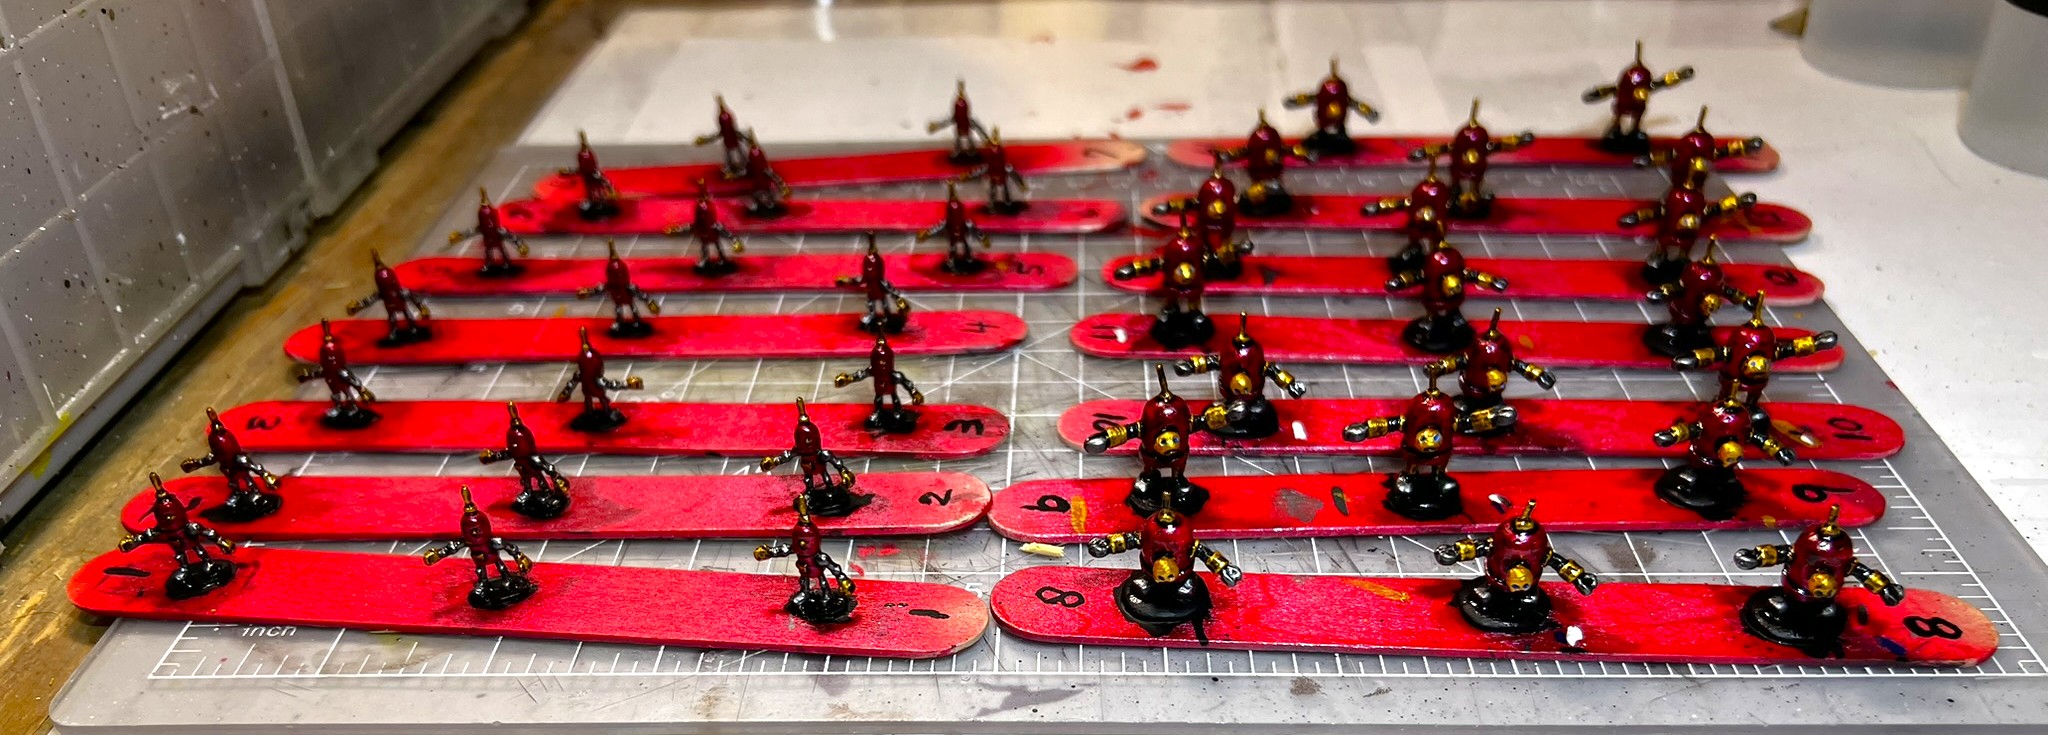
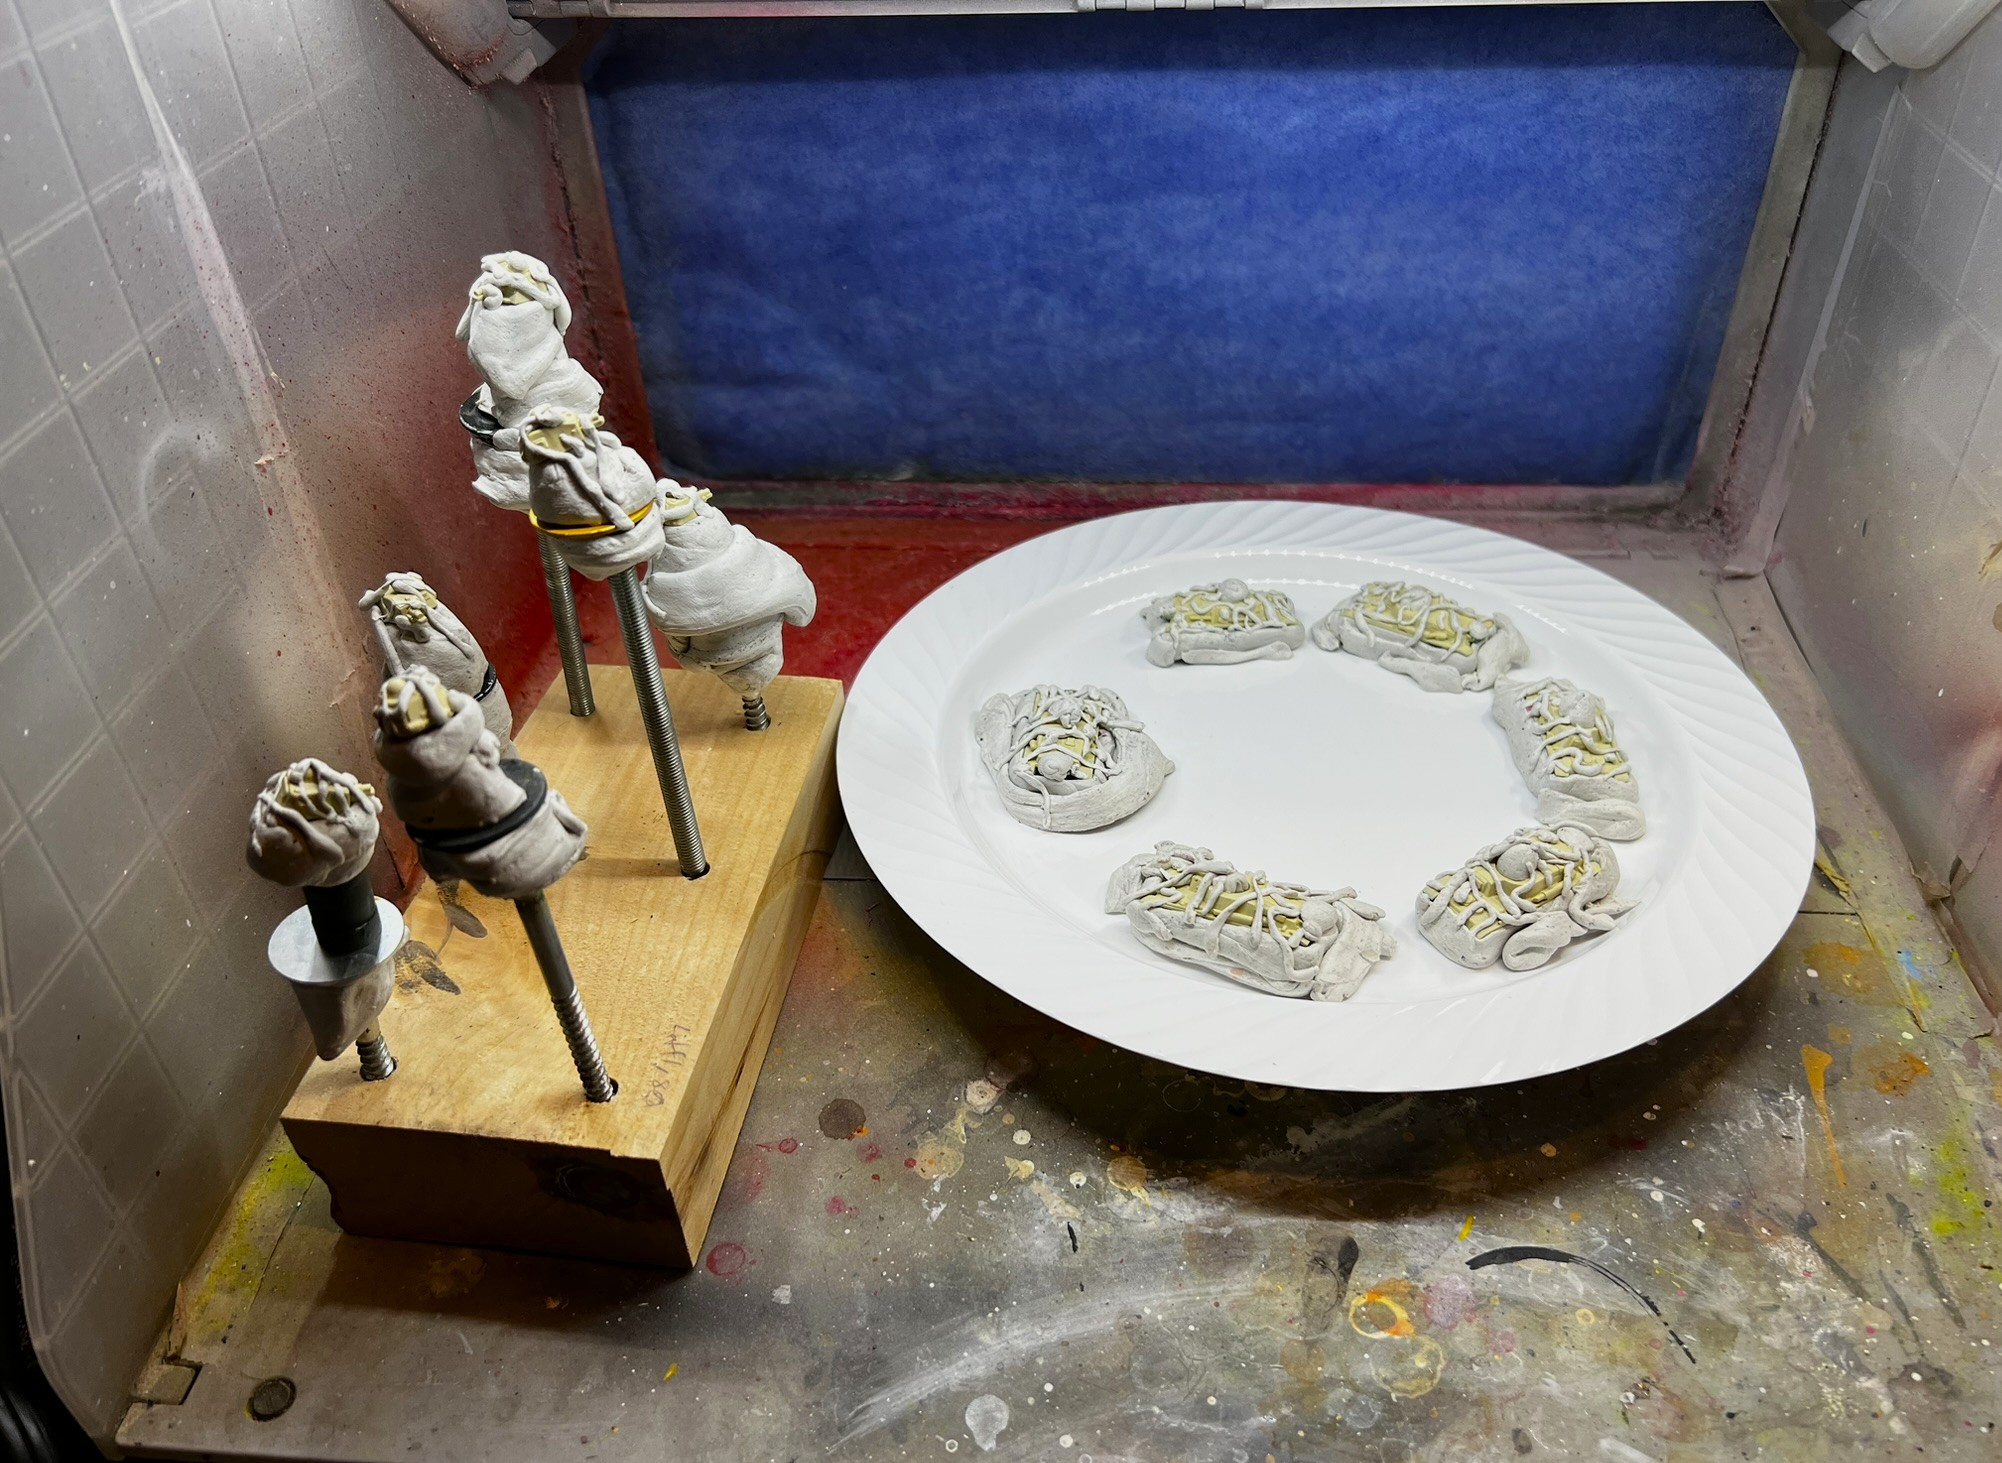
This left me with 6 H35’s to paint to round out the tanks for Vichy (more armored cars would be coming!). As I was also working on many other vehicles at the time, plus running for reelection (I won), plus preparing for and attending HUZZAH, AND prepping for HISTORICON…plus golf…I was BUSY in April, May and even June and July. I am sure that you get the picture, and ironically I have few WIP pictures! But I’ll share what I have.
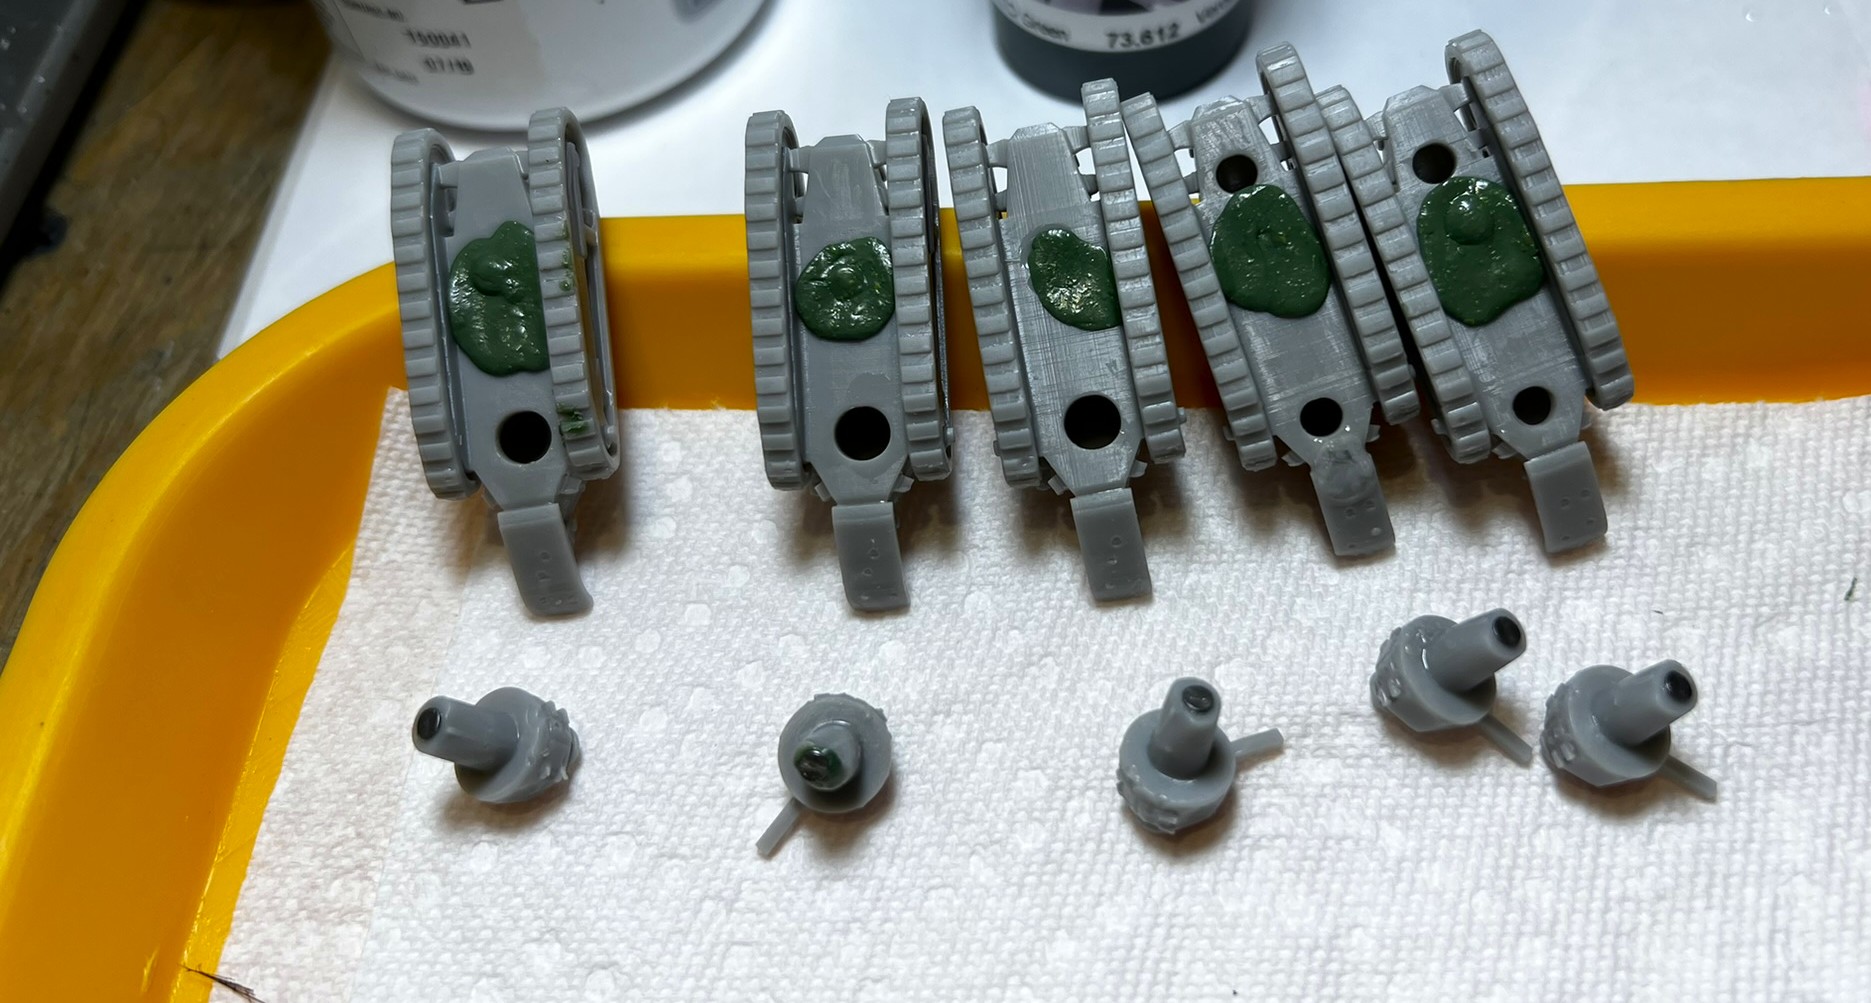
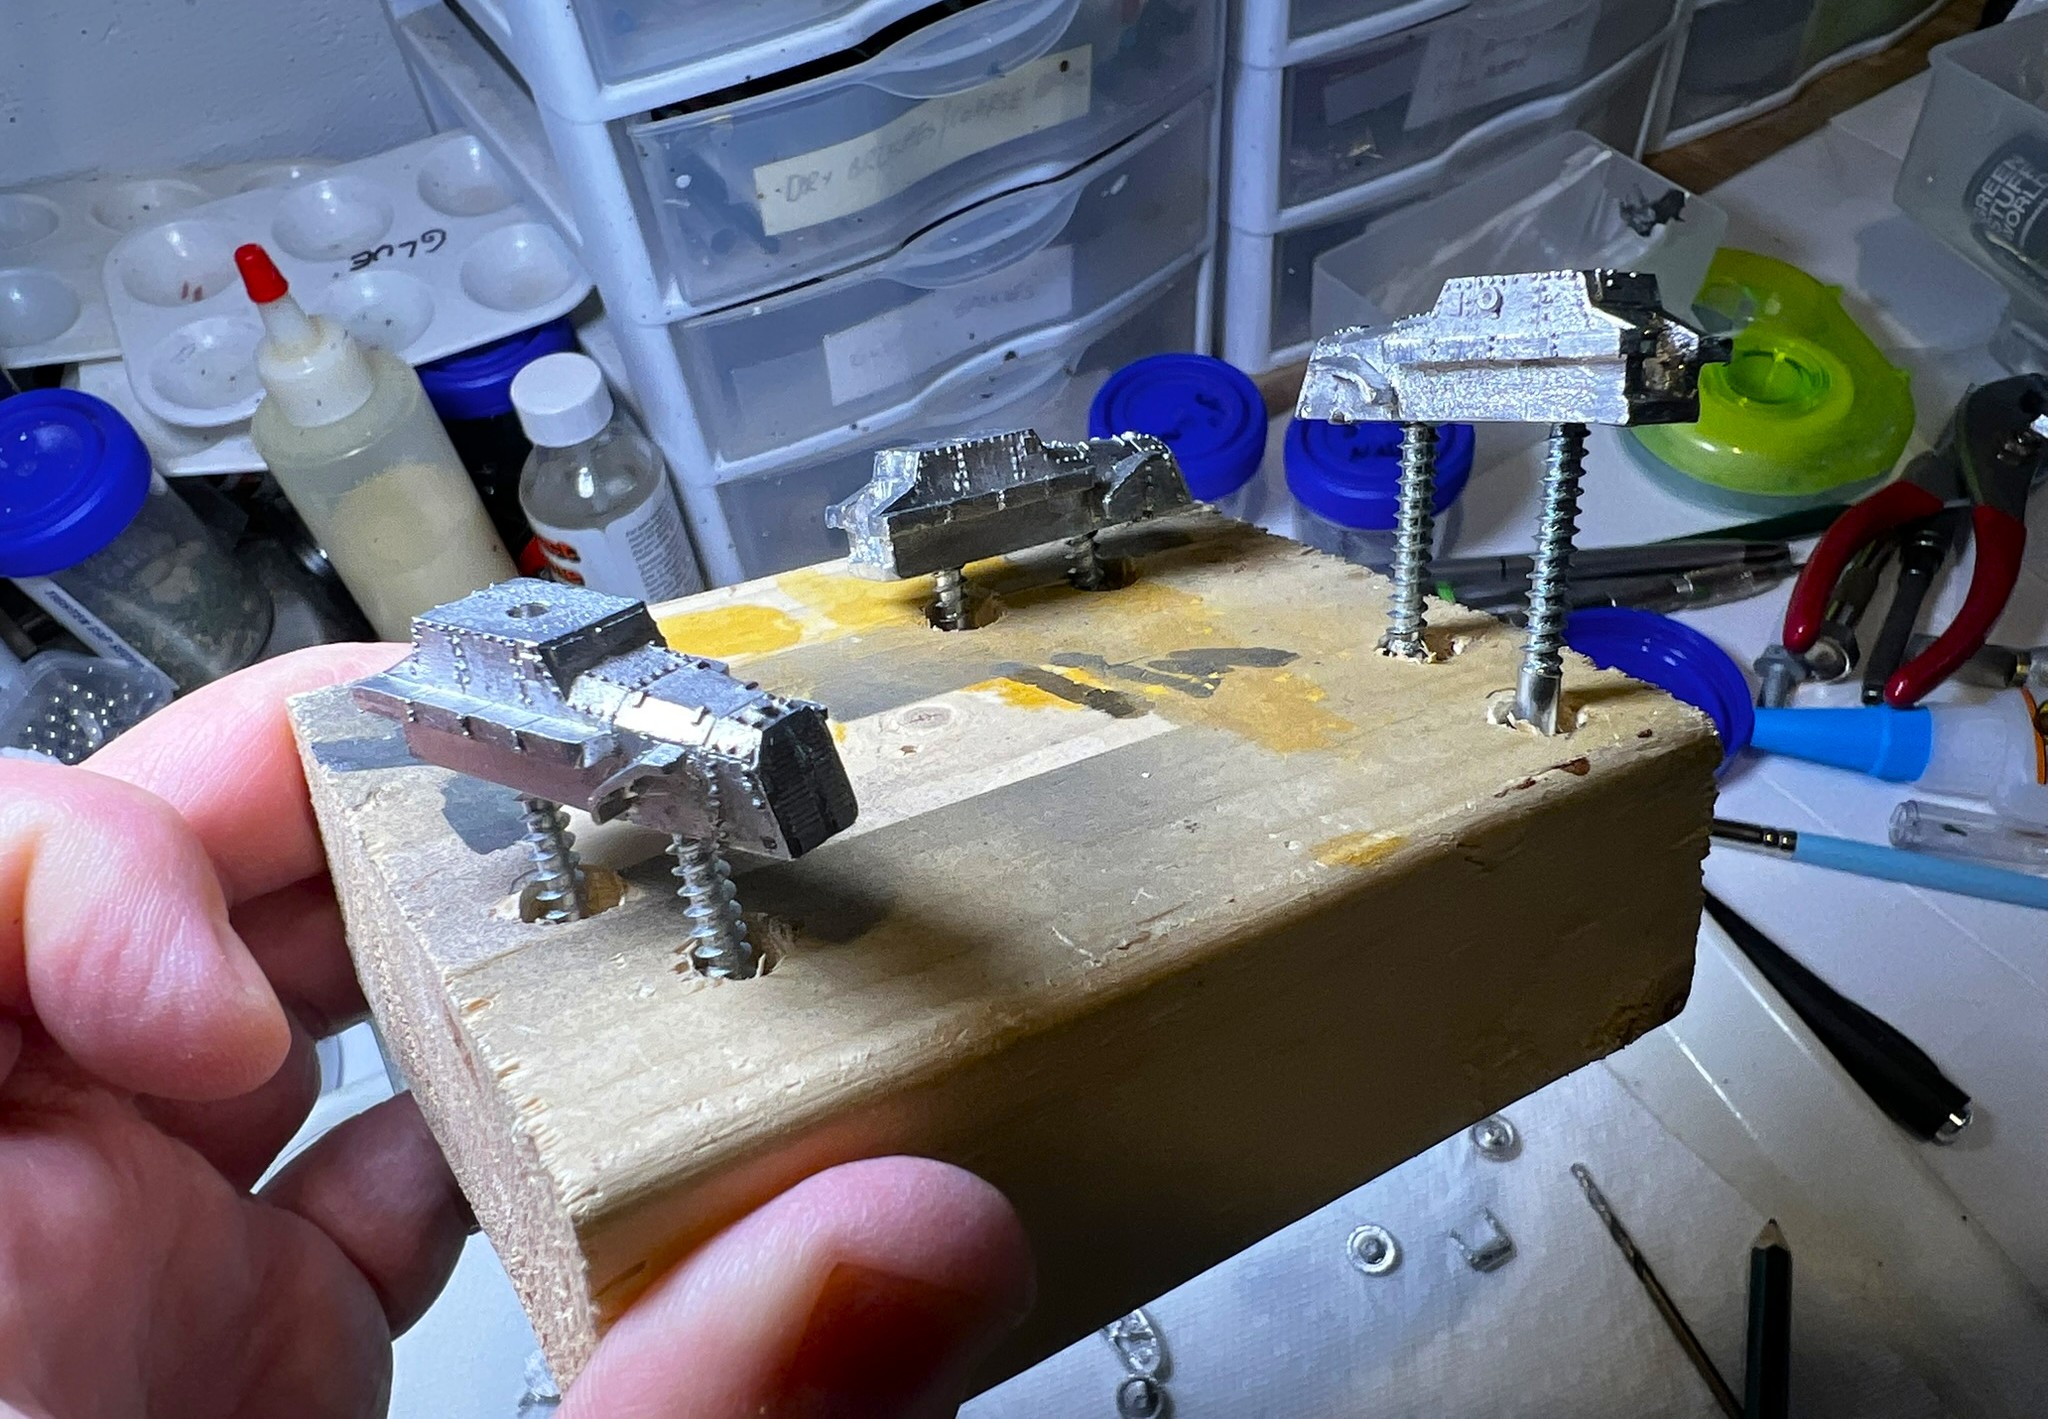
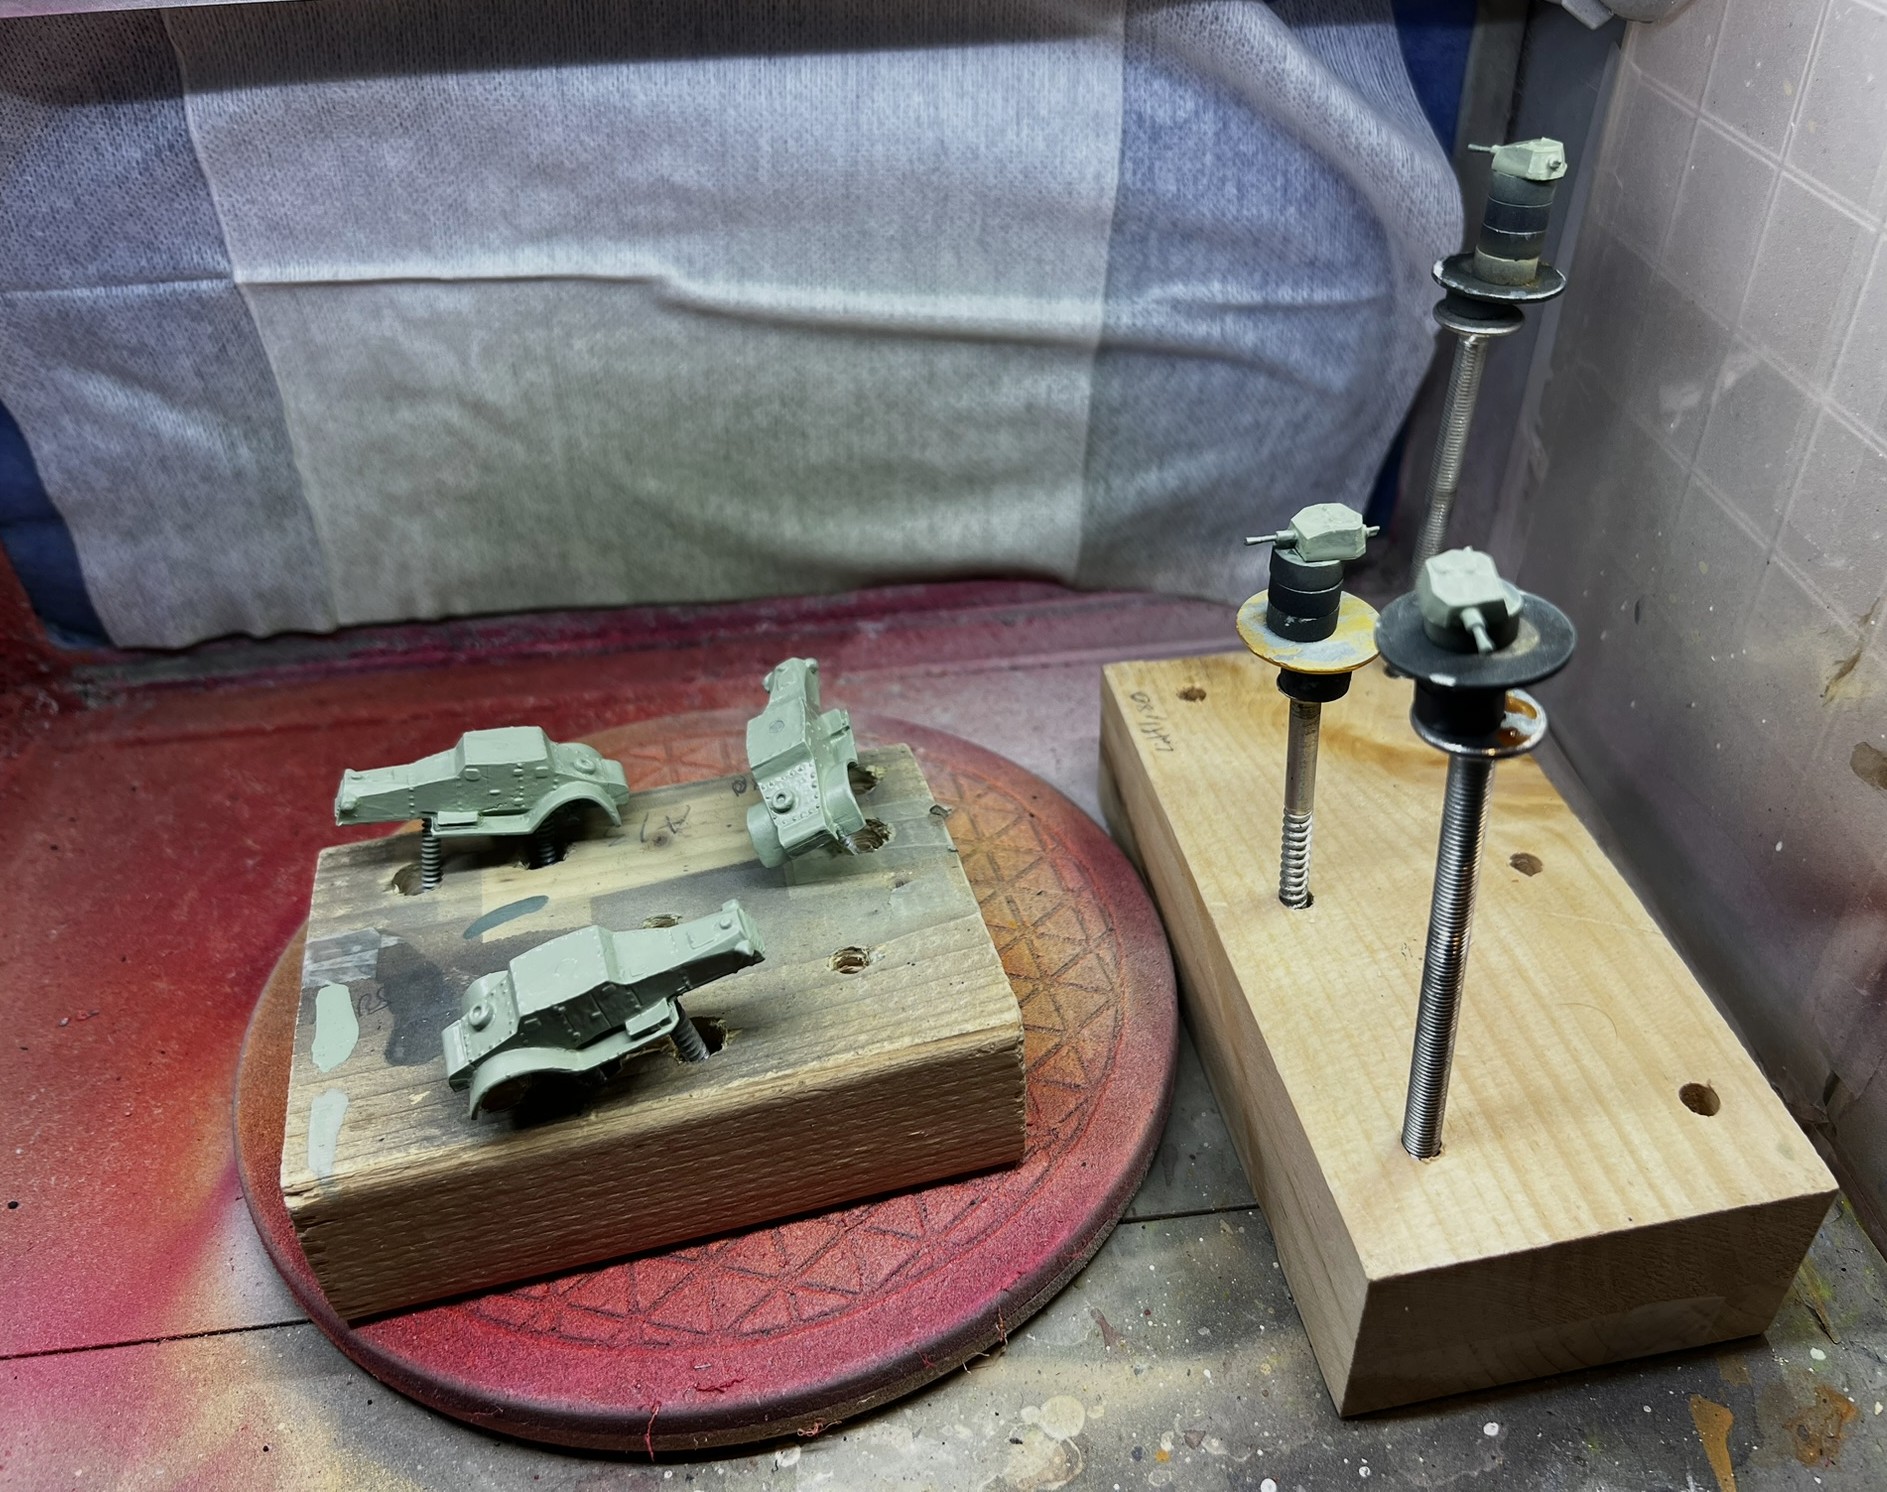
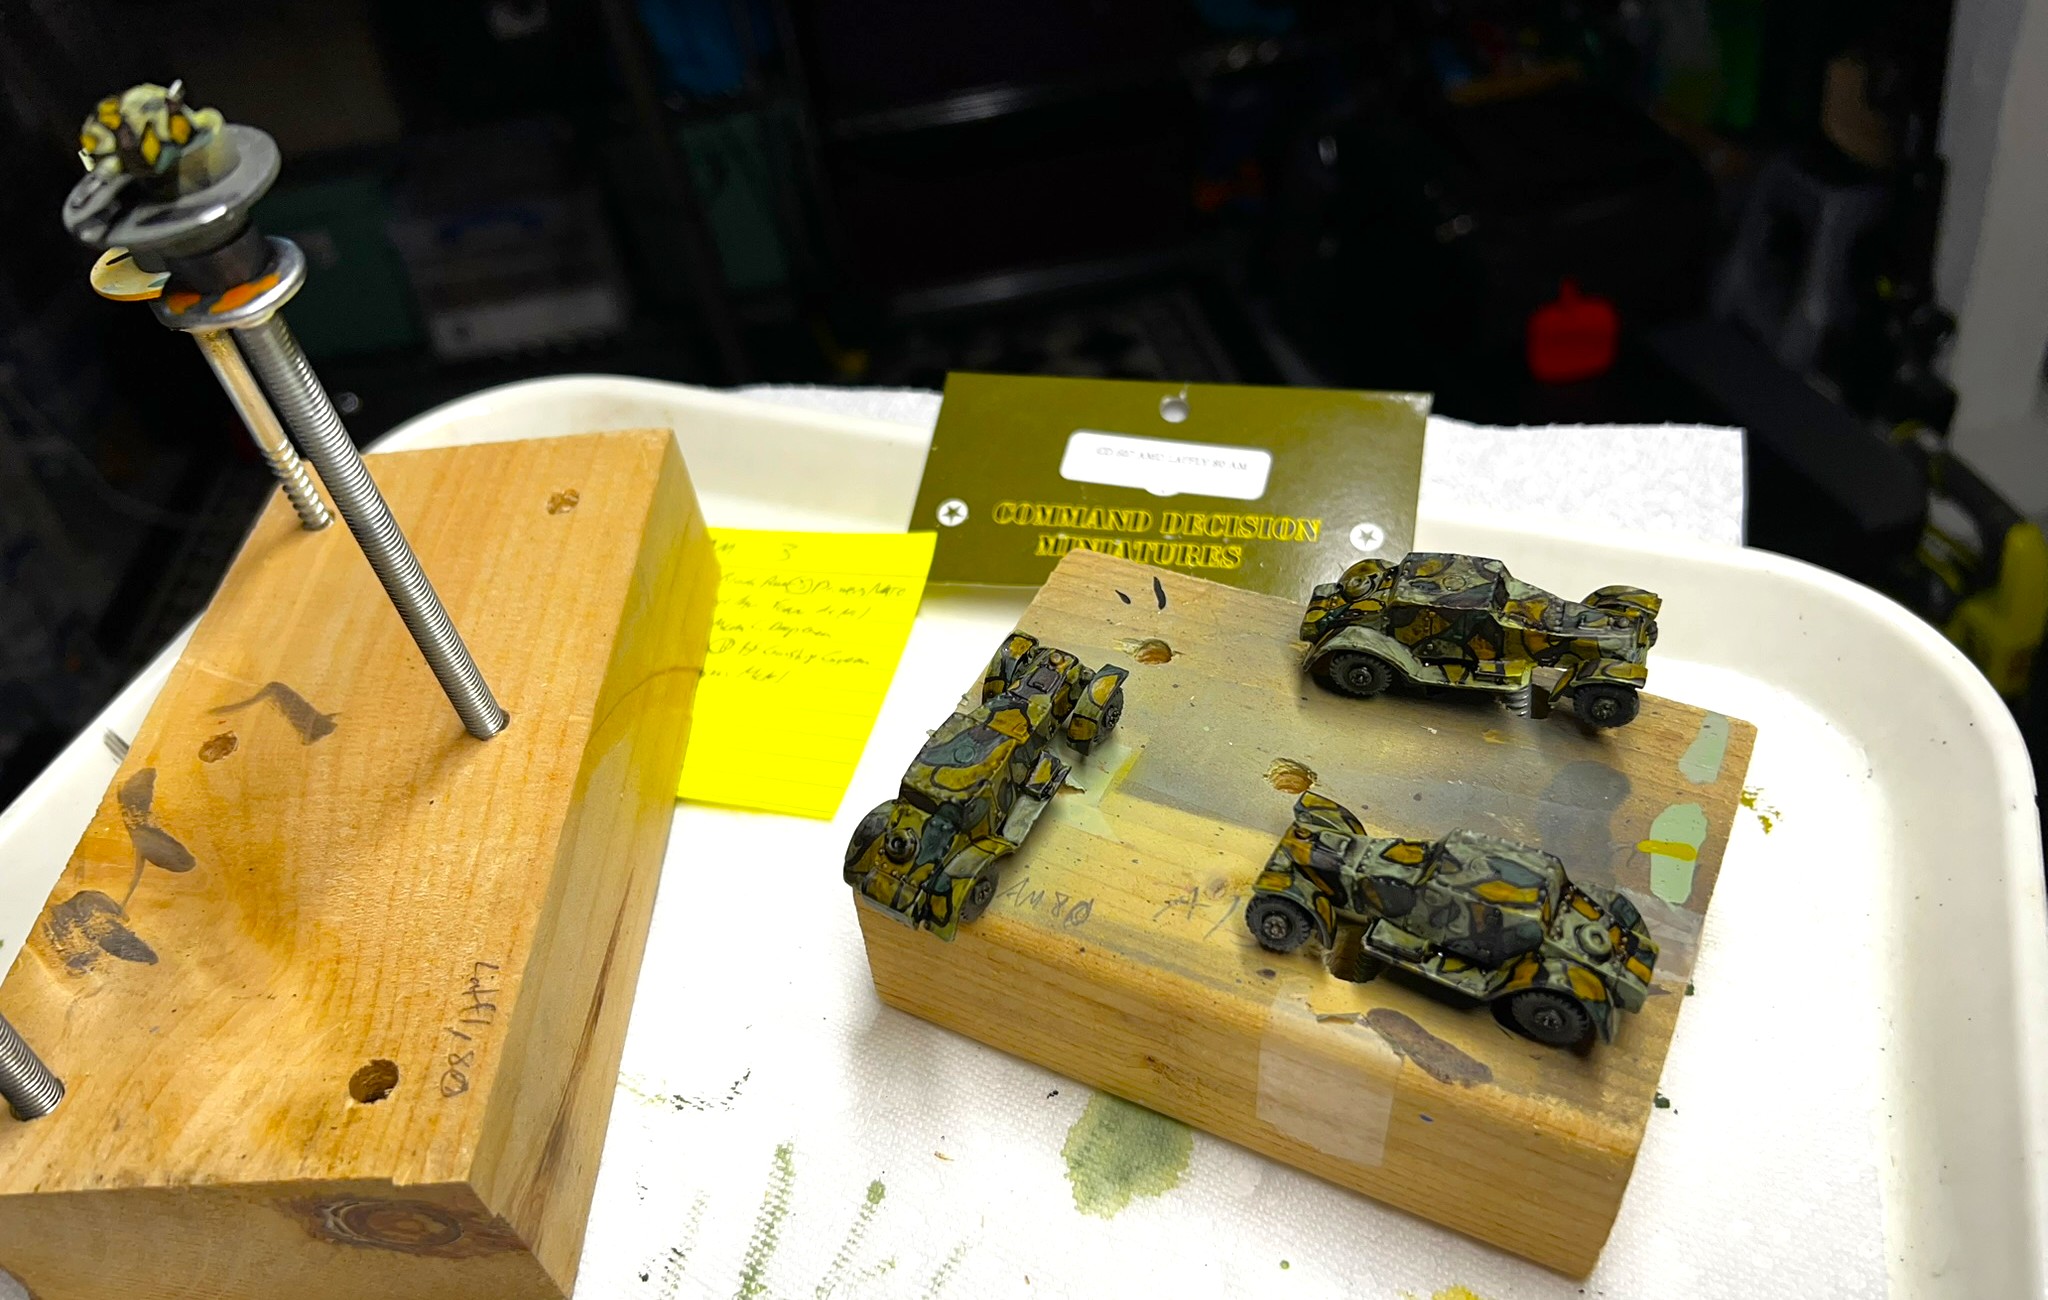
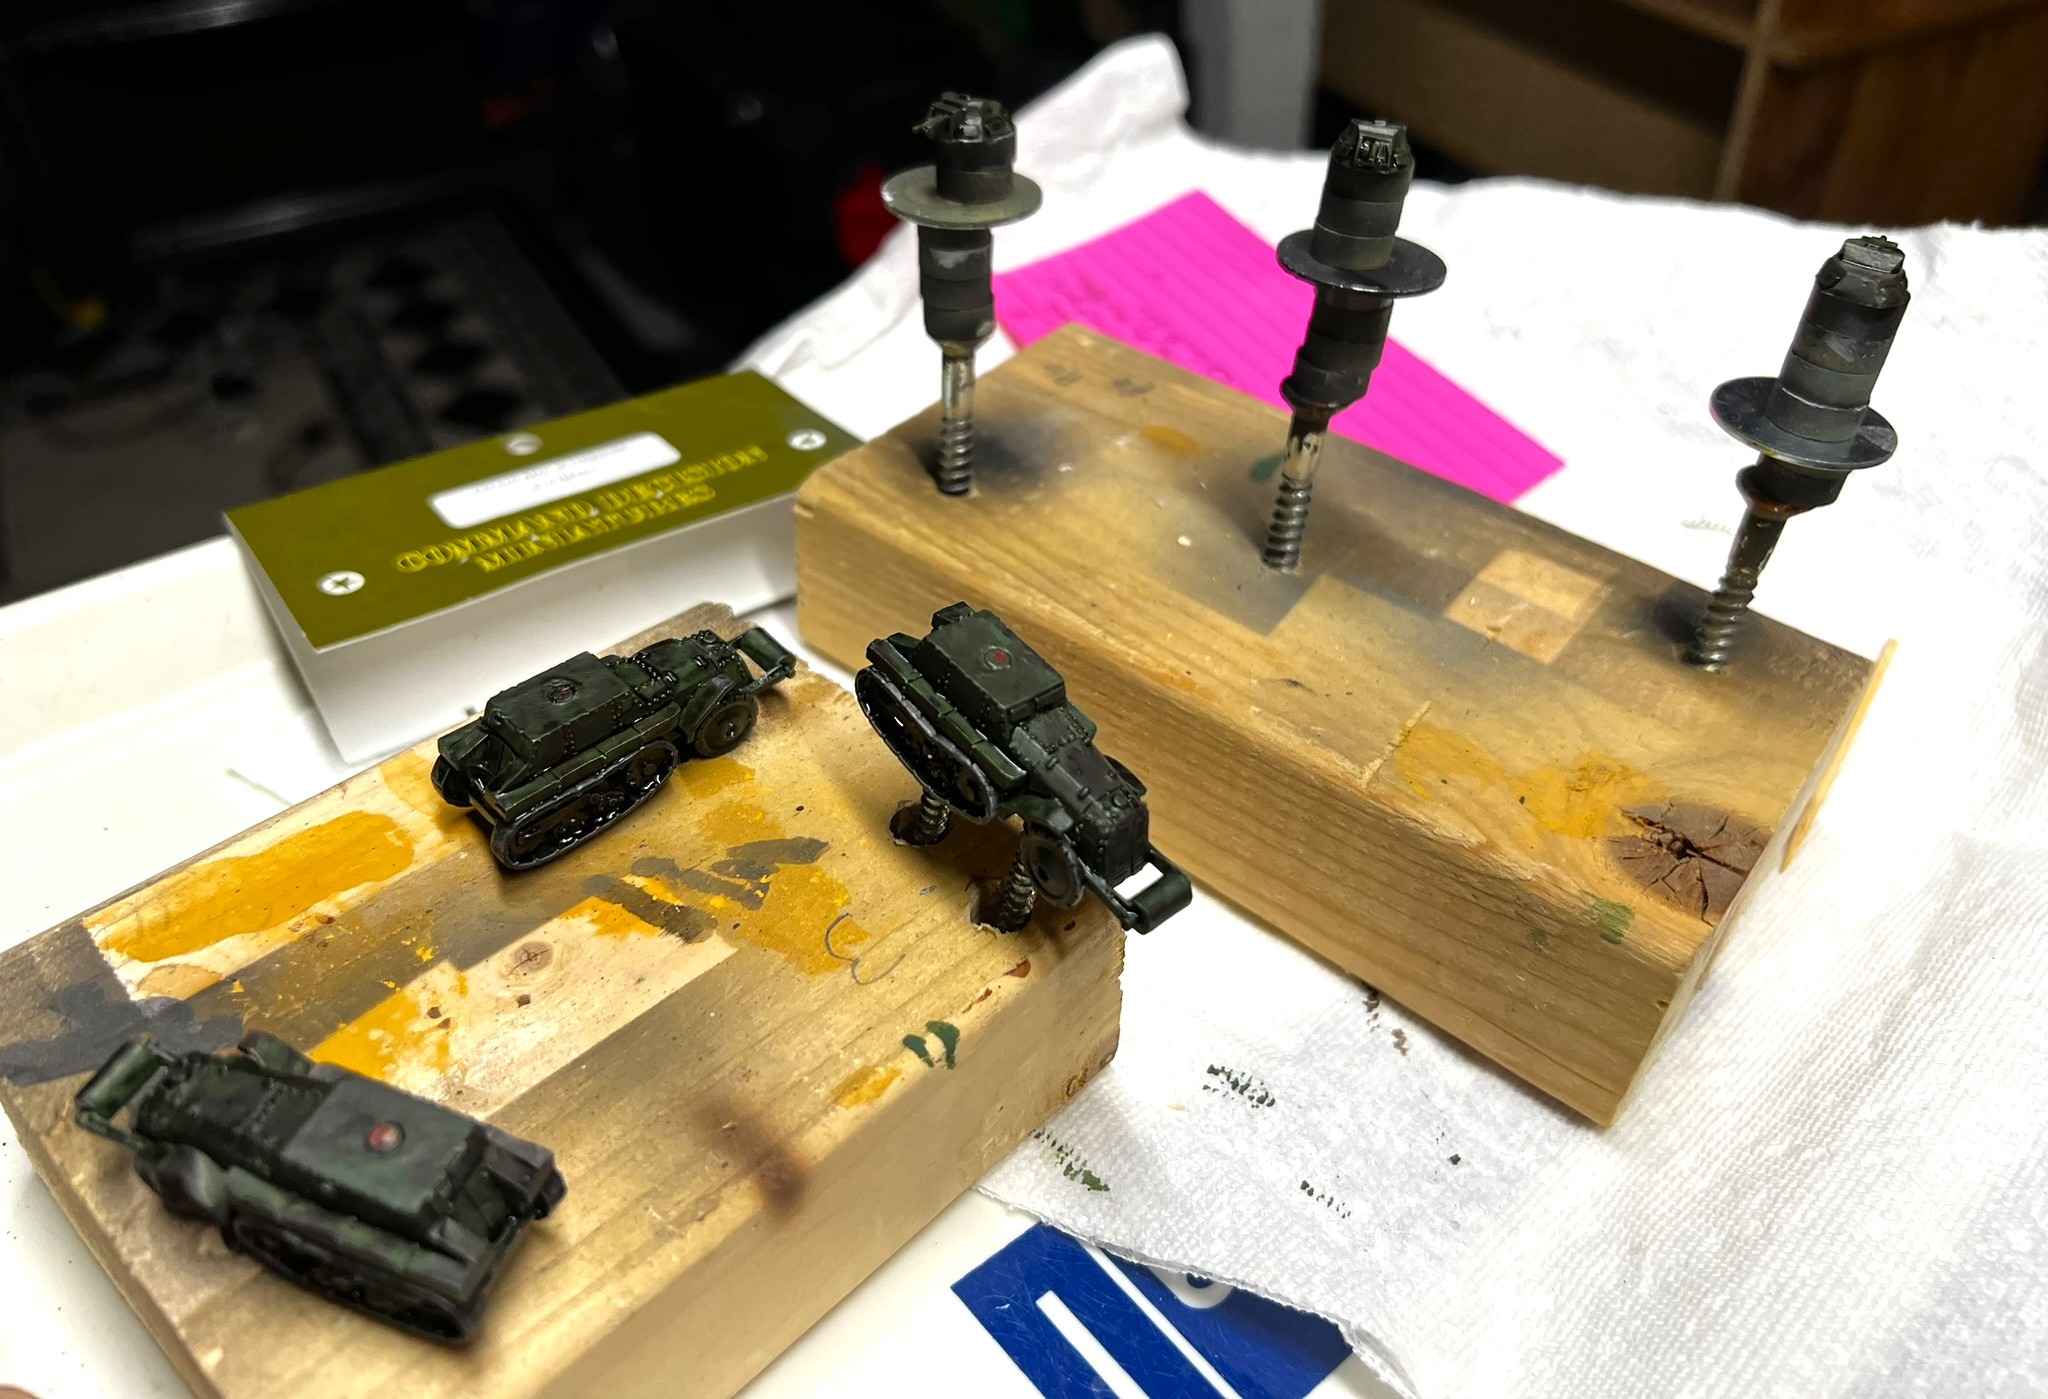
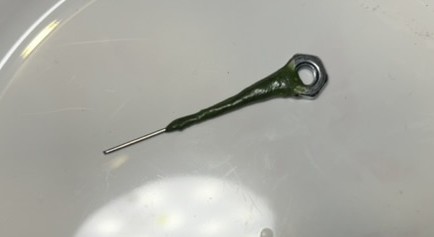
I used neodymium magnets and flat-head nail again to mount the turrets. The two H35 turret prints were slightly different, but I adapted with green stuff.

I used poster-tack again for masking/making camouflage patterns over the initial color. I did experiment with using Silly Putty as masking as I had seen someone do that – but it did not work for me. So I went back to what I knew would work – poster tack and touching up afterwards..


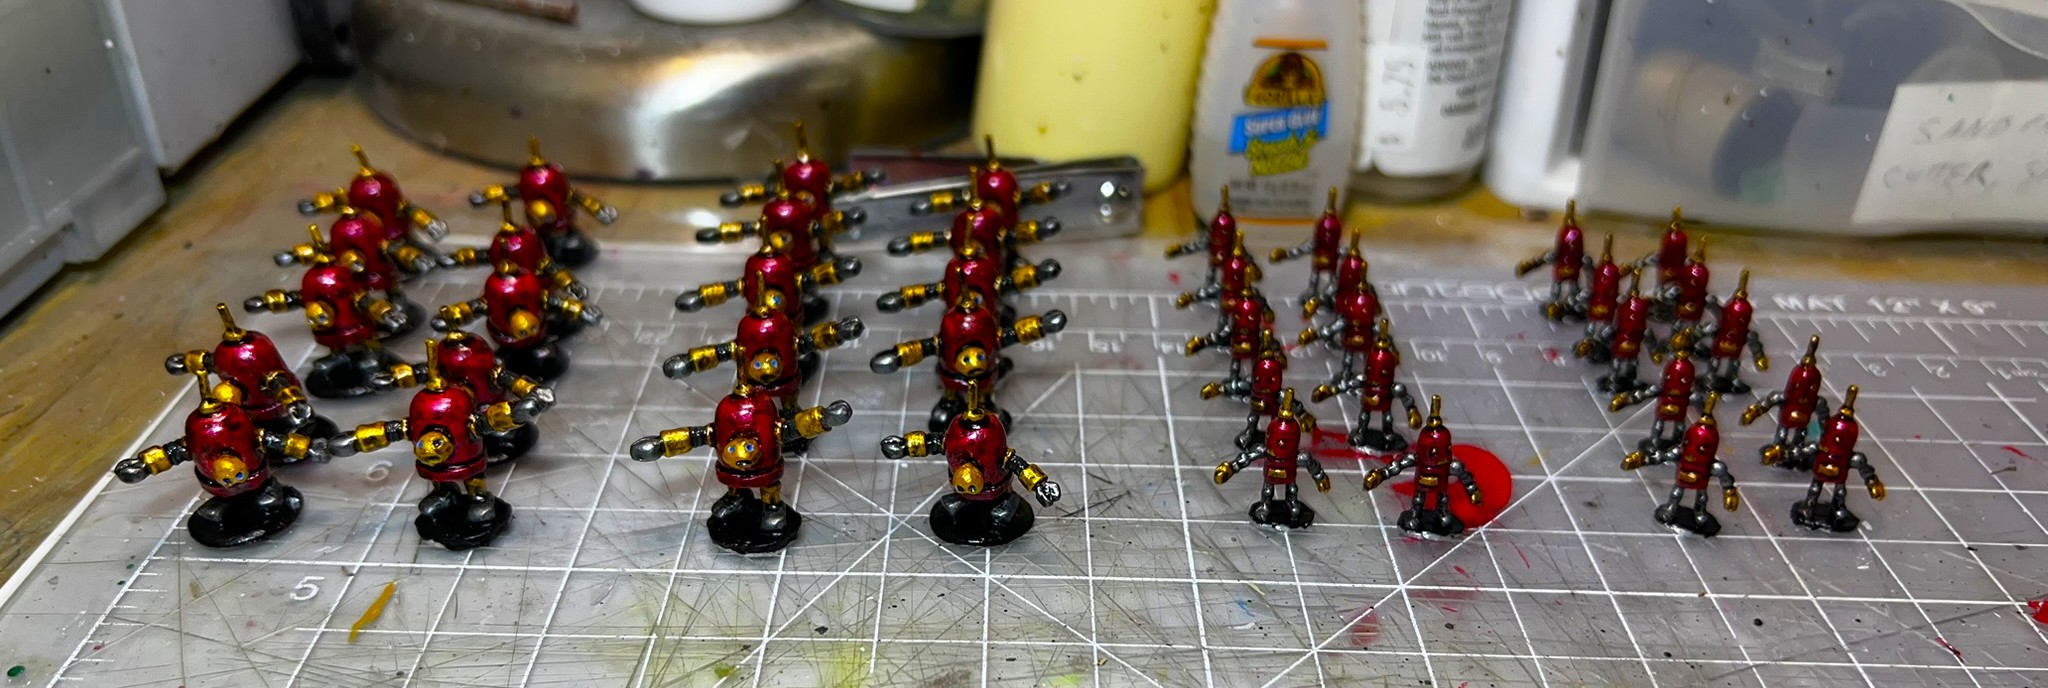
Now, I can share some limited…
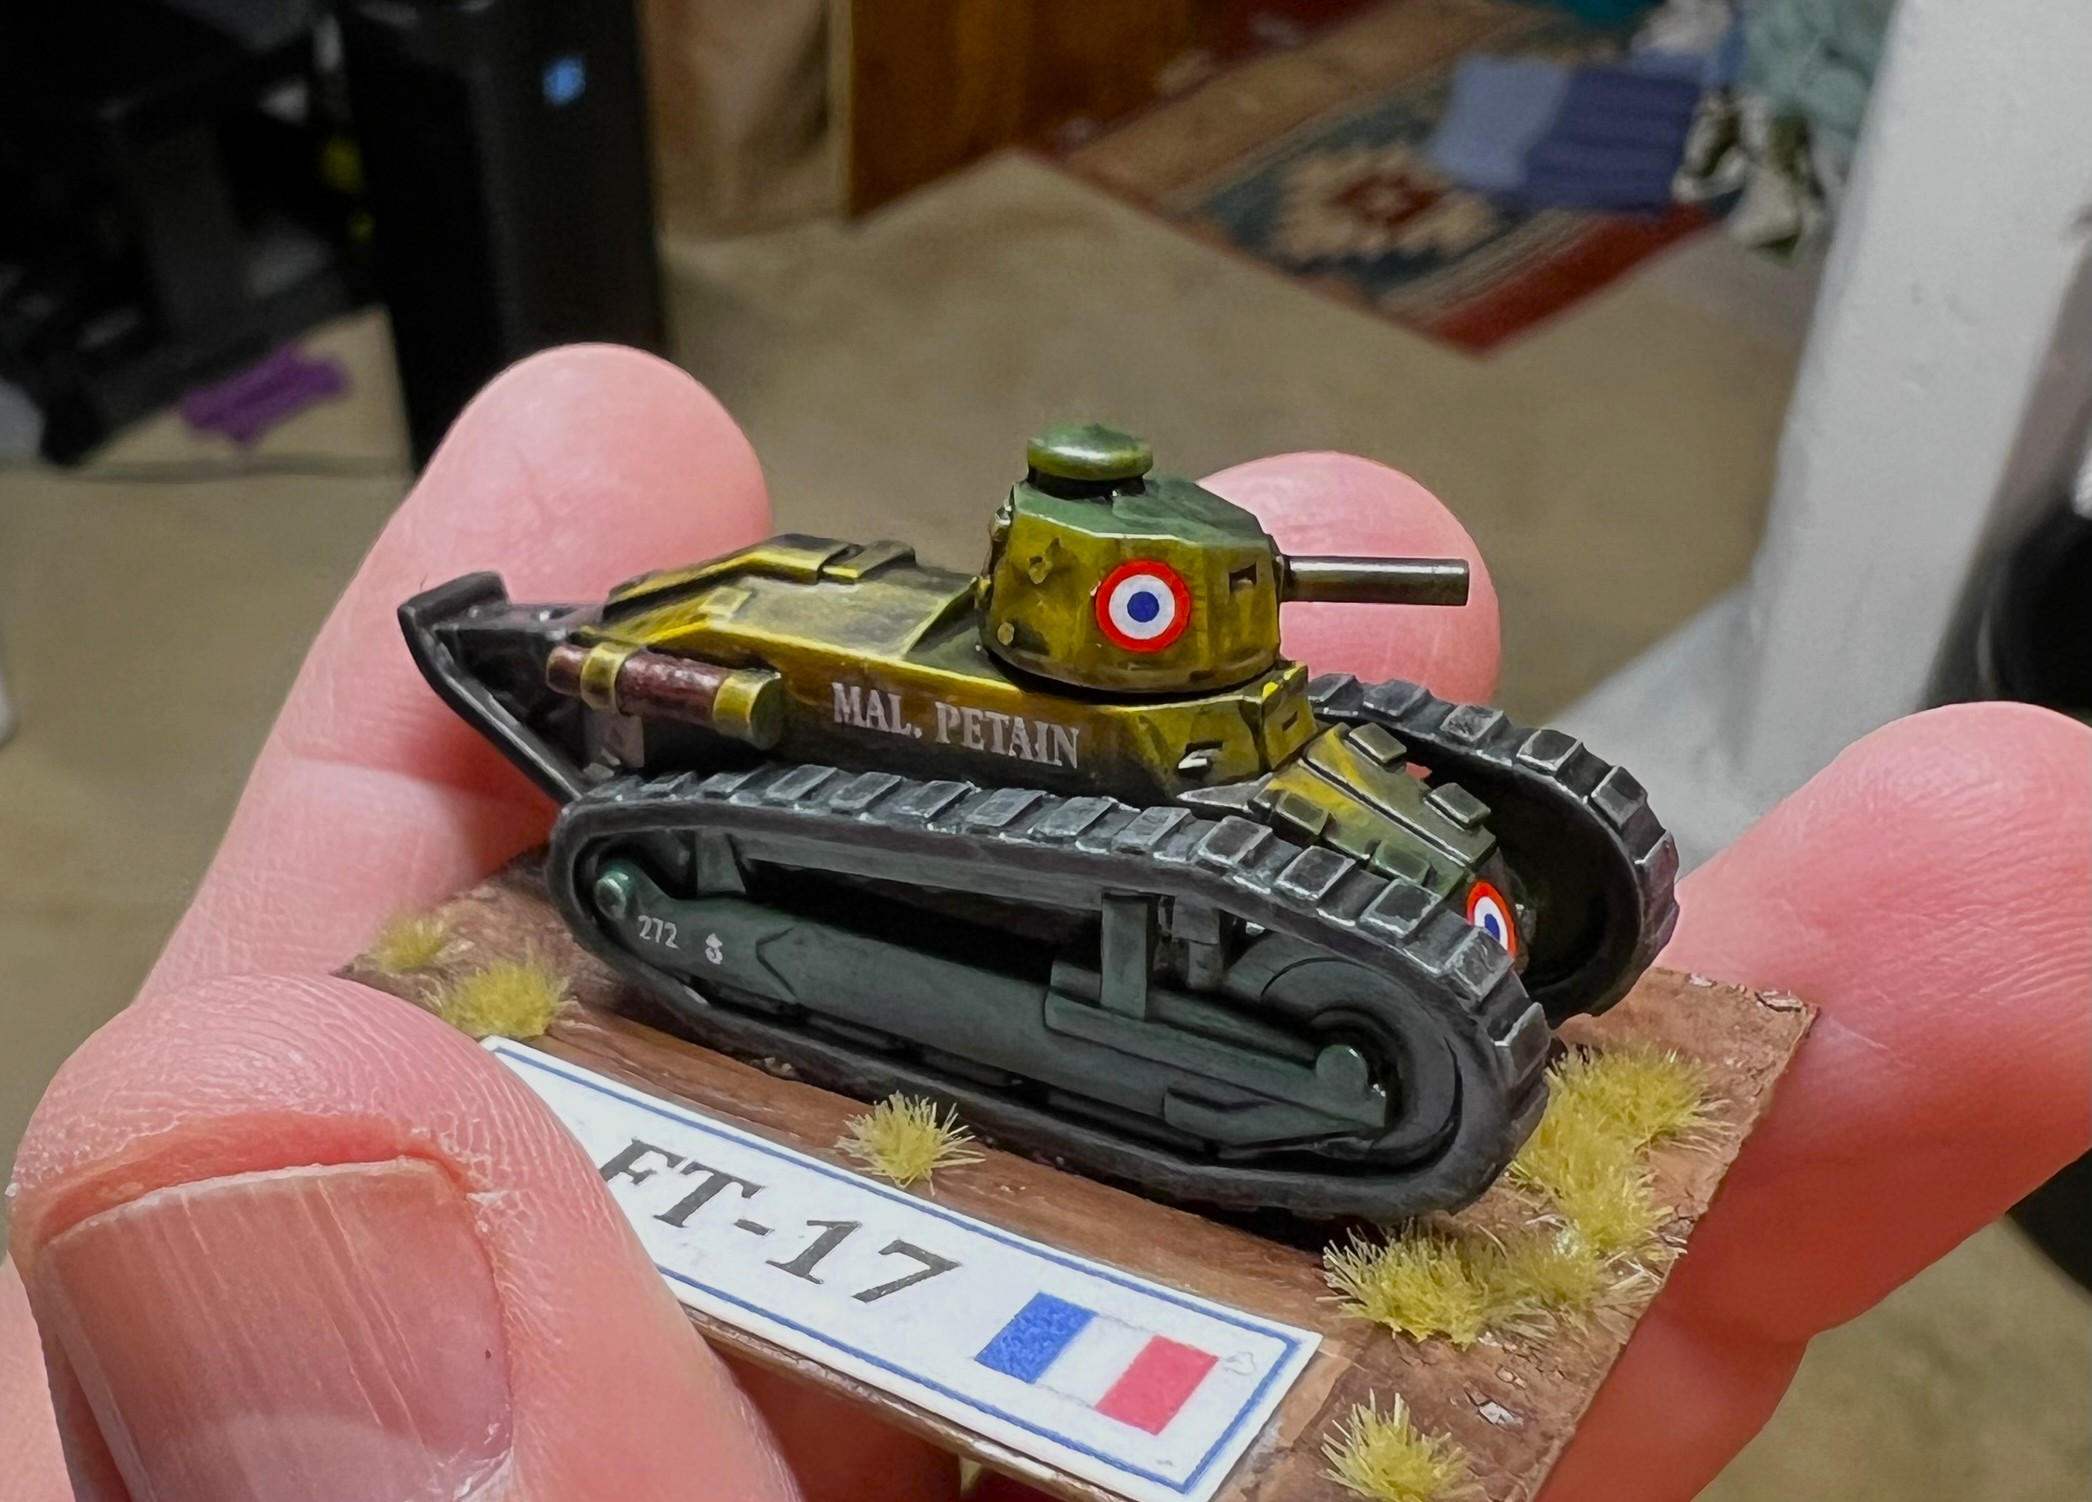
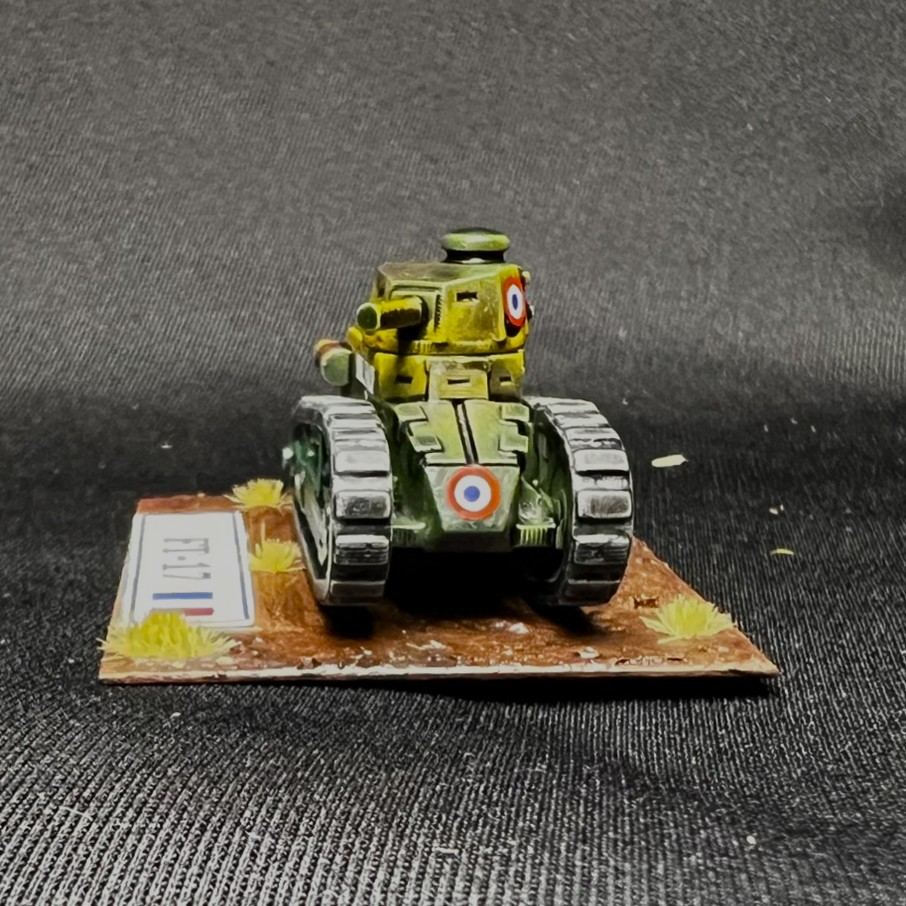
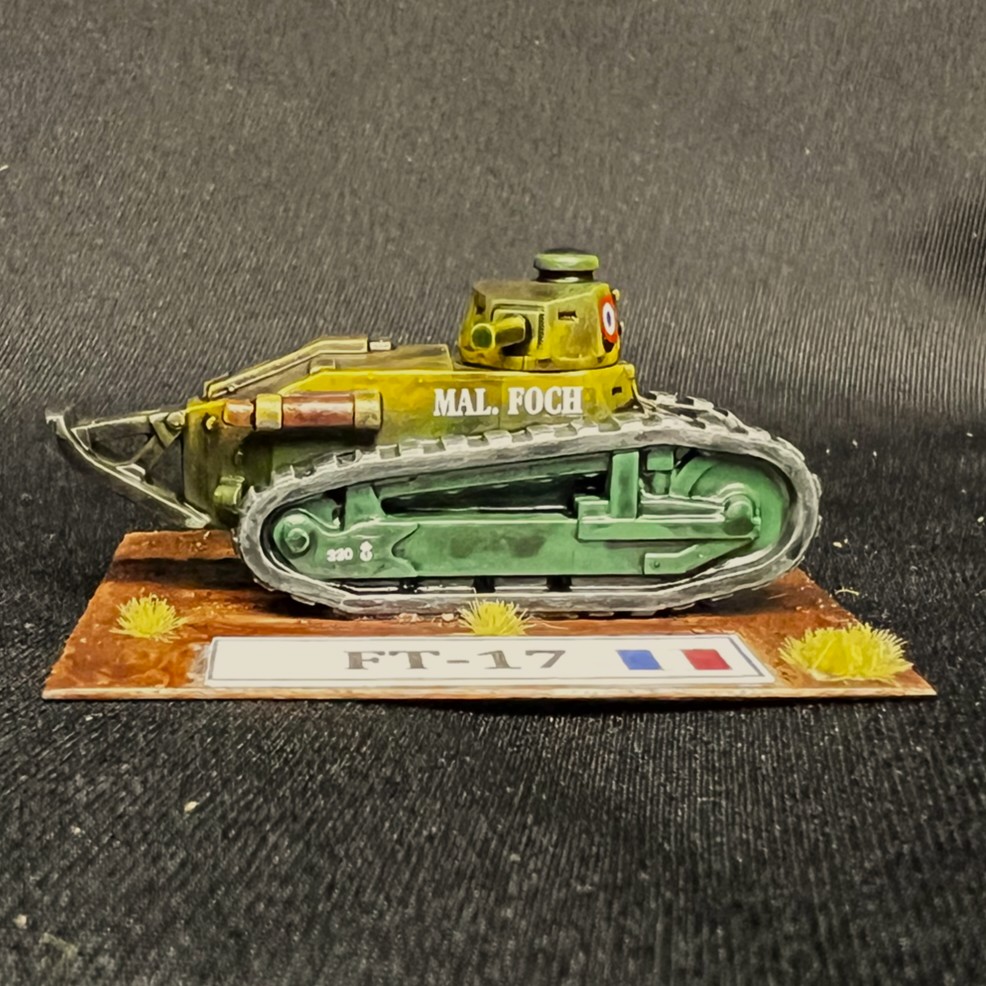
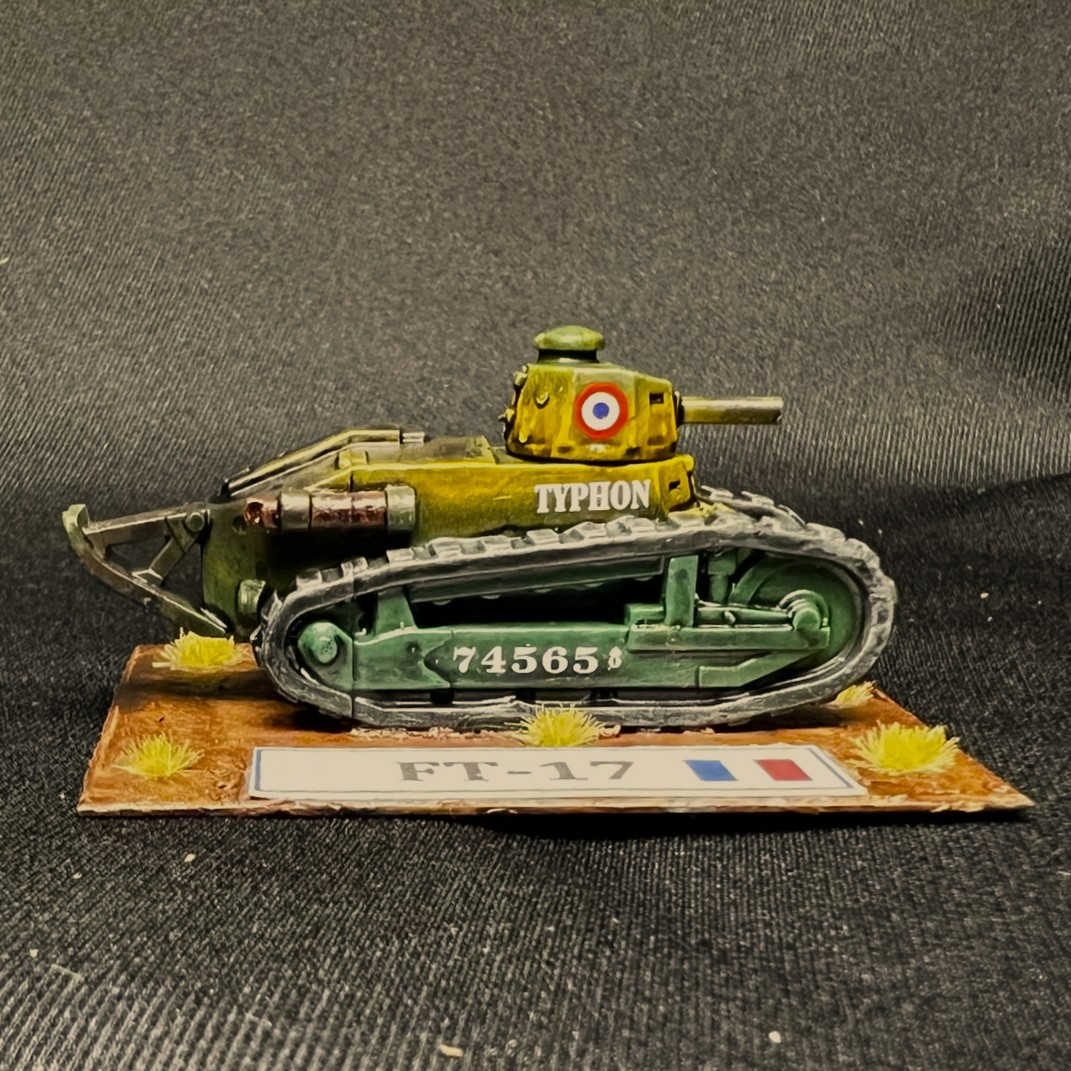
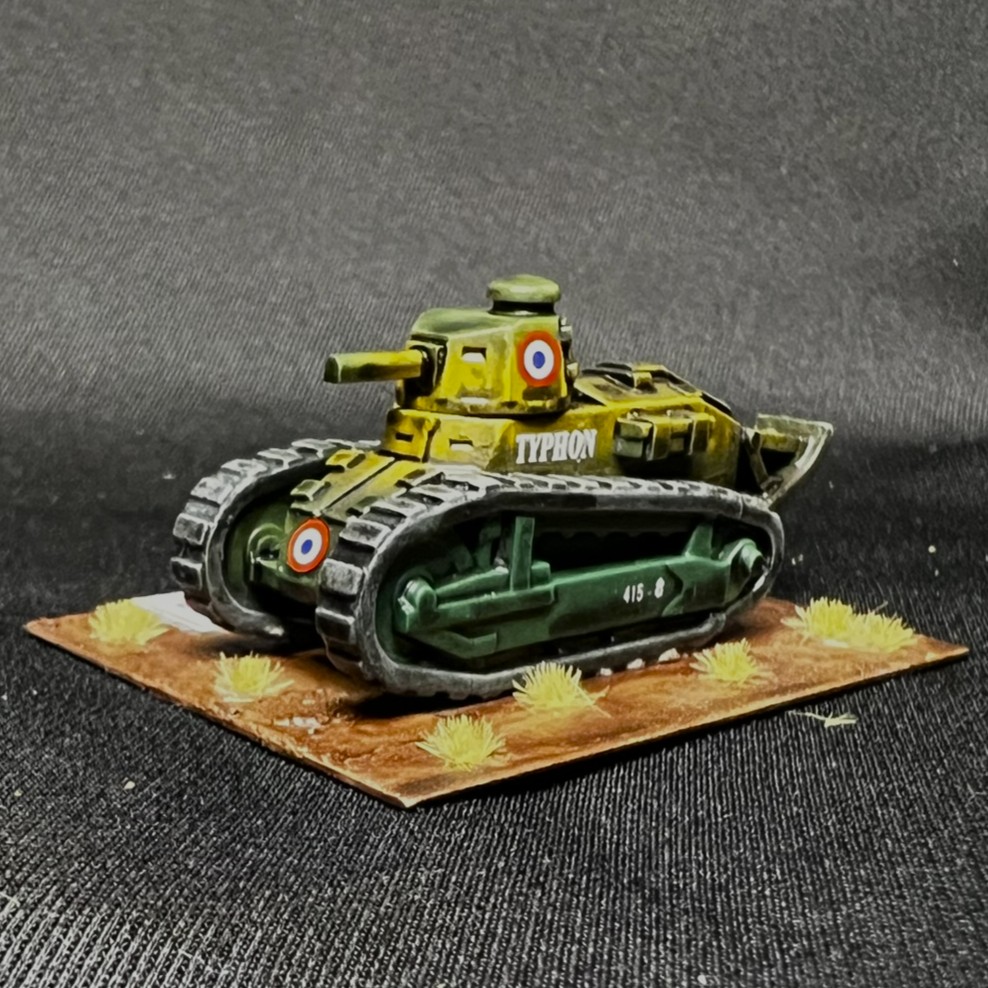
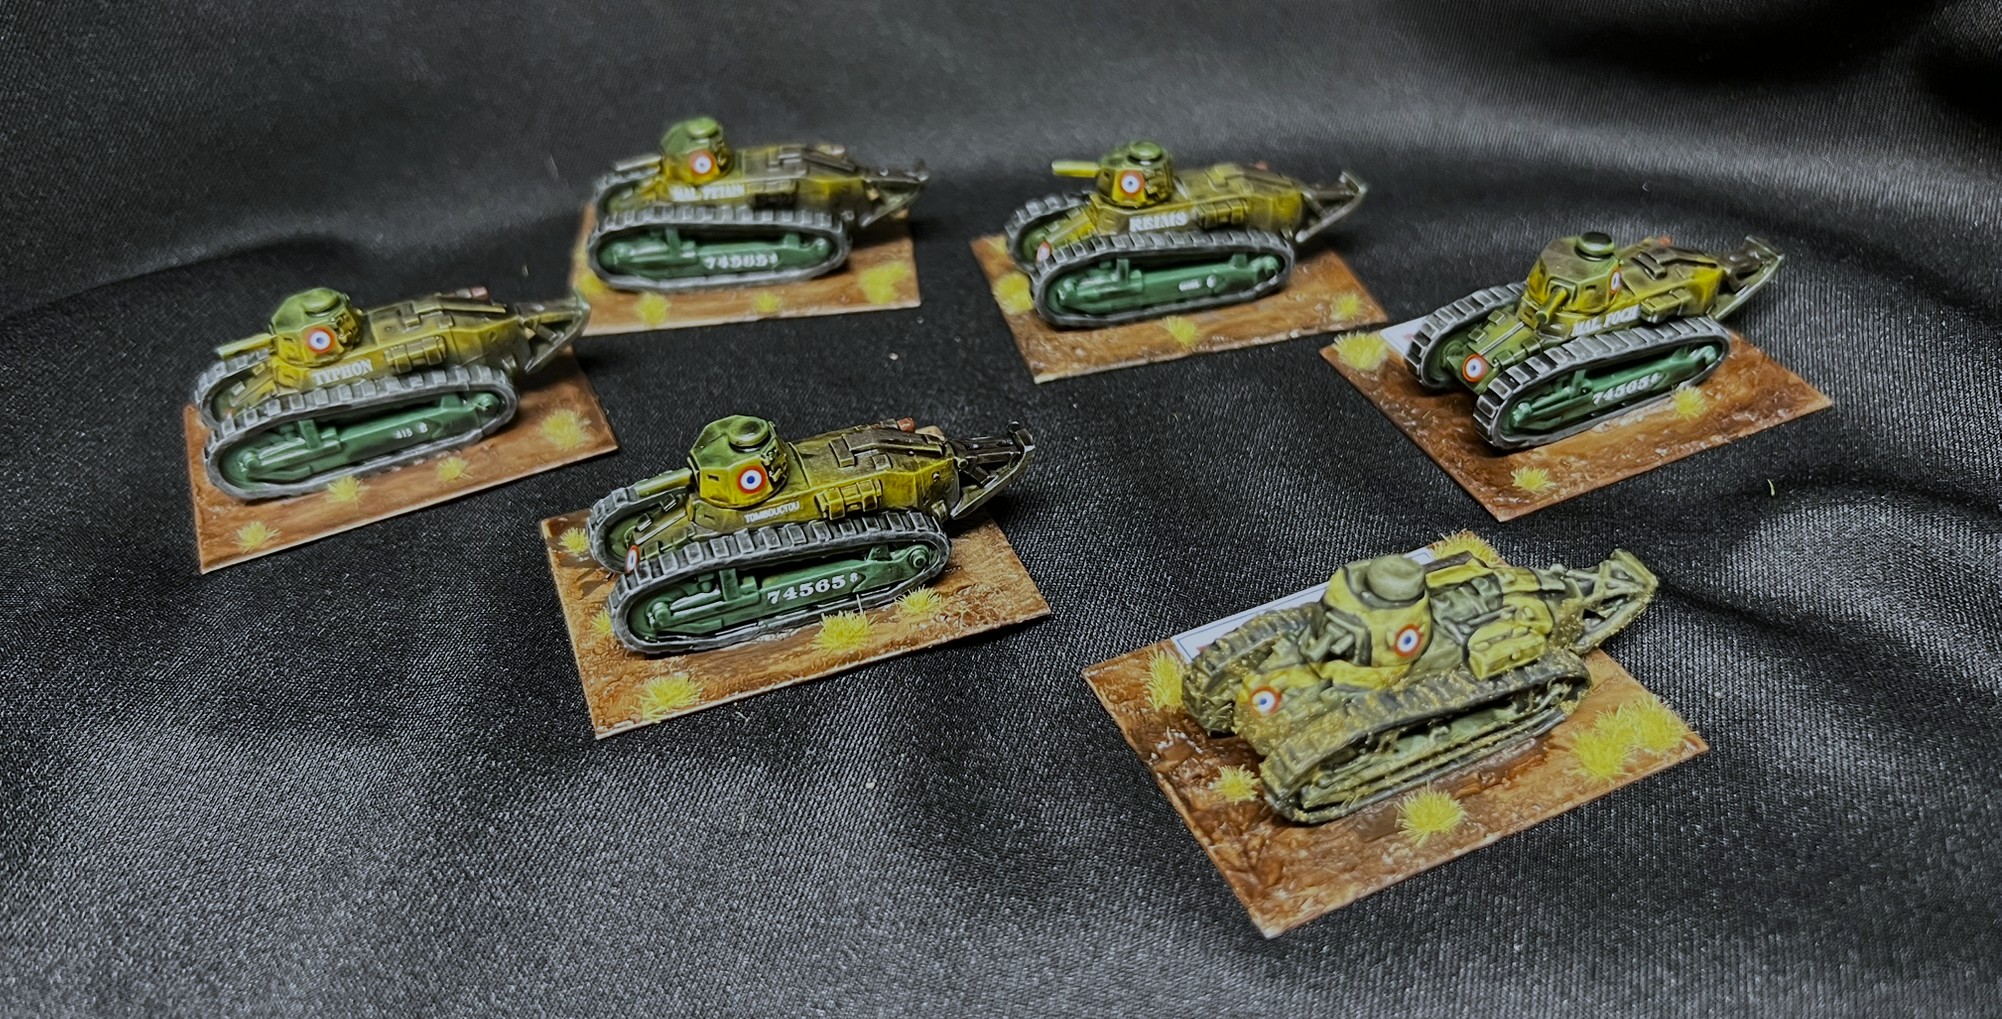
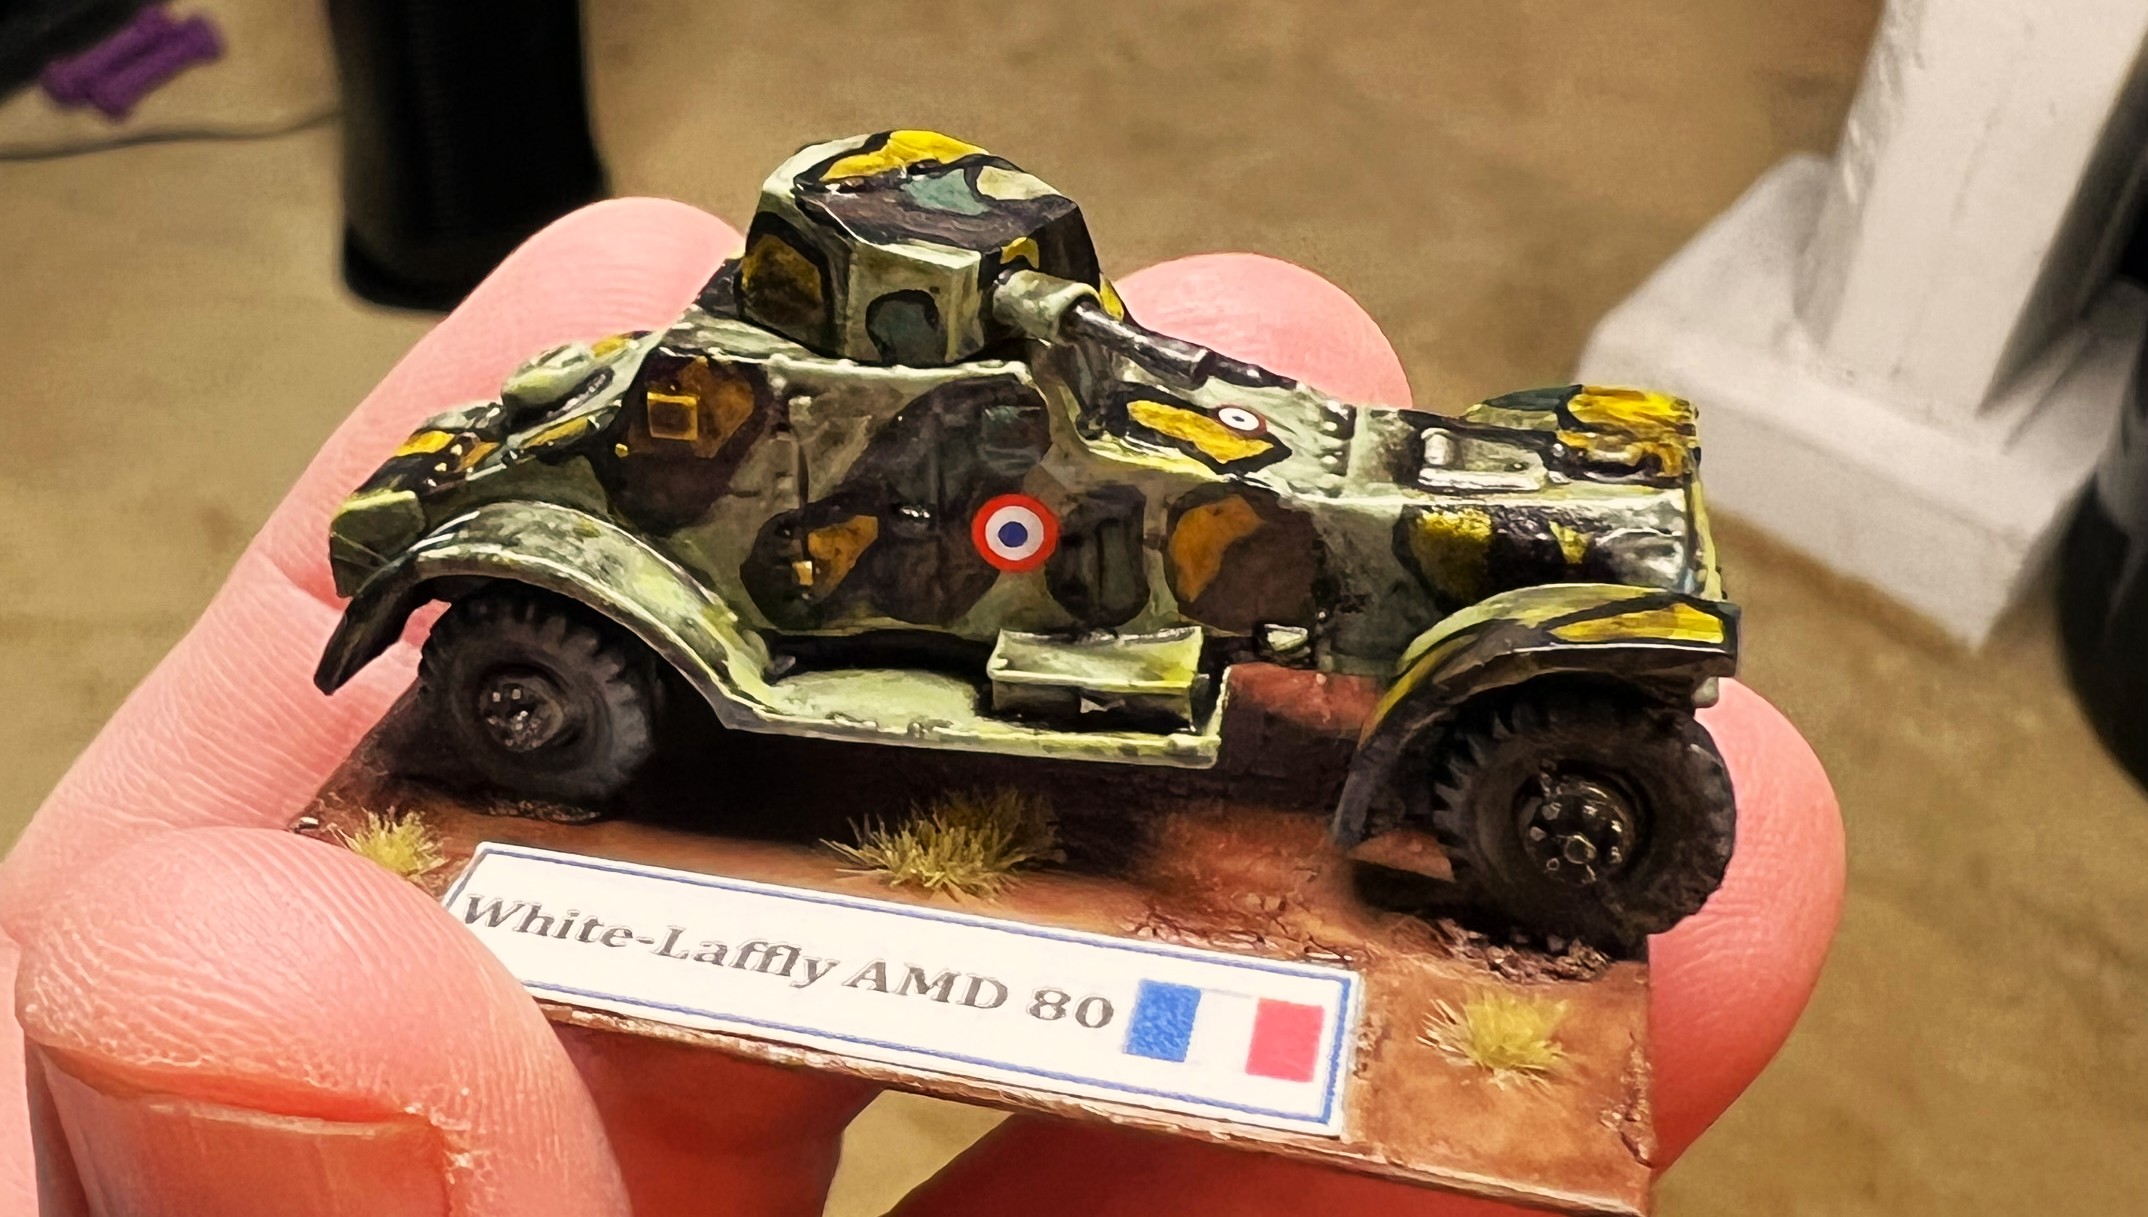
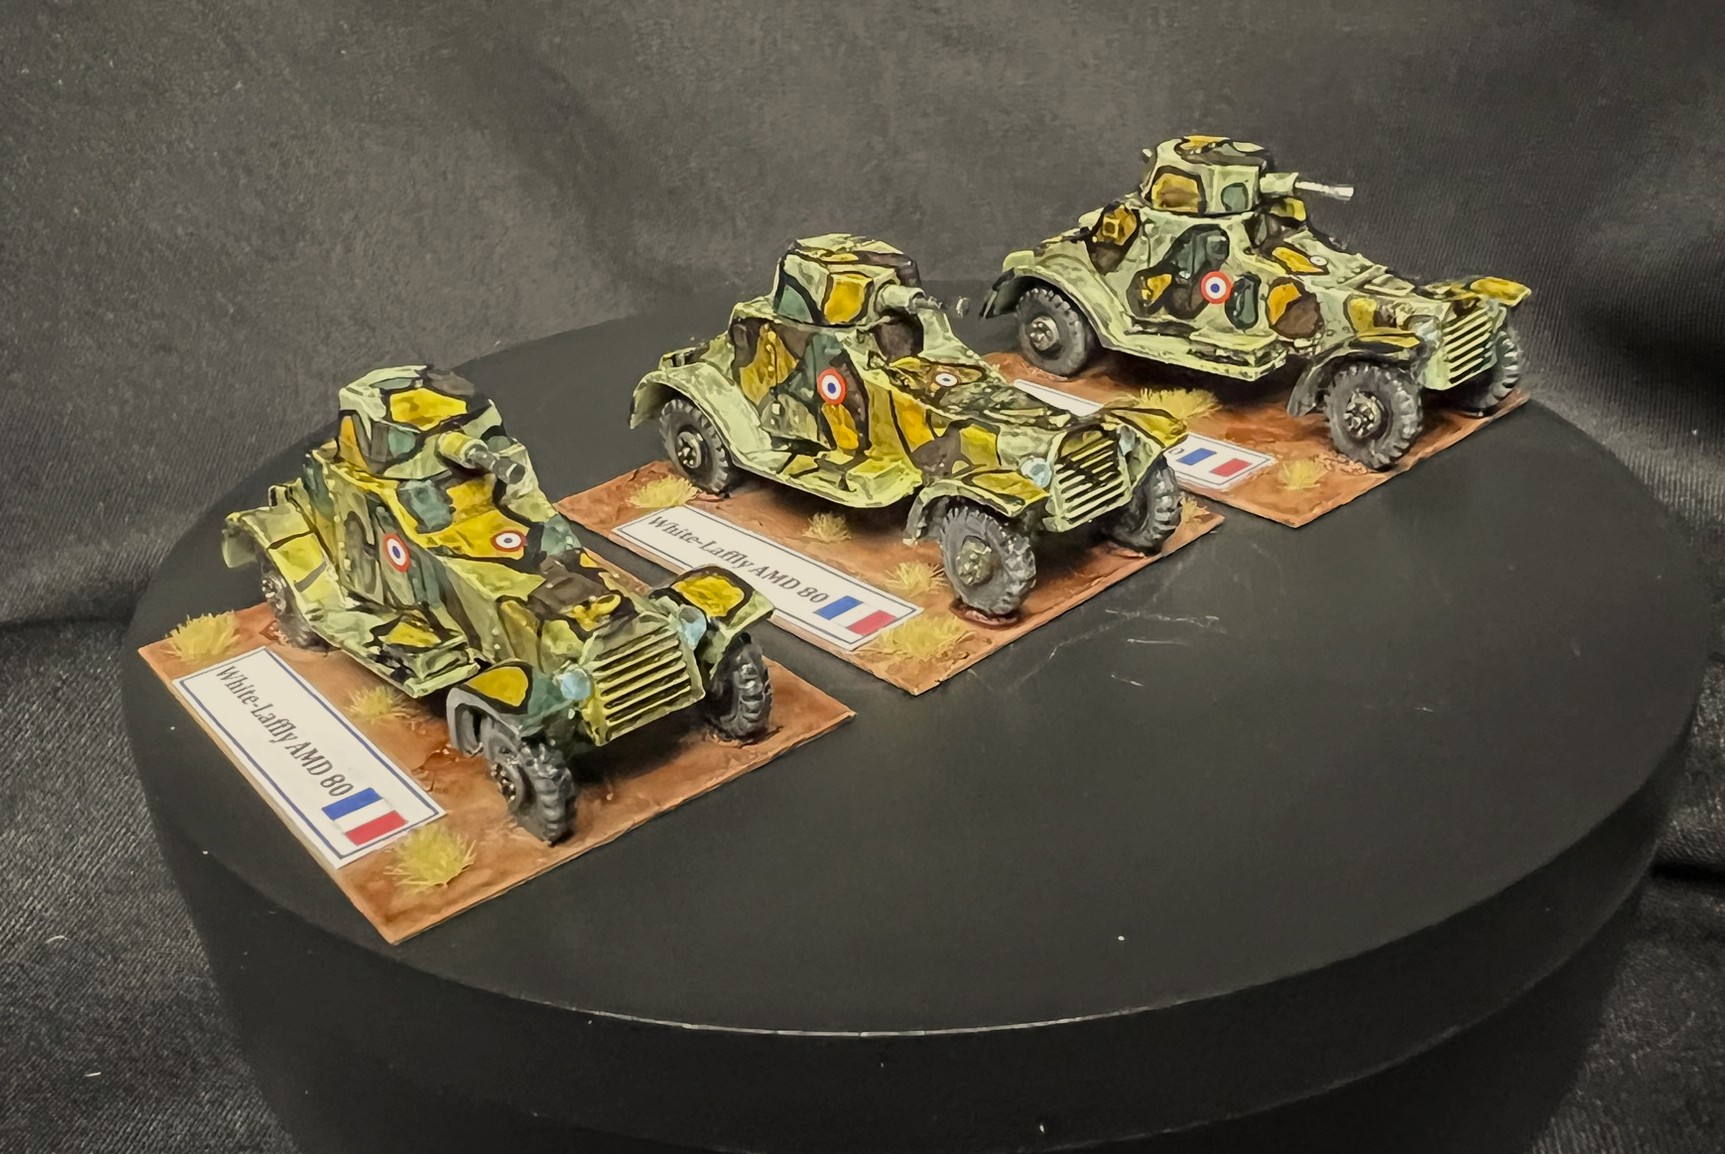
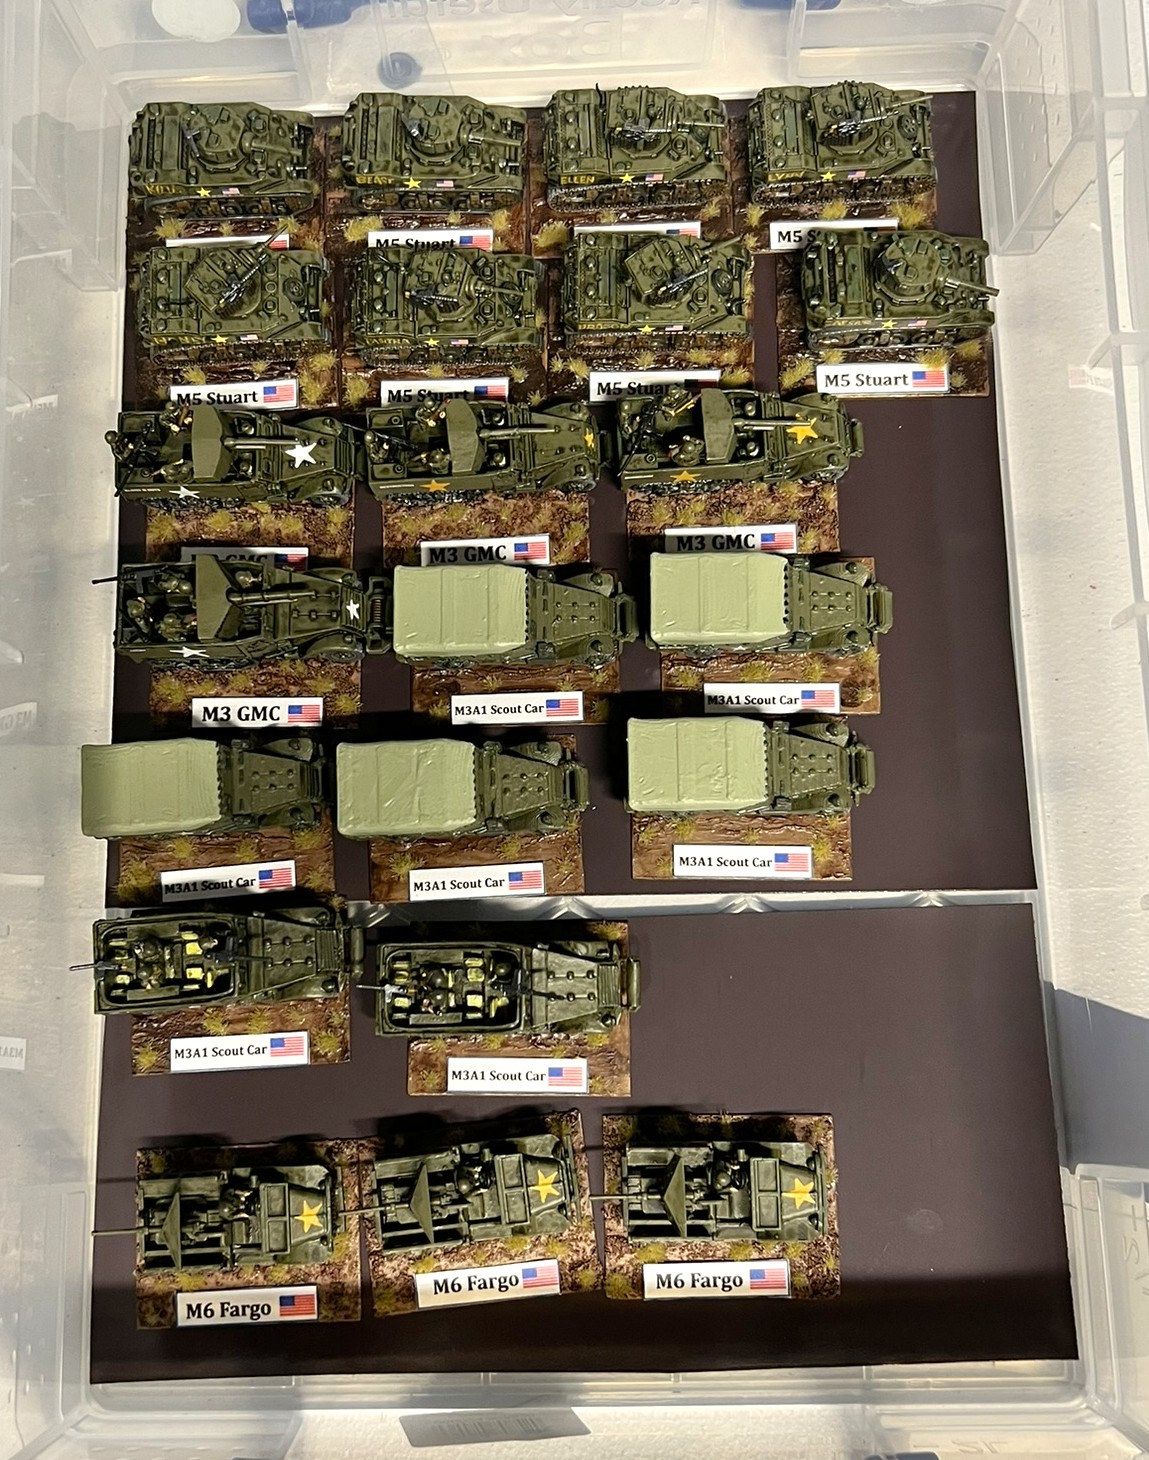
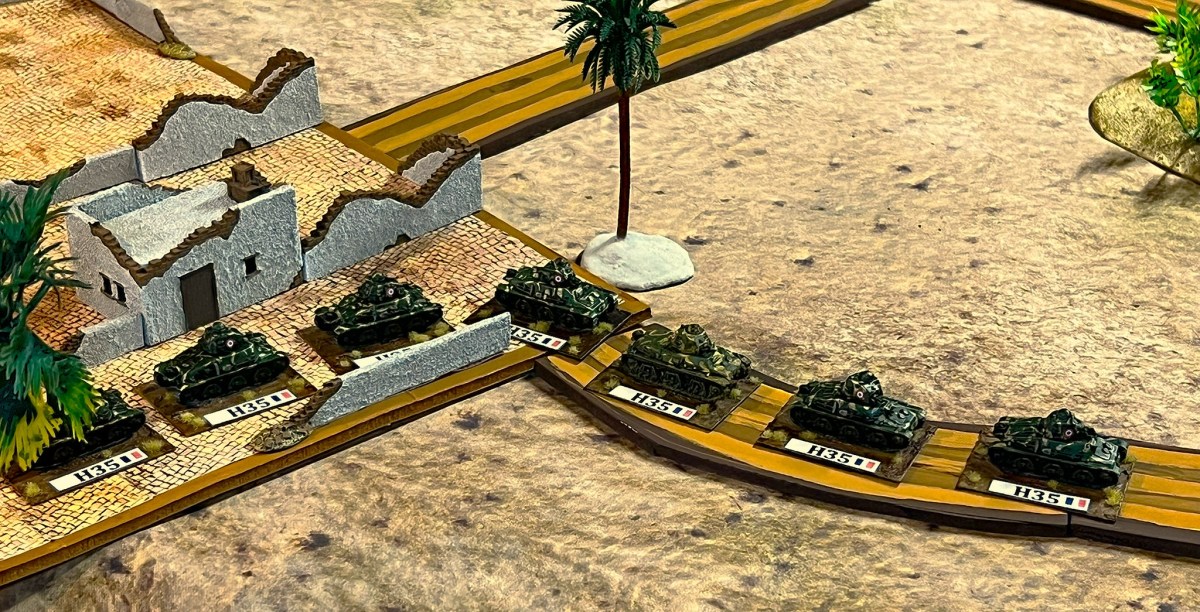
Eye Candy

I am indeed – as promised – catching up on the posts I have backlogged for my What a Tanker Operation Torch game project- and yes there are more AFV’s to come. I do appreciate you, my readers. Of the eventually-painted 31 Vichy vehicles I had for the game, this brings me up to 24 Vichy combat vehicles that I have covered to date in this blog. I have 8 remaining Vichy armored cars to write about before I get to the USA. Those 8 will be the topic of my next post. Please, if you want, I’d love to hear any feedback – feel free to let me know your thoughts in the comments section.
For all of my posts on WWII games and projects – there is a consolidated list of posts and their links located here.
MATERIALS USED
PAINTS, INKS, GLAZES, SHADES, WASHES, PIGMENTS AND FLOCKING USED ON THESE H35 MODELS:
- Green Stuff
- War Games Accessories Steel Bases Number 23 (1½” x 2″)
- No. 19 x ½” flat head nails
- Vallejo Surface Primer “German Green Brown”
- Neodymium magnets (¼”)
- Gorilla Glue
- Wooden Blocks, steel bolts, steel washers, nails, magnets, steel screws
- Citadel “Agrellan Earth” (texture)
- Vallejo Primers “NATO Green”
- Vallejo Surface Primer “Black”
- Vallejo Primers “Desert Tan”
- Vallejo Surface Primer “German Green Brown”
- Reaper MSP Core Colors “Blackened Brown”
- Army Painter “Mid Brown” (shade/wash)
- Vallejo Mecha Color “Dark Steel”
- Battlefront “Oxide Red”
- Reaper MSP “Carrot Top Red”
- Army Painter Speed Paint 1.0 “Dark Wood”
- Army Painter “Dark Tone” (wash)
- Vallejo Mecha Weathering Effects “Dark Rust Wash”
- Vallejo Model Air “Tire Black”
- Vallejo Model Color “Dark Sea Grey”
- Vallejo “Mecha Varnish Gloss”
- Microscale Industries “Micro Set”
- Microscale Industries “Micro Sol”
- Microscale Industries “Liquid Decal Film”
- Flames of War French Decal Set (FR940)
- Peddinghaus-Decals 1/100 2181 “World of Flames French tanks early war”
- Citadel “‘Ardcoat”
- Vallejo “Gloss Acrylic Varnish”
- Citadel “Agrellan Earth” (texture)
- Army Painter “Mid Brown” (shade/wash)
- Reaper MSP Core Colors “Blackened Brown”
- Vallejo Flow Improver
- Vallejo Thinner
- Vallejo “Matte Polyurethane Varnish”
- Printed labels on card stock
- Gamers Grass “Tiny Beige 2mm Tufts” (flocking)
- PVA Glue