Transforming a Corgi Toy Tiger Tank for the Imperial Felynxii Army

This project was a lot of fun! It allowed me to be creative and model something a bit different than just painting up a standard vehicle or unit of miniature troops. Retro sci-fi is a great genre to do just that.

Infantry need armored support in the retro sci-fi universe! I mentioned in my blog post on the Felynxii Imperial Scouts that I had a concept of adding armor to their force. I use Buck Surdu’s Combat PatrolTM WWII rules with my retro sci-fi modifications for these tabletop games. But, how to add an armored element?

First, let’s look at obvious inspirations – many vehicles have been given cat-like names. The US had the M10 Hellcat tank destroyer, The Germans have had many from the Luchs (lynx), Puma, Leopards, Panther, and … two types of TIGER!

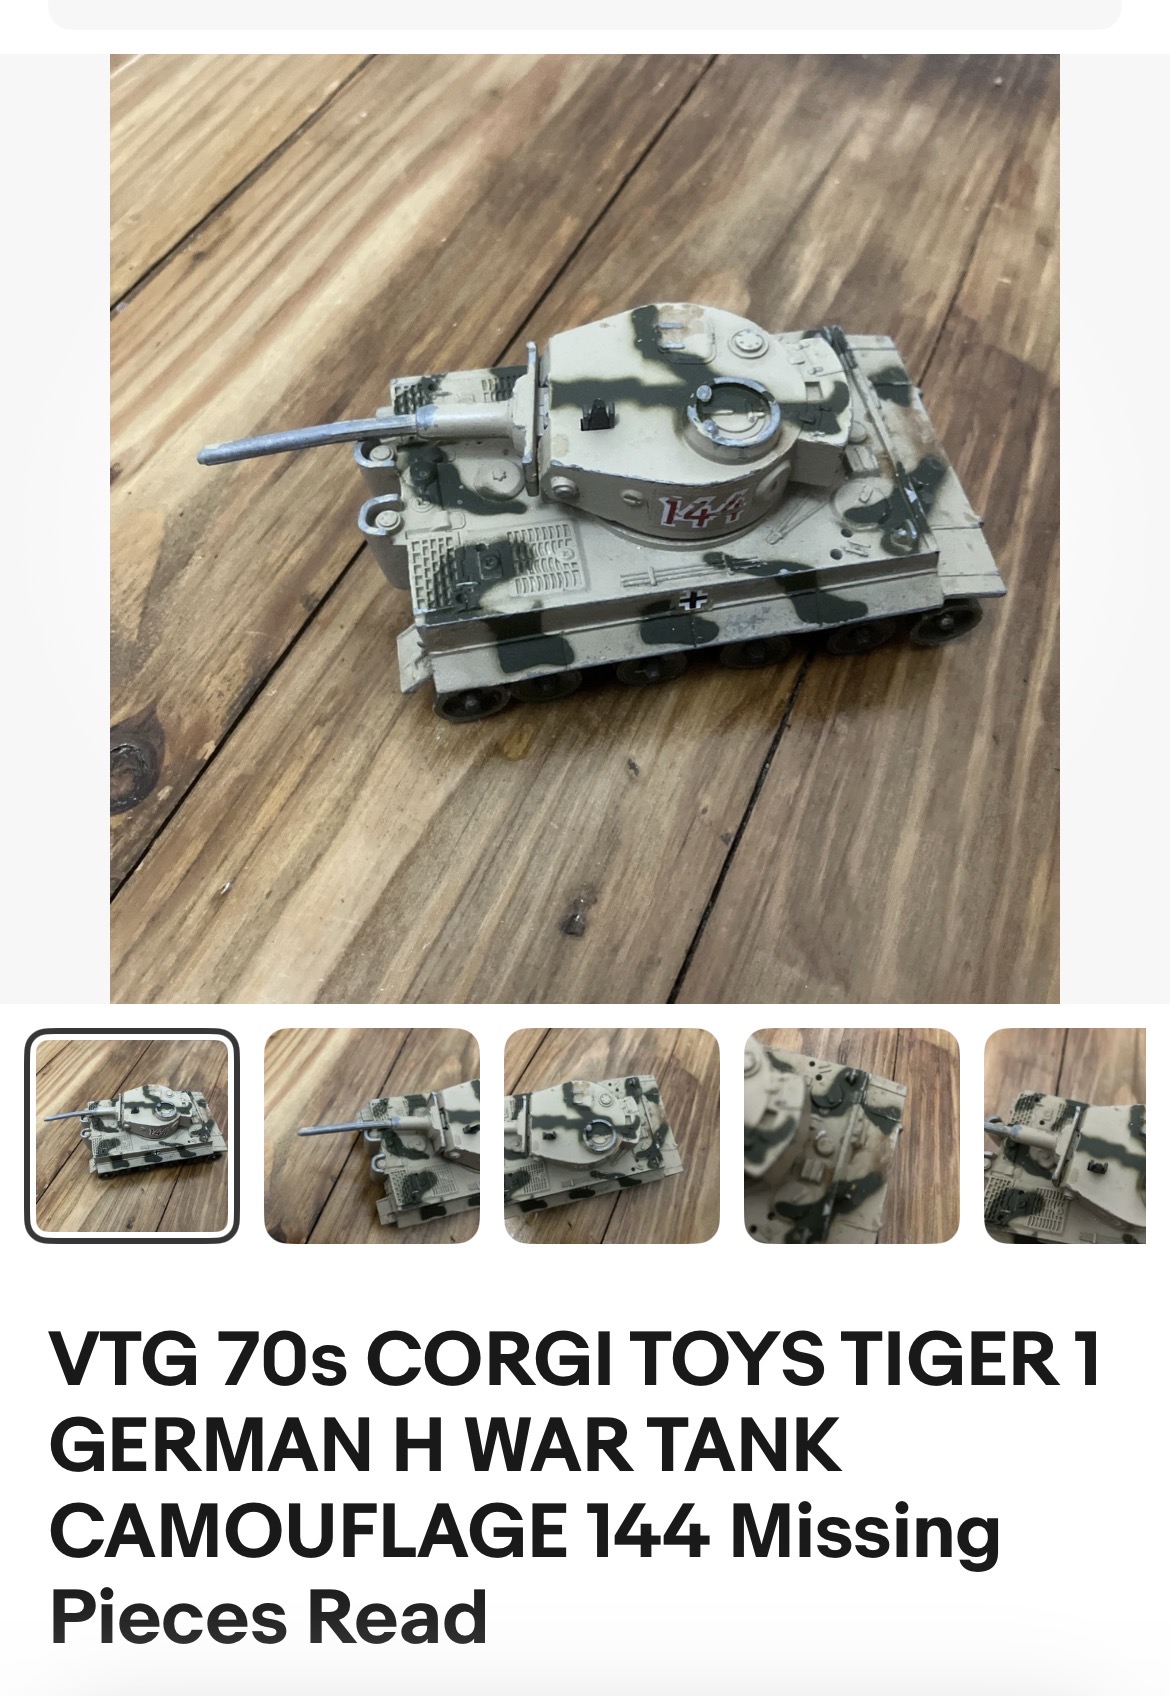
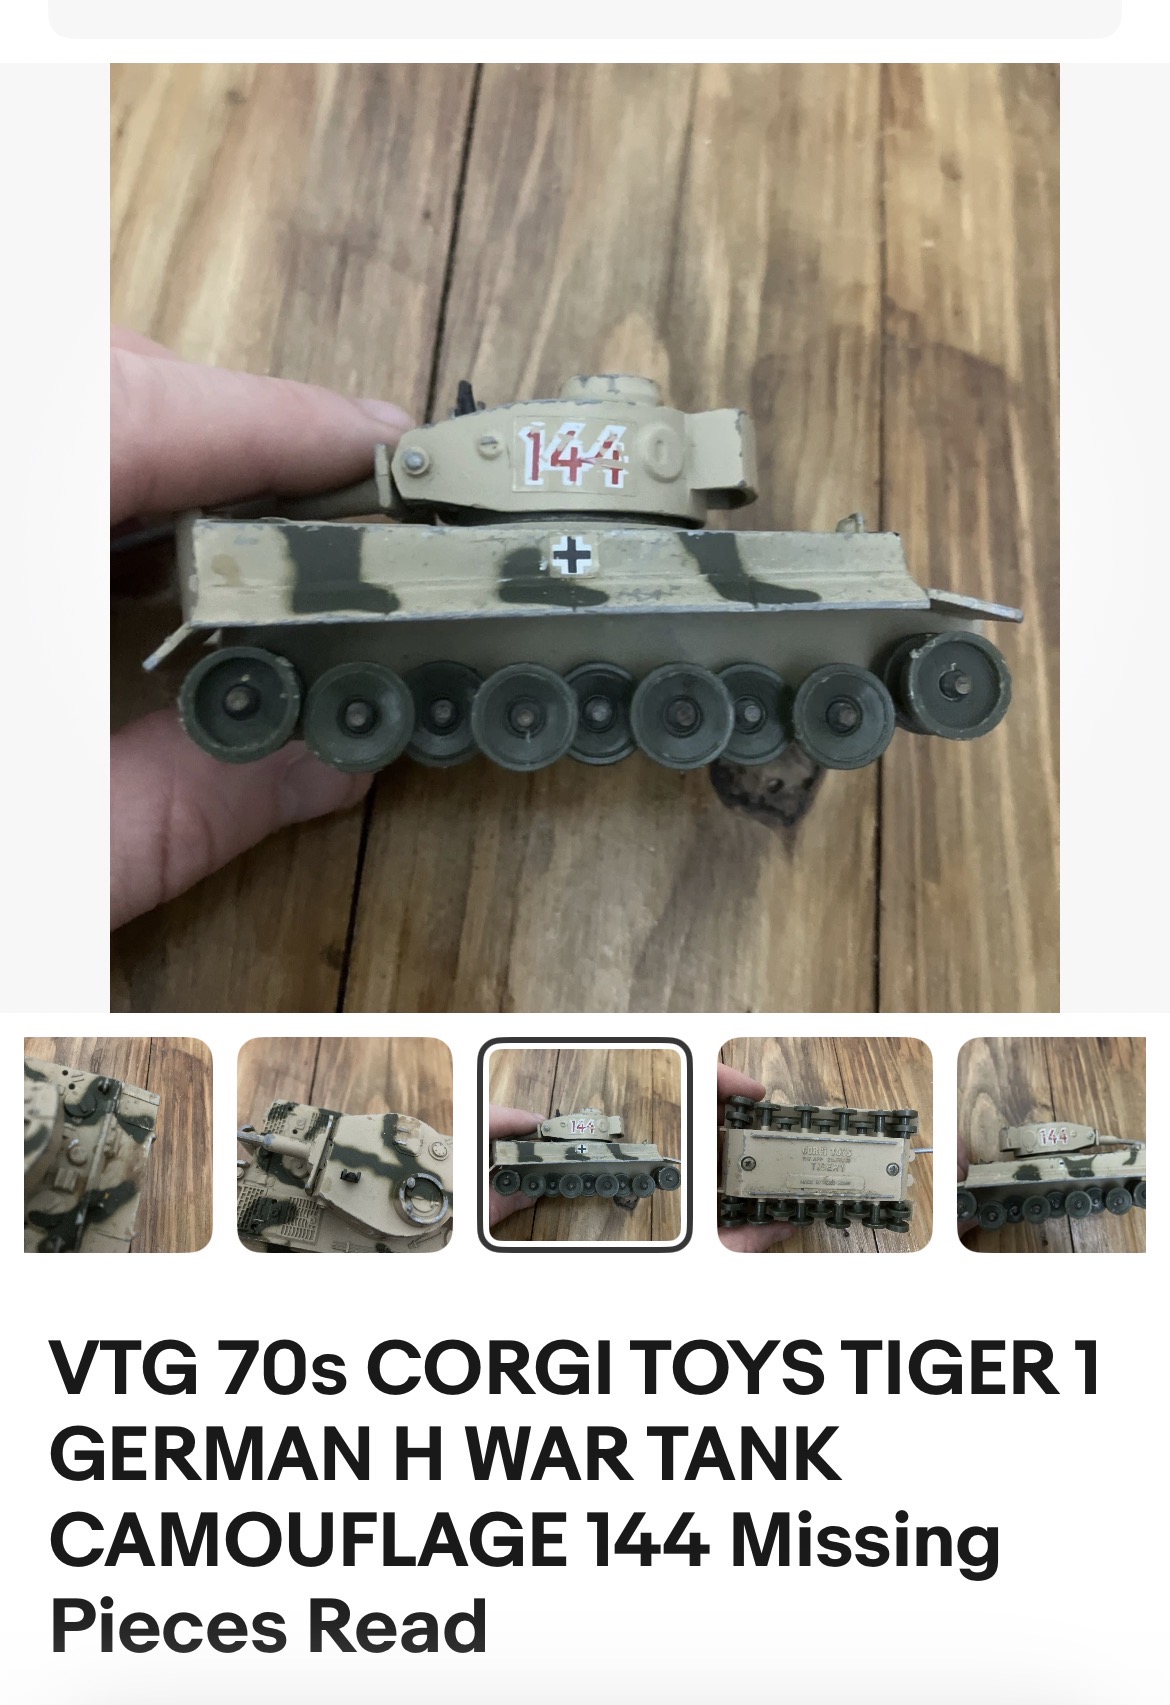
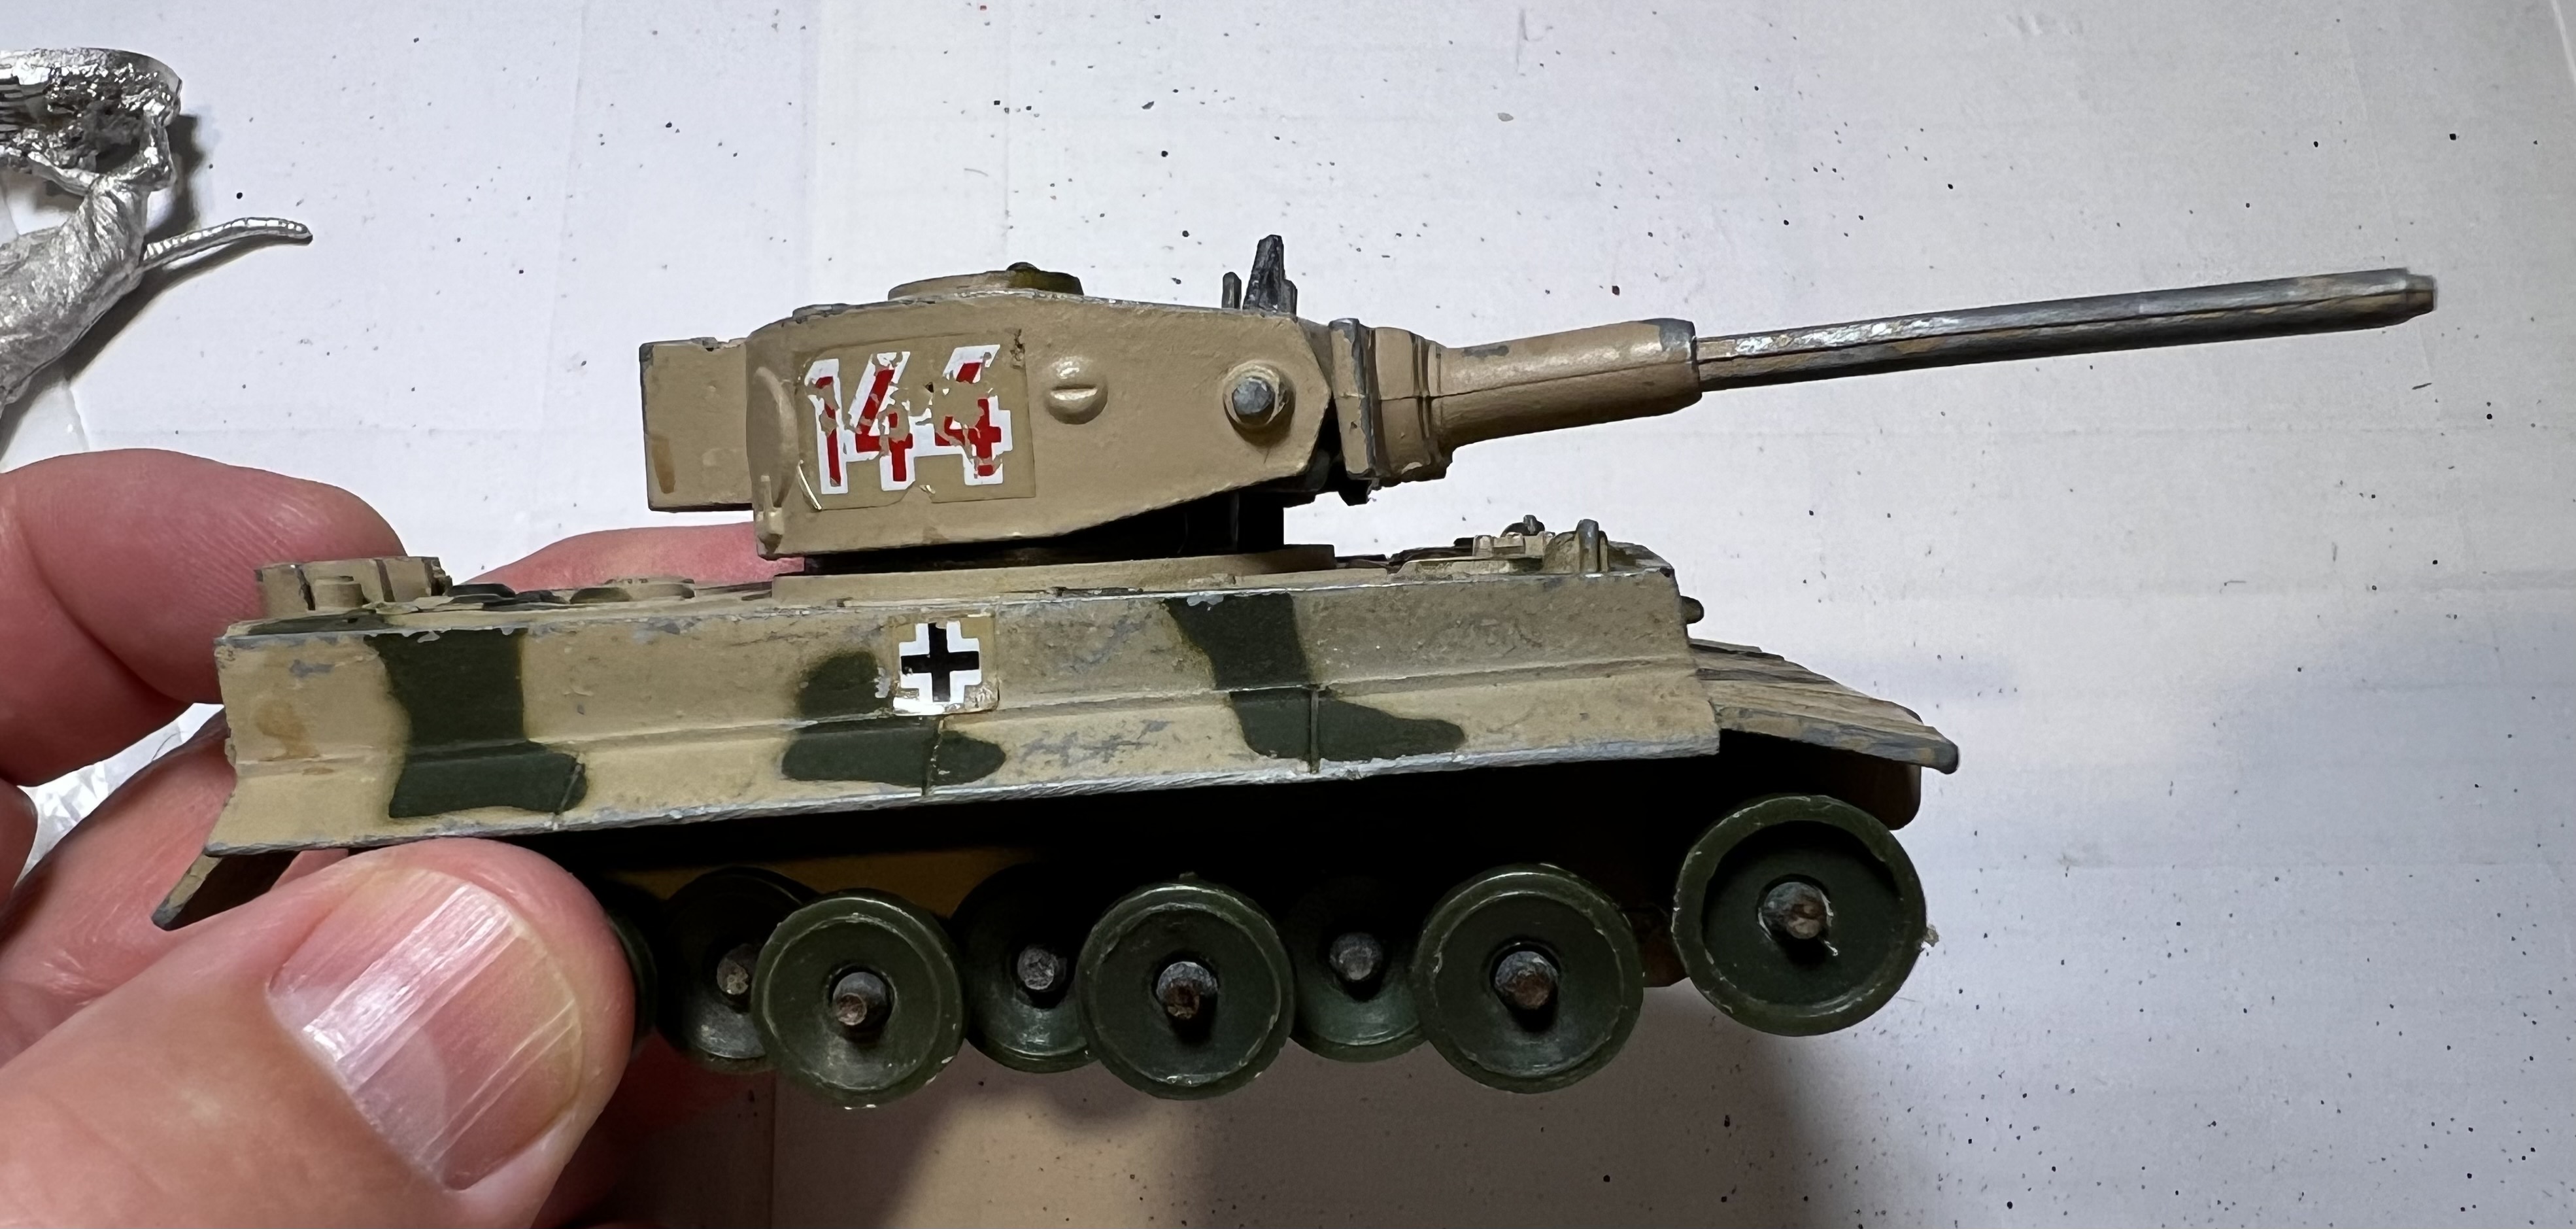
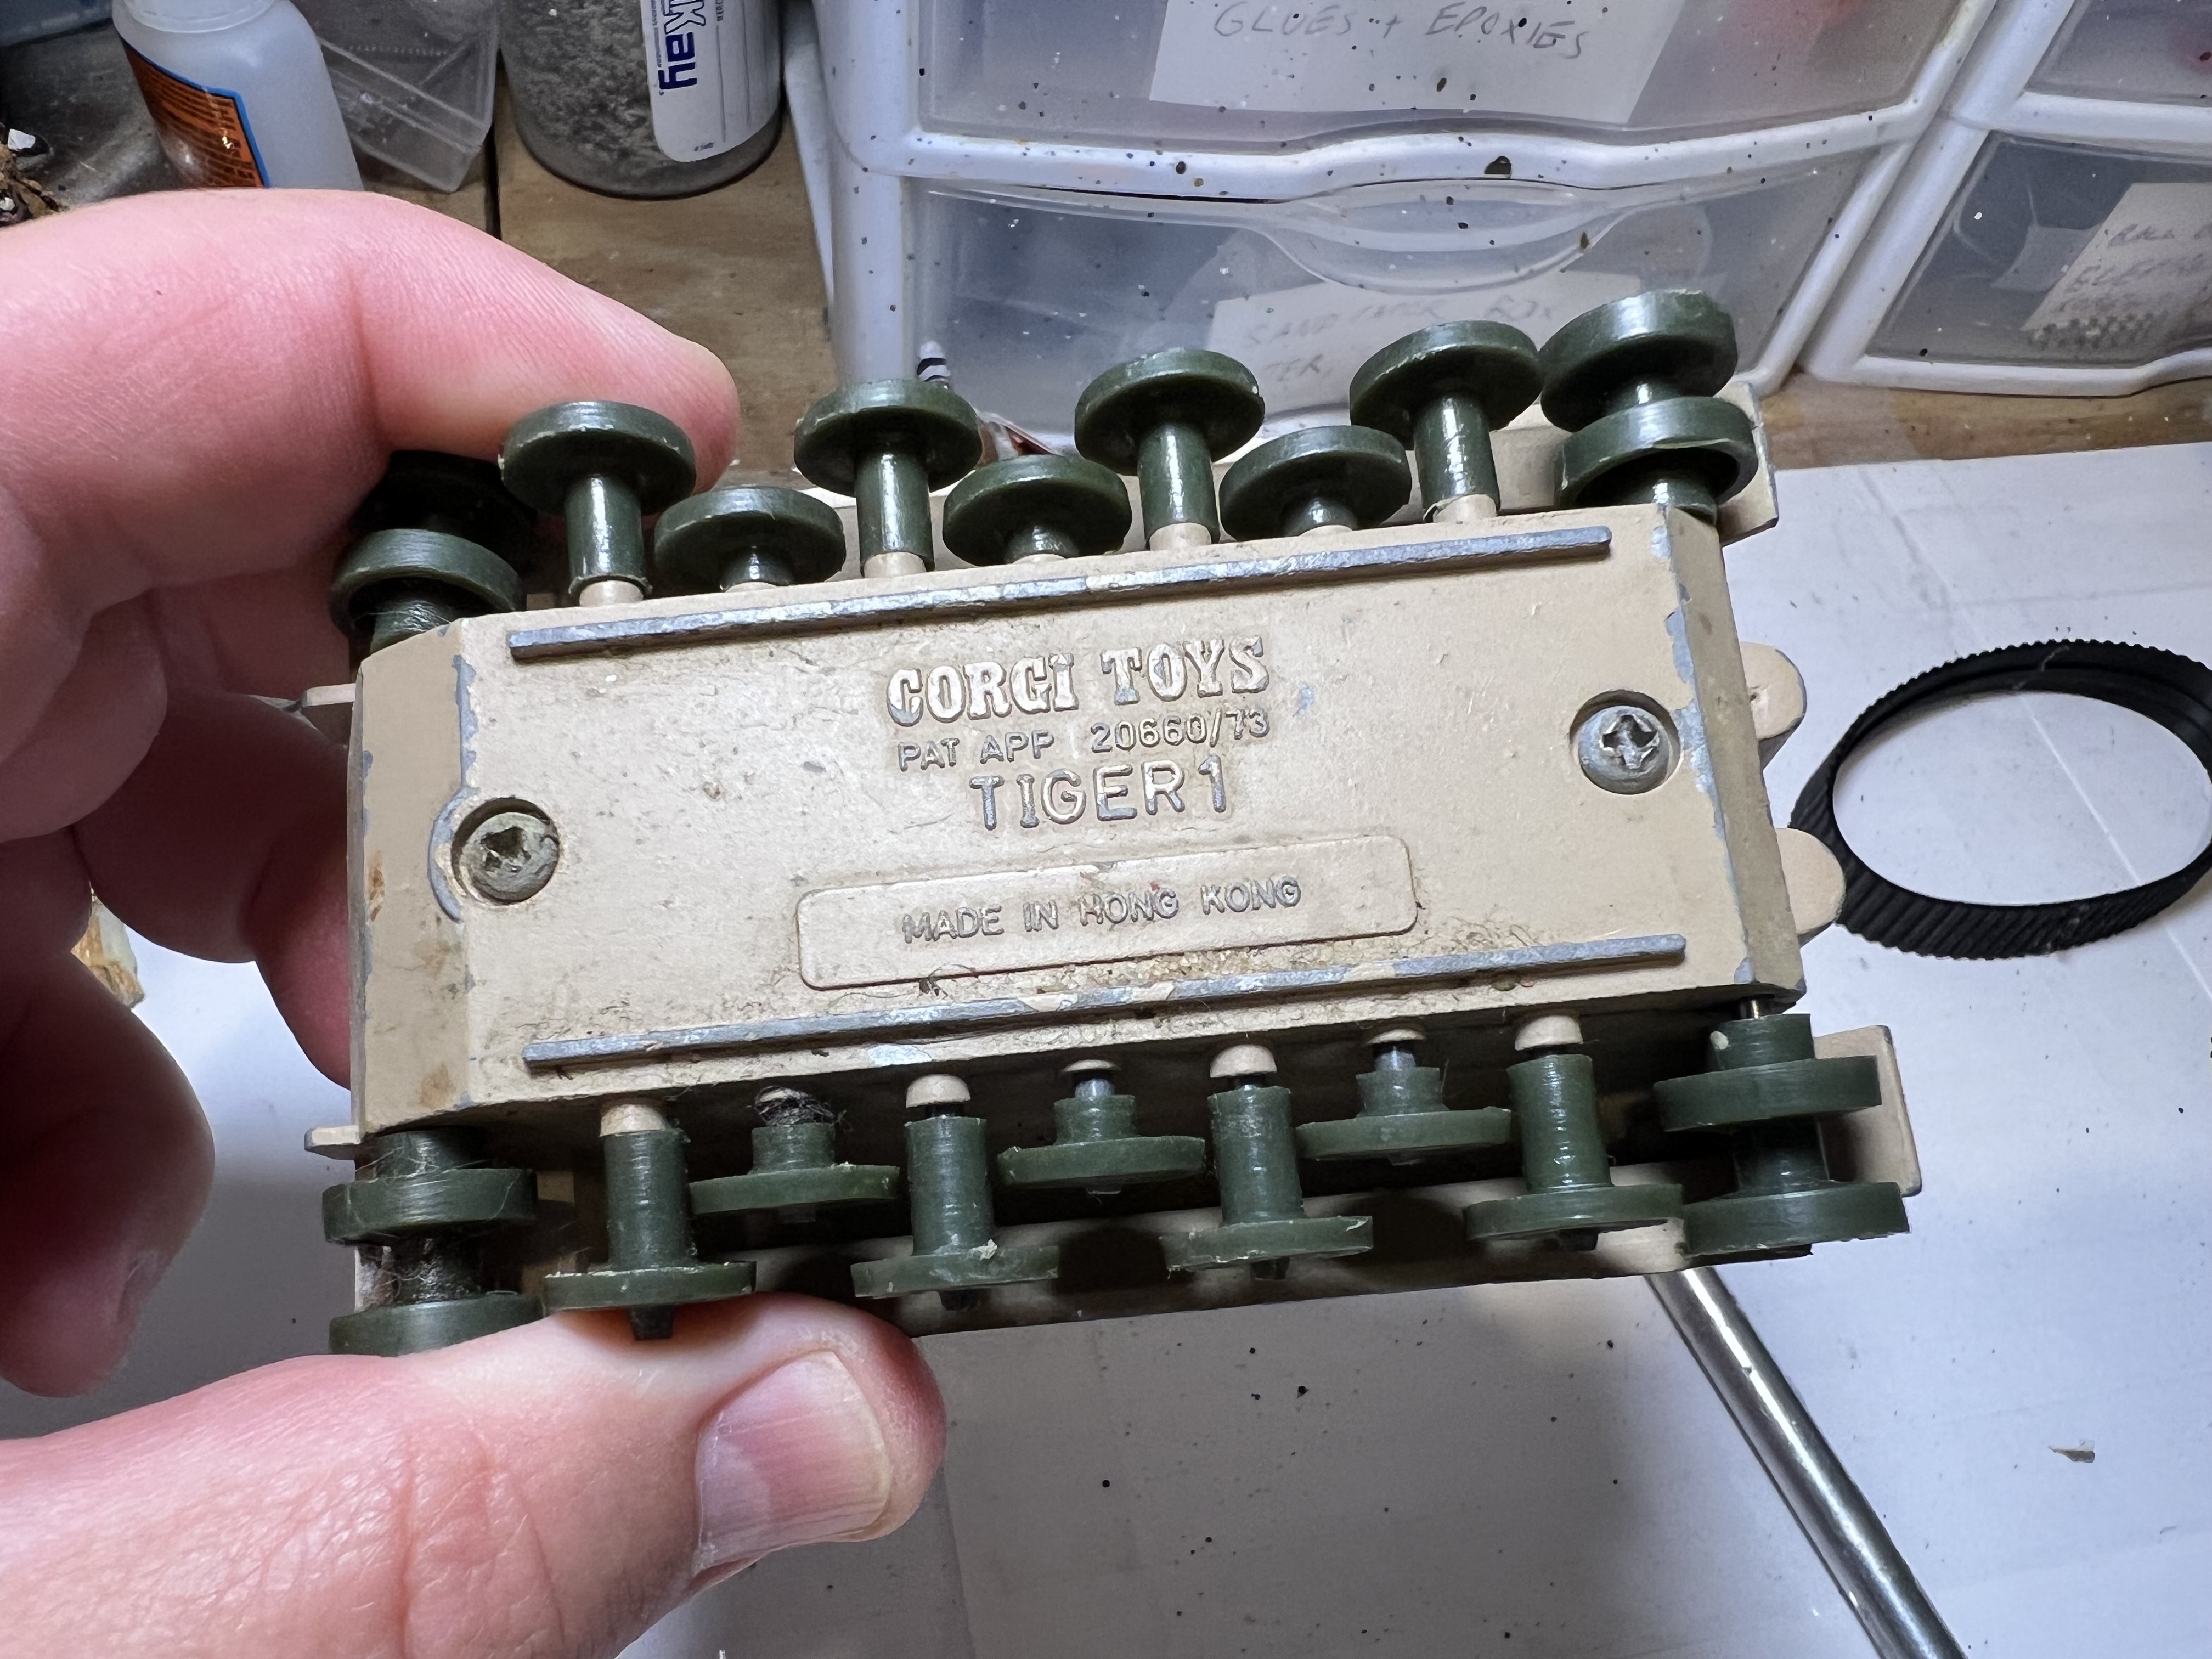
So I began my search for a suitable toy tank or model to use that was of a workable scale. I have read often that some gamers prefer 1:48 scale or 1:56 scale for 28mm game vehicles. I was agnostic on this debate – I just wanted a good feline-inspired tank. Then I saw this old and somewhat beat-up Corgi toy from the 1970’s on eBay.
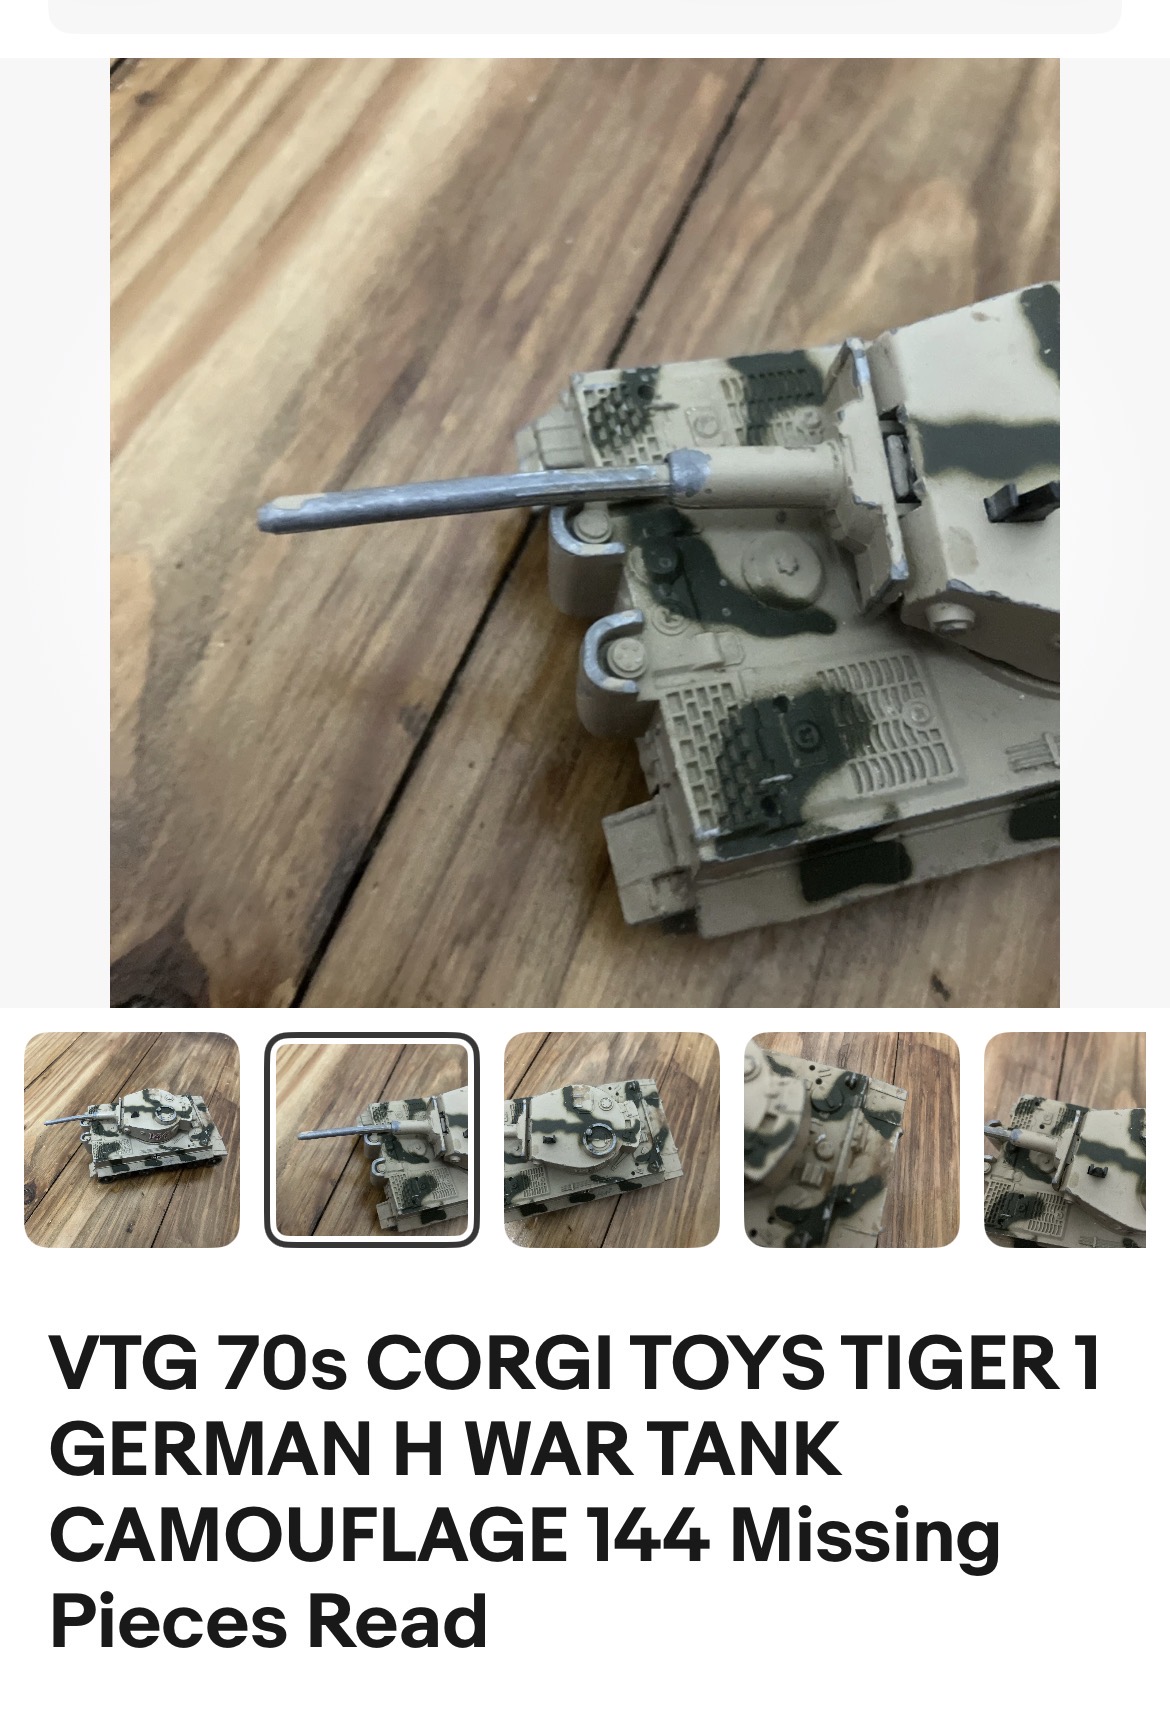
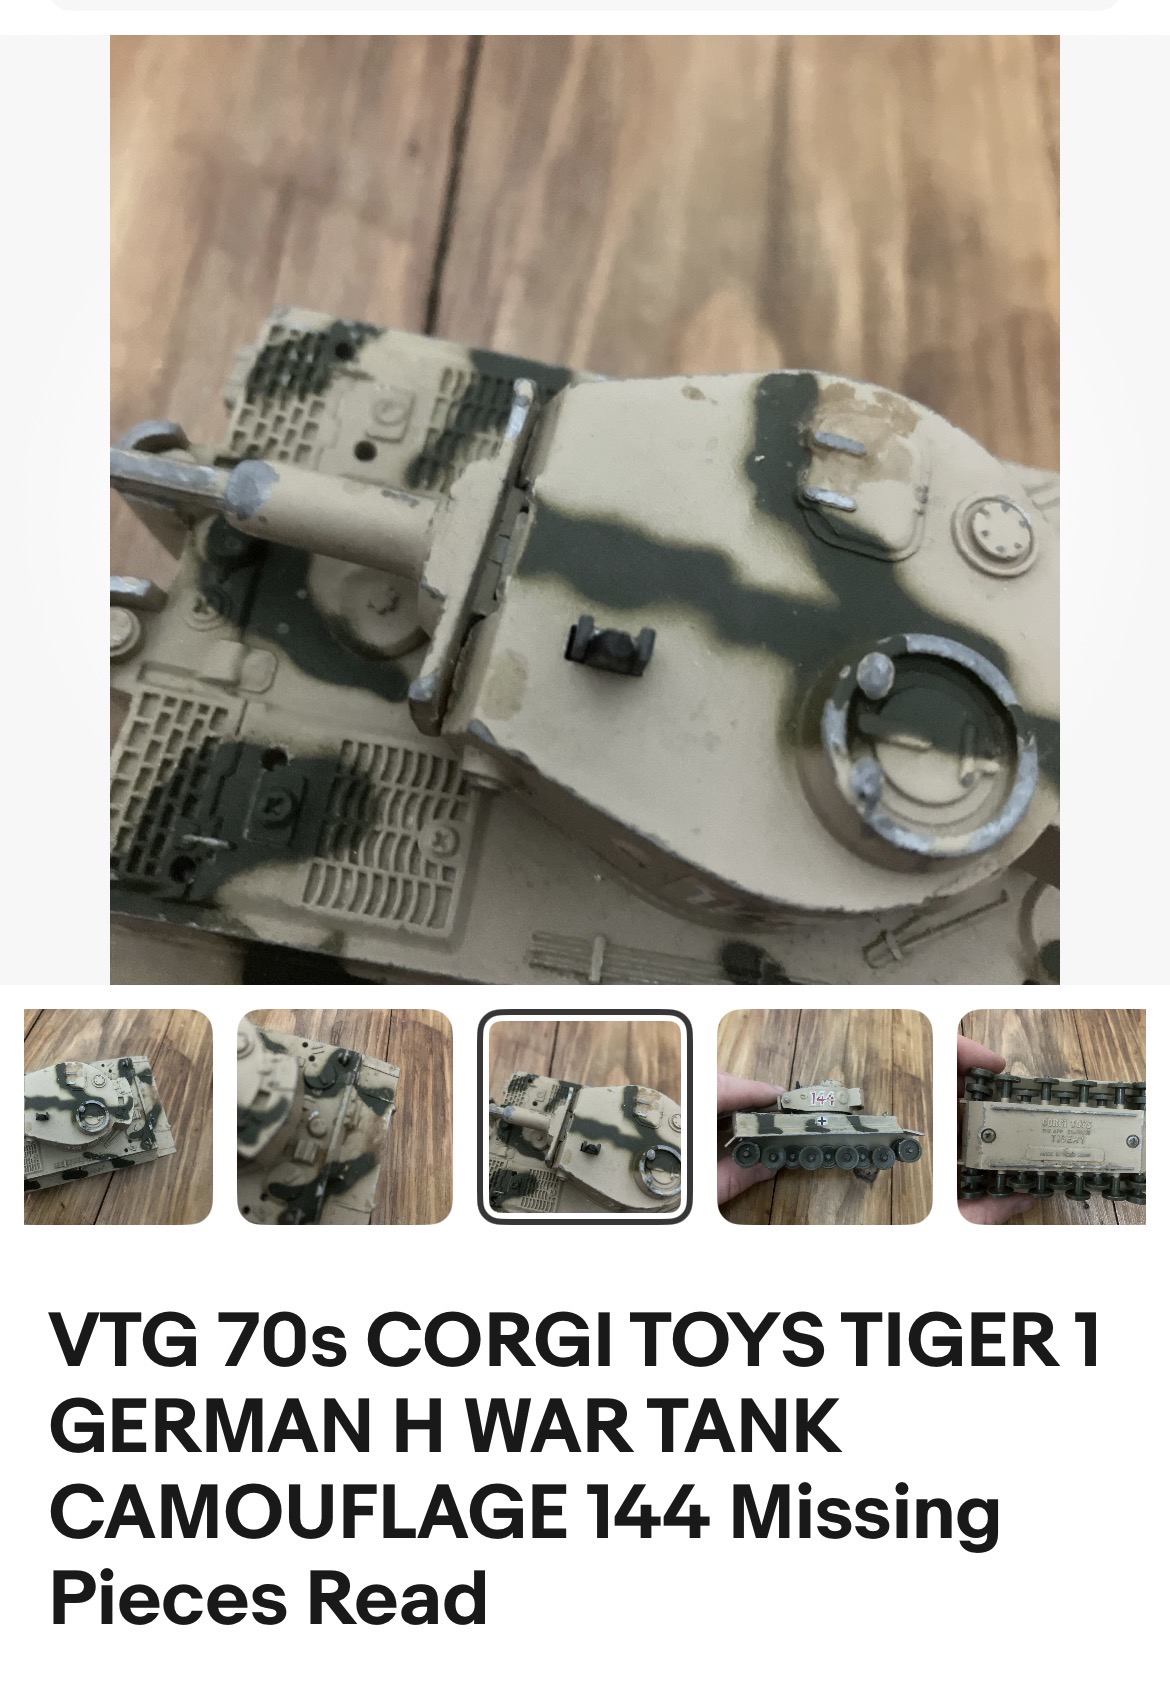
I thought this might work. The Corgi Tiger tank scale was about 1:50 (right in the middle of the two common scales). But I didn’t want to fabricate tracks. Luckily eBay had a seller (apejaycustoms) that 3d-printed tracks for a toy Corgi tank! That’s amazing!
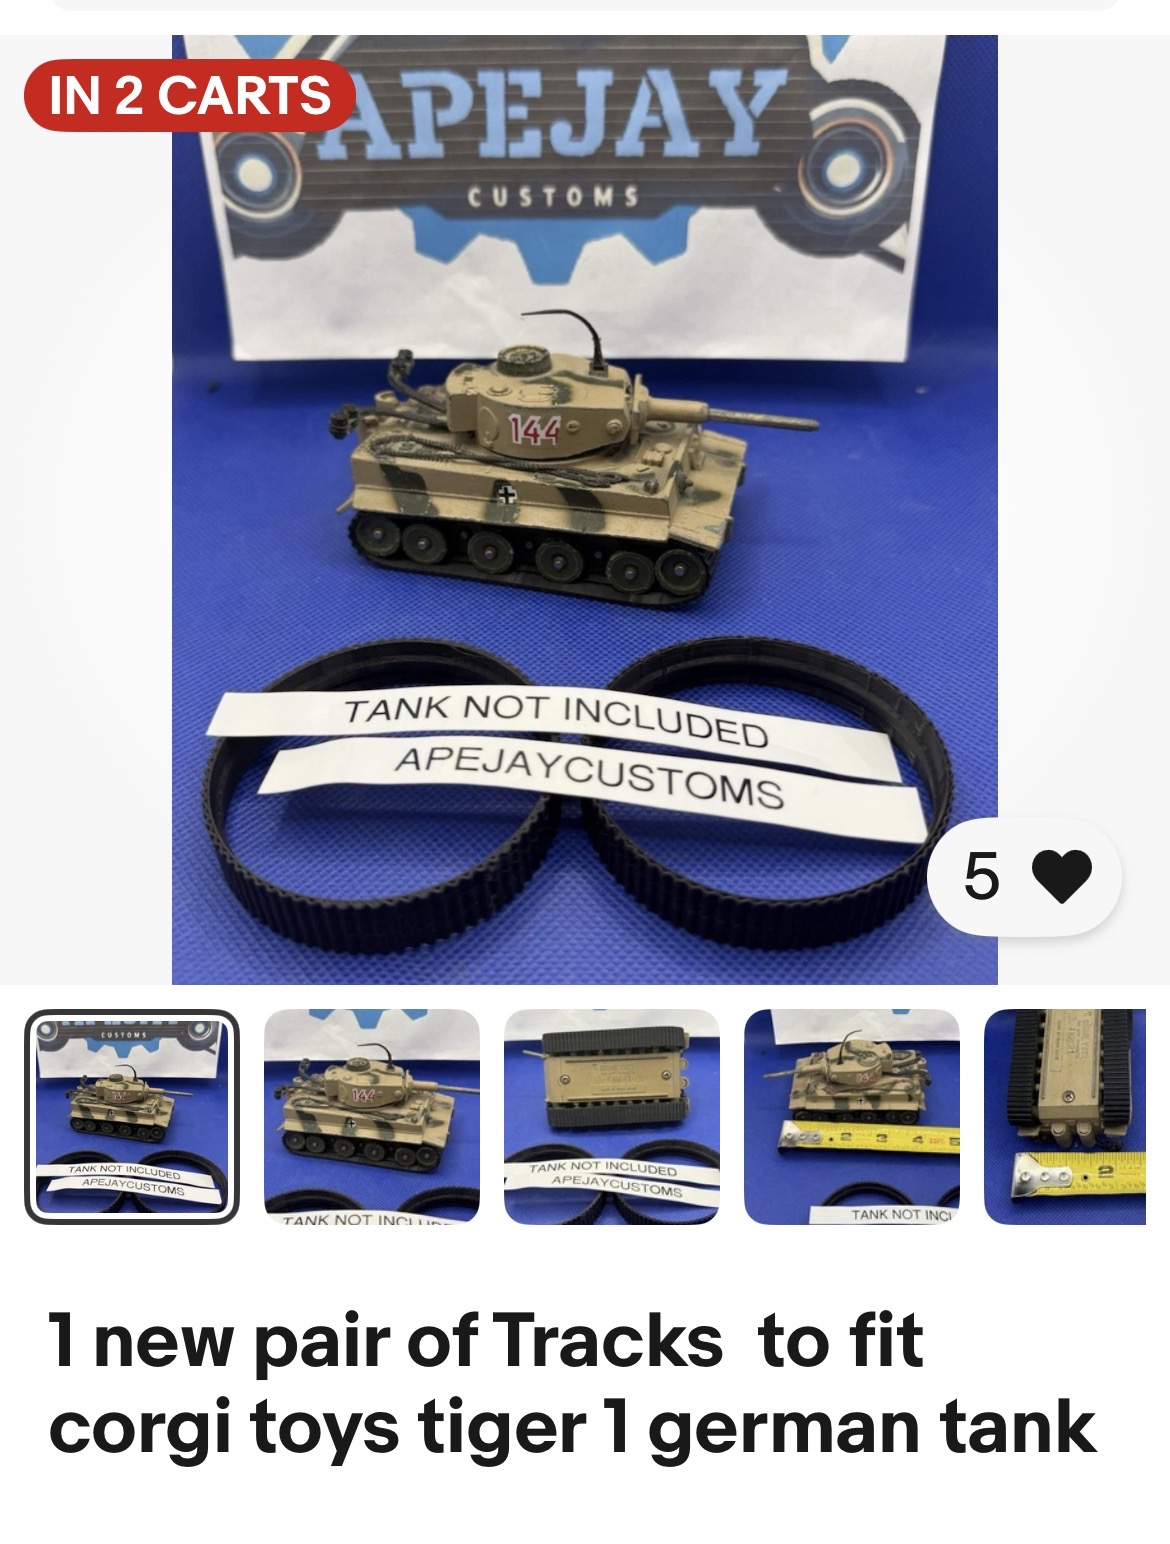
Including shipping, I bought the tank for $12.30 and the tracks for $13.15.

I could have stopped there – but as most of you know that I usually don’t. What if the Tiger could be commanded by – A TIGER! That would certainly mesh with the feline Felynxii army.I looked at a few options on eBay and in local stores – and bought the following options with the idea that I could possible remove the head and put on the top of the tank in the commander’s cupula:
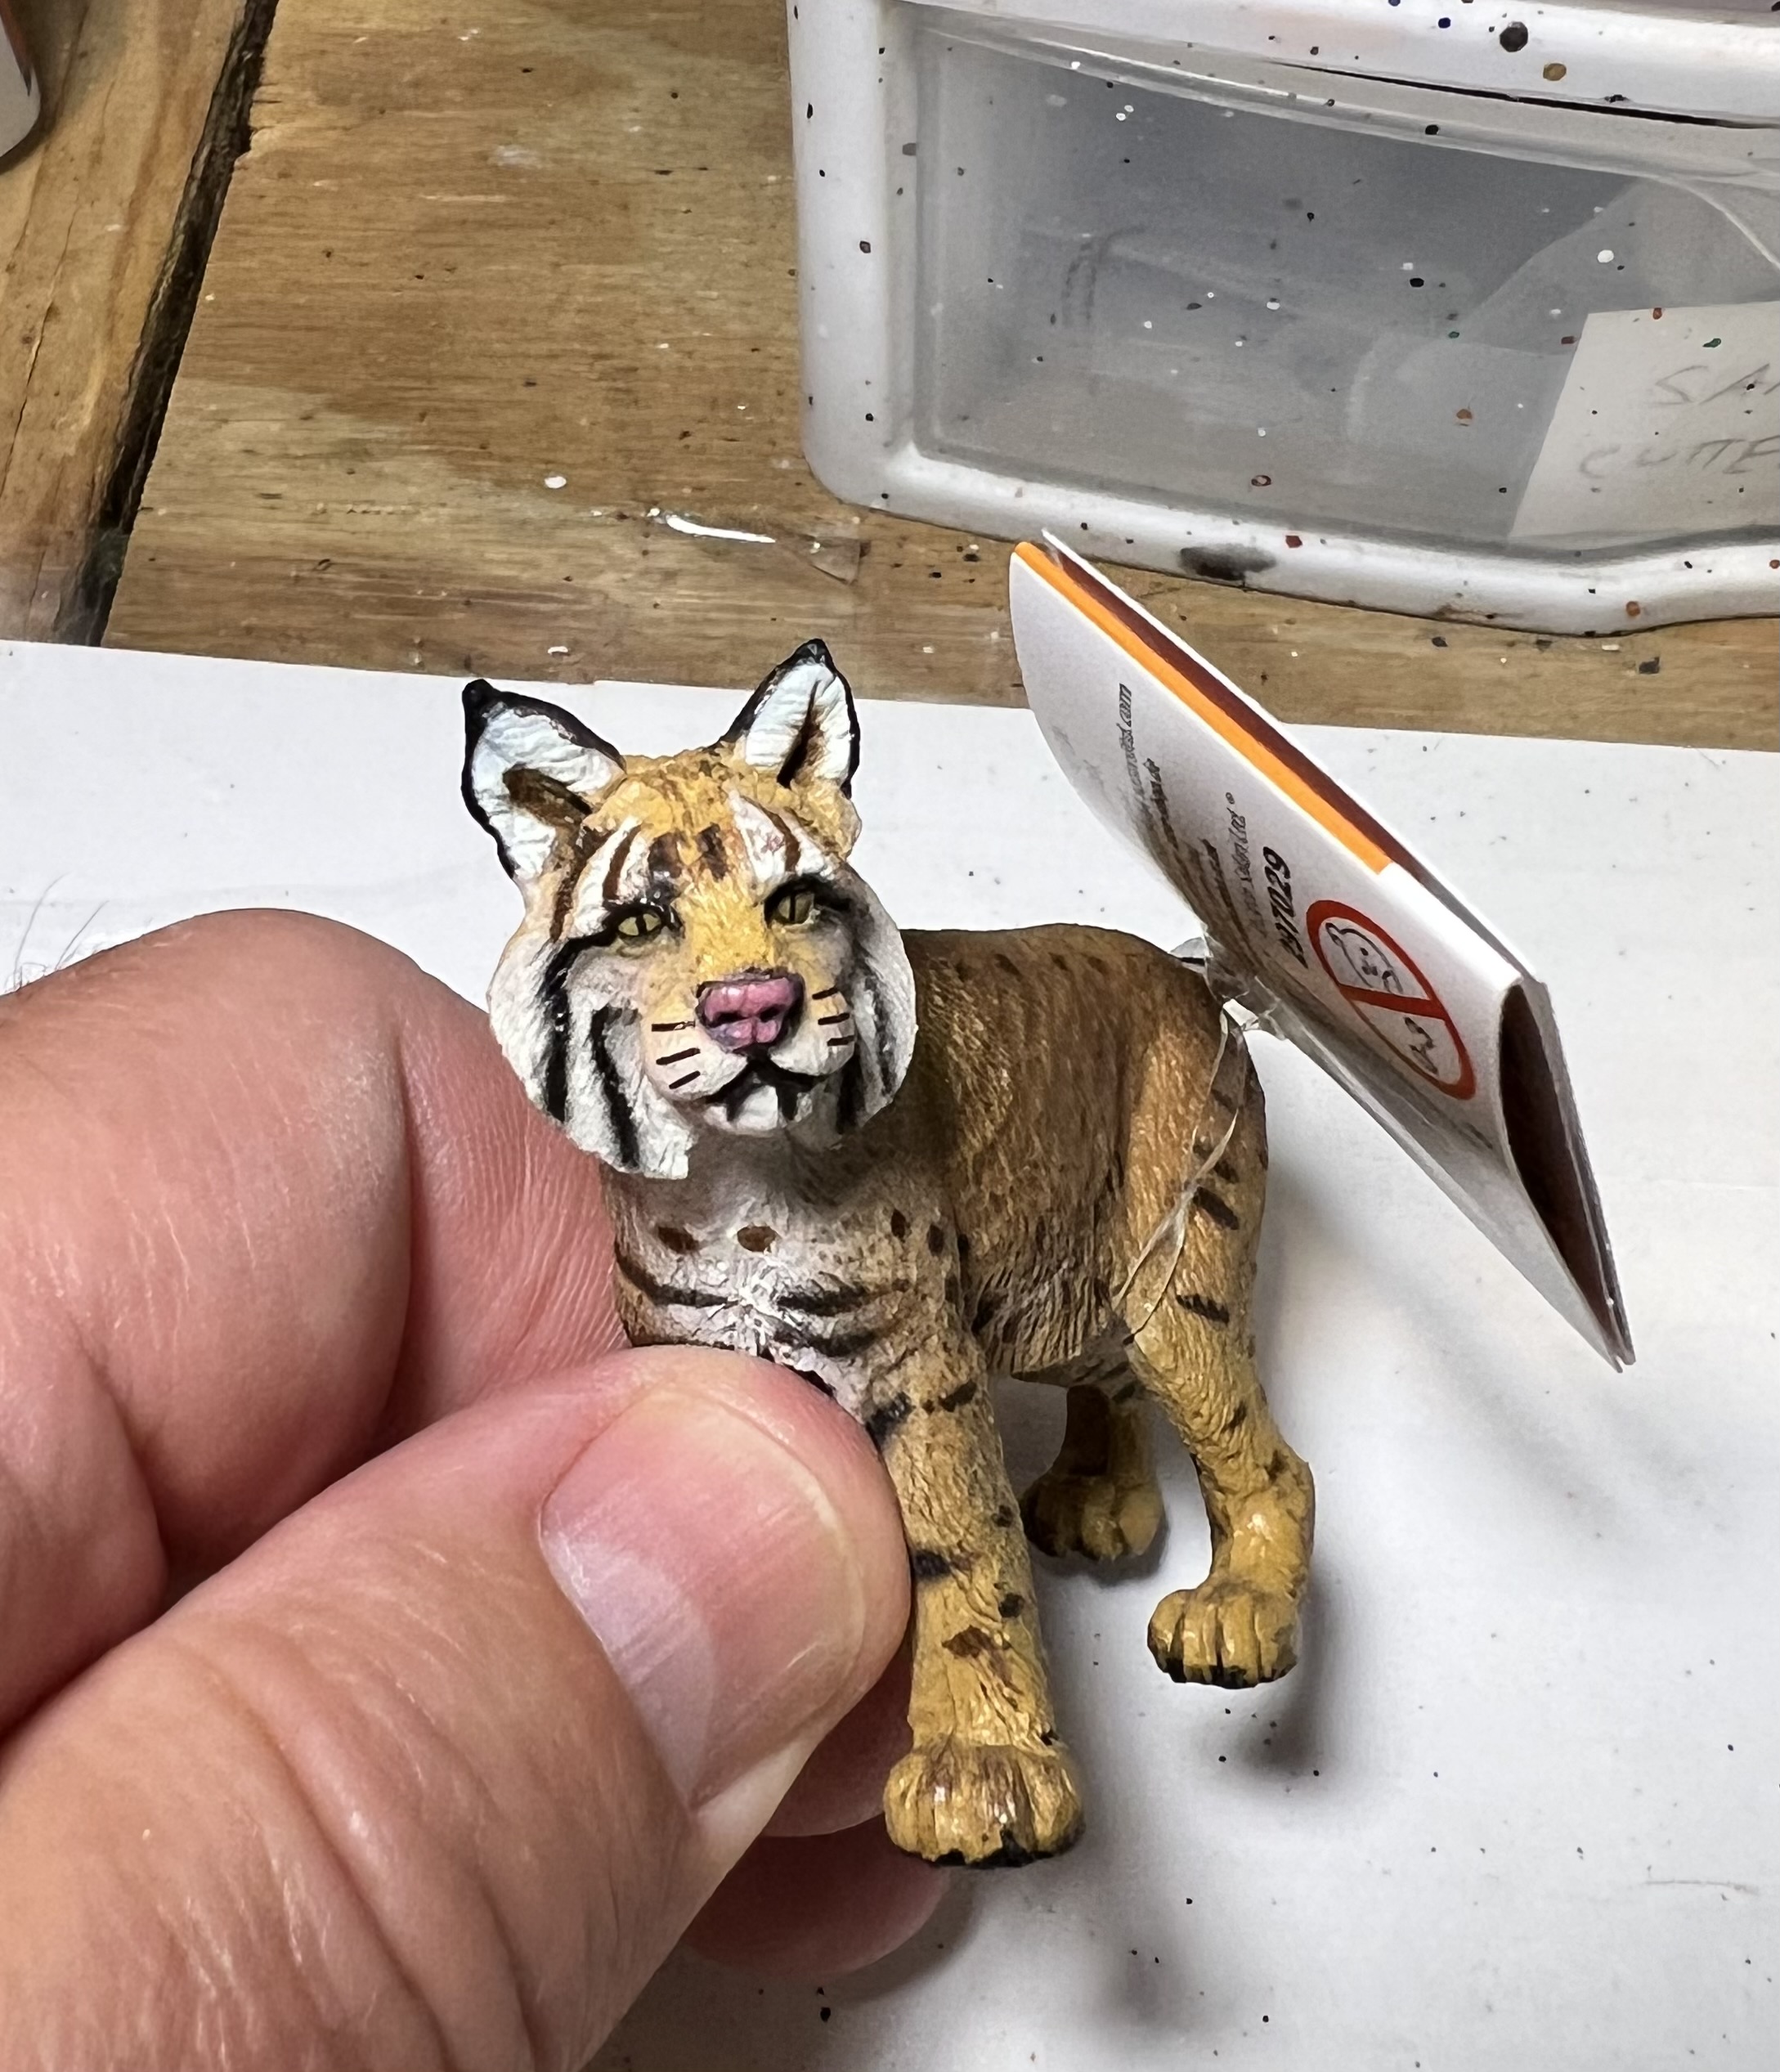
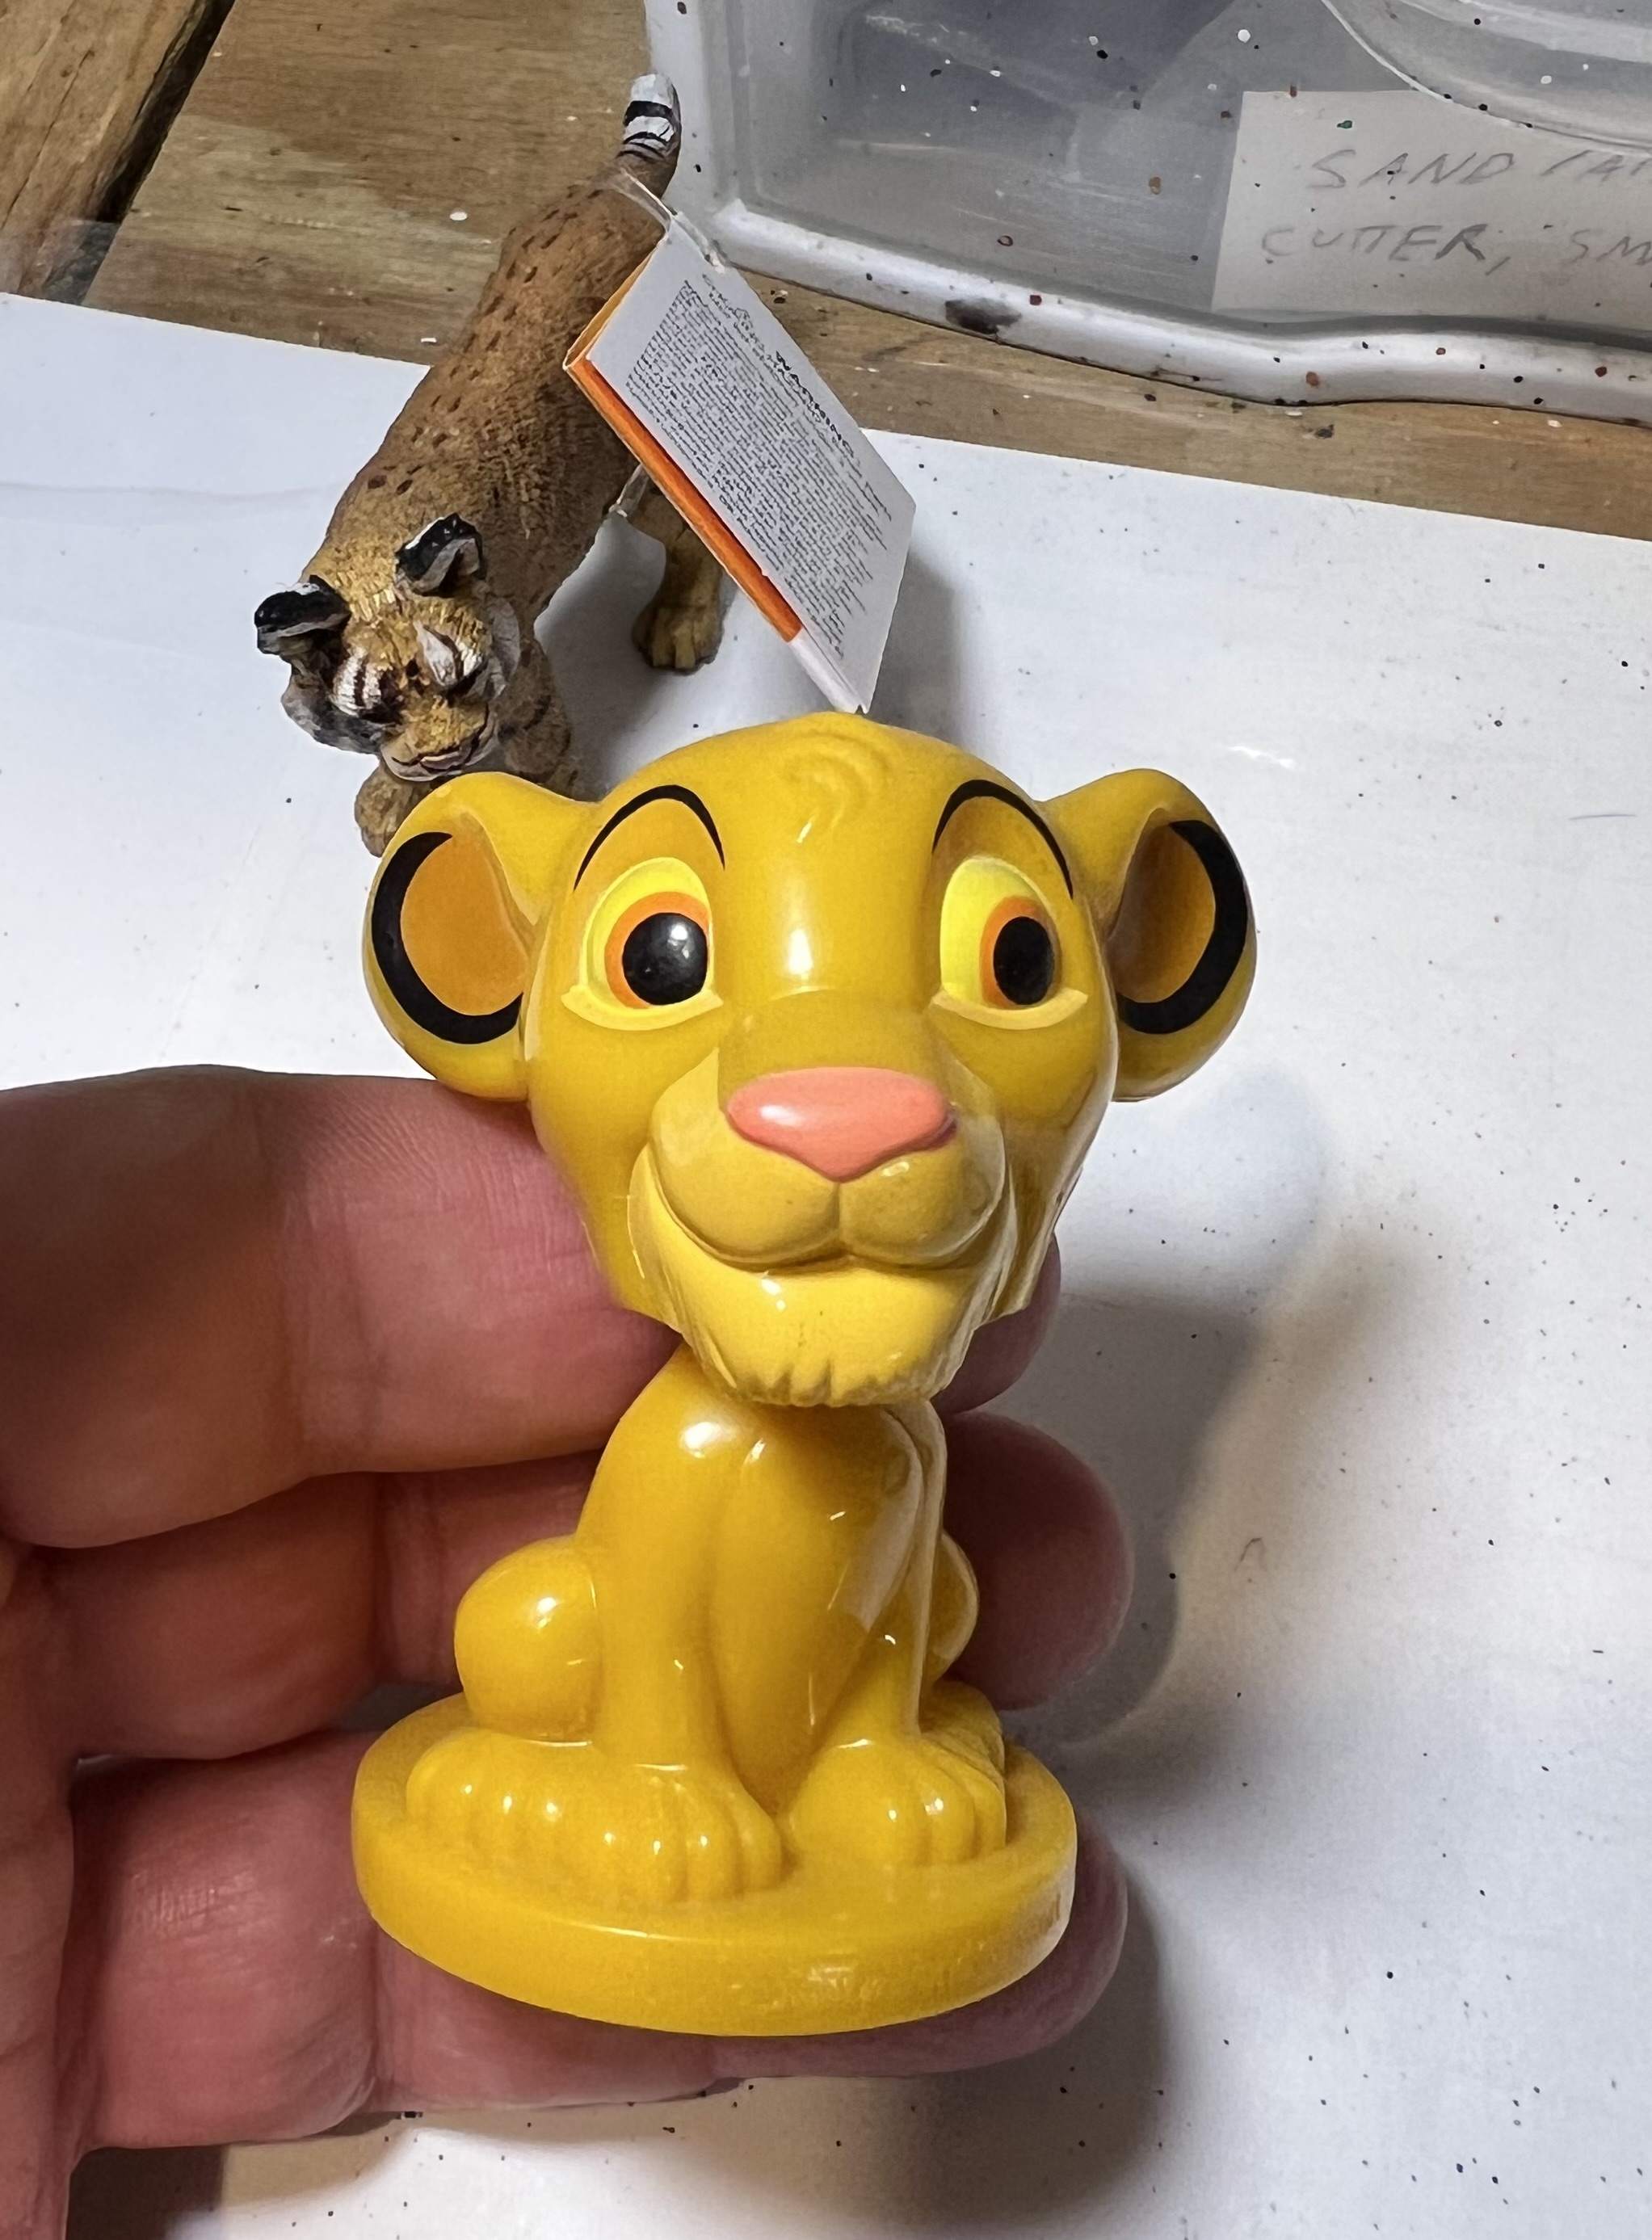
All of these were too big – though the tiger figure was in the end useful to help me pattern tiger stripes. All ended up as gifts to my grandaughter post-project.

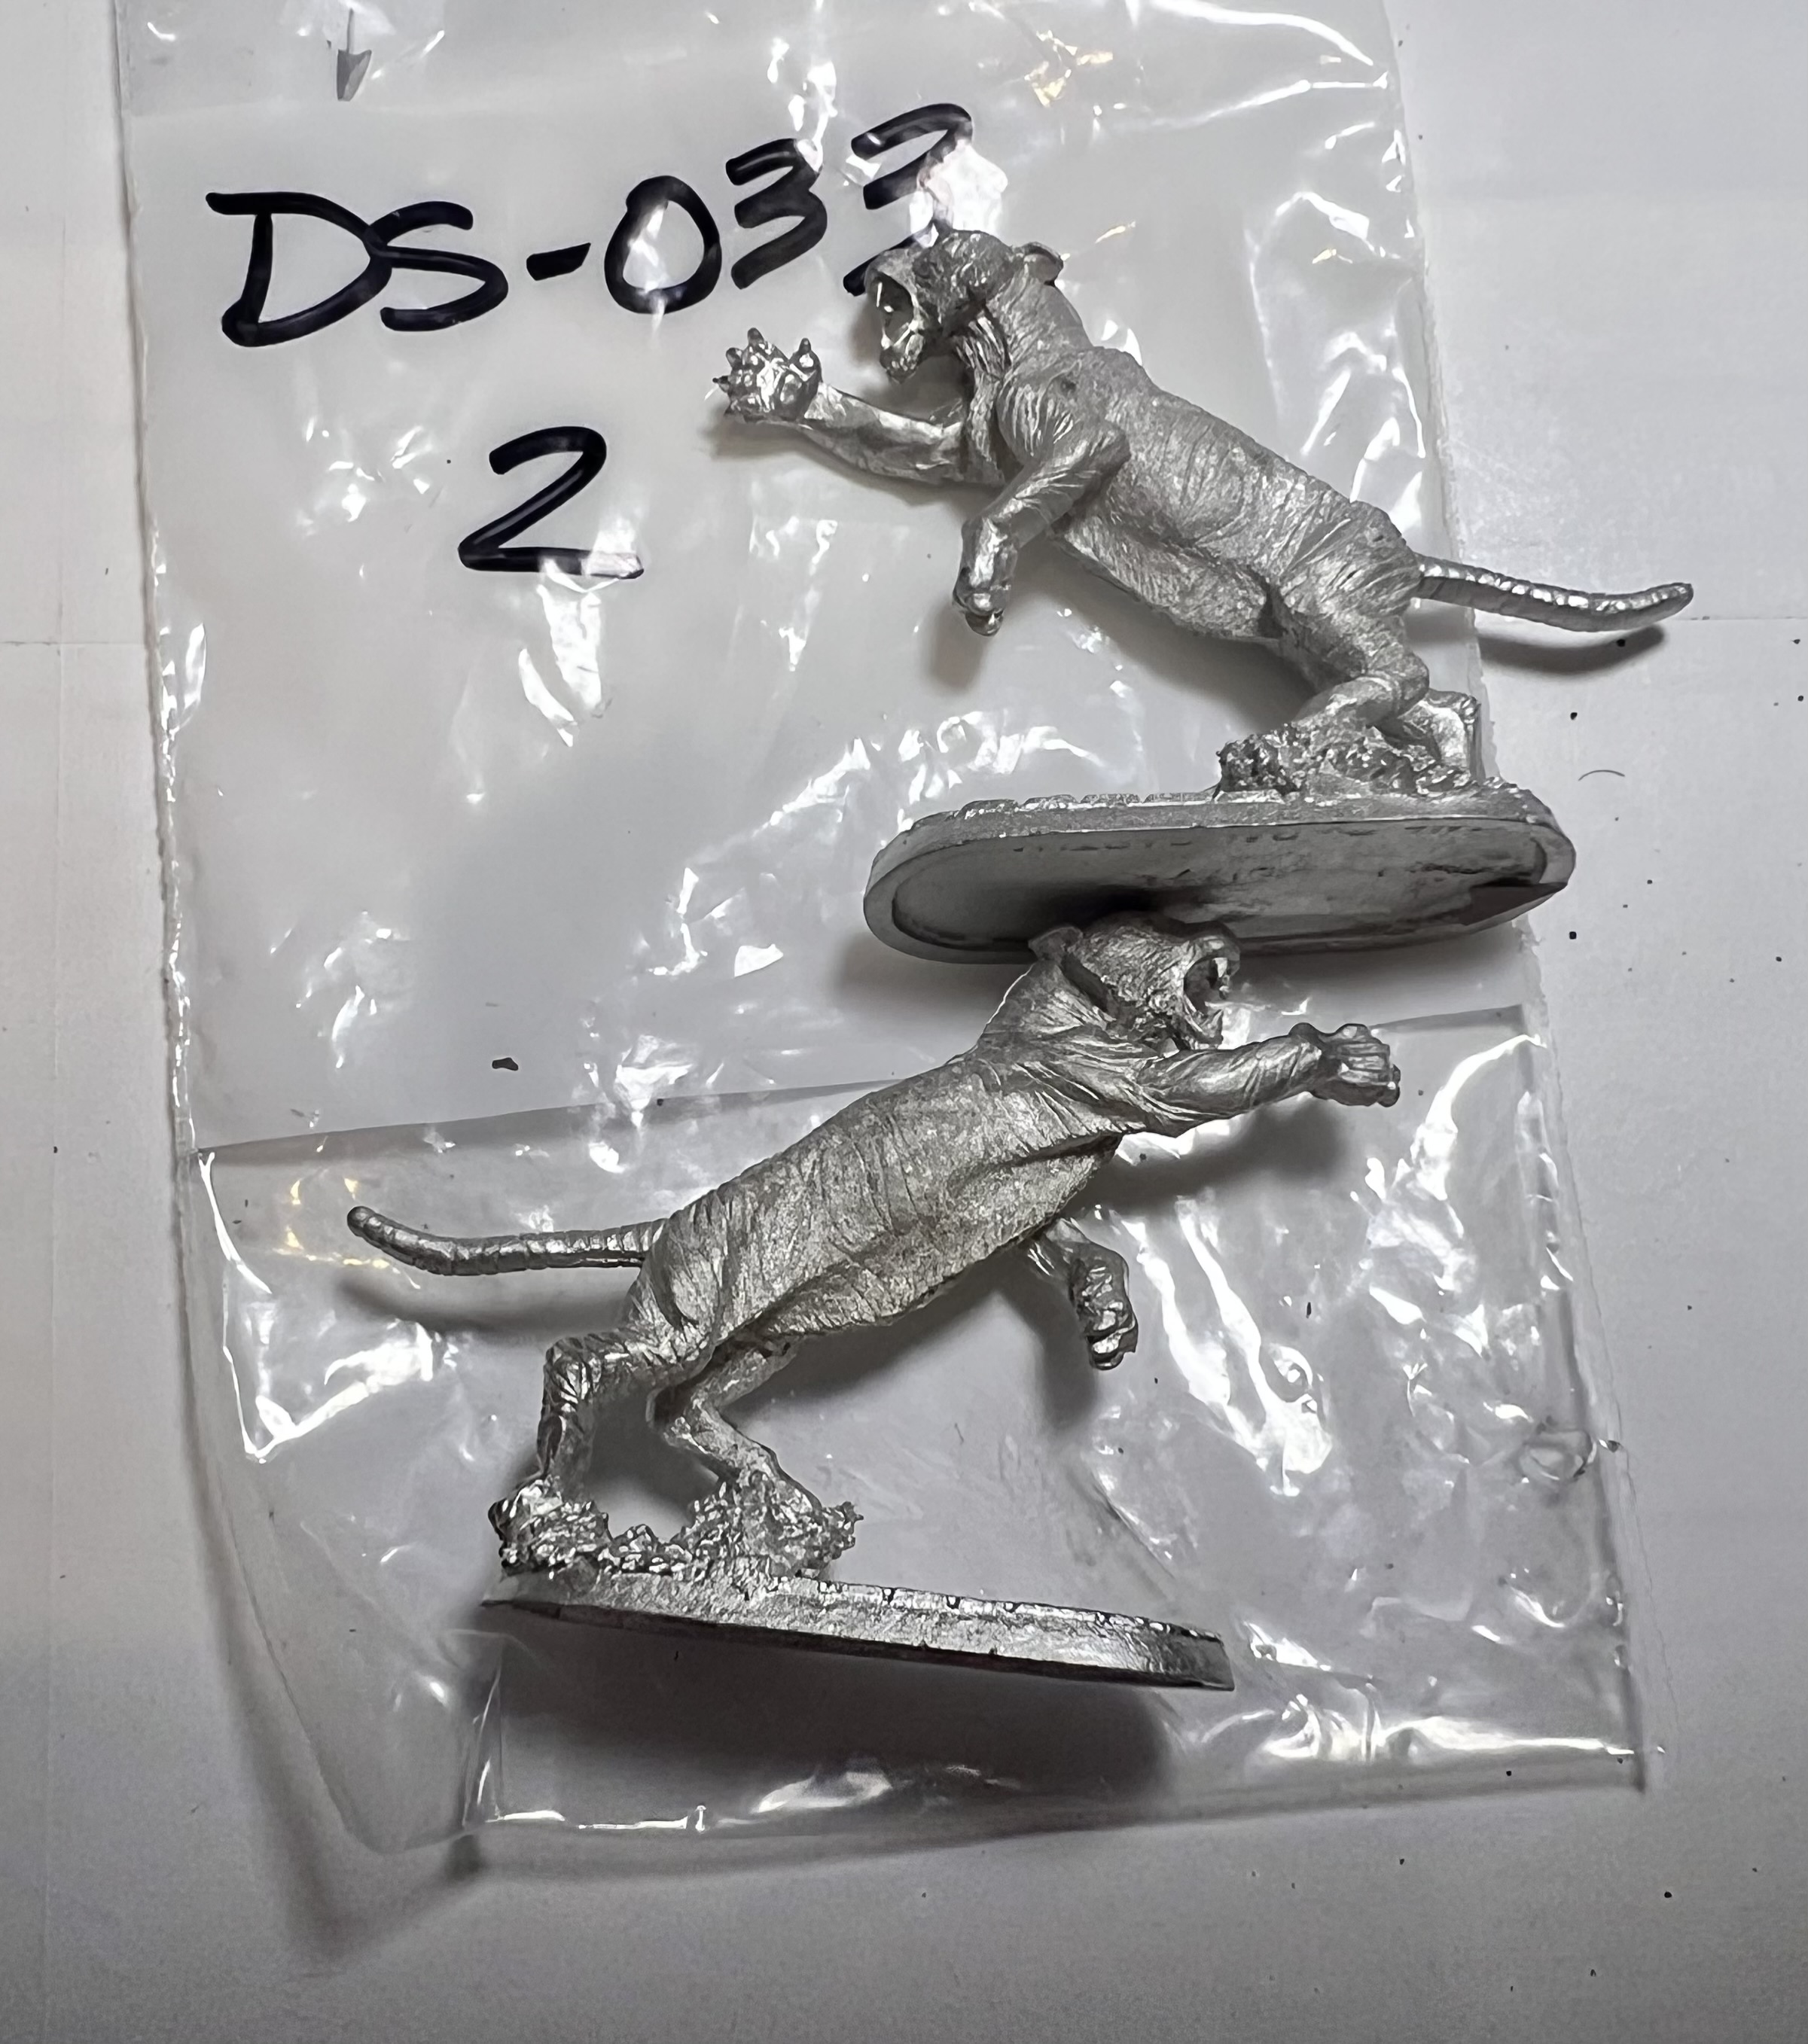
My ultimate tiger solution came with my finding a 25mm scale figure from Iron Wind Metals. It was – “Male Shape Shifter (Tiger Form)”, SKU DS-033. I’m pretty sure it was originally a Ral Partha figure, so in my mind it qualifies as an “Old School Mini”.

I thought I could modify it to work as a tank commander. I ordered two just in case for $28.90 including shipping. While 25mm is a bit smaller than 28mm – it was close in size to the Felynxii infantry from 1977. So all of them are 1970’s-era products.
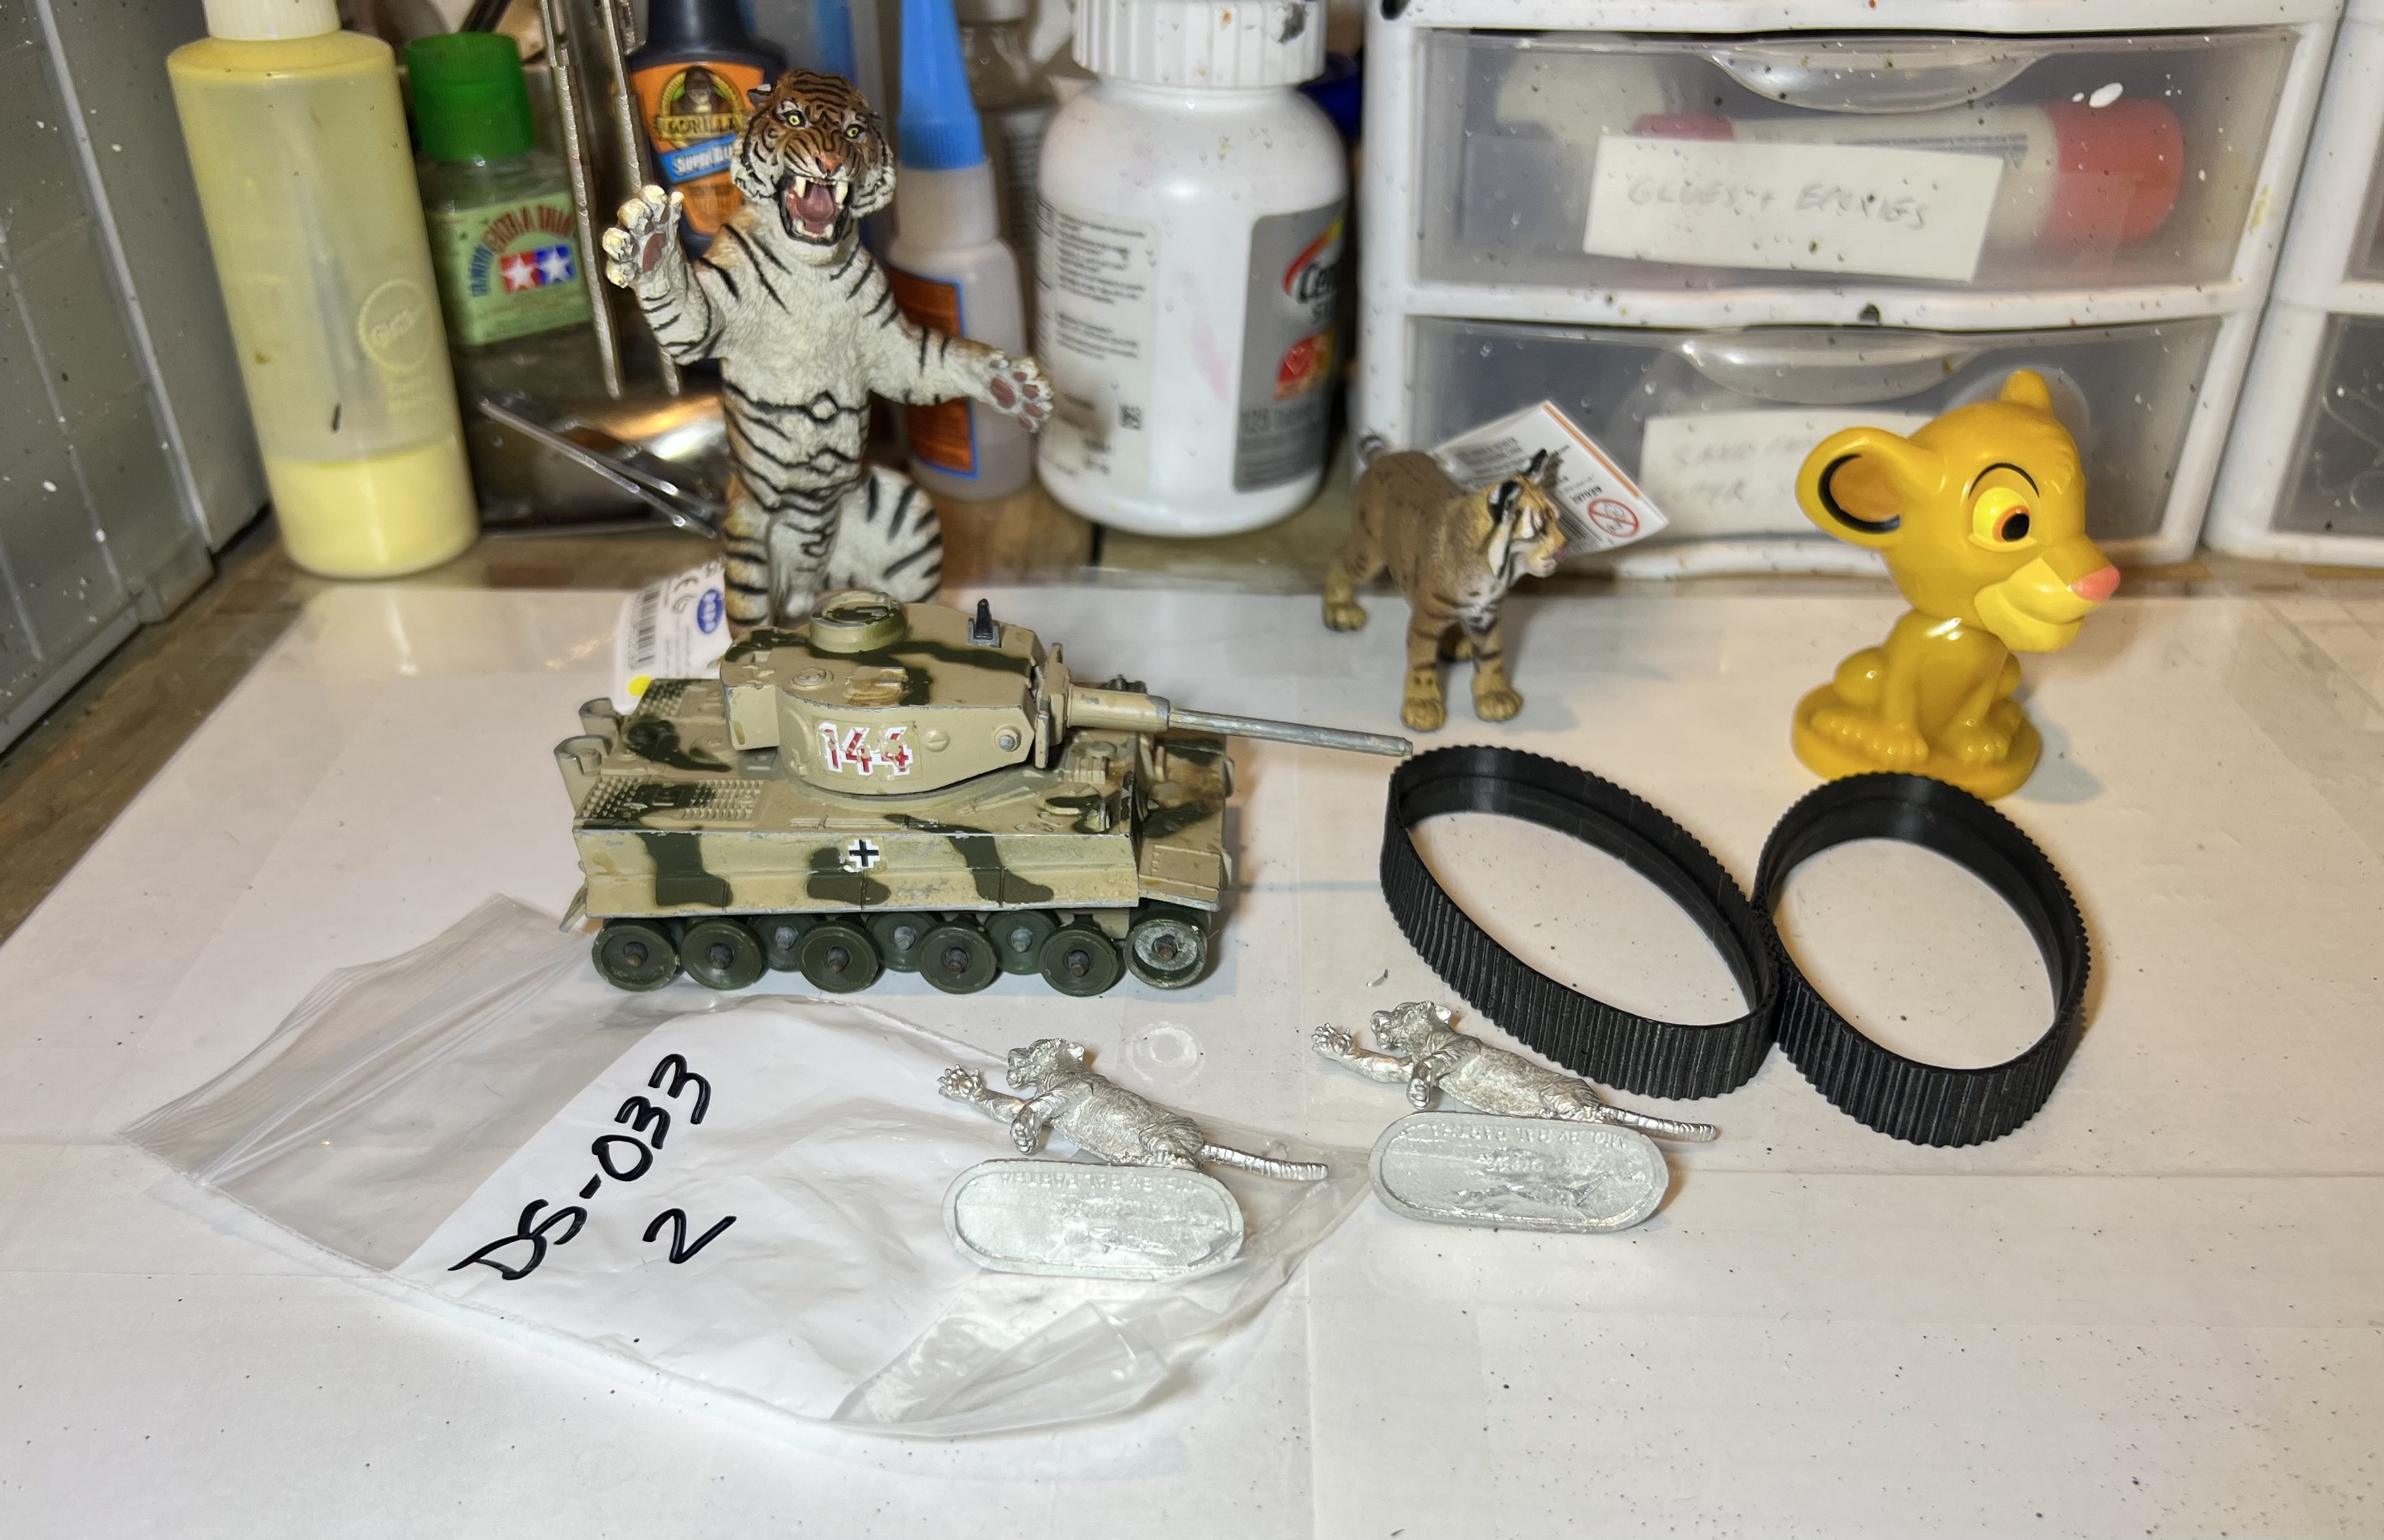
Materials assembled for consideration and planning!

The Corgi tank needed work!

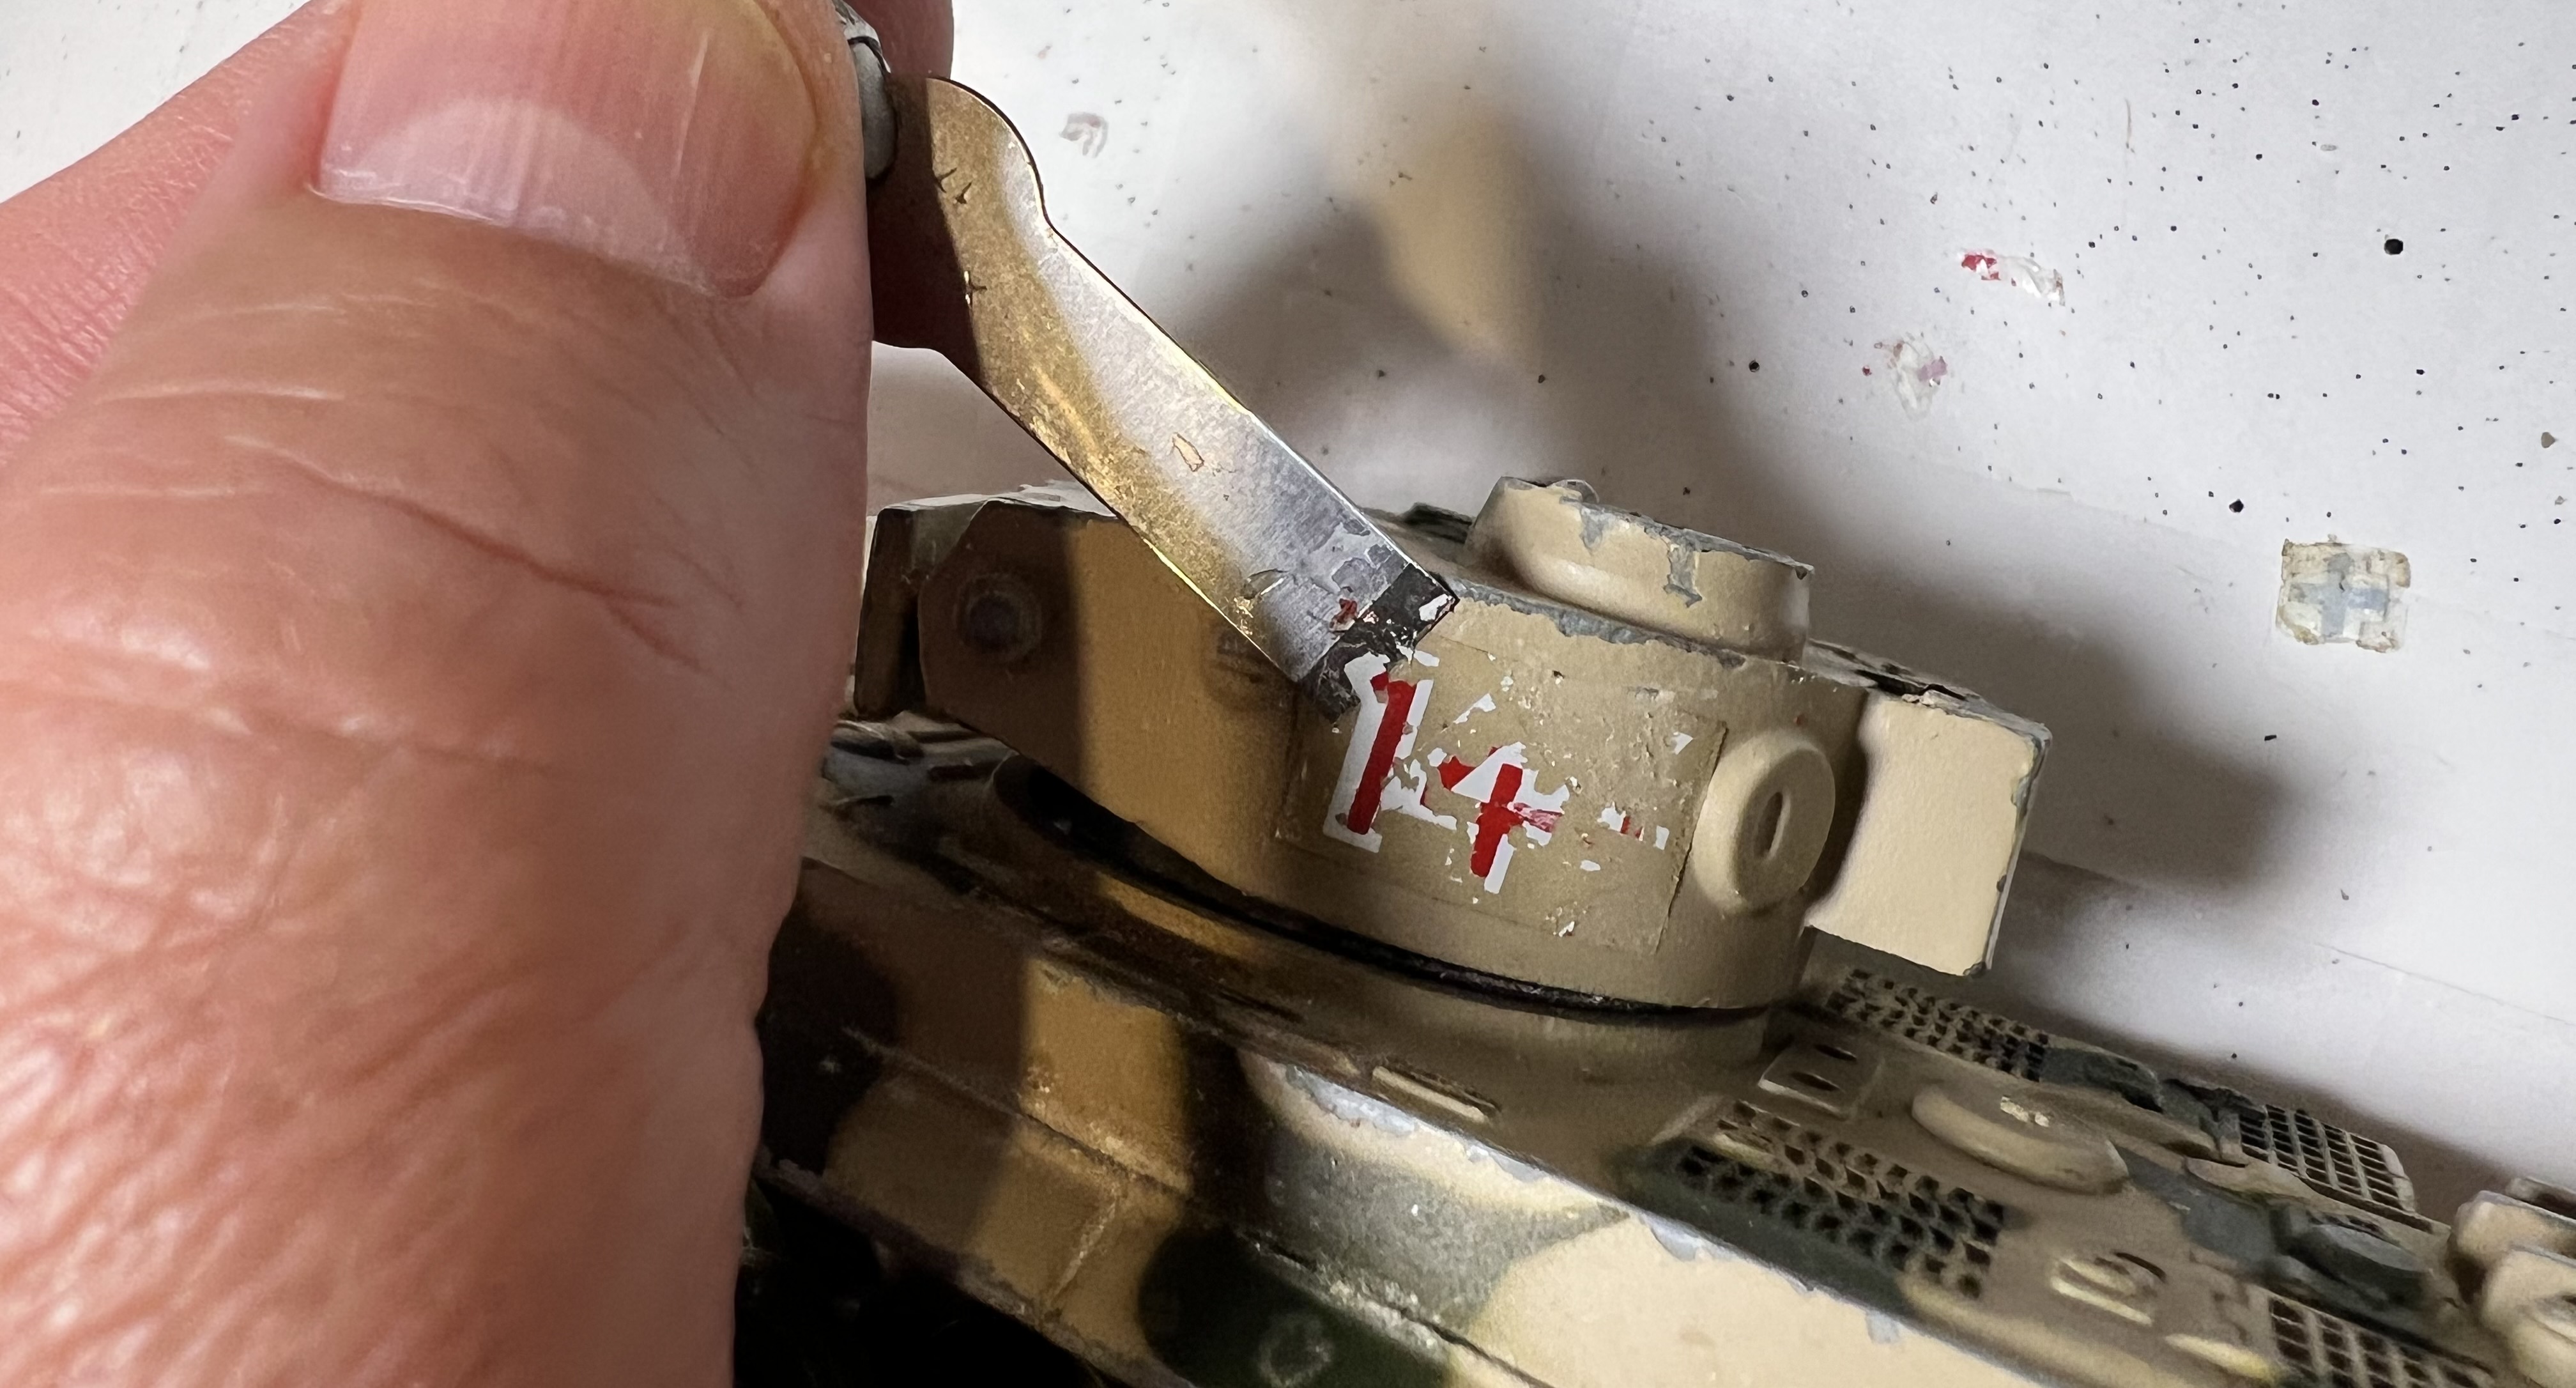
As to making this old toy a retro sci-fi tank, a few additions and modifications were needed. First, some clean up of the old decals and chipped paint.
Of course, I thought it needed a big ray gun. After doing my best to straighten the gun I used a file to remove (as much as possible) its pot metal mold line. Using green stuff I added some number 6 Everbilt steel fender washers to the gun. This step was inspired by the fantastic efforts at kneadatite sculpting shared by two of my blog buddies – Roger (of Rantings from Under the Wargame Table – and Dave Stone of Wargame Terrain Workshop – check them both out). While I could have gone here with the thin look of the washers as they were – looking like a 1960’s TV Lost In Space weapon – I wanted them to be more retro sci-fi looking. Addditionally, I did worry that using the washers as initially secured would not be as secure as tabletop play might demand. That necessitated a two-step sculpt to give the main gun a more hefty look.
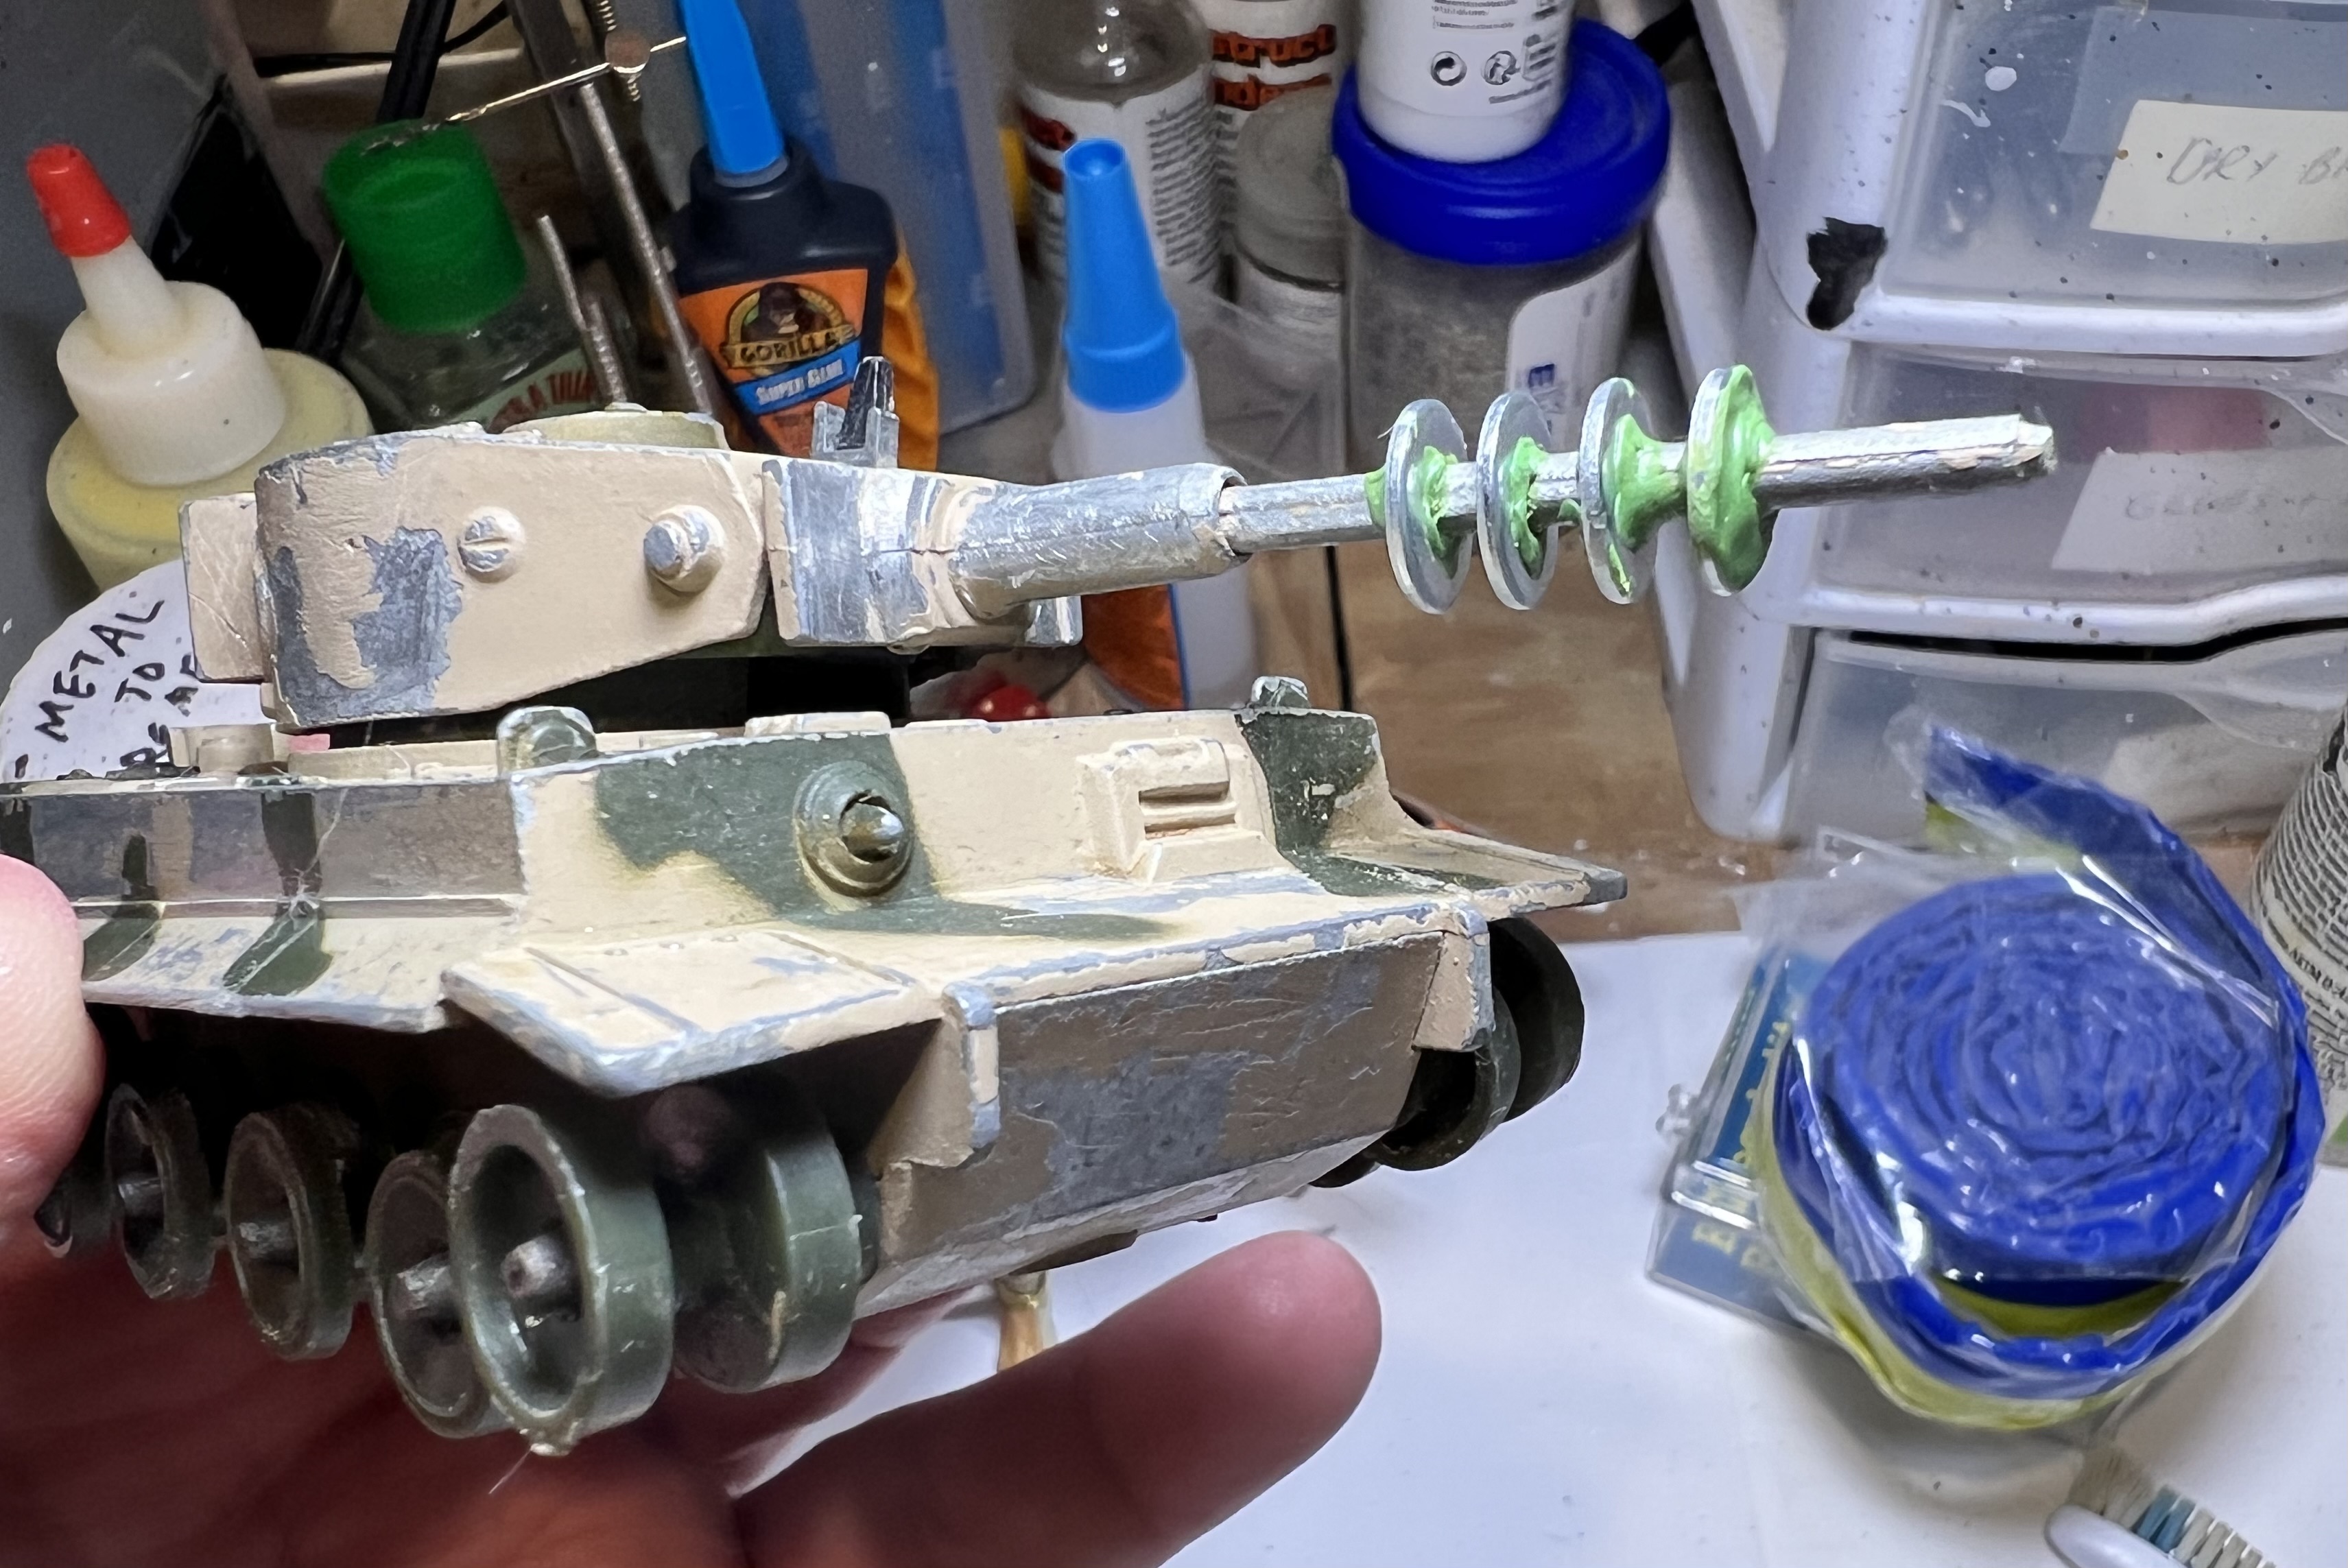
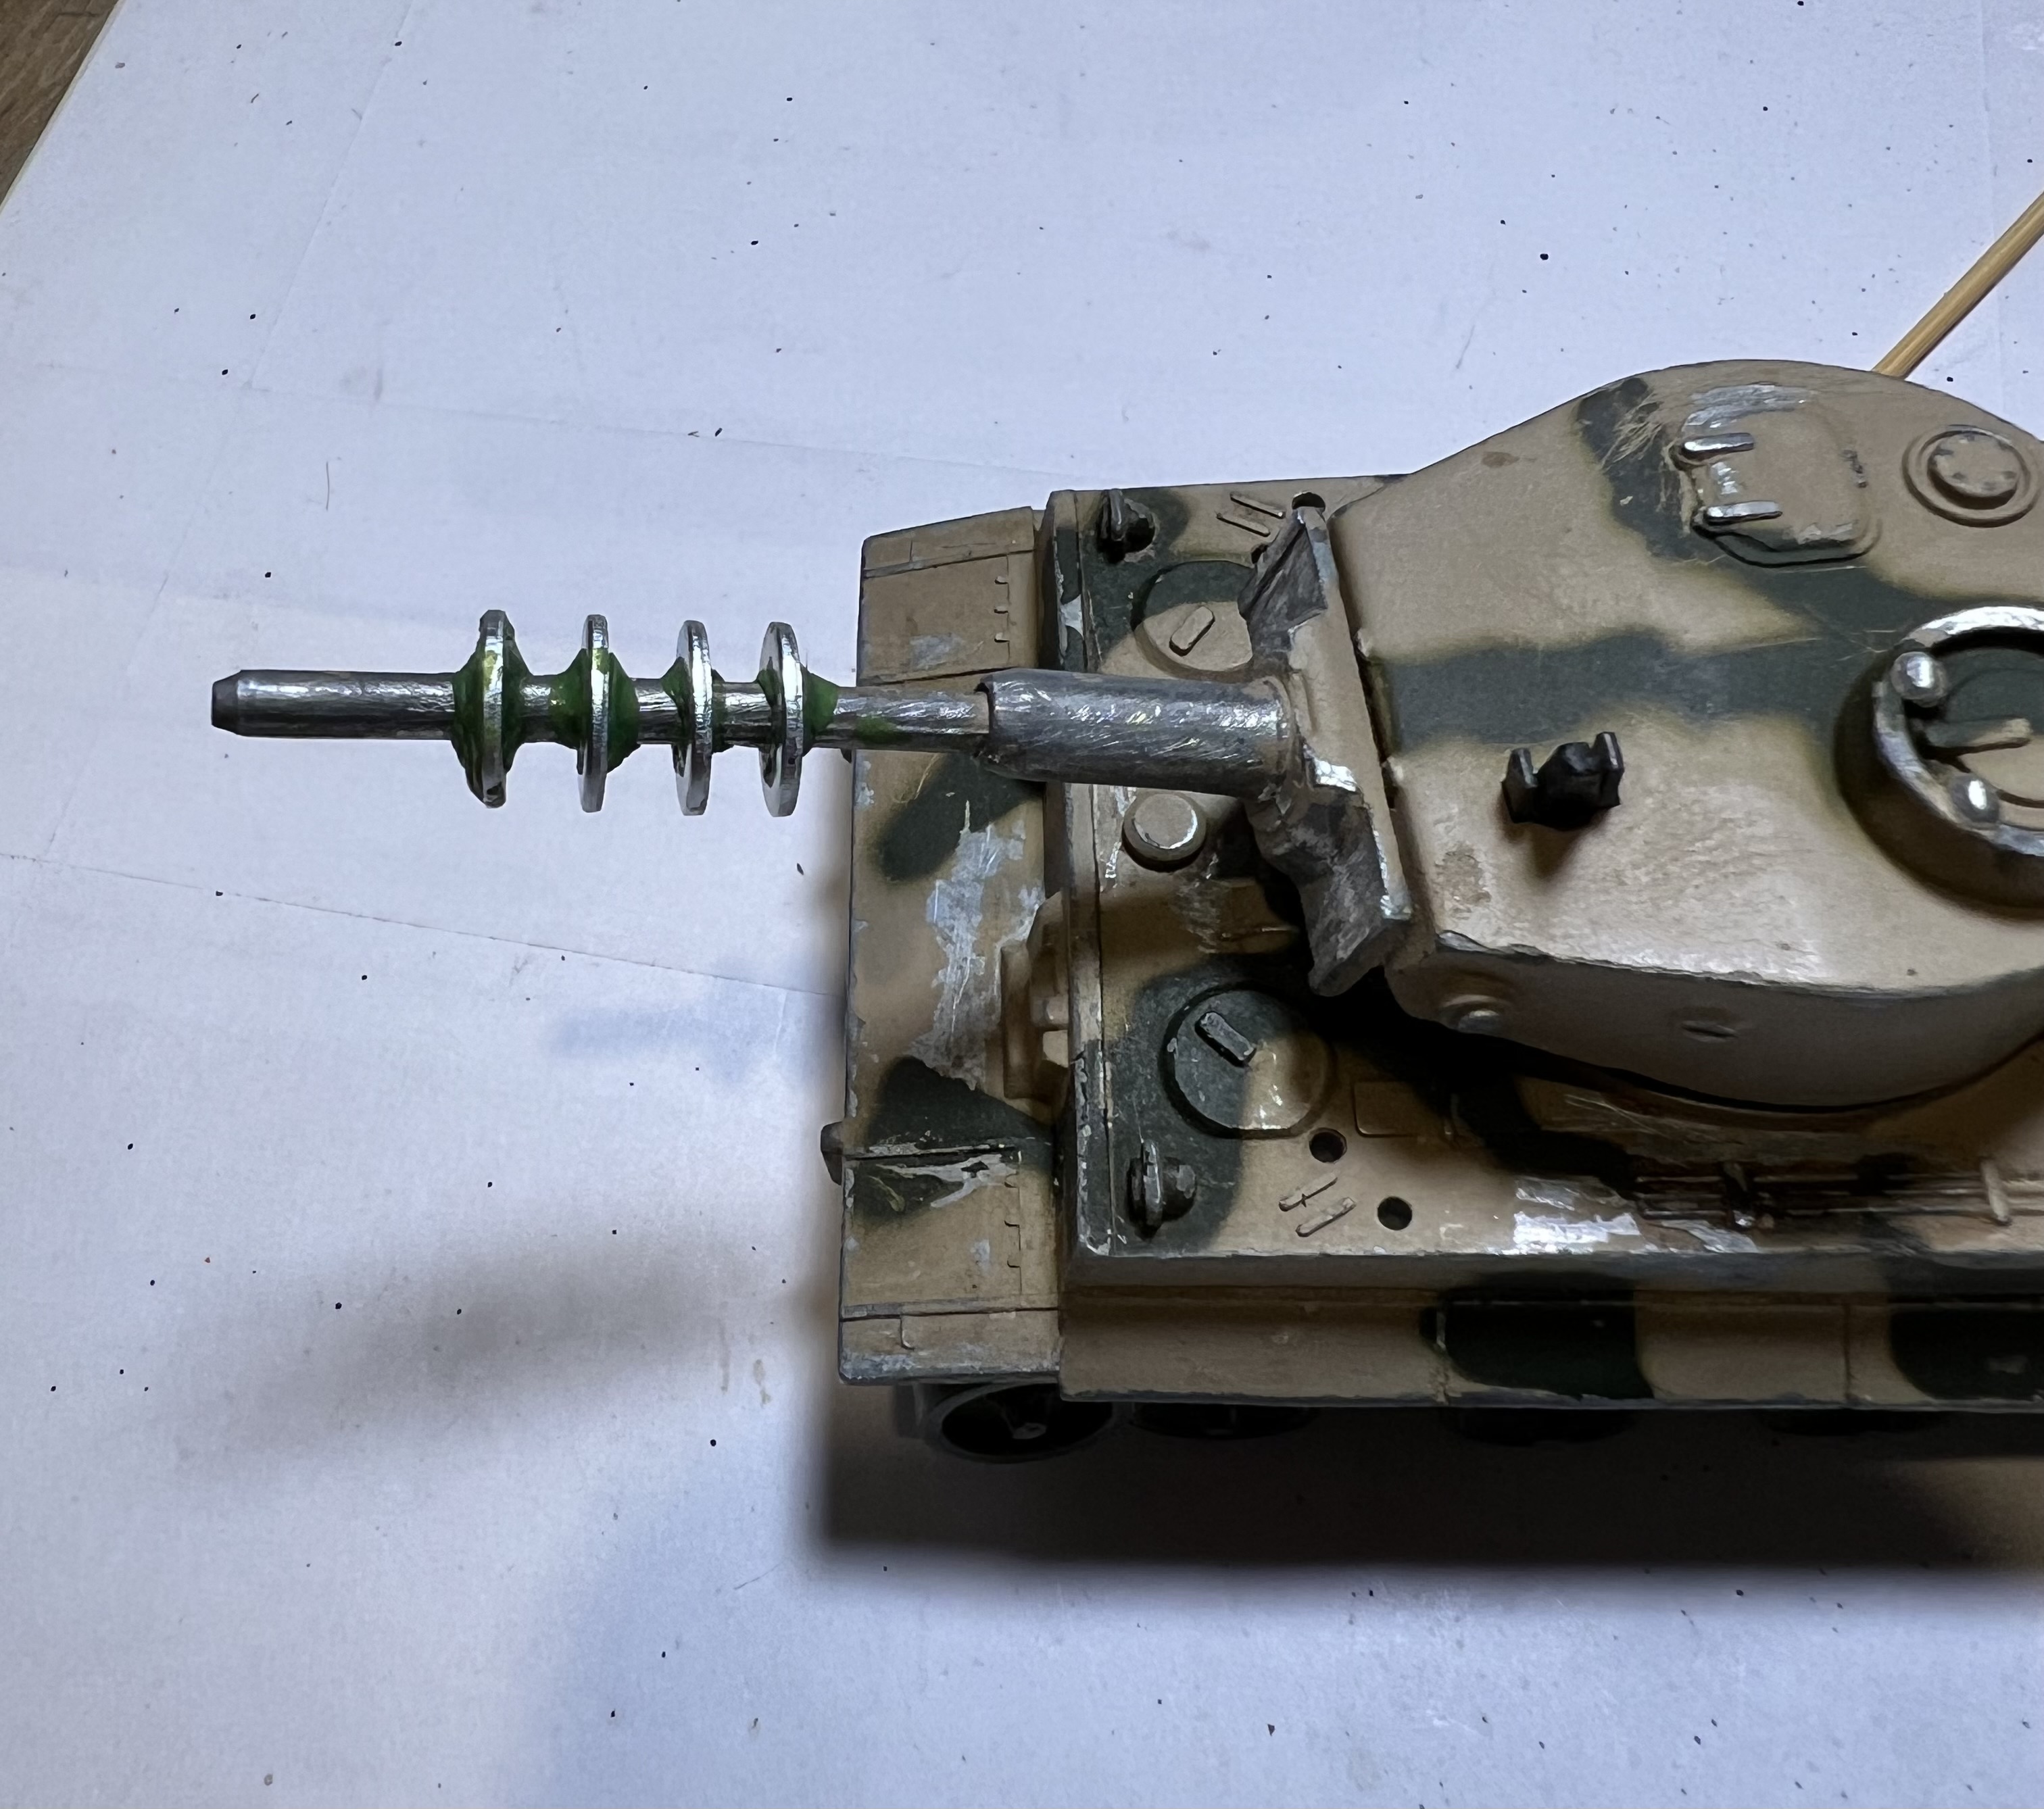
Step 1 was to get the washers fixed in place for 24 hours – before going on to further sculpting.
Another view of step 1.

While that cured, I went to work on planning out work on the tiger commander figure. I planned to have the figure’s head – or preferably its torso – coming out of the tank’s hatch. I realized that drilling out the Corgi tank commander’s hatch to insert a figure was impractical due to the thickness of the metal and the size of the hatch.

Doing a bit of research gave me insight into the different types of cupola’s that WWII Tiger I tanks had. One type swung up vertically, while another rorated out on a lateral swing arm. That would be my solution – build a cupola/hatch to mount the commander. It would also enable me to work on the cupola/hatch/tiger assembly separately from the toy tank.
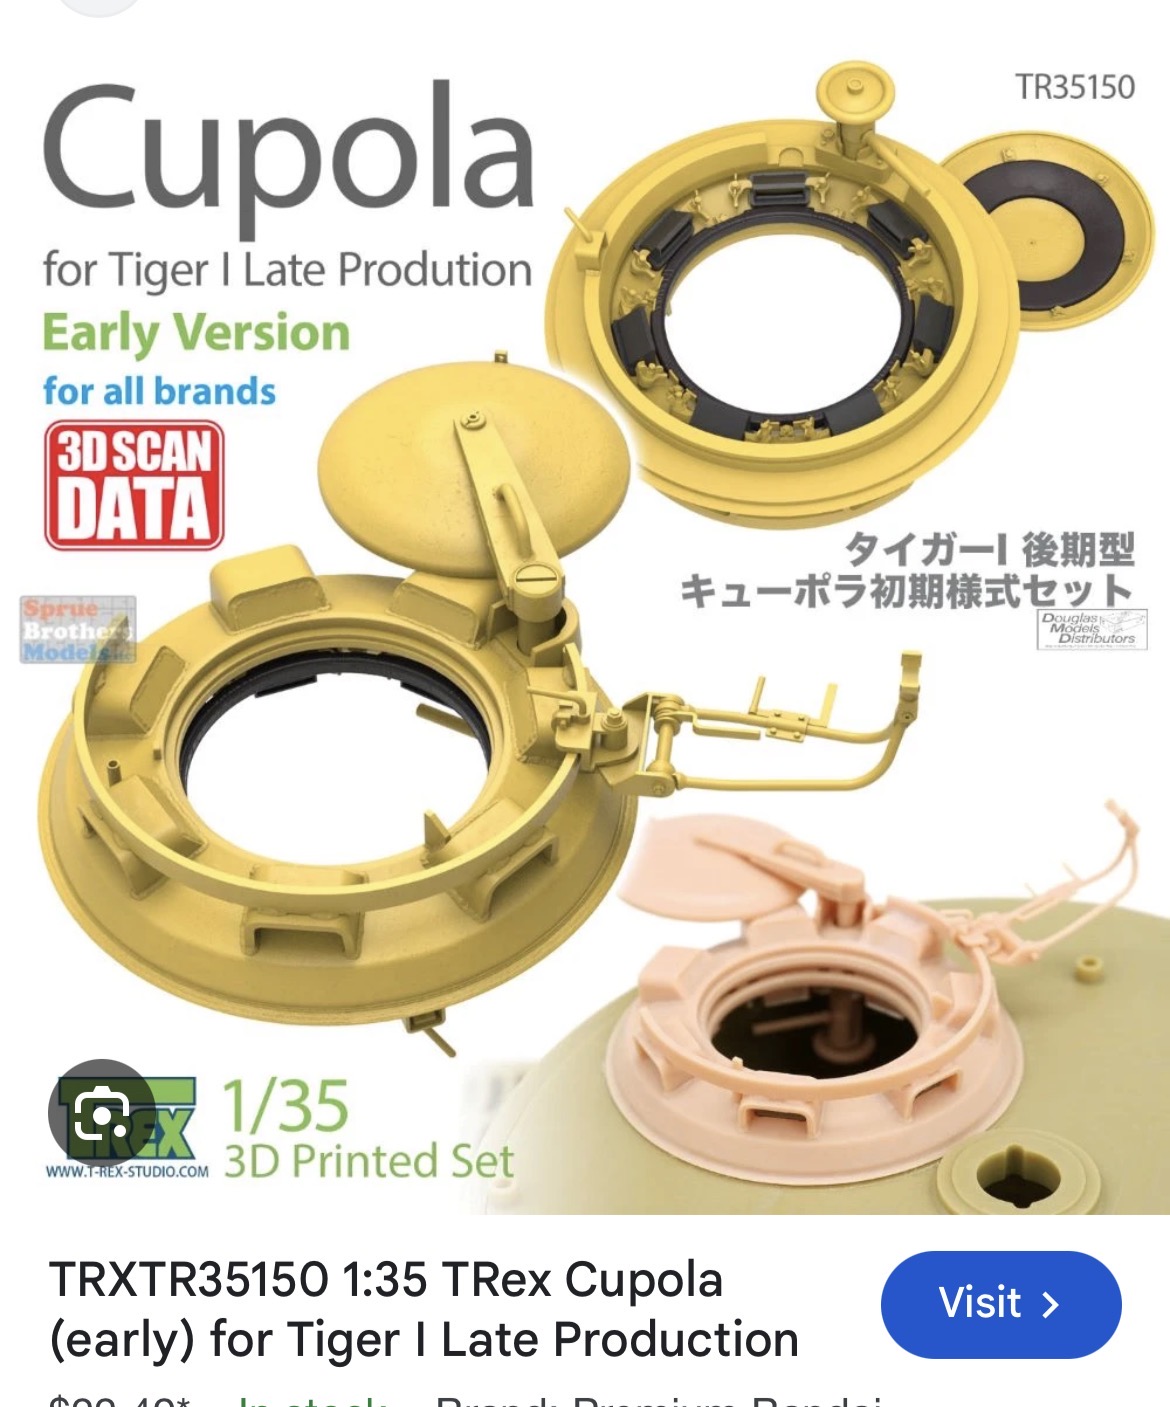
Inspiration from eBay yet again. This would be the basic orientation of my cupola.

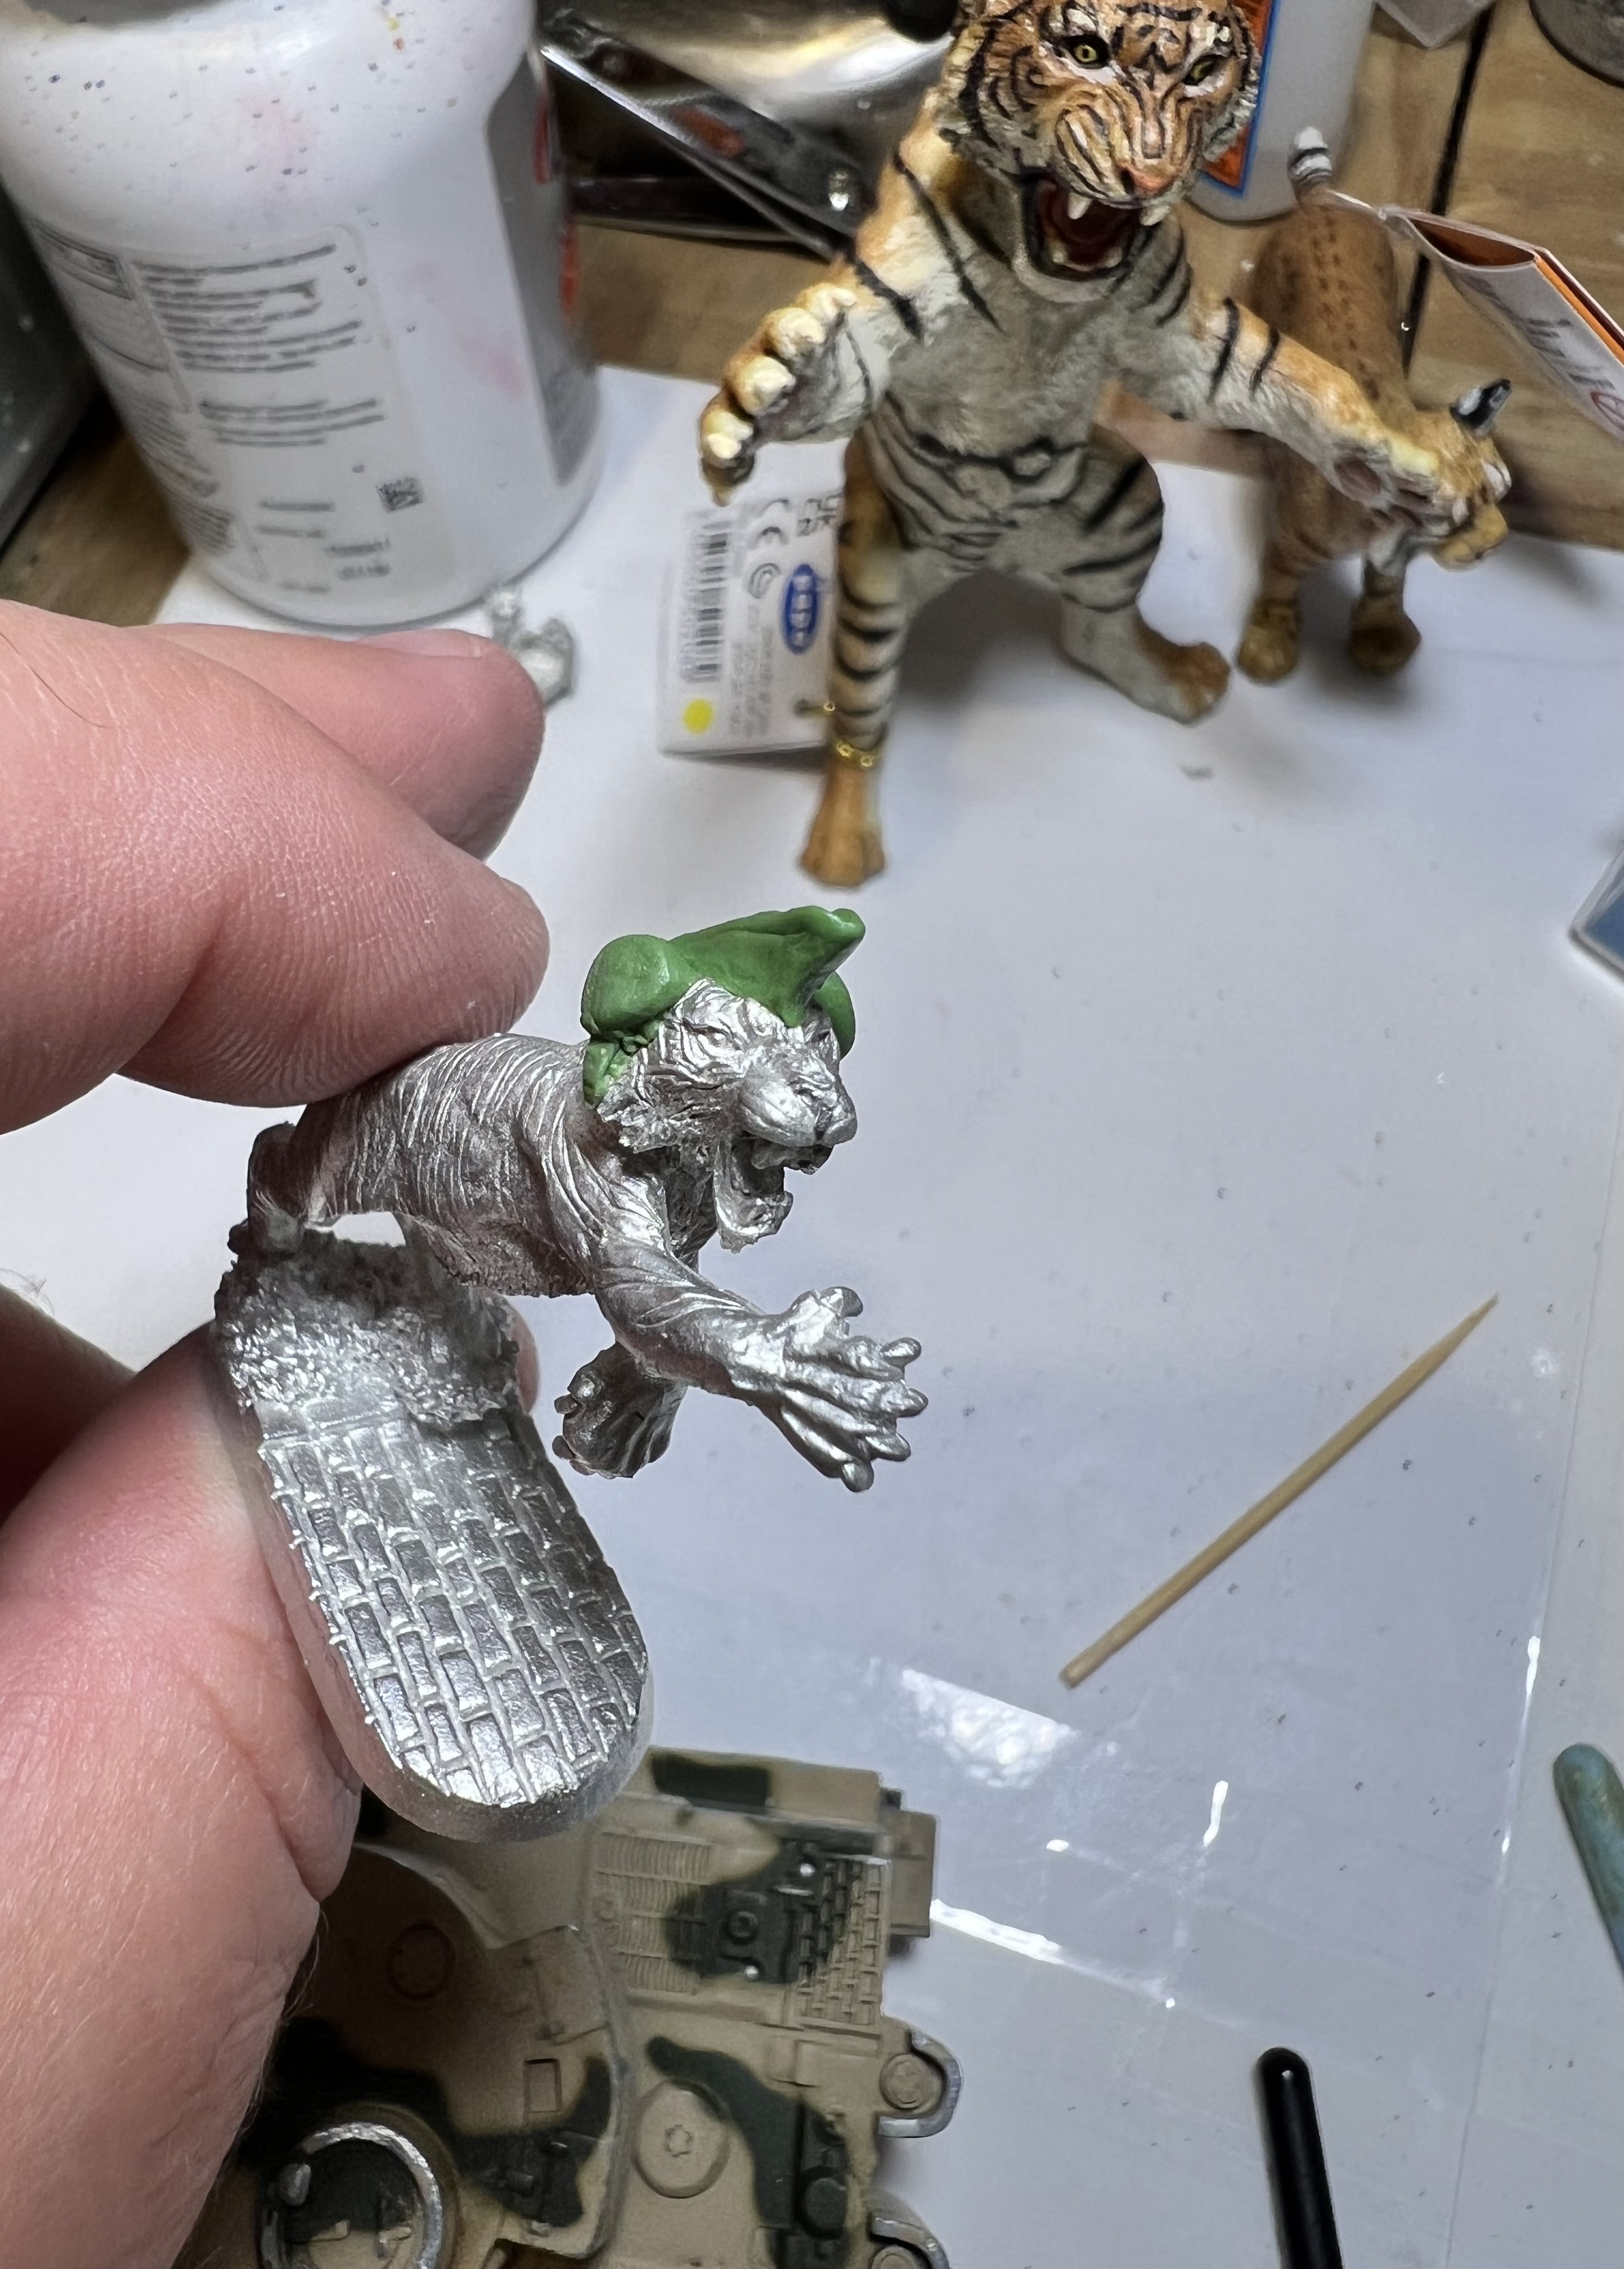
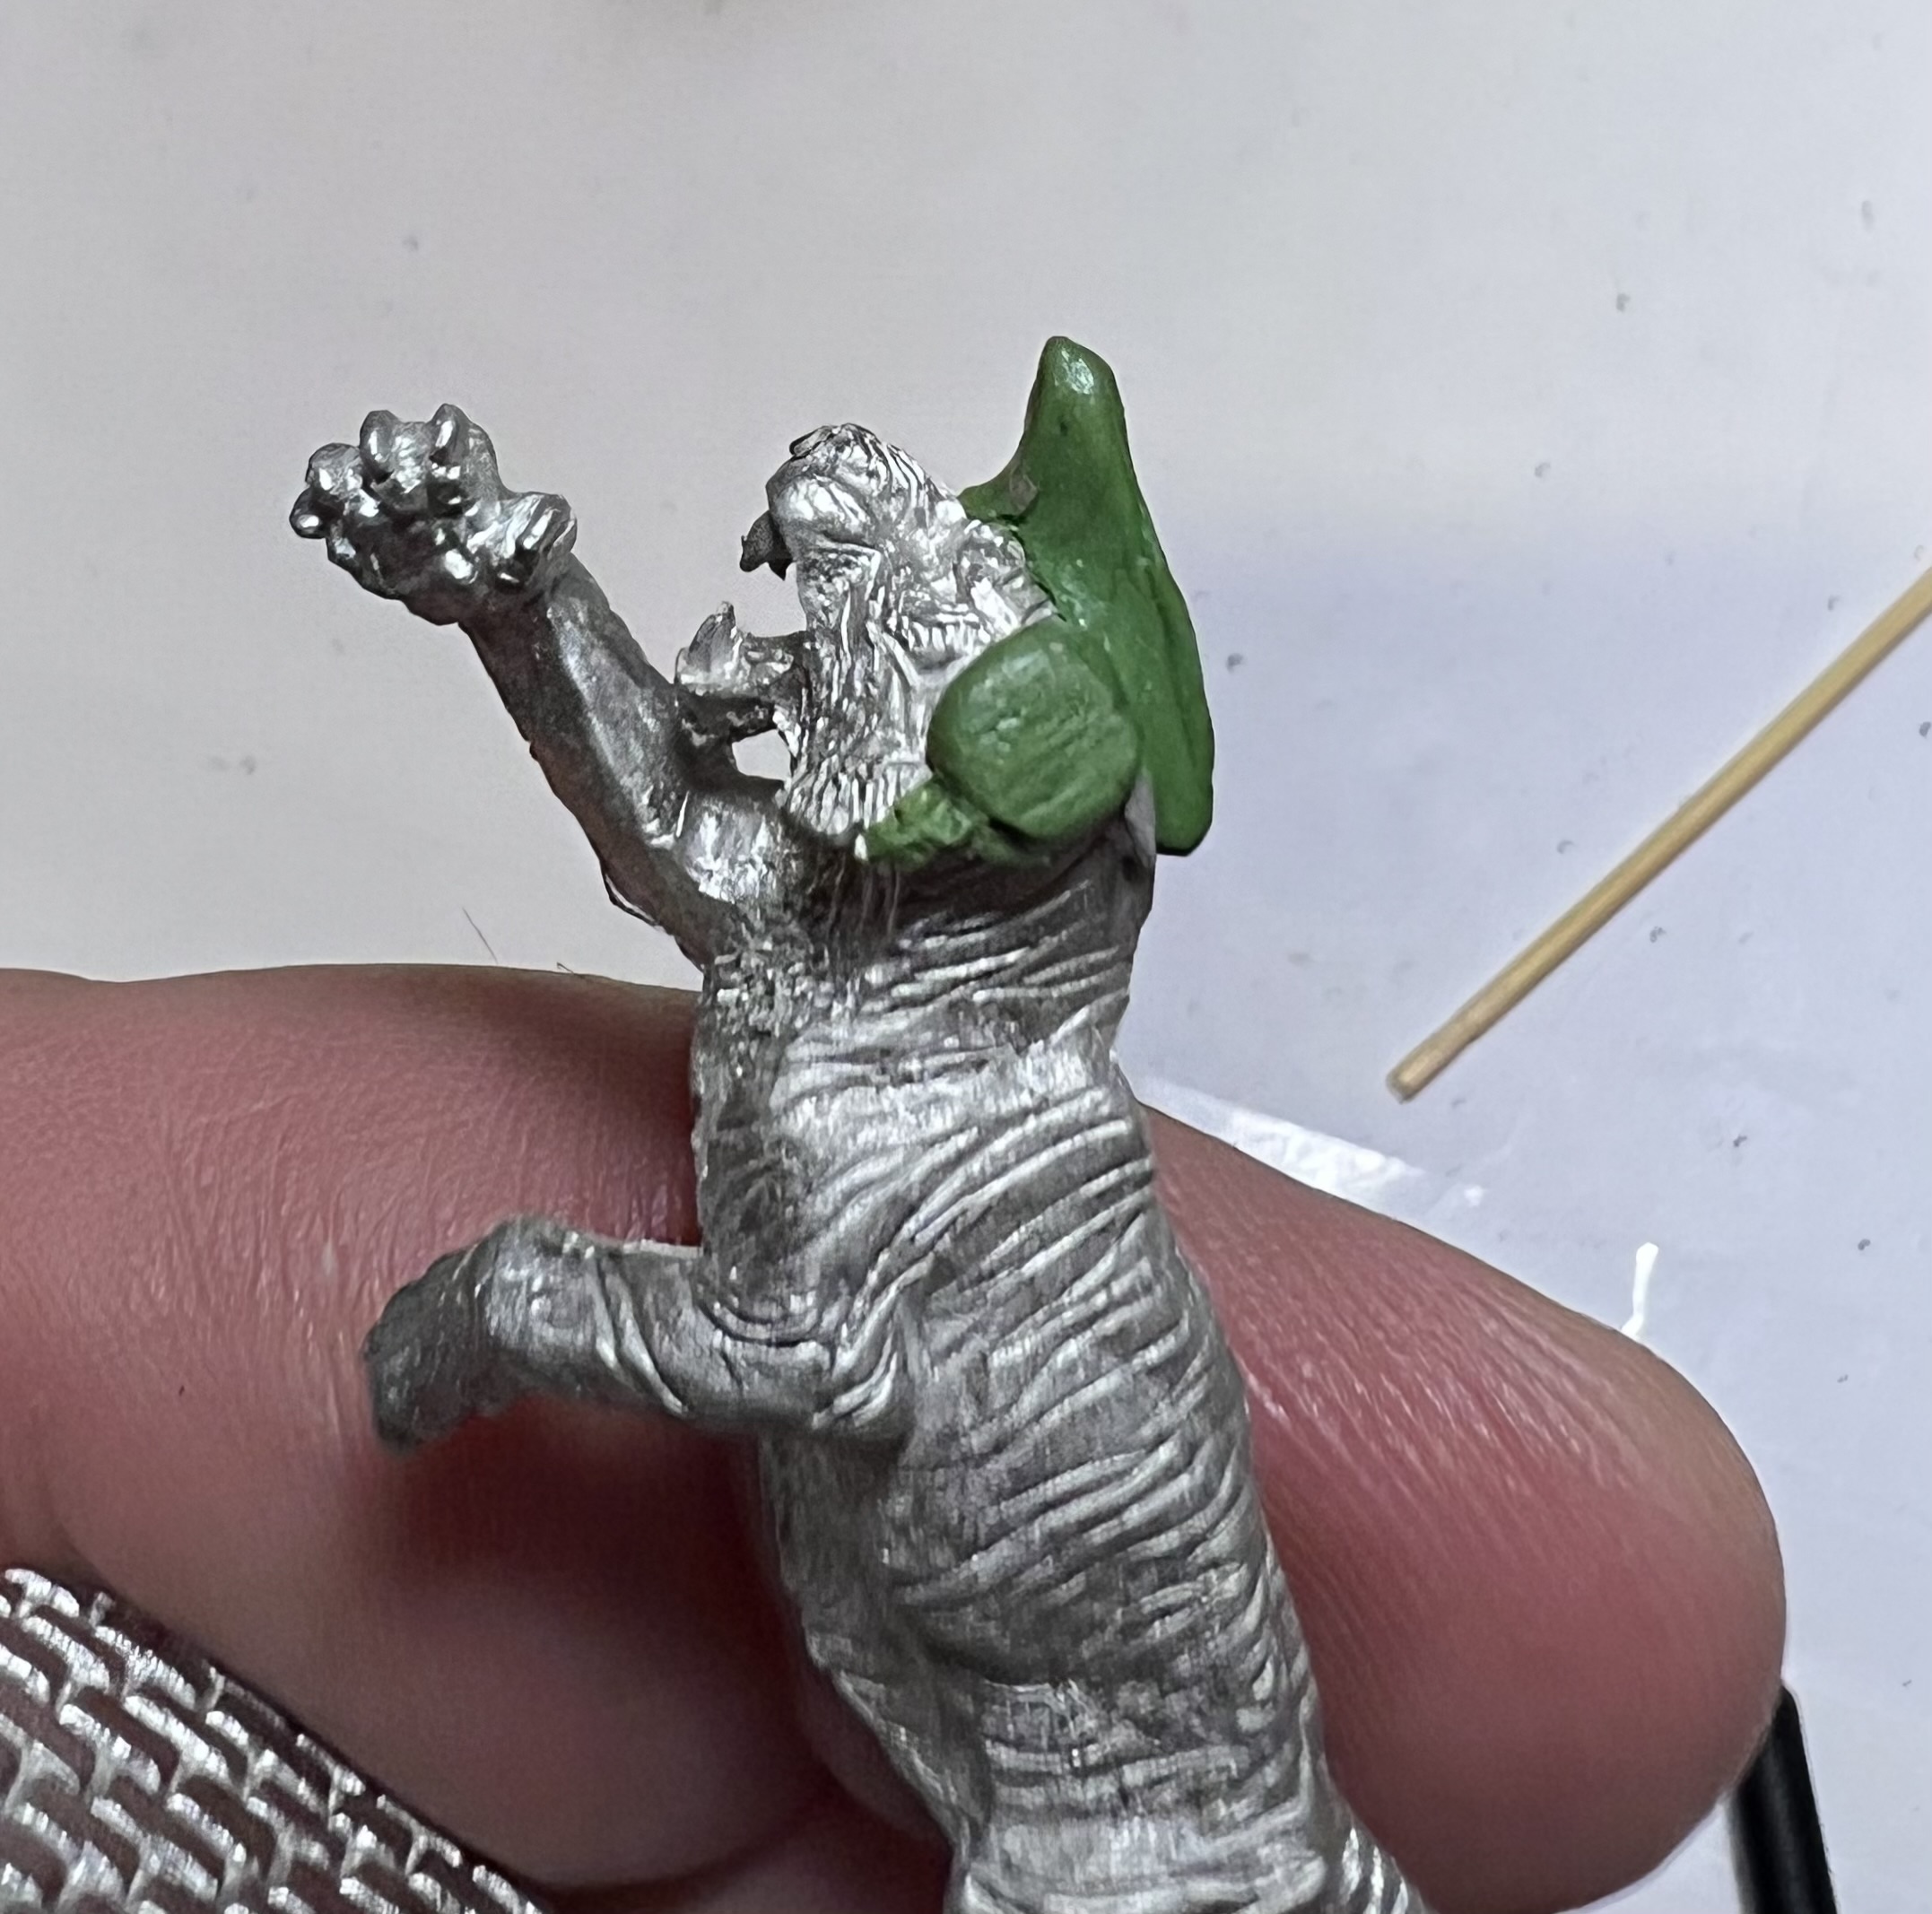
Now that I knew what I would do with the tiger figure, it was time to prime and paint it. However, I before I got to that stage – I chose to modify the figure as a tank commander with a green stuff-sculpted set of headphones and a garrison cap.
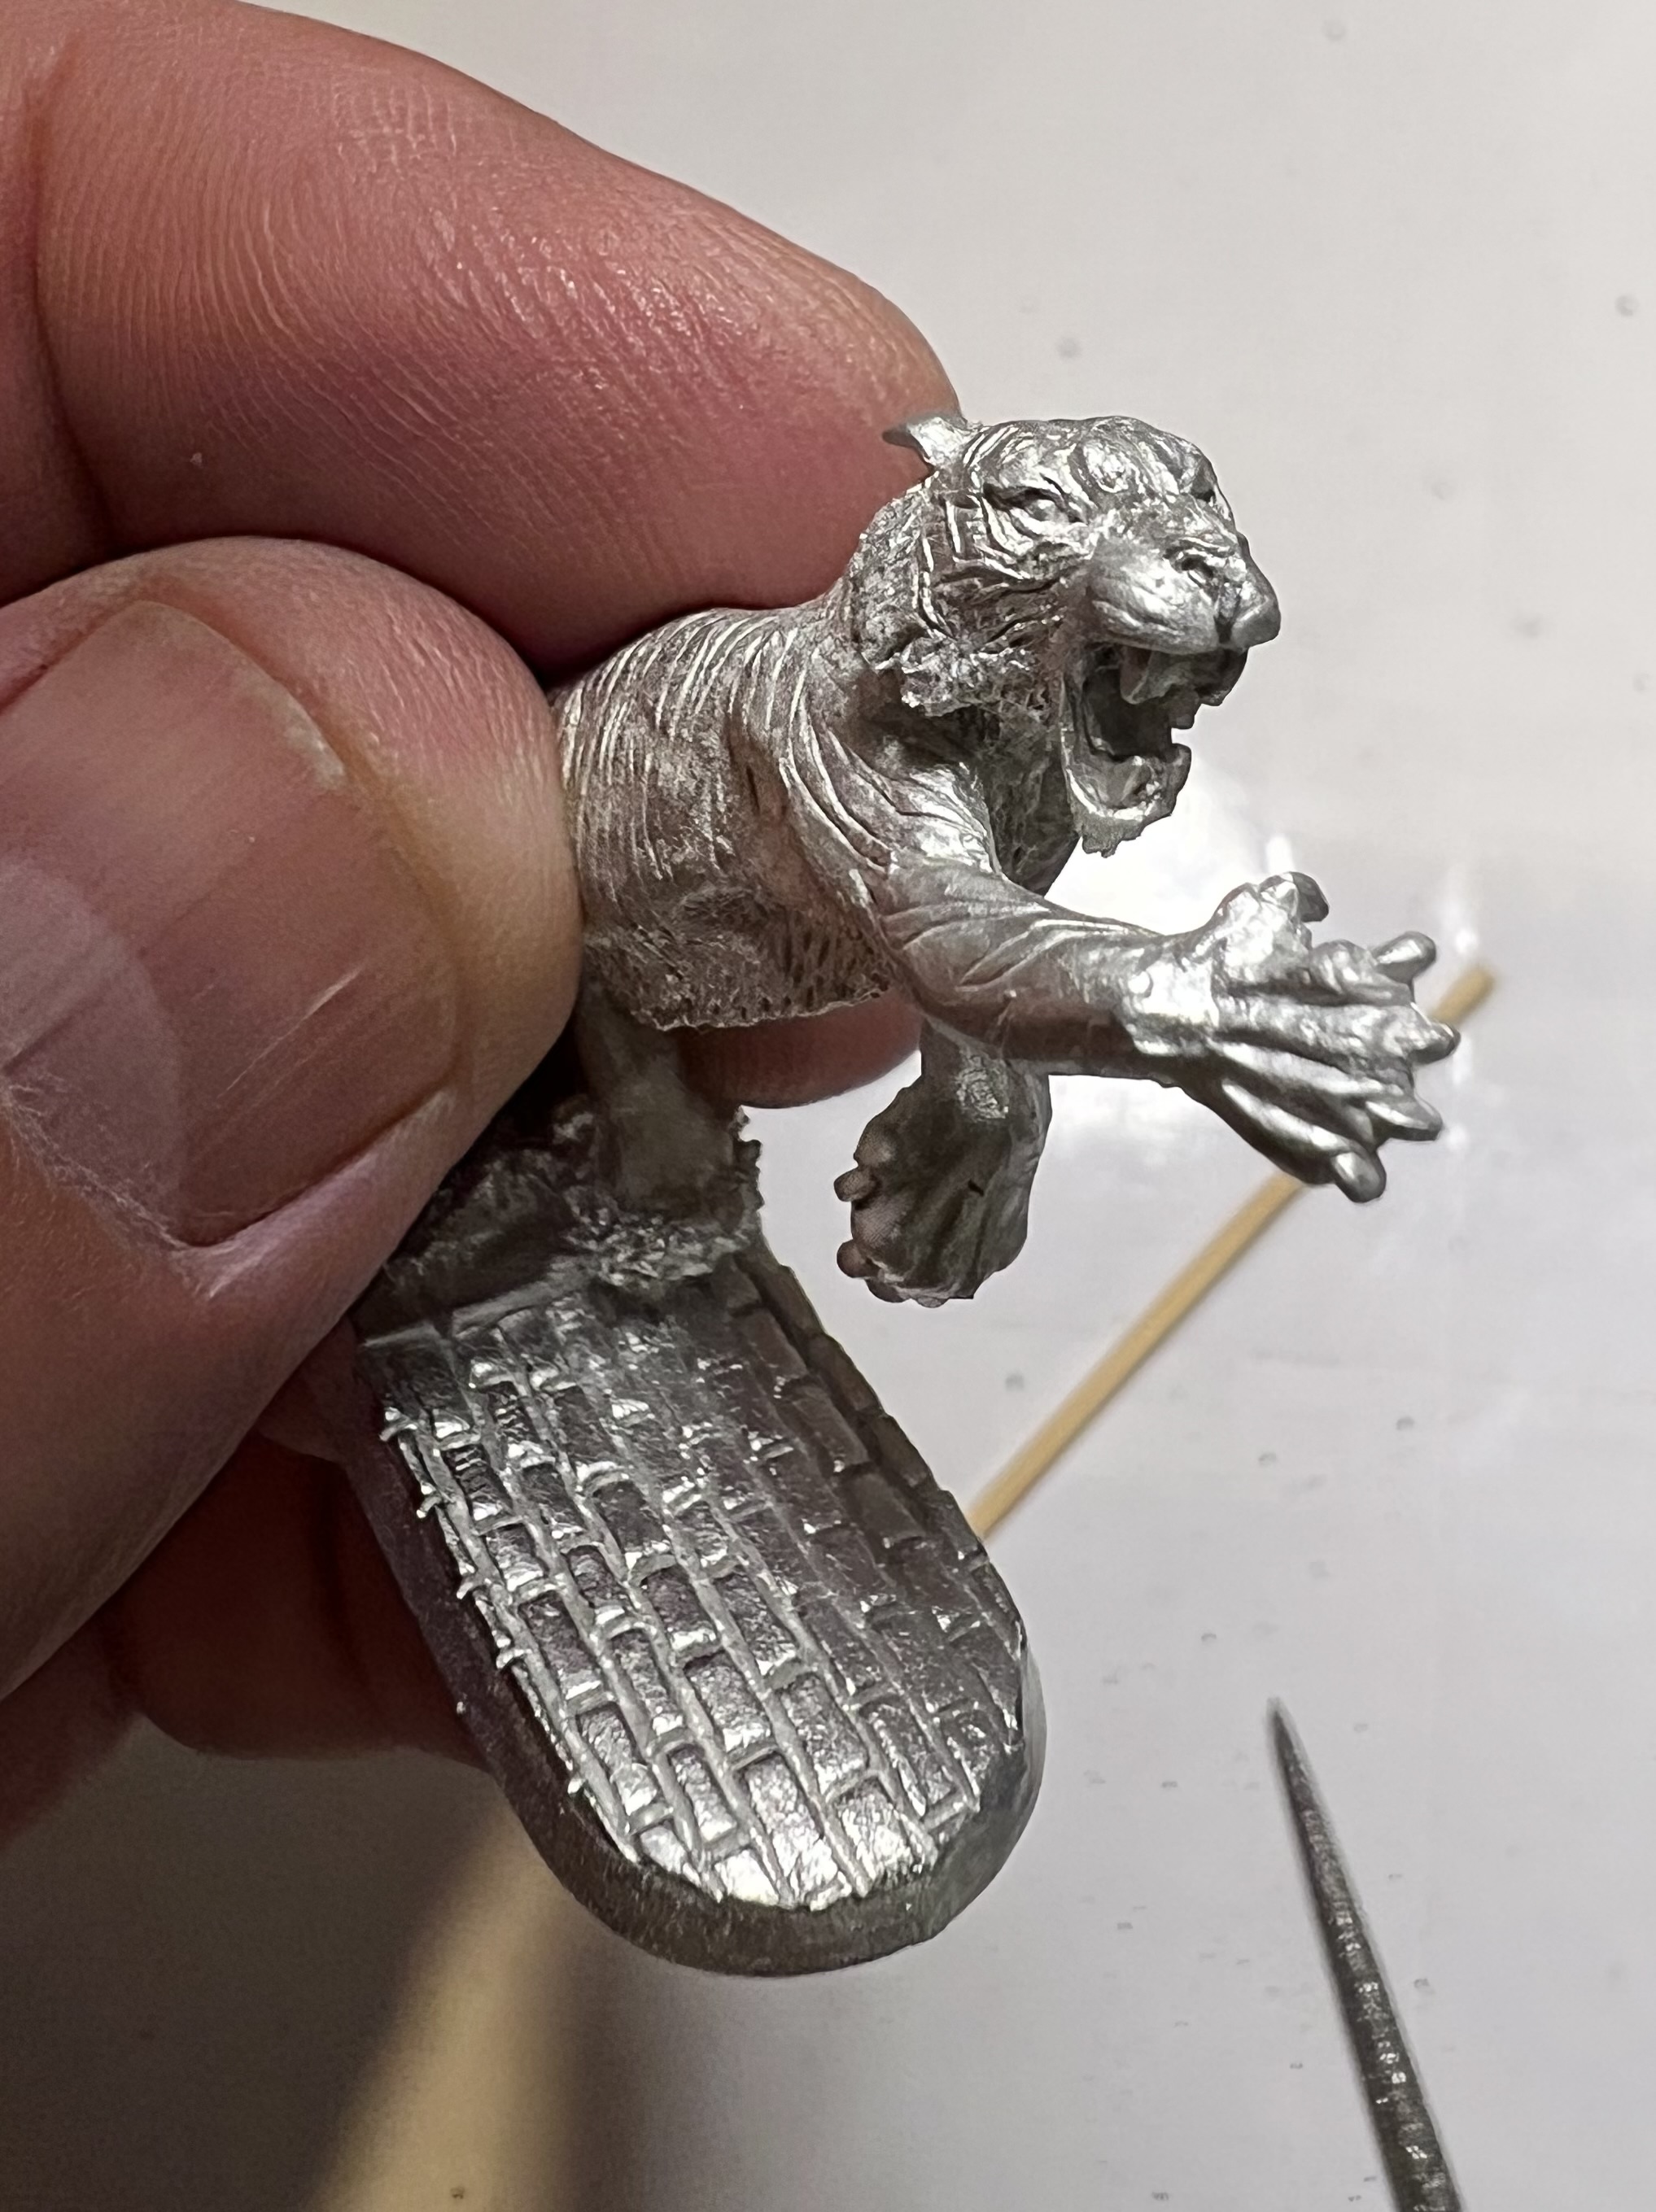
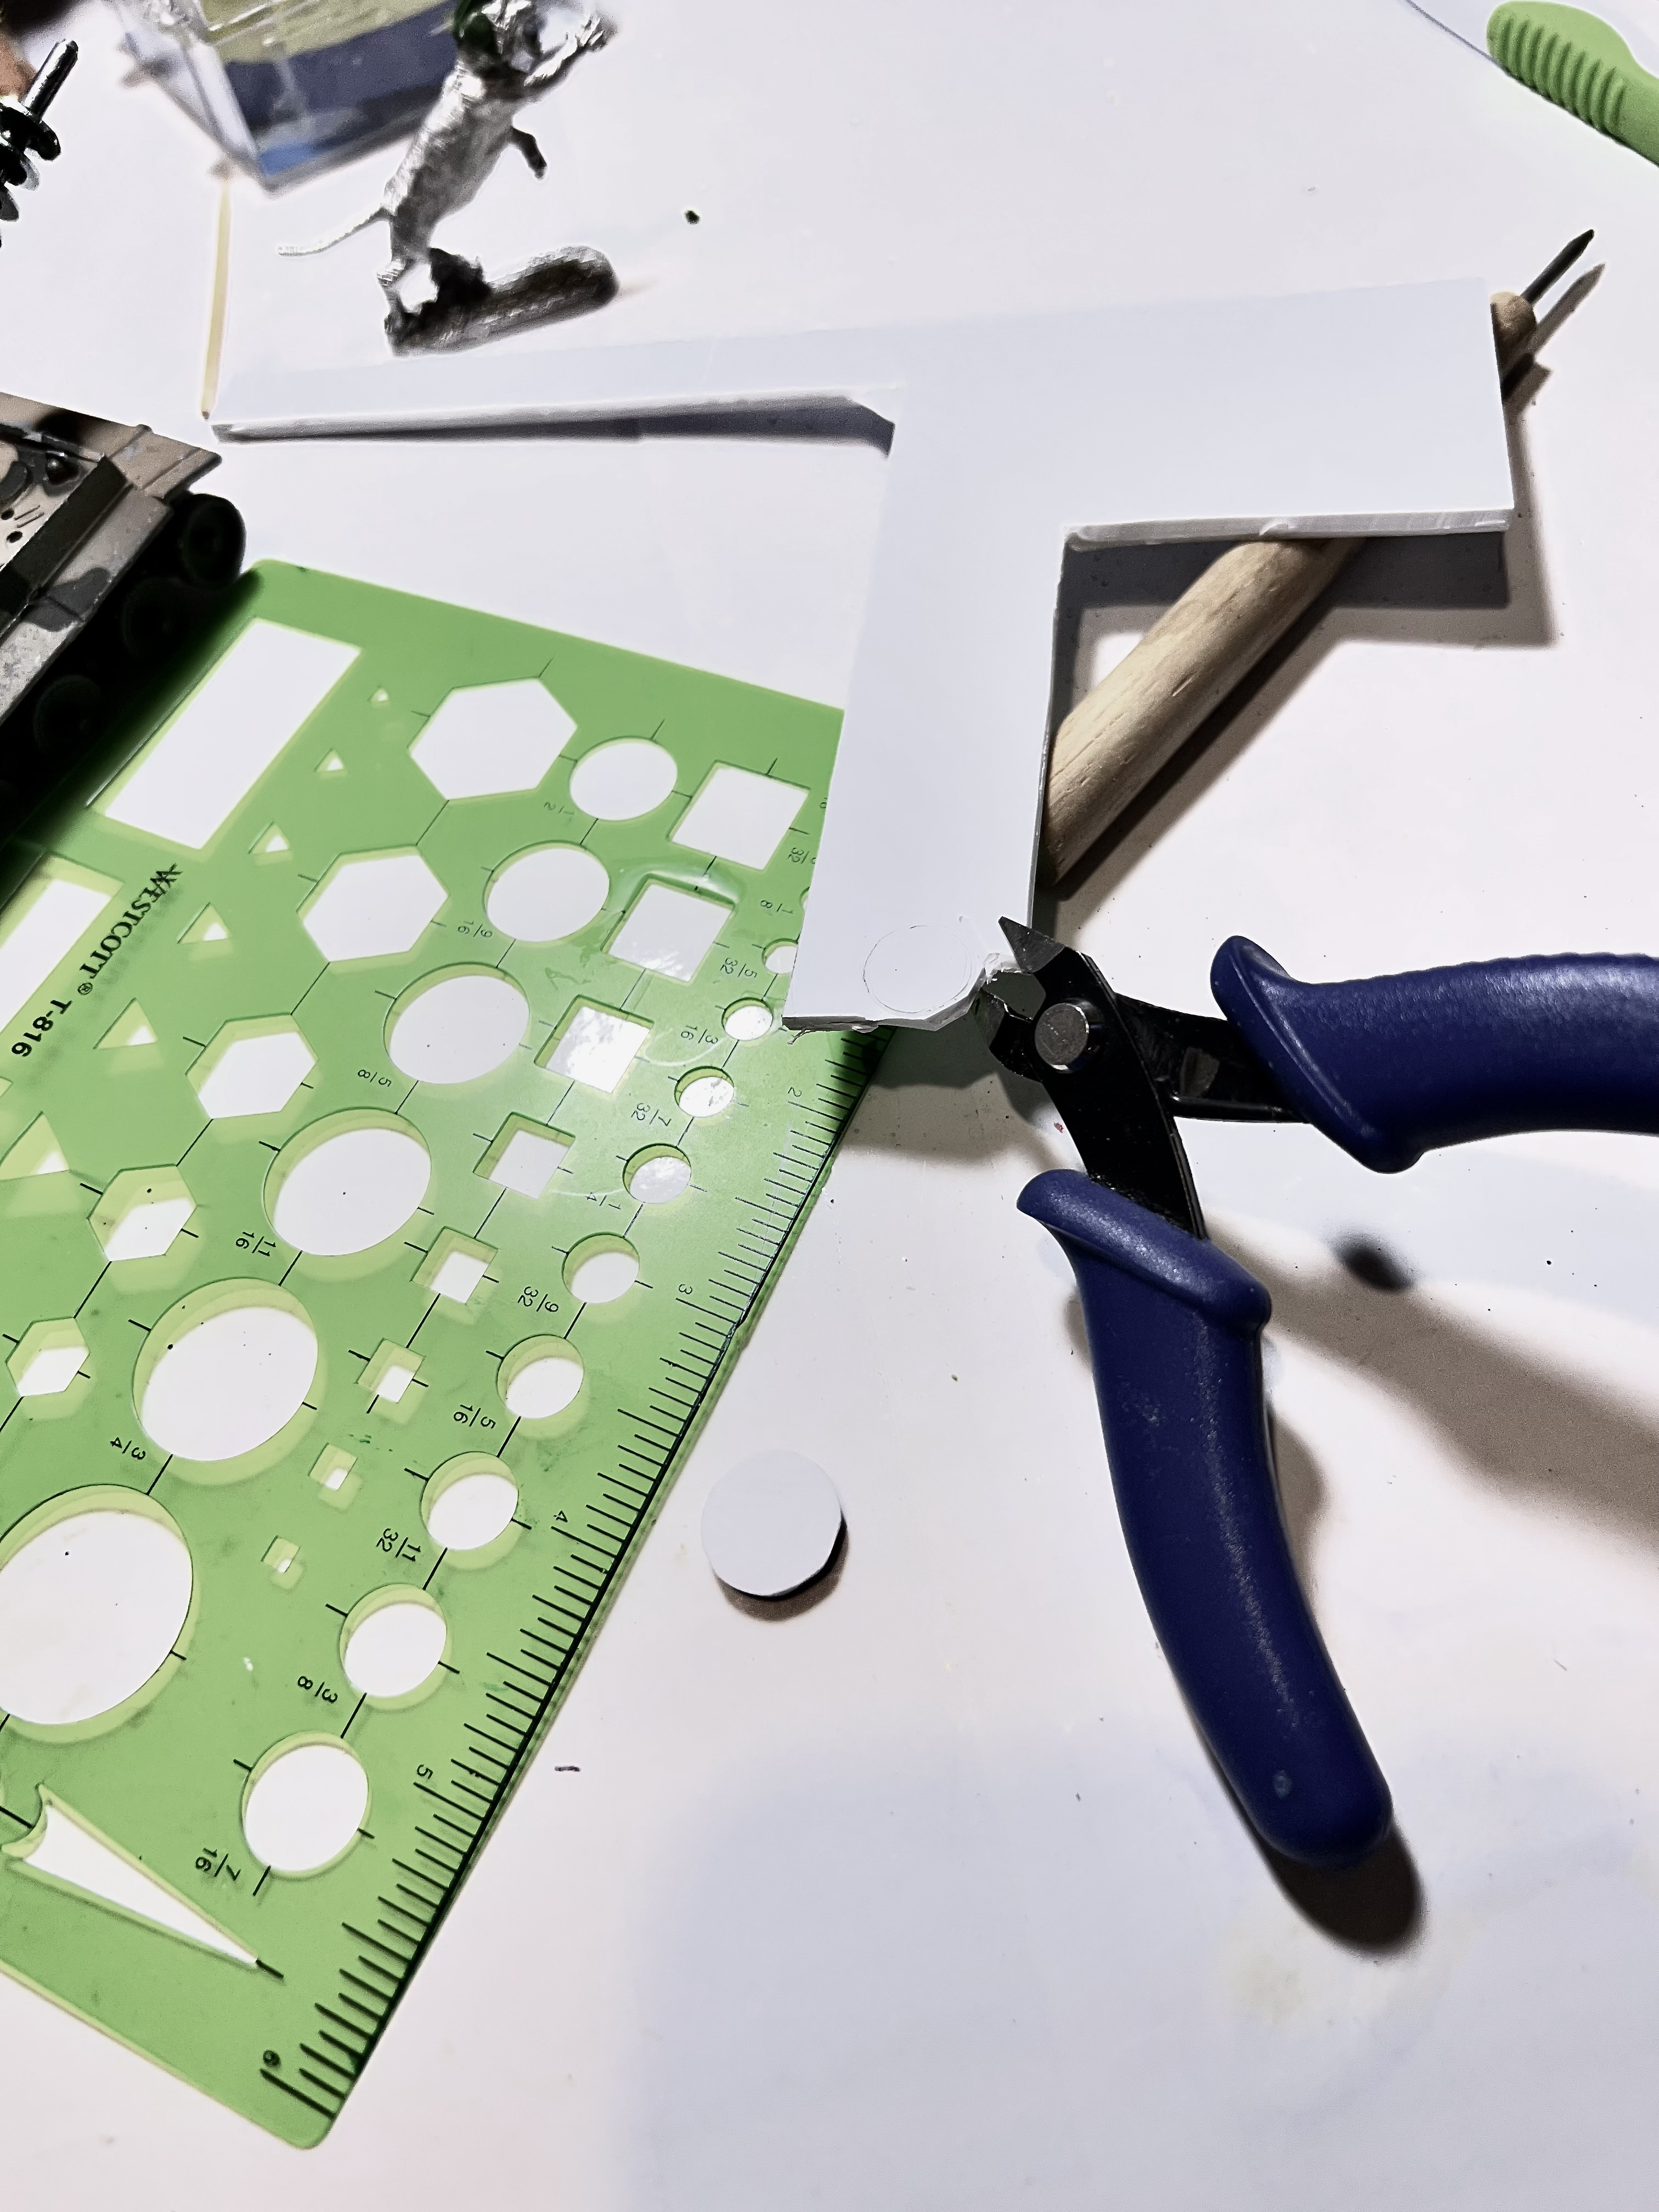
While that green stuff set up, I cut out the cupola/hatch pieces from plasticard. There were 2 differently-sized pieces used. I sized them with a plastic drafting template. Then I cut them with a sprue cutter and sanded them as round as I could. Then I went back to the tiger commander and primed the top half so that it would cure.
The next day I moved on to “Step 2” of the main gun sculpting. This way I could smooth out the “insulator” shapes over the washers on the gun and be assured that they were structurally stable and durable enough for play.
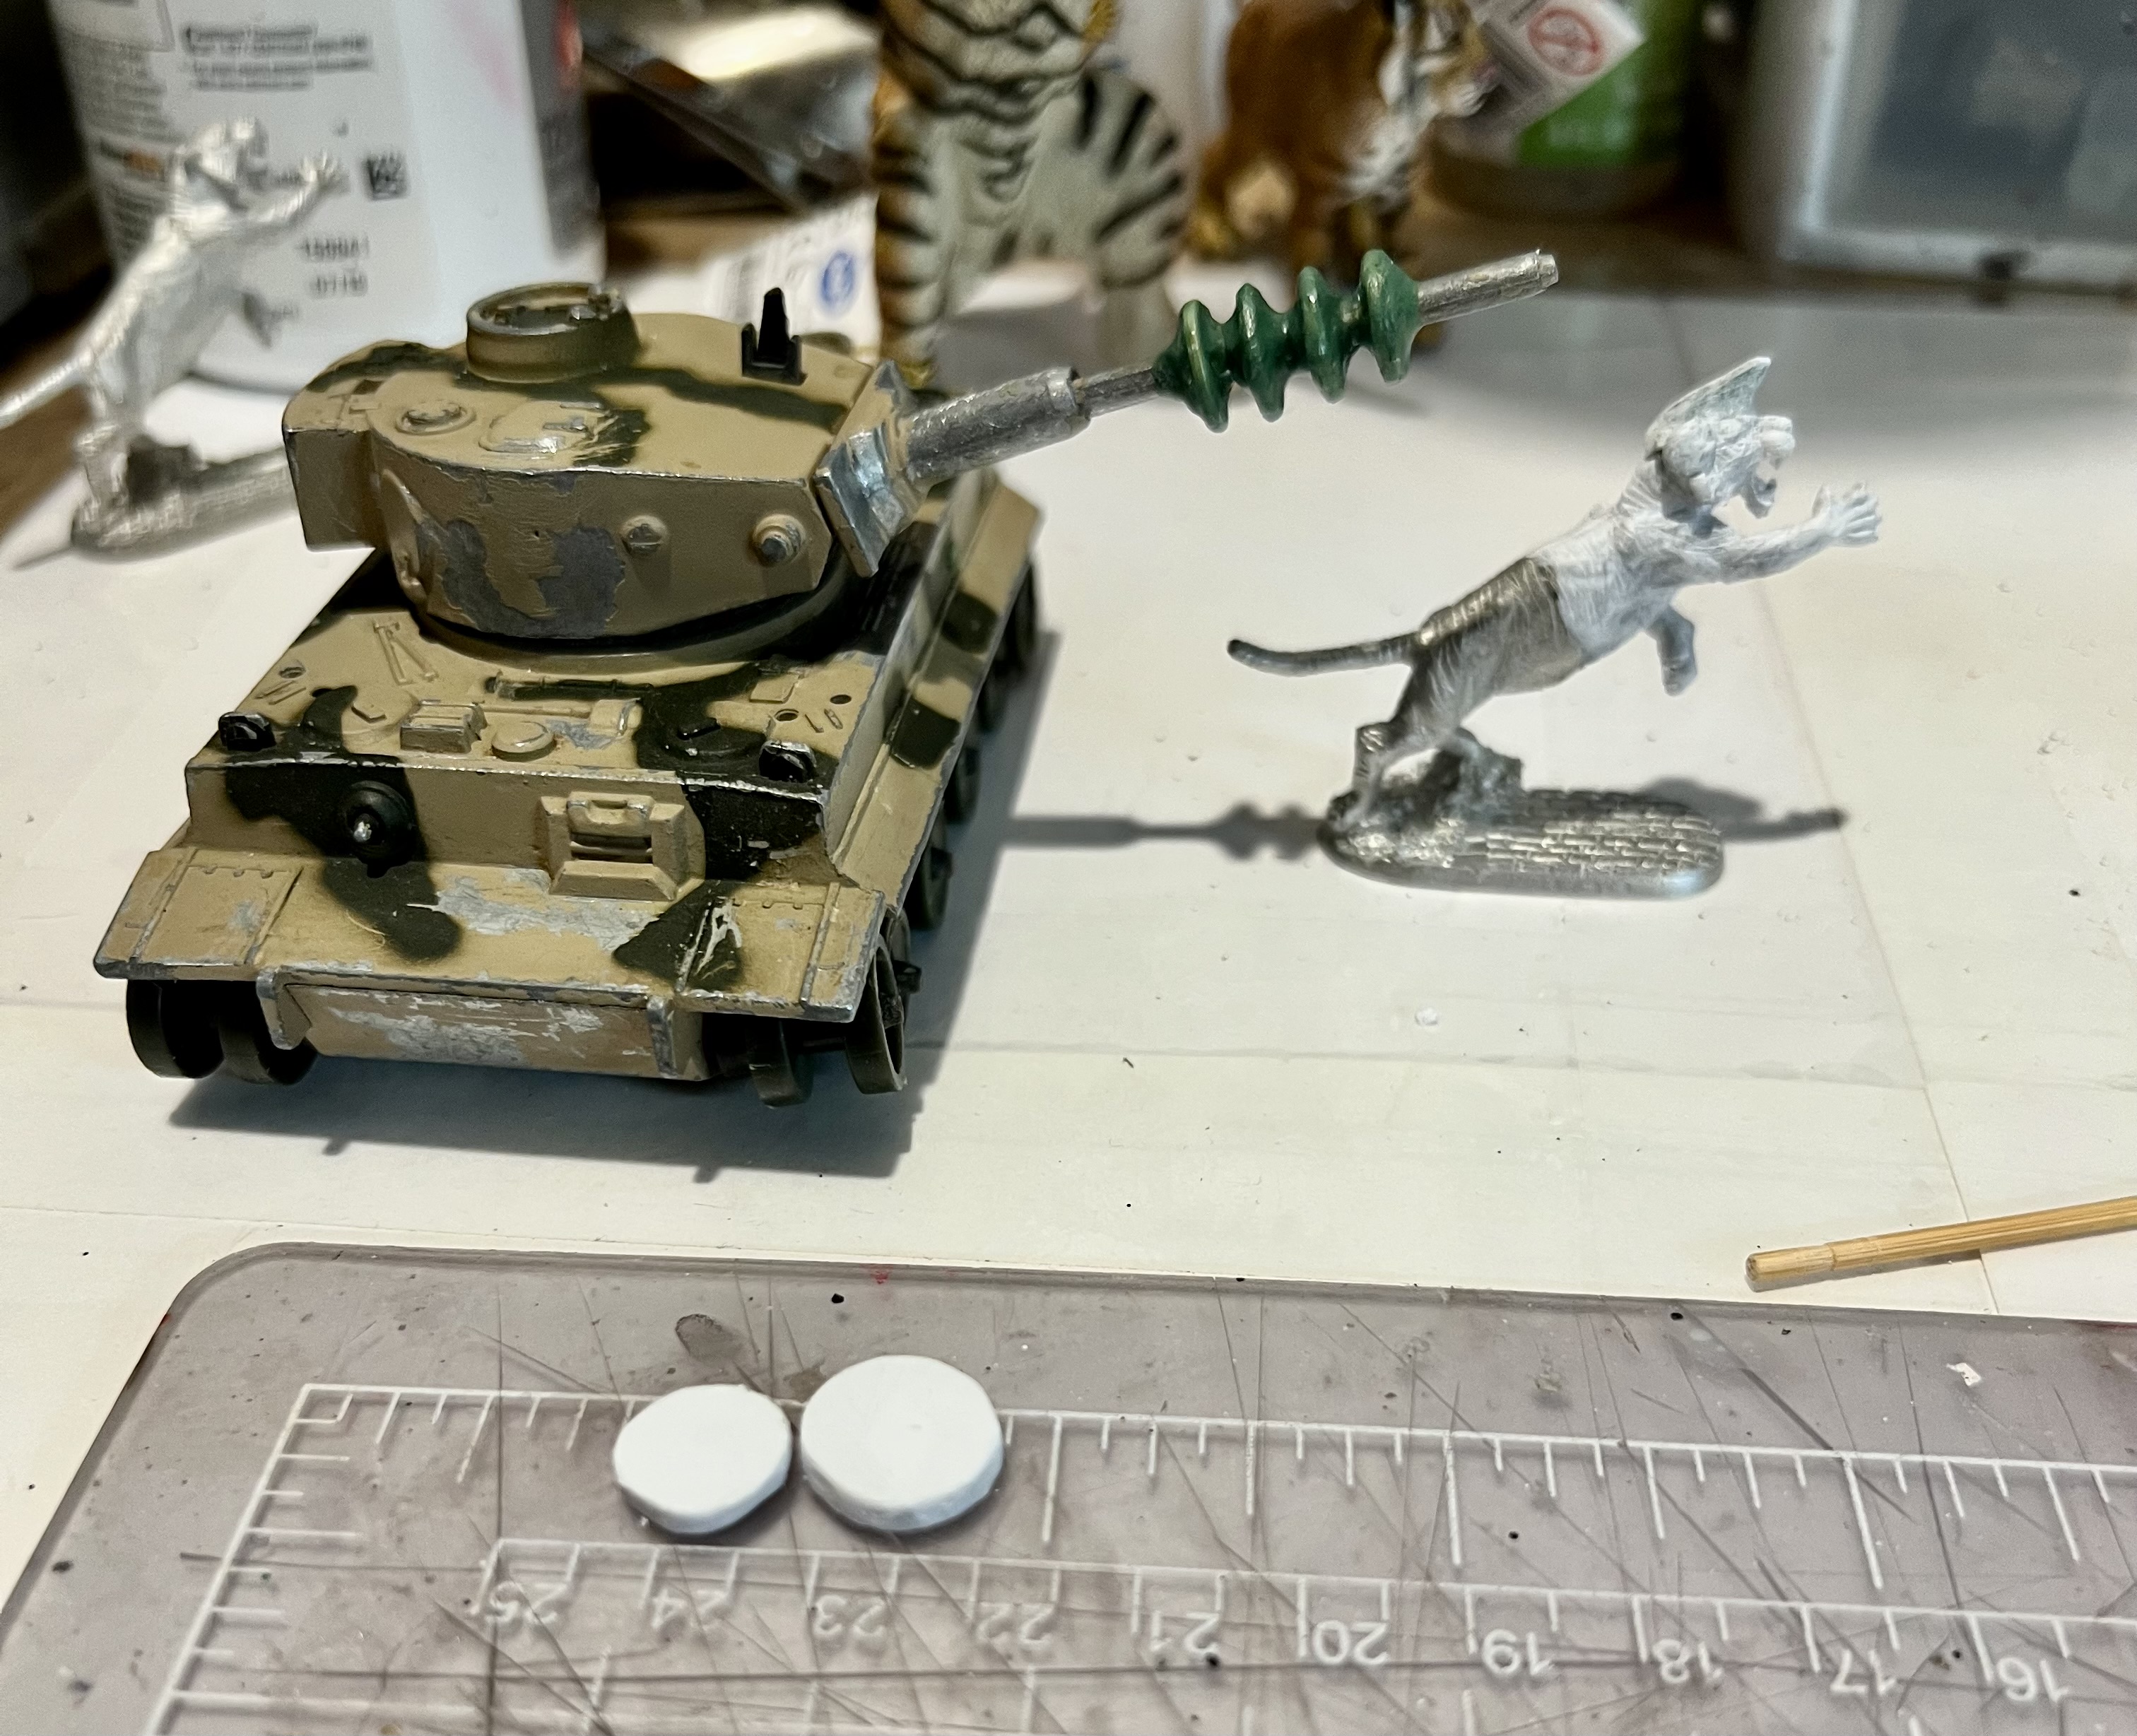
Here you see the results of the step 2 sculpting of the main gun, the primed top half of the modified commander, and the two hatch pieces.

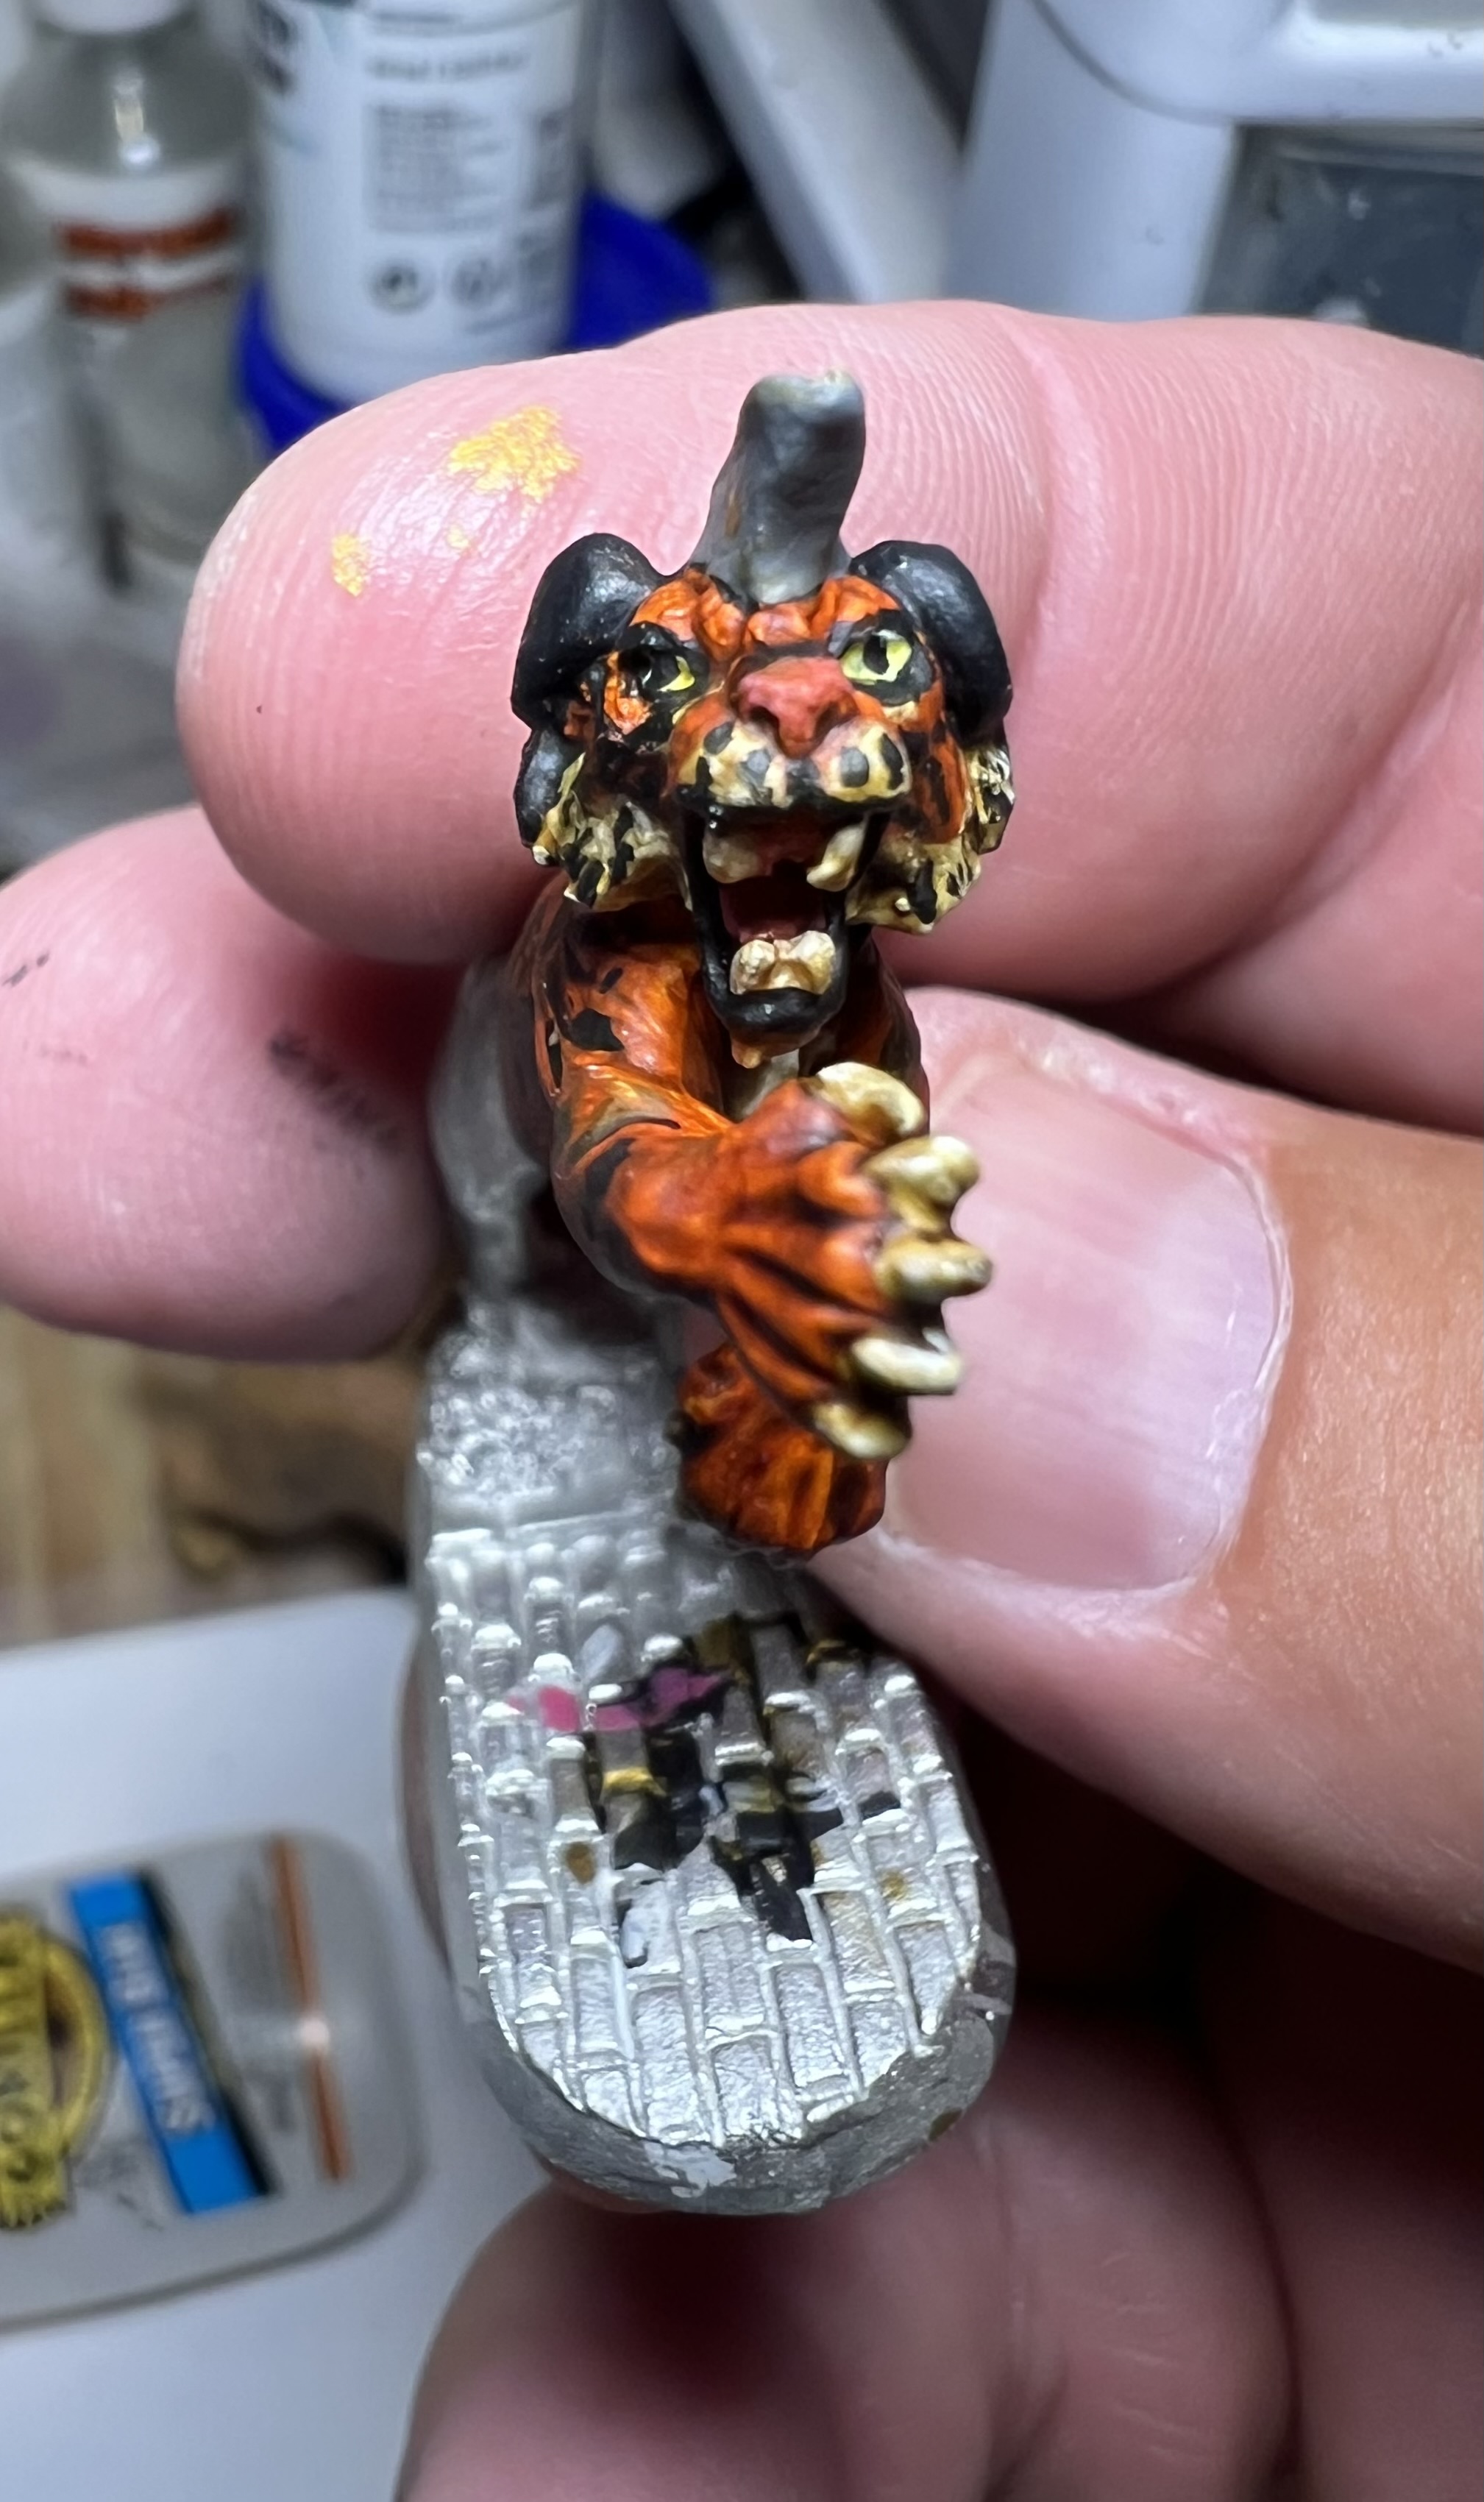
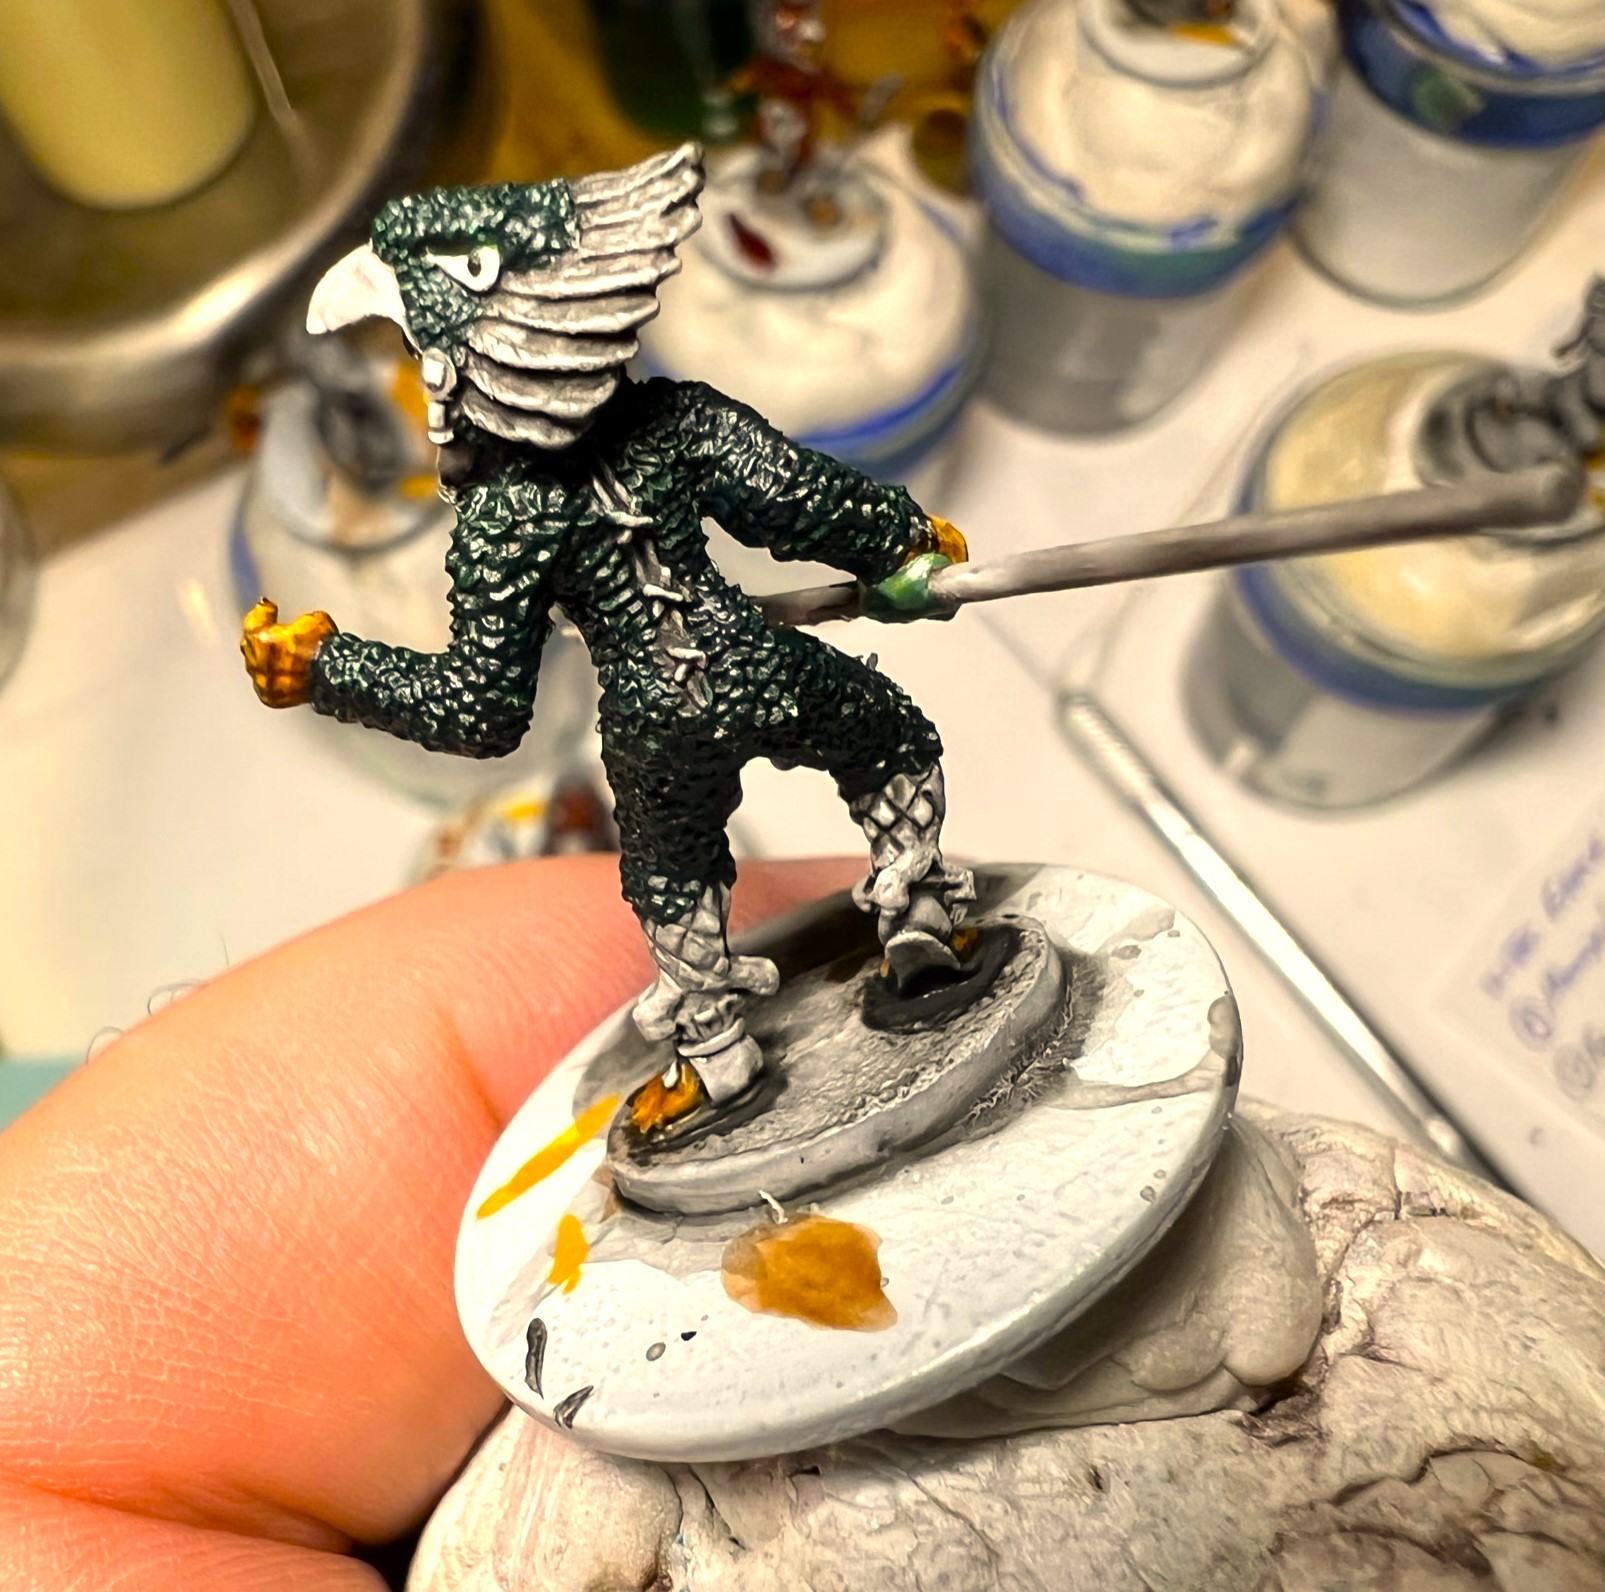
Leaving the bottom half of the figure unpainted helped me with ease of holding it for painting. The big resin tiger figure was a good model for patterning the stripes. Below are some images of how the painting went.
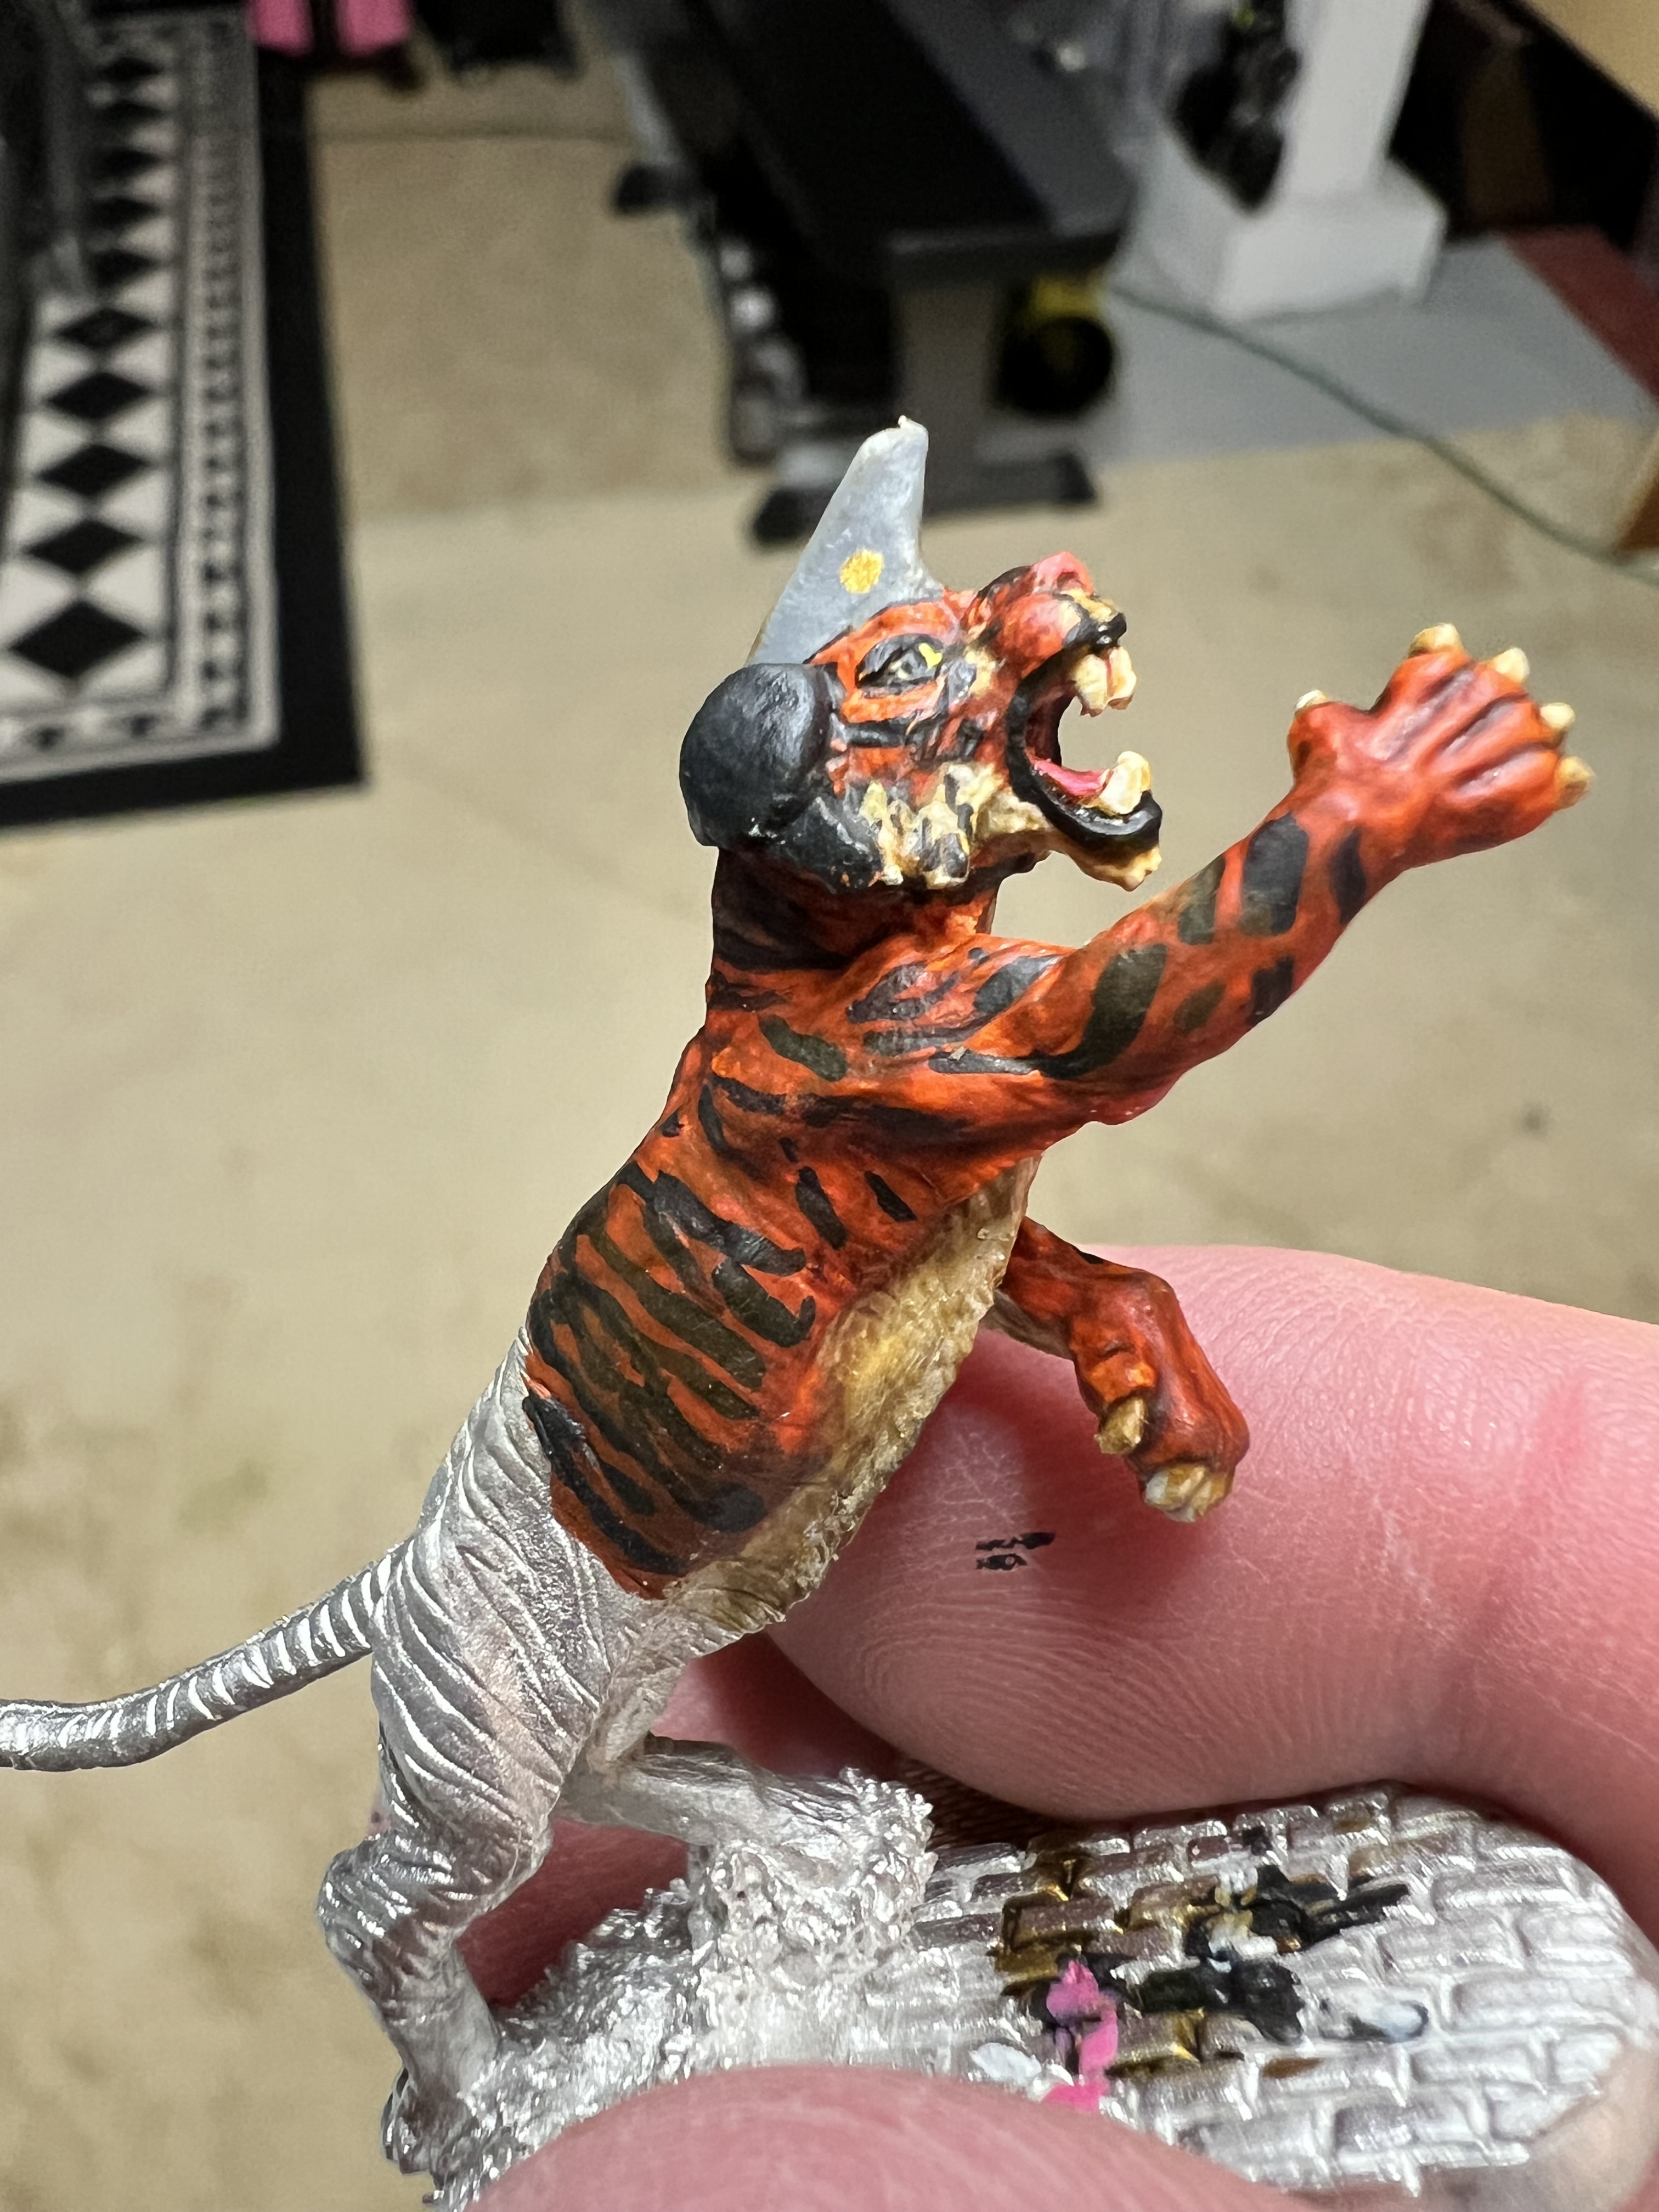
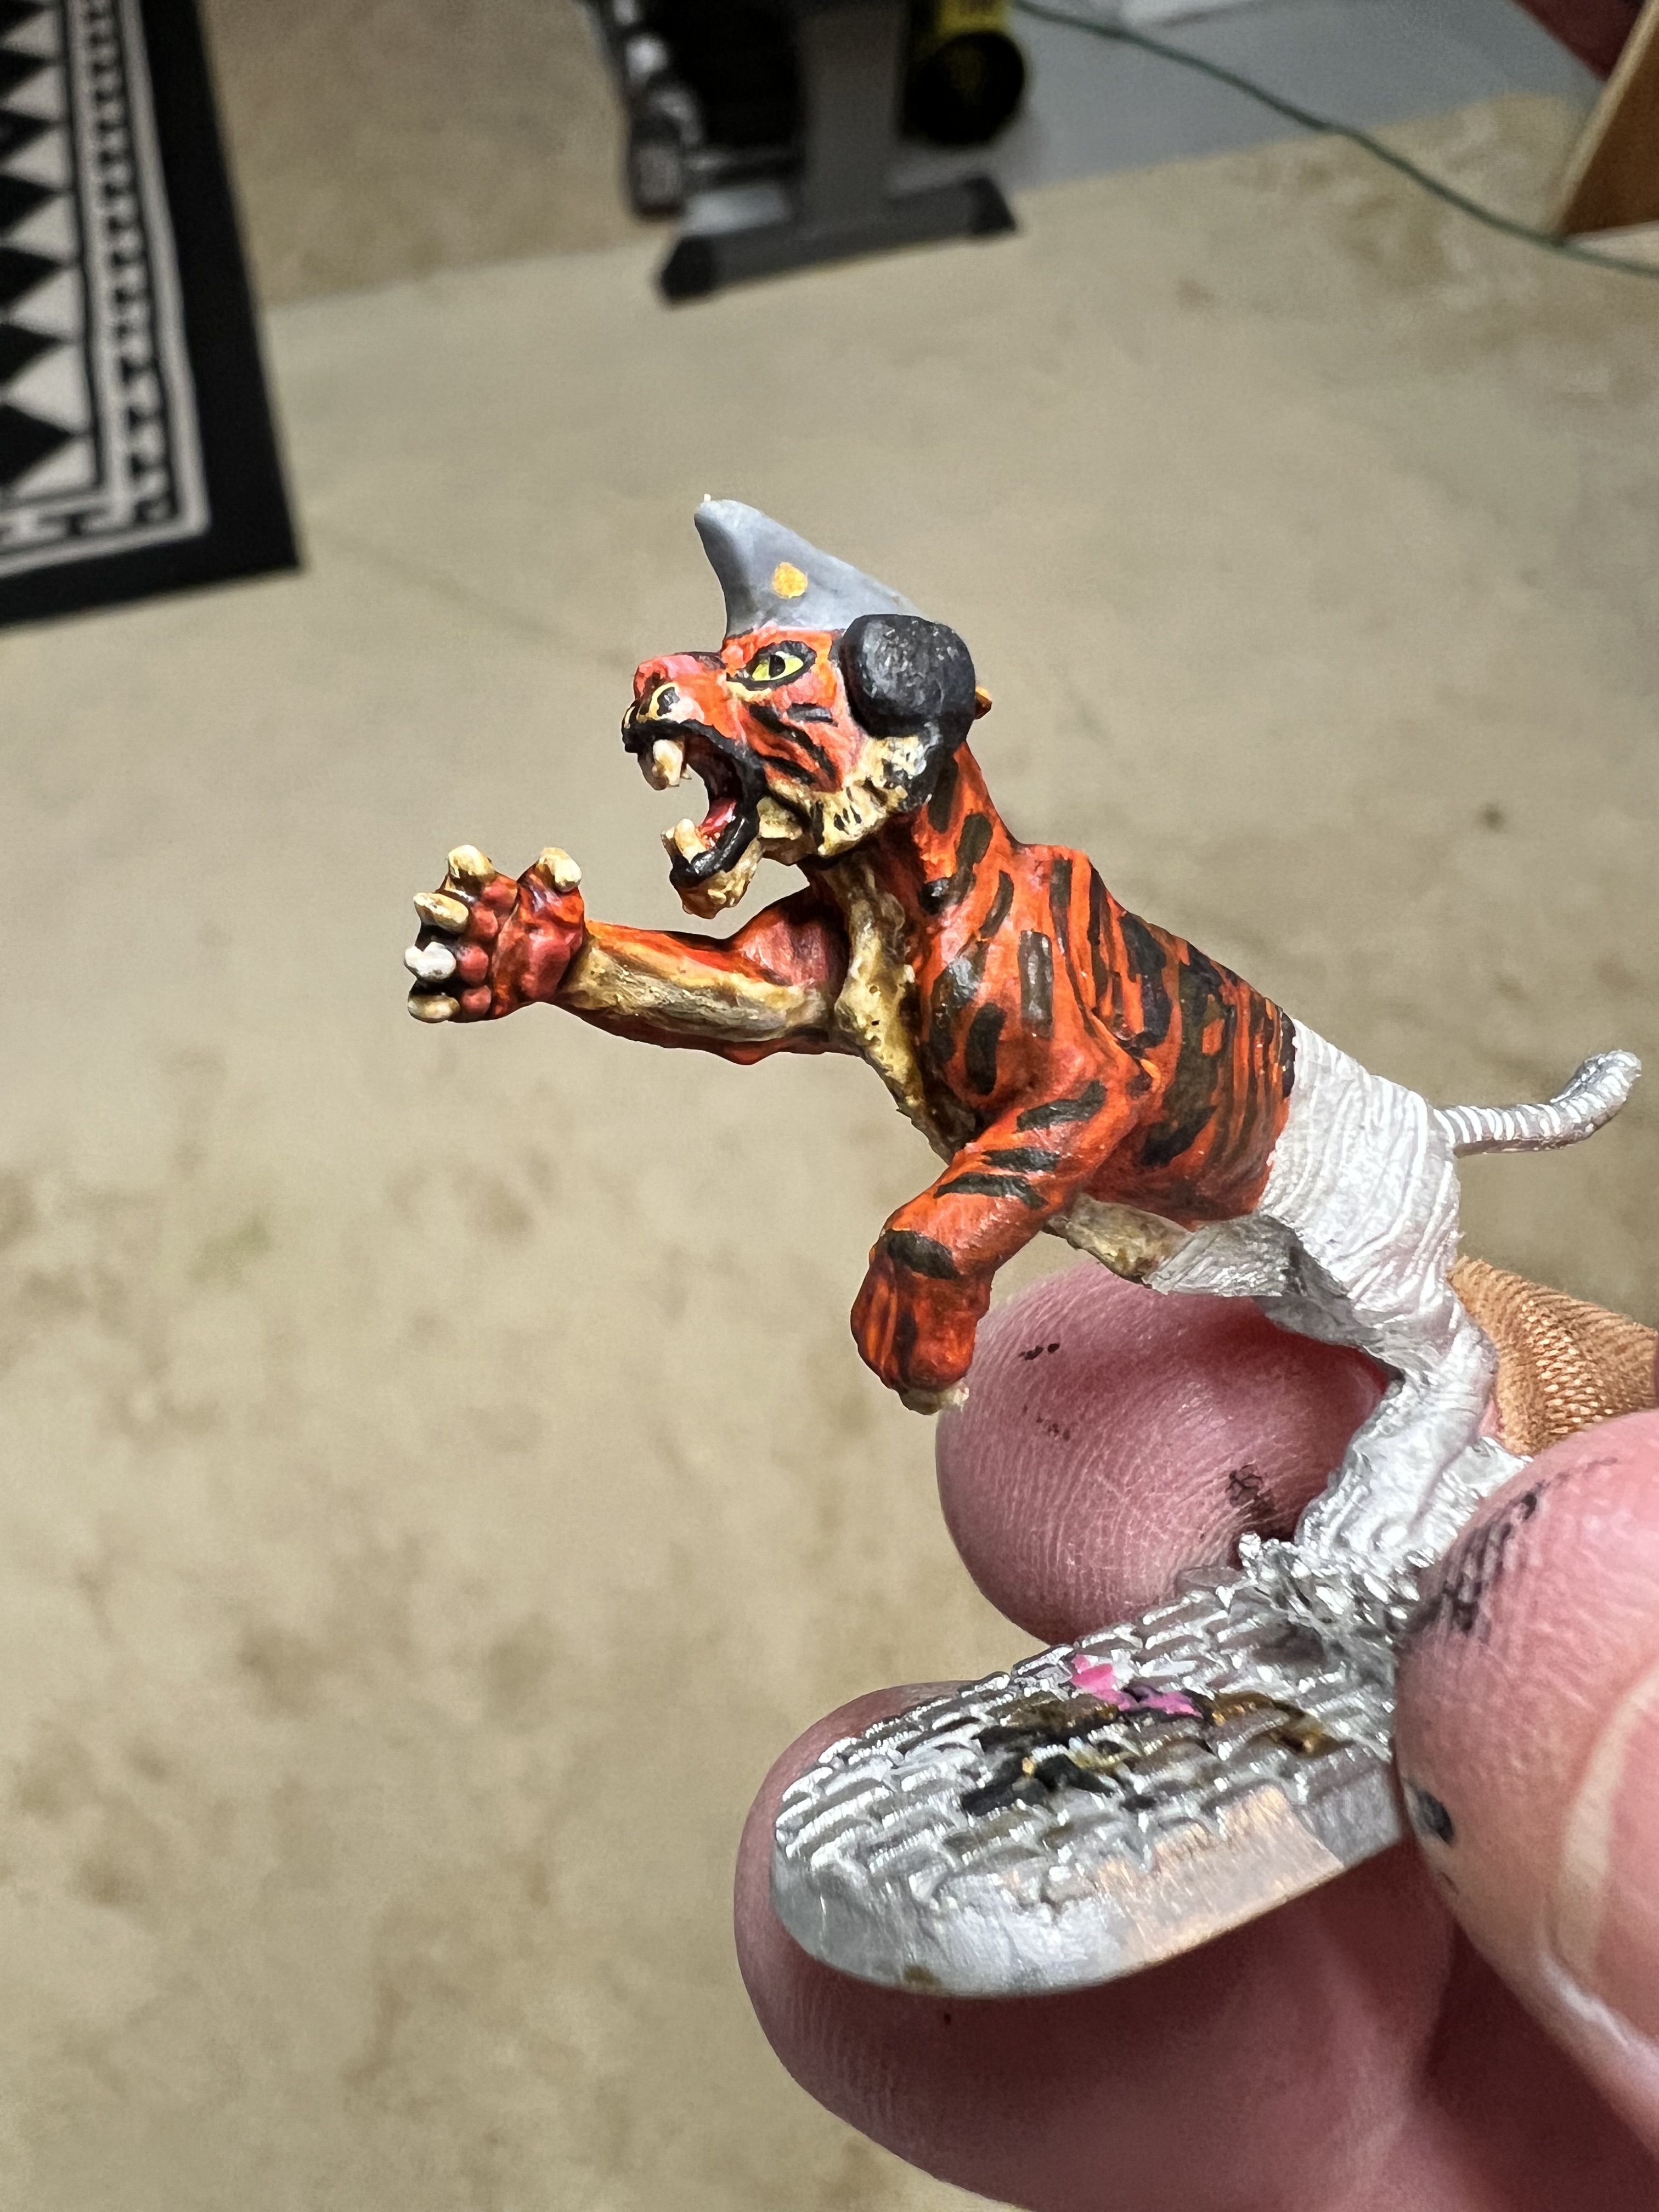
Switching back to the tank, it was time to prime it. Wanting to make sure that it got a good prime over the old factory paint job, I double-primed the tank. First, I applied a black coat, covering everything except the cupola area, the very bottom of the toy tank, and the plastic road wheels. I let it cure for 24 hours.

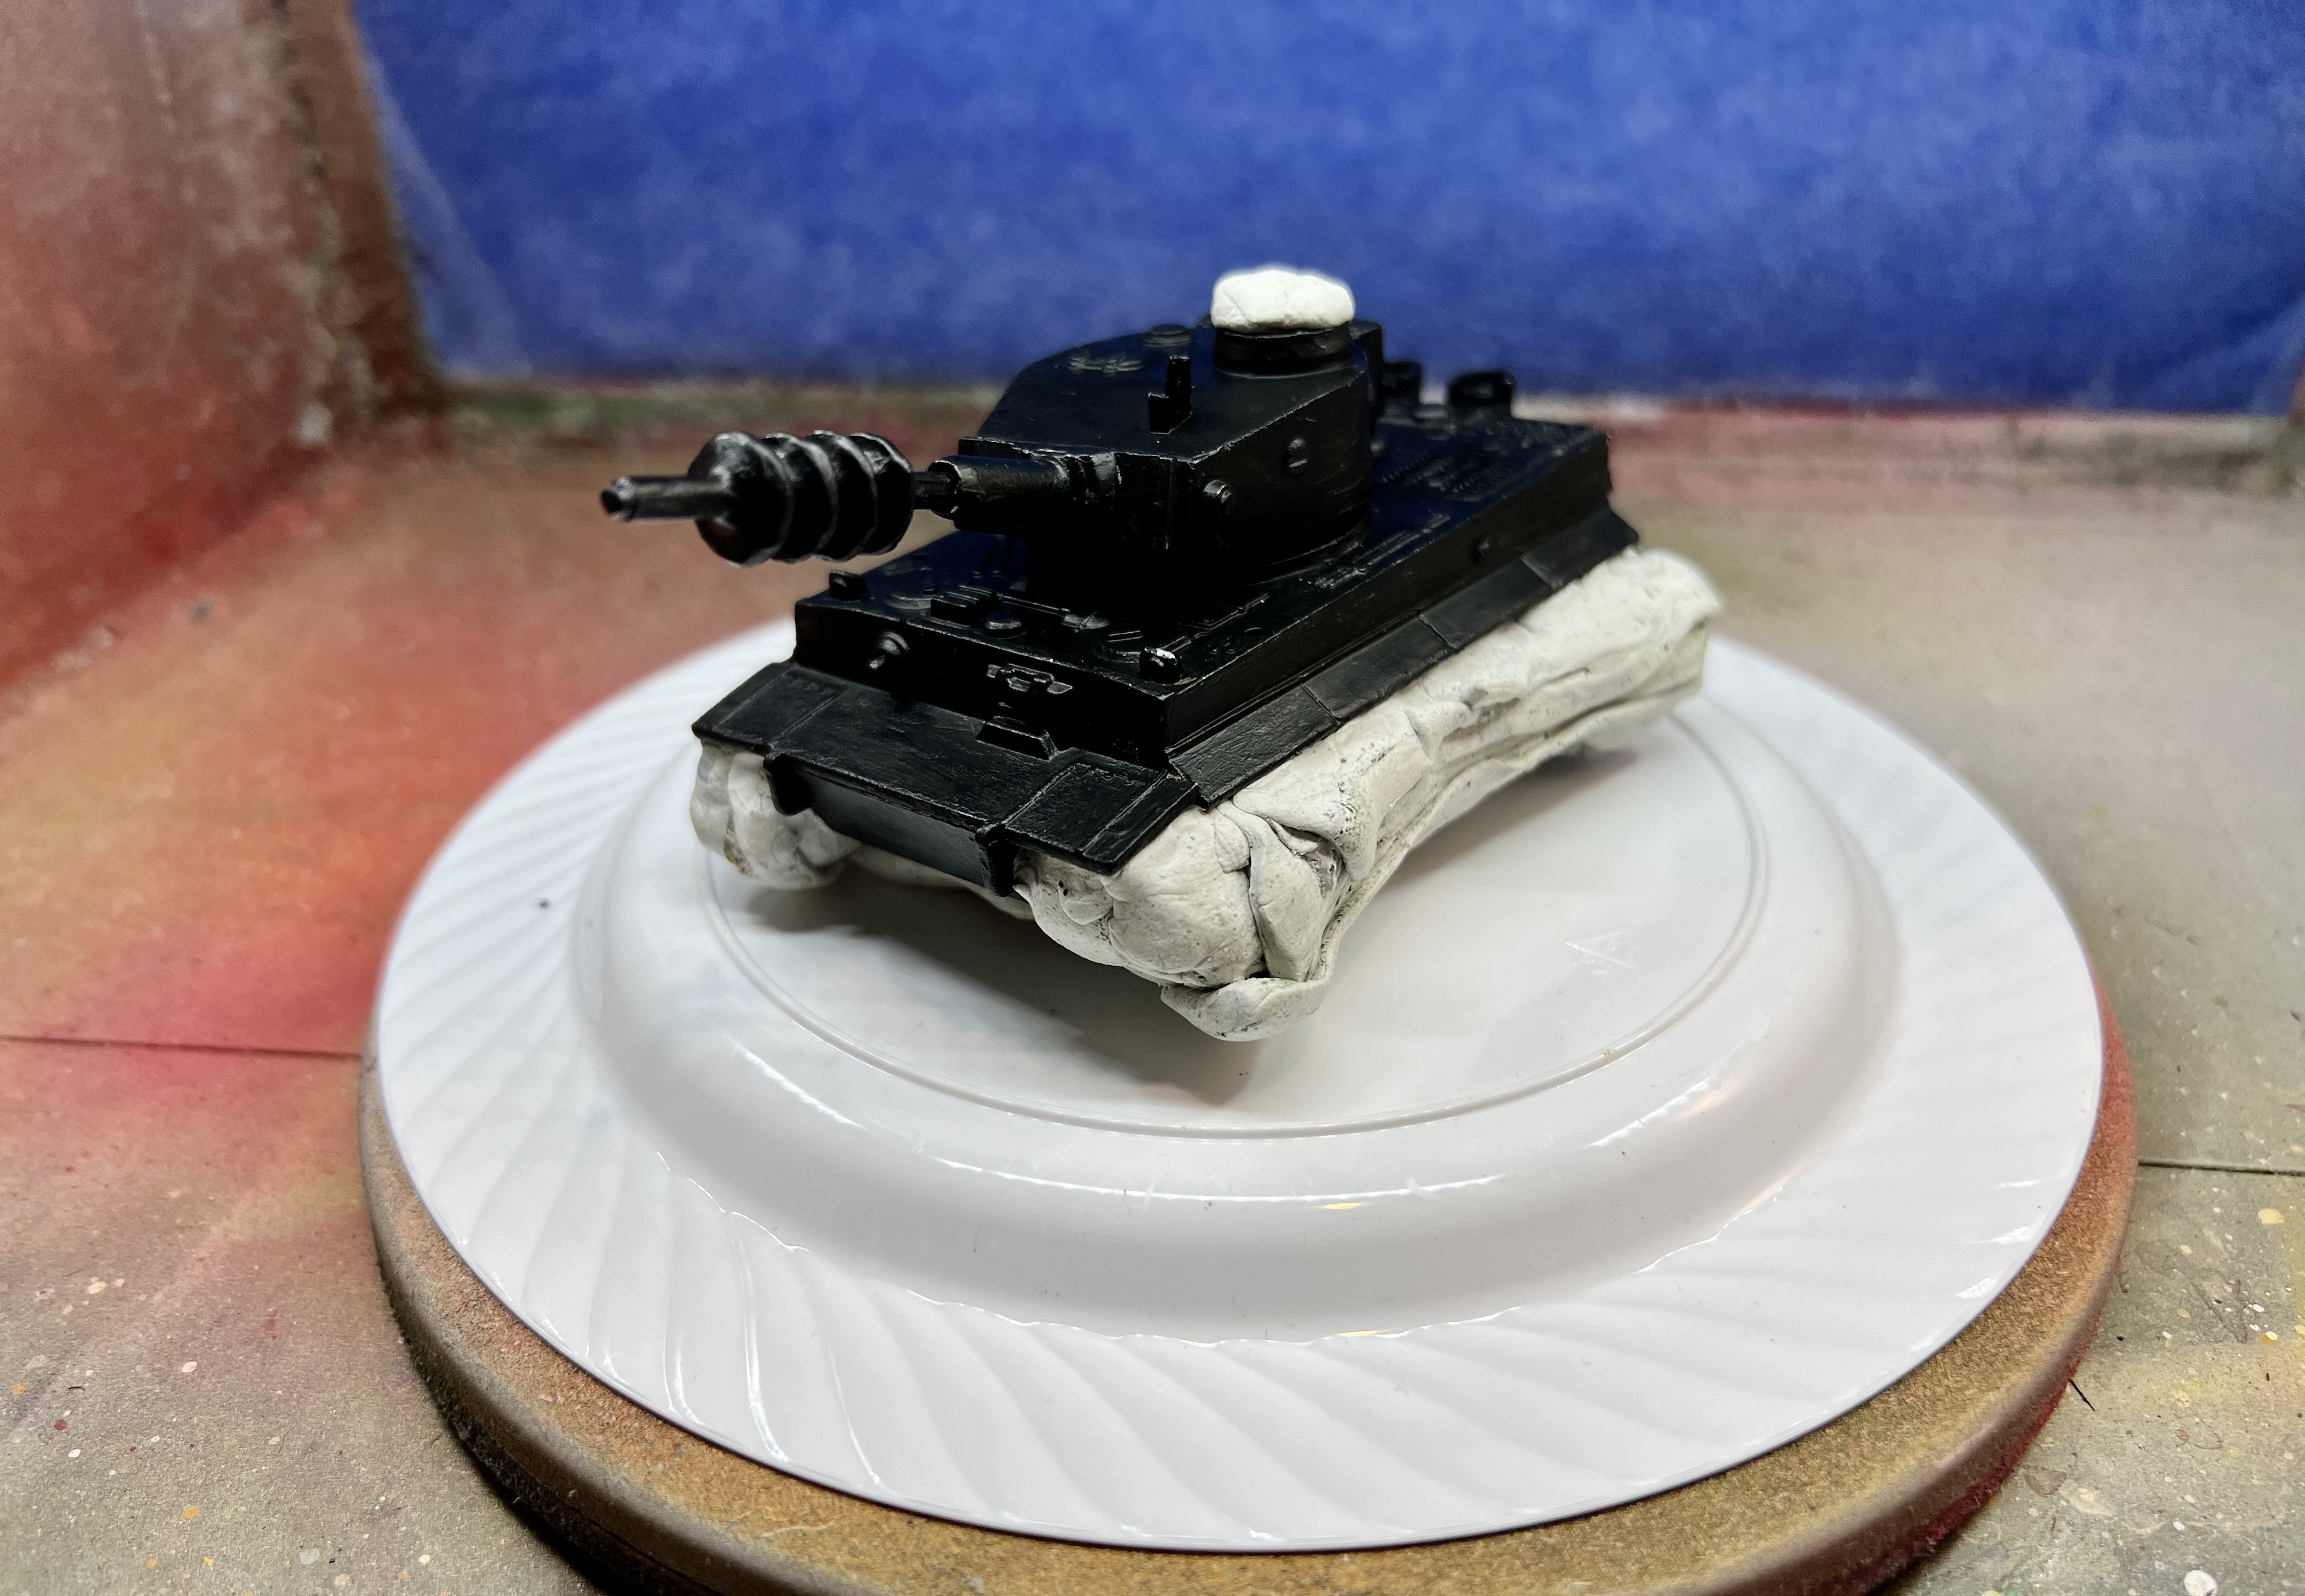
Then, I needed a second coat of white. Note that after the black coat was brush-applied to the toy tank, I blanked off the road wheels and the top of the existing hatch/cupola with poster tack. I did that for the wheels so as to keep the plastic green color intact – plus I thought that any paint on them would be very fragile and prone to rubbing off easily. For the cupola, I wanted to leave a somewhat bare surface so that the tiger commander assembly (when completed) would be easily attached with green stuff.
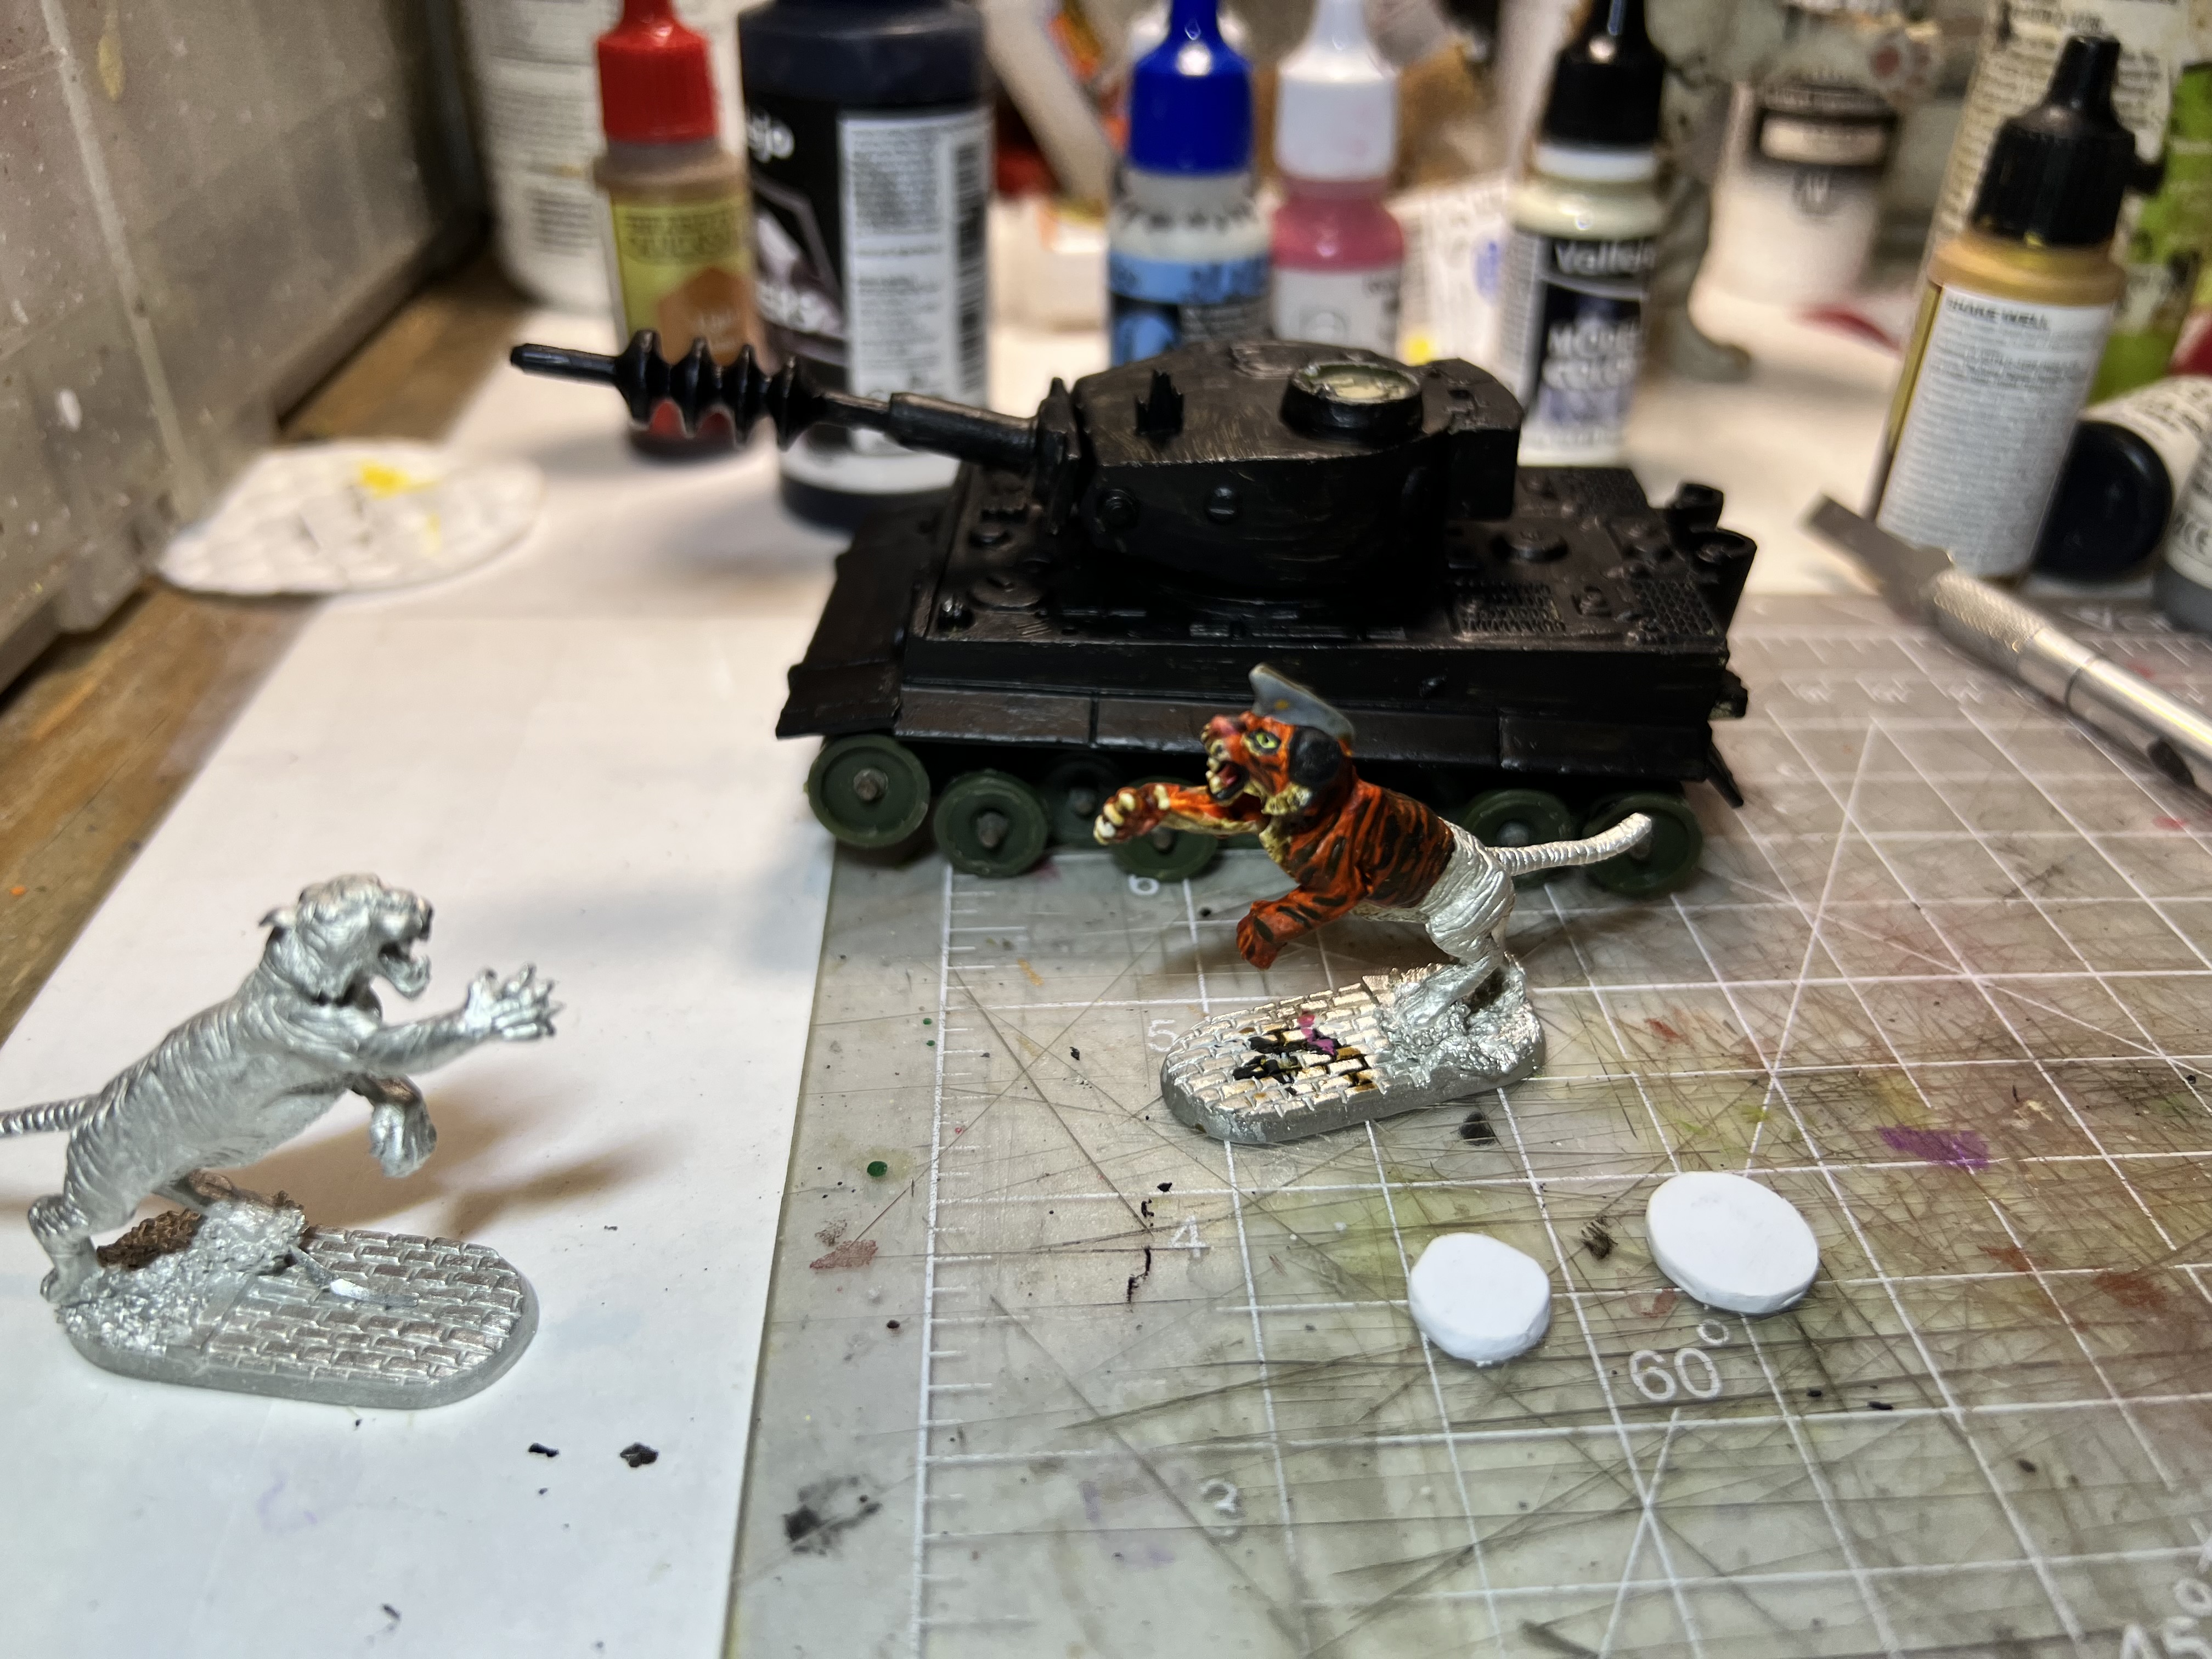
The tank primed black (I avoided the wheels), next to the painted commander, the cupola parts, and the unpainted tiger figure.
Wheels and cupola masked with poster tack before adding white primer.

It was now time to return to the tiger commander and the hatch/cupola assembly.

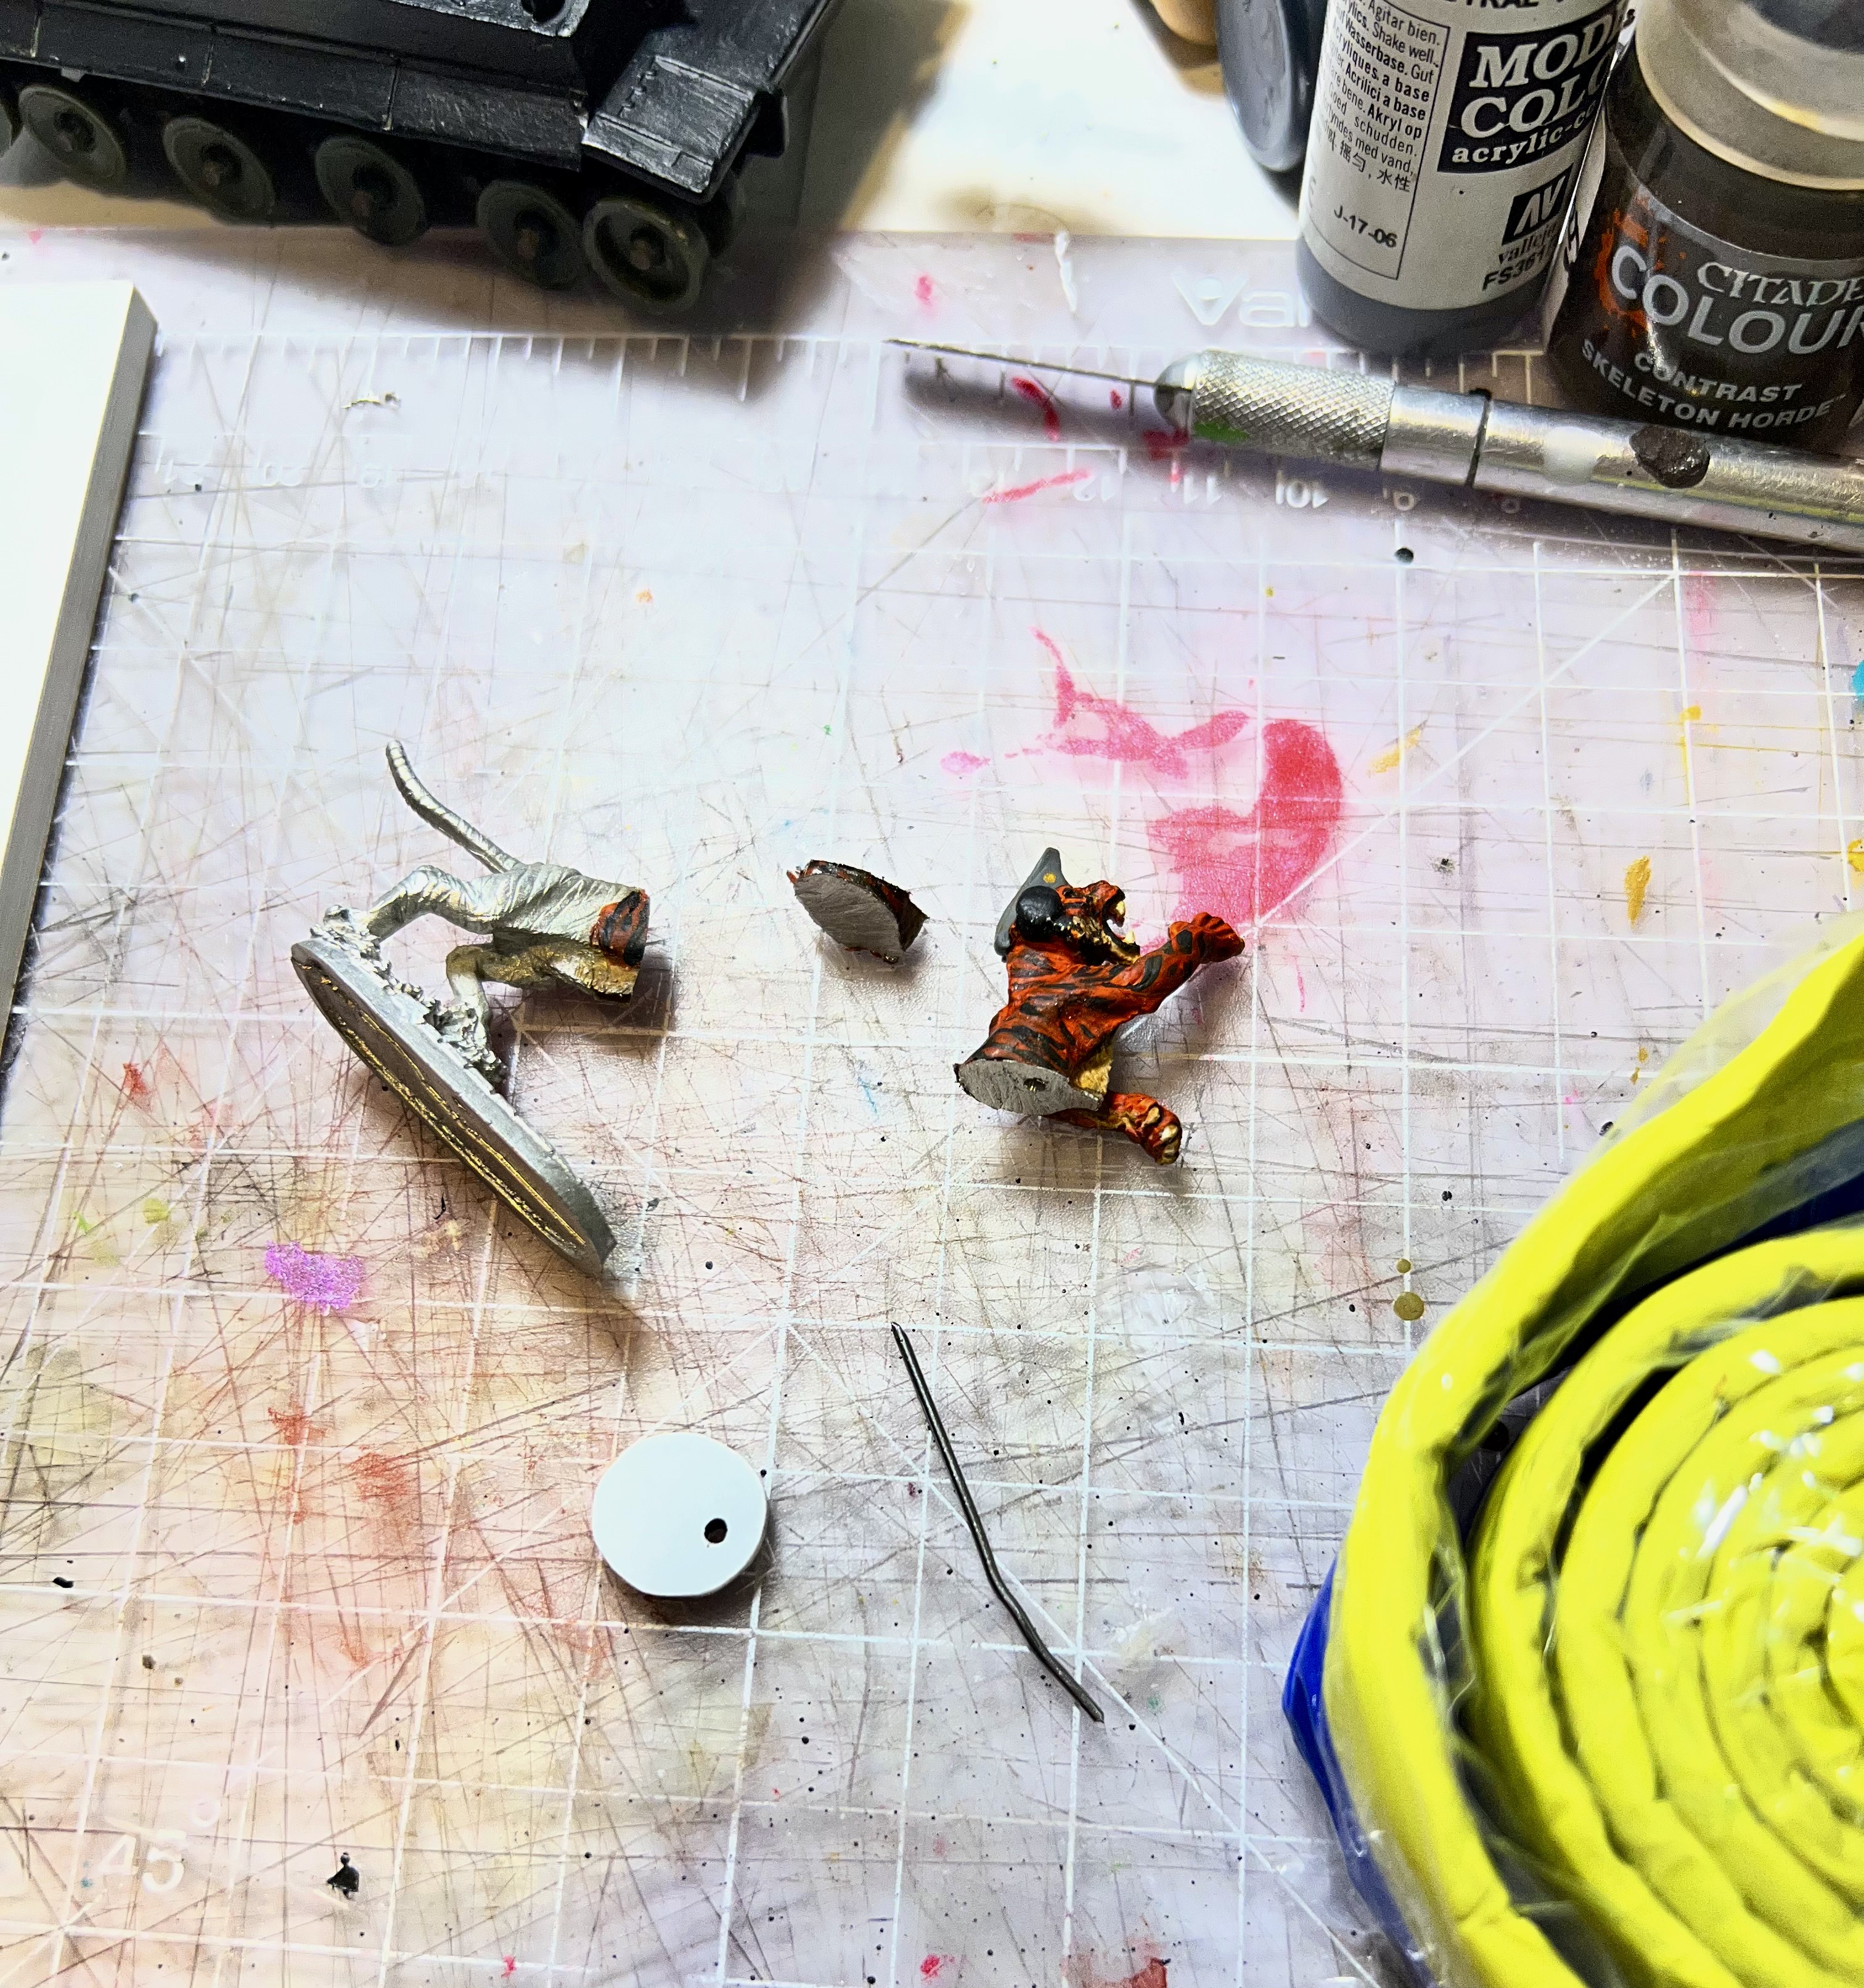
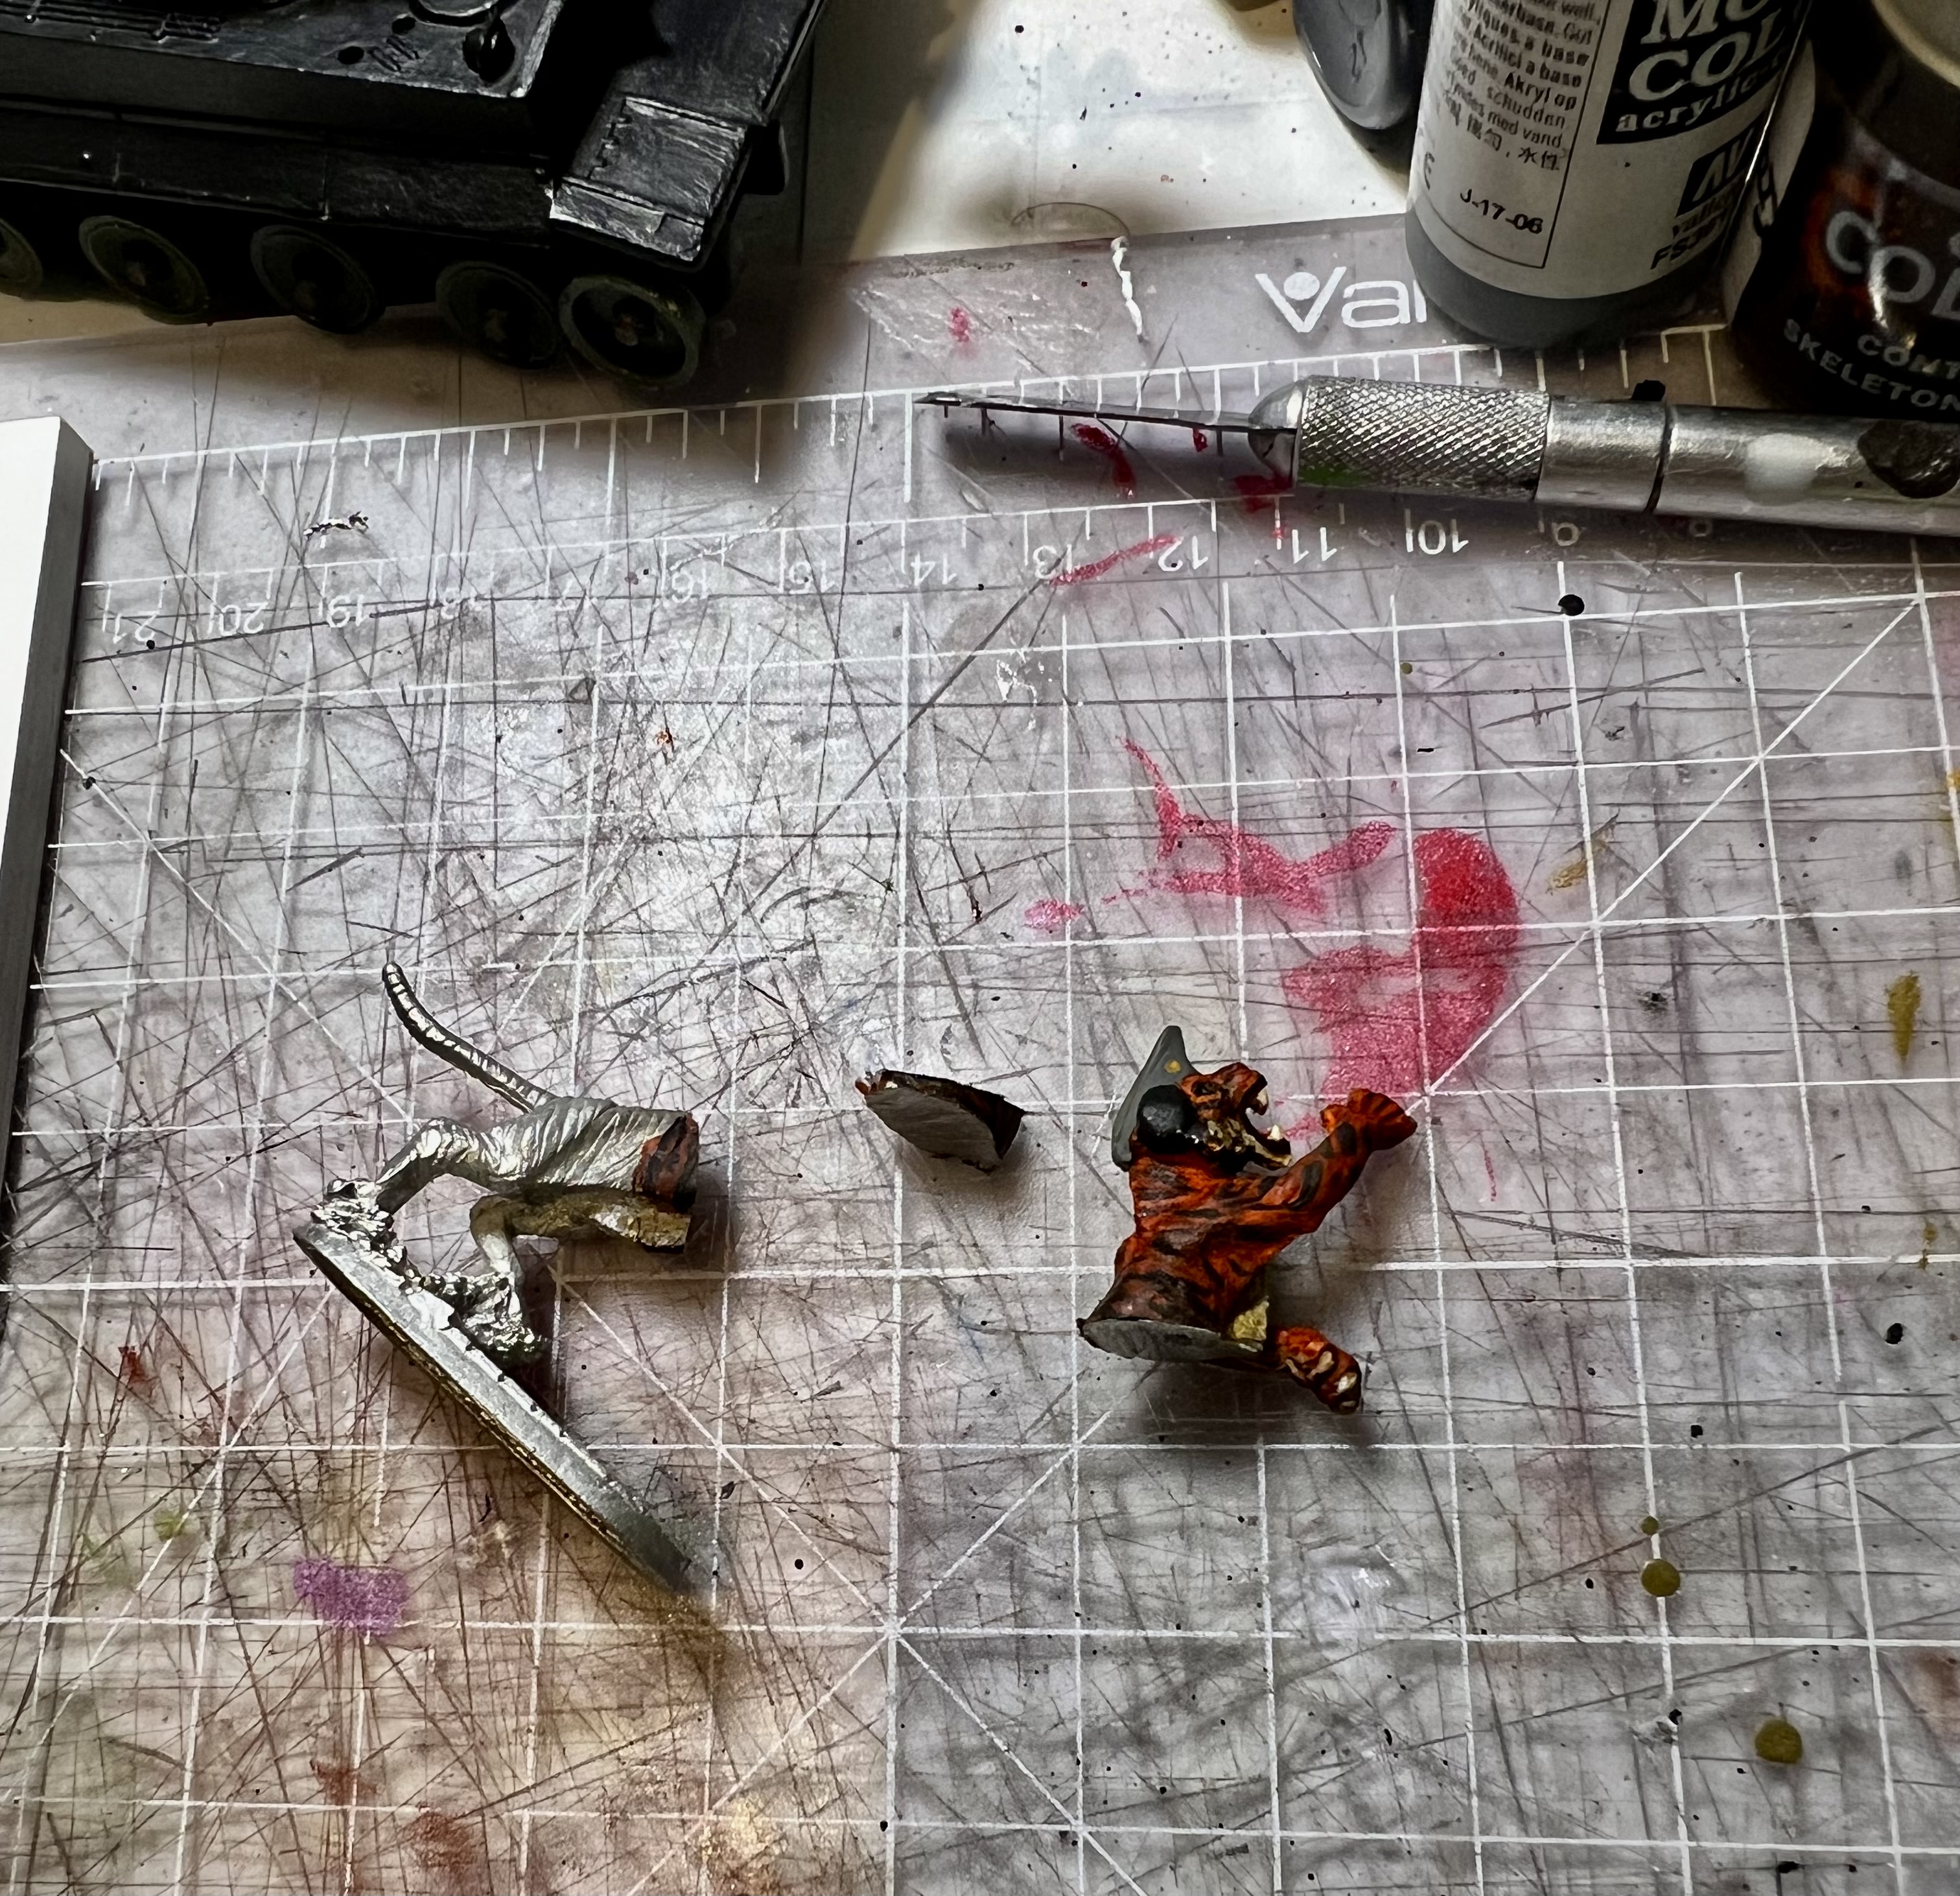
The tiger commander got a coat of varnish which I let cure. Then it was time to saw the figure in half. I was not sure of what angle to take with my jewelry saw. In the end, it took two slow cuts. I needed some minor touch-up work on the figure afterwards.

The larger cupola piece (the base part) was drilled out as was the bottom of the tiger figure. This allowed me to embed a paper clip wire through the bottom of the plastic disc and into the hole I drilled into the base of the figure. I secured this combination with green stuff over both sets of plastic and let it set. By doing this, I was able to do a couple of things. First, this allowed me to construct the hatch top in the swung out position as you will see below. Also, later I did eventually drill more holes into the bottom of the plastic disc in a honeycomb fashion – which provided more surface area when I used green stuff to attach the commander/hatch/cupola assembly to the Corgi tank.
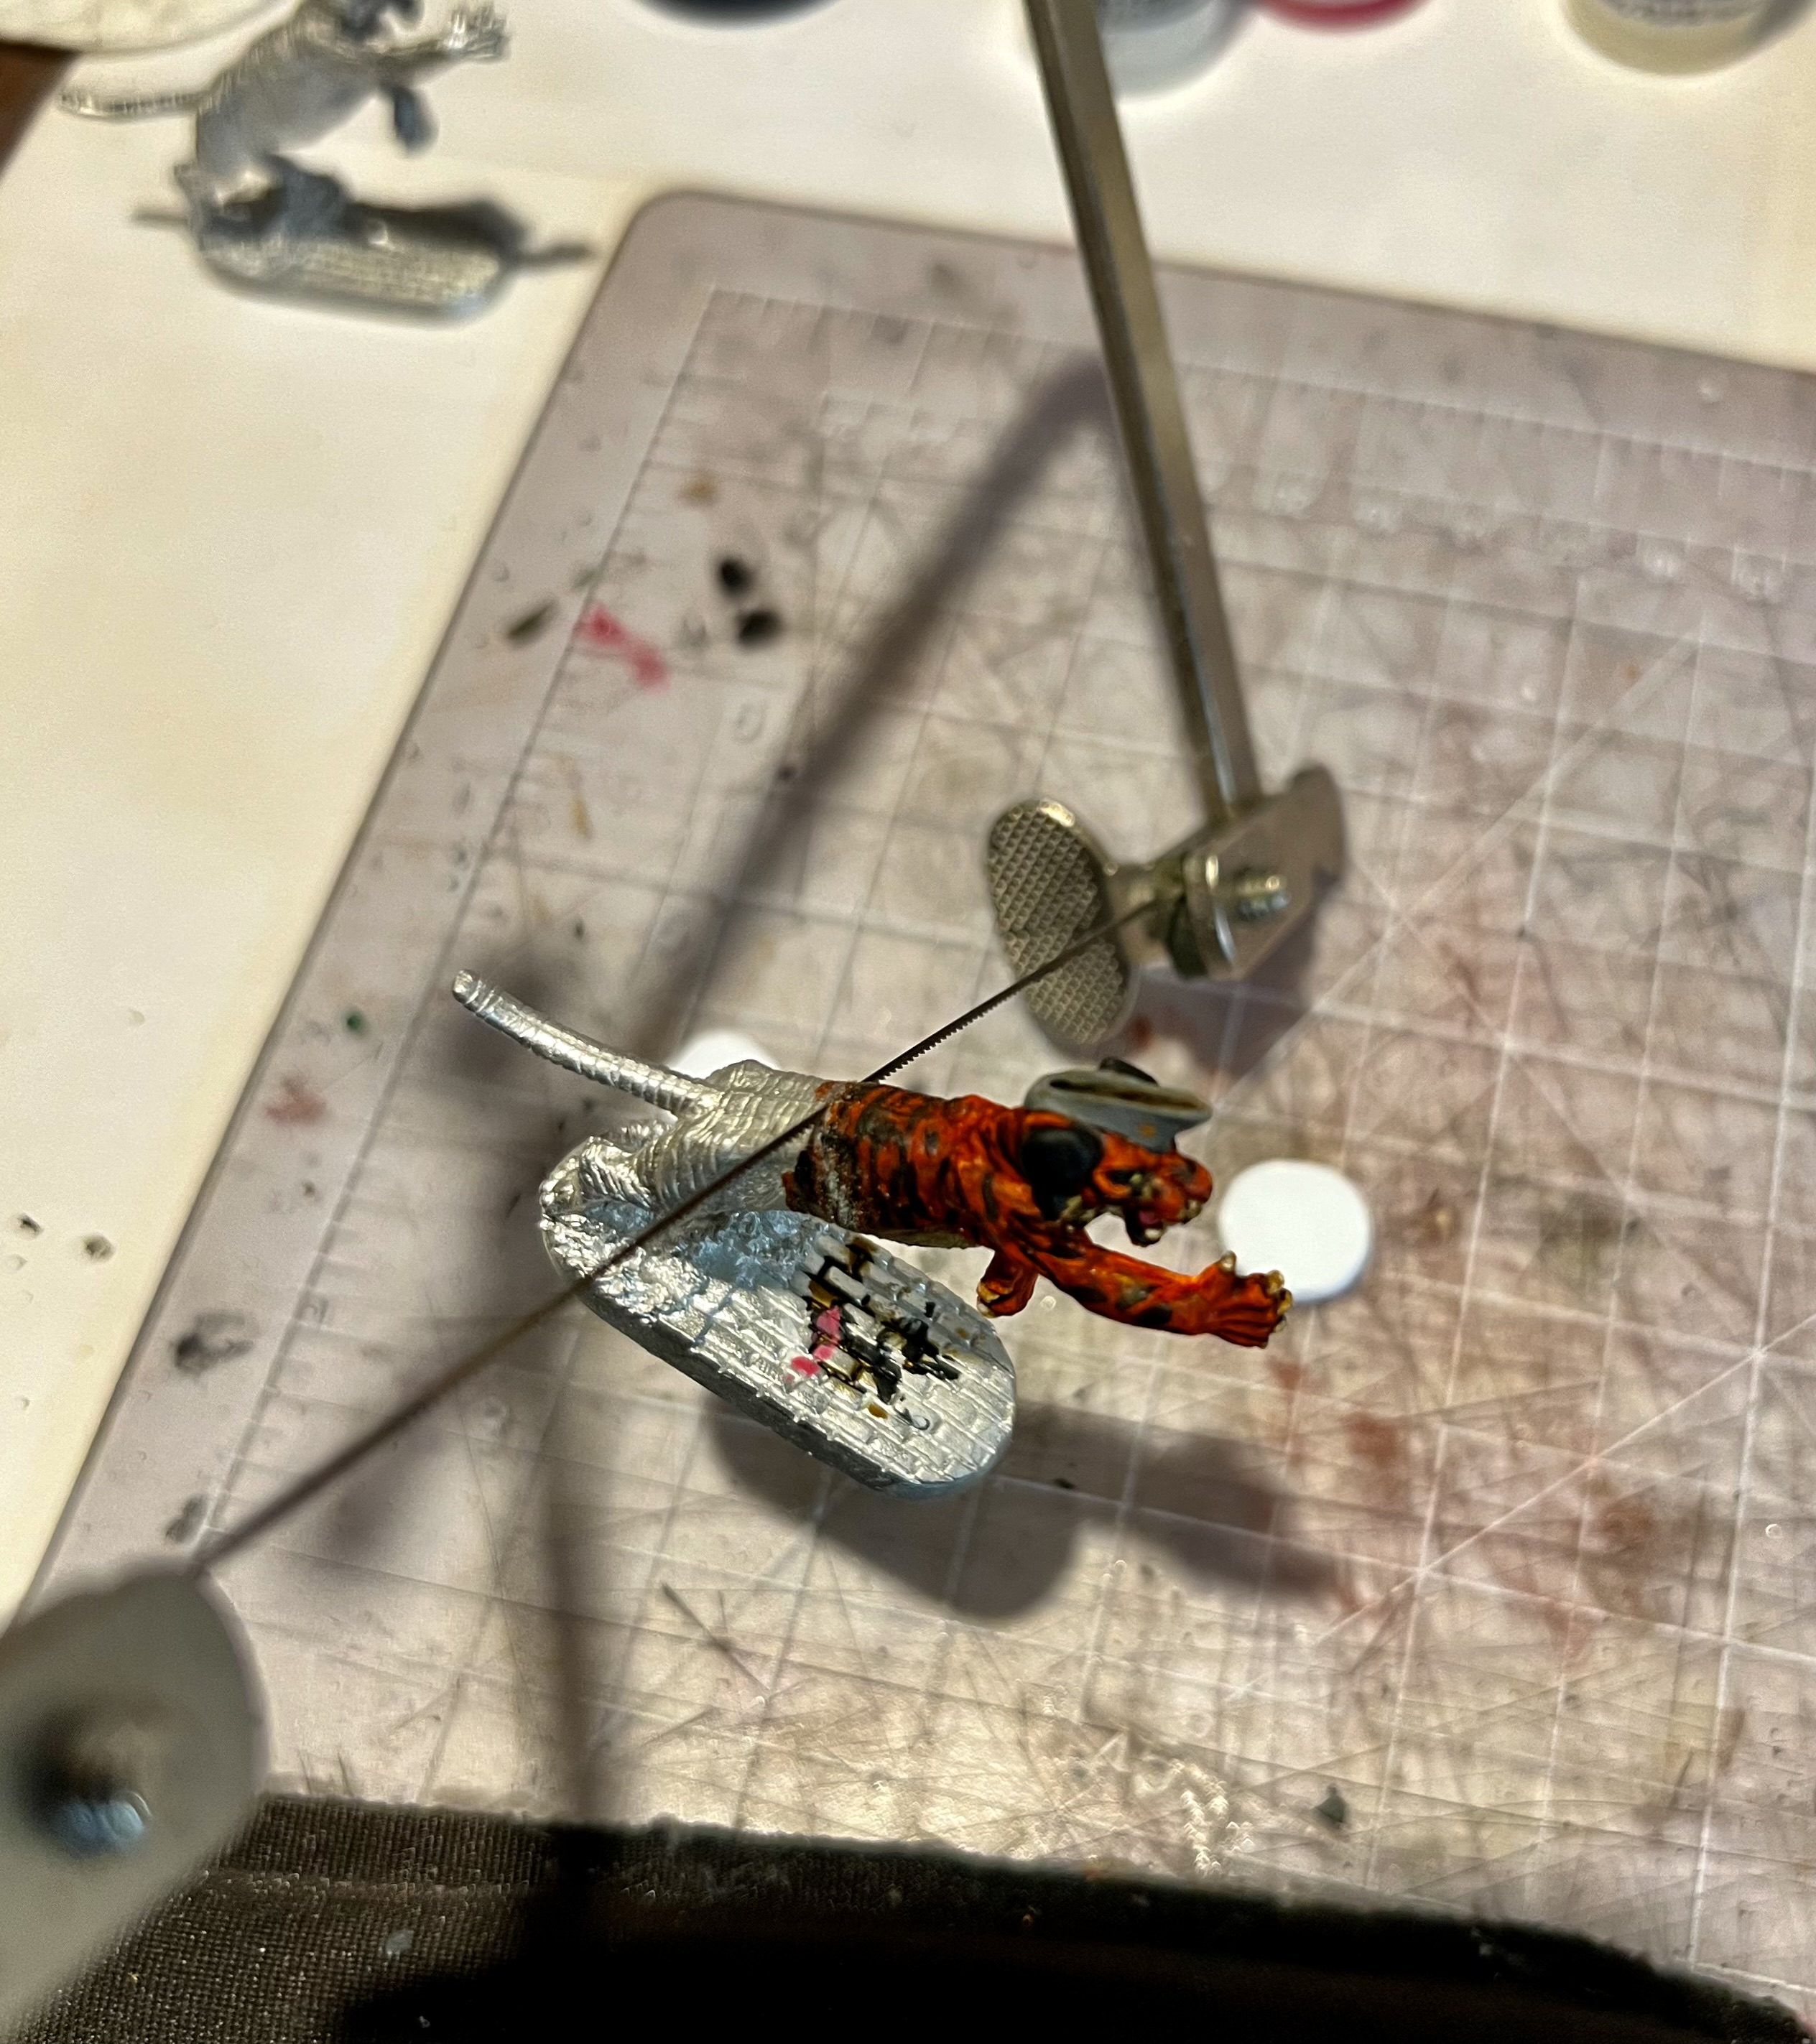
First cut!
The results of the second cut showing the slice removed after the first cut.
The drilled holes, hatch base, and paper cut wire.
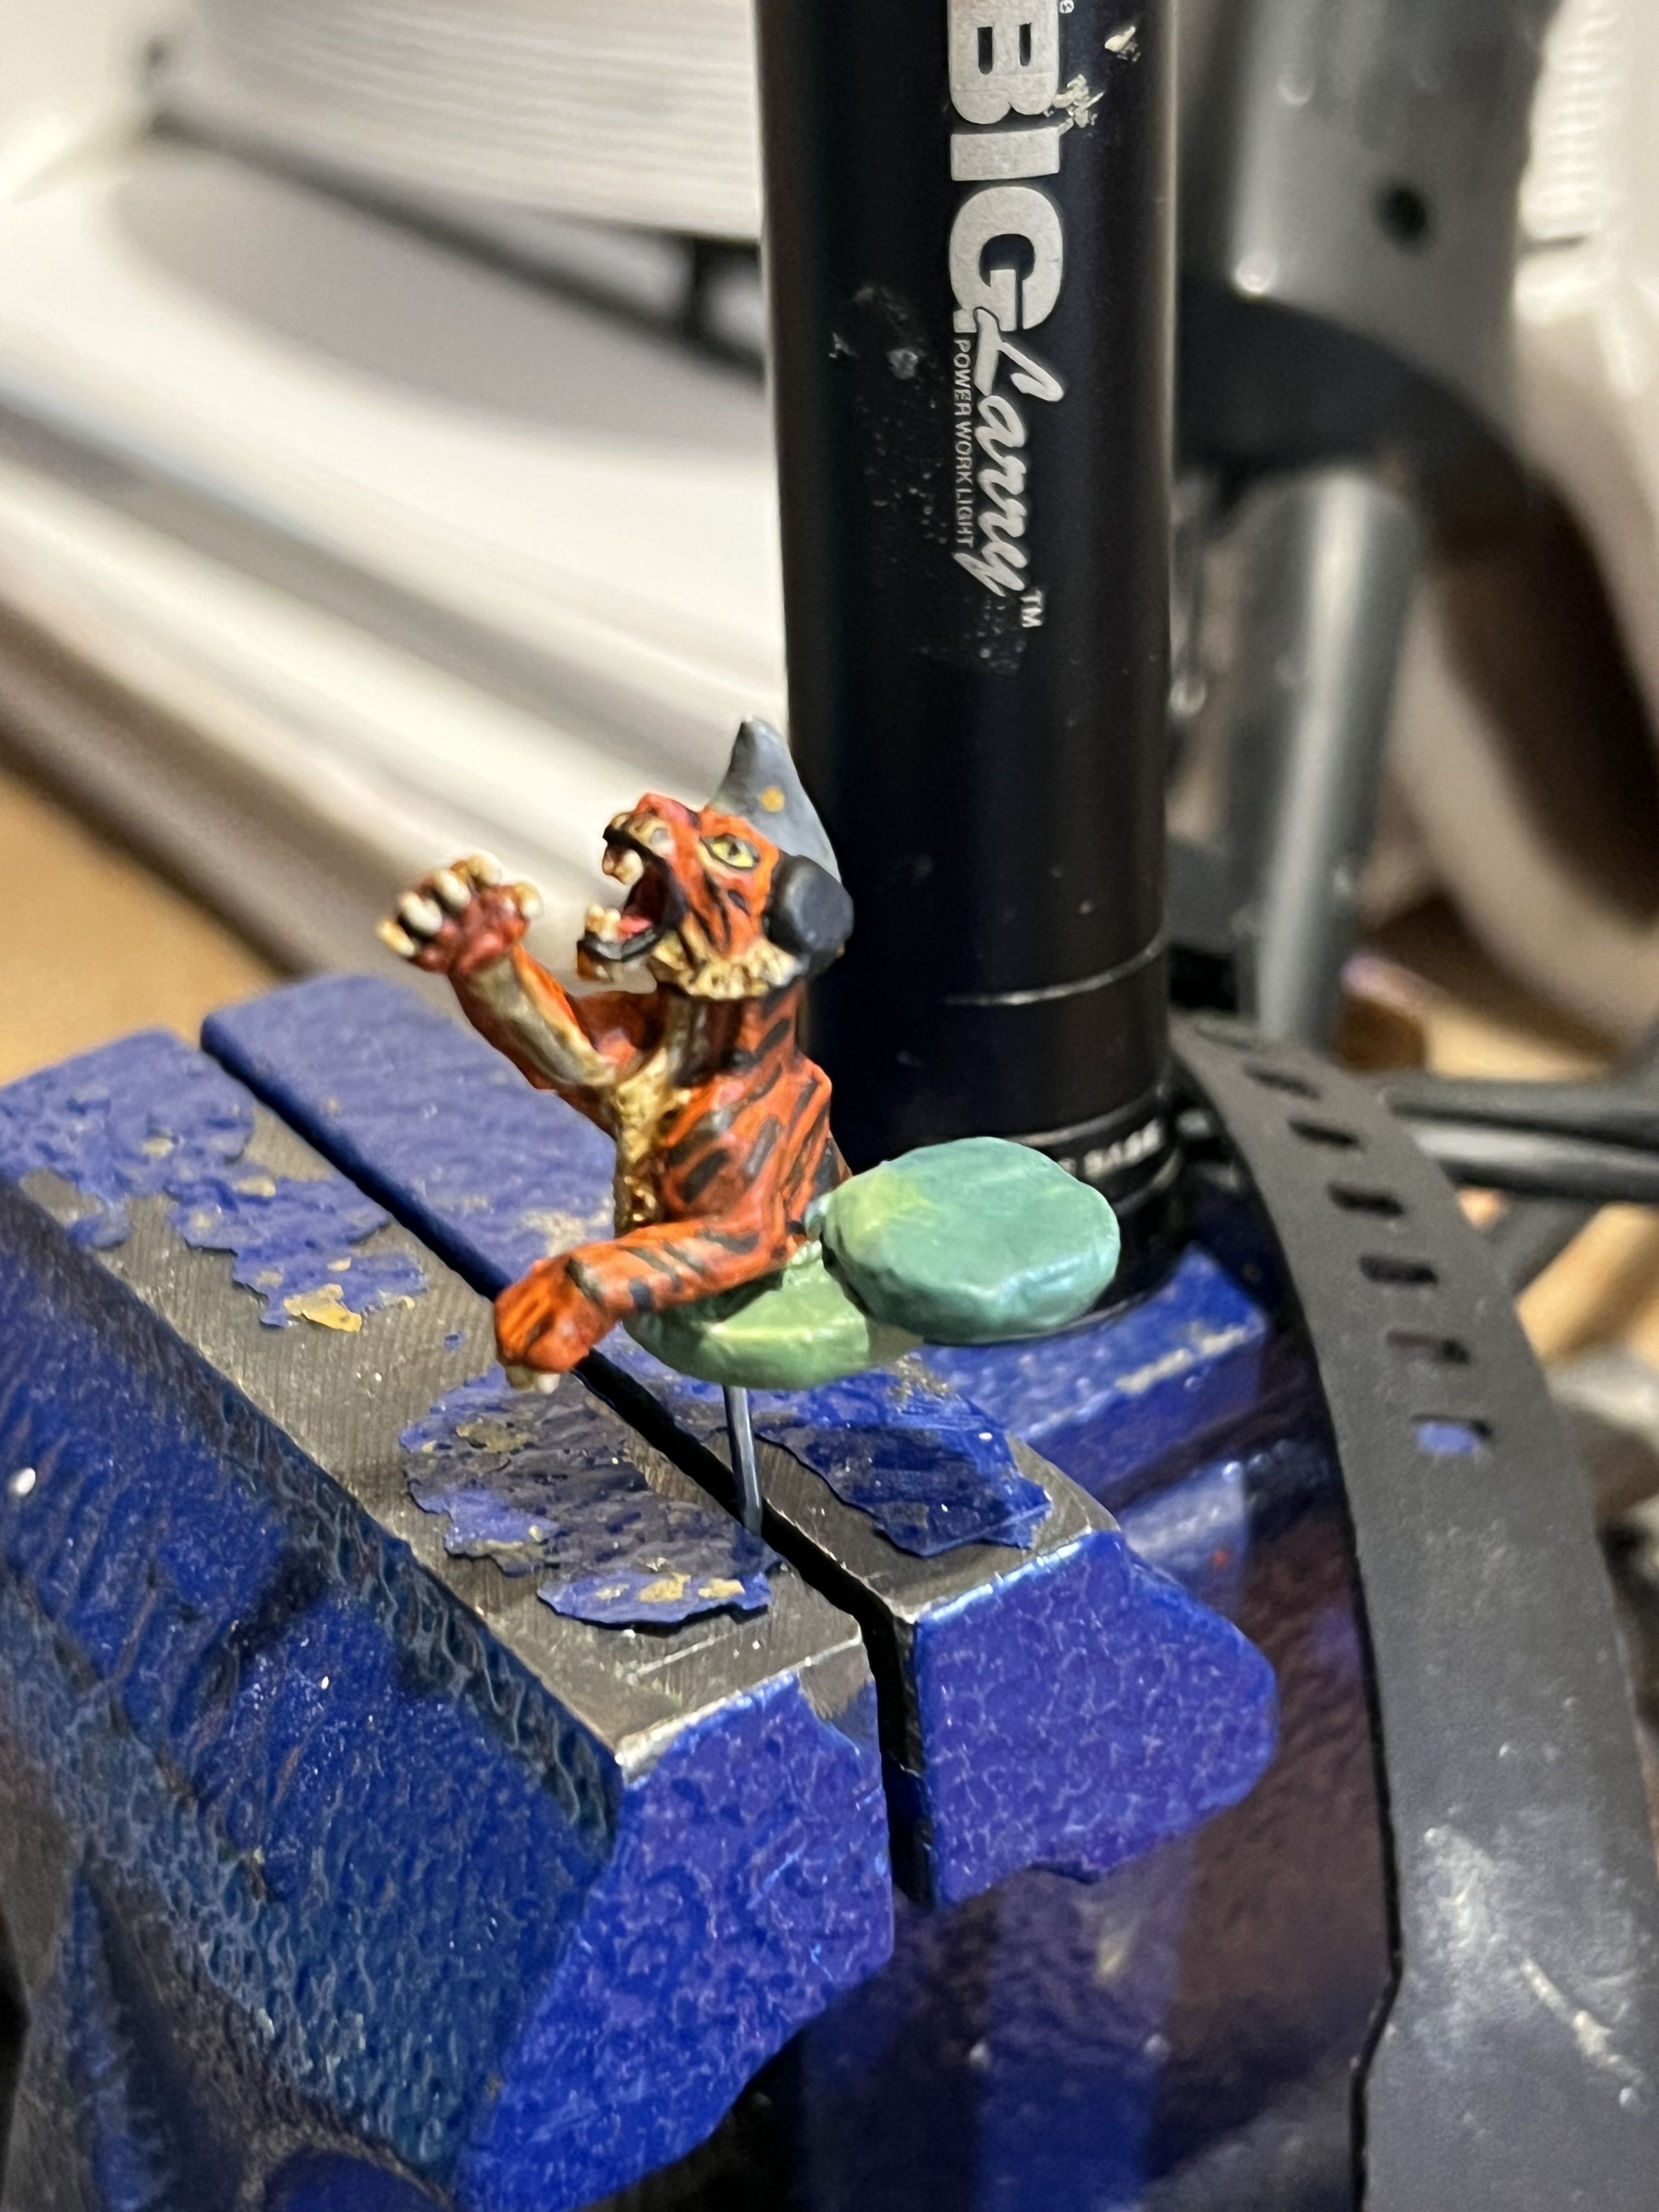
I set the hatch.cupola/tiger assembly into my vise using the extended piece of paper clip wire – and once that had set I added more details.

Those details included adding the swing arm (a toothpick shard) and some green stuff detail to the top. After this cured, I primed and painted it.
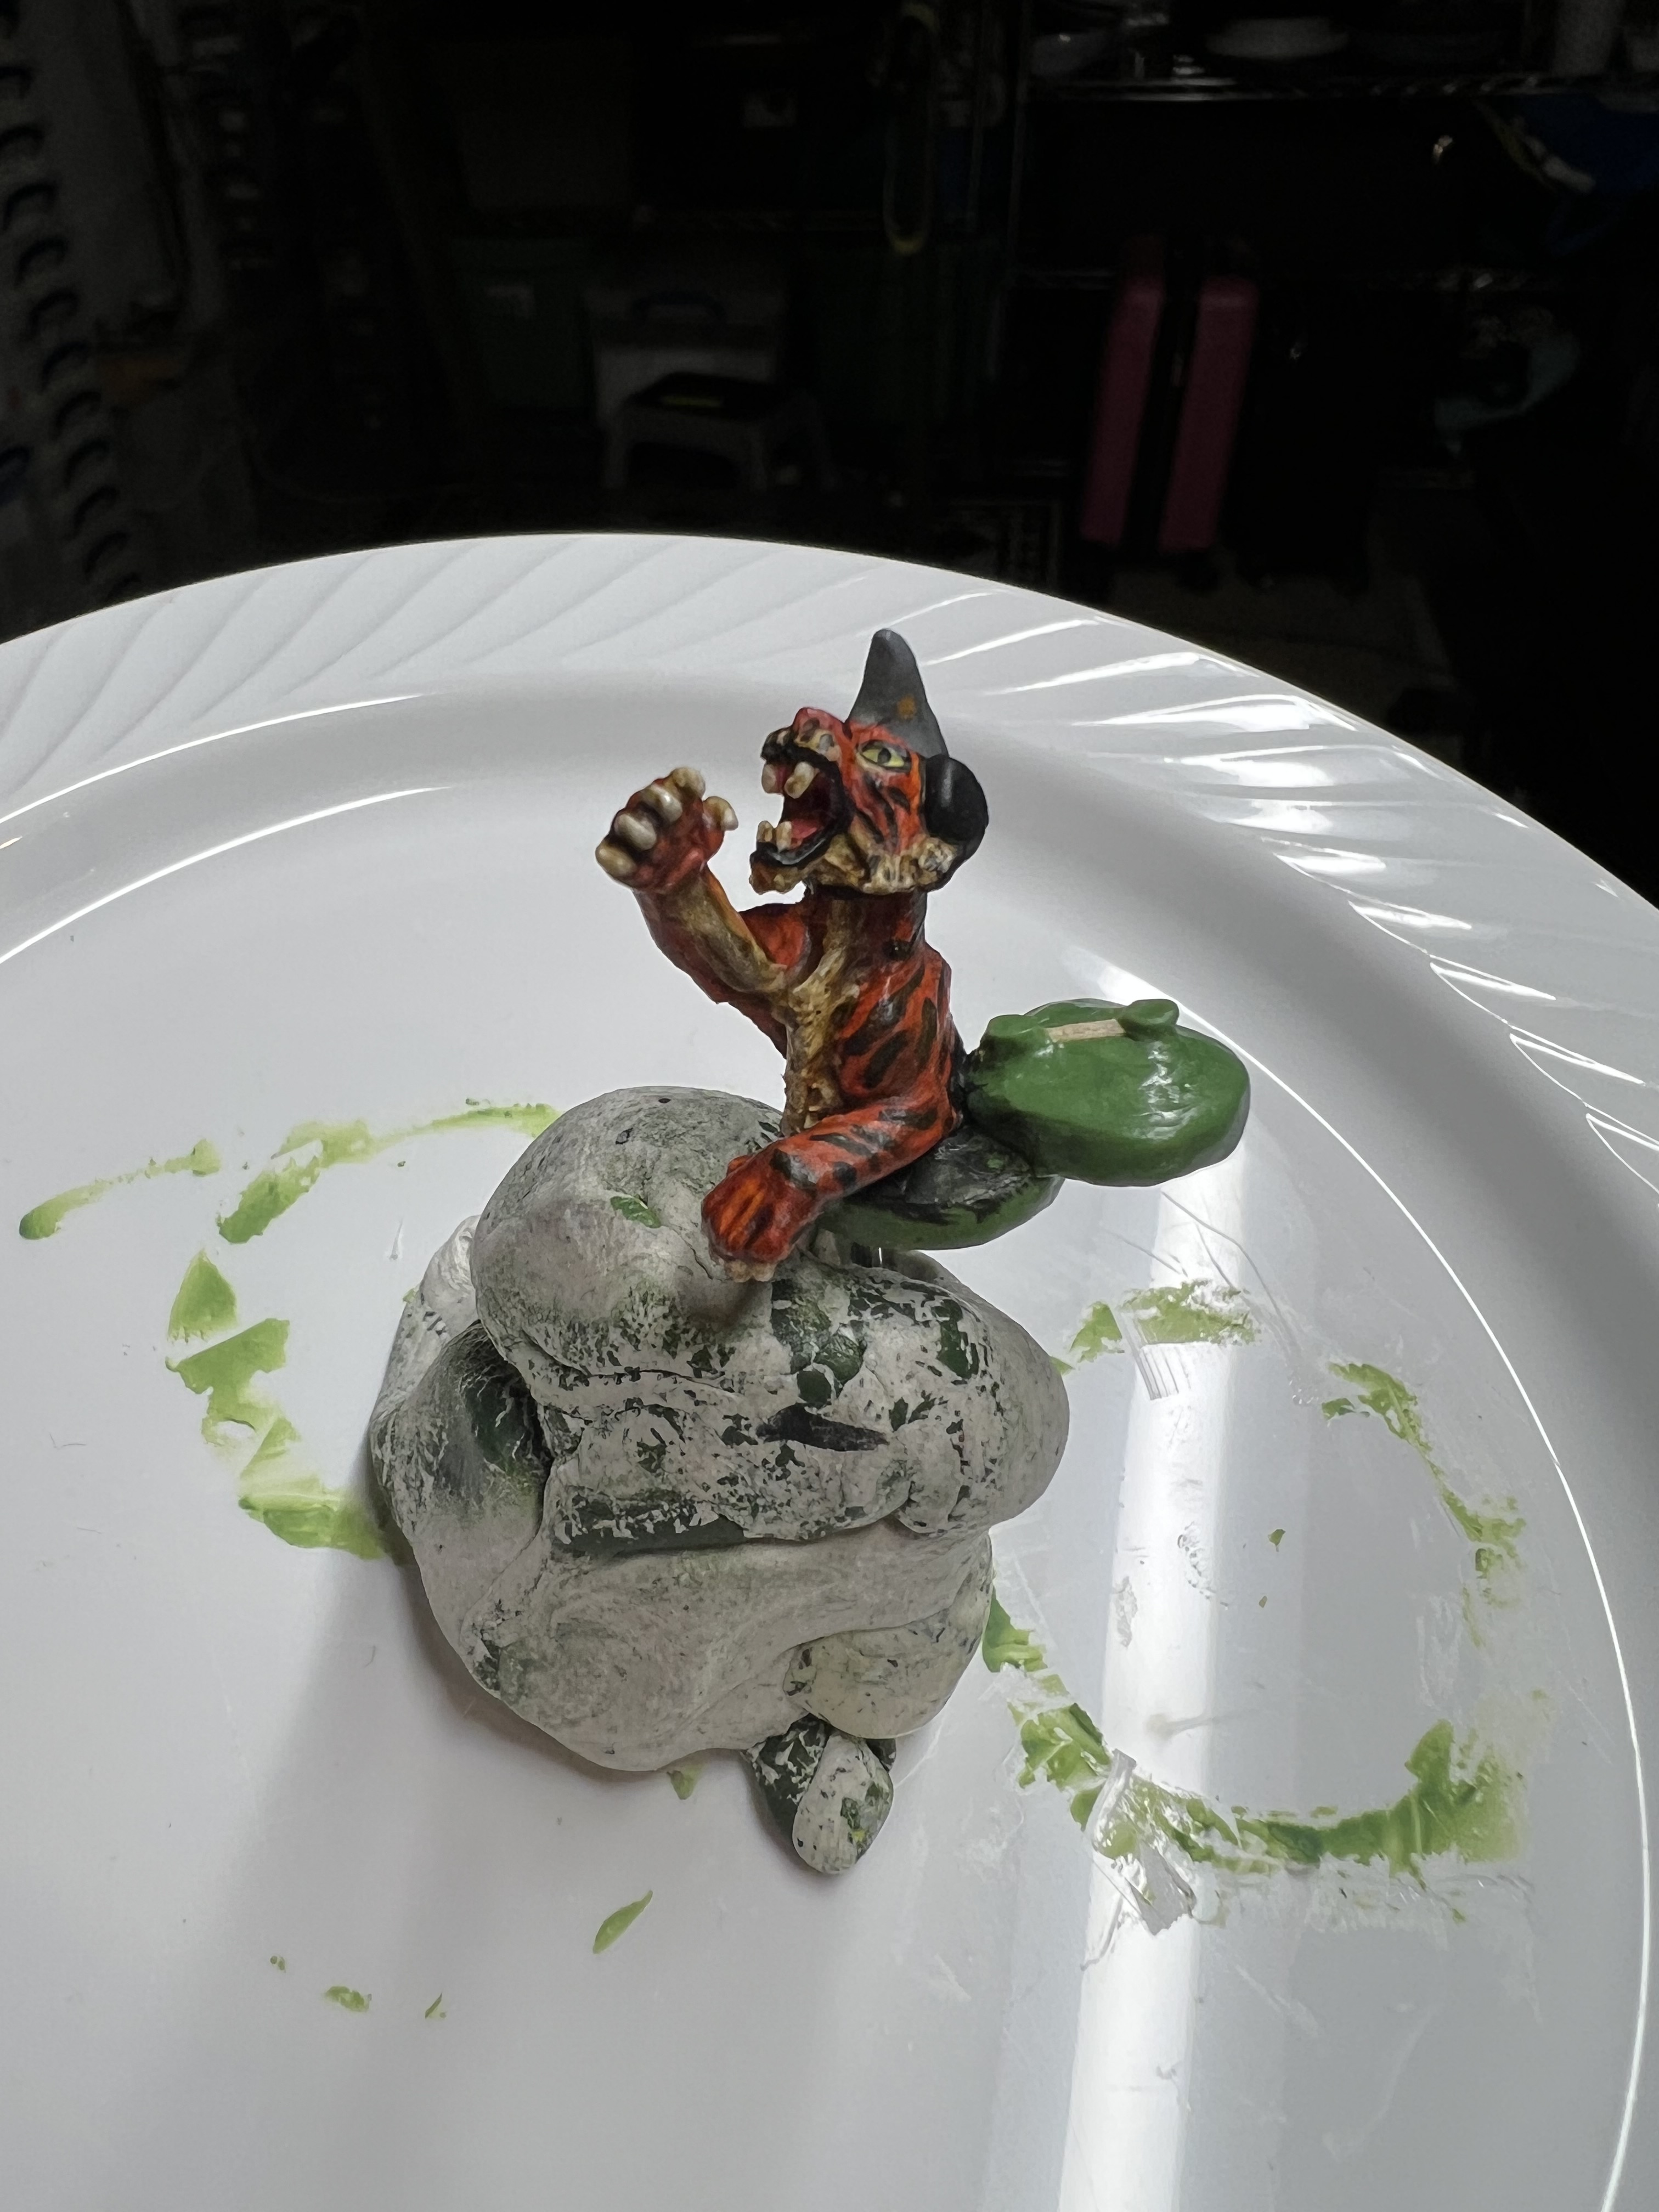
The hatch details added and the beginning of priming and painting.

Let’s now go back to my progress on the Corgi tank. I had the priming completed with the tank now primed white.
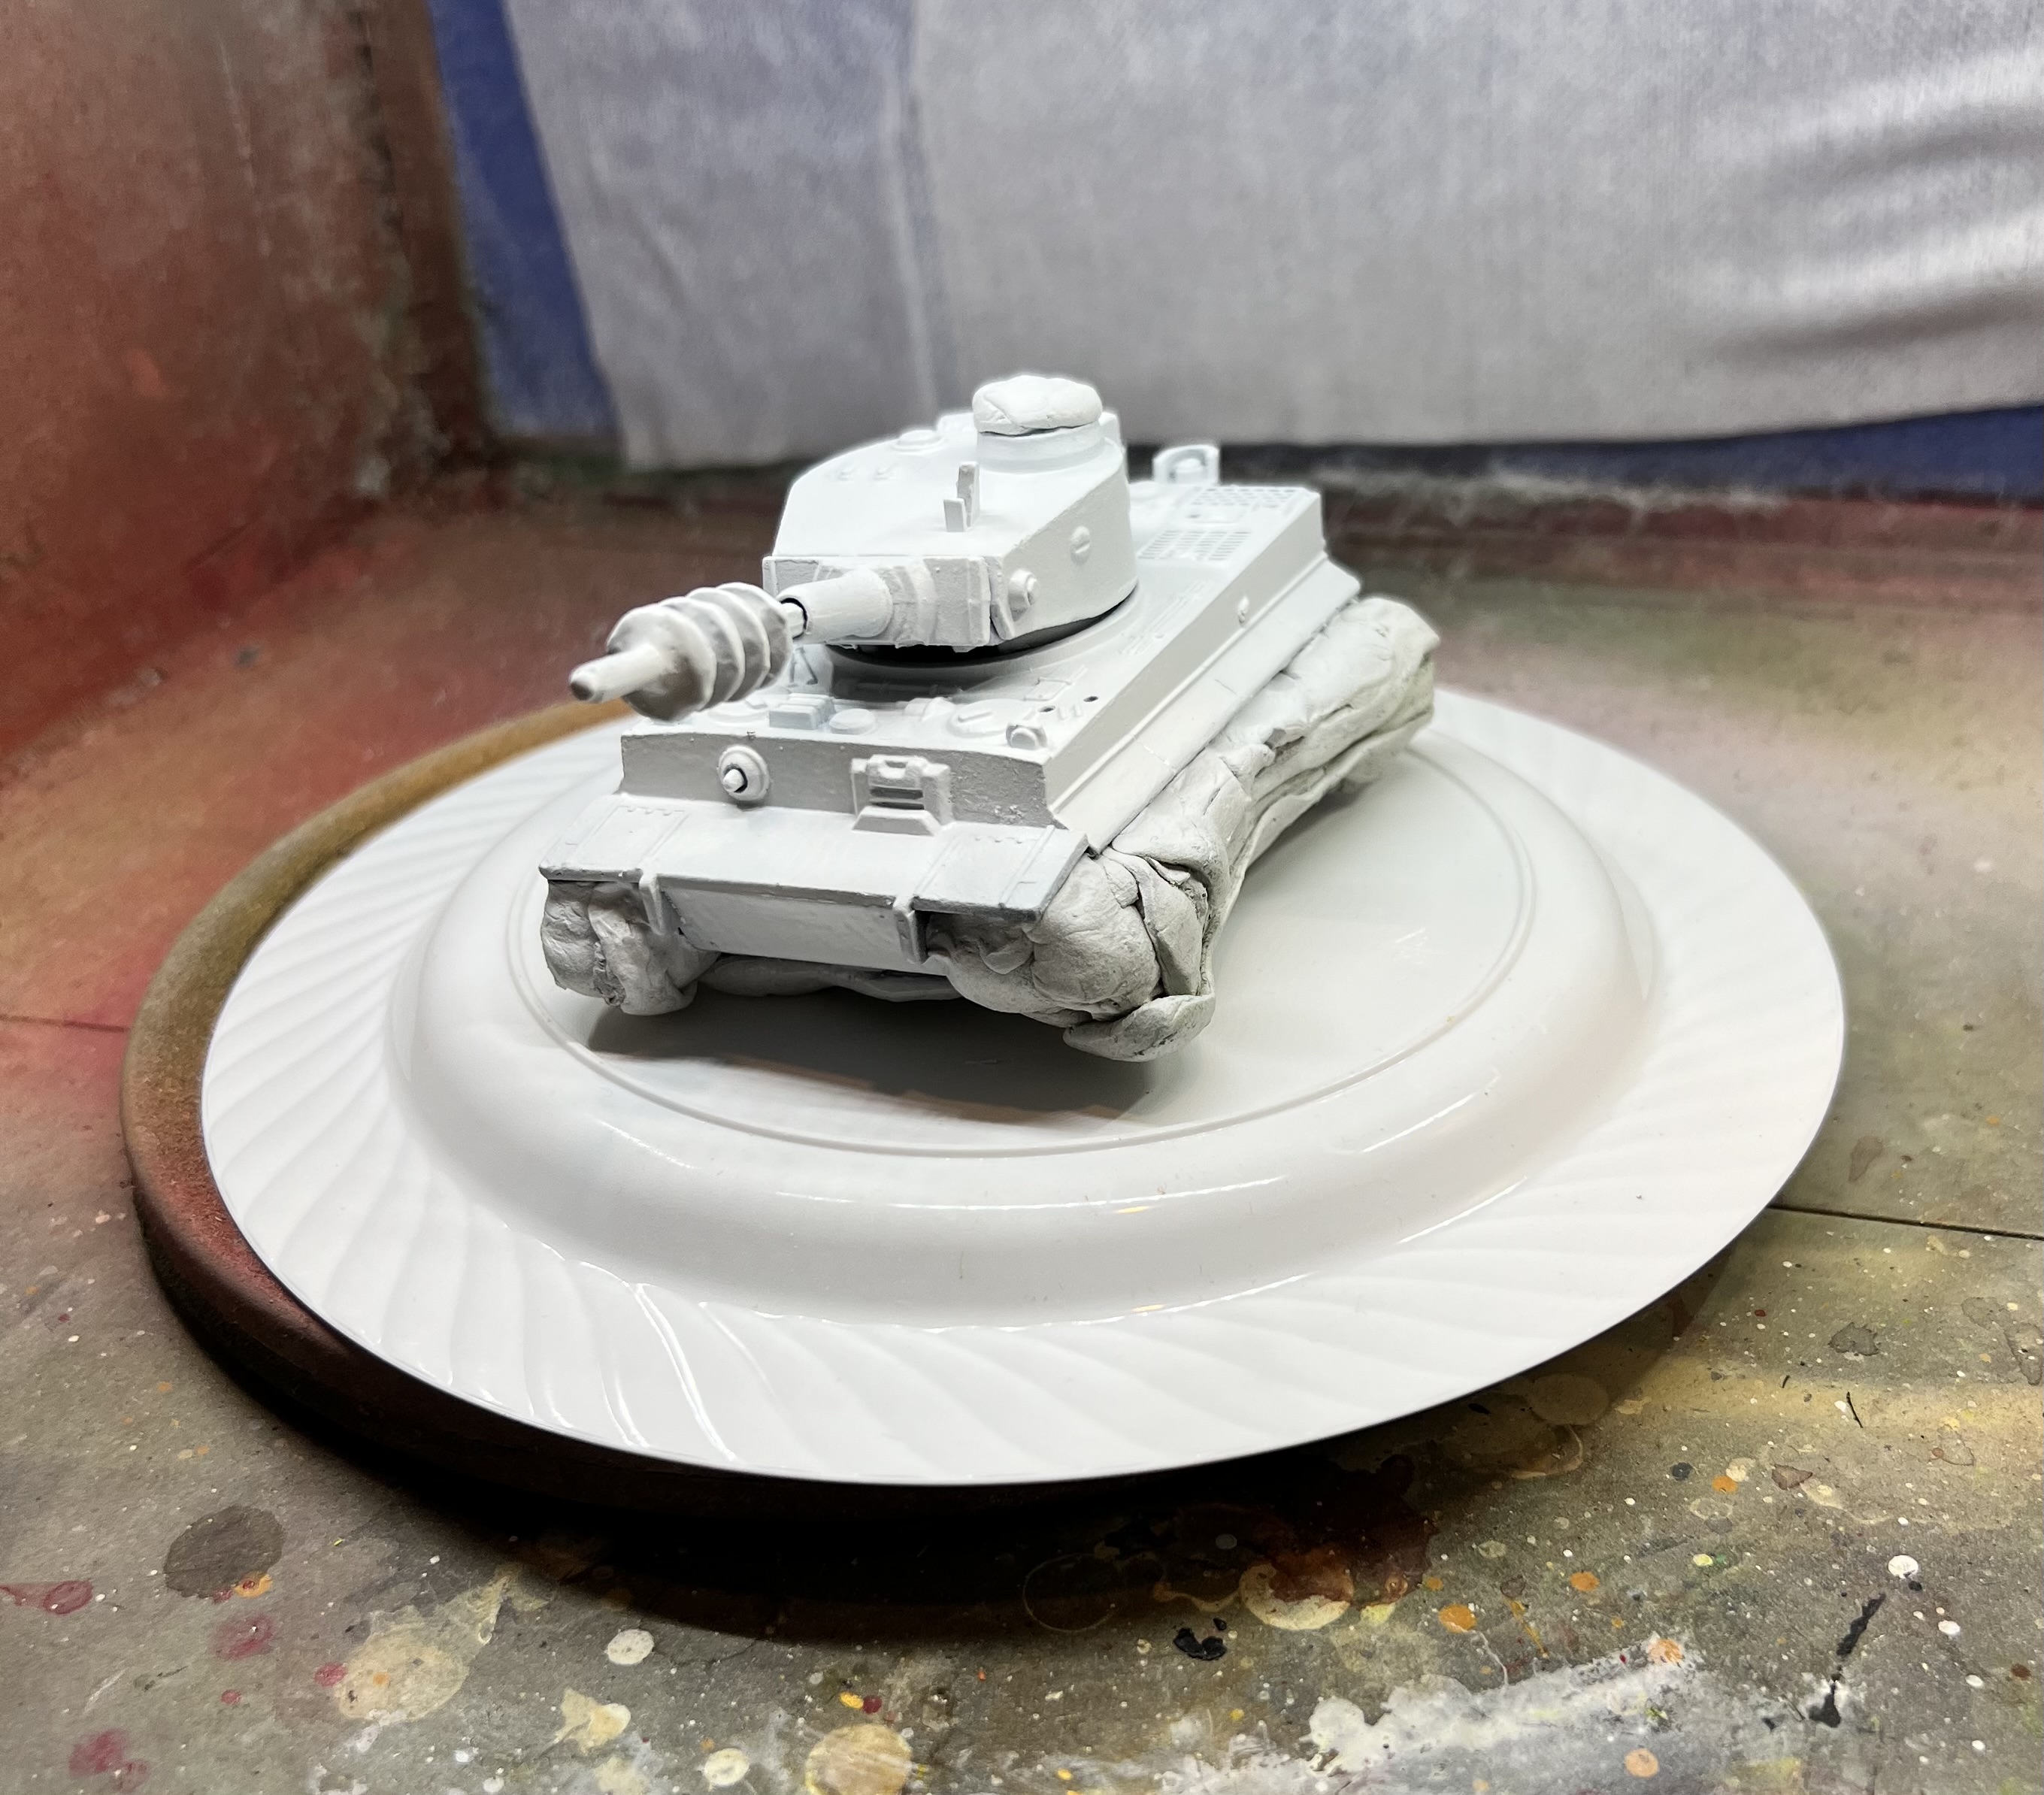
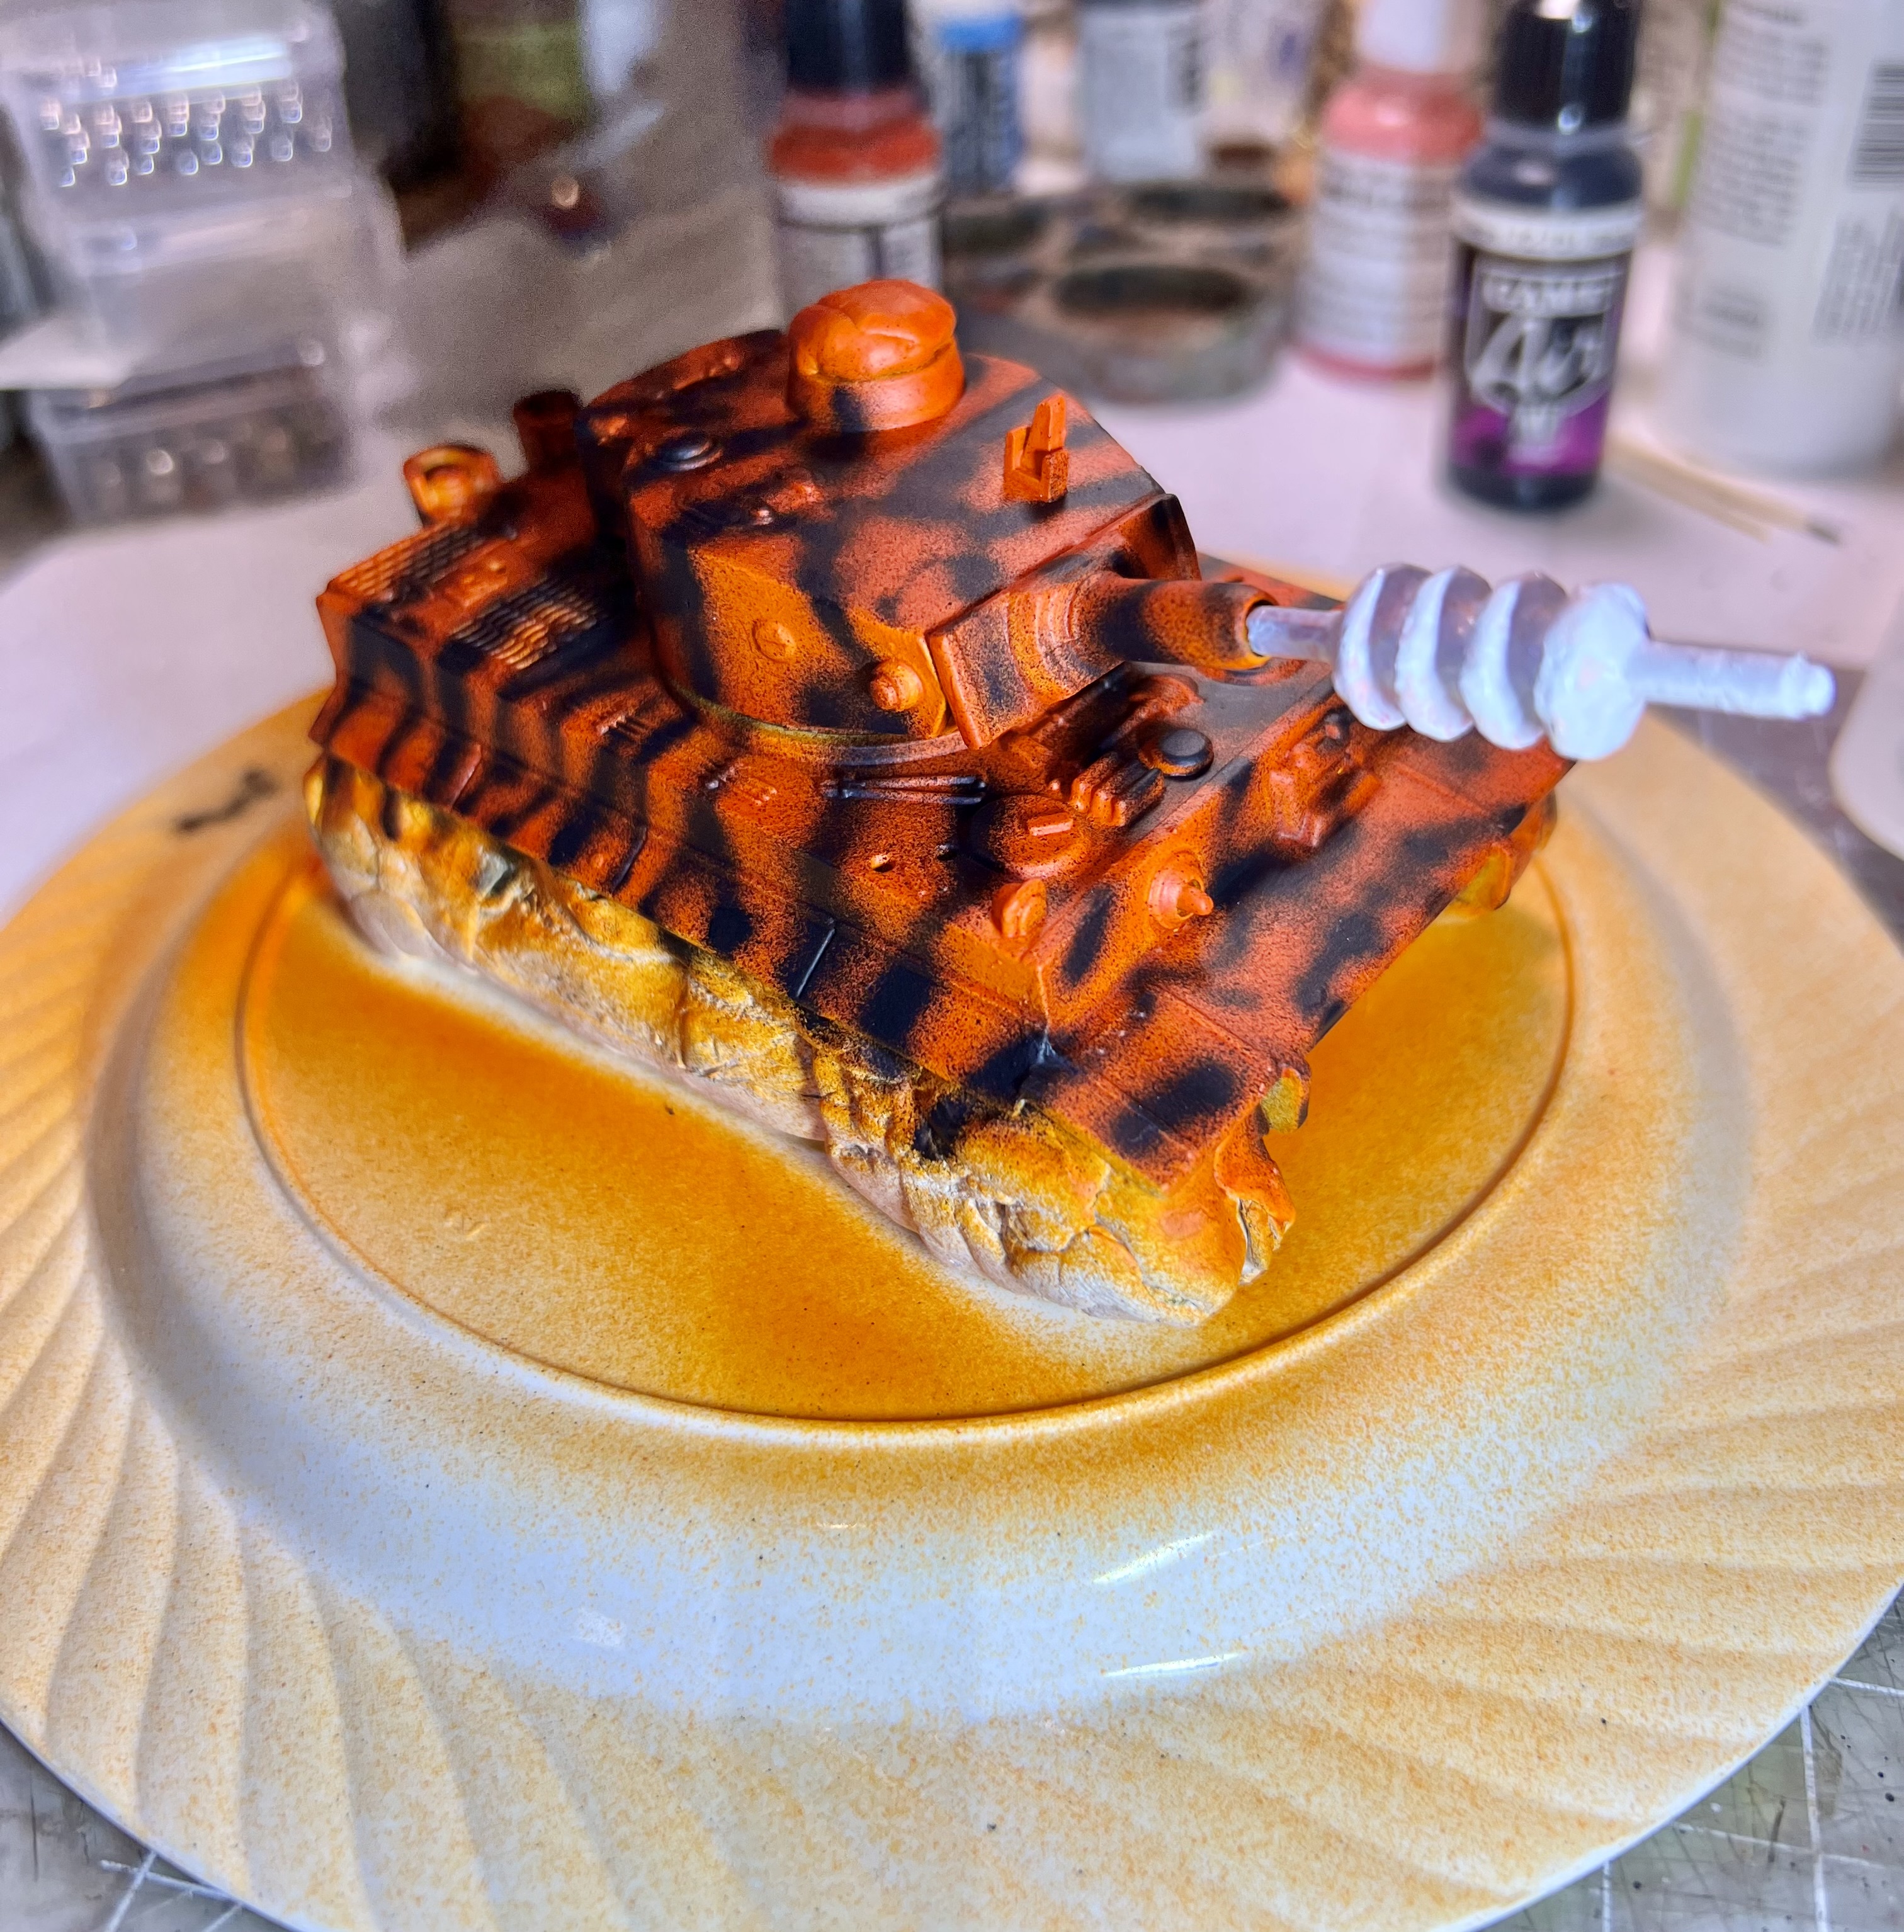
It was now time to make it really a “Tiger”. First some hot orange:
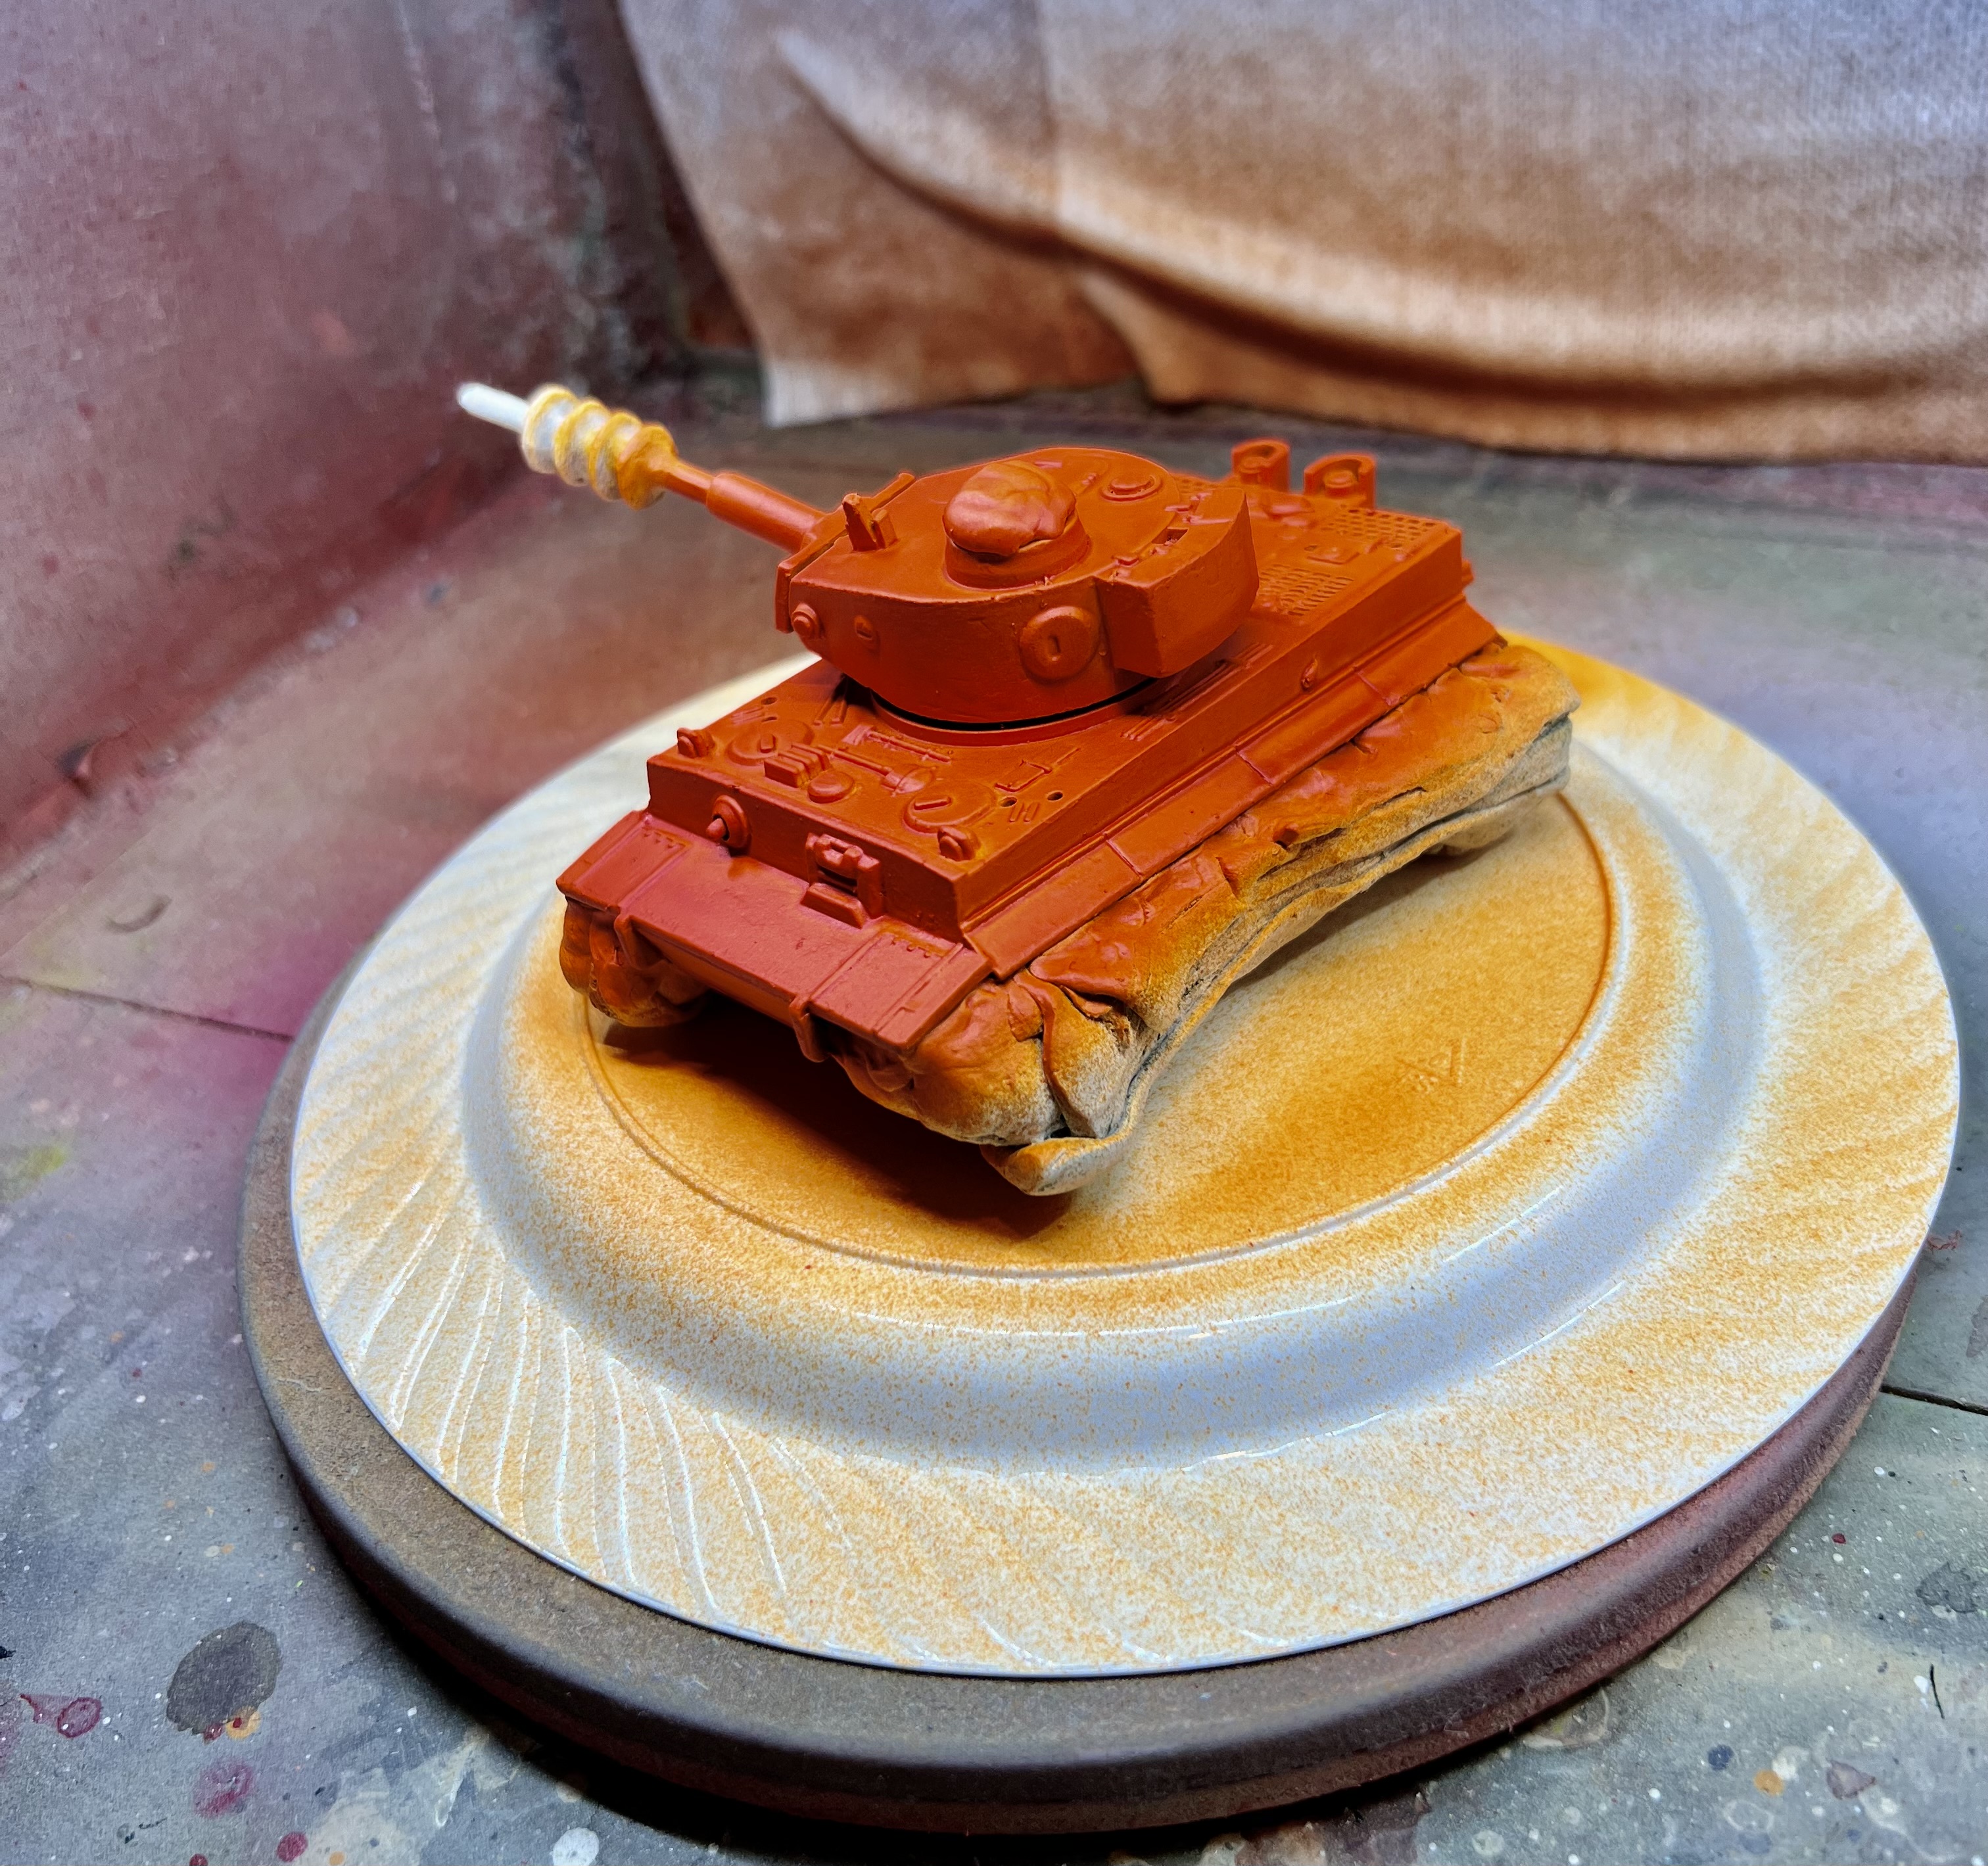
Added orange with my airbrush.

Then airbrushing some black stripes!

Looking tiger-y.

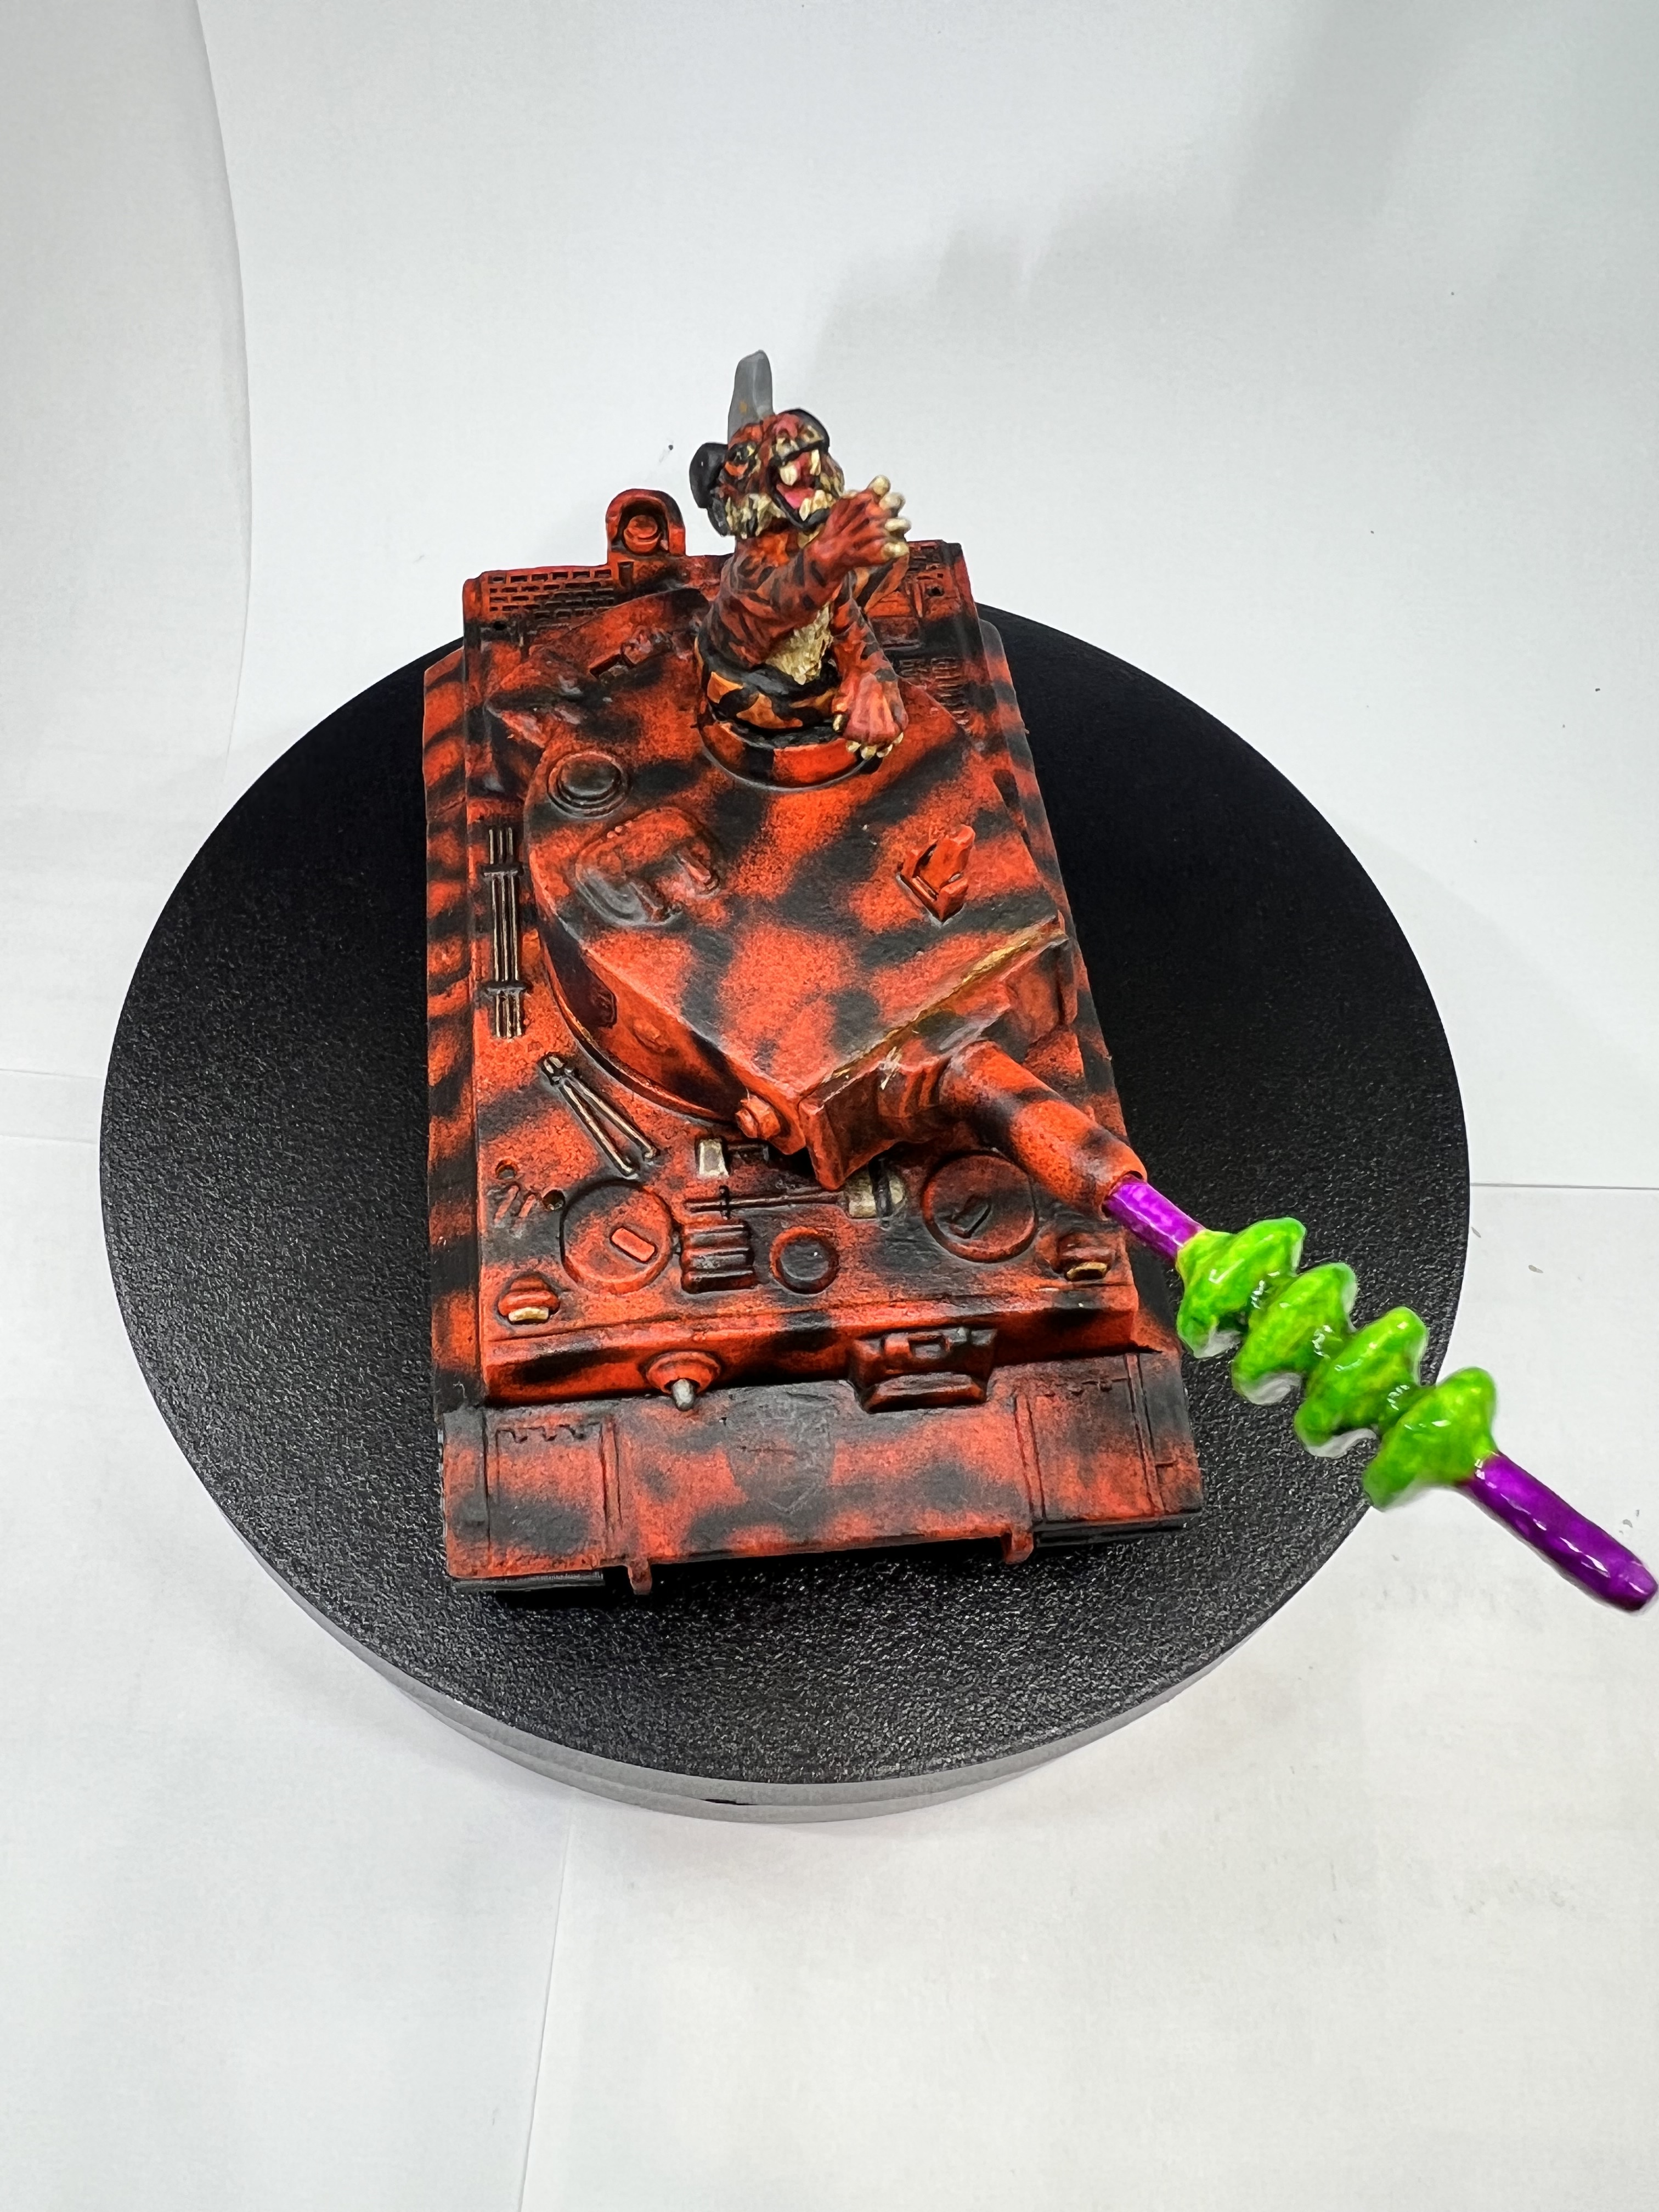
Keeping the tank on the plate, I painted up the detailed parts. The gun I wanted to glow green and purple. After removing the poster tack and more touch up work, I attached the previously dry-brushed tracks.

At this point, I wanted to give the tank a few decals – but what? I told CoPilot what I wanted for a design, and it came out perfect.

It says Imperial Felynxii!

When printed on decal paper, the design is less obvious and more black.
Felynxii design for insignia decal.

As for the attached decal looking black and less obvious – that frankly helps in my view and not hurts. It blended nicely with the stripes, and is subtly visible. I attached two decals on the side of the turret, one on its back. I also put one on the front of the hull.

The weight of the sci-fi addition to new main gun kept pulling itself down. To remedy this, I secured the gun in the elevated position.

The roadwheels got a light coat of green tone to dull the plastic. Here’s what my work area was looking like:
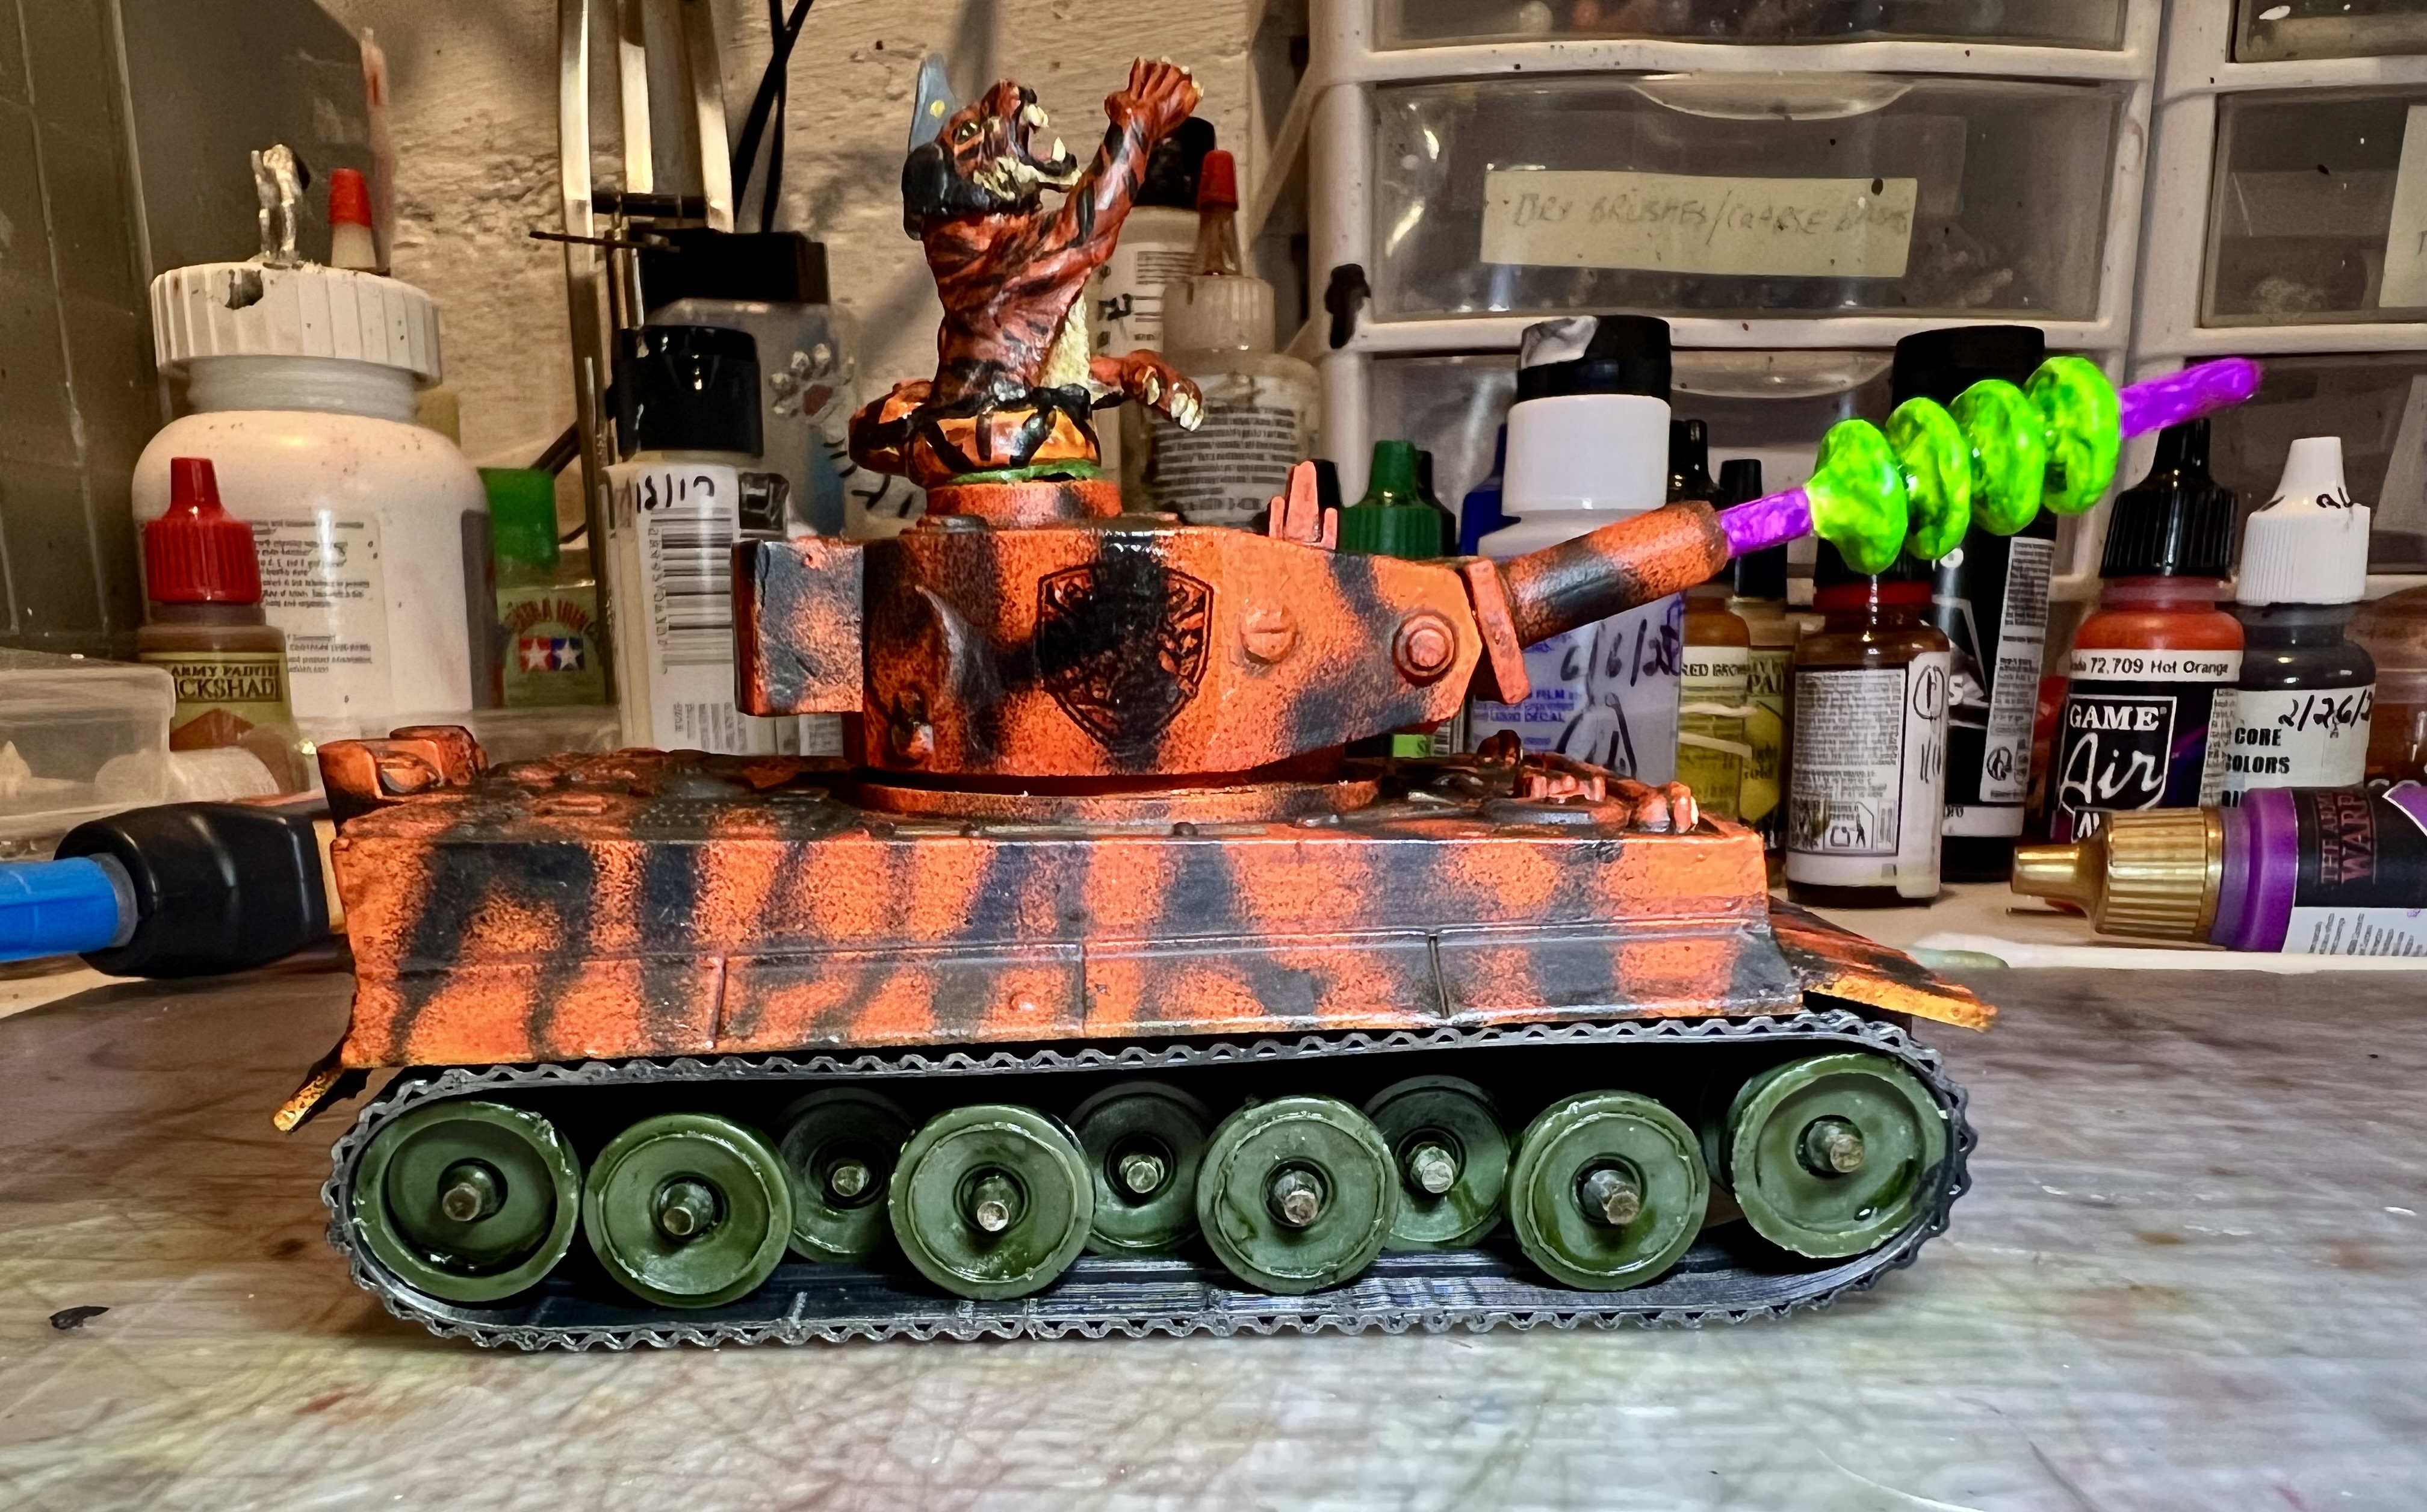
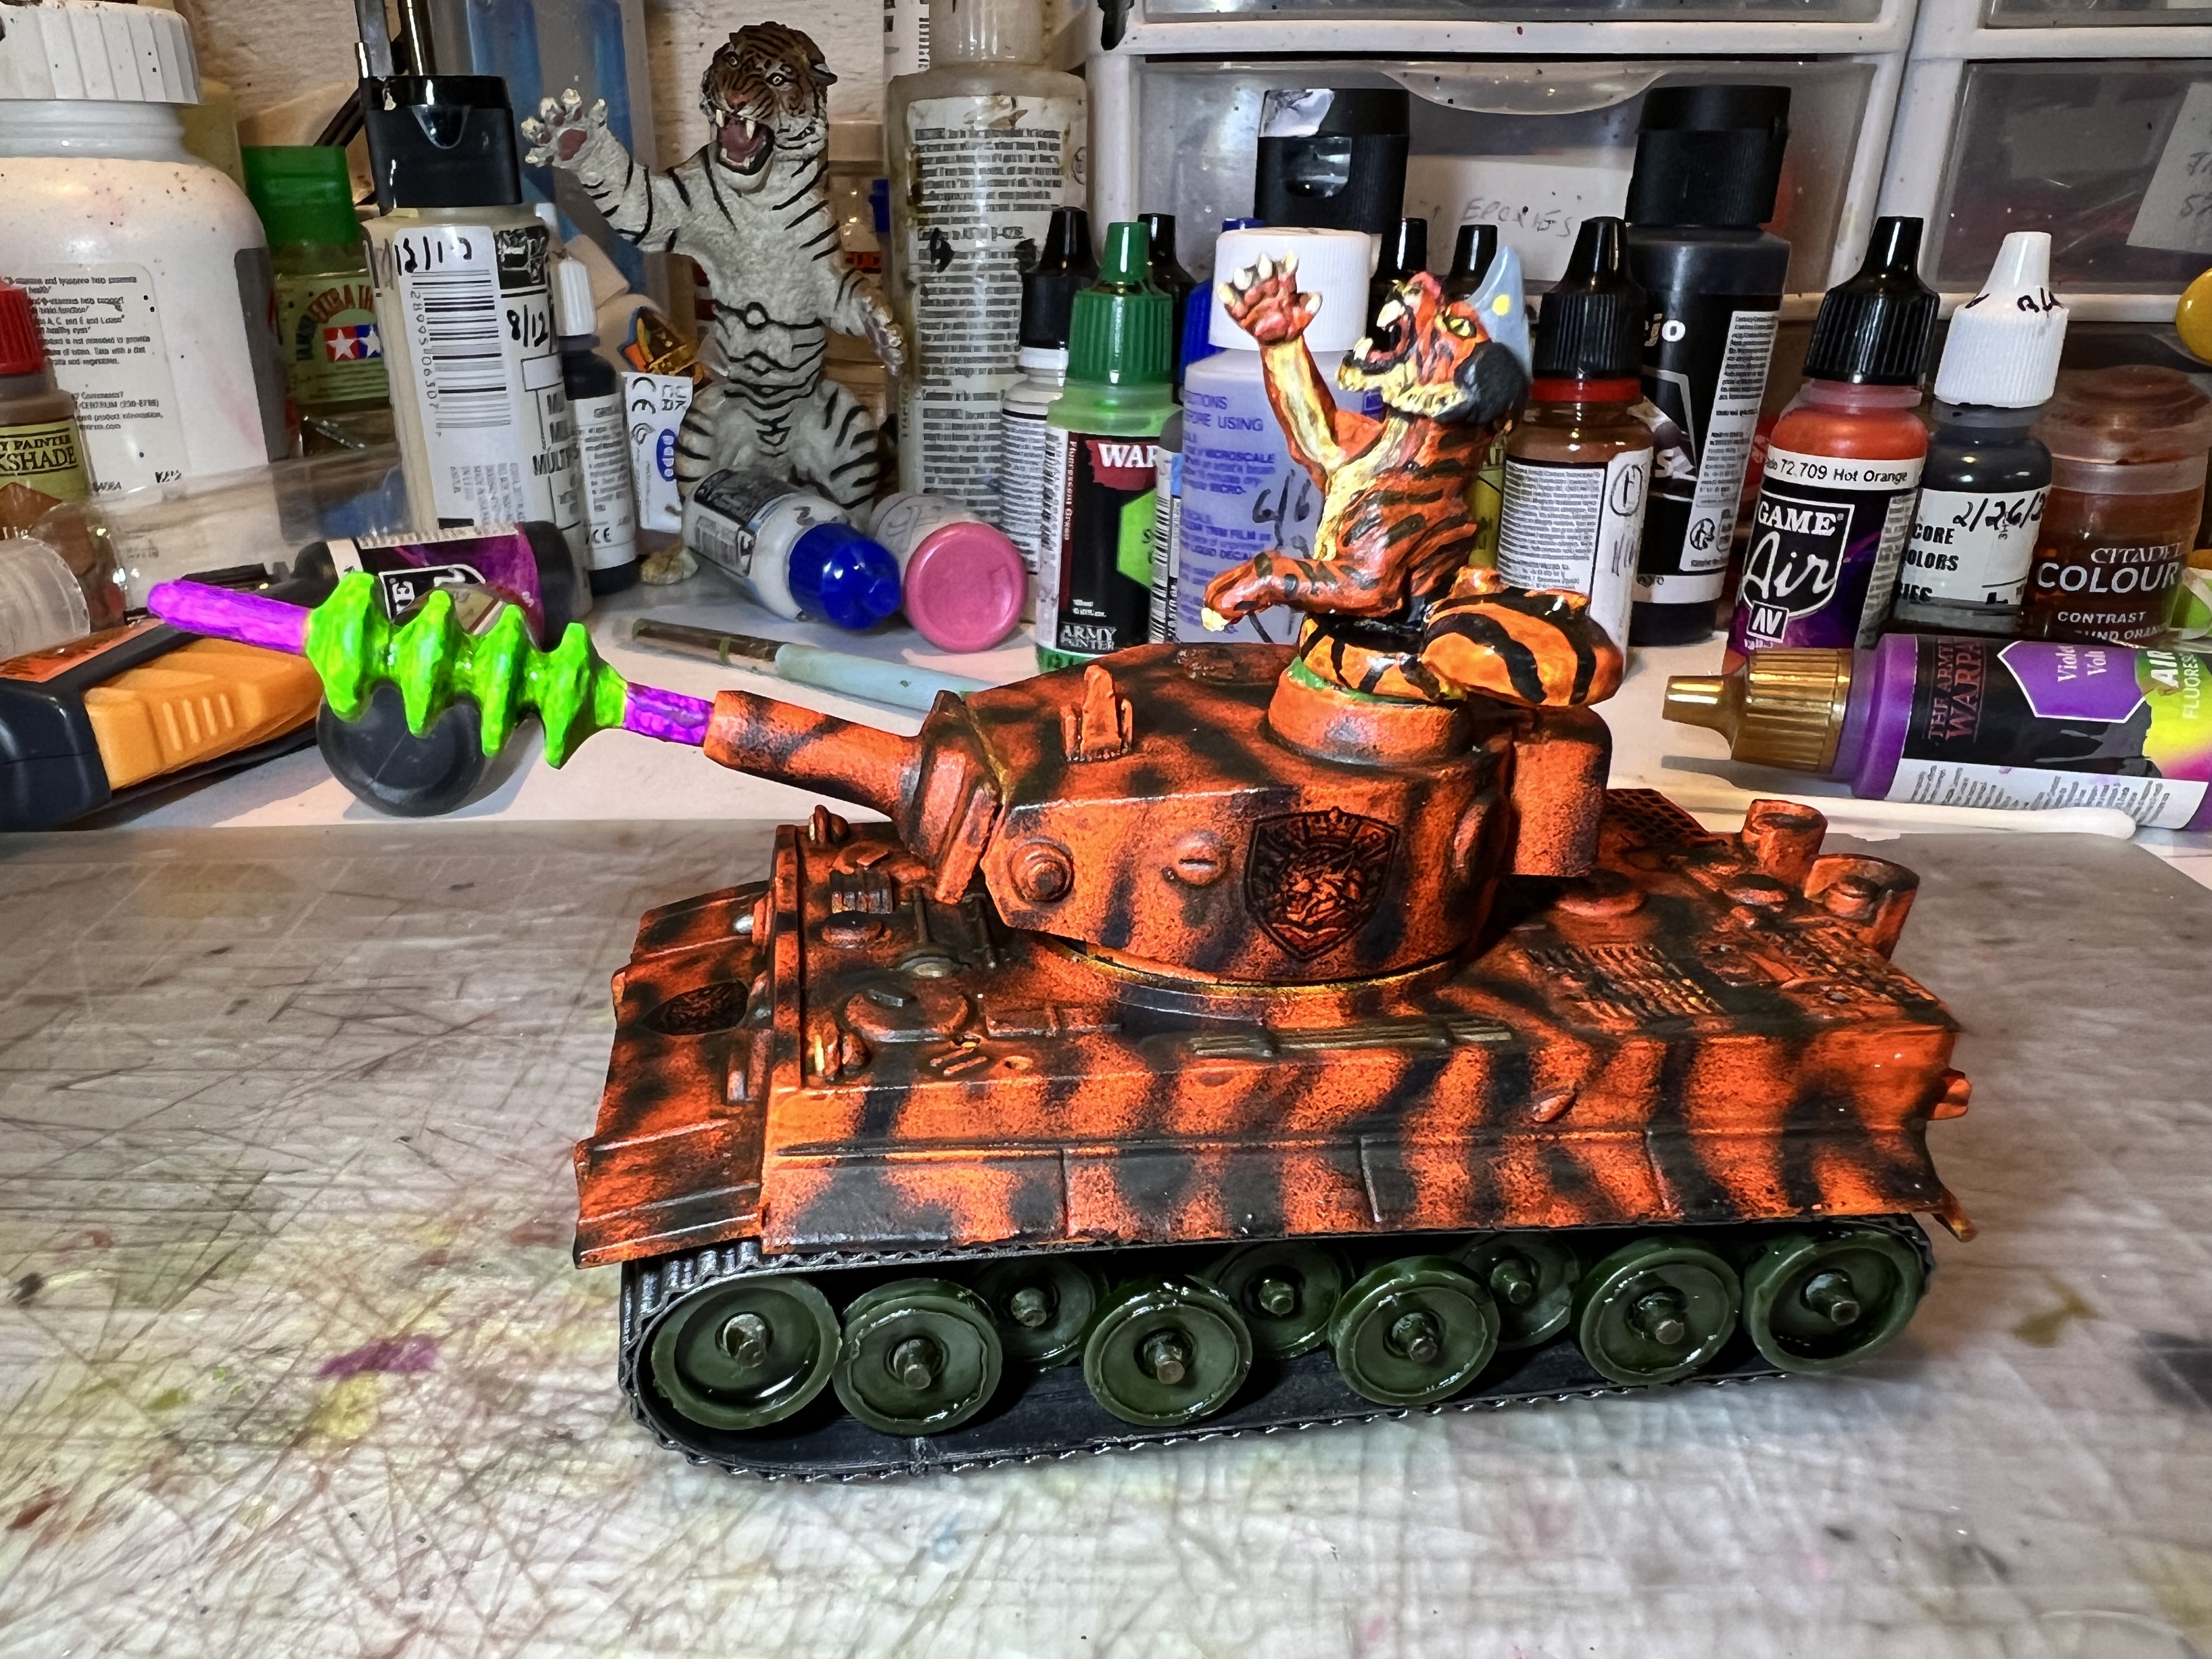
This was one of my more involved projects – and I’m pretty pleased with the result. I am also submitting this to Dave Stone’s “2026 Season of Scenery” annual painting challenge. Thanks for the invitation Dave!

This particular post is just what I did – could I have done something differently? Sure. But, I thought the sequence of events was worthwhile to share. Please let me know what you think in the comments section.

Eye Candy

Last but not least, I’d now be honored to share with you some eye candy – AND my first try at a movie of the finished work that you can check out – with an appropriate sound track. Then I’ll list all the paints etc. that I used here as a reference. The other references will be links to my pages on these types of projects.
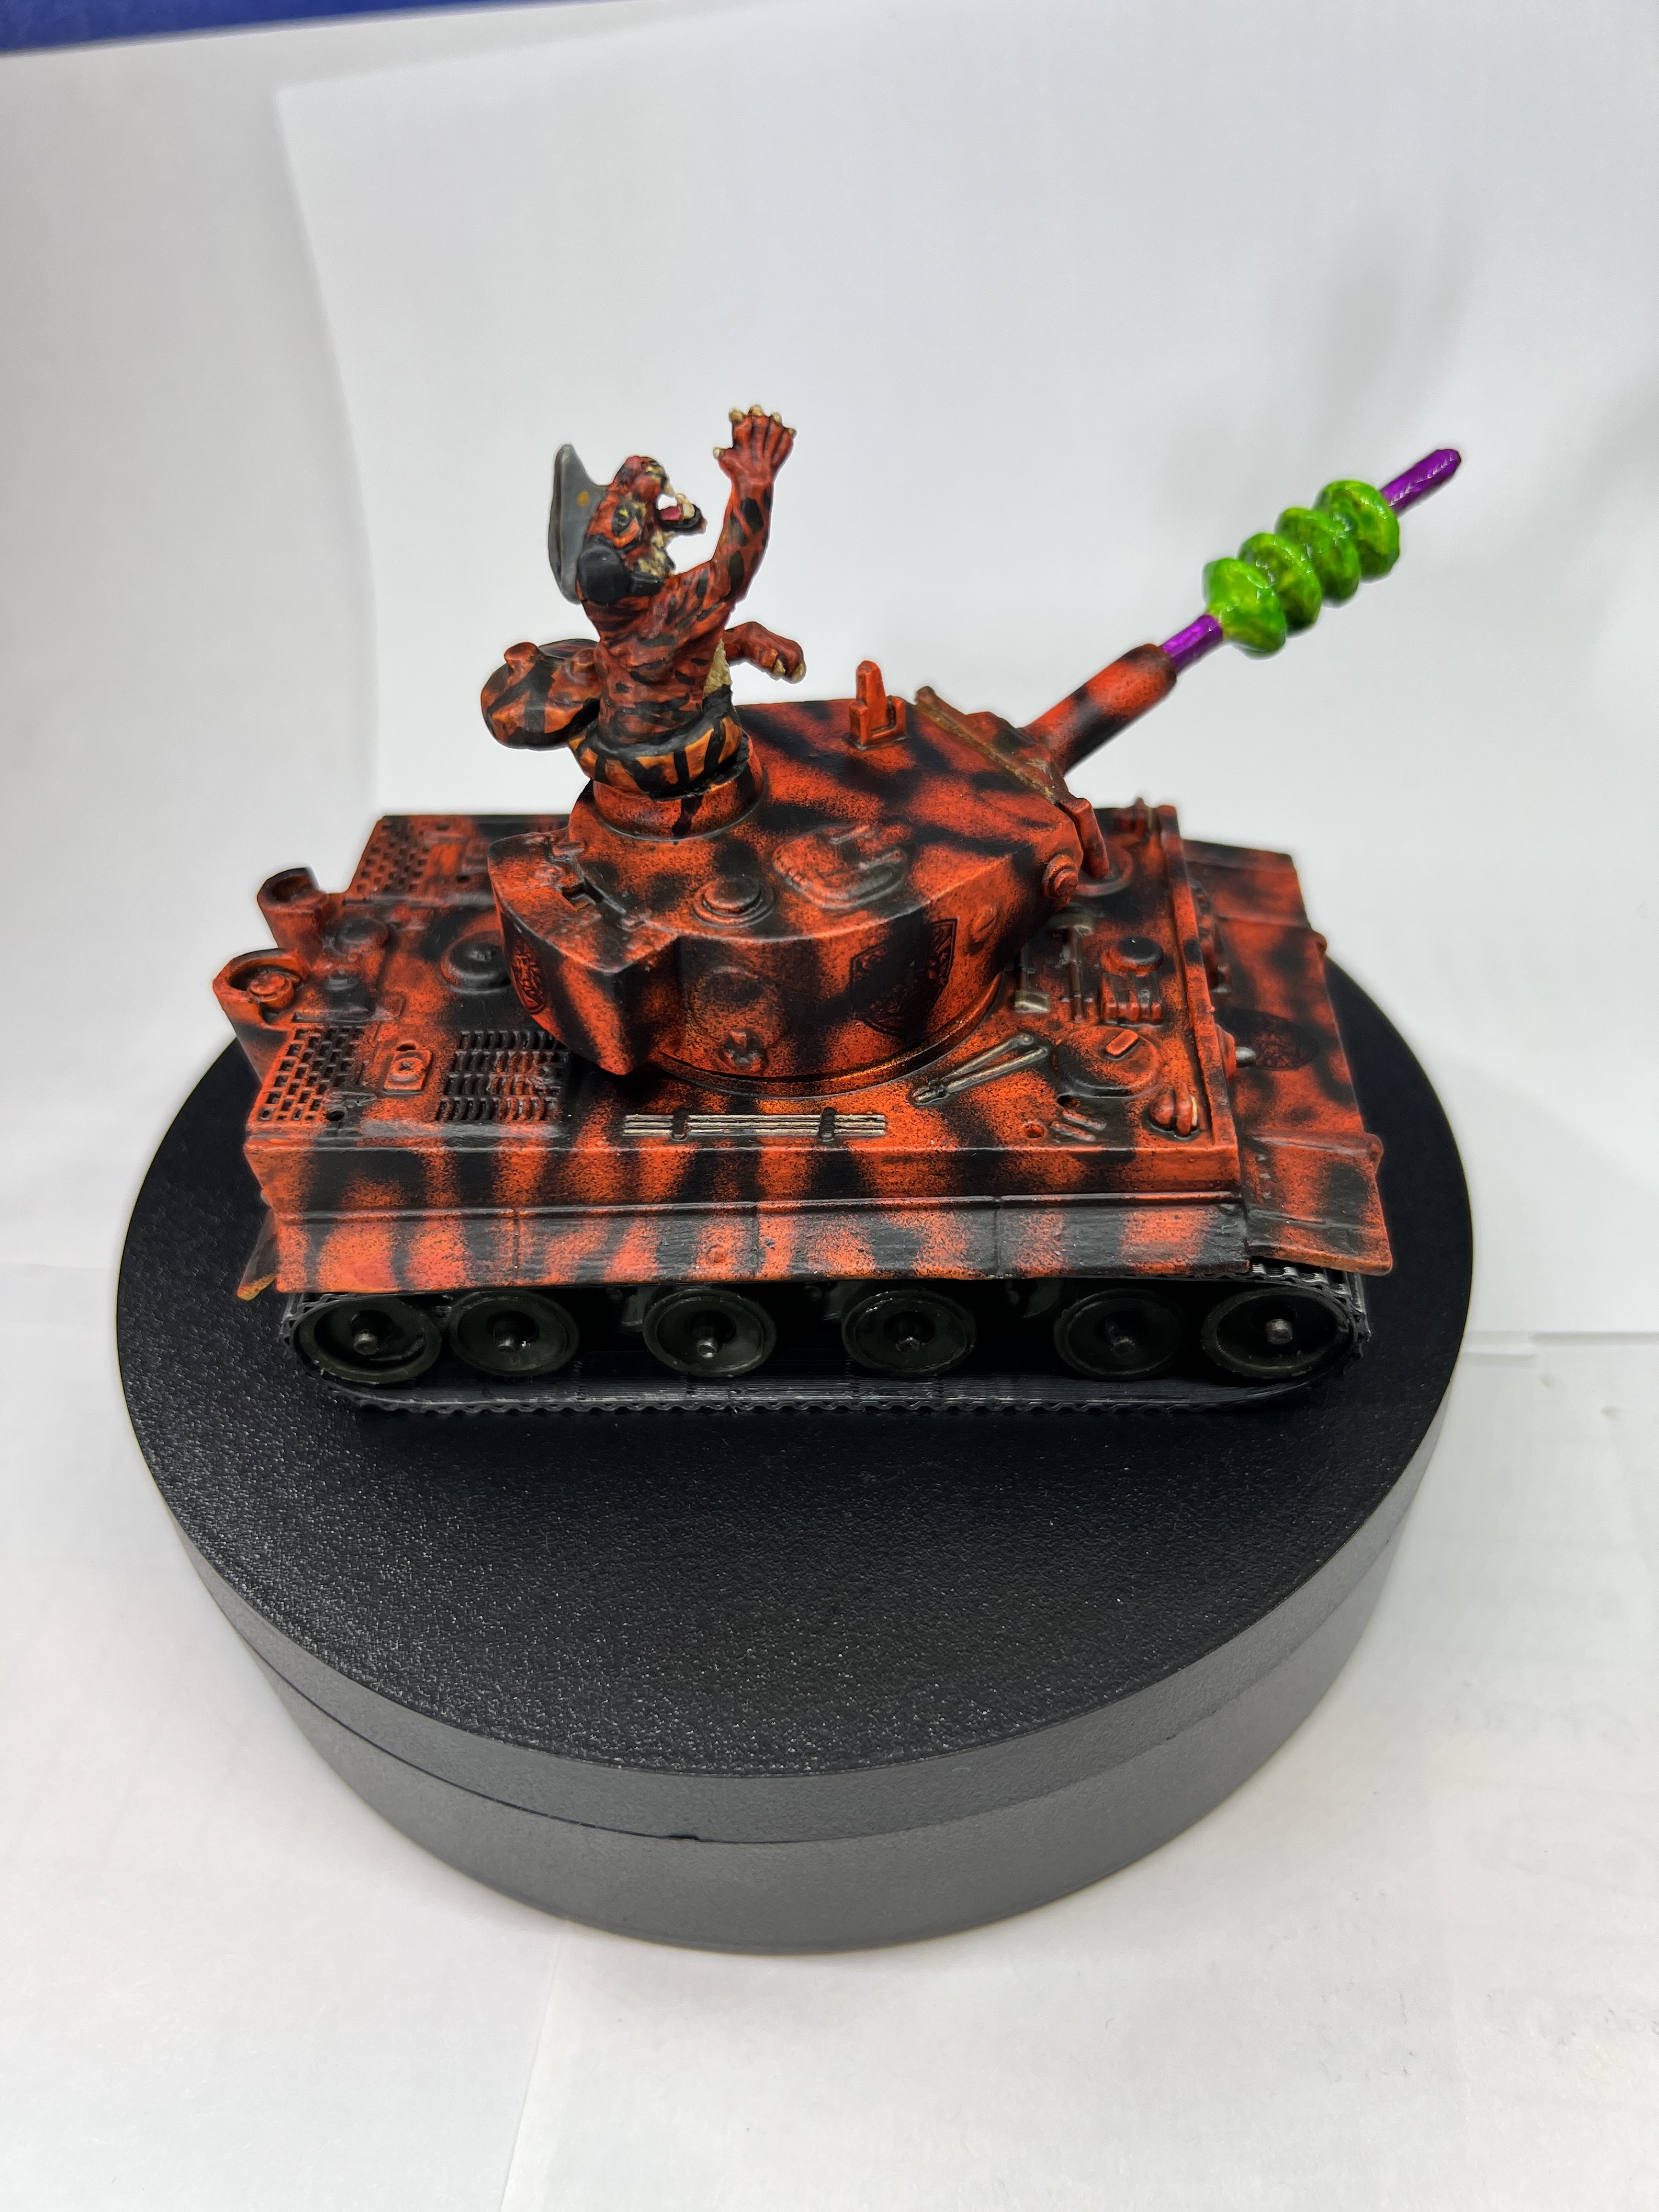
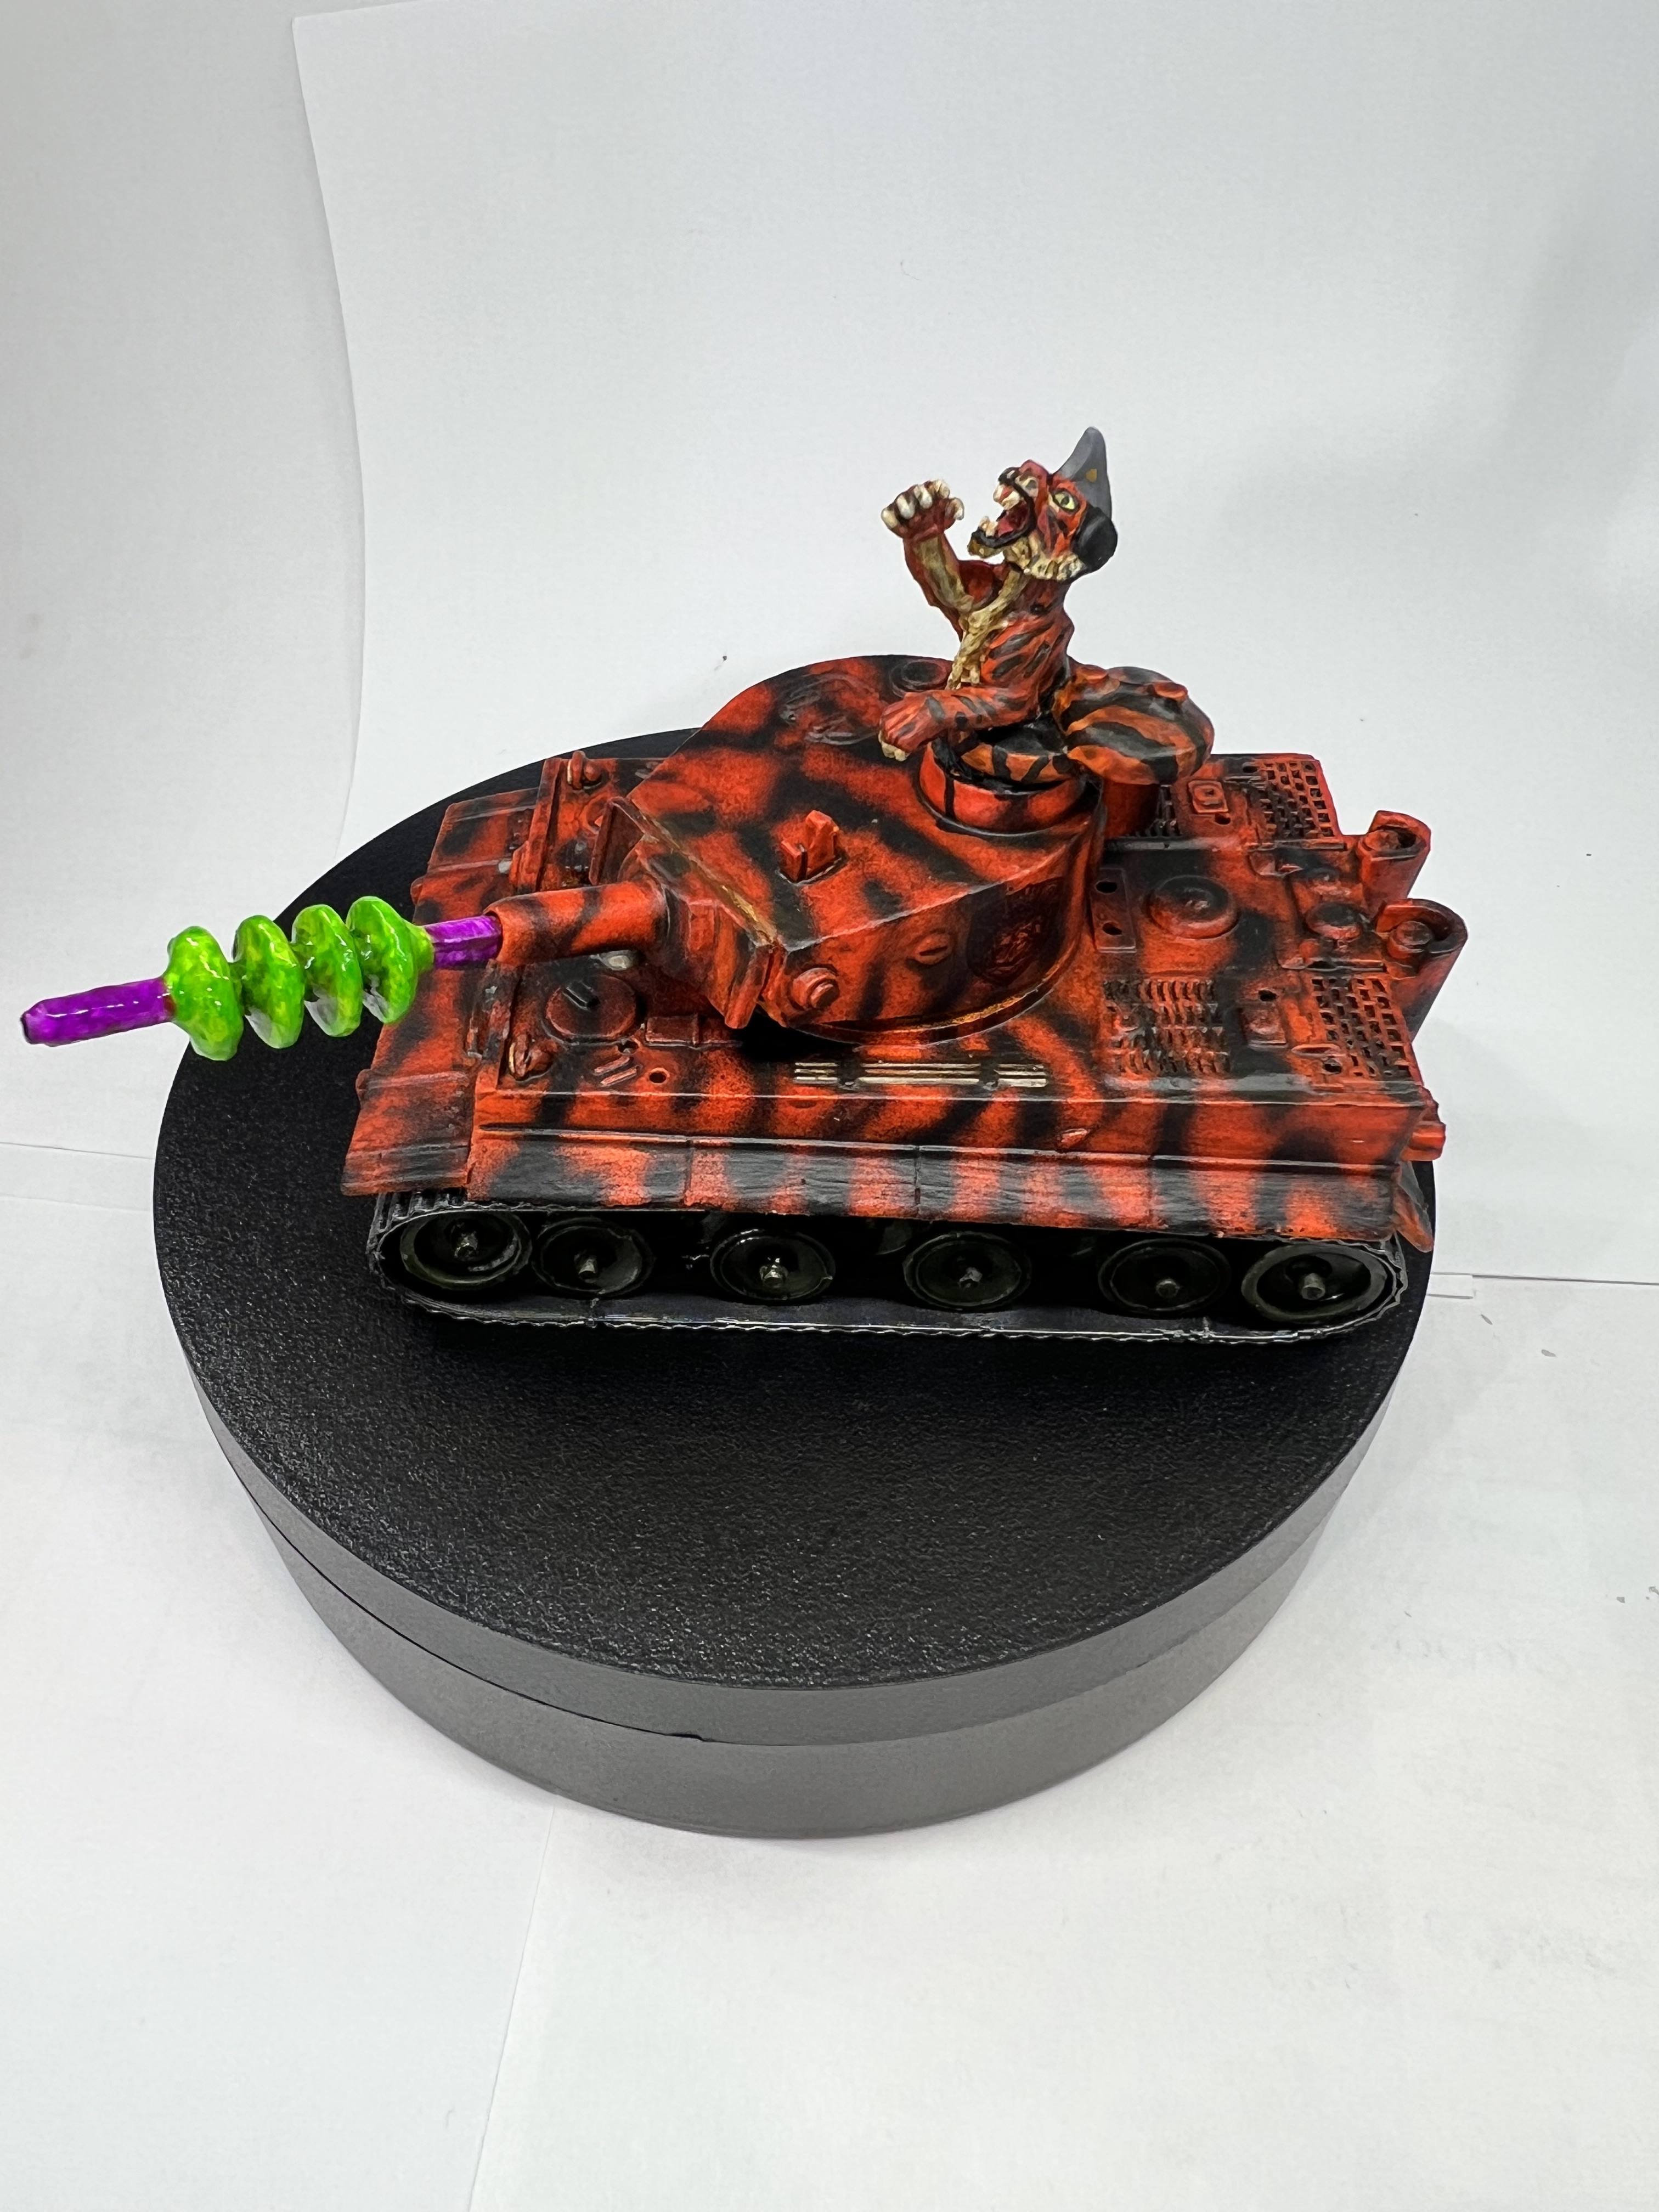
Right side view.
Left side view.
Front top view.
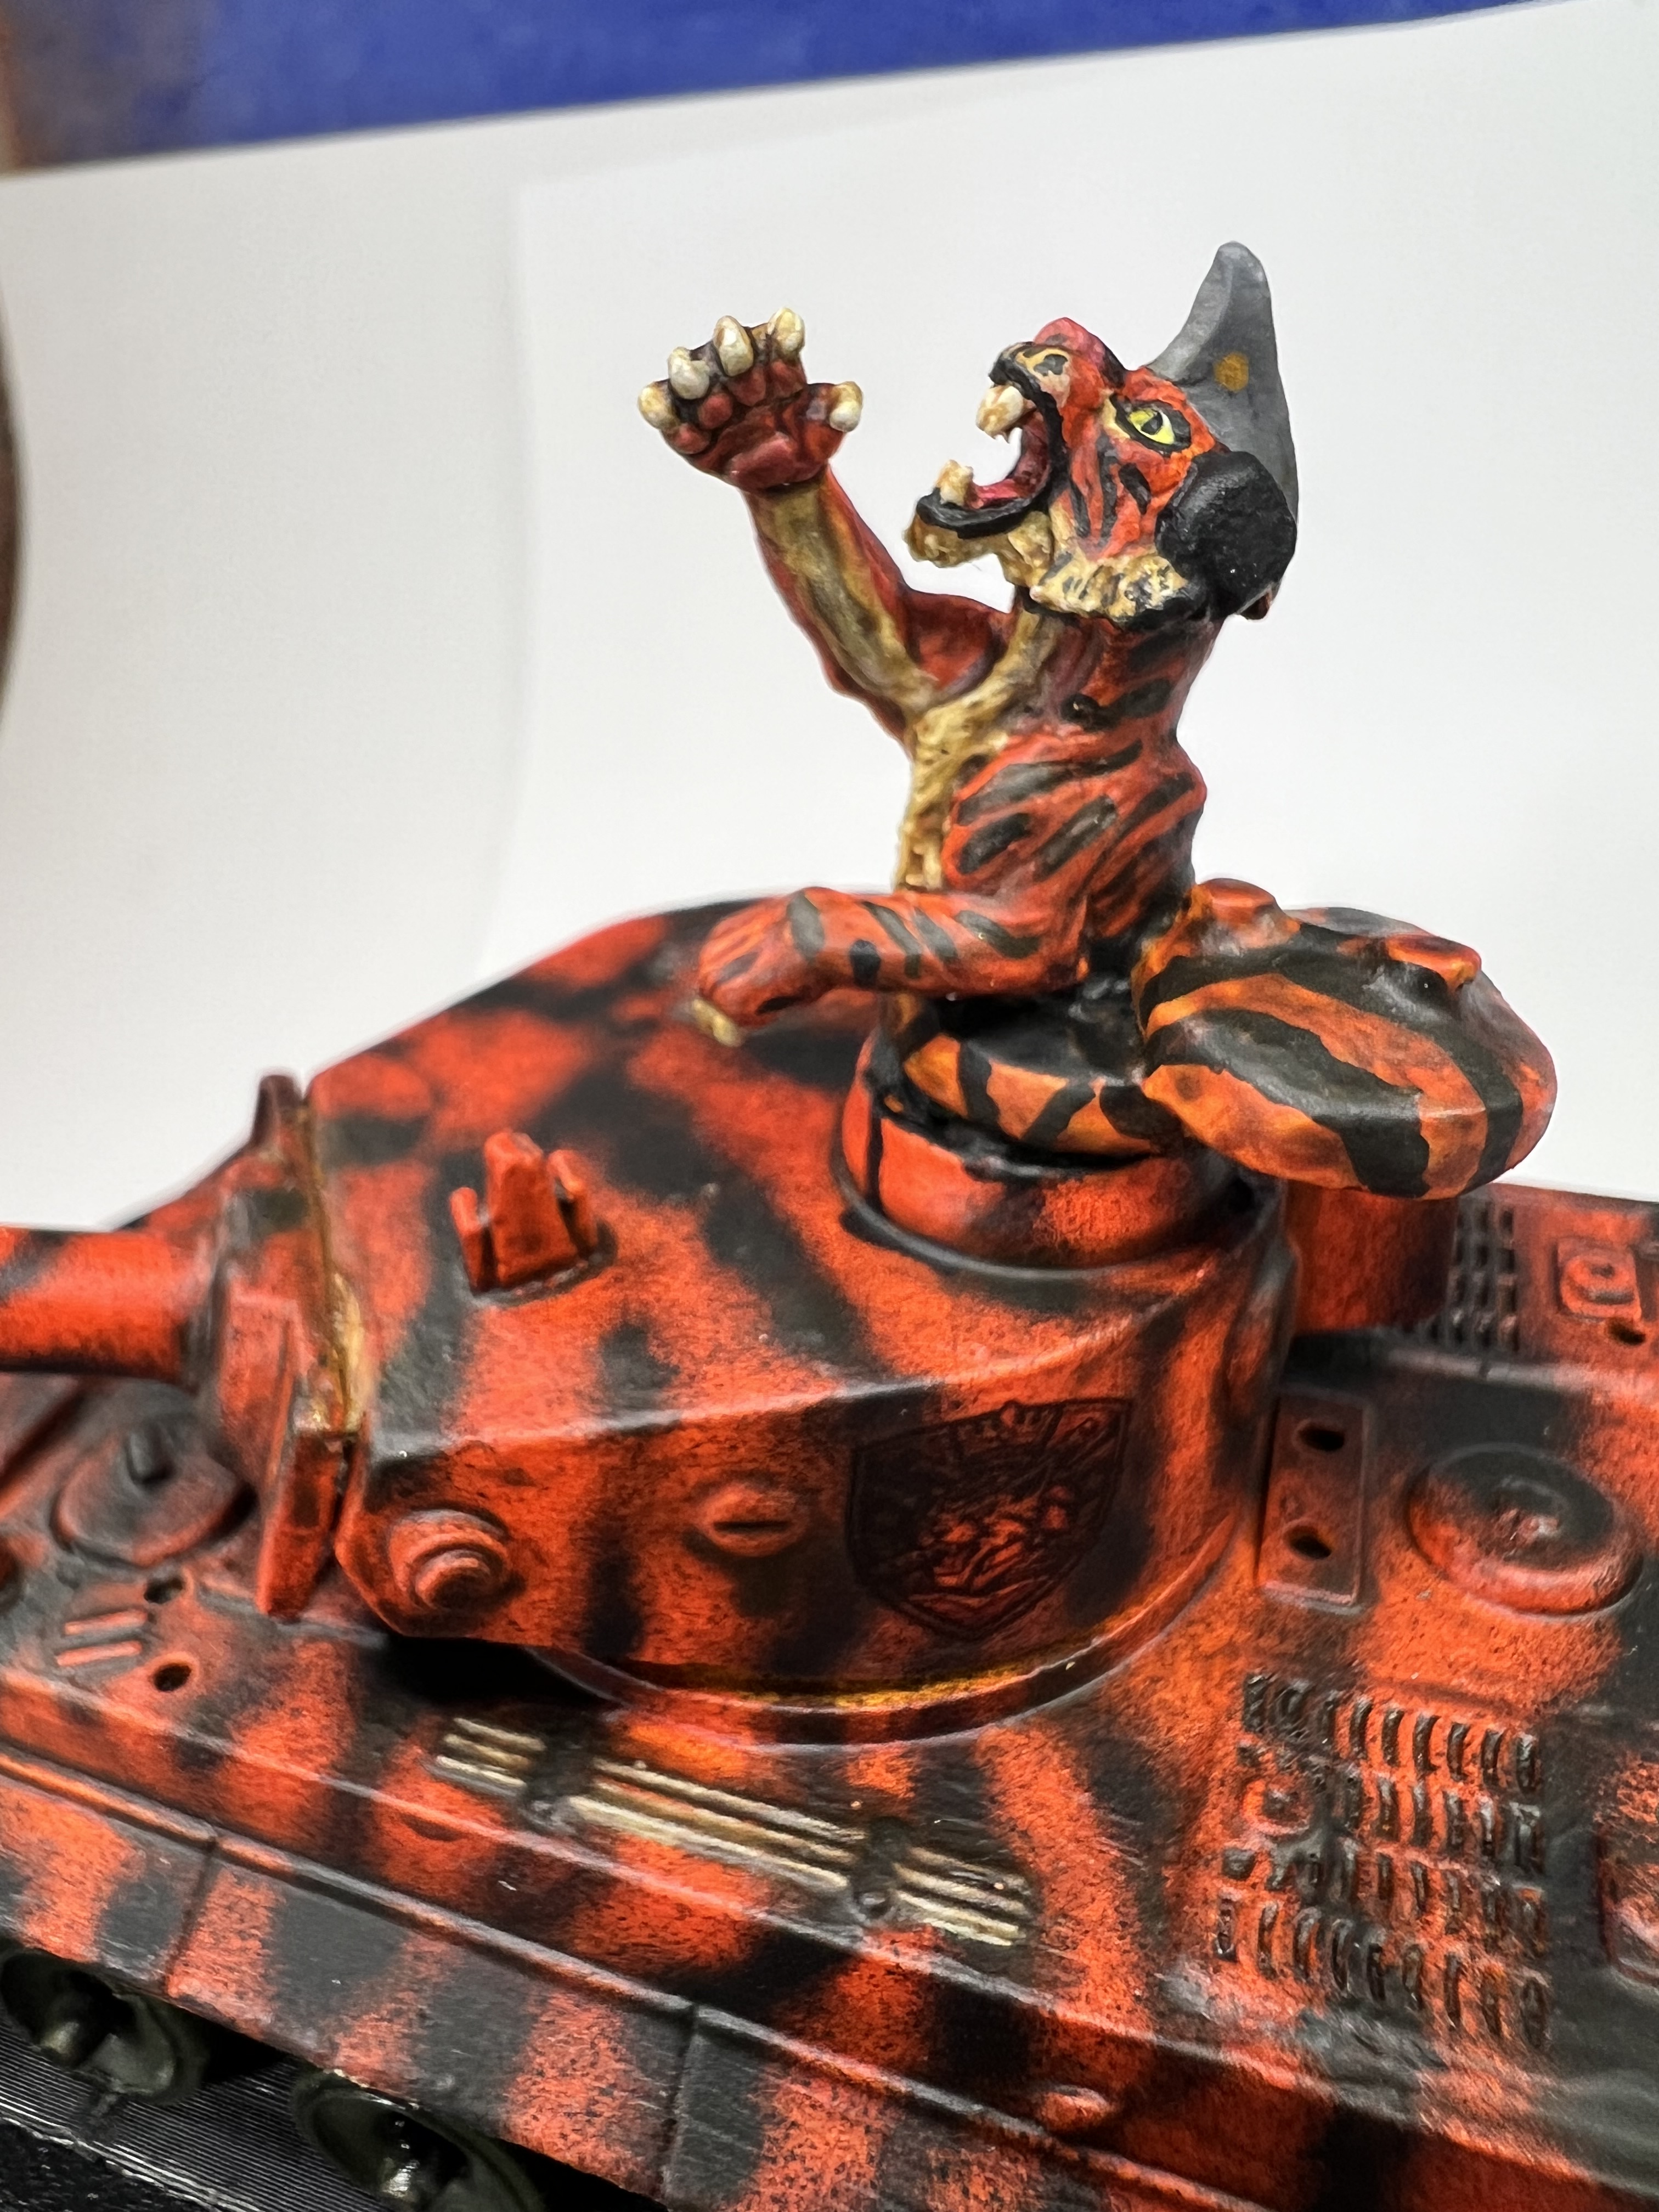
Close up view of the cupola/hatch with the tiger commander.
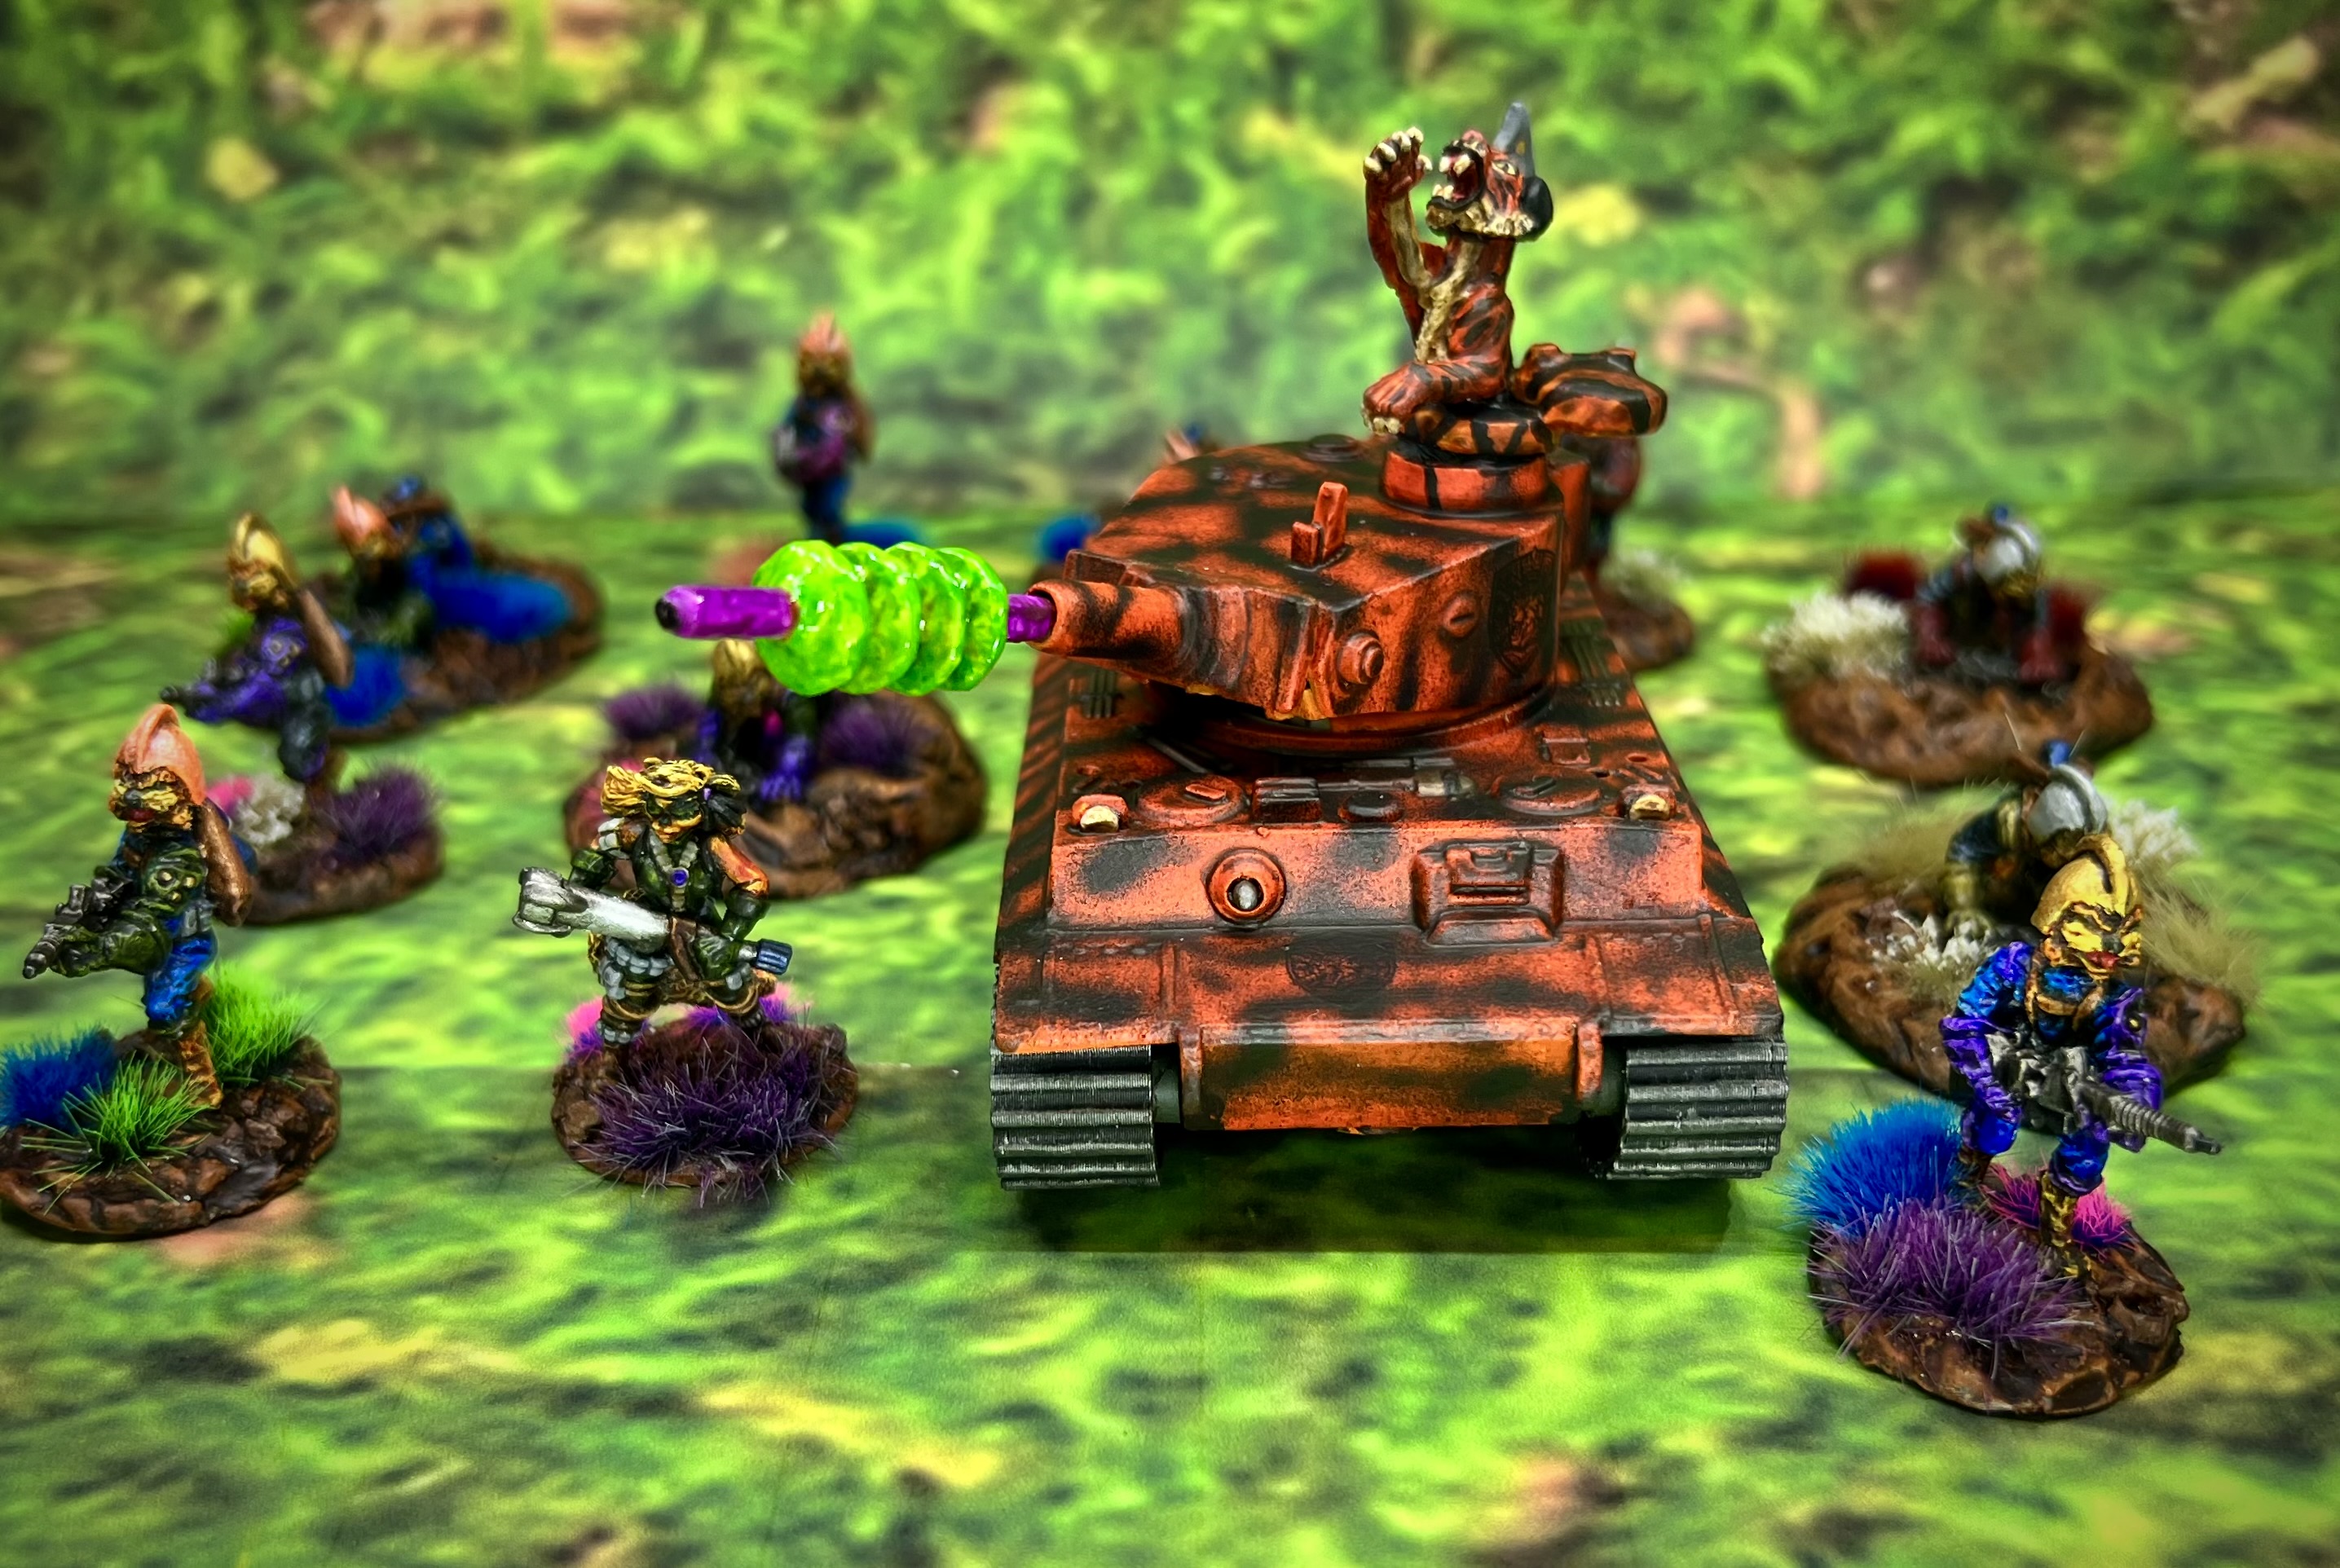
Imperial Felynxii attacking!

A Movie! Turn up the Volume!

Below are a list of some references and links that might also be of interest. I use them to refer to when I forget painting schemes that I want to replicate.

References:

For a consolidated list of links for any of my previous “Anthropomorphic Figure Project Posts”, please see this page here.

For a consolidated list of links for any of my previous “Old School Miniatures” blog posts, please see this page here.

For a consolidated list of links for any of my previous “Figure Conversions” blog posts, please see this page here.

For a consolidated list of links for any of my previous sci-fi/retro sci-fi blog posts, please see this page.

For a consolidated list of links for any of my previous “Scratch-build Projects” blog posts, please see this page here.

PAINTS, INKS, GLAZES, SHADES, WASHES, PIGMENTS, FLOCKING, GLUES AND MORE THAT I USED ON THIS FELYNXII TIGER TANK:

  1. Poster tack
  2. Vallejo Primers “White”
  3. Corgi Toys Tiger I metal toy tank
  4. 3D-printed replacement tracks for Corgi Tiger I from eBay 
  5. Everbilt number 6 steel fender washers
  6. Green stuff (kneadatite)
  7. Plastruct Plasticard (91108 SSS-125), 7/16″ thick  Plastruct Plasticard (91108 SSS-125), 7/16″ thick 
  8. Vallejo “Premium White Primer”
  9. Vallejo Game Air “Hot Orange”
  10. Citadel Contrast Paint “Gryph-Hound Orange”
  11. Vallejo Mecha Color “Off White”
  12. Reaper MSP Core Colors “Pure Black”
  13. Vallejo Primers “White”
  14. Citadel Contrast Paint “Skeleton Horde”
  15. Vallejo Model Color “German Grey”
  16. Reaper MSP “Pink”
  17. Vallejo Model Color “Neutral Grey”
  18. Vallejo Model Color “Ivory”
  19. Army Painter Warpaints Metallics “Bright Gold”
  20. Secret Weapon Washes “Sunshine” (wash/shade)
  21. Army Painter “Light Tone” (wash/shade)
  22. Vallejo Primers “Black”
  23. Jewelry coping saw
  24. Paper clip wire
  25. Toothpick
  26. Plastic plates
  27. Vallejo Flow Improver
  28. Vallejo Thinner
  29. Vallejo Mecha Color “Dark Steel”
  30. Vallejo Model Air “German Red Brown”
  31. Folkart “Champagne”
  32. Army Painter Warpaints Fanatic Effects “Data System Glow”
  33. Citadel “Tesseract Glow” (Technical)
  34. Army Painter Warpaints Air Fluorescent “Violet Volt”
  35. Vallejo Game Color “Sepia Wash” (wash/shade)
  36. Vallejo “Gloss Acrylic Varnish”
  37. Army Painter “Green Tone” (wash/shade)
  38. Experts Choice Clear Decal Film
  39. Microscale “Liquid Decal Film”
  40. Microscale “Microsol” (decal softening fluid)
  41. Vallejo “Matte Premium Varnish”

Thanks for looking!

Reviving Retro Sci-Fi Miniatures: The Felynxii Project

I decided to take a break from painting up Wars of Ozz figures and terrain for a bit. Yes, golf still happily monopolizes a lot of my free time – ok MOST of my free time (winter eventually does come and no golf here then).

But even though we here in Massachusetts are in a minor drought, it does rain from time to time – and the sun even disappears for the night. No surprise there…so I could get some summertime hobby work in…

But what should I jump into?

Inspirations and Motivations

For me, inspiration came by way of the Combat Patrol WWIITM Retro Sci-Fi games that I ran at 4 conventions earlier this year. You can see those games at the following blog links: Cold Wars 2026, TotalCon 2026, and Huzzah 2026. (I also ran games at HAVOC 2026, but did not get to a blog post on that one). They were fun and a nice return to a genre that I really enjoyed.

As to which faction to get into – well, its a bit sad to say how I was motivated to do something feline. Why? Well, my daughter Ellen and my granddaughter Tabitha (Tabby) lost their pet cat Izzy a short while back. Also, our good blog buddy Roger from “Rantings from under the Wargame table” has lost another cat (Amy) not too long ago. This was in addition to a young cat named Flash a while back and a dog as I remember. Losing pets is tough. Therefore, in these kitties memory I went with the Felynxii from long-defunct Archive Miniatures. More about these retro sci-fi cats in a bit, but first some background stuff.

Background Information on the Figures

I have written many blog posts over the years about these old school miniature projects and companies – to include some information on their origins. I have two pages that catalogs my efforts that might be of interest to you:

  • For a list of my Old School miniature posts click here.
  • For a list of my Retro Sci-Fi and Sci-Fi miniature posts click here:

As you probably would notice on these pages, the majority of figures that I use for these projects and games are long out-of-production – to state it mildly. Most have come from two sources – Archive Miniatures (specifically the Star Rovers Line) and Crunchy Frog Enterprises (specifically the Critter Commandos line). The last time I painted an Archive figure was back in October of 2019. As for Critter Commandos, my last group was painted in March of 2018 – so its been a while.

Archive stopped producing figures in the early 1980’s and sold off its molds. According to Lost Minis Wiki:

Archive was probably run by Barbara and Nevile Stocken [1], this American company produced a wide variety of figures, many of which have been kept in production through other companies down the years. In the early 1980s they closed up and were superseded by R*kiiv.

SculptorsNevile StockenSteve Lortz

All sourcing of original Archive Star Rovers figures for me has been from eBay. Years ago I did recast some for personal use.

As for Crunchy Frog Enterprises, the Lost Minis Wiki says:

Team Frog Studios was founded in 1987 by Paul Arden Lidberg. They are a game publisher using the imprints Crunchy Frog Enterprises and Nightshift Games. They produce games with supporting lines of miniatures. They acquired the Living Legends & $tar Corp$ lines from Lance & Laser in 2009, and they ran some unfulfilled Kickstarter projects in 2012 & 2013.

The Crunchy Frog Enterprises website is still around. However I had some issues ordering Critter Commandos figures from them in the past. Perhaps it could be better now. As a result, I have only sourced their metal miniatures from eBay and Noble Night Games when I can find them reasonably priced. I still have a good number of them awaiting a paint job. The Critter Commandos line dates from the late 1980’s. According to Lost Minis Wiki:

Lance & Laser originally produced this Critter Commandos & Crittertek range of figures. [1] It is now owned by Team Frog Studios. The game Critter Commandos was created by Paul Arden Lidberg and first published in 1989 by Crunchy Frog Enterprises (now a “Team Frog Studios” imprint). The CFE codes on this page are those used by the imprint Crunchy Frog Enterprises; the figures have been renamed and recoded several times. Sculpted by Steve Lortz

Note that the late Steve Lortz was involved in sculpting both of these lines that I love. Until I began this post, I was unaware that according to Wikipedia, Paul Arden Lidberg passed away in 2022. RIP for both.

The two lines of figures mesh well for my purposes – as one would expect from the same scupltor like Steve Lortz – who also worked in a similar genres. It appears that Jim Johnson also sculpted for Team Frog.

Who Are the Felynxii?

For this particular project I chose to work on the Felynxii. Who are they?

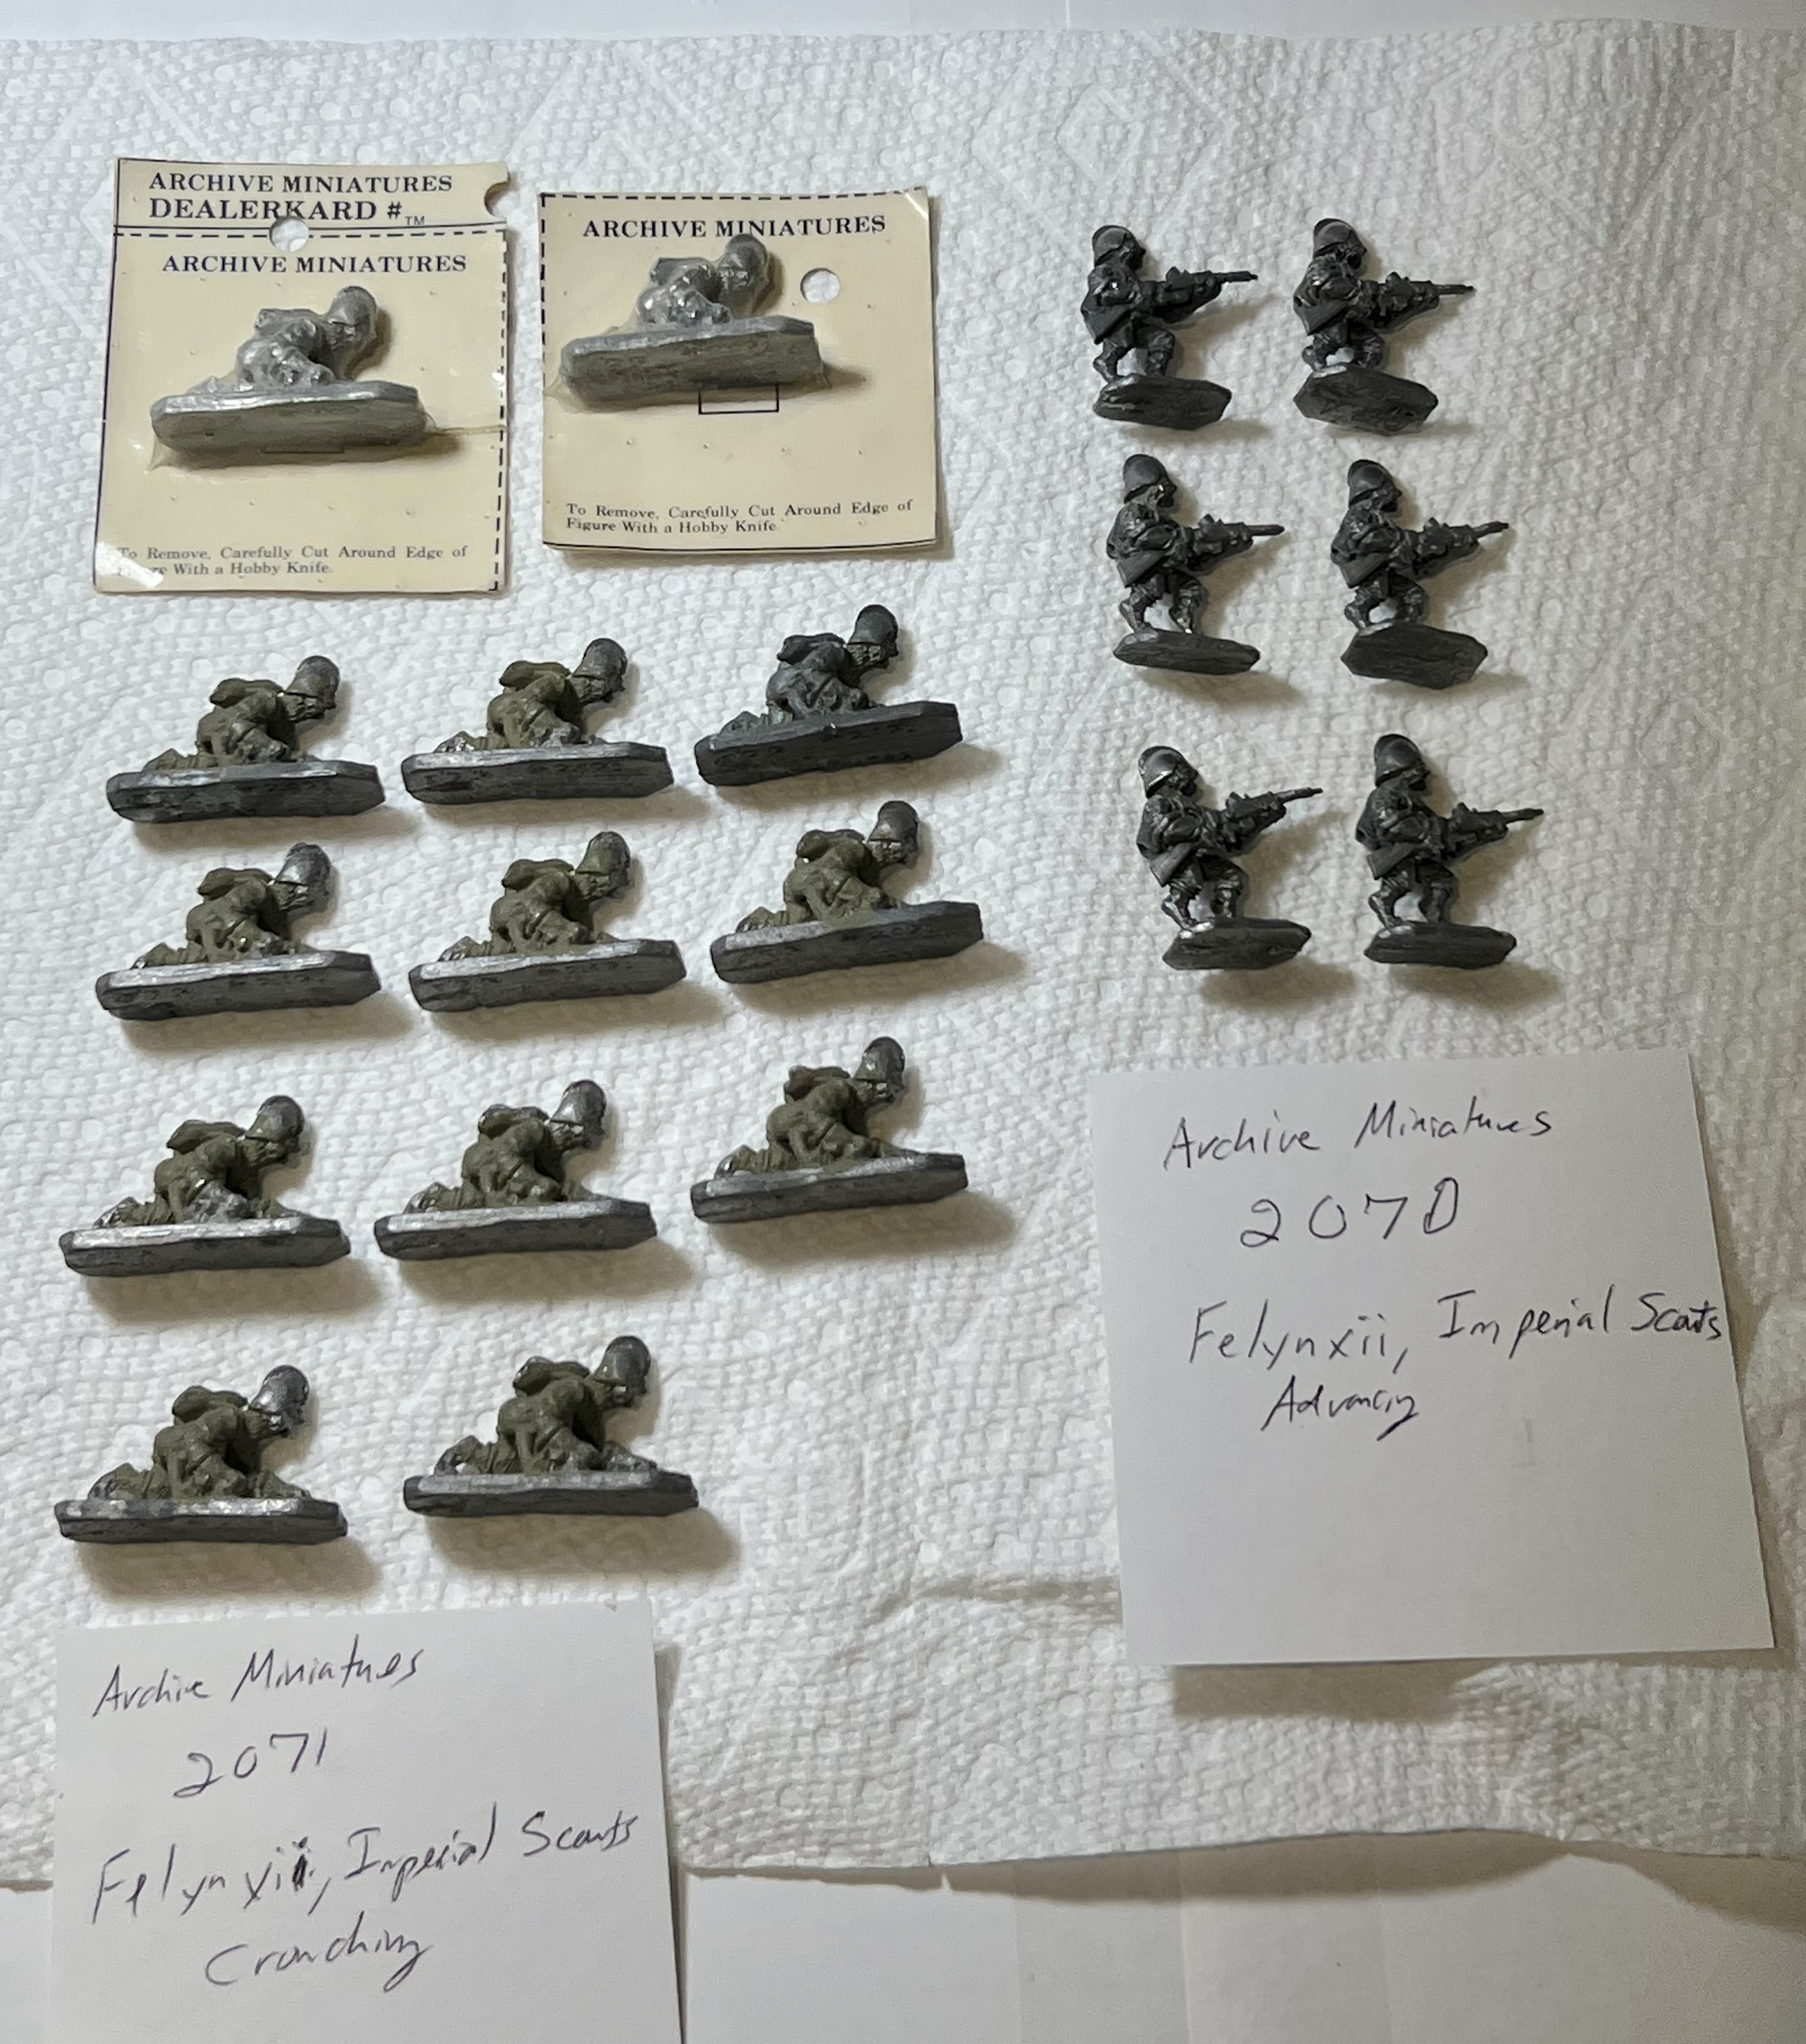
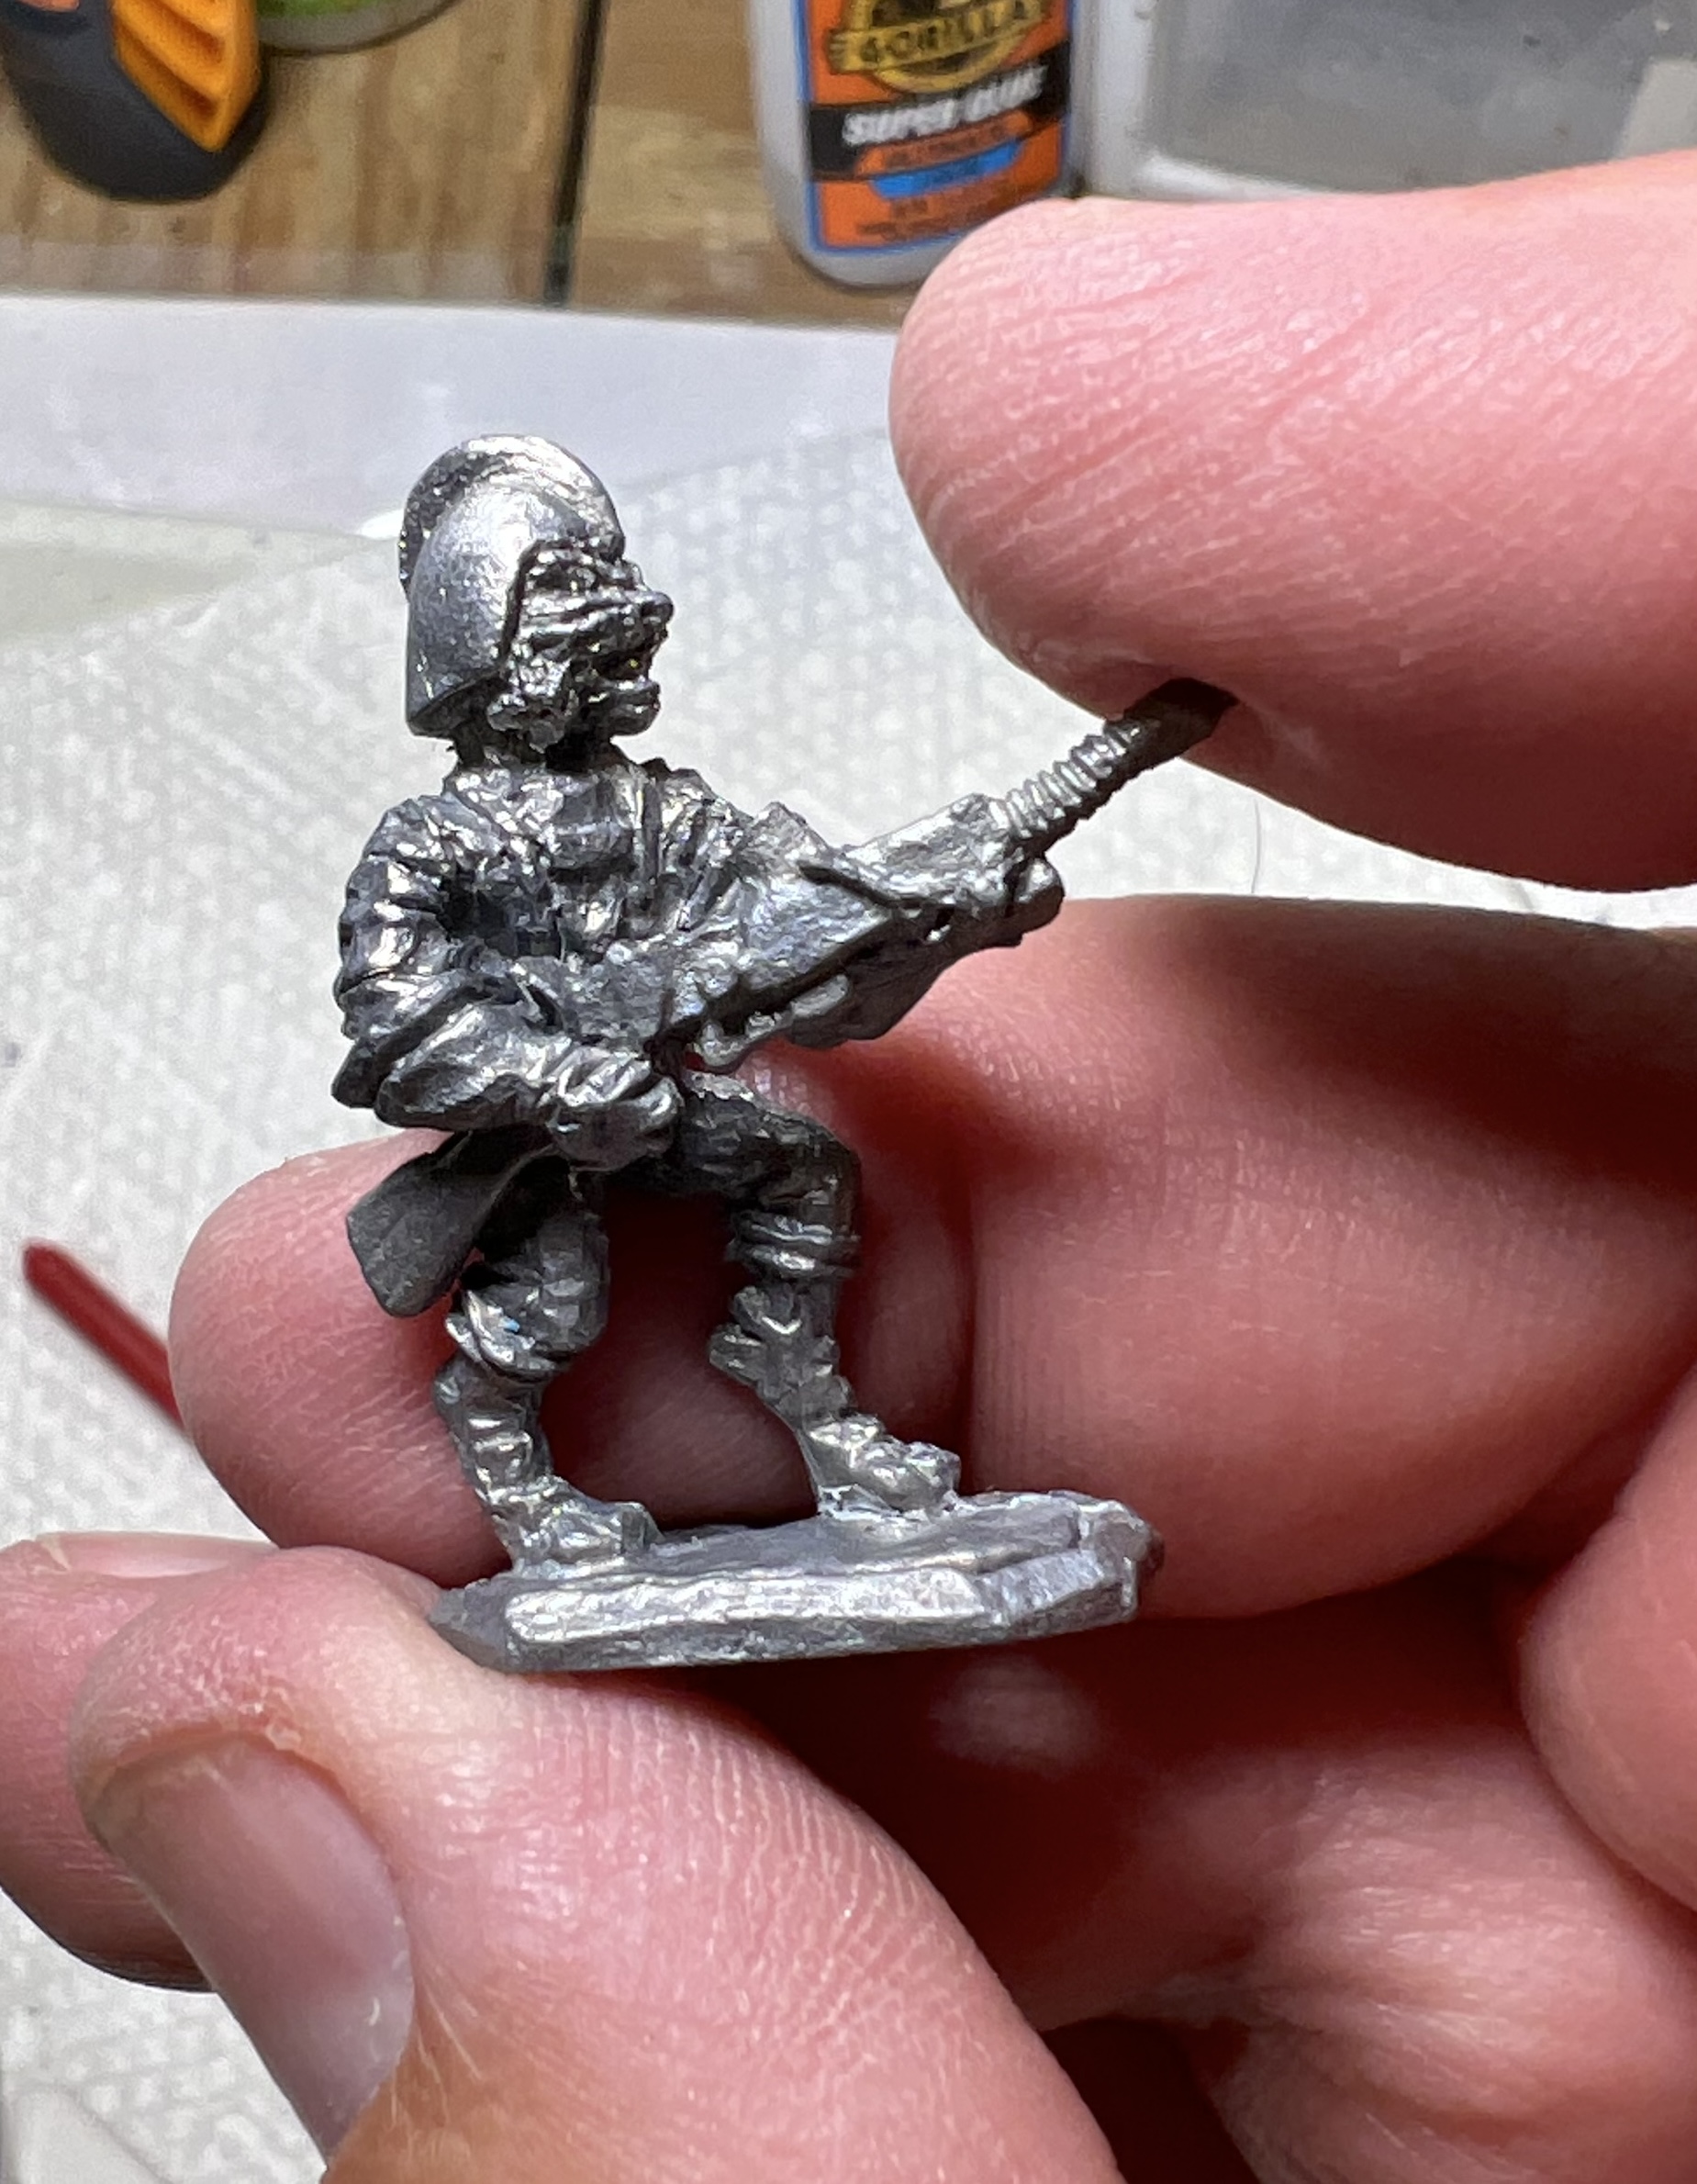
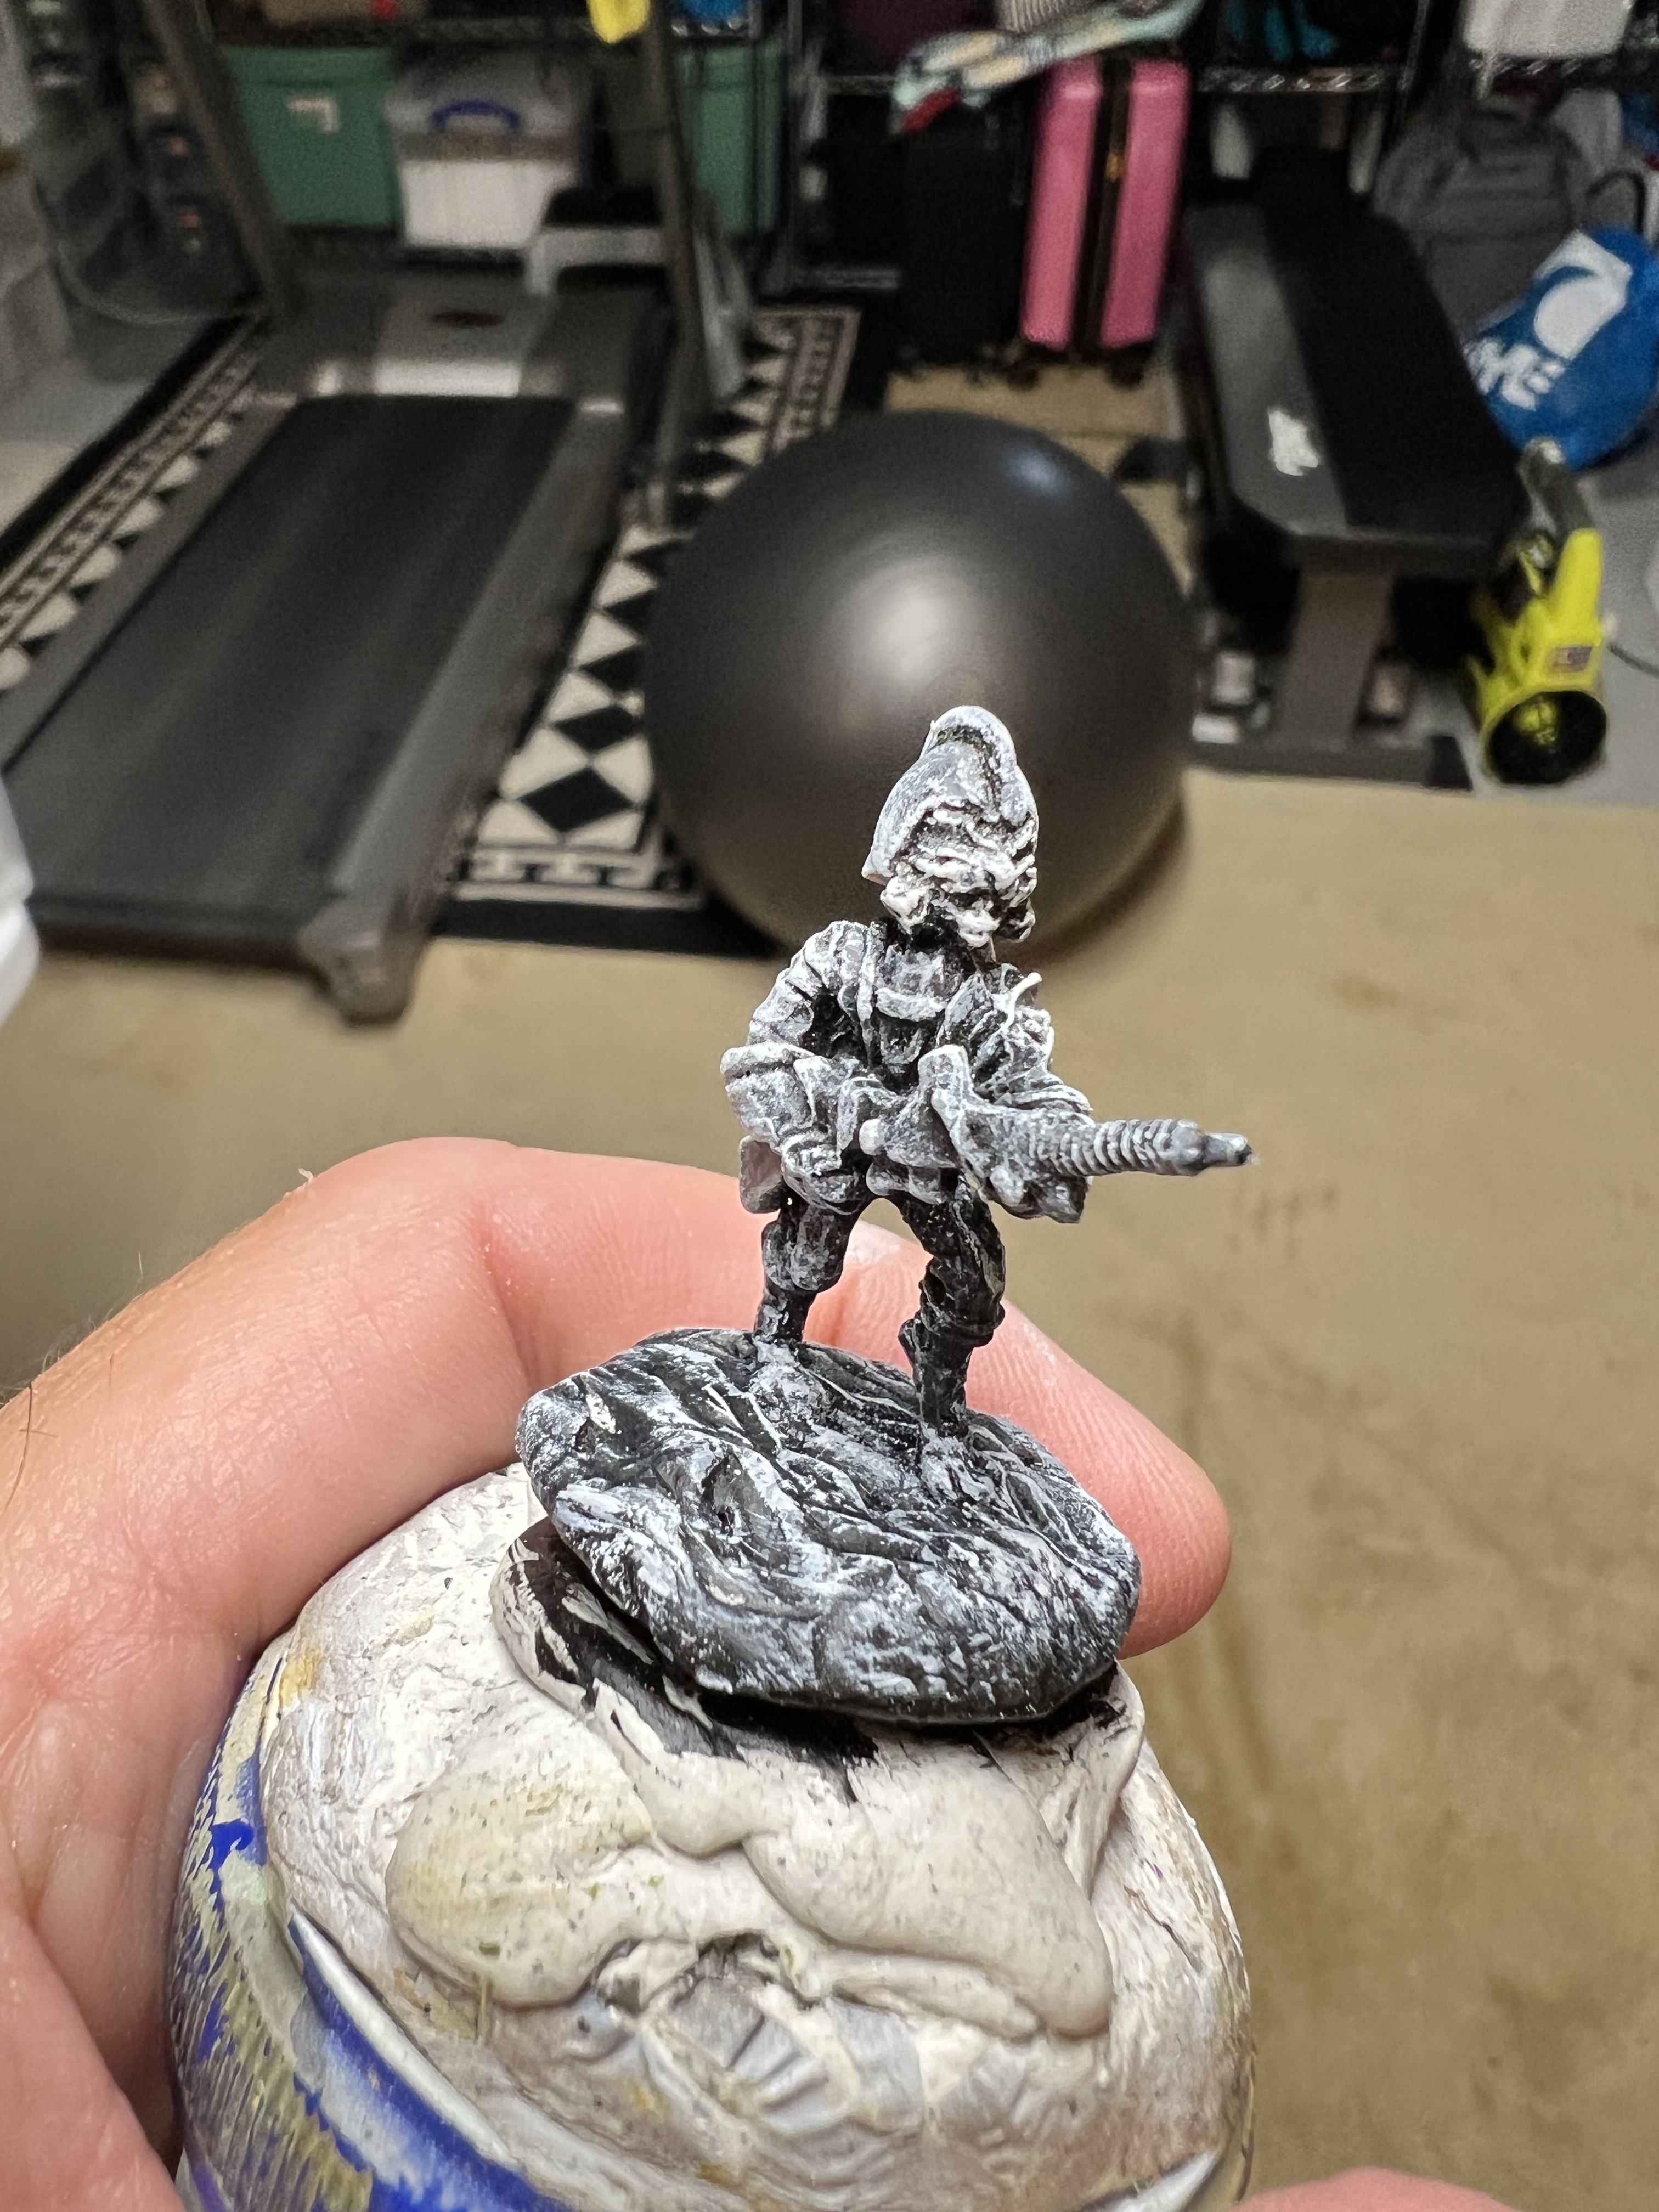
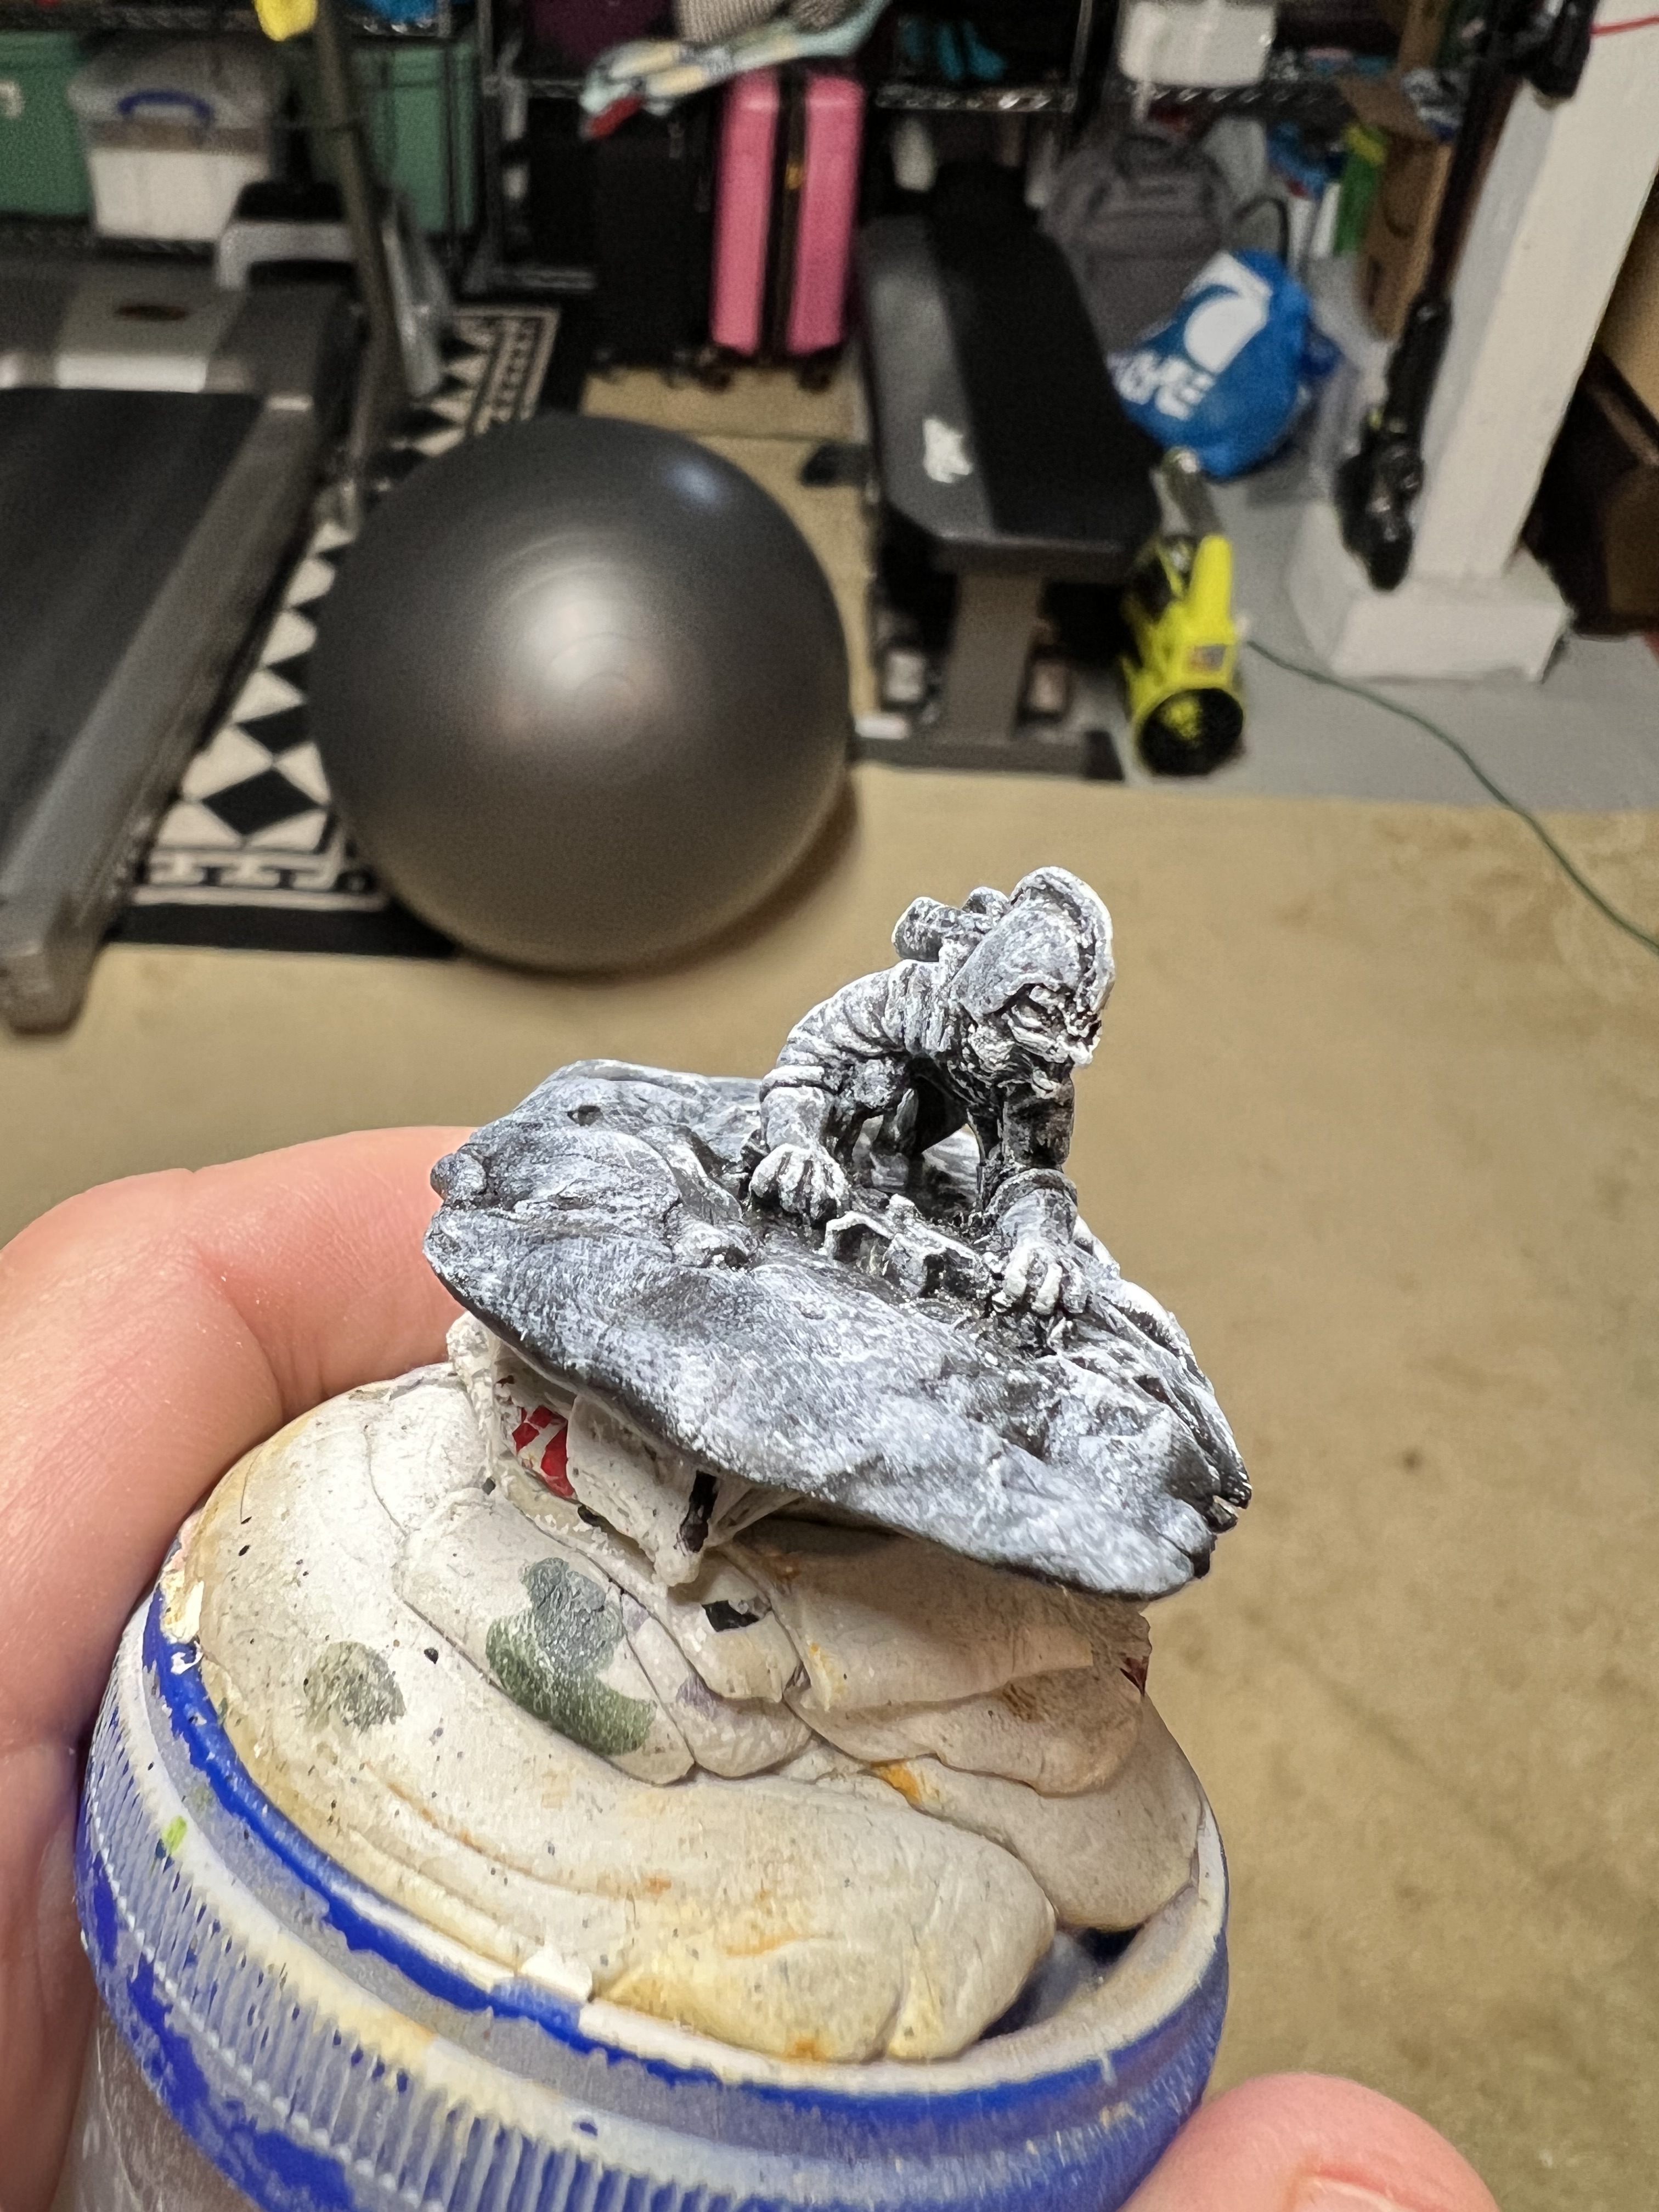
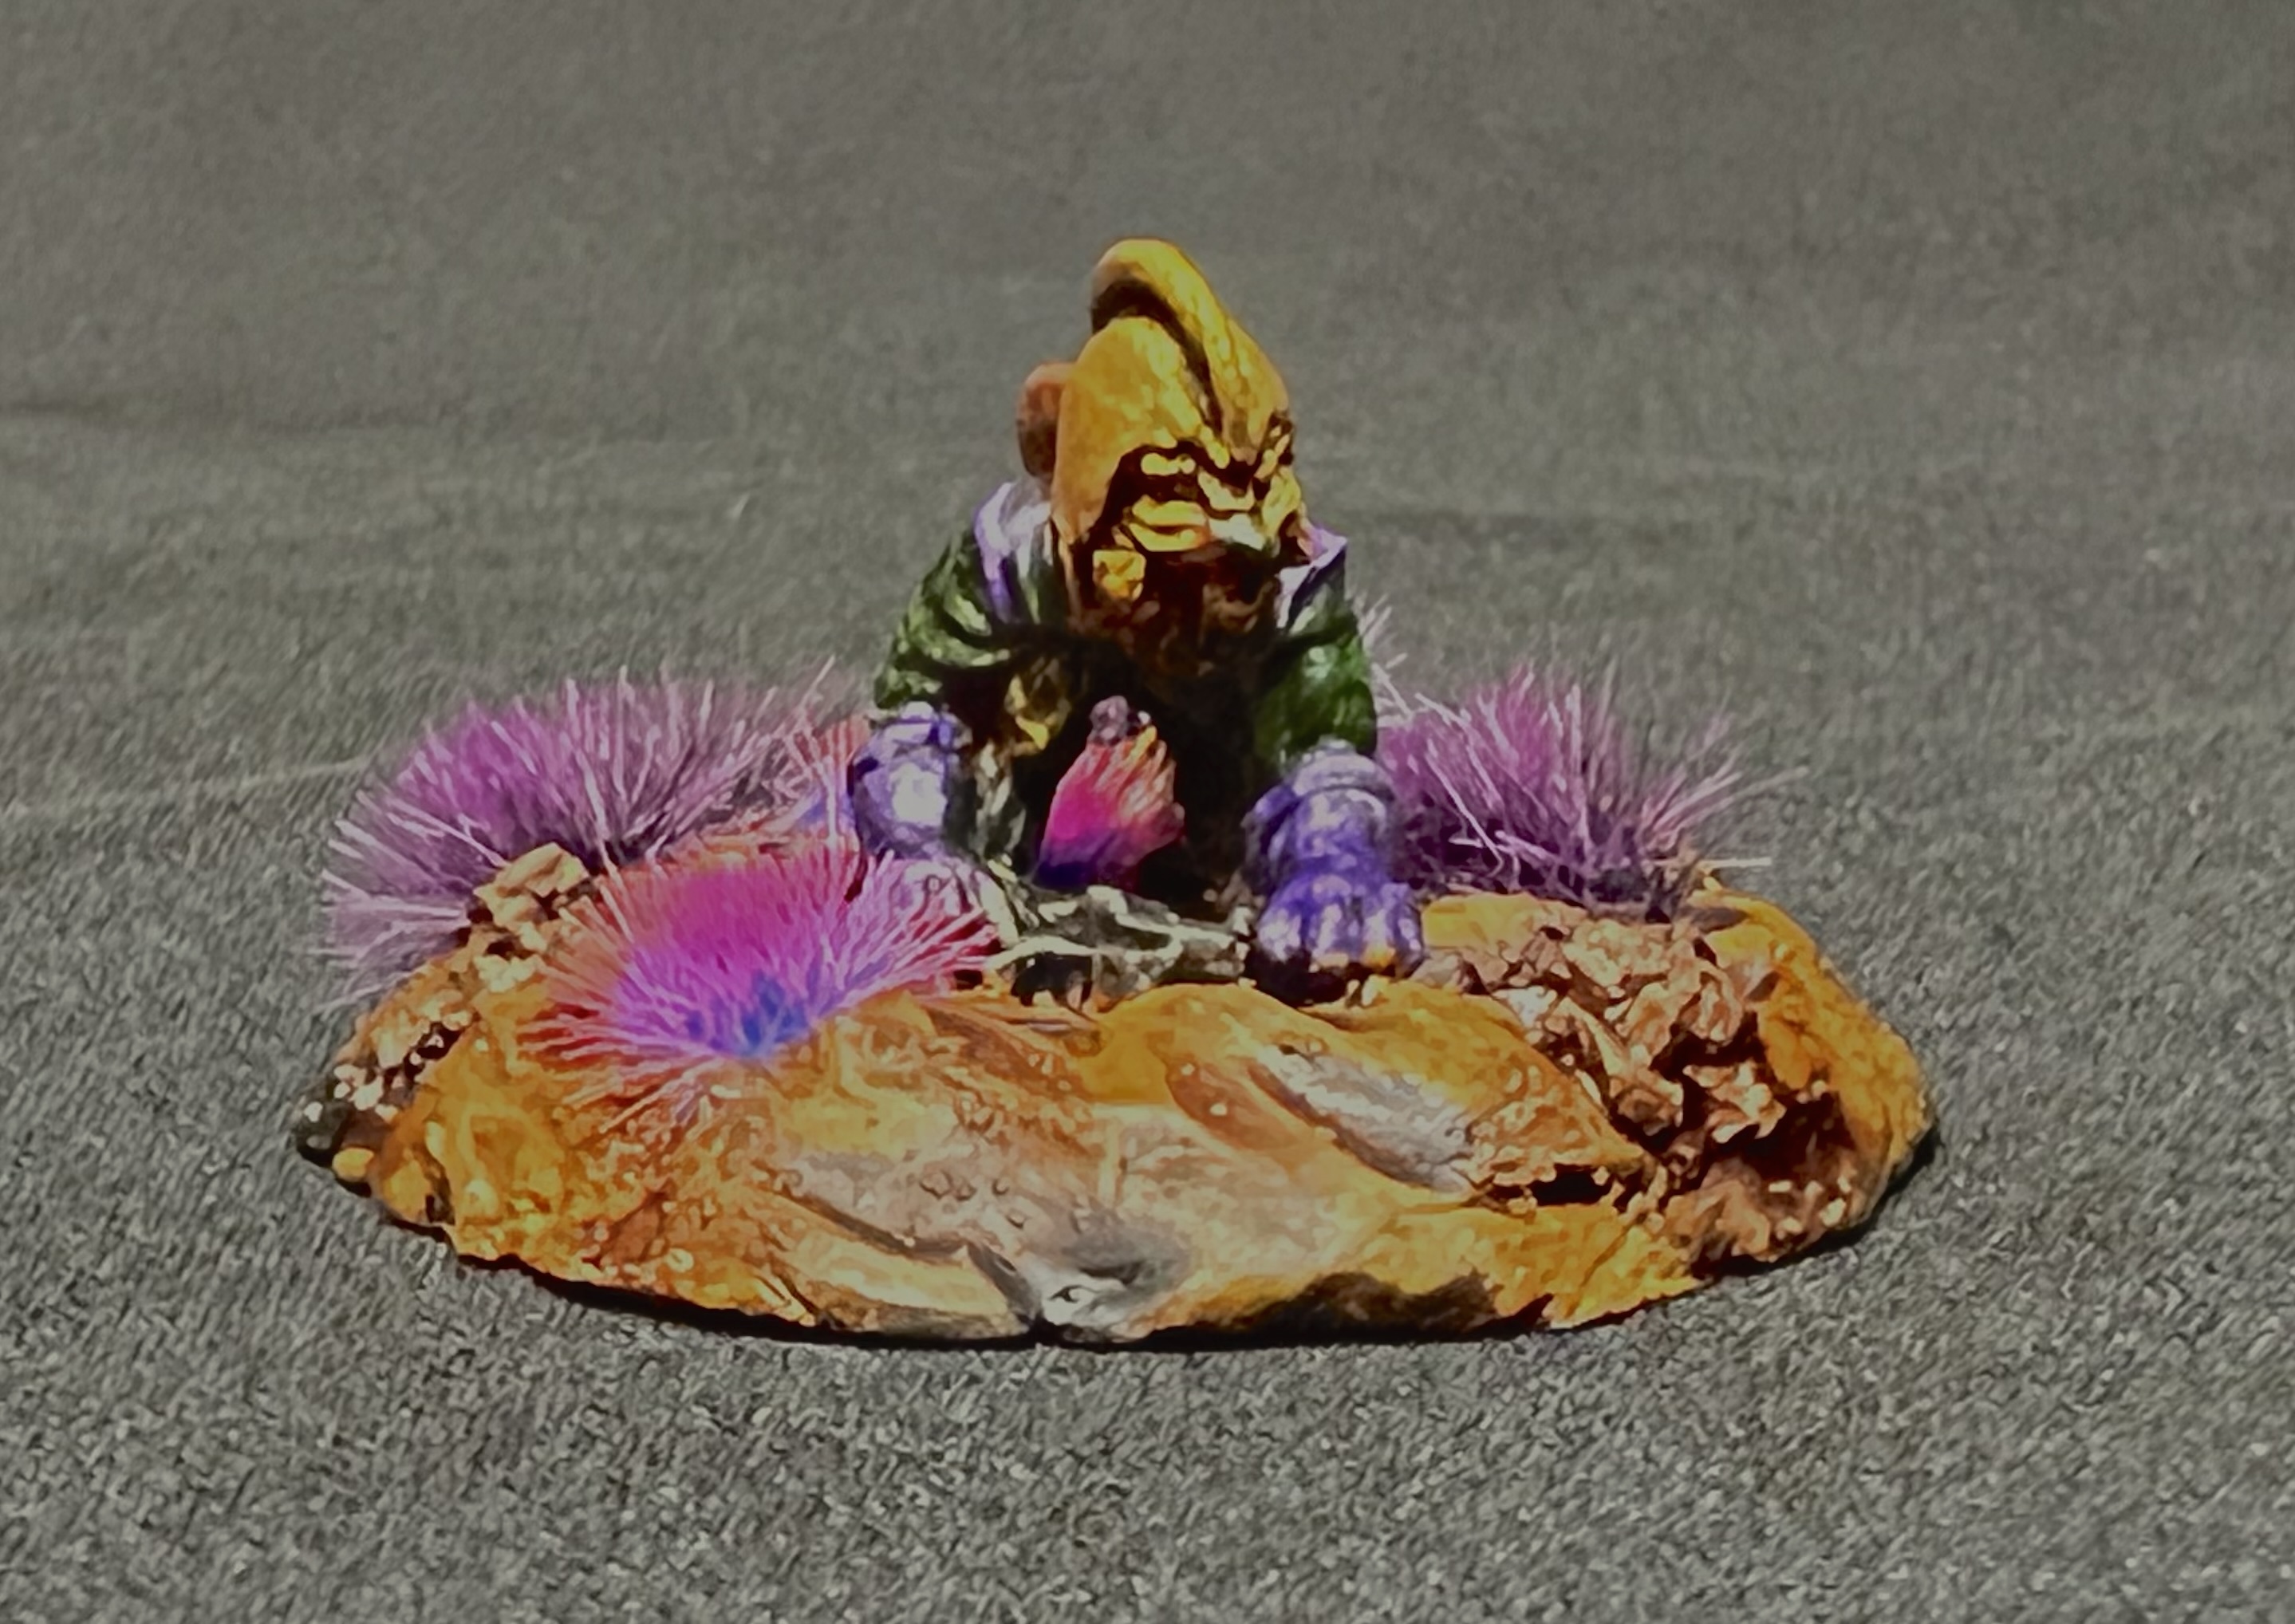
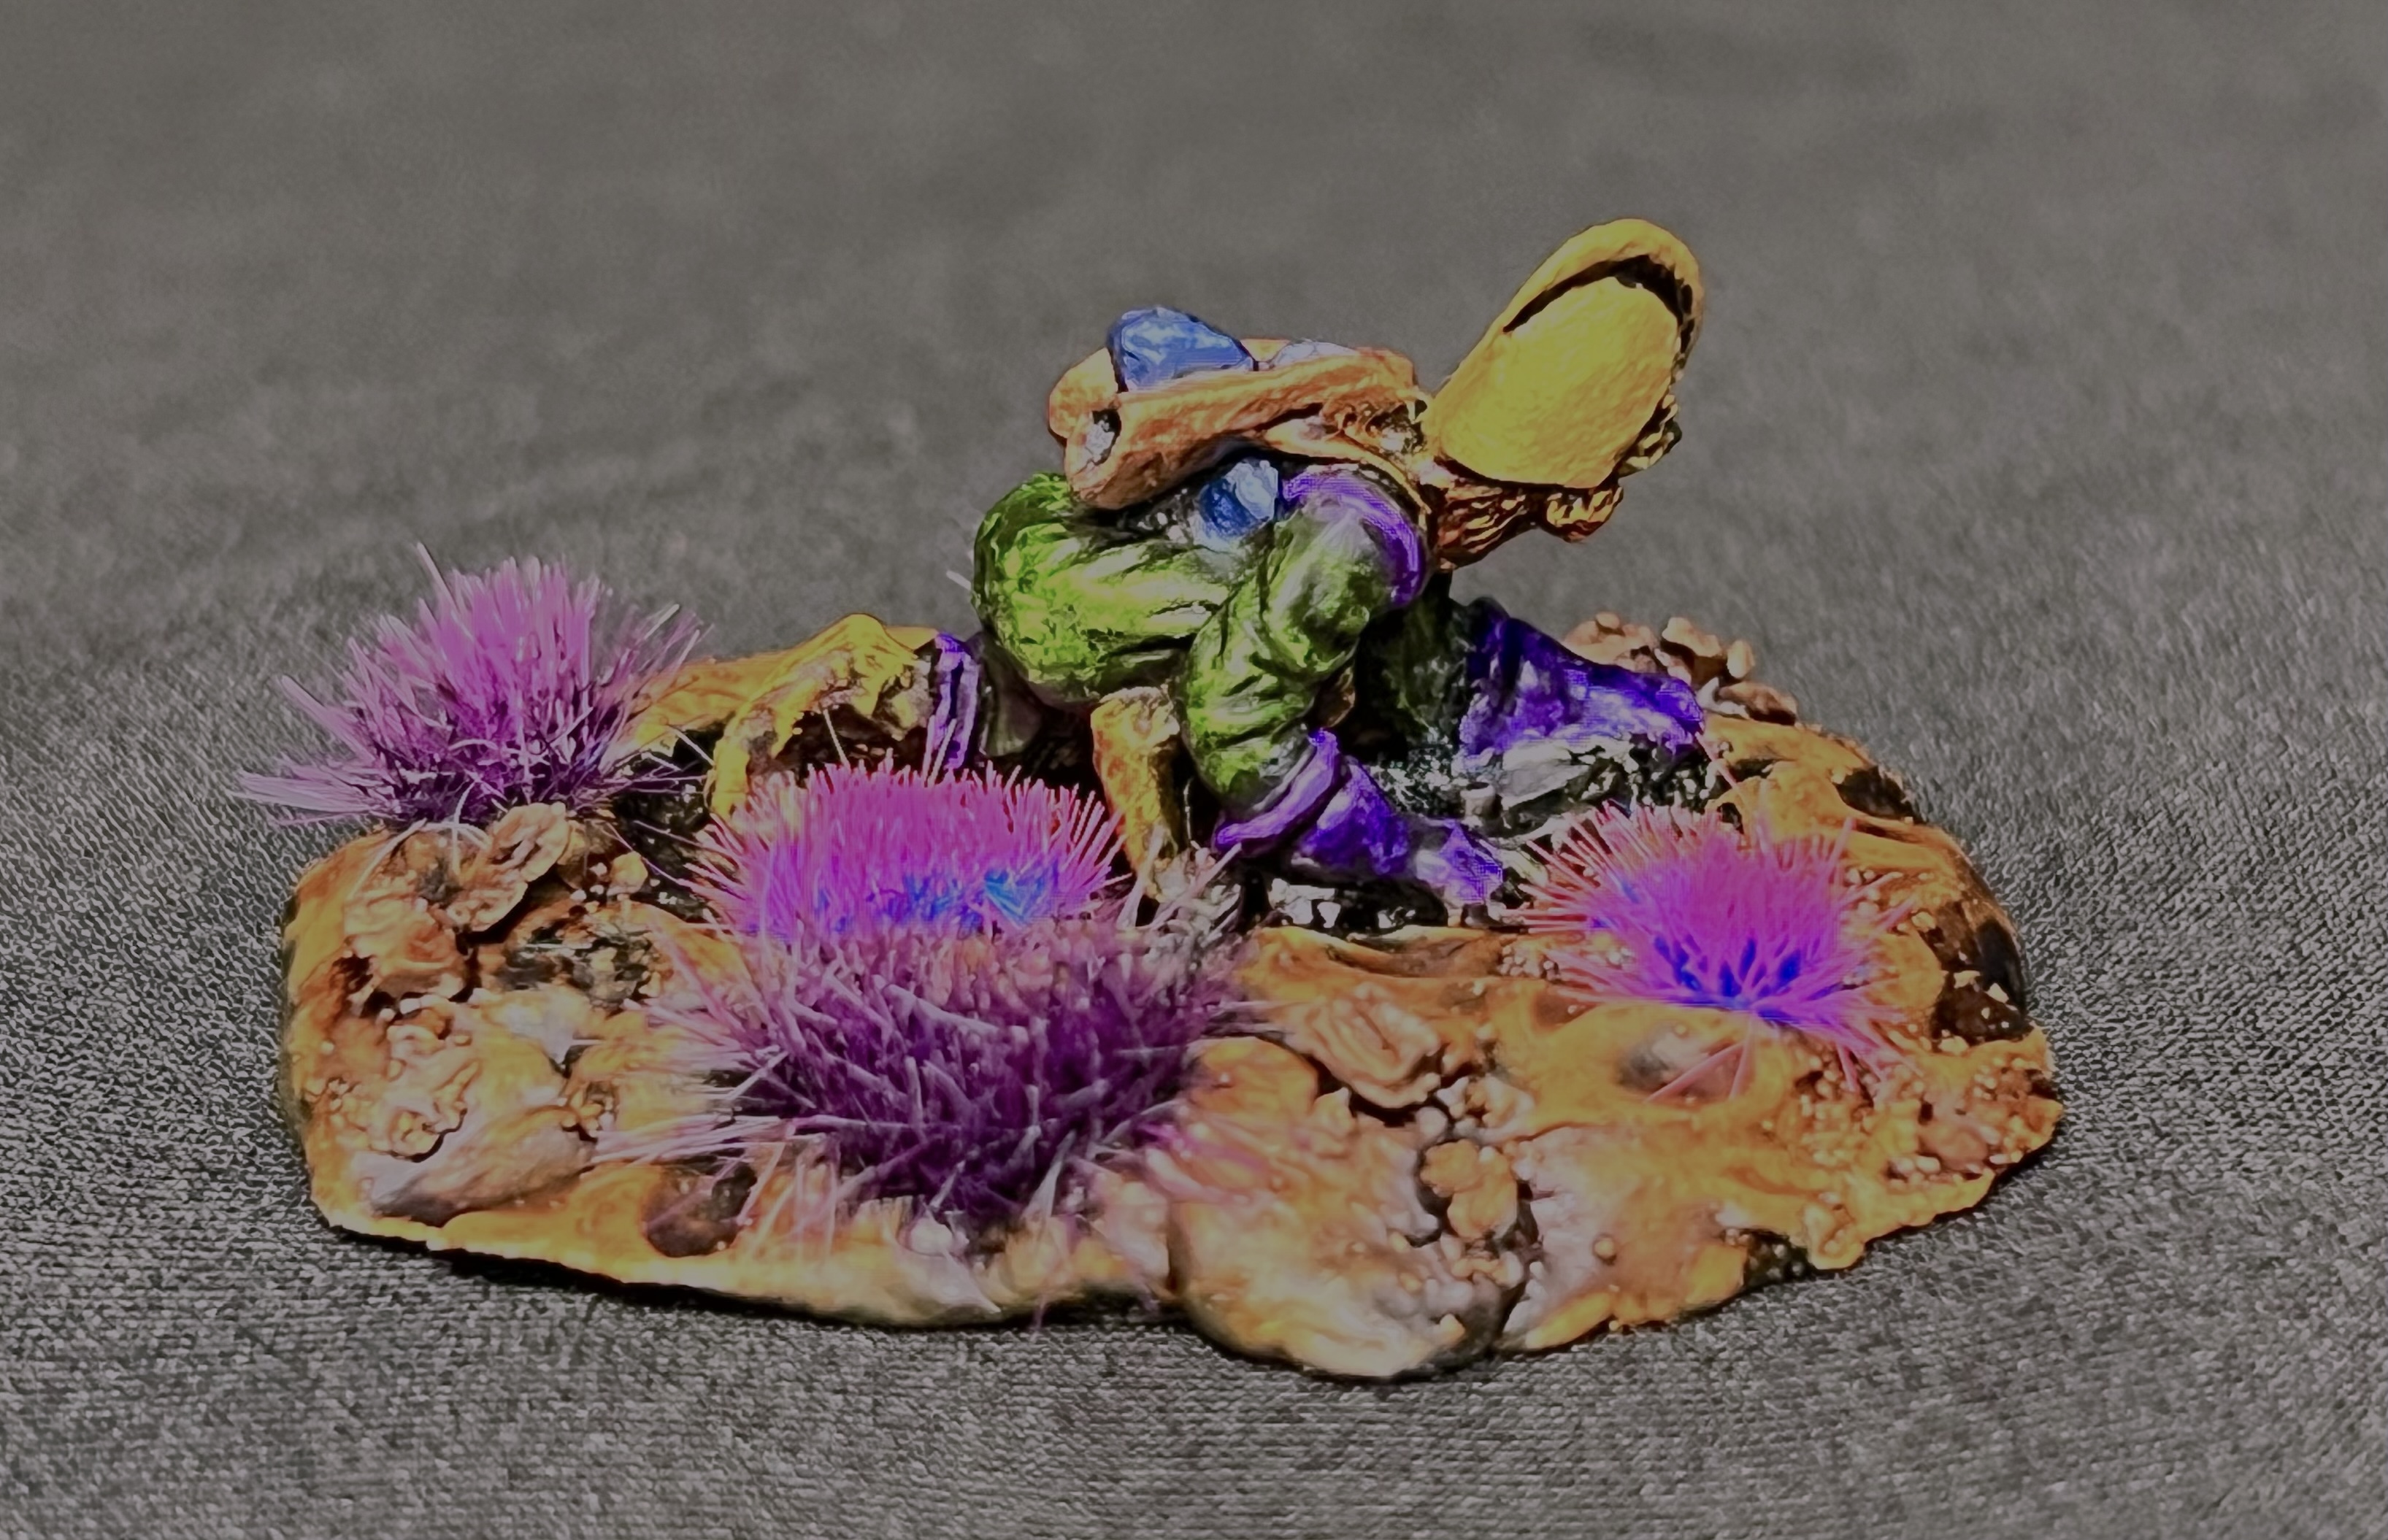
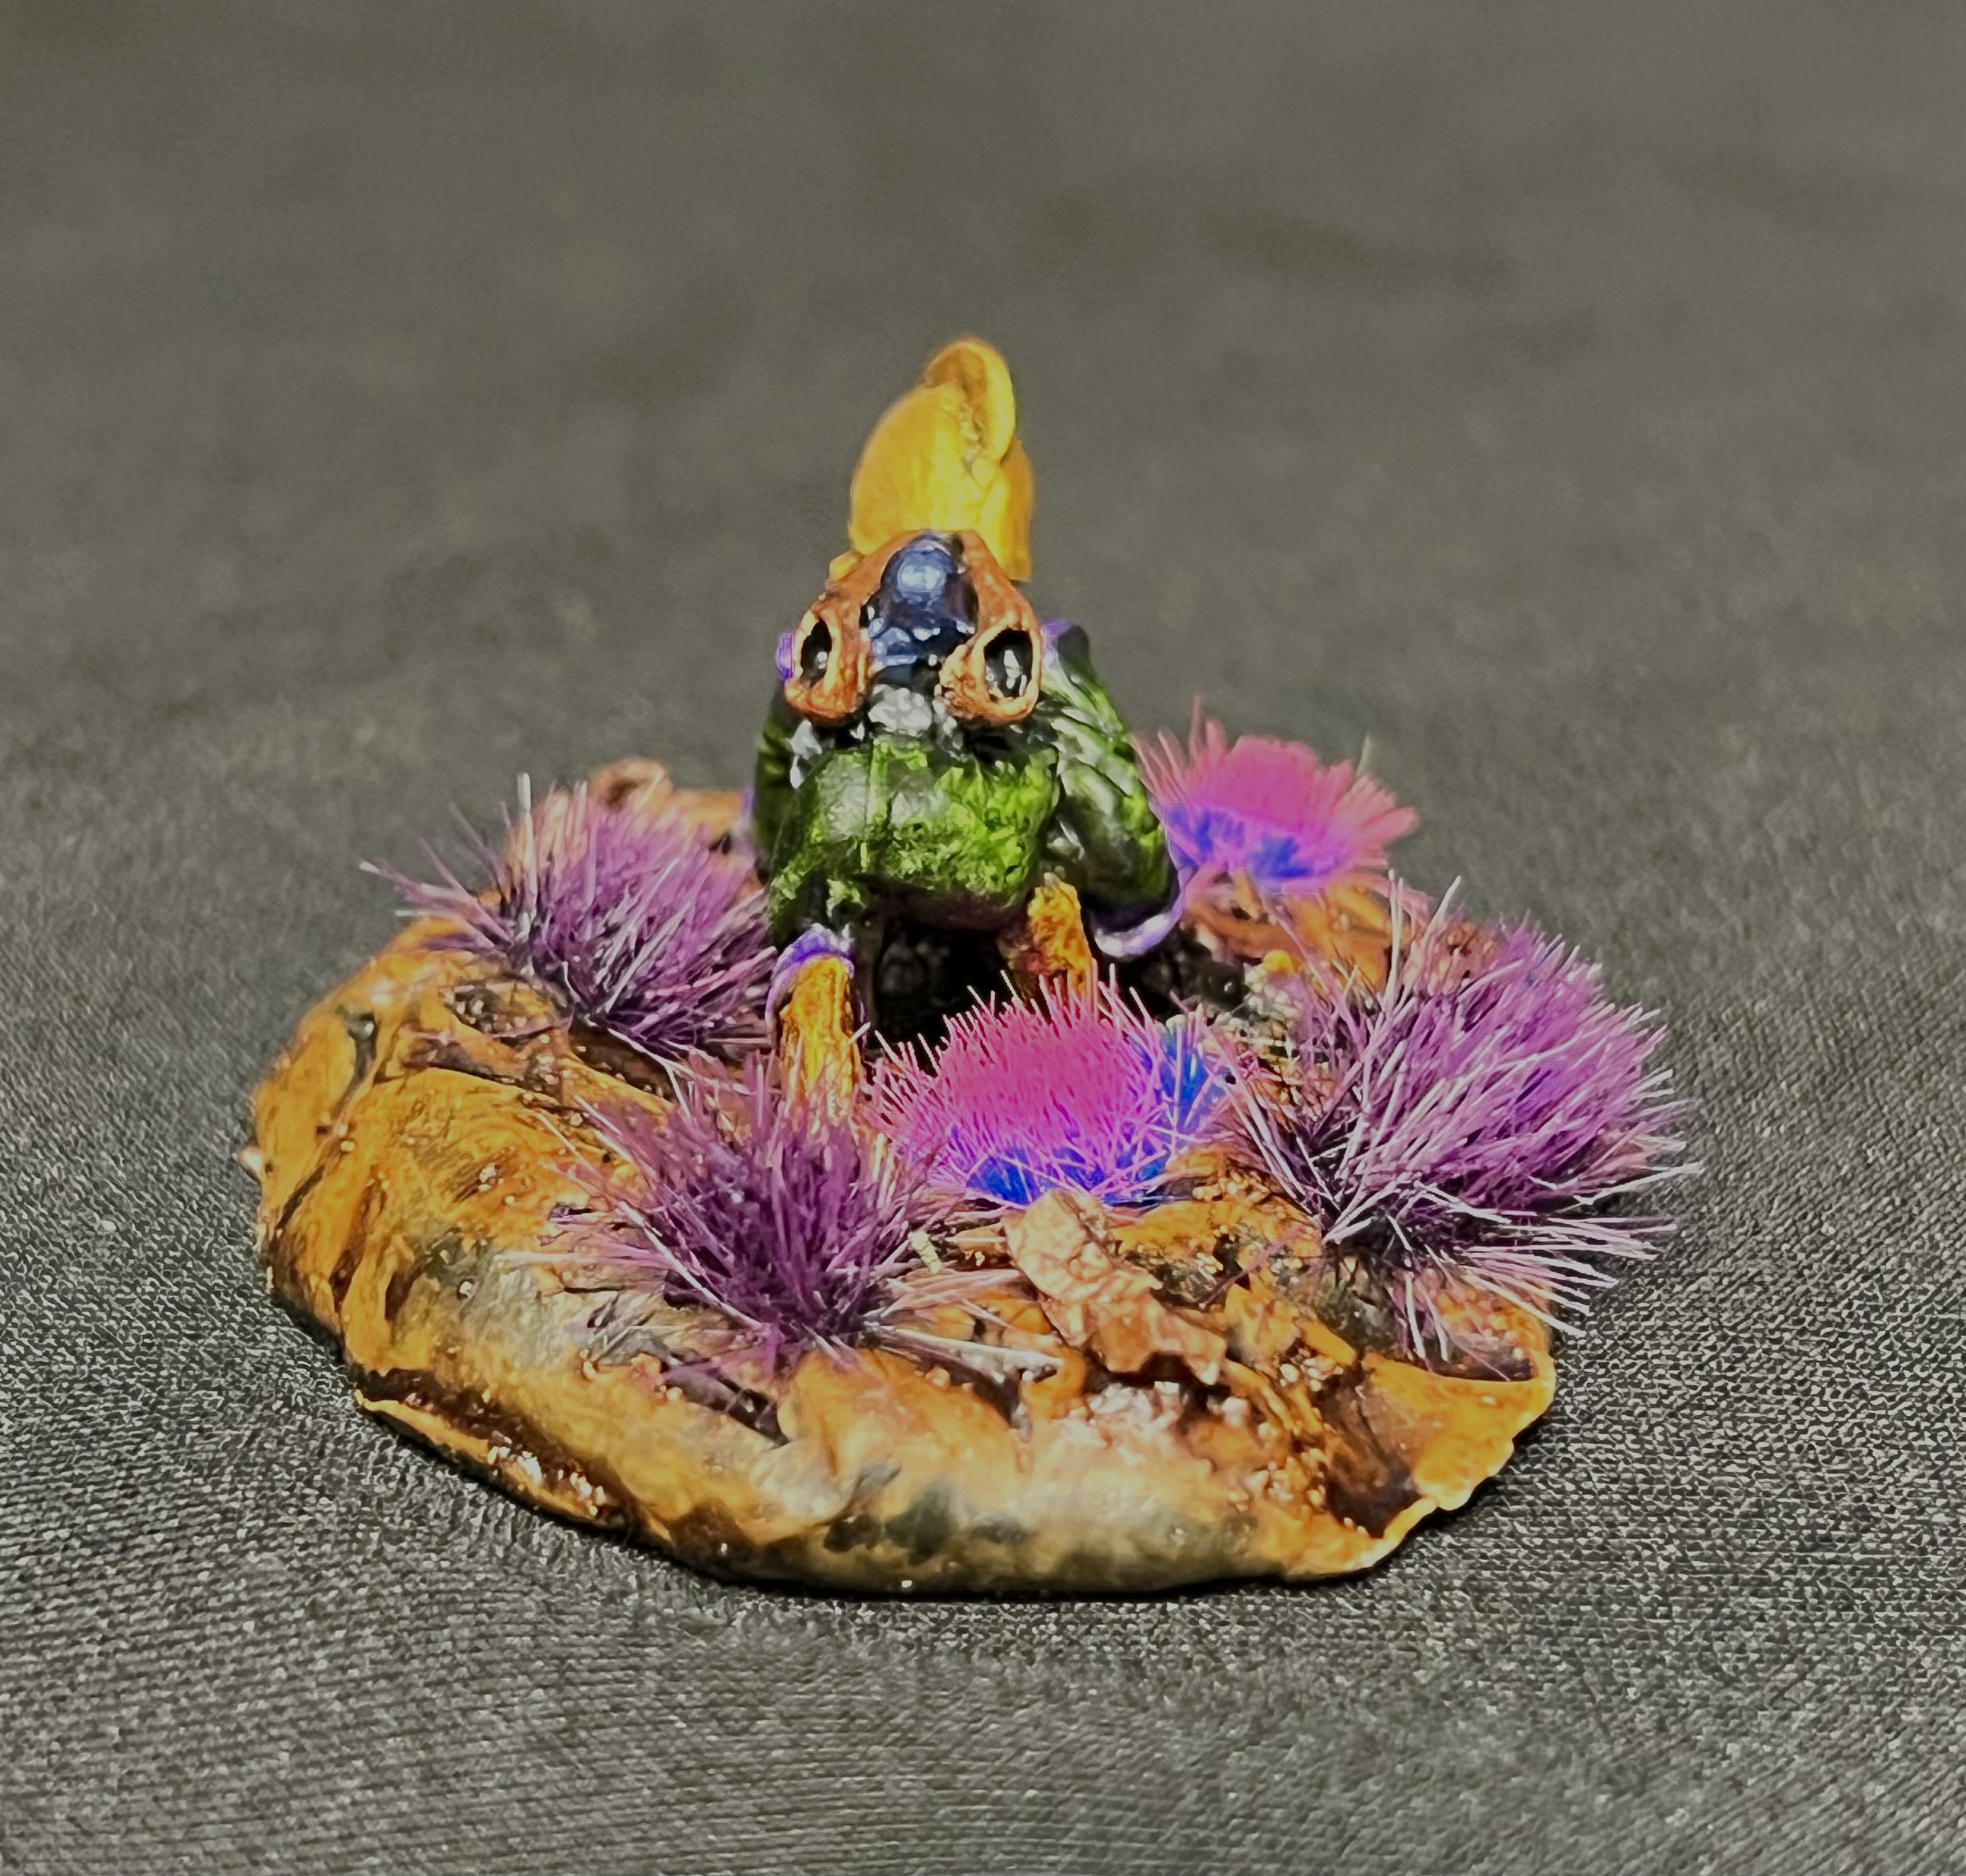
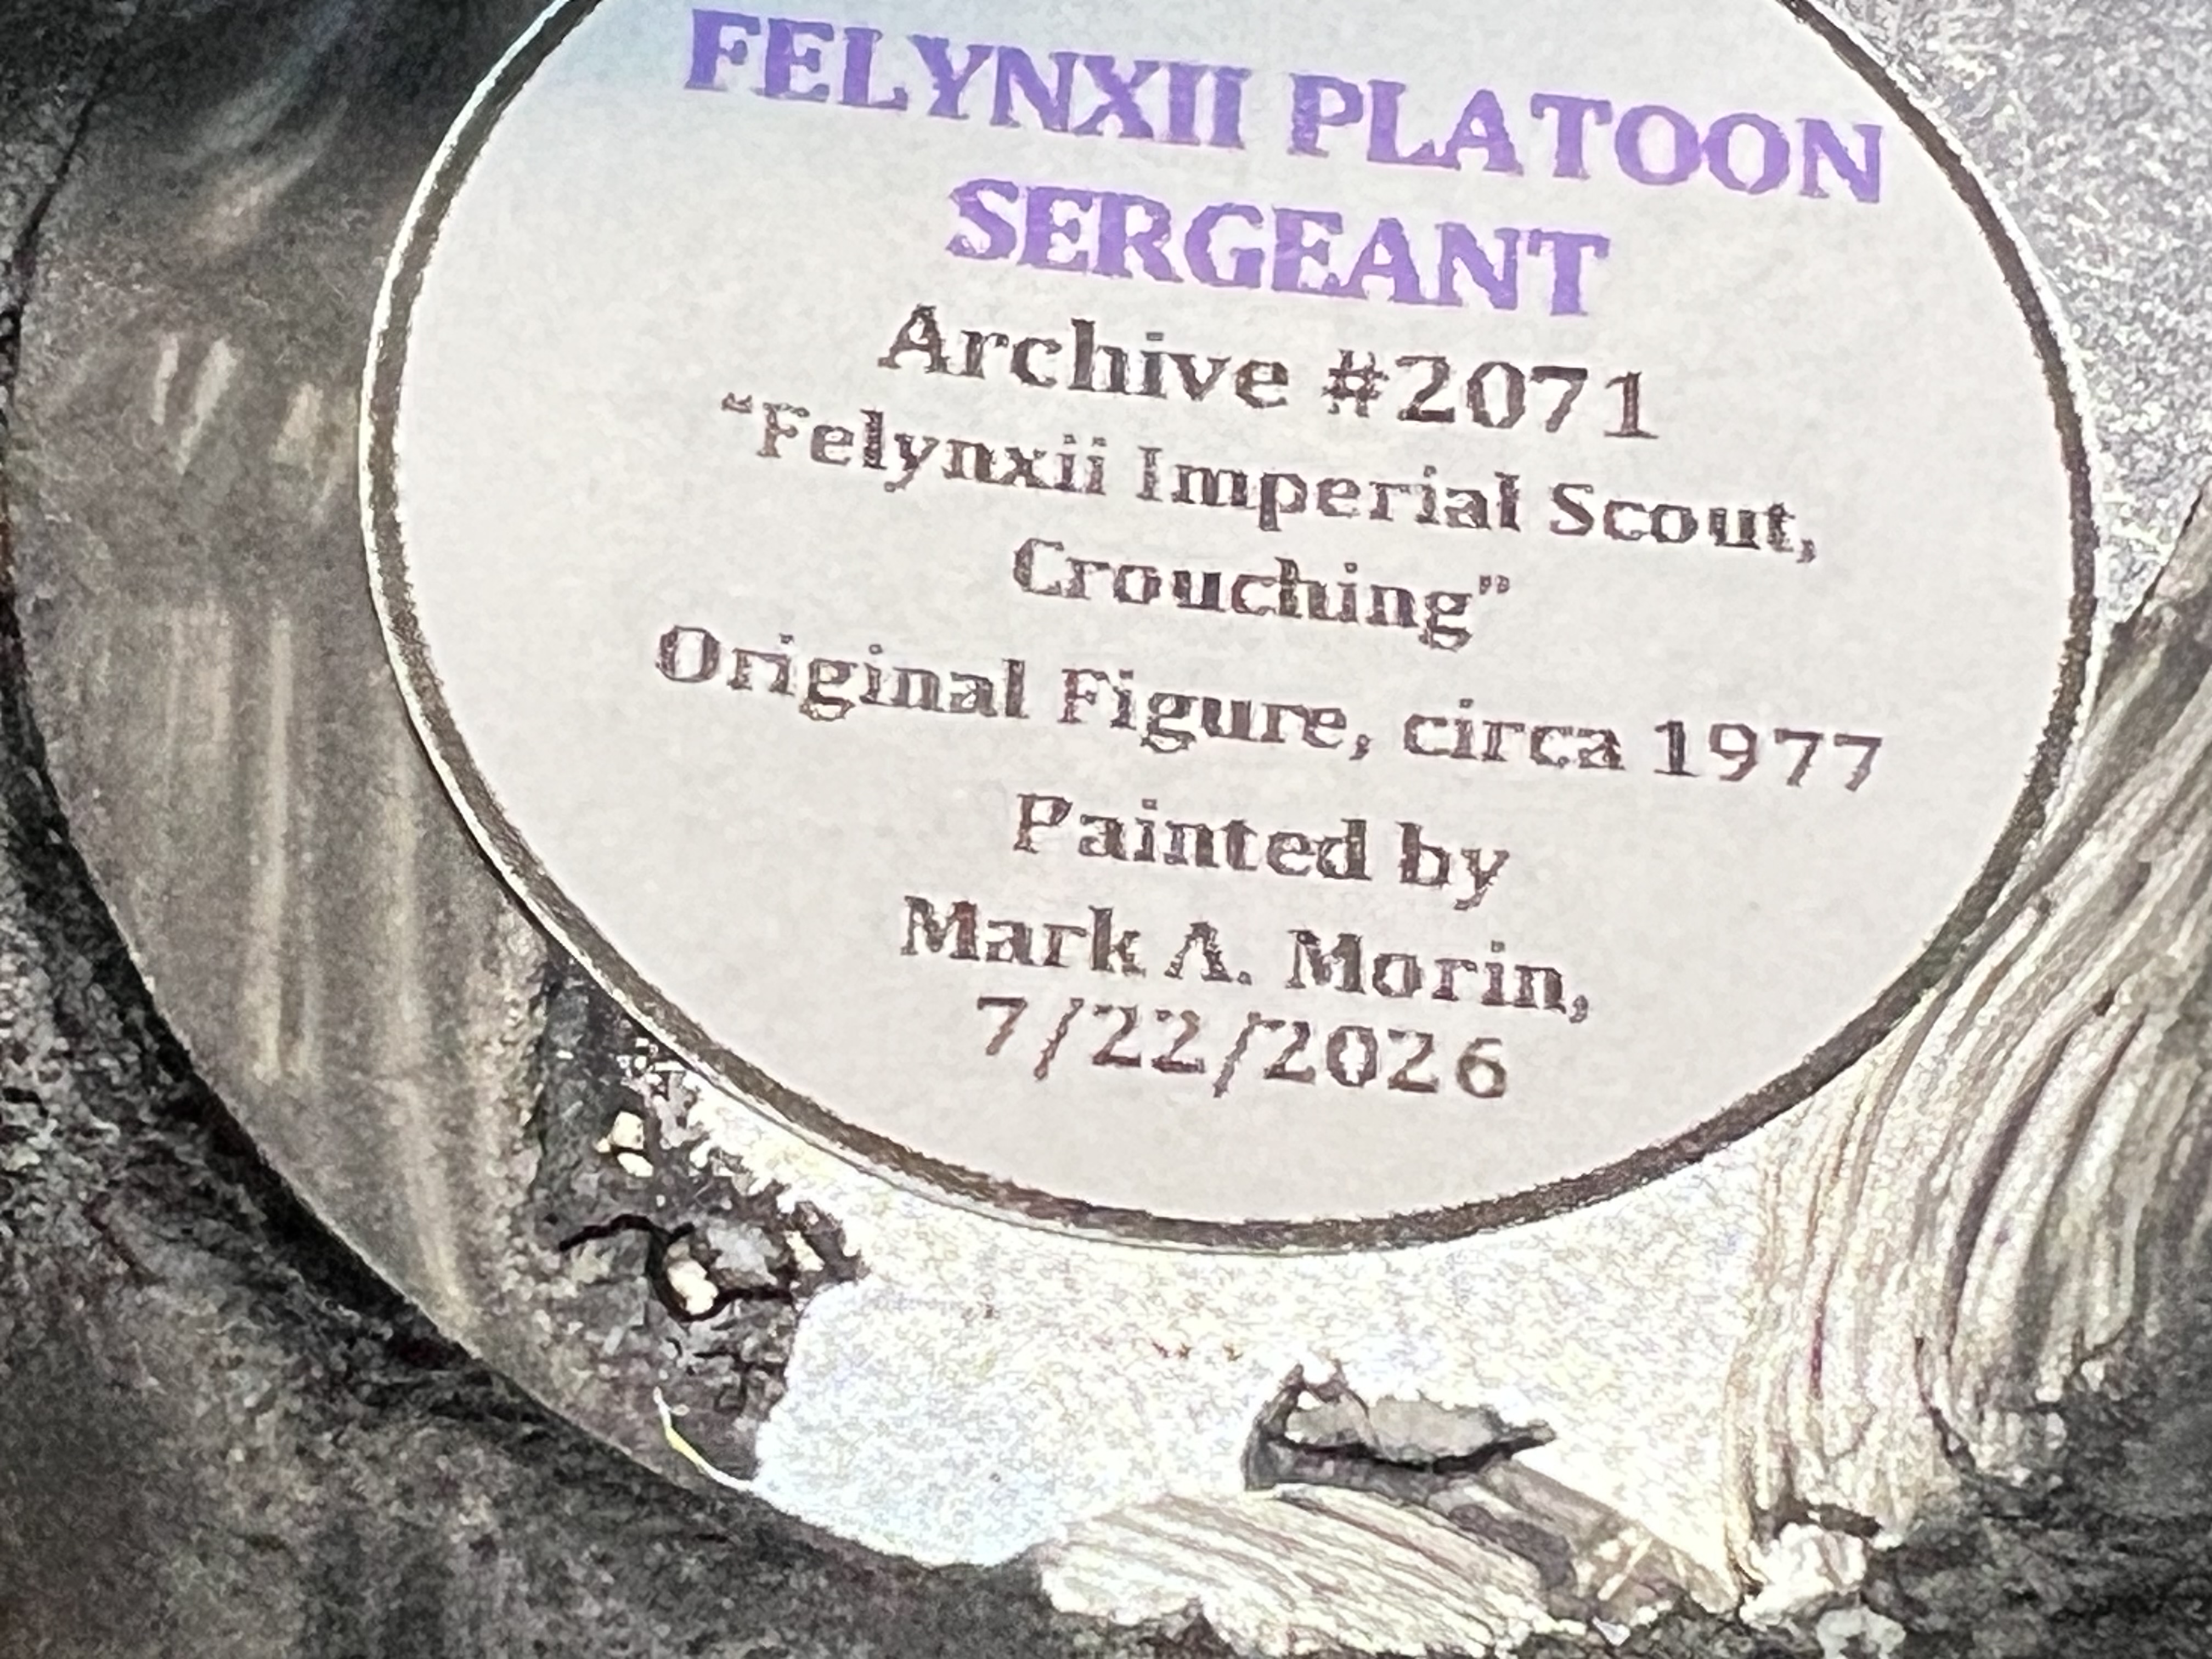
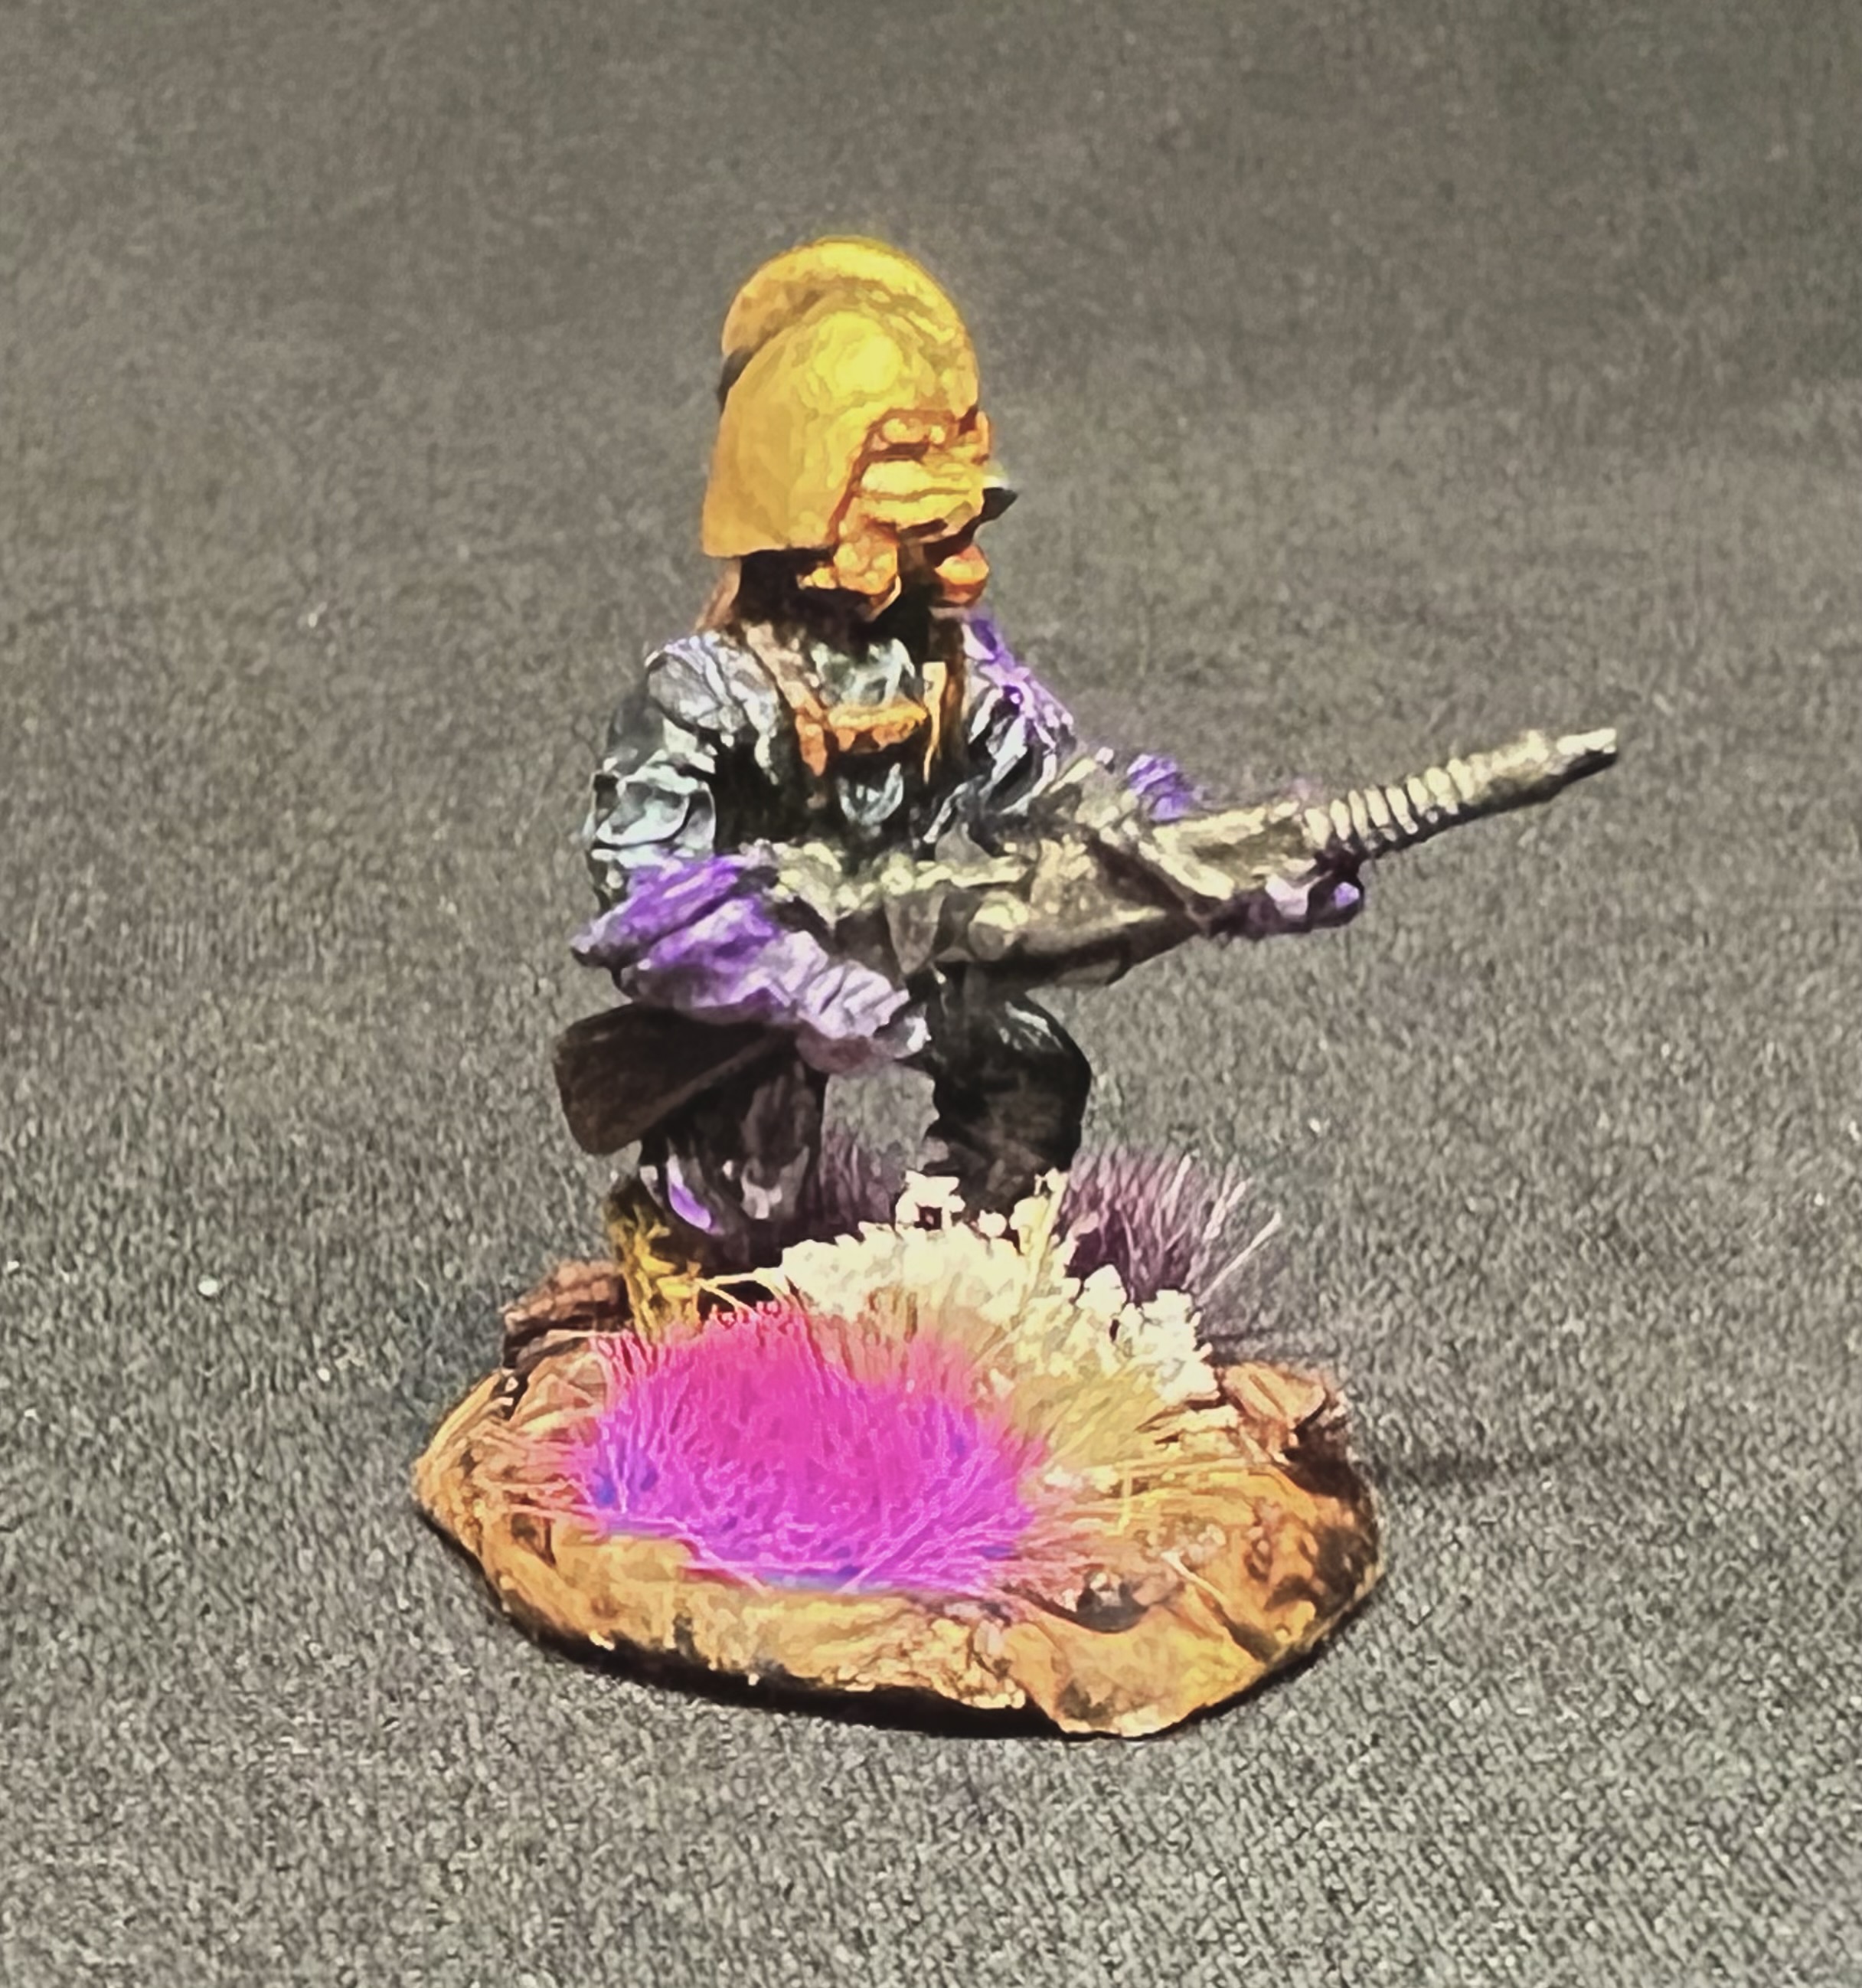
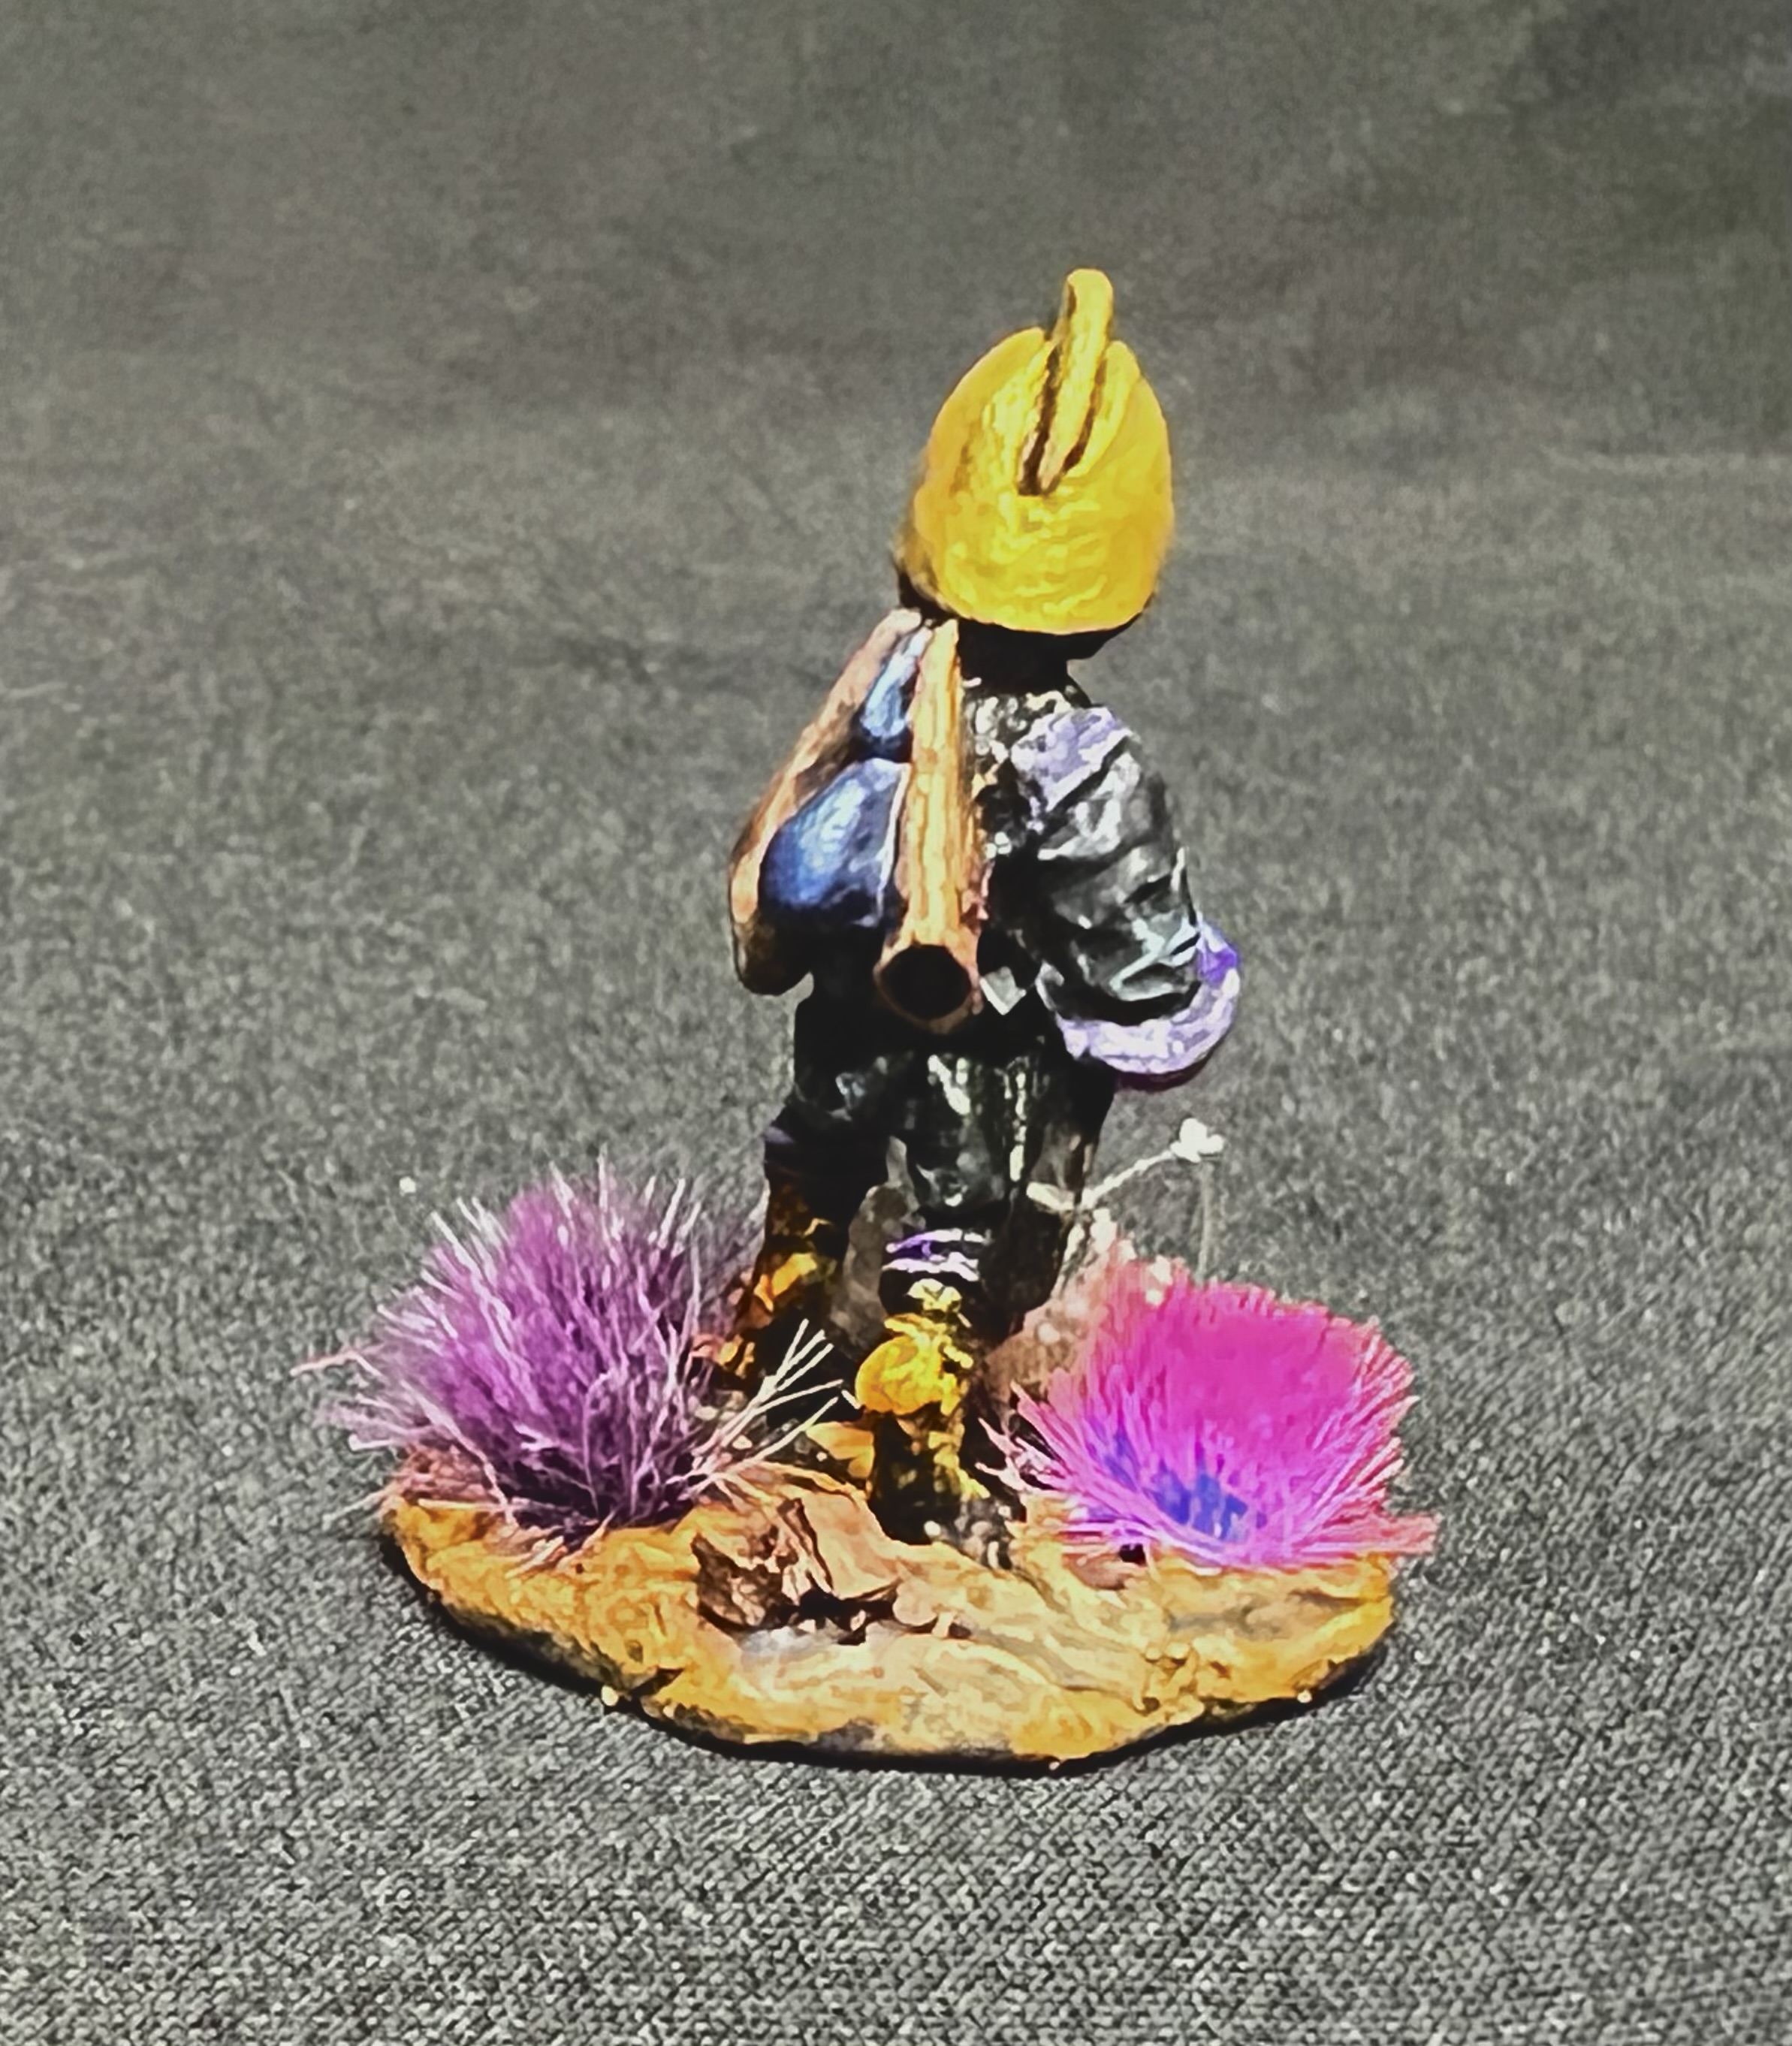
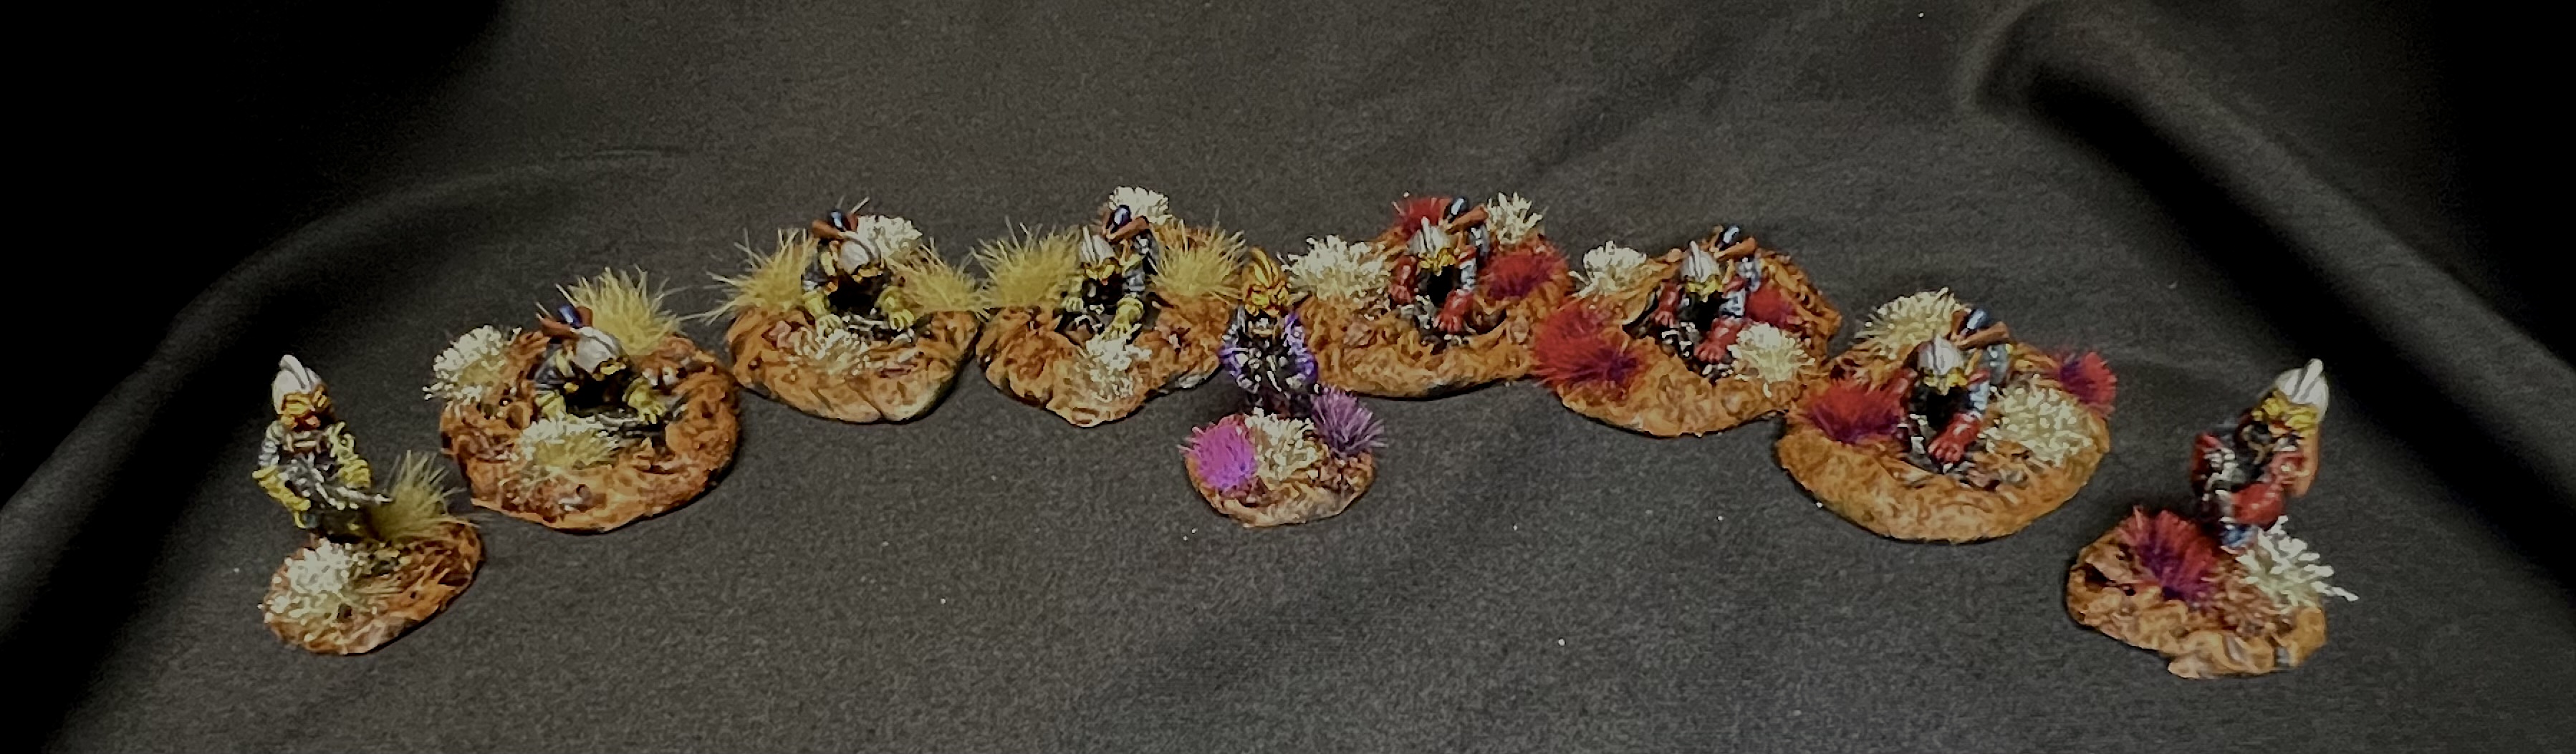
The Felynxii are a race of bipedal anthropomorphic spacefaring Imperial felines from the Star Rovers universe. Archive made two distinct poses of these cats. The first figure was Archive #2070, “Felynxii, Imperial Scouts, Advancing”. The second was Archive #2071, “Felynxii, Imperial Scouts, Crouching”. I had 19 of these old metal figures, 7 of the “advancing” and 13 of the “crouching”. I’m pretty sure these are Steve Lortz sculpts, though they may be Nevile Stocken creations.

I decided one of these would be the platoon sergeant (a “crouching” figure), and two “advancing” figures would be squad leaders. Each squad would have an A and a B team. Each team would have a team leader (“advancing”) and three troopers (“crouching”). Some of the figures were in packages and some were loose. One or two had signs of early lead rot so I cleaned it up thoroughly before working on it.

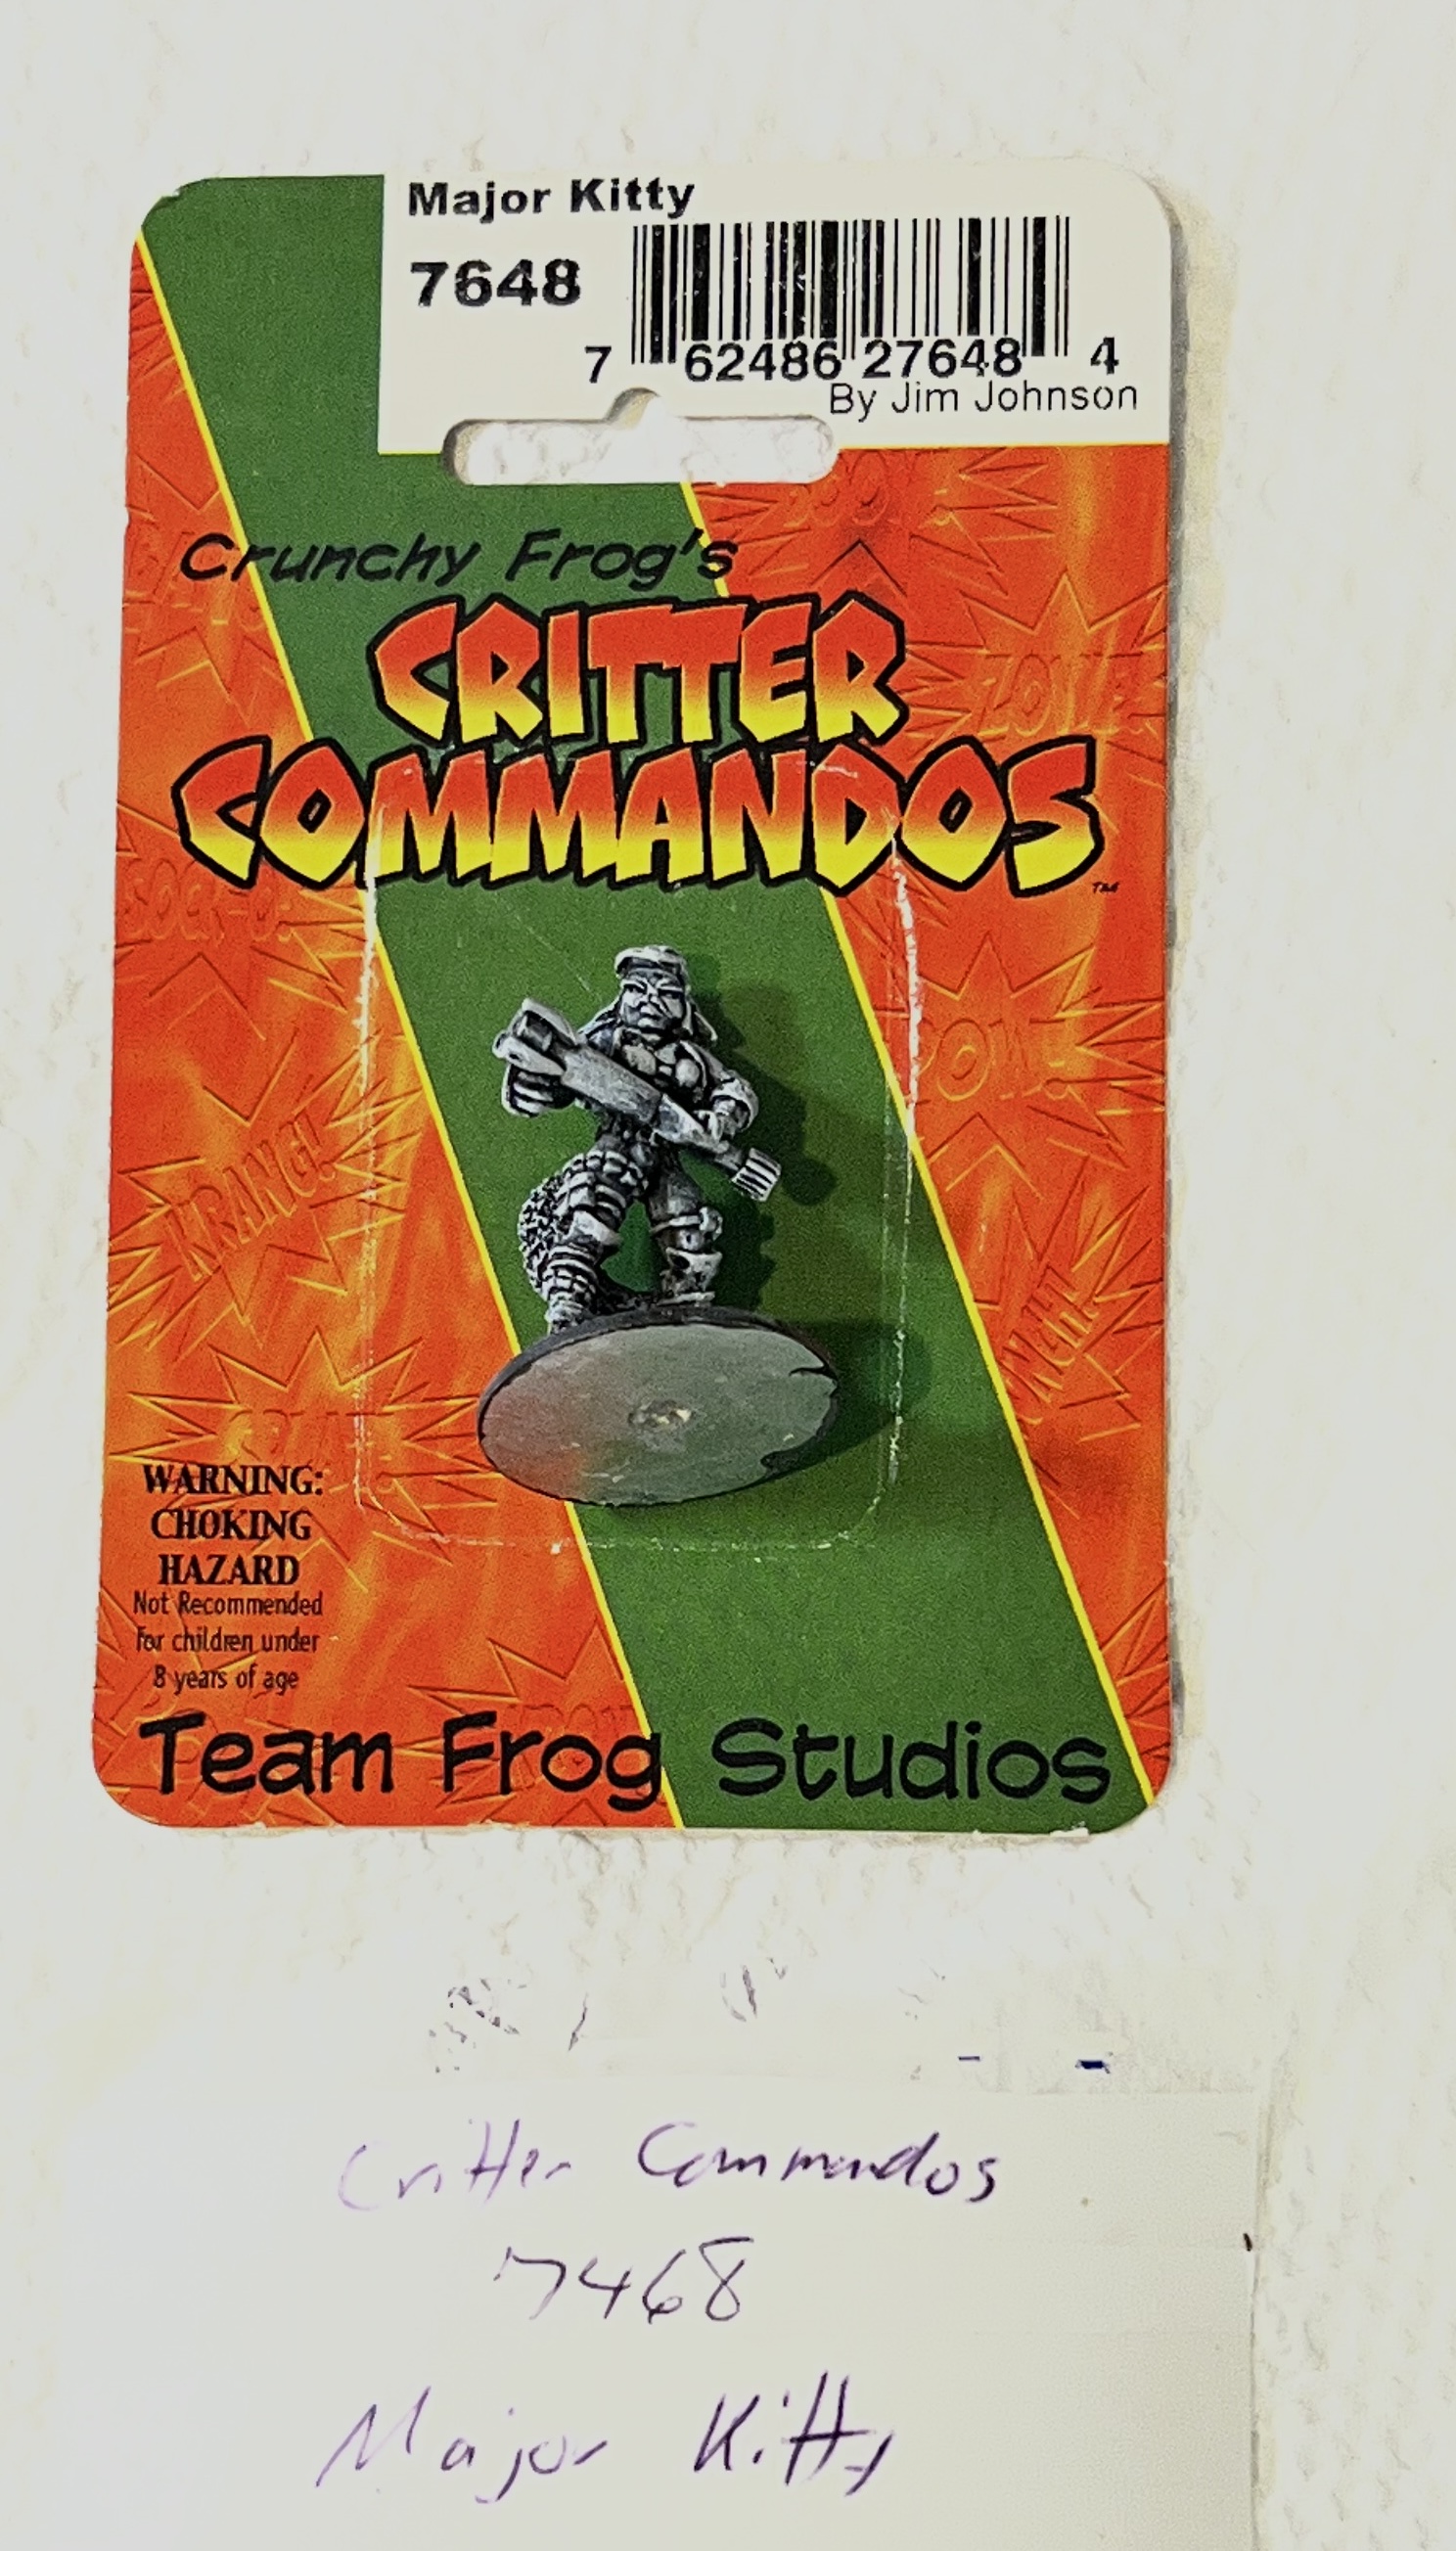
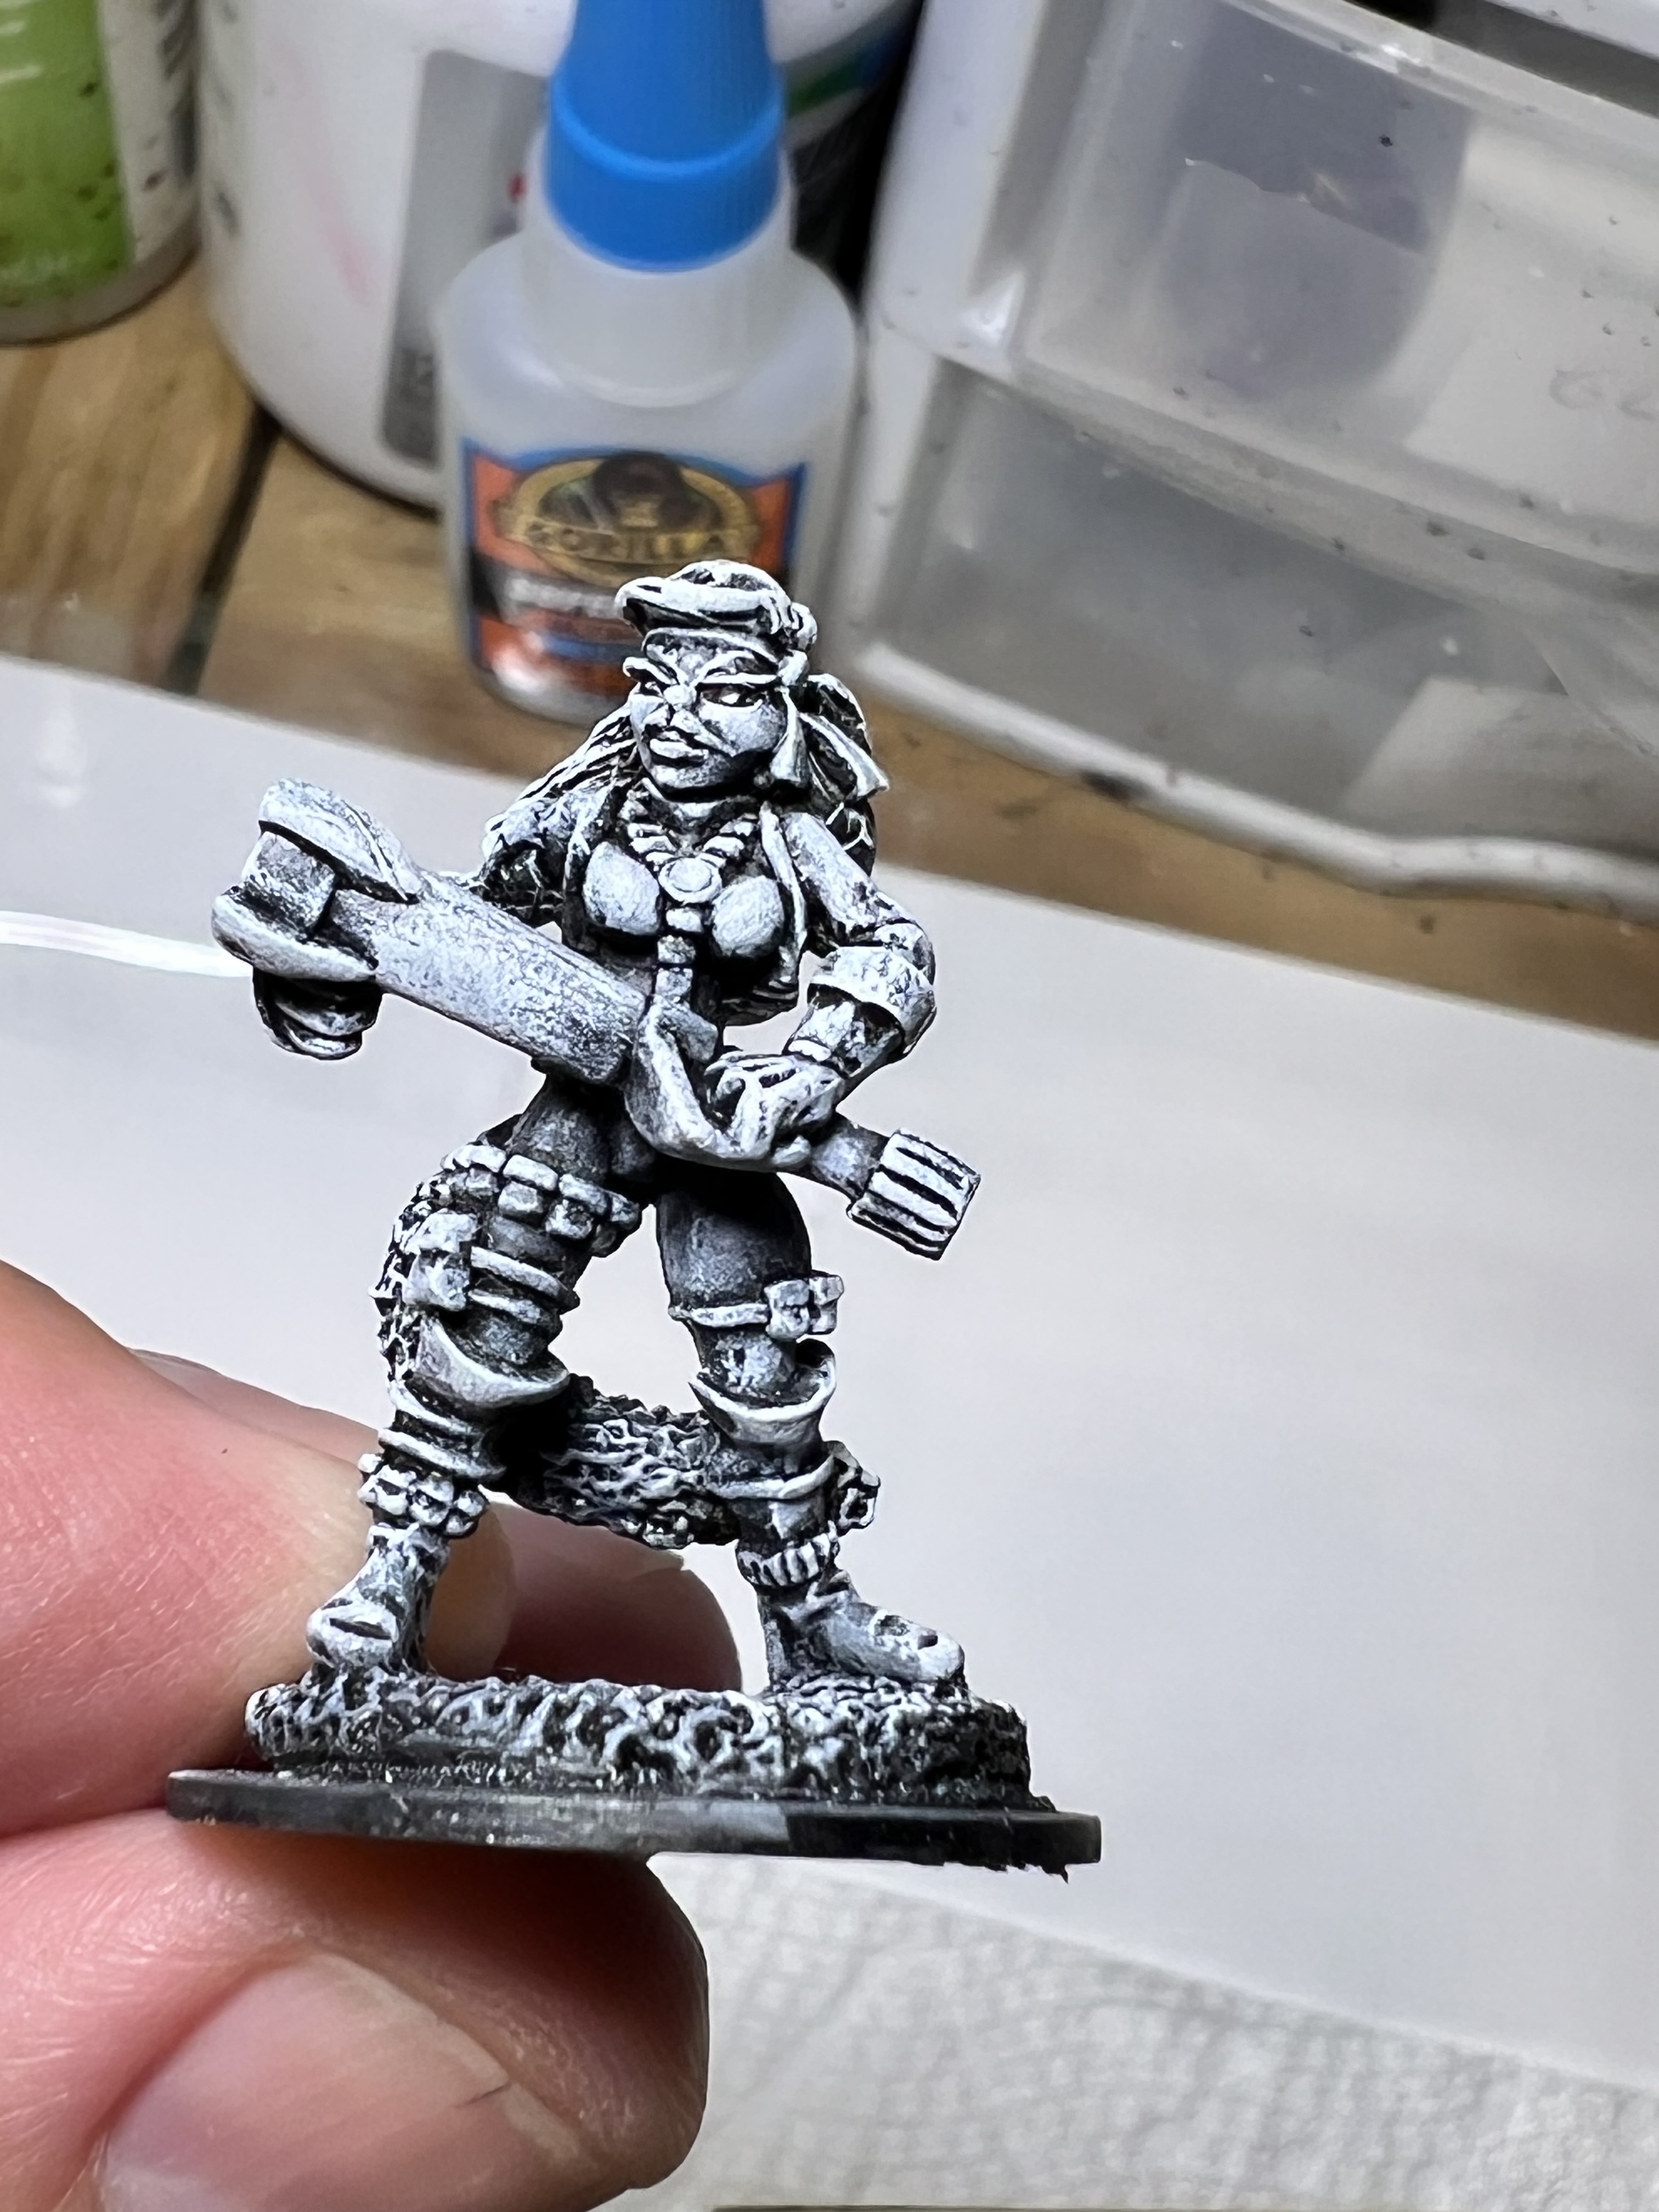
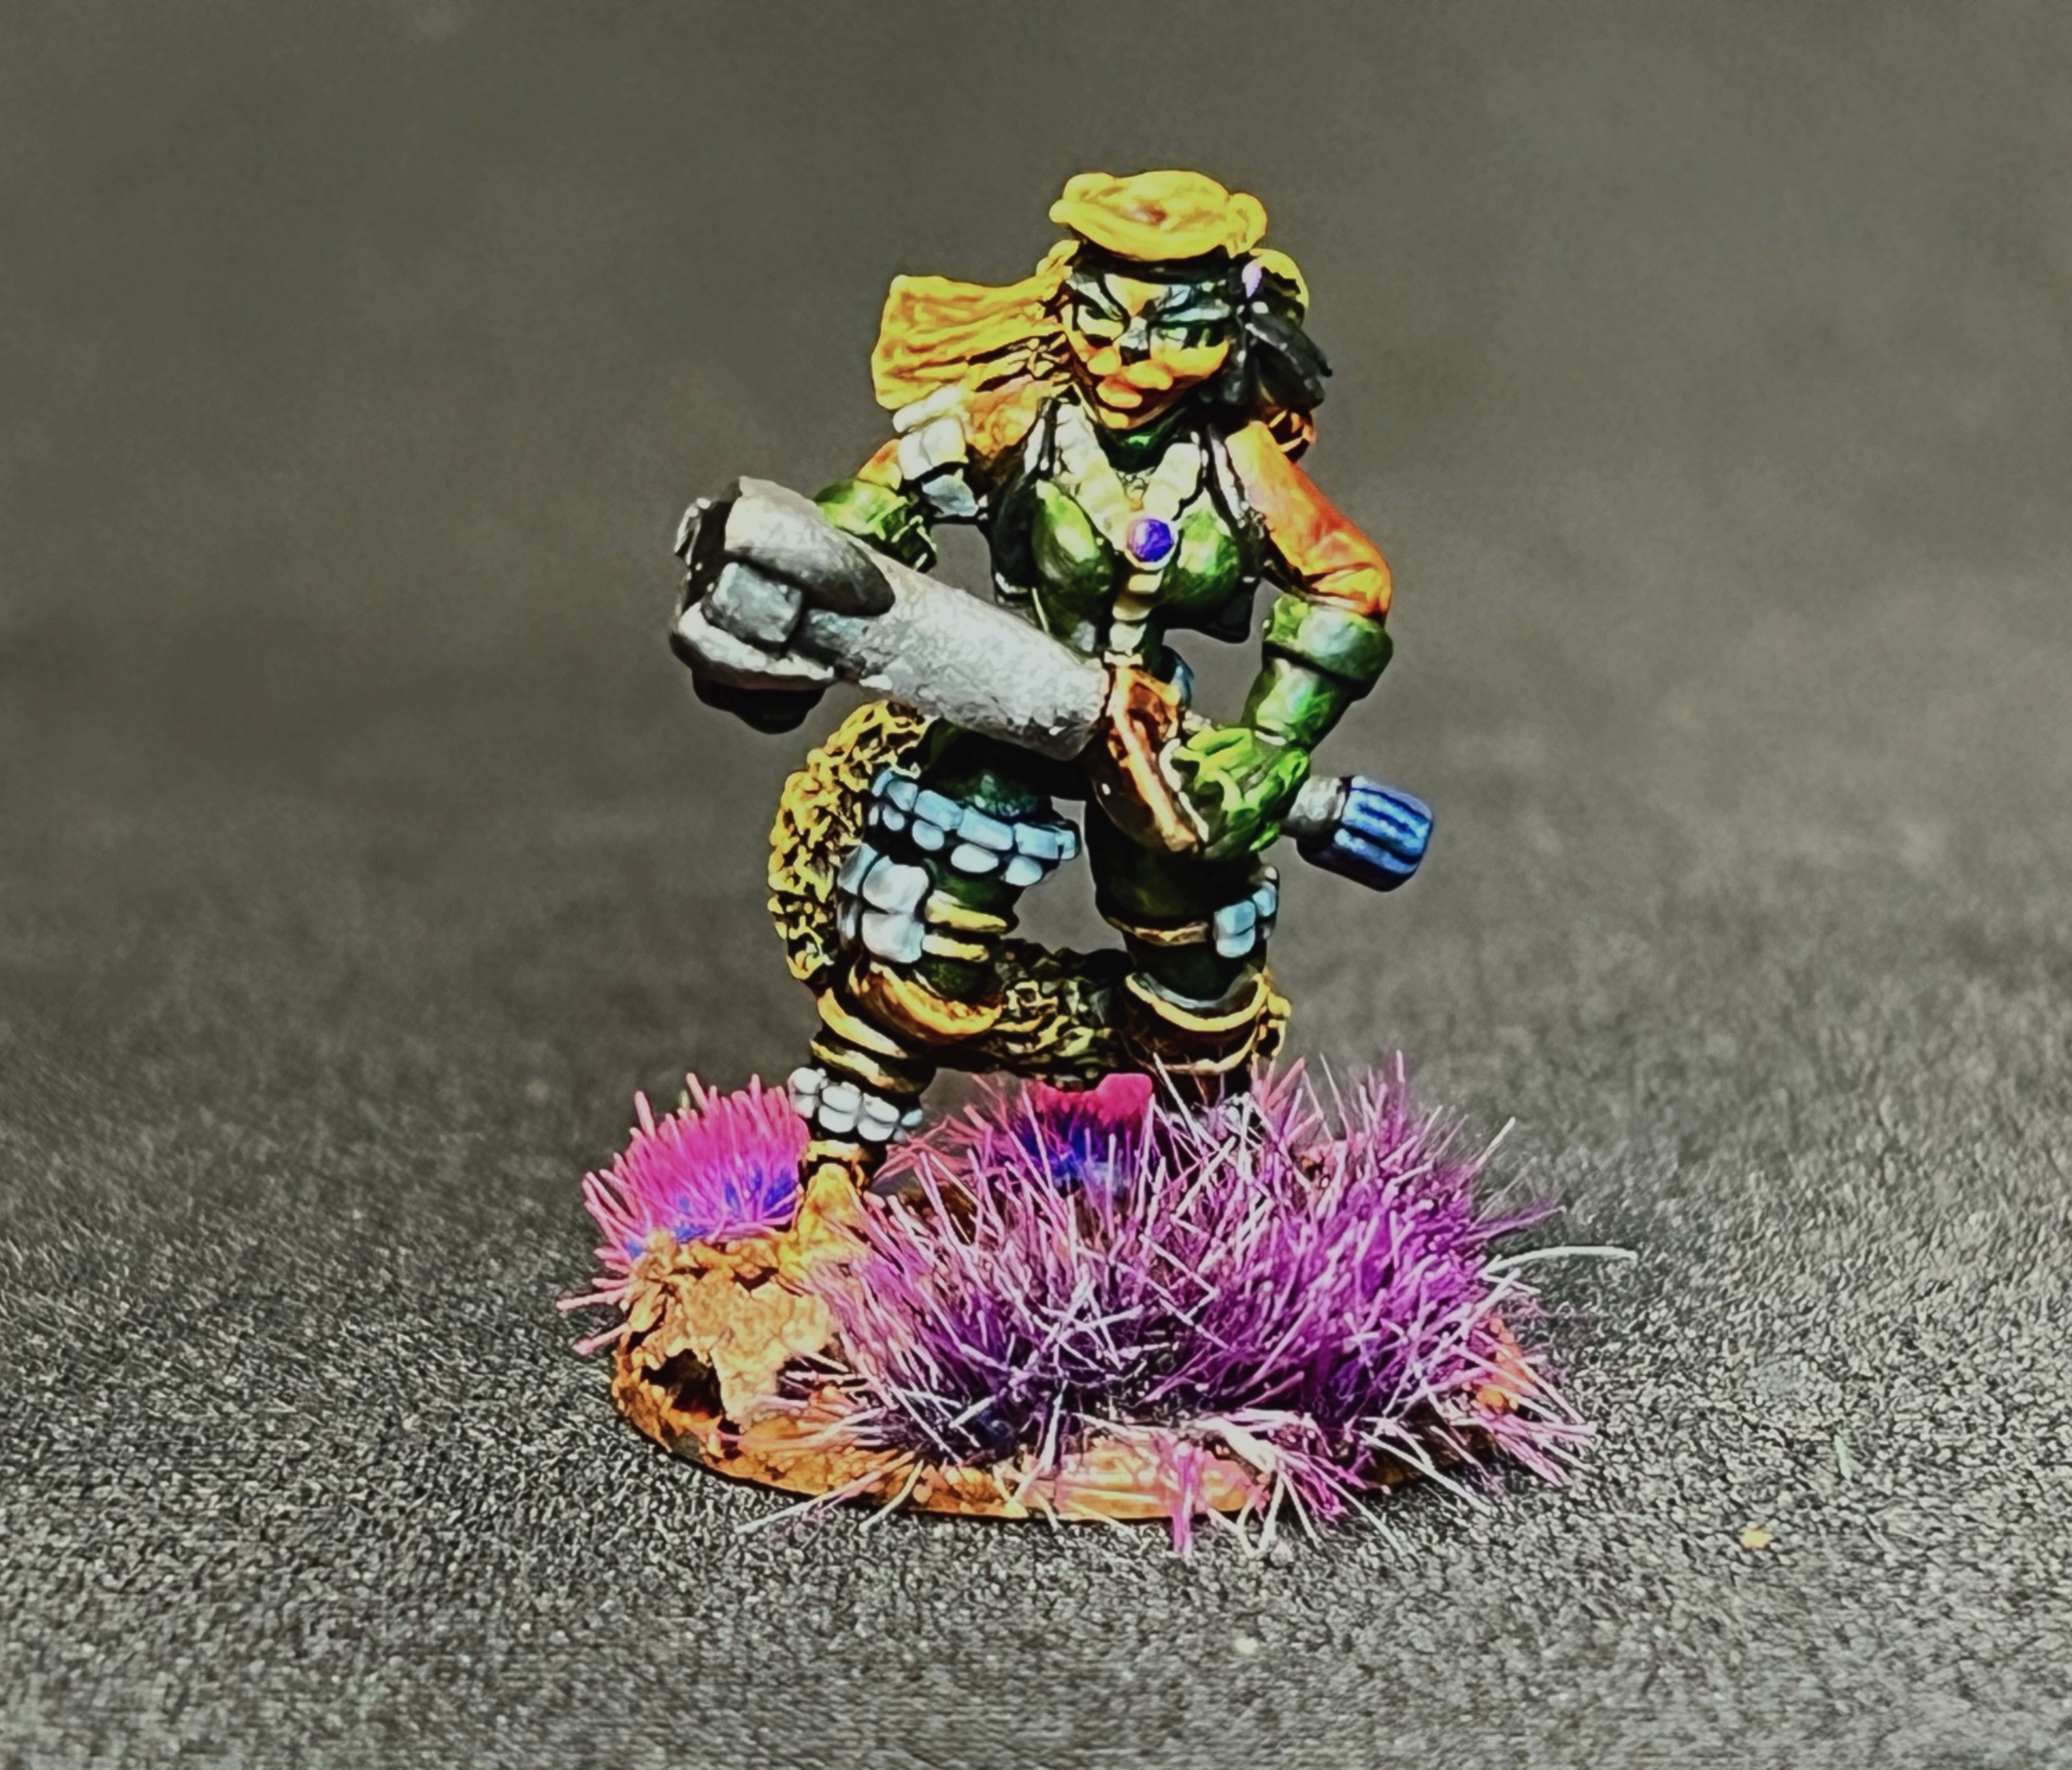
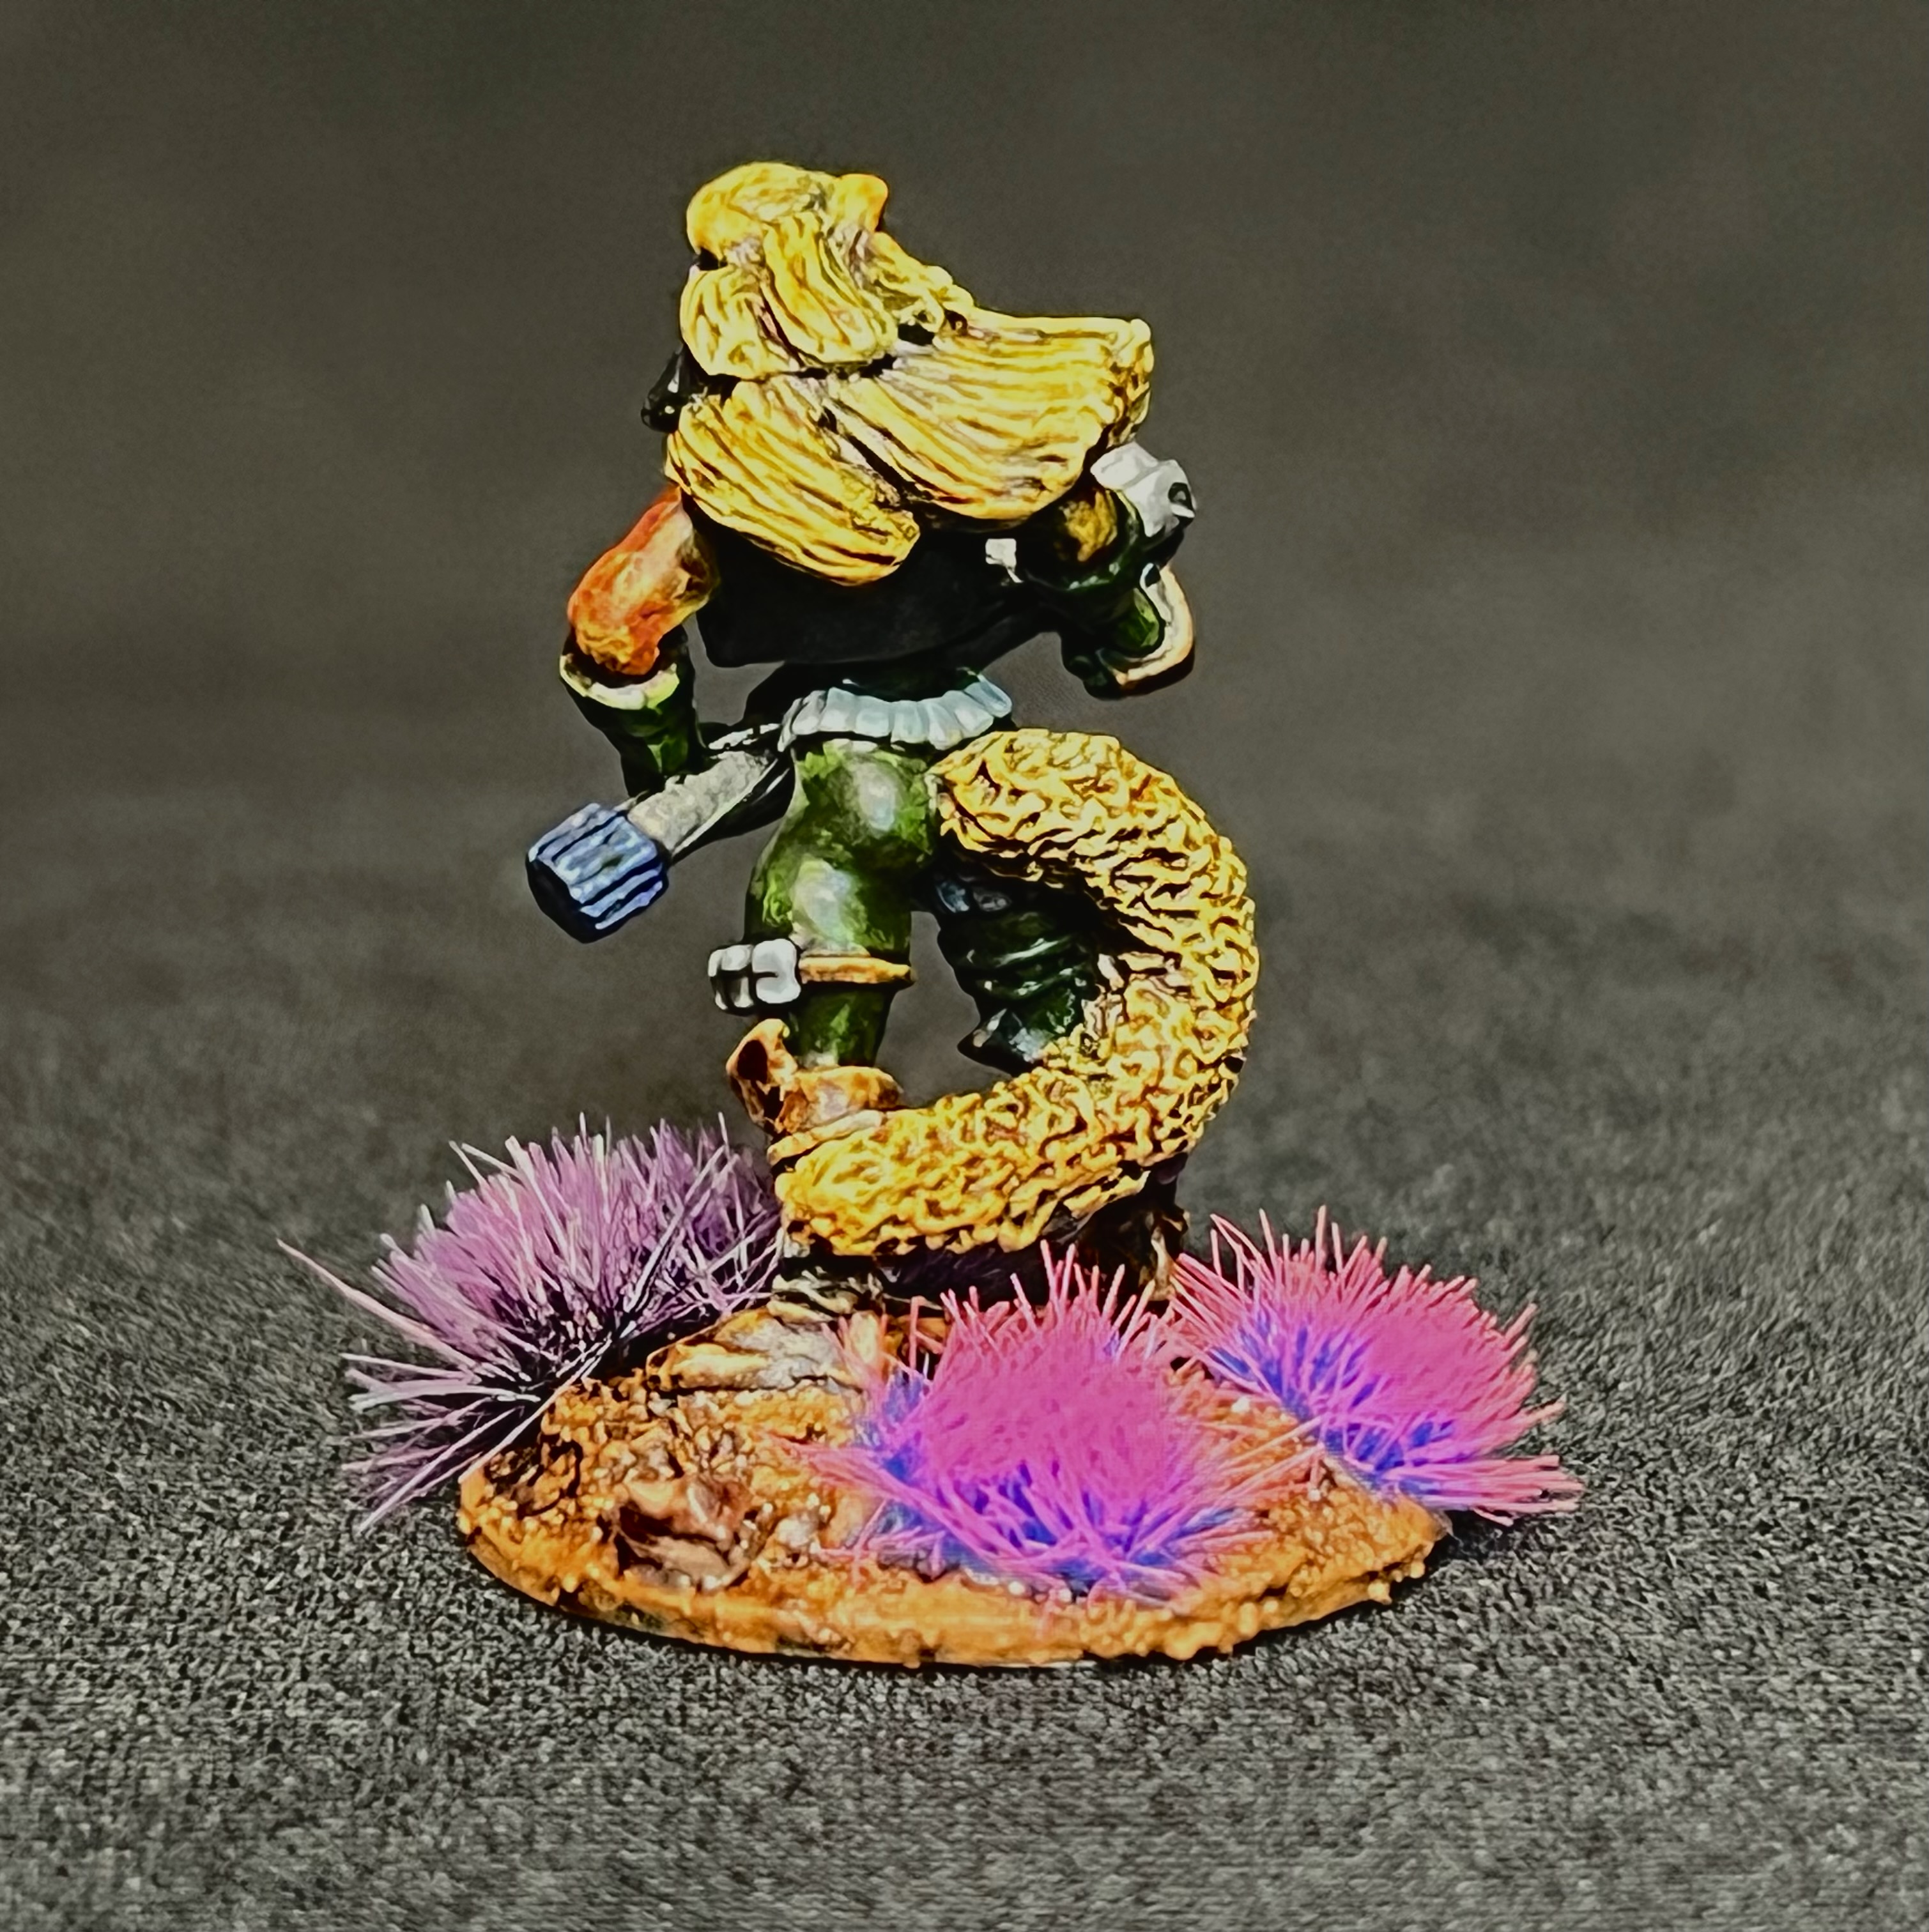
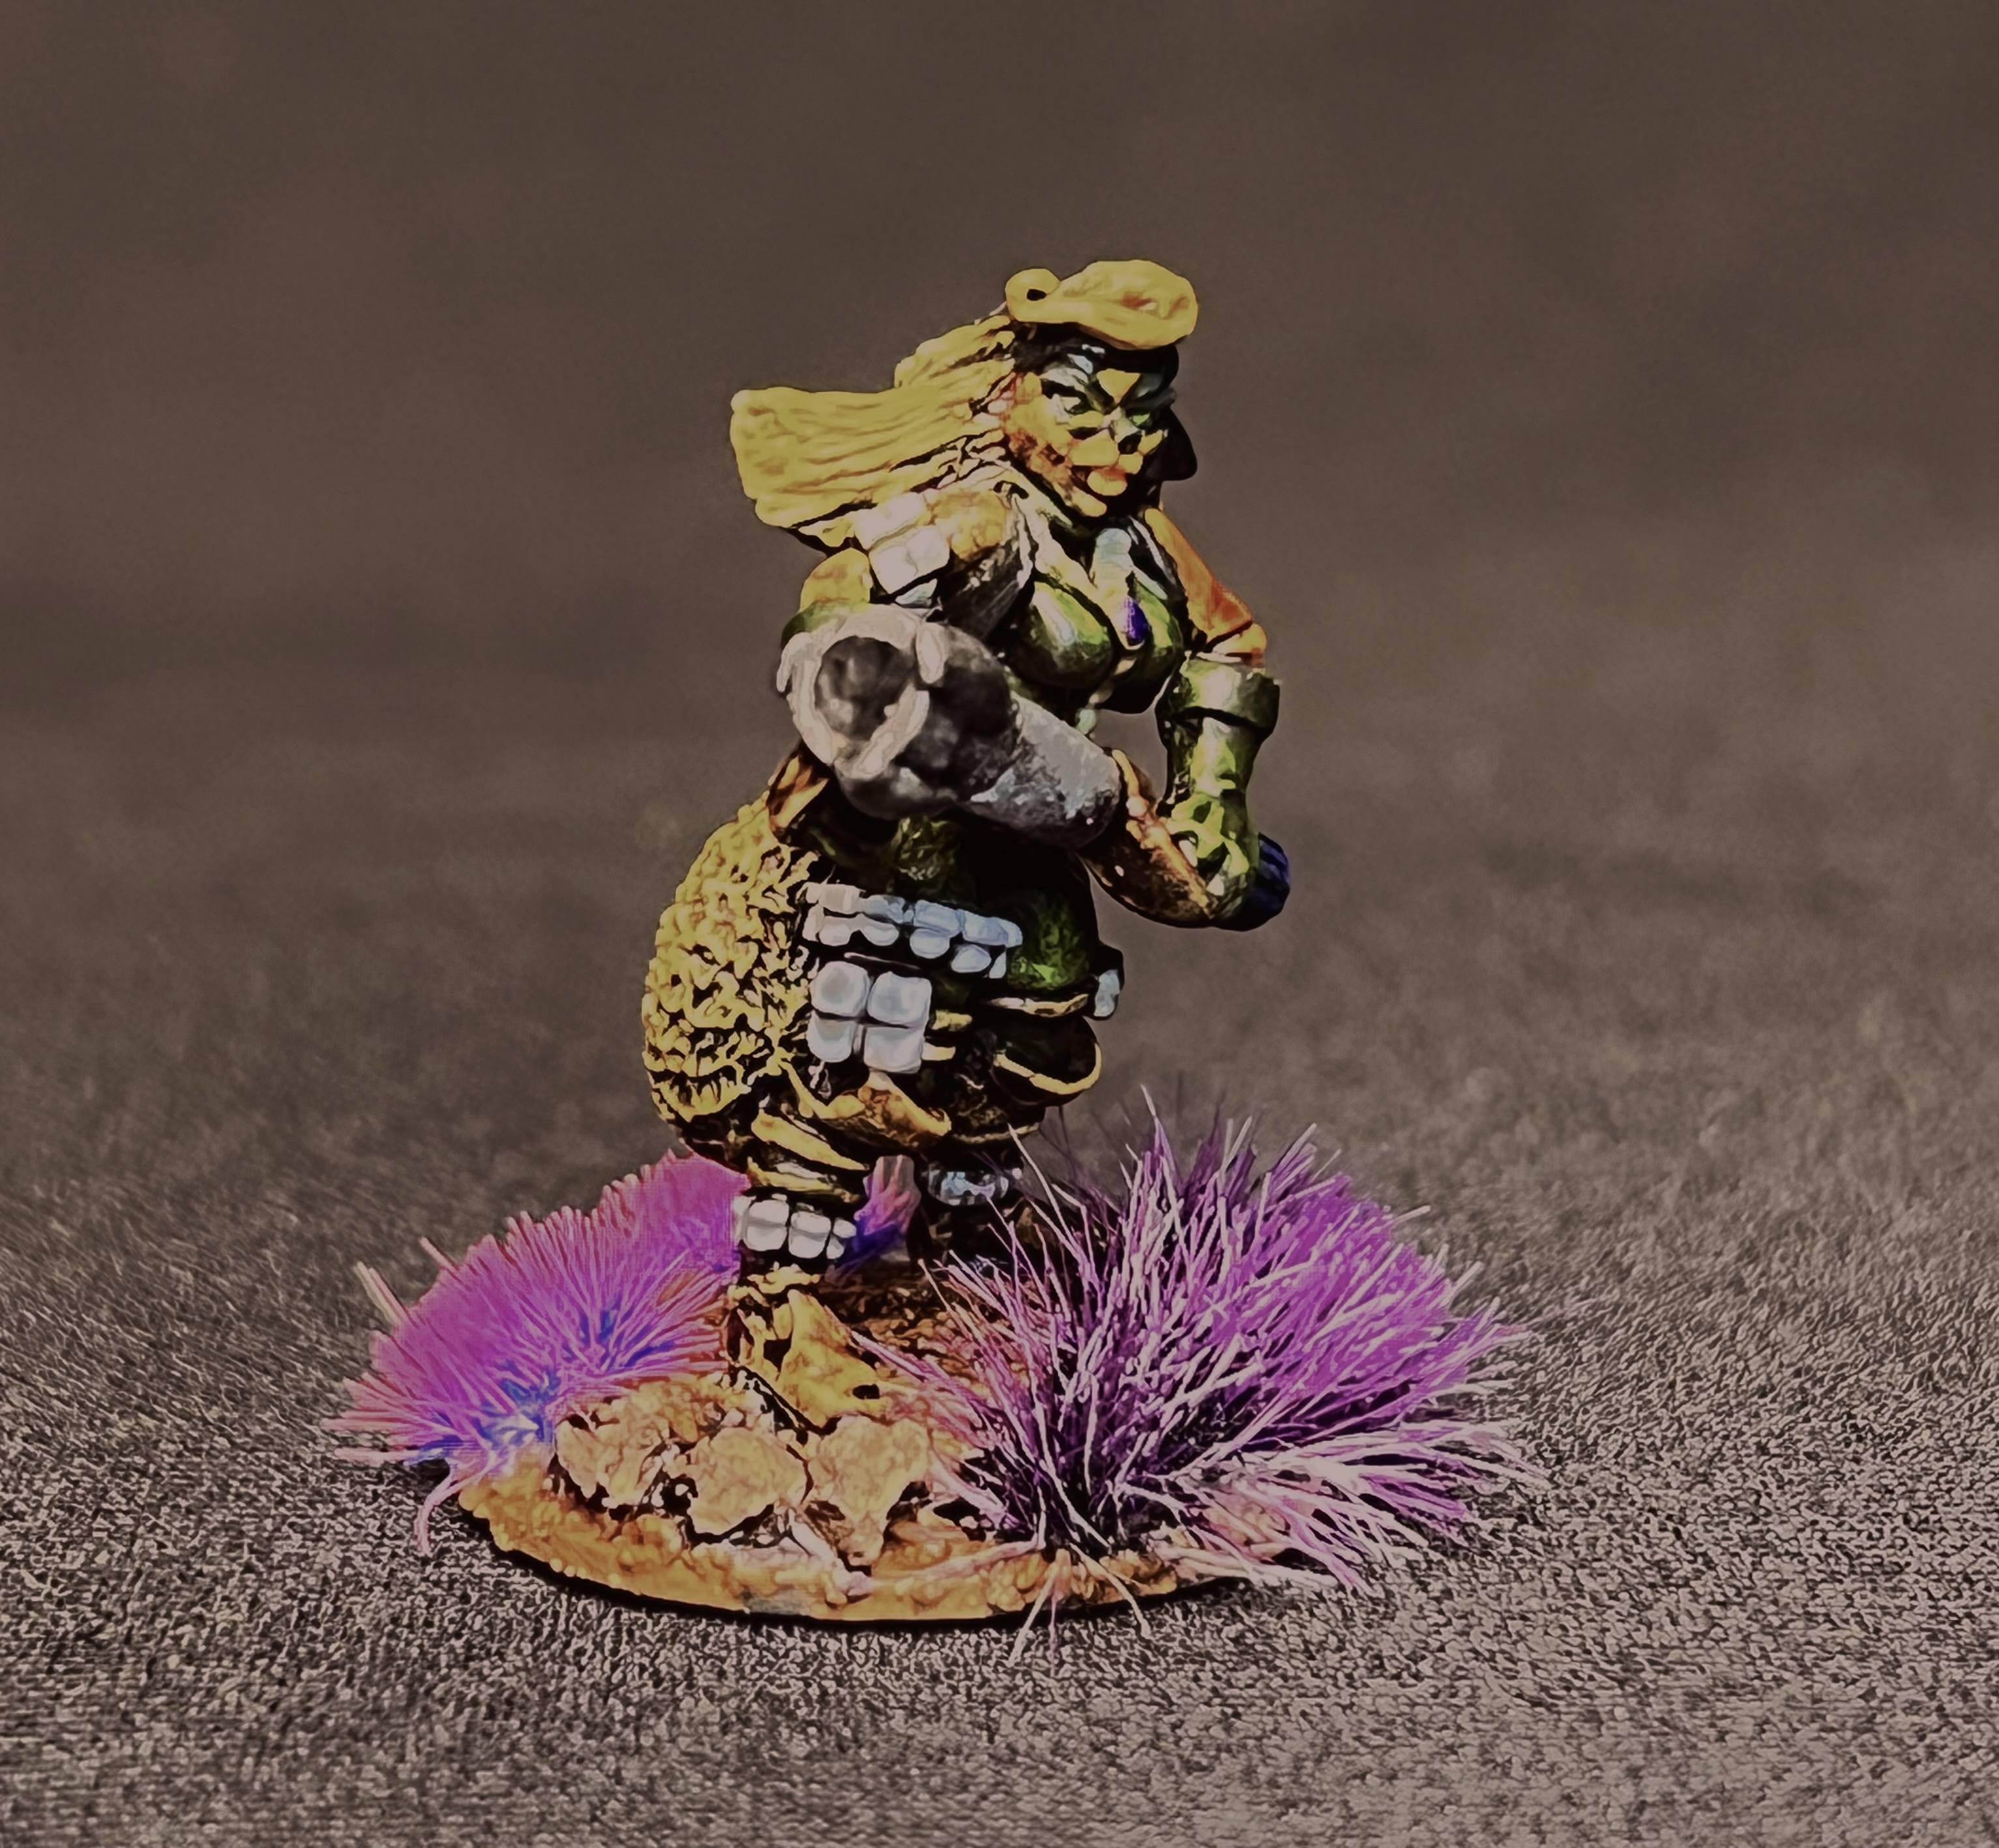
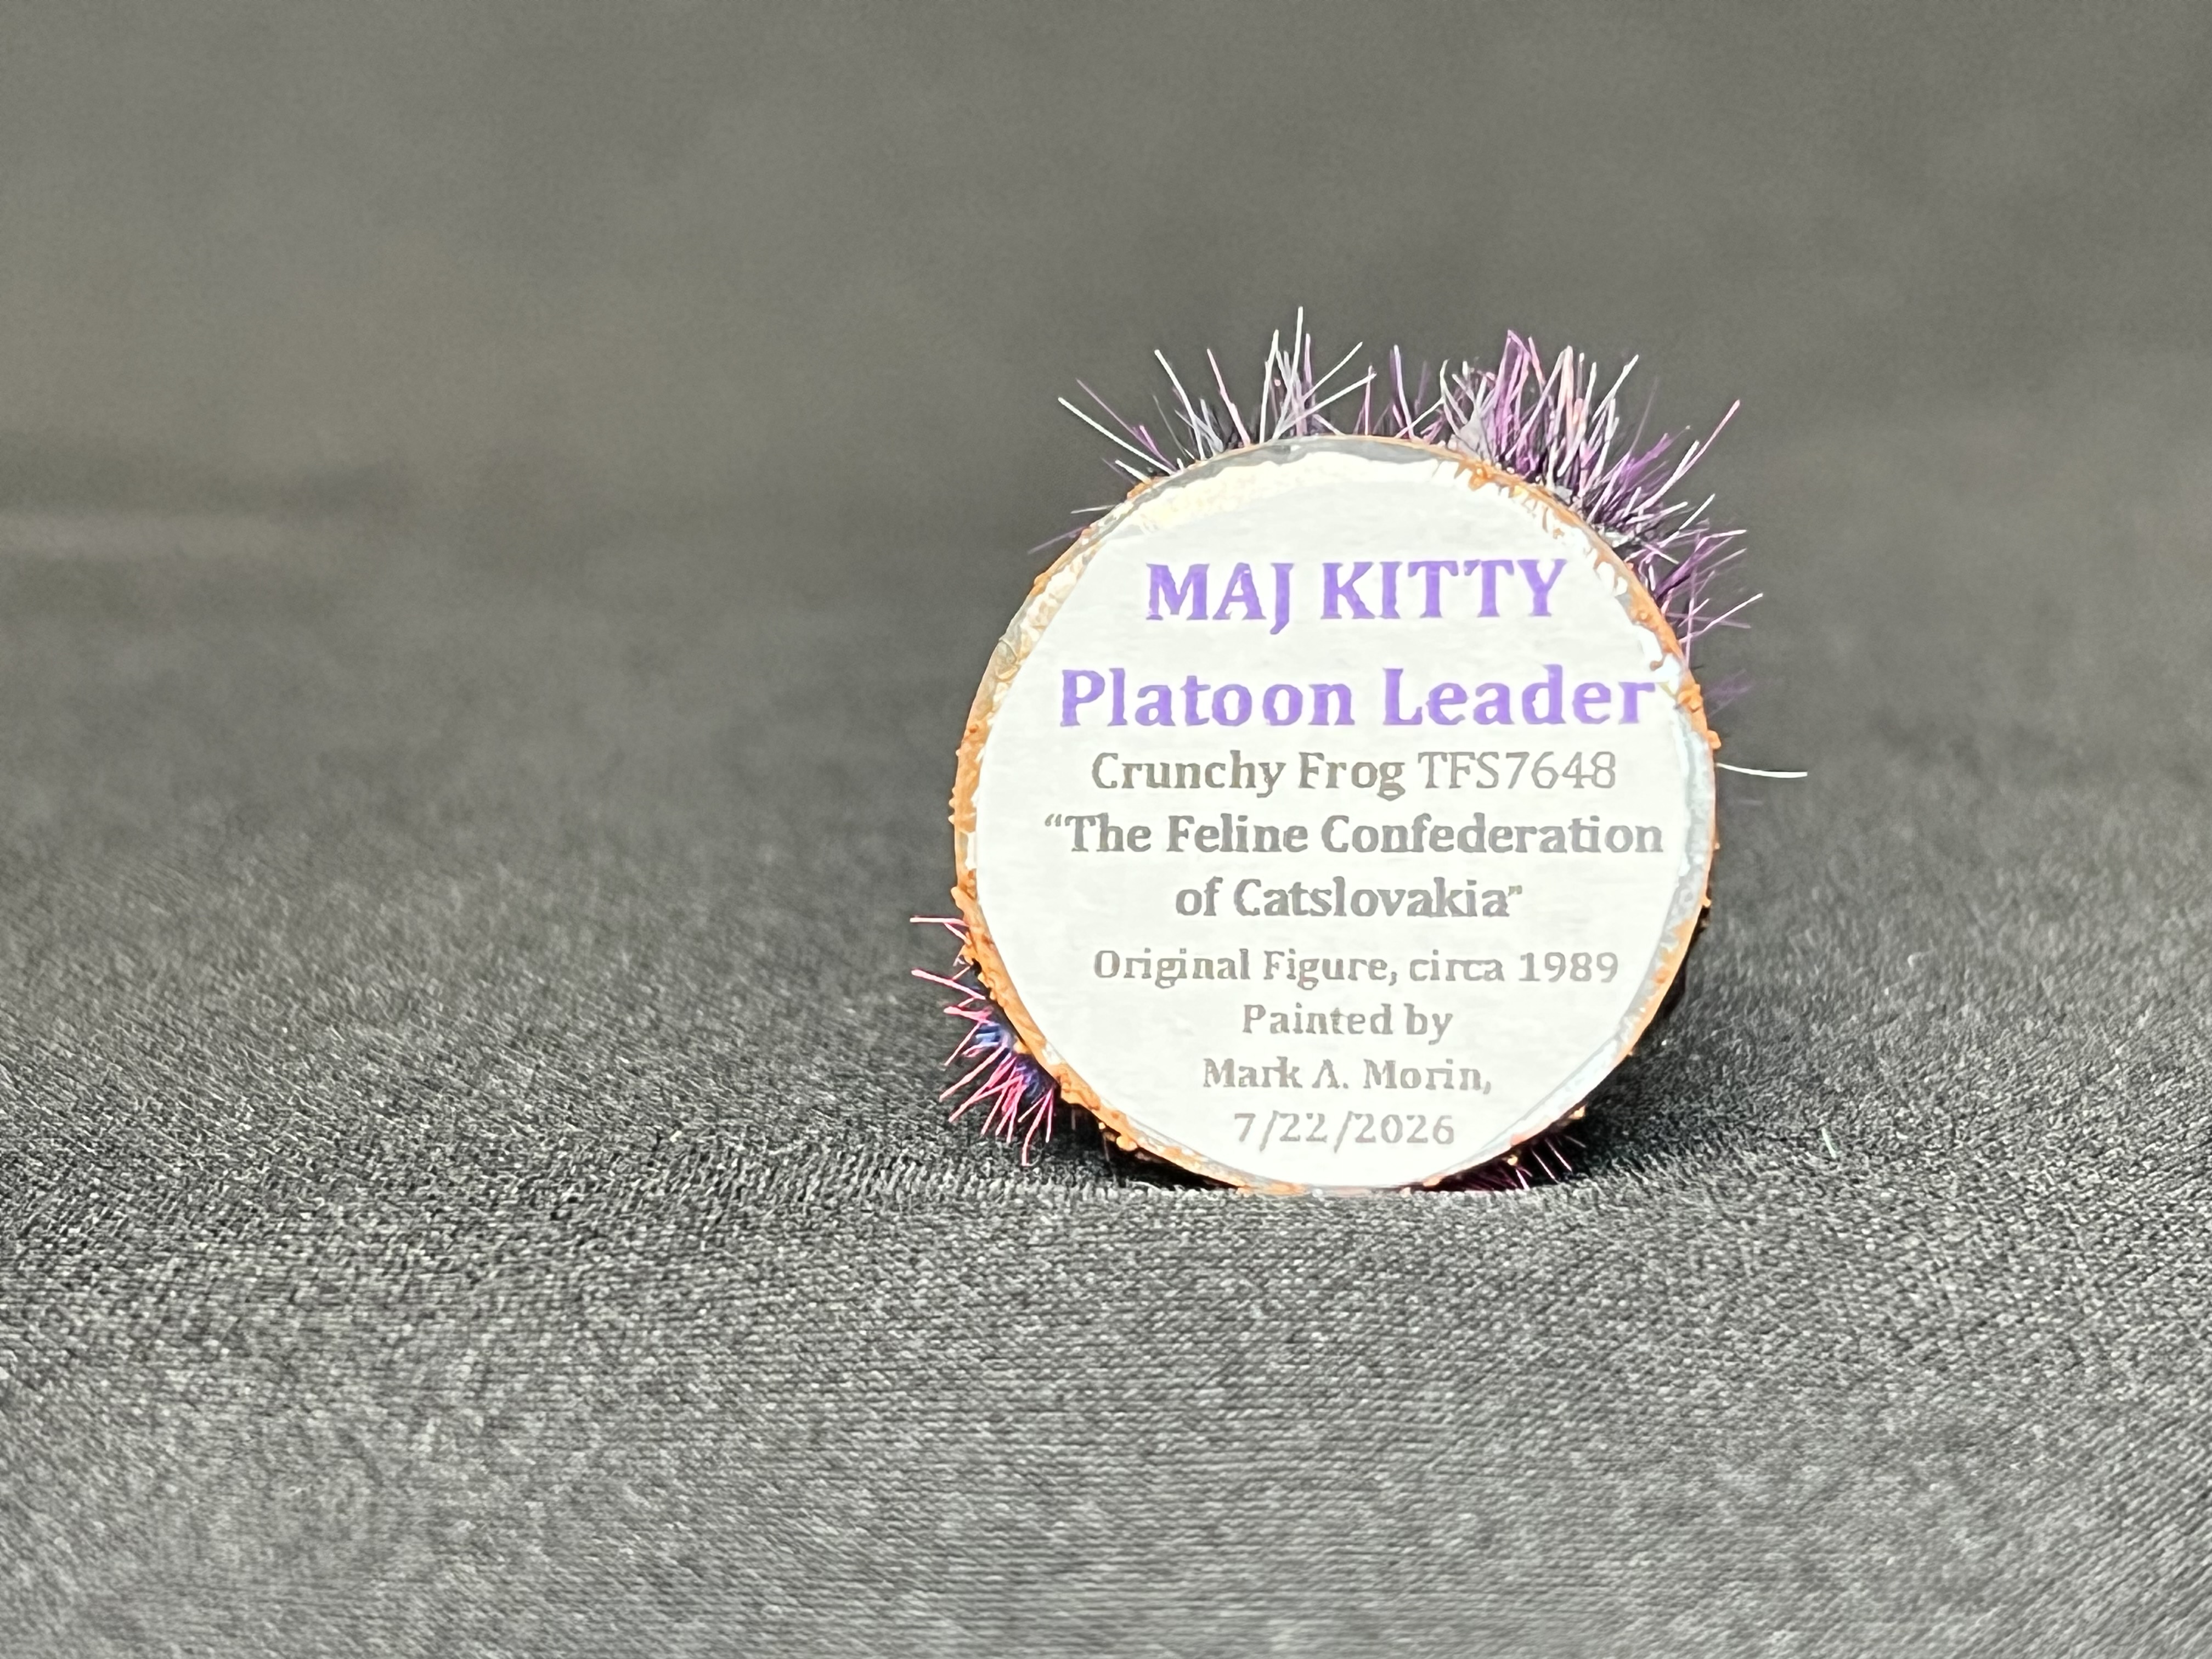
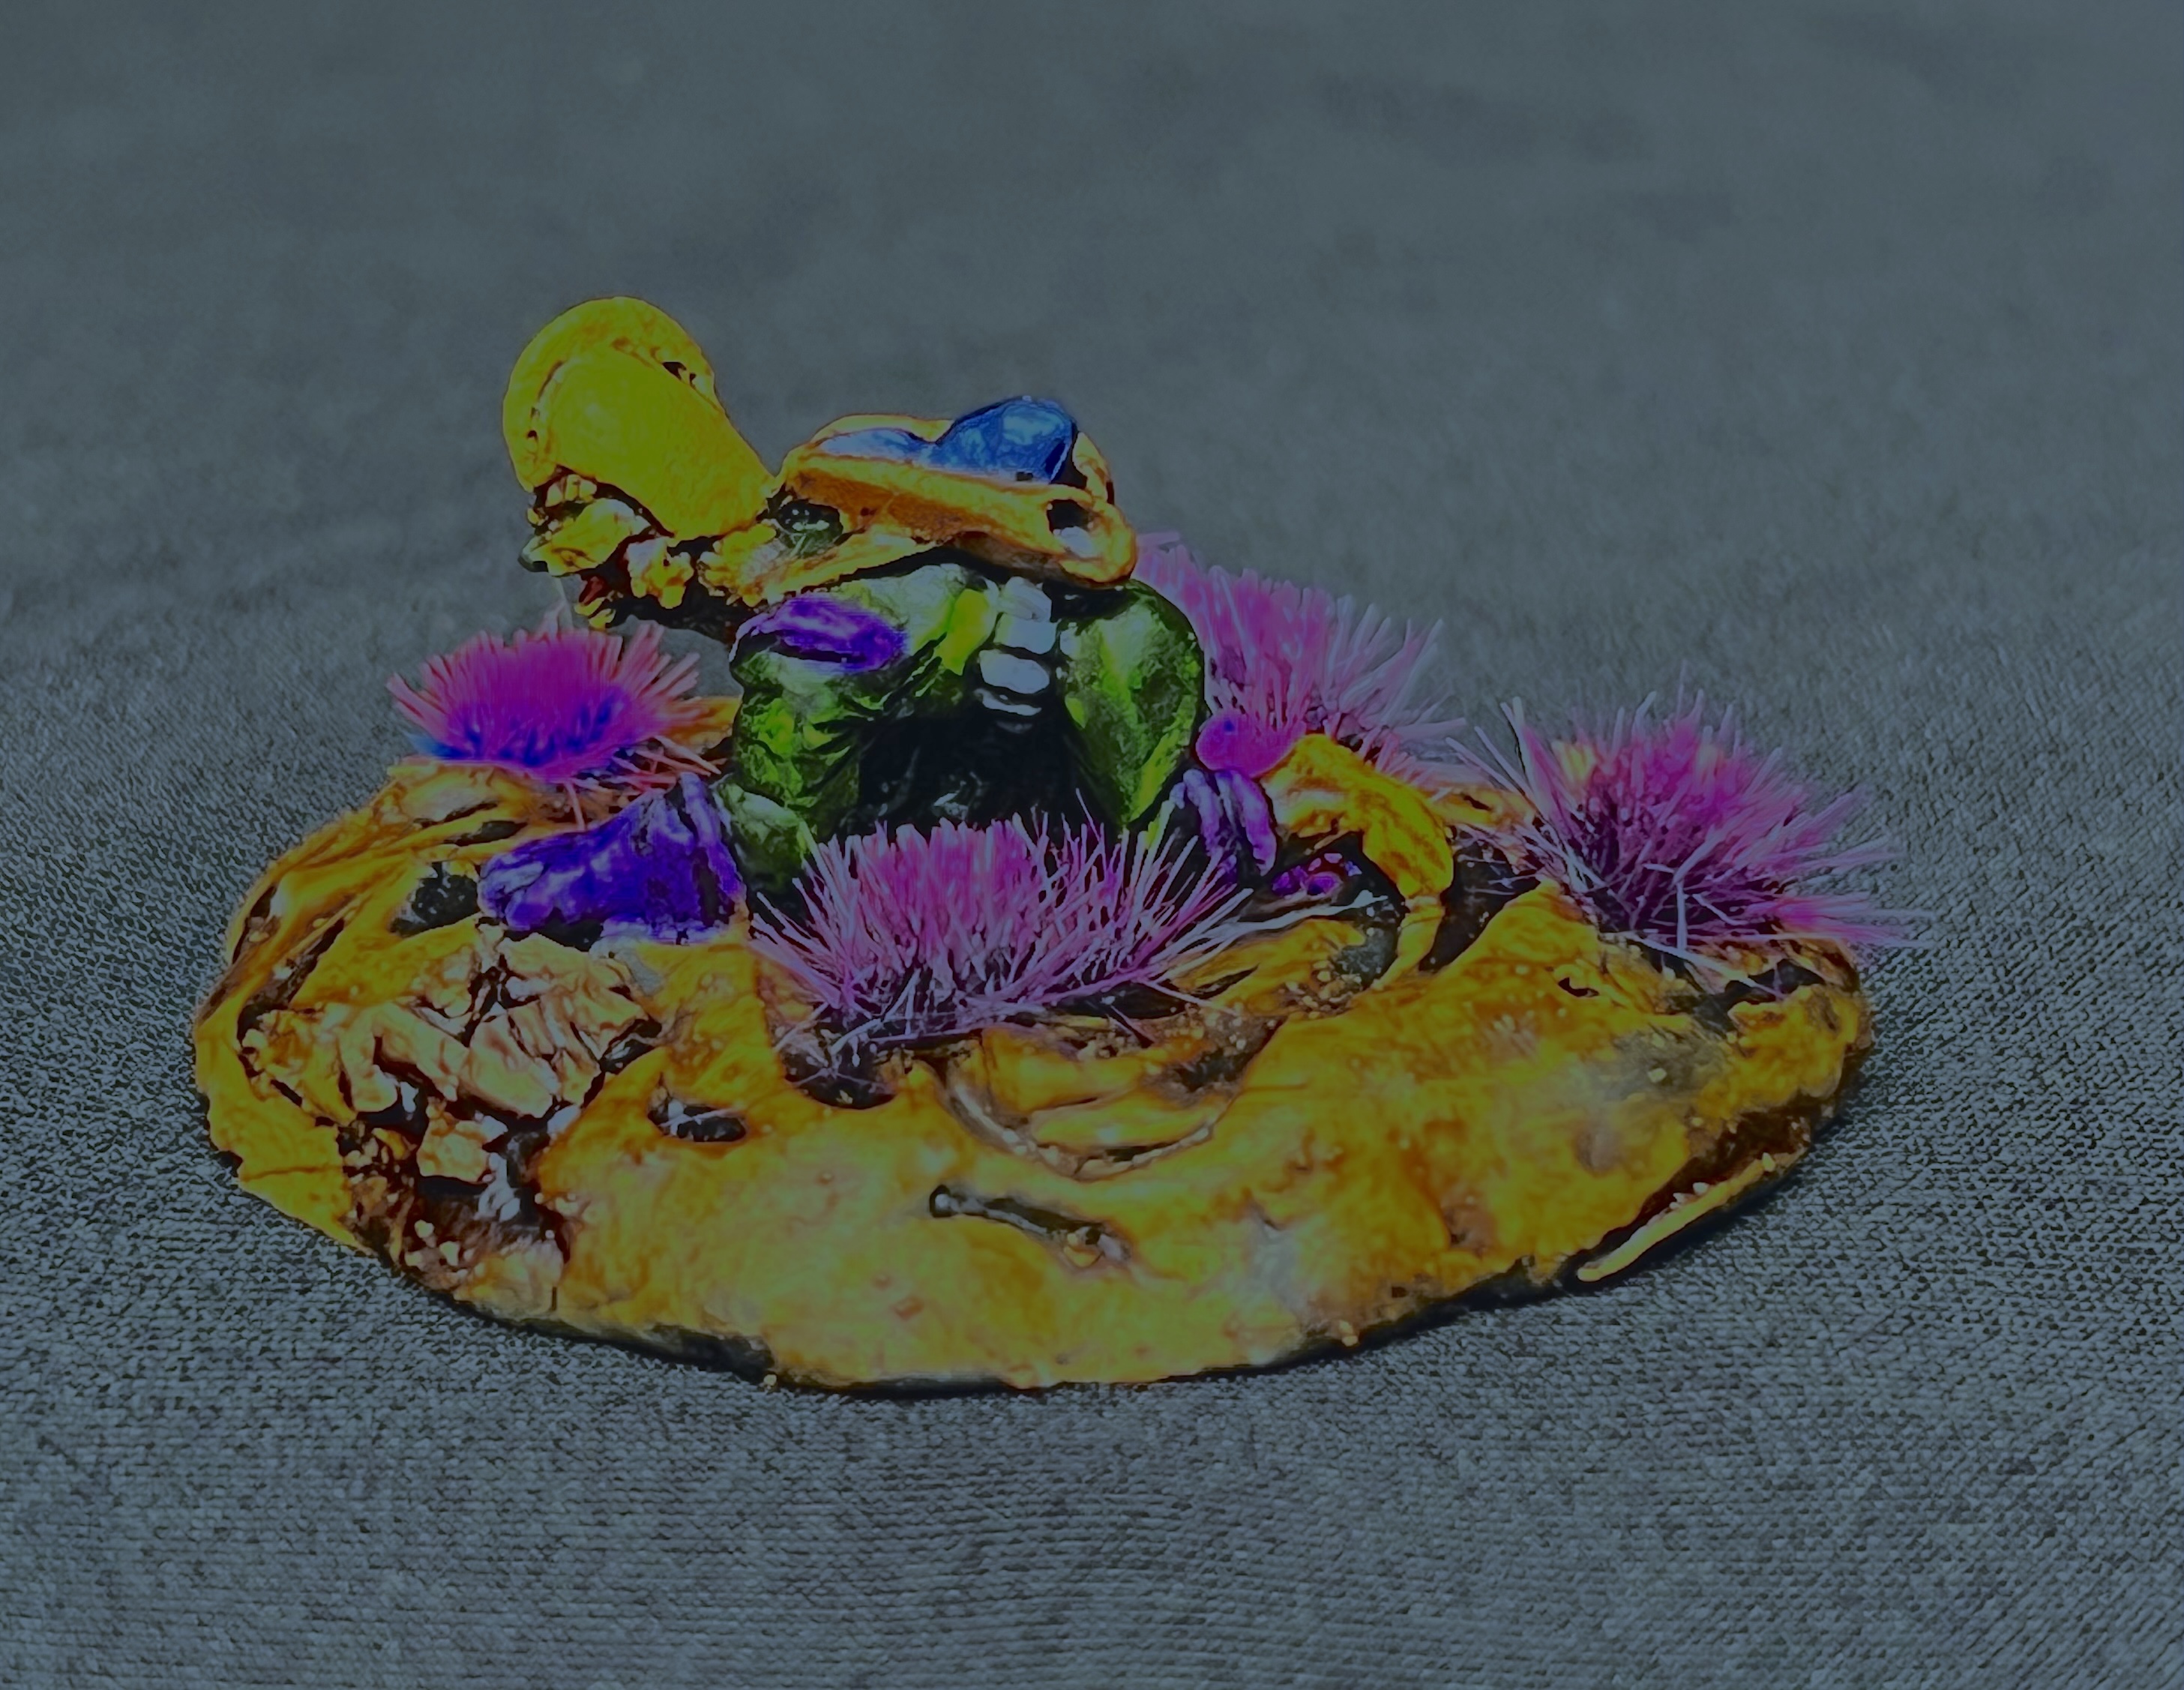
That left me with a need for a platoon leader. I had a Critter Commandos figure called “MAJ Kitty”. I thought she was also a Lortz figure but is attributed to Jim Johnson on the blister card. Her Team Frog Studios SKU is 7648. I think I primed and dry-brushed her years ago. I decided that while her rank overqualified her to lead a platoon, she would do fine for my needs. As she is the sole representative figure made in the Critter Commandos line for “The Feline Confederation of Catslovakia”, she needed a job. Apparently unlike other Critter Commands factions, her kitty people were never properly fleshed out with other troops. Now she has a unit to lead on the tabletop. Meow.

The Figures

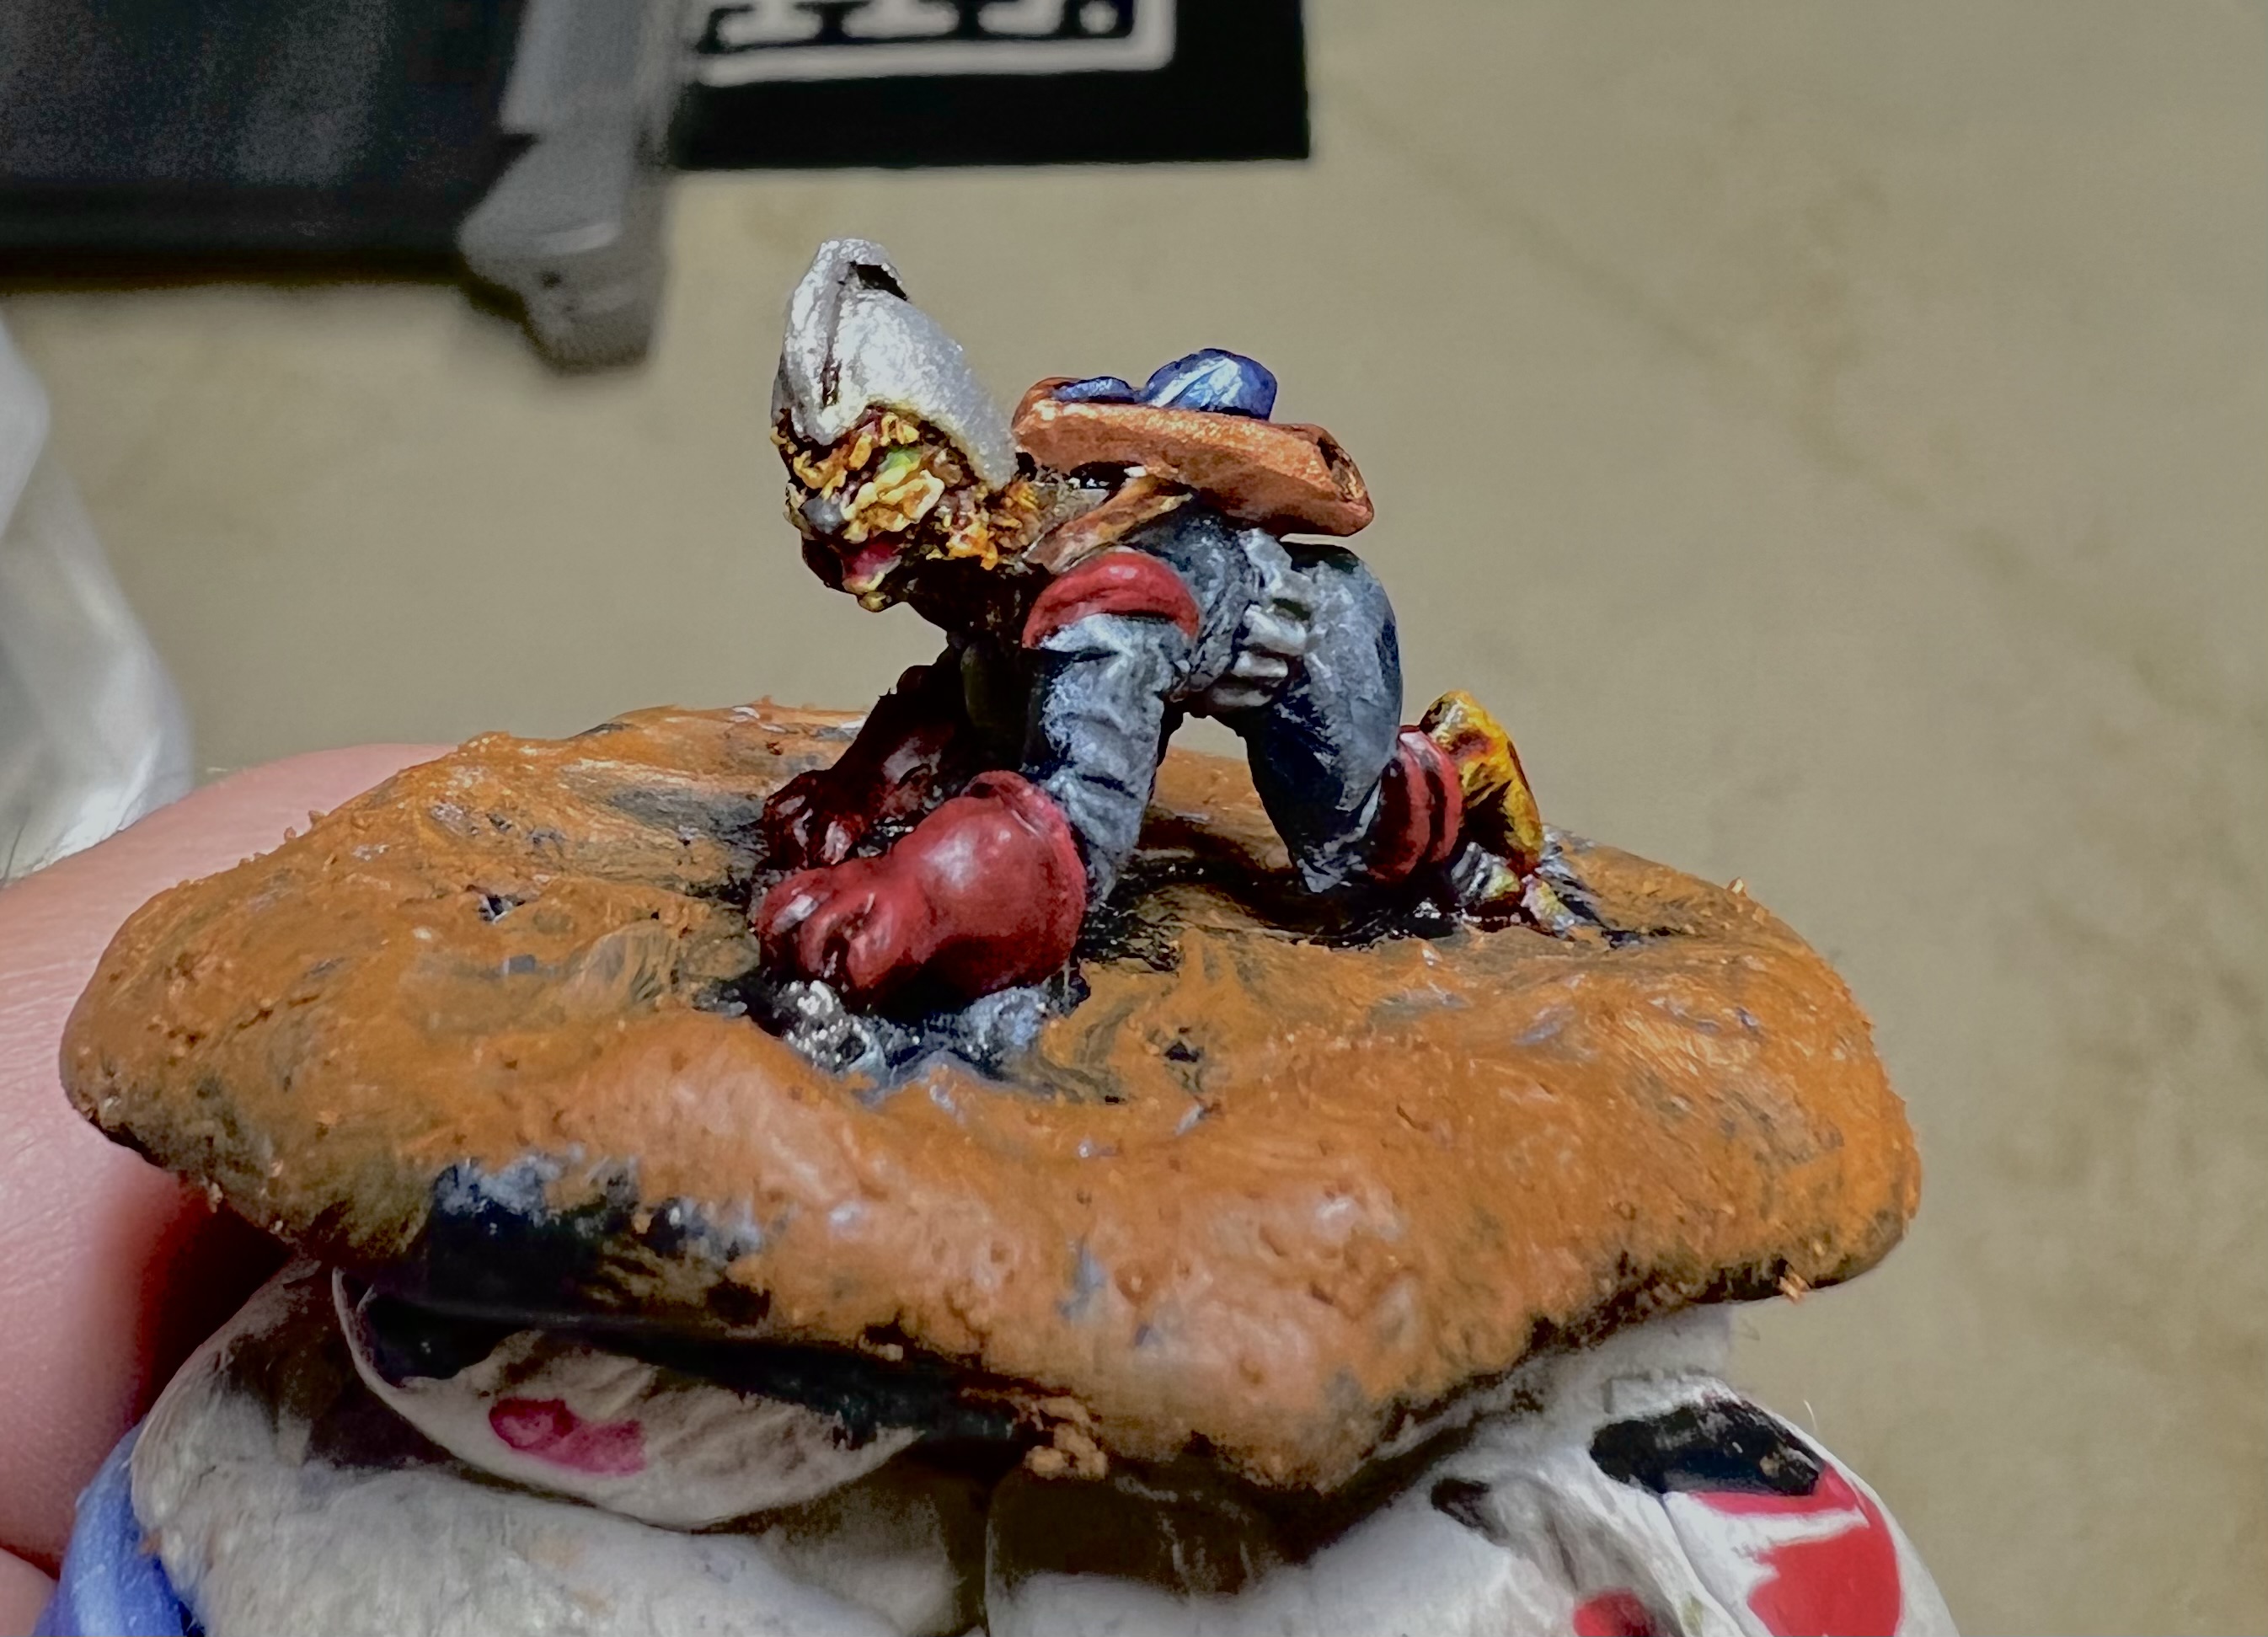
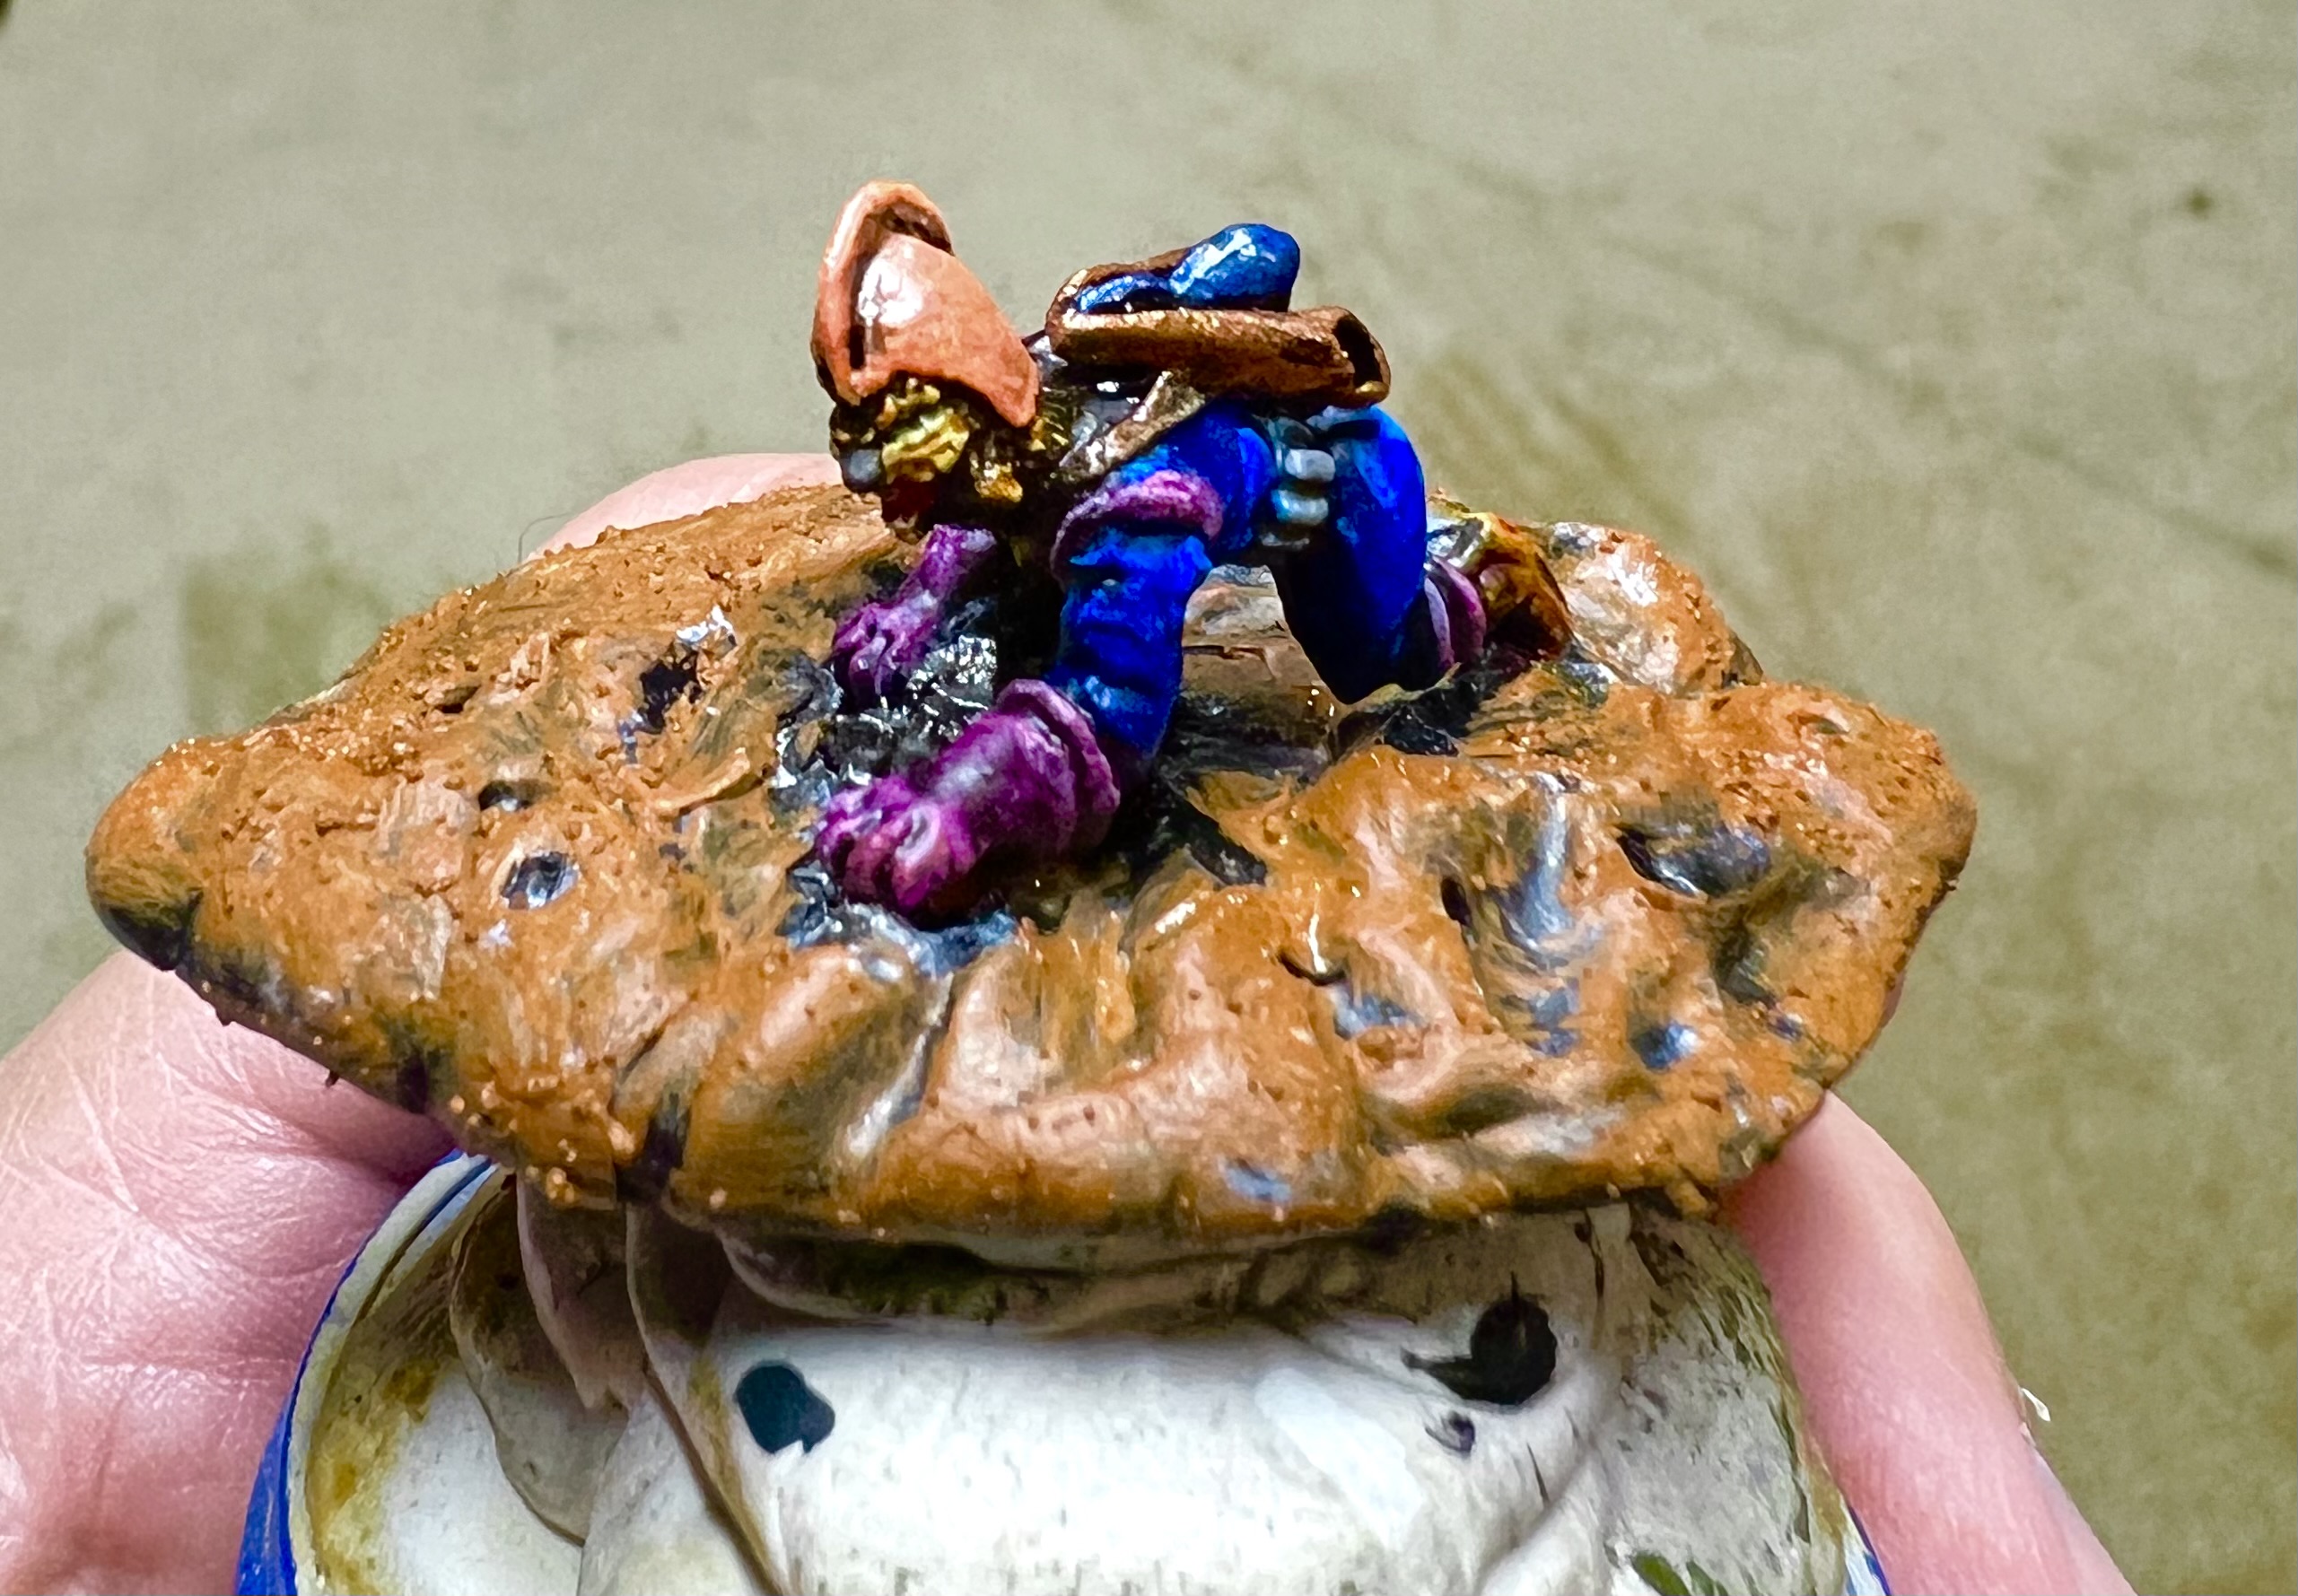
All of the figures I worked with here are definitely old school metal and 28mm. The Felynxii are armed with assault rifles, and MAJ Kitty looks like she has some sort of an anti-tank weapon. I’m calling it a “Katzooka”.

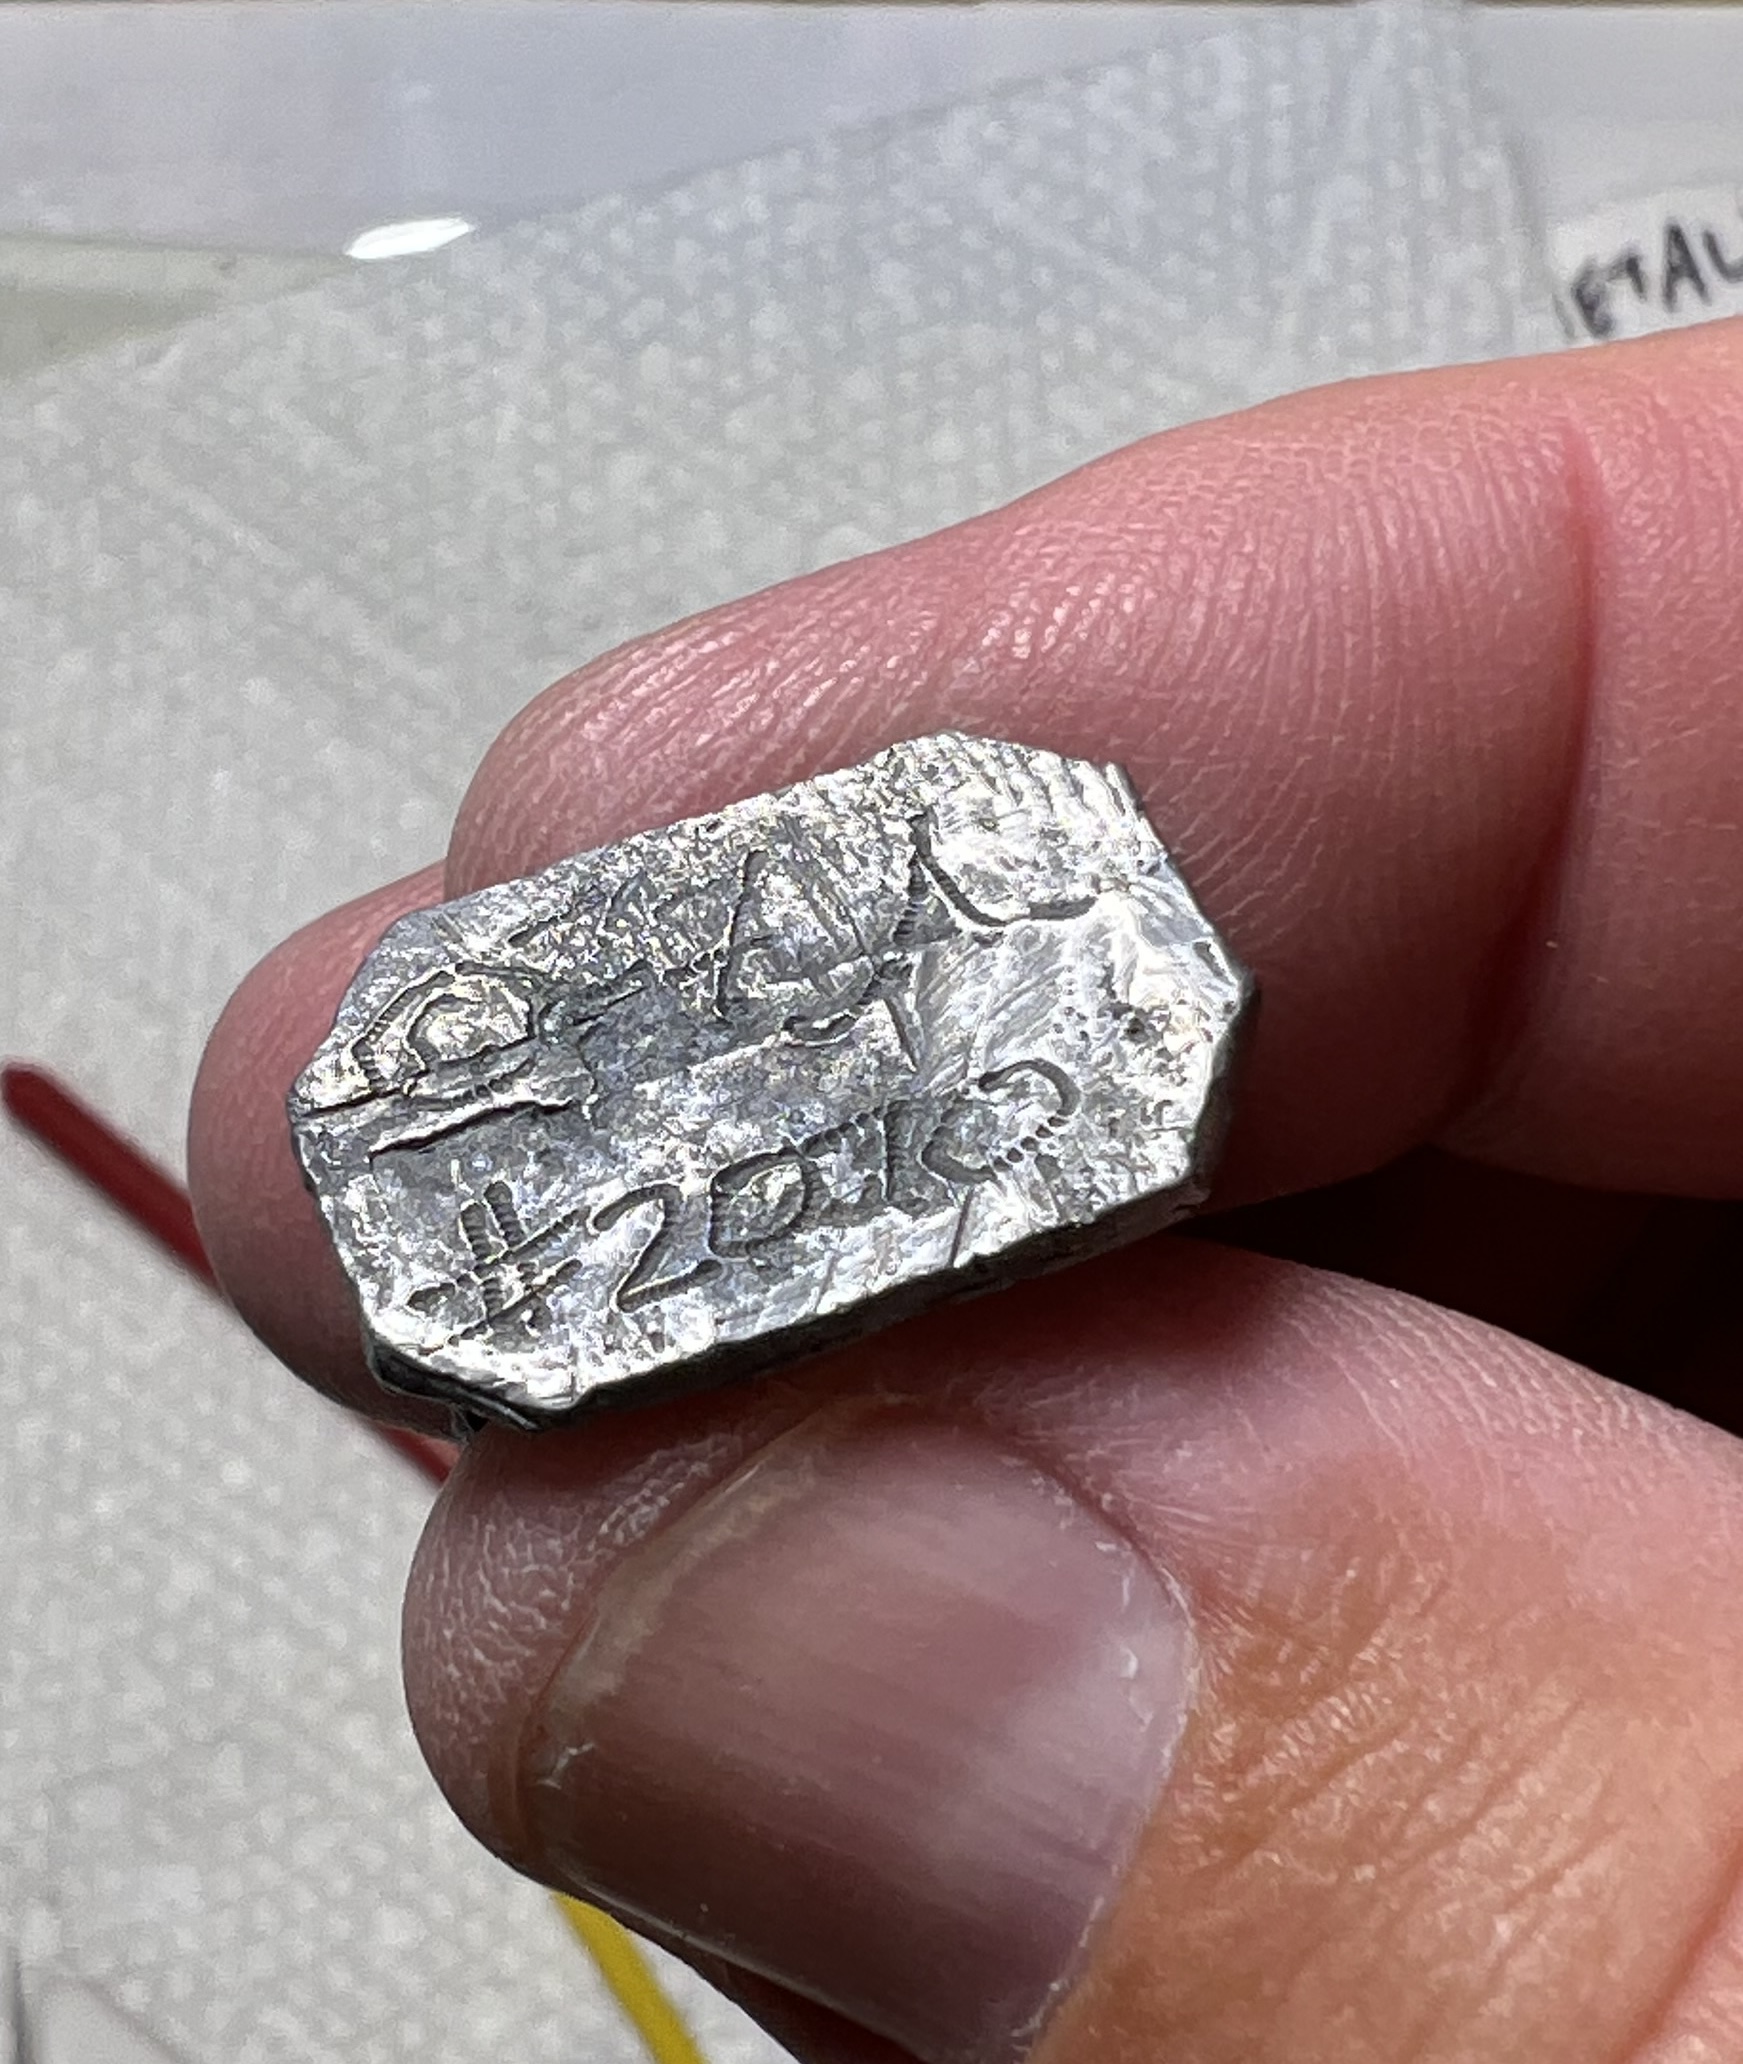
The Felynxii were sculpted back in 1977, and probably cast way back then as well. MAJ Kitty is probably from 1989-90 or so. All of the Felynxii figures are stamped on the base with their number and “1977”. It only took 49 years to get them painted! Almost all Archive figures were sculpted with a narrow rectangular base, whick doesn’t meet my needs for gaming. Therefore, I used Apoxie Sculpt and steel fender washers of different sizes to sculpt bases that would blend better on the tabletop. I did the same for MAJ Kitty’s base as well.

Let’s see the projects progress.

Project WIP

I had bought these figures years ago, so this diminishes my unpainted lead horde…

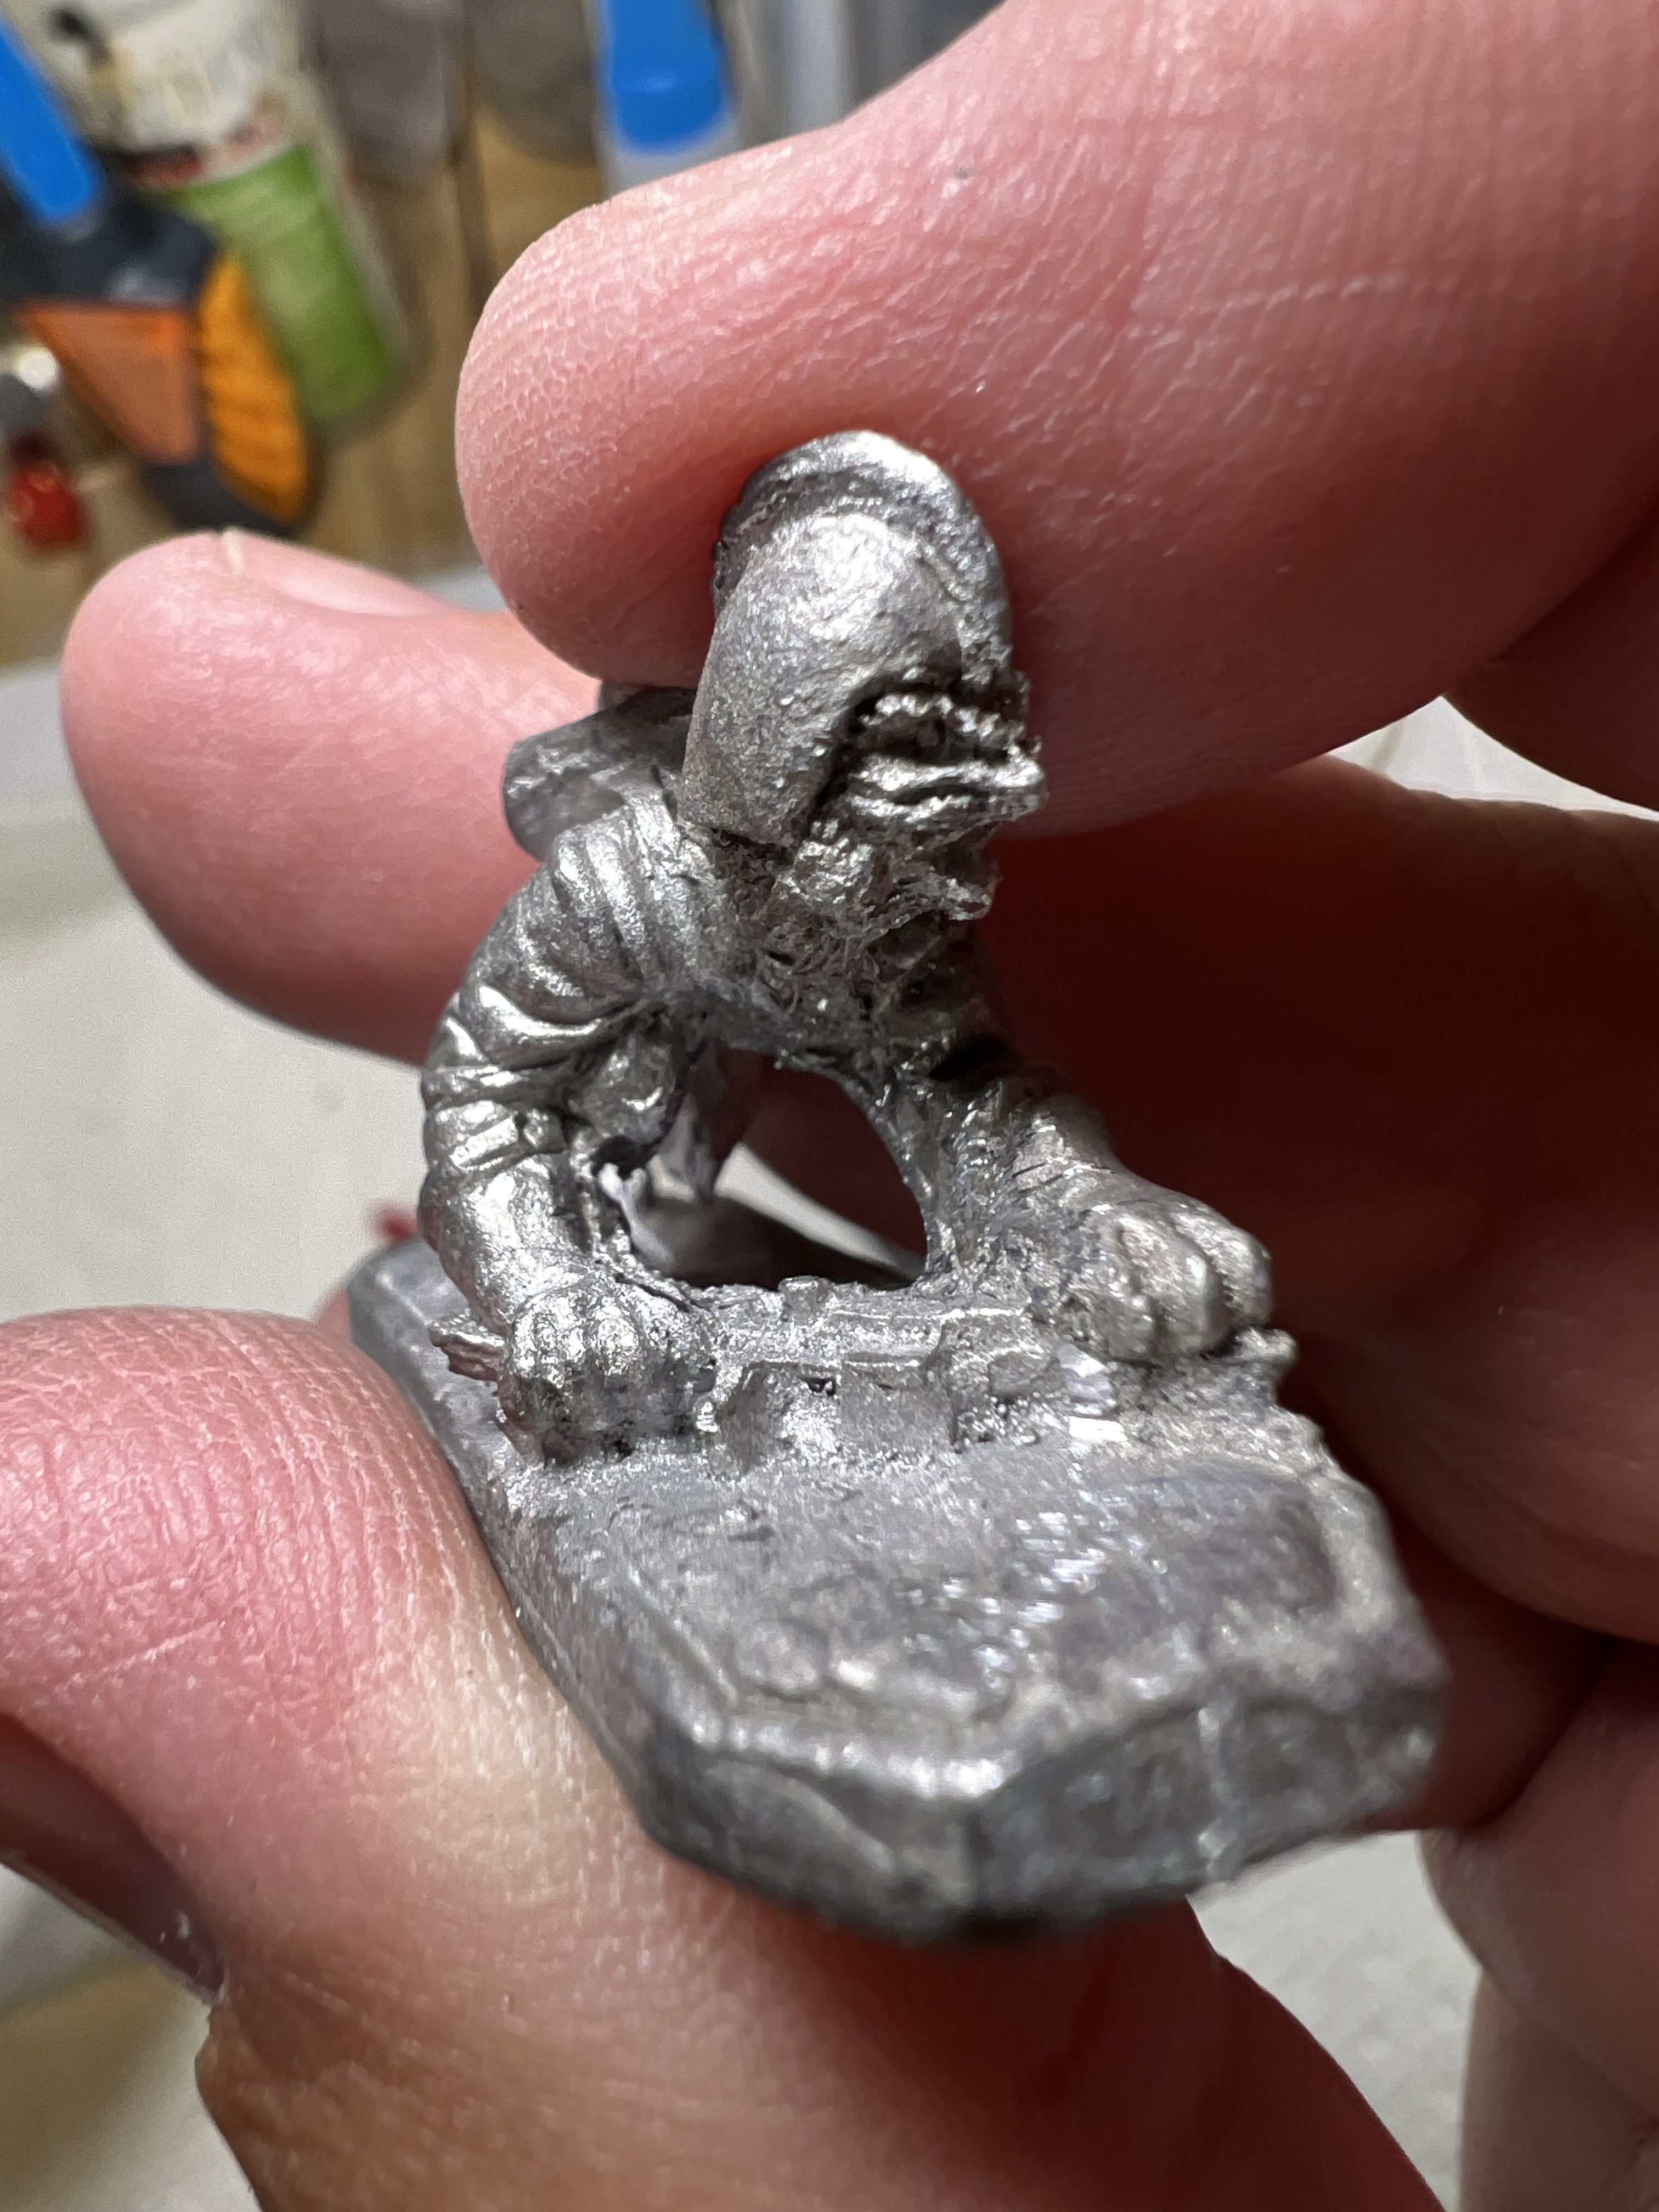
My starting supply of Felynxii figures. Some of the crouching figures had gotten some green paint on them but nothing like a priming coat. One had some minor lead rot. The advancing ones had been cleaned up by me years ago – and may have also had some paint on them back then. Note the 2 ones in the blister!

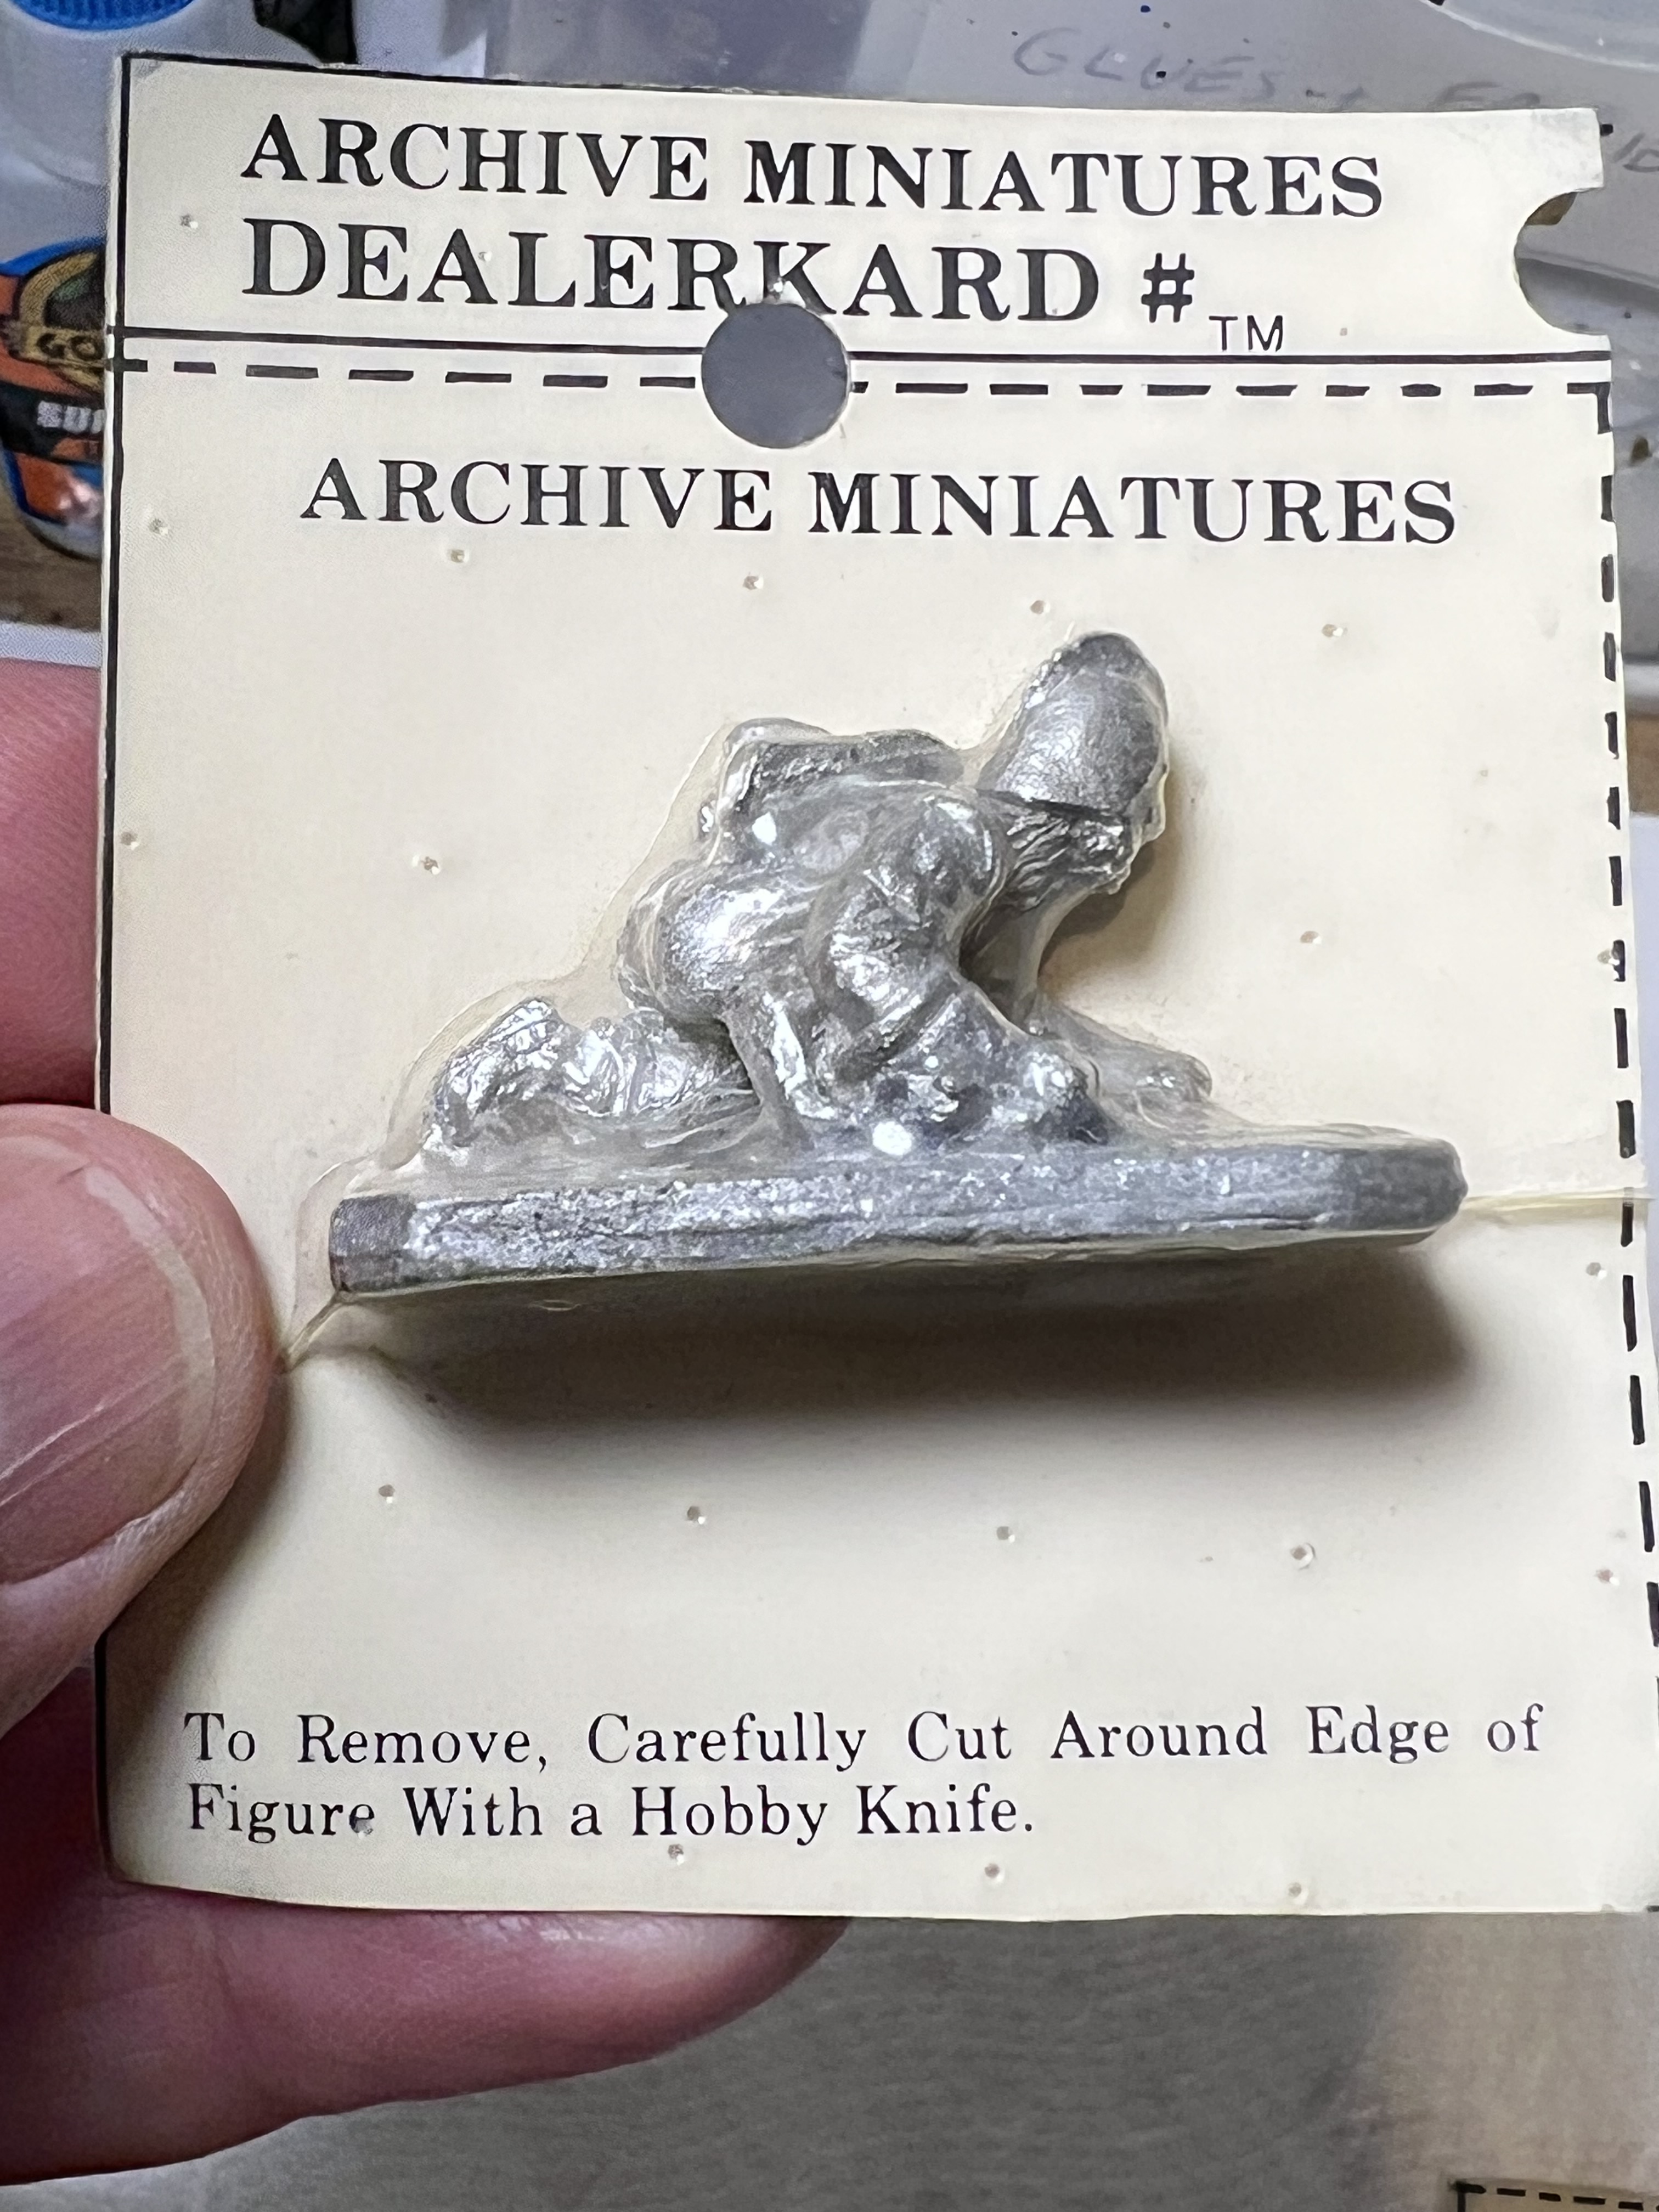
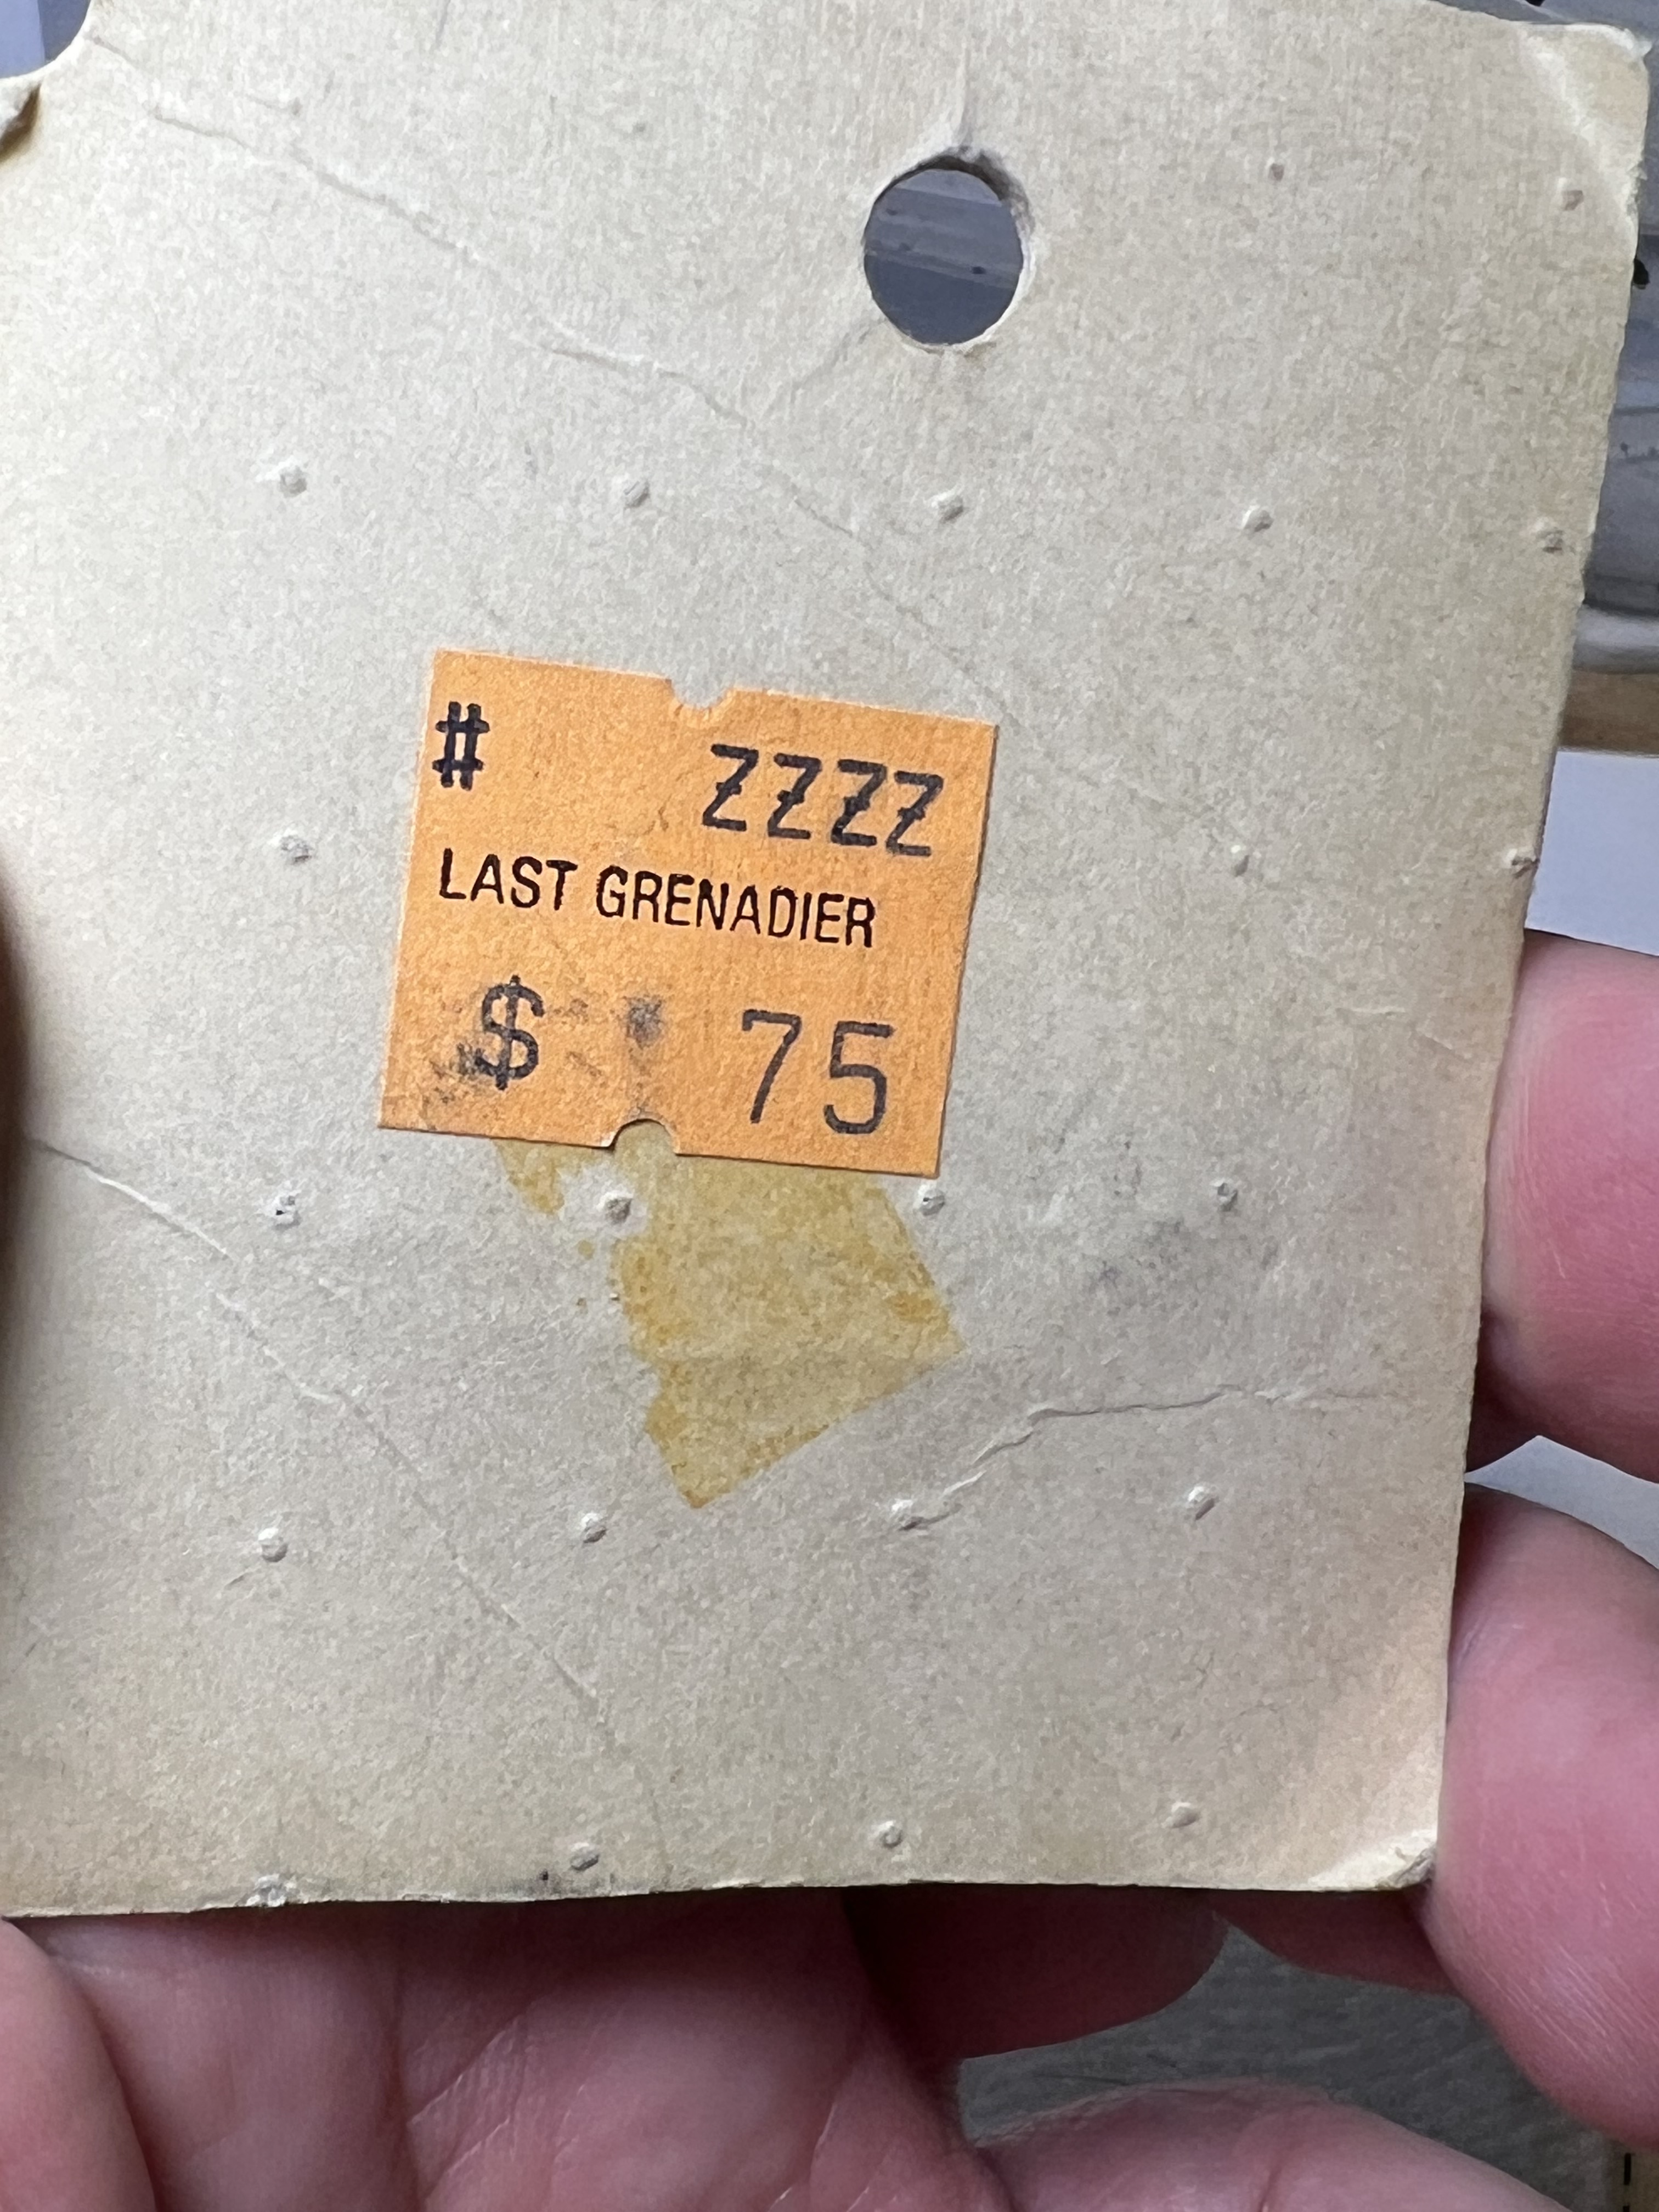
Below is a close up of one of the blister packs. 75 cents is a good deal!

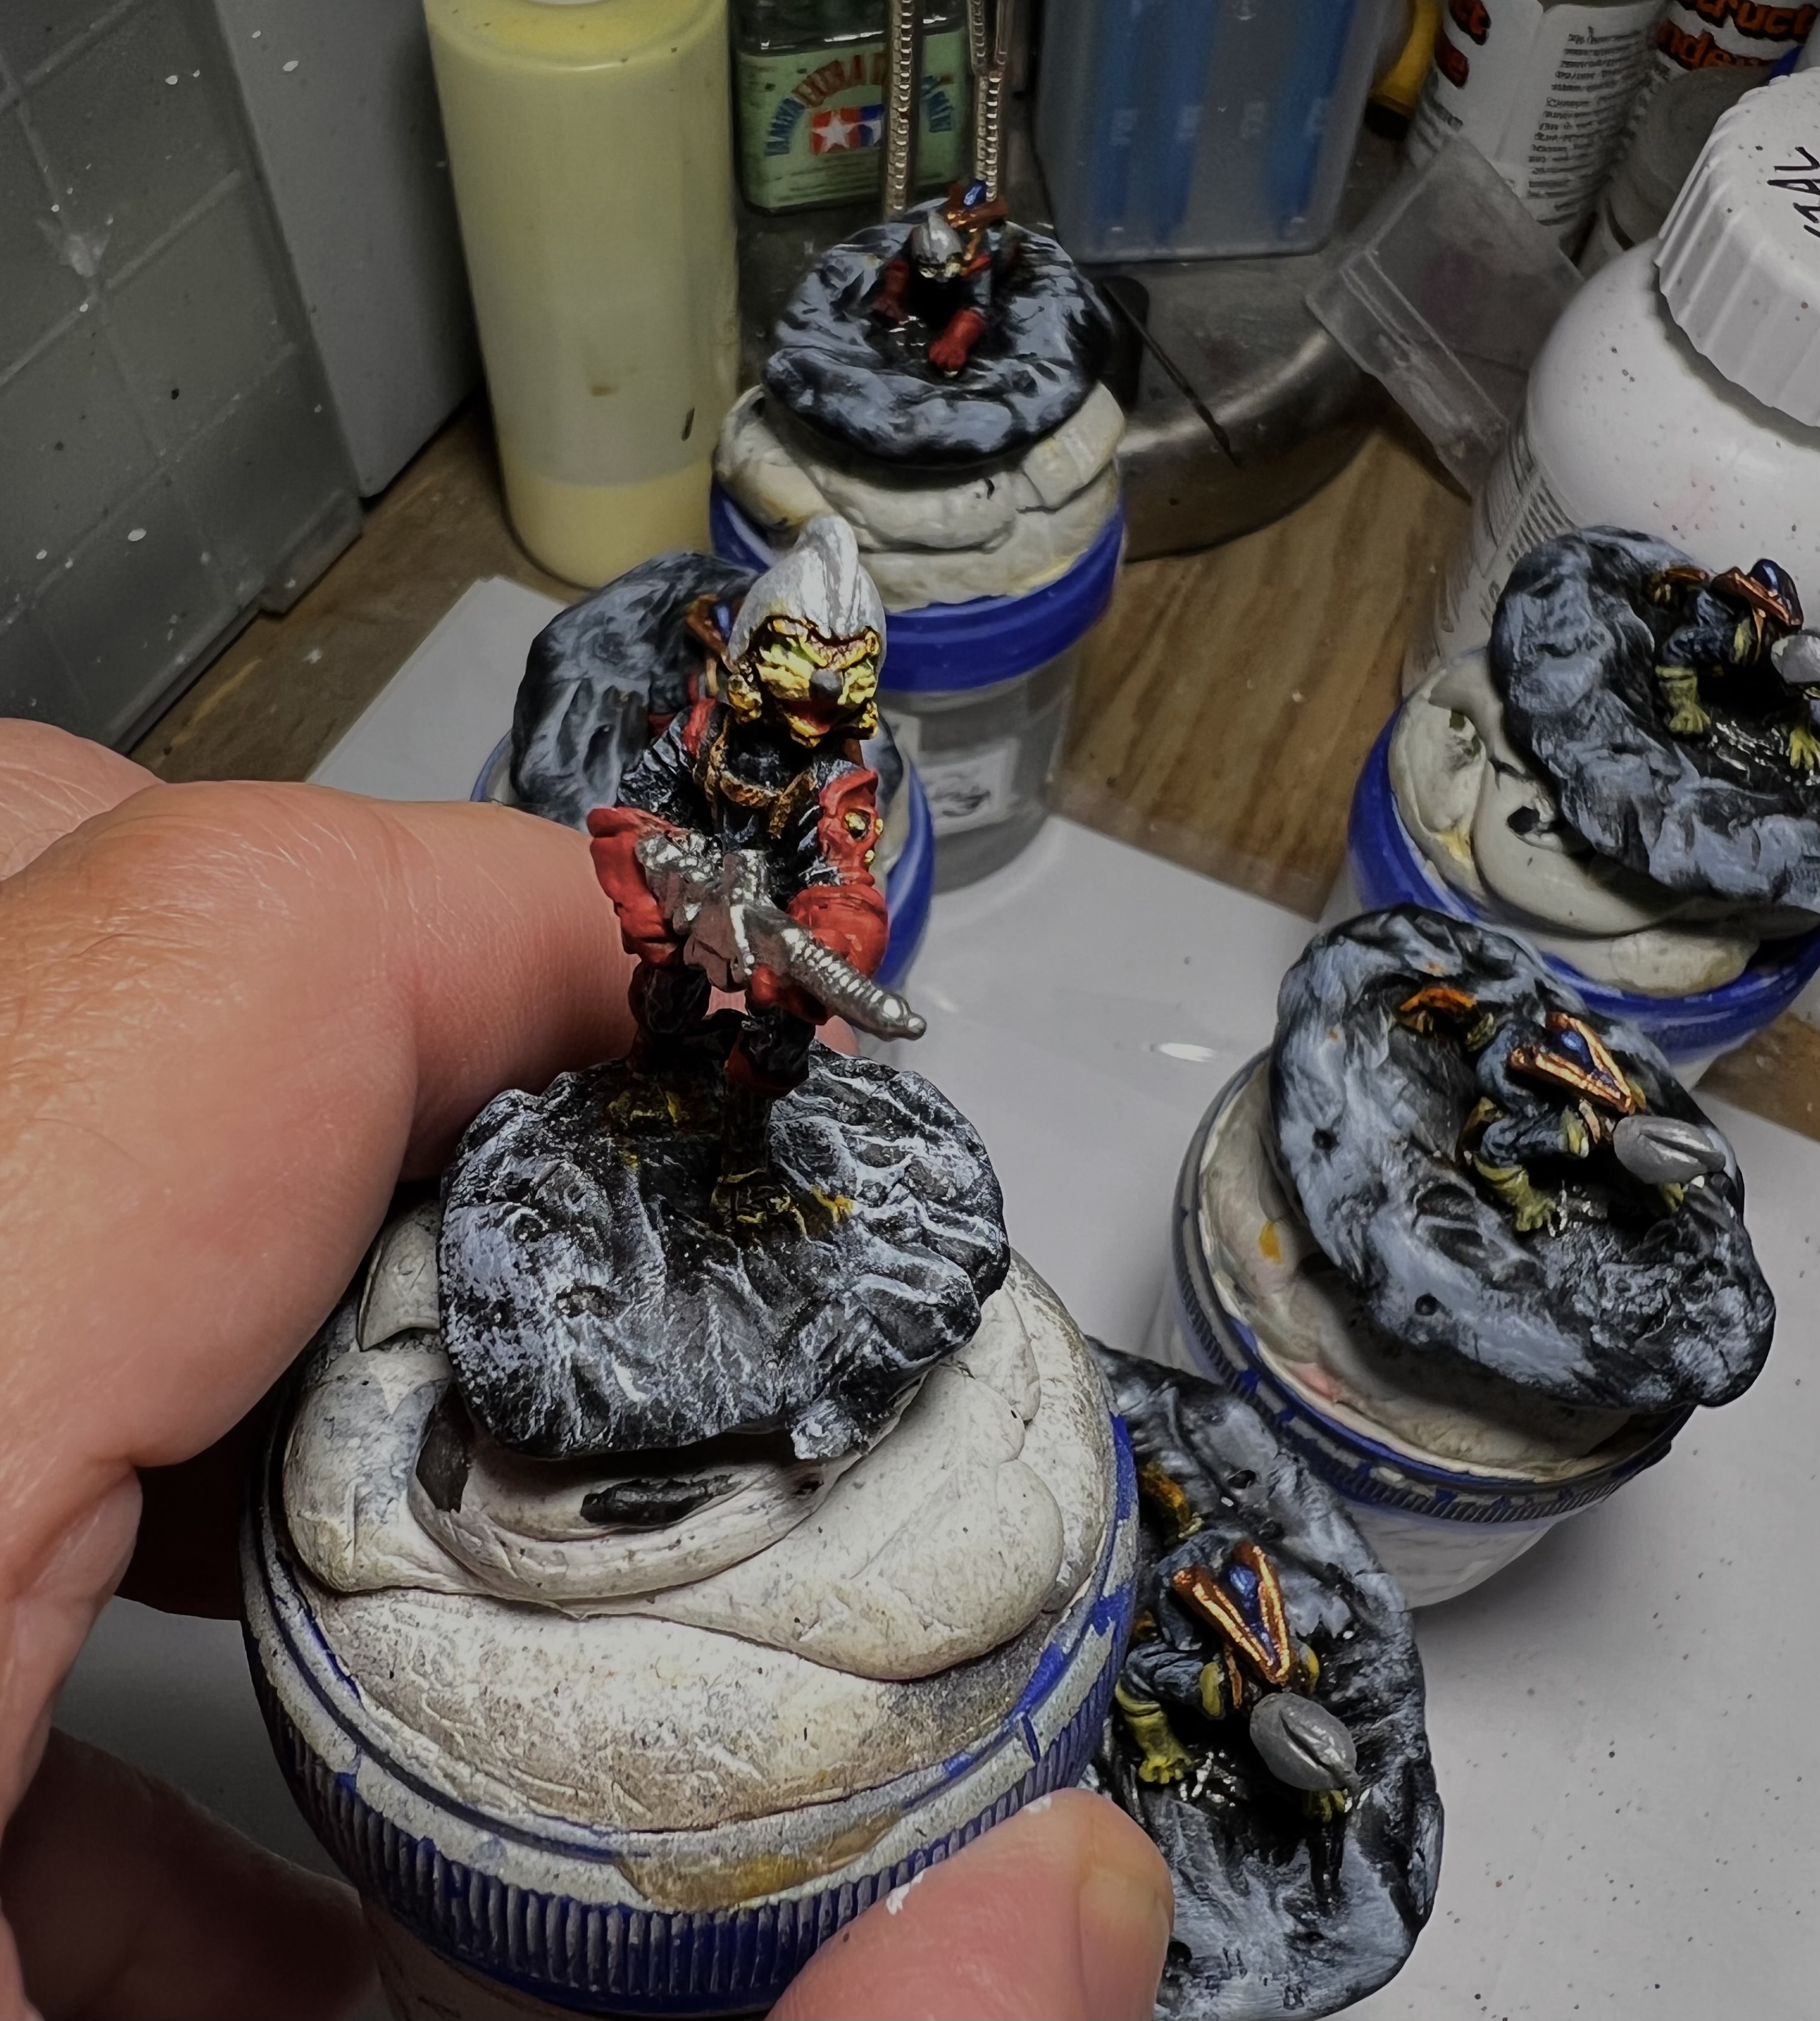
Close ups photos of a crouching figure before painting:

Below are close ups of an advancing figures before painting:

The MAJ Kitty blister card with the already primed and dry-brushed figure.

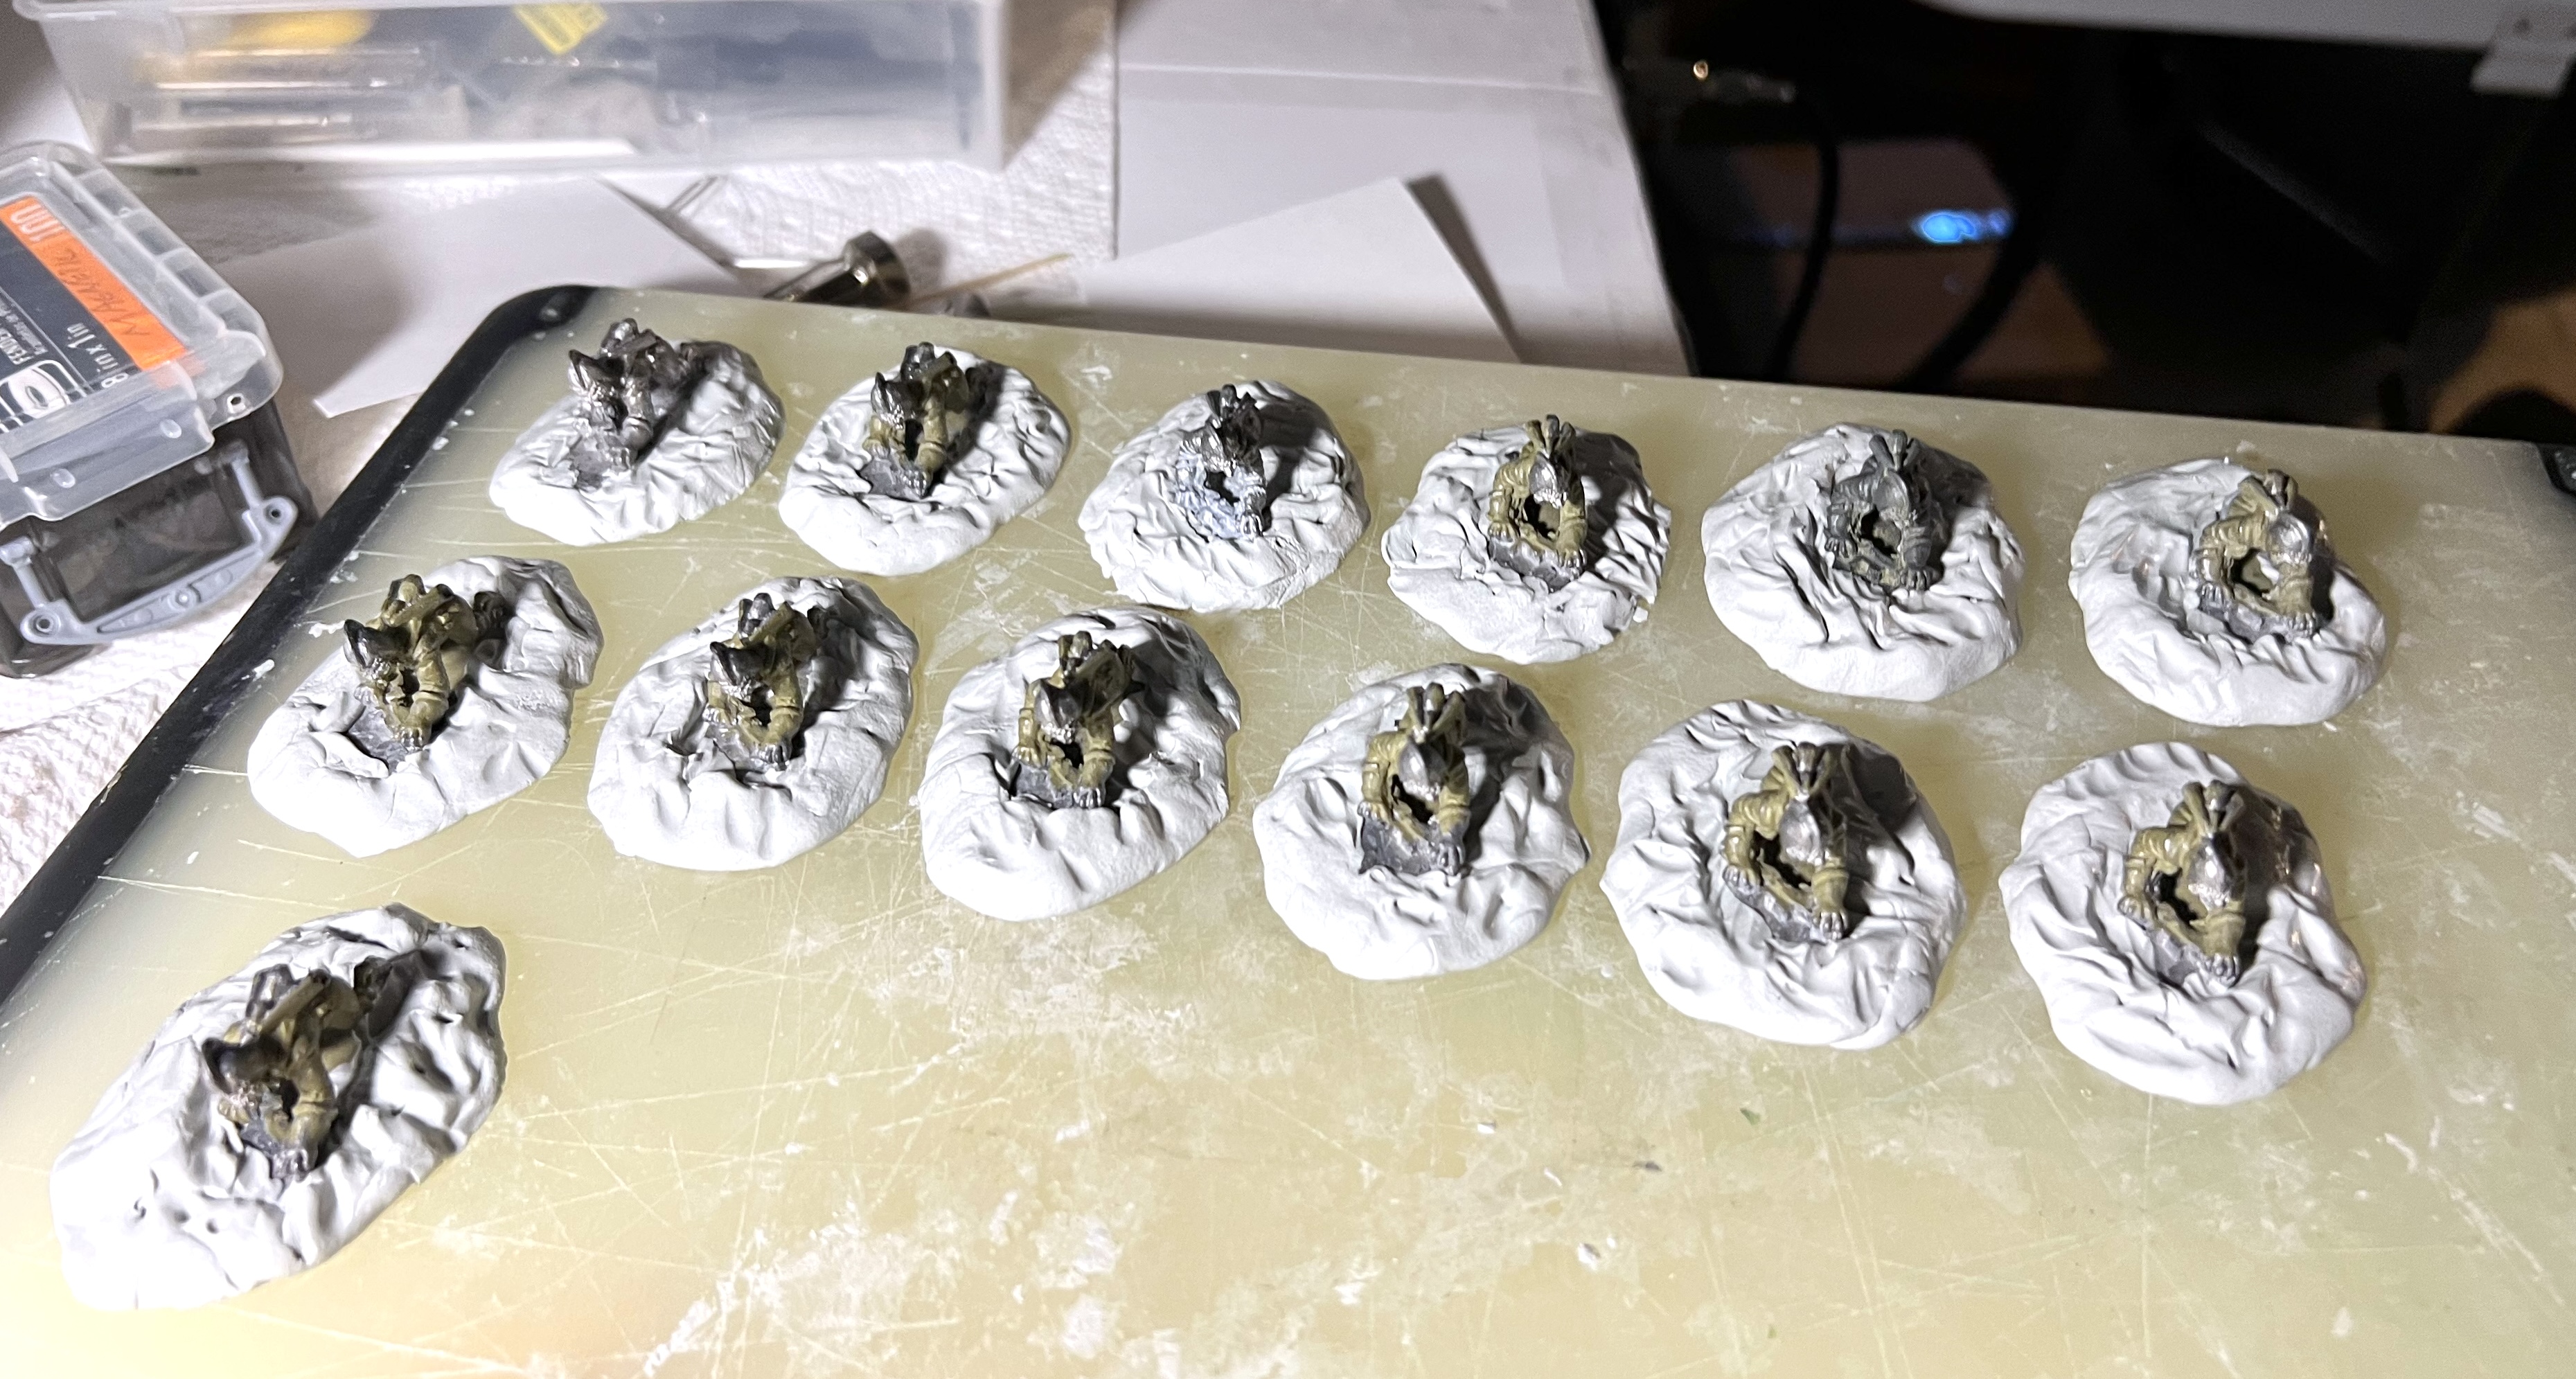
The next step was to sculpt around the metal bases with a two-piece epoxy (in this case Apoxie Sculpt).

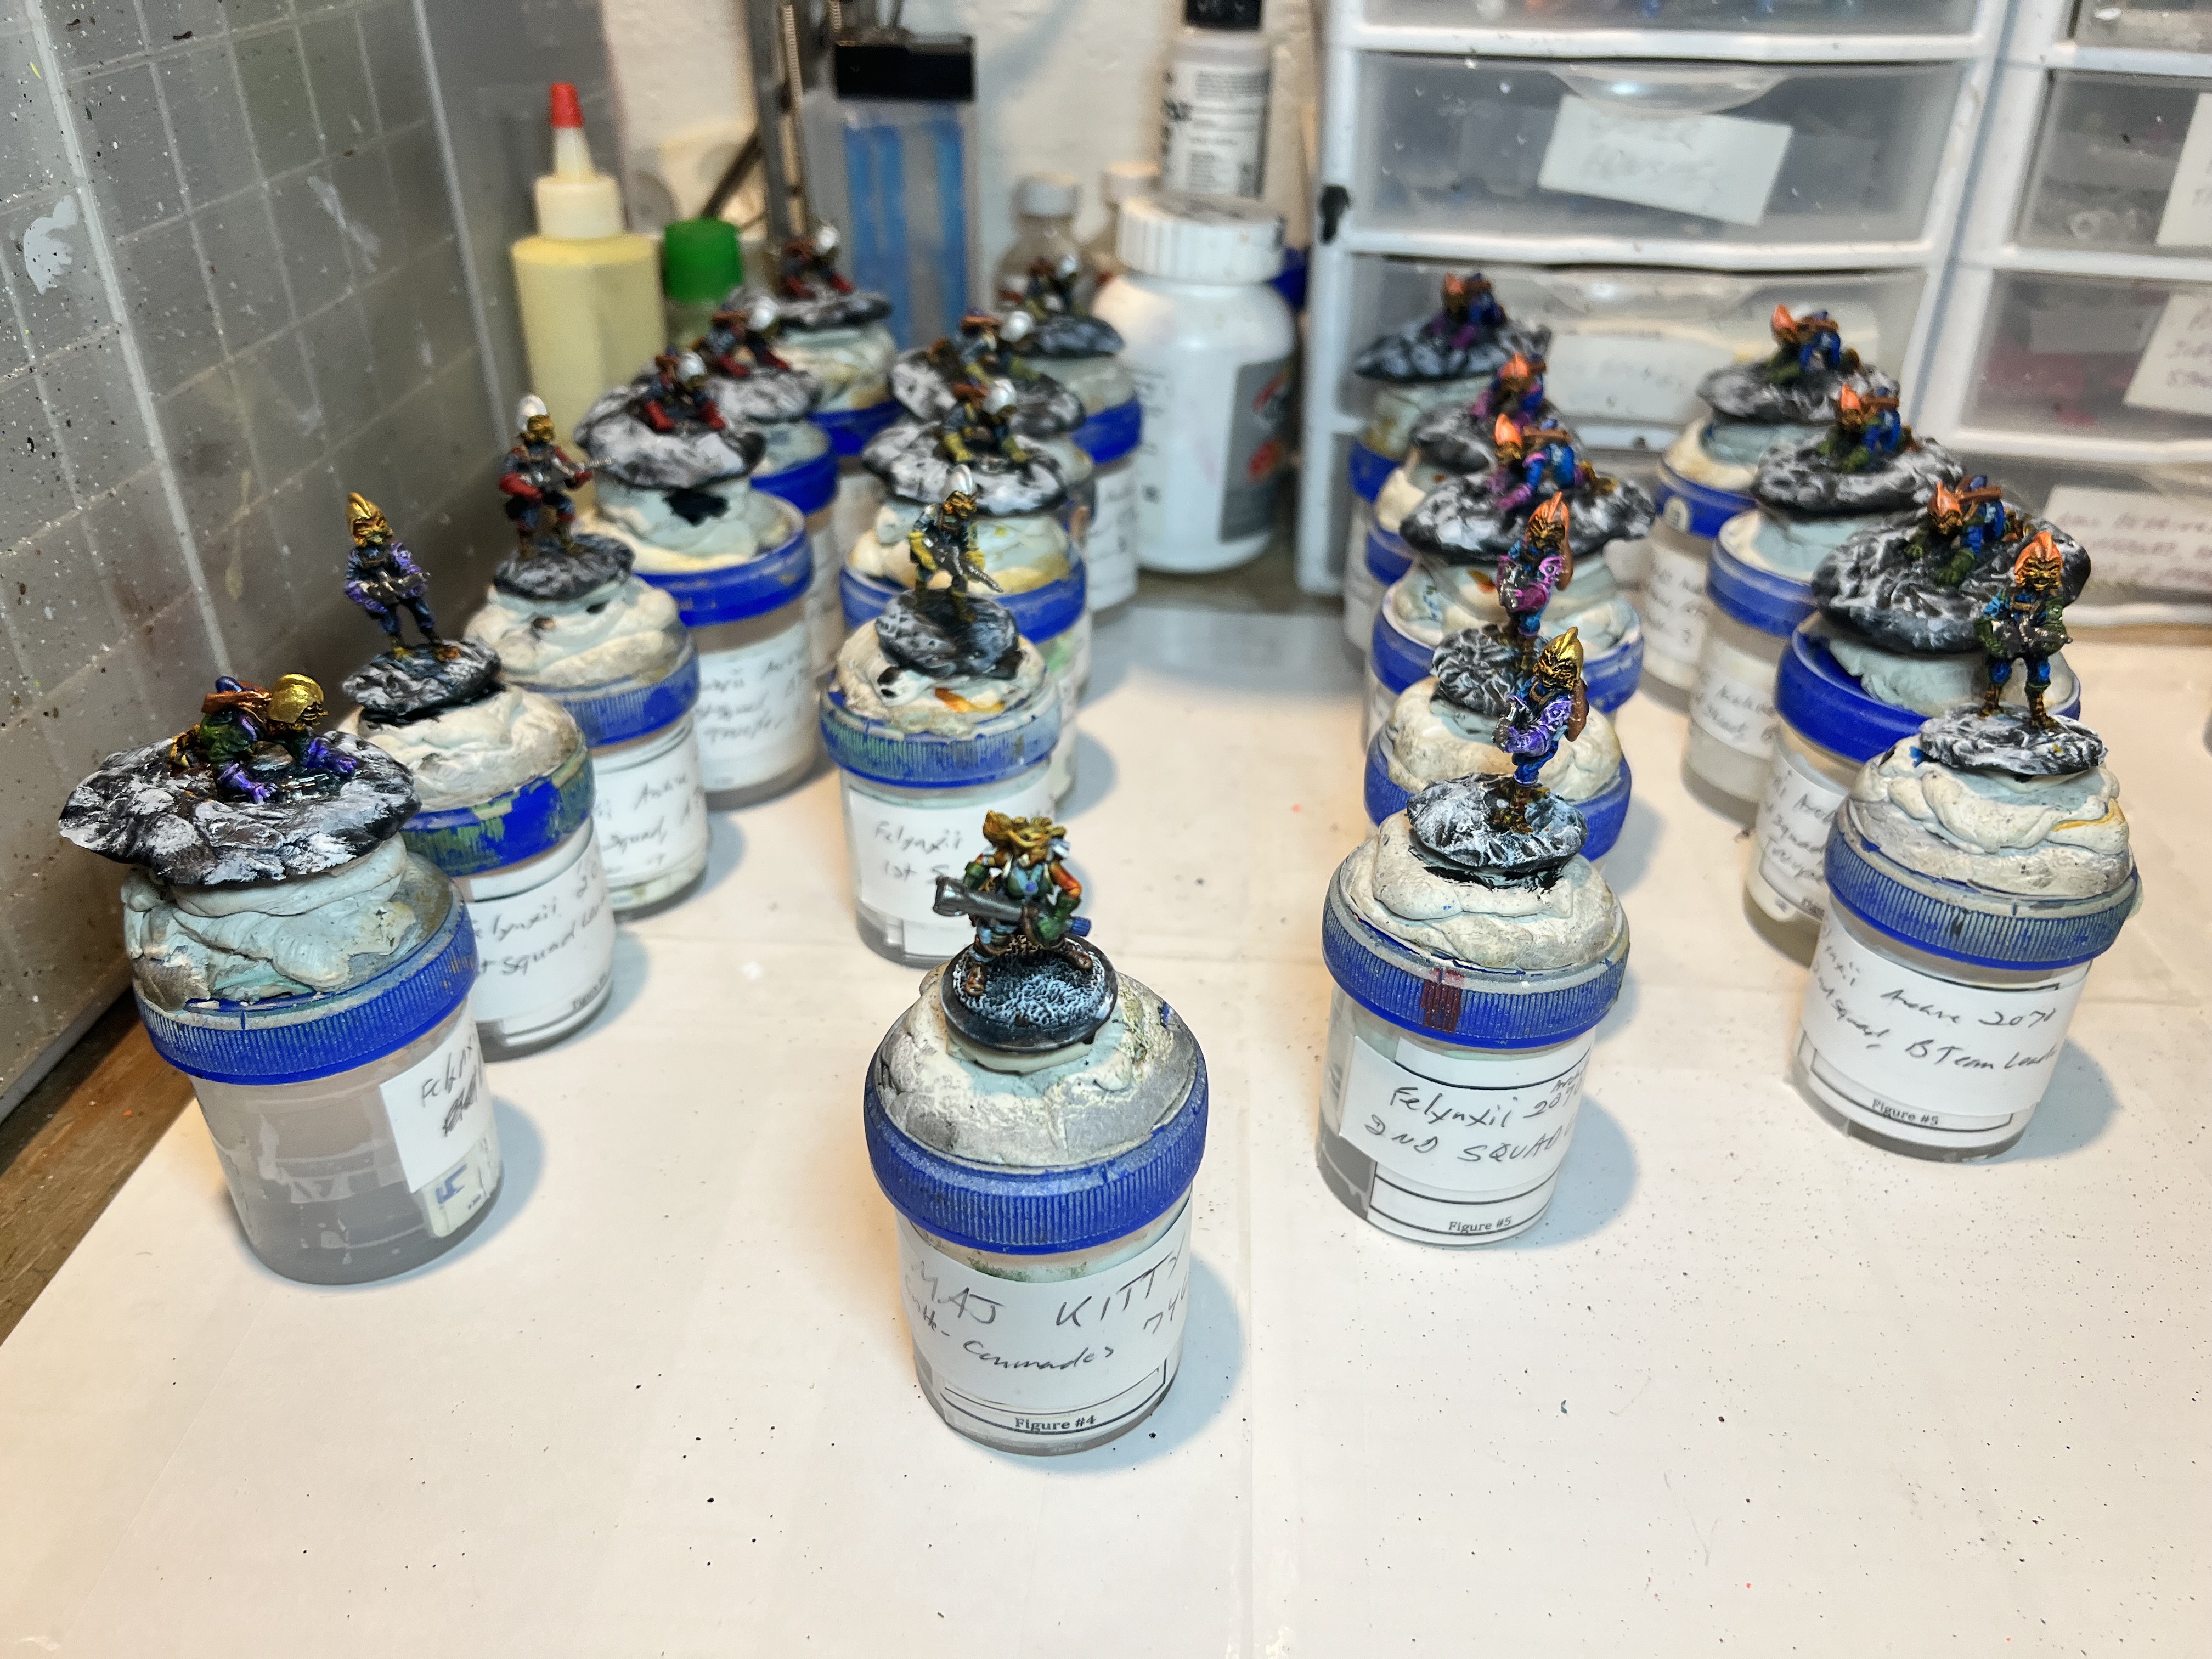
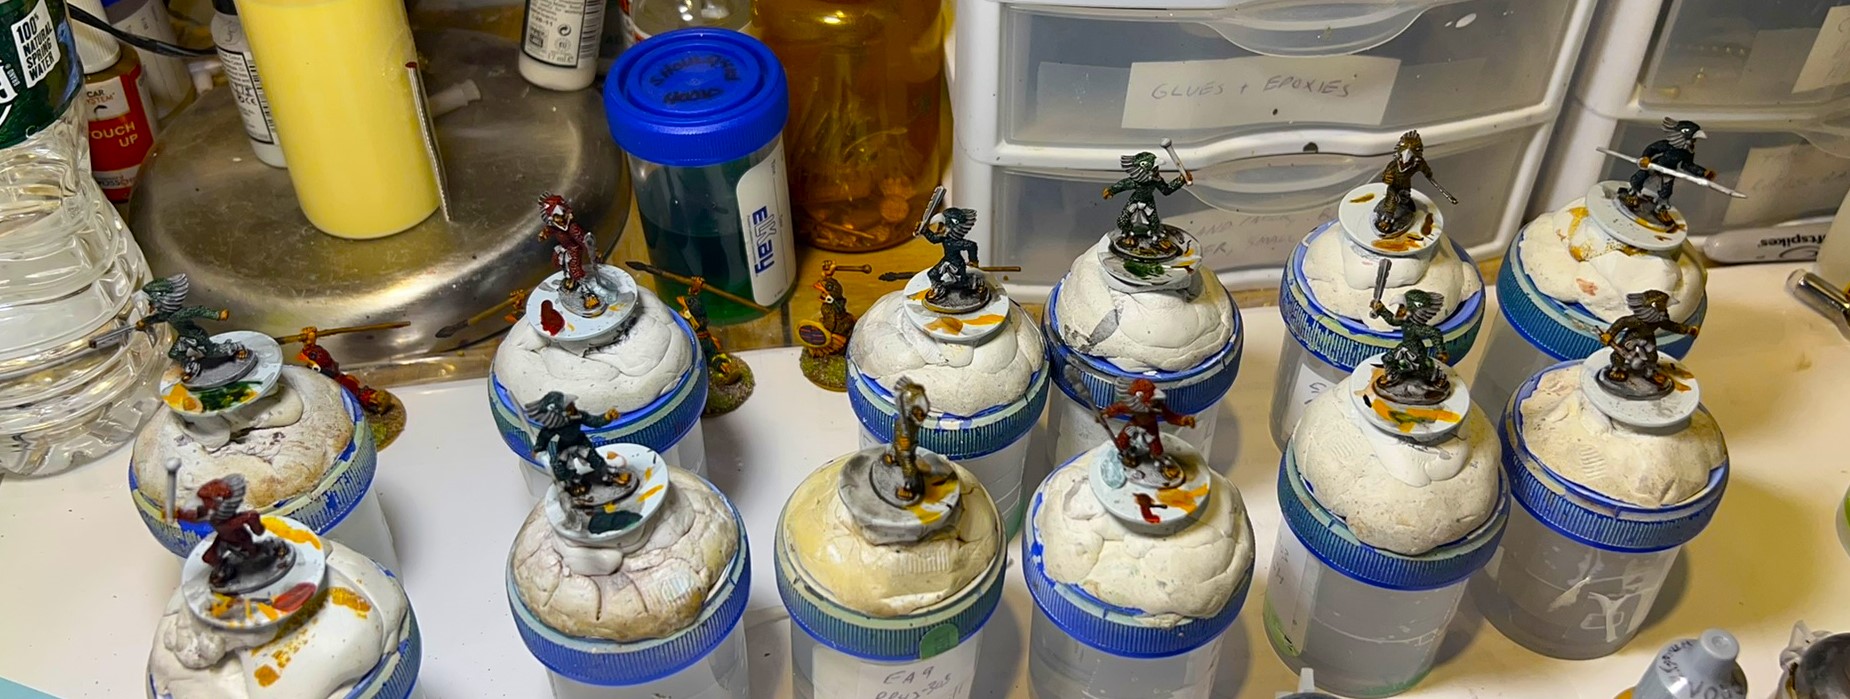
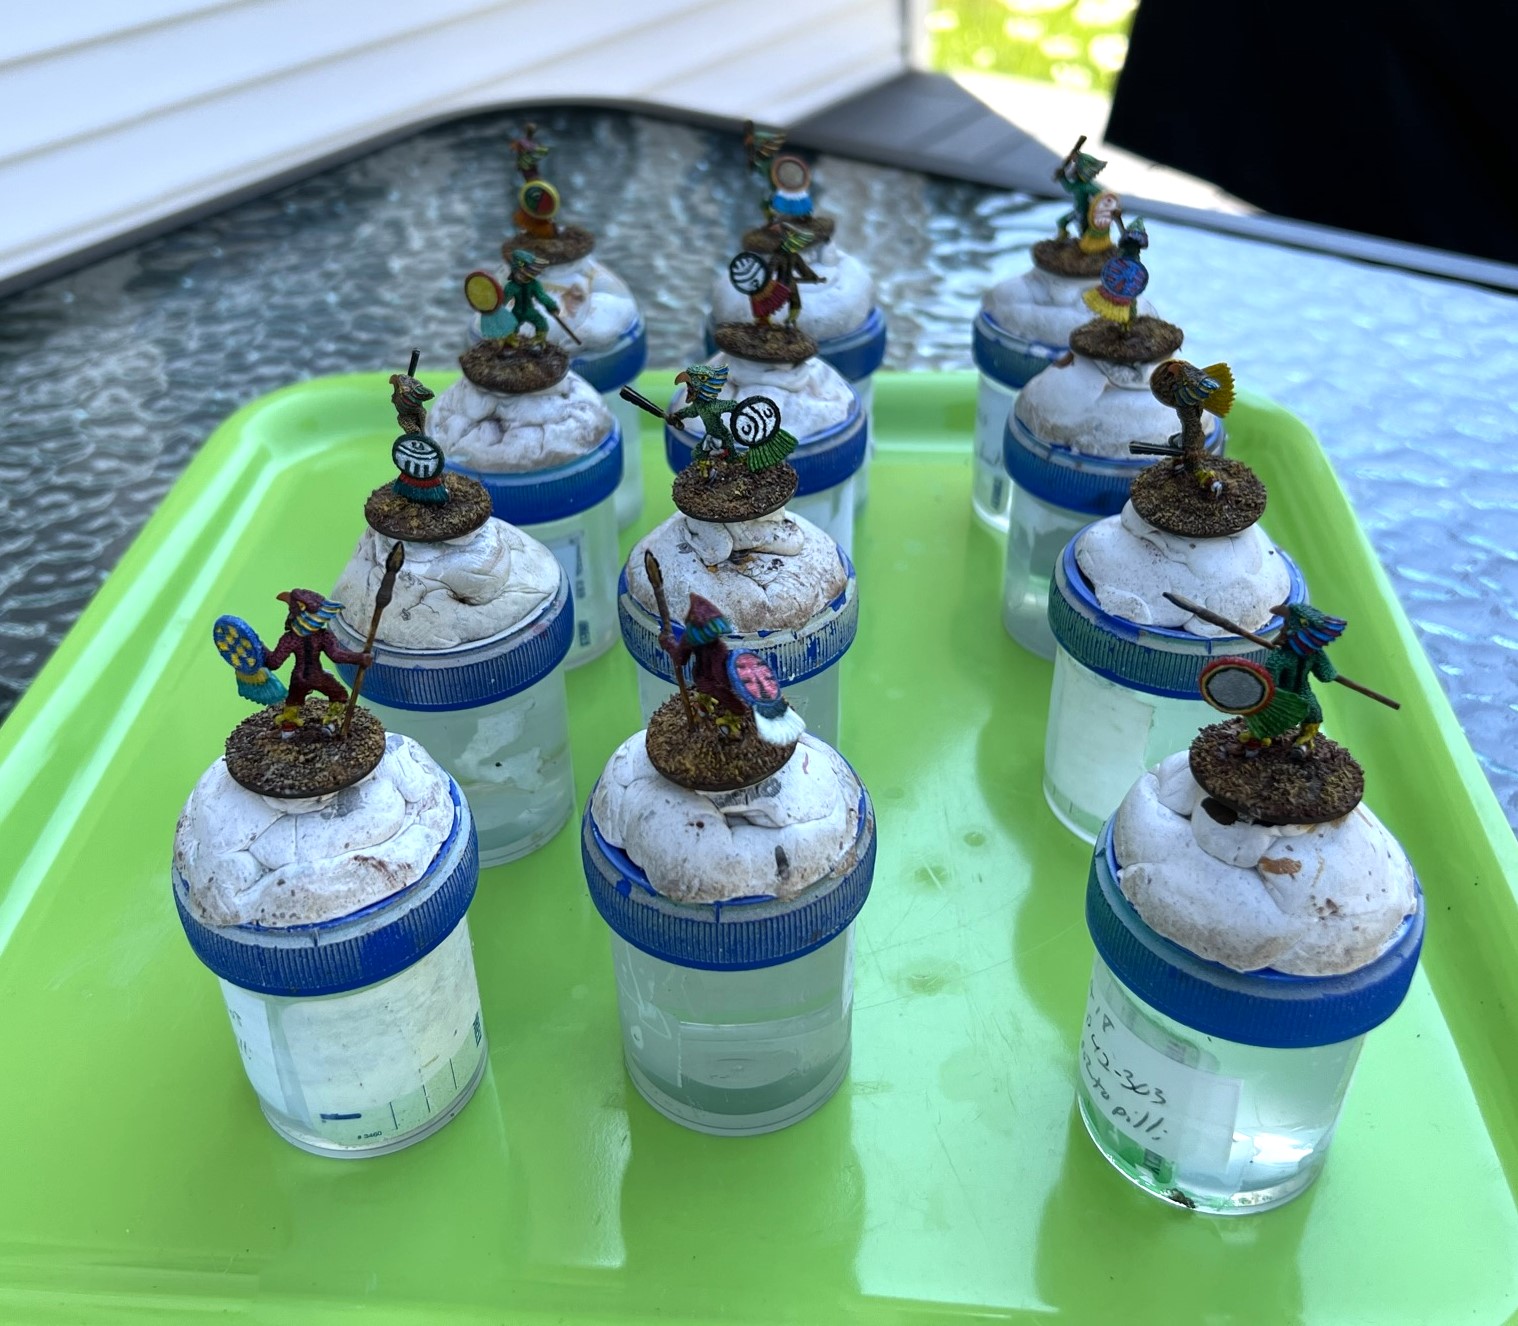
Once the epoxy had cured, I mounted the figures with poster tack to specimen jars and primed any that needed priming in black. After the primer cured, I dry brushed all to match MAJ Kitty’s state.

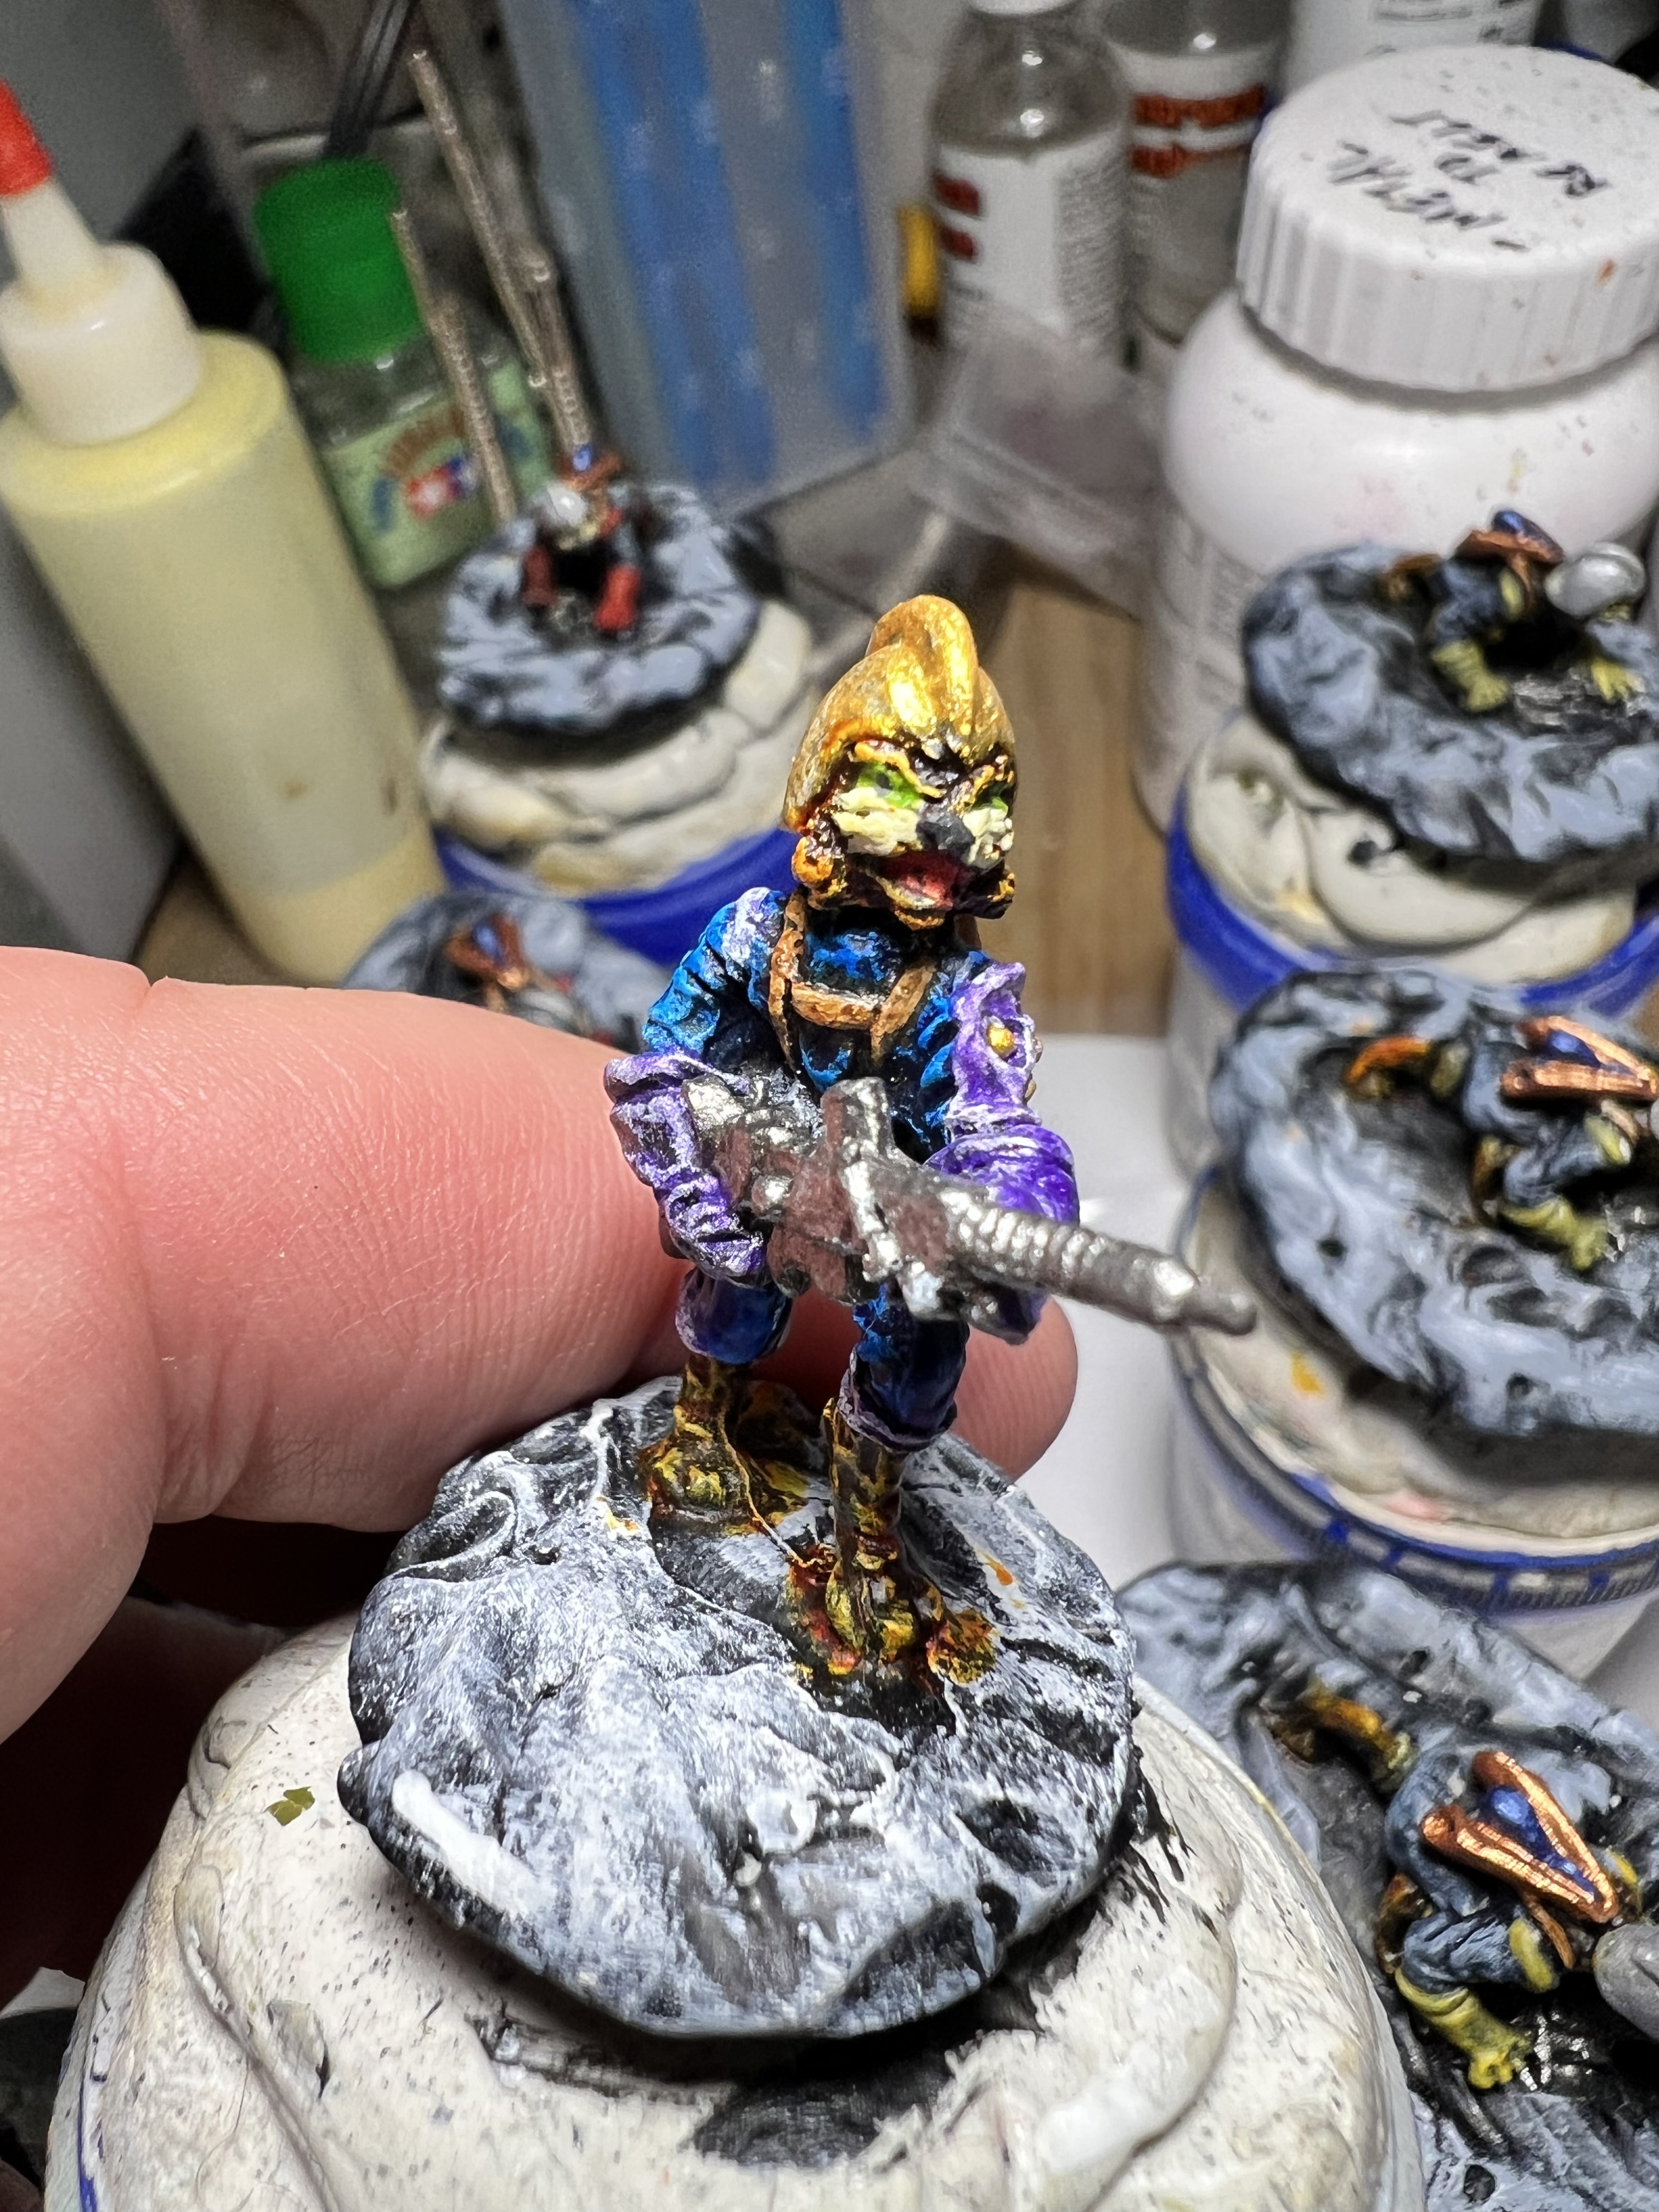
After dry brushing, it was time to start painting. Here are some shots before I got to adding any distinctive flocking.

The figures painted minus any base work or varnish.

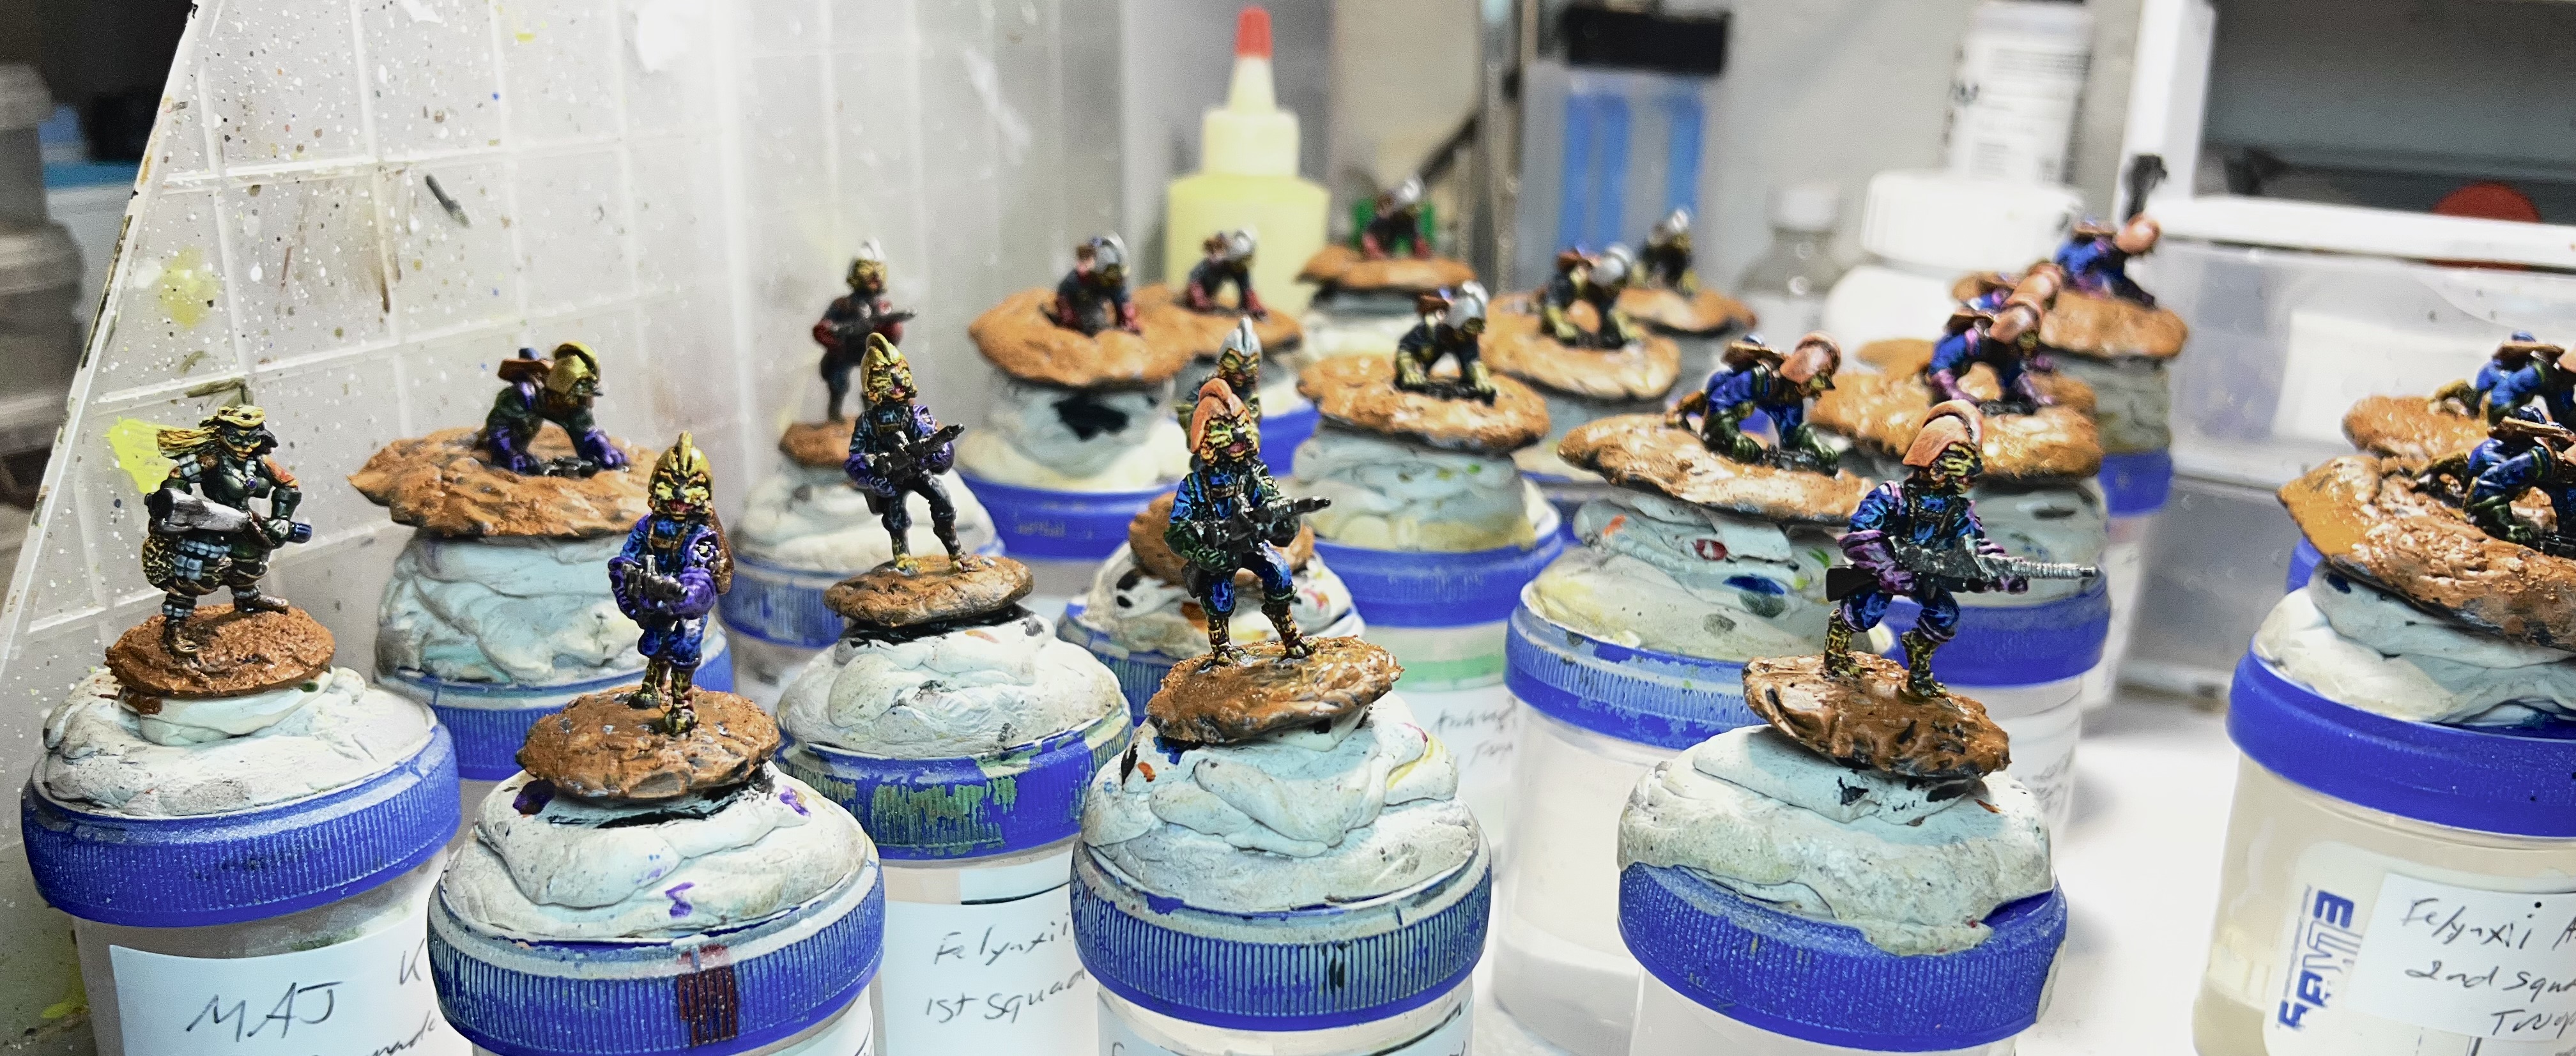
For the bases, I wanted to have a deep brown clay-like look with Citadel’s now-OOP “Blackfire Earth” texture paint that would give a bit of granularity as well as contrast with the planned use of alien tufts.

Once the texture paint had dried on the sculpted bases, I added shading before varnishing the lot.

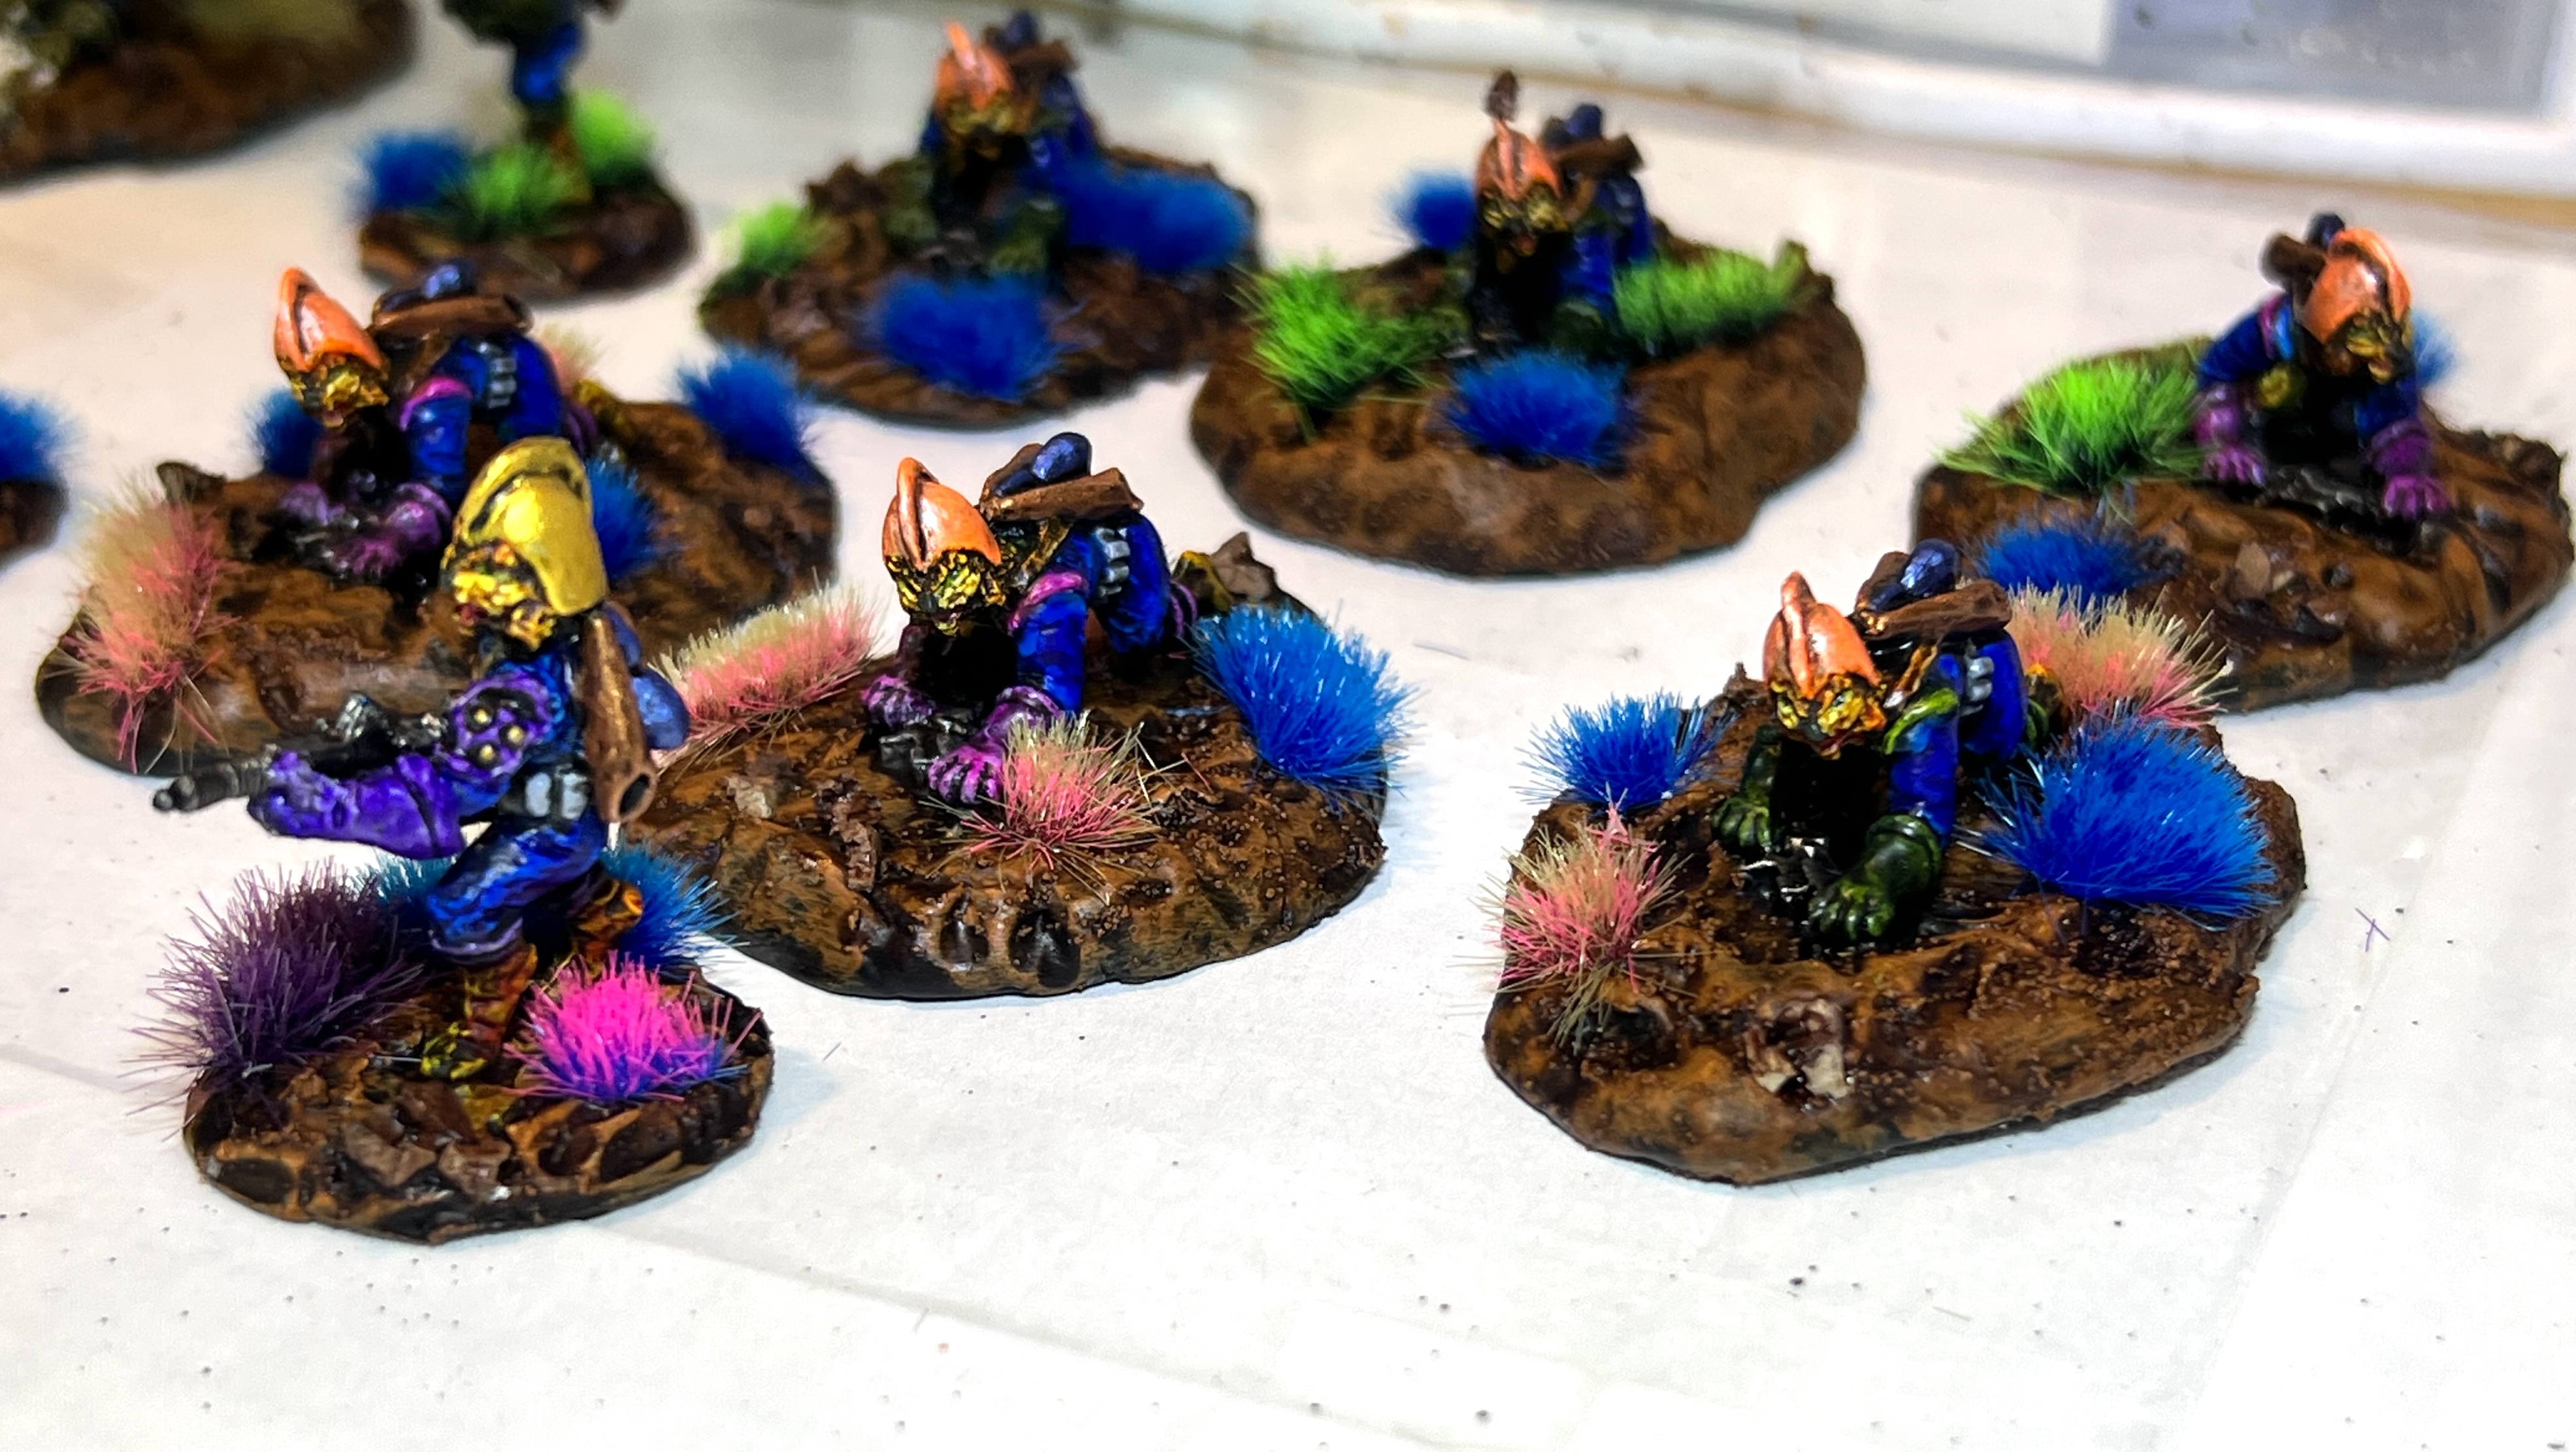
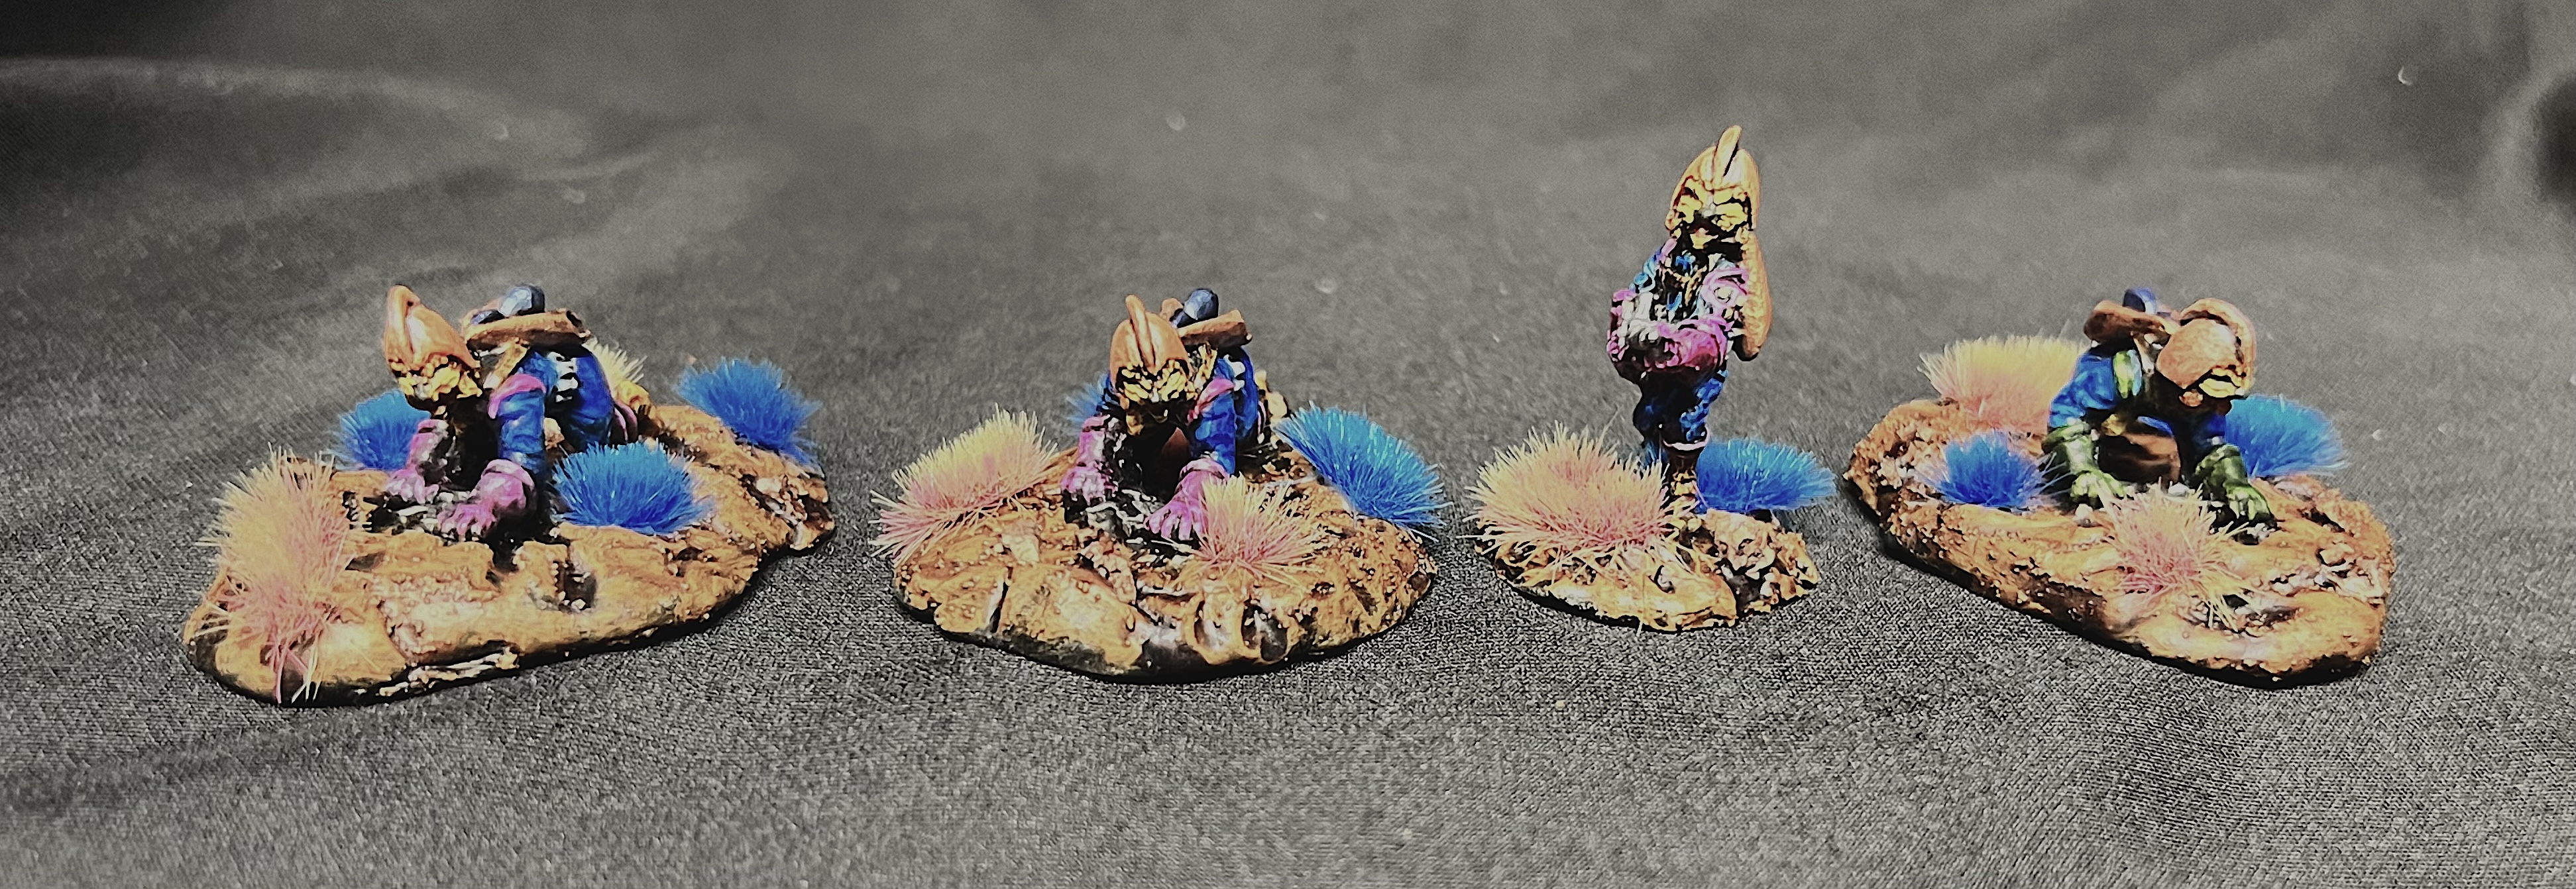
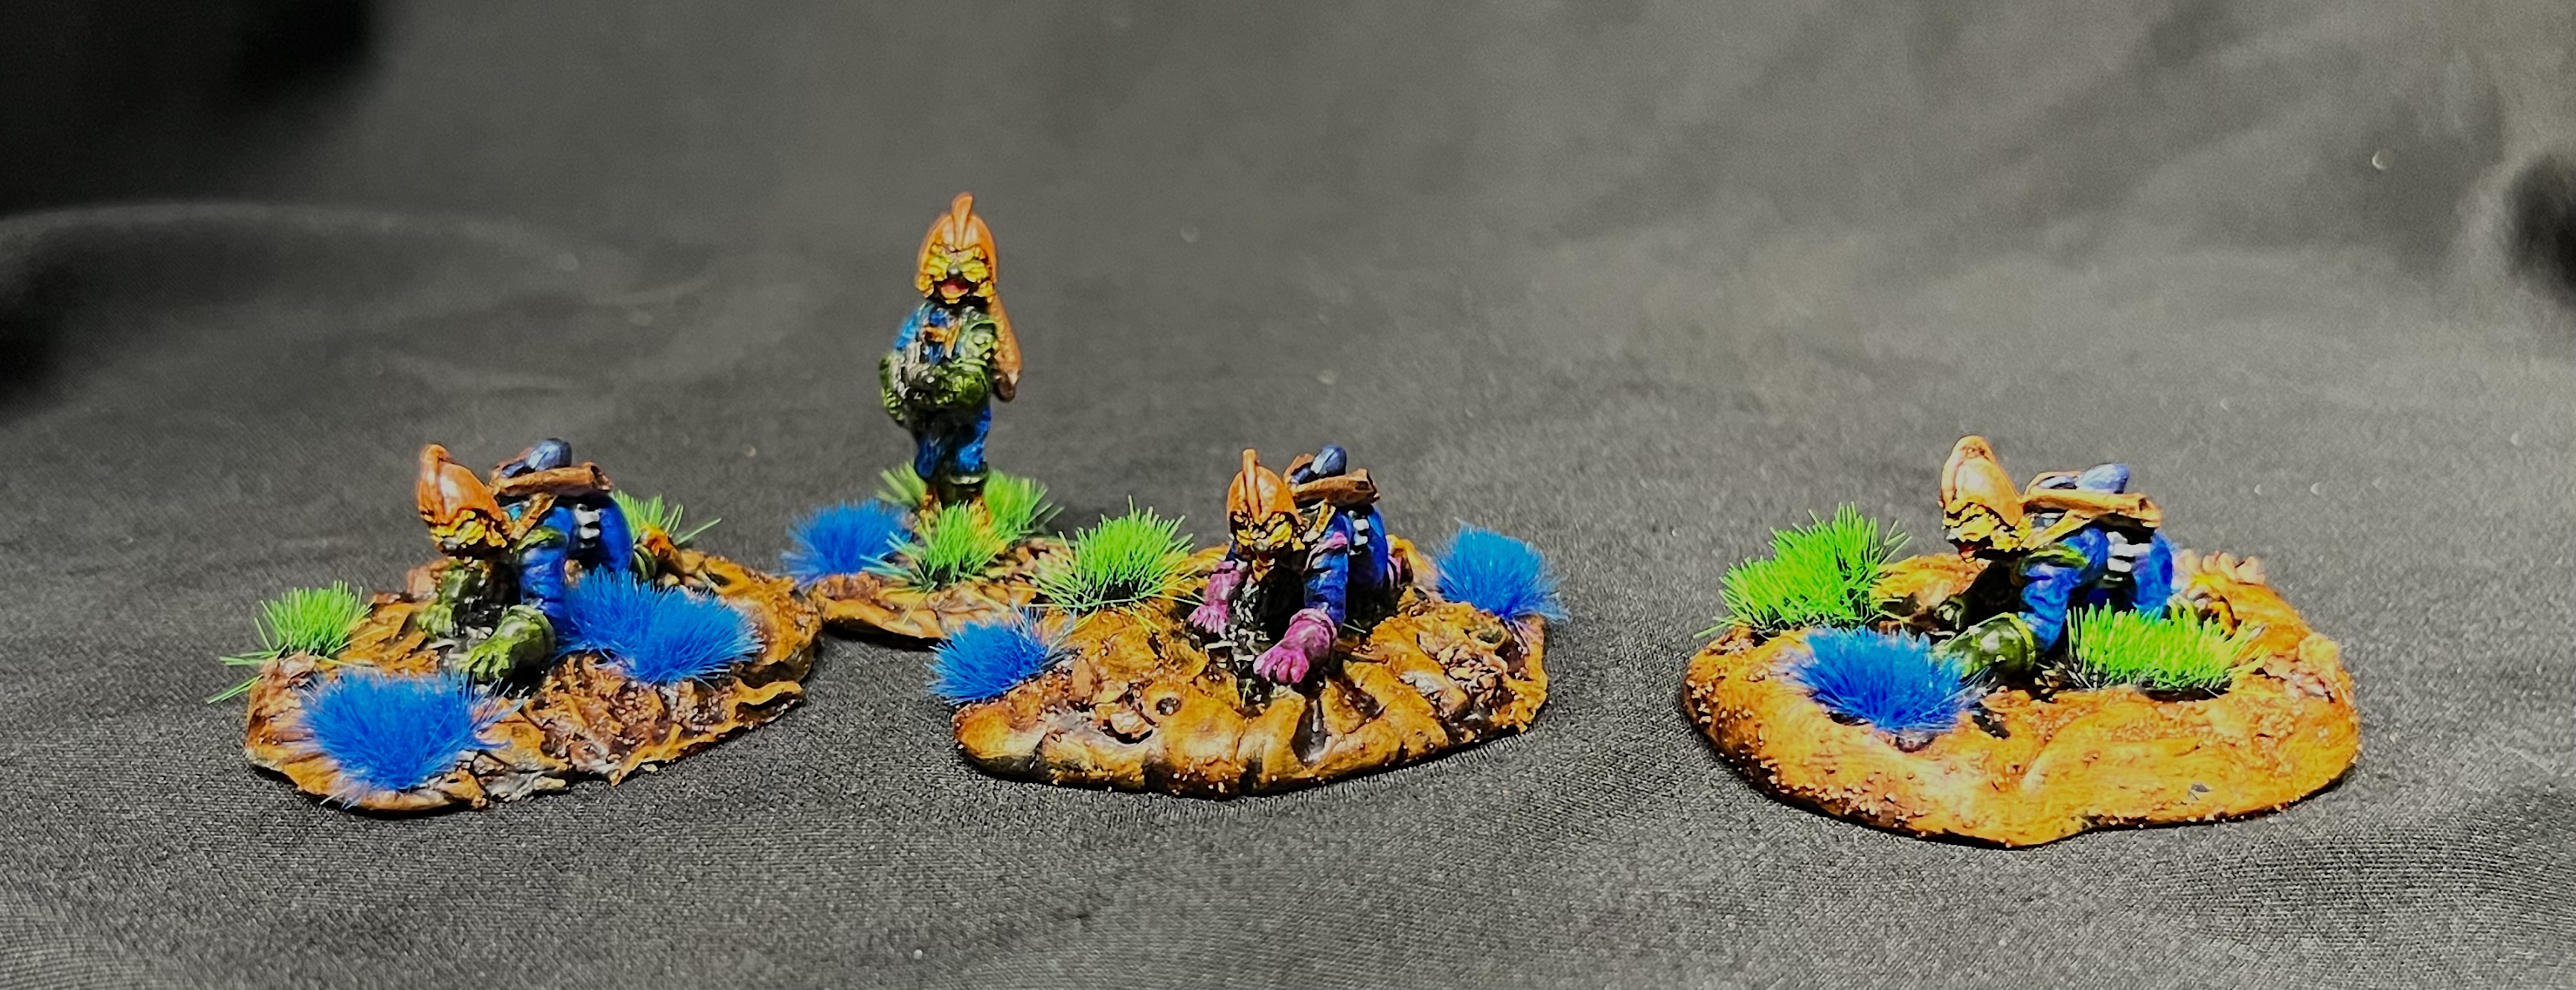
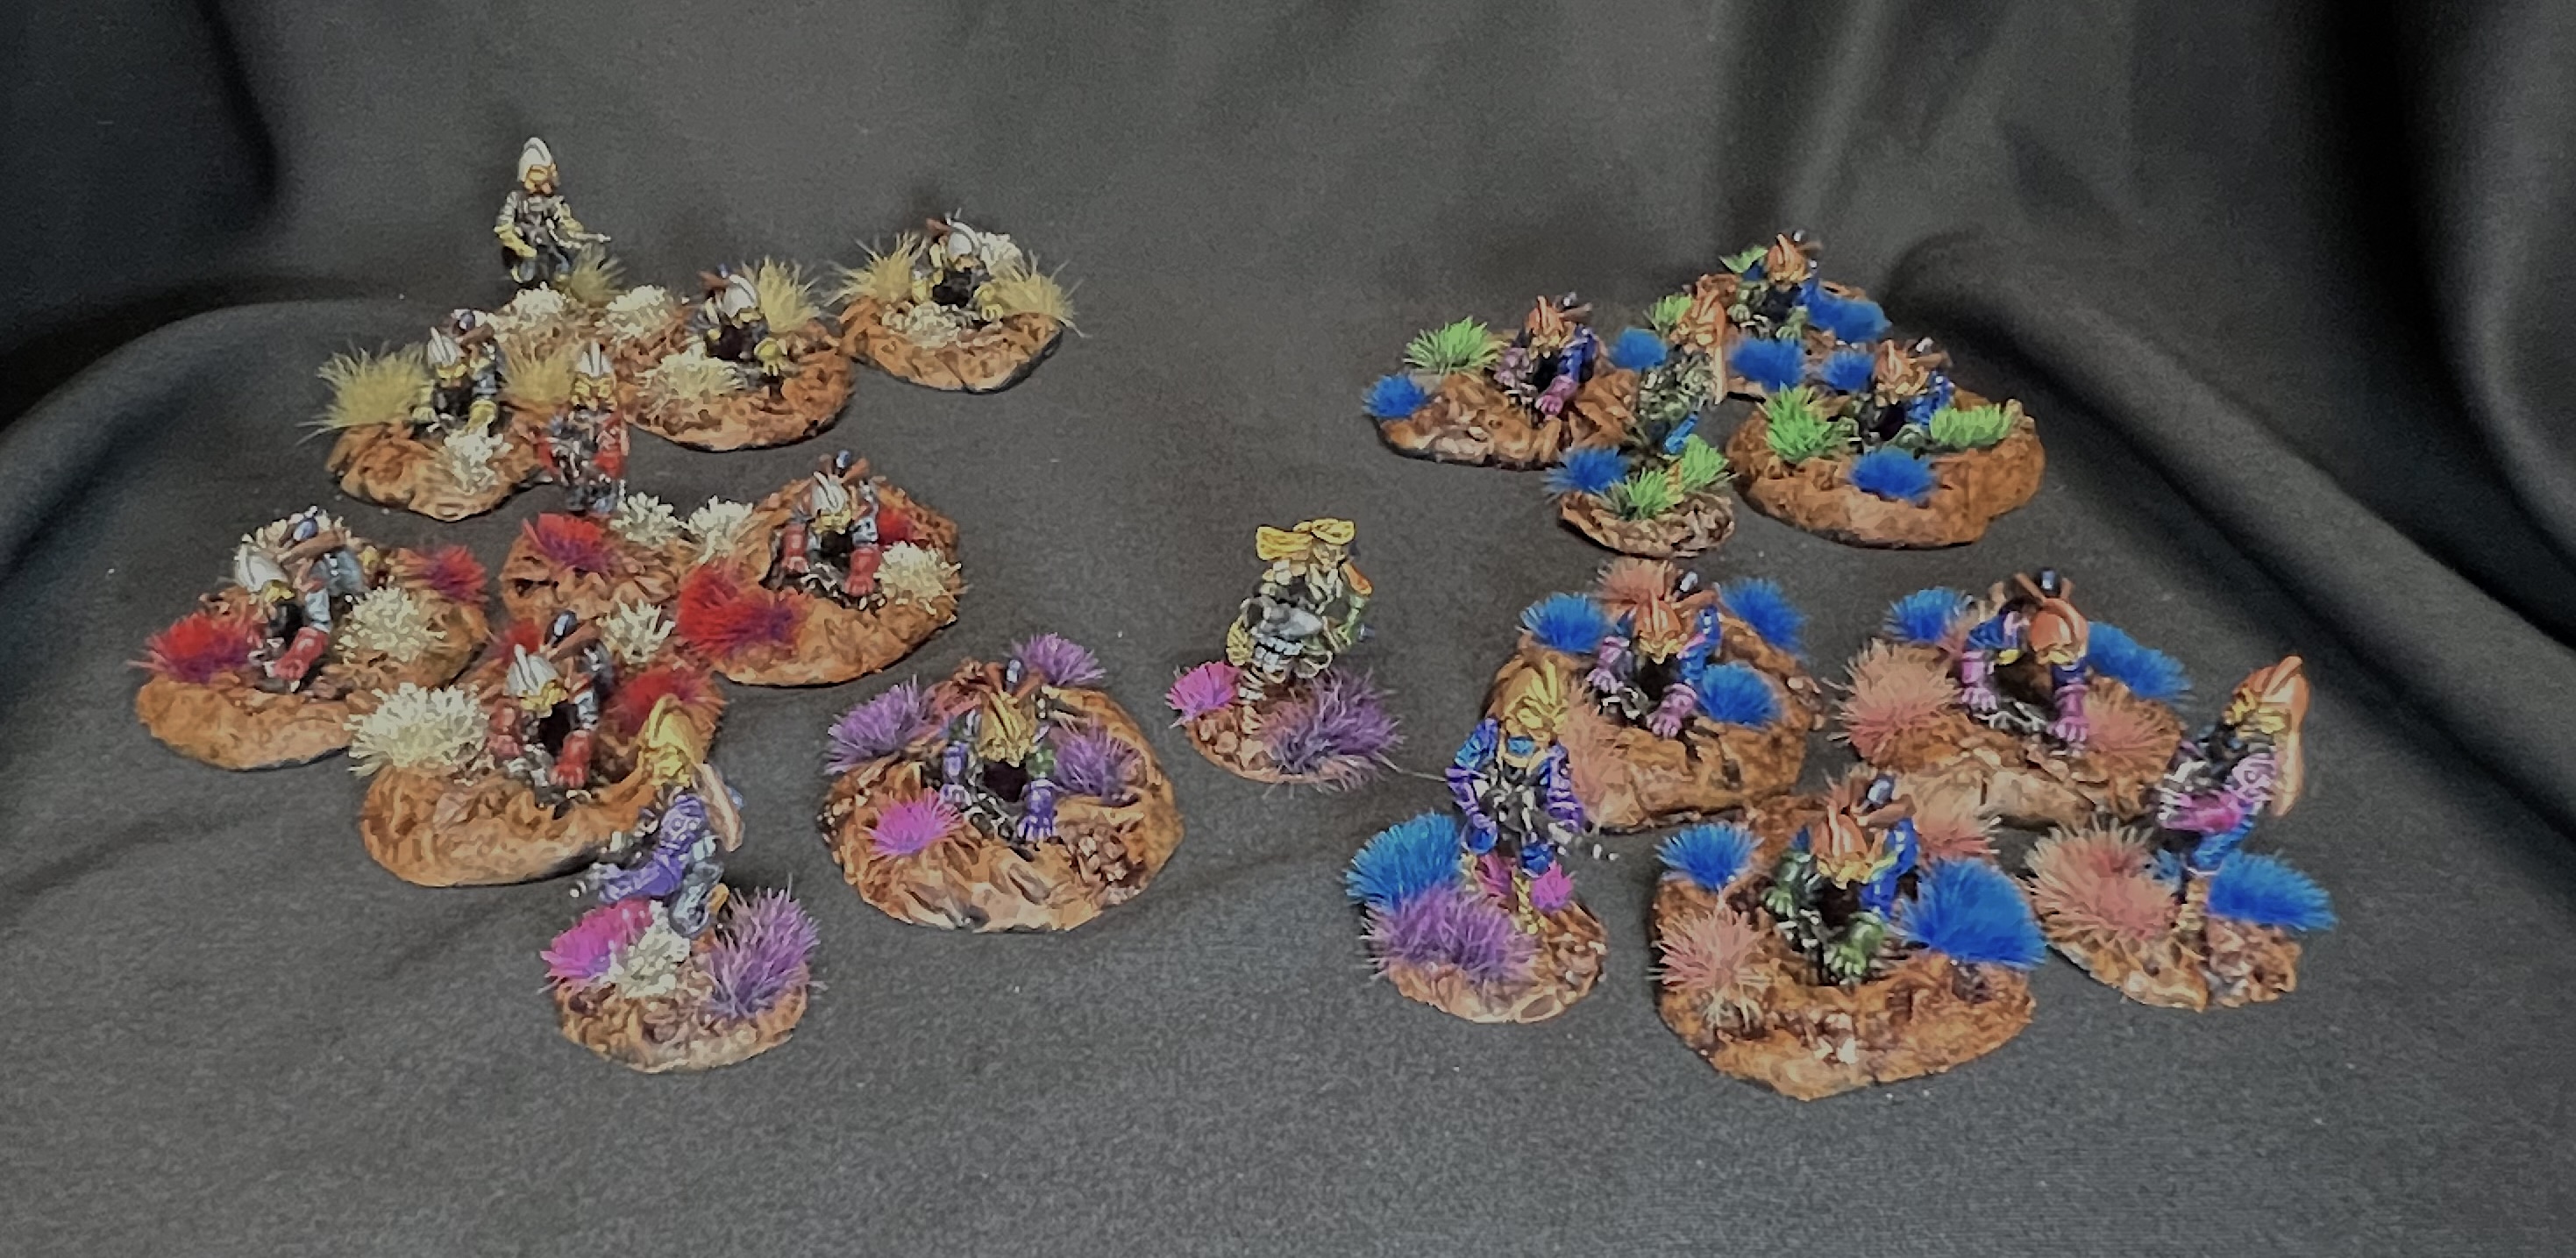
After varnishing, I added lots of differently-colored flocking. This will aid in tabletop recognition for players, as well as to add a lot of alien colors to the mix.

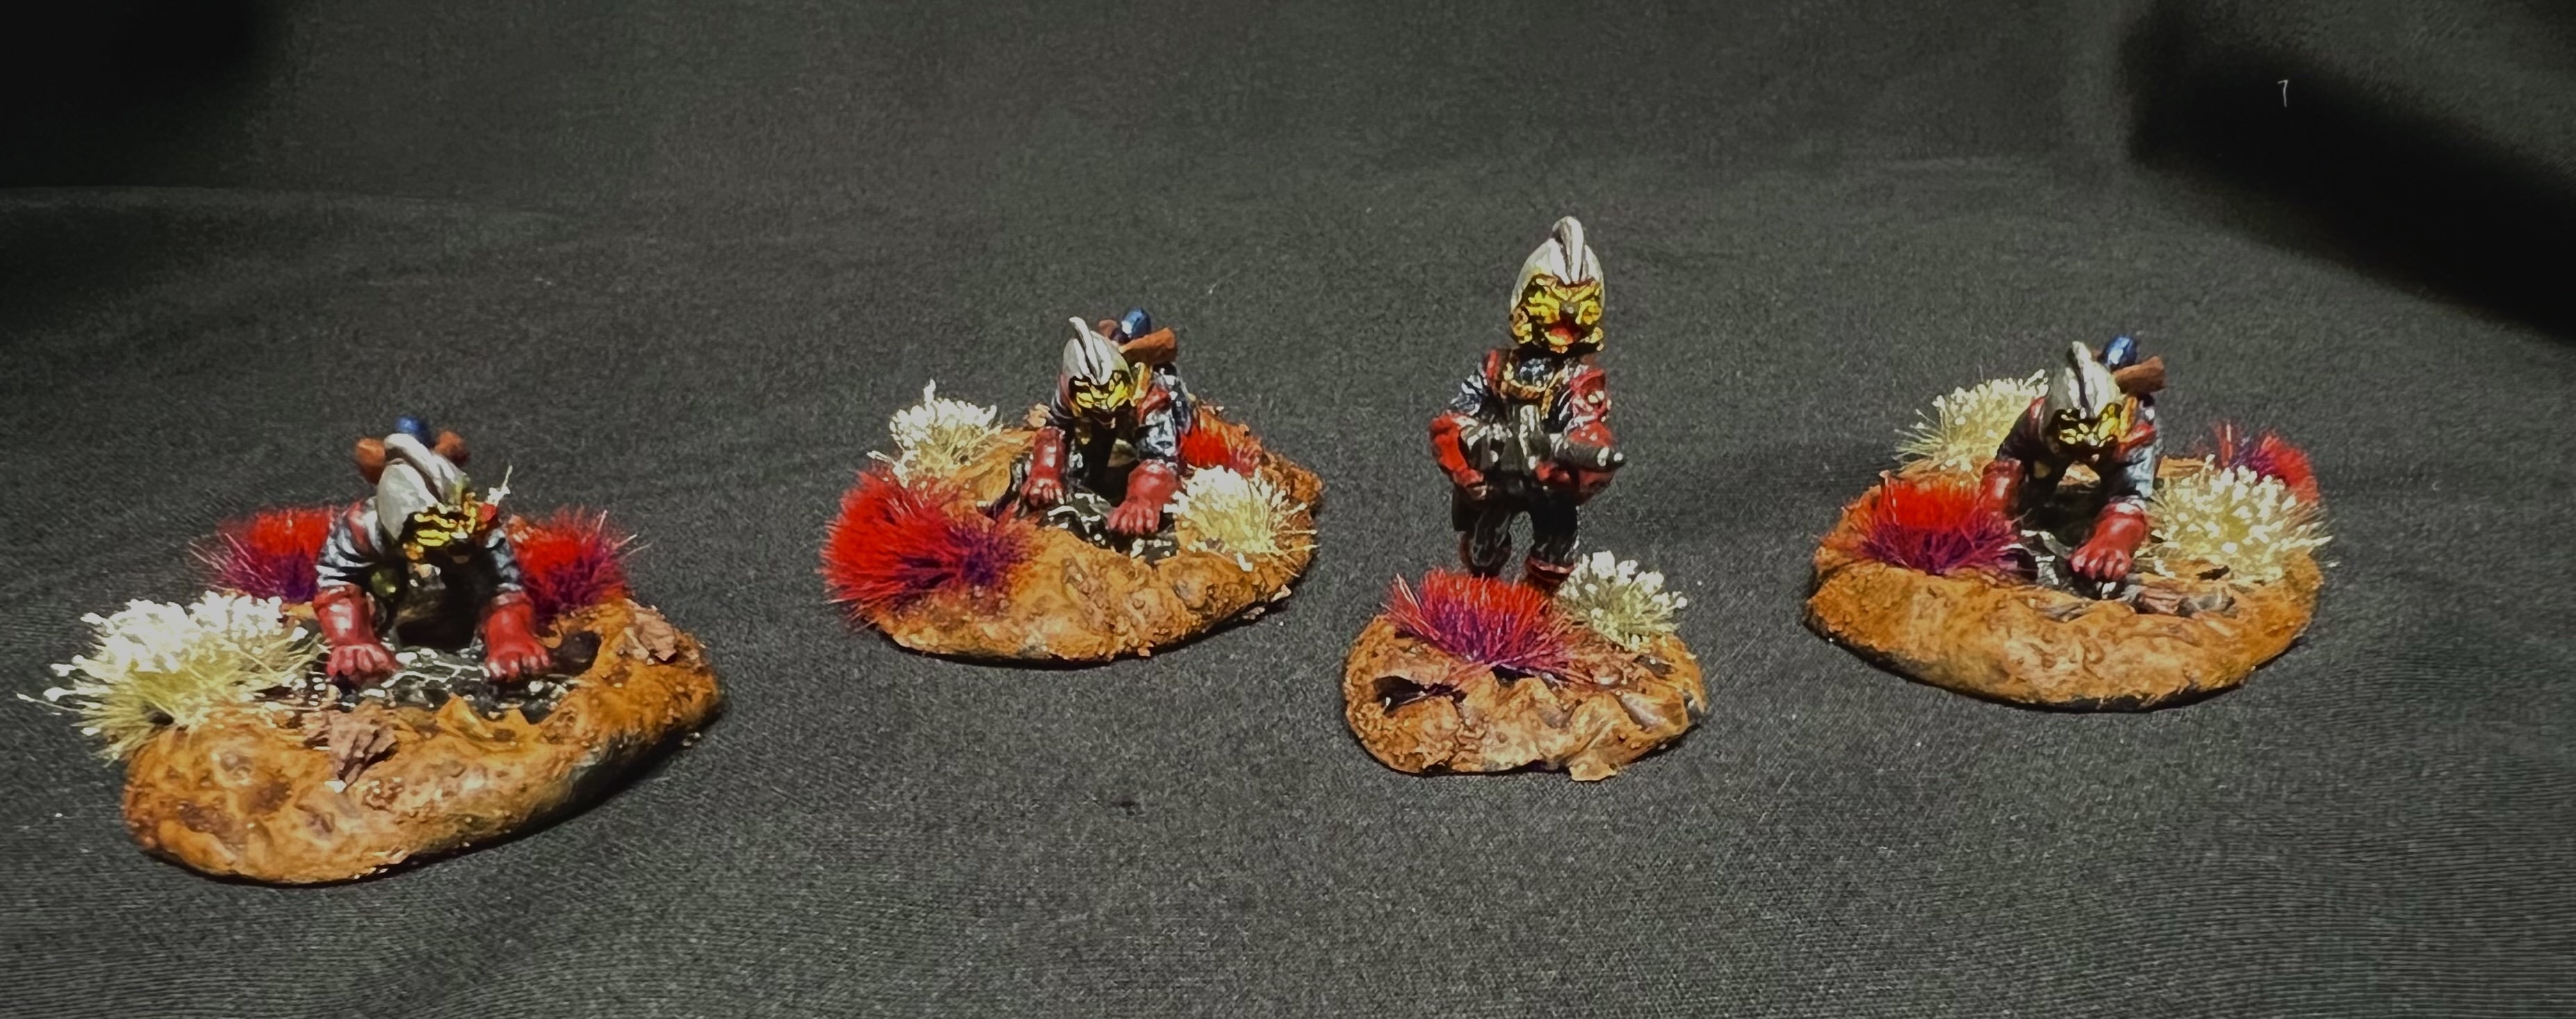
Let’s see some eye-candy. These shots are not as good as the ones you will see in the Instagram post at the end, but they will do. My lighting was challenging.

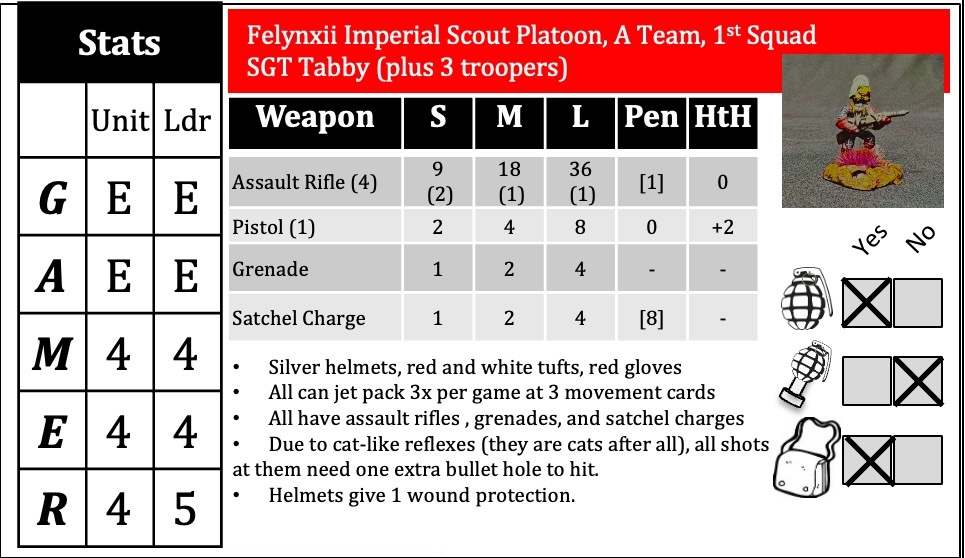
I also show the data cards that I made for my convention games – they are 3.5″ by 5.5″, with the reverse side (not shown) being the common Combat Patrol WWIITM quick reference card. Note that the data cards are color coordinated with the units to an extent. There’s also those kitty names…

The Felynxii Imperial Scout Platoon

MAJ Kitty, Platoon Leader

Base label

Platoon Sergeant – SFC Izzy

Base label
Data card for the Platoon HQ

1st Squad

1st Squad Leader -SSG FLASH

1st Squad Leader Data card
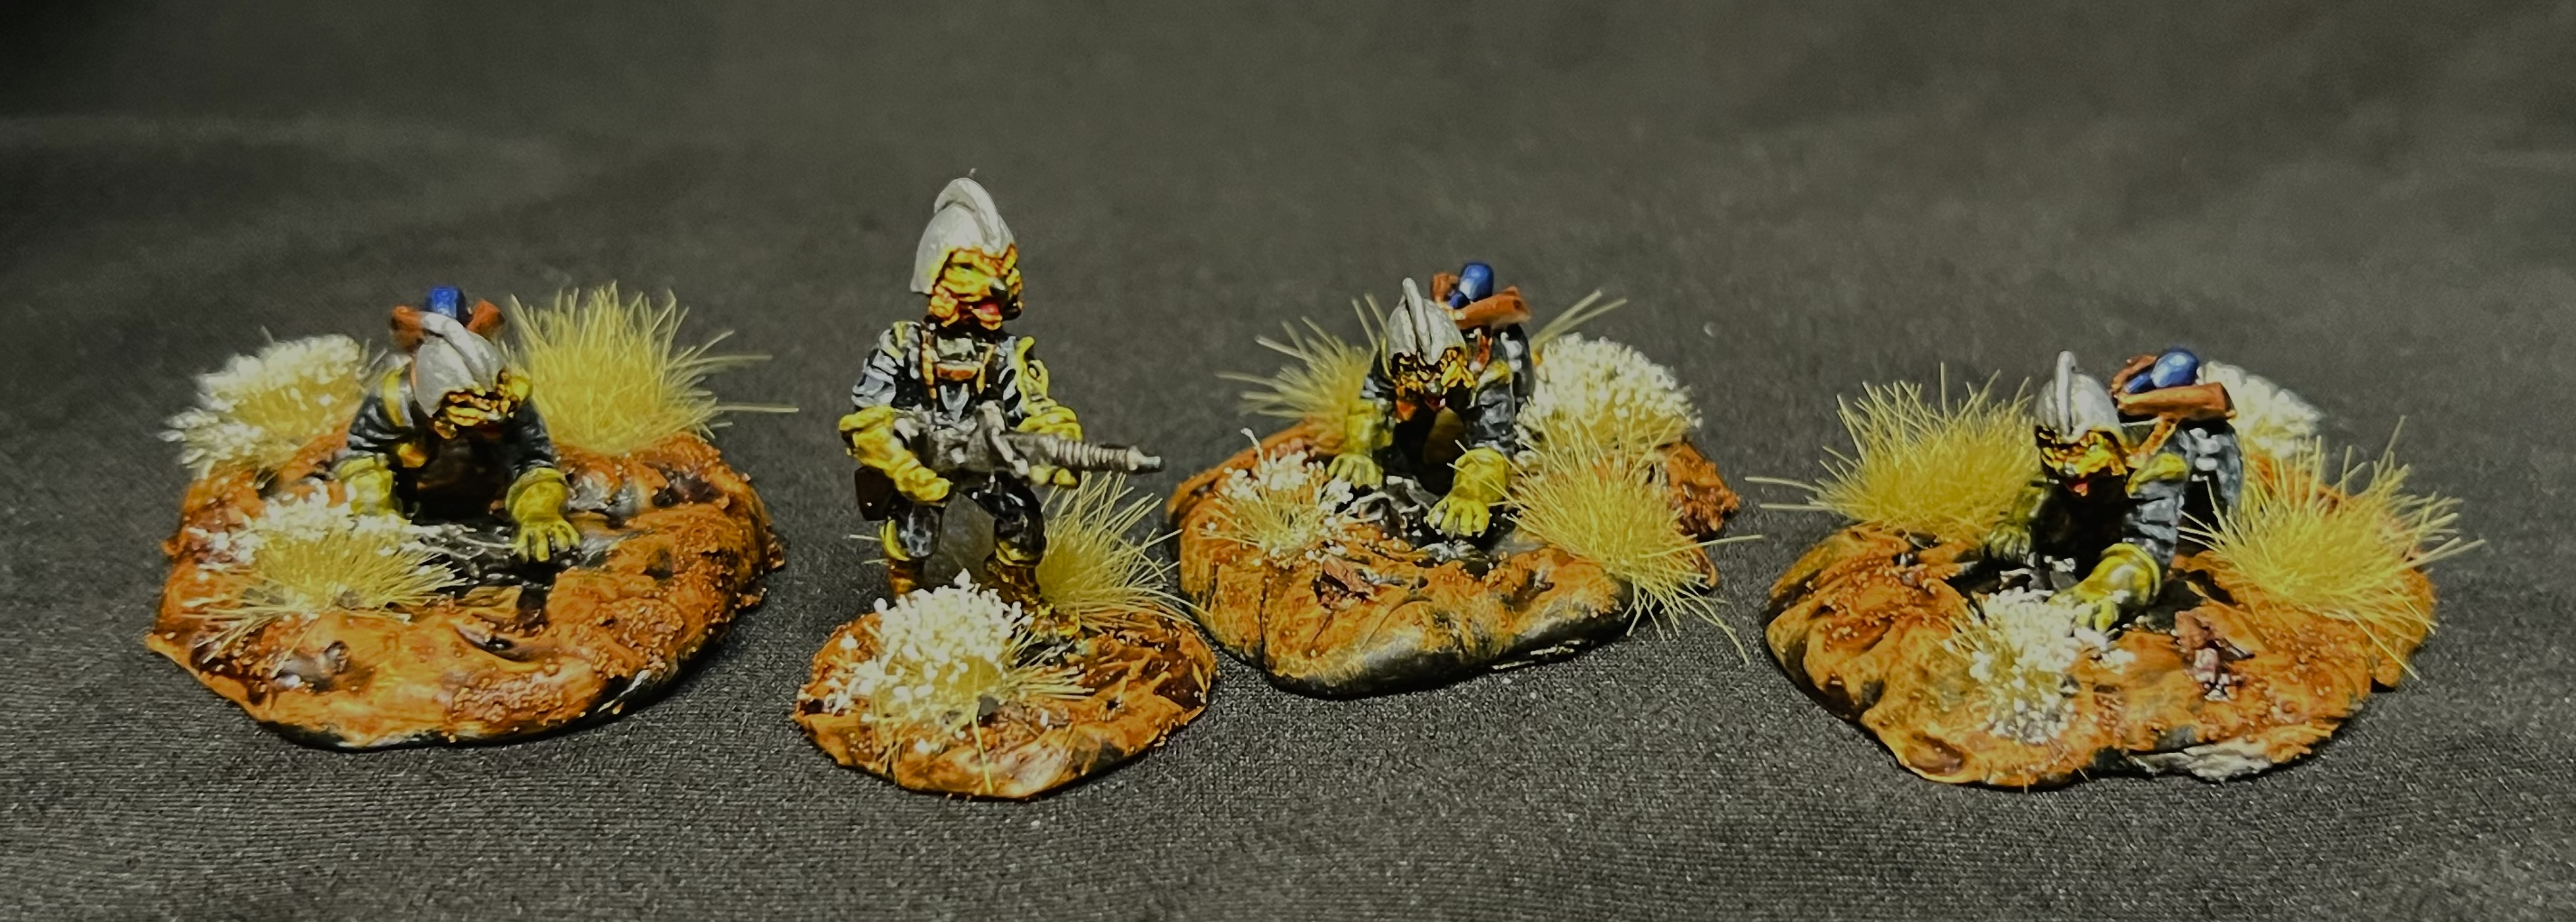
A Team, 1st Squad
A Team, 1st Squad data card
B Team, 1st Squad
B Team, 1st Squad data card
1st Squad Group Shot

2nd Squad

2nd Squad leader – SSG AMY

2nd Squad Leader data card
A Team, 2nd Squad
A Team, 2nd Squad data card
B Team, 2nd Squad
B Team, 2nd Squad data card
Felynxii Imperial Scout Platoon Group Shot

For a quick live (and perhaps better lighted) overview please check out my Instagram link:

In the future, I have some plans to potentially add some feline-themed armor to their ranks. Stay tuned.

Thanks for taking a read about this project. My hope is that you found it interesting and informative about some figures that you never heard about before or maybe just forgot about. While I do not own a cat (I am currently allergic), my daughter Ellen and granddaughter Tabitha like them a lot, and did not replace Izzy, so I hope they like the project too.

As always, I would love to hear your thoughts on the Felynxii here – did you find any aspect more interesting than another? Did I make the right choice to jump into as a project? Do you have any favorite figure or team?

The comments section awaits your opinions! Join the conversation!

Finally, below are a list of some references and links that might also be of interest. I use them to refer to when I forget painting schemes that I want to replicate.

References:

For a consolidated list of links for any of my previous “Anthropomorphic Figure Project Posts”, please see this page here.

For a consolidated list of links for any of my previous “Old School Miniatures” blog posts, please see this page here.

For a consolidated list of links for any of my previous sci-fi/retro sci-fi posts, please see this page: https://markamorin.com/sci-fi-retro-sci-fi-projects/

PAINTS, INKS, GLAZES, SHADES, WASHES, PIGMENTS, FLOCKING, GLUES AND MORE THAT I USED ON THESE FELYNXII FIGURES (INCLUDING MAJ KITTY):

  1. Specimen Jars
  2. Poster tack
  3. Vallejo Primers “White”
  4. 1″ Everbilt steel fender washers (for SKU 2070 and MAJ KITTY)
  5. 1.5″ Everbilt steel fender washers (for SKU 2071)
  6. Vallejo Primer “Surface Black”
  7. Apoxie Sculpt
  8. Vallejo Model Color “Off White”
  9. Army Painter Speed Paint 1.0 “Zealot Yellow”
  10. Army Painter Warpaints Metallics “Gun Metal”
  11. Army Painter Speed Paint 1.0 “Dark Wood”
  12. Army Painter Speed Paint 1.0 “Runic Grey”
  13. Citadel Contrast Paint “Talassar Blue”
  14. Vallejo Thinner
  15. Citadel Contrast Paint “Baal Red”
  16. Army Painter Speed Paint 2.0 “Pastel Yellow”
  17. Army Painter Speed Paint 2.0 “Familiar Pink”
  18. Army Painter Speed Paint 2.0 “Forest Sprite”
  19. Army Painter Speed Paint 2.0 “Battleship Grey”
  20. Army Painter Speed Paint 1.0 “Hardened Leather”
  21. Vallejo Mecha Color “Metallic Blue”
  22. Turbo Dork “People Eater”
  23. Vallejo “Thinner Medium”
  24. Army Painter Warpaints Metallics “Bright Gold”
  25. Tamiya “Flat Aluminum” (XF-16)
  26. Vallejo Model Air “Fluorescent Red”
  27. Tamiya “Copper” (XF-6)
  28. Vallejo “Metal Medium”
  29. Vallejo Model Air “White Grey”
  30. Vallejo Model Air “First Light”
  31. Vallejo Model Color “Black Grey”
  32. Citadel “Tesseract Glow” (Technical)
  33. Reaper MSP Core Colors “Pure White”
  34. Reaper MSP “Grey Liner”
  35. Army Painter Speed Paint 2.0 “Blinding Light”
  36. Reaper MSP Core Colors “Pure Black”
  37. Citadel Contrast Paint “Luxion Purple”
  38. Vallejo Model Air “Black Metallic”
  39. Citadel “Nuln Oil GLOSS” (wash/shade)
  40. Citadel “Nuln Oil” (wash/shade)
  41. Citadel “Blackfire Earth” (Texture)
  42. Vallejo Flow Improver
  43. Vallejo Thinner
  44. Vallejo “Gloss Acrylic Varnish”
  45. Vallejo “Satin Varnish”
  46. Gamers Grass 6mm “Beige Tufts” (flocking)
  47. Gamers Grass 6mm “Beige Tufts” (flocking)
  48. Gamers Grass 6mm “Alien Blood Moon” (flocking)
  49. Gamers Grass 6mm “Alien Purple” (flocking)
  50. Gamers Grass 6mm “Alien Blue” (flocking)
  51. Gamers Grass 6mm “Alien Toxic” (flocking)
  52. Gamers Grass 6mm “Alien Pink” (flocking)
  53. Avery labels
  54. Army Painter “Battlefield Rocks” (flocking)

Until next time…

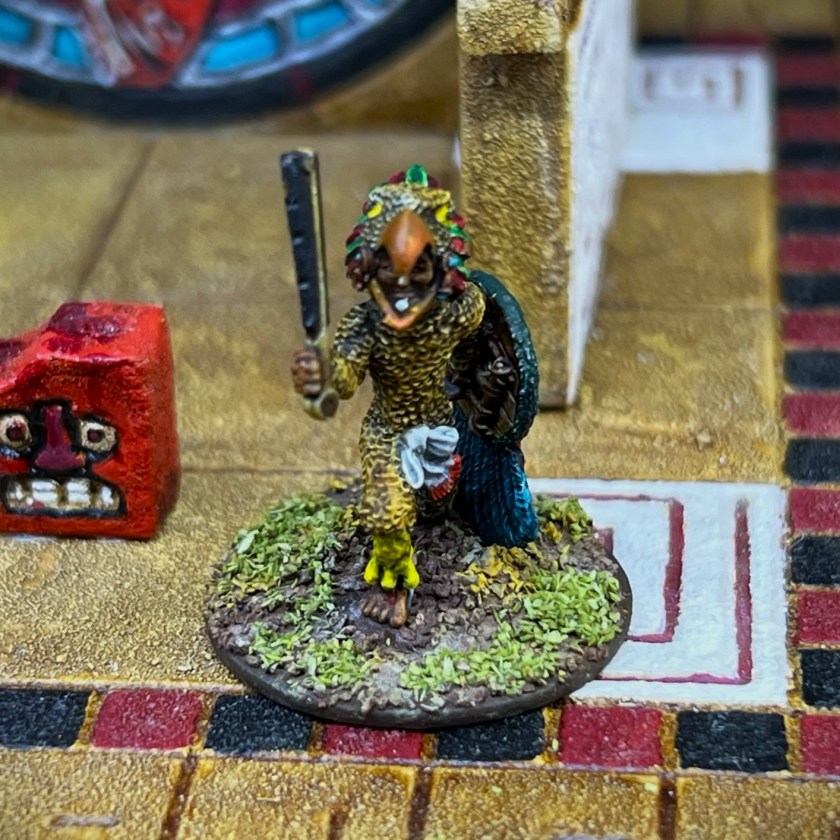
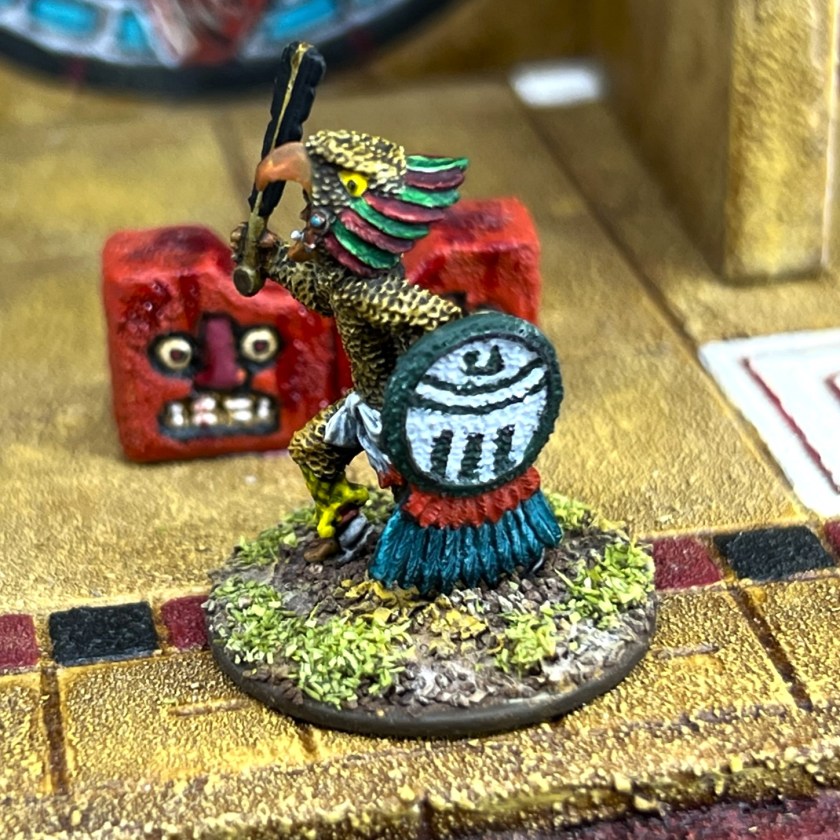
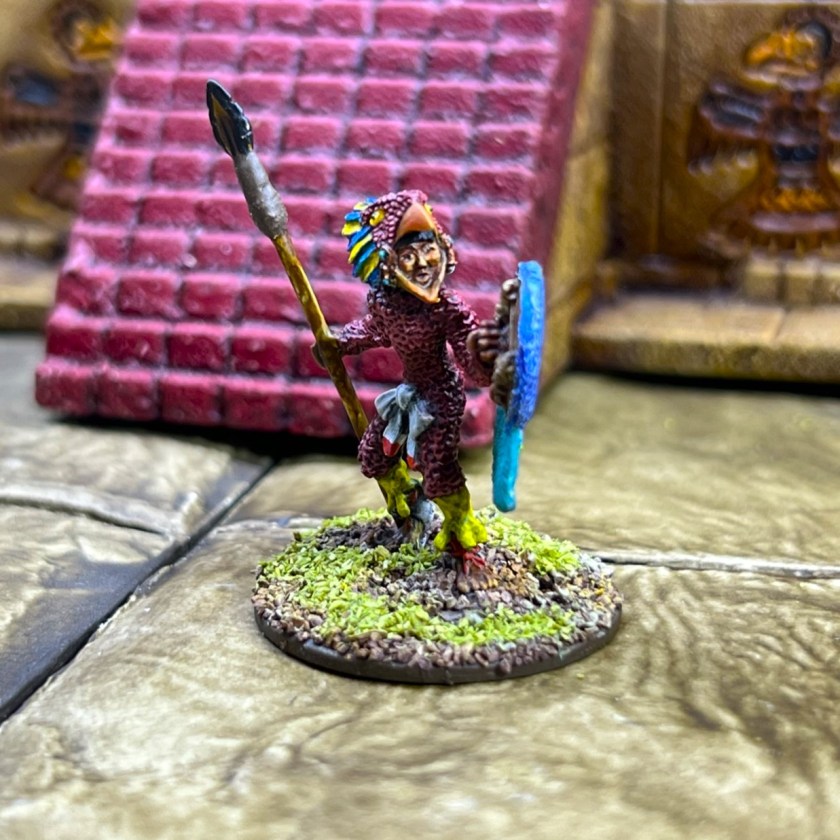
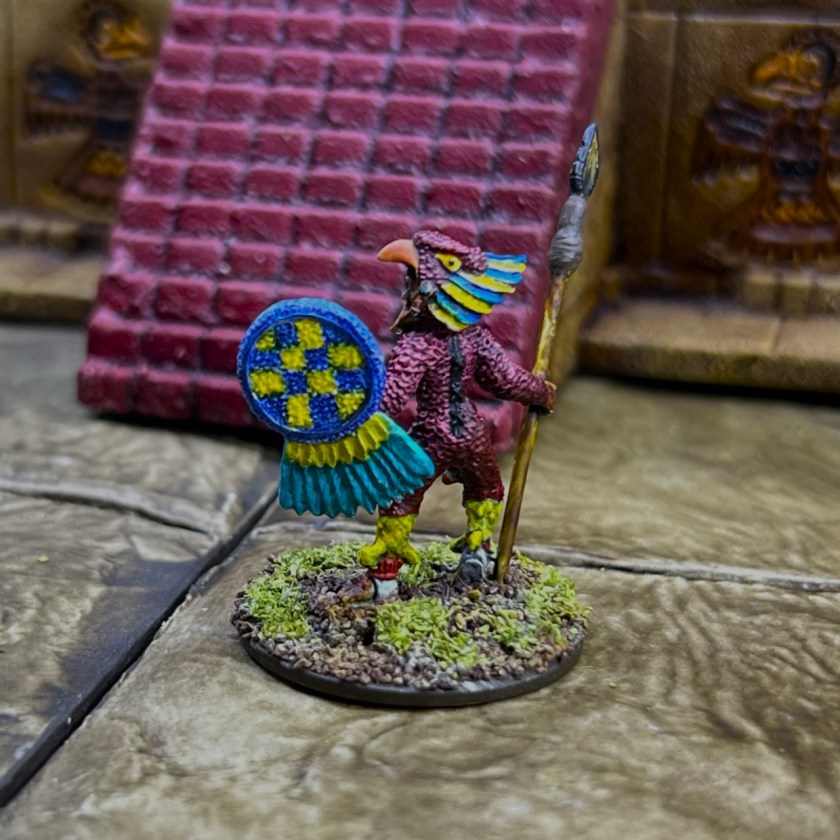
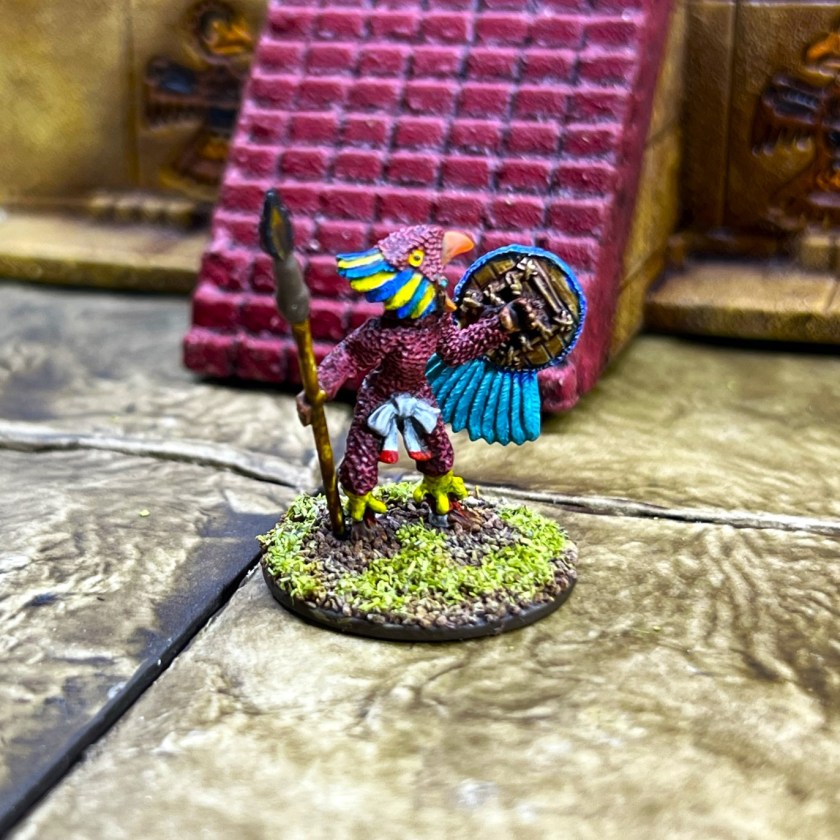
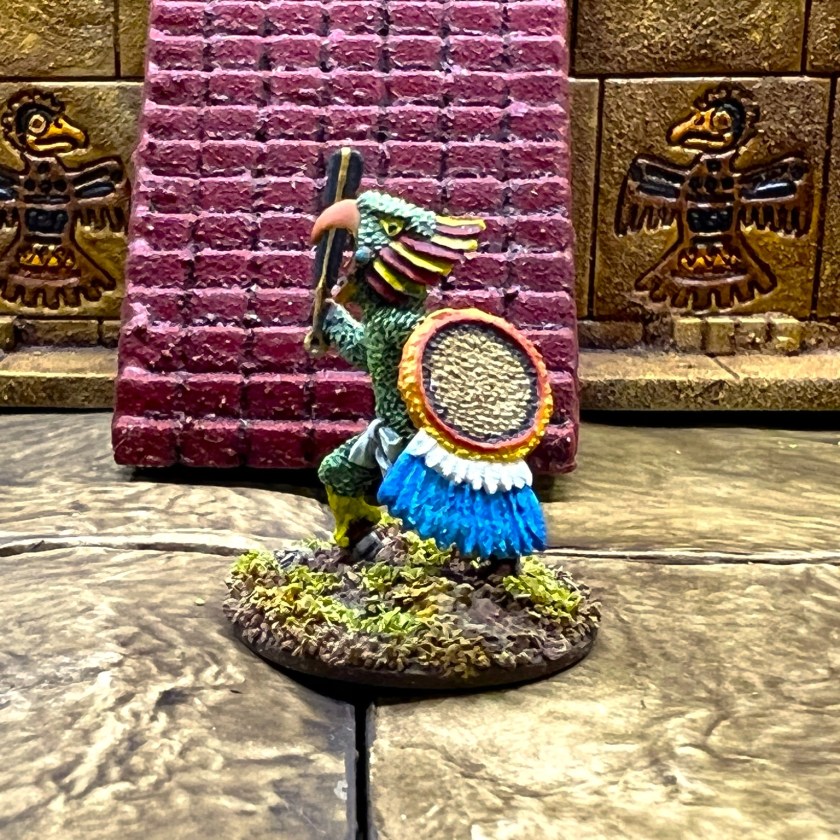
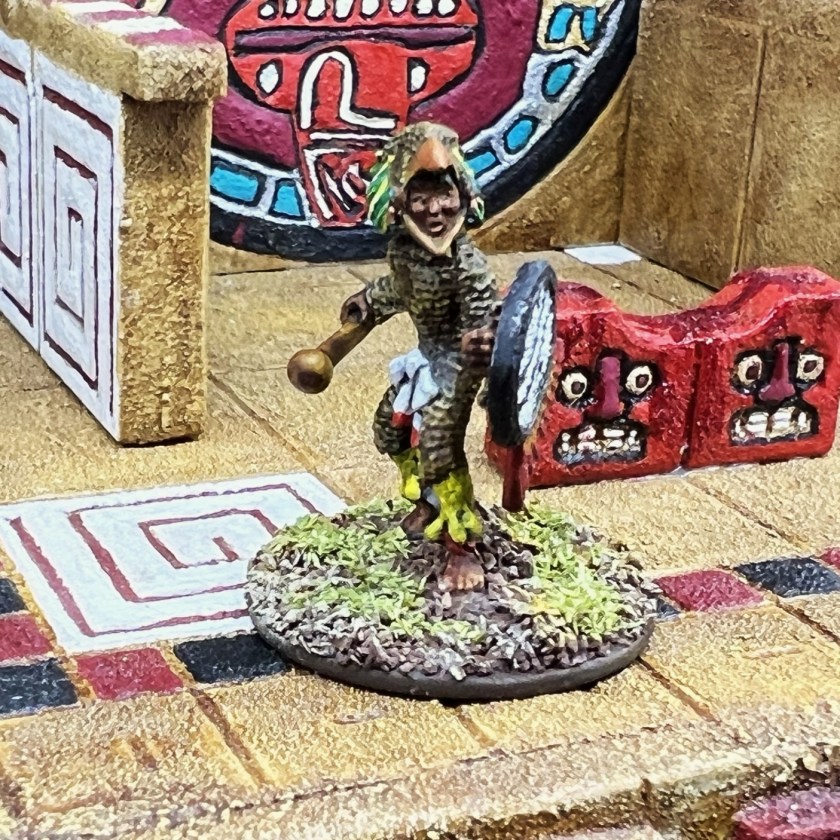
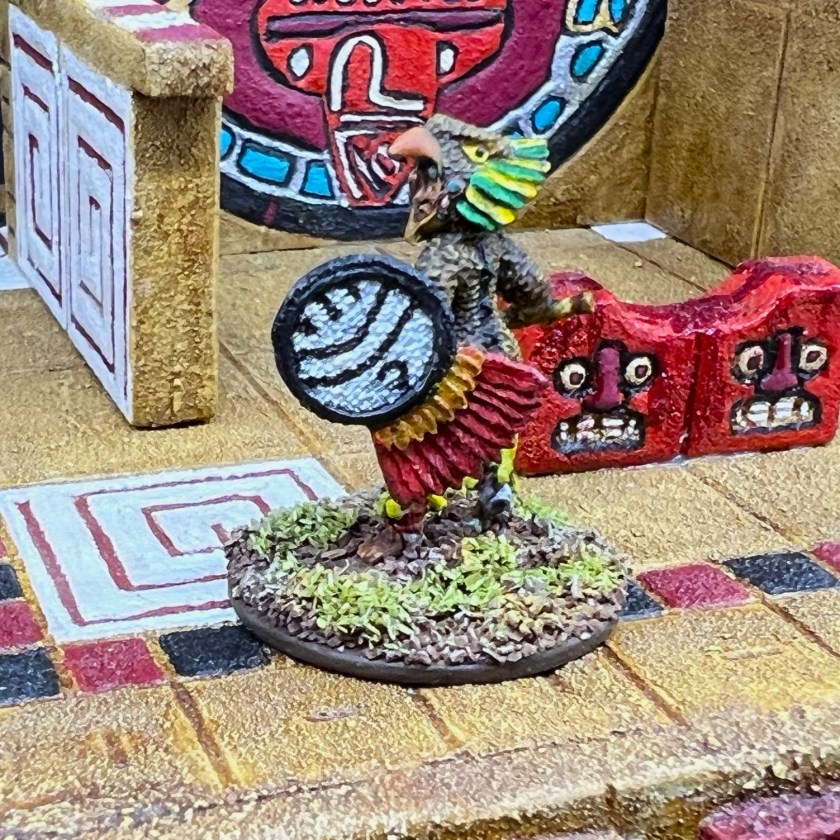
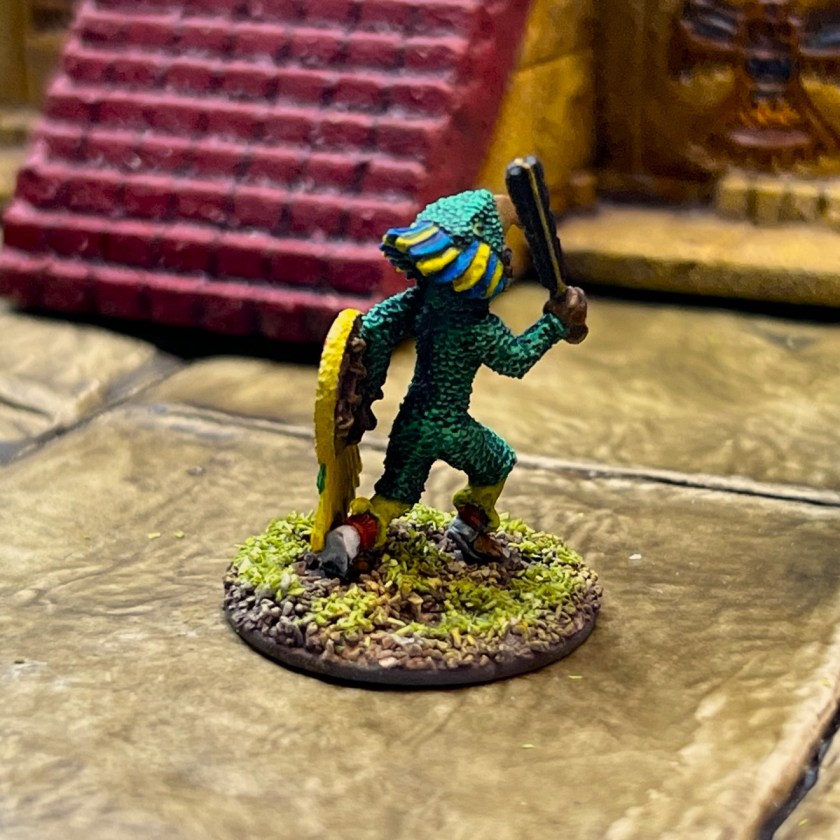
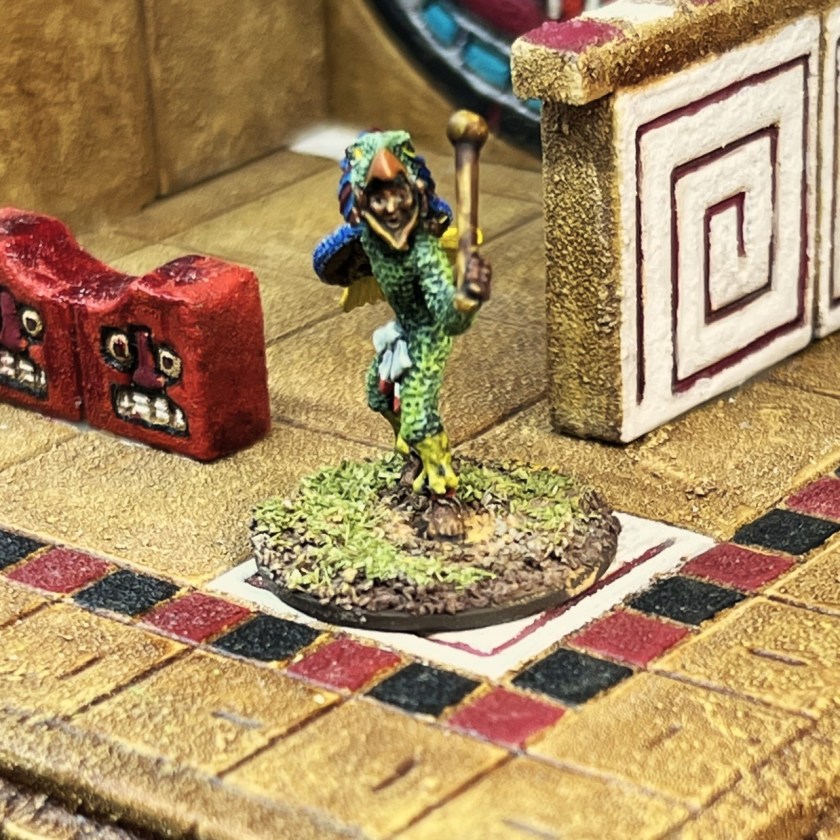
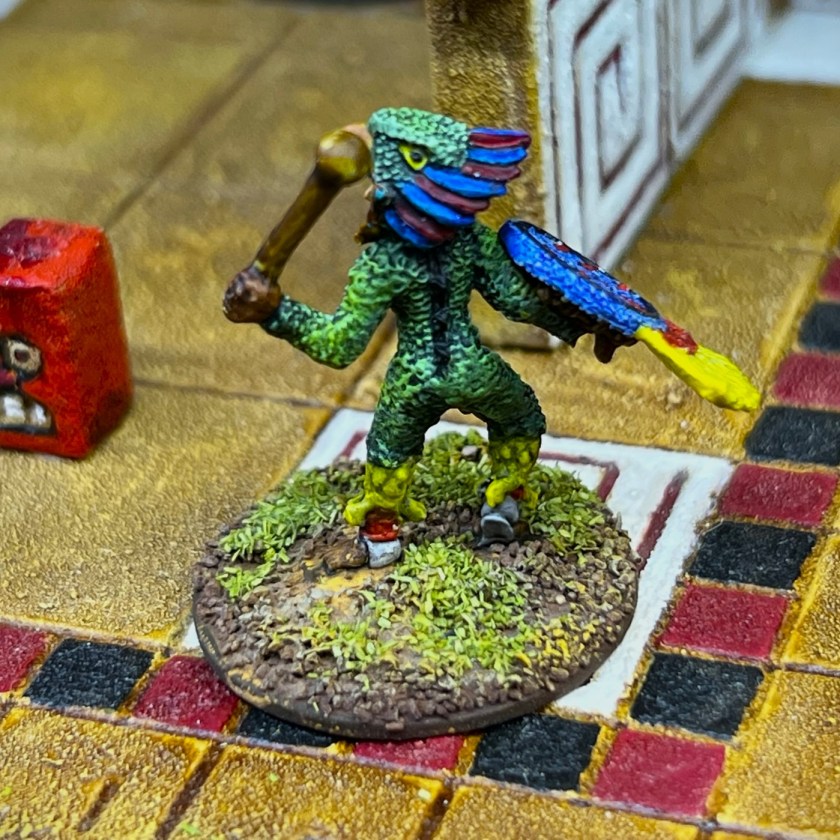
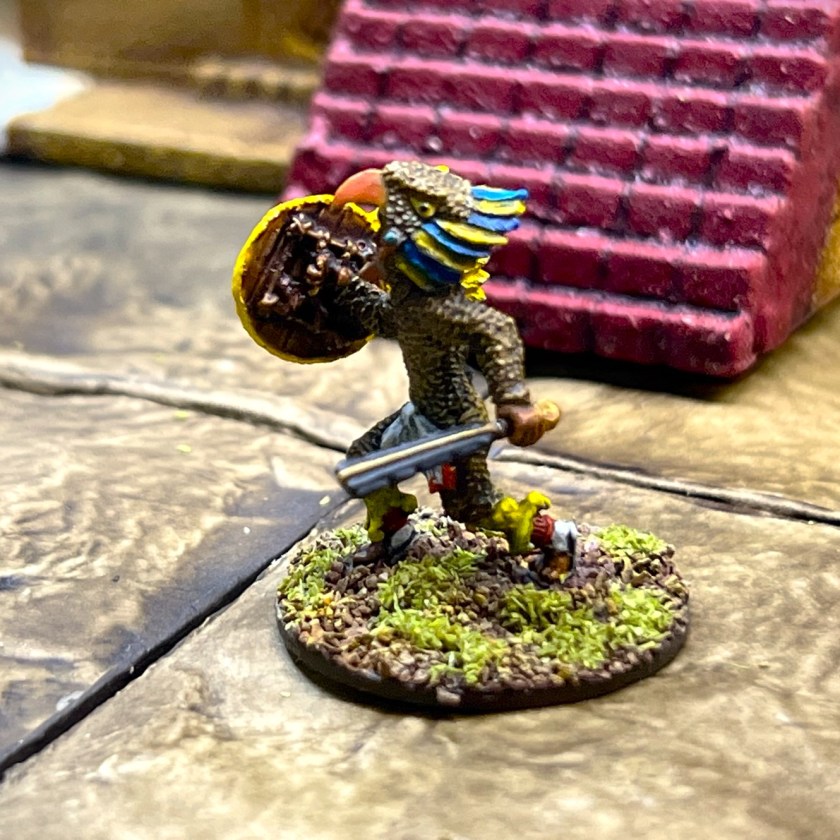
Aztec Eagle Knights, Ral Partha 42-303, circa 1986

The first figures that I got to paint came from a triad of companies – Ral Partha, Minifig, and Grenadier – back in the 1980’s. There were others too – but Ral Partha was my favorite company, as I was mainly into buying, painting (and casting) 25mm fantasy figures in those days. I left the hobby in the late 1980’s, and subsequently came out of my hobby time machine in early 2015 with the Nightmare Legion. To my surprise, I found that Ral Partha – and many others – were gone or subsumed into other entities. For example the Ral Partha lines now can be found at now Iron Wind Metals. Also, for many manufacturers, metal figures were being replaced by – dare I say it – PLASTIC. Oh, the horror.

Anyways, I discovered that there were still a good many metal options available and I have stayed mostly with metal figures. One of the lots that I bought on eBay around 2016 was a bunch of unopened and opened Ral Partha Aztec figure blisters. I sorted them and put them away. Then in 2019 Buck Surdu asked for collaboration on supplements for his new rules set called Feudal PatrolTM  . I jumped in, and now most of you know it resulted in my writing my supplement called Civilizations Collide in late 2019/early 2020. It’s free to download at that link (and you should!).

I then started painting figures and terrain for the period in April of 2020. Now, after two years, having painted and assembled 254 figures (109 Aztecs, 113 Conquistadores, 32 Tlaxcalans), 21 war canoes, 5 brigantines, a TON of terrain, and written 55+ blog posts (you can see the list of posts here), I felt I was ready to move on to my 34 Maya figures and finish up. After a whirlwind of preparation for gaming at HAVOC! 2022 and HUZZAH! 2022, I thought that I was prepared to move on to my 34 Maya figures…

Or was I…

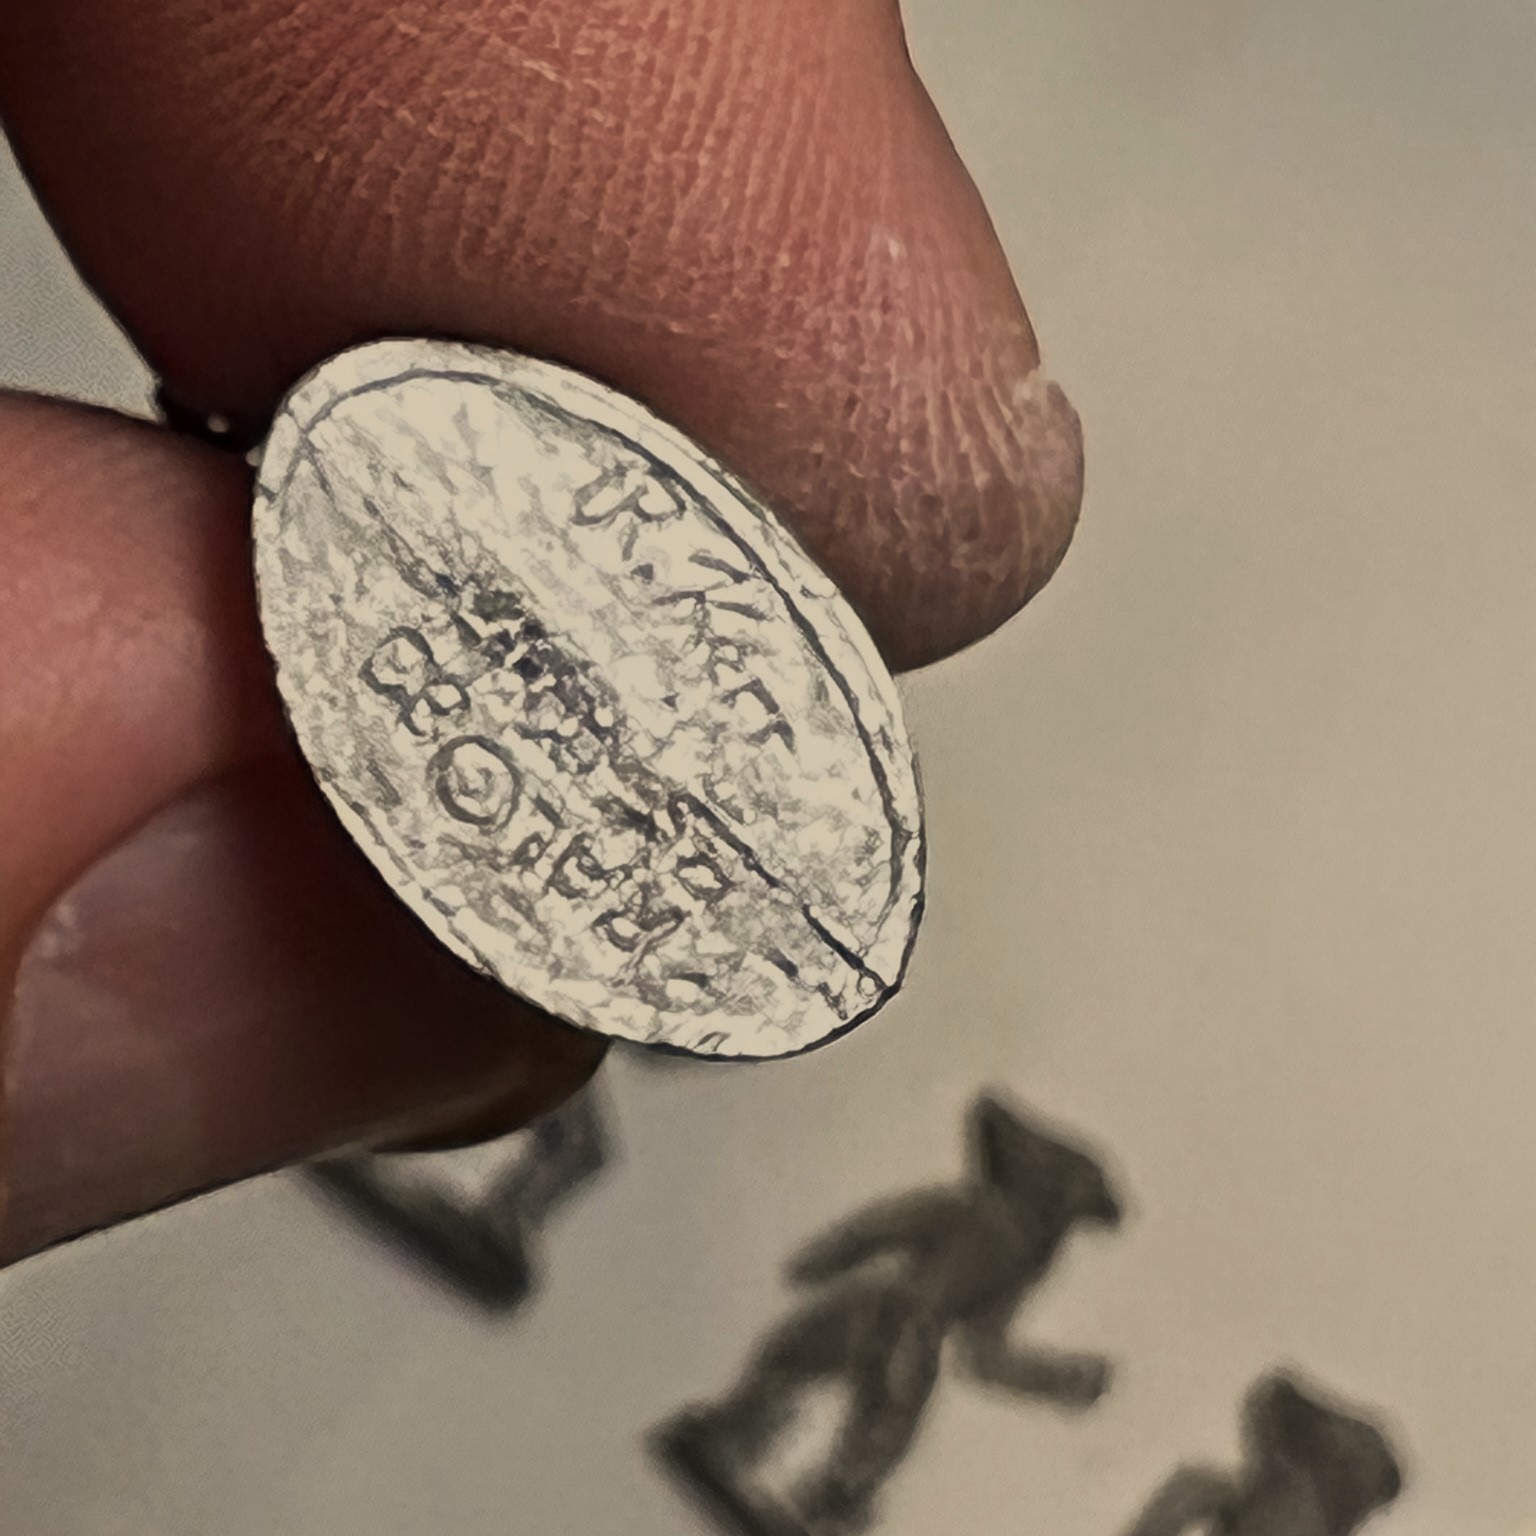
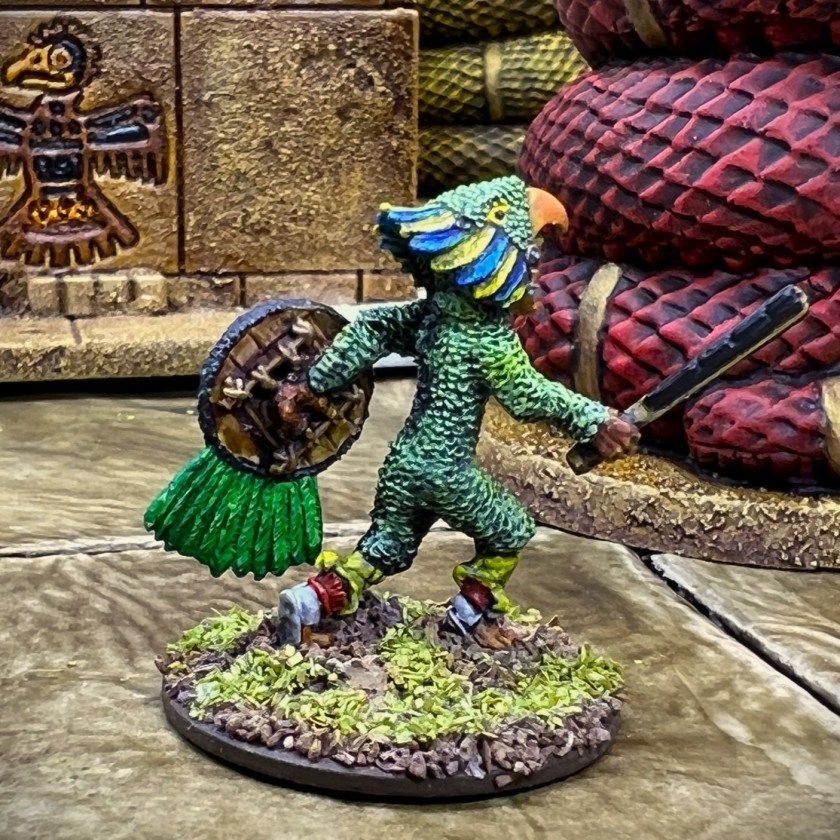
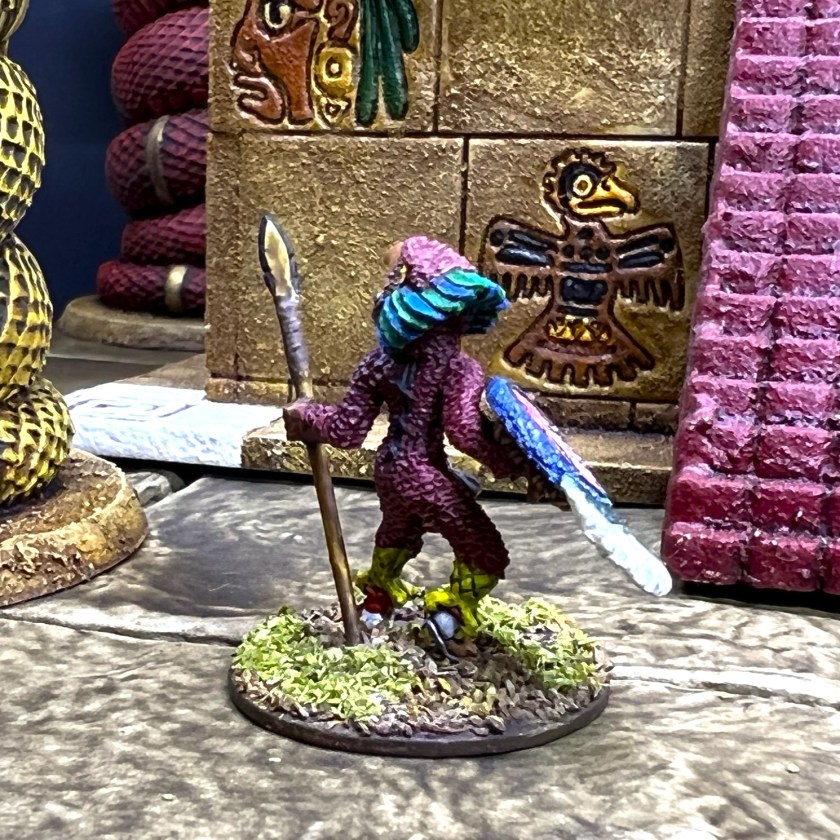
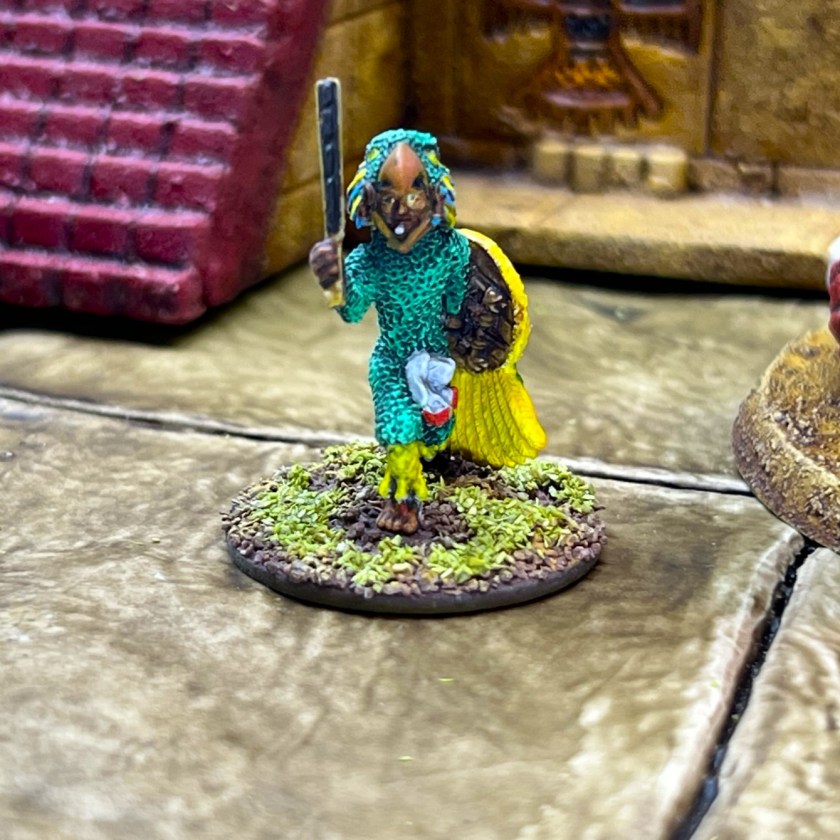
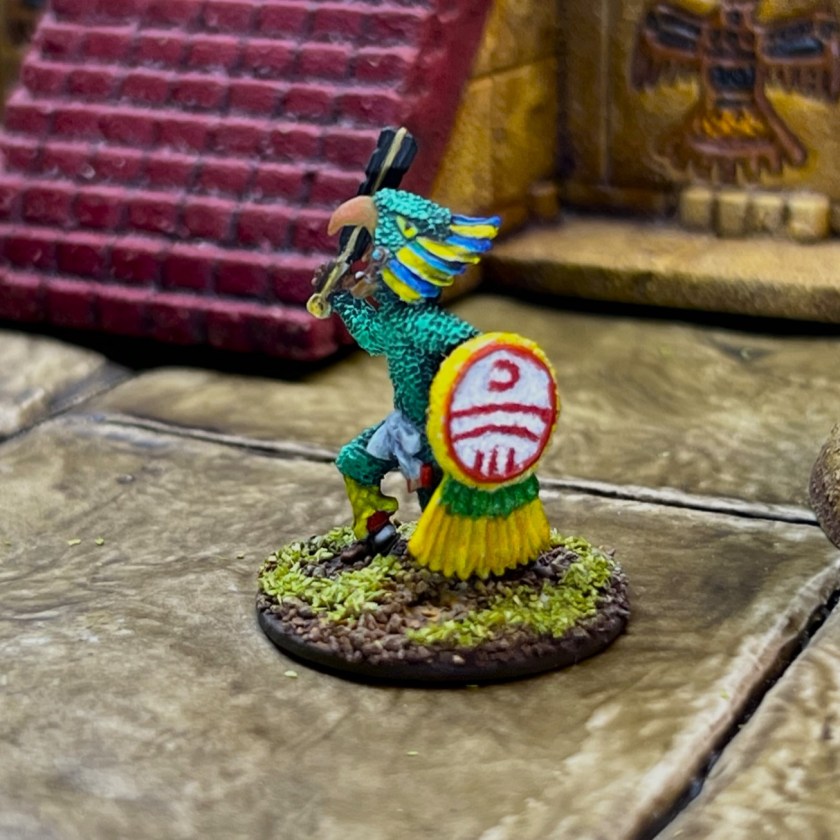
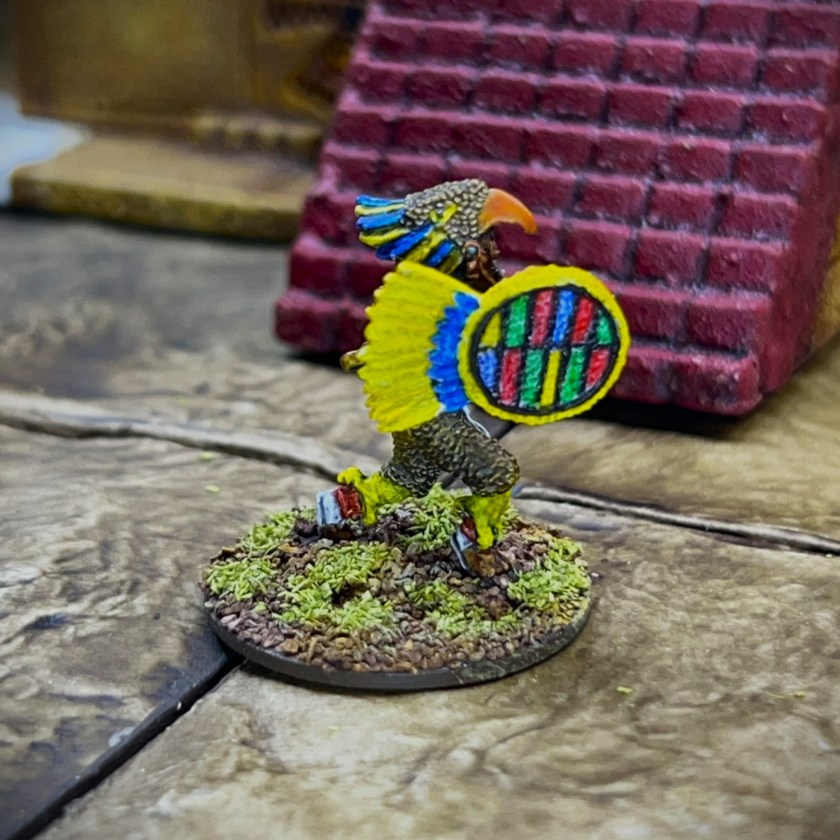
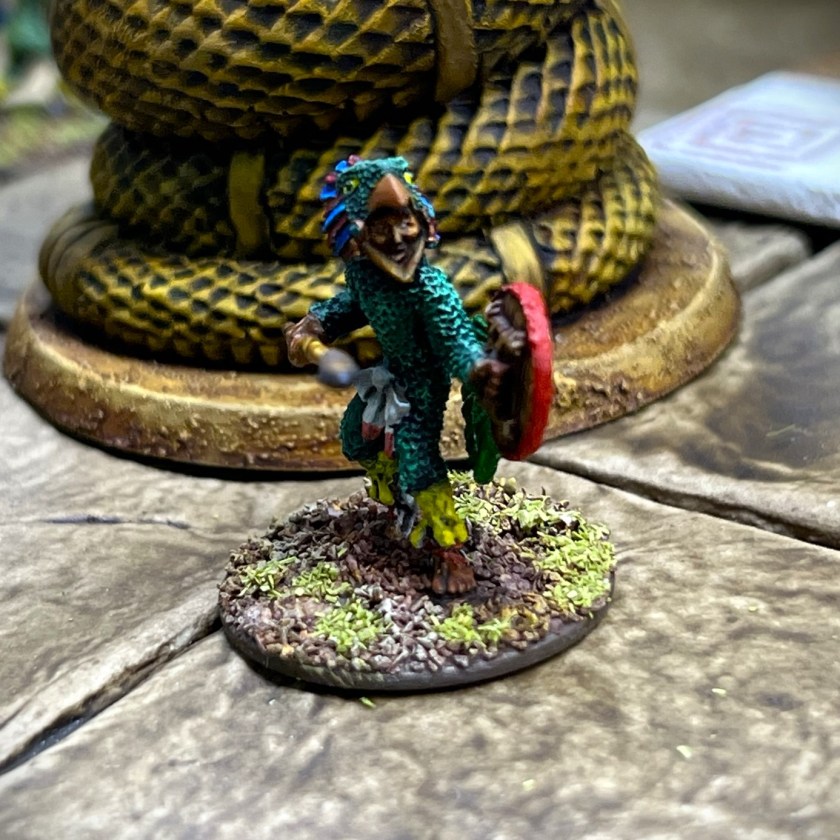
I had painted or given away all of my original eBay lot score – all except 12 remaining Aztec Eagle Warriors. They were metal (of course) Ral Partha figures – so 25mm not 28mm, in two blisters (one opened and one not). The SKU designation for them is #42-303 “Aztec Eagle Knights”, circa 1986, sculpted by R. Kerr. From their storage location I heard them desperately cry out – “don’t leave us behind – it’s already been 36 years since we were cast! You need us to join your Aztecs!”. Funny, they cried out in English and not Nahuatl…

So, being somewhat of a completionist (insert sarcastic comment here), I decided to finish the LAST of my Aztecs. Besides, this would bring me to an even 300 figures of all types for the period (once the 34 remaining Maya were done) and that seemed to me to be an auspicious number to round out the project.

The 2 blister packs. One of the opened figures was partially painted and needed to be stripped.
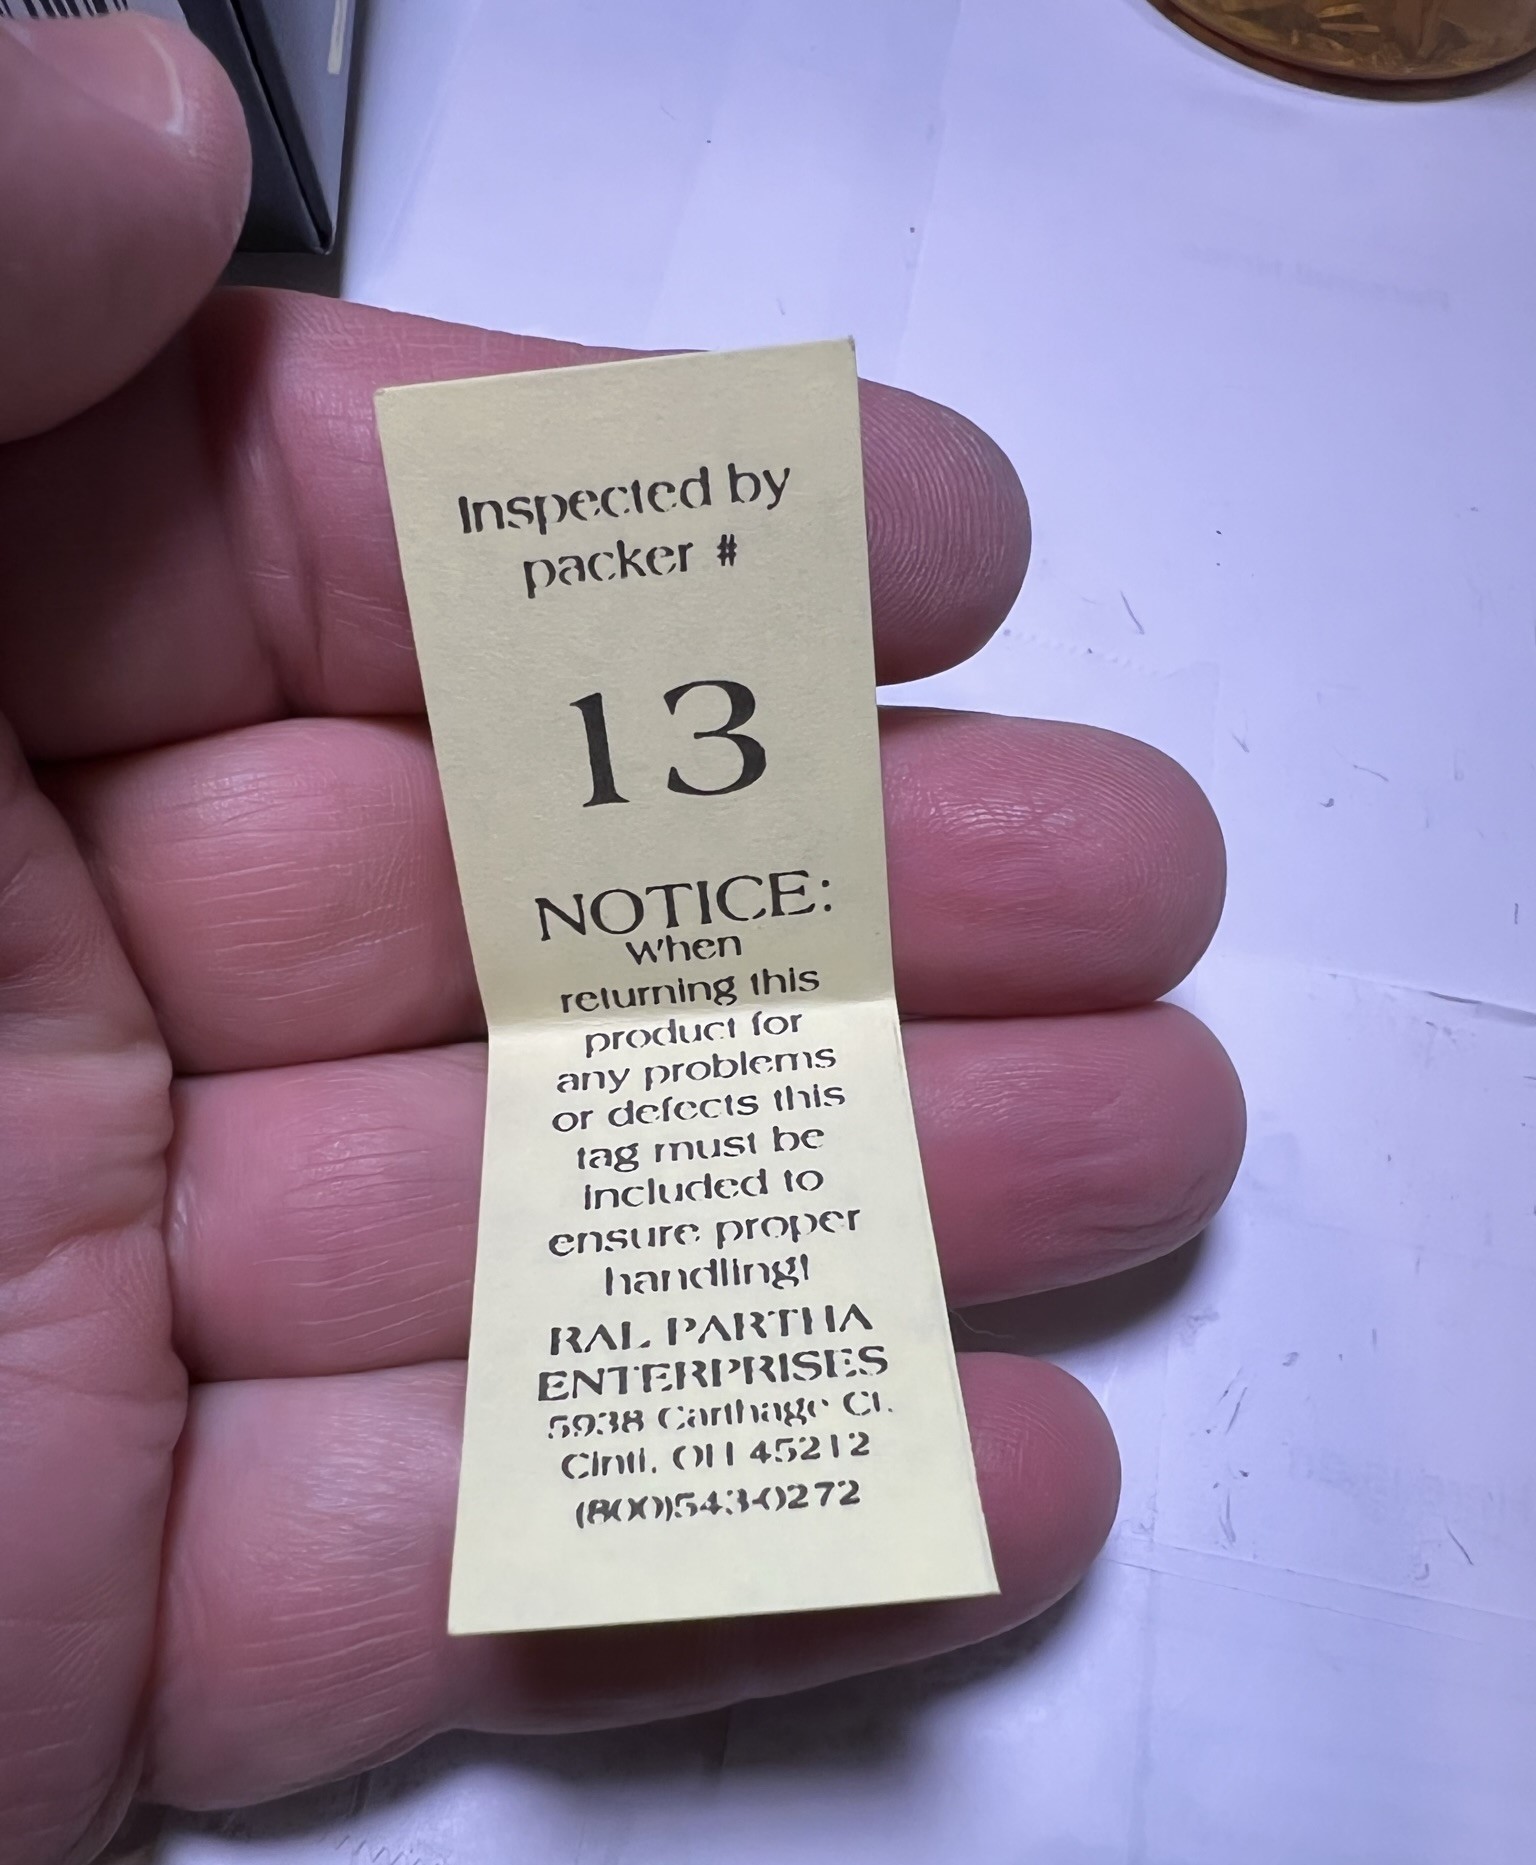
Curiously, this was in the unopened blister pack – I had never seen this before – and I wonder – where is #13 now?

Historical Background

Aztec Eagle Warriors were, along with the Jaguar Warriors and the Shorn Ones, at the apex of the Aztec warrior classes. They would be armed with melee weapons, in particular the macuahuitl obsidian-edged club/sword, the tepoztopilli (obsidian-bladed thrusting spears)and the cuauhololli (round-headed club).  To be a member of any of these classes required that one had captured many quality enemies for sacrifice on the Altar of Huitzilopochtli. Indeed, while they battled almost incessantly, the status and rewards were great for them. Here is a good summary of the history of the Eagle Warriors.

Painting and Assembly Plan

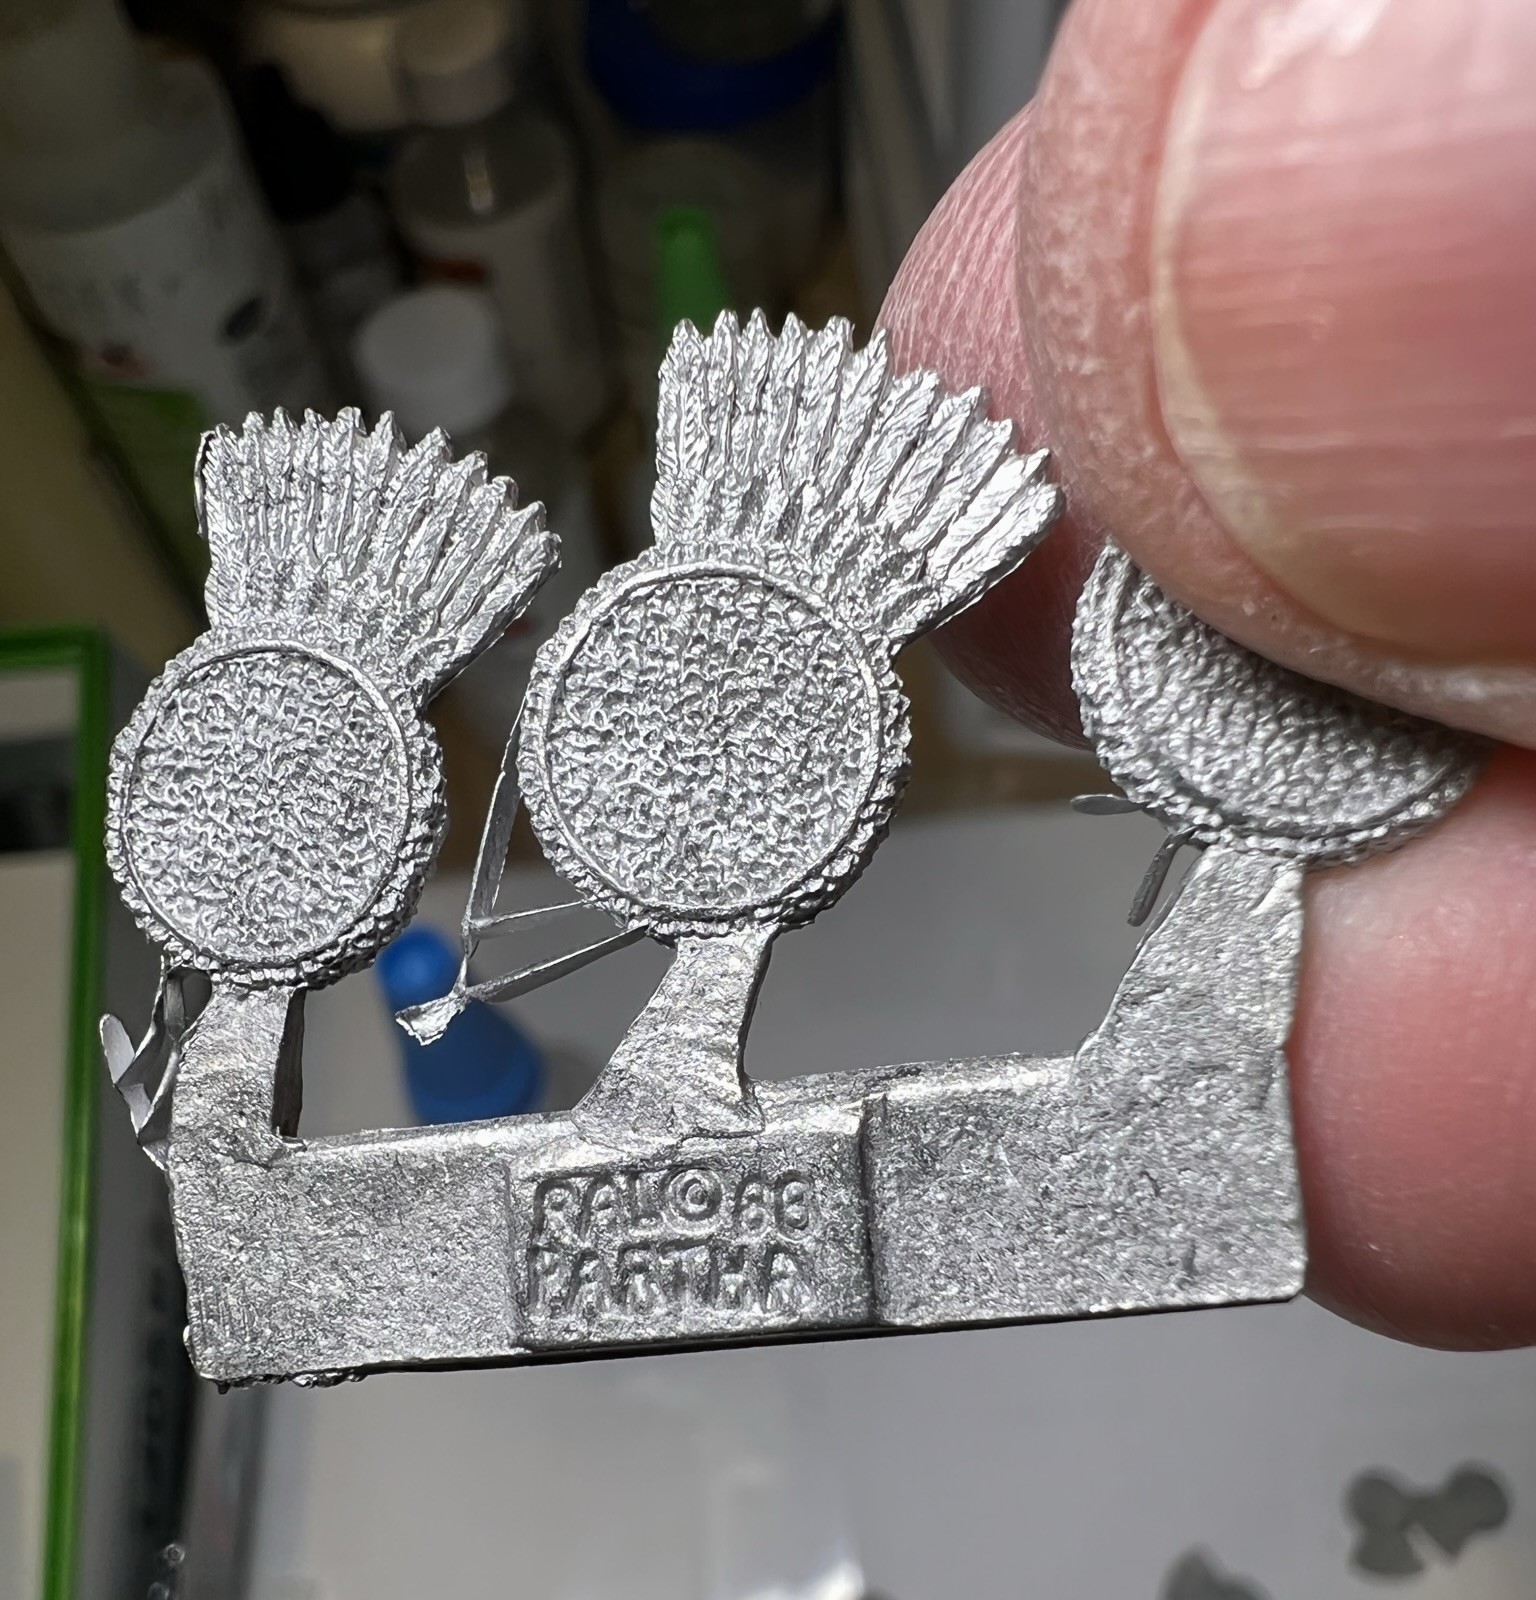
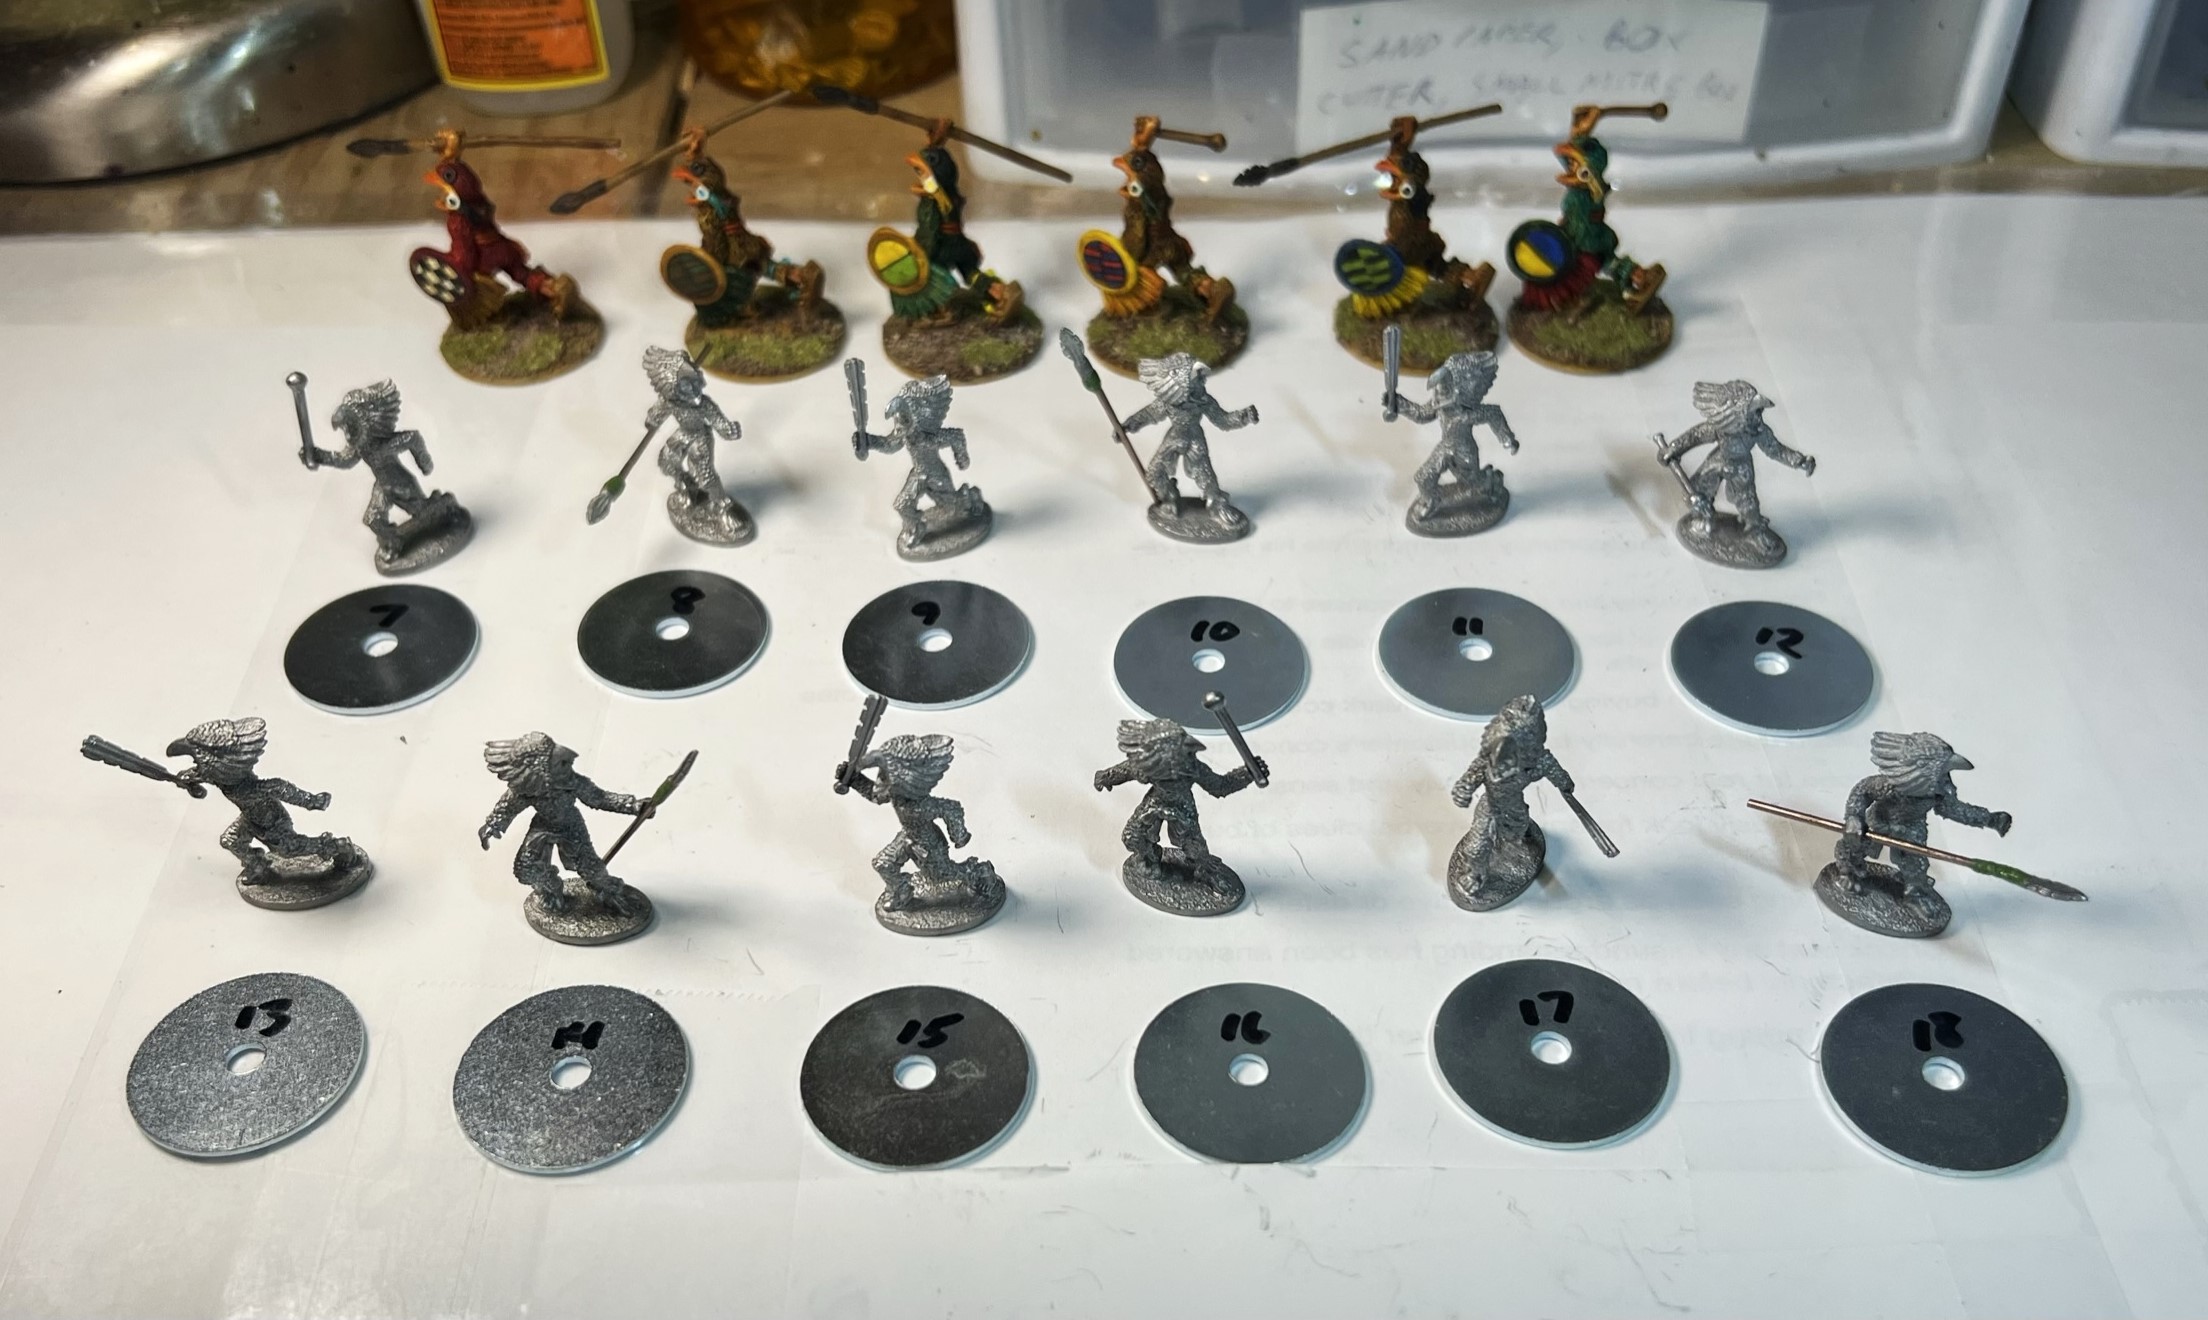
I had previously assembled and painted 6 Eagle Warriors from Tin Soldier UK (documented in this post). I numbered those EA01-EA06. These will be EA07-18. As I have 17 Jaguar Warriors that seems good. Similar to the previous Eagle Warrior project, I found that the#42-303 Ral Partha Eagle Knight tepoztopilli were way too soft and bendy. While the macuahuitl were small and bendable, I found that both five of those and three of the cuauhololli that would work.

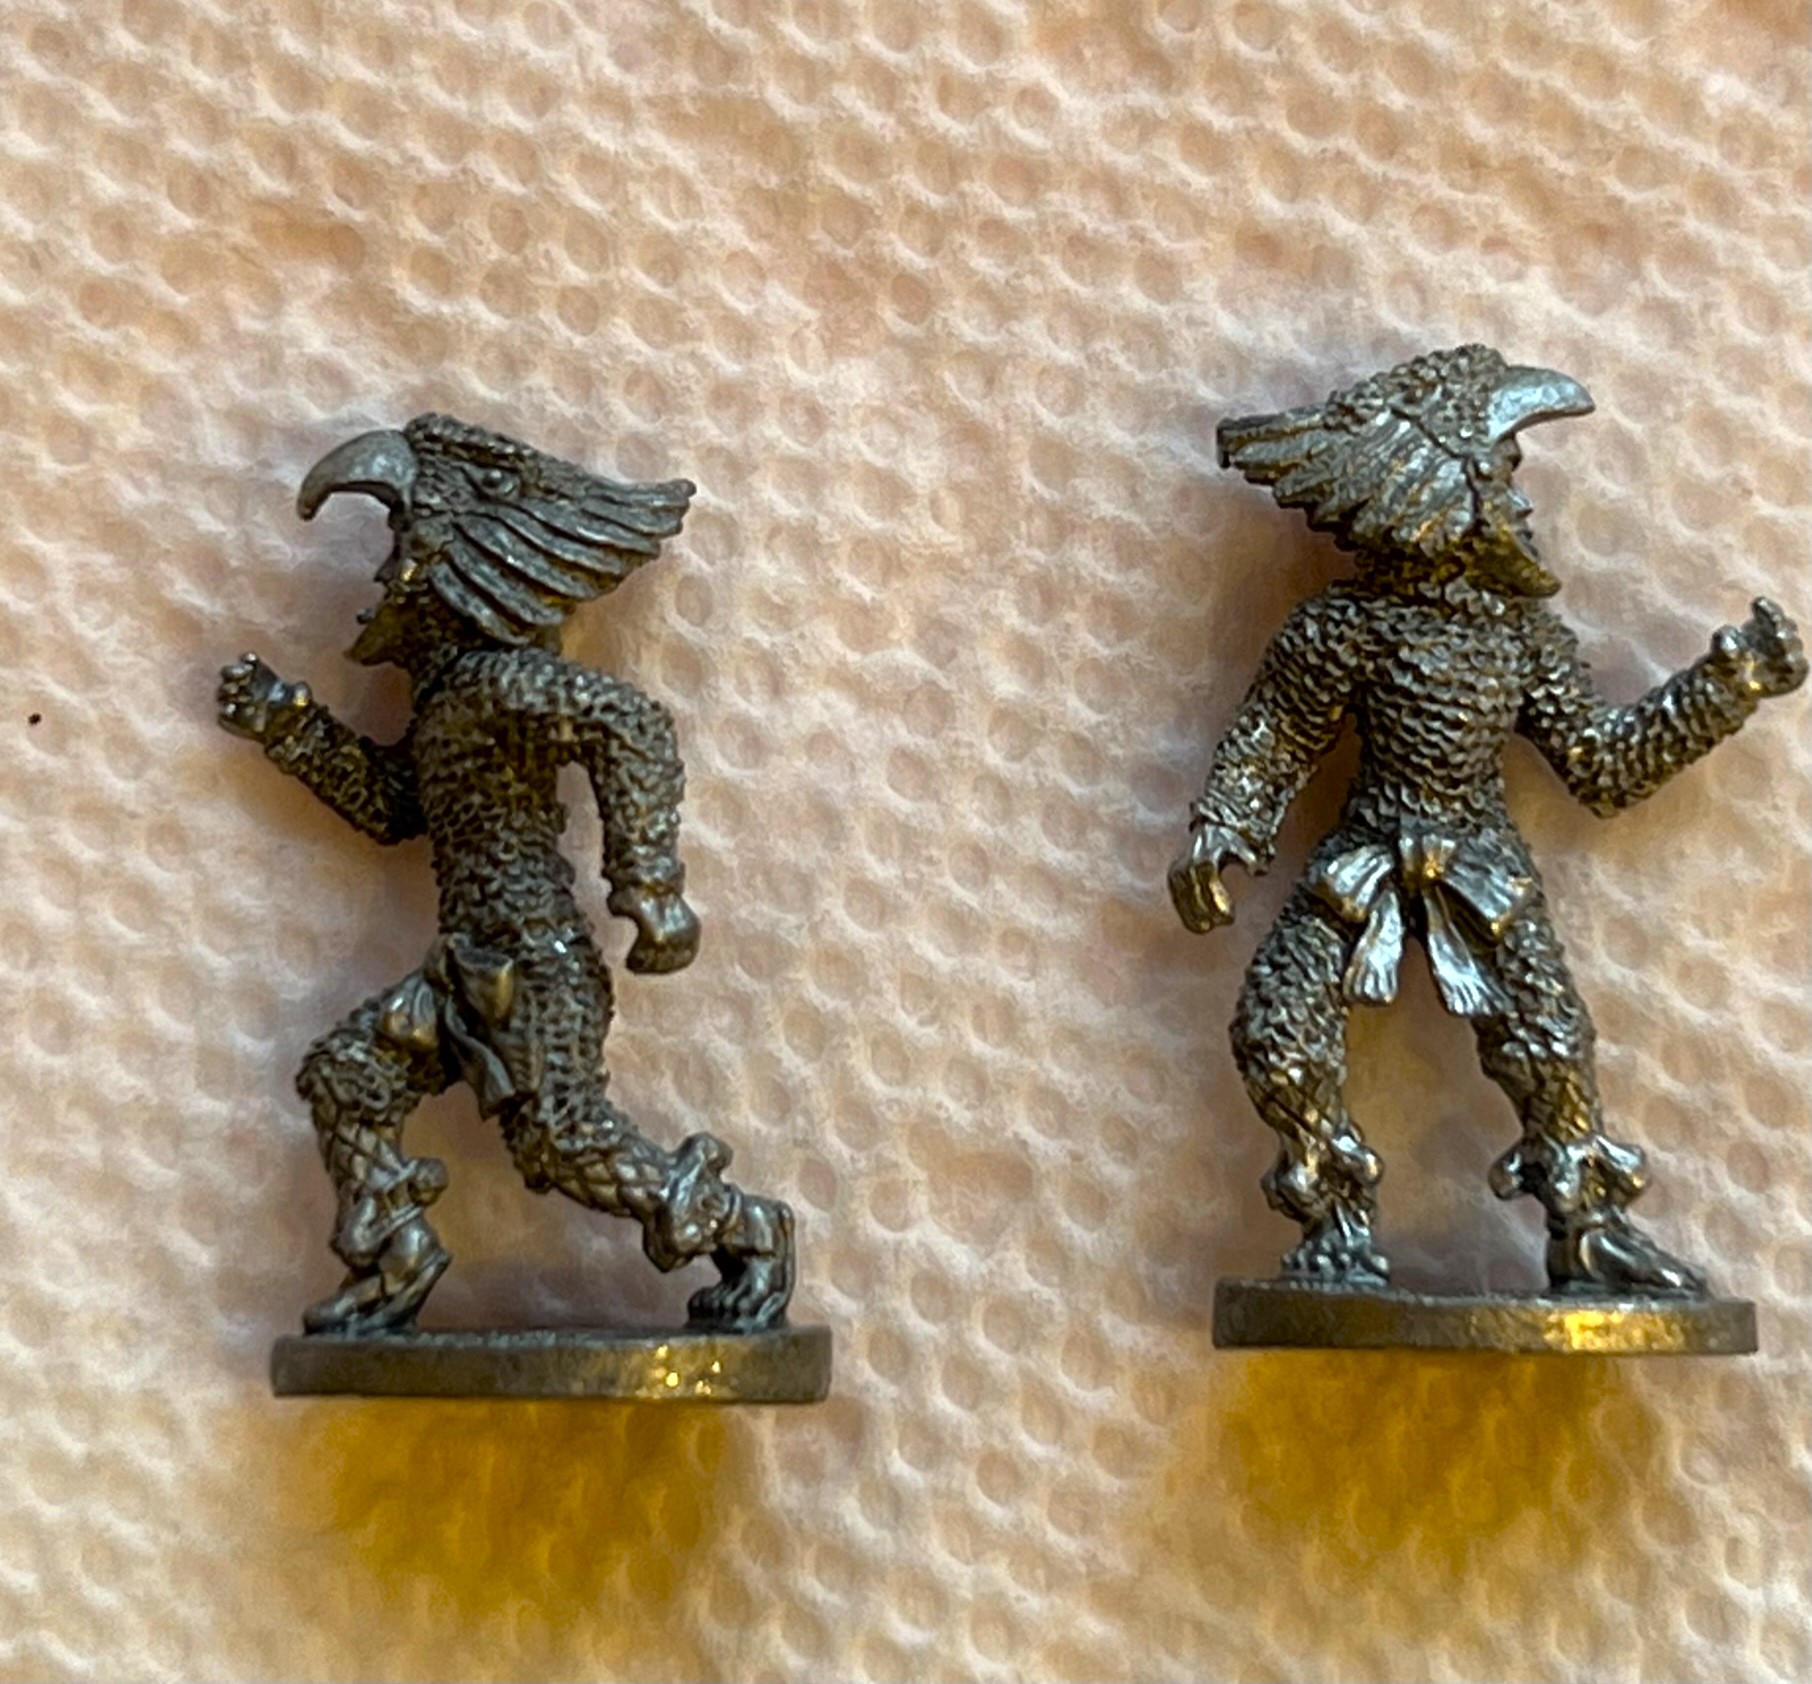
I replaced four of the shafts of the tepoztopilli with leftover North Star shafts I had cut for my Conquistador pikemen. I drilled out the ends and used green stuff to bind them together. The other challenge were the limited poses. In each blister of 6 there are just TWO poses – one with a left arm forward and one with a right arm forward. (FYI these two are still available from Iron Wind Metals less any shields or weapons here). At least mine have weapons and shields!

The two poses.

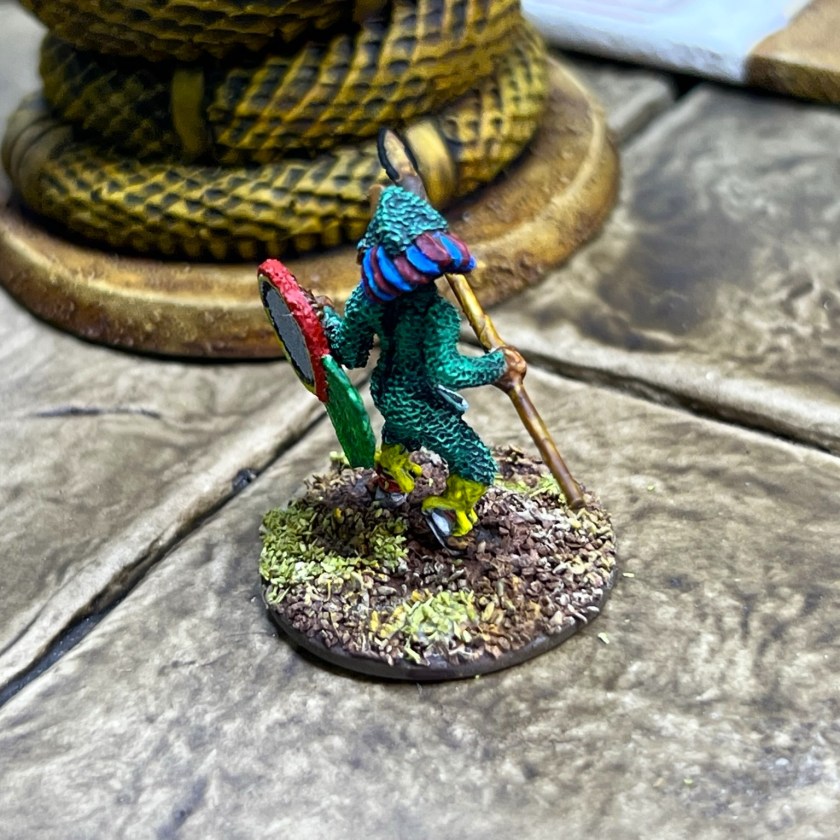
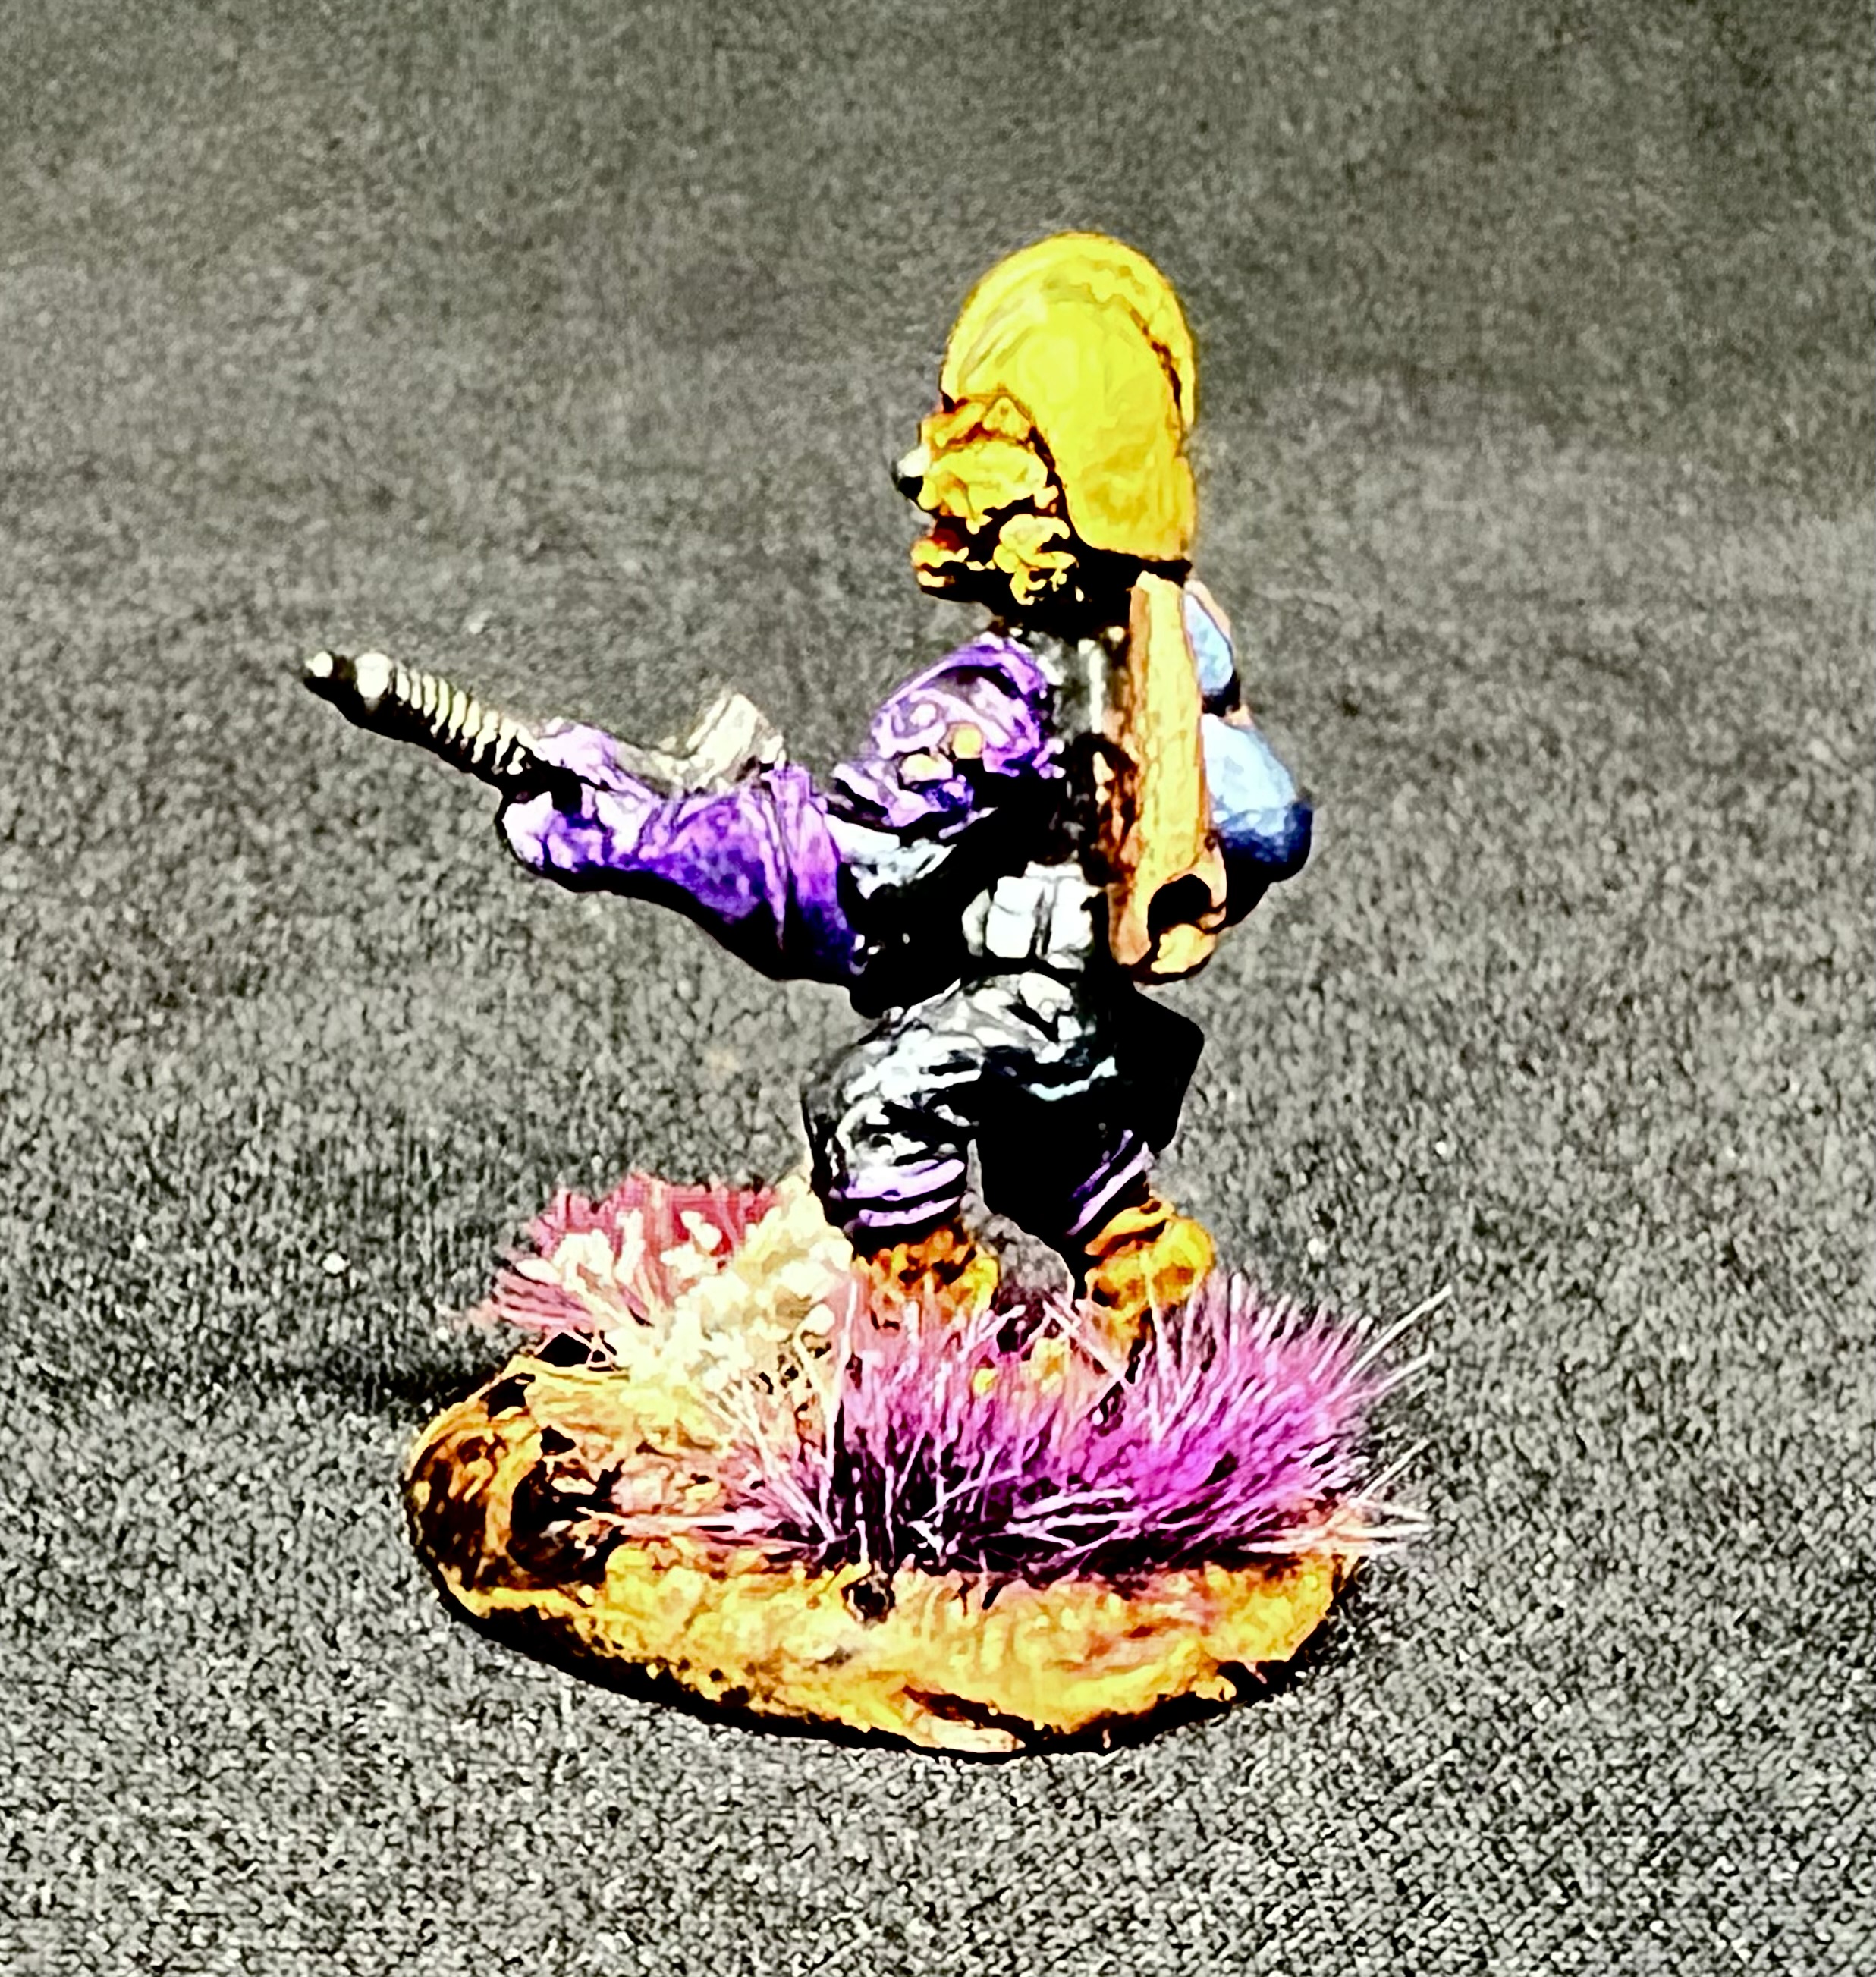
As before, my plan was to reorient each of their arms into different poses, and to give each one a different weapon that was also oriented slightly differently. I would also give them a variety of colors for their suits (tlahuiztli), using red, light green, dark green, and light brown. Add to that I would use different shield patterns and different feather colors for authenticity and ease of tabletop play.

And yes, I had a painting plan matrix in writing!
Assembly, Modifications, and Painting

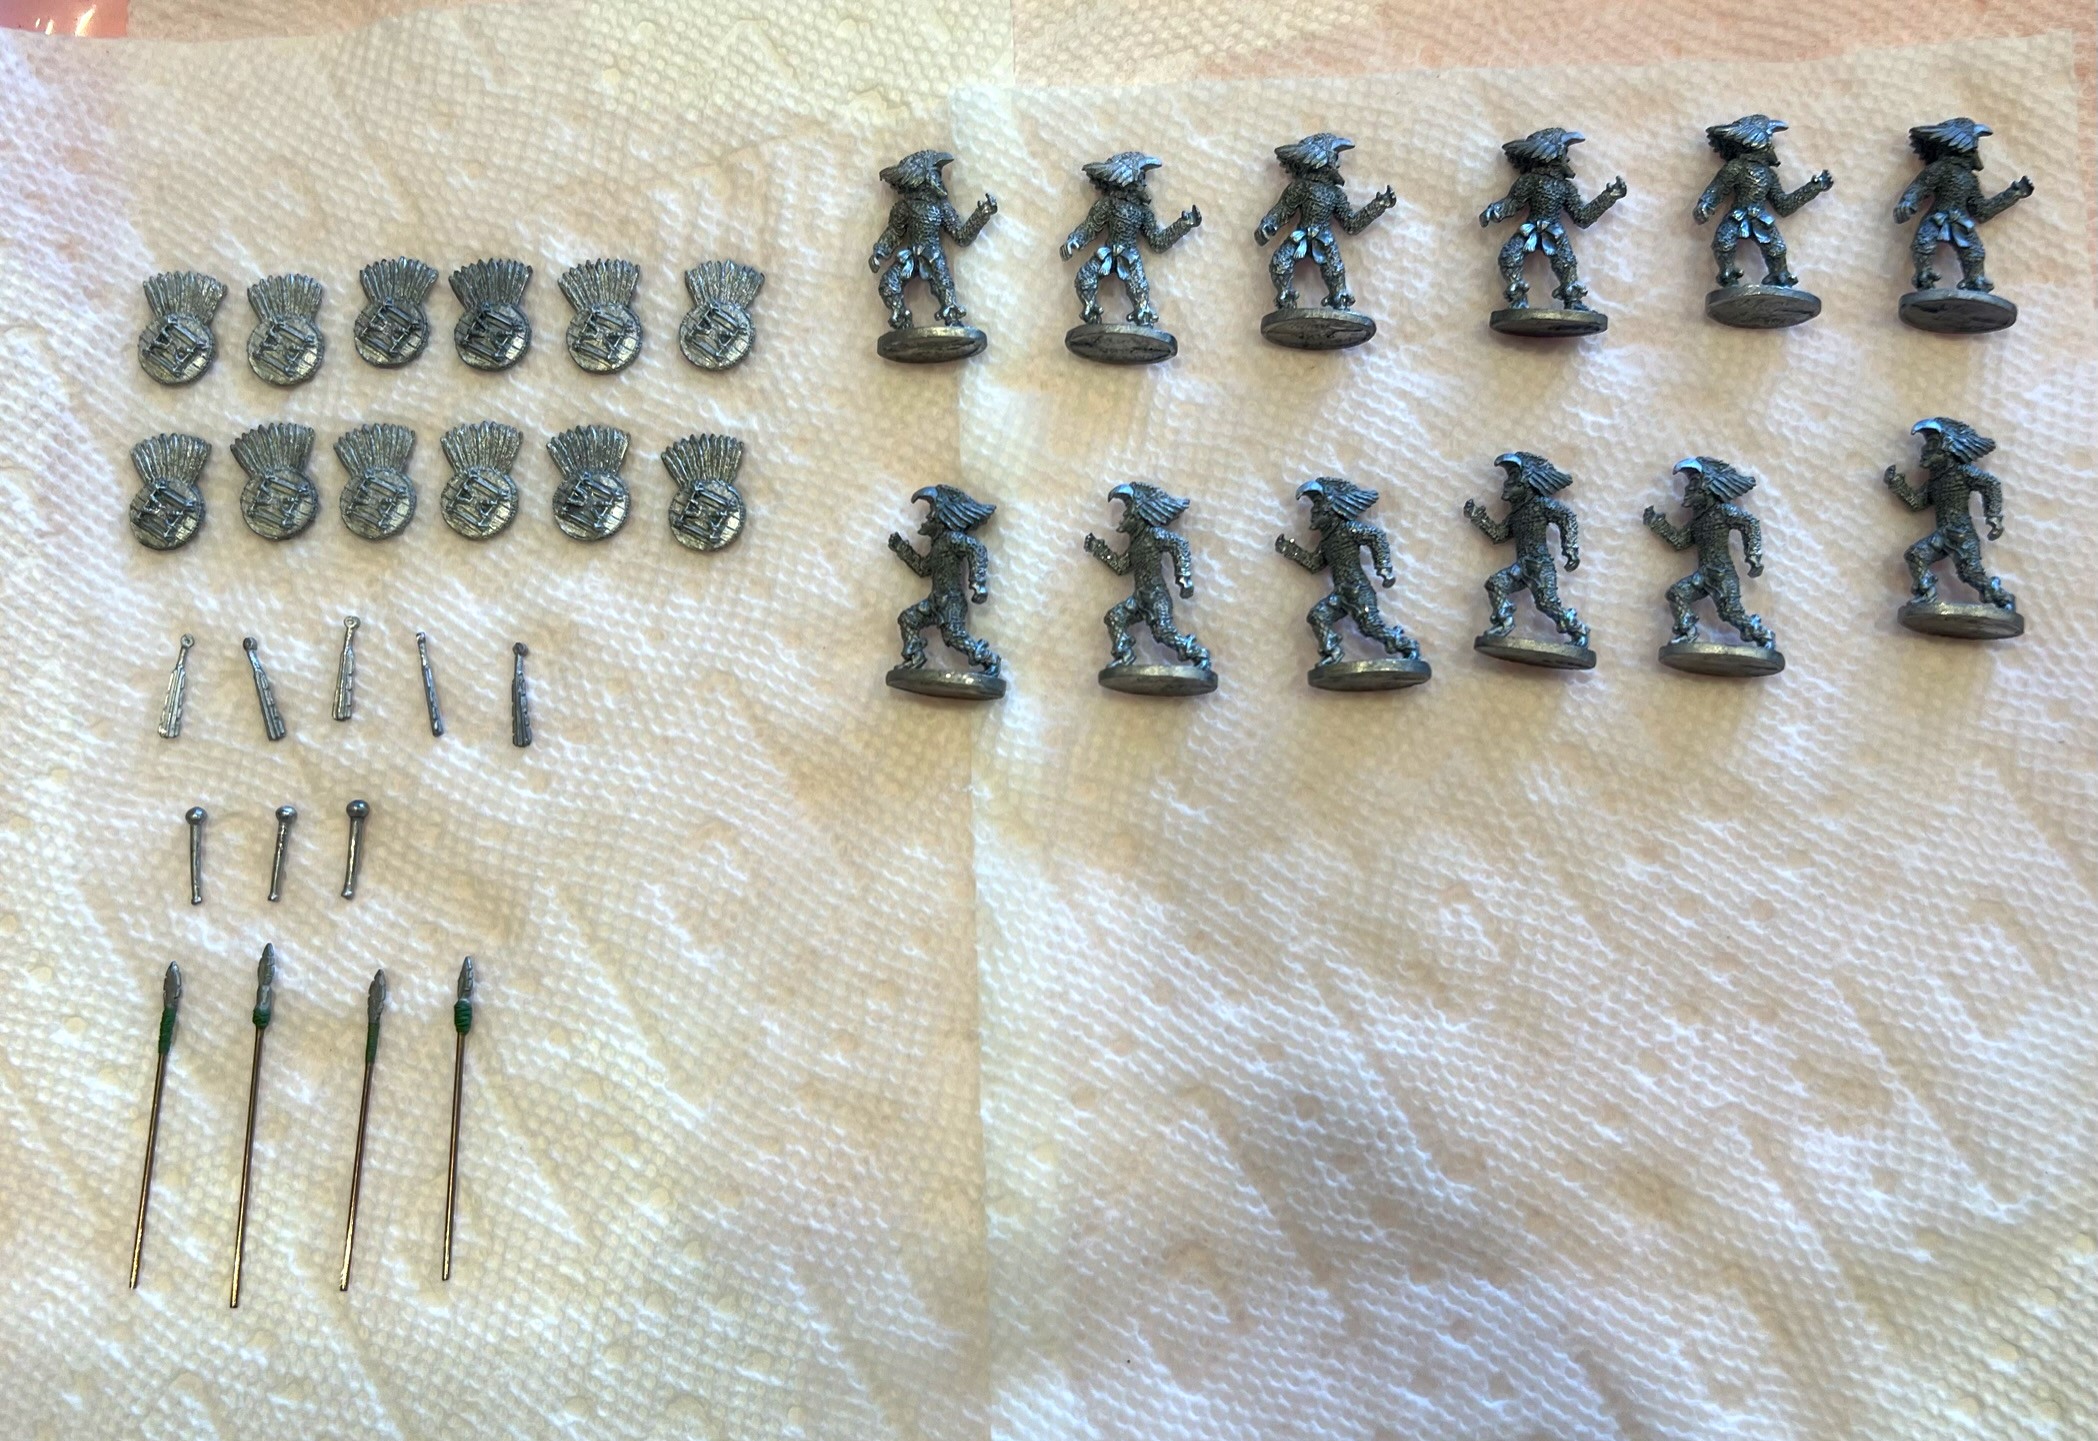
My first task was to redo the tepoztopilli (thrusting spears).

The stripped one and the rest now washed (I always wash metal before painting) and ready for pose adjustment and priming.

Using pliers, I carefully and slowly reoriented the arms as best as I could to turn 2 poses into 12 – or close enough to it. Then, I repaired any flattened spots by stippling with an Exacto knife point.

The Eagle Knights with their weapons affixed. I ended up using green stuff to affix the weapons to the ones armed with tepoztopilli (thrusting spears). I made three of them left-handed warriors. In the rear are my Tin Soldier UK Eagle Warriors – watching the new additions/recruits in progress. They look like a conga line, and I wanted more variety of poses with the Ral Partha ones.

Then it was on to priming and applying a dark wash.

A close up of the wash-over-prime effect.

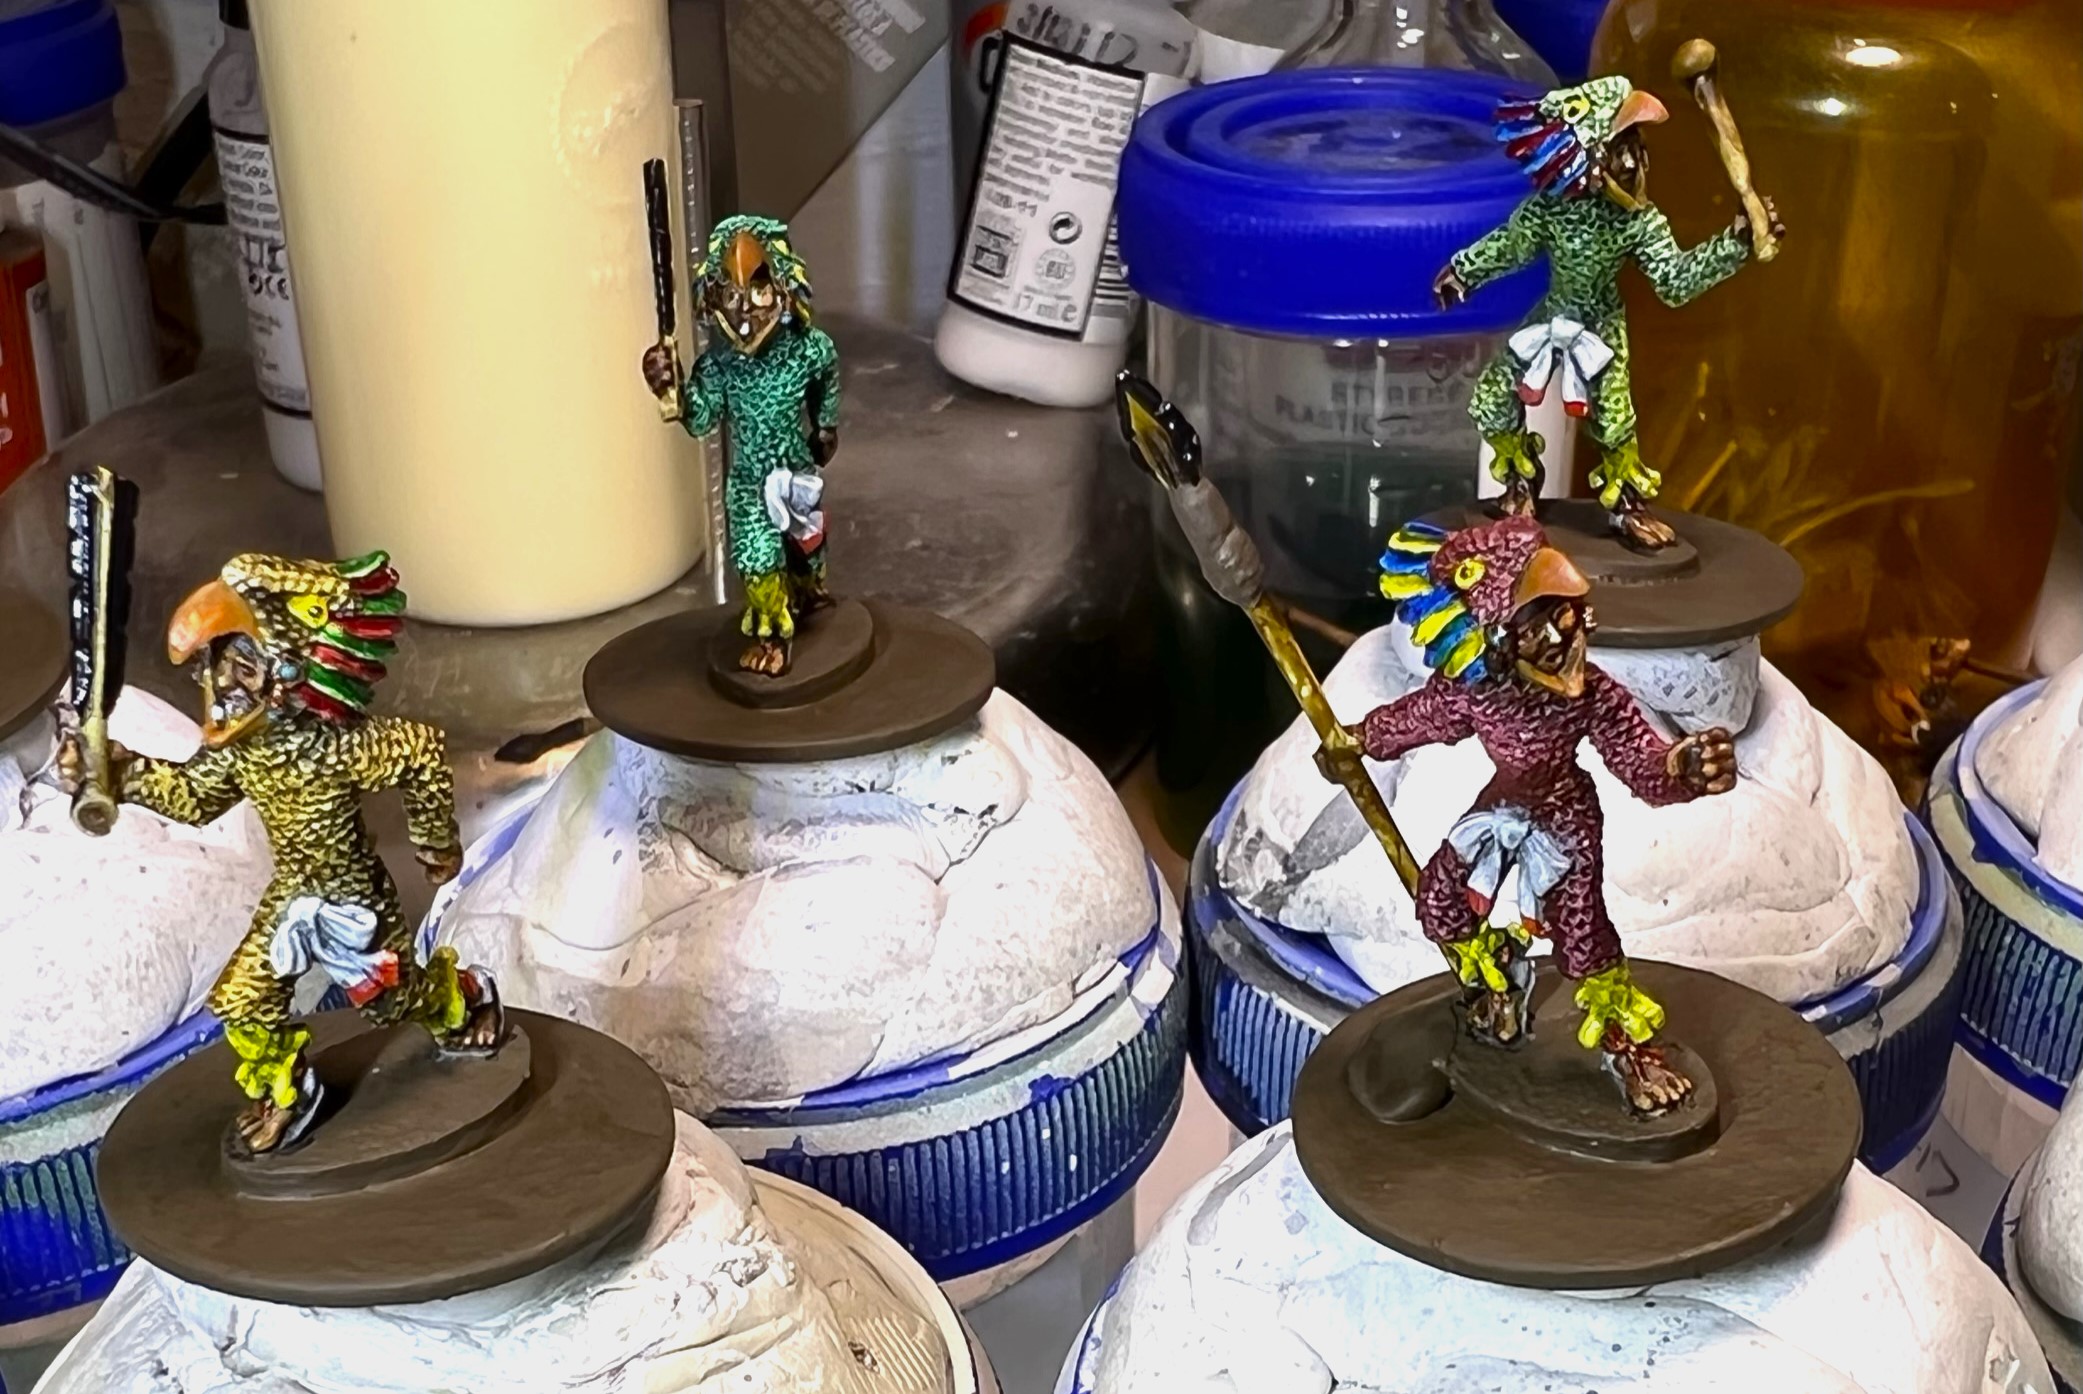
Then I base coated the figures – using several contrast paints.

Then I dry brushed and washed each painted figure to achieve the color variations. Additionally, I painted (well, inked) the feathers on each helmet differently so no two are alike. Then I added gloss varnish to the feathers so that later when matted down the colors will “pop” a bit more. It also helps protect the inks I used here.

Then it was on to adding the initial flocking before returning to work on the shields.

Initial flocking before pigments added. After the two pigments set, I dry brush the bases with three colors.

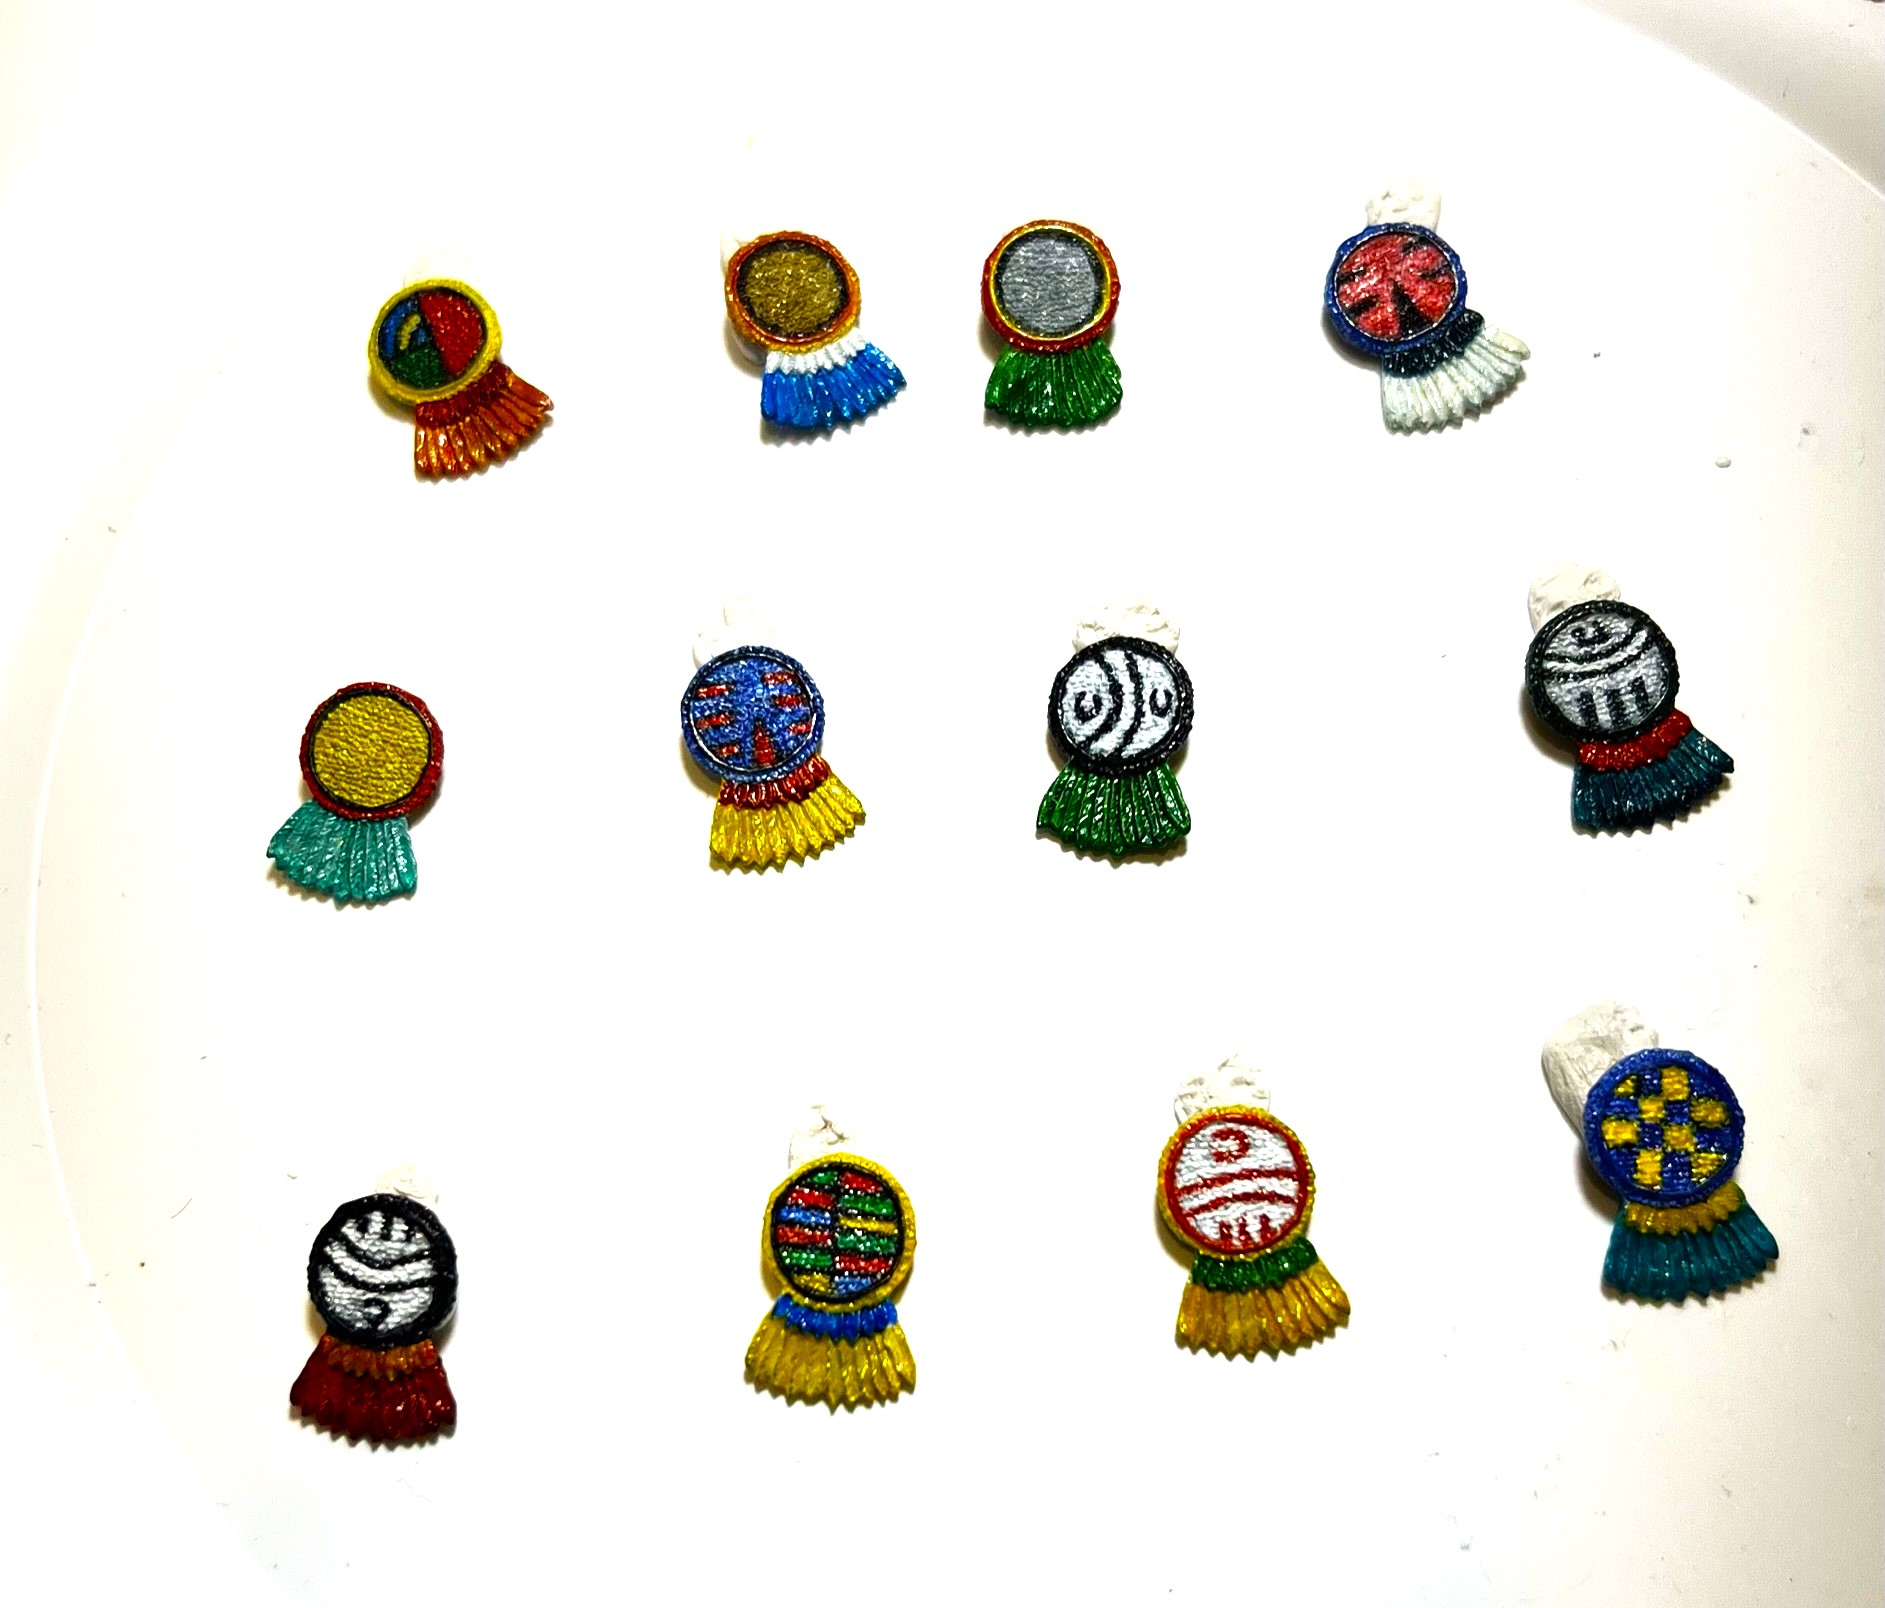
The shields here are quite difficult to paint up with patterns. The surfaces are not smooth, and of course they are tiny. Below are the patterns I gave them under a gloss varnish – again to protect the colors.

The shields – painted and all glossy here.

Then it was time to mount them to the figures, add a matte varnish, and then add some grass.

Give us each a shield please!
It was hot out so I took these outside to speed the curing of the matte varnish.
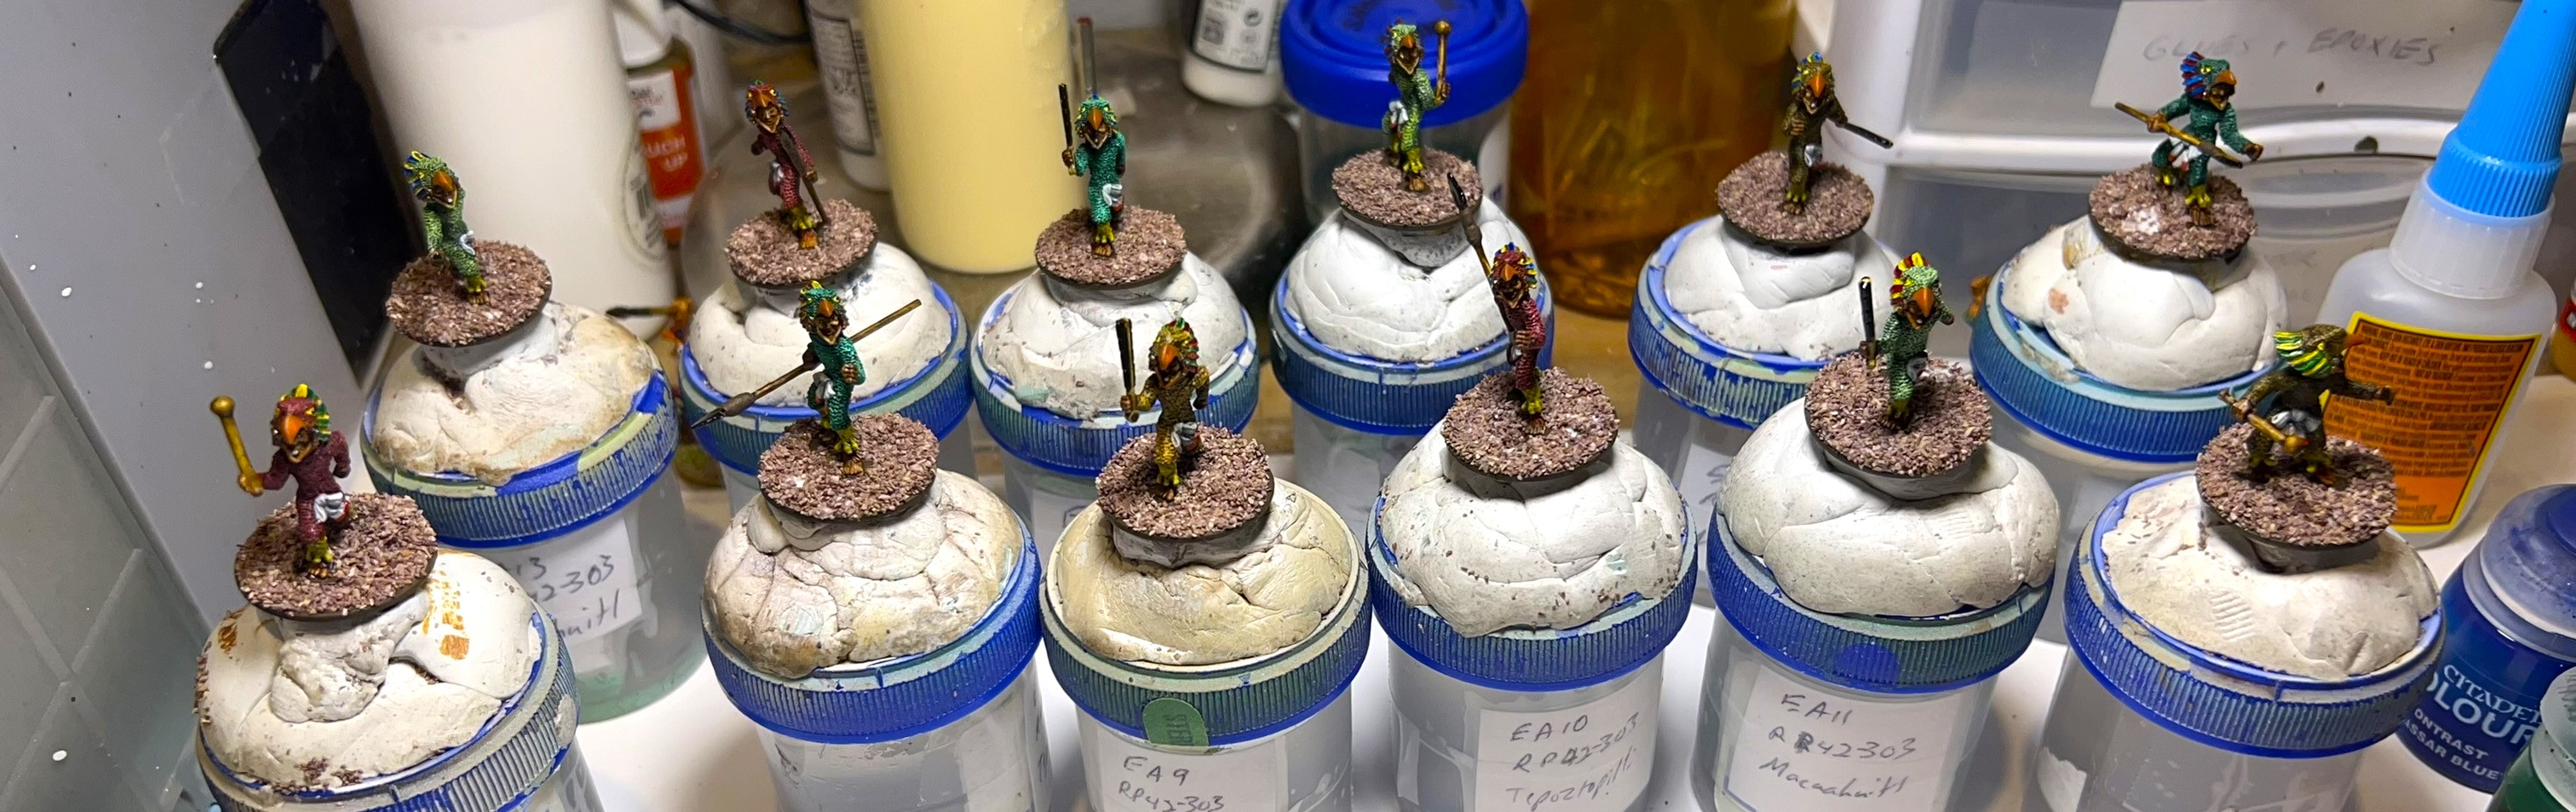
All done and ready for play – and eye candy!
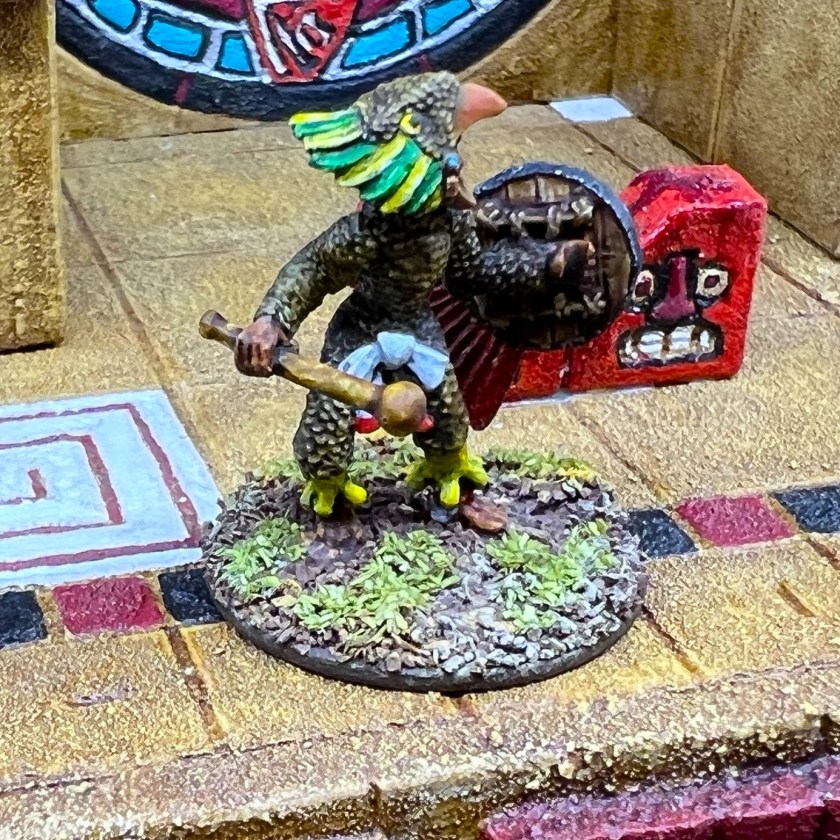
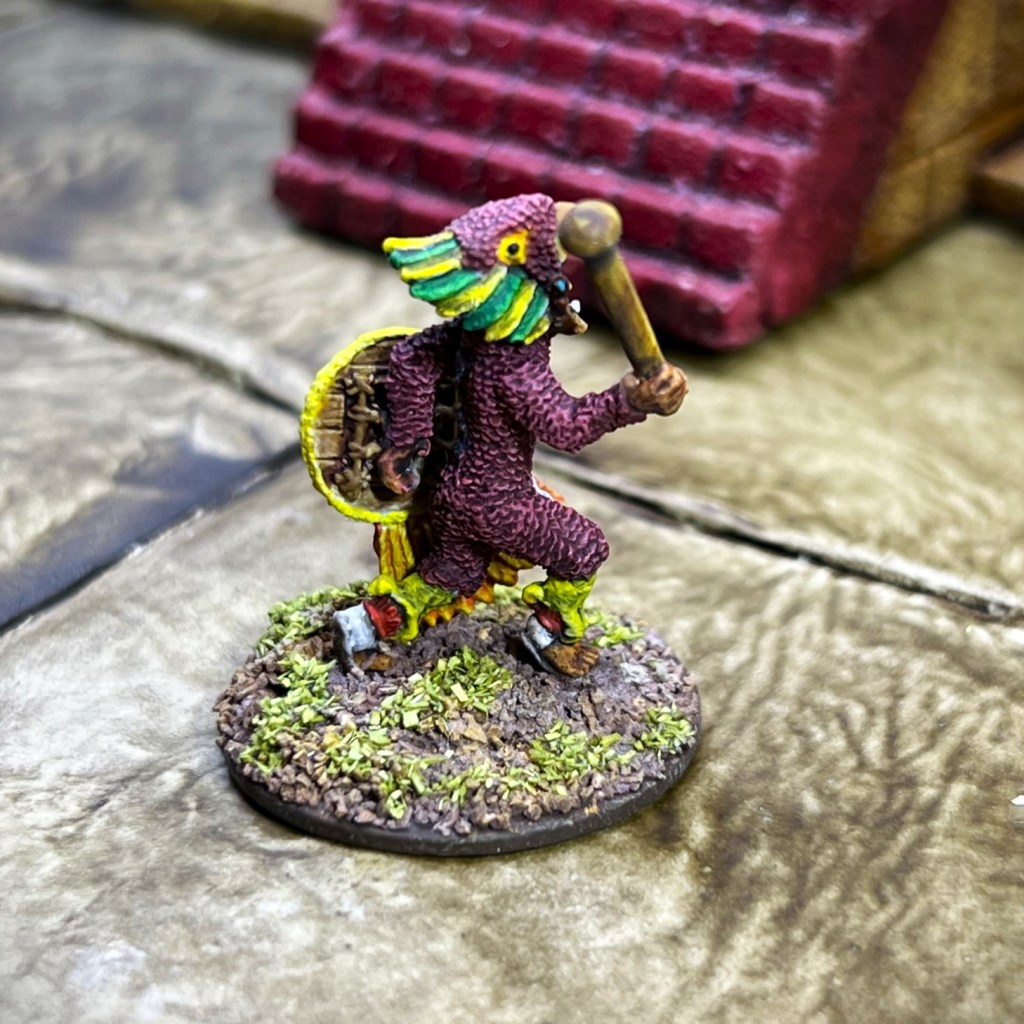
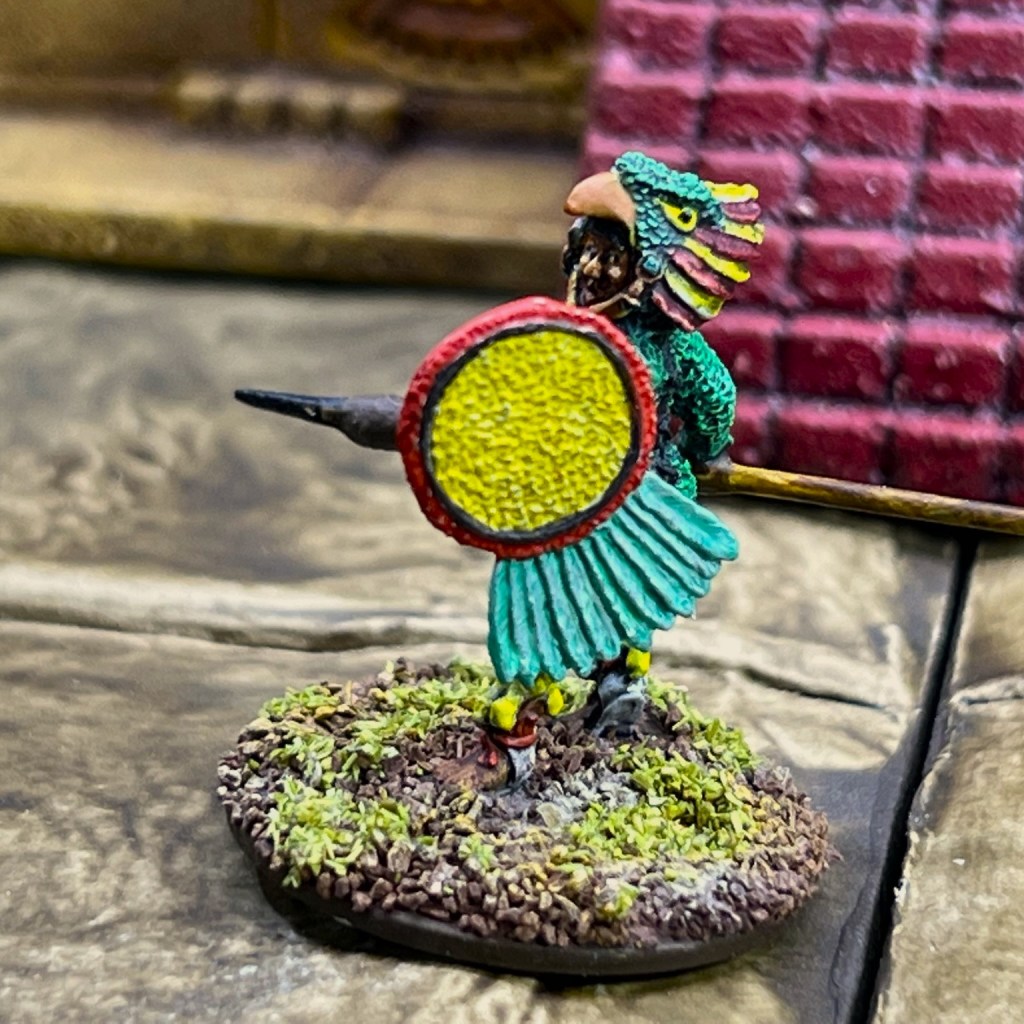
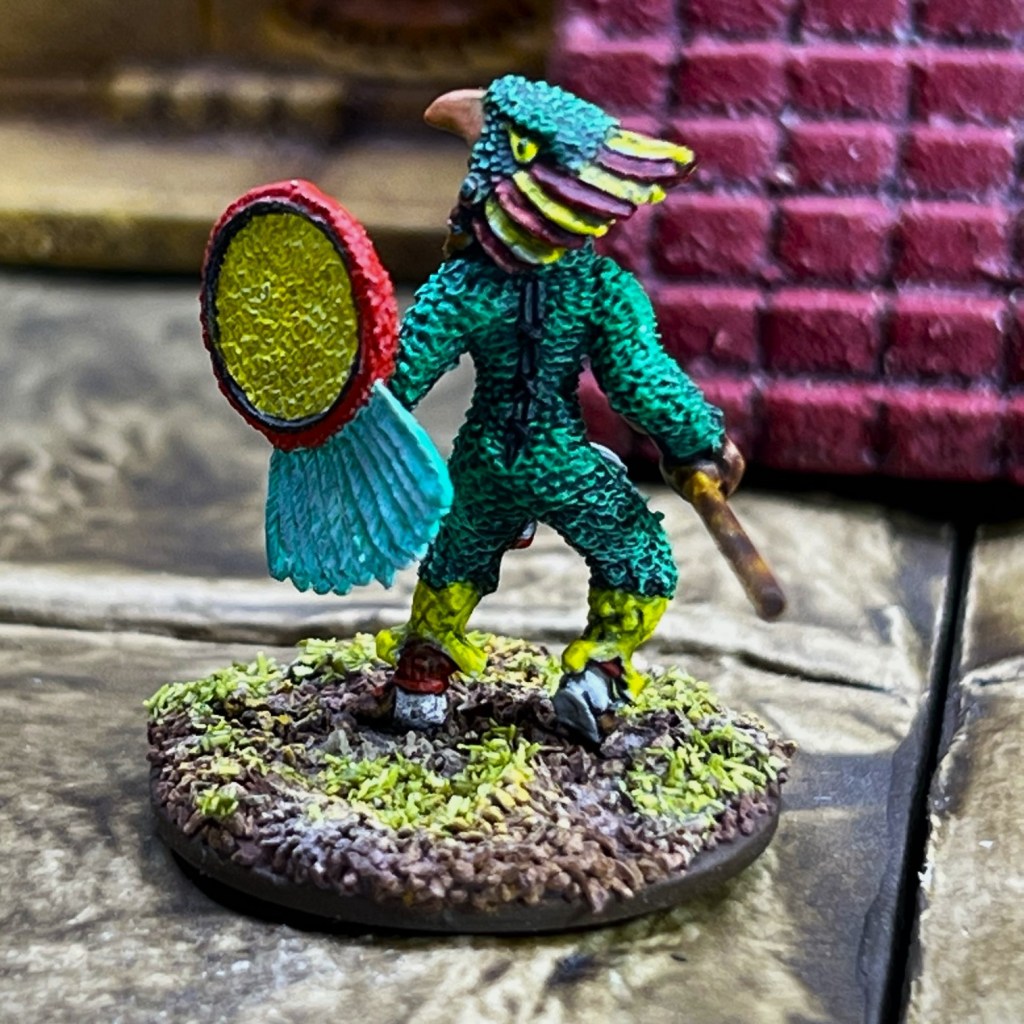
As promised…eye candy – note the color variations here and different poses.

Eye Candy

EA-07

EA-08

EA-09

EA-10

EA-11

EA-12

EA-13

EA-14

EA-15

EA-16

EA-17

EA-18

Group Shots

The four Eagle Knights armed with tepoztopilli.
Three were armed with cuauhololli.
The final 5 are armed with macuahuitl.
Here is a size comparison with a Tin Soldier UK Eagle Warrior. It will work ok on the tabletop!
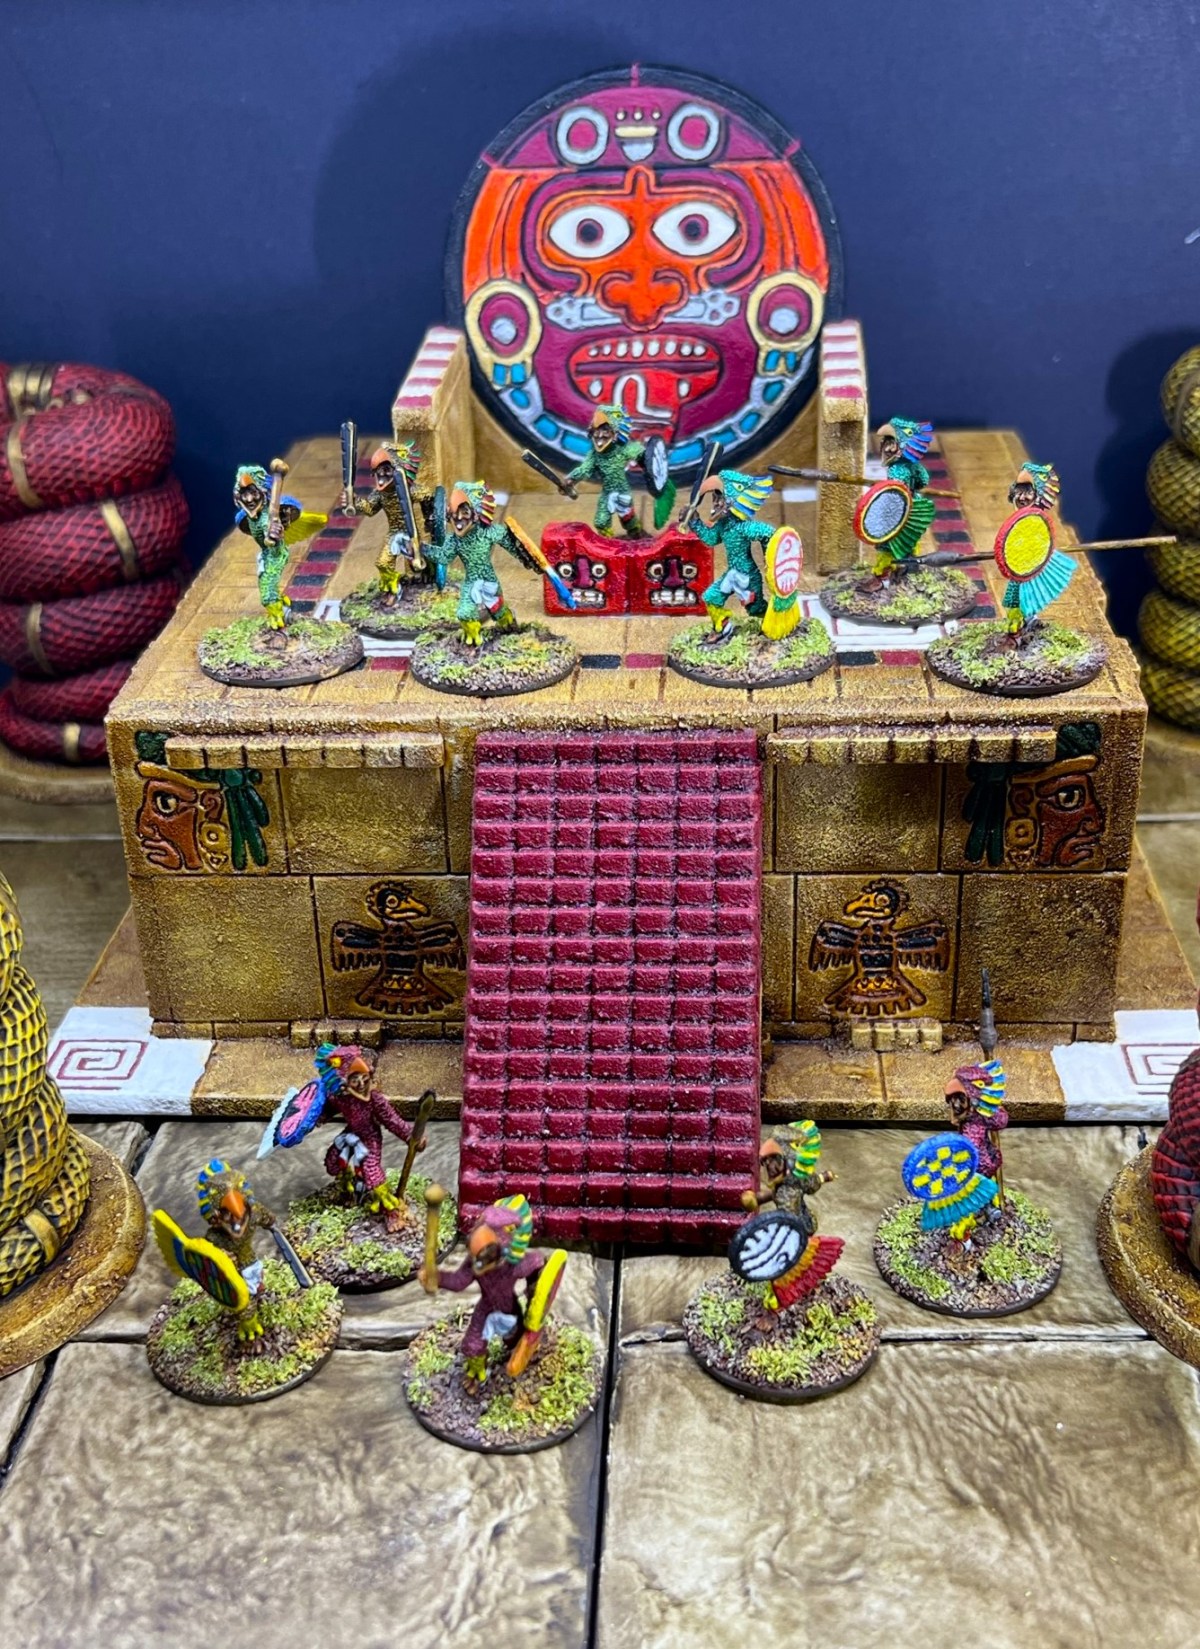
All of the Ral Partha Eagle Knights together on my Things From the Basement Aztec Temple Sacrificial Altar!

I hope that you enjoyed this post and the photos – I tried playing around with my new iPhone and lighting – I’m not 100% sure I’ve got it down yet. I painted these in between a LOT of golf, so I’m happy that they are done. If you have any feedback, I’d love to read it in the comments section.

My Aztec figures now count up at 121:

I still can’t believe I painted all these…

As a second FYI, these Ral Partha figures are still available from IWM – here is the link. (Only again now they come without shields or weapons). I am sure that the lead content is no longer there too.

The Aztecs are DONE! On to the MAYA!

Miscellaneous details and references for those interested in that sort of thing:

For all of my previous posts on games, units, and other projects for my 16th Century Spanish Conquest supplement for Feudal Patrol™ – “Civilizations Collide” – please see this page.

PAINTS, INKS, GLAZES, SHADES, WASHES, PIGMENTS, FLOCKING, GLUES AND MORE THAT I USED ON THESE EAGLE KNIGHT FIGURES:

  1. Kneadatite (green stuff)
  2. Shafts from North Star Military Figures 100mm wire spears (leftover from building Conquistador Pikemen)
  3. Gorilla Glue
  4. 1/8″ x 1″ Everbilt Fender Washers
  5. Gorilla Glue Gel
  6. Poster tack
  7. North Star Military Figures 100mm wire spears
  8. Vallejo Mecha Primer “White”
  9. Vallejo “Flow Improver”
  10. Vallejo “Airbrush Thinner”
  11. Citadel “Nuln Oil” (wash)
  12. Vallejo Mecha Color “Off-white”
  13. Vallejo Mecha Color “Black”
  14. Vallejo Game Color “Bronze Fleshtone”
  15. Citadel “Contrast Paint – Fyreslayer Flesh”
  16. Battlefront “Skin Shade”
  17. Citadel “Contrast Paint – Blood Angels Red”
  18. Citadel “Contrast Paint – Dark Angels Green”
  19. Citadel “Contrast Paint – Skeleton Horde”
  20. Citadel “Contrast Paint – Creed Camo”
  21. Citadel “Contrast Paint – Contrast Medium”
  22. Americana “Kelly Green”
  23. Vallejo Model Color “White”
  24. Americana “Apple Green”
  25. Vallejo Game Color “Bloody Red”
  26. Citadel “Carroburg Crimson” (wash)
  27. Secret Weapon Washes “Fallout” (wash)
  28. Secret Weapon Washes “Green” (wash/ink)
  29. Citadel “Contrast Paint – Iyandan Yellow”
  30. Vallejo Game Air “Moon Yellow”
  31. Citadel “Contrast Paint – Aggaros Dunes”
  32. Citadel “Lamenters Yellow” (glaze)
  33. Vallejo Model Color “Burnt Umber”
  34. Citadel “Contrast Paint – Warp Lightning”
  35. Citadel “Contrast Paint – Talassar Blue”
  36. Citadel “Contrast Paint – Flesh Tearers Red”
  37. Vallejo Game Ink “Yellow”
  38. Citadel “Gehenna’s Gold”
  39. Citadel “Contrast Paint – Apothecary White”
  40. Vallejo Mecha Color “Turquoise”
  41. Vallejo Model Color “Glossy Black”
  42. Citadel “Tallarn Sand”
  43. Citadel “Cryptek Armourshade Gloss” (shade)
  44. Battlefront “Chocolate Brown”
  45. Vallejo Mecha Varnish “Gloss Varnish”
  46. Citadel “Contrast Paint – Terradon Turquoise”
  47. Vallejo Model Color “Dark Blue”
  48. Secret Weapon Washes “Just Red” (wash/ink)
  49. Vallejo Model Color “Black Green”
  50. Secret Weapon Washes “Yellow Snow” (wash/ink)
  51. Vallejo Game Ink “Green”
  52. Vallejo Game Ink “Red”
  53. Vallejo Game Ink “Blue”
  54. Citadel “Contrast Paint – Aethermatic Blue”
  55. E6000 epoxy
  56. Vallejo “Dark Yellow Ochre” (pigment)
  57. Vallejo “Burnt Umber” (pigment)
  58. Elmer’s PVA Glue
  59. Army Painter “Brown Battleground” (flocking)
  60. Vallejo Model Color “English Uniform”
  61. Army Painter “Mid Brown” (shade)
  62. Citadel “Karak Stone”
  63. Vallejo Mecha Varnish “Matt Varnish”
  64. Army Painter “Grass Green” (flocking)
Man of TIN blog two

Toy Soldiers, Gaming, ImagiNations

Gisby's Gaming Blog

Miniatures gaming projects, products, and reviews

Carrion Crow's Buffet

Narrative Wargaming, Fiction and General Musings on the Universe

Despatches from Fort Syllabub

An account of fictional adventures on the North West Frontier - and other times and places, real or imagined

Man of Tin blog

Toy soldiers, gaming, Imagi-Nations

Zauberwurfs Blog

Ein Blog über Tabletop und Miniature Wargames.

Frank Tank Rants

musings of a fat old bloke on tanks and wargames

Dragons of Lancasm

Games, miniatures, painting, books and more games

Tiny Painted Heroes

The Adventures of a lifelong Tabletop Gamer, Game Design hobbyist, and full-time Software Engineer

Steve's Paint Brush

Grimdark model making and mini painting

Wargamesculptors Blog

Life, Golf, Miniatures, & Other Distractions

Dead Dick's Tavern and Temporary Lodging

Life, Golf, Miniatures, & Other Distractions

Guru Pig - the gaming Guru

Guru's thoughts on wargaming, life, and the universe!

Wisely lead... without a head!

History, Miniatures and Wargaming

Kuribo's Painting

Fallout Wasteland Warfare, Warhammer, and Hellboy Painting, Terrain, Dioramas, and Battle Reports

Don't Give Greg Ideas

Seriously, just don't

War Across the Ages, and other dark horrors

A discussion of miniatures collecting, painting and gaming.

Classic Warhammer 40K

Painting diary focused on Warhammer 40K 2nd ed., 5th ed. WHFB, related GW games, and miscellaneous whimsy

Colonel Mustard

WW2 Modelling in 1/72 Scale

Bogenwald

Random painting and terrain making.

Pat's 1:72 Military Diorama's

Scale diorama tips and ideas

Arcade Dreams

Building the Arcade Dream

P.B.Eye-Candy

Phil's 20th century wargame pages

SP's Projects Blog

A futile fight against entropy or 'Every man should have a hobby'? Either way it is a blog on tabletop wargames, board games and megagames

30mmdave

Wargaming Plausible reality?

The Imperfect Modeller

Miniature Figure Painting and Diorama Modelling

Double Down Dice

Painting miniatures and rolling dice!

Just Needs Varnish!

My ongoing wargames projects!

miniaturepopcorns

Sculpting some worlds

Despertaferres

Wargaming with the ability of a dull nine year old

Dawn of the Lead

Miniature wargaming and the occasional zombie

Rantings from under the Wargames table

Wargames, Figures, Sculpting and Converting Miniatures

Simple as War

Miniatures & Terrains

Buck's Blog

Life, Golf, Miniatures, & Other Distractions

IRO aka Imperial Rebel Ork

- I model - therefore I am -