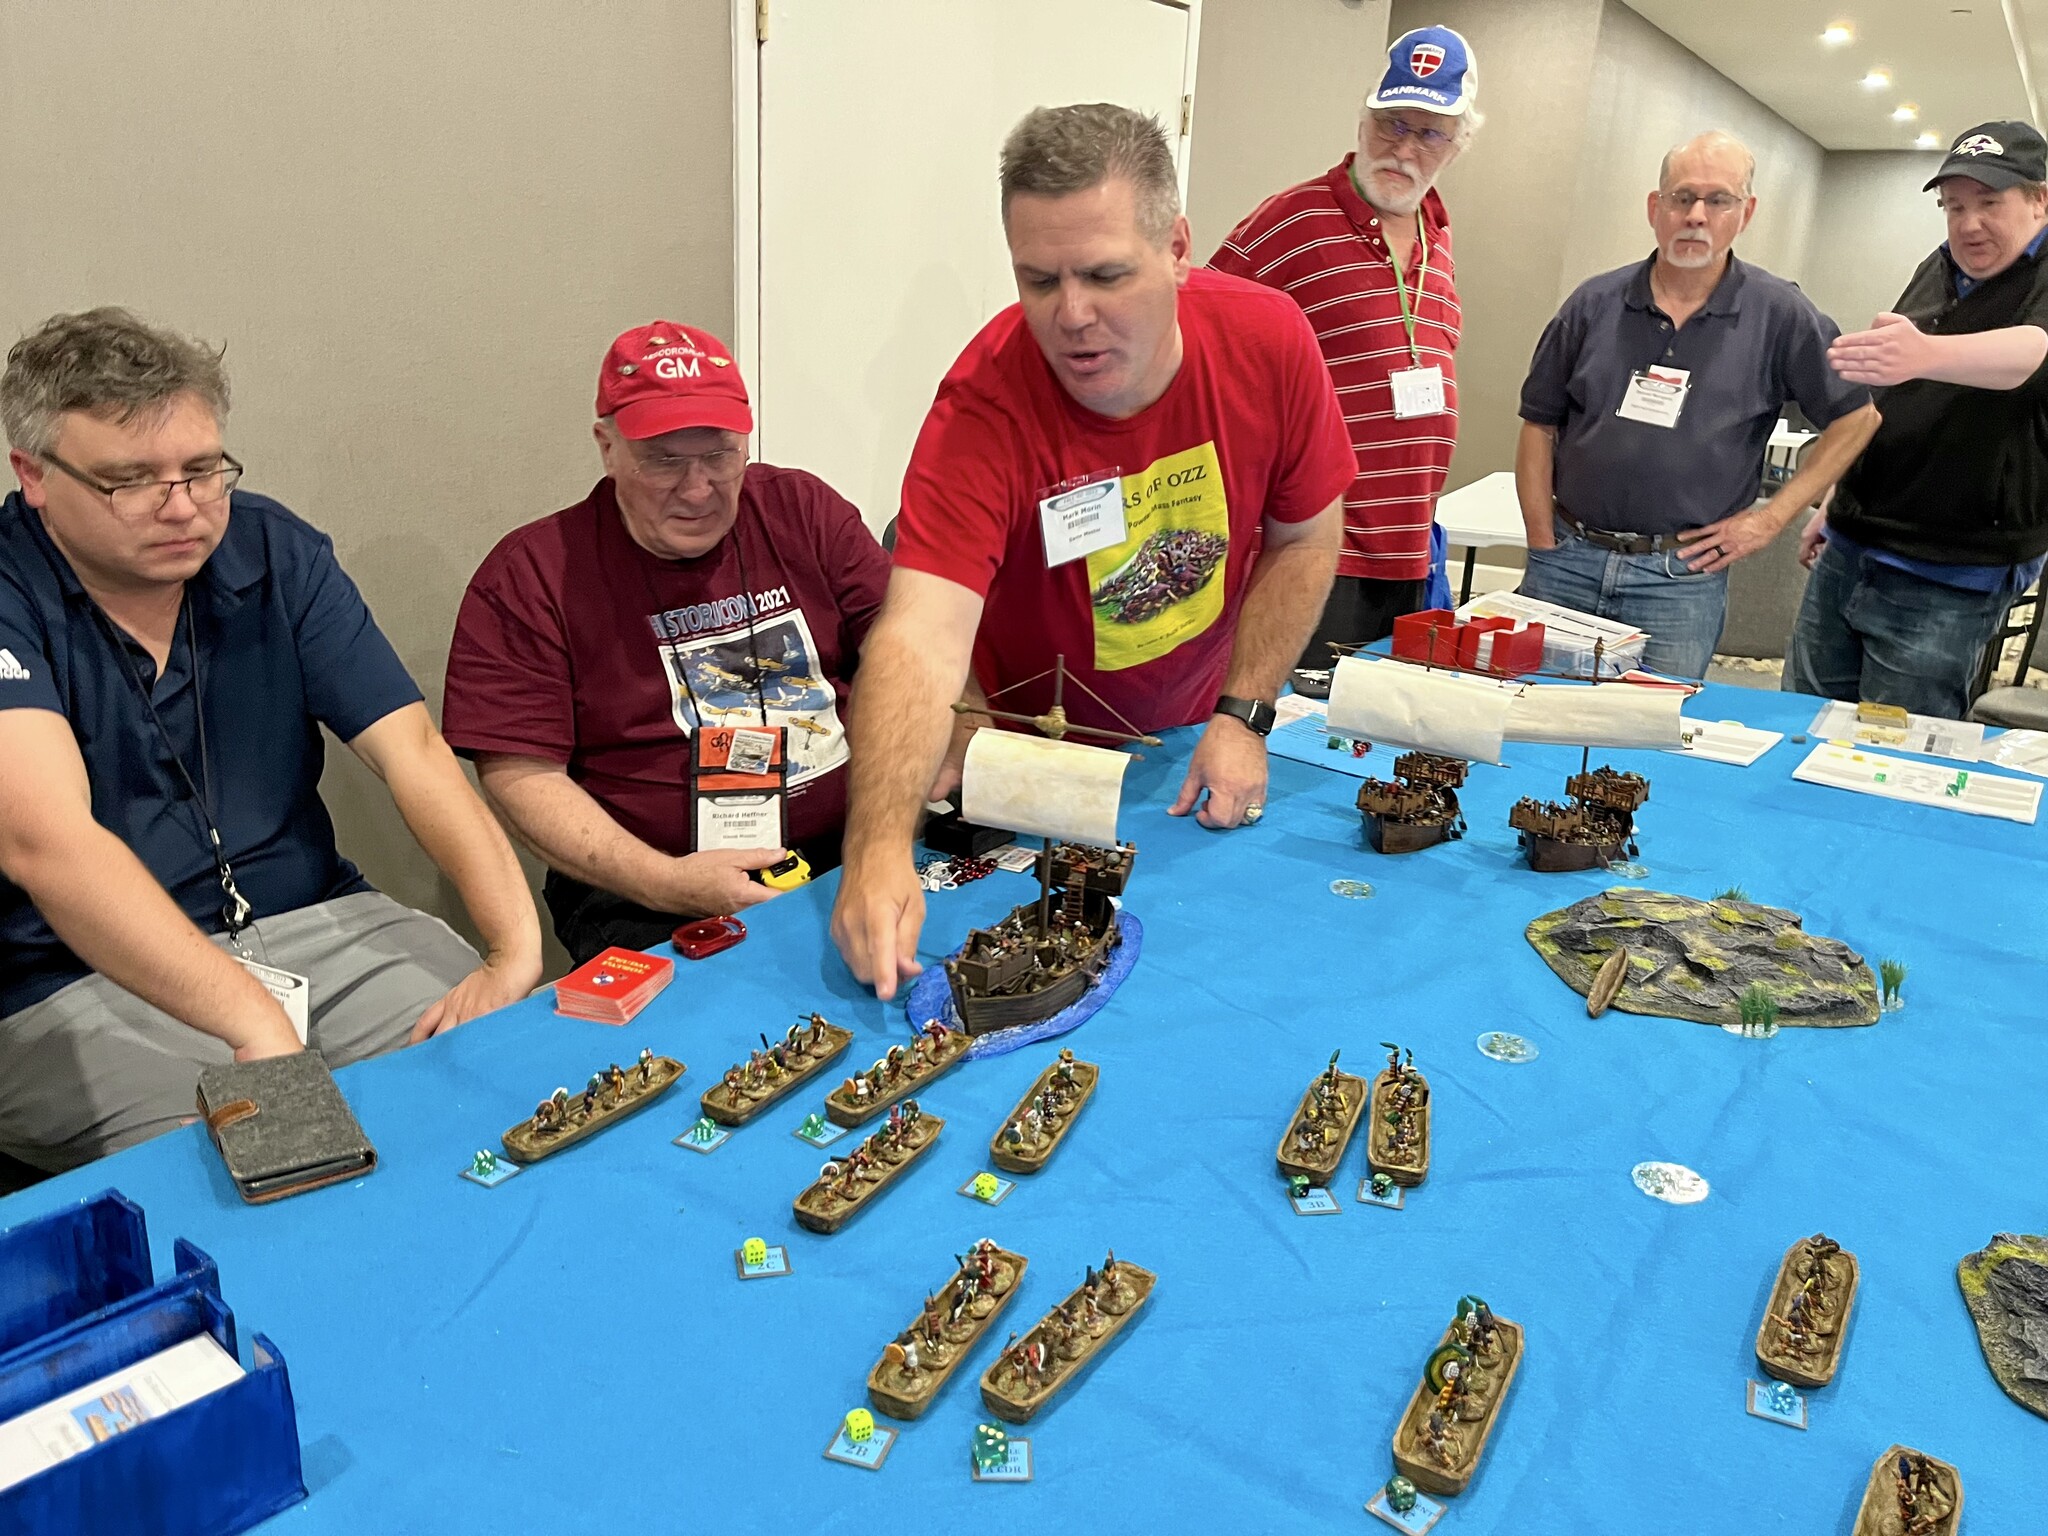
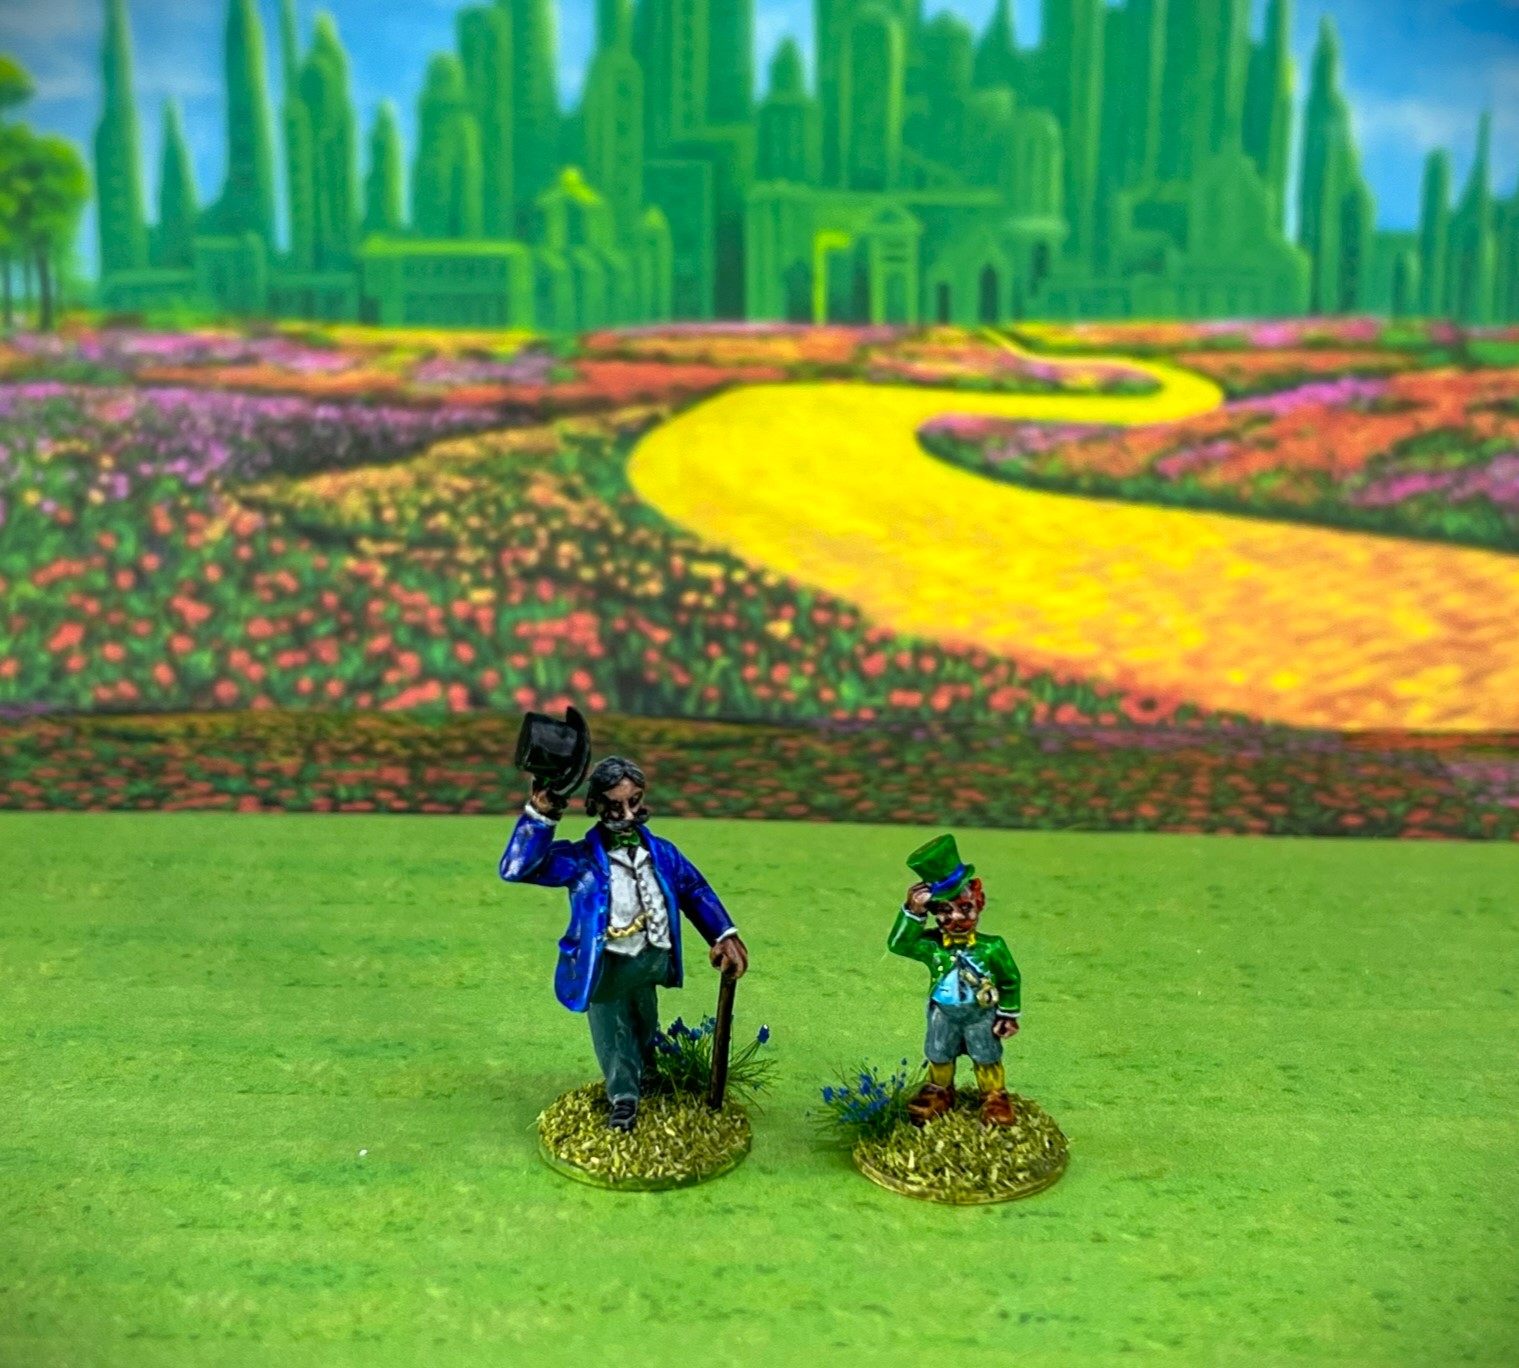
Whenever I think of seeing the classic 1939 movie The Wizard of Oz, on TV in the ’60’s as a kid, I think the most striking aspect for me was appearance of the Flying Monkeys. Of course back then, our TV’s were not always in color, so I did not even know that most of the film was even in color for a few years! Still, those aviator primates were impressively done for 1939 movie and scary enough for me at 4 or 5 years old.
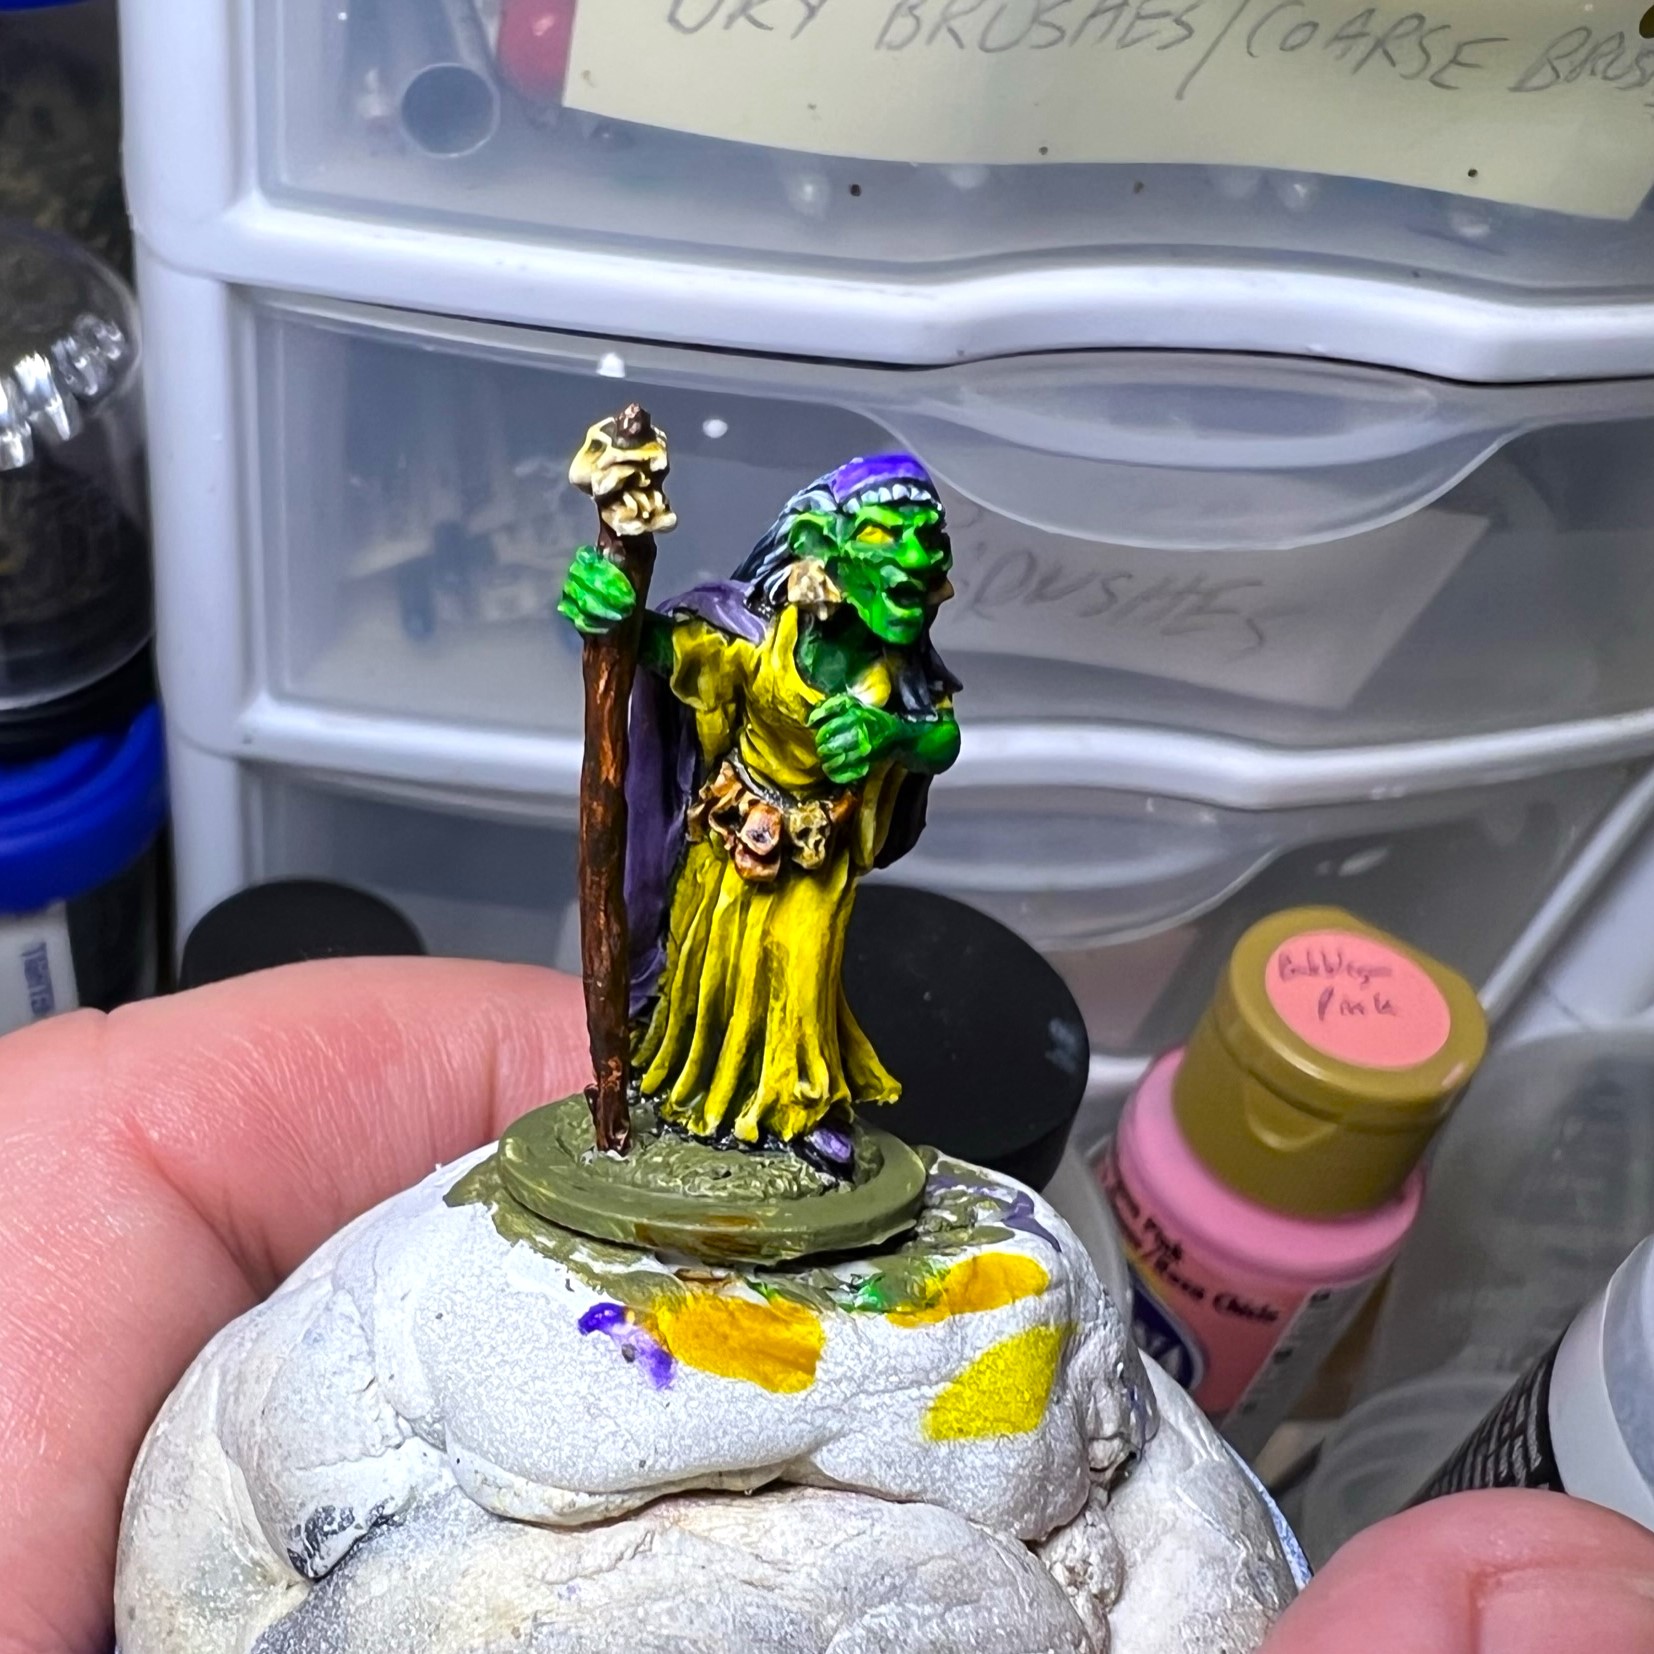
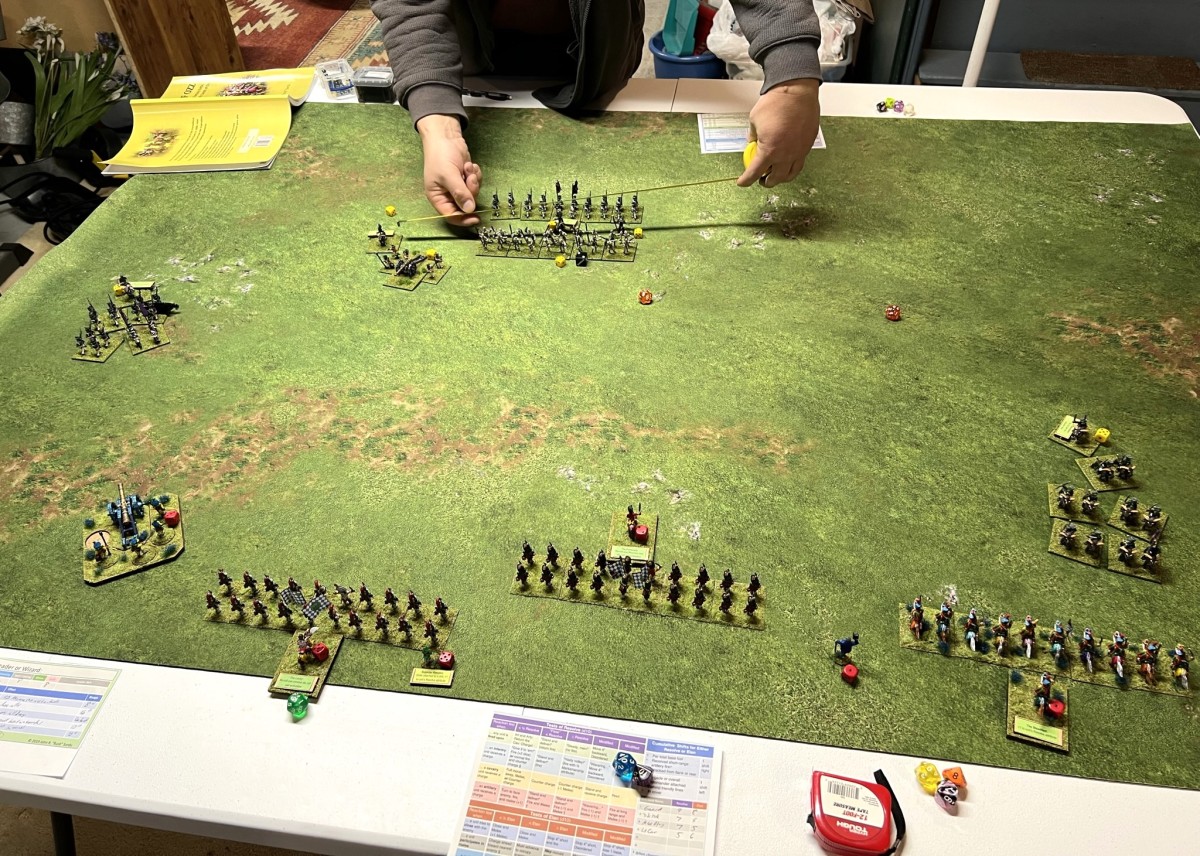
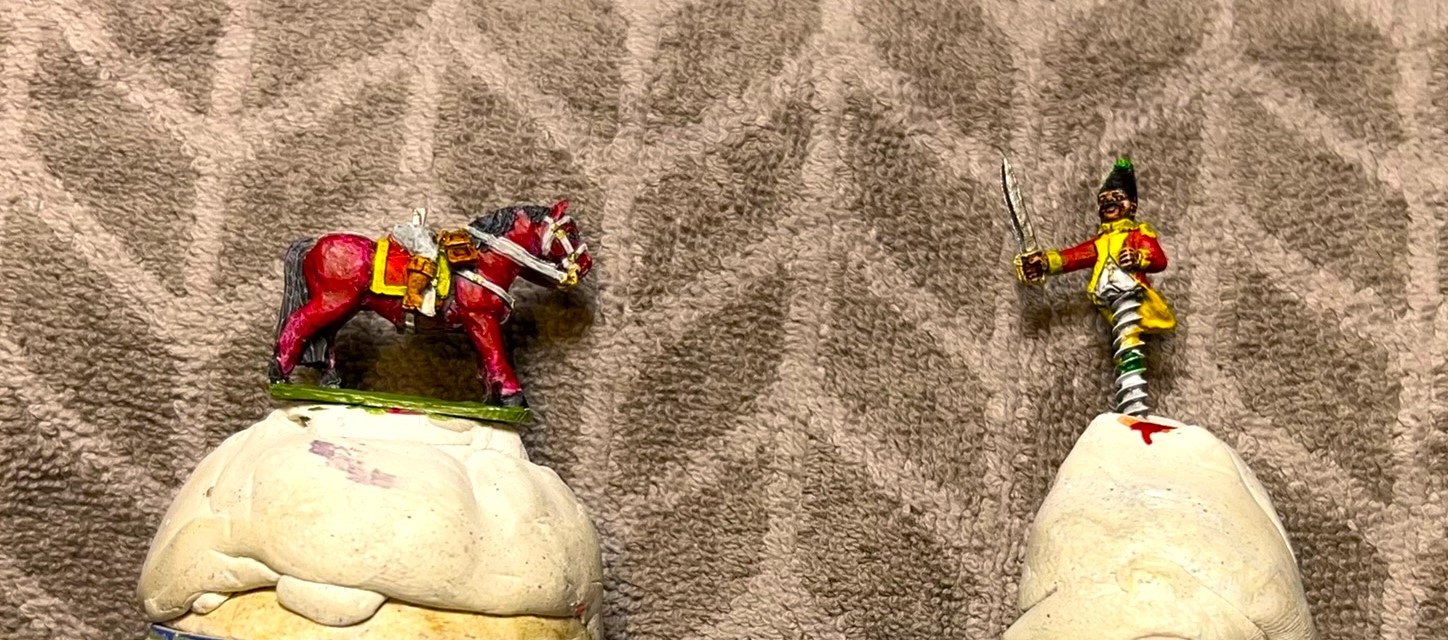
Now, the world of the Wars of Ozz is not the same as that tread by Dorothy. In this world, the Winkies have allies in the form of Lesser Apes and Great Flying Apes due to the efforts of Evora:
One of Evora’s diplomatic coups was convincing the King of the Flying Apes to send her tribute in exchange for leaving his land in the Cold Barren Mountains unmolested. By their agreement each year he sends a number of Great Flying Apes and their cousins, the Lesser Apes, to serve in her armies and follow her commands for the course of the year. While it might seen like a very unfair arrangement, it has kept the rest of the apes safe from her armies, provided an easy way to train his soldiers, and given the old ape king a convenient way to manoeuvre his rivals out of his lands.
Wars of Ozz, section 2.2.2.4, page 25
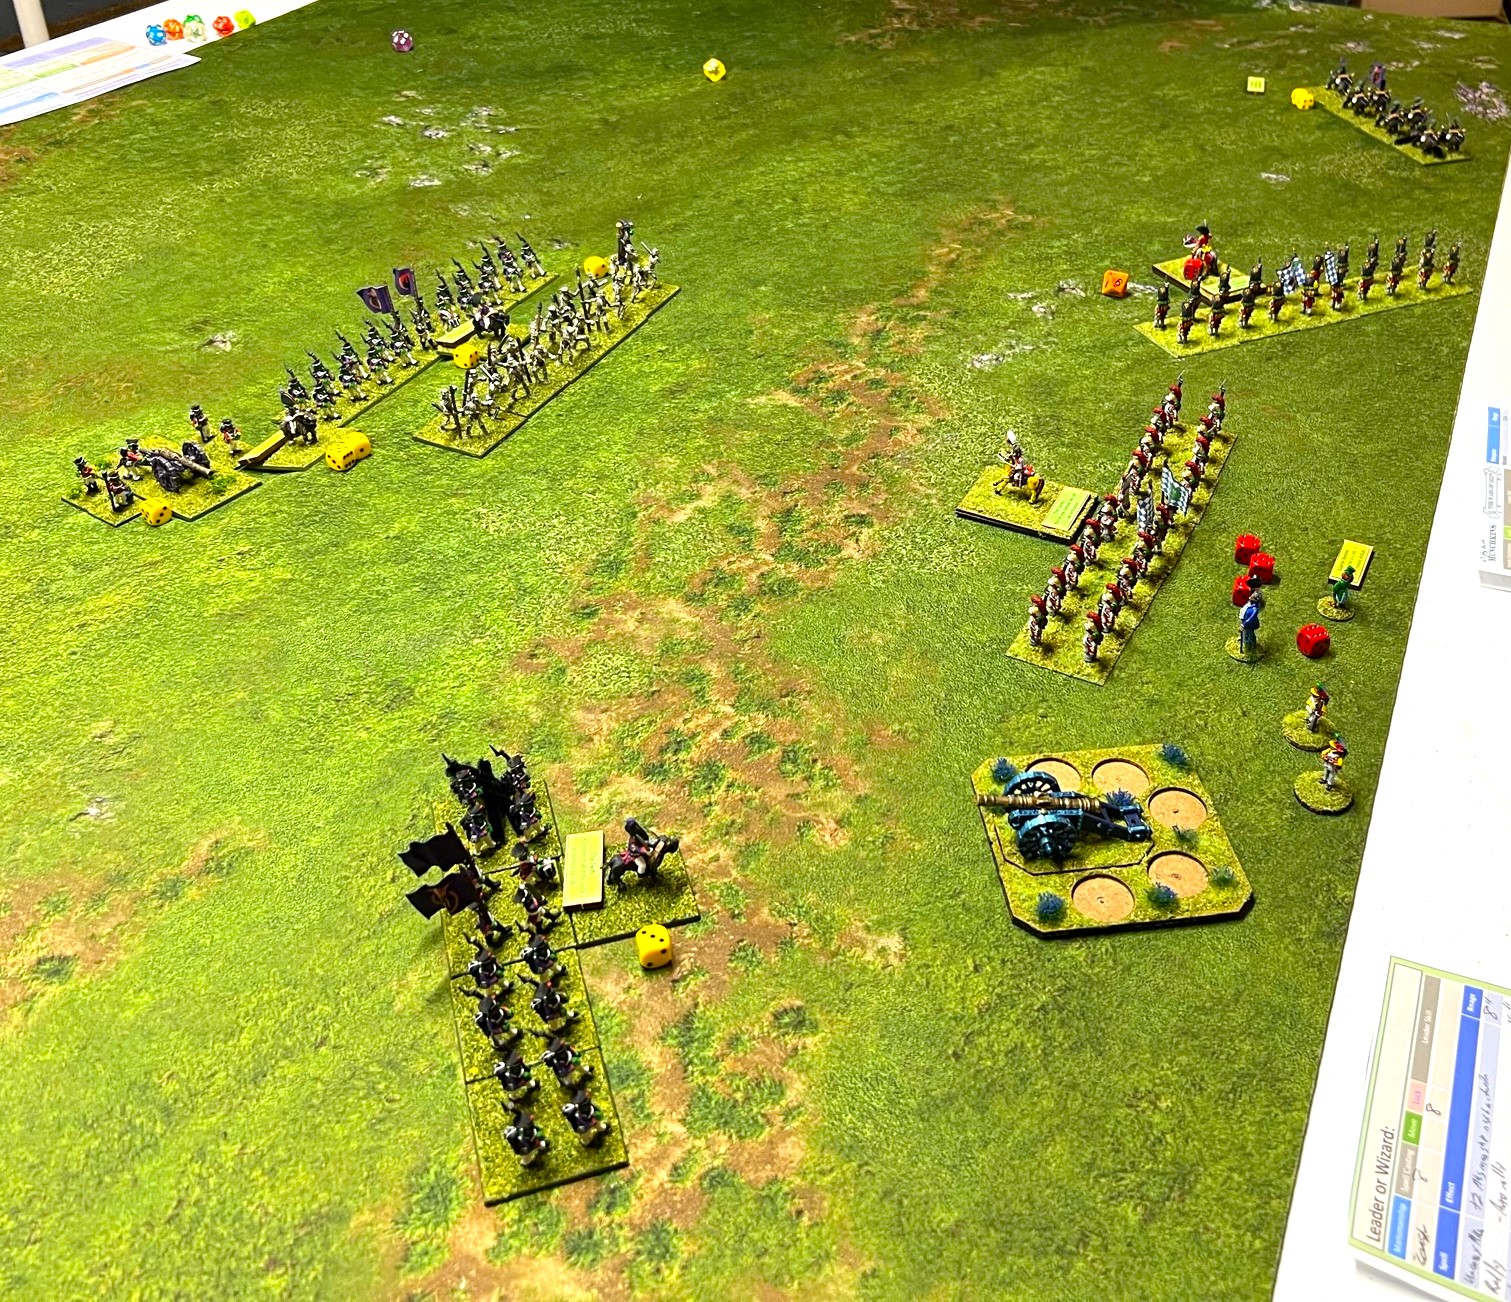
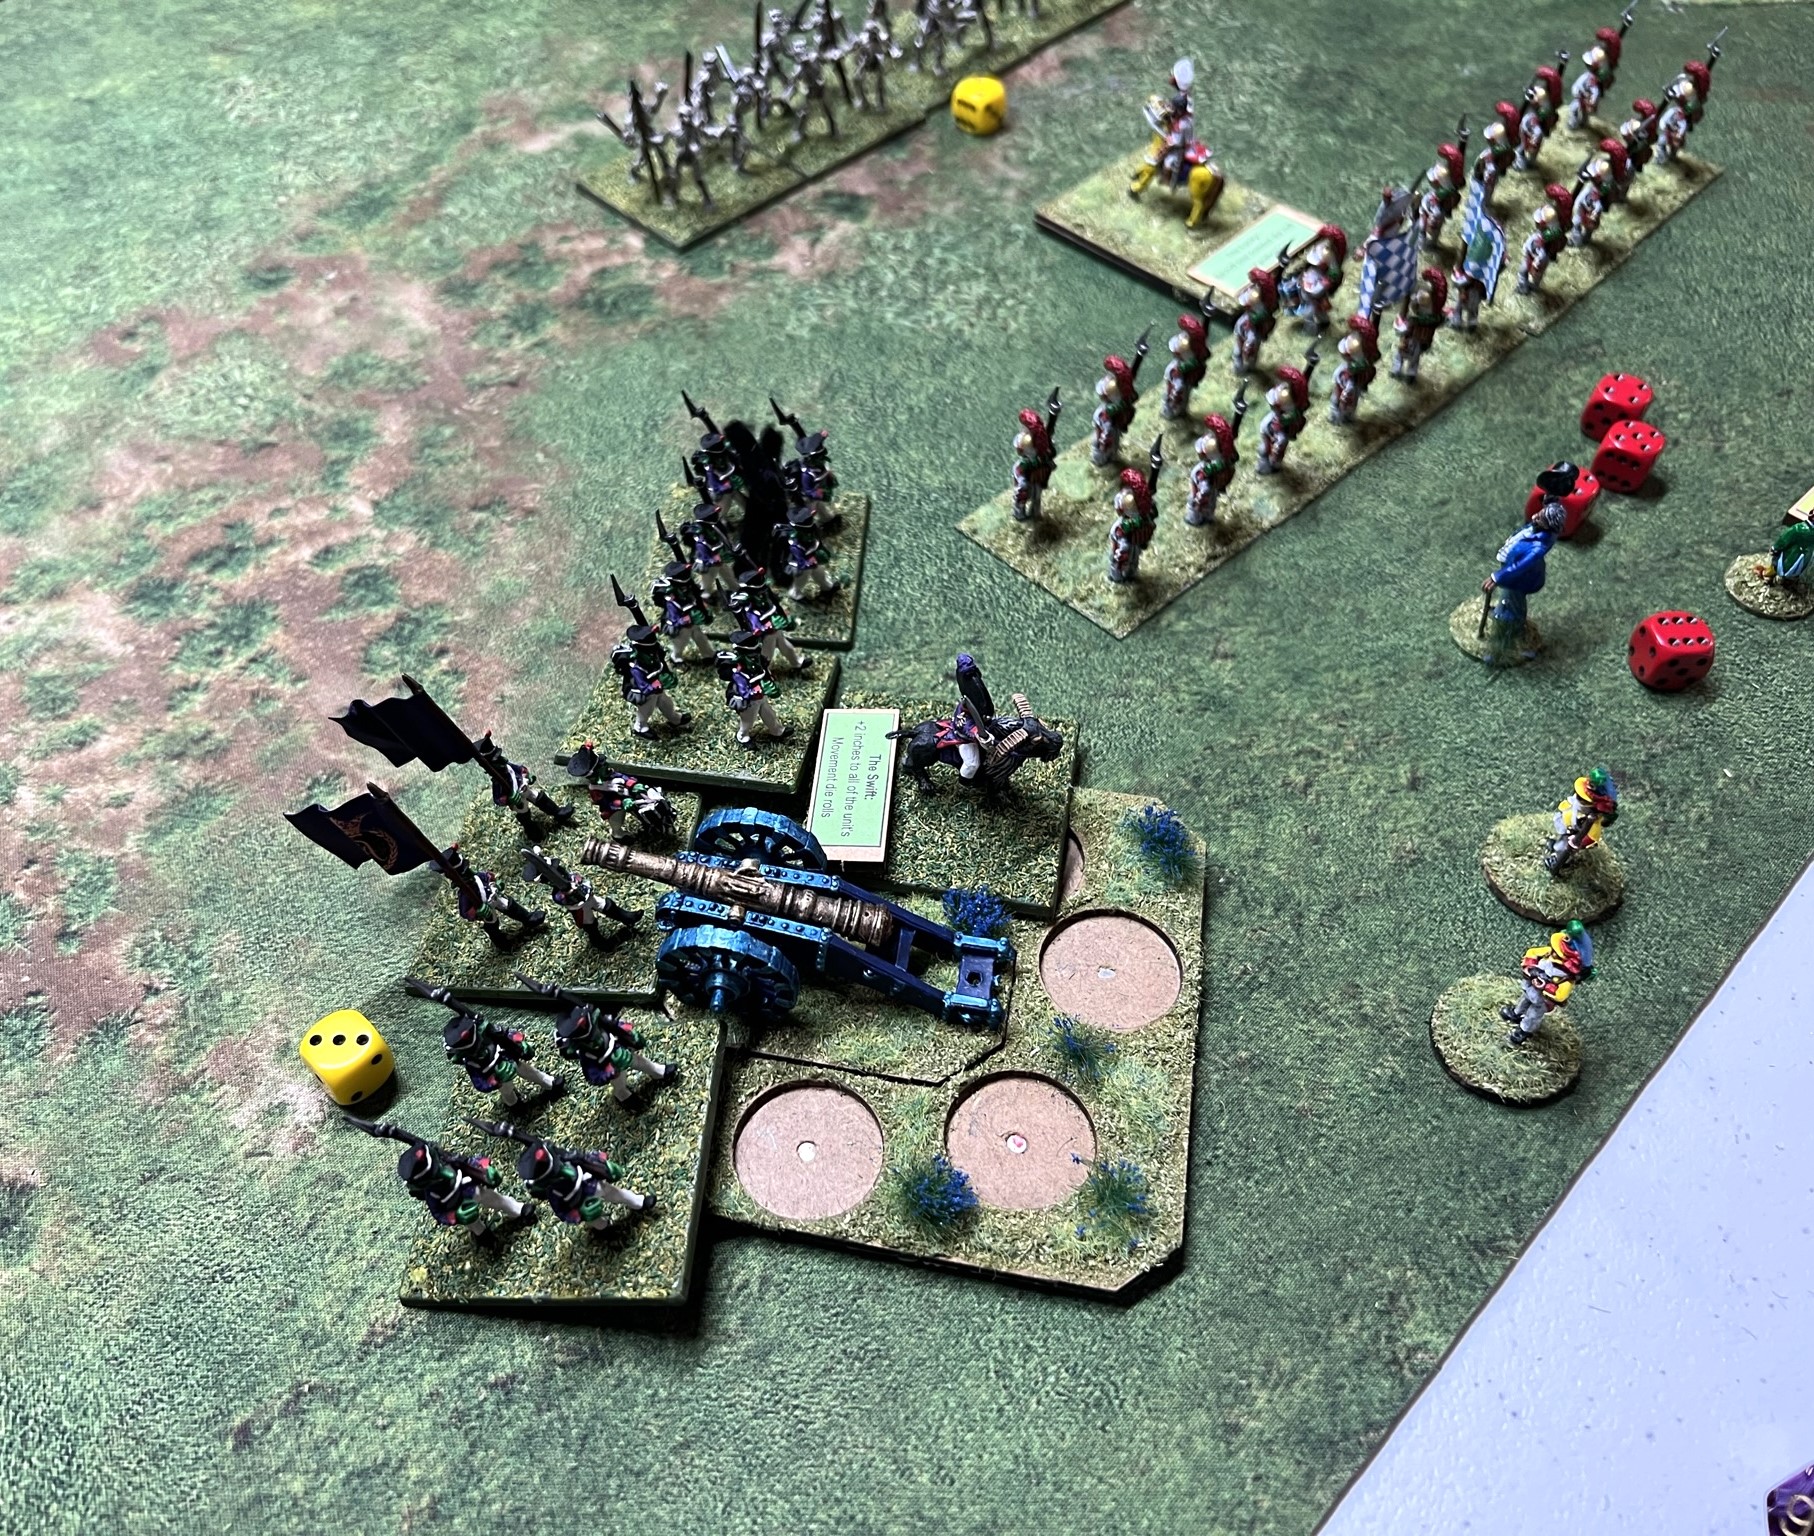
Both of these ape regiments are available to any force in Ozz, BUT they are cheaper to incorporate into Winkie Brigades. Therefore, I just had to add both to my current Winkie forces – and potentially others in the future if they can pay. The Lesser Apes and Great Flying Apes cost the Winkies 4 and 6 points respectively, while costing other factions an additional 2 points each for each. The Great Flying Apes ignore any terrain effects, and can of course fly over an enemy, land, and try to hit the enemy’s rear. They also will be useful in attacking the Munchkin’s Aerostat Corps Balloon (mine is in the painting queue as well). The Lesser Apes move through woods with no penalty.
As they are kin, I thought it made sense to share both of these together in one blog post.
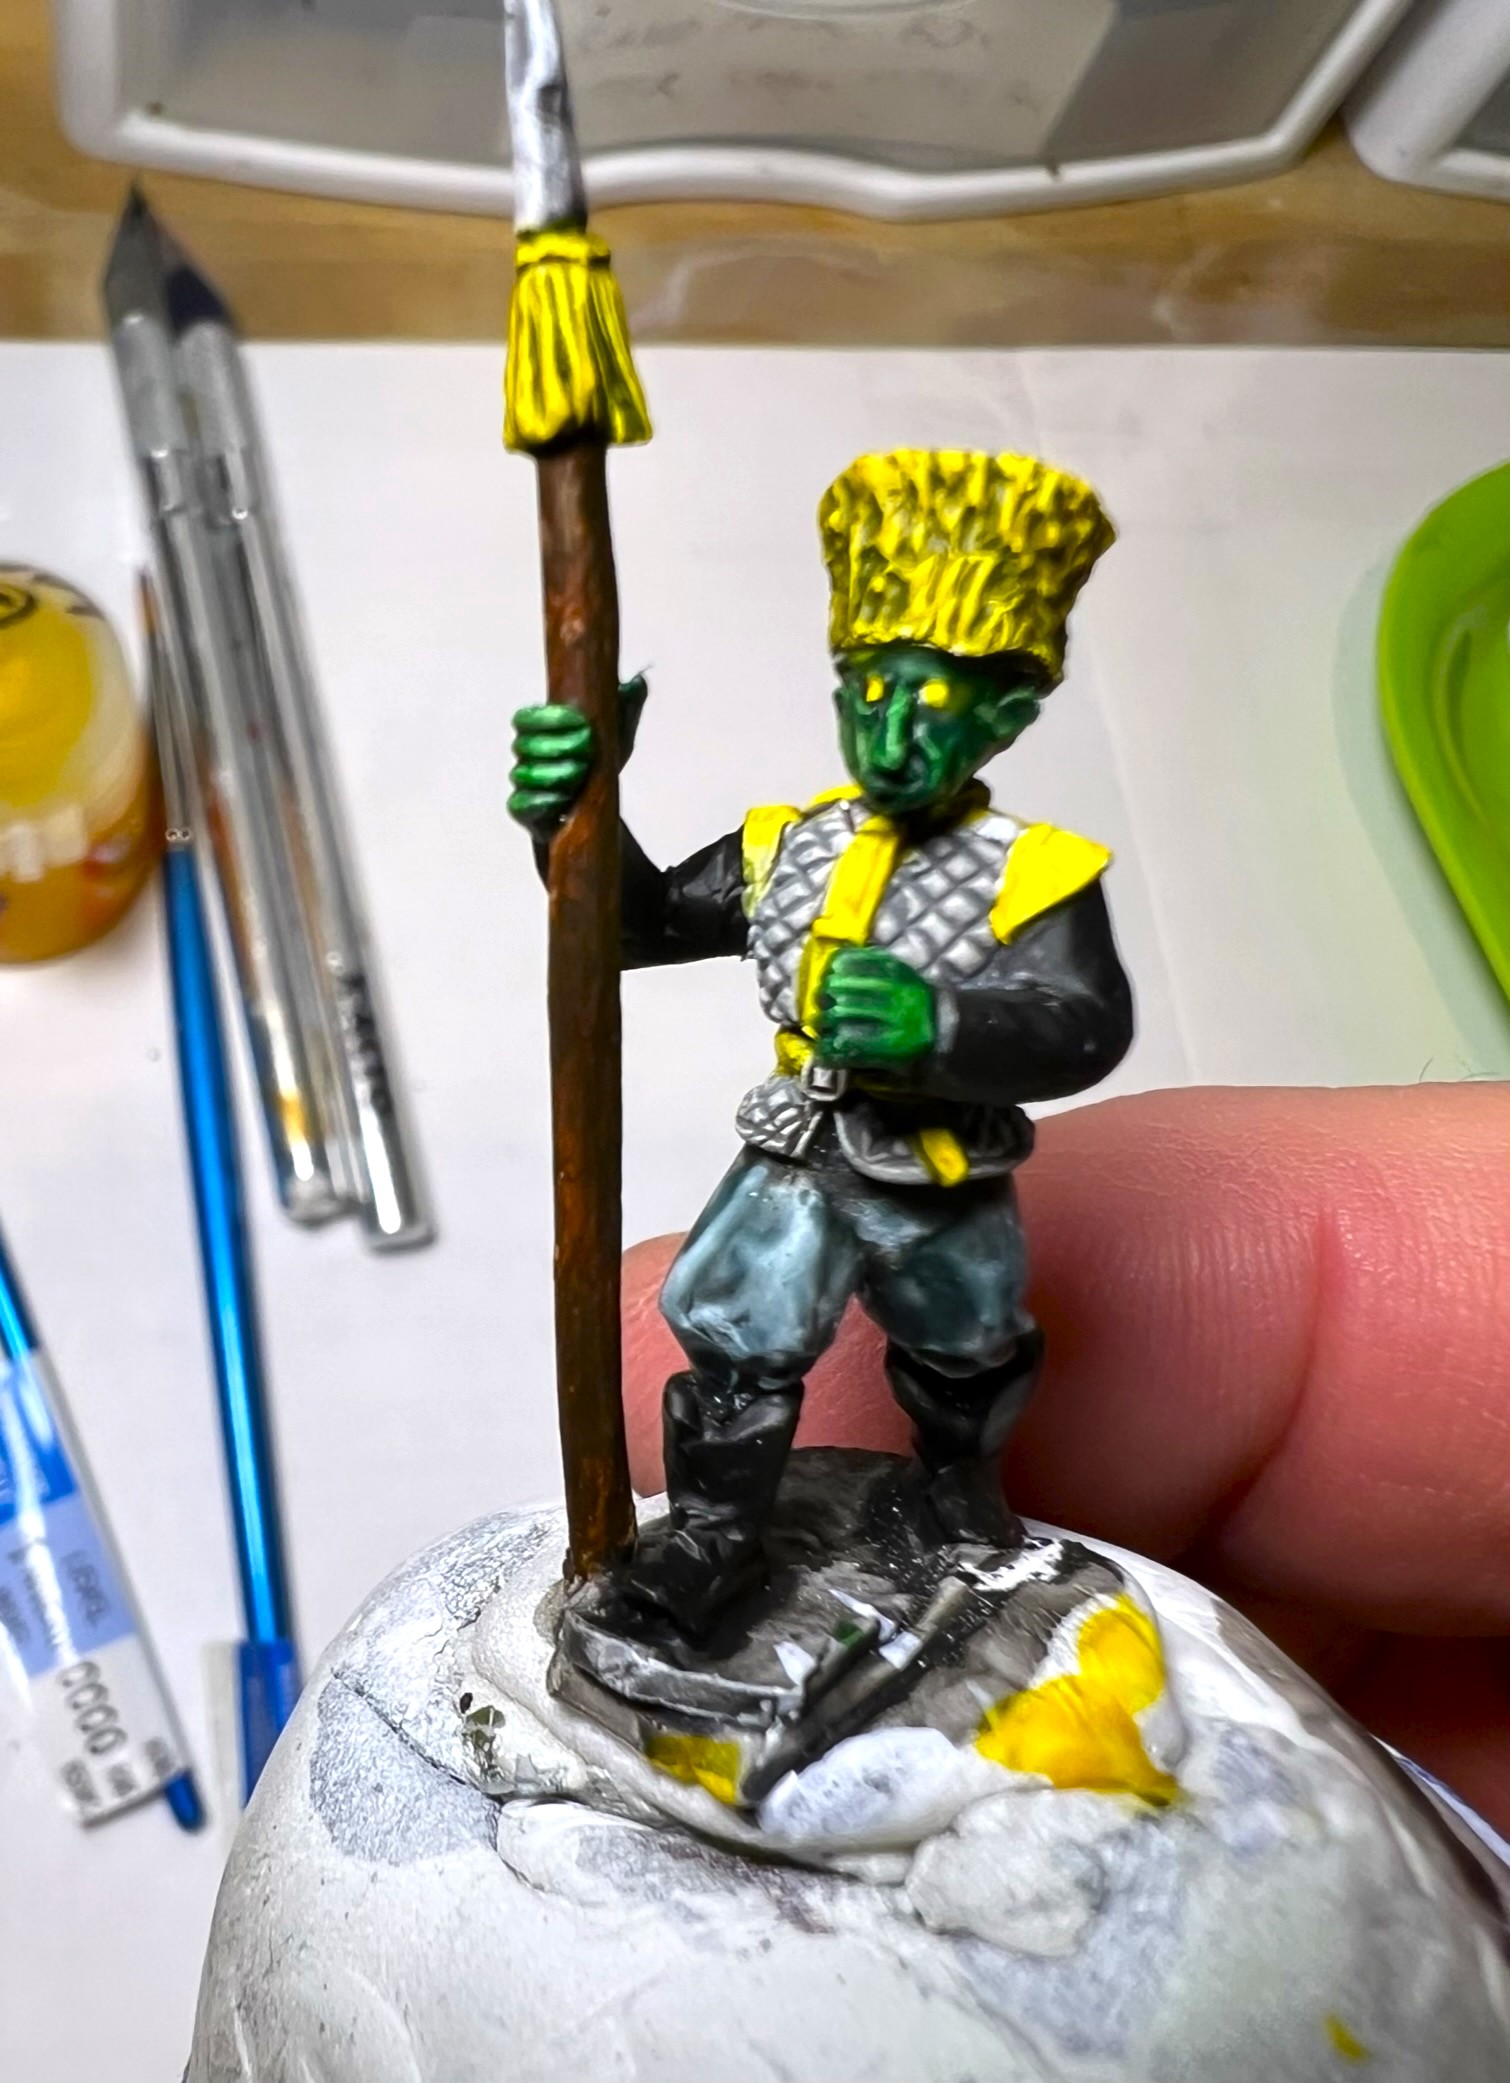
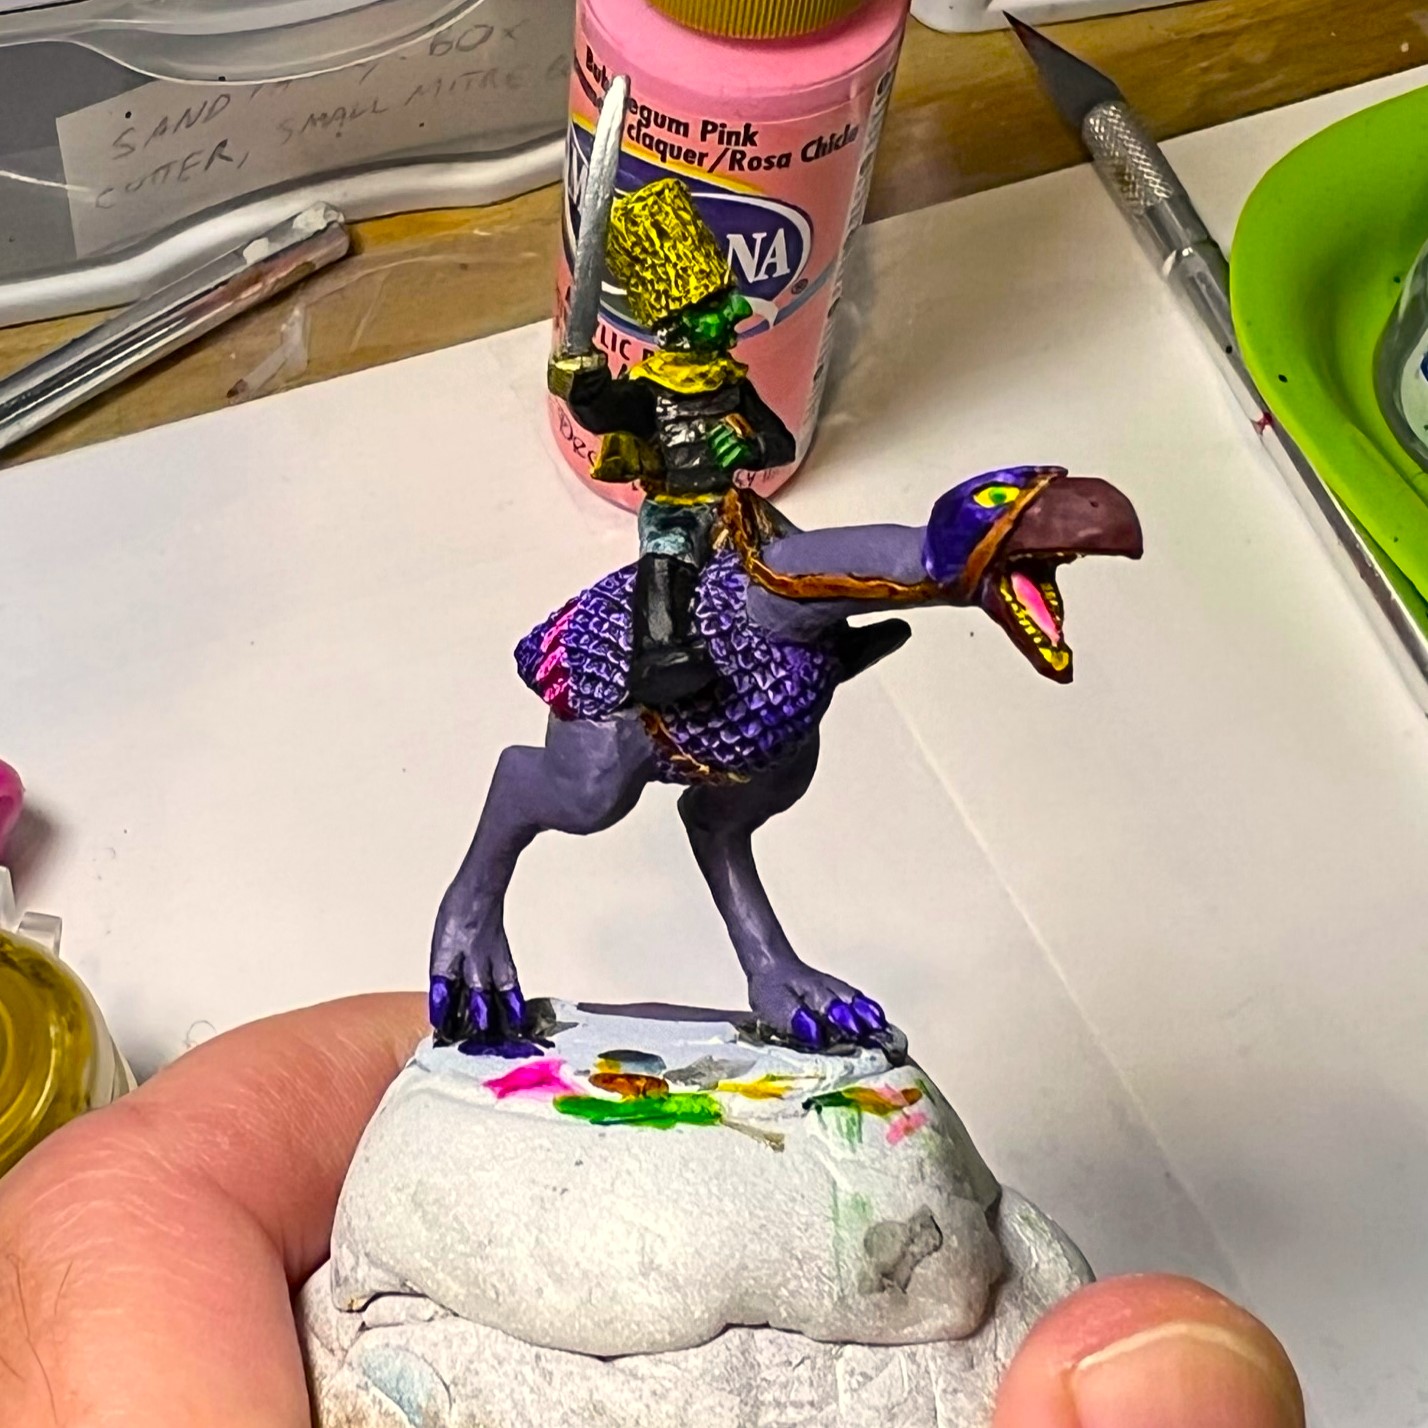
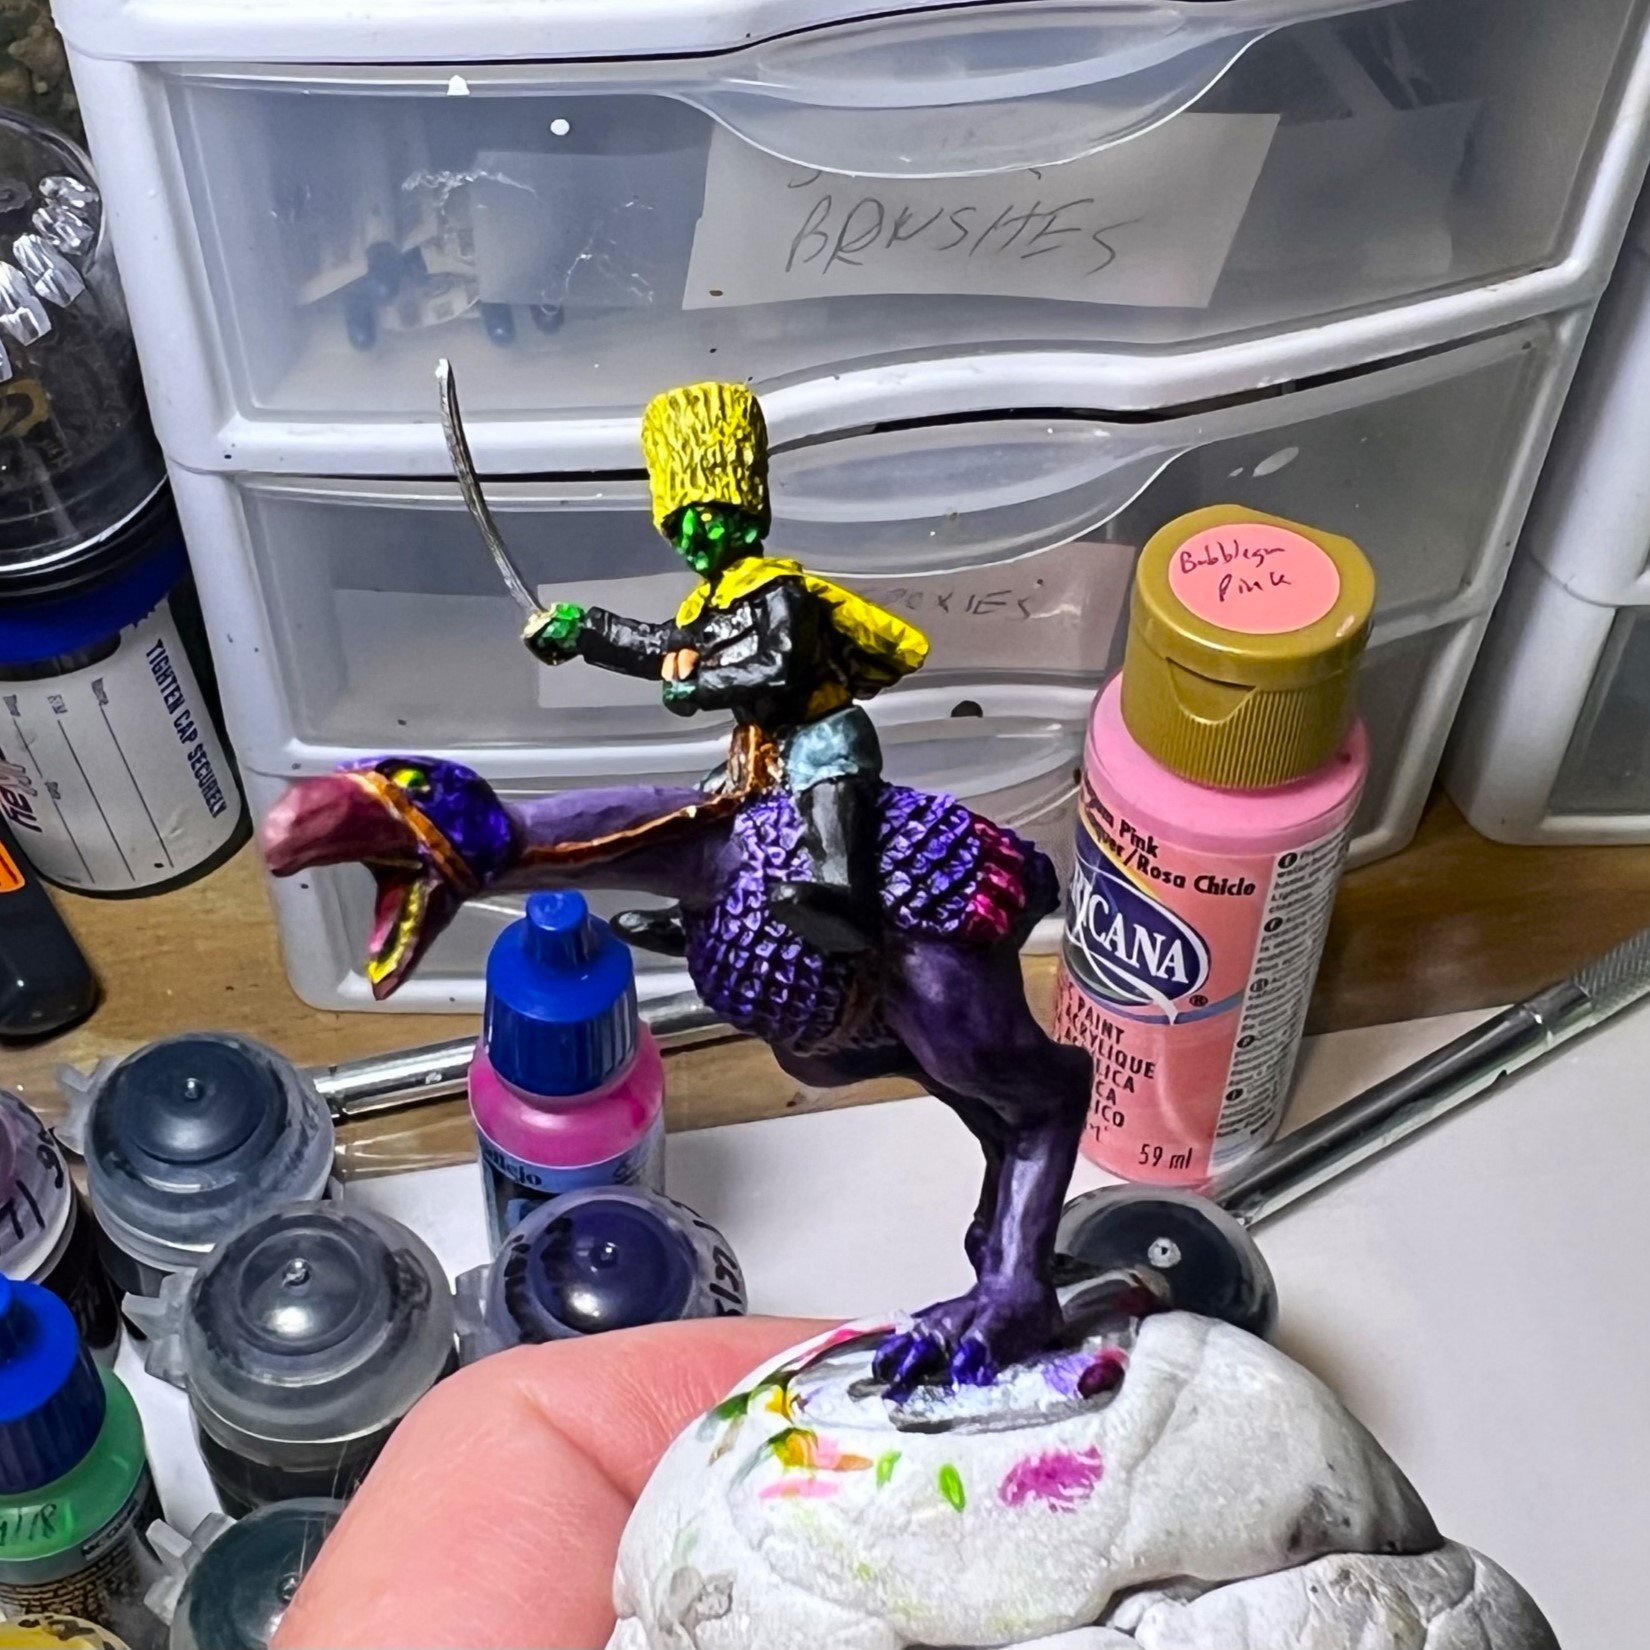
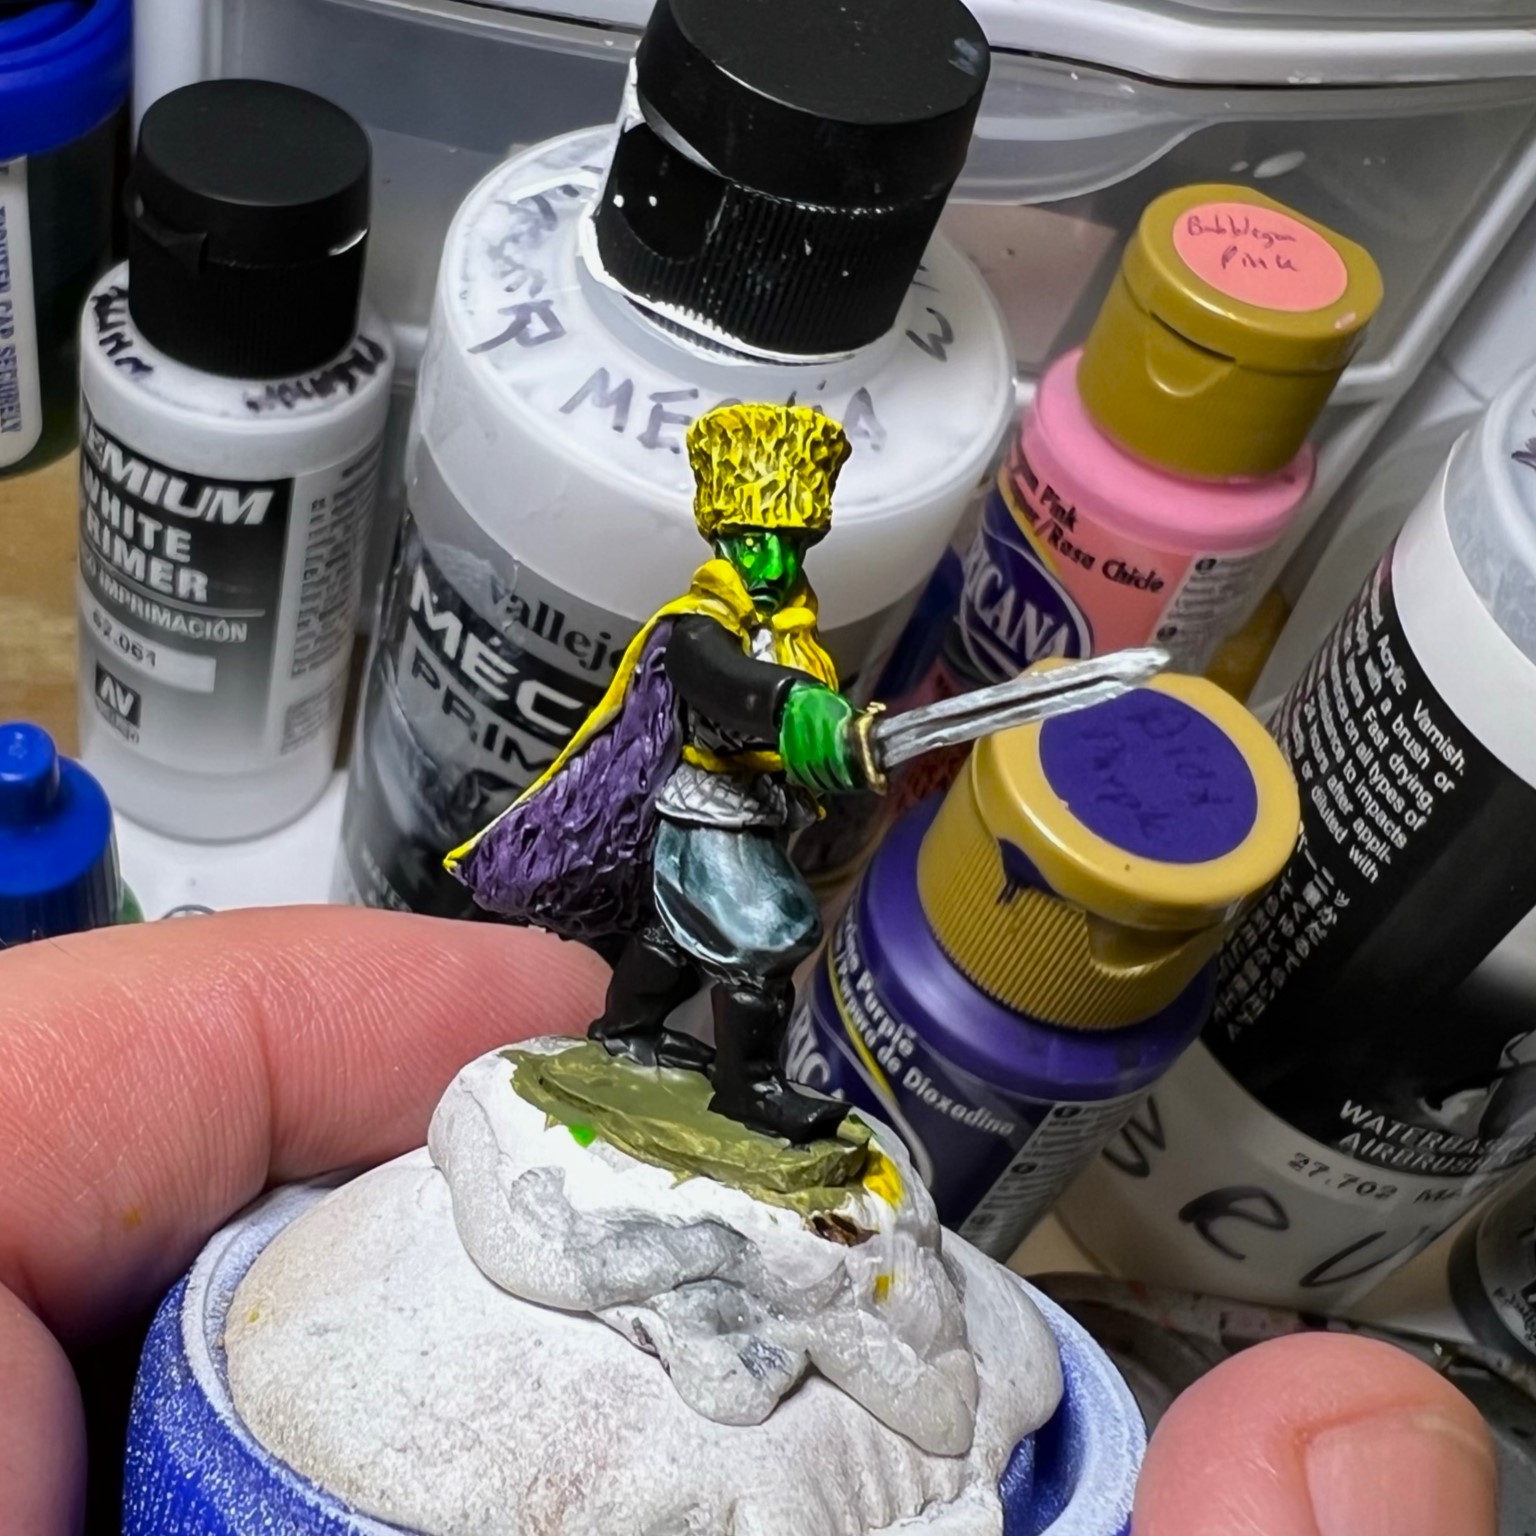
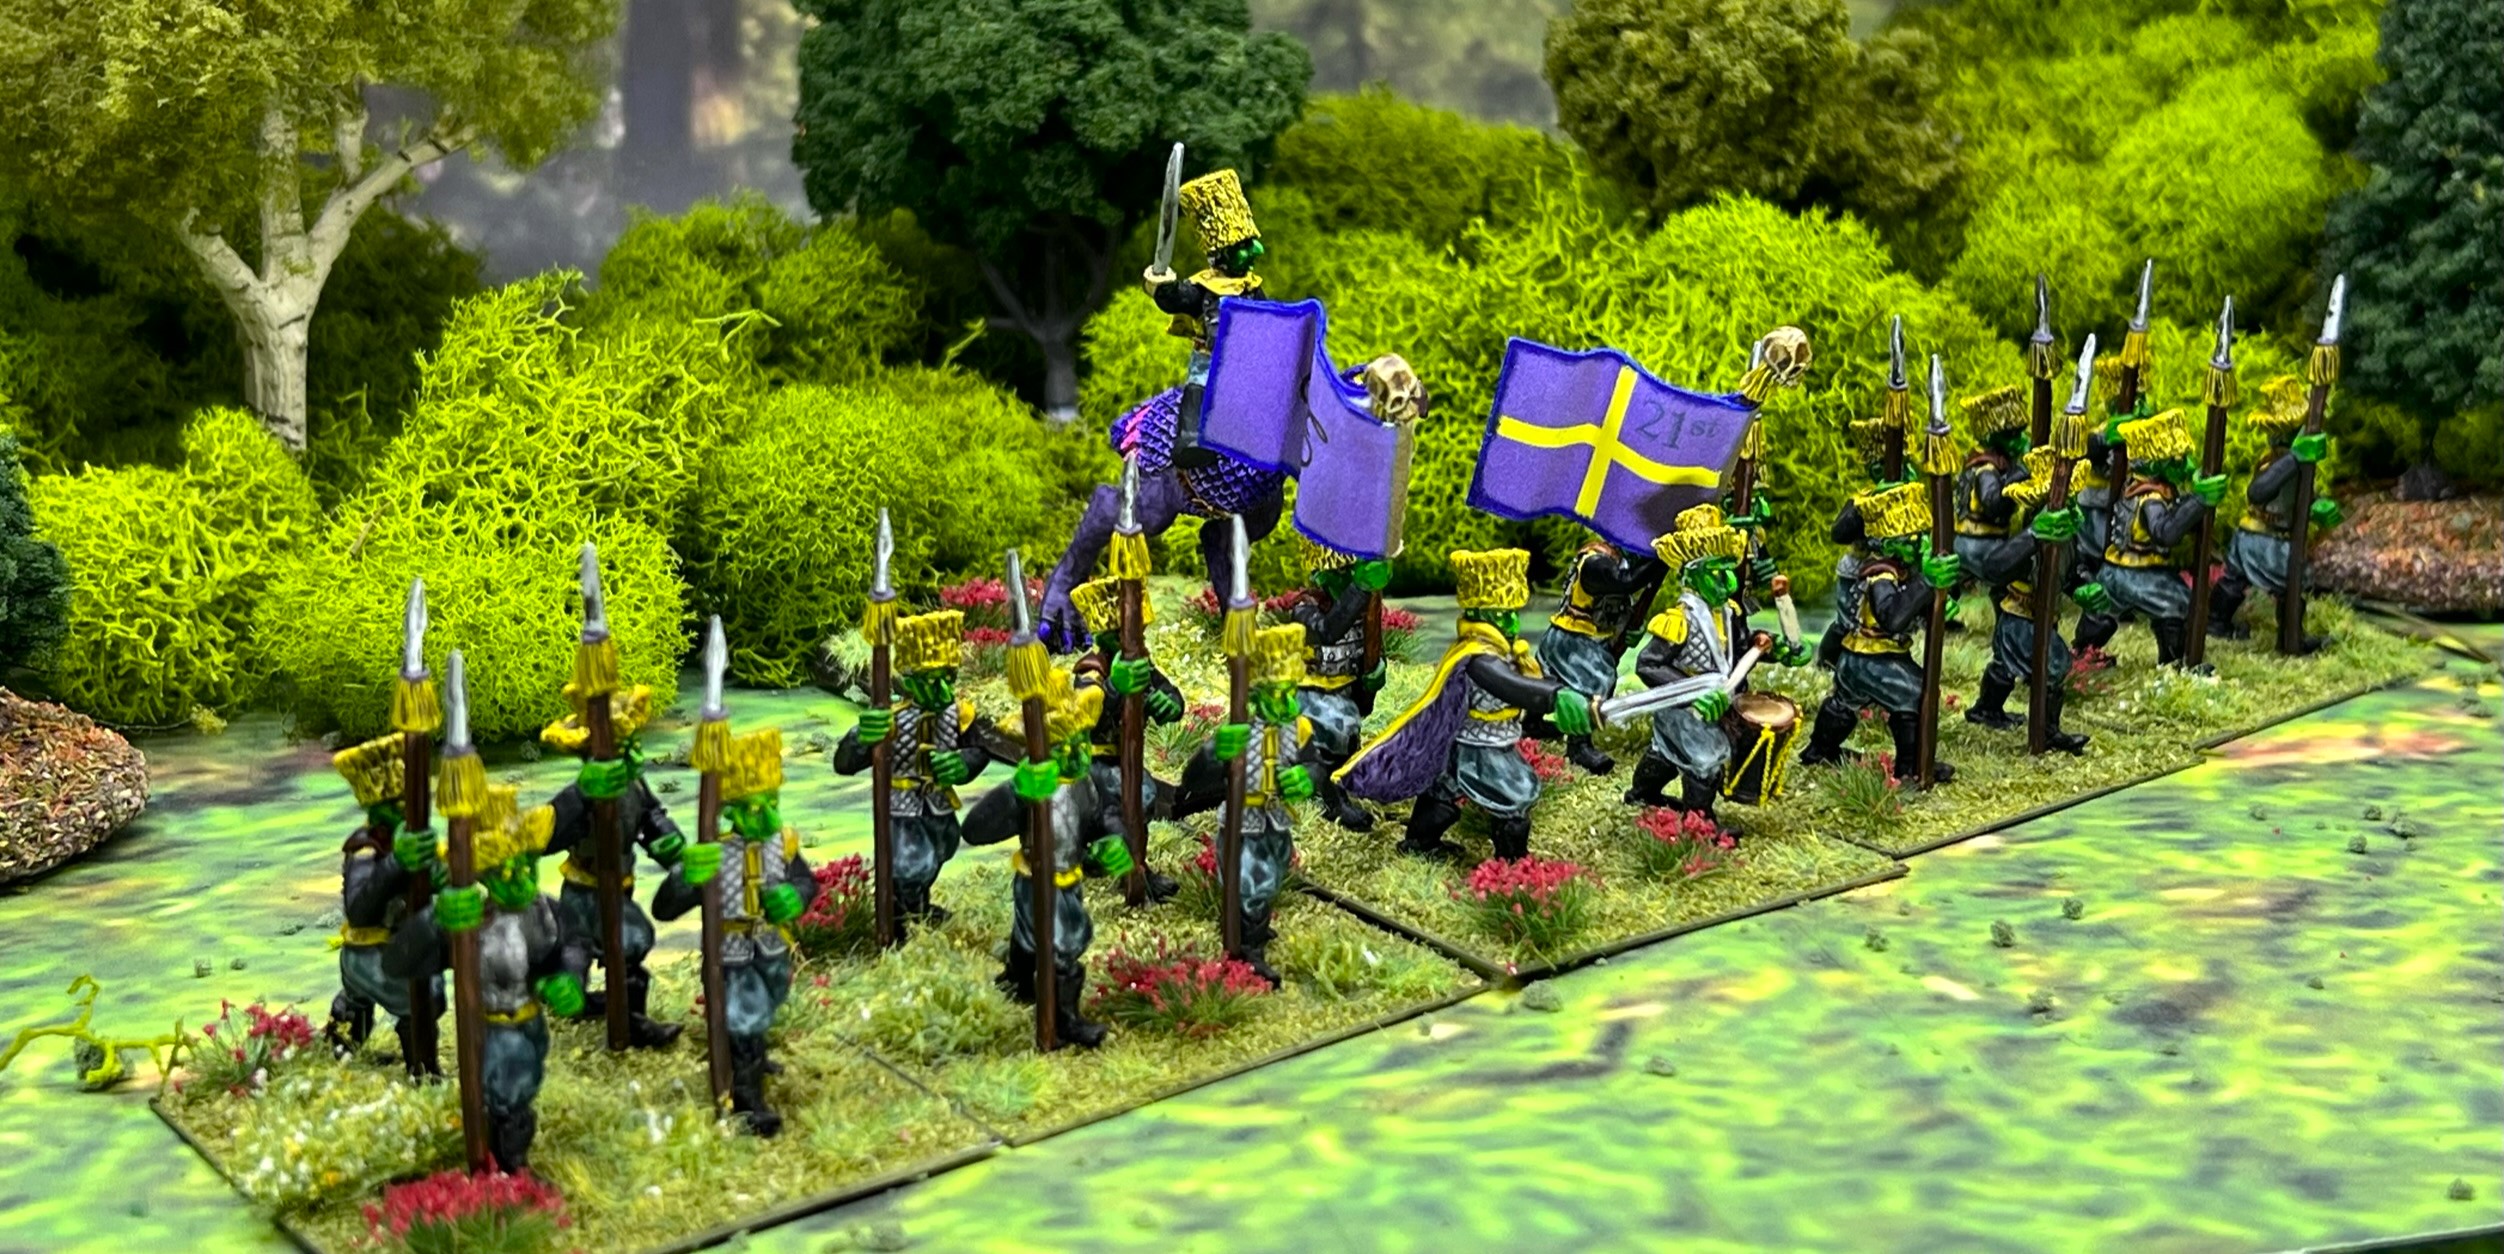
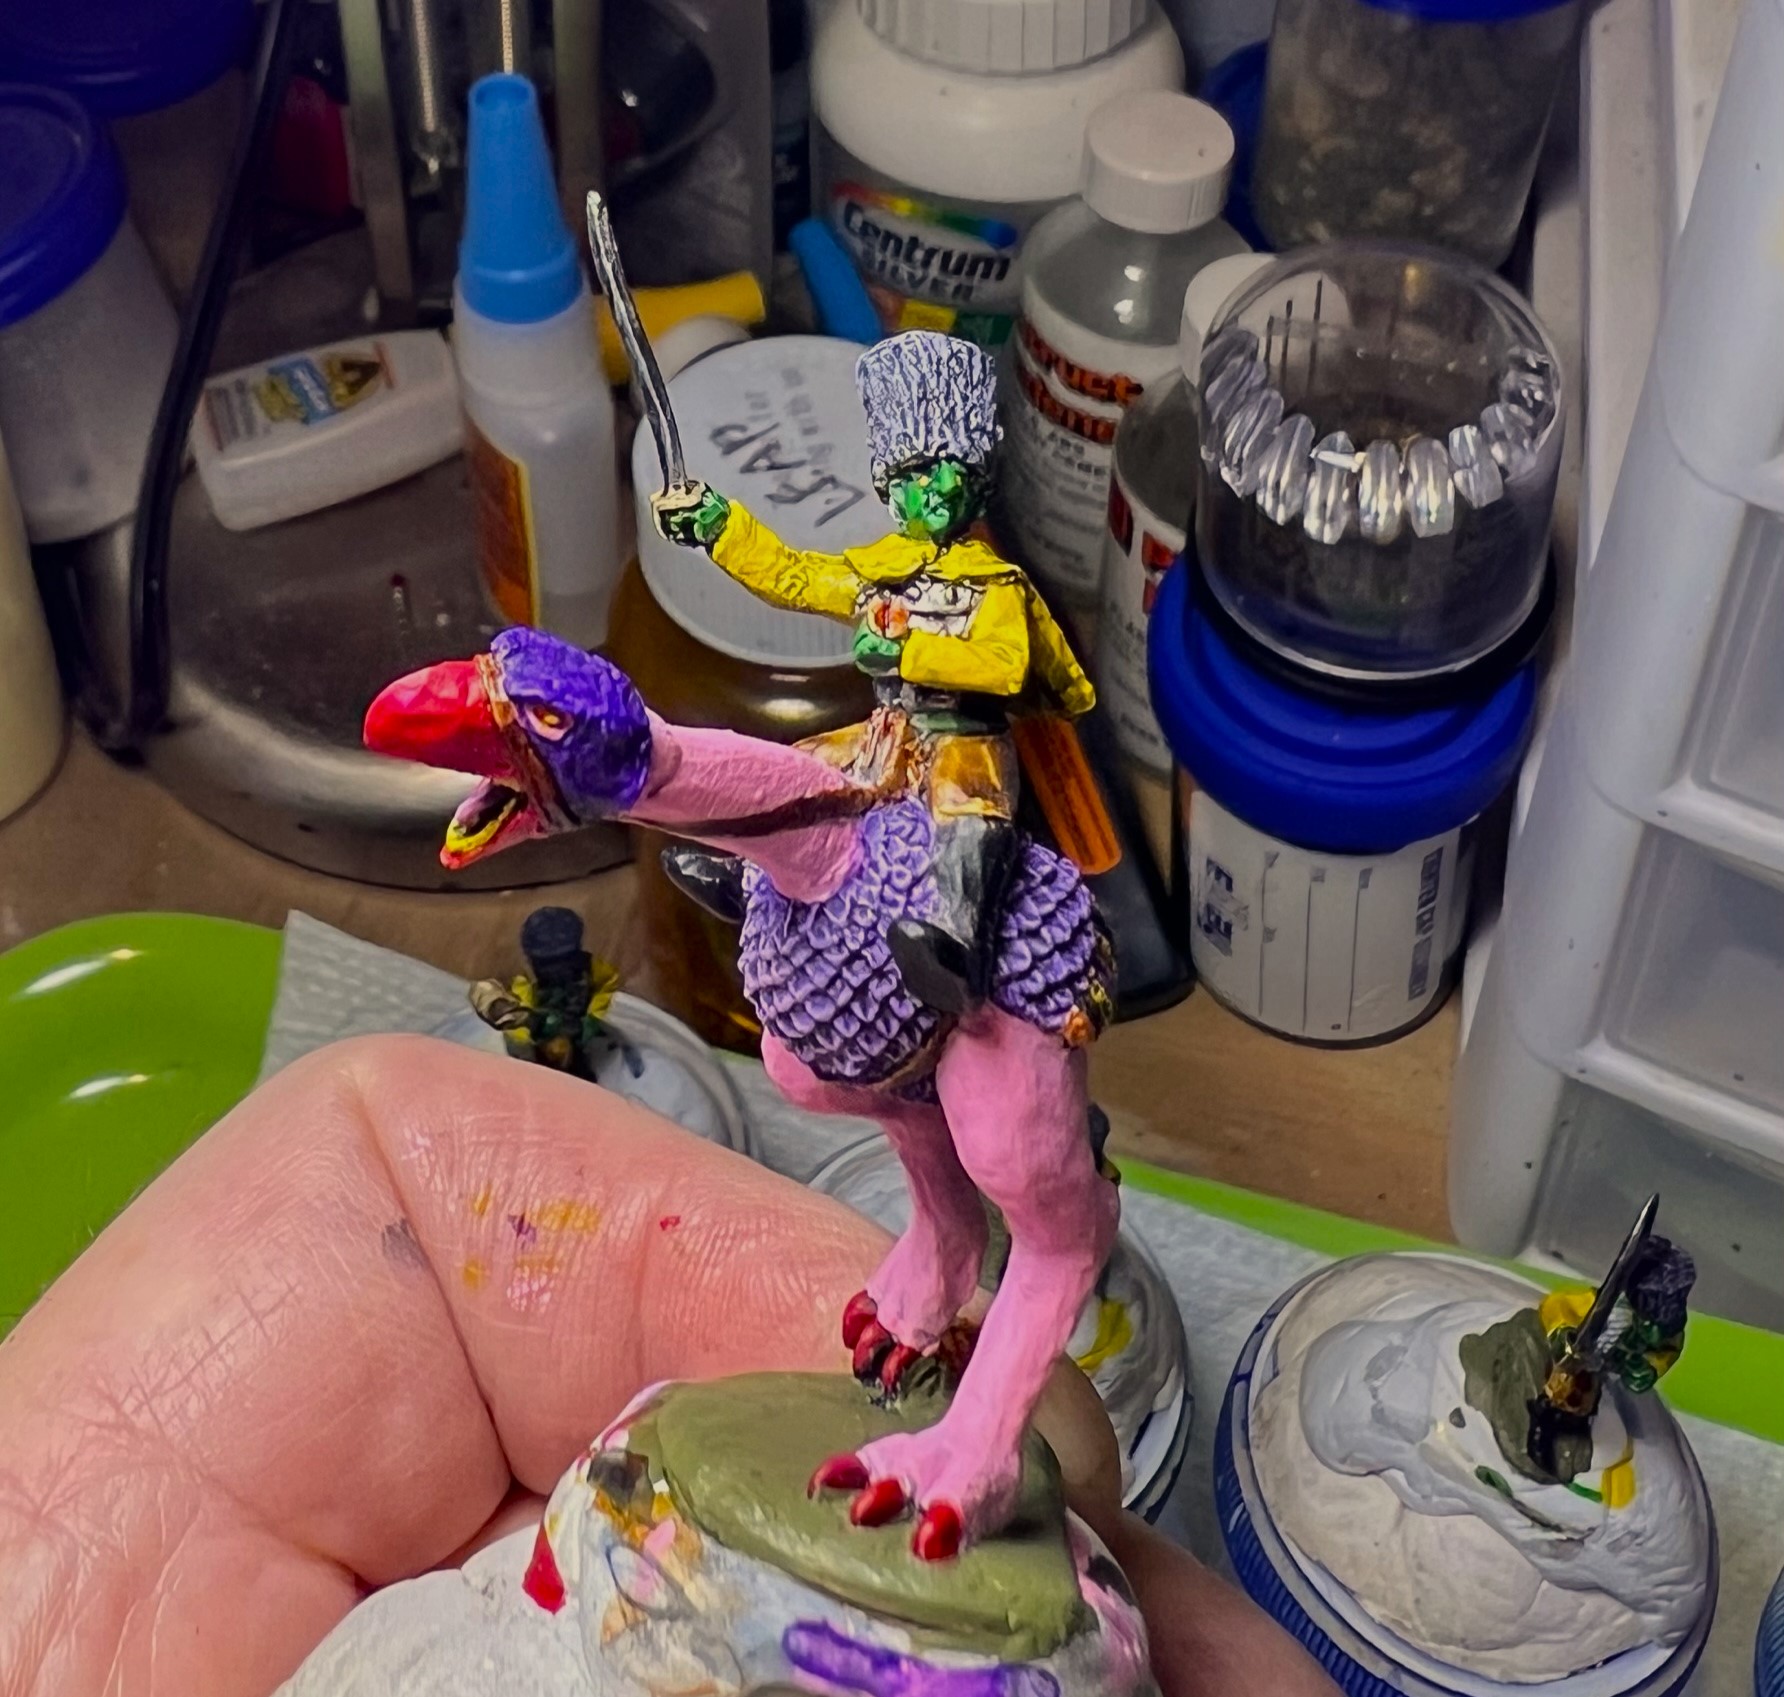
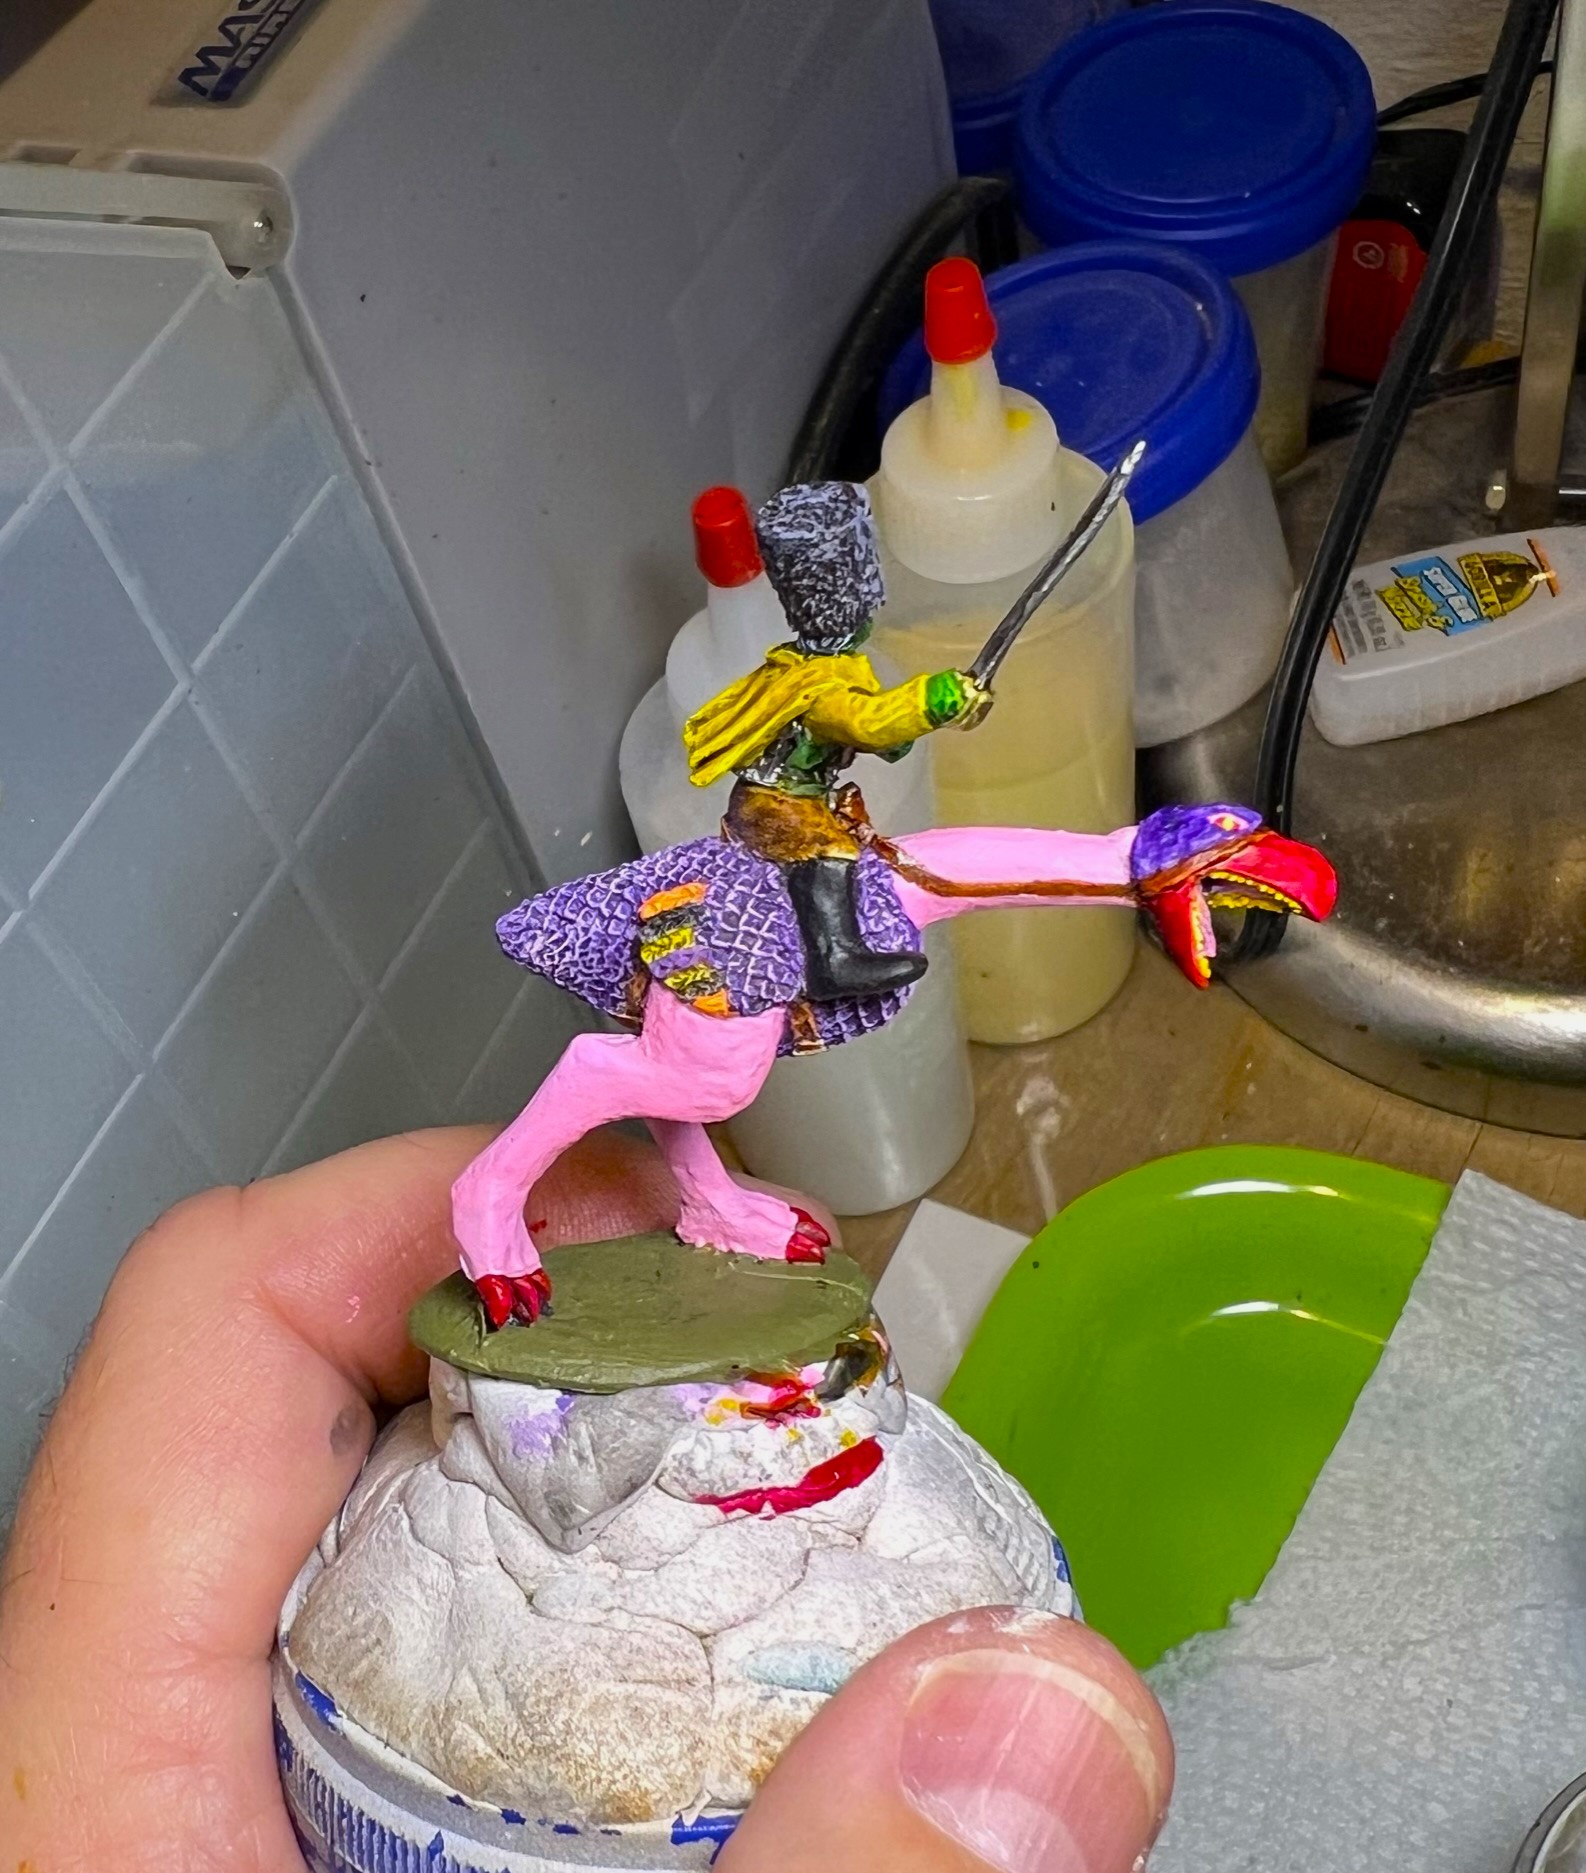
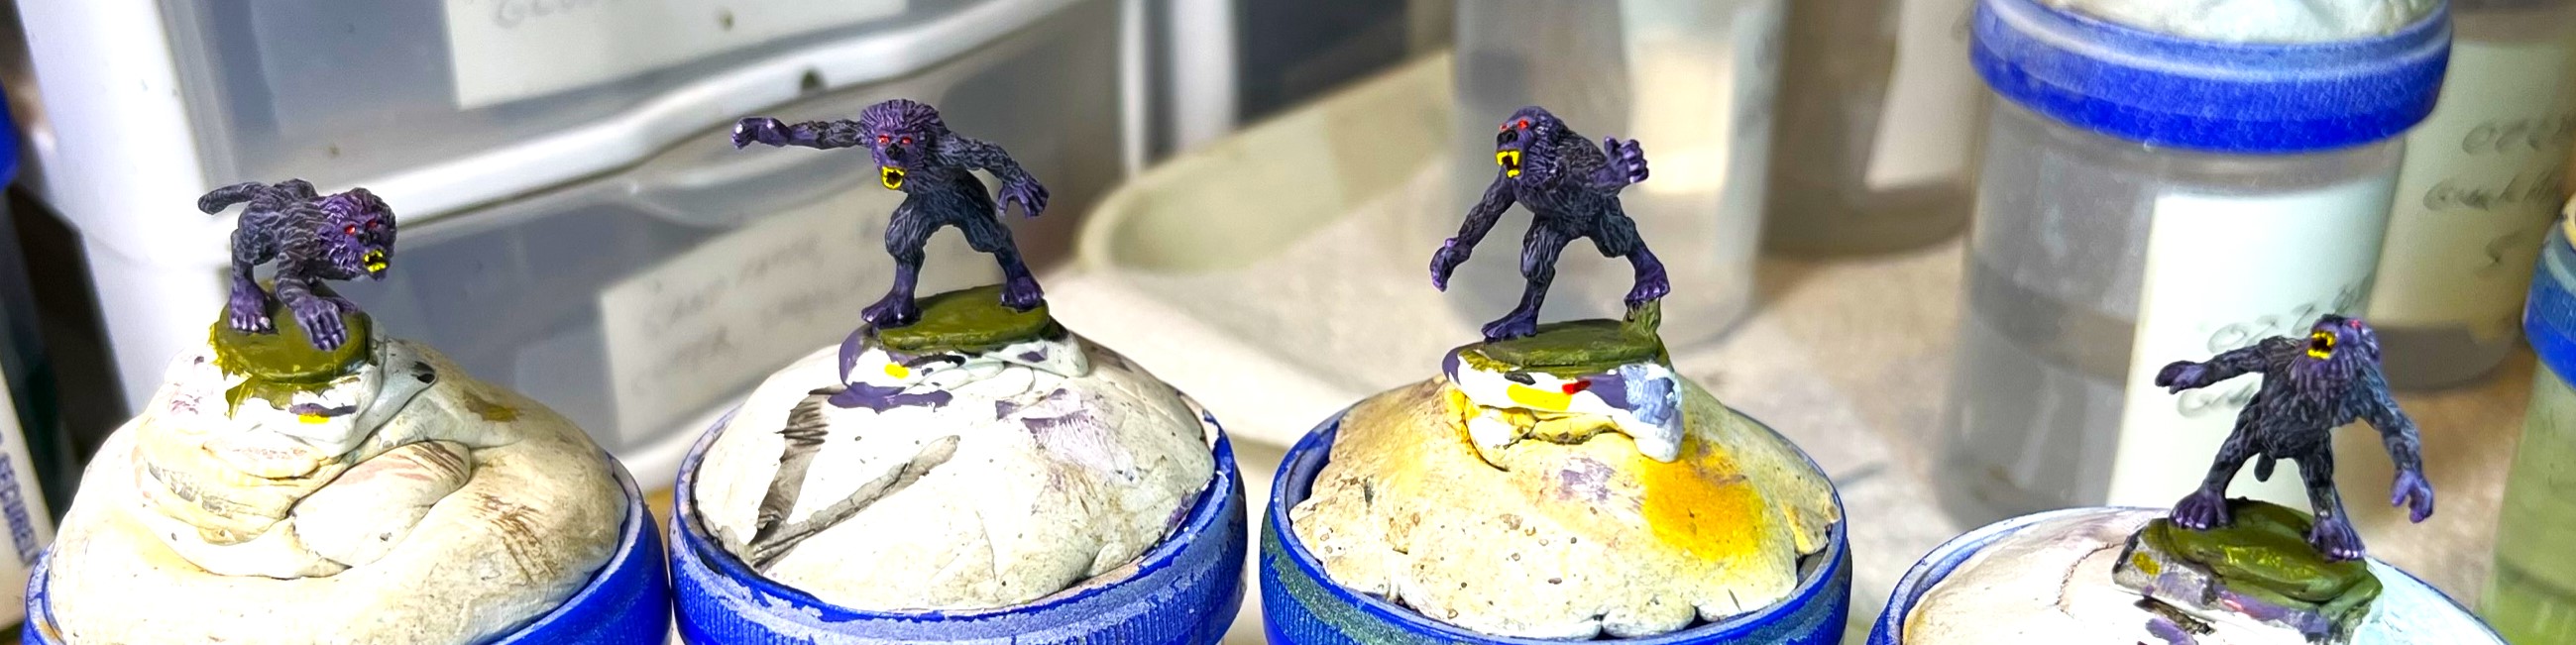
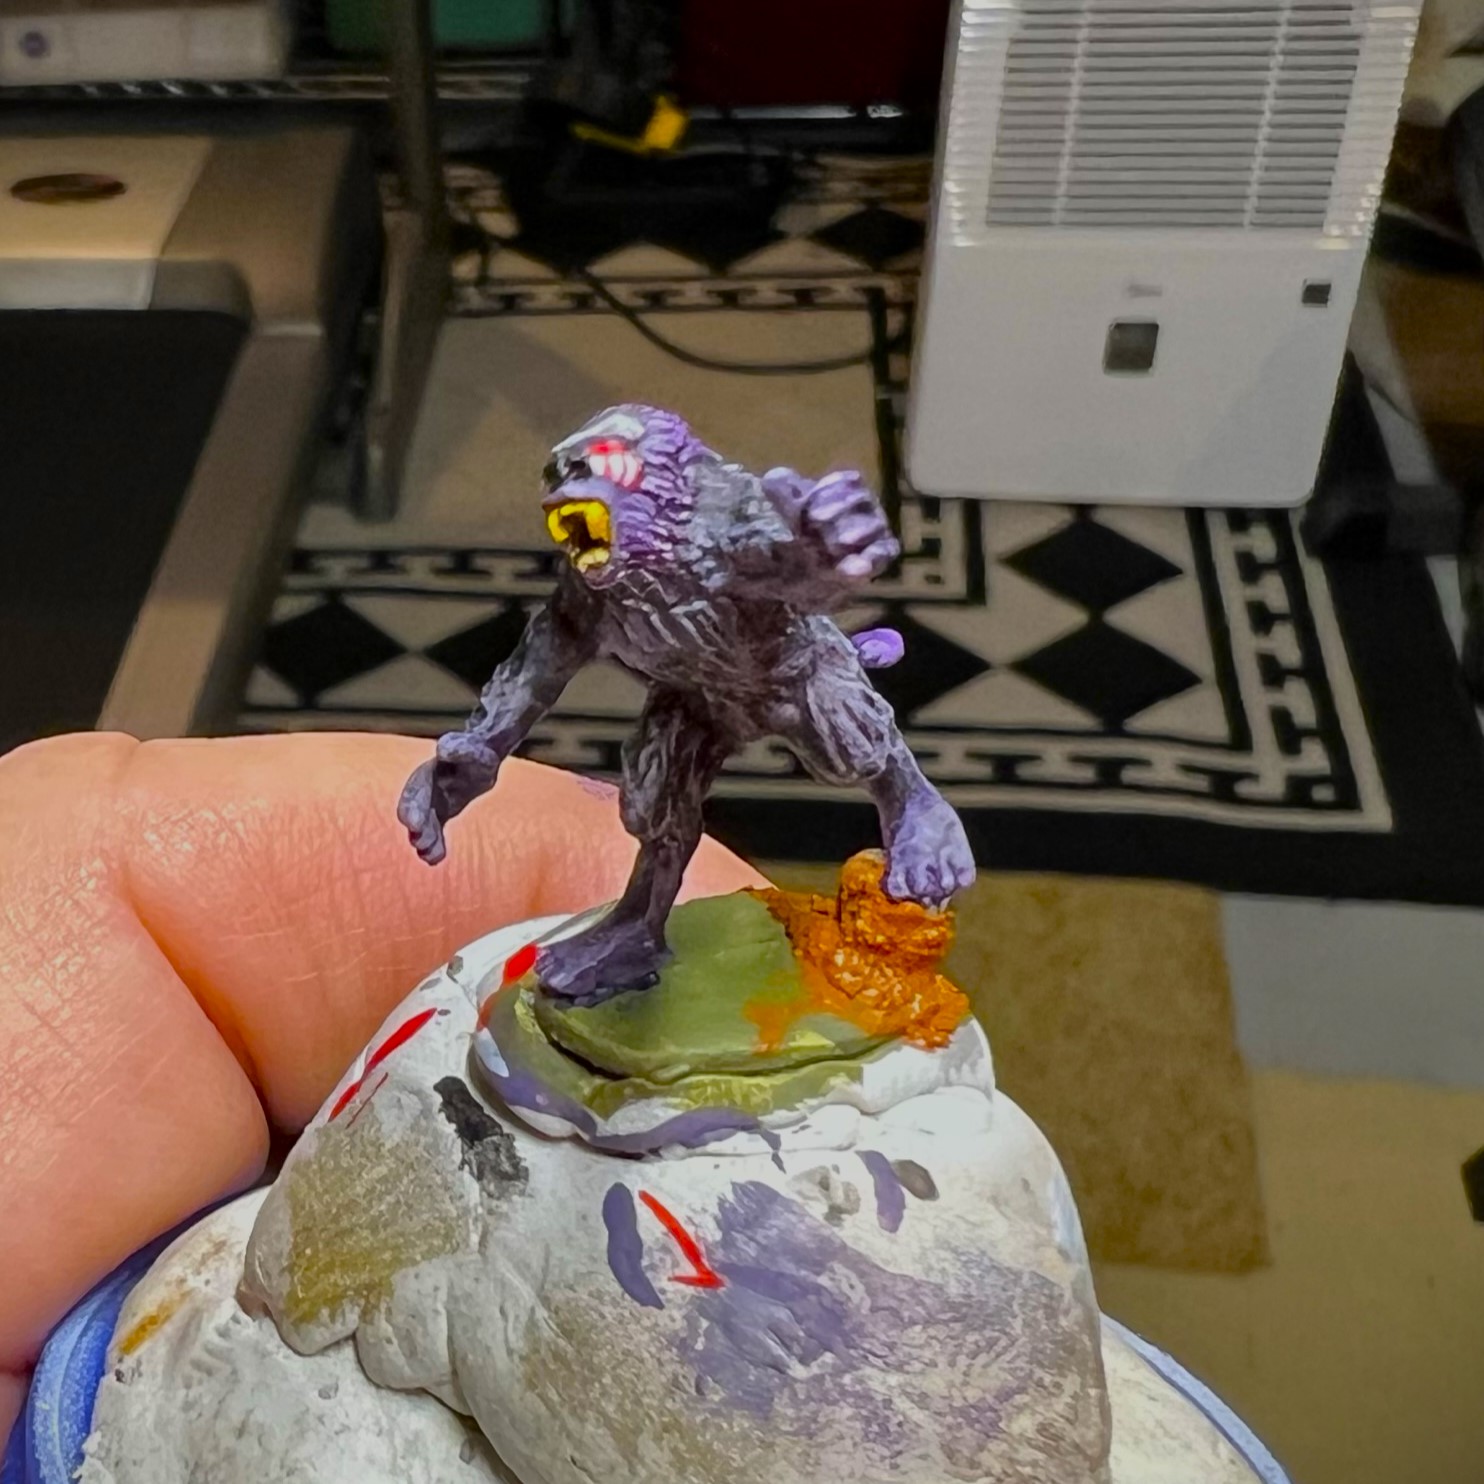
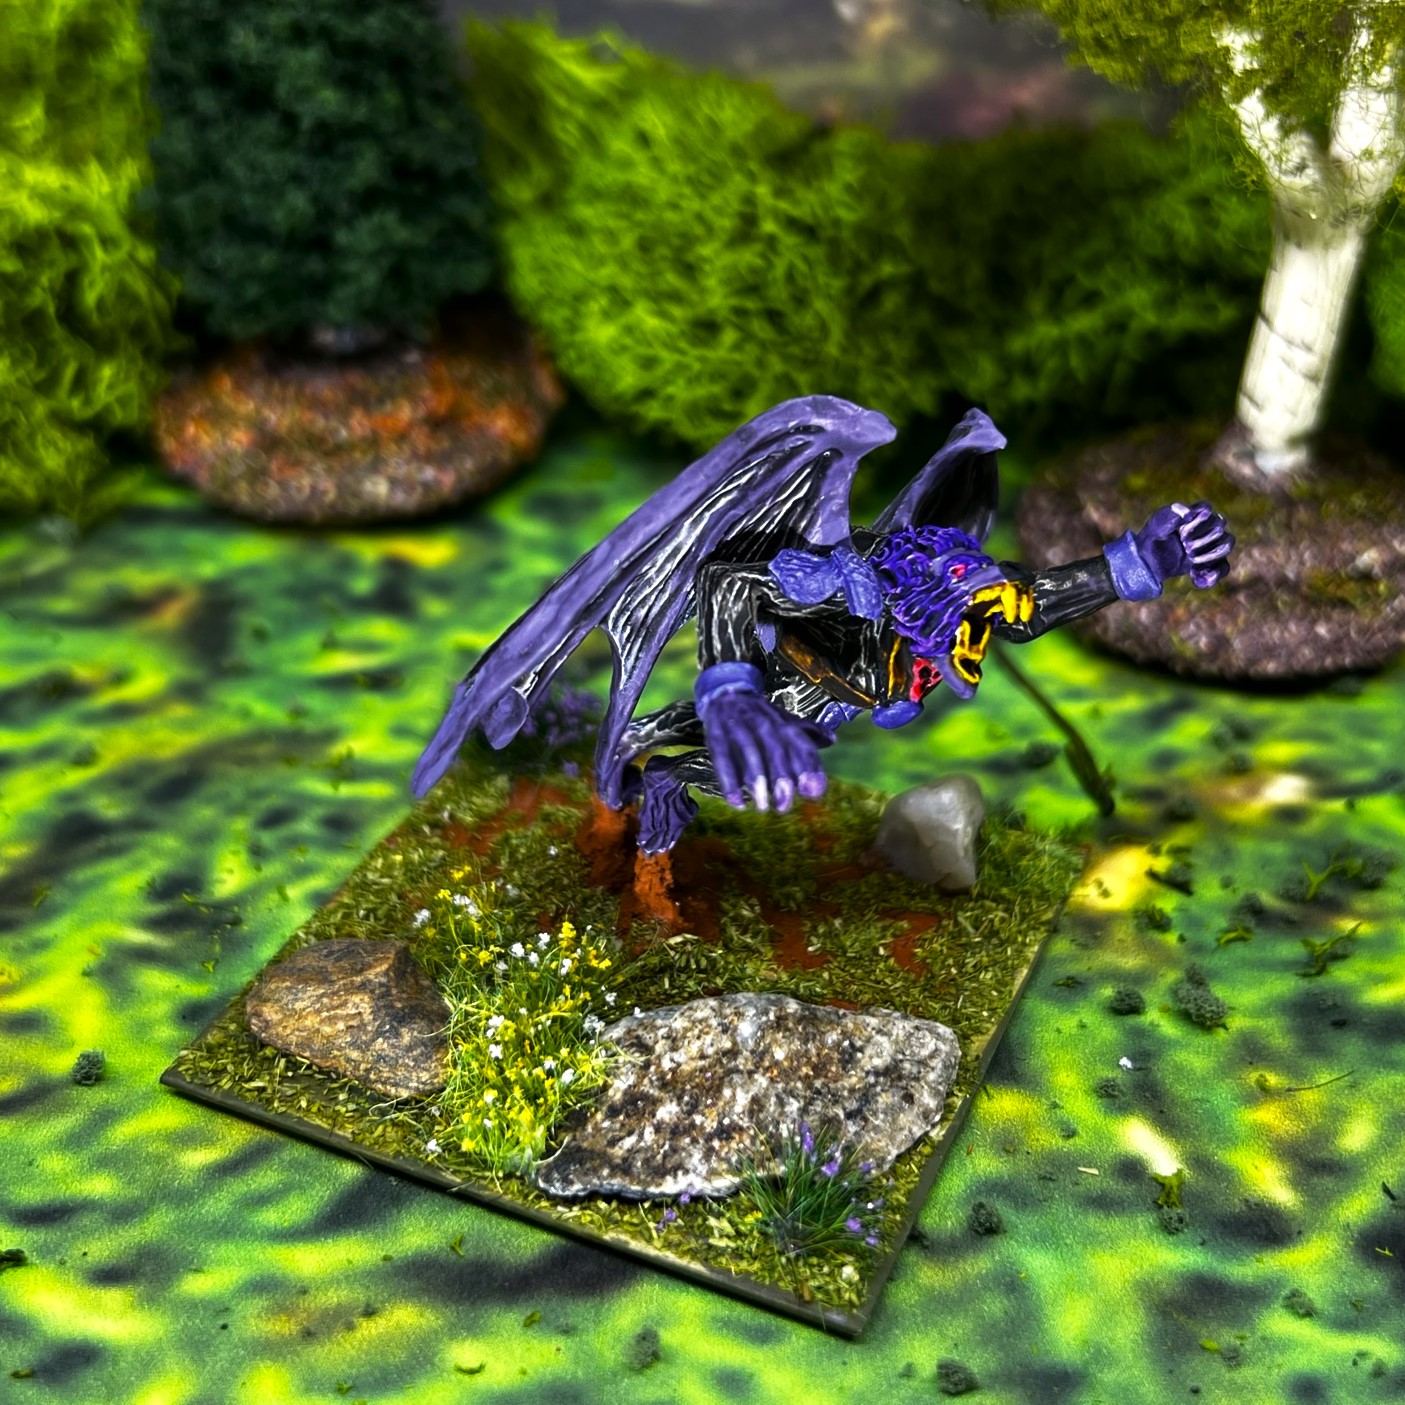
I decided to paint both regiments at the same time so that their colors could be somewhat aligned. The color theme that I chose for both was purple. While Gillikins are very purple, I thought that a bunch of “grape apes” would look decidedly different on the tabletop versus plain old brown or grey. I ended up experimenting with two paints a lot here – Citadel “Dreadful Visage” and “Ratling Grime” contrast paints. I found that “Dreadful Visage” used over white left a nice shade of purple – more like a light glaze. I also used it over other shades of purples and the “Ratling Grime”. The “Ratling Grime” is more of a cross between dirty black and brown – and I liked it as a base to dry brush over with “Warpfiend Grey”. I also used purple contrast paints and inks. Overall, this gave me the purplish look I wanted.
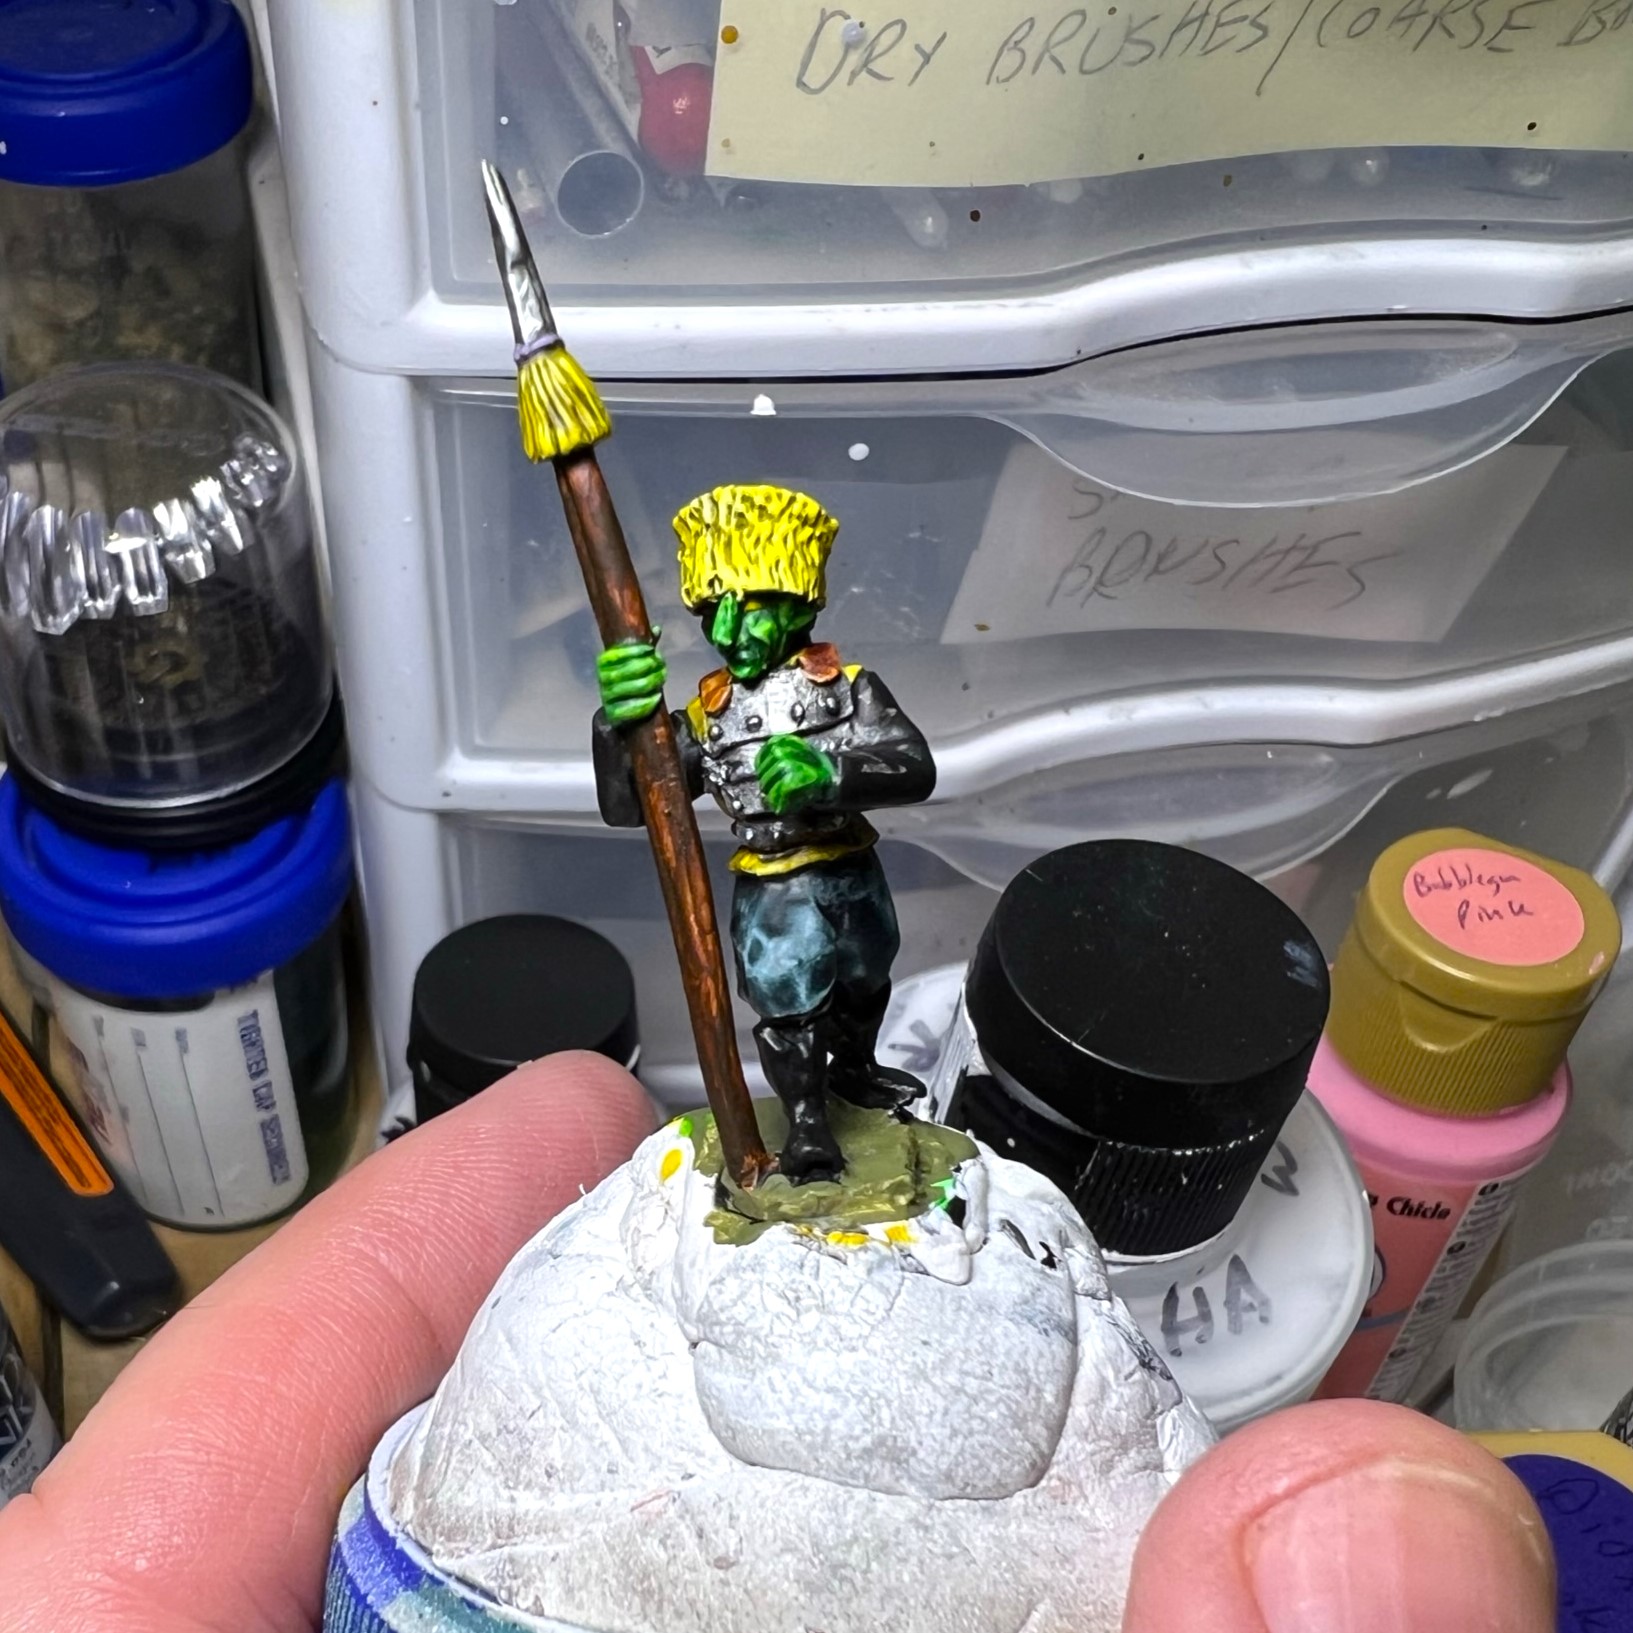
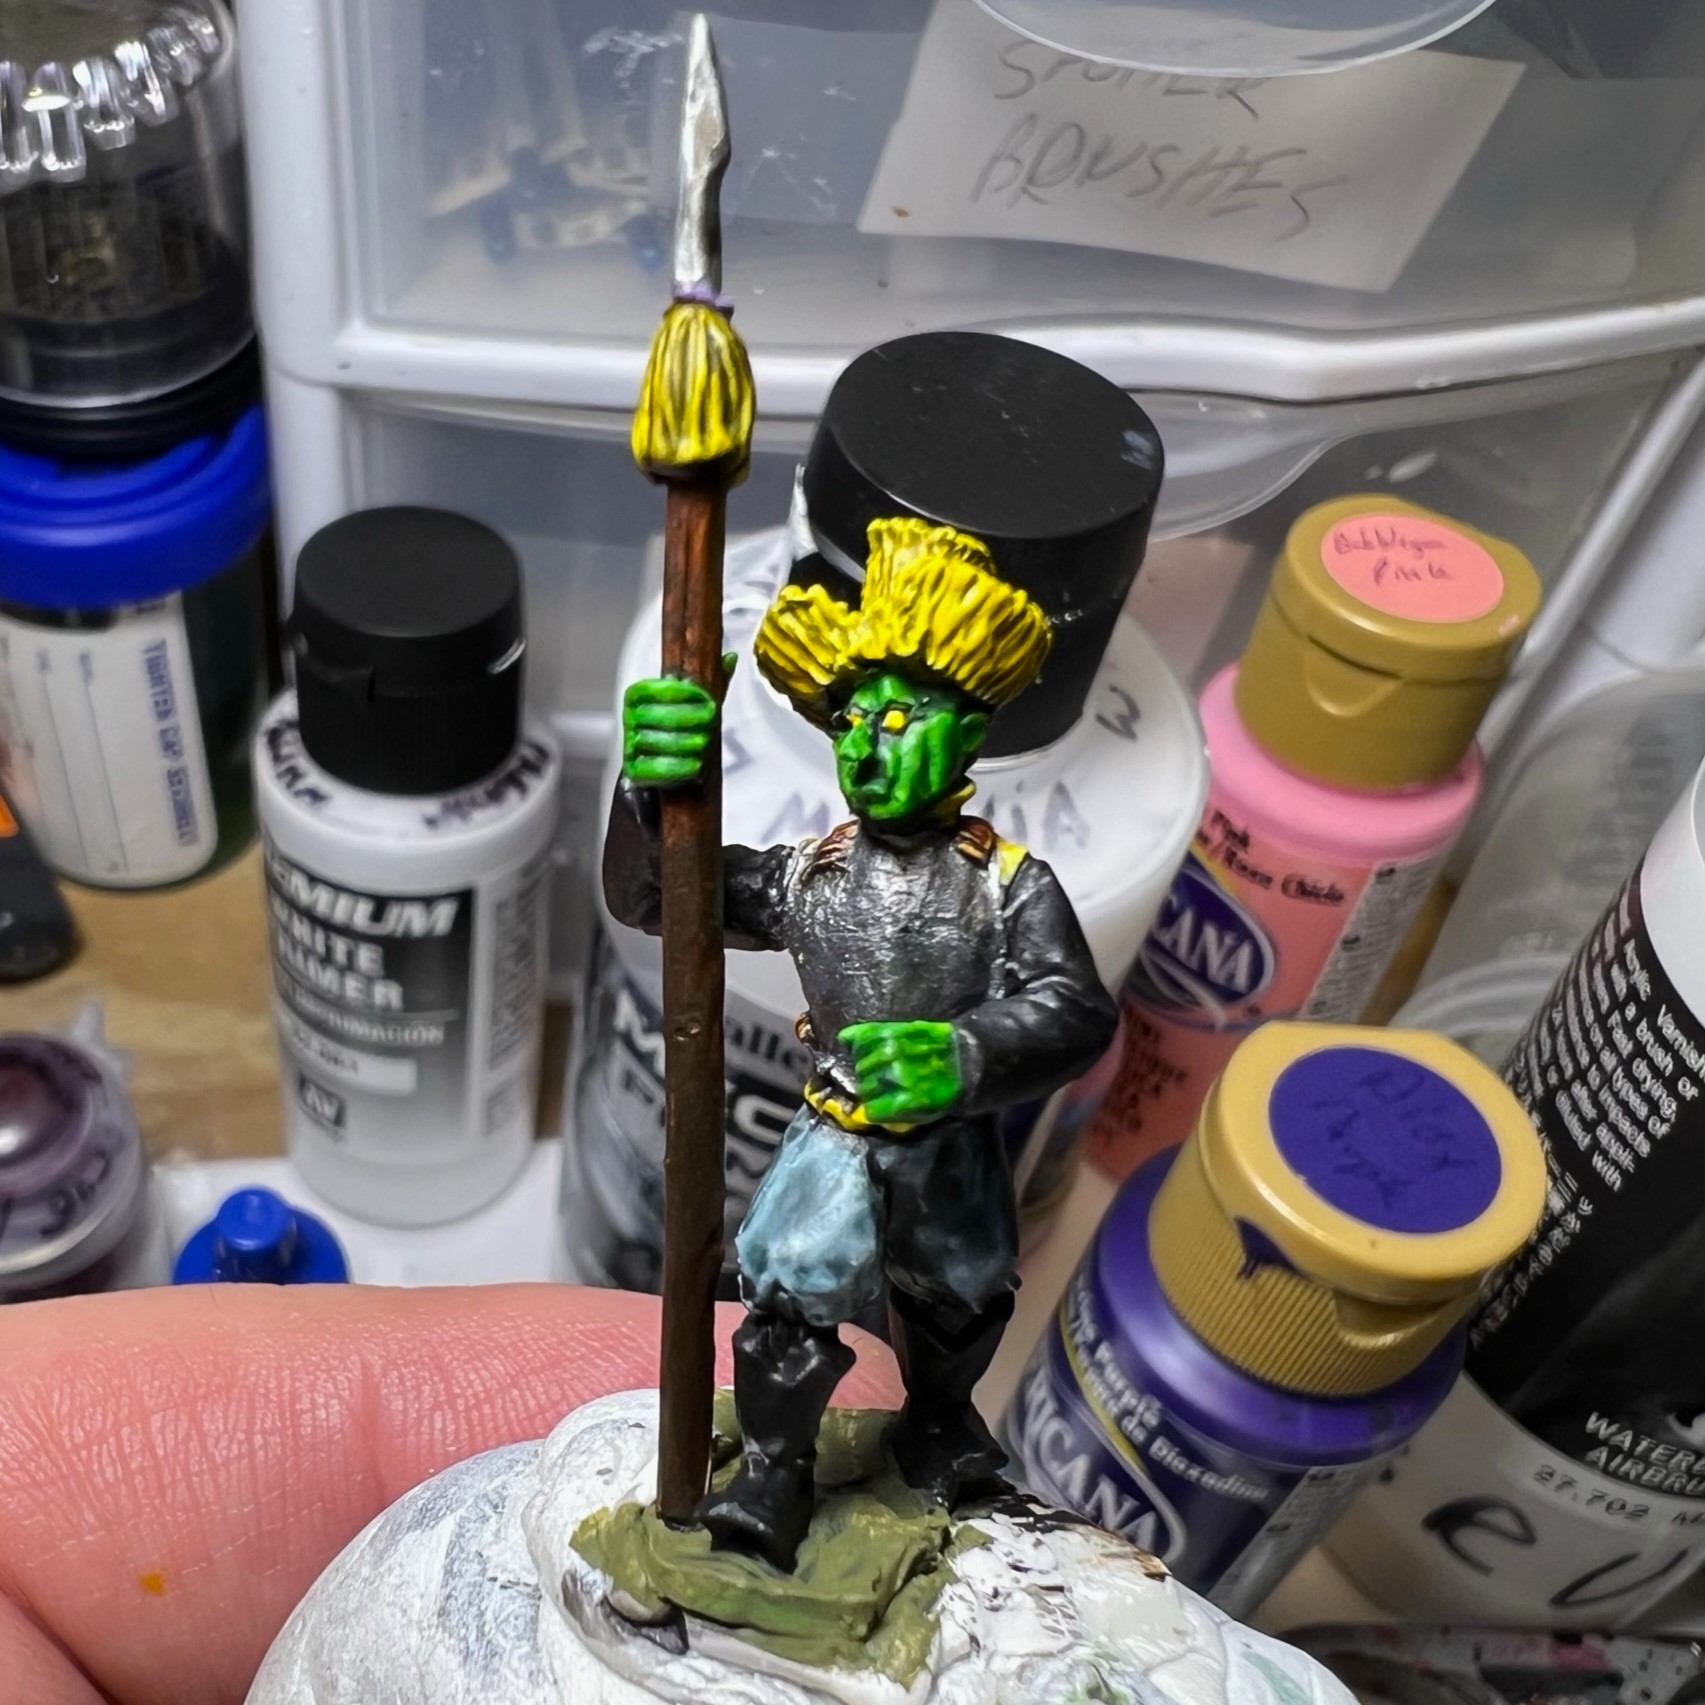
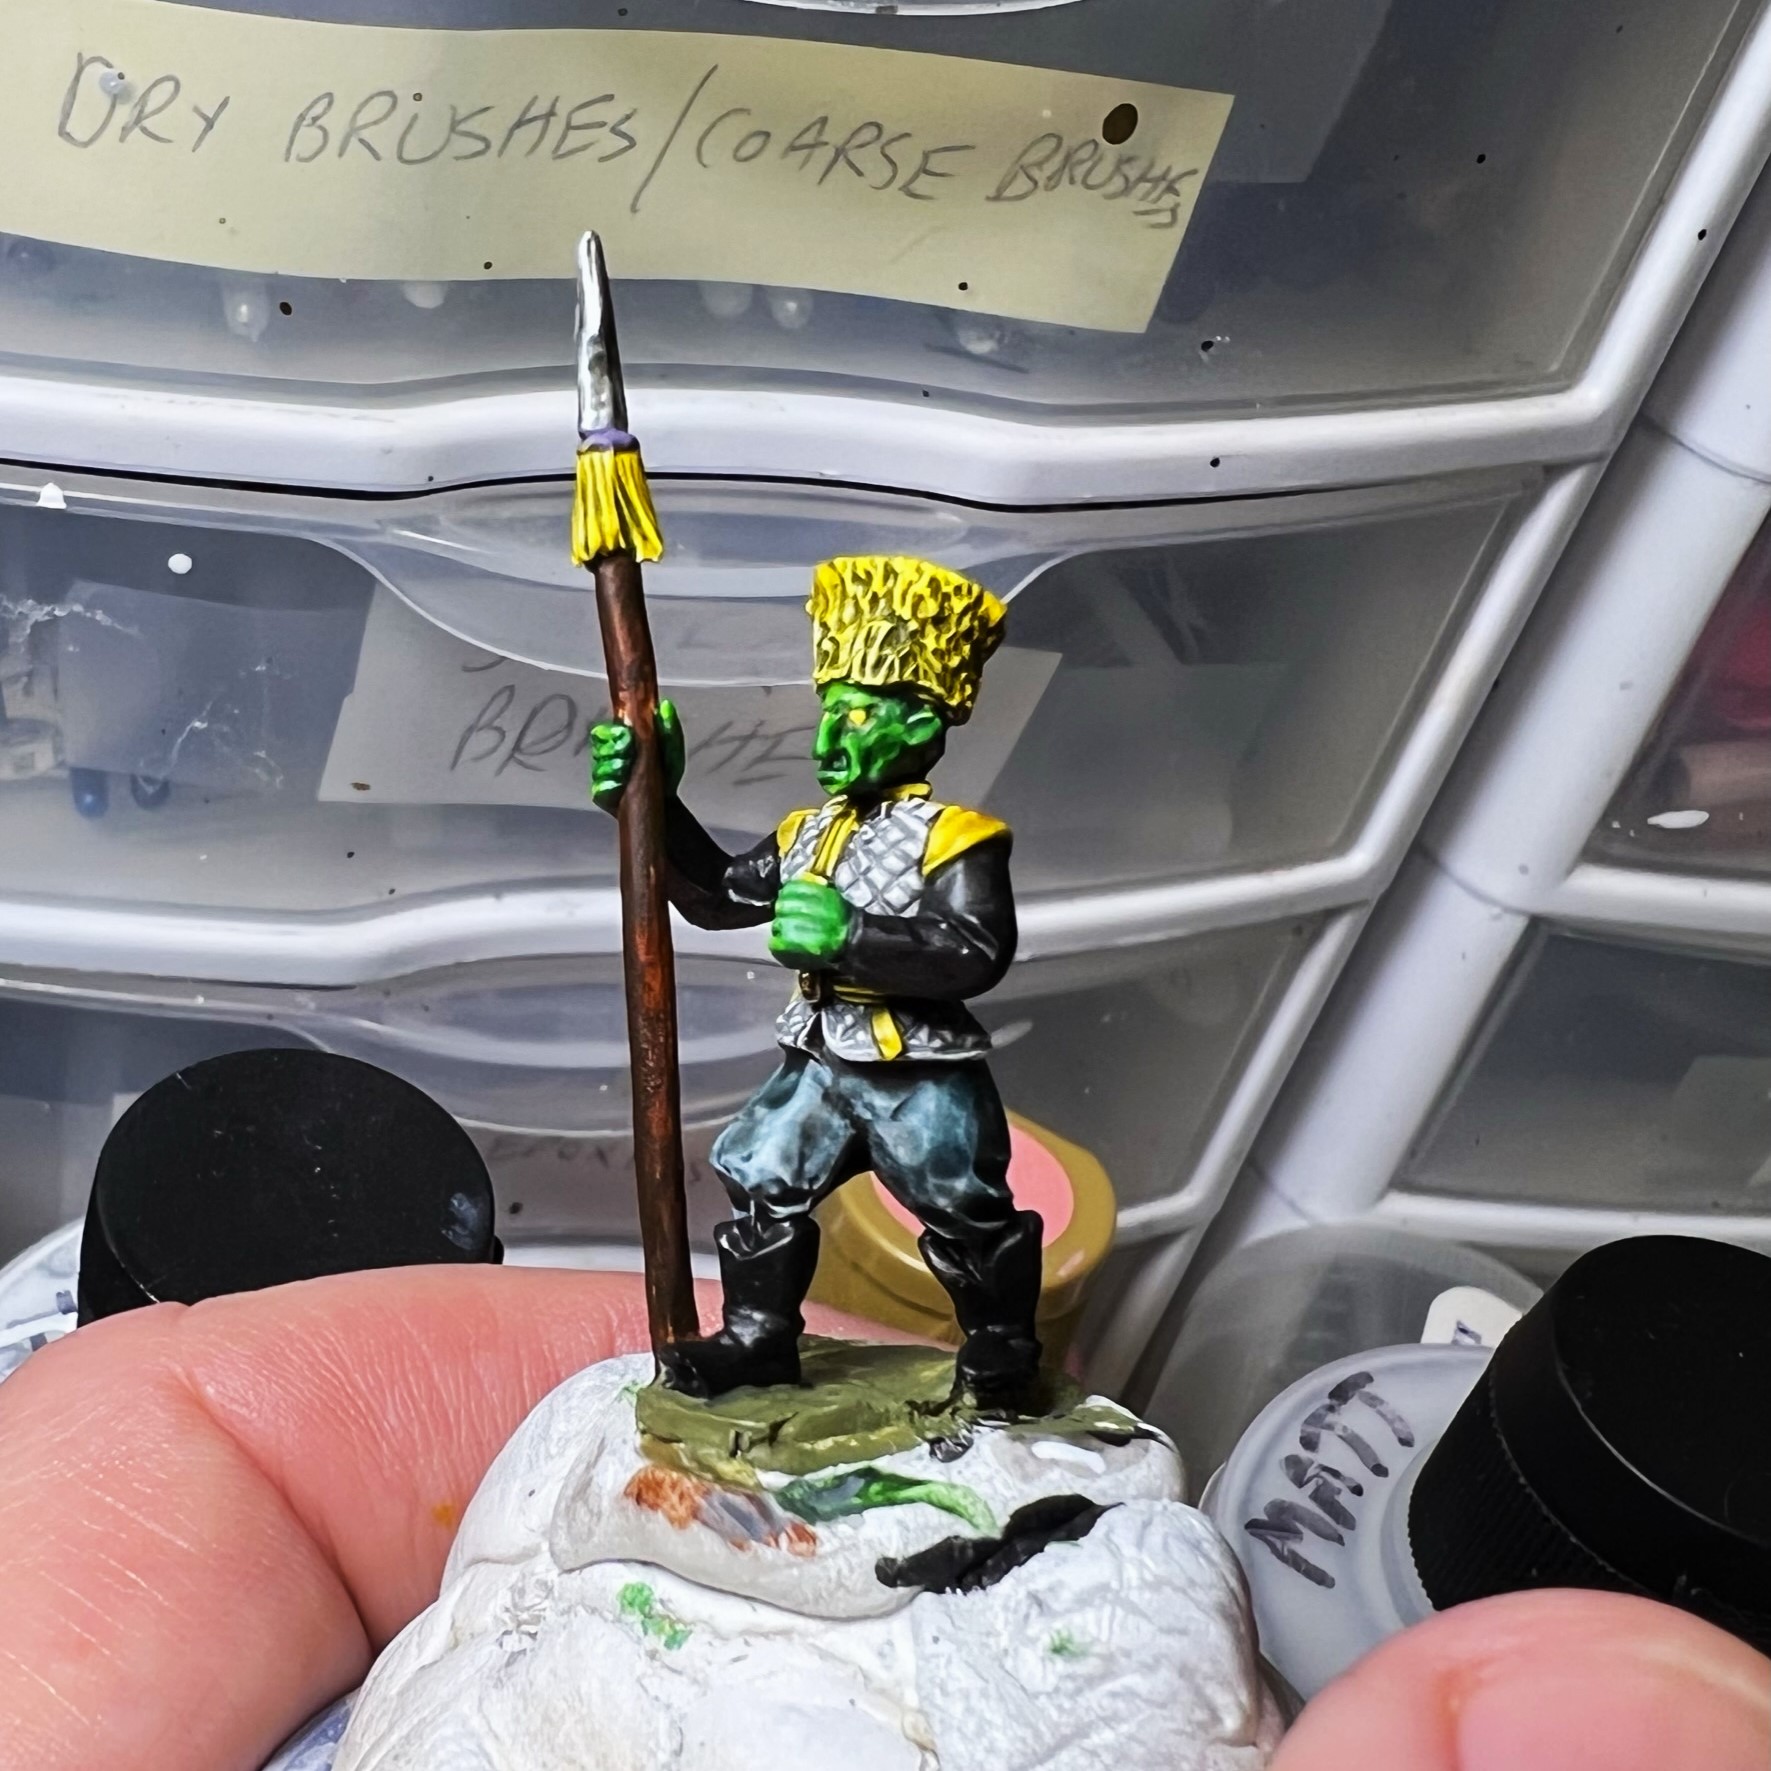
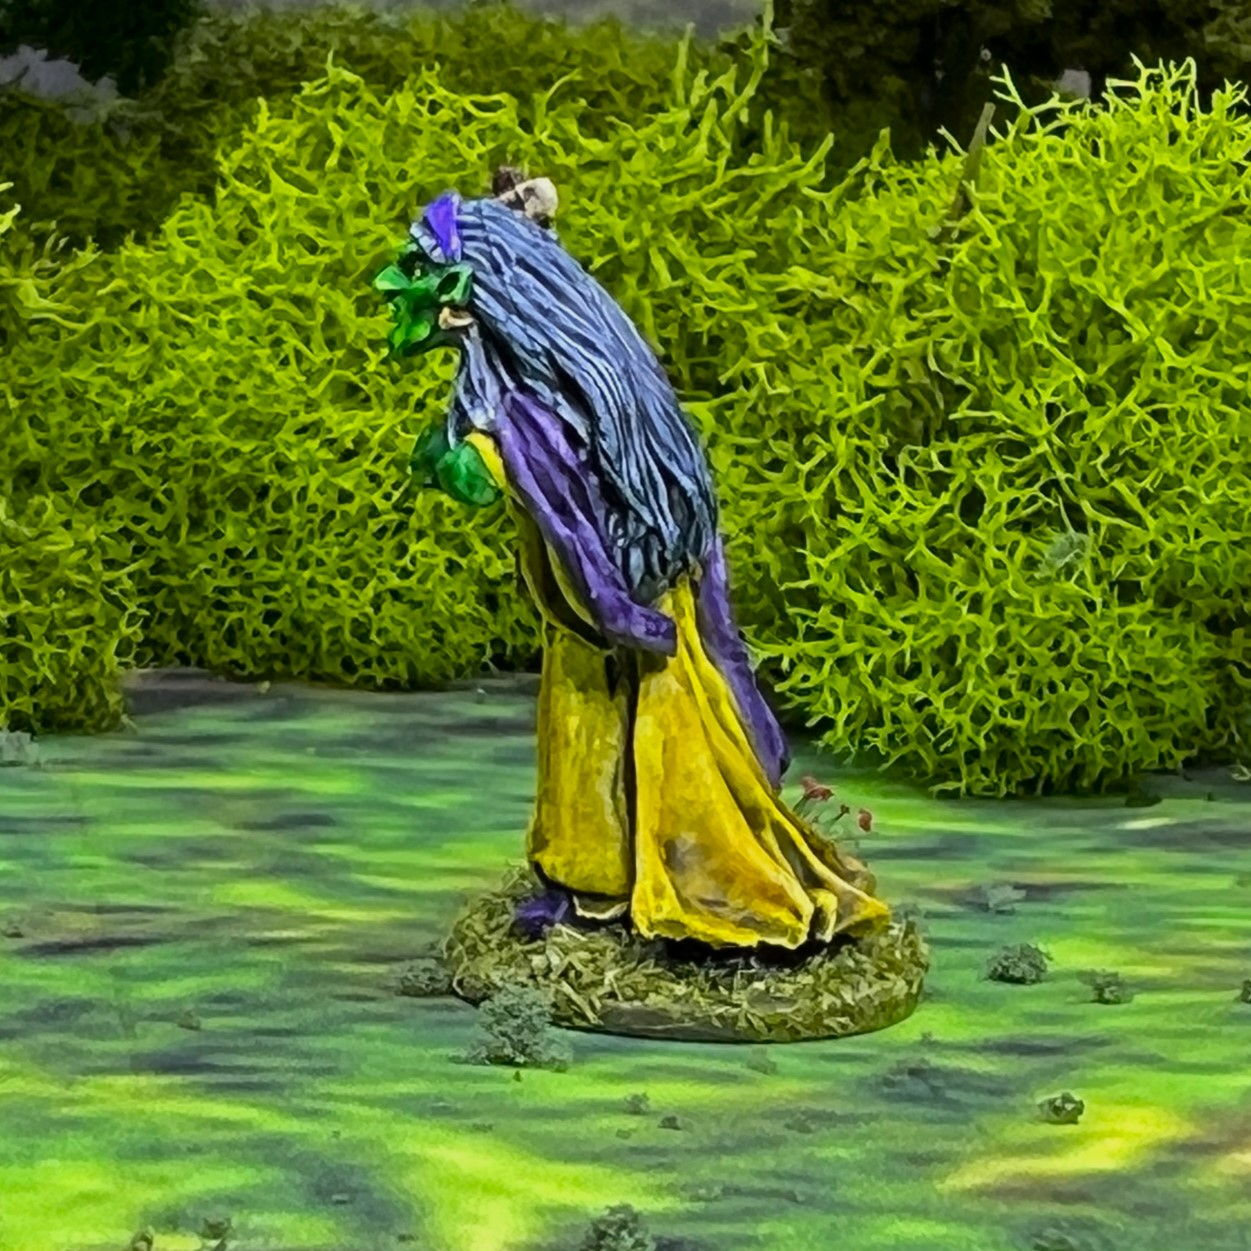
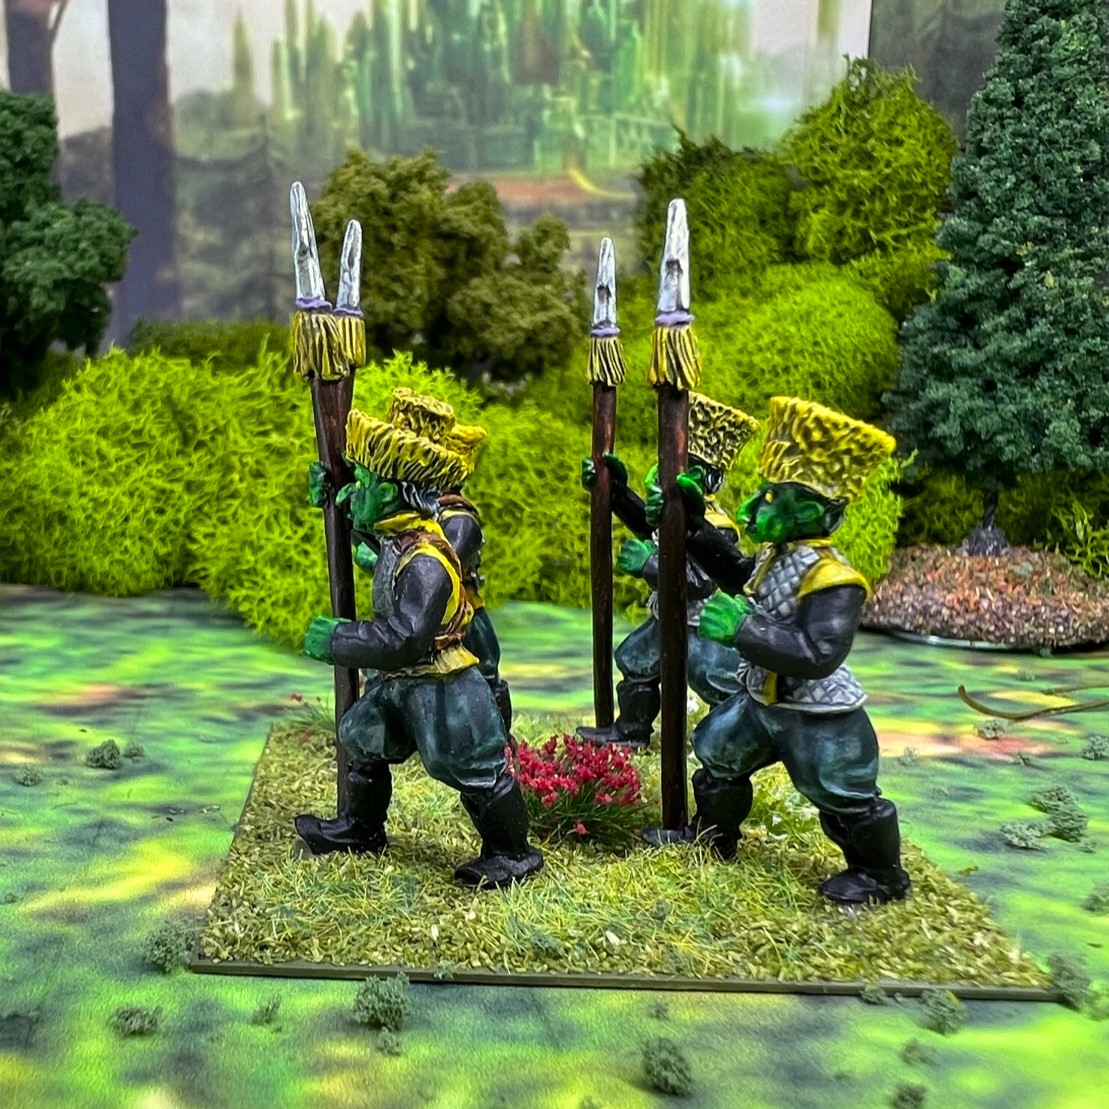
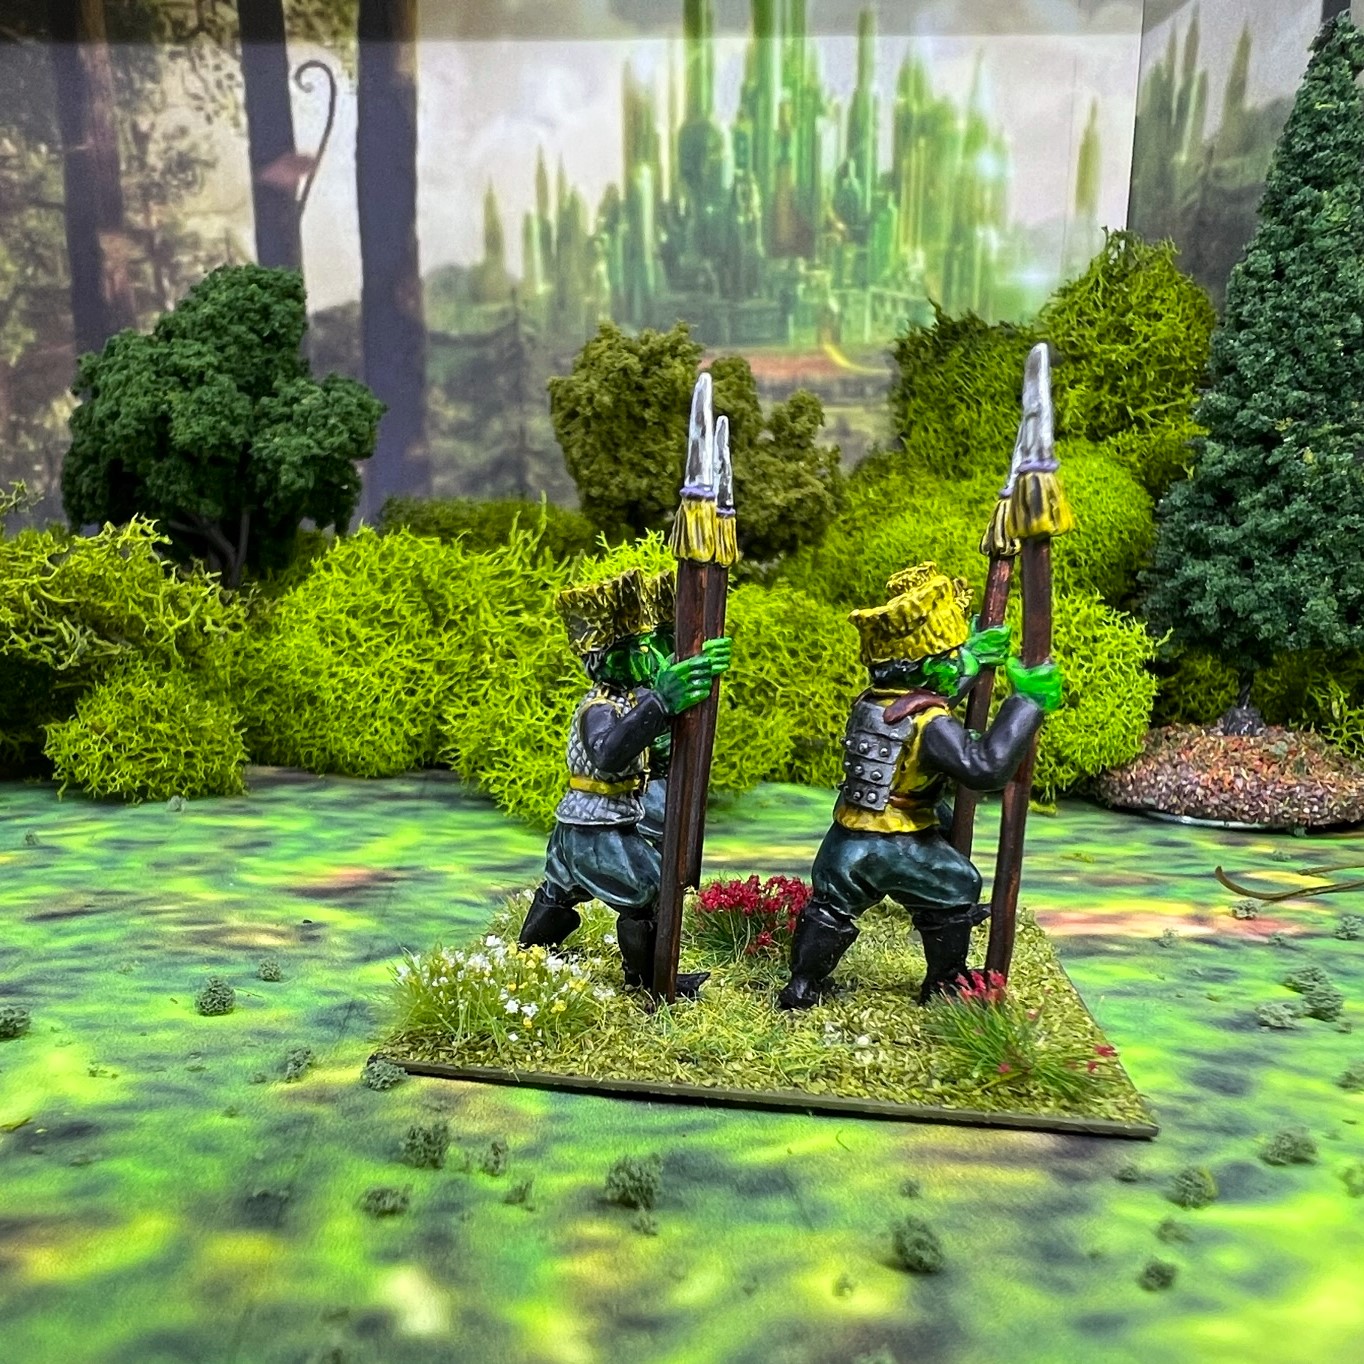
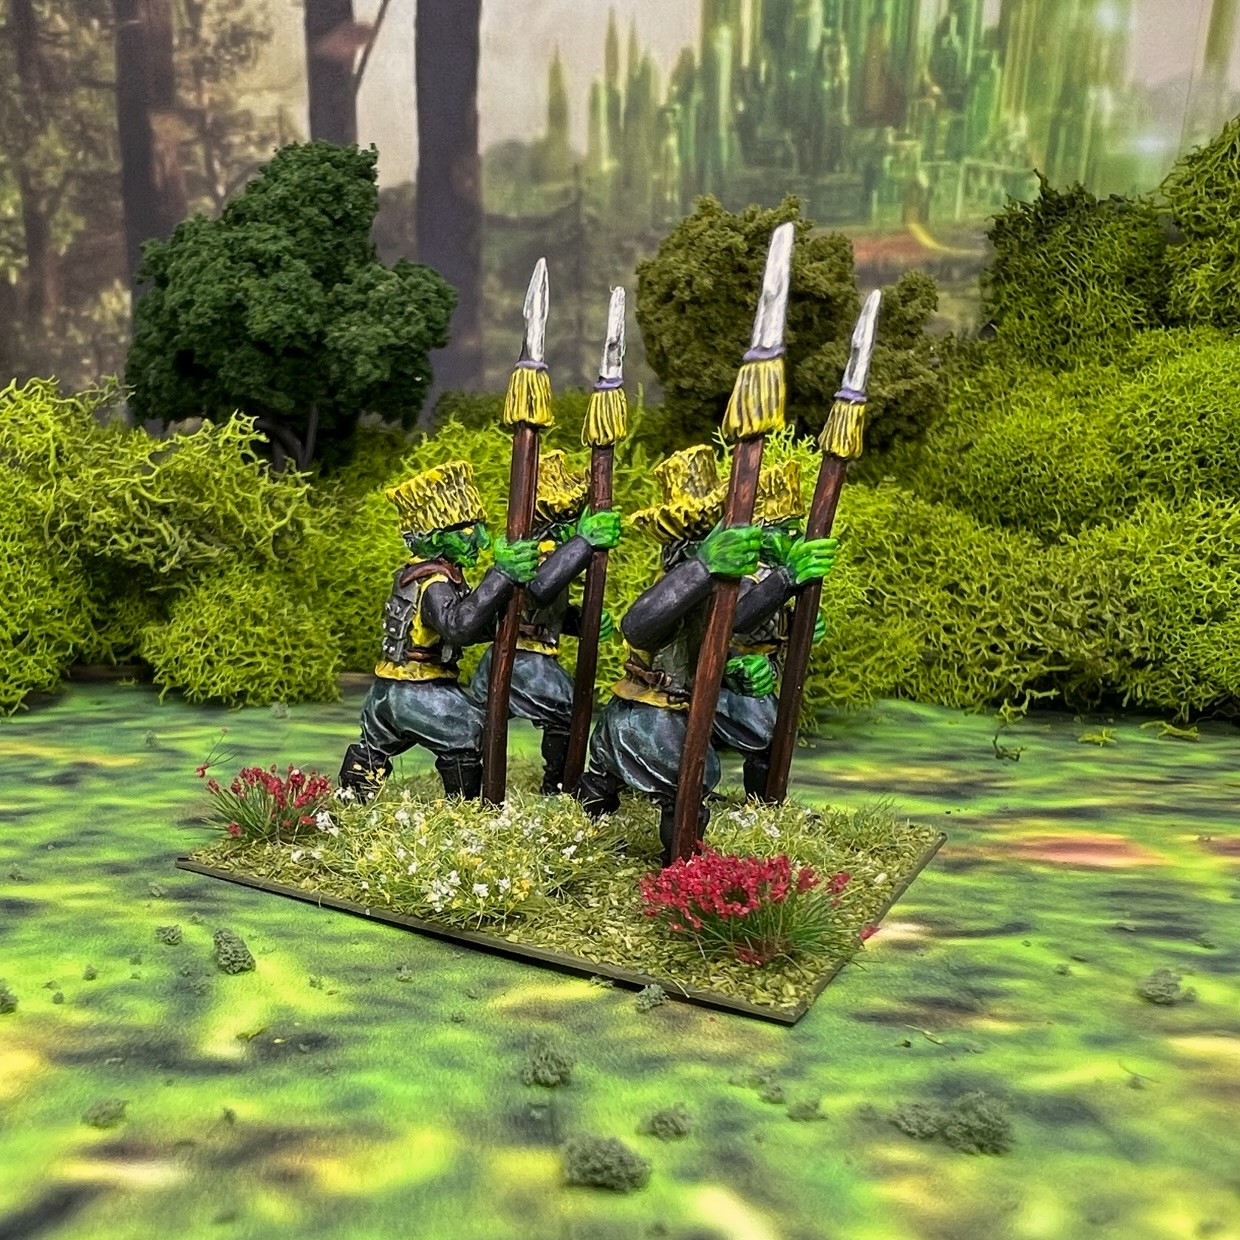
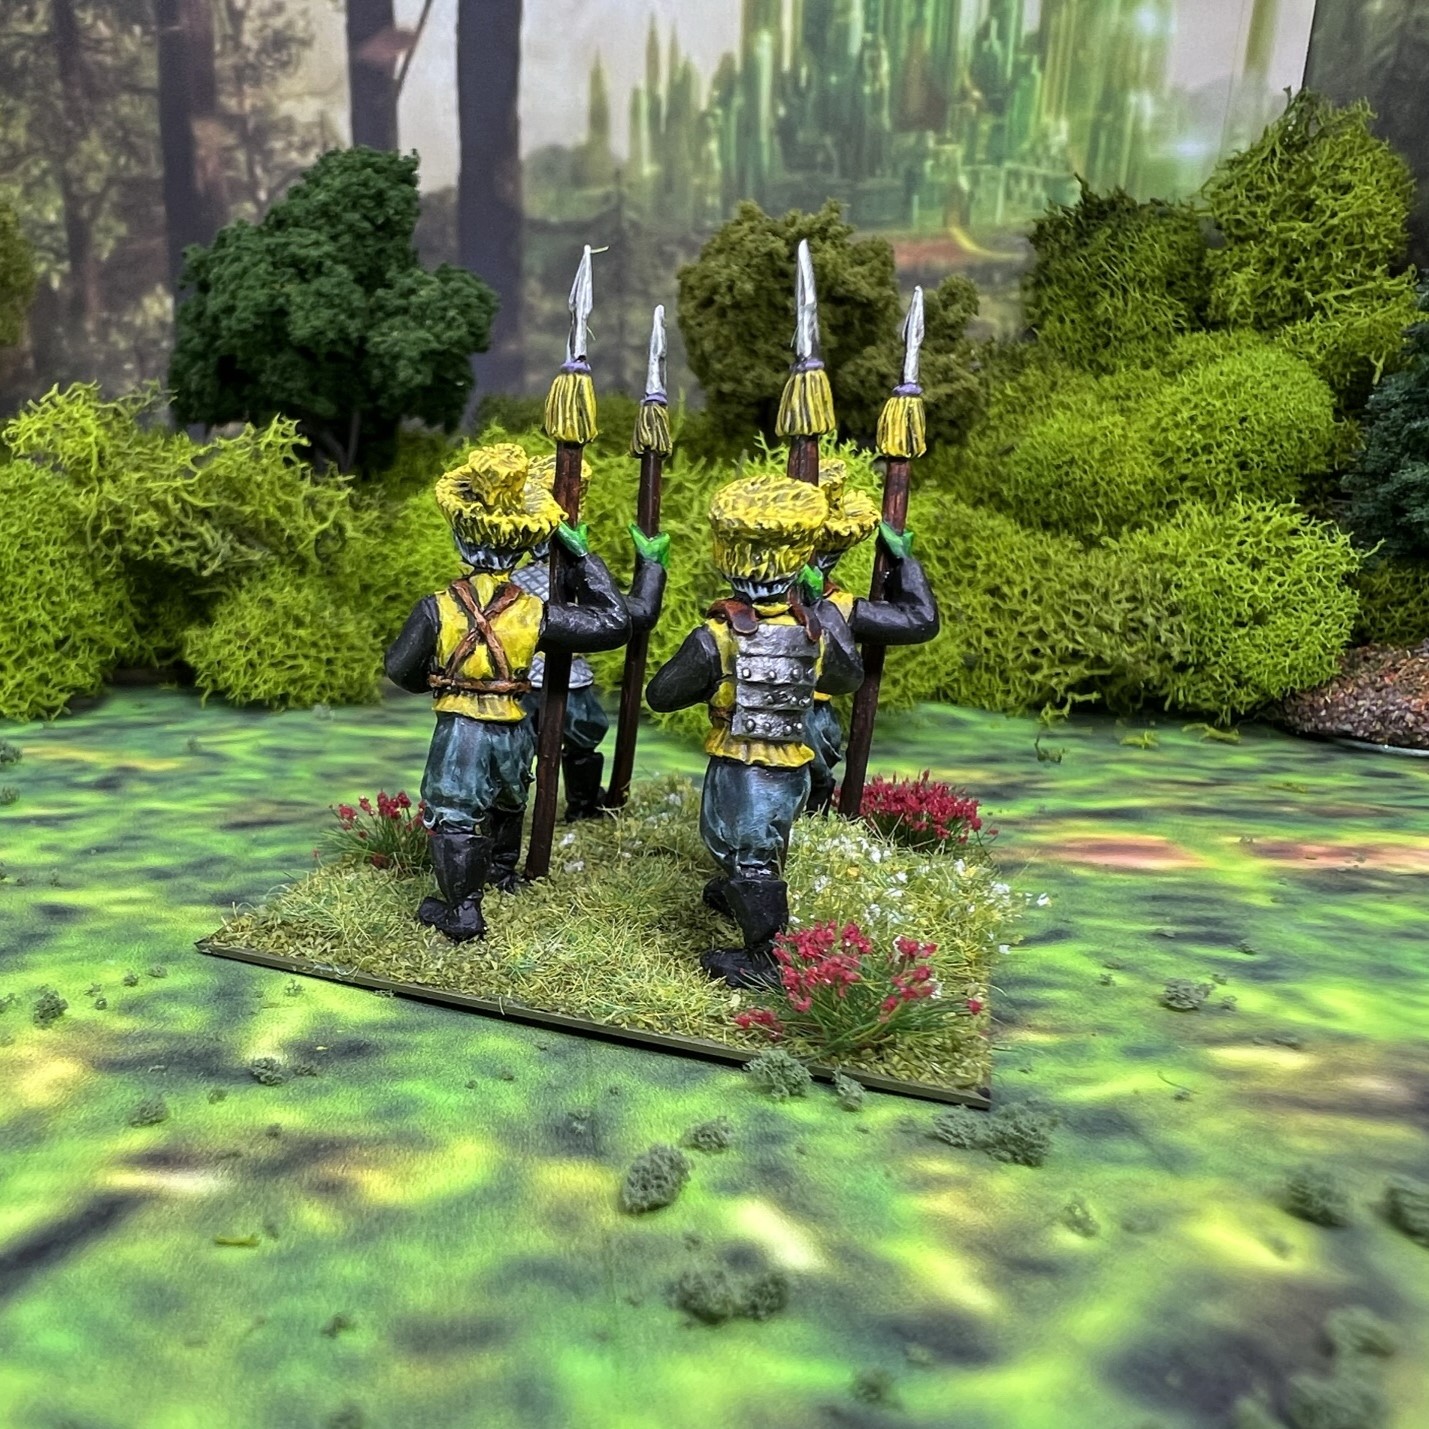
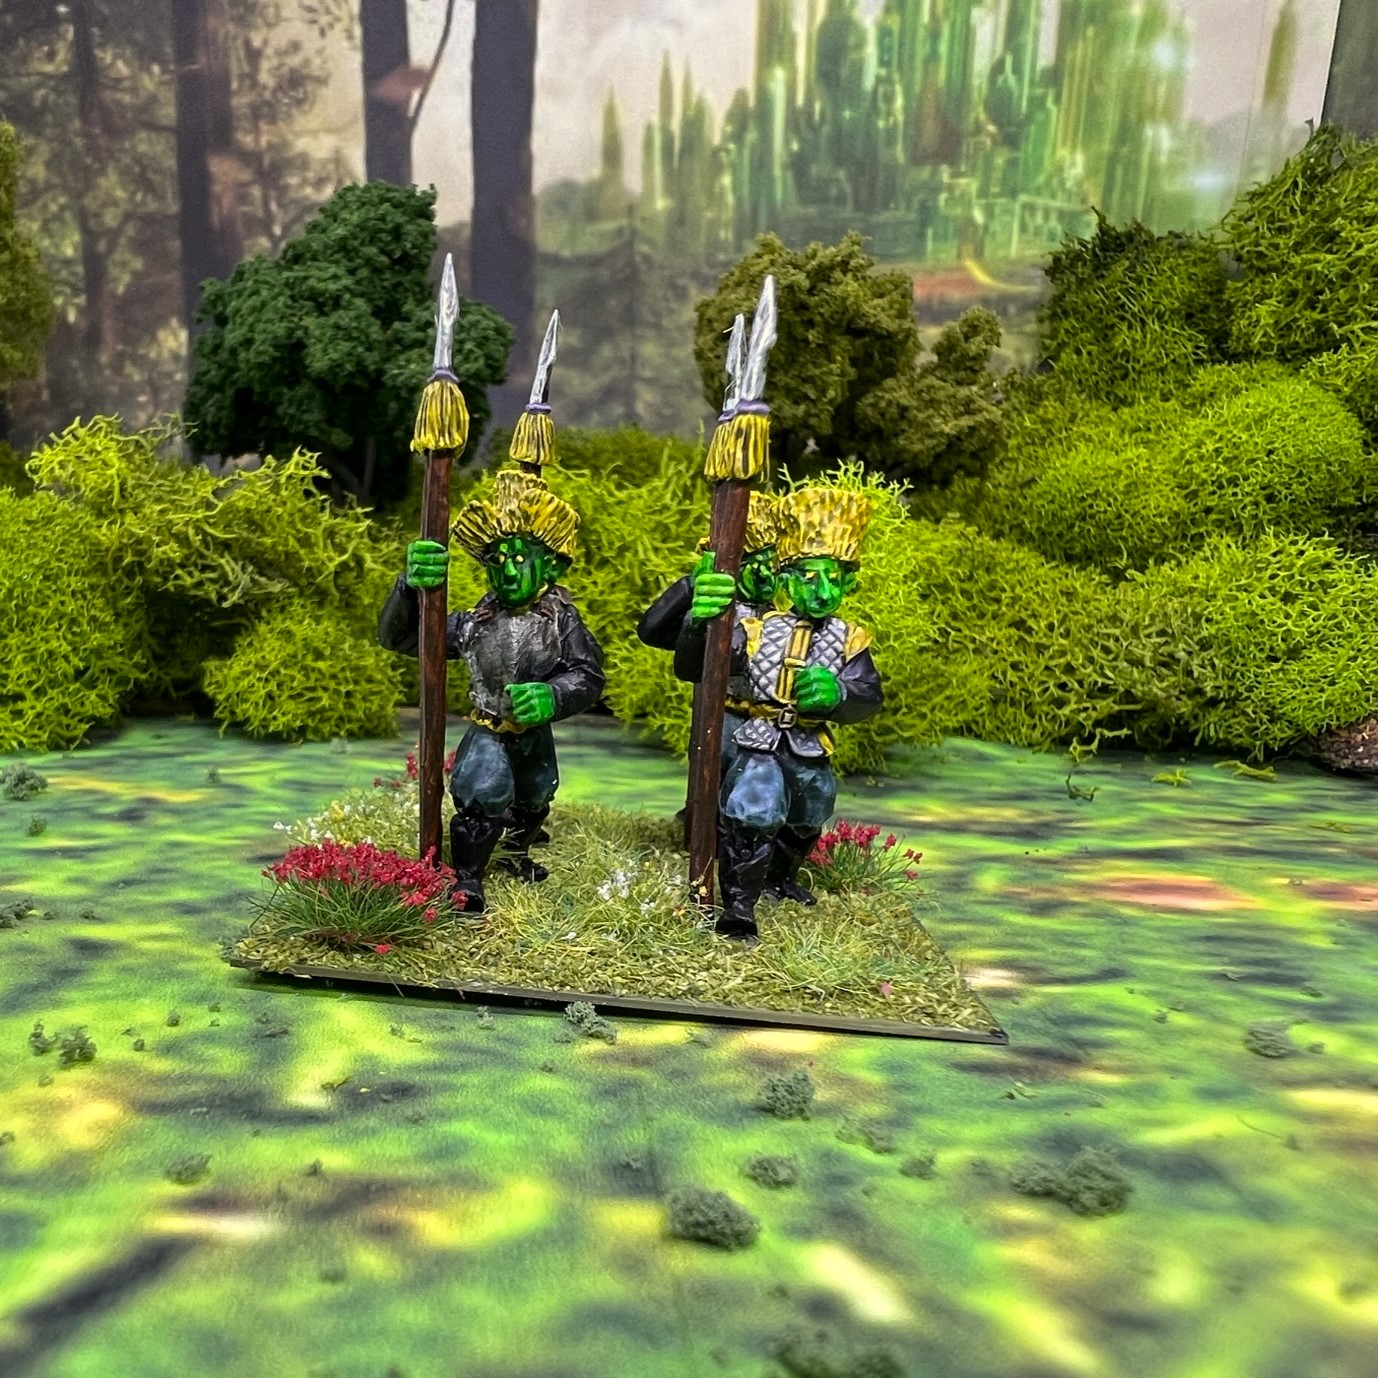
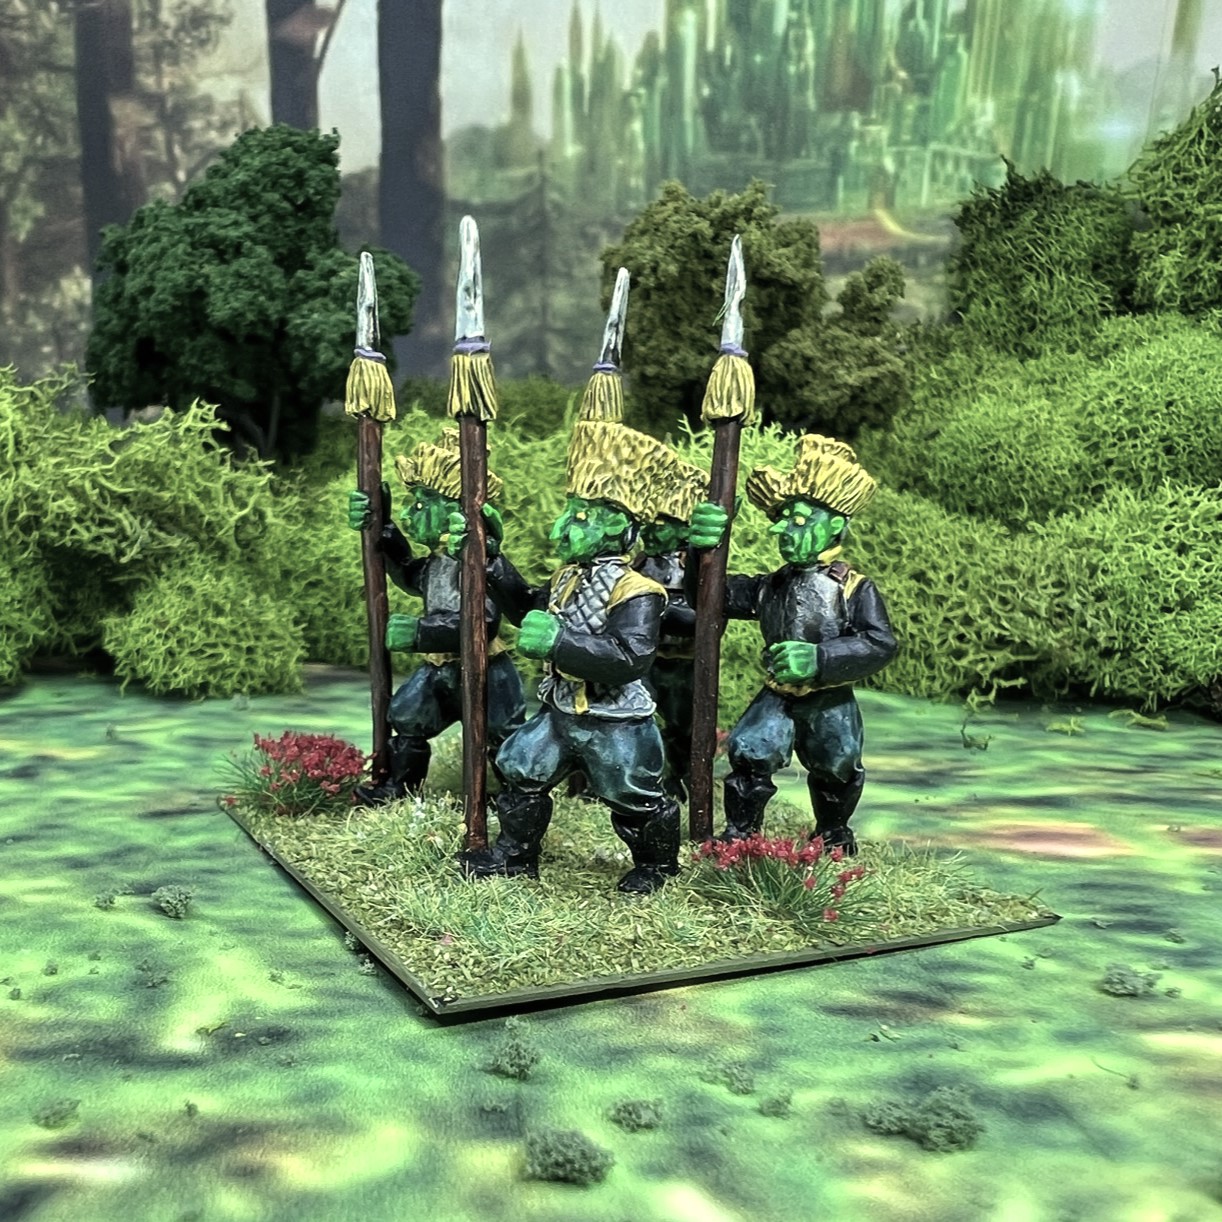
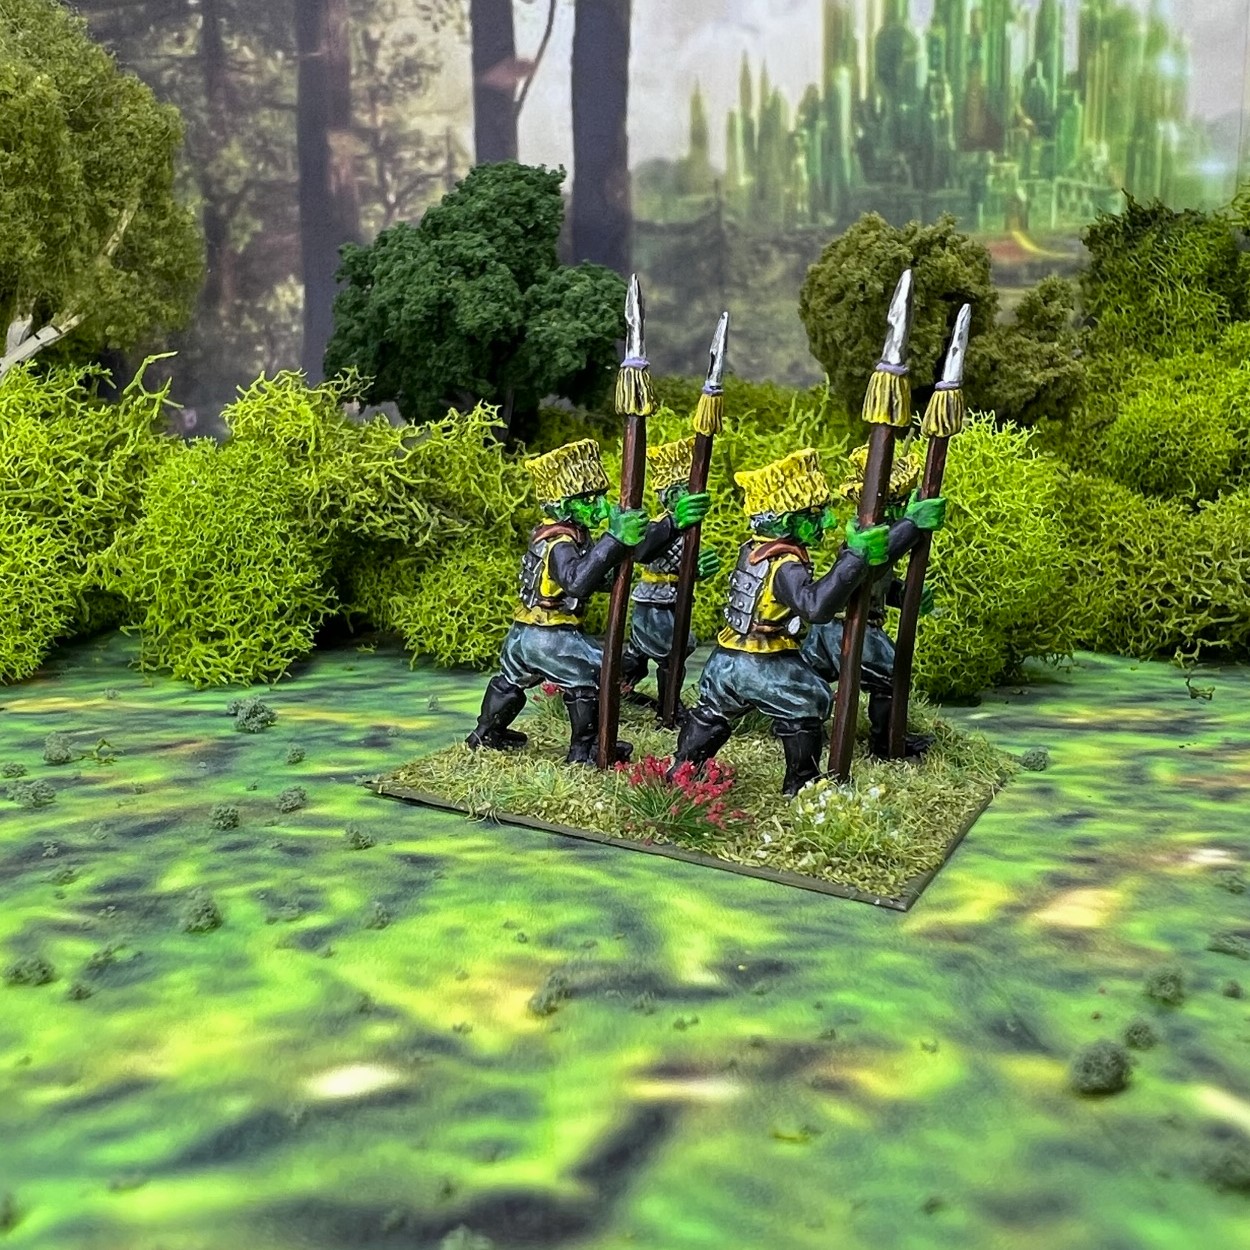
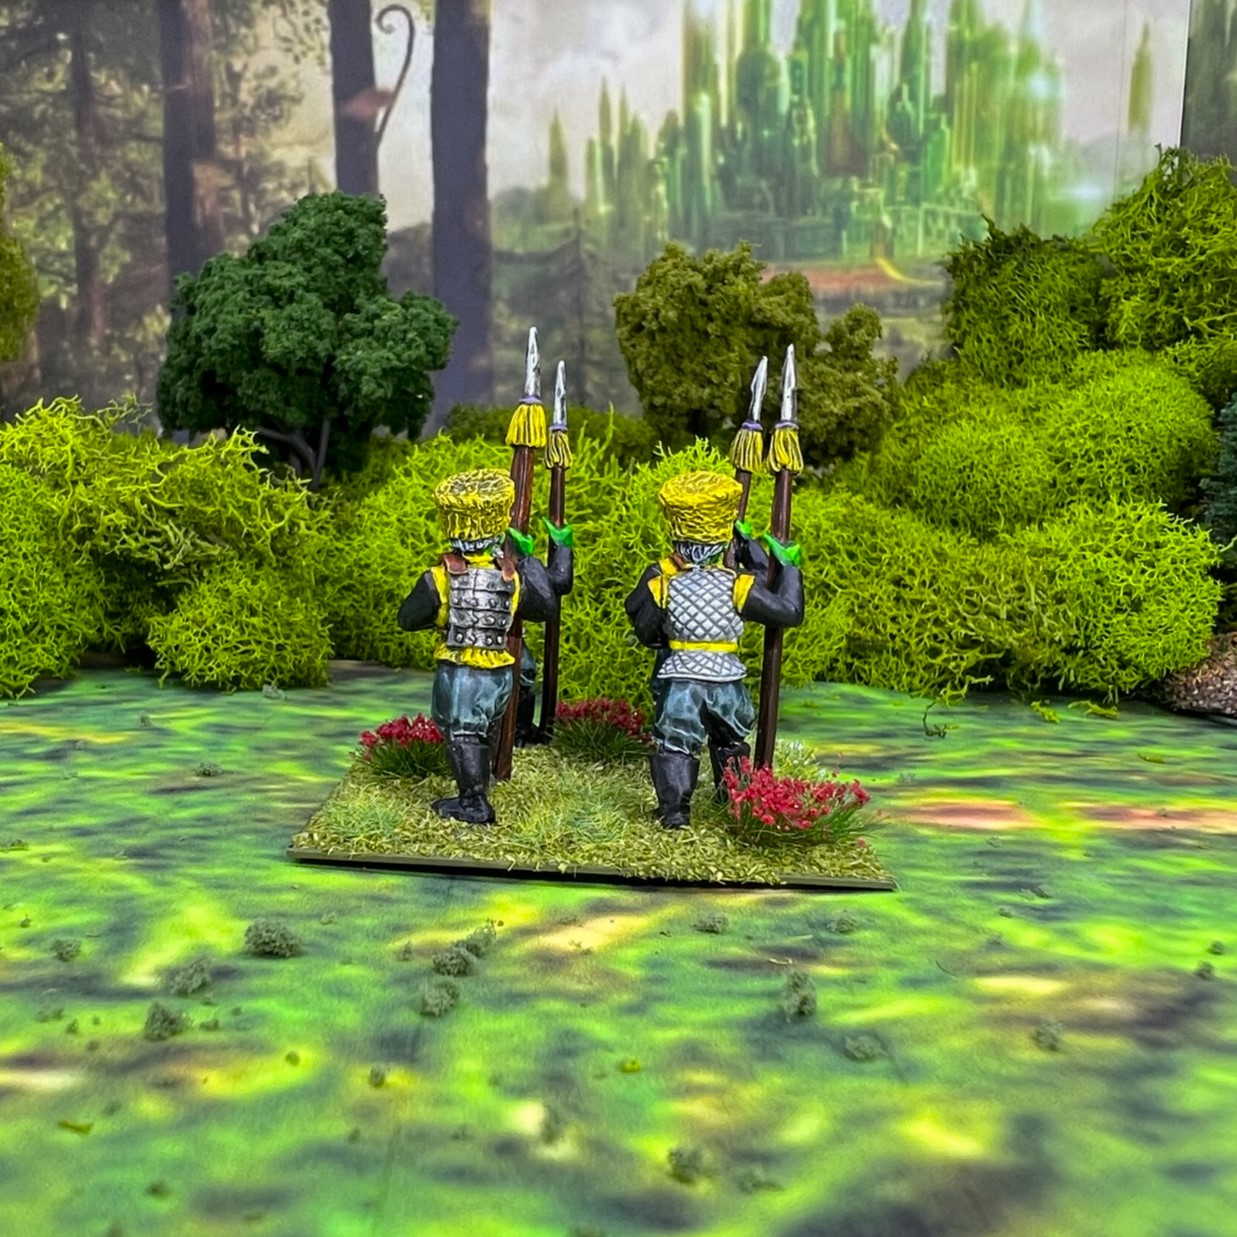
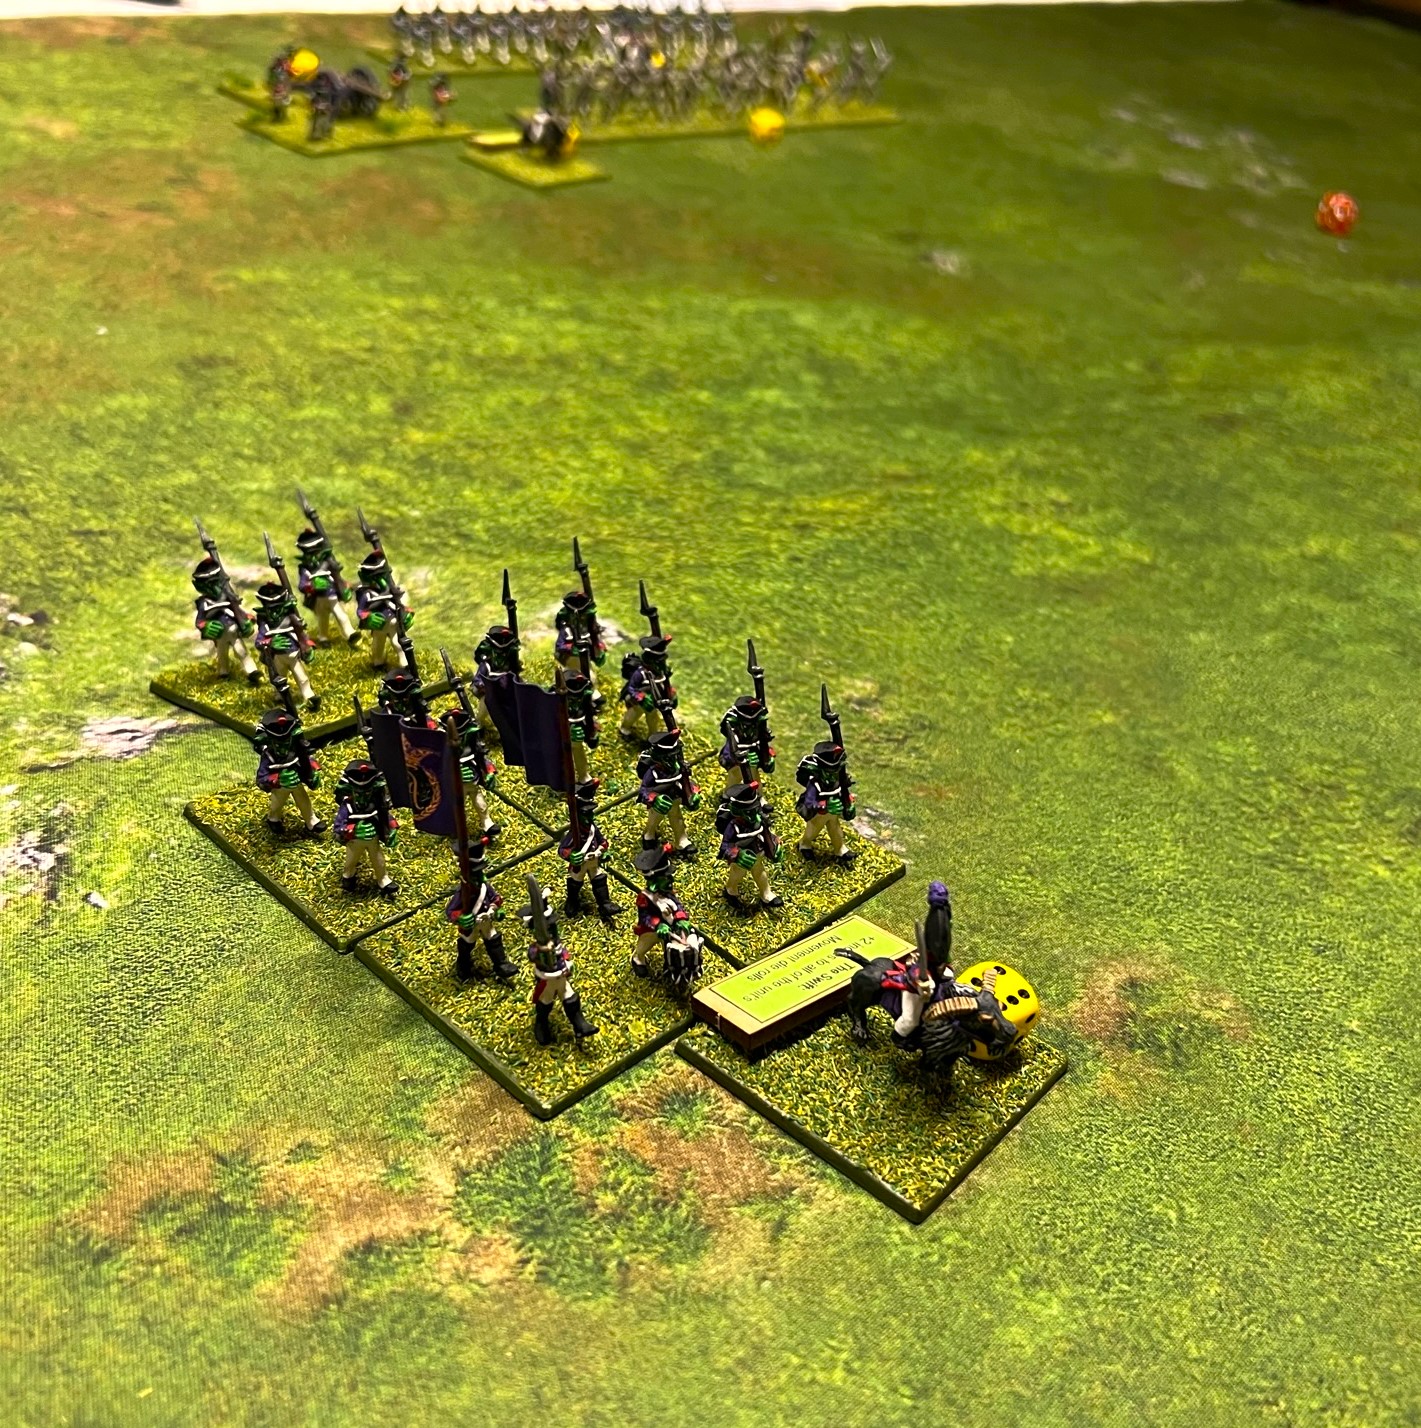
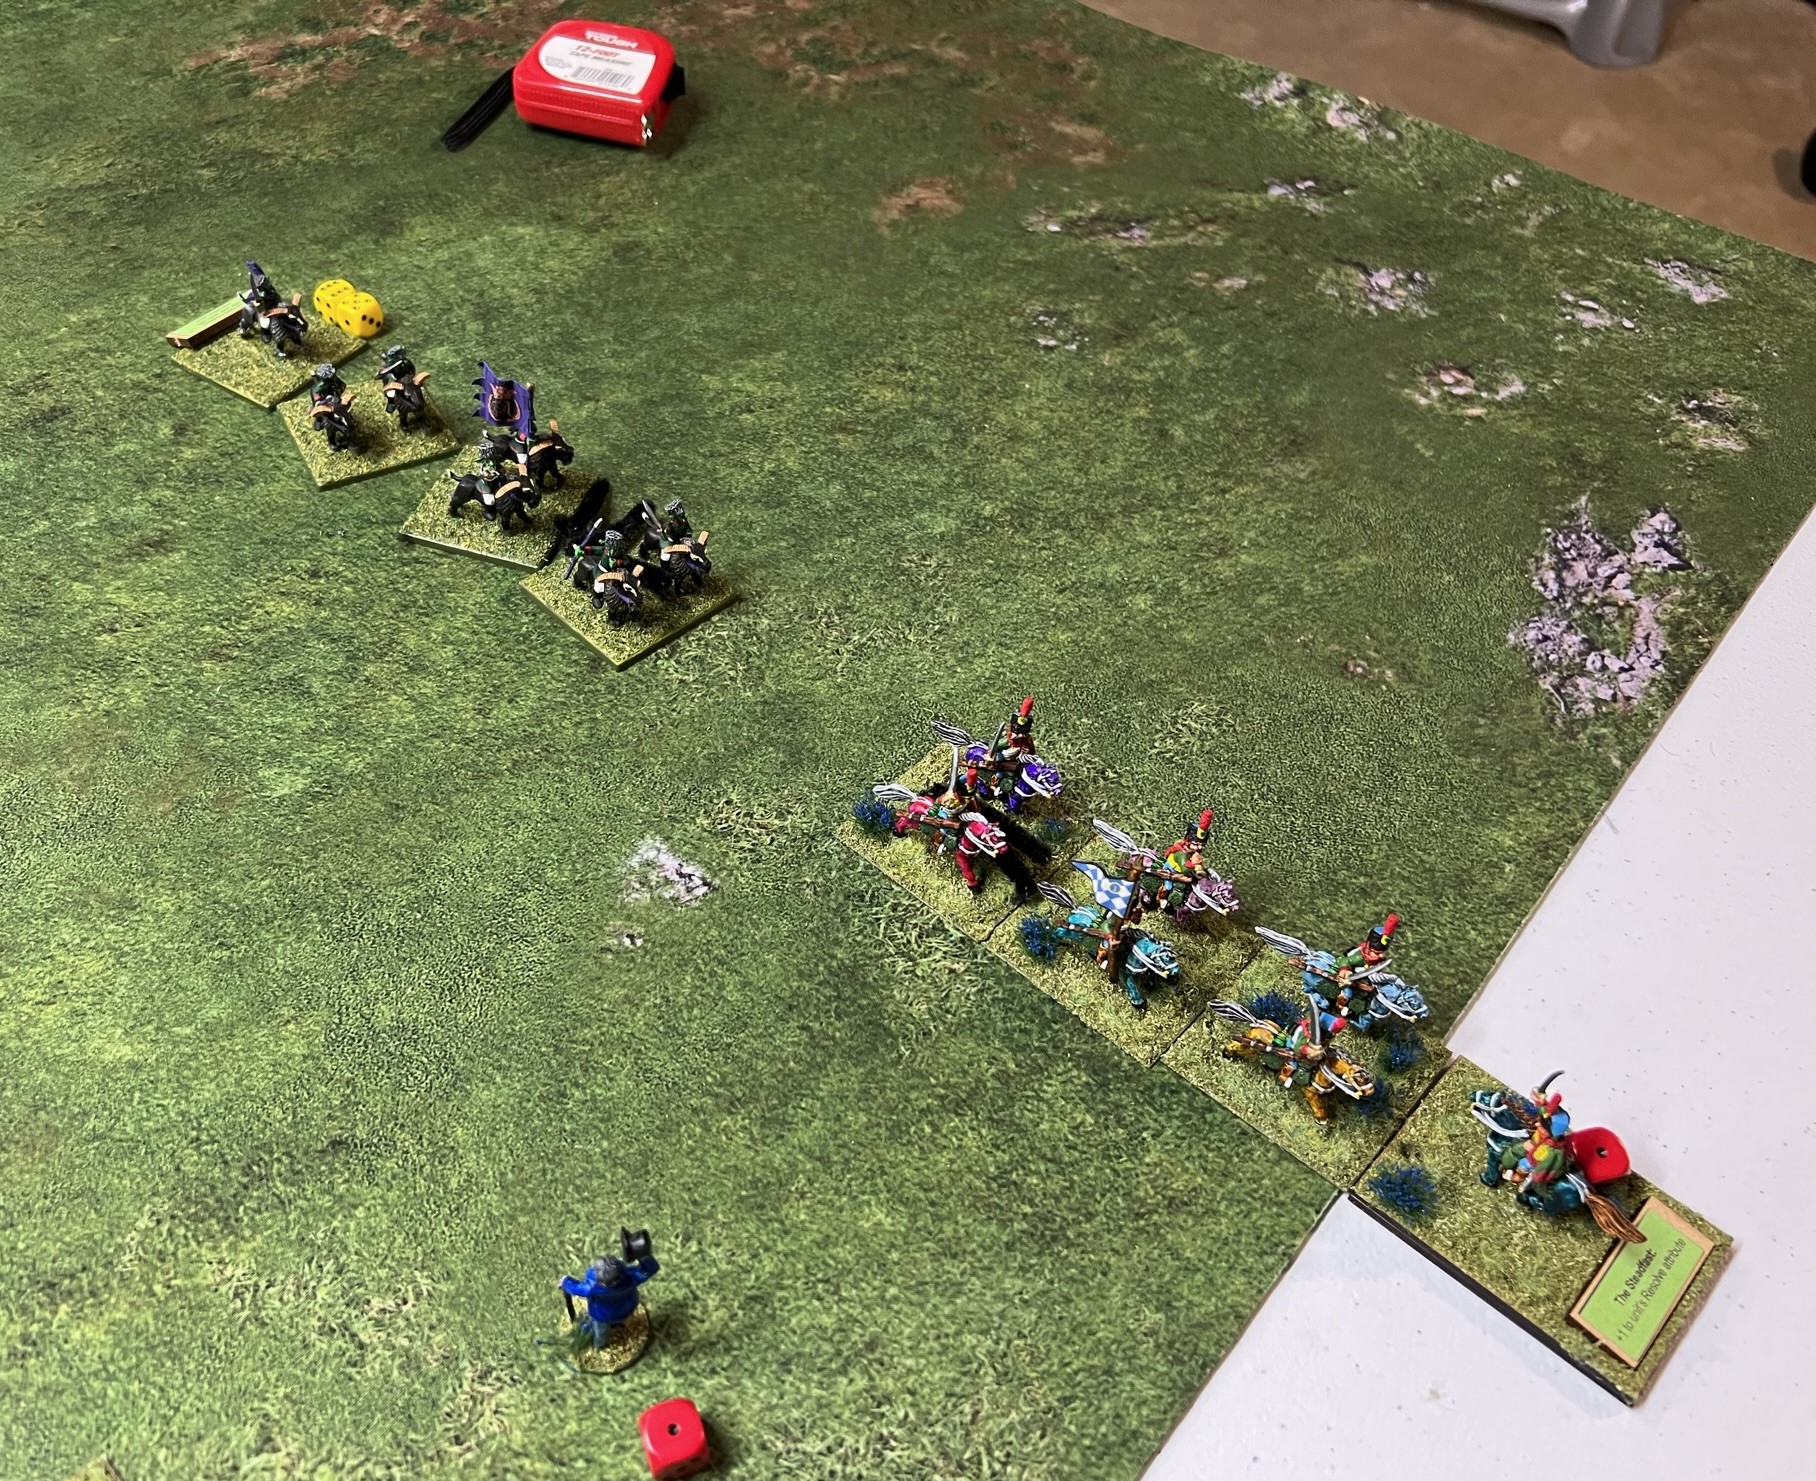
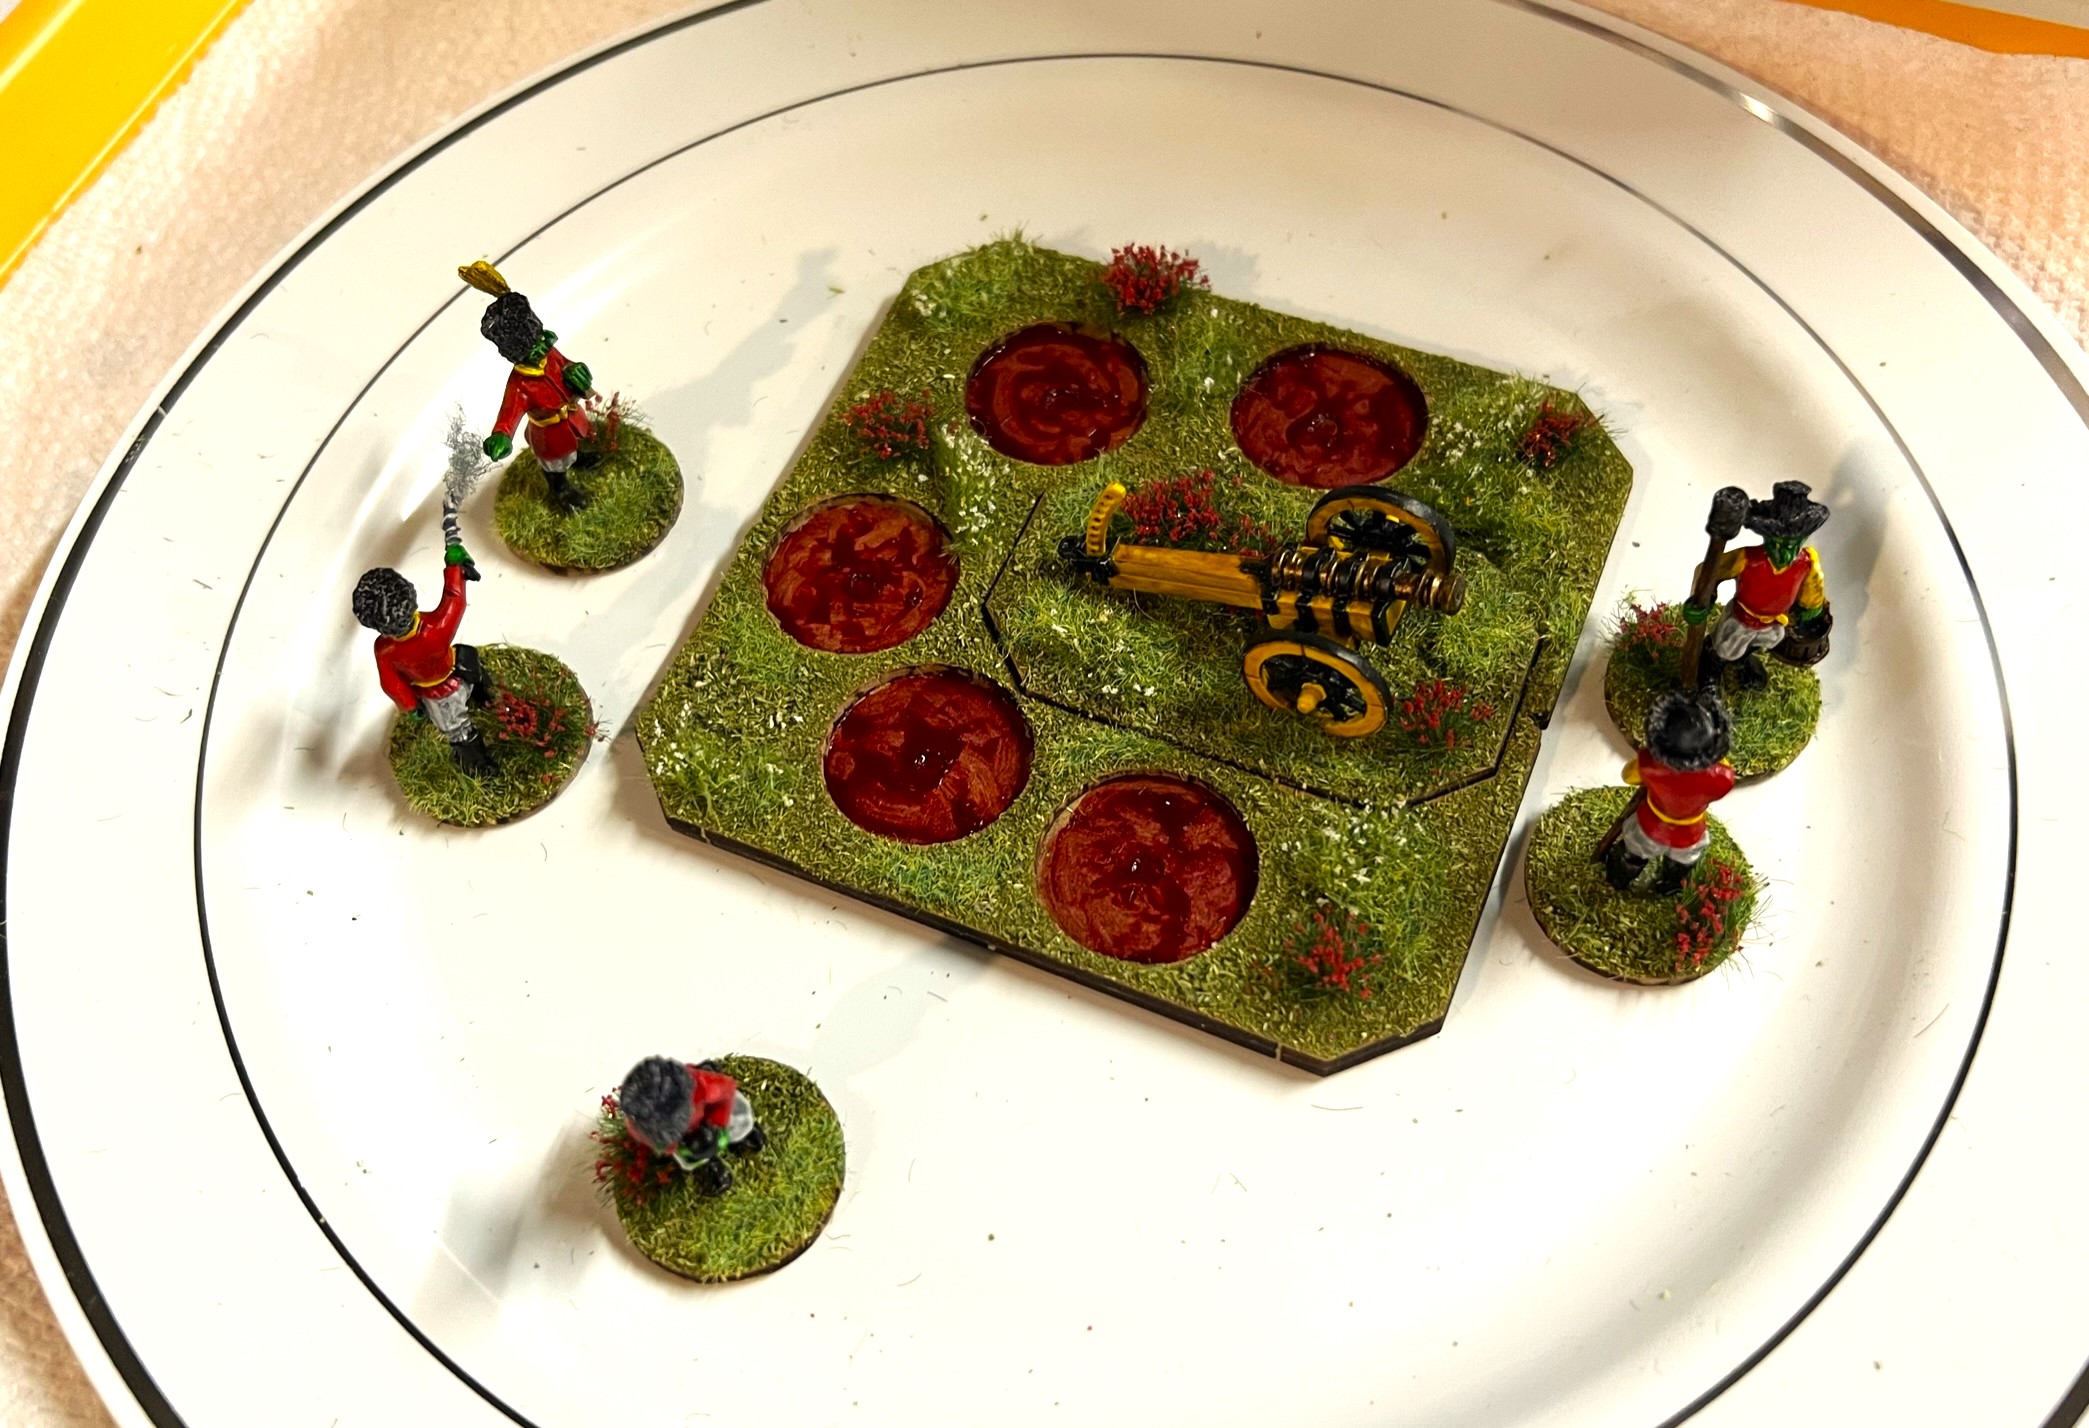
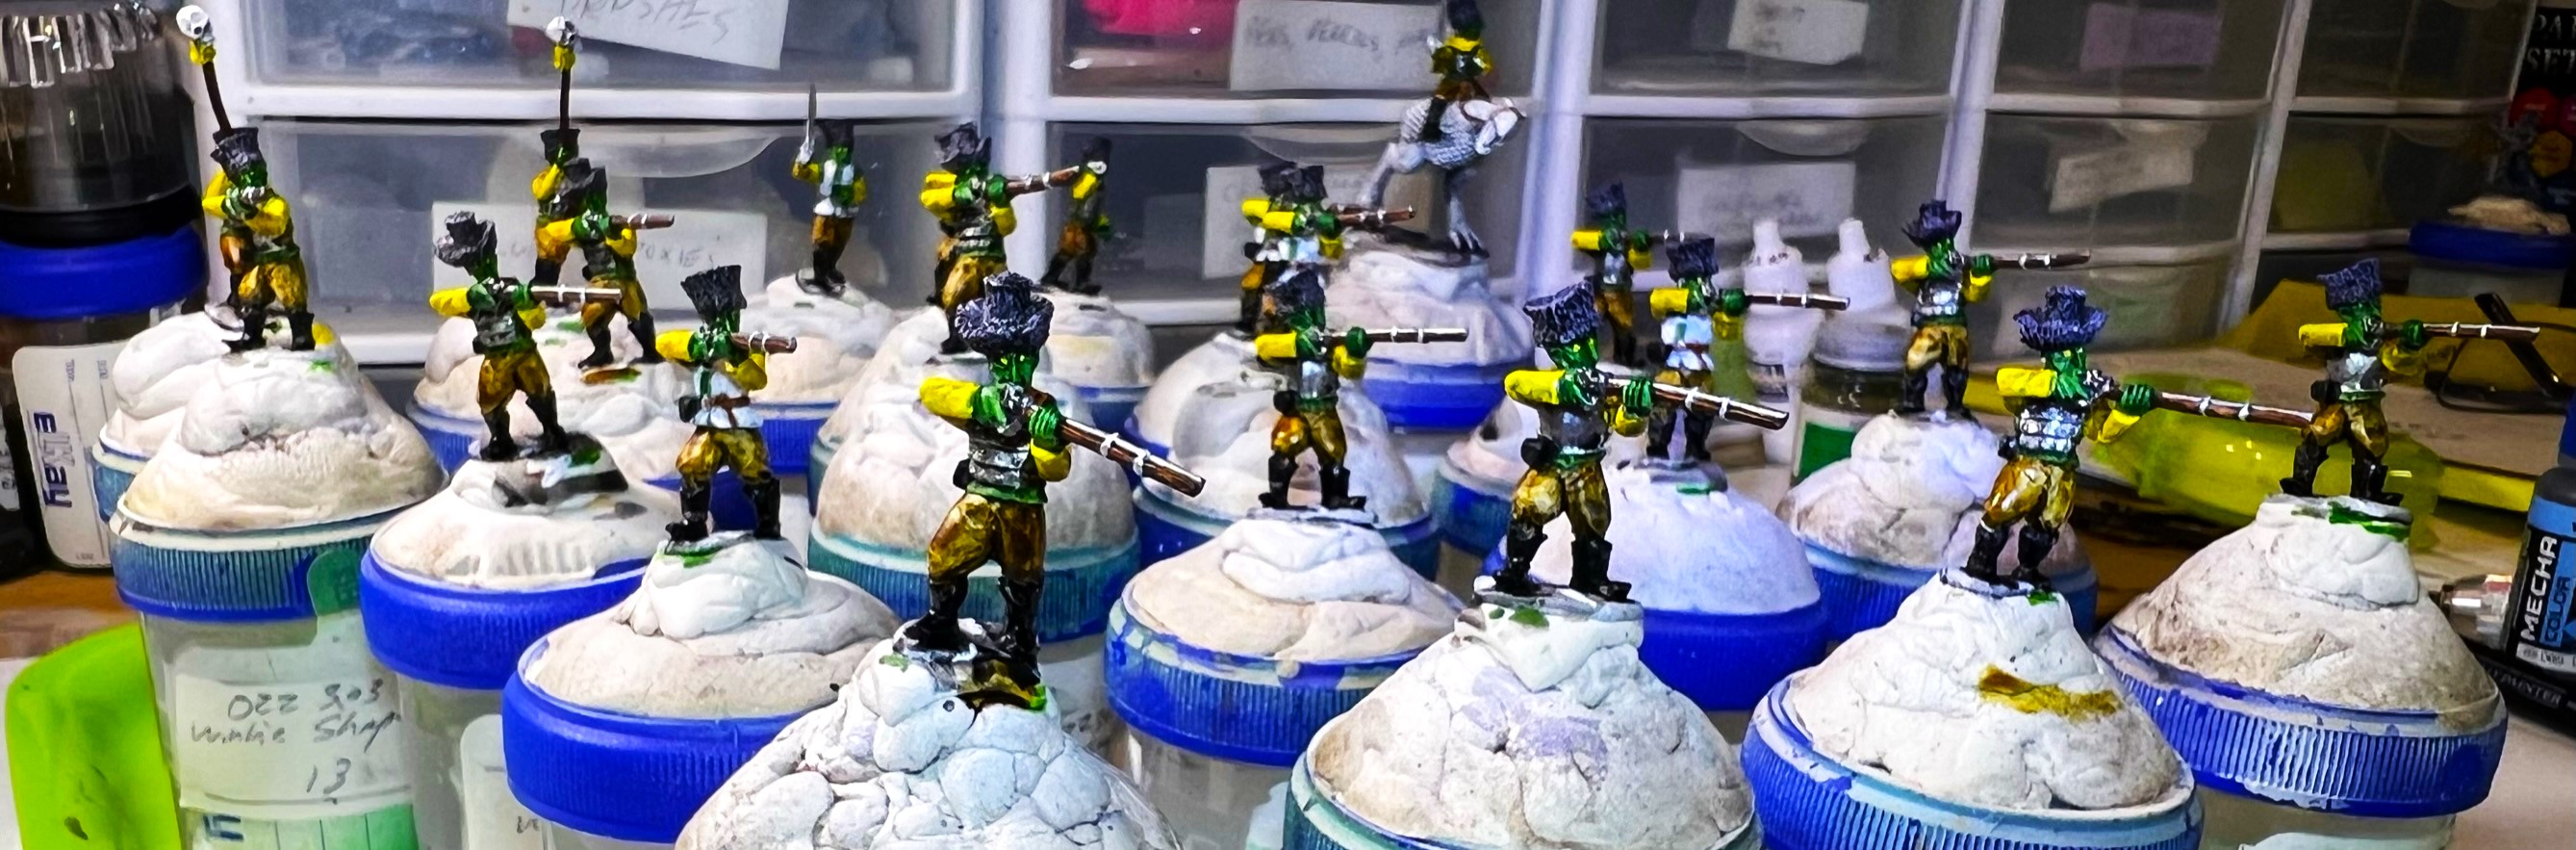
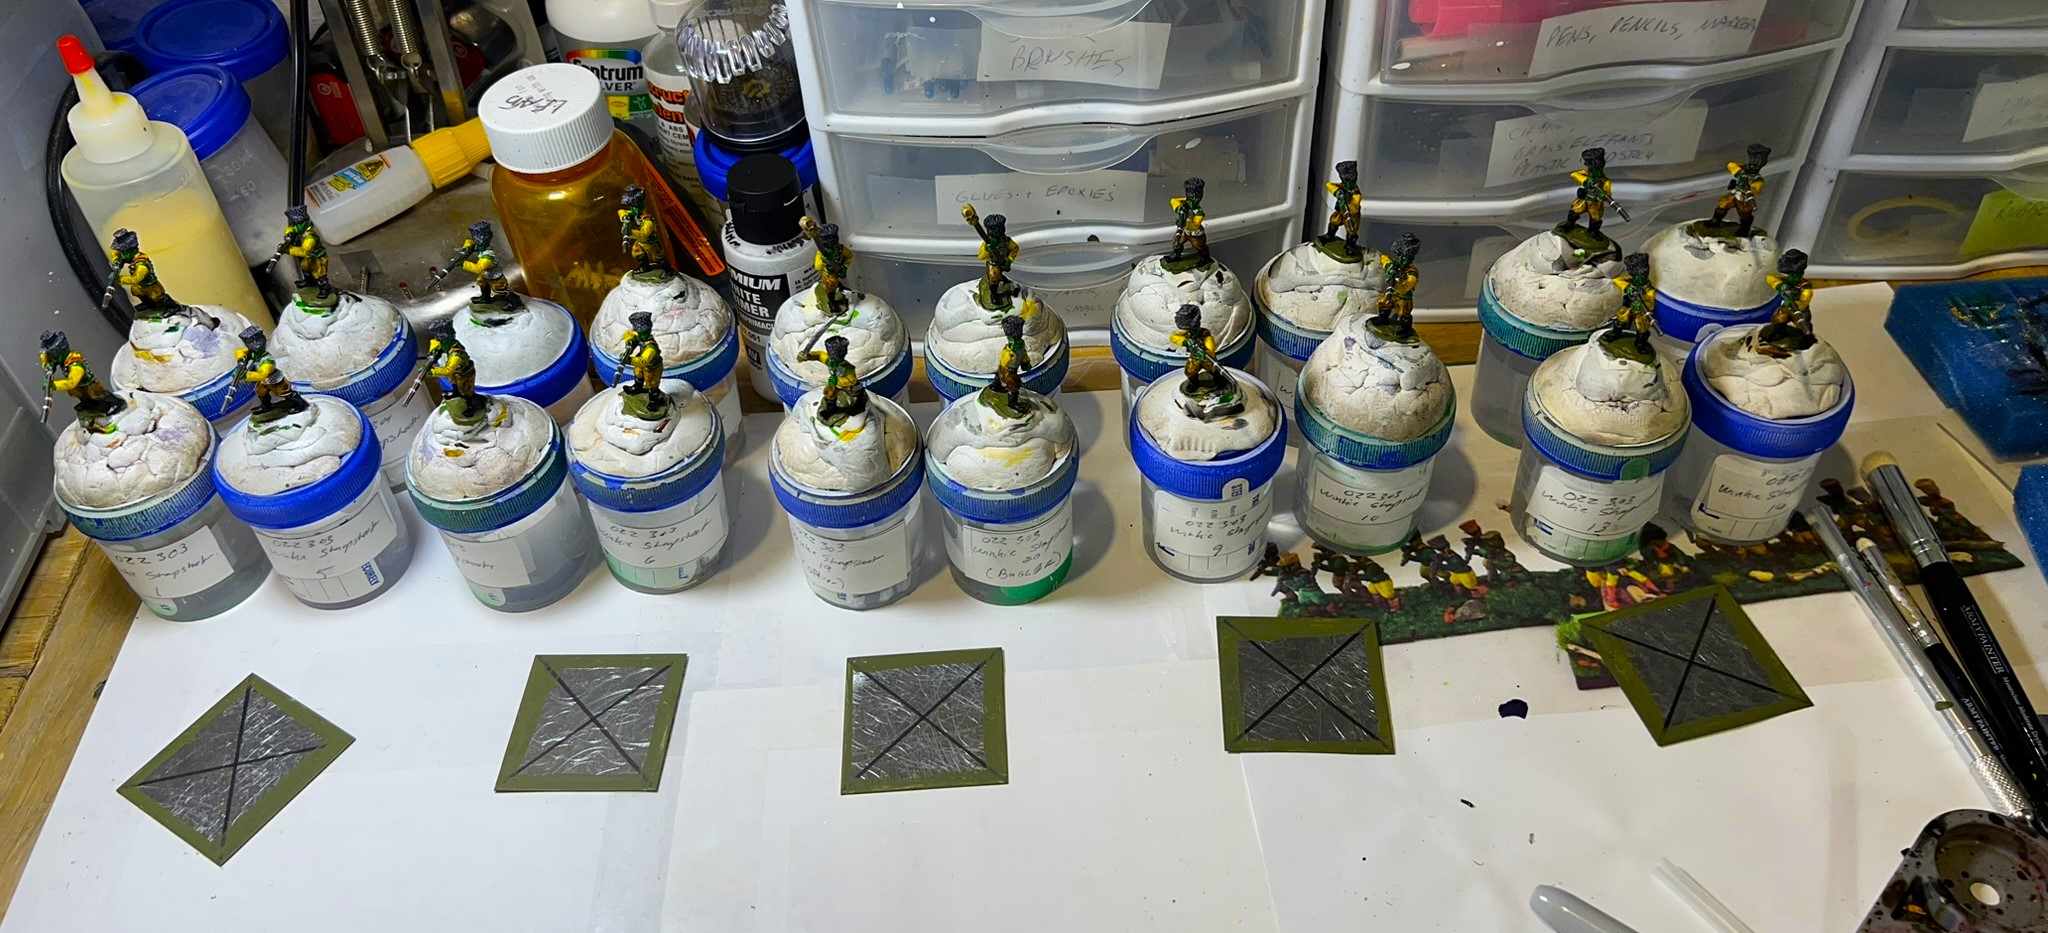
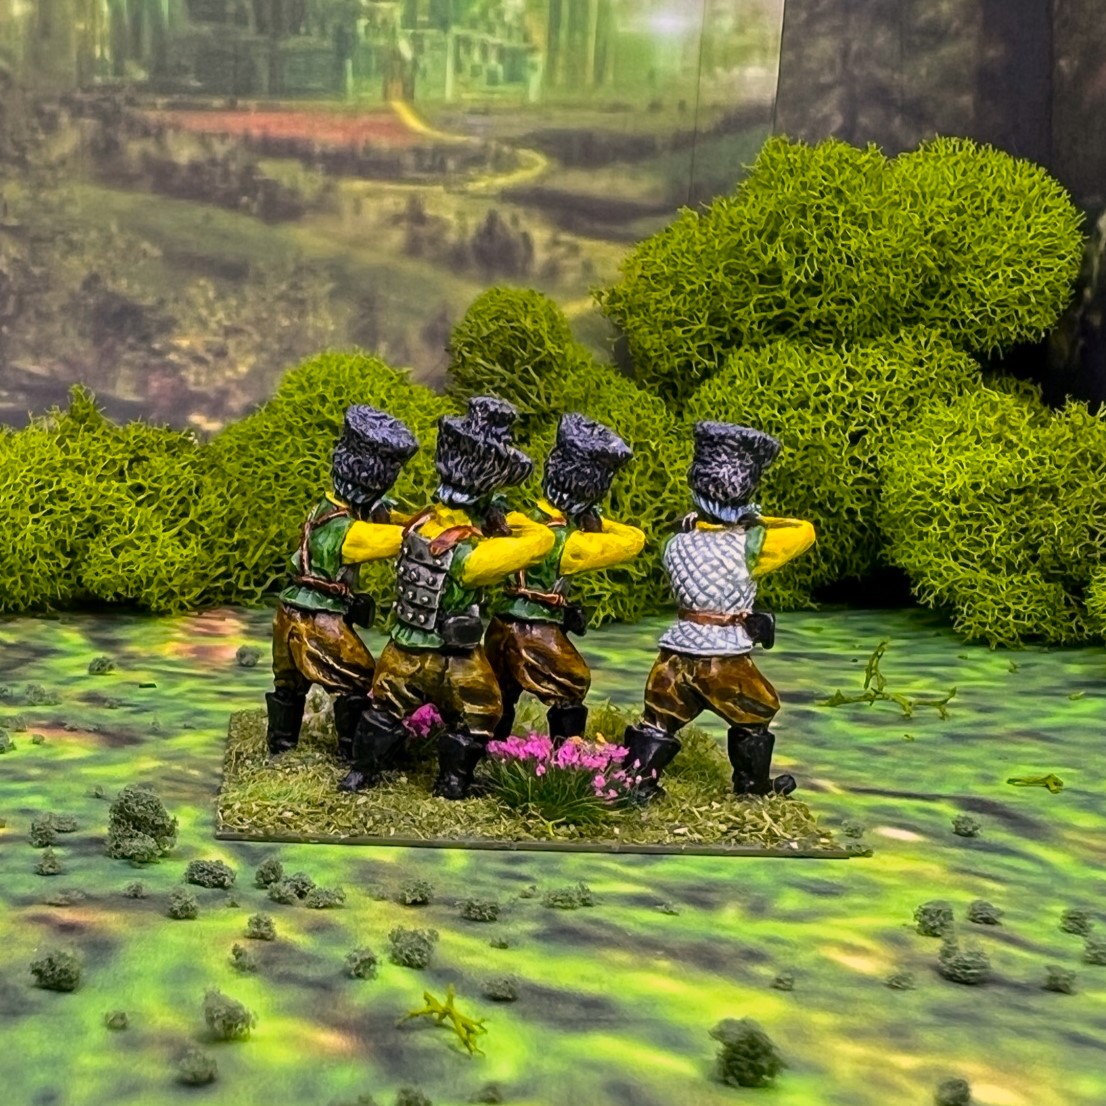
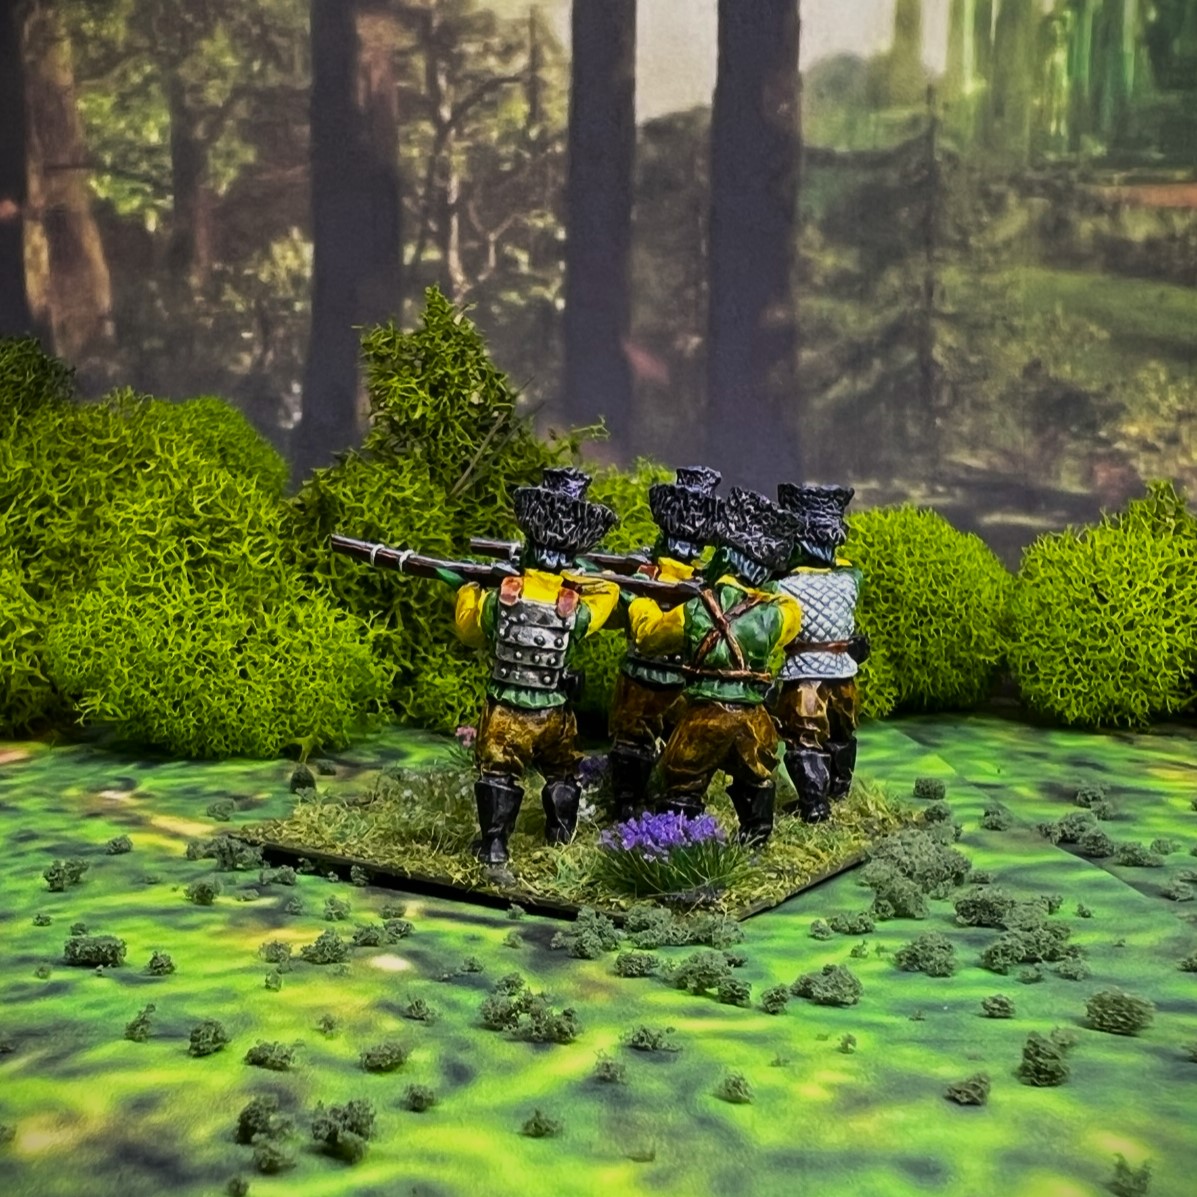
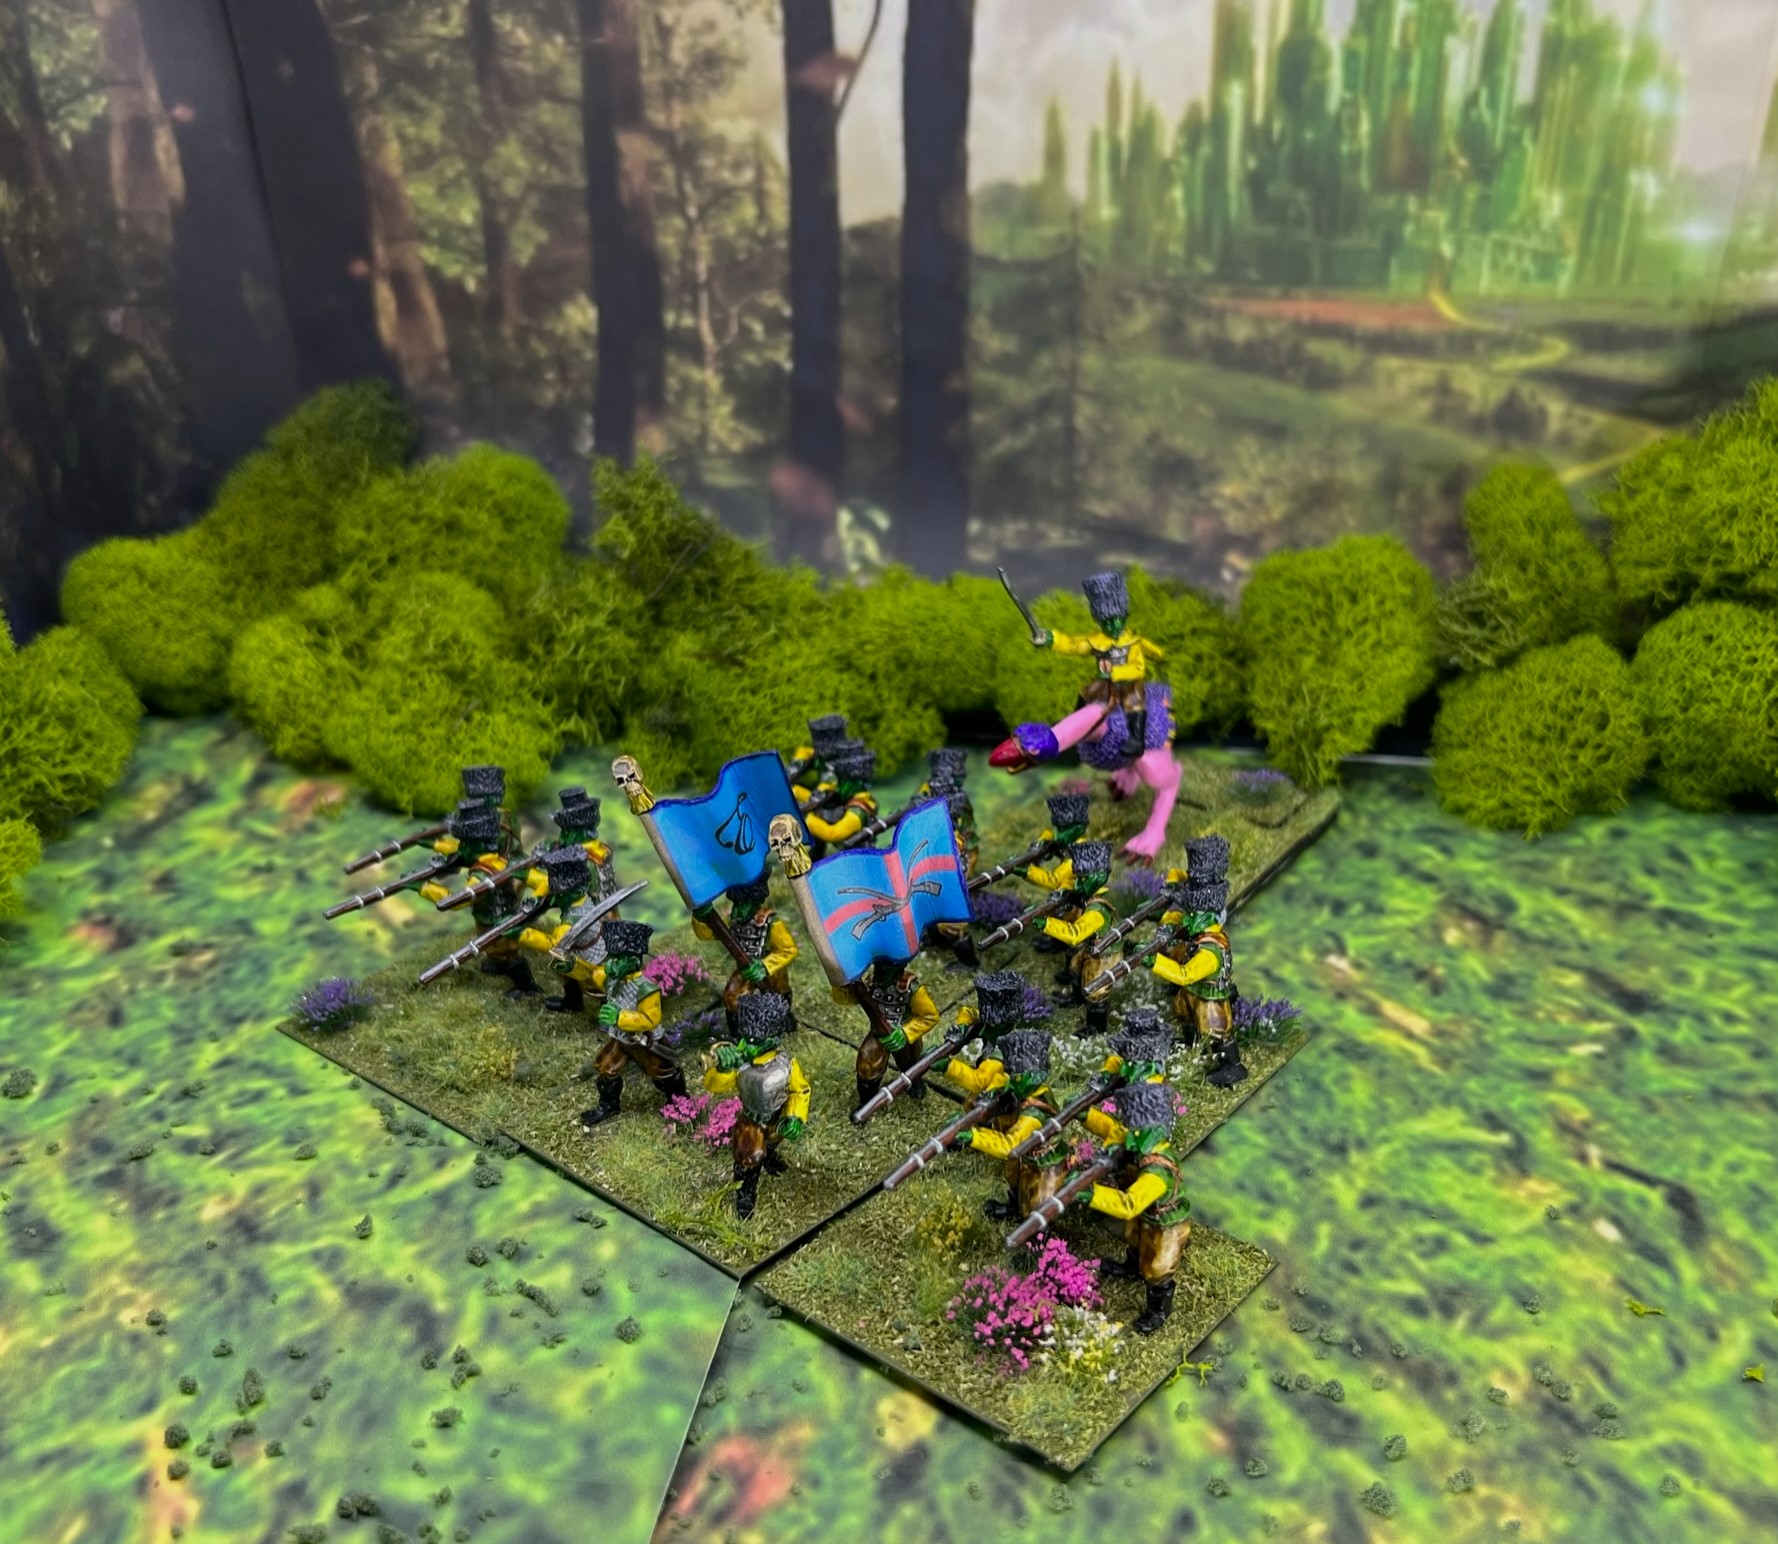
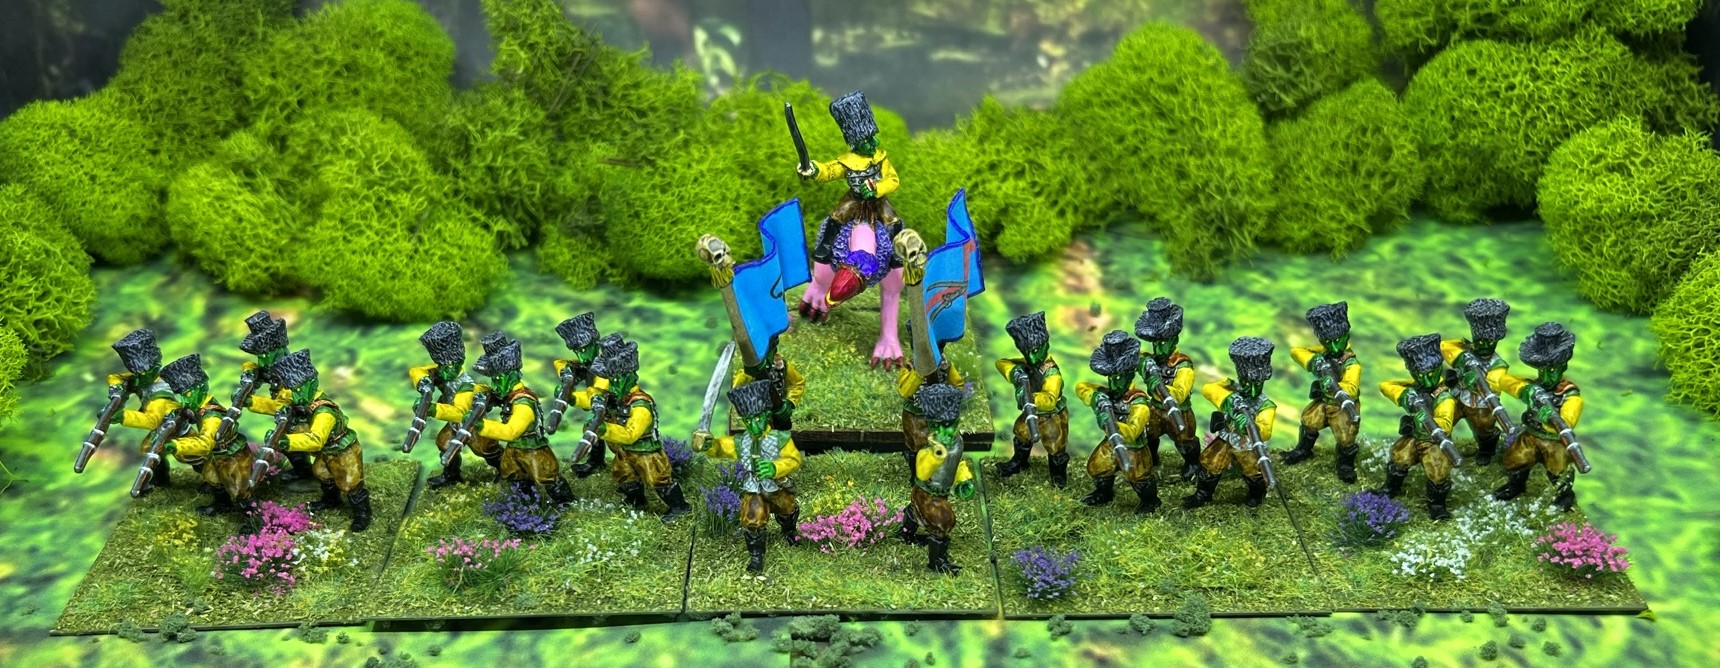
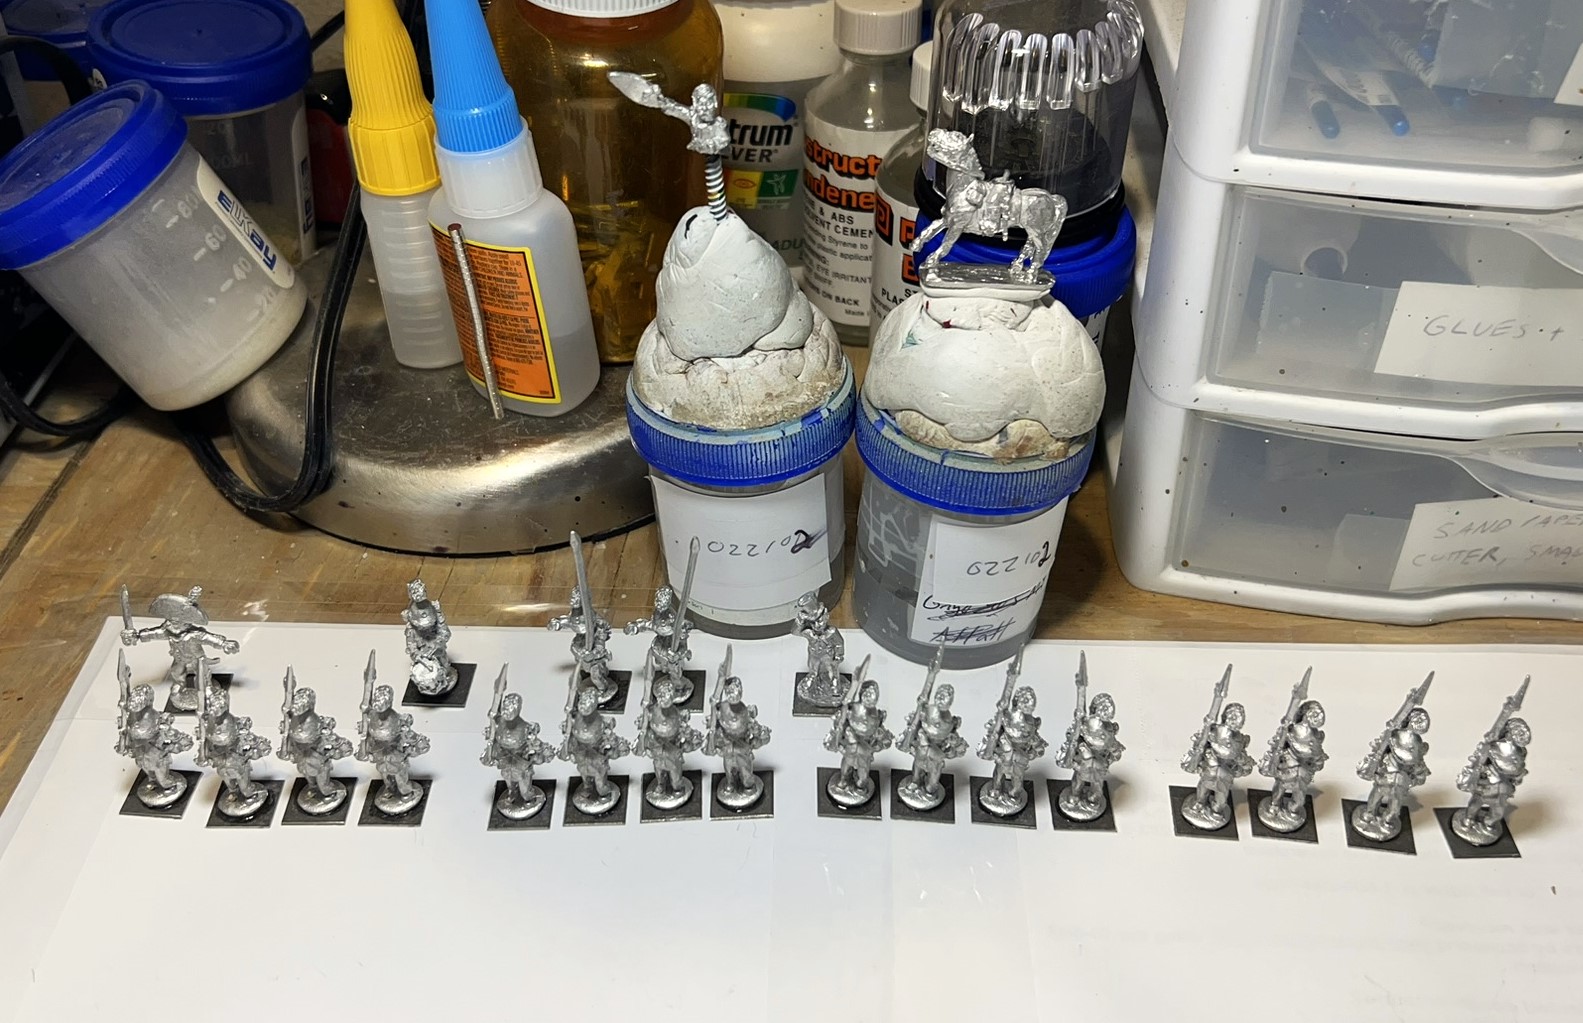
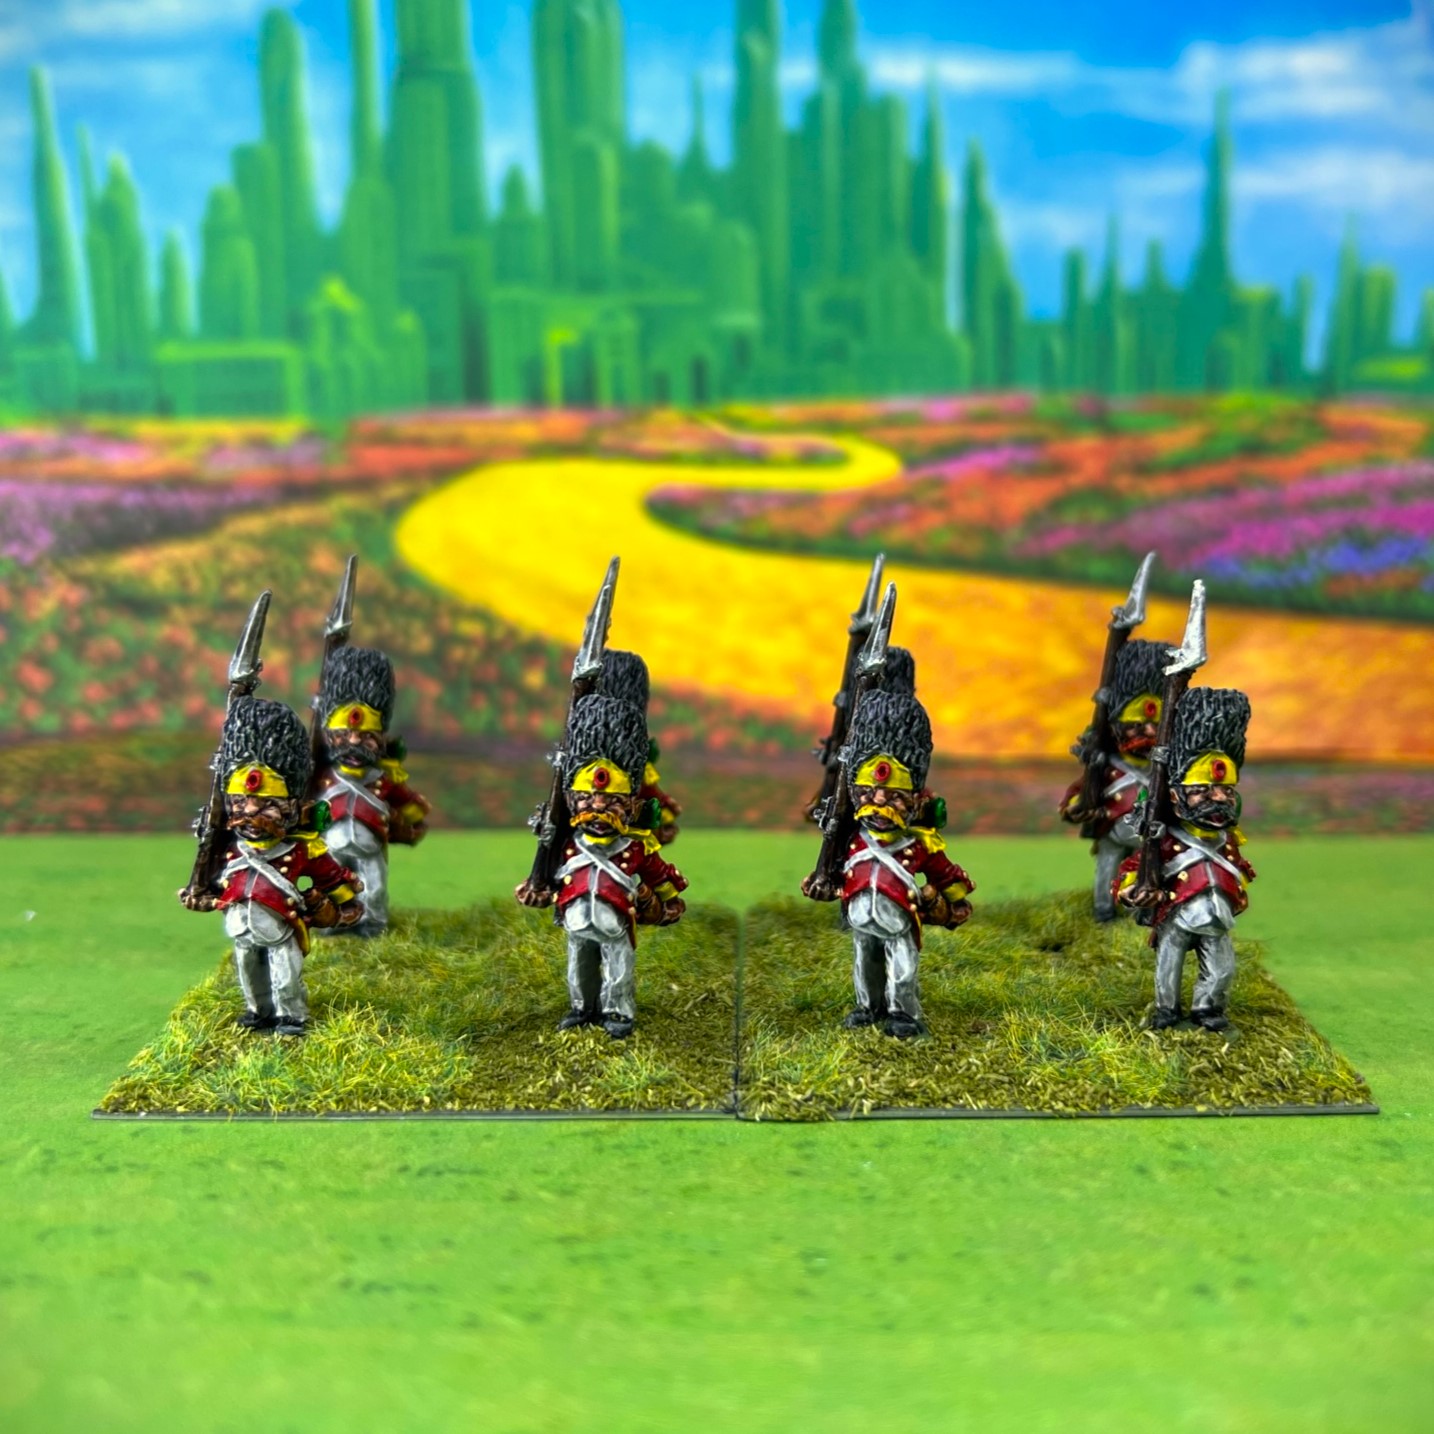
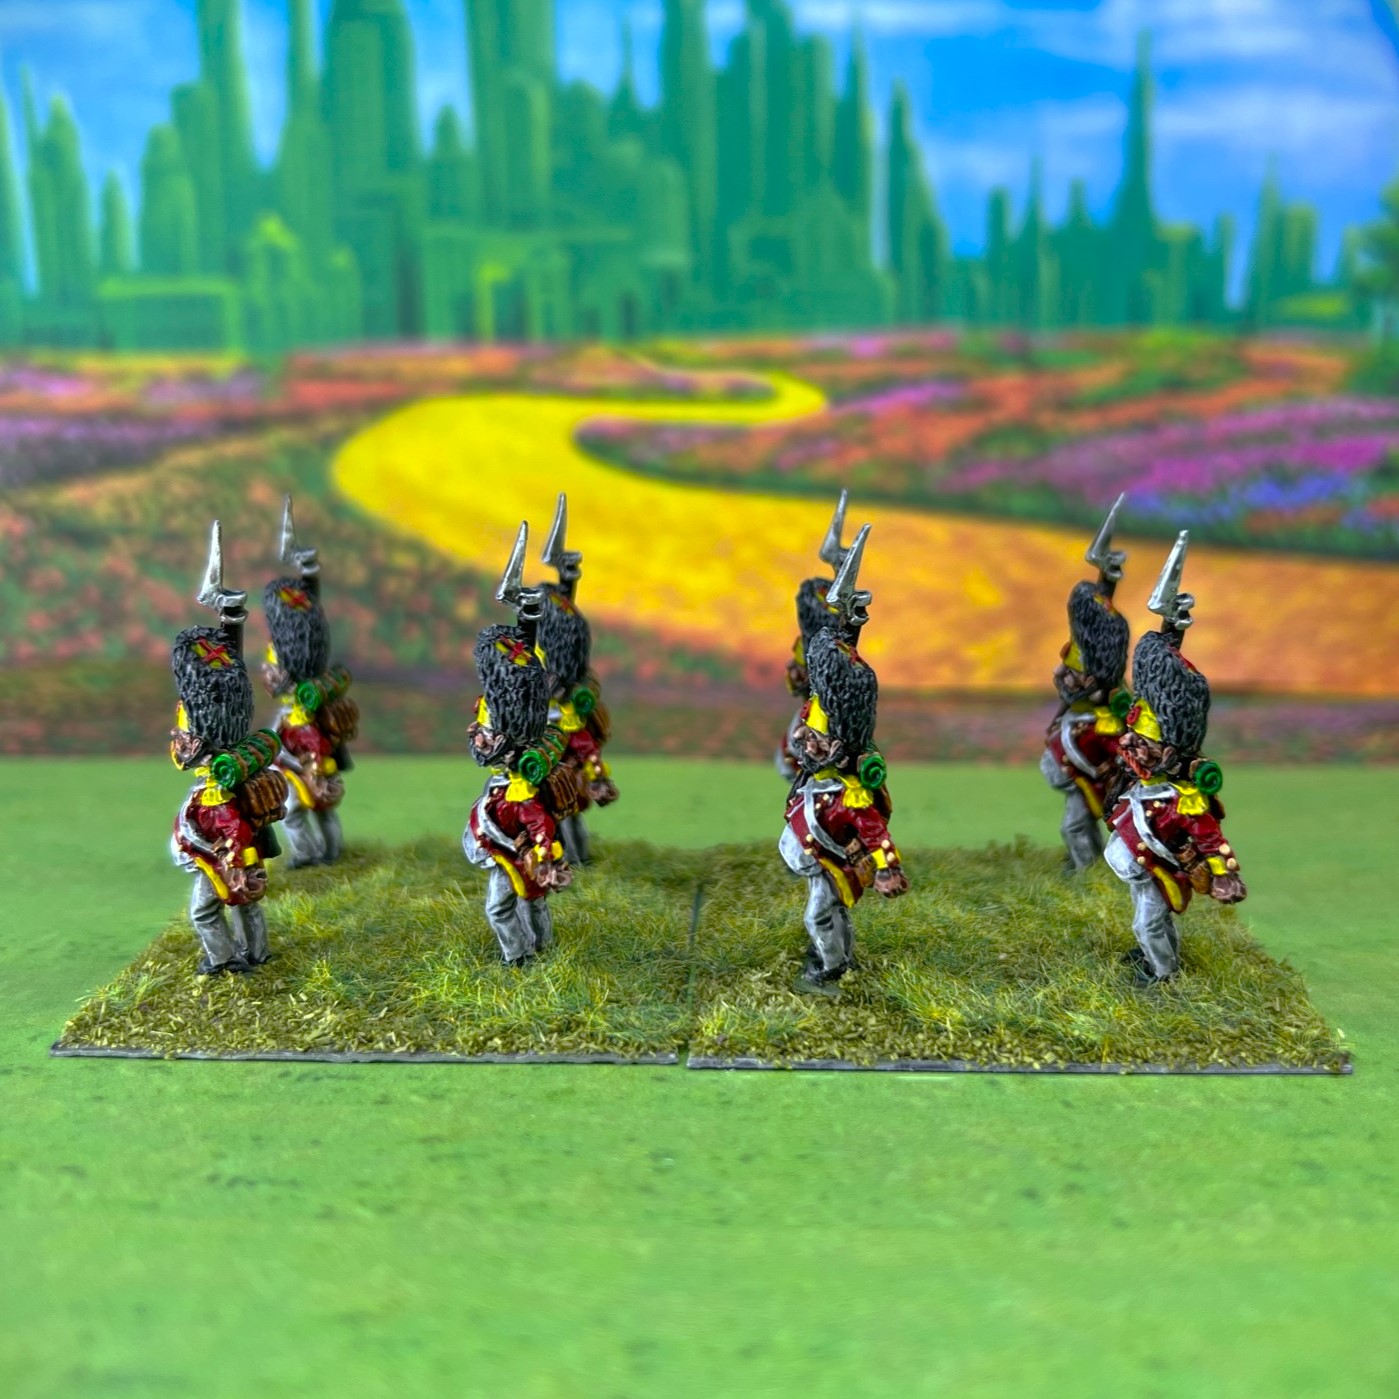
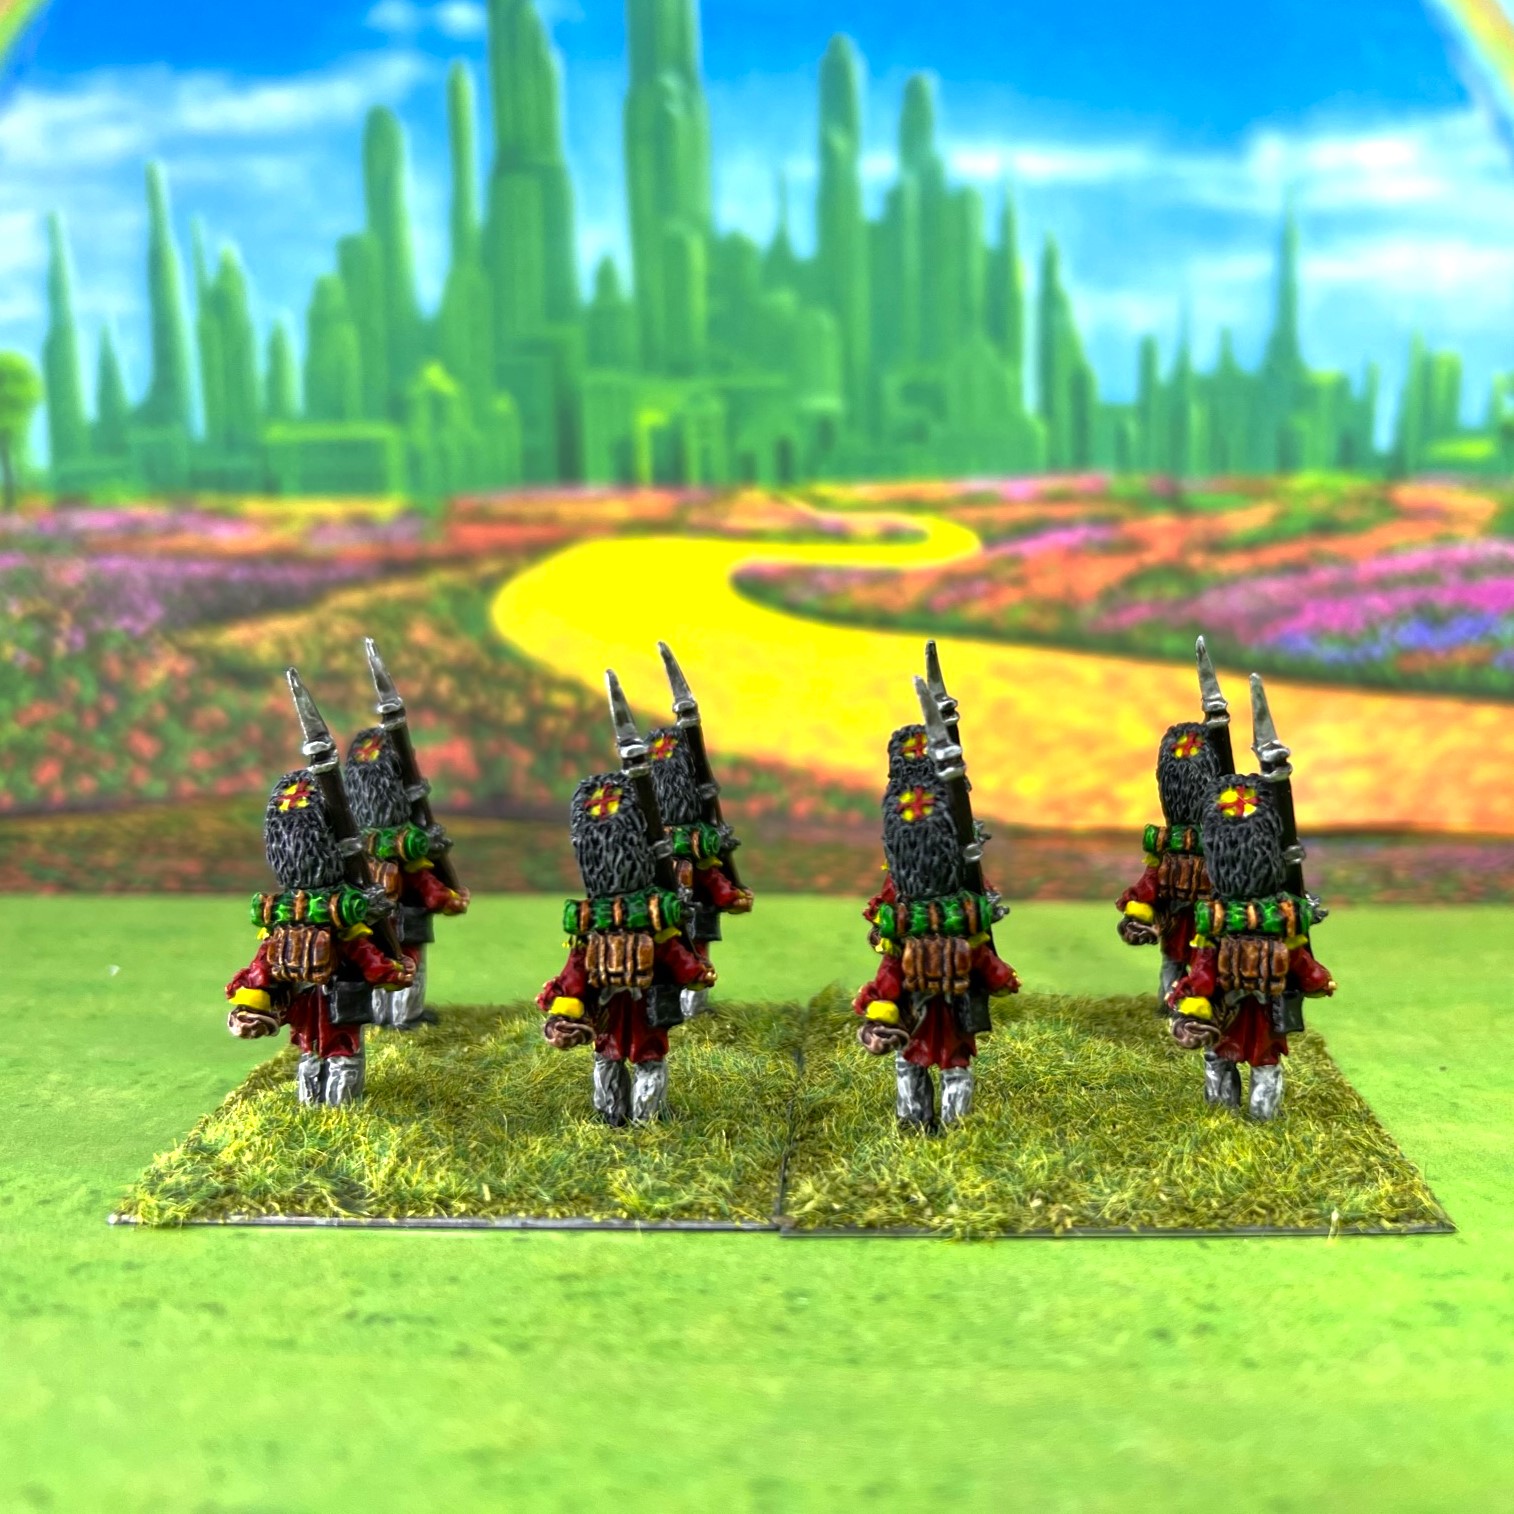
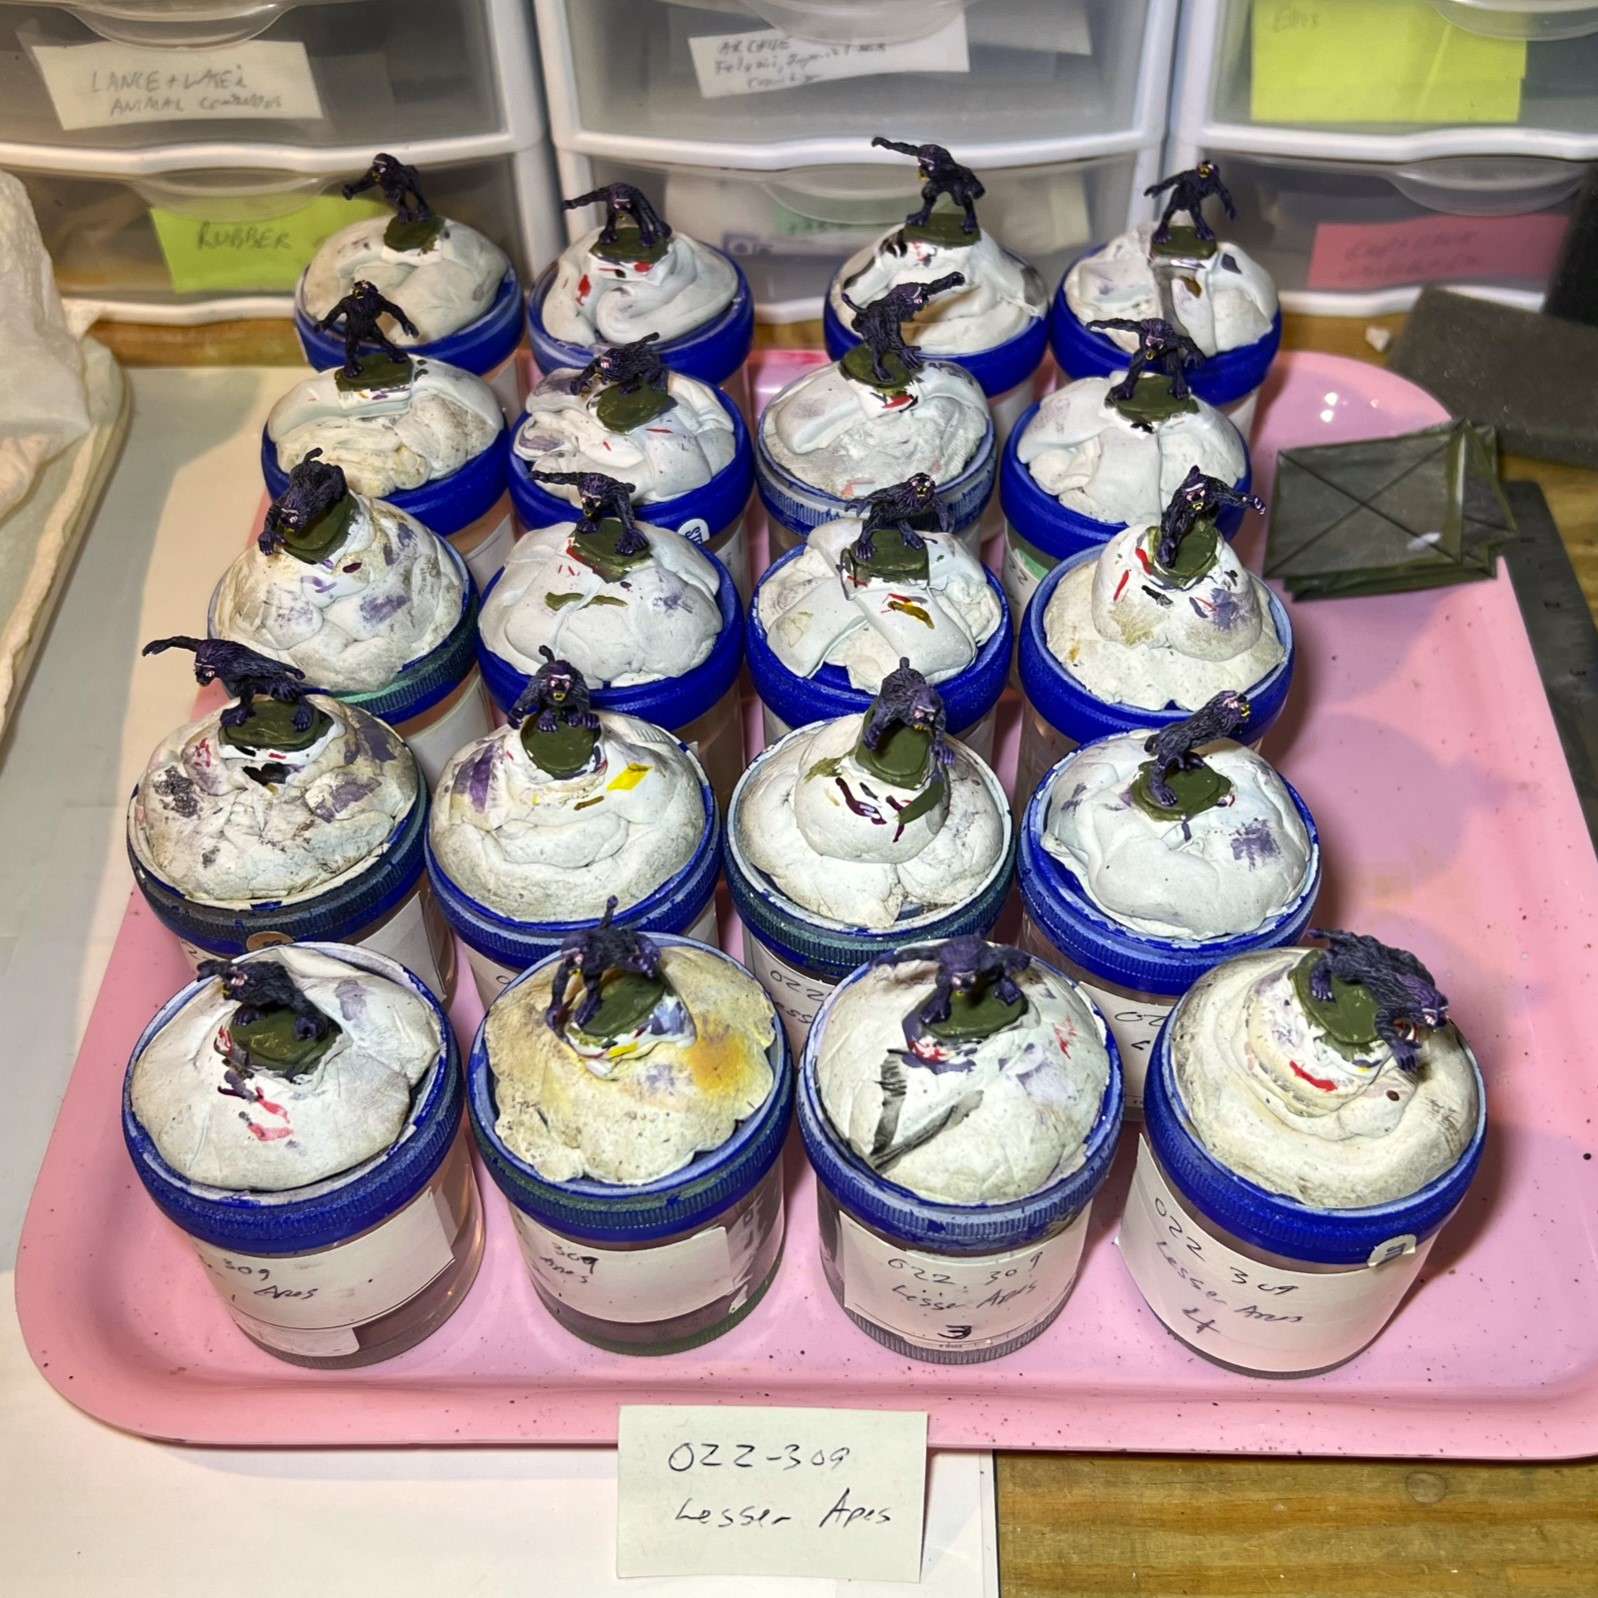
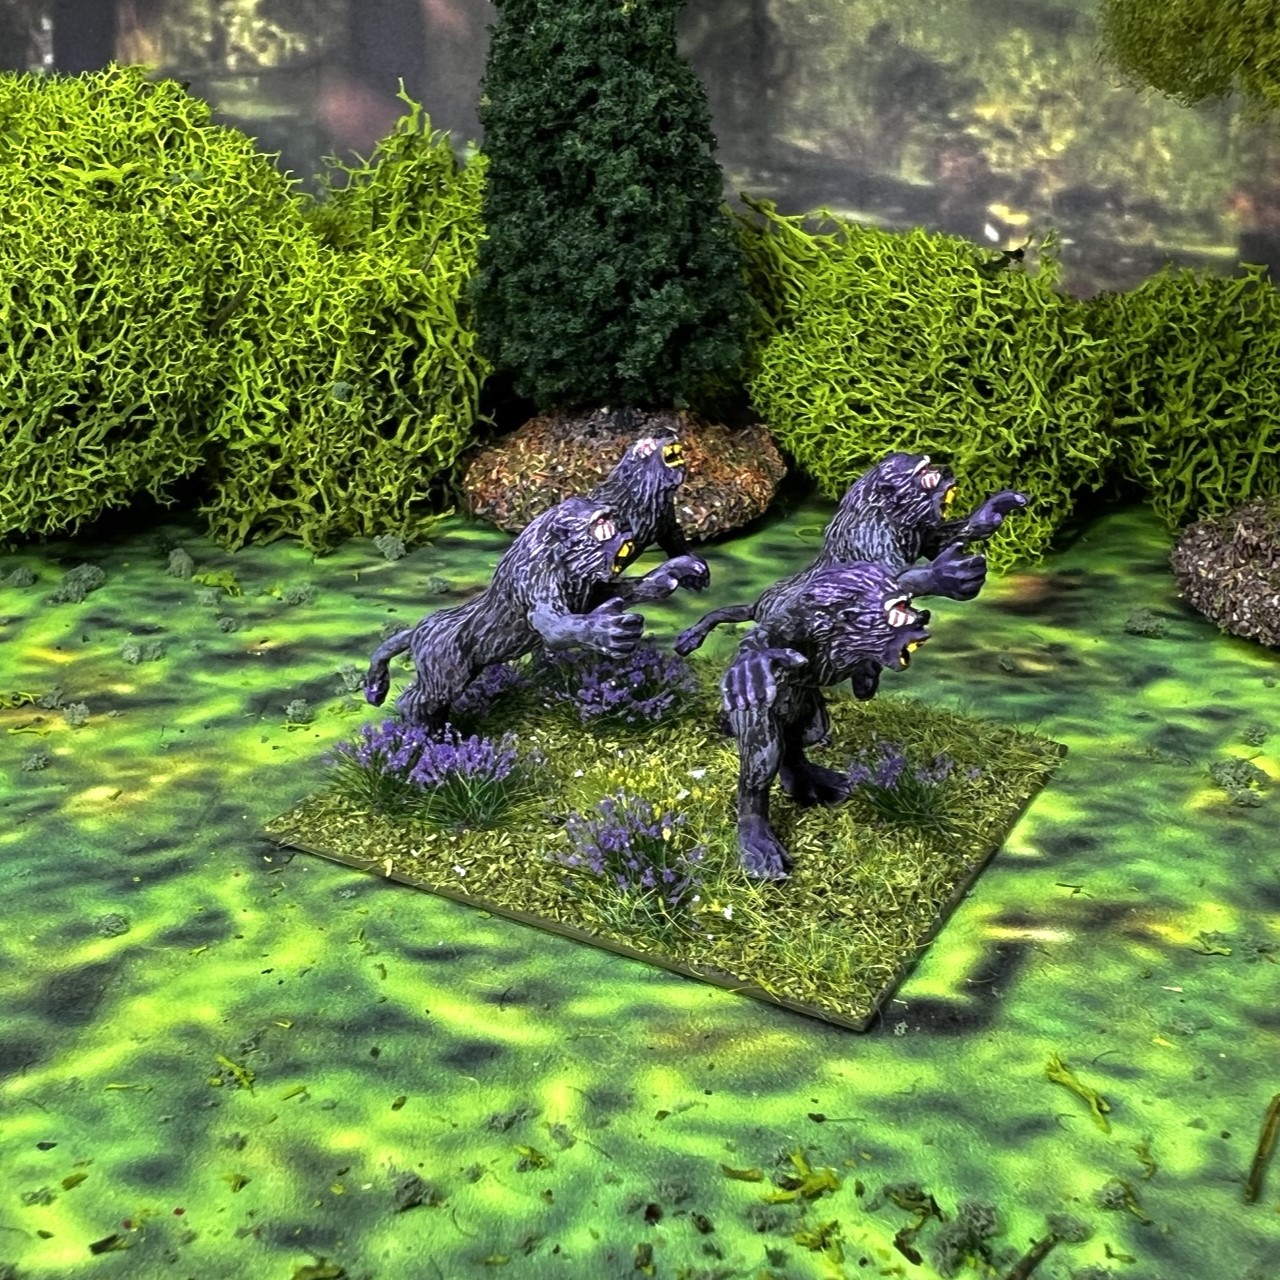
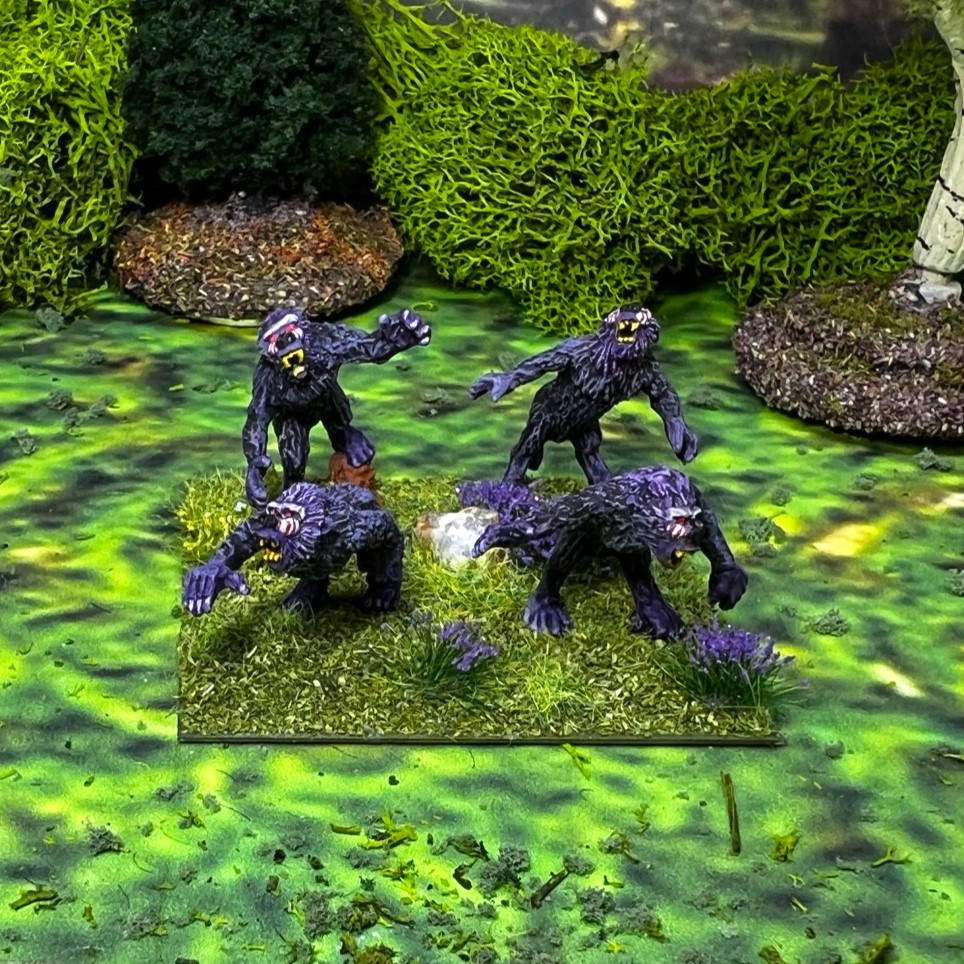
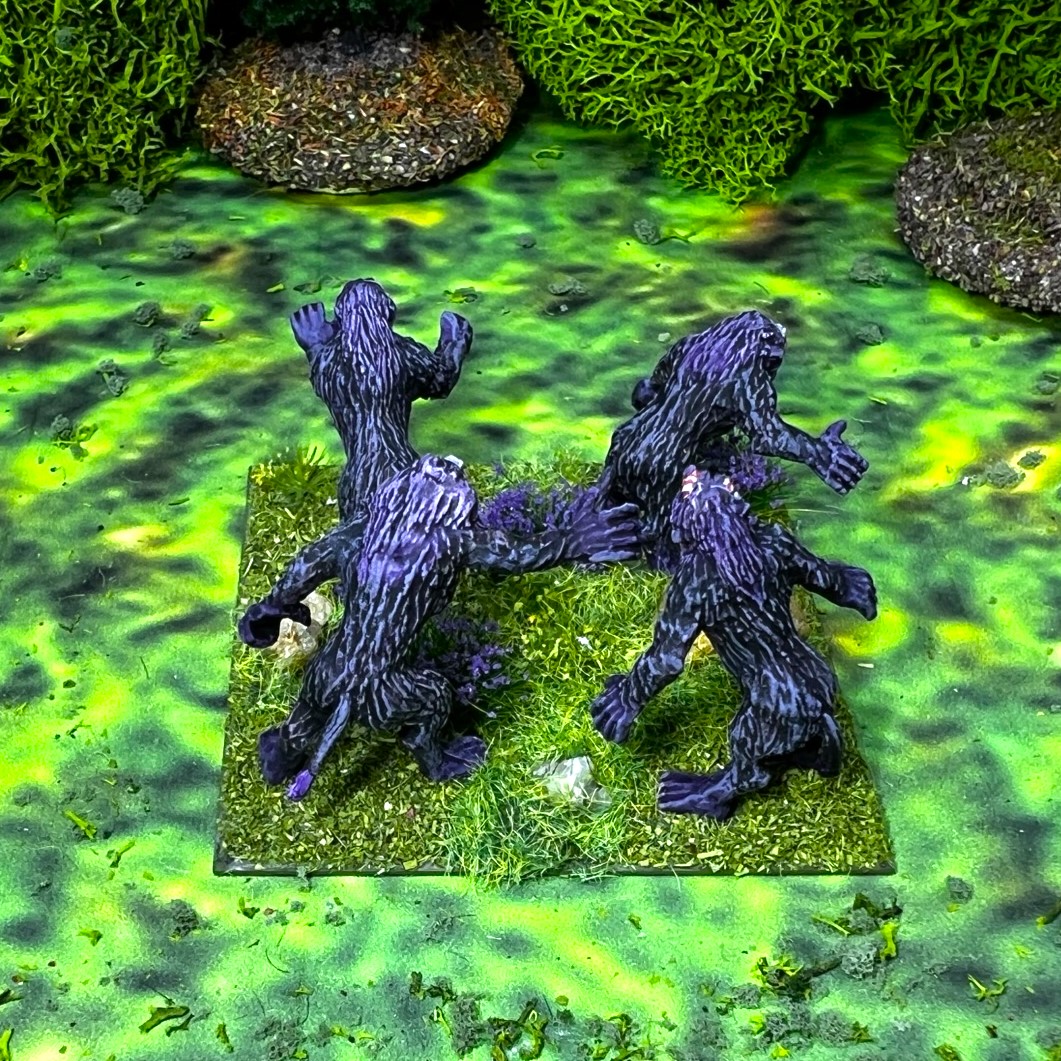
Besides, the Lesser Ape figures have tails – yet look otherwise like gorillas. They are deployed on 5 two-inch square bases in groups of four figures. The Lesser Apes are SKU #OZZ309, and are made up of twenty 28mm ape figures in several different poses.
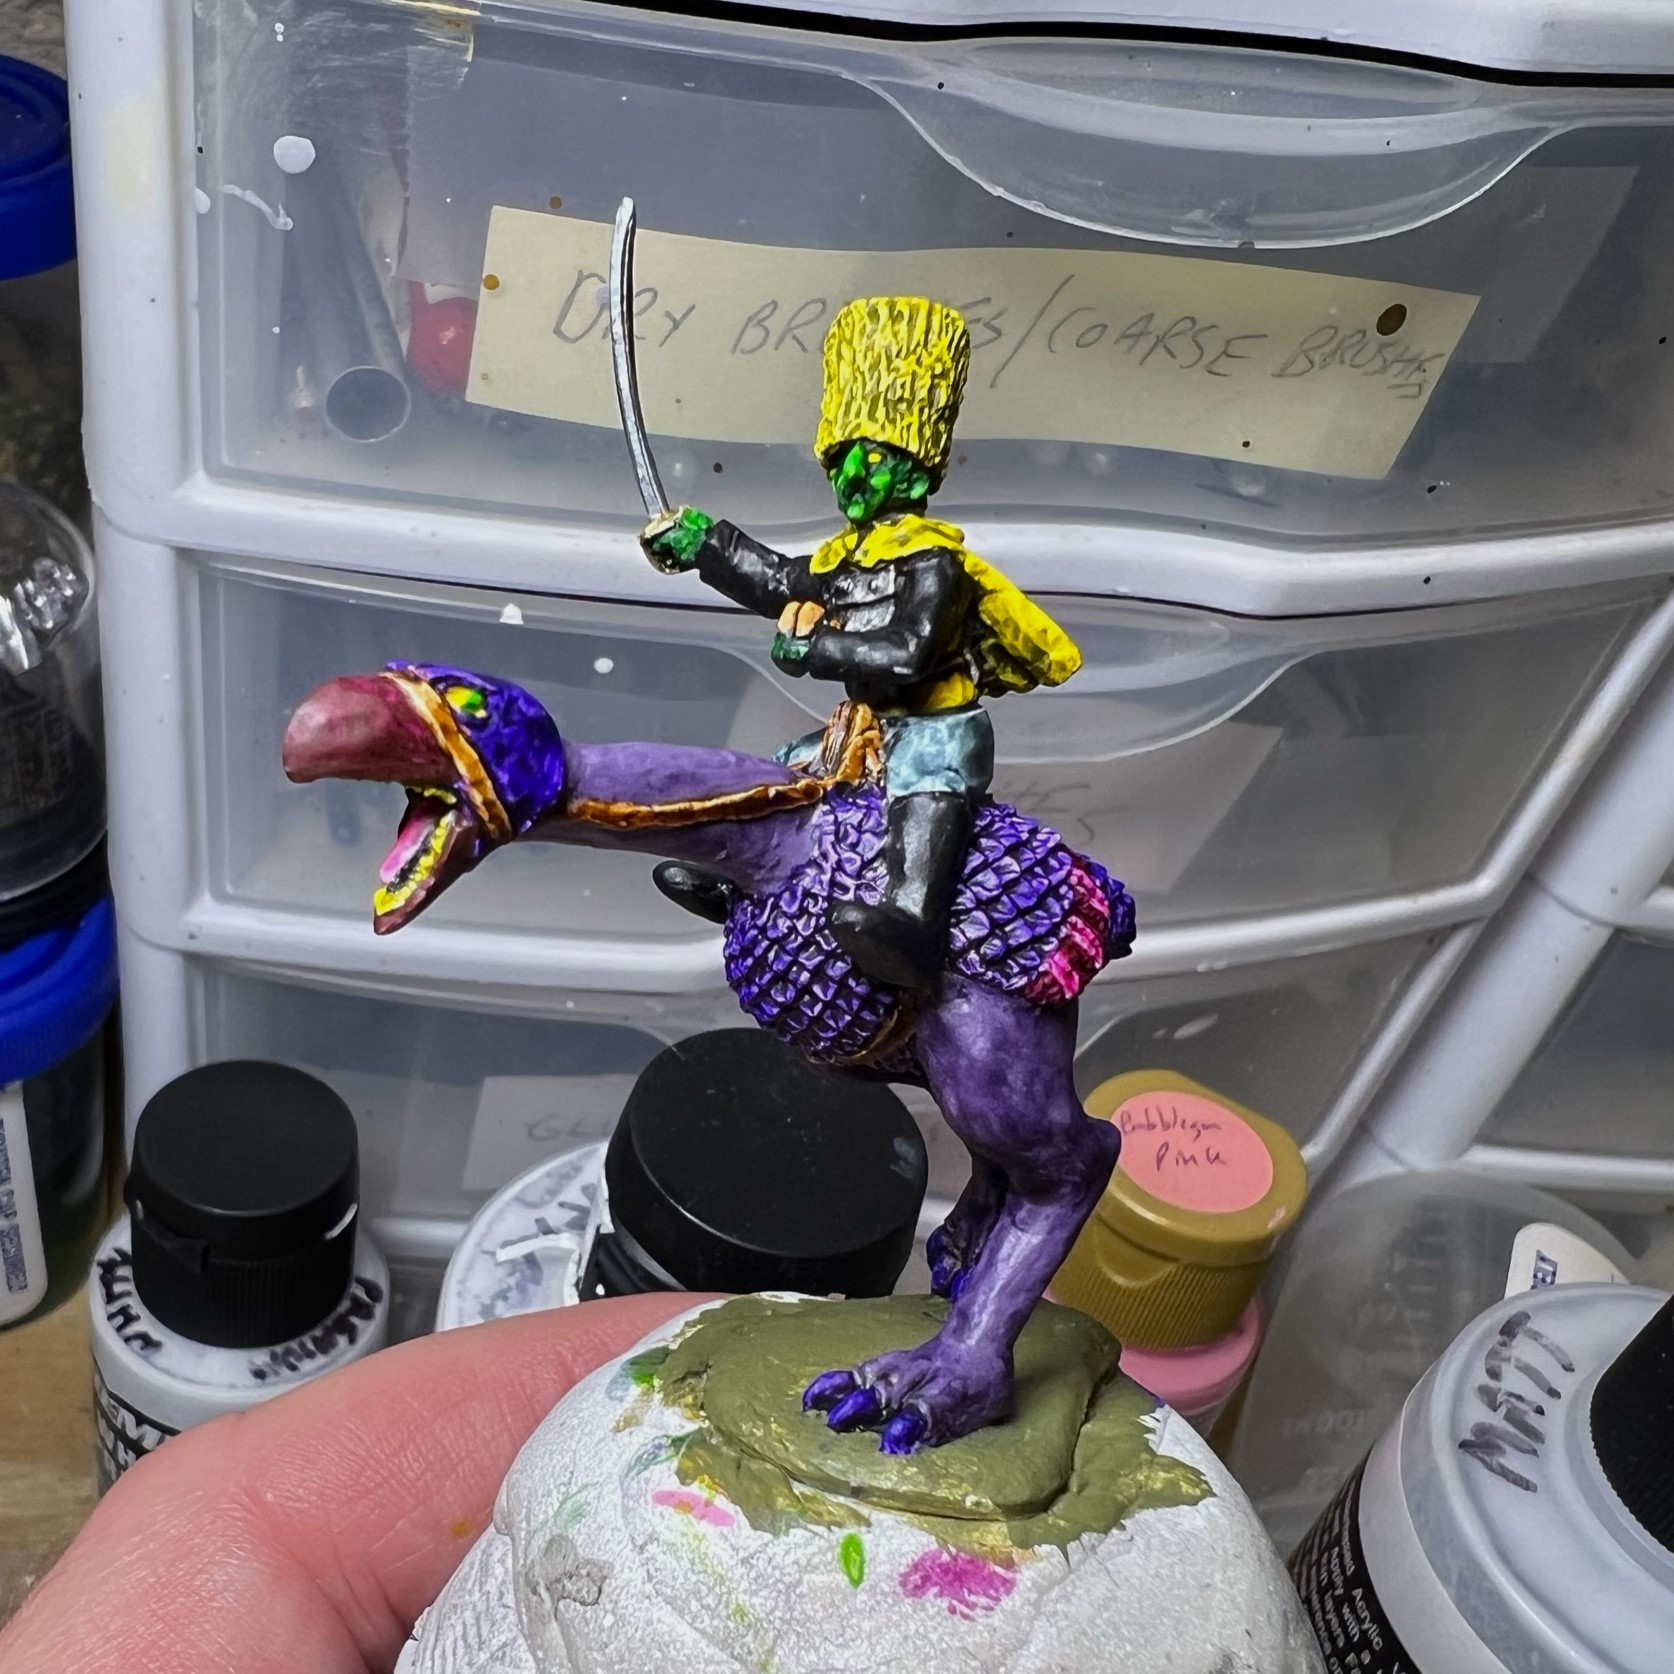
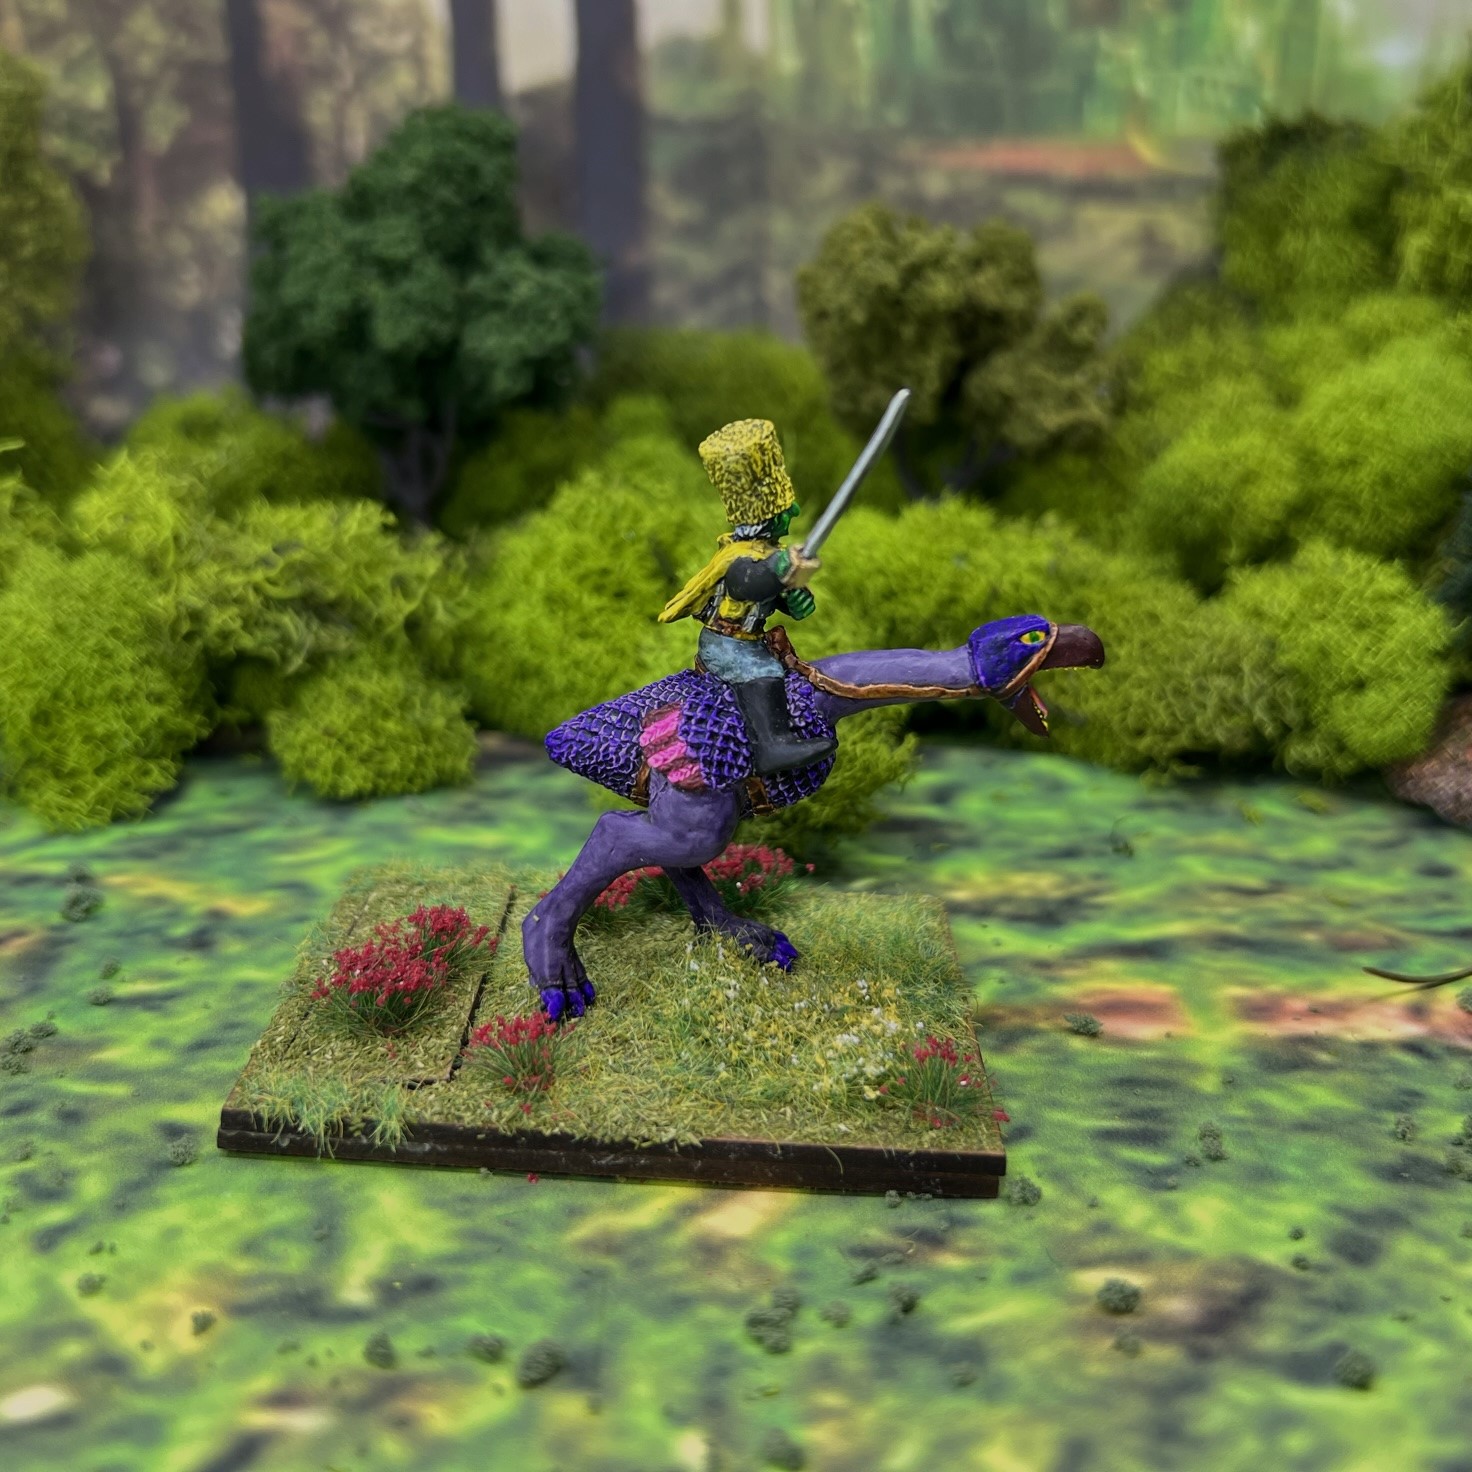
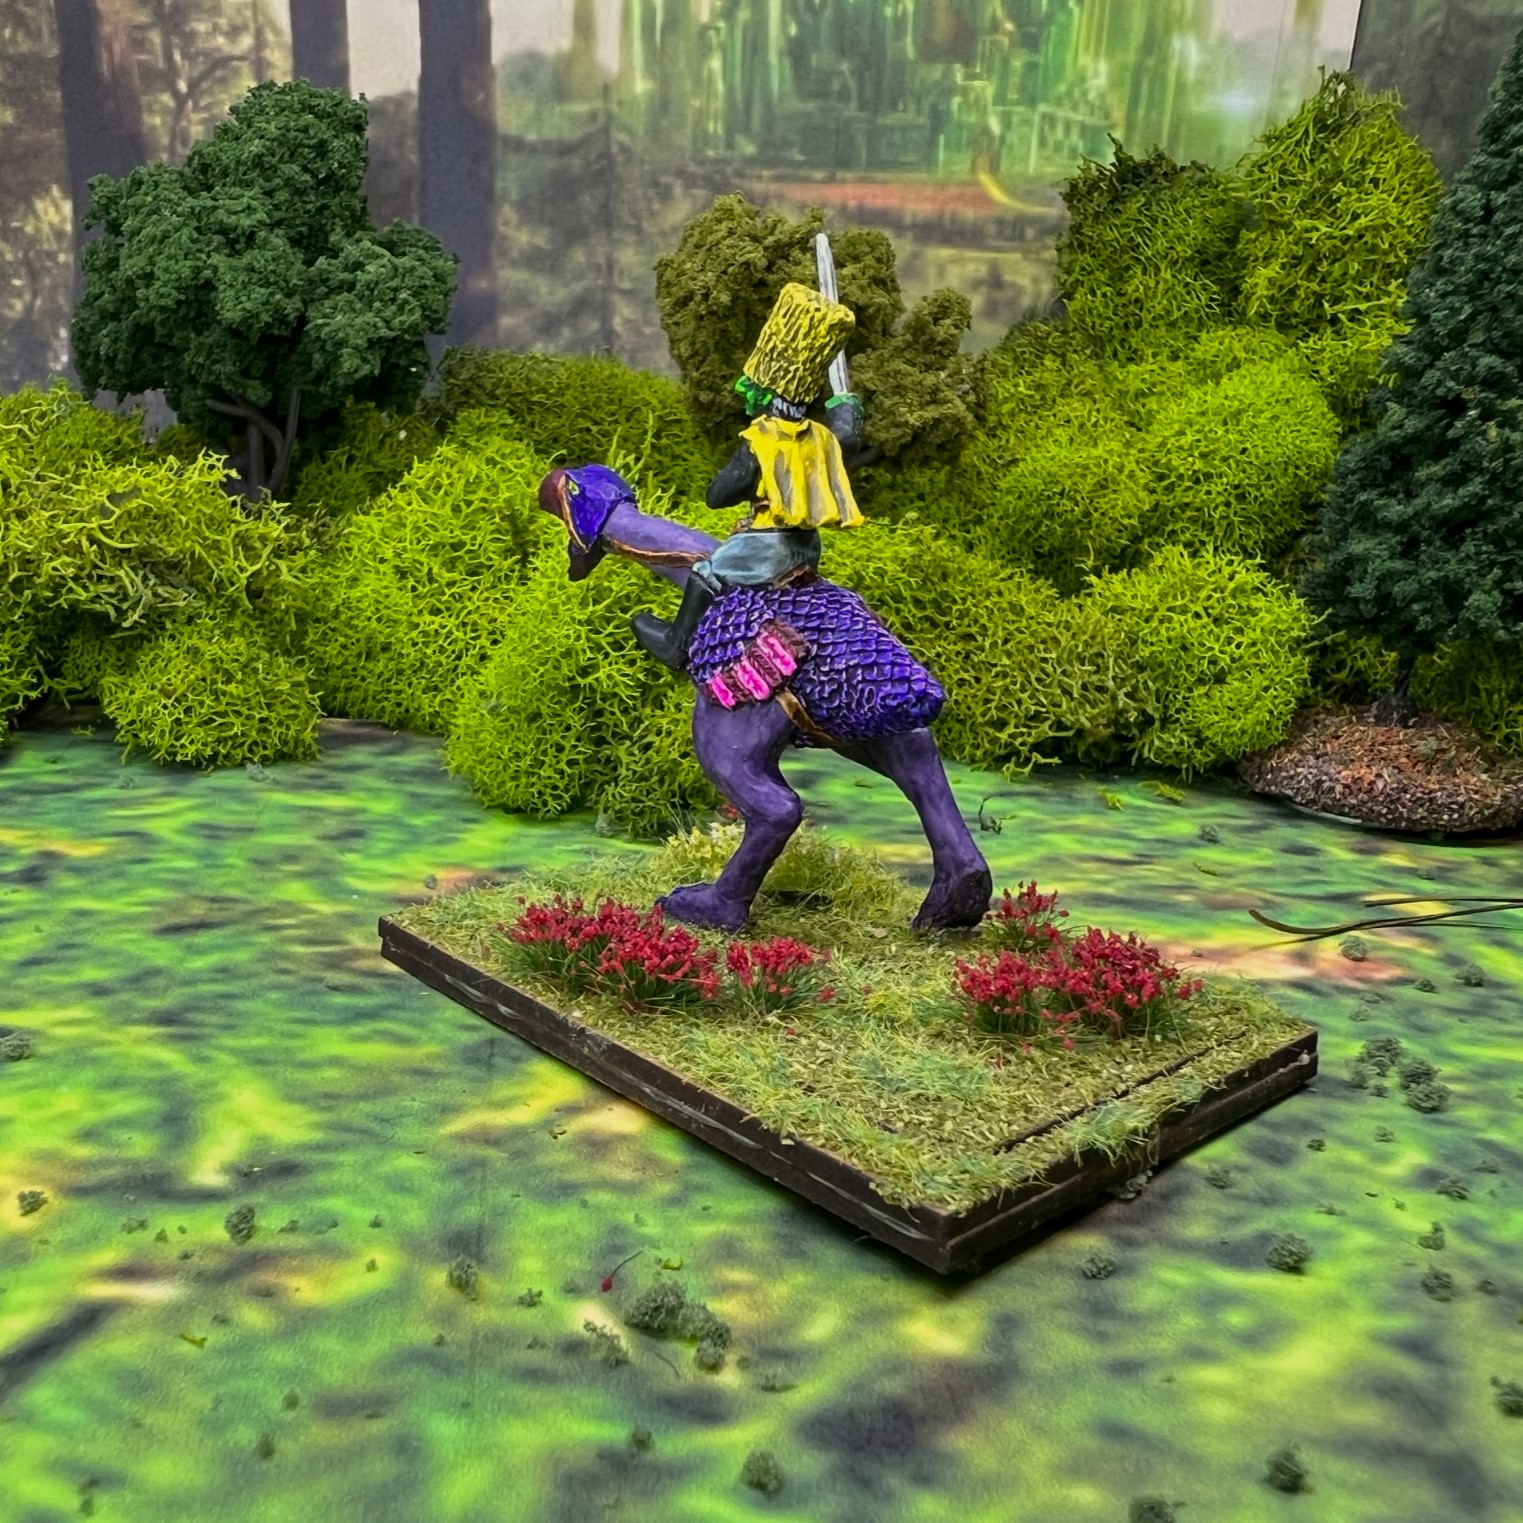
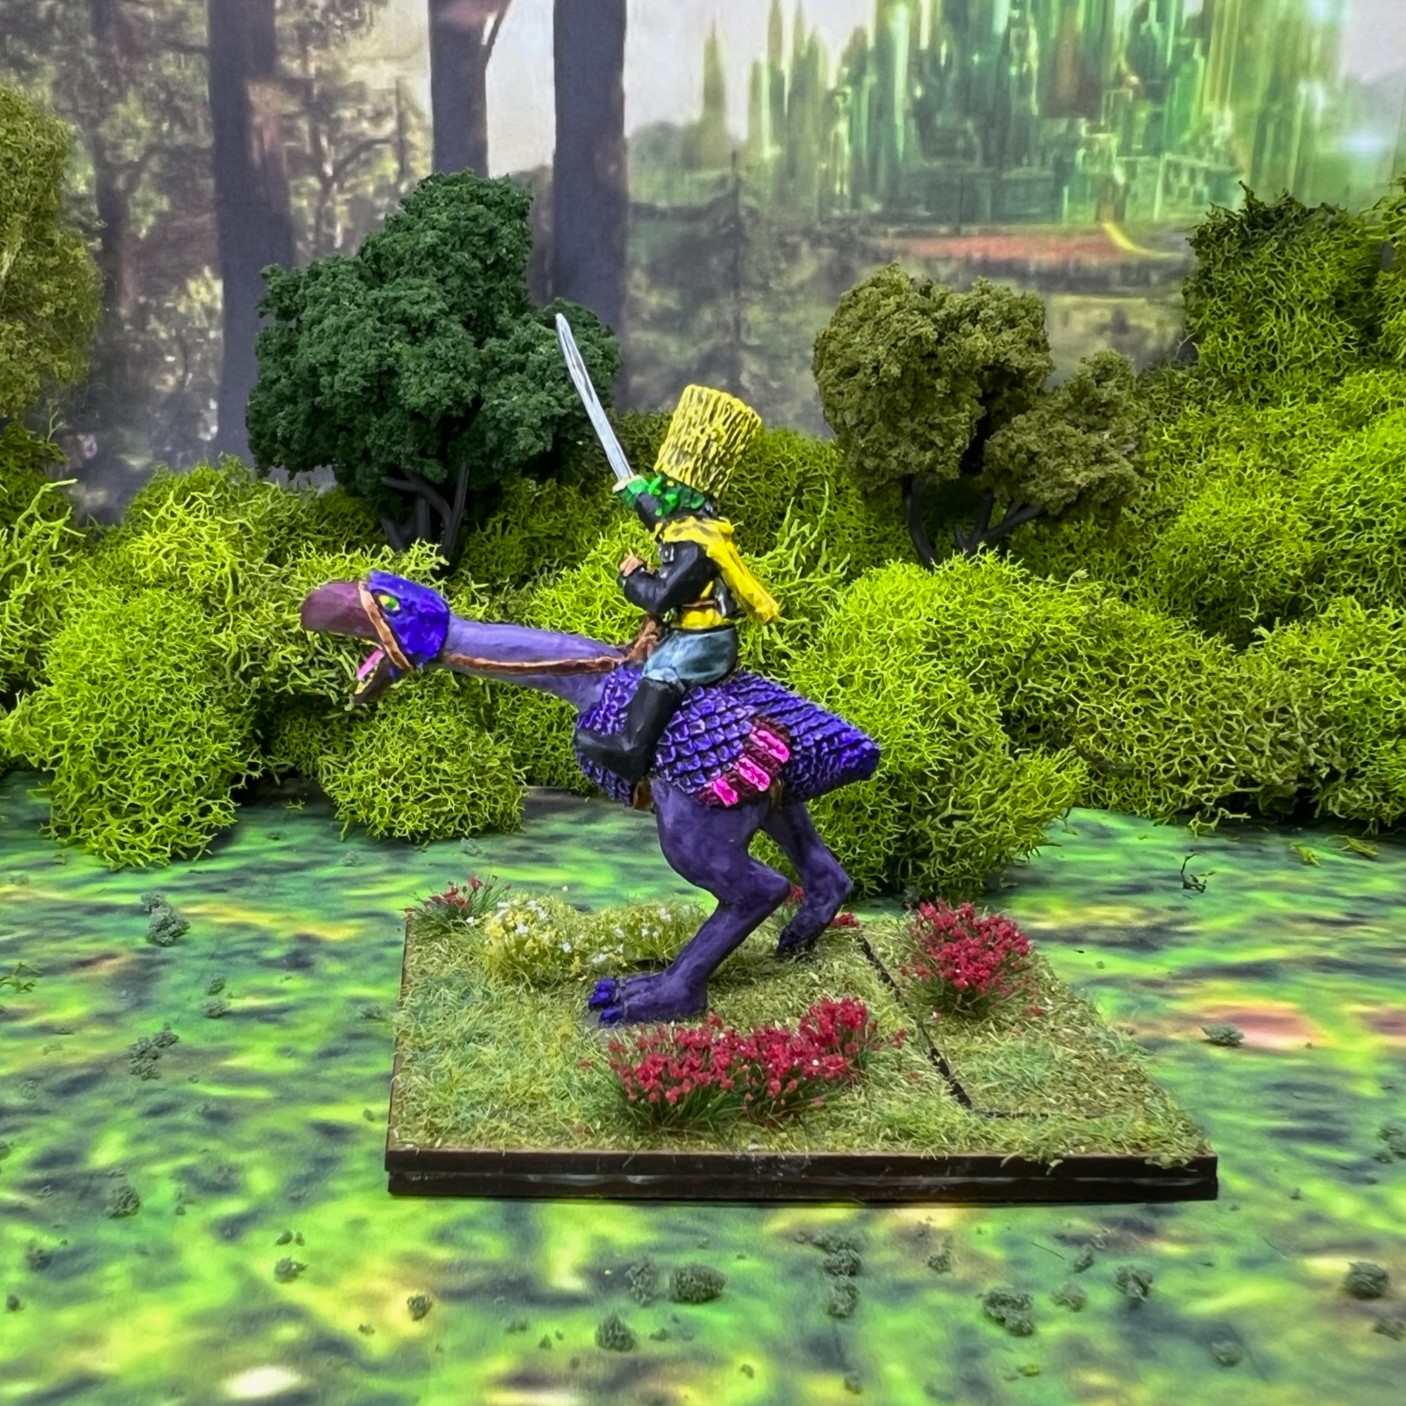
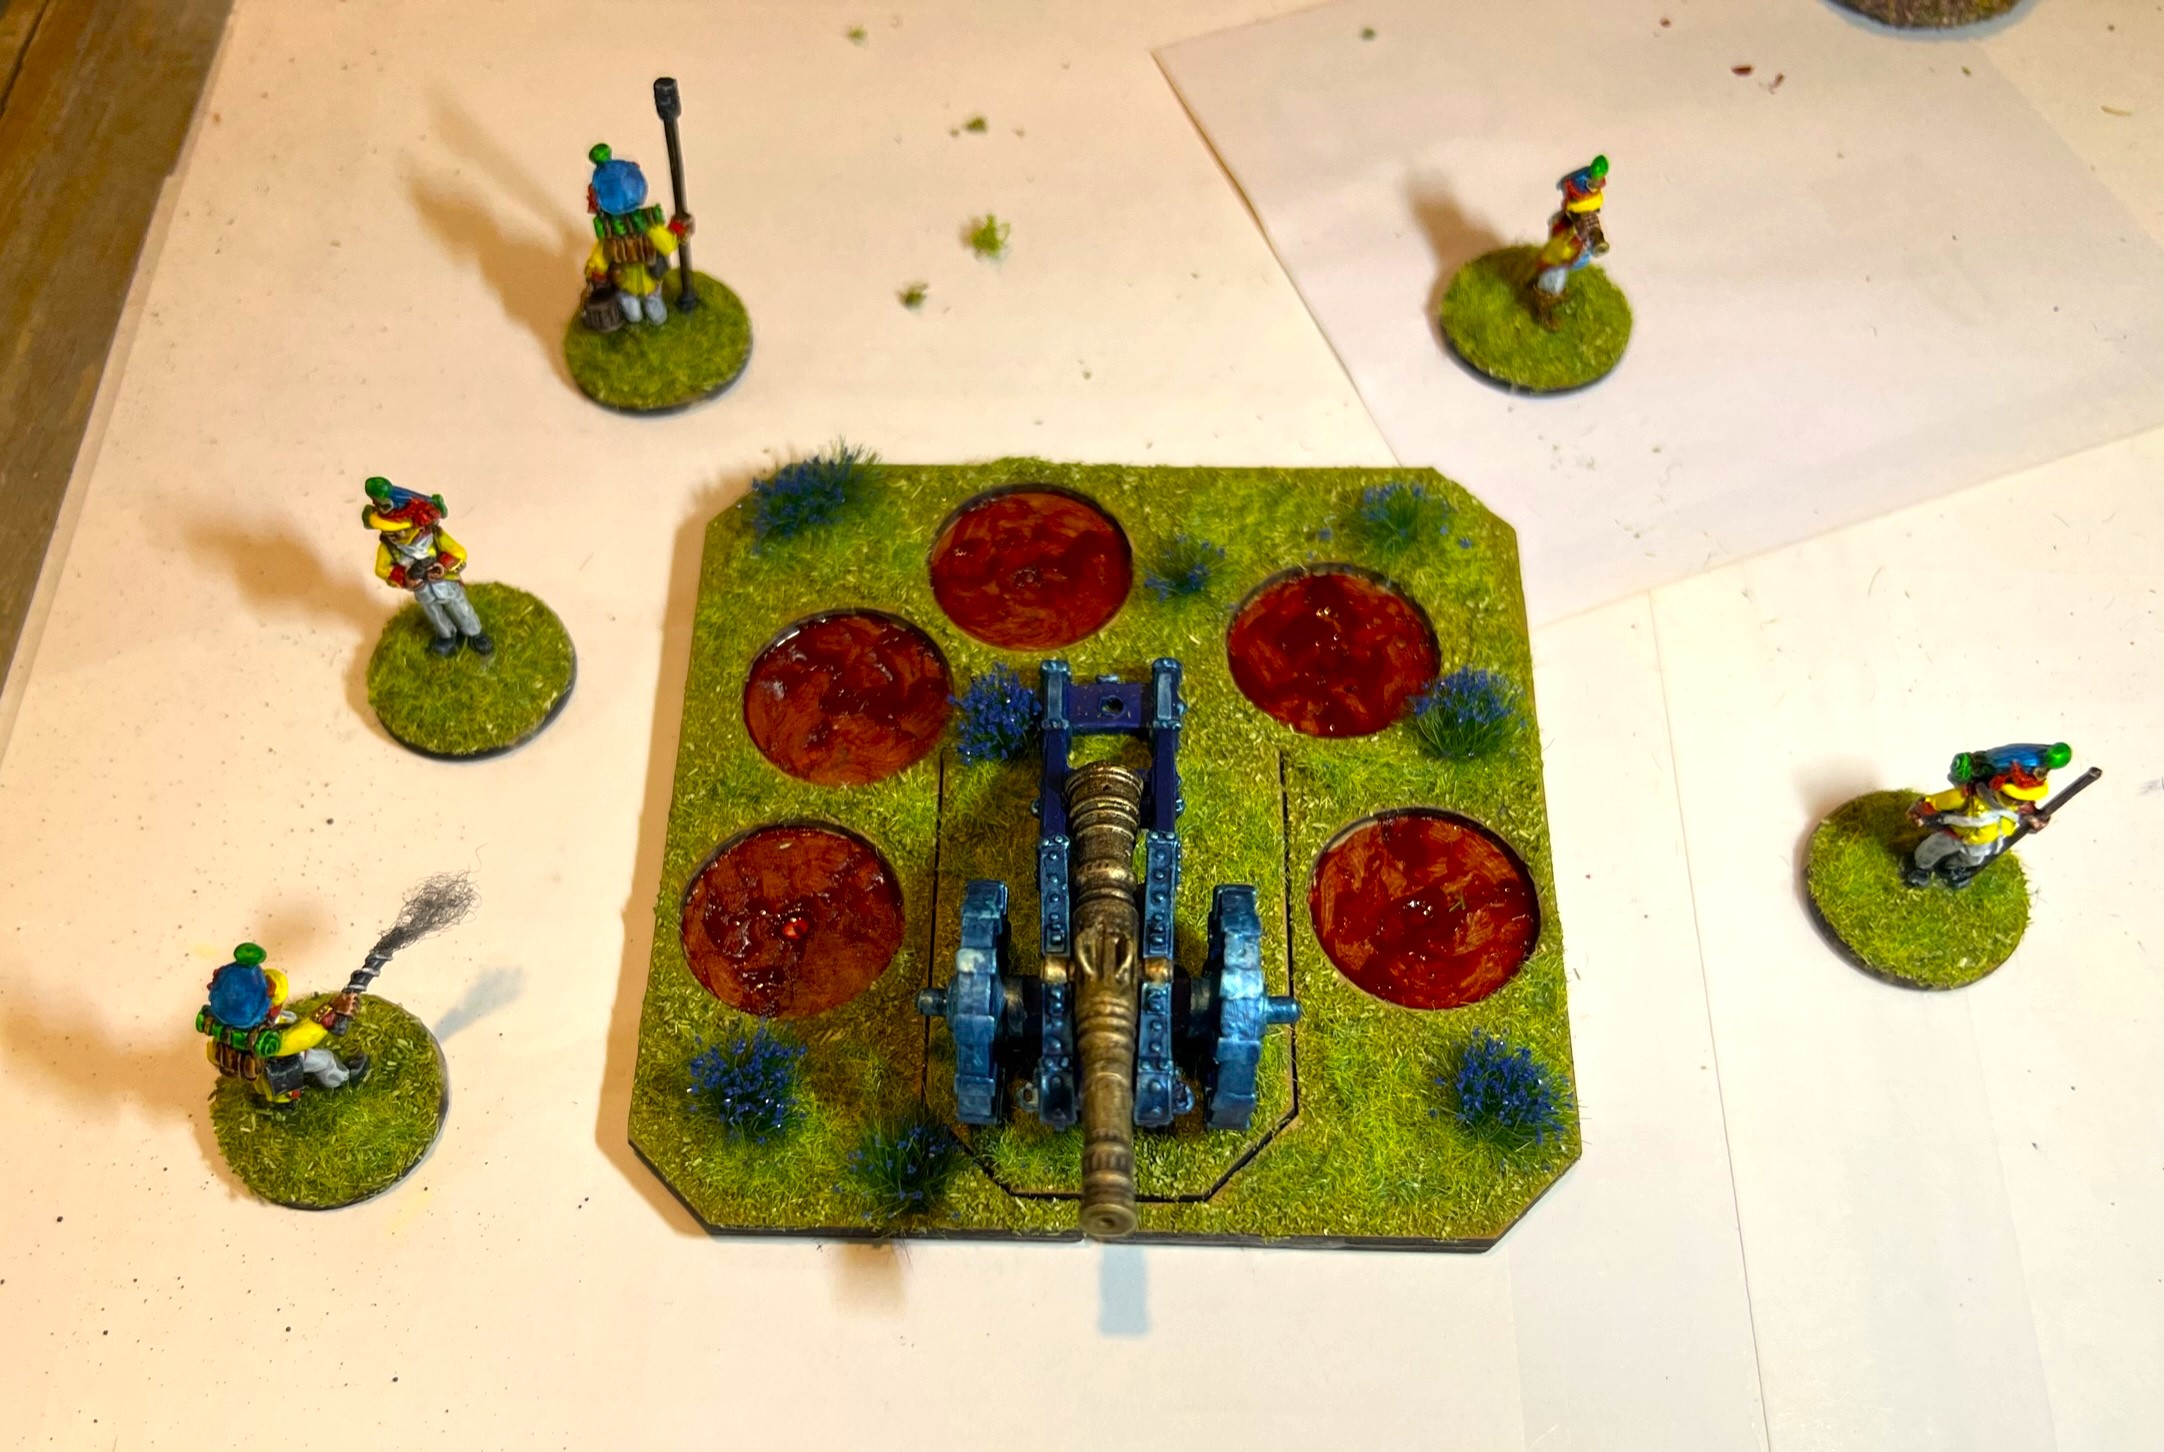
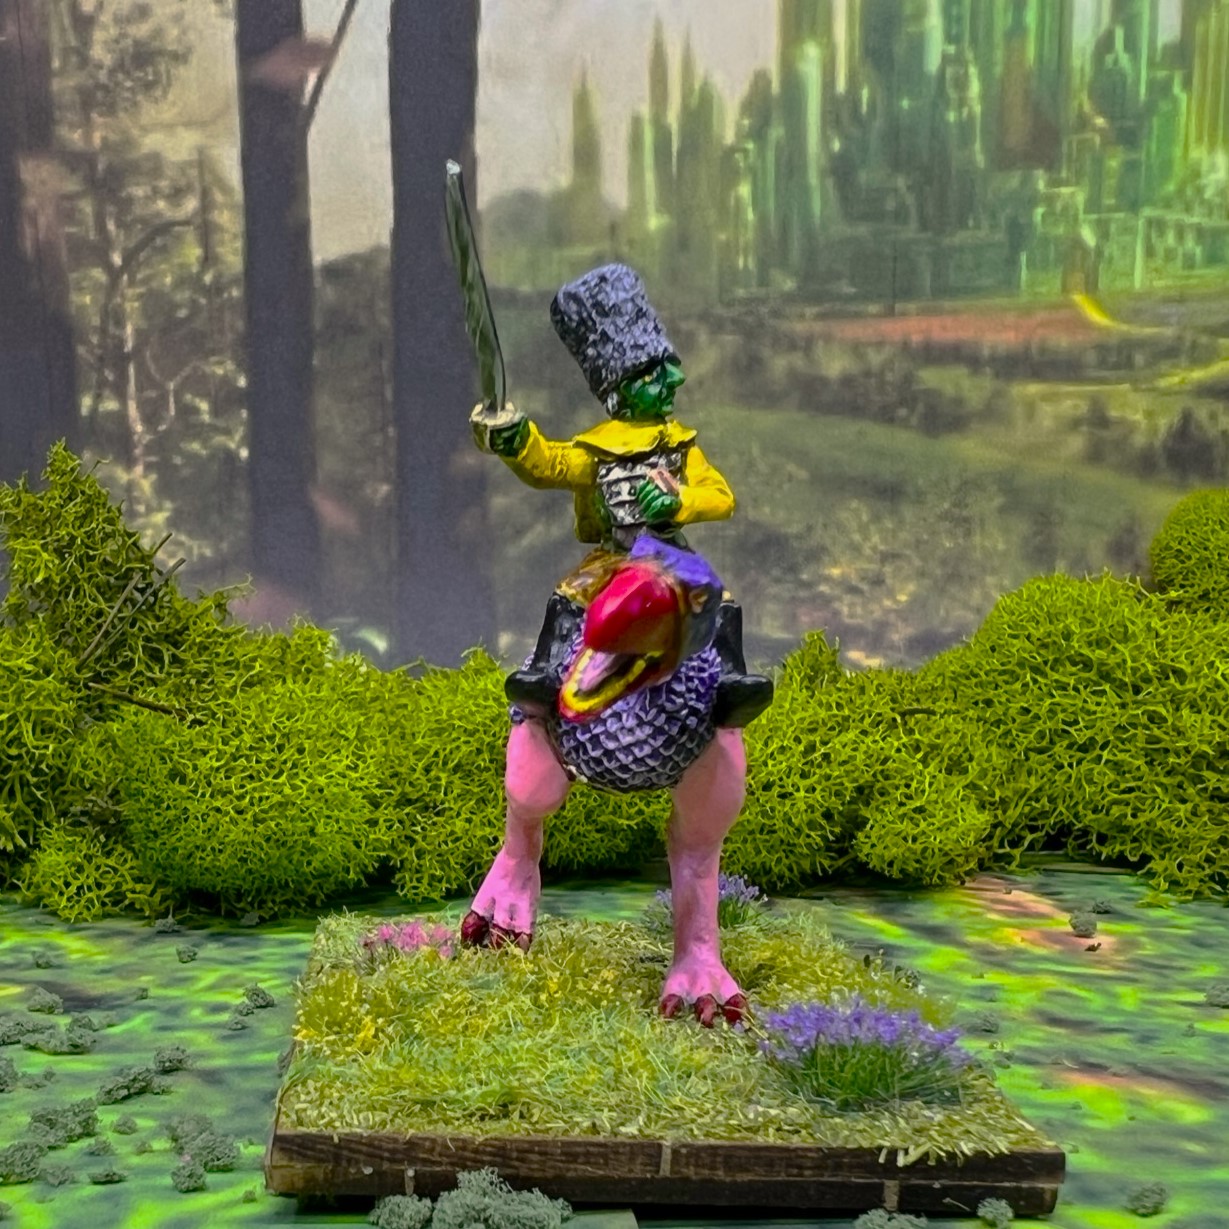
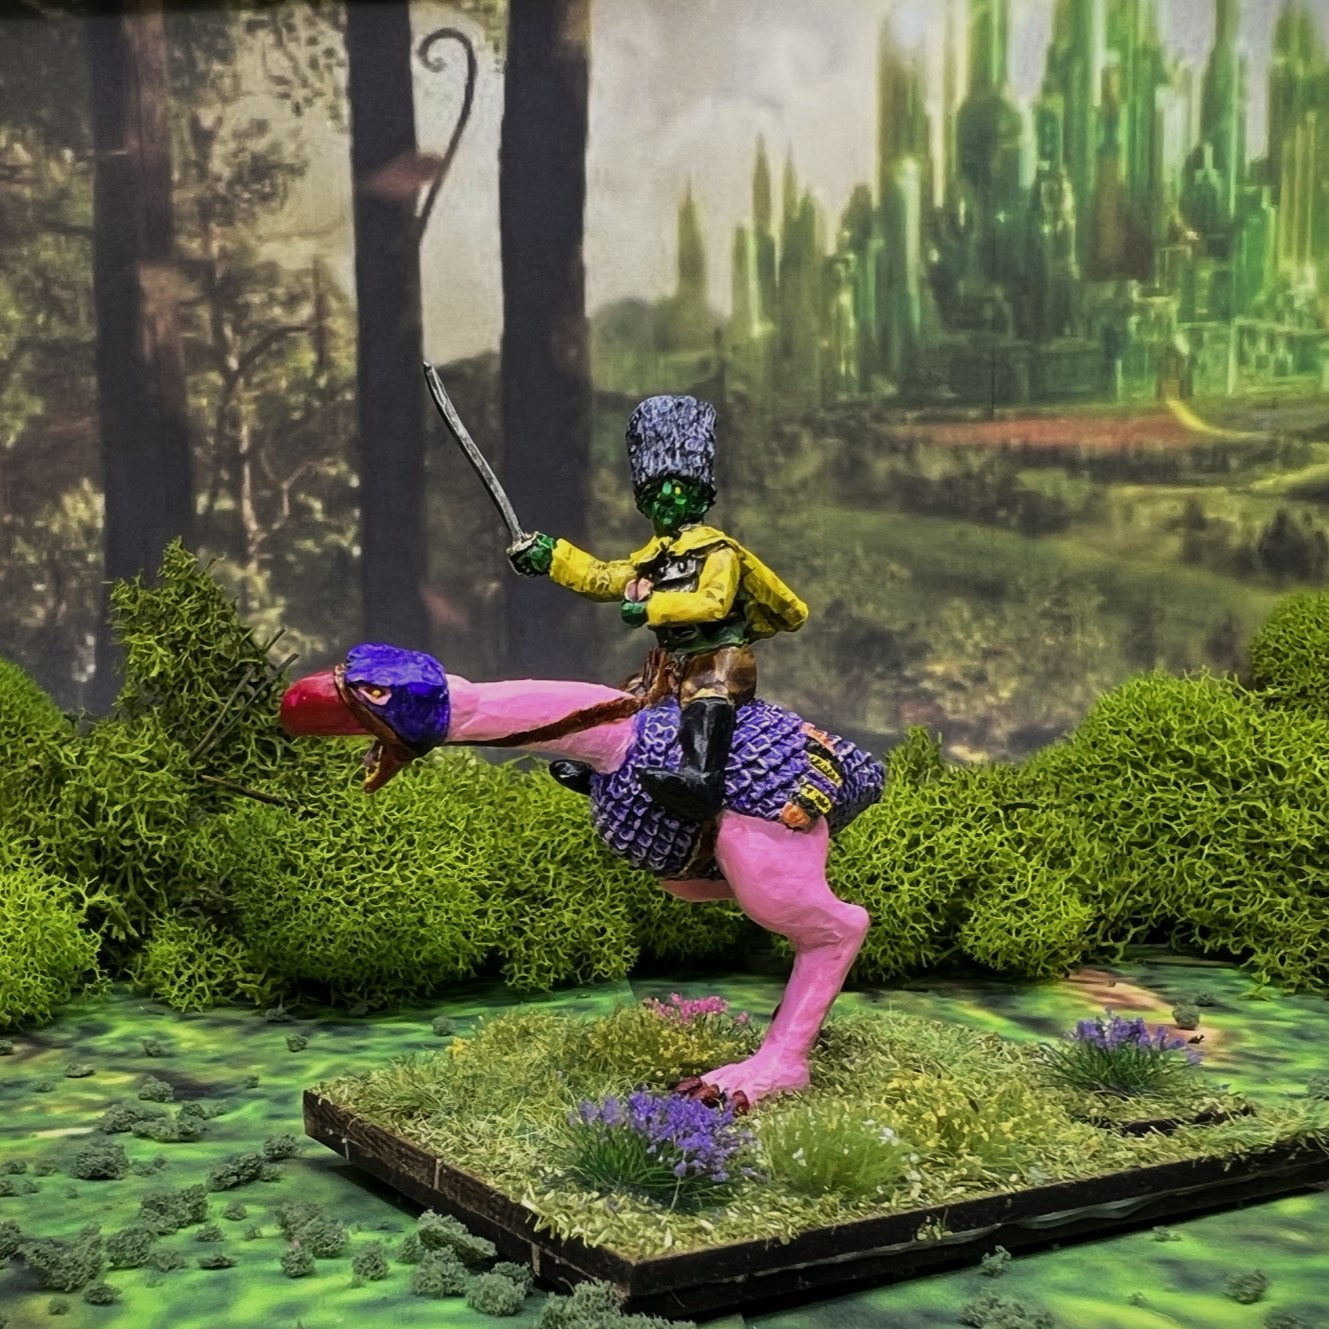
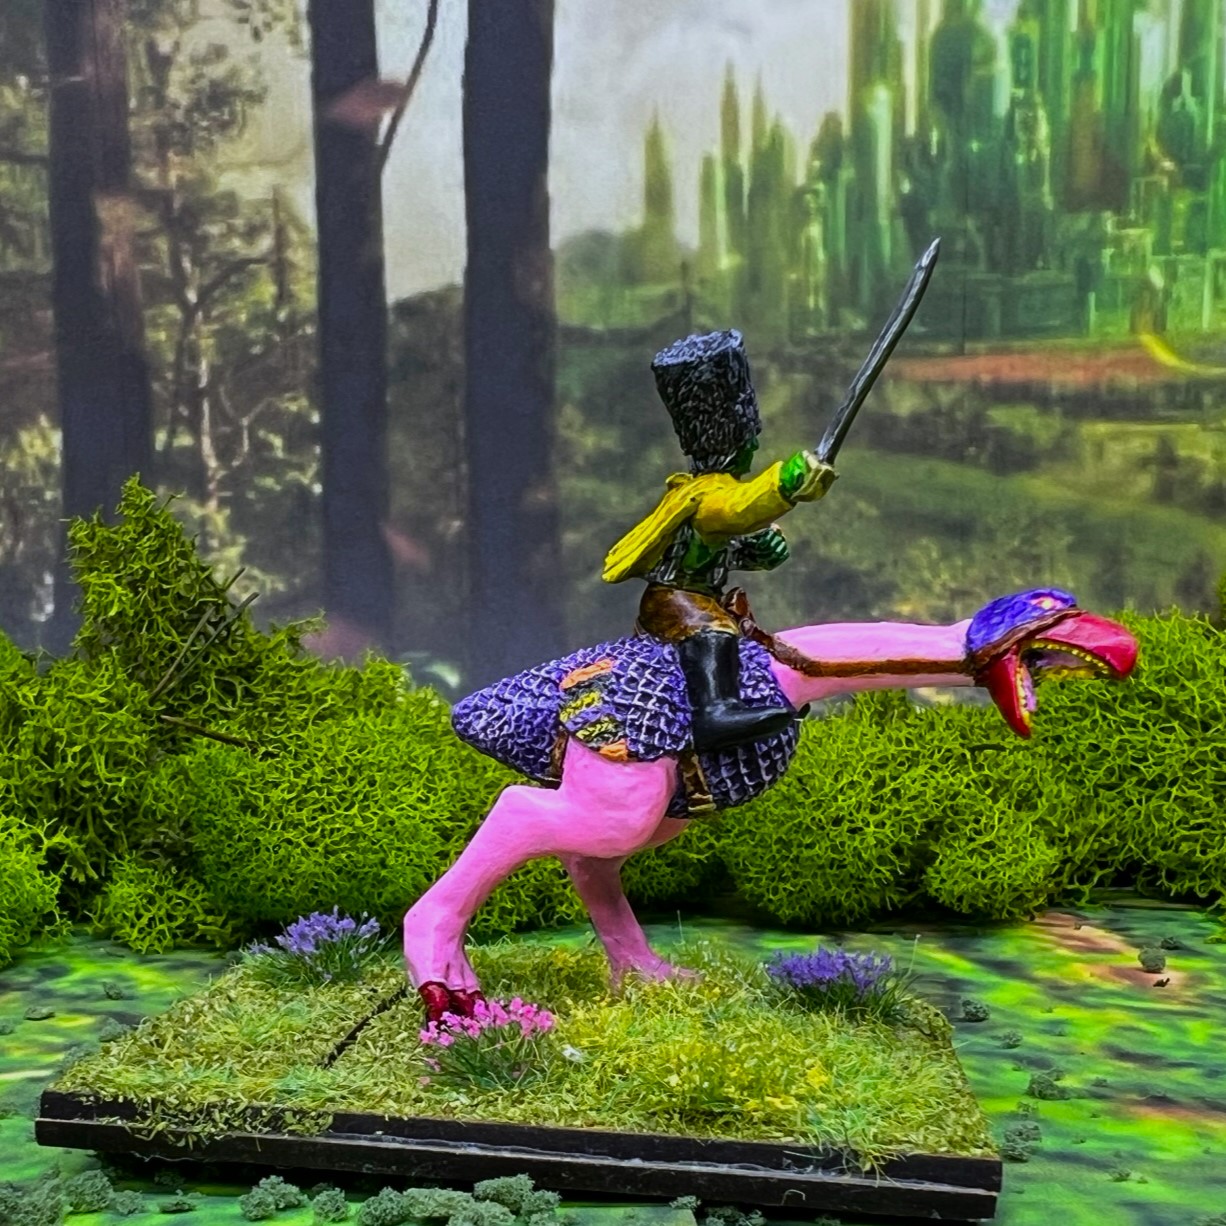
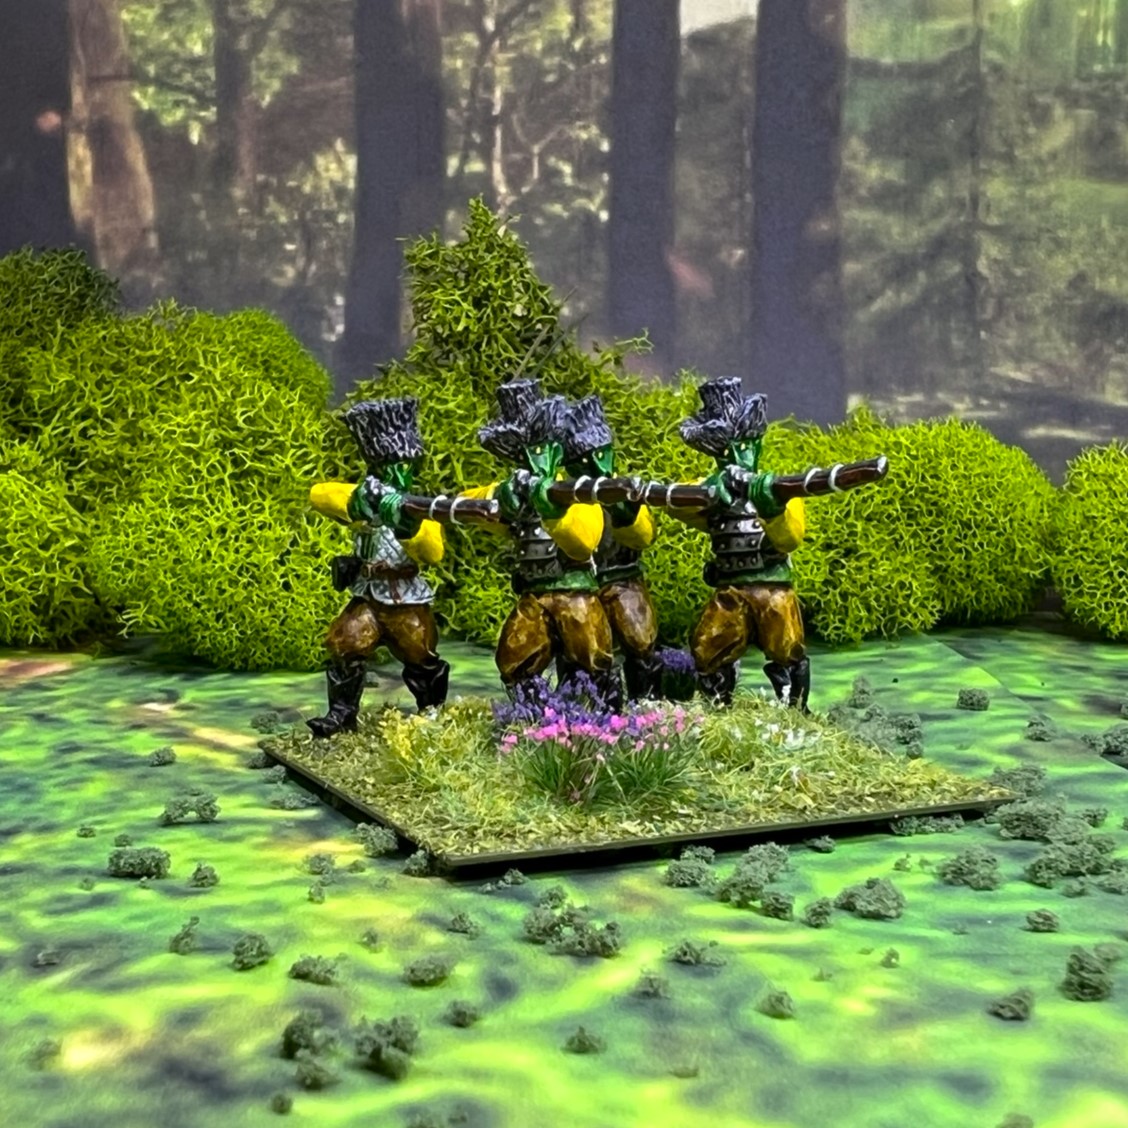
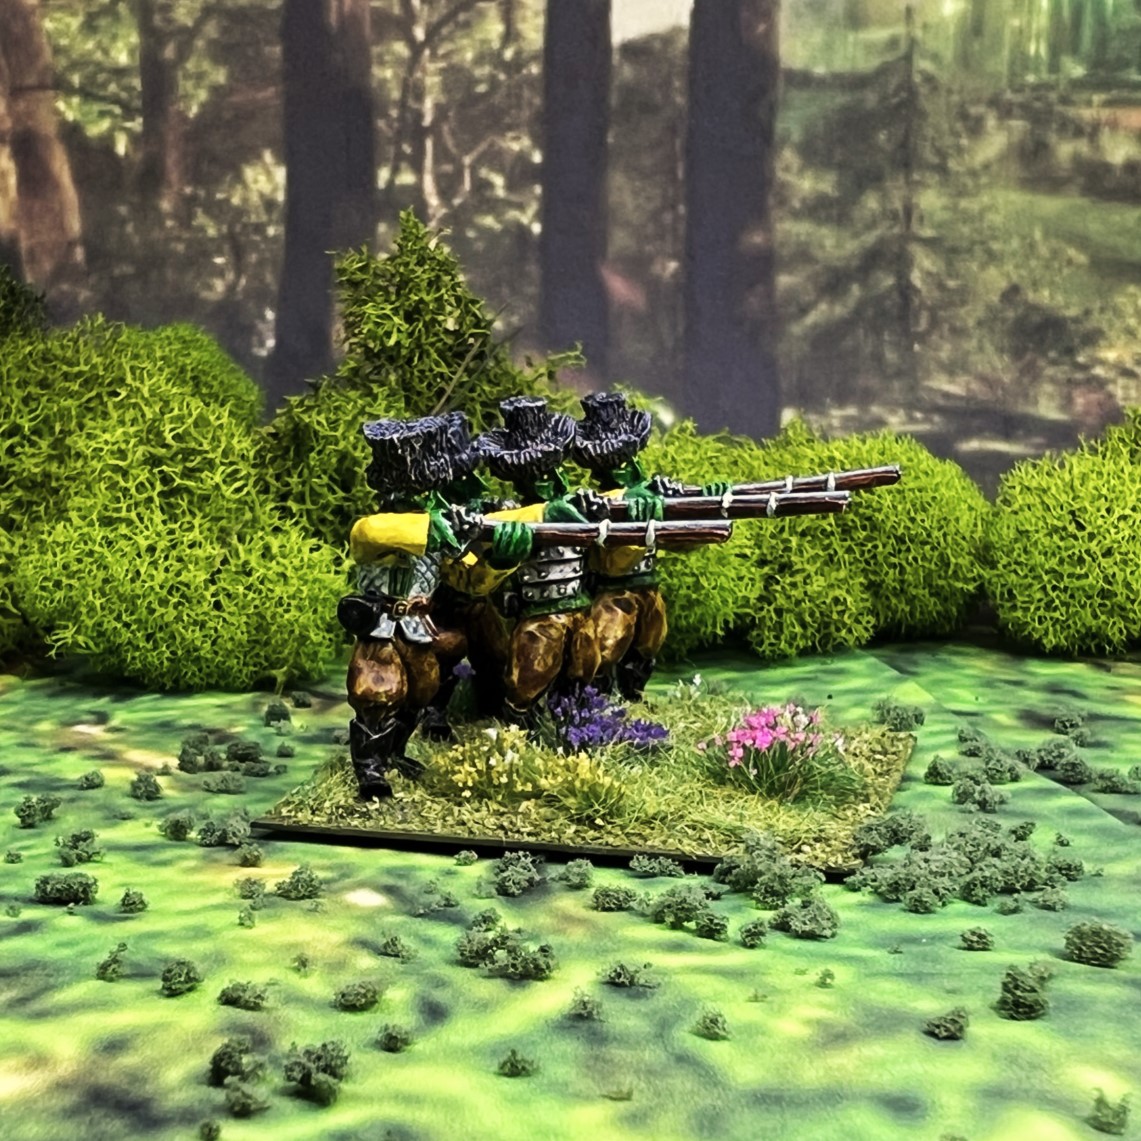
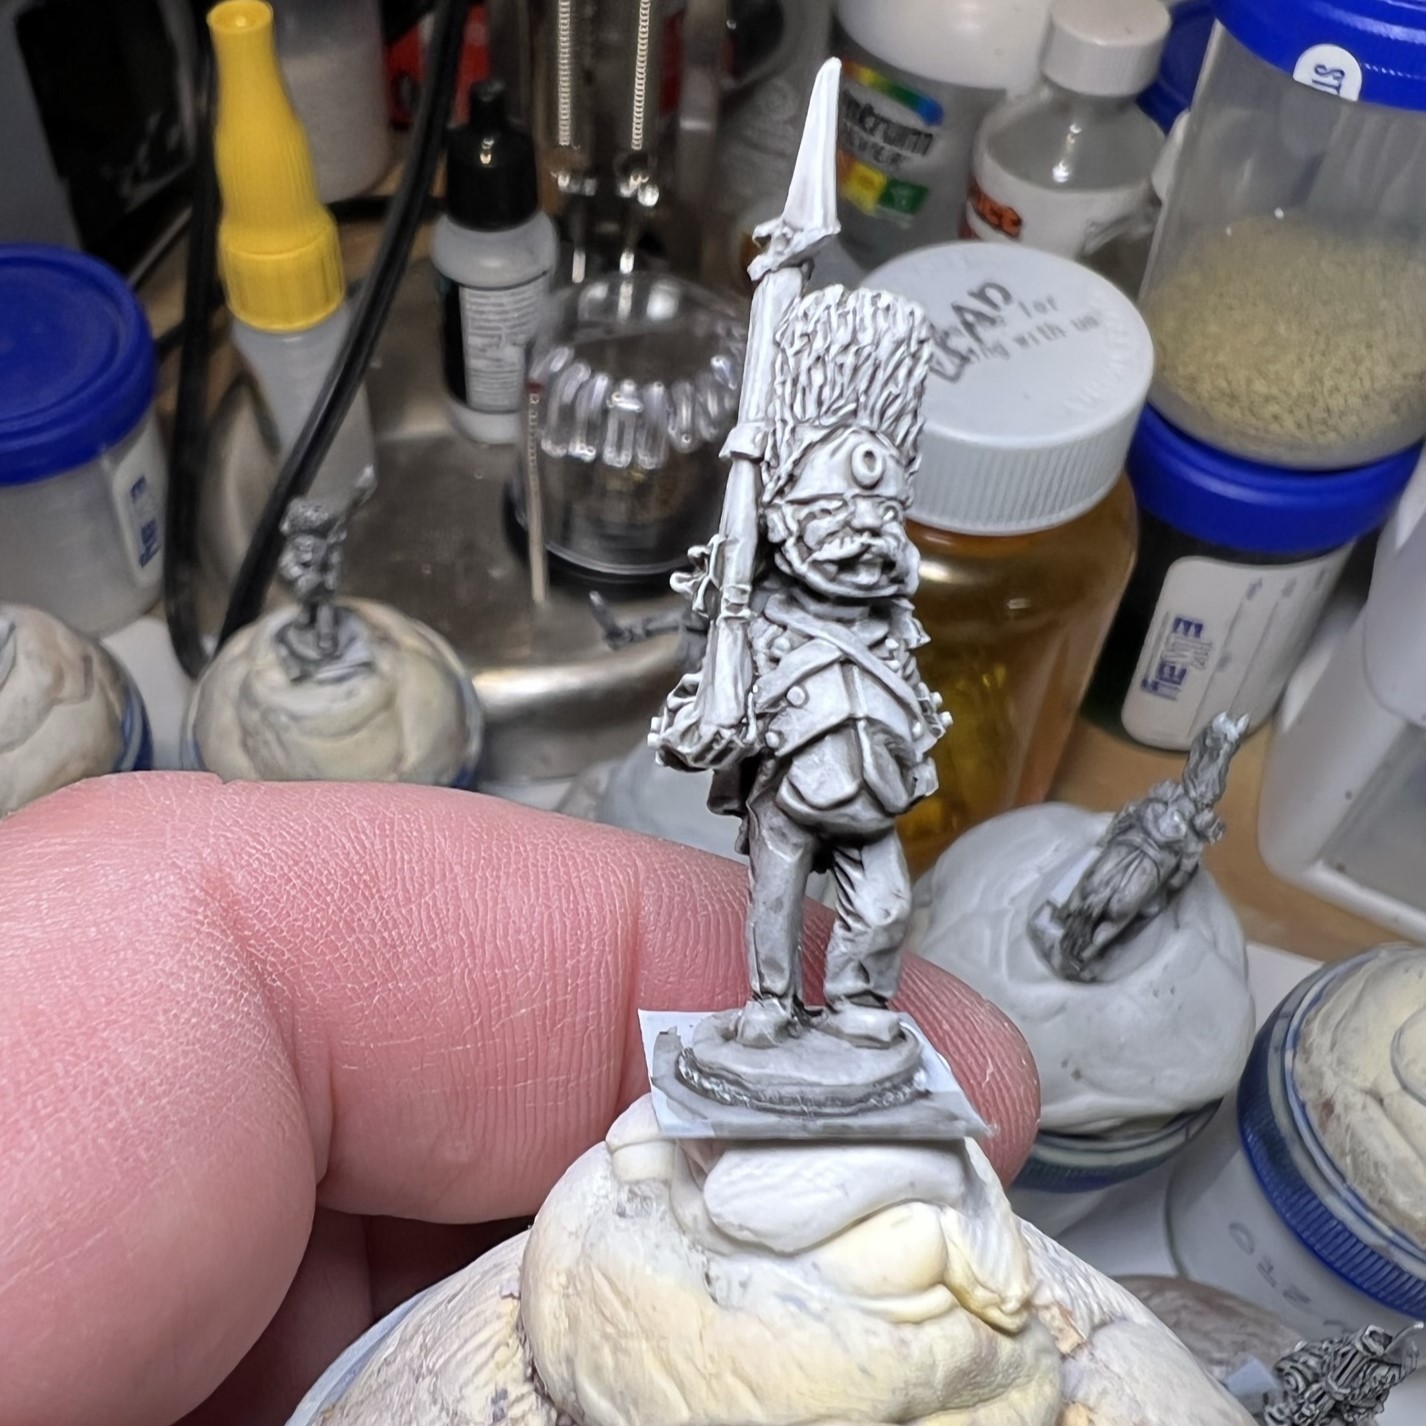
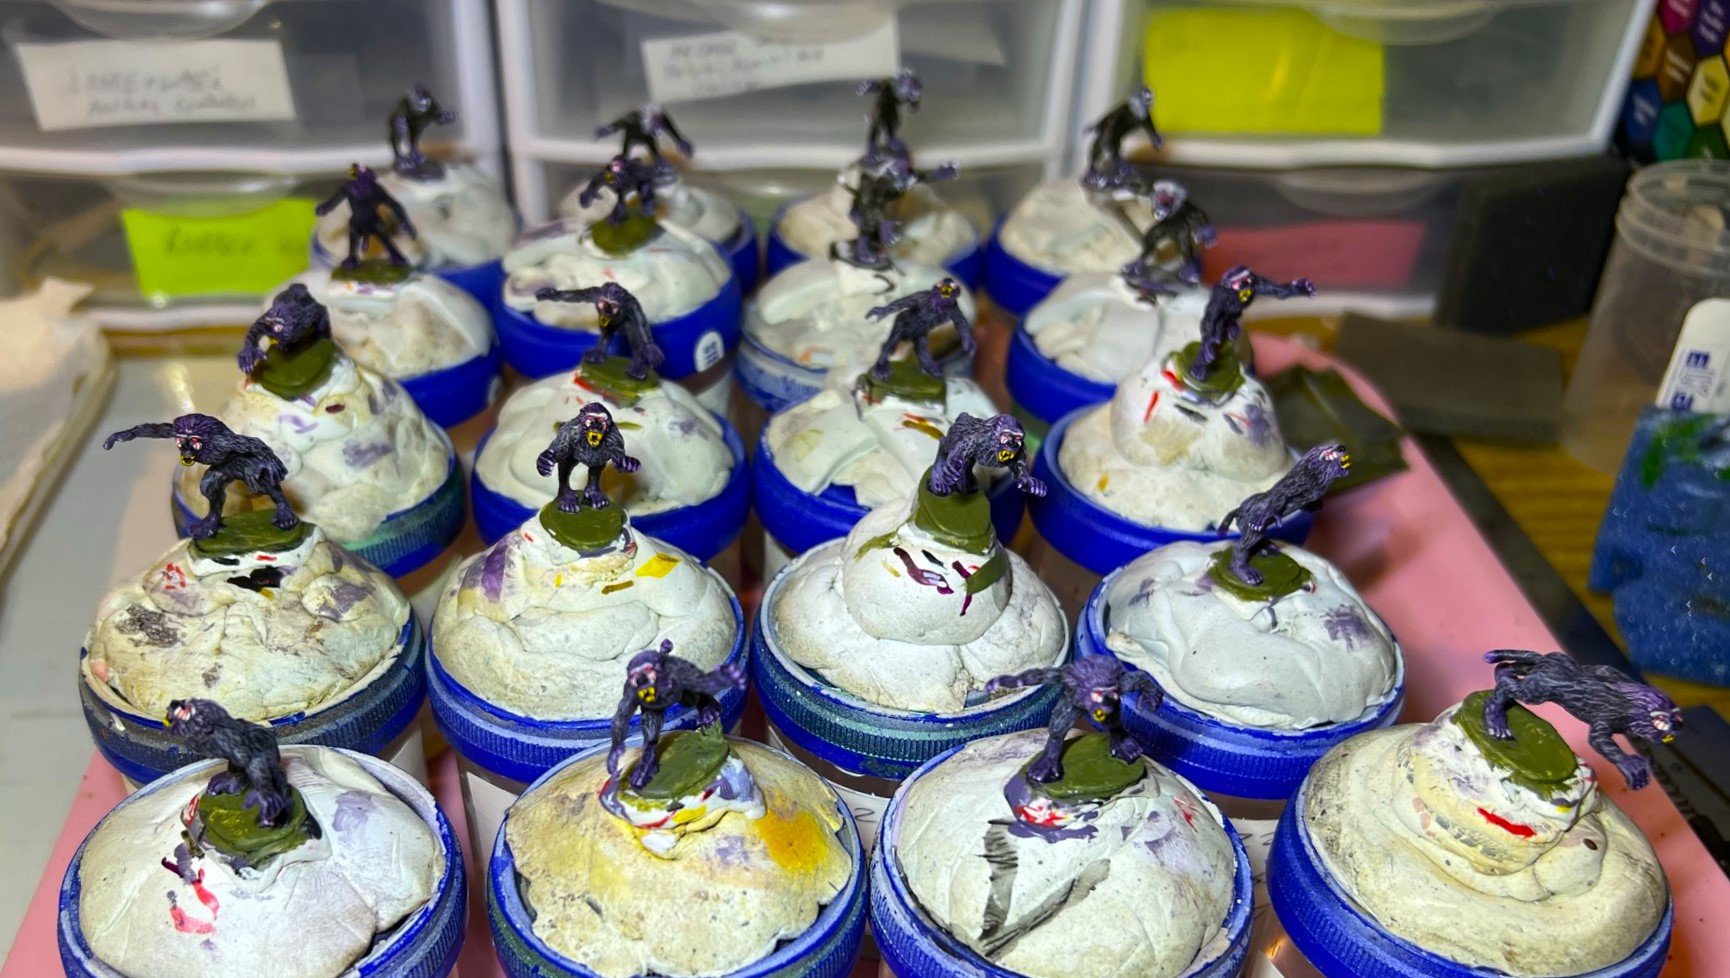
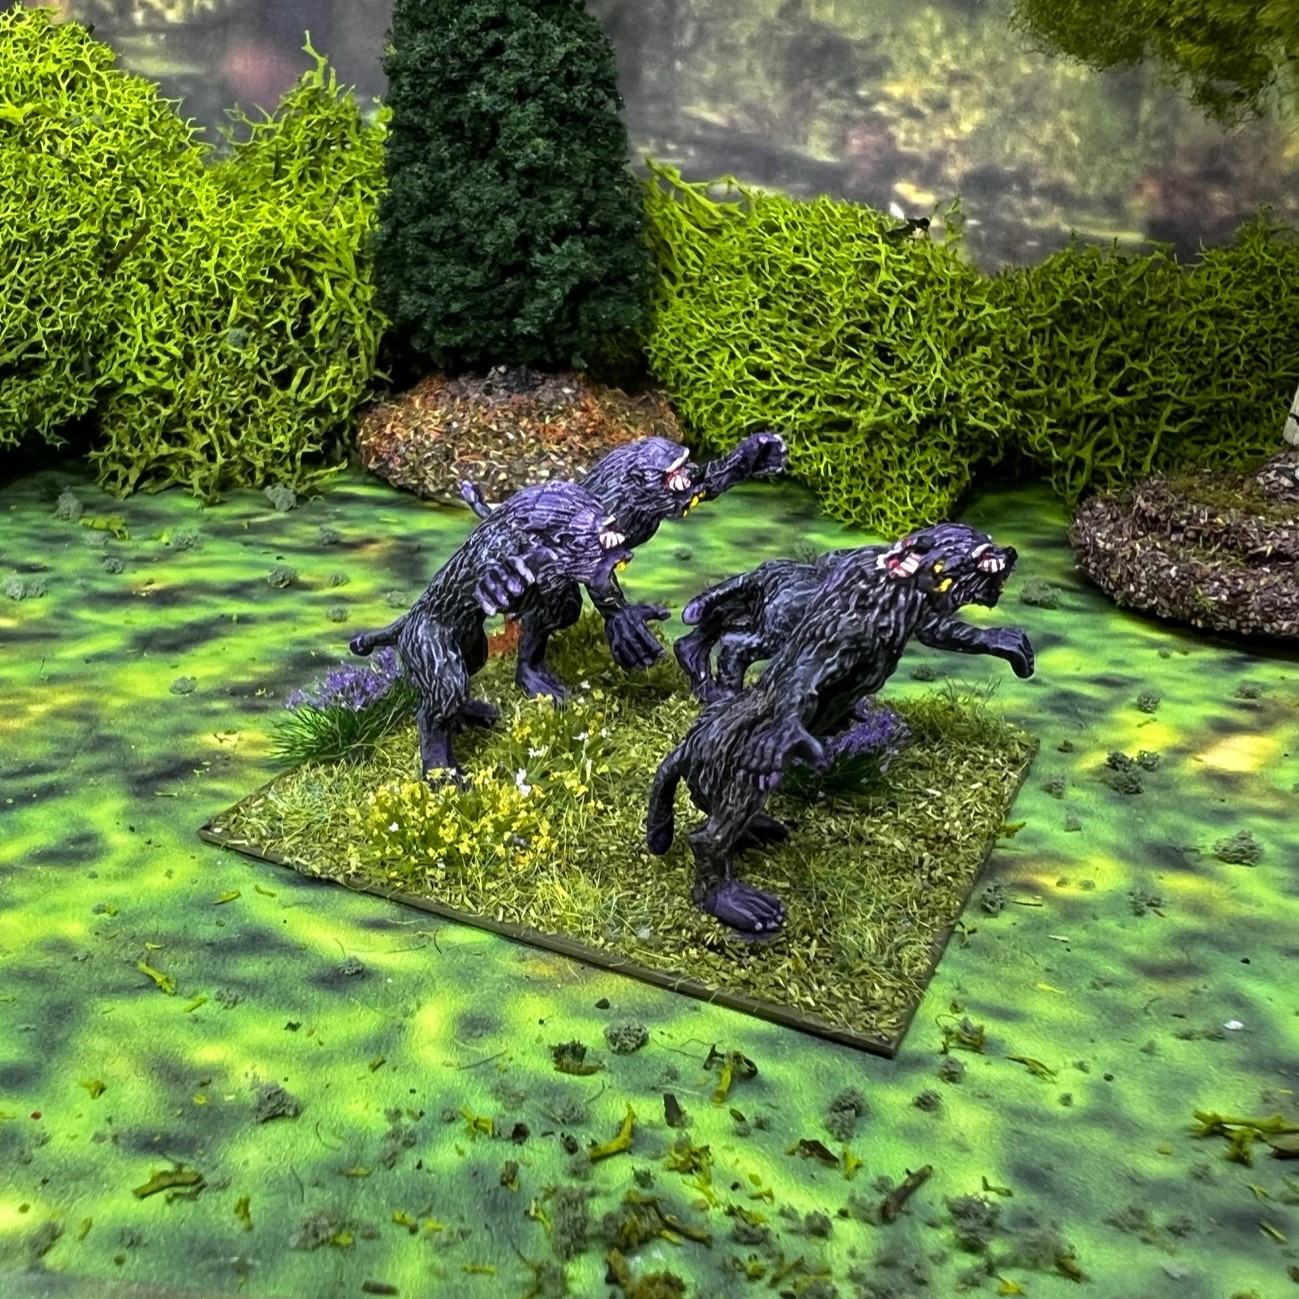
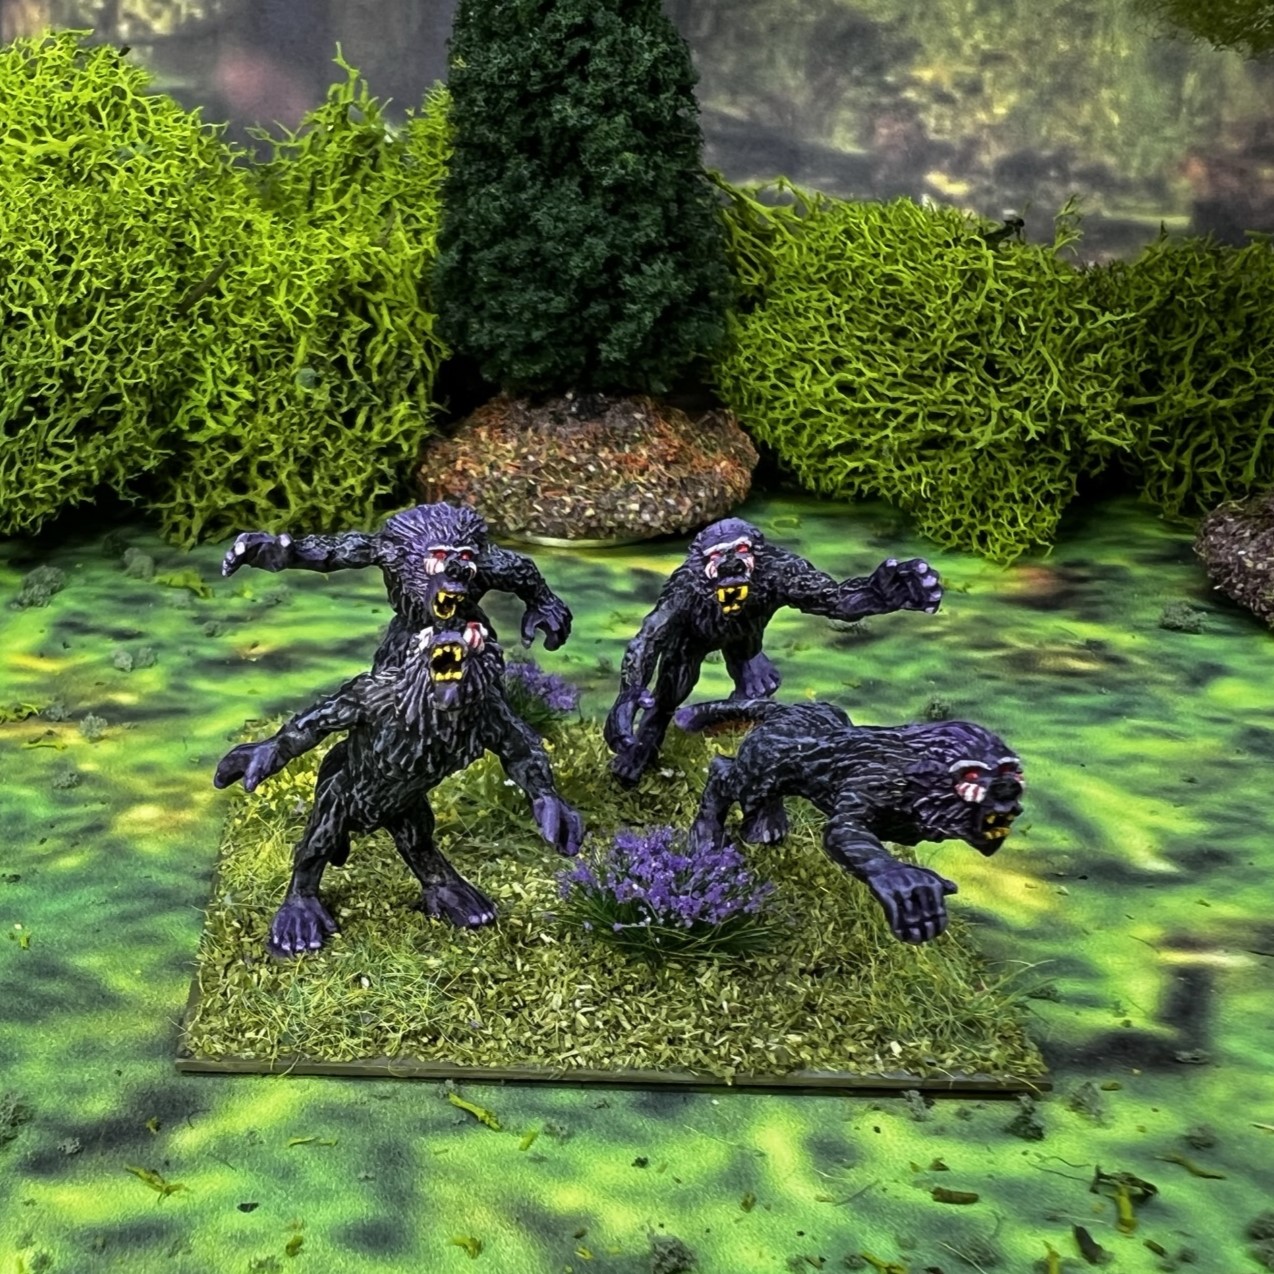
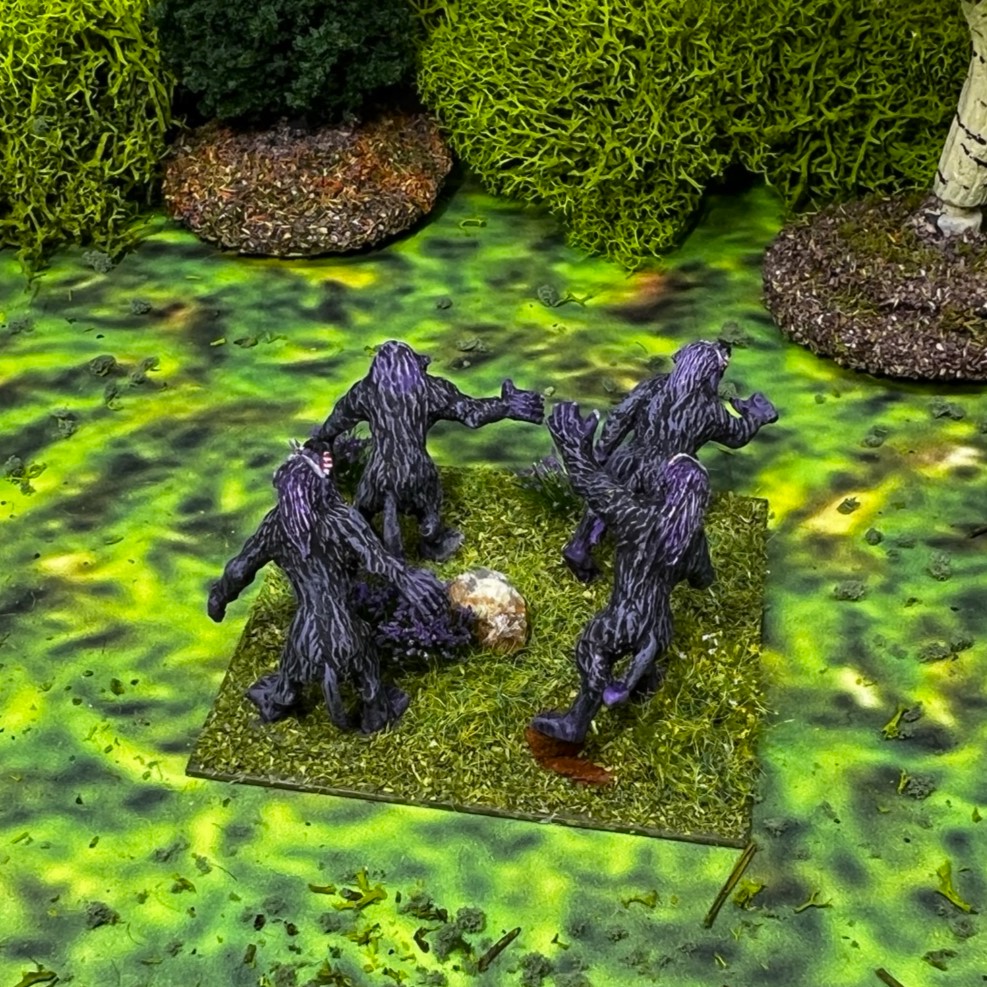
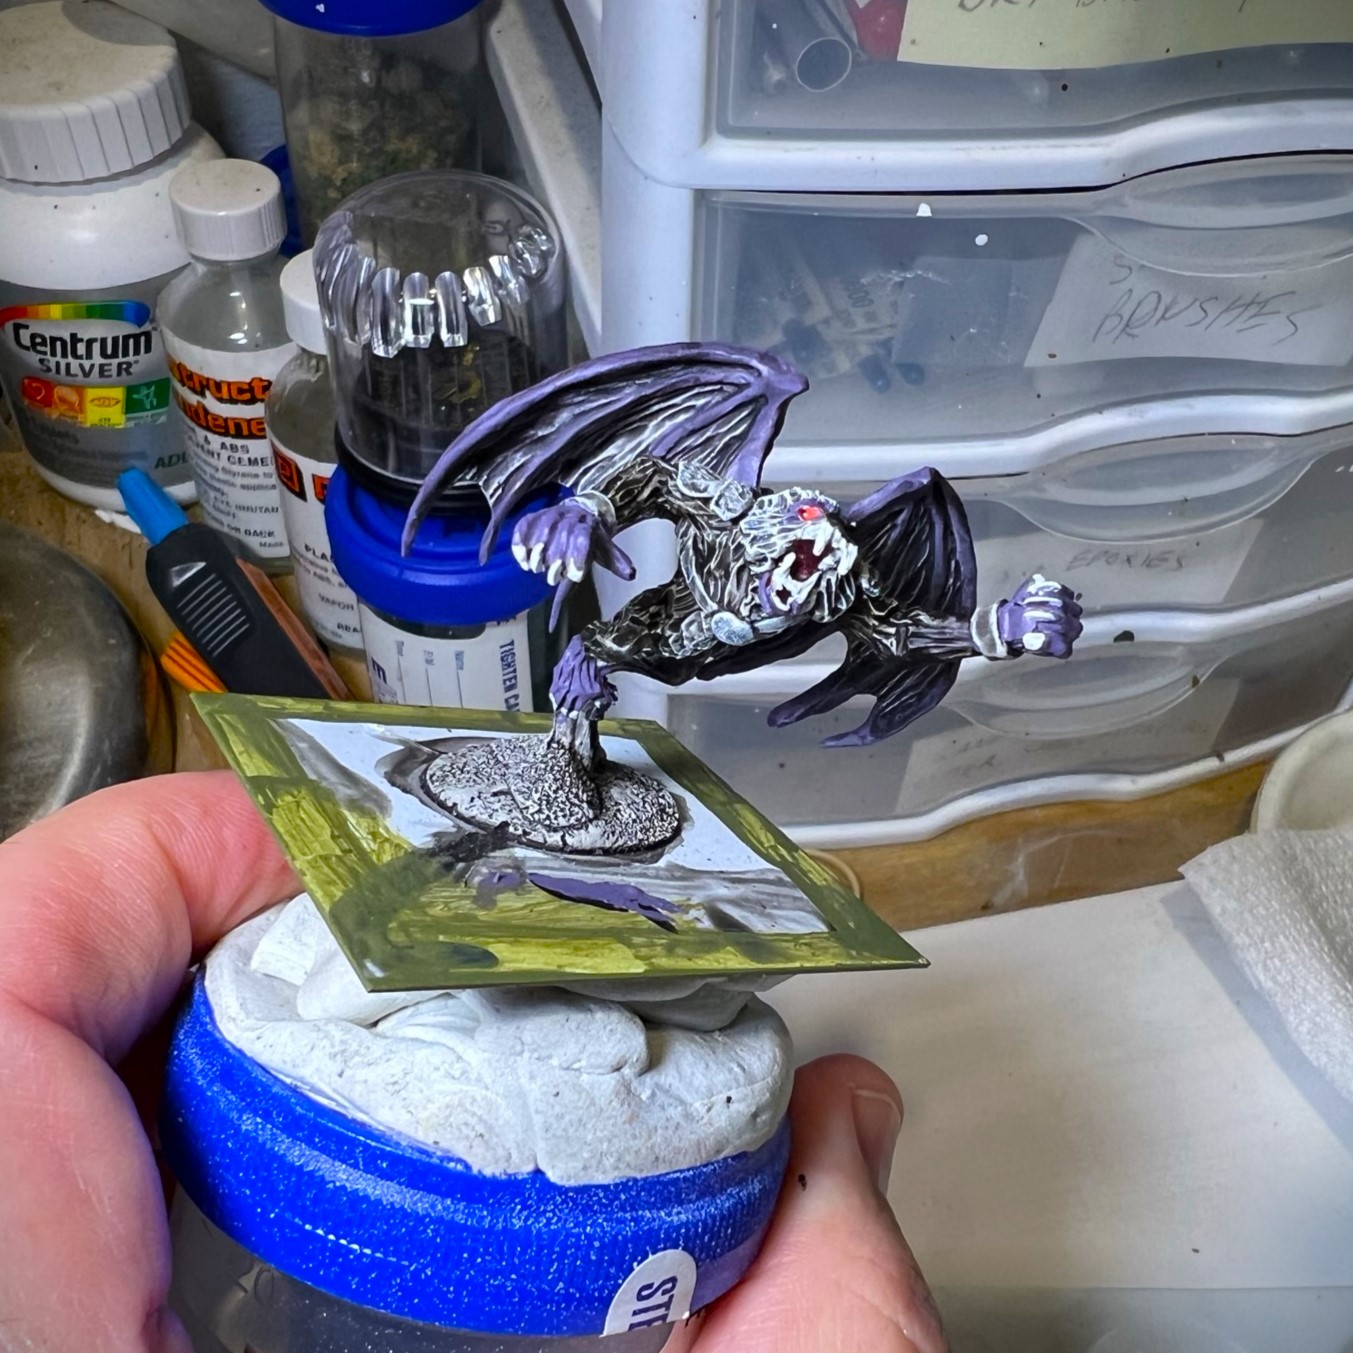
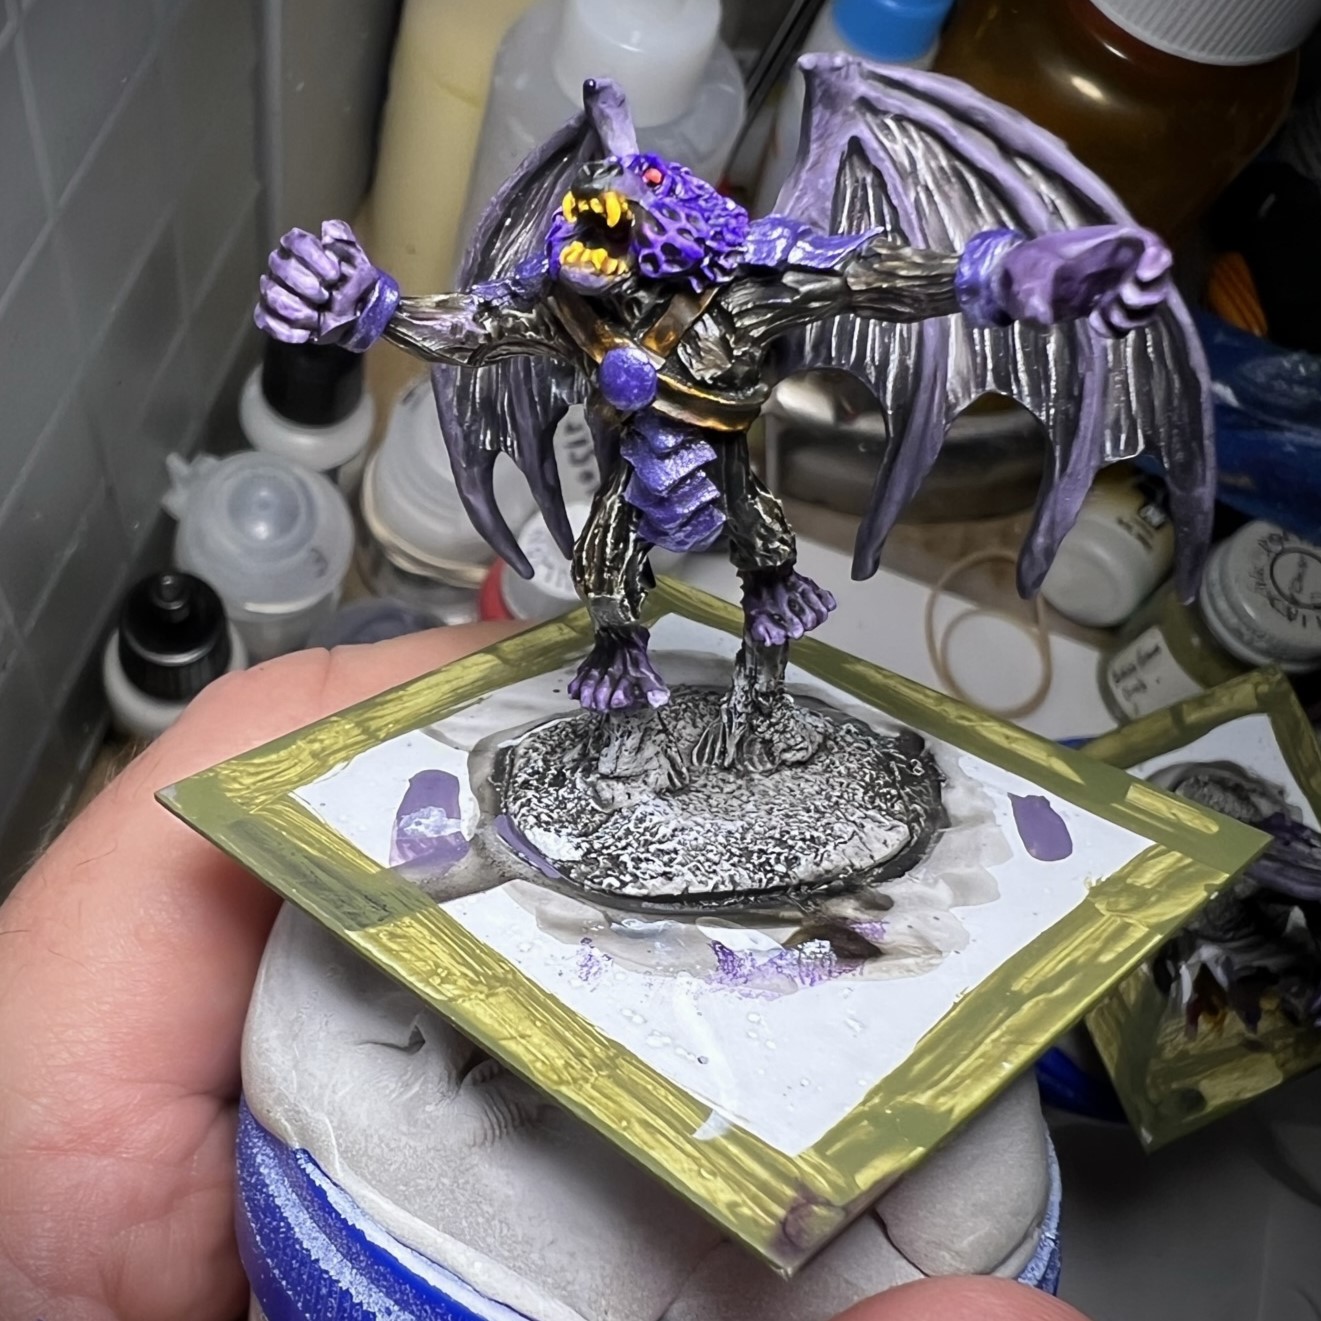
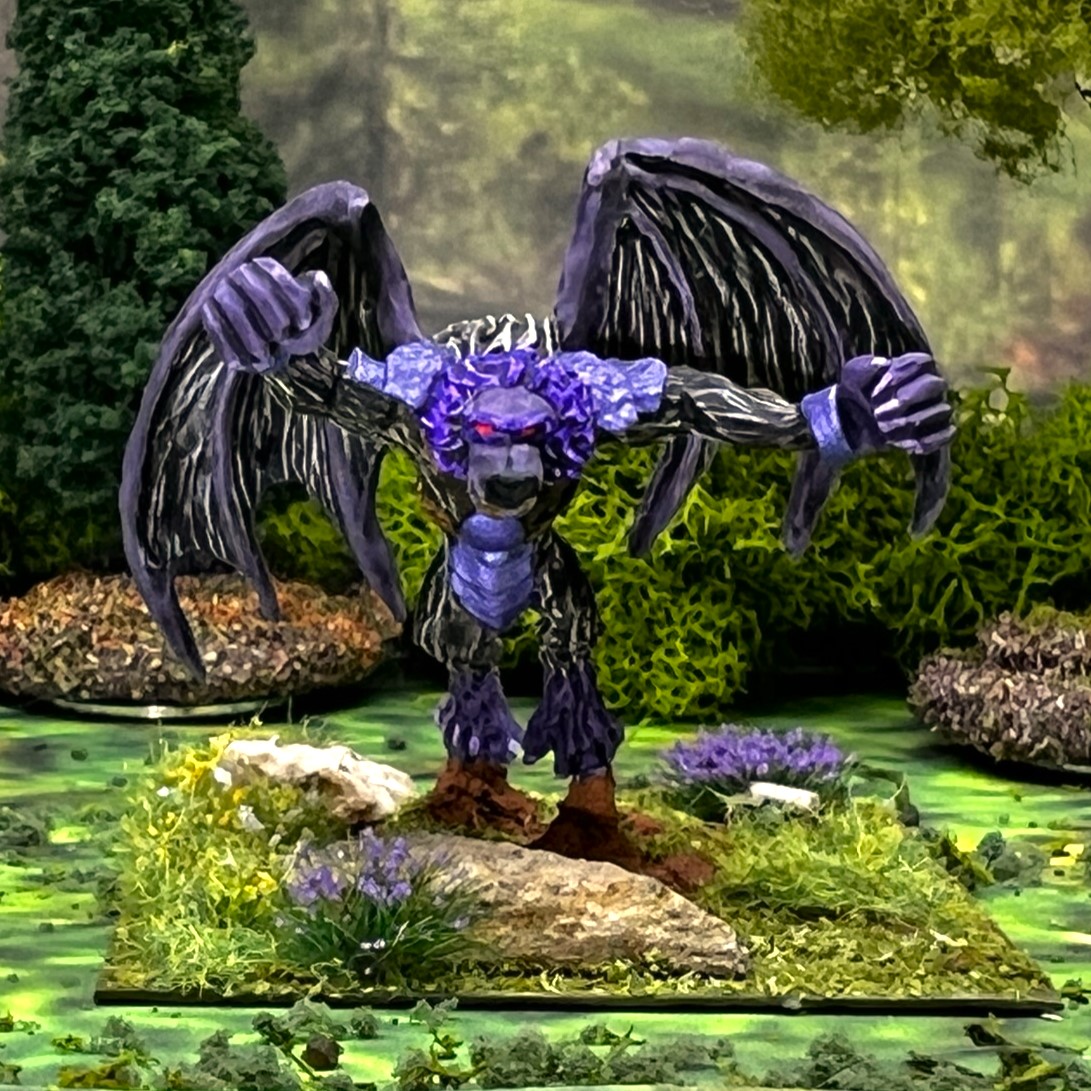
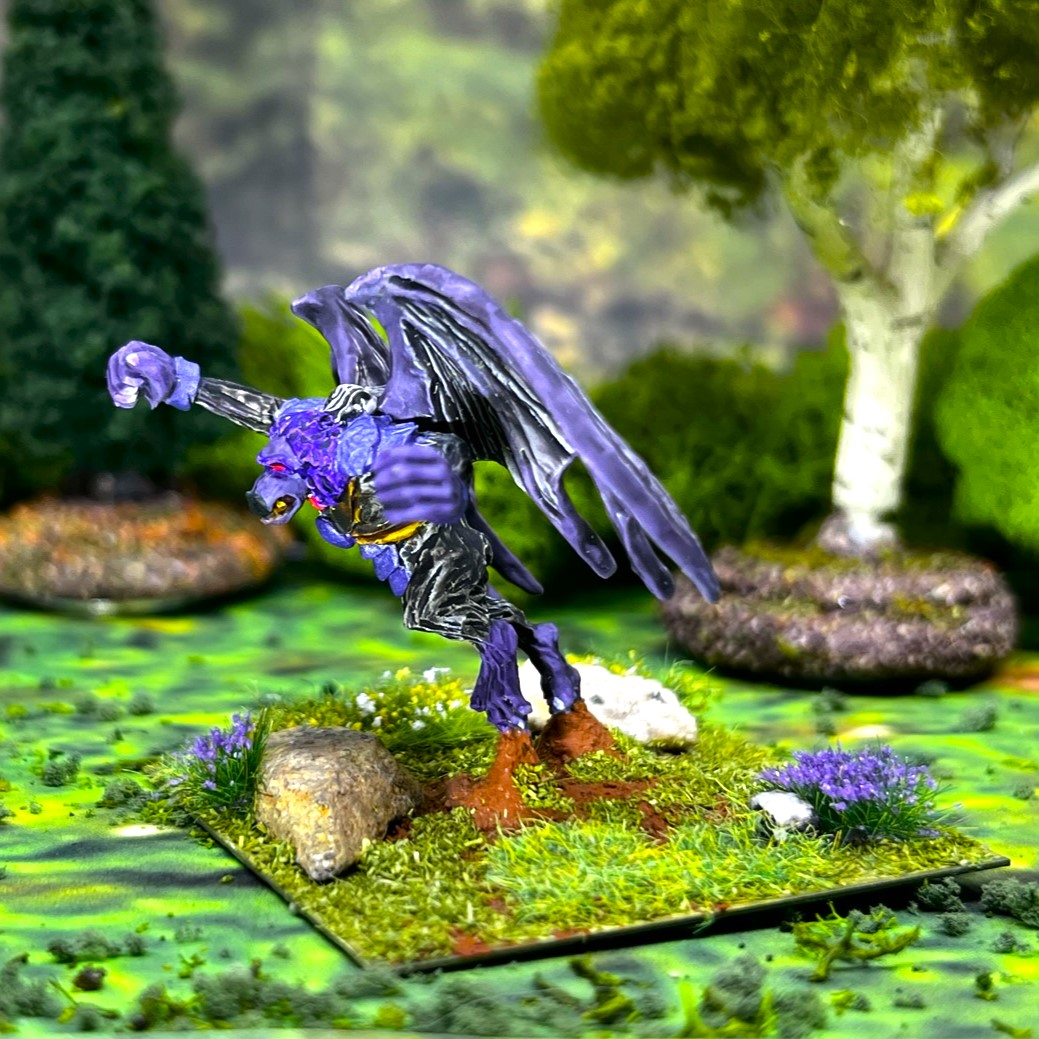
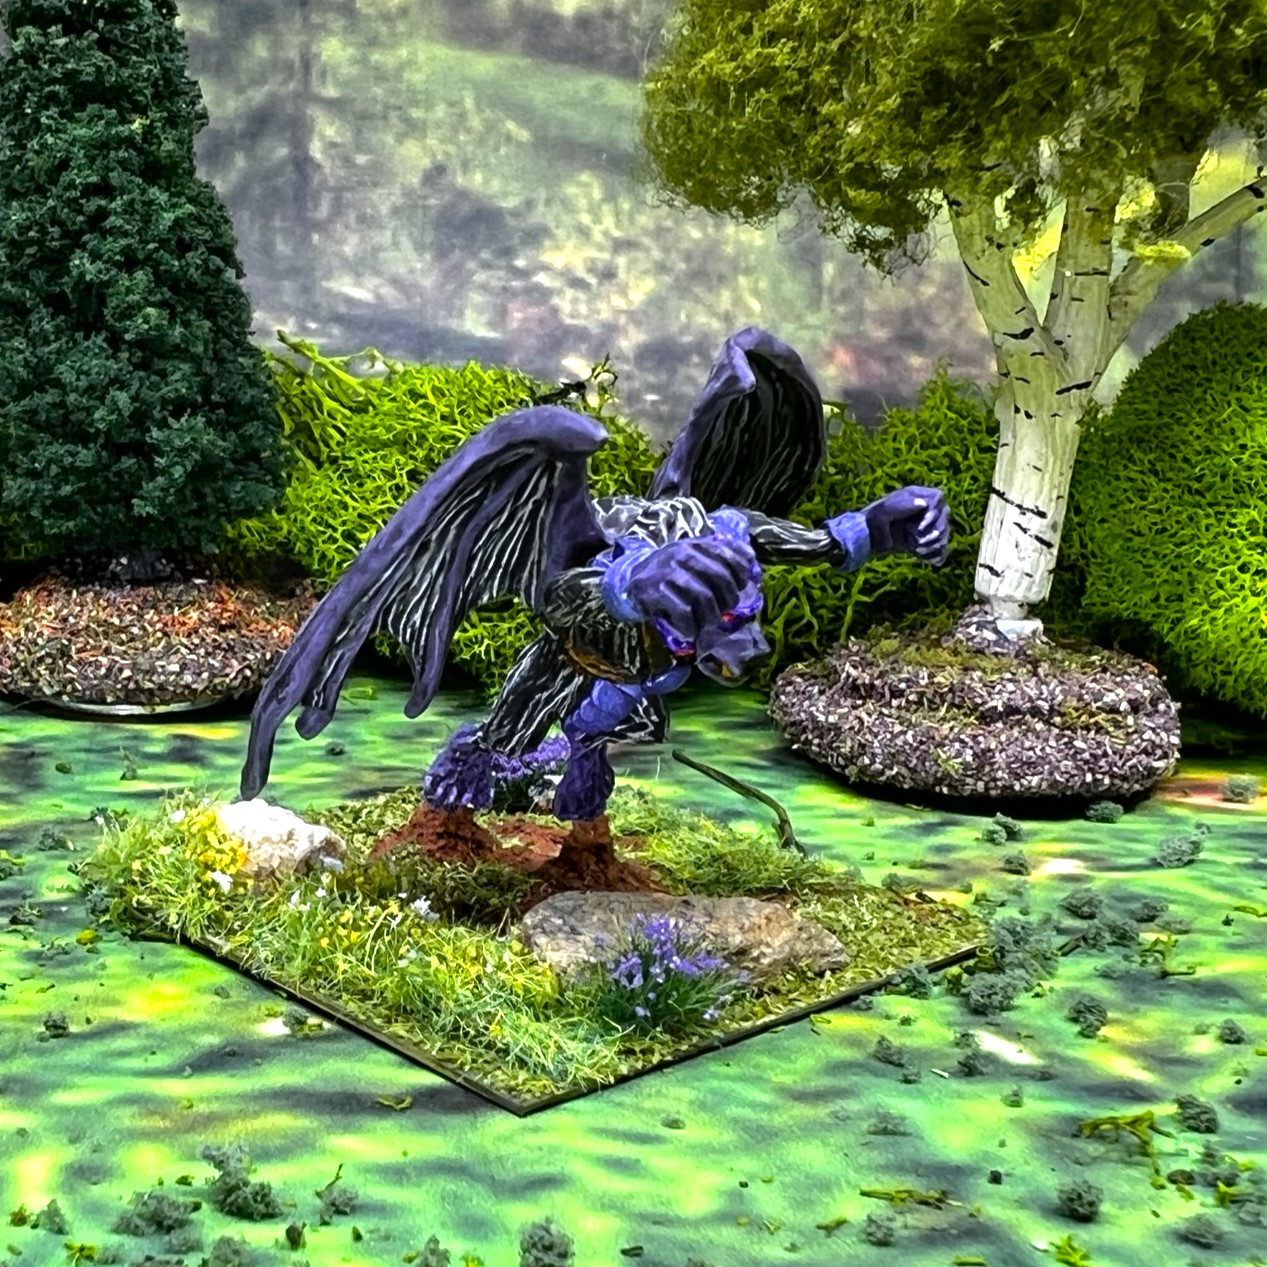
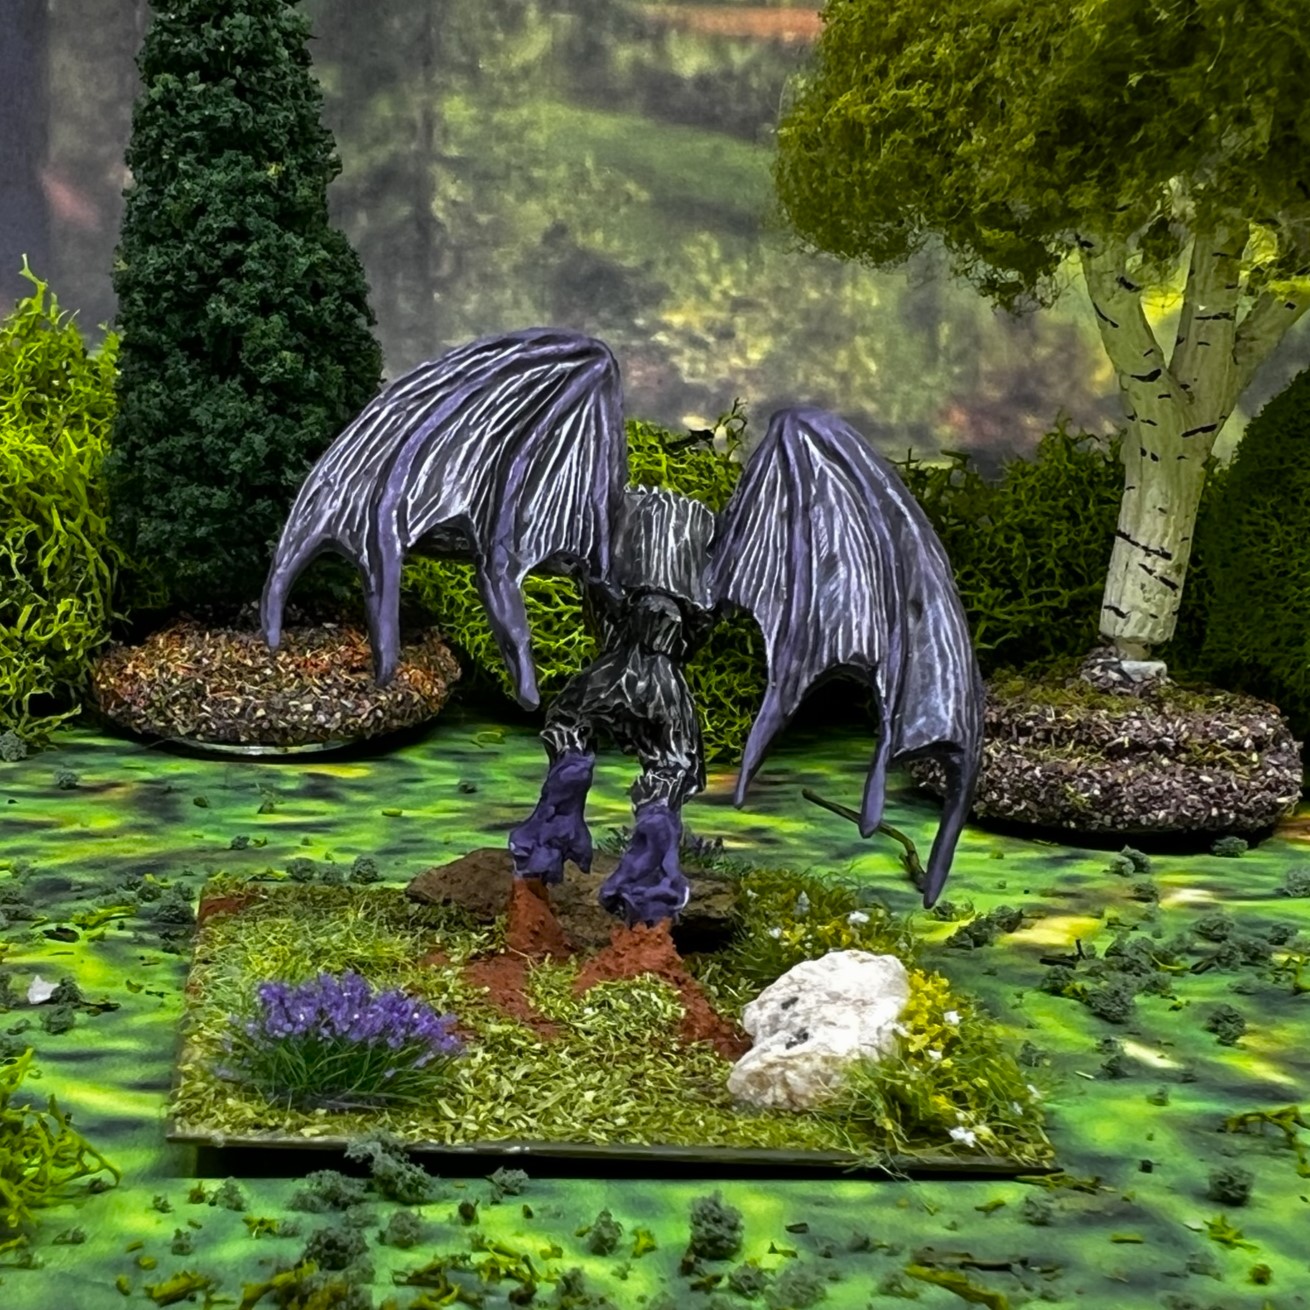
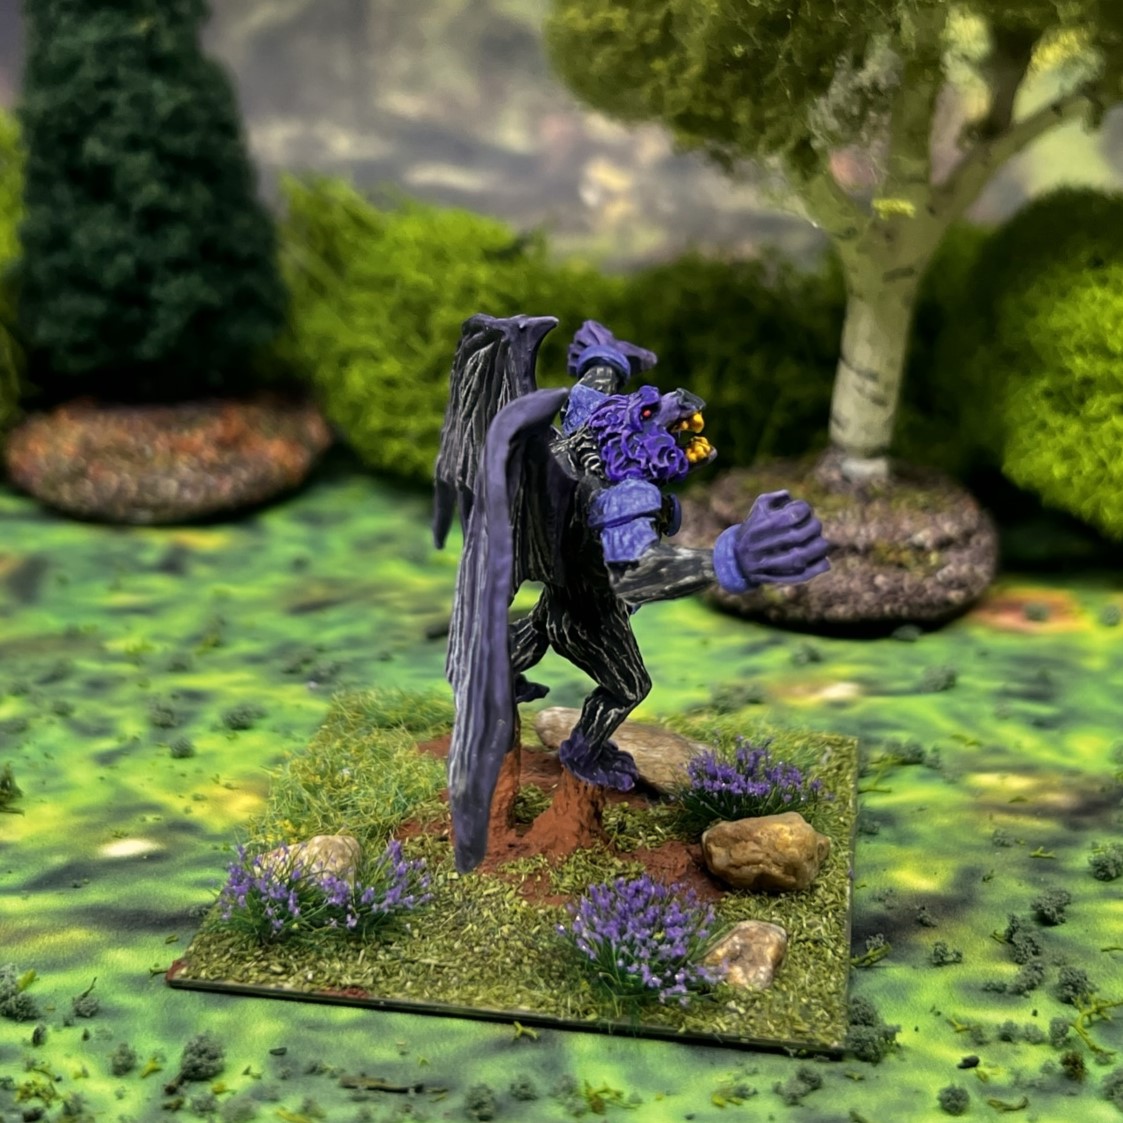
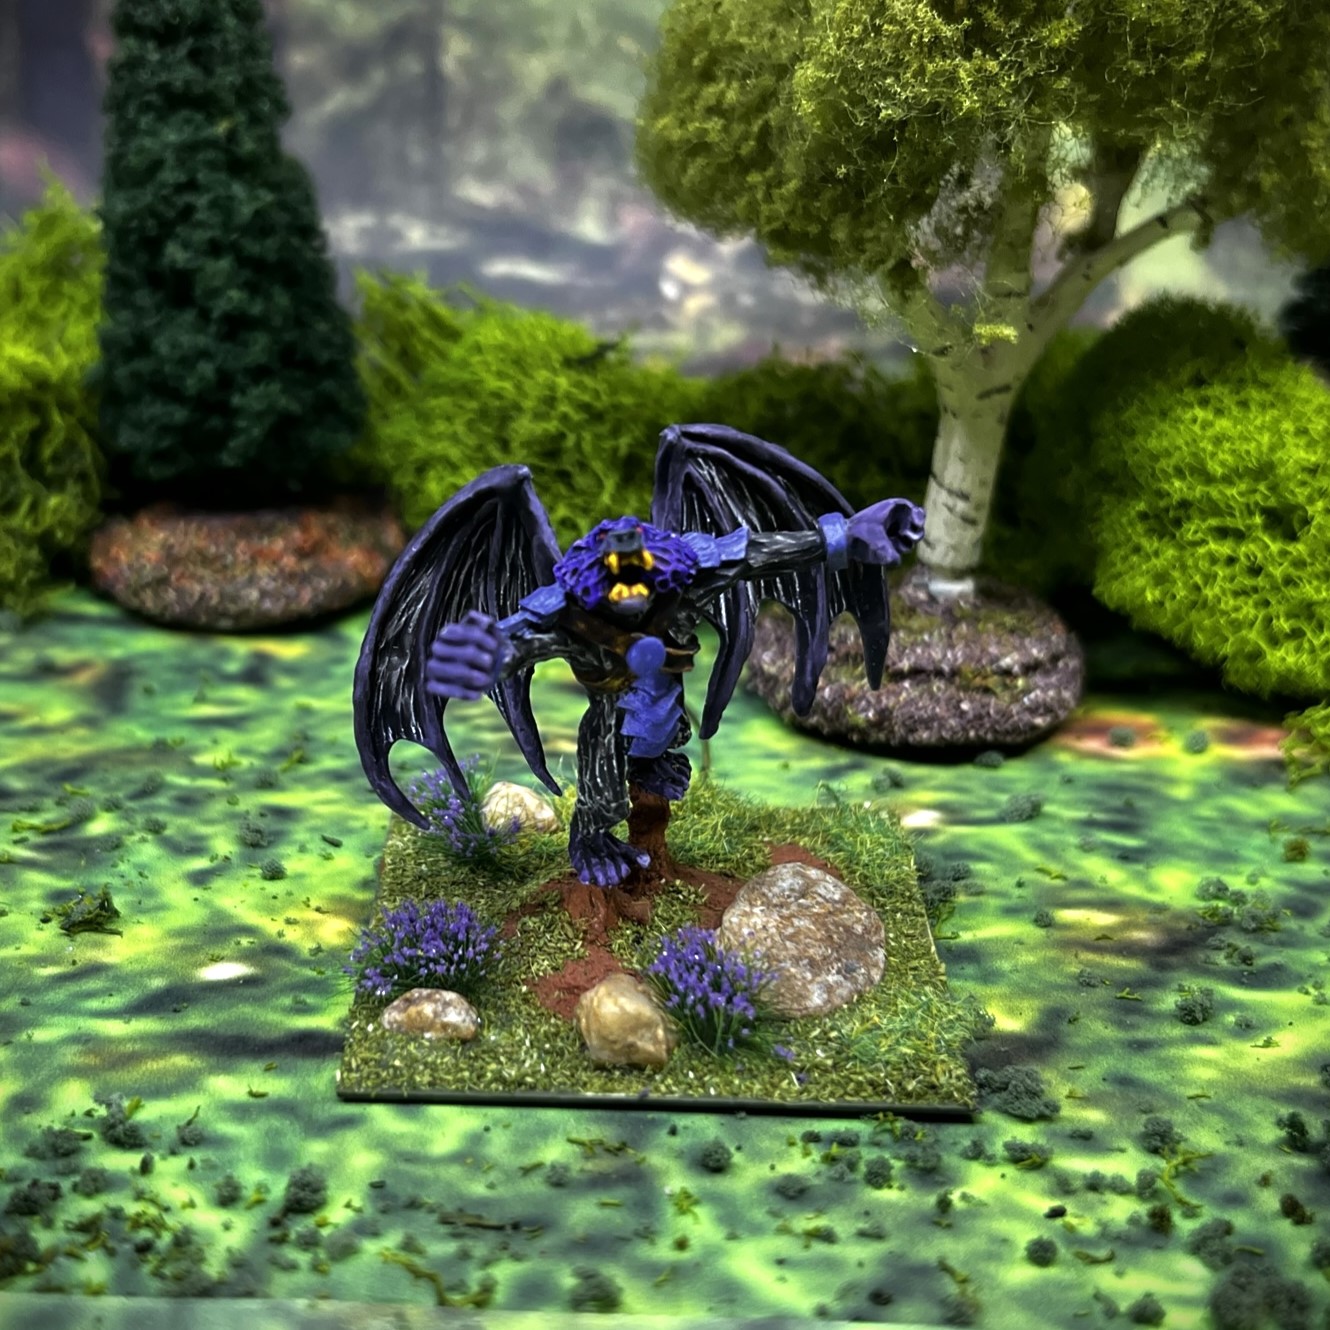
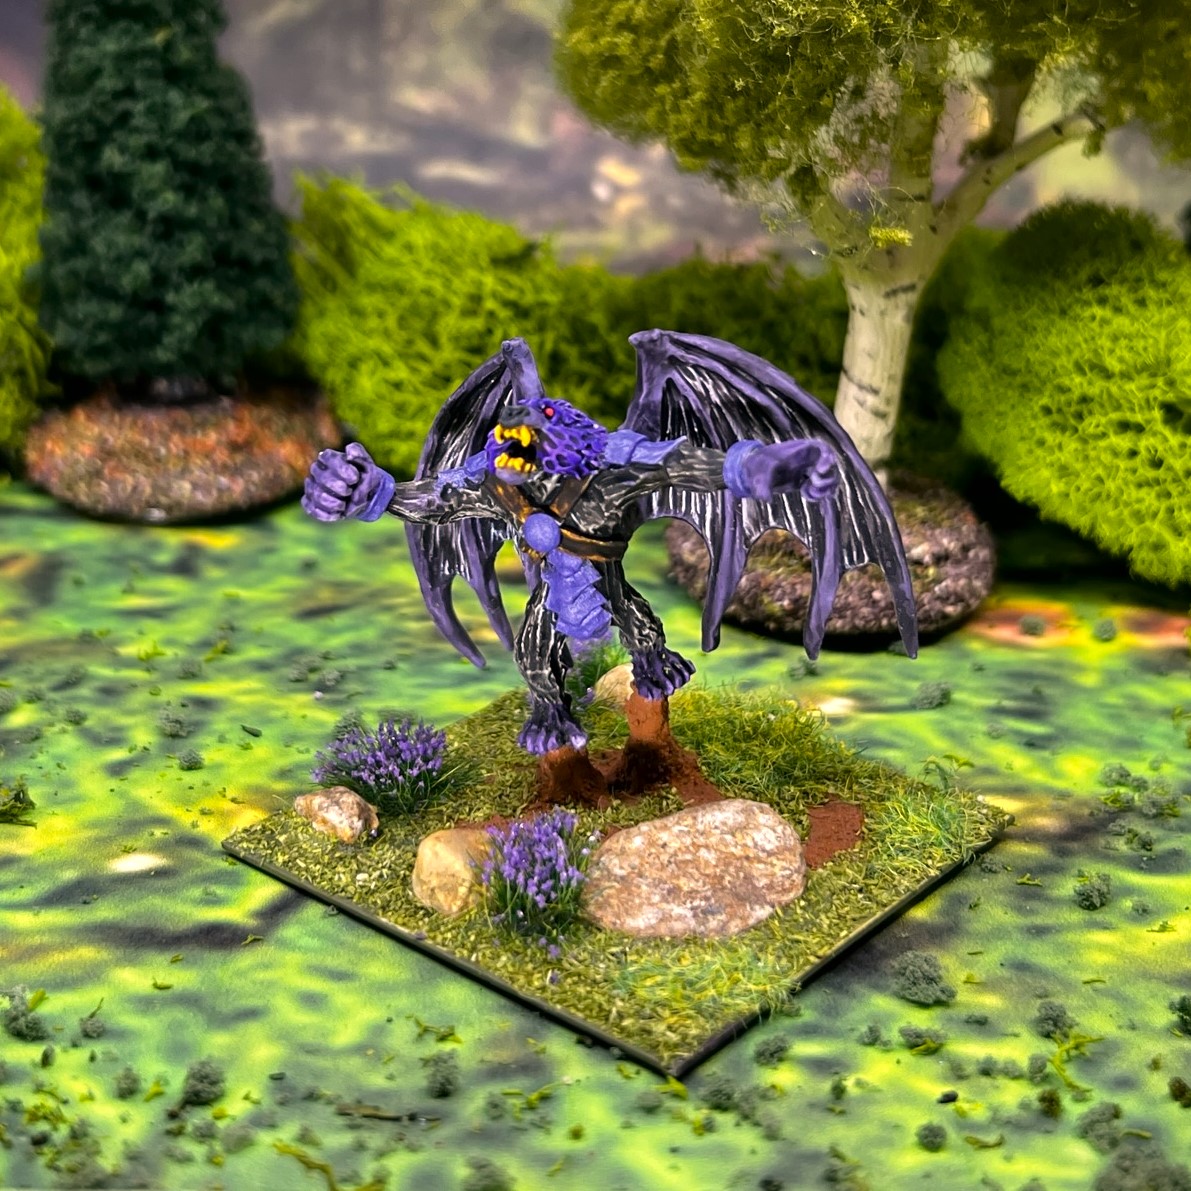
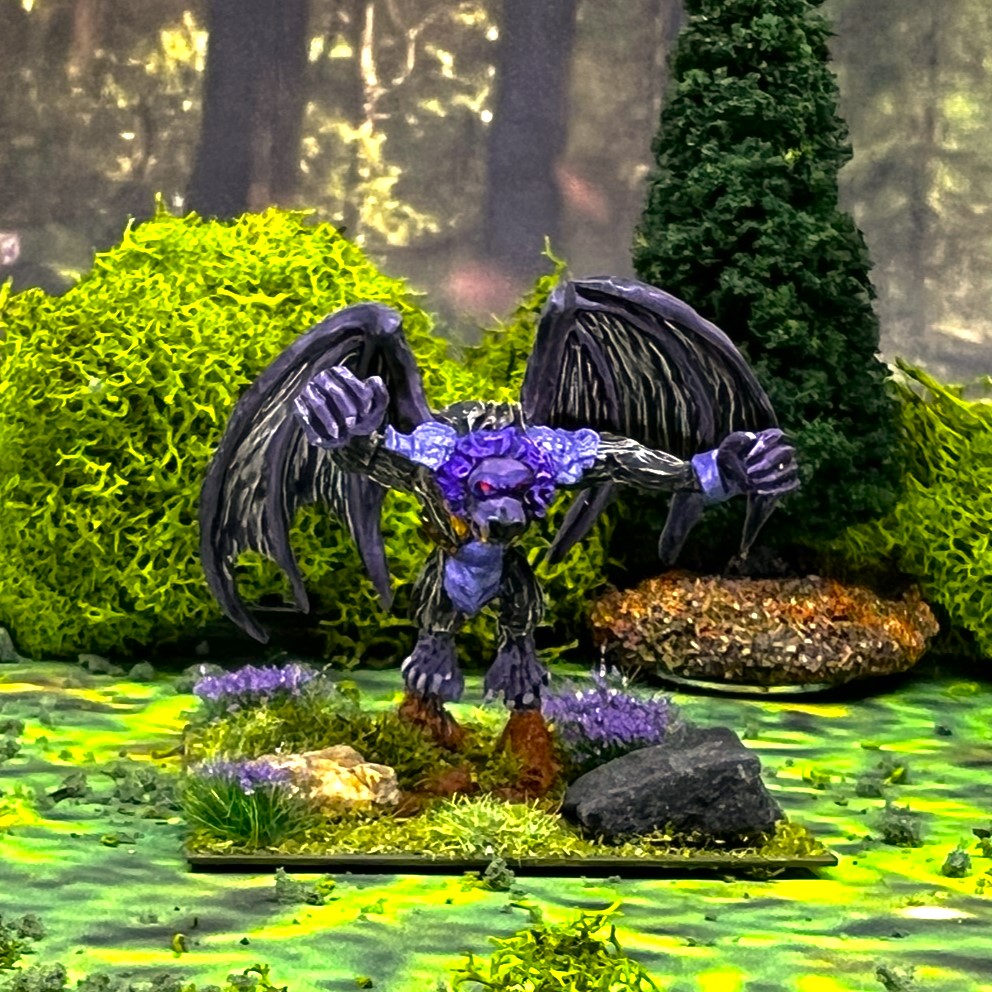
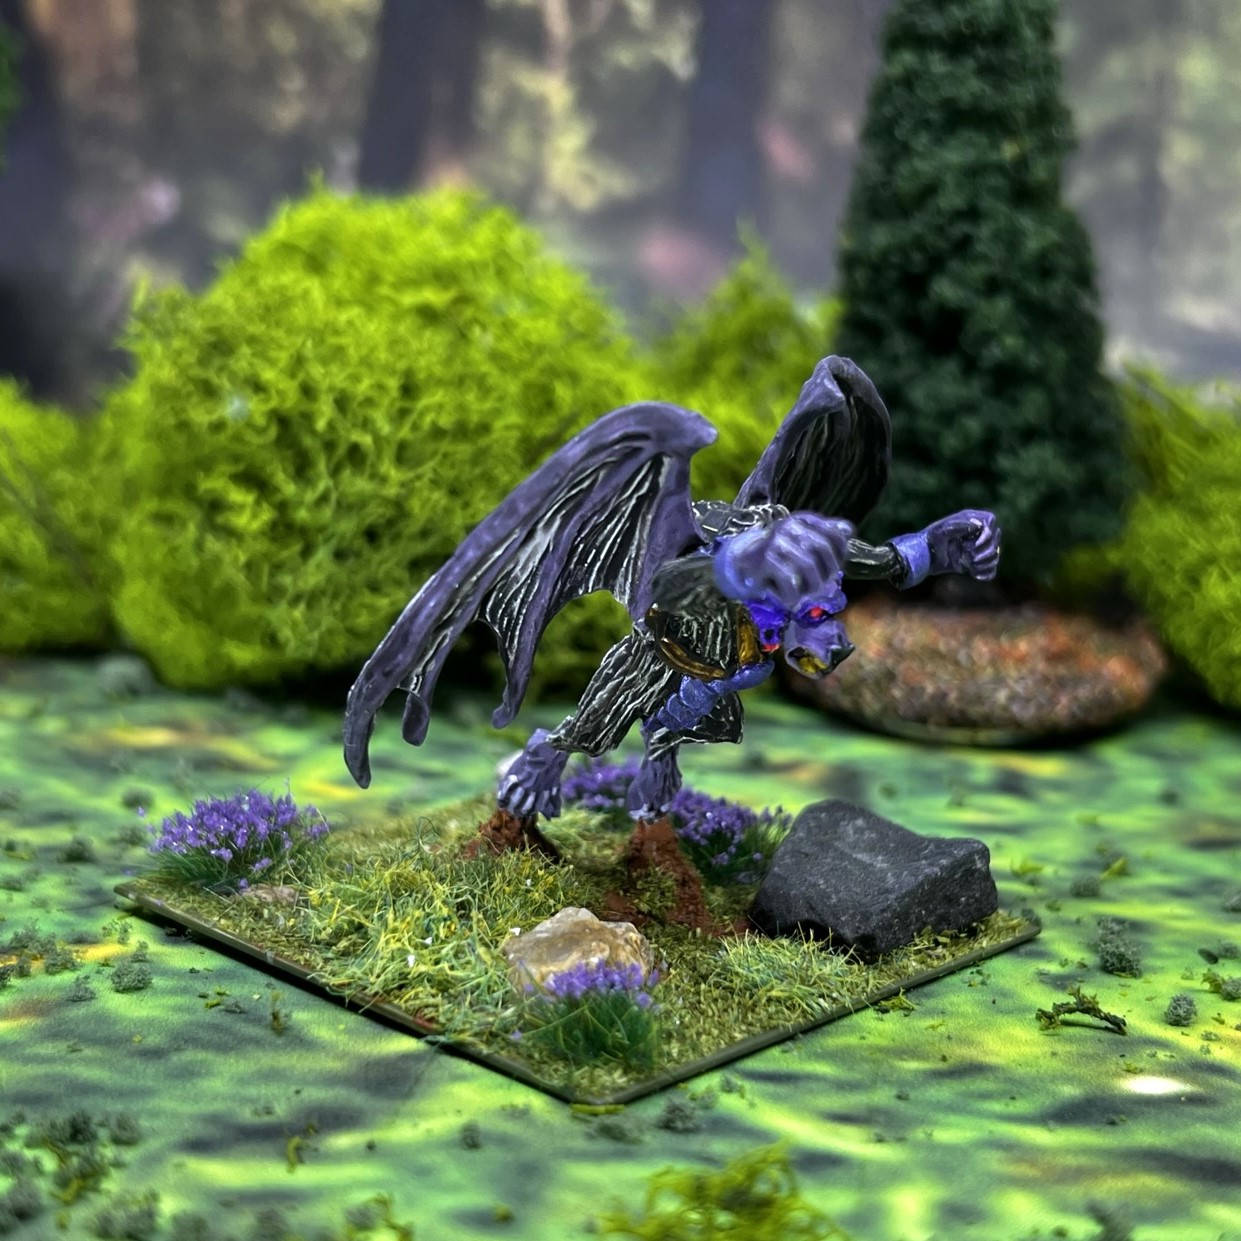
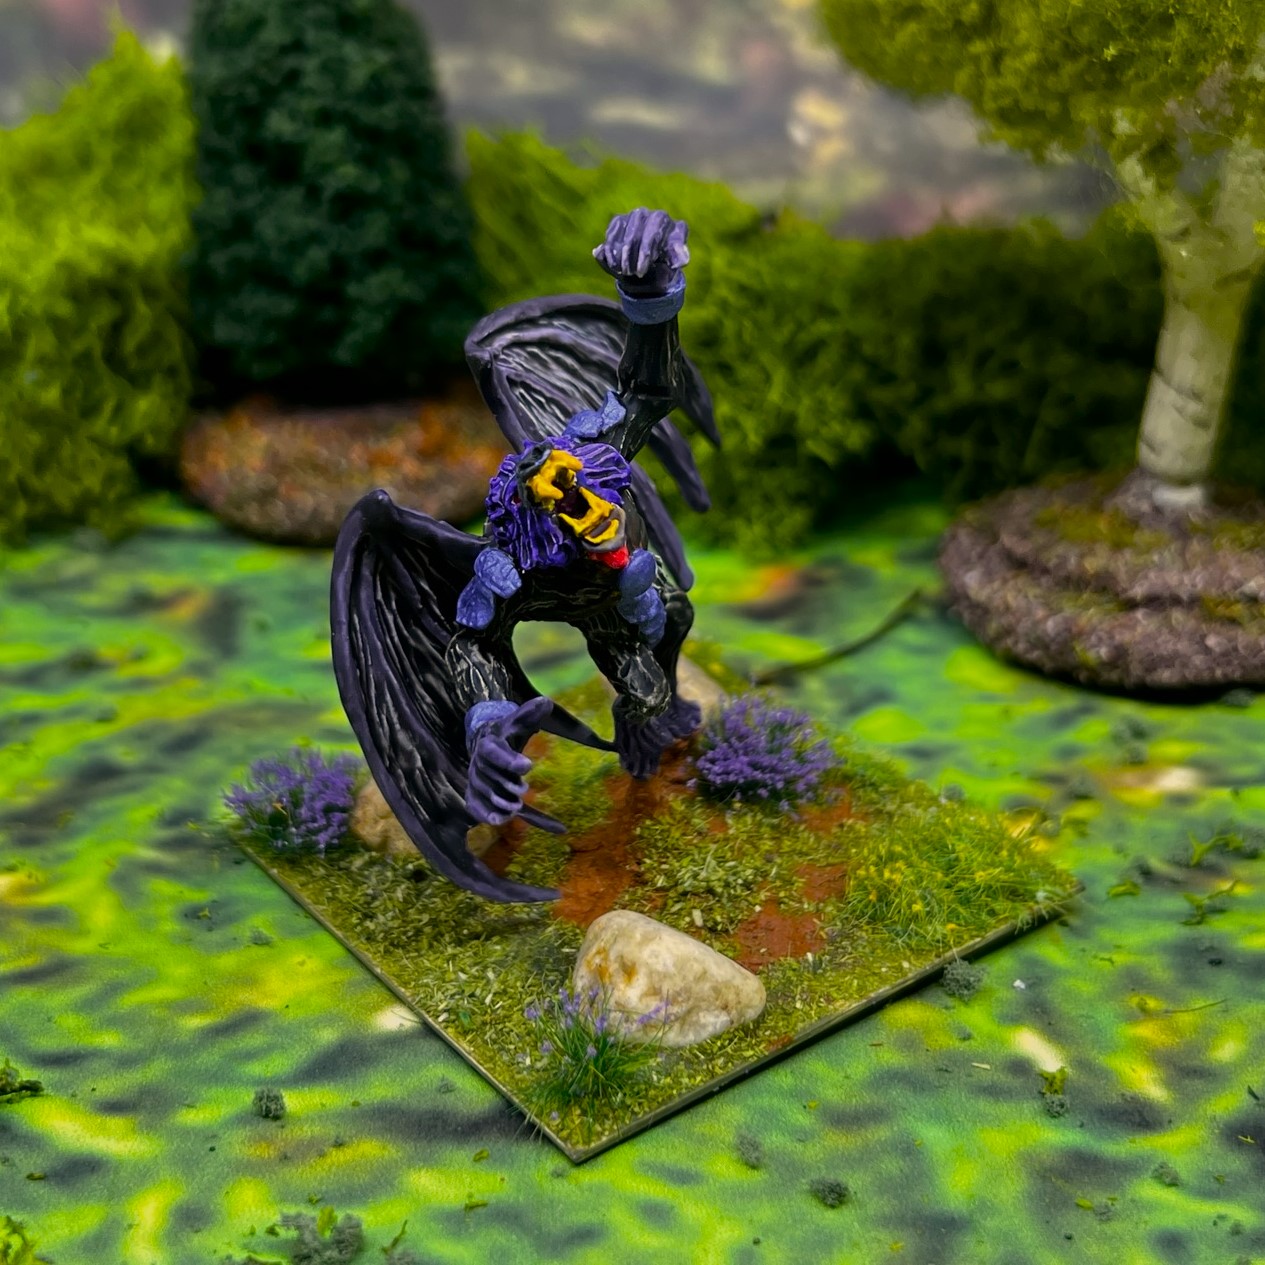
The Great Flying Apes are SKU #OZZ308. The figures are large 28mm scale figures deployed one per each two-inch square base. Their faces and poses are varied – but are more dog-like or baboon-like. They needed assembly (two pieces). As you’ll see, I took the approach of painting prototypes for each type of ape and adjusting their looks to suit me.
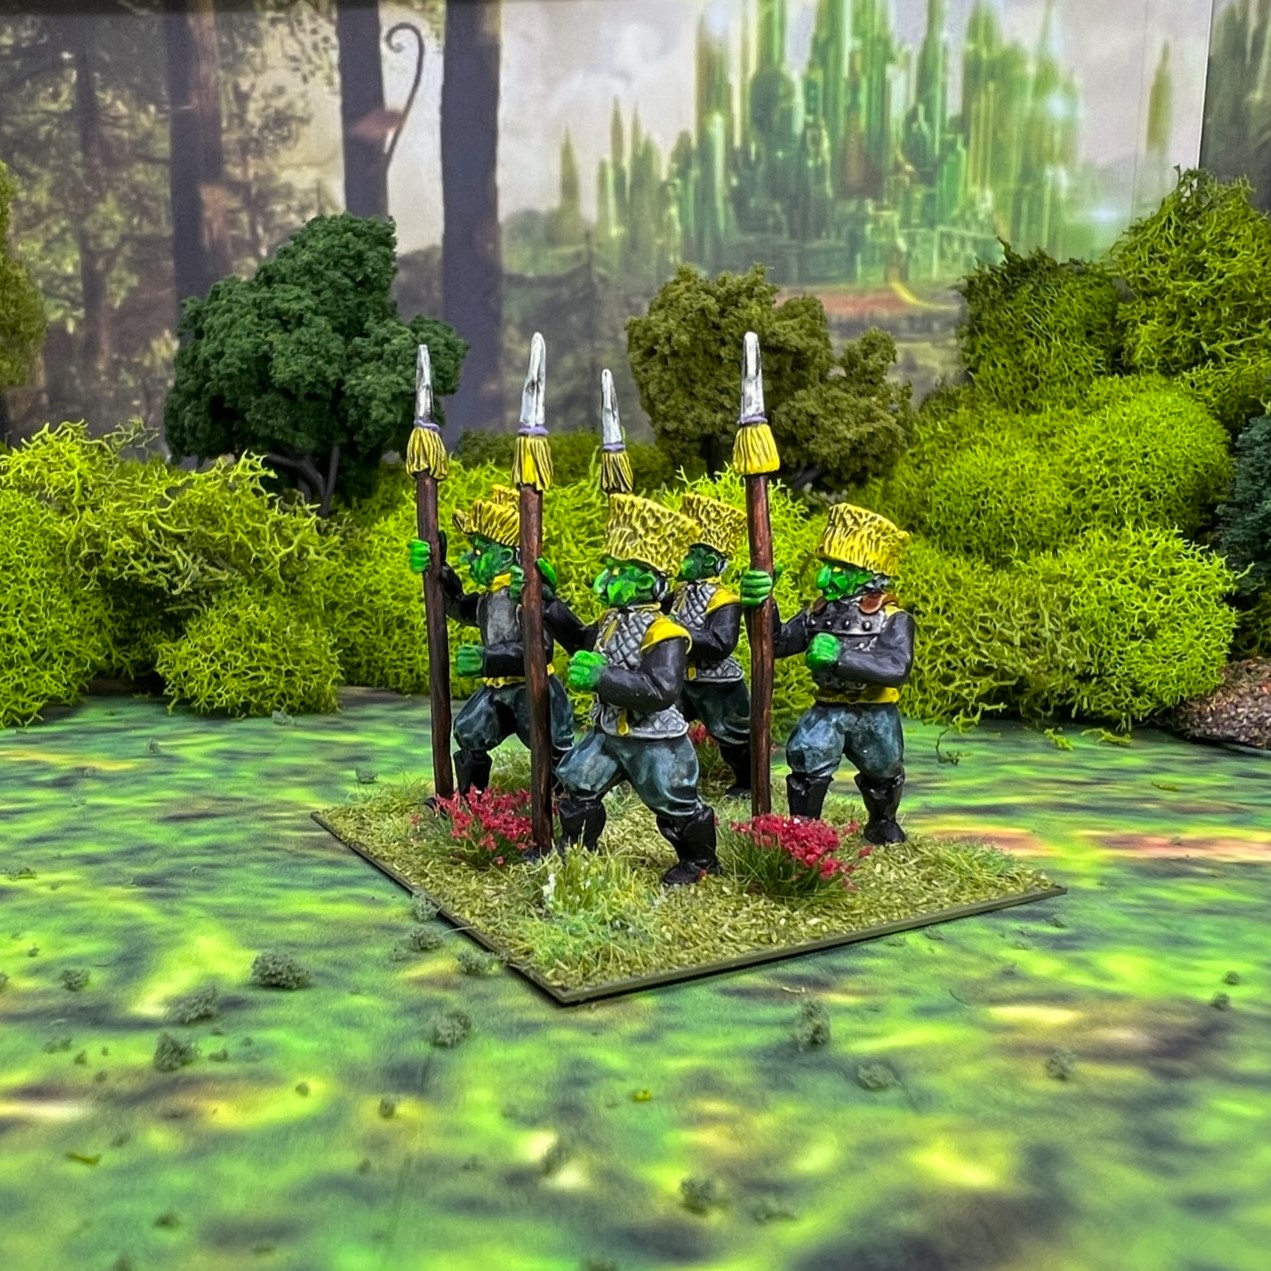
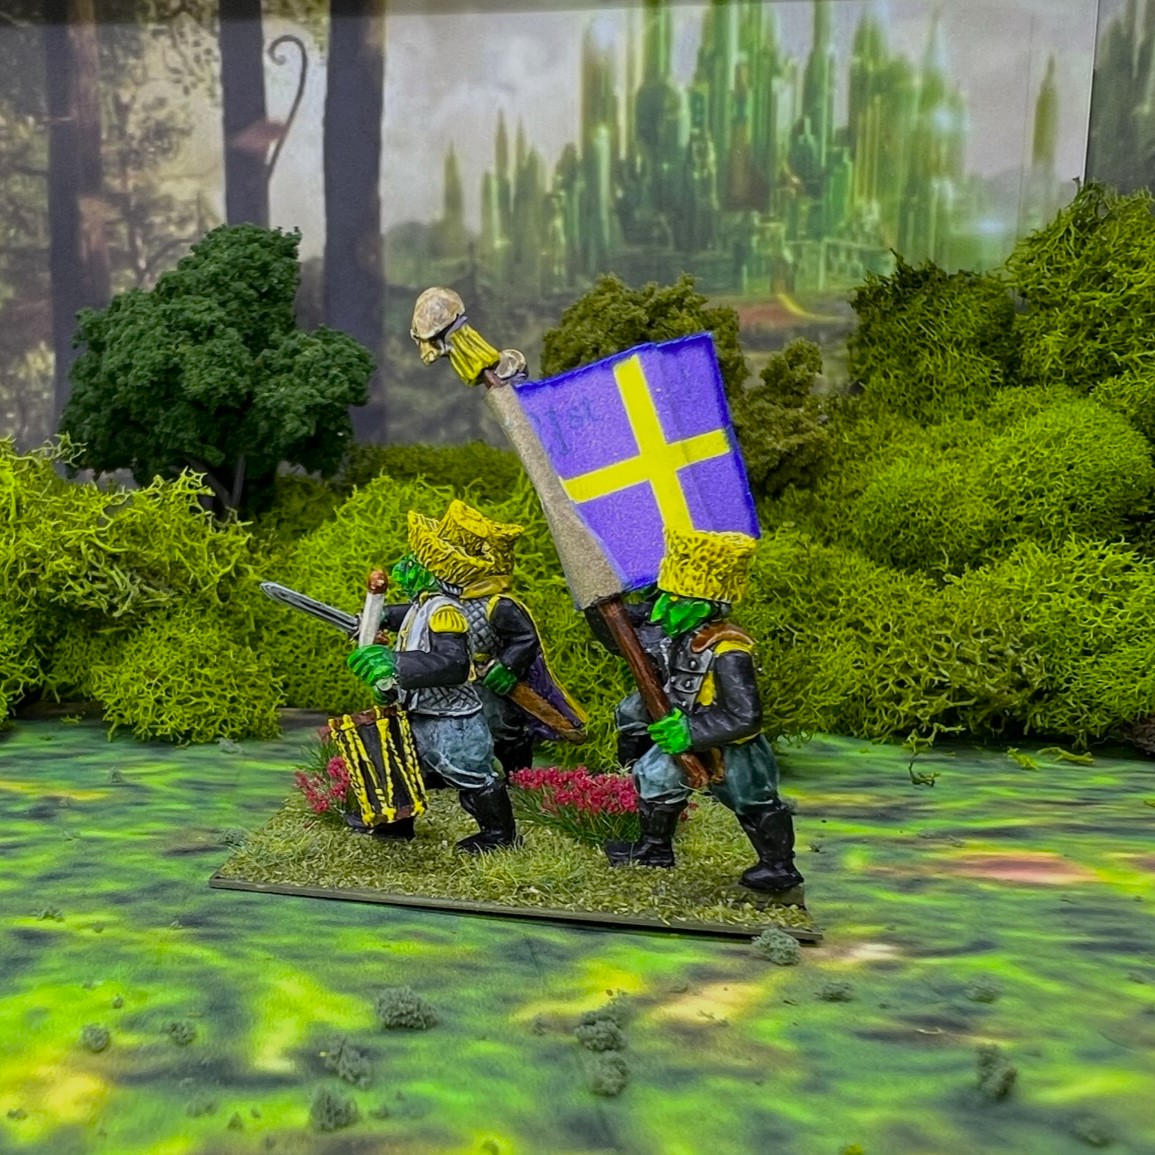
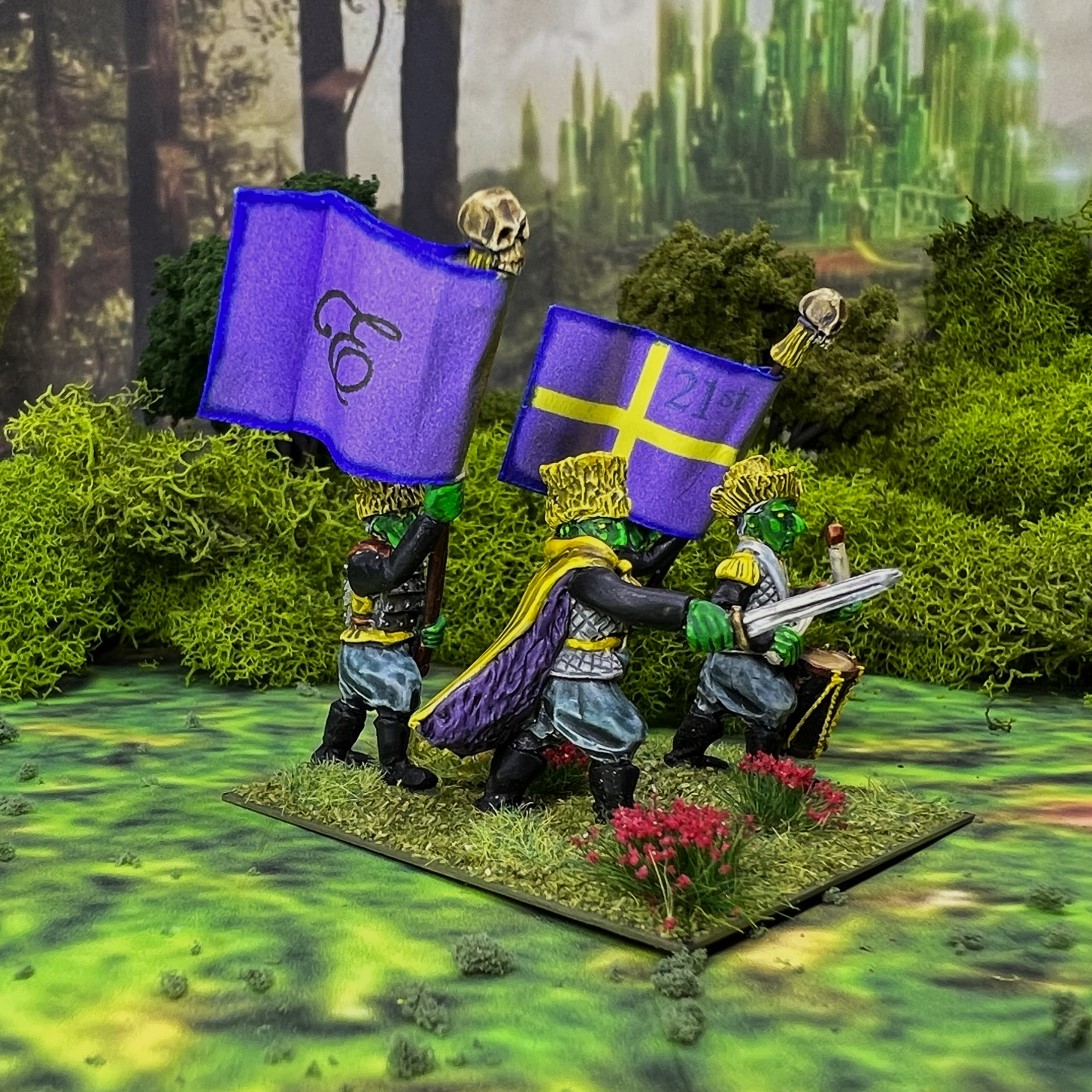
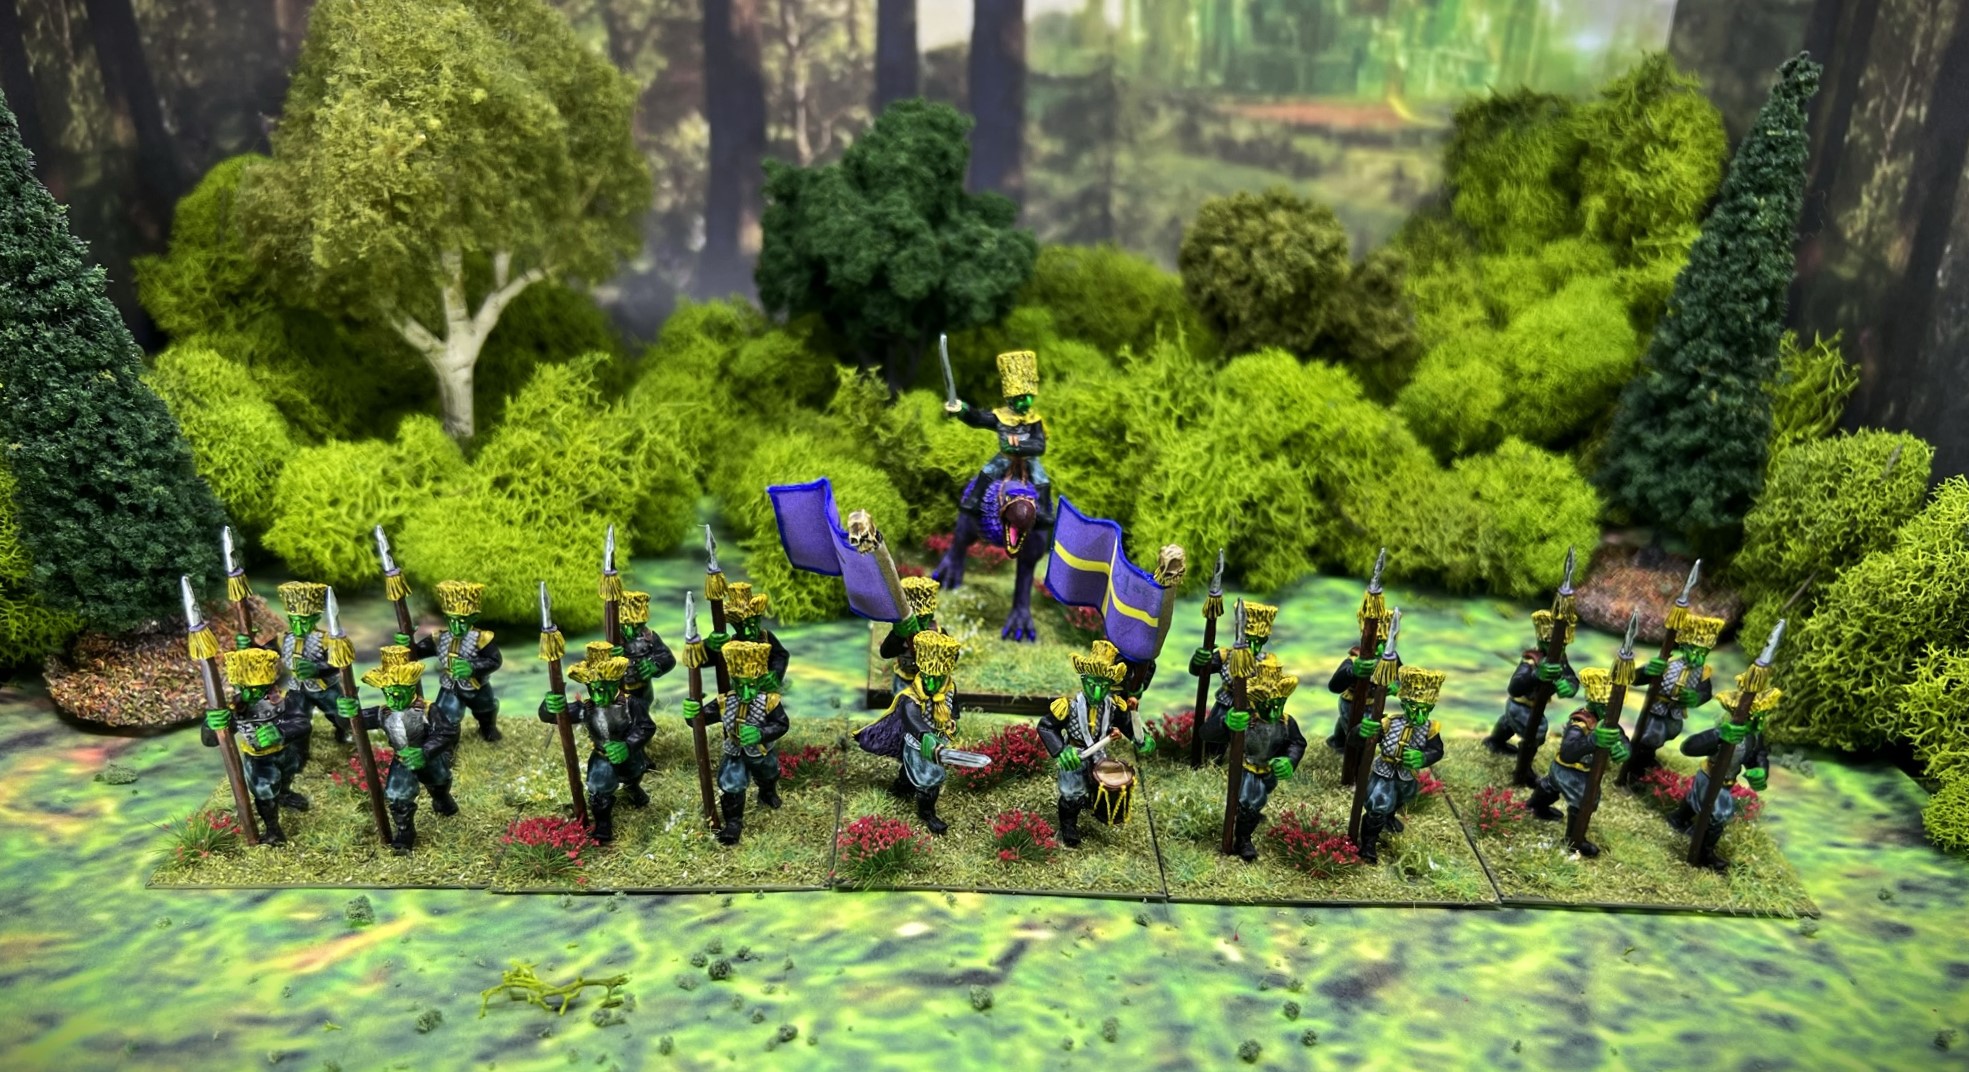
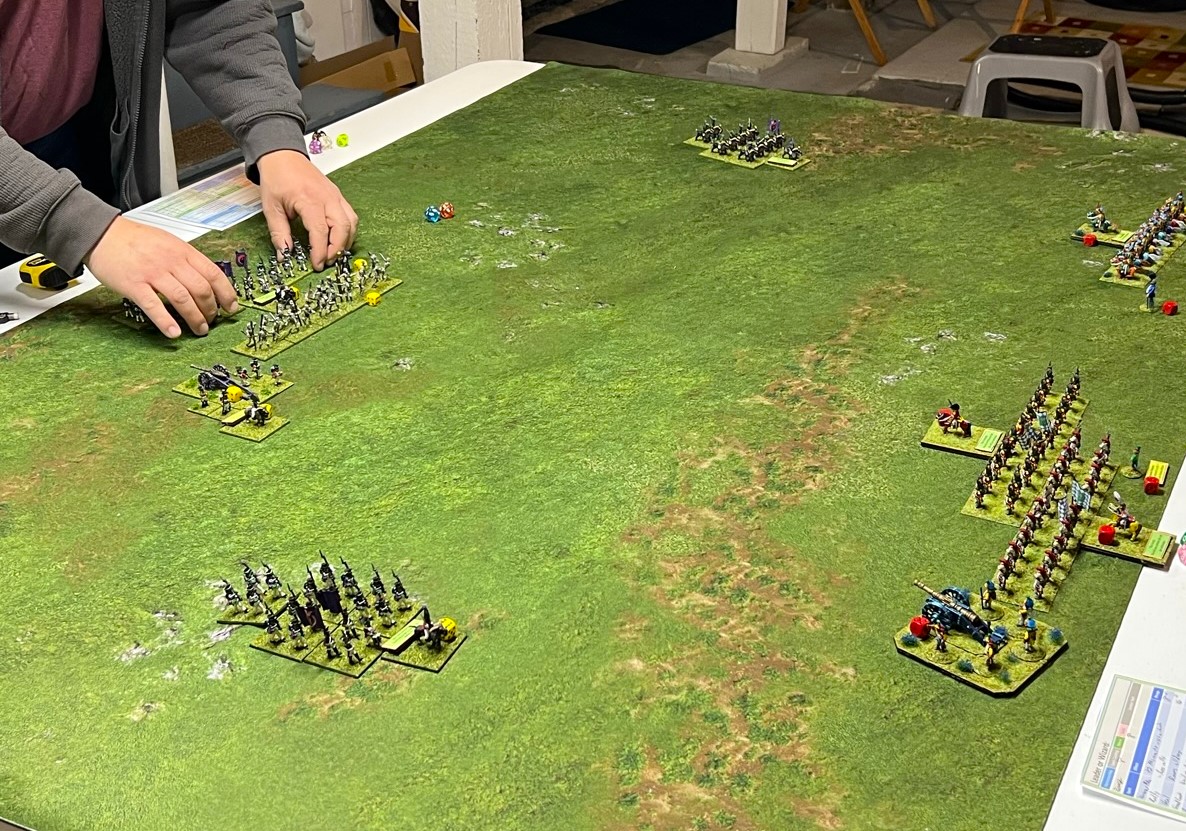
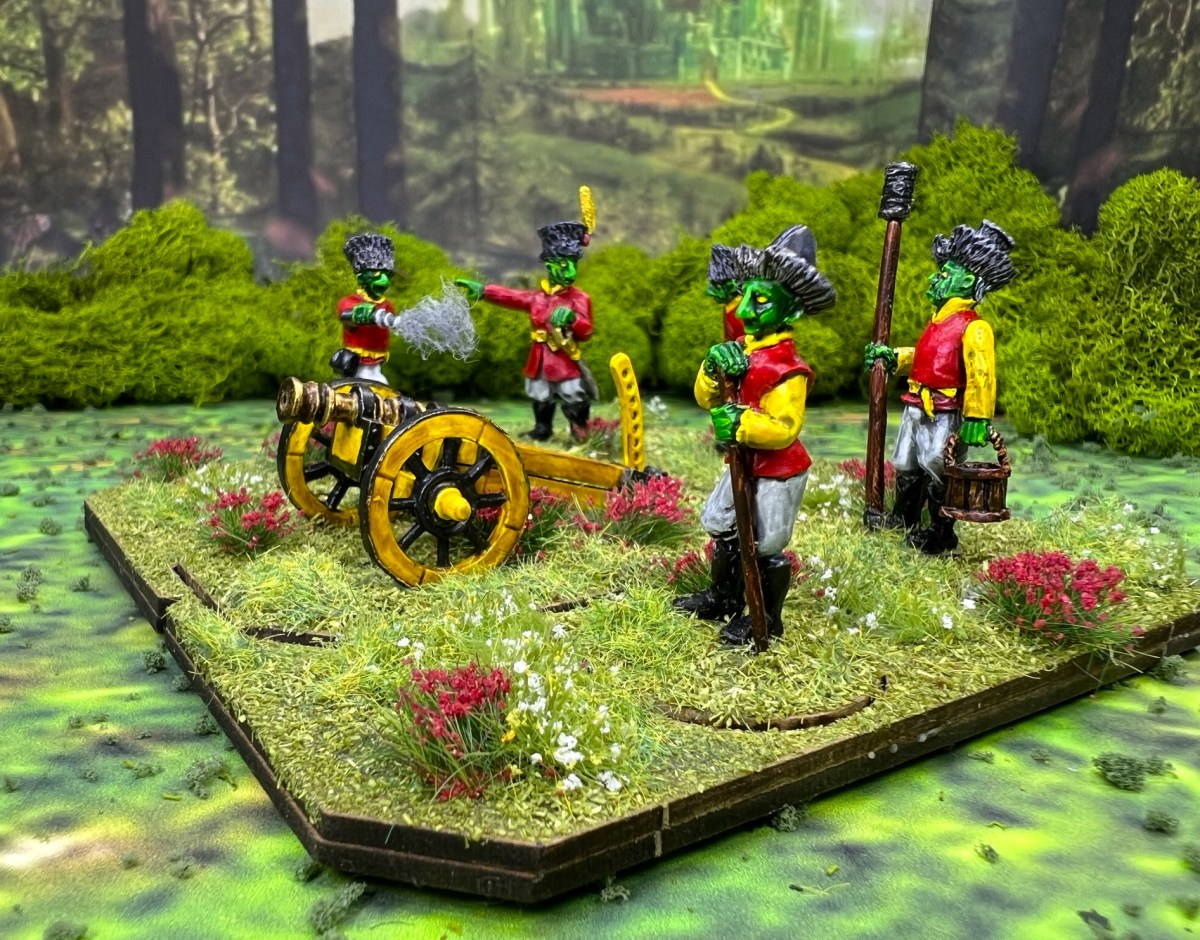
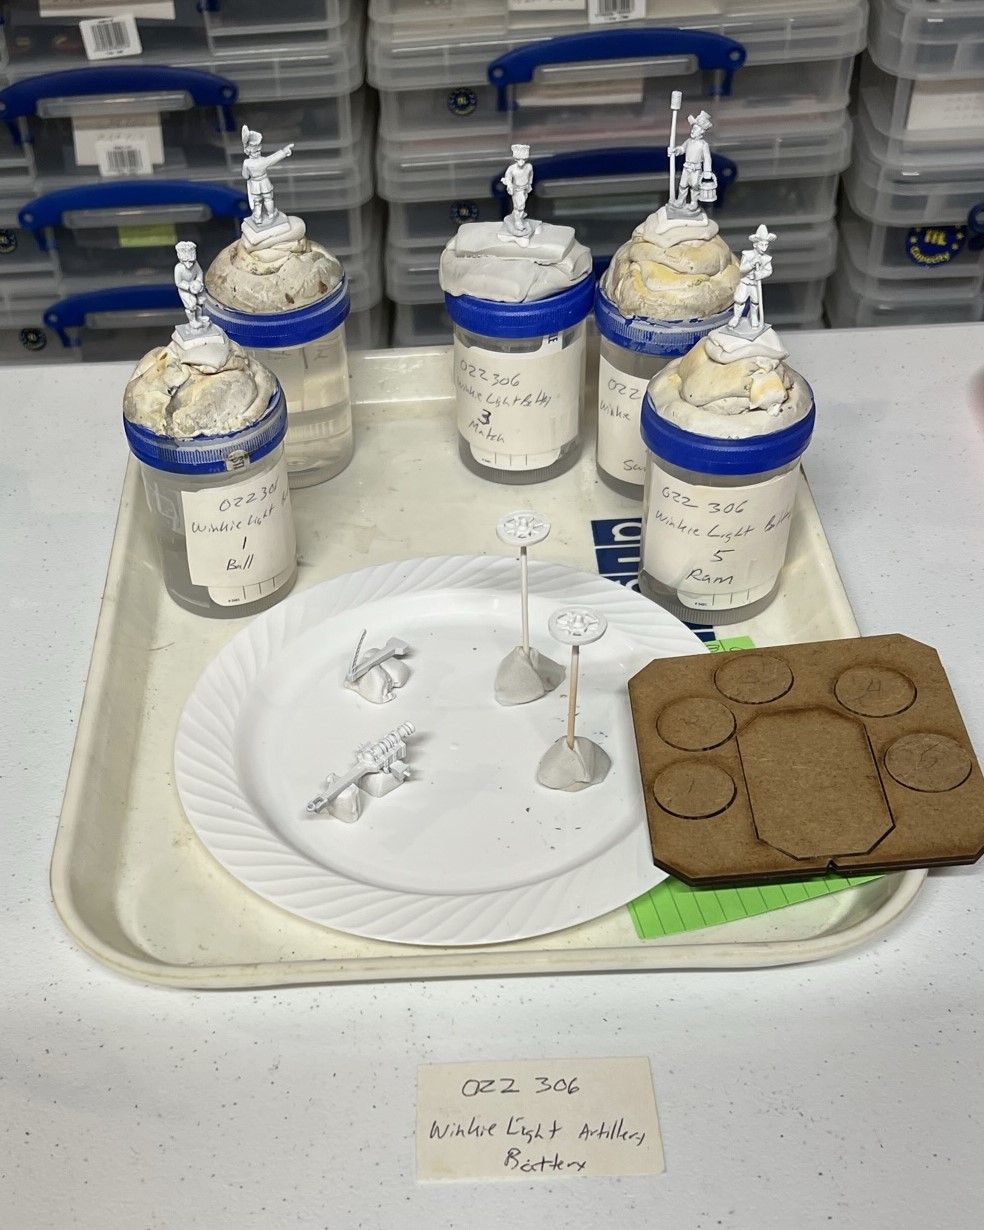
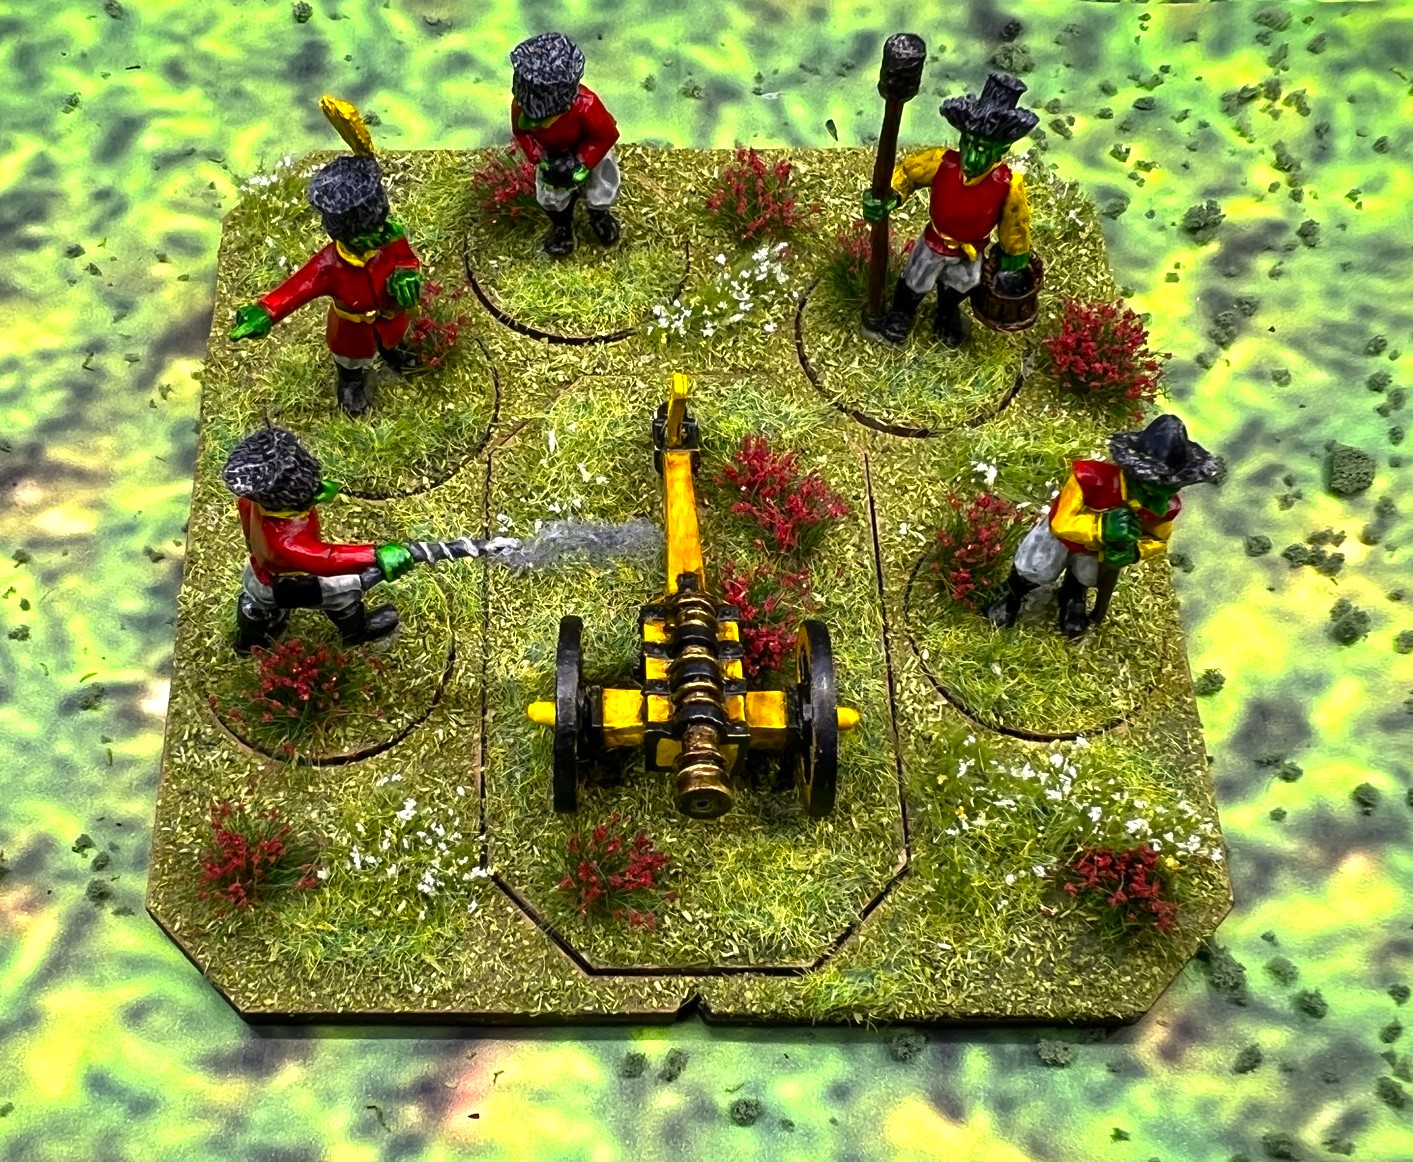
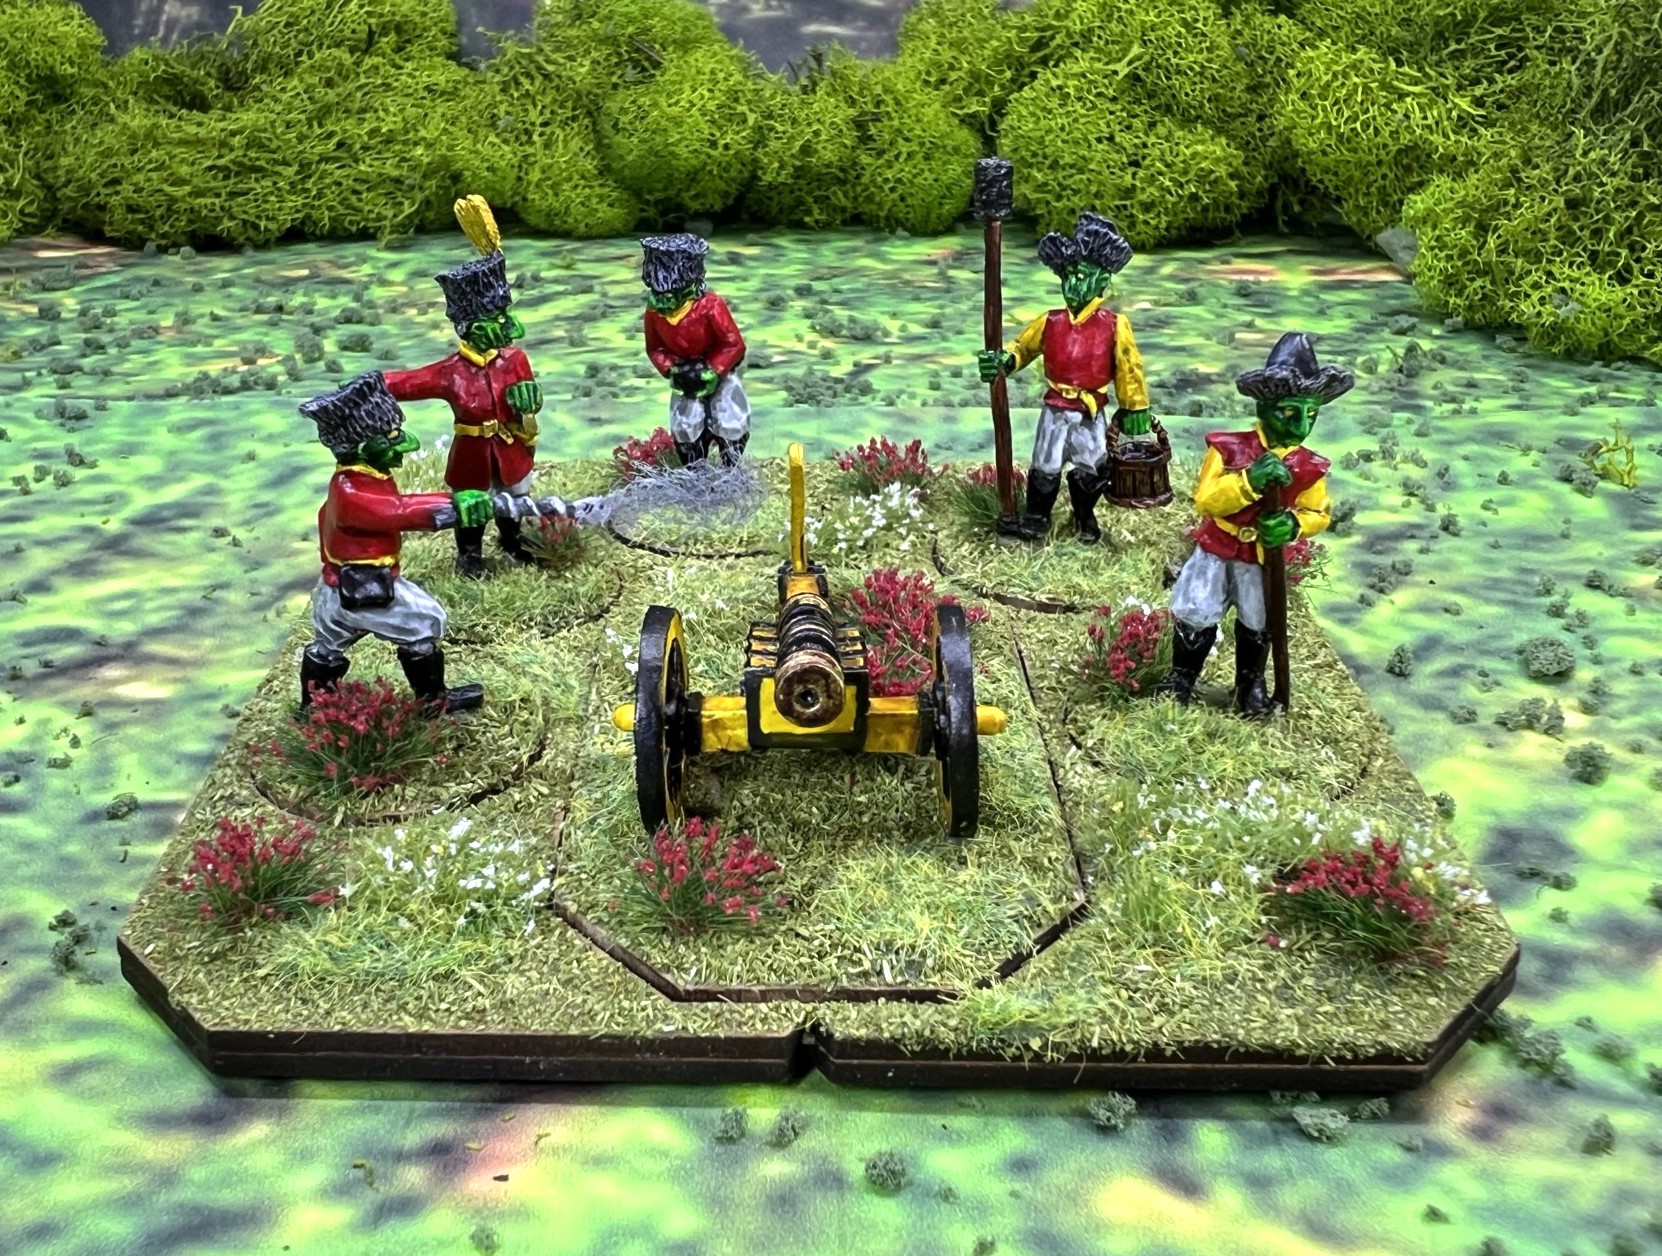
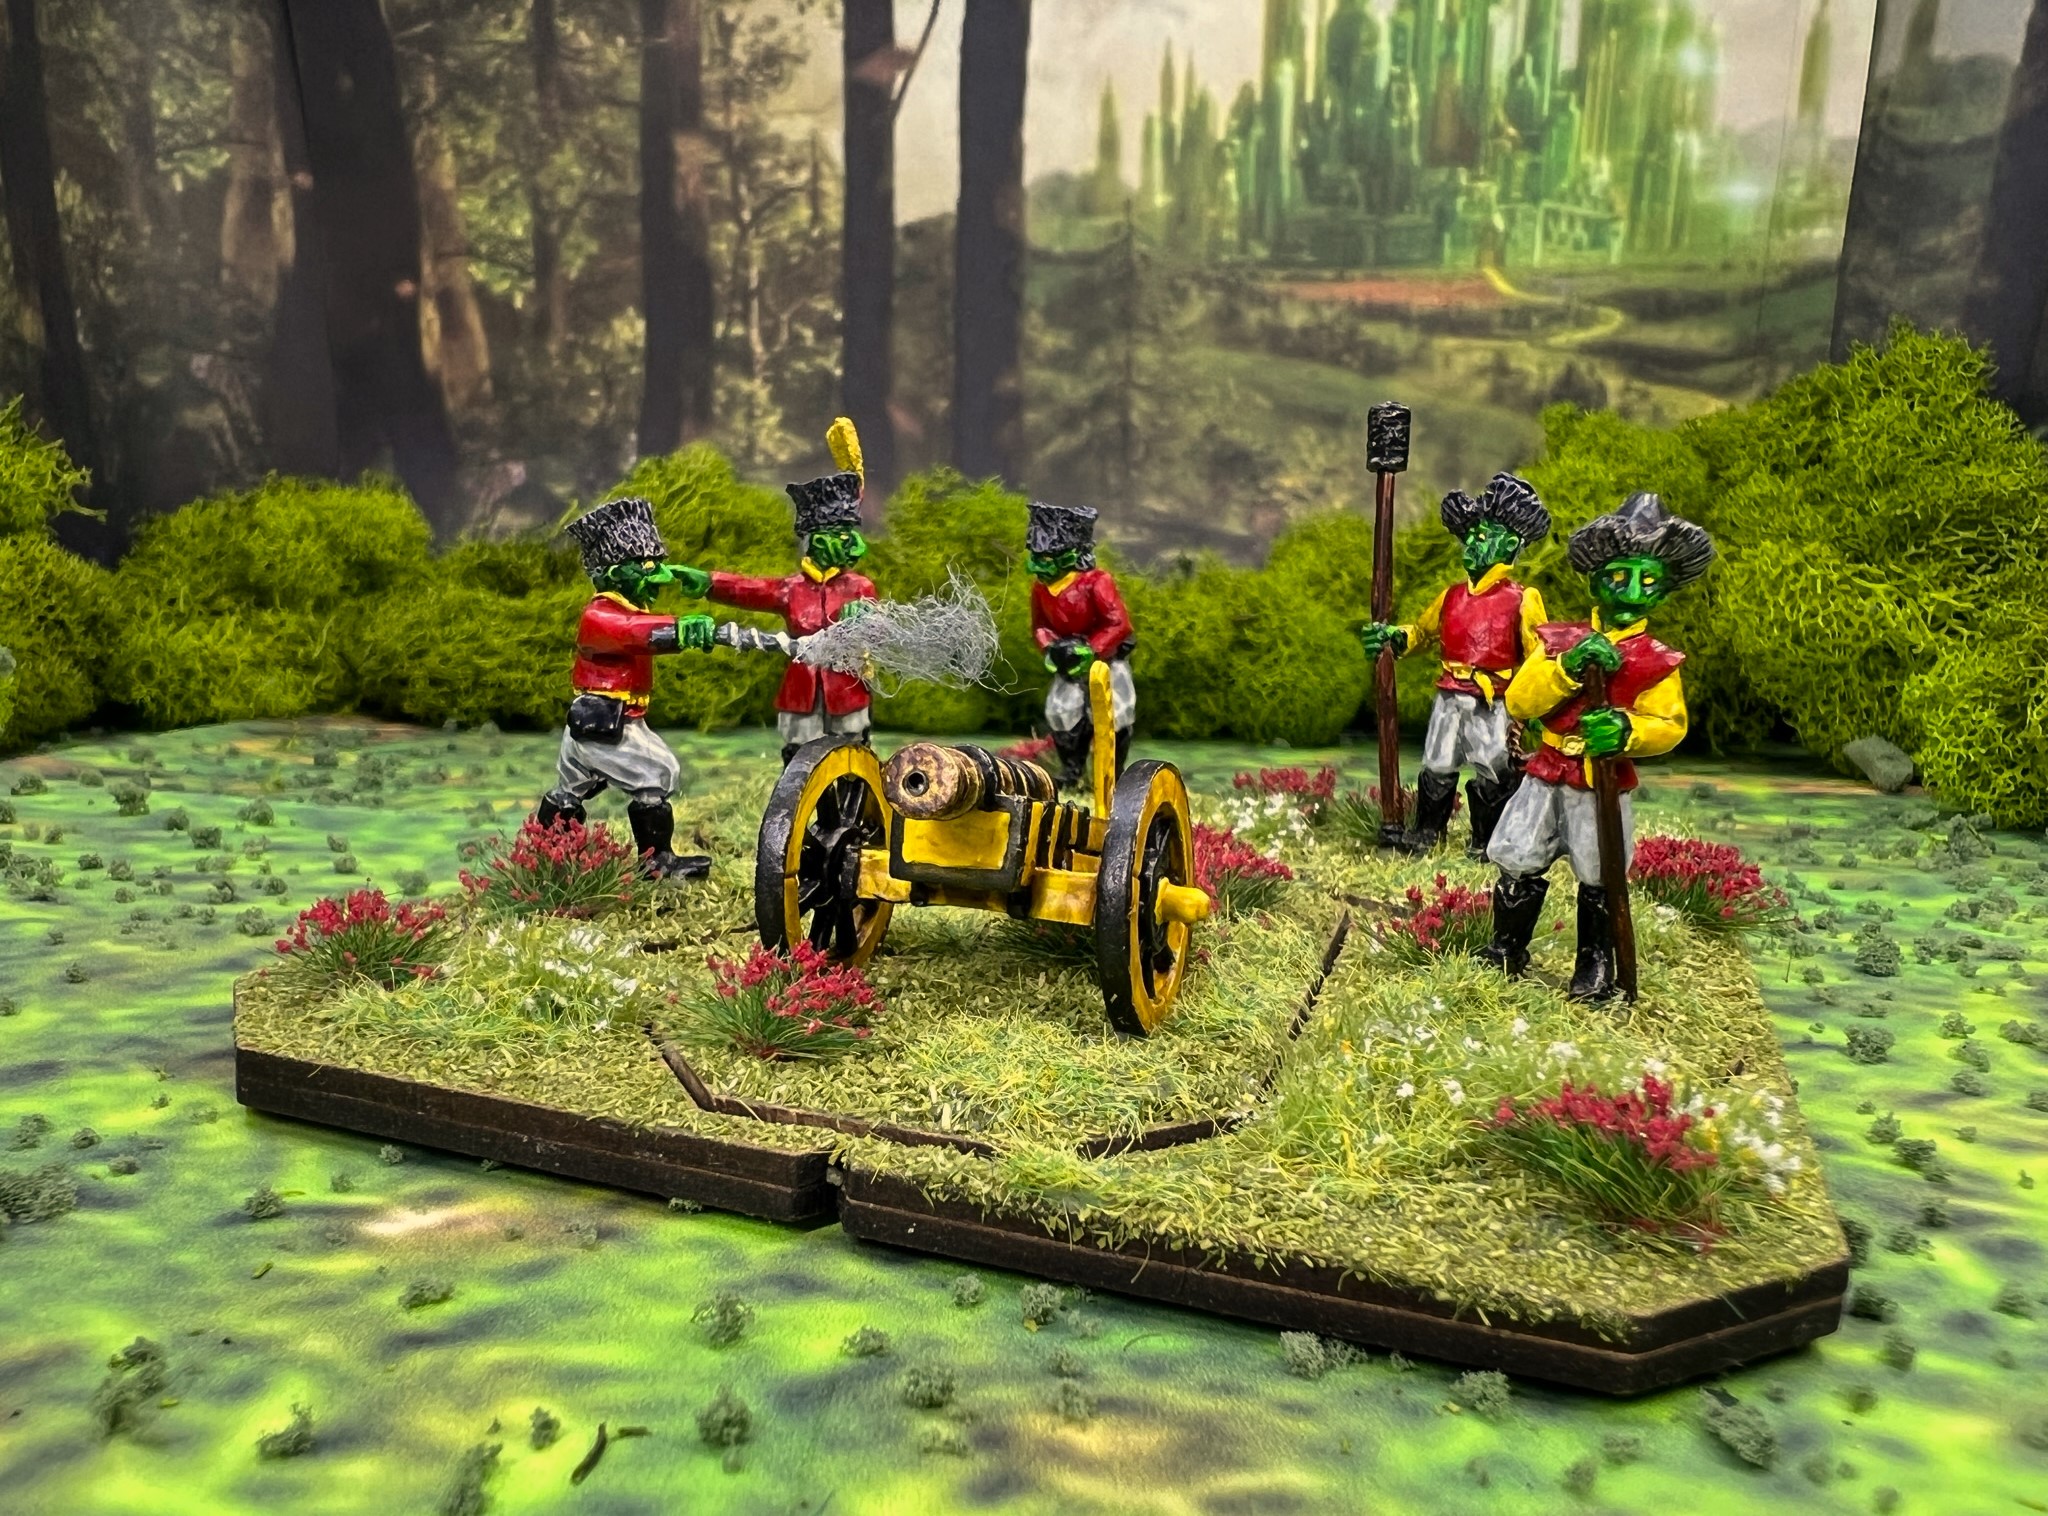
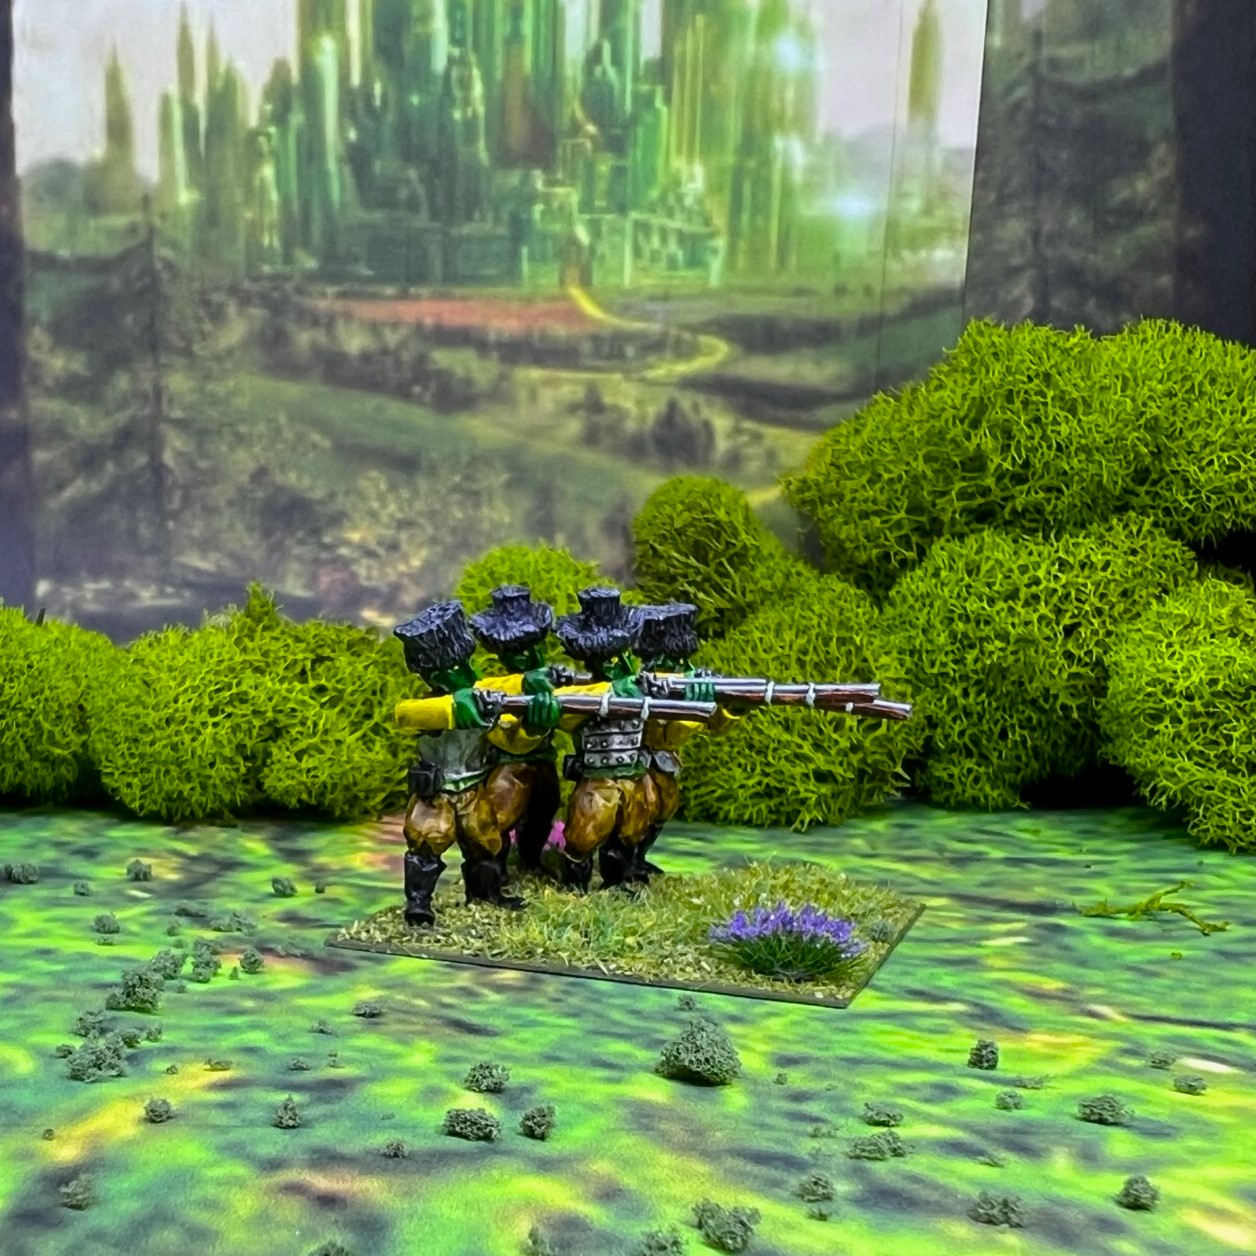
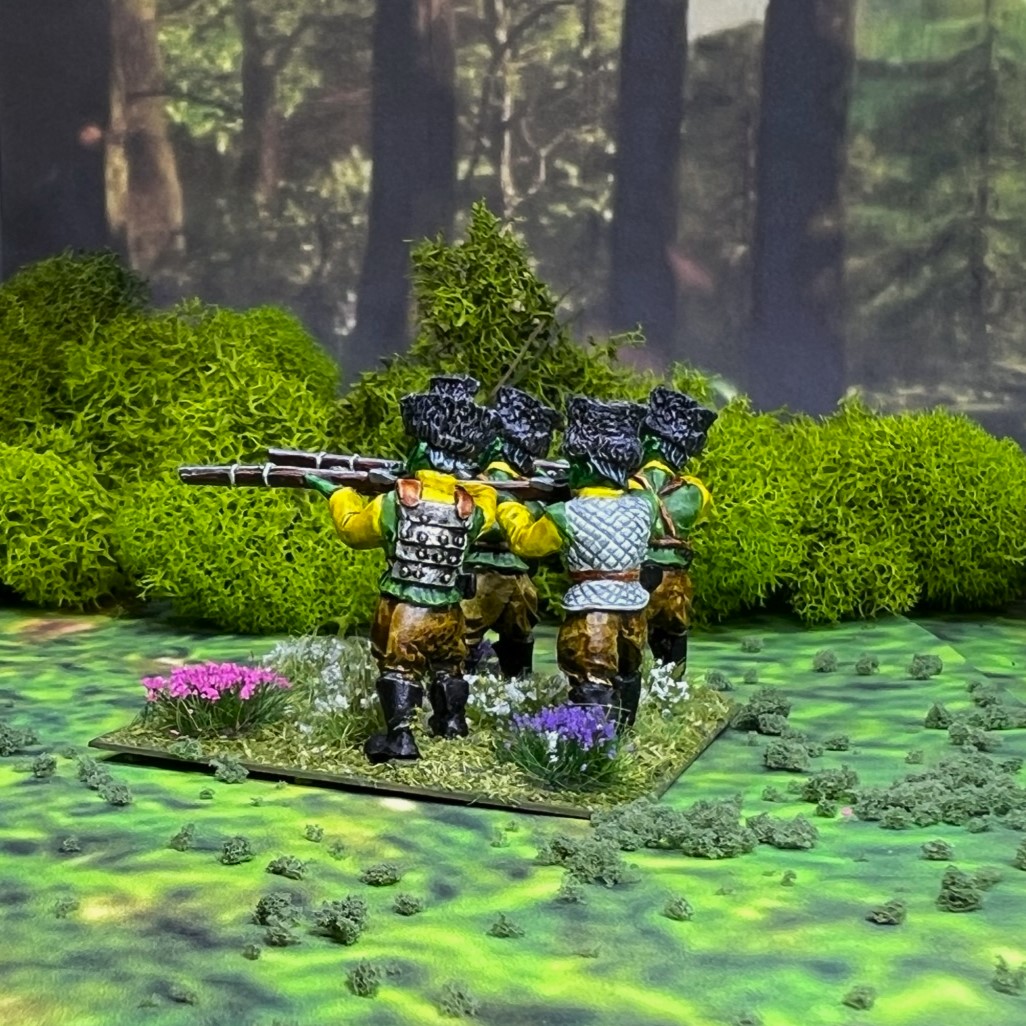
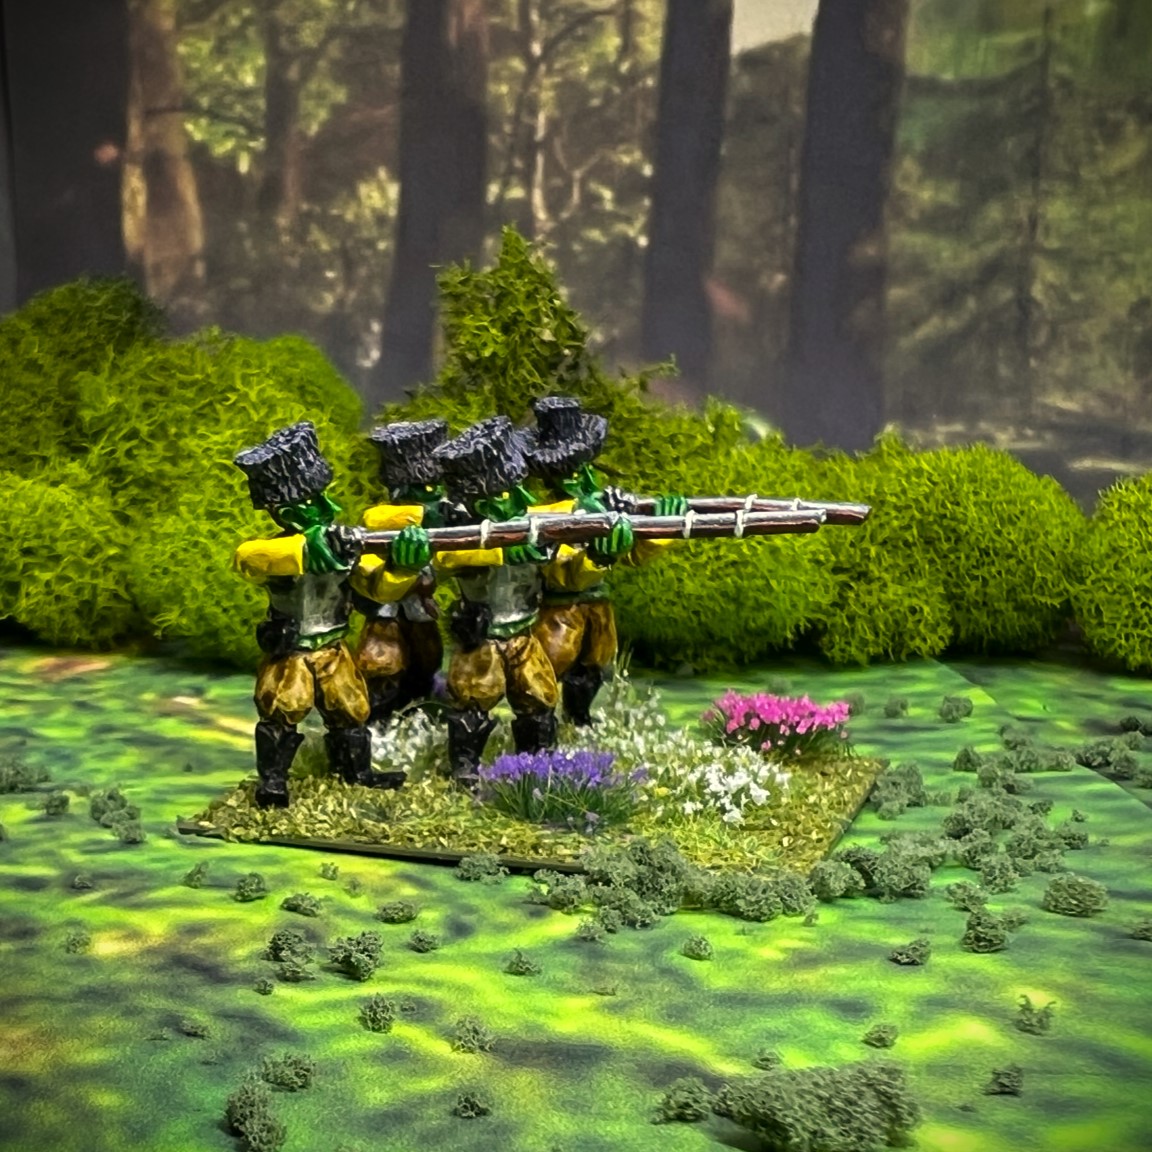
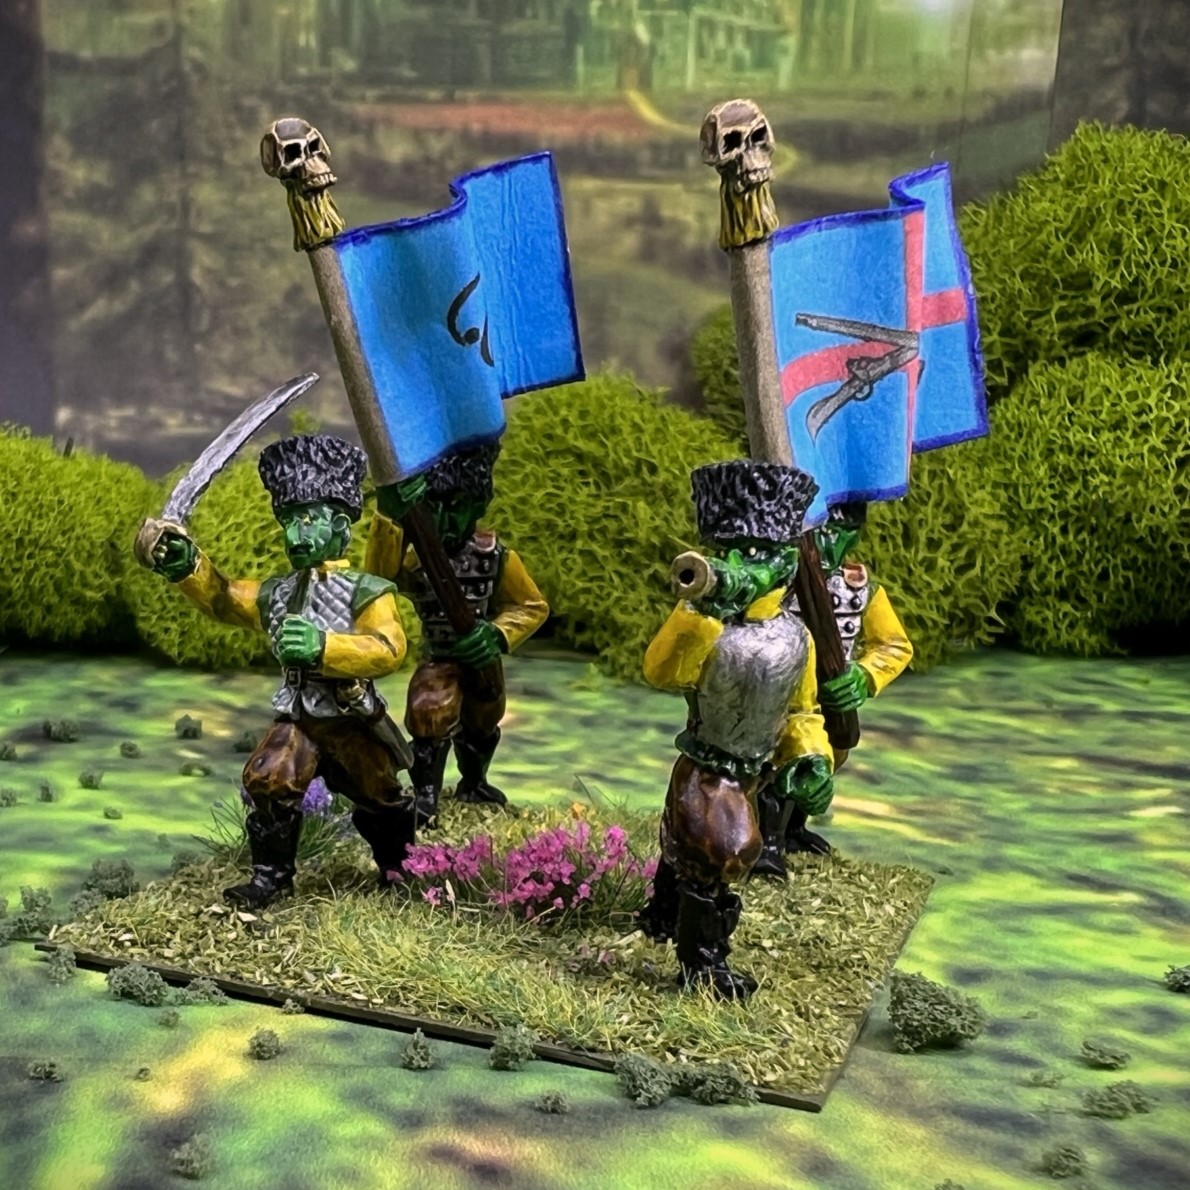
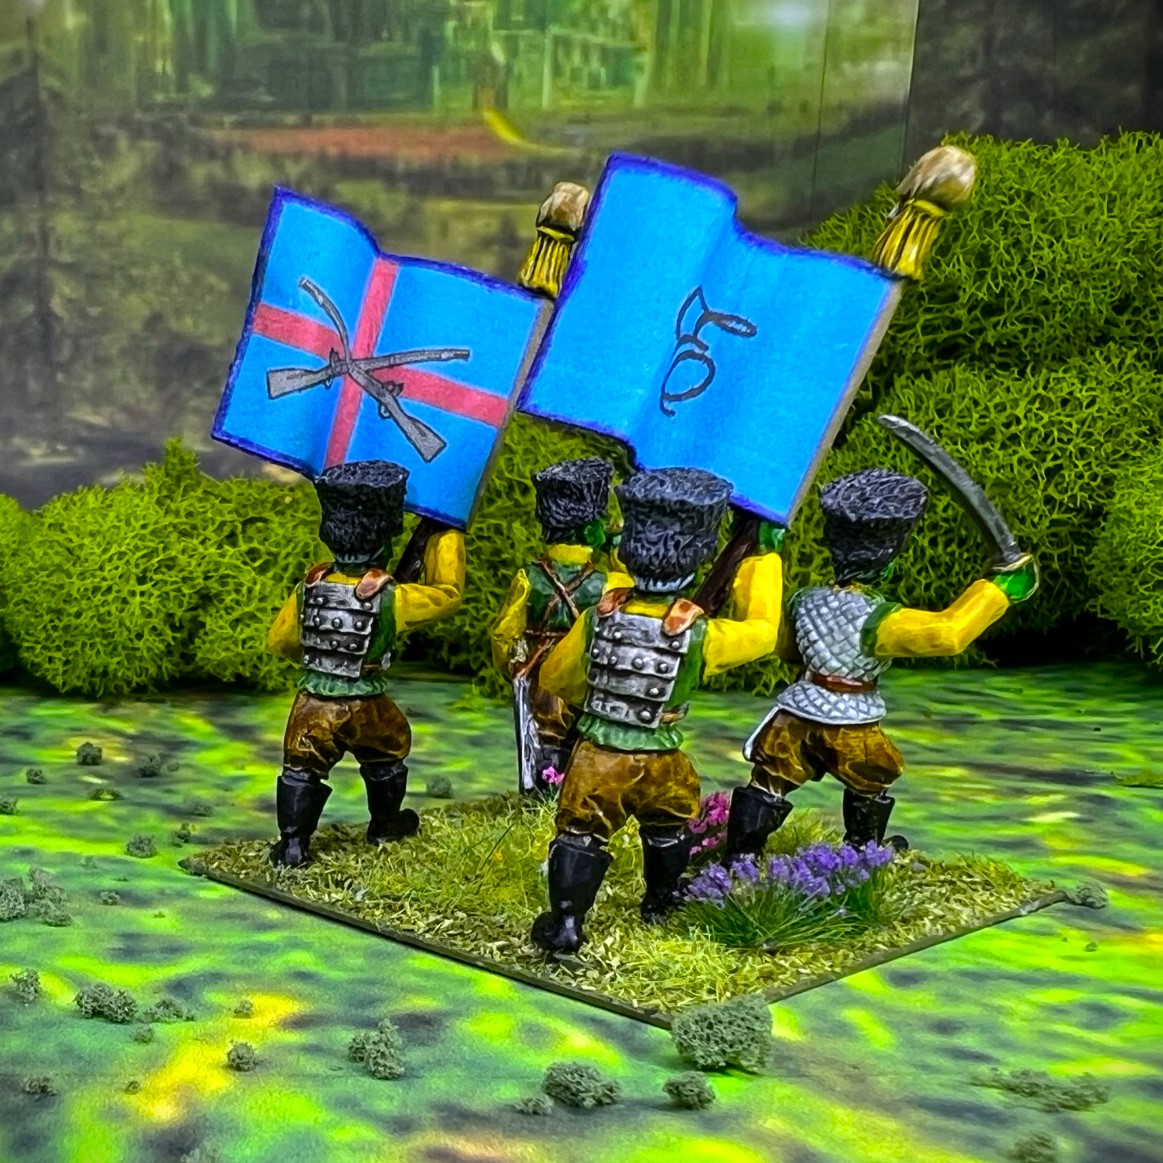
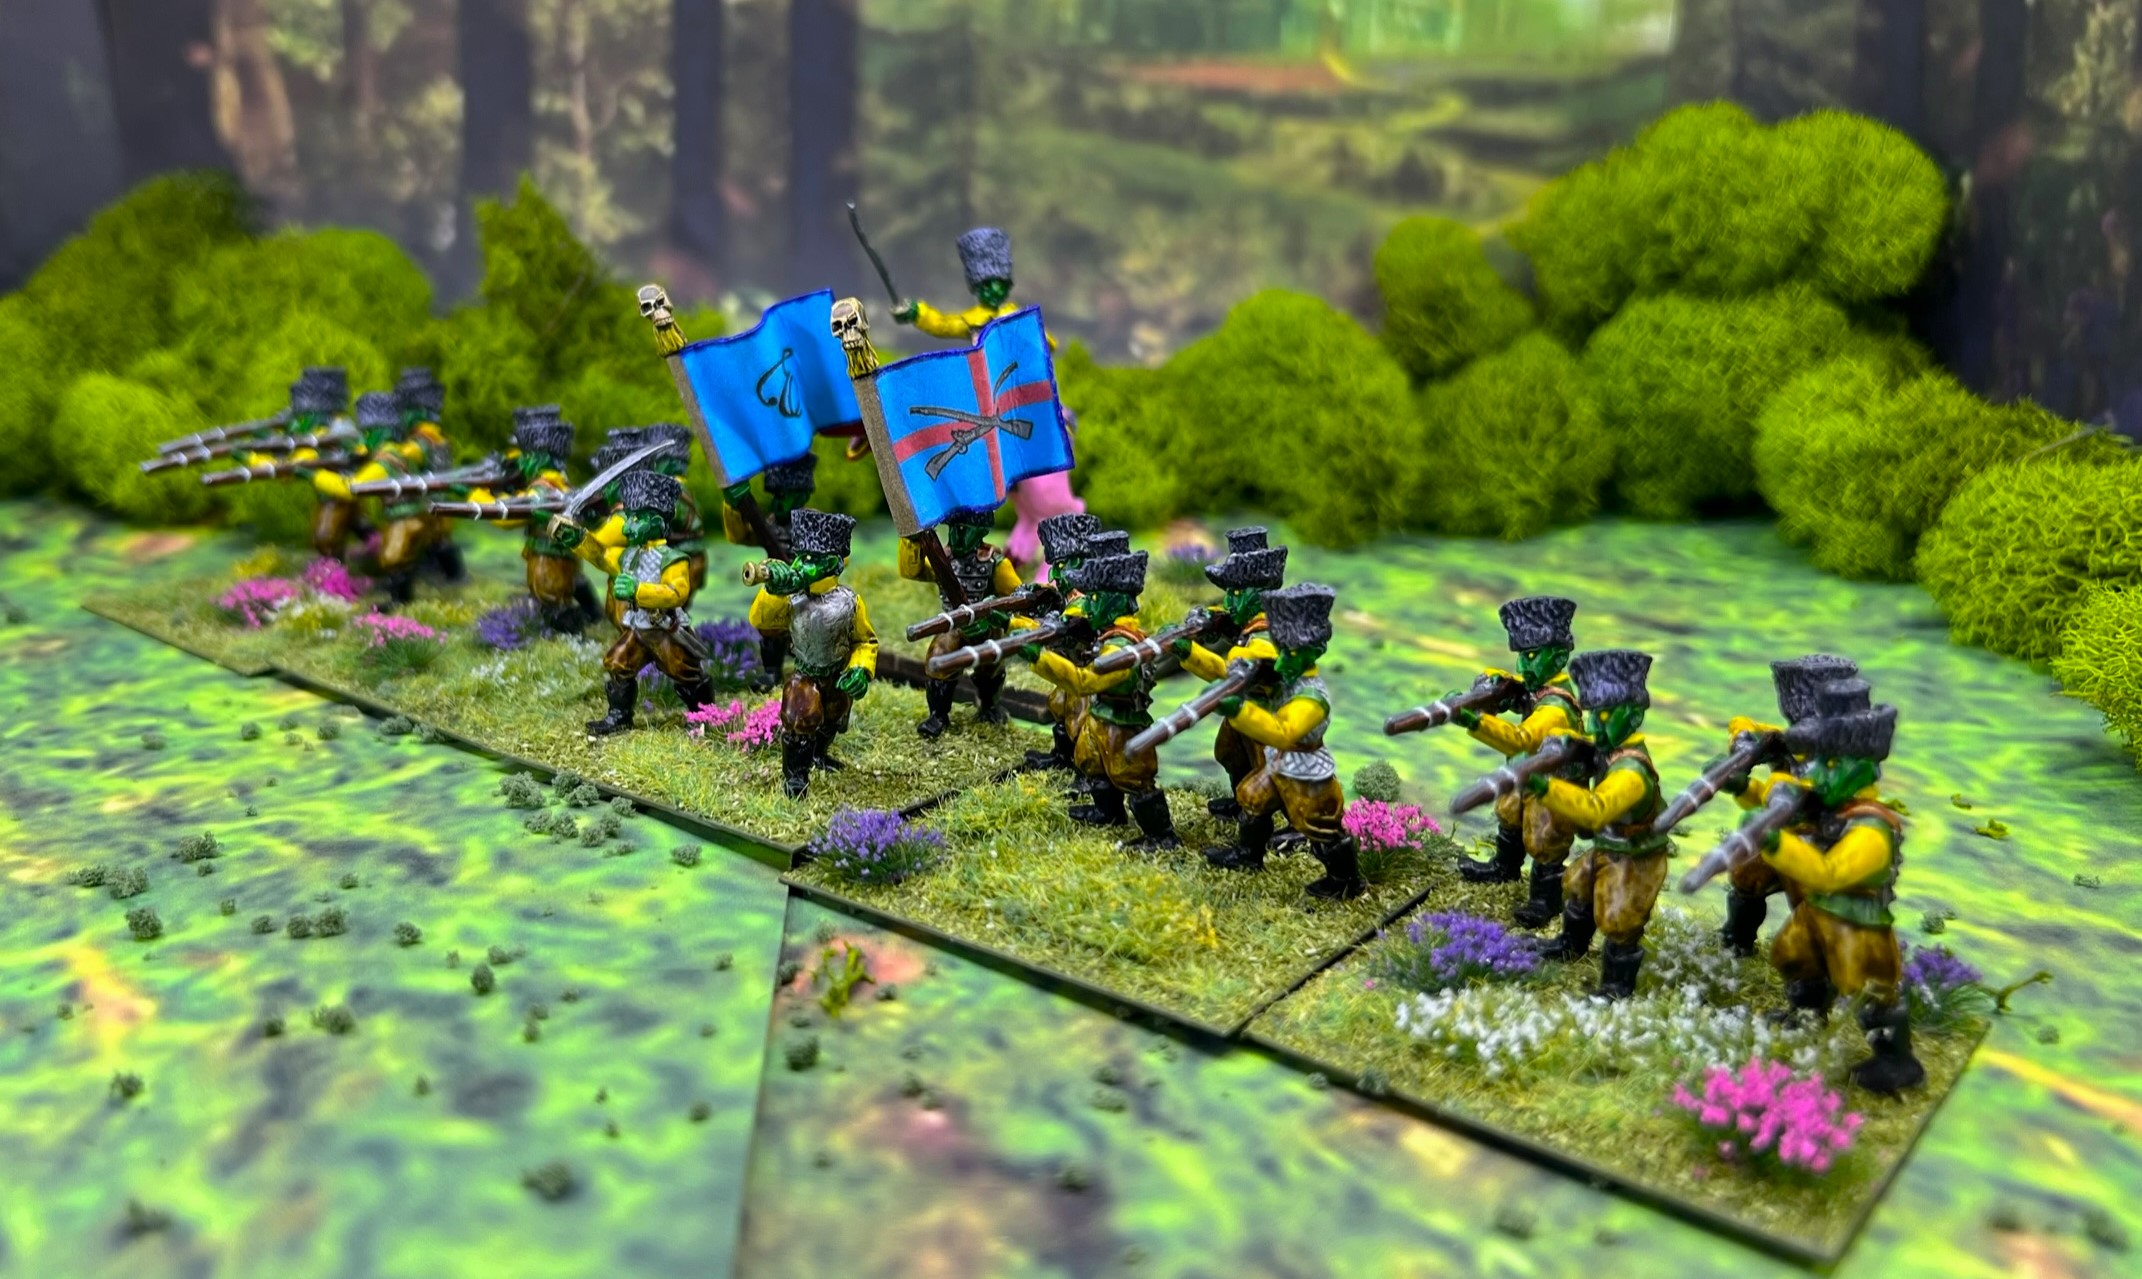
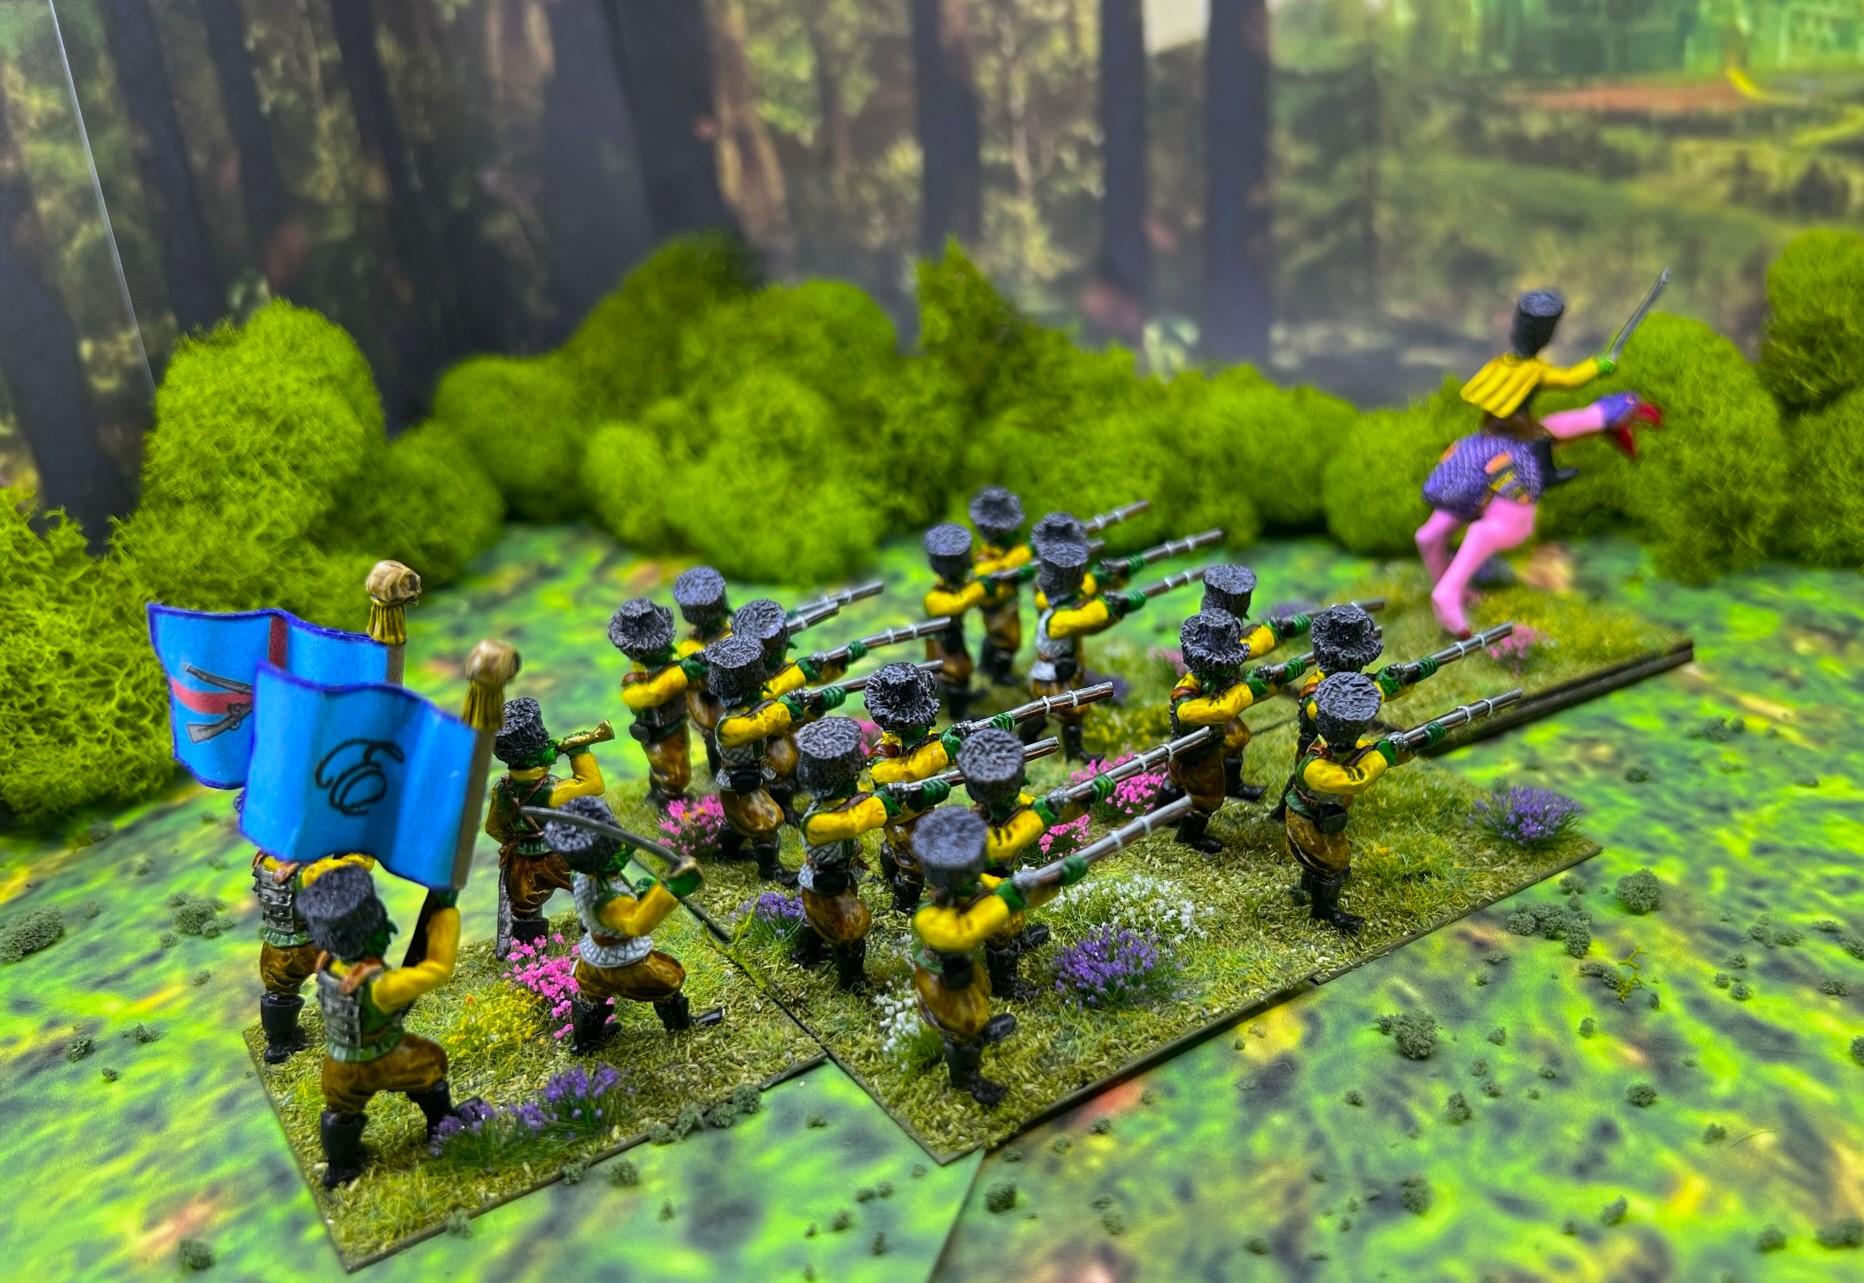
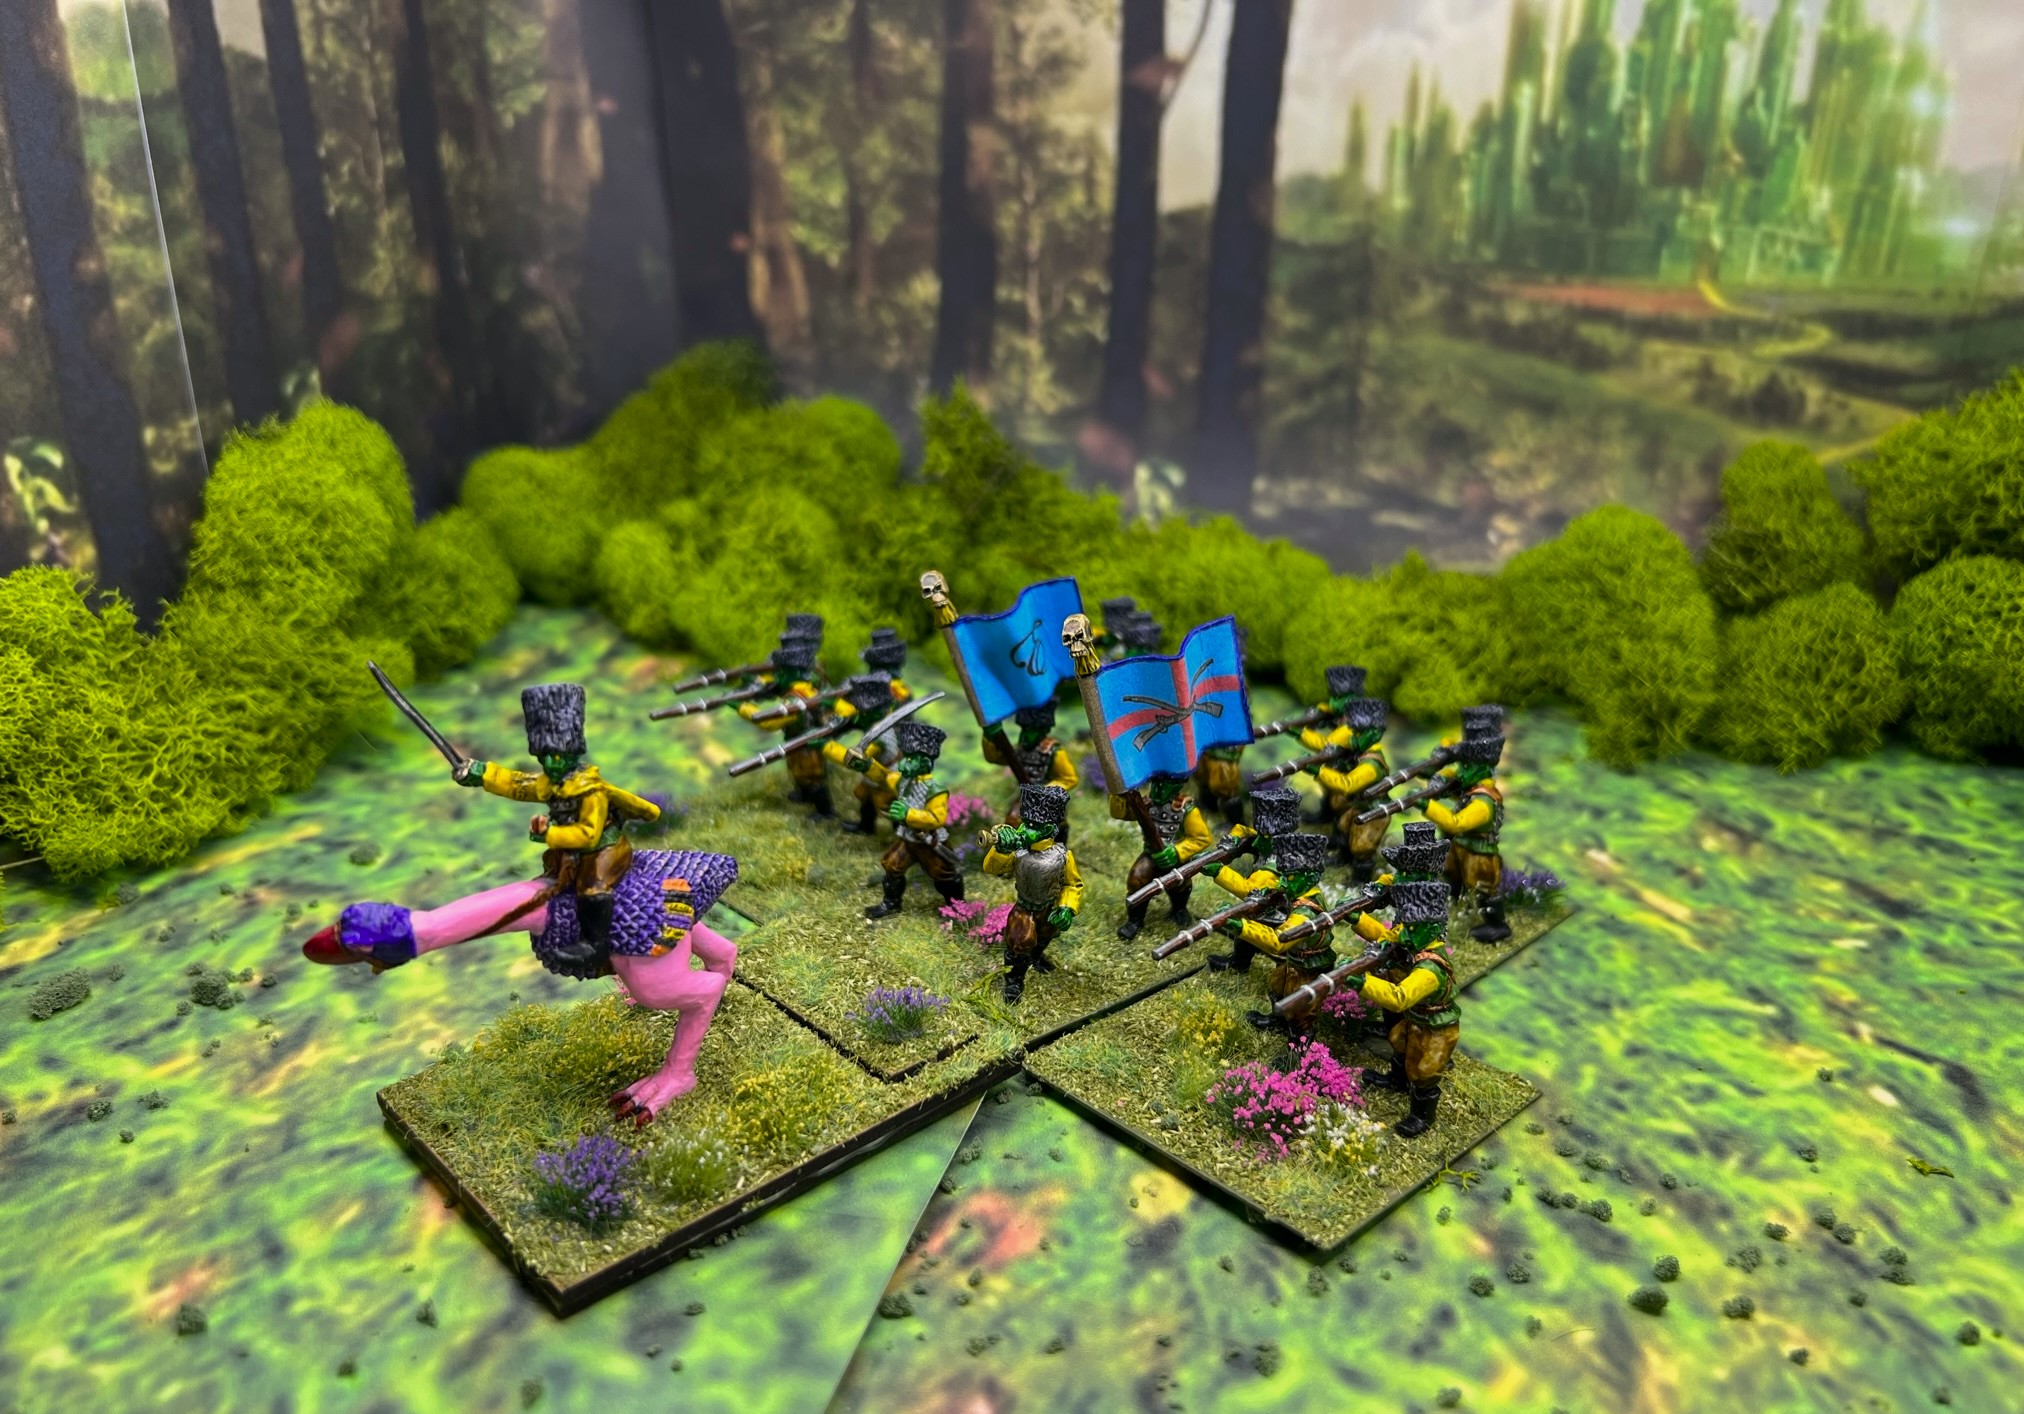
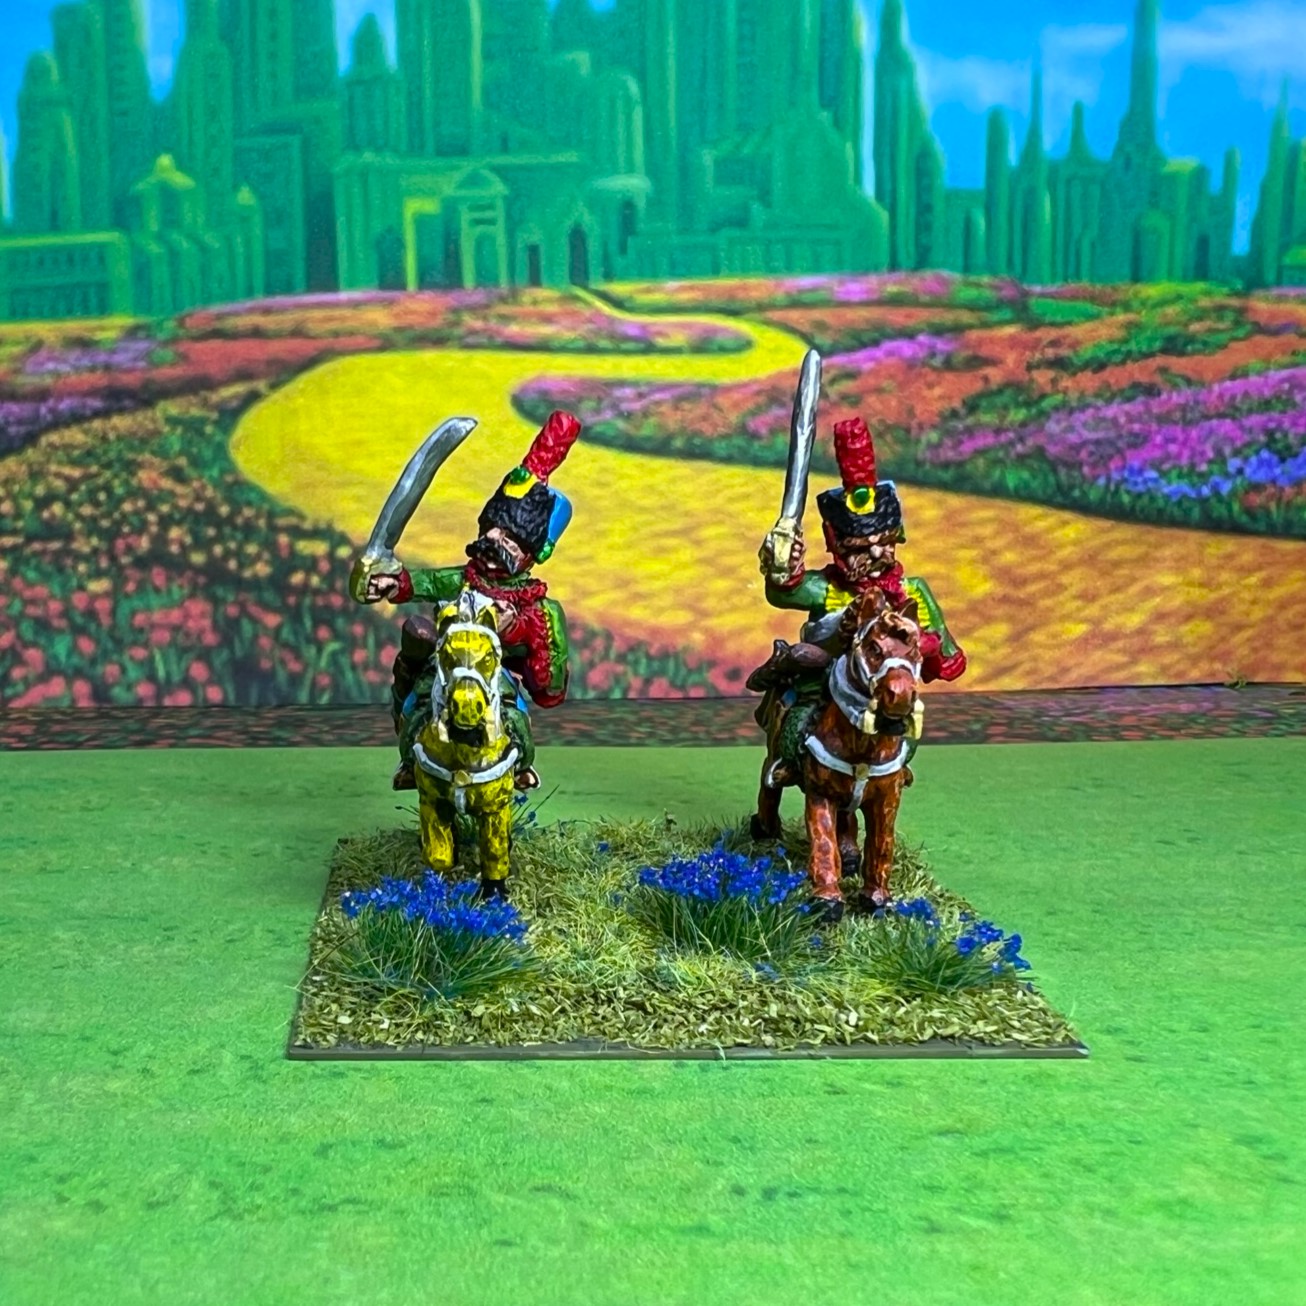
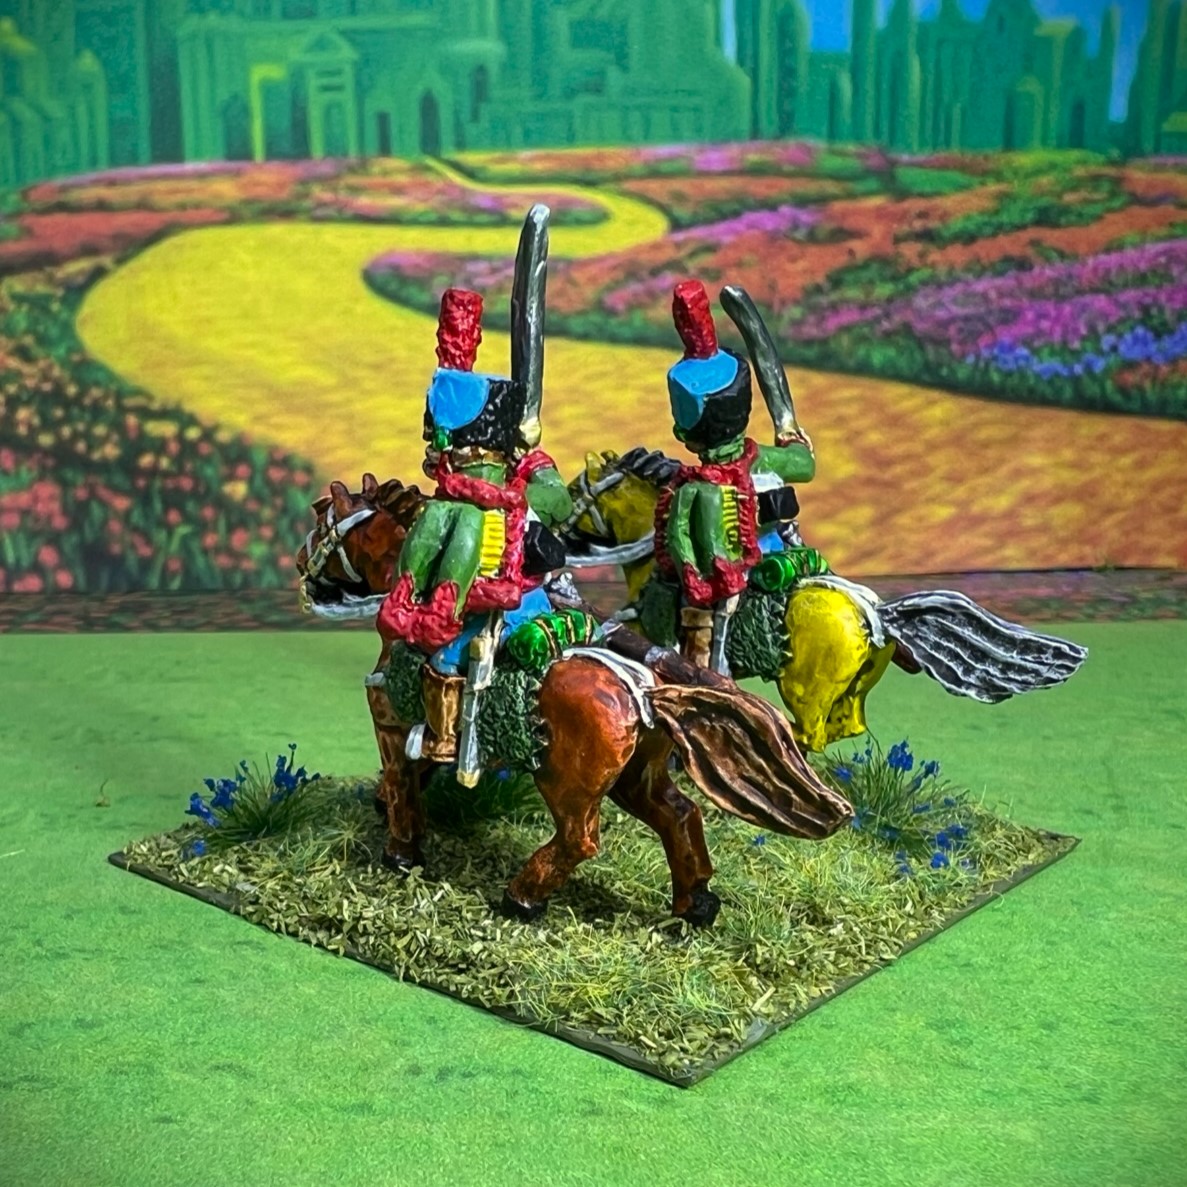
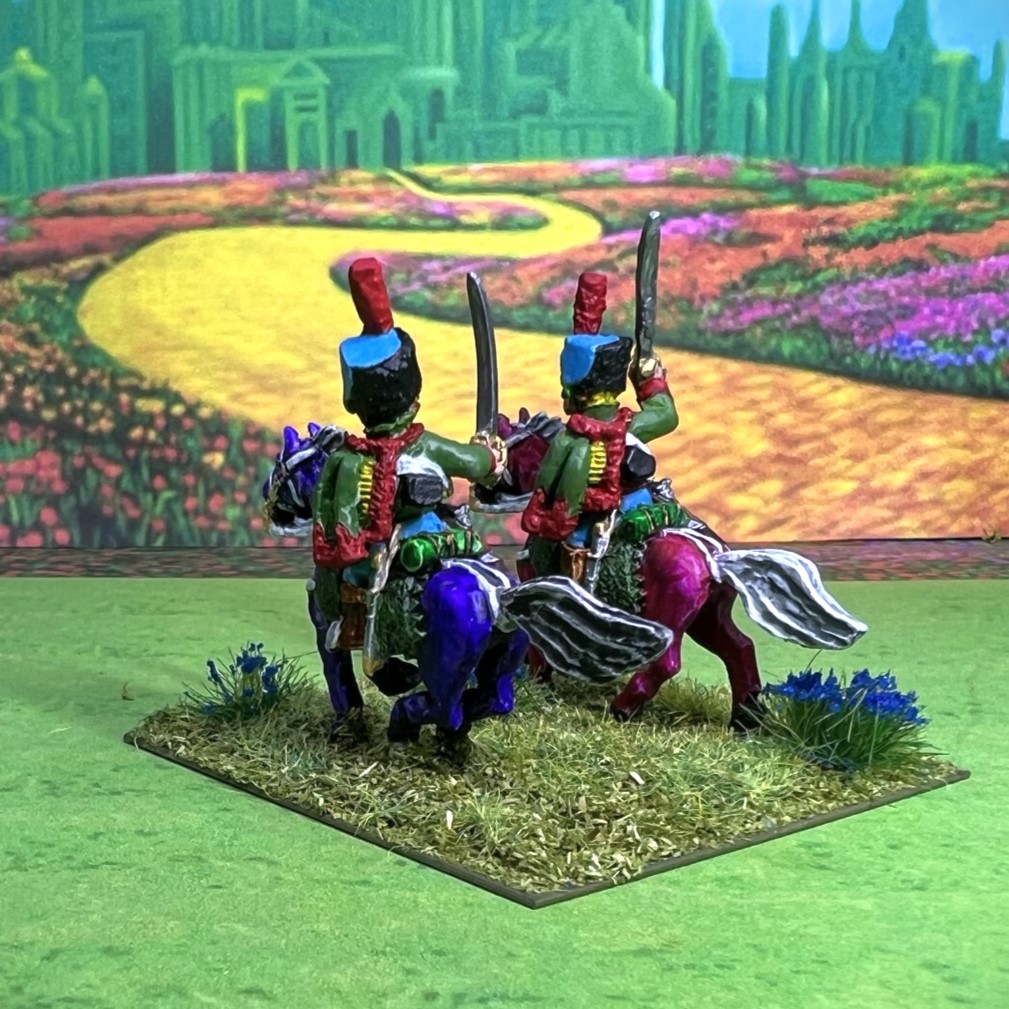
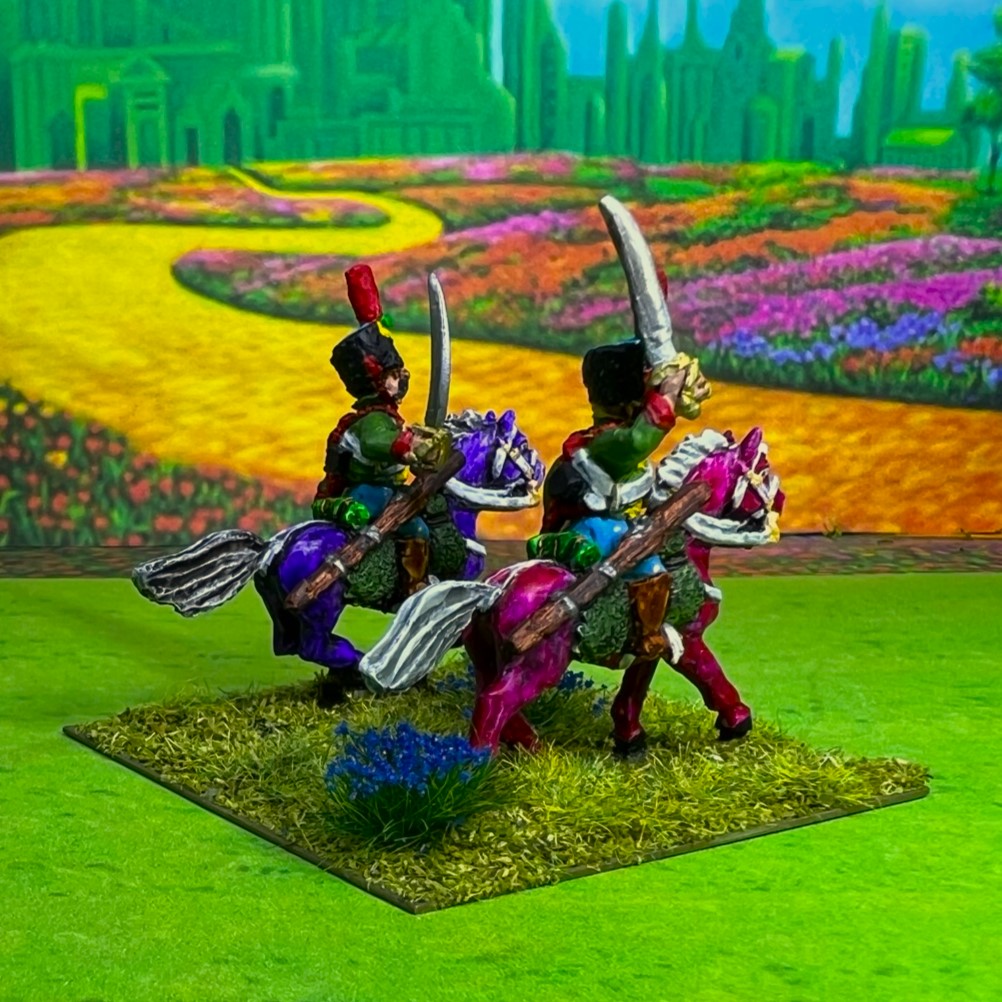
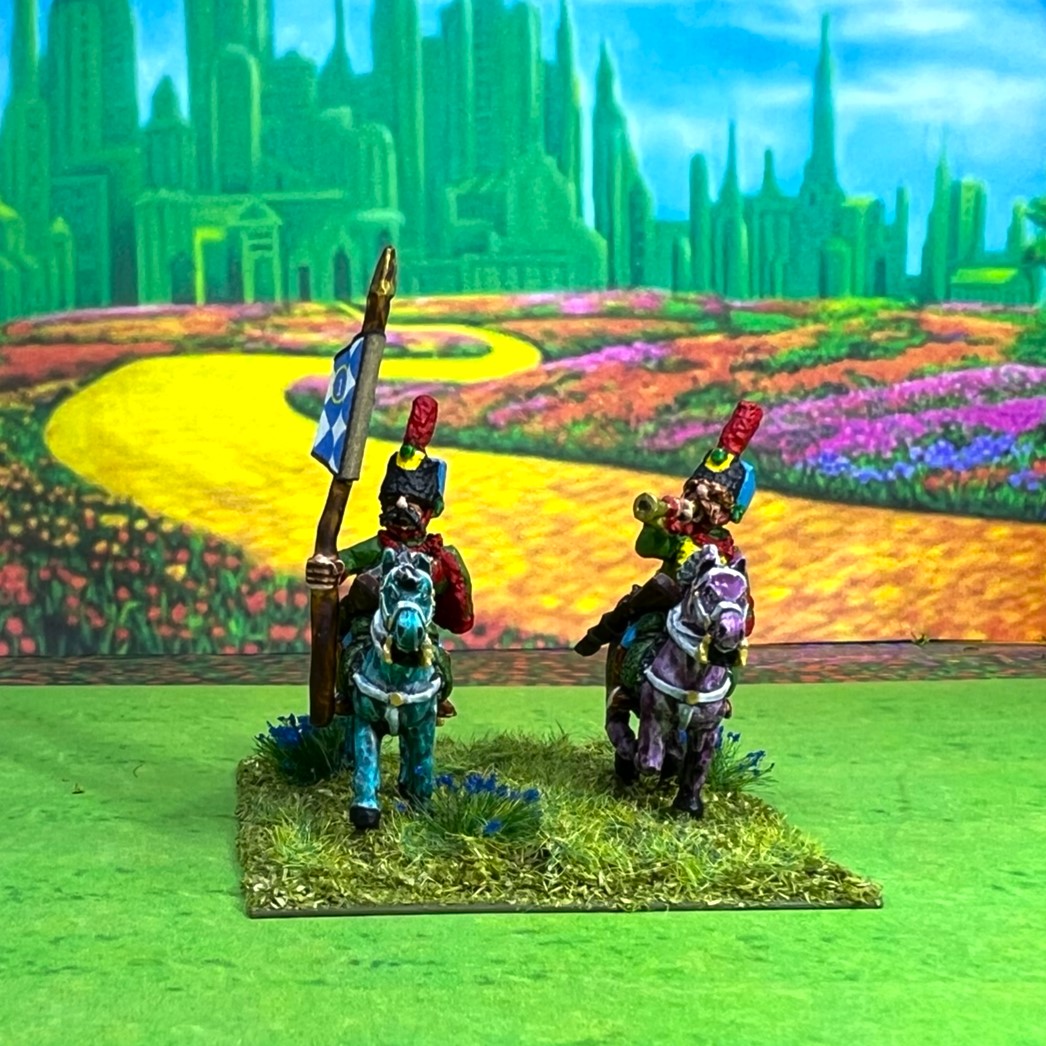
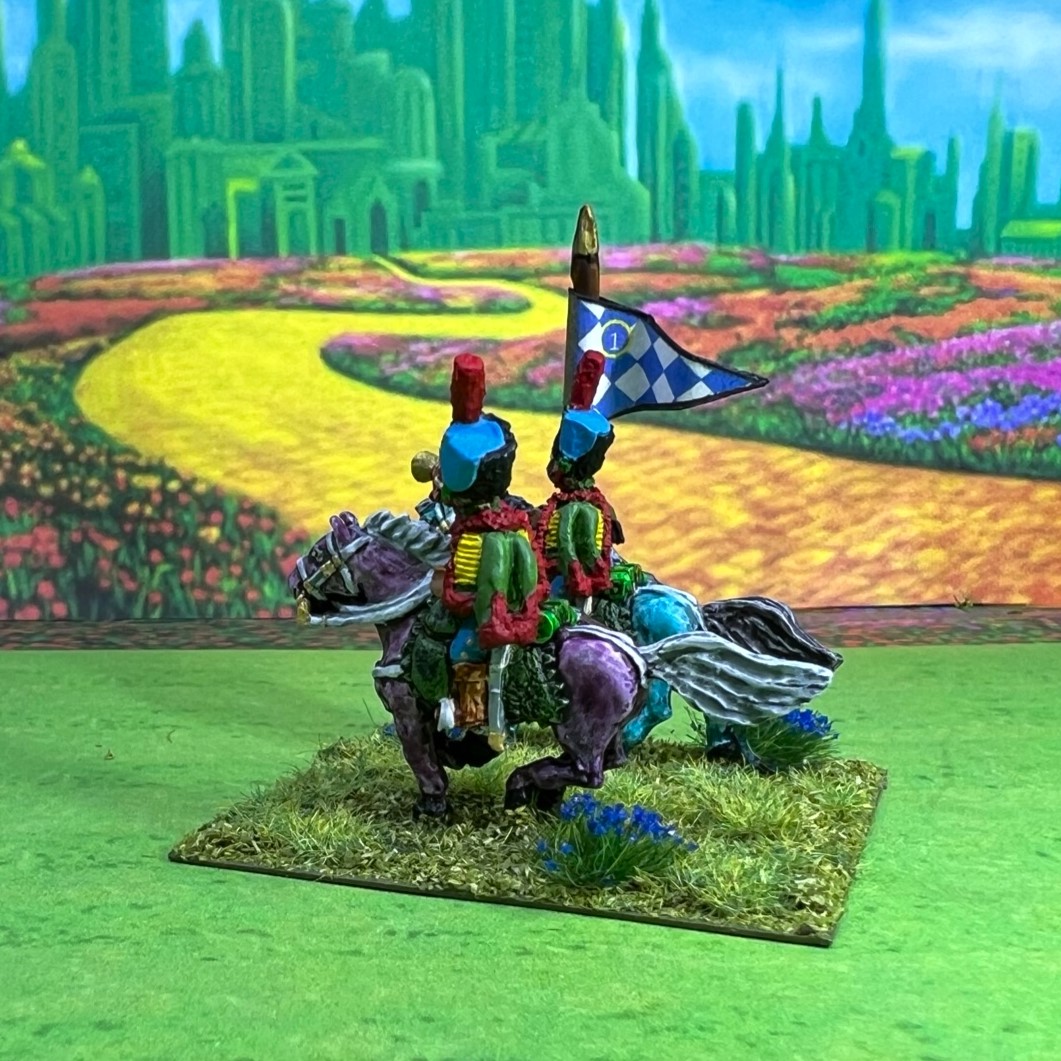
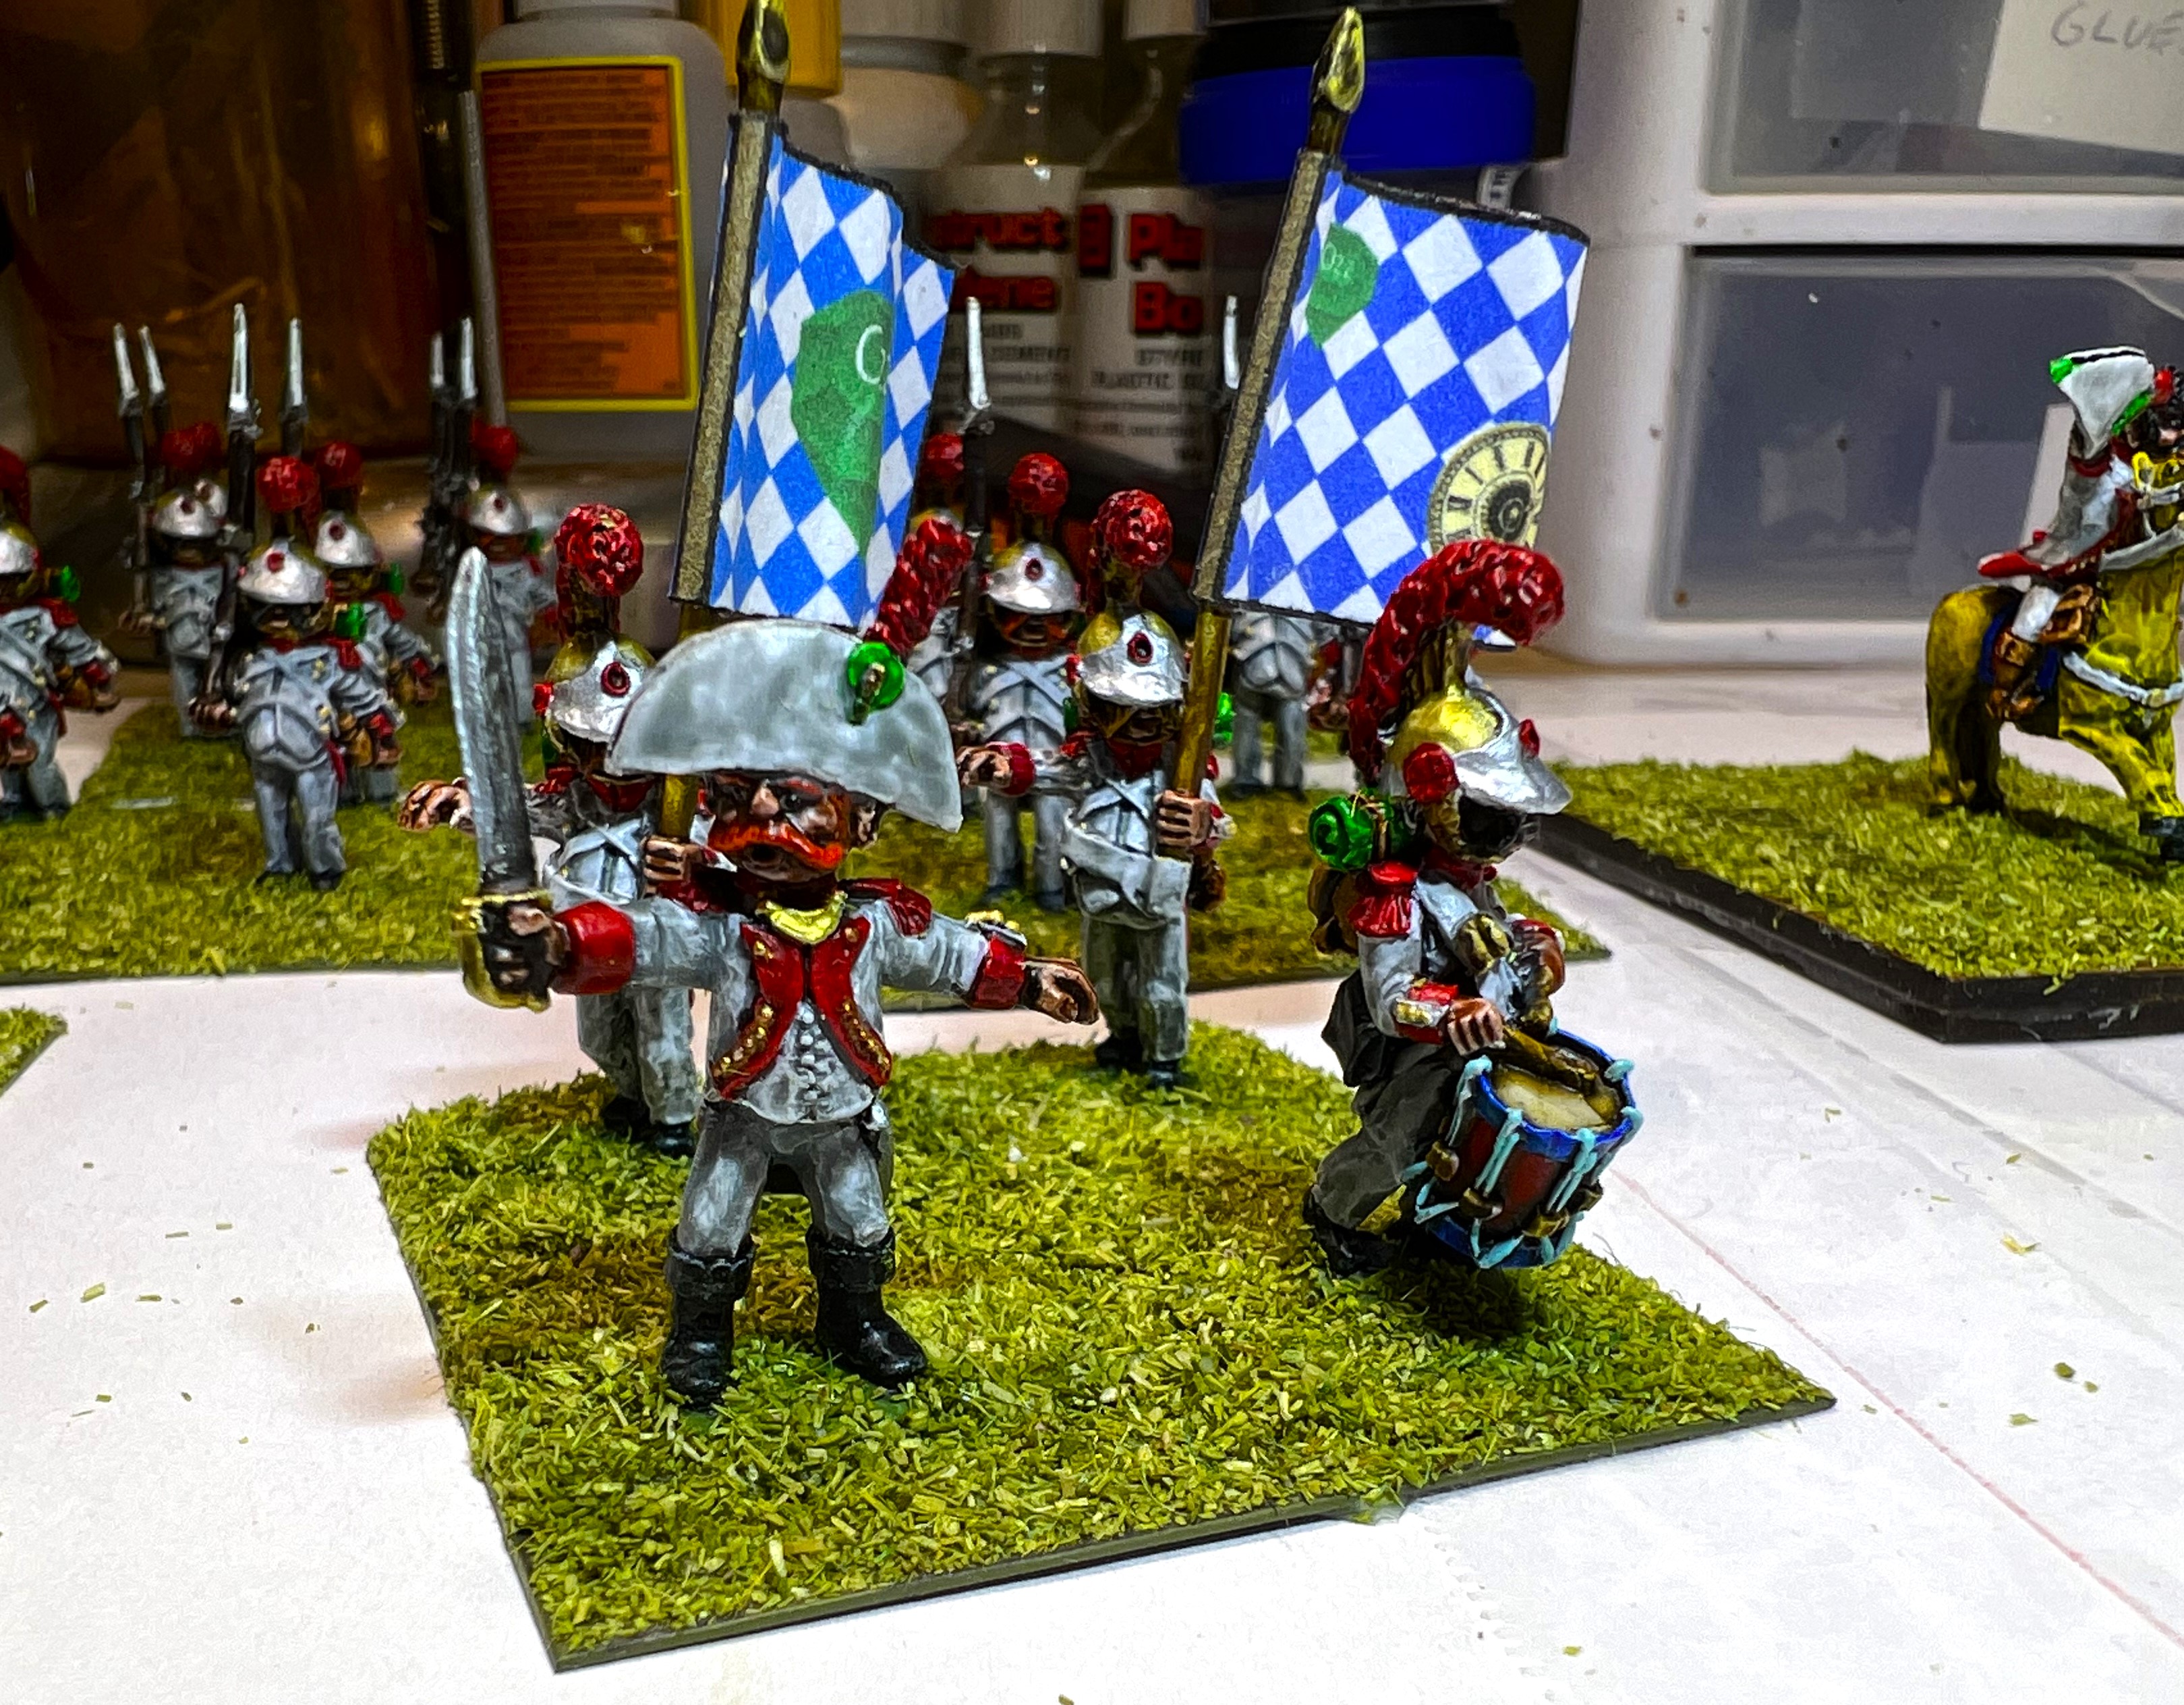
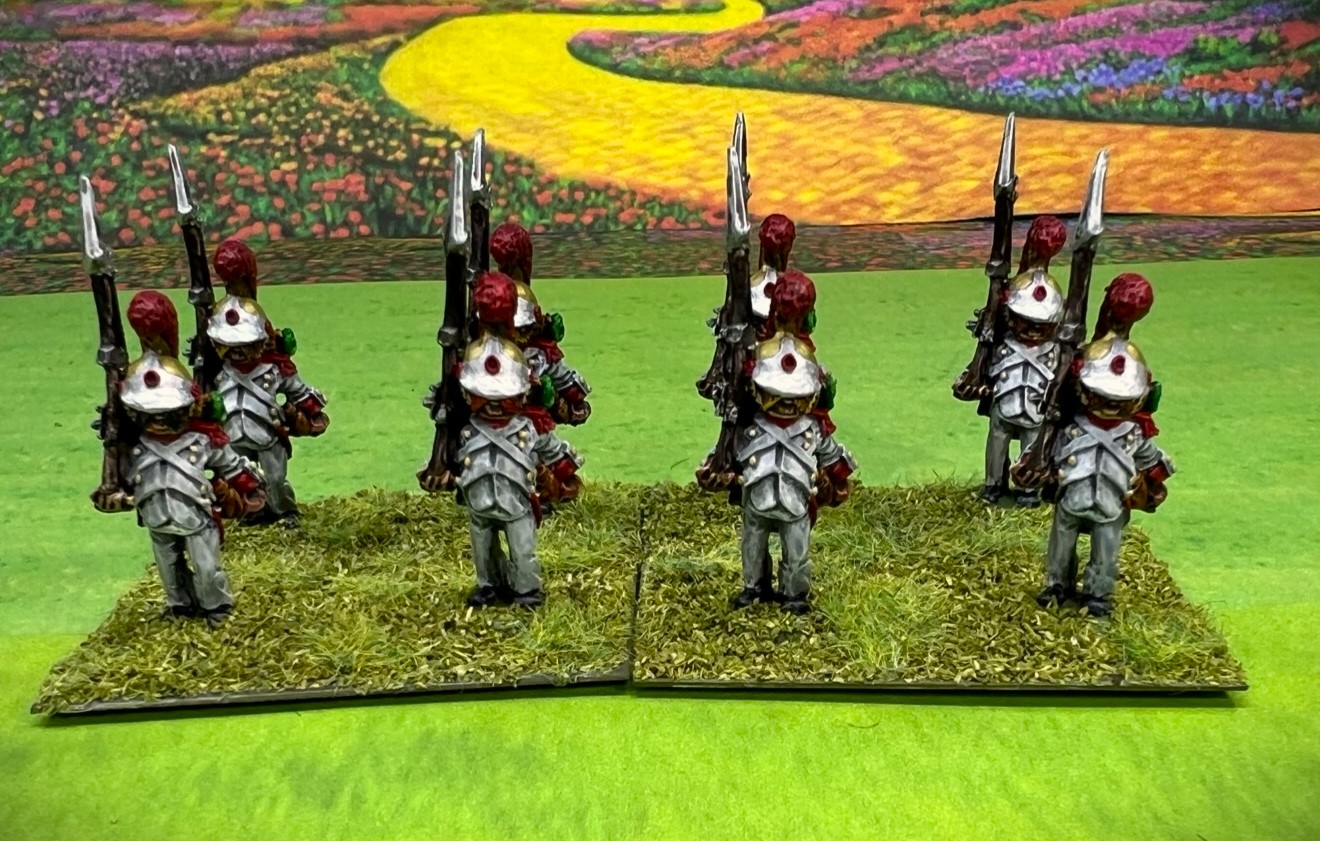
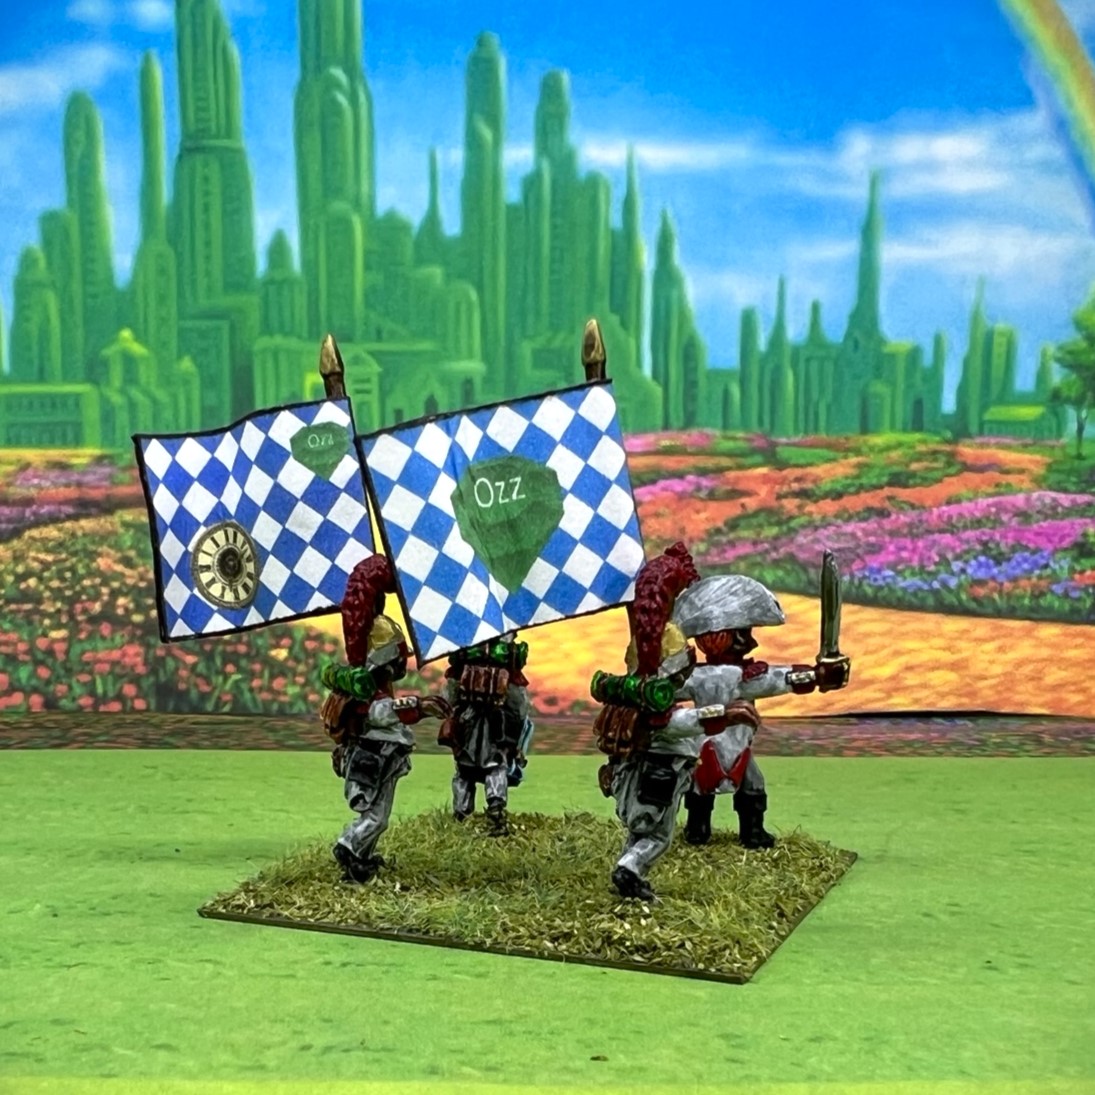
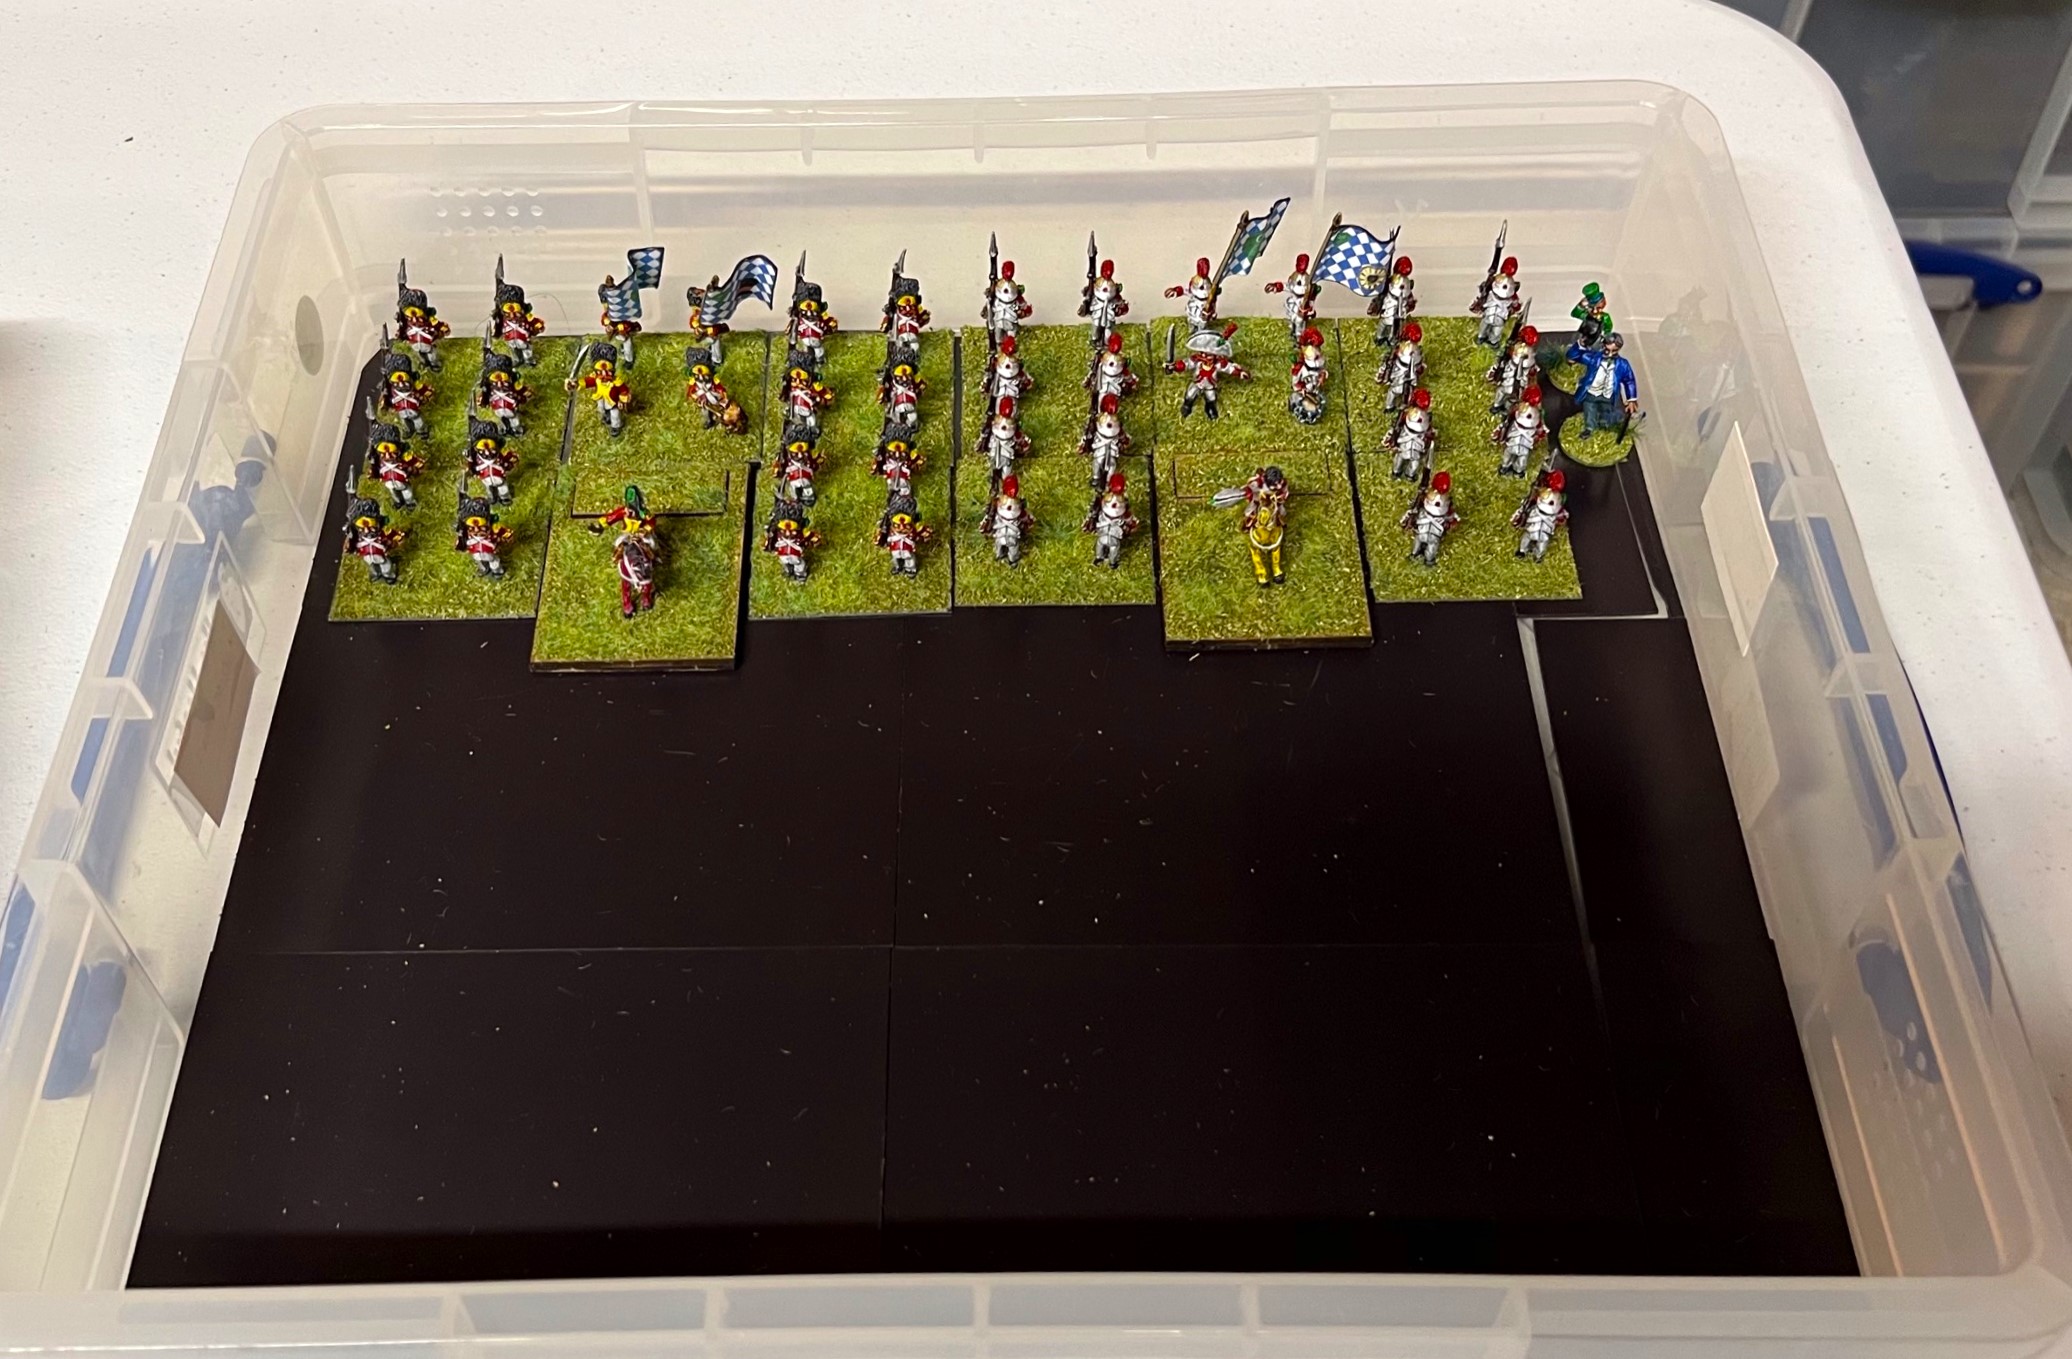
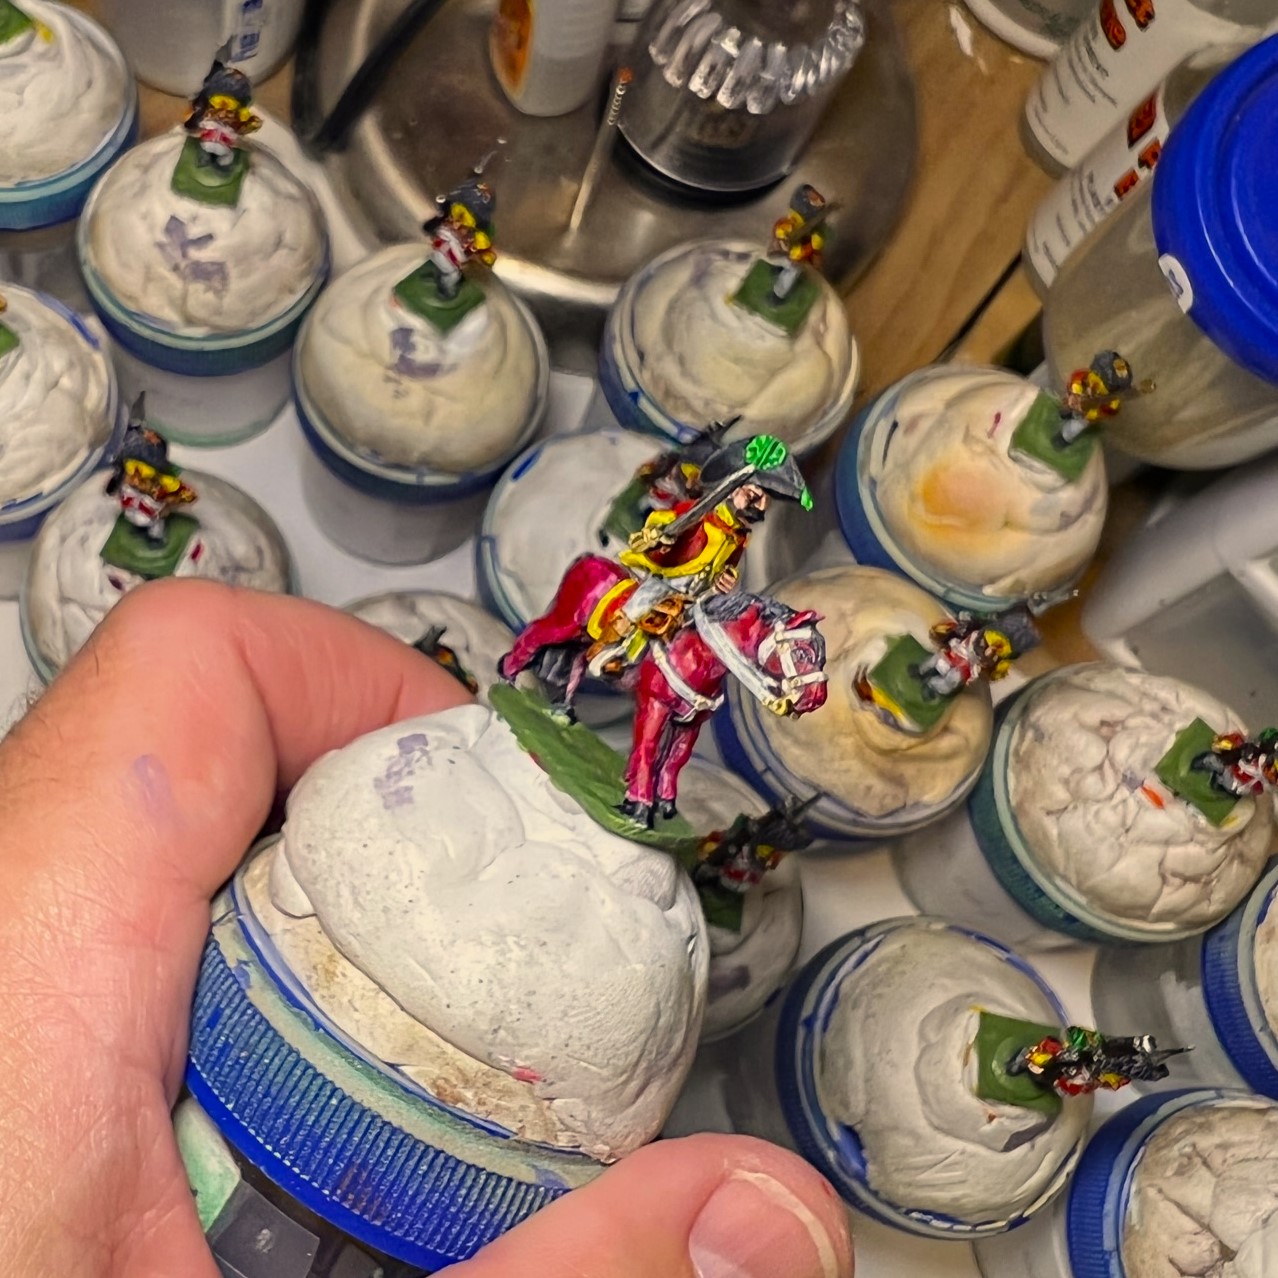
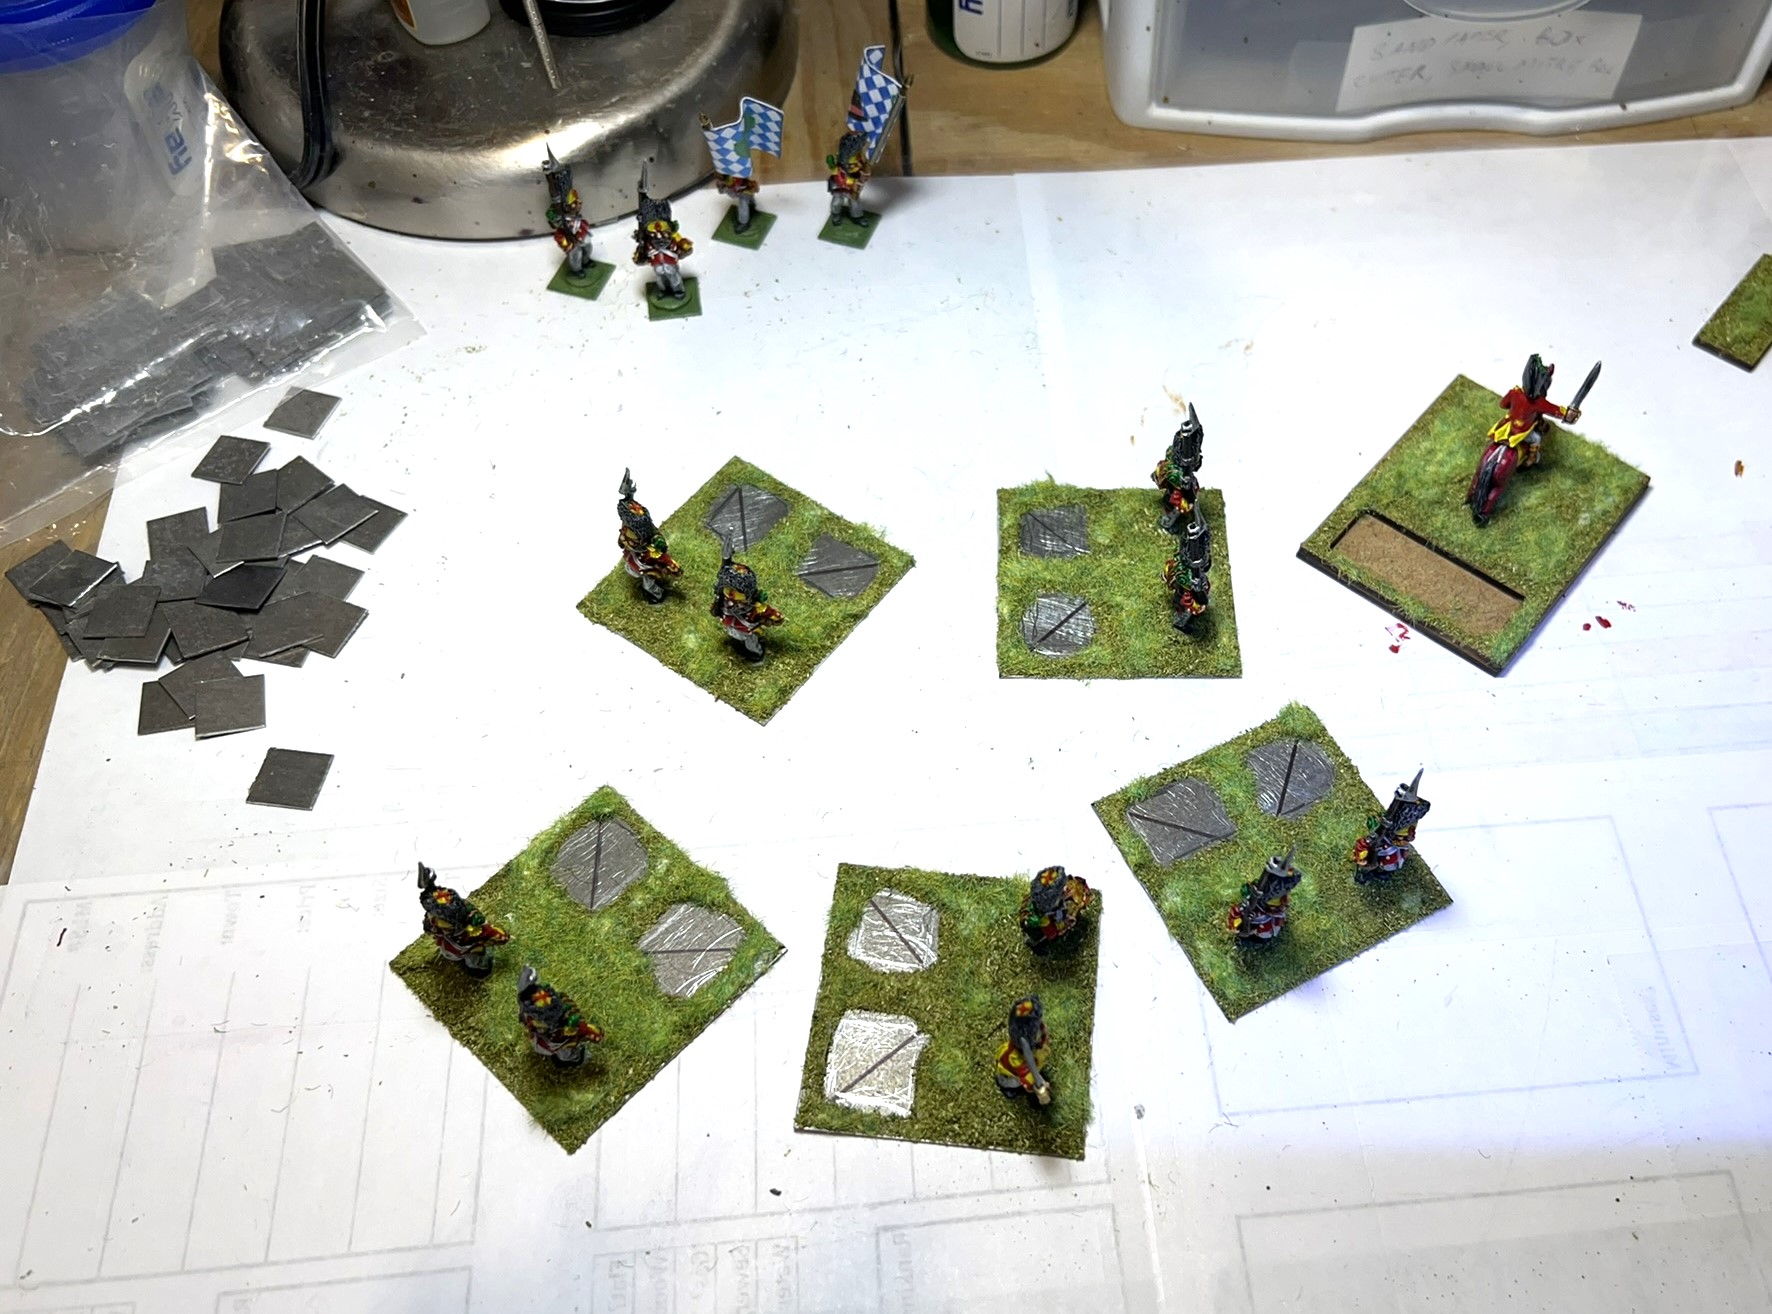
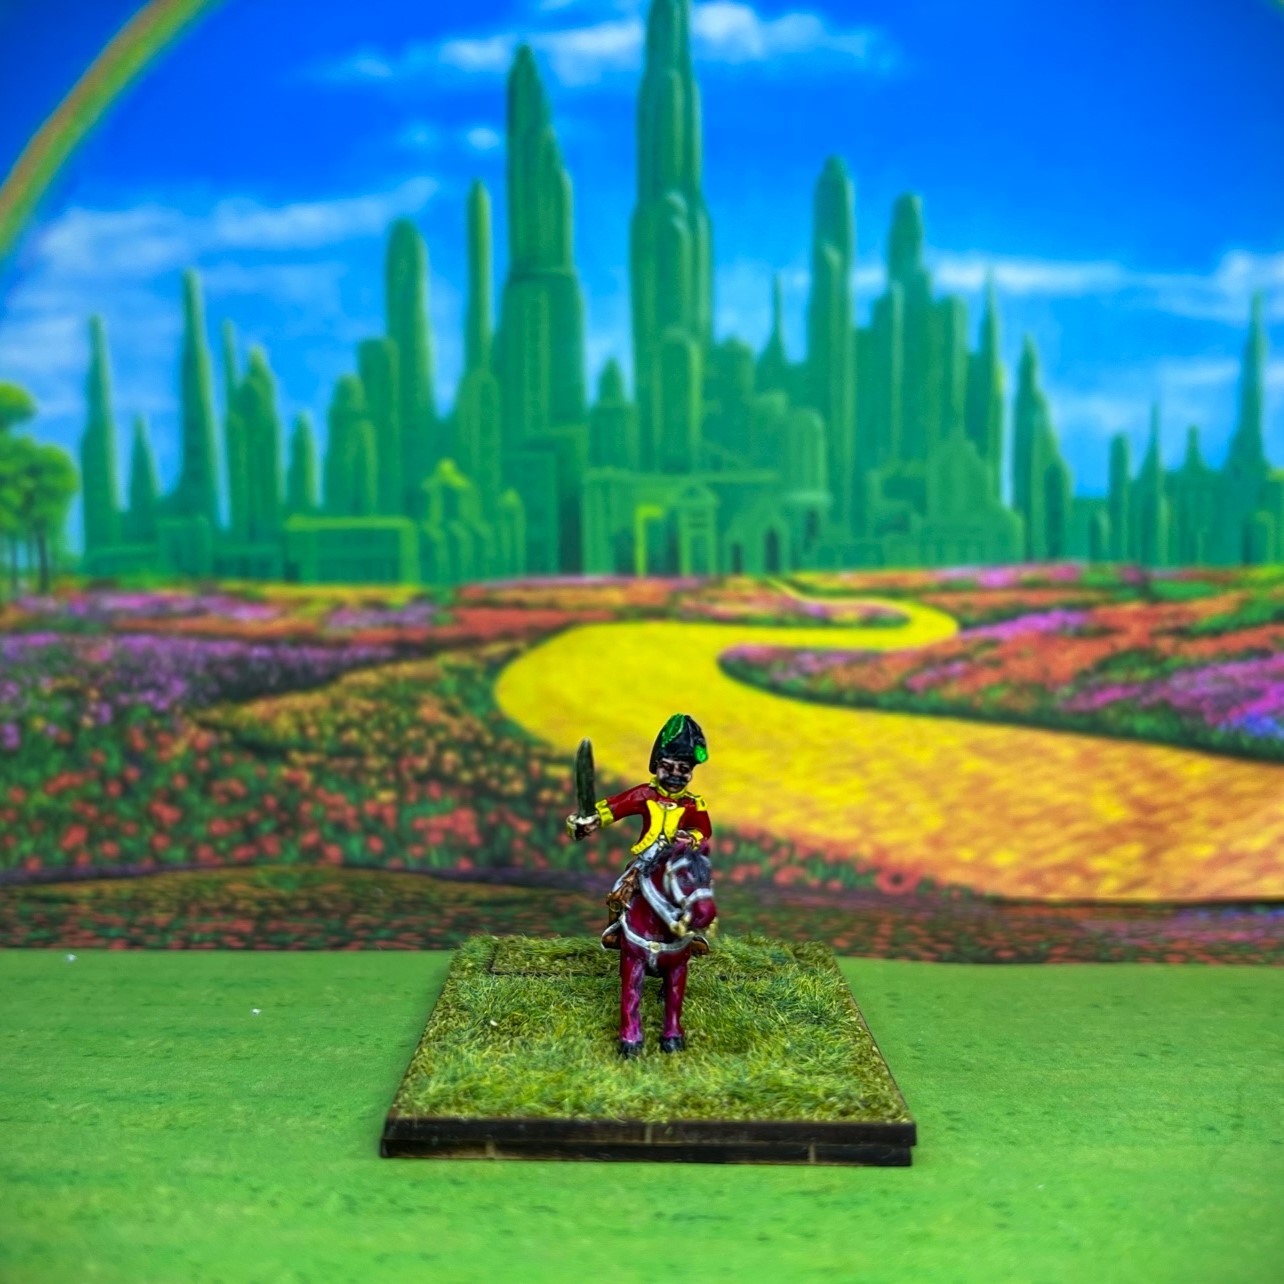
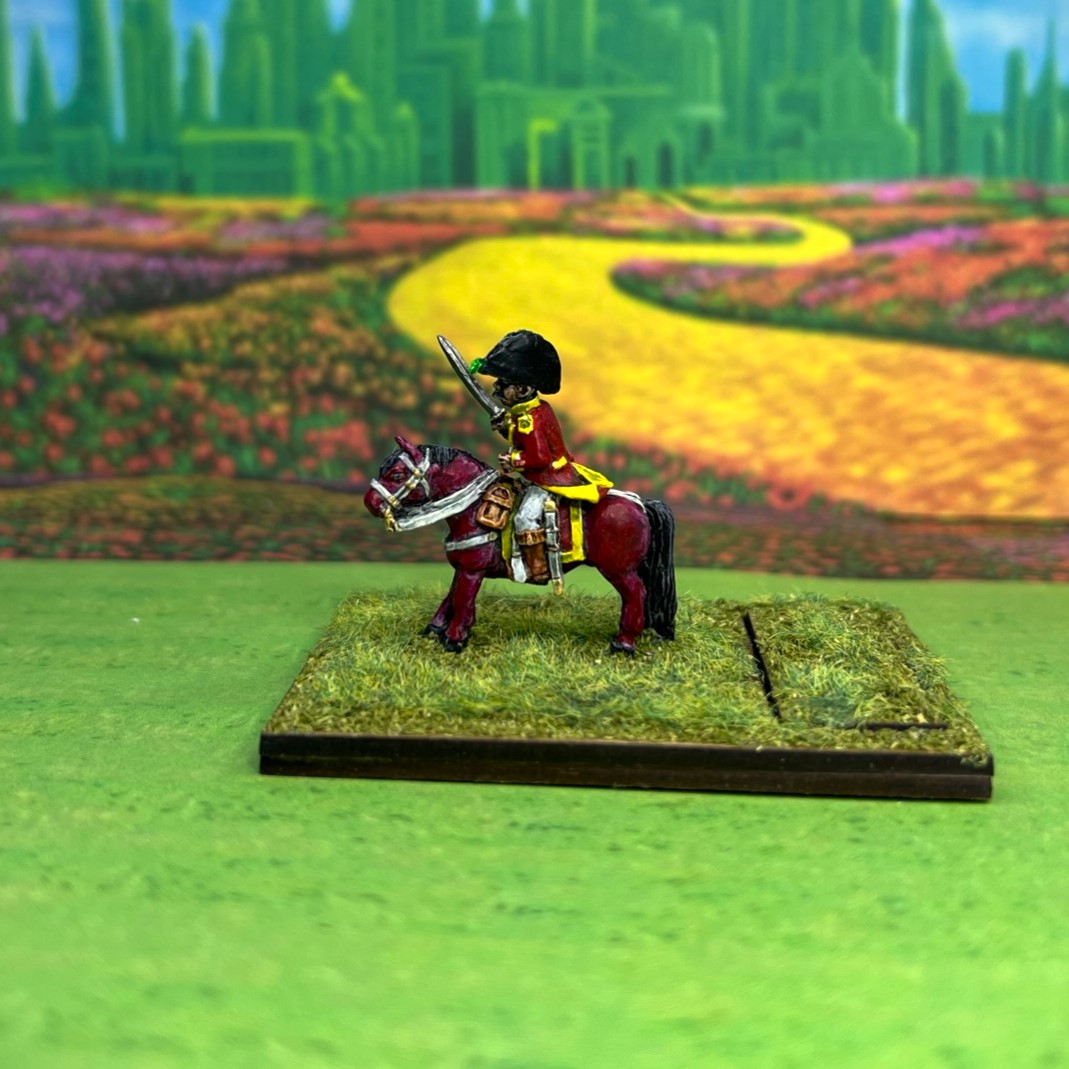
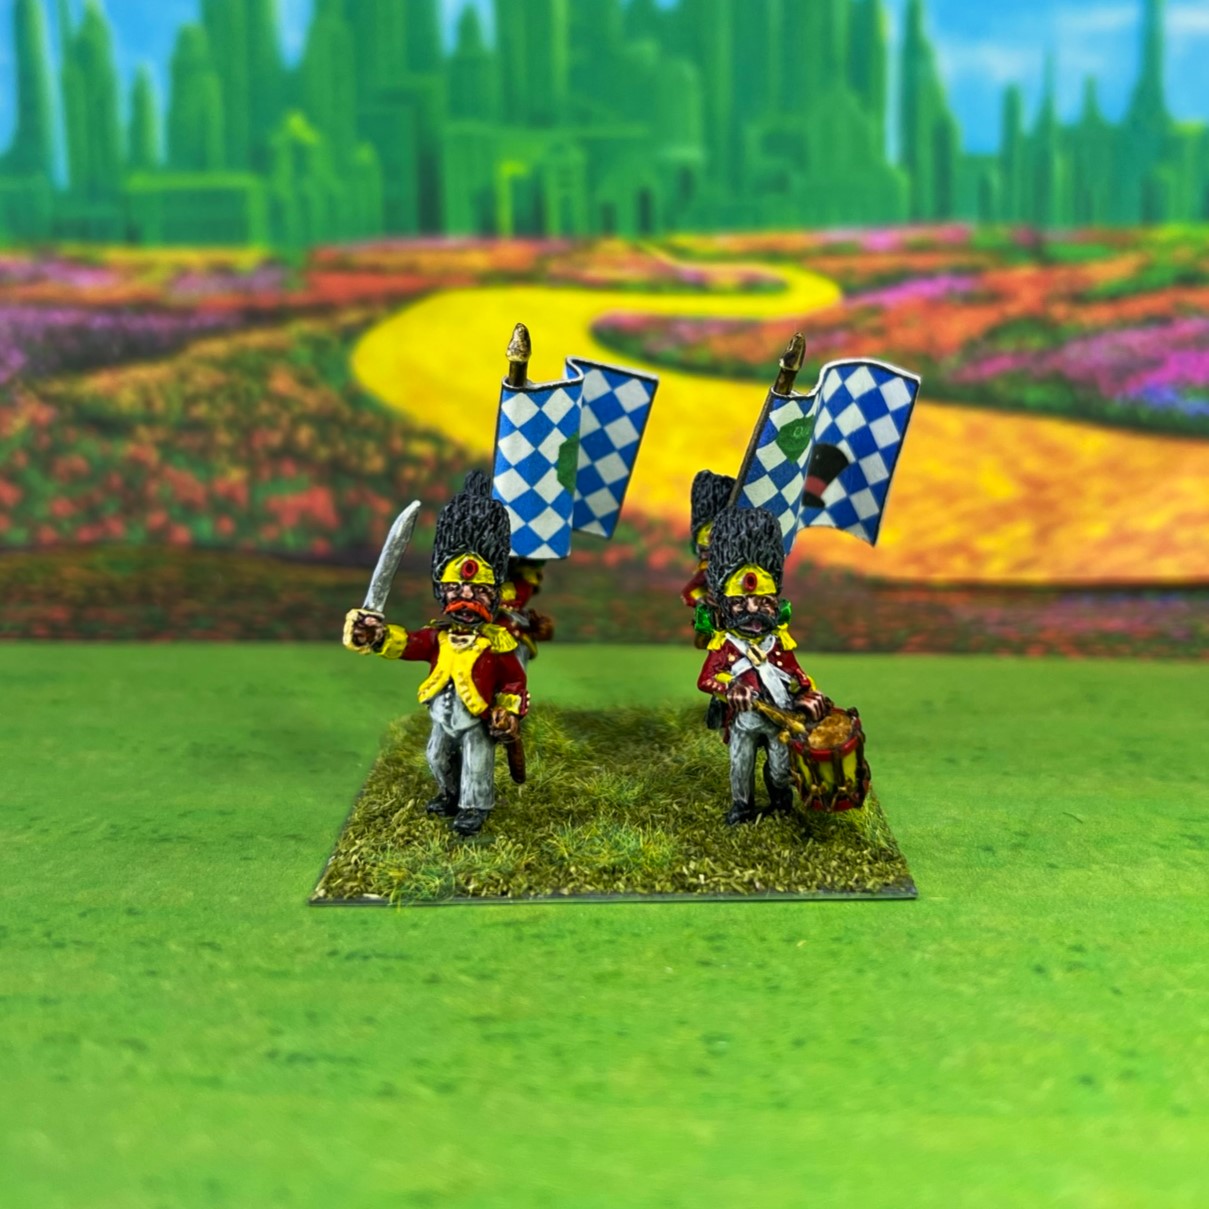
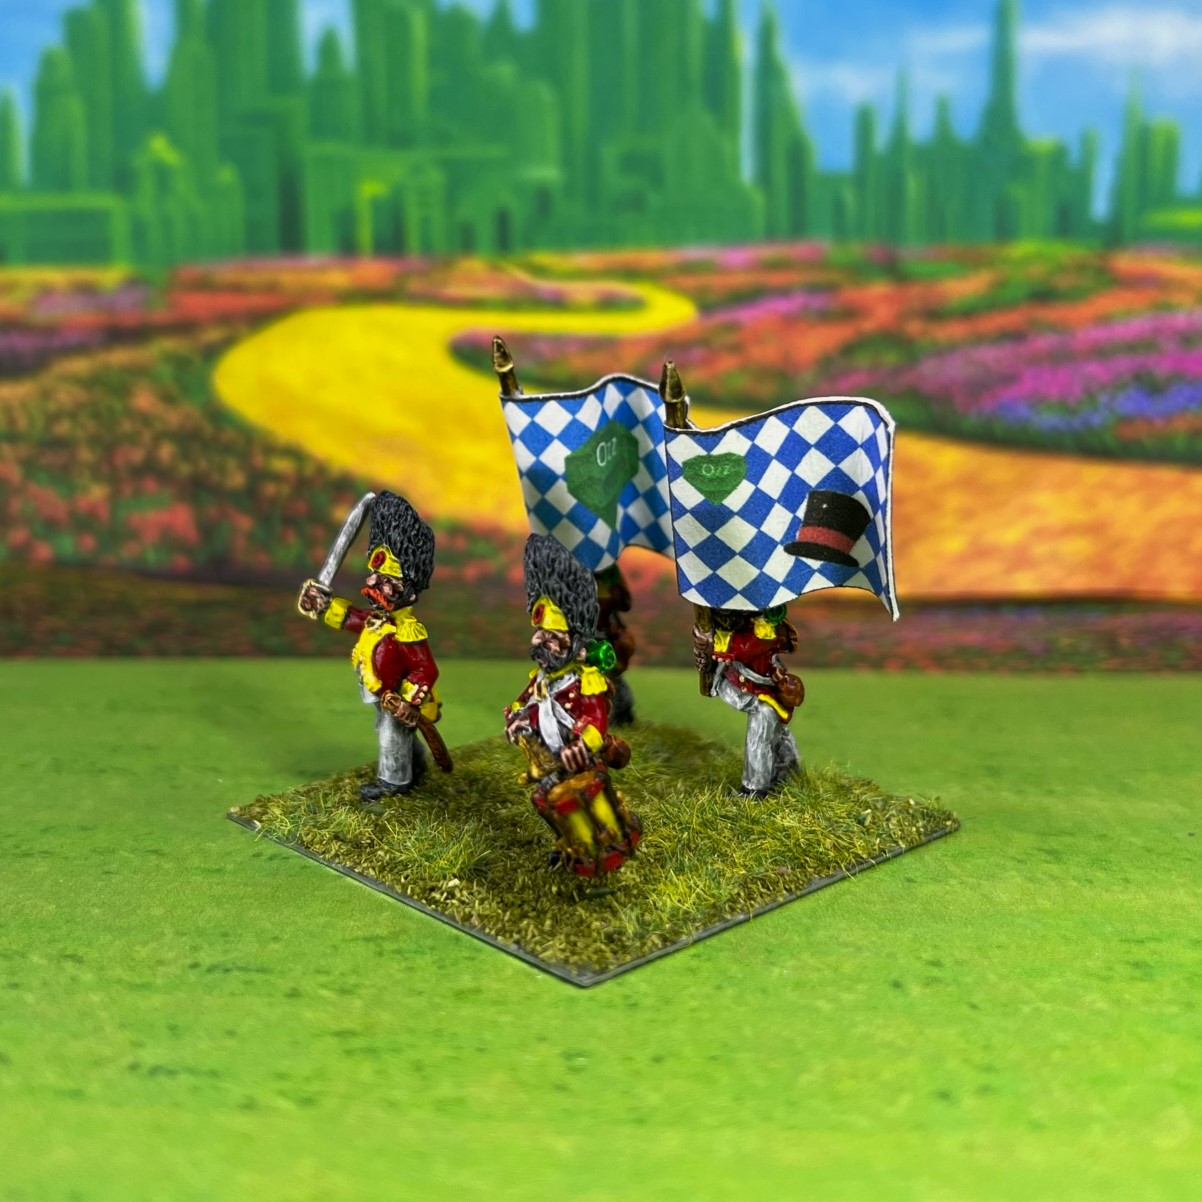
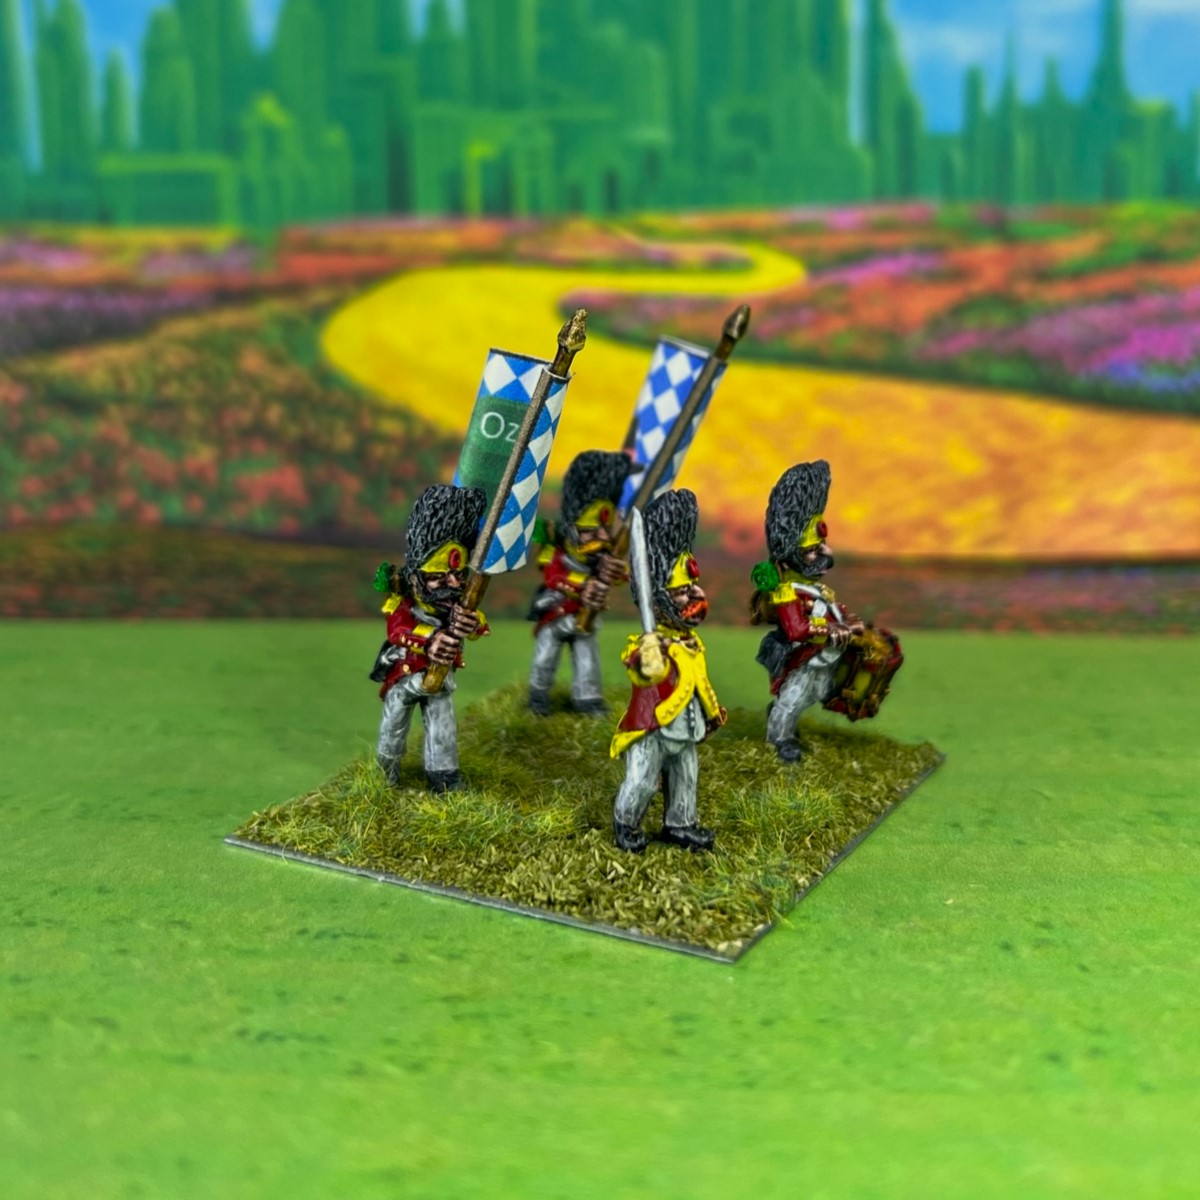
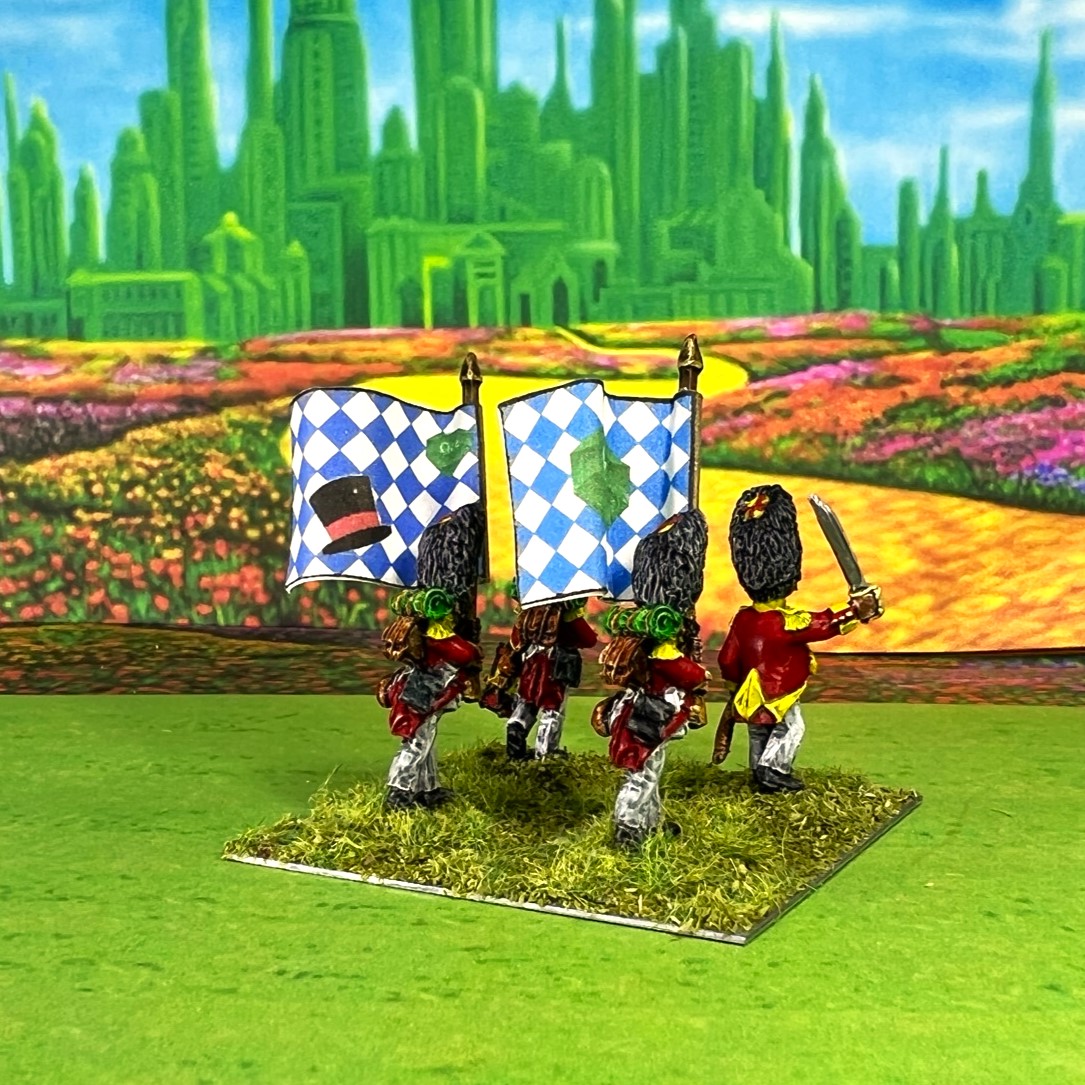
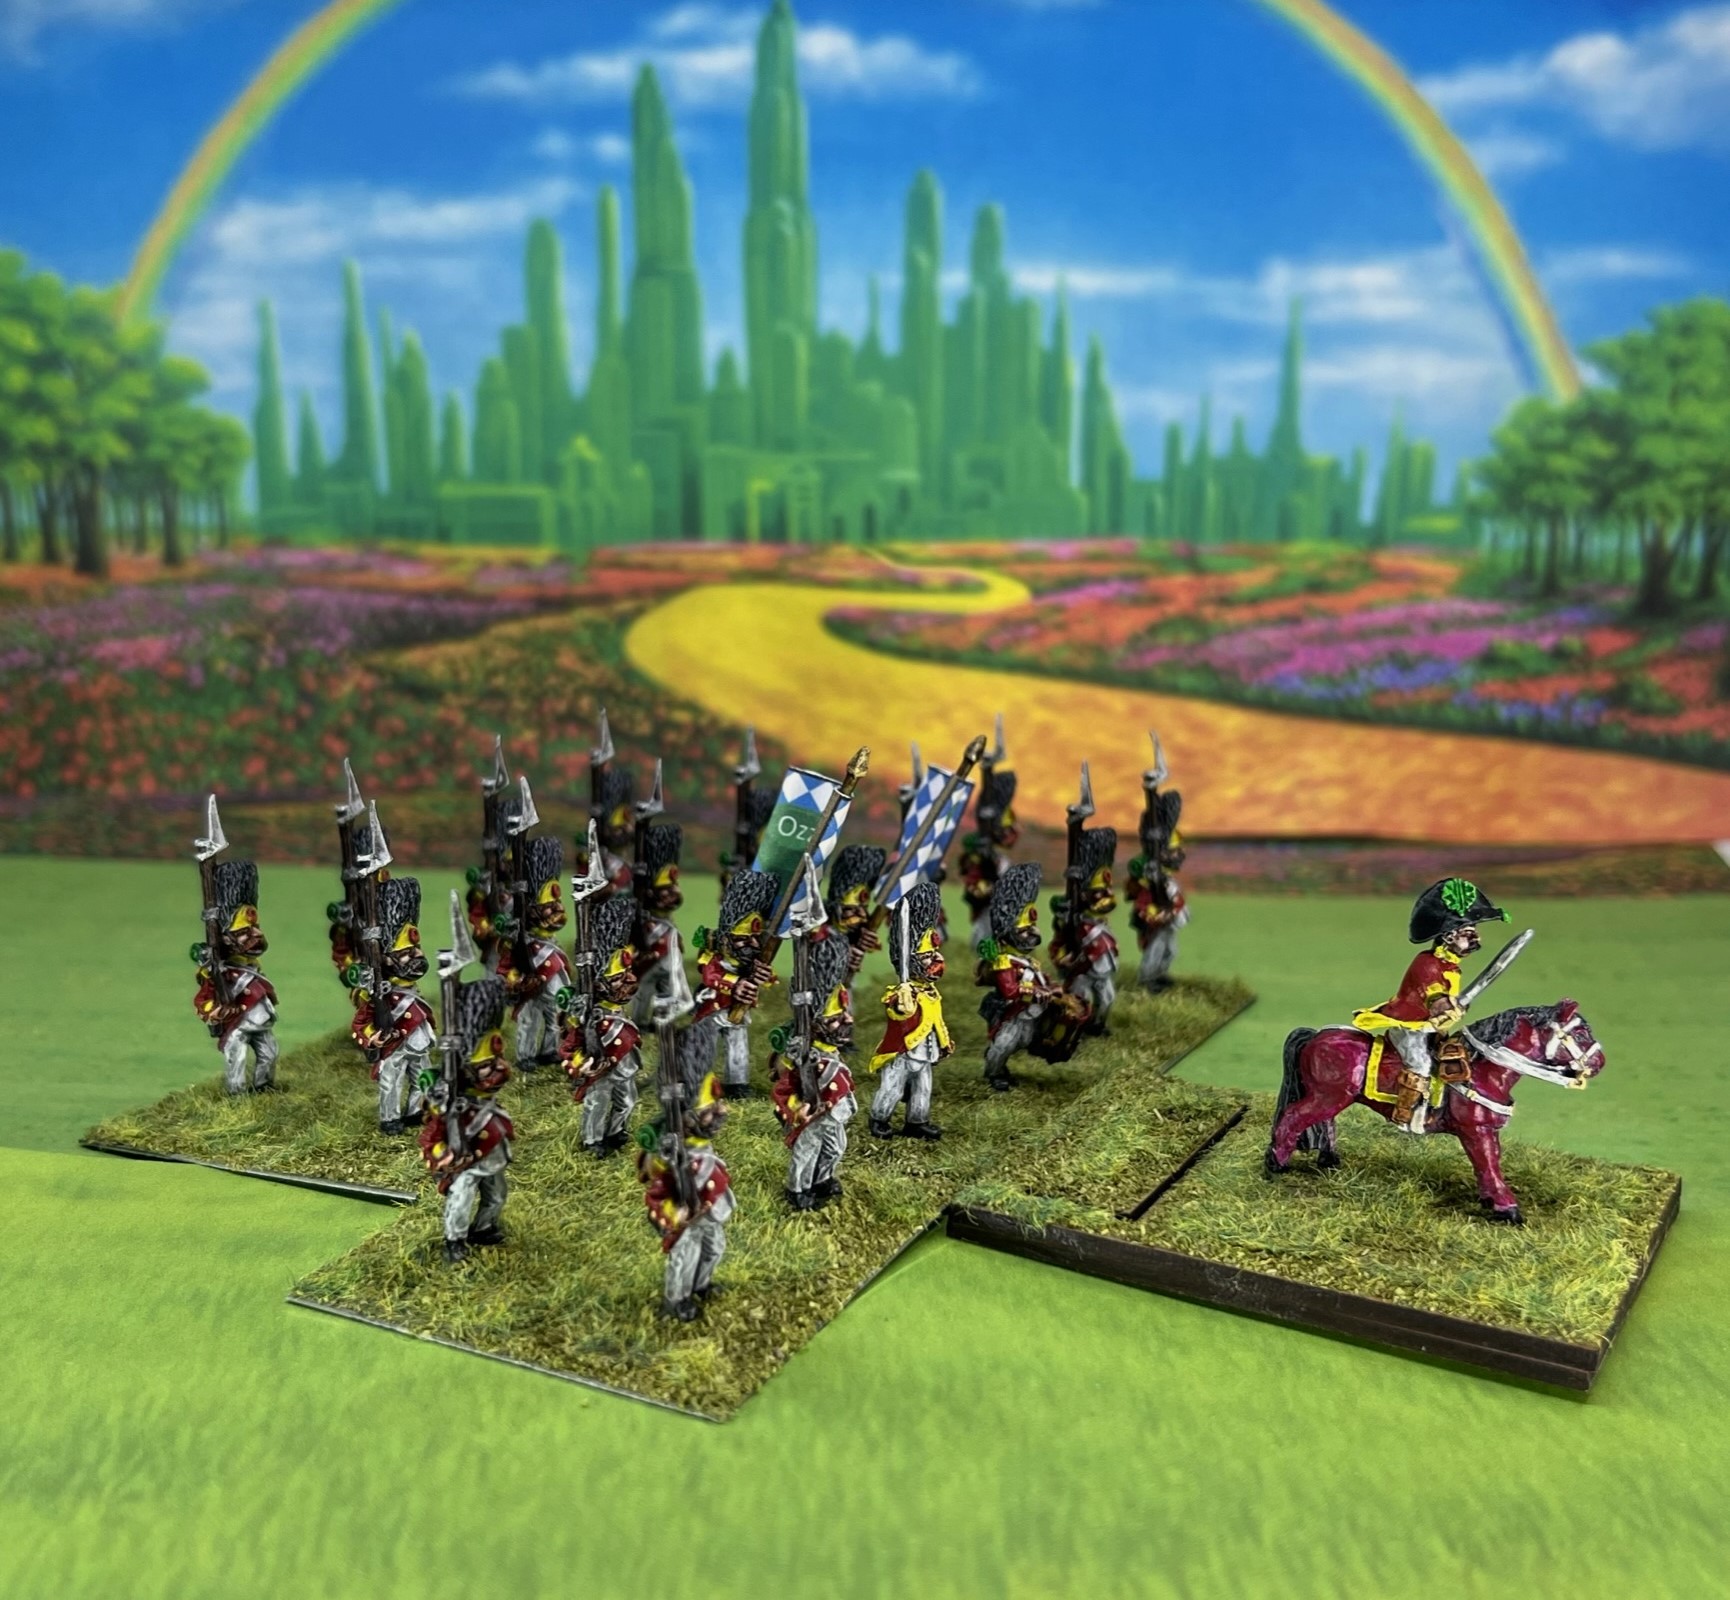
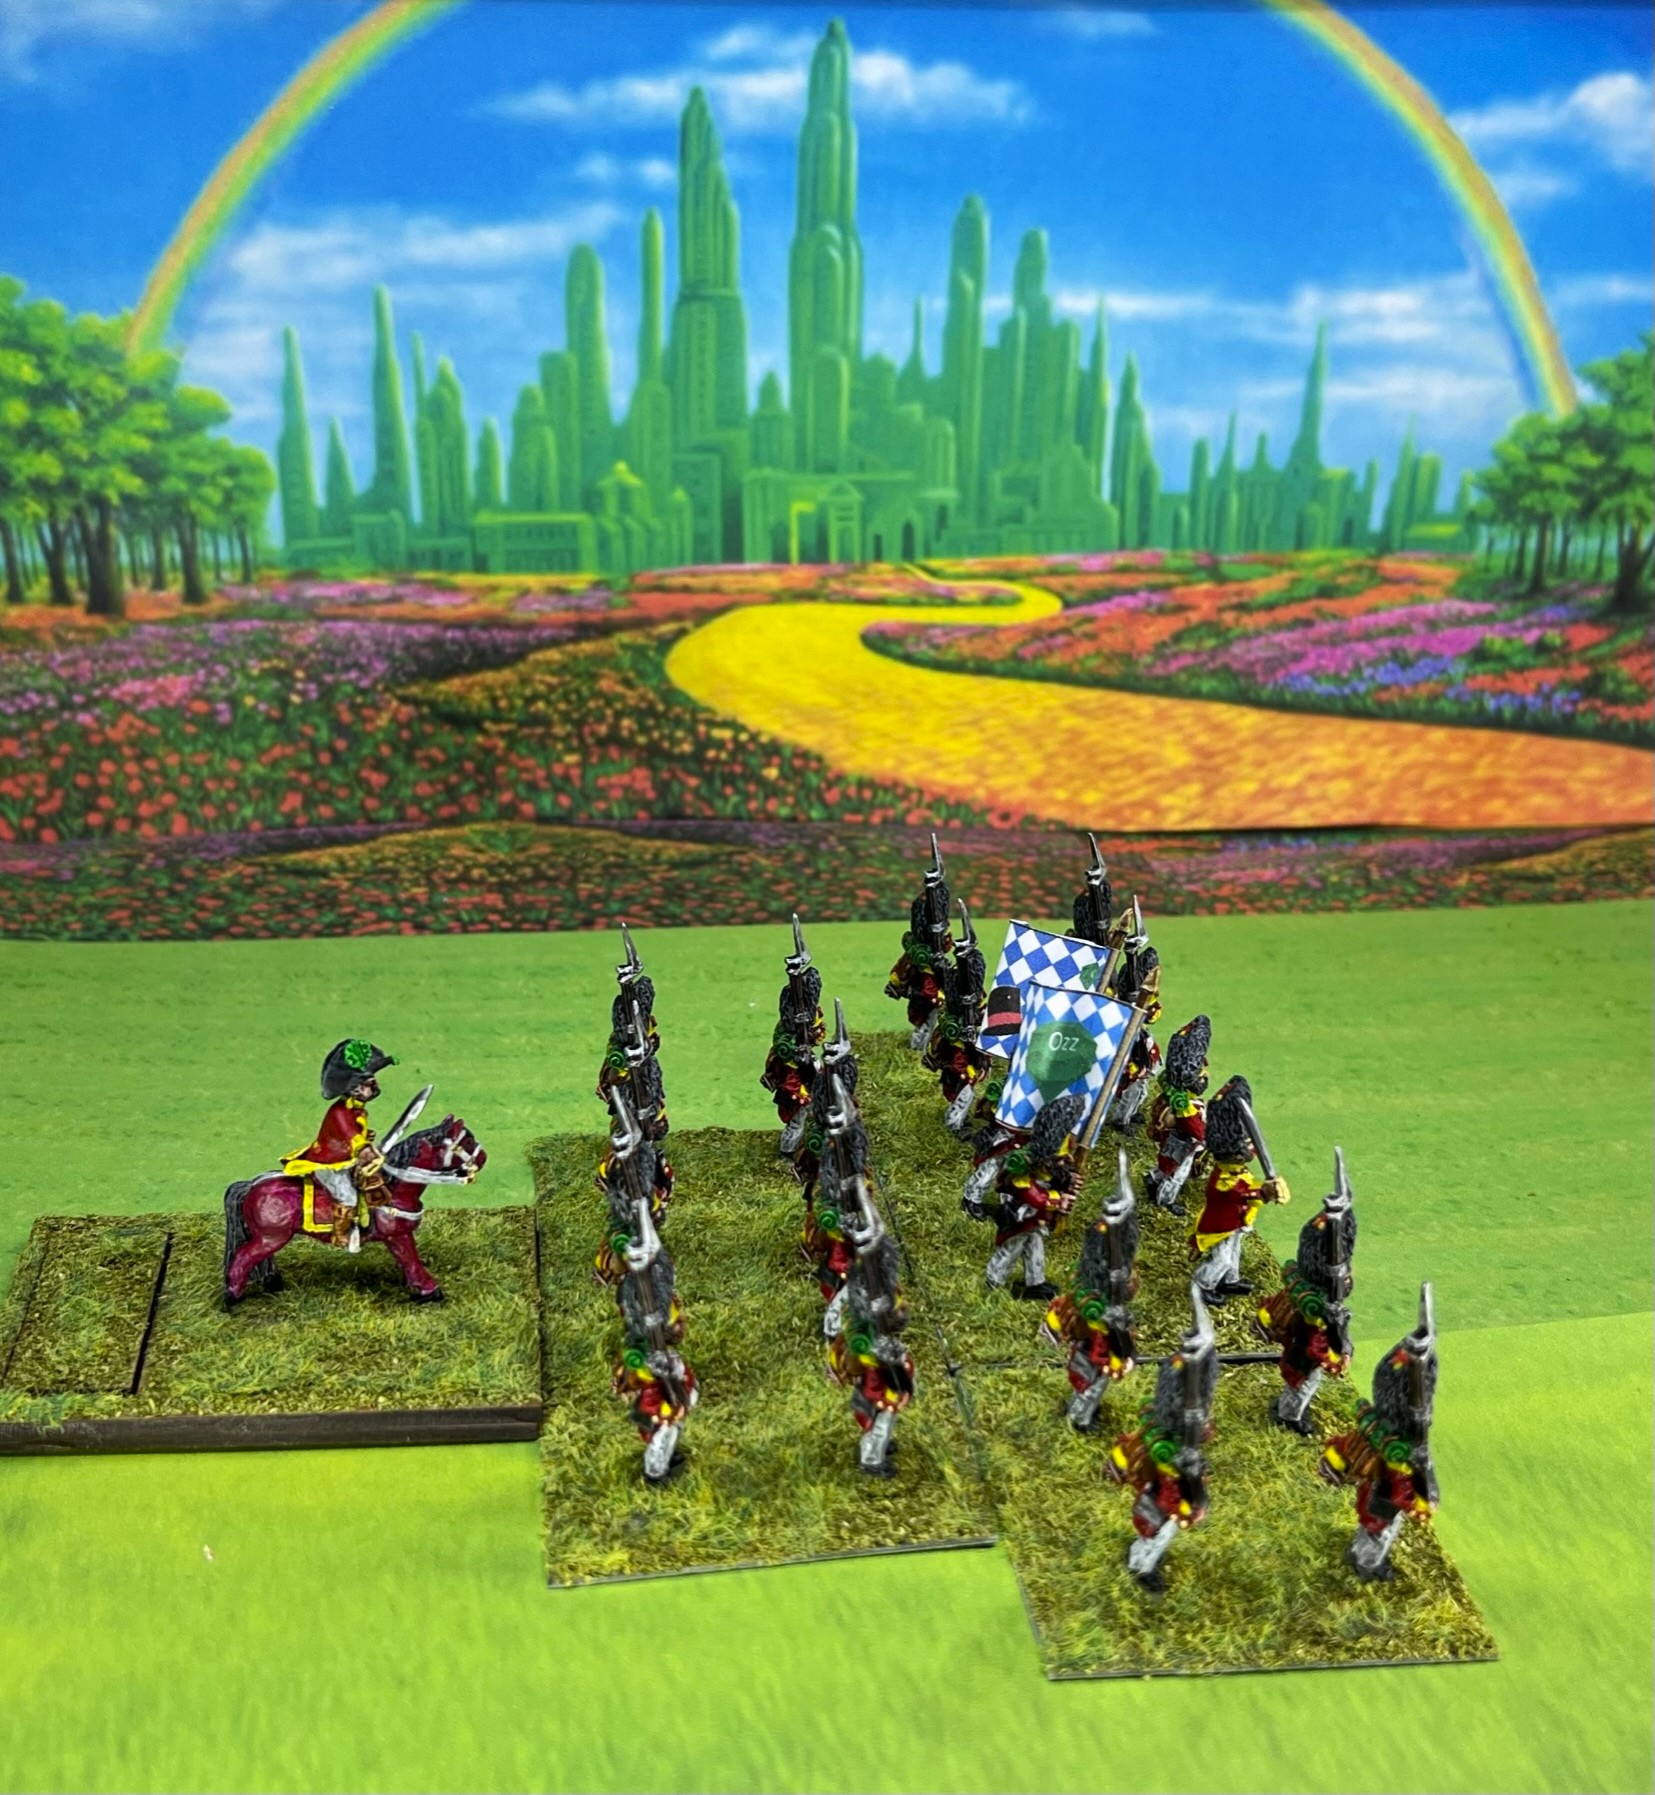
Neither regiment gets a separate regimental commander or command stand/flag. These two regiments join Evora, the 21st Winkie Infantry Regiment, the Winkie Sharpshooters, and the Winkie Light Artillery Battery in my Brigade.
And, importantly, I am entering both of these Ape Regiments for Dave Stone’s “Paint What You Got 2022/2023” challenge!
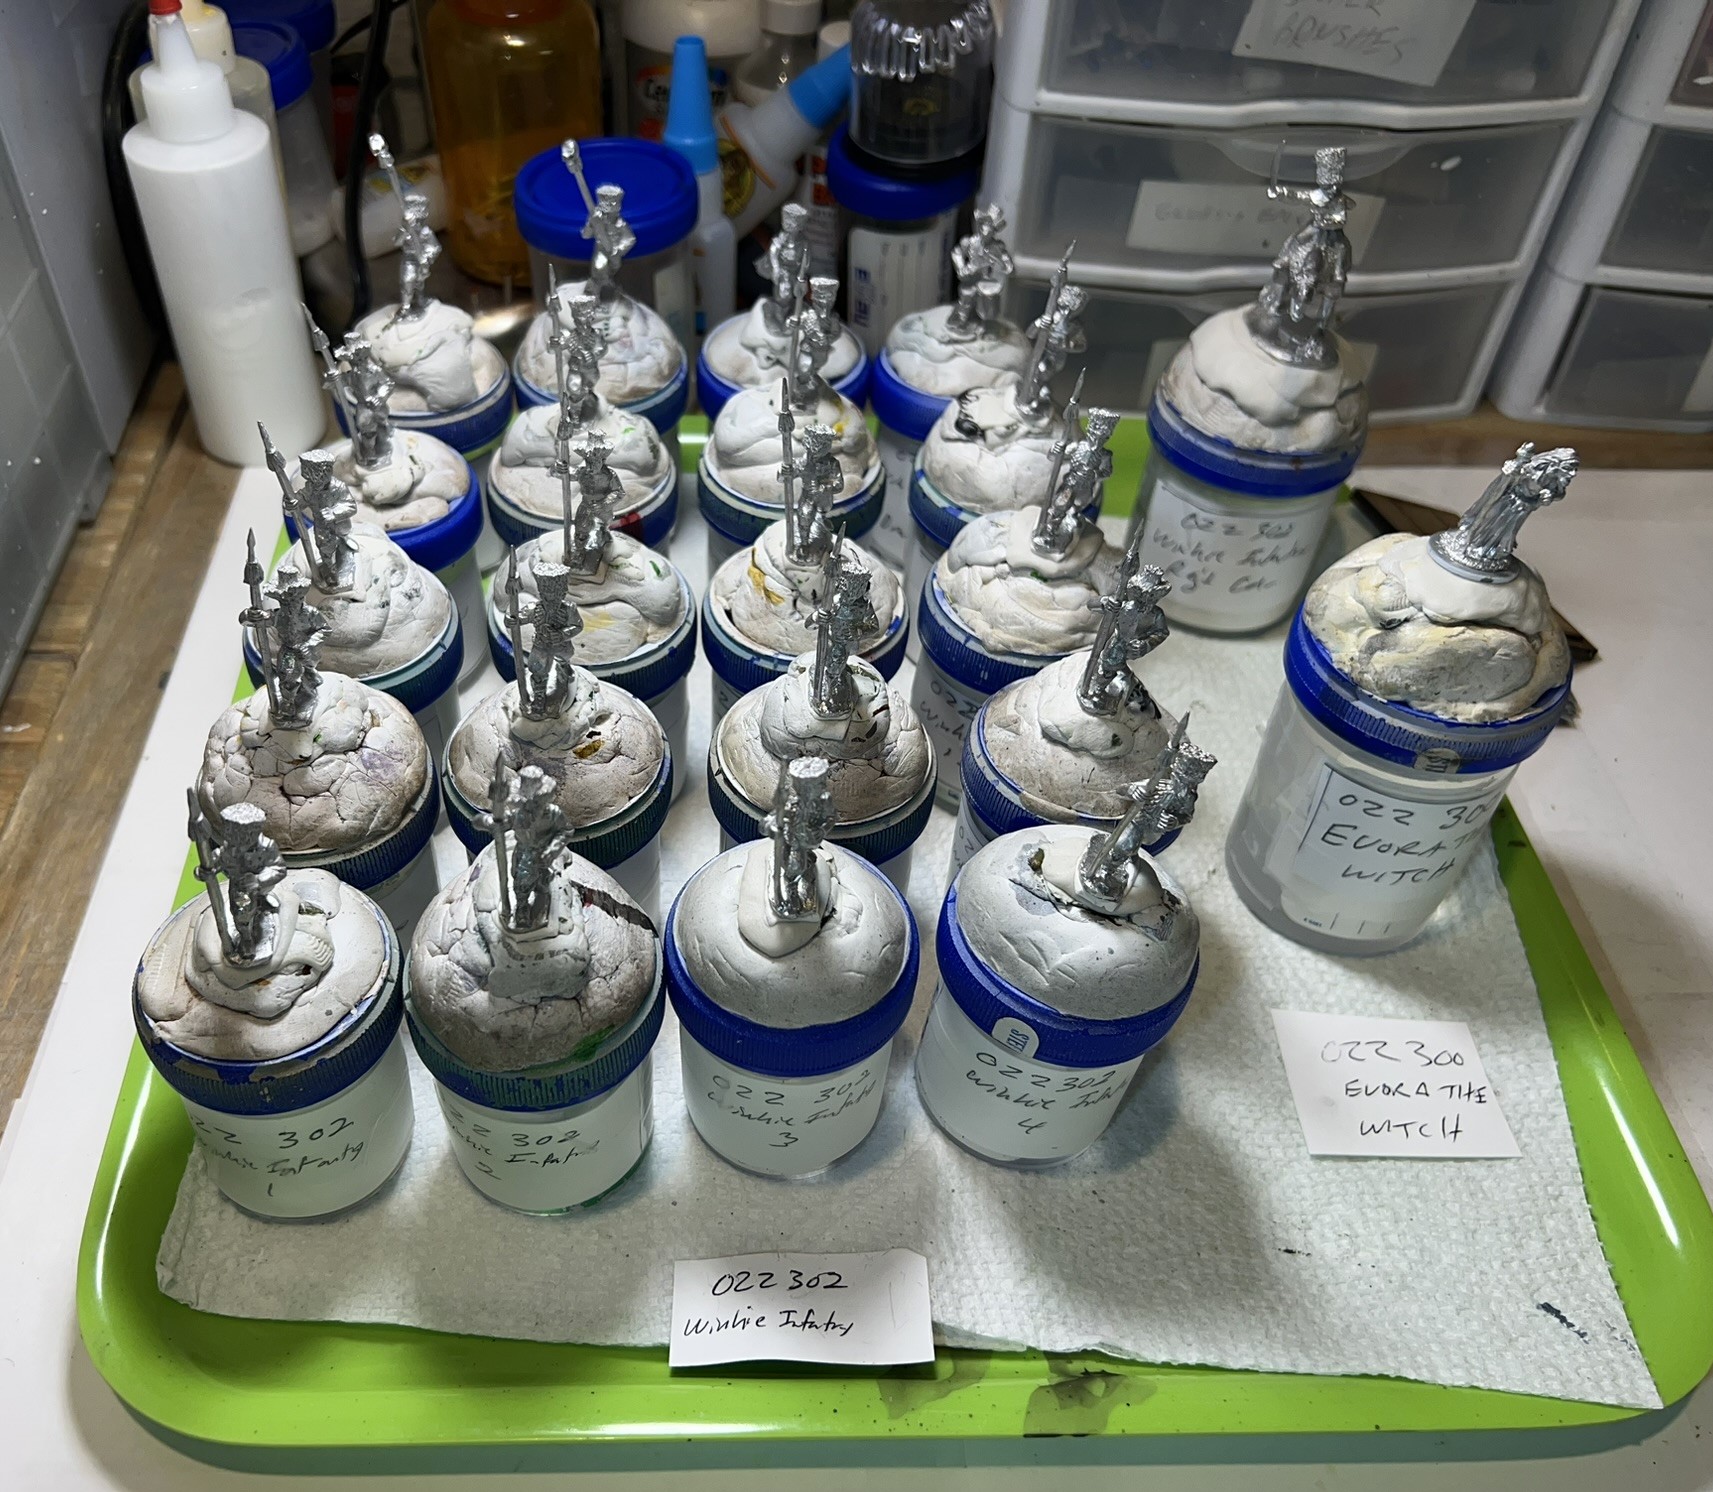
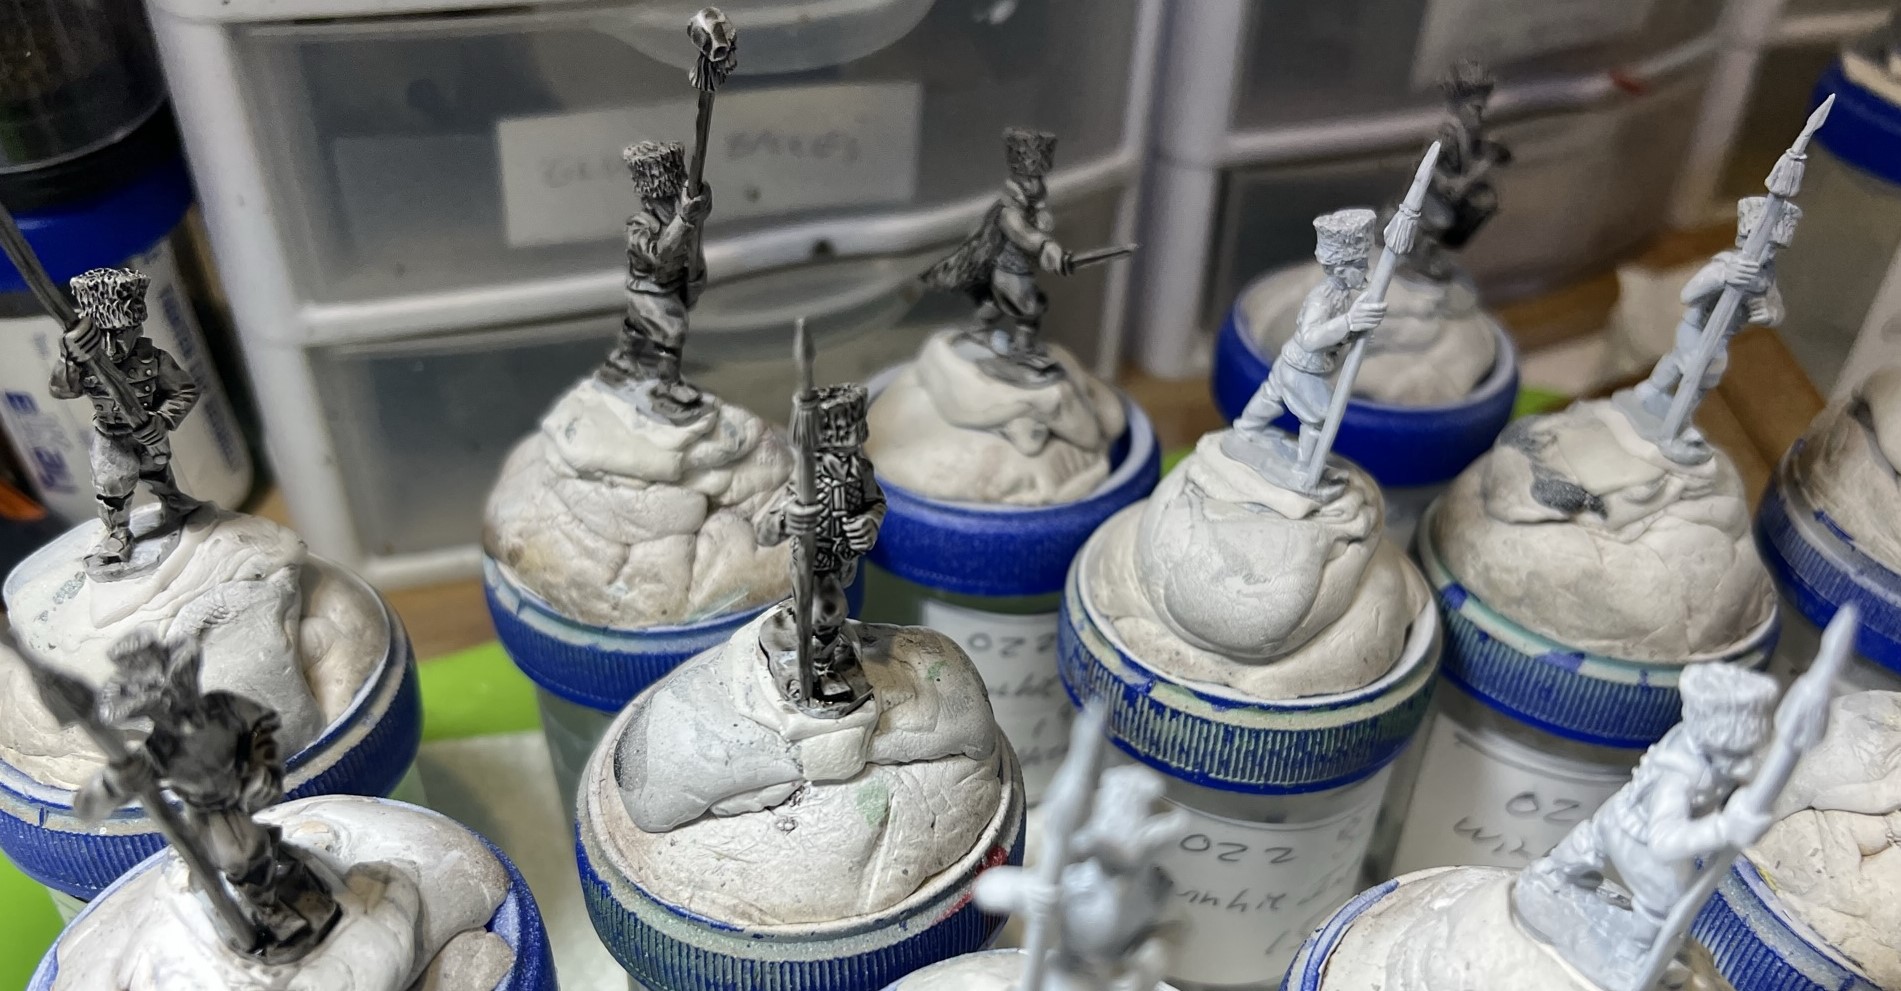
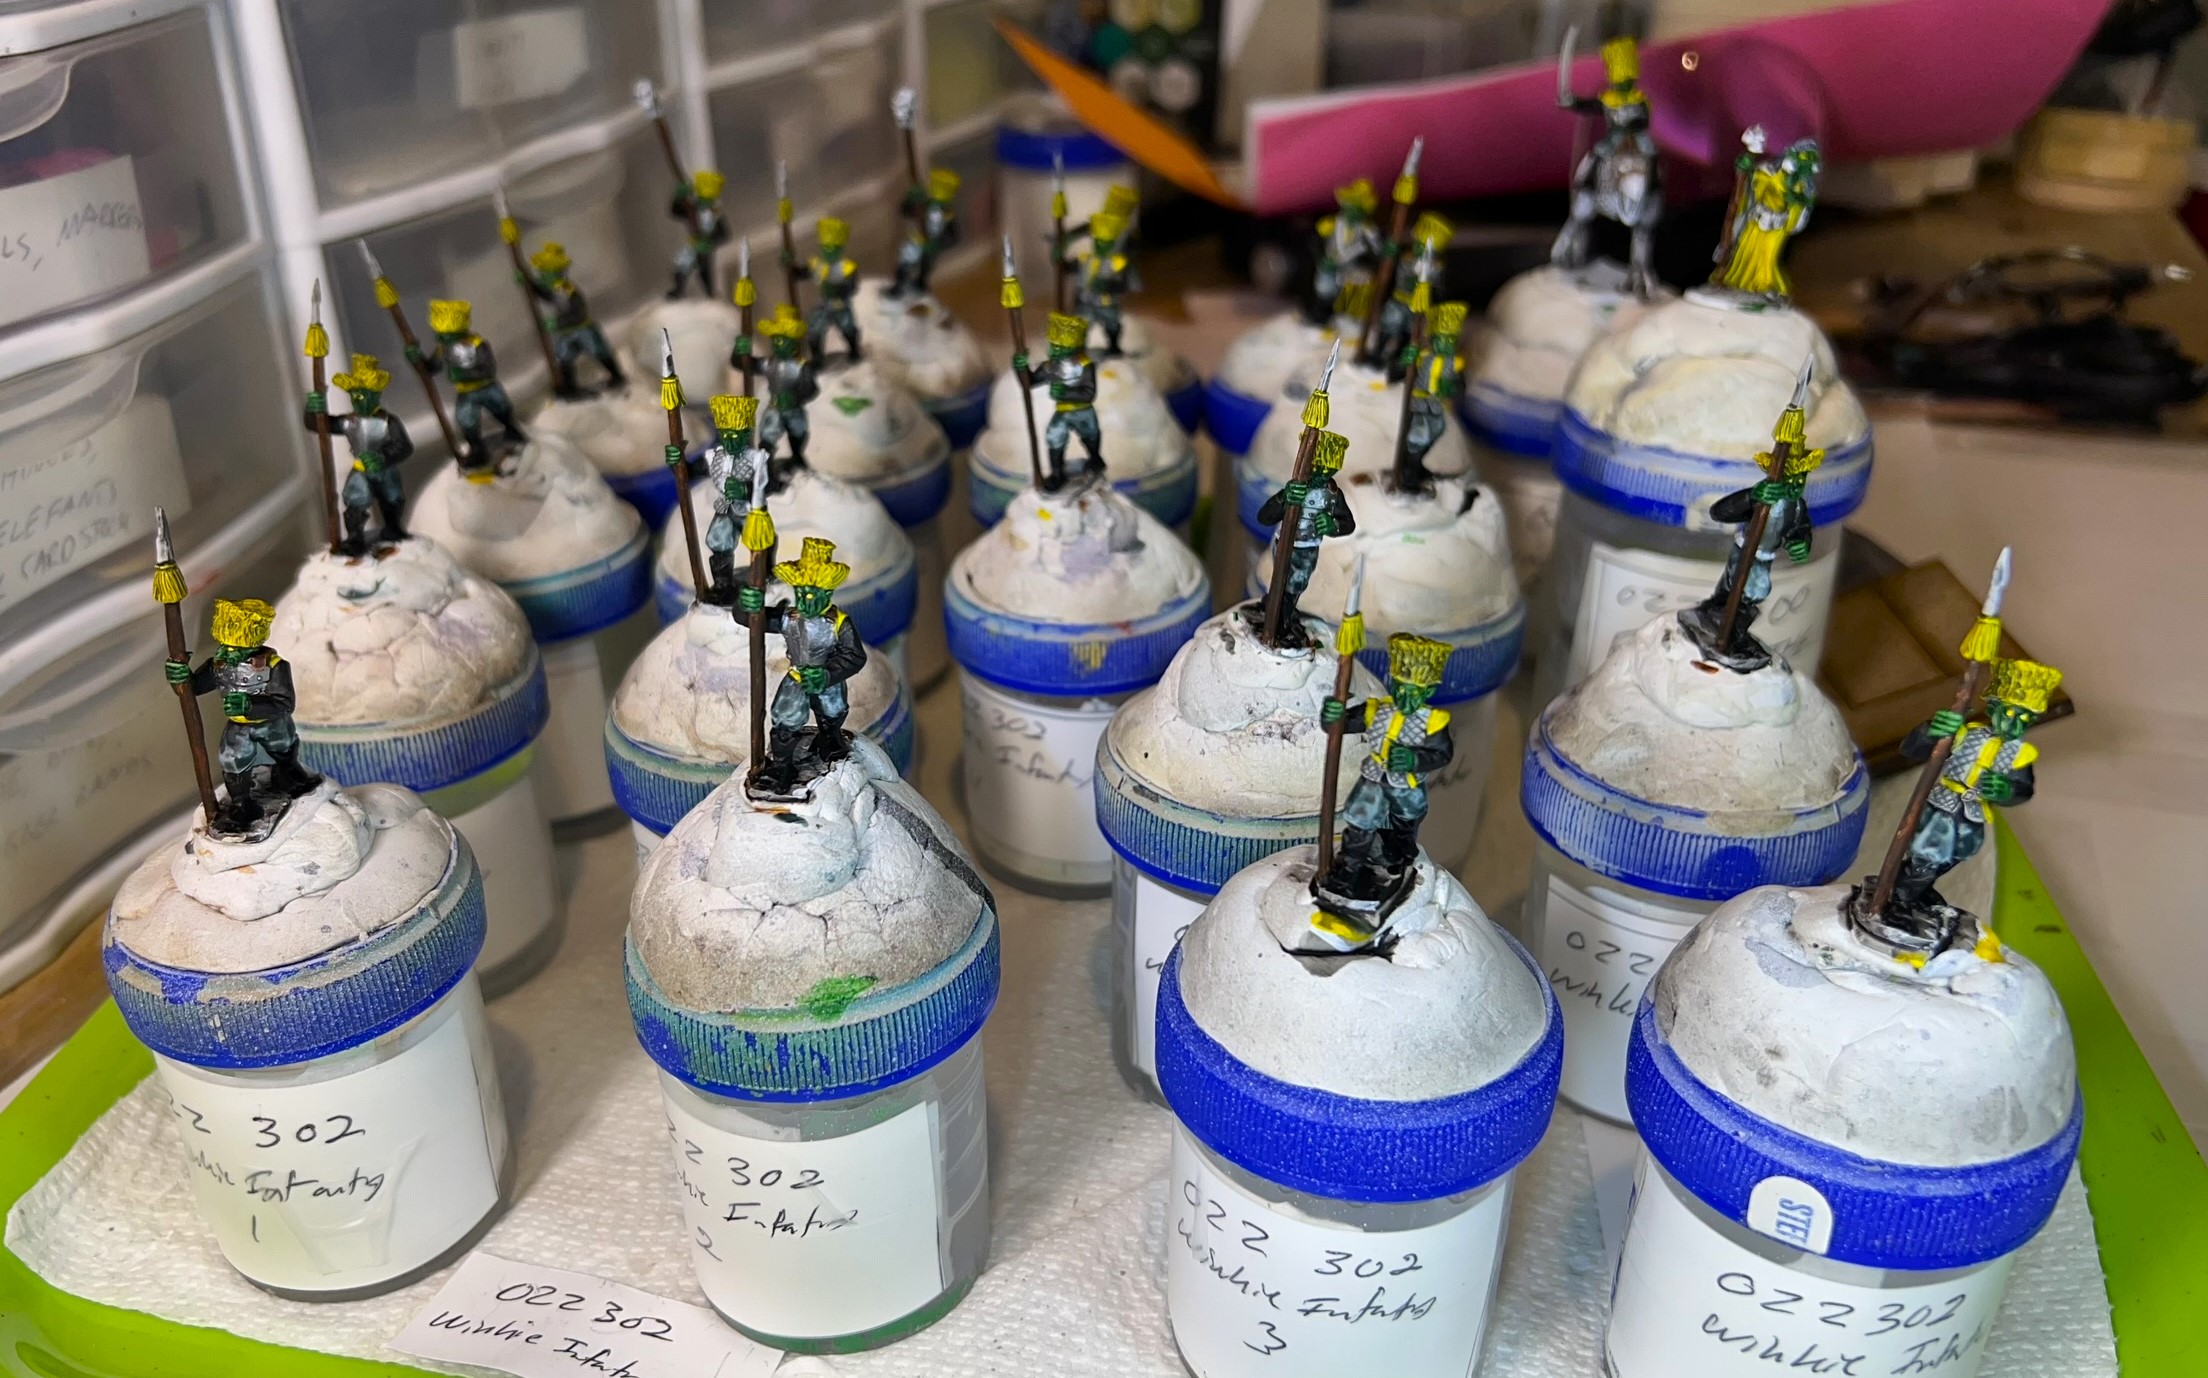
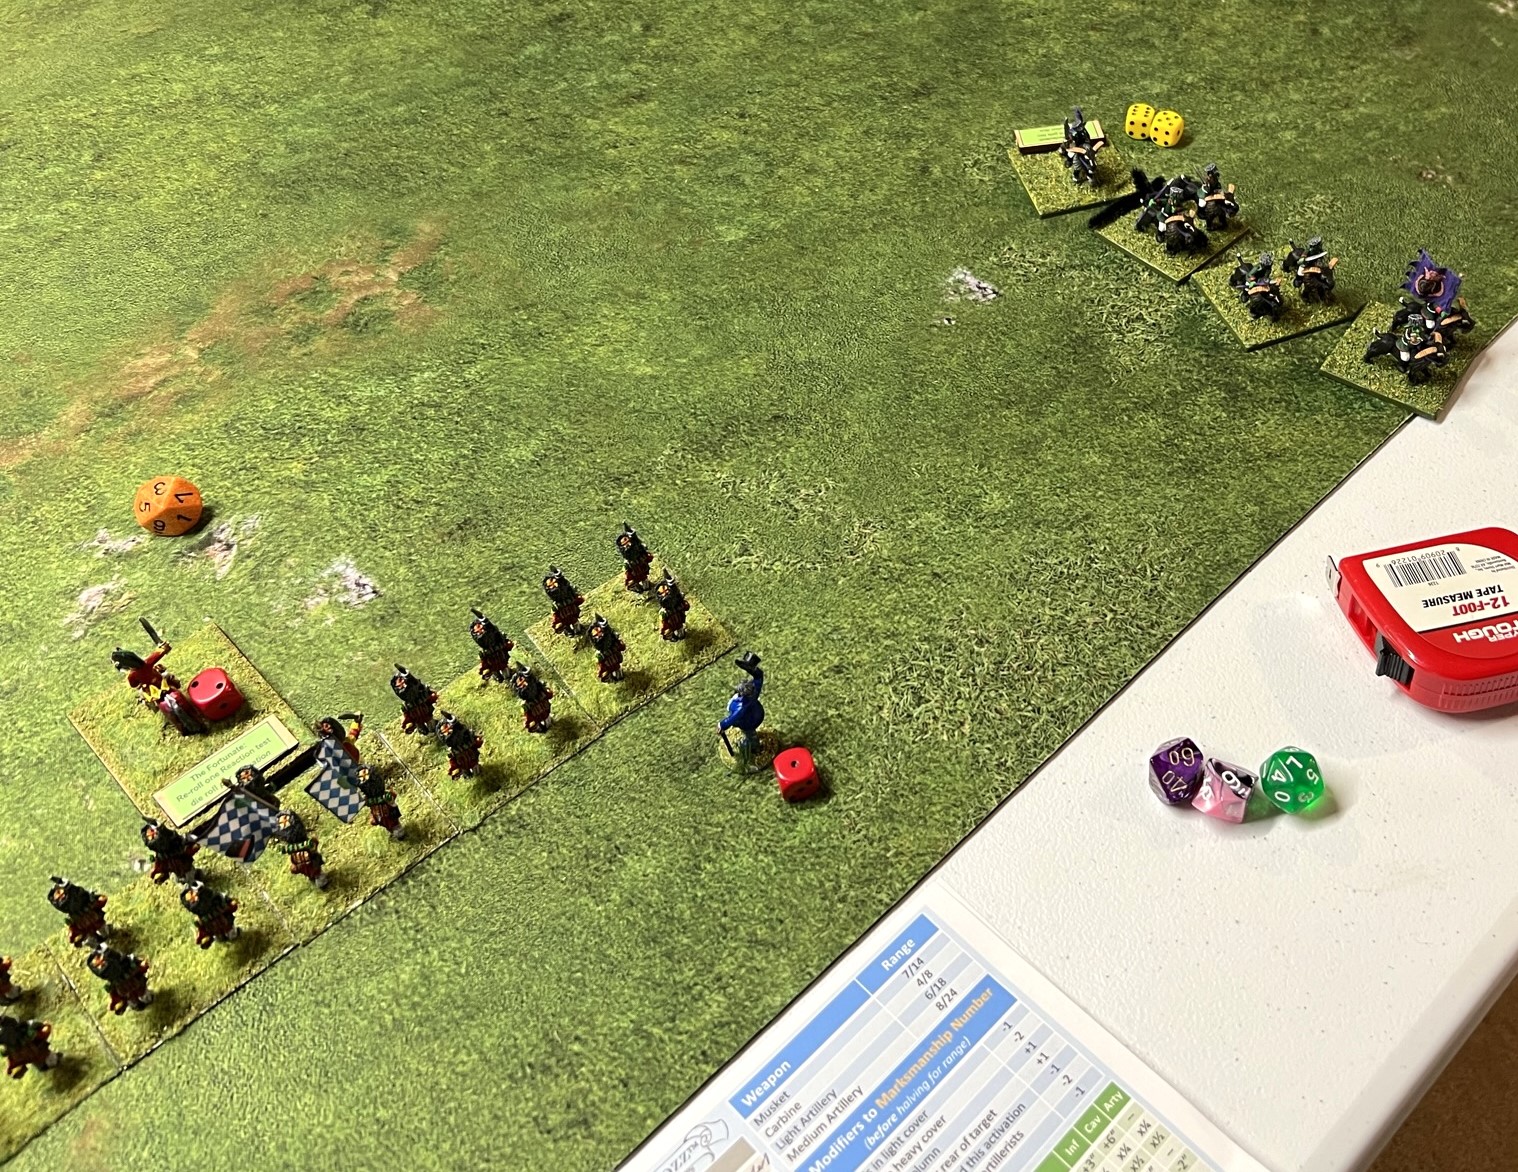
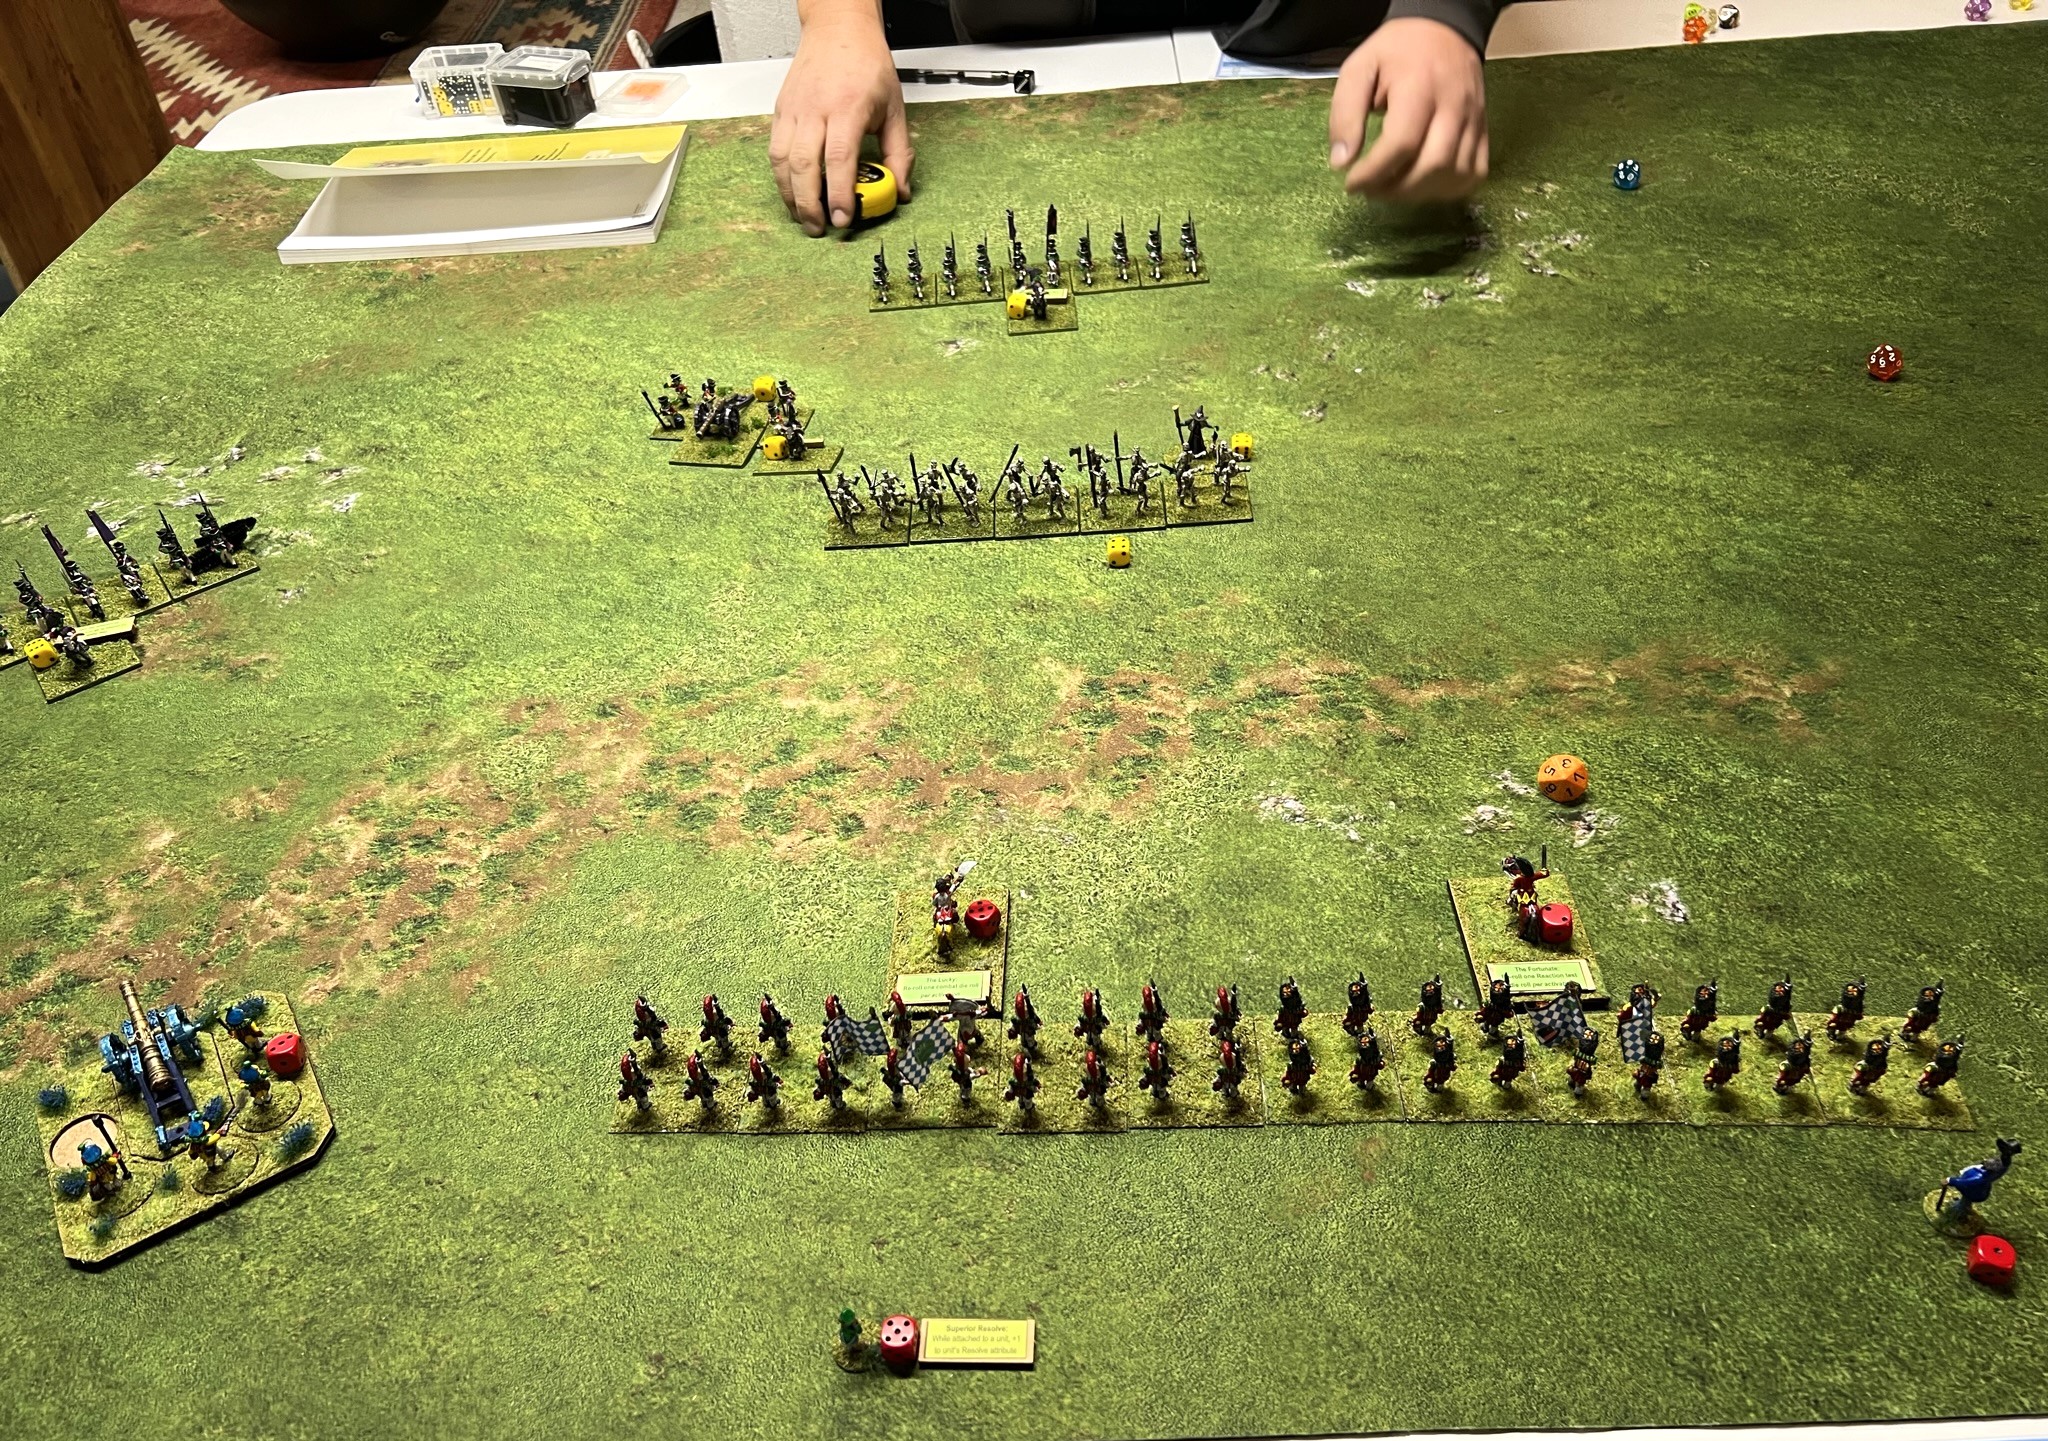
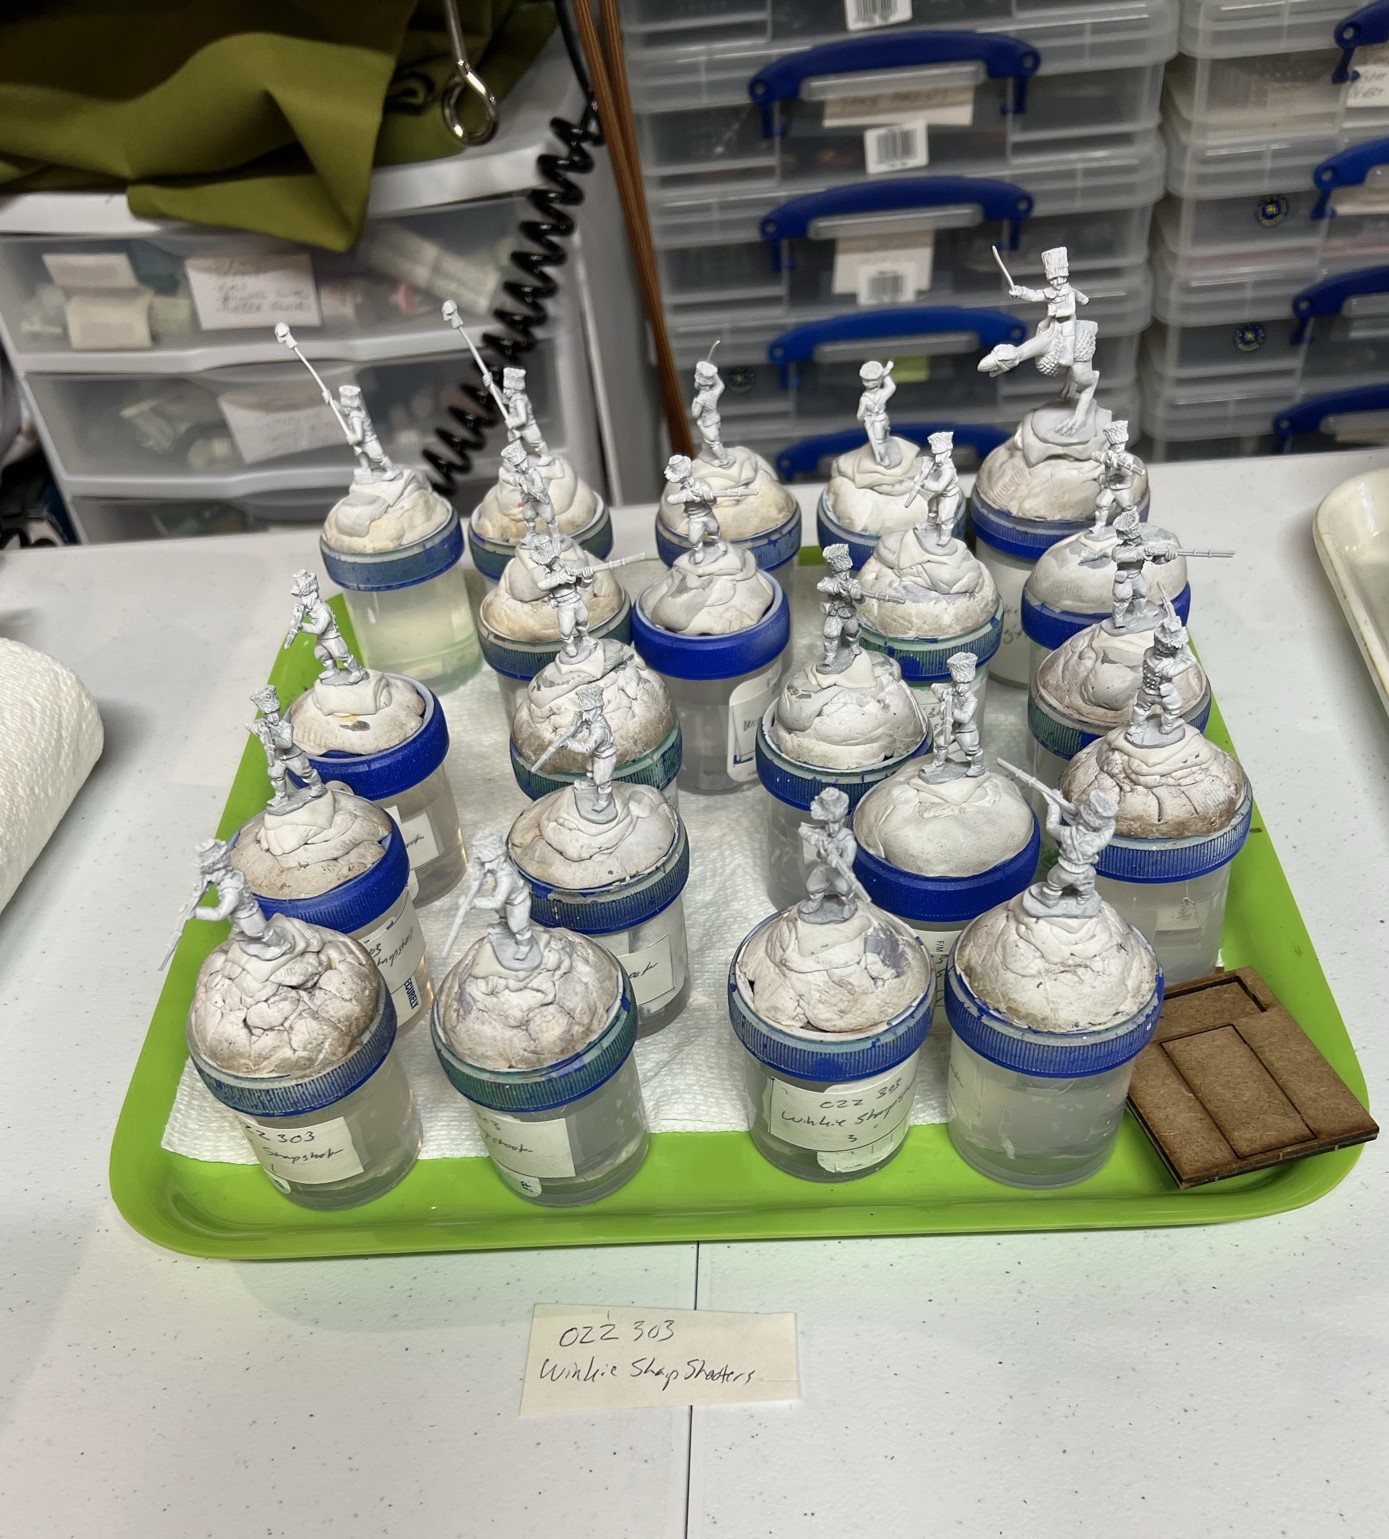
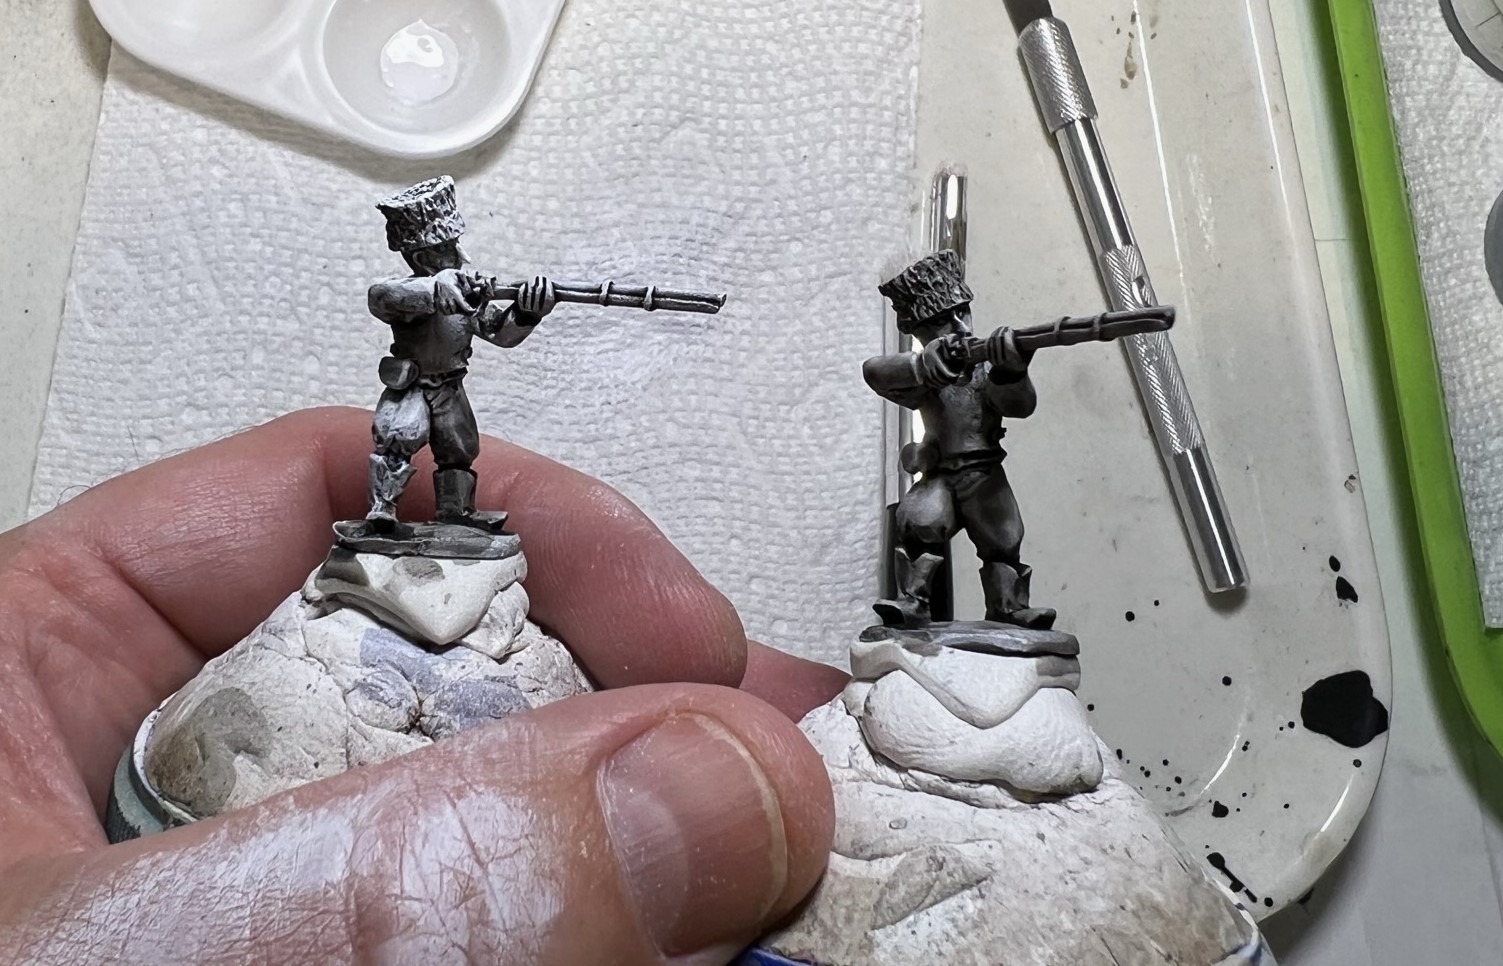
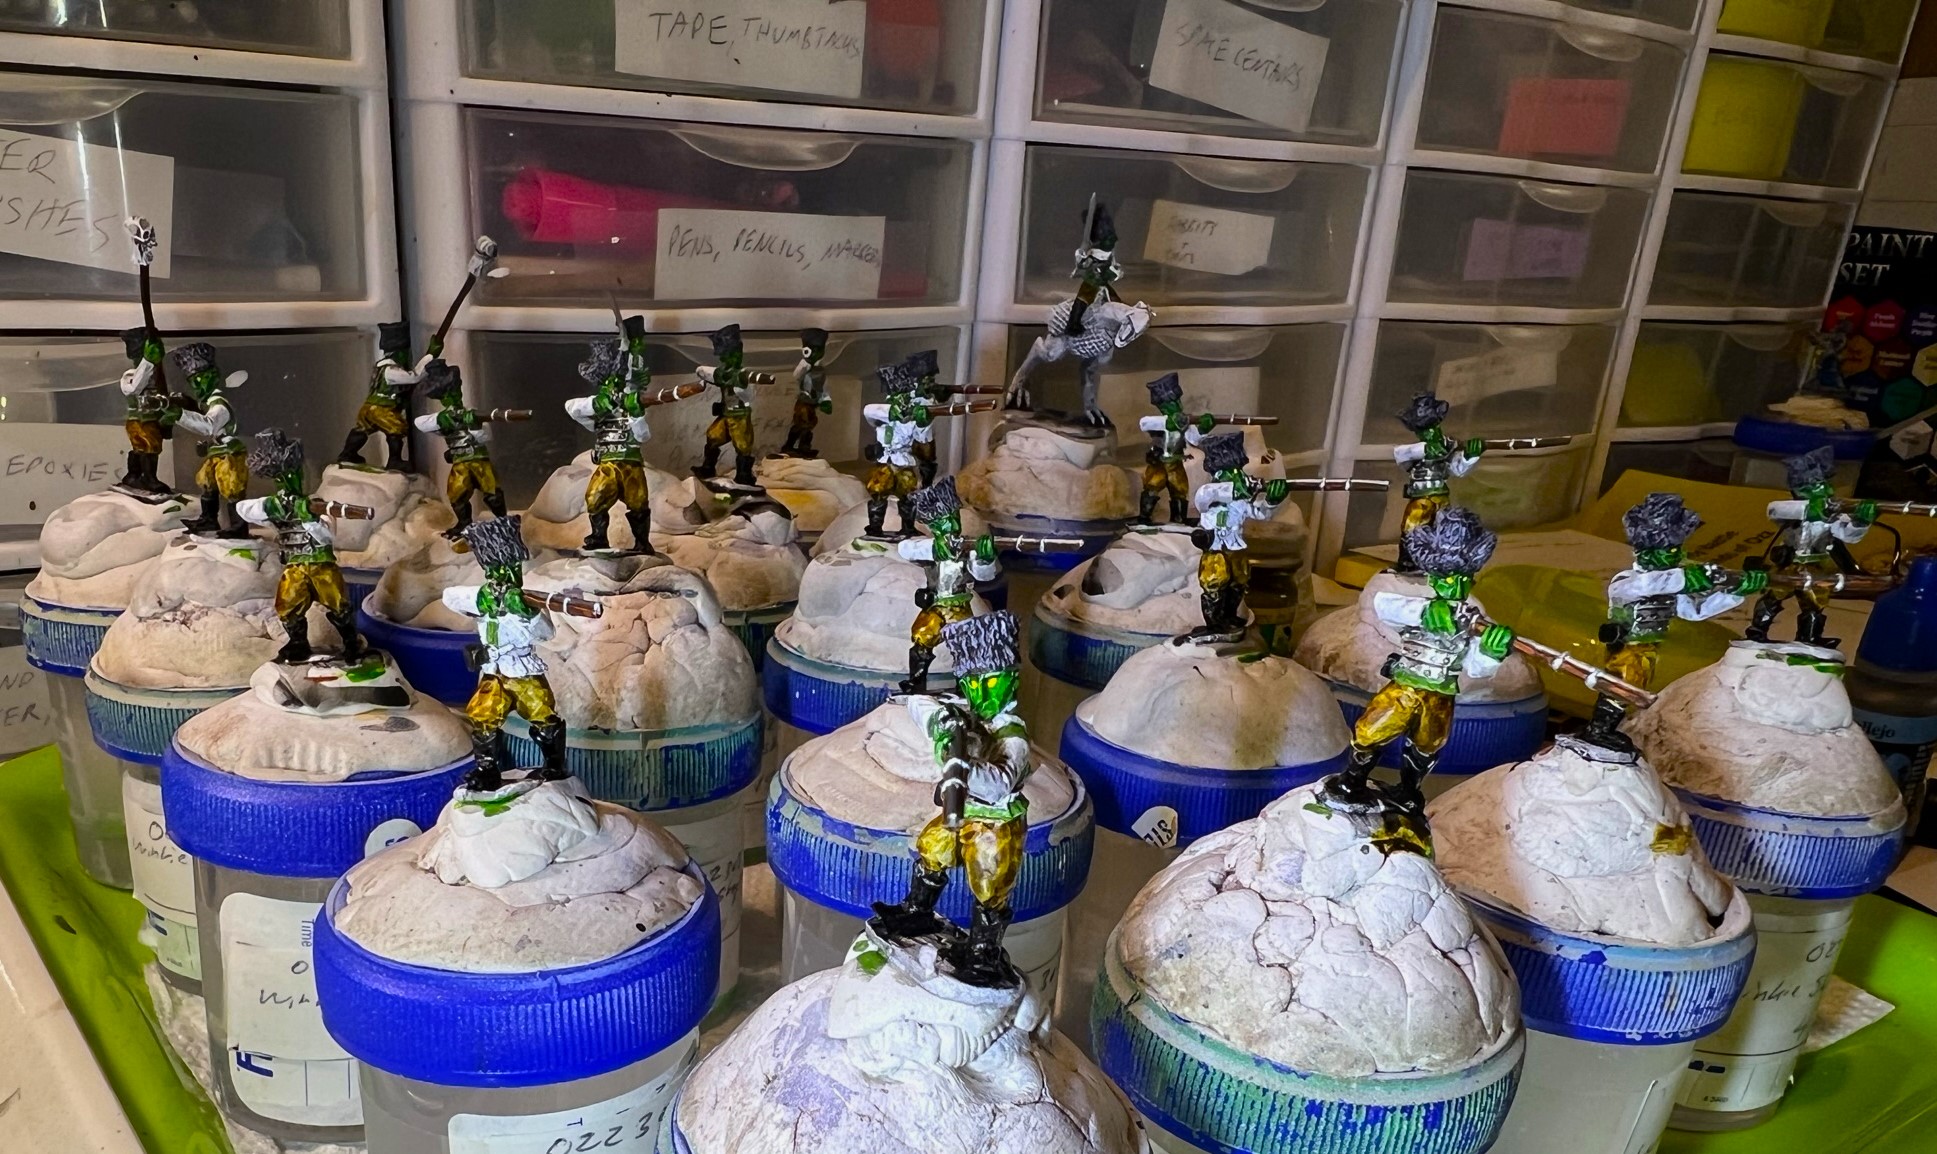
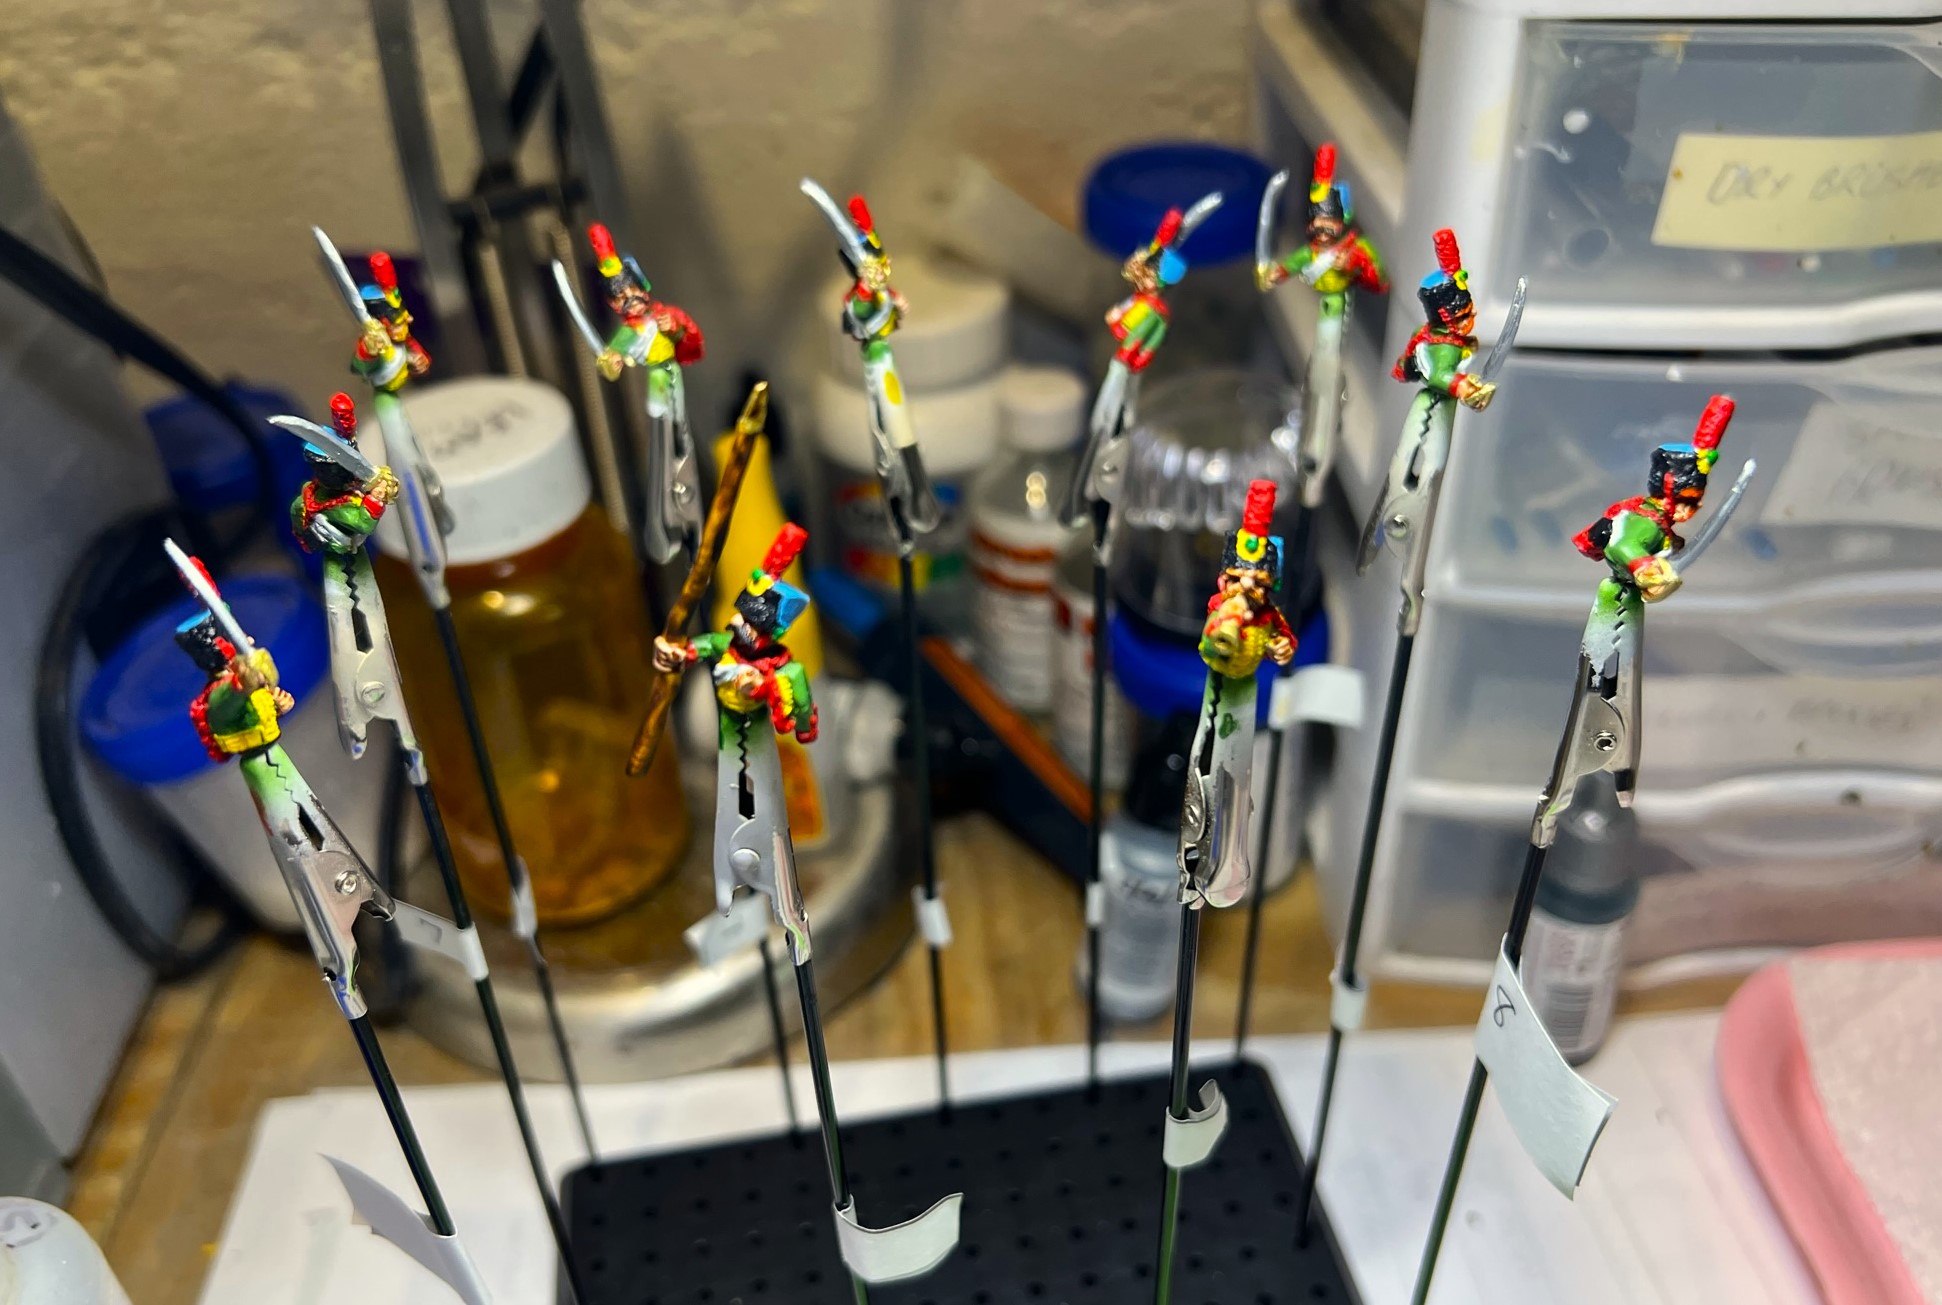
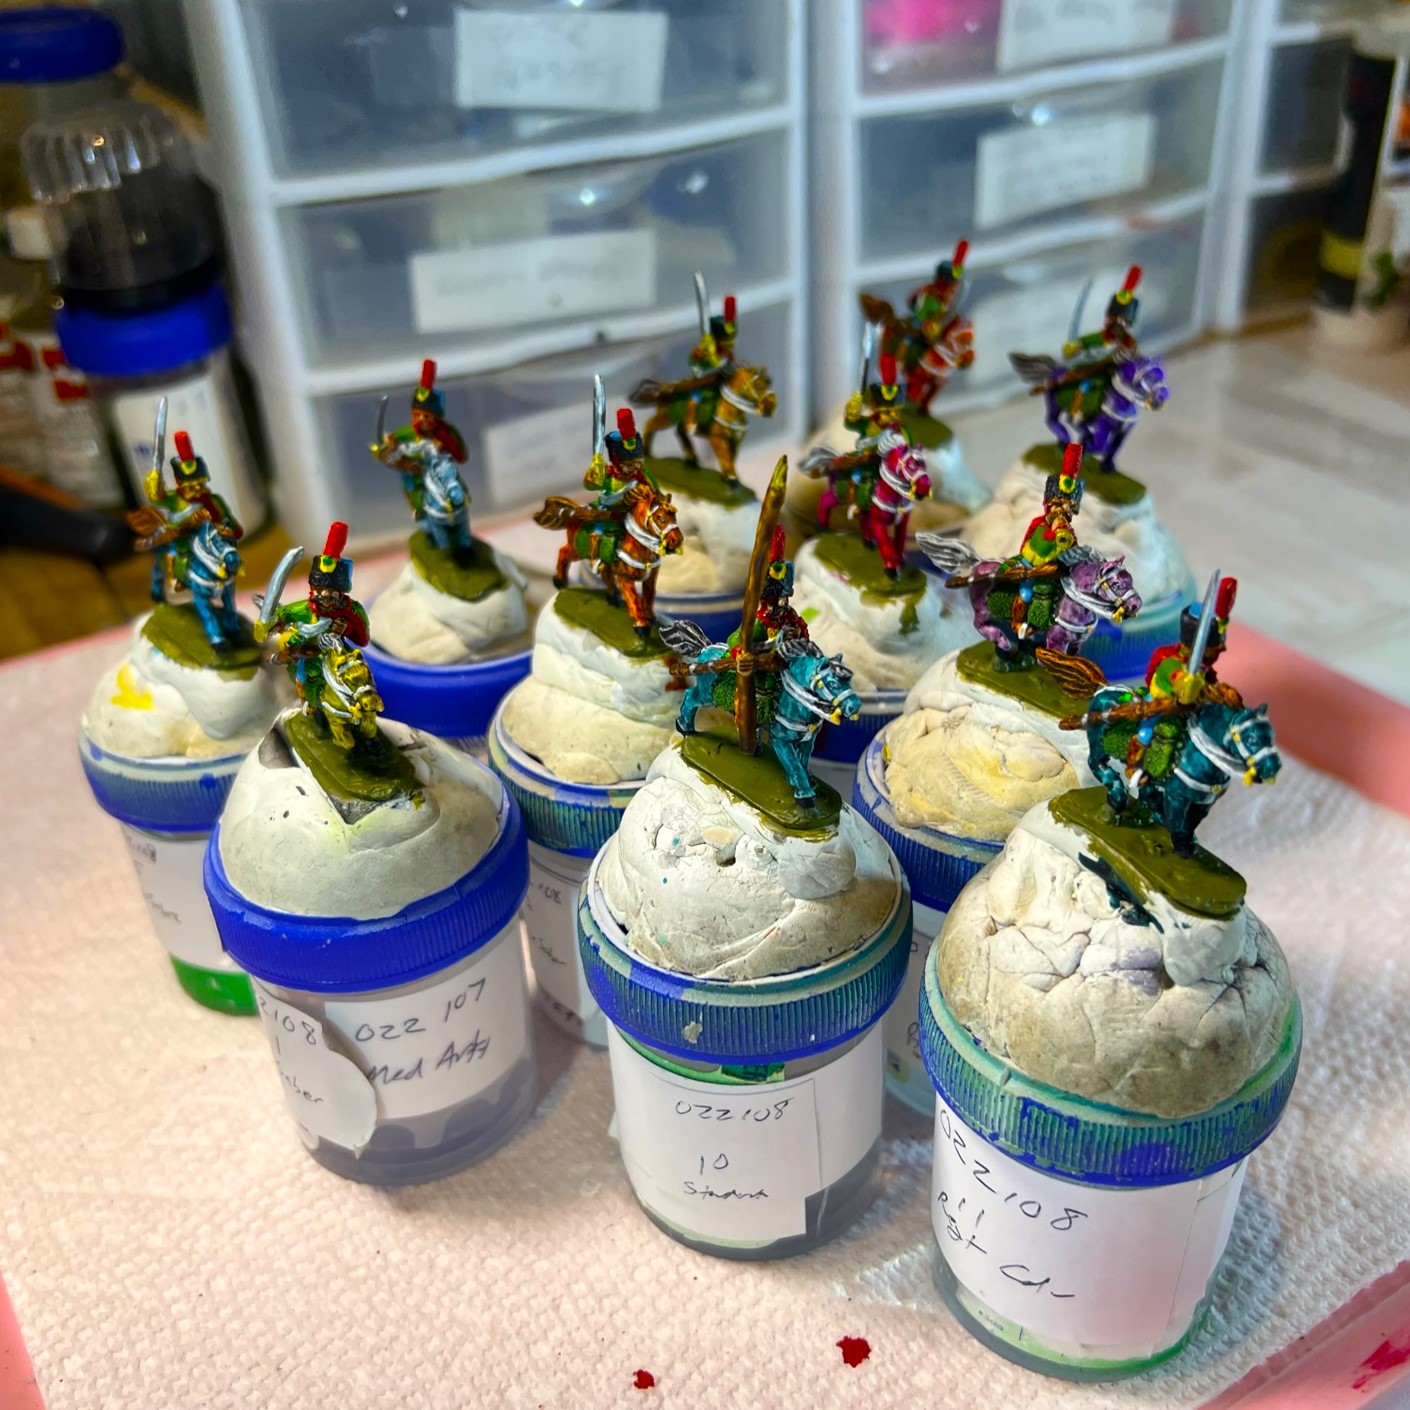
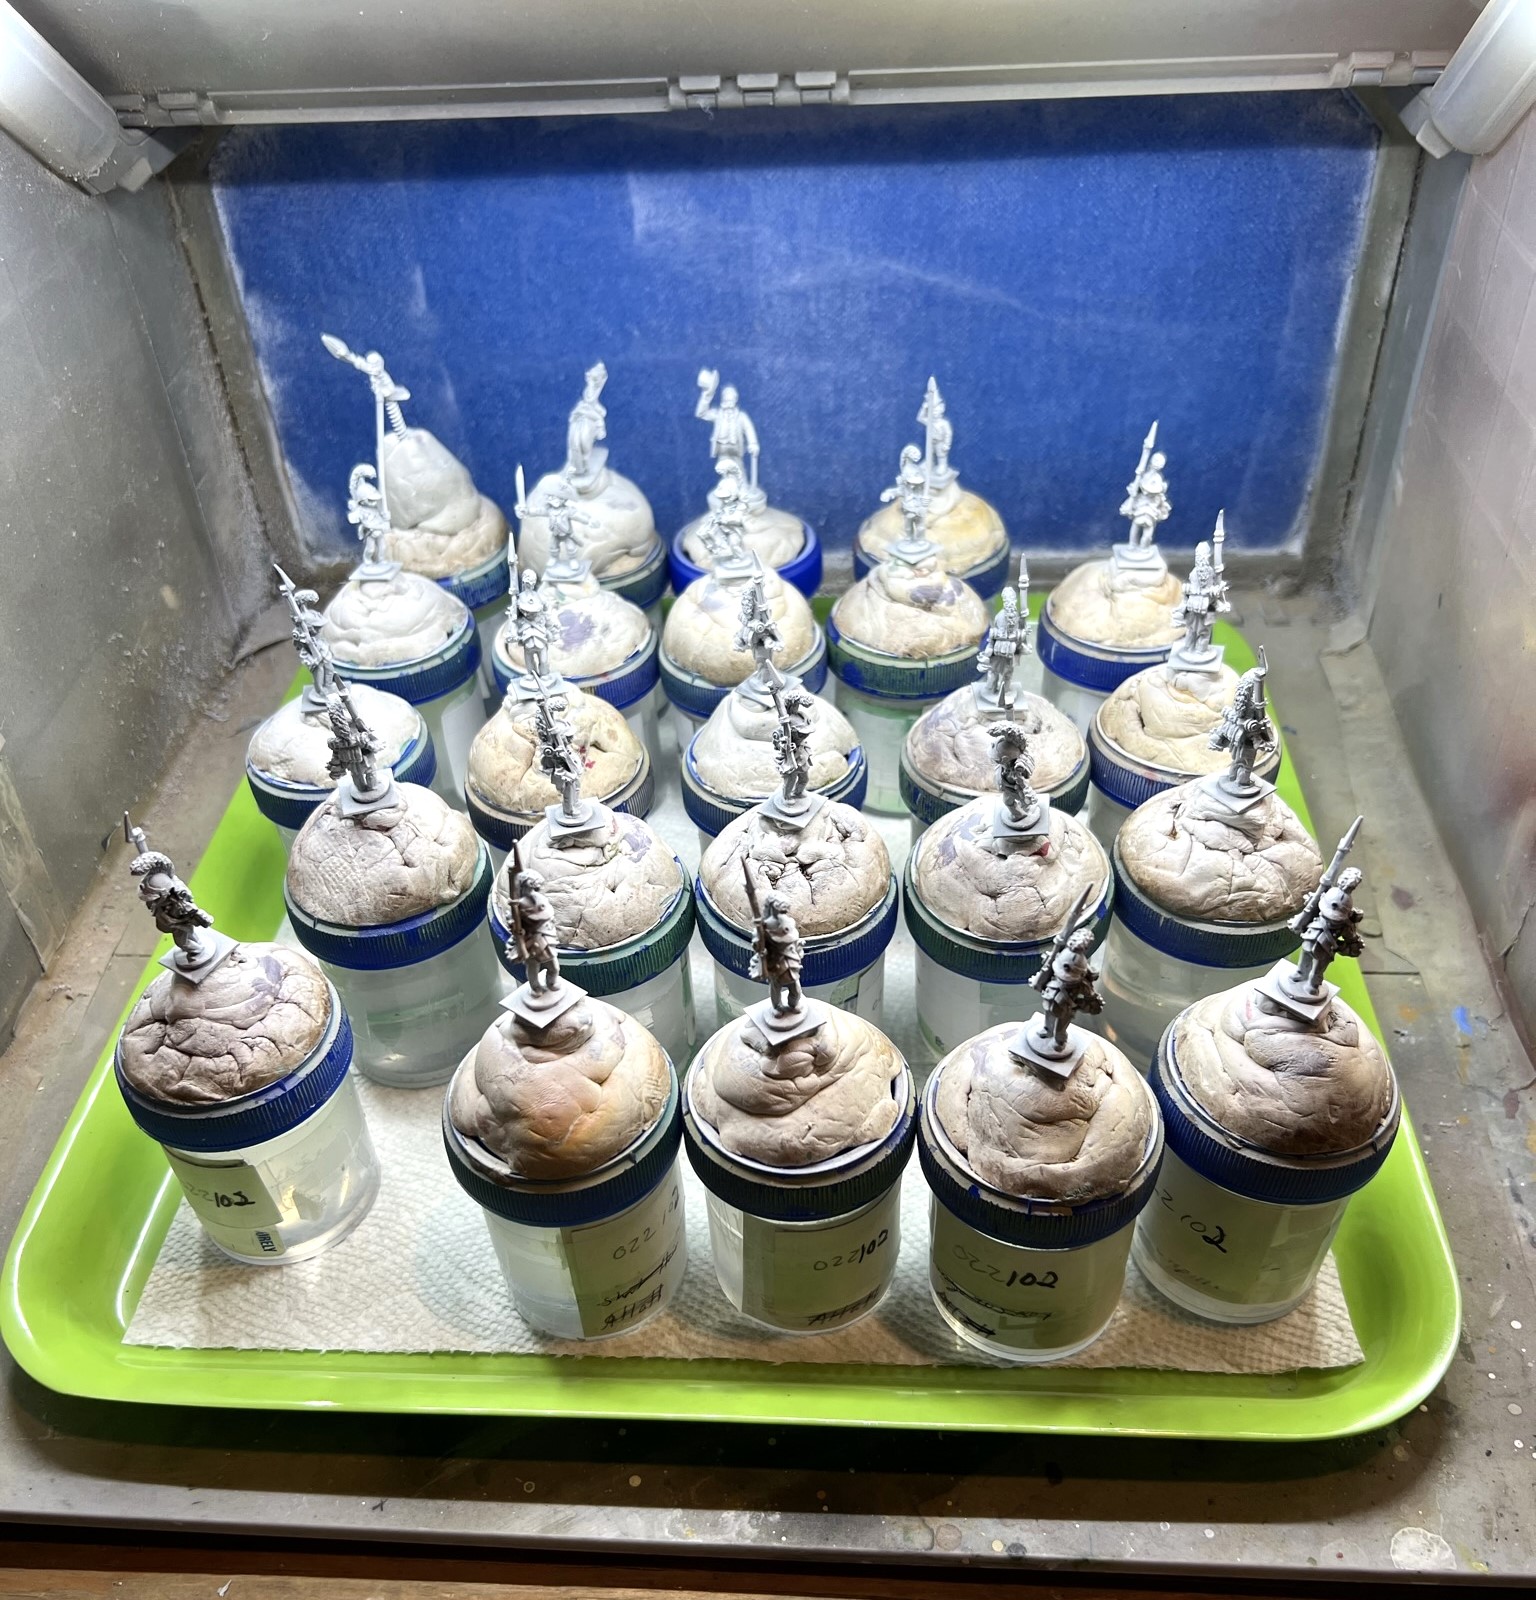
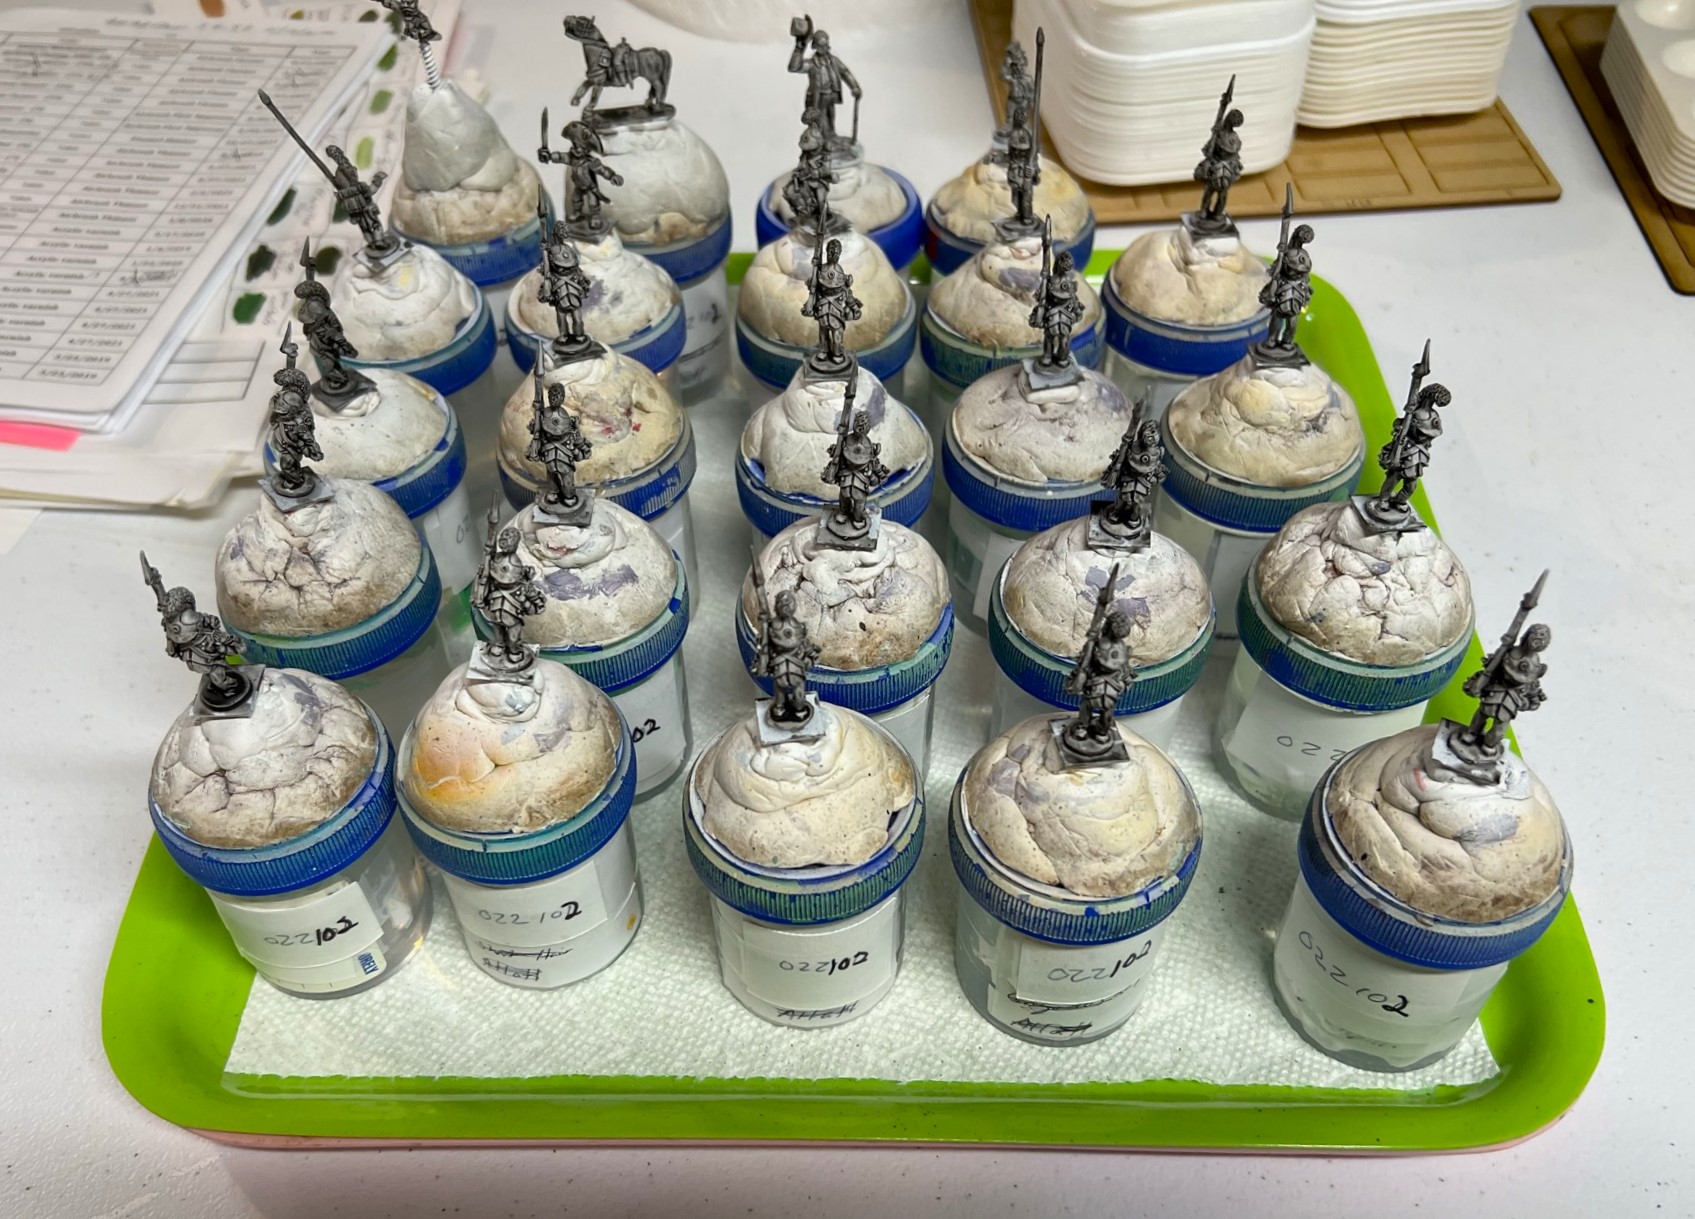
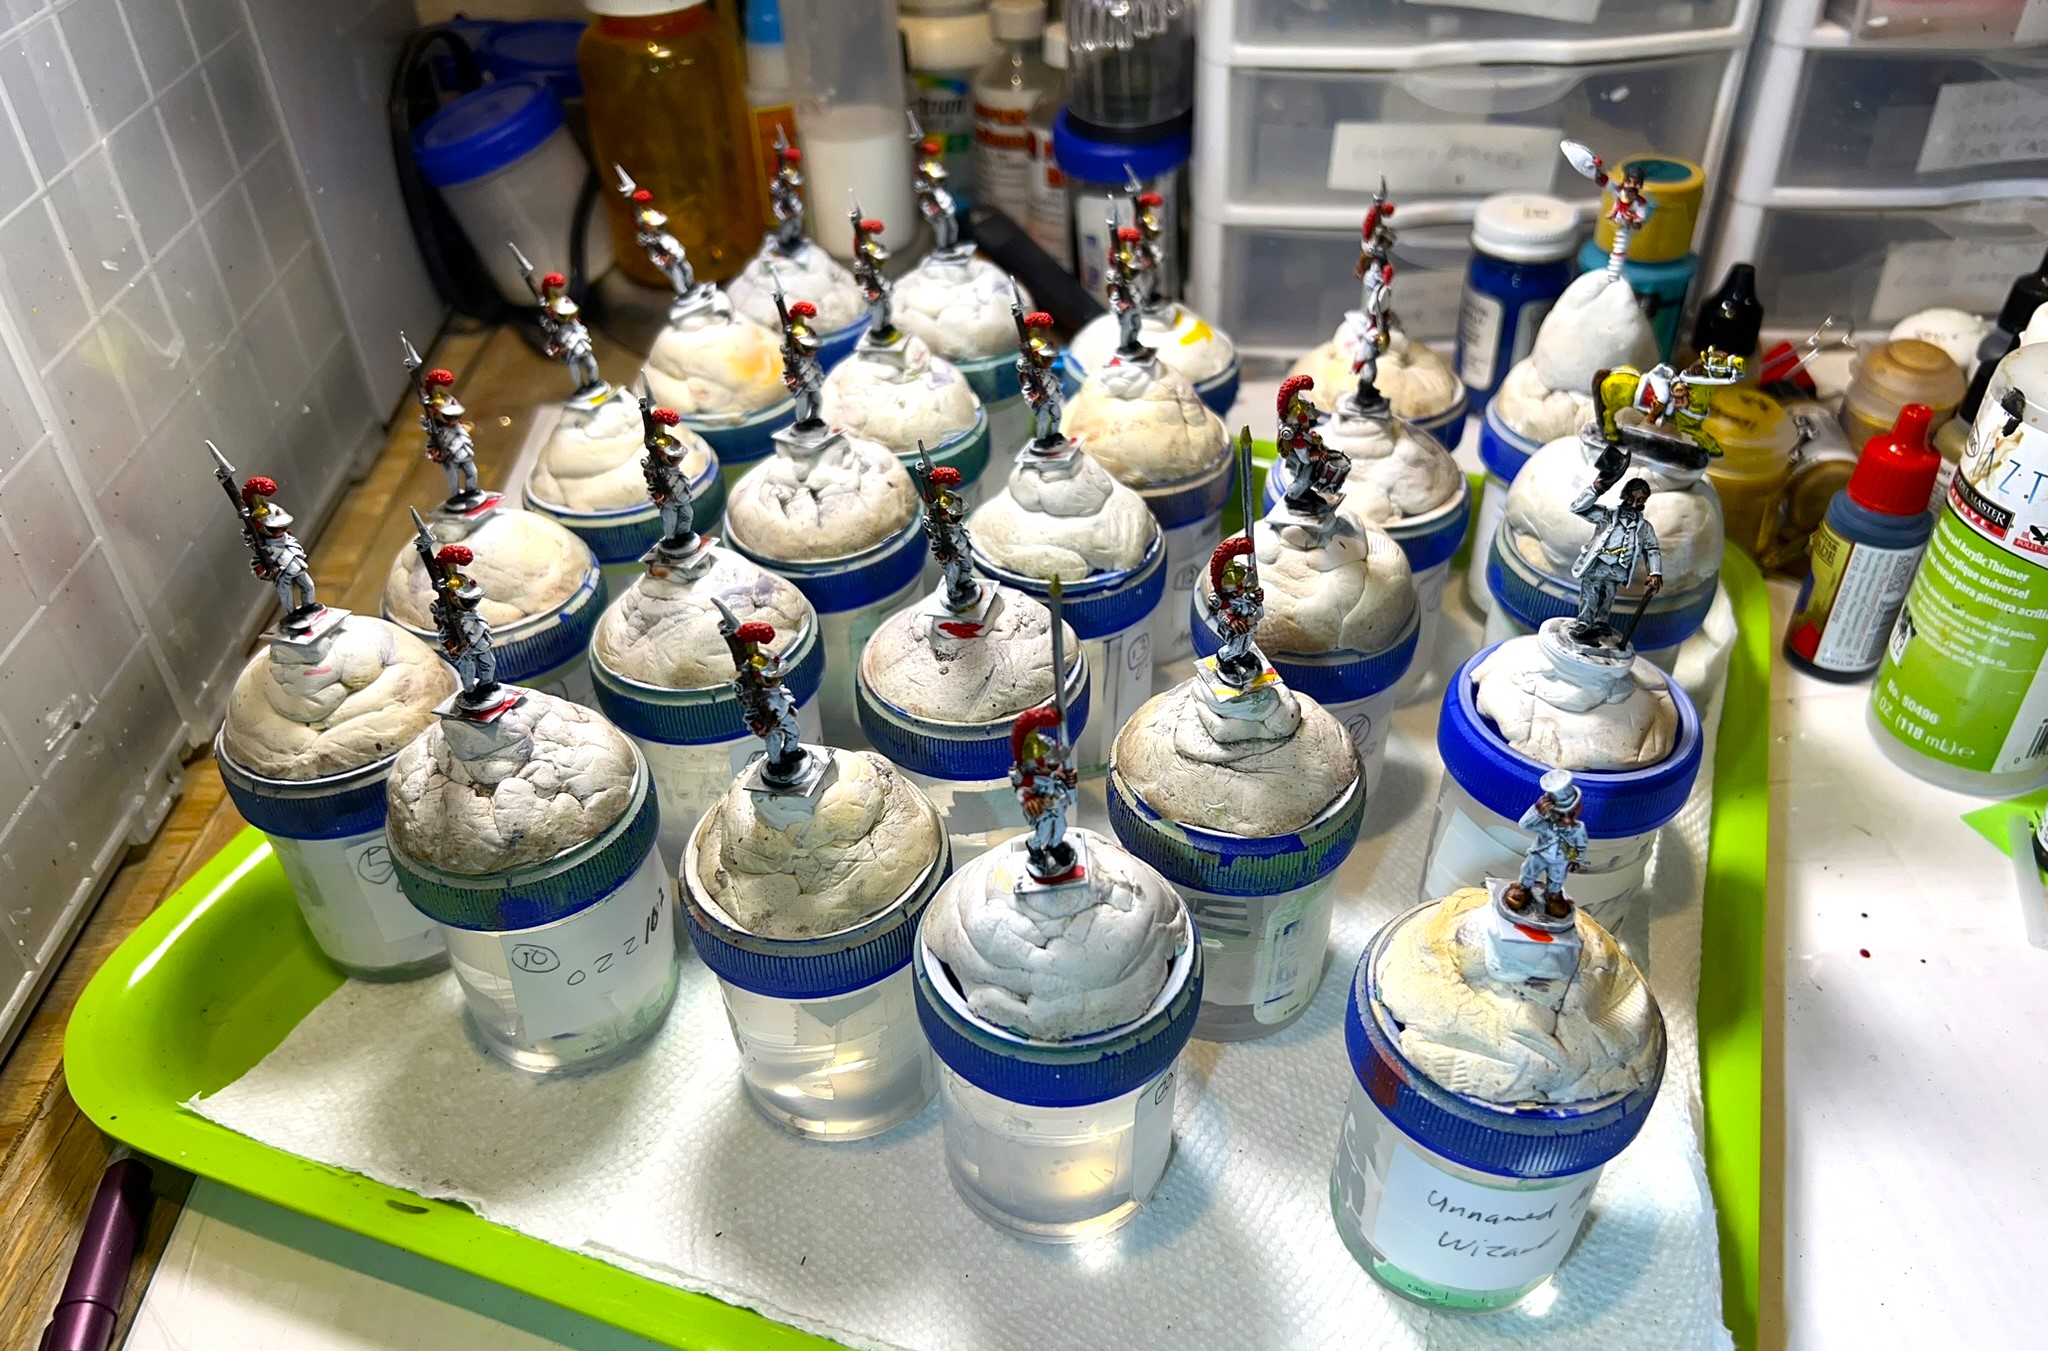
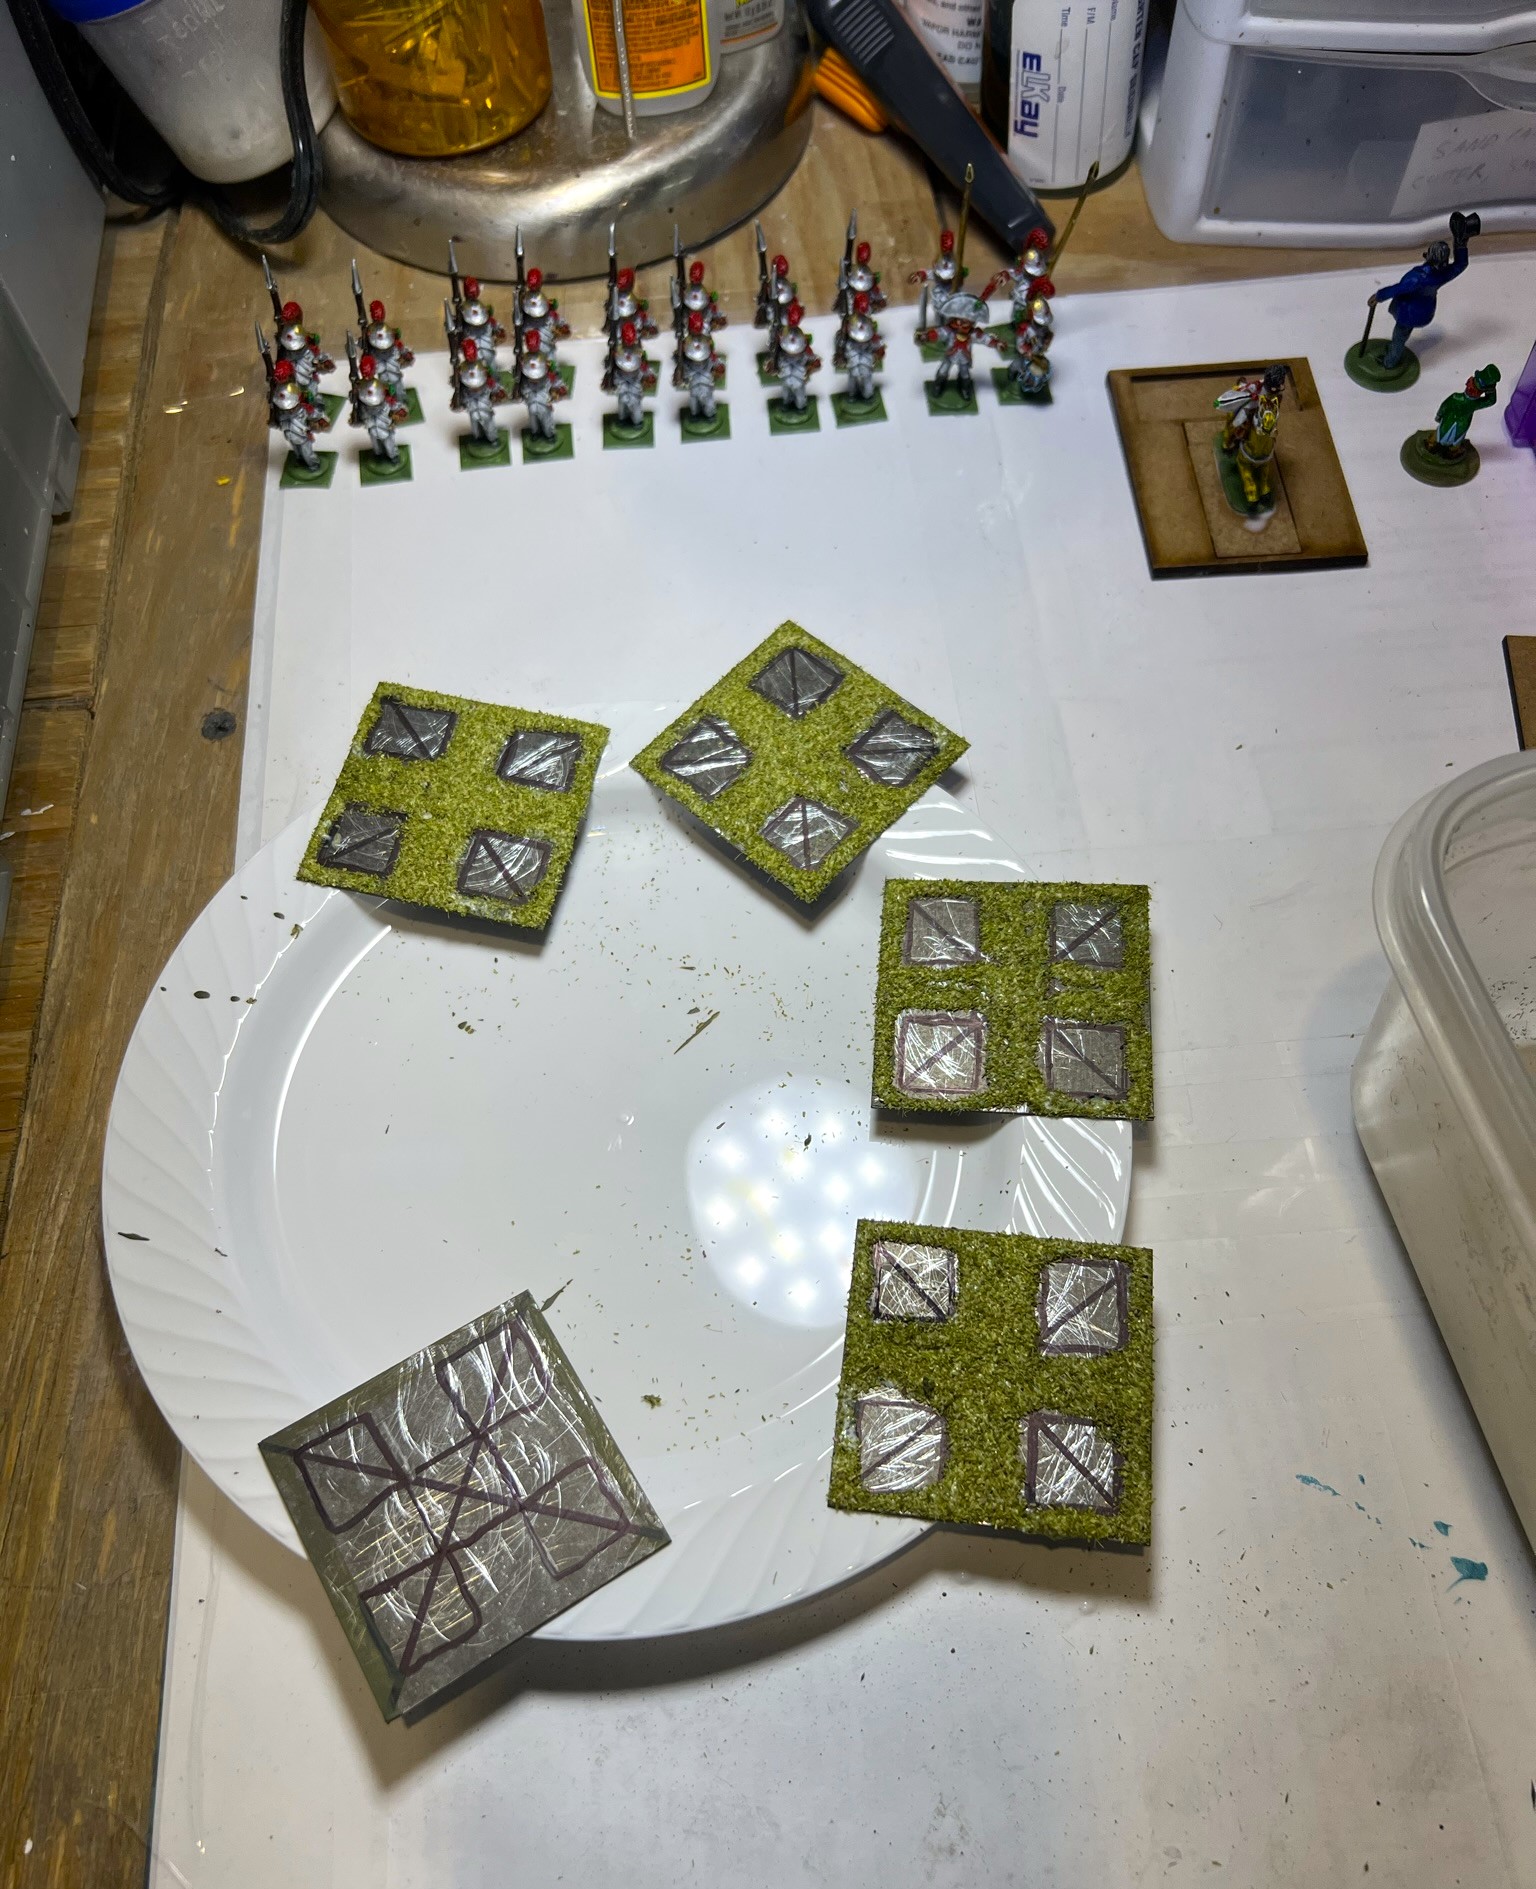
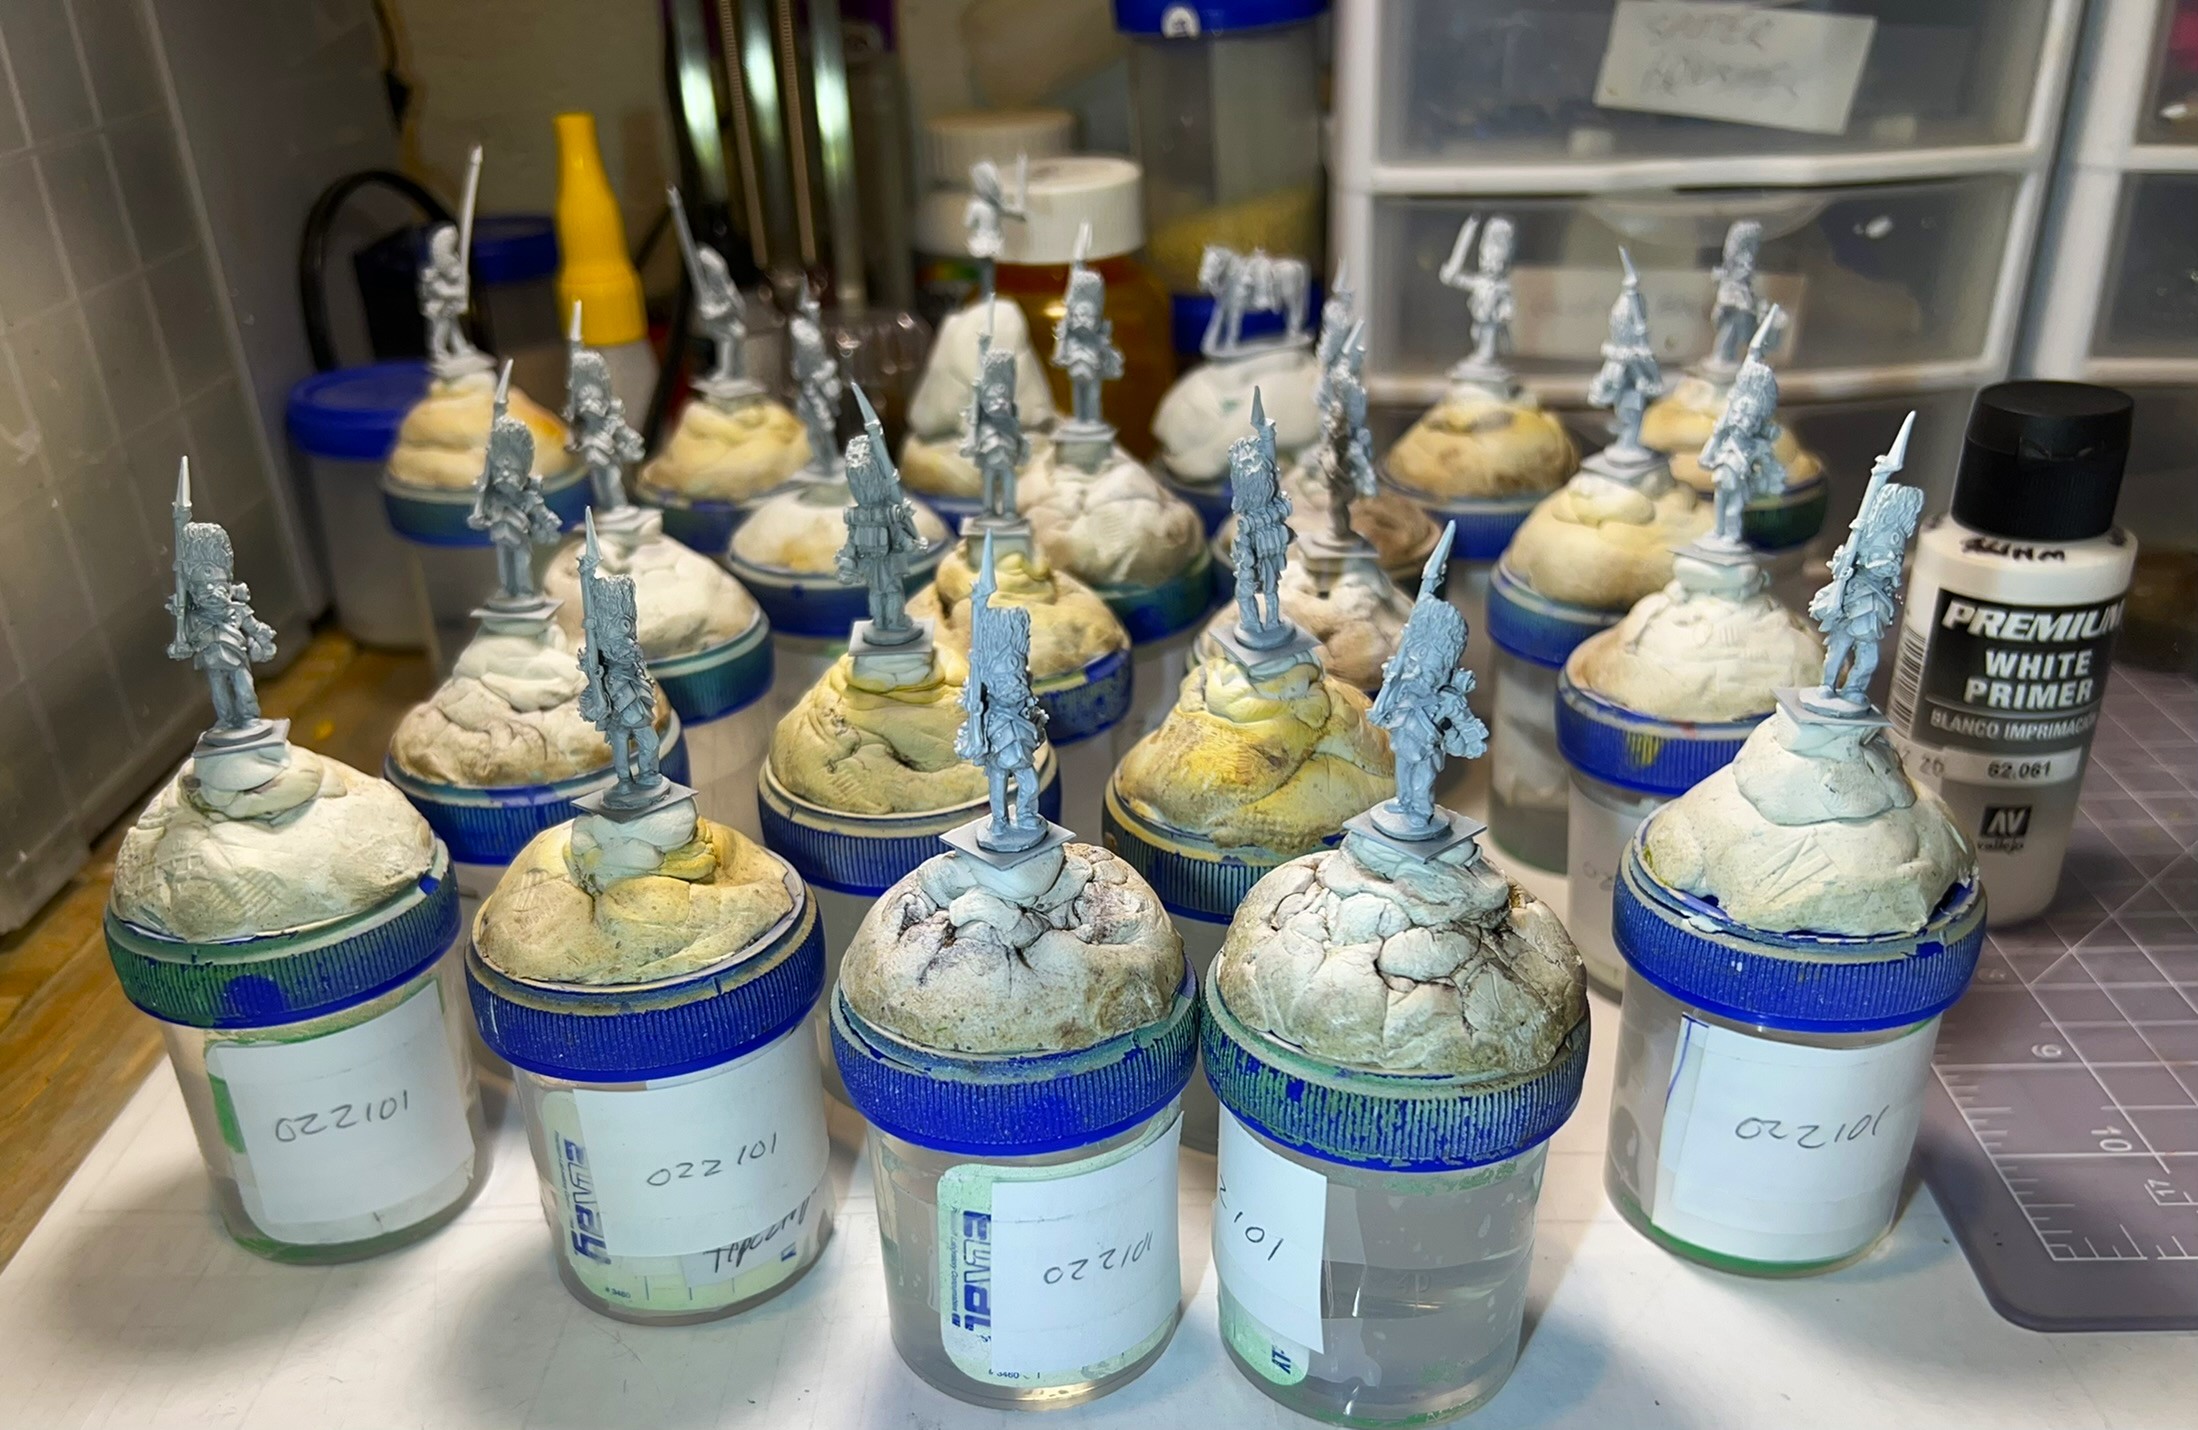
Below you will see some WIP shots, and then some eye candy diorama-type shots. The units were both primed earlier on January 7th, but the painting and flocking mainly went from January 20th to January 27th. This was again was a good pace for me (25 figures in 7 days). Below you’ll see the WIP shots – click on any to get a better view.
WIP shots…Lesser Apes
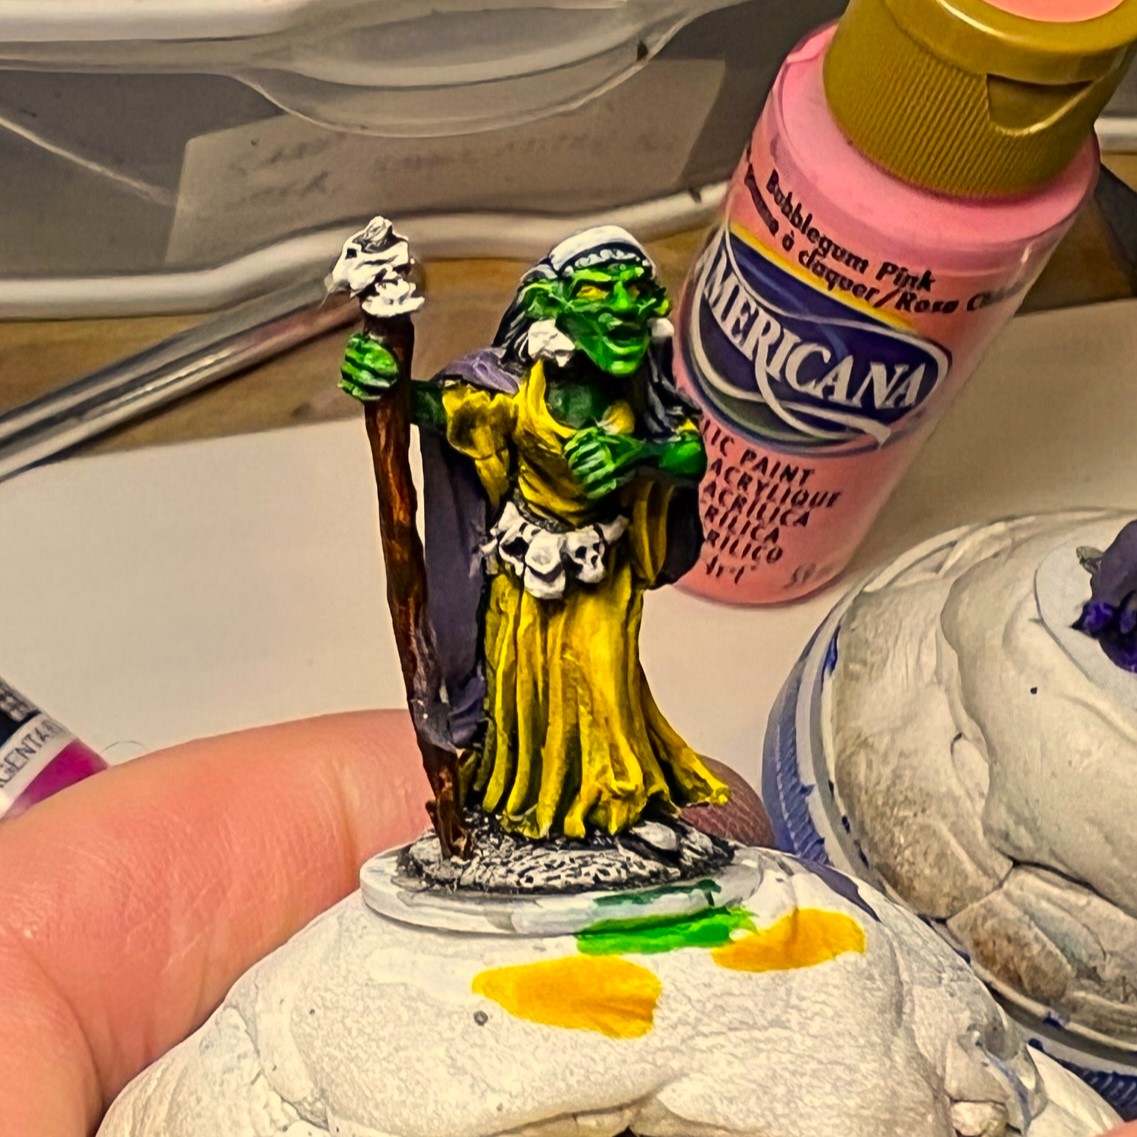
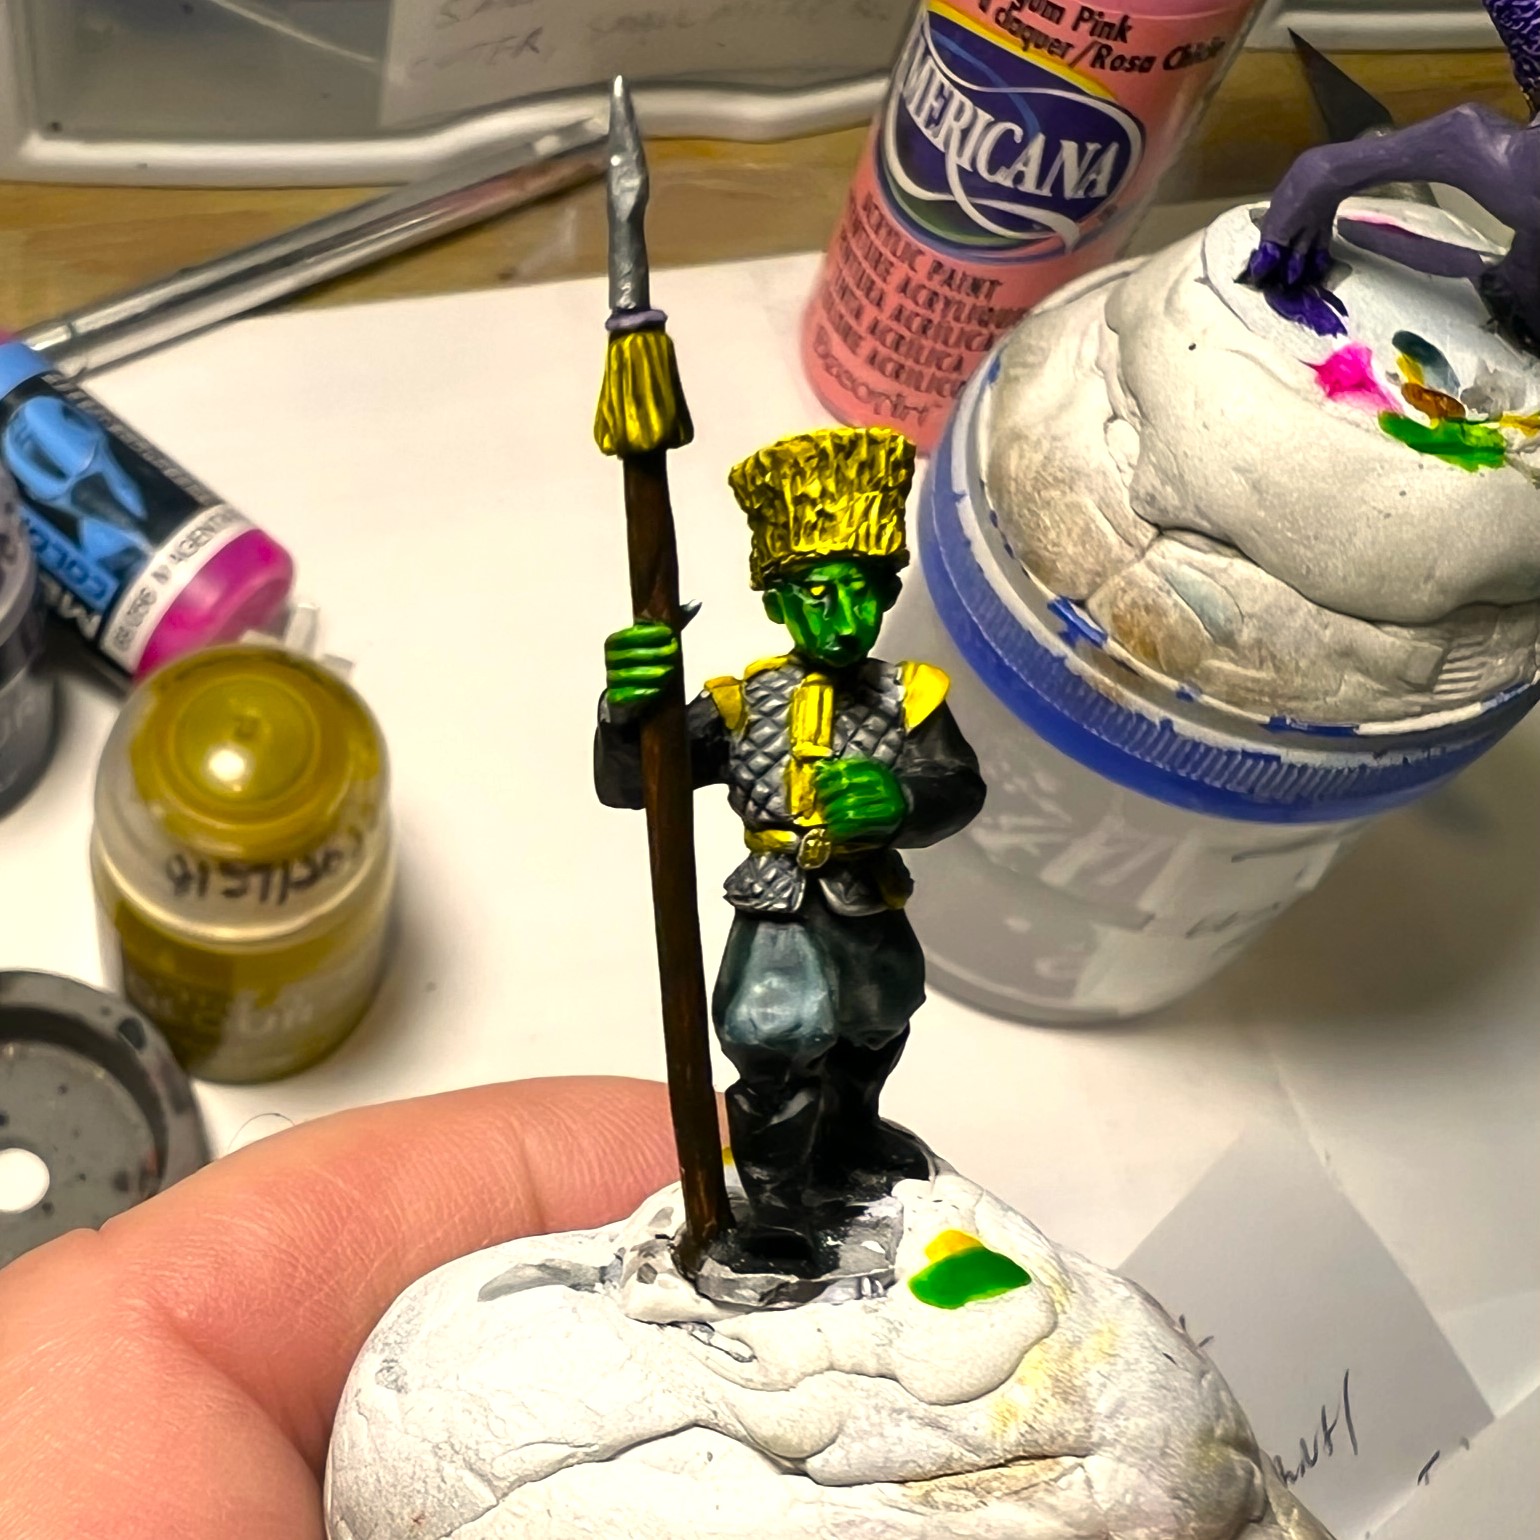
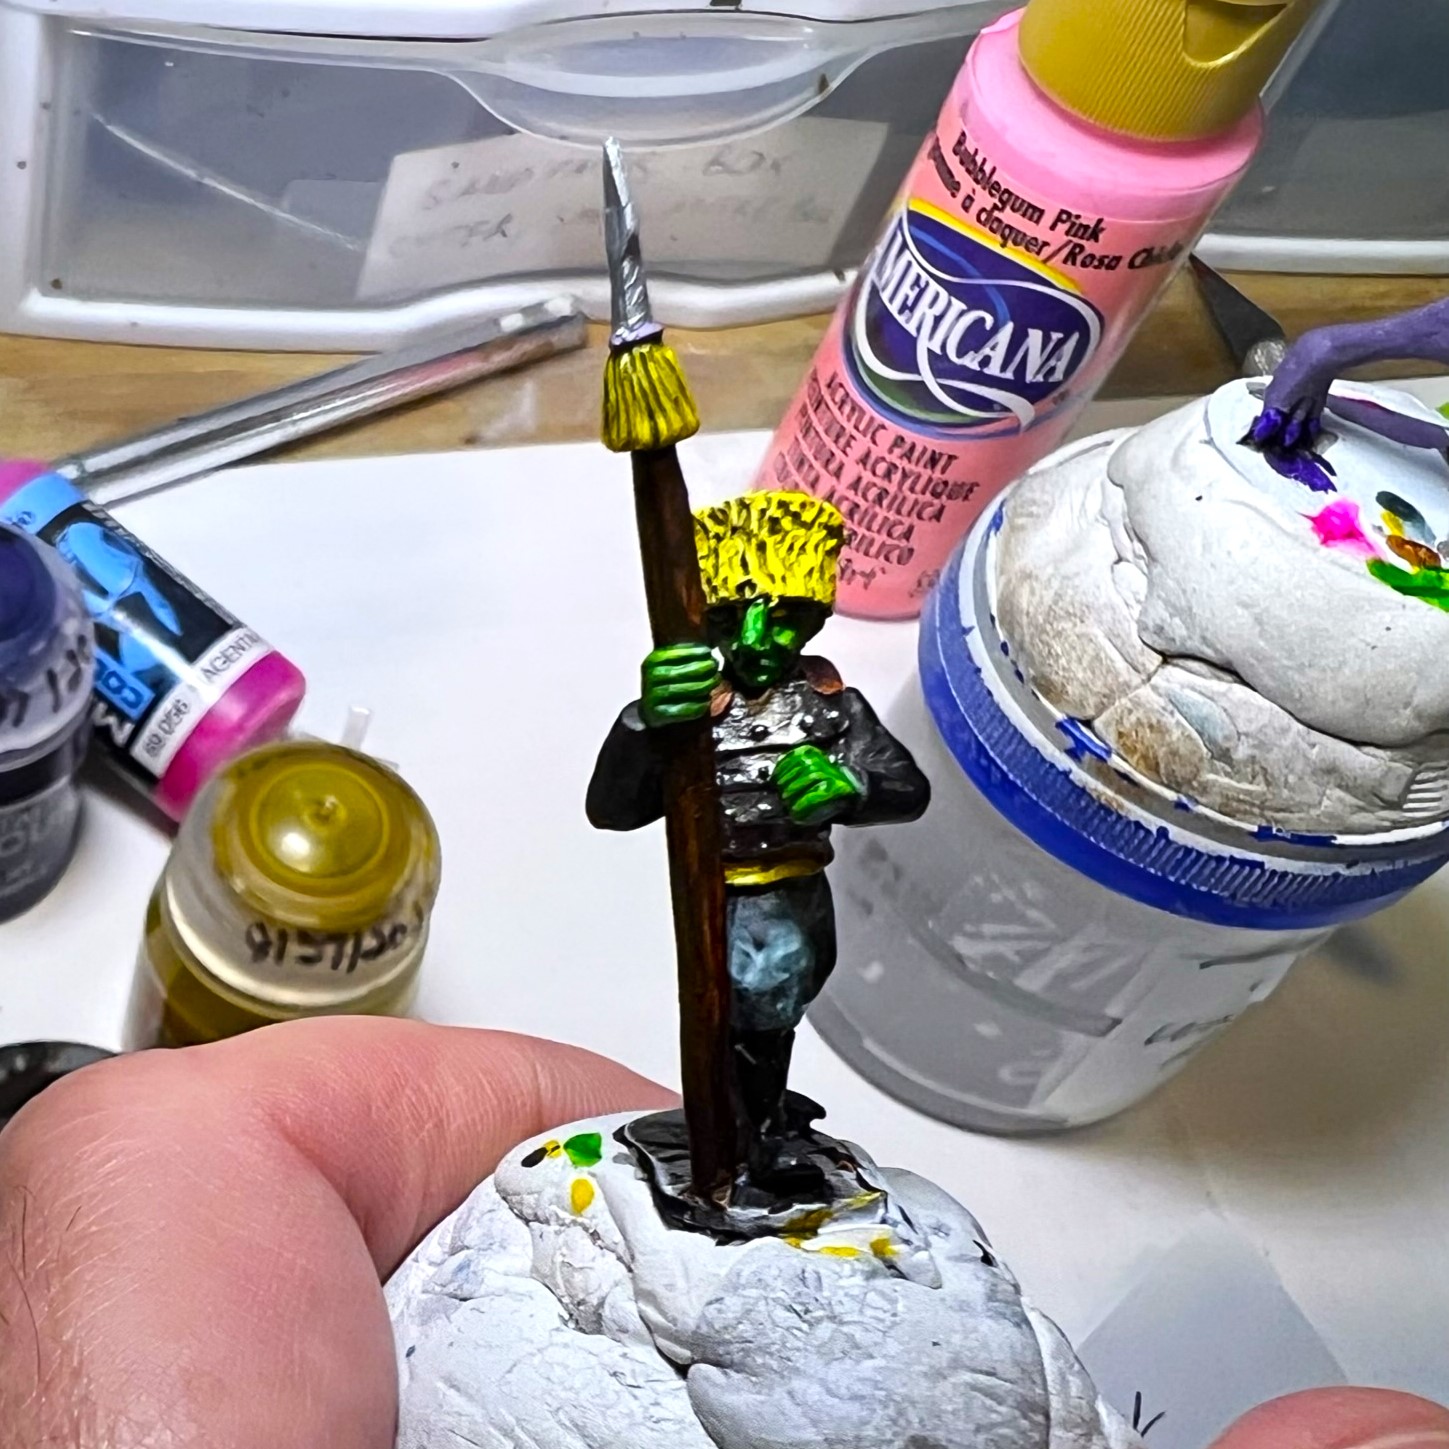
My process for the Lesser Apes was to try to paint up a few and see what I liked and what I did not with end results. I ended up going with a mandrill look on their cheeks – which I liked a lot better than my initial more monocolor try – though painting vermilion and white lines on little ape cheeks is a bit tedious (but rewarding too). As I painted these, I also started one of the Great Flying Apes so as to align their color schemes. I used a various assortment of purples and purplish grays – all are listed at this post’s end if you’re interested in that.
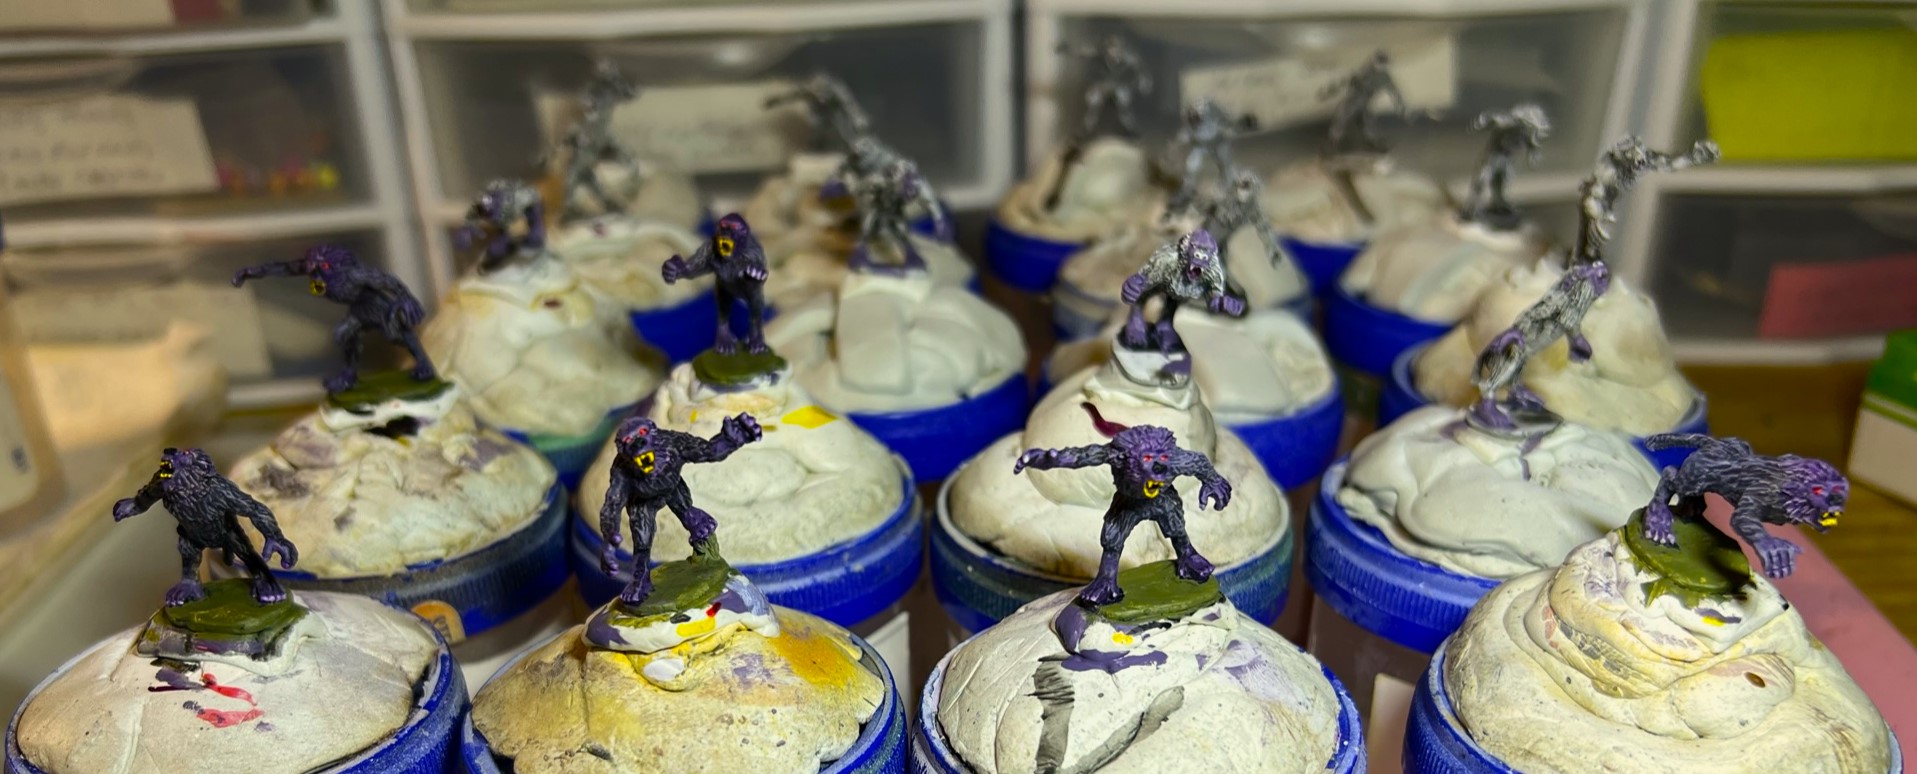

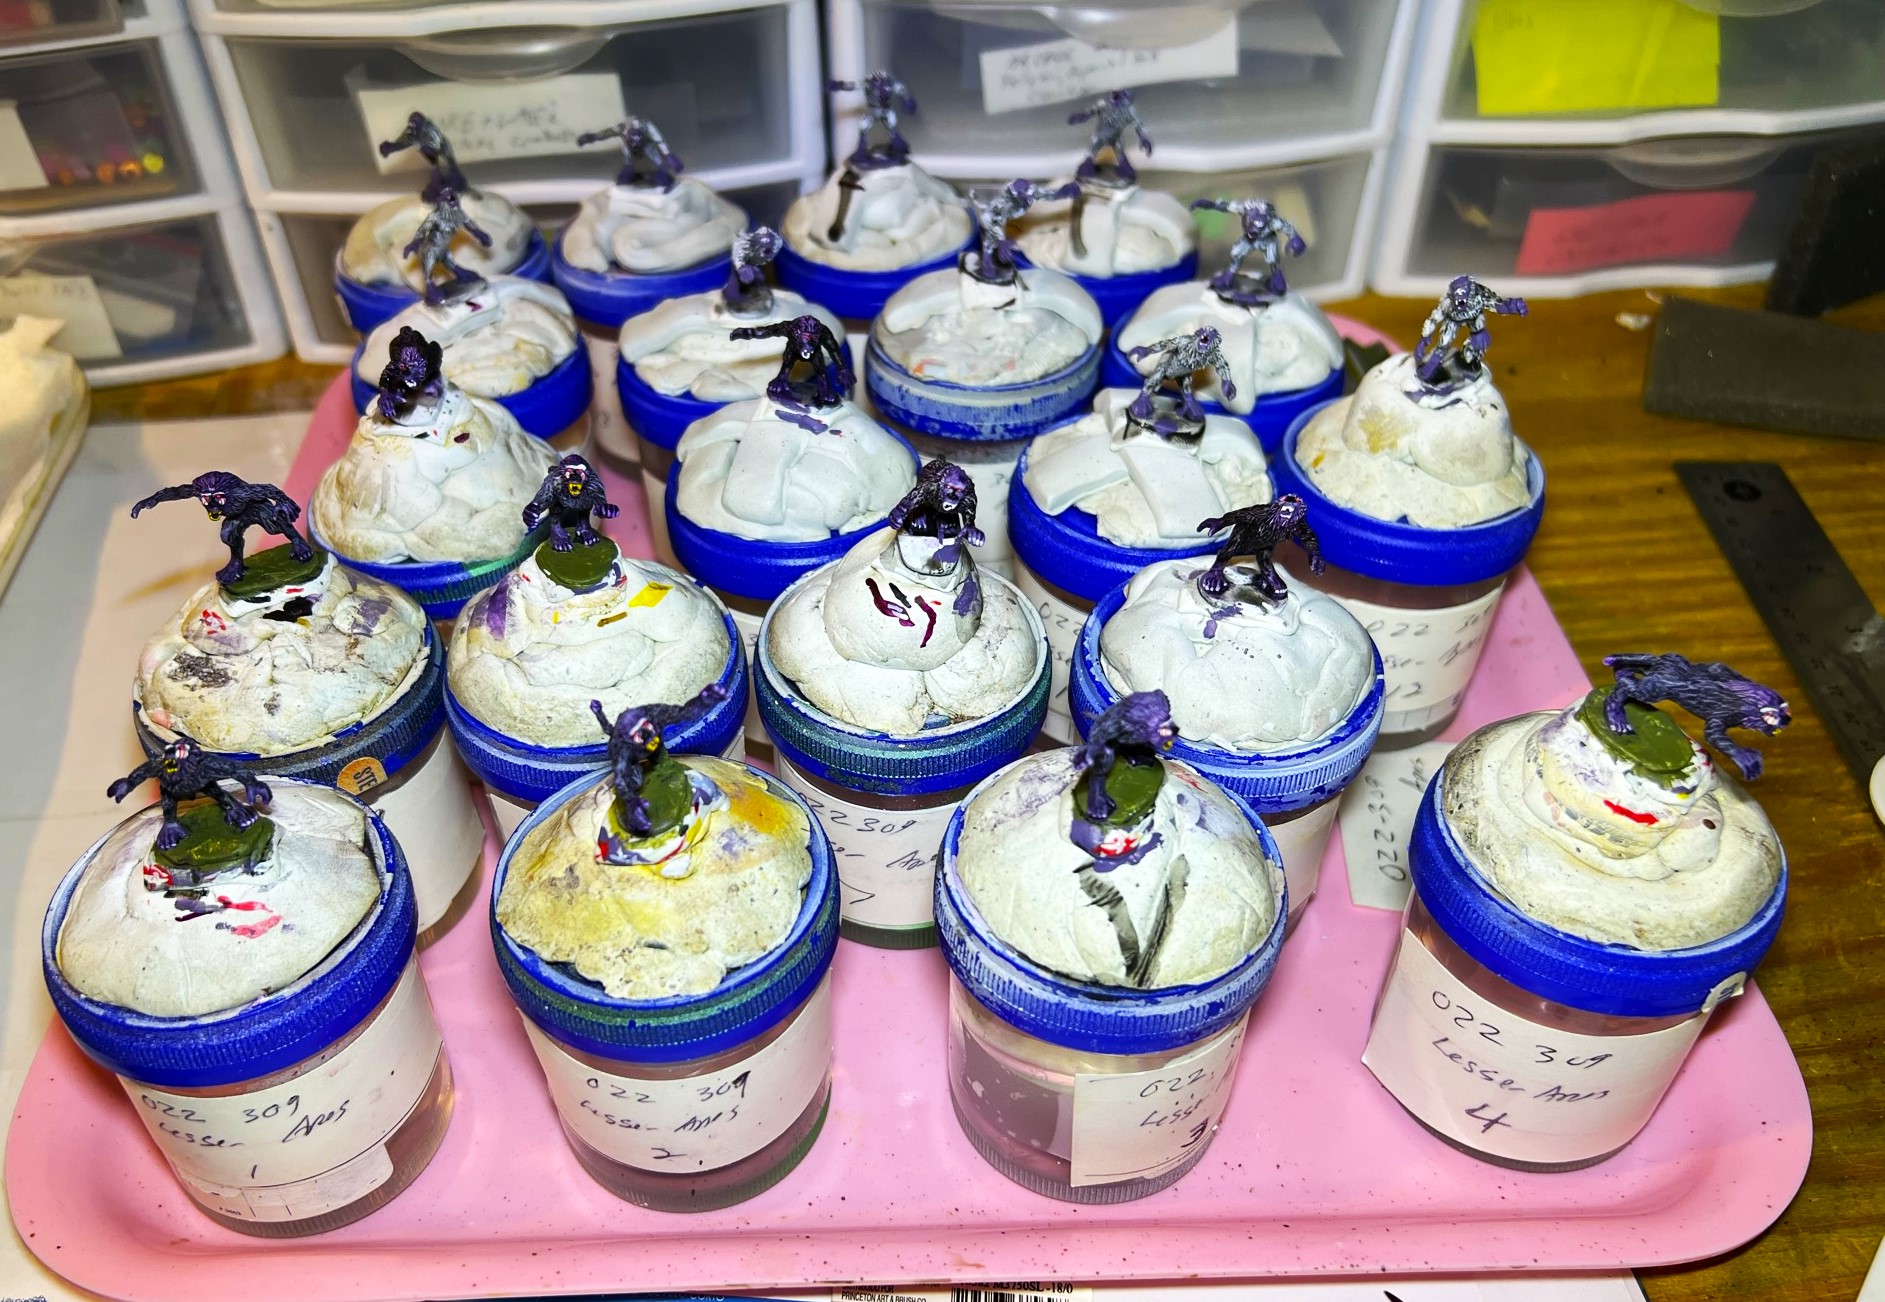

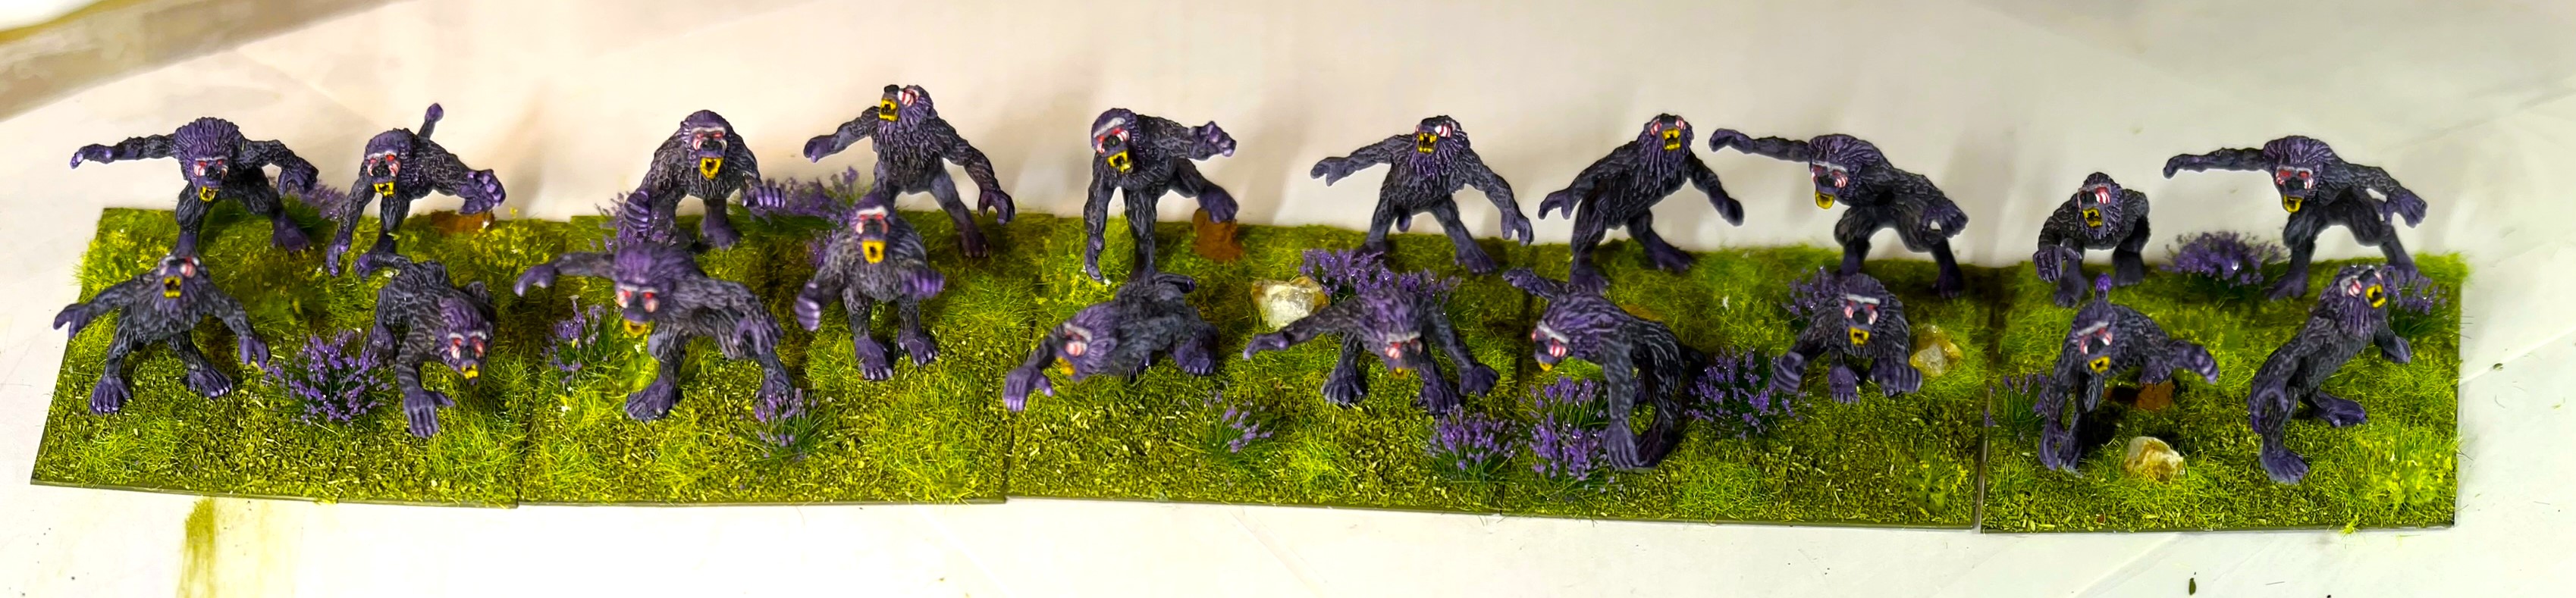
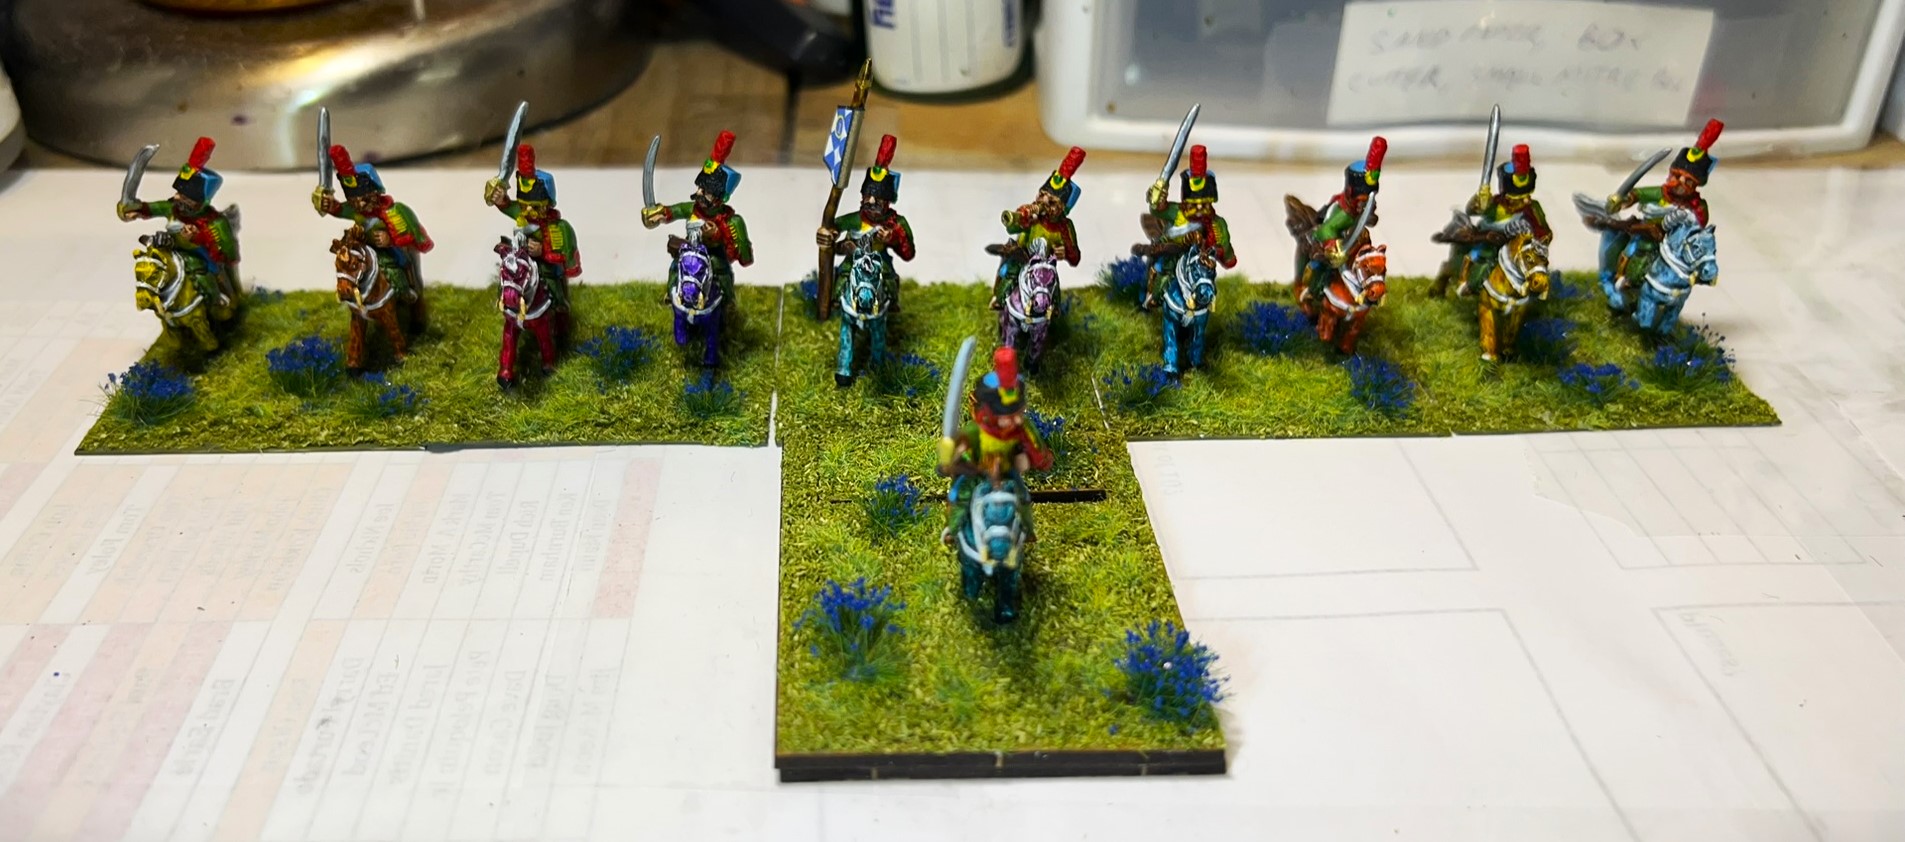
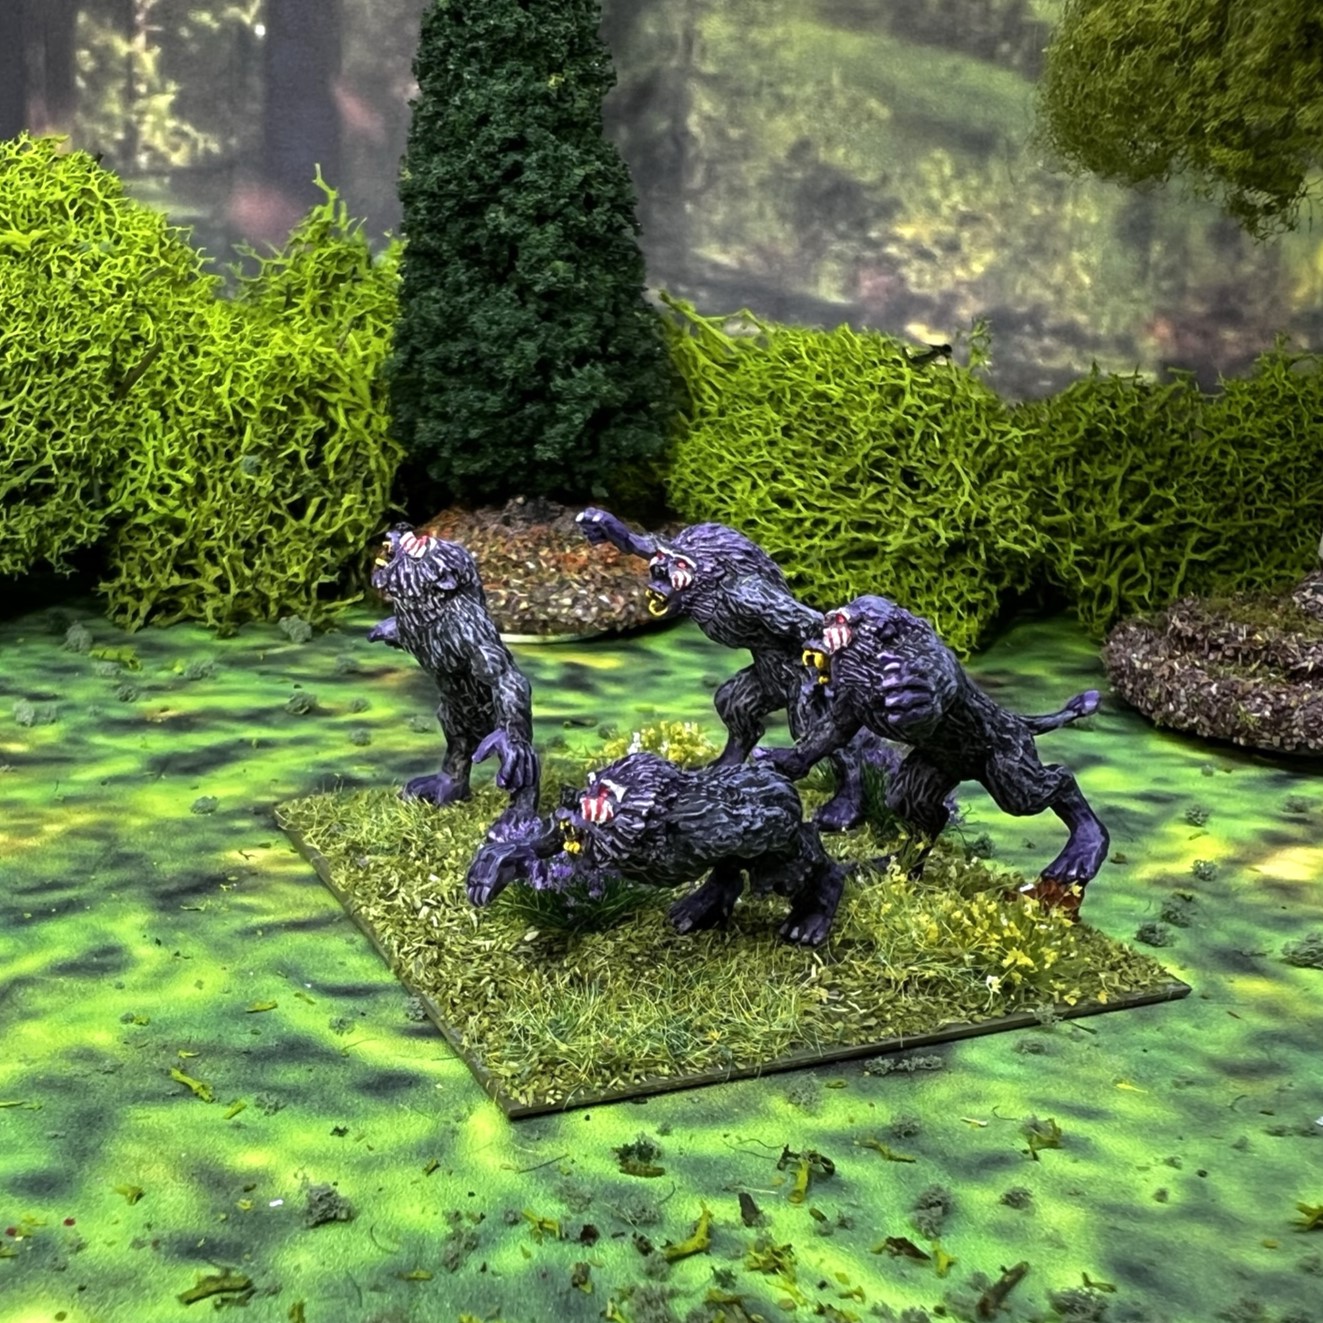
Lesser Apes Eye Candy
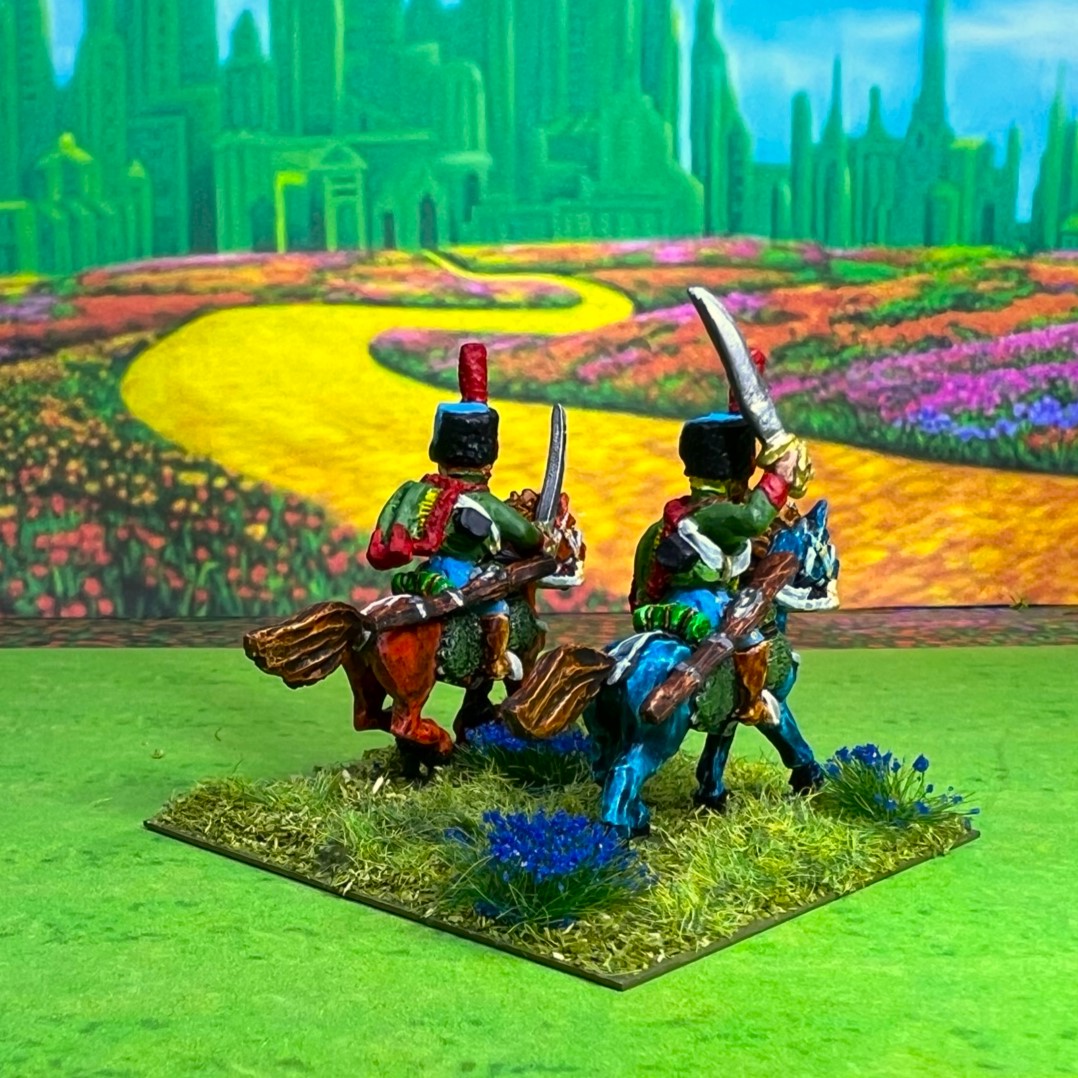
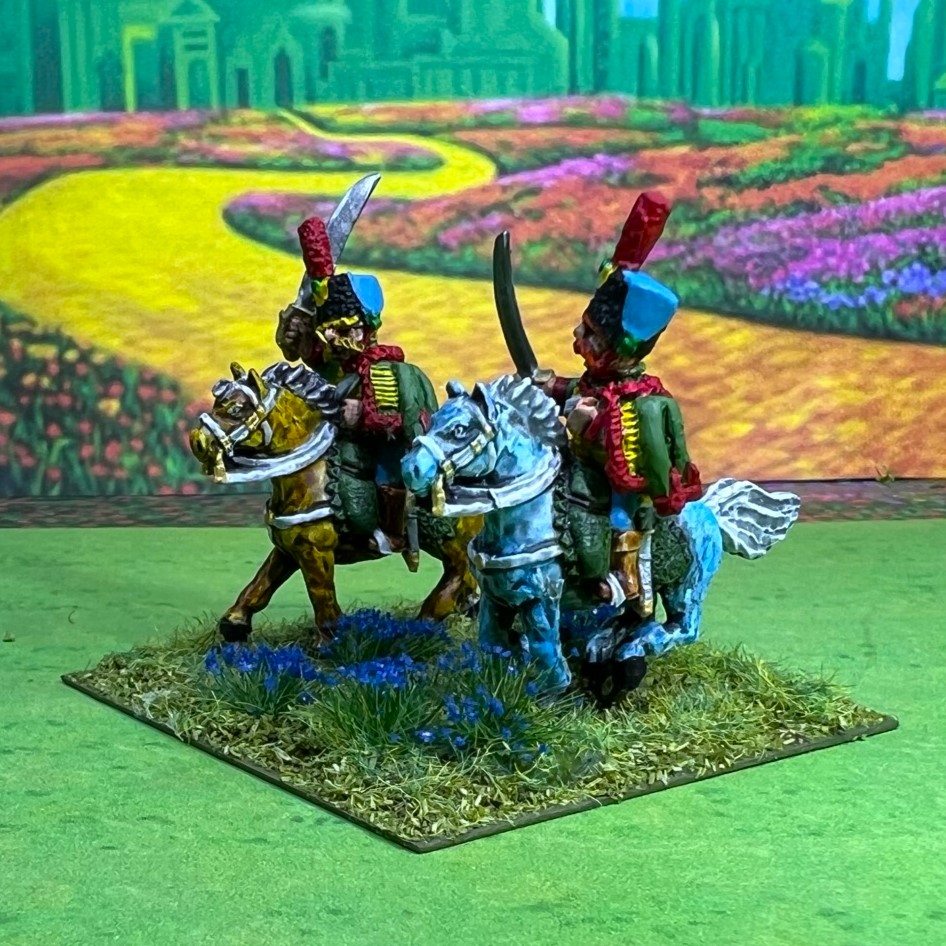
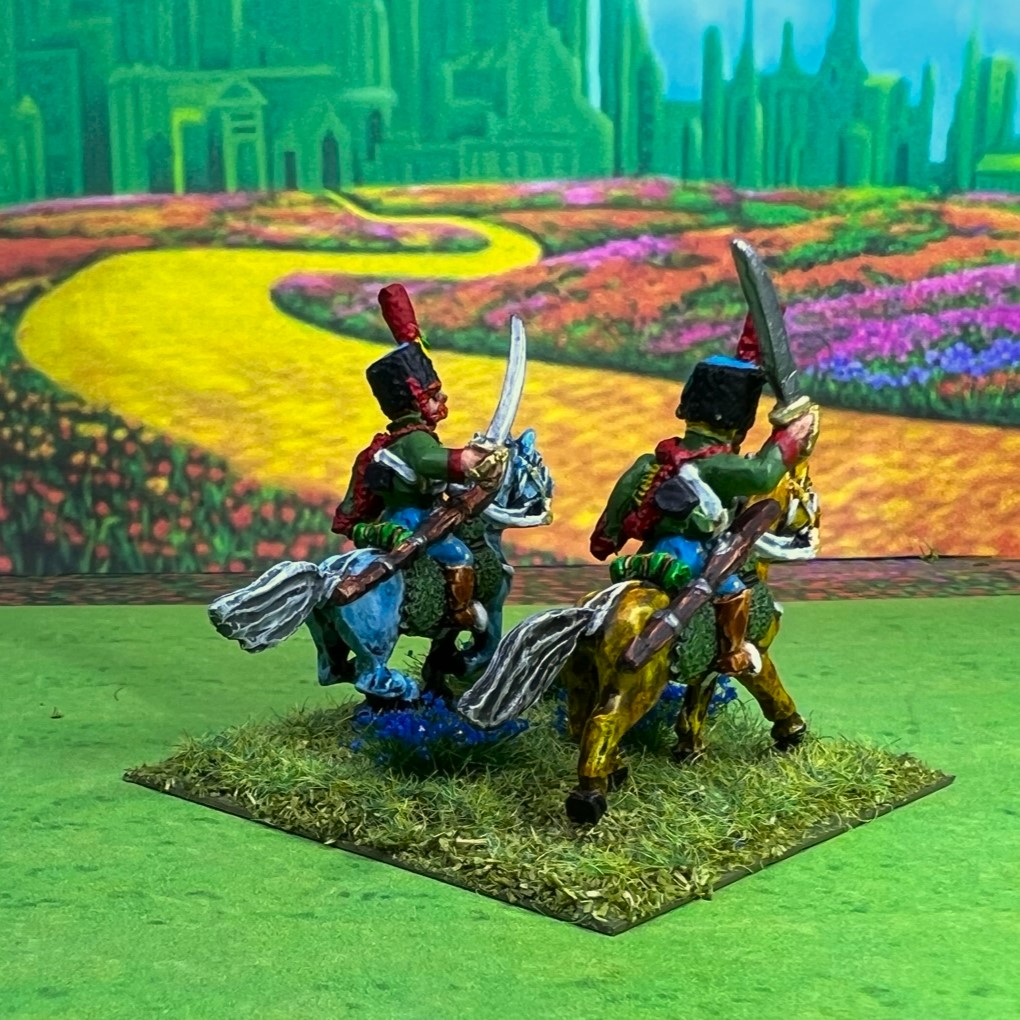
I arranged these such that each stand had different poses in different positions. There are 5 stands of 4 figures each.
Stand 1
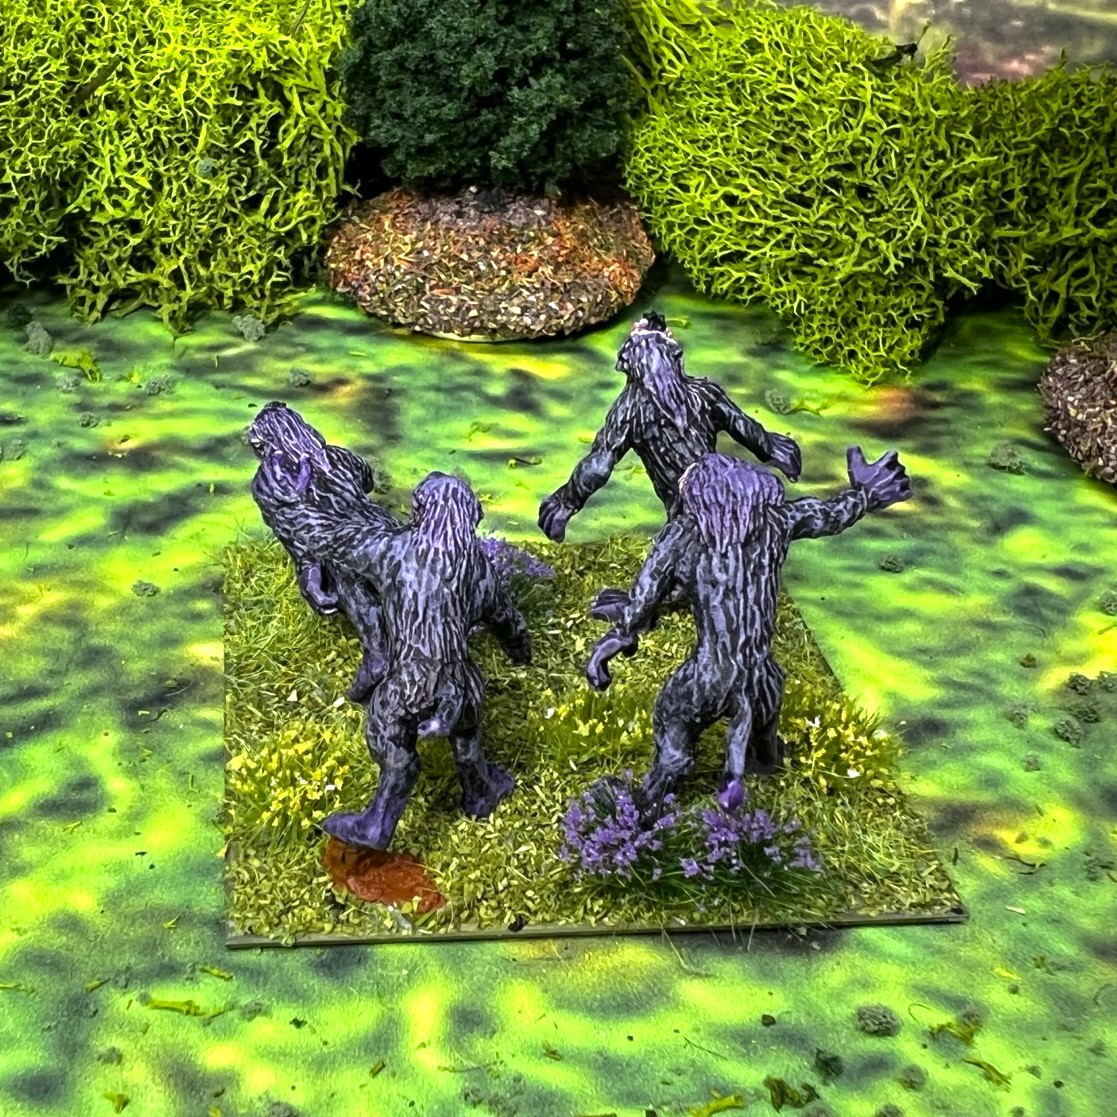
Stand 2

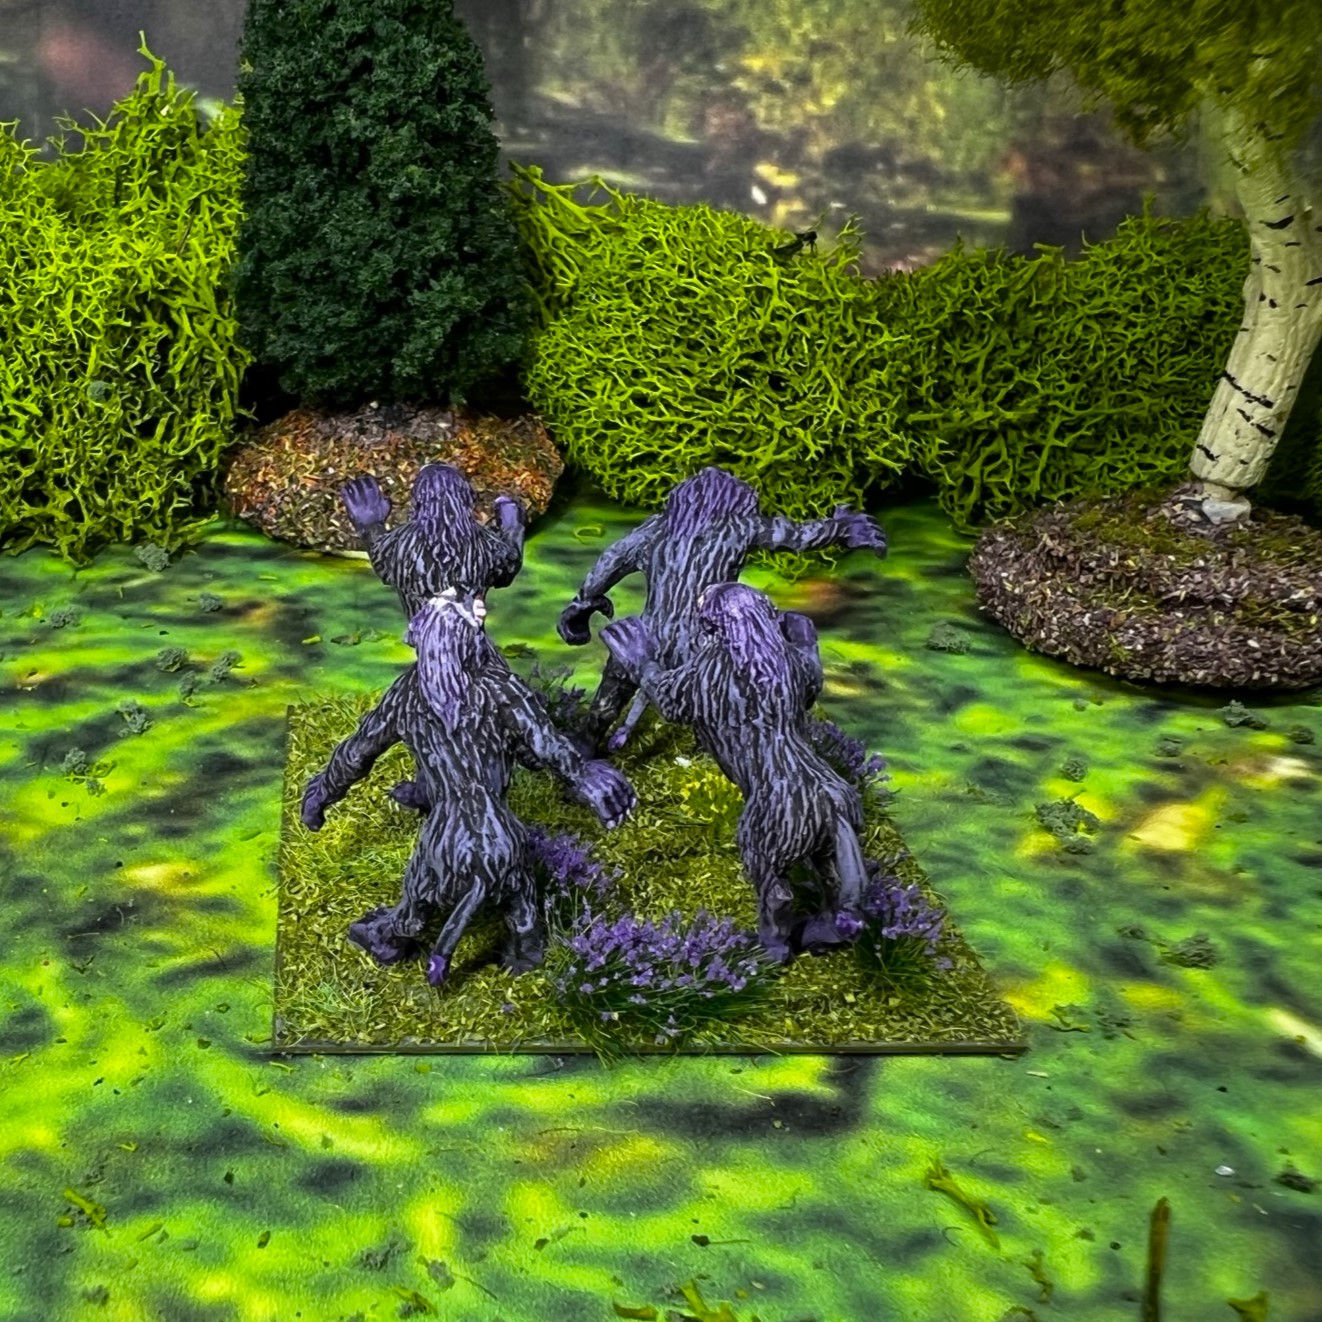

Stand 3


Stand 4


Stand 5


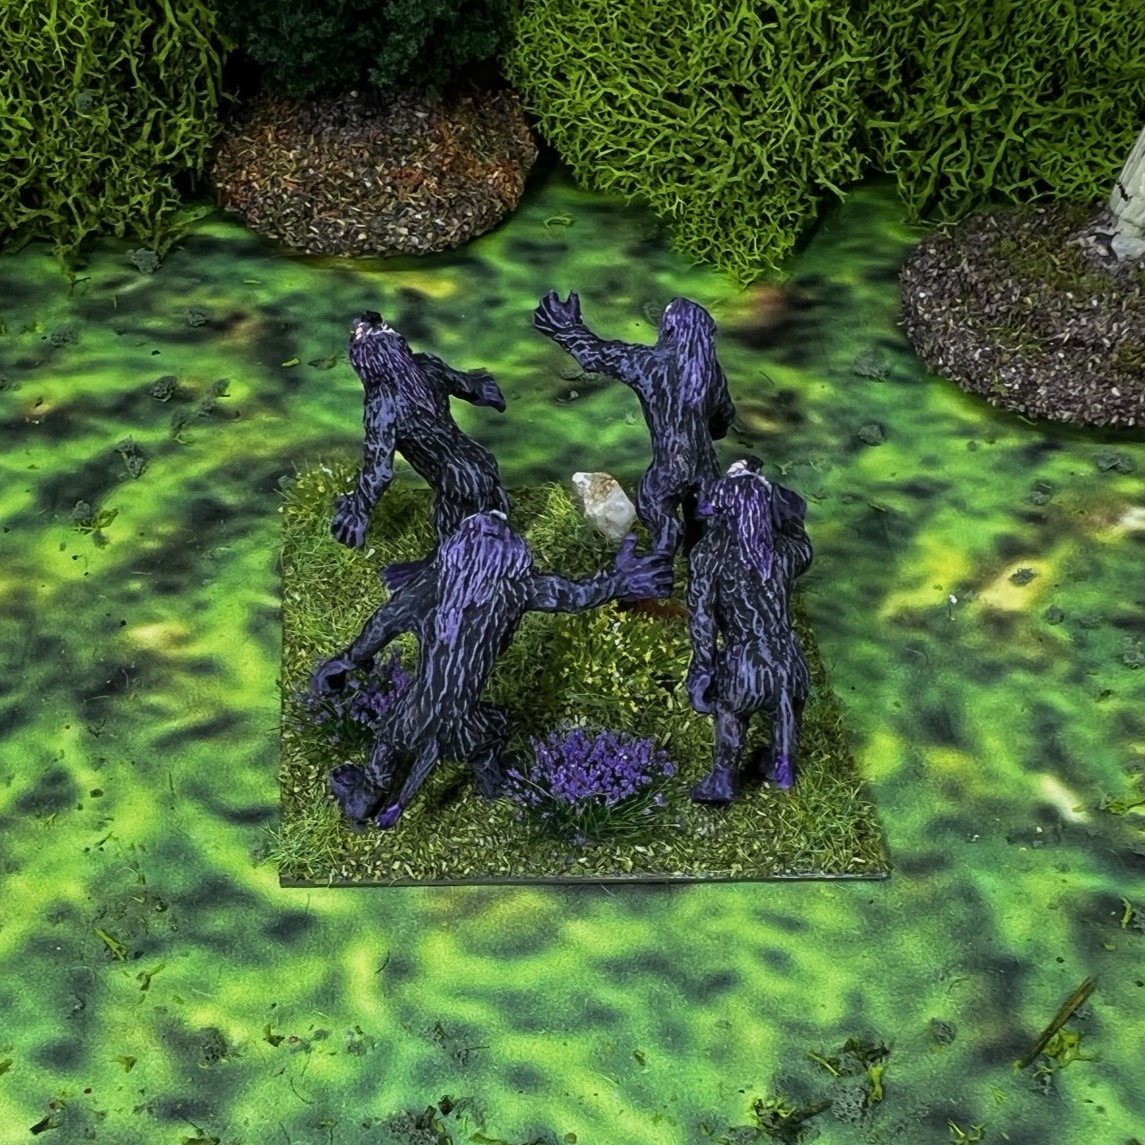
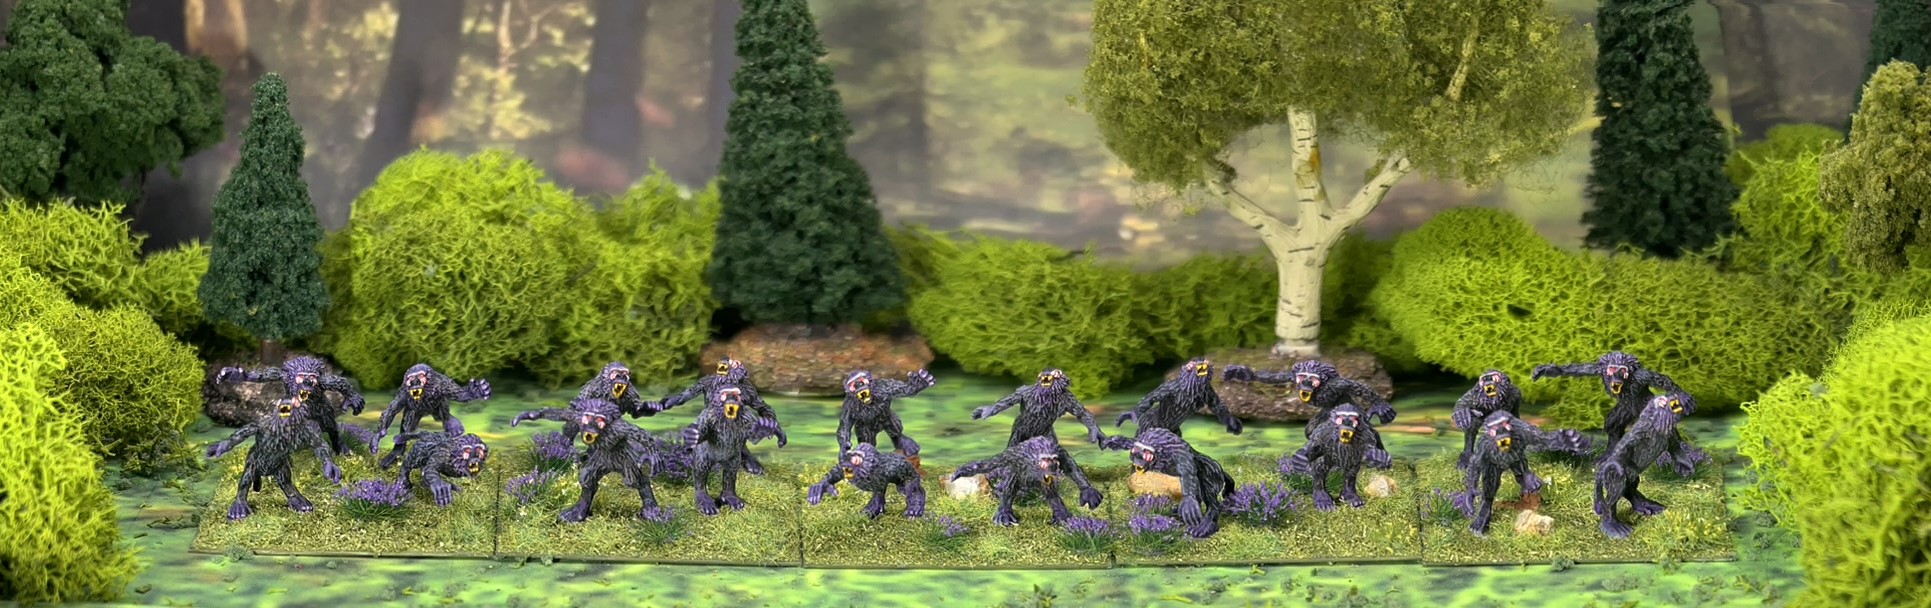
Lesser Apes Group Shot
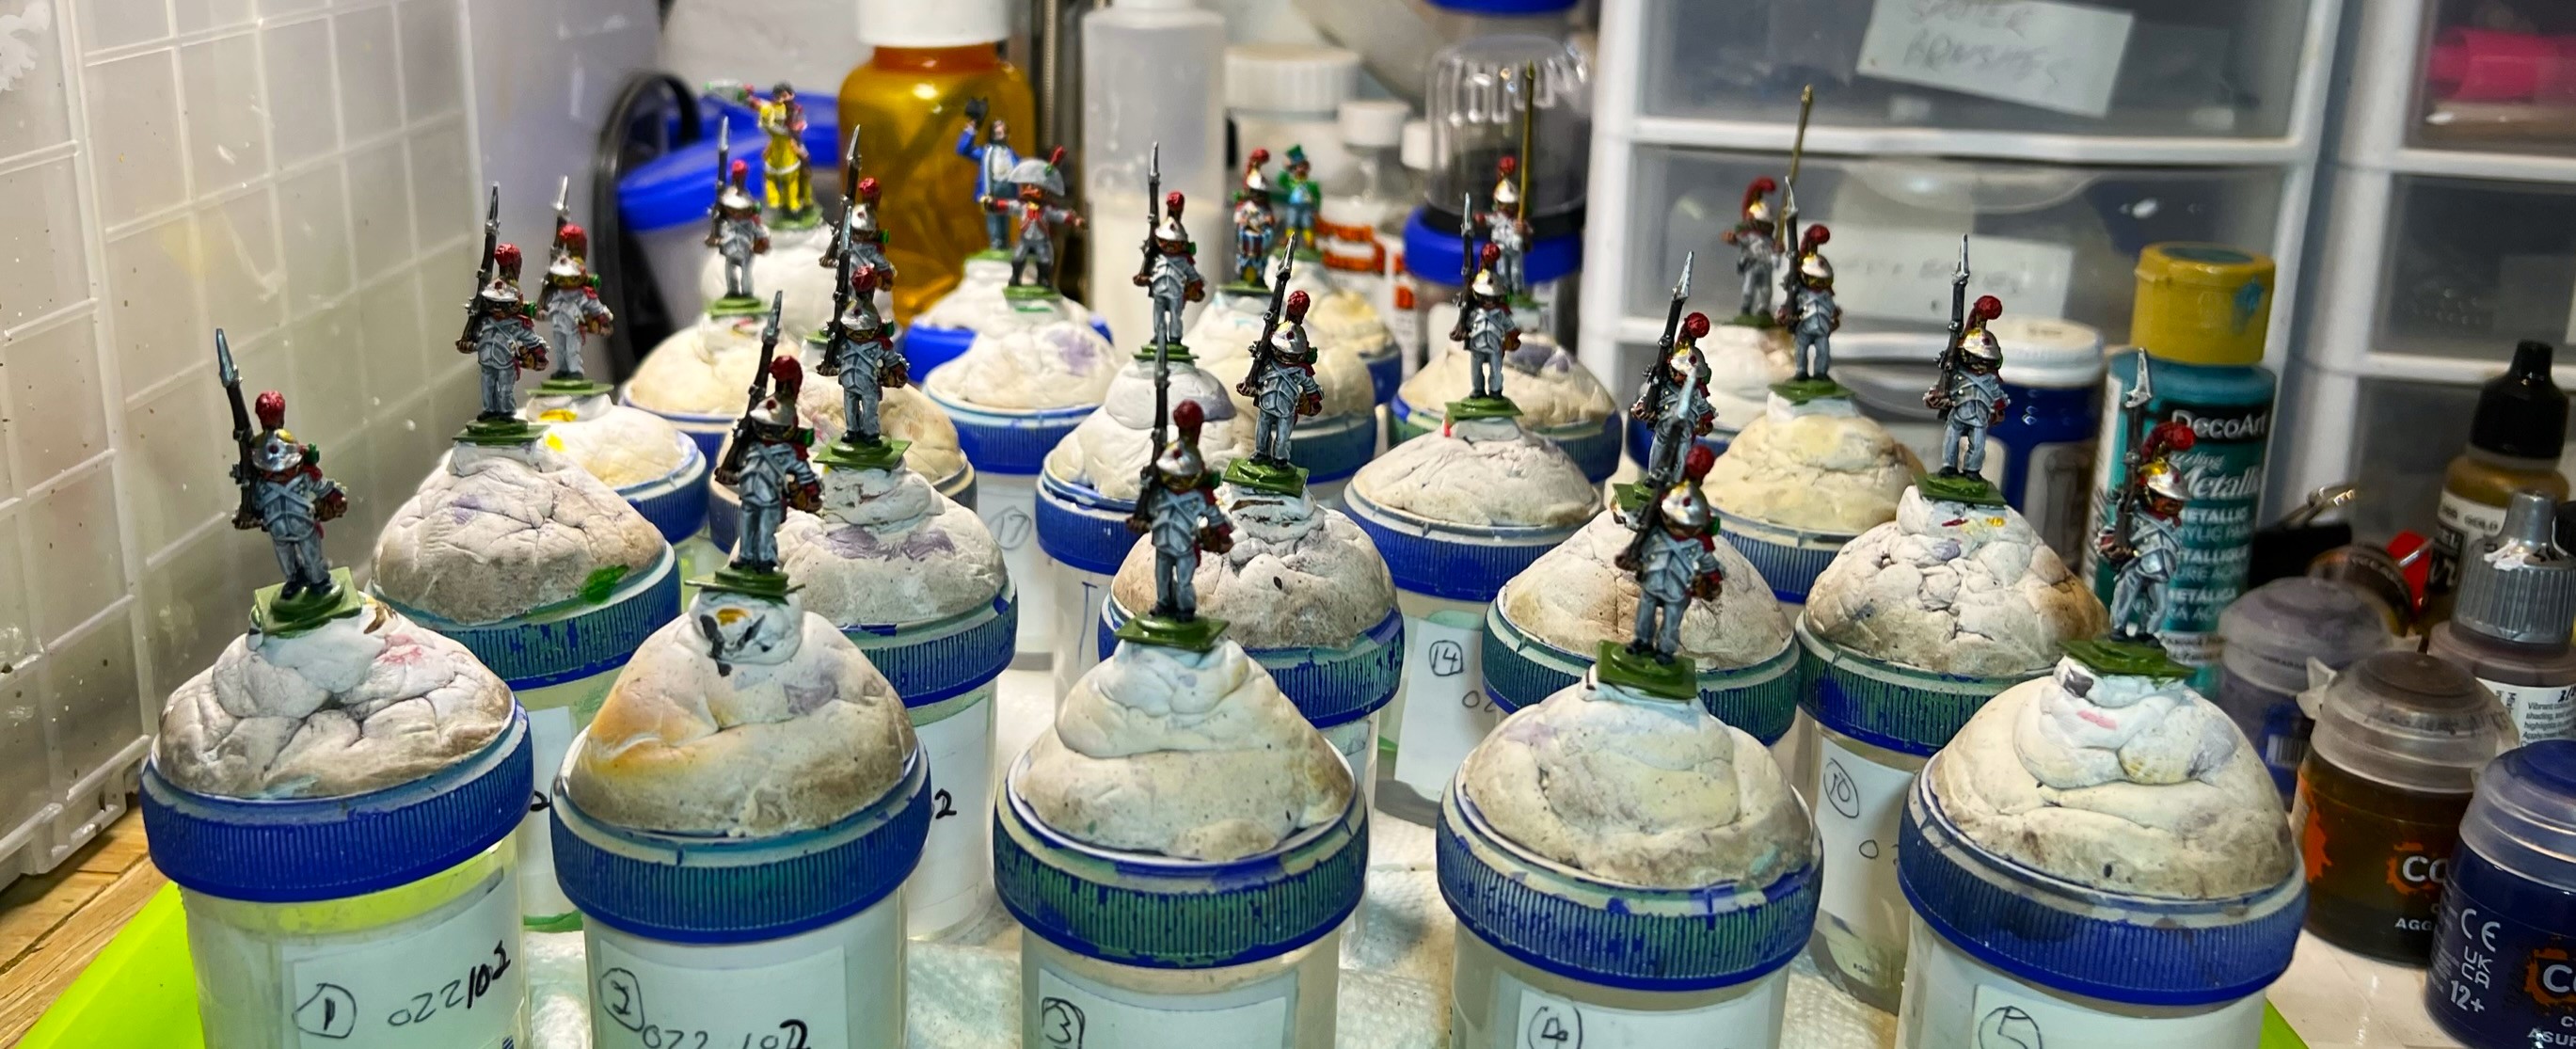
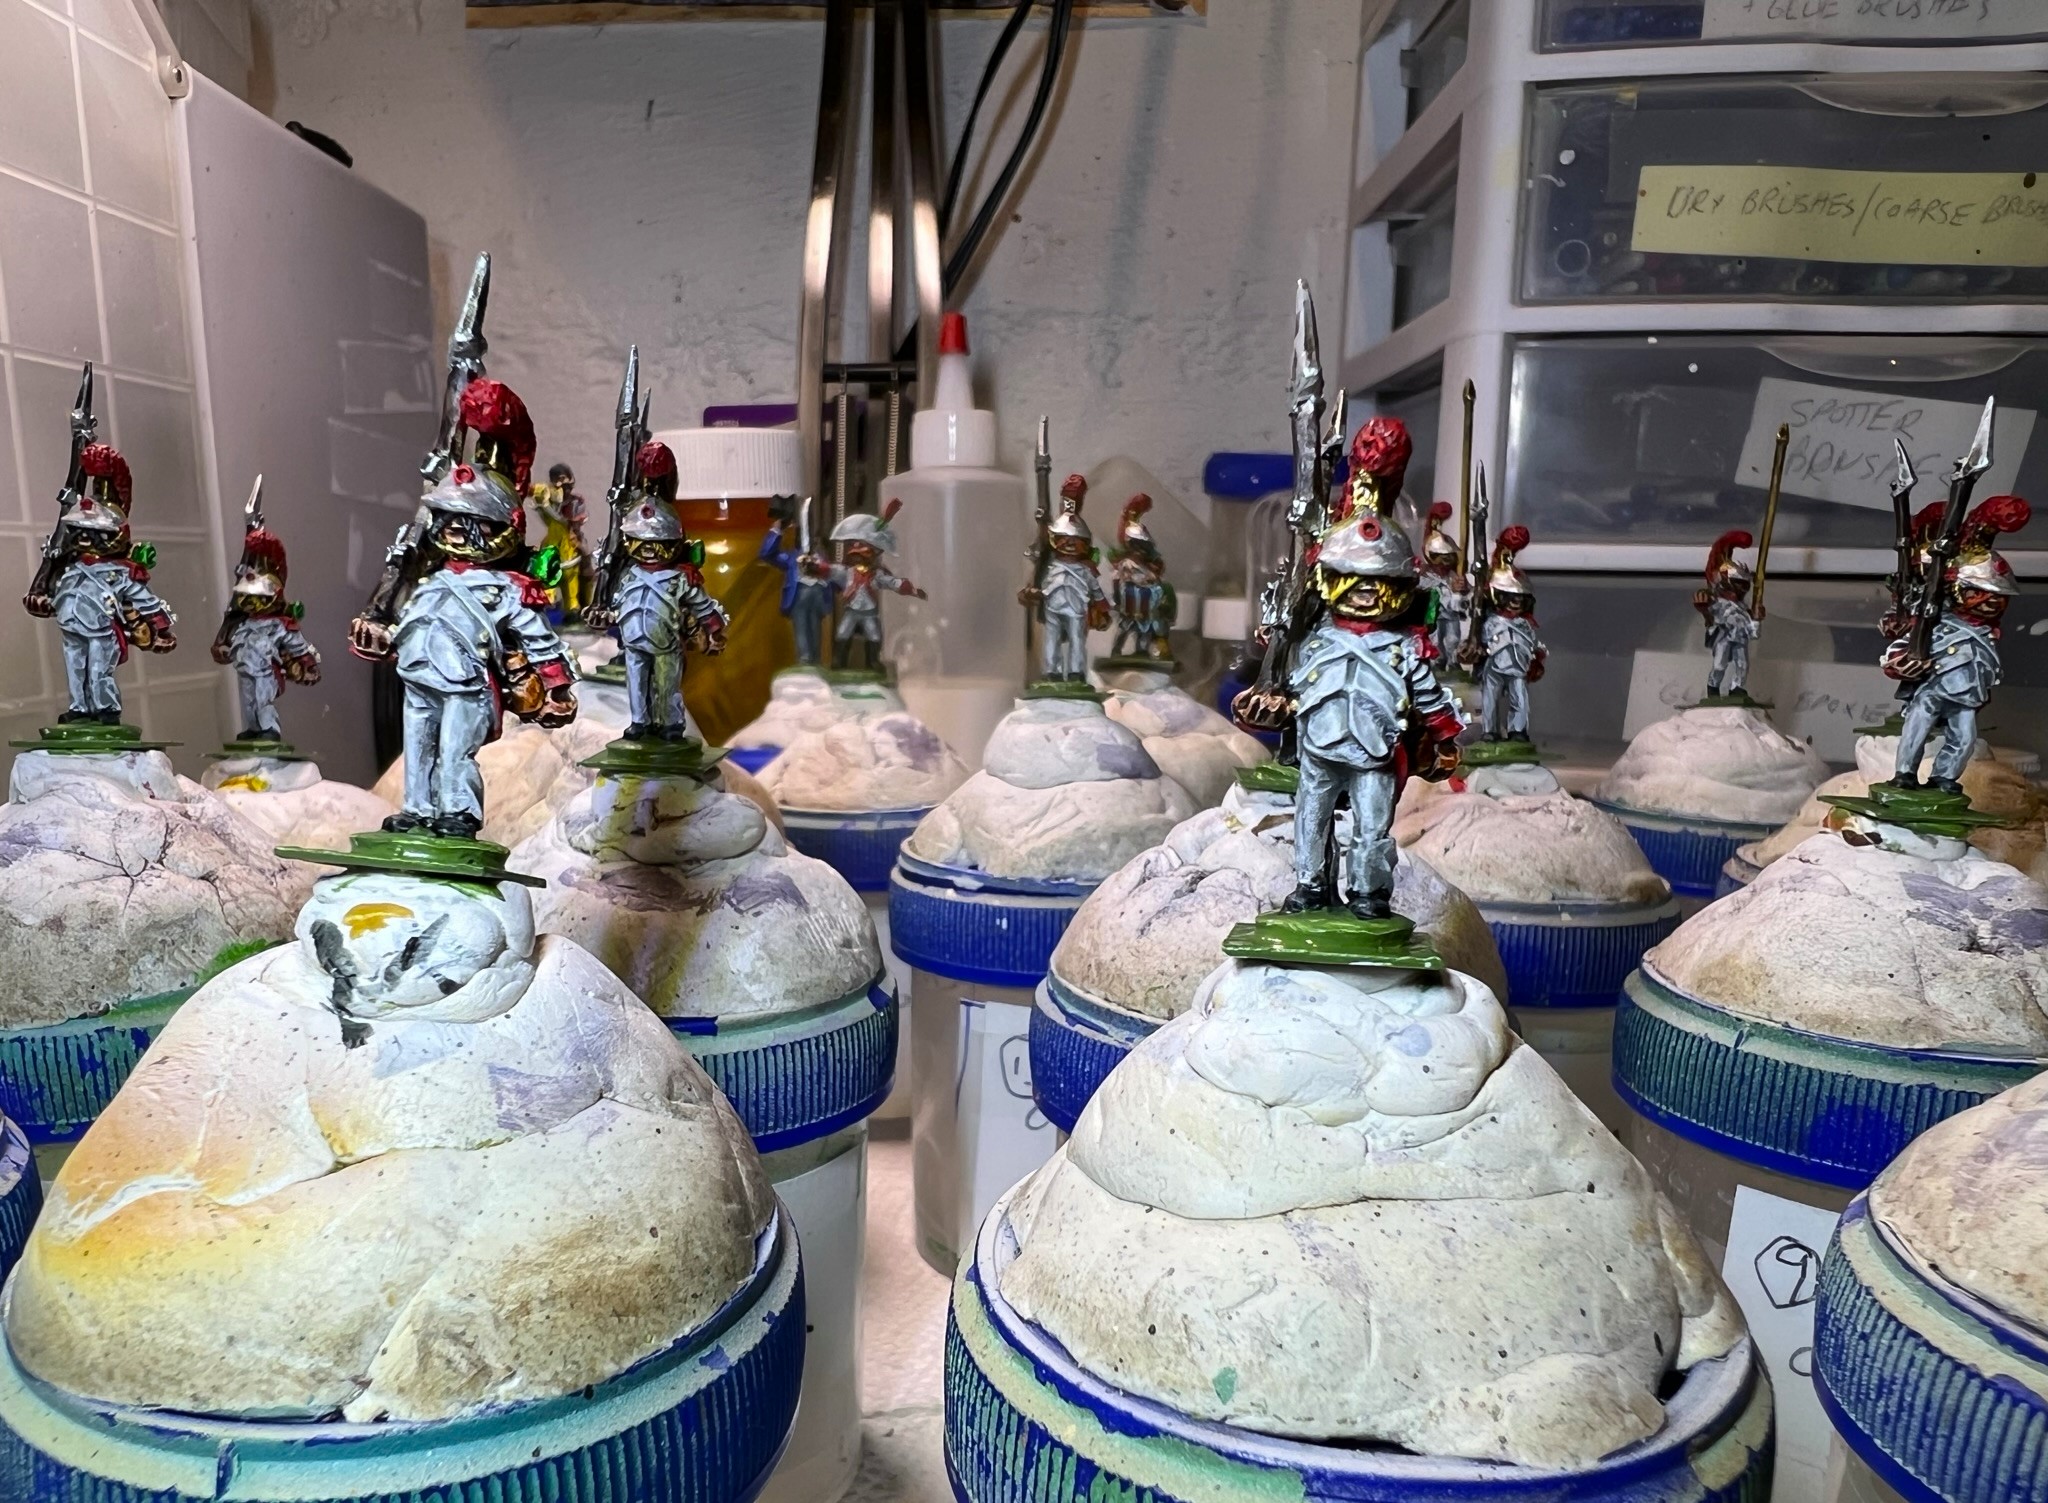
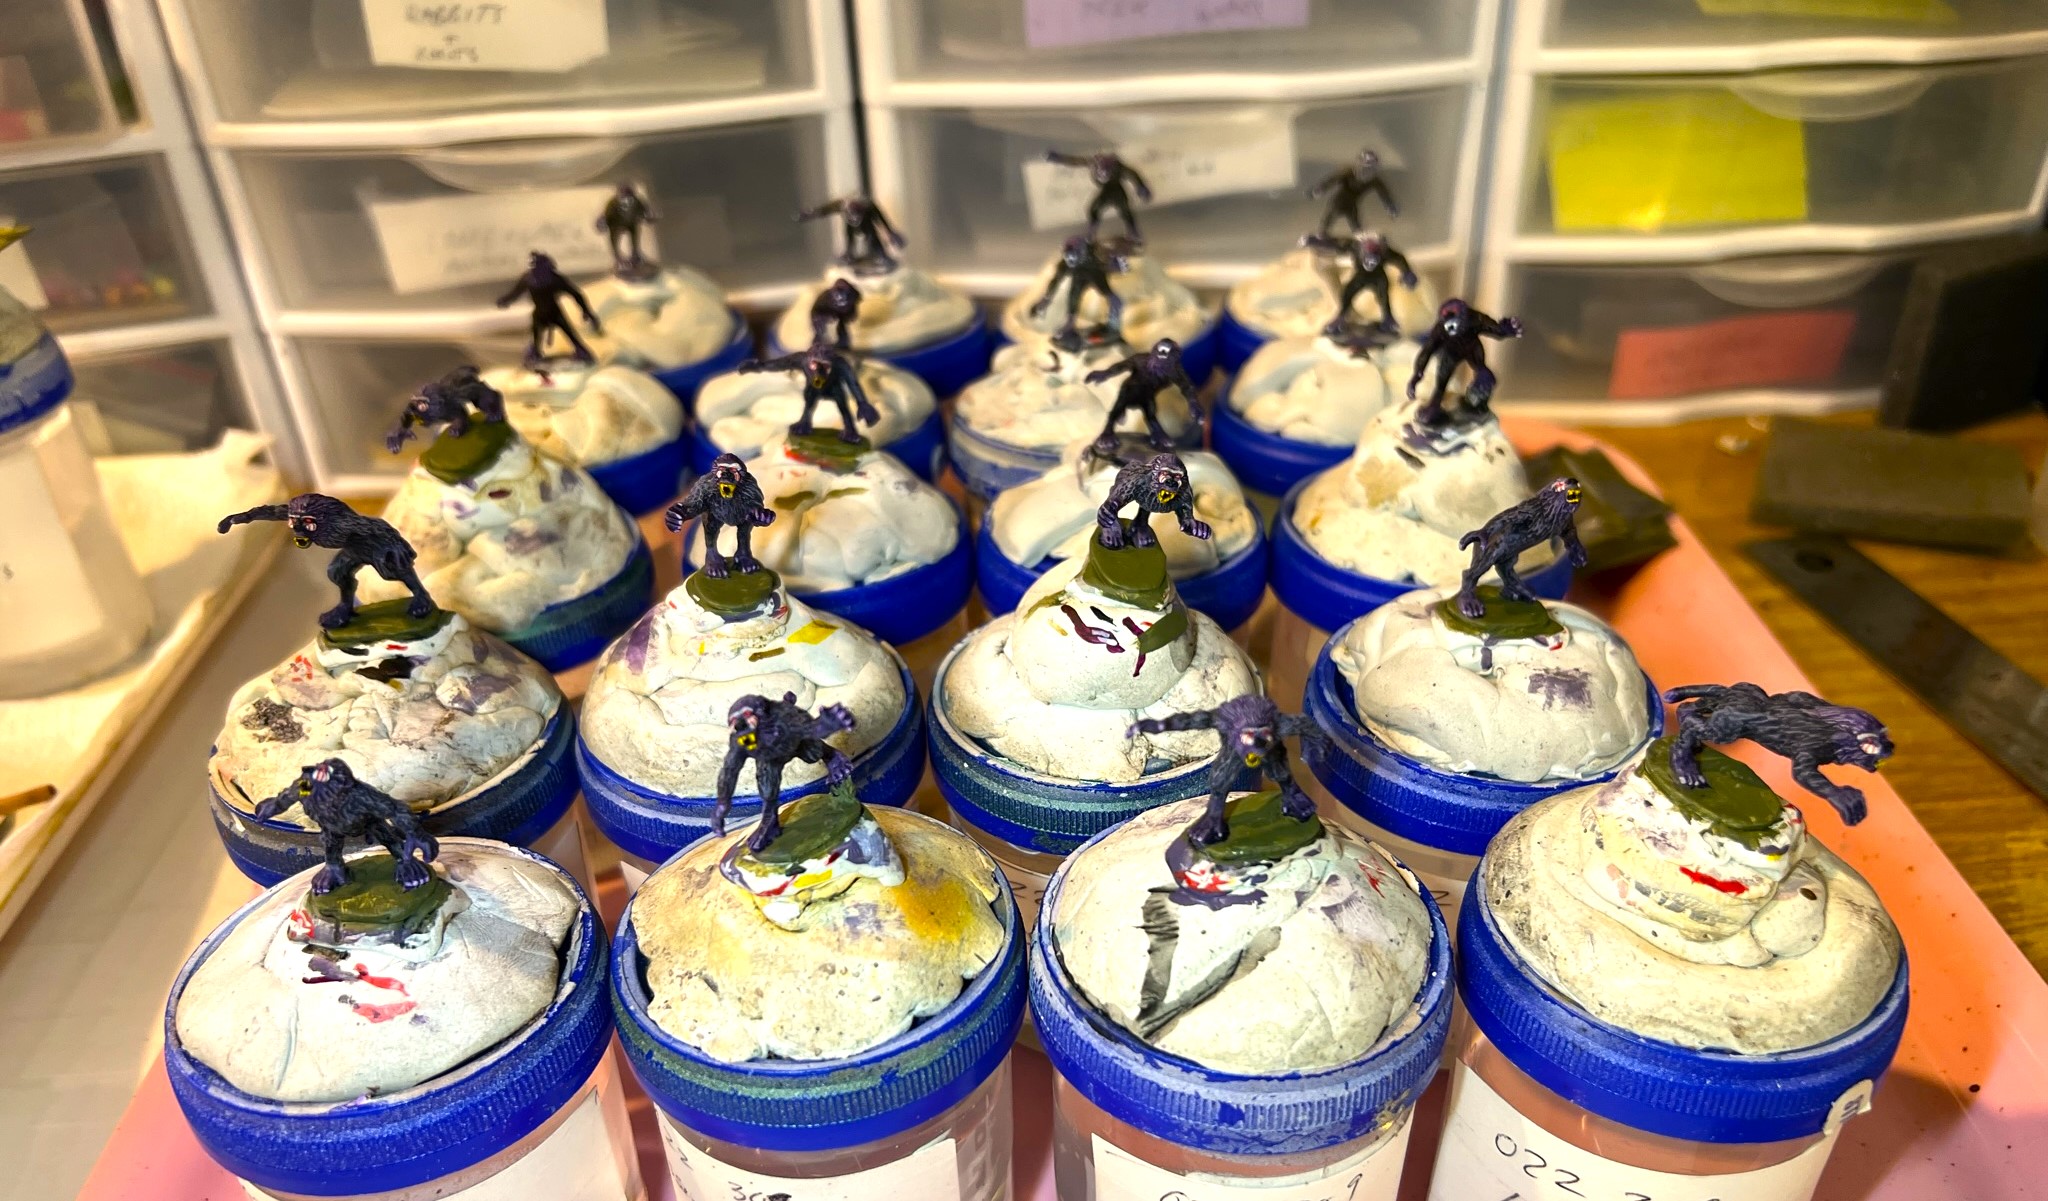
On to the WIP shots for the Great Flying Apes – click on any to get a better view.
WIP shots…Great Flying Apes
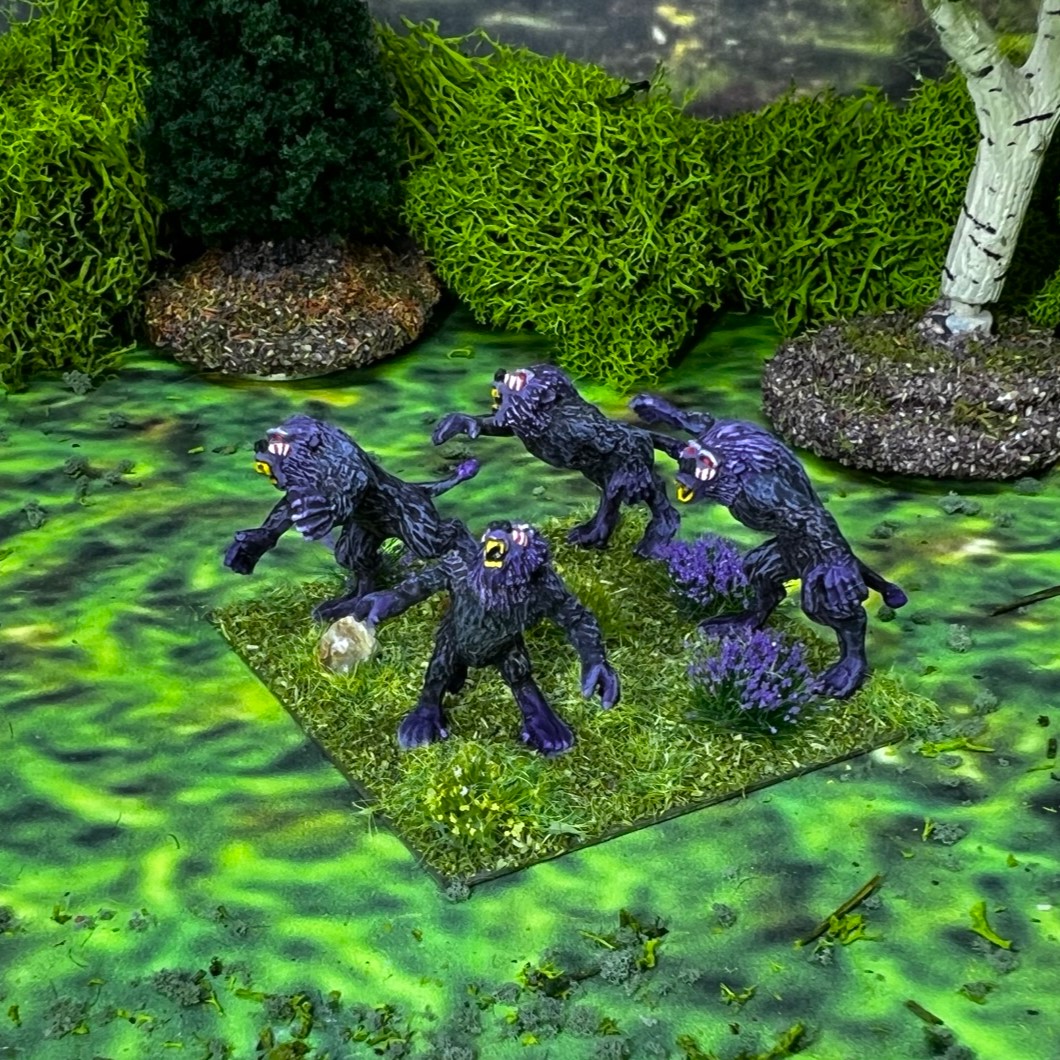
These are very large figures!

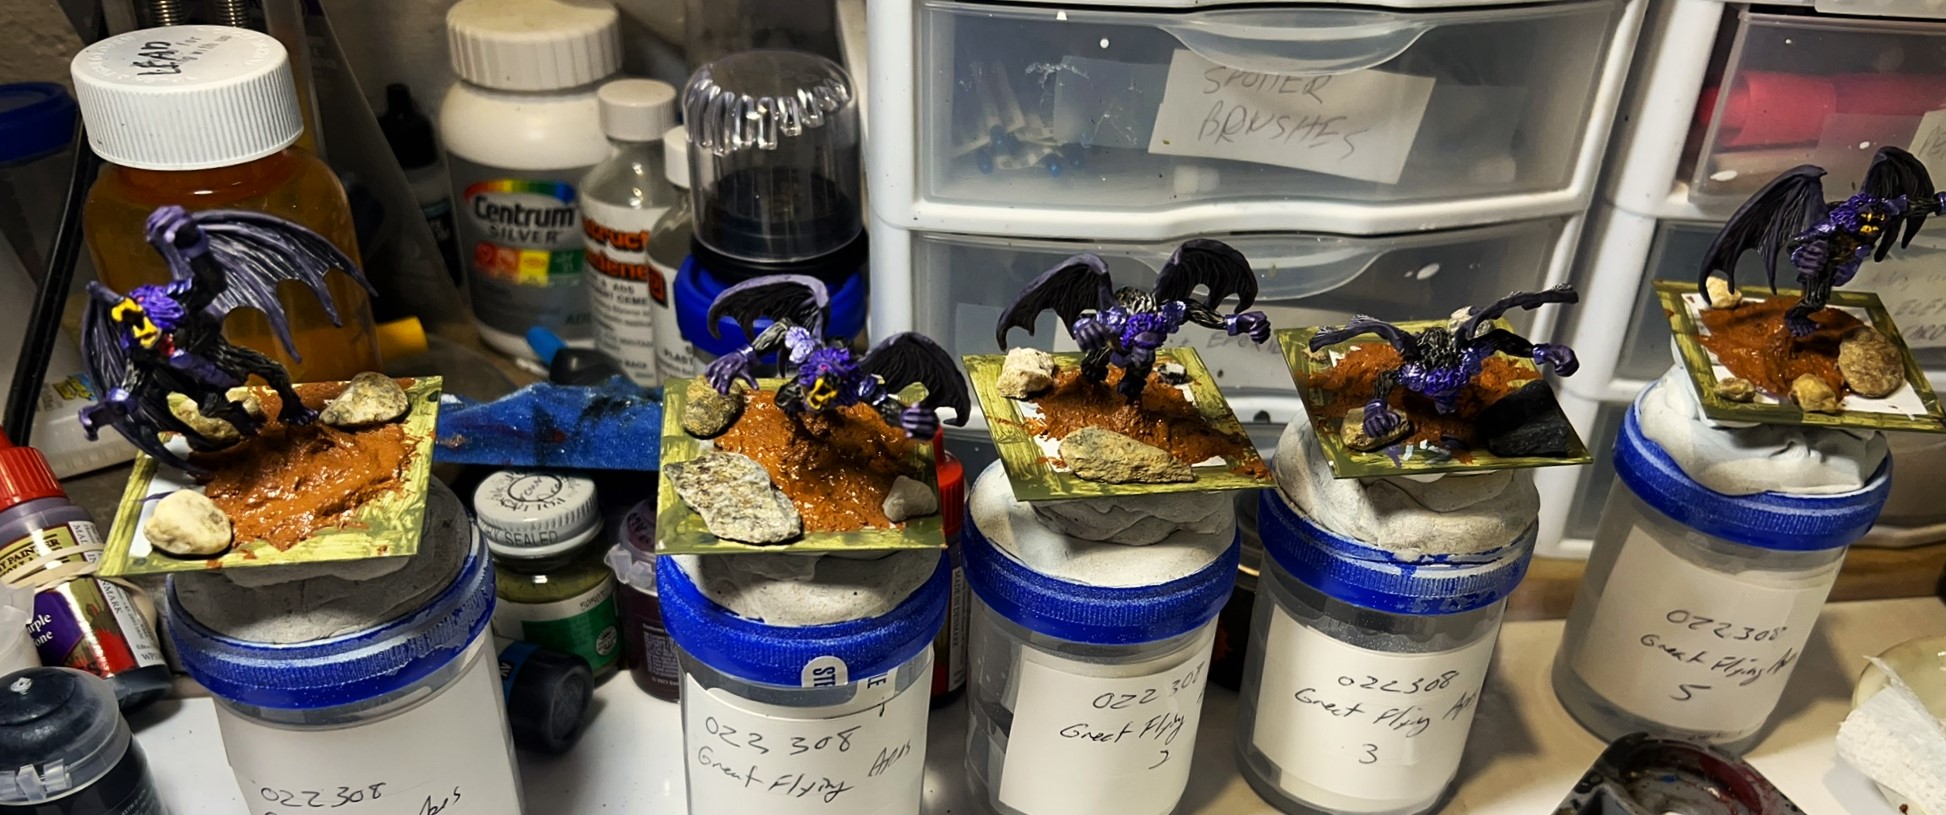
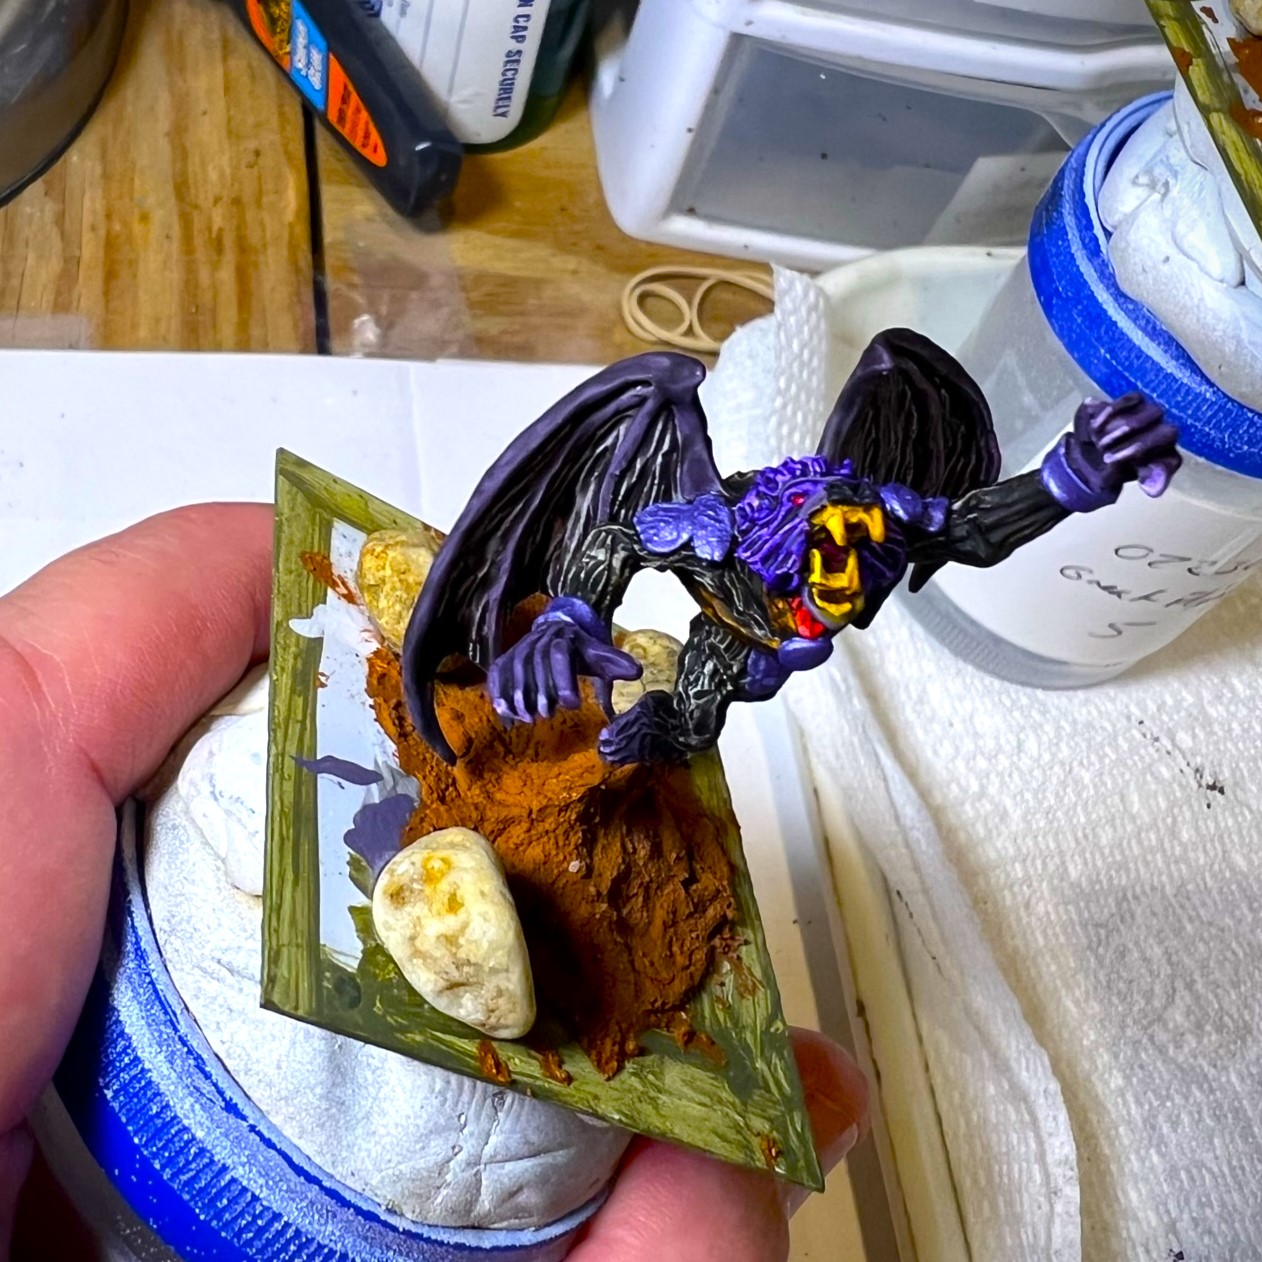

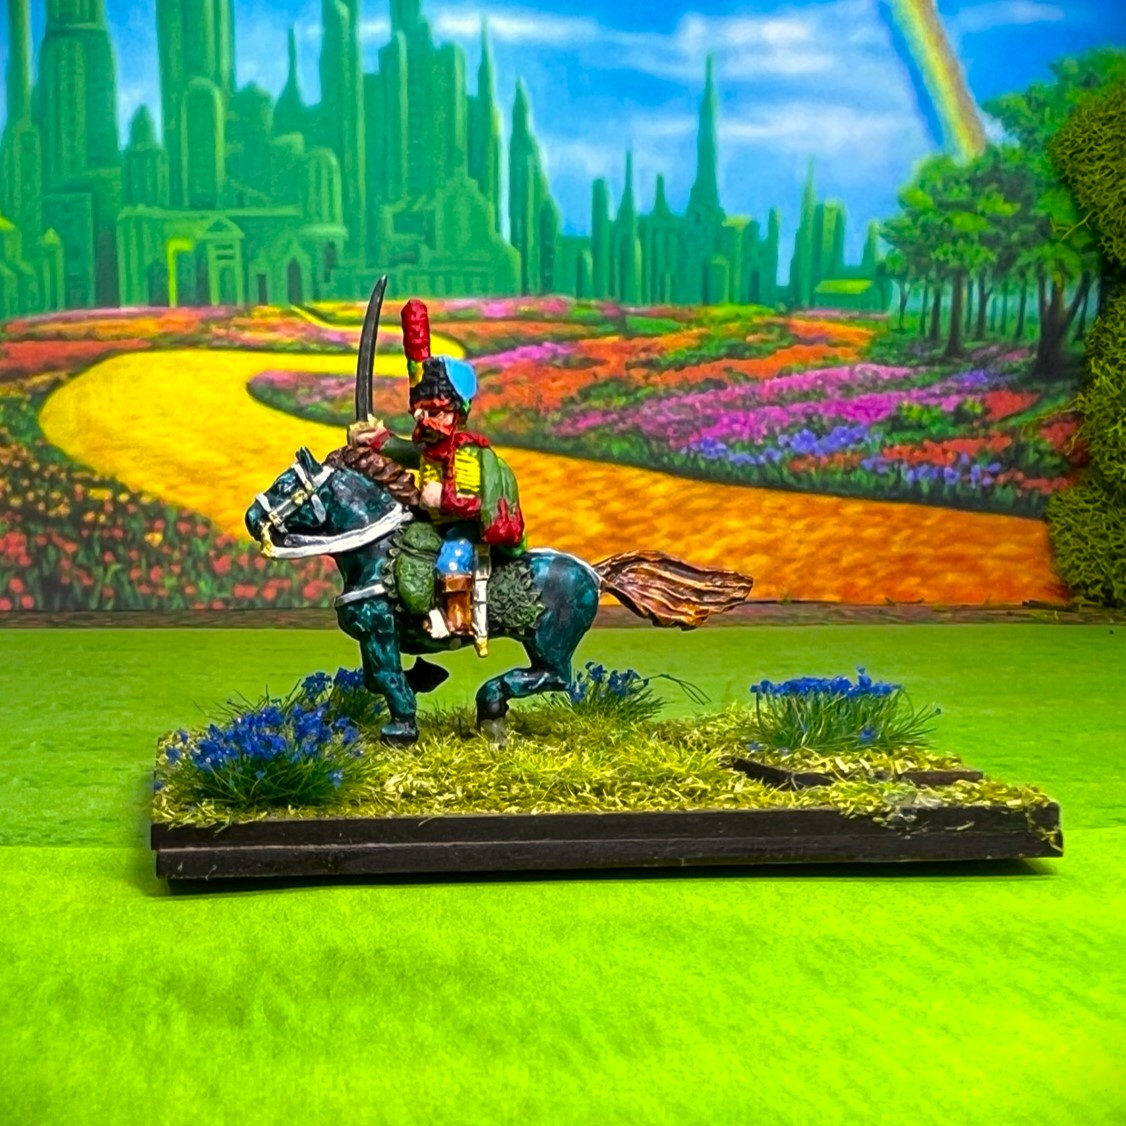
Now for more eye candy – this time for the Great Flying Apes!
Eye Candy Great Flying Apes
Stand 1
Stand 2

Stand 3


Stand 4


Stand 5


Great Flying Apes Group shots

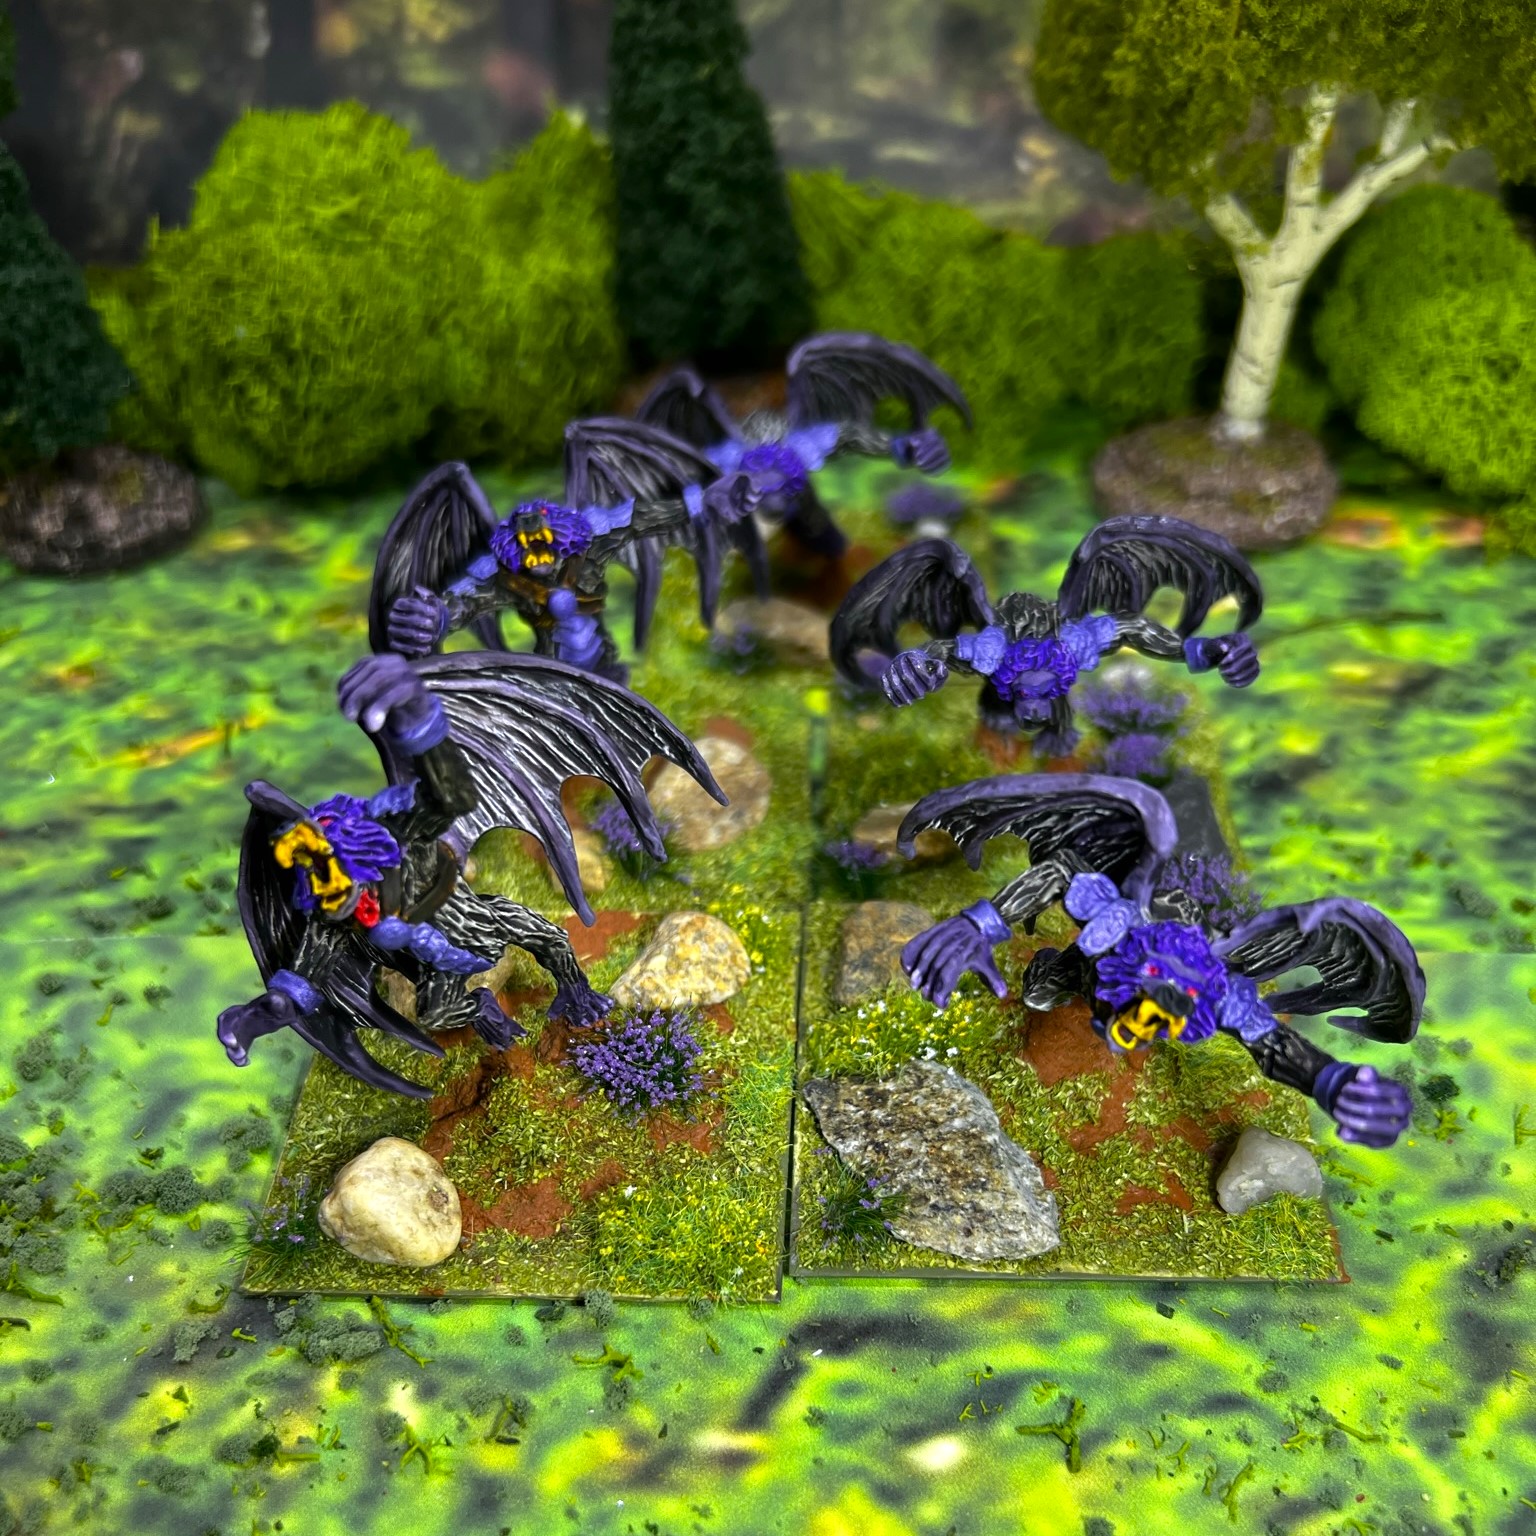
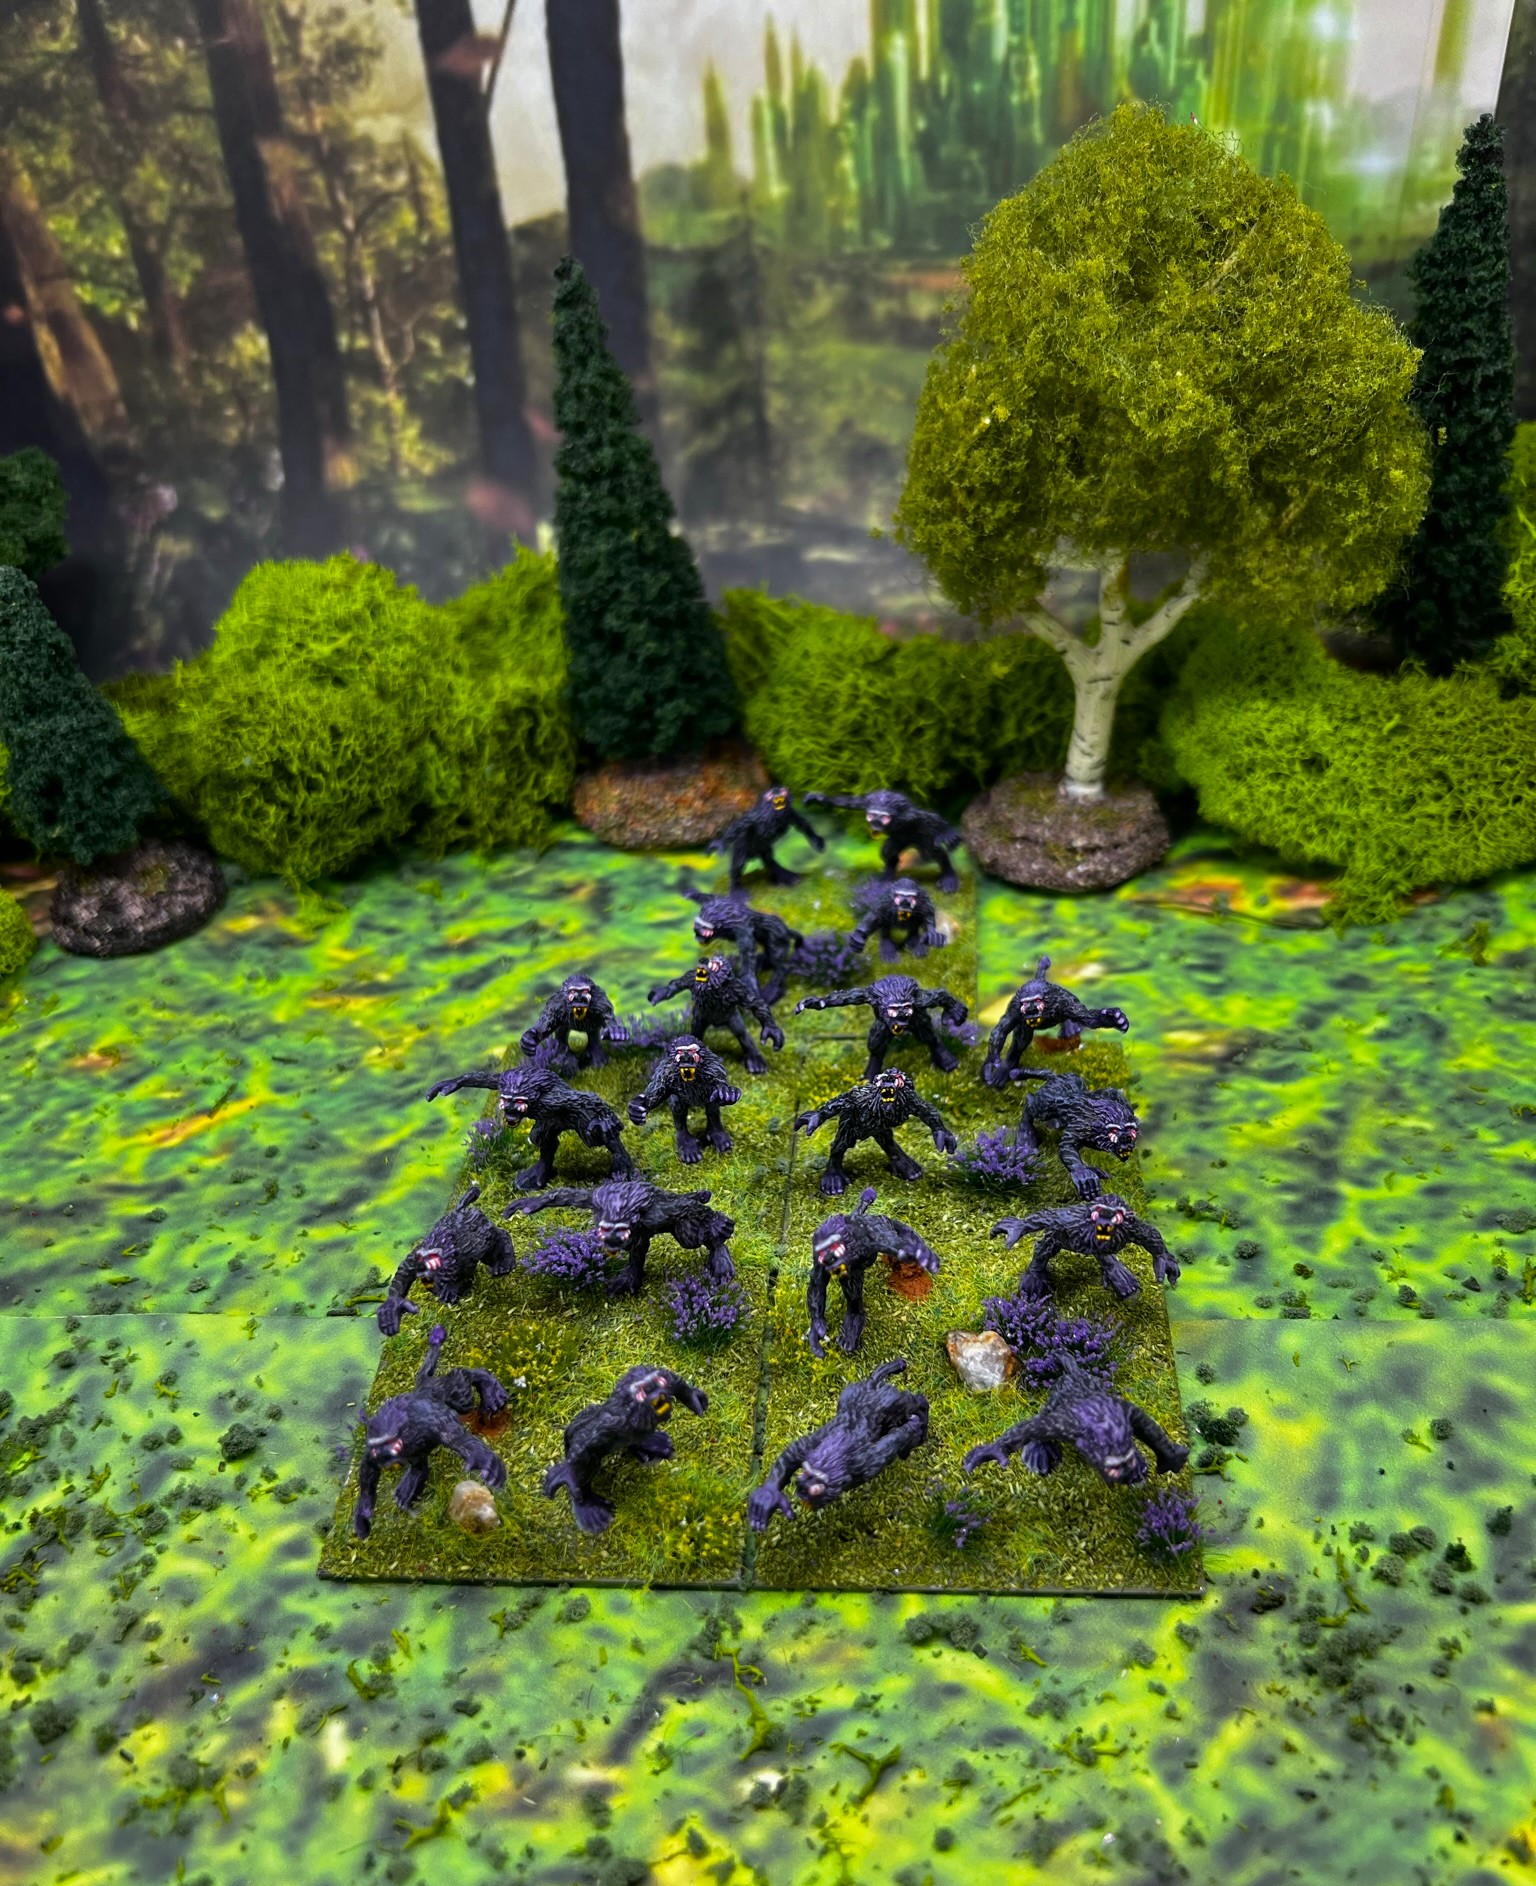
Family Photo!

I appreciate your taking a look at this post – as always I appreciate your interest and readership – and hope that this kept you entertained. This makes 52 Wars of Ozz figures that I have painted for January, and 146 since November.
And yes, again, I still have more to come…
Miscellaneous details and references for those interested in that sort of thing:
For all of my previous posts on Wars of Ozz games, figures, units, and other related projects – please see this page.
PAINTS, INKS, GLAZES, SHADES, WASHES, PIGMENTS, FLOCKING, GLUES AND MORE THAT I USED ON THE LESSER APES AND THE GREAT FLYING APES:
Please note that any paints used on both Ape units in bold, otherwise they were just used on the Great Flying Apes except as annotated.
- Gorilla Glue
- 2″ square steel base from Wargames Accessories (#21)
- Poster tack
- Vallejo Premium Primer “White”
- Vallejo “Flow Improver”
- Vallejo “Airbrush Thinner”
- Citadel “Nuln Oil” (wash)
- Vallejo Model Color “White”
- Citadel “Contrast Paint – Sigvald Burgundy”
- Citadel “Contrast Paint – Contrast Medium”
- PS Model Color “British Brown Drab”
- Citadel “Daemonette Hide”
- Citadel “Contrast Paint – Dreadful Visage”
- Citadel “Contrast Paint – Ratling Grime”
- Citadel “Warpfiend Grey”
- Vallejo Game Ink “Red”
- Army Painter “Purple Tone” (wash/shade)
- Vallejo Game Ink “Violet” (on Great Flying Apes only)
- Citadel “Contrast Paint – Black Legion”
- Vallejo Game Ink “Yellow”
- Citadel “Seraphim Sepia” (wash/shade)
- Vallejo Model Air “White Grey”
- Citadel “Contrast Paint – Luxion Purple”(on Great Flying Apes only)
- Craftsmart “Amethyst” (on Great Flying Apes only)
- Vallejo Model Color “Vermilion” (on Lesser Apes only)
- Citadel “Contrast Paint – Snakebite Leather” (on Great Flying Apes only)
- Citadel “Blackfire Earth” (texture)
- Elmer’s PVA Glue
- Assorted small rocks and stones
- Vallejo Mecha Varnish “Gloss Varnish”
- Vallejo Mecha Varnish “Matte Varnish”
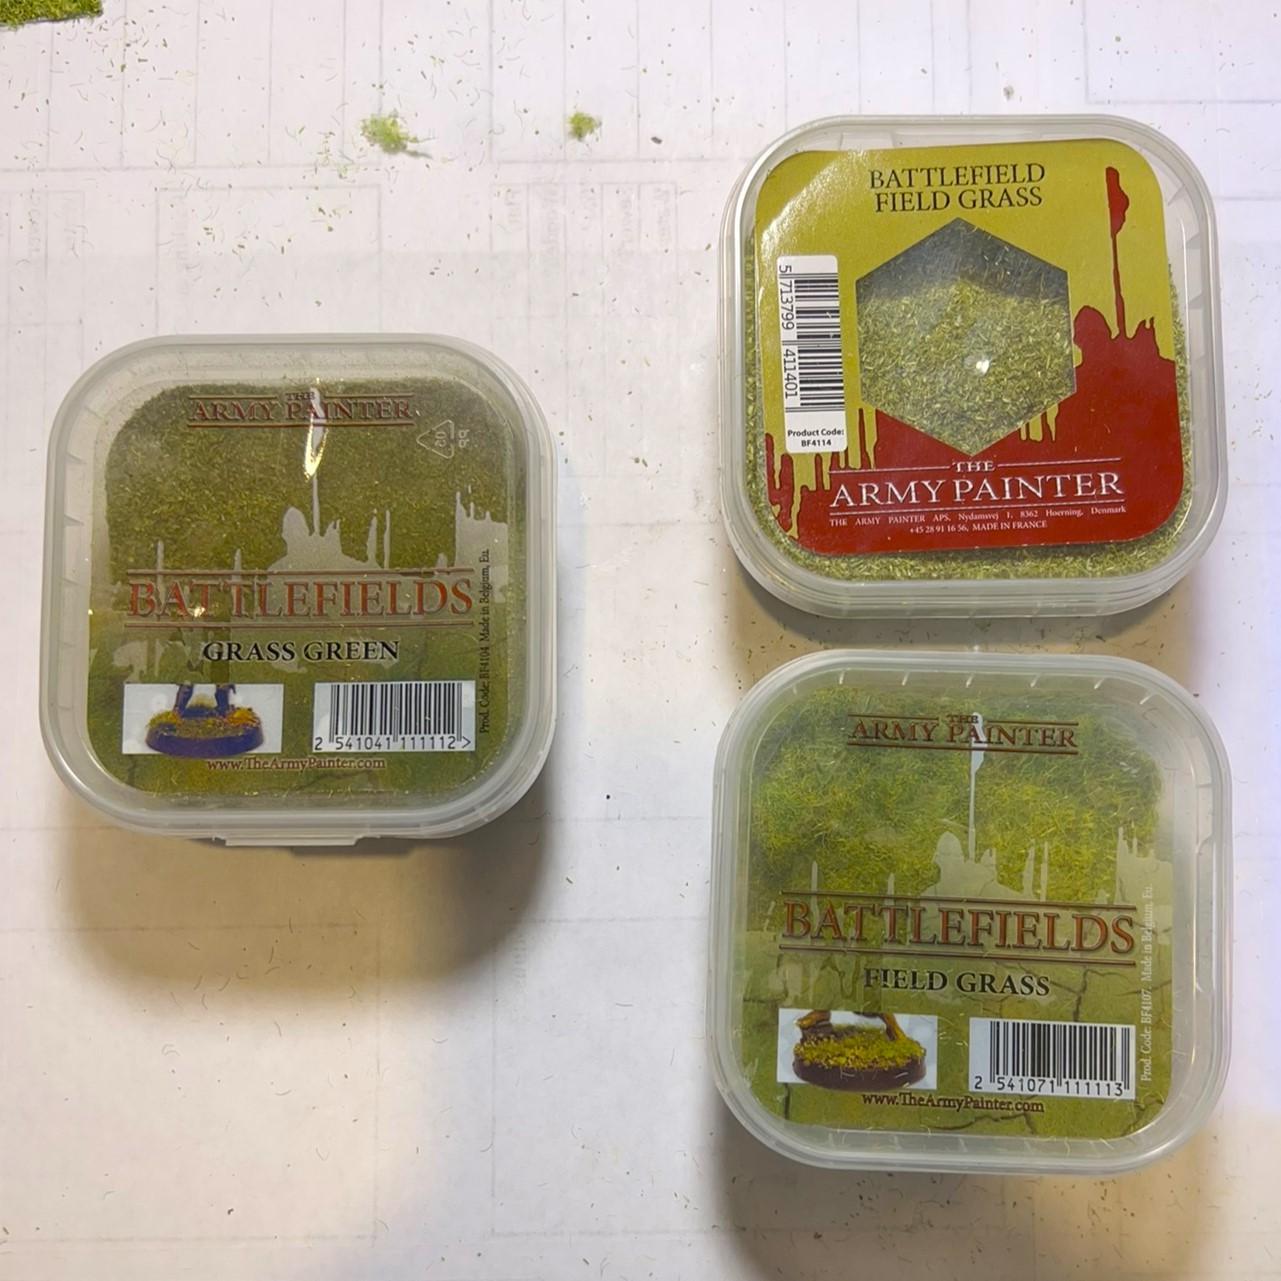
- Army Painter “Battlefields Grass Green” (flocking)
- Army Painter “Battlefield Field Grass” (flocking)
- Army Painter “Battlefields Field Grass” (flocking)
- Shadow’s Edge Miniatures “6mm Dark Forest Purple Tufts” (flocking)
- Army Painter “Battlefields Meadow Flowers” (flocking)
Again, as you may want to check out the Wars of Ozz figures’ range – there are two places to get them (and I make no money from this btw). The game rules and the figures are available from the following two places:
In the US Old Glory has a site – Wars of Ozz Miniatures.
In the UK go to Sally 4th.