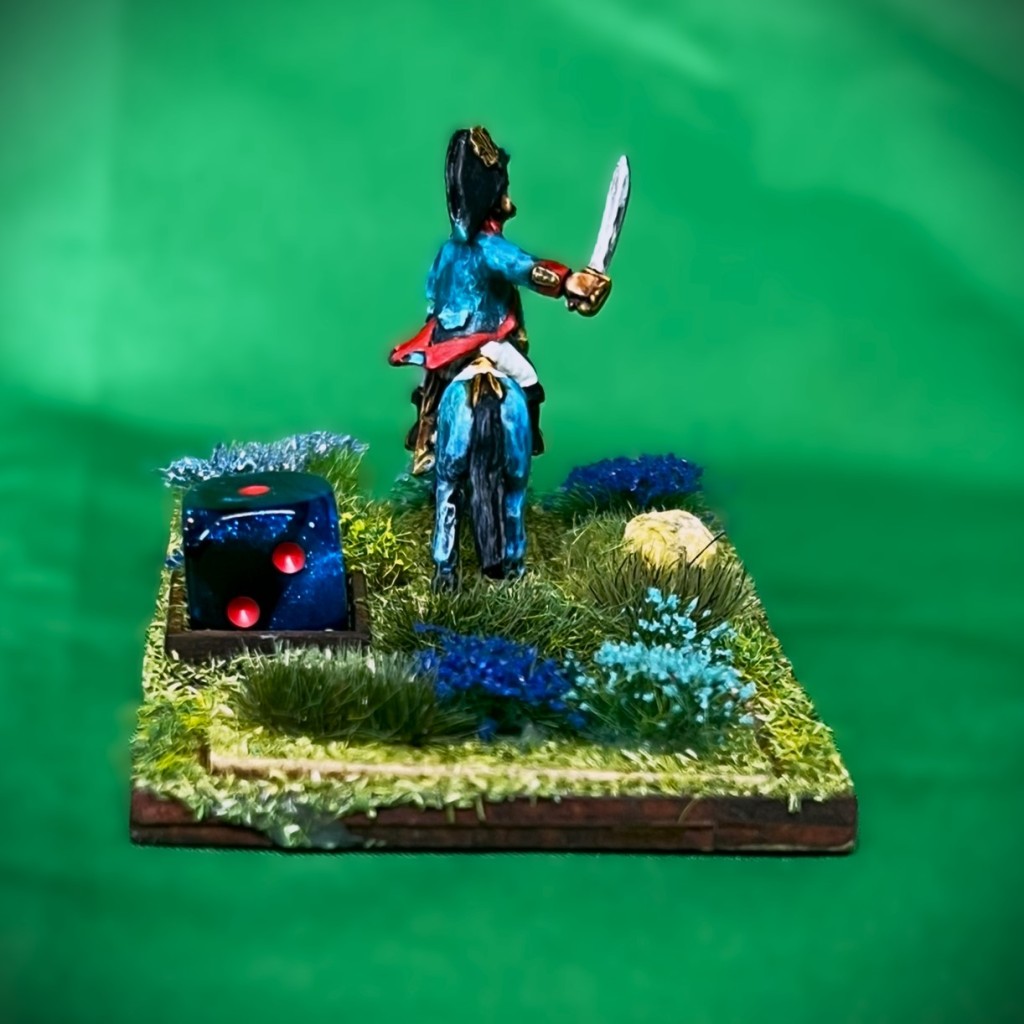
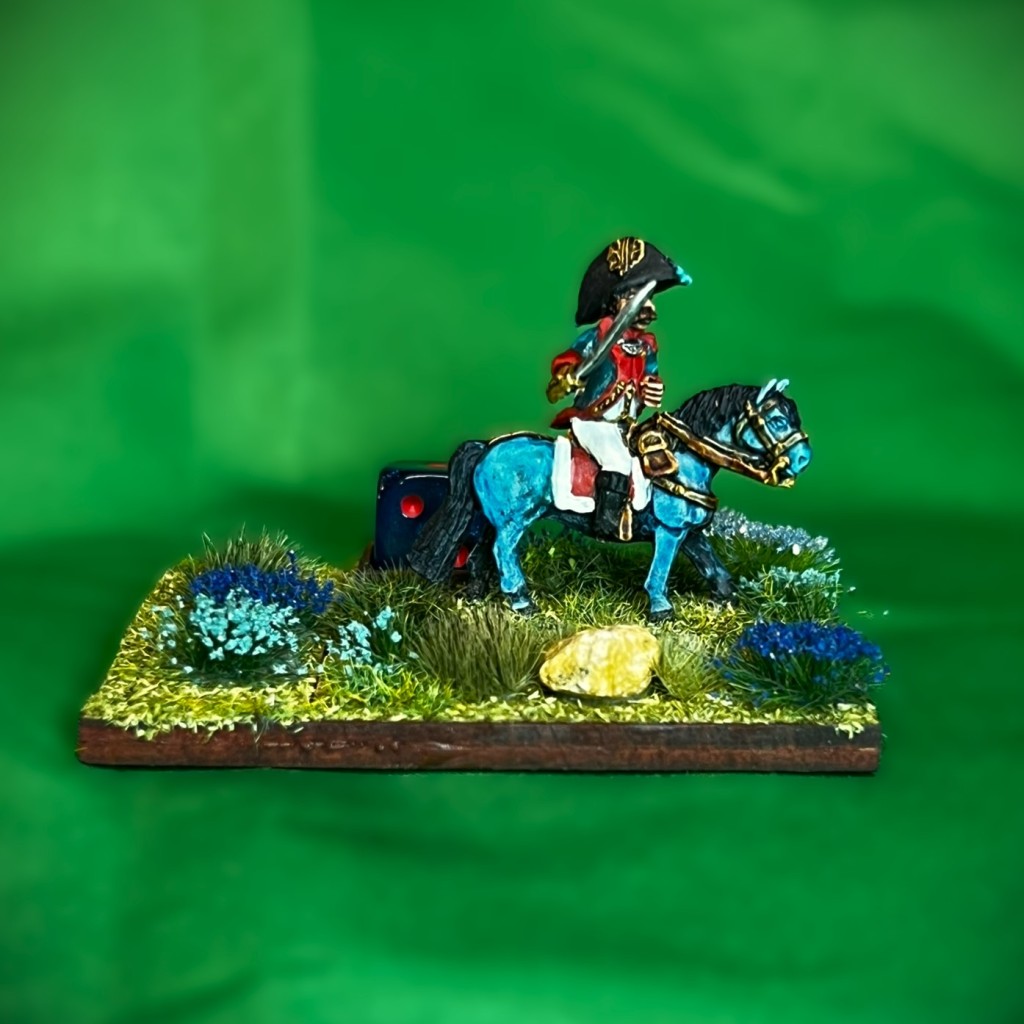
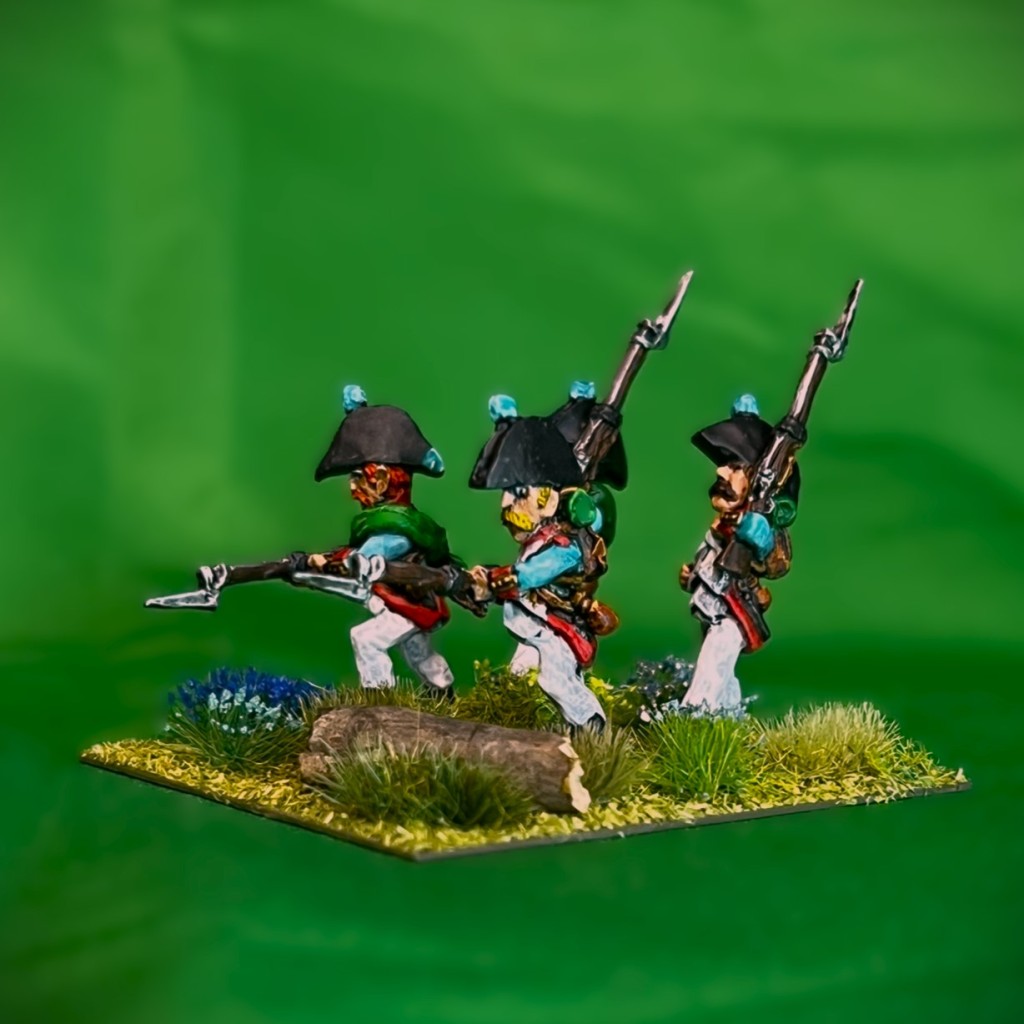
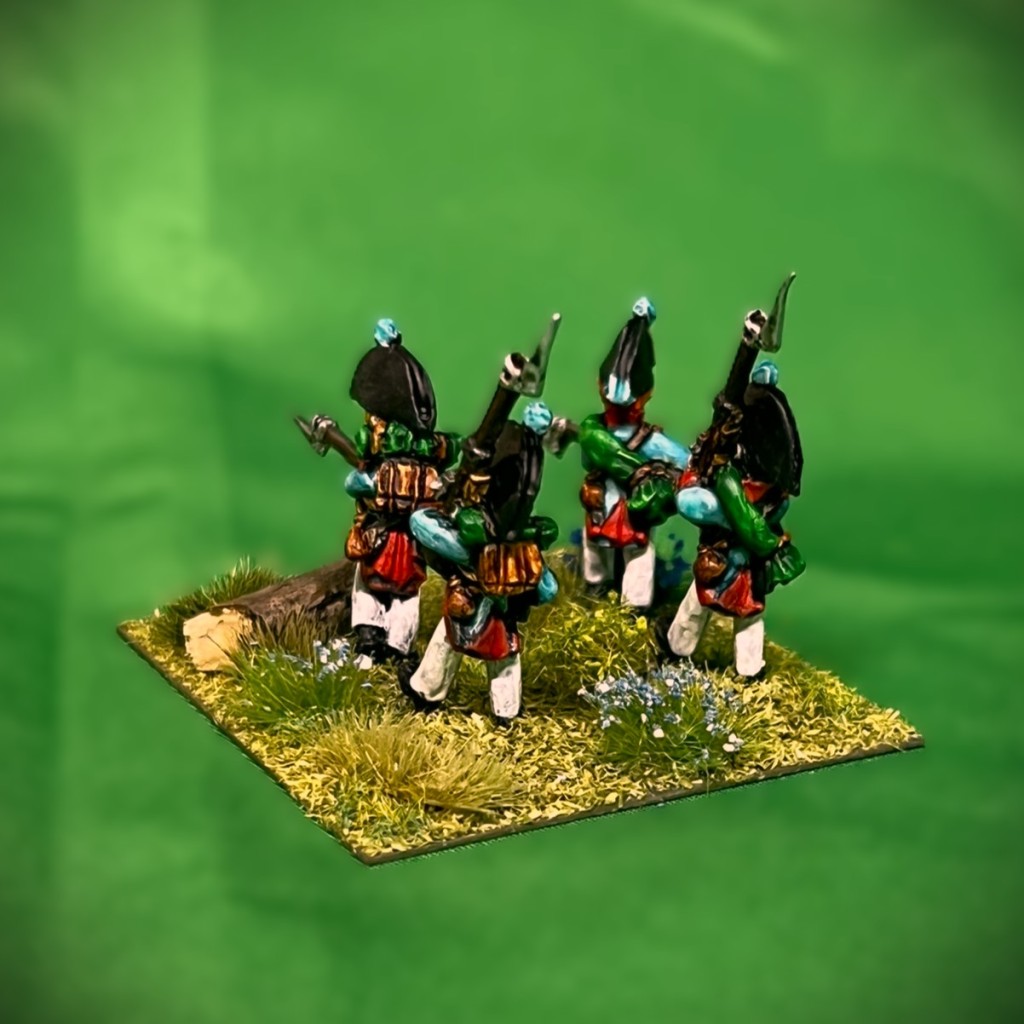
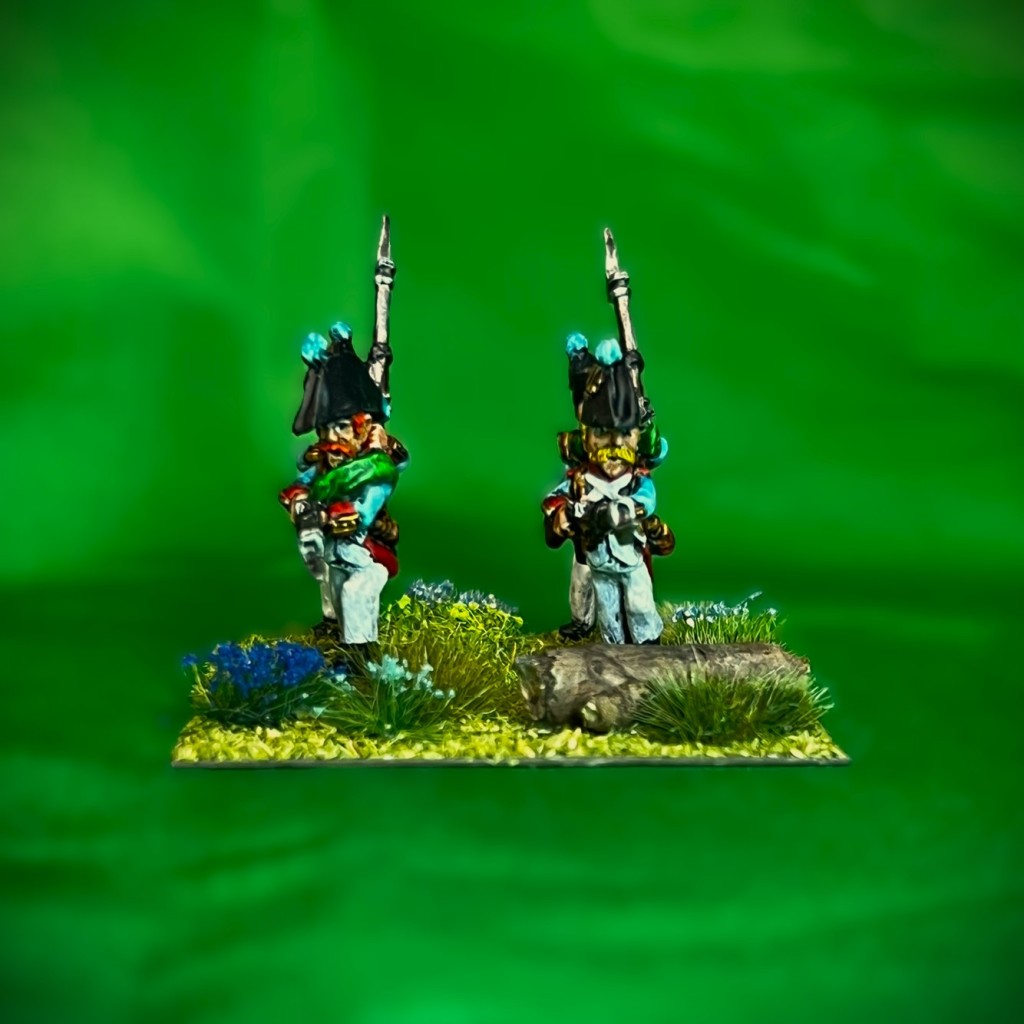
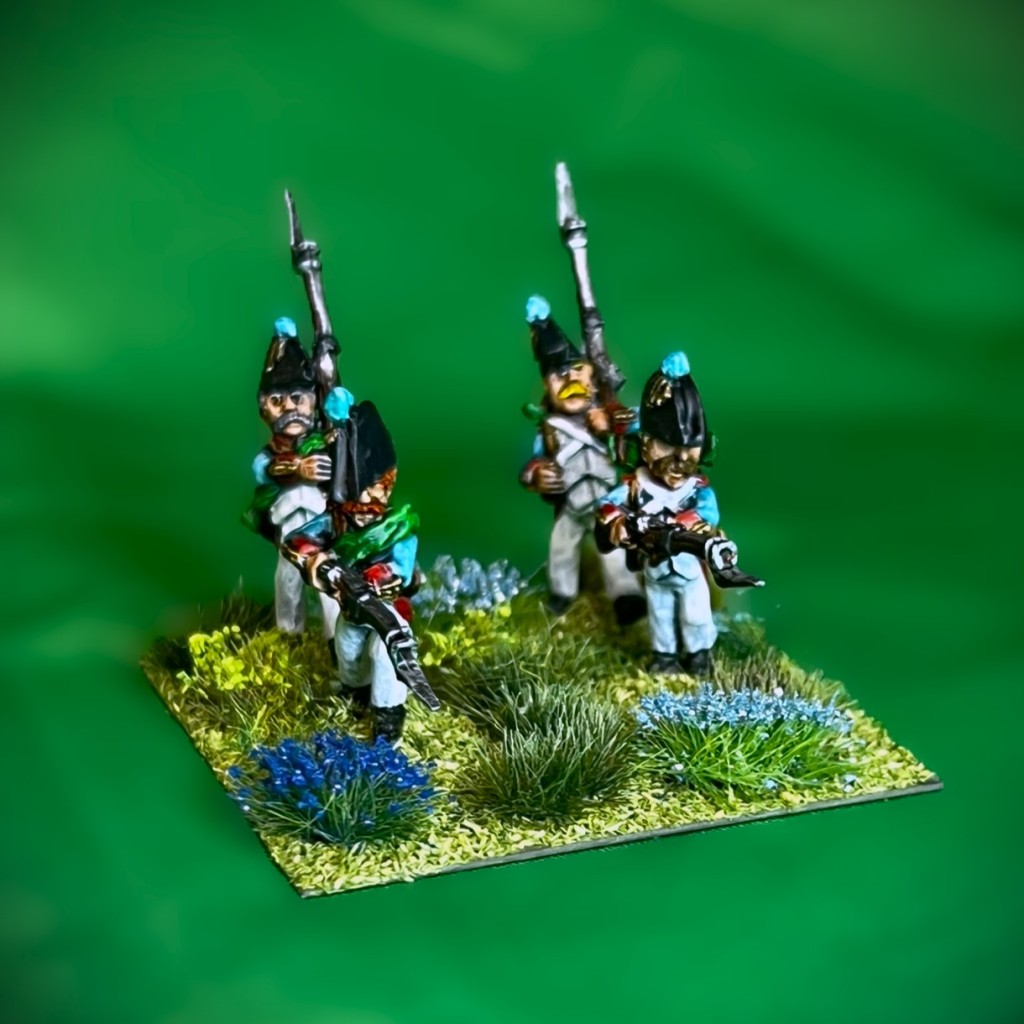
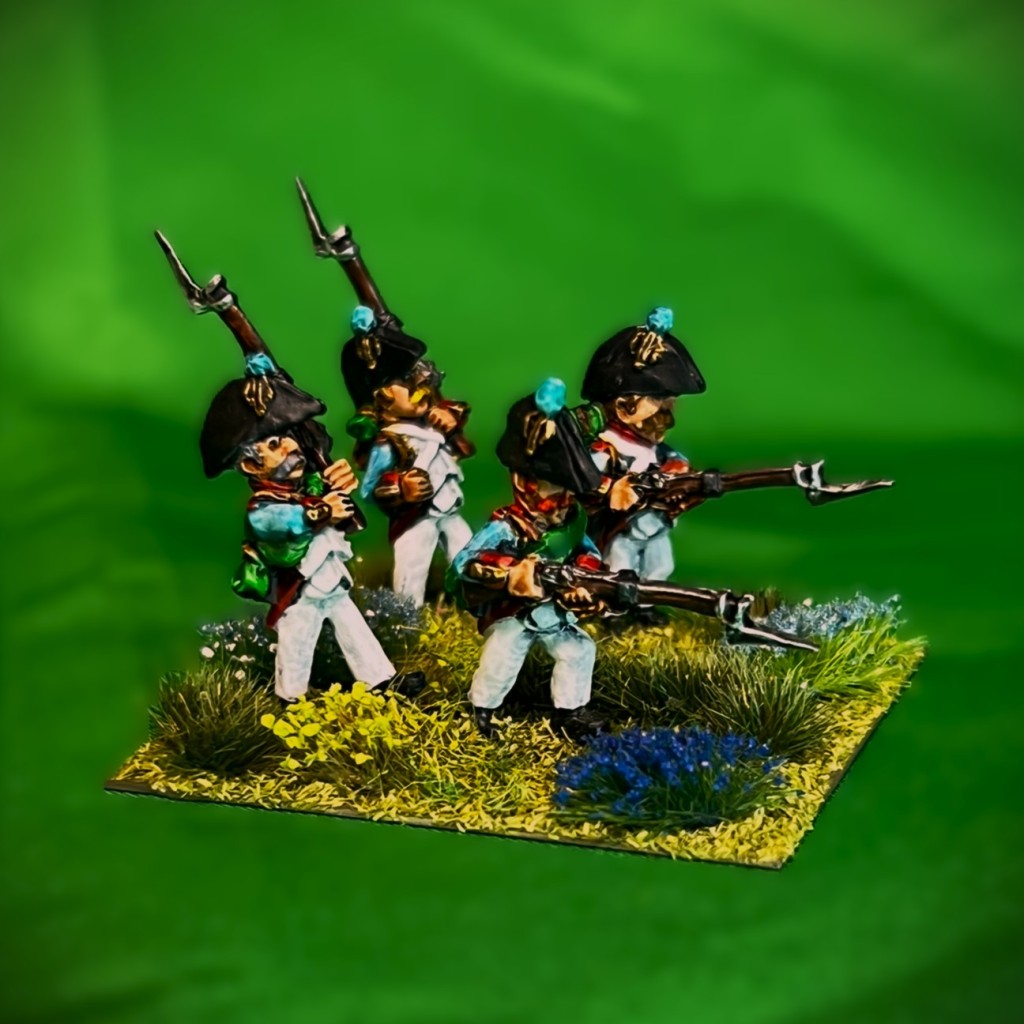
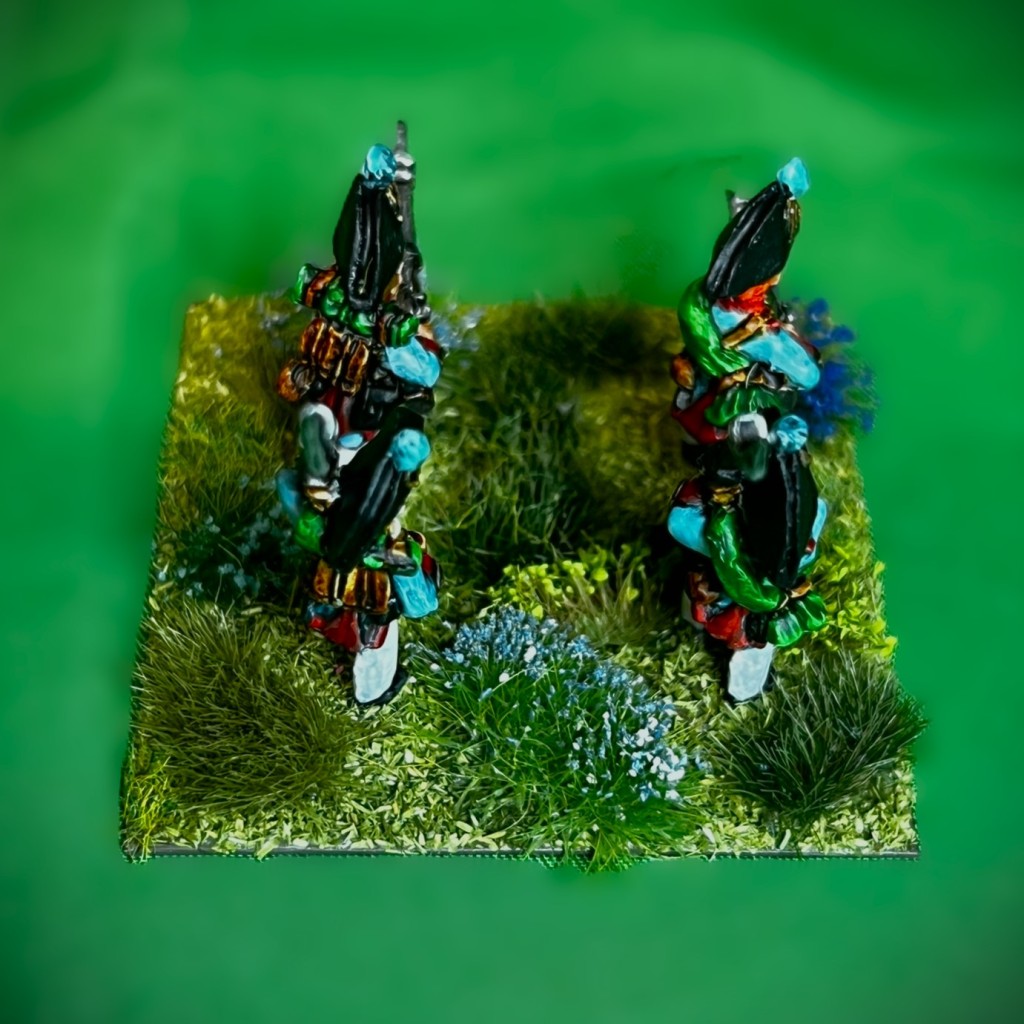
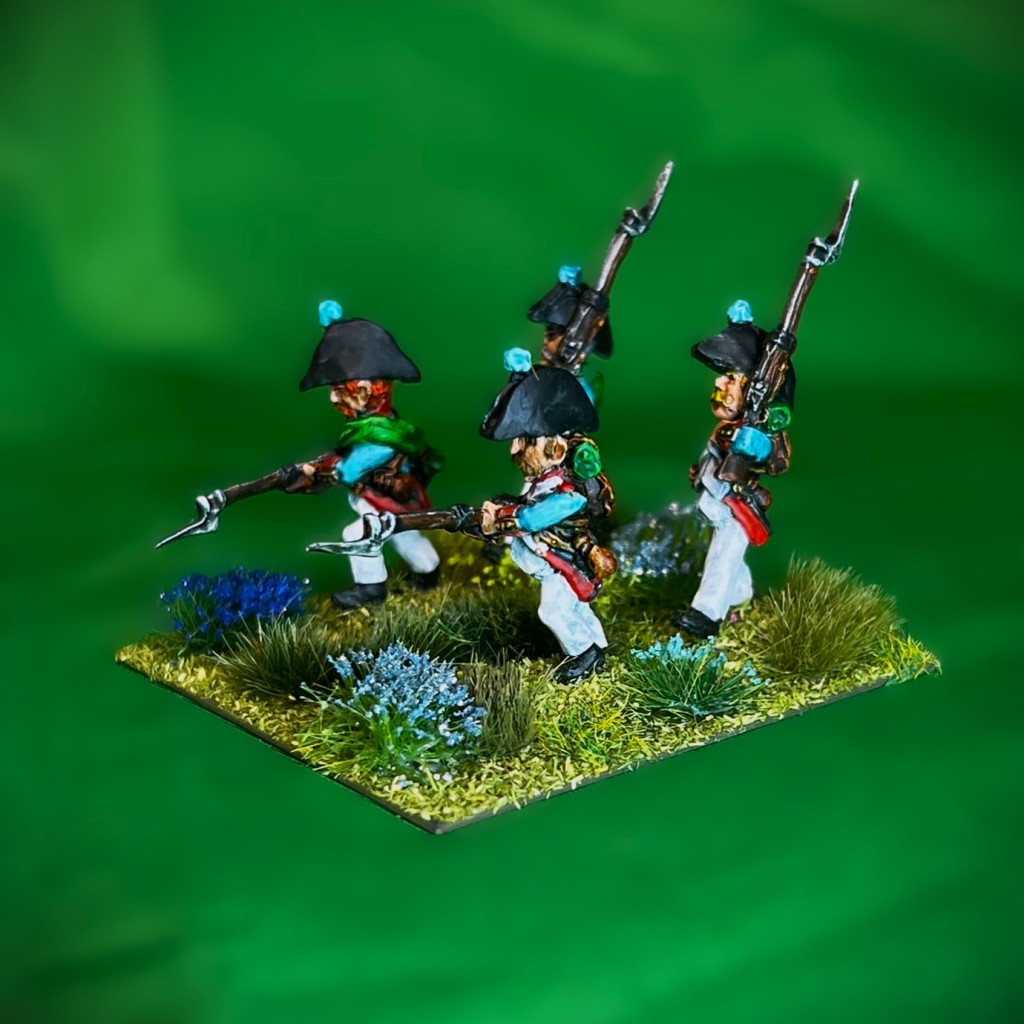
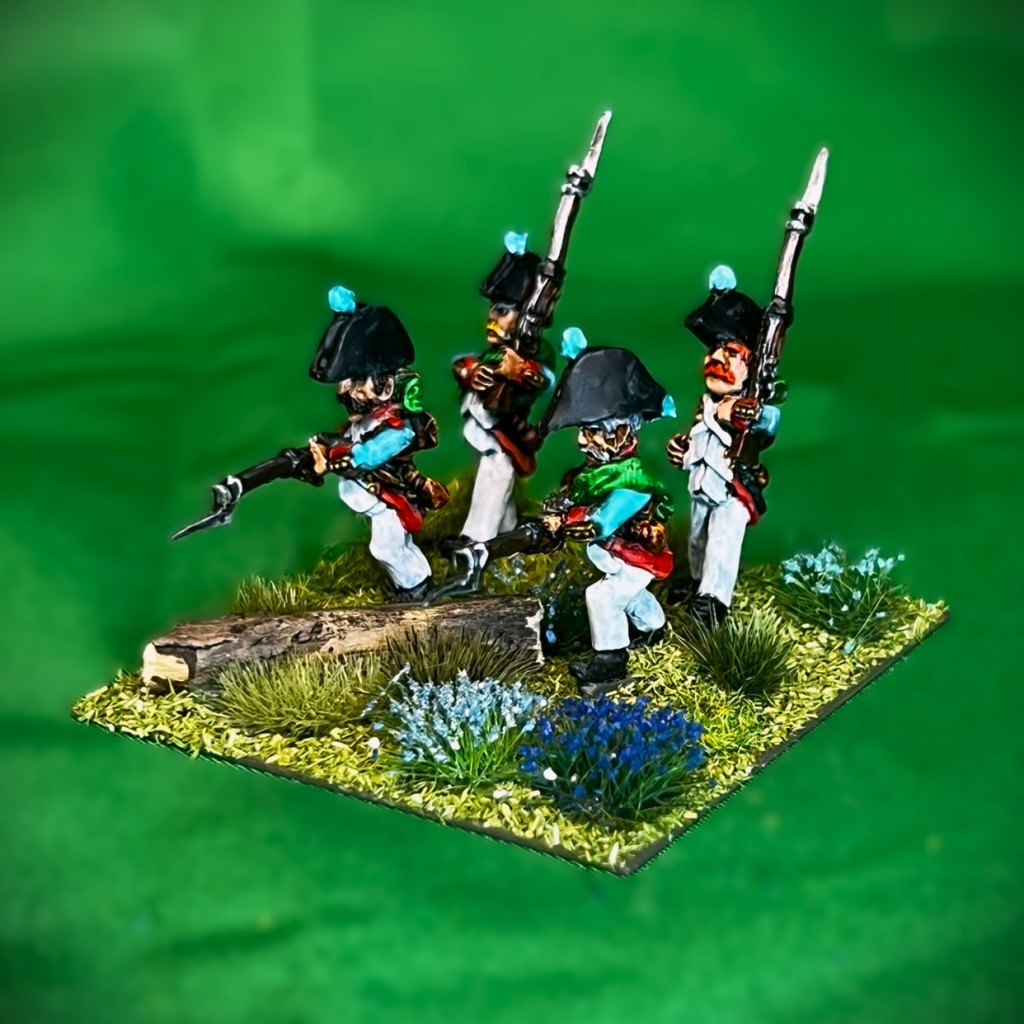
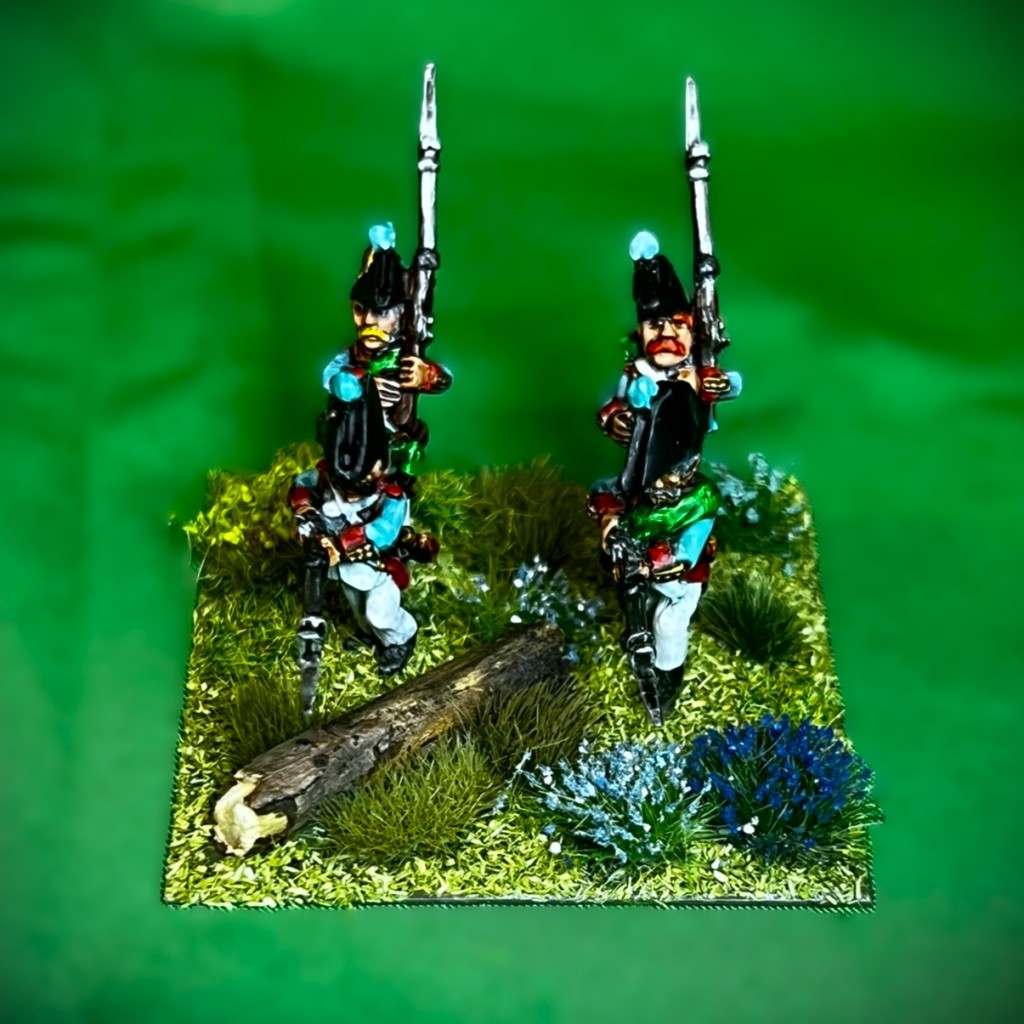
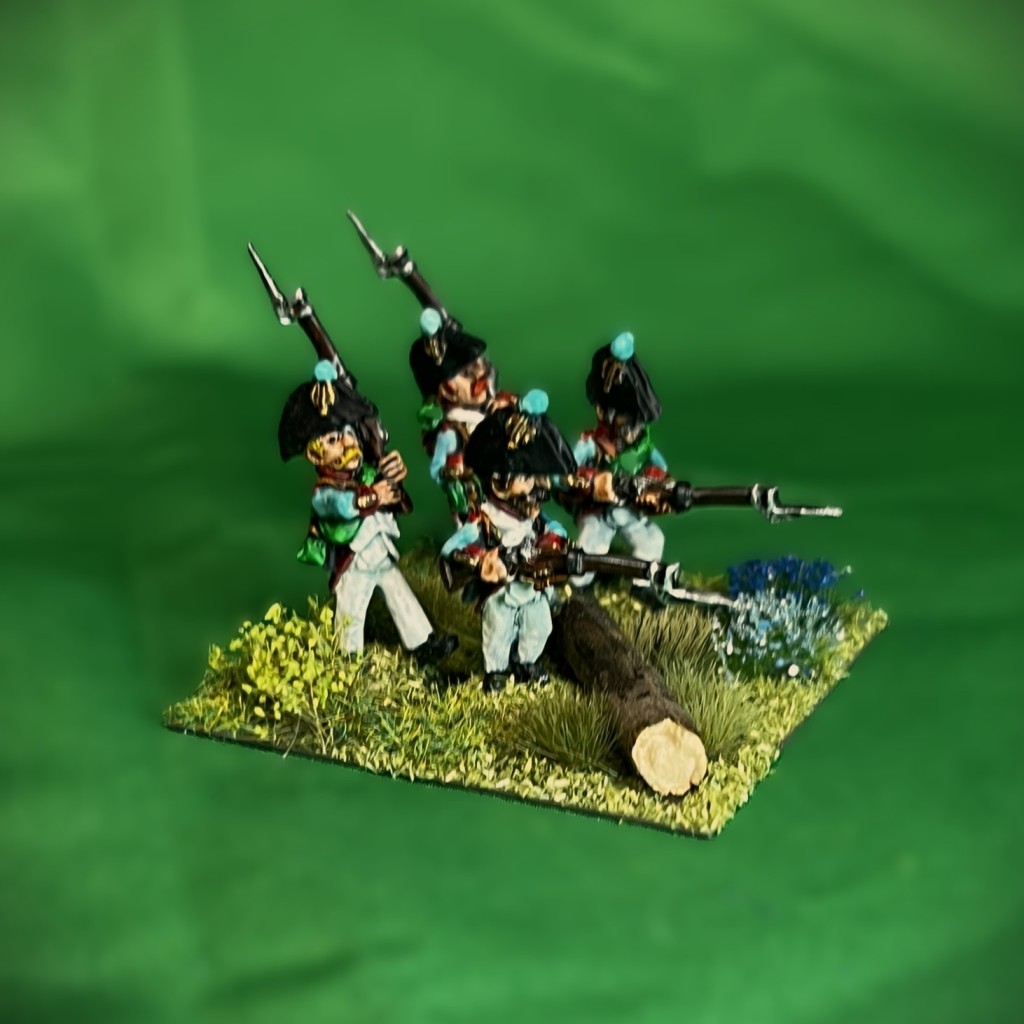
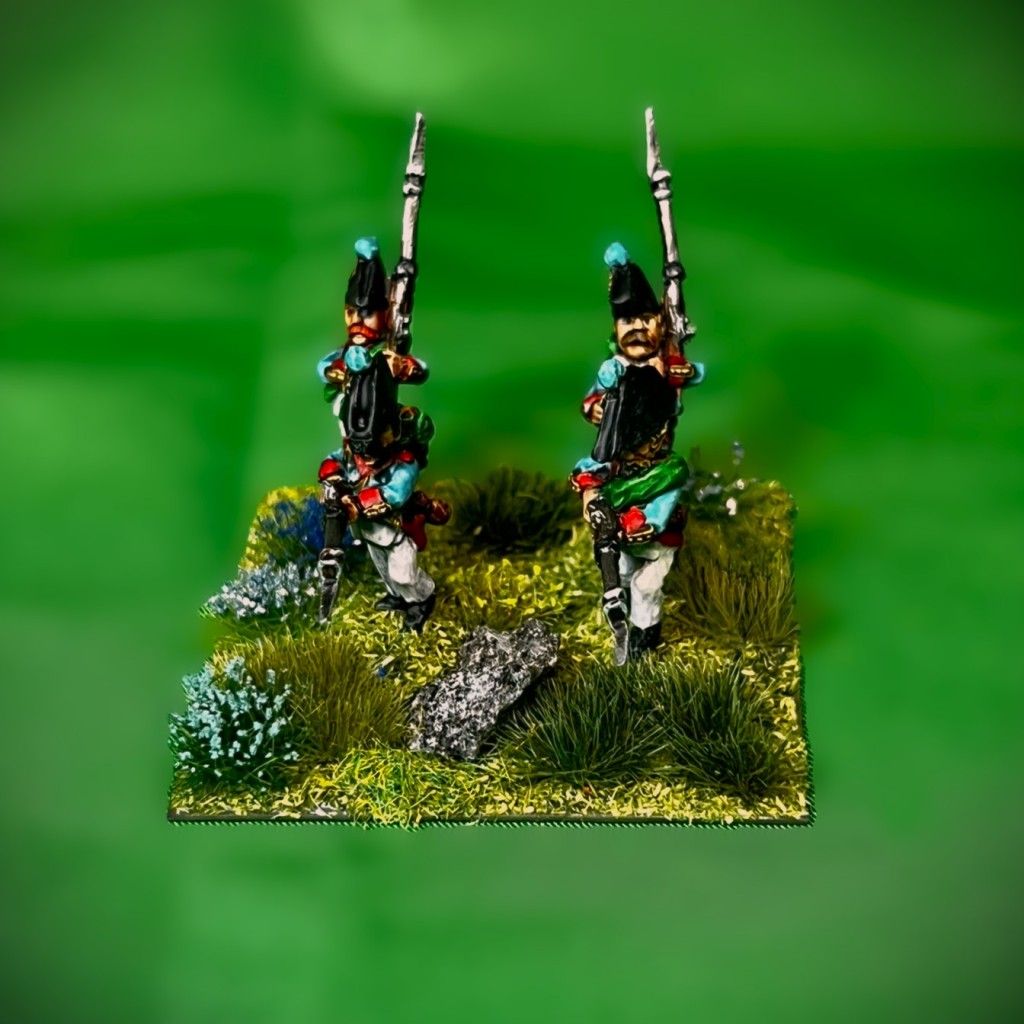
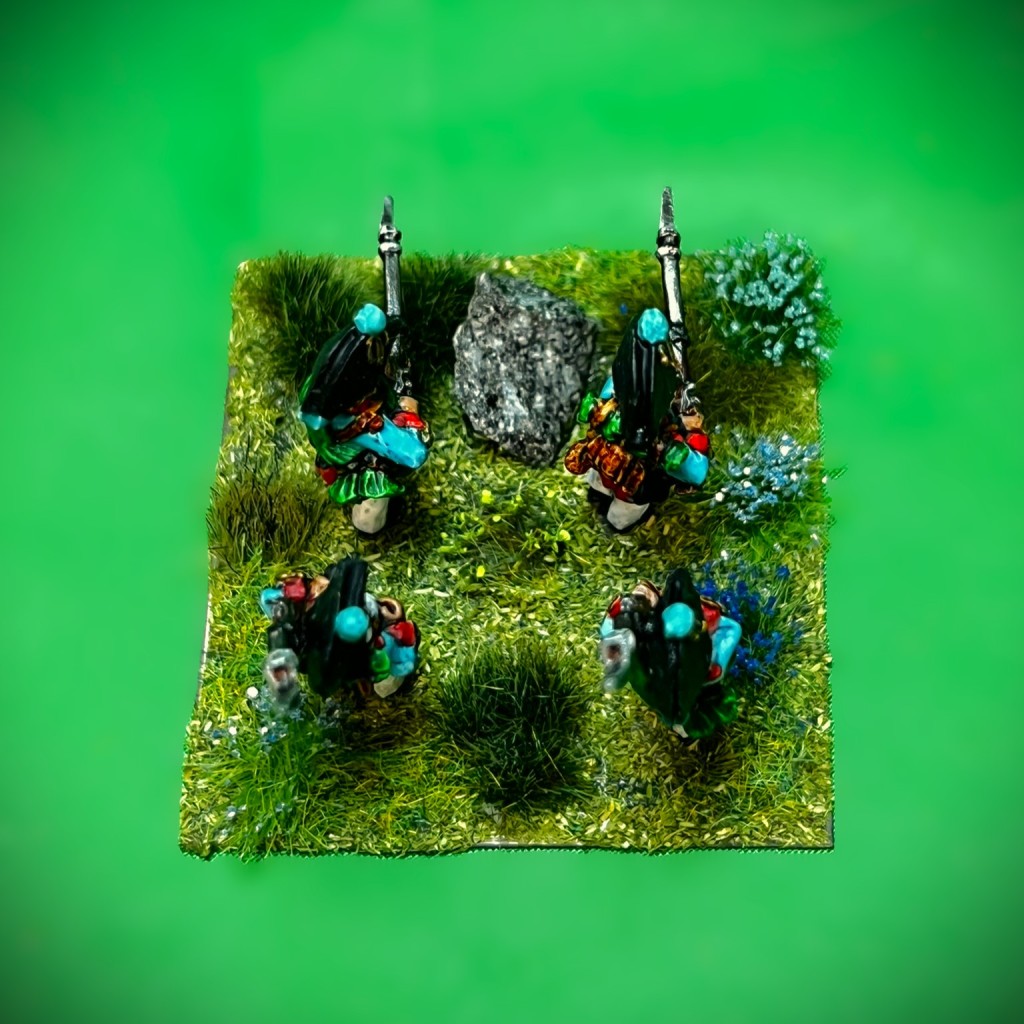
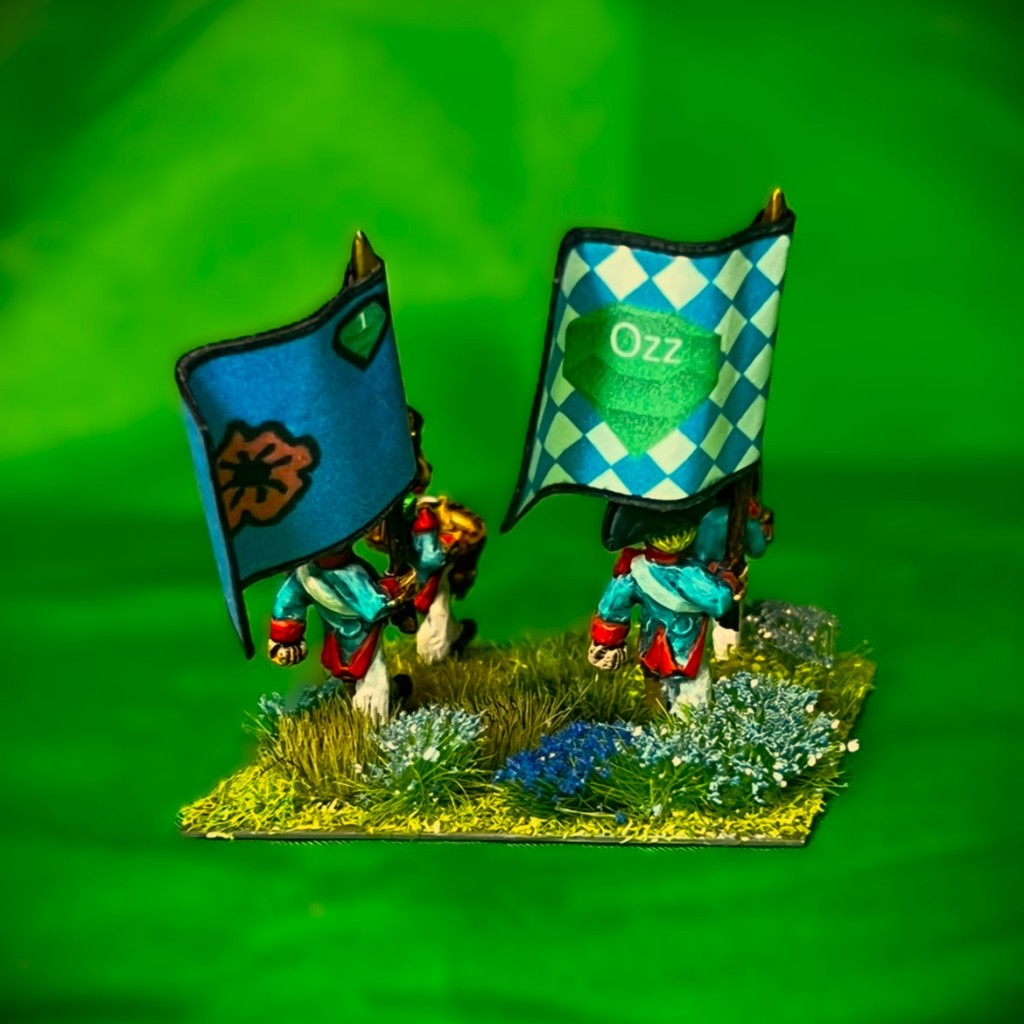
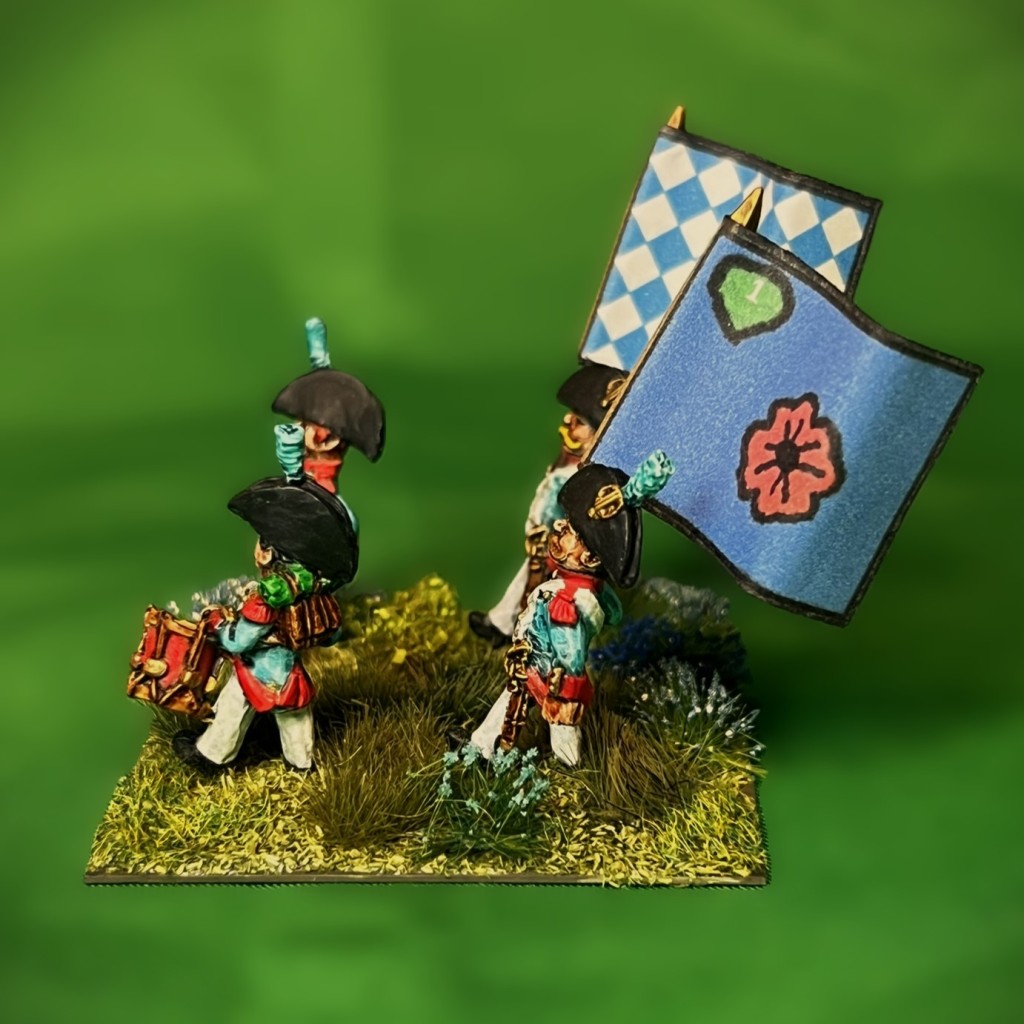
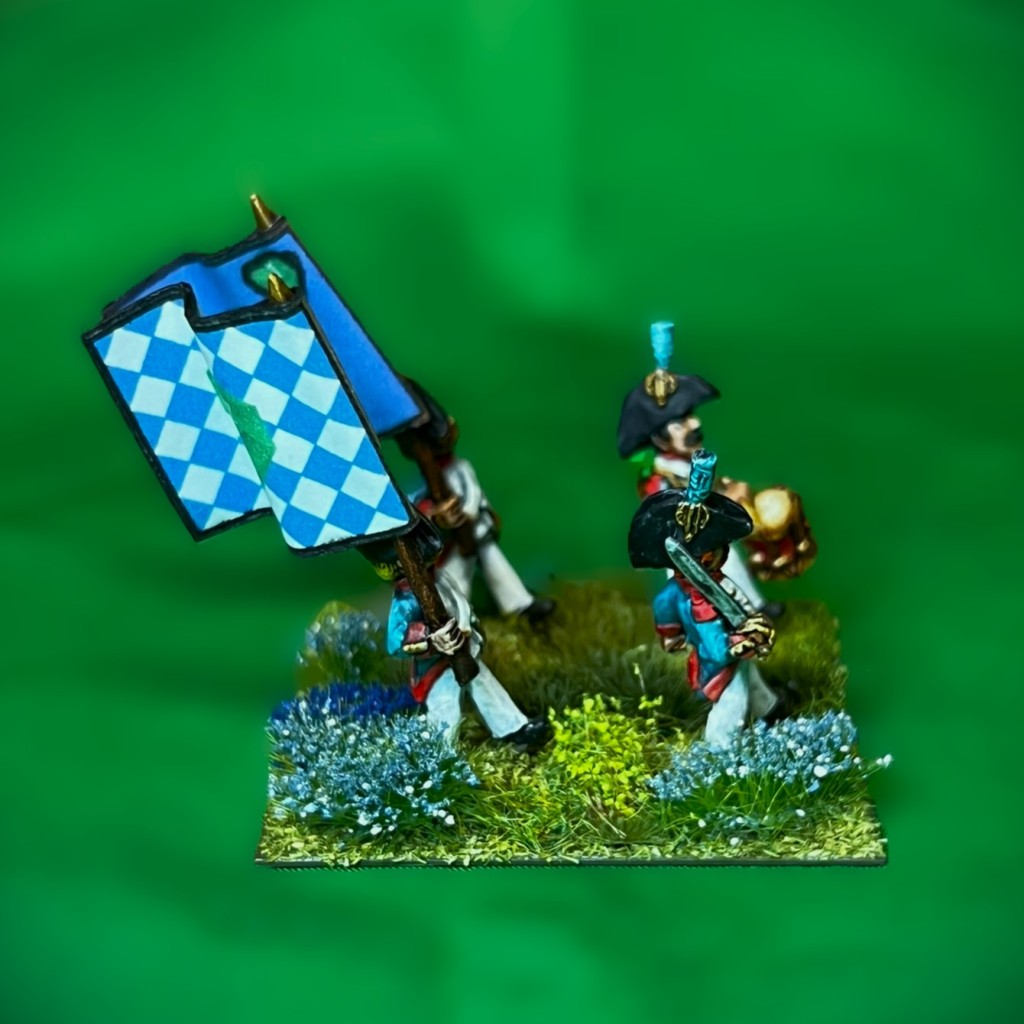
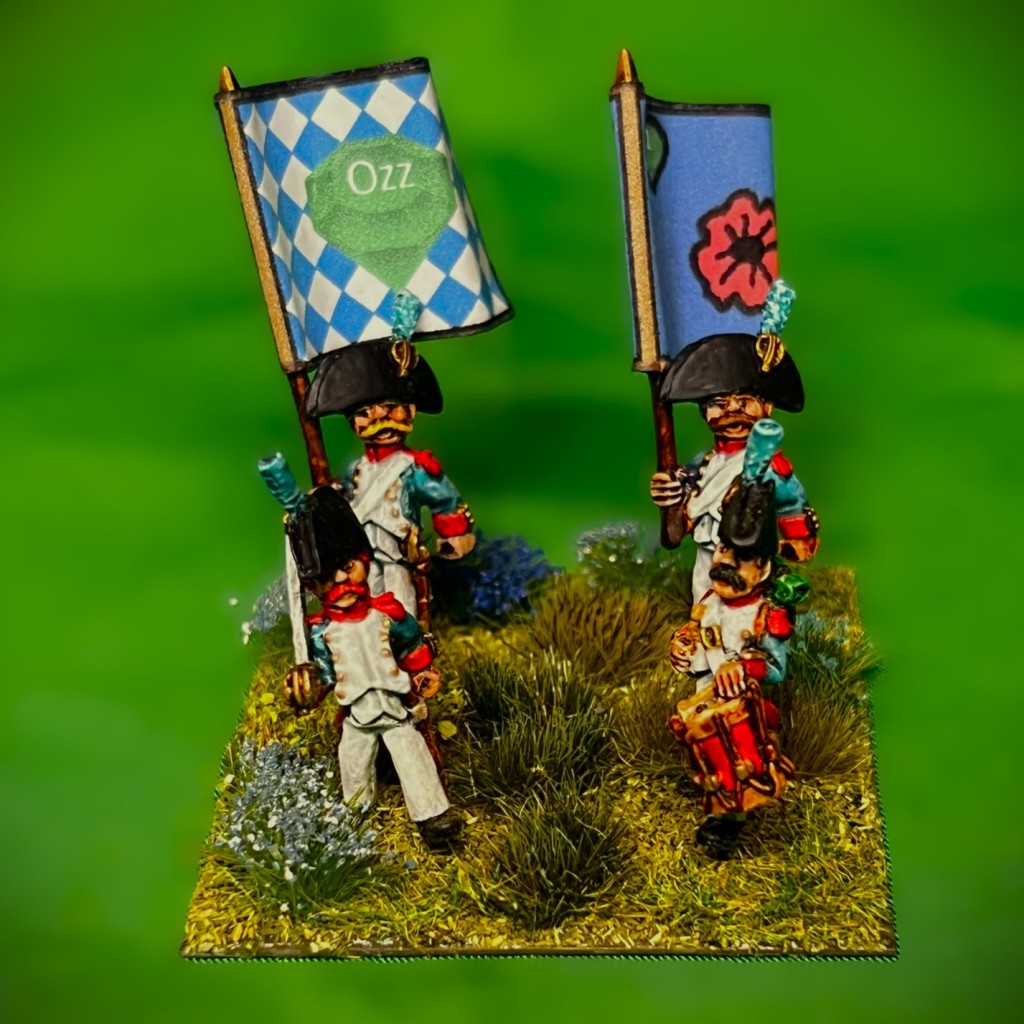
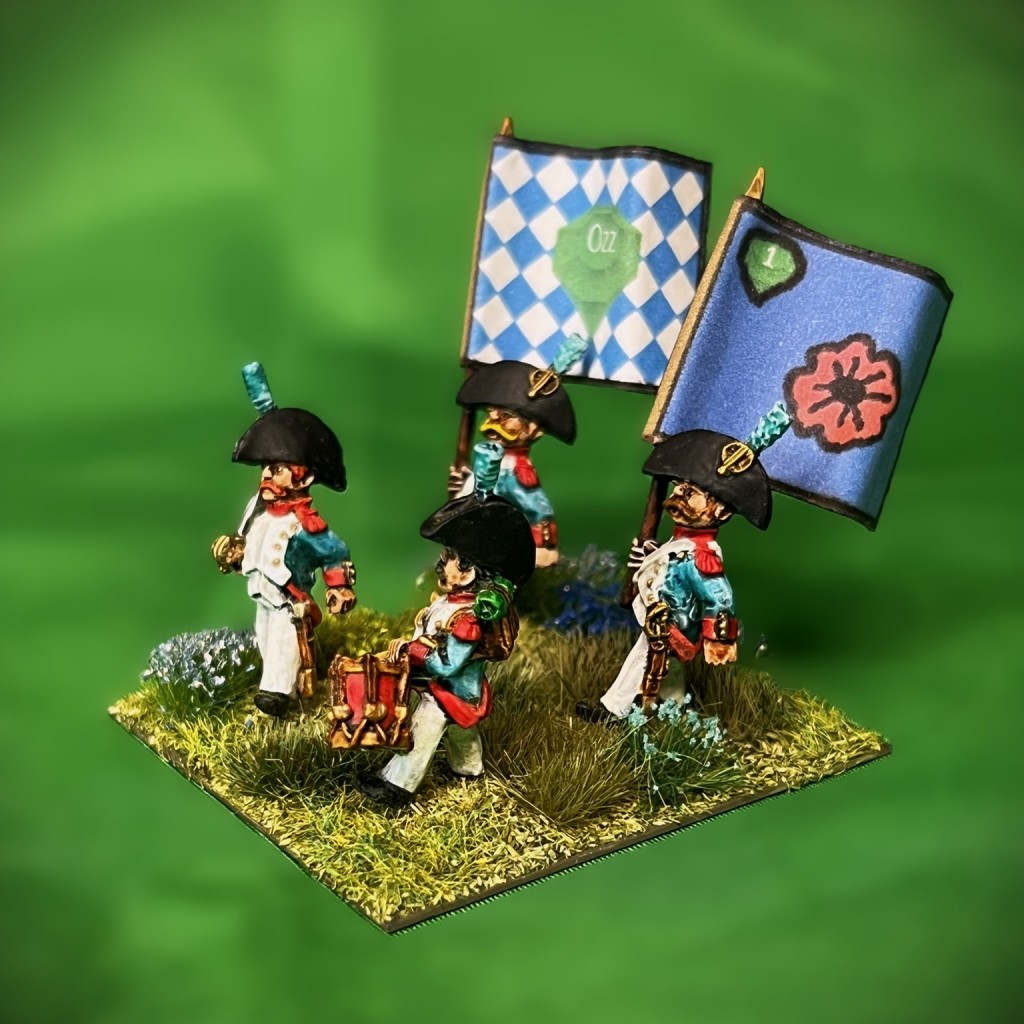
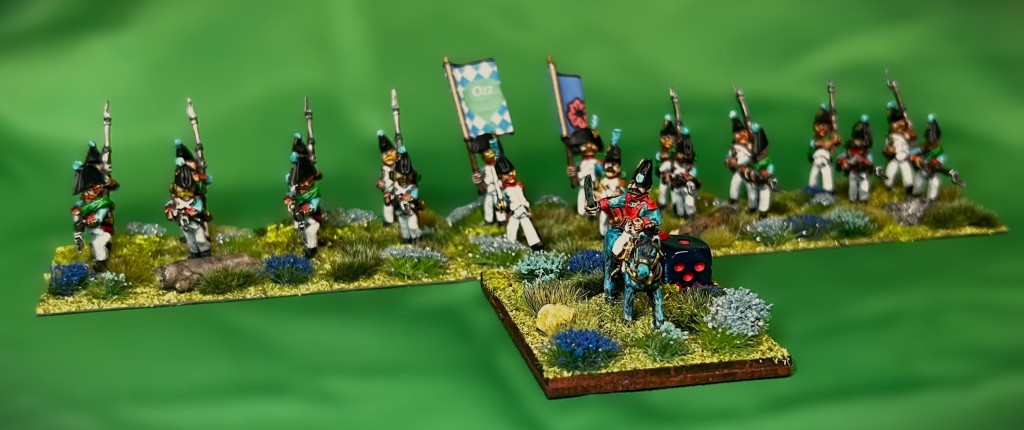
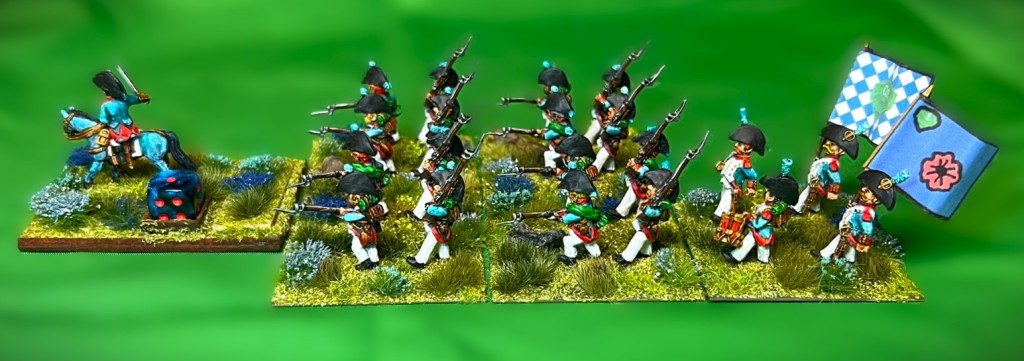
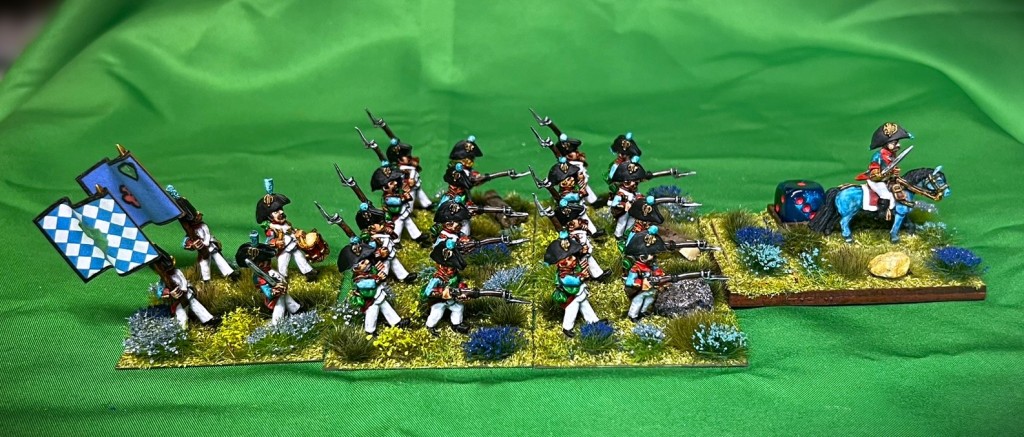
My Last Project of 2023 – Munchkin Light Artillery Battery (Wars of Ozz)

The last Wars of Ozz unit of 2023! Fittingly, it is also my last Munchkin unit – at least for the near future. As I shared in my last post on the Munchkin Landwehr, I am still recovering well from my knee surgery, and I have able to work on a few things. The Munchkin Light Artillery Battery was one of those.

A year ago, I painted up a medium battery for the Munchkins. That unit, with it’s 8″ short and 24″long range, has had the longest range of any of my Ozz units in 2023. To level the playing field/tabletop – and to provide a bit more variety for scenarios, I have decided to get the Munchkins this Light Battery – and to get the Winkies their own medium battery as well (coming soon I hope). Maybe at some point I’ll address this shortfall for the Gillikins, but not now! Again, Dave Stone is also currently is painting challenge “PAINT WHAT YOU GOT CHALLENGE 2023/2024”. This is my second unit for that challenge.

The Munchkin Light Artillery Battery (MLAB) has a short range of range of 6″ and a long range of 18″. Otherwise, the stats for the MLAB and crew are the same as the larger MMAB except for cost.  Both units are good at missile combat with either their cannon or their carbines – with a Marksmanship value of 6/10. As for Melee (which is obviously not ideal for artillery), the MLAB and MMAB are both below average at 4/10 as one would expect. The Resolve value (the measure of the unit’s desire to stick in a fight) for both types is great at 7/10, and as for Elan (the desire to take the fight to the enemy), both are at an average 5/10. The MLAB is cheaper at 4 points, versus the MMAB cost of 5 points. Having two types of artillery give a lot of flexibility to a player or to myself as a GM. 

The MLAB’s SKU is #OZZ-106. All of the figures are metal and 28mm in size. Artillery batteries in Wars of Ozz games are composed of 5 figures plus the gun. While an infantry or cavalry regiment has 5 bases – each of which can take 4 hits per base – a battery can only take 5 hits (one per figure). Each hit removes a figure and loses a die for the unit when it fires. The scale is 28mm and these figures are metal.

As with the Landwehr, I did not take many WIP shots, but I’ll share what I have and then go into some eye candy.

WIP shots…

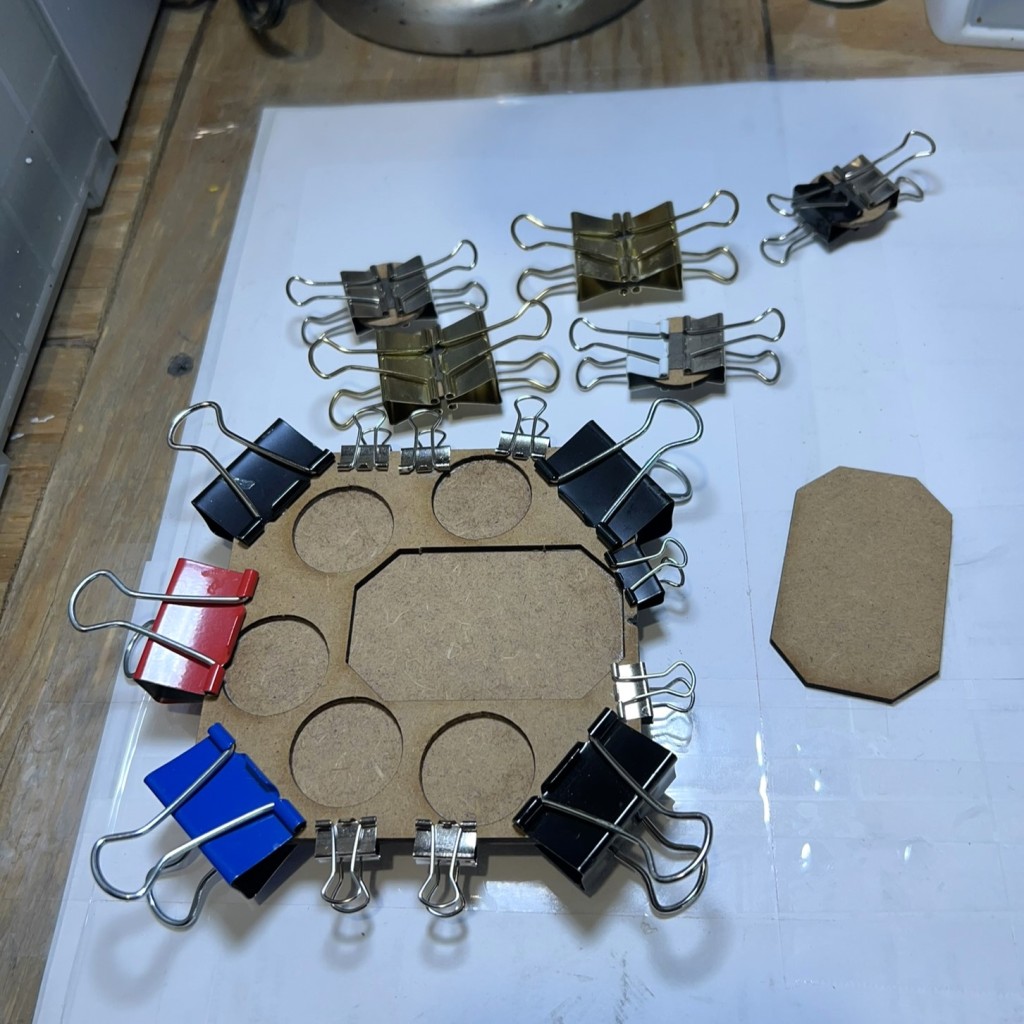
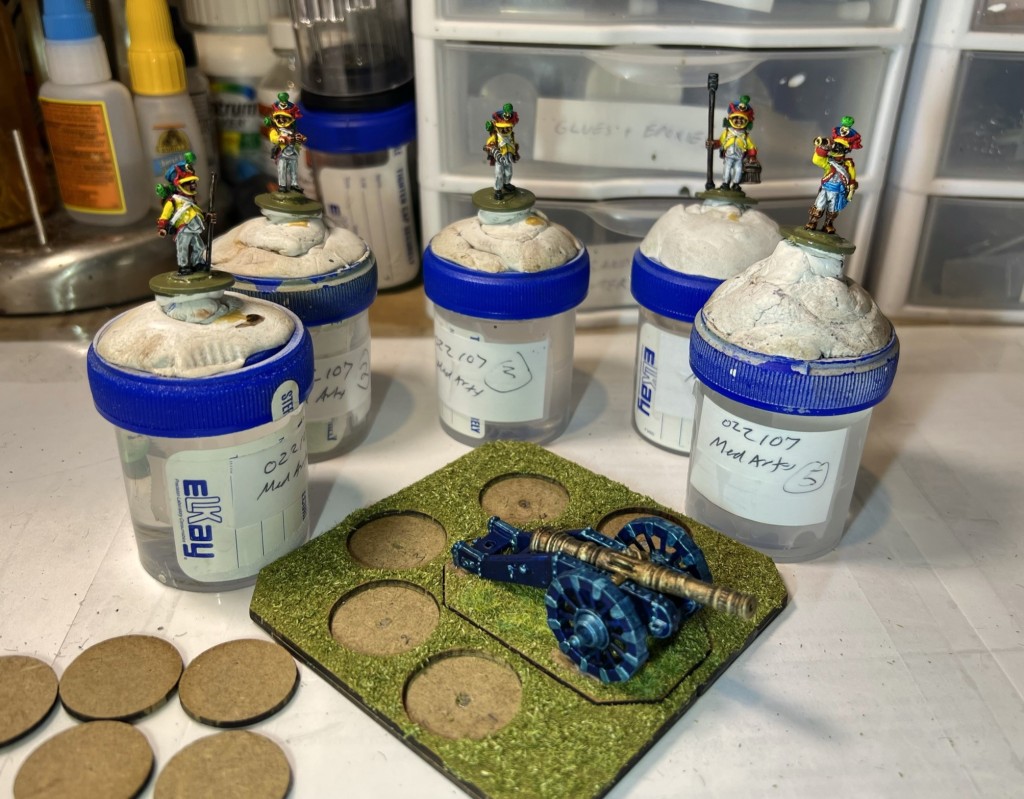
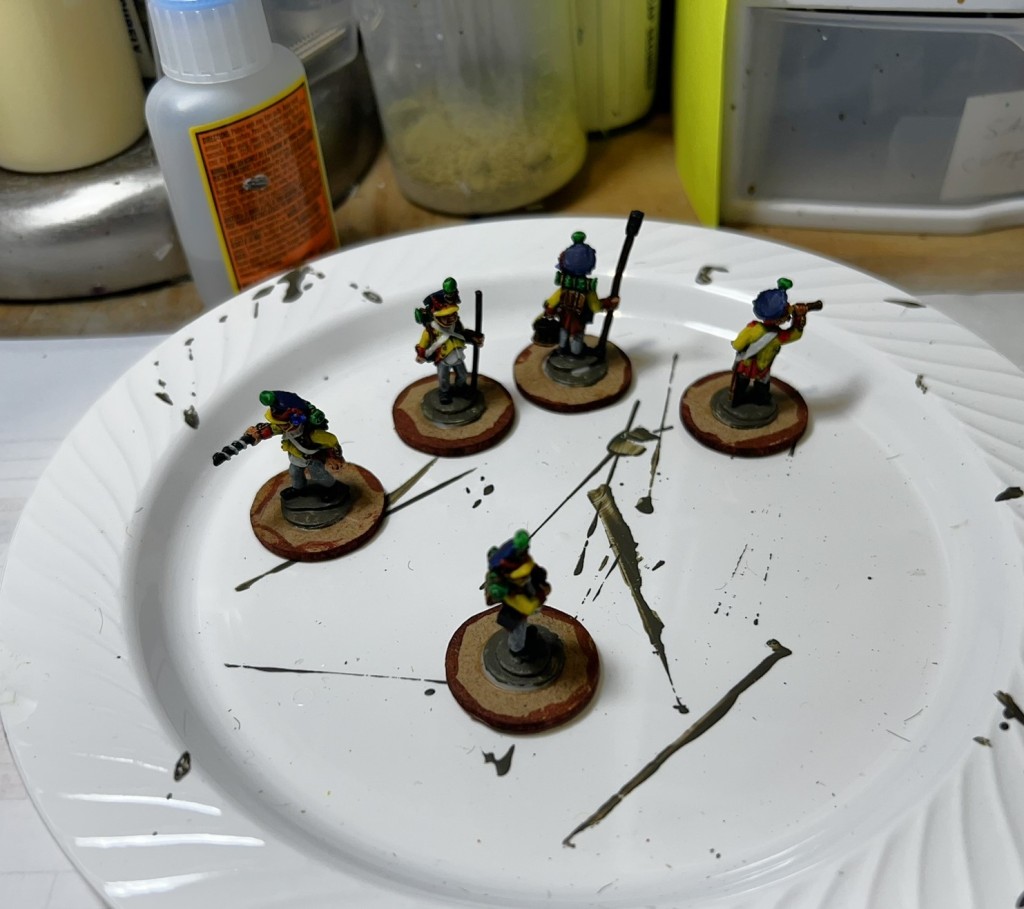
Painted MLAB figures gluing to MDF sabot base inserts.
After varnishing and flocking.

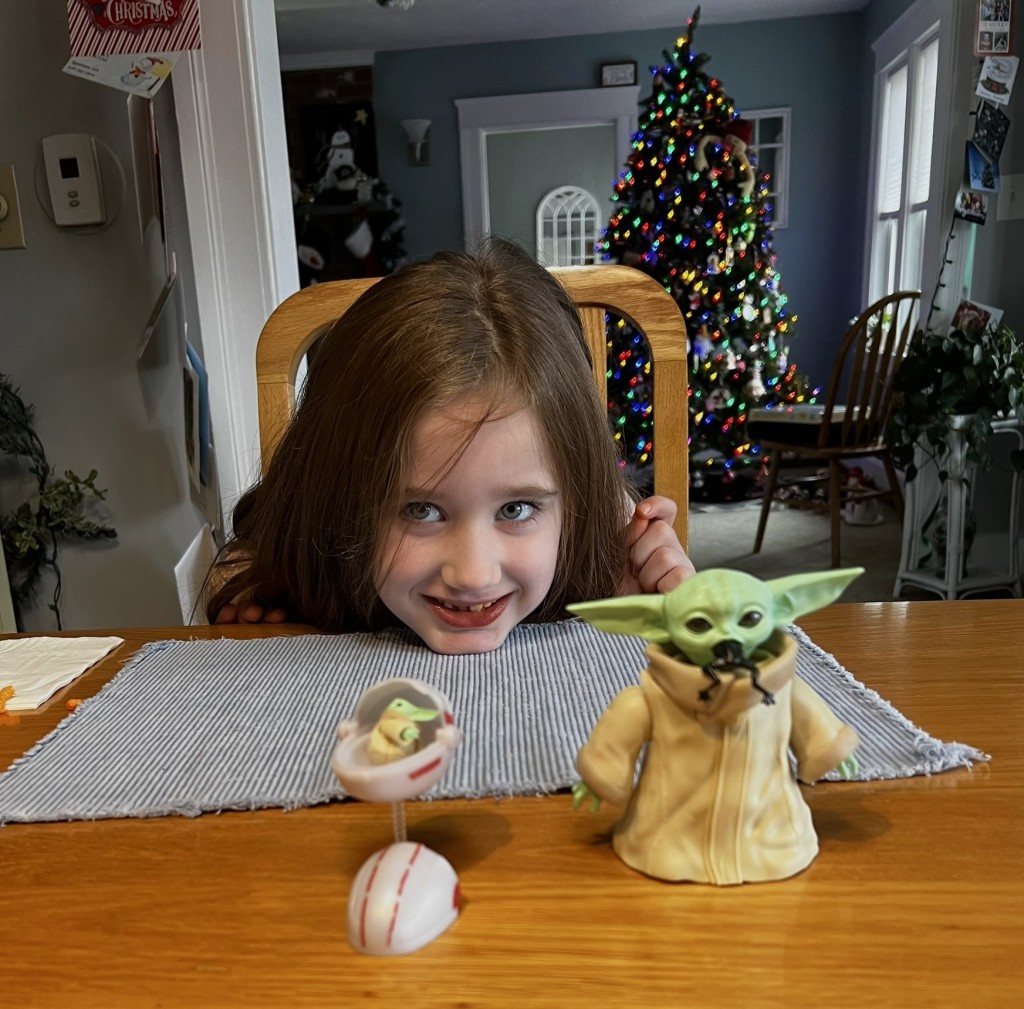
This was also a time to work on models with my grandaughter post-Christmas. We built a Pokemon Mew model, and then a Grogu. She just turned 7, so I was impressed with how well she did. Yes, this was fun too!

Back to the MLAB, here are some…

Eye Candy

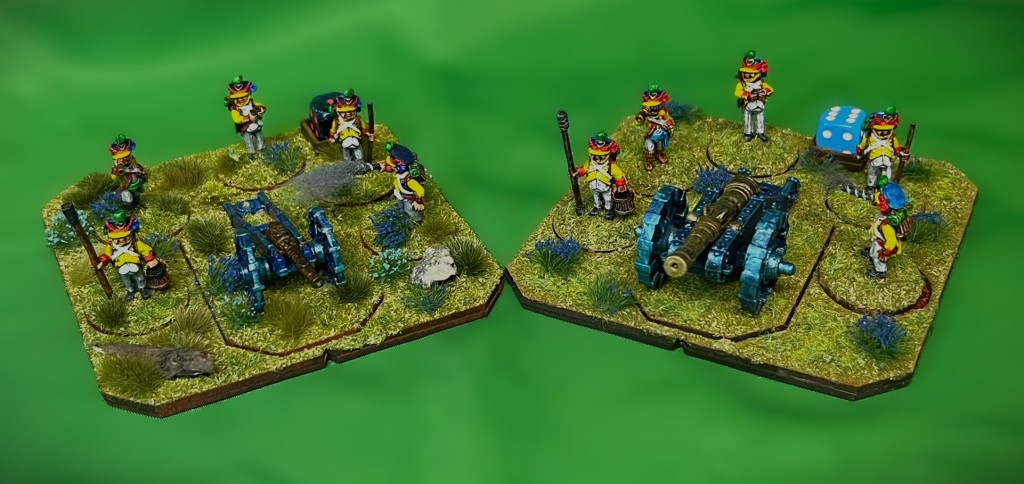
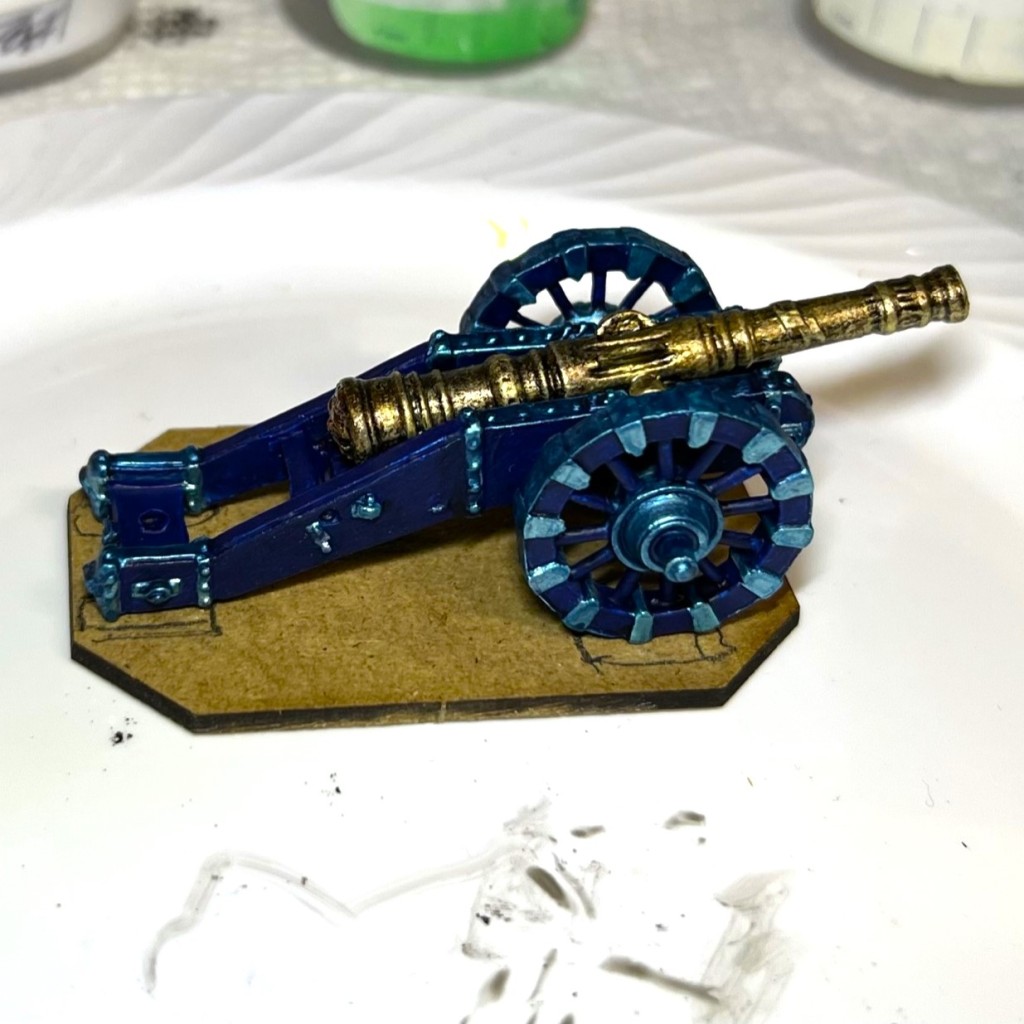
The crew and gun without the sabot base.
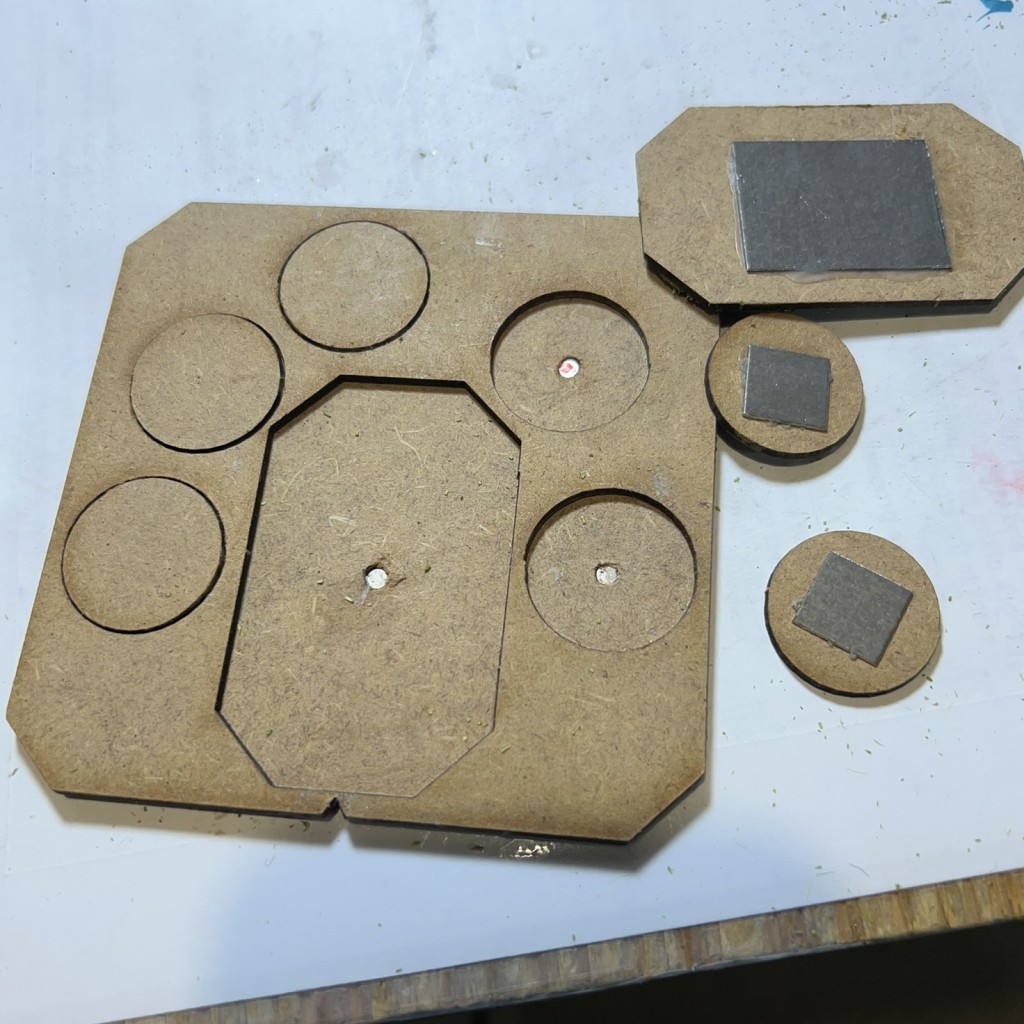
Detail of the MDF sabot base, showing the bloody spots for future casualties as the figures get removed.
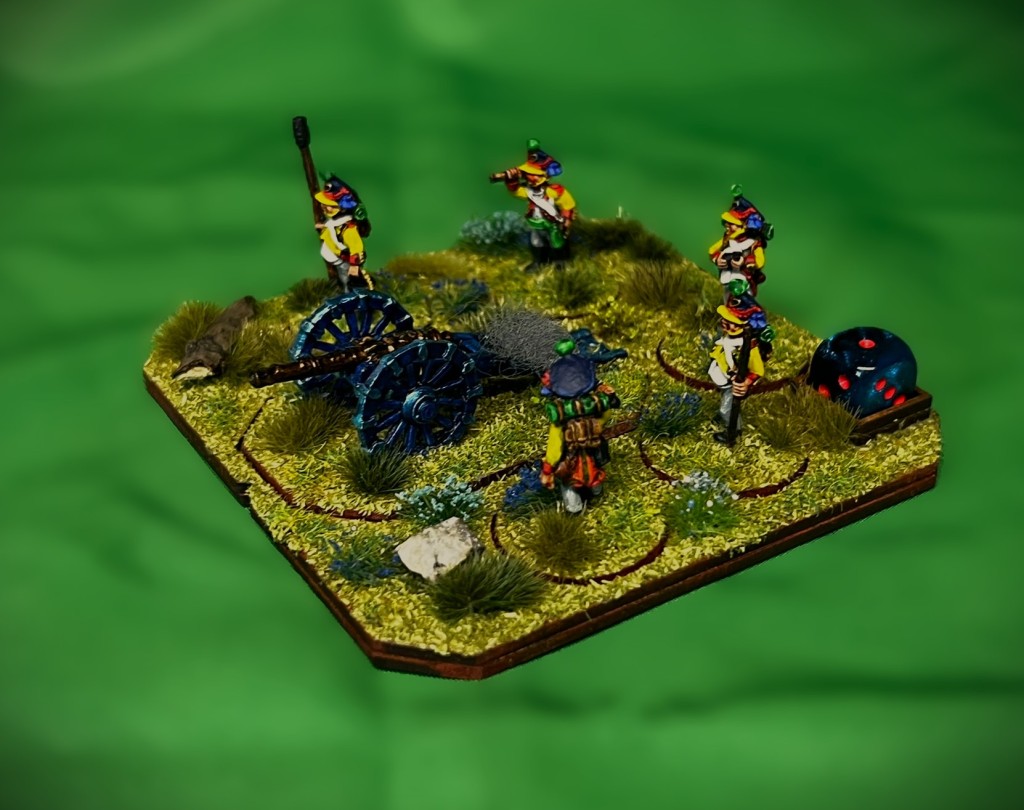
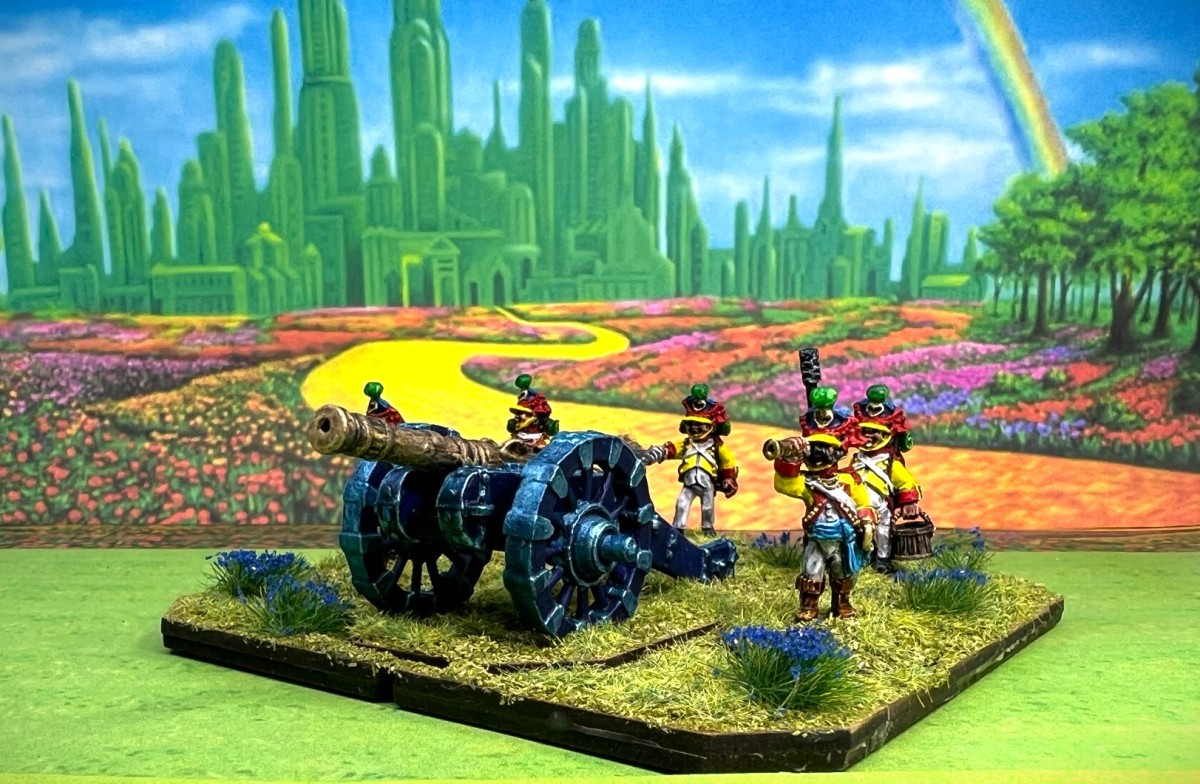
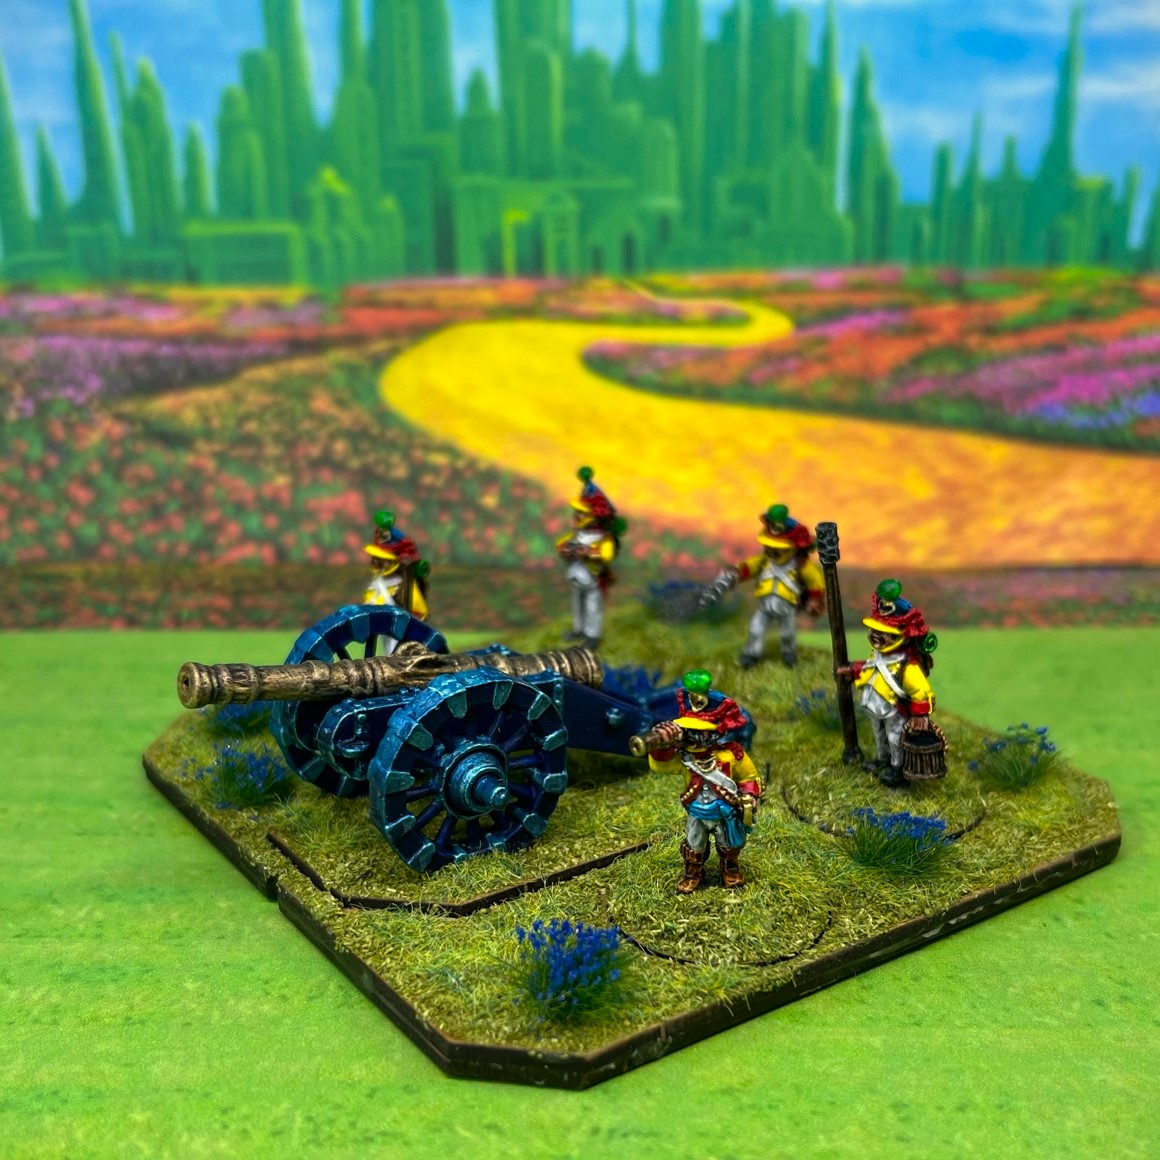
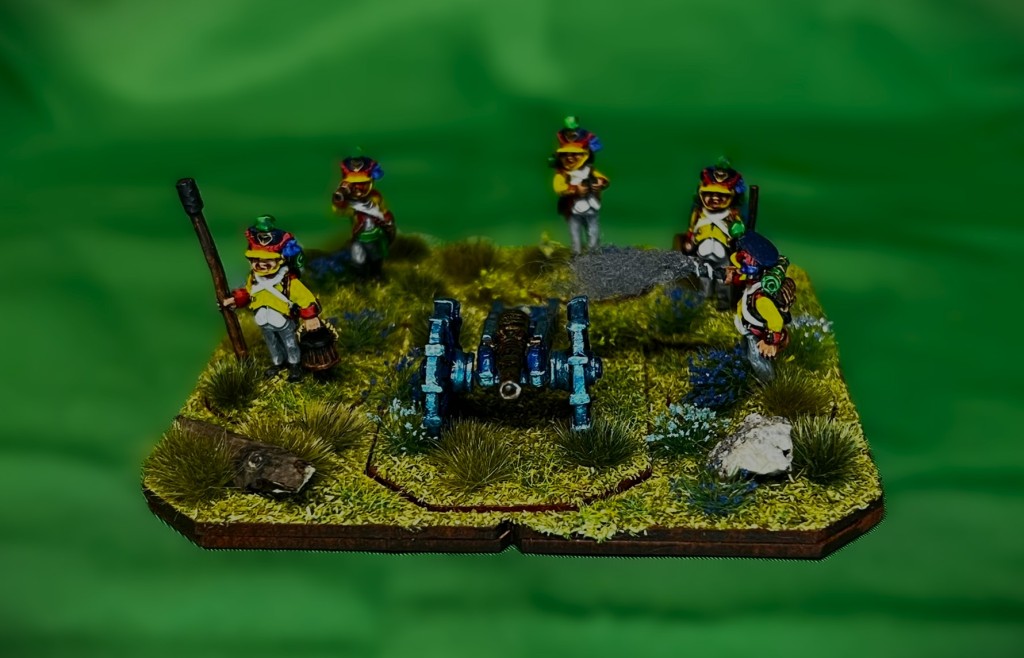
The MLAB on its base, frontal view.
The MLAB on its base, left front view.
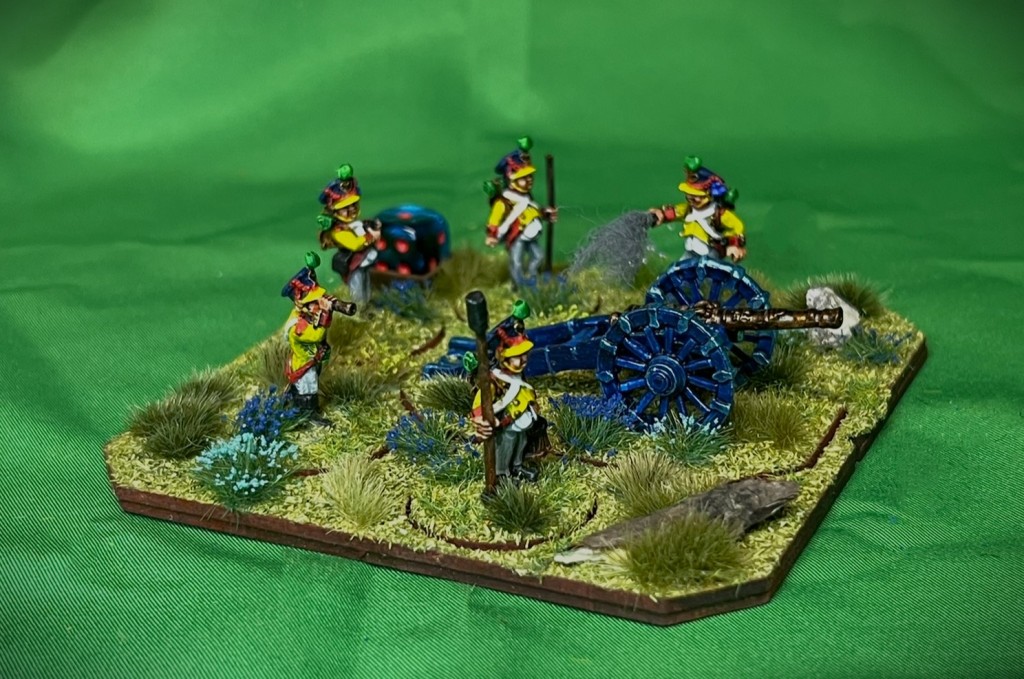
The MLAB on its base, right side view.
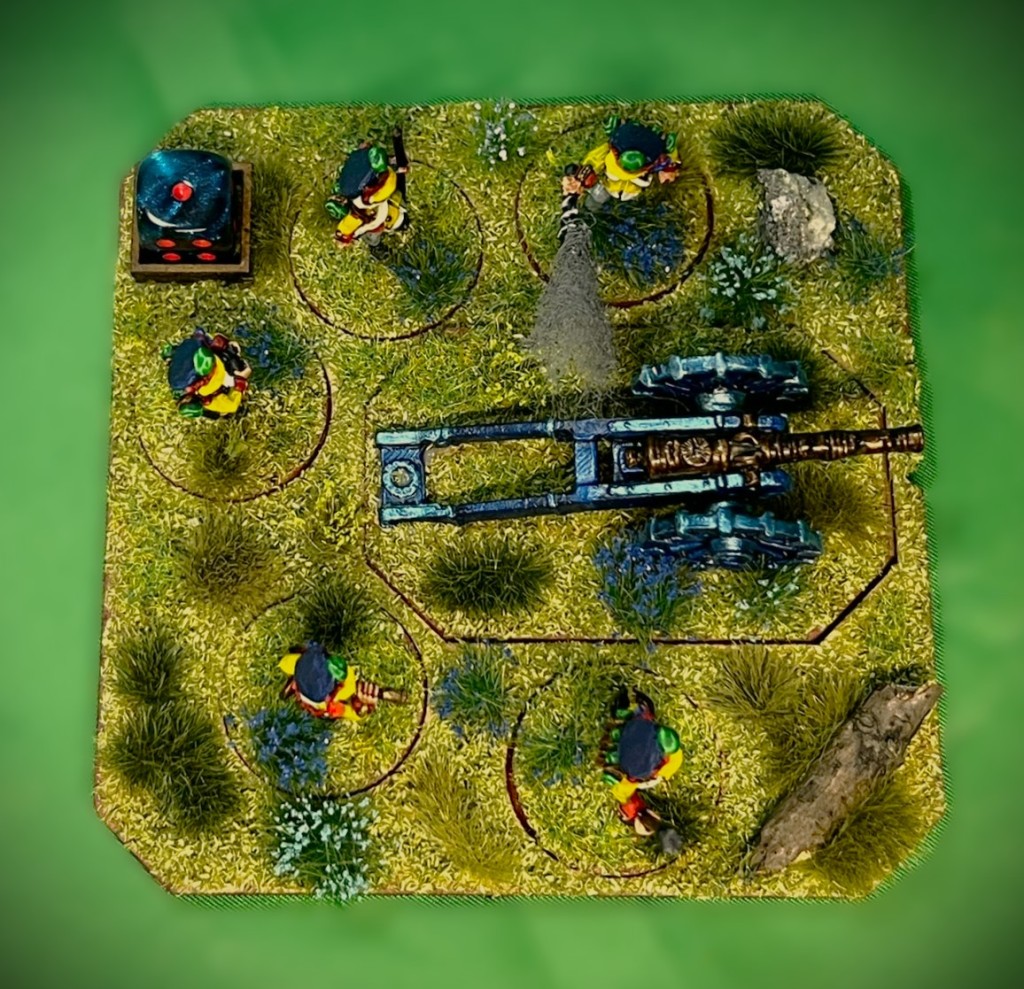
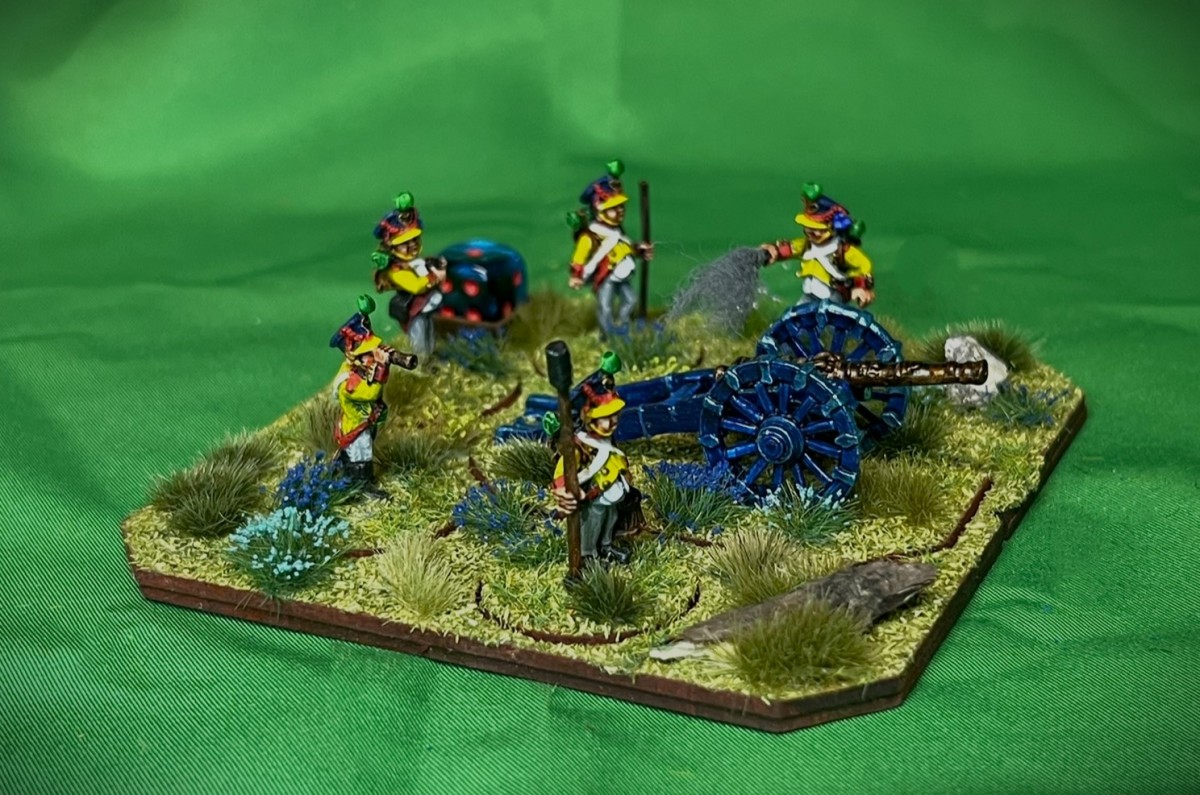
The MLAB on its base, top view.
Both the MLAB and MMAB for comparison.

This project’s completion brings my completed forces for the Munchkins to 8 units and 3 individuals (not counting the 4 Adventurers of Ozz):

My Munchkin forces – 8 units, 3 individuals, 115 figures, 50 points.

The links for all of these are consolidated below:

  1. Munchkin Light Artillery Battery (this post)
  2. 1st Poppy Fields Landwehr Infantry Regiment – for the Munchkins (Wars of Ozz)
  3. 1st Munchkin Sharpshooter Regiment (Wars of Ozz)
  4. Colonel Sourdough, Munchkin Brigade or Division Commander (Wars of Ozz)
  5. Munchkin Aerostat Corps – Hot Air Balloon with Crew (Wars of Ozz)
  6. Munchkin Light Cavalry with Command (Wars of Ozz)
  7. Munchkin Medium Artillery Battery (Wars of Ozz)
  8. Colonel Tik-Tok’s Infantry Regiment, Zoraster, and a Munchkin Mayor (Wars of Ozz)
  9. Zoraster’s Guard Infantry Regiment (Munchkins for Wars of Ozz)

I appreciate your looking at this artillery unit. Next up I’ll be doing my annual 2023 year end round-up and 2024 goal-setting post. That’s mainly for me to hold myself accountable! (somebody has to…)

Thanks for checking this post out and please let me know what you think in the comments section. Yes, I still have more to come…

Miscellaneous details and references for those interested in that sort of thing:

For all of my previous posts on Wars of Ozz games, figures, units, and other related projects – please see this page.

PAINTS, INKS, GLAZES, SHADES, WASHES, PIGMENTS, FLOCKING, GLUES AND MORE THAT I USED ON THIS MUNCHKIN LIGHT ARTILLERY BATTERY:

  1. MDF Artillery sabot base from Wars of Ozz Miniatures
  2. Elmer’s PVA Glue
  3. 1/2″ x 1/2″ square steel bases from Wargames Accessories (#16)
  4. 1 1/4″ x 1″ square steel bases from Wargames Accessories (#FOW1)
  5. Poster tack
  6. Vallejo “Flow Improver”
  7. Vallejo “Airbrush Thinner”
  8. Vallejo Premium Primer “White”
  9. Secret Weapon Washes “Heavy Body Black” (wash)
  10. Citadel “Nuln Oil” (wash)
  11. 1/8″ neodymium magnets
  12. 3/4″ steel washers
  13. Vallejo Model Color “White”
  14. The Armory “Dark Blue”
  15. Vallejo “Thinner Medium”
  16. Army Painter “Speed Paint – Hoard Bronze 2.0”
  17. Army Painter “Speed Paint – Crusader Skin 1.0”
  18. DecoArt “Peacock Pearl”
  19. Gorilla Glue
  20. Citadel “Nuln Oil GLOSS” (wash/shade)
  21. Vallejo Model Color “Dark Prussian Blue”
  22. Army Painter “Blue Tone” (wash)
  23. P3 “Brown ink” (ink)
  24. Citadel “Contrast Paint – Contrast Medium”
  25. Citadel “Contrast Paint – Apothecary White”
  26. Vallejo Mecha Color “Off White”
  27. Citadel “Contrast Paint – Bad Moon Yellow”
  28. Citadel “Contrast Paint – Baal Red”
  29. Citadel “Contrast Paint – Karandras Green”
  30. Pendraken 12mm dice frame
  31. Army Painter “Speed Paint – Hardened Leather 1.0”
  32. Vallejo Model Color “Wood Grain”
  33. Army Painter “Speed Paint – Glittering Gold 2.0”
  34. Vallejo Mecha Color “SZ Red”
  35. Martha Stewart Crafts “Brushed Bronze”
  36. Vallejo Model Air “Steel”
  37. P3 “Midland Flesh”
  38. Citadel “Blood fro the Blood God”
  39. Army Painter “Speed Paint – Royal Robes 2.0”
  40. Citadel “Contrast Paint – Aggaros Dunes”
  41. Army Painter “Flesh Wash” (wash)
  42. Battlefront “Sherman Drab”
  43. Vallejo Mecha Varnish “Gloss Varnish”
  44. Vallejo Mecha Varnish “Matte Varnish”
  45. Army Painter “Battlefield Grass Green” (flocking)
  46. Small stones
  47. Twig
  48. Pillow batting
  49. Gamers Grass “Green Meadow Set”
  50. Army Painyer Battlefield XP “Woodland Tufts”
  51. Army Painter “Battlefields Field Grass” (flocking)
  52. Shadow’s Edge Miniatures “6mm Dark Forest Dark Blue Tufts” (flocking)
  53. Shadow’s Edge Miniatures “6mm Dark Forest Light Blue Tufts” (flocking)
  54. Shadow’s Edge Miniatures “6mm Wildflowers – Corn Flowers” (flocking)

As you may want to check out the Wars of Ozz figures’ range – there are two places to get them and the rules (and I make no money from this btw). The game rules and the figures are available from the following two places:

In the US Old Glory has a site – Wars of Ozz Miniatures.

In the UK go to Sally 4th.
1st Poppy Fields Landwehr Infantry Regiment – for the Munchkins (Wars of Ozz)

As I have been recovering from pre-Christmas knee surgery, my painting opportunities have been touch and go. As my painting habit is to do so while standing up at a workbench, I have needed to pay attention to my body and go carefully. I do not paint while sitting. The good news (at least for me) is that I recovery is going well and that I have been able to work in painting figures here and there.

Luckily for me, Dave Stone is also currently running another of his painting challenges. It is called the “PAINT WHAT YOU GOT CHALLENGE 2023/2024”, and it runs from December 26th, 2023 to February 29th, 2024. It’s always fun to be part of his challenges – and it’s a lot of work on his part to collect and collate all the entries from around the globe (and it is much appreciated Dave!). My plan is to complete as many Wars of Ozz units and individuals as possible – both for the challenge – and for the multiple gaming conventions that I plan on supporting as a GM.

My first entry in the challenge is the subject of this post – and it is a very nice Munchkin Landwehr Infantry Regiment. I had been wanting to get another “cheaper” infantry unit for my Wars of Ozz games. This would enable me to round out my Munchkin forces to about 2 brigades which gives me more flexibility and variety for game play. In the game, Munchkin Landwehr units are basically militia/national guard-type units. What is nice is that there are two types of Landwehr infantry regiments that are visibly indistinguishable from each other – but that have very different costs and stats. One type is called National Guard (Landwehr) and the other is called Dubious National Guard (Landwehr). The former is a better-trained unit, but one that is more expensive than the latter.

The better Landwehr regiment is good at missile combat with their muskets – having a Marksmanship value of 6/10. The Dubious Landwehr only has a Marksmanship value of 4/10 (they need time on the firing range). With regards to Melee, the better Landwehr are below average at 4/10, but the Dubious Landwehr are even worse at only a 3/10 (they need more hand-to-hand combat training). The Resolve value (the measure of the unit’s desire to stick in a fight) for the better Landwehr is okay at 6/10, but their lesser trained Dubious brother’s Resolve is a poor 4/10. As for Elan (the desire to take the fight to the enemy), the better Landwehr are an average 5/10, while the Dubious Landwehr cower on the tabletop at a 3/10. The only advantage that the Dubious Landwehr over regular Landwehr is in terms of point cost. A Dubious Landwehr Regiment can be had at 3 points, while a normal Landwehr regiment will cost 5 points. This gives a lot of flexibility to a player or a GM as a unit can be designated as either type at the game’s set up.

All of the figures are metal and 28mm in size. Interestingly, every convention game with Munchkin troops that I have ever set up in the past has attracted a passerby who thinks I have mixed scales on the tabletop! Yes, the Munchkins are indeed smaller, but 28mm! 

Like all other Ozz units, they are based 4 apiece to a 2″ square base – so five bases for the regiment plus the regimental commander on his own separate MDF base. I designated this unit as the 1st Poppy Fields Landwehr Infantry Regiment – mainly because I liked the regimental standard. No assembly was required for the unit other than to add the flags and to assemble the regimental commander. As I always do, I mixed and matched the figure types and poses such that no two bases of the five in the regiment were identical. The SKU for the regiment is OZZ-105. There are 21 figures for the regiment – this includes the mounted regimental commander and 20 figures. I think that the sculpts are phenomenally well done, especially the faces and weapons. They have a lot of character.

I did not take many WIP shots, but I’ll share what I have and then go into some eye candy.

WIP shots

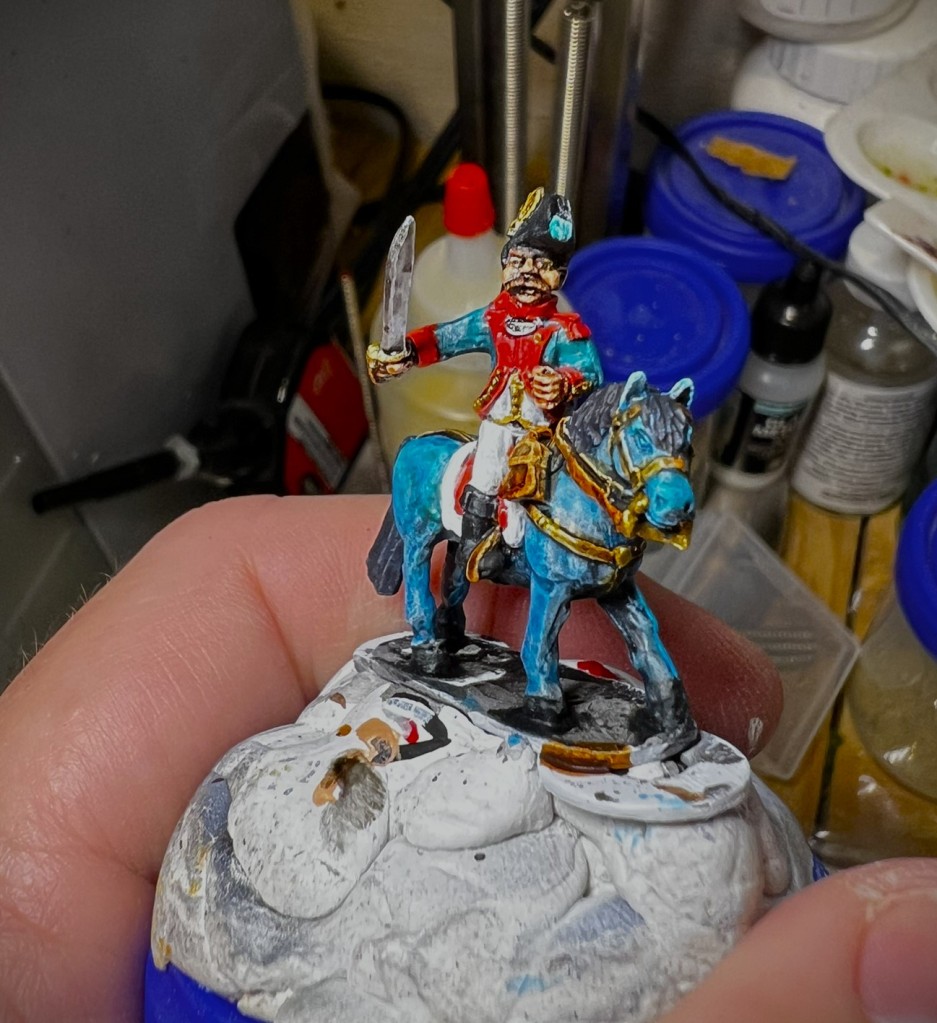
First, here are some shots of a few of the figures before I varnished them. And yes, the horse (really a pony) is of a different color (this is Ozz of course). 

Of course, varnish improves everything! The next two images are post-varnish but pre-flocking. Note the variety of hair colors – and yes, I do paint the eyes. I am glad that I did here.

Then, I mocked up the varnished figures on their bases as shown below.

Mocked up on their respective bases.

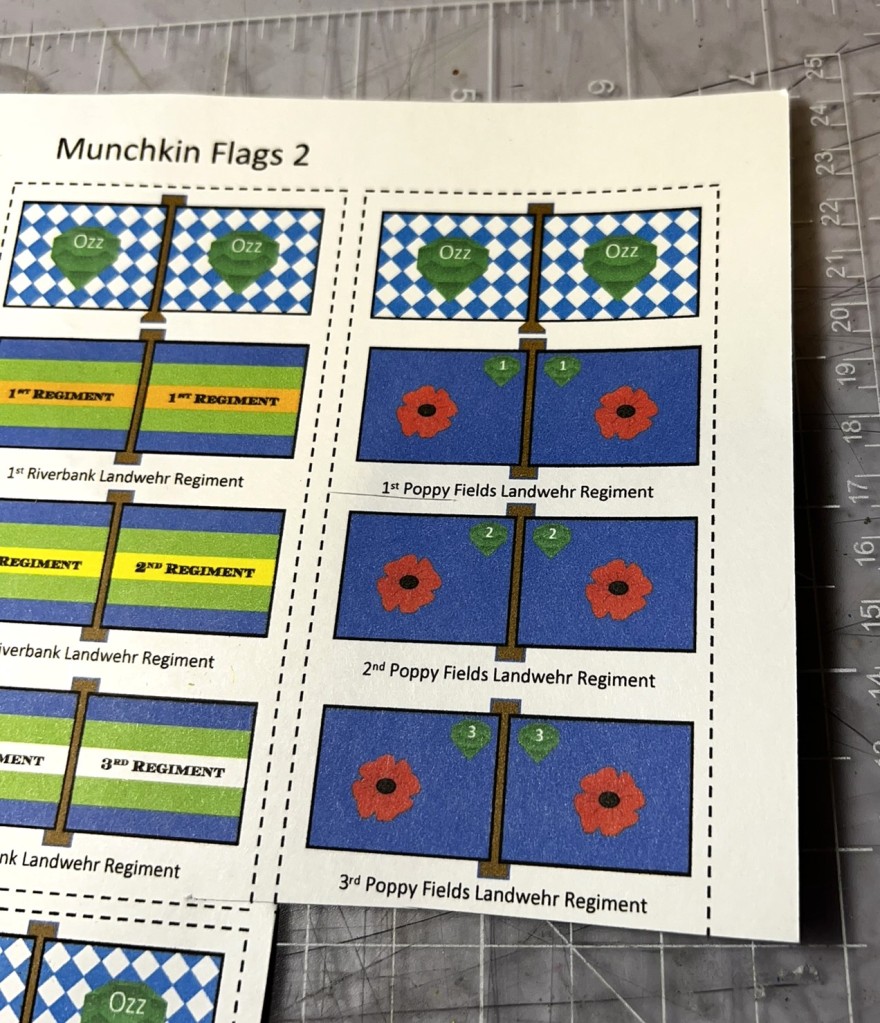
Then I needed to name the unit and cut out the standards. The Poppy Fields standard was my choice.

Lots of options for the Landwehr!
Flocked and with the Ozz and regimental standards mounted. I added a little extra “ink” from a fine-tipped black Sharpie to enhance the regimental standard and edge it & the Ozz standards.
Lots of blue flowers and tufts to create a field environment. Assembled and done – and ready for eye candy!

Eye Candy

Select and click on any photo for a better look.

Regimental Commander Base

Base 1

Base 2

Base 3

Base 4

Command Base

Here now are a few:

Group Shots

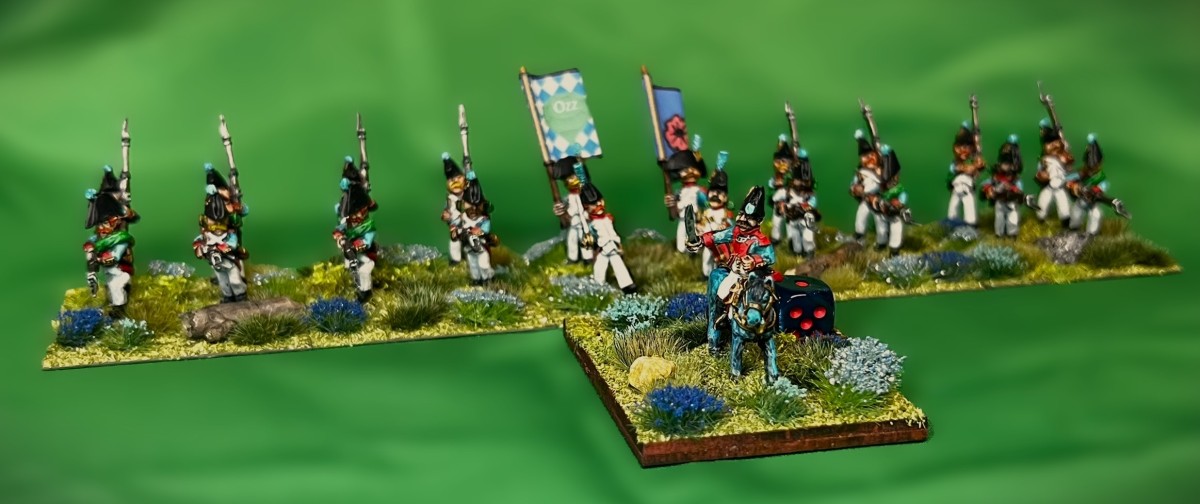
The 1st Poppy Fields Landwehr Infantry Regiment in line formation directly behind their commander.
The 1st Poppy Fields Landwehr Infantry Regiment in line formation in front of their commander.
The 1st Poppy Fields Landwehr Infantry Regiment in column formation directly behind their commander.
The 1st Poppy Fields Landwehr Infantry Regiment in column formation directly behind their commander – and now heading in the other direction!

In the long run, I’d be tempted to paint up another Landwehr unit. But for now, this will do. I have others to paint first.

I do hope that you enjoyed seeing this unit and reading the post. Next up will be another Munchkin artillery unit for Dave’s challenge – and soon. Thanks for looking!

And yes, I still have much more Ozz to come…

Miscellaneous details and references for those interested in that sort of thing:

For all of my previous posts on Wars of Ozz games, figures, units, and other related projects – please see this page.

PAINTS, INKS, GLAZES, SHADES, WASHES, PIGMENTS, FLOCKING, GLUES AND MORE THAT I USED ON THE 1ST POPPY FIELDS LANDWEHR INFANTRY REGIMENT:

  1. Rectangular Brigade MDF base (used as a Regimental base) from Old Glory
  2. 2″ square steel bases from Wargames Accessories (#21)
  3. 1.25″ x 1″ square steel base from Wargames Accessories (#FOW1)
  4. 1/2″ Everbilt steel washers
  5. 3/4″ Everbilt steel washers
  6. Gorilla Glue
  7. Poster tack
  8. Vallejo Premium Primer “White”
  9. Vallejo “Flow Improver”
  10. Vallejo “Airbrush Thinner”
  11. Secret Weapon Washes “Heavy Body Black” (wash)
  12. Citadel “Nuln Oil” (wash)
  13. Vallejo Mecha Color “Off White”
  14. P3 “Brown Ink” (ink)
  15. Citadel “Contrast Paint – Karandras Green”
  16. Army Painter “Speed Paint – Glittering Loot 2.0”
  17. Citadel “Contrast Paint – Aethermatic Blue”
  18. Citadel “Contrast Paint – Contrast Medium”
  19. Citadel “Contrast Paint – Black Templar”
  20. Vallejo Mecha Color “SZ Red”
  21. Reaper MSP “Blue Liner”
  22. Vallejo Model Color “Black”
  23. Vallejo Model Color “White”
  24. Army Painter “Speed Paint – Hardened Leather 1.0”
  25. Army Painter “Speed Paint – Crusader Skin 1.0”
  26. Vallejo Model Air “Steel”
  27. Vallejo “Thinner Medium”
  28. Citadel “Contrast Paint – Ironjawz Yellow”
  29. Army Painter “Speed Paint – Fire Drake 2.0”
  30. Citadel “Contrast Paint – Magmadroth Flame”
  31. Vallejo Model Color “Light Brown”
  32. Army Painter “Speed Paint – Ashen Stone 2.0”
  33. Army Painter “Warpaint – Gun Metal”
  34. Vallejo Model Air “Black Metallic”
  35. Martha Stewart Crafts “Brushed Bronze”
  36. P3 “Midland Flesh”
  37. Vallejo Model Color “English Uniform”
  38. Vallejo Model Color “Wood Grain”
  39. Citadel “Contrast Paint – Pylar Glacier”
  40. Vallejo Model Color “Light Flesh Tone”
  41. Citadel “Seraphim Sepia” (wash/shade)
  42. Citadel “Contrast Paint – Apothecary White”
  43. Citadel “Nuln Oil GLOSS” (wash/shade)
  44. Army Painter “Flesh Wash” (wash)
  45. Black Sharpie pen
  46. Blue Sharpie pen
  47. Brown Sharpie pen
  48. Battlefront “Sherman Drab”
  49. Vallejo Mecha Varnish “Gloss Varnish”
  50. Vallejo Mecha Varnish “Matte Varnish”
  51. Elmer’s PVA Glue
  52. Pendraken 12mm dice frames
  53. Army Painter “Battlefield Grass Green” (flocking)
  54. Small stones
  55. Twigs
  56. Gamers Grass “Green Meadow Tufts” (flocking)
  57. Army Painter “Battlefield XP Woodland Tuft” (flocking)
  58. Gamers Grass “Wild Tufts” (flocking)
  59. Shadow’s Edge Miniatures “6mm Dark Forest Light Blue Tufts” (flocking)
  60. Shadow’s Edge Miniatures “6mm Dark Forest Dark Blue Tufts” (flocking)
  61. Shadow’s Edge Miniatures “6mm Wild Flower Corn Flowers Tufts” (flocking)
  62. Army Painter “Battlefield Field Grass” (flocking)
  63. Flags printed on card stock

1st Munchkin Sharpshooter Regiment (Wars of Ozz)

This regiment to me resembles the Munchkin equivalent of Teddy Roosevelt’s Rough Riders, especially with their hats. That historical unit was composed mostly of cowboys, which (as officially designated as the 1st United States Volunteer Cavalry) fought in Cuba in 1898 mostly without any mounts. As the Munchkin Sharpshooters are also dismounted save the regimental commander – the similarity for me holds – except for height.

Colonel Roosevelt in his Rough Rider uniform.

The 1st Munchkin Sharpshooter Regiment is SKU OZZ-116. There are 21 figures for the regiment – including the mounted regimental commander and 20 riflemen. Yes, these guys have RIFLES with scopes, not muskets. As such, their range is the same as troops with muskets, but they can fire at the equivalent of short range all the way out to long range. Normally, at greater than 7″, missile fire effective strength is halved. Not these guys! They can fire at full power out to 14″. 

All of the figures are metal and 28mm in size. They are based 4 apiece to a 2″ square base – so five bases for the regiment plus the regimental commander on his own separate MDF base. No assembly was required for the unit other than to add the flags and for a small modification I made to an NCO figure that you’ll see below. The regiment is good at missile combat with their rifles – having a Marksmanship value of 6/10 with that great range. As for Melee, they are really weak with a poor value of 3/10 (maybe they needed bayonets!). Their Resolve value is okay at 6/10, but their Elan value is lousy at 4/10. The unit costs 6 points. As I always do, I mixed and matched the figure types and poses such that no two bases of the five in the regiment were identical.

I am currently expected to be waylaid because of minor knee surgery. So, in terms of painting and blogging, I decided to hurry up and paint these and post them now. I’ll be able to read your posts and replies of course, but the painting and blog creation booths are to be closed for a couple of weeks – so Merry Christmas to you all! I am hoping to participate in Dave Stone’s Wargamesculptors Blog “PAINT WHAT YOU GOT CHALLENGE 2023/2024” painting challenge as I should be ok by then. 

Also, I did not take any WIP shots, so I’ll just go right into eye candy. Apologies as I had some struggles with my lighting – but I think the photos are getting a bit better, just not as consistent as I’d like.

Eye Candy

Regimental Commander Base

Base 1

Base 2

Base 3

This base 3 had a unique figure – he is probably supposed to be an NCO. He is the bald guy. Instead of a rifle, he is holding what looks to be a guidon/spear/streamer signaling thing – and that looked too plain to me. So I added a couple of ribbons and a shrunken down pair of crossed rifle images with the “1” insignia on card stock to its cross bar.

The added ribbons – each of the two ribbon pieces is only 1/4″ wide by 1/2″ long. Note the tiny added crossed rifles with the “1”.

Base 4

Base 5 – Command Base

Group Shots

Top view of the 1st Munchkin Sharpshooter Regiment in line and ready to fire!
The 1st Munchkin Sharpshooter Regiment in column and on the march.
Frontal view of the 1st Munchkin Sharpshooter Regiment on line andready to fire!

I hope that you enjoyed seeing this unit – and I am happy that I was able to get this post in before I had to wait a while. I think when I recover I’ll be working on some Munchkin artillery and some Munchkin National Guard (Landwehr) for Dave’s challenge. Thanks for looking!

And yes, I still have much more Ozz to come…

Miscellaneous details and references for those interested in that sort of thing:

For all of my previous posts on Wars of Ozz games, figures, units, and other related projects – please see this page.

PAINTS, INKS, GLAZES, SHADES, WASHES, PIGMENTS, FLOCKING, GLUES AND MORE THAT I USED ON THE 1ST MUNCHKIN SHARPSHOOTER REGIMENT:

  1. Rectangular Brigade MDF base (used as a Regimental base) from Old Glory
  2. 2″ square steel bases from Wargames Accessories (#21)
  3. 1.25″ x 1″ square steel base from Wargames Accessories (#FOW1)
  4. 1/2″ Everbilt steel washers
  5. 3/4″ Everbilt steel washers
  6. Poster tack
  7. Vallejo Premium Primer “White”
  8. Vallejo “Flow Improver”
  9. Vallejo “Airbrush Thinner”
  10. Citadel “Nuln Oil” (wash)
  11. Vallejo Mecha Color “Off White”
  12. P3 “Brown Ink” (ink)
  13. Army Painter “Speed Paint – Royal Robes 2.0”
  14. Vallejo “Thinner Medium”
  15. Citadel “Contrast Paint – Aethermatic Blue”
  16. Citadel “Contrast Paint – Contrast Medium”
  17. Vallejo Model Color “Black”
  18. Citadel “Contrast Paint – Pylar Glacier”
  19. Army Painter “Speed Paint – Crusader Skin 1.0”
  20. Citadel “Contrast Paint – Magmadroth Flame”
  21. Citadel “Contrast Paint – Ironjawz Yellow”
  22. Army Painter “Speed Paint – Ashen Stone 2.0”
  23. Citadel “Contrast Paint – Black Templar”
  24. Army Painter “Speed Paint – Ruddy Fur 2.0”
  25. Citadel “Contrast Paint – Cygor Brown”
  26. P3 “Midland Flesh”
  27. Citadel “The Fang”
  28. Vallejo Model Air “Gun Metal”
  29. Army Painter “Warpaint – Weapon Bronze”
  30. Vallejo Mecha Color “Sky Blue”
  31. The Armory “Dark Blue”
  32. Vallejo Model Color “Wood Grain”
  33. Army Painter “Speed Paint – Satchel Brown 2.0”
  34. Army Painter “Speed Paint – Hardened Leather 1.0”
  35. Army Painter “Speed Paint – Speed Paint Medium 1.0”
  36. Citadel “Contrast Paint – Stormfiend”
  37. Citadel “Contrast Paint – Bad Moon Yellow”
  38. Vallejo Model Air “Steel”
  39. Vallejo Model Air “Bright Brass”
  40. Citadel “Nuln Oil GLOSS” (wash/shade)
  41. Vallejo Model Color “Light Flesh Tone”
  42. Citadel Technical “Soulstone Blue”
  43. Battlefront “Sherman Drab”
  44. Vallejo Mecha Varnish “Gloss Varnish”
  45. Vallejo Mecha Varnish “Matte Varnish”
  46. Elmer’s PVA Glue
  47. Pendraken 12mm dice frames
  48. Gorilla Glue
  49. Black Sharpie pen
  50. Army Painter “Battlefield Field Grass” (flocking)
  51. Shadow’s Edge Miniatures “Jungle Tufts” (flocking)
  52. Gamers Grass “Green Meadow Tufts” (flocking)
  53. Shadow’s Edge Miniatures “6mm Dark Forest Light Blue Tufts” (flocking)
  54. Shadow’s Edge Miniatures “6mm Dark Forest Dark Blue Tufts” (flocking)
  55. Twigs
  56. Small stone
  57. Blue Sharpie pen
  58. Brown Sharpie pen
  59. 1/4″ Blue Ribbon
  60. Flags printed on card stock

Colonel Sourdough, Munchkin Brigade or Division Commander (Wars of Ozz)

I have not painted any Munchkins since last July when I built the Aerostat. Since the start of my Ozz journey, I have painted up a decent-sized Munchkin collection at this point, 33 points worth as shown below.

  1. Zoraster’s Guard Infantry Regiment – 8 points
  2. Colonel Tik-Tok’s Infantry Regiment – 6 points
  3. Munchkin Medium Artillery Battery – 5 points
  4. Munchkin Light Cavalry Regiment – 5 points
  5. Munchkin Aerostat Corps (balloon) – 6 points
  6. Zoraster the Wizard – 3 points
  7. Munchkin Mayor (brigade commander) – 0 points (free!)

But, these are all – for the most part – pretty good units that have done well in recent games. I decided that it would be a good idea to add forces to the Munchkins to vary them from game to game or at least to create a wider range of player choices.

As most brigades are 20-30 points, I have decided that adding newer troops would also add this variety. To do this – and to have the capability of deploying two full Munchkin brigades, I have started to build:

  1. Munchkin Landwehr Infantry (National Guard) – 4 points
  2. Munchkin Light Artillery Battery – 4 points
  3. Munchkin Sharpshooters – 6 points
  4. 8 Lesser witches (these could go to any faction, at 2 each = 16 points)

The additional three purely Munchkin units would bring me to 48 points just for them – but more importantly, their addition would leave them in need of another brigade and/or divisional commander figure. After all, the poor Munchkin Mayor would have his hands full with 50 points! (I did hint in my last post that I needed some of these).

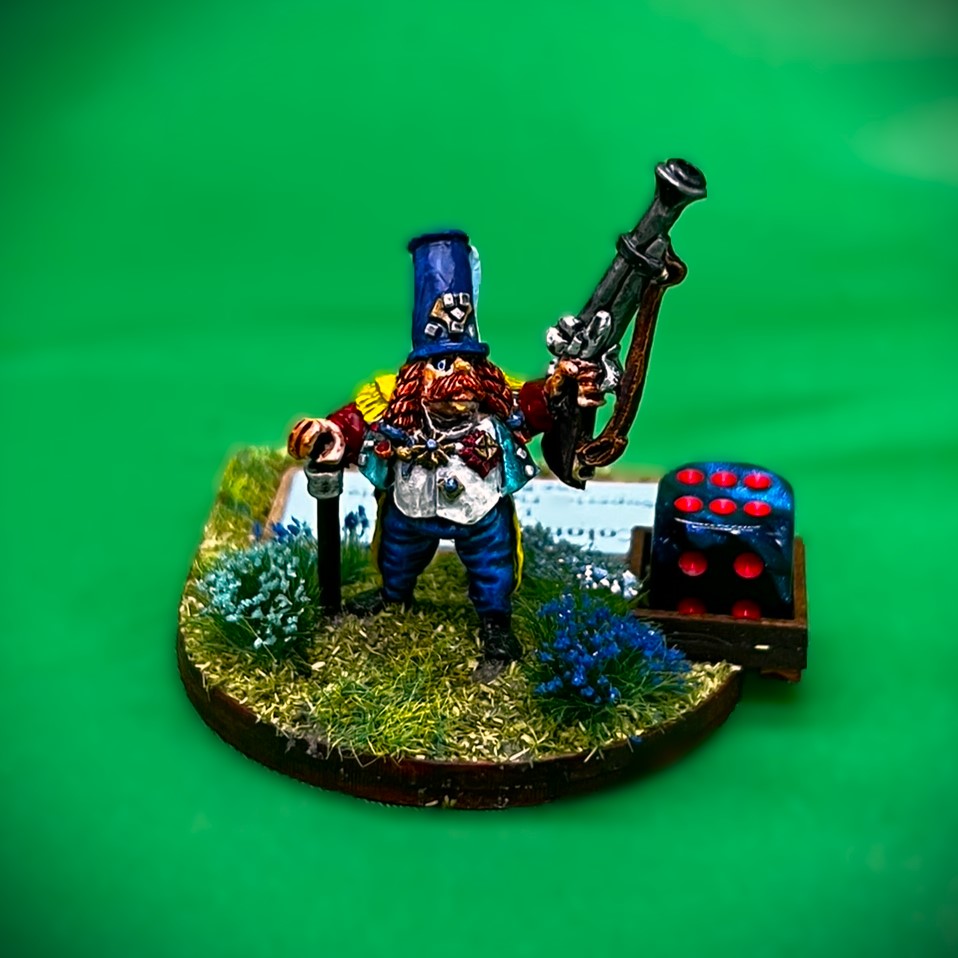
Enter Colonel Sourdough, SKU# OZZ-114, worth 2 points. It is a nice figure, with a lot of medals and a big blunderbuss/musket. He looks rather big for a Munchkin, but as a leader he looks the part. He is cast in metal and 28mm in size. In the game, he would be based on his own individual MDF leader base. No assembly was required other than for the MDF base.

Brigade leaders control dice pools for their units. Colonel Sourdough has no combat values other than what he can do if he is attached to a unit. In that case, he gives that unit Superior Fighting Abilities and one random ability that is determined at random in each game. This is why he costs 2 points. His luck is 6/10, which is lower than most leaders.

WIP Shots

I followed the same basic painting pattern as is my habit, so WIP shots here will be brief. I used a lot of blues. I also thought that he could handle his alcohol – so ruddy faced he would be!

The Colonel and his MDF base (purchased separately).
The Colonel mounted for painting
The Colonel primed, washed with a dark wash (see the list of paints that I used at the end of this post if interested), and dry brushed white.

For the completed Colonel Sourdough, here is some…

Eye Candy

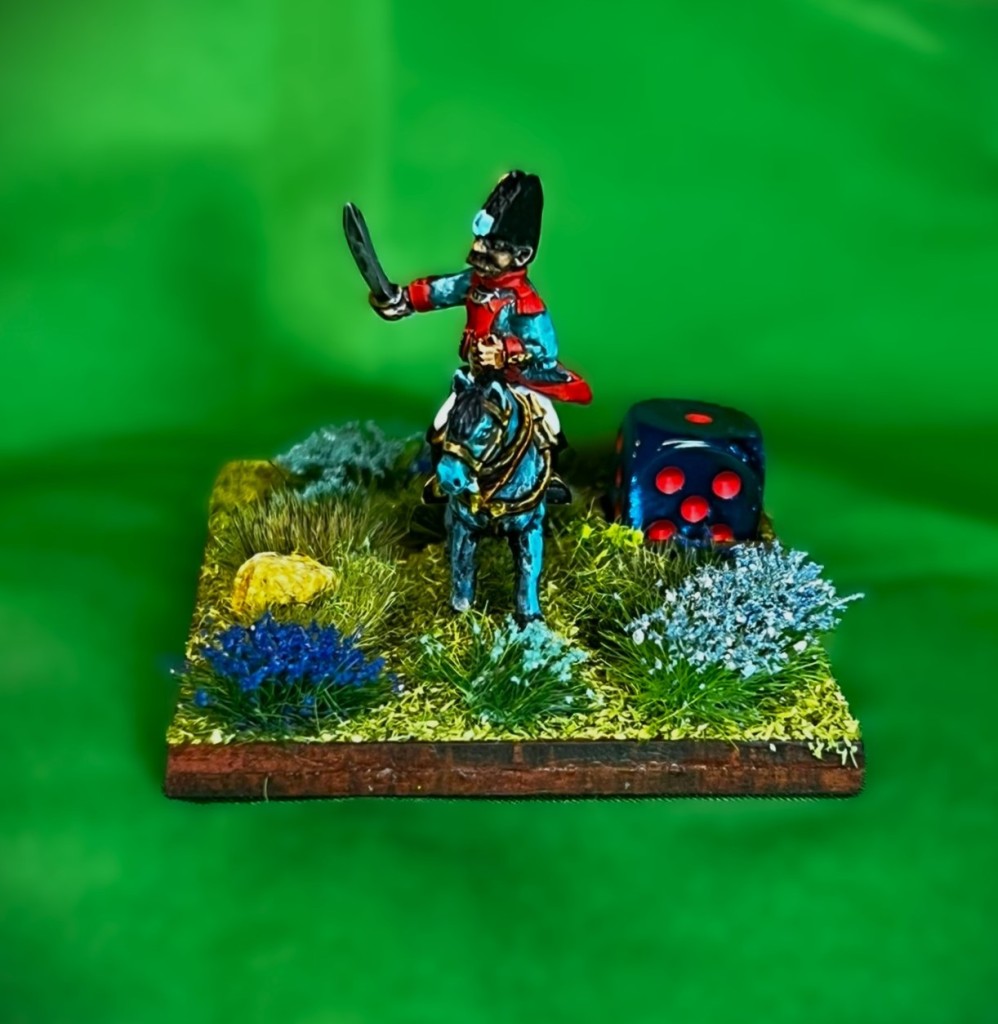
Colonel Sourdough top view showing the base that I built for him to include a label for the ease of play. The 12mm die gives an idea of his actual size.
The frontal view – Munchkins are supposed to love blue.
Left front view.
Right front view.
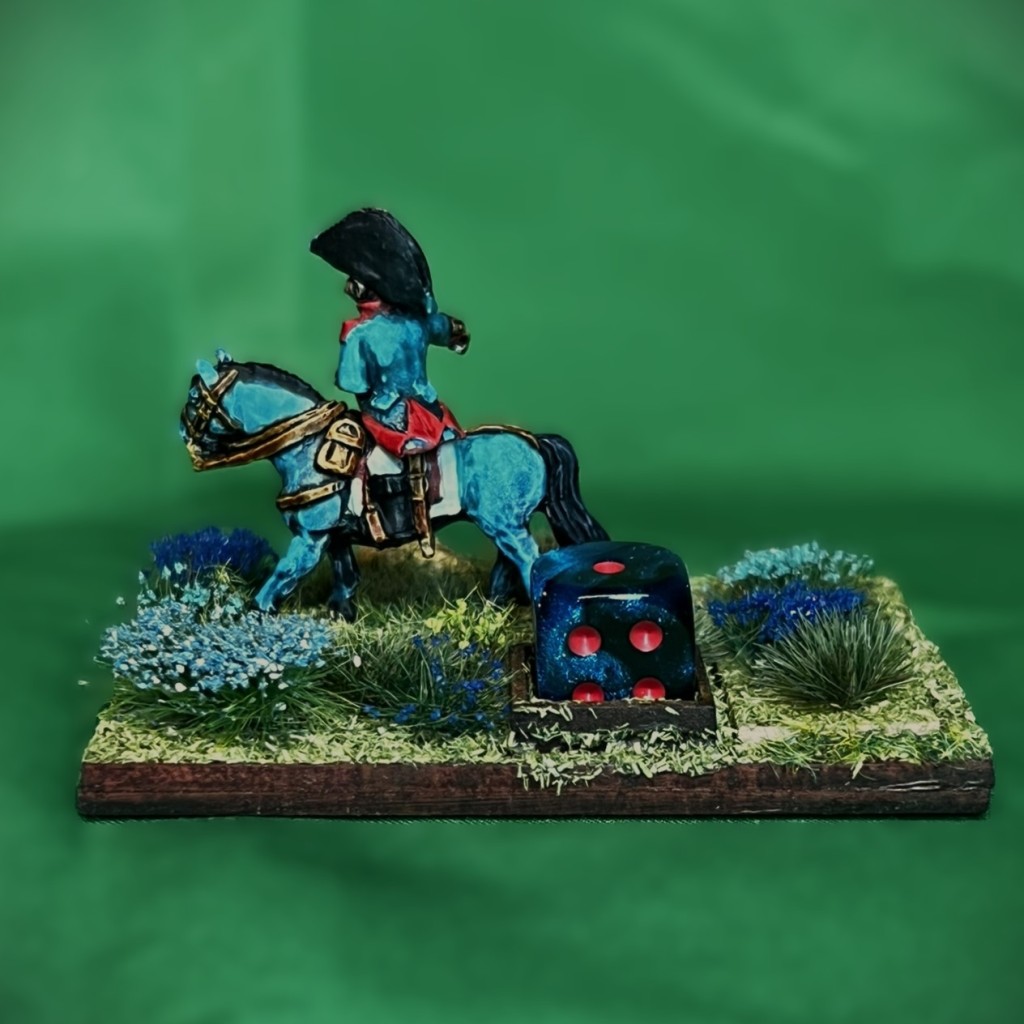
Rear view with better detail of the figure’s back.

That wraps up the good Munchkin Colonel. I may add another Munchkin Brigade/Army leader in the future, but for now I will be set.

Next up I will be sharing a similar addition for my Winkie forces. That’s only fair, right?

And yes, I still have more Ozz to come…

Miscellaneous details and references for those interested in that sort of thing:

For all of my previous posts on Wars of Ozz games, figures, units, and other related projects – please see this page.

PAINTS, INKS, GLAZES, SHADES, WASHES, PIGMENTS, FLOCKING, GLUES AND MORE THAT I USED ON COLONEL SOURDOUGH:

  1. Regimental MDF base from Old Glory(I use regimental bases for brigade leaders and brigade bases for regimental leaders as they look and work better that way).
  2. 1.25″ x 1″ square steel base from Wargames Accessories (#FOW1)
  3. Elmer’s PVA Glue
  4. 3/4″ Everbilt steel washer
  5. Poster tack
  6. Vallejo Premium Primer “White”
  7. Vallejo “Flow Improver”
  8. Vallejo “Airbrush Thinner”
  9. Secret Weapon Washes “Heavy Body Black” (wash)
  10. Vallejo Model Color “White”
  11. P3 “Brown Ink” (ink)
  12. Vallejo Model Air “Gun Metal”
  13. Battlefront “European Skin”
  14. The Armory “Dark Blue”
  15. Army Painter “Speed Paint – Fire Giant Orange 1.0”
  16. Army Painter “Speed Paint – Dark Wood 2.0”
  17. Vallejo Mecha Color “Metallic Blue”
  18. Citadel “Contrast Paint – Bad Moon Yellow”
  19. Vallejo Mecha Color “Sky Blue”
  20. Citadel “Contrast Paint – Aethermatic Blue”
  21. Army Painter “Speed Paint – Poppy Red 2.0”
  22. Citadel “Contrast Paint – Talassar Blue”
  23. Vallejo Game Air “Dead White”
  24. Army Painter “Speed Paint – Hardened Leather 1.0”
  25. Army Painter “Speed Paint – Polished Silver 2.0”
  26. Vallejo “Glaze Medium”
  27. Army Painter “Warpaints – Shining Silver”
  28. Vallejo Model Air “Black Metallic”
  29. Vallejo Model Air “Steel”
  30. Vallejo Model Air “Bright Brass”
  31. Vallejo Model Color “Brown Rose”
  32. Army Painter “Speed Paint – Crusader Skin 1.0”
  33. Pendraken 12mm dice frame
  34. Army Painter “Battlefield Field Grass” (flocking)
  35. Vallejo Mecha Varnish “Gloss Varnish”
  36. Vallejo Mecha Varnish “Matte Varnish”
  37. Shadow’s Edge Miniatures “6mm Dark Forest Light Blue Tufts” (flocking)
  38. Shadow’s Edge Miniatures “6mm Dark Forest Dark Blue Tufts” (flocking)
  39. Shadow’s Edge Miniatures “6mm Wildflowers – Corn Flower Tufts” (flocking)
  40. Army Painter “Battlefields Field Grass” (flocking)
  41. Printed Avery label

Again, as you may want to check out the Wars of Ozz figures’ range – there are two places to get them (and I make no money from this btw). The game rules and the figures are available from the following two places:

In the US Old Glory has a site – Wars of Ozz Miniatures.

In the UK go to Sally 4th.
Munchkin Aerostat Corps – Hot Air Balloon with Crew (Wars of Ozz)

In building out my available troops for my Wars of Ozz games, I have focused on infantry, cavalry, and artillery units for the most part. I started with the Munchkins in this vein, then moved onto other factions as I have shared in previous posts in this blog. My Munchkin forces are excellent with musketry, but as far as mobility on the battlefield goes, well, they do have very small feet and do not move quickly…

Meanwhile, as you may remember, the Winkies (the oh-we-oh dudes) in  Wars of Ozz have very mobile units, especially in terms of cavalry and the Great Flying Apes.

I decided that it was high time that I got the Munchkins some air power of their own. While I have in some games given them allies (like the Great Owls), there is one organic flying unit available to the Munchkins. It is OZZ-110 “Hot Air Balloon & Crew. The model consists of a foam balloon, three crewmen, a basket, and some wires. In the game, it is called a part of the Munchkin Aerostat Corps” located at the Emerald City. The Aerostat Corps is commanded by Professor Wogglebug. Balloons in the game are 360-degree aerial sharpshooter firing platforms for the Munchkins. They are faster than the Munchkin infantry and their movement is described as semi-magical (not just by the wind). While they cannot under normal circumstances engage in melee, other flying units may engage them in melee. As befits a sniping unit, they just engage the enemy with harassing attacks of sharpshooters and bombs – from above. While there are only three figures in the basket, it takes 5 hits on the balloonists to eliminate the unit – the balloon itself cannot be shot down.

This post will be quite WIP photo heavy as this was a stiff modeling challenge for me to be sure. I started on June 20th and finished on July 3rd.

I bought the model a while back and decided after looking at it to delay working on it until I had a few more other Ozz units done. I really wanted to make it cool (in my own way) – and I could see this would take some effort – so it languished in my collection of unpainted Ozz stuff – daring me to take it on. It is 28mm in scale. The figures and the basket are metal, while the balloon is a foam casting. There is an acrylic dowel as a stand that goes into a metal flight stand base, plus some wires for attaching the basket to the balloon. The rules stipulate that the base should be 4″ x 4″, so I used styrene for that..

The kit as received with the styrene sheets. I did not end up using the metal bases seen here under the styrene.

WIP Shots…

I had visions of trying to recreate the font on the balloon to match that of the movie, but I decided otherwise as this is Ozz not Oz, and the foam cast needed some TLC.

The balloon close up before starting.

Now, I take on modeling challenges not expecting that everything would be perfect – and here is a good example. You have to be reasonable as what you buy is a starting point, not a finish line. Let me be clear:

I LOVE THIS MODEL!!!! I highly recommend it!

However, there were a number of voids that needed to be fixed, and I just channeled my innovative juices. I needed to address that – as well as how exactly would I mount the basket and more that you’ll see shortly. The figures themselves are really nice. So what to do?

Sculpt with green stuff! That would allow me to bulk out the sculptor’s intended design as well as make the balloon “pop”…ok sorry about that…

Initial green stuff work.
Completed green stuff modifications.

This took more time than I wanted but I did need to let one part cure before moving on and this was a 360-degree operation. Once this was done, the mounting options swirled around in my head. I did not like the idea of using the wires – plus I was hesitant to run the wires through the foam balloon itself. I wanted the look of ropes – and that meant something to tie the ropes onto – so I made an “oreo cookie” of sorts with styrene, green stuff, and screw eyes to fit the bottom of the balloon, and let that cure. Then I drilled lined-up holes in the middle of the cookie and the balloon for the insertion of the acrylic flight pole. Once these lined up, I affixed the cookie with more green stuff and made it part of the balloon itself.

After this had cured, I covered the outside with more green stuff to make it match the balloon body.

Sculpting done on balloon.

At this point I moved on to the crew and the basket. Because there were tiny prongs on the boots of the crew and corresponding tiny holes on the basket floor for their mounting, I took two approaches. One was to use a pin vise to drill tiny holes on three popsicle sticks to accommodate the boot prongs and secured the crew with a drop of PVA glue. The second was to modify the basket bottom with matchsticks so as to hide the holes in the basket bottom.

The basket bottom after some initial painting with the matchsticks glued to the bottom.

Back to the crew, I primed them then covered them with a dark wash (Secret Weapon Washes “Heavy Body Black”. Once this had dried, a strong white dry brush application was made.

Returning to the balloon, I used my airbrush cleaning pot and an old brush handle to mount for priming and painting. As Munchkins love blue, I decided to follow the pattern of colors shown on the OZZ-110 “Hot Air Balloon & Crew picture on the website. I did have some trouble with one panel section that necessitated a repriming and repaint as the light blue contrast paint did not fully adhere – but that worked out fine (after a bit of repainting frustration of course). The basic sequence is shown in the gallery below.

Moving back to the crew and the basket – I painted each separately then assembled them. As I mentioned before, I wanted to use ropes (using twine) instead of the wires to connect the balloon to the basket. That required drilling out the four mounting holes on the basket and inserting two jewelry rings into each hole. The rings in each hole were then glued to each other with Gorilla Glue as shown in the sequence below.

As for the acrylic flight stand pole and the metal base, they were affixed to the styrene 4″ x 4″ base. I then added small stones and green stuff to support the pole as it was not overly supported by just the metal stand. I tried to level it out as best as I could.

The next section I dreaded doing, because rigging a balloon like this could easily come out horribly if not relatively level. I went slowly with the twine and measures out lengths carefully and tried to use appropriate knots.

Initial rigging – relatively level.

I gave the twine a coat of PVA for stiffening, then gave them a speed paint hue to represent rope.

Then it was time to flock the base.

Base flocked.

Eye Candy

First, the balloon in it’s entirety from three angles.

And three close-ups of the crew in the basket:

The Coxswain
The Sharpshooter
The Bombardier

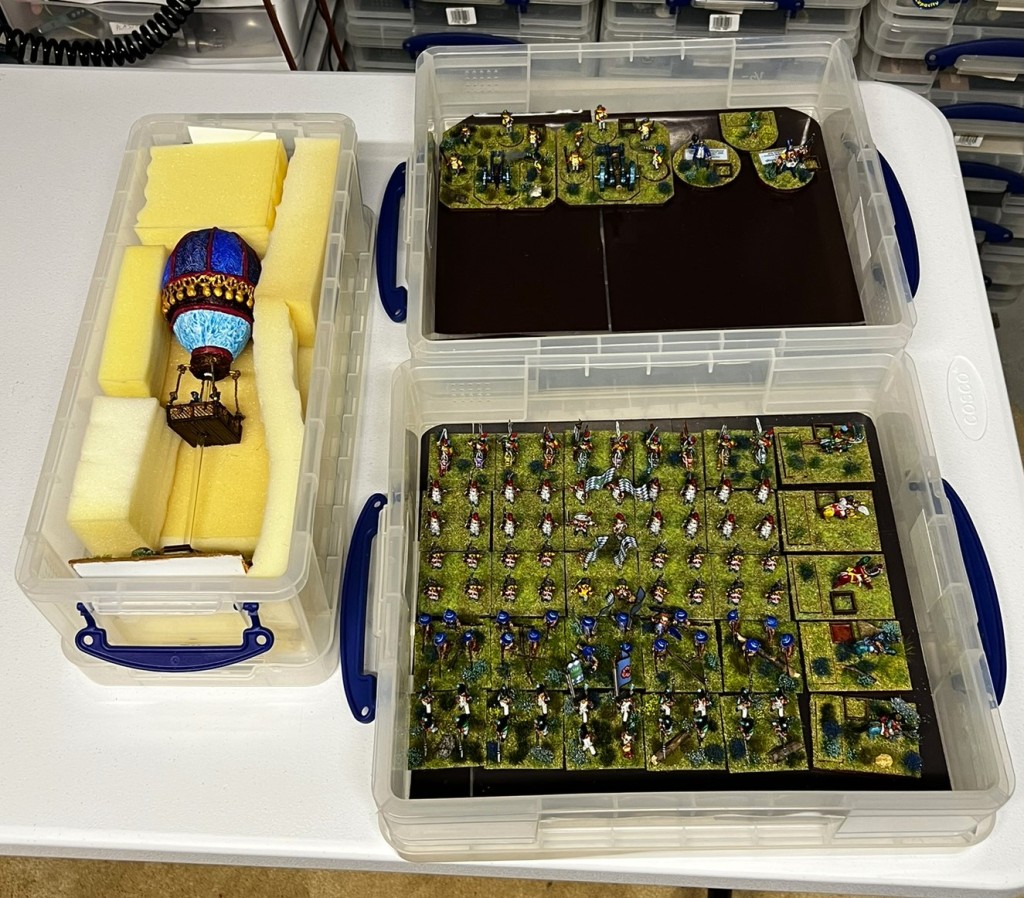
I really was happy to finally get this done – but wait – I need to transport this contraption! So, I took a 6.5 liter Really Useful Box, customized some foam padding, and voila!

This was a project that I am certain will be a lot of fun on the tabletop – until Great Flying Apes or similar attack – or the balloonists get shot up!

Next up – Gillikin stuff!

And yes, I still have more to come…

Miscellaneous details and references for those interested in that sort of thing:

For all of my previous posts on Wars of Ozz games, figures, units, and other related projects – please see this page.

PAINTS, INKS, GLAZES, SHADES, WASHES, PIGMENTS, FLOCKING, GLUES AND MORE THAT I USED ON THIS MUNCHKIN AEROSTAT & CREW:

  1. Green stuff (kneadatite)
  2. Plastruct styrene sheet
  3. Vallejo Mecha Surface Primer “White”
  4. Vallejo “Airbrush Thinner”
  5. Gorilla Glue
  6. Elmer’s PVA Glue
  7. 4 small screw eyes
  8. Secret Weapon Washes “Heavy Body Black”
  9. Vallejo Model Color “White”
  10. Vallejo Model Color “Red”
  11. Army Painter “Speed Paint – Murder Scene”
  12. Vallejo Model Color “Wood Grain”
  13. Battlefront “Black”
  14. Vallejo Game Air “Beastly Brown”
  15. Citadel “Auric Armour Gold”
  16. Army Painter “Speed Paint – Beowulf Blue”
  17. Army Painter “Speed Paint – Royal Robes”
  18. Army Painter “Speed Paint – Caribbean Ocean”
  19. Citadel “Contrast Paint – Aggaros Dunes”
  20. Army Painter “Speed Paint – Crusader Flesh”
  21. Citadel “Contrast Paint – Aethermatic Blue”
  22. Citadel “Contrast Paint – Pylar Glacier”
  23. Army Painter “Tanned Flesh”
  24. MSP Core Colors “Fair Shadow”
  25. Citadel “Contrast Paint – Baal Red”
  26. Citadel “Contrast Paint – Snakebite Leather”
  27. Citadel “Contrast Paint – Contrast Medium”
  28. Citadel “Contrast Paint – Magmadroth Flame”
  29. Vallejo Model Air “Gun Metal”
  30. Martha Stewart Crafts “Pale Bronze”
  31. Vallejo Model Air “Wood”
  32. Army Painter “Speed Paint – Hardened Leather”
  33. Vallejo Model Air “Bright Brass”
  34. Citadel “Agrax Earthshade” (wash)
  35. Citadel “Nuln Oil GLOSS” (wash/shade)
  36. Vallejo “Flow Improver”
  37. Vallejo Varnish “Satin Varnish”
  38. Vallejo Mecha Varnish “Matte Varnish”
  39. Small jewelry rings
  40. Wooden matchsticks
  41. Cotton twine
  42. Citadel “Contrast Paint – Skeleton Horde”
  43. Small rocks
  44. Vallejo Earth Texture “Brown Earth Gel”
  45. Army Painter “Battlefields Grass Green” (flocking)
  46. Army Painter “Battlefield Field Grass” (flocking)
  47. Shadow’s Edge Miniatures “Tan Tufts” (flocking)
  48. Shadow’s Edge Miniatures “6mm Light Blue Tufts” (flocking)
  49. Gamers Grass “Wild”

Again, as you may want to check out the Wars of Ozz figures’ range – there are two places to get them (and I make no money from this btw). The game rules and the figures are available from the following two places:

In the US Old Glory has a site – Wars of Ozz Miniatures.

In the UK go to Sally 4th.
My Wars of Ozz Meeting Engagement Game at HAVOC through the Eyes of One of my Players

At the HAVOC gaming convention in Marlborough, Massachusetts I ran four games – two Wars of Ozz and two Feudal PatrolTM games between March 31st and April 2nd. Hopefully shortly, I will be sharing some of my own pictures and a few links about HAVOC in future posts – BUT FIRST

My first Ozz game was on Friday night, and I had a full table of 6 players – all new first-timers to the game. During that game, one of my players, my friend Bradley Gosselin, took copious notes and photos of that game. I noticed him doing this and assumed that he wanted to really learn the rules. To my humble surprise, he said, no, he was hoping to do a battle report and that I would be welcome to using it in my blog! It’s not often that one of my players does me such an awesome honor – and so – thanks Brad – here is your wonderful report – I could not have done better!

Game Set Up

There were two brigades facing each other – Winkies and Munchkins. Each base/stand of troops or artillerist taken out is worth 1 point to the other side. The deployment is randomly determined.

Turn 1

Turn 2

Turn 3

Turn 4

So, in the end the Munchkins prevailed over the Winkies! Thanks Brad for all the work on this (and he might have more on other HAVOC games – stay tuned). The players had a good time and really picked up the rules quickly.

The game was quick and bloody (as it’s supposed to be). Though both sides did well – the Munchkins did a wee bit better.

Meeting Engagement Rematch (Wars of Ozz)

As you saw in my last battle report, there was a game of Wars of Ozz between the Munchkins and the Gillikins. Chris’ Gillikins won 21-15. I wanted a rematch, and Chris Comeau agreed to one. We agreed to again use the meeting engagement scenario with random deployment zones as before. This post will show how this game went this time, mostly with pictures and a bit of narrative. It had a lot of excitement to be sure! We ended up playing in my cellar as opposed to the nice garage – as my wife was not feeling well and I wanted to be nearby in case she needed me.

As a side note, yes, this is a late post, but my wife Lynn and I had a subsequent unwanted medical “adventure” the day after this game – which I will describe at the end.

Back to the game – the forces were the same as last game. I did, however, end up drawing excellent characteristics for my two infantry regiments. The Zoraster’s Guard Infantry Regiment (ZGIR) was already the best musketry unit on the table – and I the “Well-Drilled” attribute which gained me an additional 2″ of range to both my long and short firing ranges. For Colonel Tik-Tok’s regiment – I got the “Impatient” characteristic which gave me first hit capability in melee. My Munchkin cavalry got the “Charismatic” attribute which only affects routing distance. My brigade commander drew the “Magical Protection” attribute which helps when your enemy has a witch nearby. My opponent was slightly less fortunate – as one of his two regiments drew the “Blind” attribute which hurt his marksmanship. His other infantry regiment drew a good attribute, “The Fortunate”, which allowed a reroll of a bad result during the game. His goat riders got “The Impetuous” attribute which improved their elan. I don’t remember his brigade commander’s attribute, but it was moderately positive. By the way, artillery batteries, allied units (like skeletons), and witches and wizards don’t get these bonuses.

The deployments were as shown below. The Munchkins are on the left and the Gillikins are on the right. I had my two Munchkin infantry regiments at opposite ends of the tabletop – one near my wizard and my medium battery – and one next to my cavalry. My opponent had a skeleton regiment screening one of his Gillikin infantry regiments on one end and his goat riders, medium battery, and the other infantry regiment on the other end.

The start – Munchkins to the left and Gillikins to the right.
Chris again used his skeletons to screen his Gillikin infantry. Here they advance with Arella the witch close by.
This time, I moved closer to the enemy. Here the ZGIR advances to engage the skeletons with musketry. Normally, skeletons are less vulnerable to musketry – lacking, well, organs.
The Gillikin Medium battery unlimbered and faced both the Munchkin cavalry and Colonel Tik-Tok. The “blind” Gillikin infantry shouldered their muskets in column and moved up quickly, with the goat riders to their left flank.
The Gillikin infantry moved up and into line formation, while the goat-riders went into column trying to close with the Munchkins quickly.
Meanwhile, I moved both the Munchkin Light Cavalry and Tik-Tok into line.

Then I decided to try to improve the ZGIR’s marksmanship with an “Uncanny Marksmanship” spell from Zoraster. This would raise my already strong marksmanship from a 7 to a 9 out of 10 hit probability at short range (on top of the increased range bonus)! As you may remember, a spell needs to roll under a spell level on a D10. Zoraster, with a level of 8, needed only to roll anything but an 8, 9, or 10. A 10 is a critical failure (which last game caused his head to explode). Sometimes a critical failure has a bizarre result that can be positive. In this game, I rolled a 10 no less than 7 times out of 12. With different dice!!!!

Luckily, this time the critical failure did not cause a head explosion, and I even got some good results. Below, I rolled my first of 7 critical failures (the zero) and got a 17 for the following result roll. This let the spell work, but lowered my spell rating to 7 for the remainder of the game. Which, when you roll 10, is largely irrelevant! In any case, my ZGIR was even more deadly – even to the point of negating the skeletons’ advantage versus my musketry.

A critical spell failure with a positive result – my best unit now hit 80% of the time (70% versus skeletons).
My Munchkin cavalry attempts to hit the Gillikin cavalry on the flank – exposing their flank to the Gillikin “blind” infantry and the Gillikin battery. They get only one hit and disorganize the goat riders.
Overview of battle at this point. The Munchkin Medium Battery aims to take out the Gillikin battery. You can see the other two fights here as well.
The Gillikin cavalry reacts and turns to face the Munchkin cavalry, which shortly after this got hit by both flanking infantry “blind” fire and in the rear from the Gillikin artillery. Not good for me.
After firing, the Gillikin infantry then tried to hit the Munchkin cavalry in the flank – and they moved away to the left to escape the trap before it could close – however now the enemy medium battery had another flank shot – which succeeded in routing the Munchkin pony riders for the second game in a row. This left Tik-Tok alone on this end of the tabletop facing three enemy units (but in a ray of sunshine as an omen perhaps?).
Flanking fire hitting the cav…
…and Munchkin cavalry routs yet again…
Meanwhile, the ZGIR was doing massive damage to the skeletons with musket fire.
In response, Arella the Witch successfully cast a “Raise the Dead” spell and raised a new and separate base of skeletons (from the casualty pile) to engage the Munchkin Medium Battery before it could hurt their own battery.
Undeterred, the ZGIR continued to pour lead down range and routed the skeletons through the close-following Gillikins, disorganizing them.
An overview of the battle at this point. The new skeleton base damaged the Munchkin battery, but it was also wiped out in the melee attempt. Arella then hit the battery with successive fireballs, and the Gillikin battery also pivoted and hit the enemy battery. Shortly thereafter, the Munchkin Battery would be wiped out. Shown here routing away are the both the Munchkin cavalry and the skeletons on opposite ends of the tabletop.

At this point in the game, I was down to my two infantry regiments, plus my wizard. The Gillikins had two infantry regiments, plus a medium battery, a damaged goat-rider regiment, and a witch.

Then, the Gillikin infantry tried to engage the ZGIR in a firefight. The ZGIR sent the Gillikins high-tailing after the already routed skeletons. Both Gillikin units would then would leave the game for safer places. Then Arella moved in to throw a fireball at the ZGIR from the rear. The Munchkins activated and performed an about face. Arella then activated and threw her fireball and missed. The ZGIR returned fire and took her out with one volley.
Arella right before her demise. Zoraster tried to throw a “Poor Luck” spell on her and – yes – rolled a 10. However, this critical failure resulted in a the gaining of a new one-base unit for the Munchkins – a giant bear! The bear immediately turned towards the beleaguered Tik-Tok regiment which was holding but getting surrounded.
Colonel Tik-Tok’s regiment with Gillikin Infantry to the front and badly damaged goat riders to the rear. The bear would aim to engage the goat riders.
The bear is coming to the rescue, oh my!

This move took the pressure off of Tik-Tok. The Gillikin cavalry was in no shape to close with the bear, but decided that that was better than being hit in the rear and routed. In the end, the bear base did its job before being eliminated, but the Gillikin Goat Riders routed nonetheless – having had enough for the day. The two infantry regiments got into melee with Tik-Tik getting the better of the exchange (being “Impatient” and getting the first hits in help a lot too). The Gillikin infantry now routed as well. This left only the Gillikin Medium Battery on the battlefield facing the two Munchkin infantry regiments – which closed in on it.

Rout the “‘blind” Gillikins! Tik-Tok holds!
An overview of the battle at this point – all Gillikins are routing away except the battery – which has two Munchkin Infantry regiments on each side of it – and bent on revenge.

In the end, it was the ZGIR which wiped out and overran the Gillikin battery, and won the game 21-18.

The Gillikin battery is wiped out and overran.

It was a good game – and I feel I was lucky to pull out the victory. Certainly the magic critical failures had us both laughing. I will be running two games similar to this at HAVOC in late March/early April.

As for our adventure, I had travelled to Shrewsbury (45 minutes away) for a 7 AM car service – while Lynn got a 10 AM doctor’s appointment at UMASS (40 minutes away) to see why she was having shooting pains in her back. My car took a while. Around 11 AM she texted me that the doctor ordered a “blood clot test” for her as that was a worry for her lungs. By the way, I hate texting but the lab was too crowded for her to speak clearly with me at that point. With my knowledge and background, I texted to ask what the name of the test was (she was unsure) and to ask/tell her not to leave the hospital until she got her results. Unfortunately, when Lynn asked the phlebotomist how long the results would take, and was told maybe an hour, maybe a day. I knew that a potential blood clot in the lung was a STAT situation, and that likely the test was a d-dimer (which I have had myself). In any case, she left and drove home – as I did and we arrived at home about 5 minutes apart around 1 PM.

Within 5 more minutes, she got both an email and a call to go to the ER as the d-dimer test was elevated. So we drove together to UMASS Memorial in Worcester, arriving at 1:51 PM in the waiting room or the ER. It was SWAMPED. We did not get into the medical area of the ER and a bed for her until after 6 PM. We waited for a CAT scan until 11:30 PM, and then a read. It was not sure if she was going to be admitted or not but the diagnosis was pneumonia. At this time they started IV antibiotics – BUT as I recently had had a bad sinus infection I was on and needed to take my own antibiotic dose (which was of course at home). So I left her, drove home, got my own pills, then got a call from Lynn that she was being discharged. I then drove back to Worcester, got her, got her late night McDonald’s (she had not eaten since the morning). We got home about 3:30 AM, at which point I’d been up for nearly 24 hours.

So, good news, she’s already better! Not a fun story, but one I’m glad worked out.

Anyways, I hope you liked the battle report – I should have a couple more posts for you this week on a couple other playtests and some jungle terrain that I built for a Maya convention game.

Munchkin Light Cavalry with Command (Wars of Ozz)

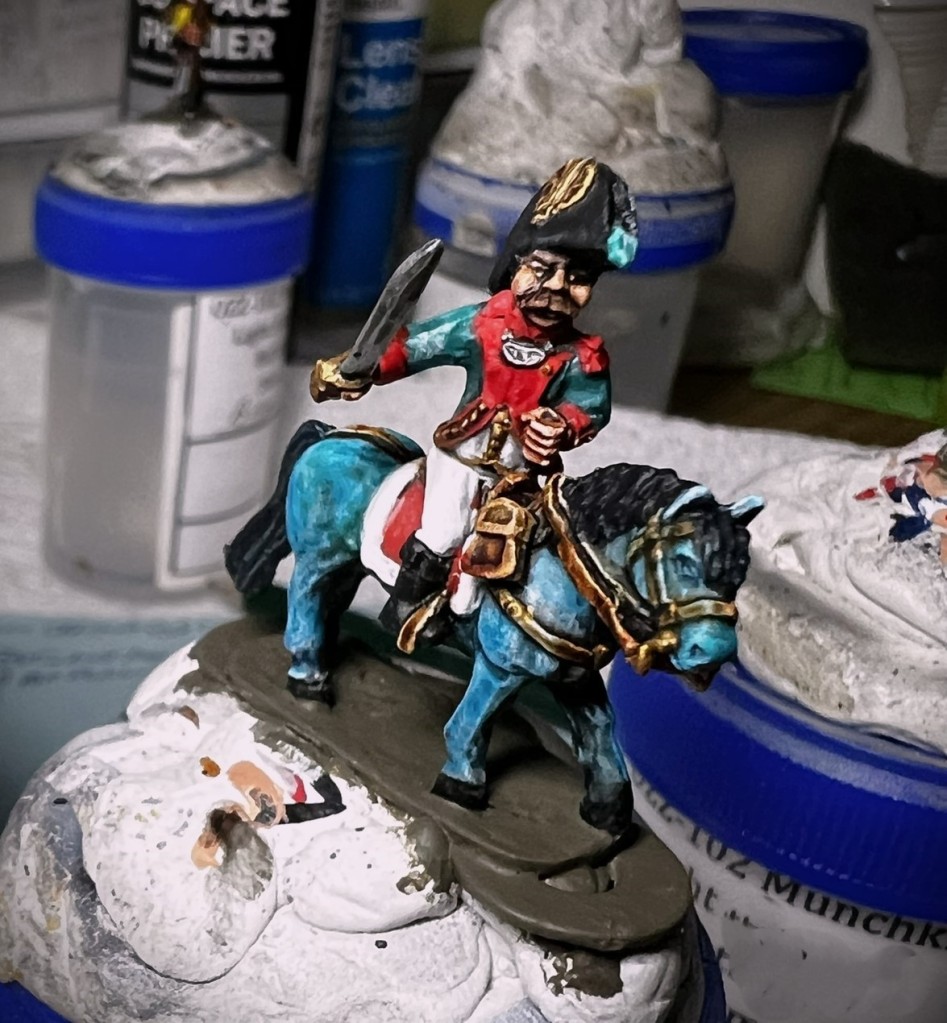
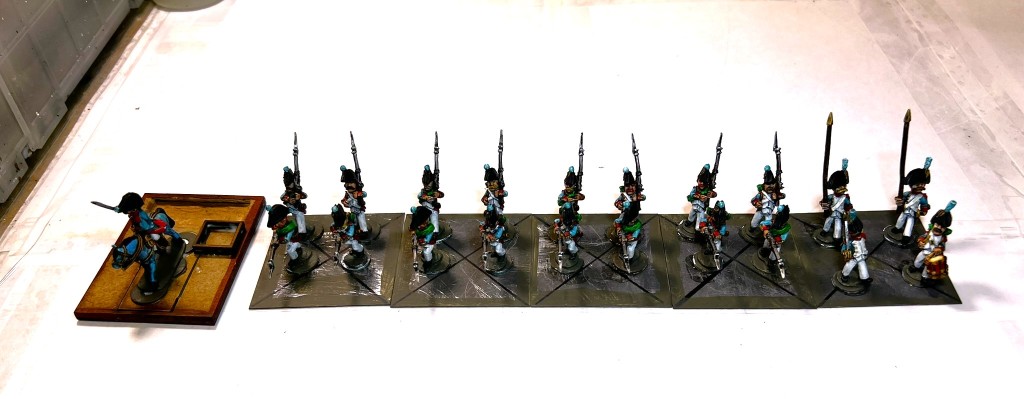
I had previously built two infantry regiments and an artillery battery for my Munchkin Brigade. It was time to add a cavalry regiment to my Munchkin Brigade for Wars of Ozz. This was a Light Cavalry Regiment, OZZ108 from Wars of Ozz miniatures.

The regiment is 28mm and metal. It is composed of made of 11 figures broken into 11 ponies, 11 riders (from the torso up), and 11 carbines. The riders also are armed with sabers, so they can also engage the enemy from a distance (although carbines are not very long ranged). The Light Cavalry Regiment (LCR) is worth the same amount of points as the Medium Artillery Battery that I described in my last post. Each base in the game can take 4 hits, even though with cavalry there are only two figures per 2″ square base. This regiment has 5 bases plus a regimental commander on an MDF base.

The rules say that the LCR should have “dragoon green” coats and light blue trousers. The ponies (these are Munchkins) are supposed to be in multiple pastel colors – which allowed me to use a number of Citadel Contrast and Army Painter Speed Paints. I painted the carbines, riders, and ponies all separately. Then, I assembled all after painting and varnishing was completed. I used both my specimen jars/poster tack combos and my painting stand with alligator clips to paint and varnish. The project was started on December 8th, and completed on December 19th. There was a lot more work here than I expected – I really needed to plan out the painting and assembly. I also did a bit of research on Napoleonic cavalry as my Napoleonic painting experience level is – well zero. My goal was to achieve a good tabletop standard – and you can be the judge of whether I achieved that. As usual, I will list all the paints I used on this unit at the end of this post for those interested in that sort of stuff (and for my own use for later reference as well). First, I’ll share some WIP shots, then some eye candy of the LCR.

WIP shots…

I actually prepped the bases first and started the flocking so that I would not have to manhandle the painted figures later on.

Base prep/sizing.

Then, I prepped/mounted the remaining torsos and riders for painting.

Mounted and tagged for painting. With each pony having a different color, this was instrumental.

The painting proceeded ok – though with all of the details it took a bit longer than I anticipated. I actually changed the fur cap colors from light blue to black after seeing some pictures on line with the light blue on the cap tops and sides. I then looked to give a lot of colorful detail in red, green, yellow, and blue as you’ll see below.

Then I varnished the group, assembled them, mounted them on the 2″ square steel bases, and flocked them.

Assembled.
Completed!

And now…

Eye Candy

There are 5 stands of 2 figures – 4 are similar and one is a command stand with a standard bearer and a bugler. The regimental commander goes on an MDF stand.

Regimental Commander Stand

Stand 1

Stand 2

Stand 3

Stand 4

Command Stand

Group shots

The LCR in line formation, moving into melee with the Regimental Commander base in the rear.
A higher angle photo of the previous formation.
An angled shot of the left side of the LCR moving up with the Regimental Commander in front.
The LCR ready to charge the enemy with impetus!

So now I have a complete Munchkin Brigade!

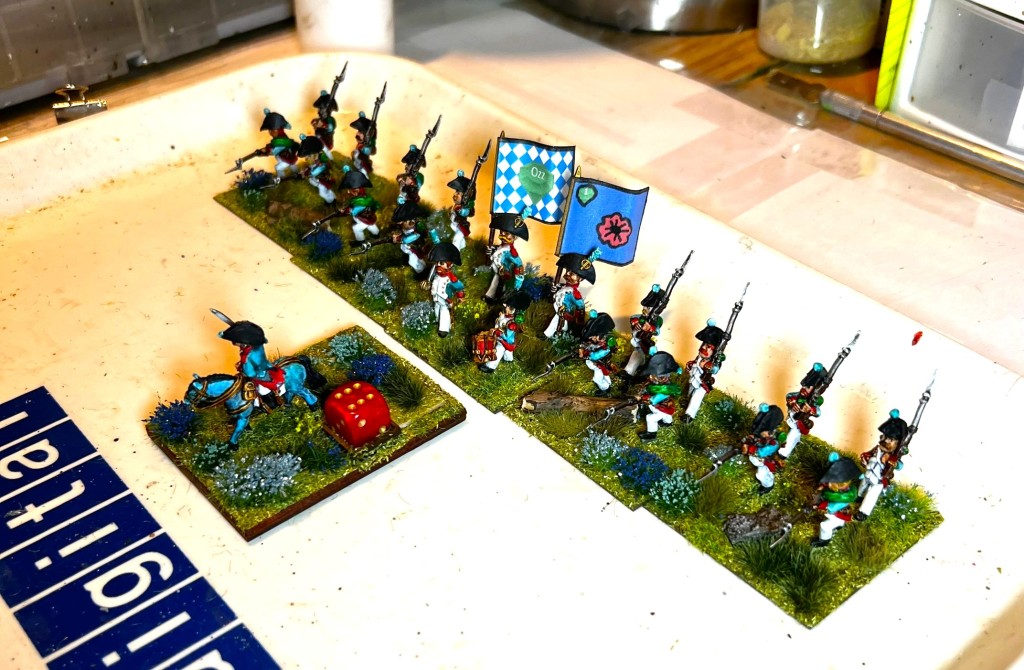
My Munchkin Brigade! Clockwise from the top left: Zoraster’s Guard Infantry, Colonel Tik-Tok’s Infantry Regiment, Zoraster and an unnamed wizard, the Light Cavalry Regiment, and the Medium Artillery Battery.

I will now move on to building my brigade of Winkies (basically the Orcs of Ozz). I am not sure how far I will get this year with Christmas coming plus some minor surgery for me right afterwards (oh yay). I am hoping to get at least one more unit done this month, then do a 2022 wrap up with my 2023 goals.

Again, as you may want to check out the figures range – there are two places to get them (and I make no money from this btw). The game rules and figures are available from the following two places:

In the US Old Glory has a site – Wars of Ozz Miniatures.

In the UK go to Sally 4th.

Thanks so very much for checking this post out and please let me know what you think in the comments section. I wish you all a very Merry Christmas and a Happy New Year!

Still have more to come…

Miscellaneous details and references for those interested in that sort of thing:

For all of my previous posts on Wars of Ozz games, figures, units, and other related projects – please see this page.

PAINTS, INKS, GLAZES, SHADES, WASHES, PIGMENTS, FLOCKING, GLUES AND MORE THAT I USED ON THIS MUNCHKIN LIGHT CAVALRY REGIMENT:

  1. Gorilla Glue
  2. Paper clip wire pieces
  3. 1 1/4″ x 1″ square steel bases from Wargames Accessories (#FOW1)
  4. Poster tack
  5. Vallejo Premium Primer “White”
  6. Vallejo “Flow Improver”
  7. Vallejo “Airbrush Thinner”
  8. Citadel “Nuln Oil” (wash)
  9. Vallejo Model Color “Wood Grain”
  10. Vallejo Model Color “White”
  11. Black Sharpie pen
  12. PS Model Color “British Brown Drab”
  13. Vallejo Model Air “Gun Metal”
  14. Vallejo Mecha Varnish “Matte Varnish”
  15. Vallejo Game Air “Sick Green”
  16. Vallejo Game Air “Electric Blue”
  17. Army Painter “Speed Paint – Hardened Leather”
  18. Citadel “Contrast Paint – Contrast Medium”
  19. Martha Stewart Crafts “Pale Bronze”
  20. Citadel “Contrast Paint – Ironjawz Yellow”
  21. Citadel “Contrast Paint – Gryph-Hound Orange”
  22. Citadel “Contrast Paint – Doomfire Magenta”
  23. Citadel “Contrast Paint – Luxion Purple”
  24. Citadel “Contrast Paint – Akhelian Green”
  25. Citadel “Contrast Paint – Pylar Glacier”
  26. Citadel “Contrast Paint – Nazdreg Yellow”
  27. Citadel “Contrast Paint – Magmadroth Flame”
  28. Citadel “Contrast Paint – Magos Purple”
  29. Citadel “Contrast Paint – Aethermatic Blue”
  30. Citadel “Contrast Paint – Terradon Turquoise”
  31. Battlefront “Black”
  32. Citadel “Contrast Paint – Basilicanum Grey”
  33. Citadel “Contrast Paint – Gore Grunta Fur”
  34. Army Painter “Speed Paint – Holy White”
  35. Army Painter “Speed Paint – Crusader Skin”
  36. Army Painter “Speed Paint – Grim Black”
  37. Army Painter “Flesh Wash” (wash/shade)
  38. Citadel “Contrast Paint – Baal Red”
  39. Model Air “Bright Brass”
  40. Vallejo Model Air “Steel”
  41. P3 “Midland Flesh”
  42. Citadel “Contrast Paint – Aggaros Dunes”
  43. Army Painter “Speed Paint – Dark Wood”
  44. Vallejo Game Ink “Yellow”
  45. Vallejo Game Ink “Black Green”
  46. Citadel “Cryptek Armourshade” (wash/shade)
  47. Citadel “Contrast Paint – Karandras Green”
  48. Elmer’s PVA Glue
  49. Regimental MDF base from Old Glory
  50. Army Painter “Battlefields Grass Green” (flocking)
  51. Army Painter “Battlefield Field Grass” (flocking)
  52. Army Painter “Battlefields Field Grass” (flocking)
  53. Army Painter “Brown Battleground” (flocking)
  54. Shadow’s Edge Miniatures “6mm Dark Forest Dark Blue Tufts” (flocking)

Munchkin Medium Artillery Battery (Wars of Ozz)

Any Munchkin Brigade needs a good dose of heavy firepower to fend off the enemies of the Emerald City at long range. For my Munchkin Brigade for Wars of Ozz games, I finished off a Munchkin Medium Artillery Battery with Crew (OZZ107). Let’s call it MMAB.

In the game, the MMAB is the stronger of the two artillery choices (the other being a light battery). For comparison, a medium battery can fire at targets up to 24″, while a light battery range is out to 18″, with musket range being at max of 14″. In the game, firing at half ranges is more effective as one would think, and short range for the MMAB is 8″, while a light battery is 6″, and muskets are 7″. So this MMAB gives the brigade a bit of standoff firepower.

The artillery batteries in Wars of Ozz are composed of 5 figures plus a gun. For close combat, they are armed with carbines (which are slightly more than half of the range of muskets – but hopefully they don’t have to get into melee – but the odds are that they will!). While an infantry or cavalry regiment has 5 bases – each of which can take 4 hits – the battery can take 5 hits (one per figure). Each hit removes a figure and loses a die for attacking. The scale is 28mm and these figures are metal.

I started parallel-working on these while I worked on Colonel Tik-Tok’s Infantry Regiment back on November 25th. When I needed to let something dry, I did a little work on this unit. The gun with its carriage required assembly. With the carriage needing serial painting – so as to get the right bluish look per Ozz canon (pun intended – see how I did that!) – and the gun being pretty big, the parallel approach got it done without causing me impatience. I followed the same procedure as to painting these figures as I did with the previous units, by priming in white, then washing with a dark shade, then painting, highlighting, and shading.

A major consideration for me was how to paint up the cannon and carriage. First, there were undersides to the gun and carriage to consider for painting and assembly. Second, there were the choices of colors. I experimented with several blues and bluish craft metallics for the gun. Initially, I went with a classic grey gun metal look for the gun, but changed it to brass as I liked the look better. As Munchkins are being very fond of blue, I thought that was appropriate. As is my custom, I list all the paints I used on this unit at the end of this post for those interested in that sort of stuff (and for my own use for later reference as well). First, I’ll share some WIP shots, then some eye candy of the MMAB.

WIP shots…

As discussed, I started on November 25th. This was mainly preparatory work on filing, washing before priming. My main effort was the CTTIR during this time.

There is an MDF base available for artillery batteries with slots for the gun and figure – that even allows for removing casualties and for denoting if the gun is limbered or unlimbered. That needed assembly, so another thing to do while other things were drying. I also was thinking about transport and storage – so I added steel bases under the MDF ones for the artillerists and the gun.

Then, I slowly worked on painting the cannon and carriage components and assembled them by December 1st.

The cannon painted and varnished resting on its MDF base. Above, you can see how I traced so that I would be able to score the base under the tracings. This would get a better hold for gluing.

The figures came next, but unfortunately do not have any WIP shots of them. I followed Ozz canon (yes, I did that again) for the colors.

On December 4th, this brought me back to completing the magnetizing the unit for gaming, storage, and transport. My artillerist figures were mounted on 3/4″ steel washers. These would be glued to the MDF bases, which had 1/2″ steel squares glued to the their undersides as seen above. I drilled out 1/8″ holes in the center of each of the base’s recesses. Then, I glued another 1/2″ square steel base below the holes with 1/8″ neodymium magnets in each hole. In the end, the figures were removable from the base (but won’t fall out), and the base will store safely in my magnetic sheet-lined Really Useful Box with my other units. You can see this below in the photo.

By December 7th, I had the unit painted and was ready for final assembly and flocking.

December 7th progress

And…by December 9th I was done!

MMAB DONE!

How about some…

Eye Candy…

The unit can be shown as limbered (as above) or unlimbered as you can see below. A casualty is taken out on the right.

My favorite shot:

So now I am up to three units plus two Wizards. The Munchkin Light Cavalry is next. As you may want to check out the figures range – there are two places to get them (and I make no money from this btw). The game rules and figures are available from the following two places:

In the US Old Glory has a site – Wars of Ozz Miniatures.

In the UK go to Sally 4th.

Thanks for checking this post out and please let me know what you think in the comments section. Yes, I still have more to come…

Miscellaneous details and references for those interested in that sort of thing:

For all of my previous posts on Wars of Ozz games, figures, units, and other related projects – please see this page.

PAINTS, INKS, GLAZES, SHADES, WASHES, PIGMENTS, FLOCKING, GLUES AND MORE THAT I USED ON THIS MUNCHKIN MEDIUM ARTILLERY BATTERY:

  1. Vallejo Premium Primer “White”
  2. Vallejo “Flow Improver”
  3. Vallejo “Airbrush Thinner”
  4. Gorilla Glue
  5. 1/2″ x 1/2″ square steel bases from Wargames Accessories (#16)
  6. MDF Artillery base from Wars of Ozz Miniatures
  7. 1/8″ neodymium magnets
  8. 3/4″ steel washers
  9. Poster tack
  10. Citadel “Nuln Oil” (wash)
  11. Vallejo Model Color “White”
  12. 1 1/4″ x 1″ square steel bases from Wargames Accessories (#FOW1)
  13. Elmer’s PVA Glue
  14. Vallejo Model Air “Gun Metal”
  15. Armory “Dark Blue”
  16. DecoArt “Peacock Pearl”
  17. Tamiya XF-6 “Copper”
  18. Vallejo Model Color “Dark Prussian Blue”
  19. Martha Stewart Crafts “Pale Bronze”
  20. Army Painter “Speed Paint – Dark Wood”
  21. Citadel “Contrast Paint – Contrast Medium”
  22. Army Painter “Blue Tone”
  23. Secret Weapon Washes “Golden Brown” (wash)
  24. Army Painter “Speed Paint – Crusader Skin”
  25. Citadel “Nuln Oil GLOSS” (wash/shade)
  26. Citadel “Cryptek Armourshade” (wash/shade)
  27. Army Painter “Speed Paint – Hardened Leather”
  28. Army Painter “Speed Paint – Grim Black”
  29. Citadel “Contrast Paint – Frostheart”
  30. Vallejo Mecha Varnish “Matte Varnish”
  31. Citadel “Contrast Paint – Baal Red”
  32. Vallejo Model Air “Bright Brass”
  33. Citadel “Contrast Paint – Bad Moon Yellow”
  34. Citadel “Contrast Paint – Karandras Green”
  35. Vallejo Model Air “Armour Brown”
  36. Vallejo Model Air “Steel”
  37. Army Painter “Speed Paint – Holy White”
  38. PS Model Color “British Brown Drab”
  39. Army Painter “Battlefields Grass Green” (flocking)
  40. Army Painter “Battlefield Field Grass” (flocking)
  41. Army Painter “Battlefields Field Grass” (flocking)
  42. Shadow’s Edge Miniatures “6mm Dark Forest Dark Blue Tufts” (flocking)

Colonel Tik-Tok’s Infantry Regiment, Zoraster, and a Munchkin Mayor (Wars of Ozz)

I am continuing to build my Munchkin Brigade for Wars of Ozz games. In my last post, I shared OZZ-101 – Zoraster’s Guard Infantry Regiment (ZGIR).  This time I have built and painted up a different Munchkin infantry unit – Colonel Tik-Tok’s Infantry Regiment (hereafter referred to here as CTTIR). I also painted up Zoraster (a Wizard) and a Munchkin Mayor as a lesser Wizard.

In the game, the CTTIR is slightly less capable than the ZGIR, but still better than a militia or Landwehr unit. Like the ZGIR, the regiment is composed of 20 figures plus a mounted regimental commander. It is similarly armed with muskets while sporting cool carabiner helmets. In the canon of the Wars of Ozz, Zoraster is “the Wizard Supreme”, and is the creator the Munchkin Army. The Munchkin Mayor figure came with the Kickstarter and confused me for a bit as you’ll see in the discussion below. The scale is 28mm and these 23 figures are metal.

There are 4 figures per 2″ square base, so five bases plus a commander make up a regiment. 16 of the based figures are of the same type, while the fifth base has four different figures – two standard bearers (with the Ozz flag and the regimental colors), a drummer, and another leader figure. This “command” stand fights like the others, but has an aesthetic effect on the tabletop of being nice to see. The regimental commander has his own base and can have special attributes, but its stand never engages in combat. It exists mainly for the attributes tab (on its MDF base) and also aesthetics. If the regiment dies, so does he. There is magic in the game – and Zoraster is a designated Wizard. There are also “unnamed Wizards”, so I will likely use the Munchkin Mayor as one – or maybe just an objective marker.

I pretty much followed the same procedure as to painting these figures as I did with the ZGIR. I prime in white, then wash with a dark shade, then paint and highlight. If I need more shade or highlight, I add it.

A major difference here for me was how to paint up the helmets and officer hats. While Wars of Ozz canon has this regiment in white, it also has all Munchkins as being very fond of blue. But after looking at images of Napoleonic era carabiner helmets (below) I decided that I wanted a similar metallic brass and chrome look.

I also decided to give the officers white hats. I did give the drummer a bit of blue on the drum and of course the standards have a lot of blue, so I think I’m safe. For the regimental commander’s pony I went with a slightly sallow pastel yellow. One cool aspect of the universe of the Wars of Ozz game is the use of a lot of color (hence the pastel ponies and more). The rules say that for CTTIR the facings, plumes and epaulettes are red – and that the coats and vests are white. Here I used a lot of Army Painter “Holy White” Speed Paint mixed with Citadel “Contrast Medium”. In fact, I still mix all of my Speed Paints with that medium. The combination of using the Citadel “Nuln Oil” wash post-priming and then the Holy White helped a lot with the less-detailed recesses on the figures. As usual, I list all the paints I used on these at the end of this post for those interested in that sort of information.

As I did previously, I’ll share some WIP shots, then some eye candy of the regiment.

WIP shots…

I started on November 25th. Below, you see the figures are based for priming, primed, and then I added a Citadel “Nuln Oil” wash before moving on to painting them. I have not tried “slap chop”, but I do like this way of using contrast/speed paints as part of my technique.

I was confused (as my Kickstarter order was a while back) as to which figure was Zoraster. Eventually, I determined that the smaller one was a Munchkin mayor thrown into the Kickstarter and that I had mistakenly ordered 2 Zoraster figures! I’ll keep one unpainted for trade. The Munchkin figure looks like the Boston Celtics mascot.

Two Zoraster figures and the Munchkin mayor doffing hats…

During the next three days, I made decent progress. I ended up numbering the specimen bottle labels with mistakes and keeping a list so I could fix them – this helped a lot.

The figures were all painted less any varnish and flocking by December 2nd.

Then it was on to the varnishing the figures, adding the standards/colors, and thereafter flocking the bases. I noticed that when I cut out the standards from card stock that the edges stood out as white. So, to remedy this, I used a black Sharpie pen to color in the edges as the standards have a black edge as well.

As for flocking, this time I pre-flocked all of the regimental bases with one type of grass, then added the other two types after affixing two, then three, then the fourth figure to each base. It’s probably overkill but I do like how they have come out. For the two Wizards, I just went with the first two grasses and added Shadow’s Edge Miniatures blue forest tufts.

My three sequential grasses, clockwise from the left. The first two may be different iterations of a similar type, but they are different enough to give some texture and more depth to the bases.

By December 4th, the CTTIR was done, plus the wizards as well. Now onto some eye candy…

Eye Candy

Colonel Tik-Tok’s Infantry Regimental Commander

A look at 2 stands…

A look at the command stand…

A look at the whole regiment…

A look at Zoraster…

A look at the Munchkin Mayor (Lesser Wizard)…

Howdy folks!

I hope that this was interesting for you. I am hoping to take 7-10 days per regiment or battery until I get through the Kickstarter. This should take me into next year, but hopefully I can keep a good pace. I have plenty of space in the box for this in-progress brigade…

Munchkin Brigade to date…

As you may want to check out the figures range – there are two places to get them (and I make no money from this btw). The game rules and figures are available from the following two places:

In the US Old Glory has a site – Wars of Ozz Miniatures.

In the UK go to Sally 4th.
Thanks for checking this post out and please let me know what you think in the comments section. More to come…
Miscellaneous details and references for those interested in that sort of thing:

For all of my previous posts on Wars of Ozz games, figures, units, and other related projects – please see this page.

PAINTS, INKS, GLAZES, SHADES, WASHES, PIGMENTS, FLOCKING, GLUES AND MORE THAT I USED ON THIS MUNCHKIN REGIMENT, ZORASTER, & THE MUNCHKIN MAYOR:

  1. Gorilla Glue
  2. Paper clip wire pieces
  3. 1/2″ x 1/2″ square steel bases from Wargames Accessories (#16)
  4. 3/4″ steel washers (wizards)
  5. Poster tack
  6. Vallejo Premium Primer “White”
  7. Vallejo “Flow Improver”
  8. Vallejo “Airbrush Thinner”
  9. Citadel “Nuln Oil” (wash)
  10. Vallejo Model Color “White”
  11. 1/2″ x 1/2″ square steel bases from Wargames Accessories (#FOW1)
  12. Vallejo Model Air “Gun Metal”
  13. Vallejo Model Air “Bright Brass”
  14. Vallejo Model Air “Chrome”
  15. Army Painter “Speed Paint – Dark Wood”
  16. Citadel “Contrast Paint – Contrast Medium”
  17. Army Painter “Speed Paint – Crusader Skin”
  18. Citadel “Contrast Paint – Baal Red”
  19. Citadel “Contrast Paint – Magmadroth Flame”
  20. Army Painter “Speed Paint – Grim Black”
  21. Citadel “Contrast Paint – Ironjawz Yellow”
  22. Citadel “Contrast Paint – Gore Grunta Fur”
  23. Army Painter “Speed Paint – Hardened Leather”
  24. Citadel “Contrast Paint – Karandras Green”
  25. Vallejo Model Air “Steel”
  26. Vallejo Model Air “Armour Brown”
  27. Citadel “Contrast Paint – Aggaros Dunes”
  28. Army Painter “Speed Paint – Pallid Bone”
  29. Army Painter “Red Tone”
  30. Citadel “Nuln Oil GLOSS” (wash/shade)
  31. Citadel “Cryptek Armourshade” (wash/shade)
  32. Citadel “Contrast Paint – Doomfire Magenta”
  33. Citadel “Contrast Paint – Nighthaunt Gloom”
  34. Citadel “Contrast Paint – Asurman Blue”
  35. Americana “Bahama Blue”
  36. Citadel “Contrast Paint – Pylar Glacier”
  37. Vallejo Model Color “Black”
  38. Citadel “Contrast Paint – Snakebite Leather”
  39. Citadel “Warpfiend Grey”
  40. Citadel “Longbeard Grey”
  41. Battlefront “Skin Shade”
  42. Battlefront “European Skin”
  43. P3 “Flesh Wash”
  44. Army Painter “Speed Paint – Holy White”
  45. Martha Stewart Crafts “Pale Bronze”
  46. Vallejo Mecha Color “Olive Green”
  47. Vallejo Mecha Varnish “Matte Varnish”
  48. PS Model Color “British Brown Drab”
  49. Black Sharpie pen
  50. Elmer’s PVA Glue
  51. Regimental MDF base from Old Glory
  52. Army Painter “Battlefields Grass Green” (flocking)
  53. Army Painter “Battlefield Field Grass” (flocking)
  54. Army Painter “Battlefields Field Grass” (flocking)
  55. Army Painter “Brown Battleground” (flocking)
  56. Shadow’s Edge Miniatures “6mm Dark Forest Dark Blue Tufts” (flocking)
Frank Tank Rants

musings of a fat old bloke on tanks and wargames

Dragons of Lancasm

Games, miniatures, painting, books and more games

Tiny Painted Heroes

The Adventures of a lifelong Tabletop Gamer, Game Design hobbyist, and full-time Software Engineer

Home of the Grumpy Gnome

Tinkering with Artwork and Ideas

Steve's Paint Brush

Grimdark model making and mini painting

Wargamesculptors Blog

Life, Golf, Miniatures, & Other Distractions

Dead Dick's Tavern and Temporary Lodging

Life, Golf, Miniatures, & Other Distractions

Guru PIGS Blog

Guru's thoughts on wargaming, life, and the universe!

Wisely lead... without a head!

History, Miniatures and Wargaming

Kuribo's Painting

Fallout, MESBG, and Hellboy Painting, Terrain, Dioramas, and Battle Reports

Don't Give Greg Ideas

Seriously, just don't

War Across the Ages, and other dark horrors

A discussion of miniatures collecting, painting and gaming.

Classic Warhammer 40K

Painting diary focused on Warhammer 40K 2nd ed., 5th ed. WHFB, related GW games, and miscellaneous whimsy

Colonel Mustard

WW2 Modelling in 1/72 Scale

Bogenwald

Random painting and terrain making.

Pat's 1:72 Military Diorama's

Scale diorama tips and ideas

Arcade Dreams

Building the Arcade Dream

P.B.Eye-Candy

Phil's 20th century wargame pages

SP's Projects Blog

A futile fight against entropy or 'Every man should have a hobby'? Either way it is a blog on tabletop wargames, board games and megagames

30mmdave

Wargaming Plausible reality?

Faith&Steel

dave's gaming adventures: faithandsteel.wordpress.com

The Imperfect Modeller

Miniature Figure Painting and Diorama Modelling

Double Down Dice

Painting miniatures and rolling dice!

Just Needs Varnish!

My ongoing wargames projects!

miniaturepopcorns

Sculpting some worlds

Despertaferres

Wargaming with the ability of a dull nine year old

Dawn of the Lead

Miniature wargaming and the occasional zombie

Rantings from under the Wargames table

Wargames, Figures, Sculpting and Converting Miniatures

Simple as War

Miniatures & Terrains

Buck's Blog

Life, Golf, Miniatures, & Other Distractions

IRO aka Imperial Rebel Ork

- I model - therefore I am -

Azazel's Bitz Box.

Painting, Modelling, Miniatures, 1:6, Games... Whatever else I find interesting.

diggingforvictoryblog

Smallholding and Wargaming.......not always at the same time!

Shamutantis

Nørdblog numero uno

Harry Heckel

Writer/Game Designer