Now that is a pithy title! Indeed, October saw me having a number of projects happening – almost simultaneously – in preparation for the HMGS Fall In! convention this week. It was nearly overwhelming, especially given that I was also involved in multiple golf tournaments as a player and as an organizer/committee member, plus a number of big events that were nice – but I’ll spare you those details for now.
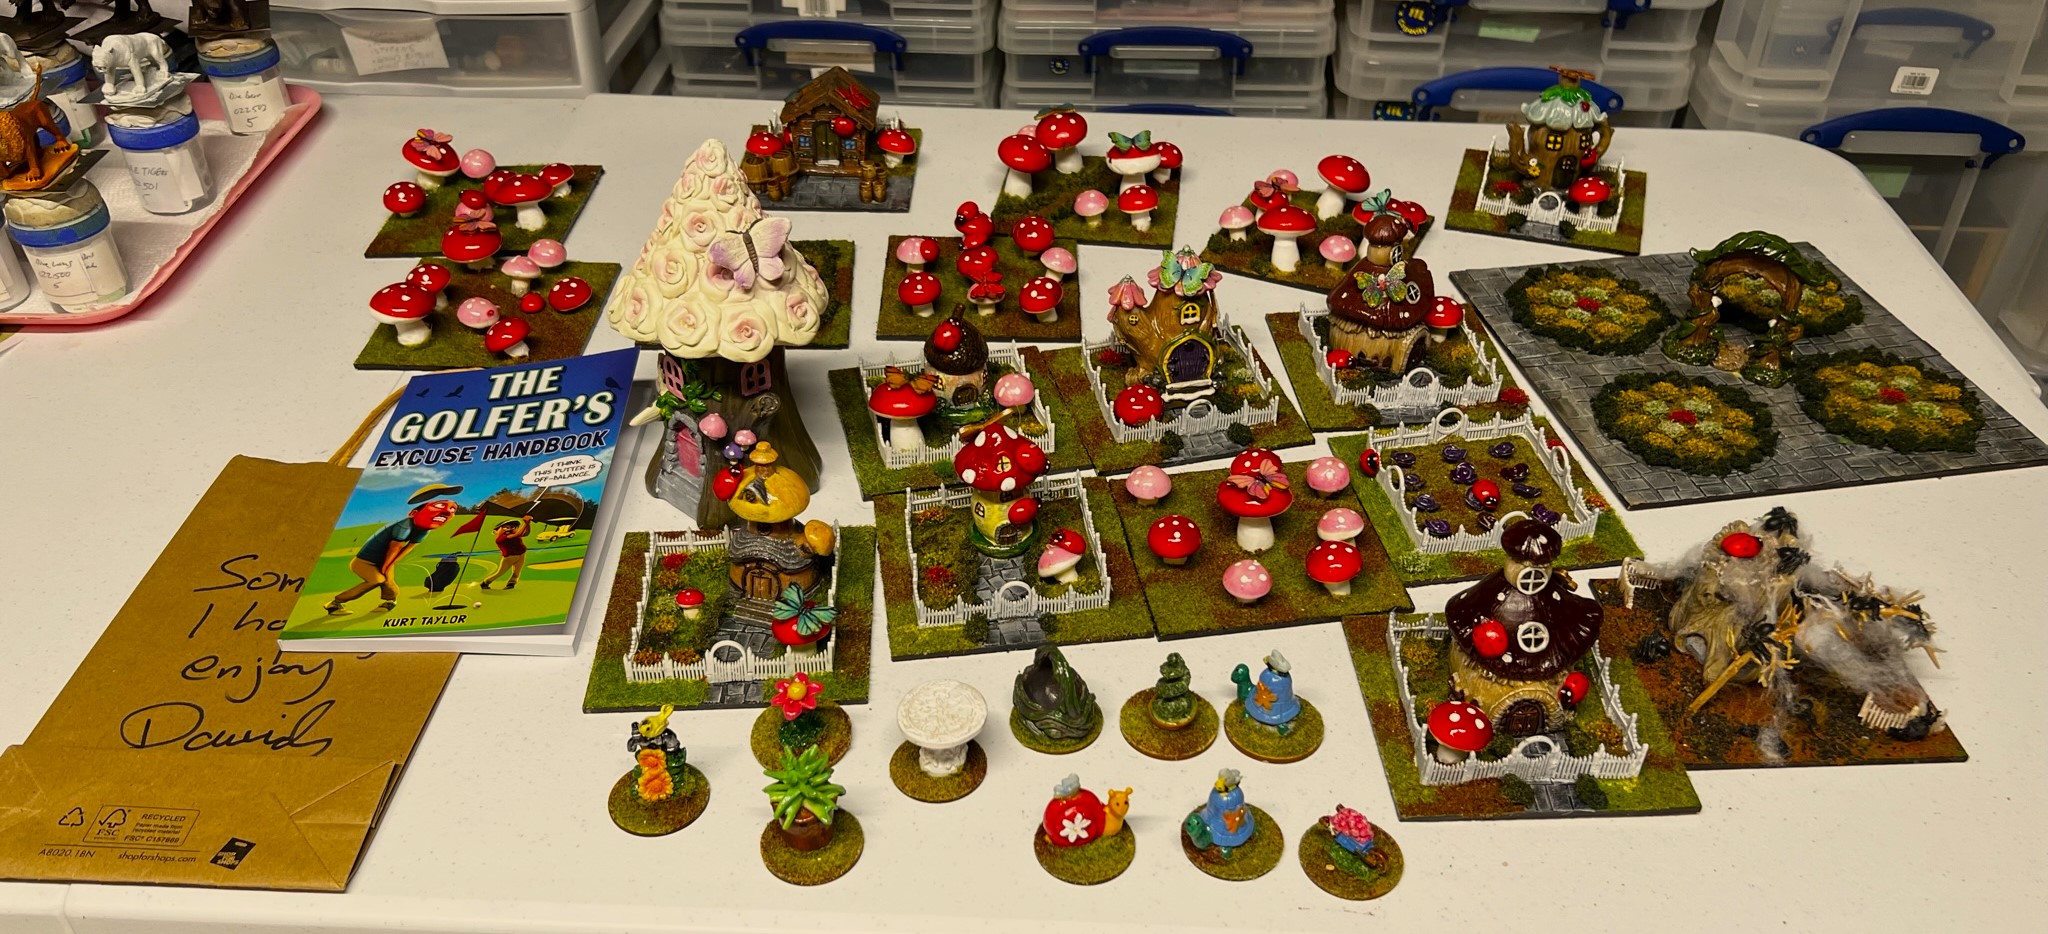
So much terrain!
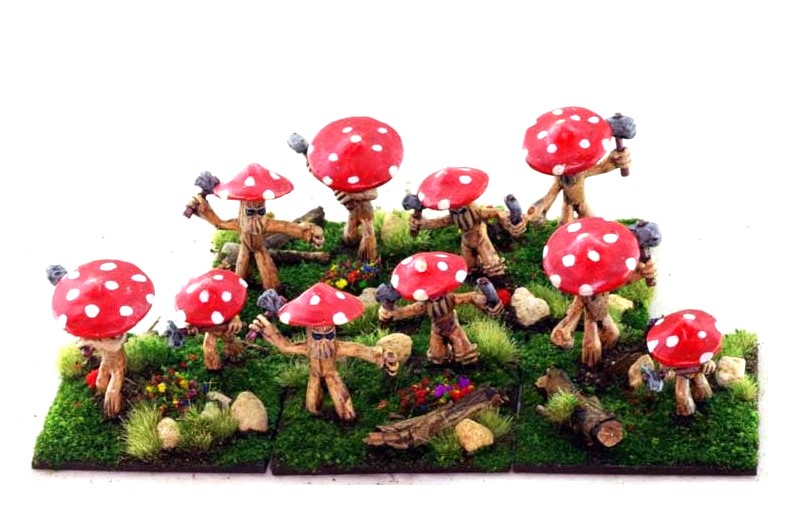
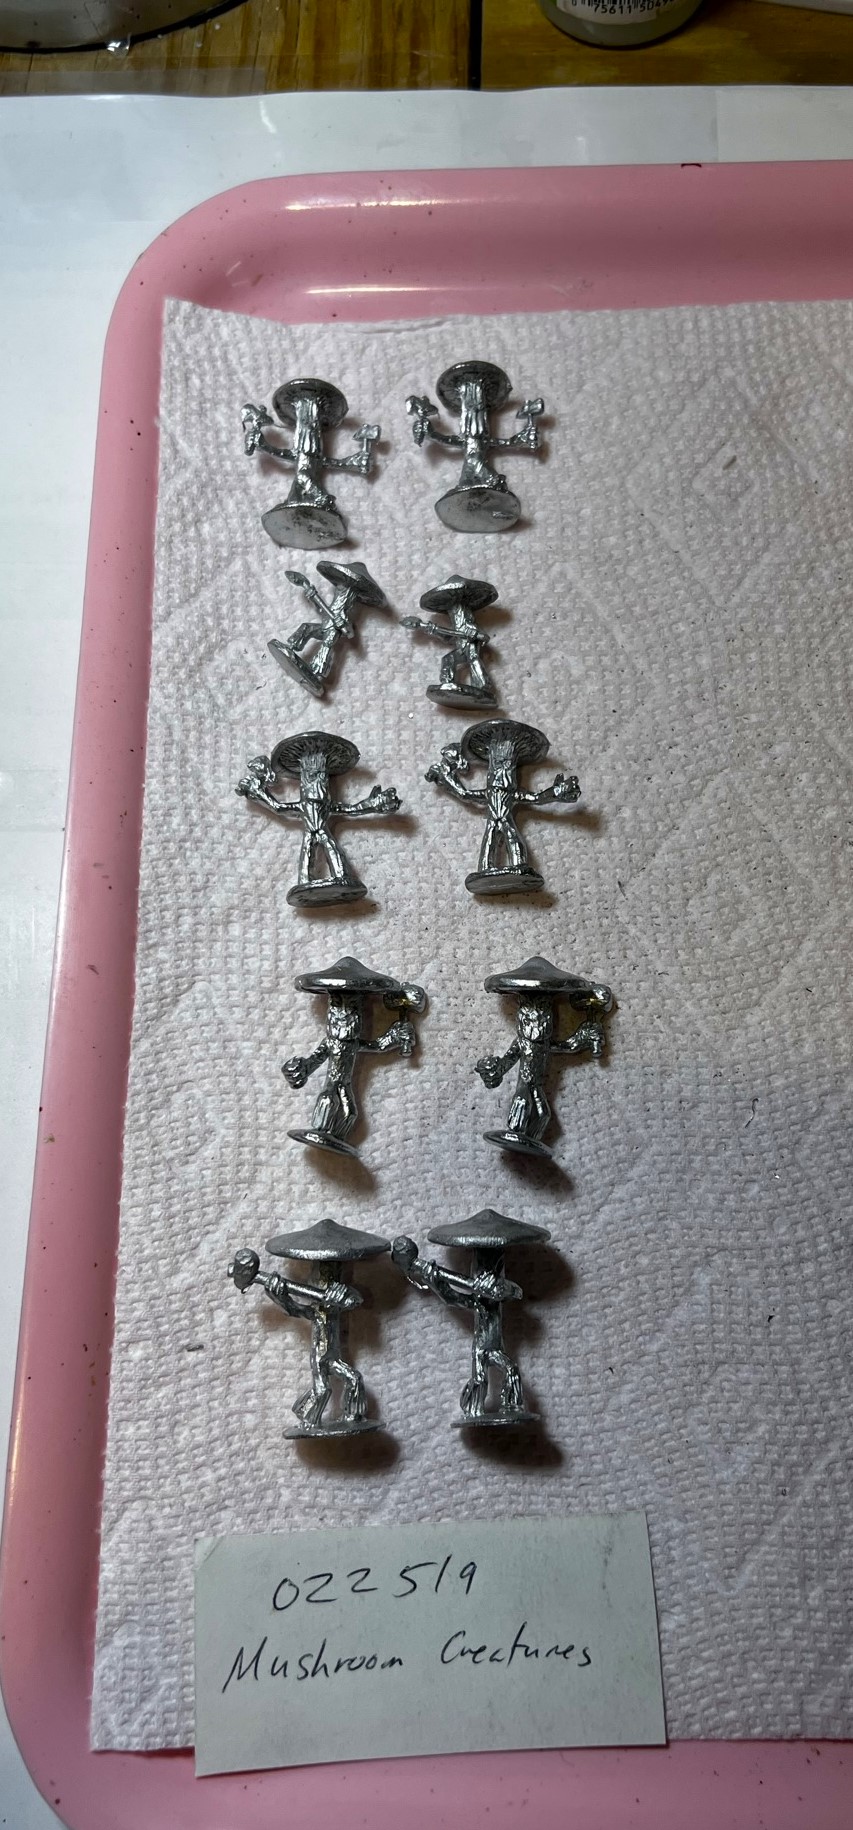
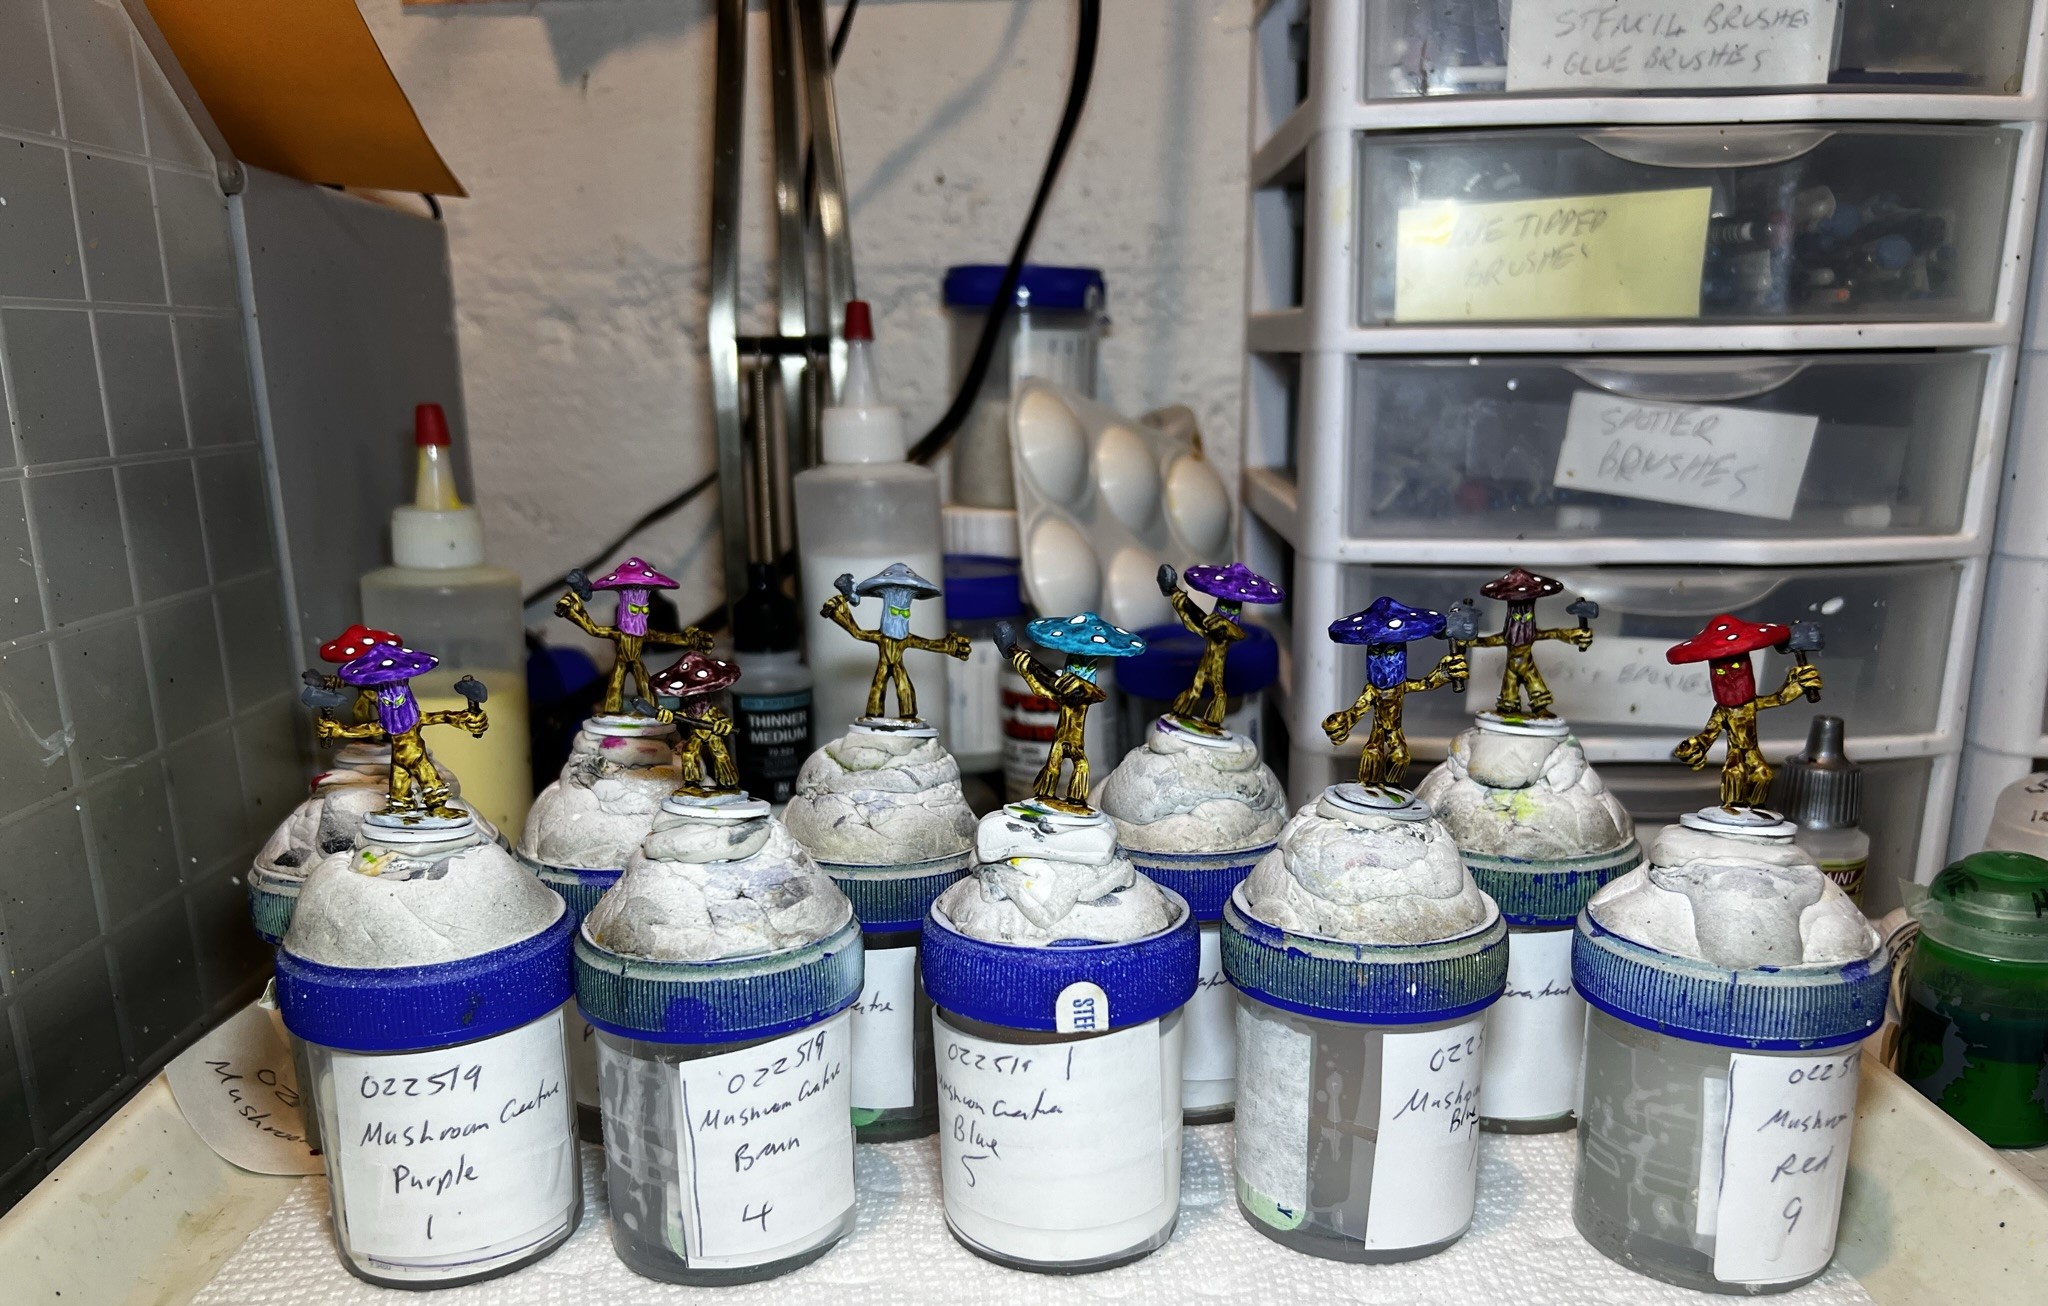
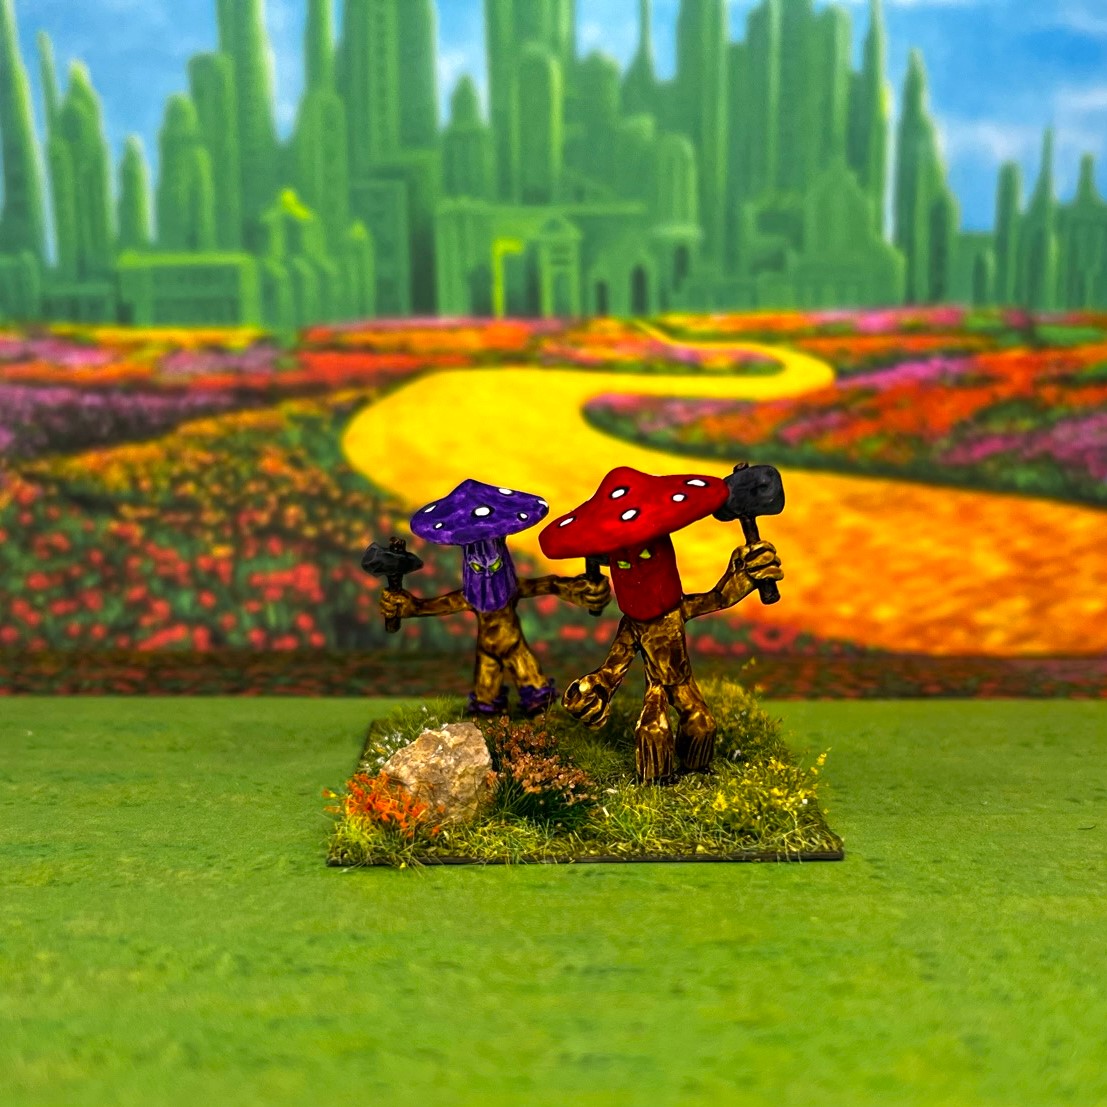
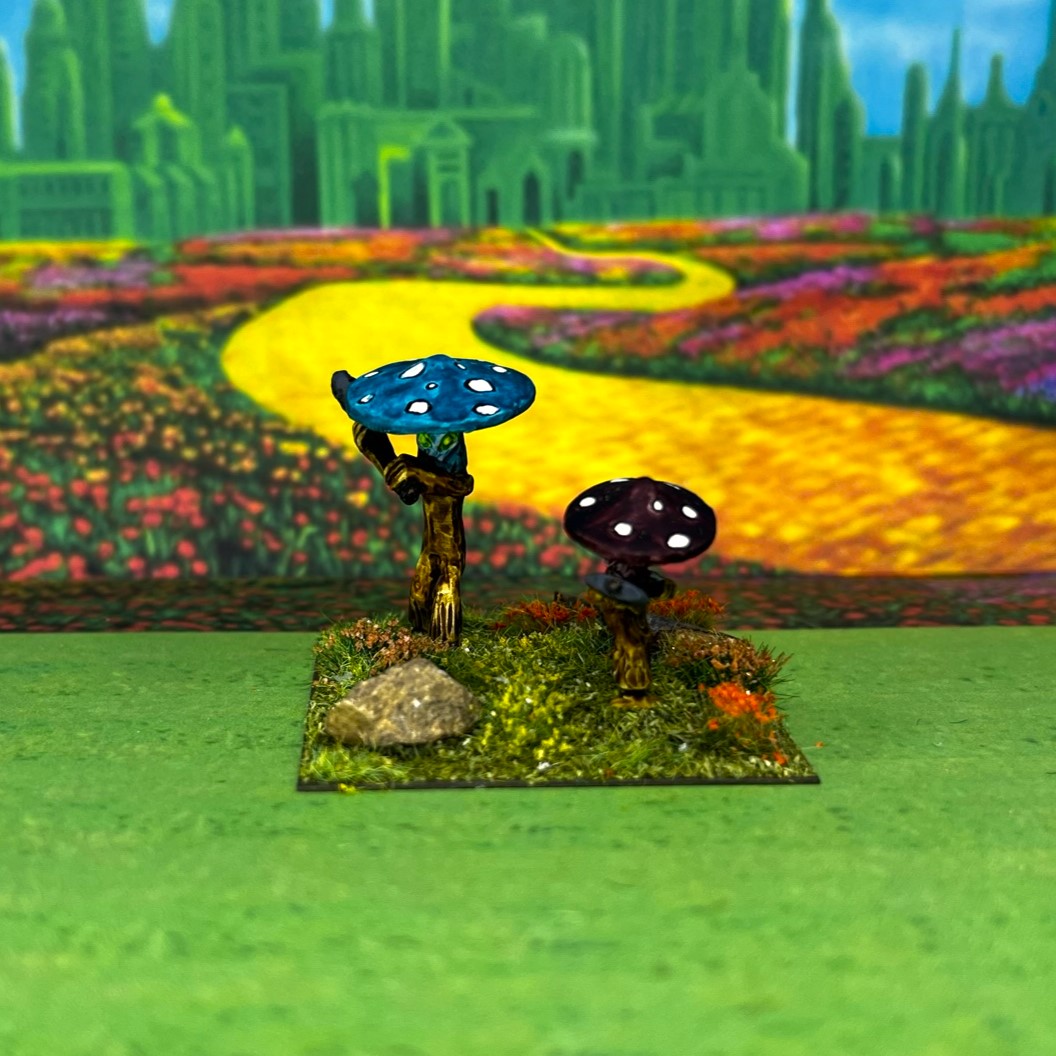
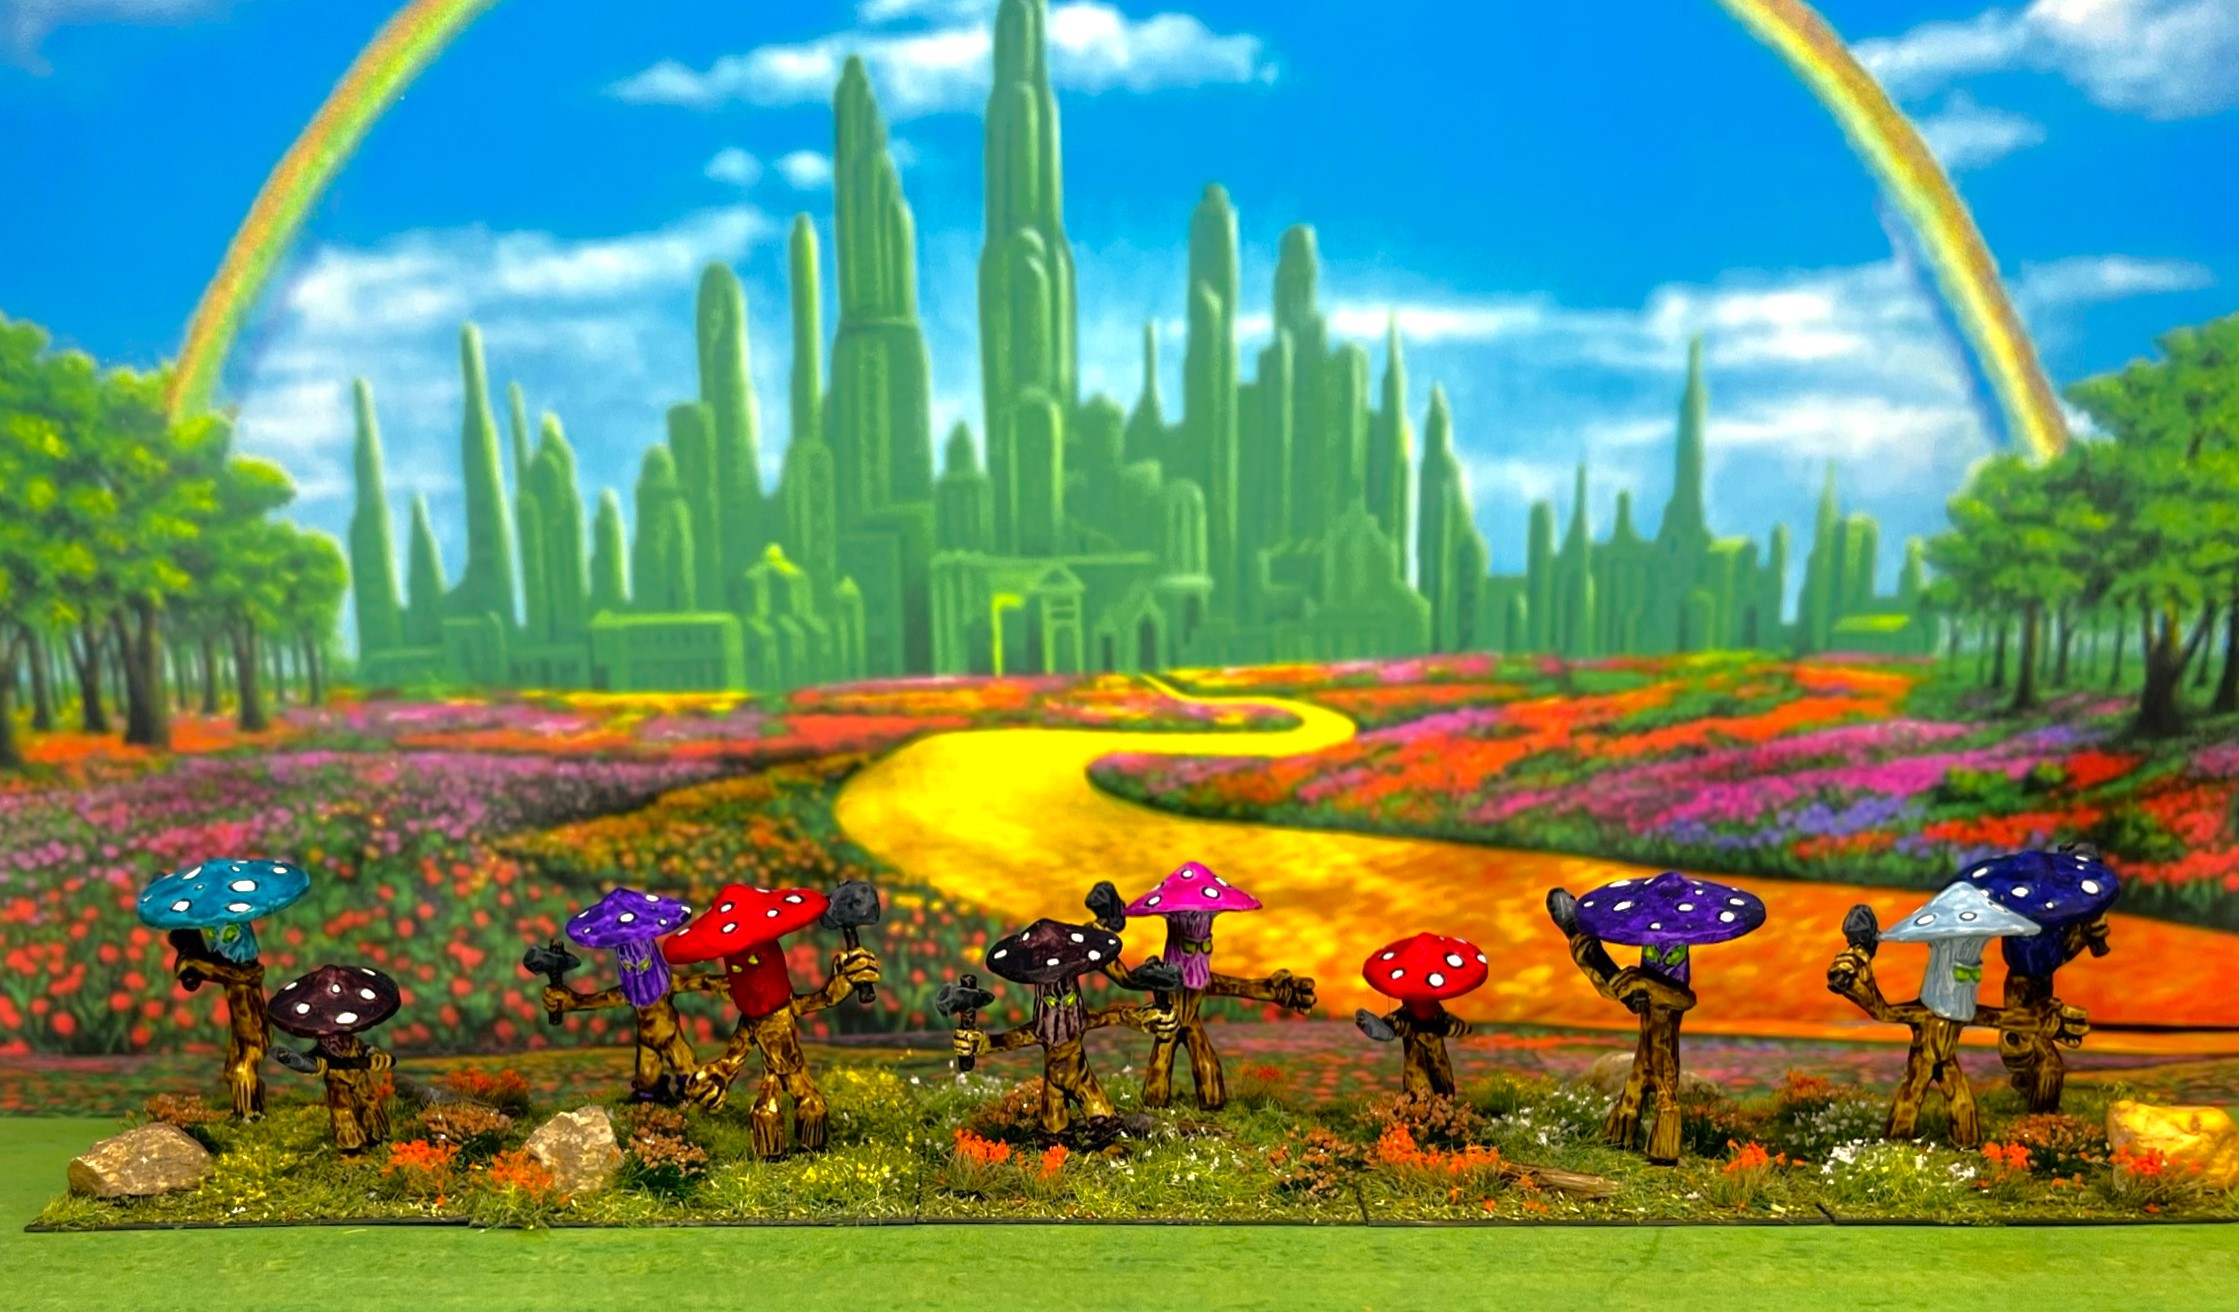
I had been previously gifted a good number of some wonderful Acheson resin buildings from Russ Dunaway that were perfect for the Great Land of Harvest or the world of the Wars of Ozz. Also, as I mentioned here last month, I received a wonderful gift of some new terrain from Dave in Australia. His blog is Guru PIGS blog and it was a collection from his Mouse Metropolis project. I also got a gift of couple of glowing Mushrooms from Buck Surdu that I also loved! Also my purchase of some walls and fences from Pendraken showed up. Add to this at this point I had around 26 Fairy-style prepainted resin buildings I had gotten from the Dollar Tree store – including a tall one from Dave/Guru. Something had to be done – I could neither store, use, or transport all of this goodness effectively. Plus some of the Pendraken stuff and some of my own stone walls and fences needed an upgrade. Add to this, I got a new brigade of Impkins for Ozz from Buck – more on that shortly – let’s stay on terrain for the moment.


My first solution to this issue was to share the bounty. I shipped off half of the Acheson resin buildings and half of my fairy buildings to my Tennessee buddy (and former West Point roommate) Dave Wood for use in his Wars of Ozz games. My next step was to finish the resin buildings, fences, and walls so that I could craft a storage and transport solution for them. I also wanted to repaint/upgrade my remaining haphazardly prepainted Dollar Tree buildings. So on to what I managed to do with all of that…


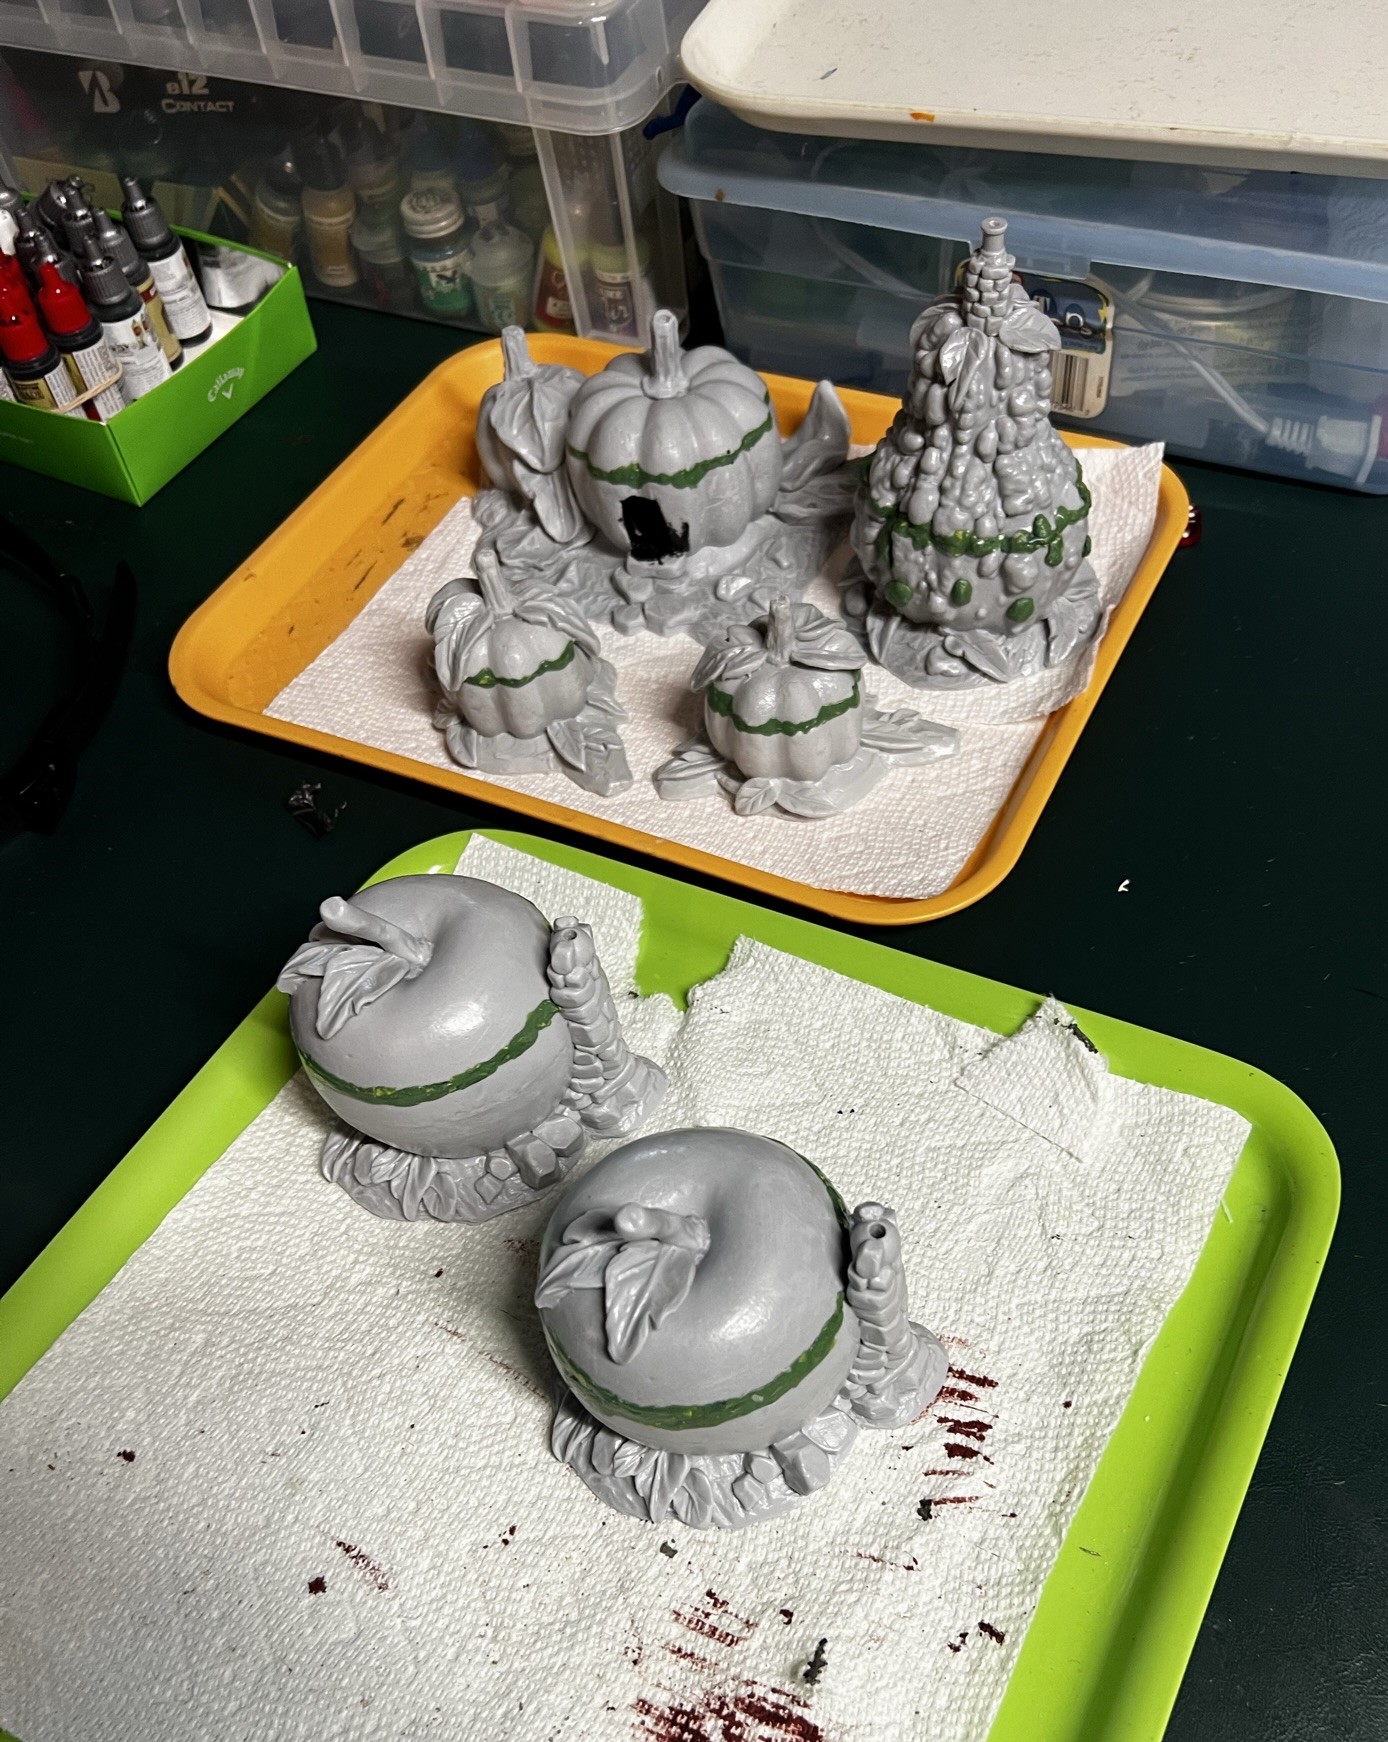


As shown above, the priming took a couple coats (plus some more touch up) as resin is, well, resin. I tried to minimize the lines where the roofs met the model bottoms – but they still showed up a bit. Still as tabletop terrain, it think its ok, especially as the roofs won’t come off.
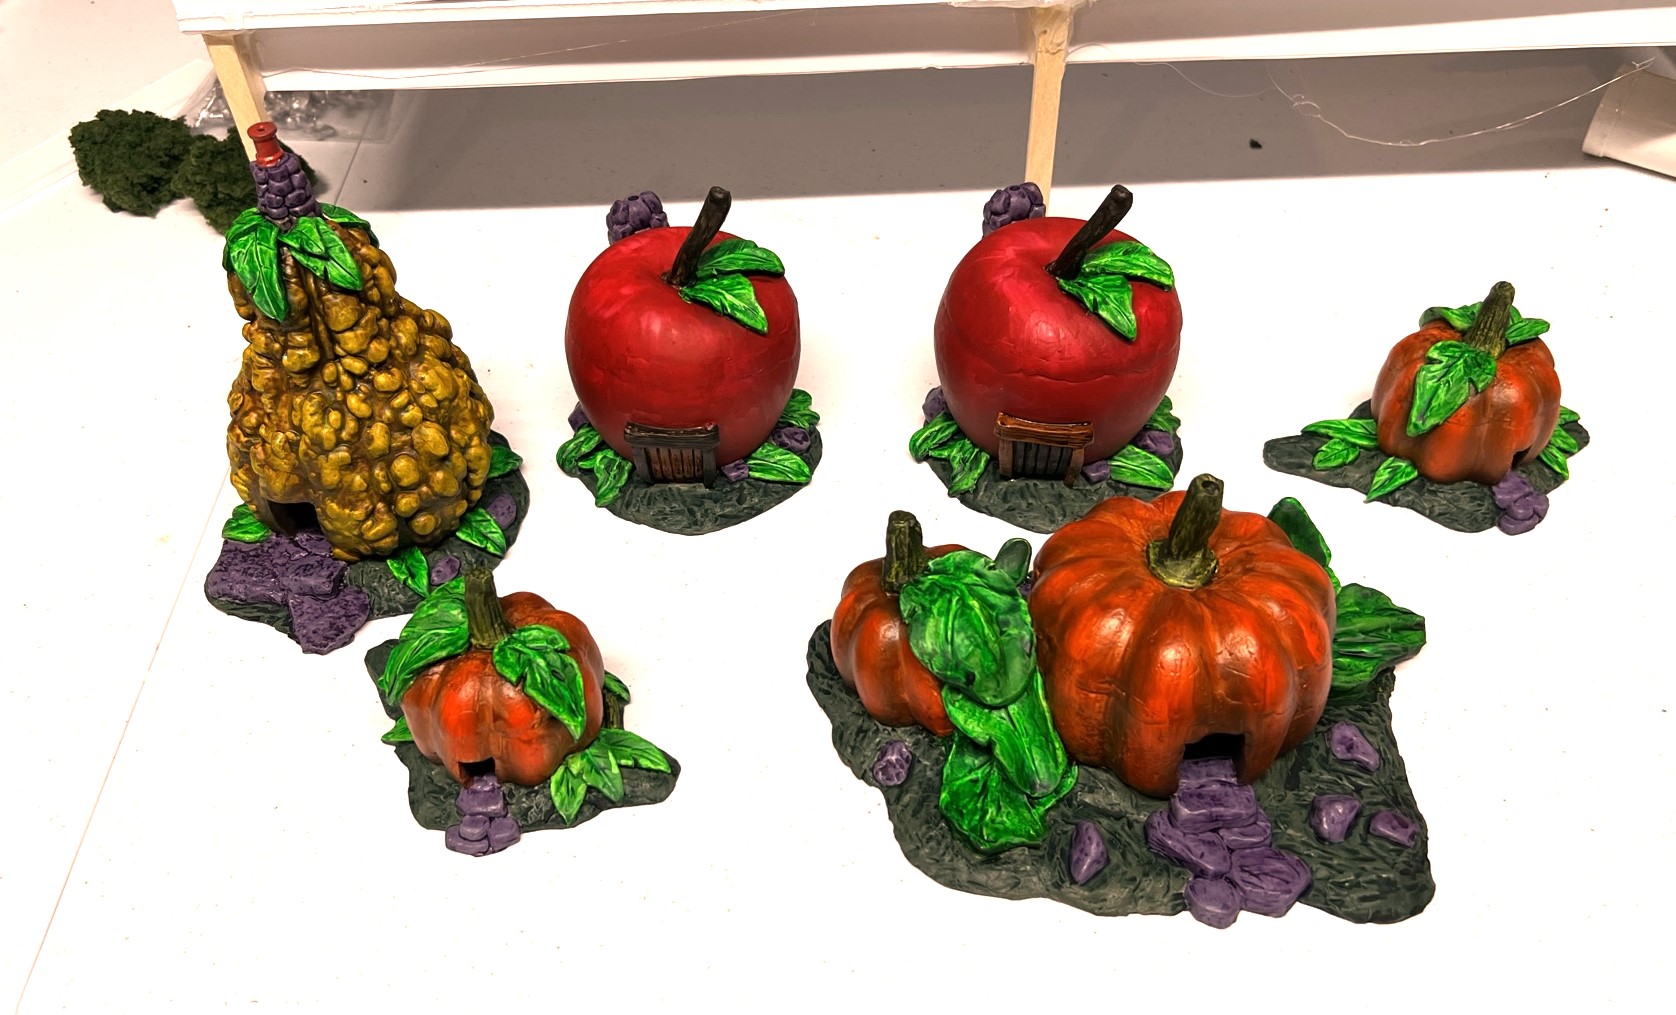
Here below are how they came out after painting:


Then I had some Pendraken MDF snakerail fences to assemble and paint

I also got some plastic walls and plastic fences from Pendraken that I flocked and gave some minor washes to in order to make them look a bit better. I also repeated this process with some older used 3″ walls and fences that I already had that were in desperate need of an upgrade. Next, I repainted my remaining 13 Dollar Tree Store Fairy buildings (to varying degrees depending on what could be done).
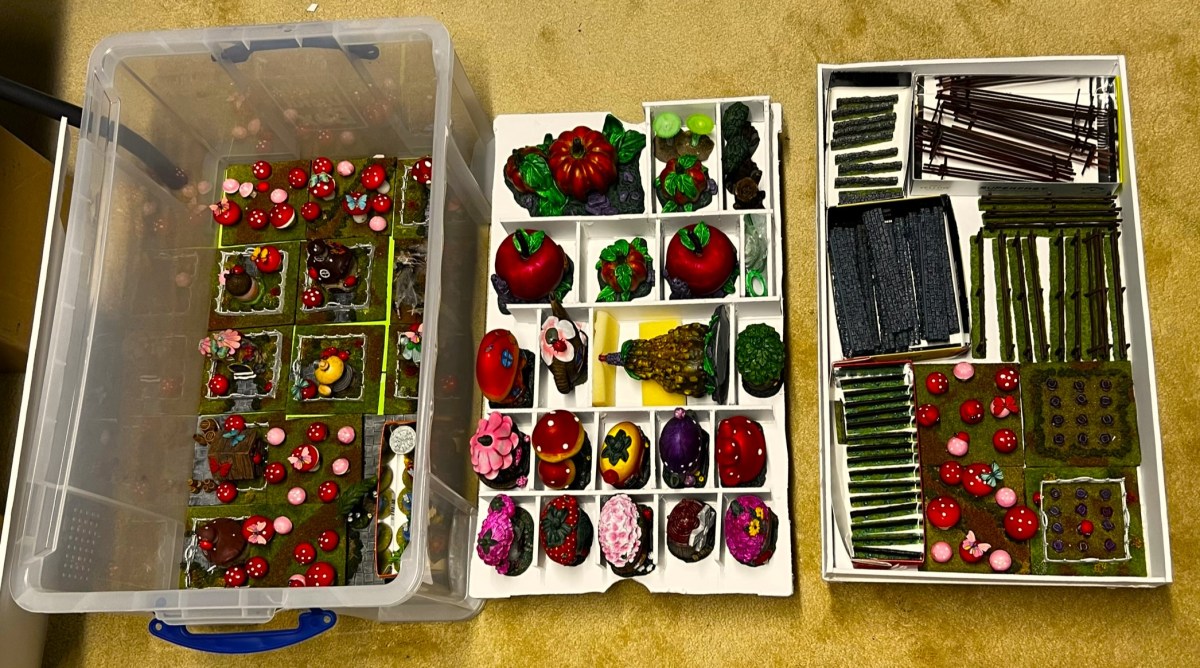
Now, I was ready for a storage solution. I went with a 64-liter Really Useful Box, and built and installed three custom-made levels to transport and store all of this goodness. Serially, I mocked up each level on sheets of foam board, and used hot glue and toothpicks to secure walls of foam board on each level. The underneath supports were square wooden dowels. I also incorporated empty golf ball boxes for storage on the top level. (very useful too). It’s maybe good I lose golf balls from time to time…
The bottom level was easy – as I only needed to fit the Mouse Metropolis pieces down there. Then it was on to the middle layer – where all the taller pieces like the bigger buildings would be housed.


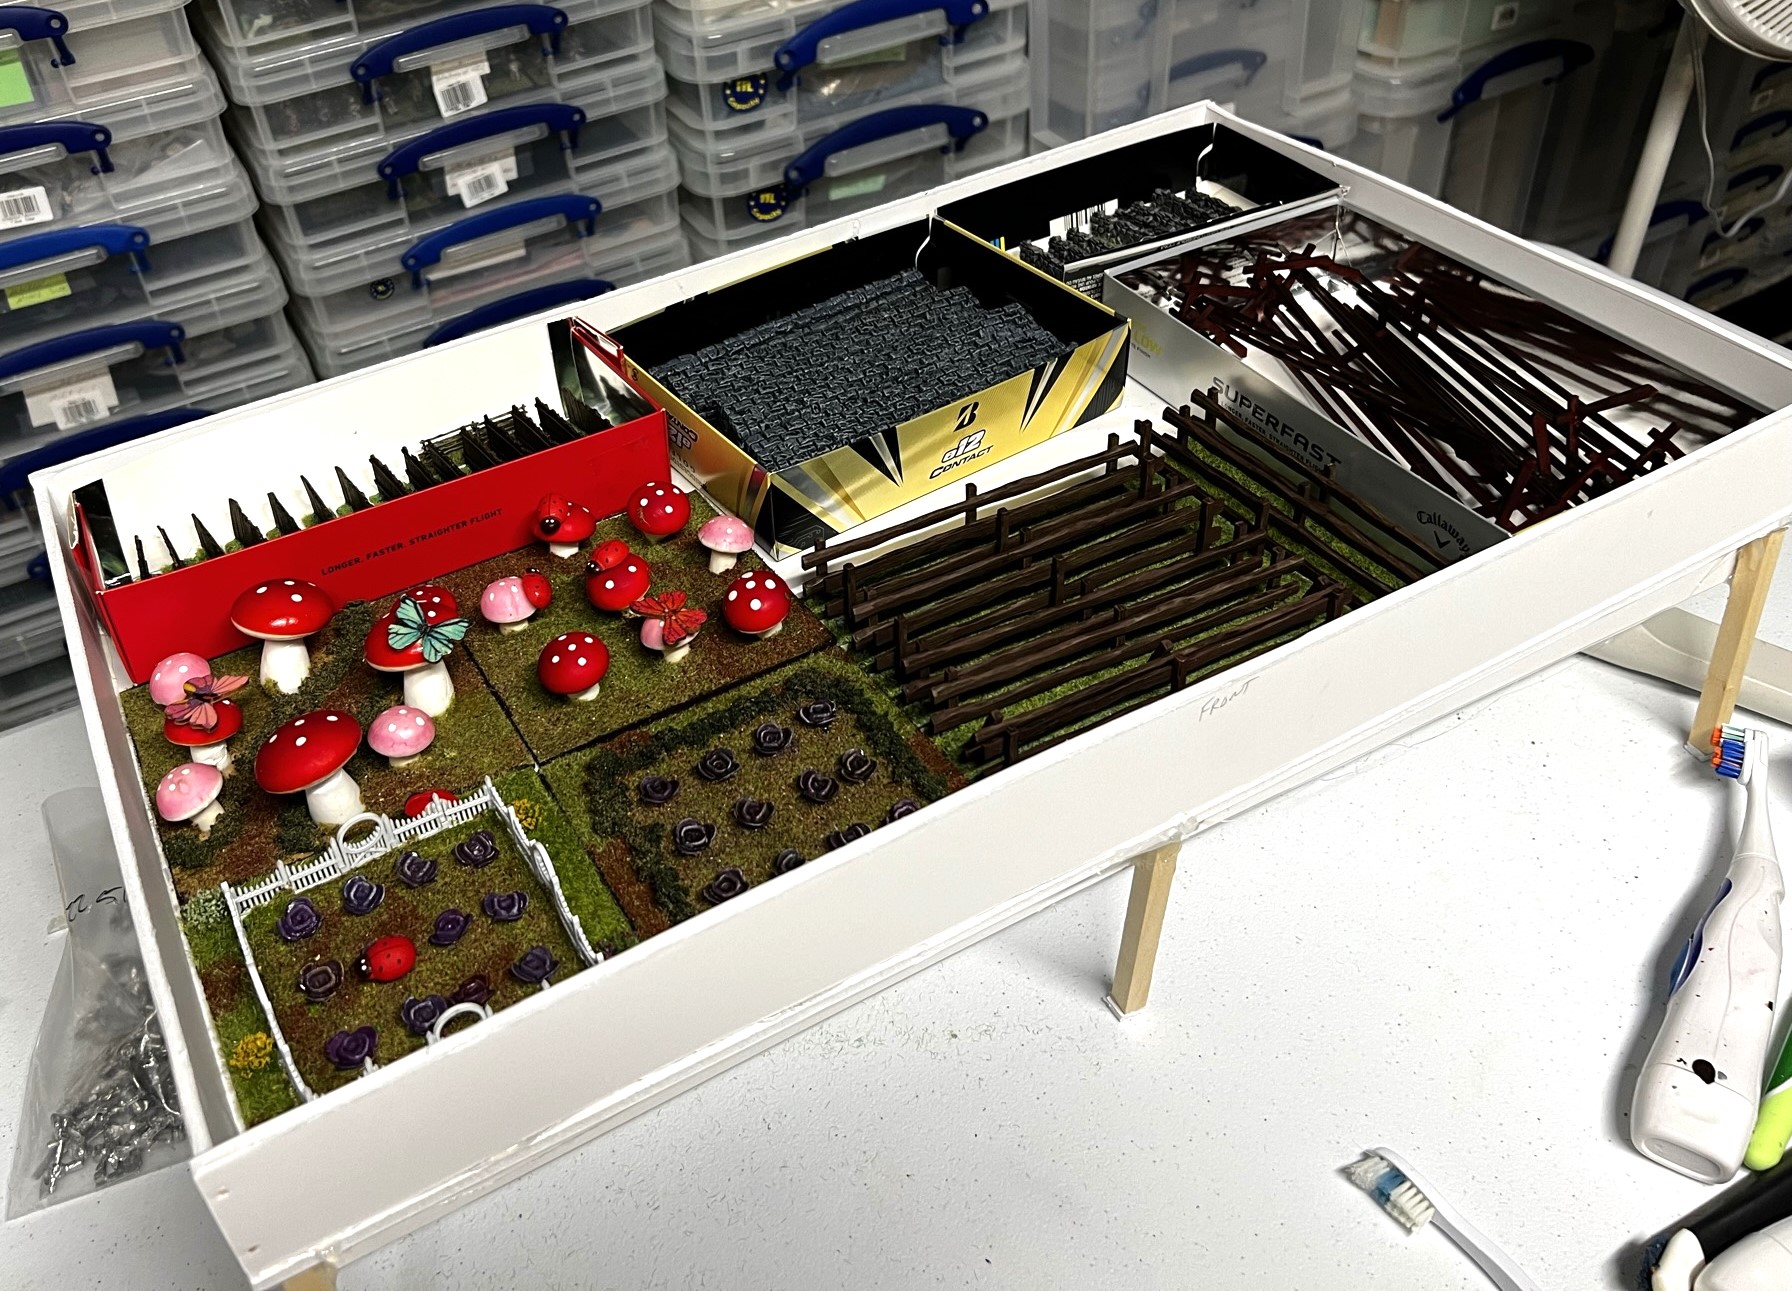
Below you’ll see all three levels and how compact it all is in the 64-L box – which weighs about 5-7 pounds full.


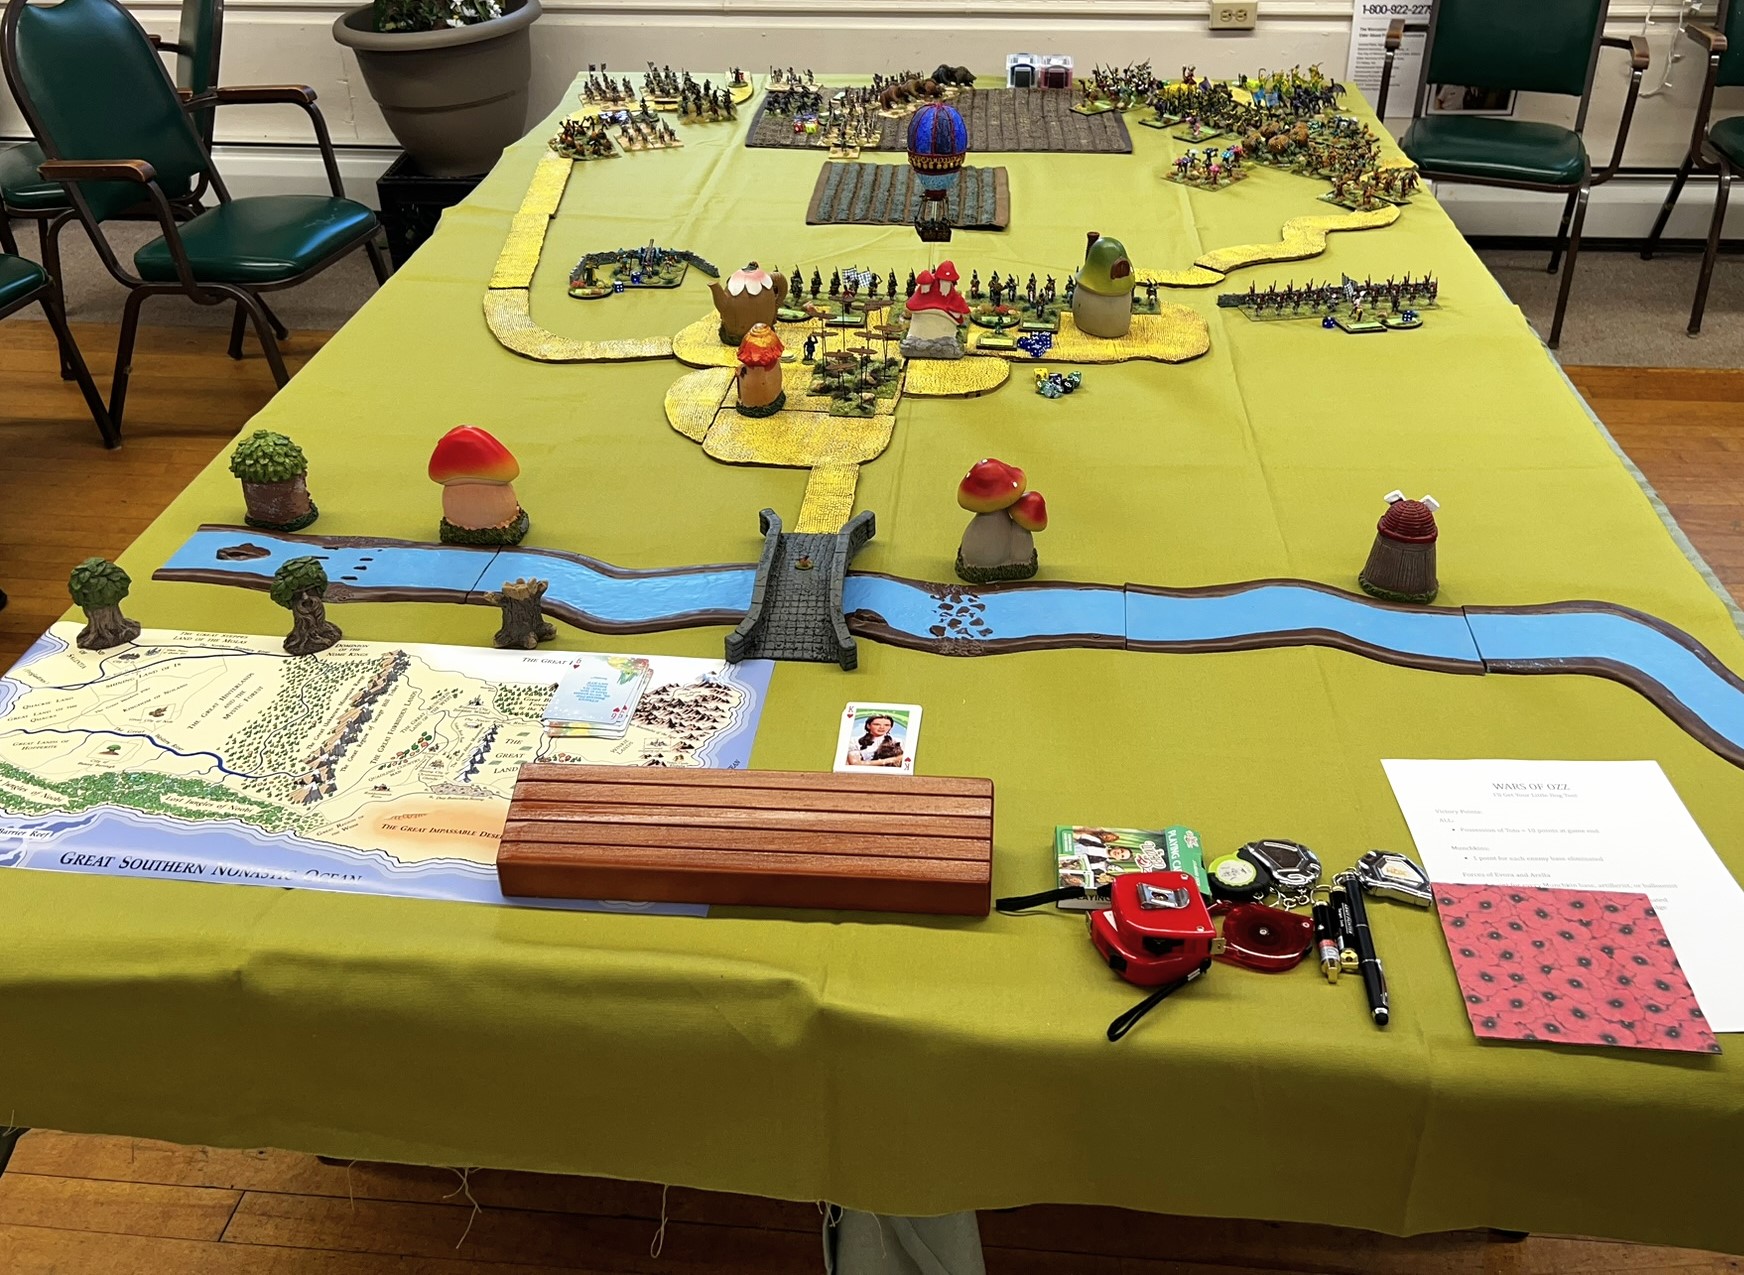
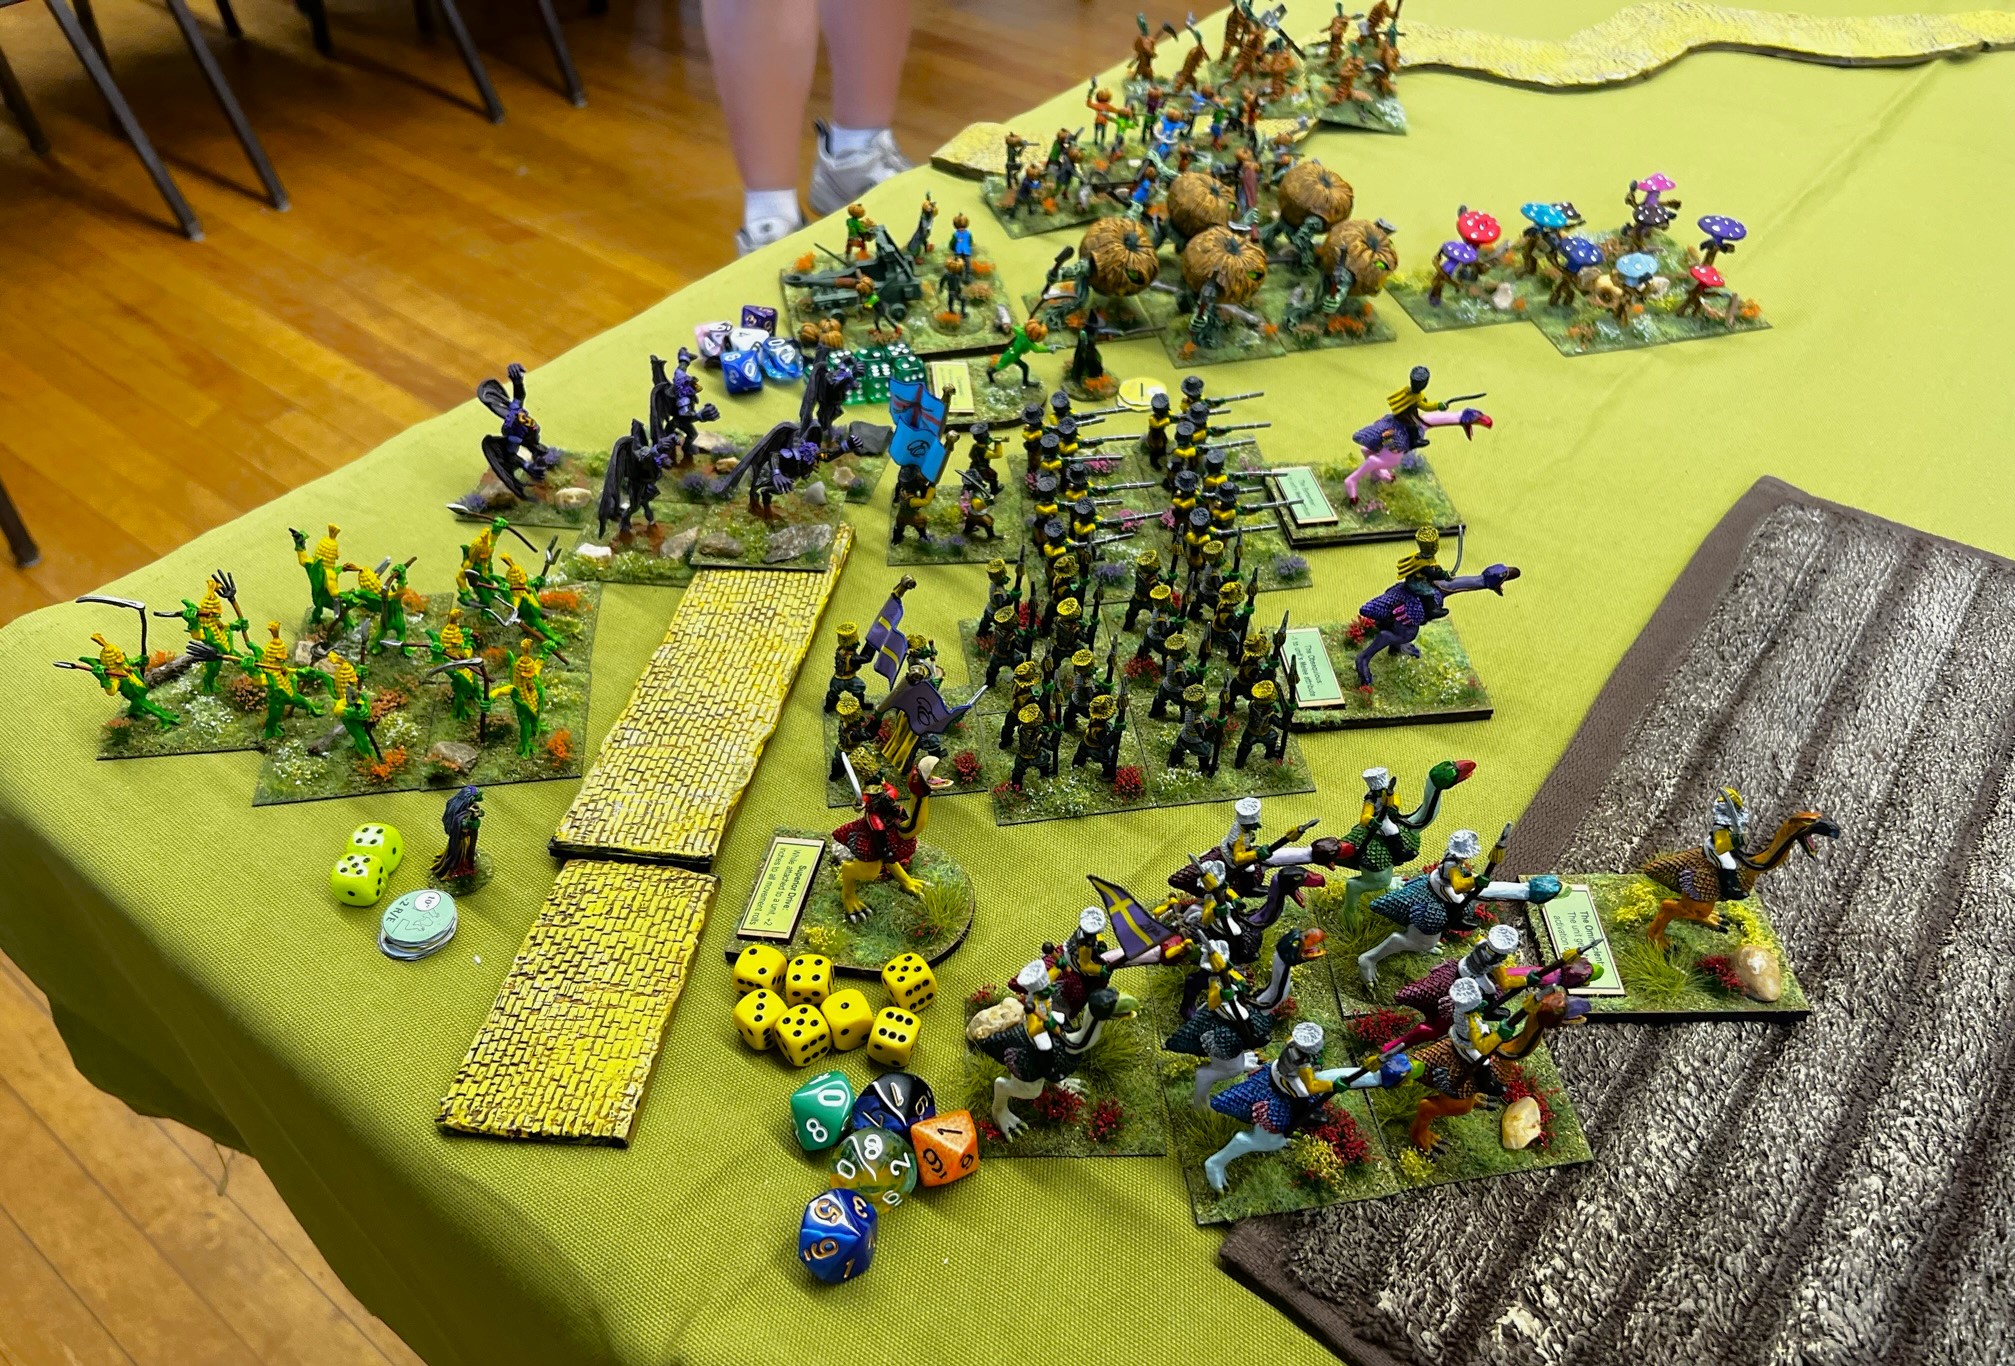
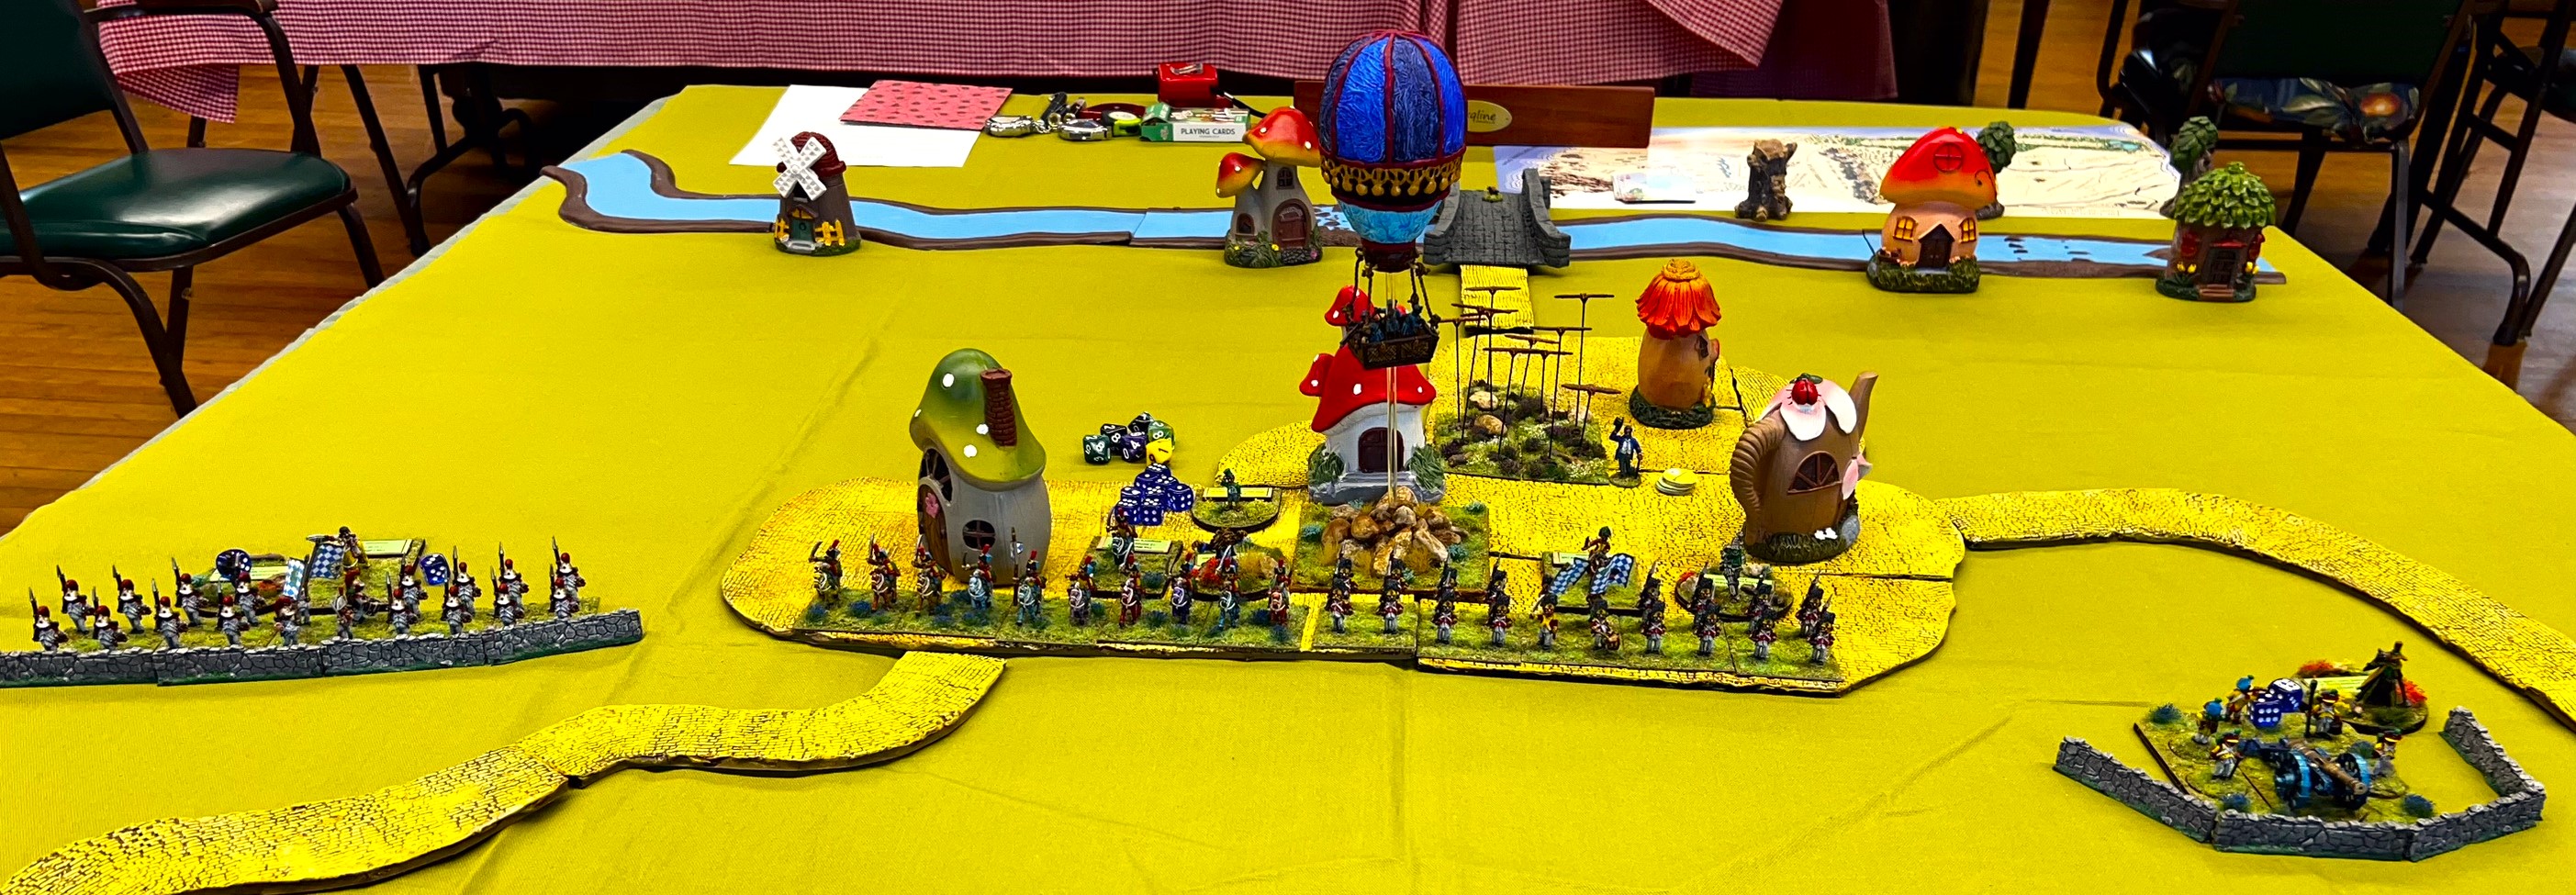
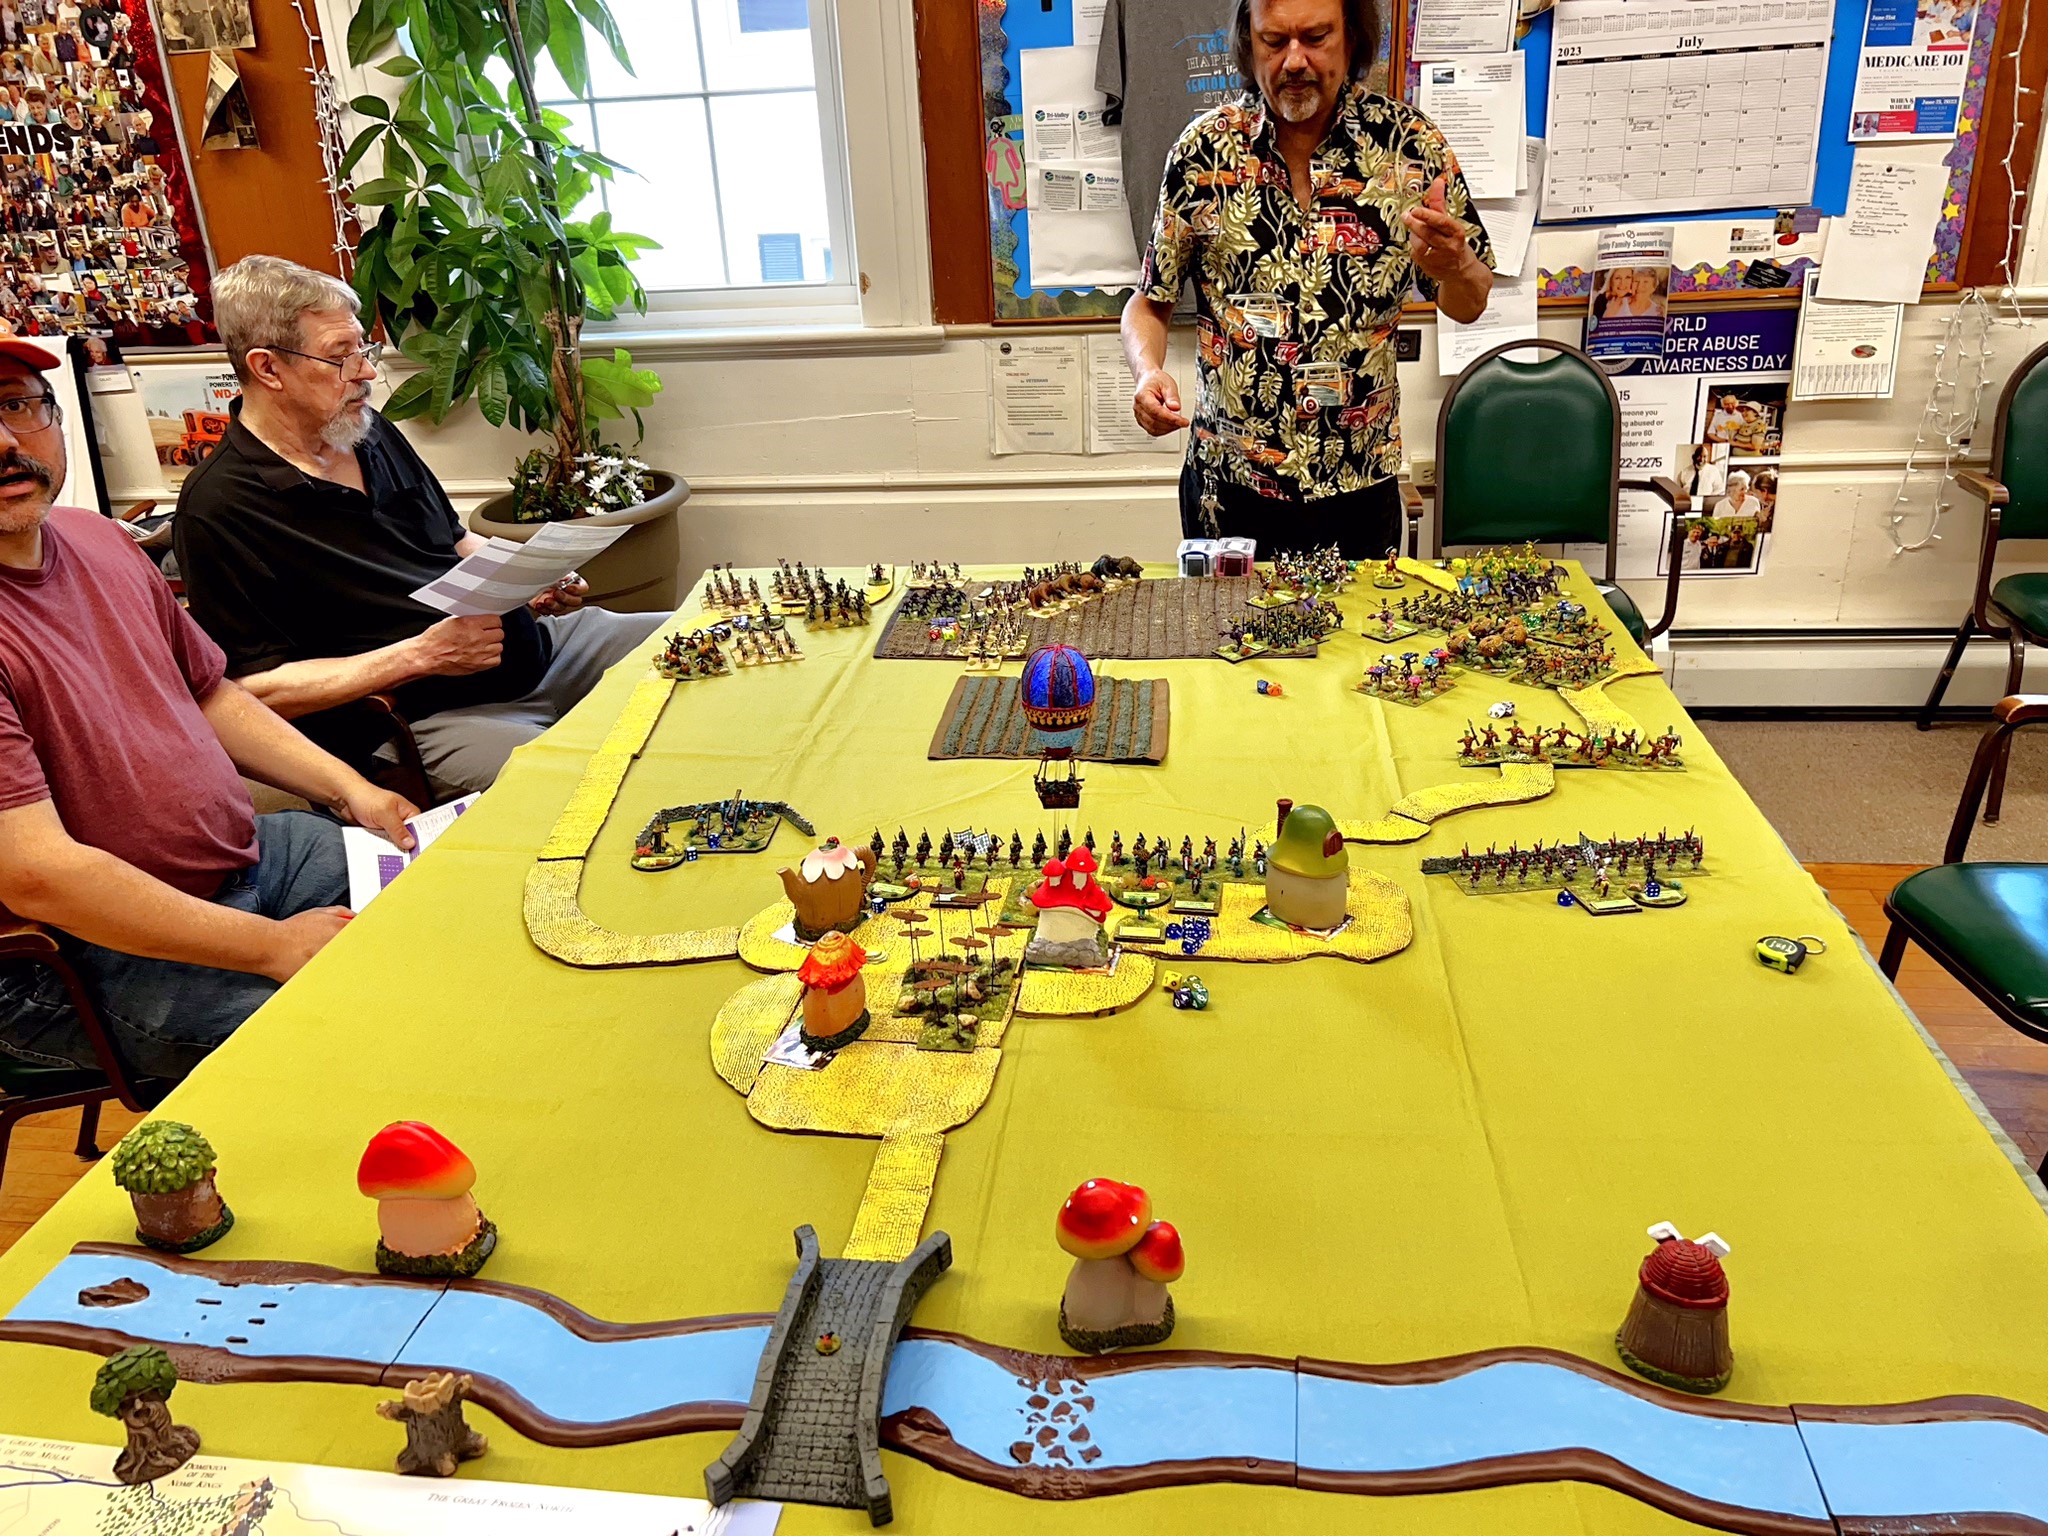
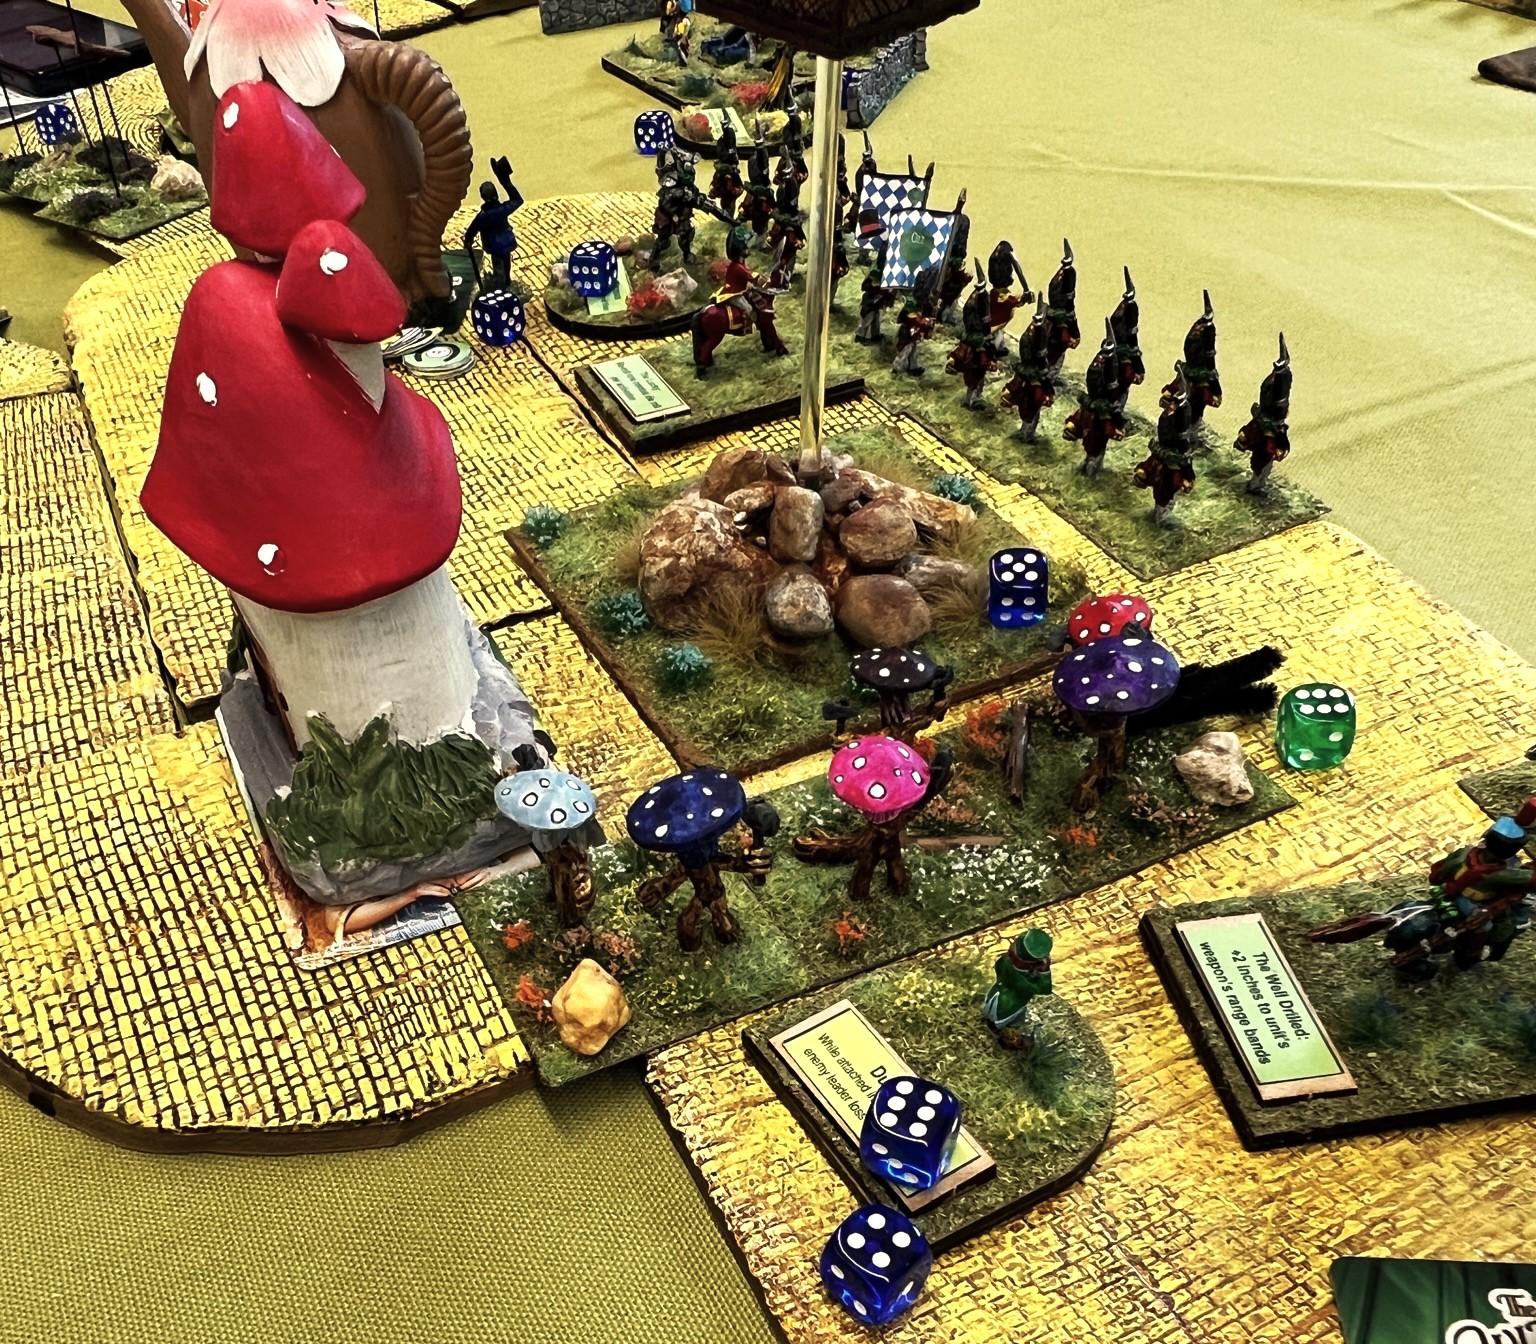
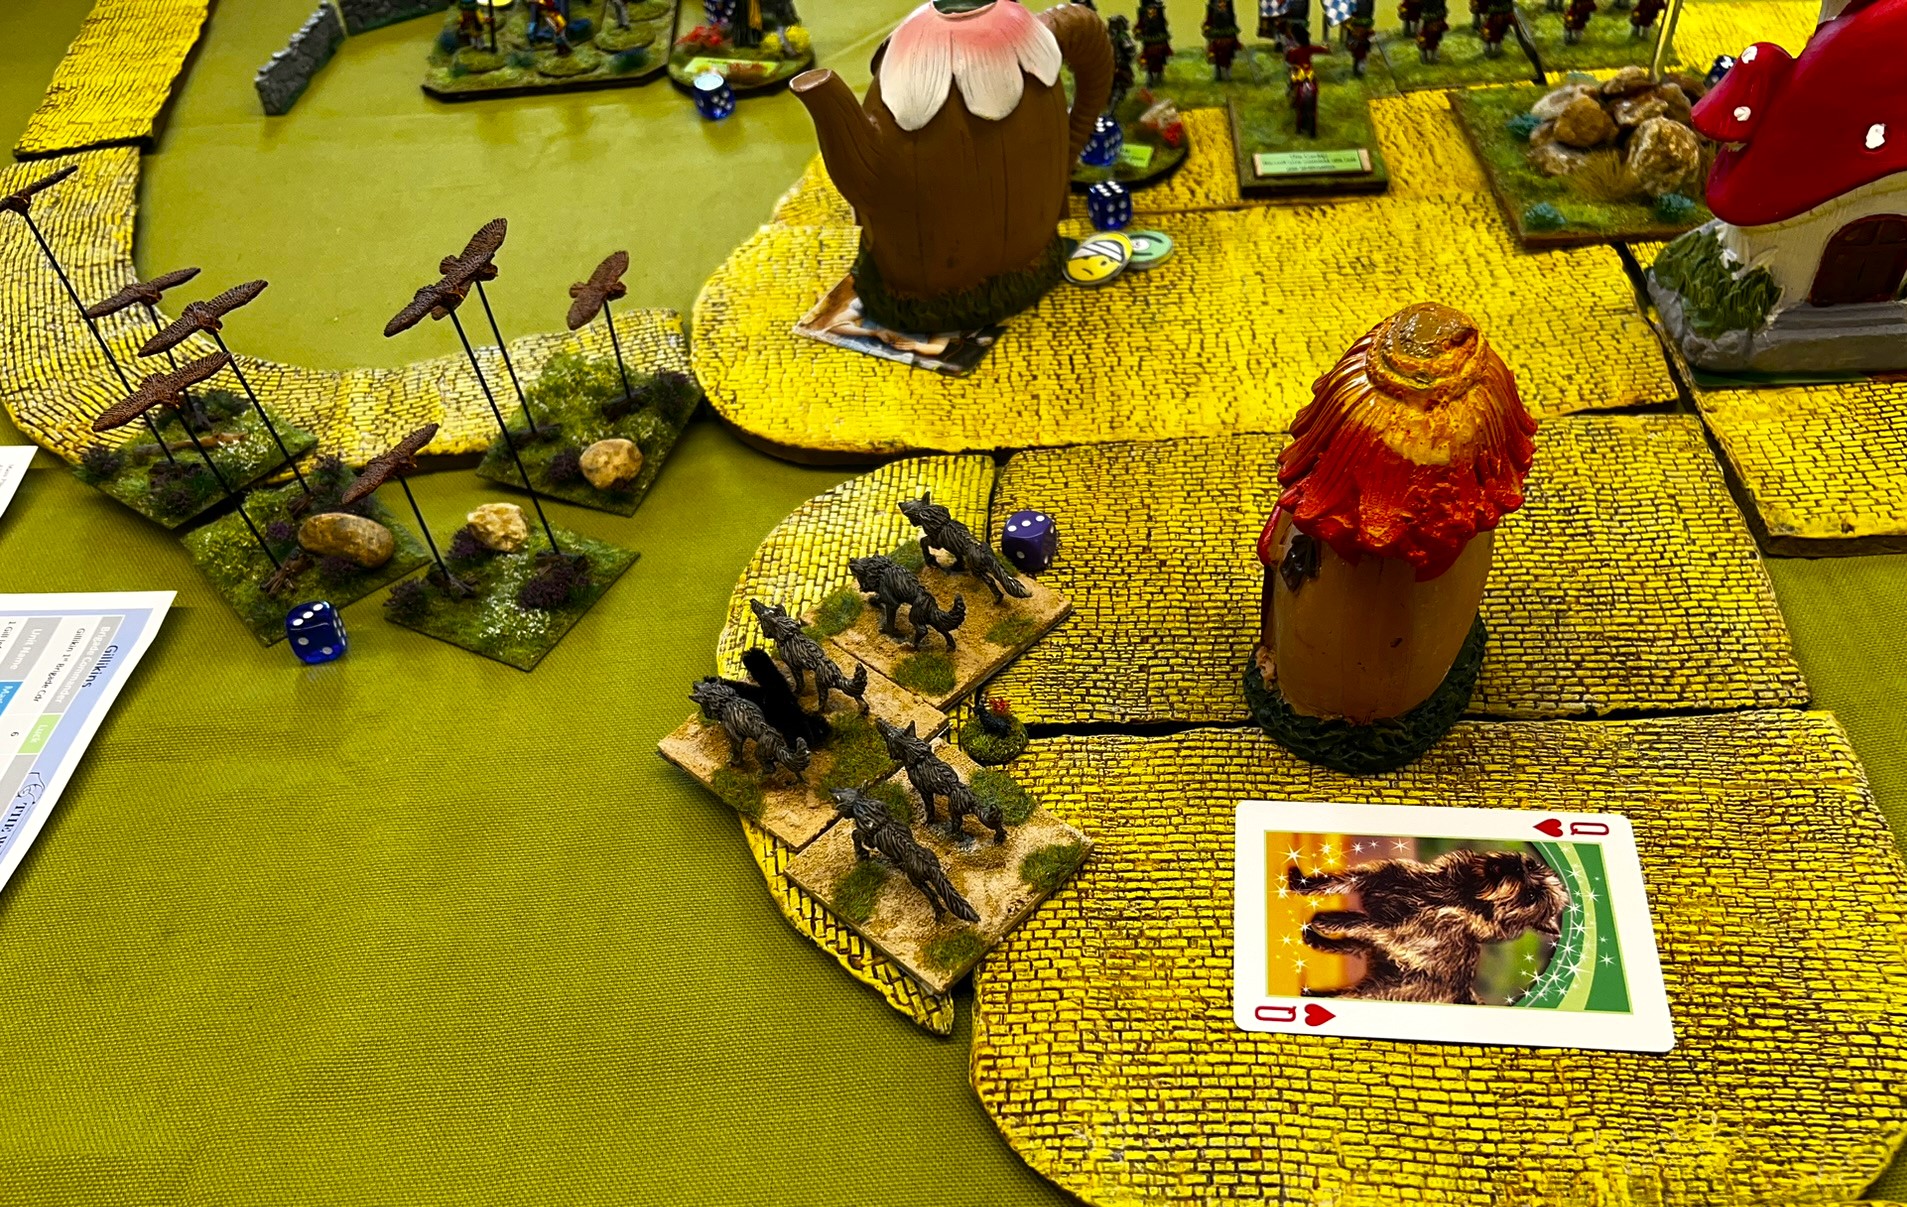
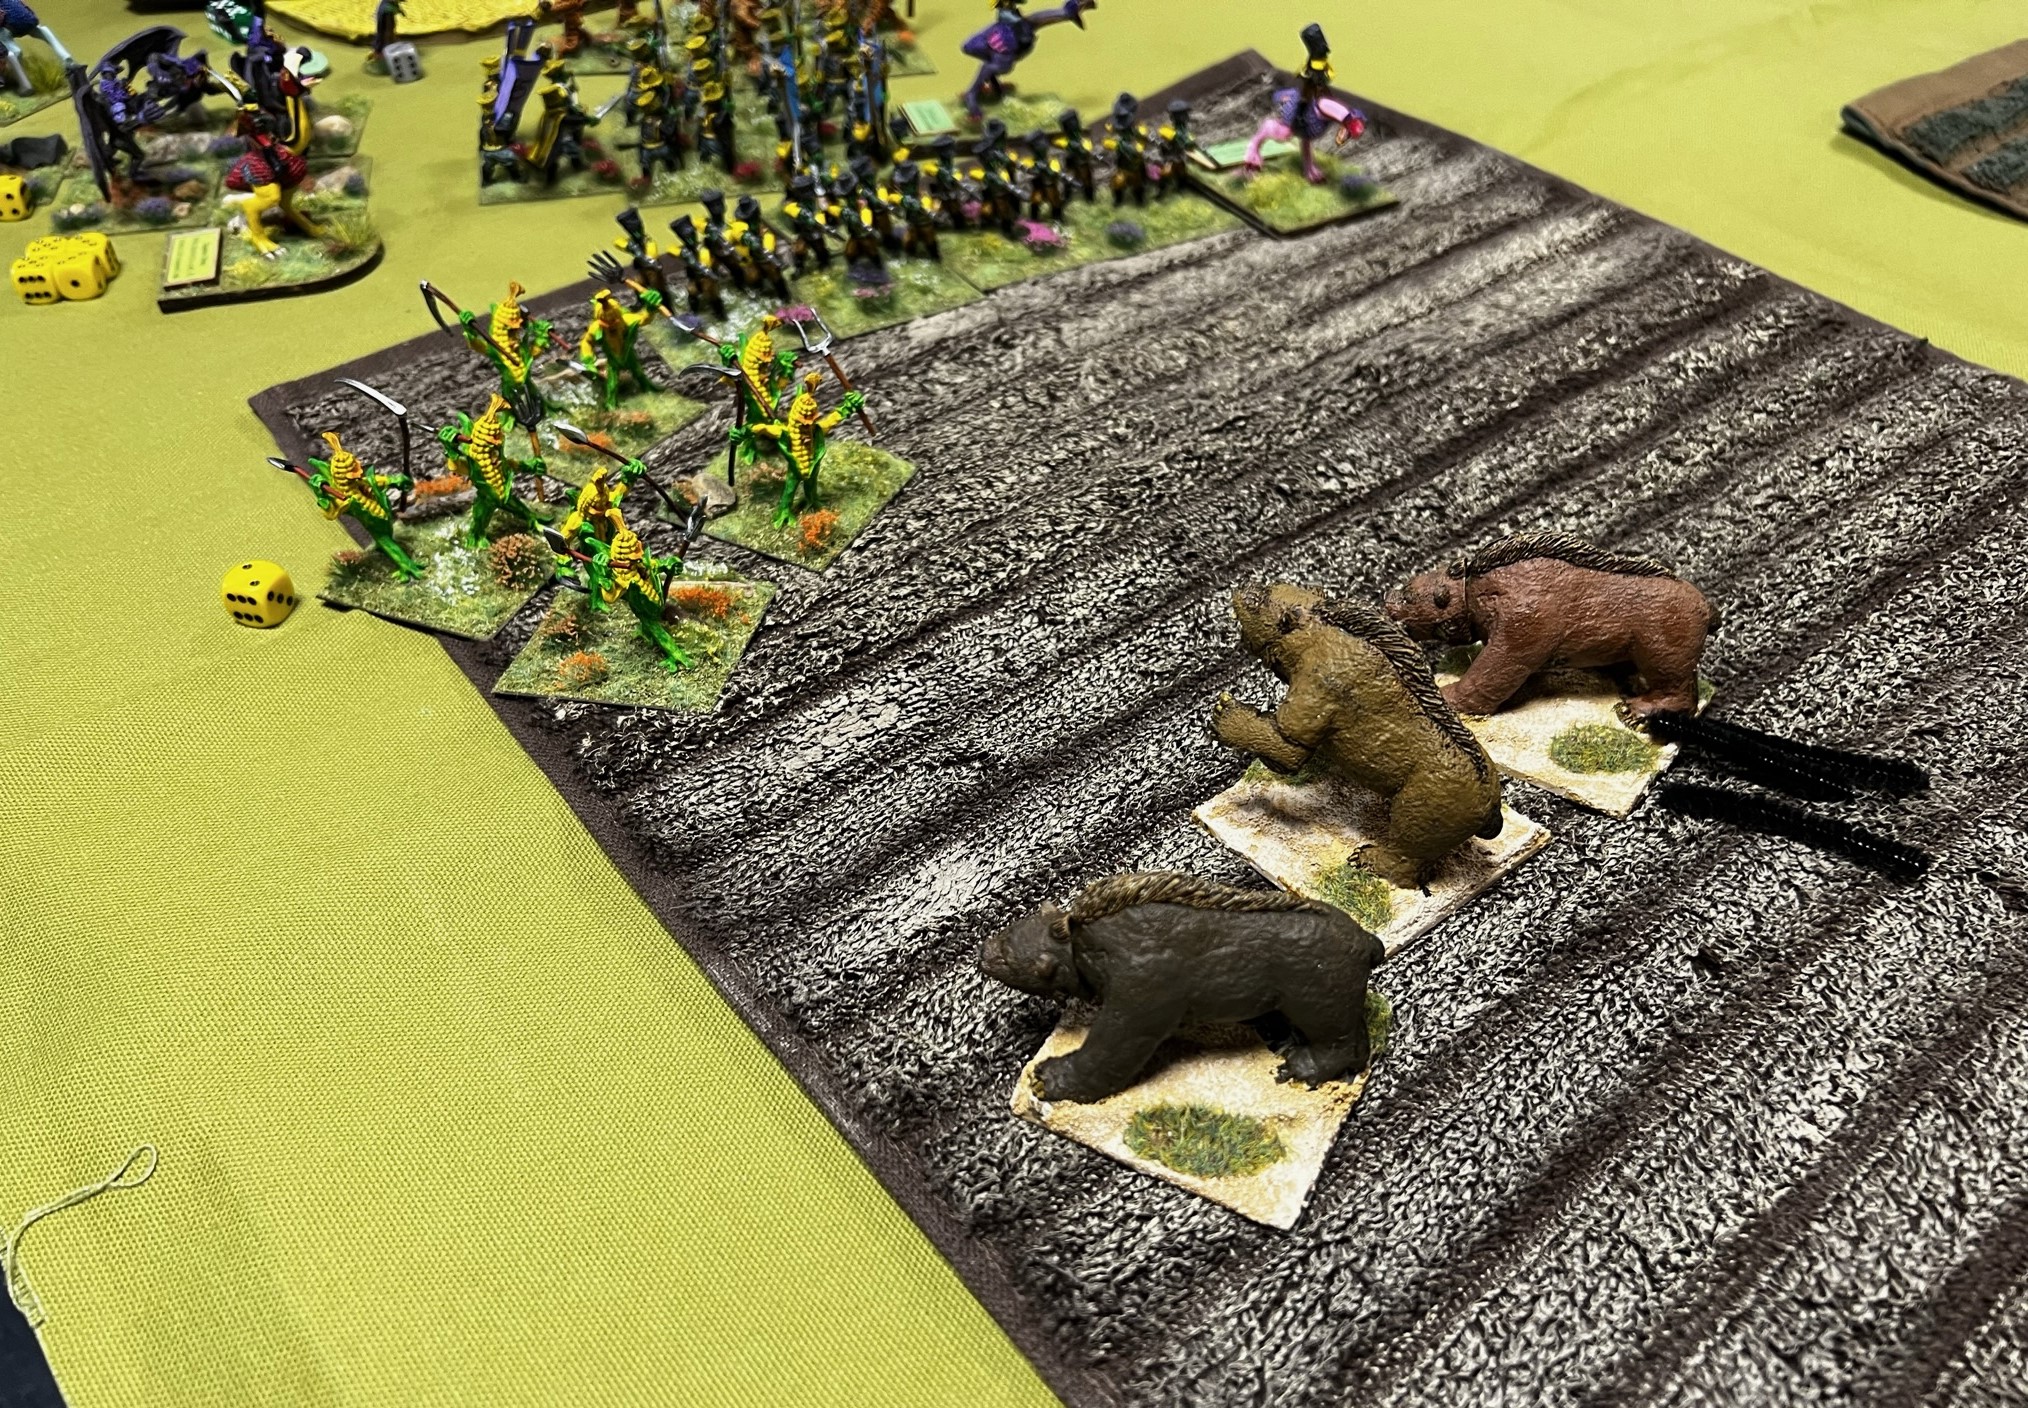
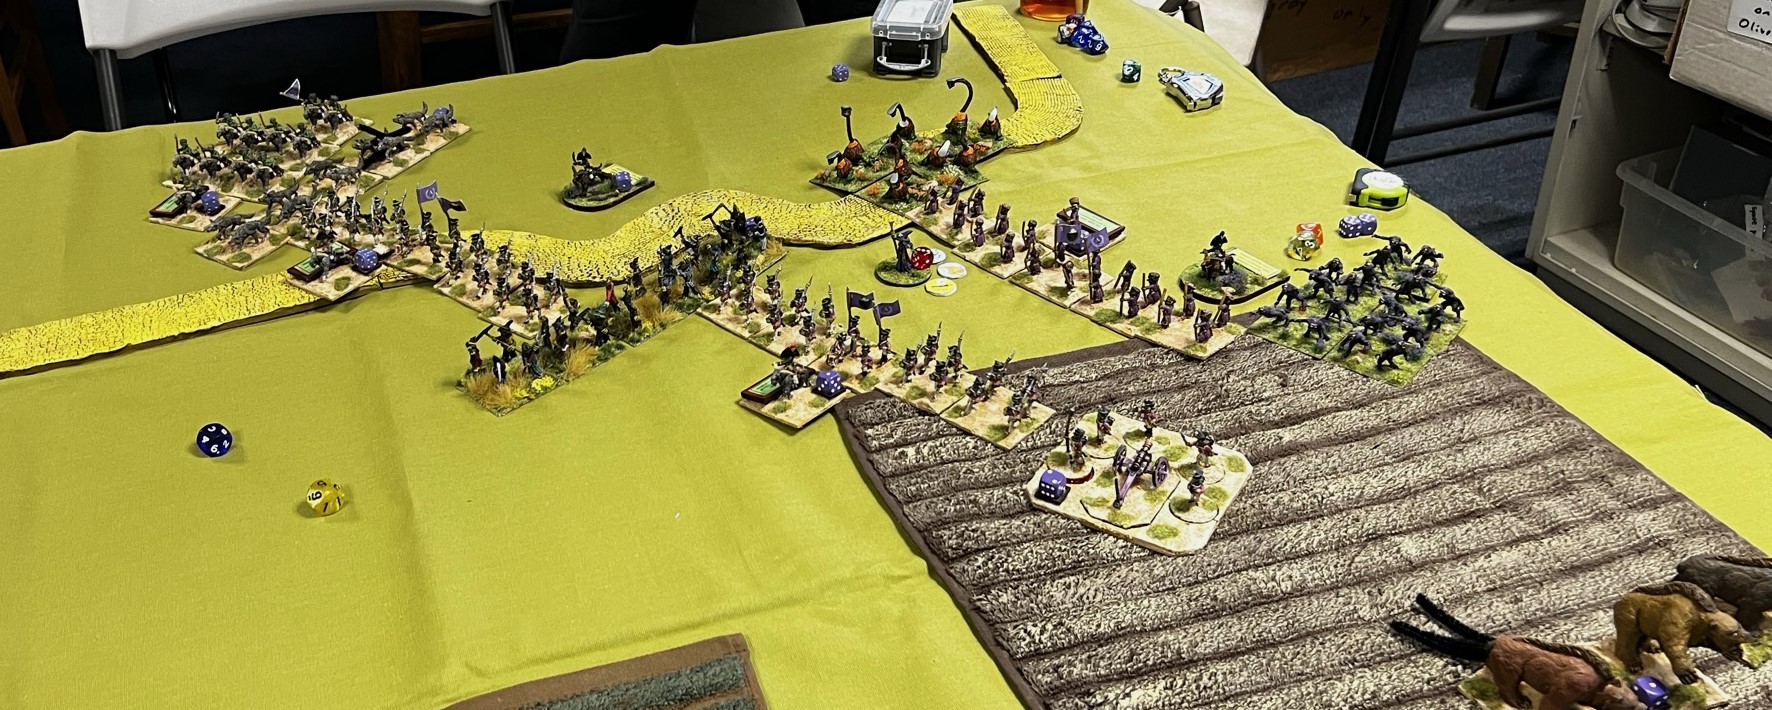
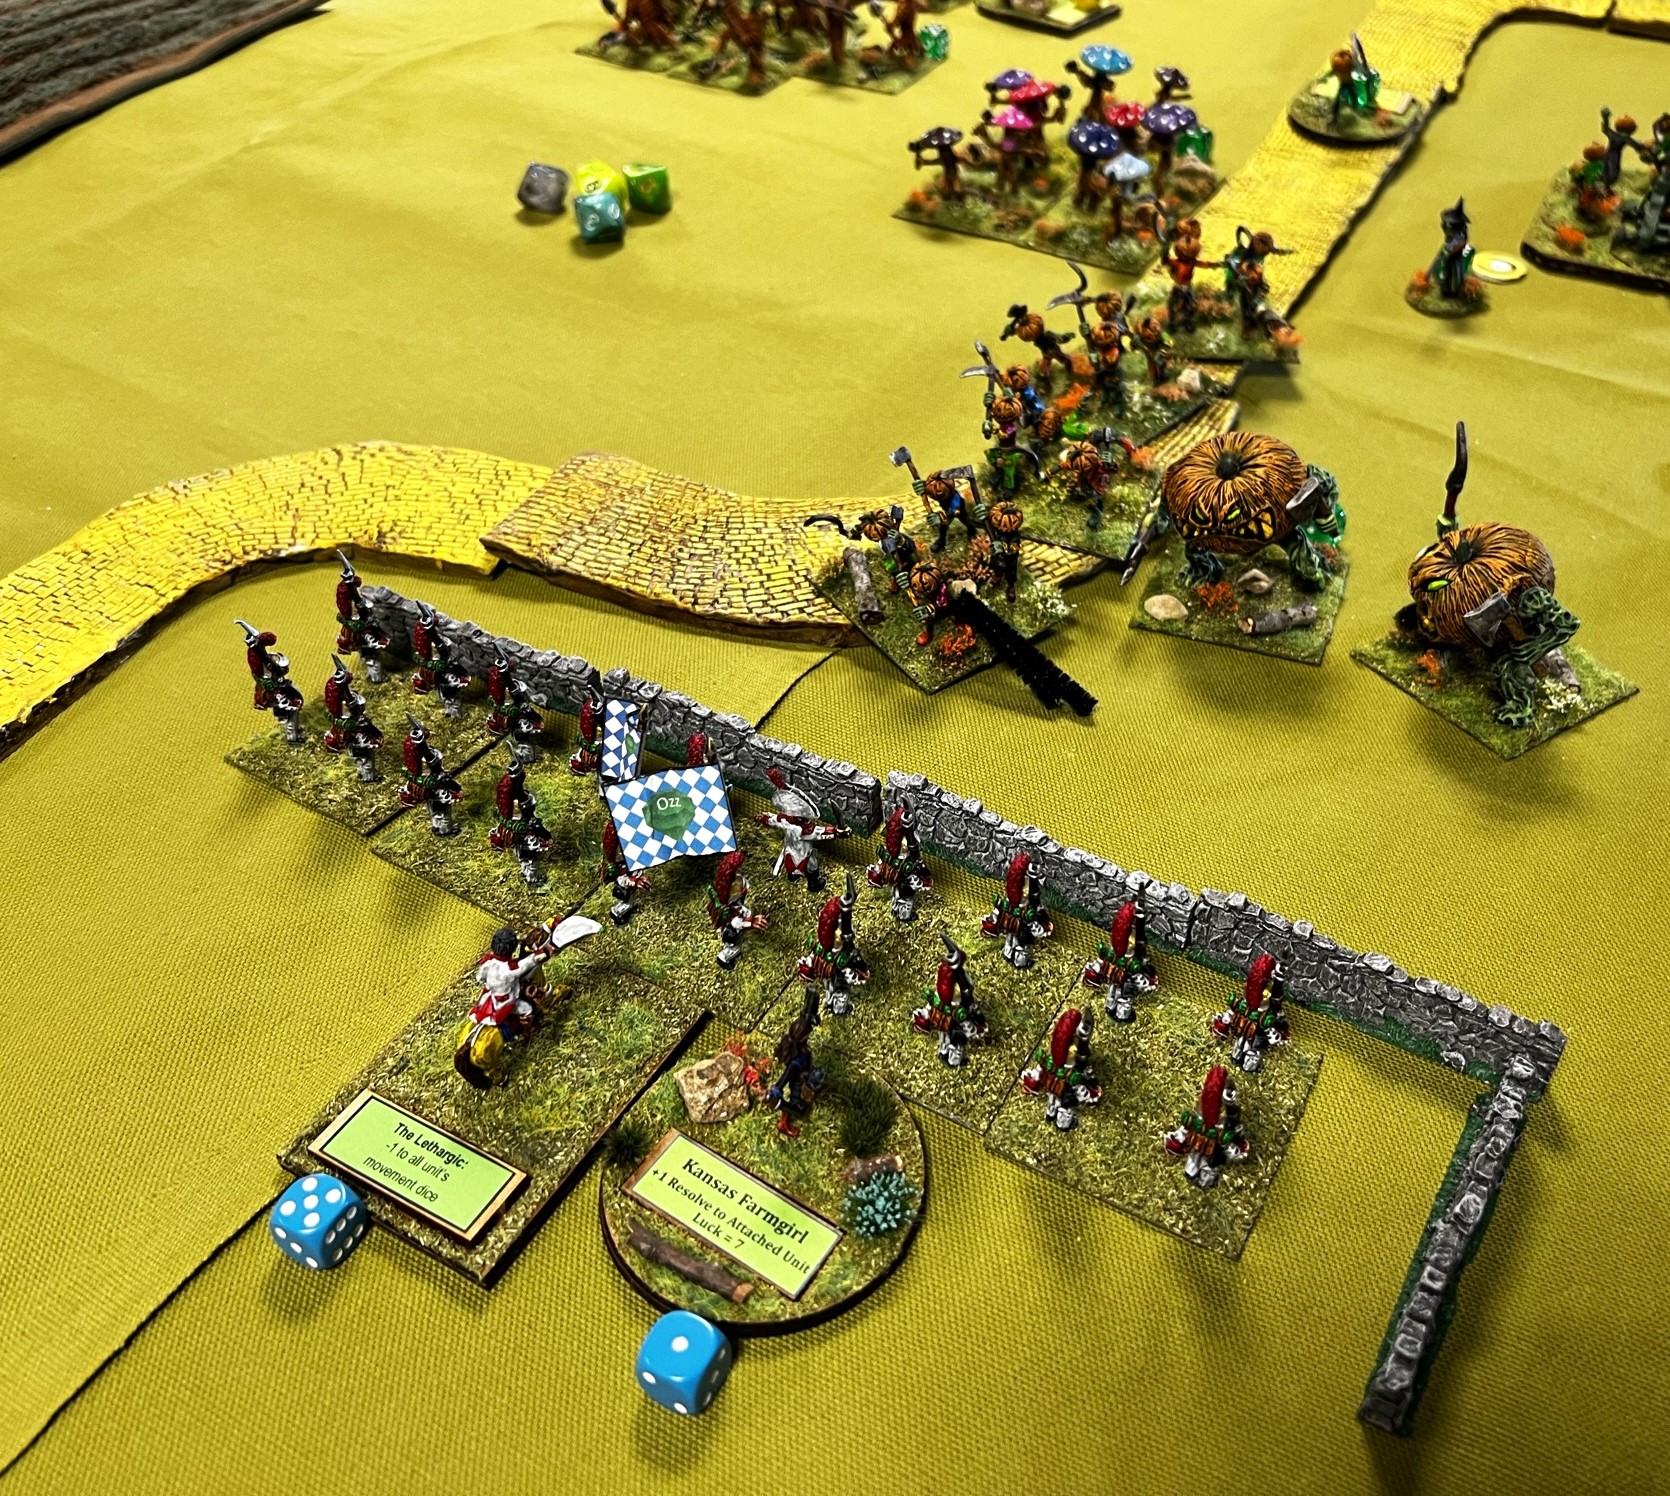
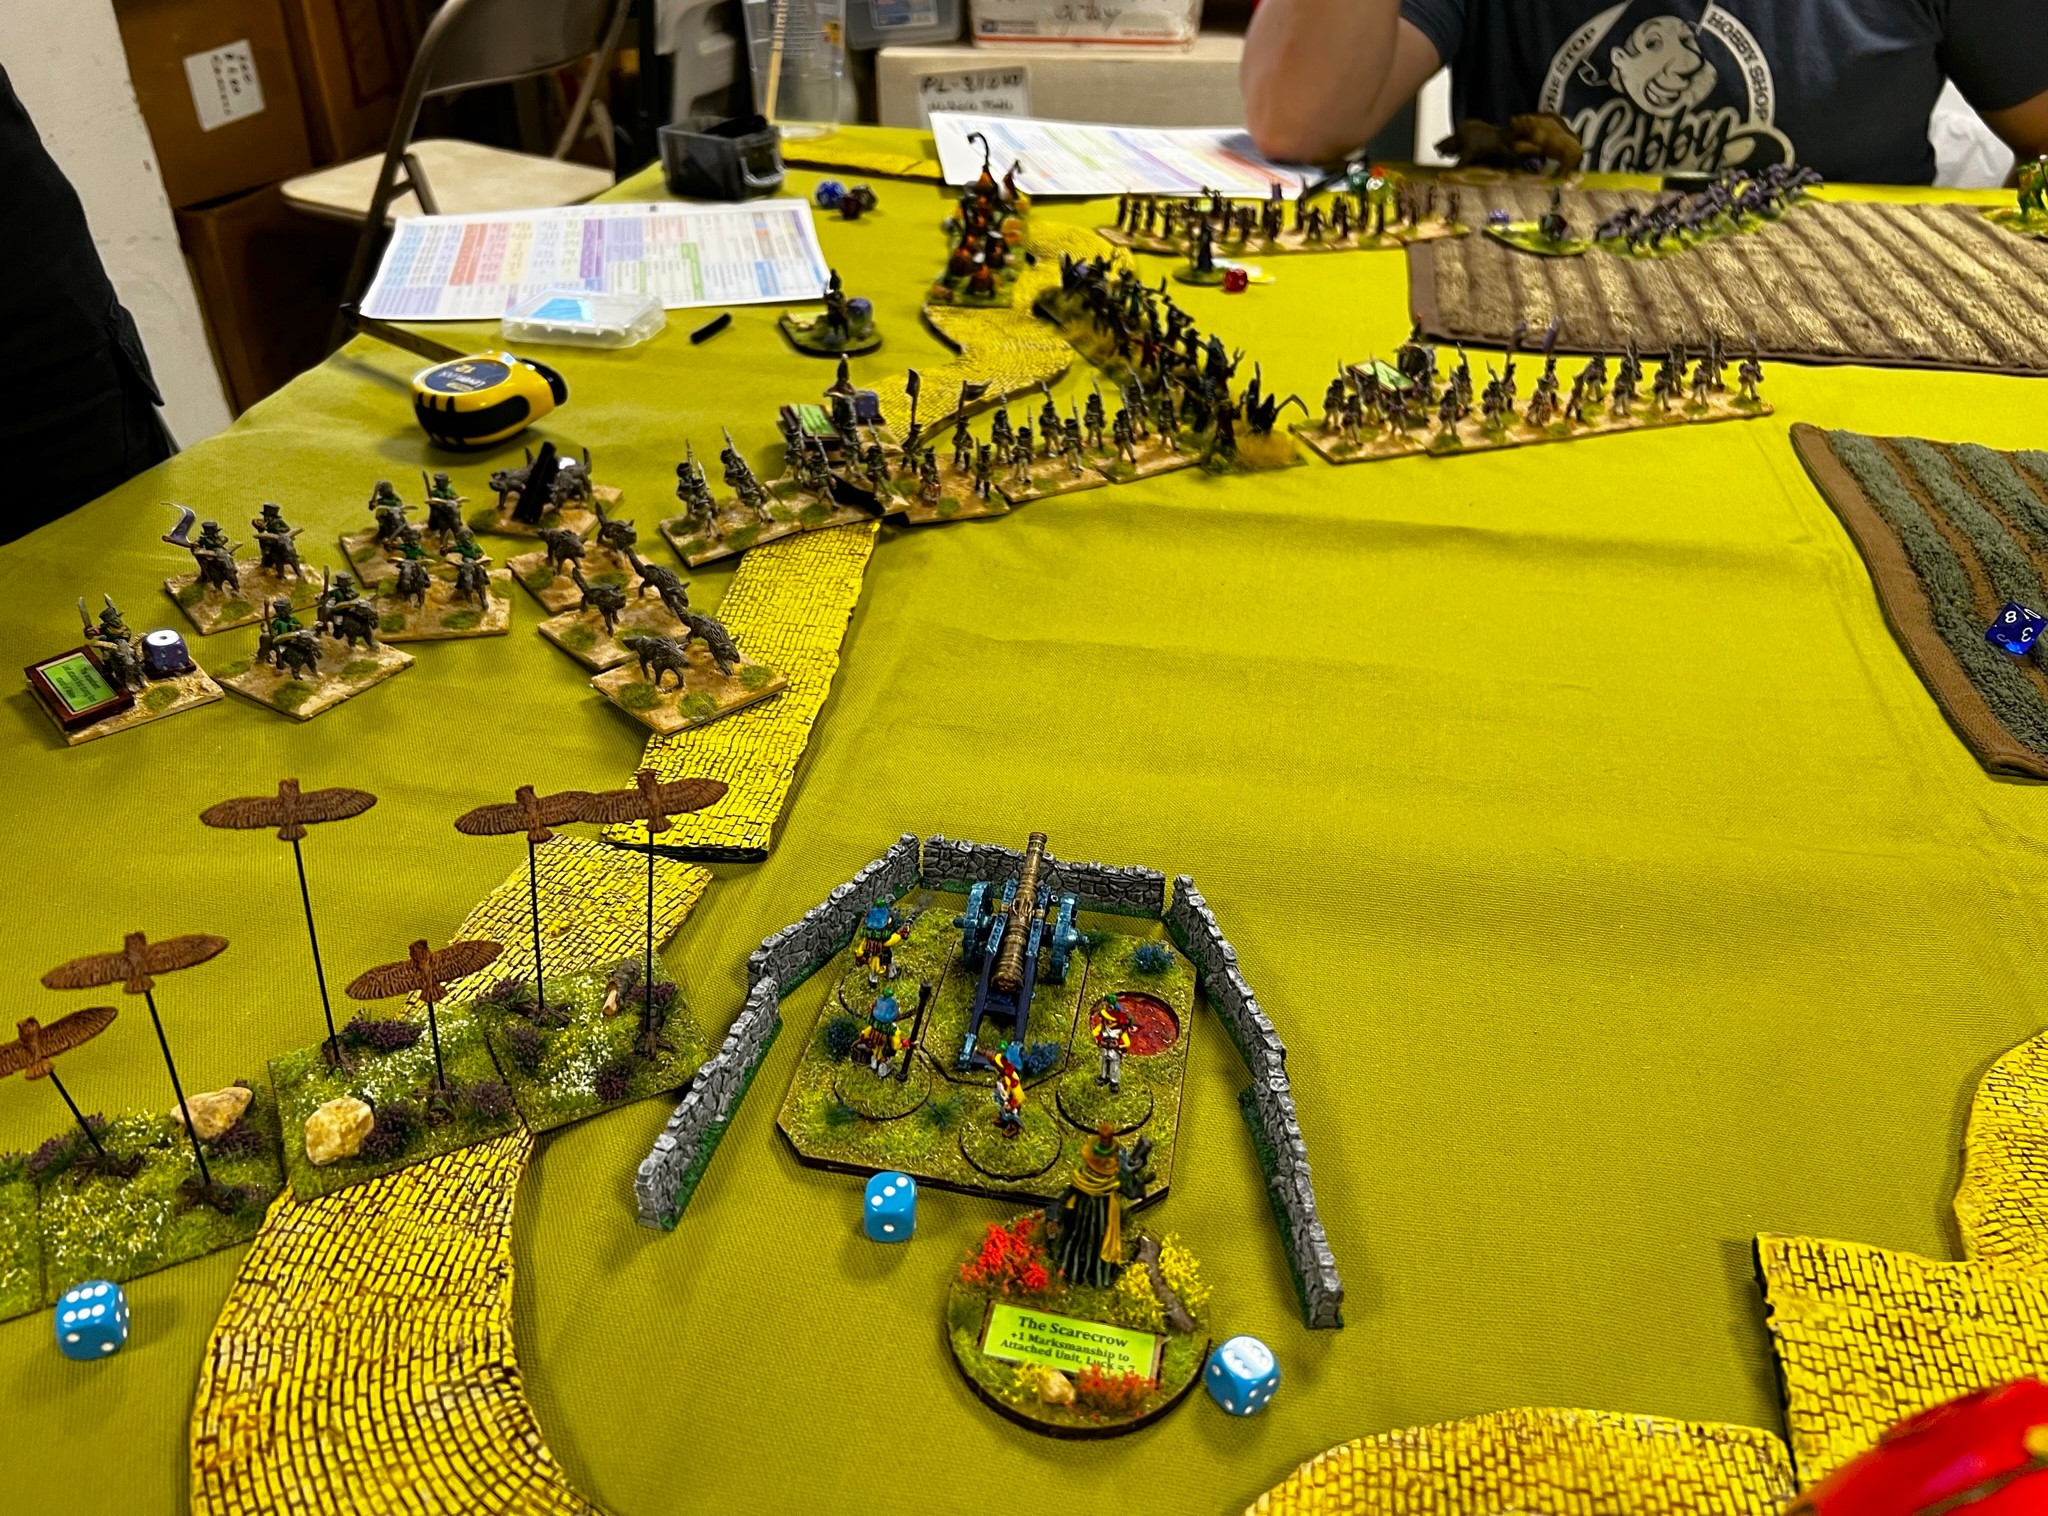
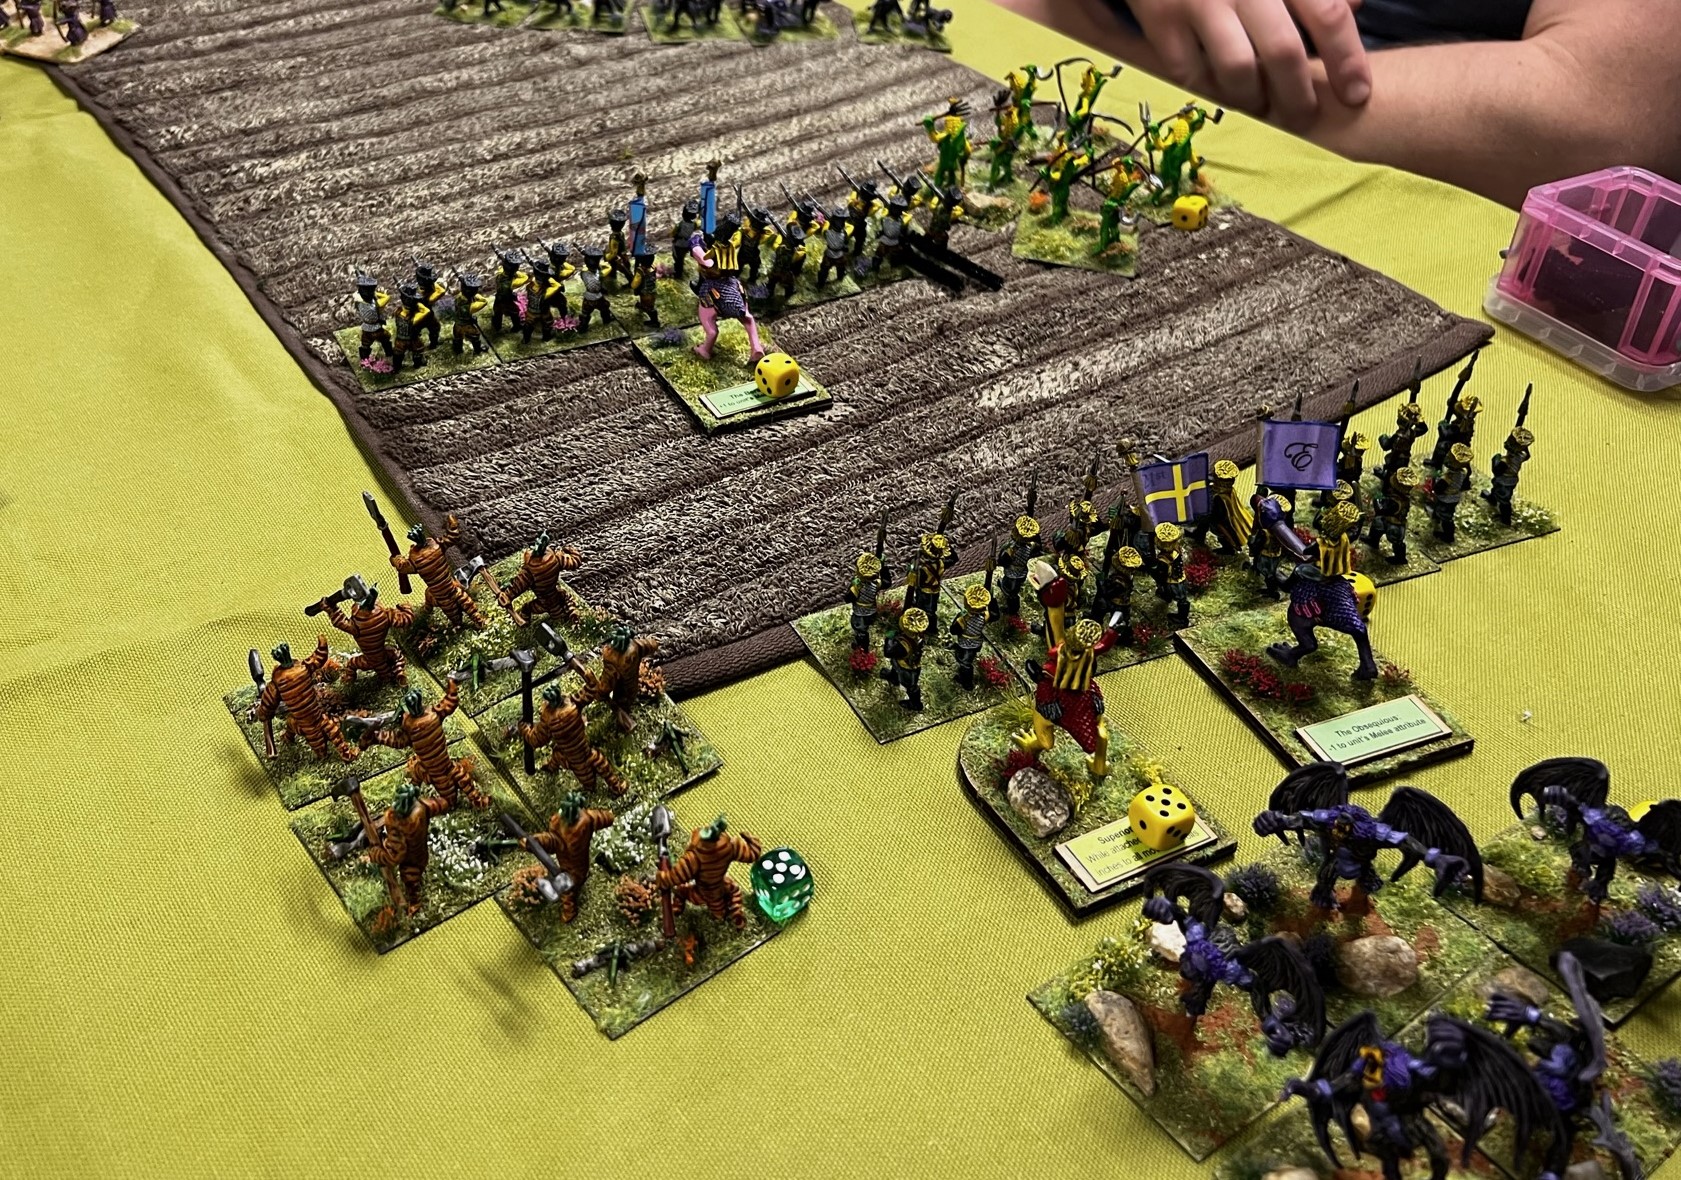
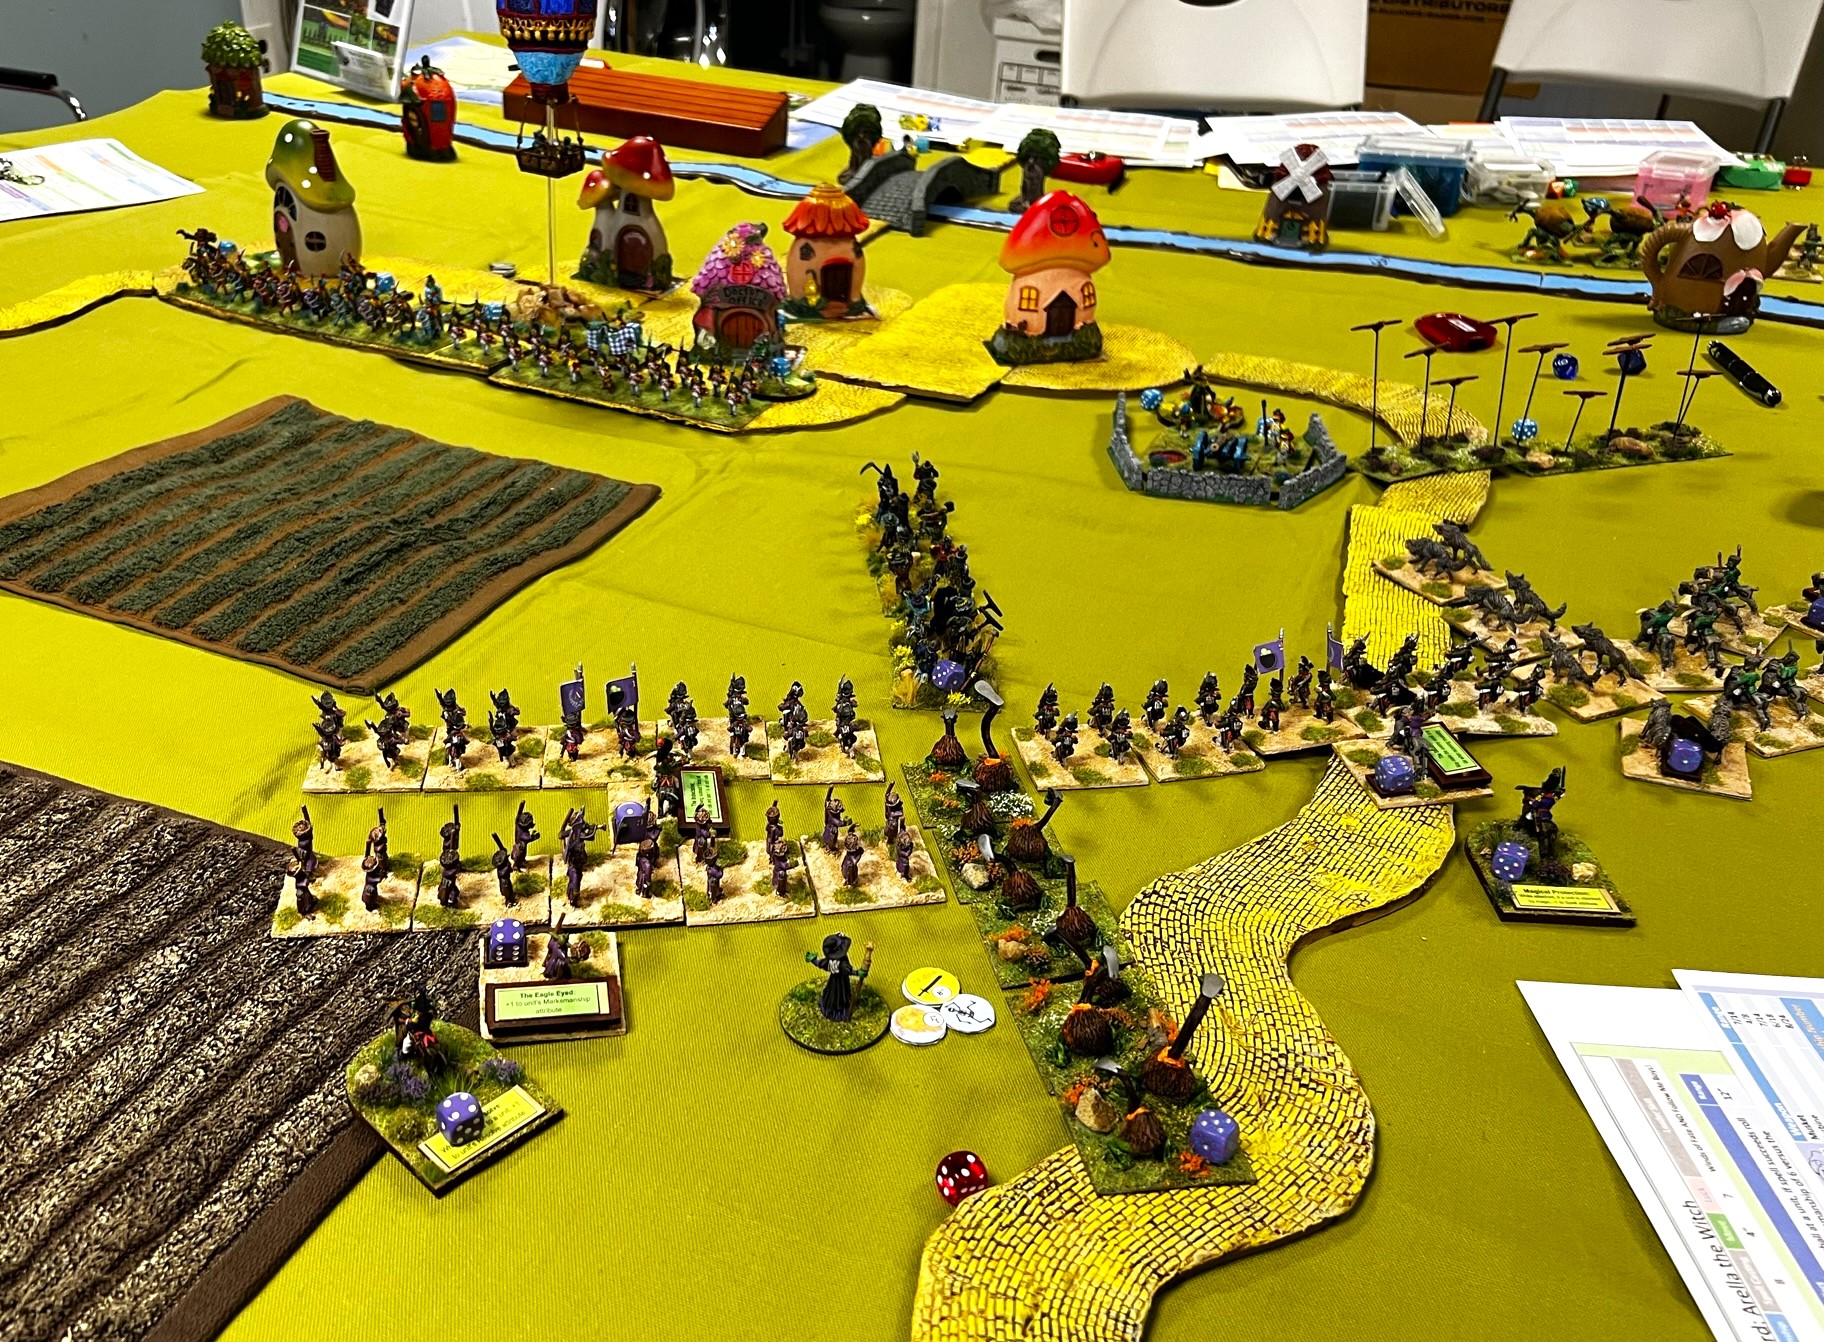
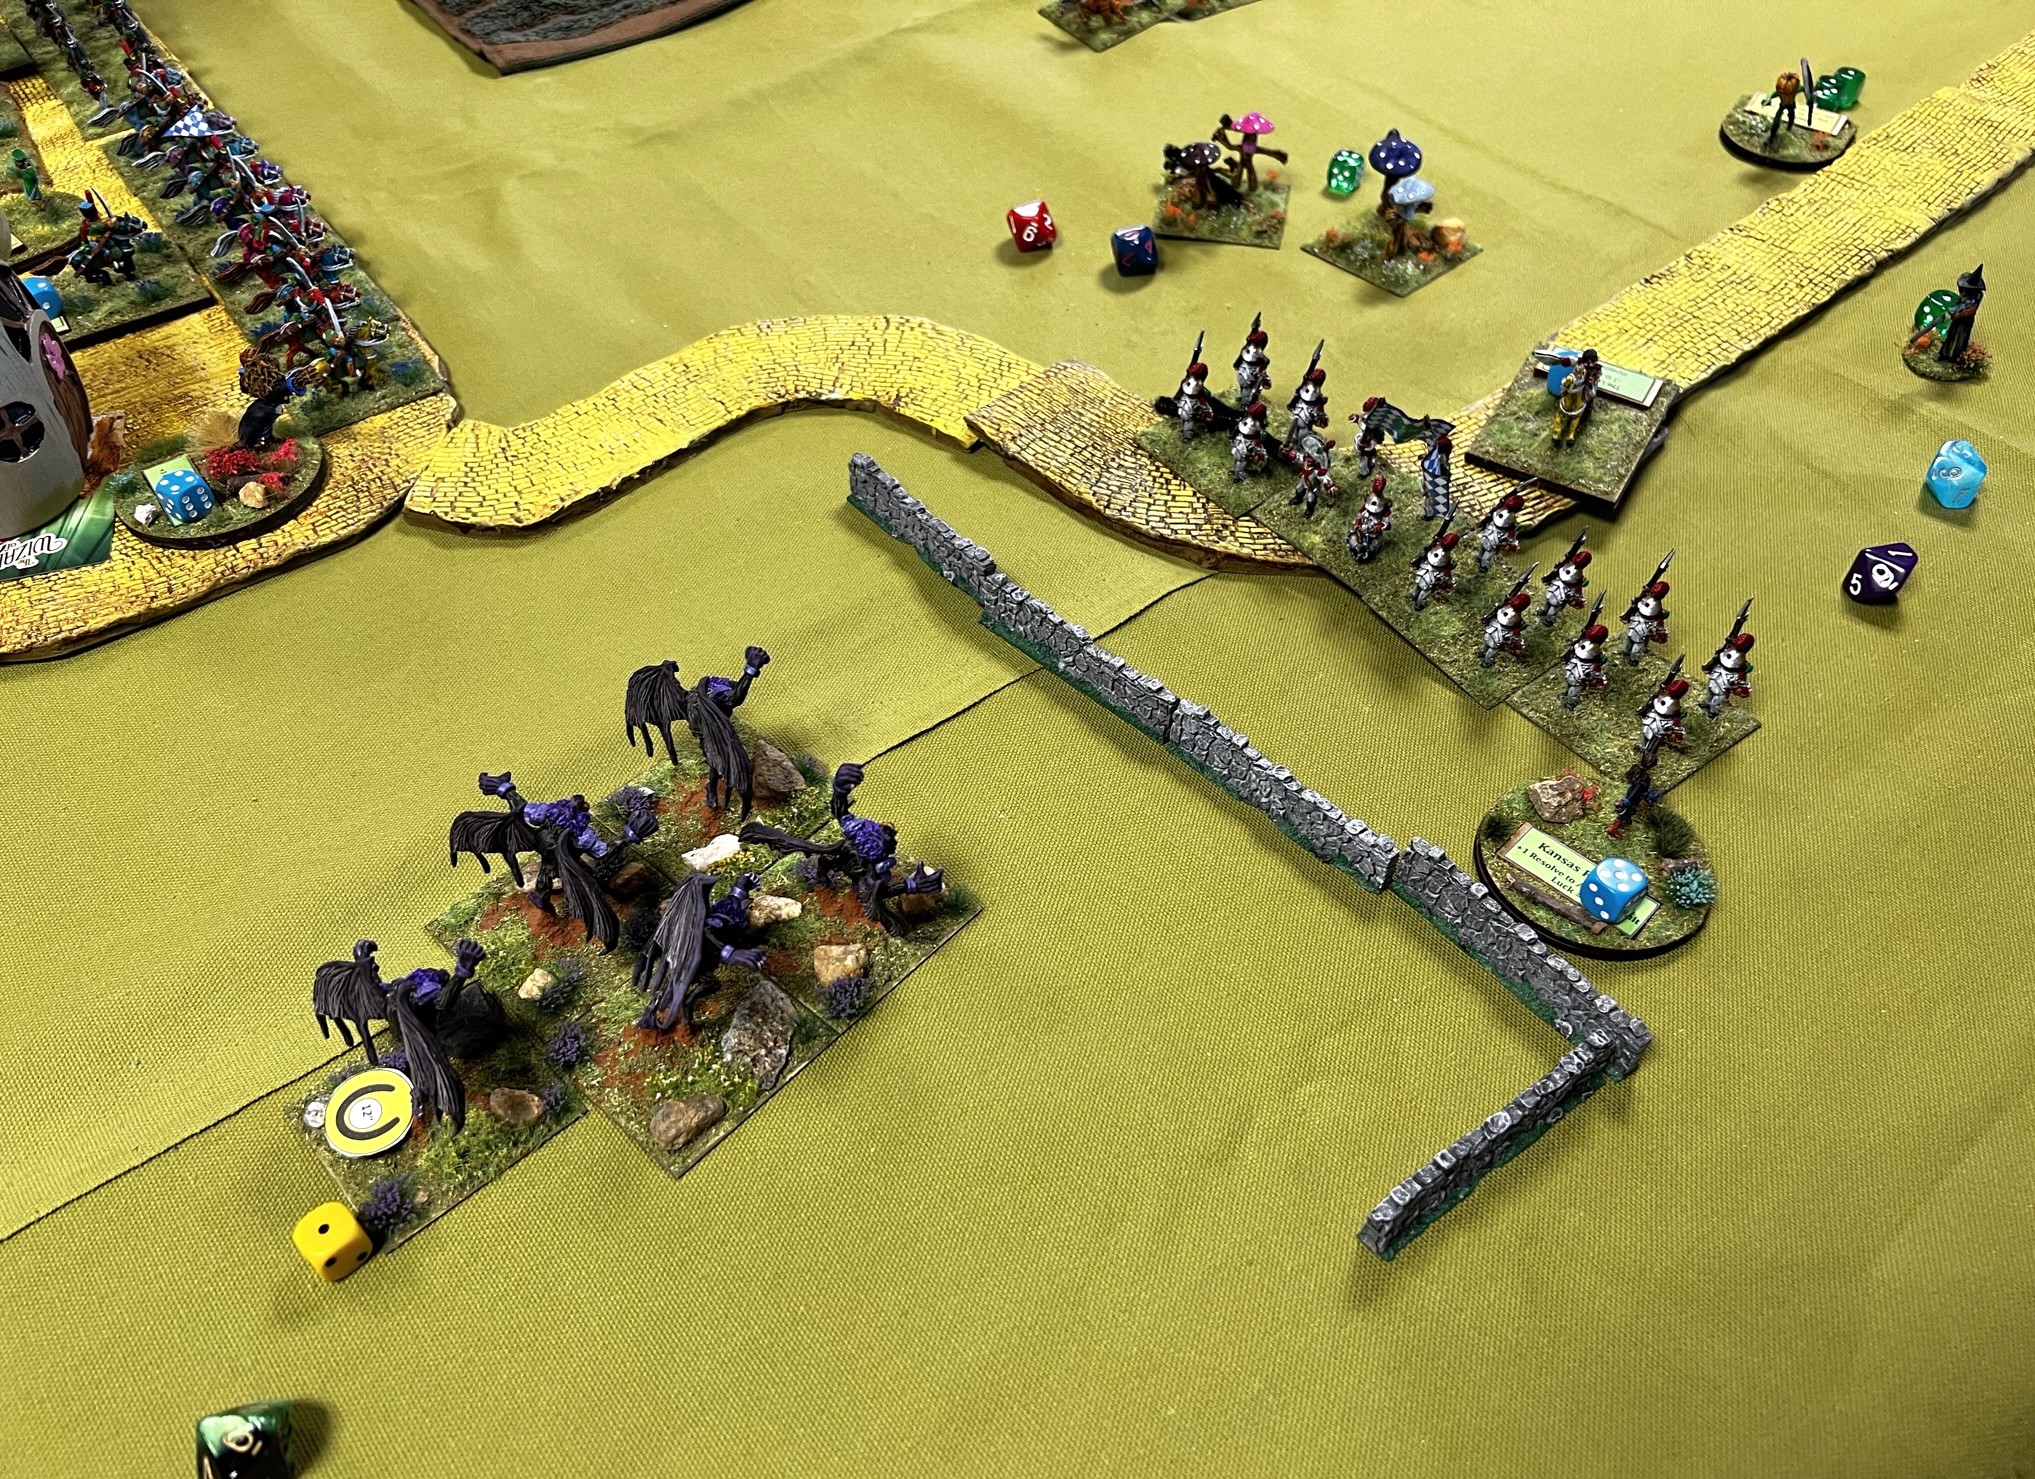
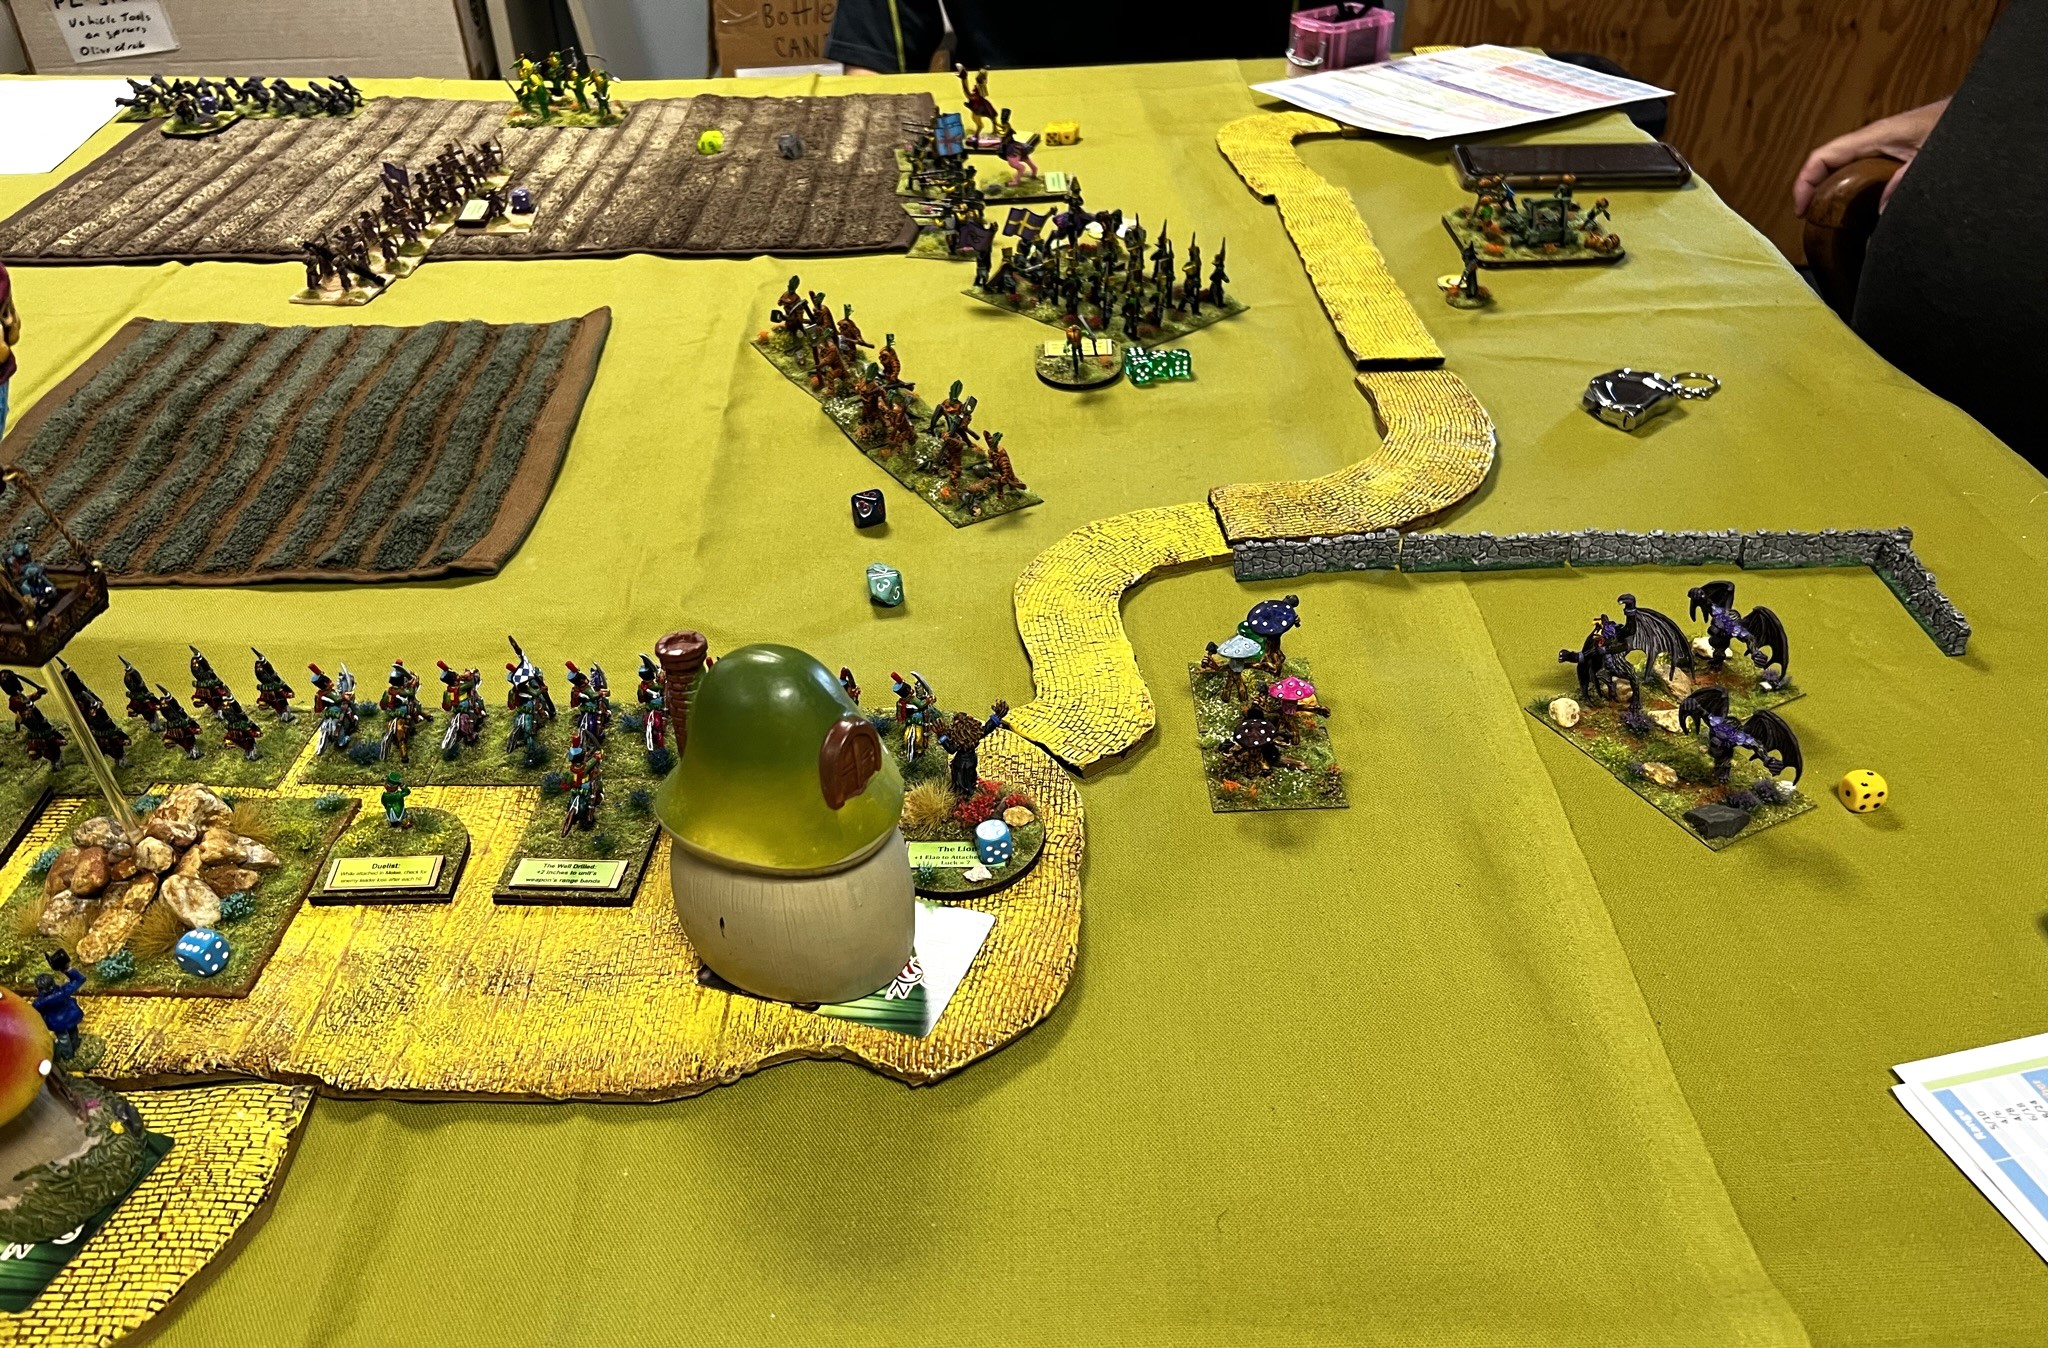
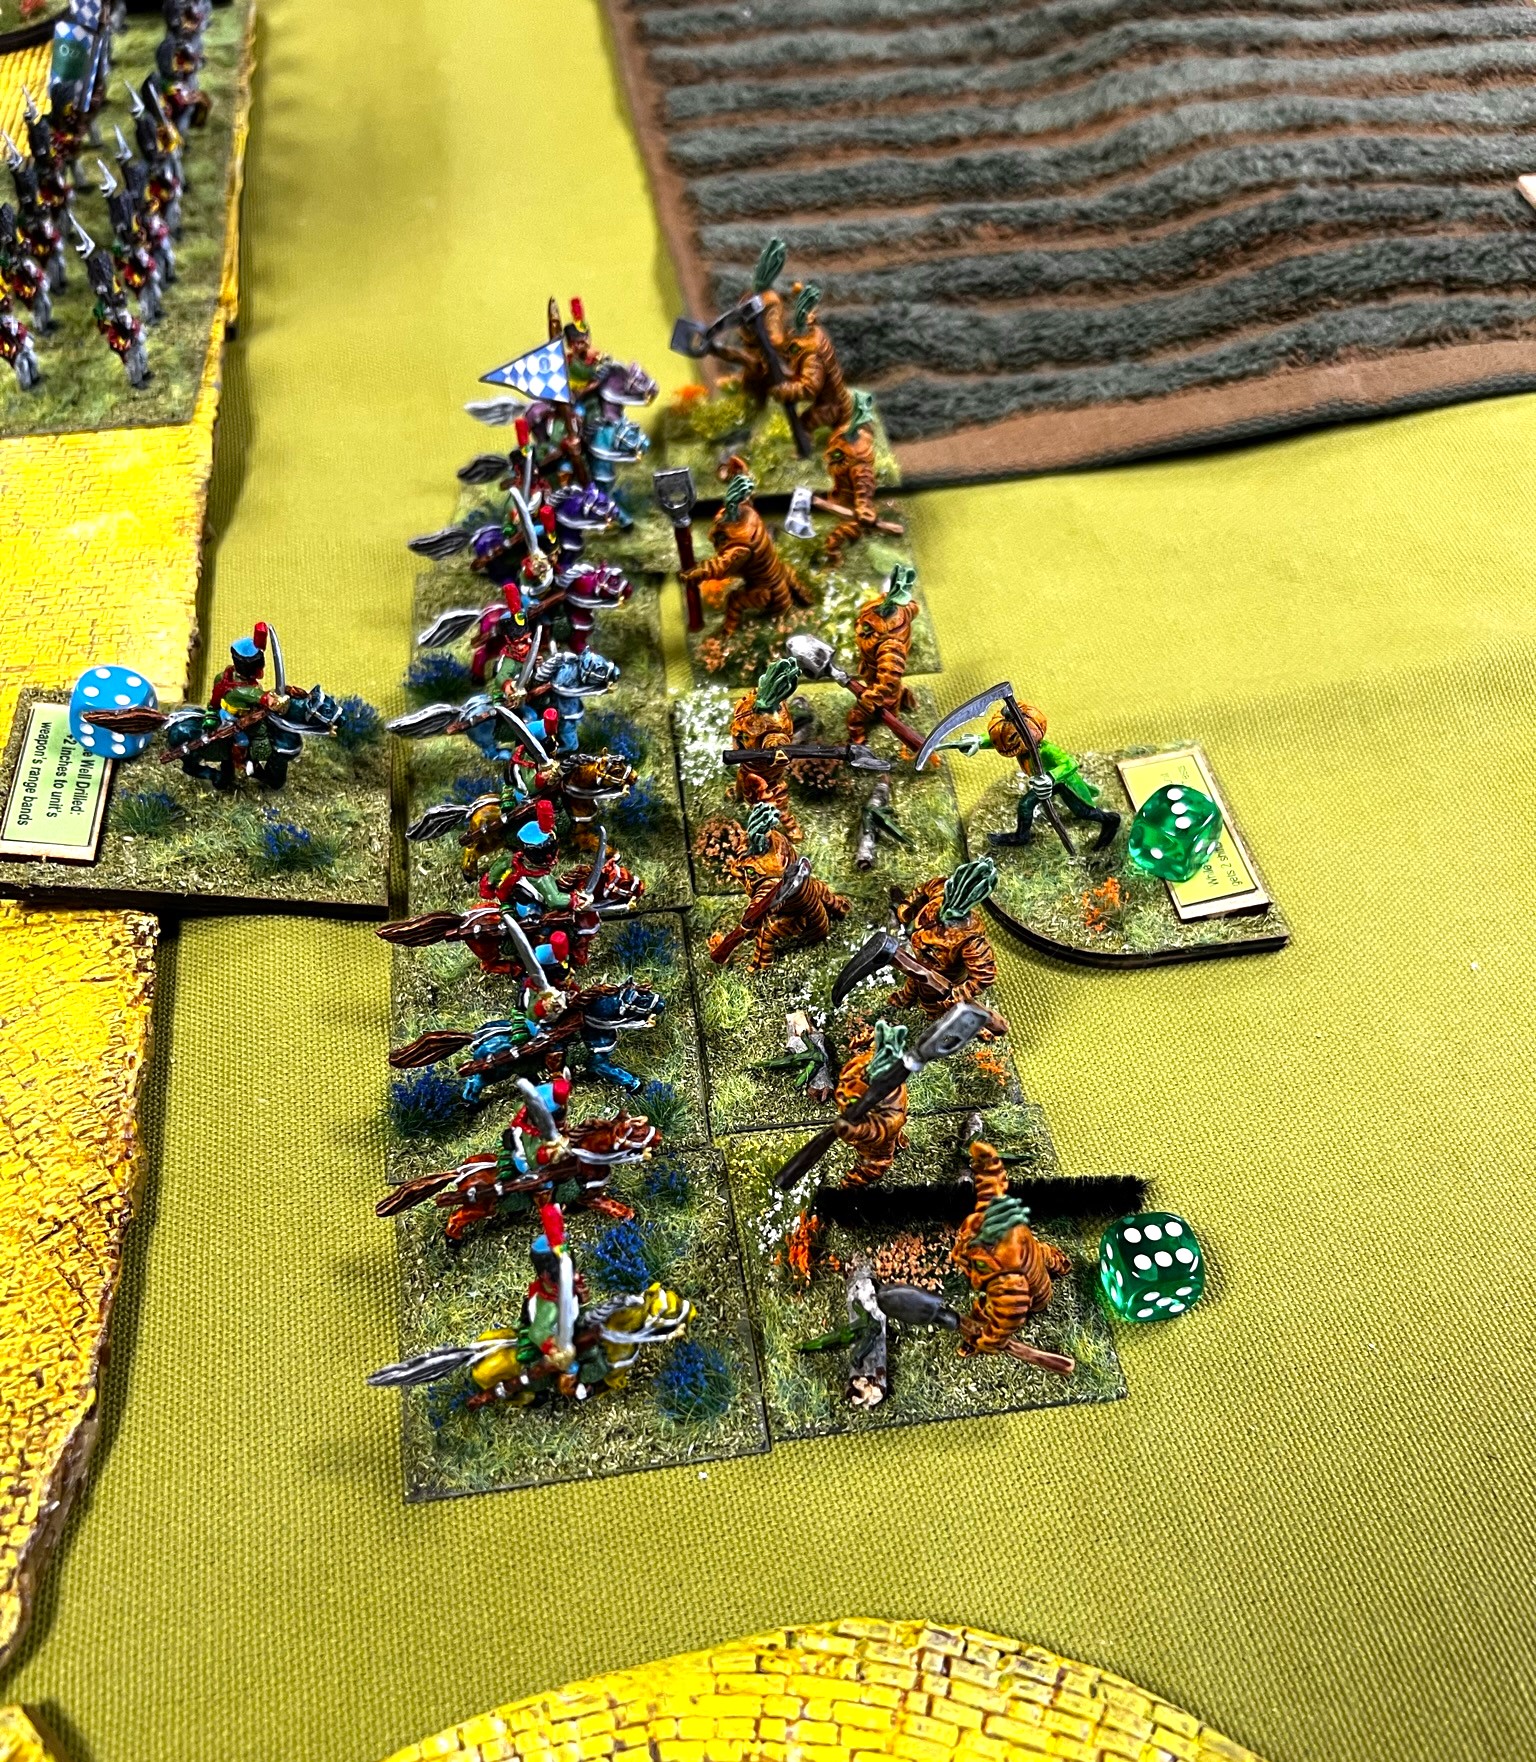
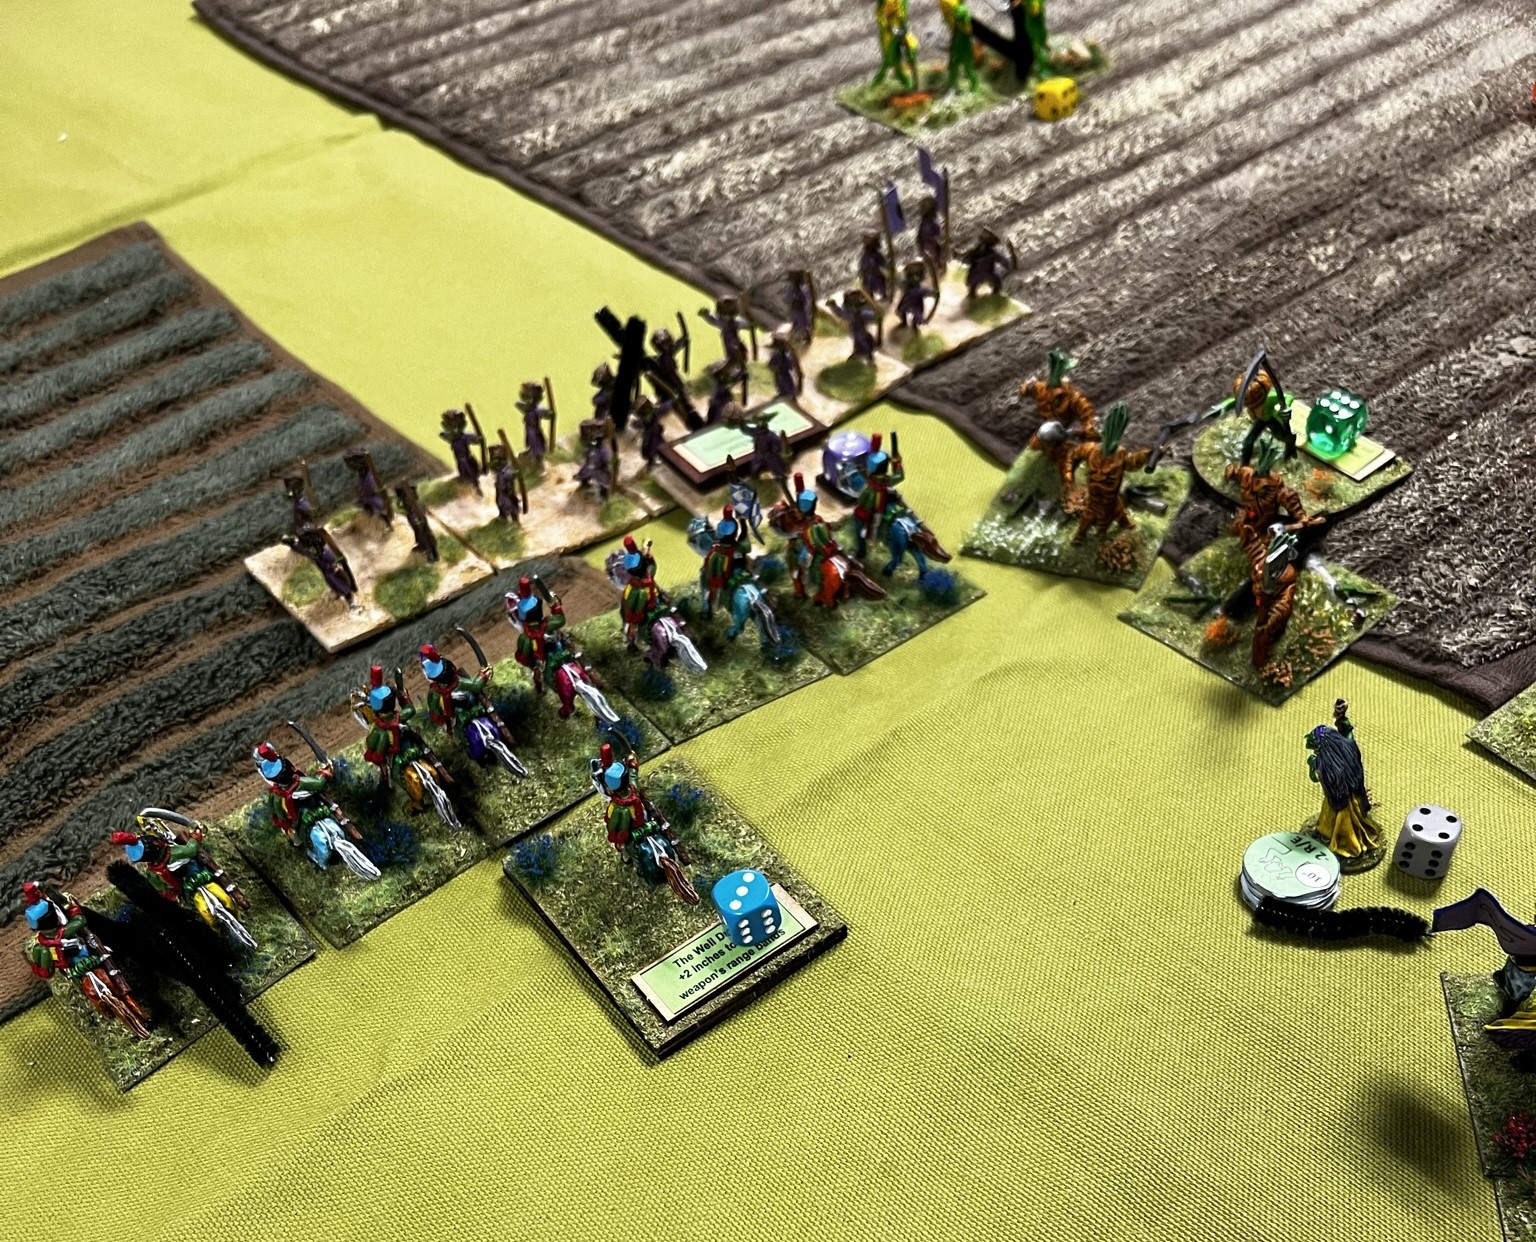
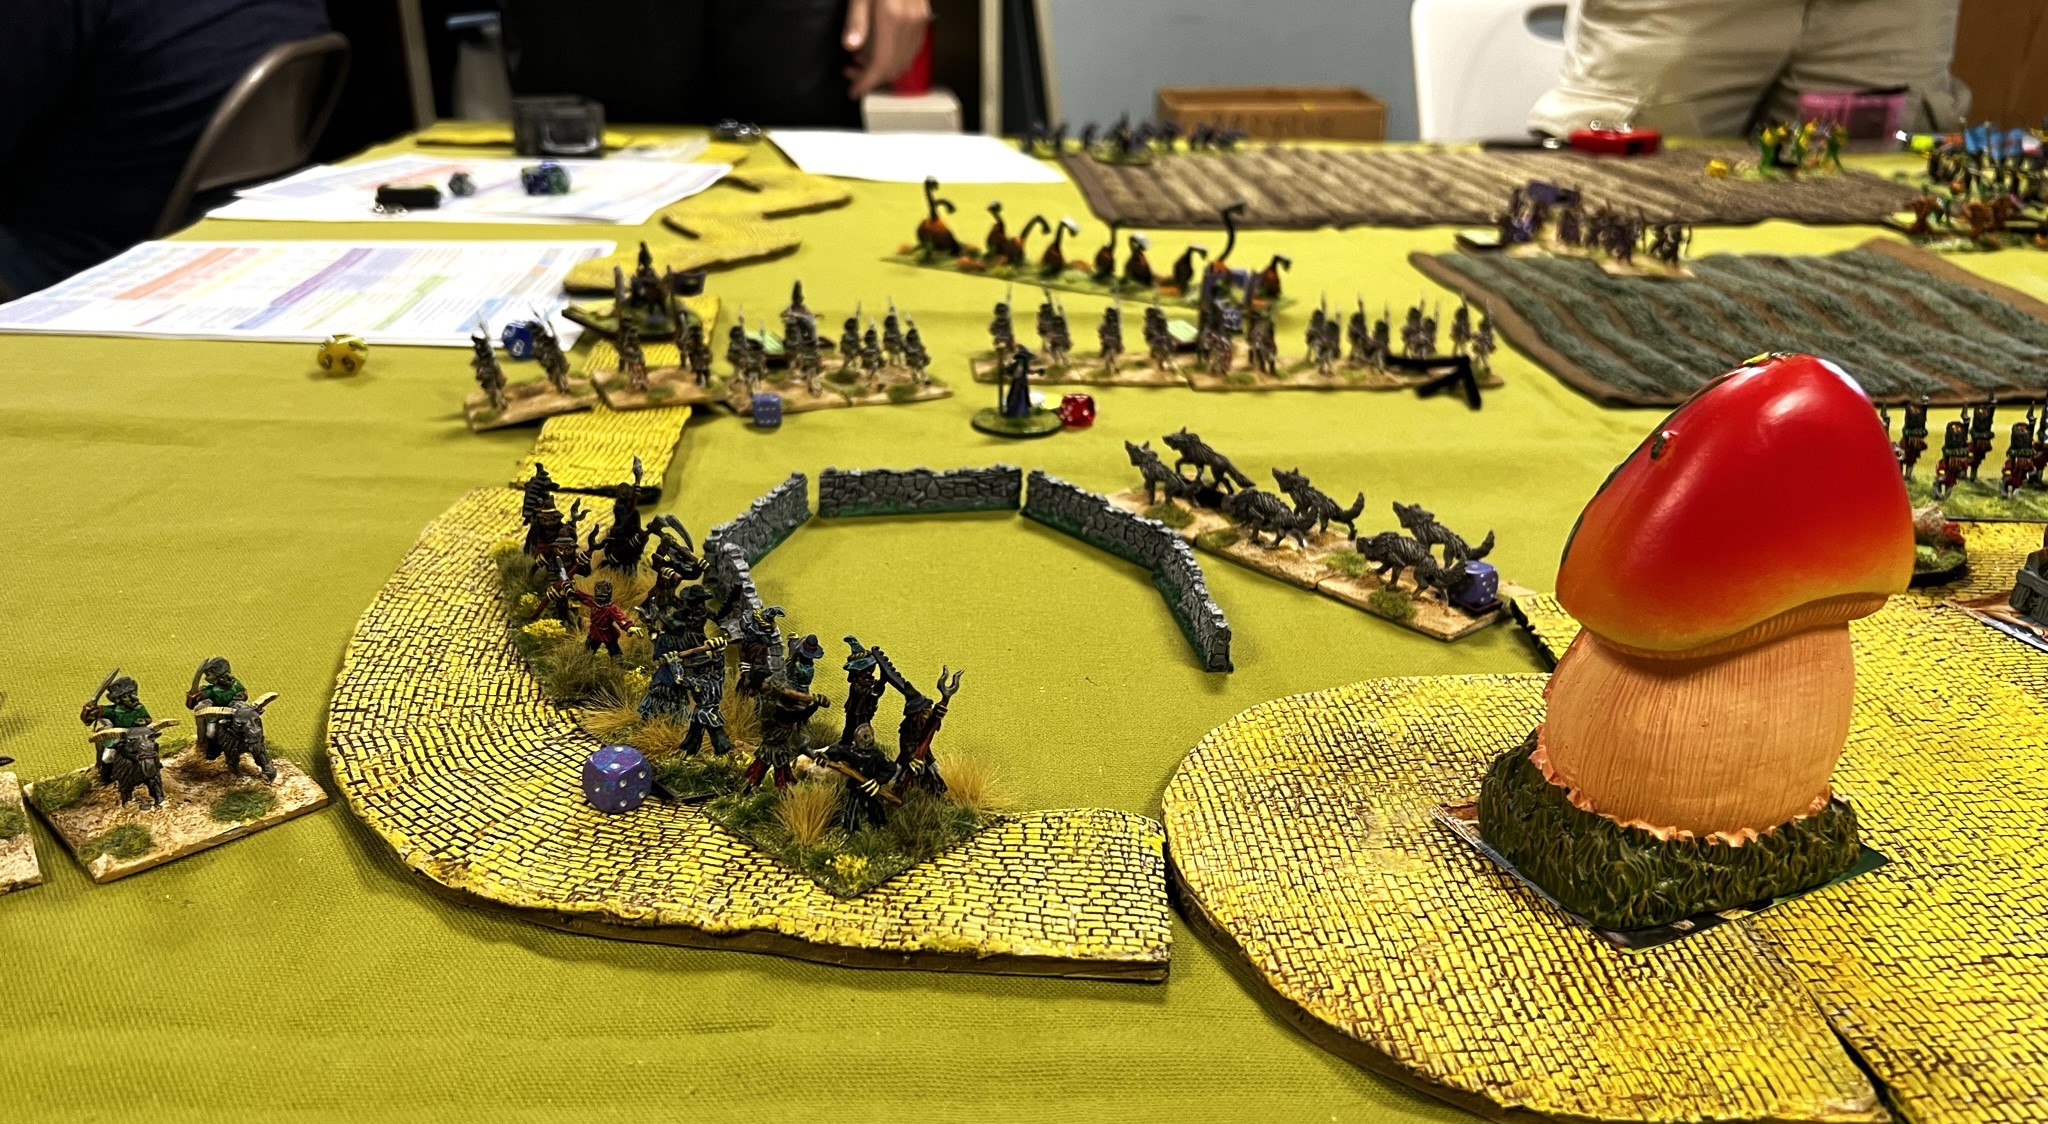
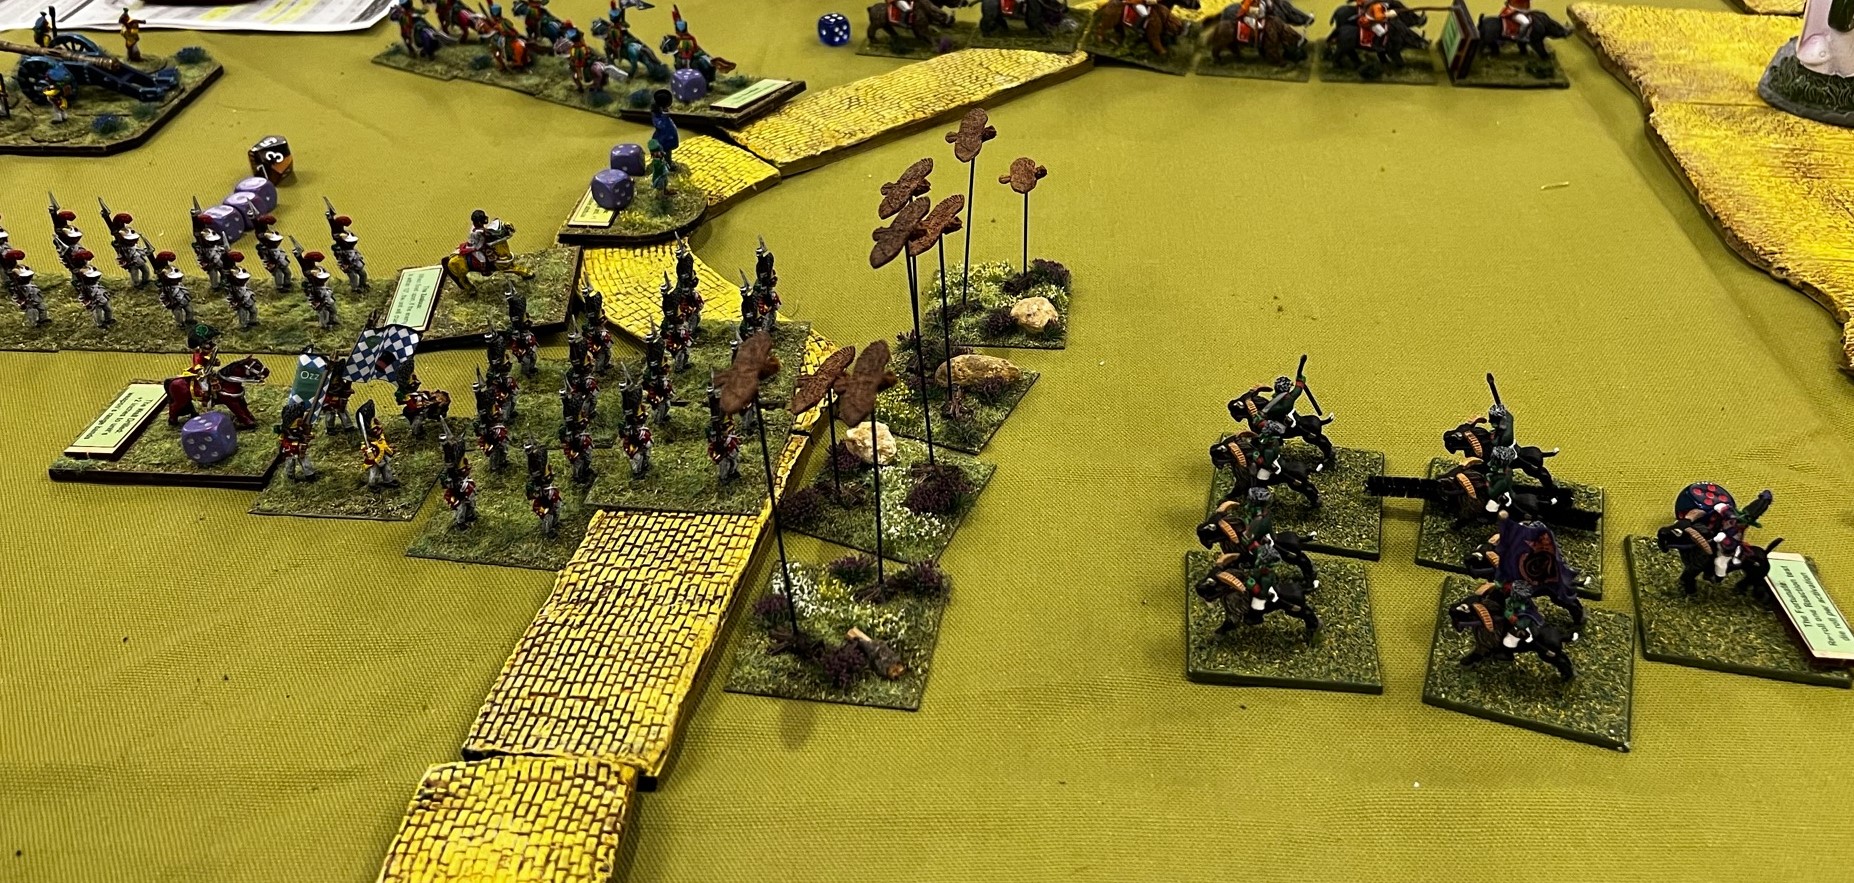
As terrain was the order of the day for my Fall In preparation, I also ordered two Cigar Box Battles 4′ x 6′ + Grassland Battle Mats as I needed a bigger tabletop area. The terrain will go on this mat for my upcoming game of The Wars of Ozz – the scenario is The Battle for Toto – but I have upgraded it as well. Herebelow are some shots as a sneak preview of what I will start with at Fall In.


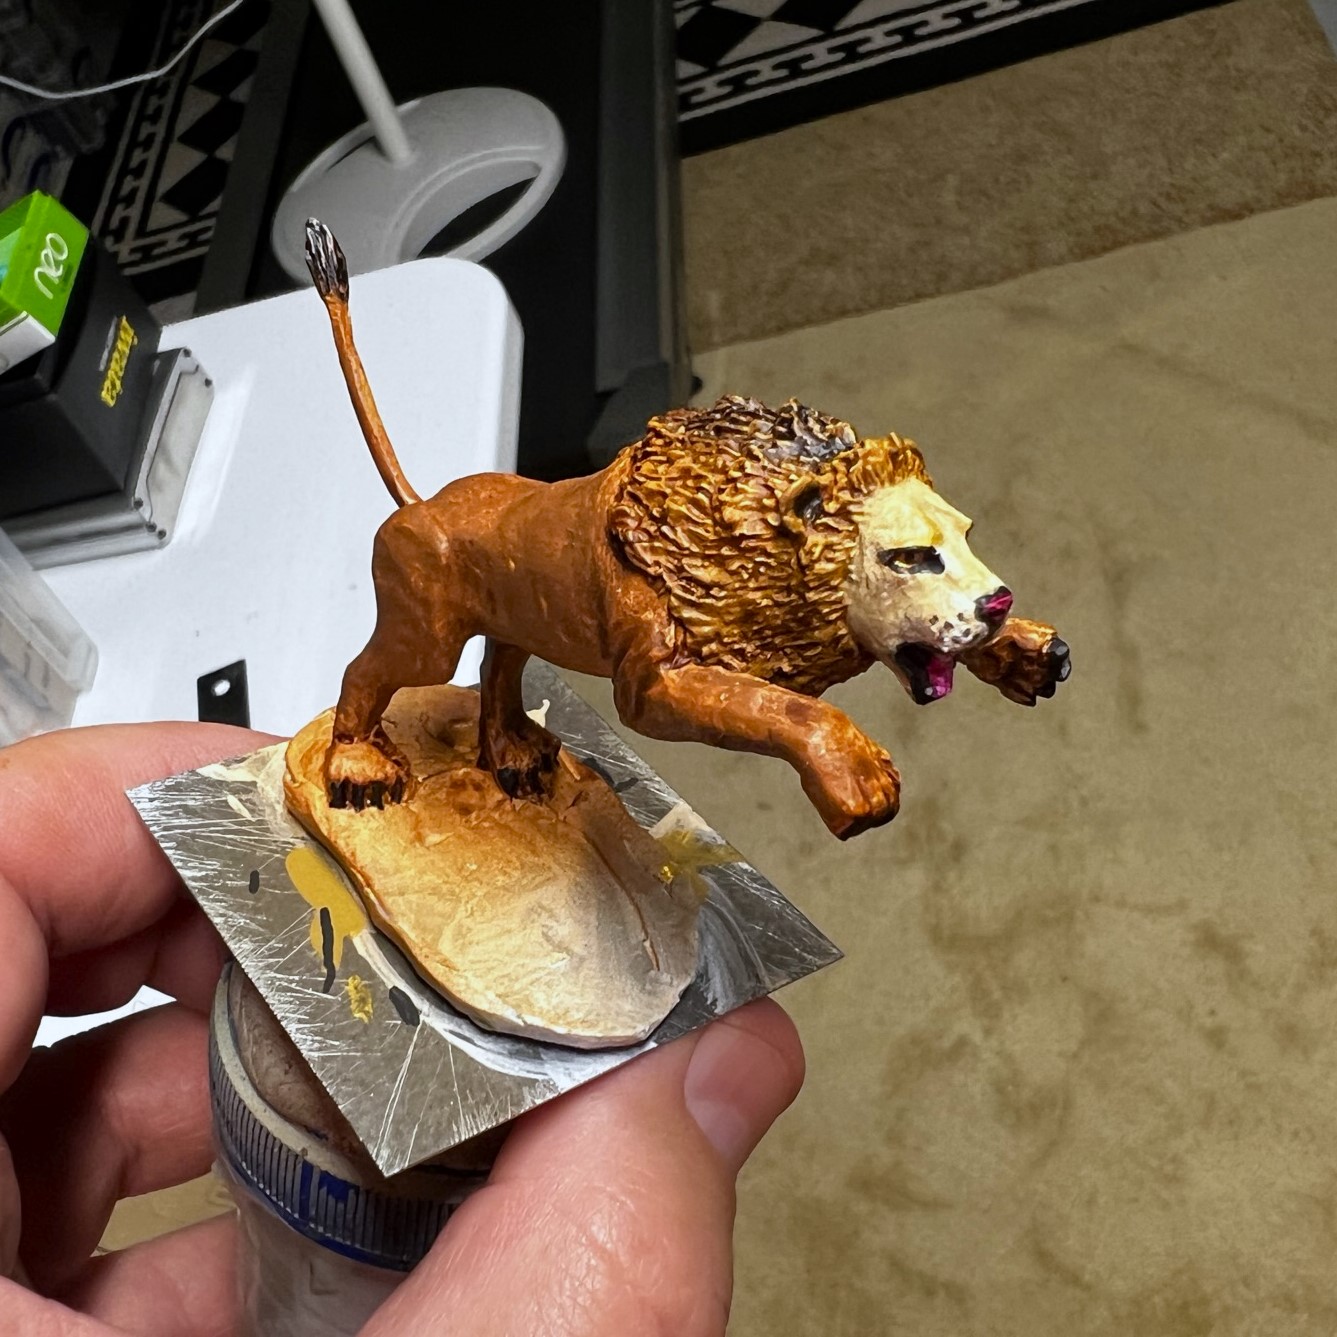
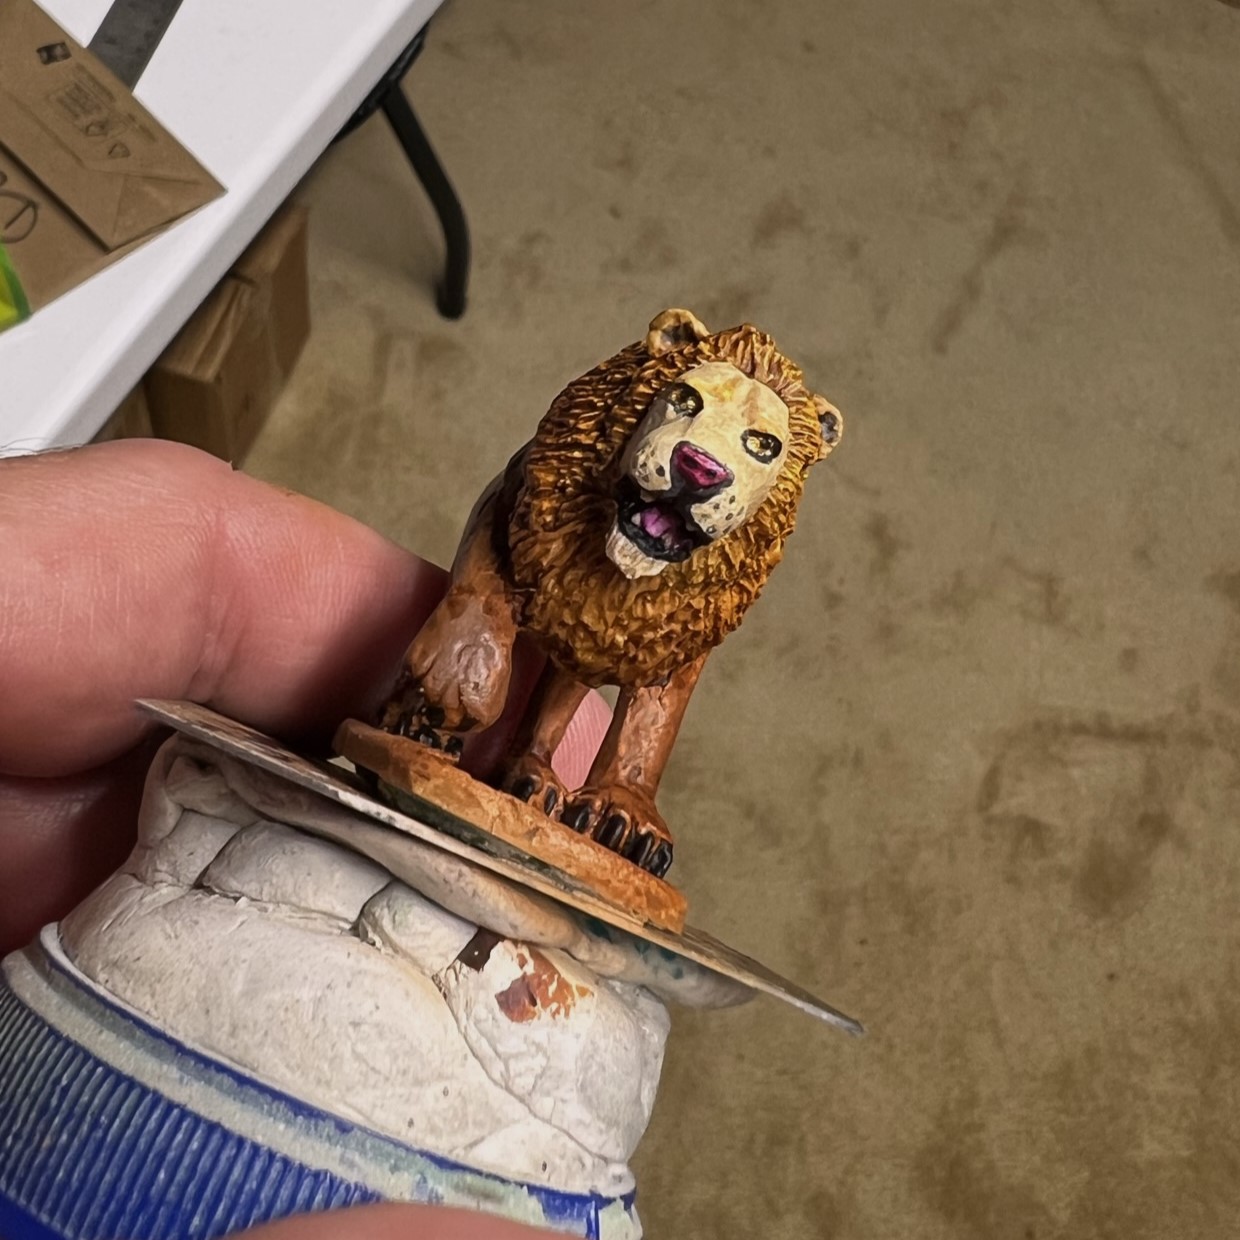
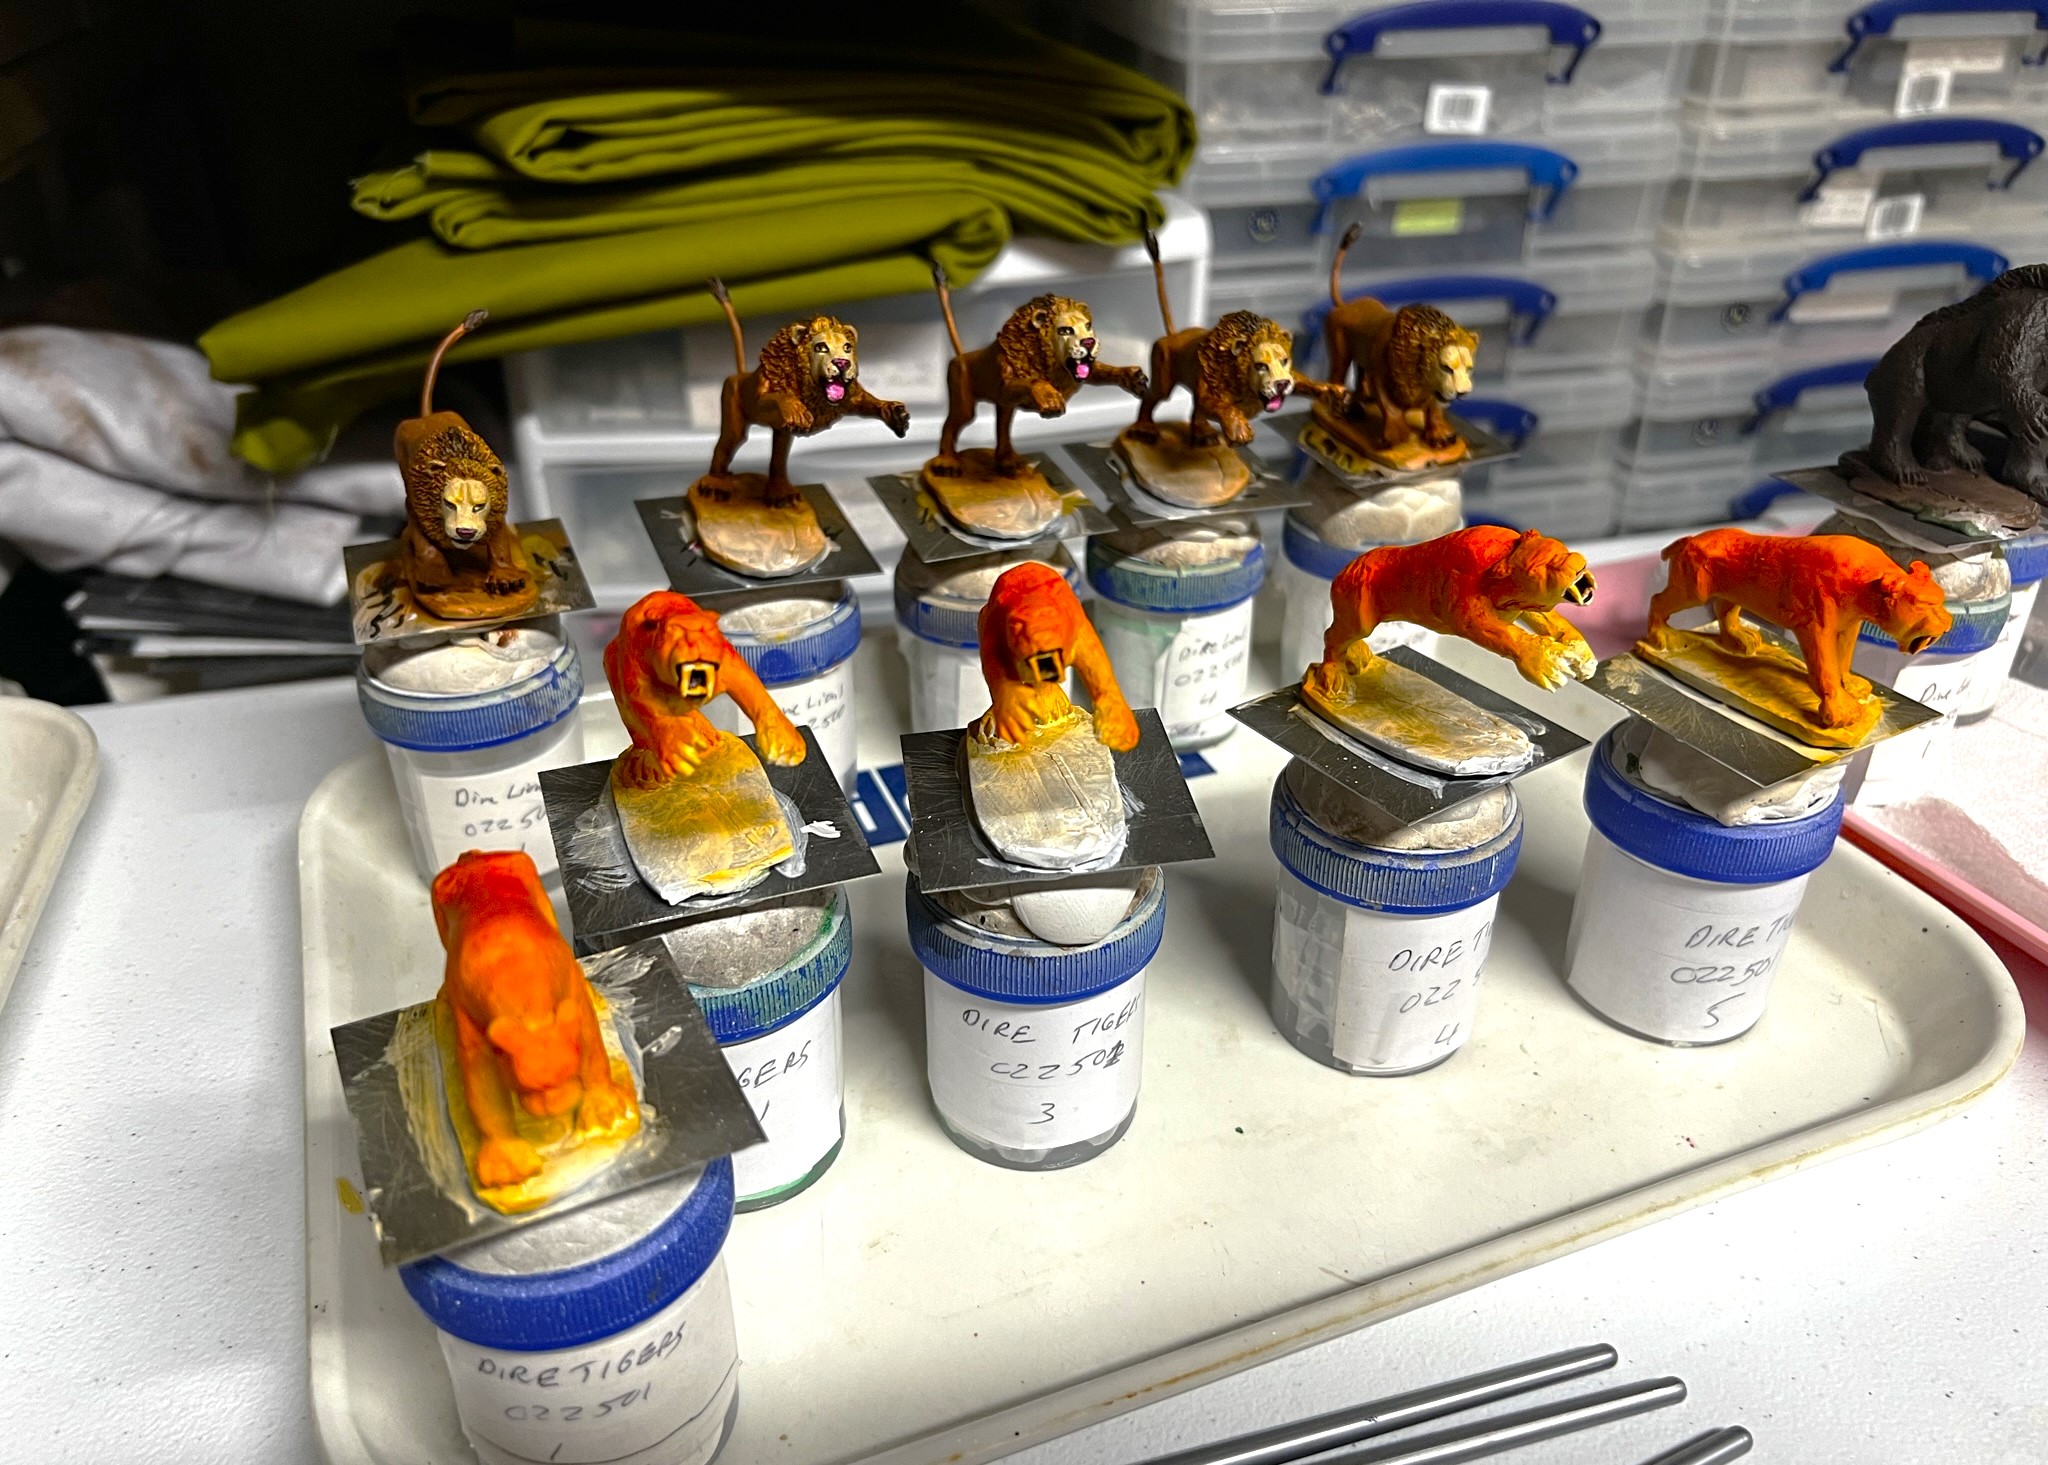
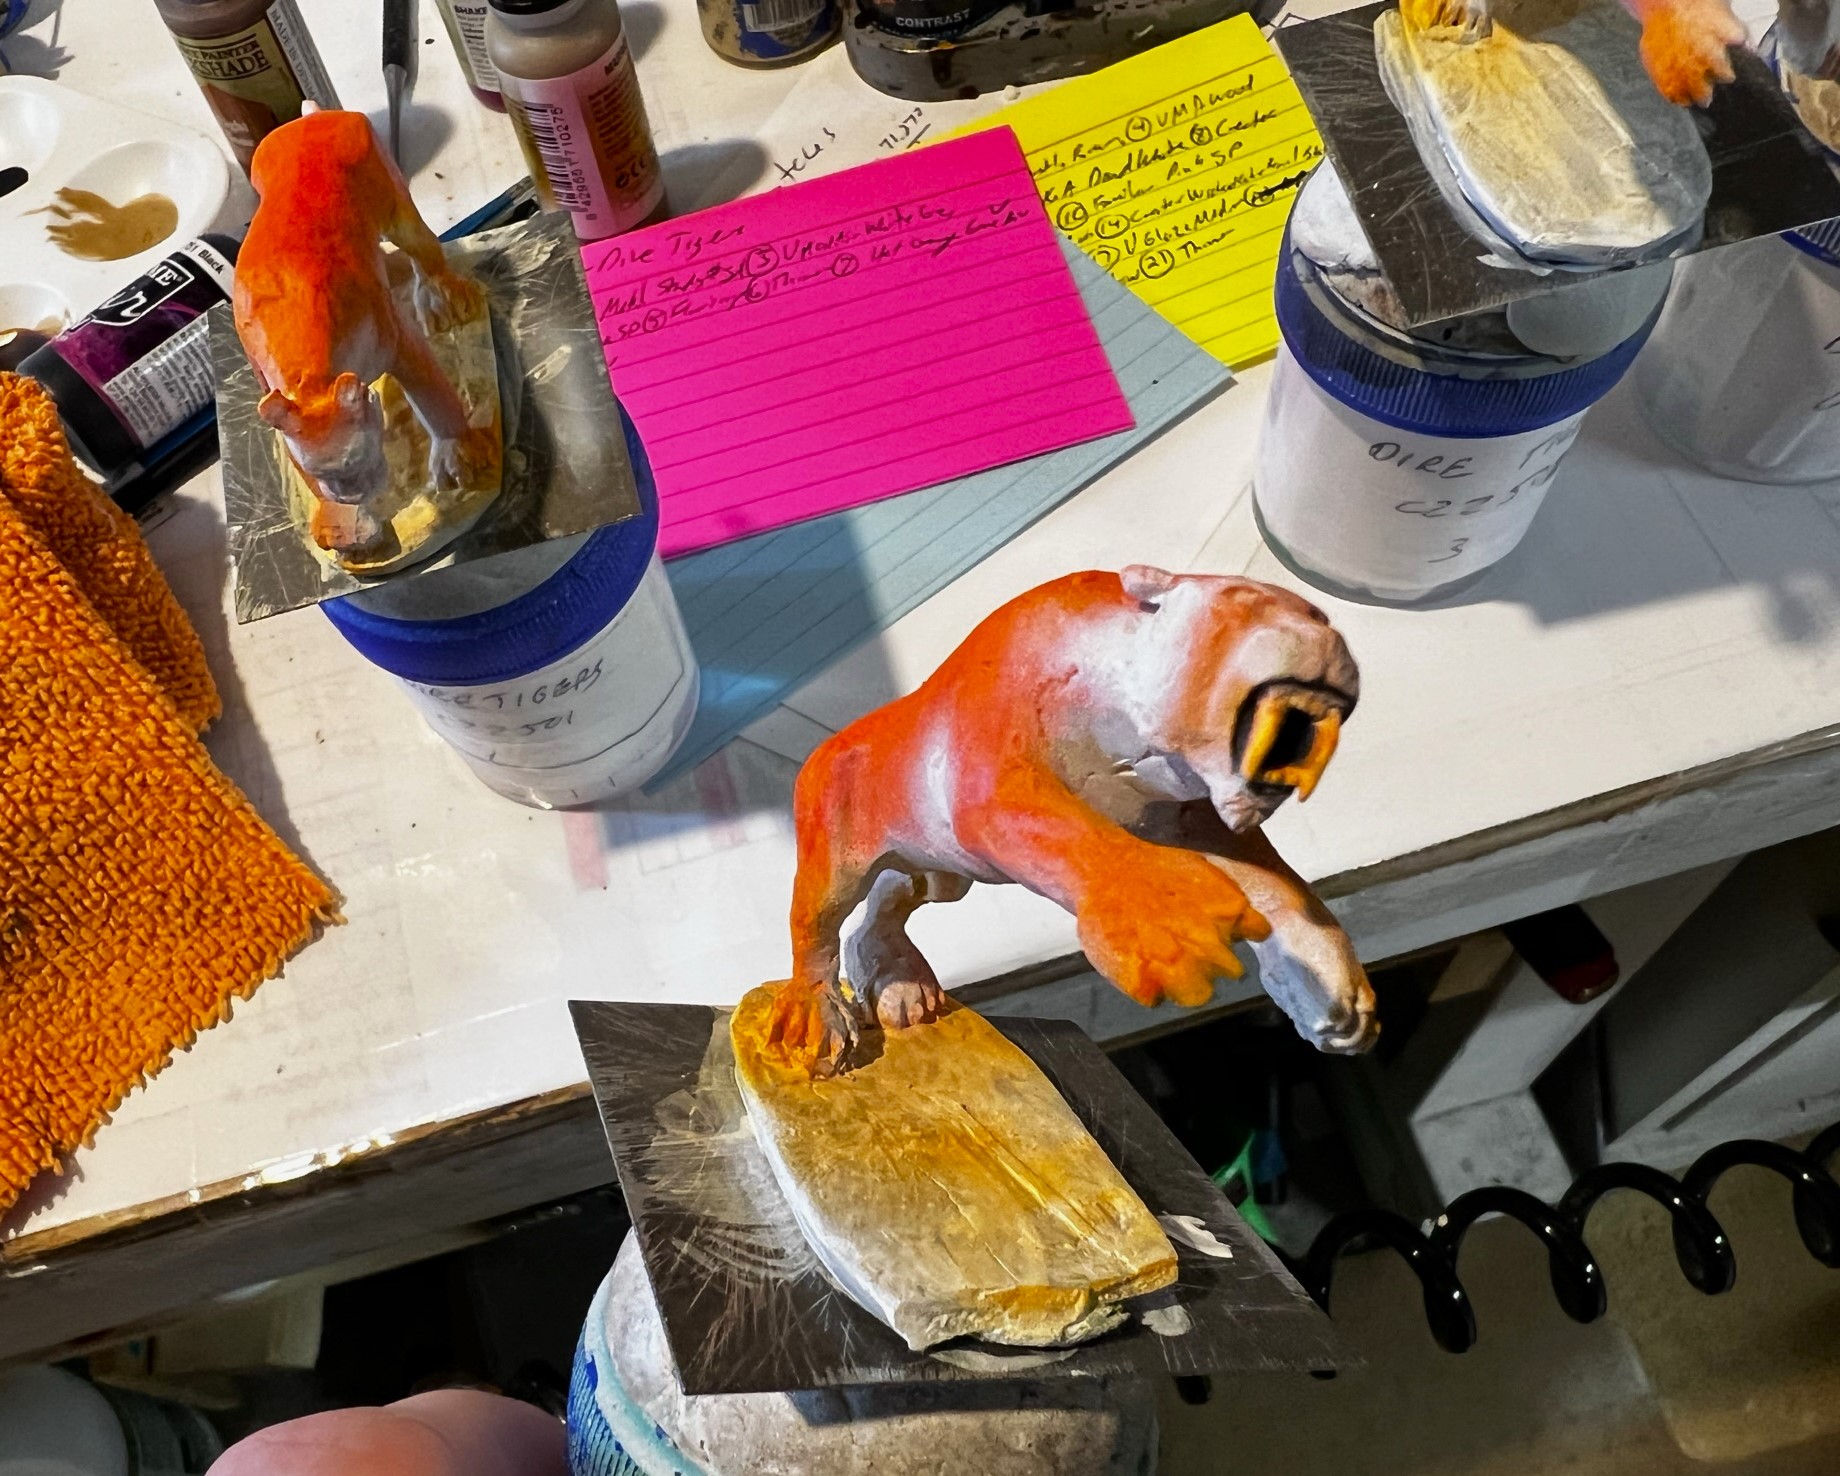
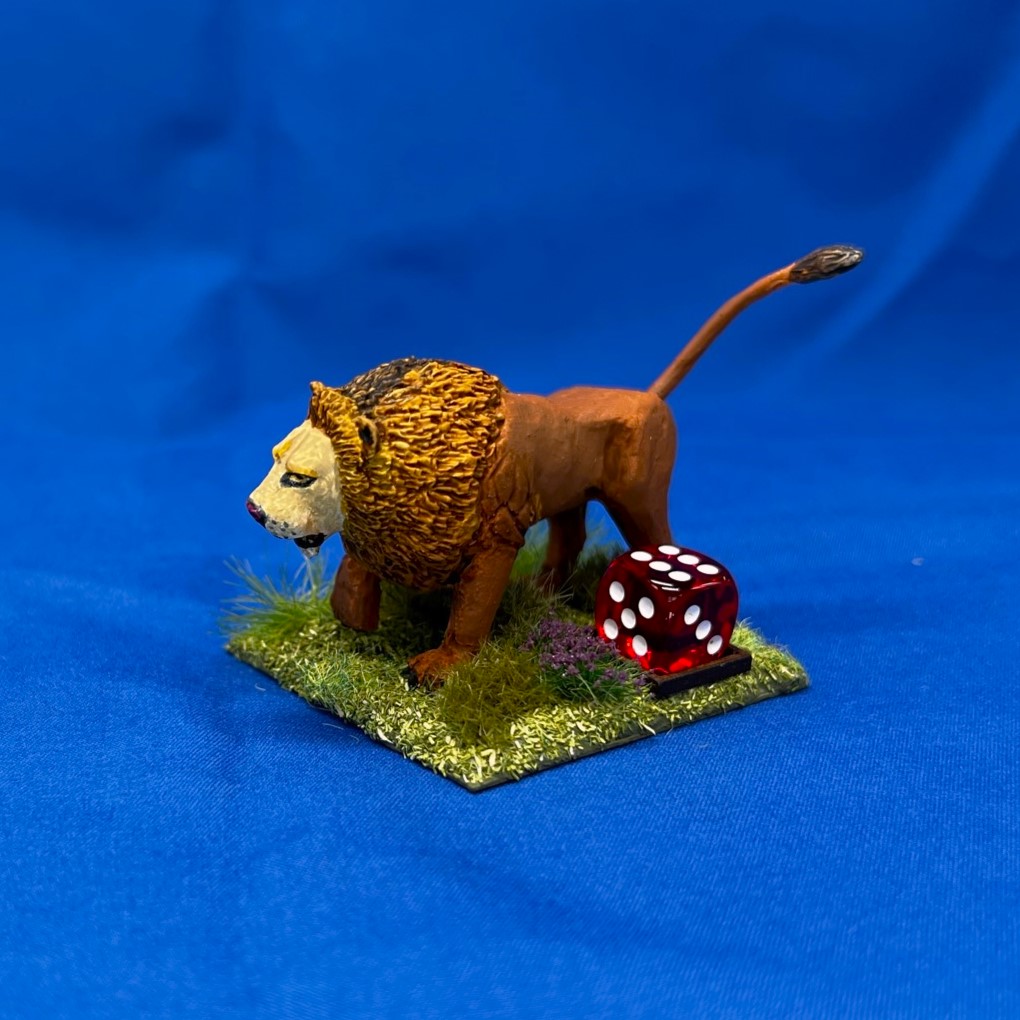
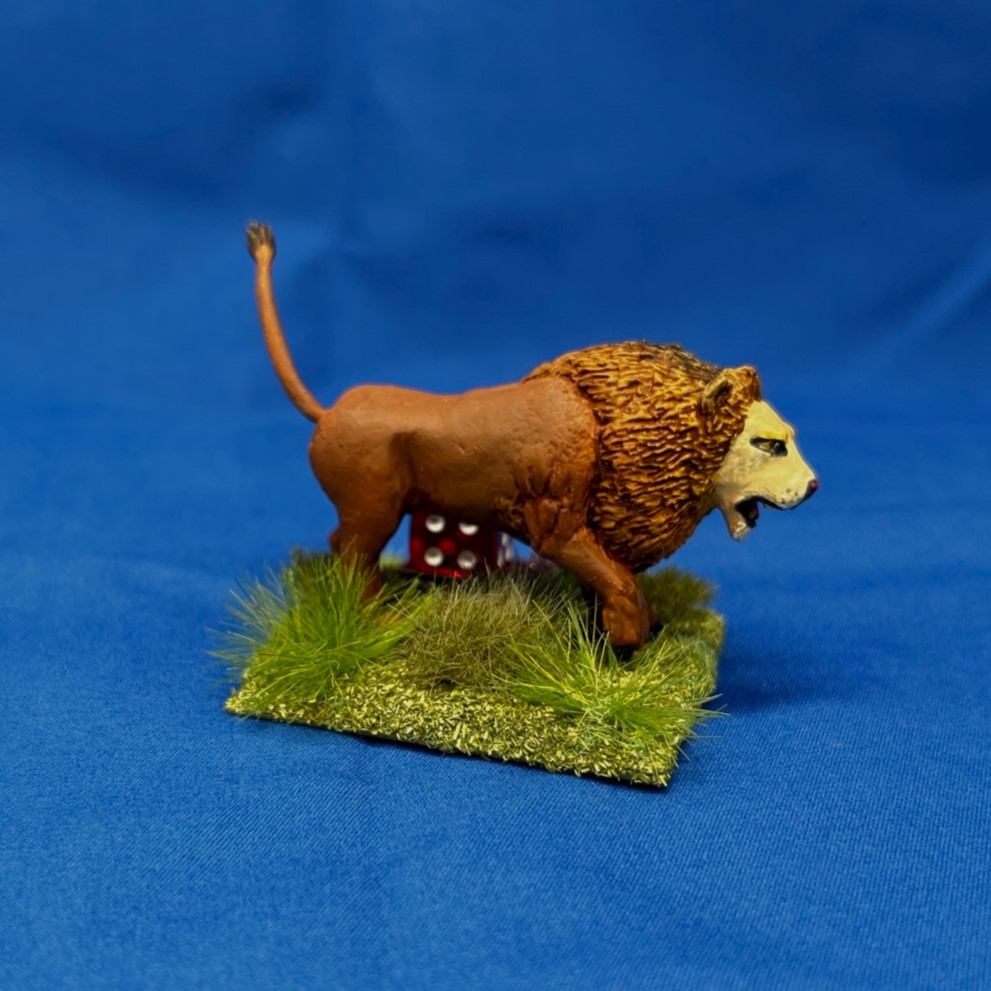
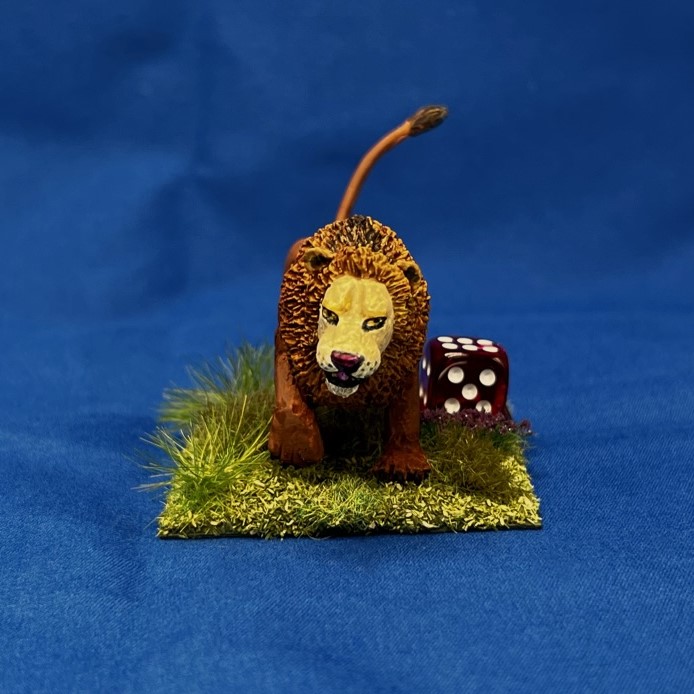
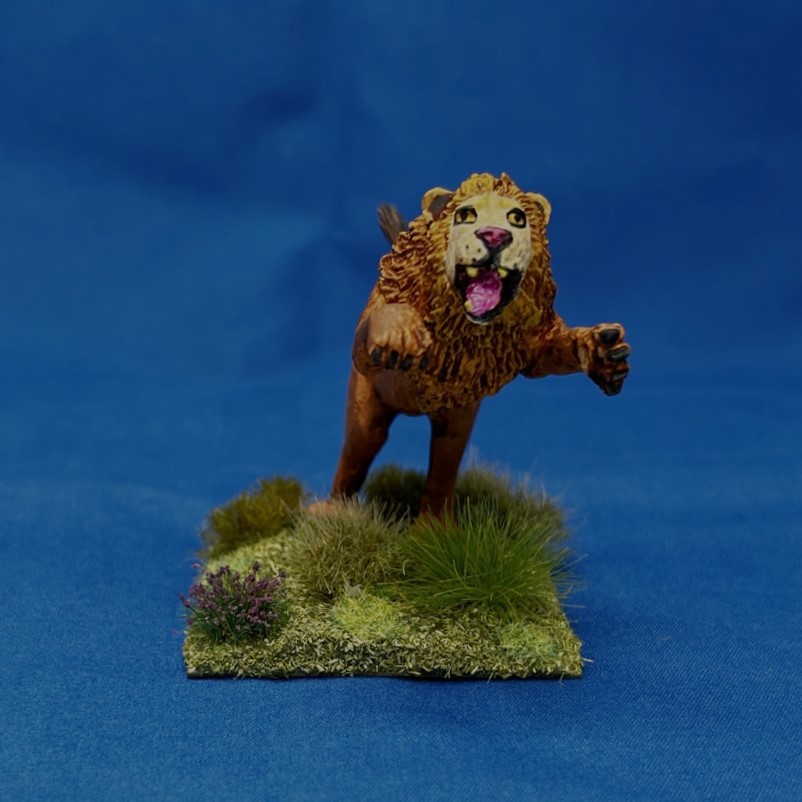
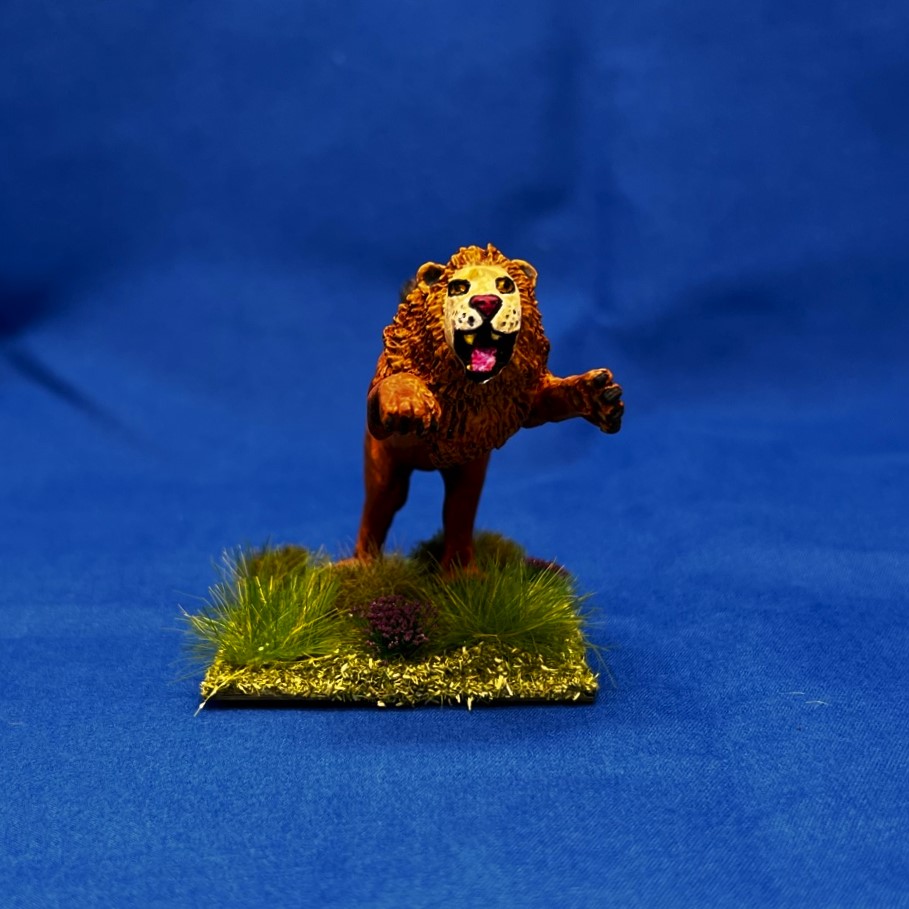
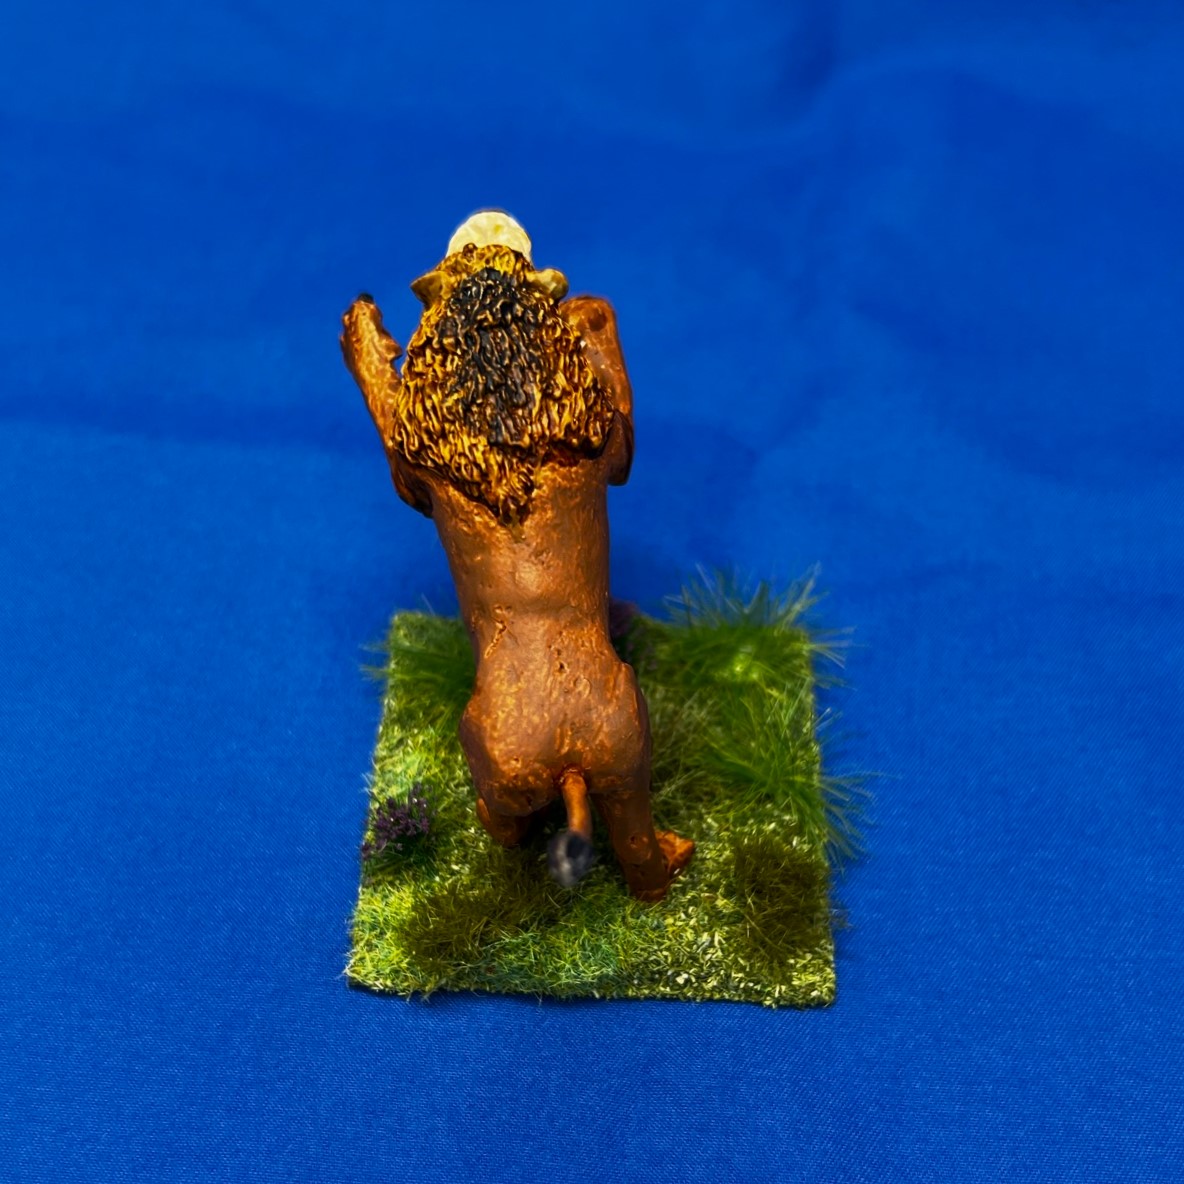
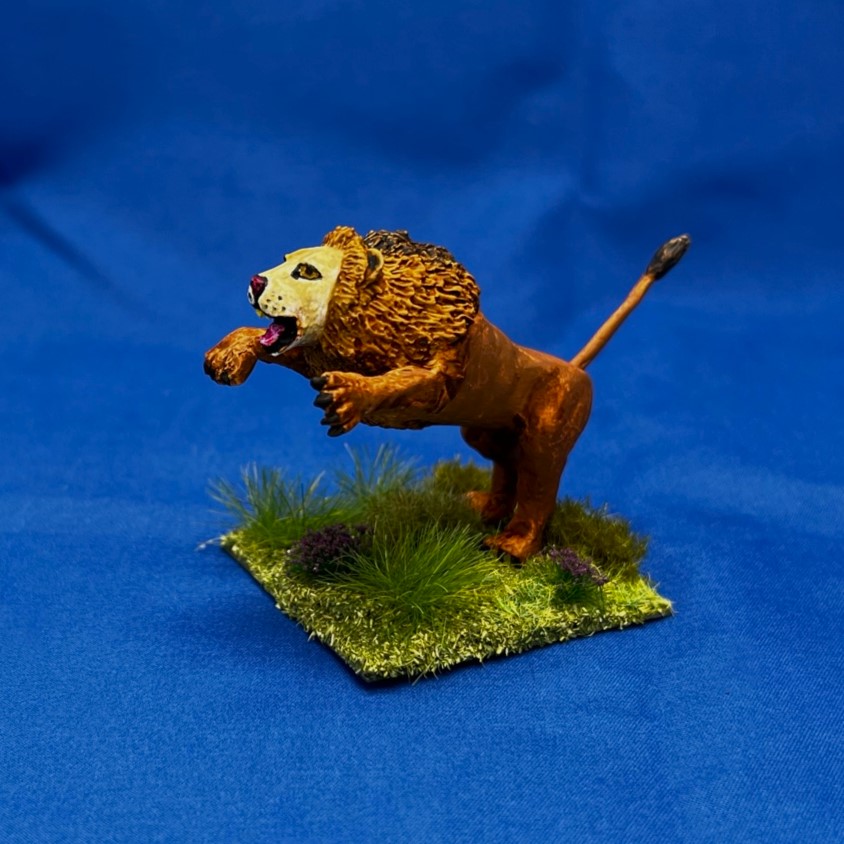
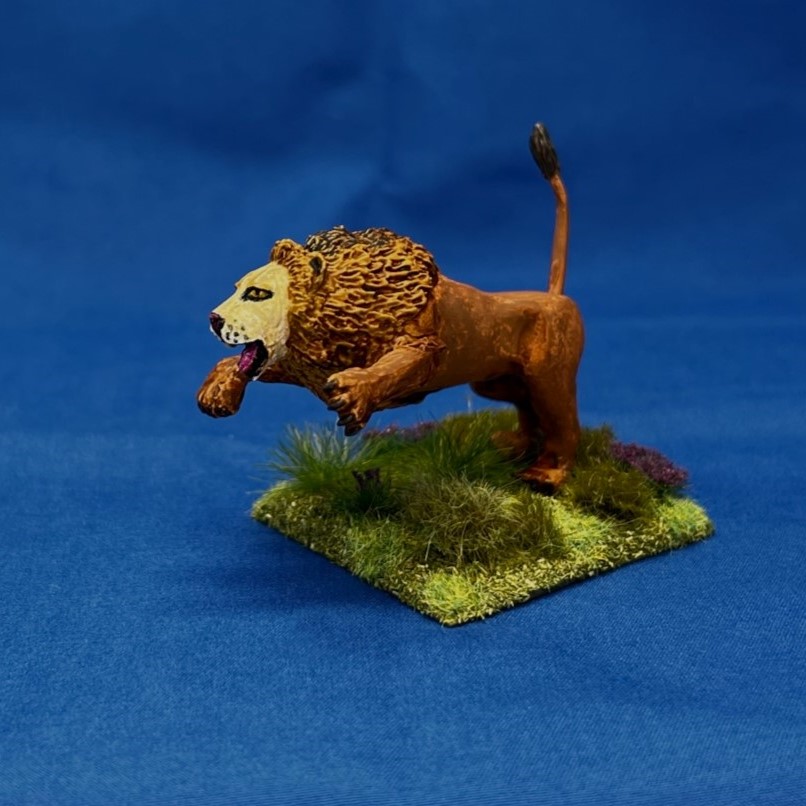
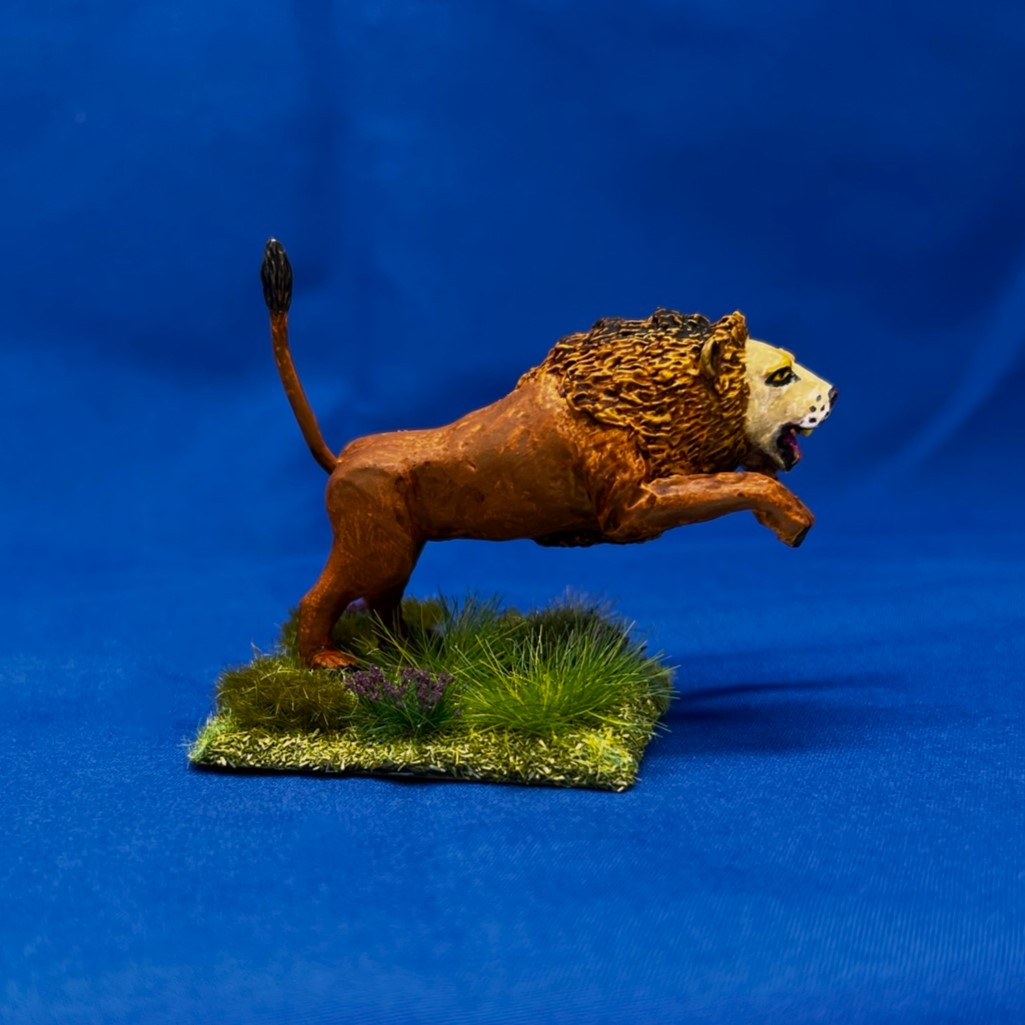
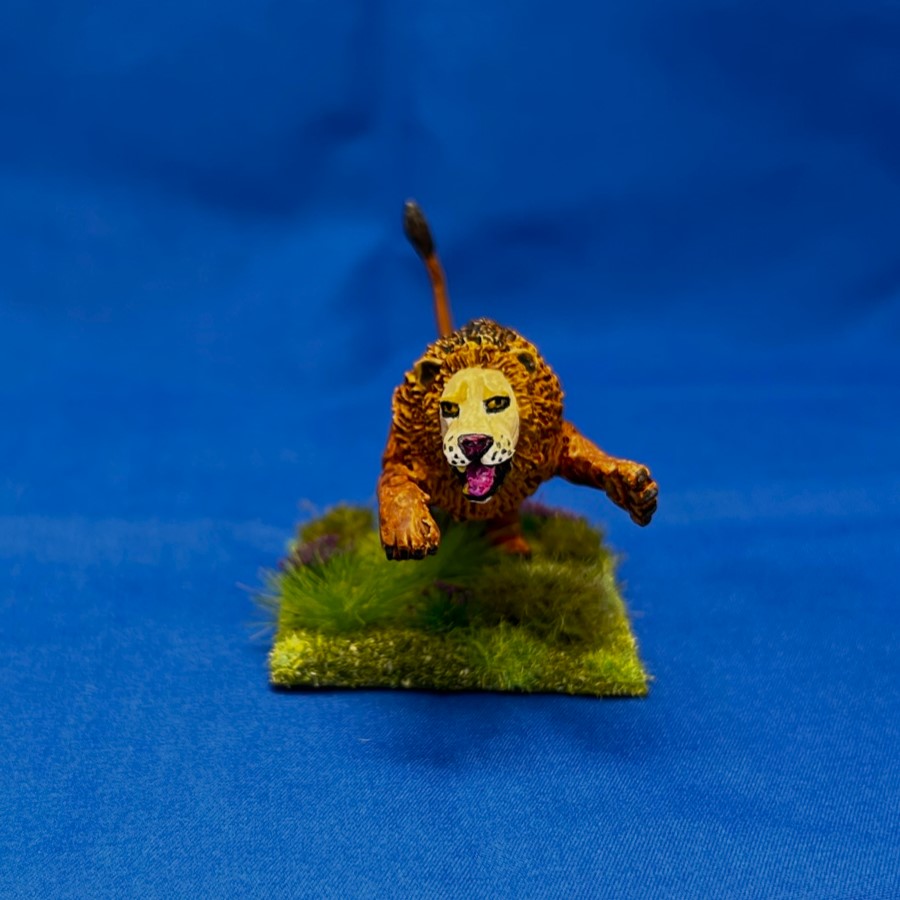
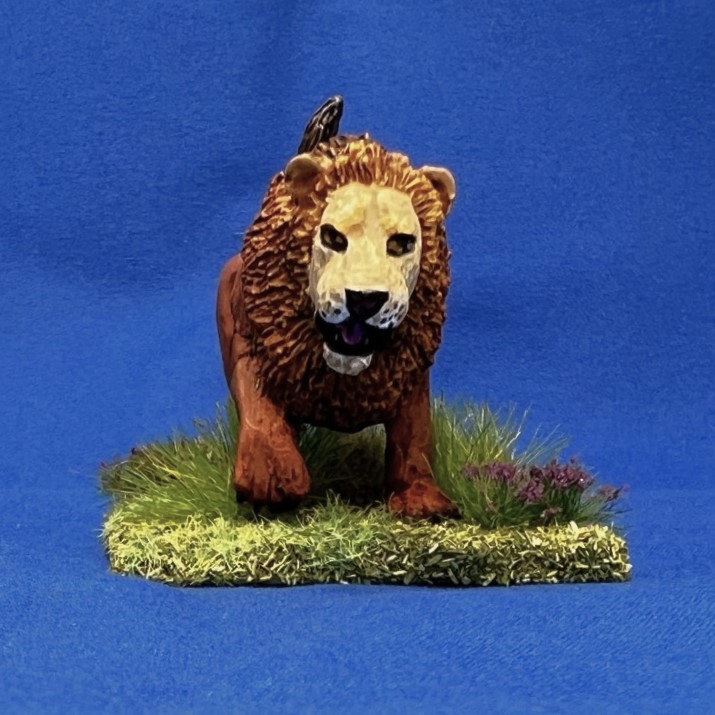
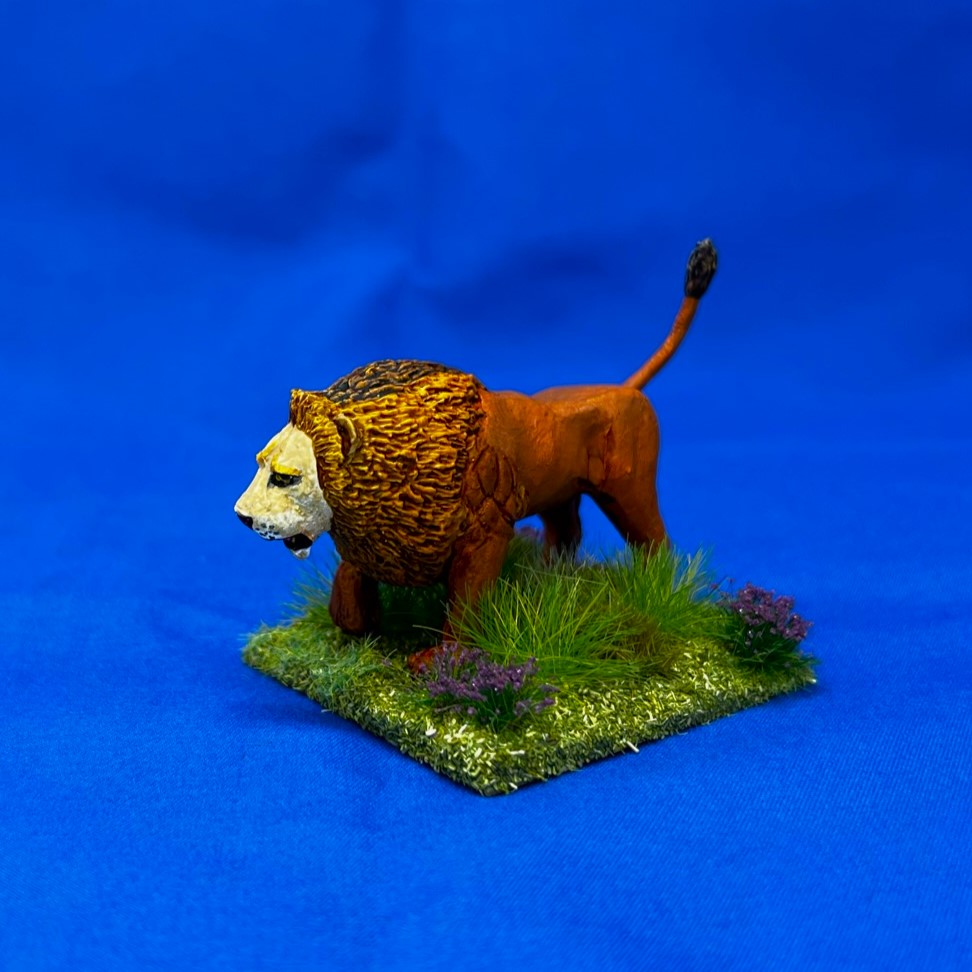
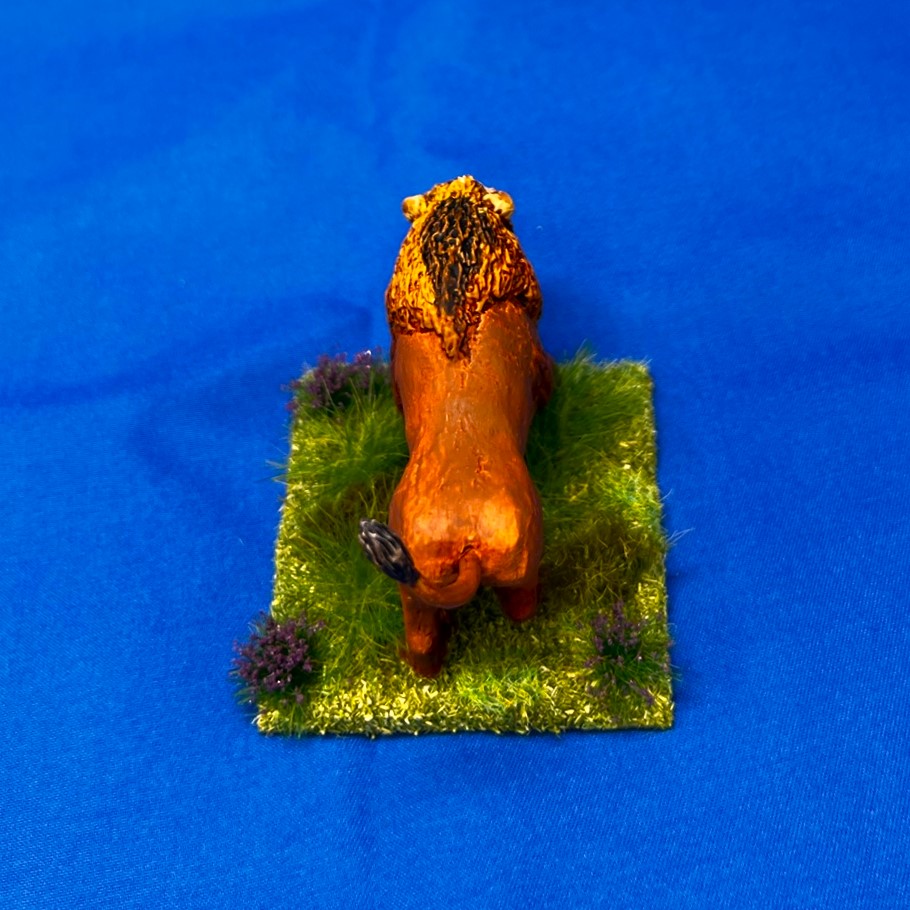
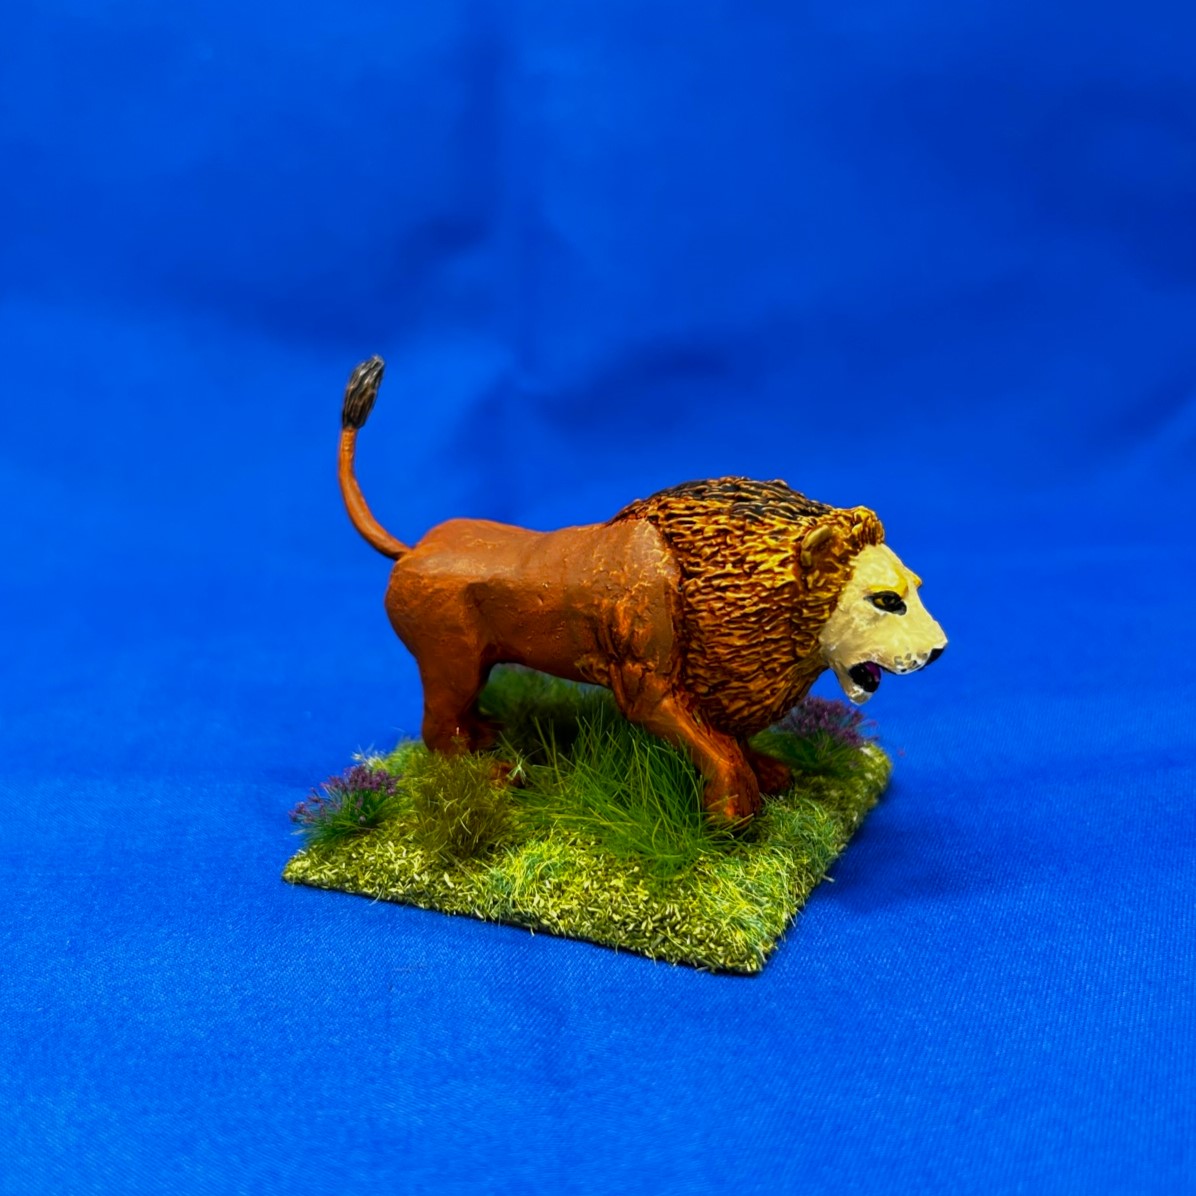
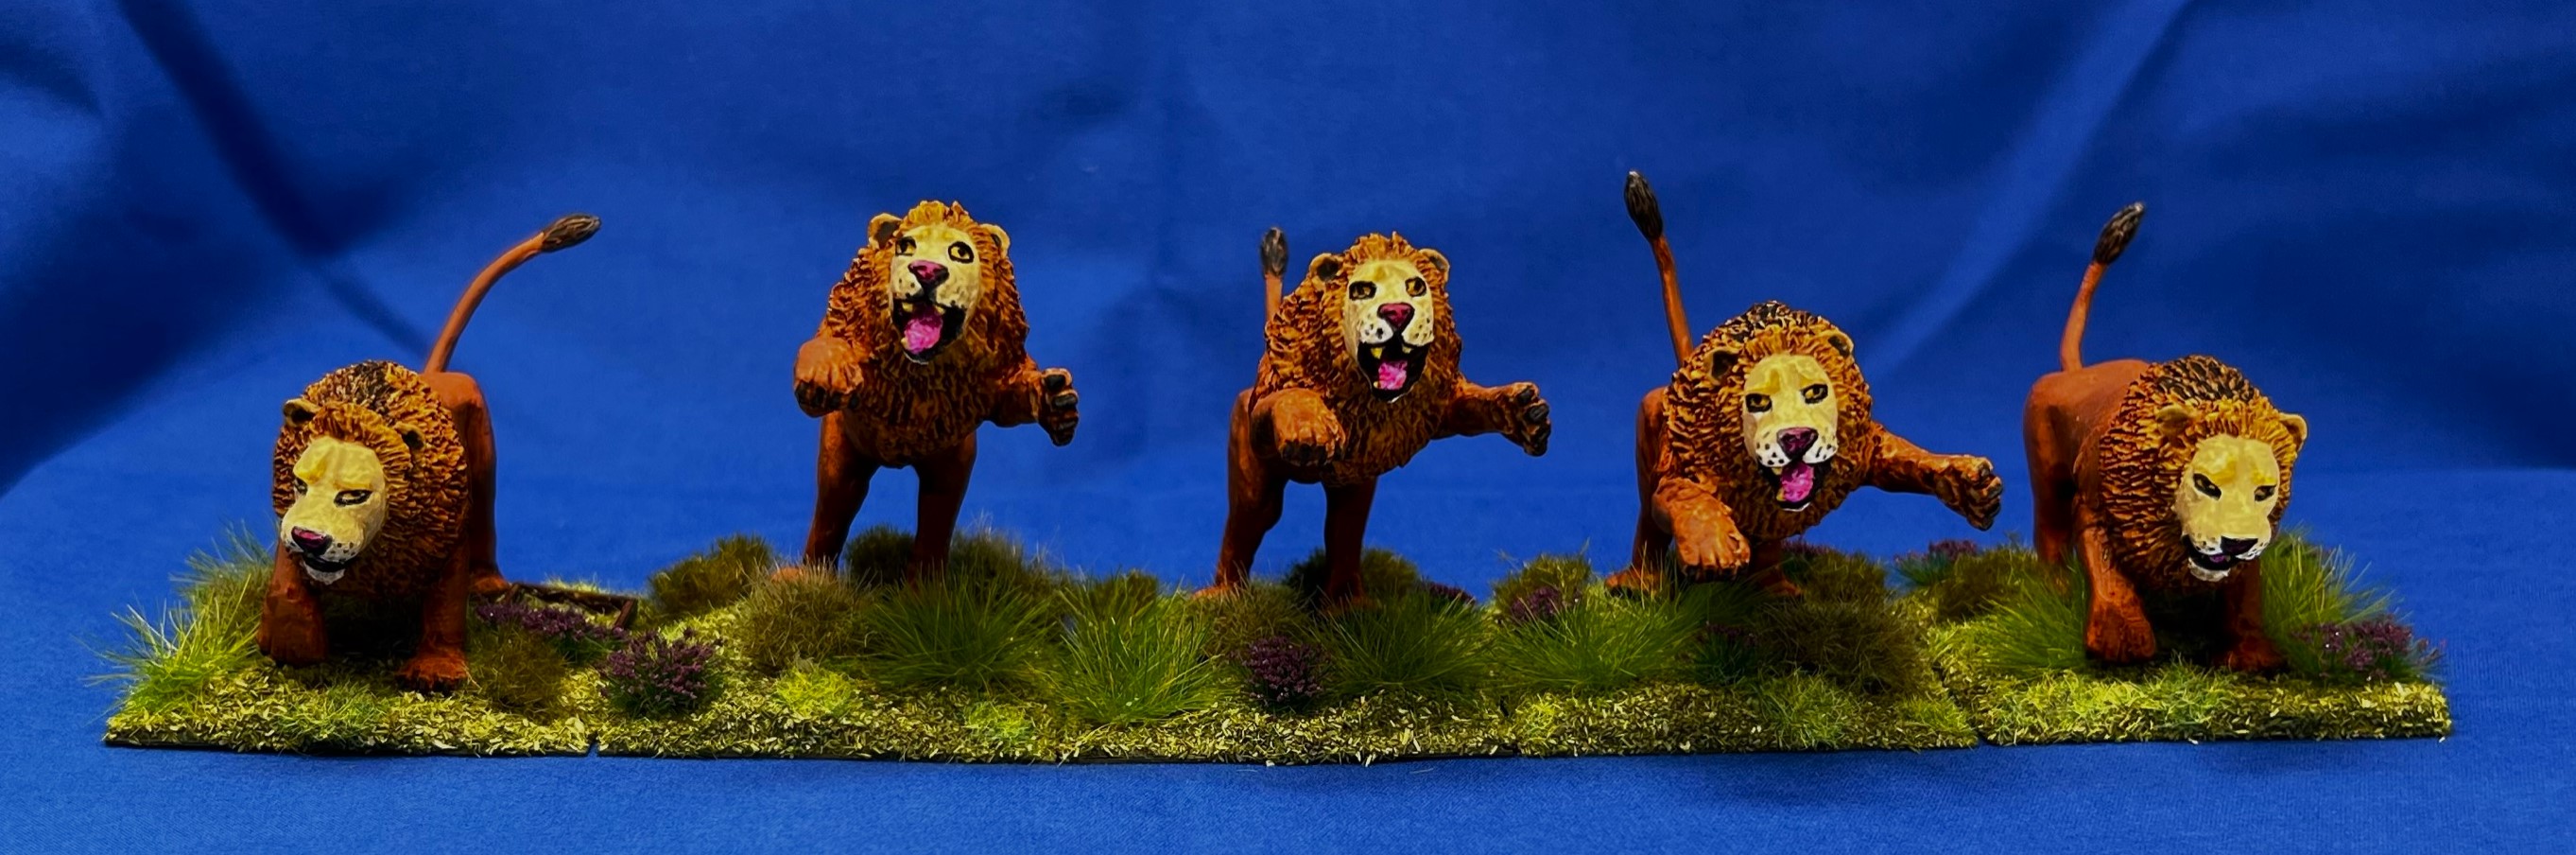
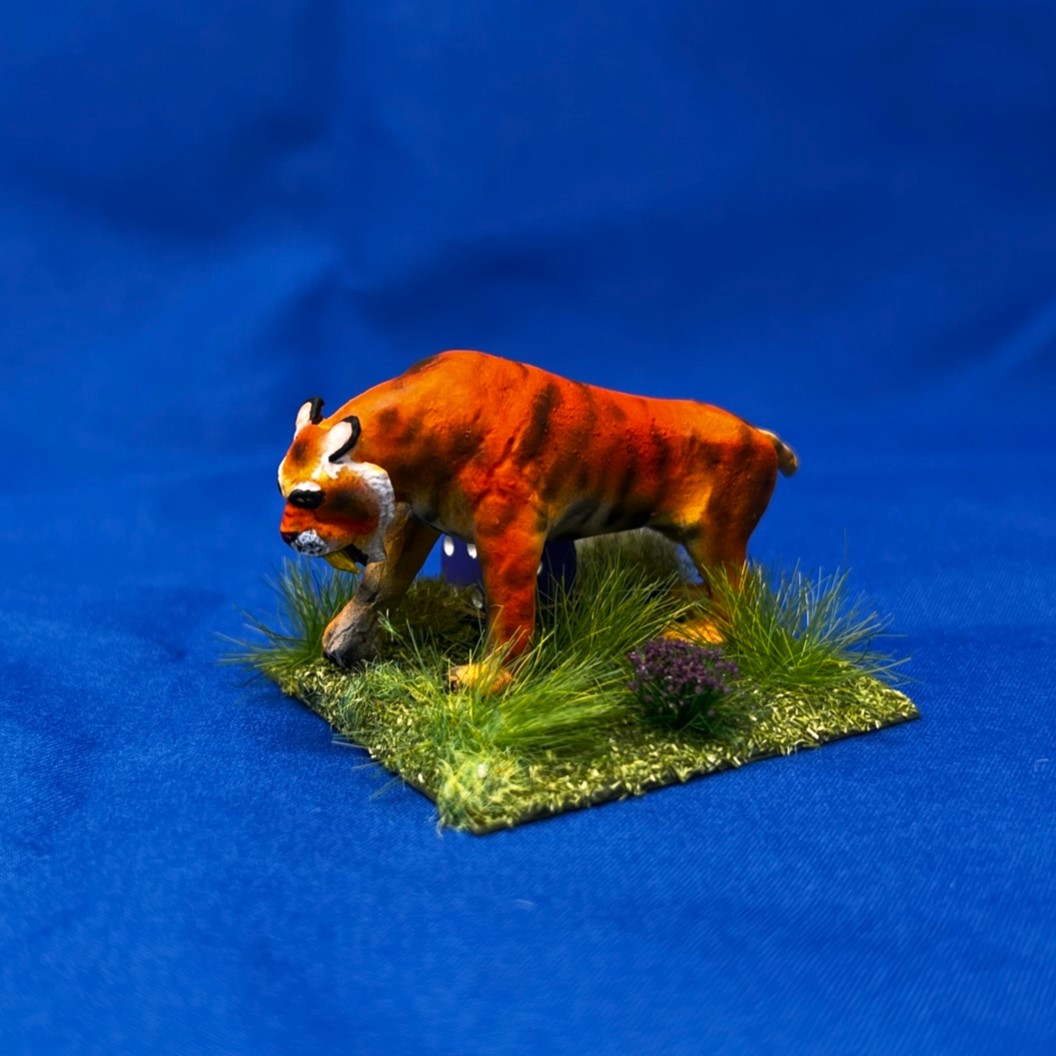
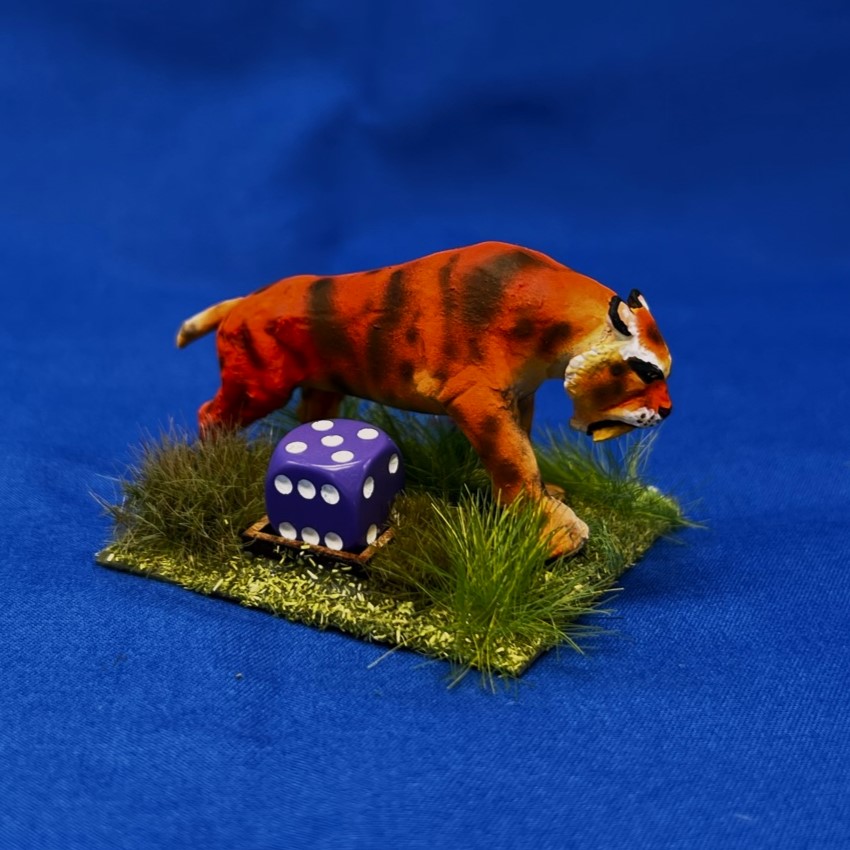
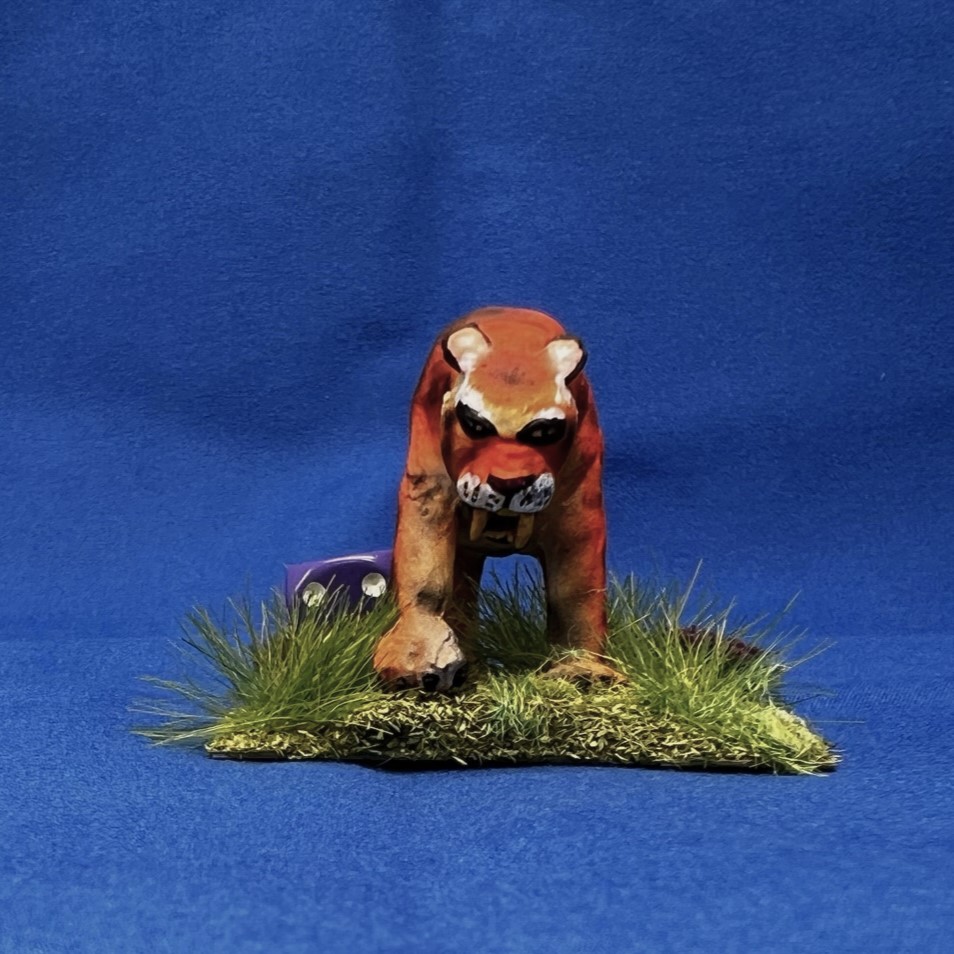
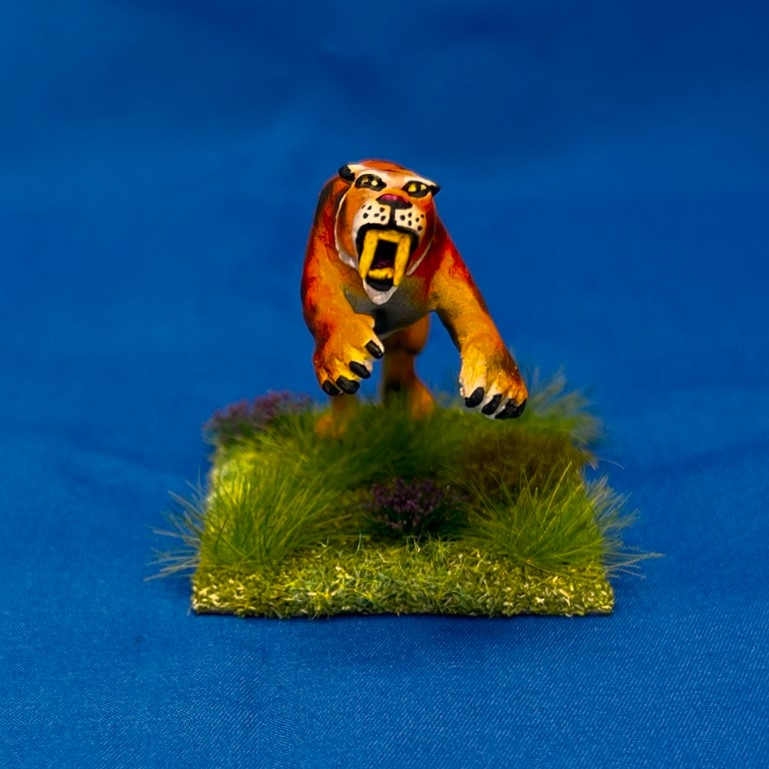
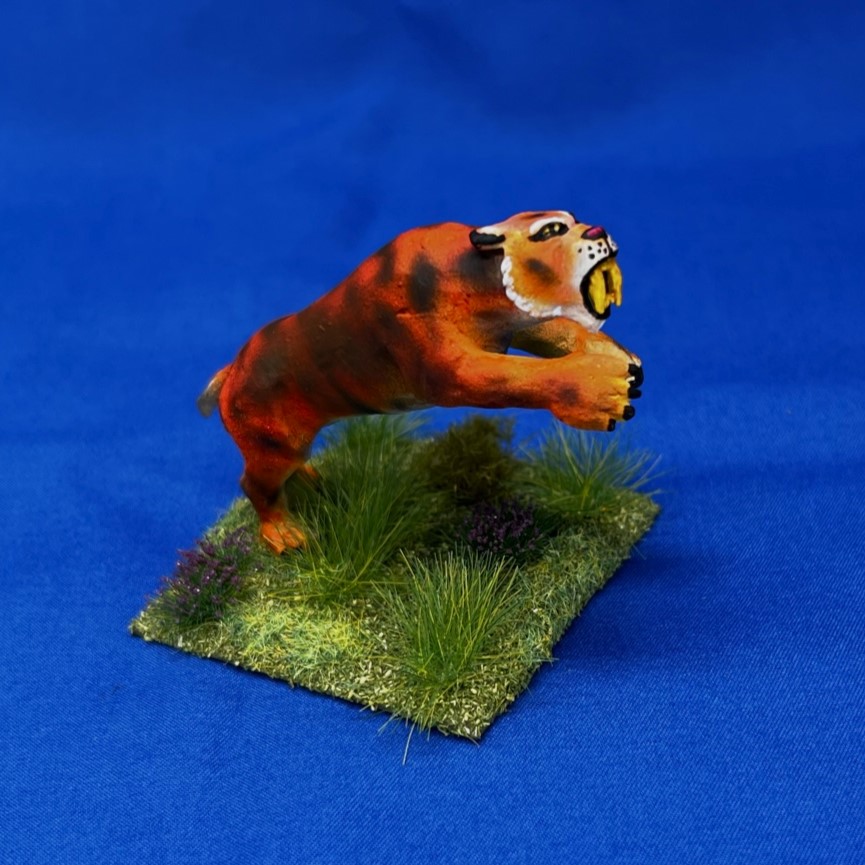
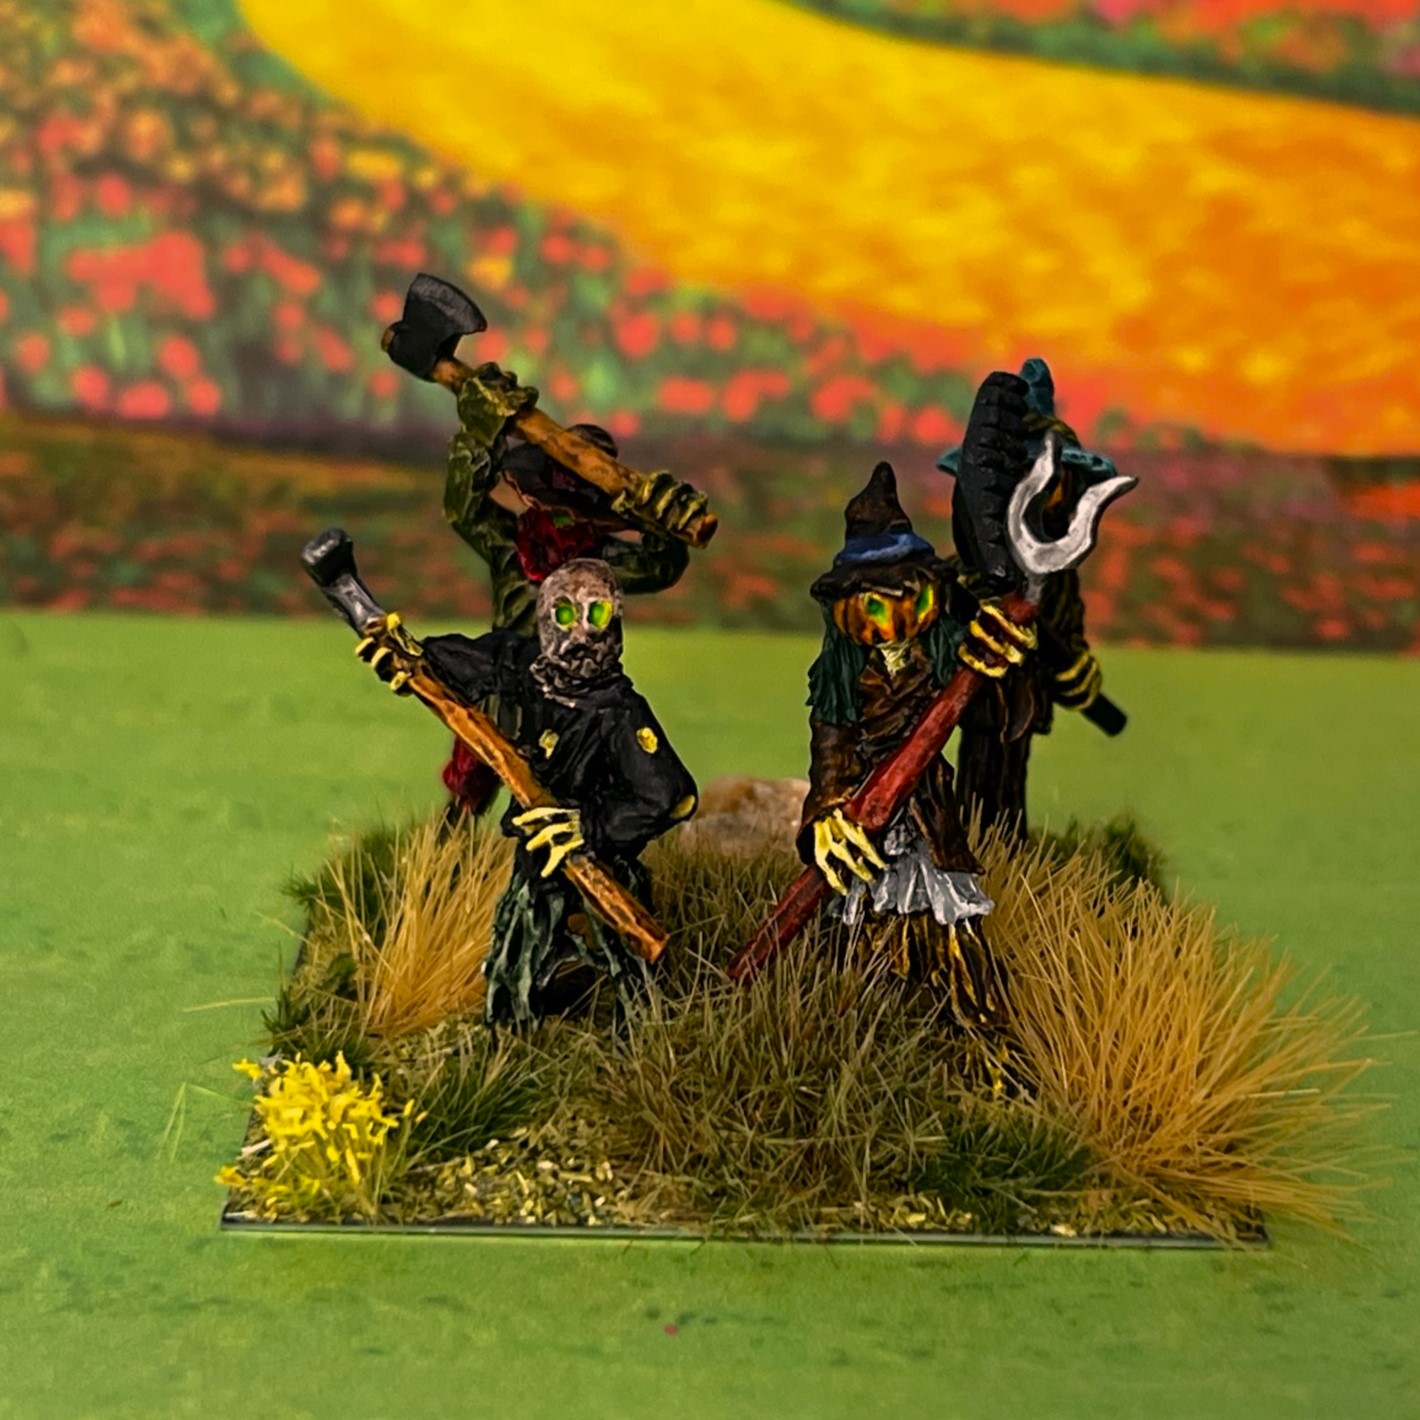
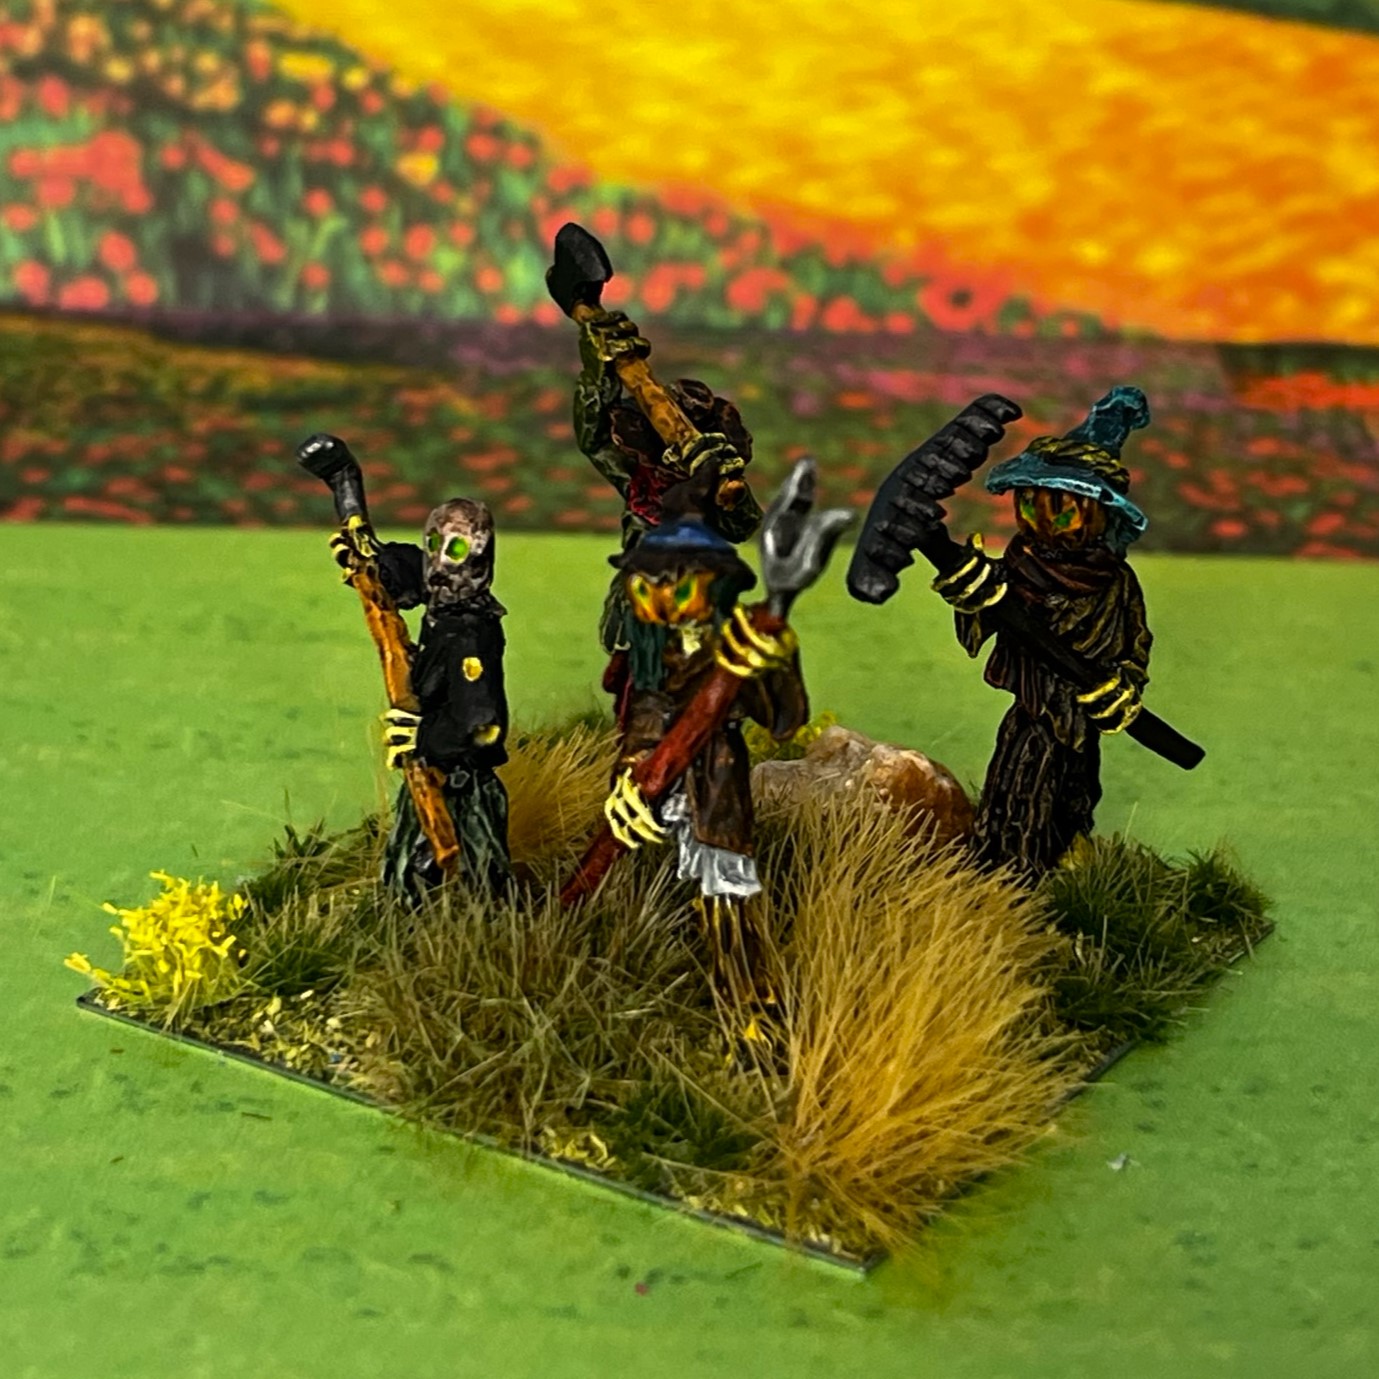
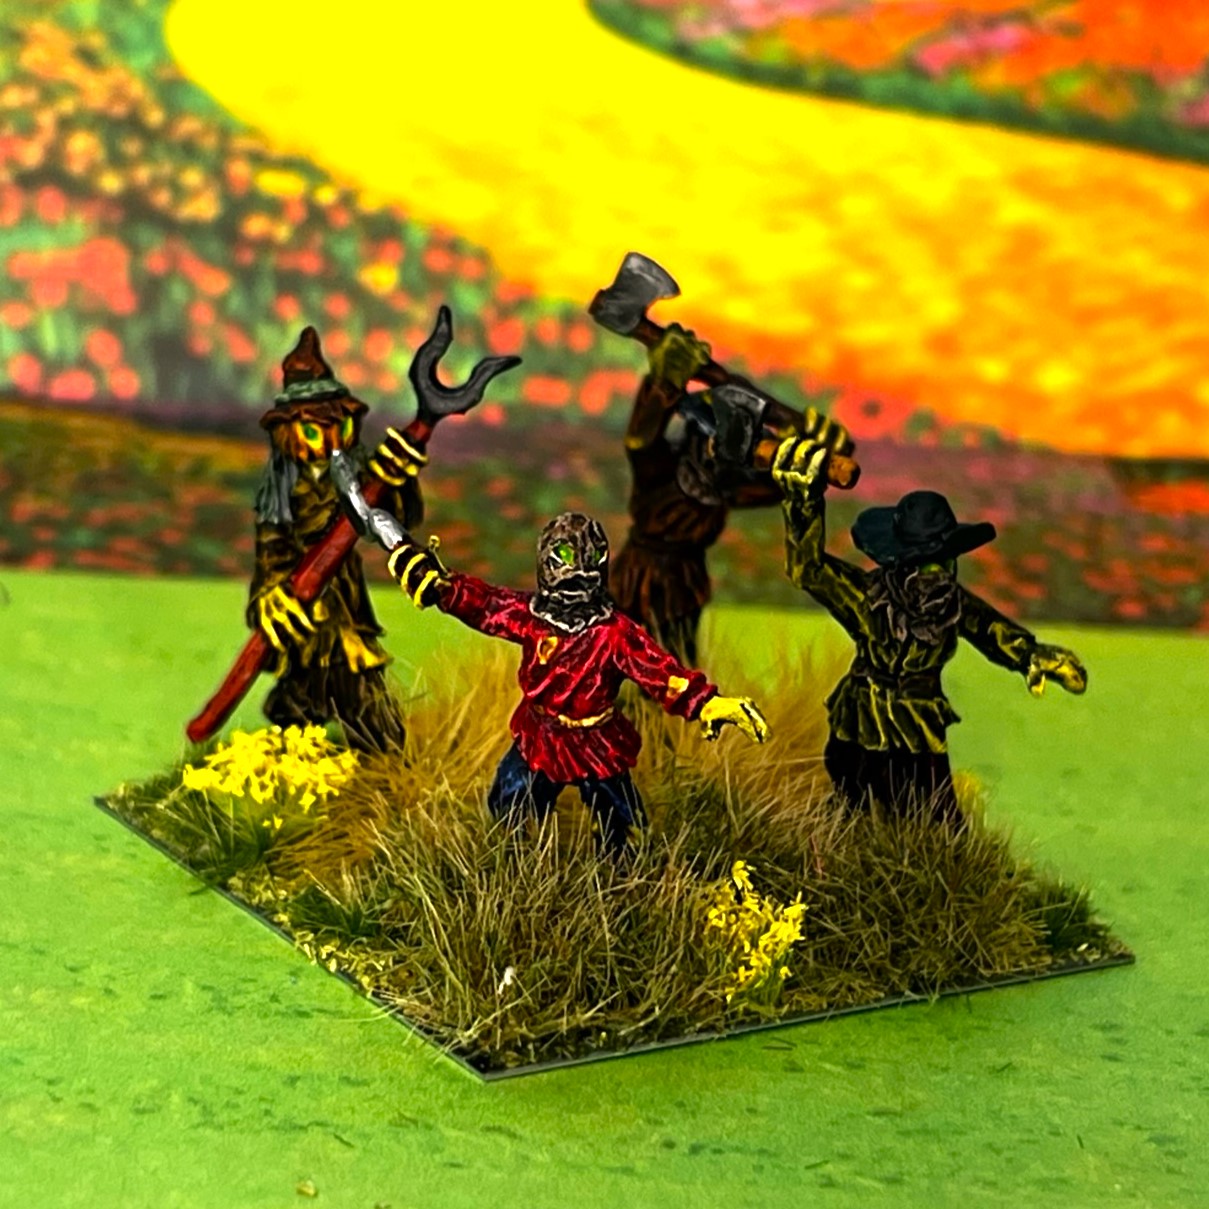
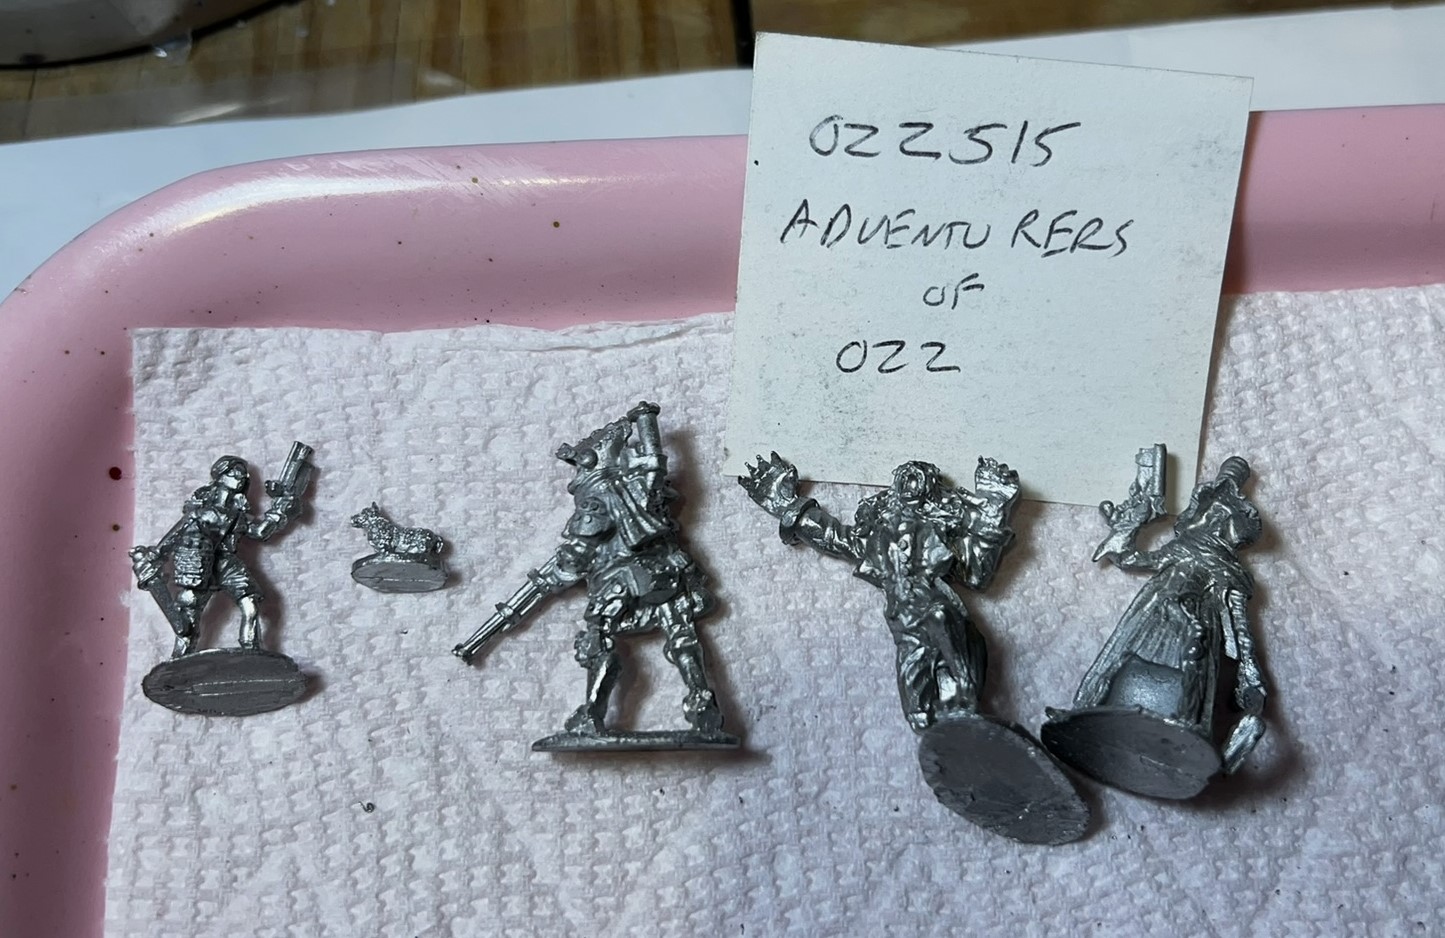
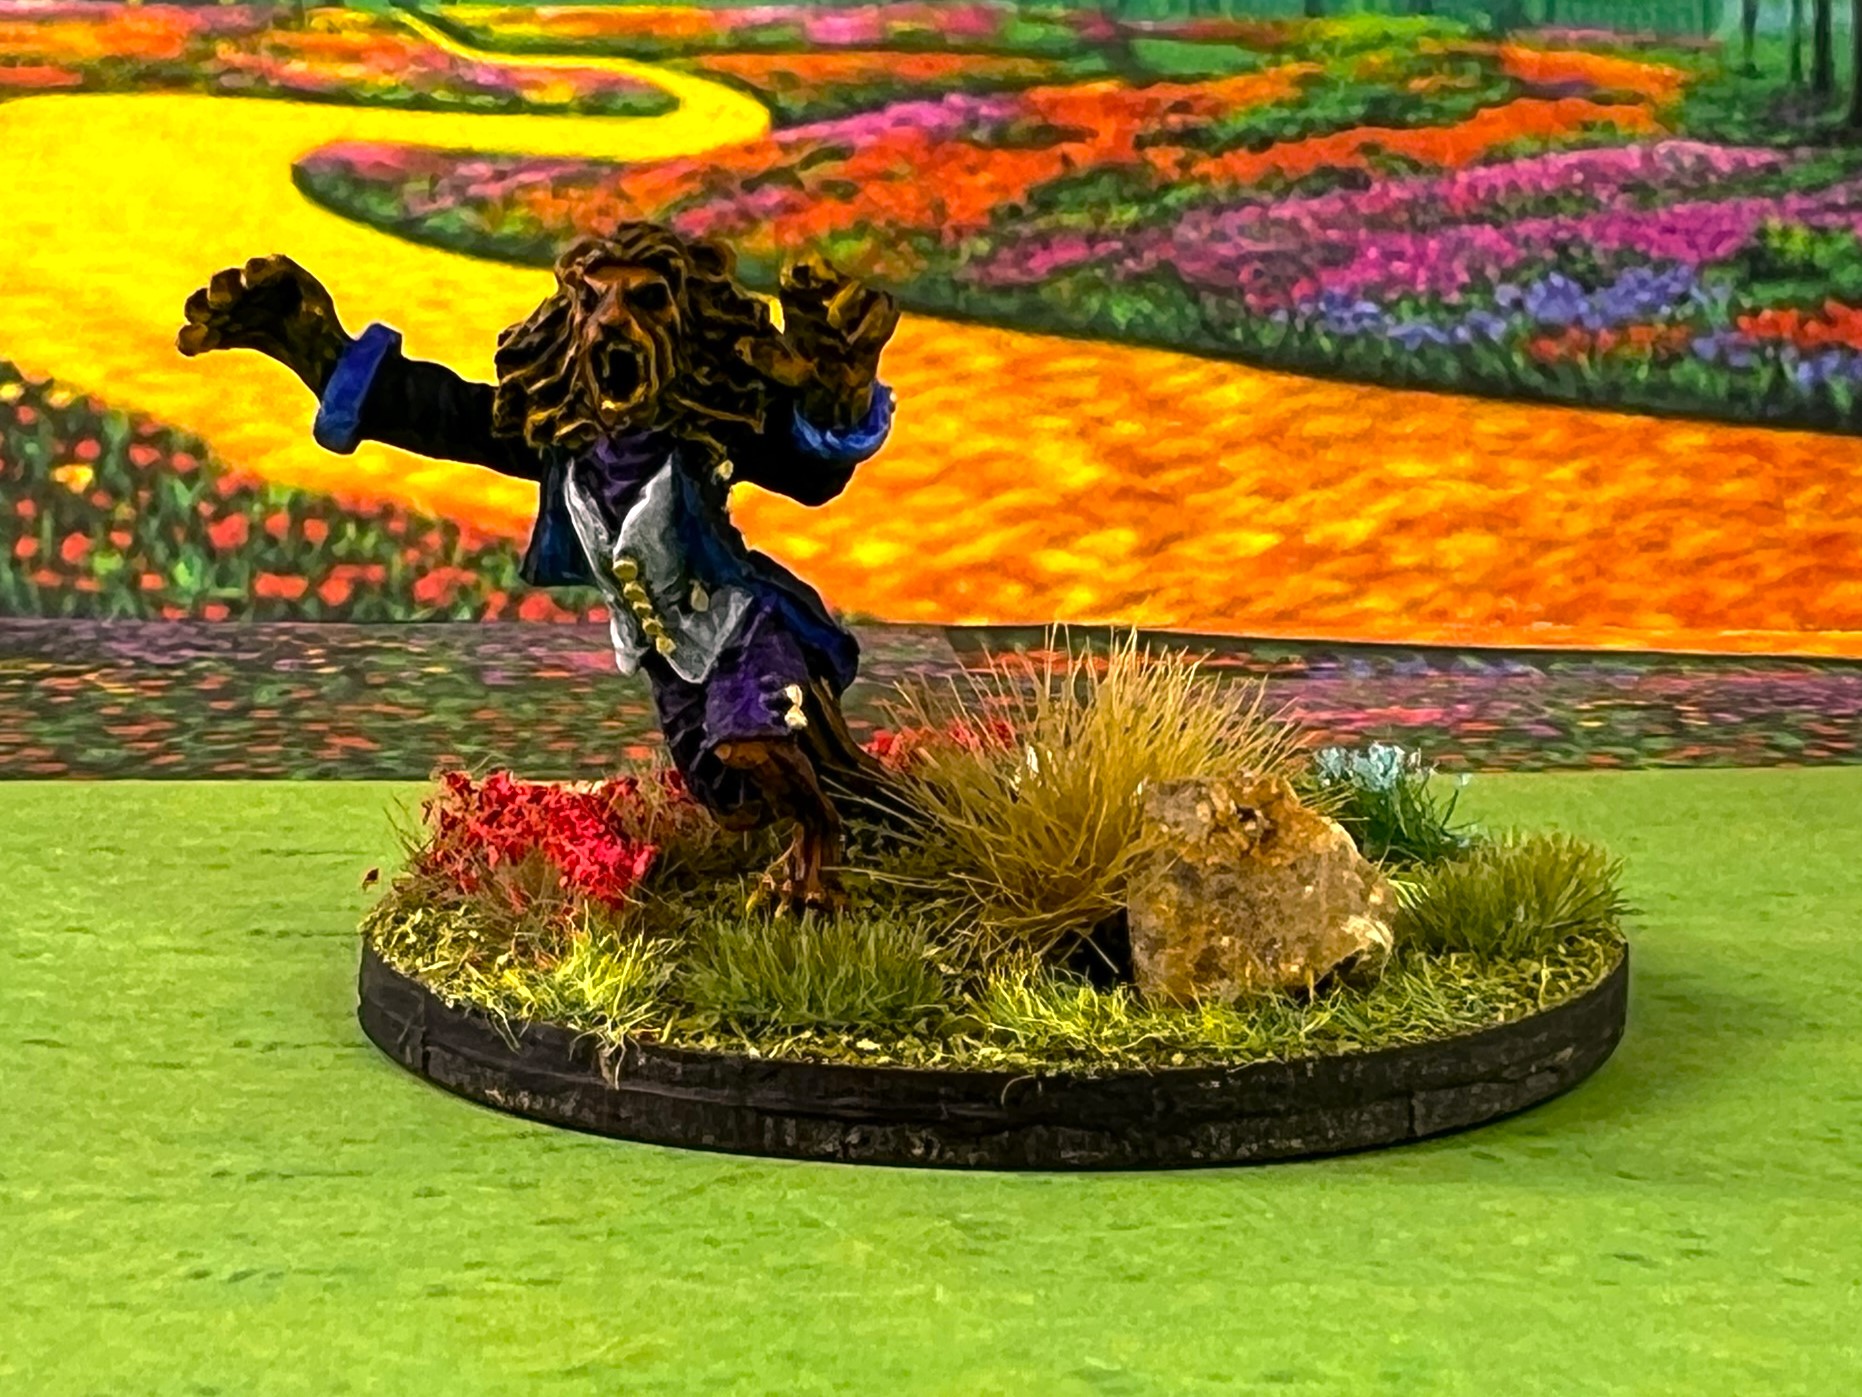
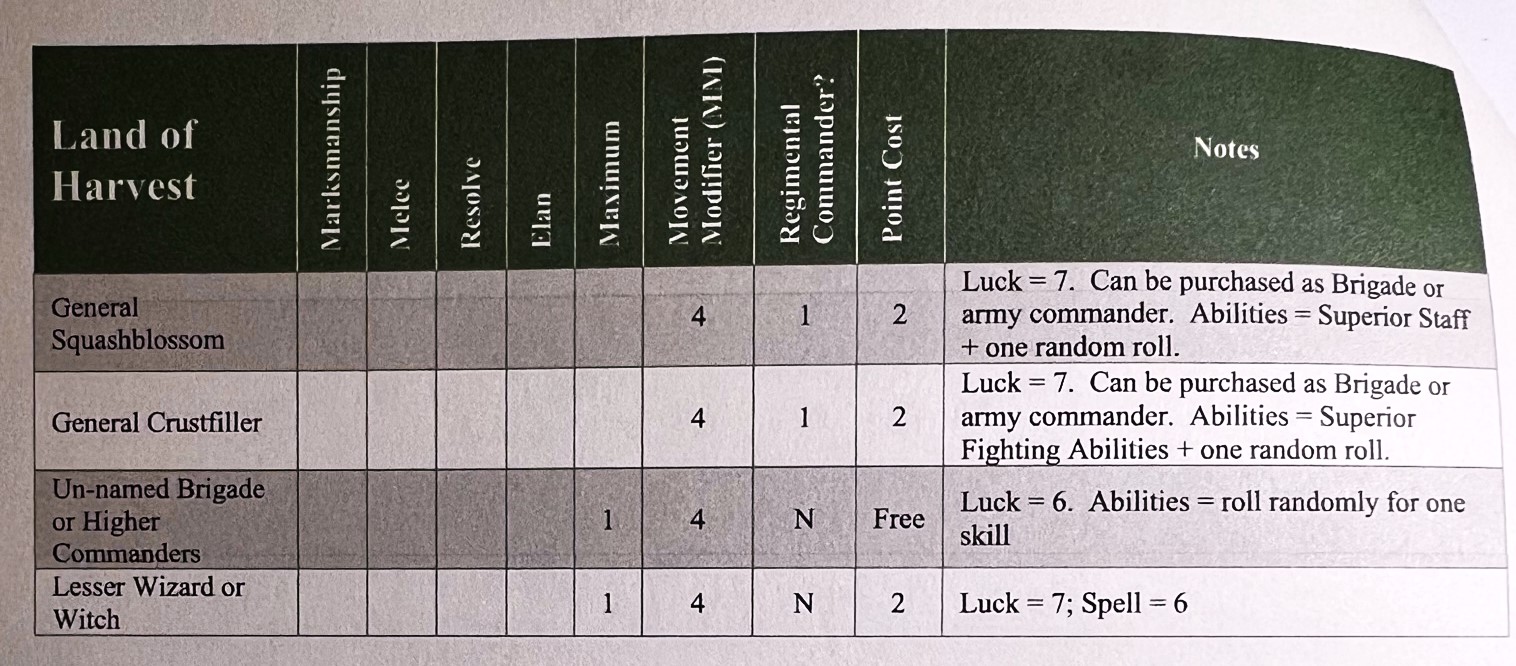
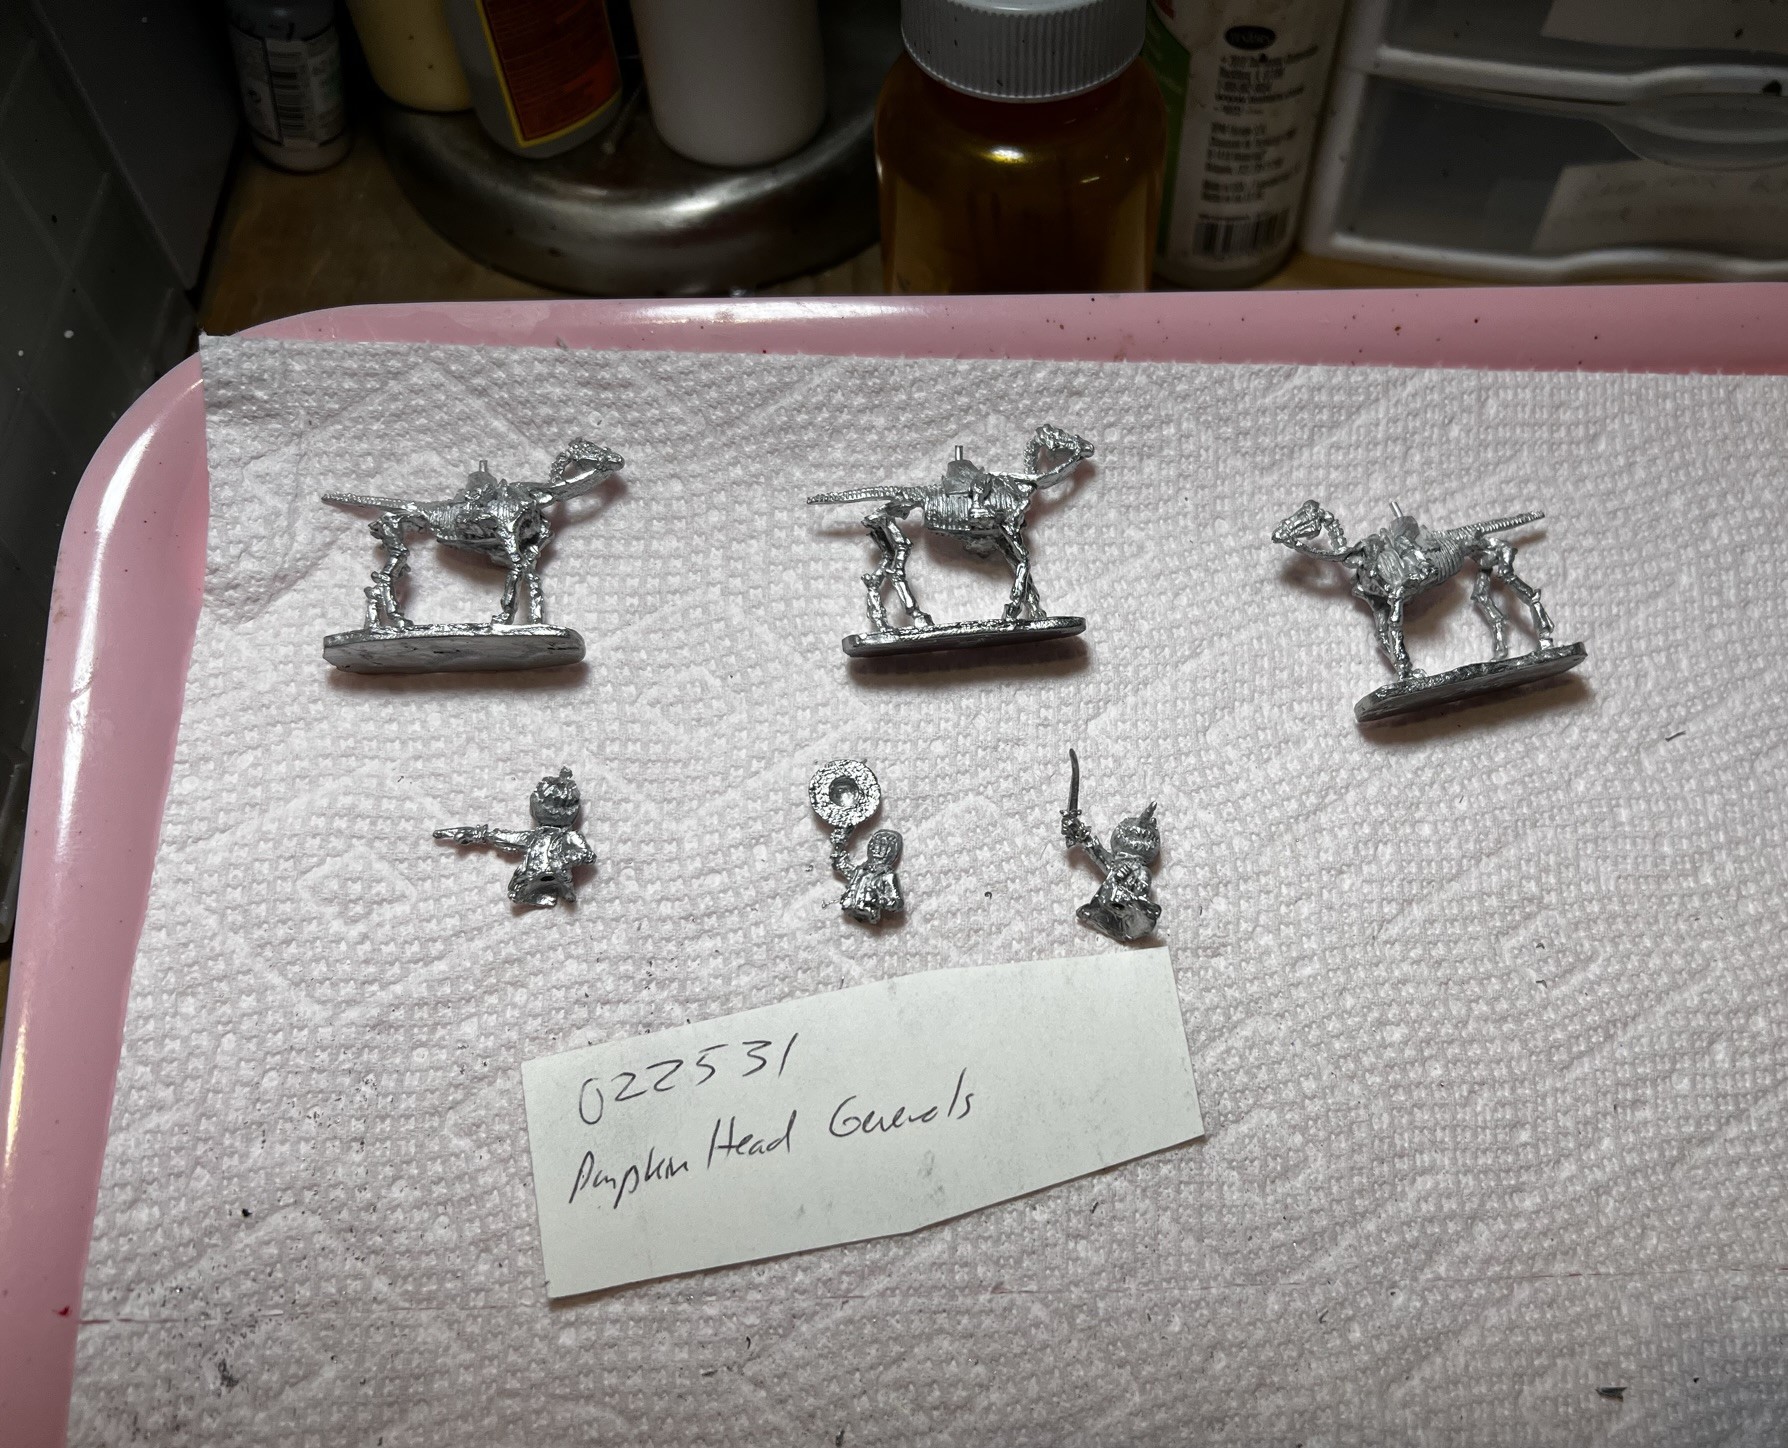
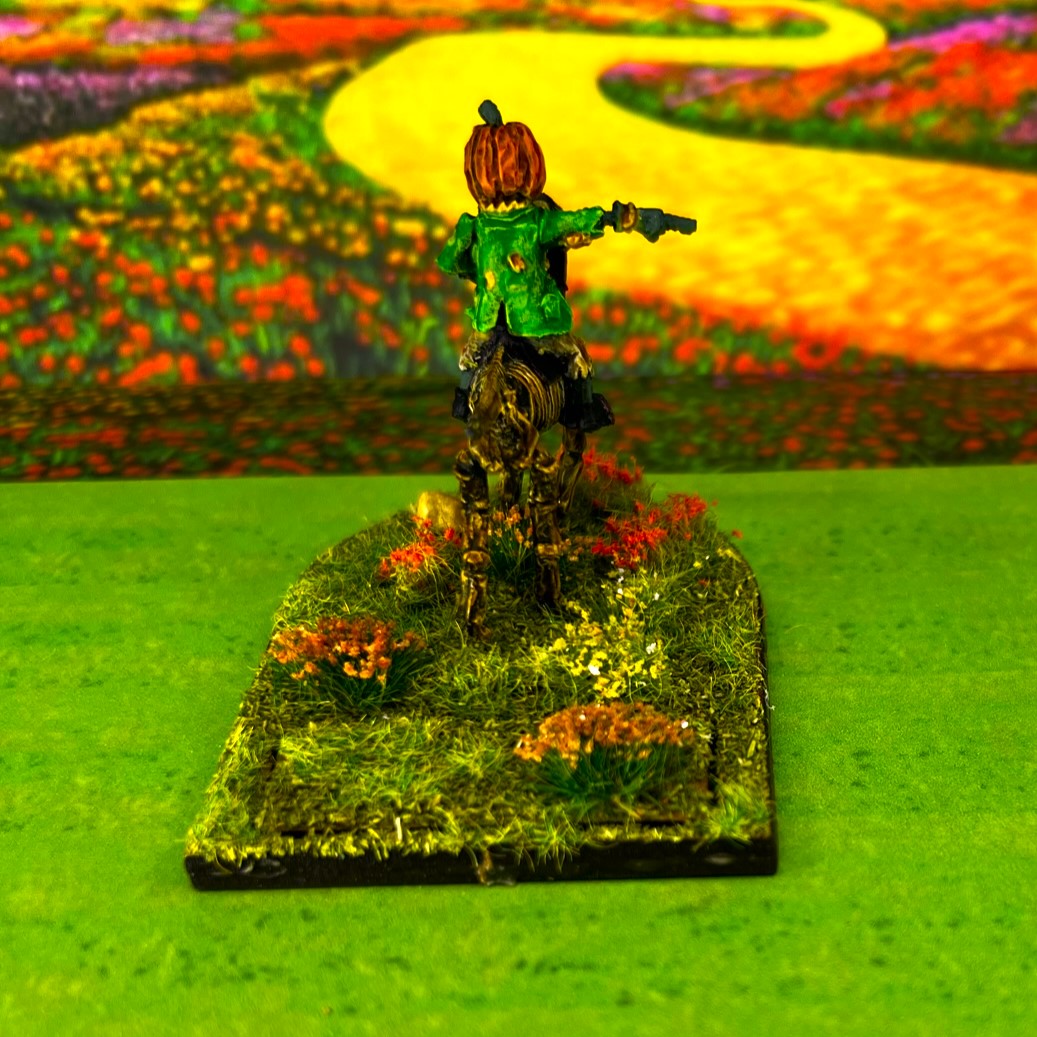
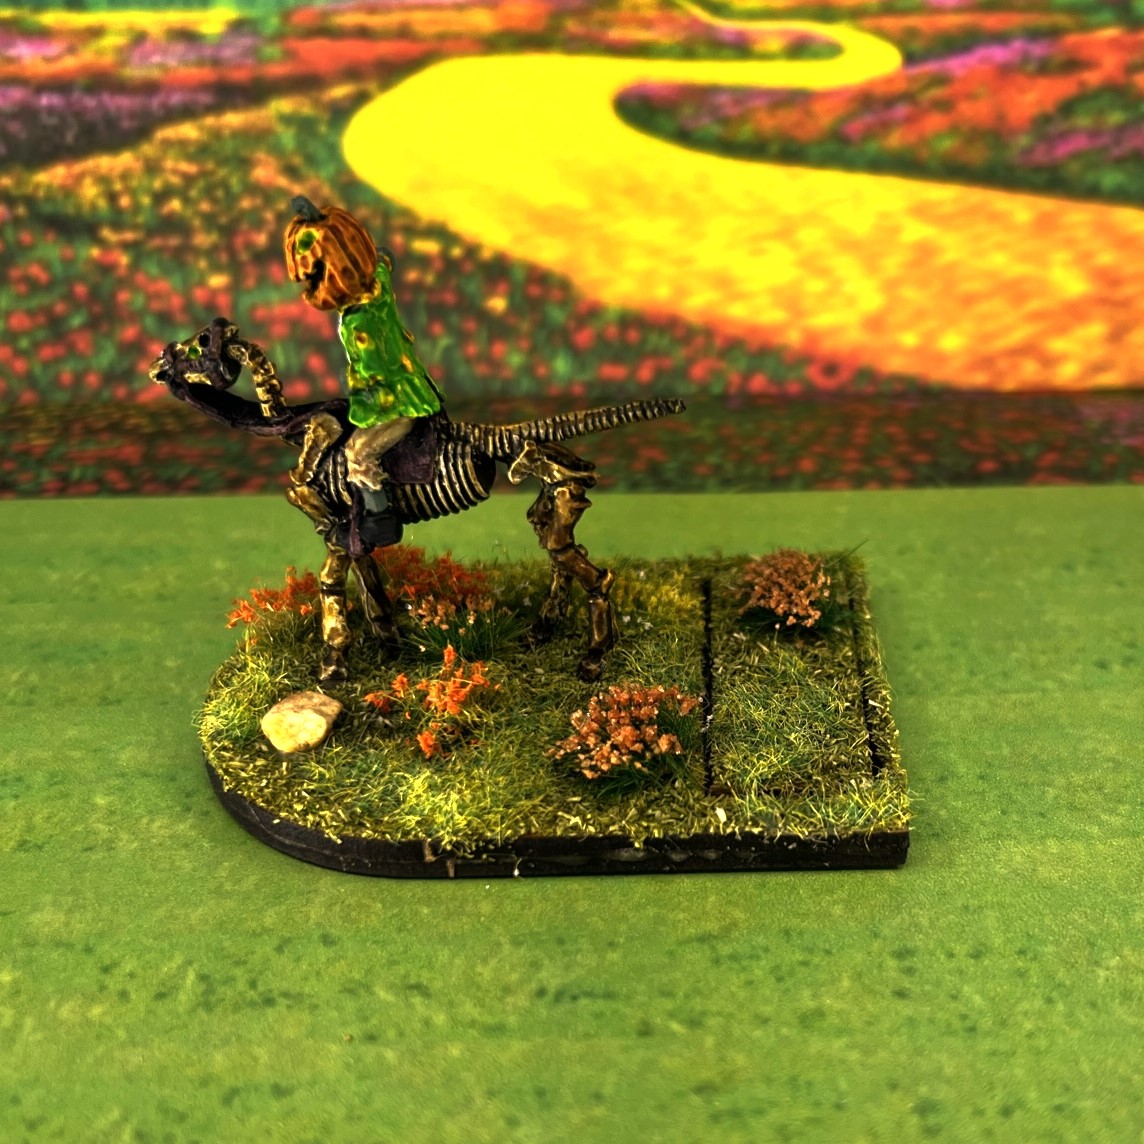
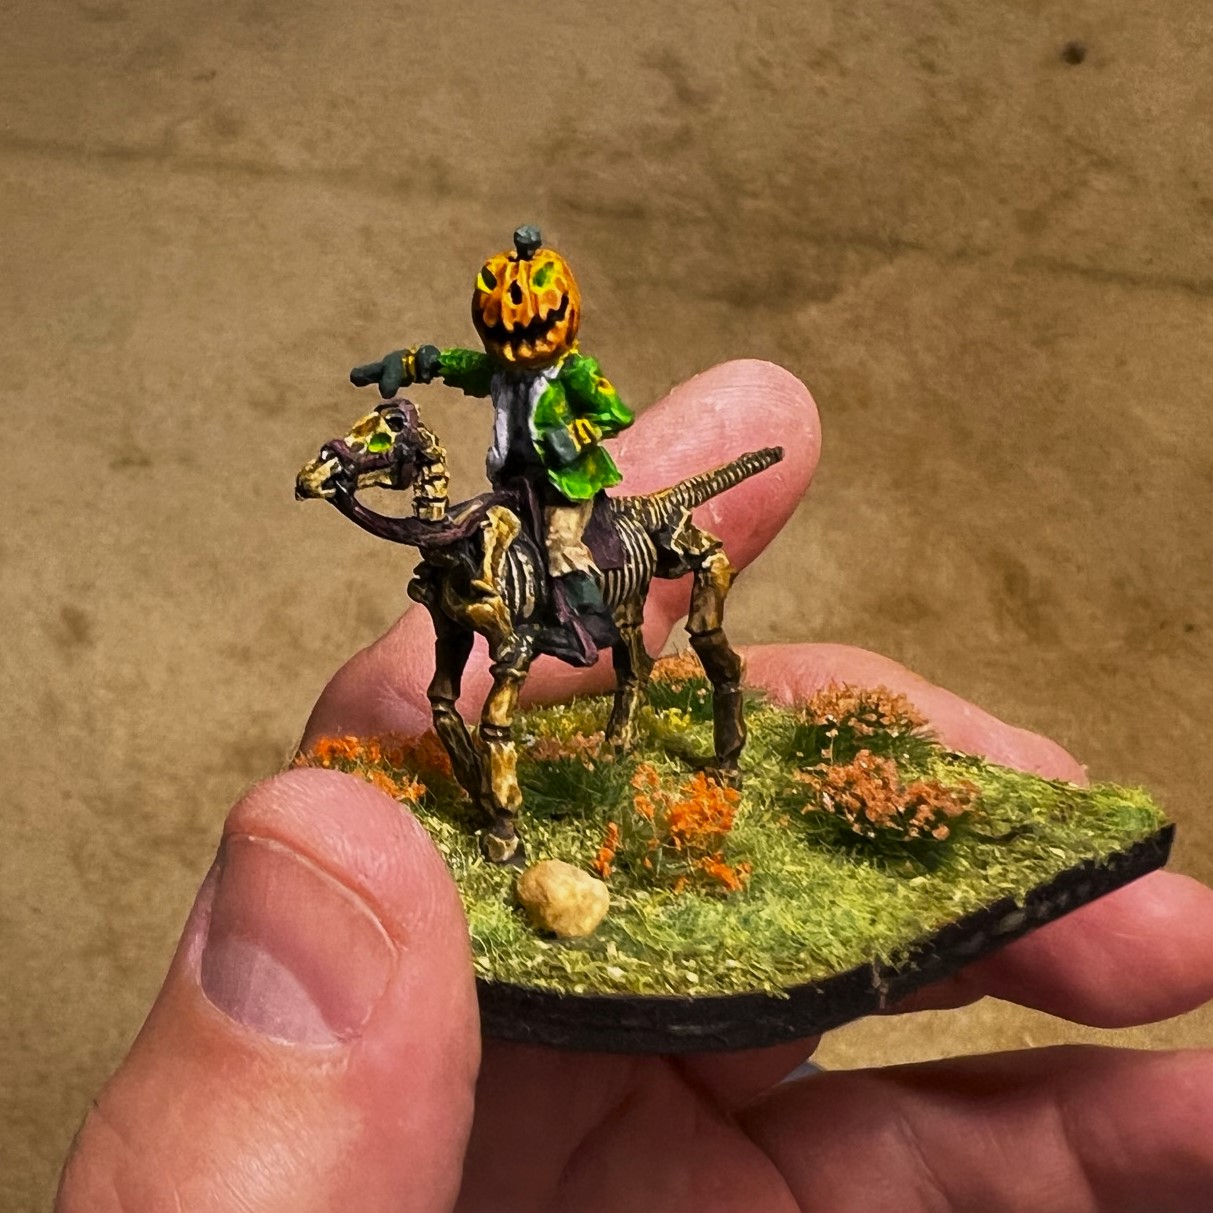
The terrain gifts that I got were not the only ones I got. Buck Surdu had painted up an entire brigade of Impkins – and asked our little group on our group text if there was any interest. I of course jumped at the chance to get some wonderful Buck Surdu originals! In the discussion, it came out from someone that they reminded somebody of “creepy fighting baby dolls”. I suggested to Greg Priebe, that sounded like an 80’s metal band – and could he put that into AI somehow? He could, and without further ado, and with a bit of hilarity, here is the CFBD’s in concert:
The Creepy Fighting Baby Dolls


Ah Greg, they definitely make me laugh! A band worthy of IRO for sure down under – at least image-wise!
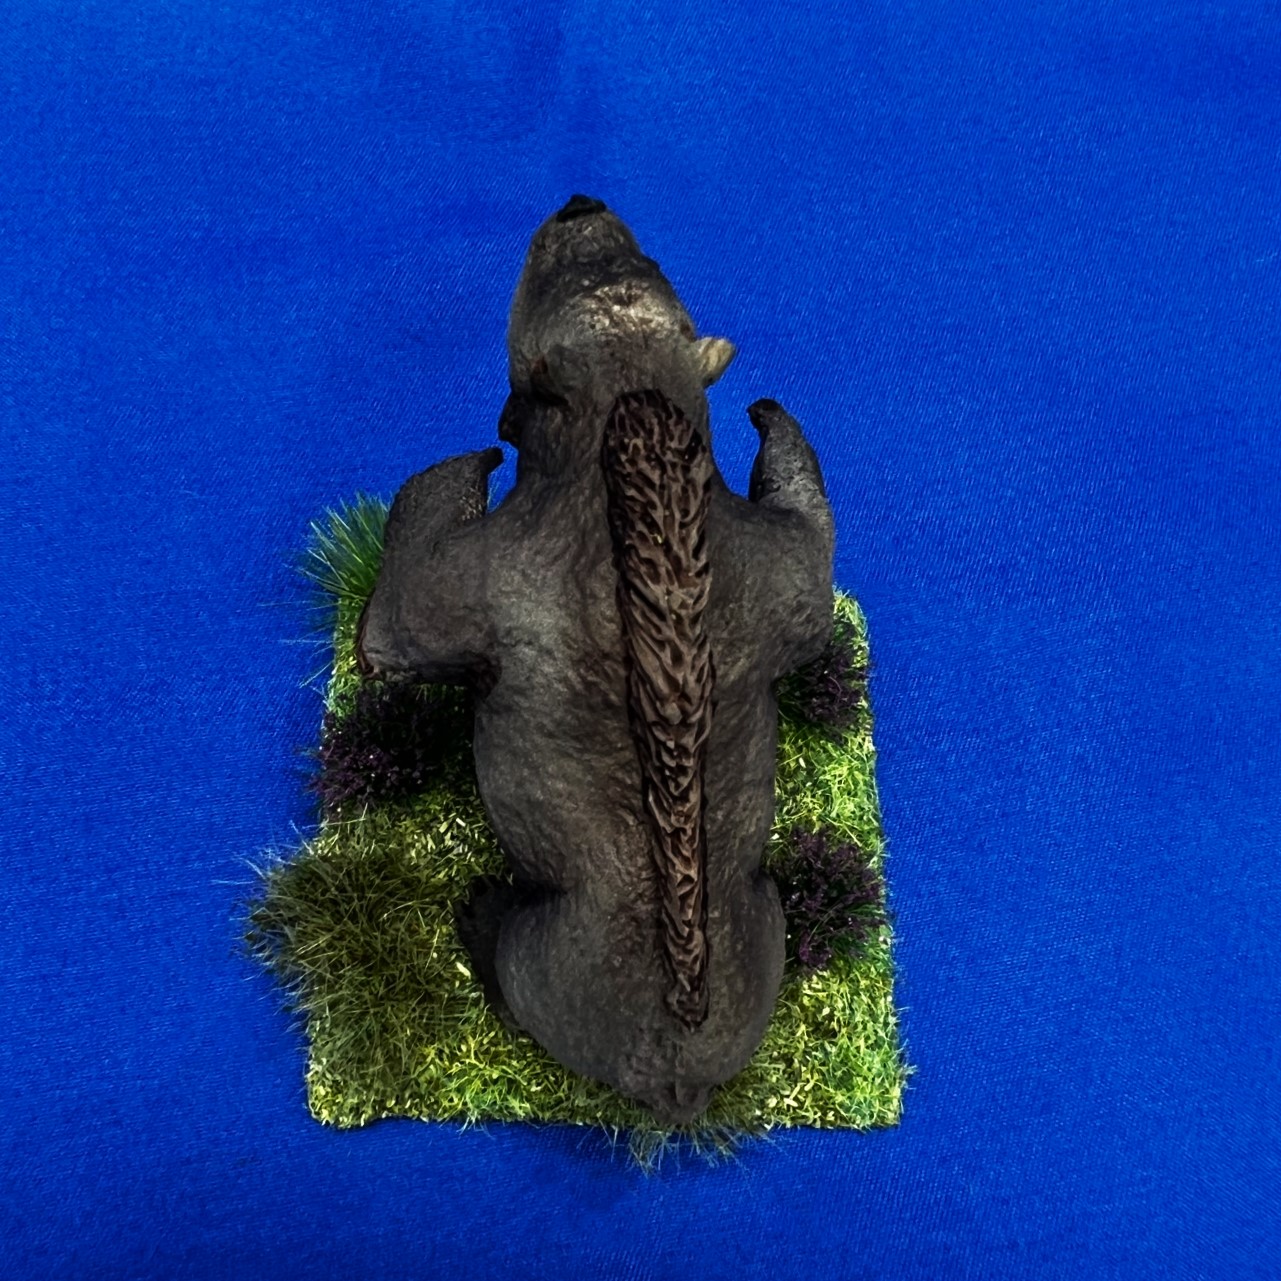
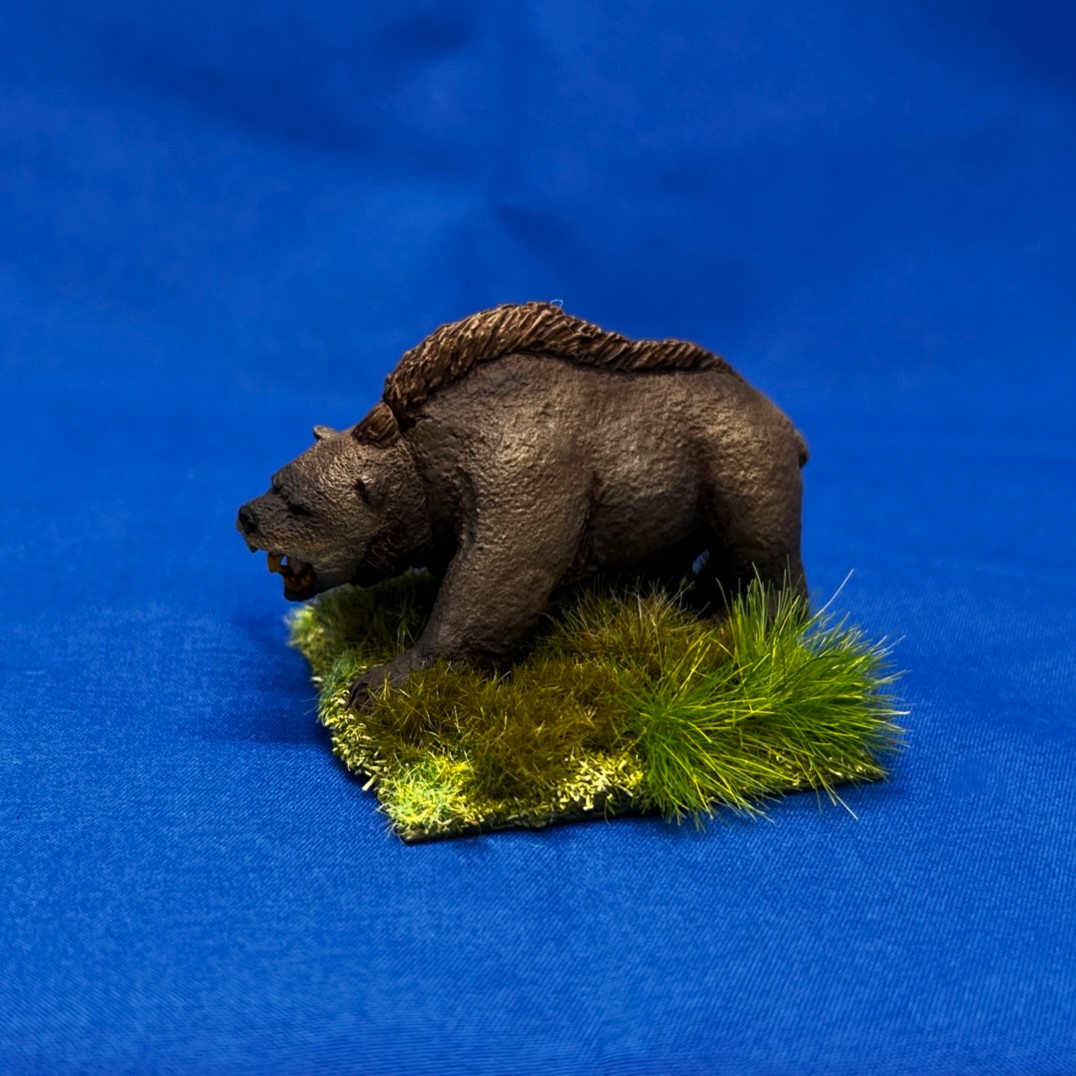
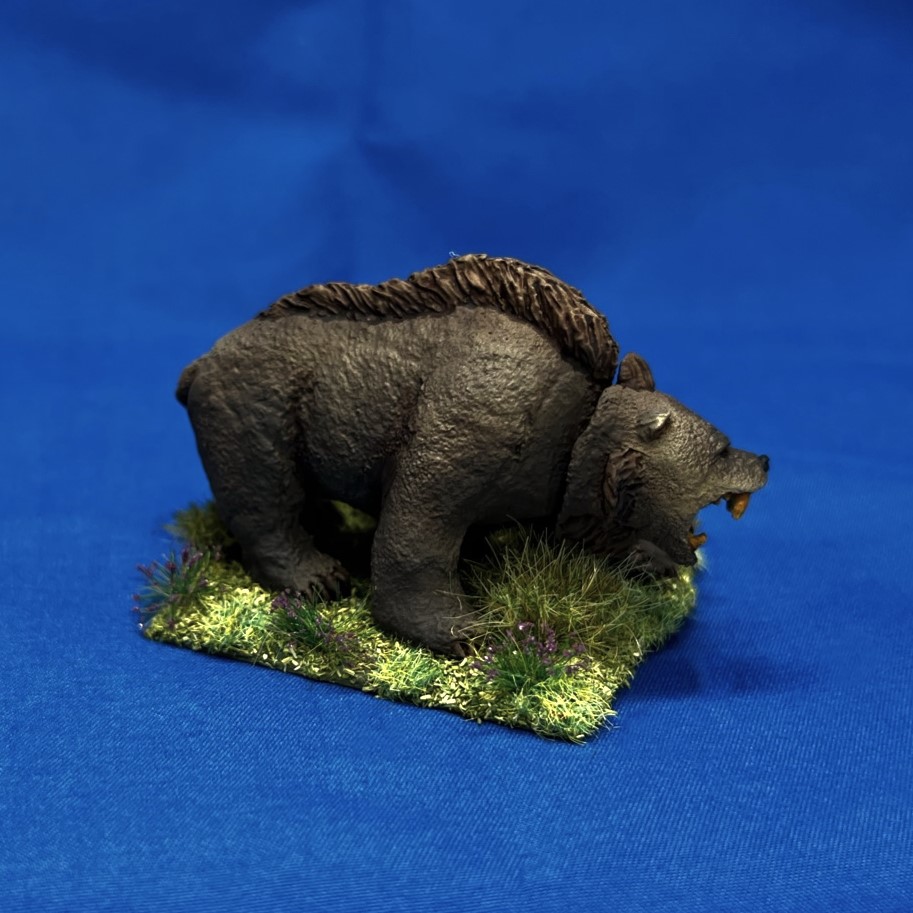
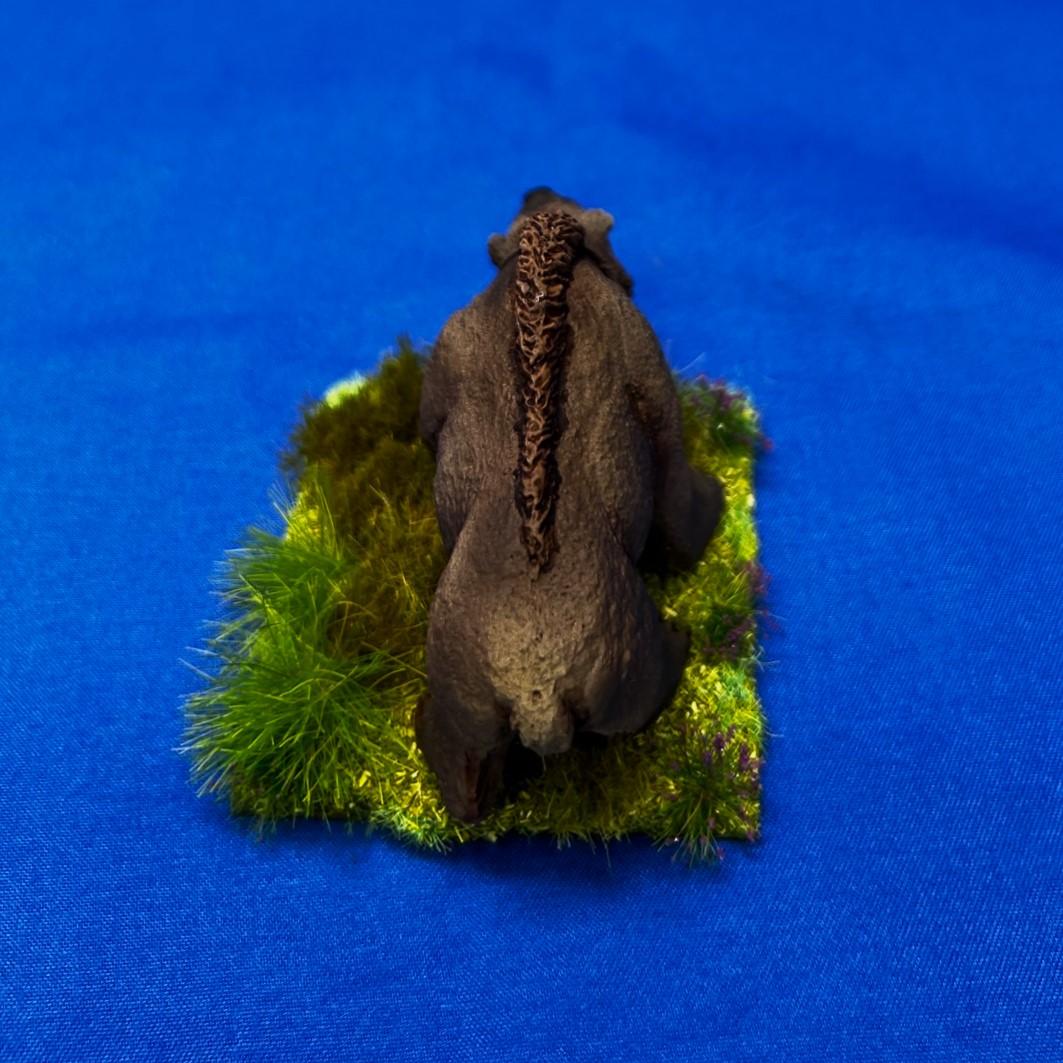
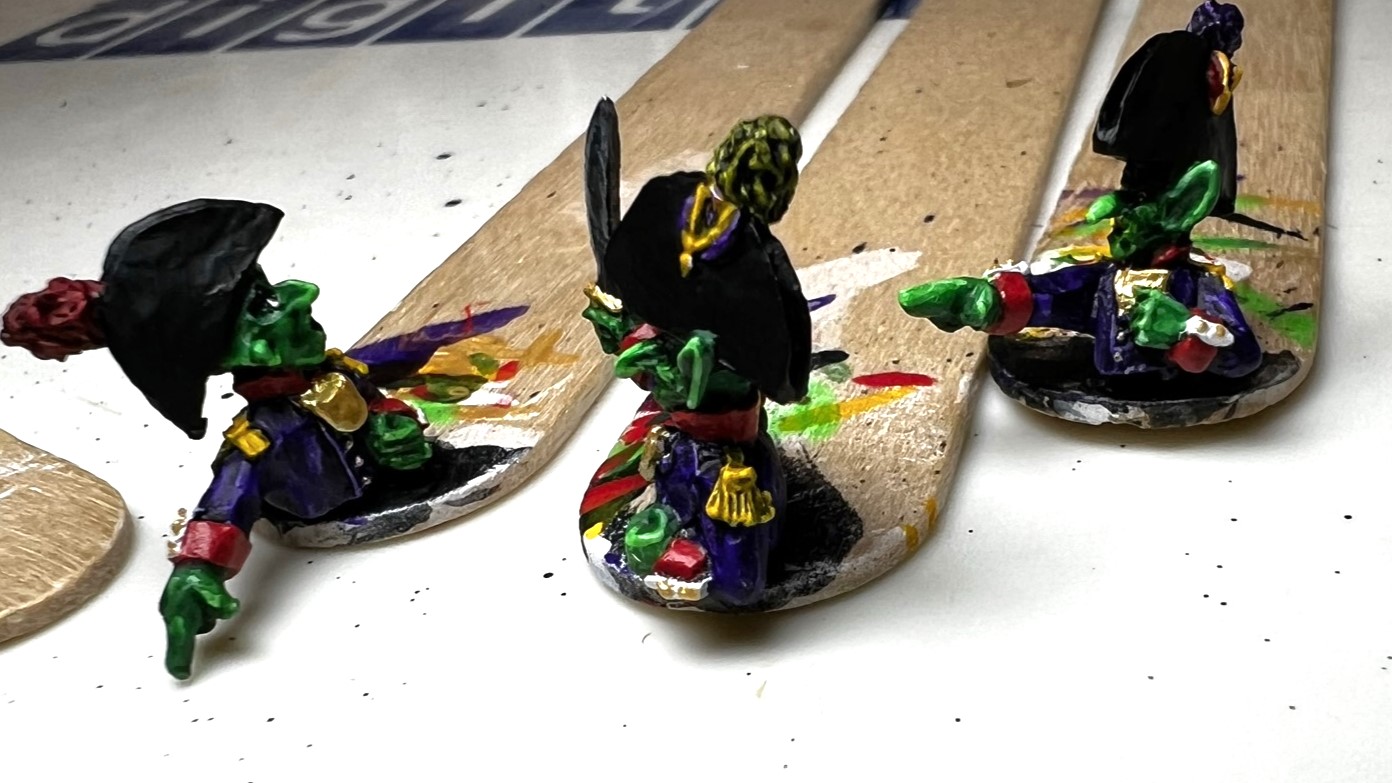
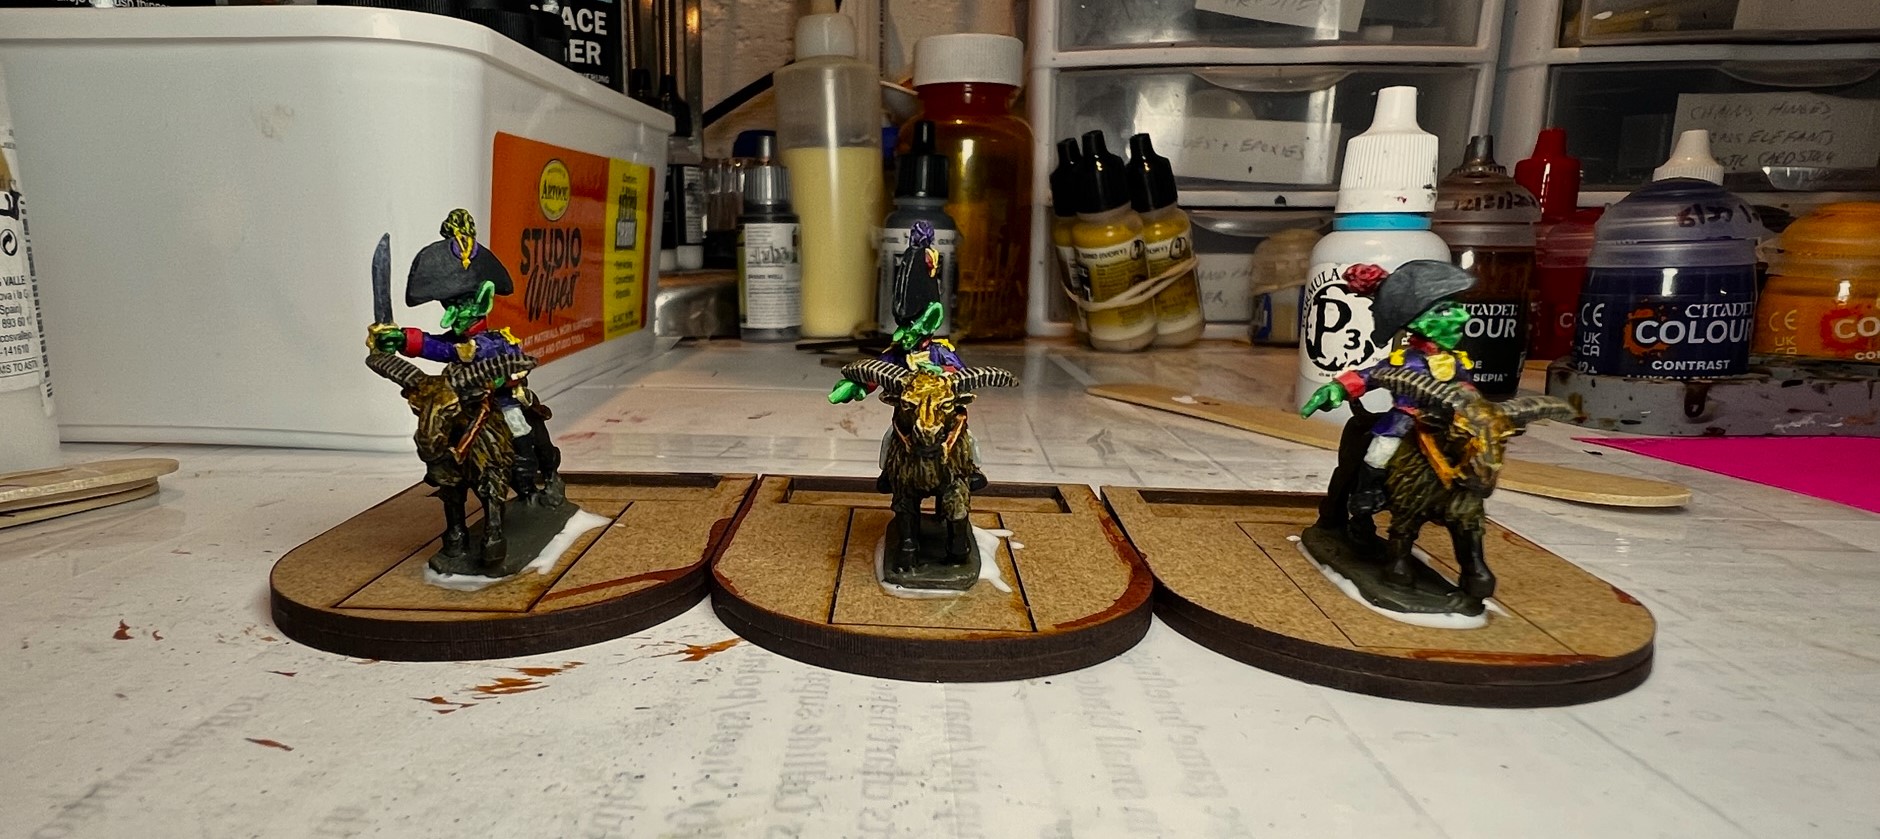
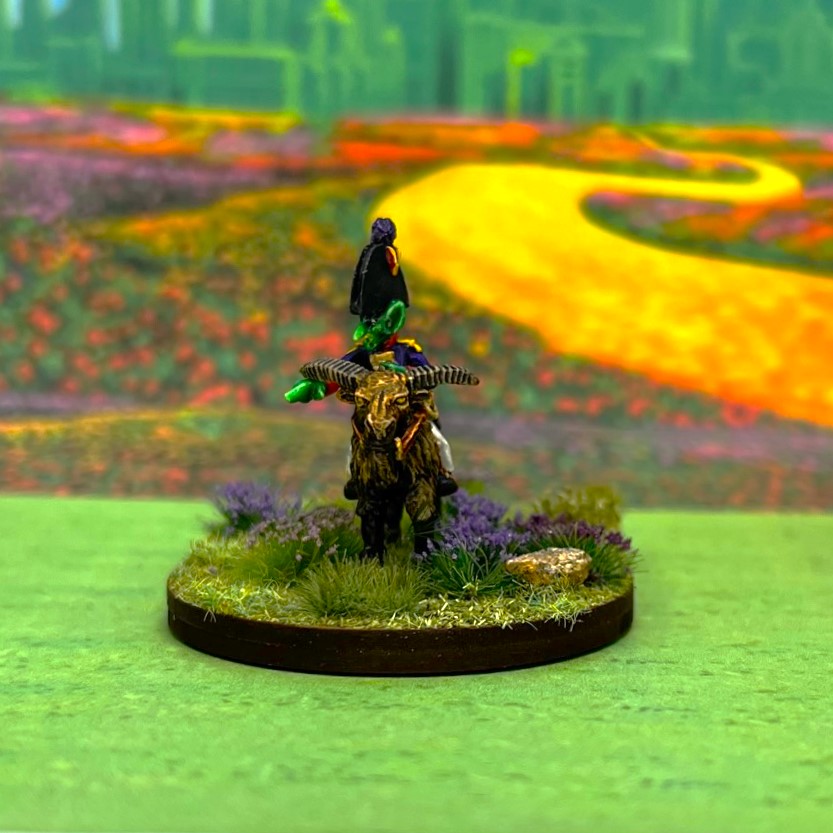
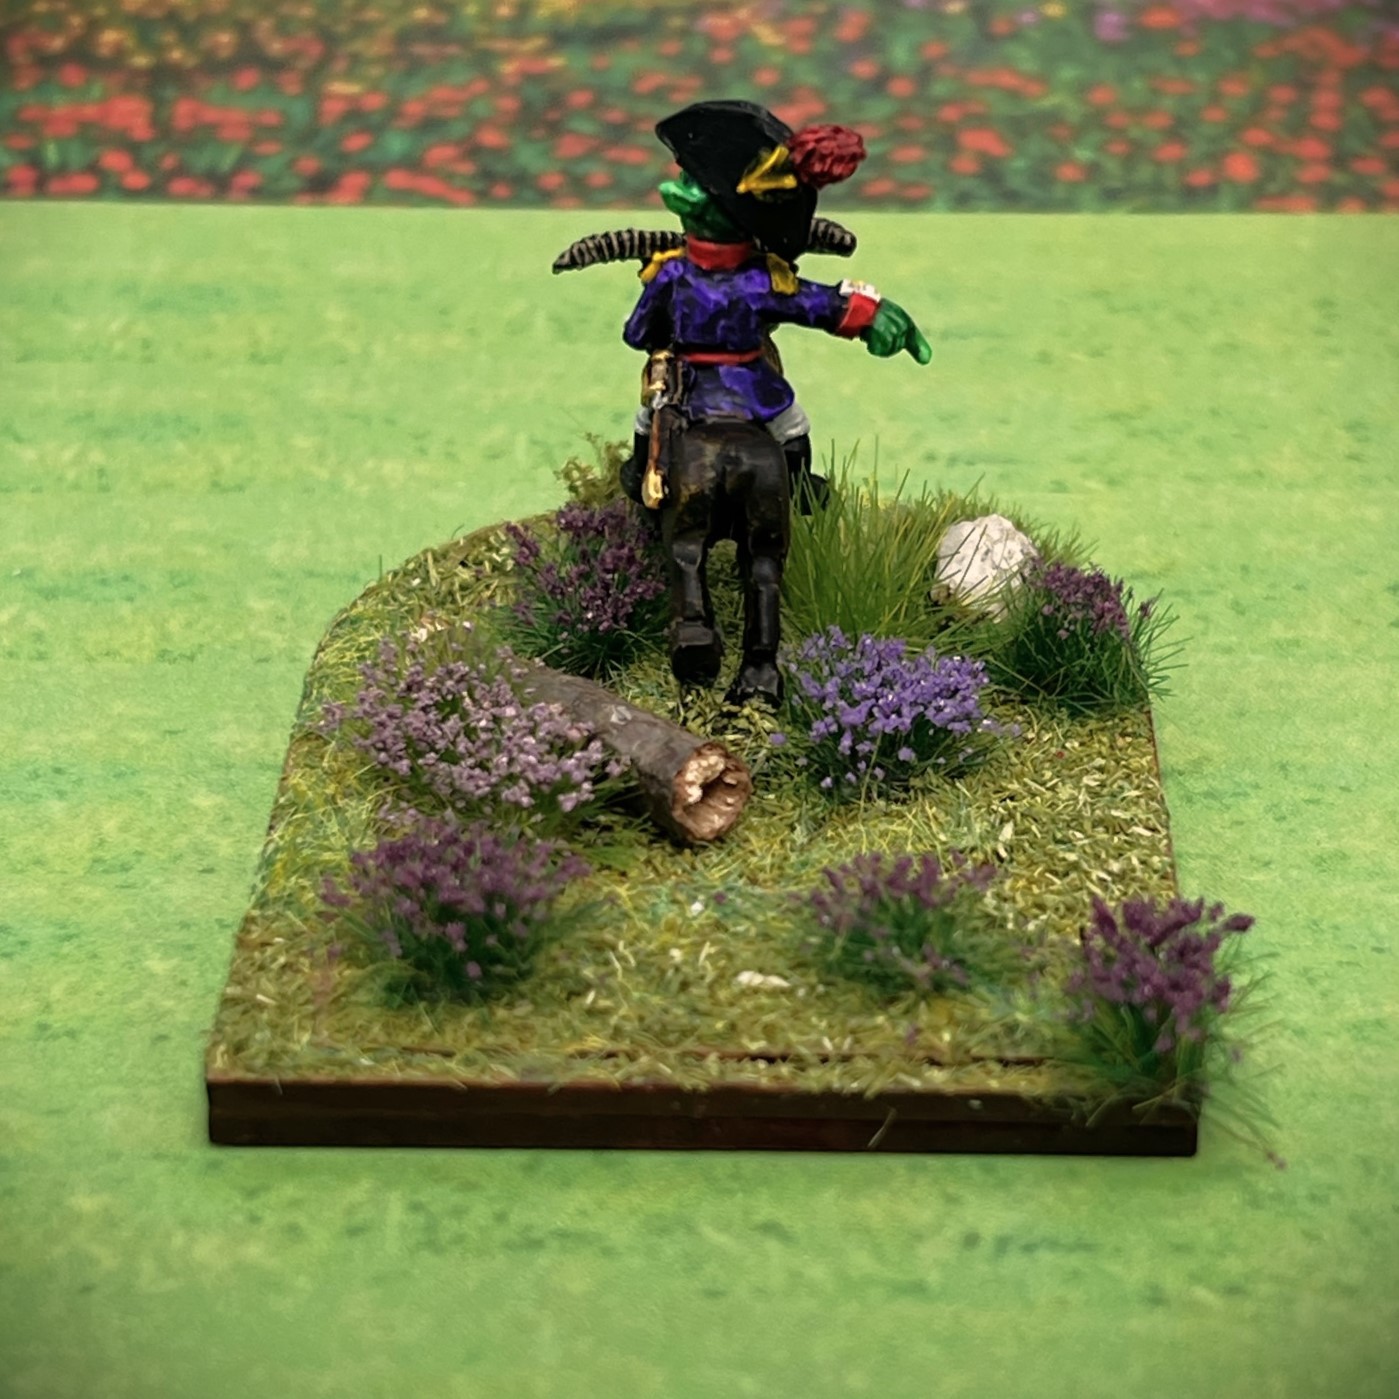
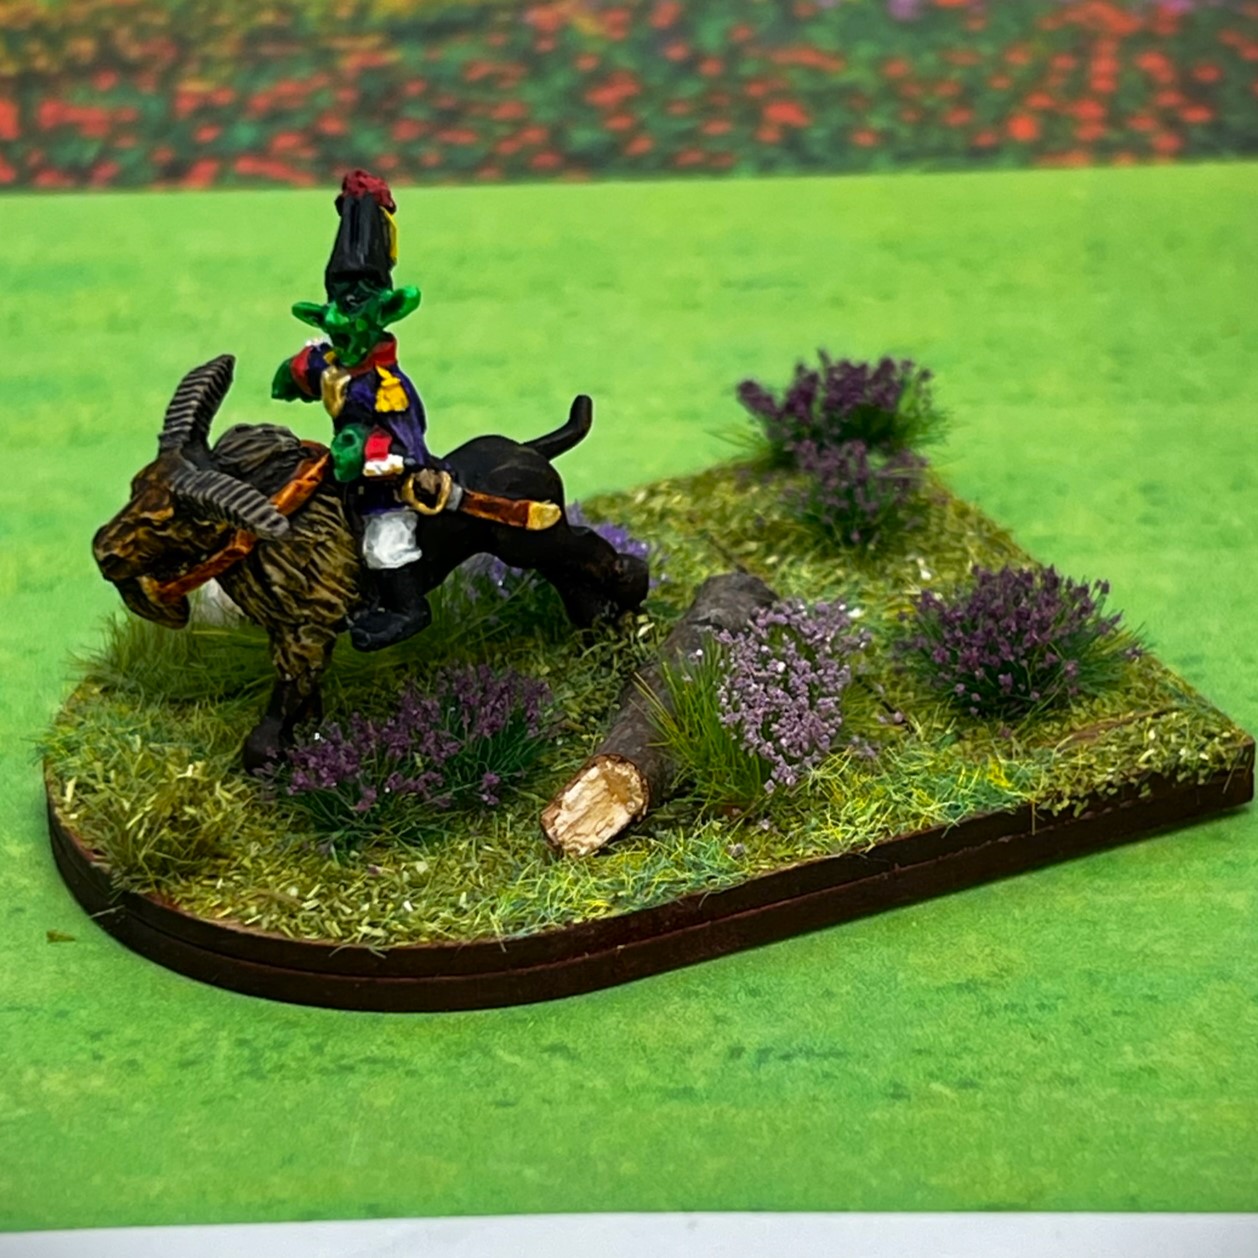
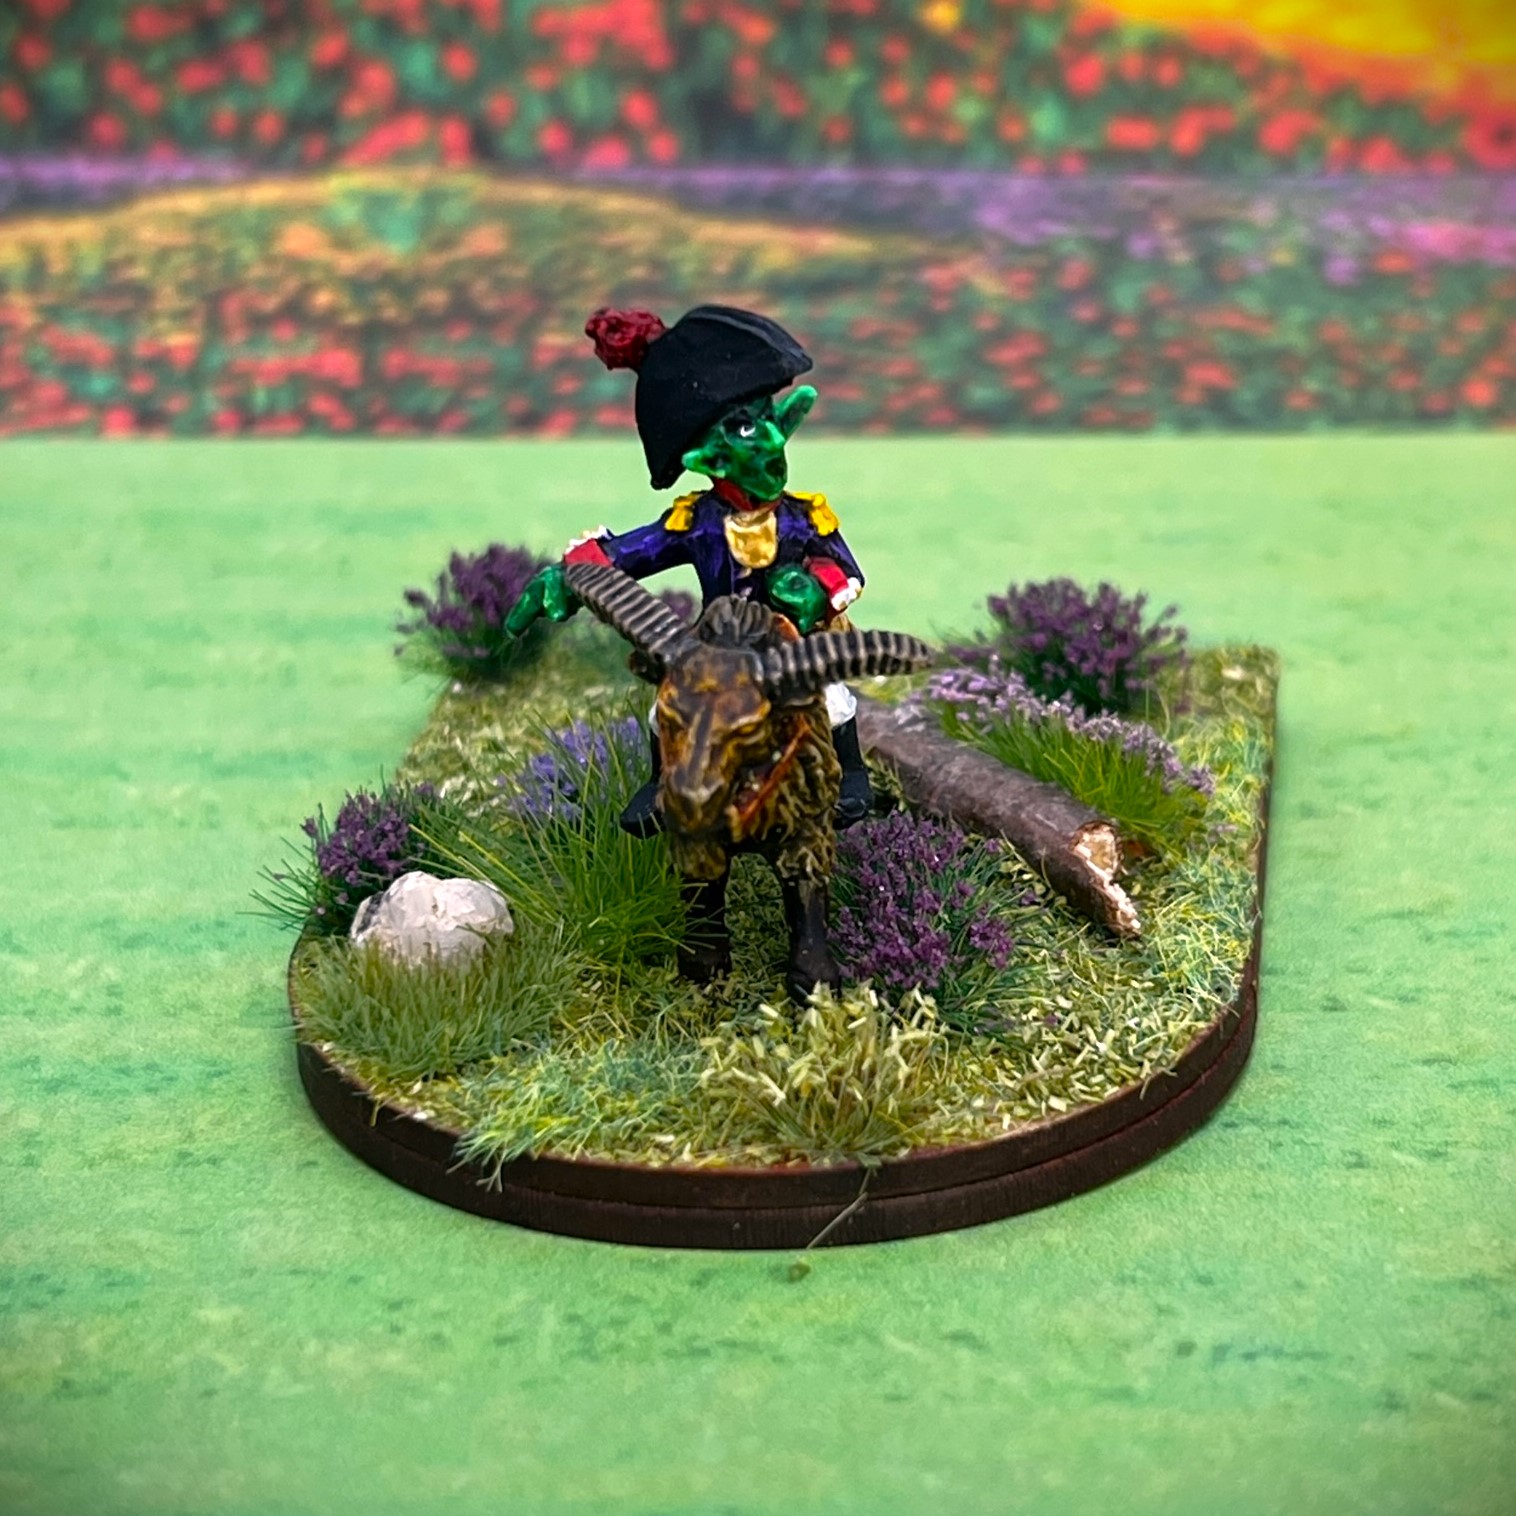
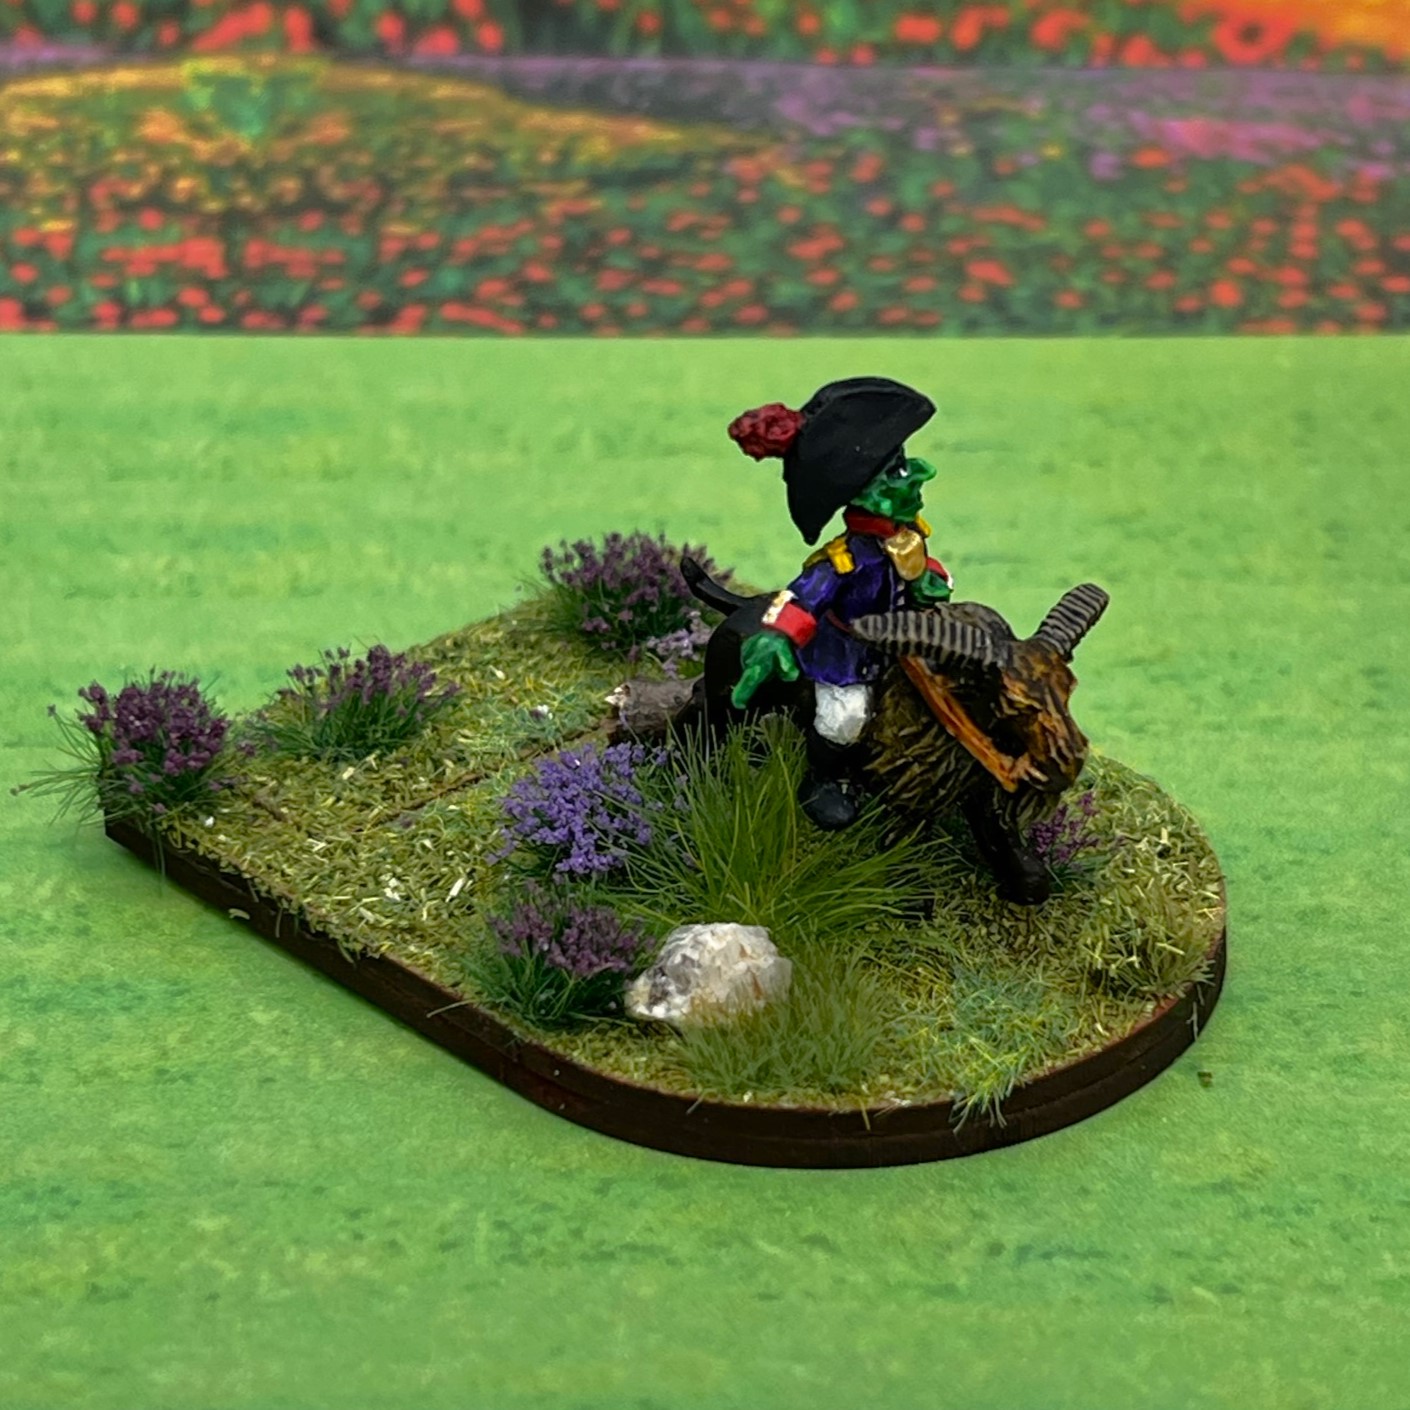
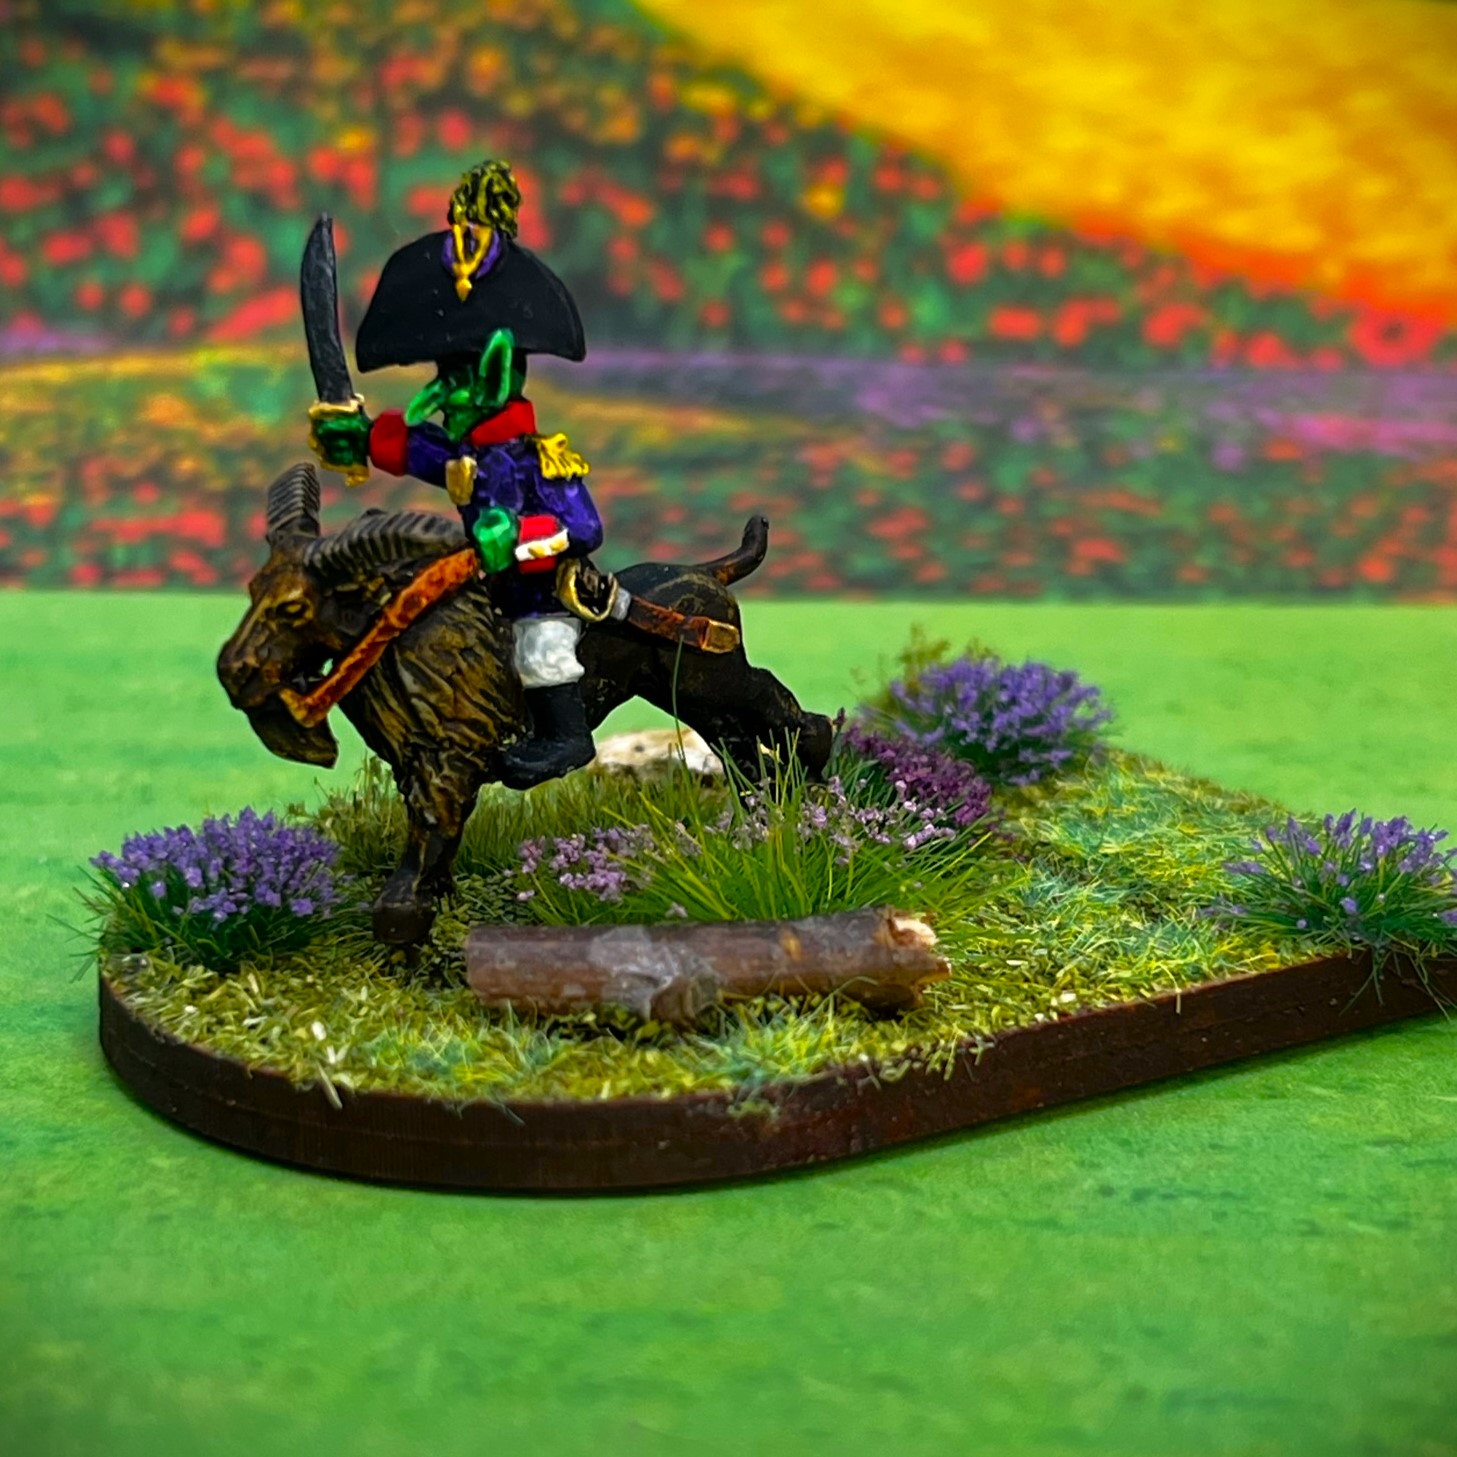
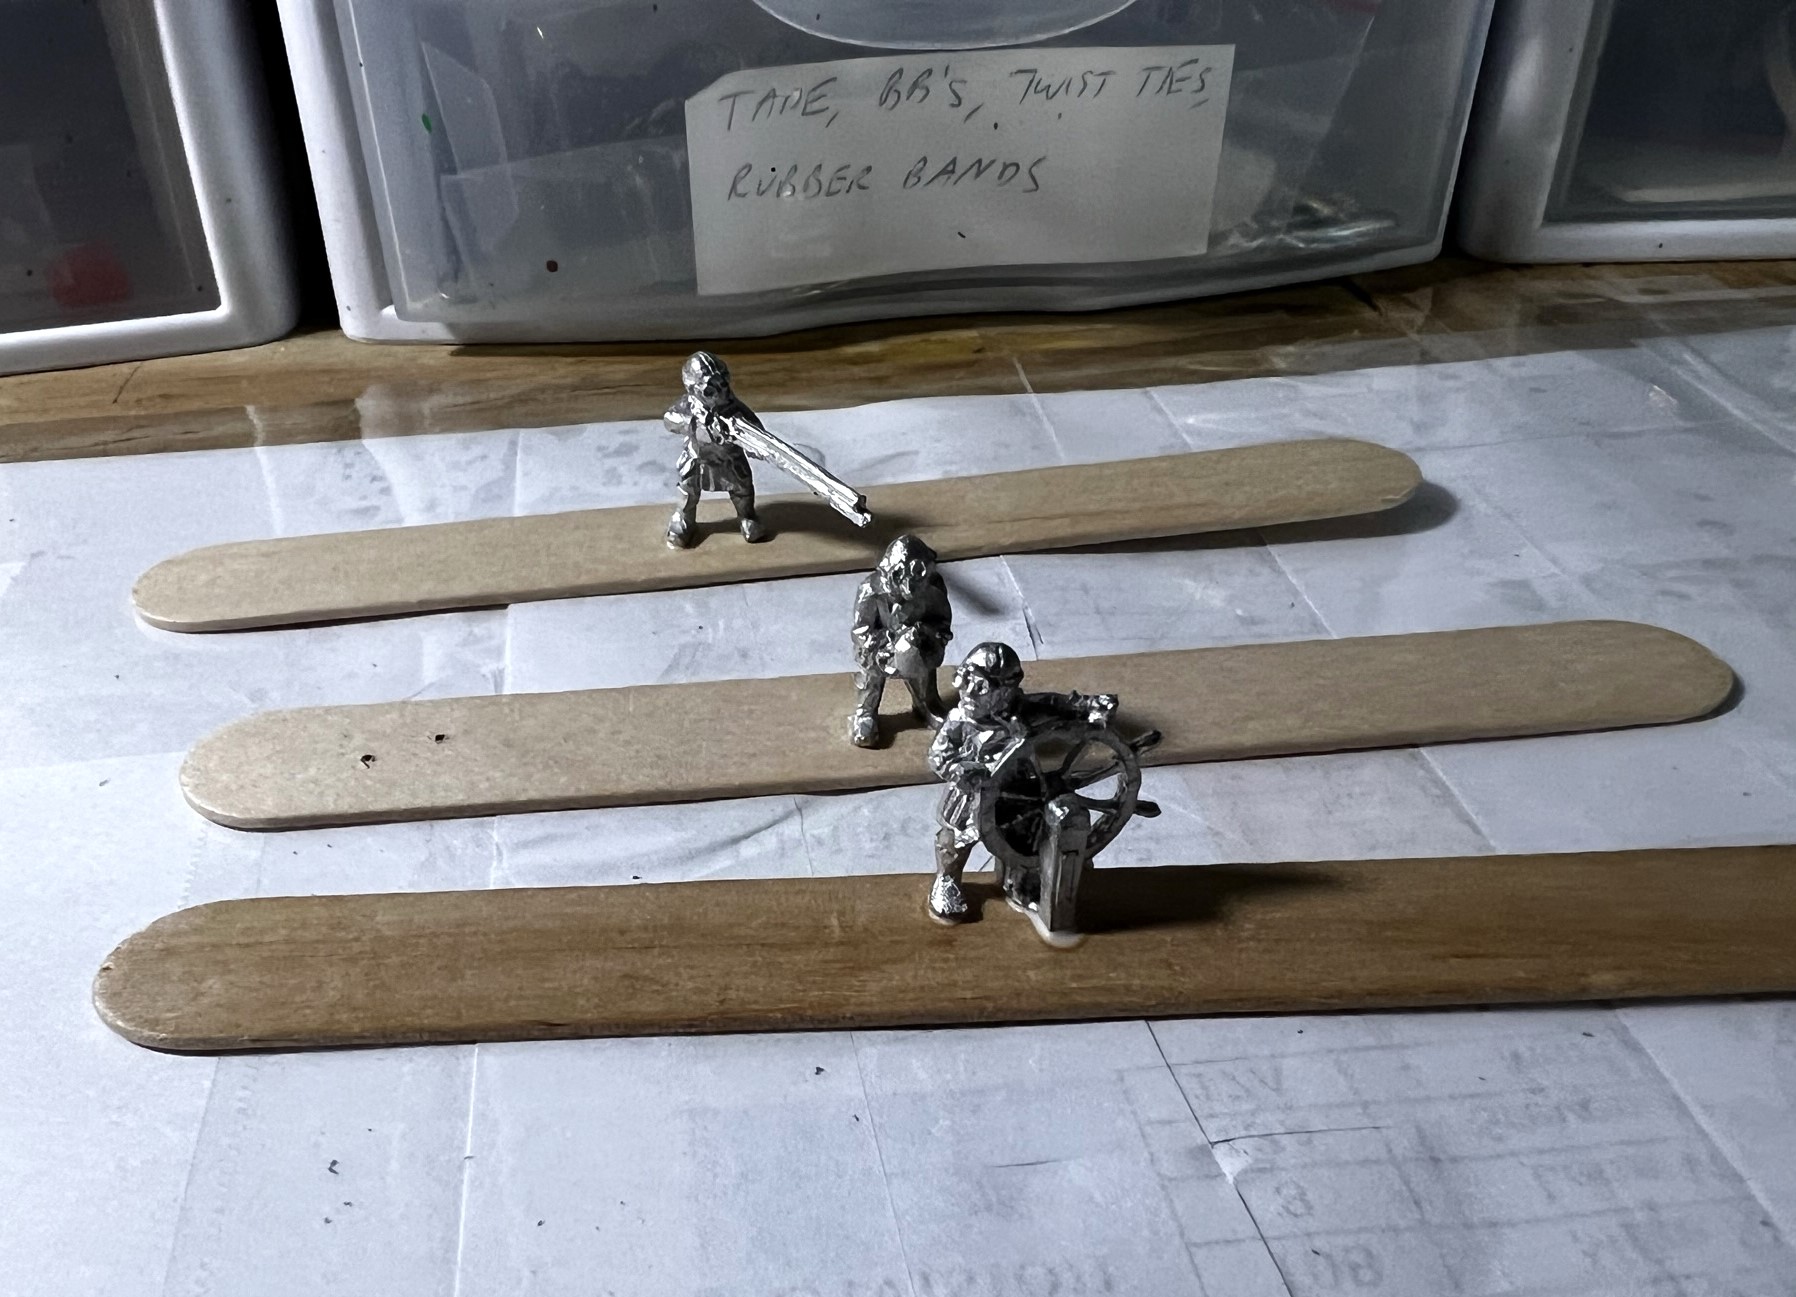
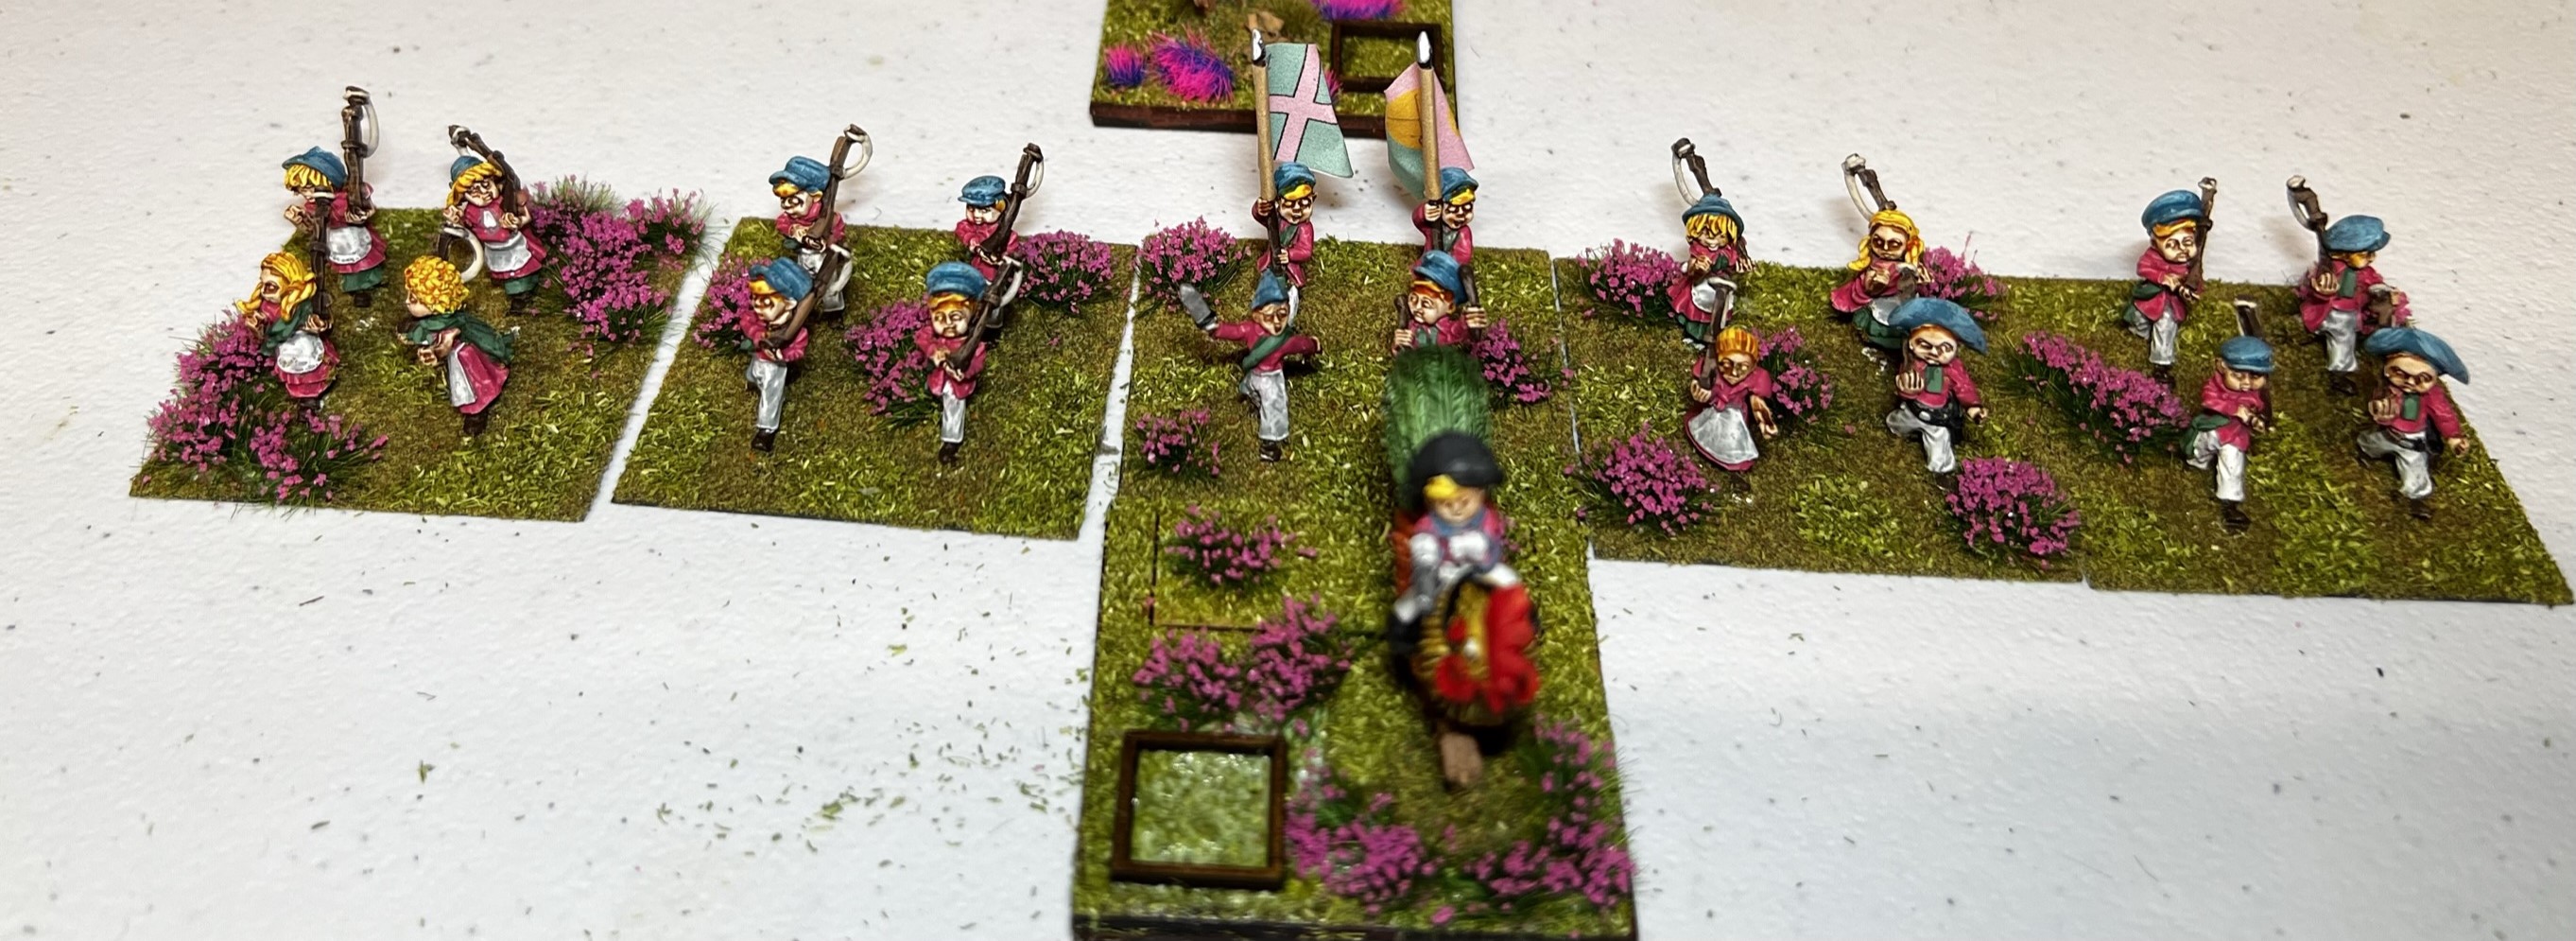
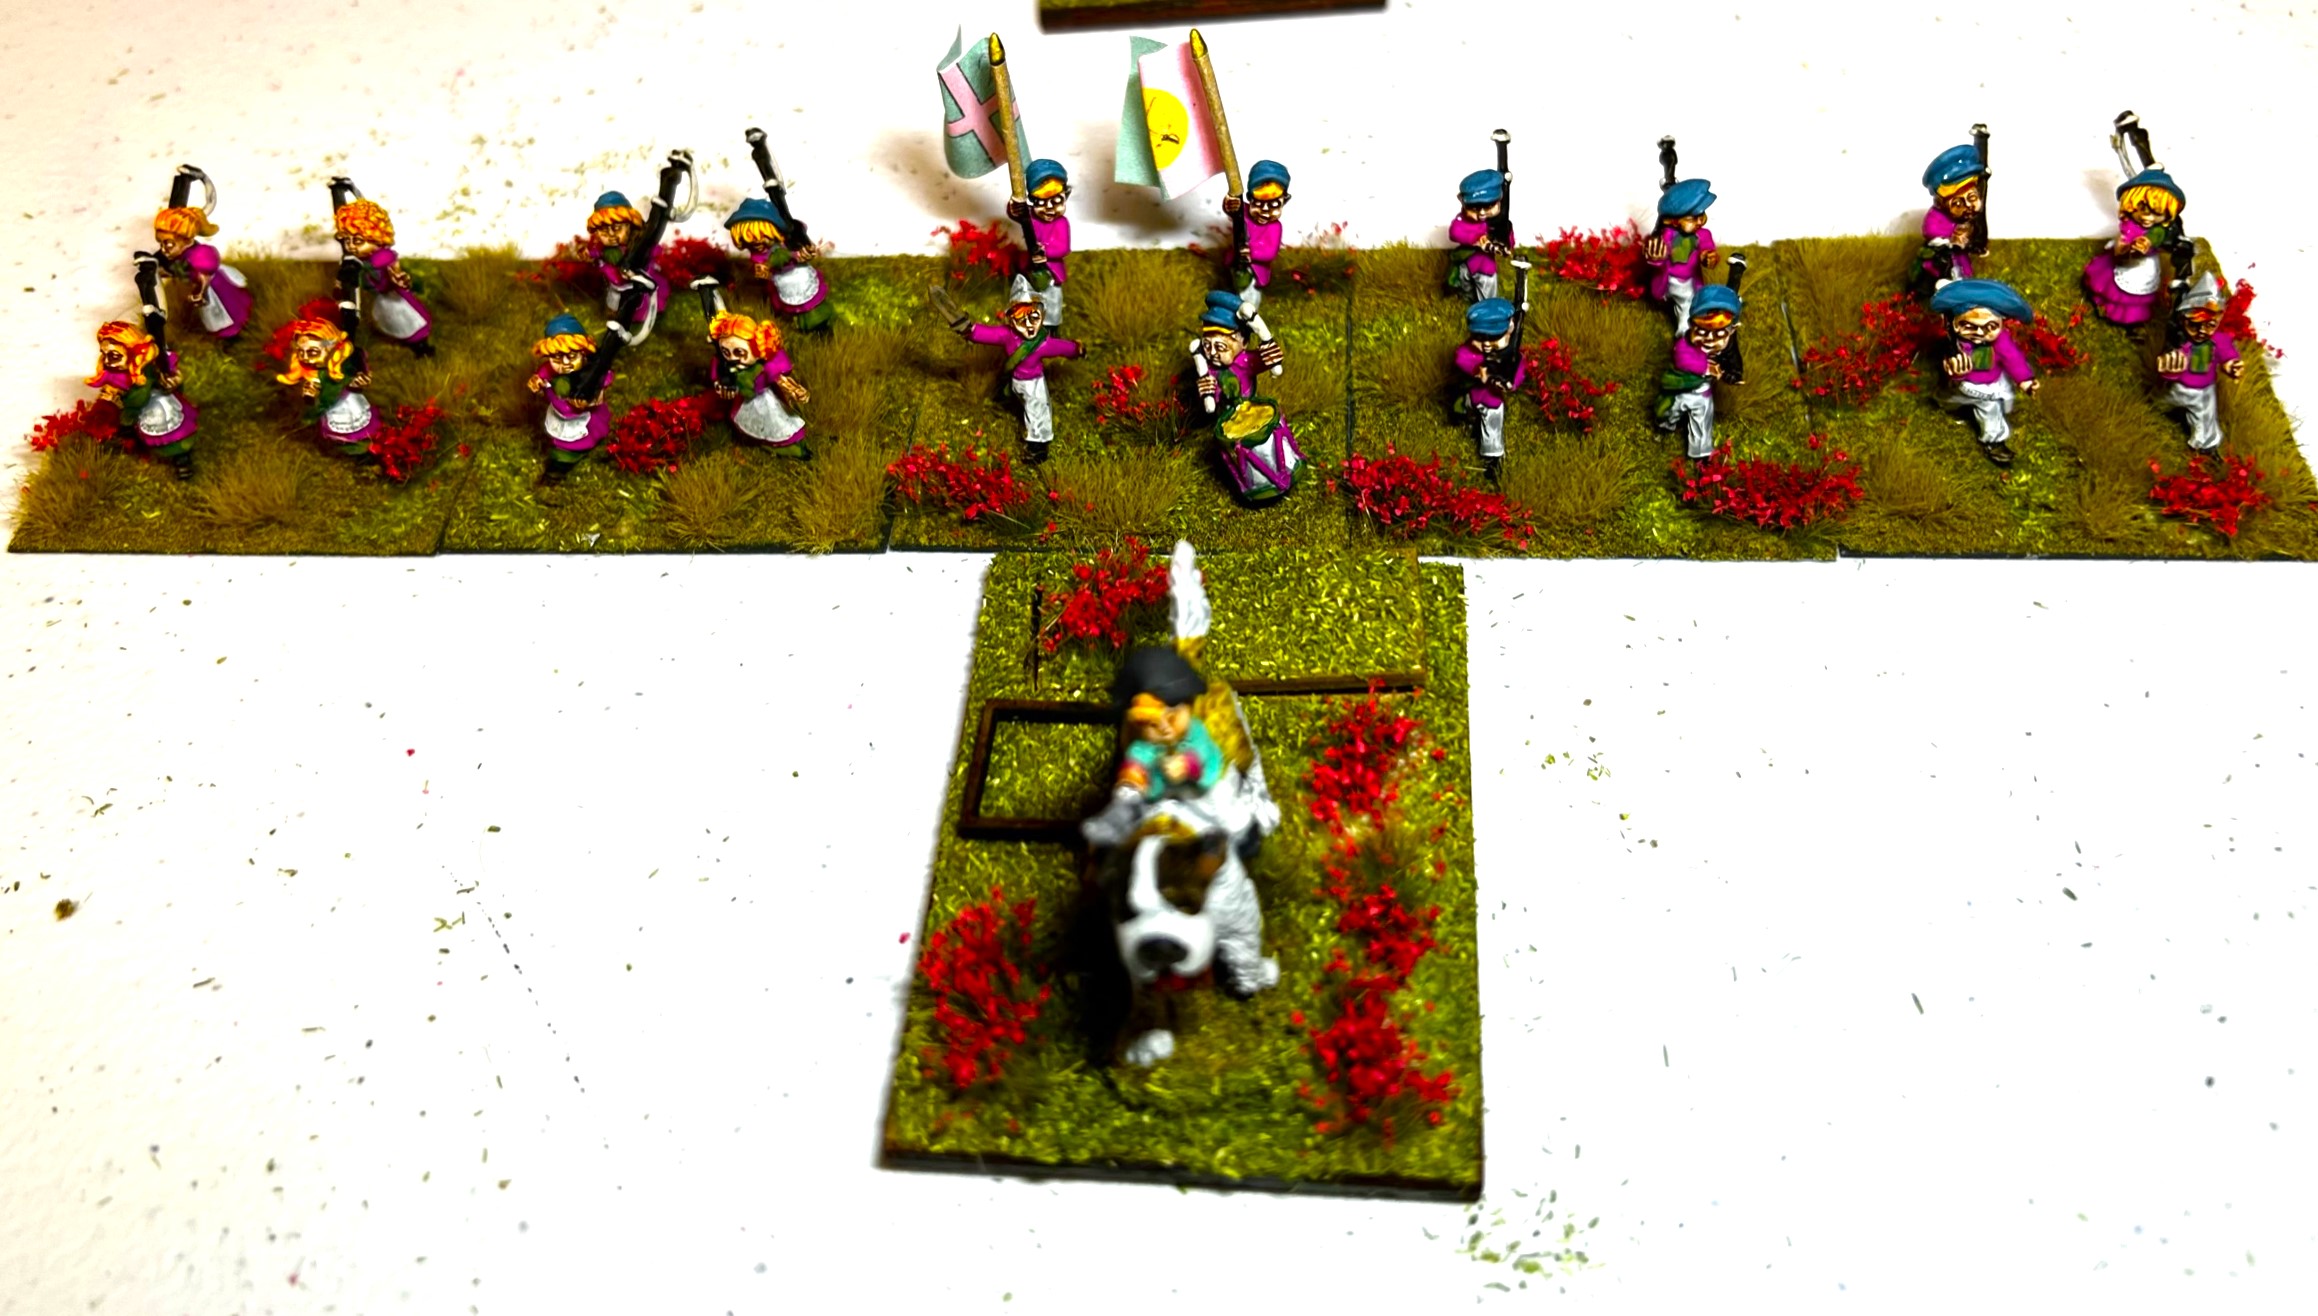
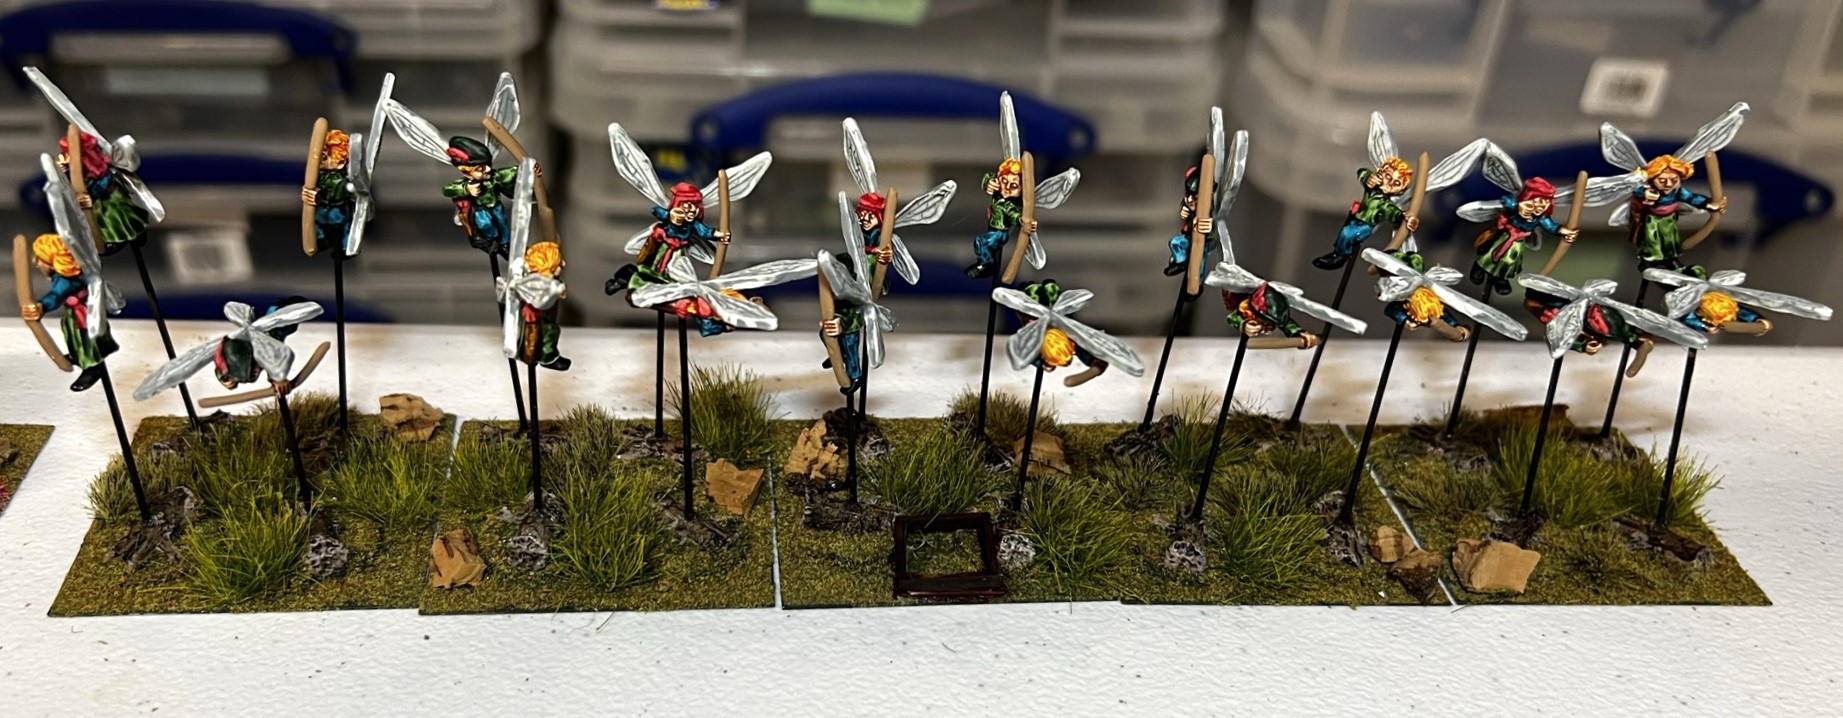
Anyways, in the midst of all else that I had happening in October, this VERY complete brigade arrived in the mail in two packages. The painting was fantastic – Buck’s painting work is always amazing. There were two regiments of infantry, two of cavalry (one riding roosters, and one riding St. Bernard dogs), one Border Swamp Guardian Fairy (flying) regiment with bows, a cool slingshot light artillery battery, two leaders, and a sorceress:
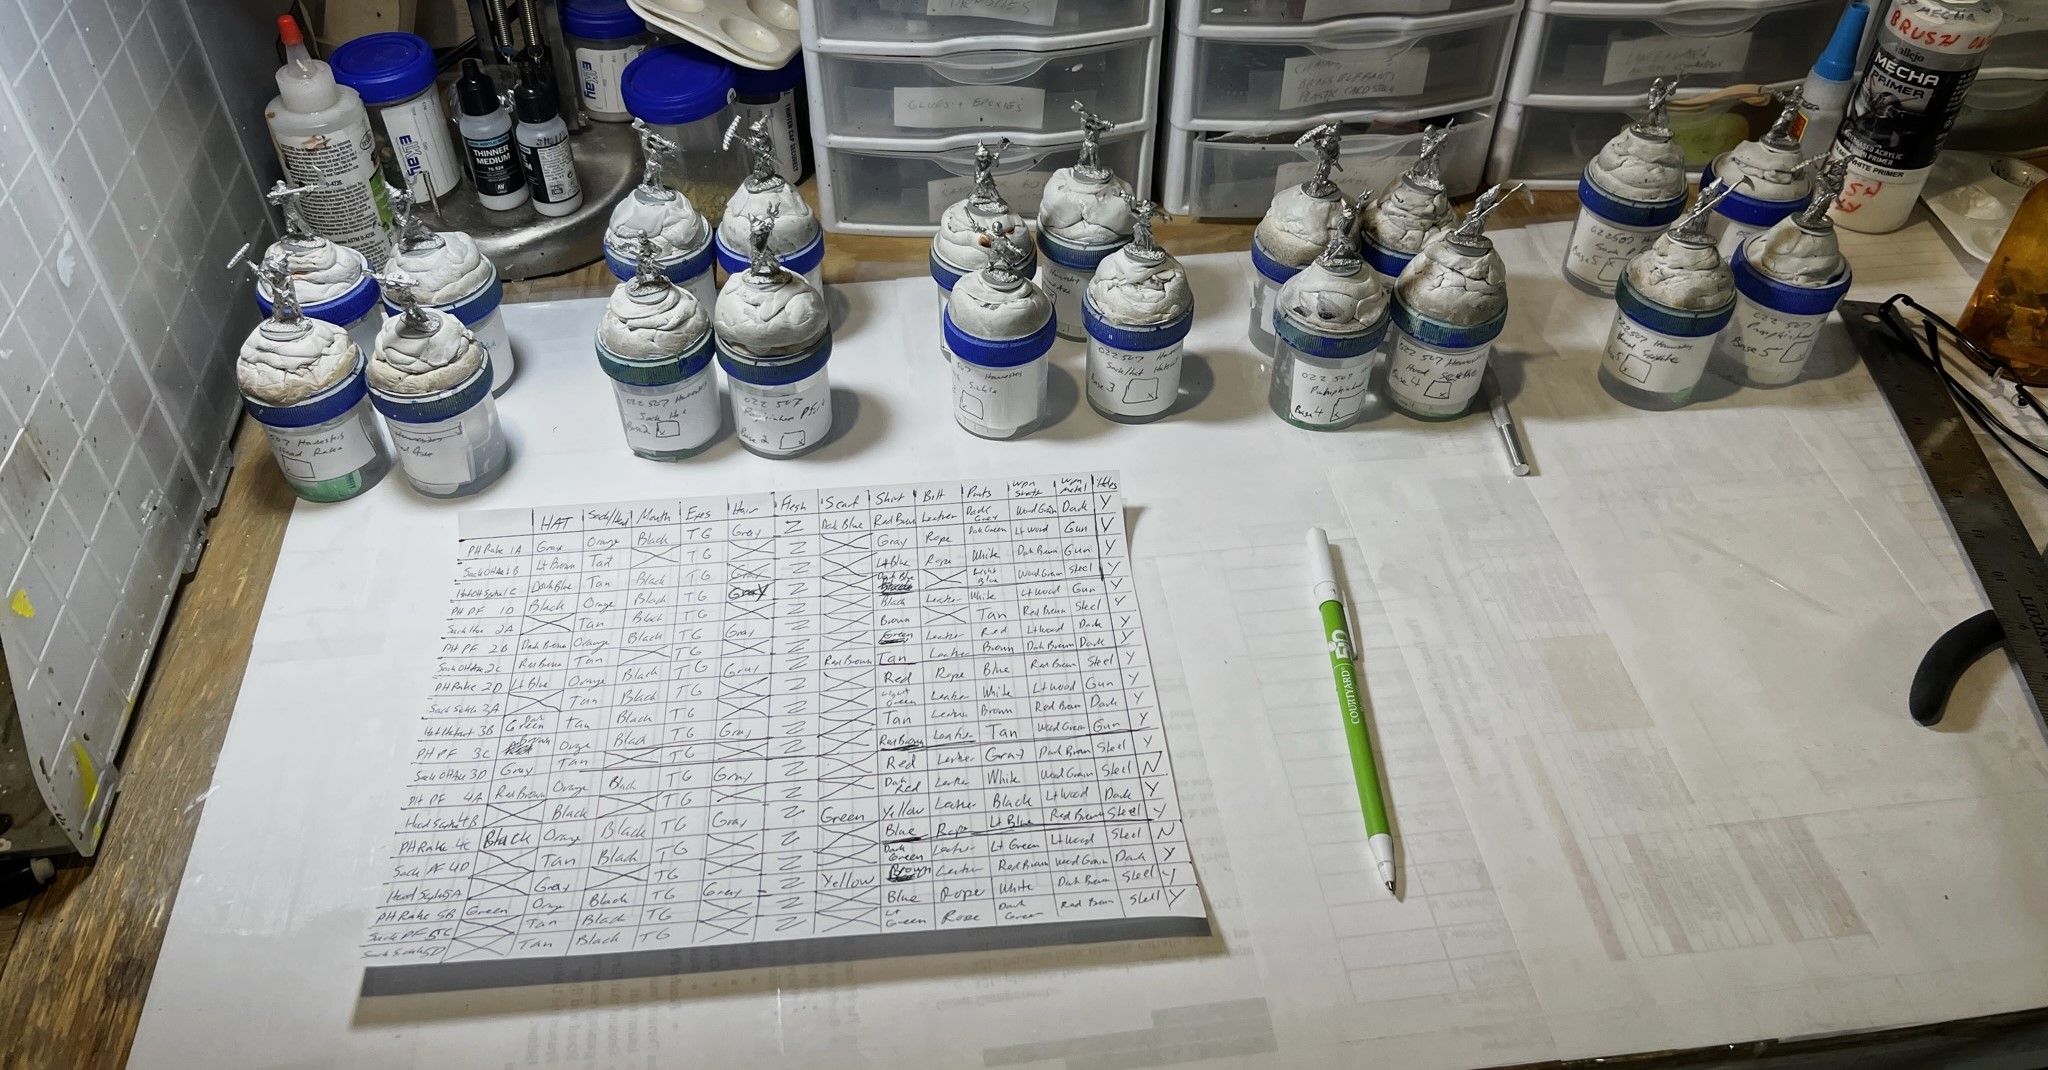
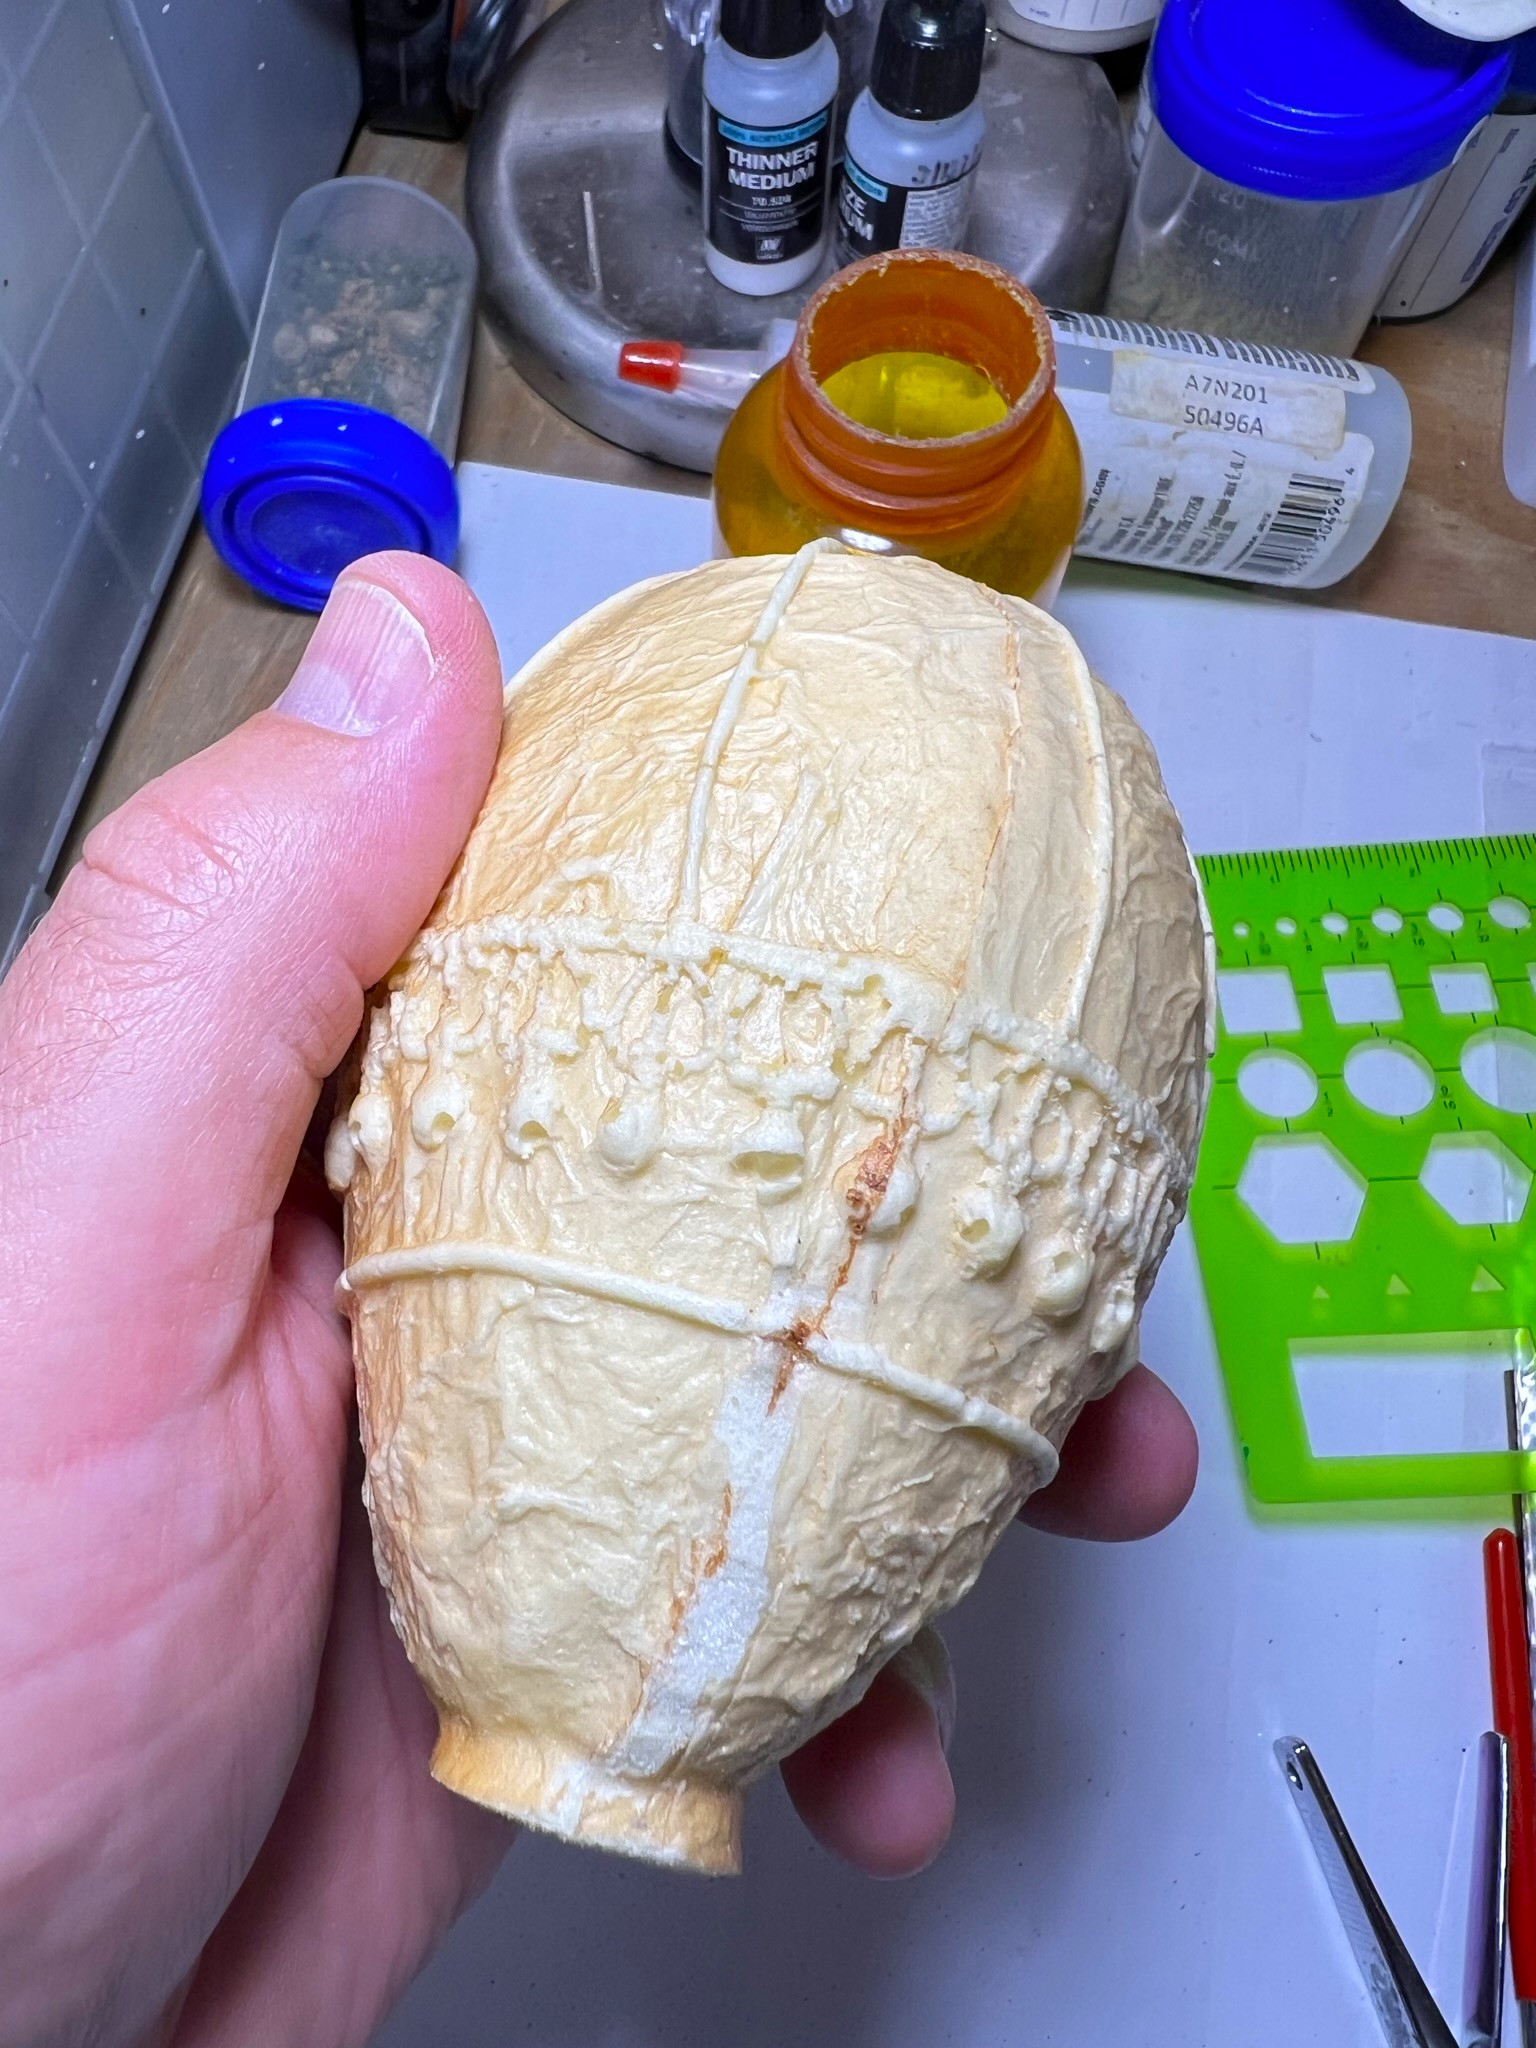
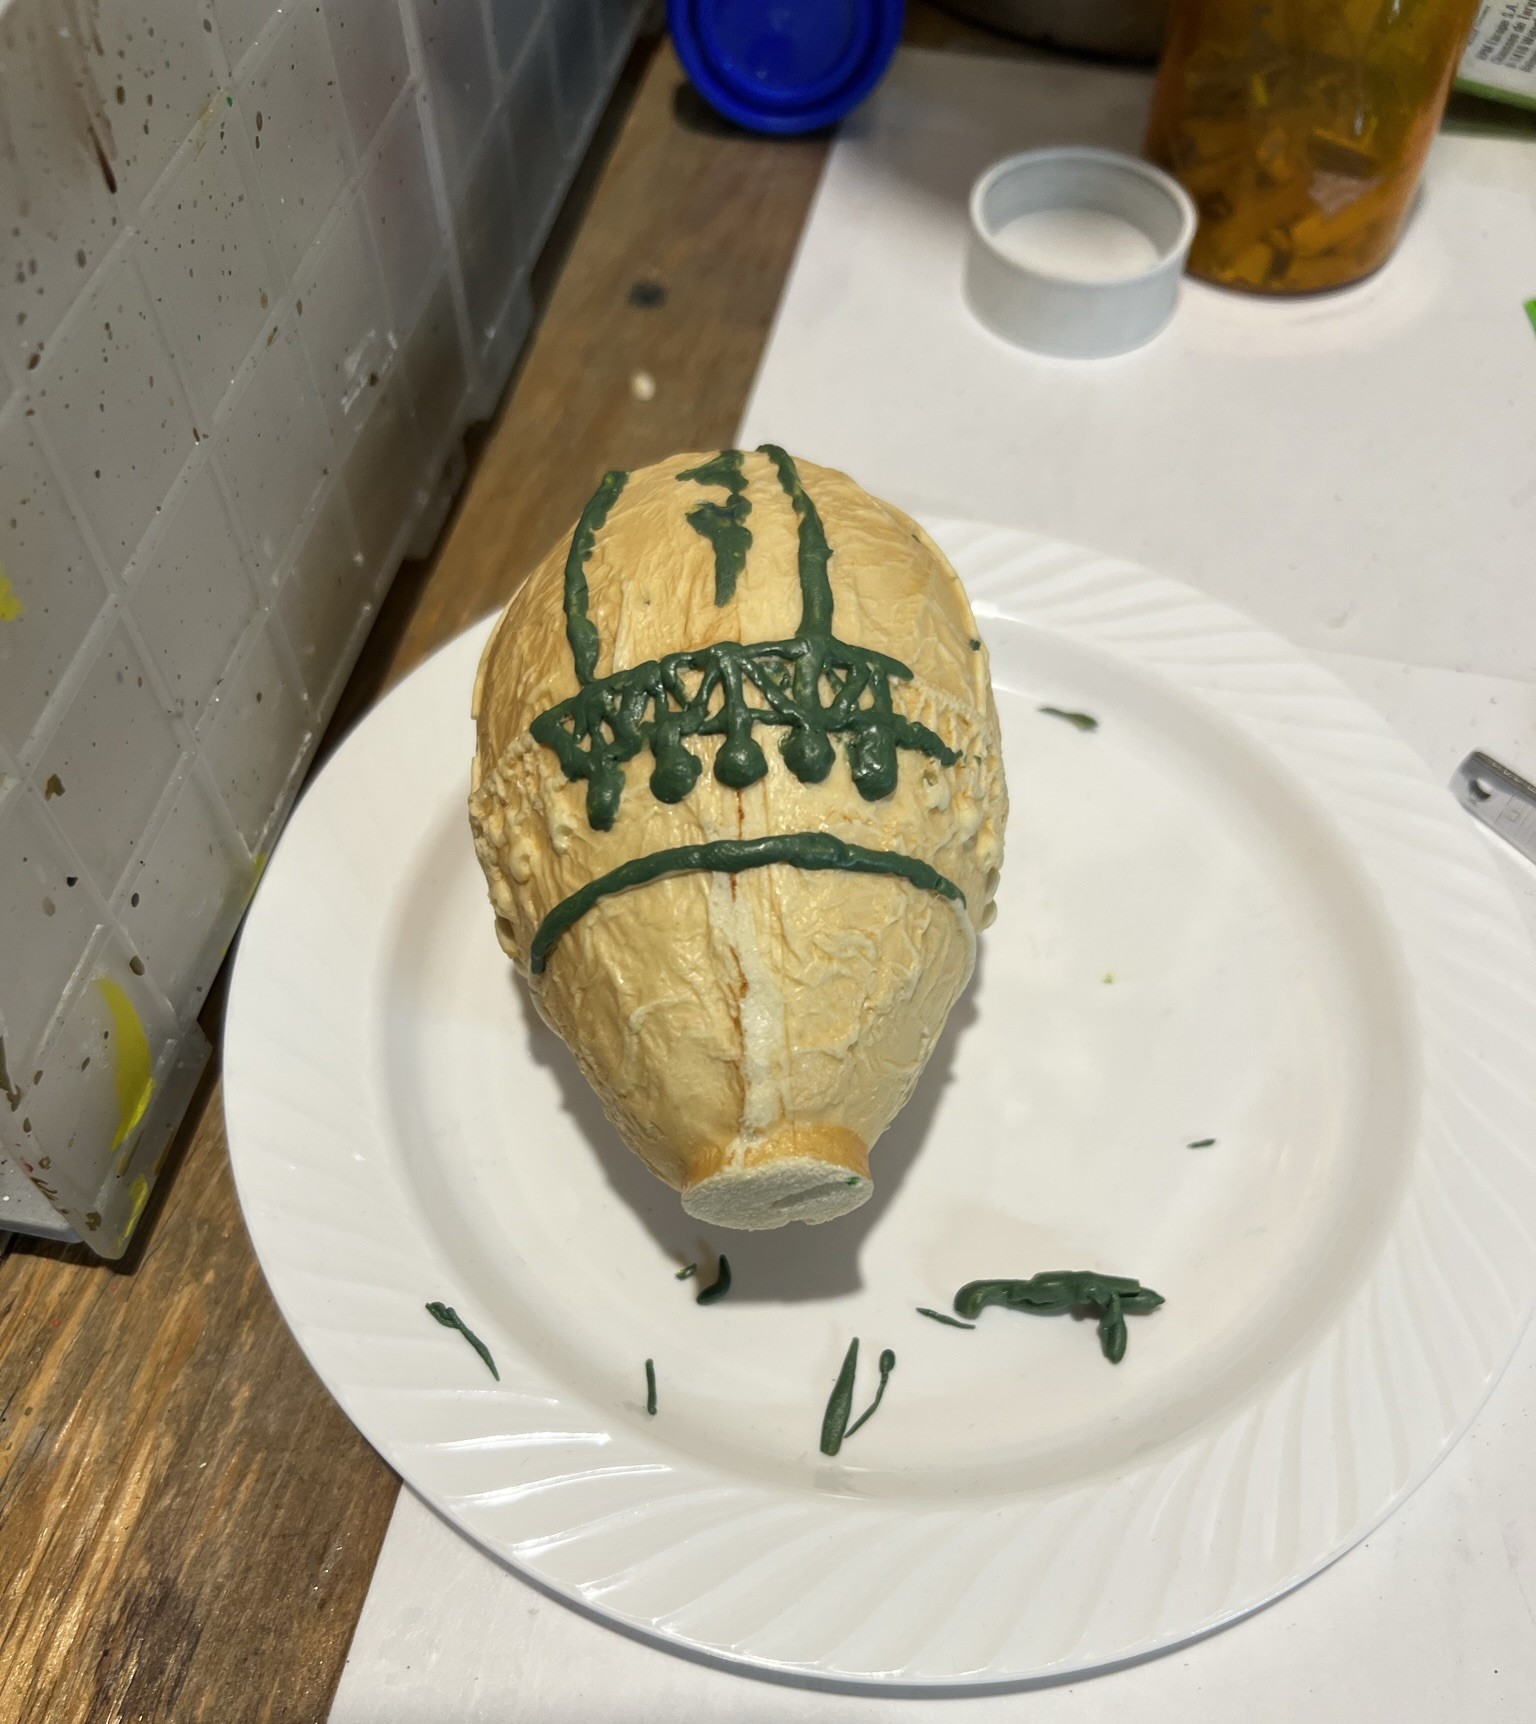
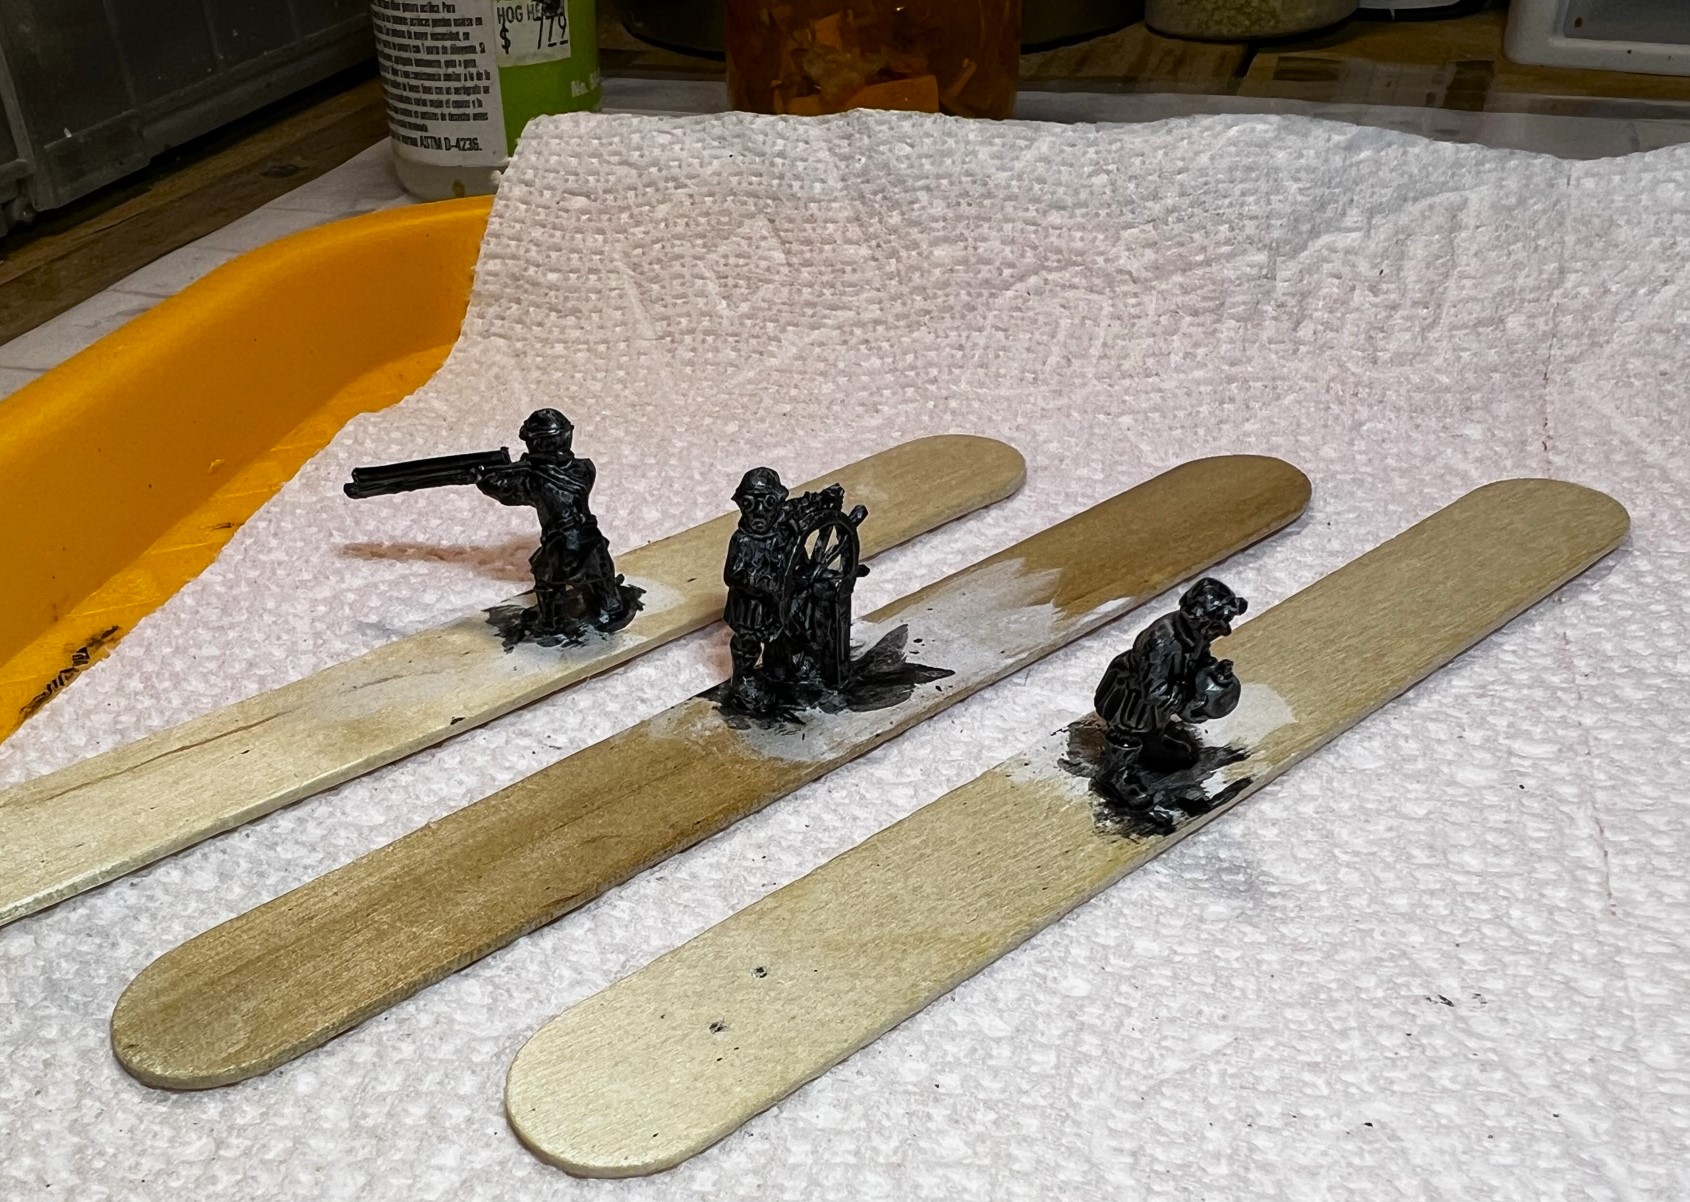
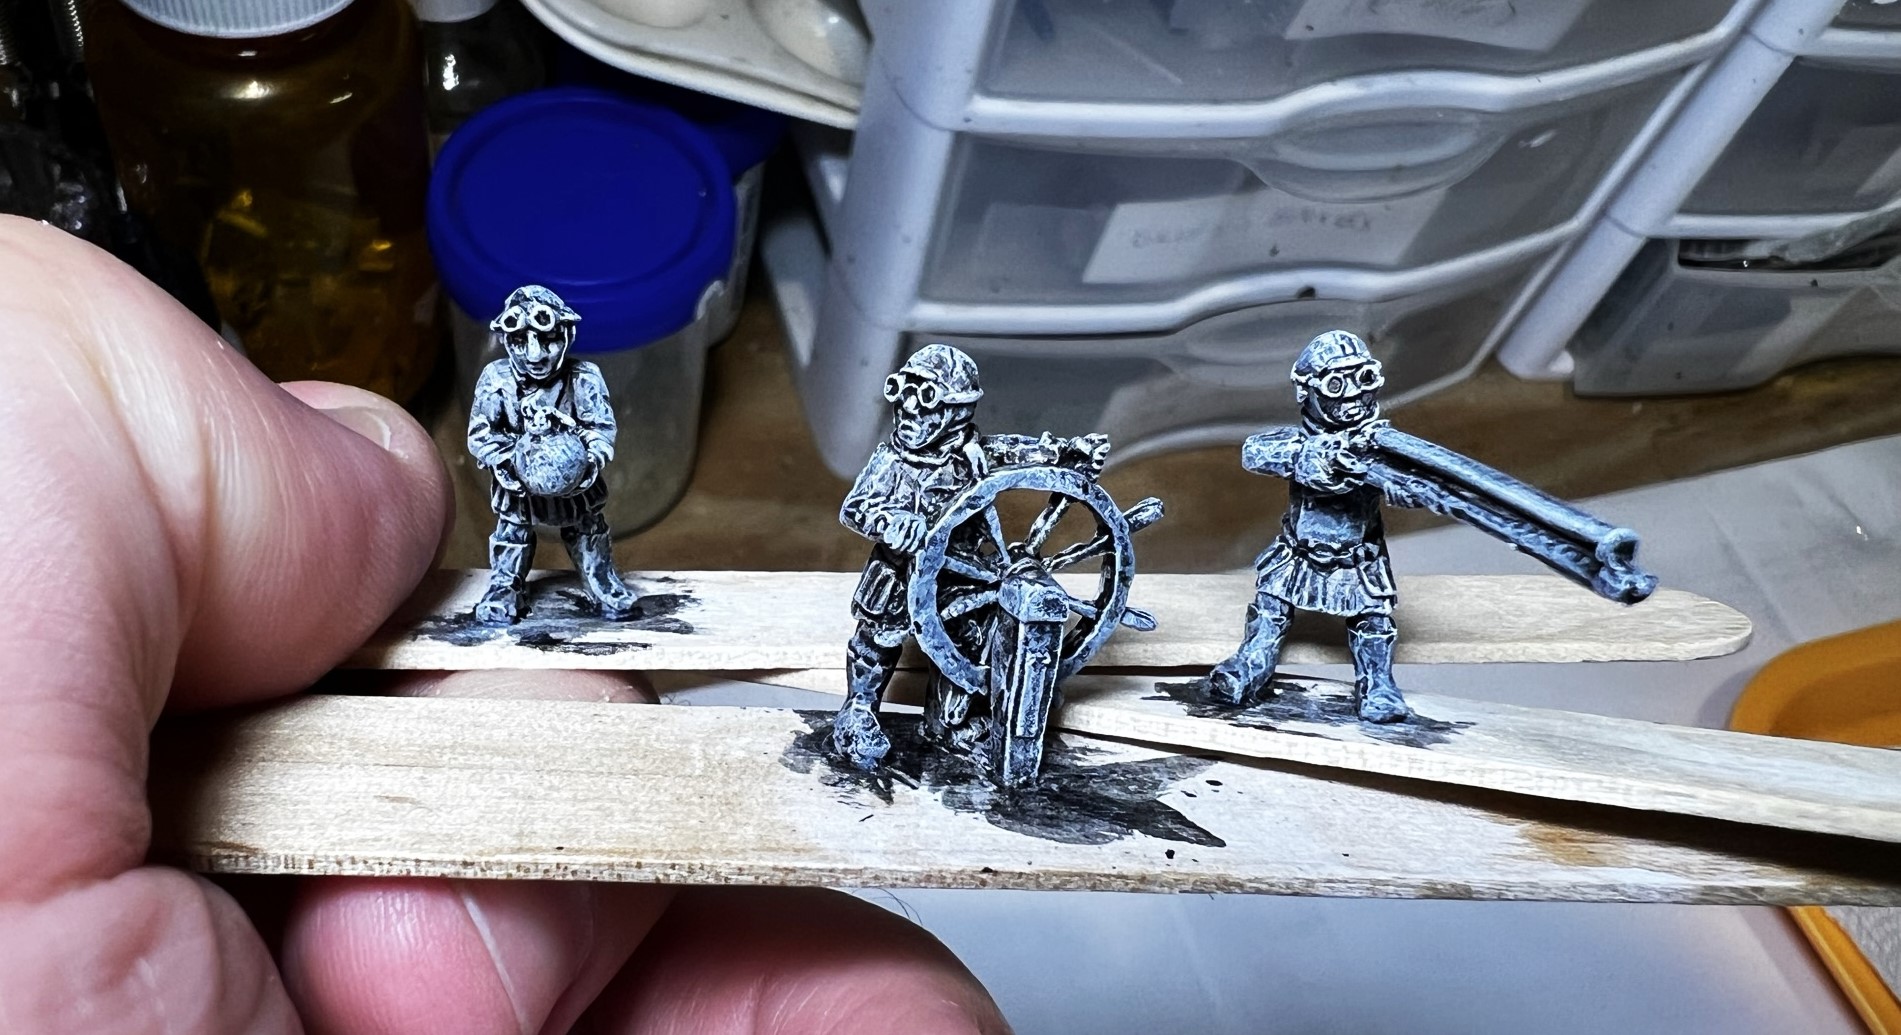
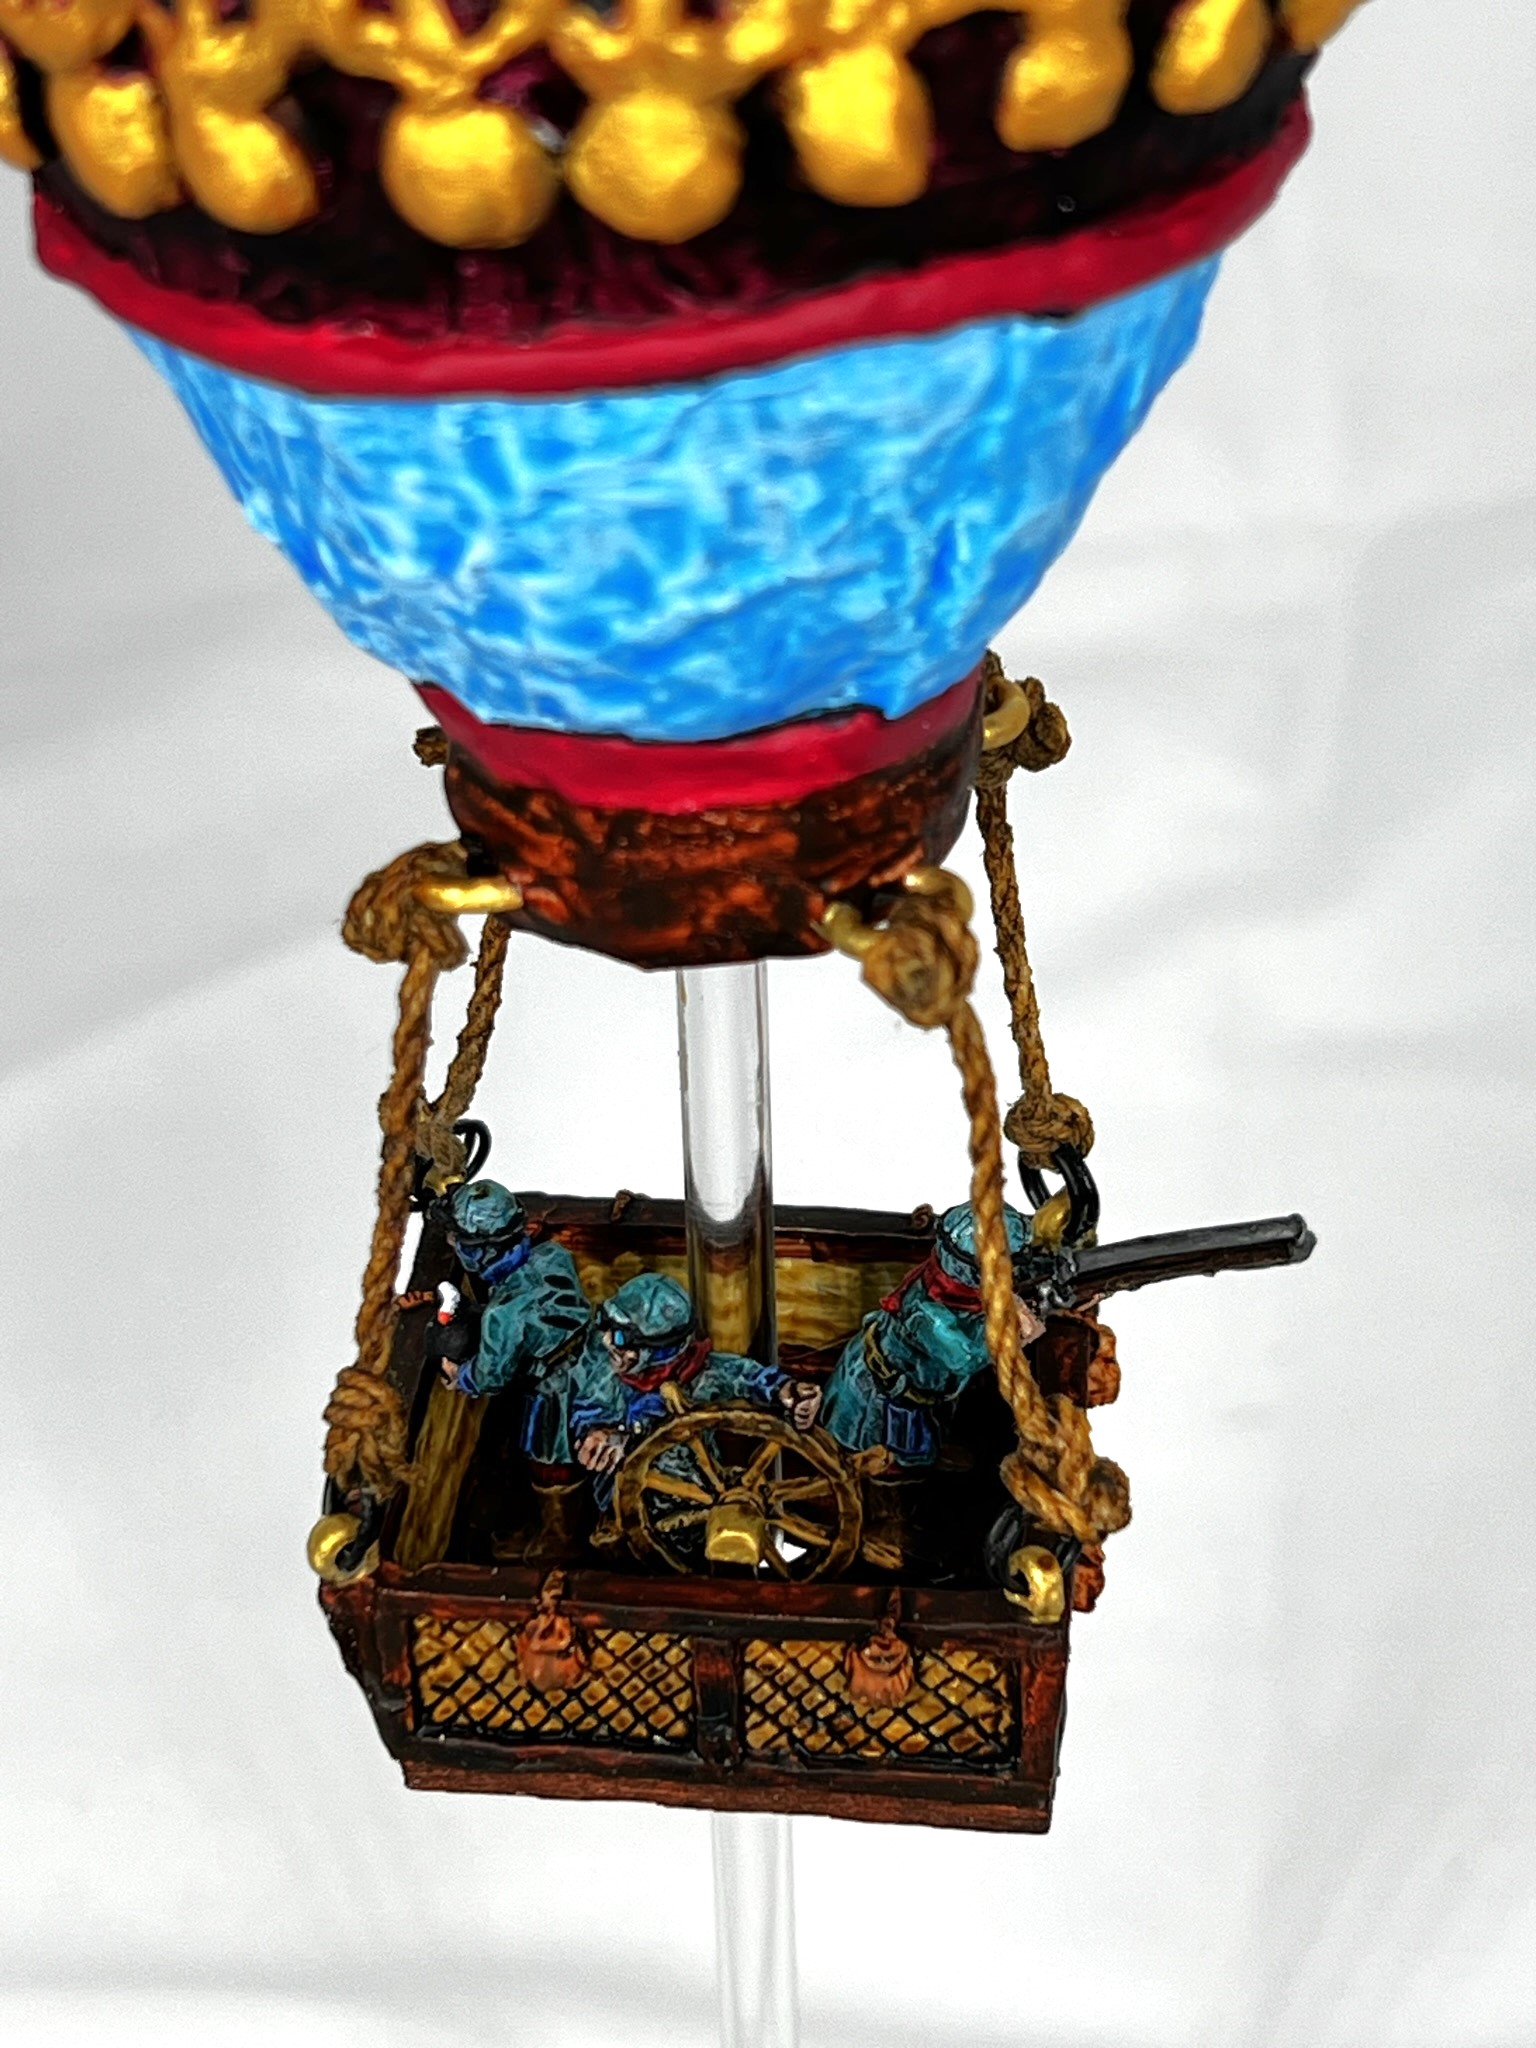
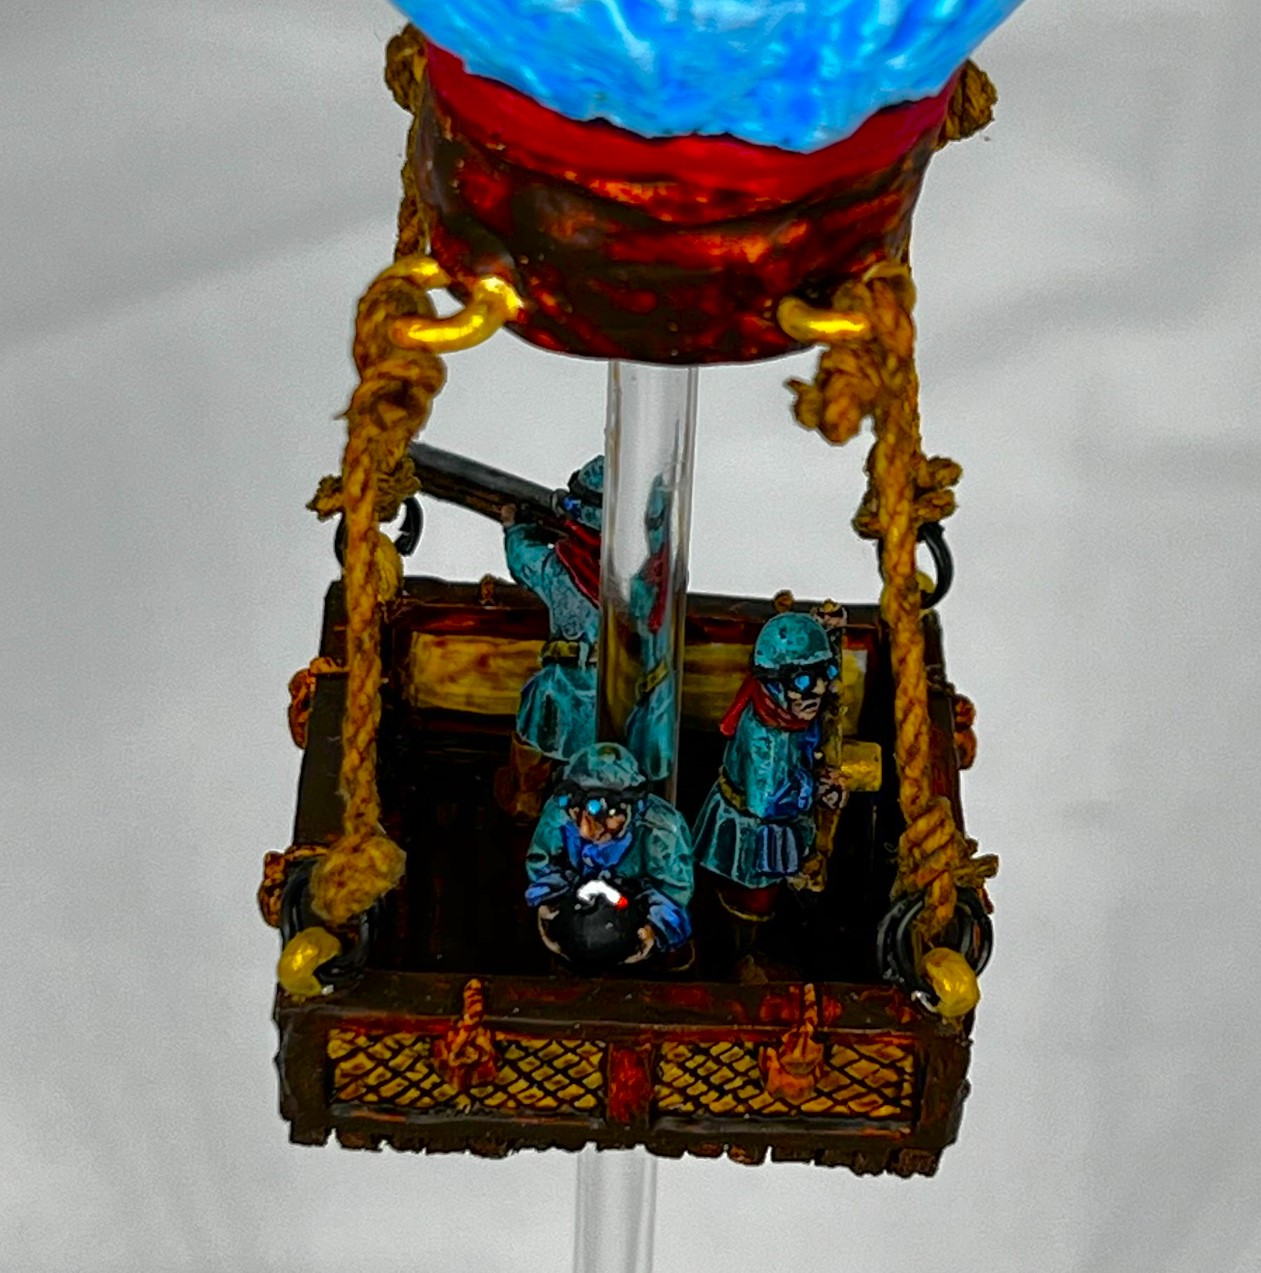
There was minor damage to the units in the mail, and most was easy to fix with some glue. The biggest challenges were twofold. One, I wanted to add some flocking to the bases for tabletop differentiation – and two, I wanted to upgrade the slingshot unit. By upgrade, I mean that the base was not magnetized for the placement of crew, and the trees supporting the slingshot had lost their foliage (see below). I was inspired by – again – IRO, who recently had a cool post about making model trees. He had advised me about the right glue to use and more – so I used that information as best as possible.
Without further ado, here is my….
Gift of Impkins

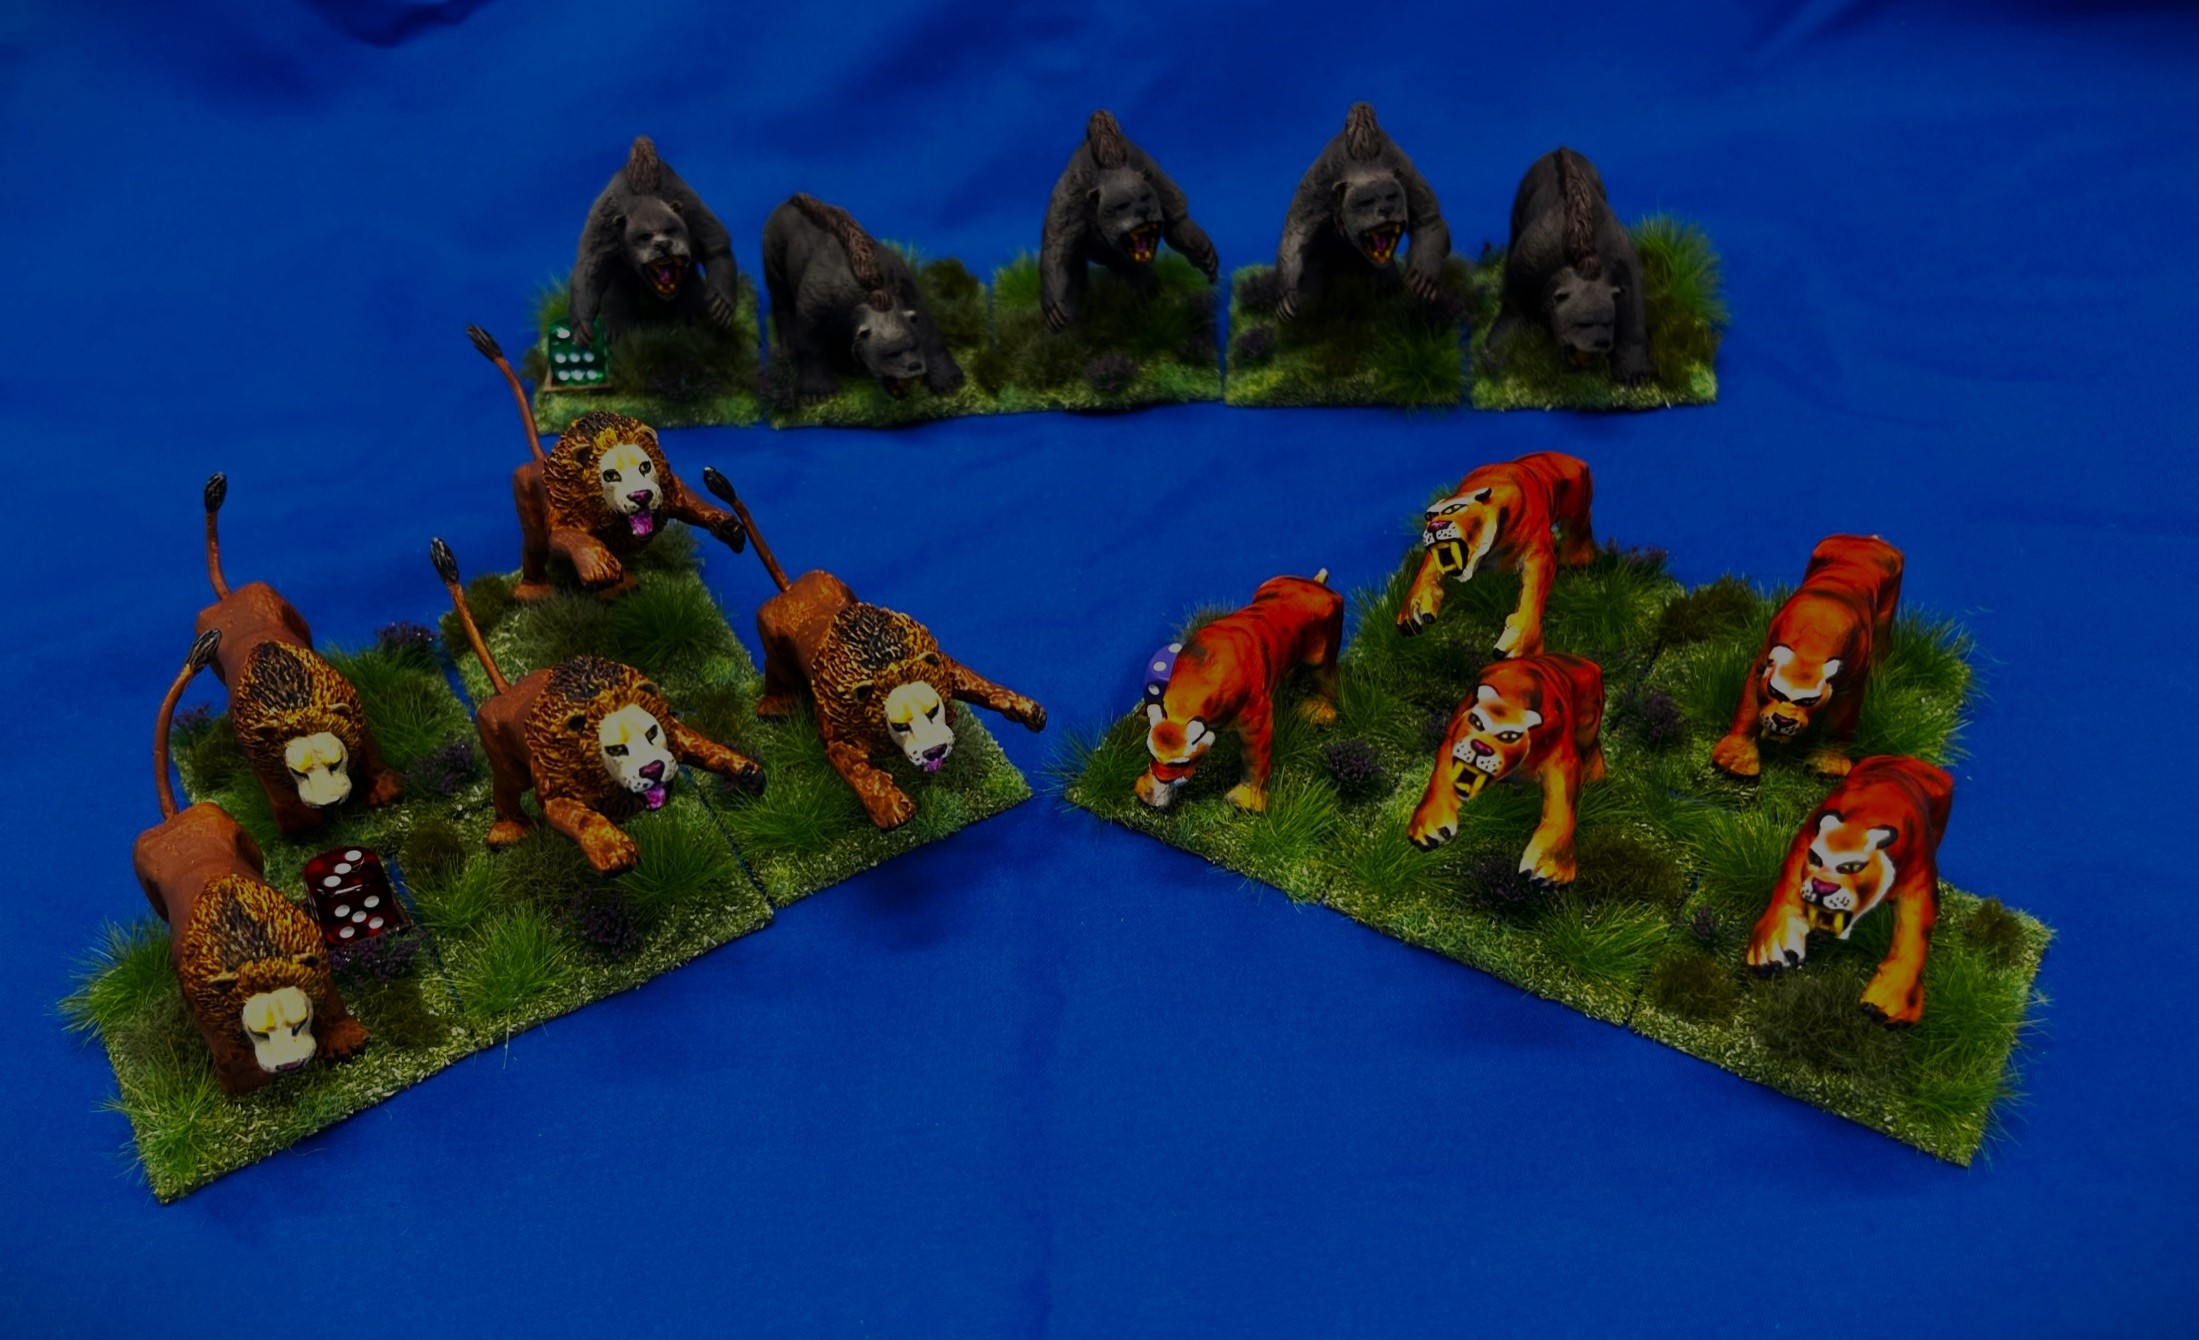
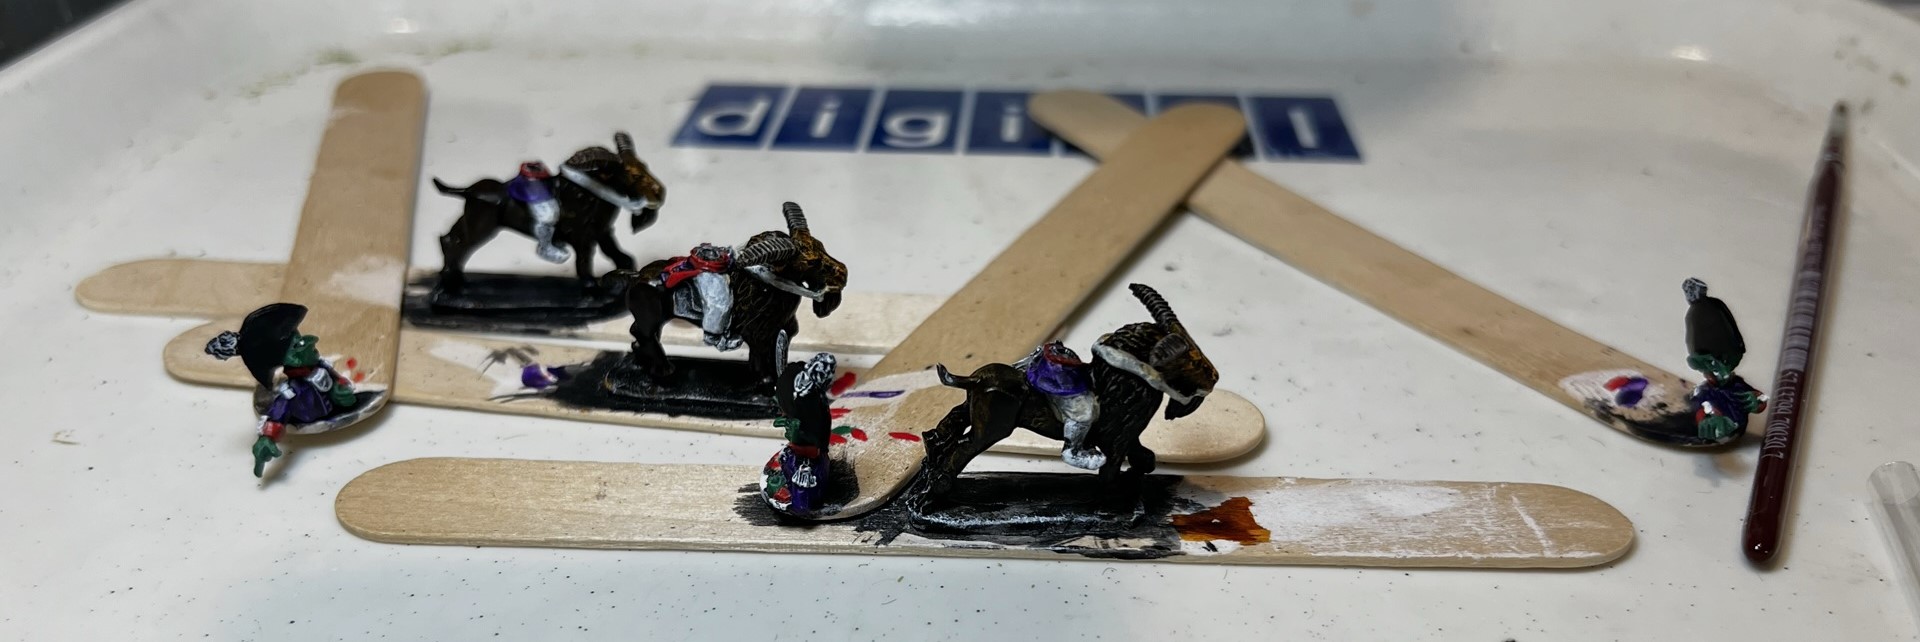
The two infantry units looked a bit similar – even though one has a rooster-mounted commander and the other one on a St. Bernard. So in addition to adding a Pendraken 12mm dice frame, I added different flocking:
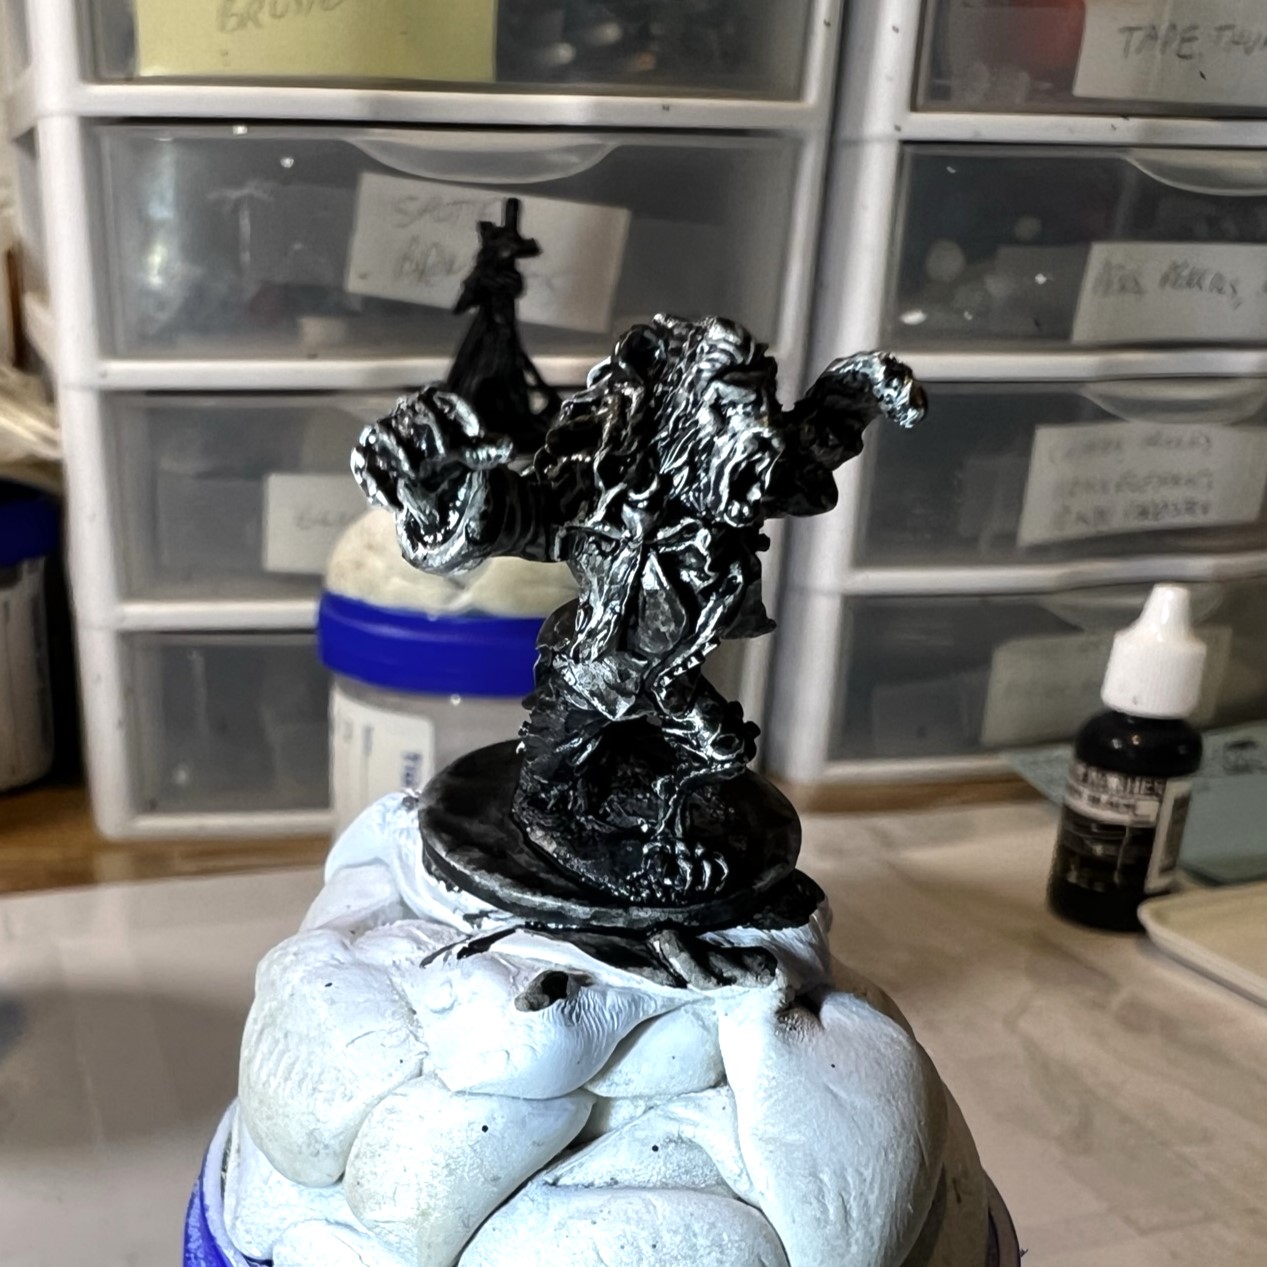
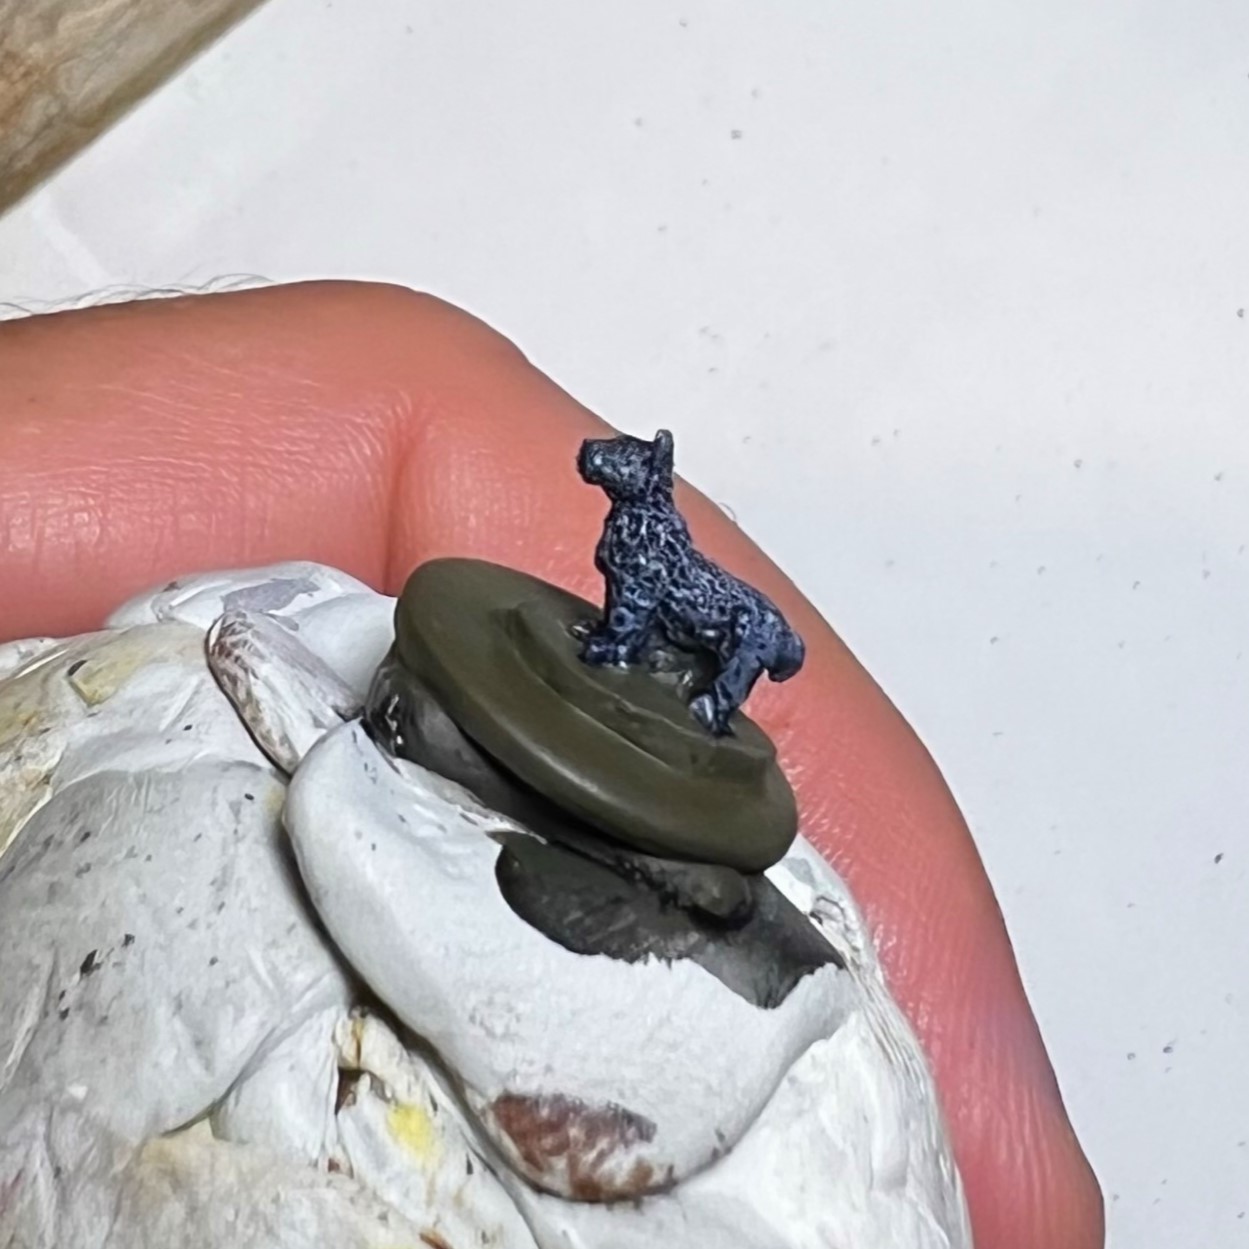
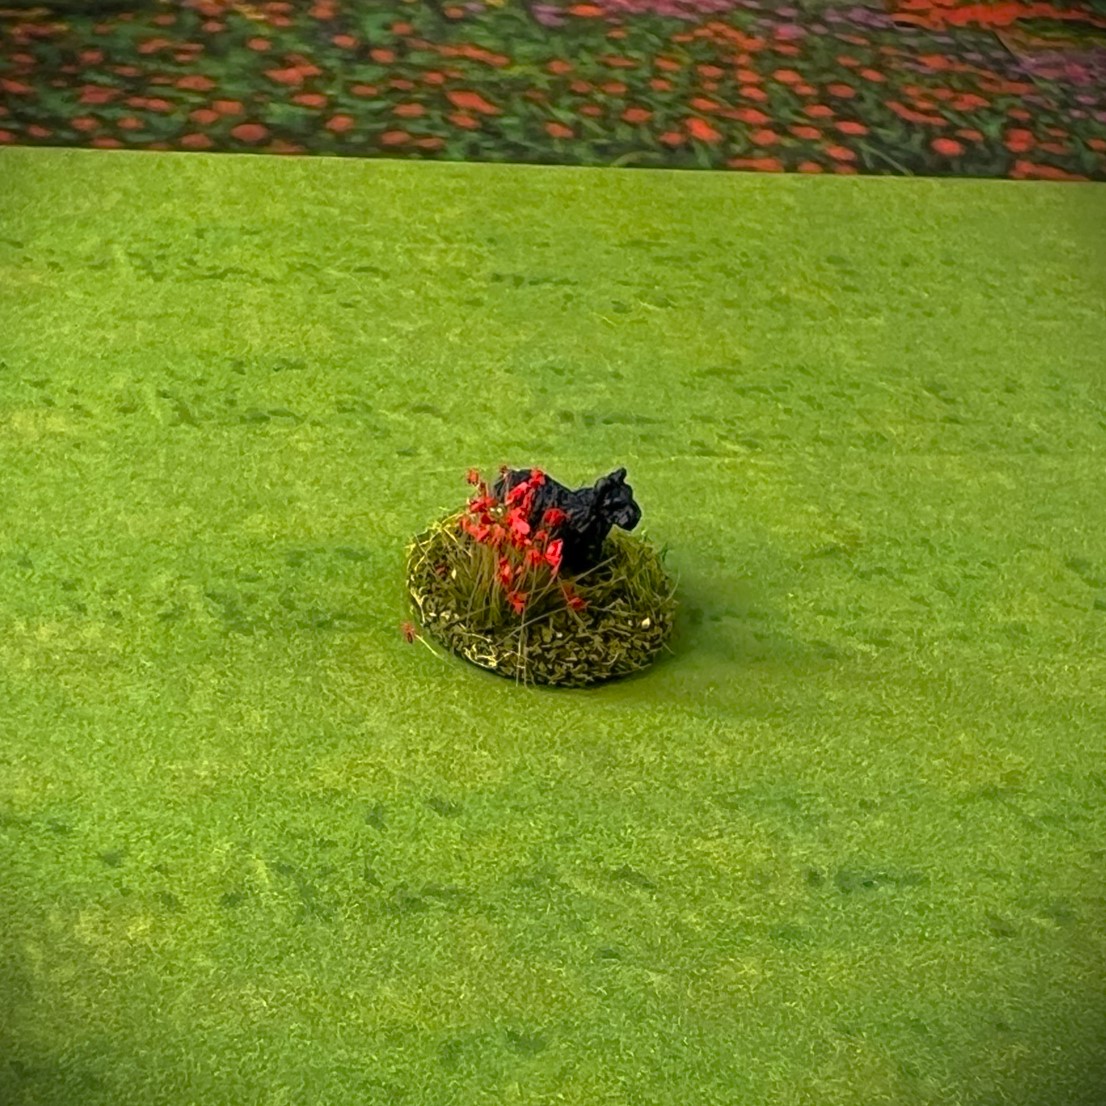
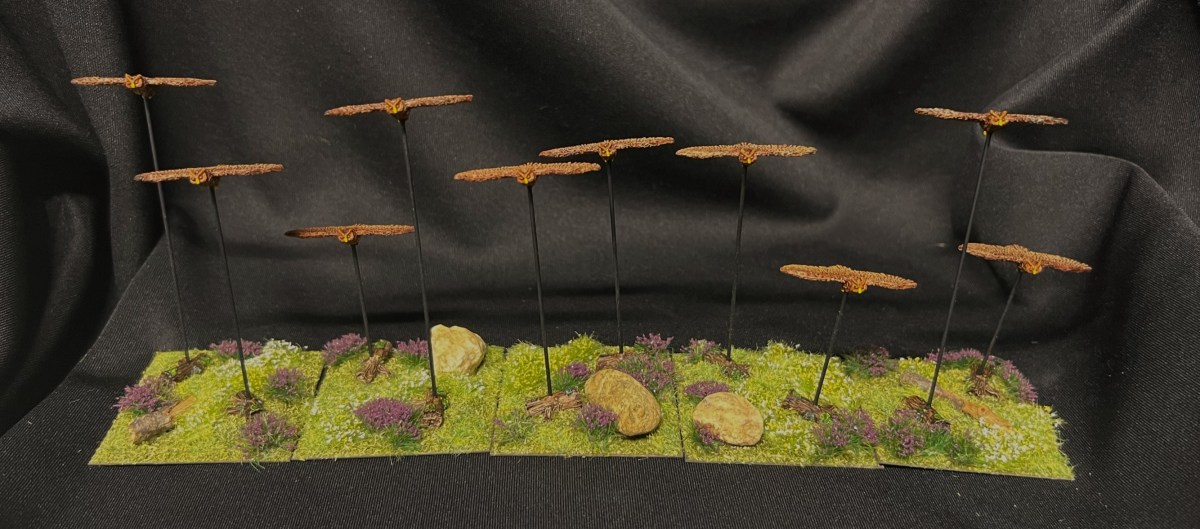
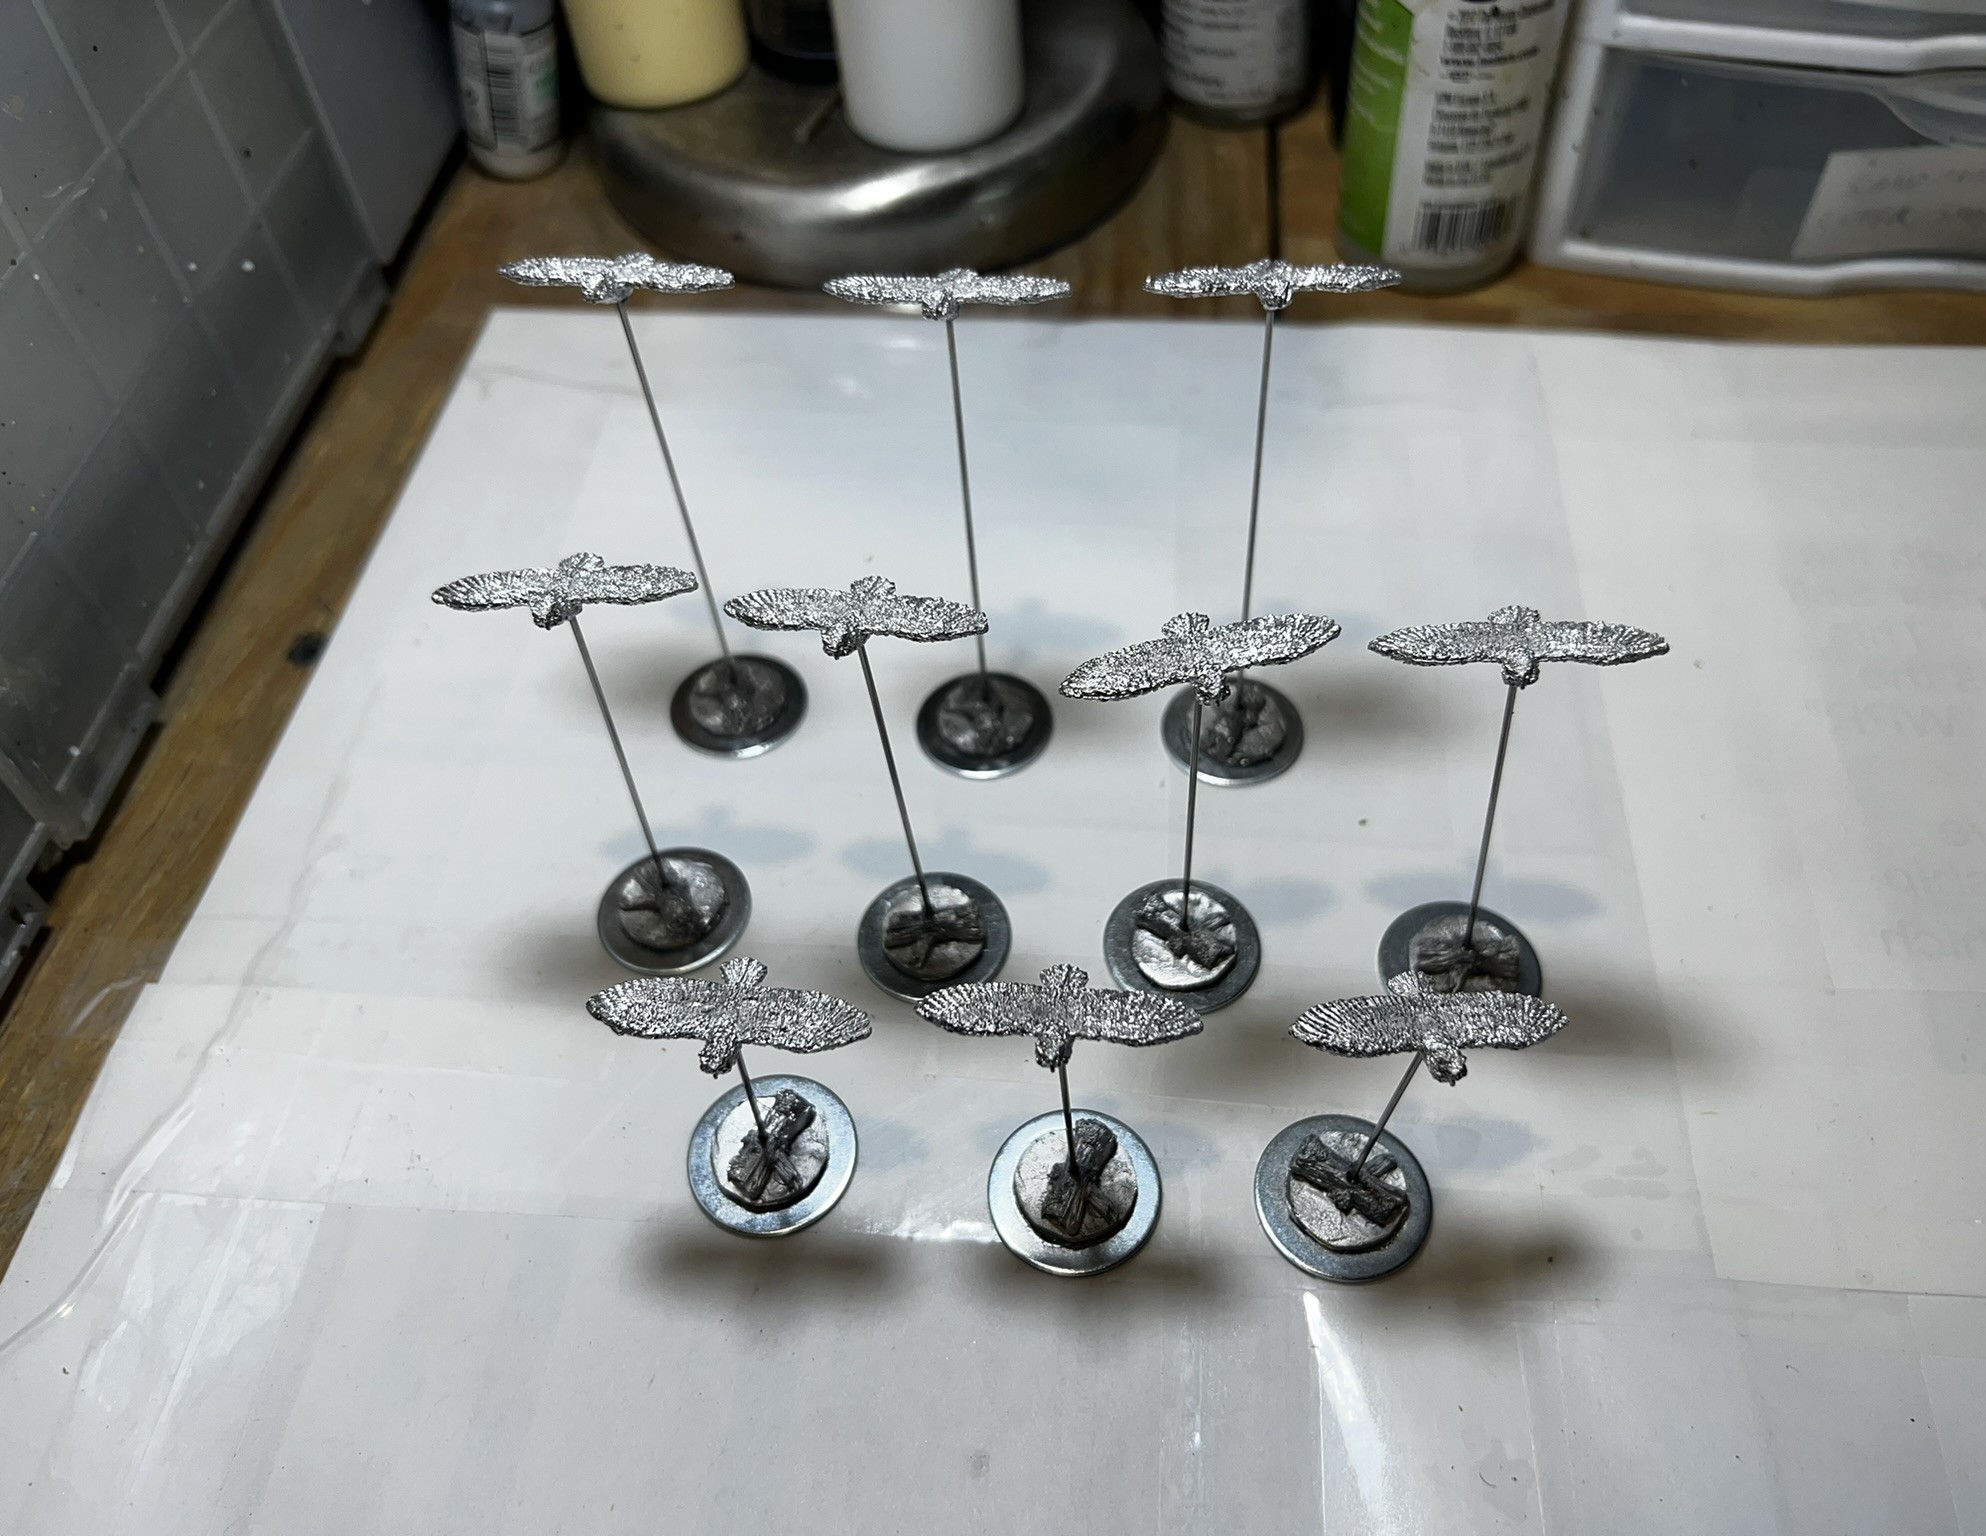
The Swamp Guardian Fairy (flying) regiment was really cool. I mainly had to drill out some of the wires that came loose and reattach a few wings.
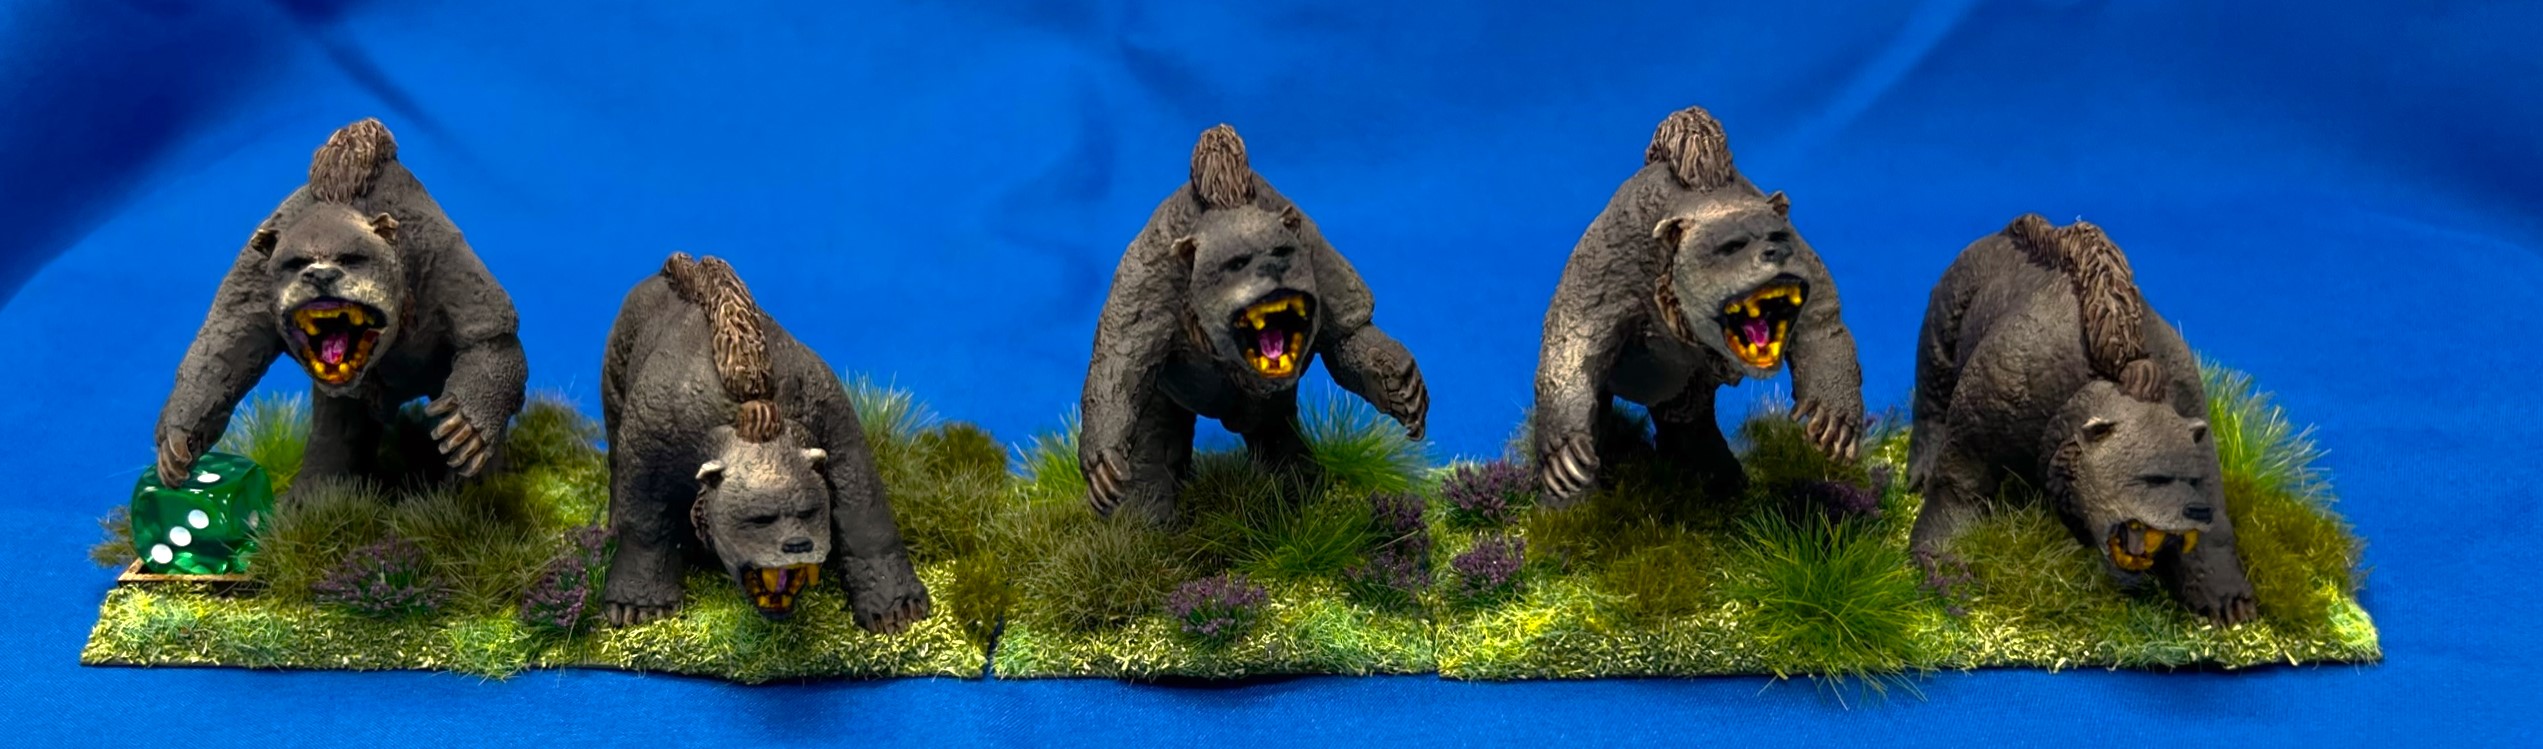
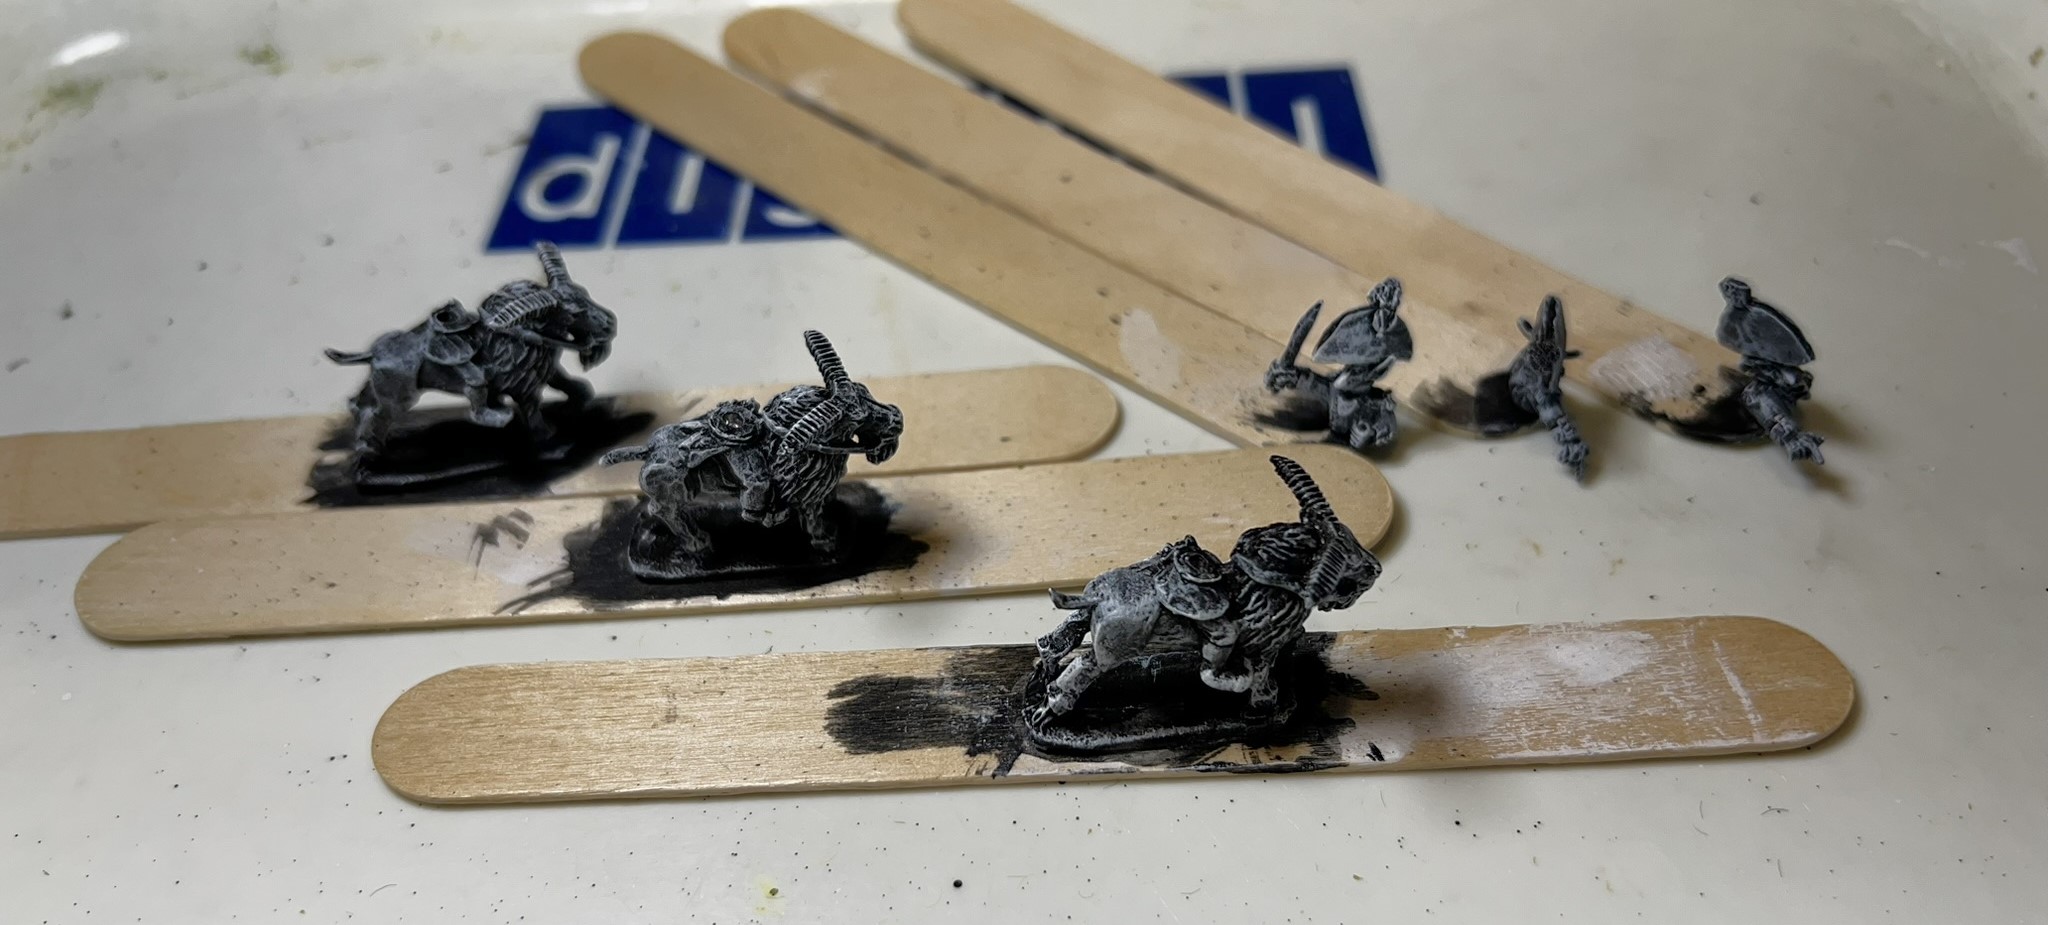
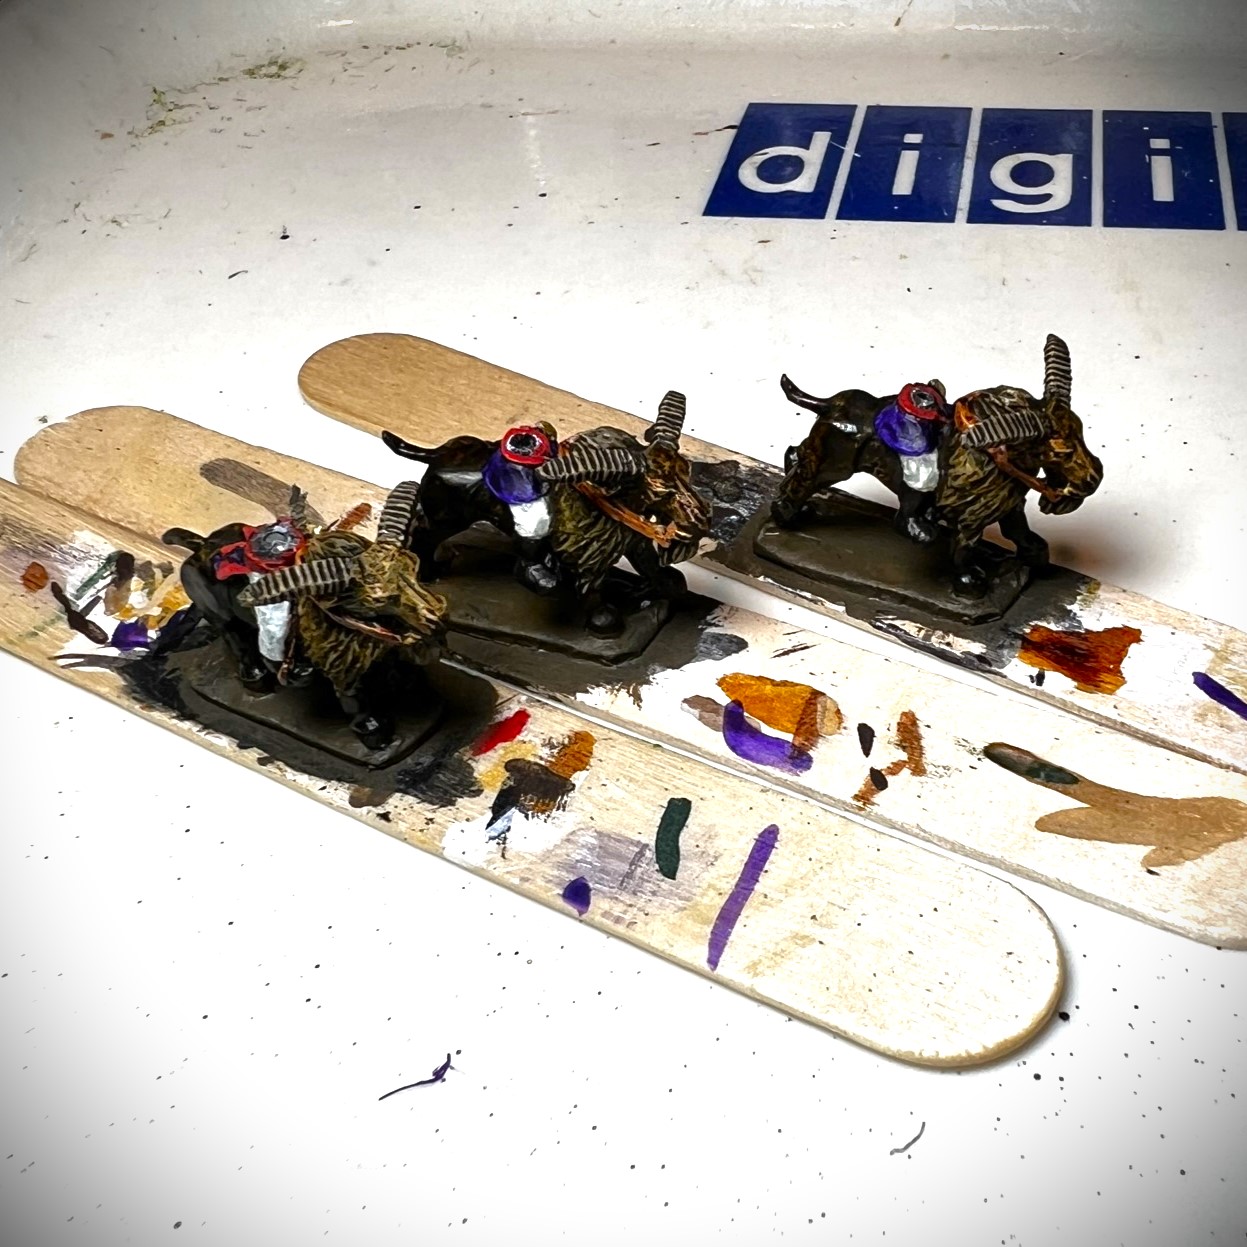
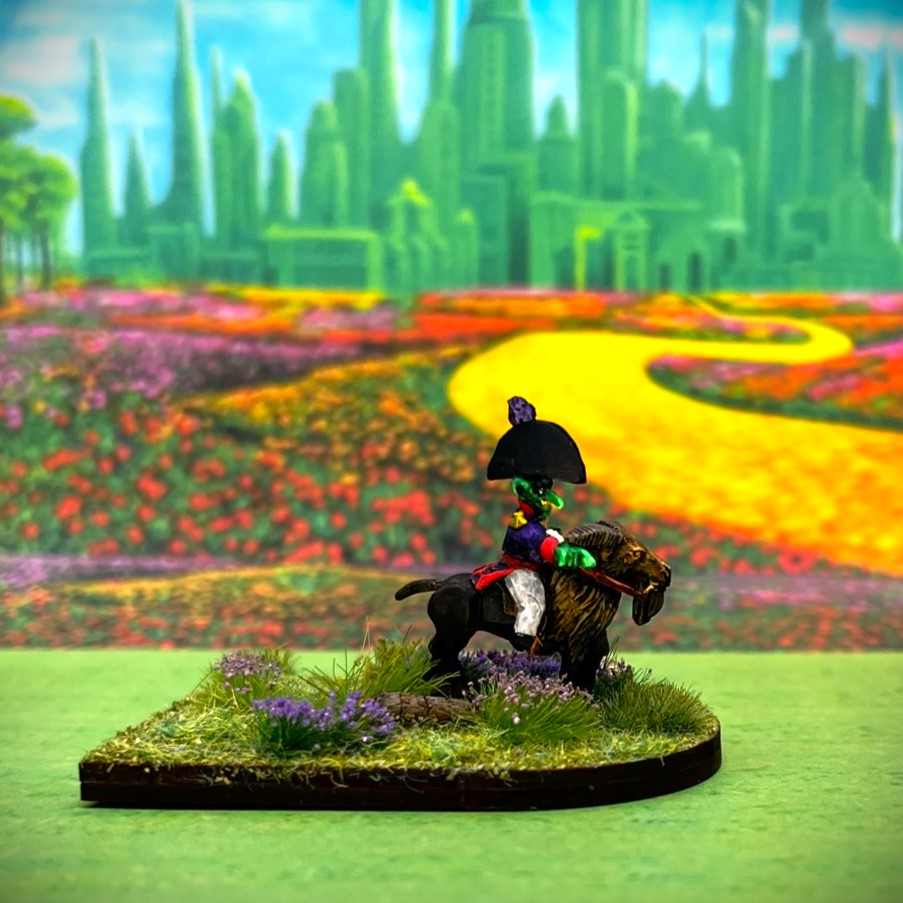
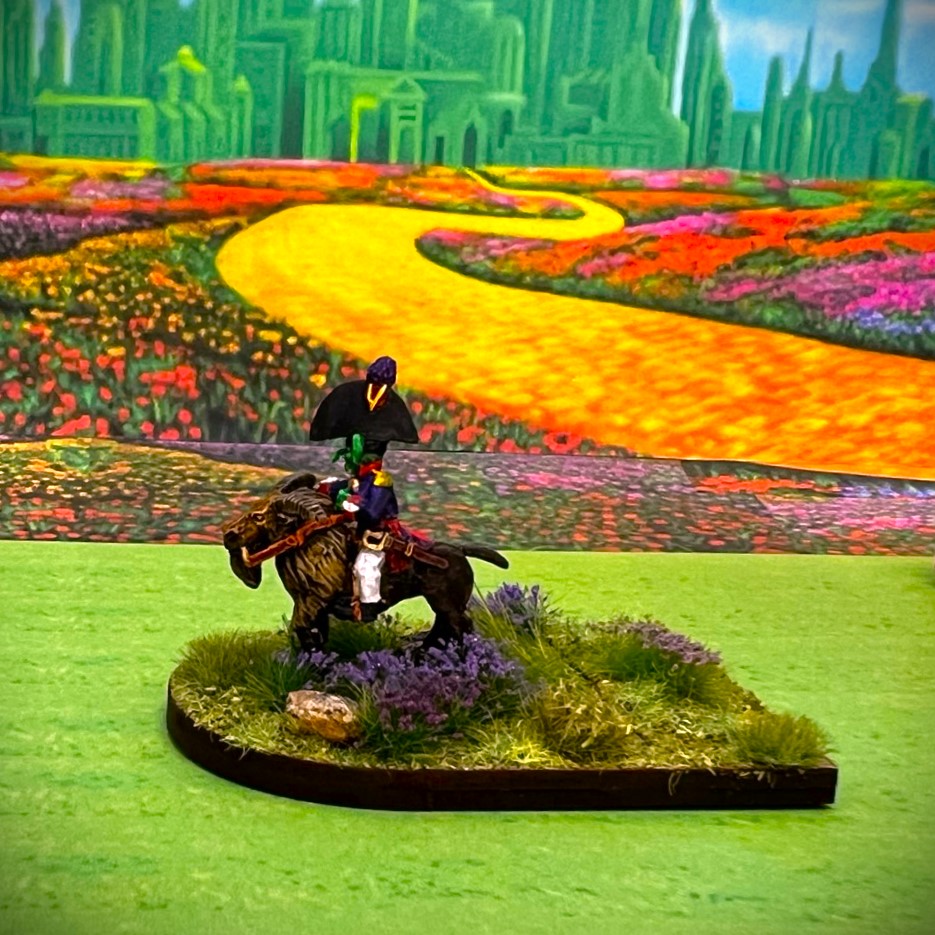
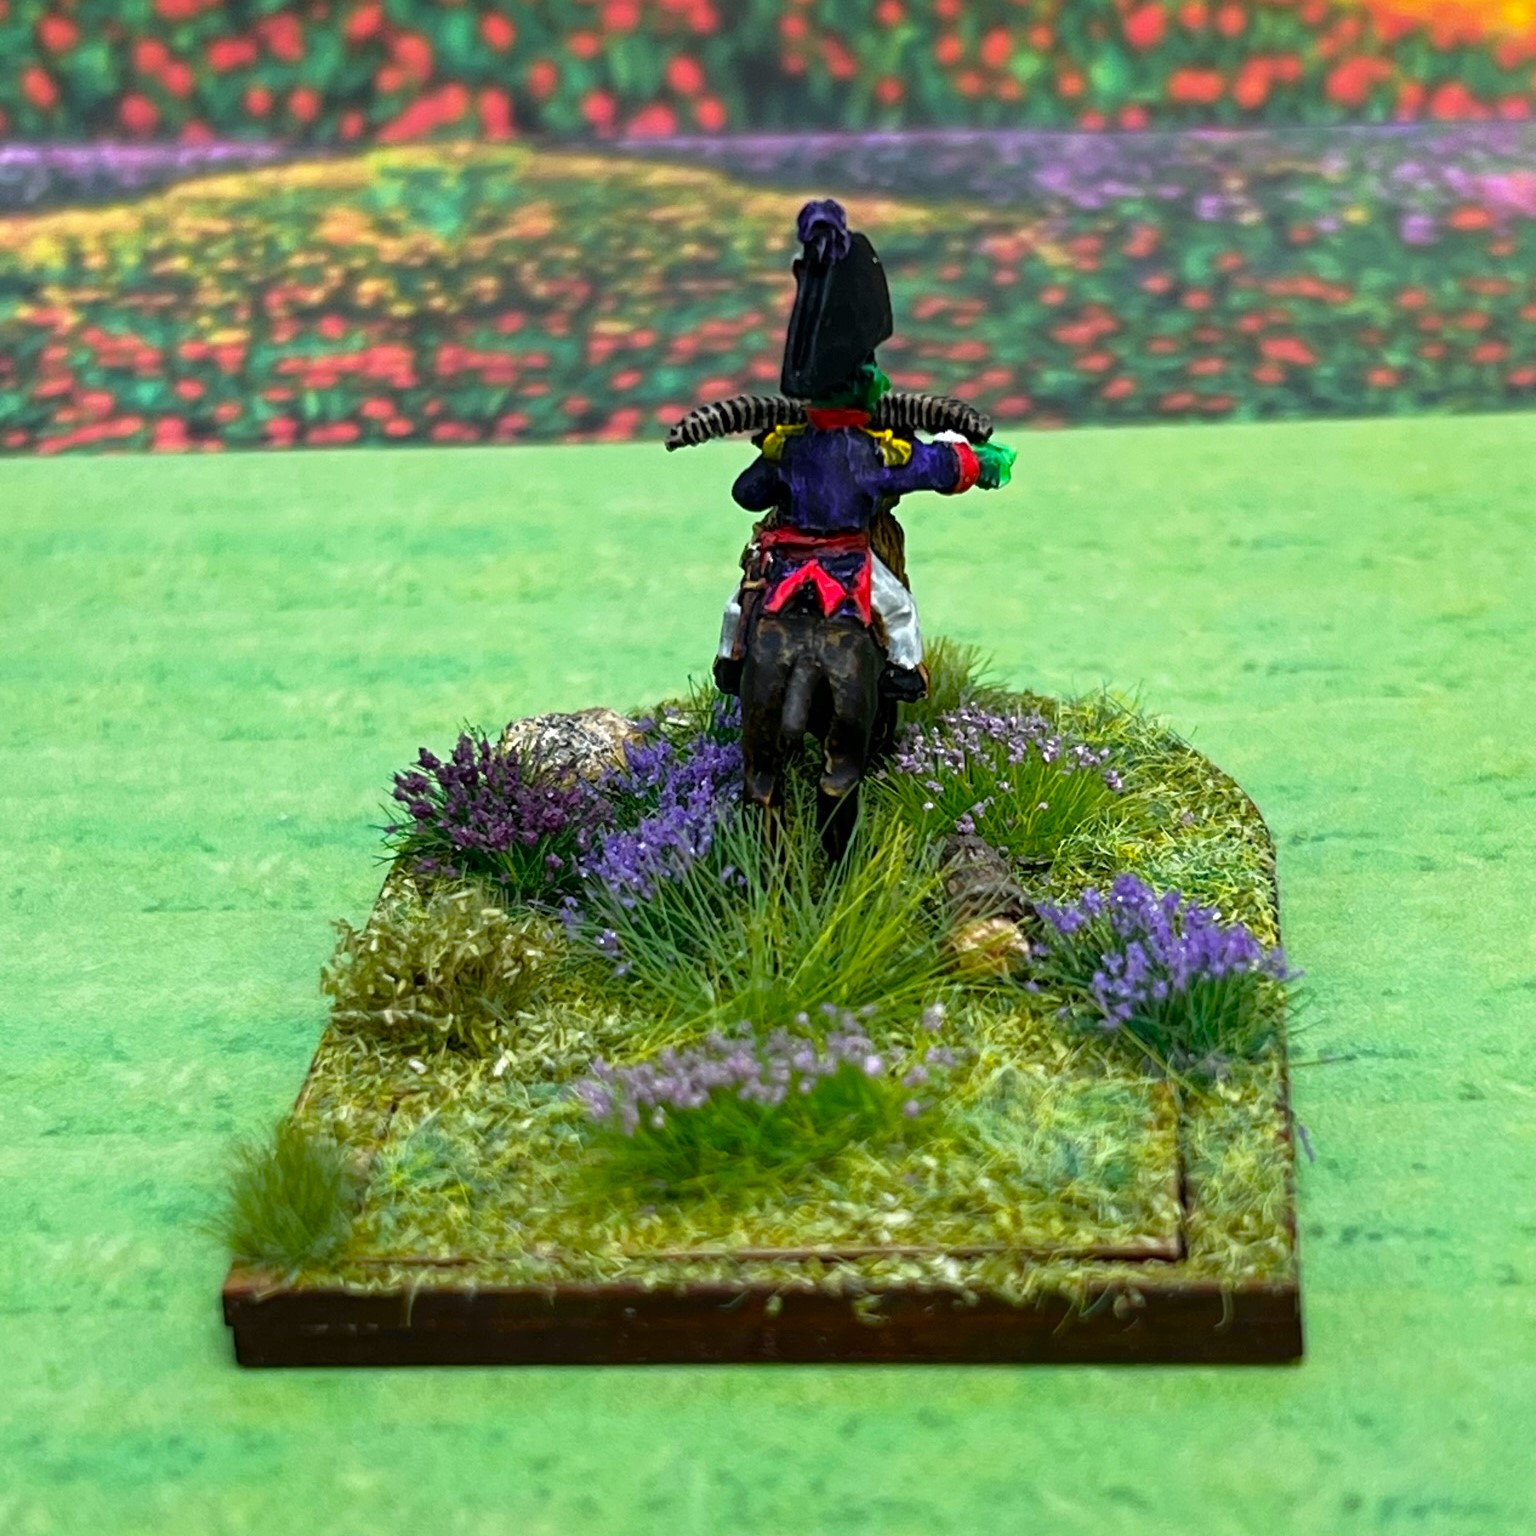
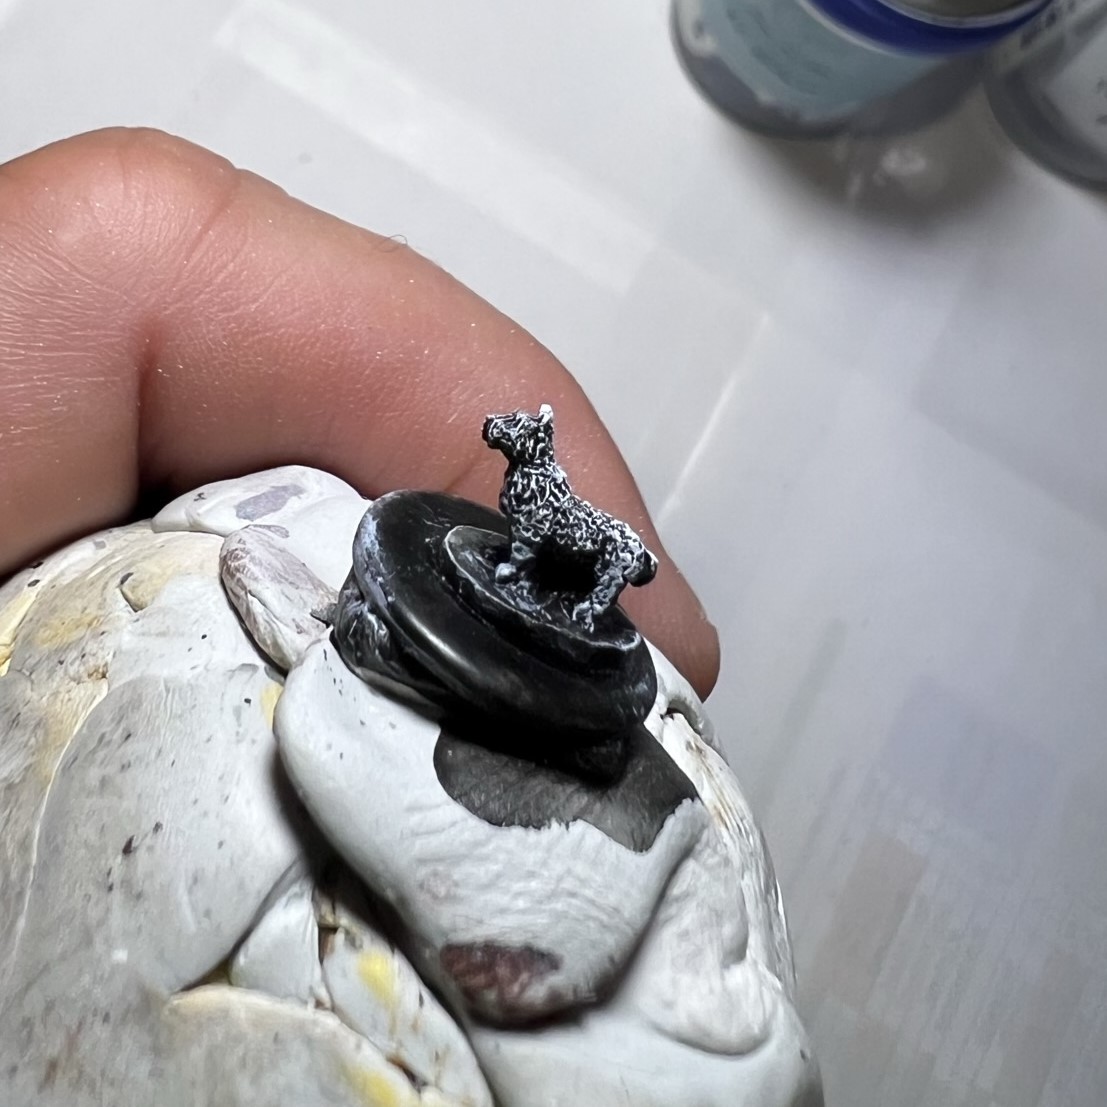
There were two cavalry regiments:


I think those will be easy to differentiate!
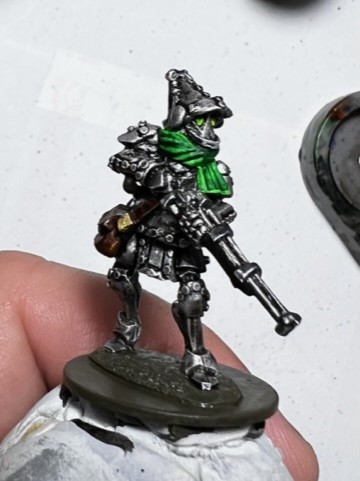
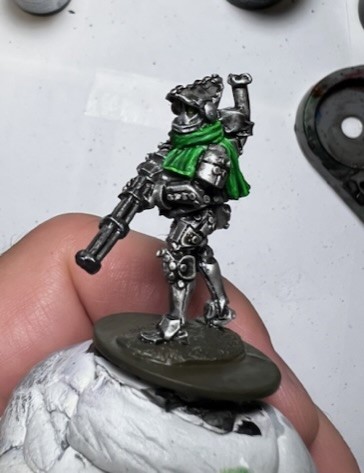
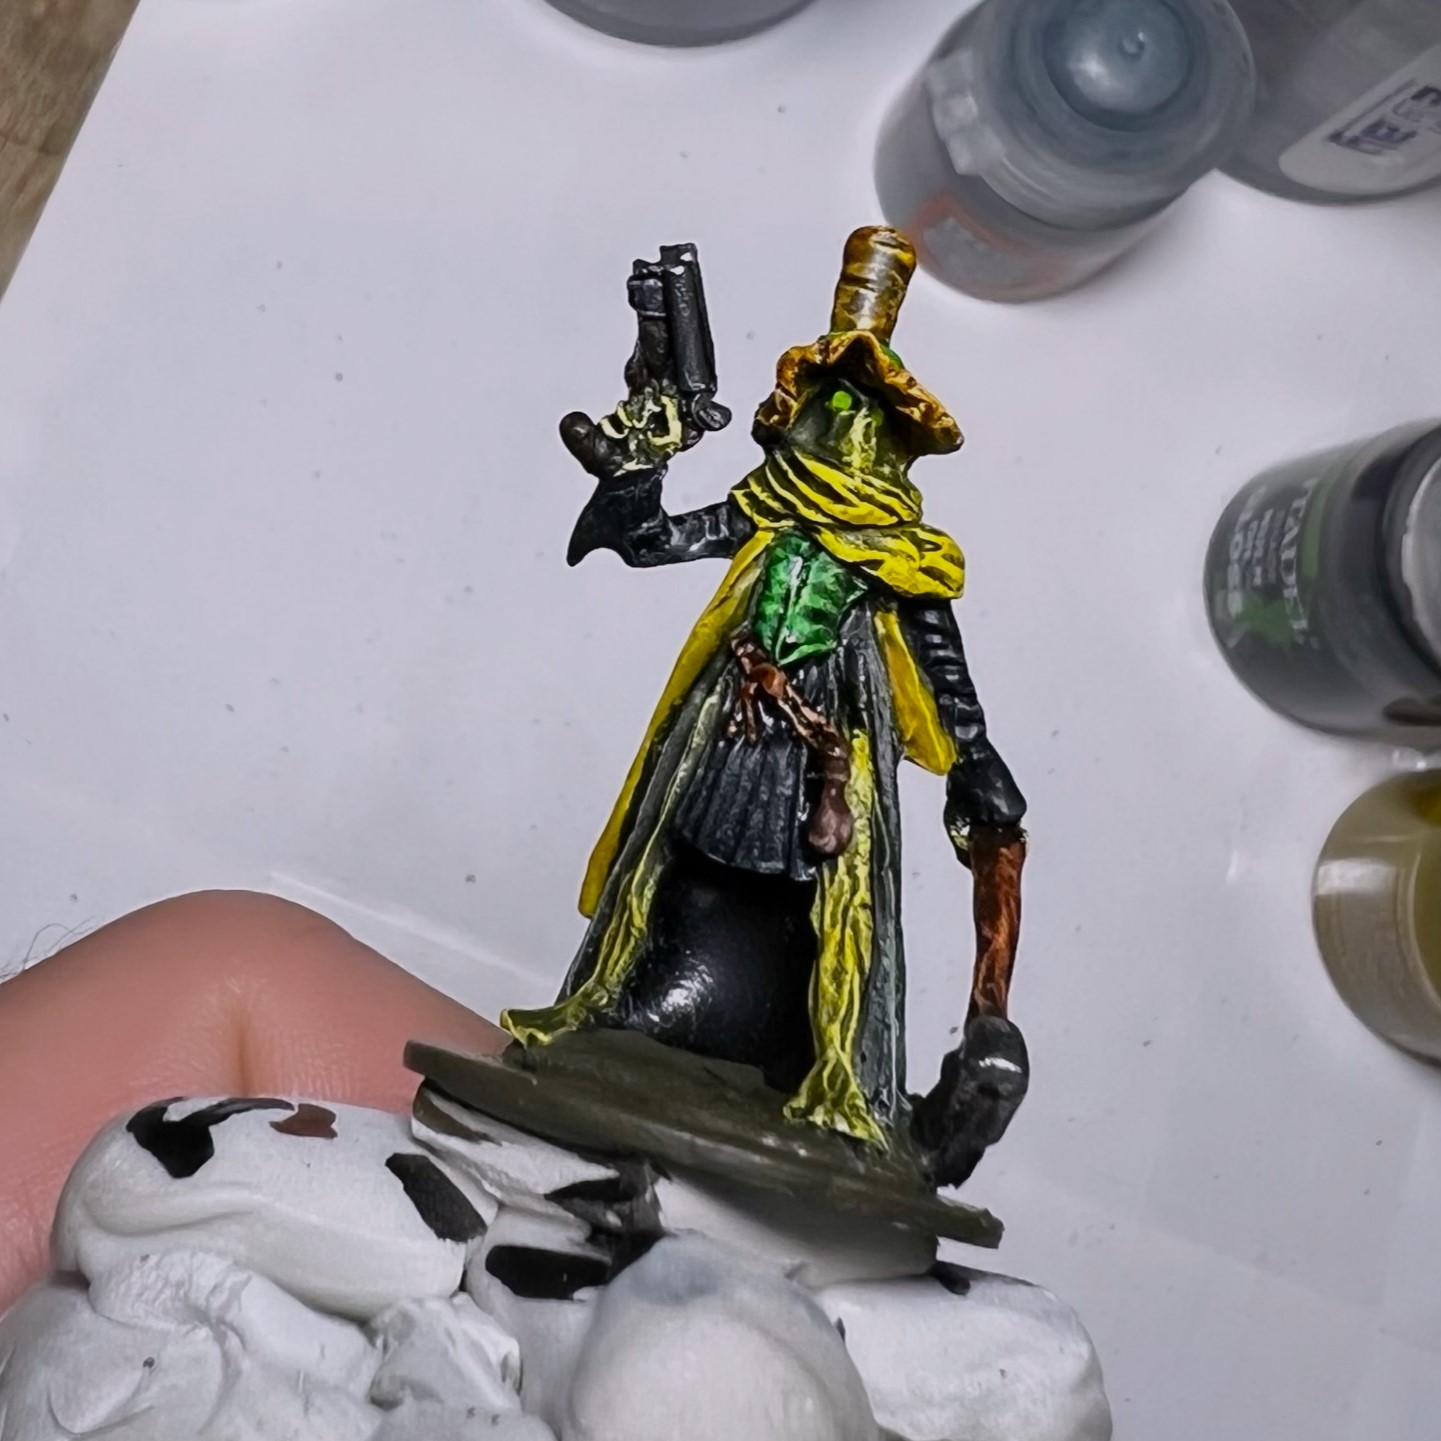
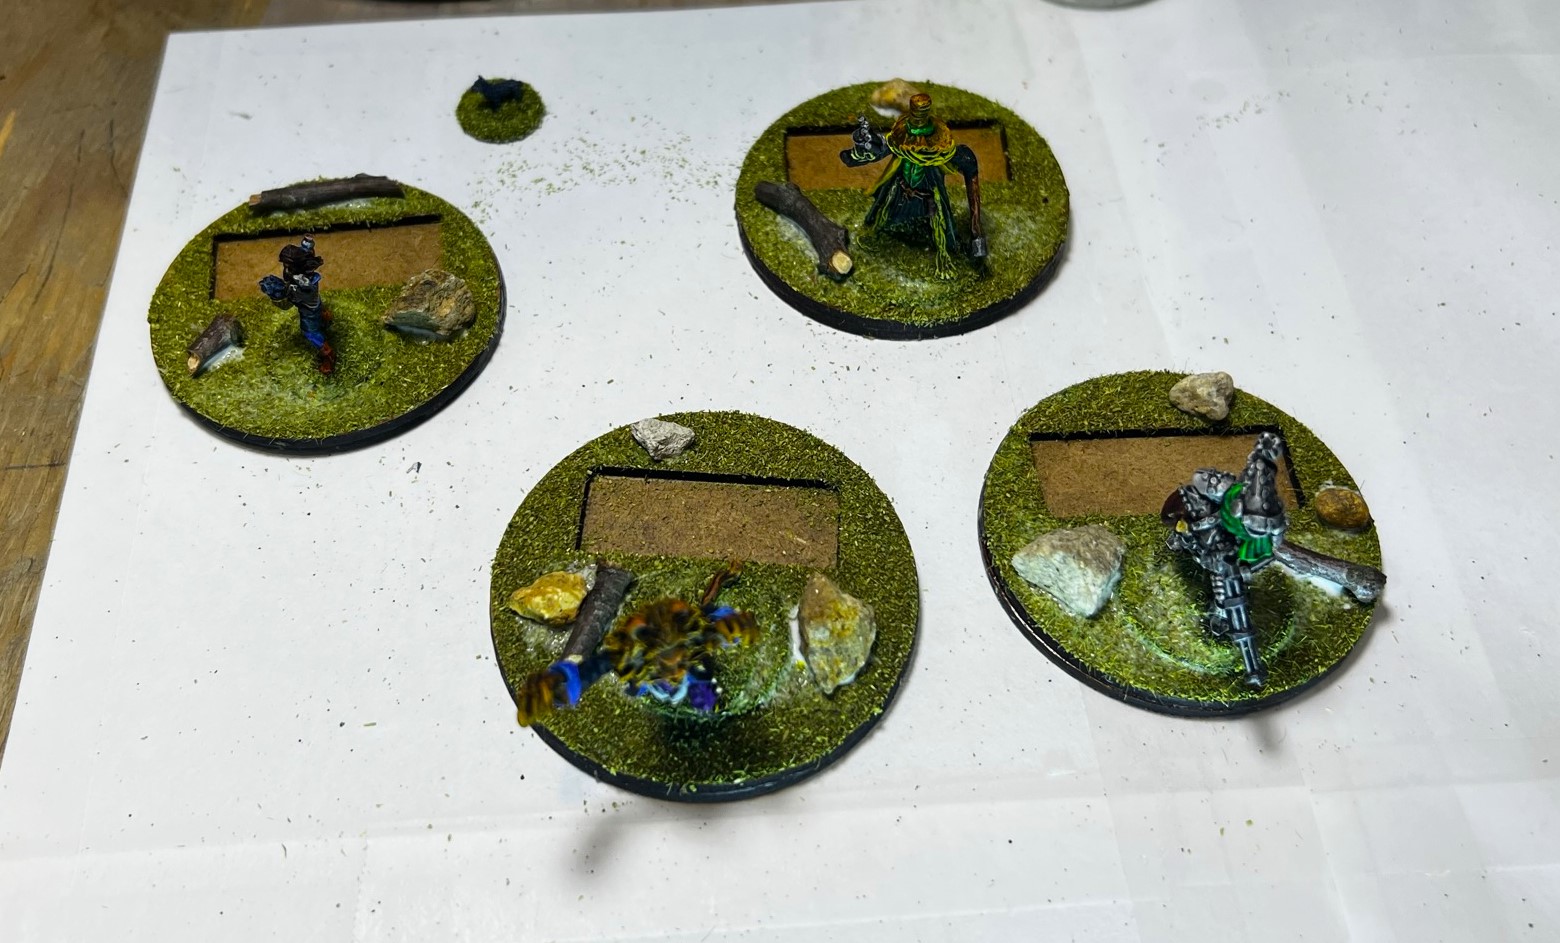
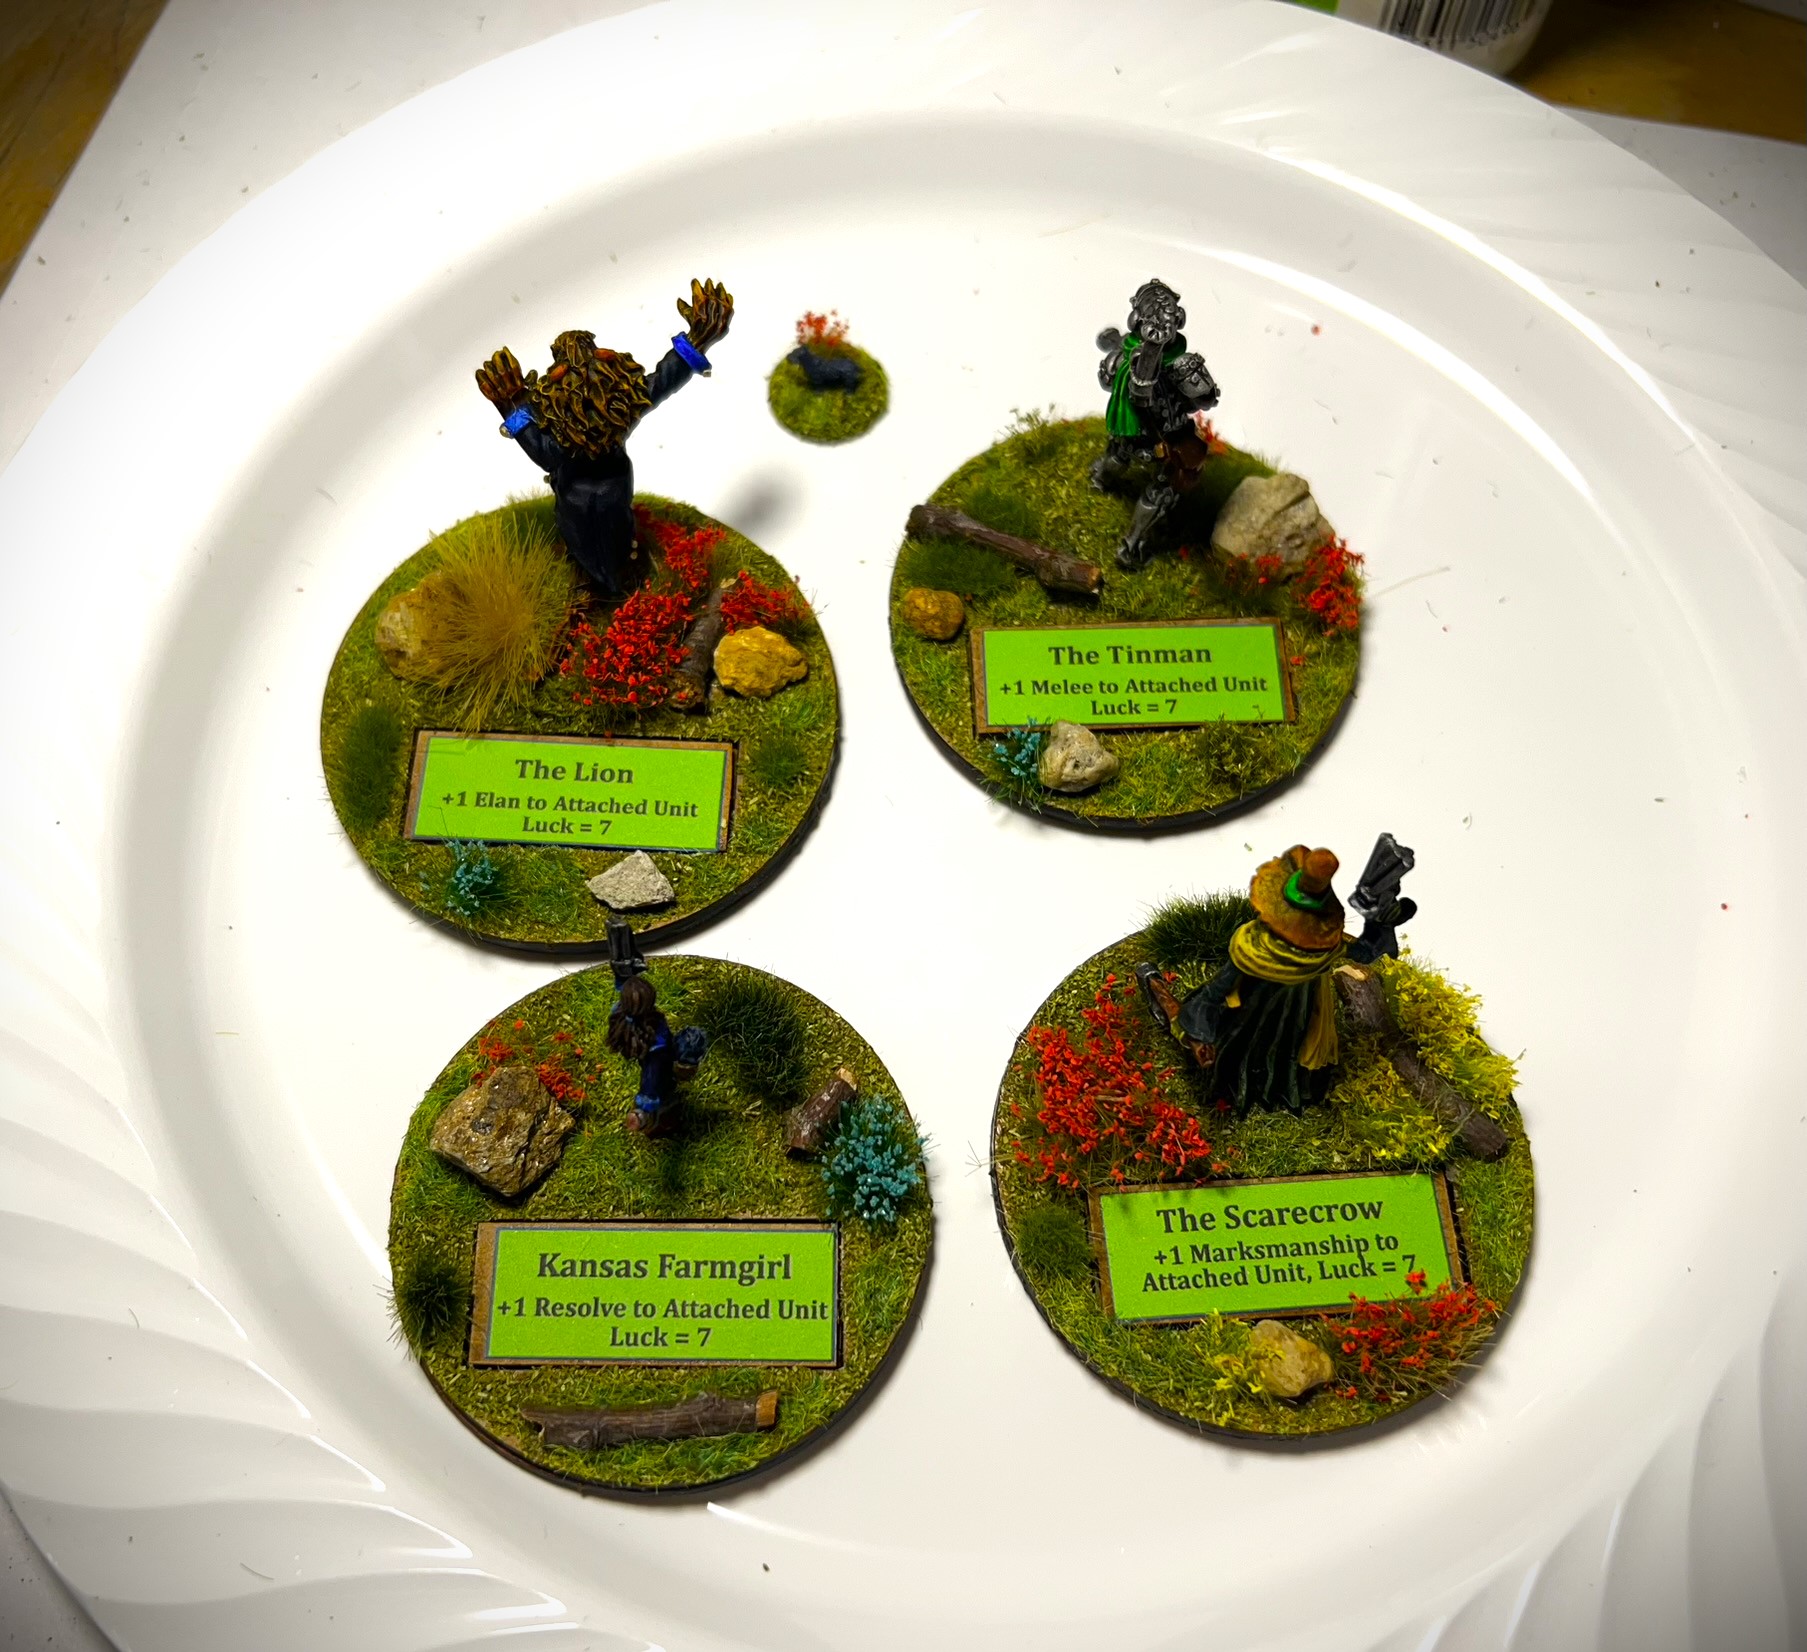
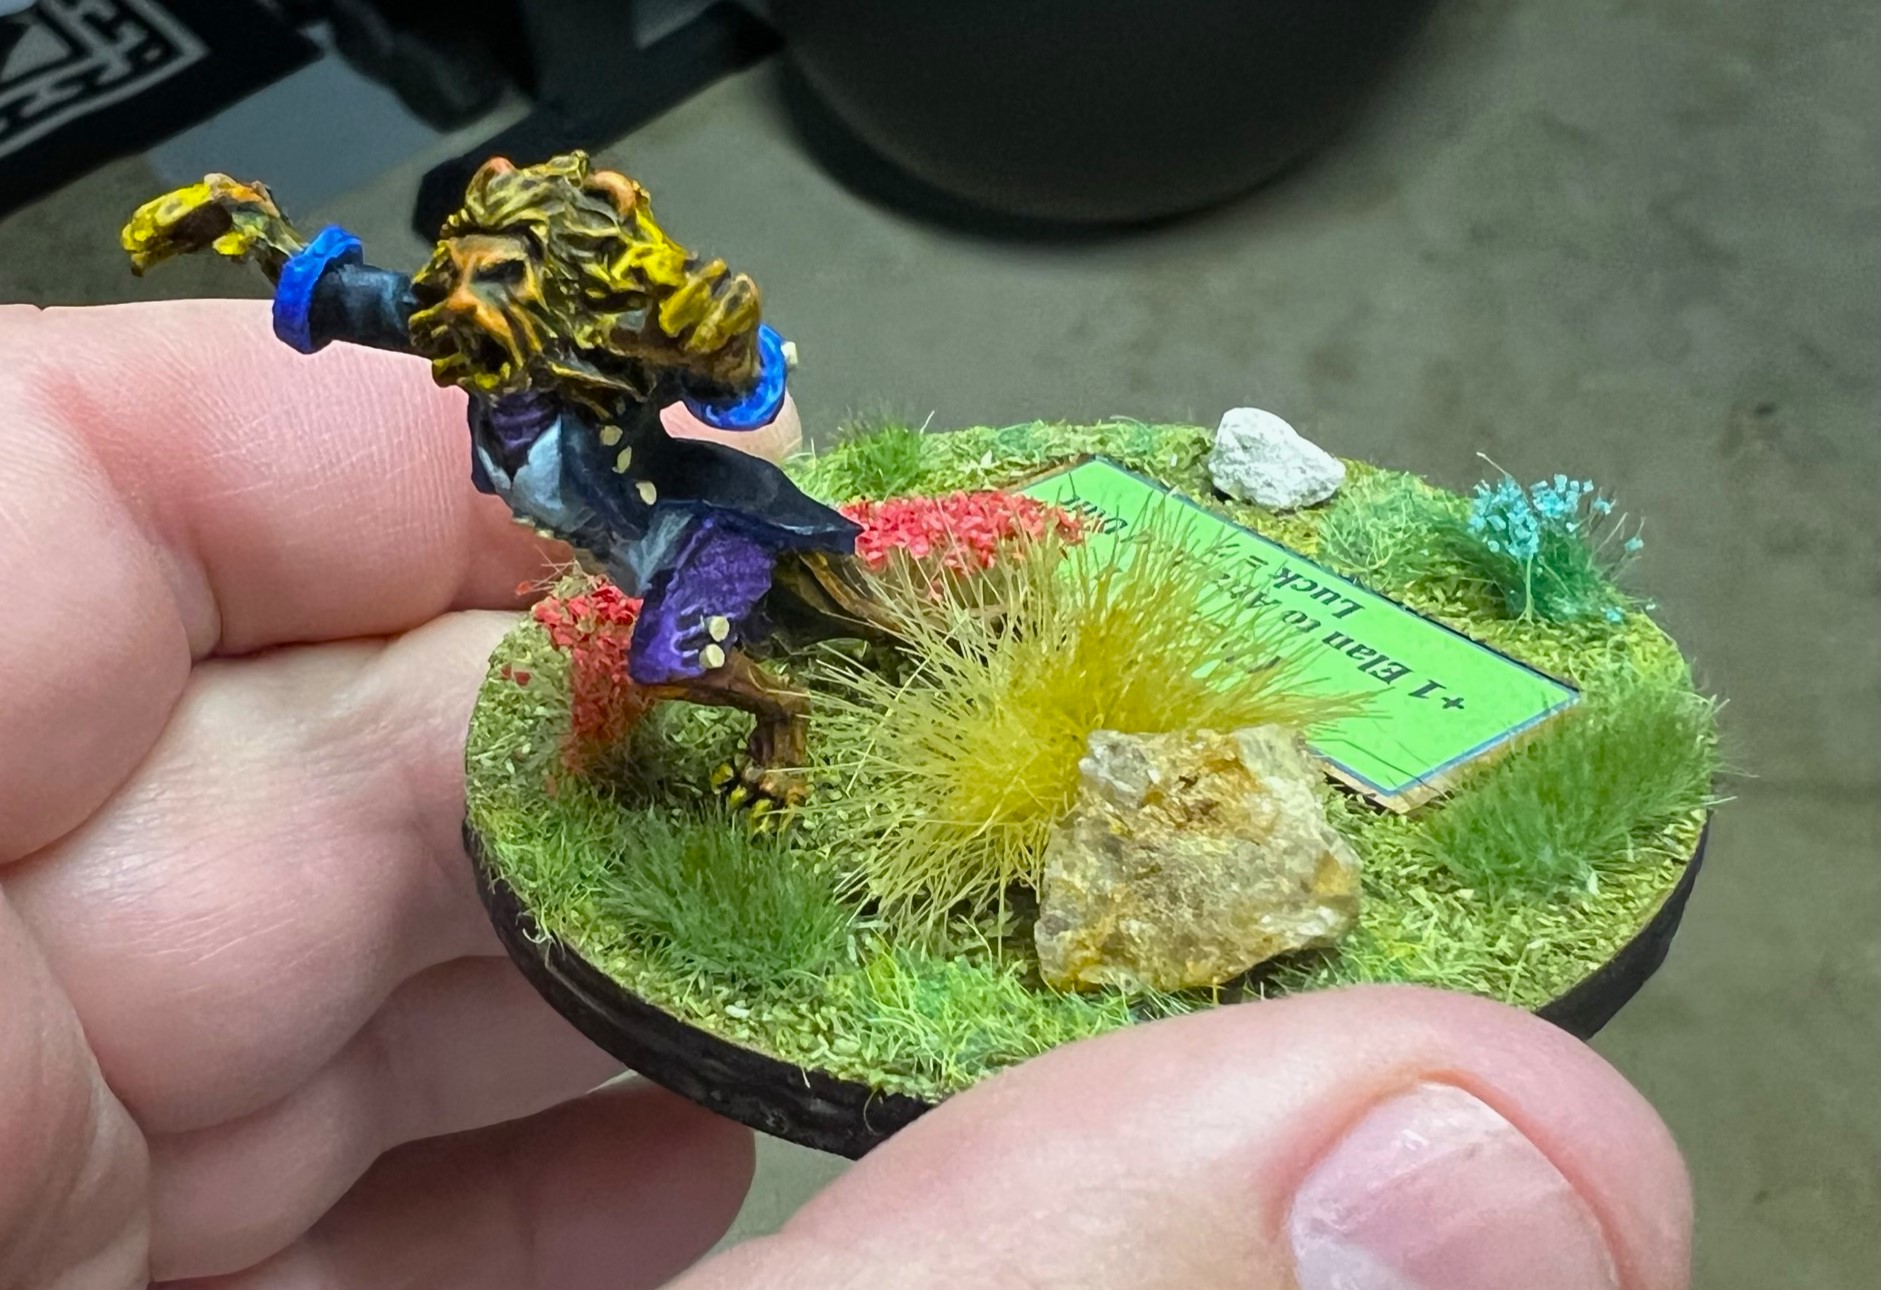
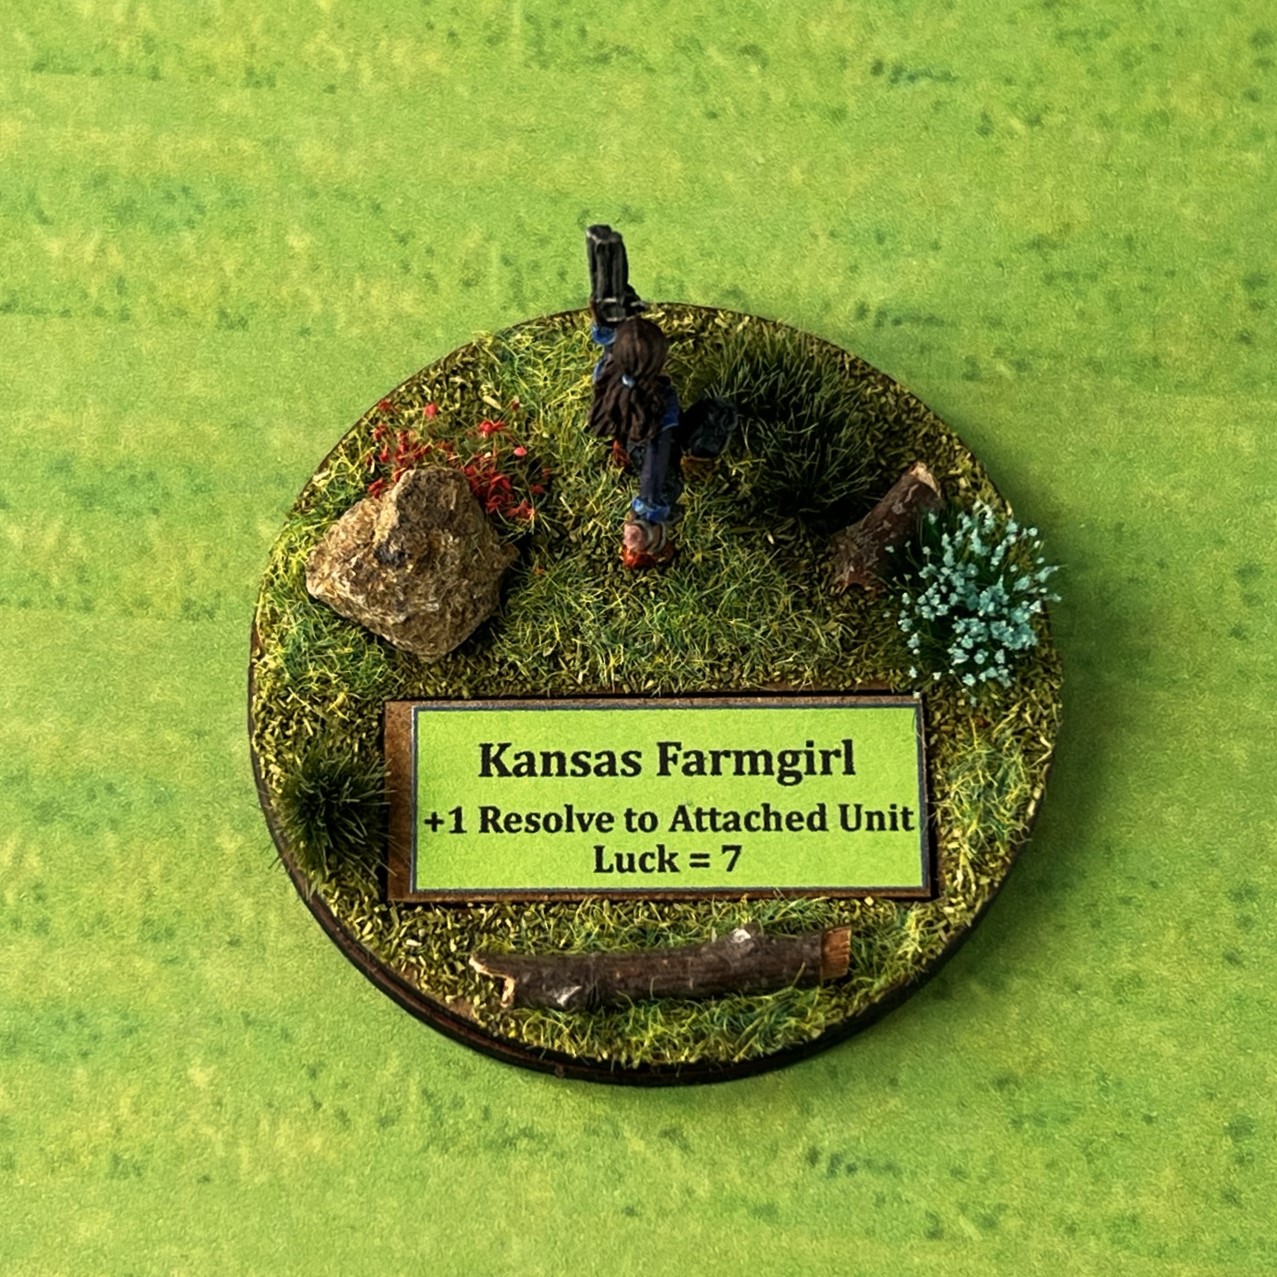
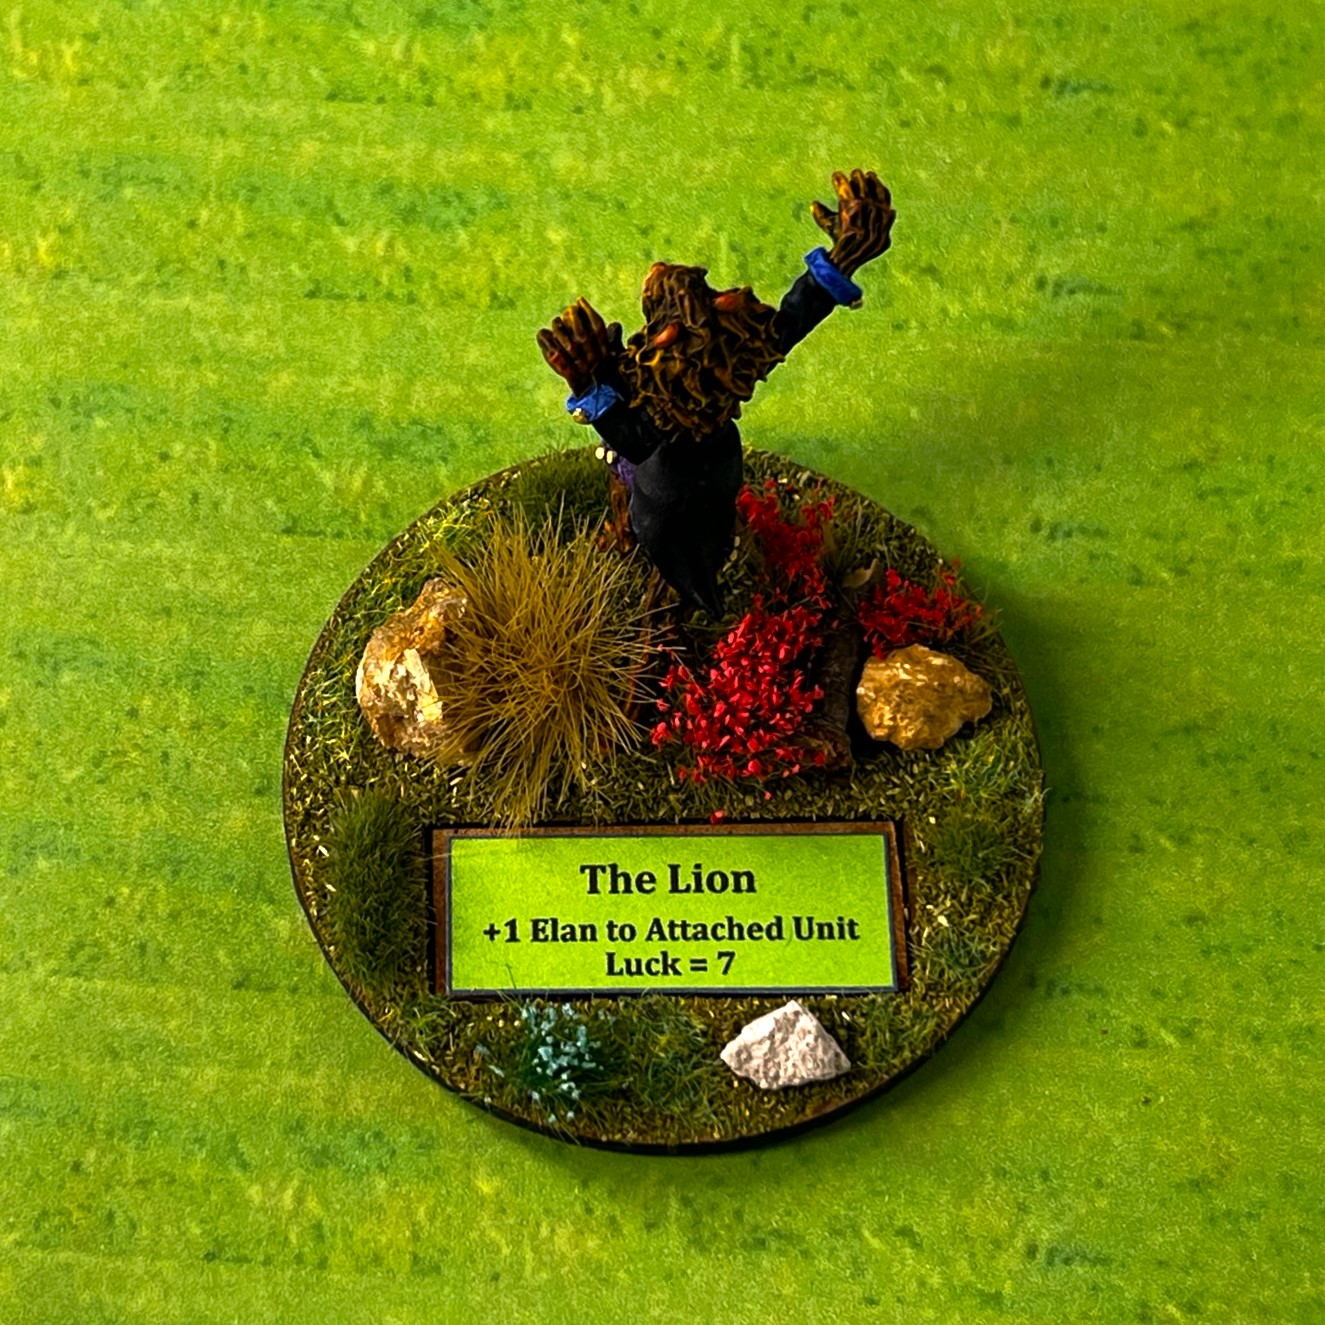
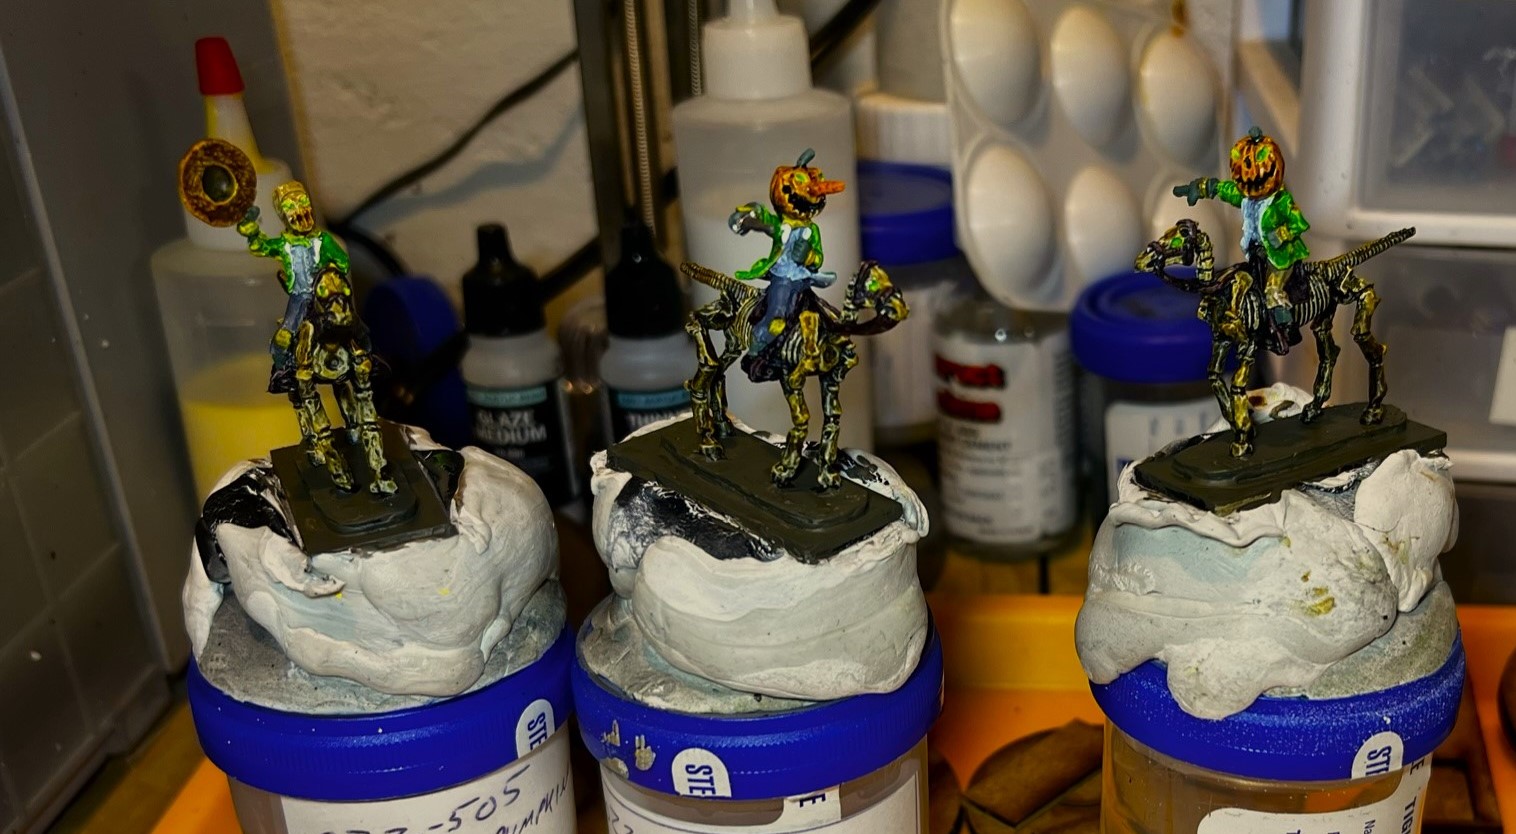
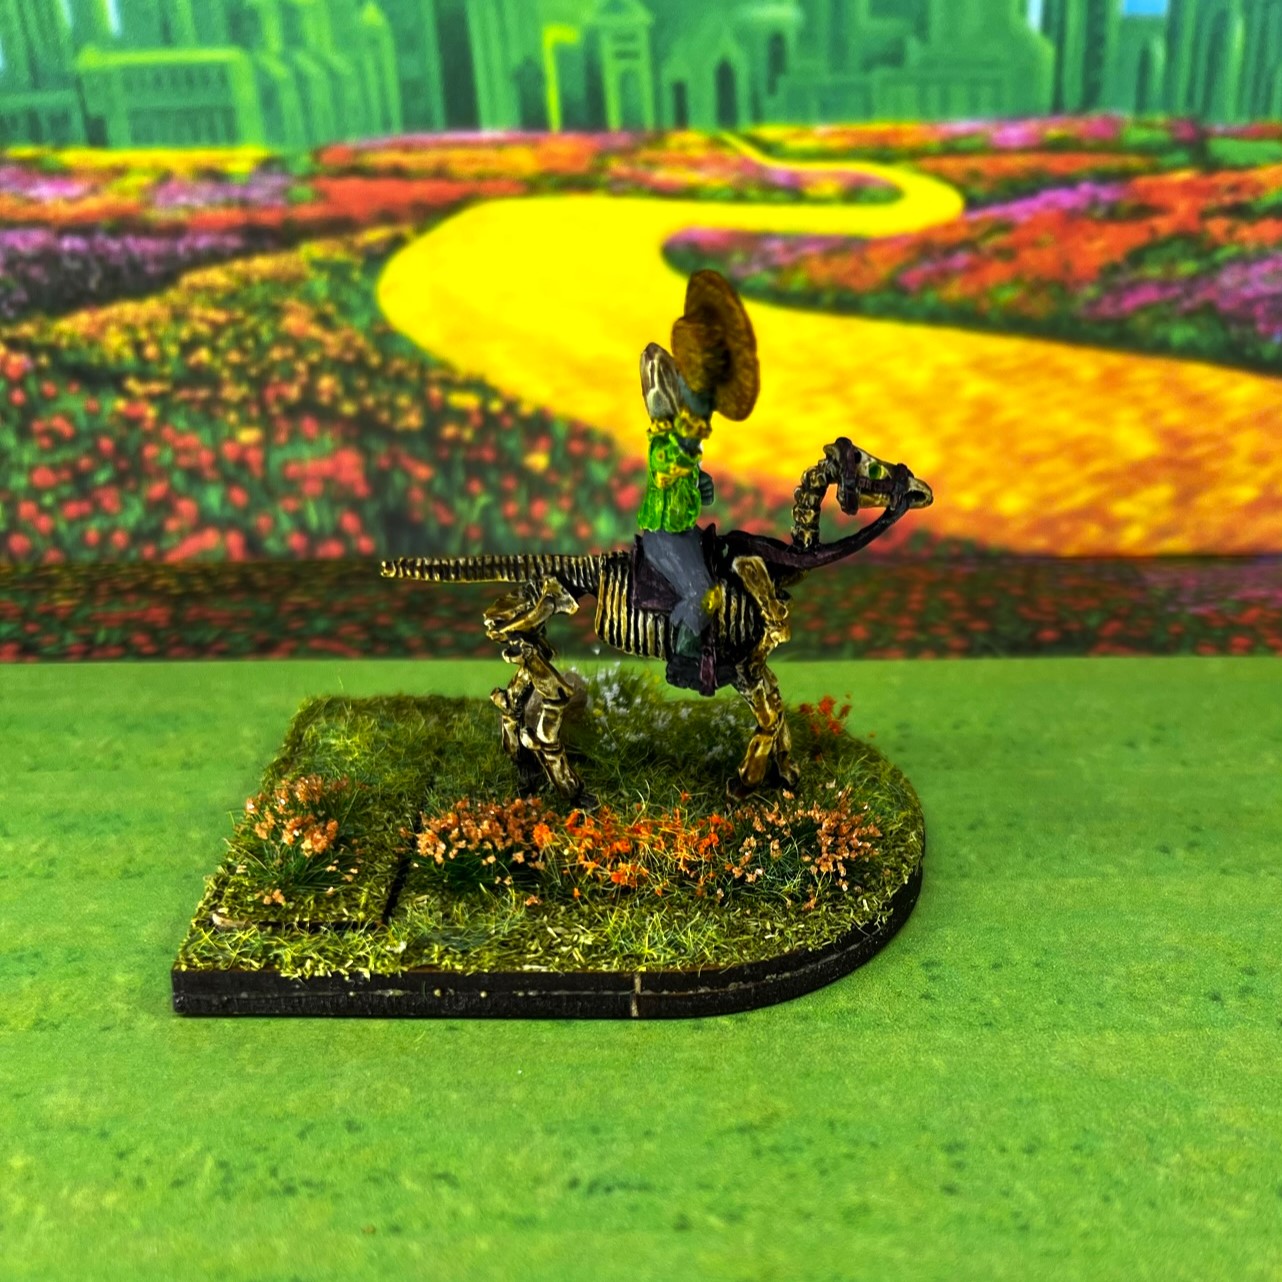
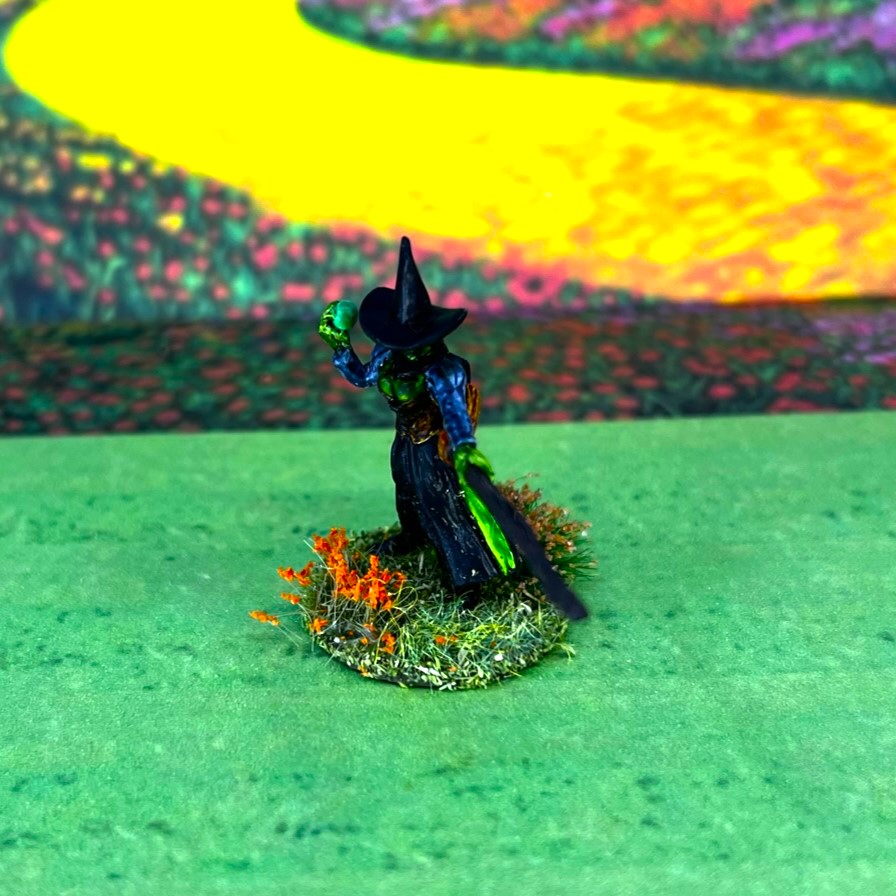
There were the three individuals – King Kittcut, Queen Garee, and Sorceress Mother Ophelia and her Cats. I based all three on MDF bases and printed out placards for them.

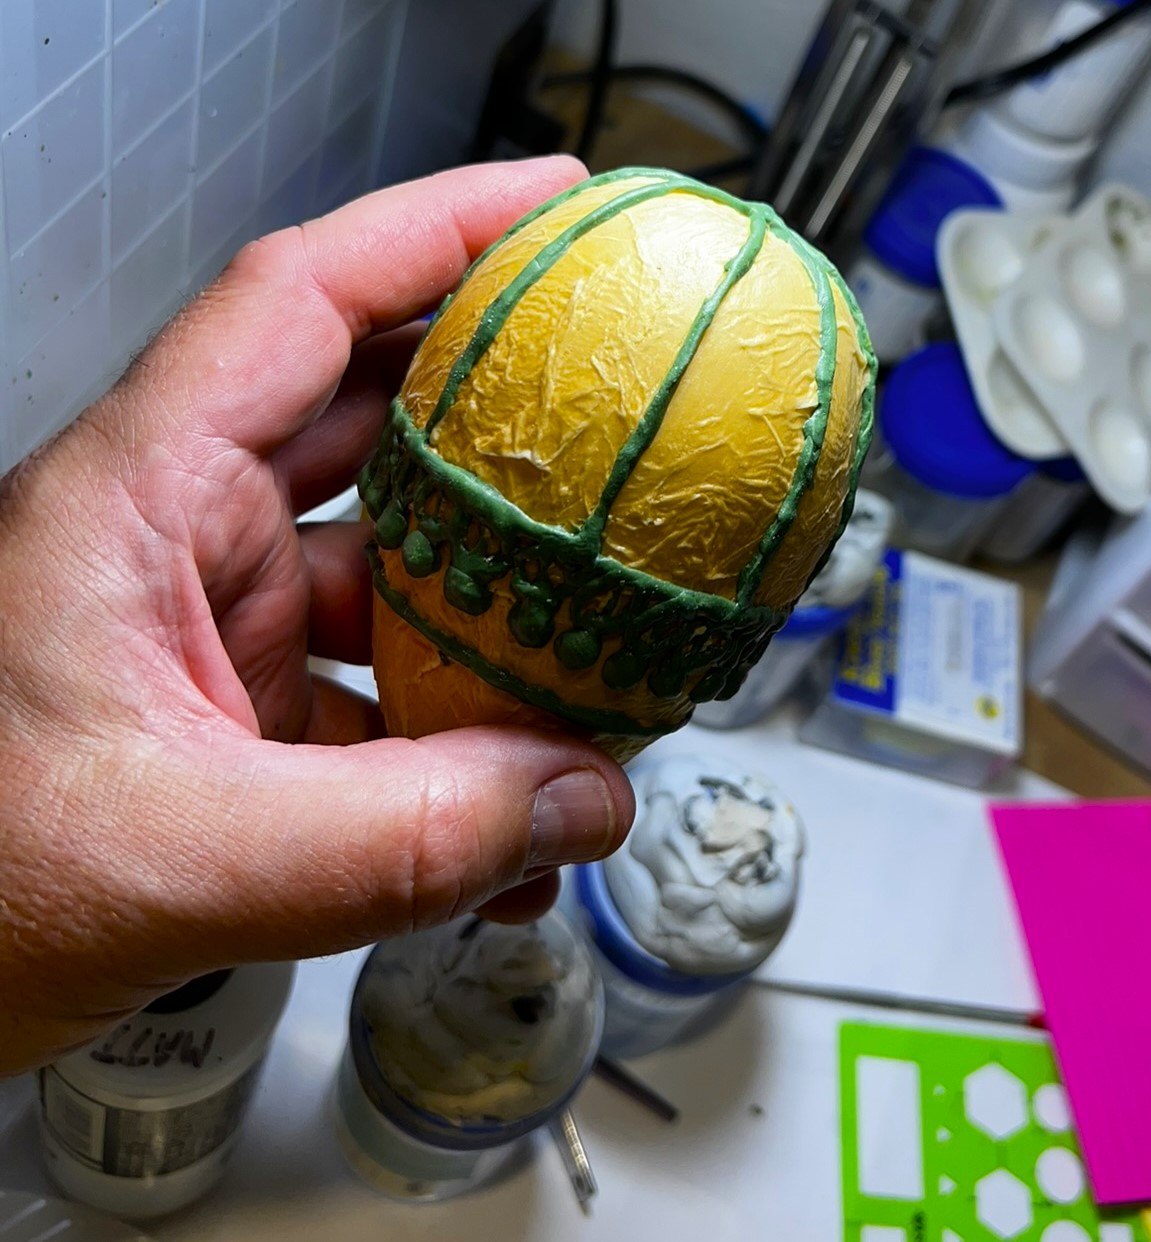
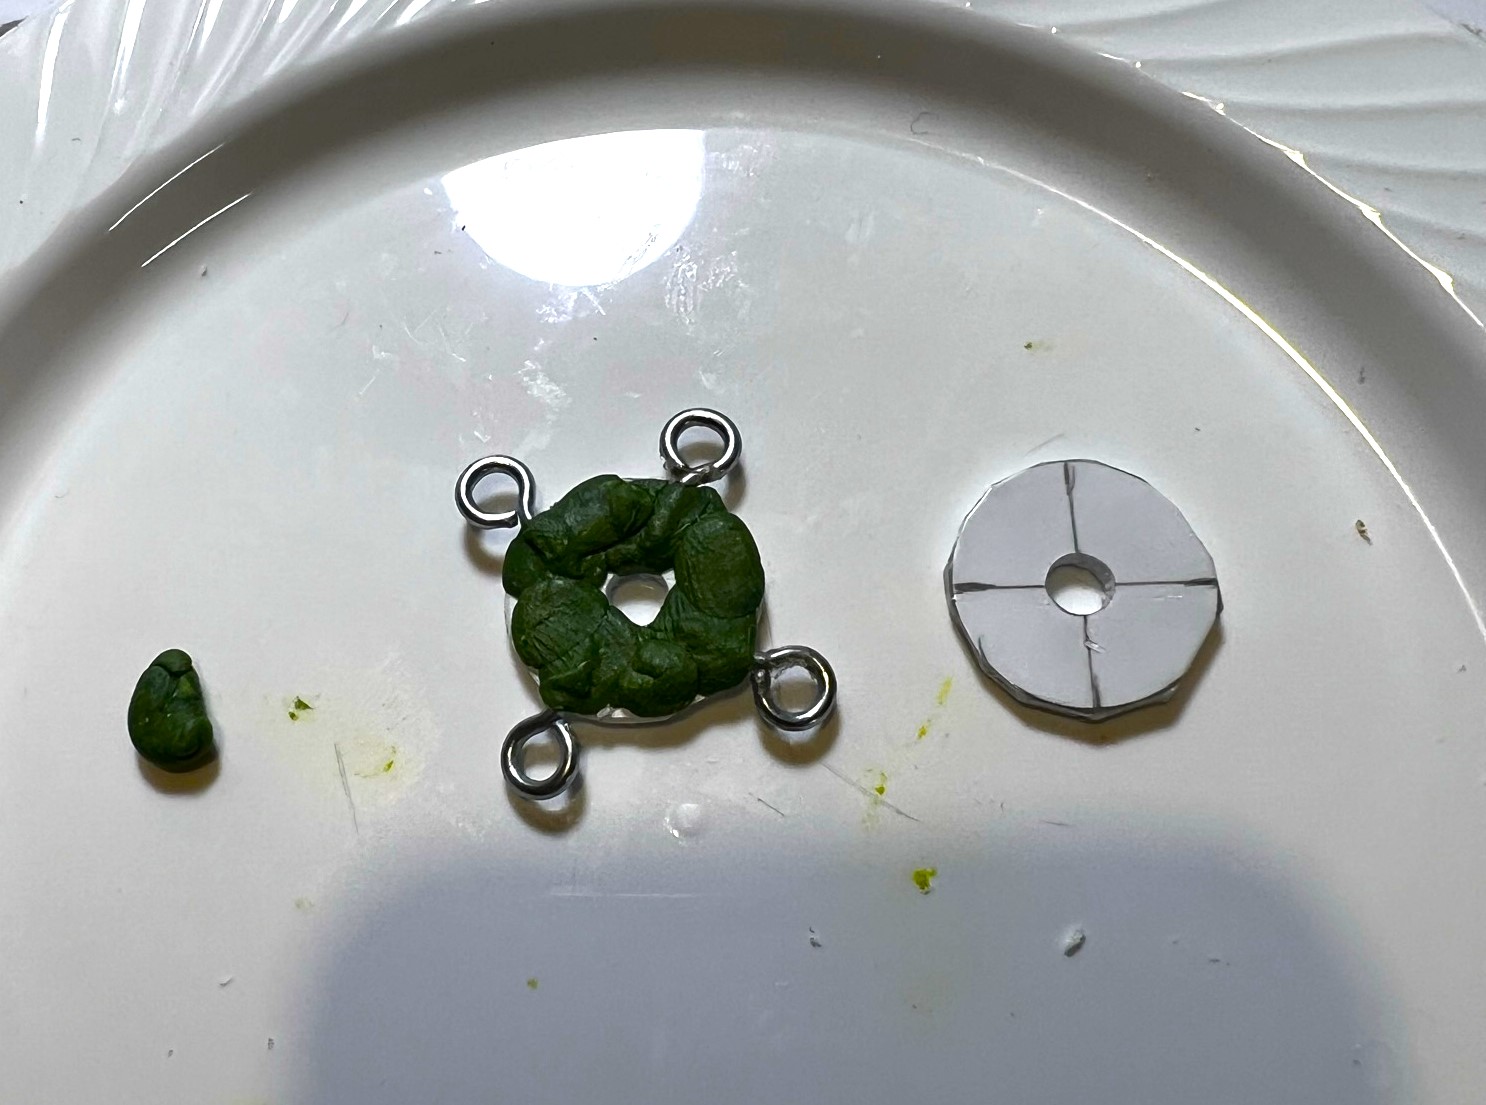
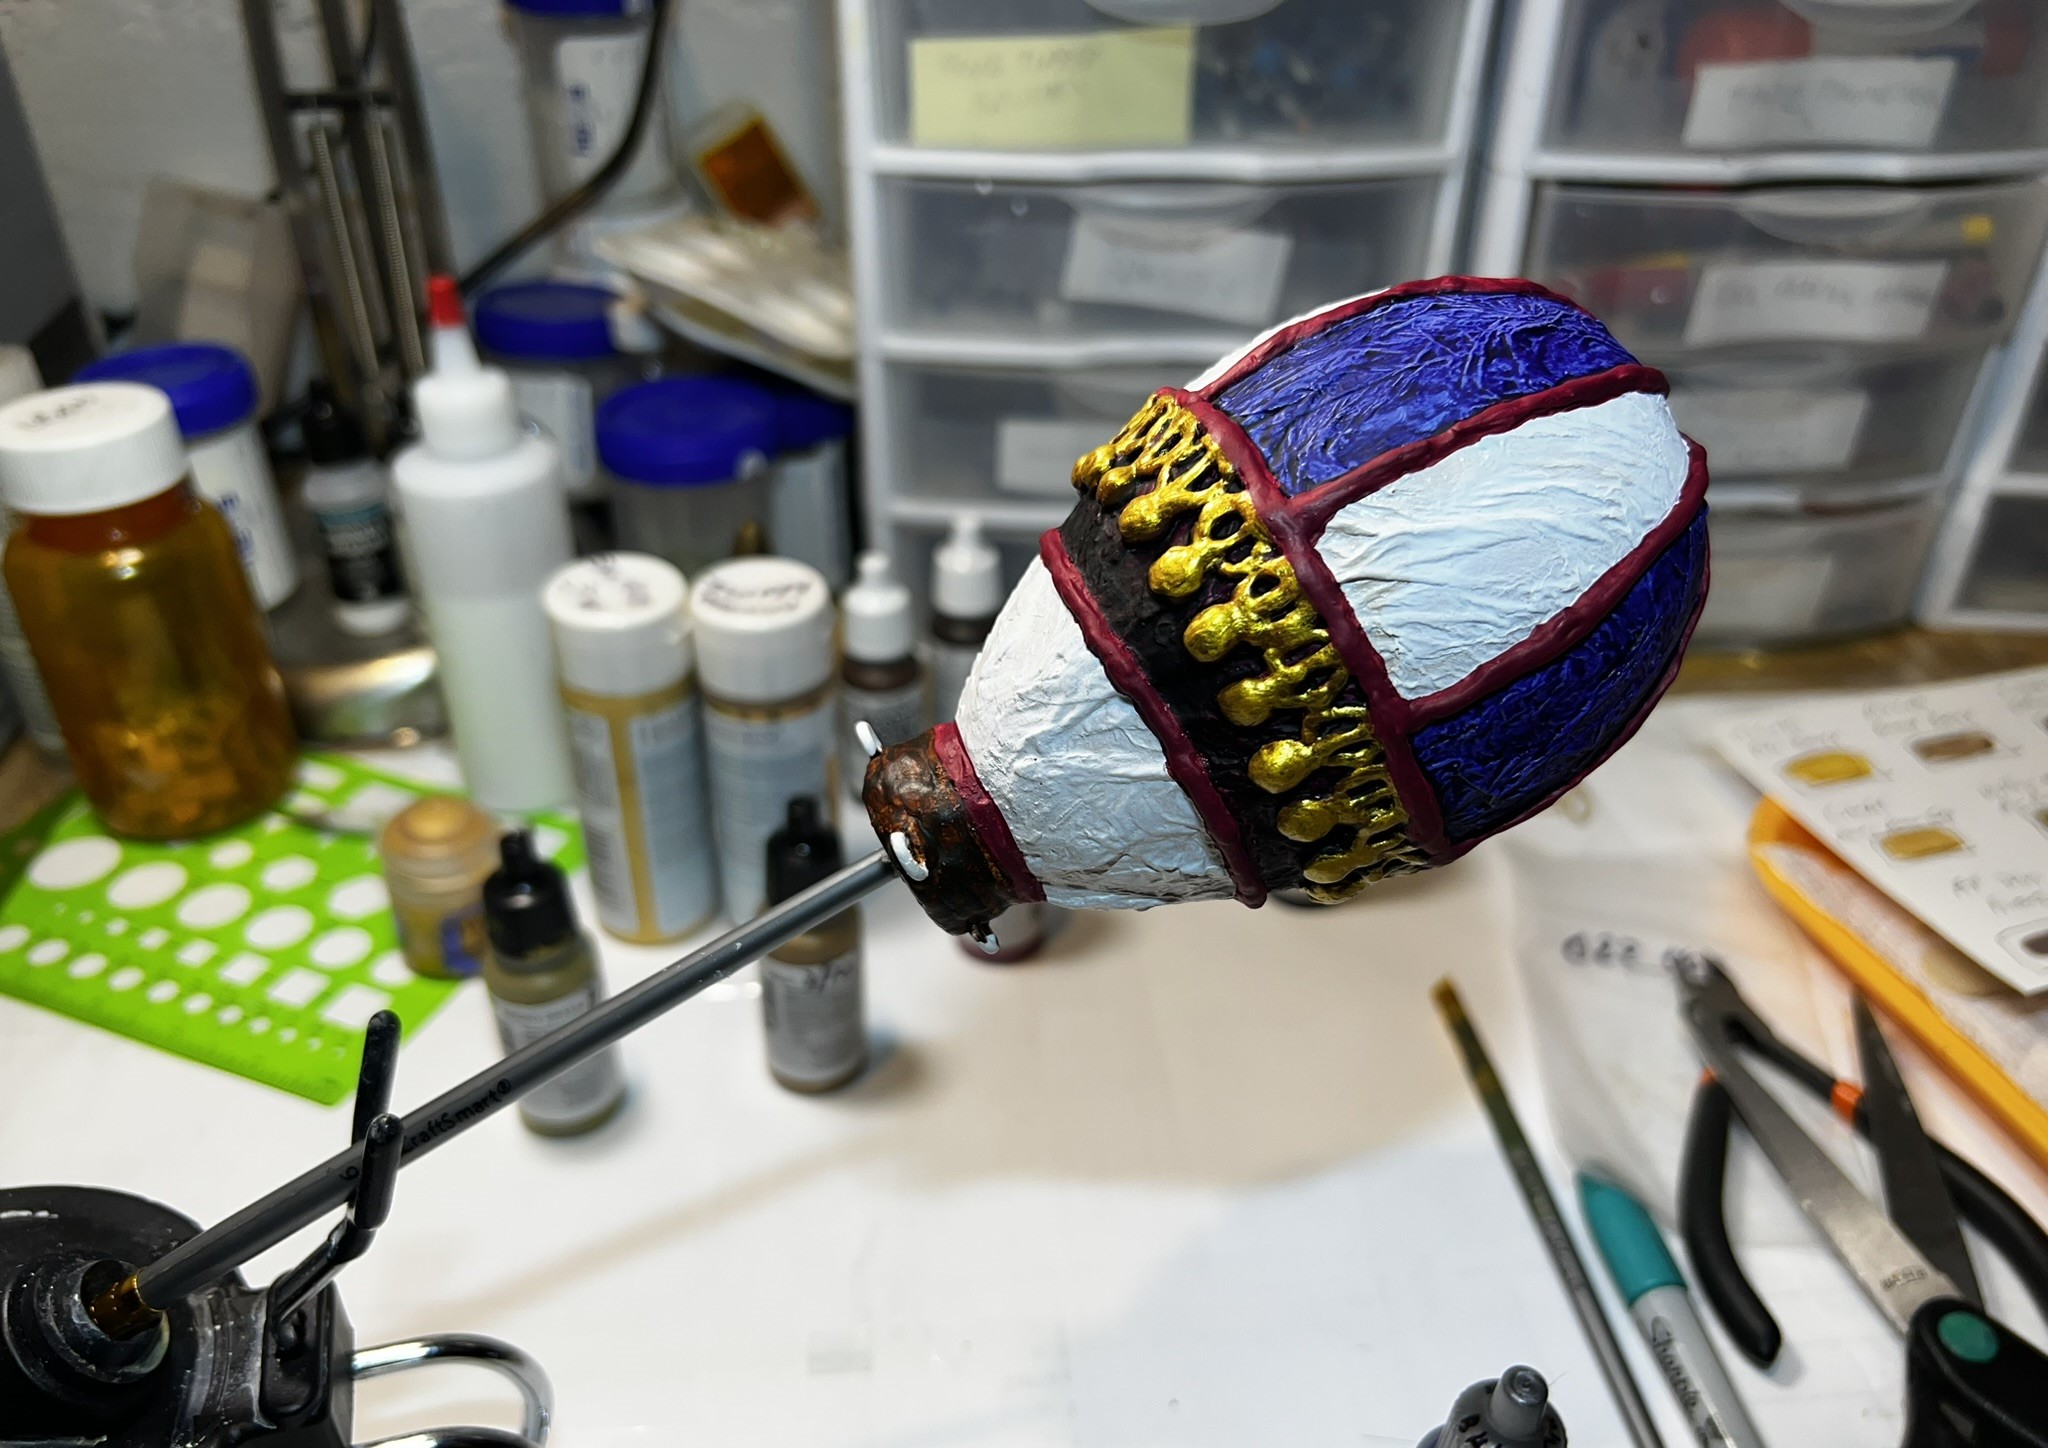
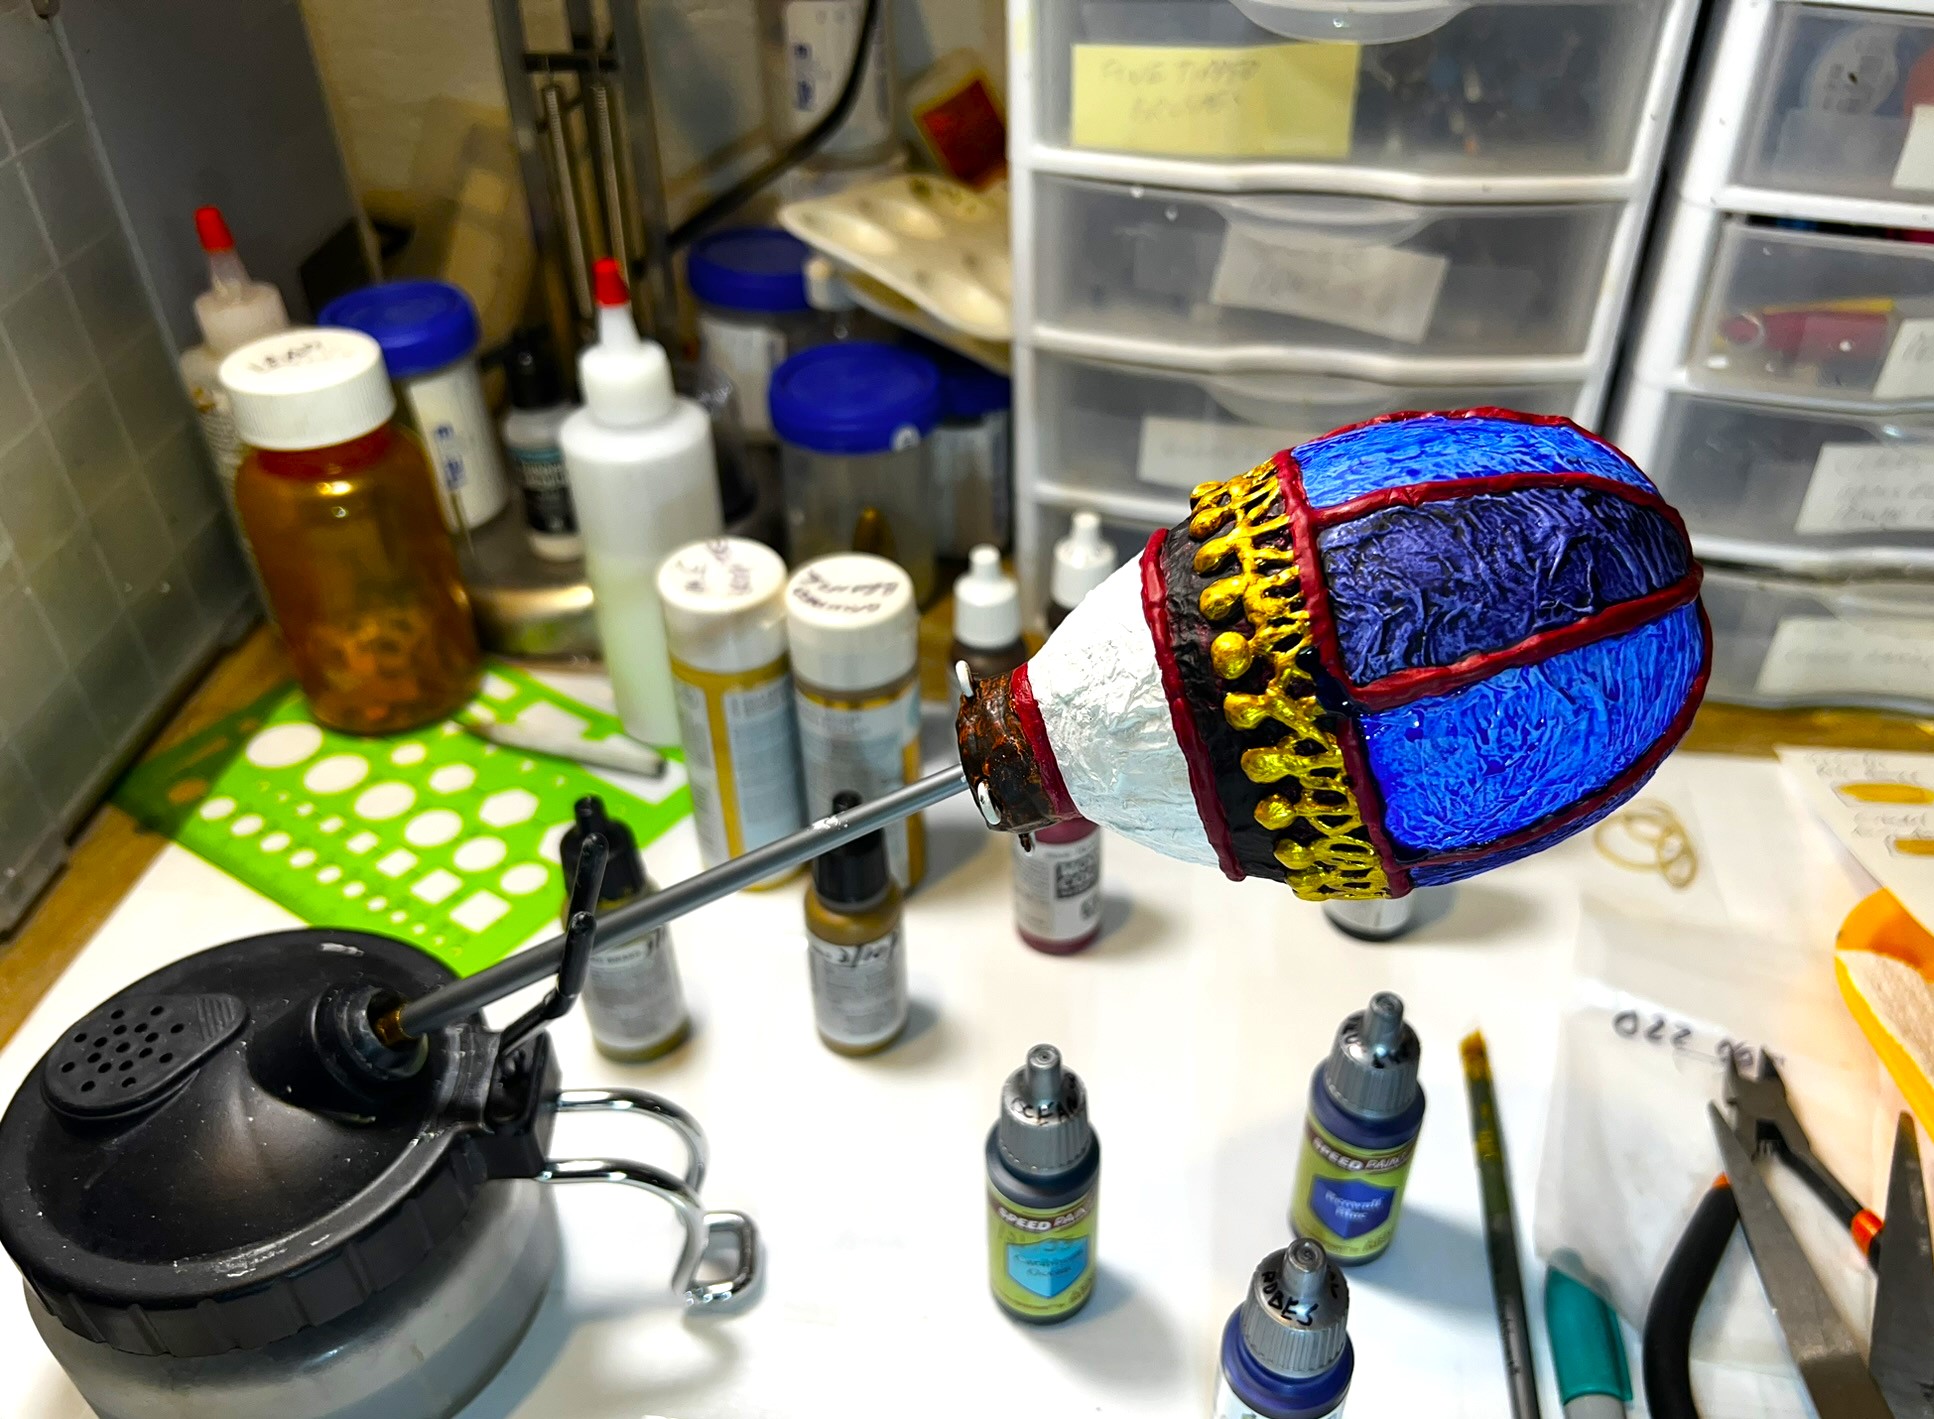
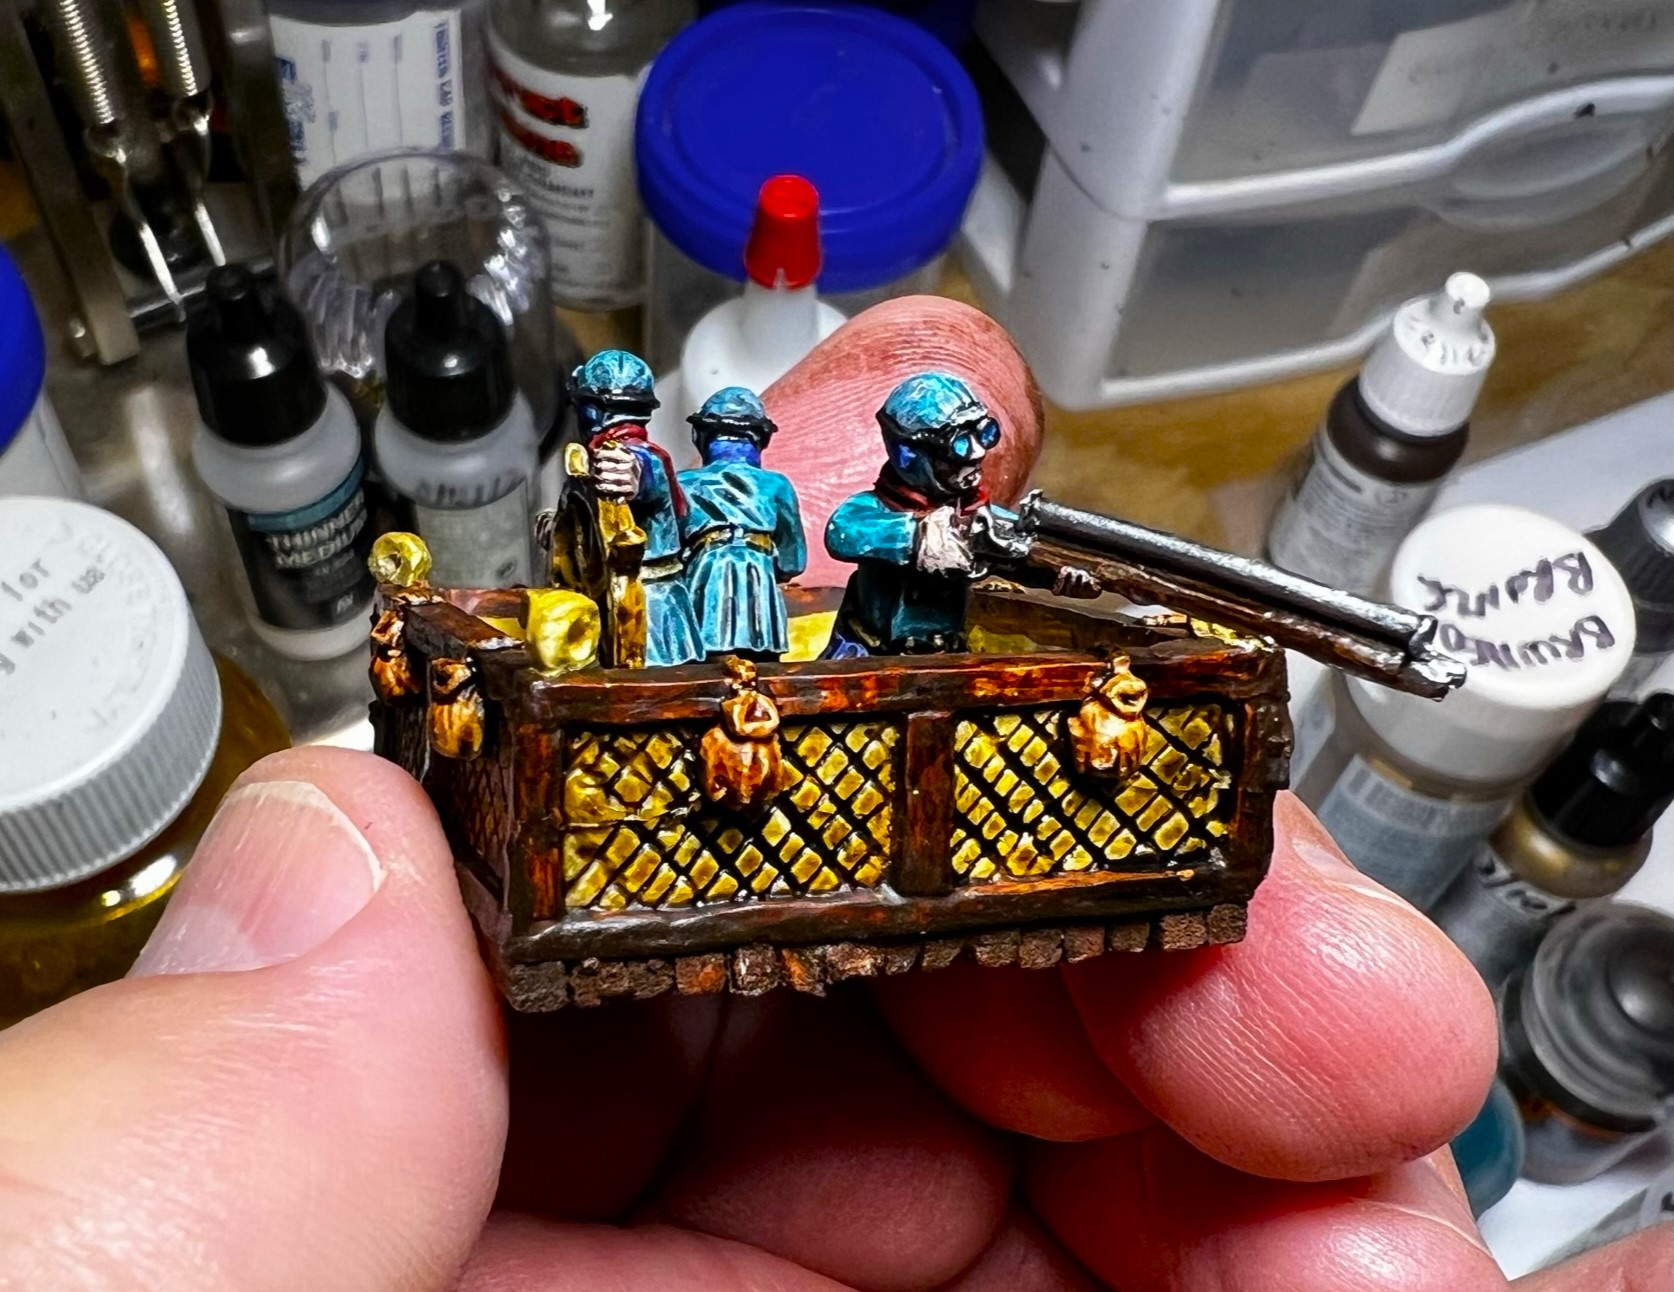
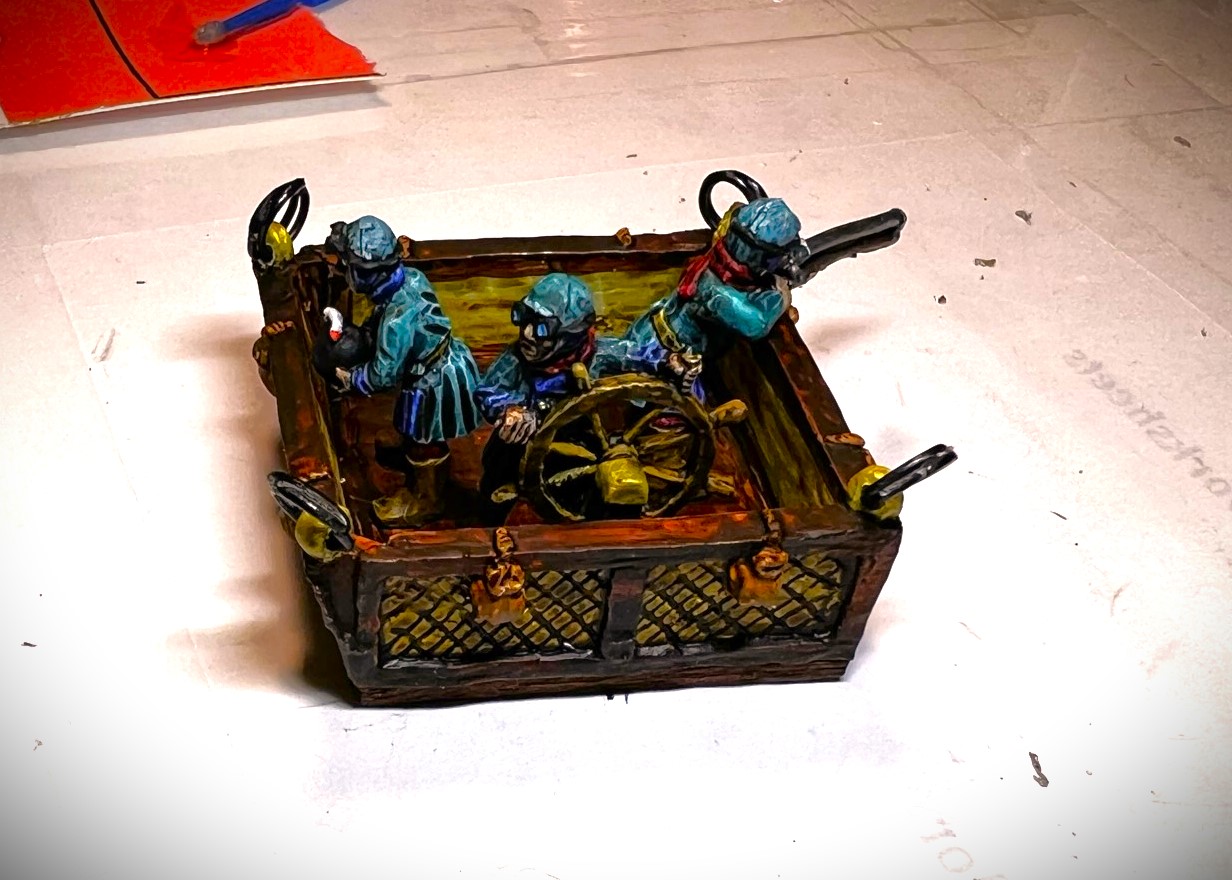
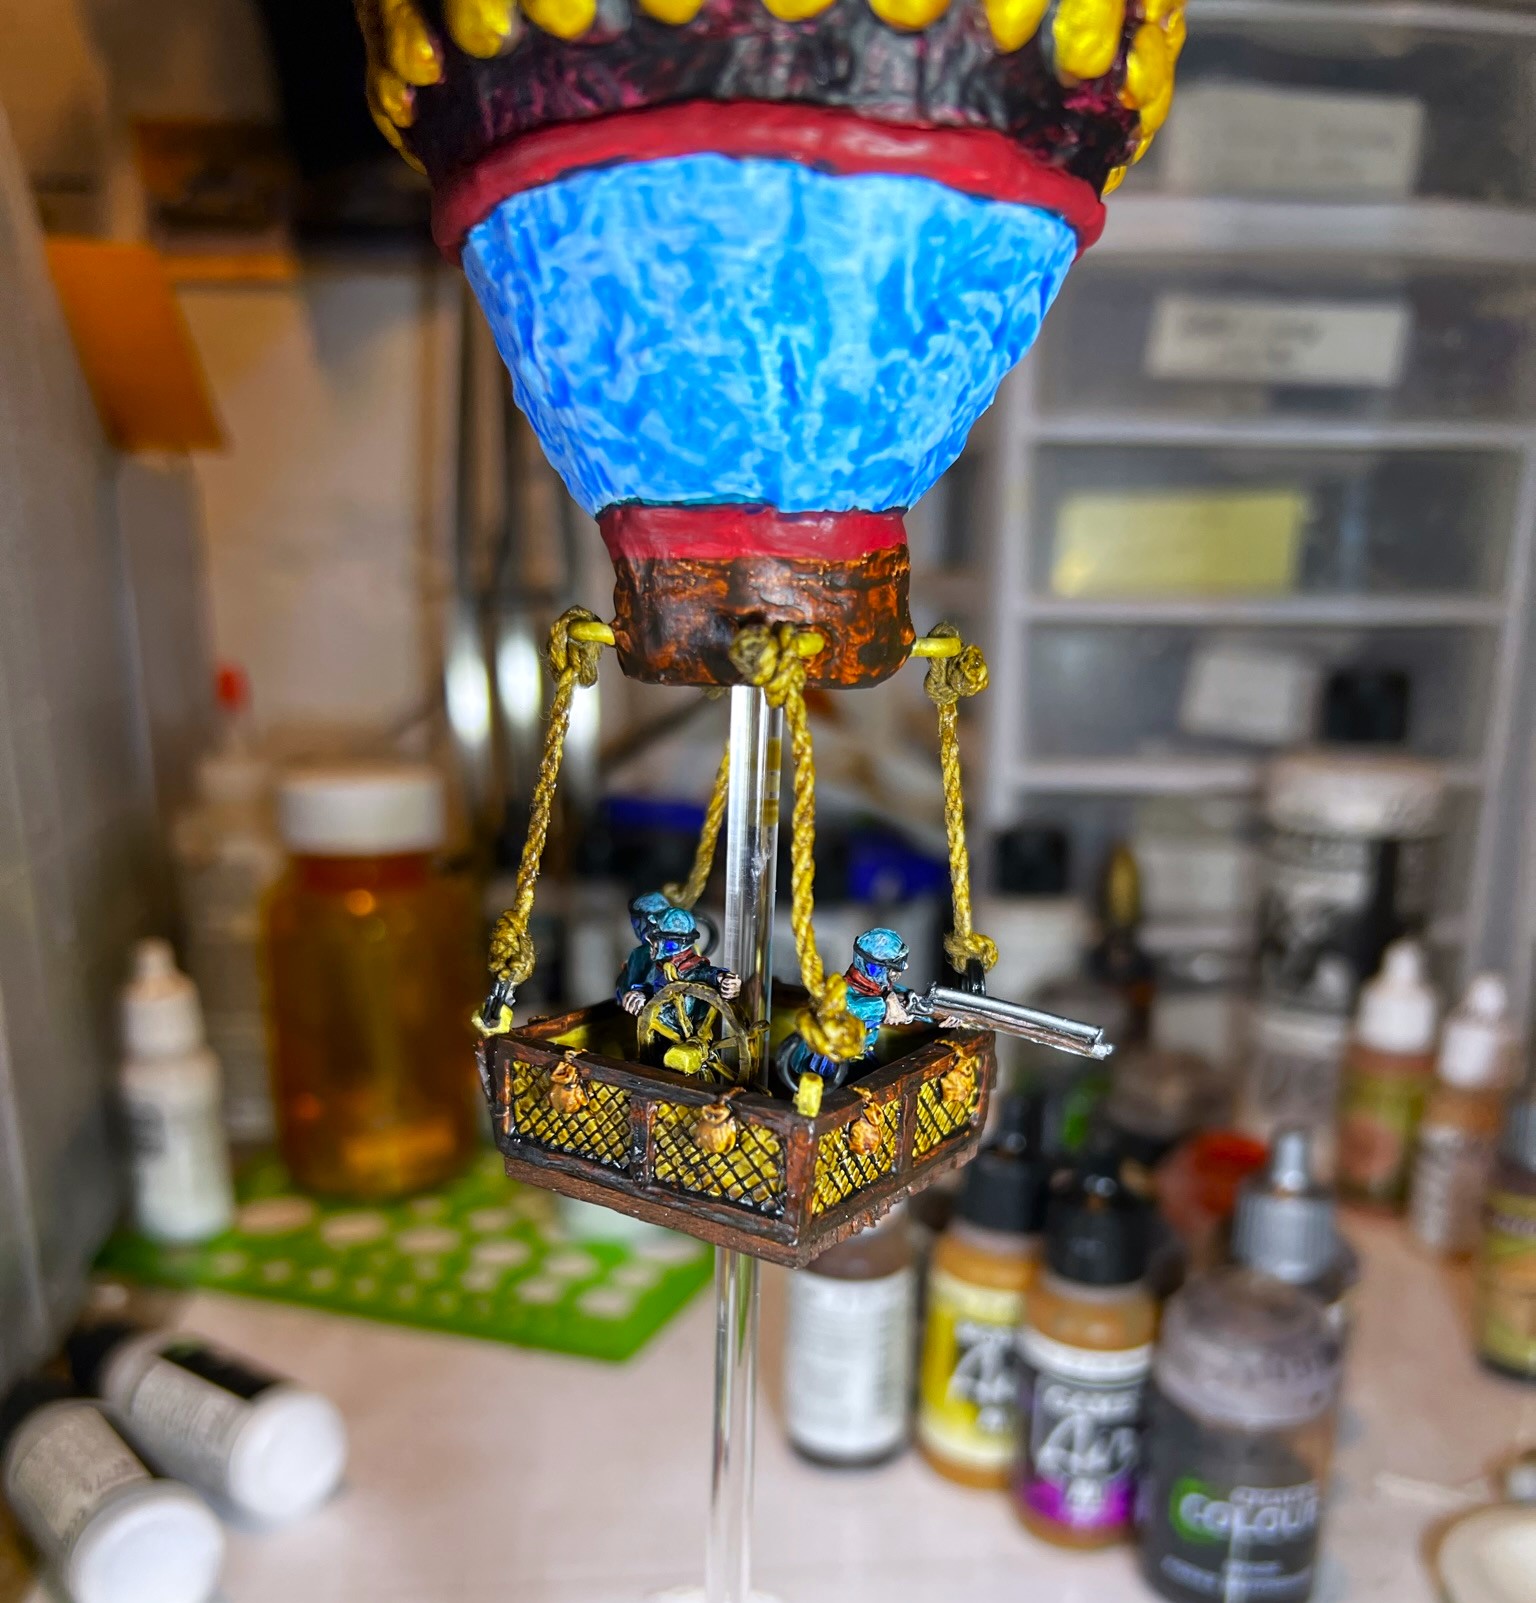
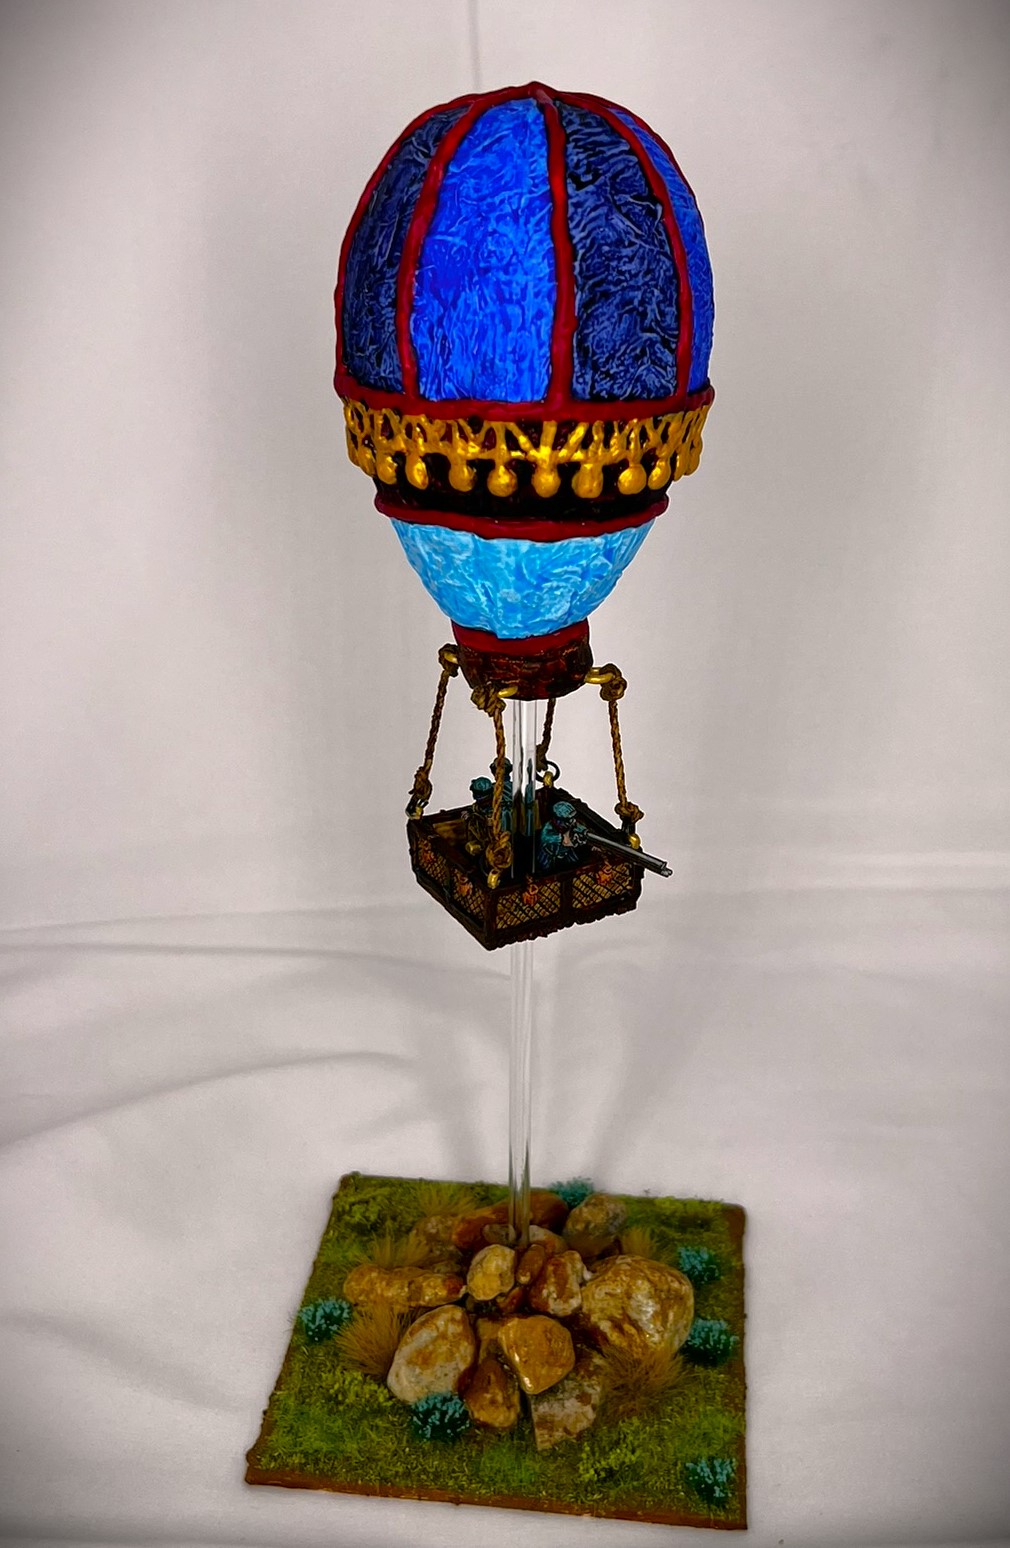
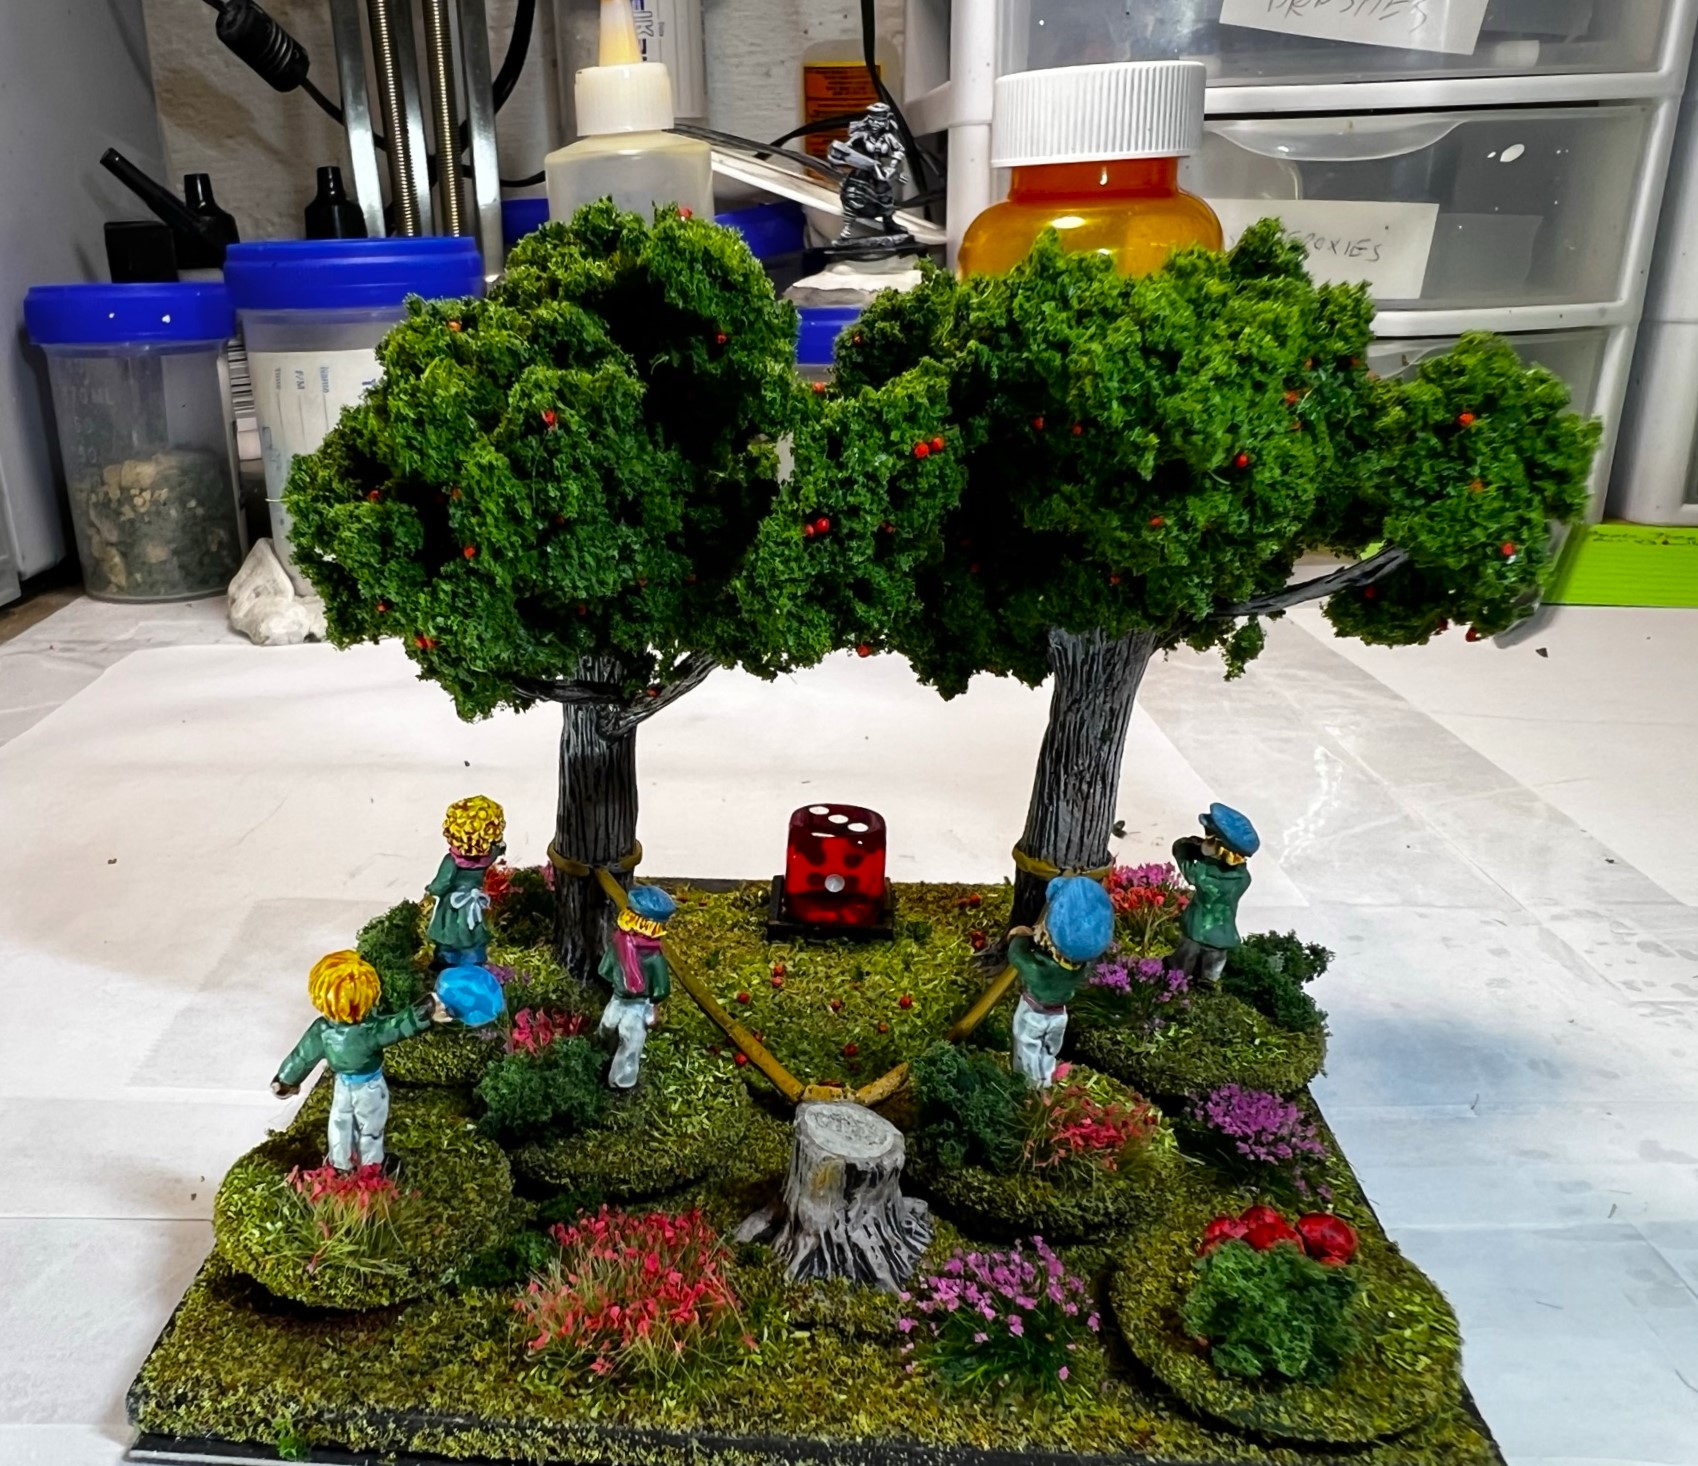
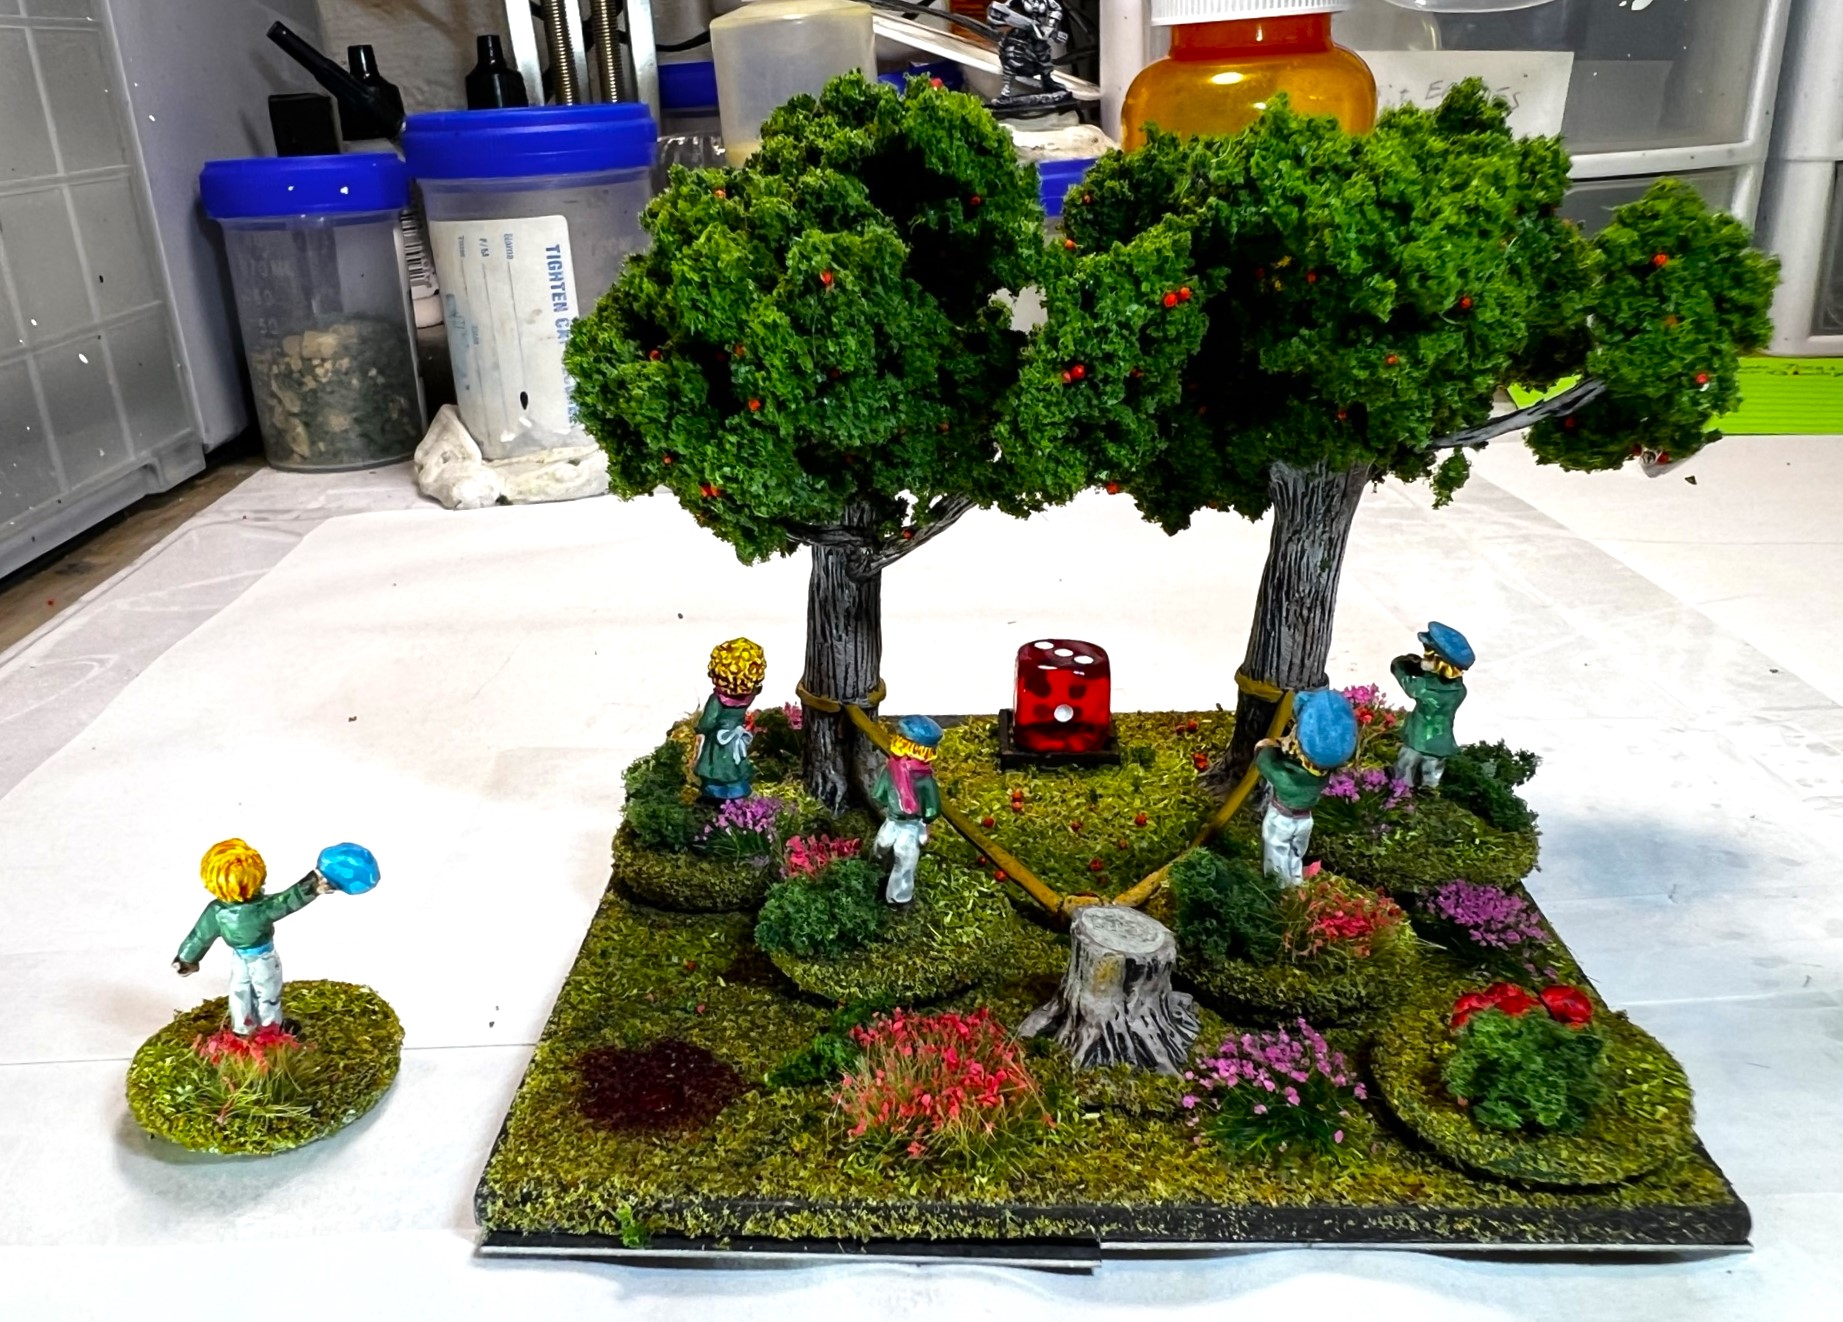
This leaves the Impkin “Artillery”. It’s a slingshot firing apples – that moves on the battlefield- somehow. So how, I don’t know, it just acts like a light artillery piece – so suspend belief – it’s Ozz! Anyways, I magnetized the base for the crew, and added some blood stains under the figures for when they are casualties. I also redid the foliage per IRO’s suggestions and added some Woodland Scenics apples for effect. It was fun and a bit messy, but good preparation for a subsequent project I hope to blog about soon – Savage Apple Trees (to come soon)


More Rebasing!
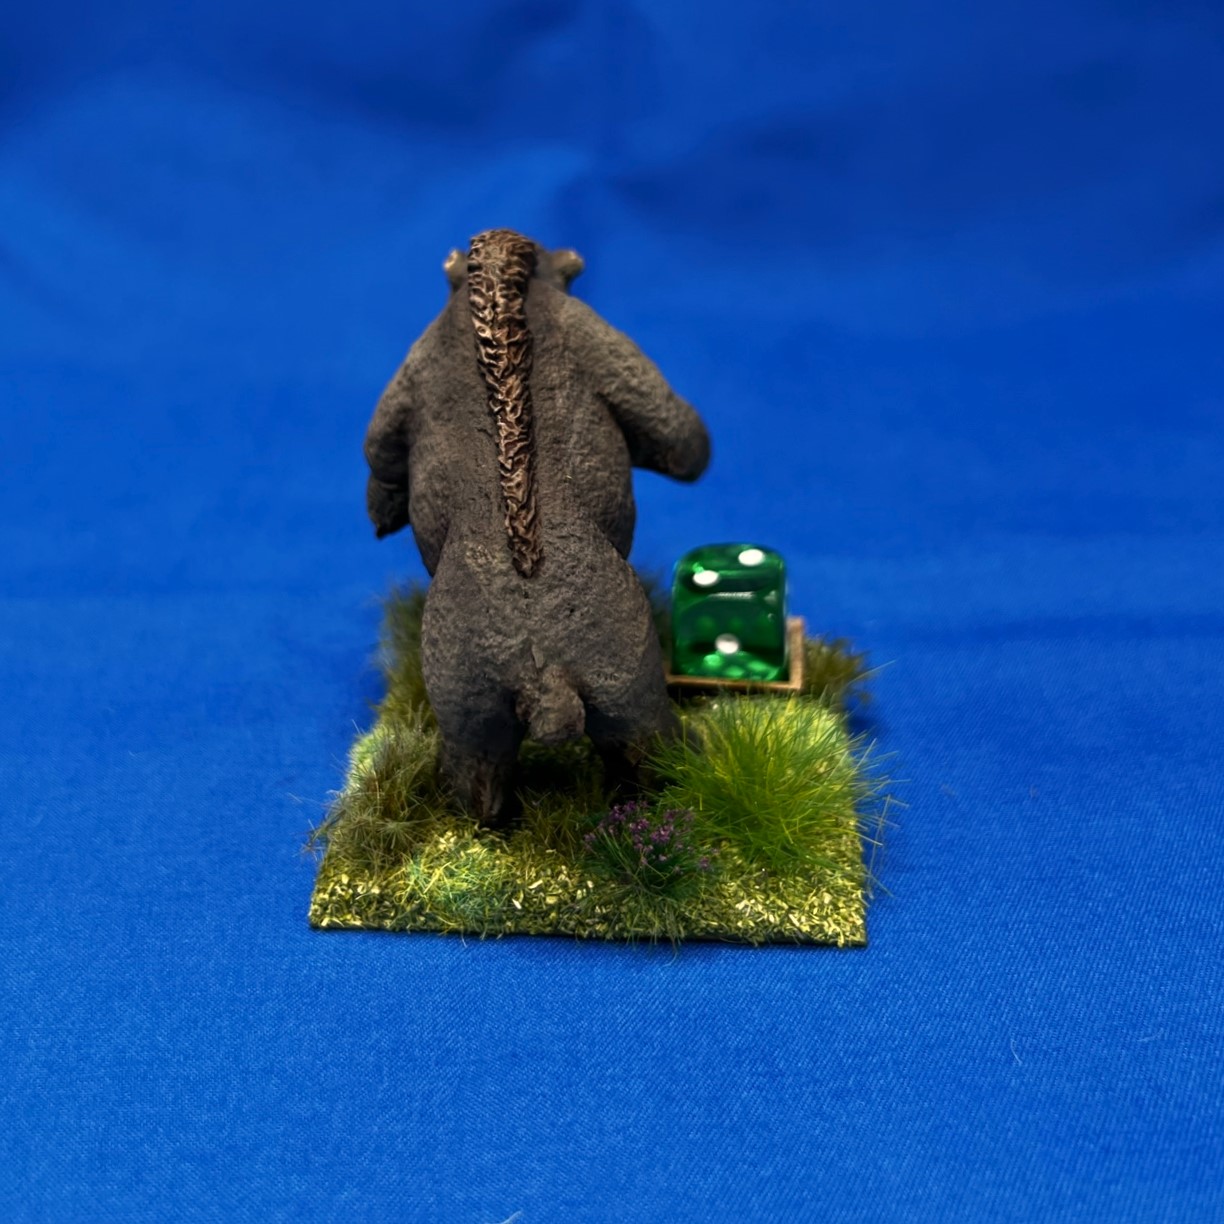
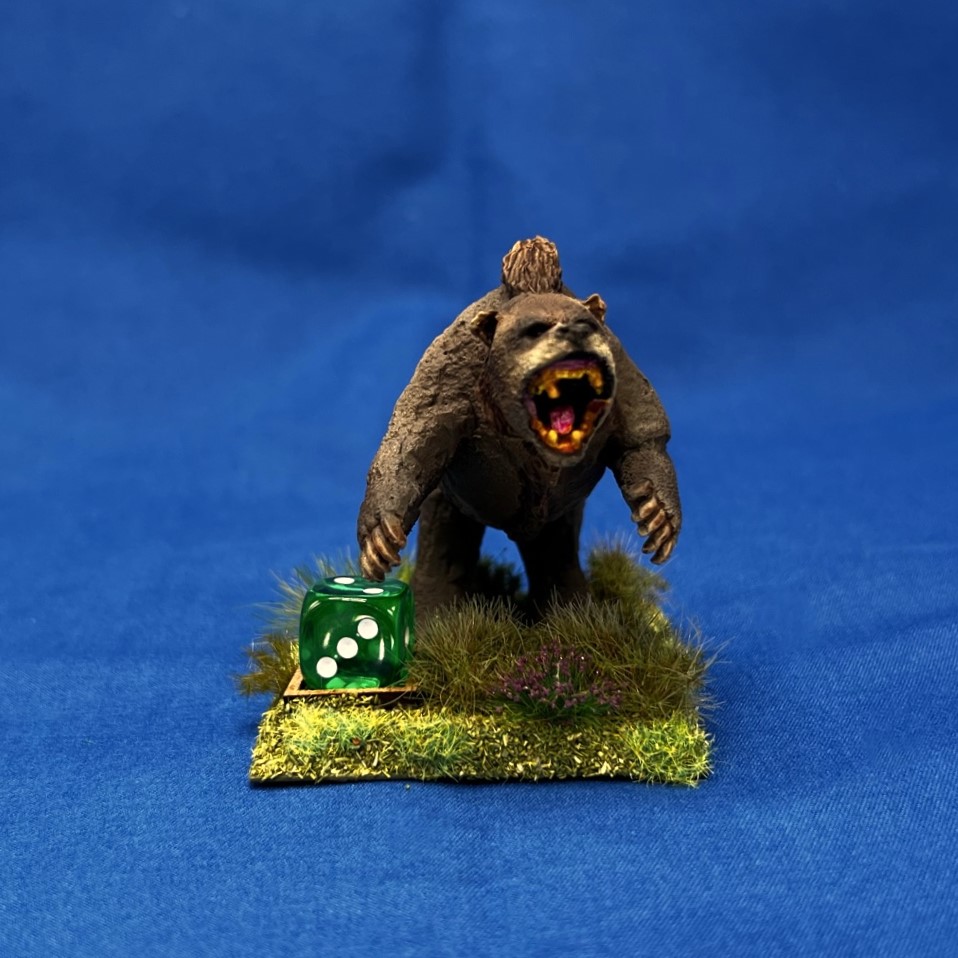
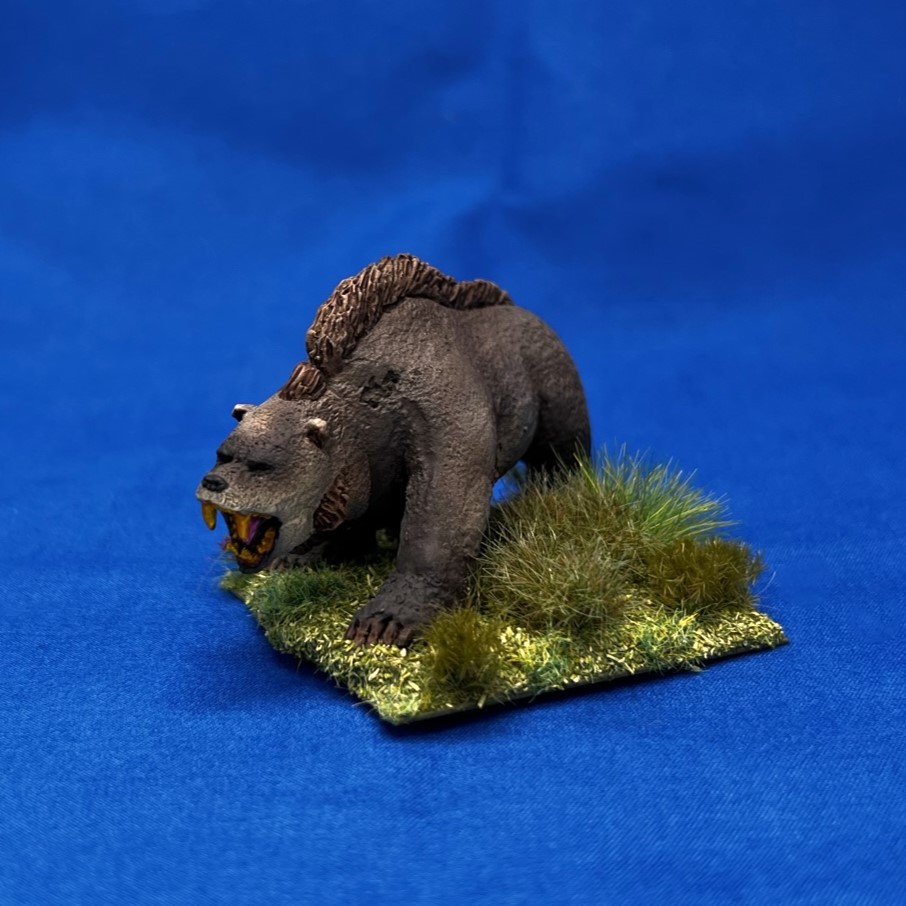
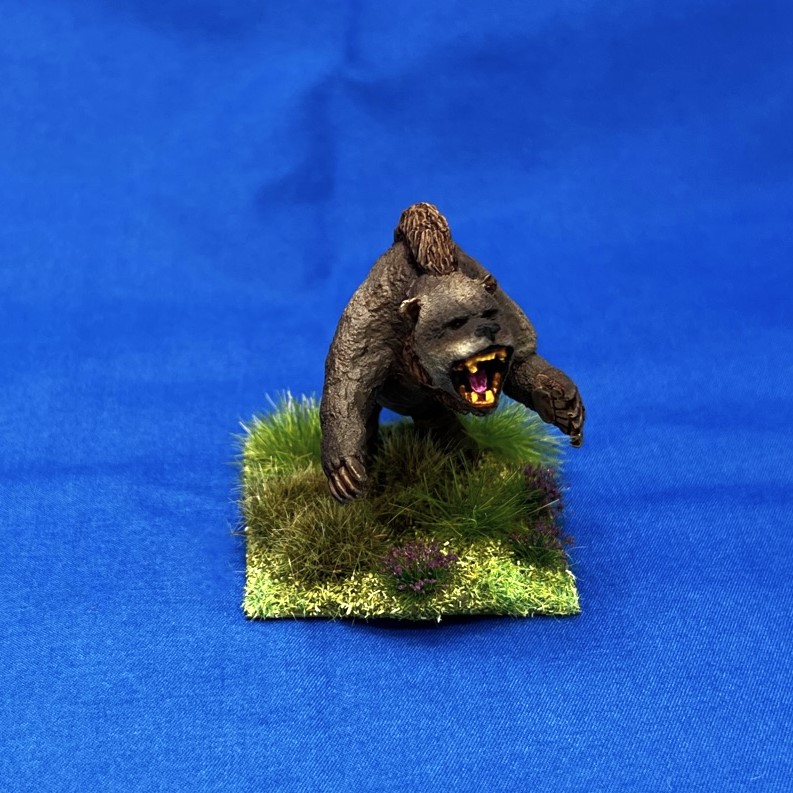
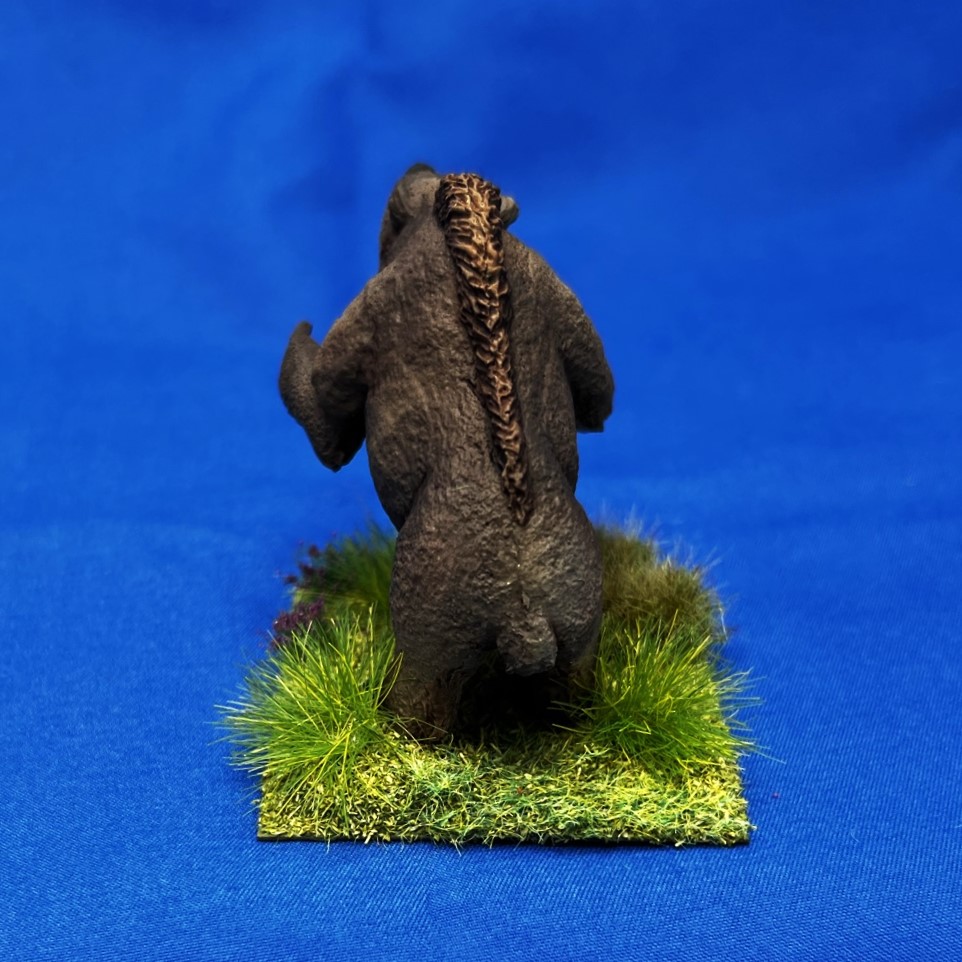
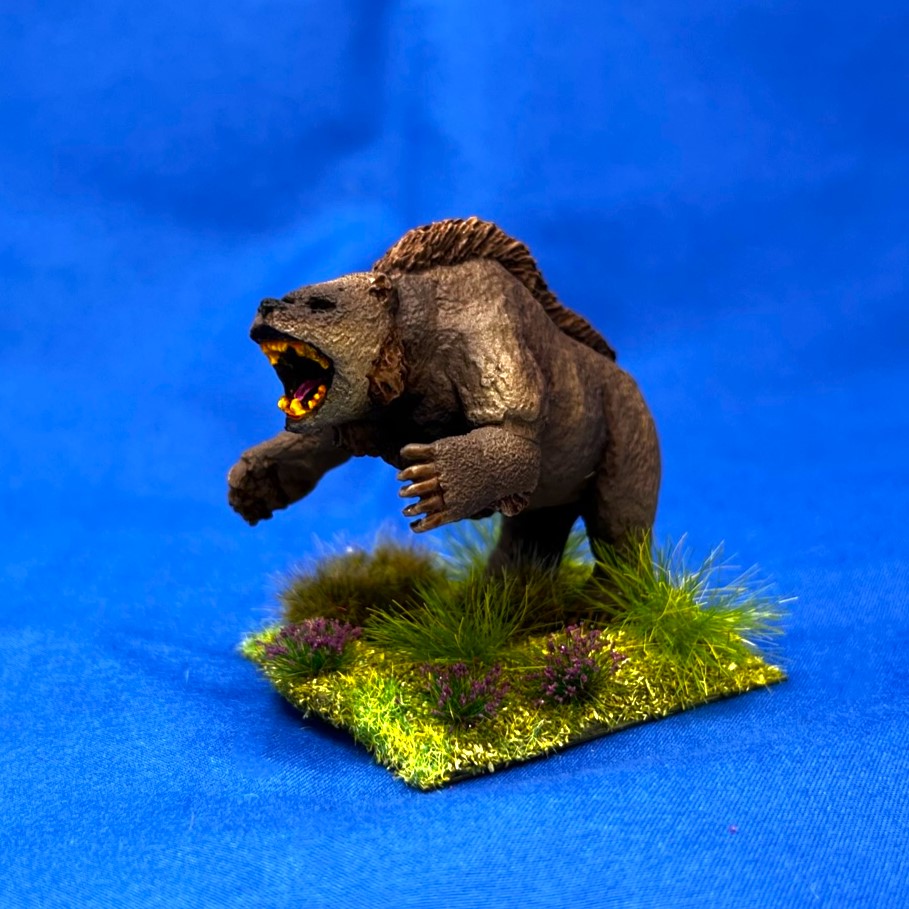
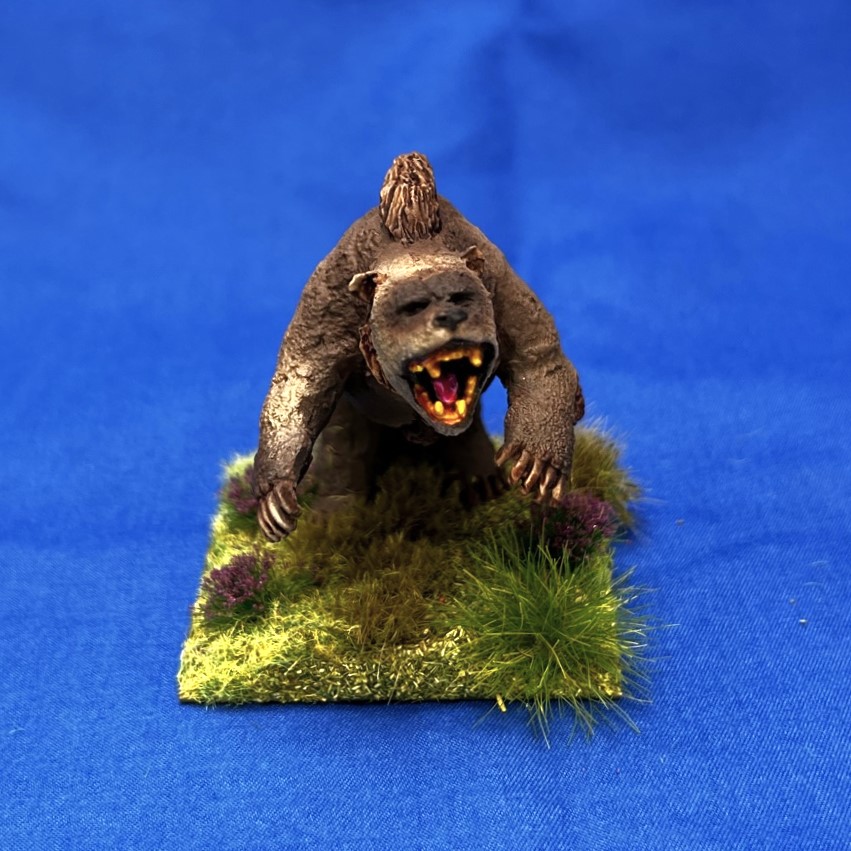
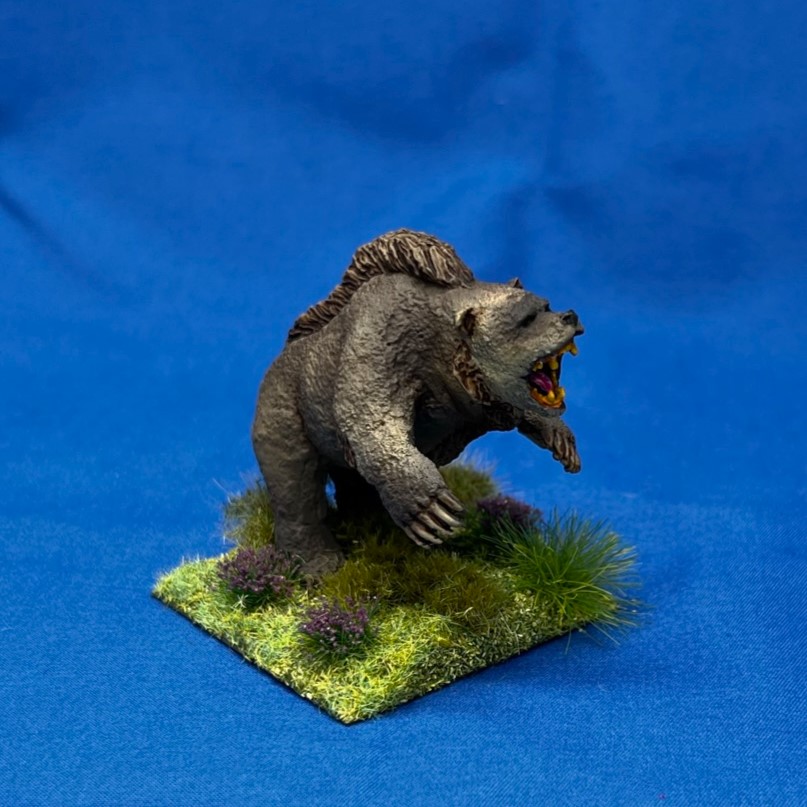
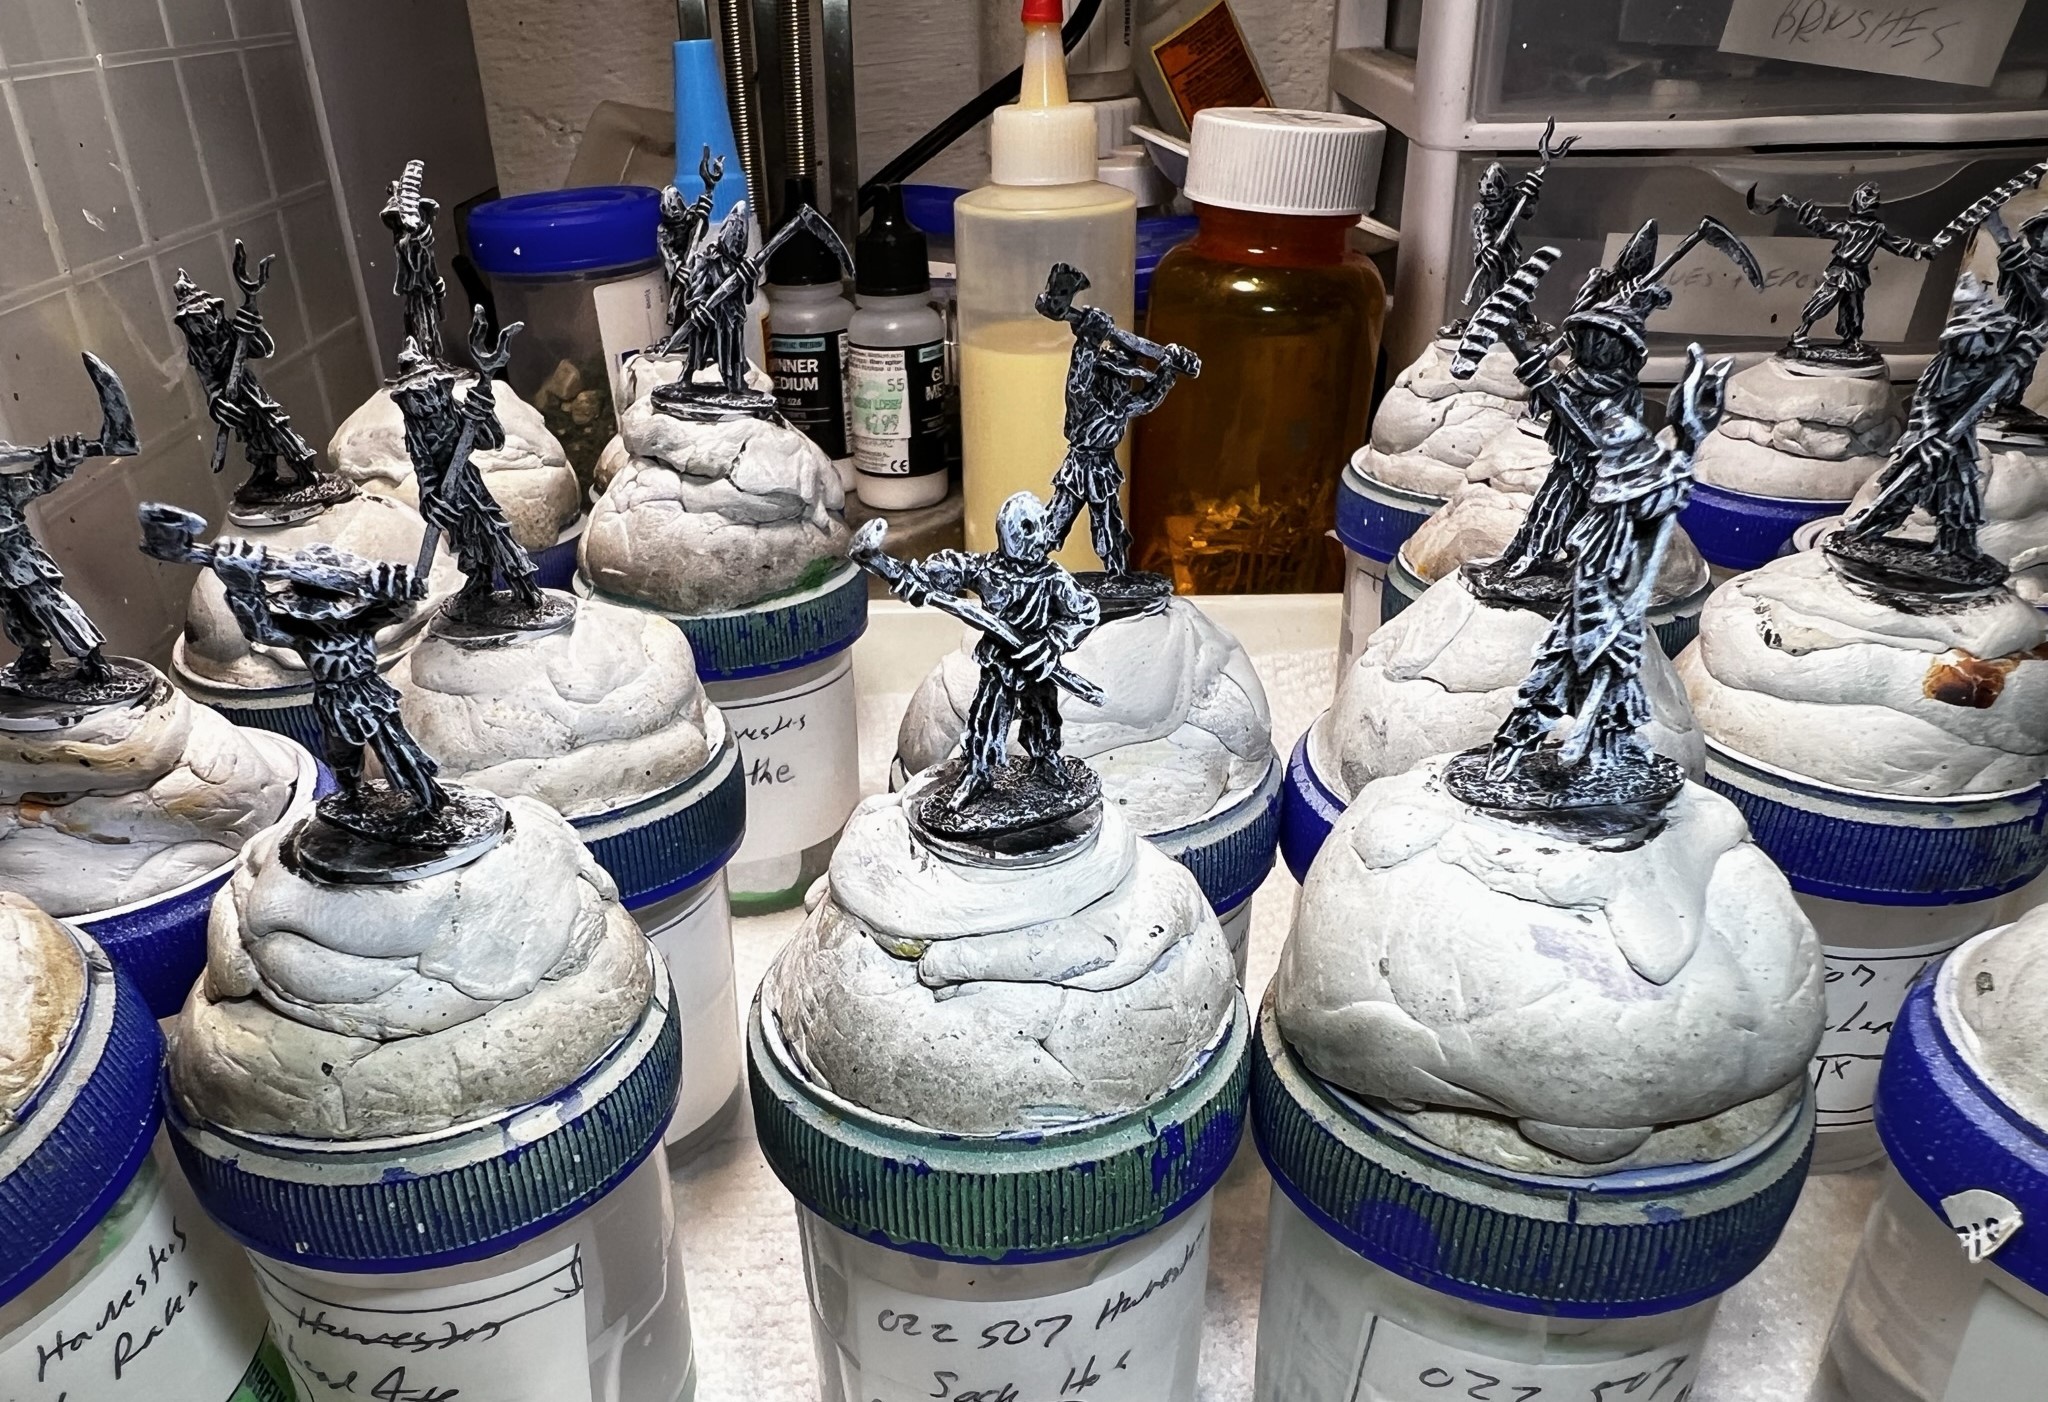
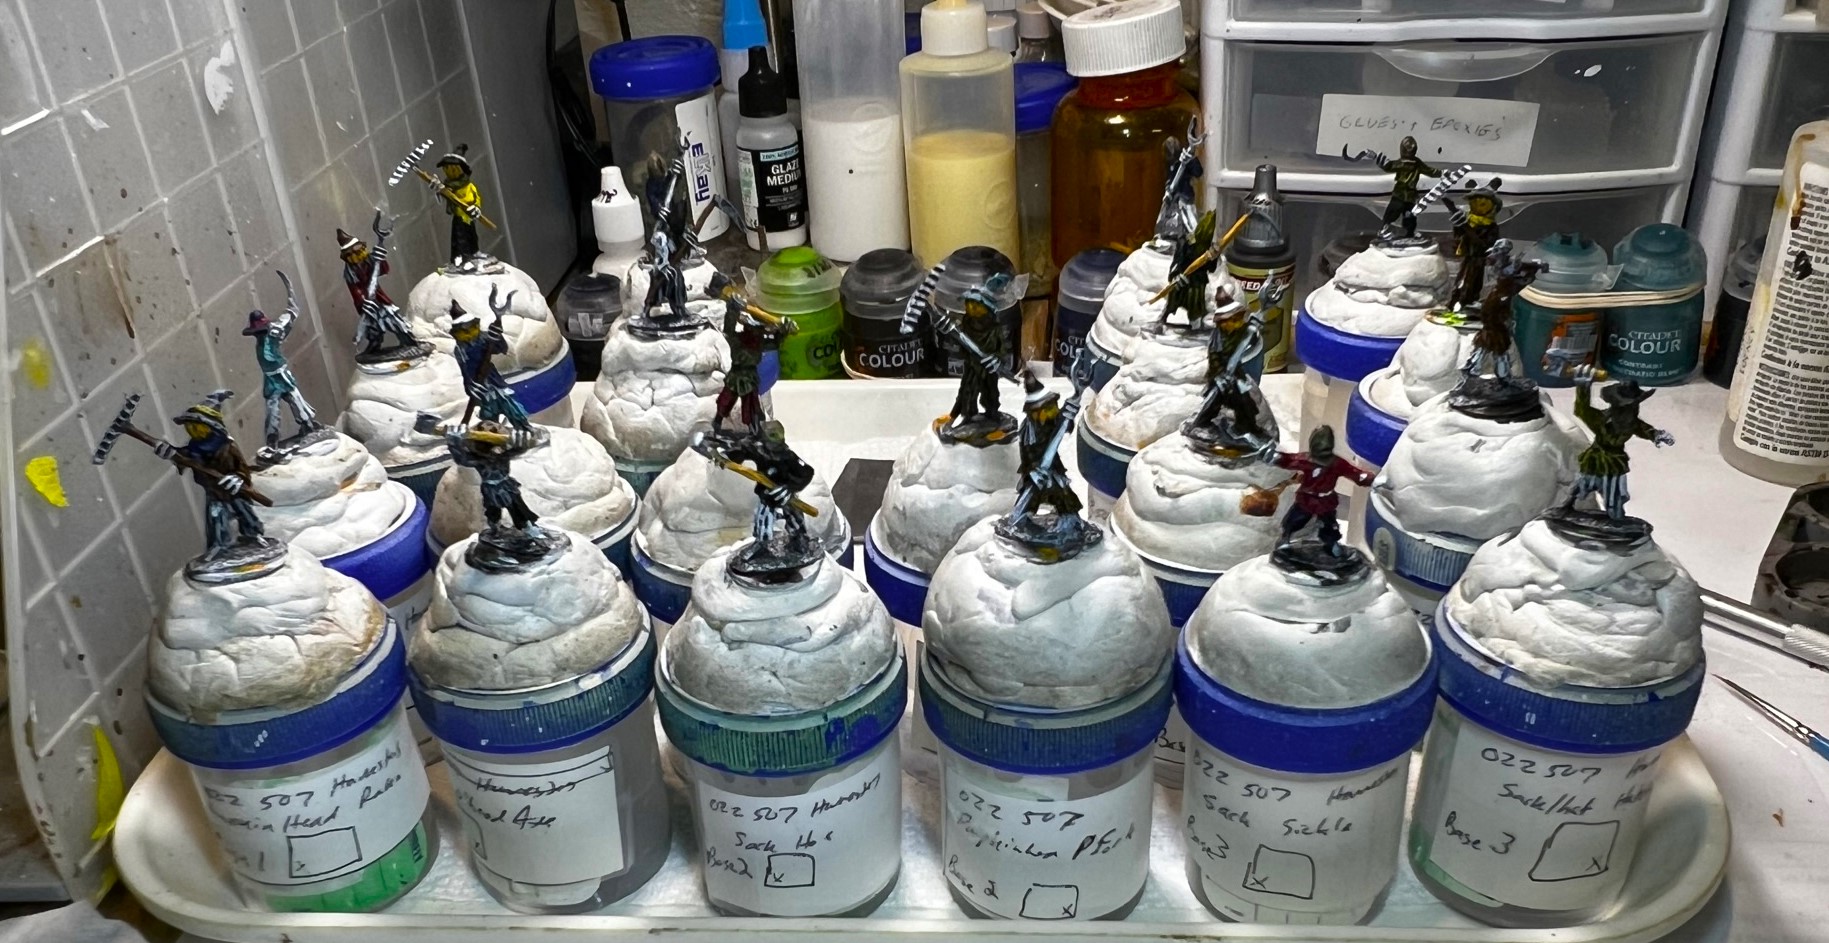
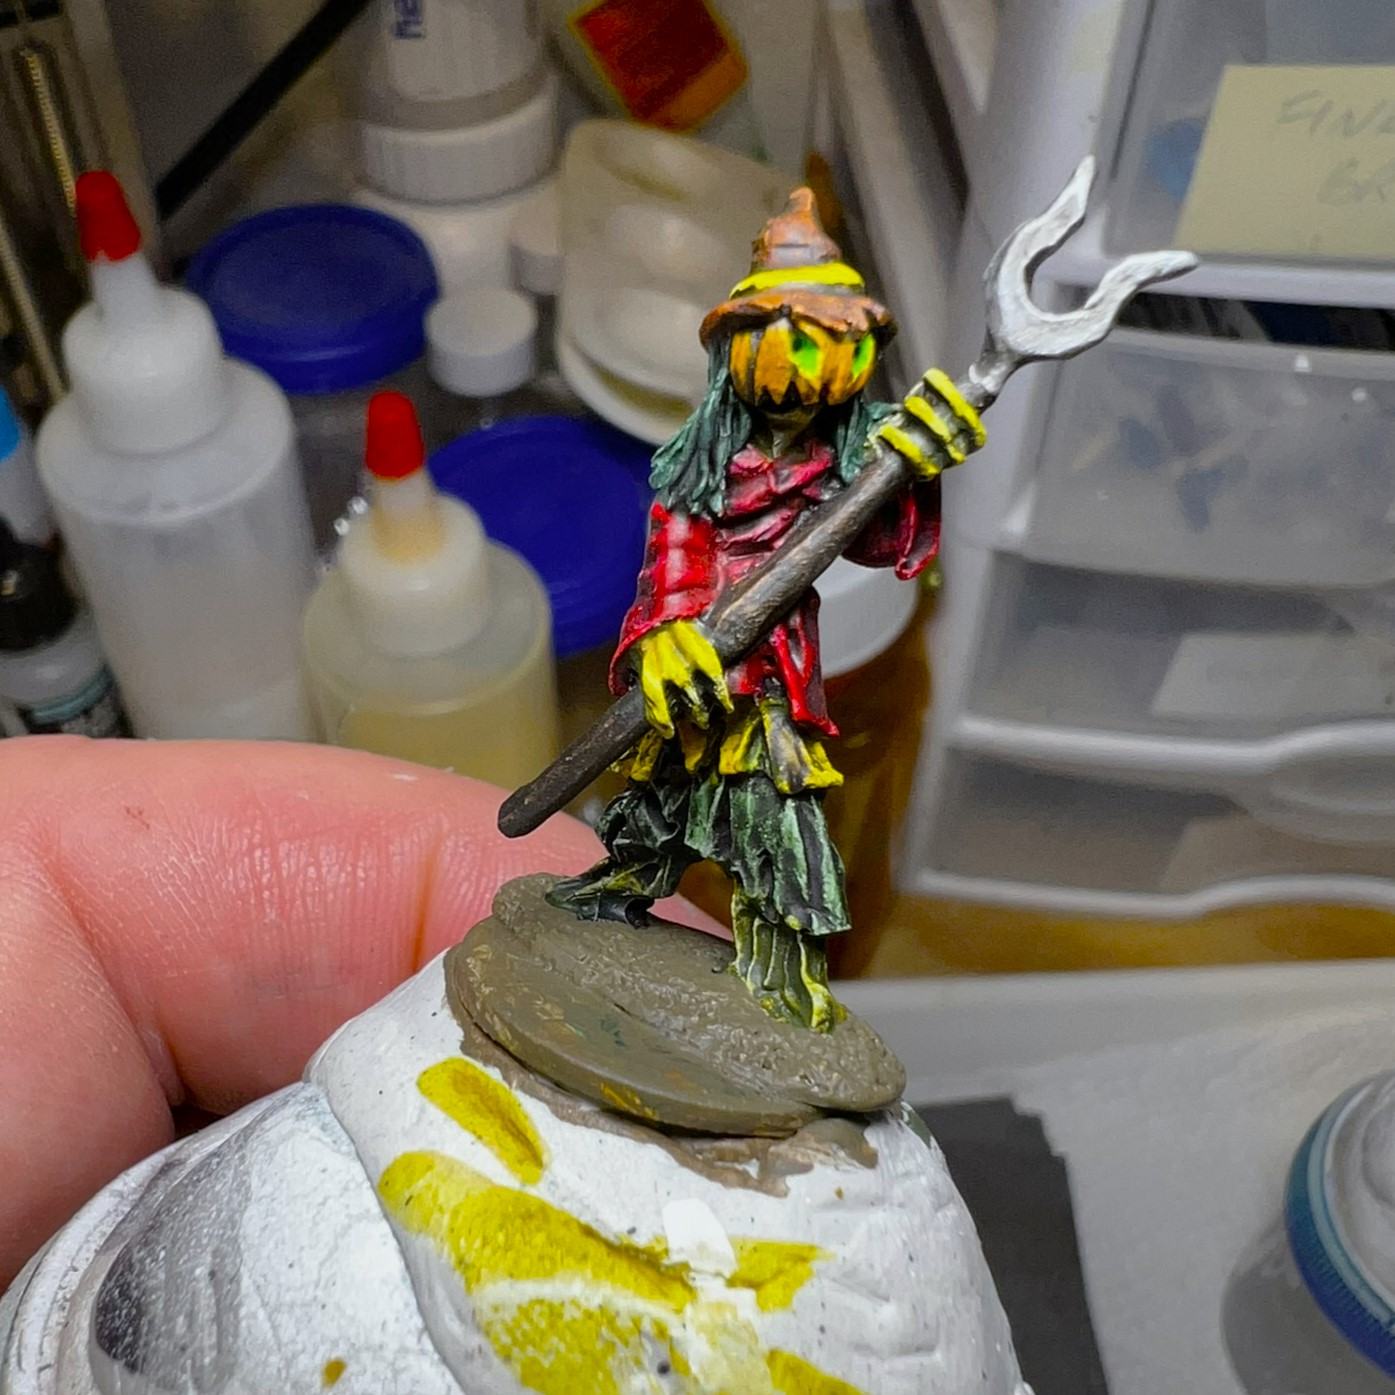
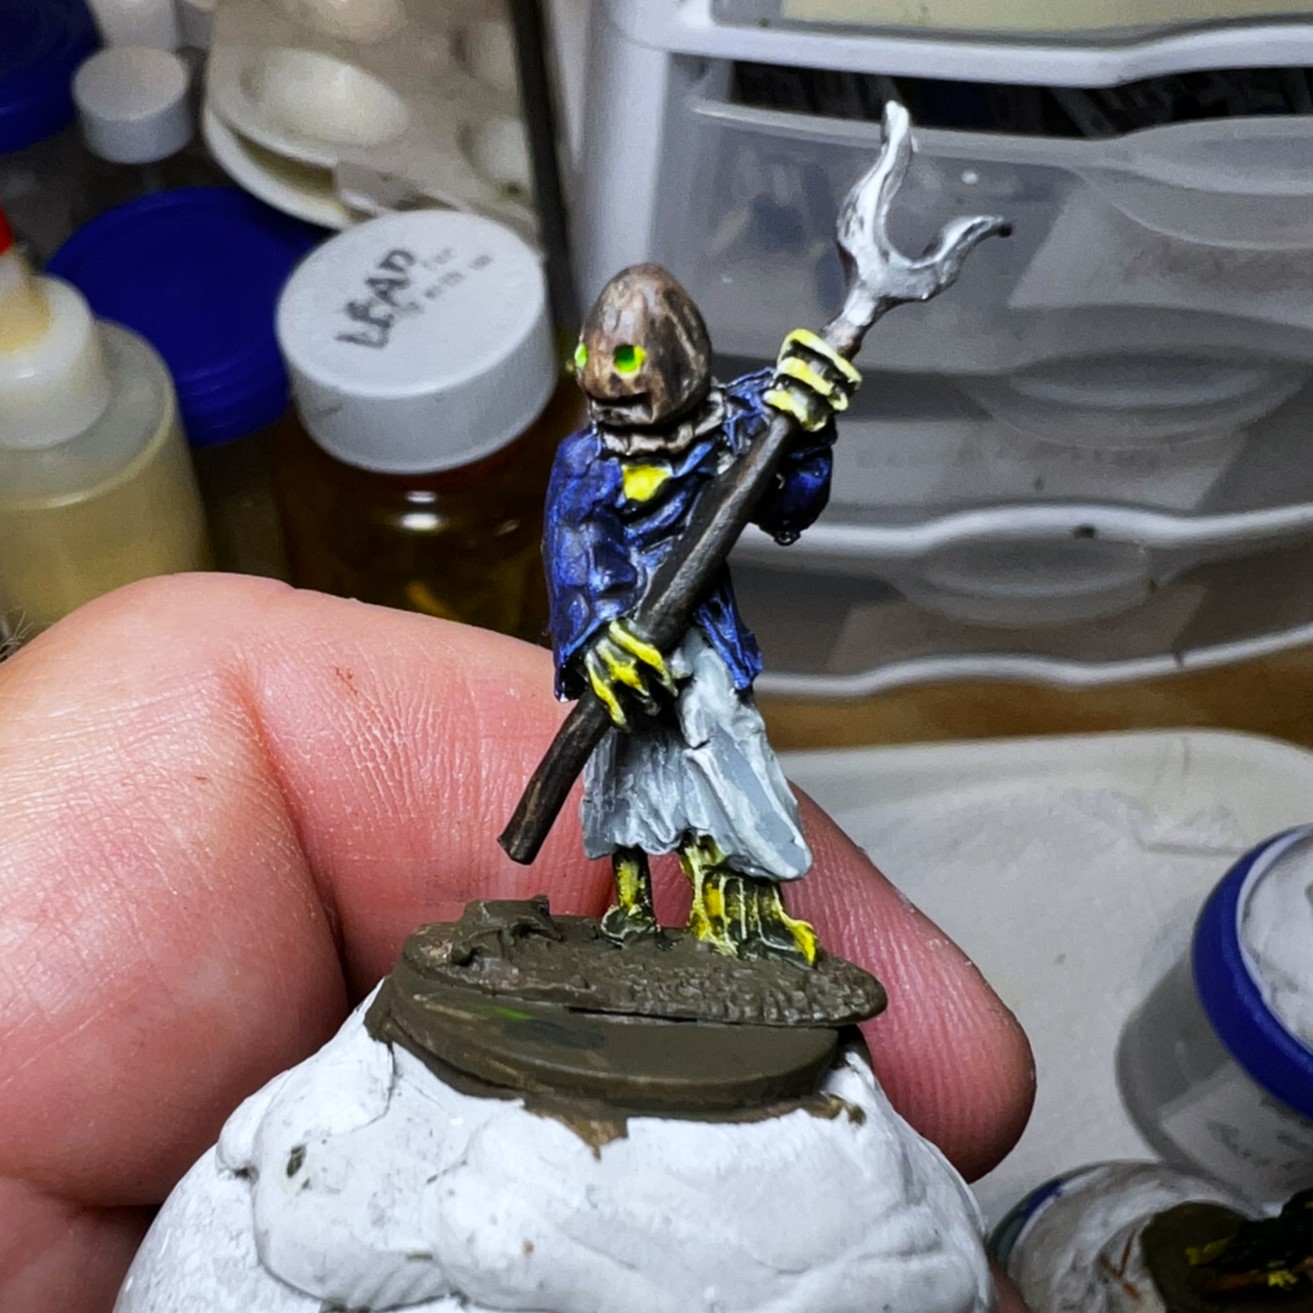
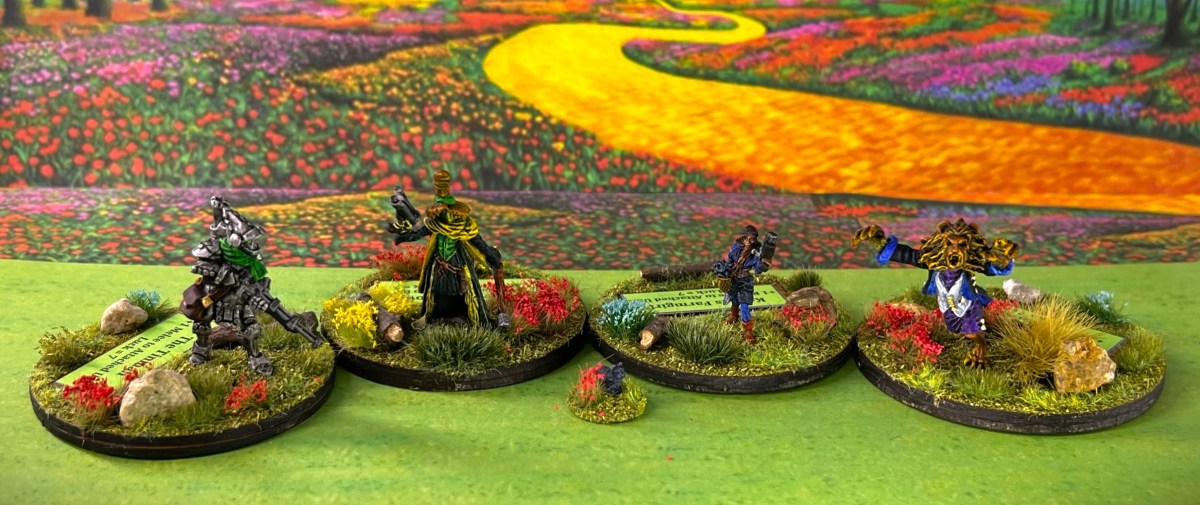
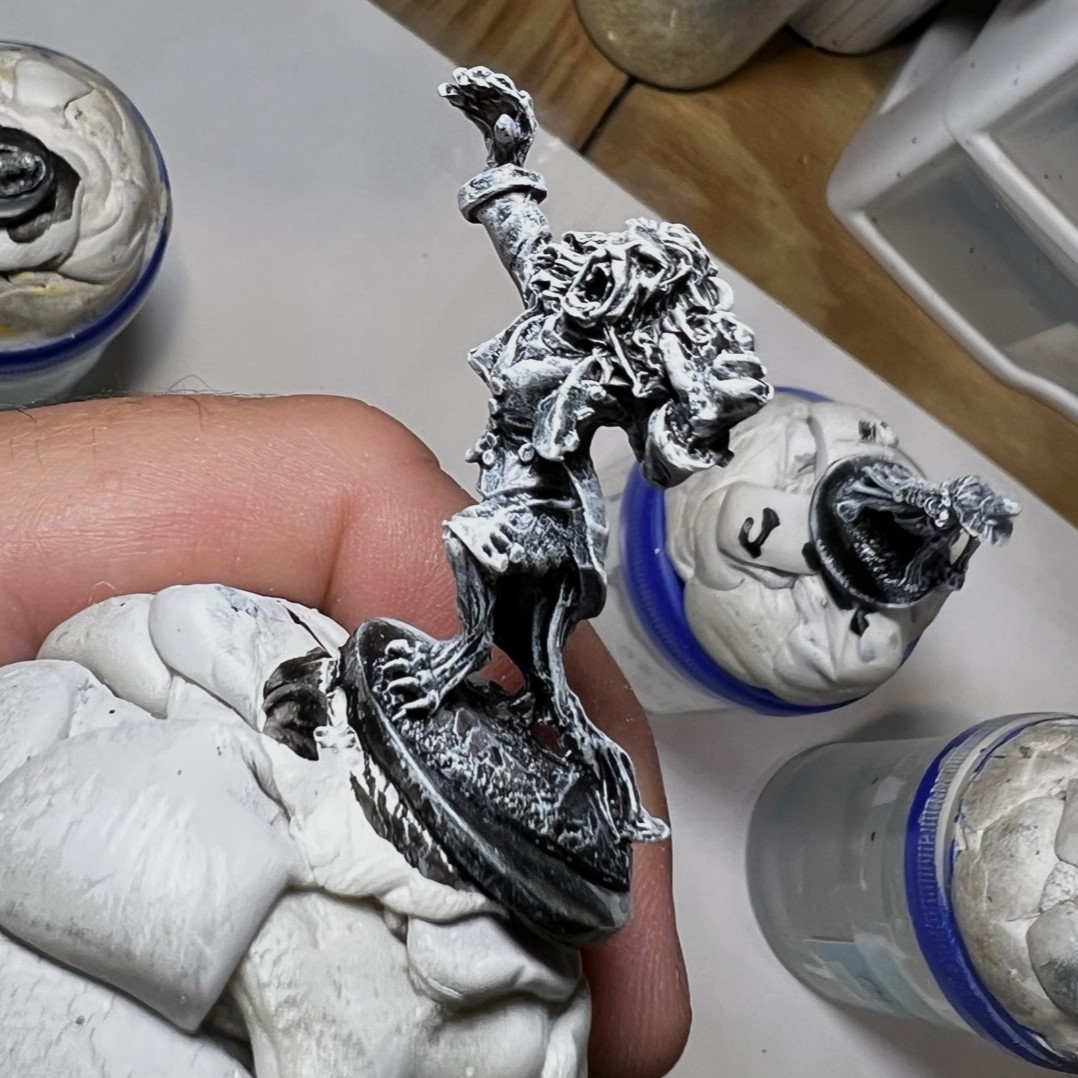
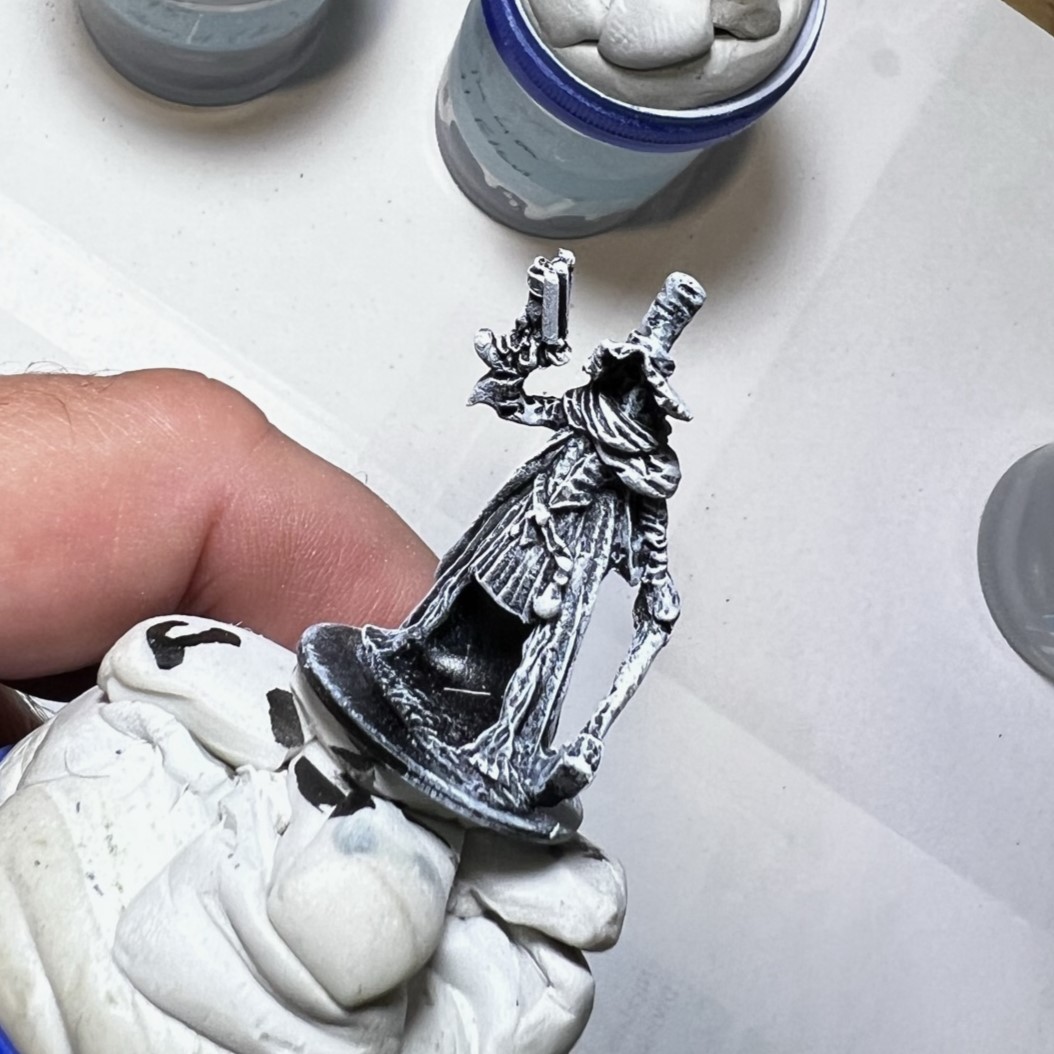
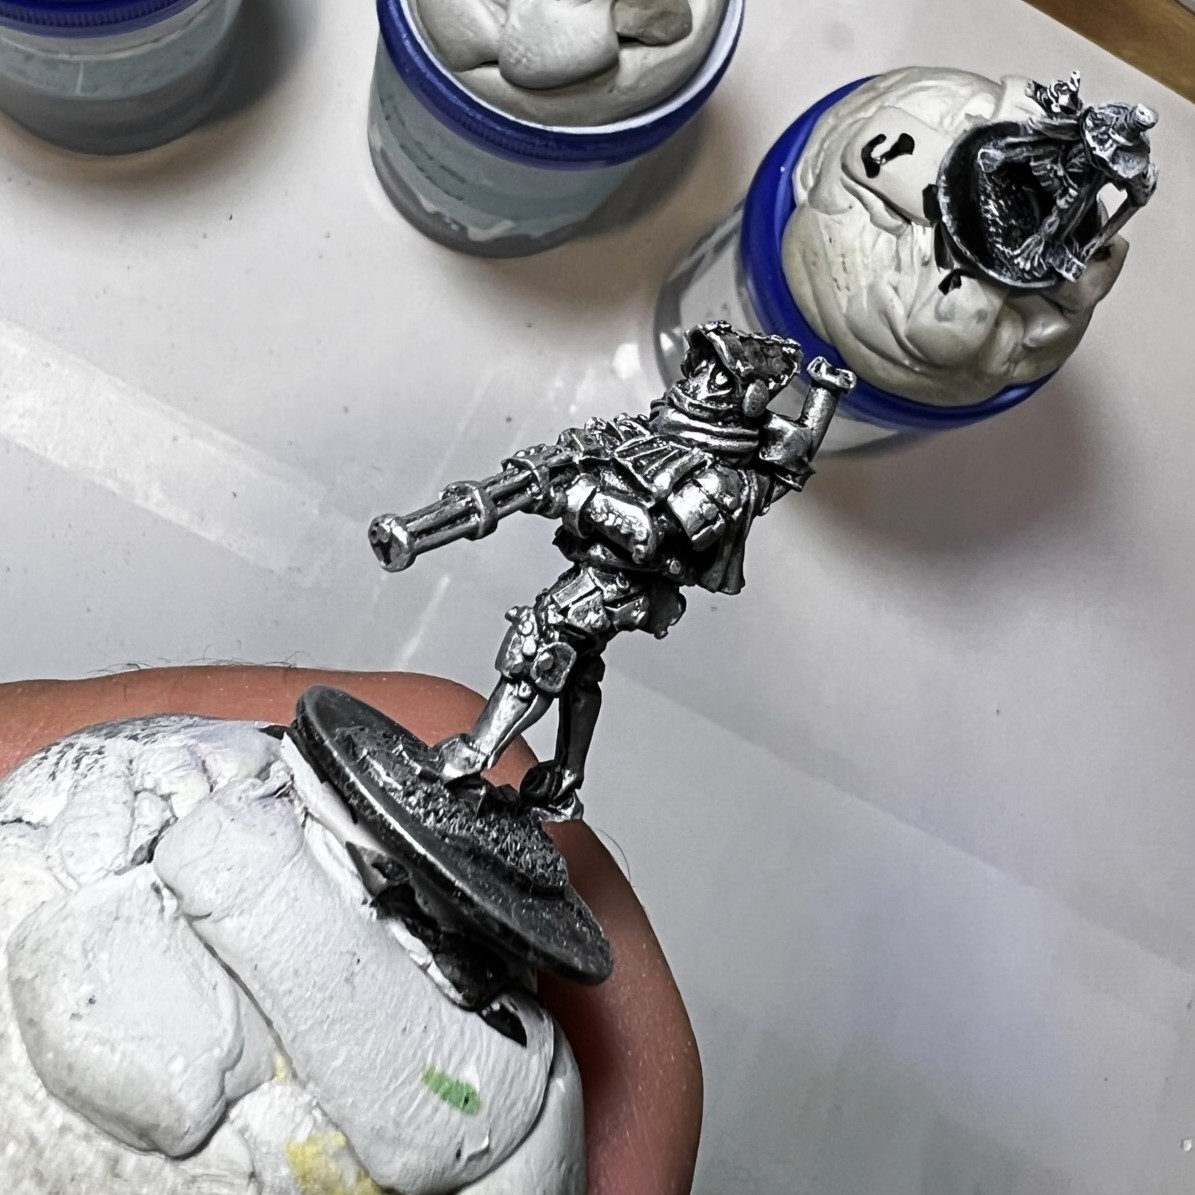
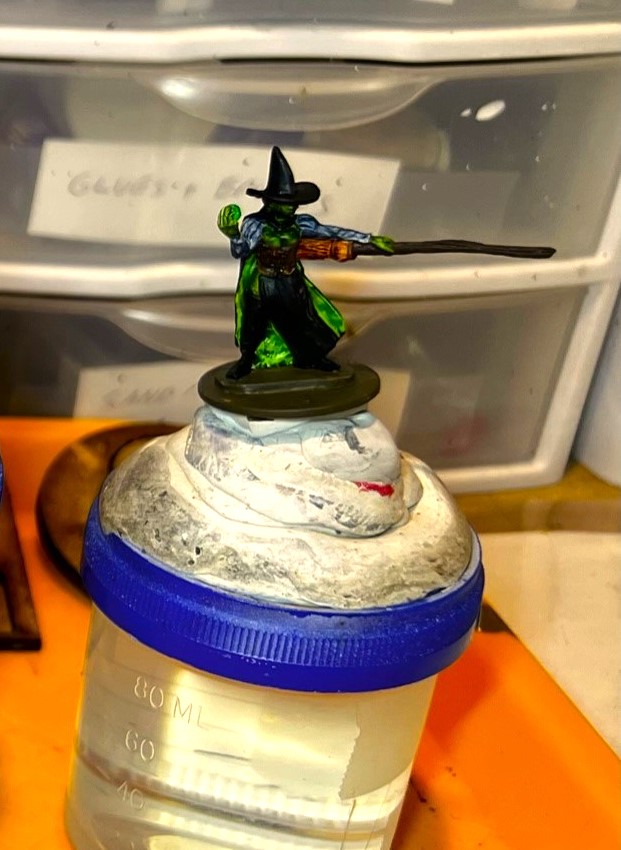
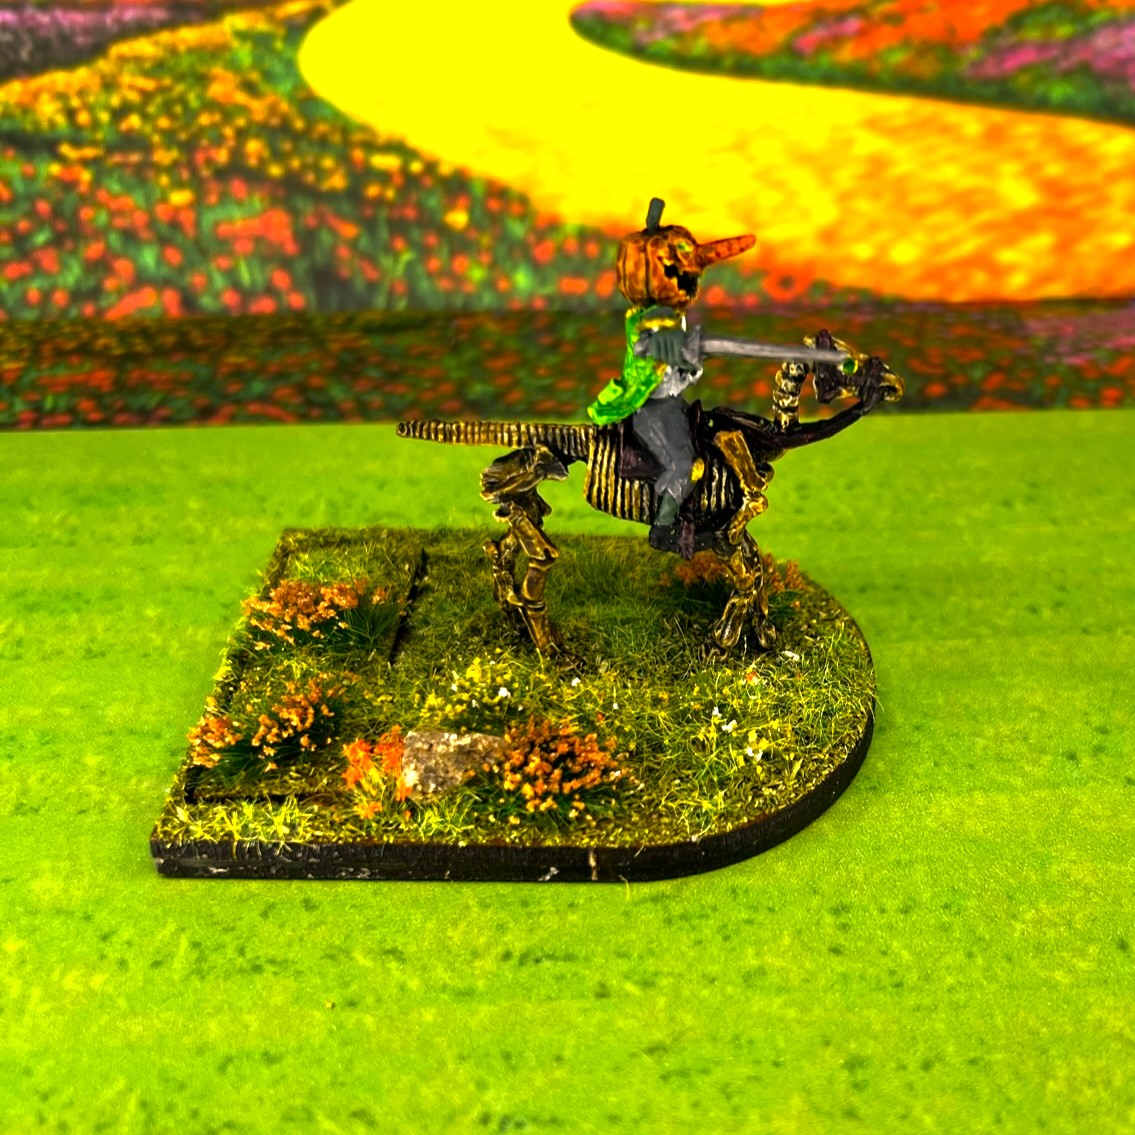
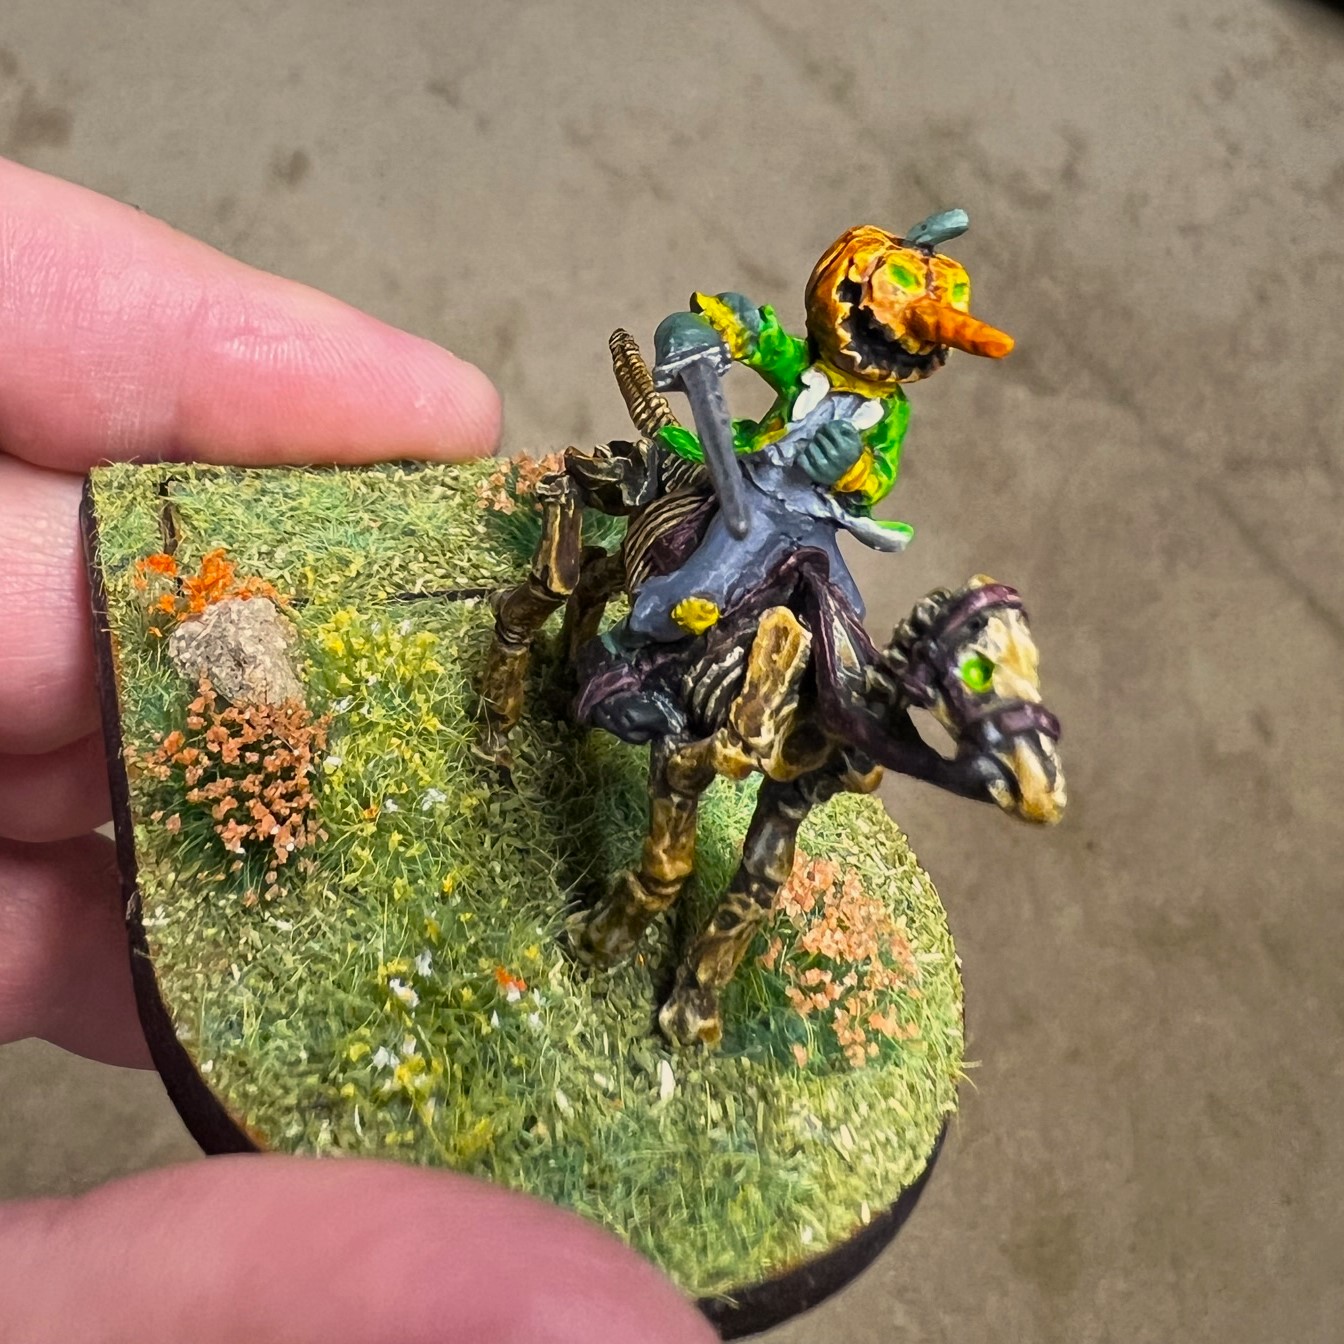
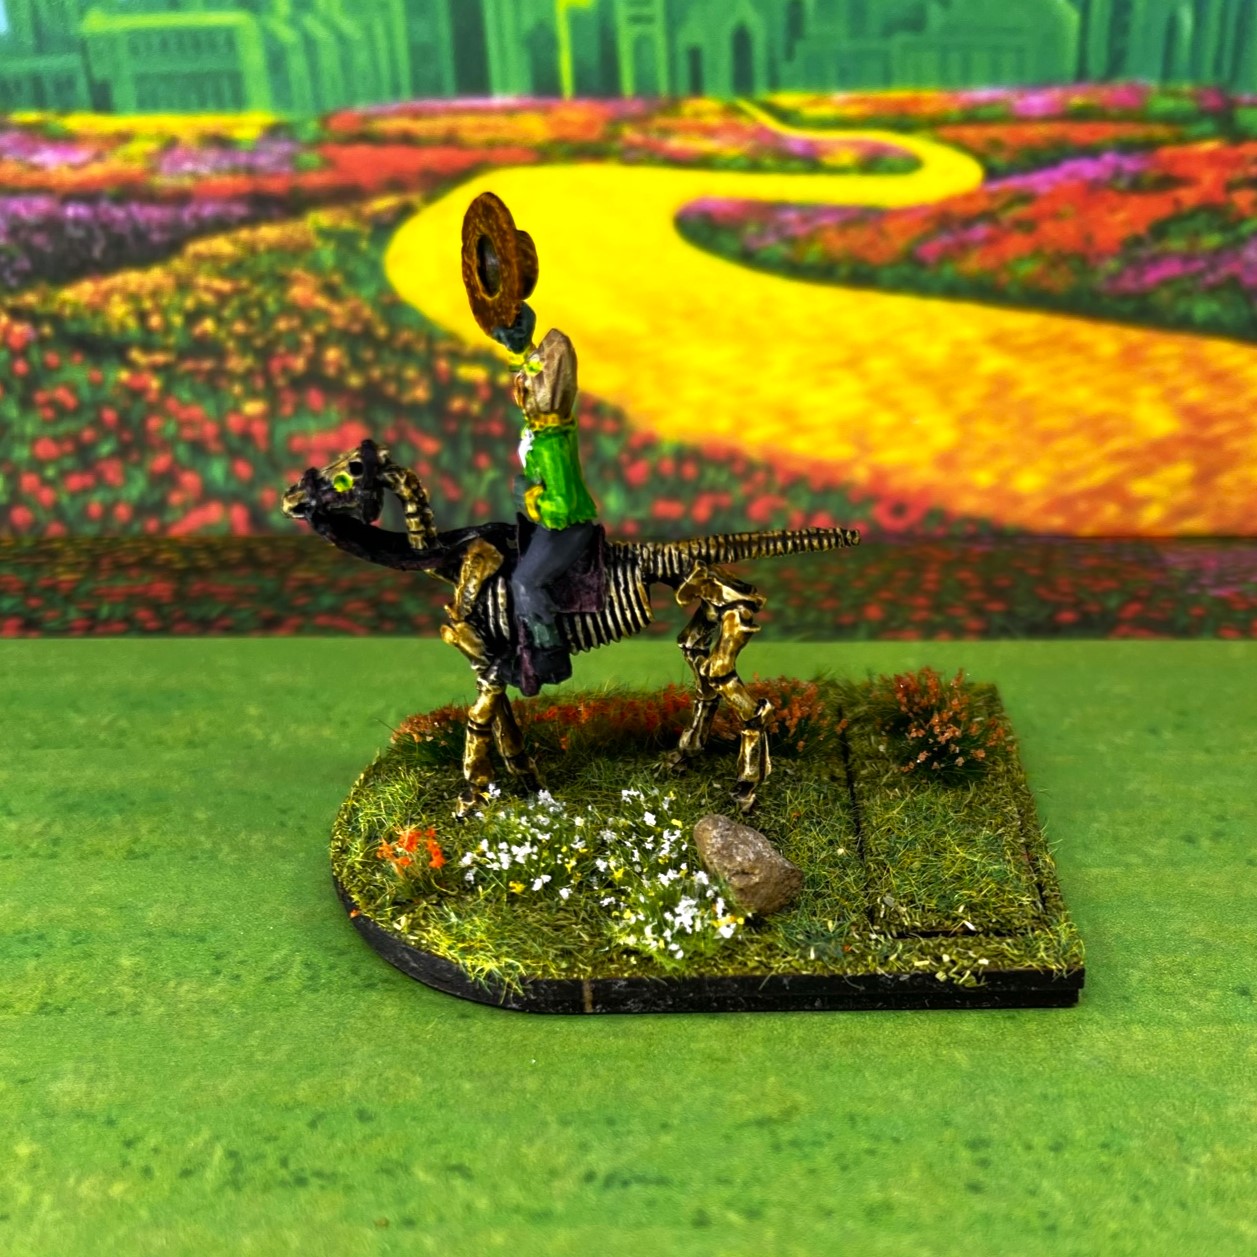
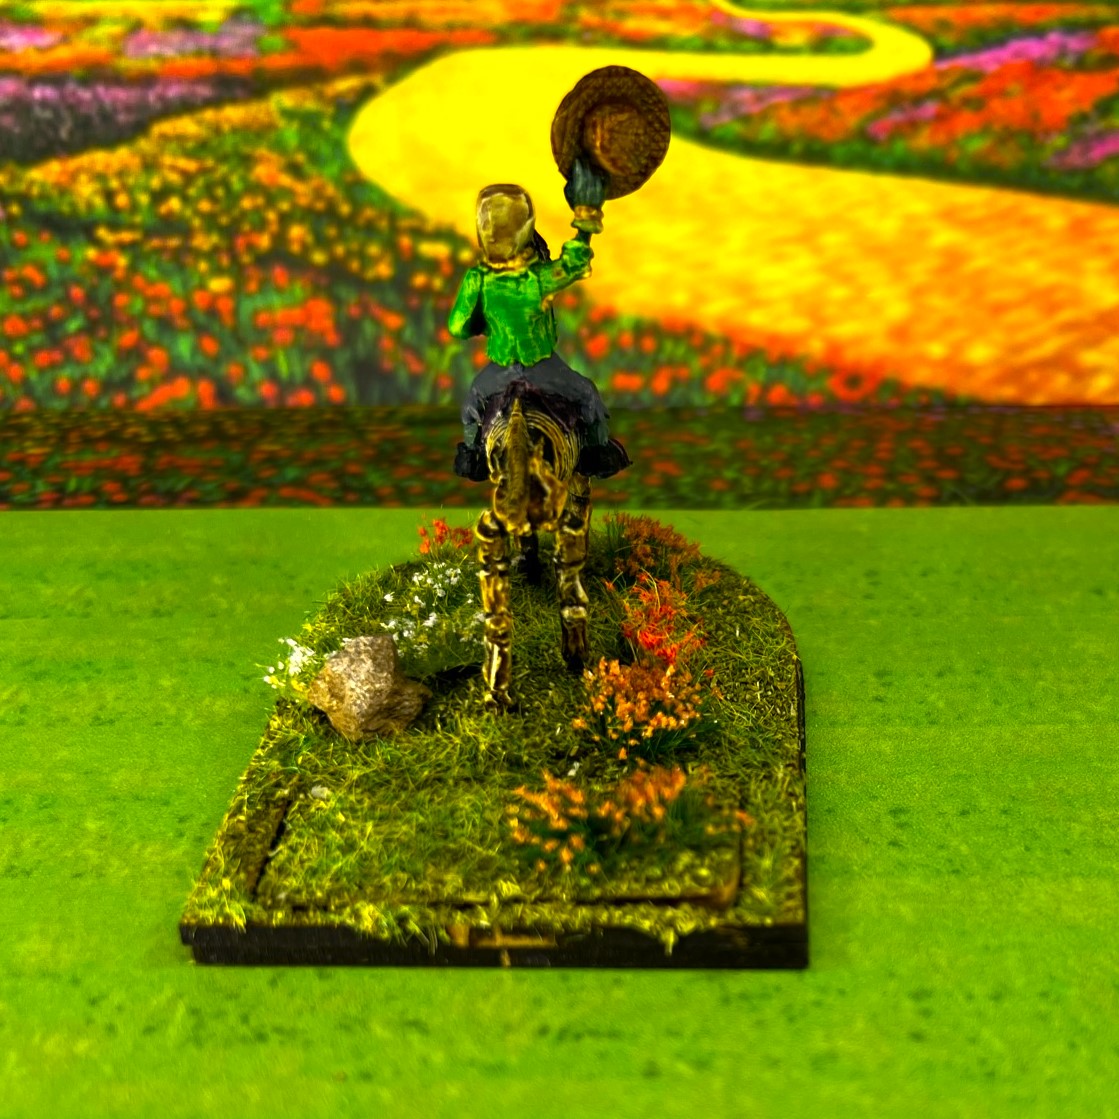
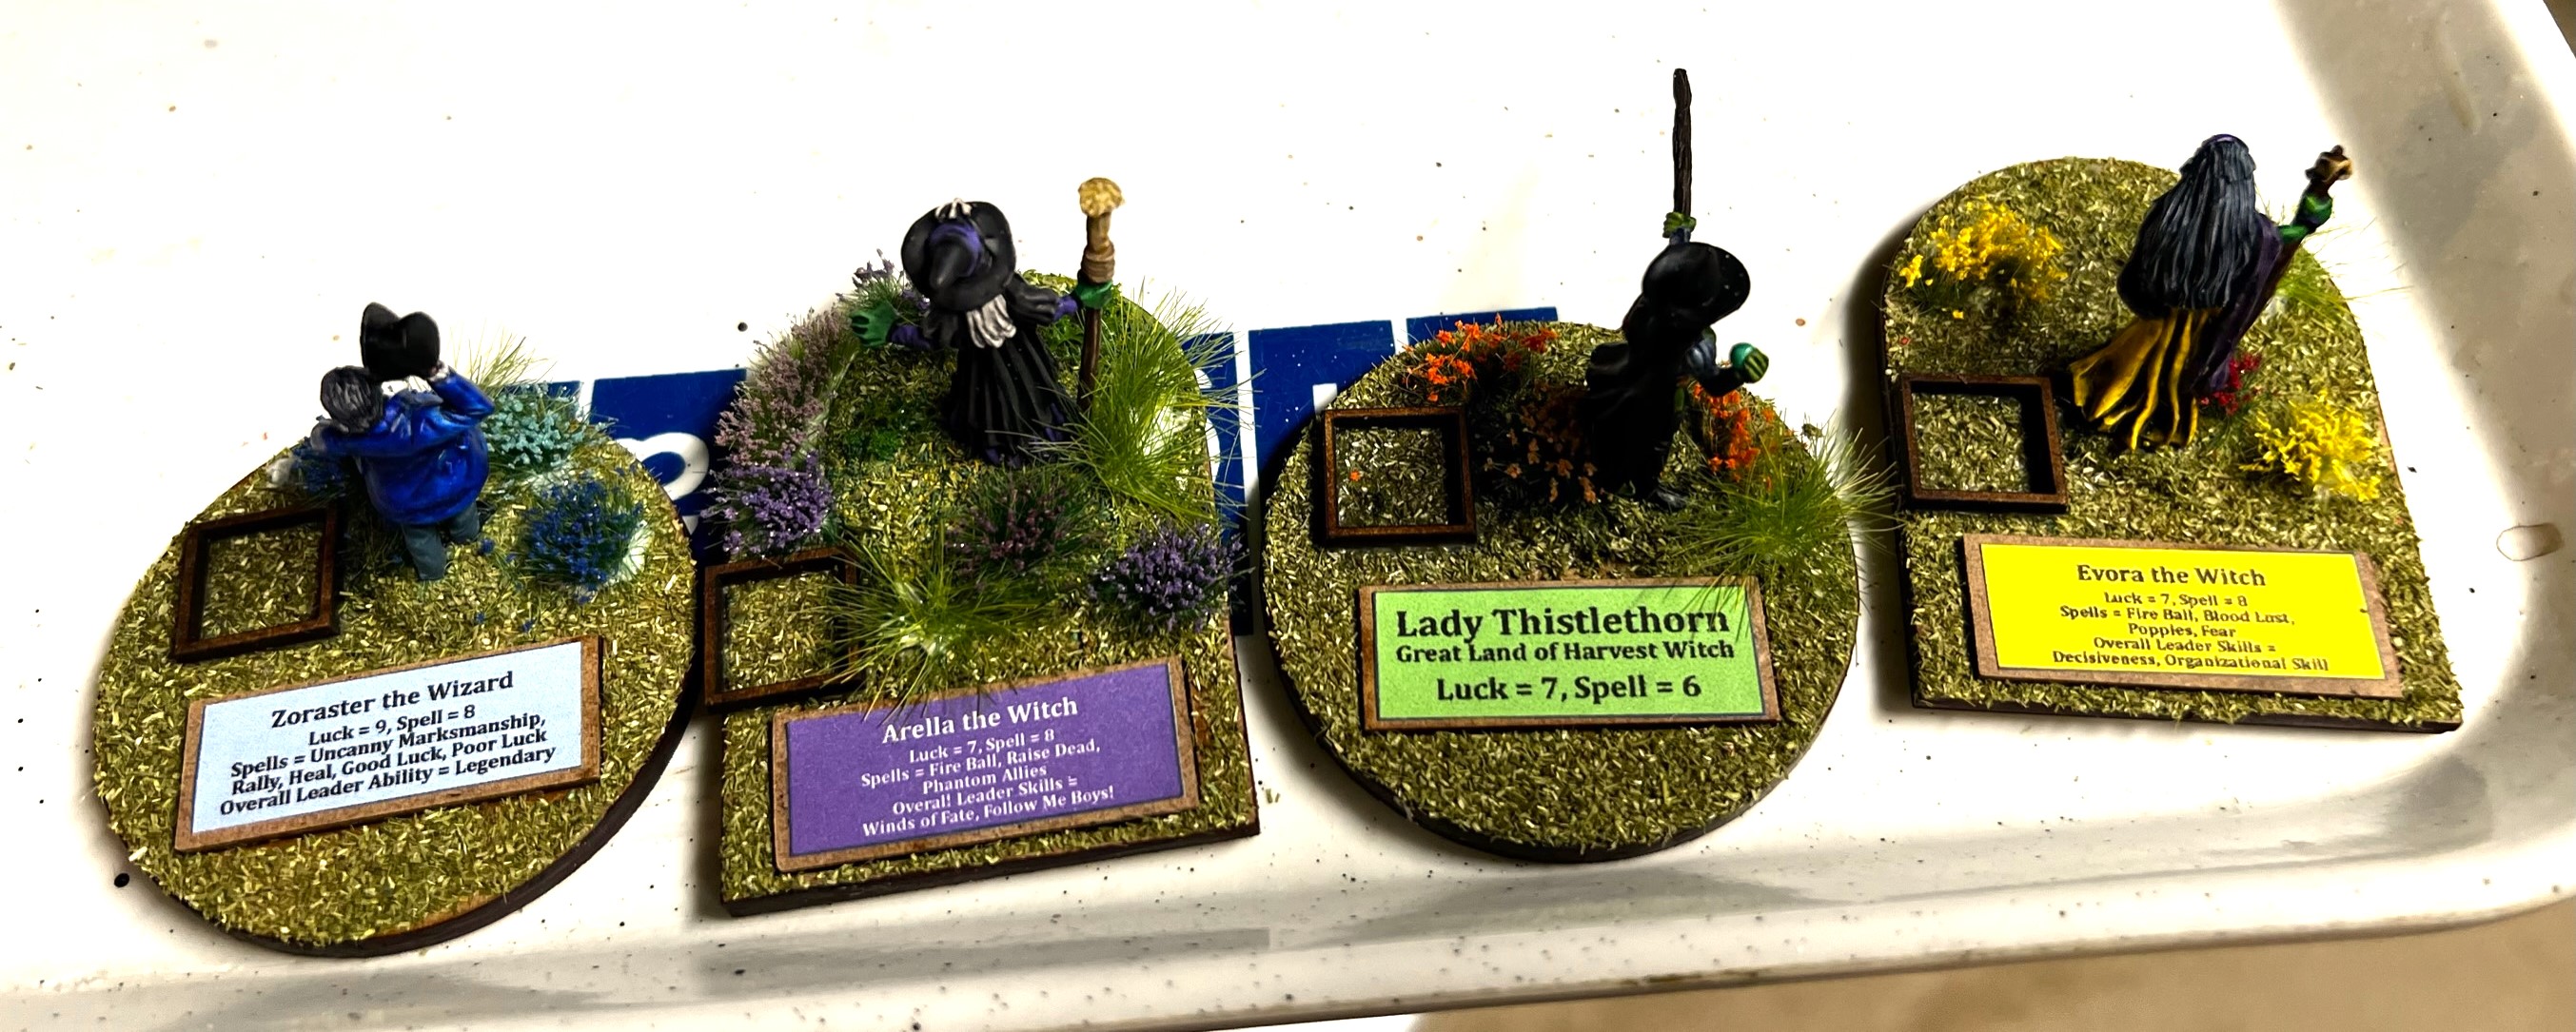
While I was at all this, I rebased my Zoraster, my Evora, my Arella (gift from Chris Comeau), and my Lady Thistlethorn (Harvest Witch) on the MDF bases:
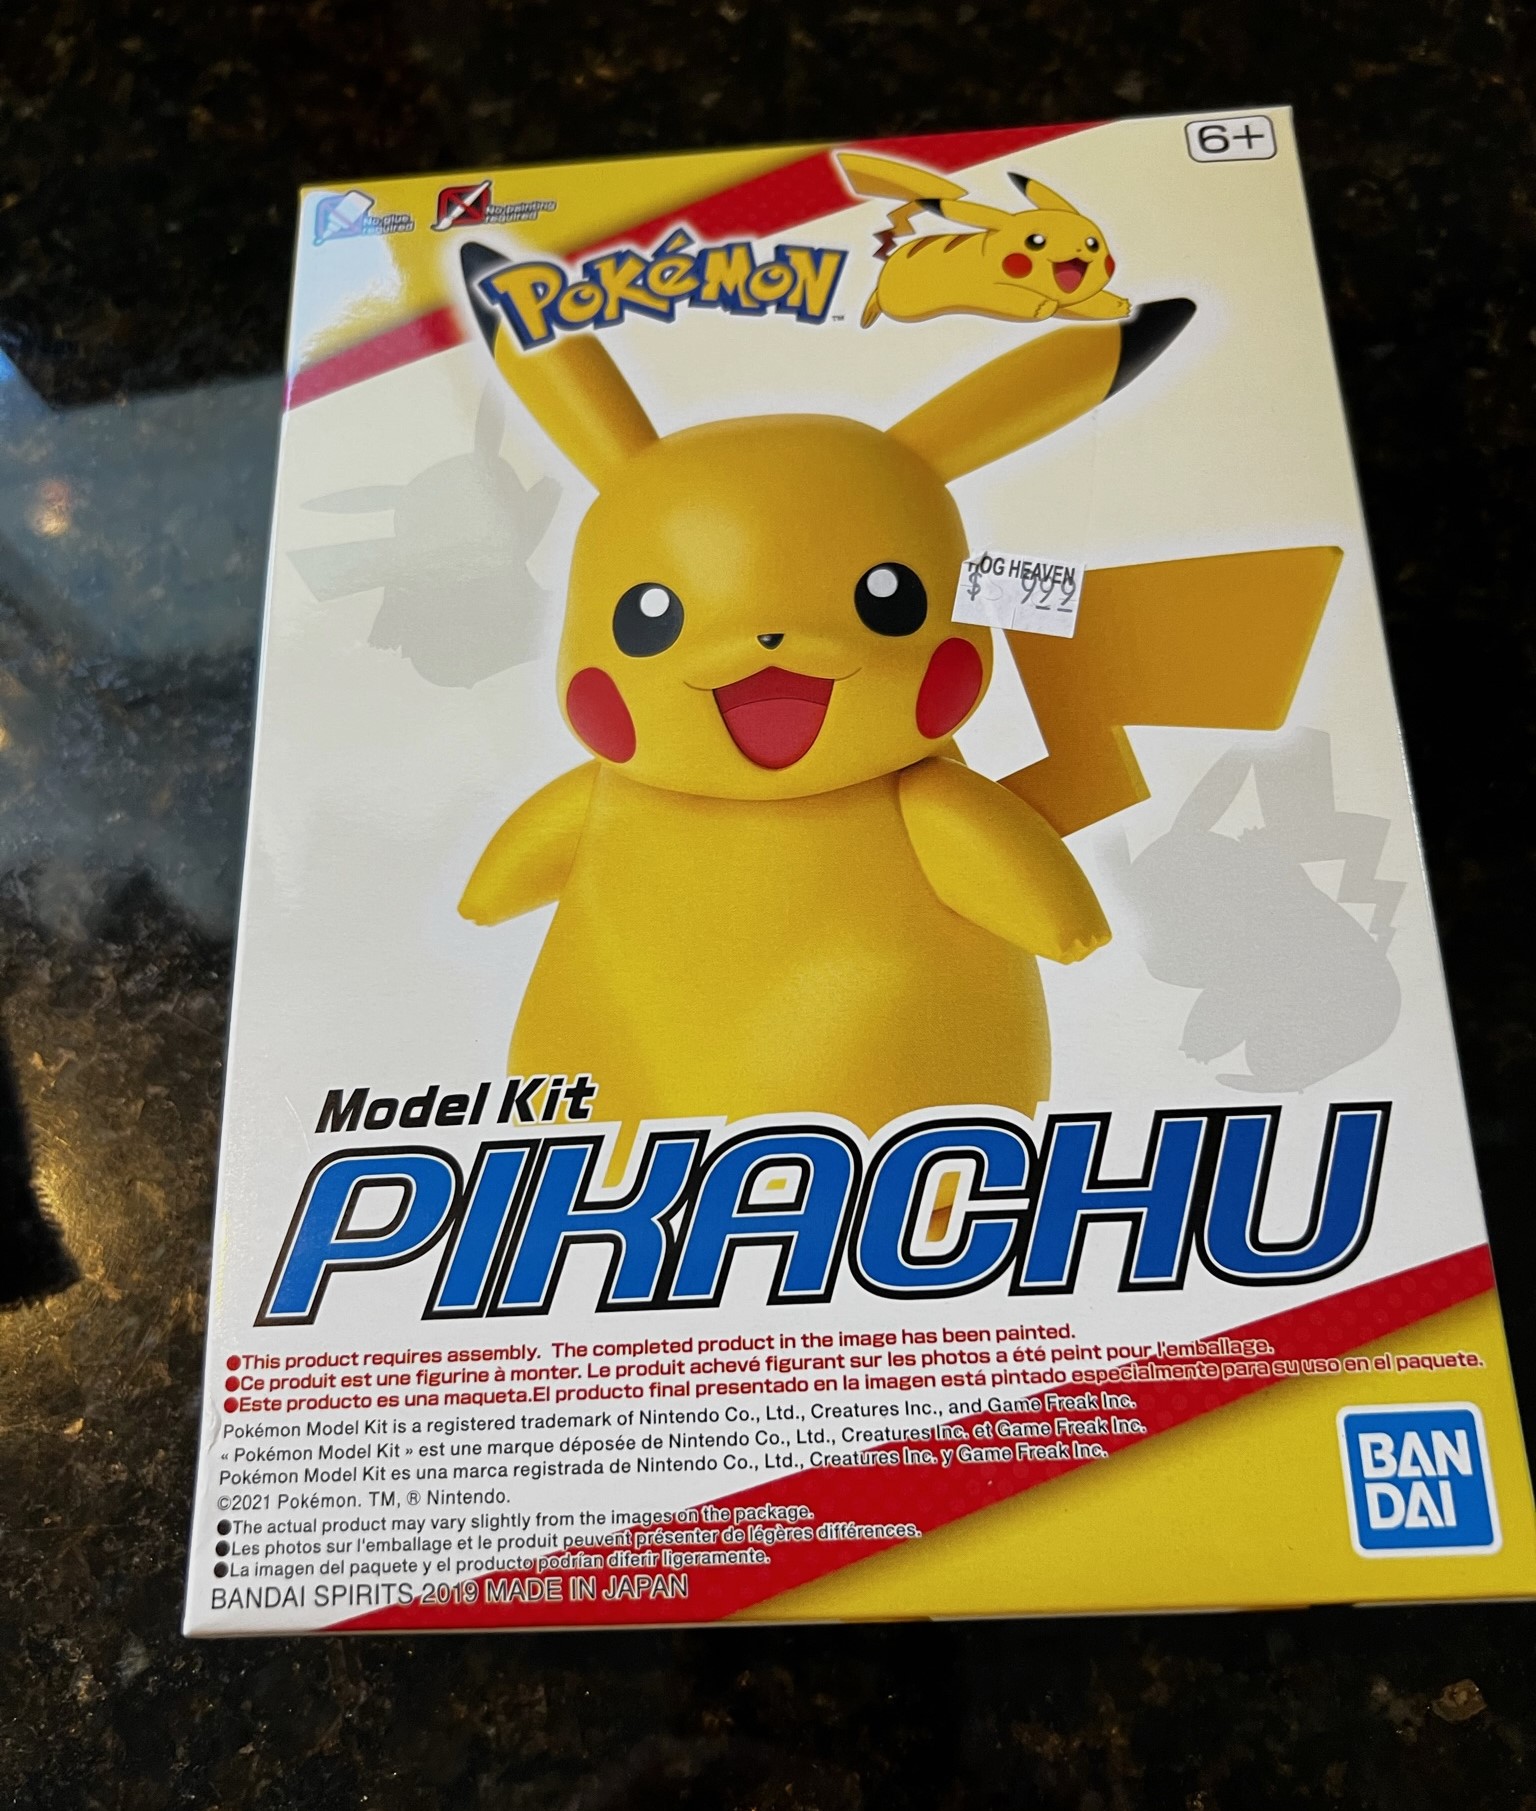
A Pikachu for Tabitha
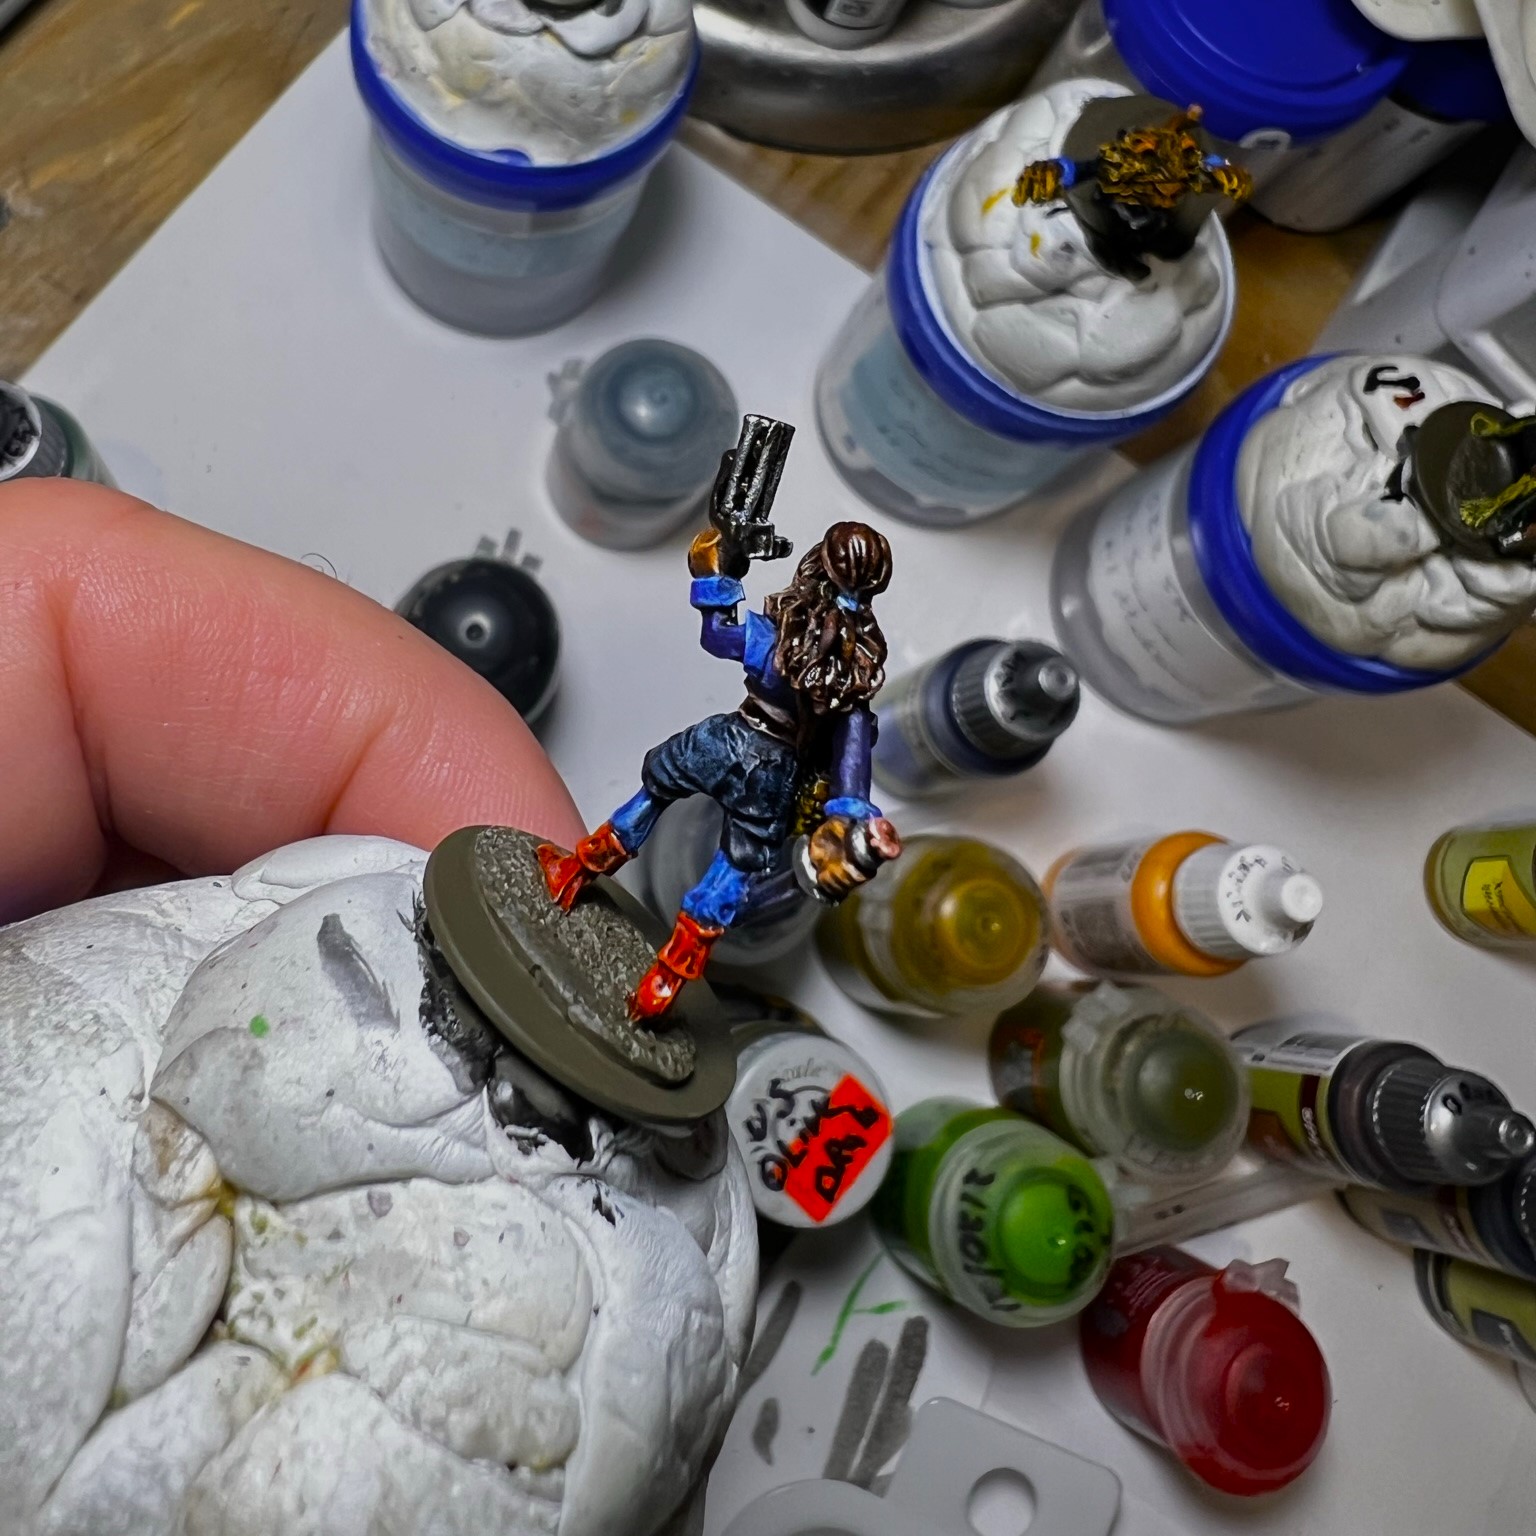
Gifts also went from me! One more model that I worked on was a Pokemon Pikachu model that I assembled together with my 6-year old (nearly 7) grandaughter. It was fun, but the tail broke off easily. No worries, Papa repaired it and affixed to two points on the model such that it should not twist off again. She loves it, and it was a fun modeling experience for her.


Sending Guru Dave the Wars of Ozz & Wars of Orcs and Dwarves rulebooks, and a Mark 1 Sphere Tank Down Under
I did want to reciprocate Dave’s great selfless terrain gift – and I knew he loves rule books. So unbeknownst to Guru Dave, I sent him the rulebooks for both the Wars of Ozz and Wars of Orcs and Dwarves. As he was into Xenos Rampant, I also sent him a cast of my Mark 1 Sphere Tank Down that he could use there. You can read about his reactions in his post here.
Much thanks to Russ Dunaway, to Dave (Guru), to Buck Surdu , to Greg Priebe, to IRO, and to Chris Comeau for all that you did to make this all work! I appreciate you all so very much.
As I finish this post, I am about to pack for Fall In, with all the Ozz stuff you see. I do have a couple more units to post about once I have gotten back, as well as an October golf roundup. I’m sure that I will have a Fall In! post as well to do. My apologies to those whose blogs I am behind in catching up on – I will get there. I hope that this post was enjoyable for you and that maybe I can meet some of you at Fall In!