According to the canon of the world of the Wars of Ozz, Evora was the first witch to appear after the founding of Ozz. She had the power to raise massive skeletal armies of the dead (which were sadly plentifully available in the apocalyptic era after the end of the Last Great War). Despite their combat prowess, the Winkies at that time were not unified in any major way, so Evora was able to conquer them, subjugate them, and carve out her empire from their lands. In early 2023, I painted up an Evora figure that you can read about here.
Evora’s capital and court were centered on the Yellow Castle. One of the regiments available to her Winkie army is called, unsurprisingly, Evora’s Bodyguard Infantry Regiment (let’s shorten that to EBIR). I saw the unit on the Wars of Ozz website, and decided that it would be a good regiment to add to my Winkie army.
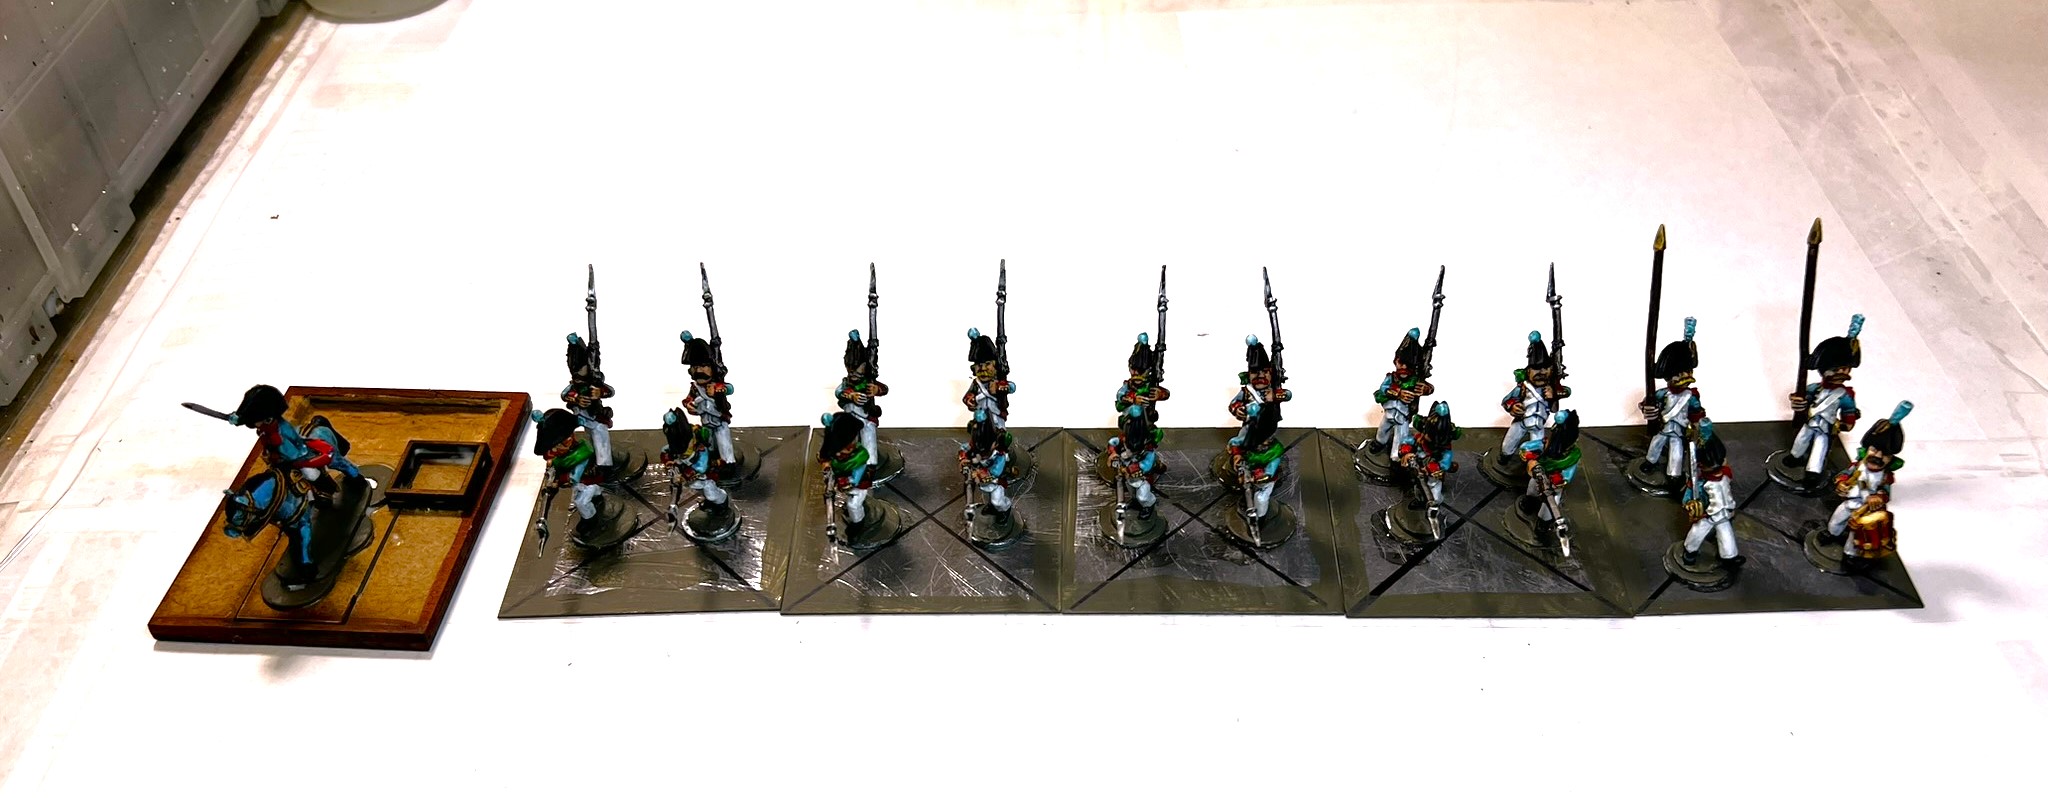
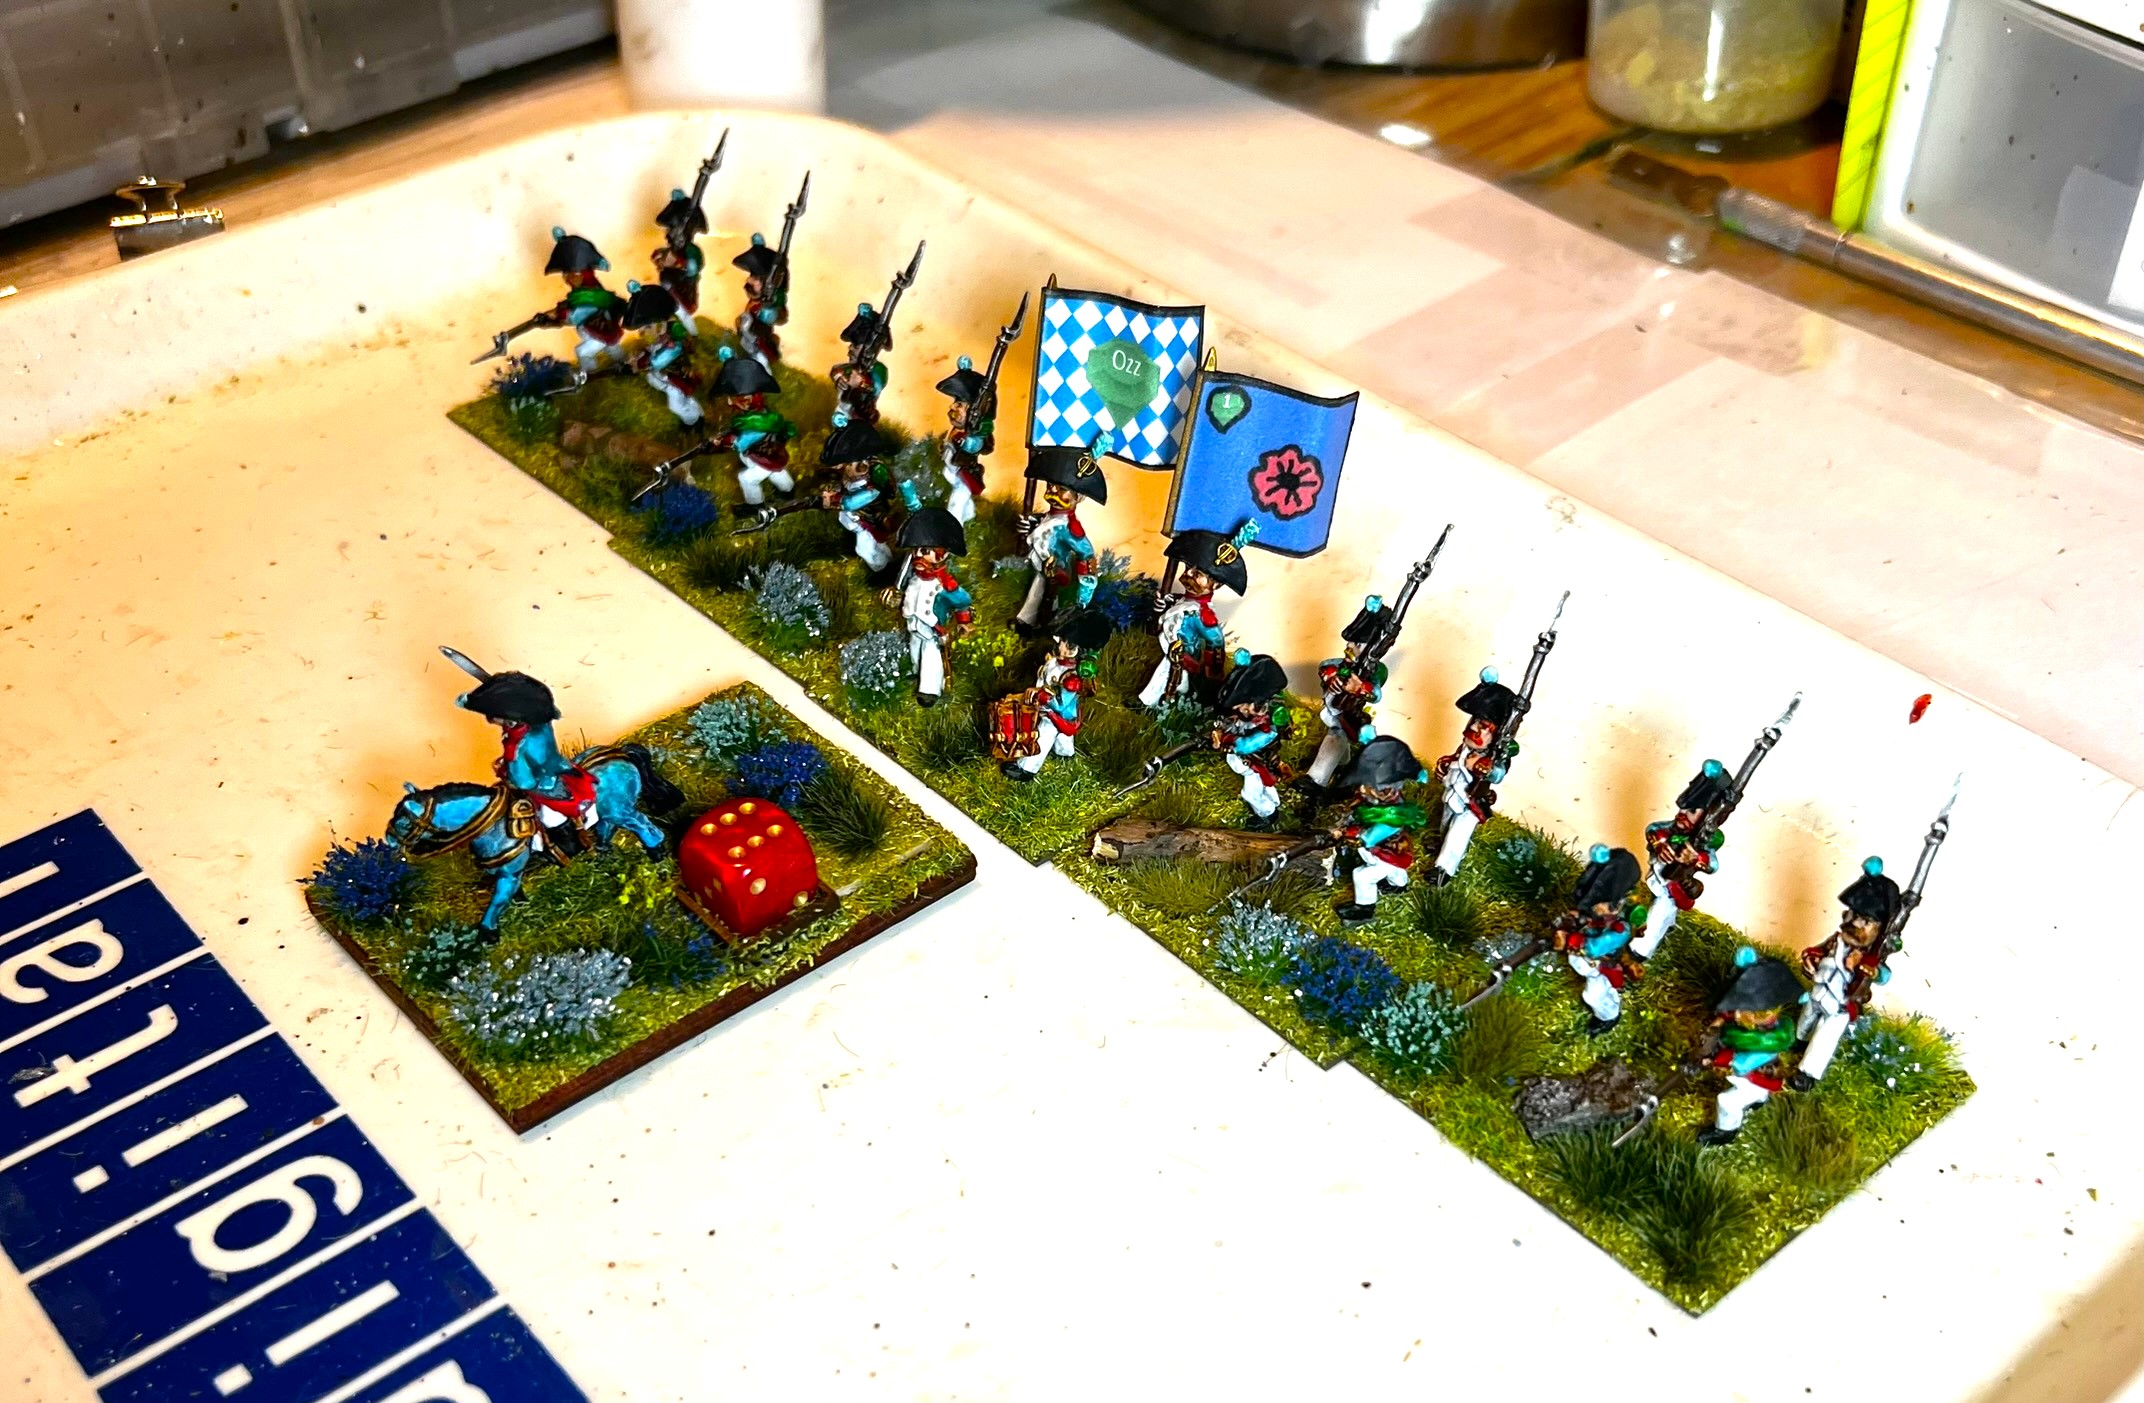
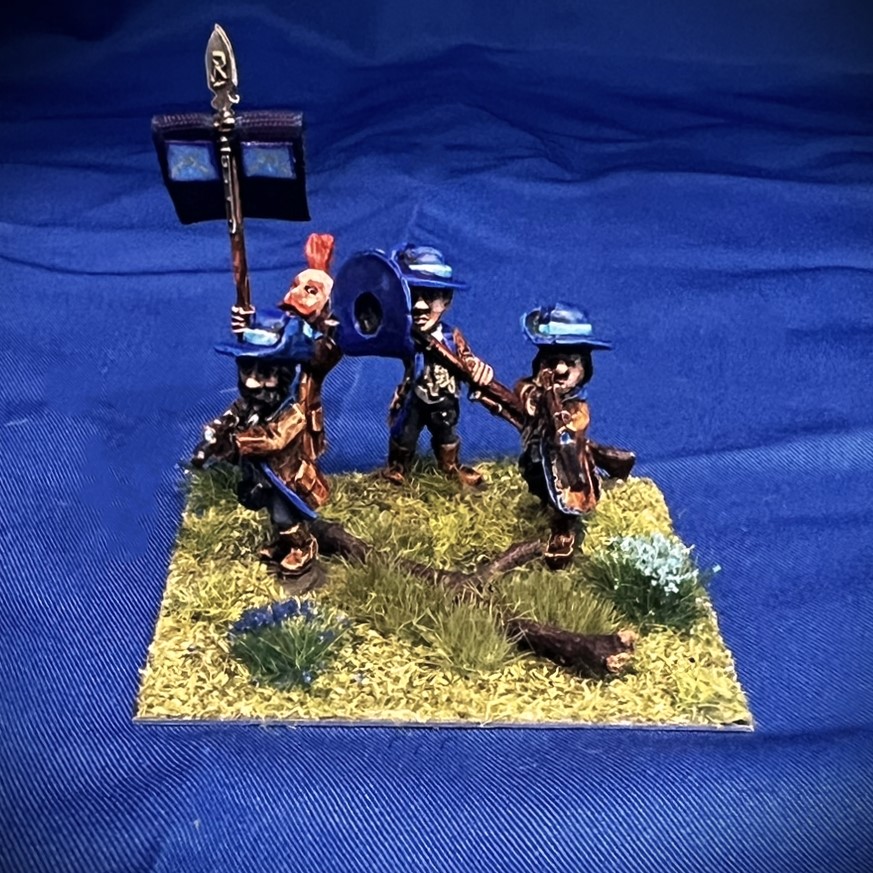
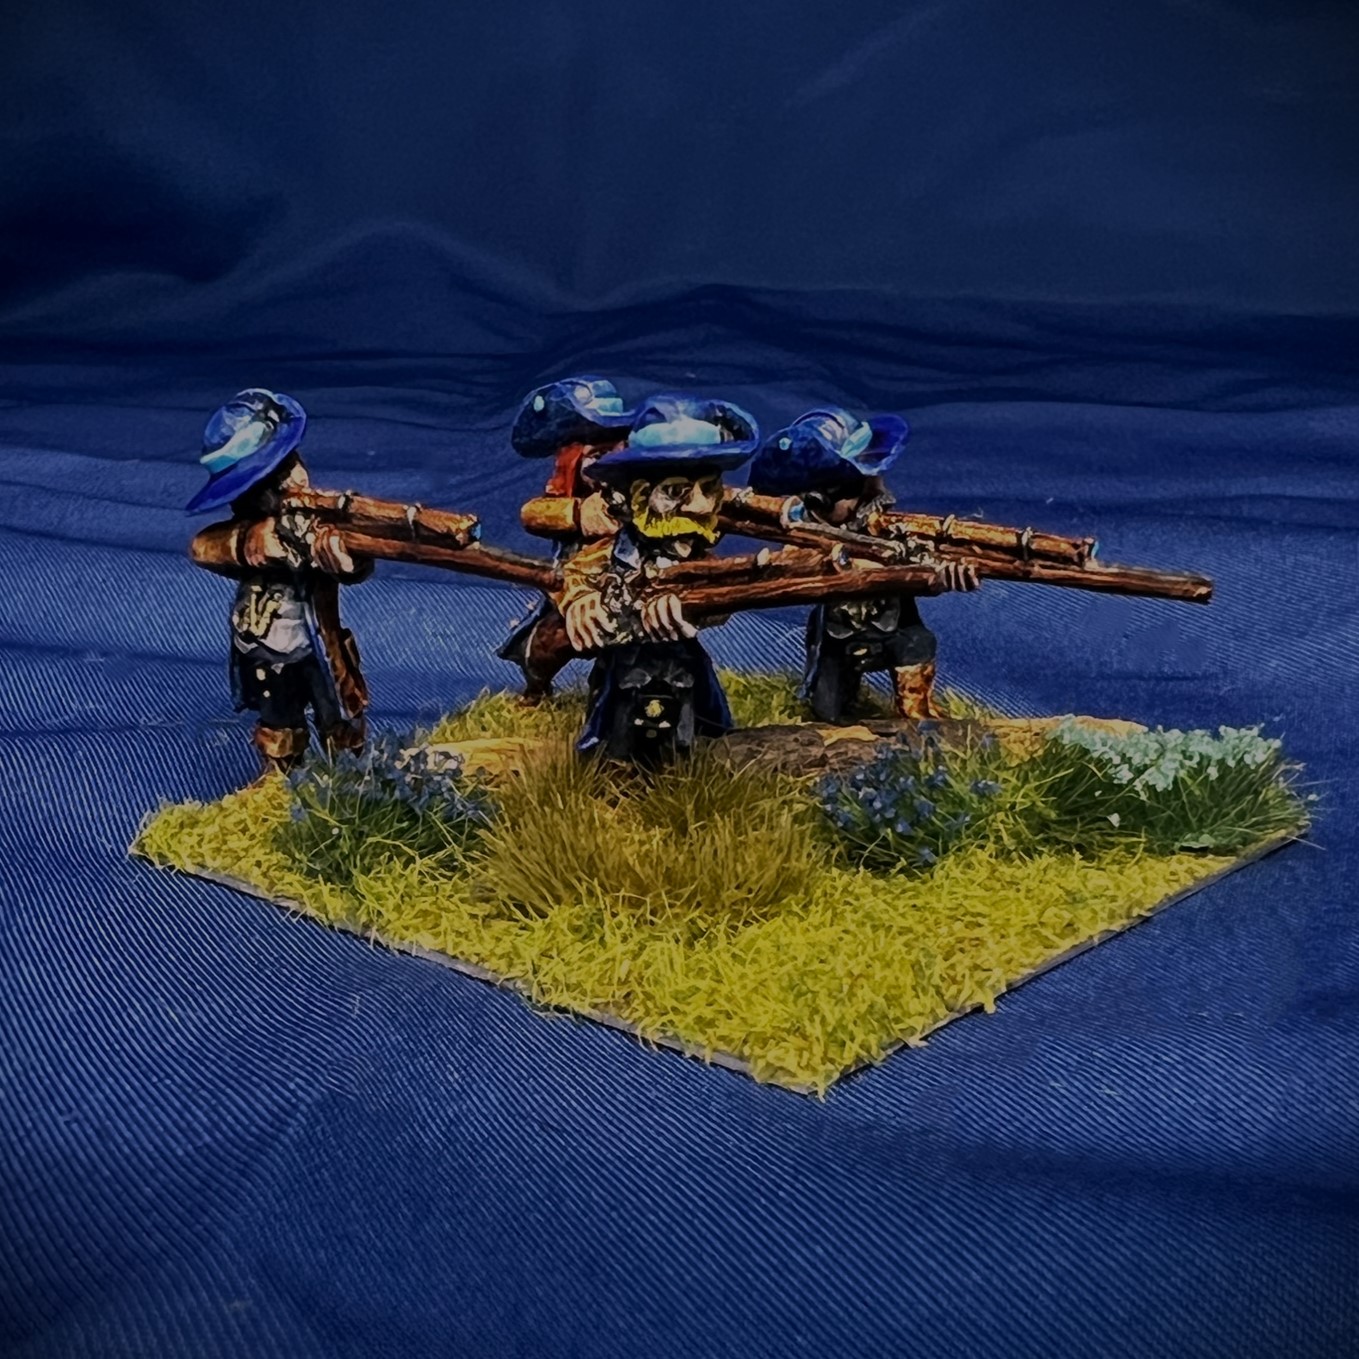
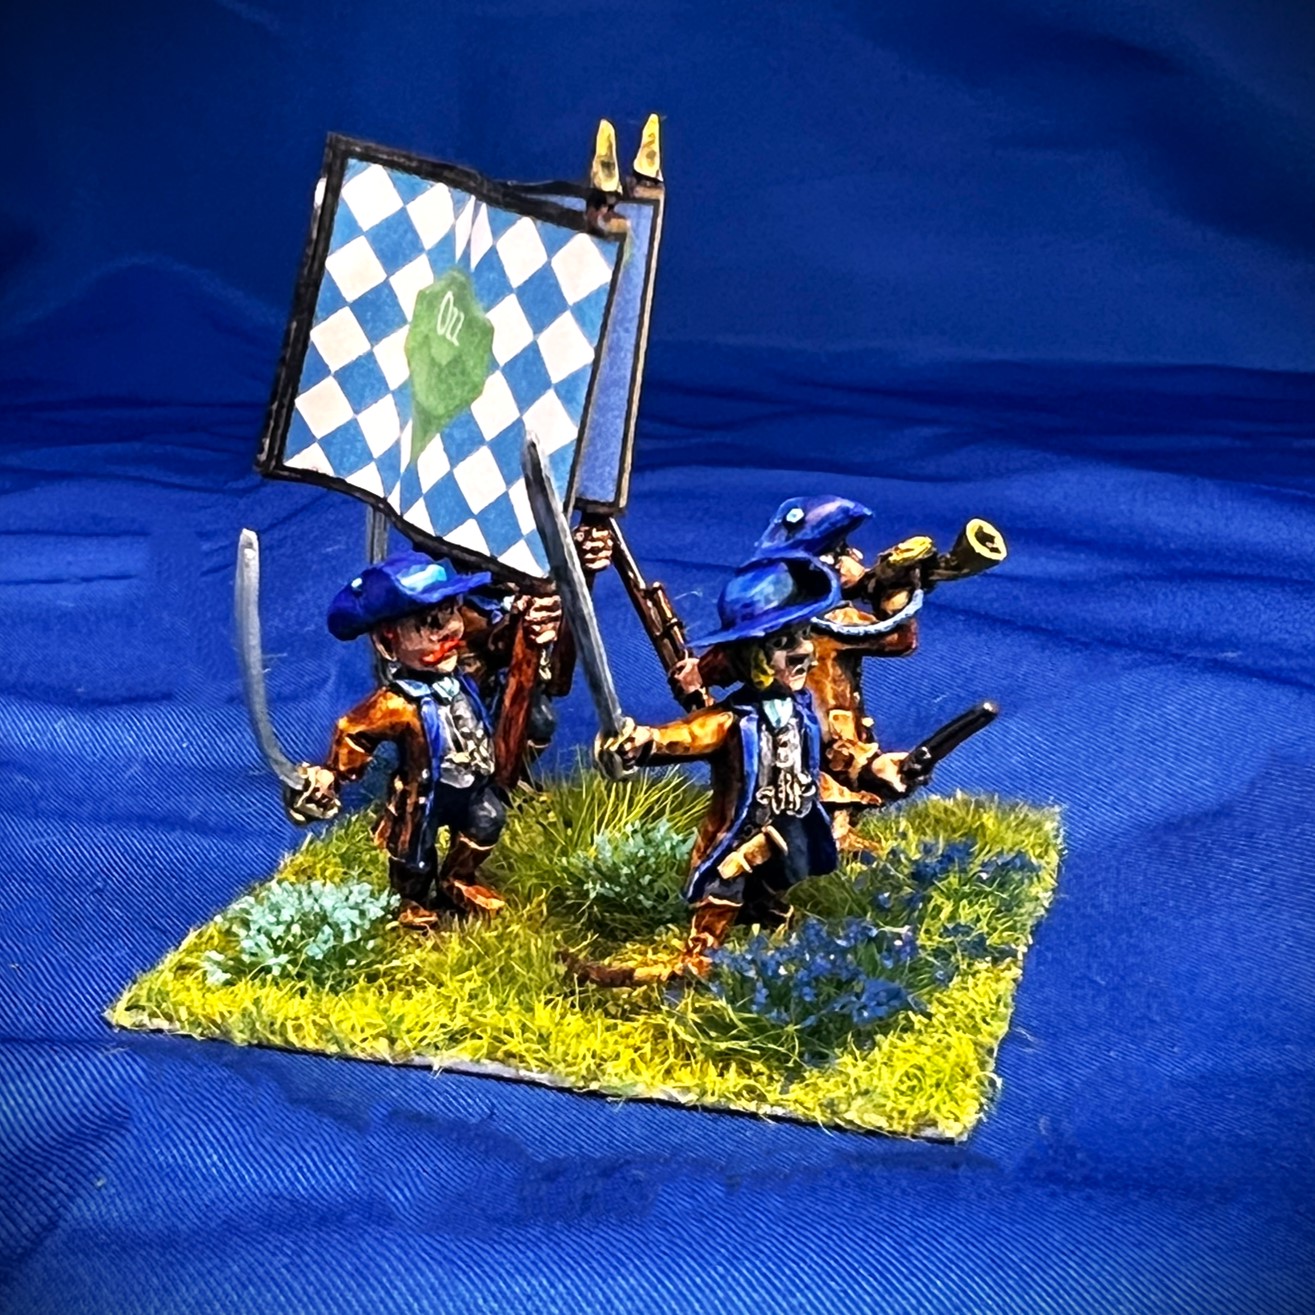
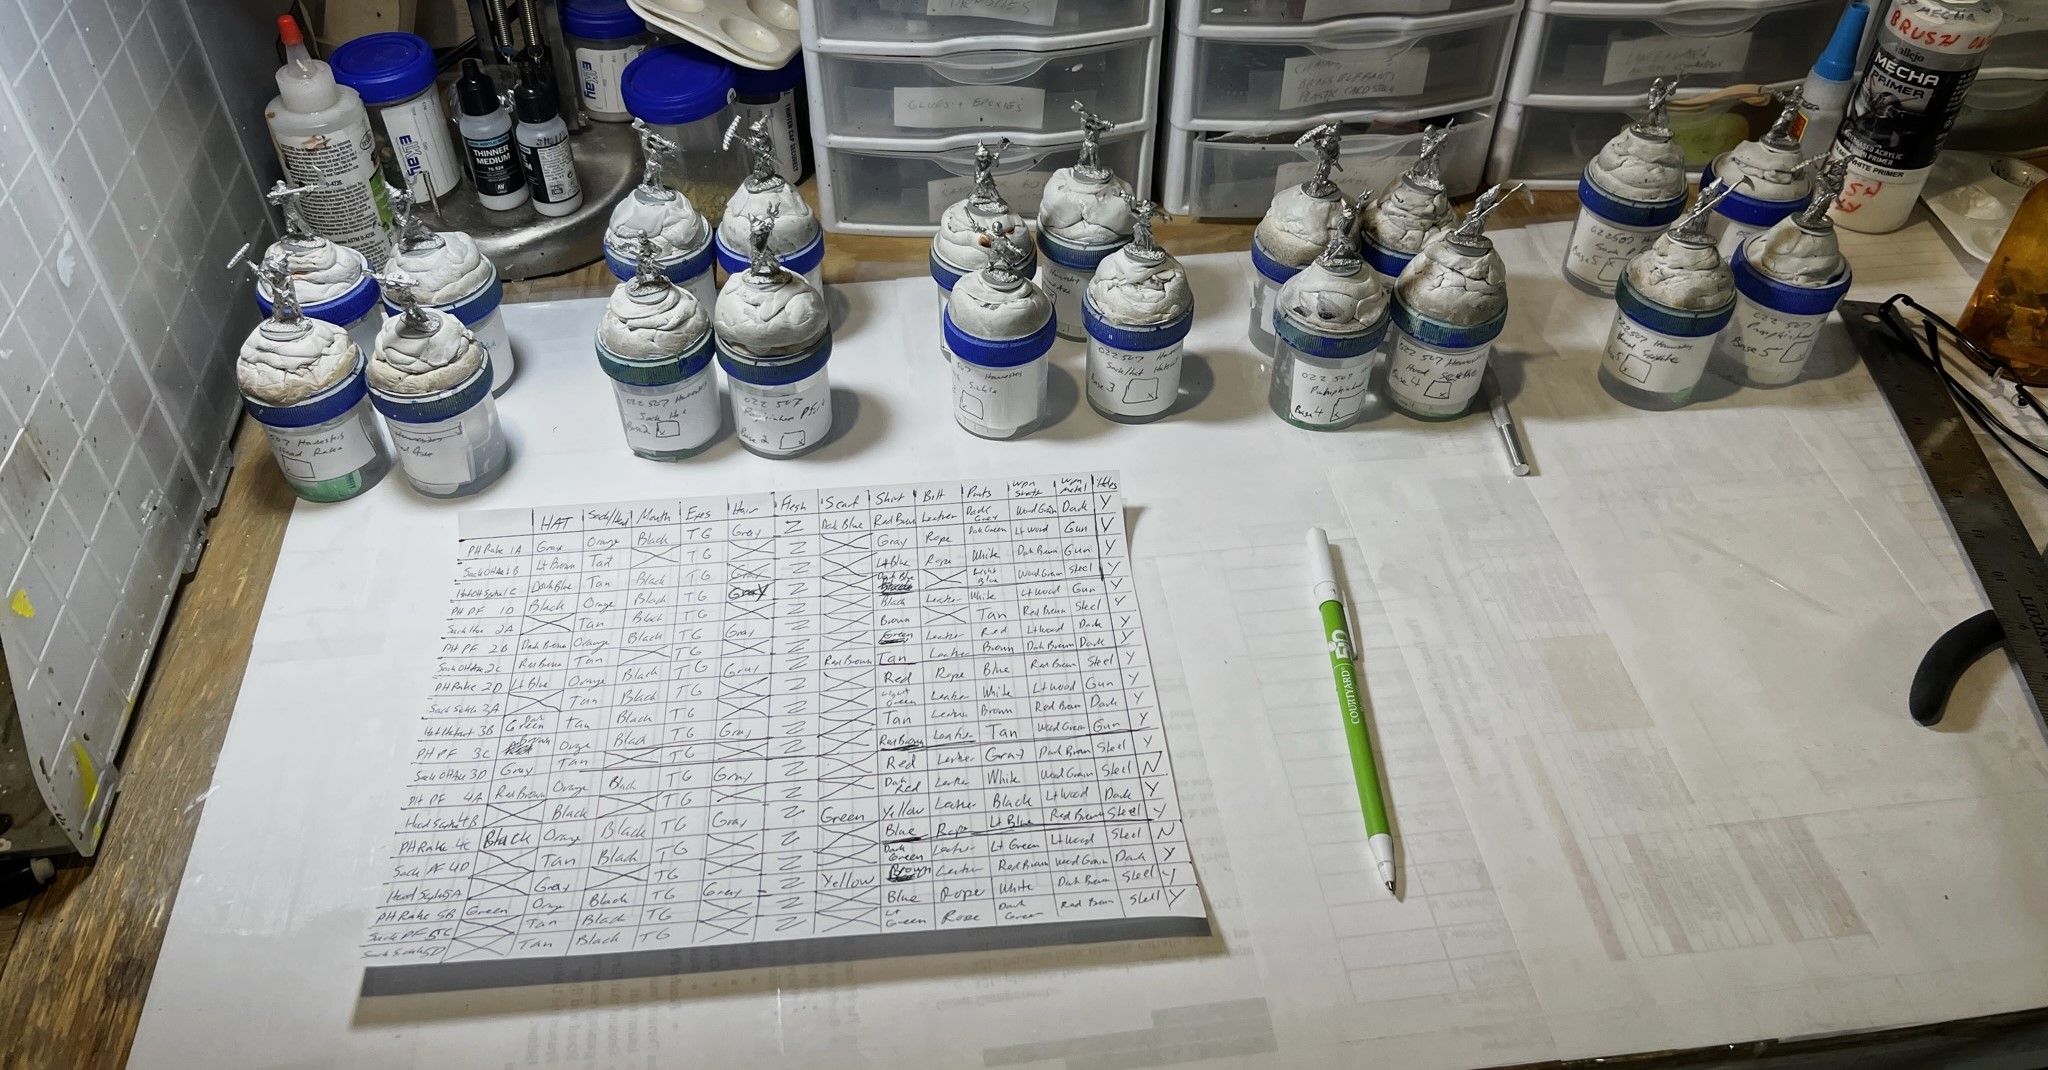
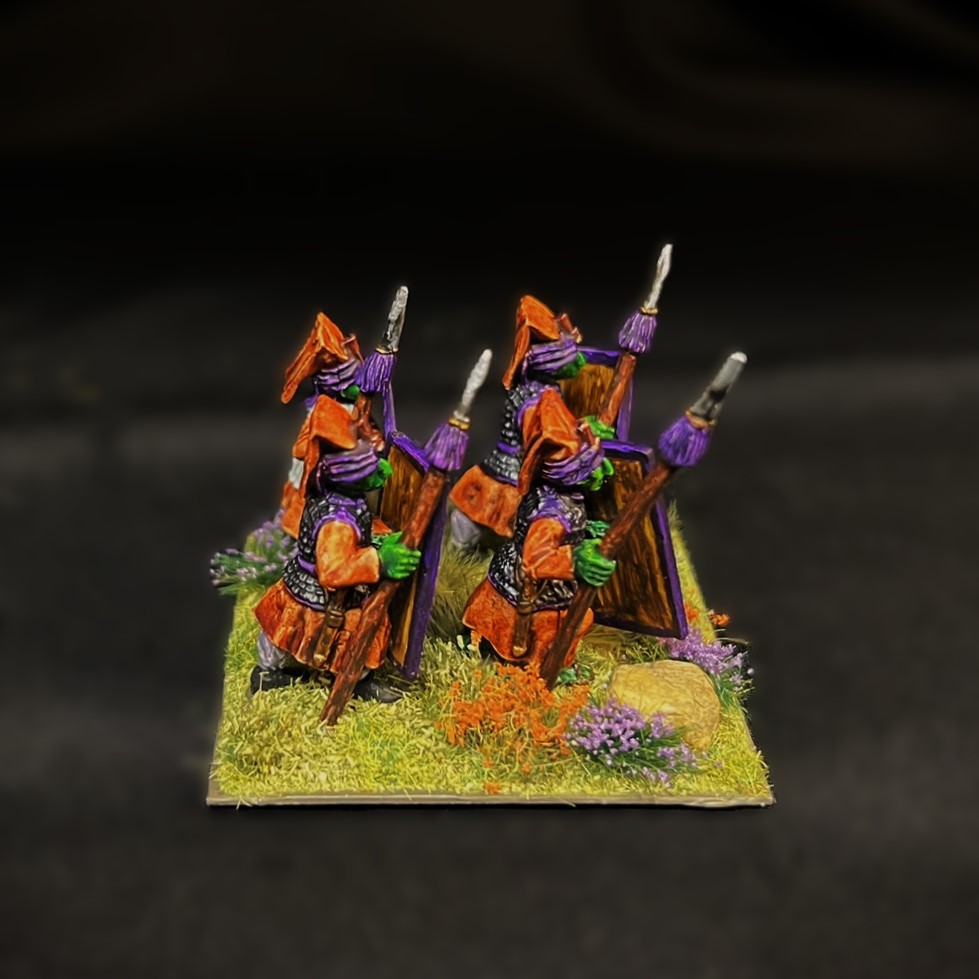
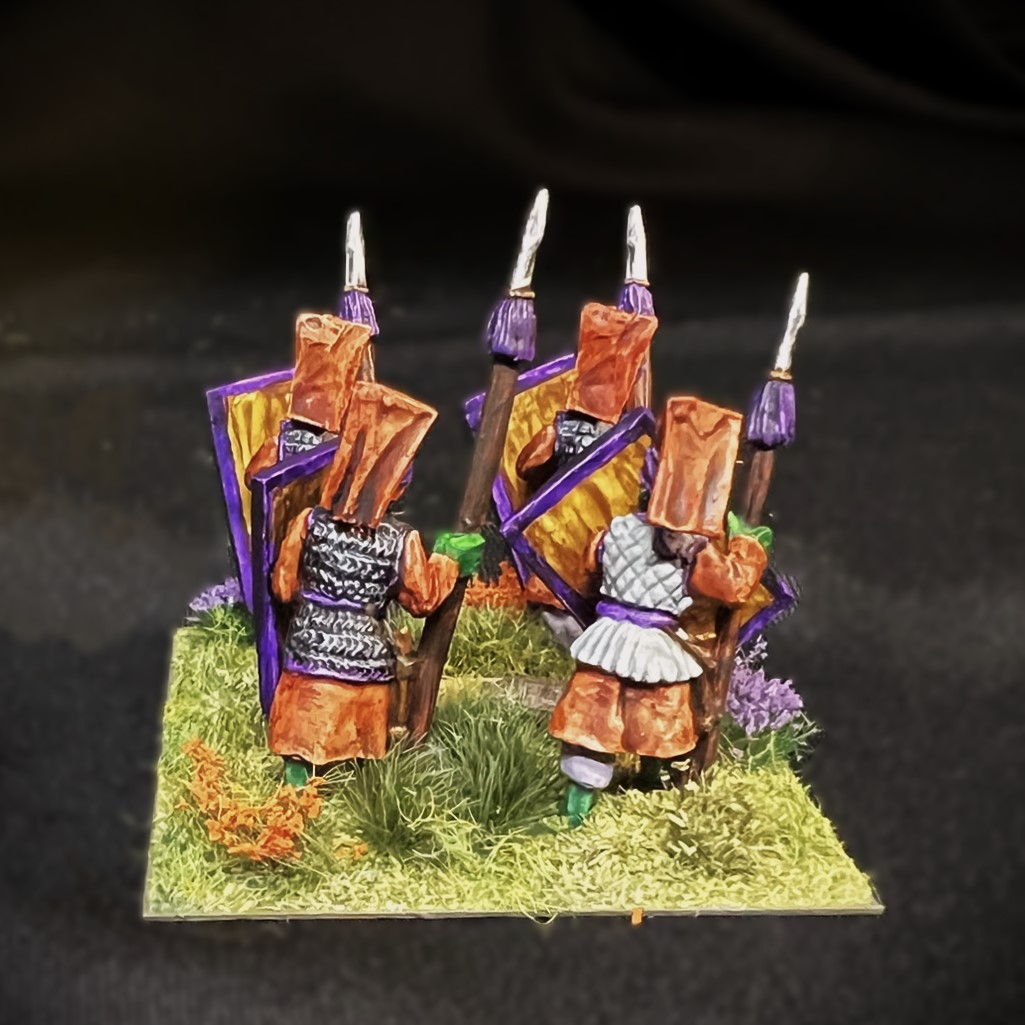
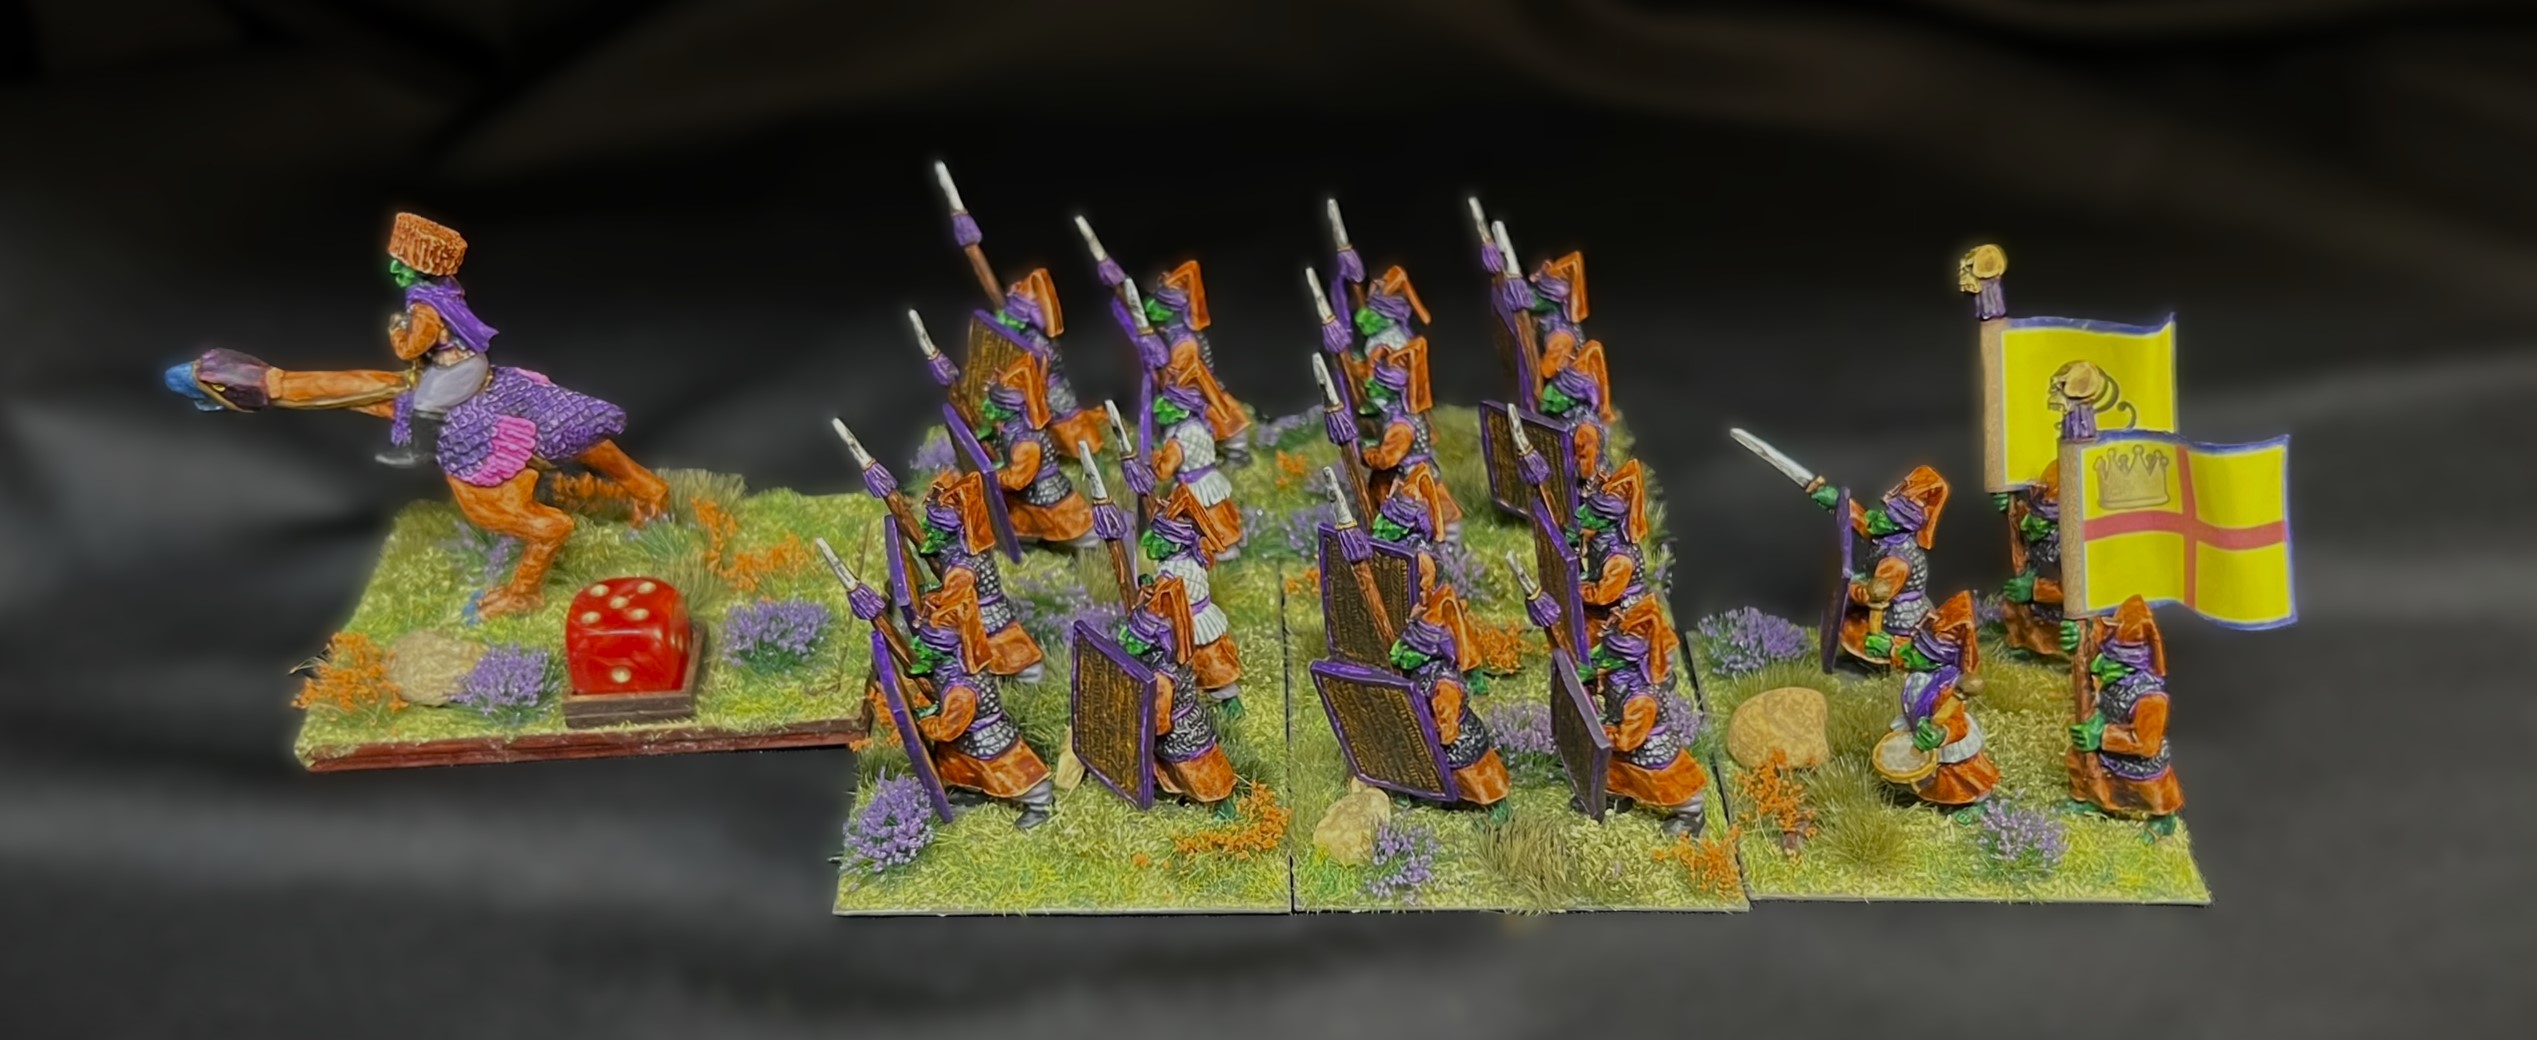
According to the rules, the EBIR is a very potent unit. As befits the Winkie ethos of warfare, they fight only with melee weapons – in this case big honking thrusting spears and swords. With regards to Melee, the EBIR has the same attribute as other Winkie Infantry Regiments – that of 7/10, which is very good. Where the EBIR differs is in its Resolve and Elan attributes – as well as with regards to its point cost. The Resolve value (the measure of the unit’s desire to stick in a fight) for the EBIR is a whopping 9/10 versus a regular Winkie Infantry Regiment’s 6/10. The Elan attribute for the EBIR (the desire to take the fight to the enemy) is the strongest possible at 10/10 versus a regular Winkie Infantry Regiment’s already strong 8/10. This is greater than any other unit in the game (outside of the Whim Whim Janissaries which also has an Elan of 10/10). The EBIR is expensive however, at 6 points, while a normal Winkie regiment will cost 5 points. There can only be one EBIR in any brigade. As with most other Ozz infantry regiments, they are based 4 apiece to a 2″ square base – so five bases for the regiment plus the regimental commander on his own separate MDF base.
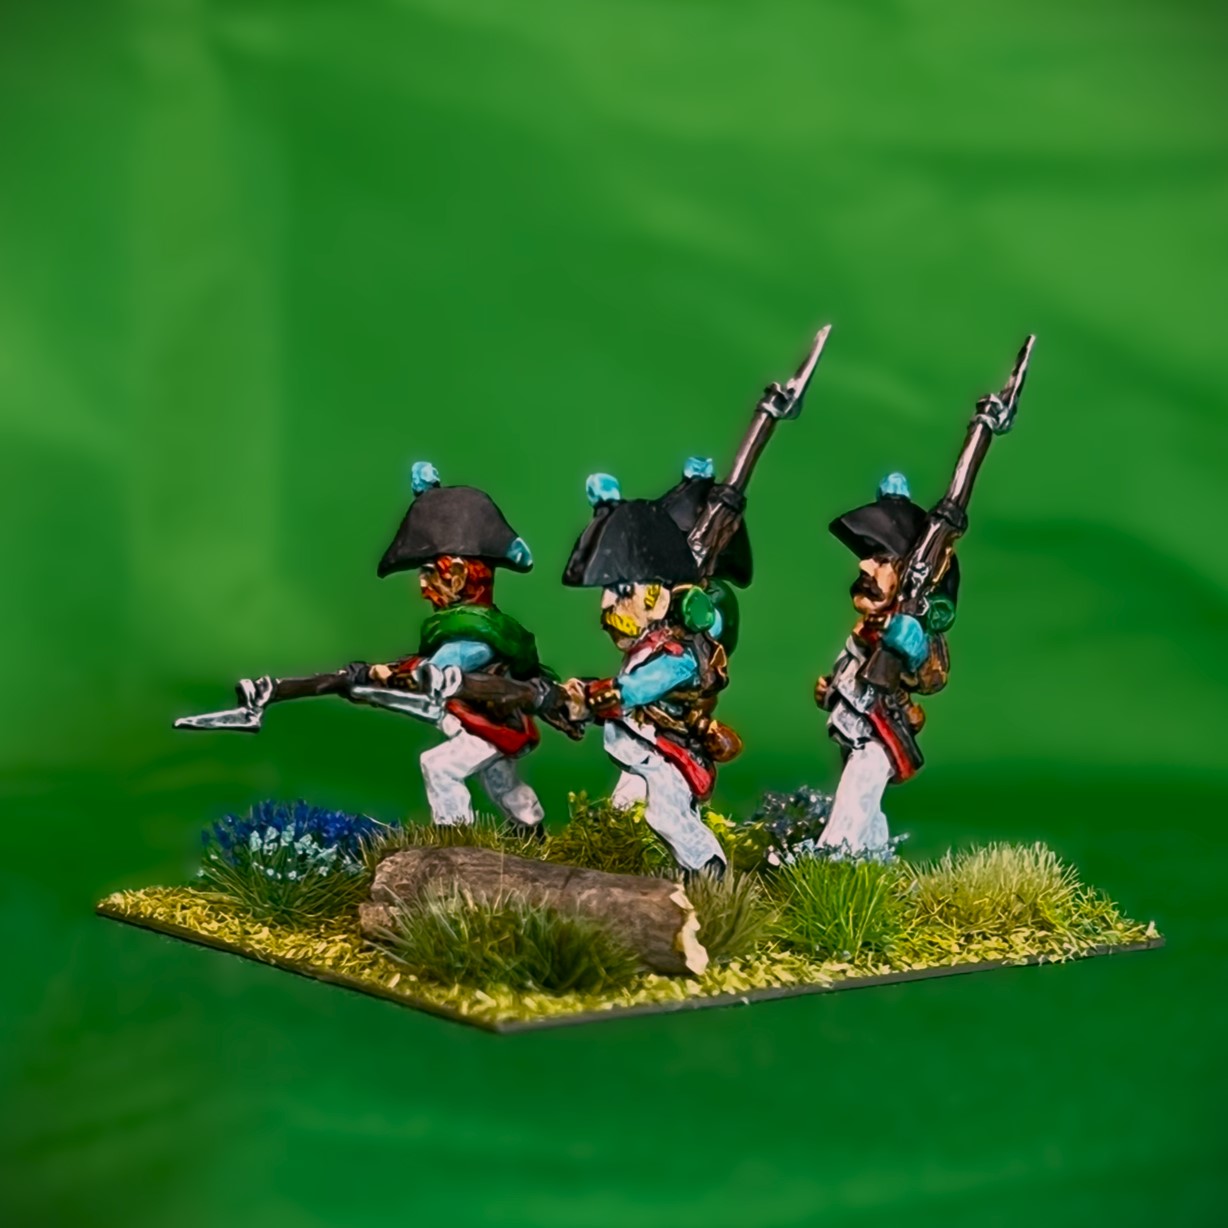
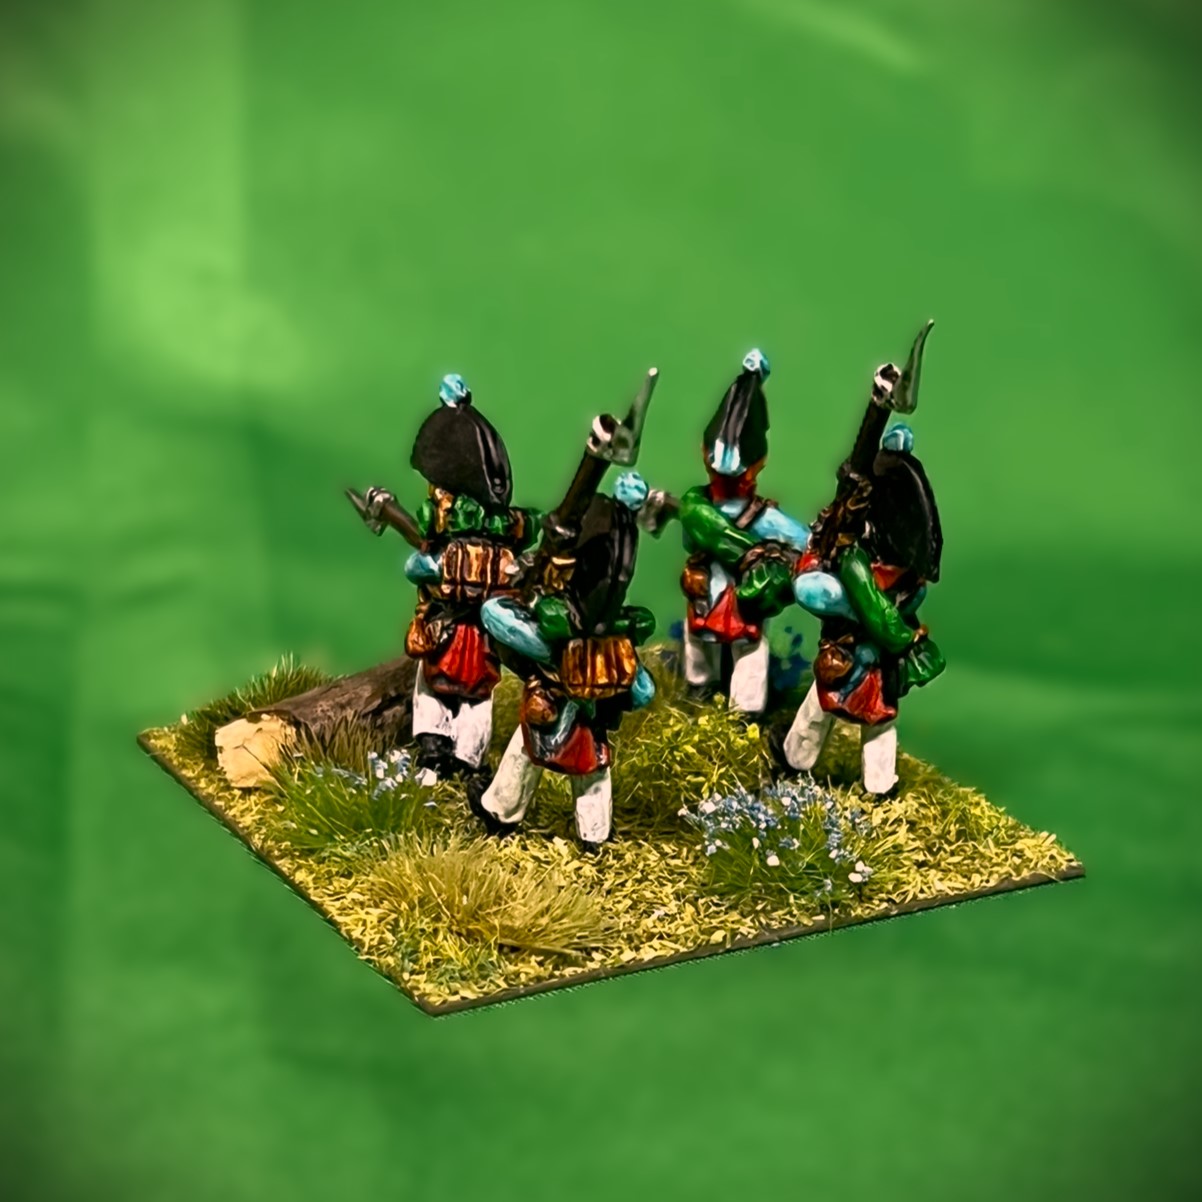
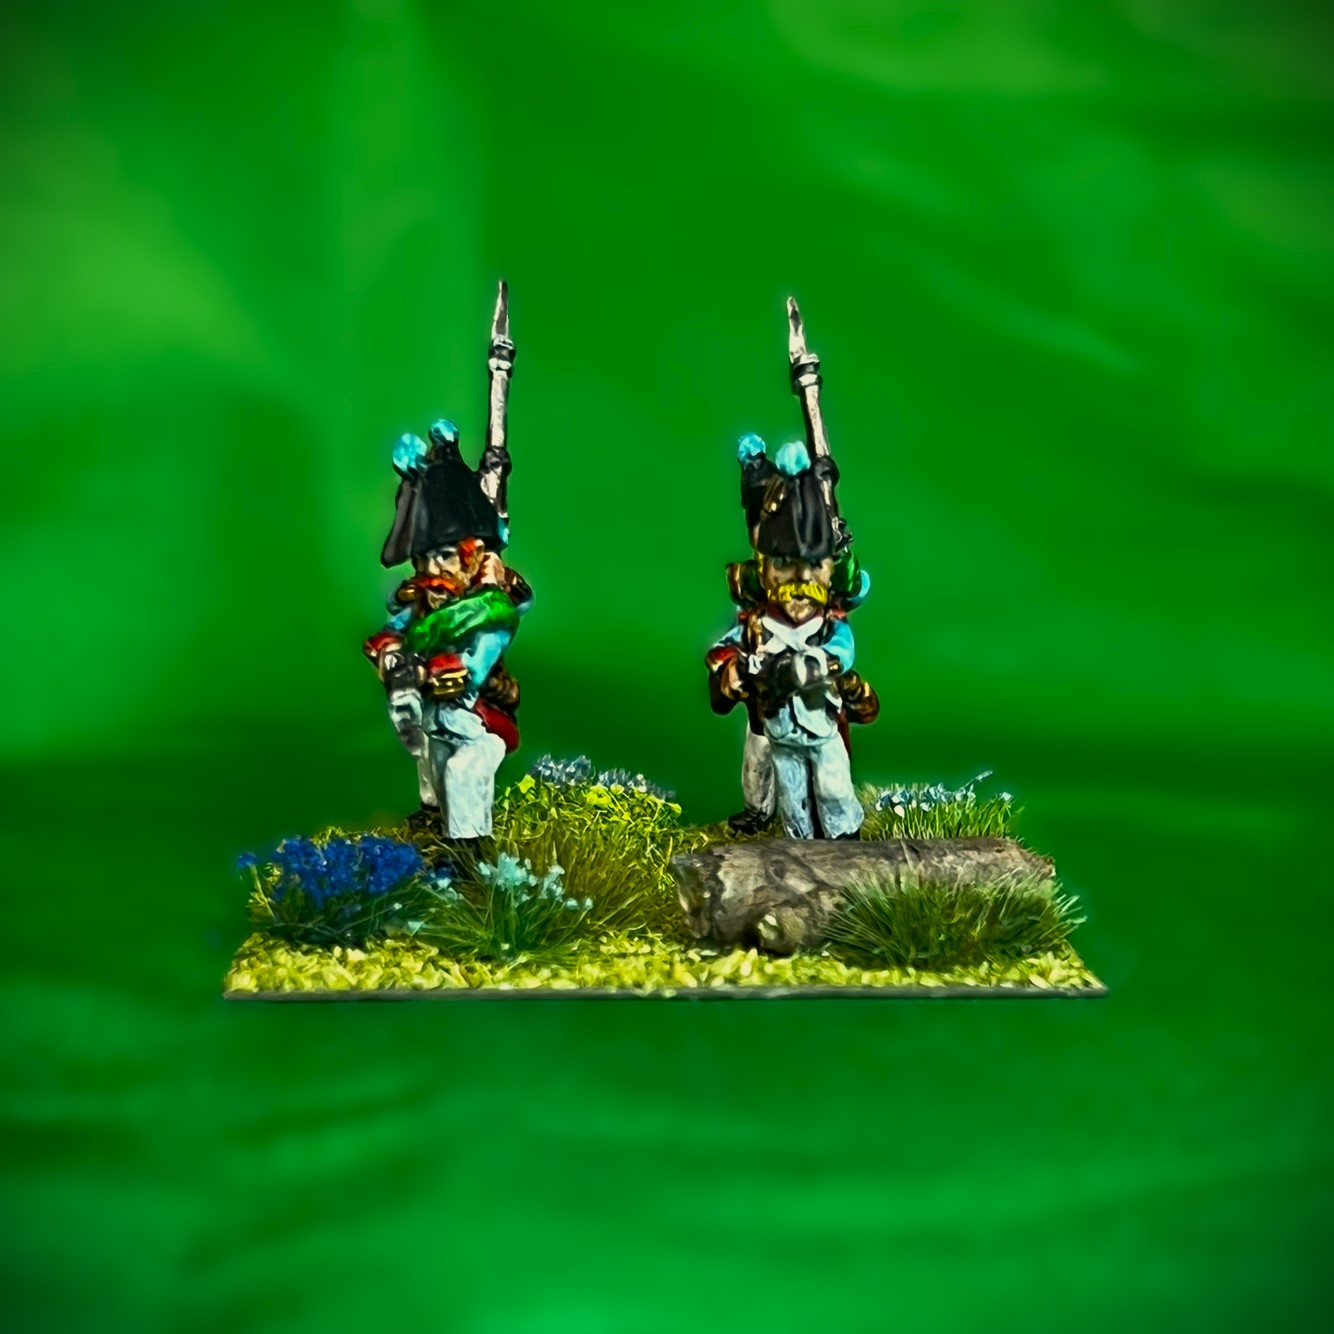
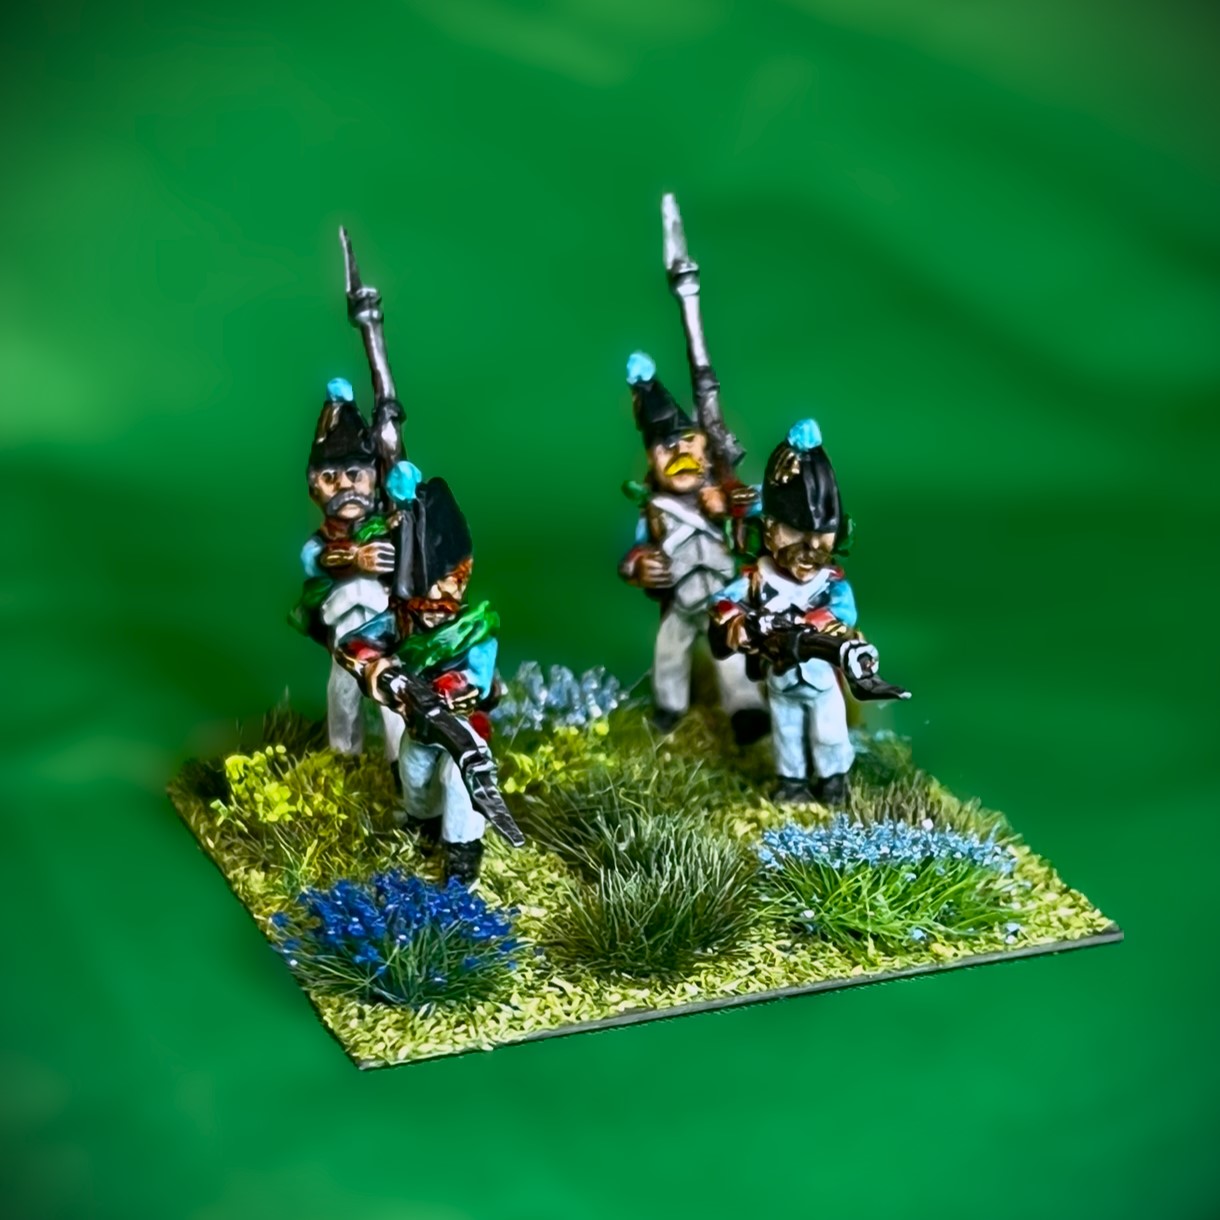
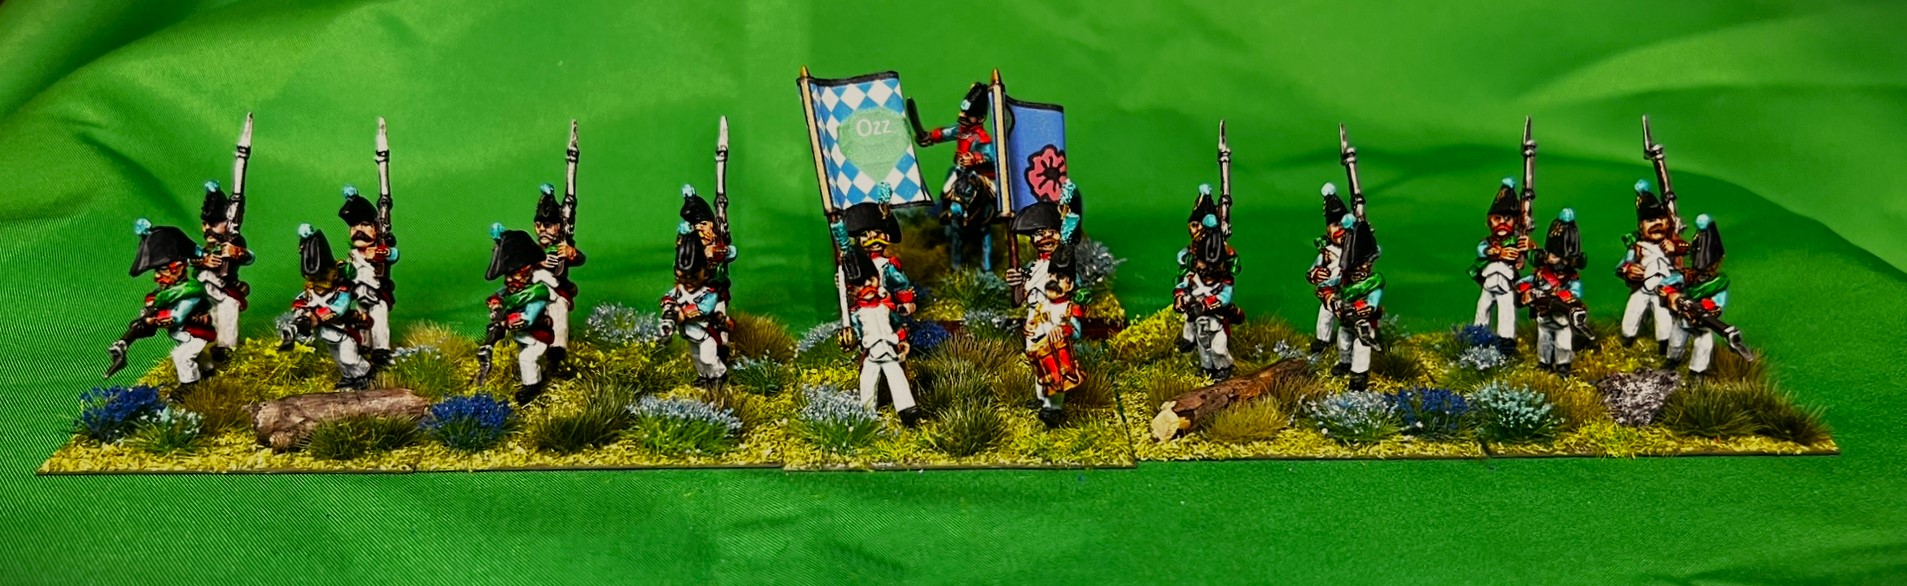
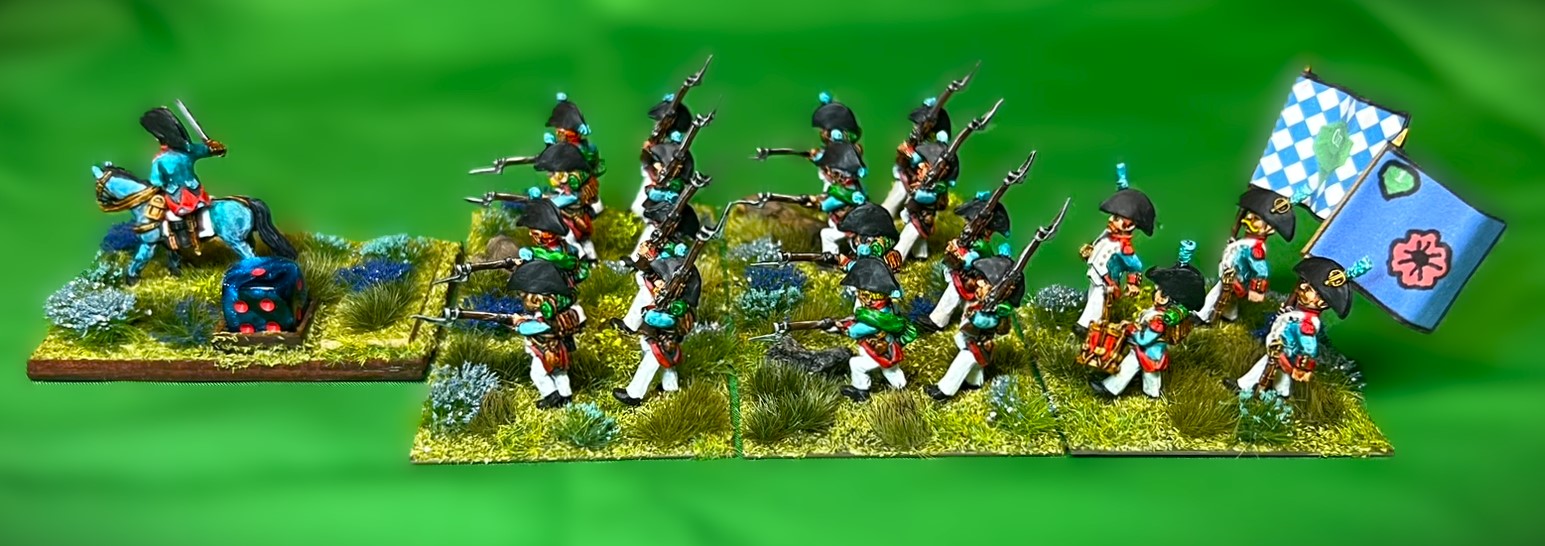
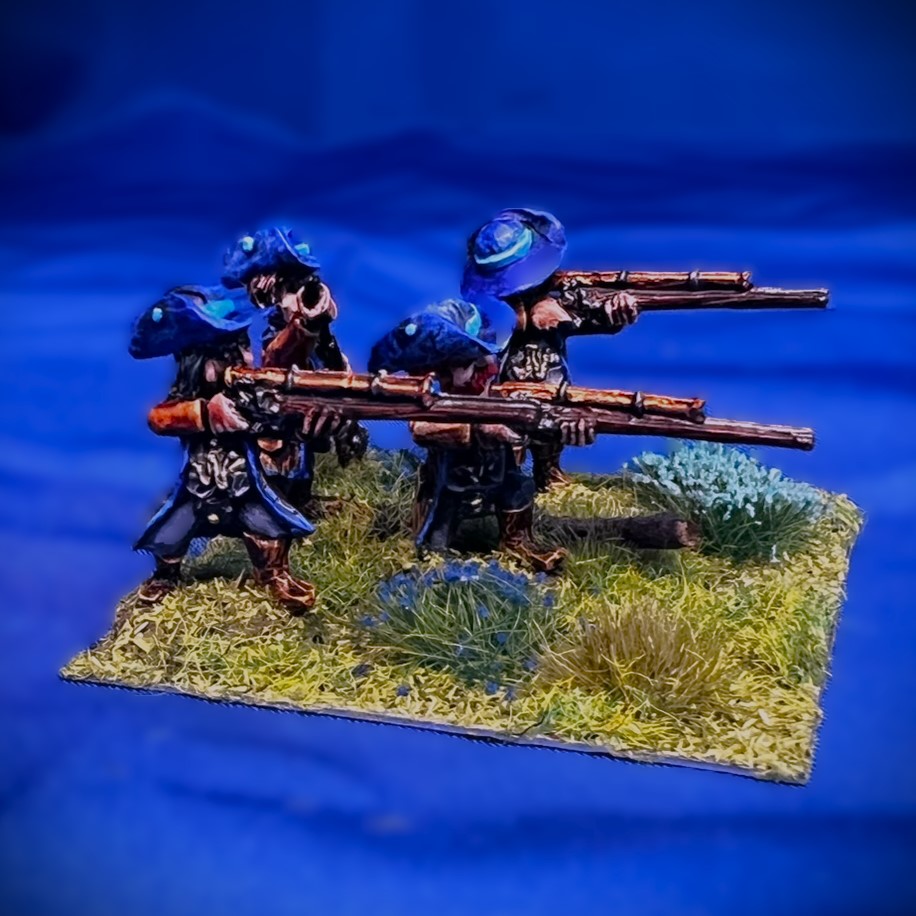
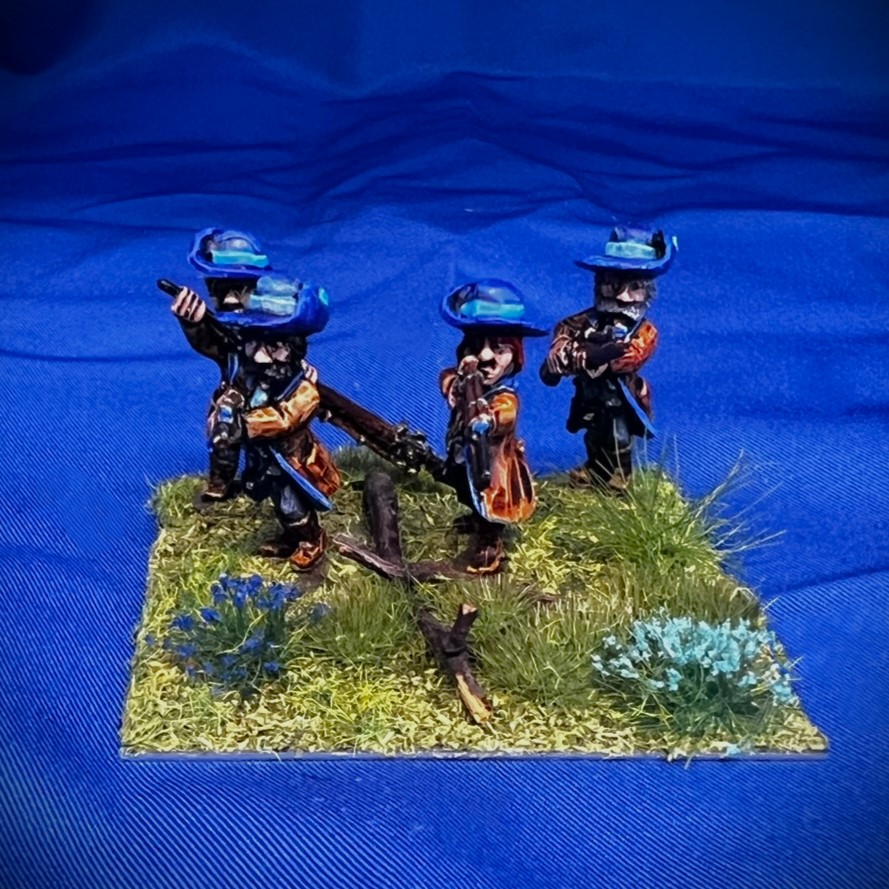
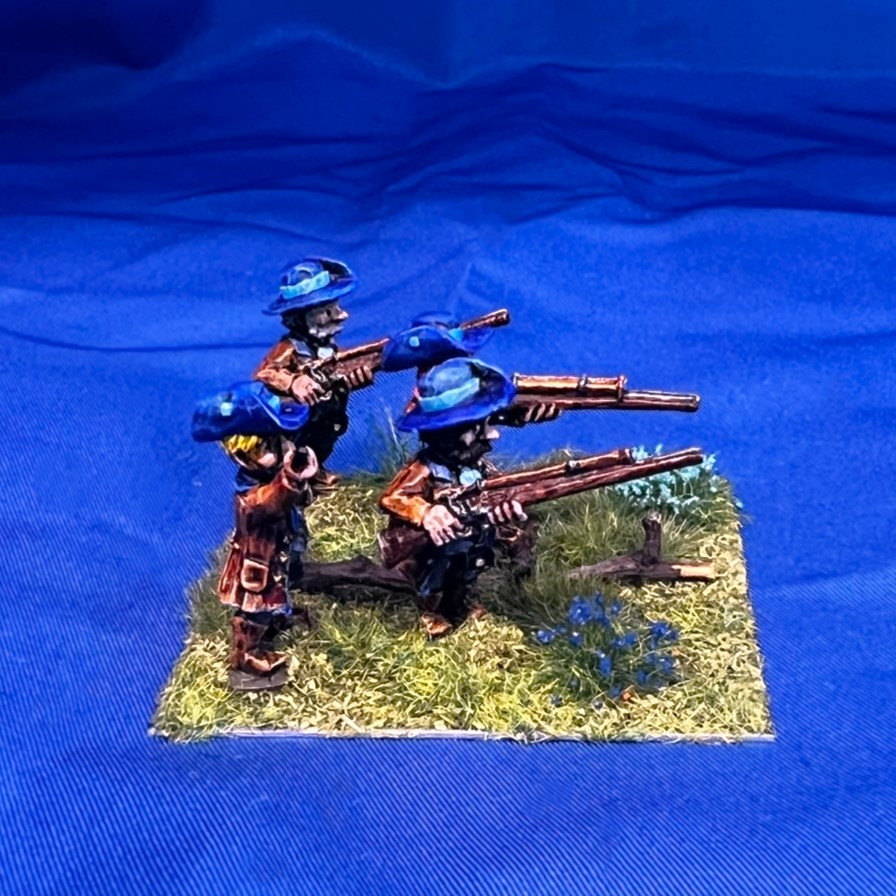
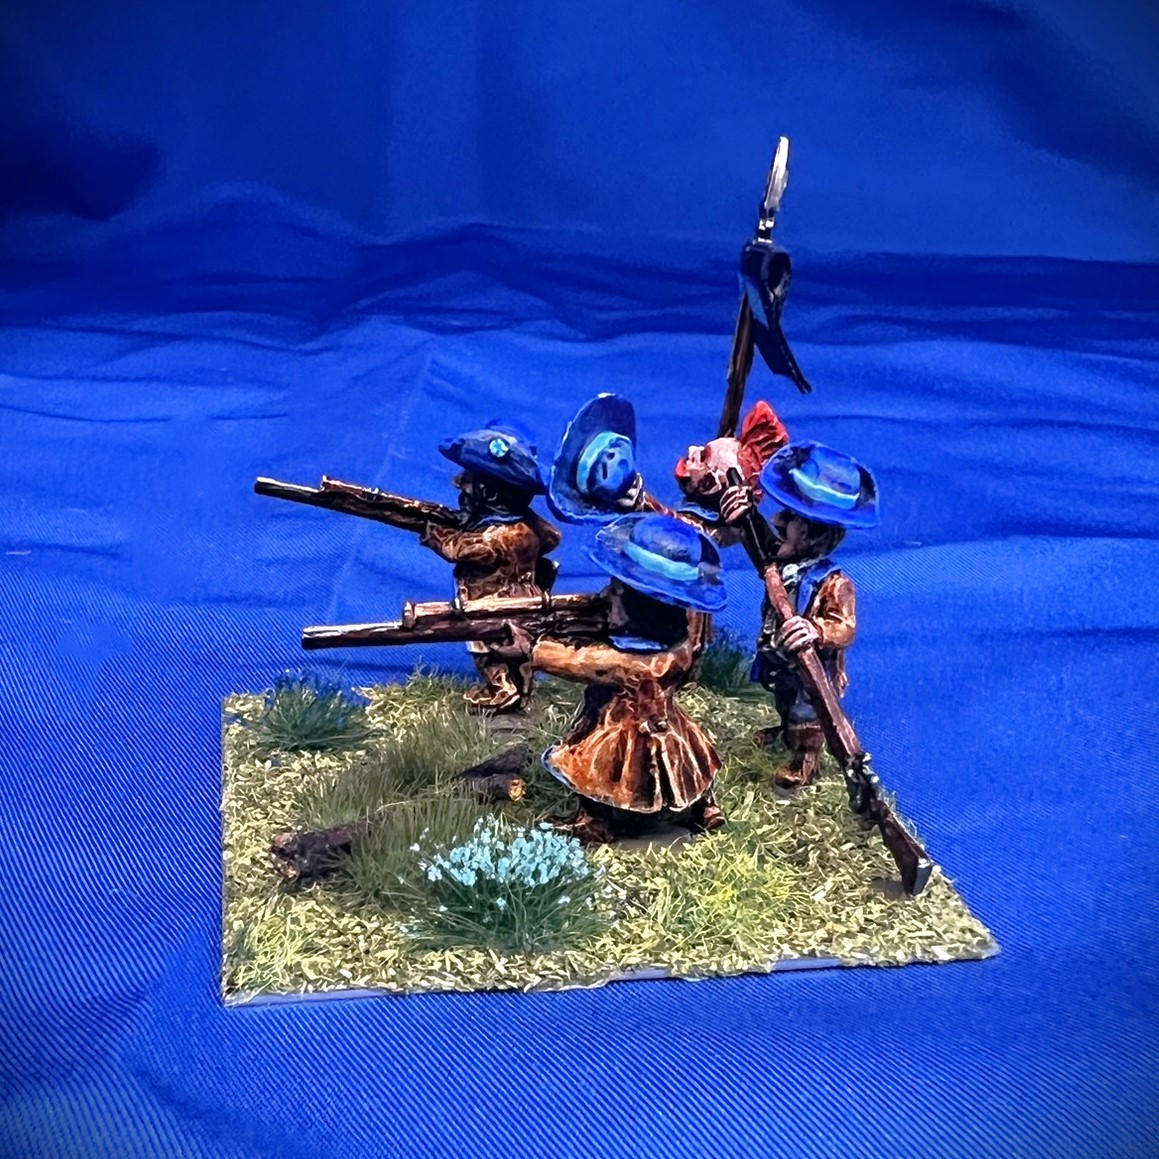
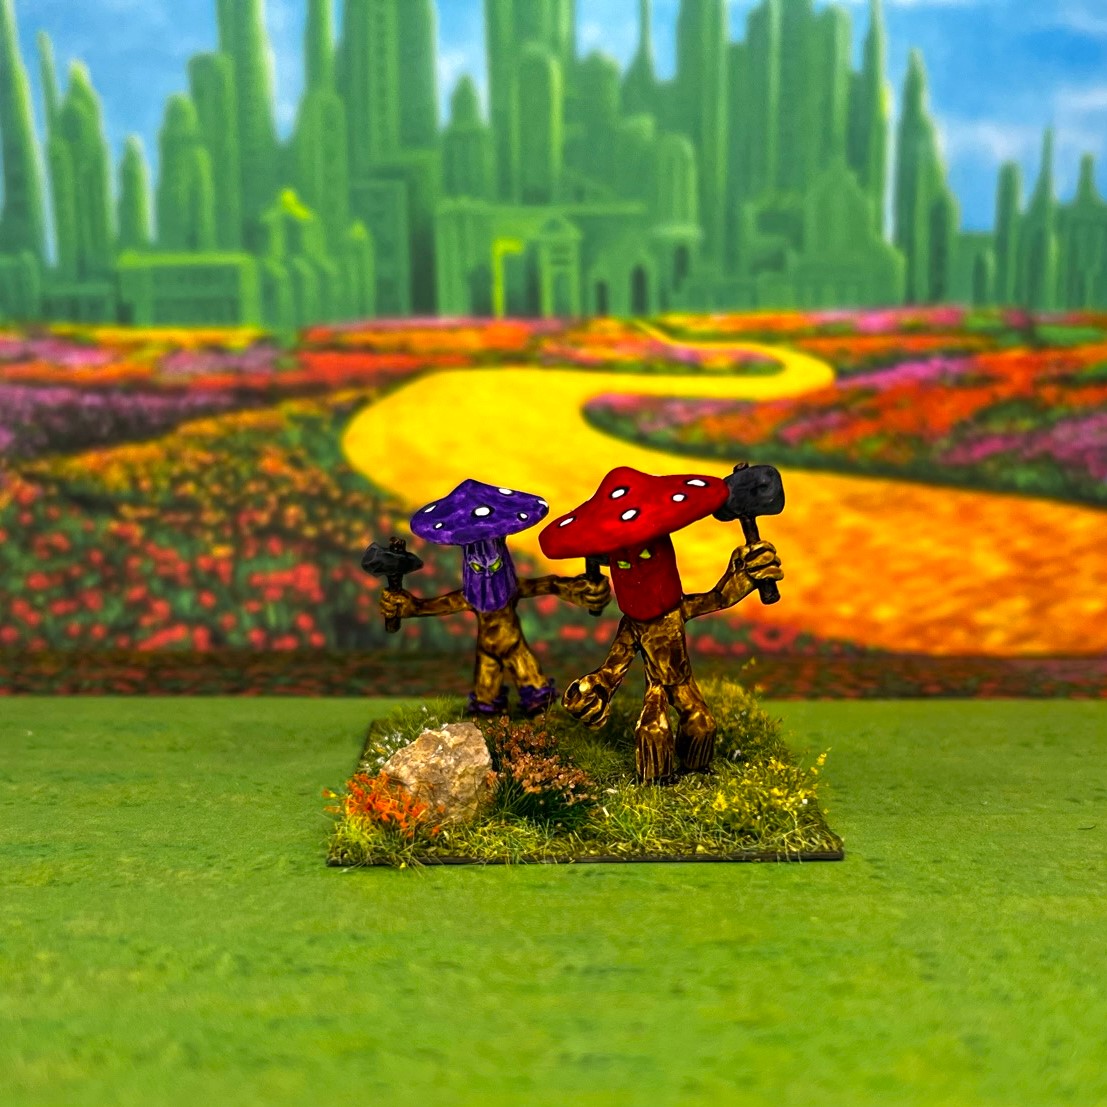
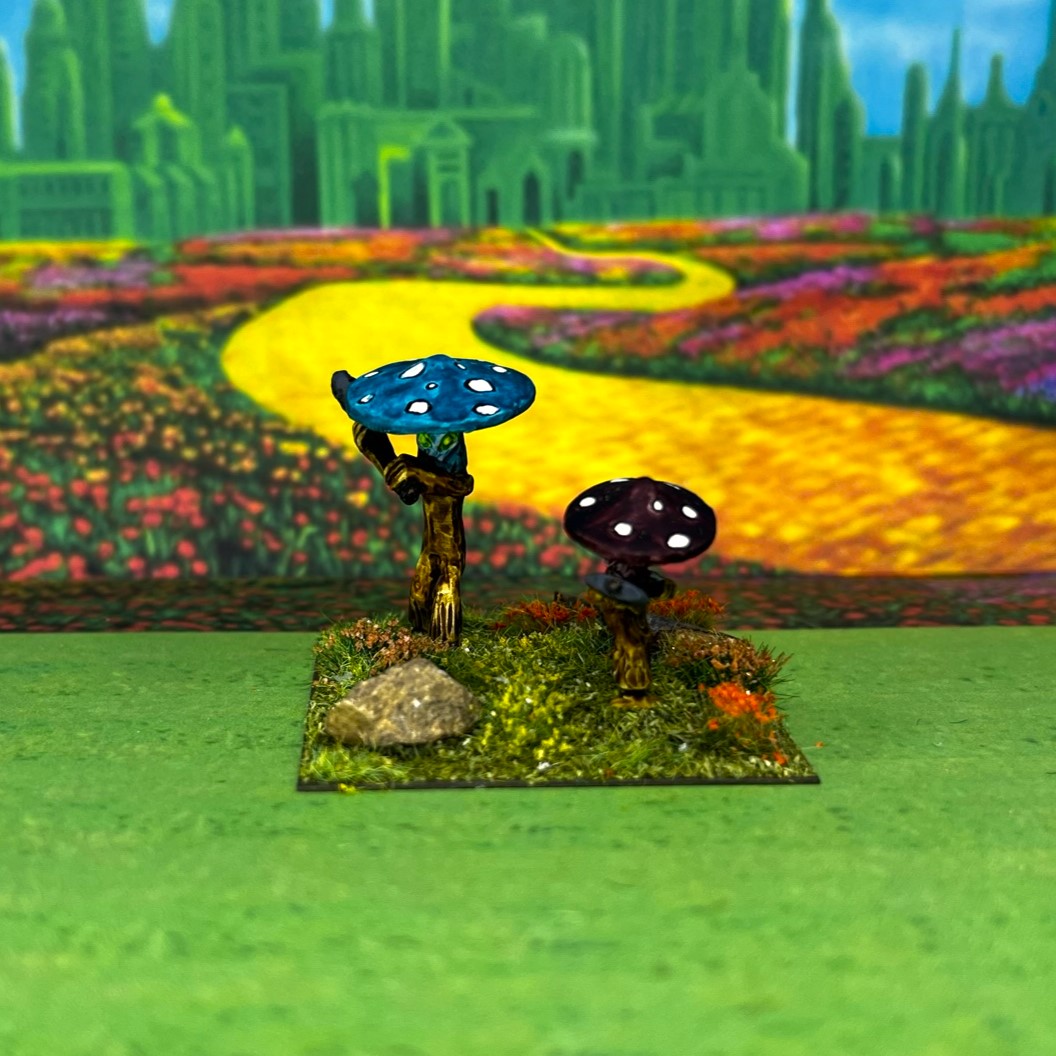
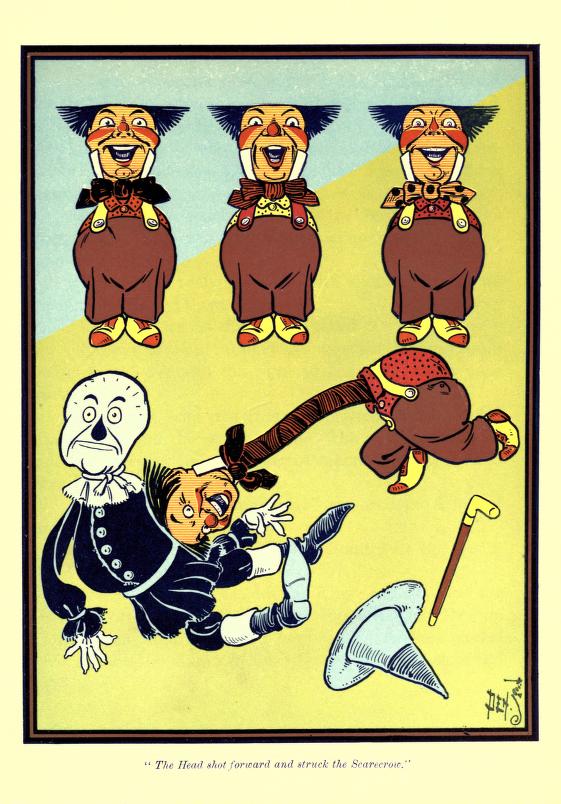
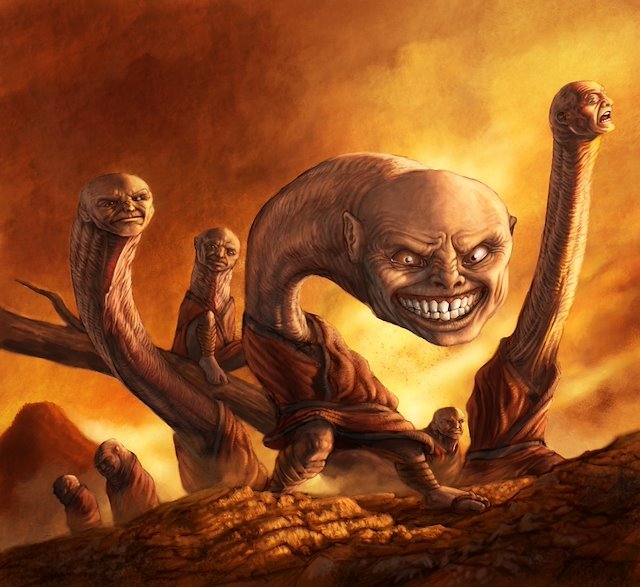
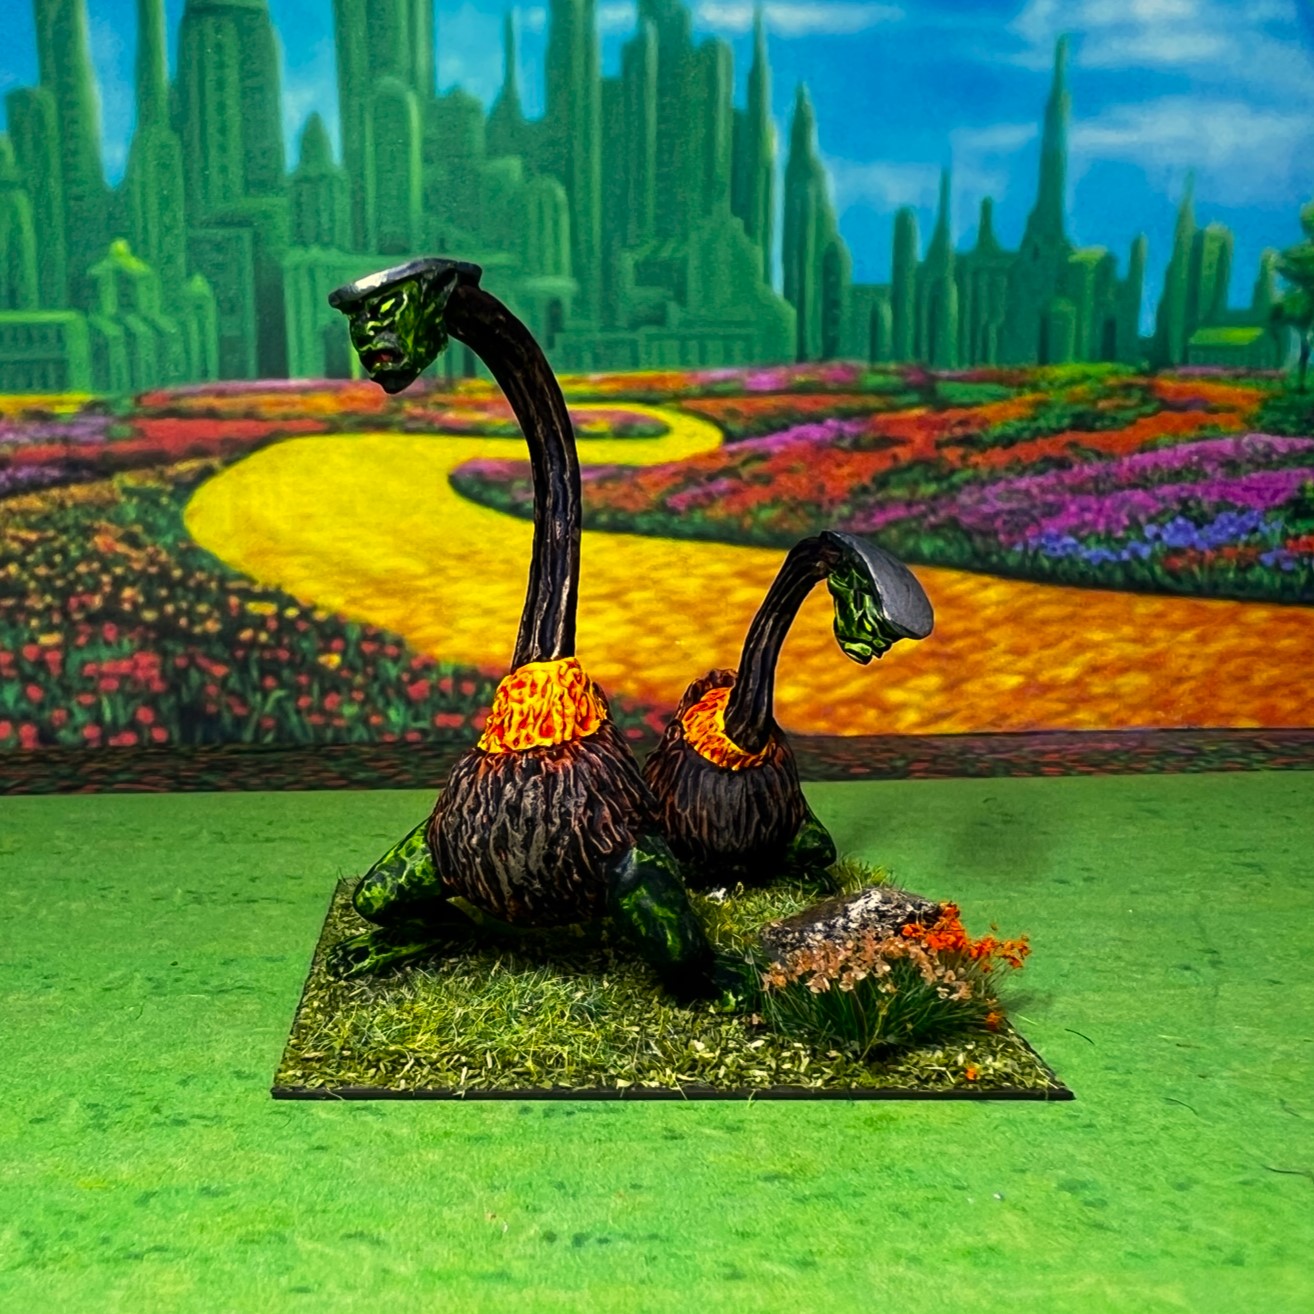
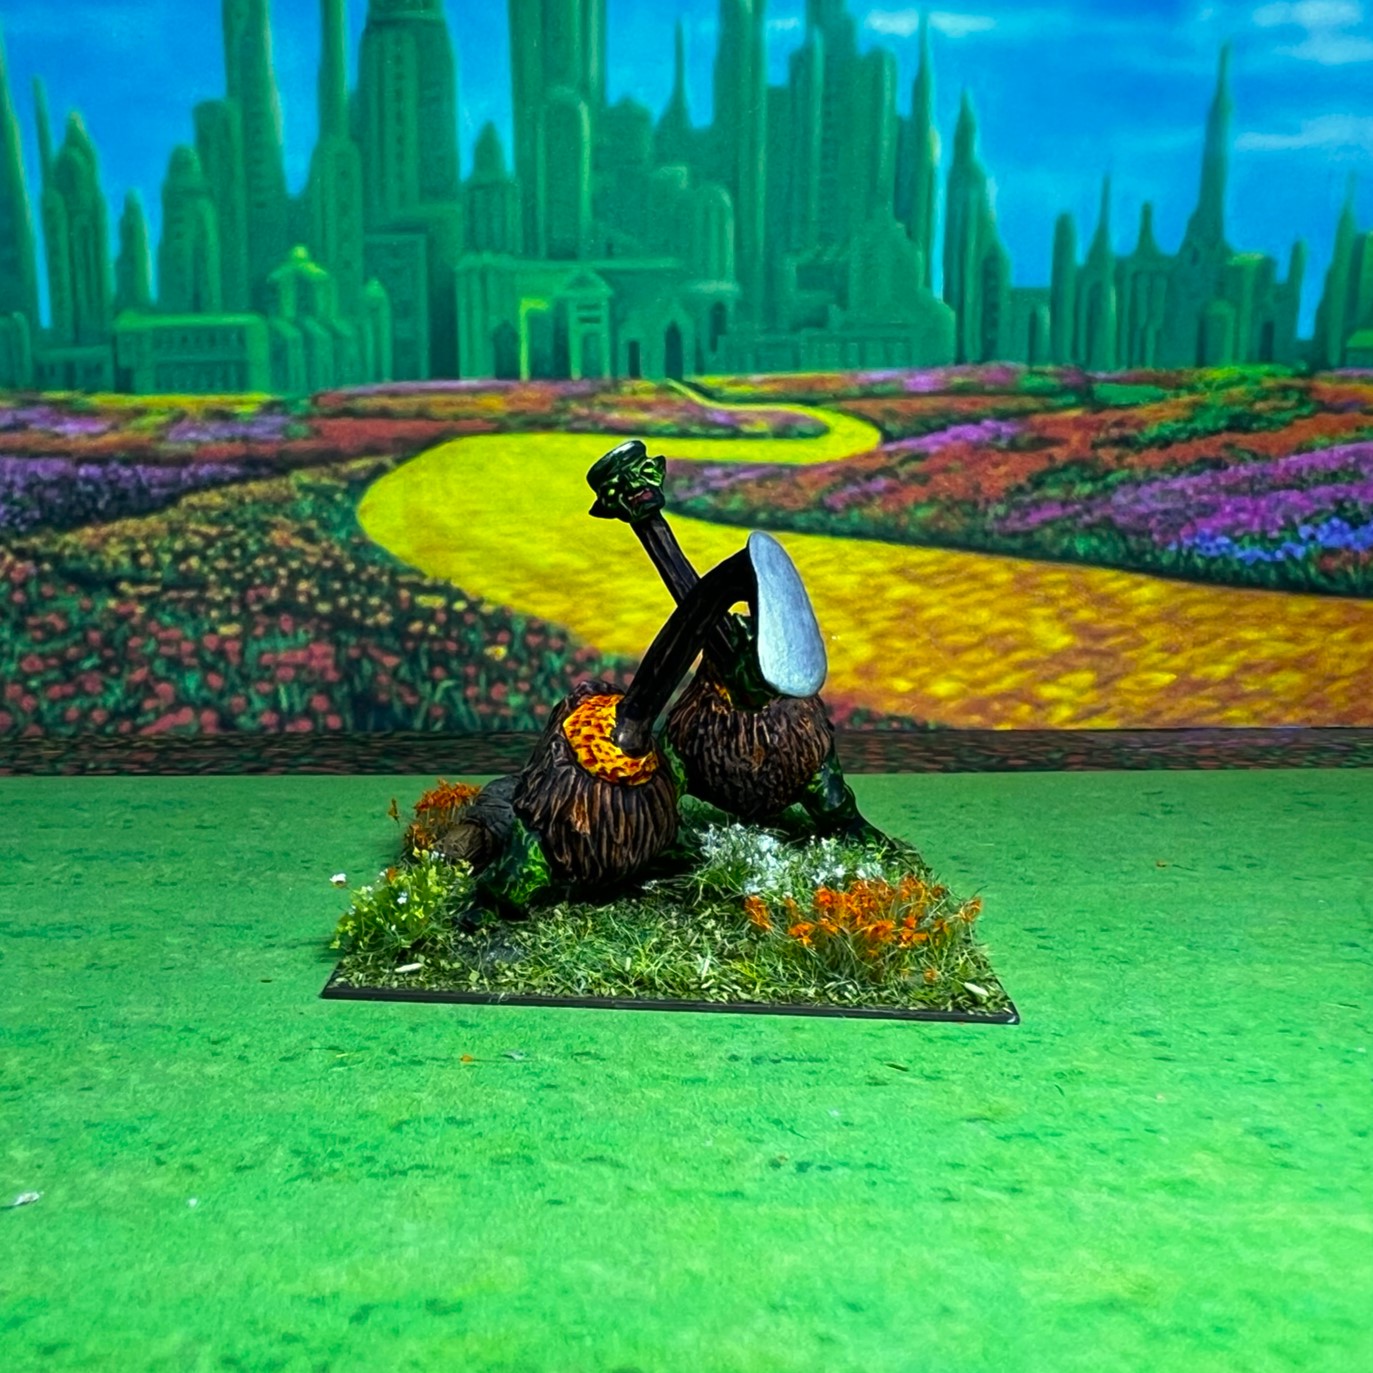
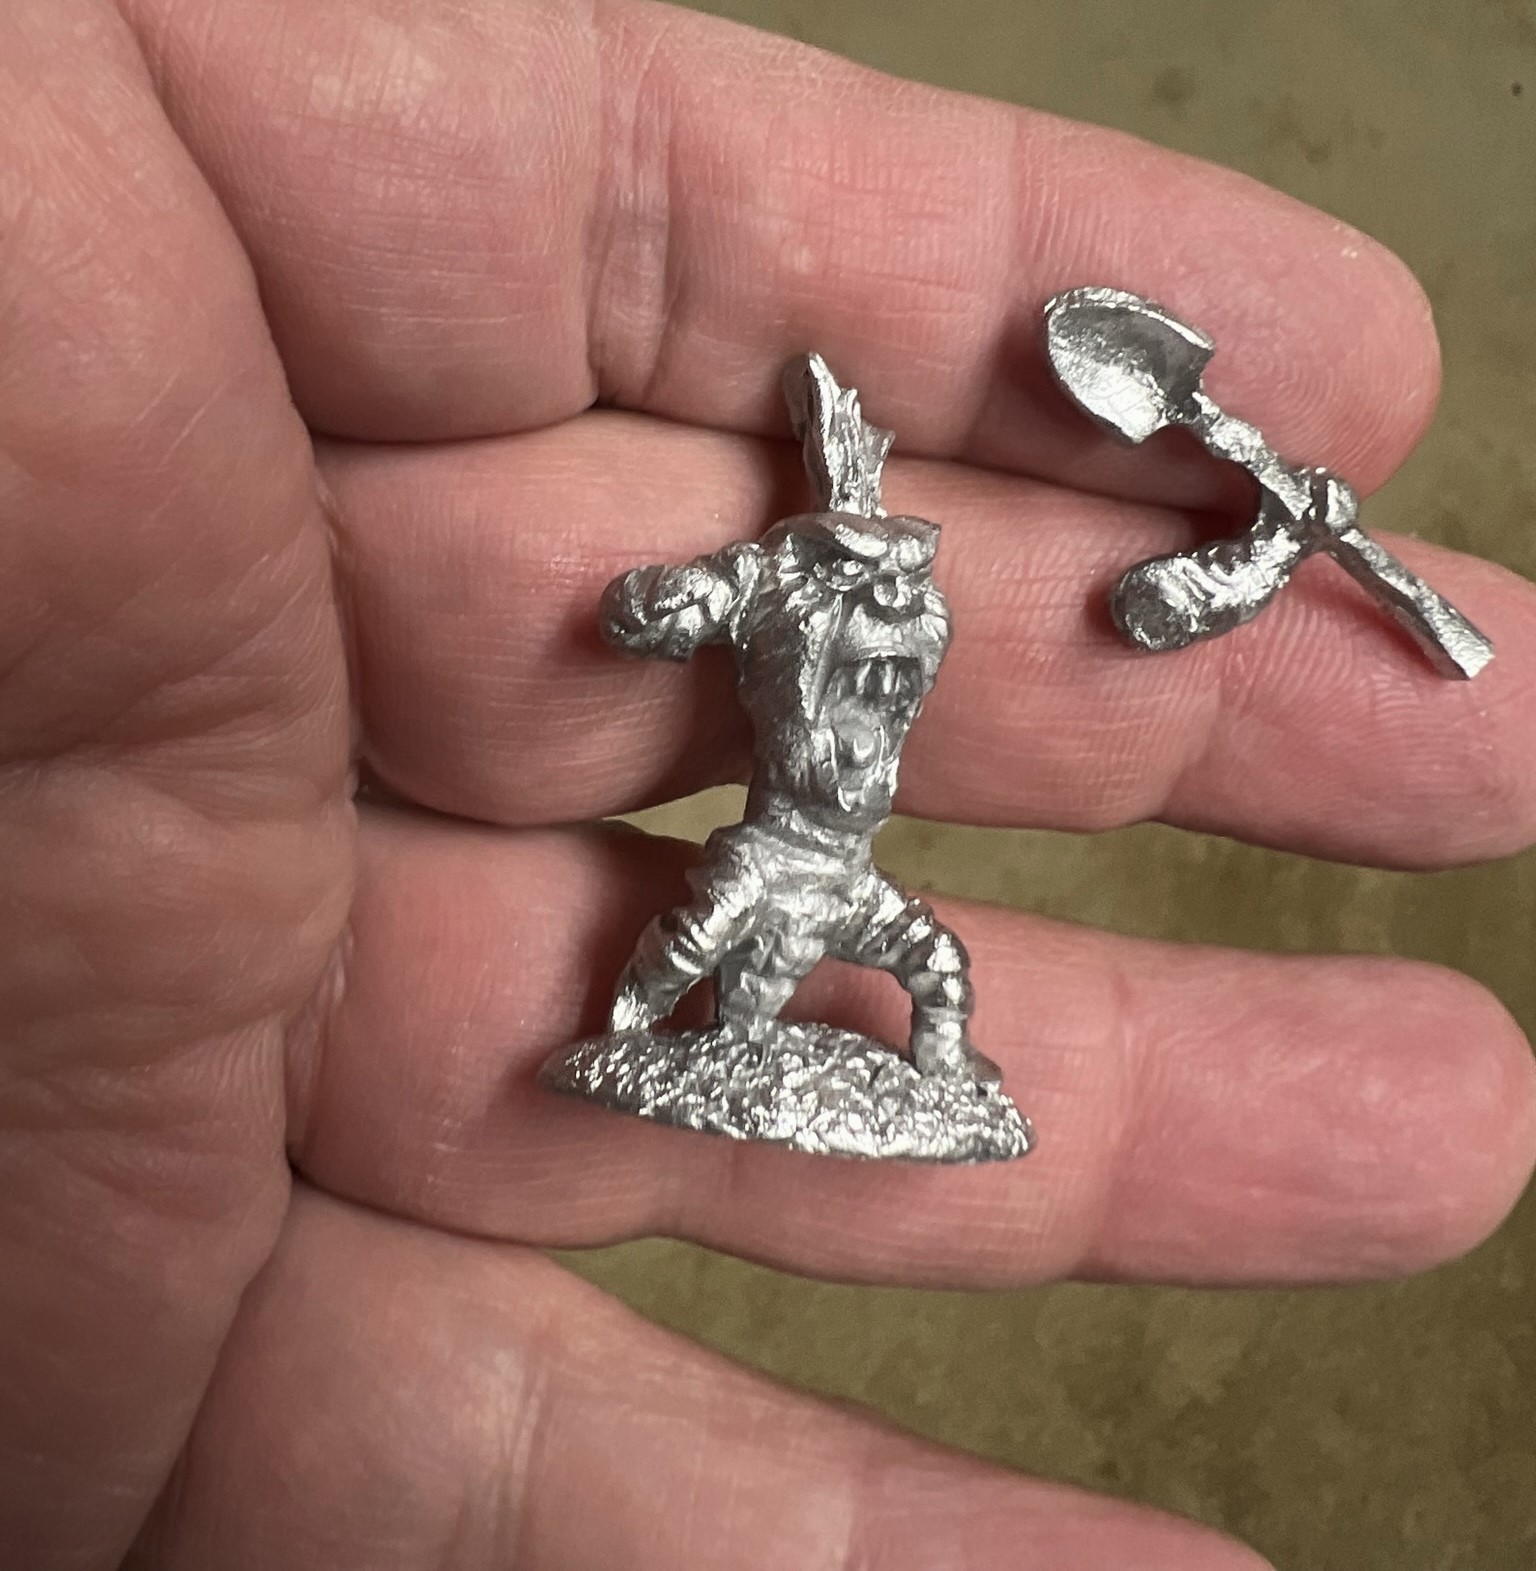
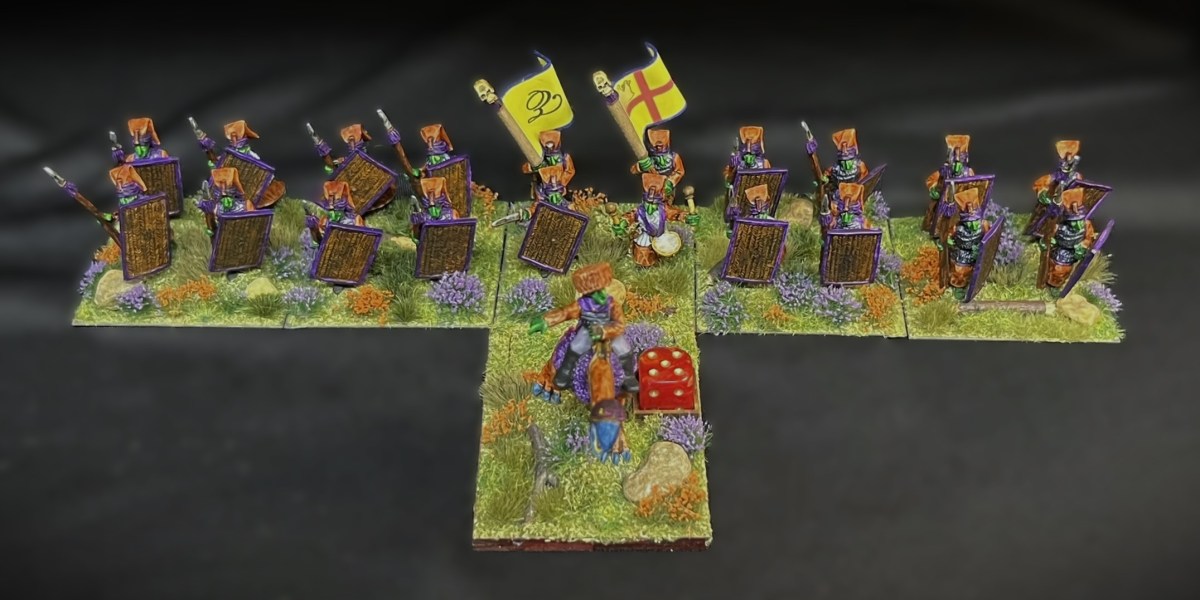
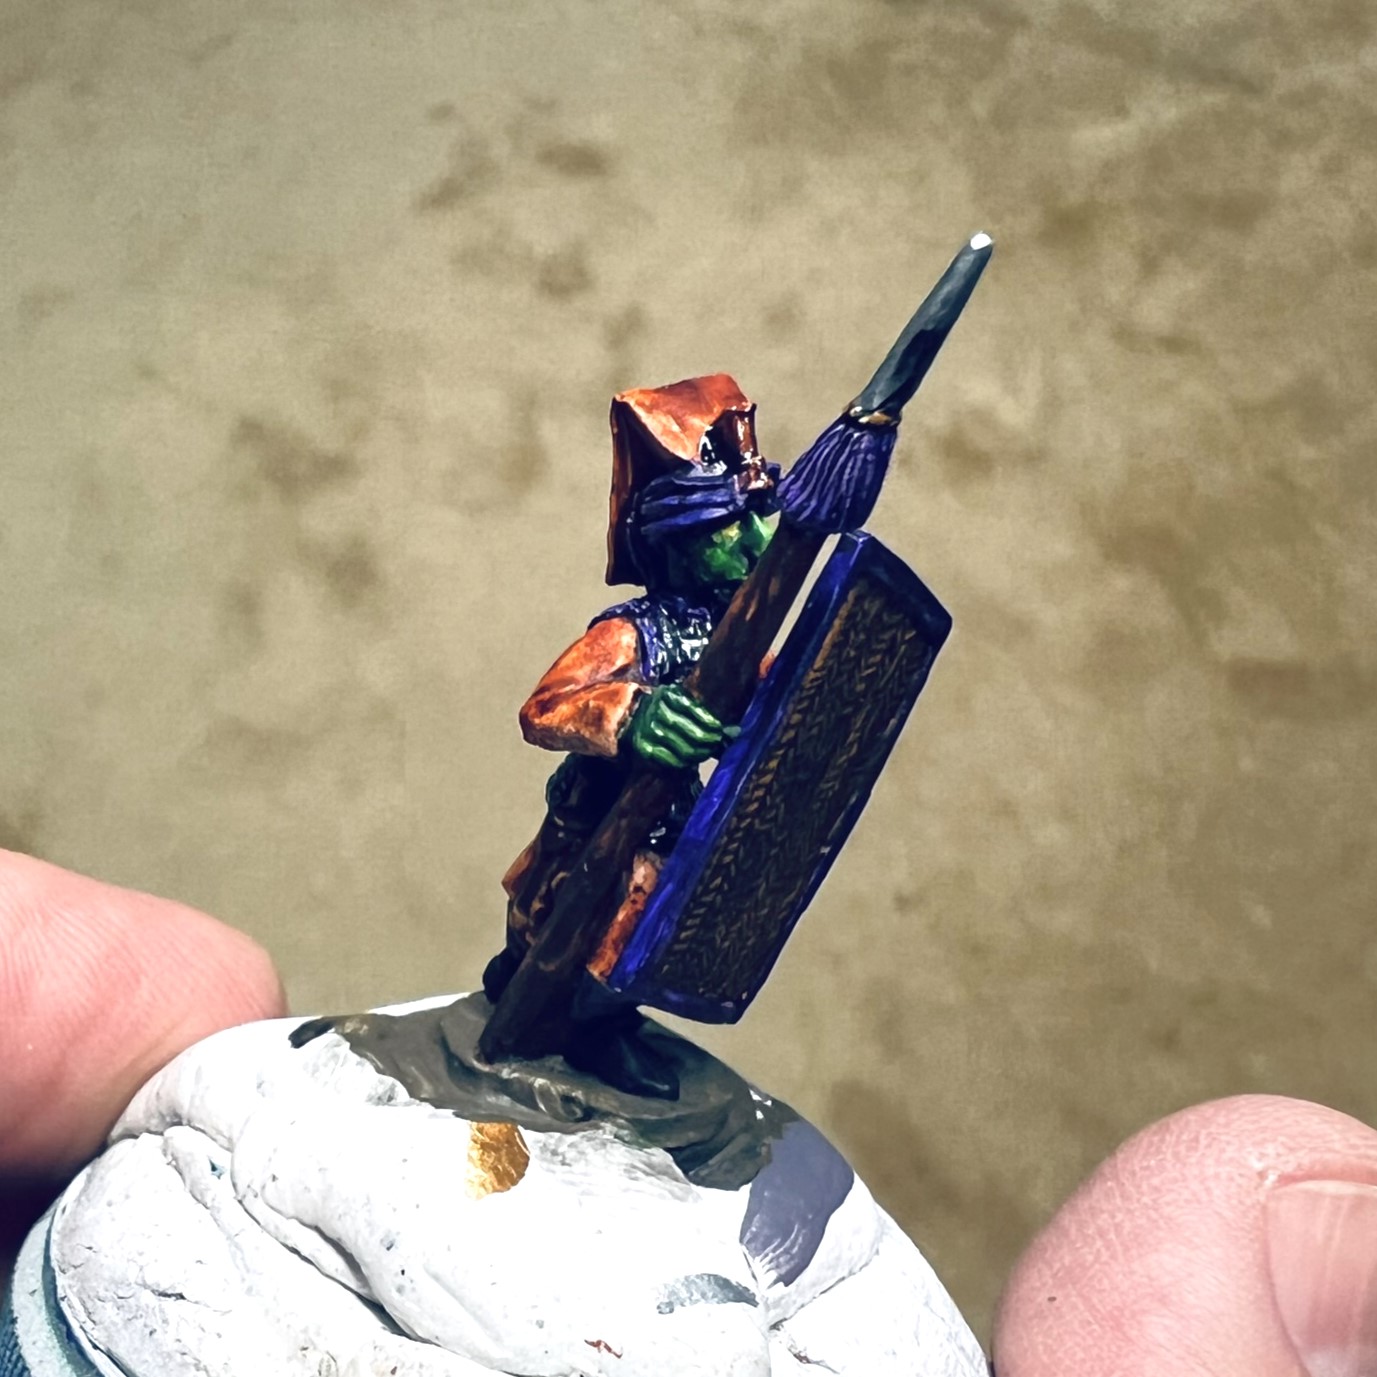
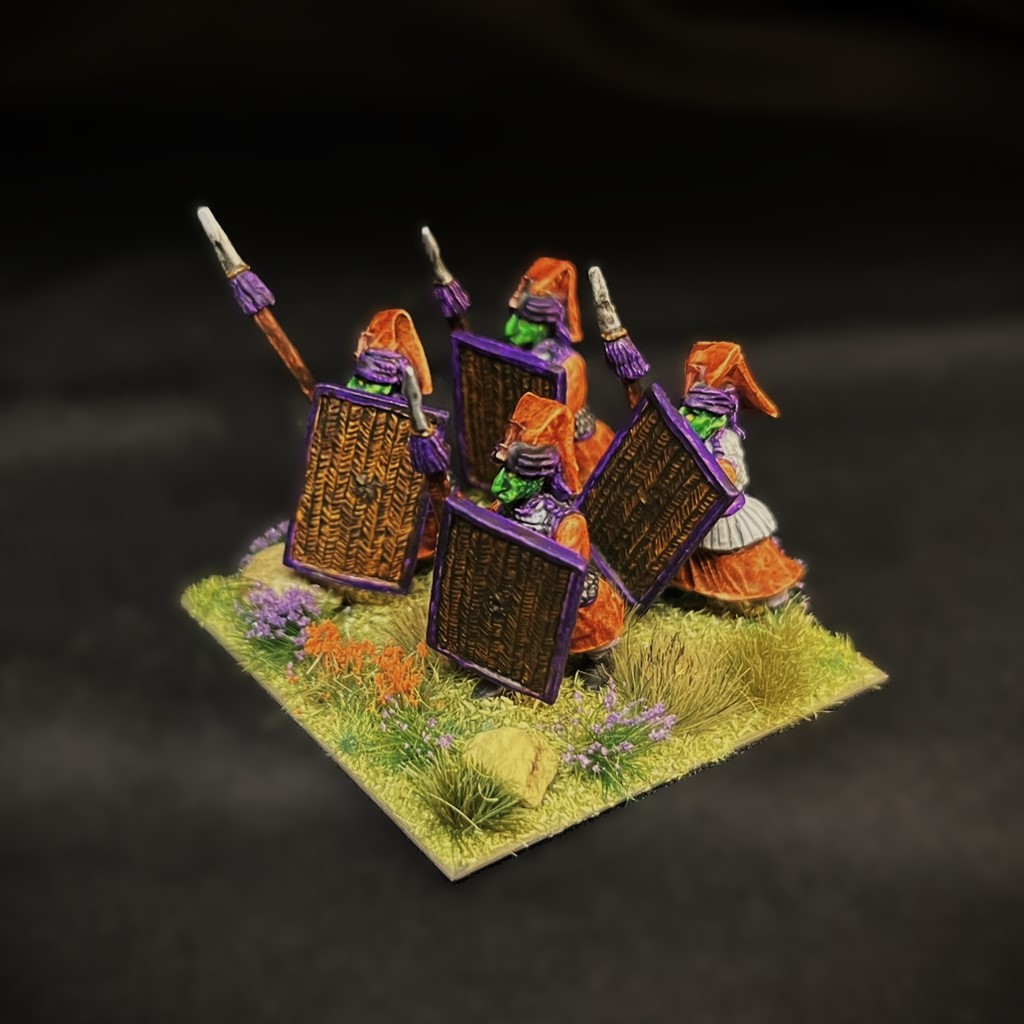
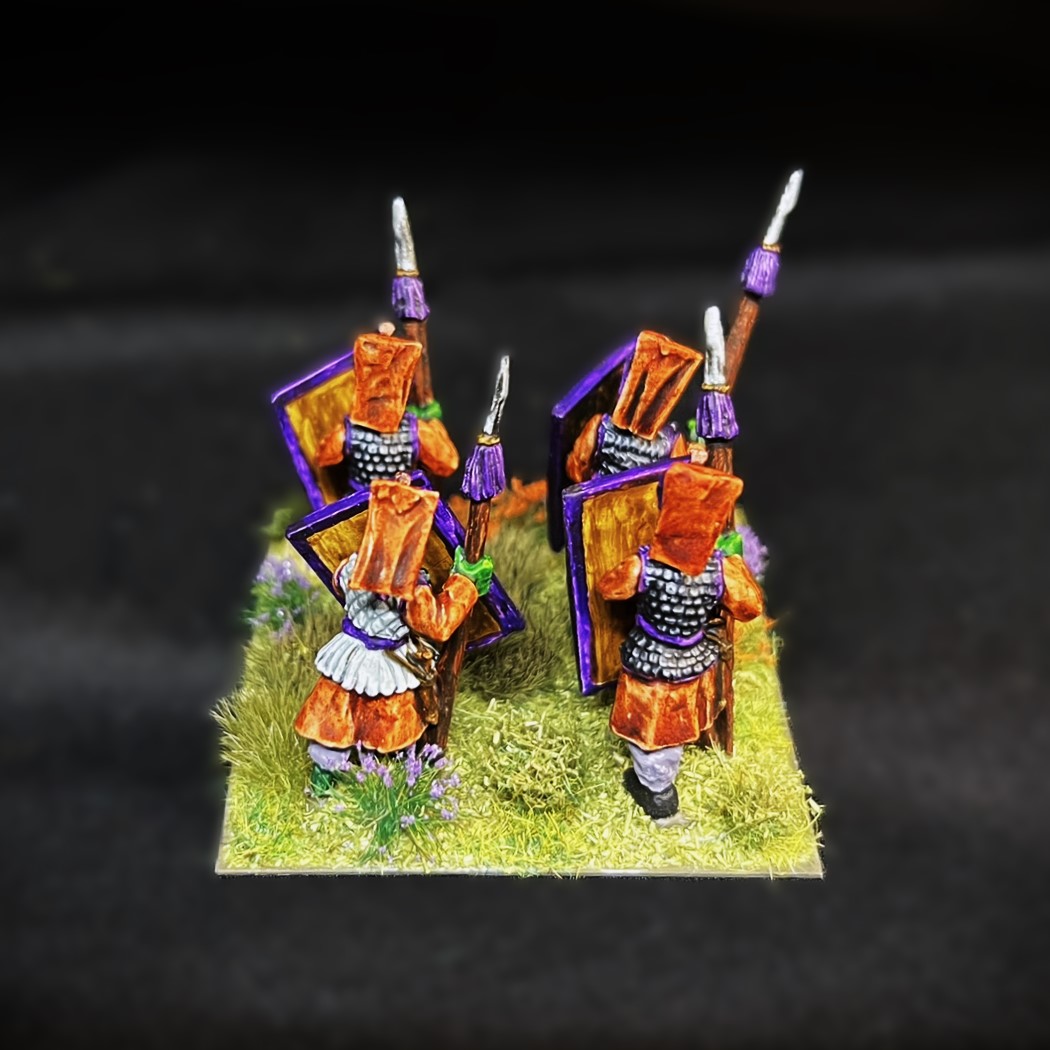
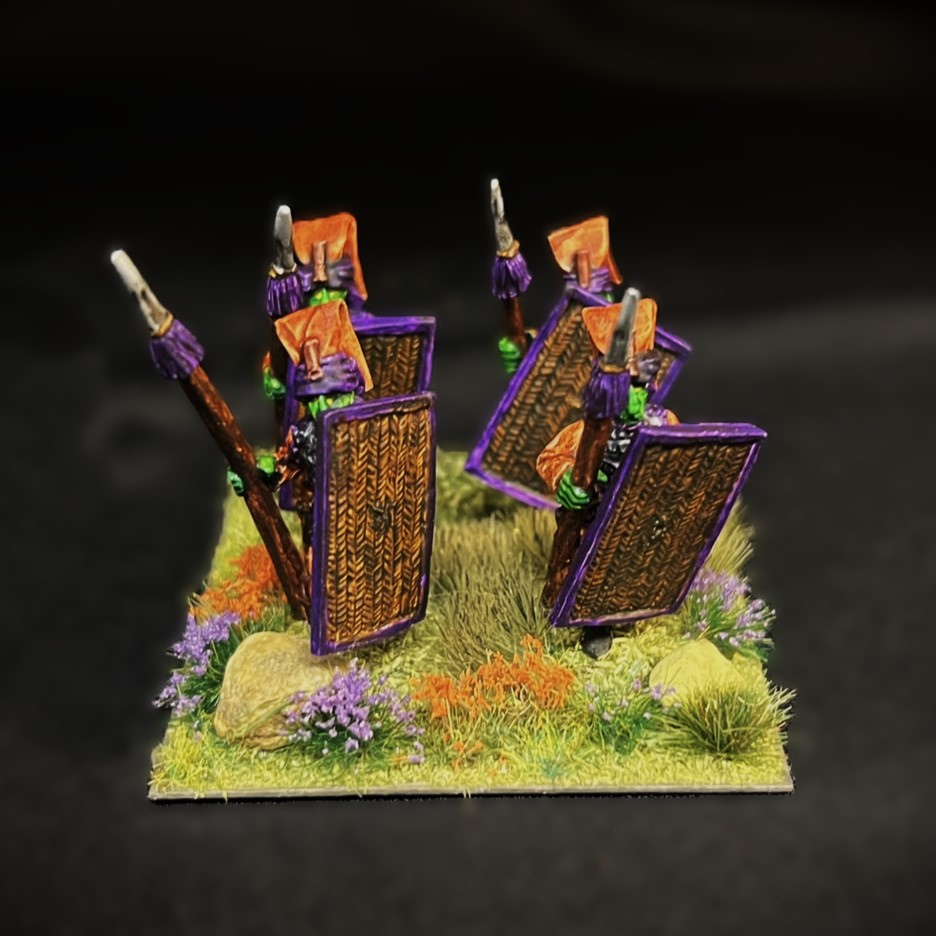
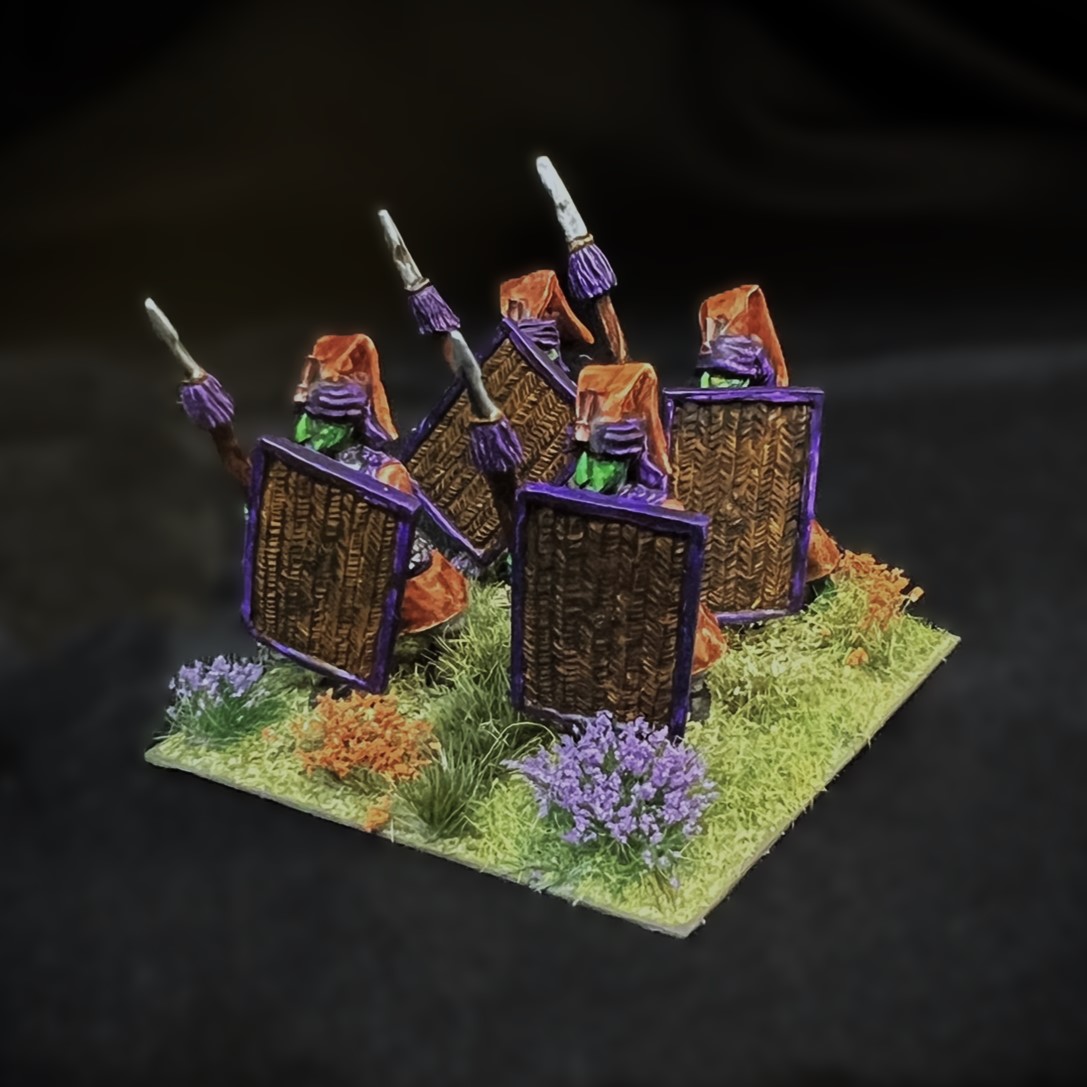
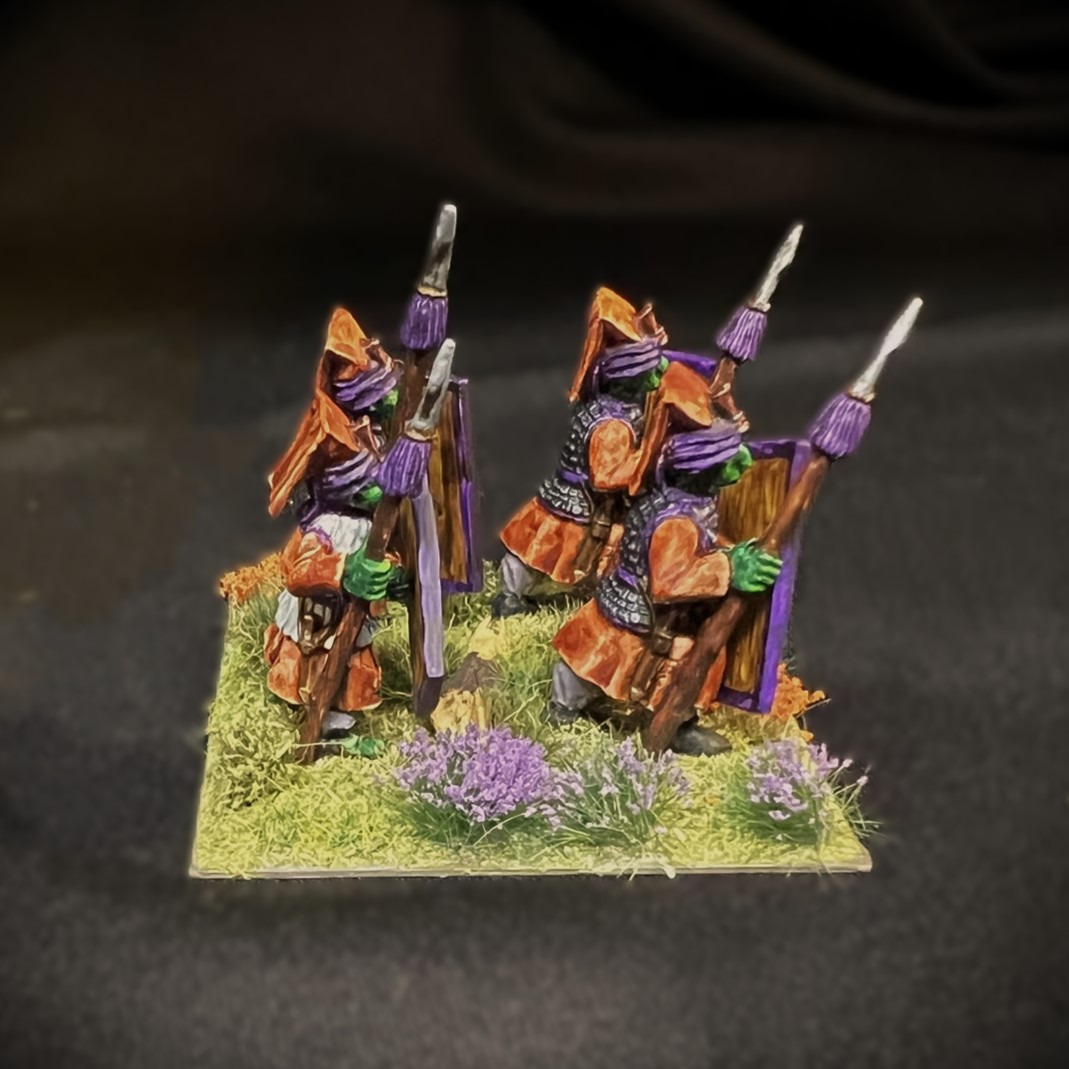
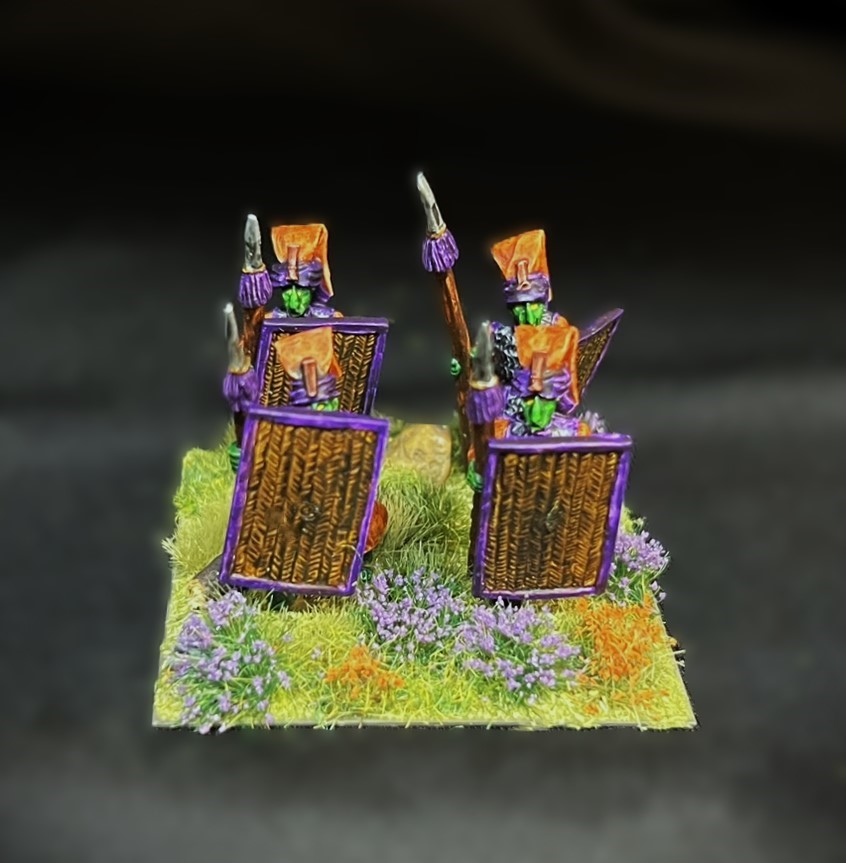
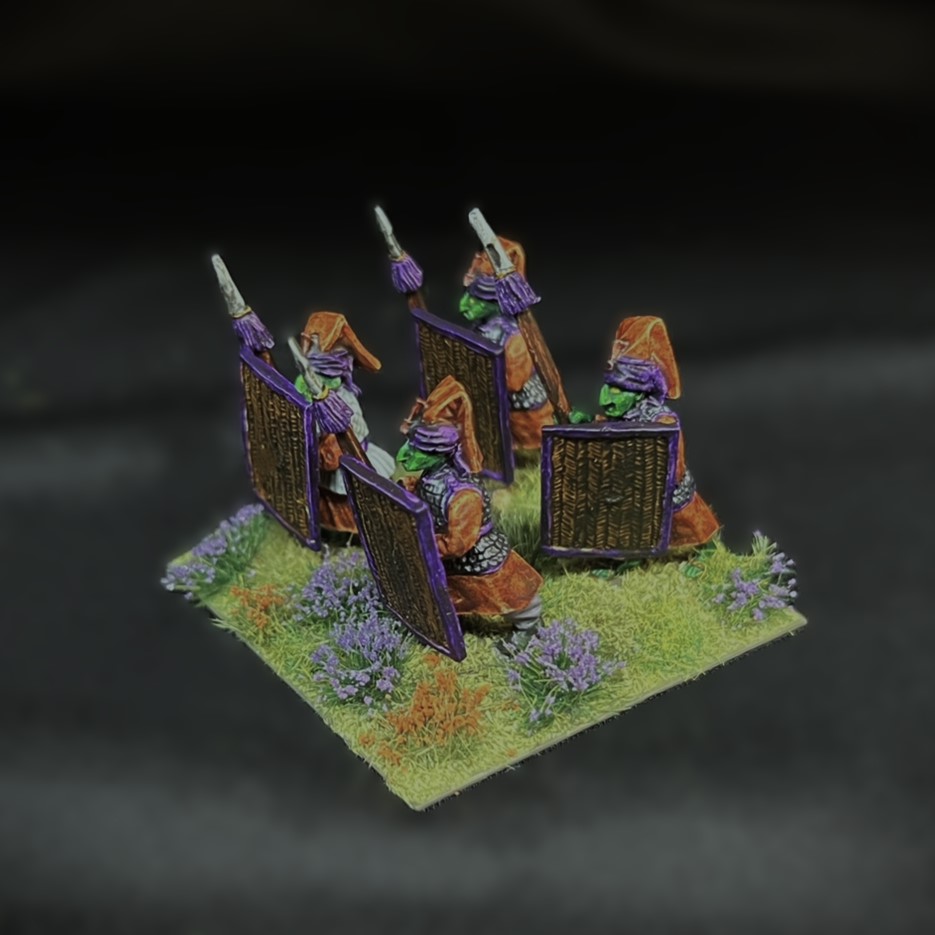
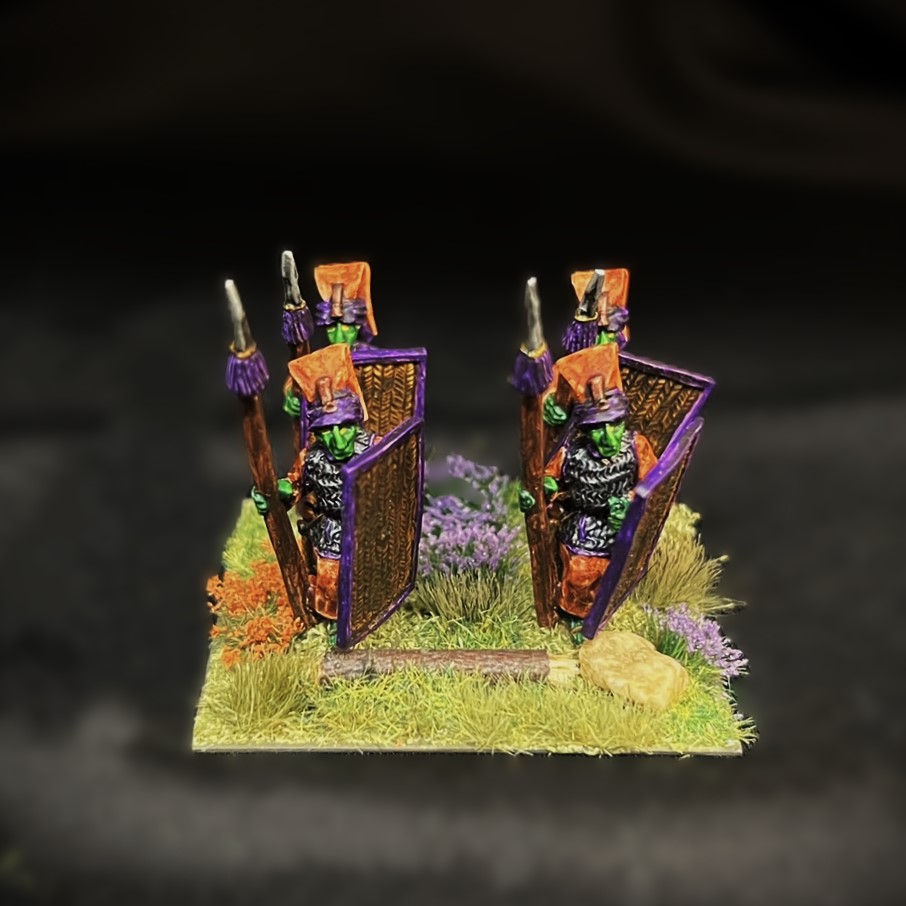
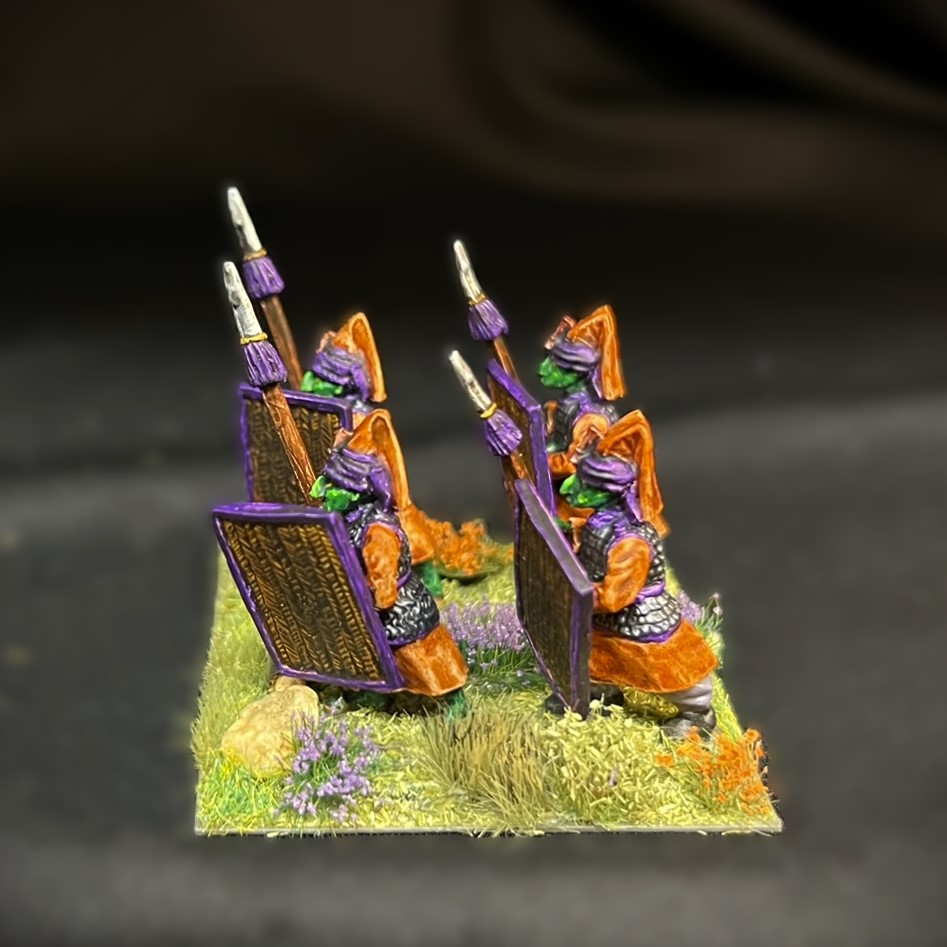
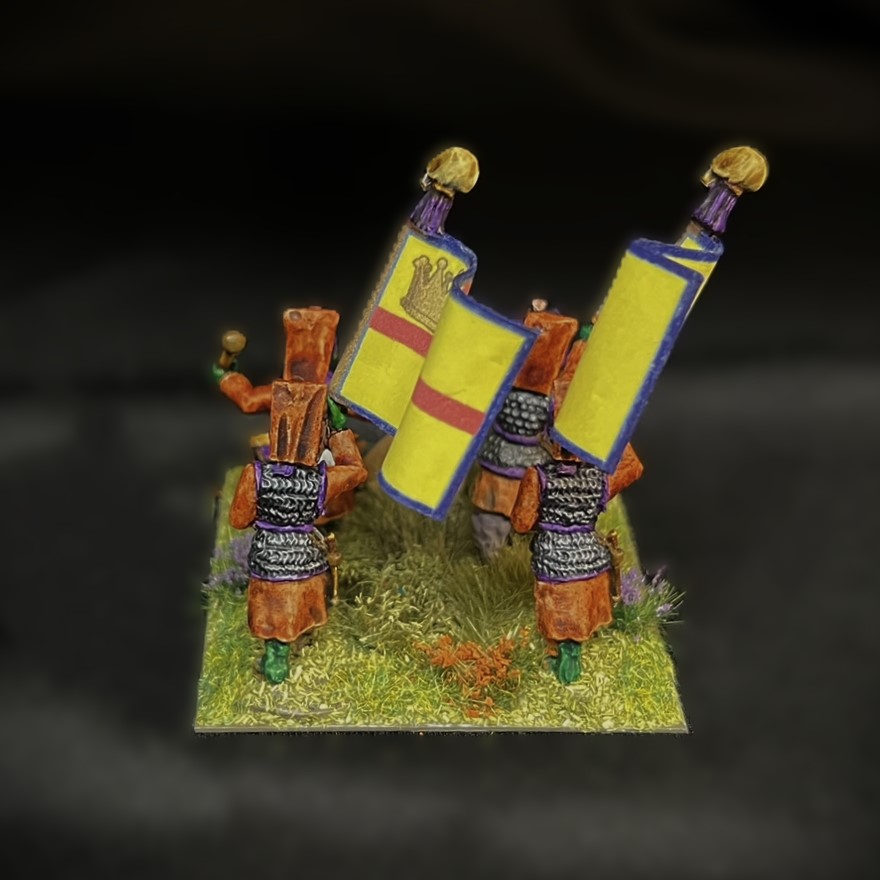
The unit (not the commander) is very Egyptian-looking – almost as if it were recruited from fanatics – which I suppose one must be to get into it. Very much the troopers look like cultists – dressed in robes for the most part, with a mix of Aztec-like cotton armor vests, steel scale, or mail armor. The soldiers have ancient Egyptian-style hats festooned with some sort of an idol. They all have very large shields which looked to be made of wicker. Some have boots, and some are in sandals (why I don’t know – combat flip flops?!). Most surprising were the canon colors. As Winkies are very yellow-oriented with regards to color, one might expect that the EBIR would be yellow too.
Nope.
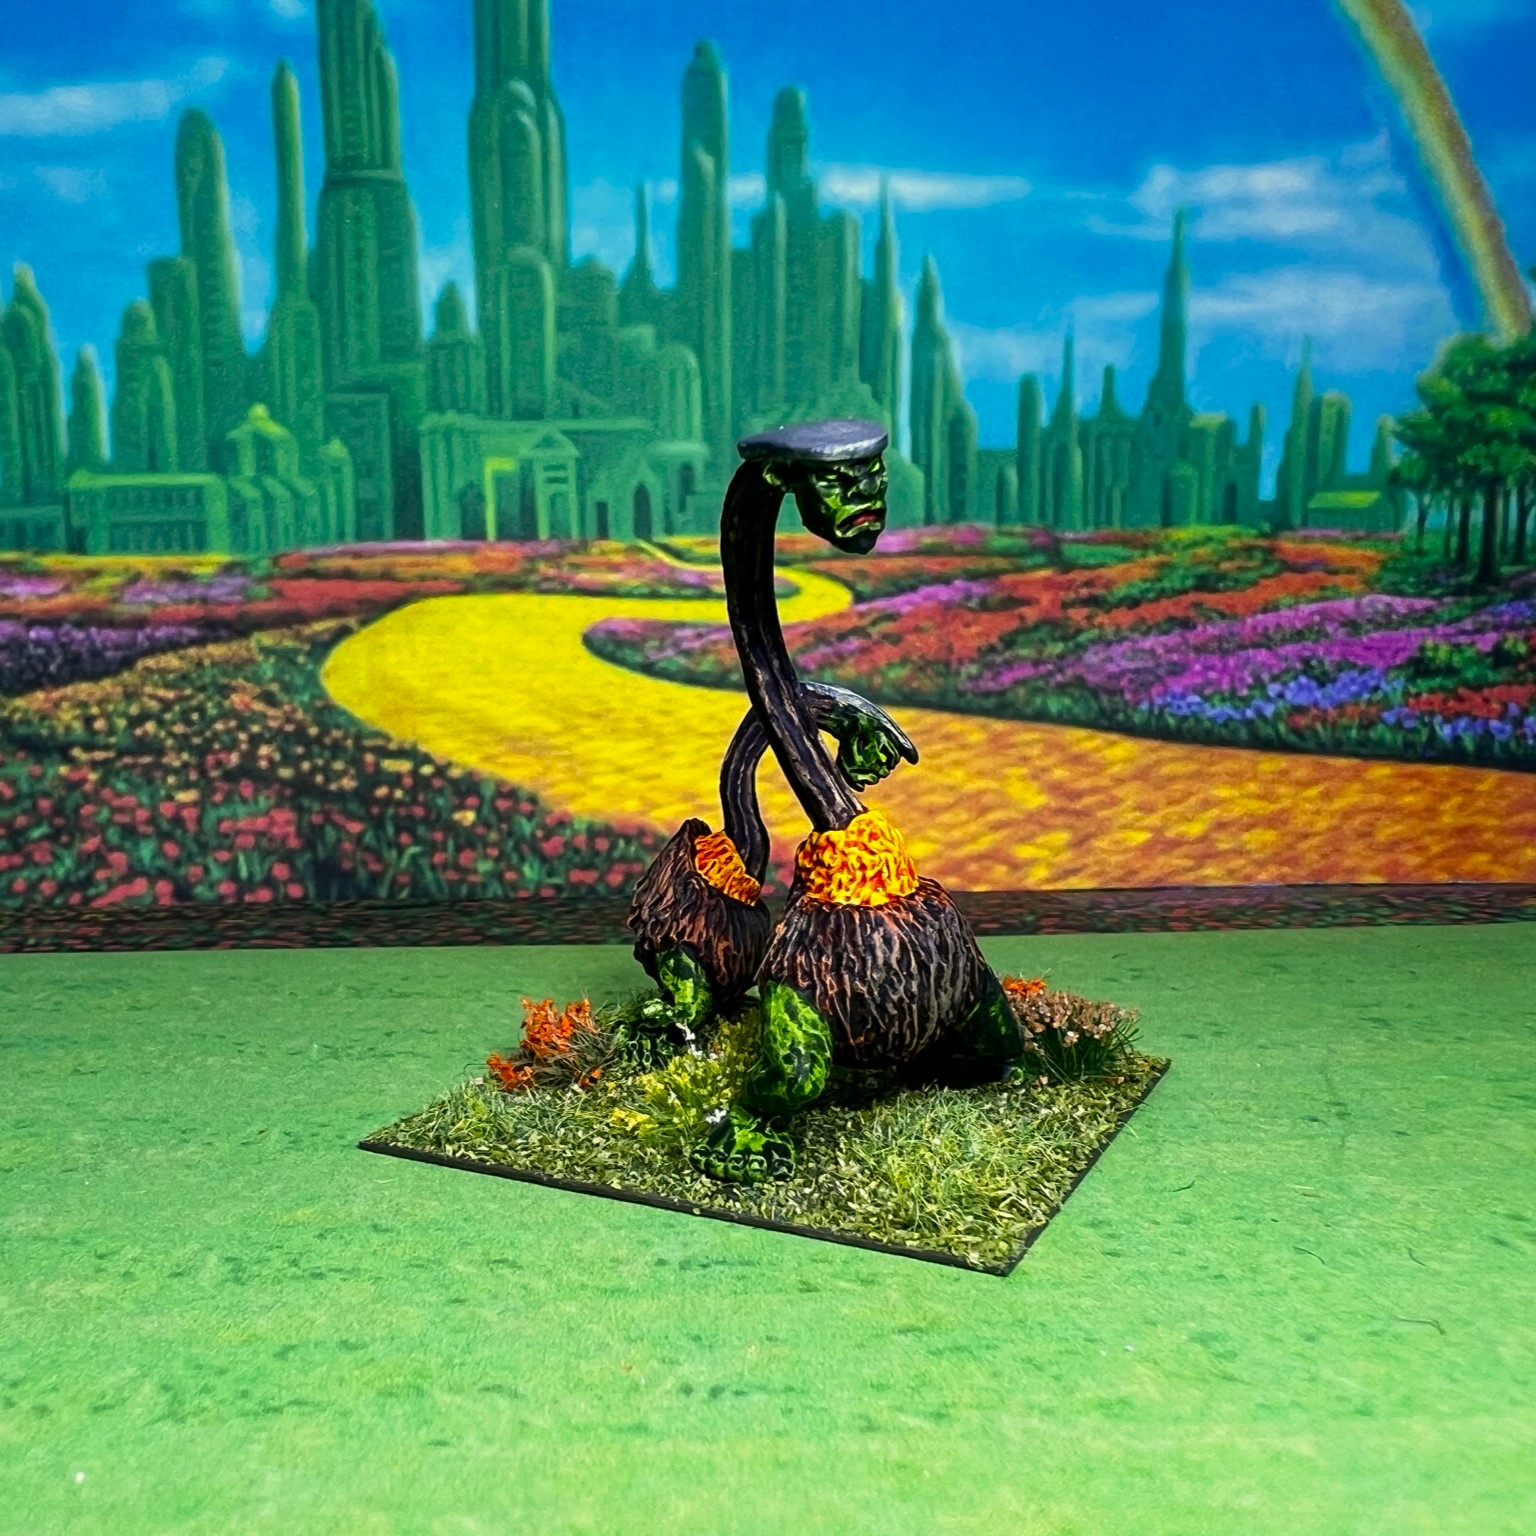
Orange coats, purple facings, and grey trousers! Clearly the Madness Bombs color mania struck here!
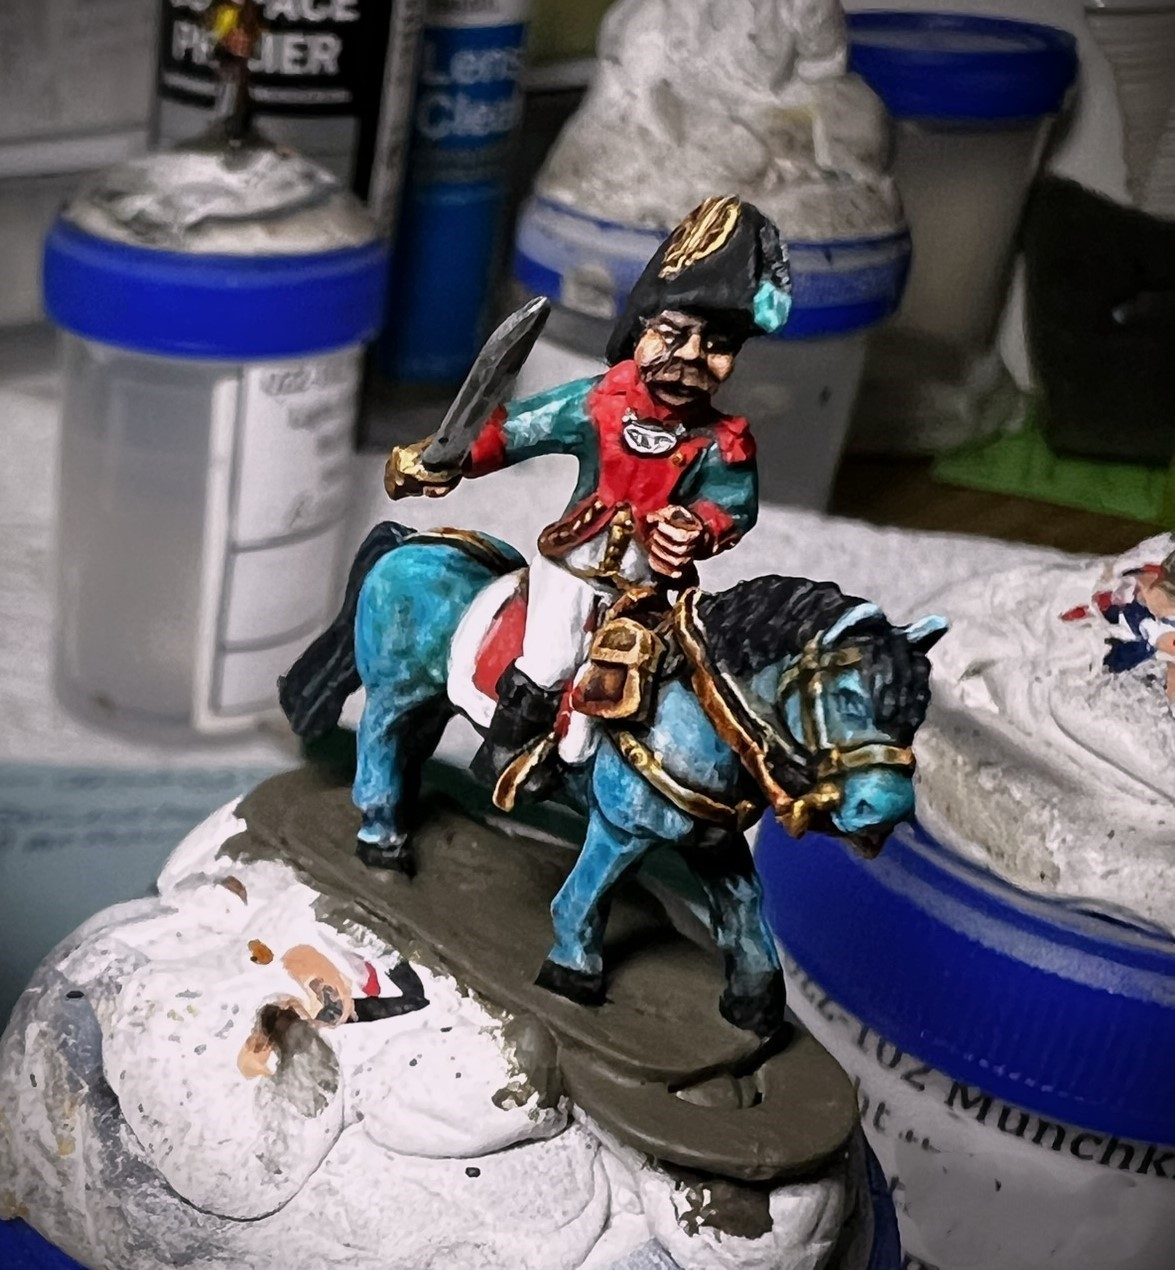
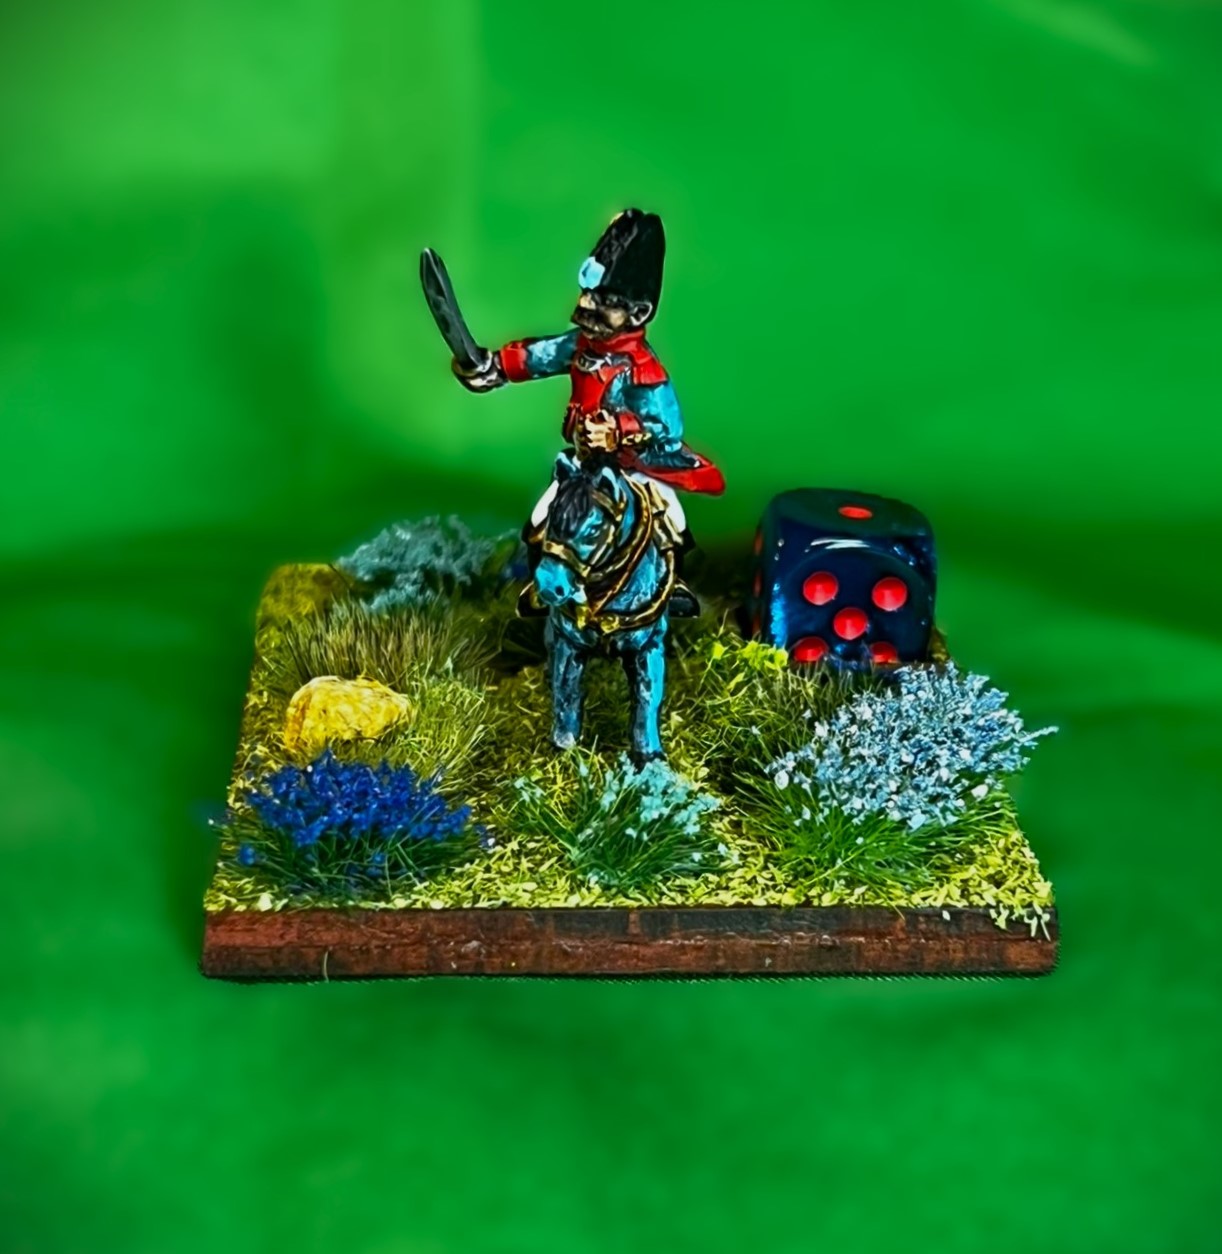
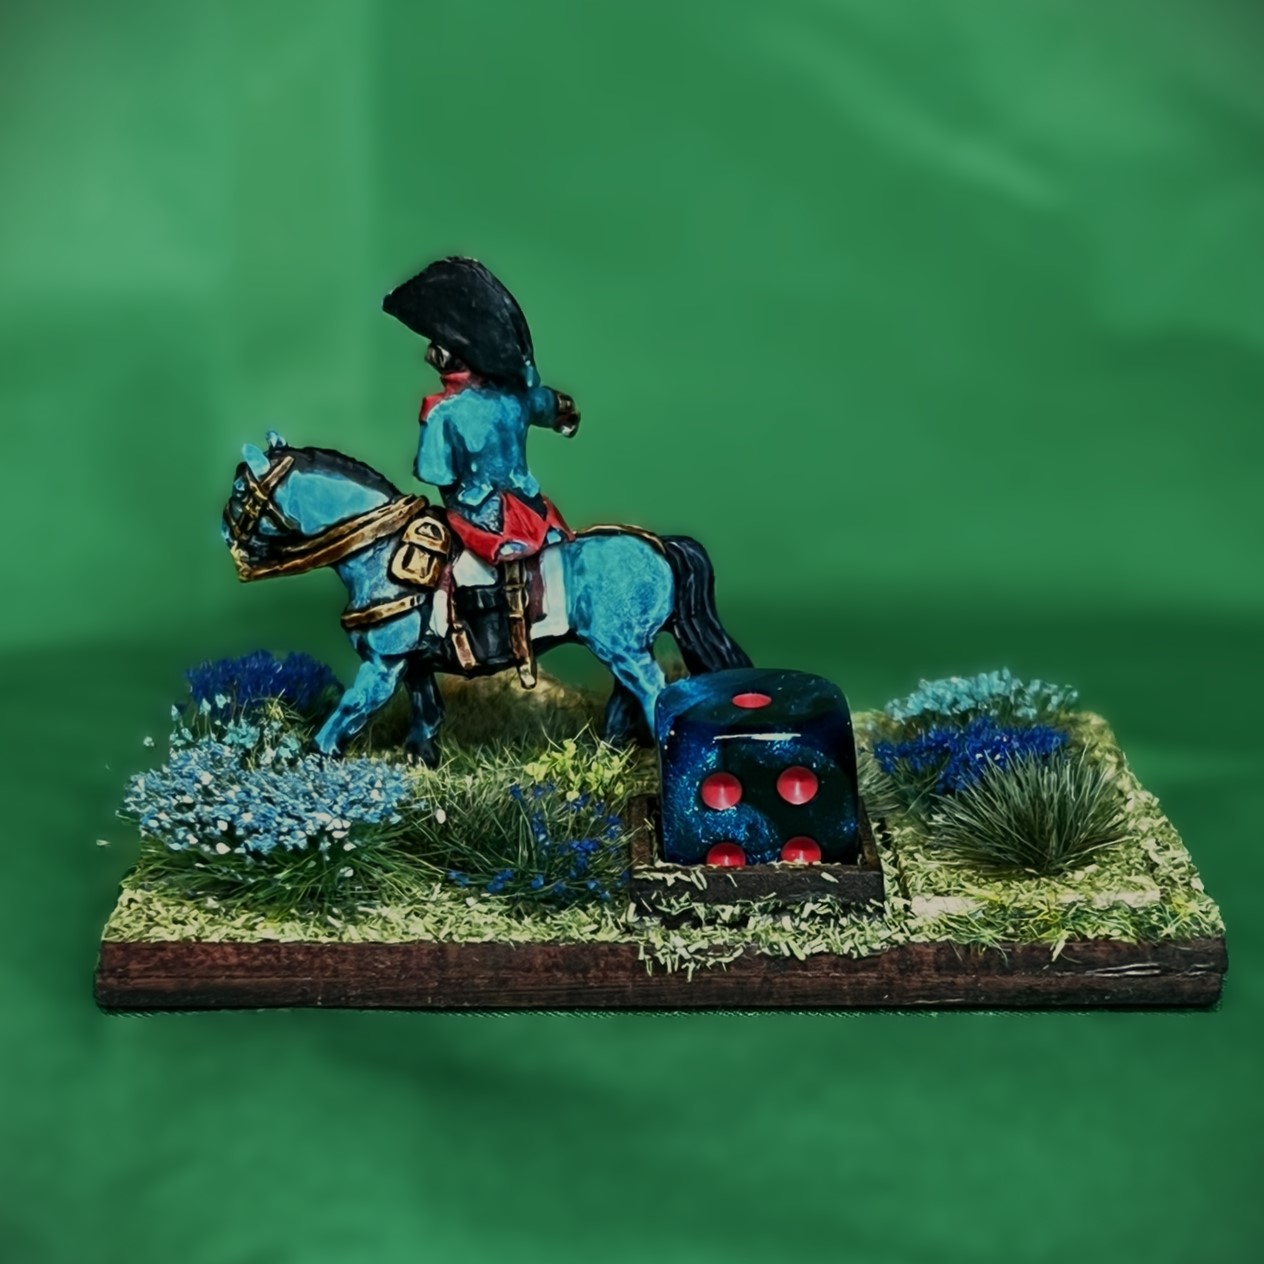
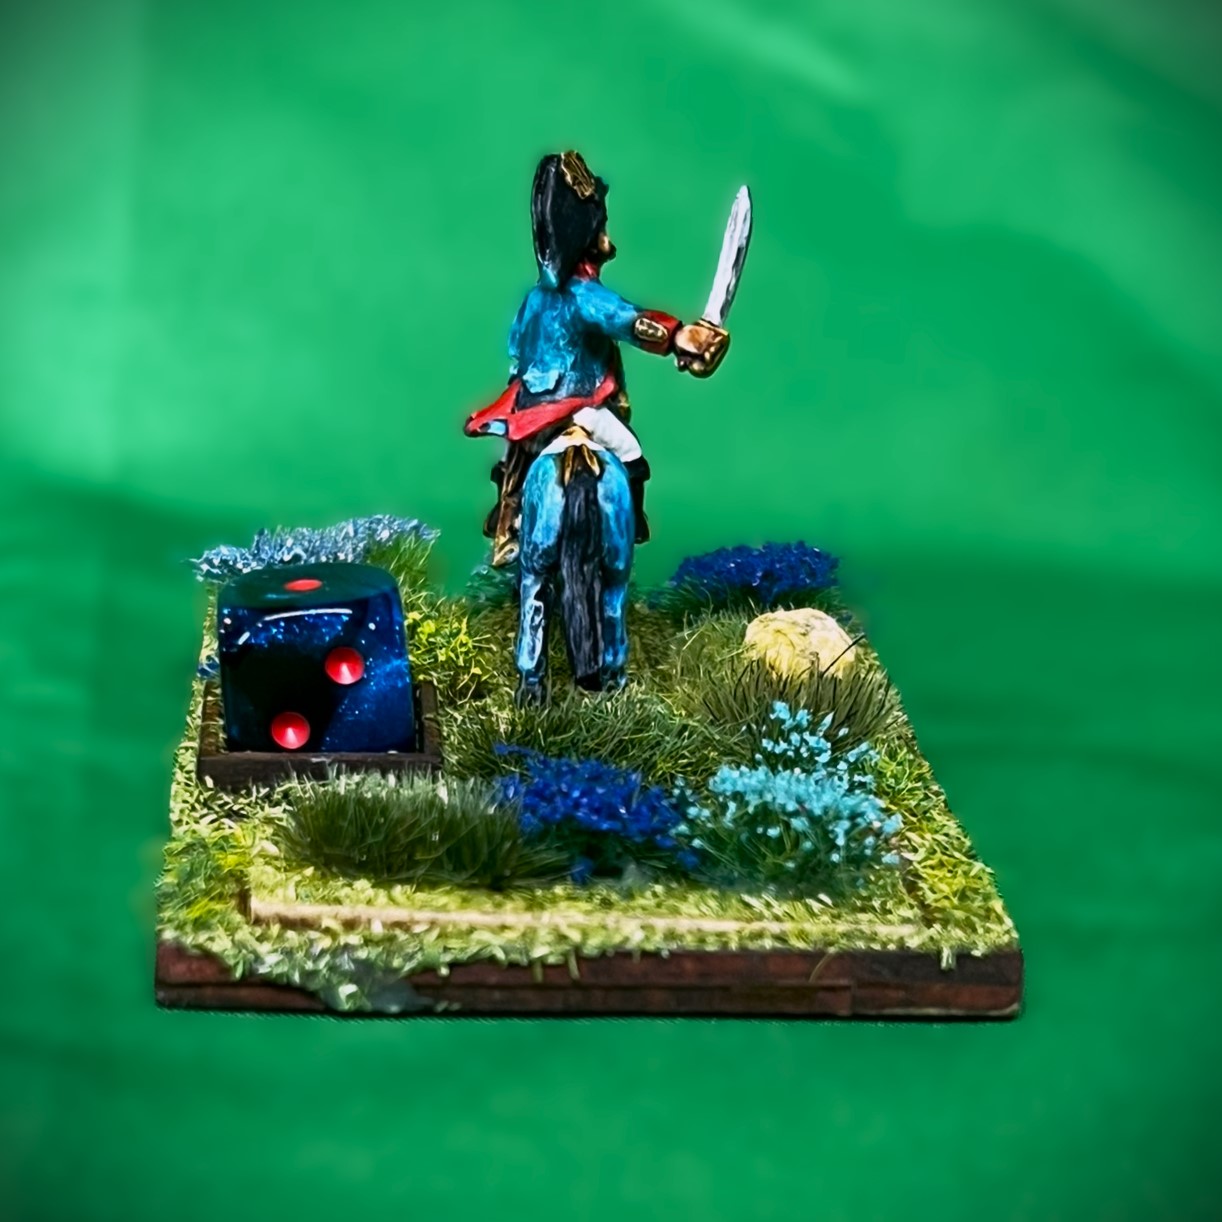
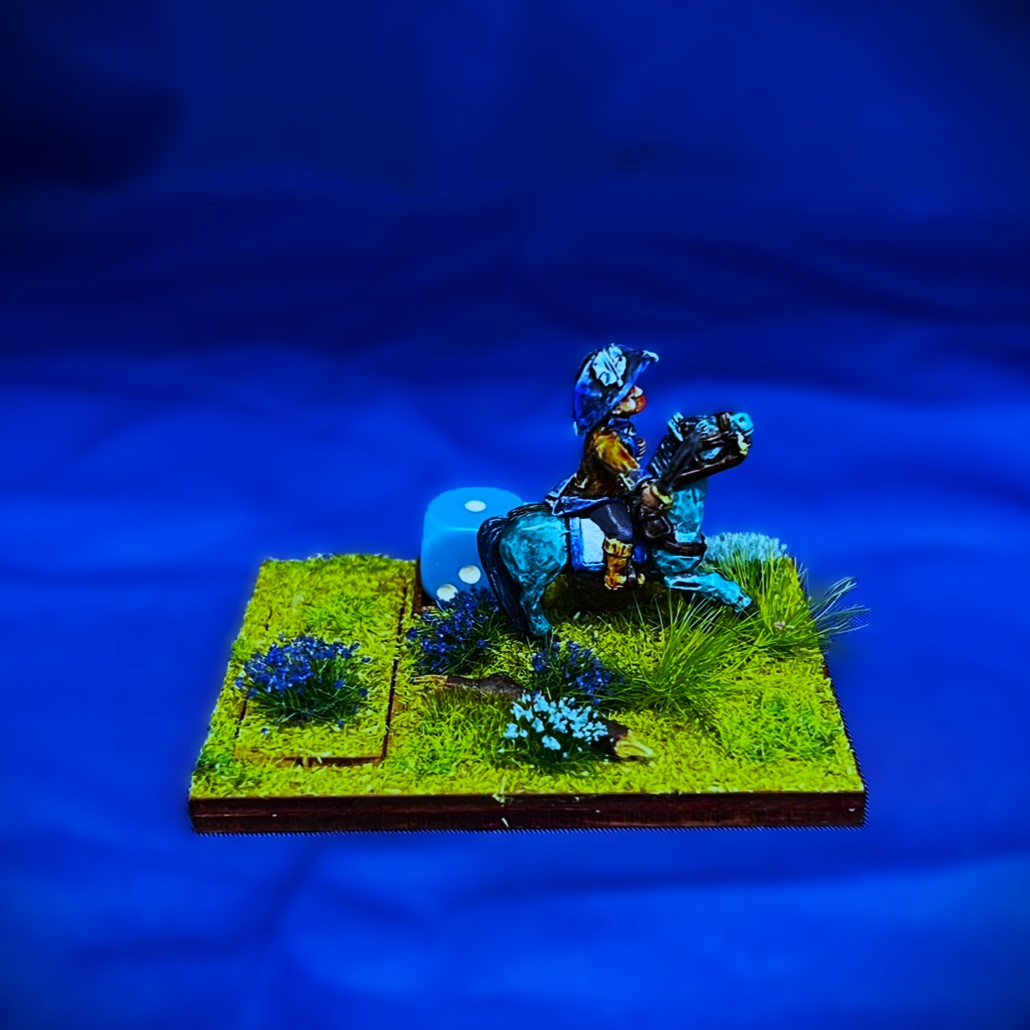
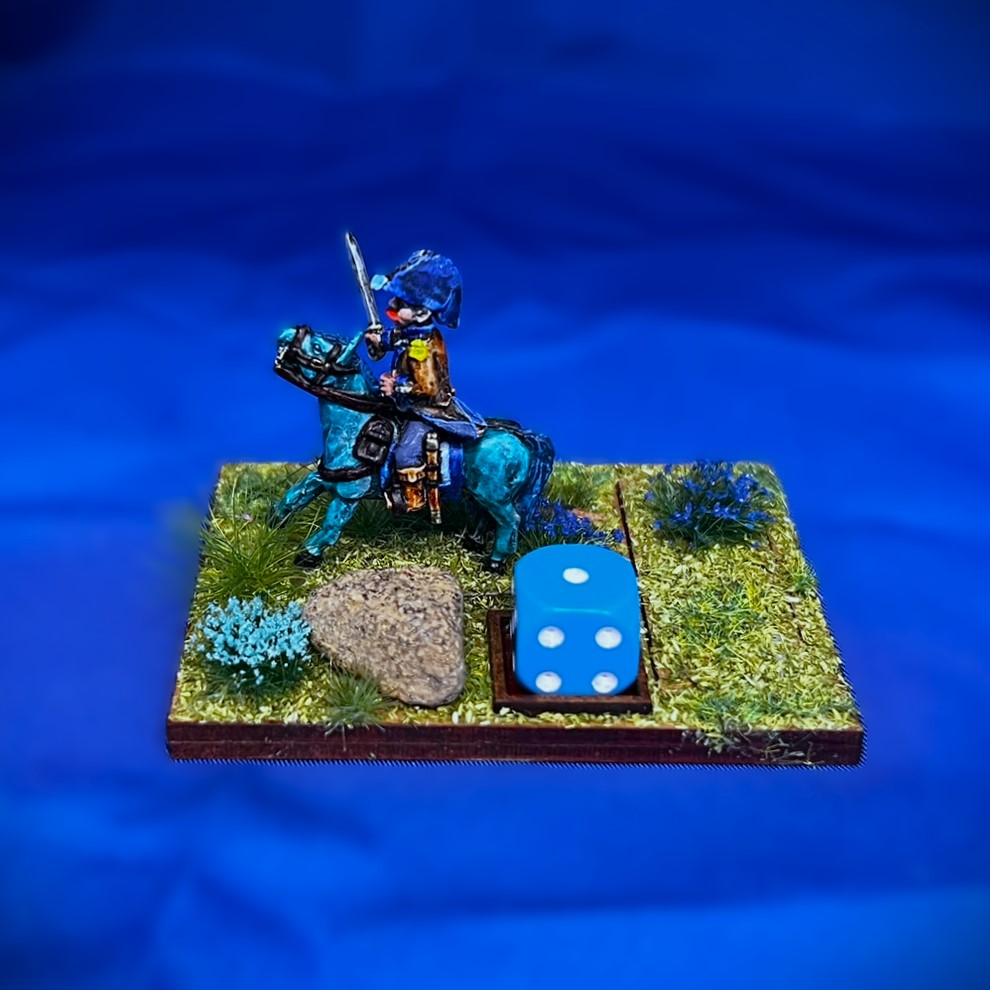
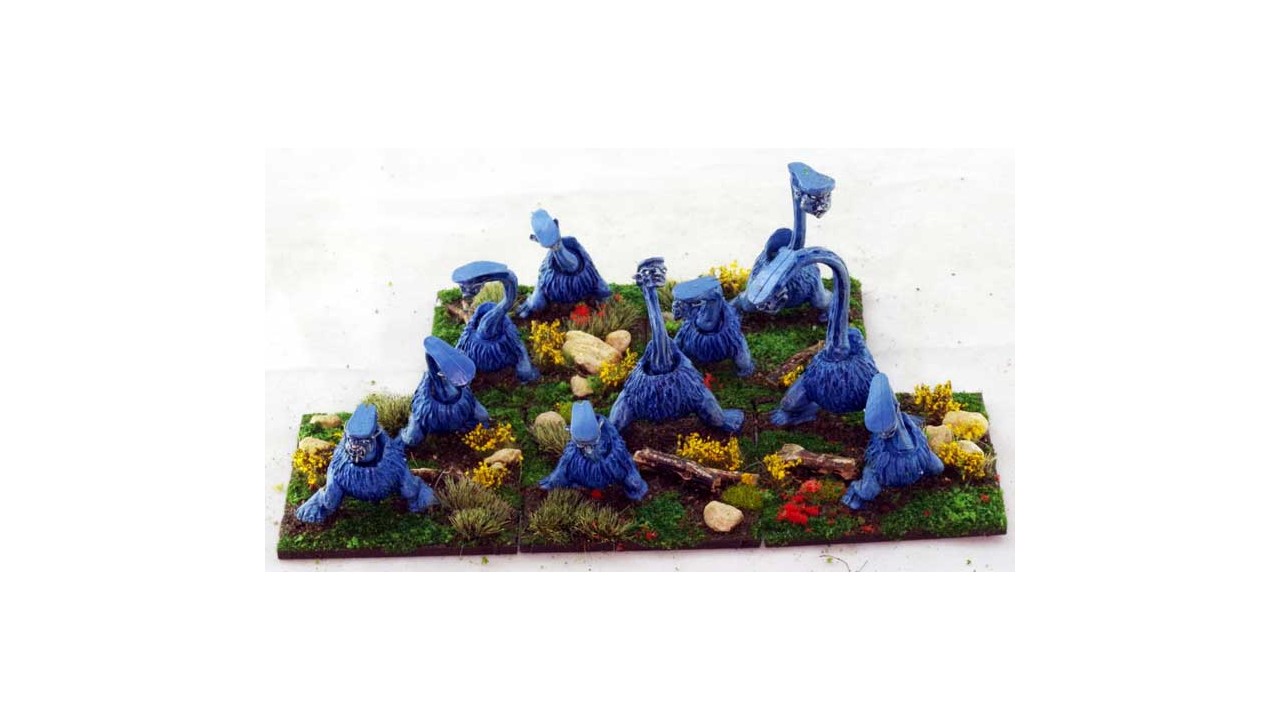
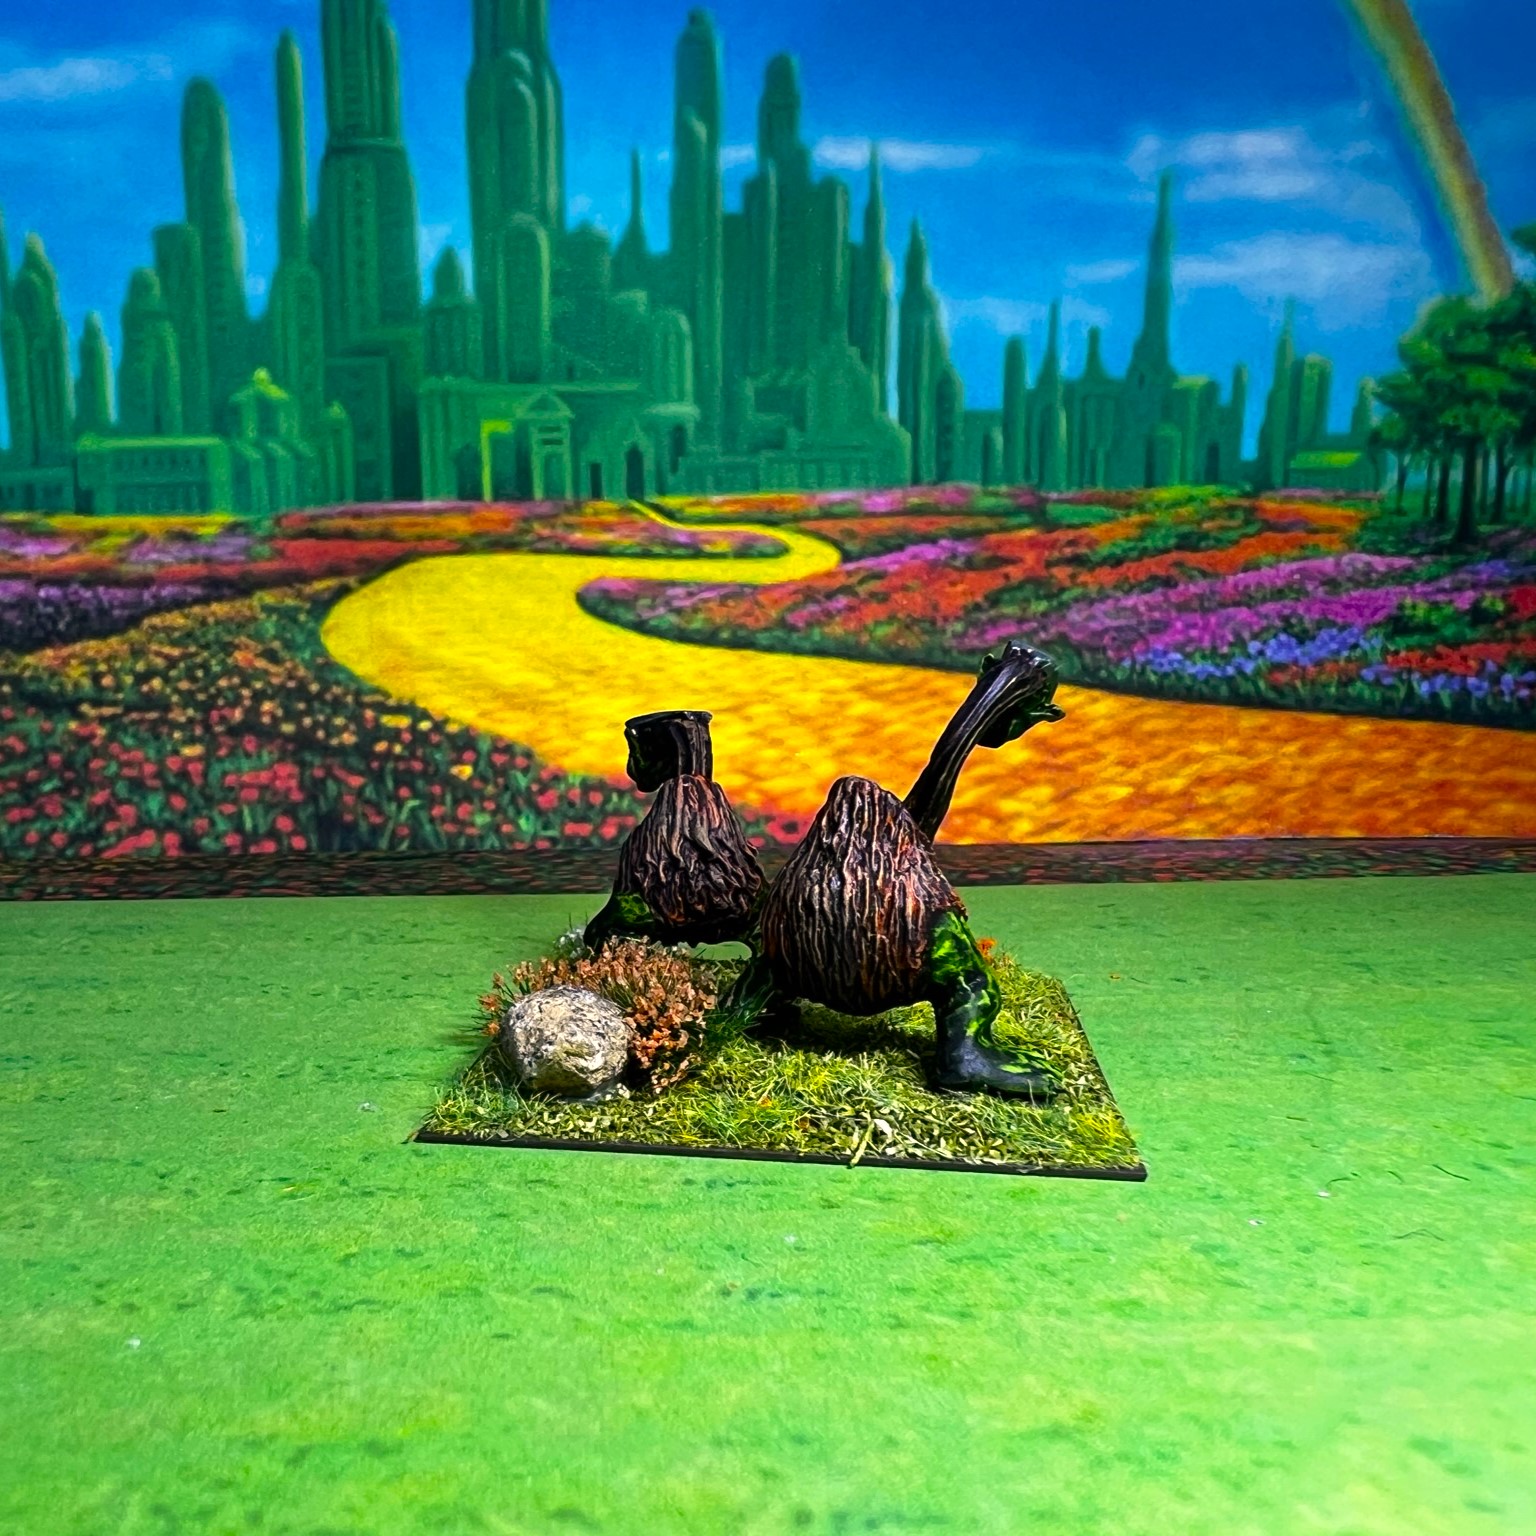
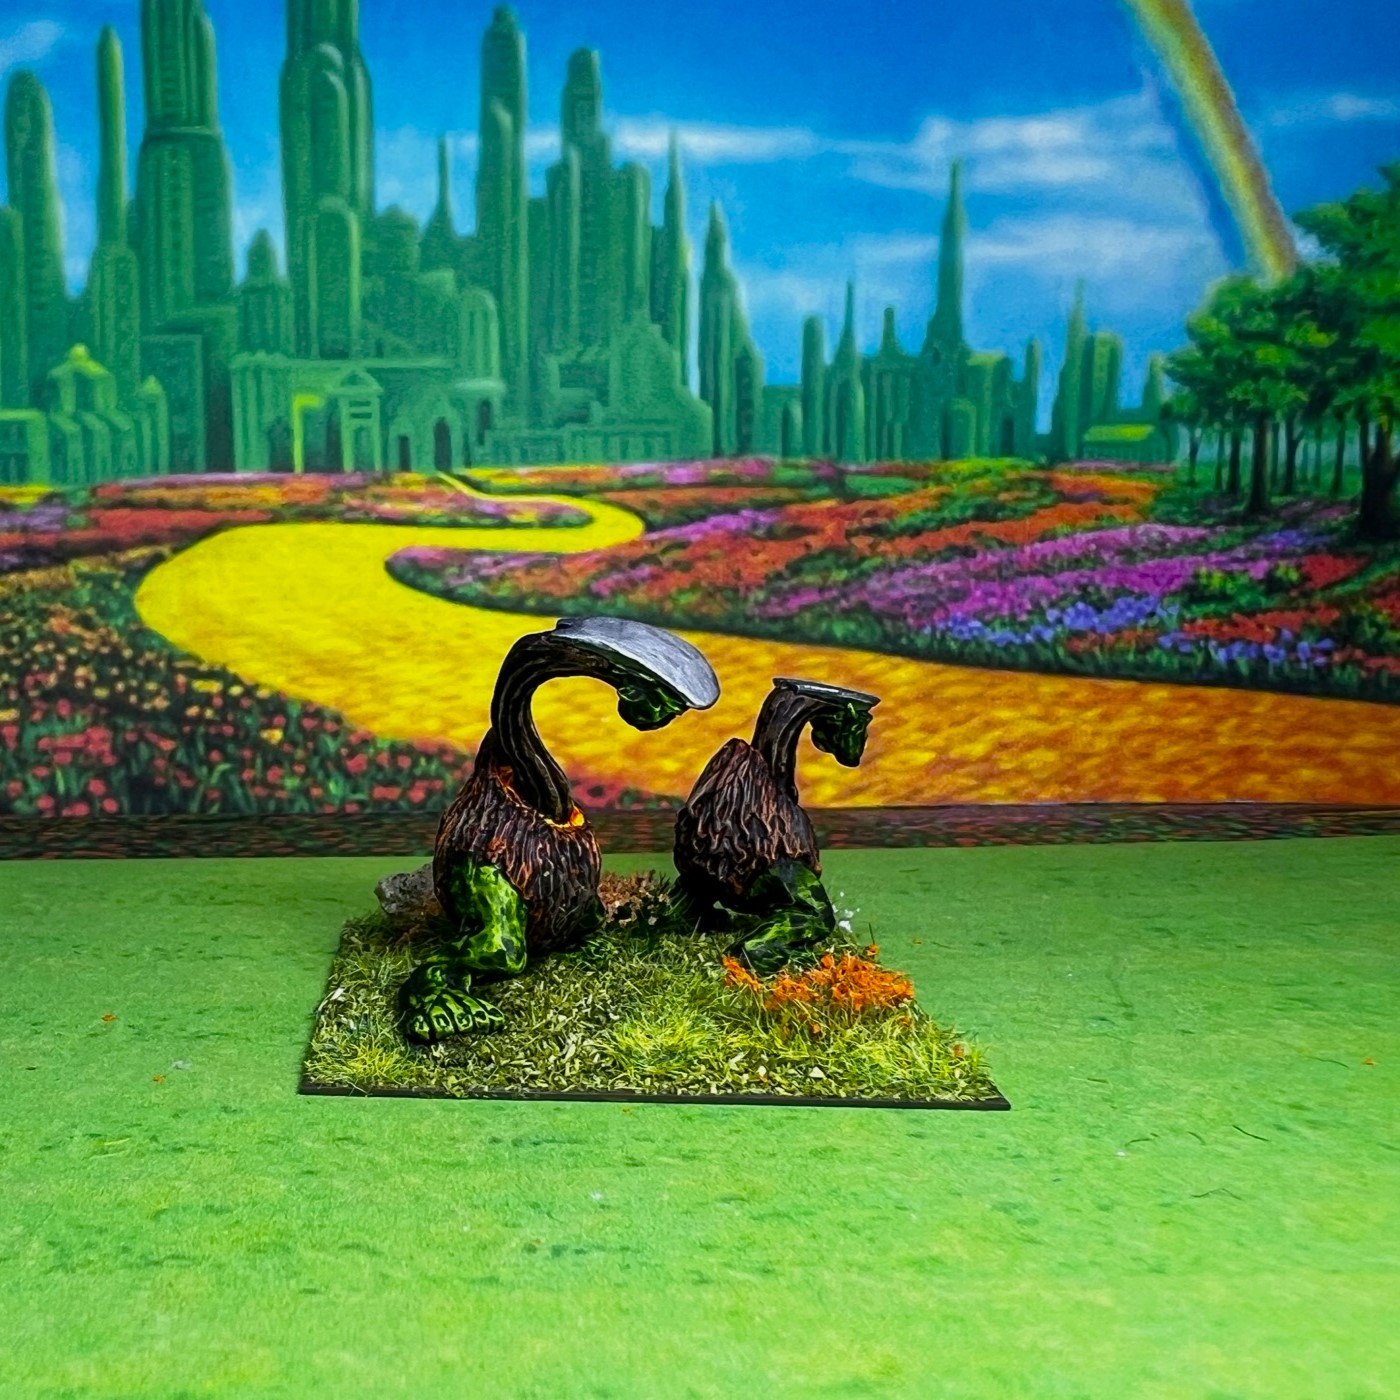
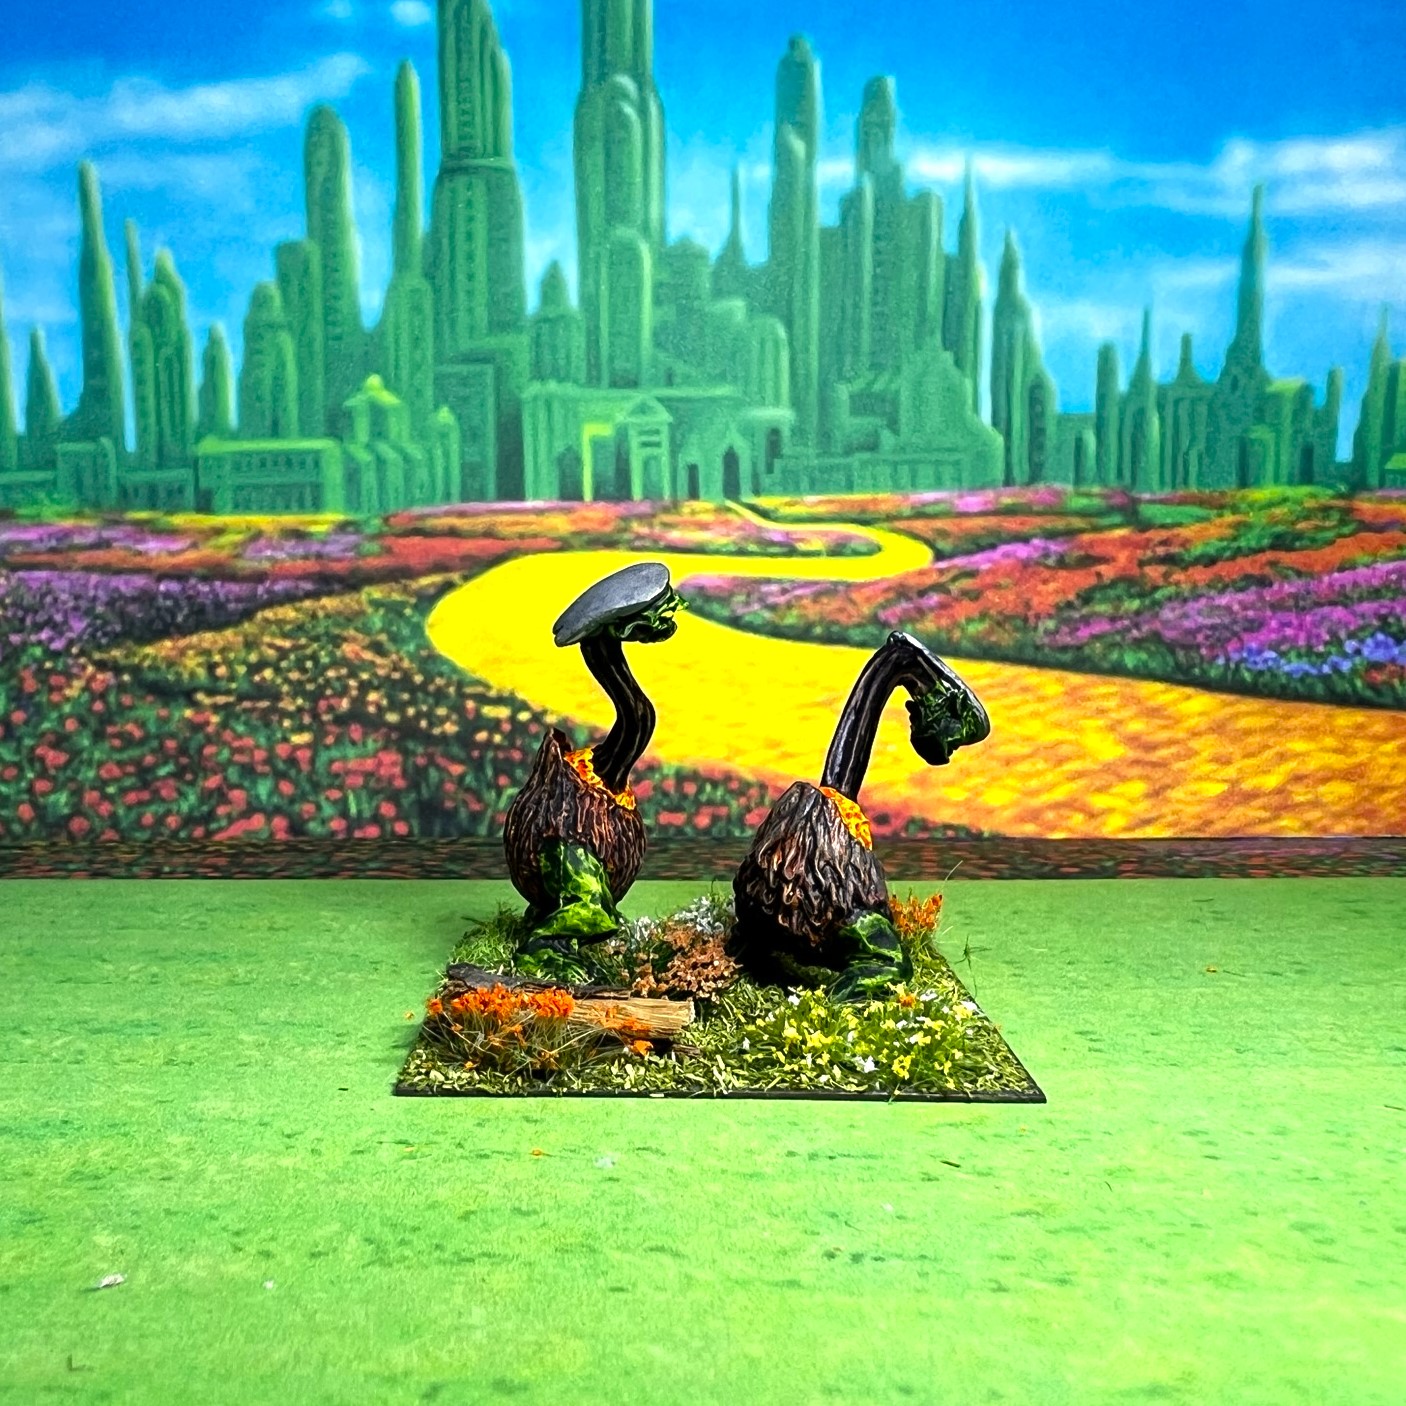
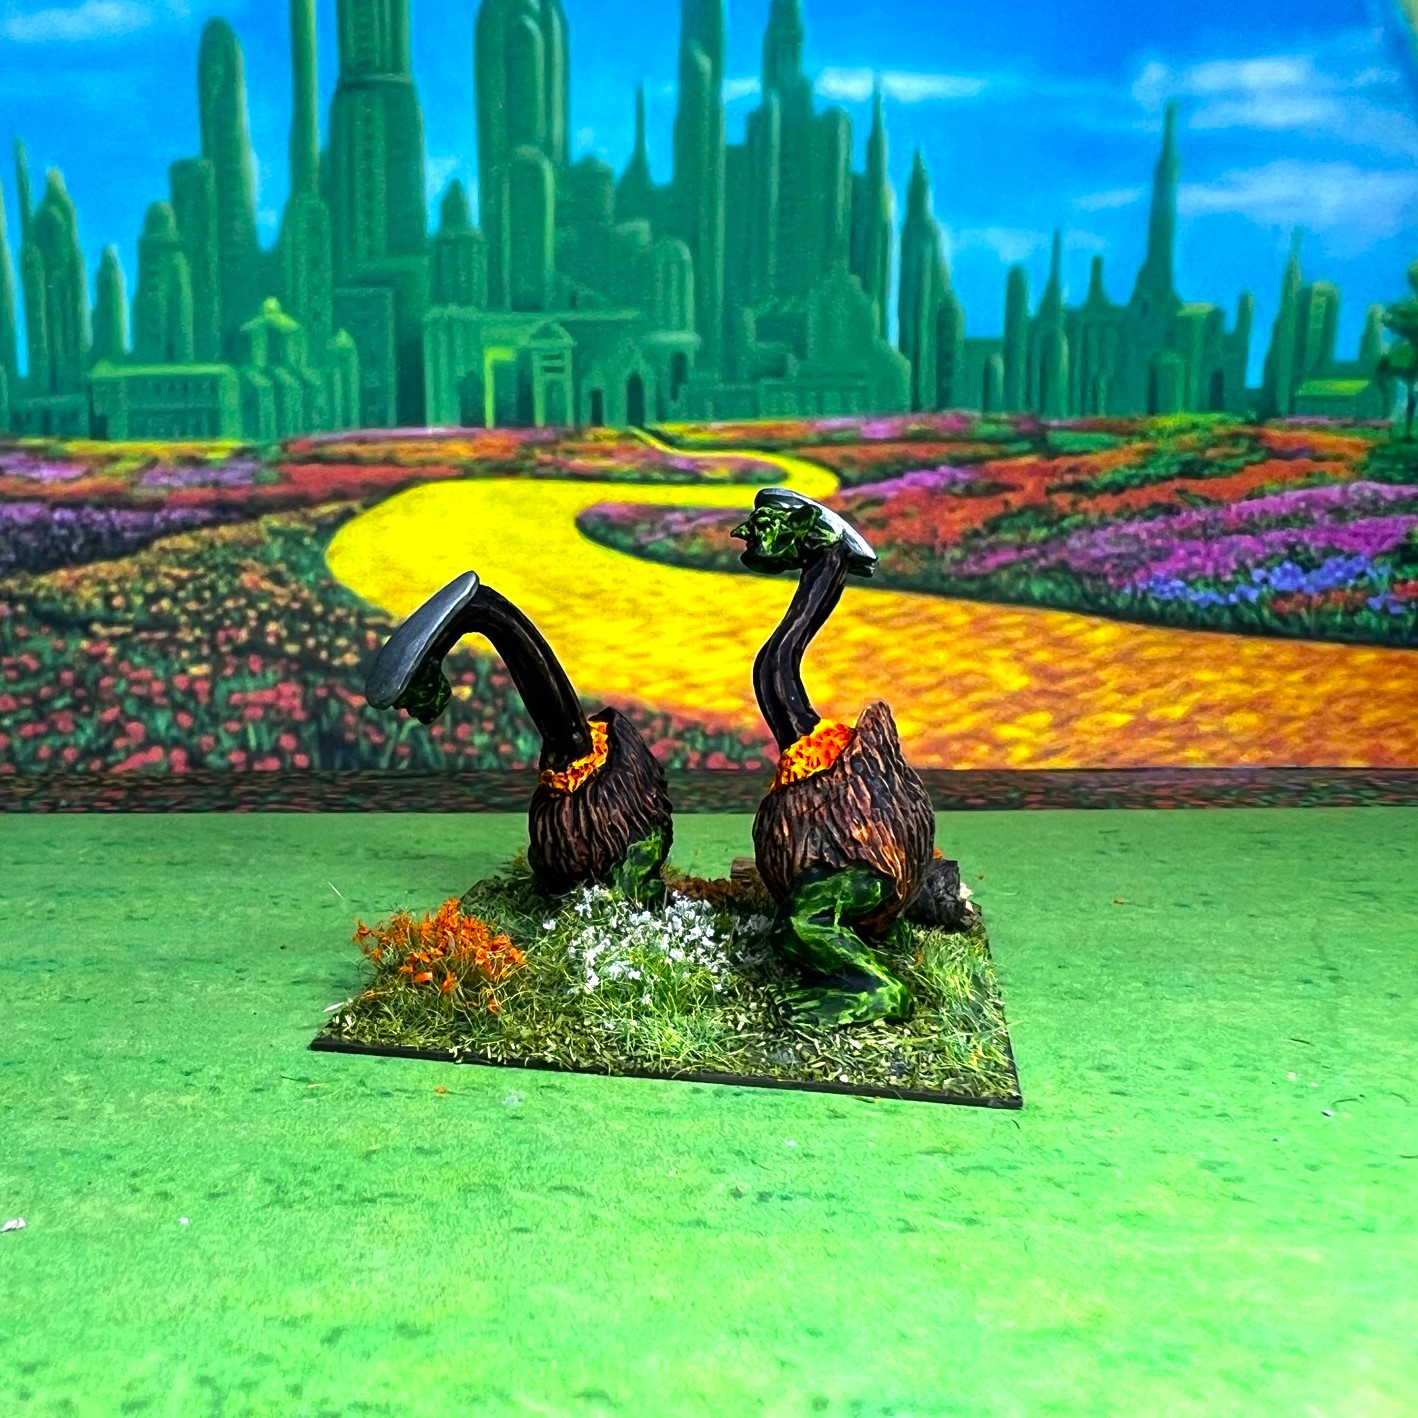
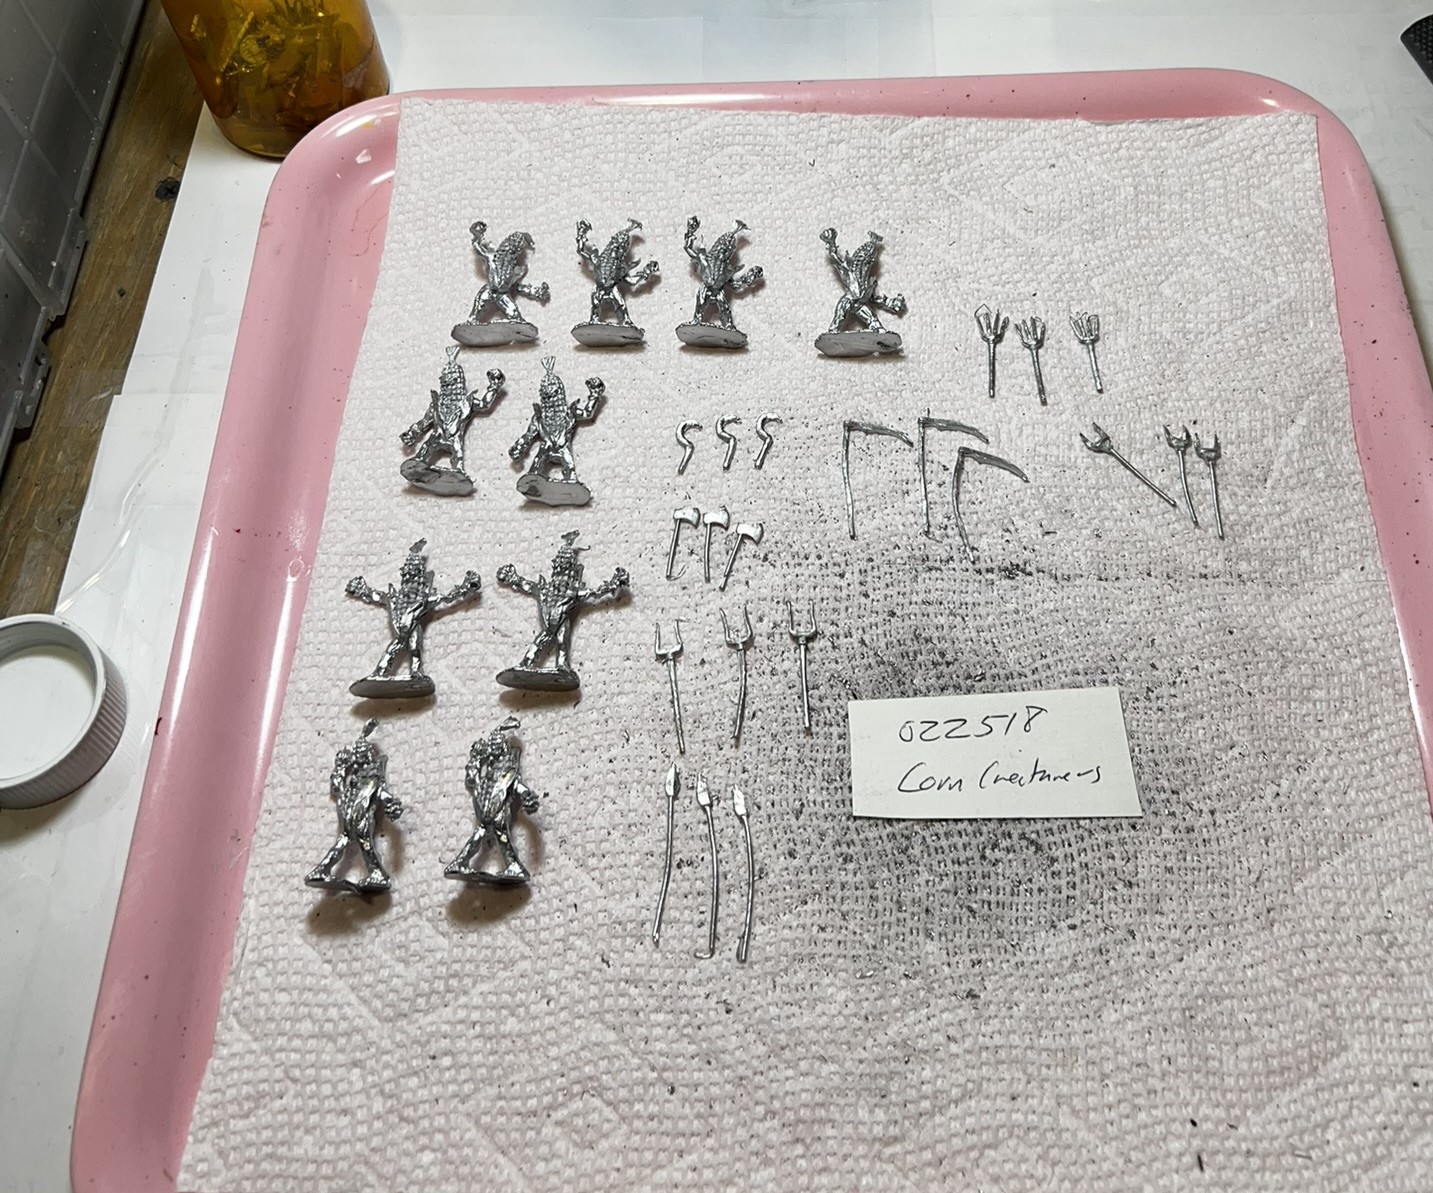
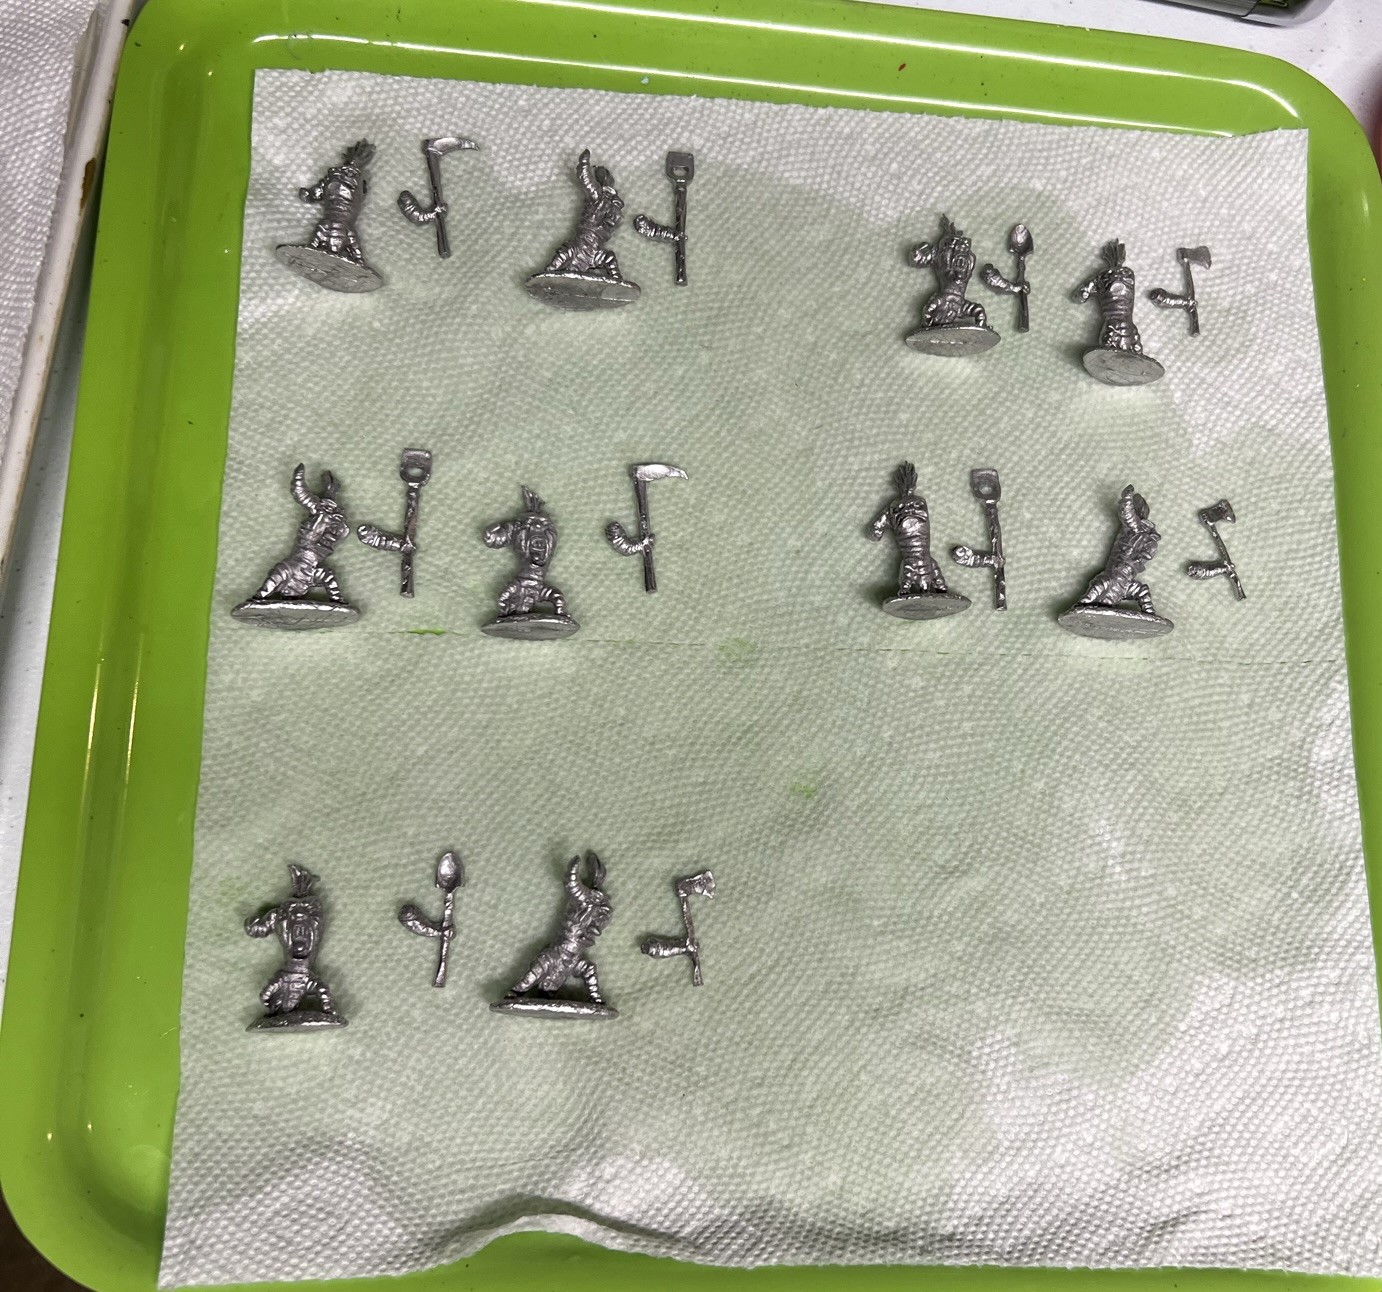
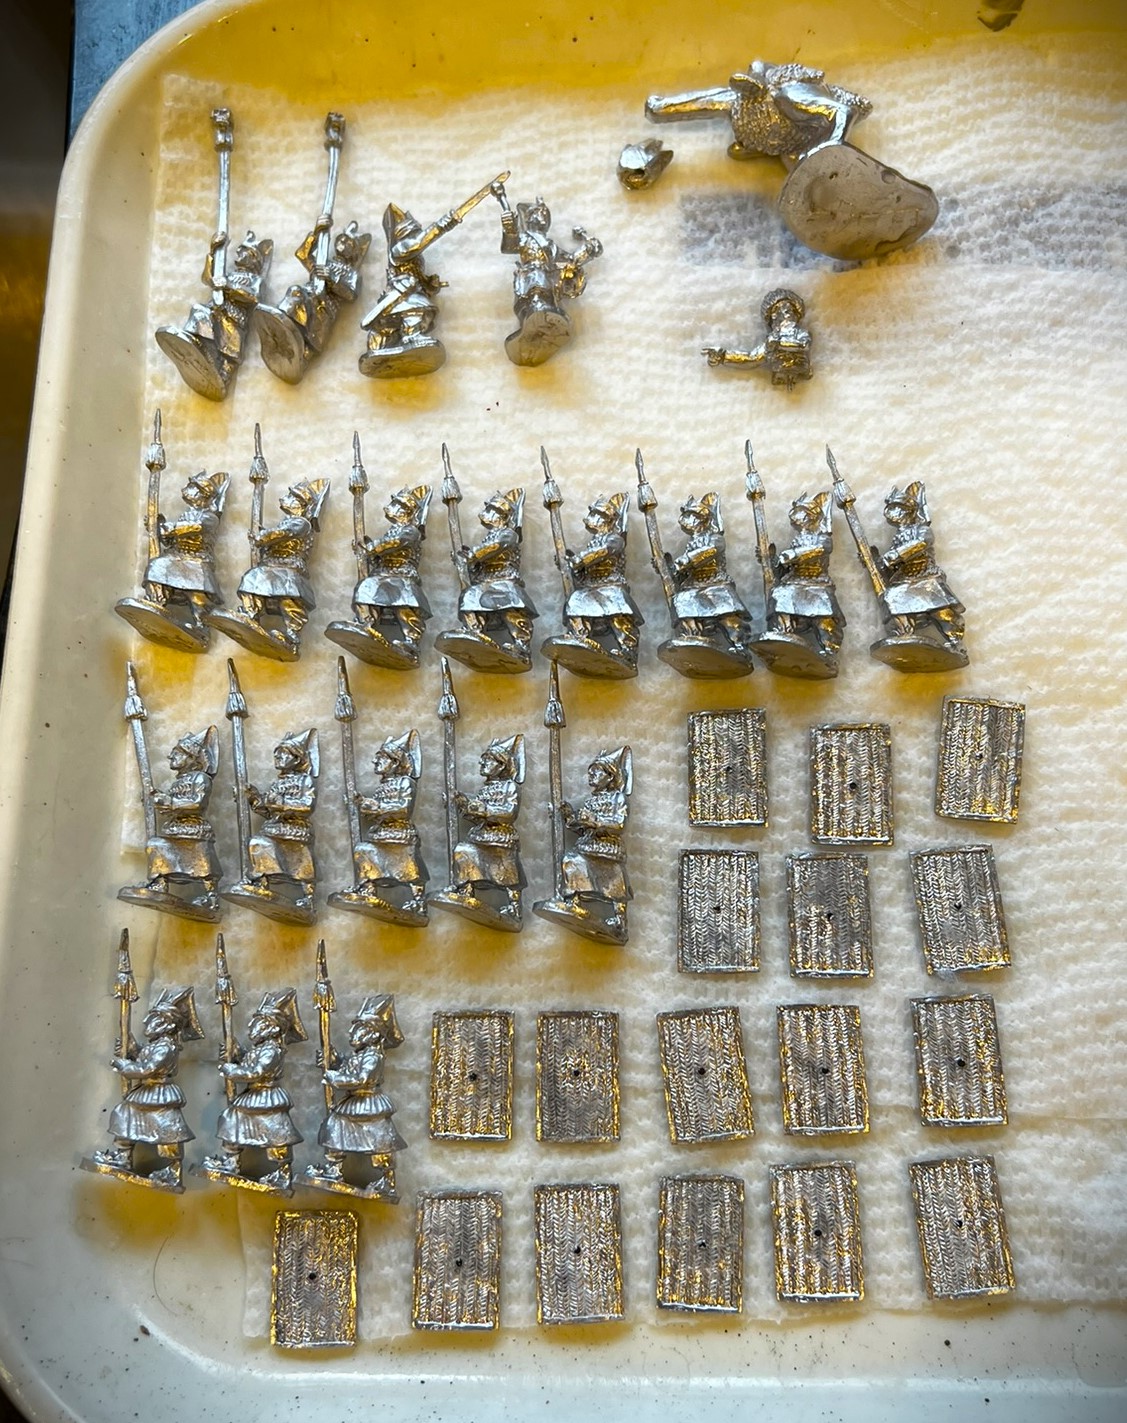
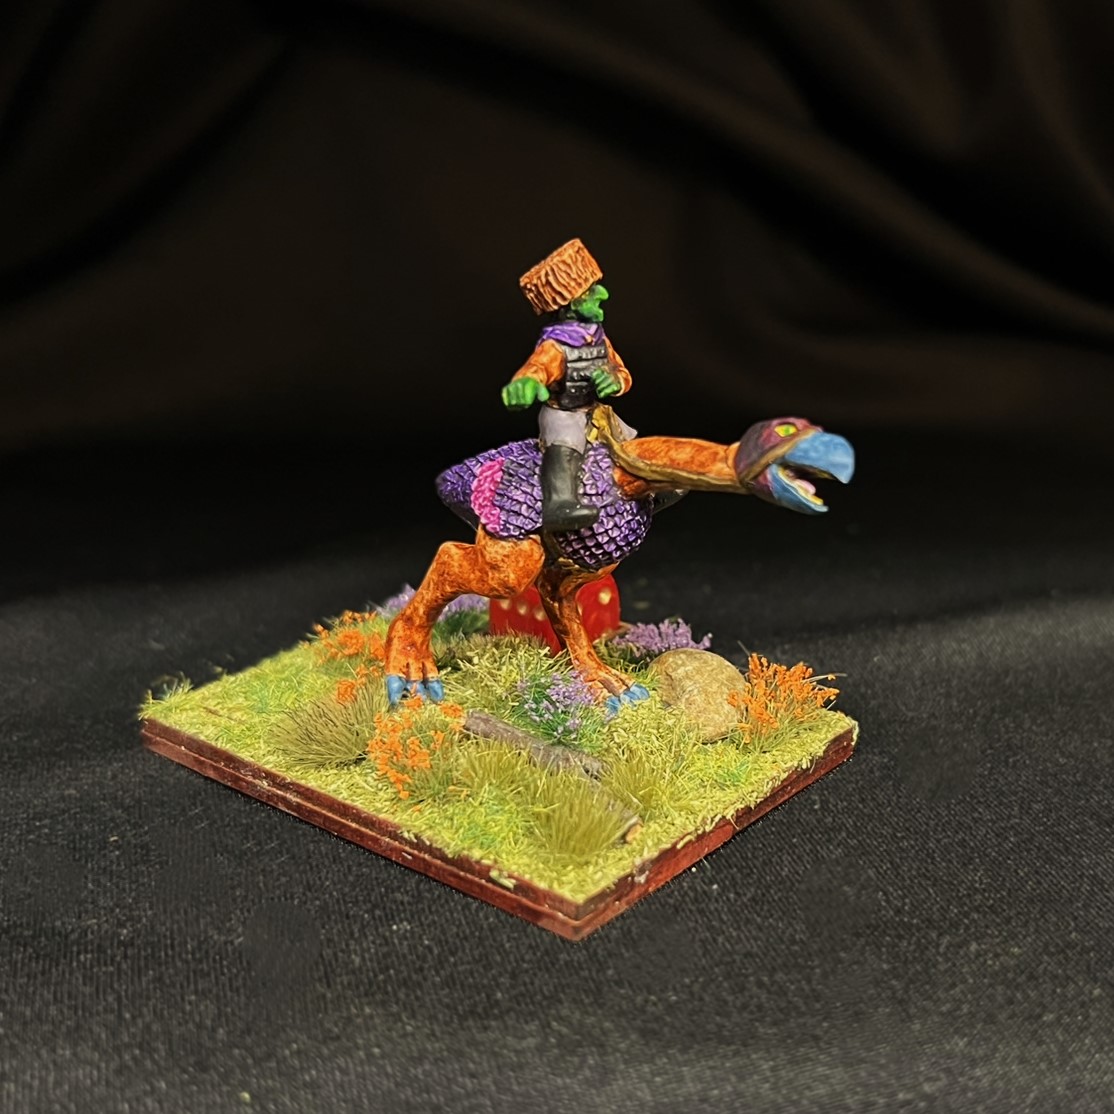
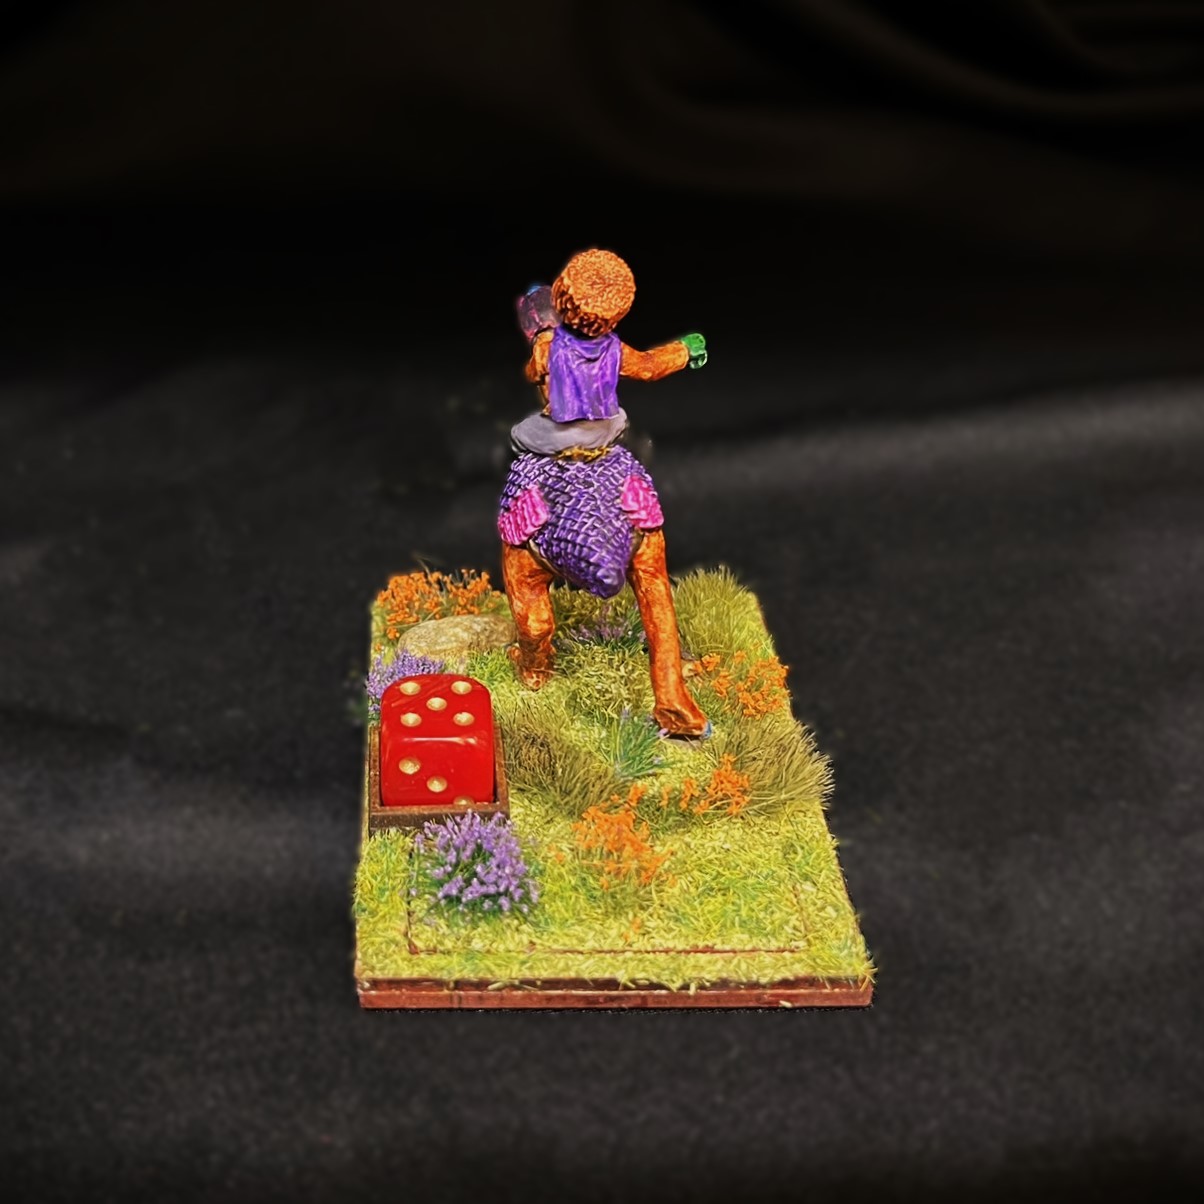
No assembly was required for the unit other than to mount the shields, to add the flags, and to assemble the regimental commander and his Zilk (carniverous bird) mount. As I always do, I mixed and matched the figure types and poses such that no two bases of the five in the regiment were identical in terms of the figures. The SKU for the regiment is OZZ-301. There are 21 figures for the regiment – this includes the mounted regimental commander and 20 trooper figures. All of the figures are metal and 28mm in size. I decided to stay with more orange instead of any yellow as I thought that looked better and would be in canon agreement. The contrast between the orange and the purple was interesting.
This is my third unit for Dave Stone’s “PAINT WHAT YOU GOT CHALLENGE 2023/2024” painting challenge that runs from December 26th, 2023 to February 29th, 2024. It’s also going to play a major role in many of my upcoming games for the multiple gaming conventions that I plan on supporting as a GM – right now at a schedule of 25 four-hour games just through May across 4 different conventions.
As I have mentioned previously, I am still recovering from pre-Christmas knee surgery, but now my painting opportunities have been better. I tried to take a few more WIP shots for this project. I’ll share those and then some eye candy.
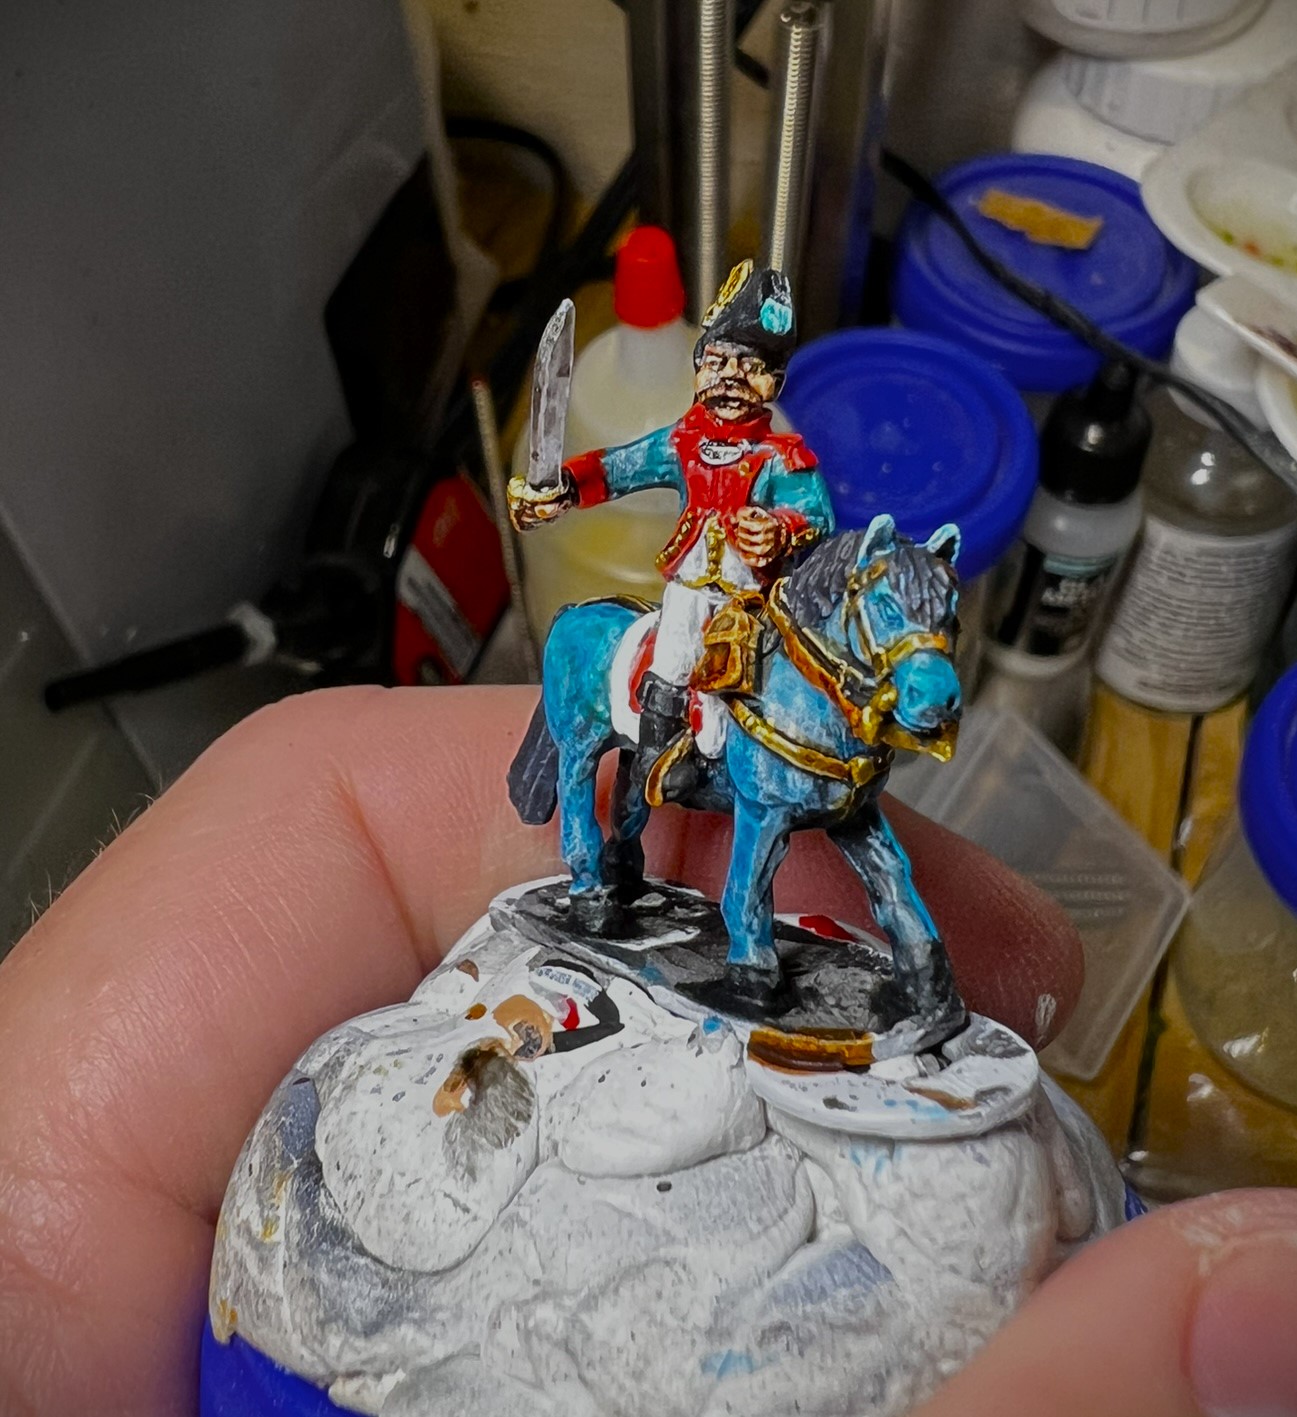
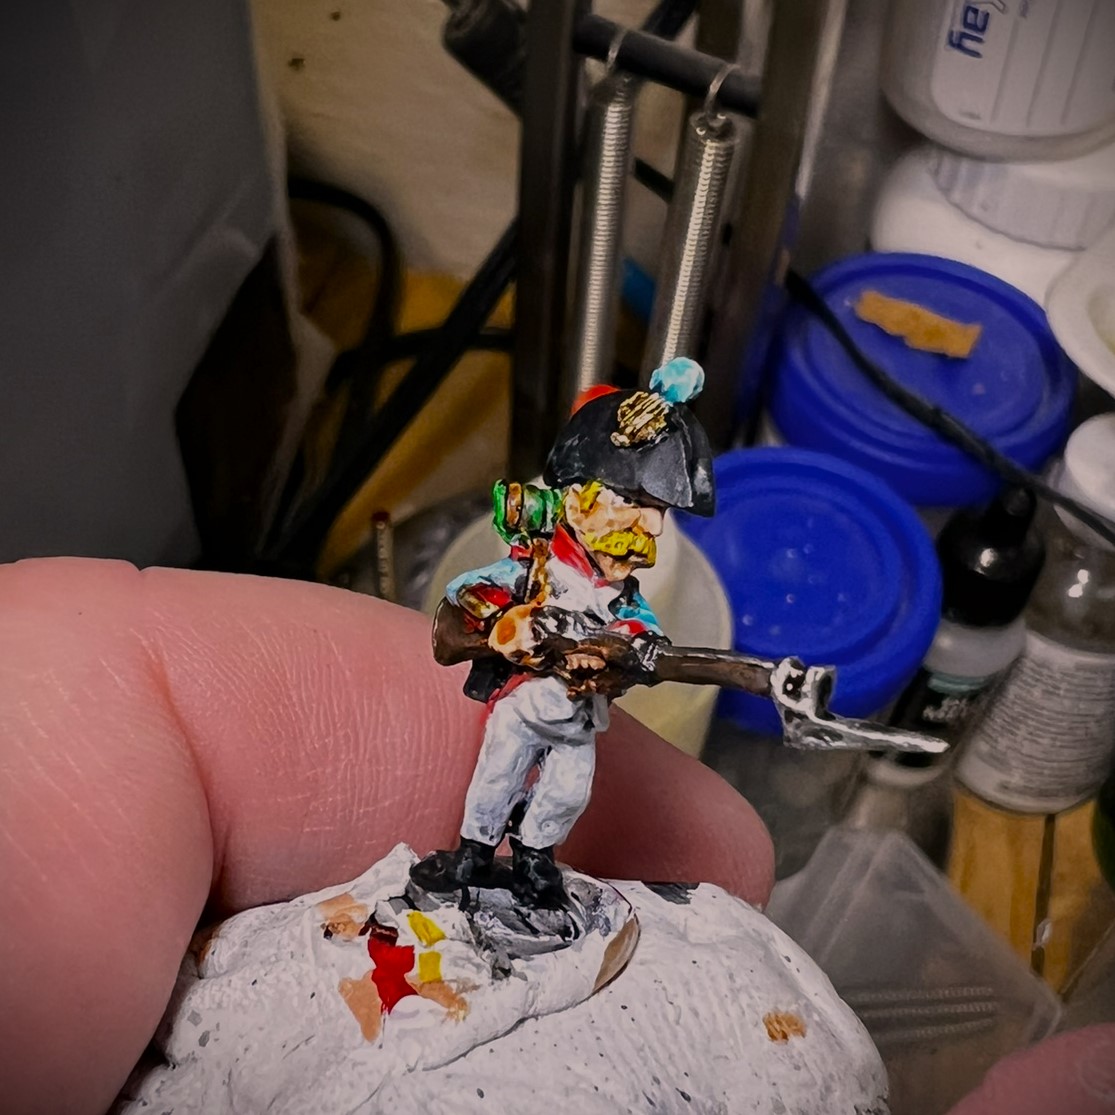
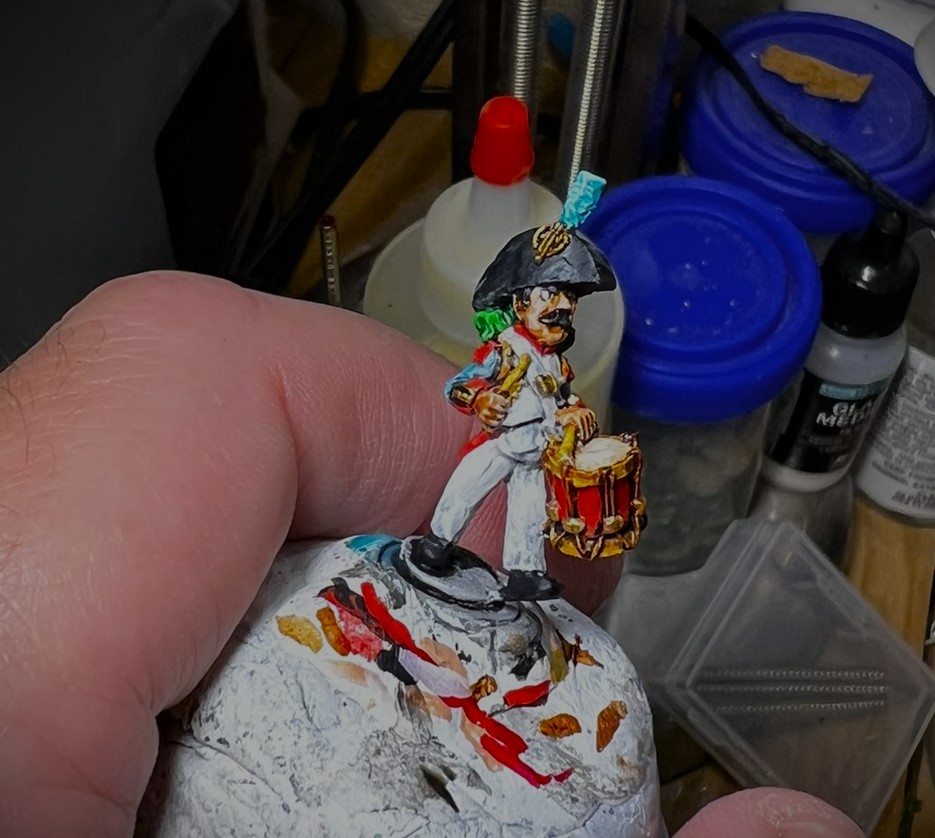
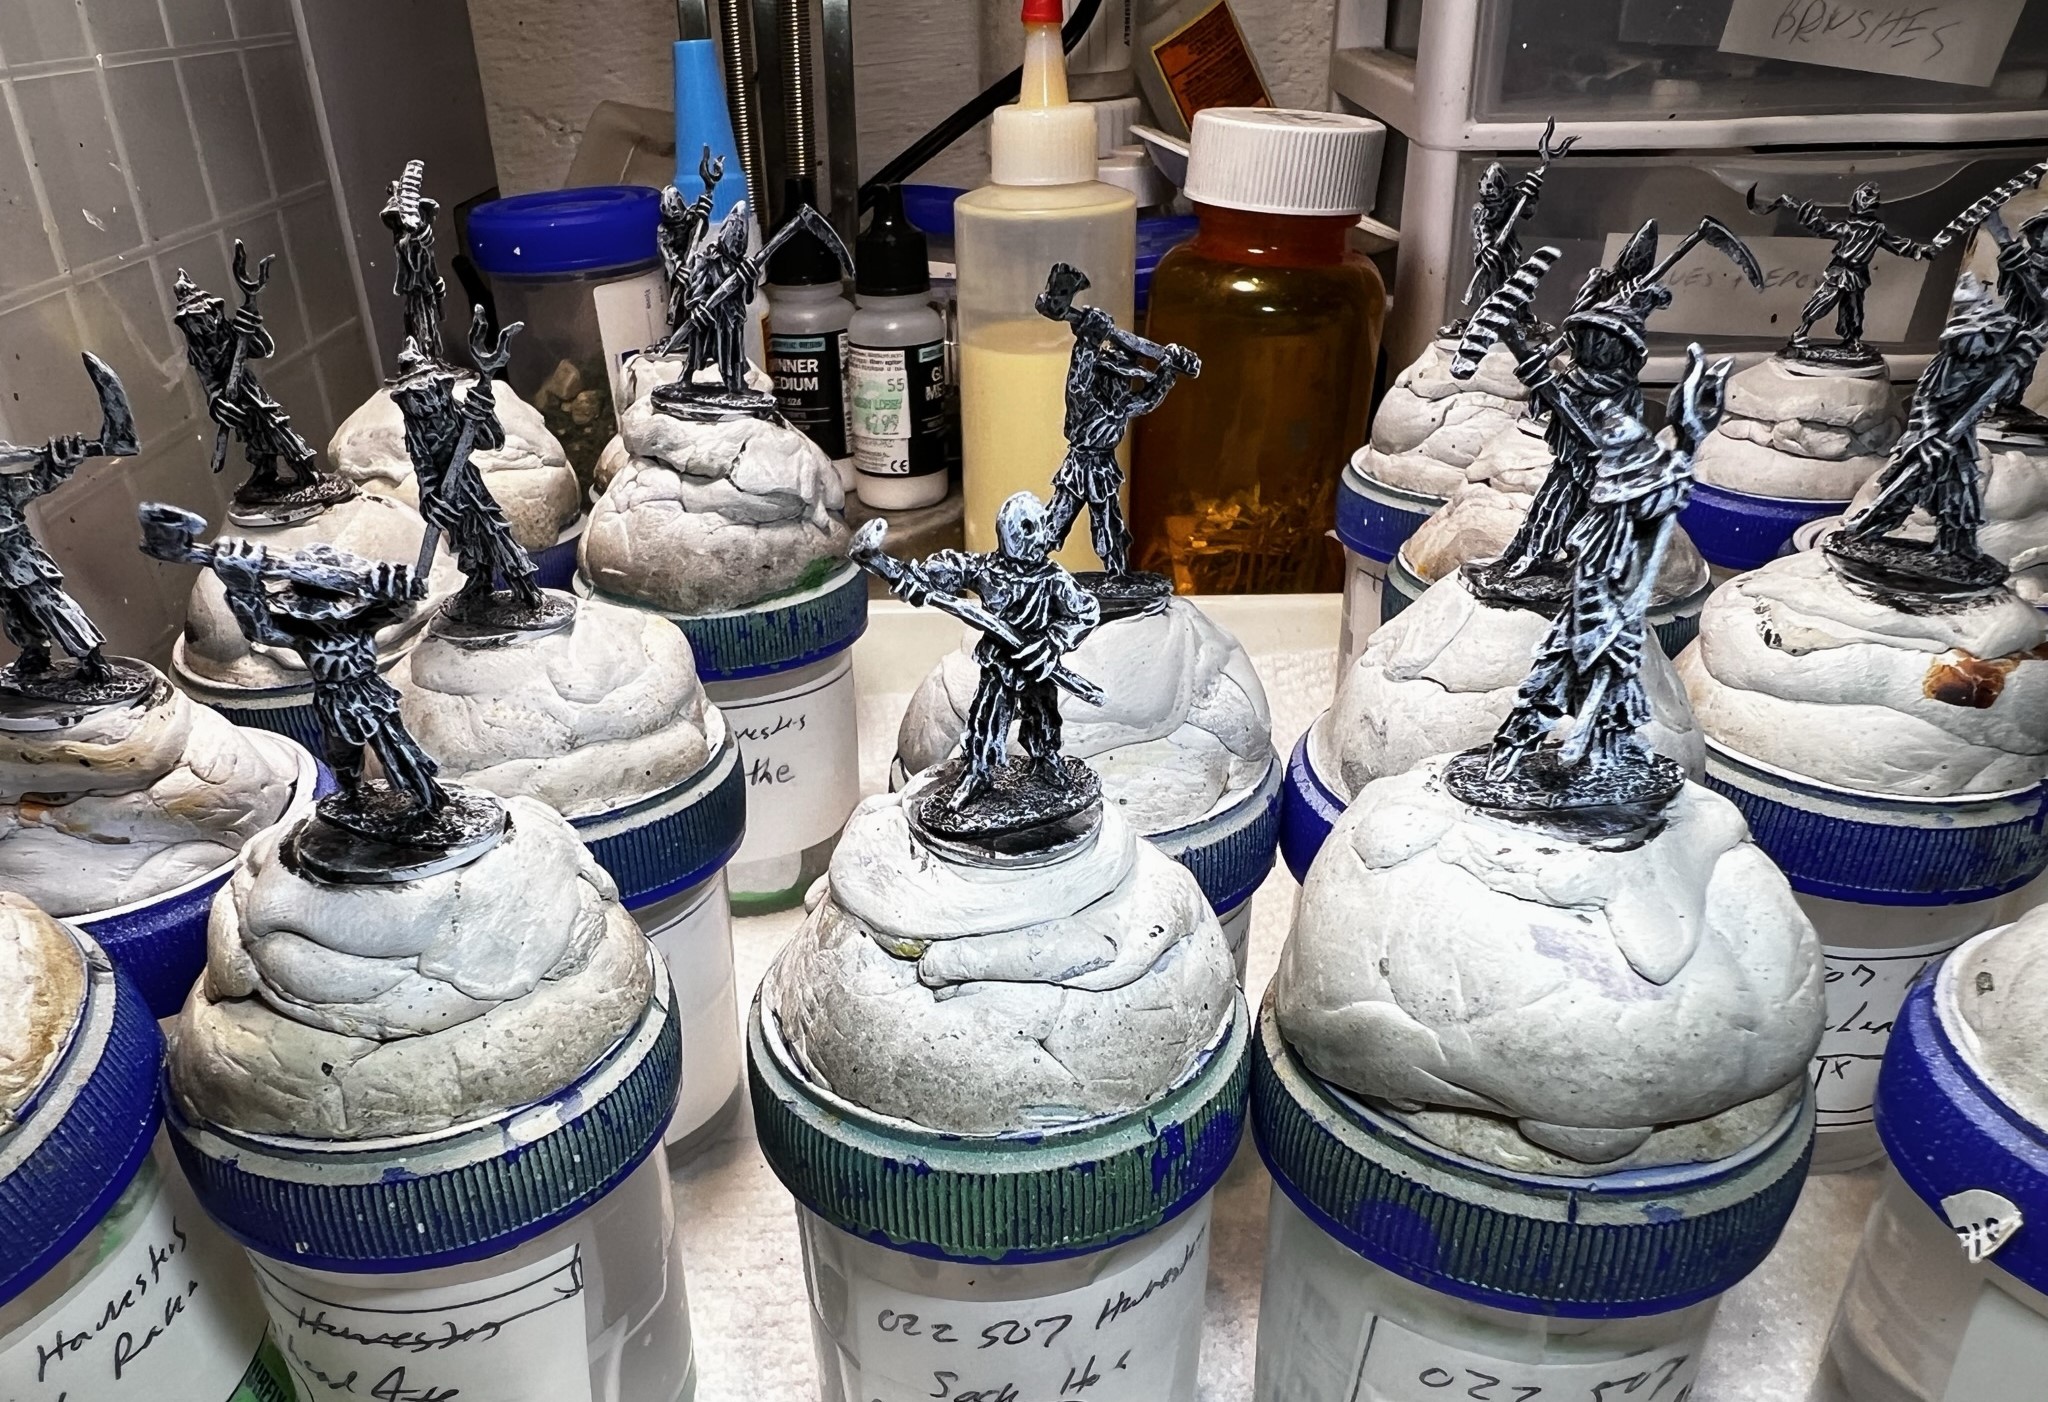
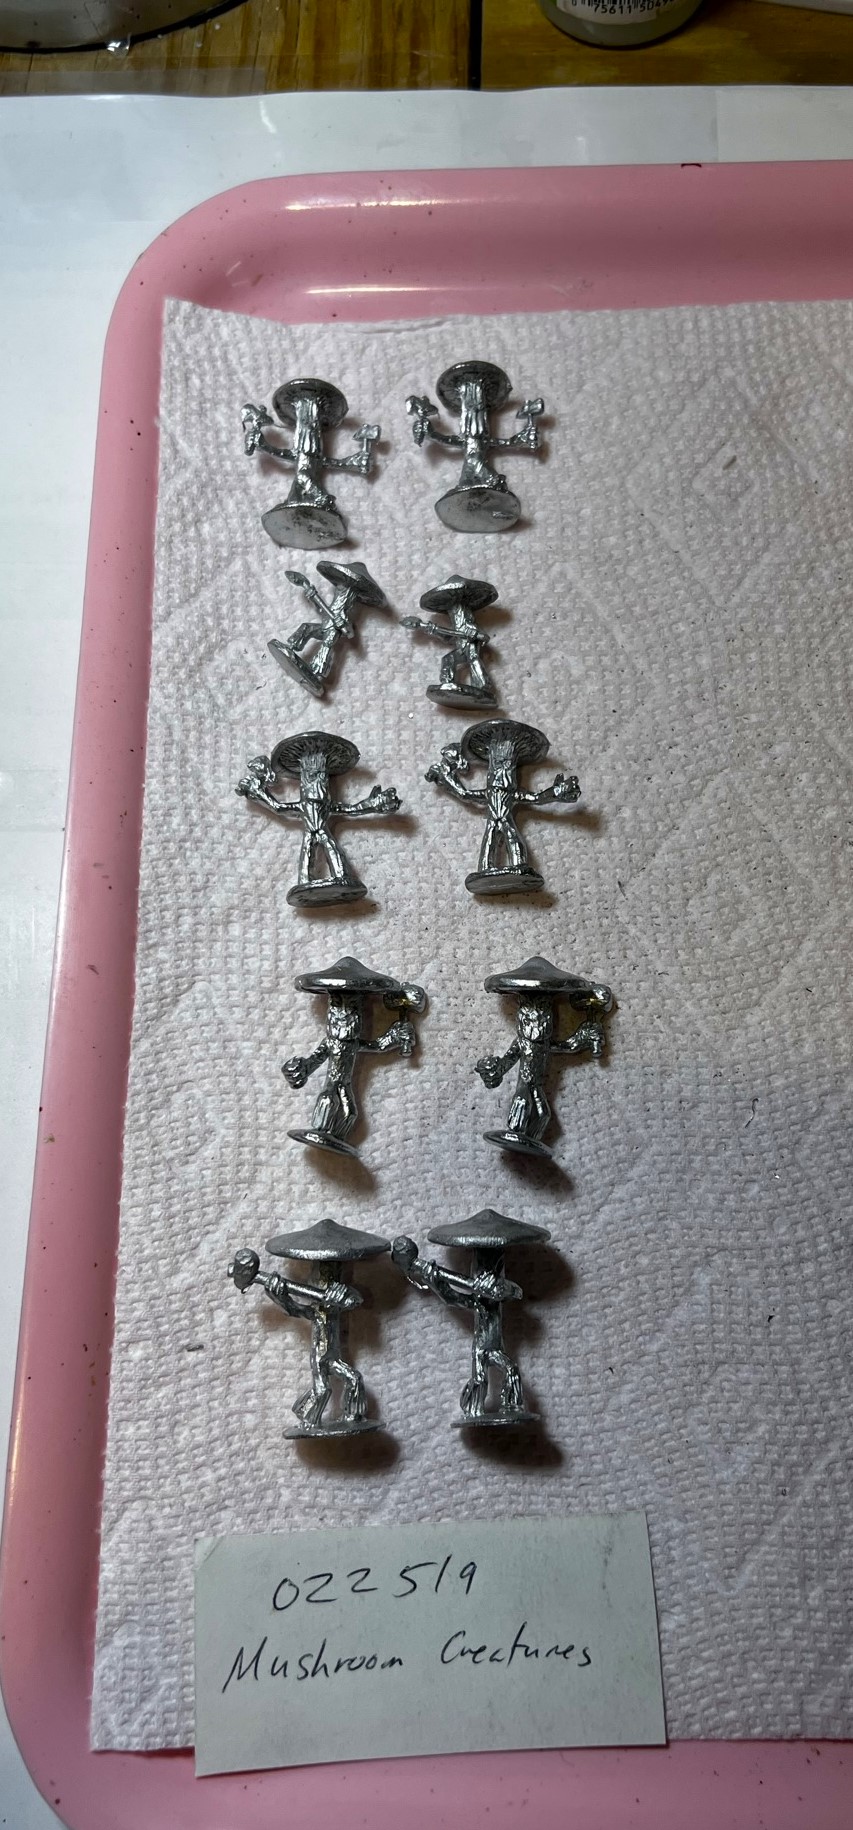
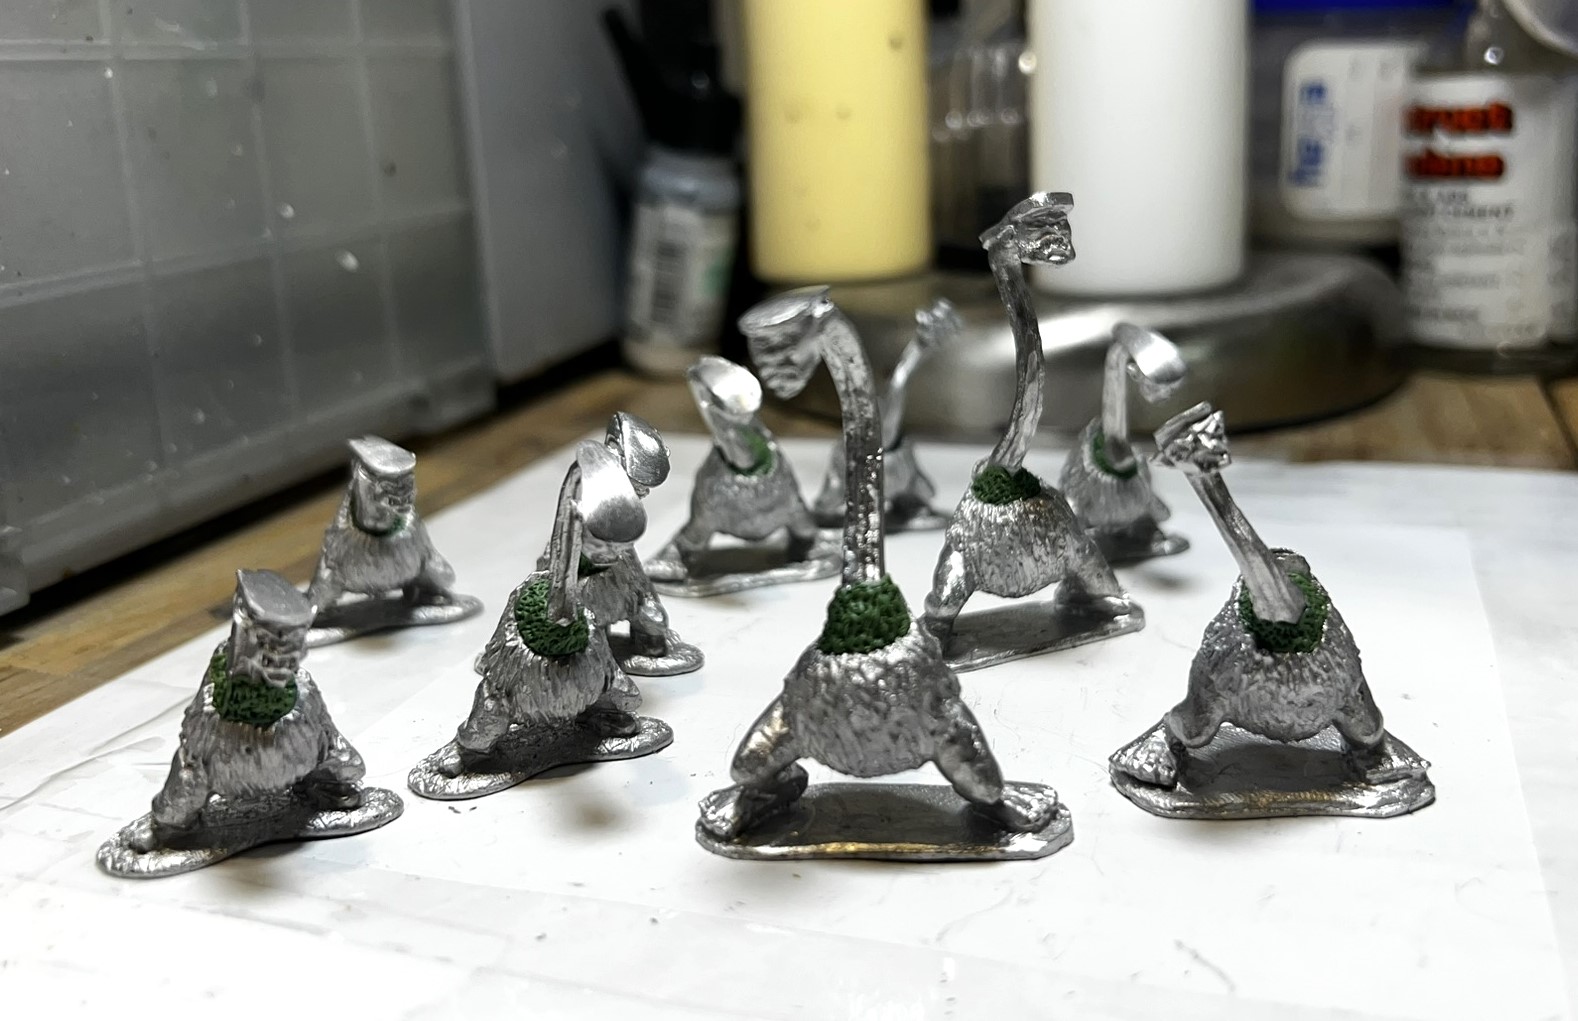
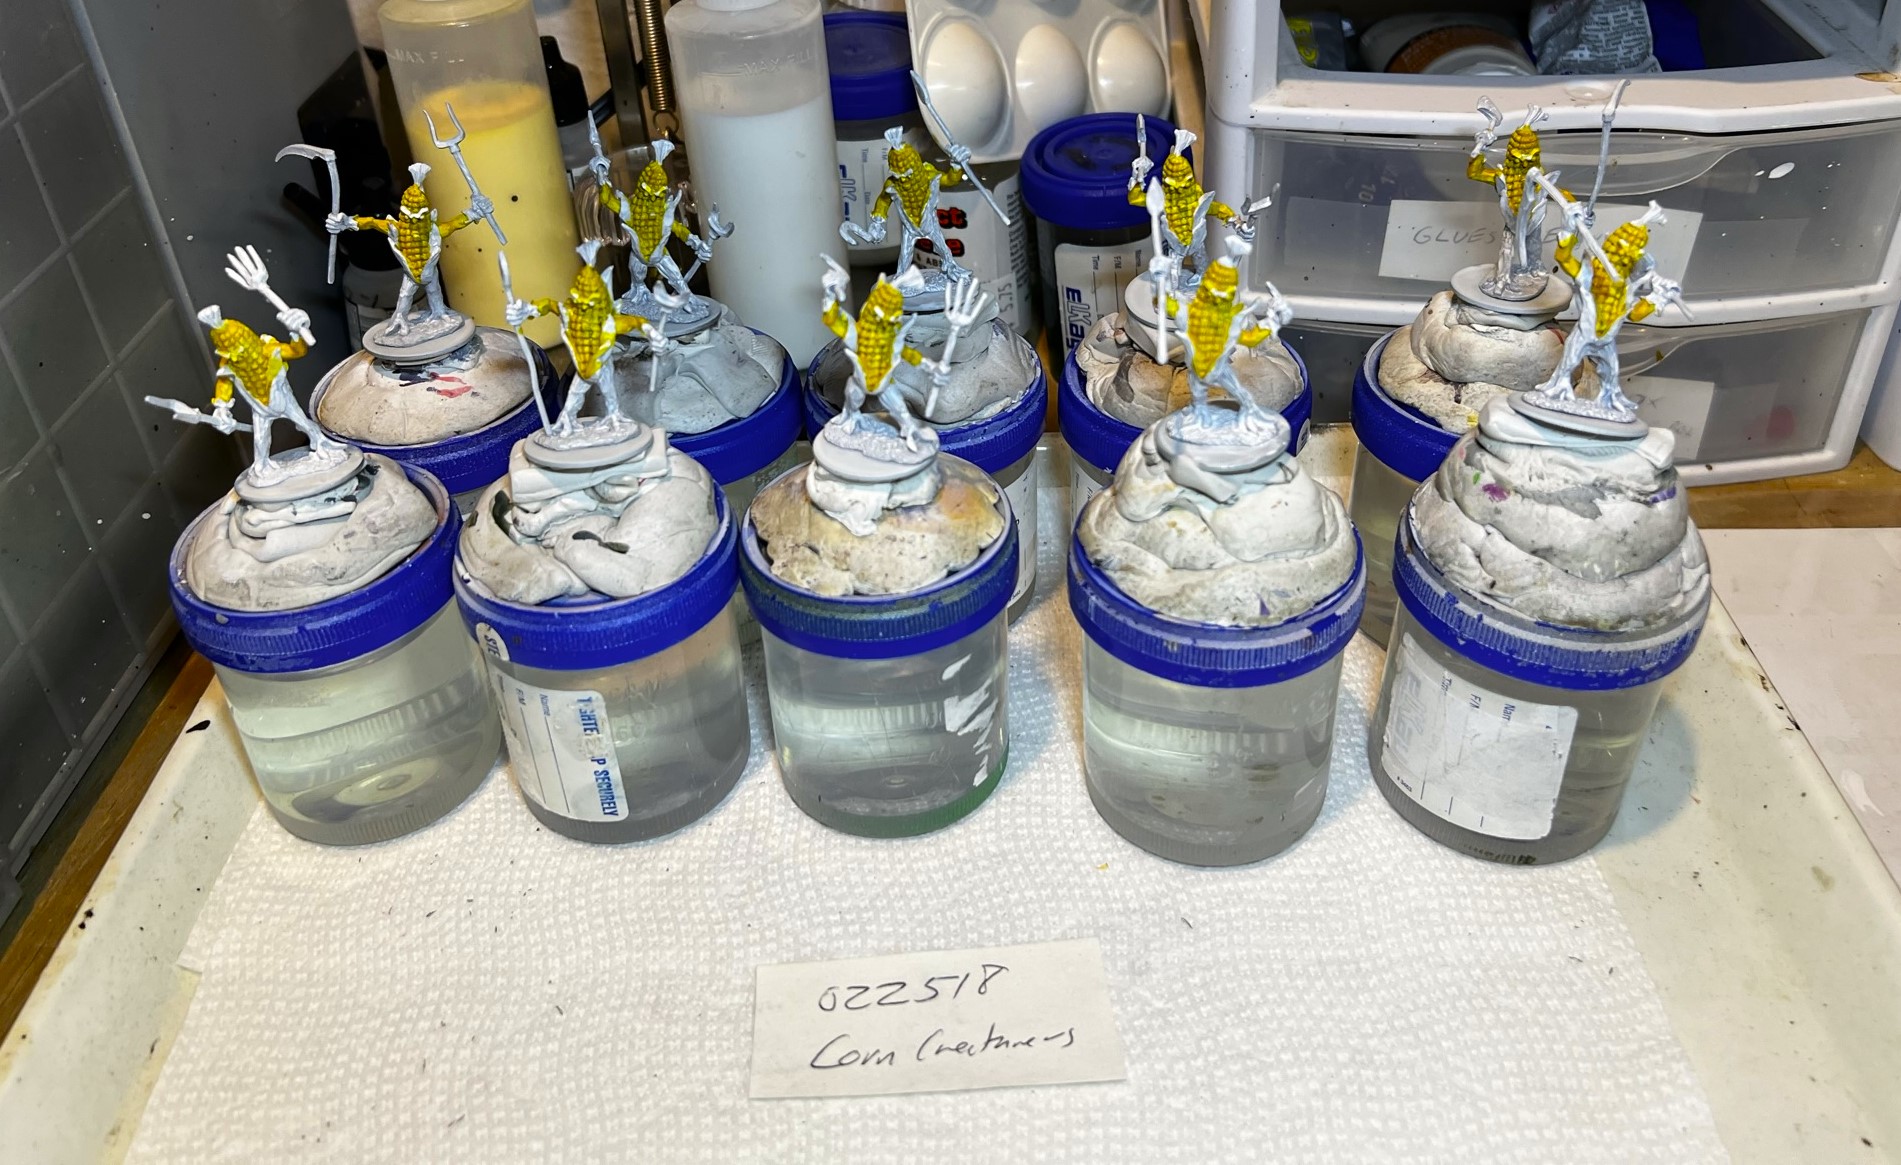
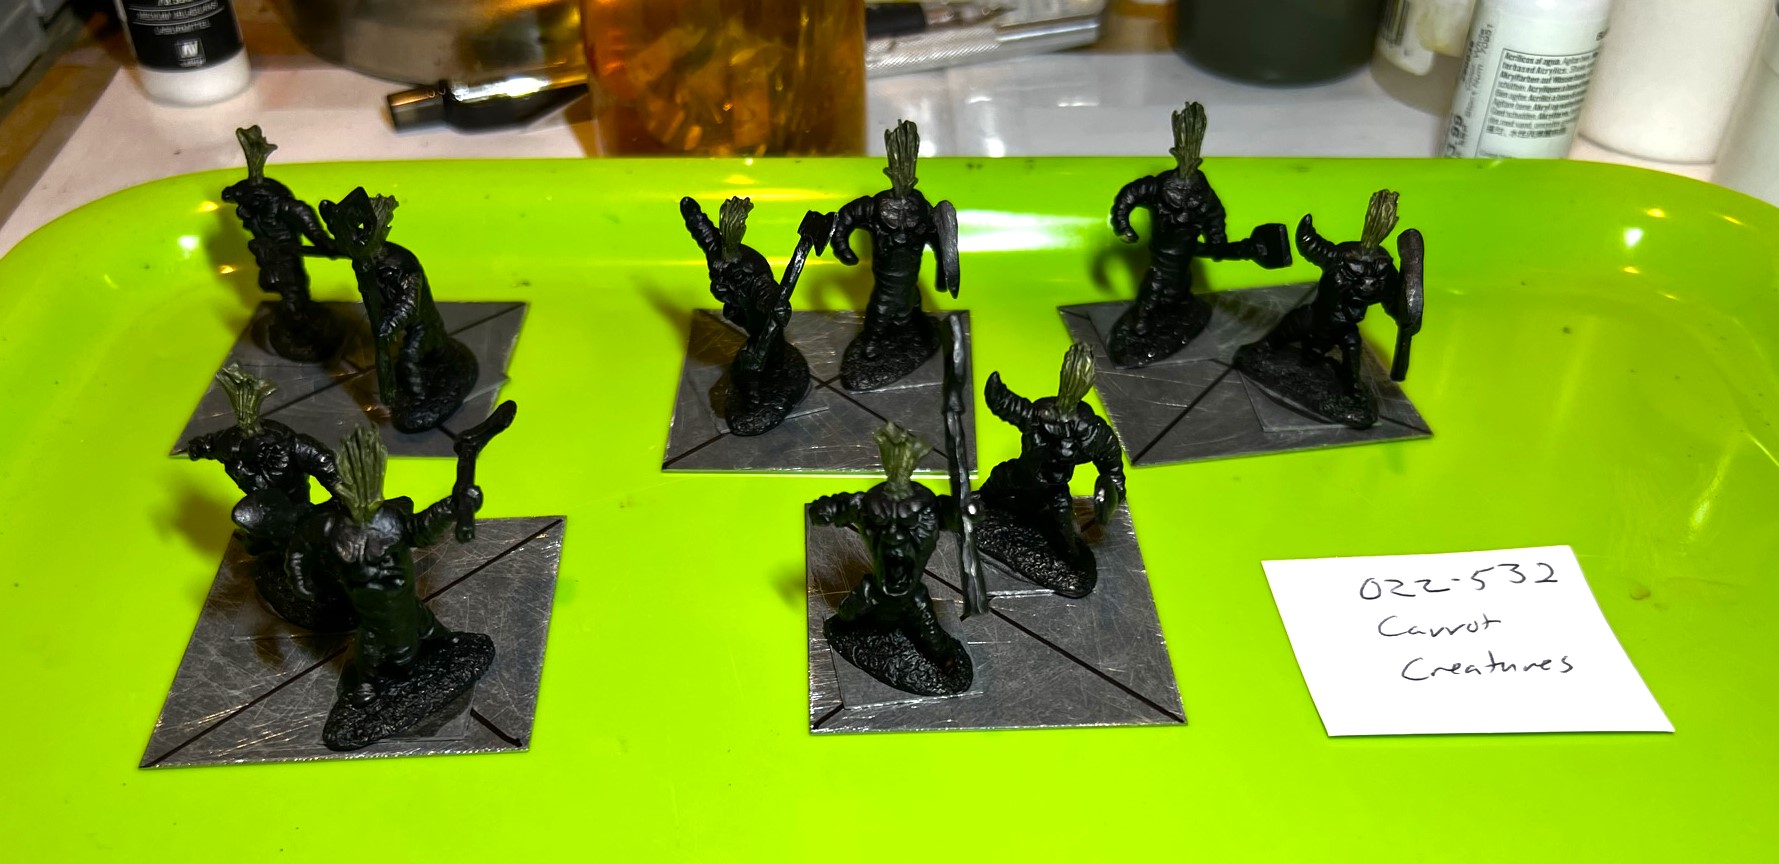
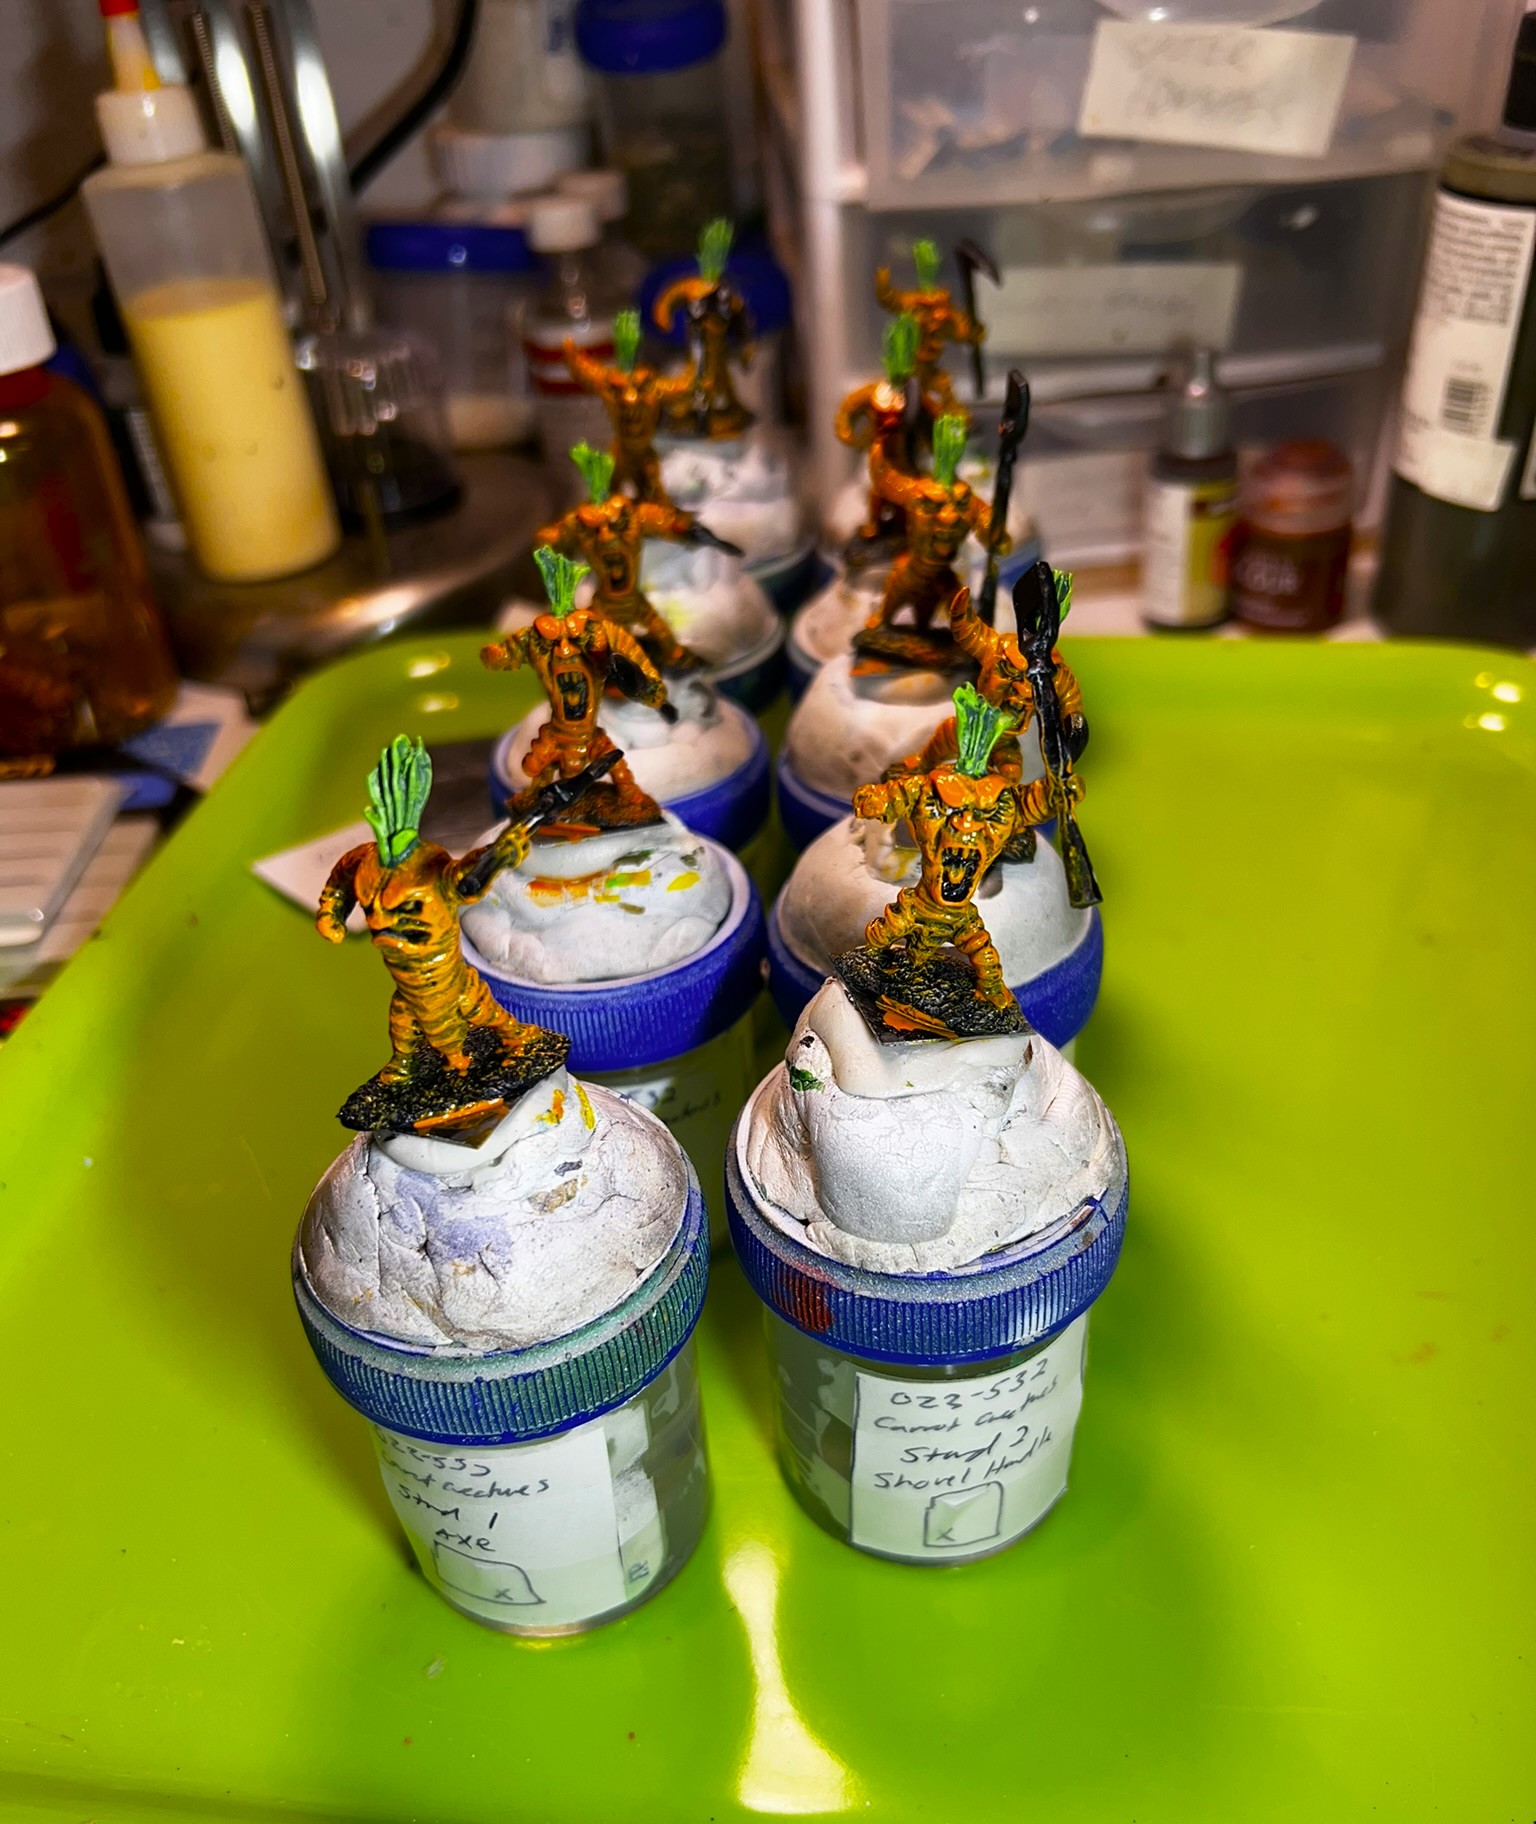
WIP shots
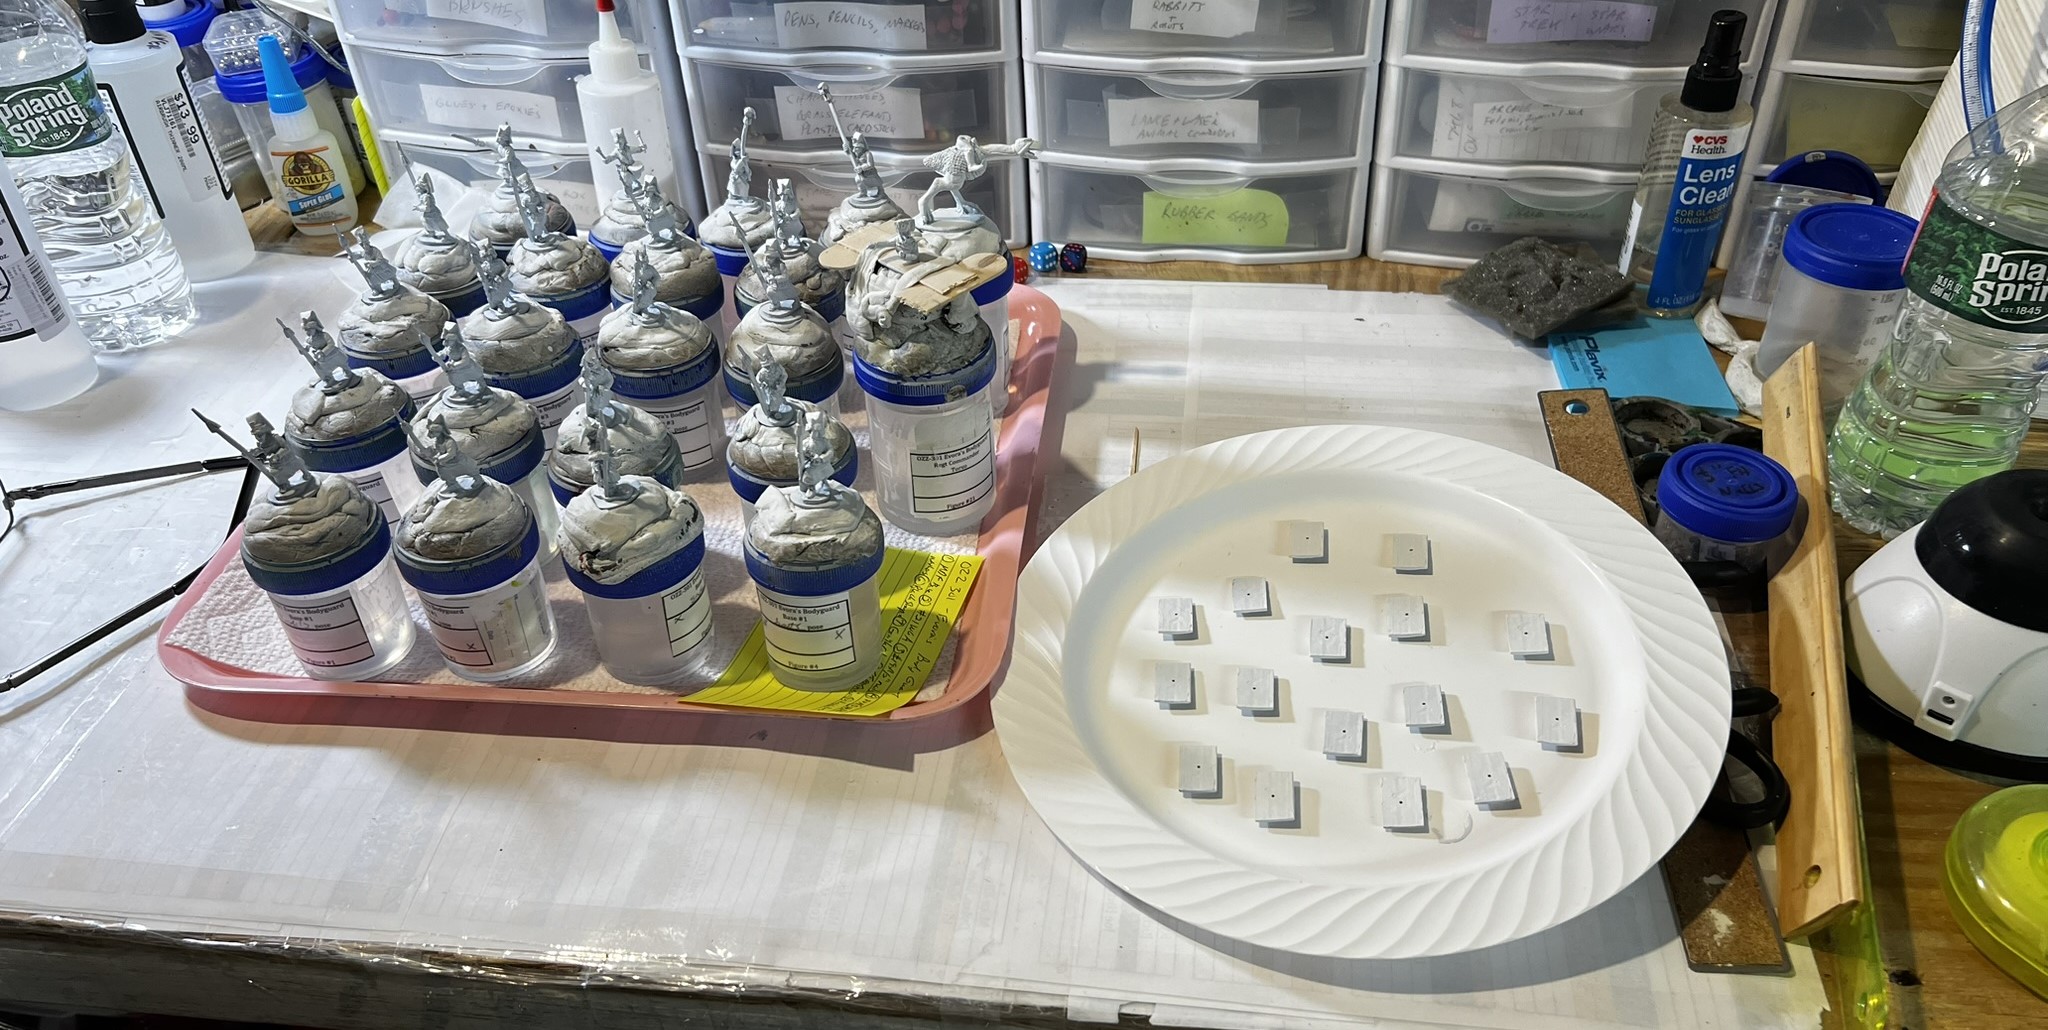

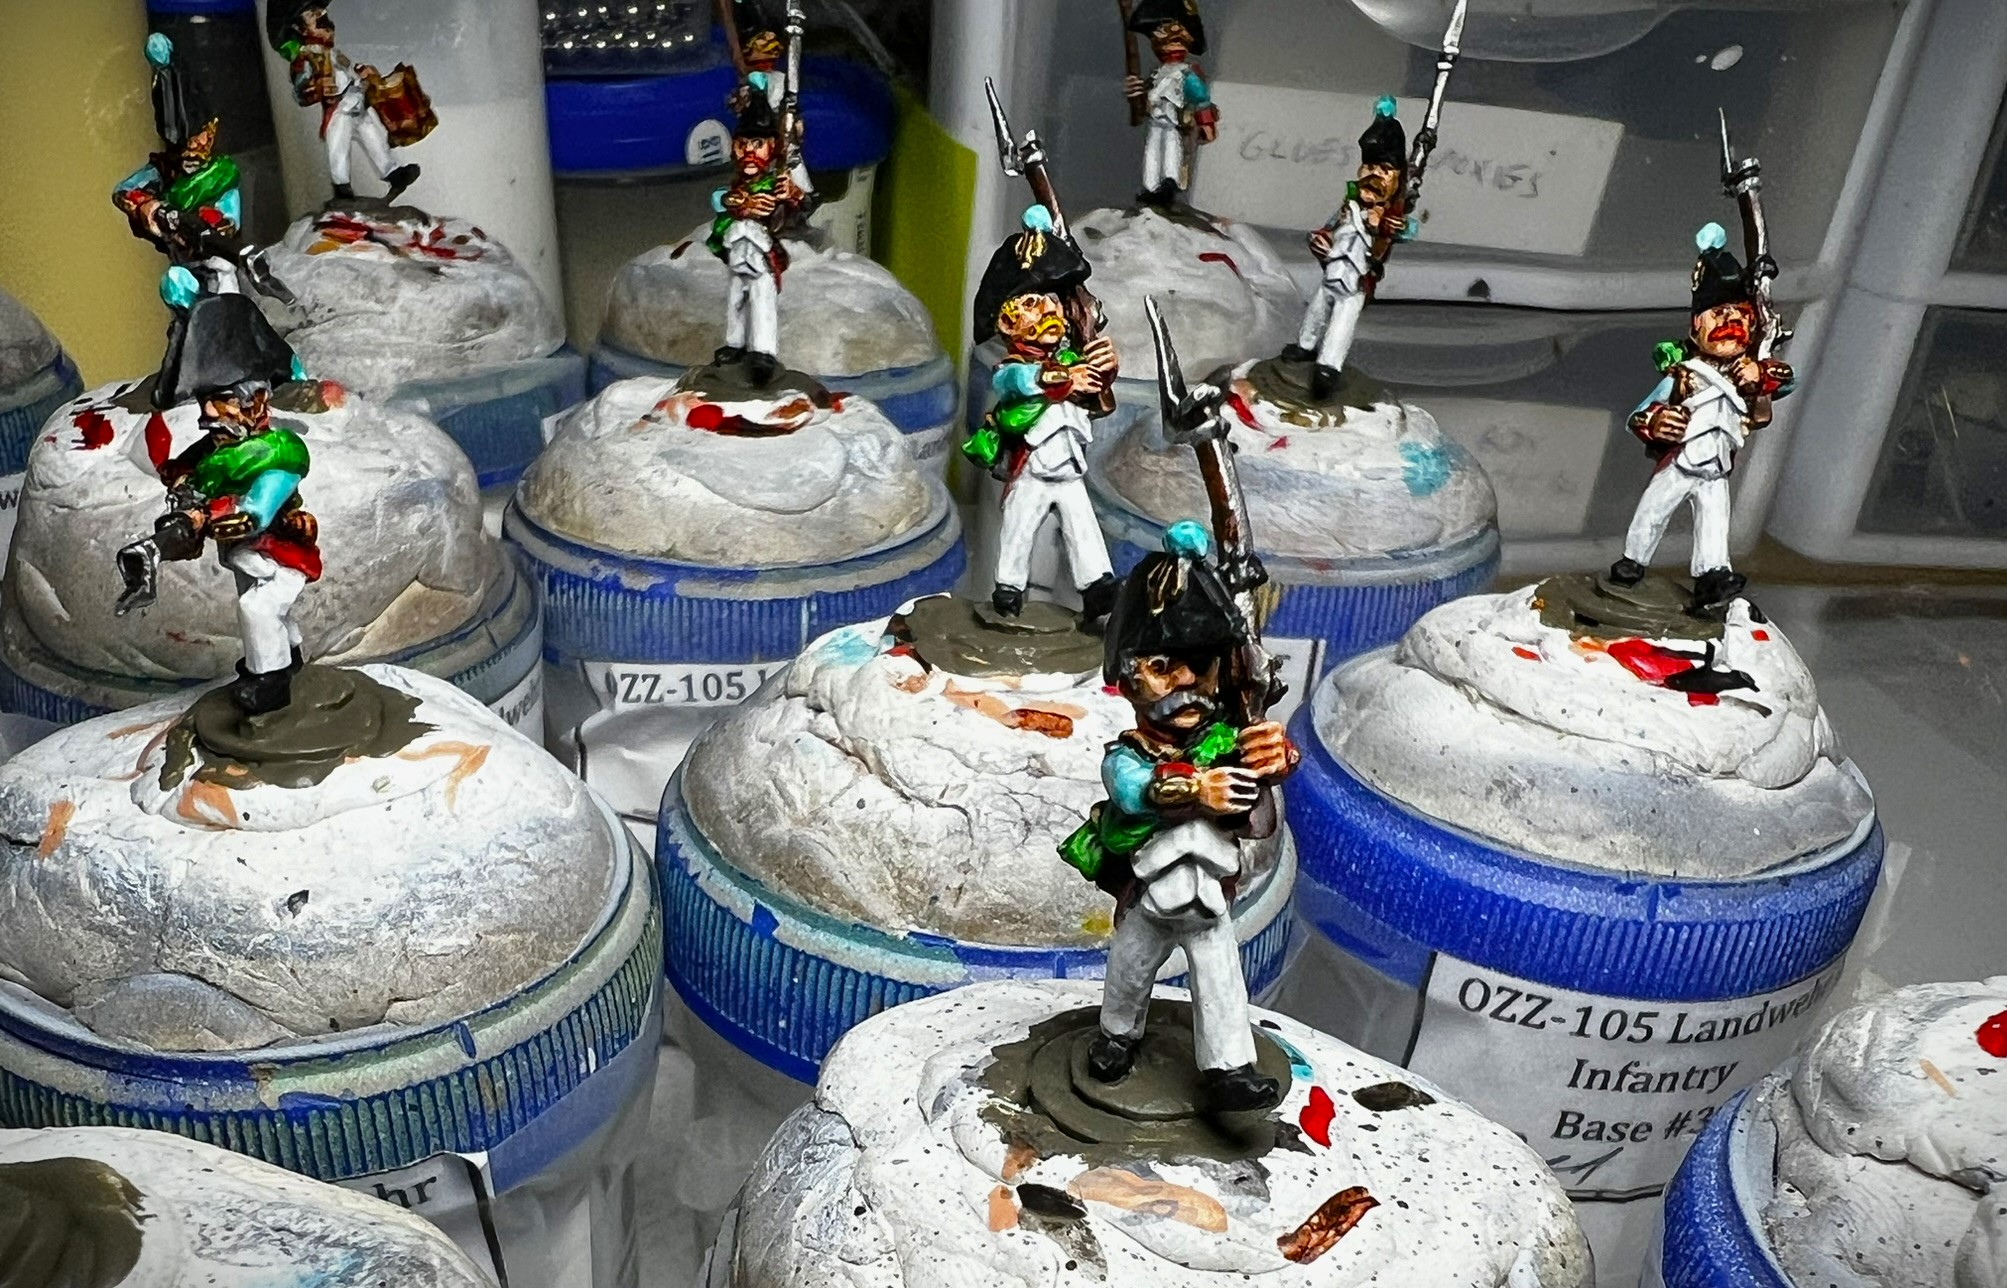
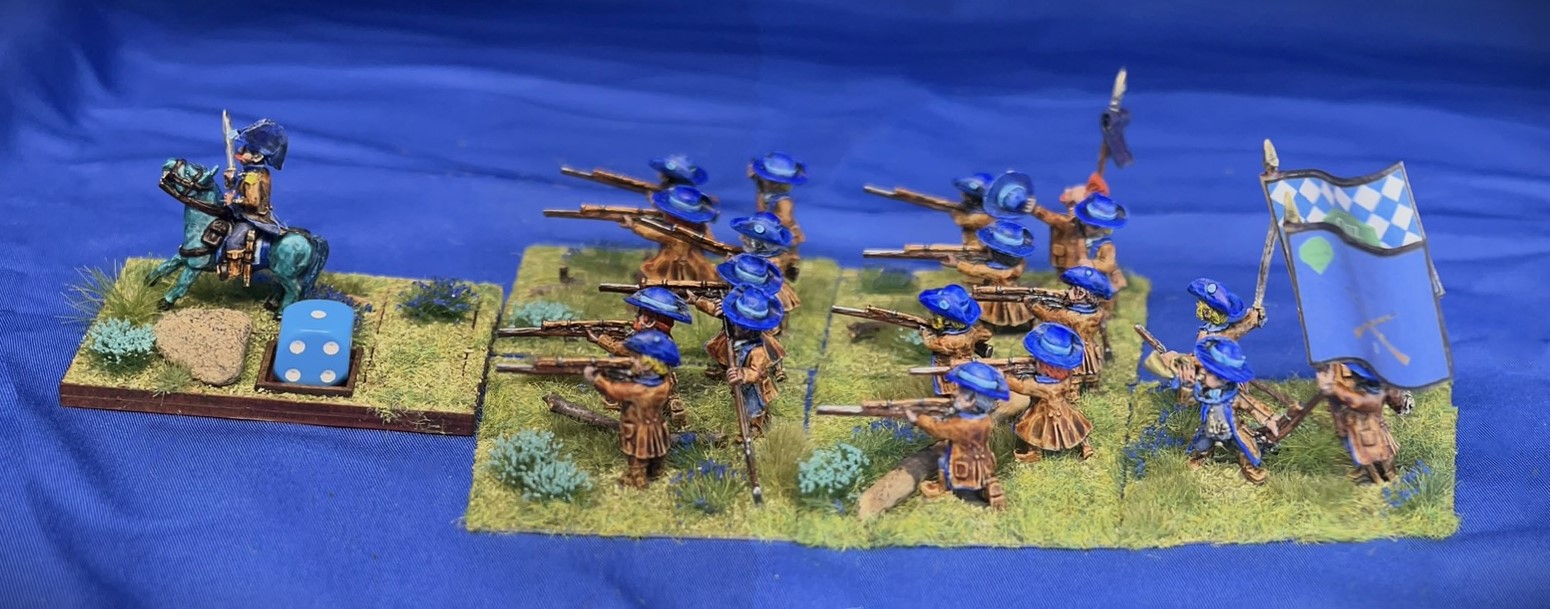
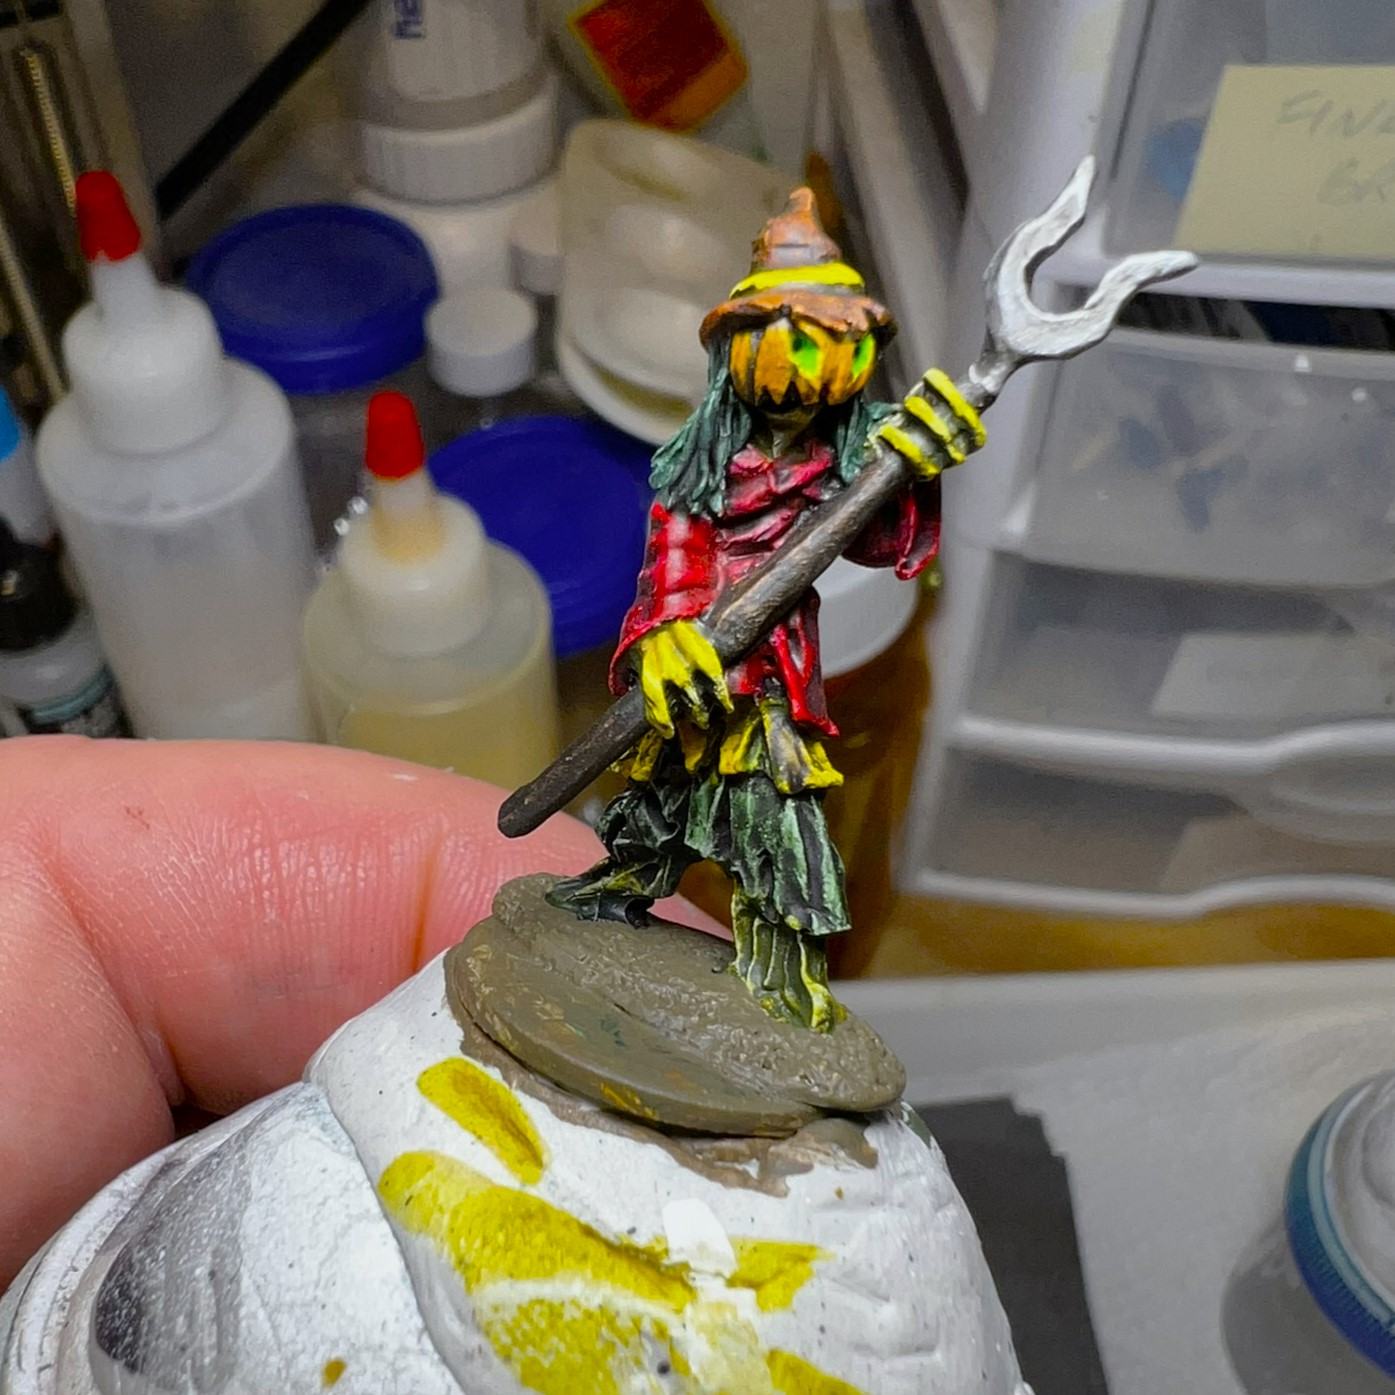
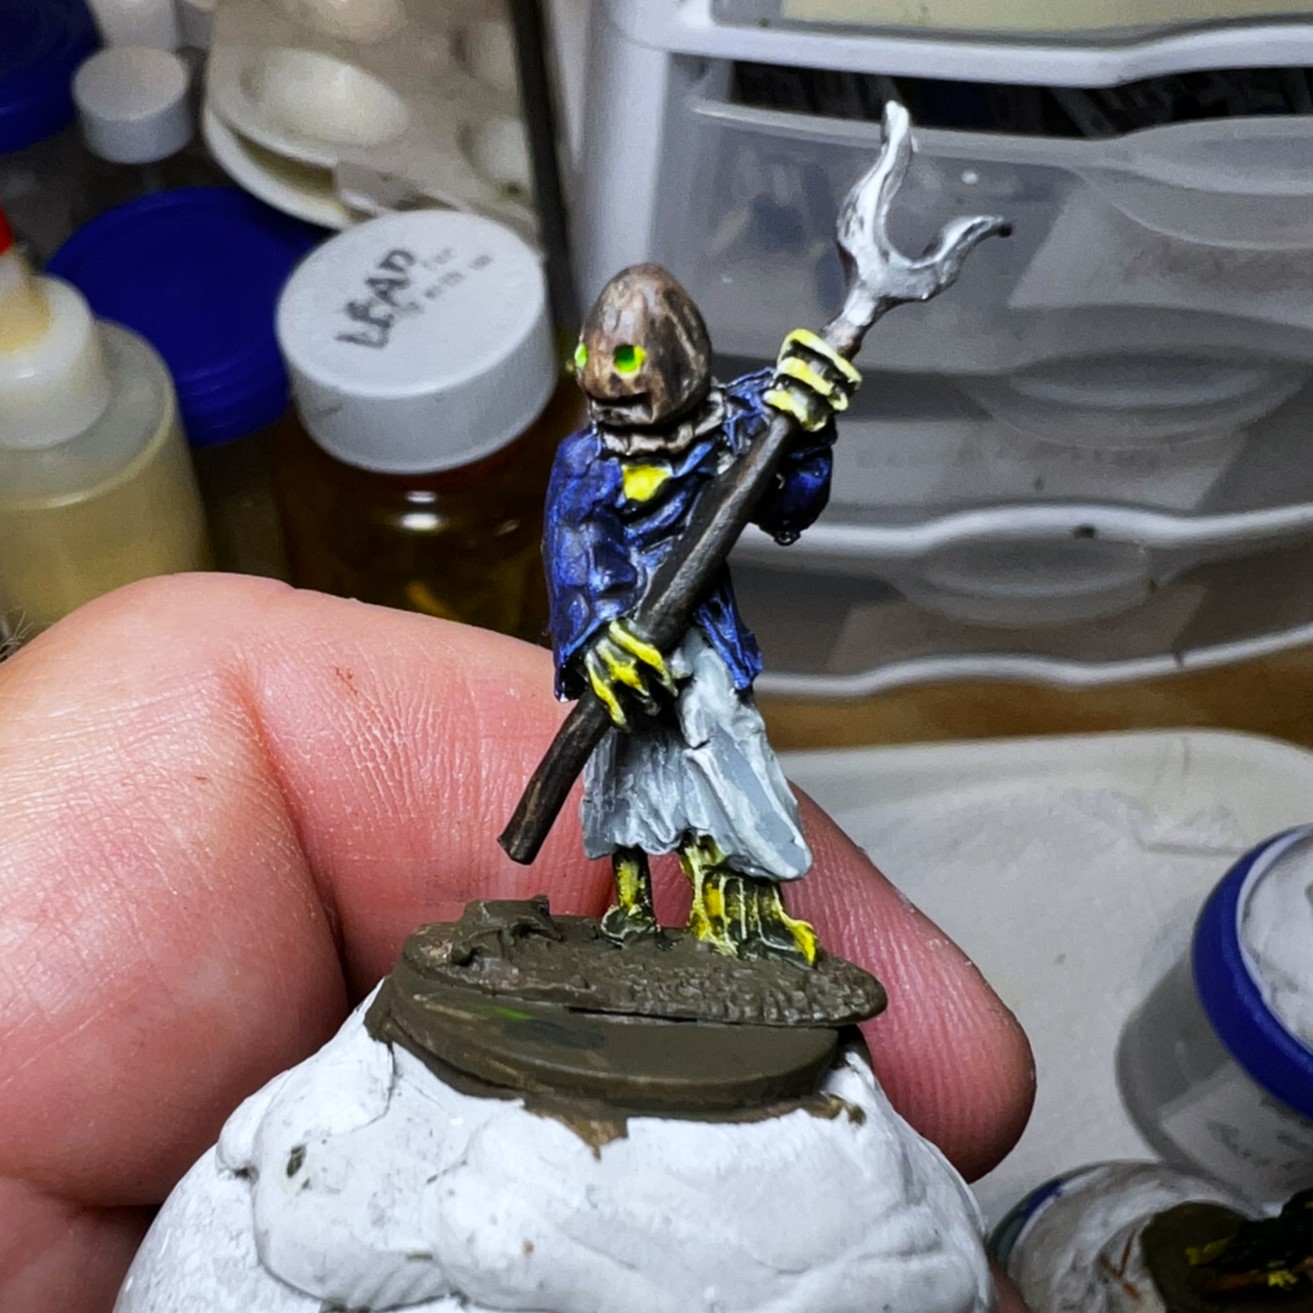
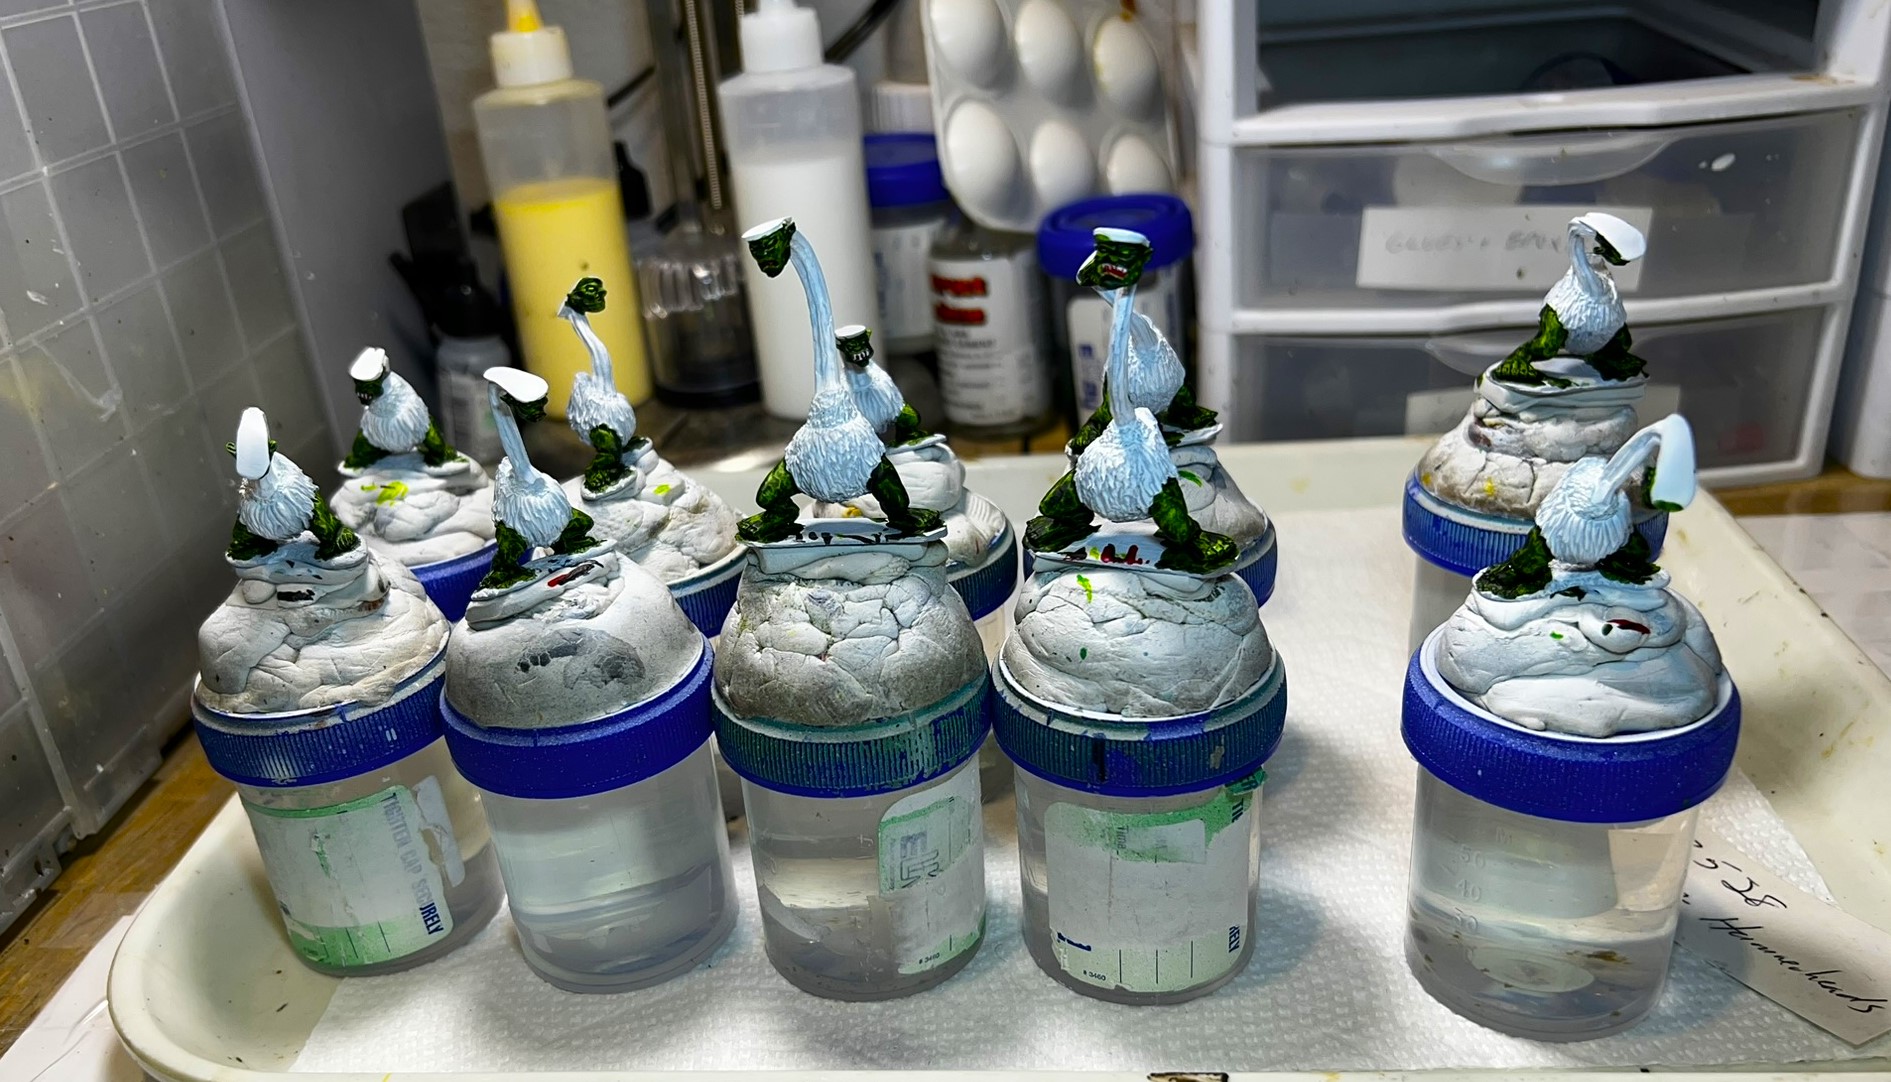
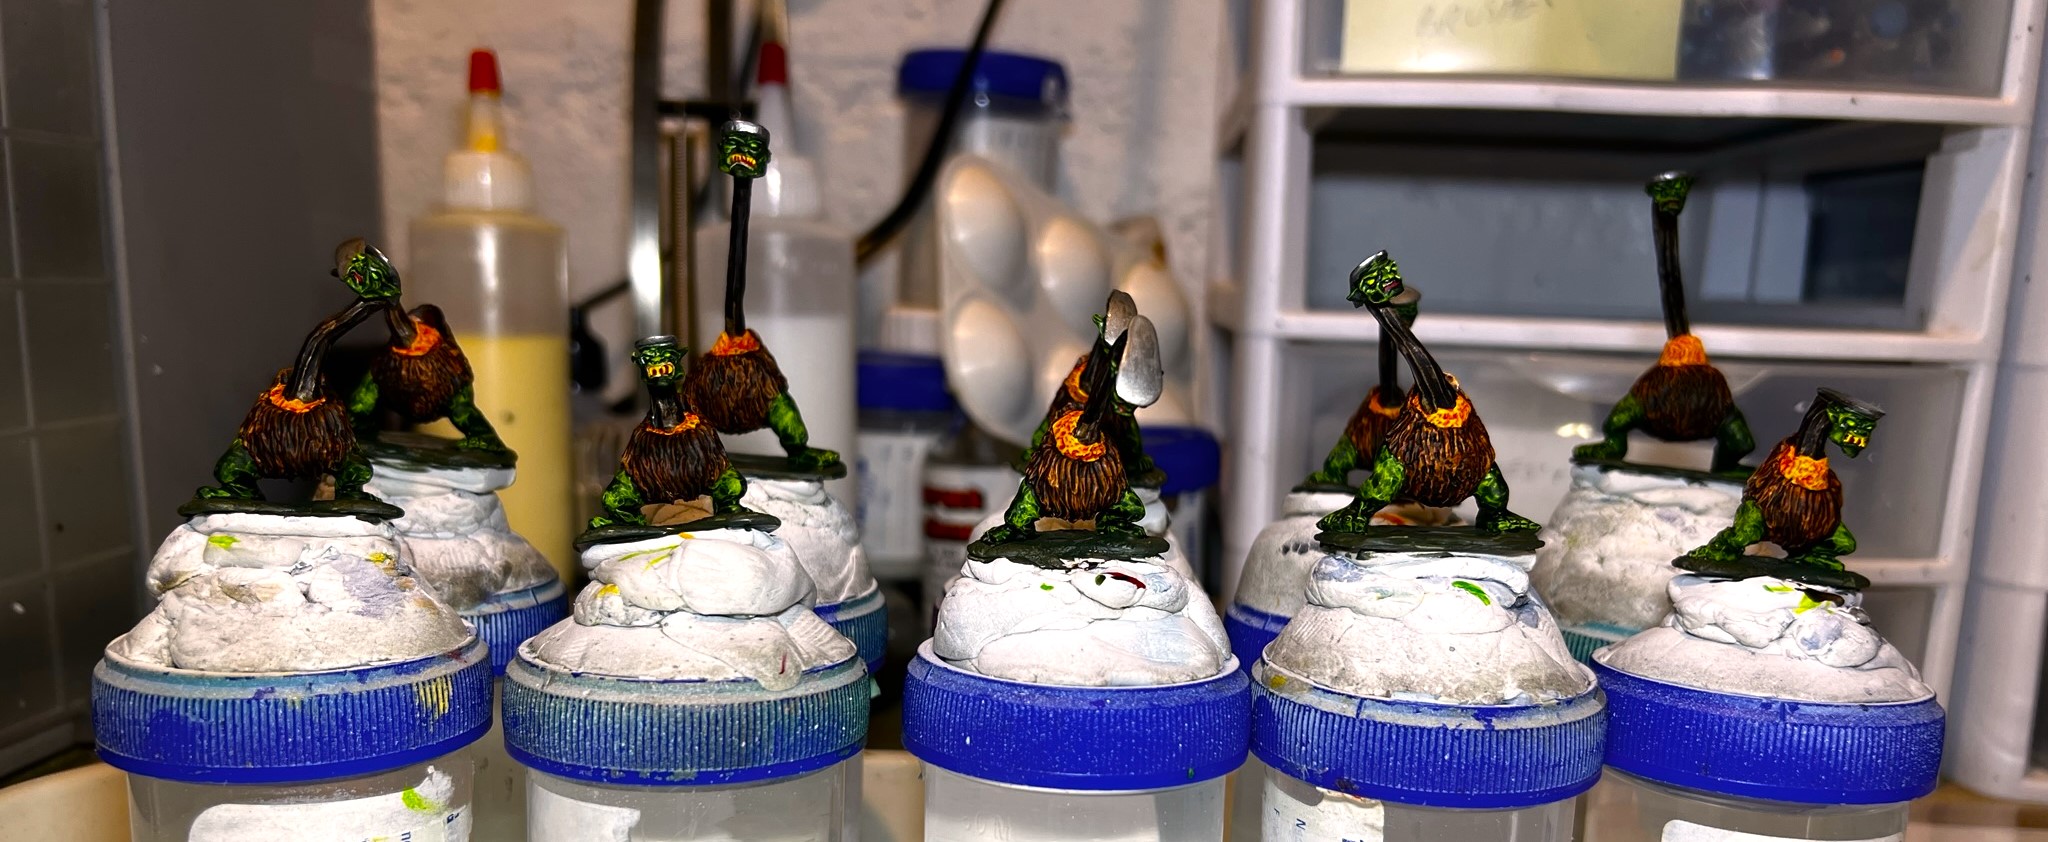
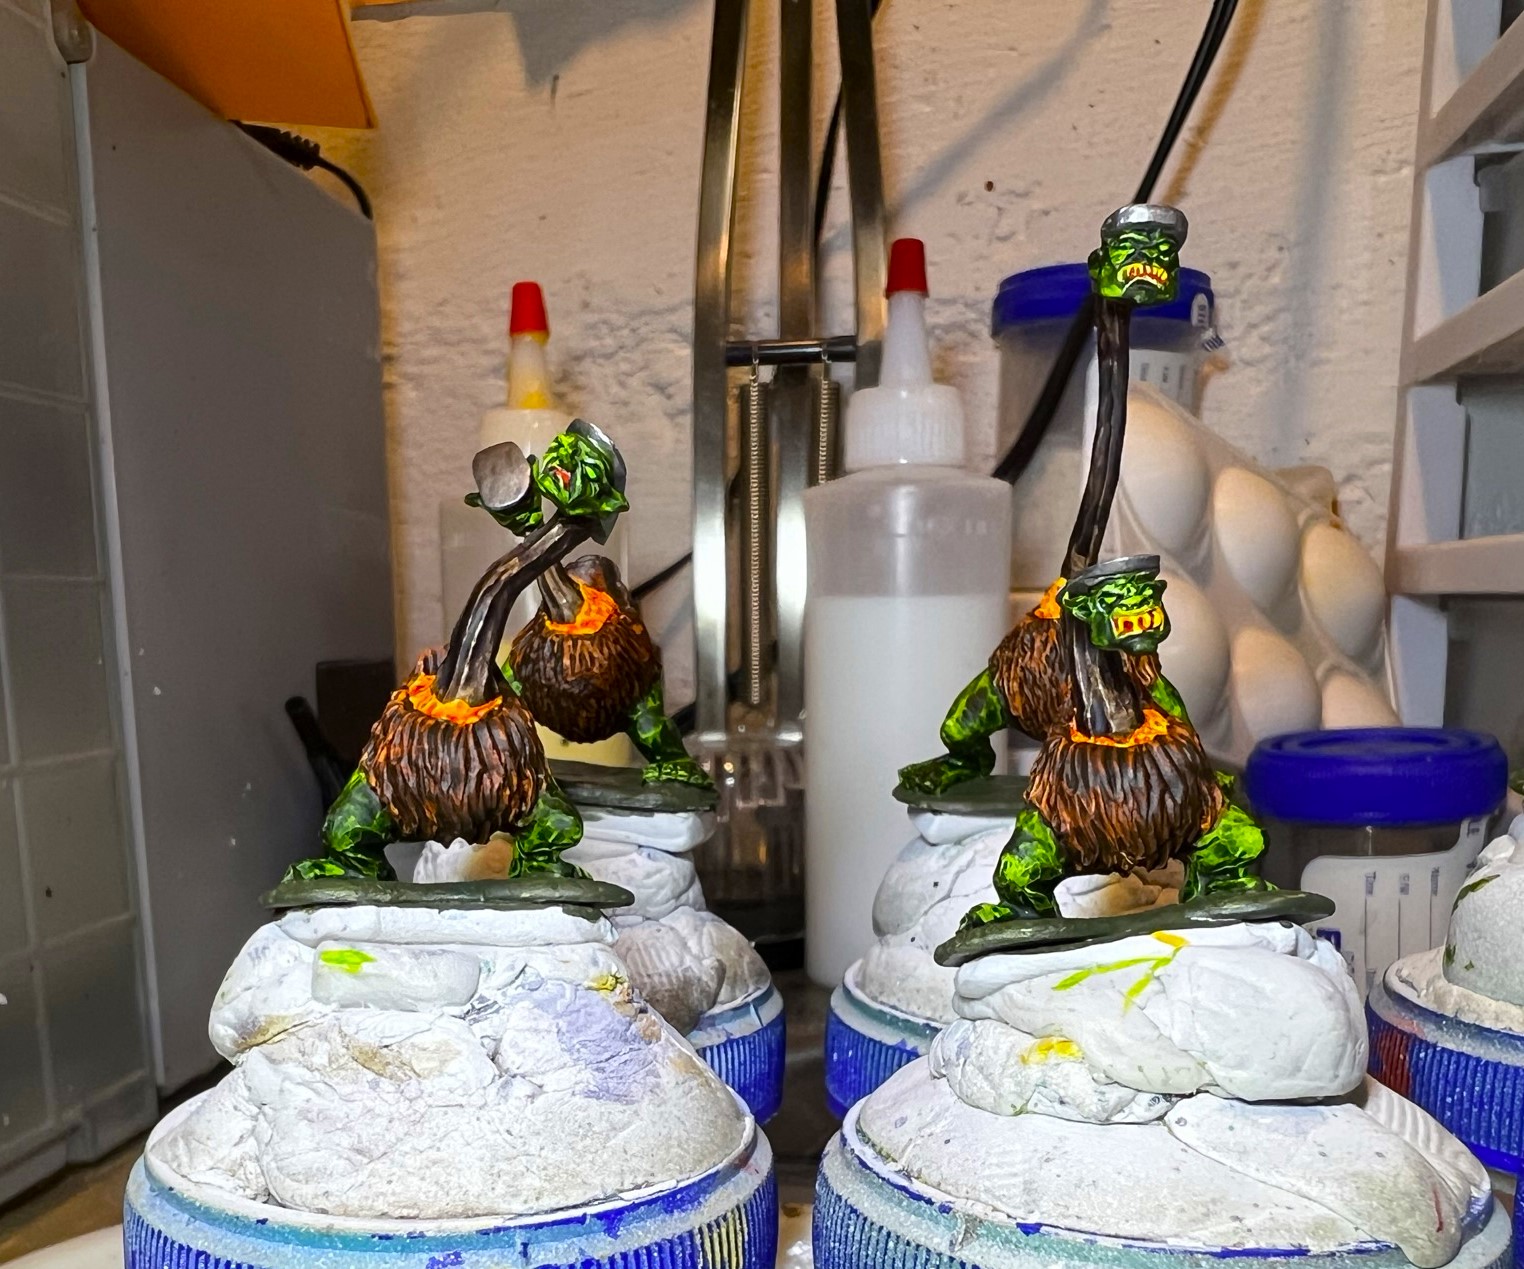
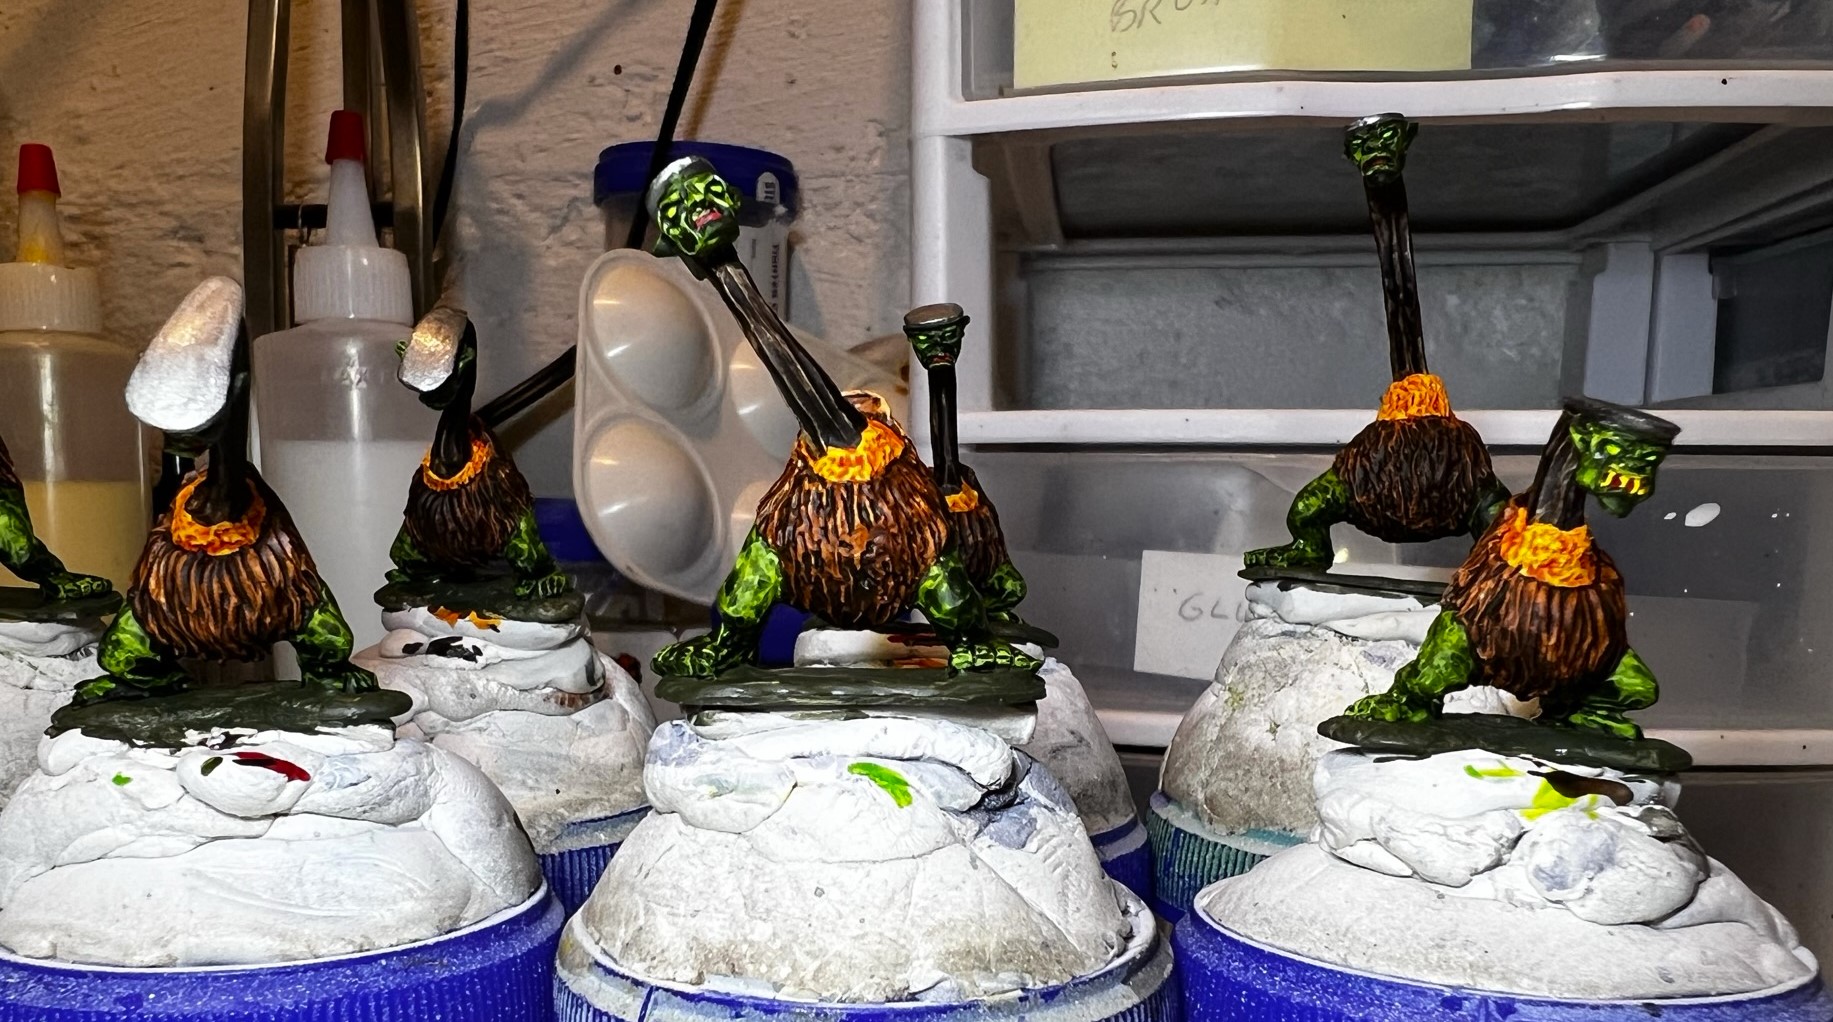
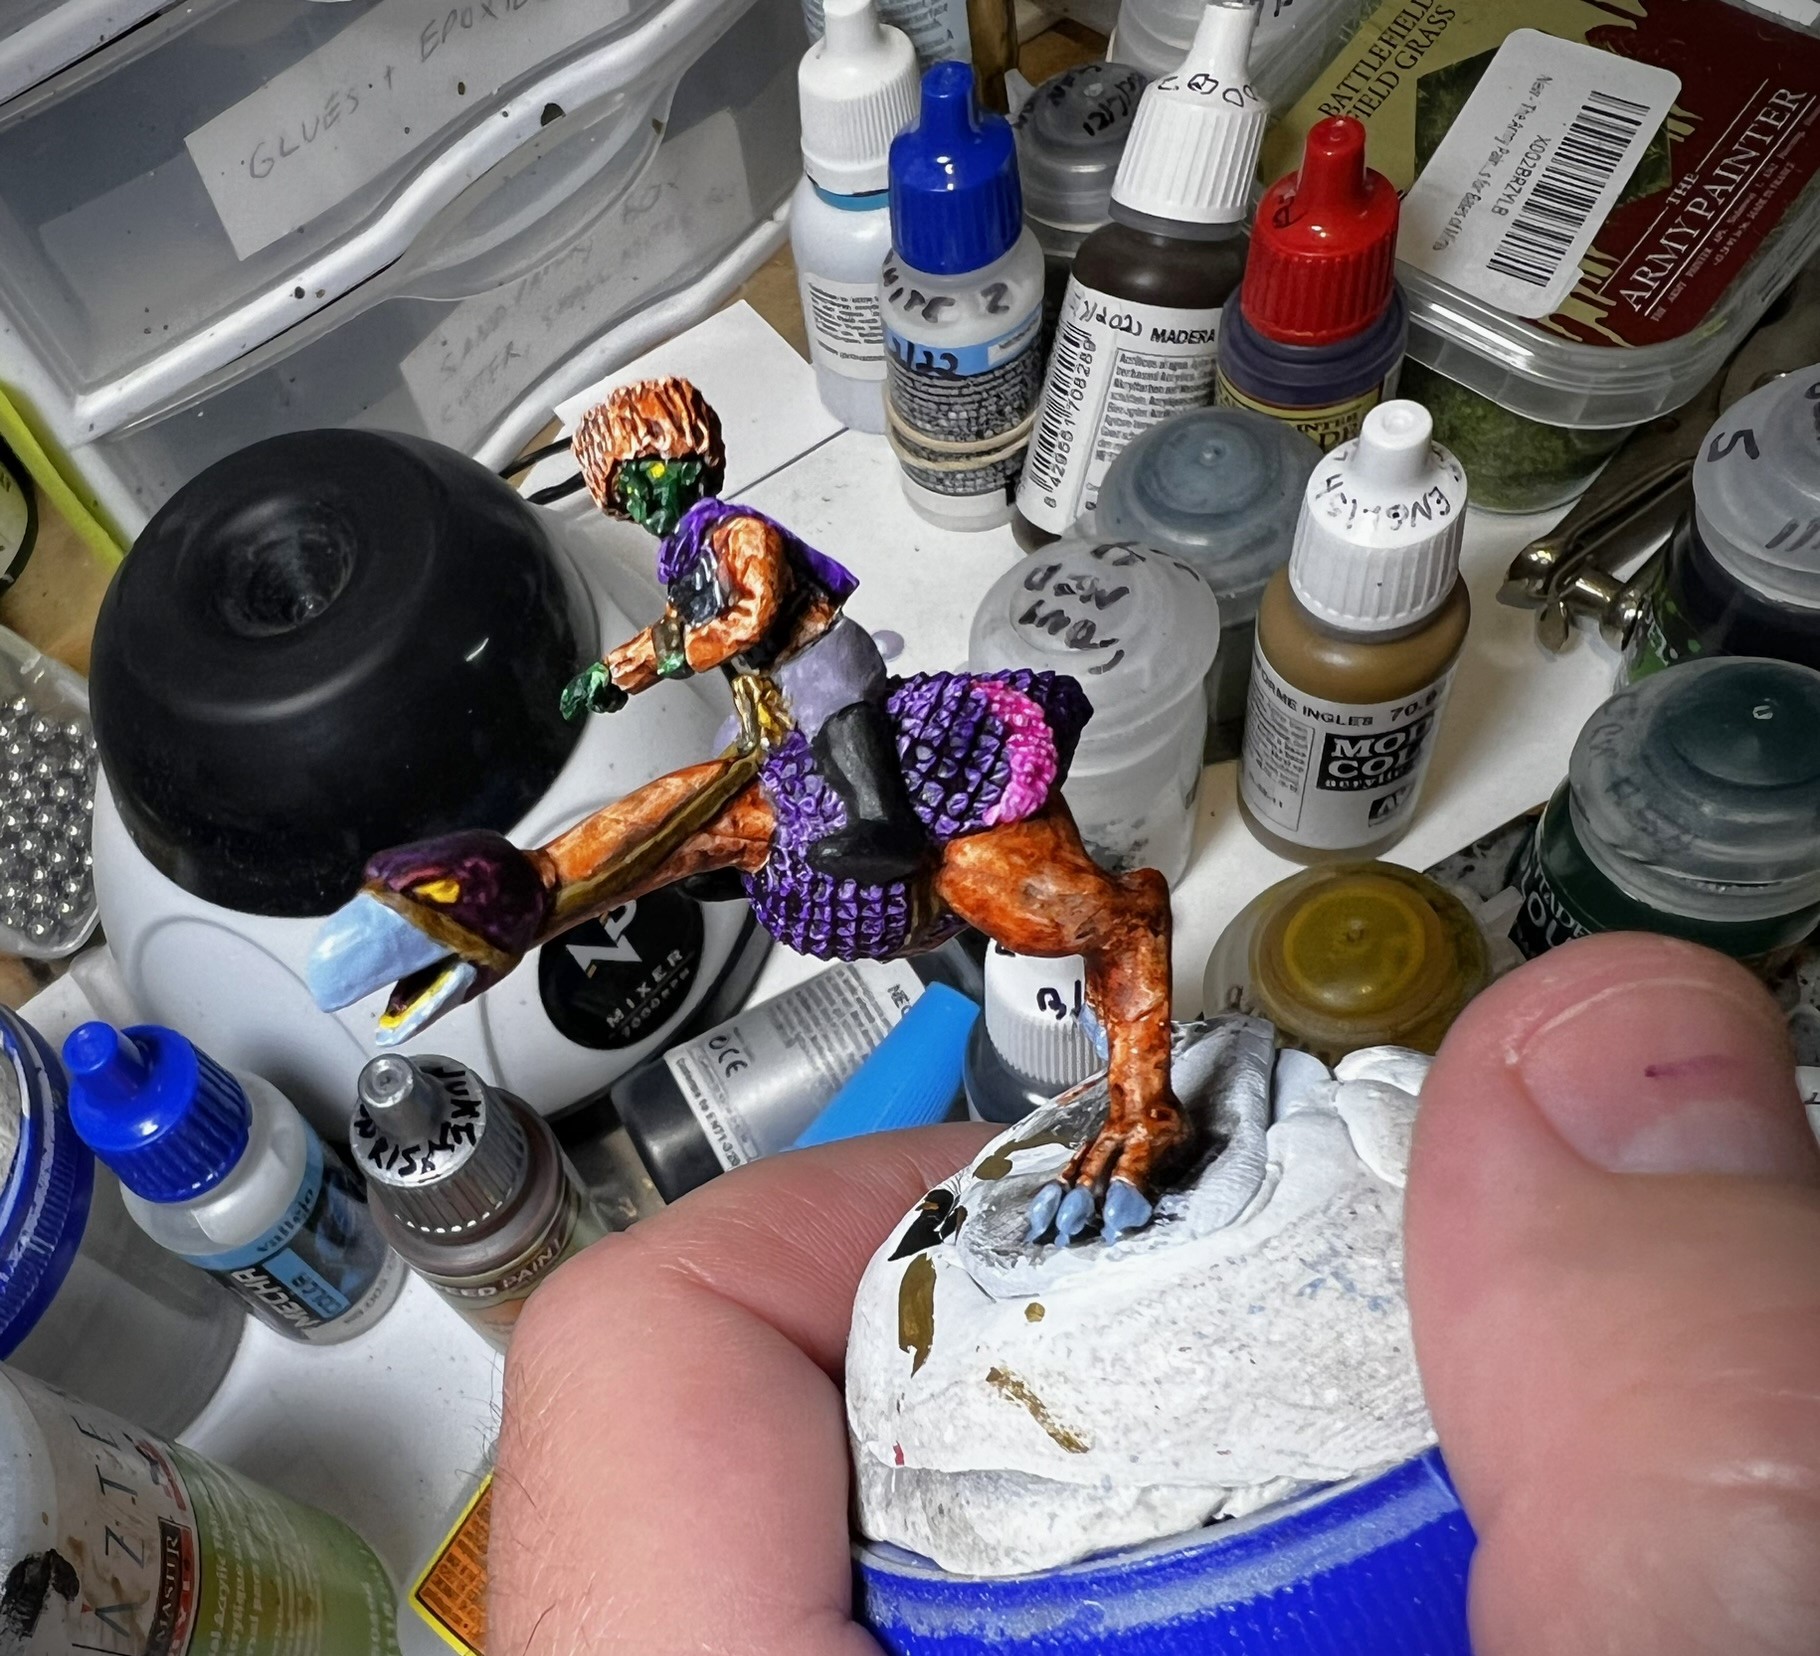
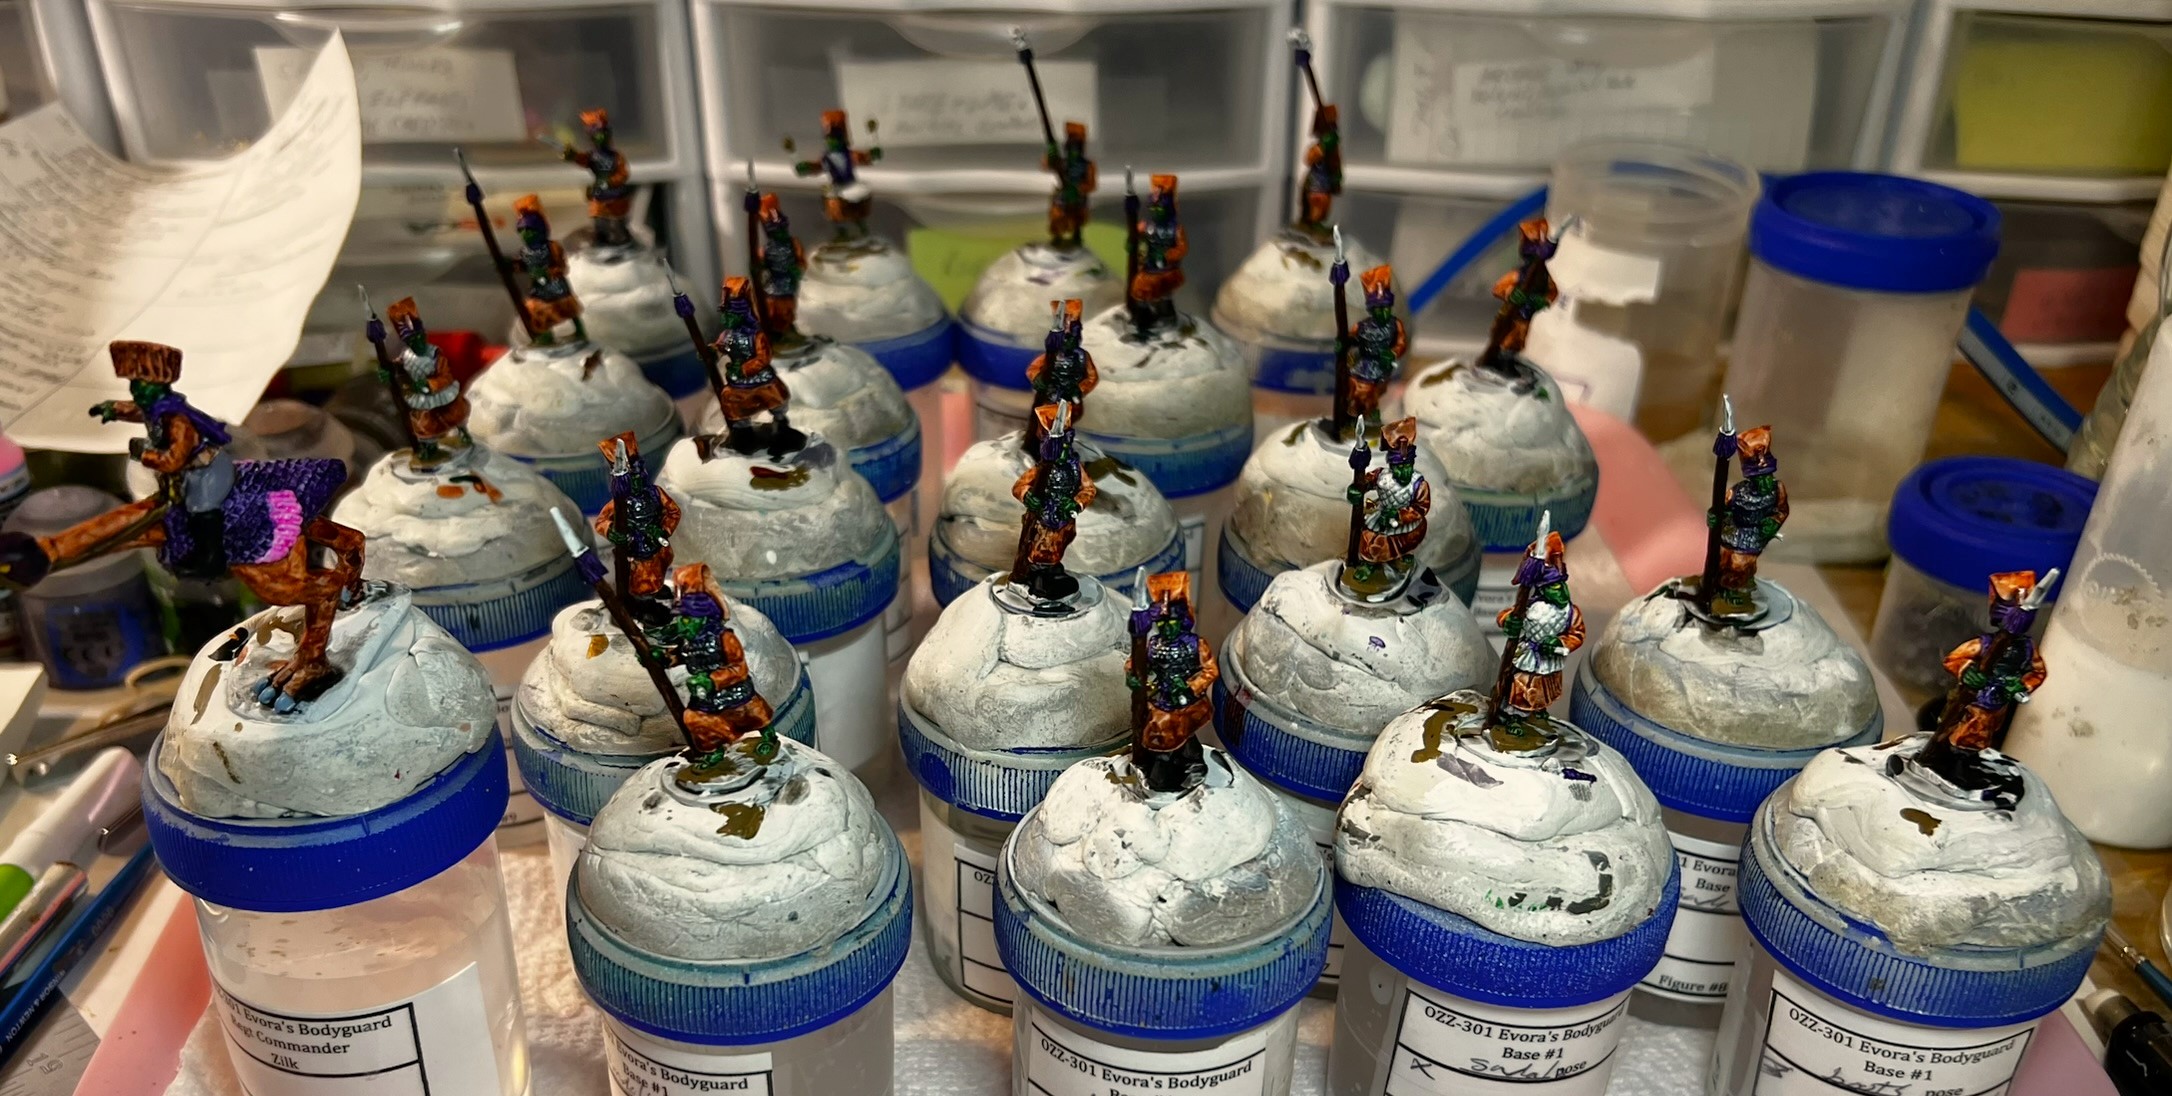
By January 4th I had pinned and assembled the regimental commander and his mount, and painted it as you see below. I had started to get some orange onto the troopers as you see on the left below.
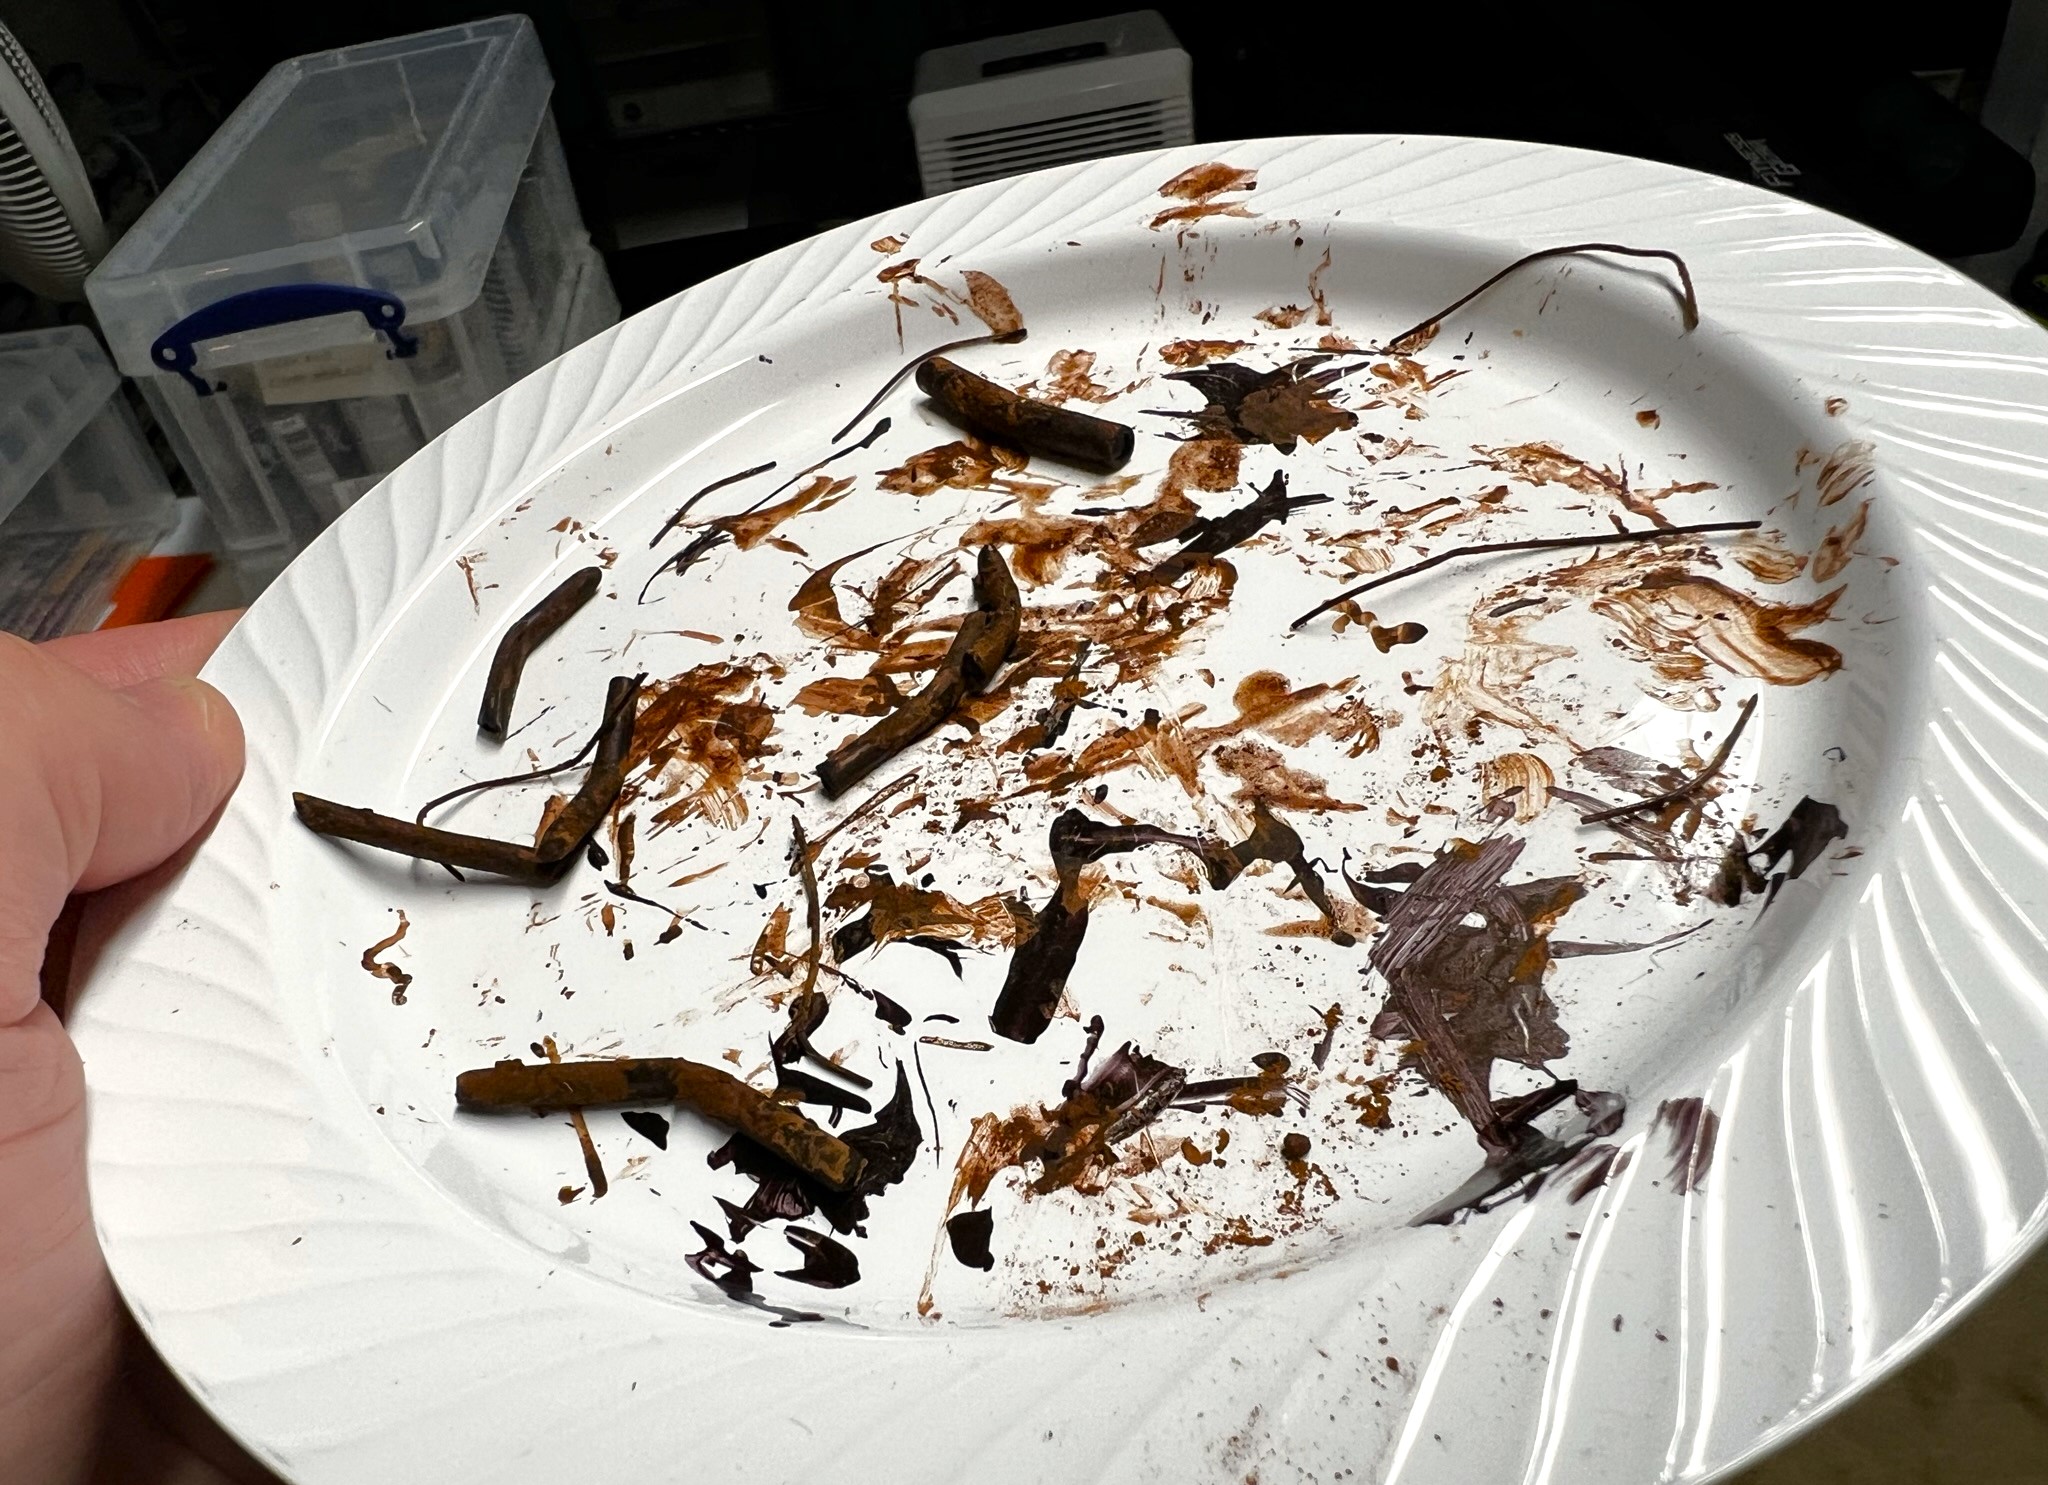
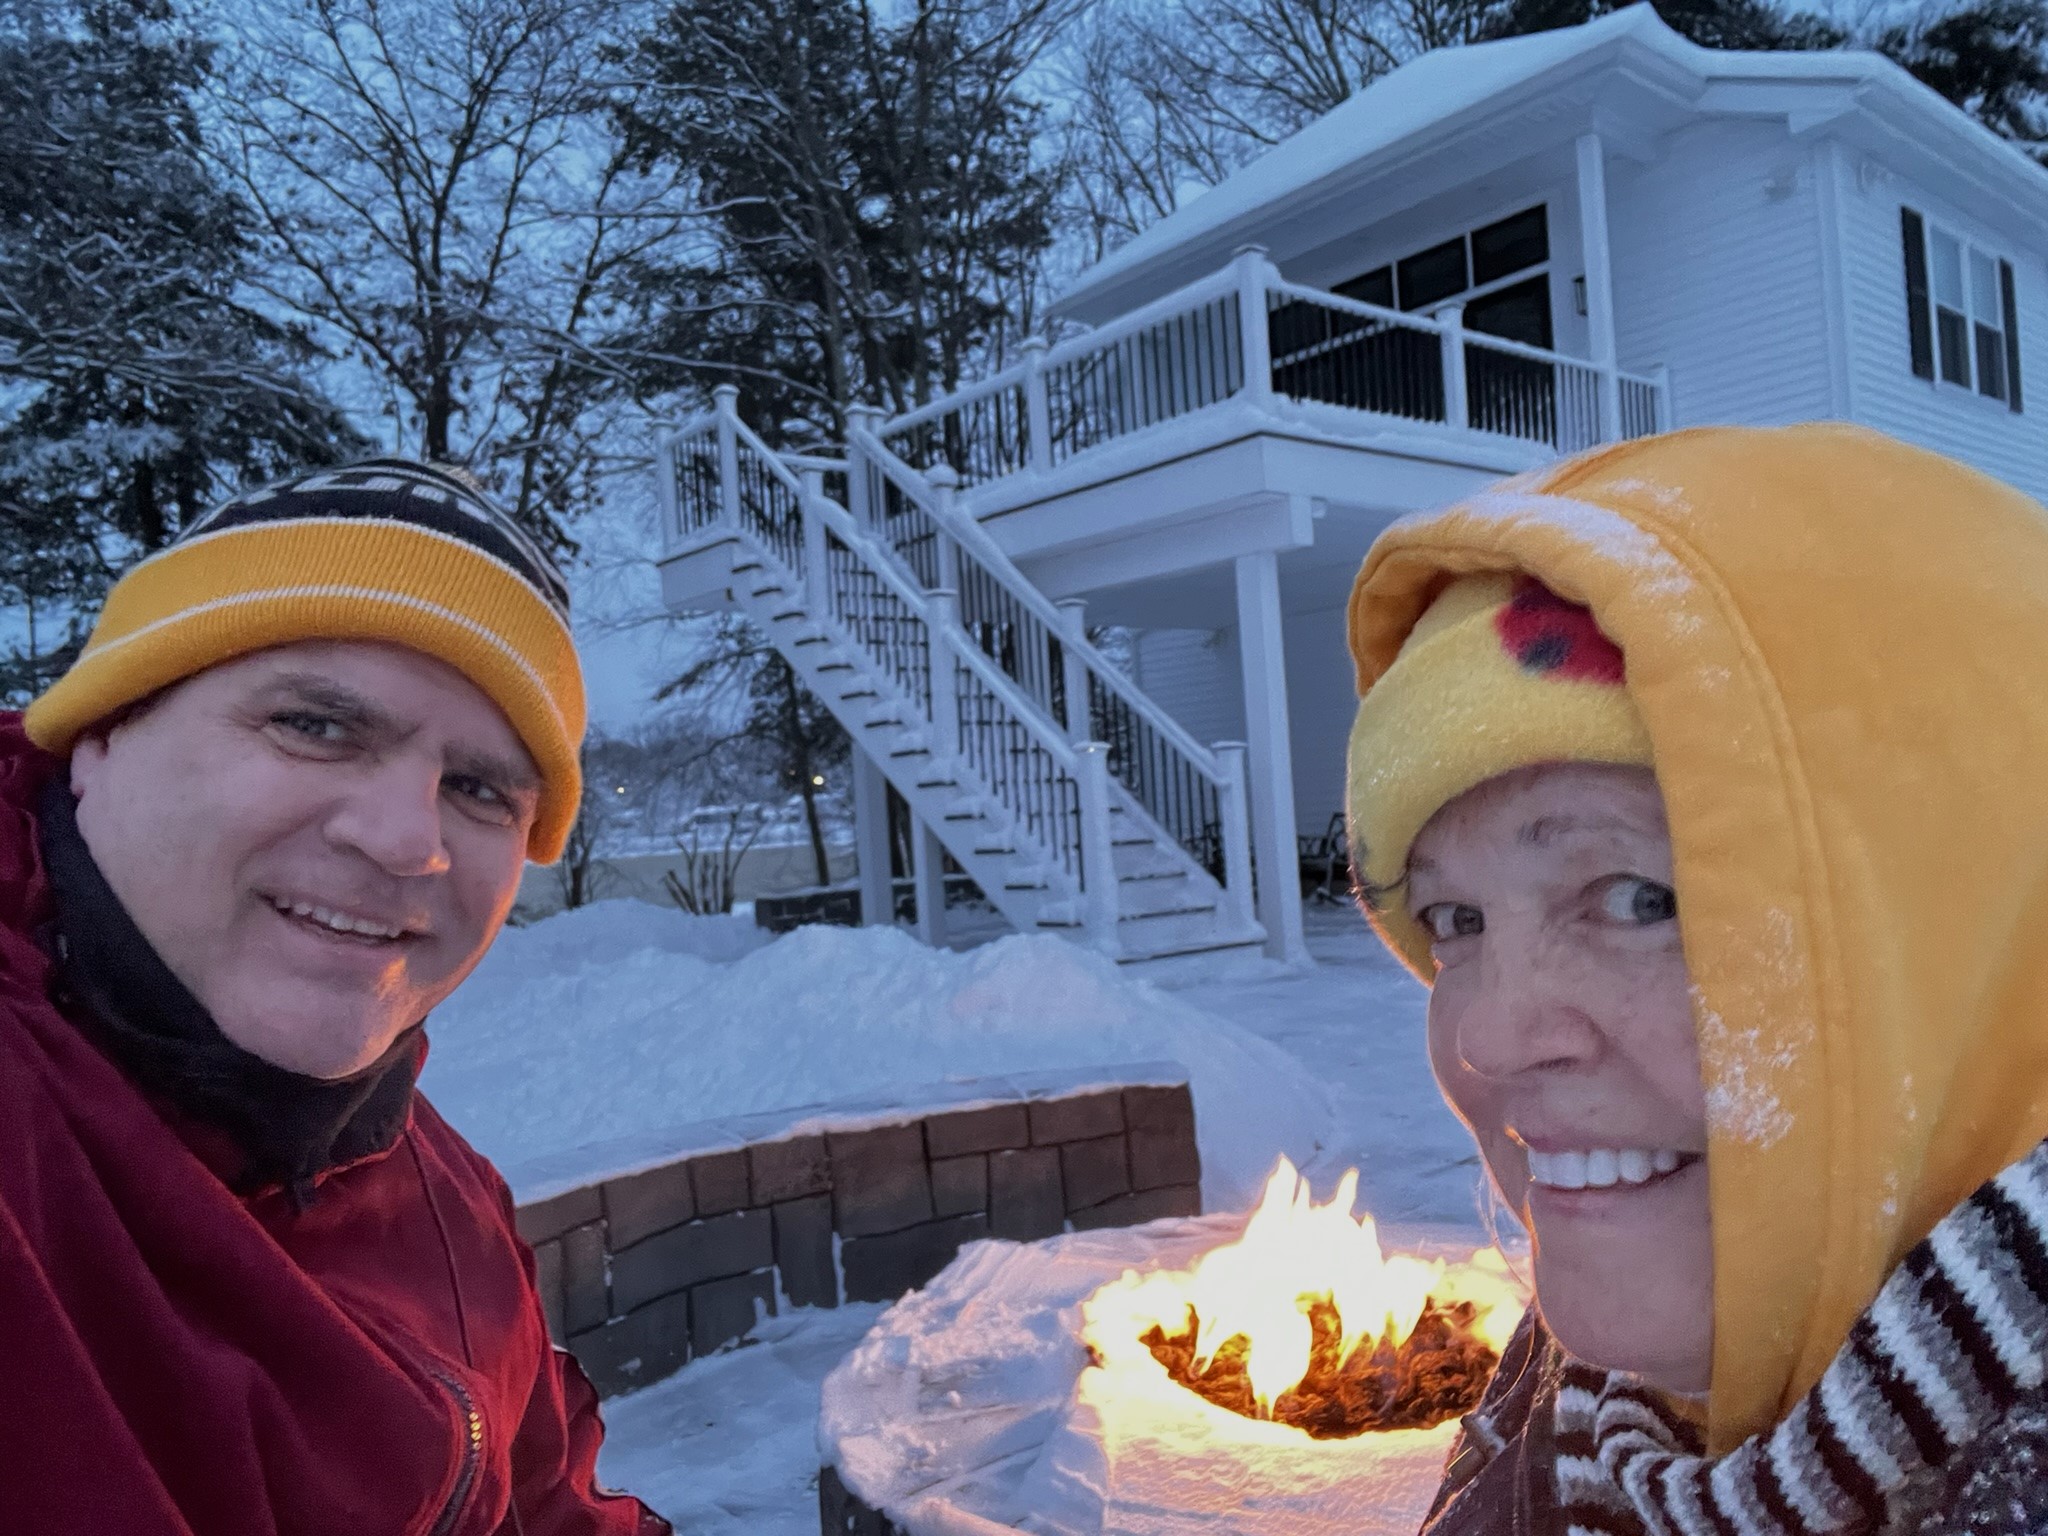
January 8th saw us getting about a foot of snow. This snow interrupted my work as even in my gimping state I could use the snowblower (slowly and methodically). Luckily, Lynn has no fear of hard shovel work. Once done, we lit the fire pit briefly.

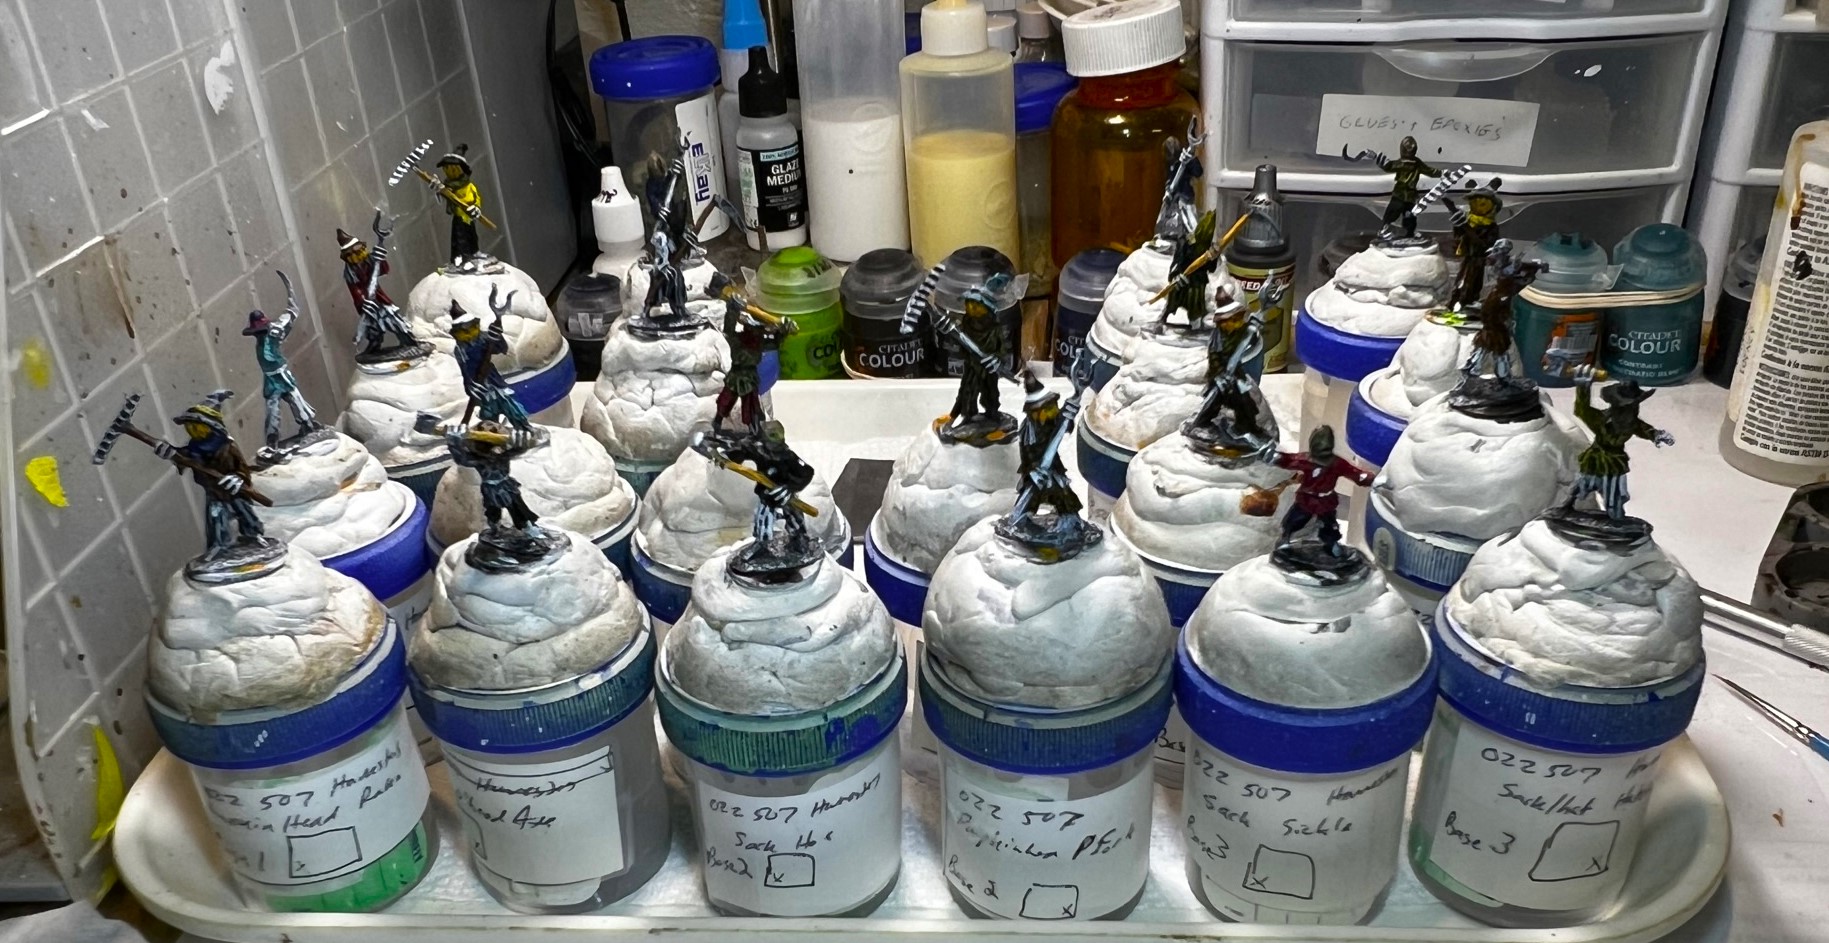
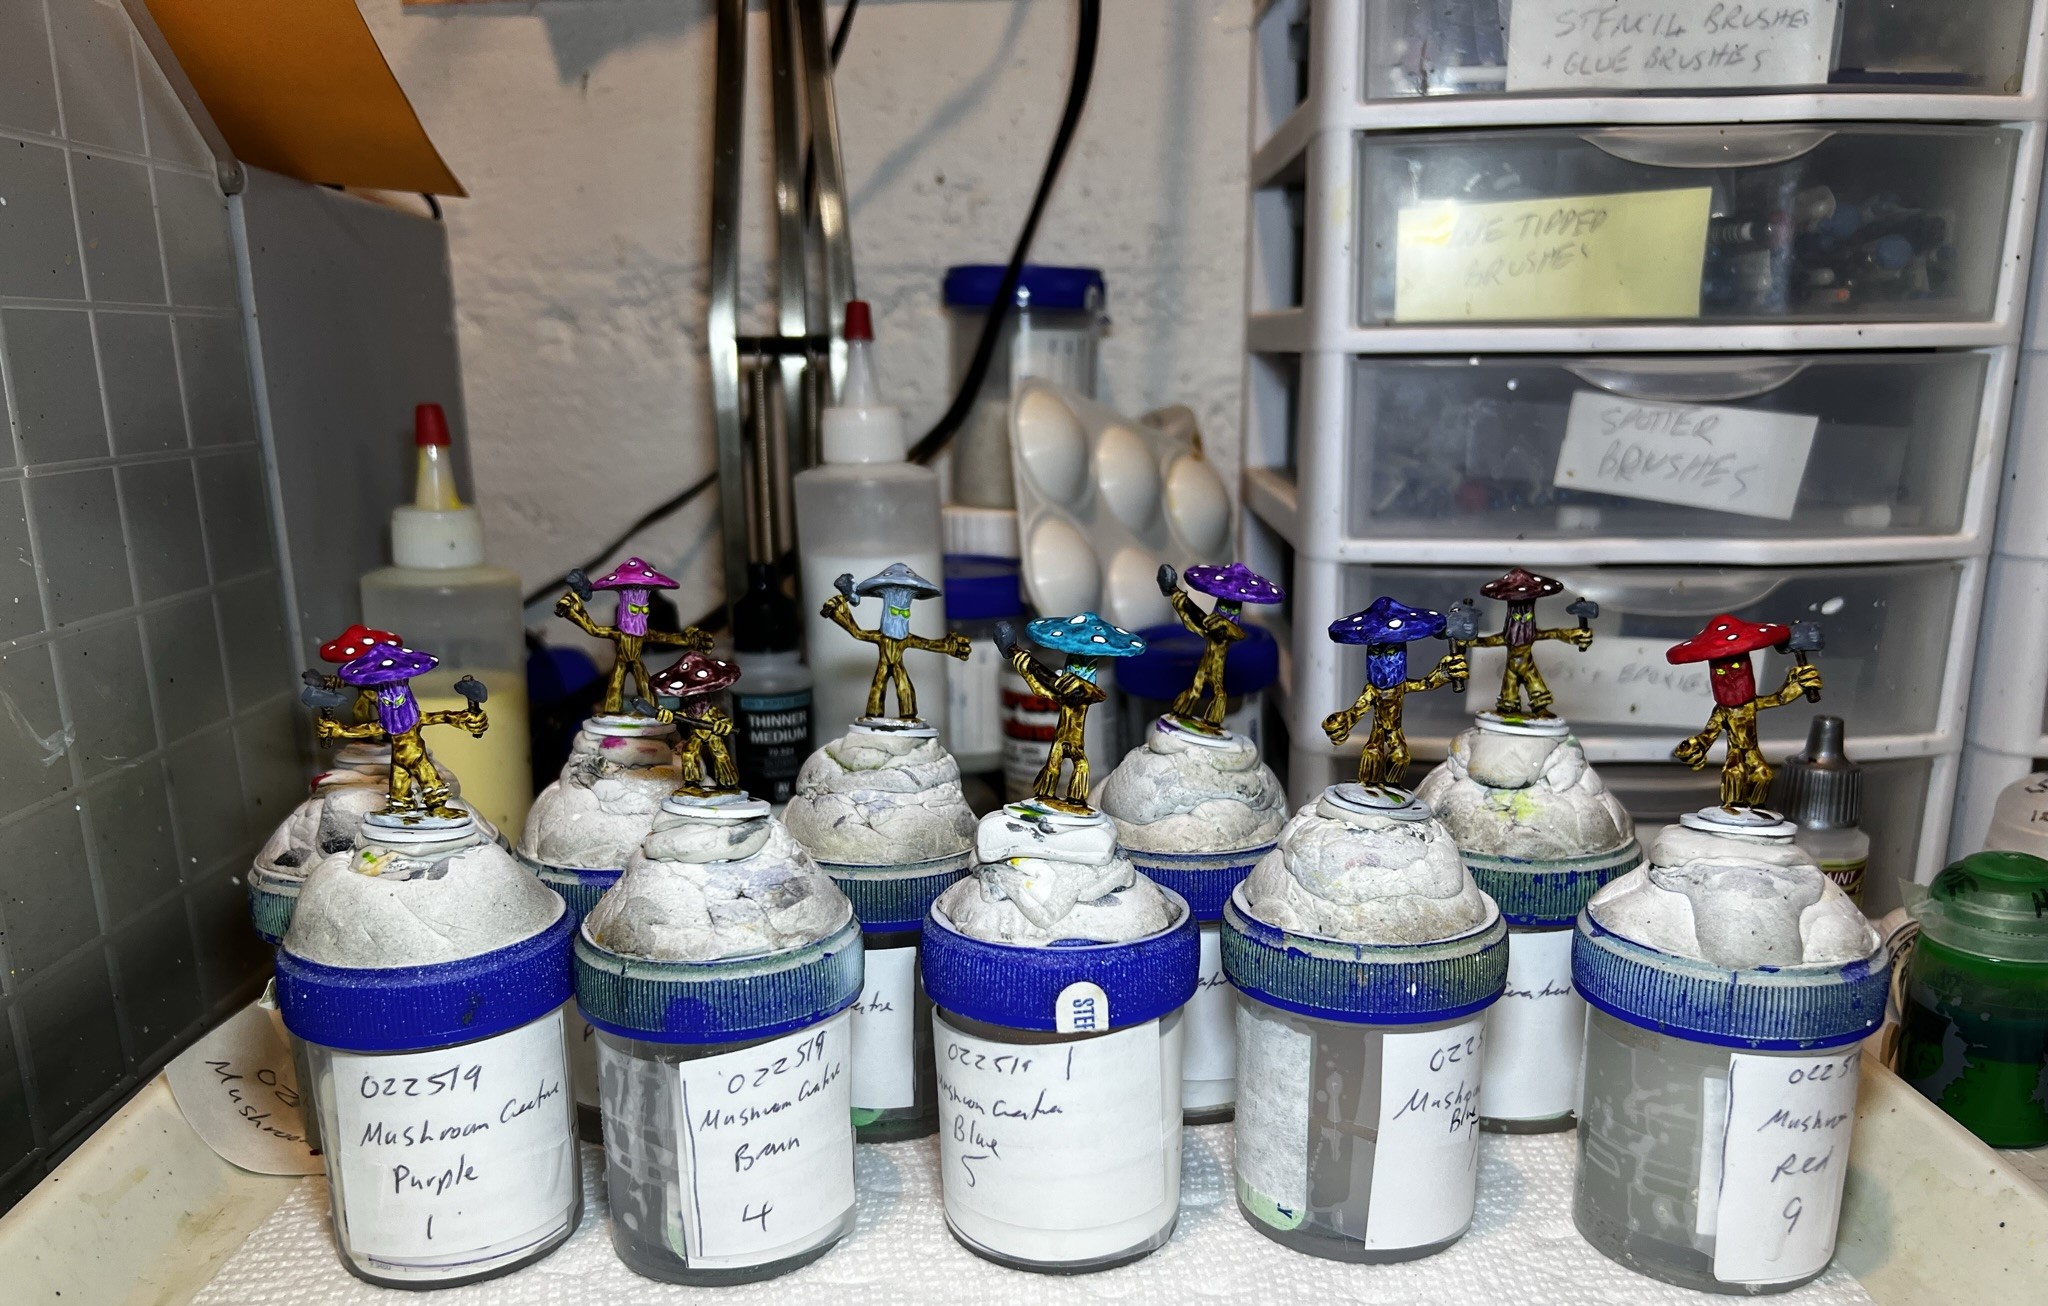
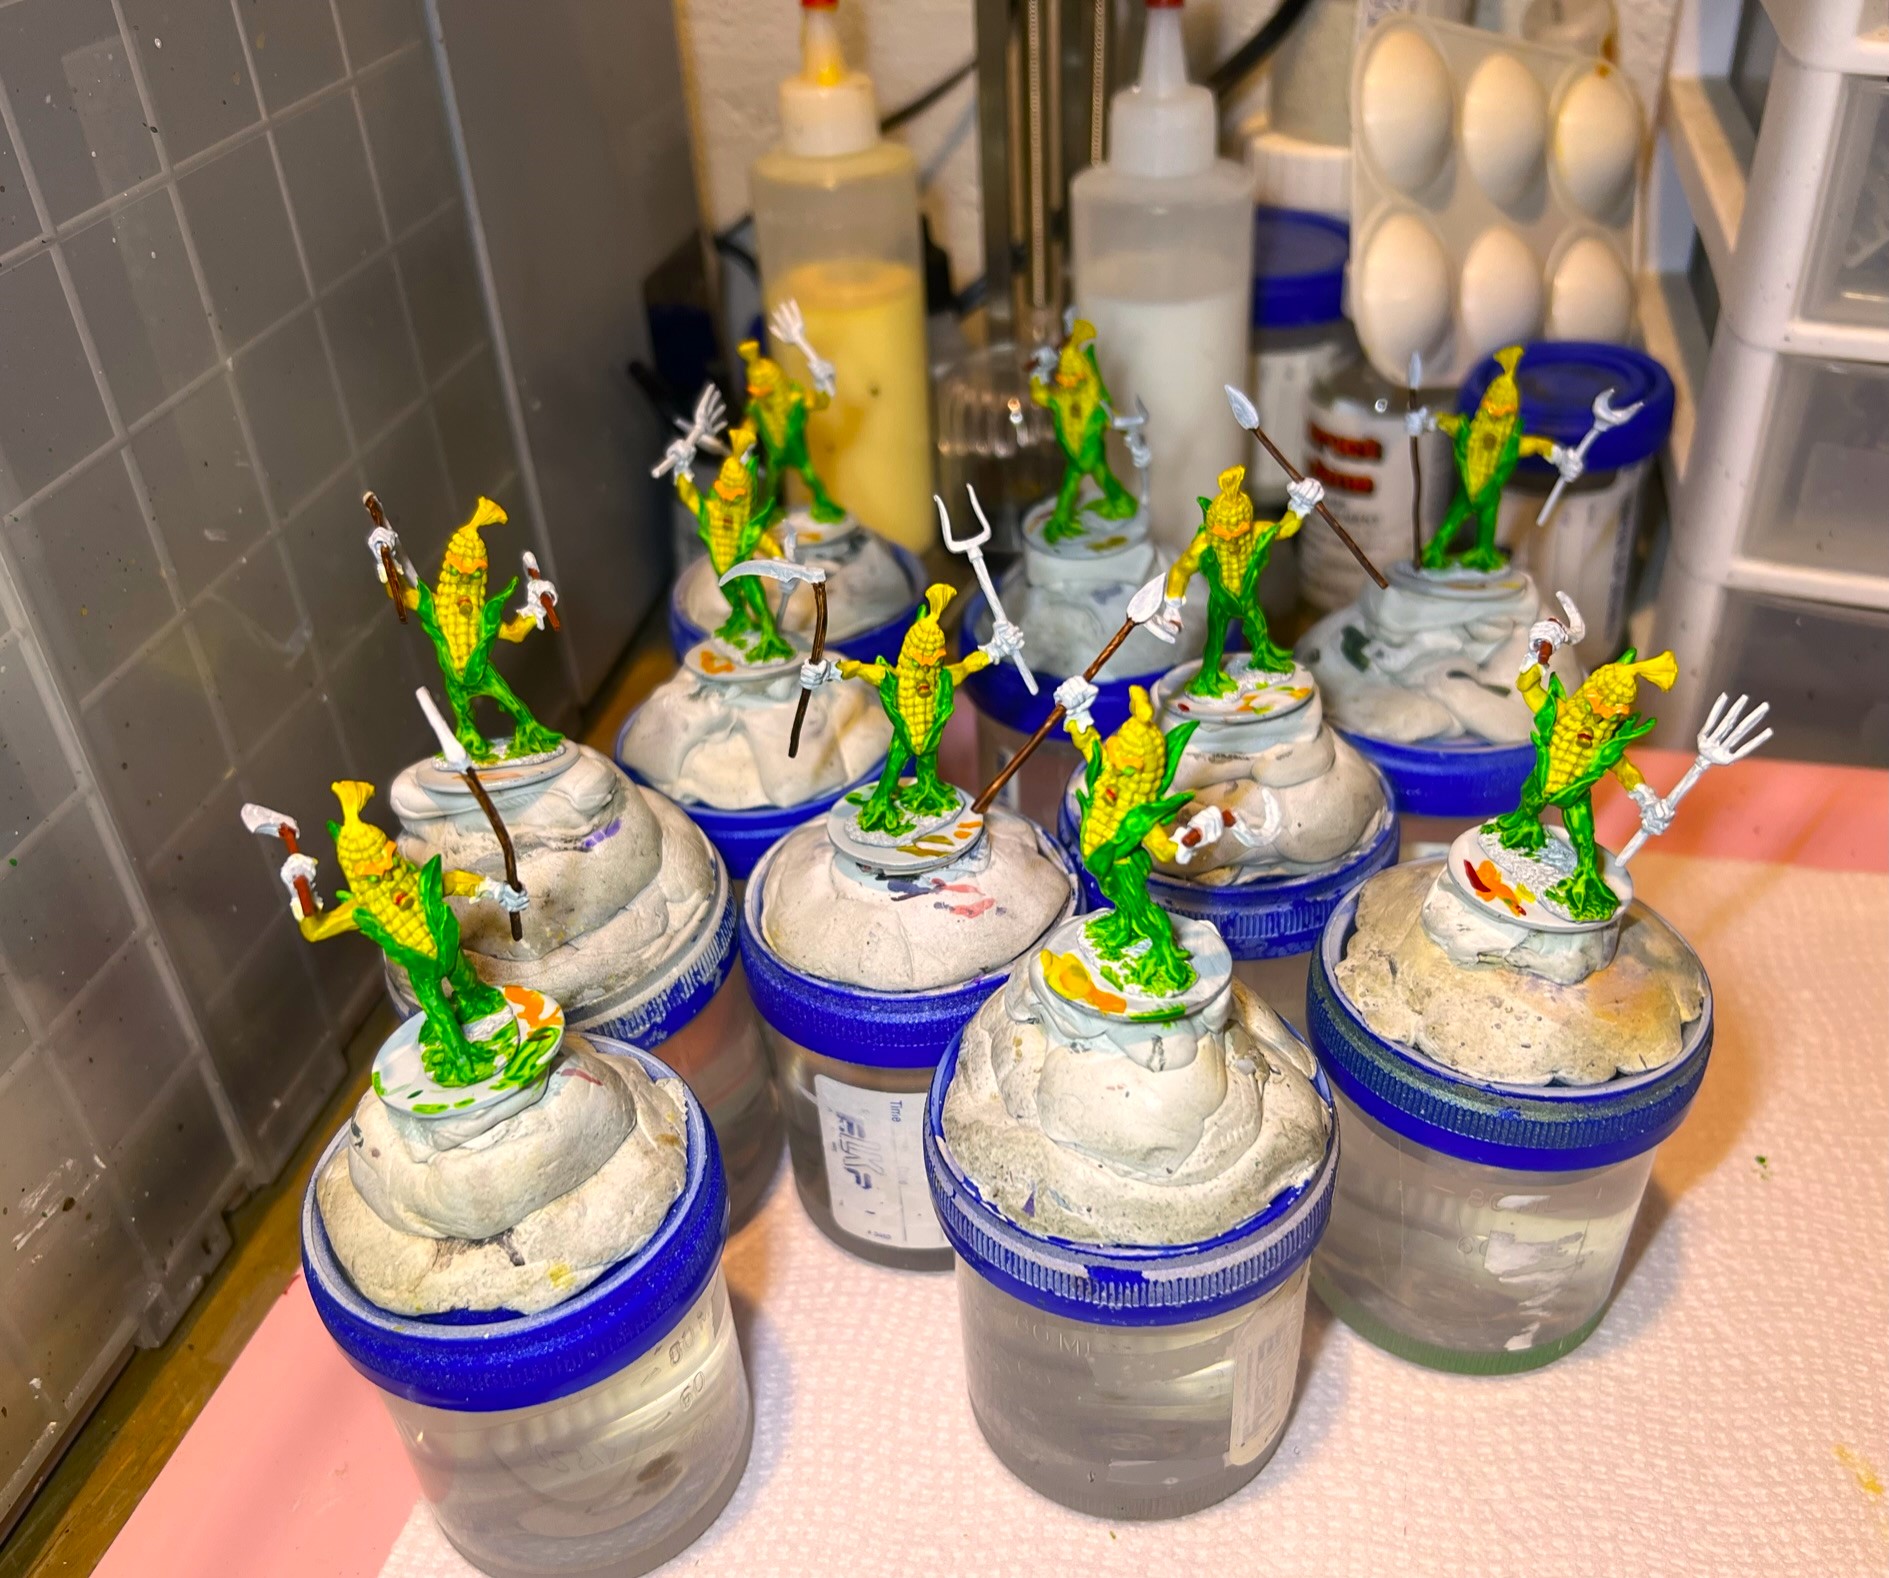
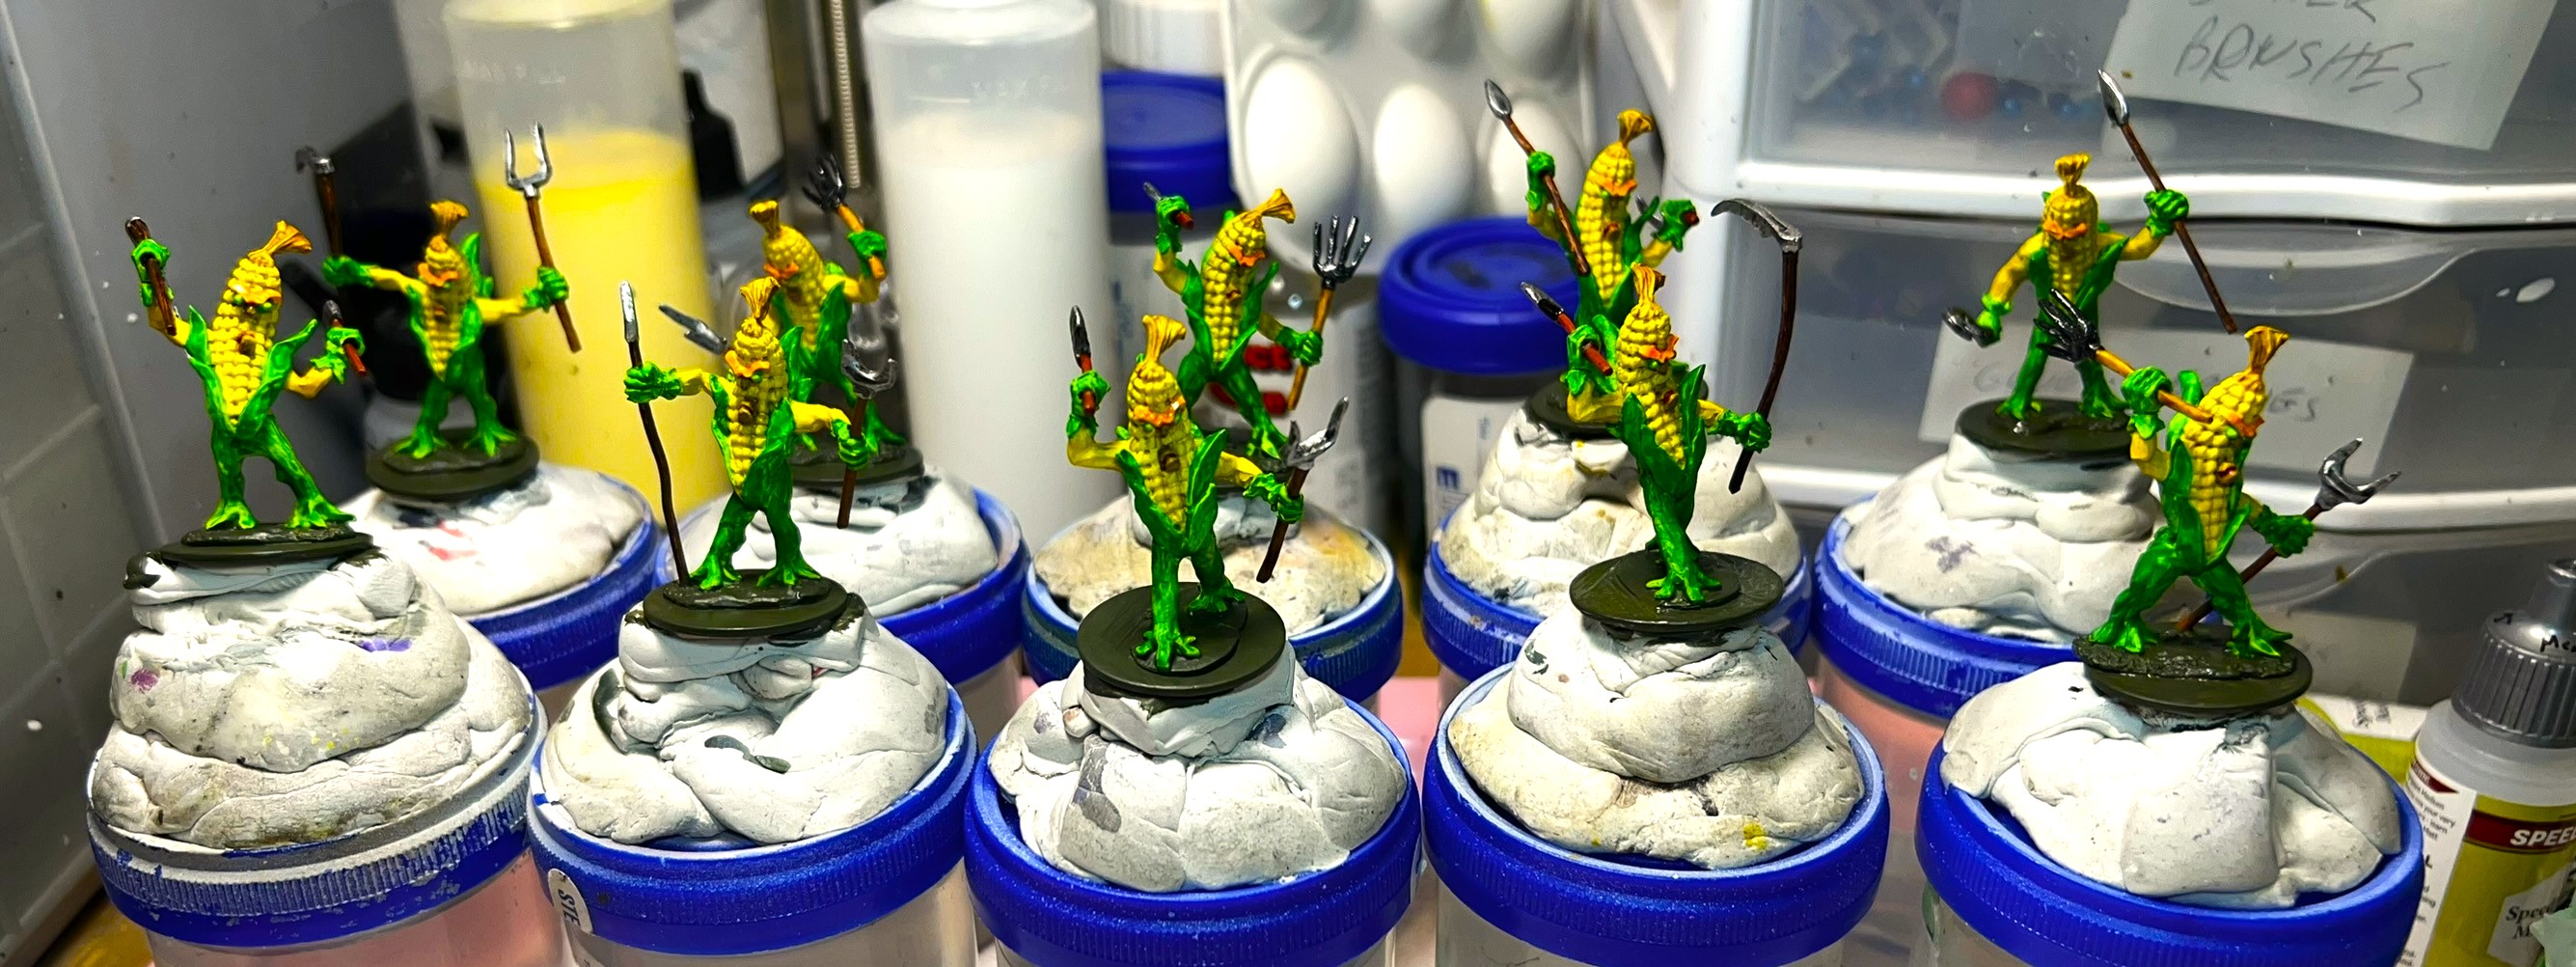
I was back in the saddle painting through the 8th of January.
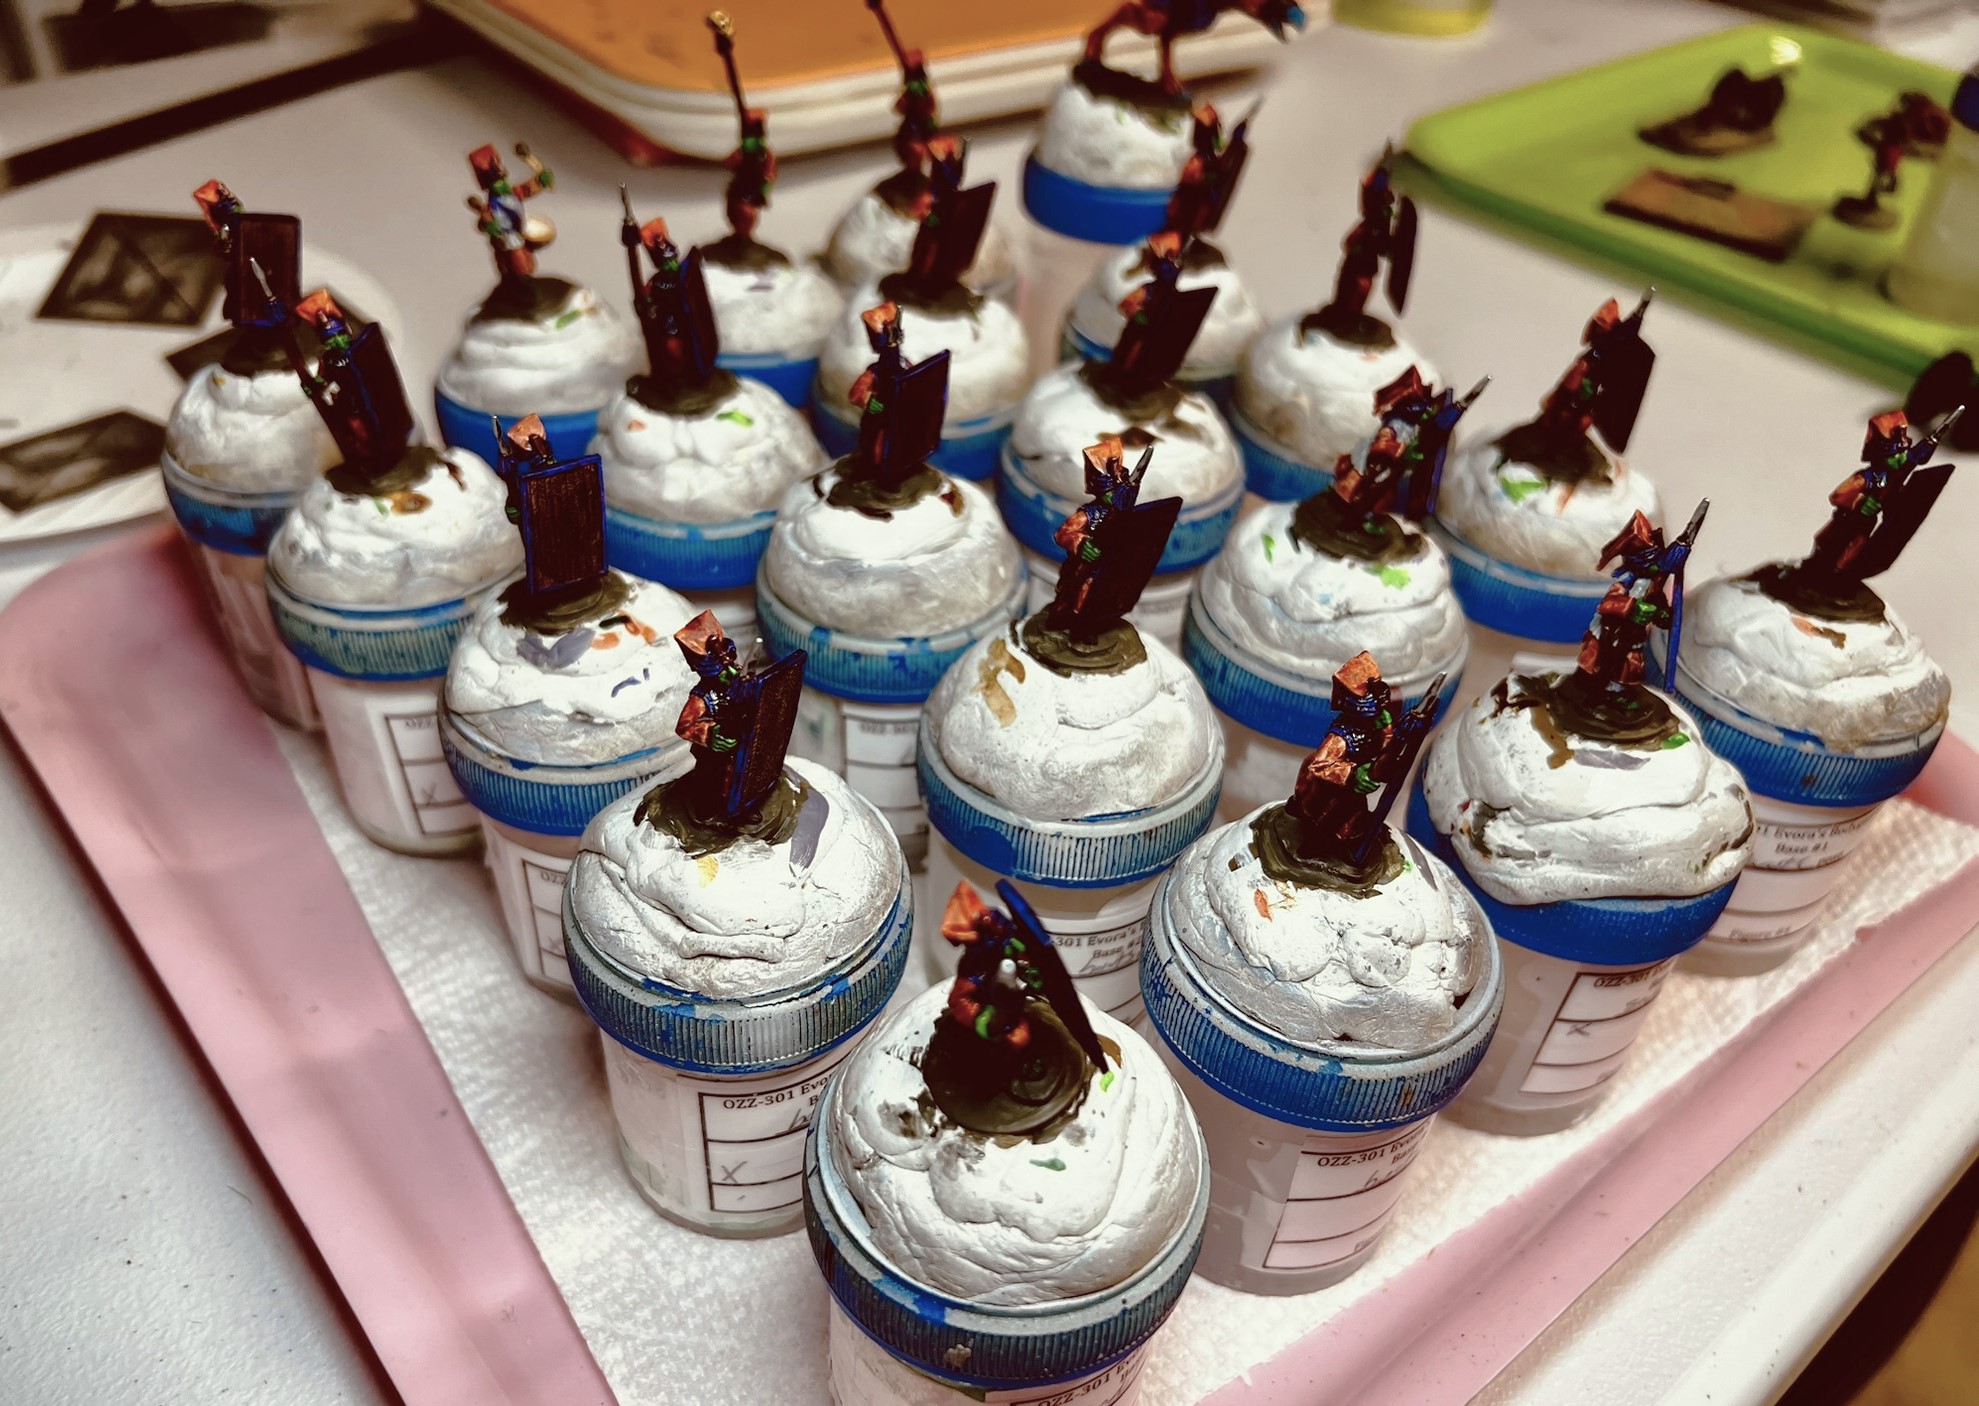
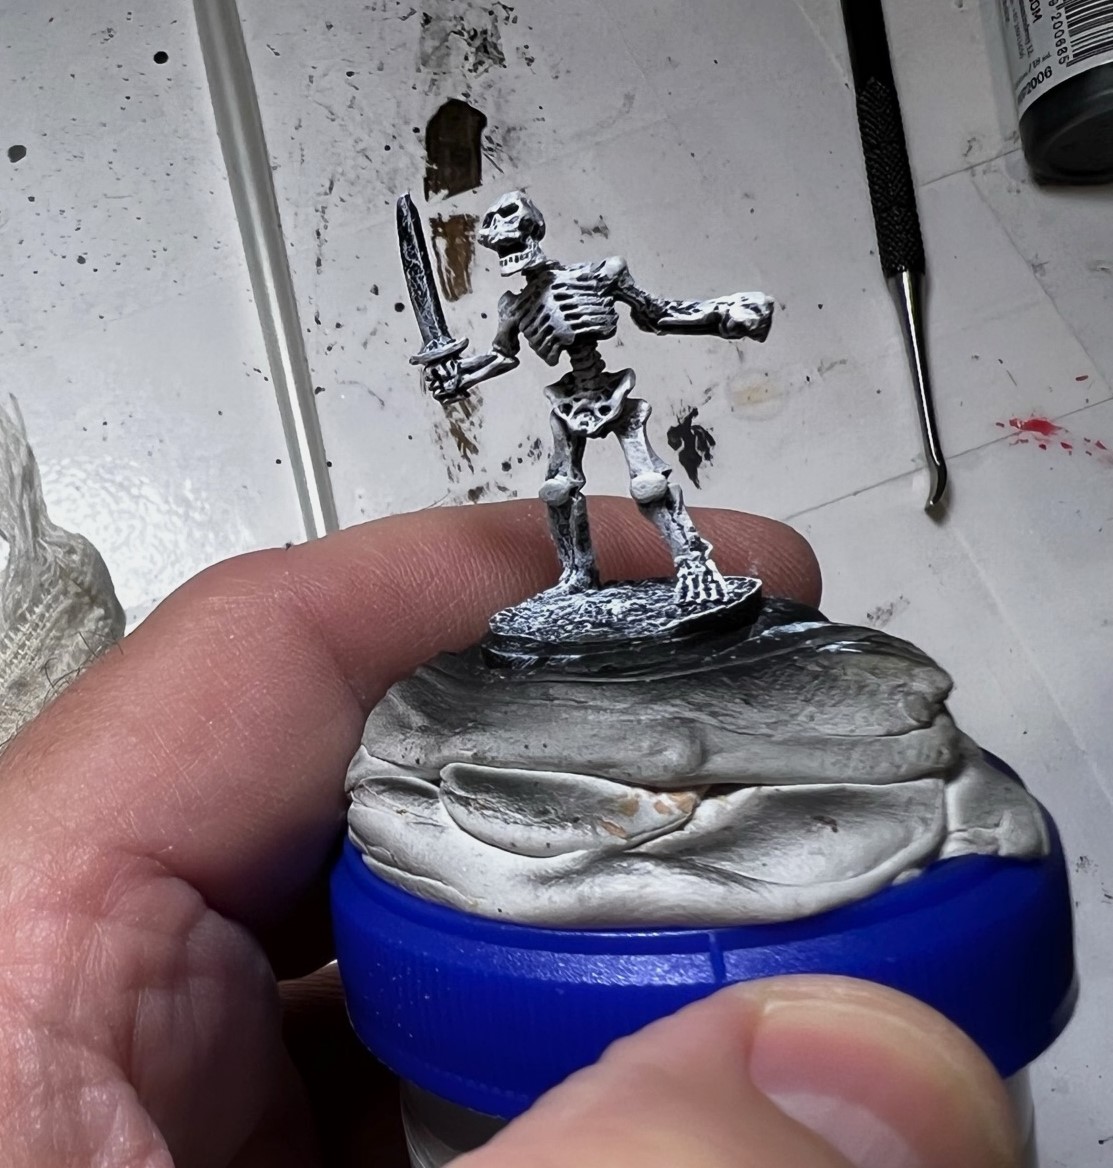
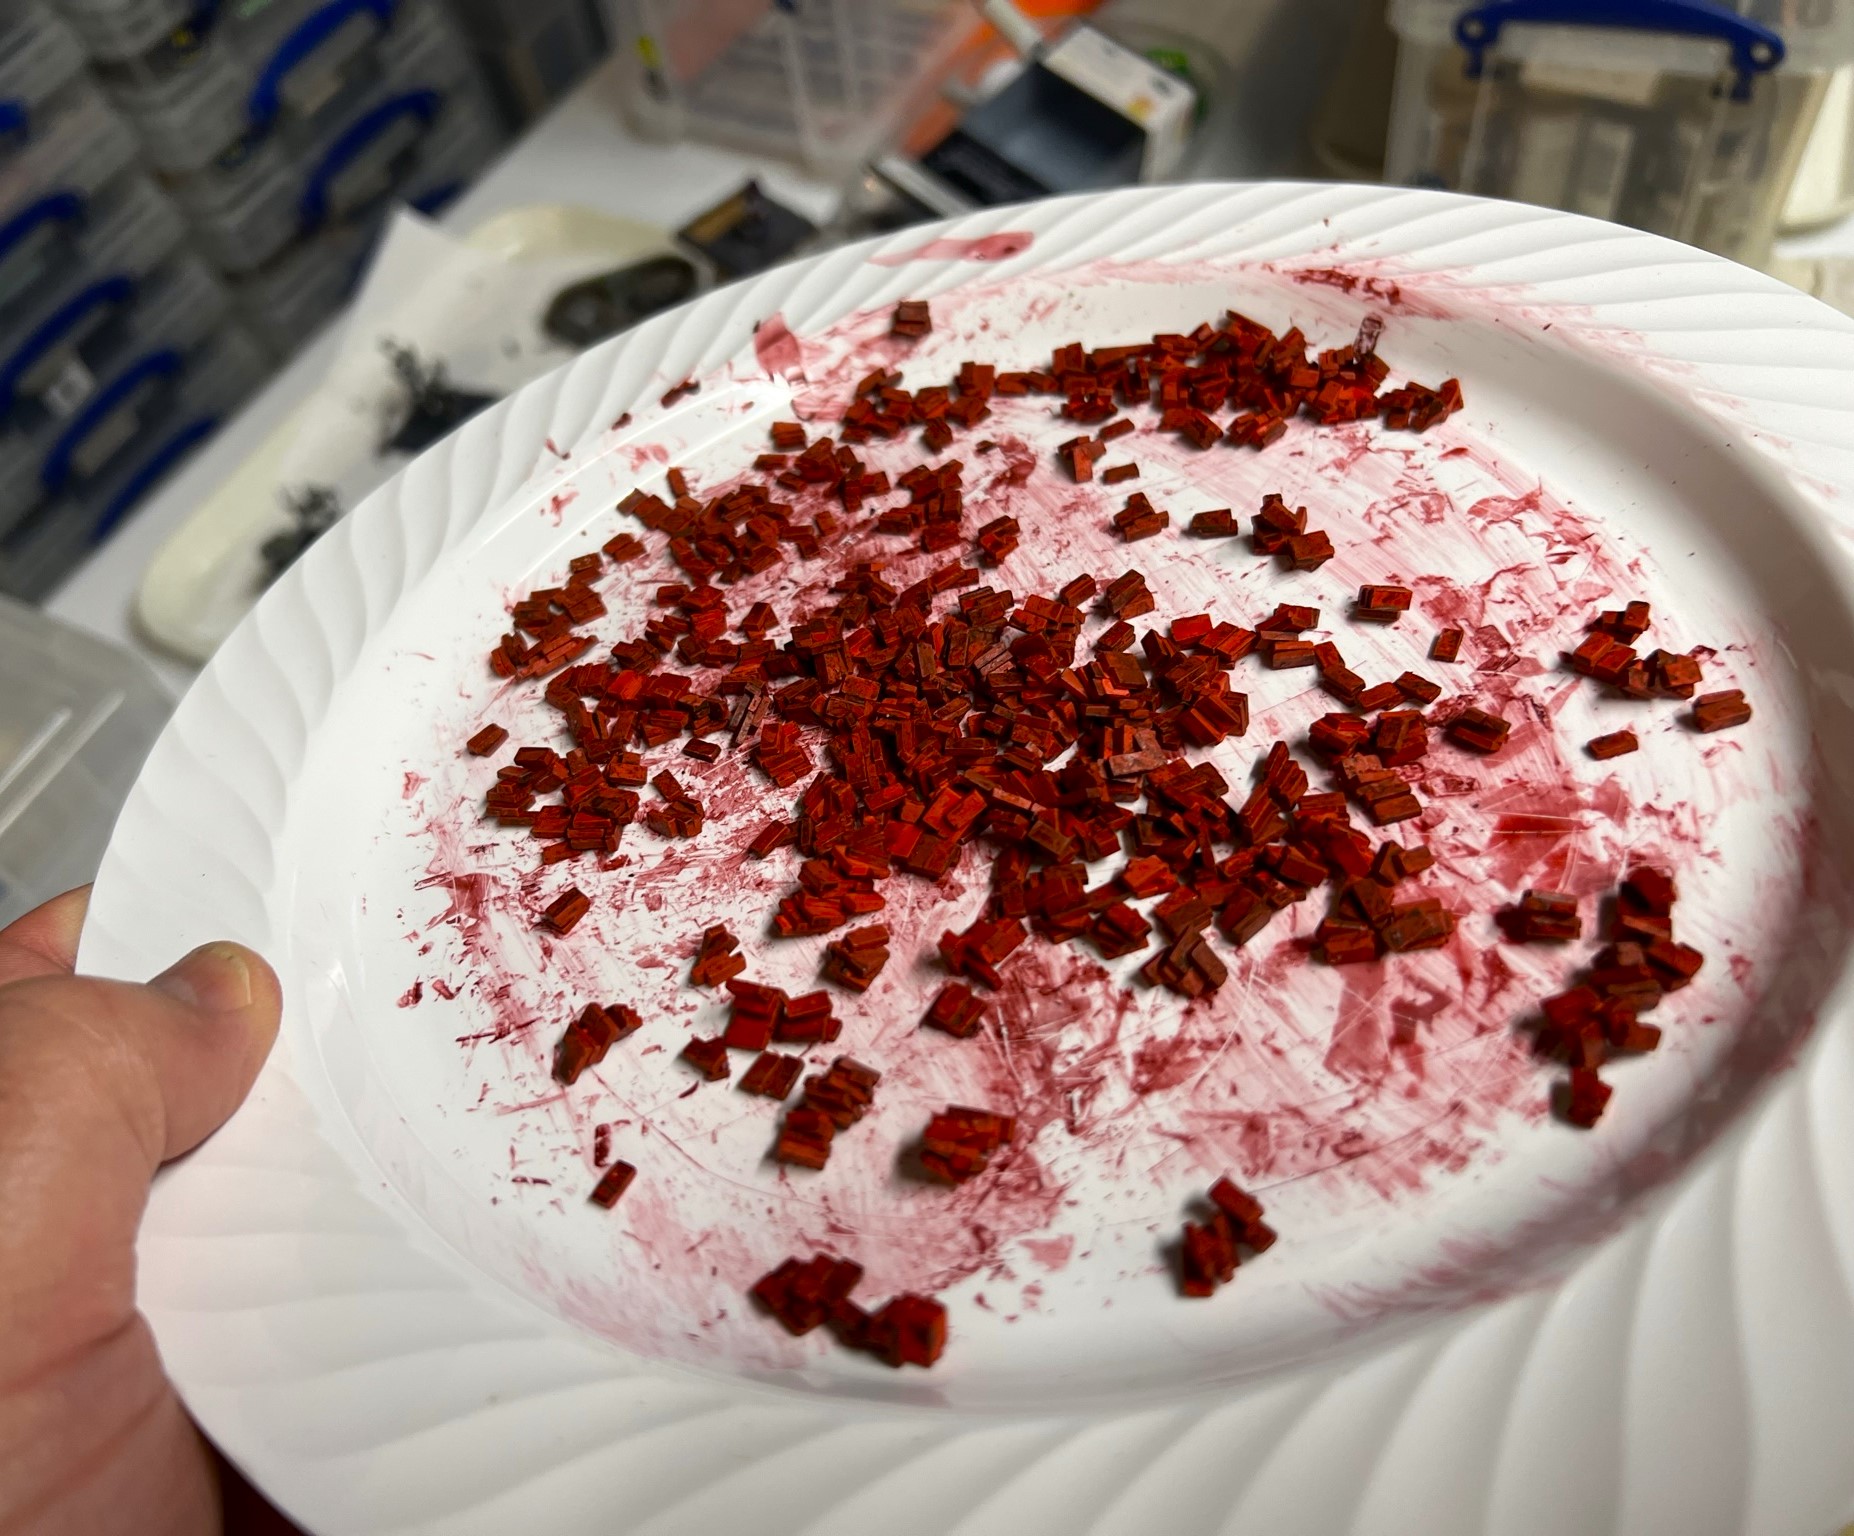
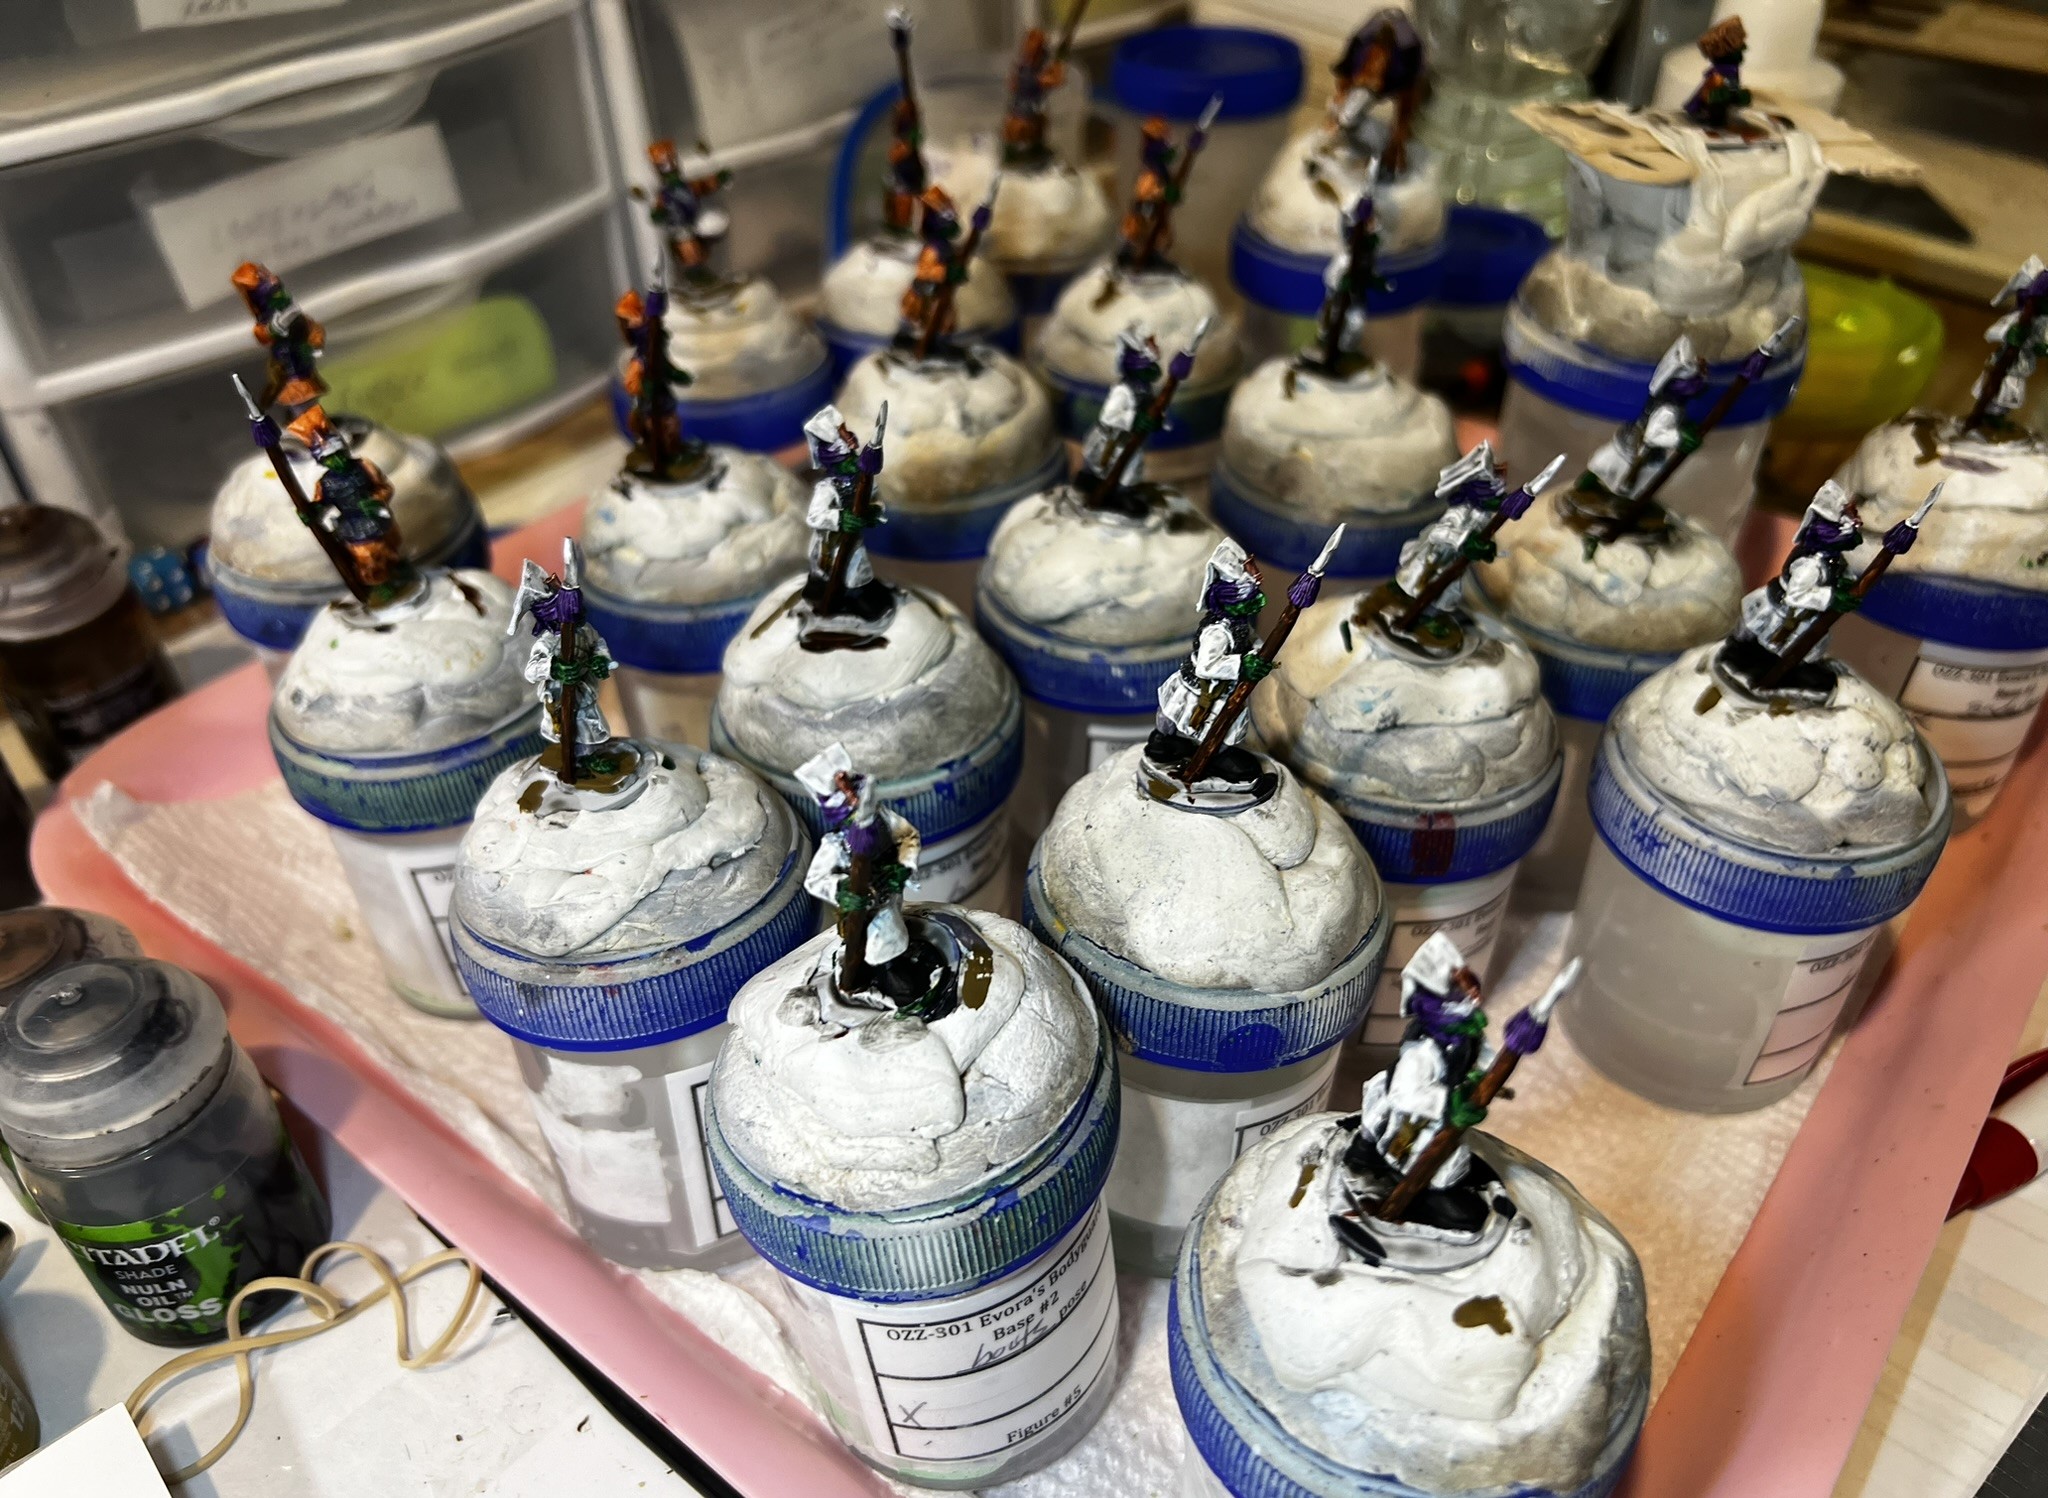
By the 9th of January, I had the regiment painted, shields attached, and varnished on their specimen jars. I drilled though the shields and tried to get them multiple gluing points in terms of attachment for the sake of durability on the tabletop. Again, these were BIG shields. Next, I needed to mount the figures on the bases and get the flocking done. Glue does take time to dry…always…

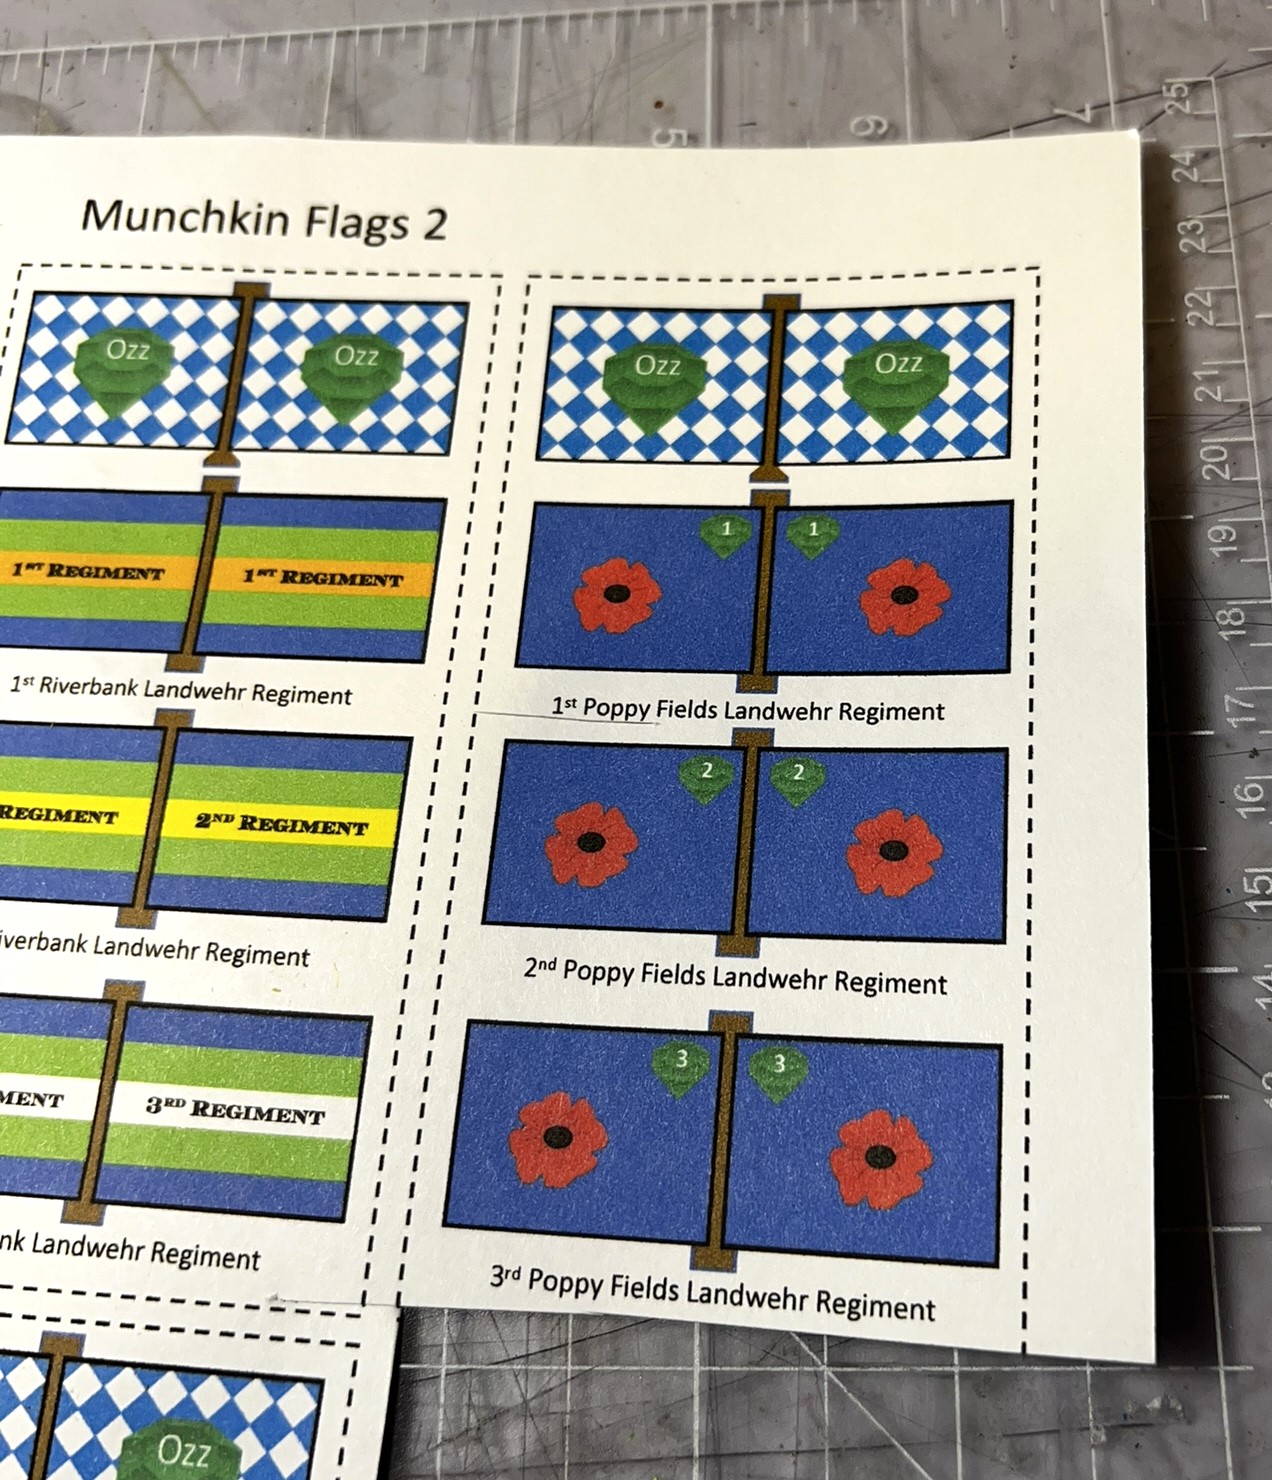
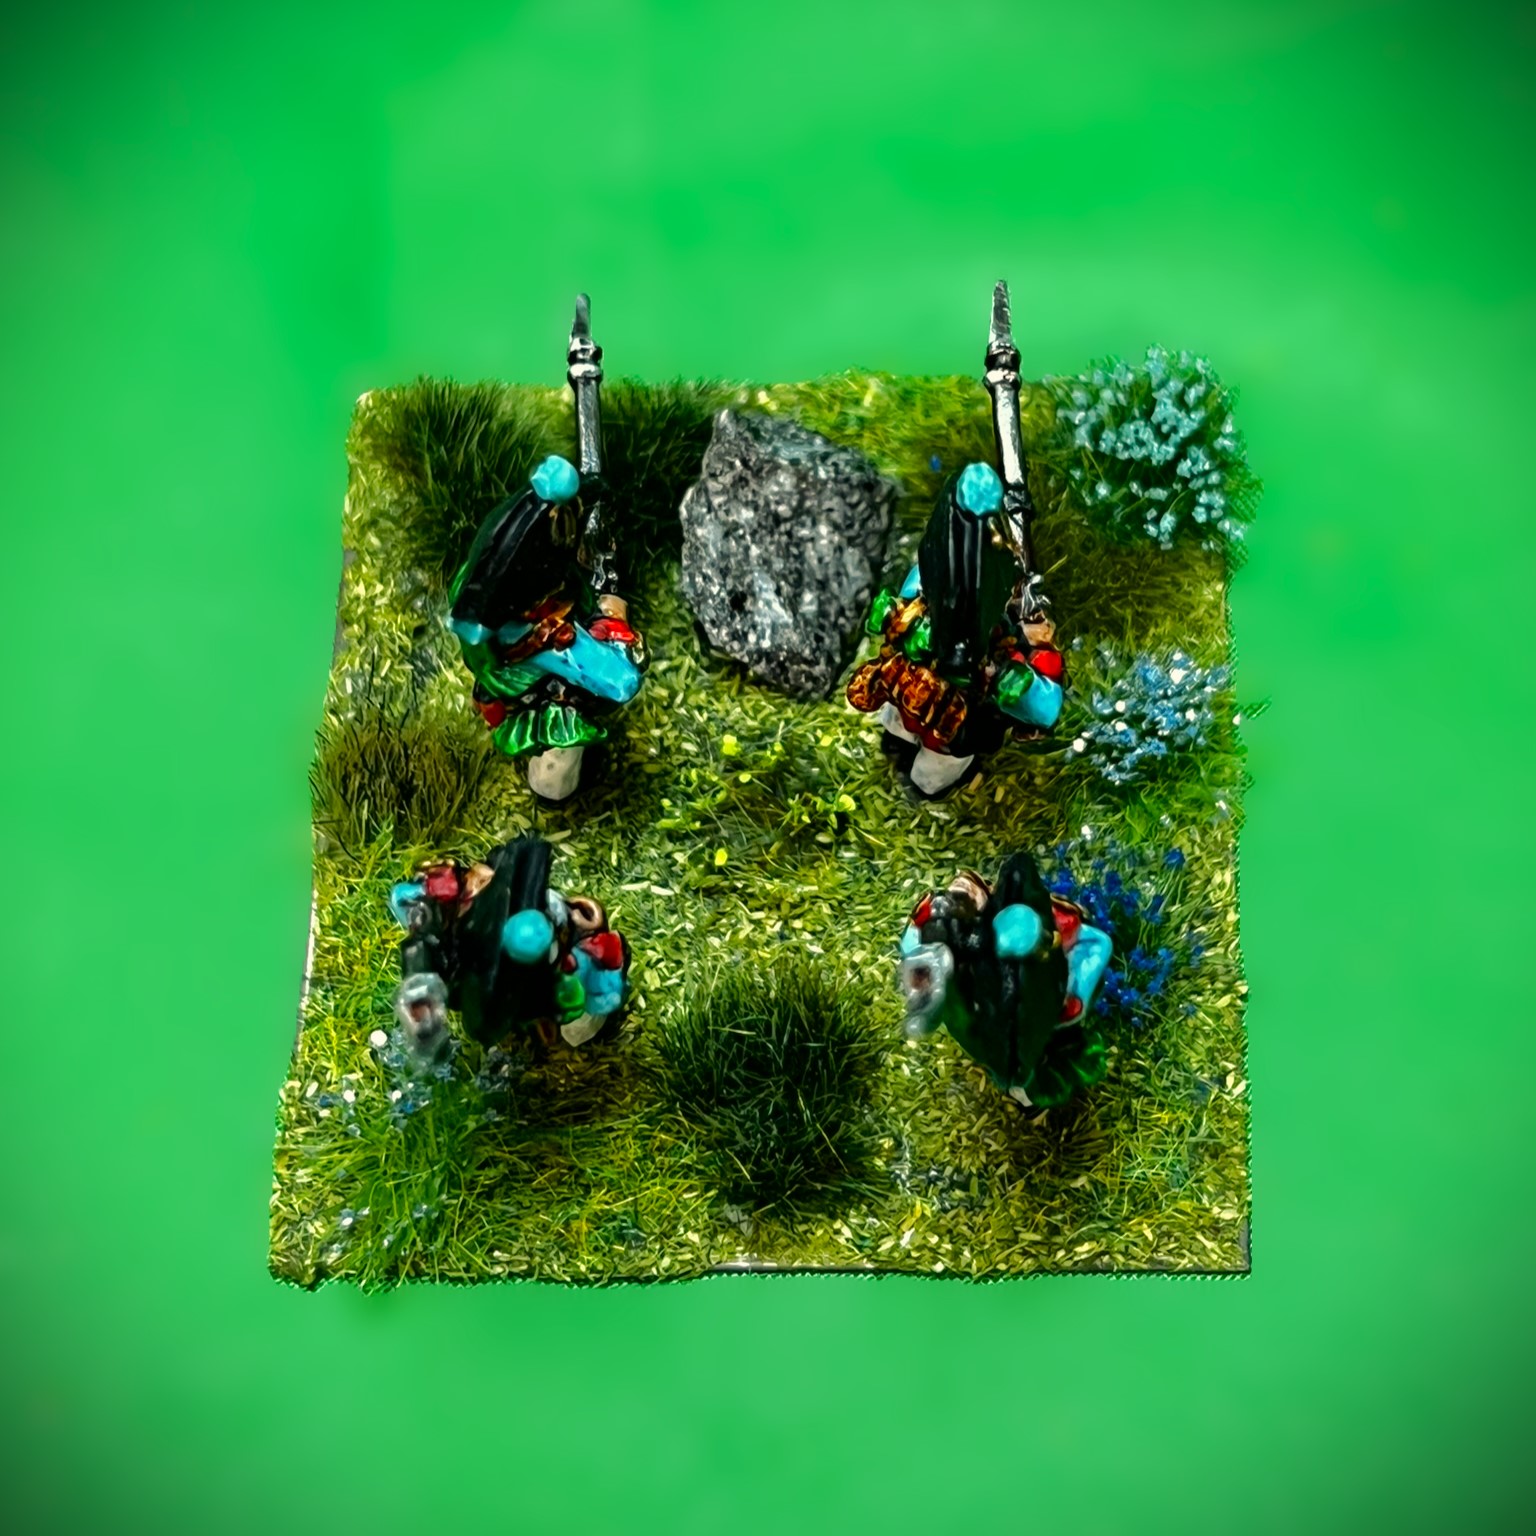
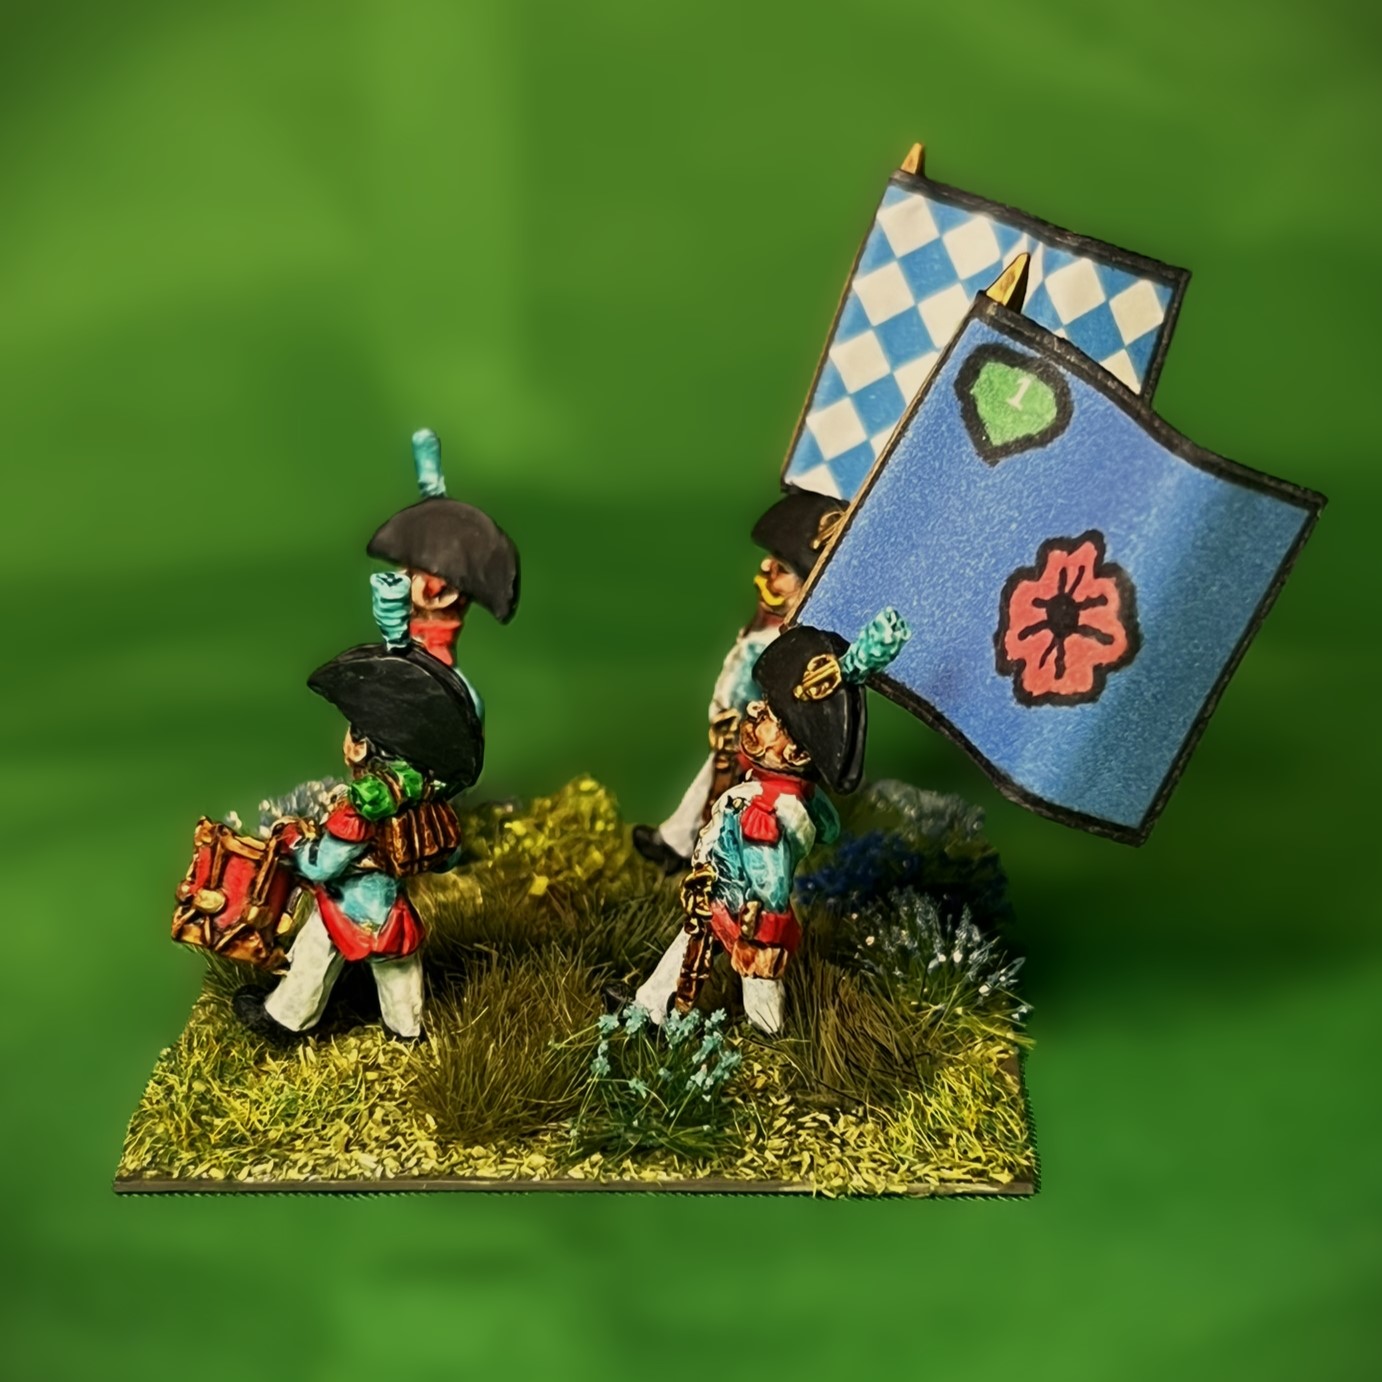
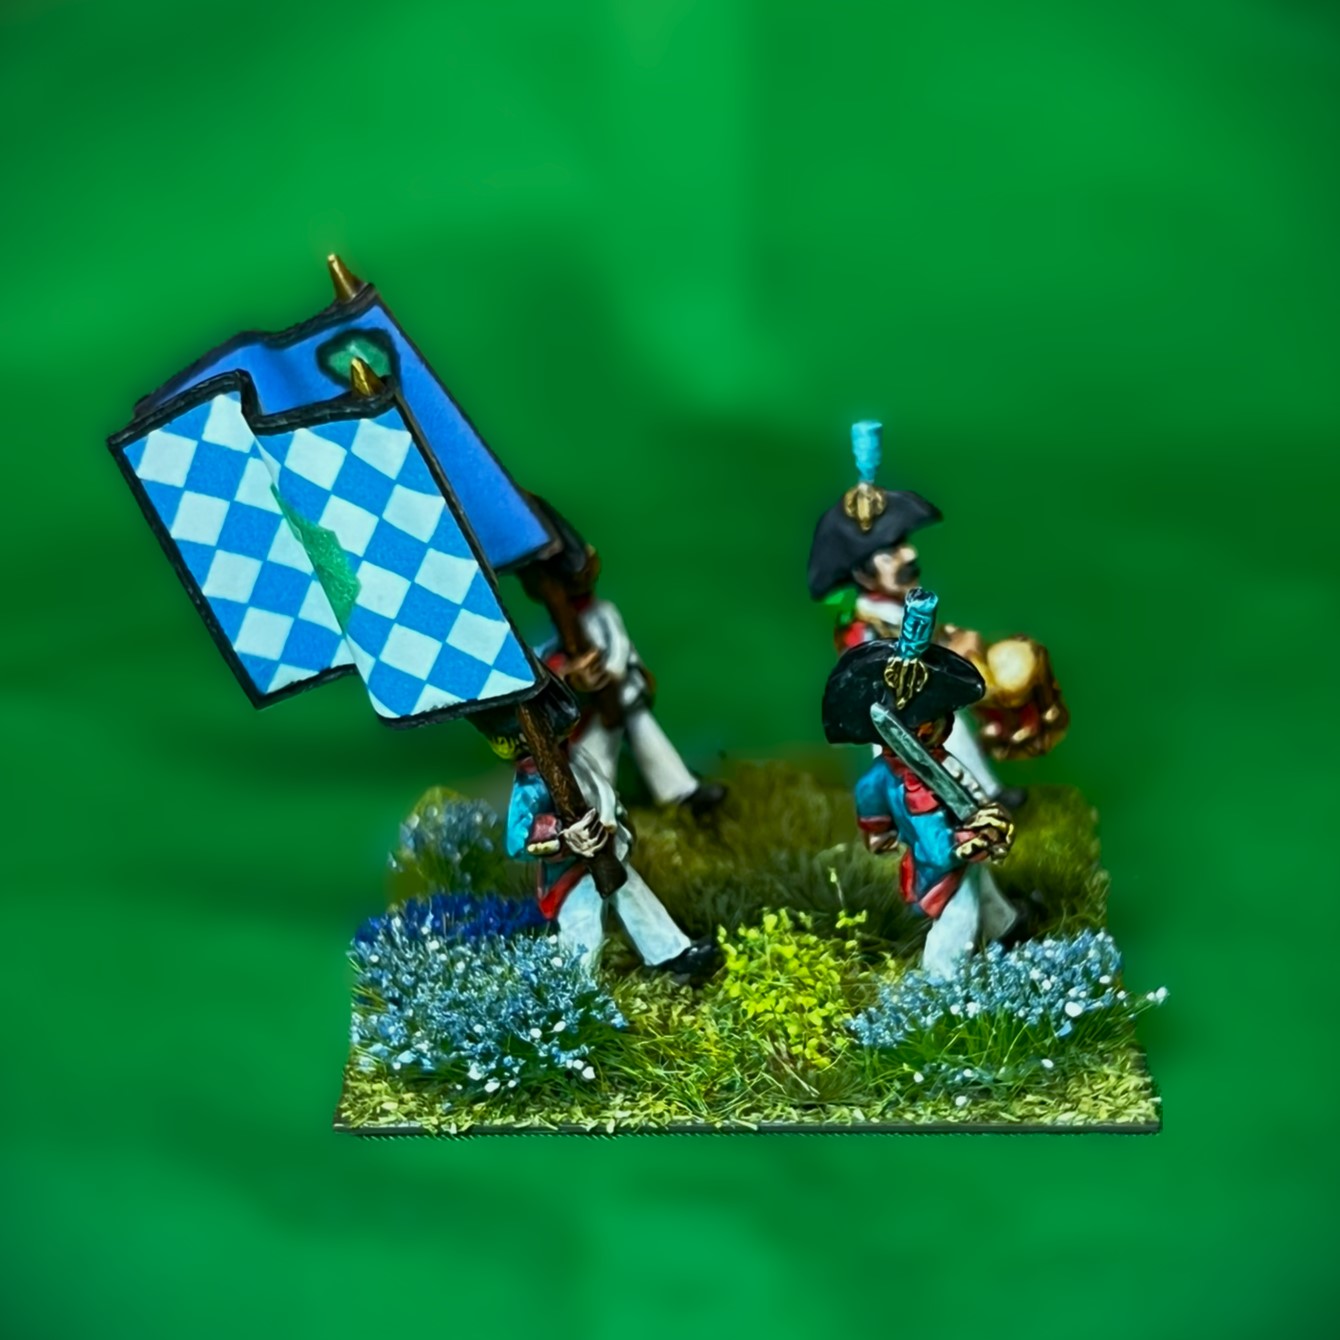
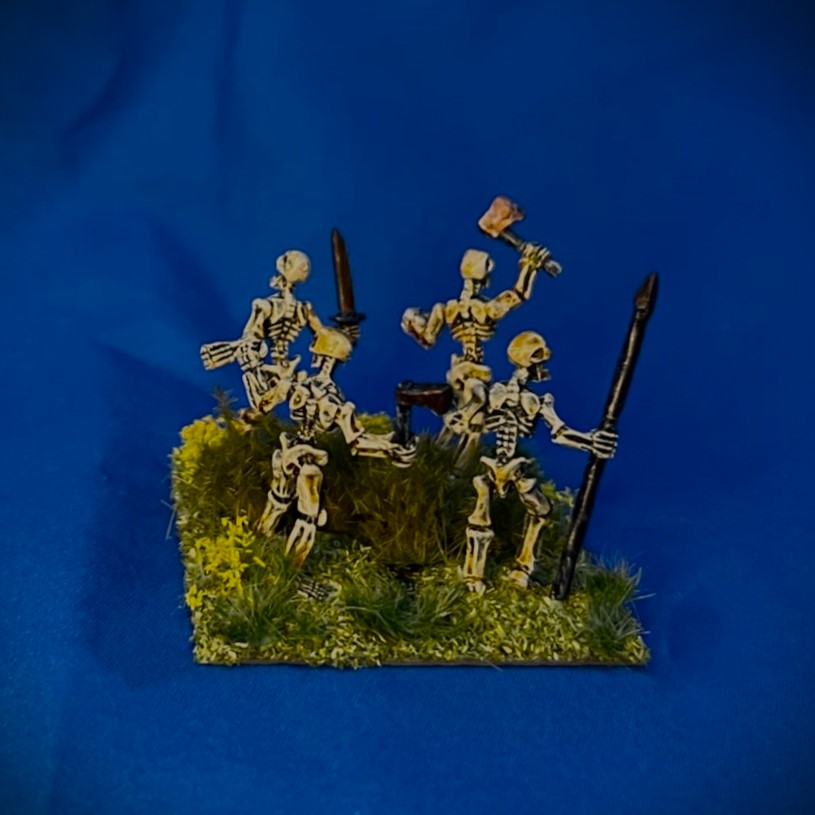
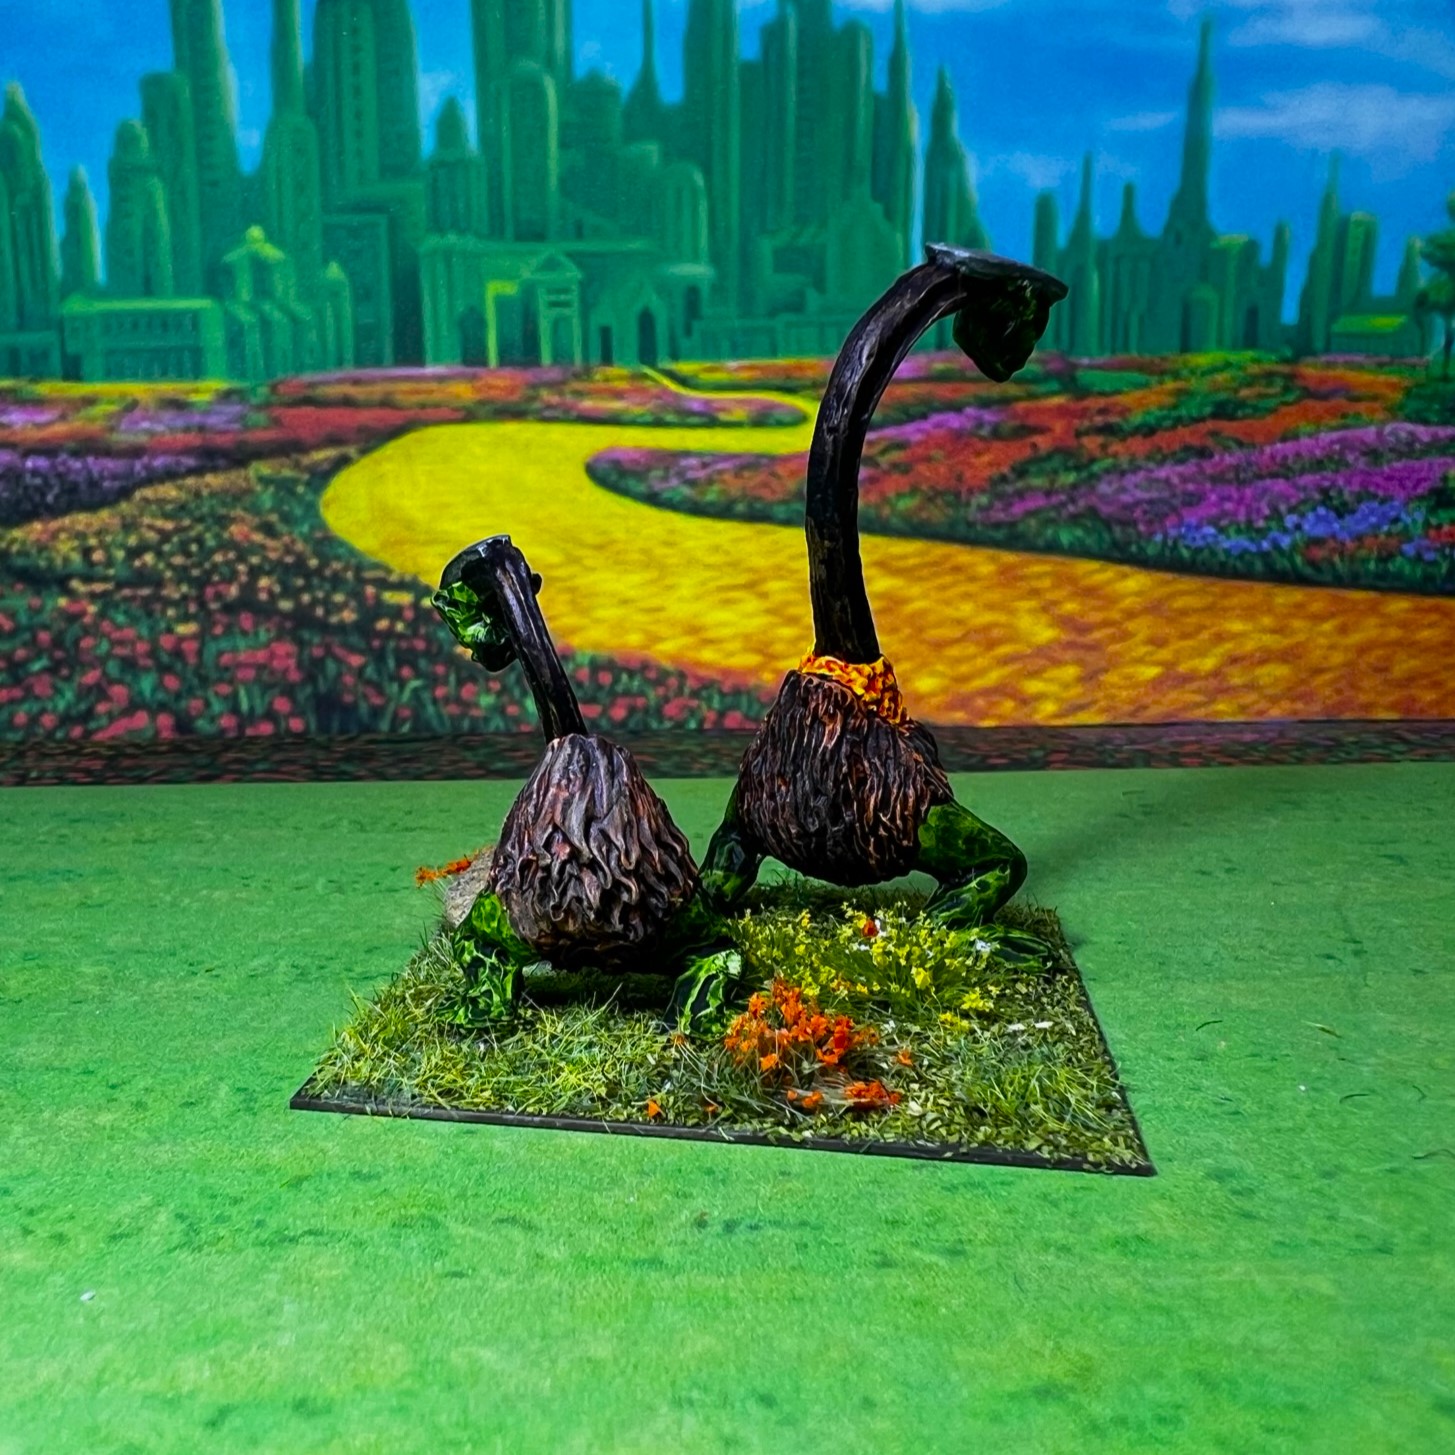
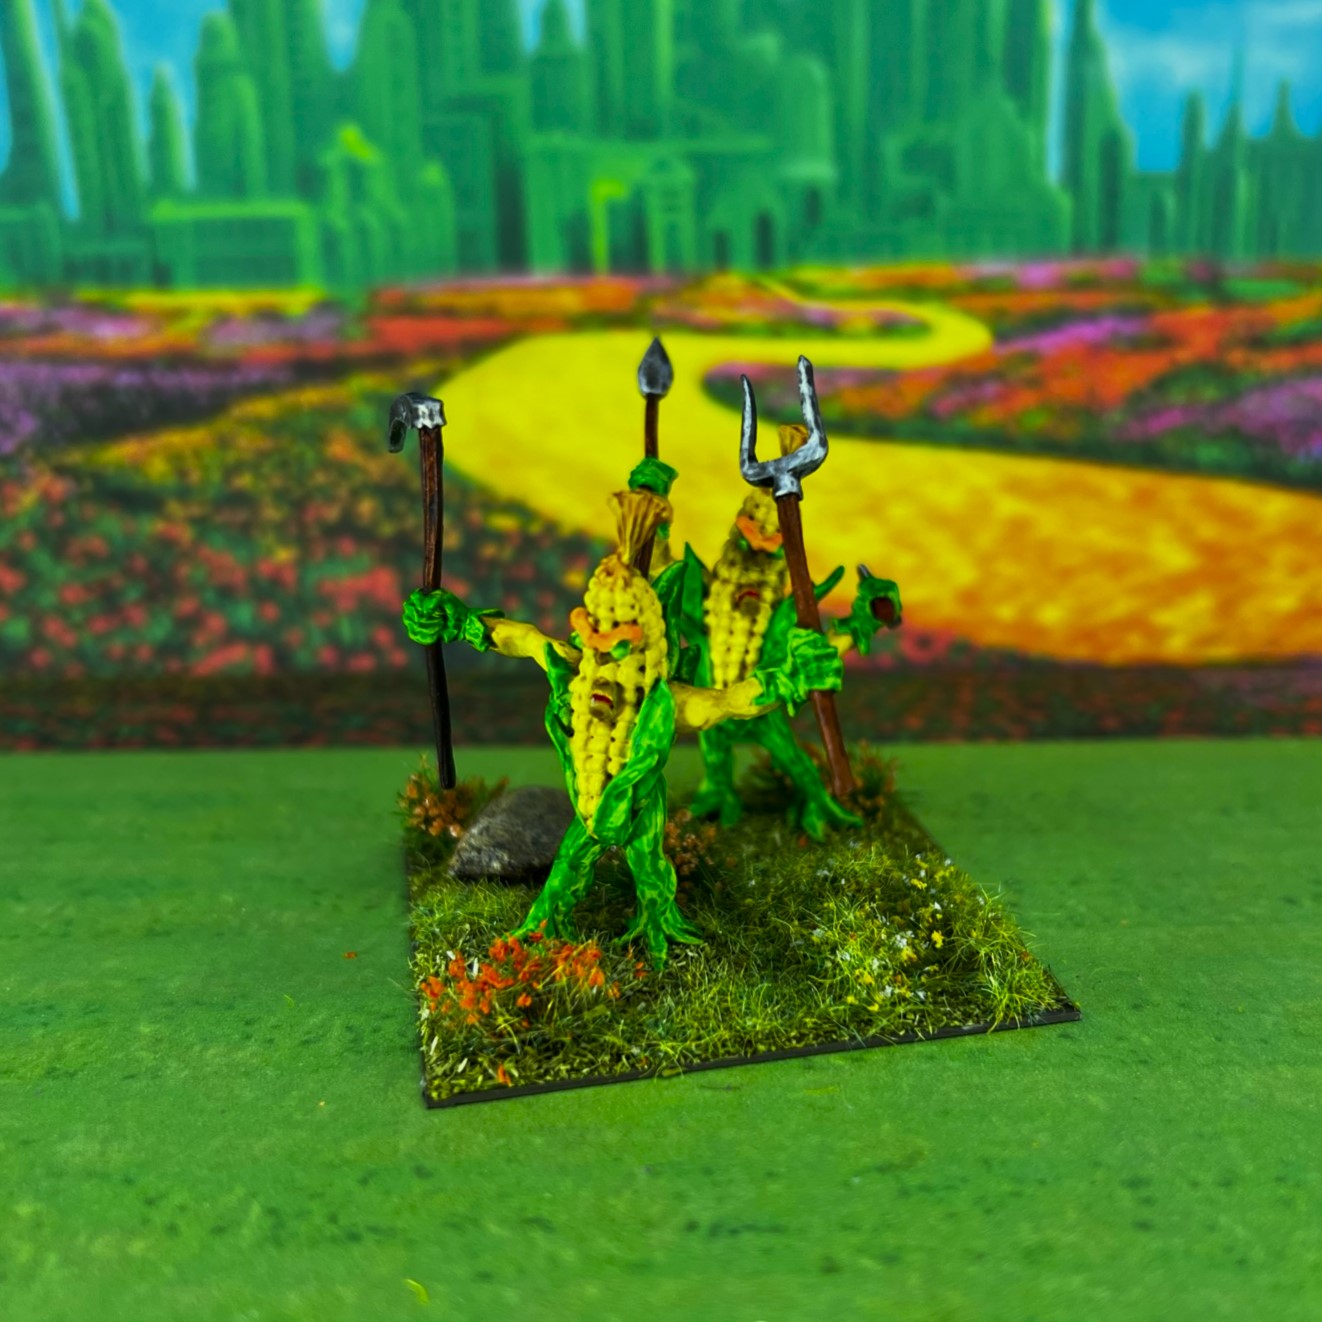
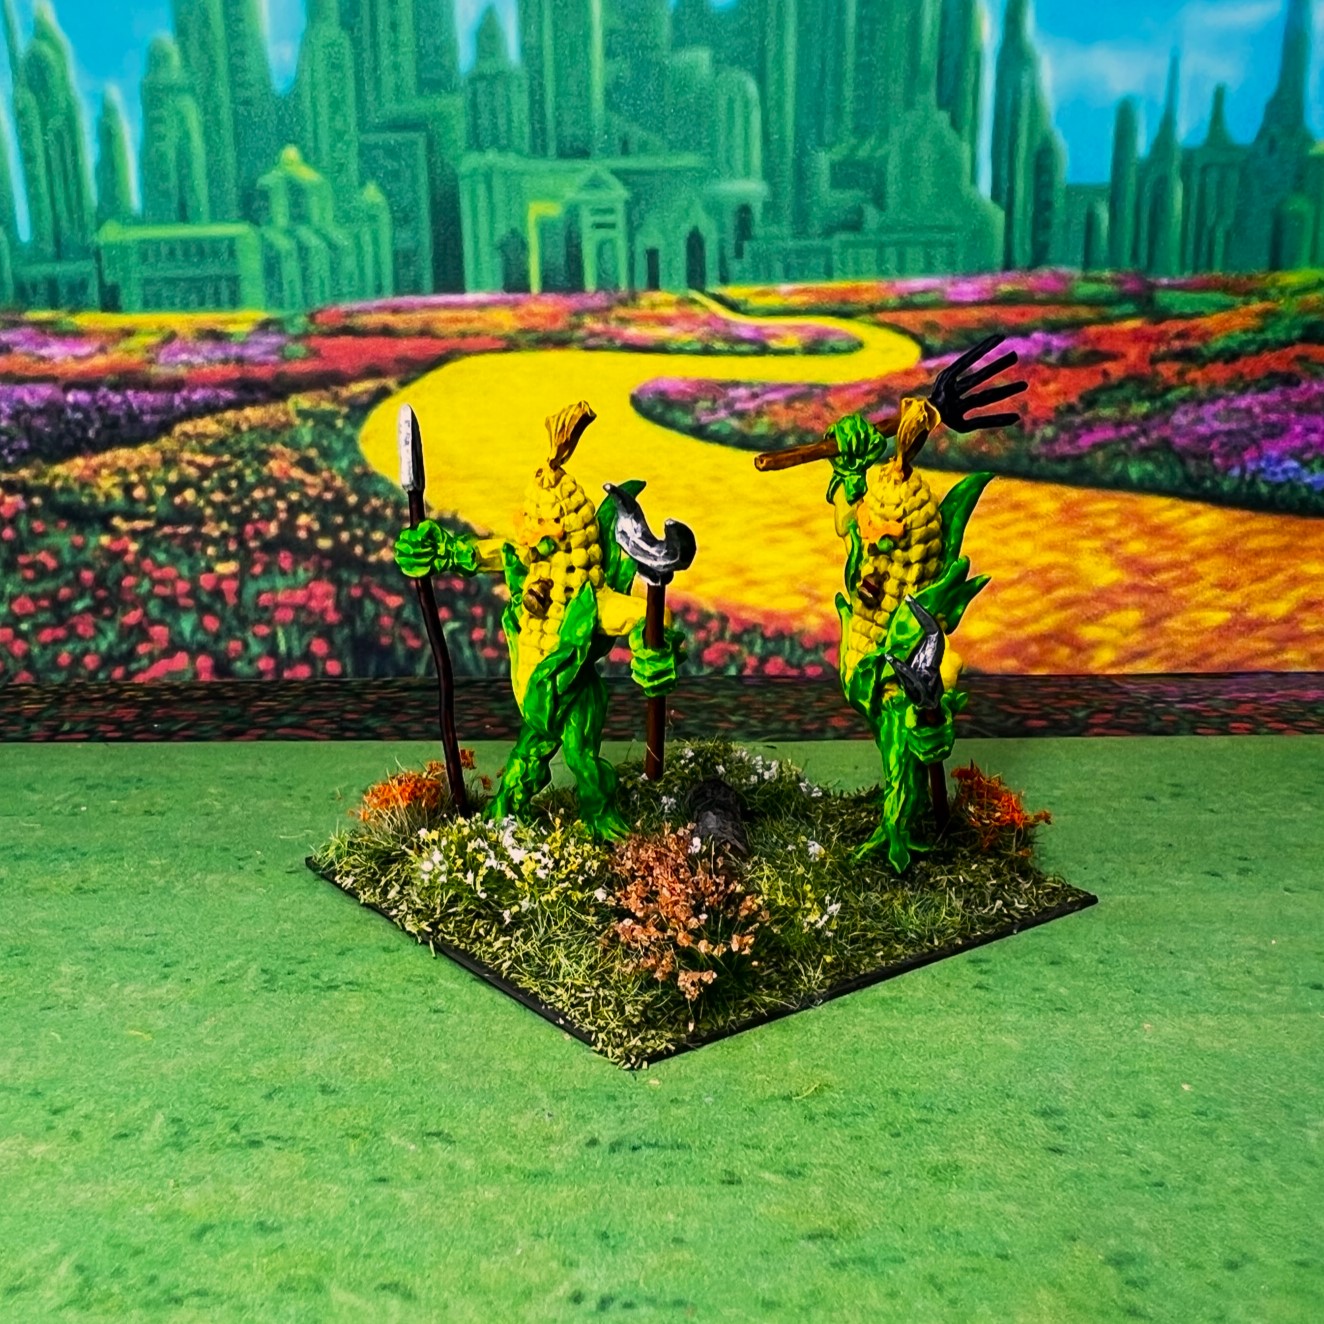
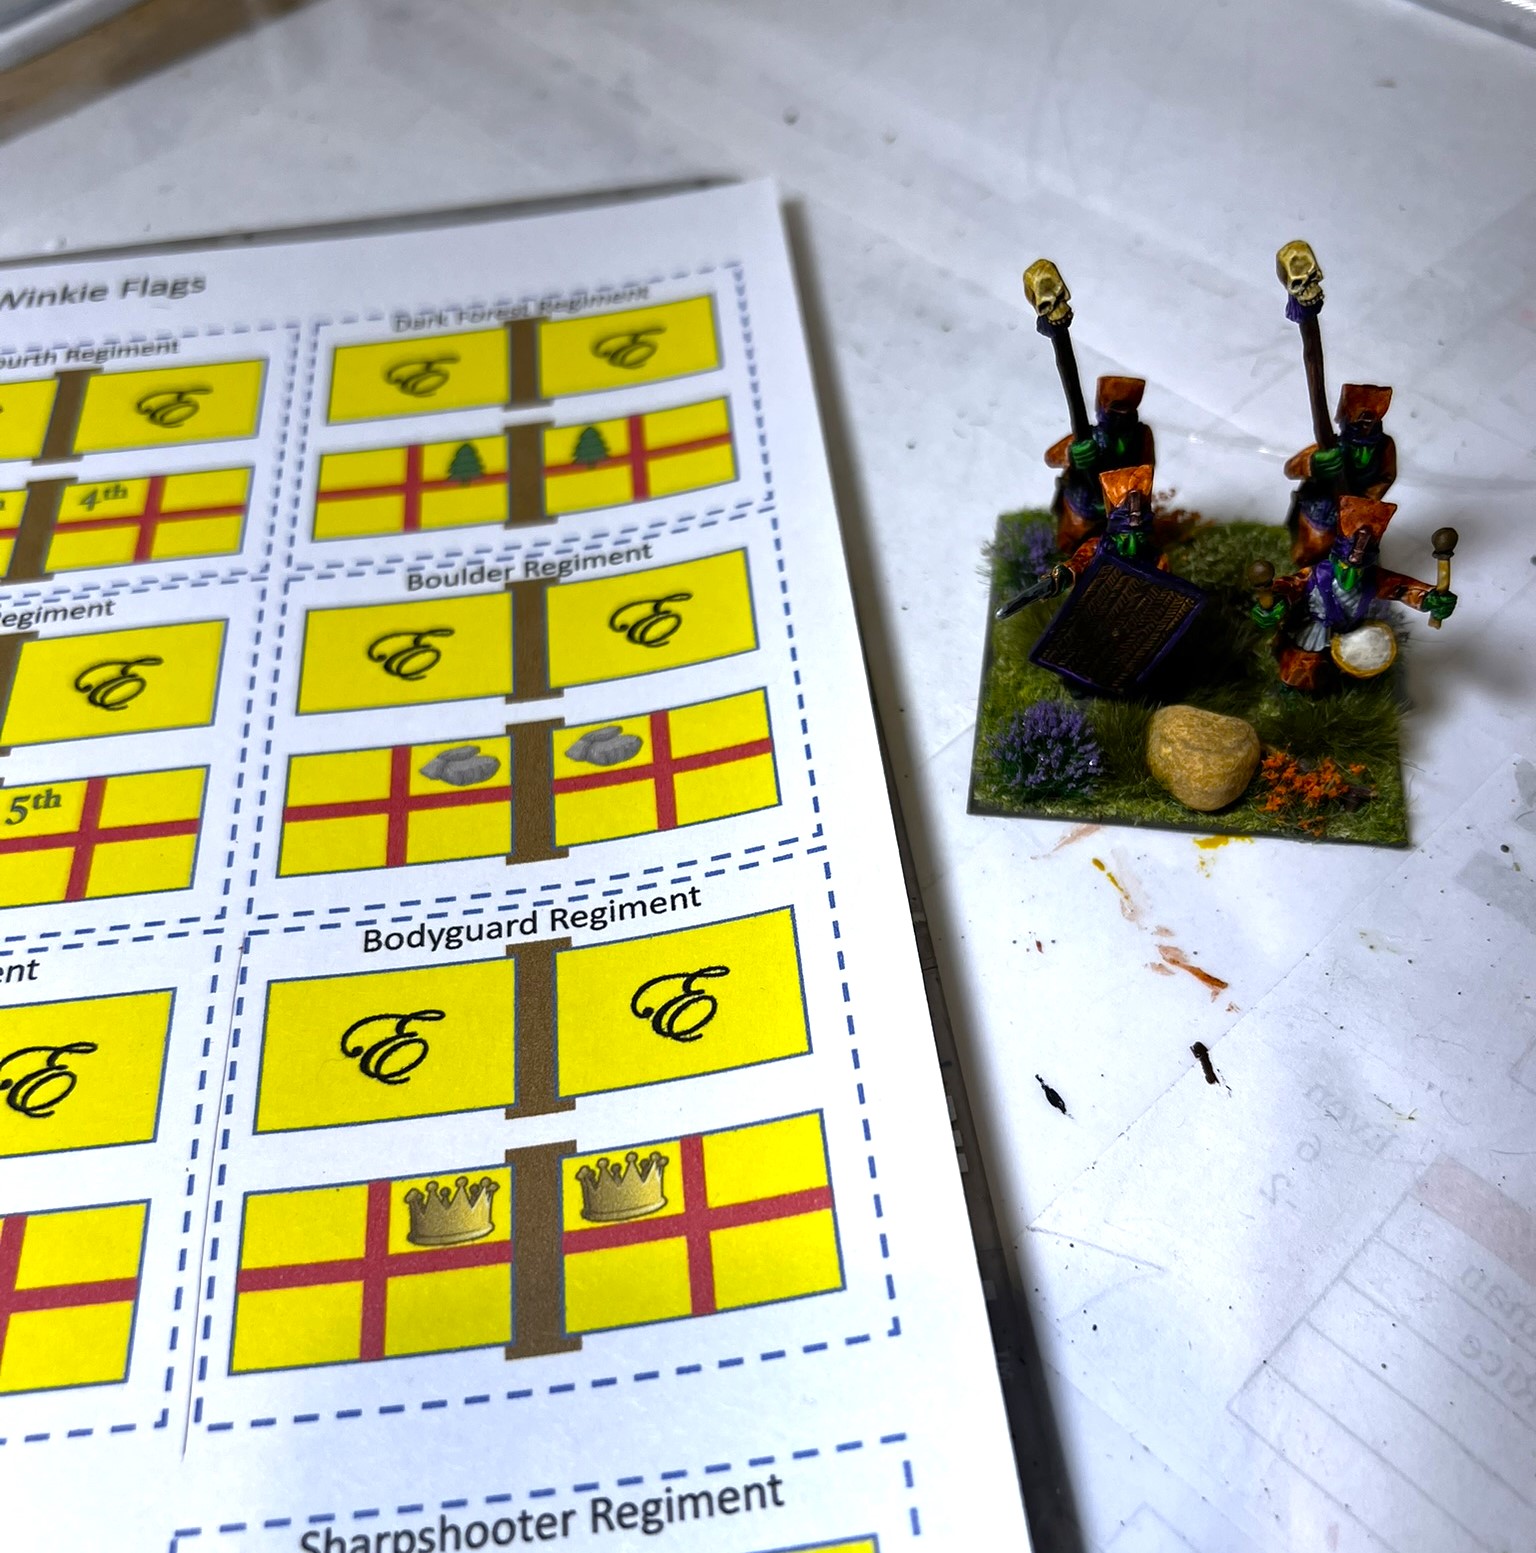
I then applied the flocking and flags. For the flocking, I decided that purple and orange flowers with green grass and undergrowth would work. At least the flip flops were less visible!
I was finally done on Jan 10th.
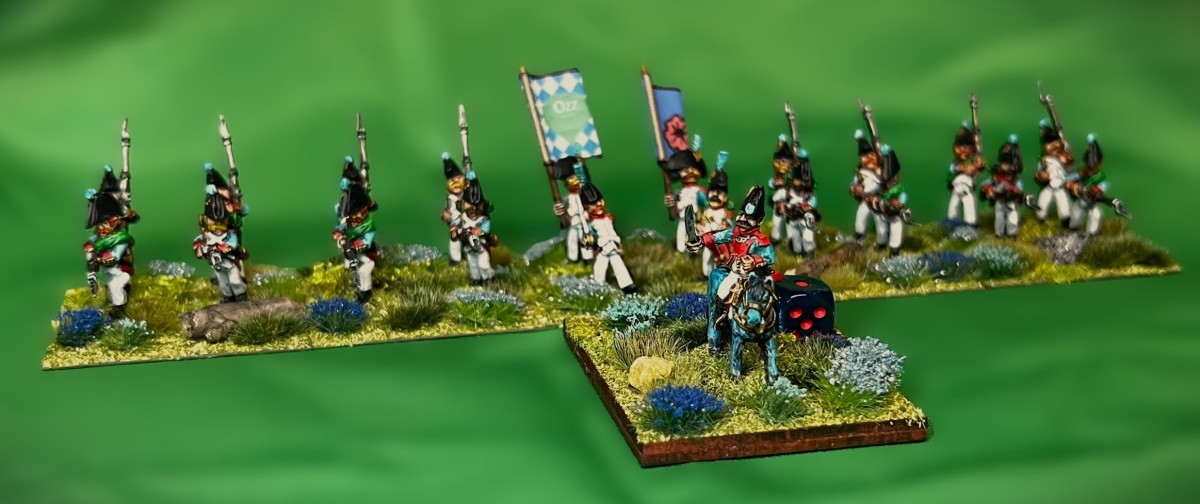
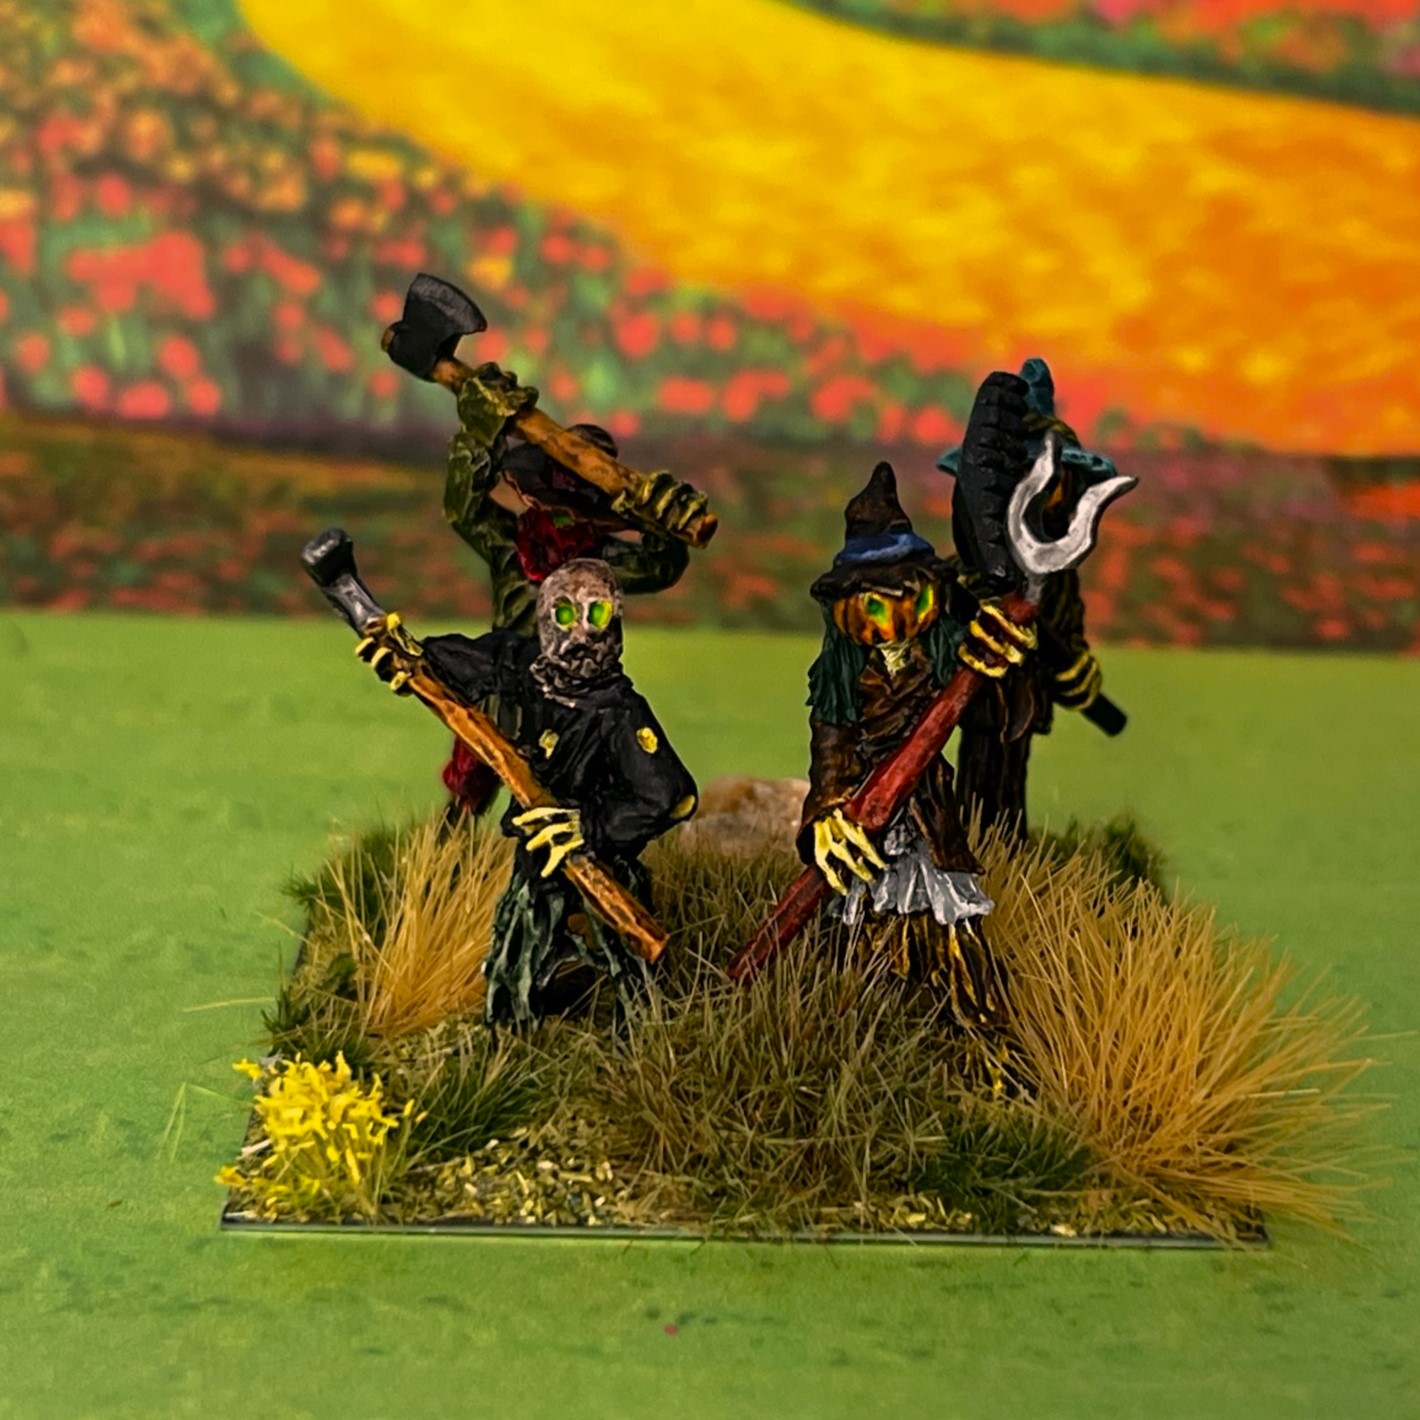
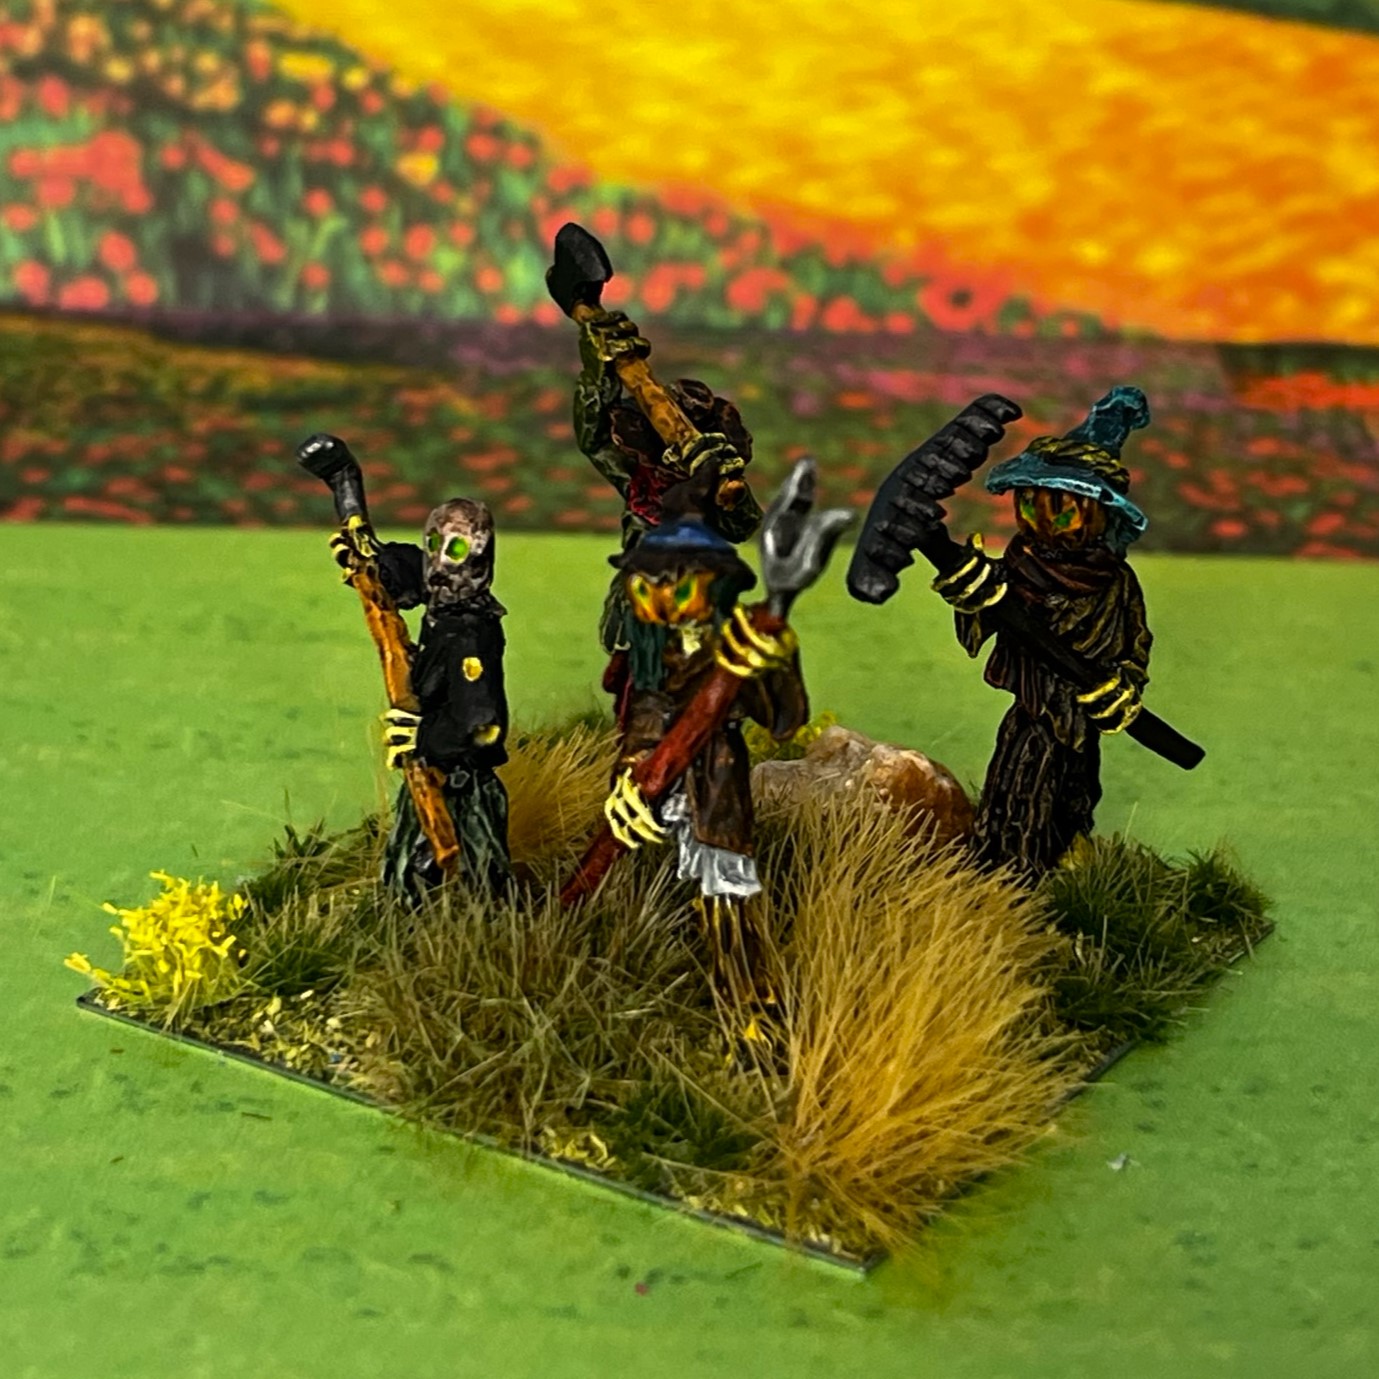
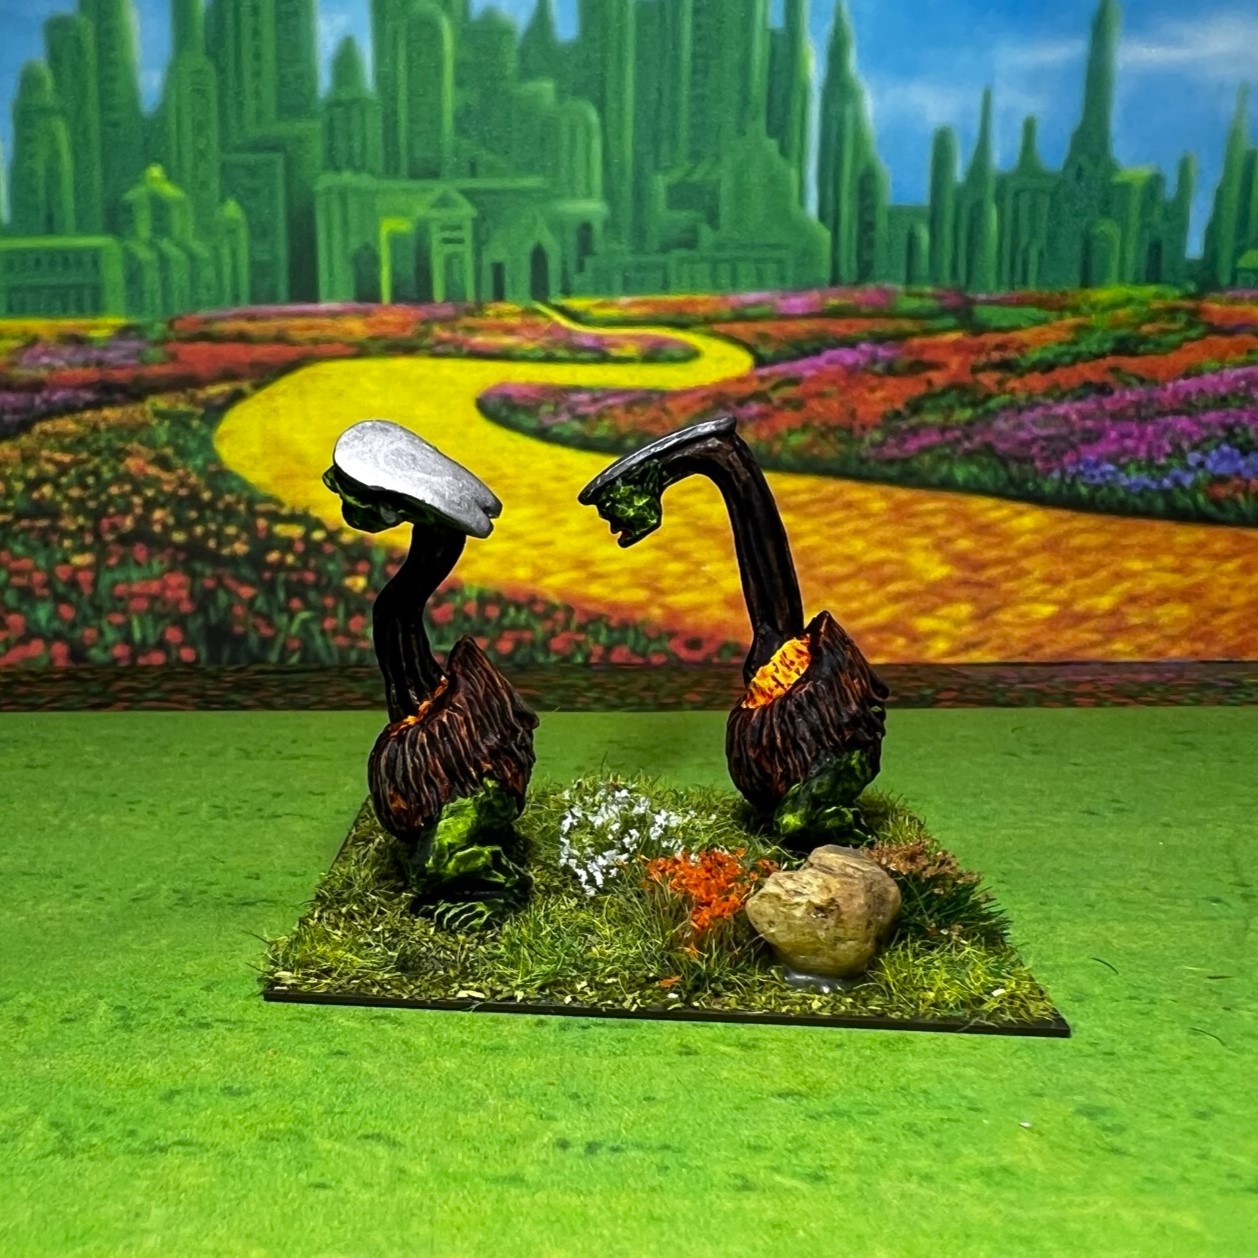
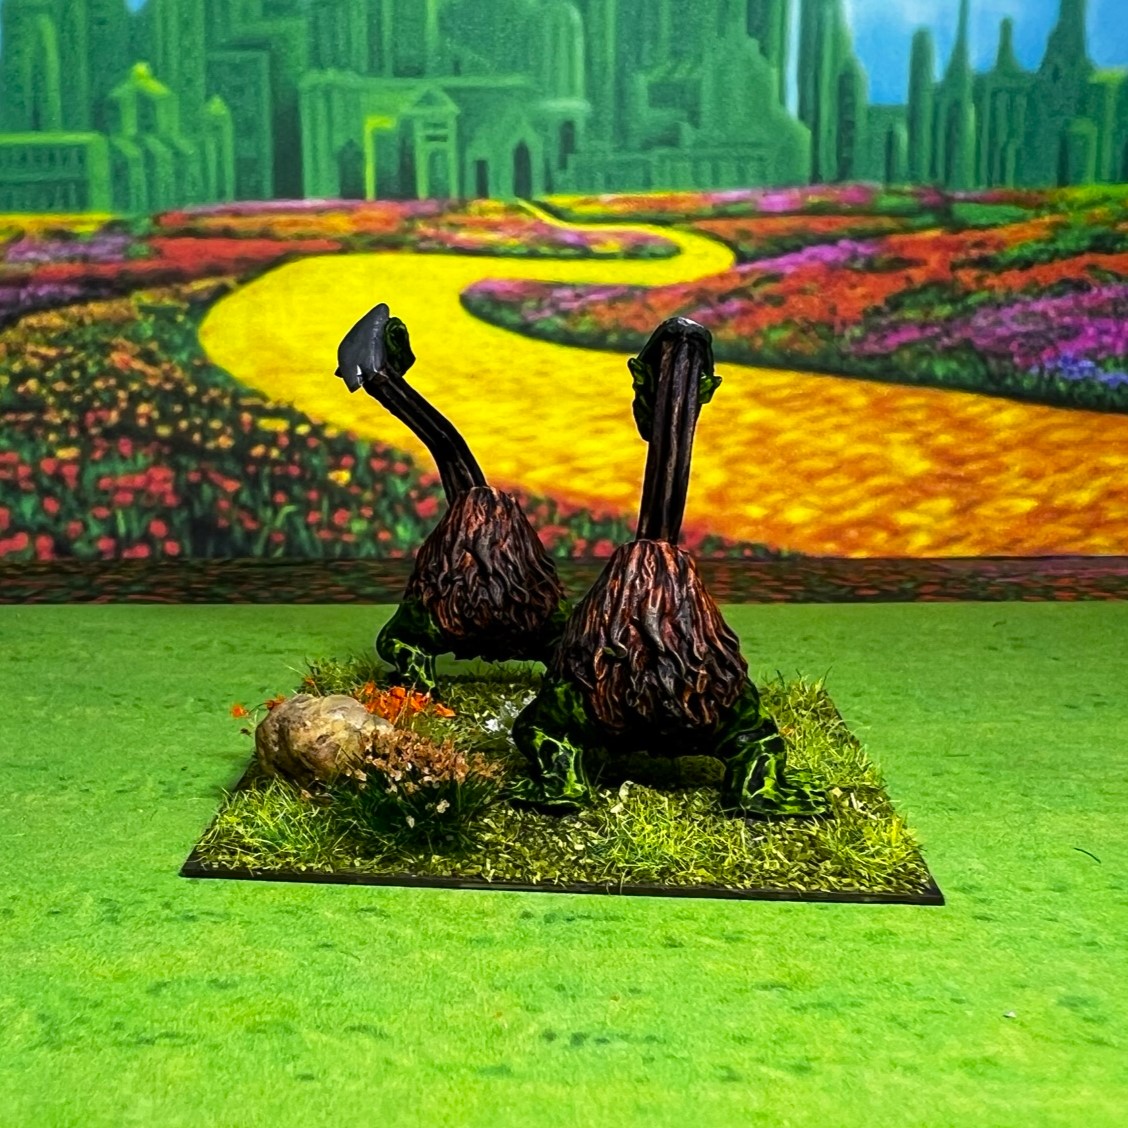
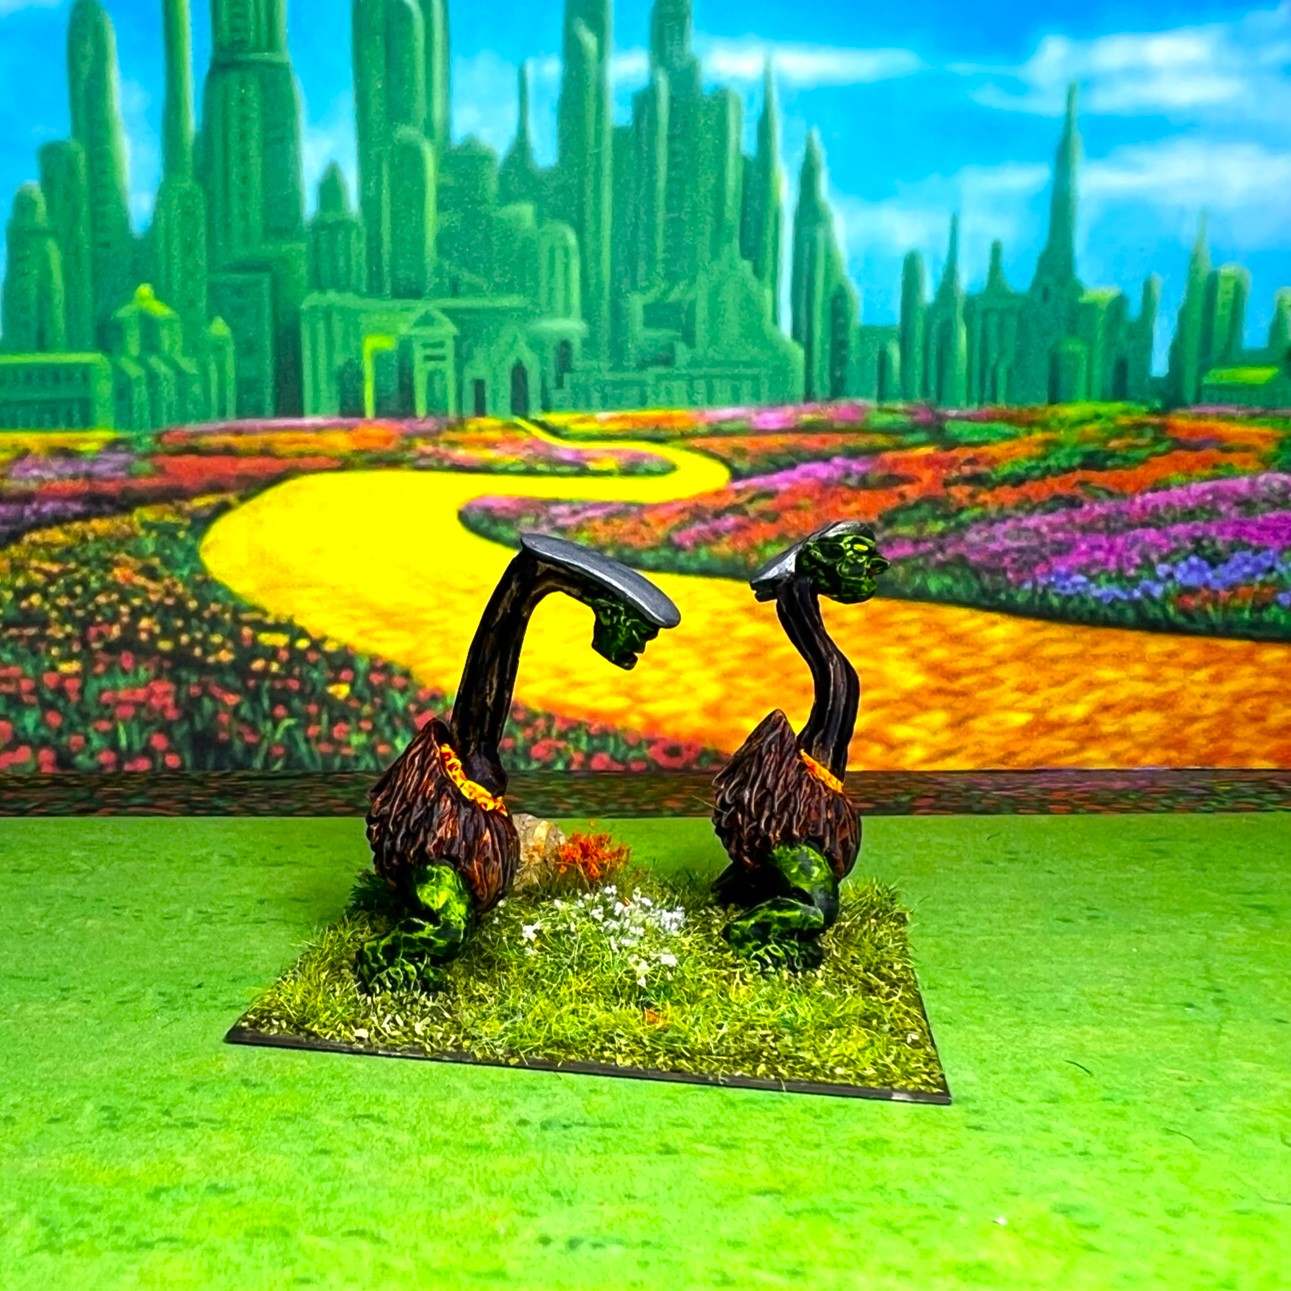
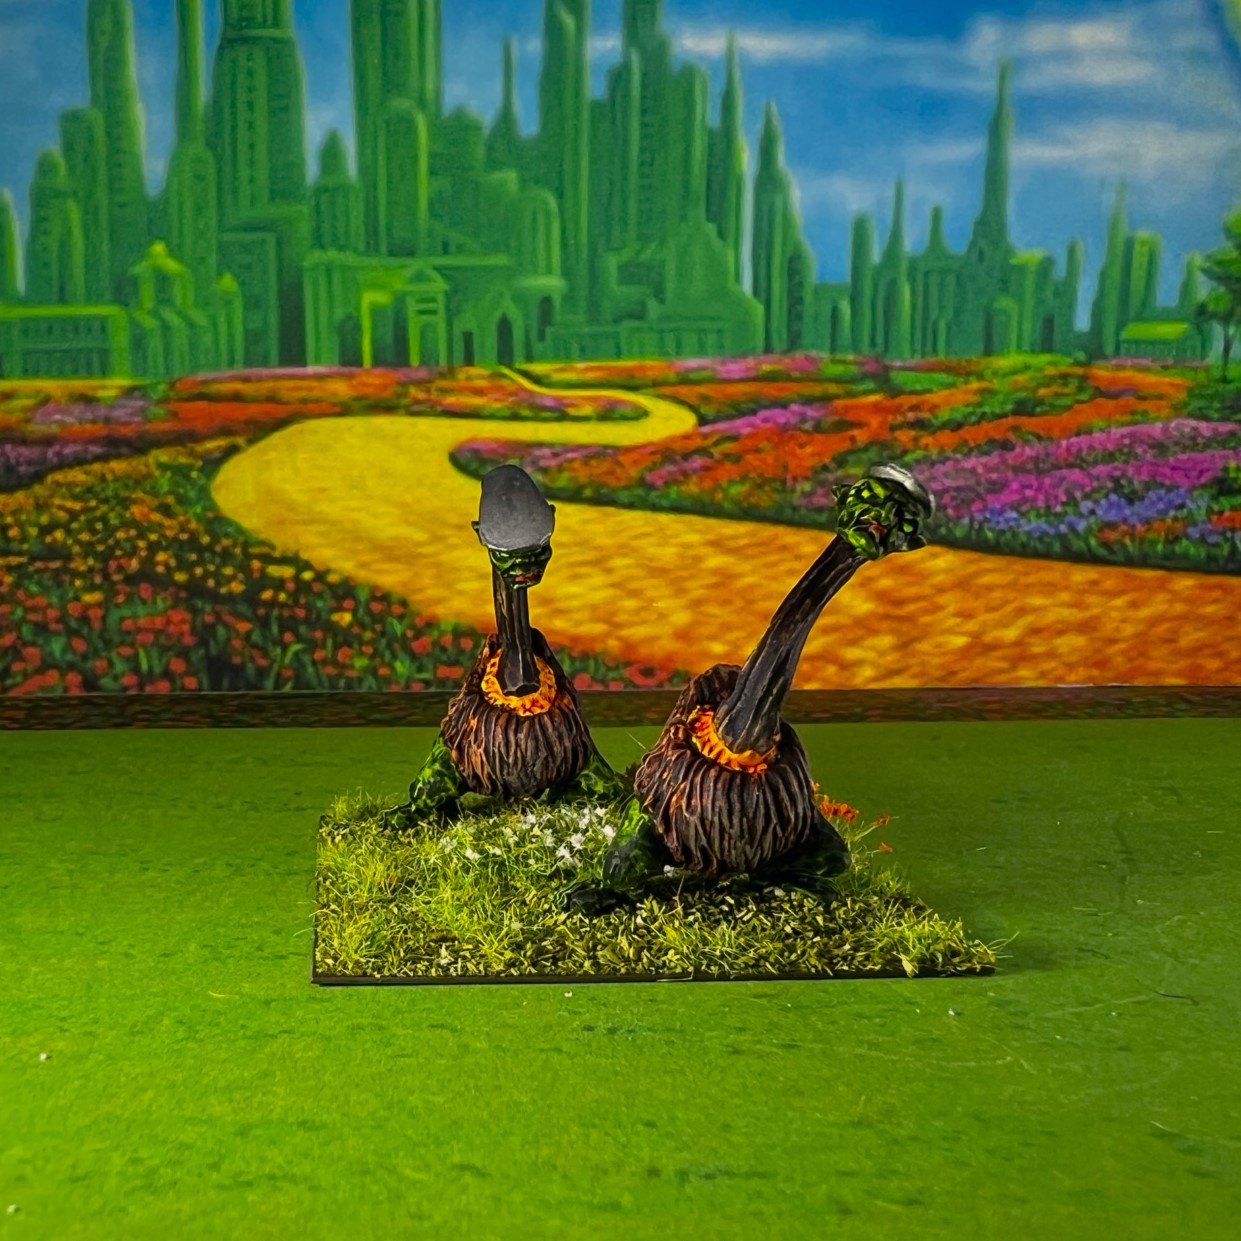
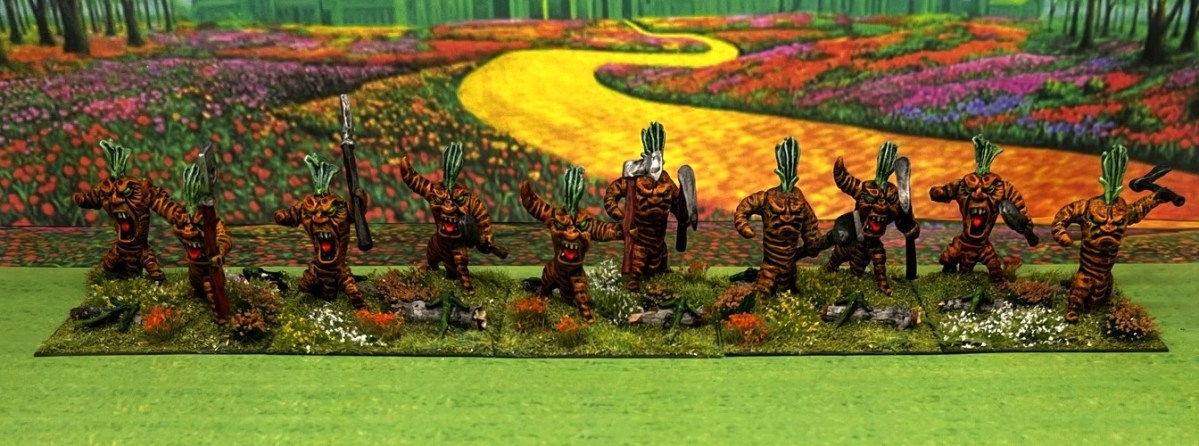
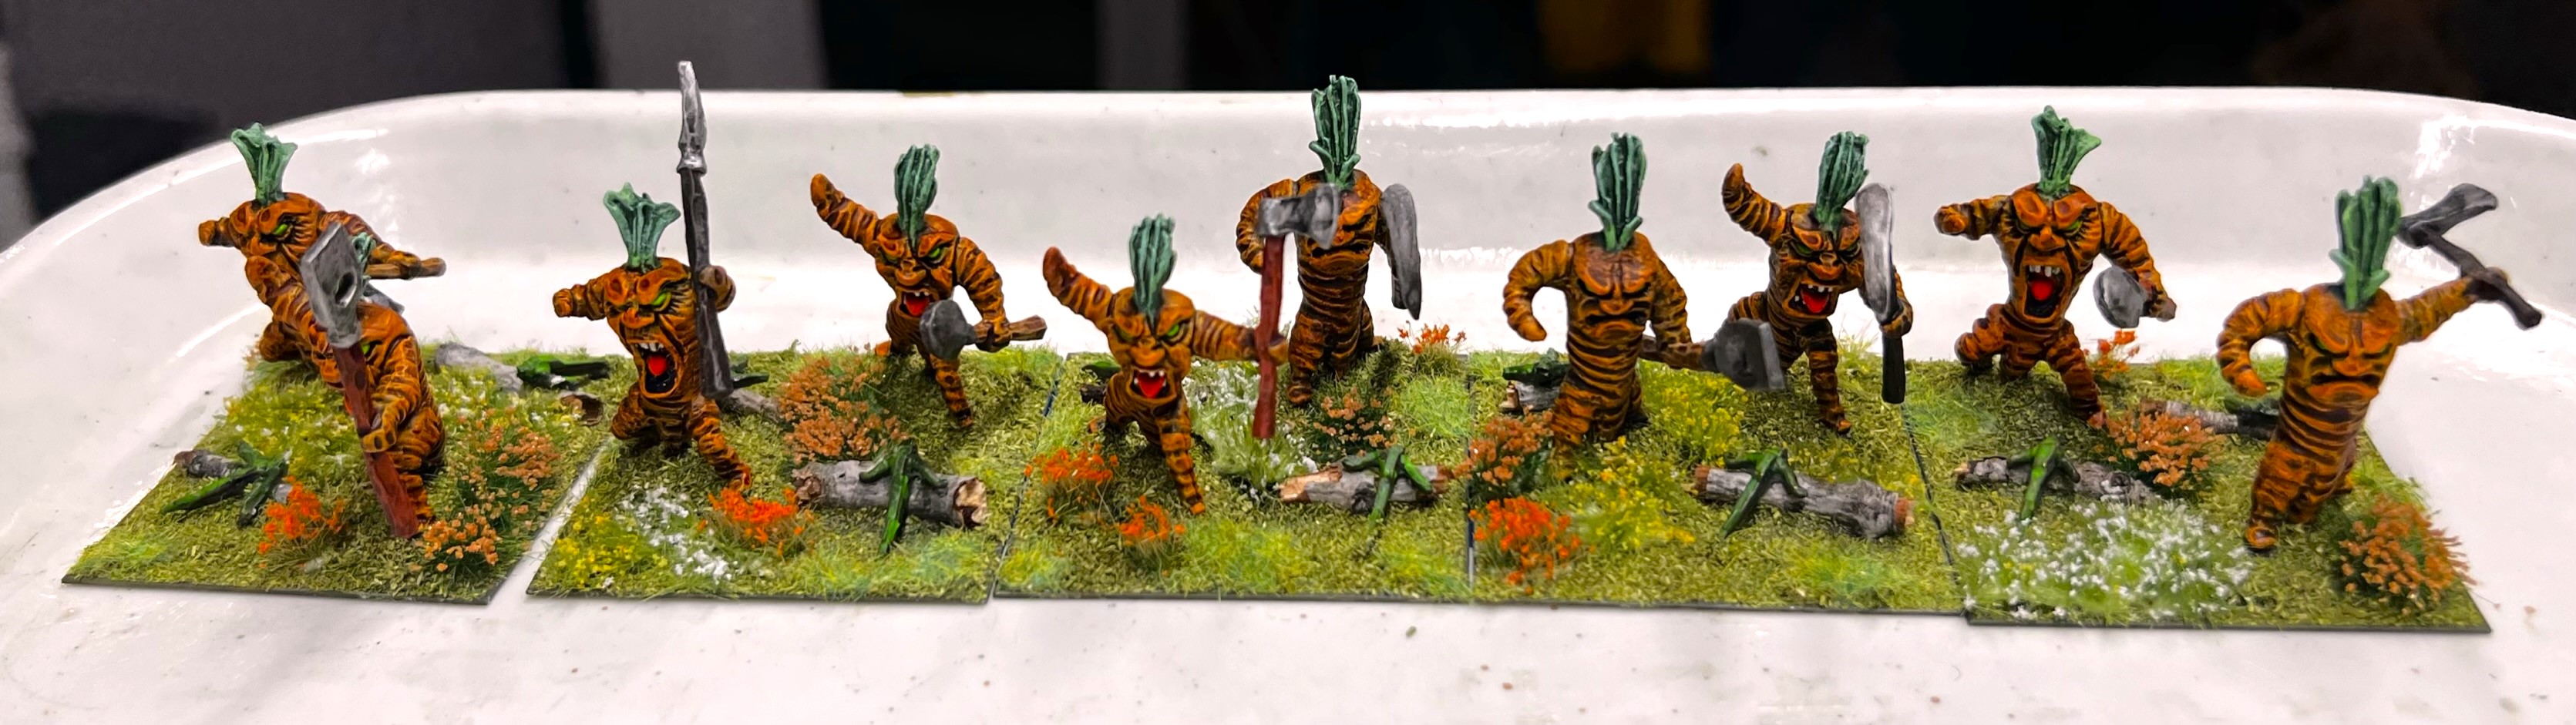
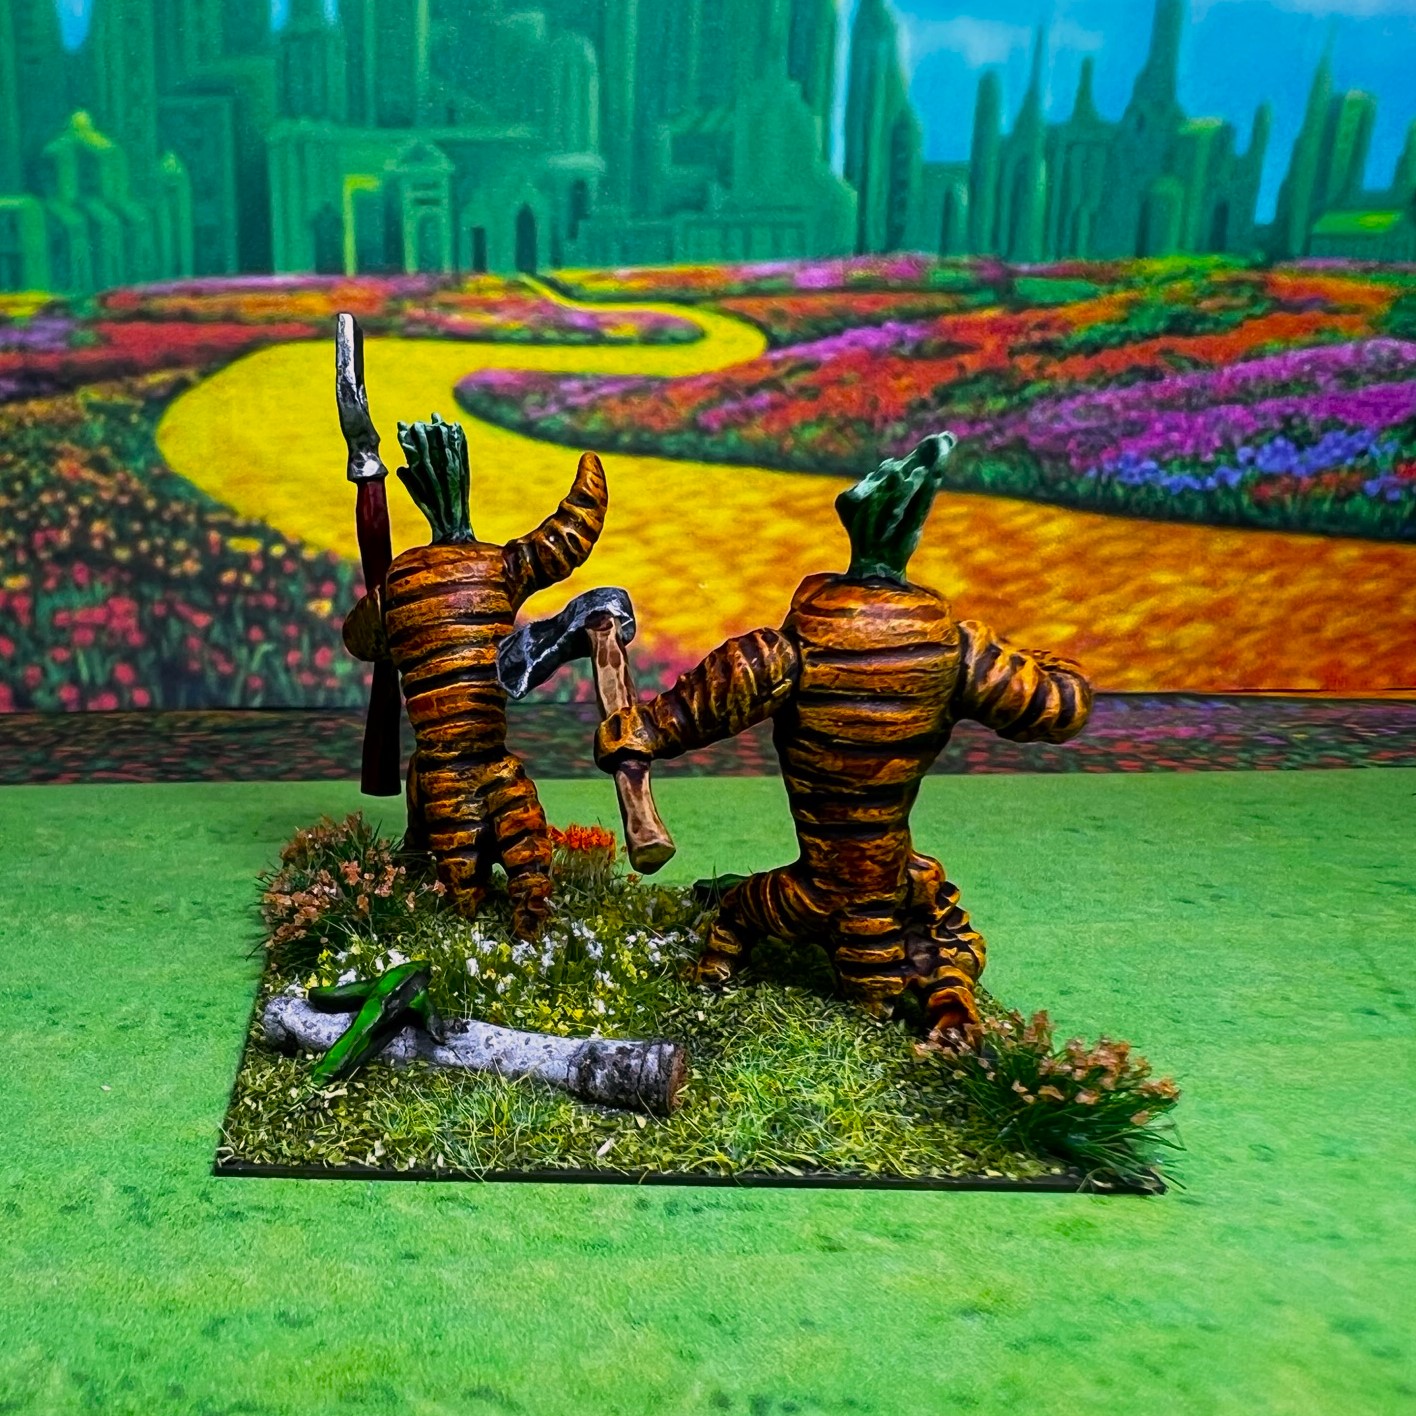
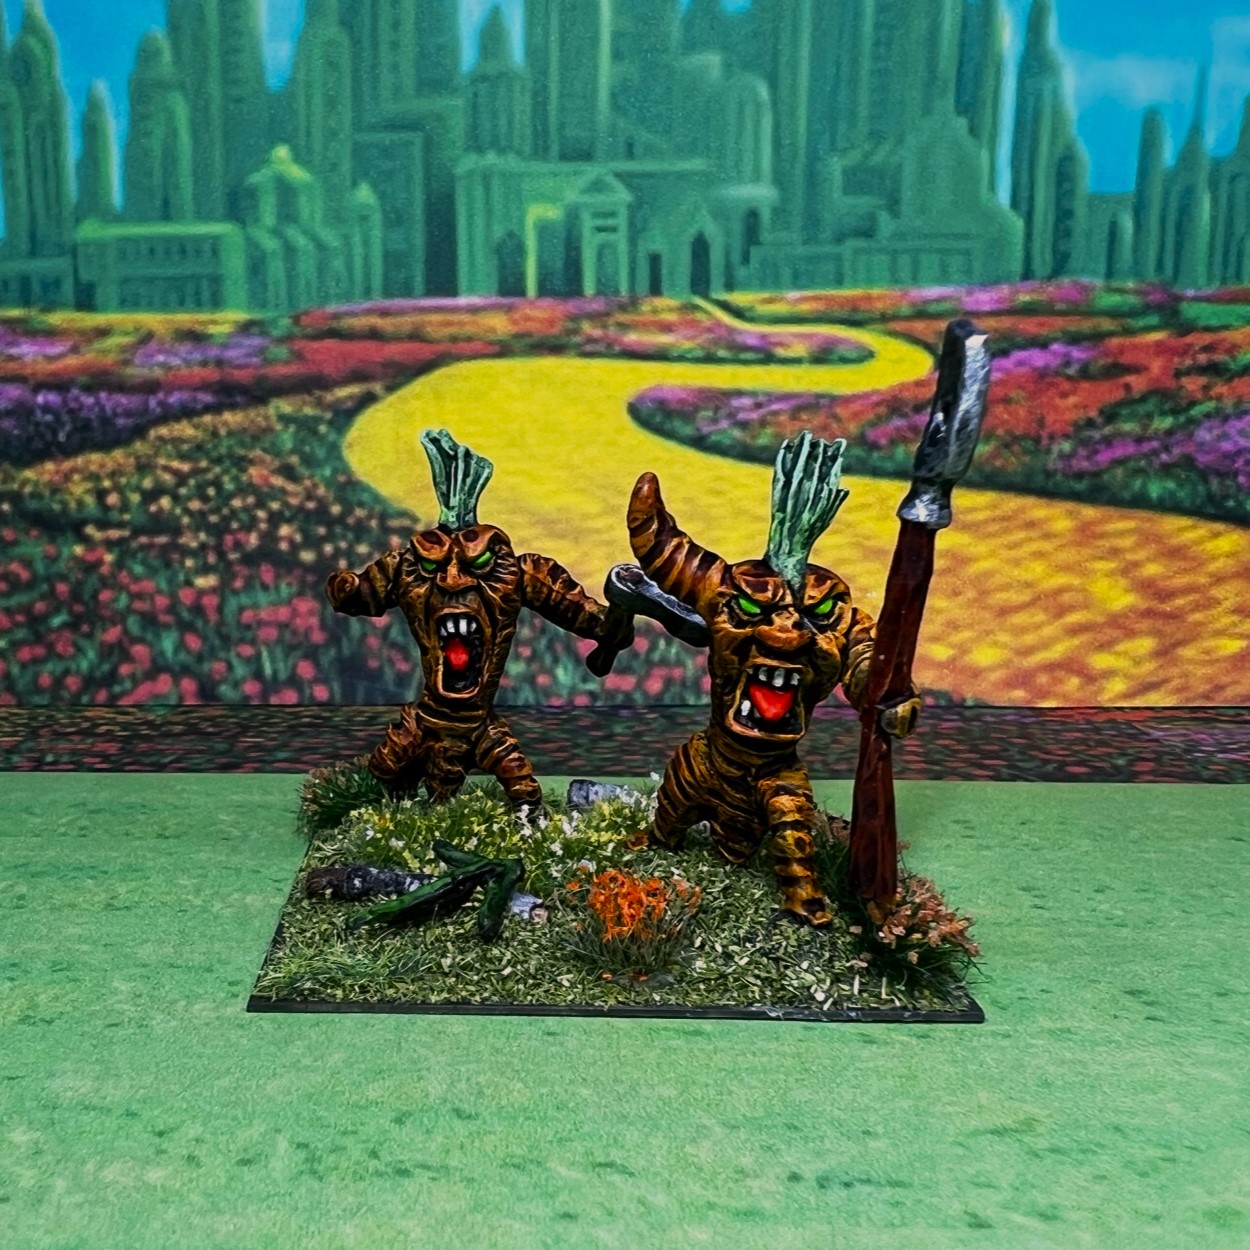
Eye Candy
Select and click on any photo for a better look.
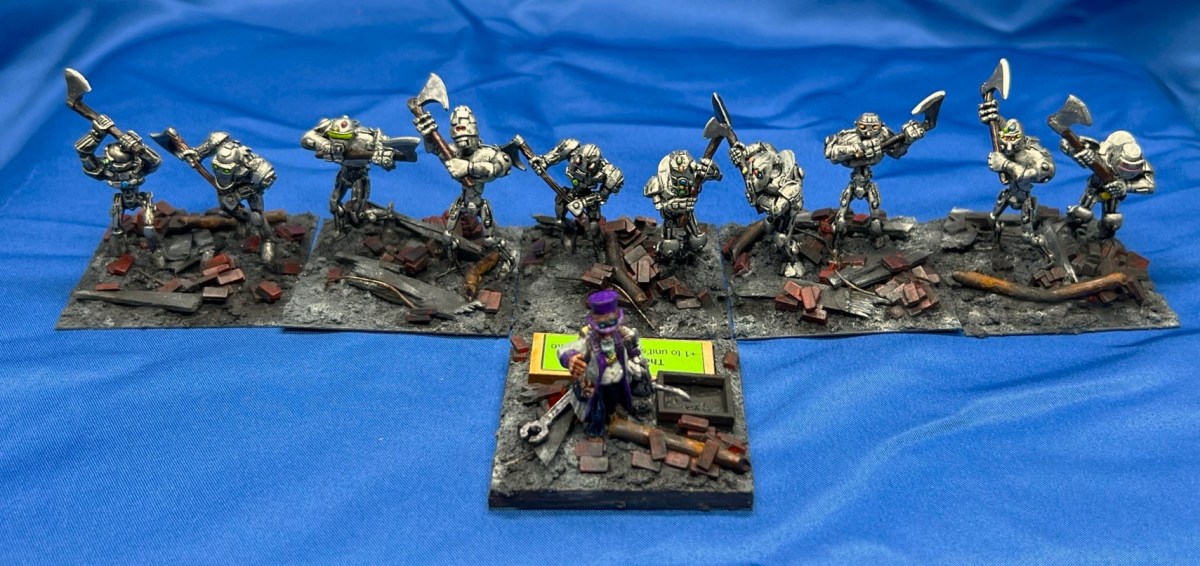
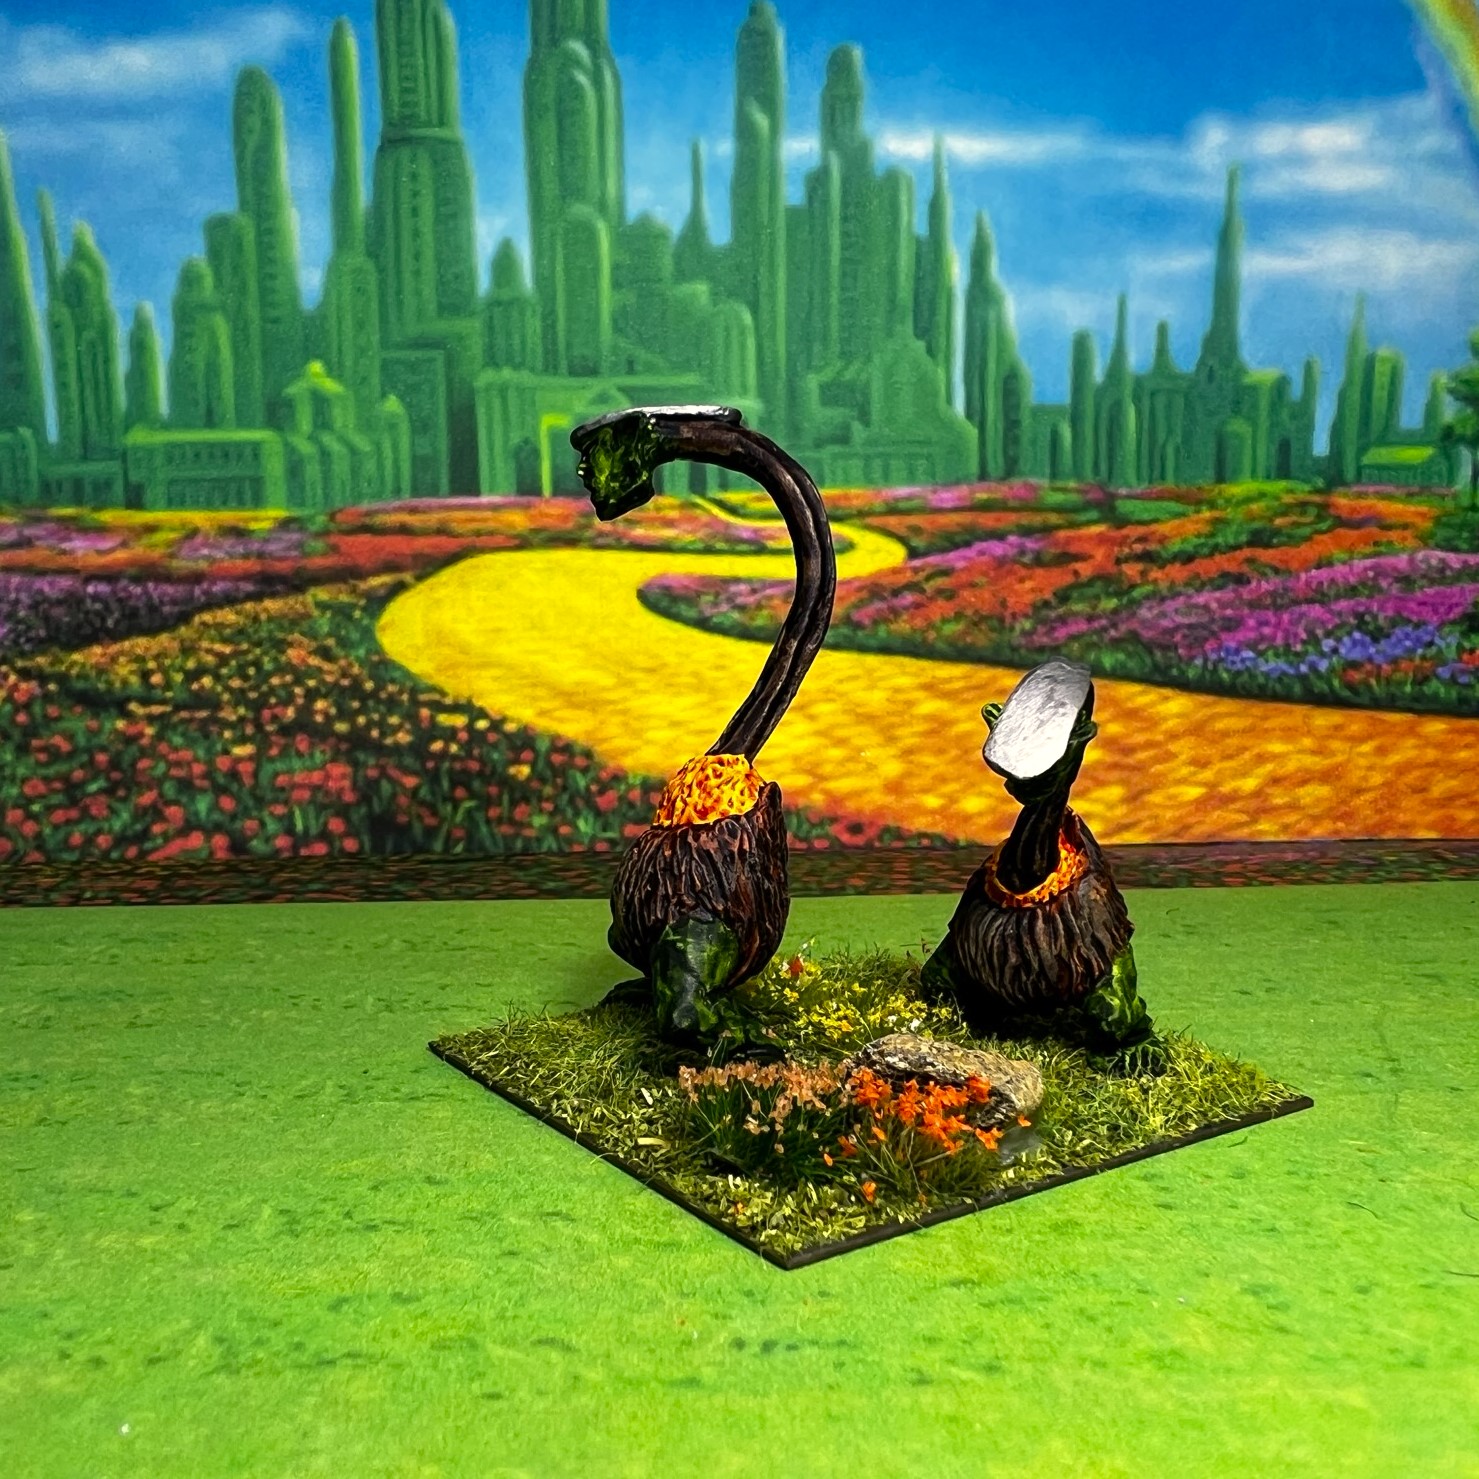
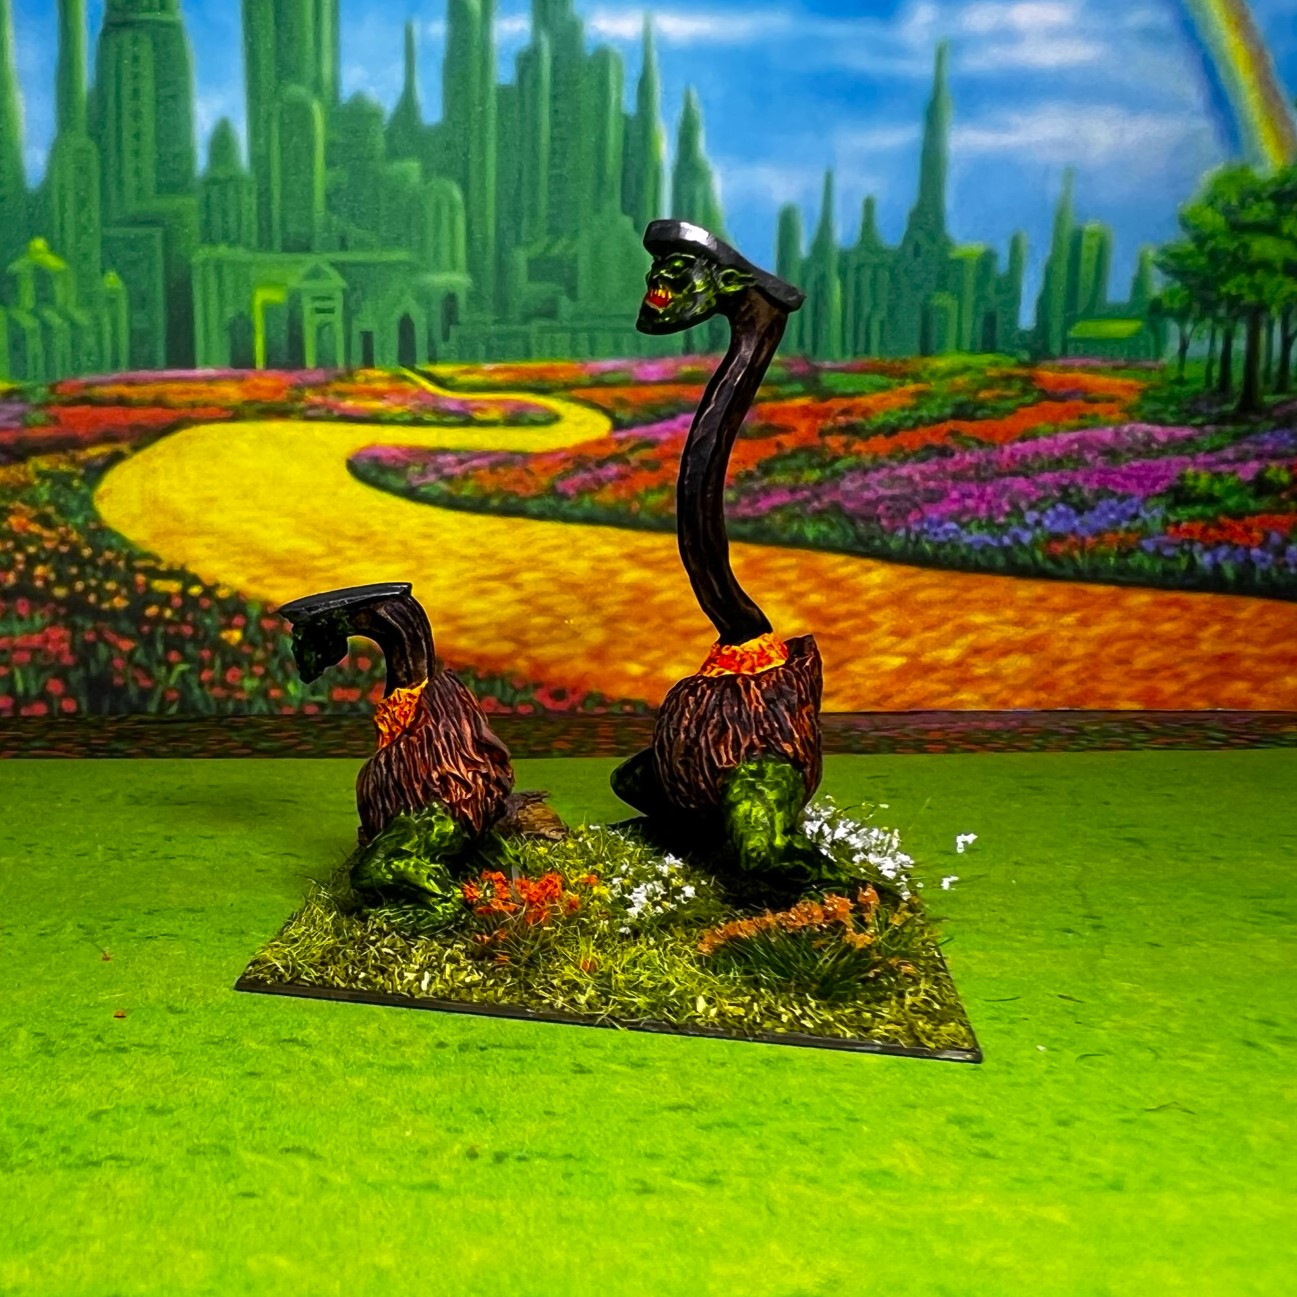
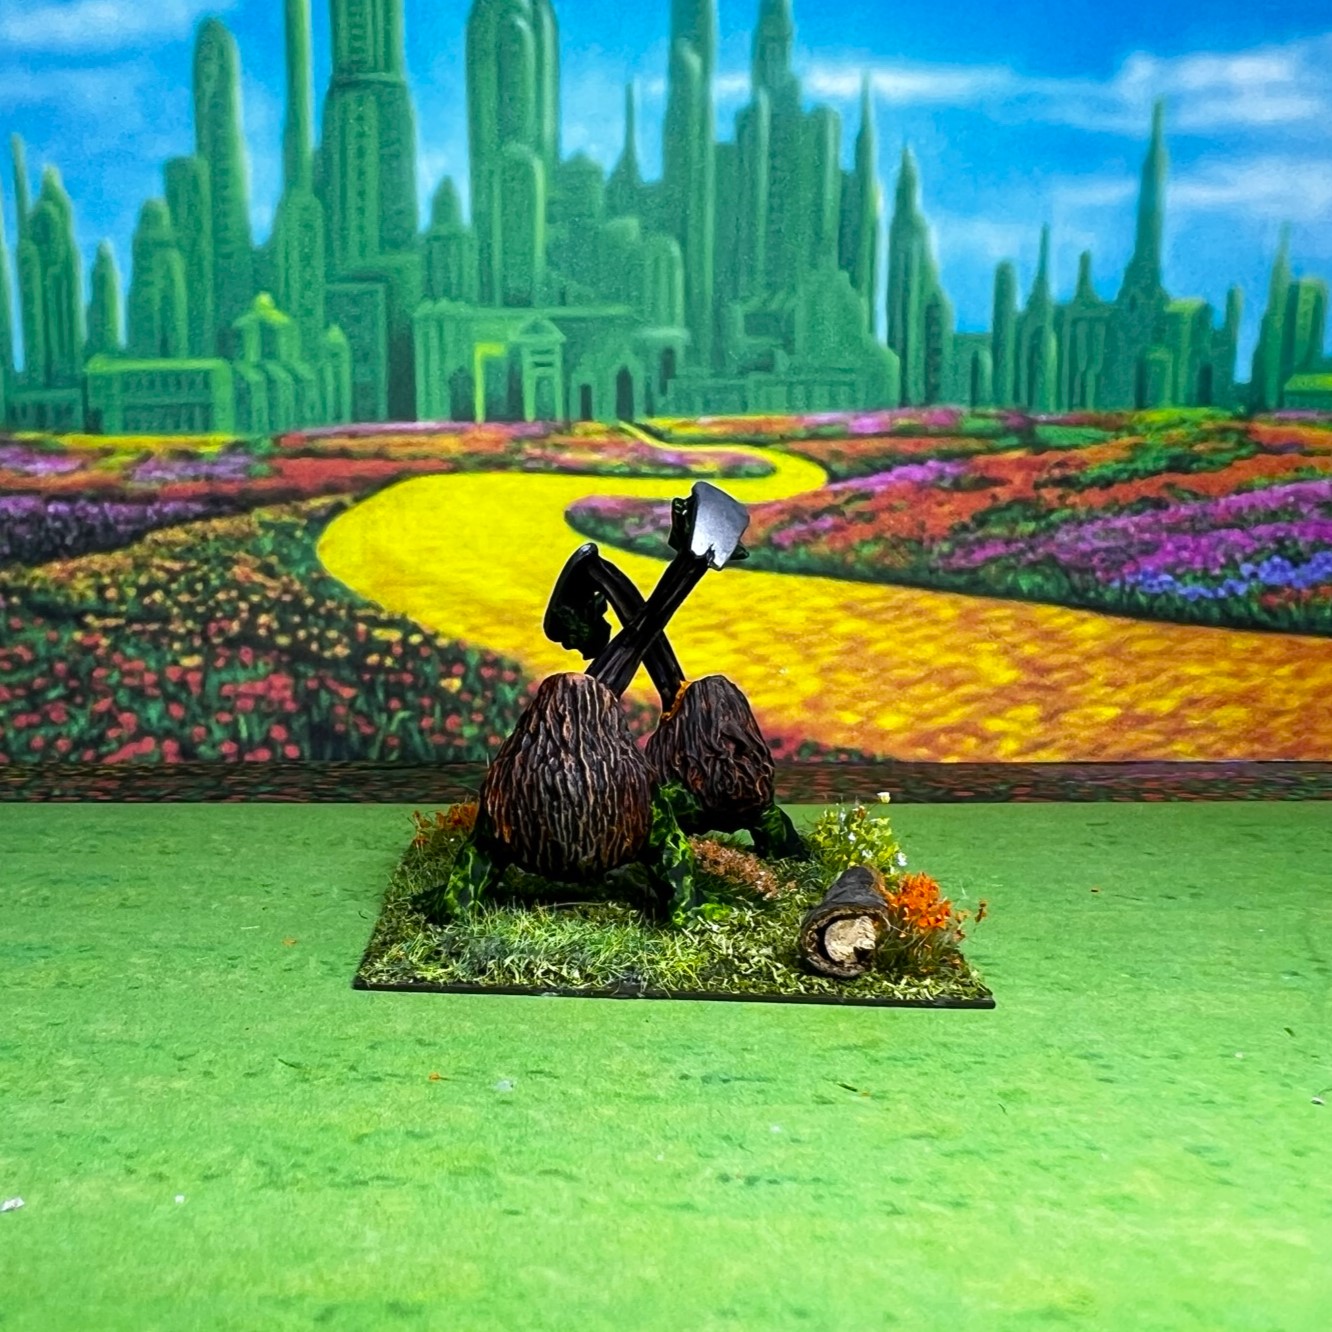
Regimental Commander Base


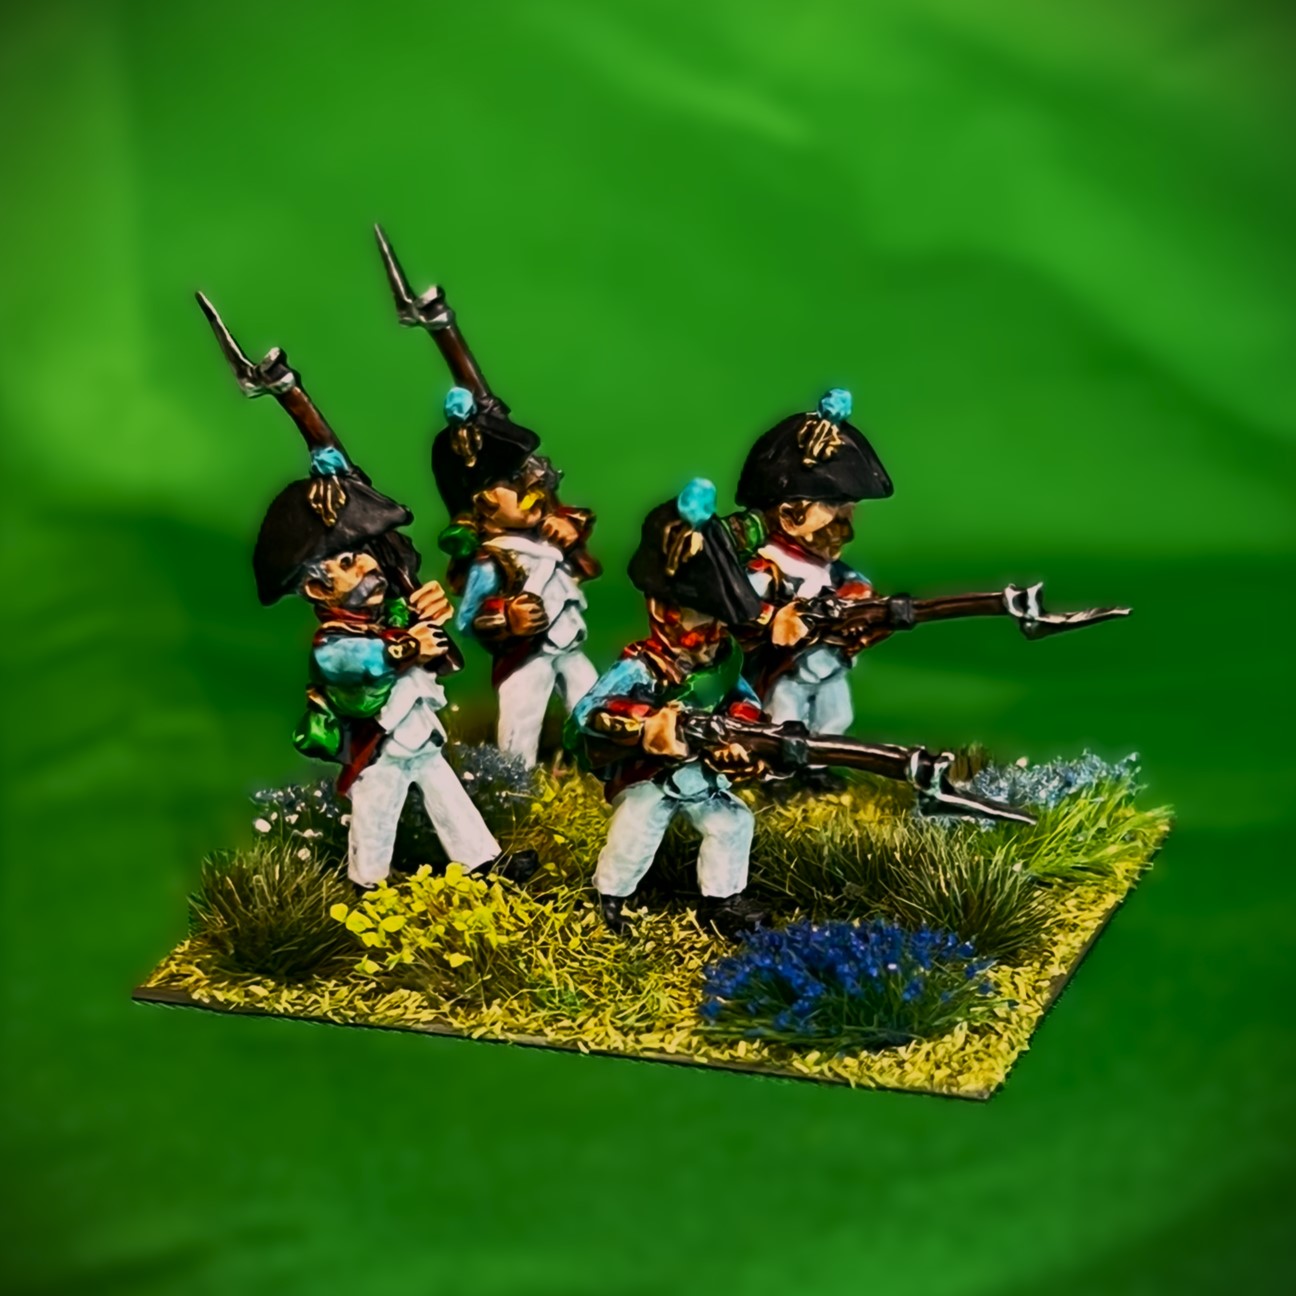
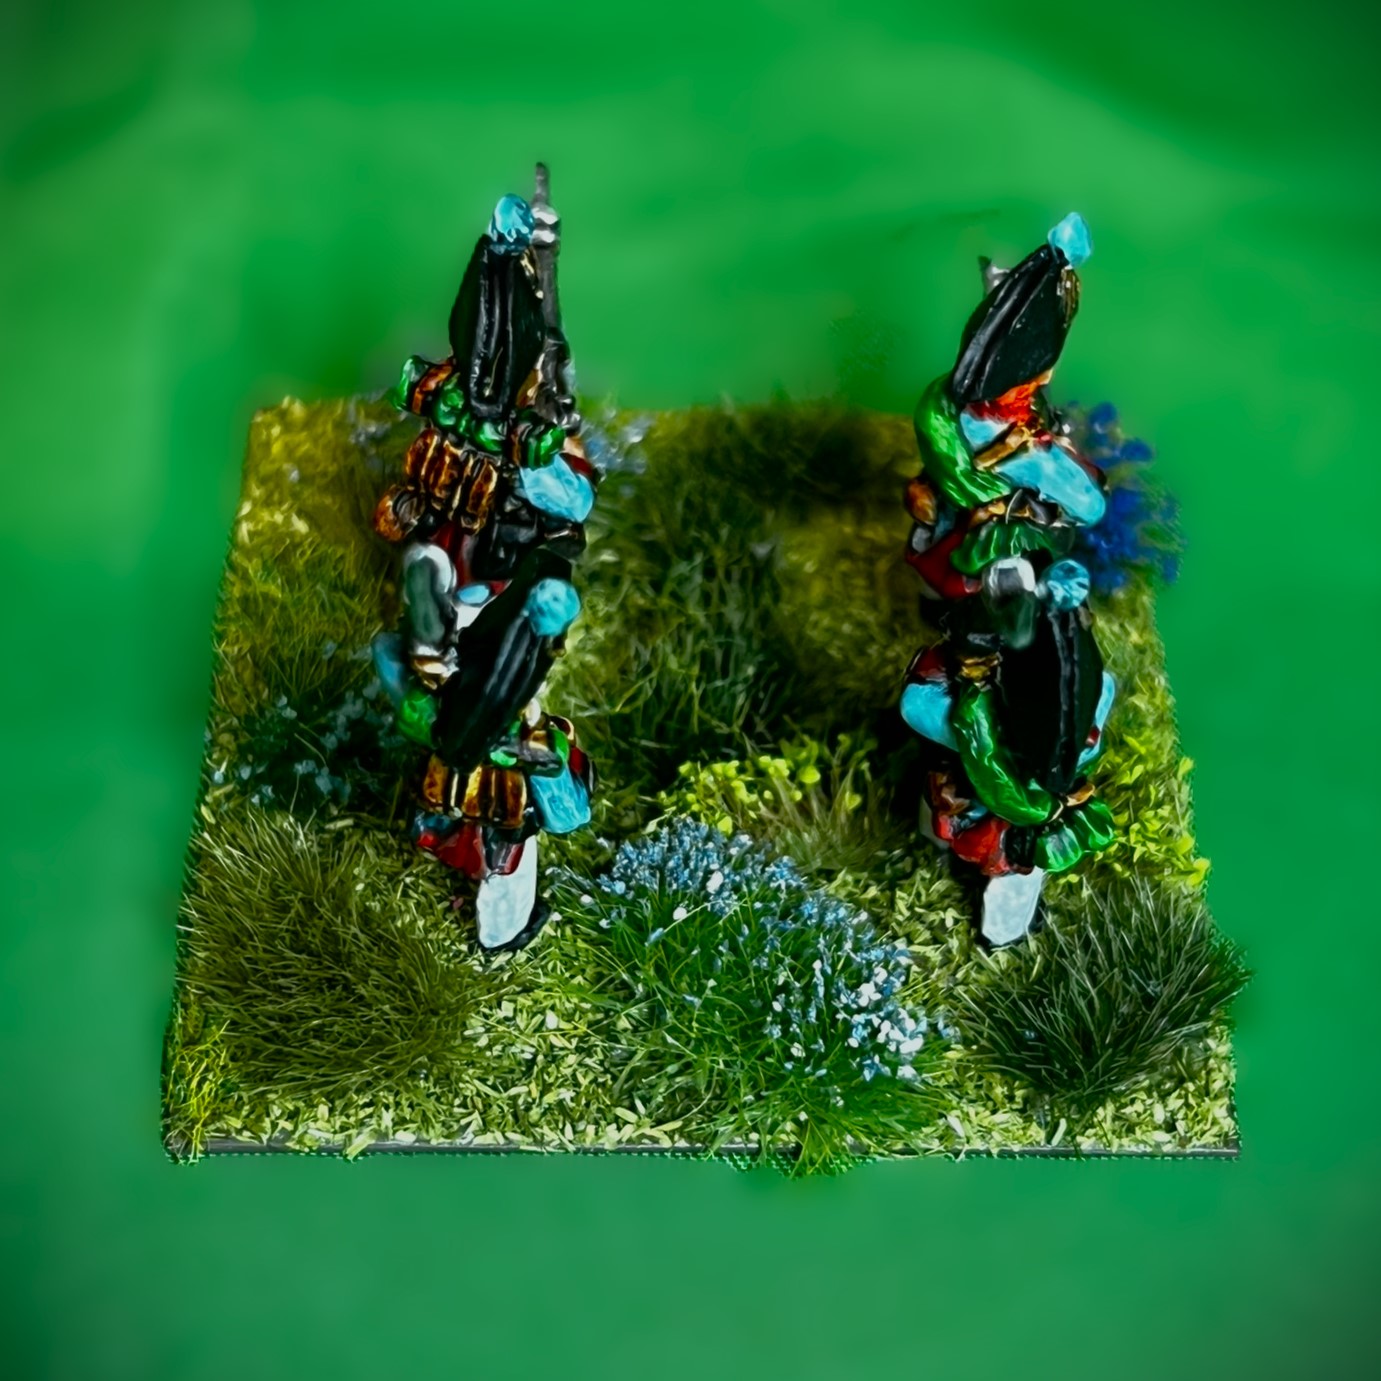
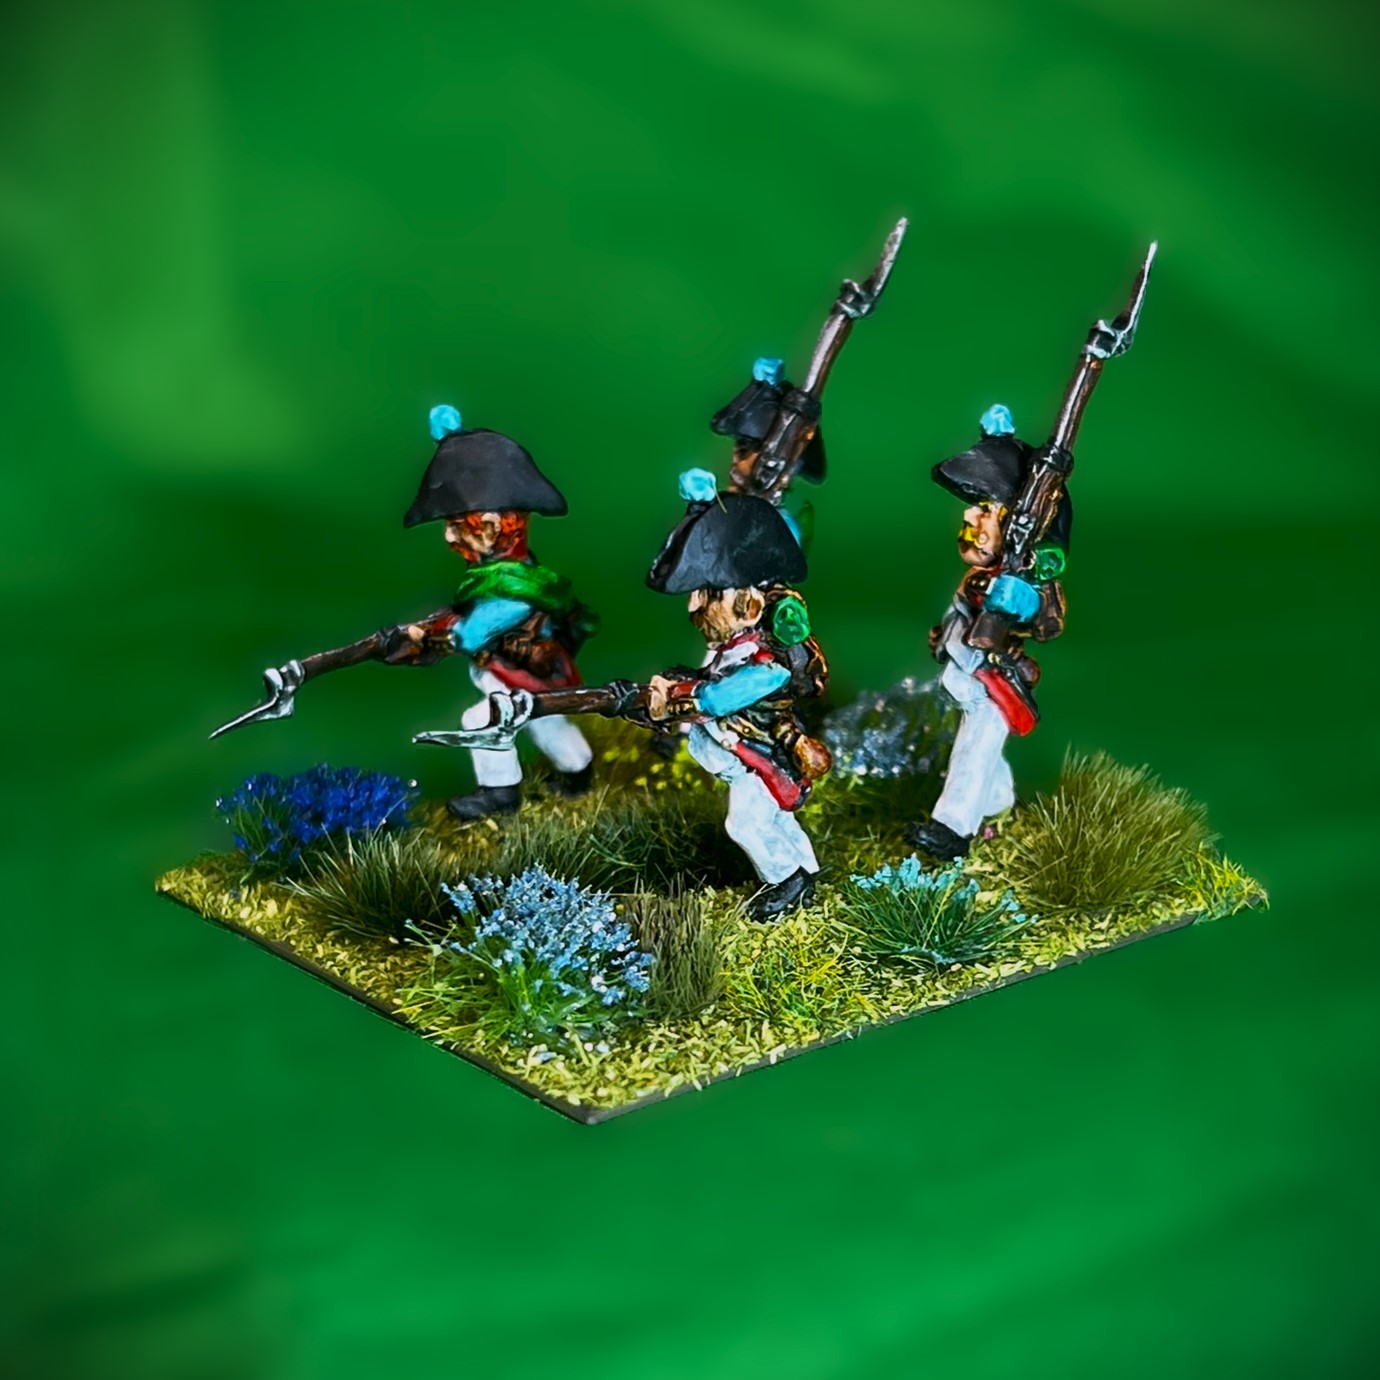
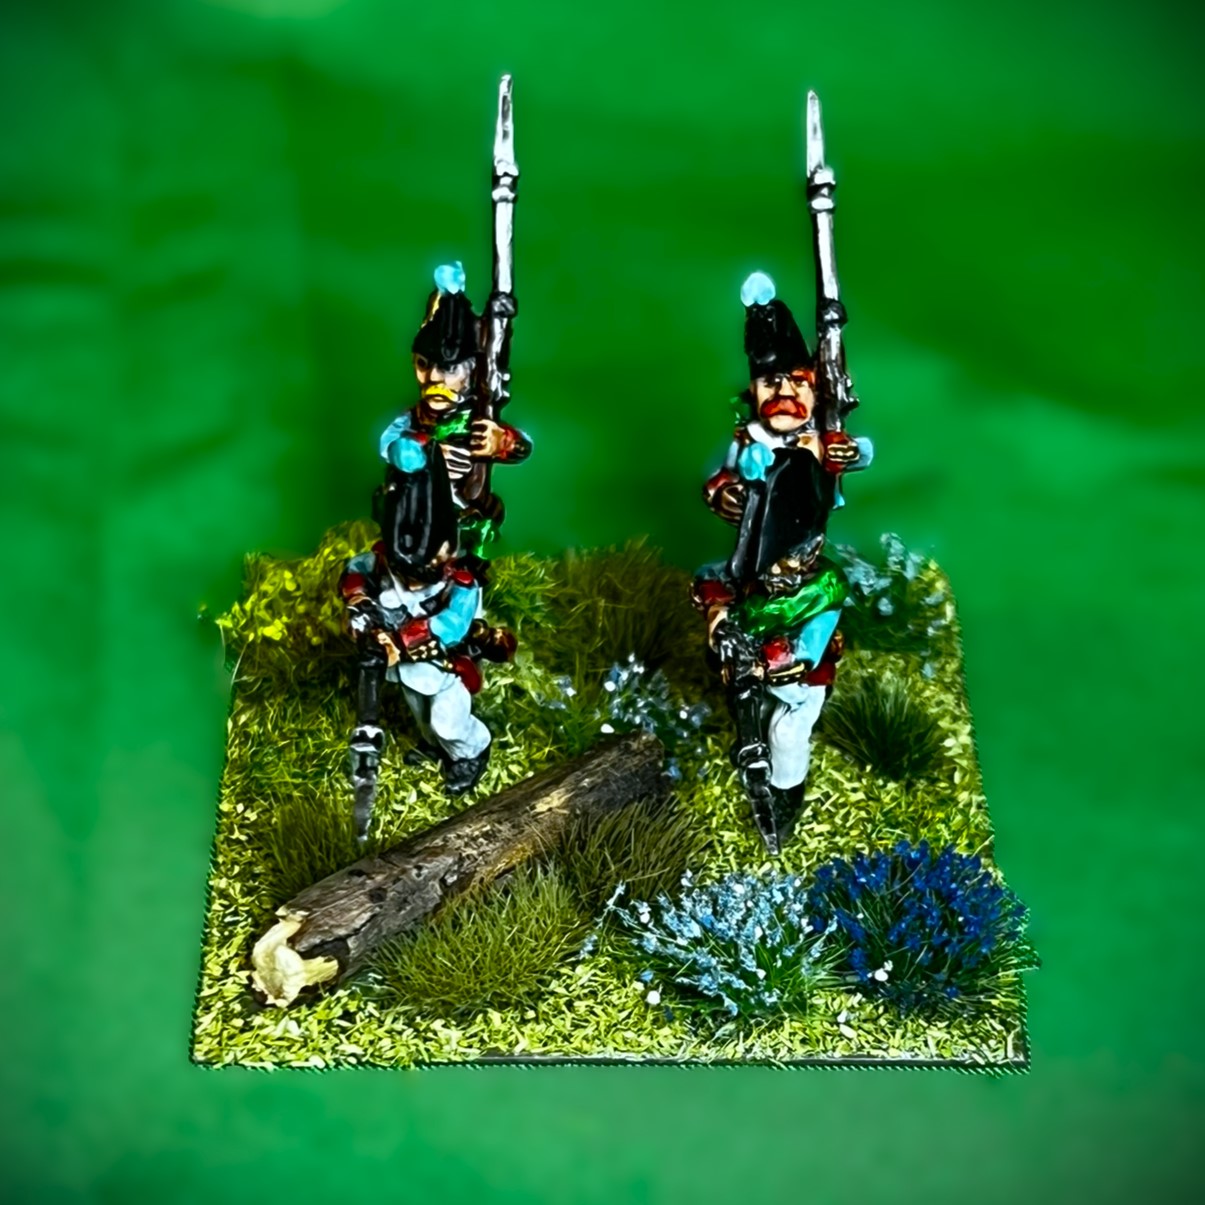
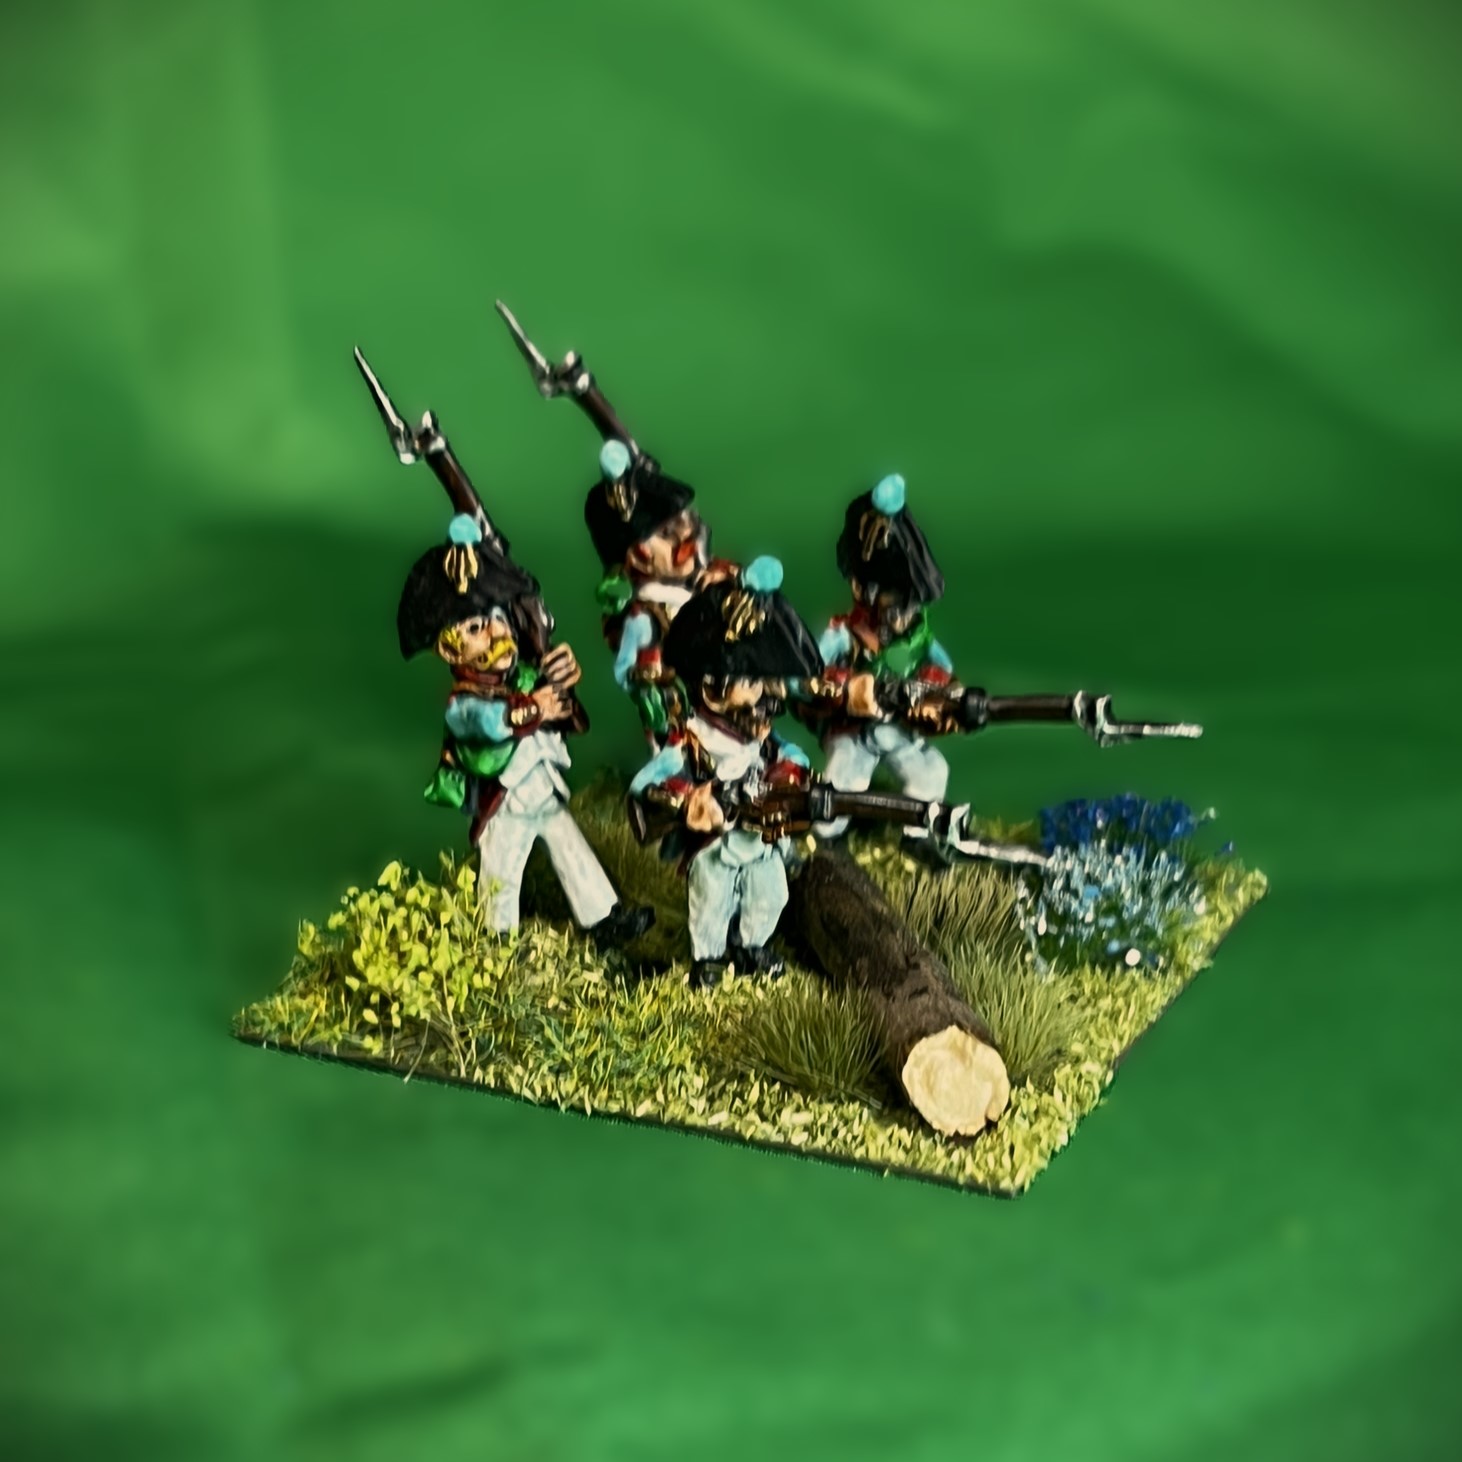
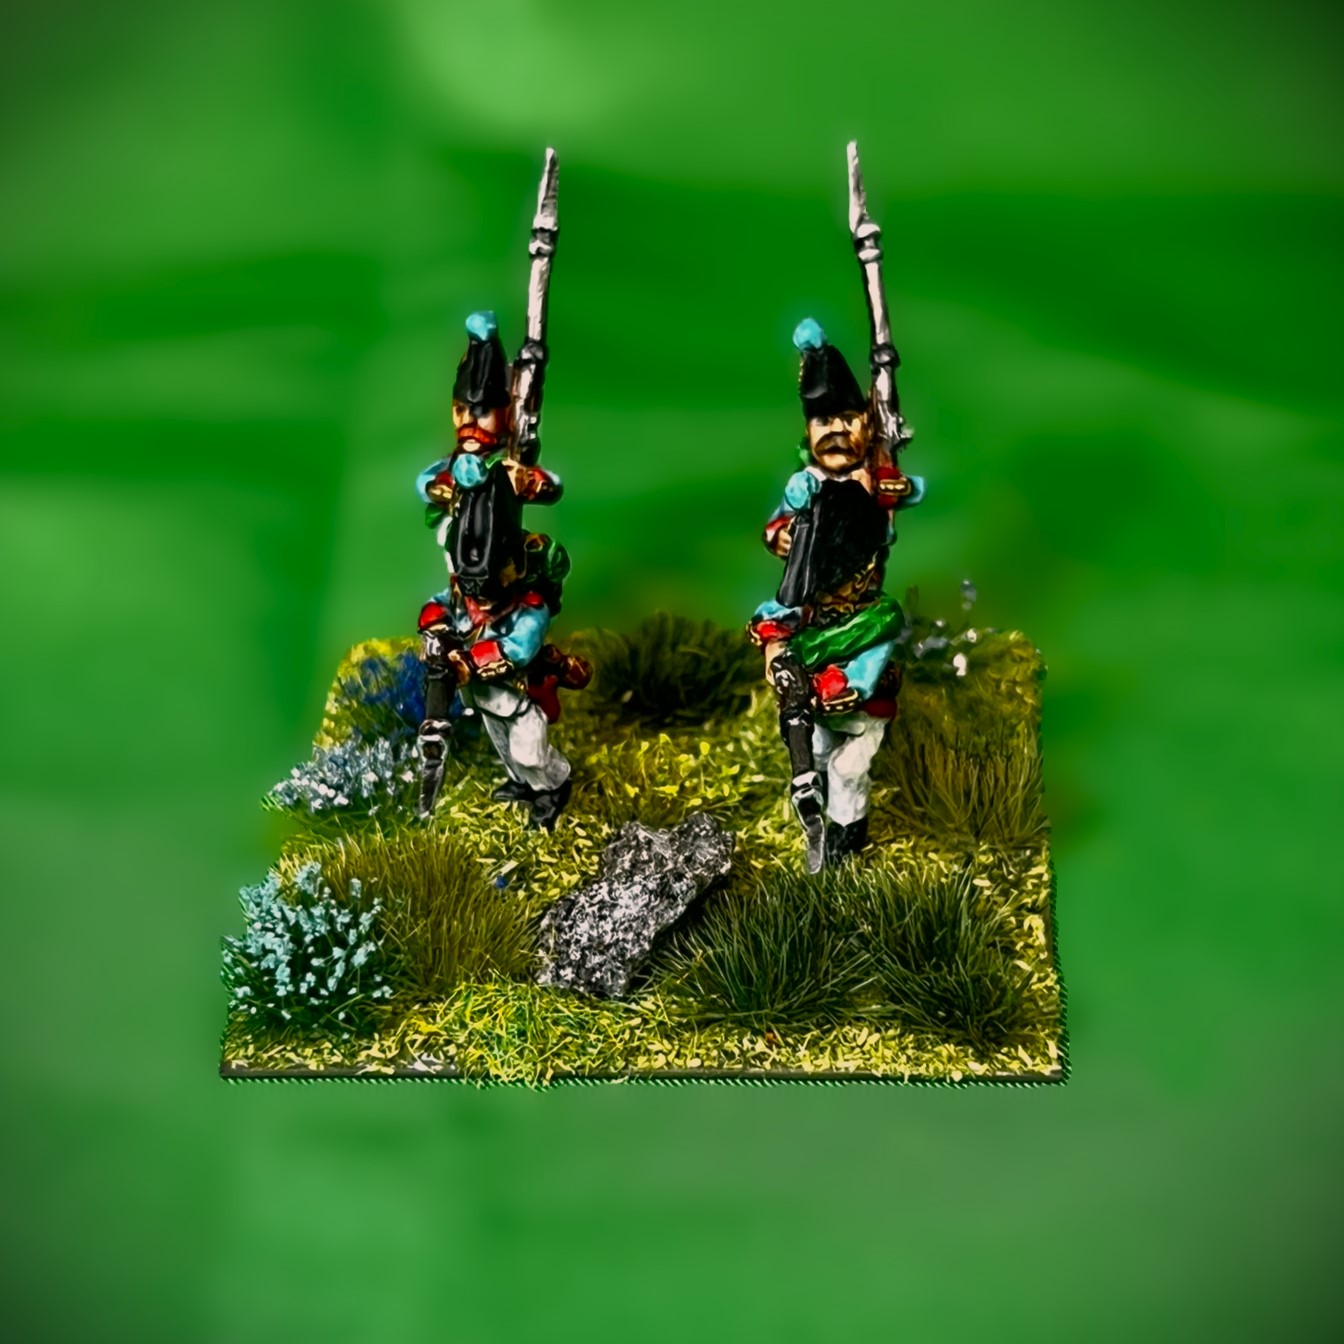
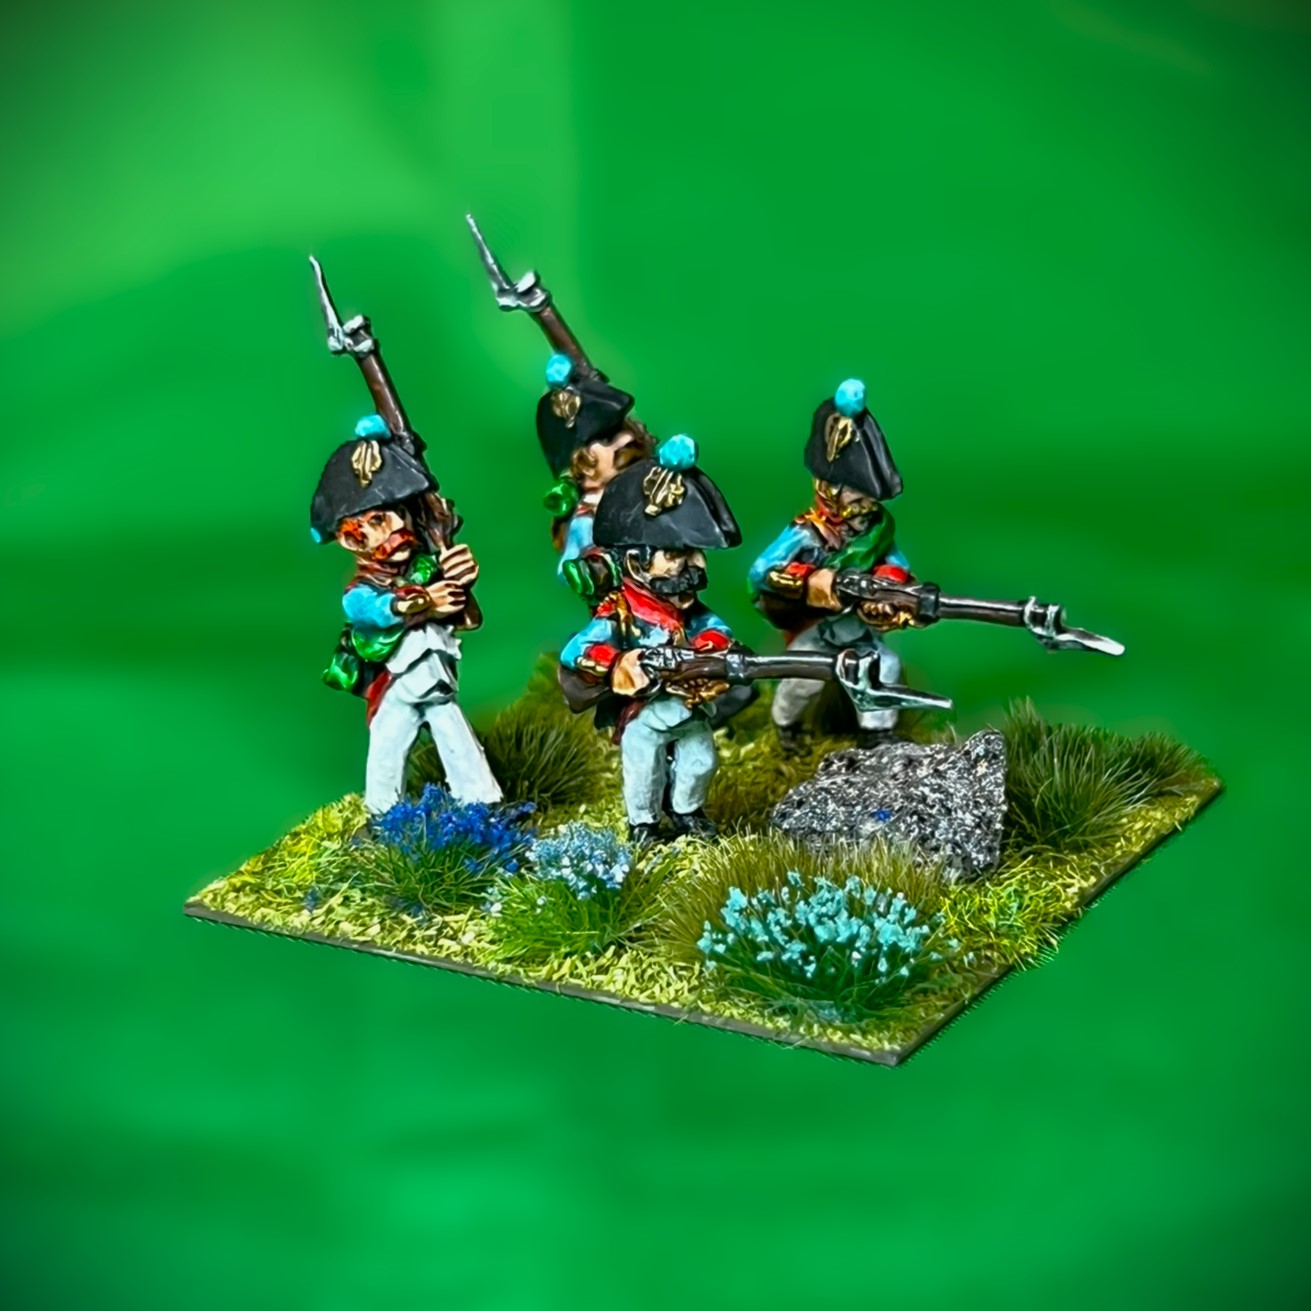
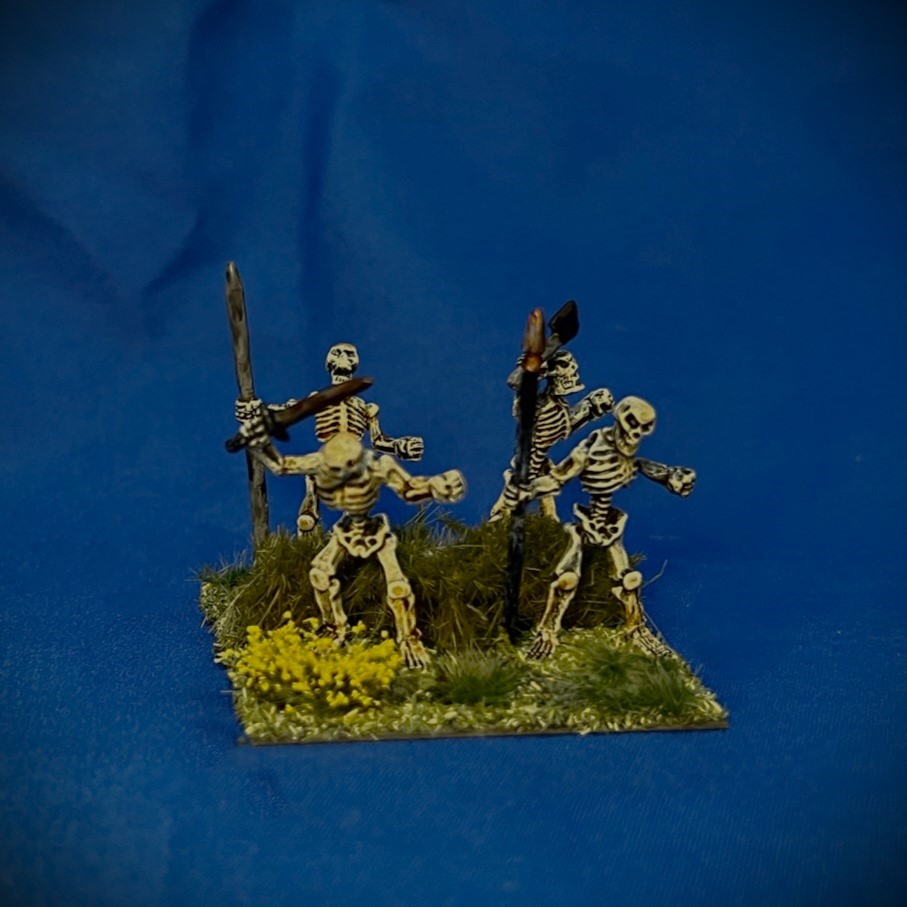
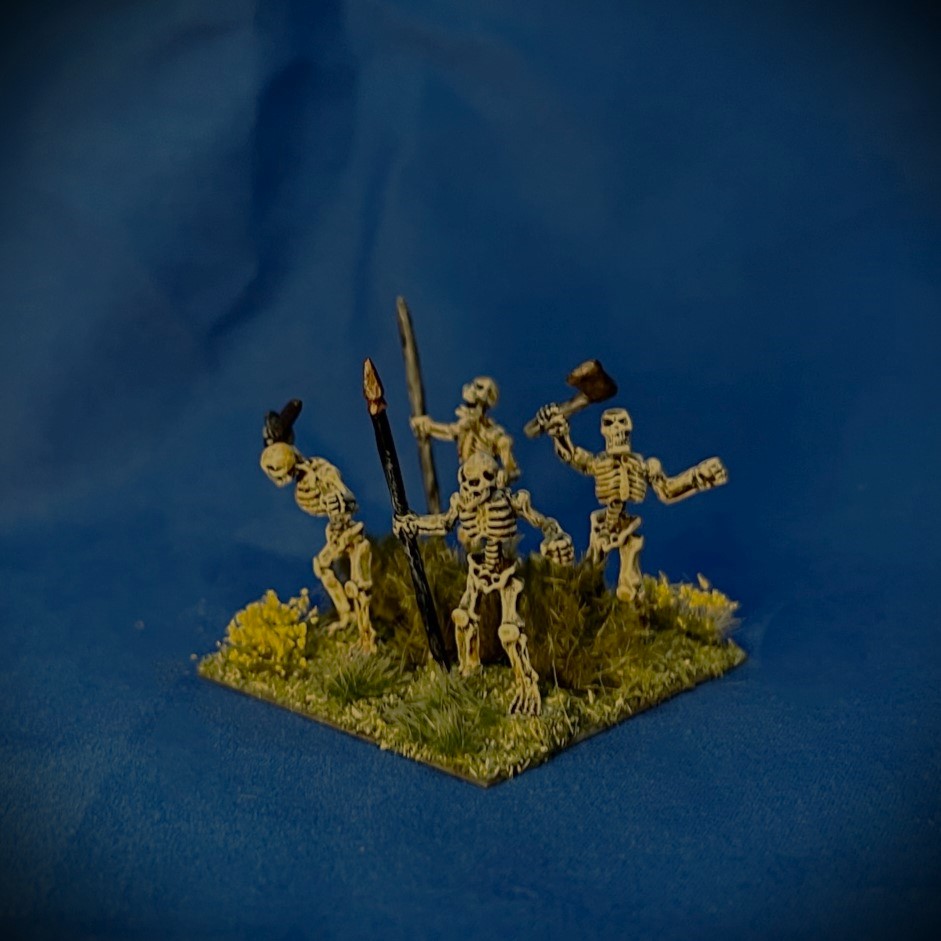
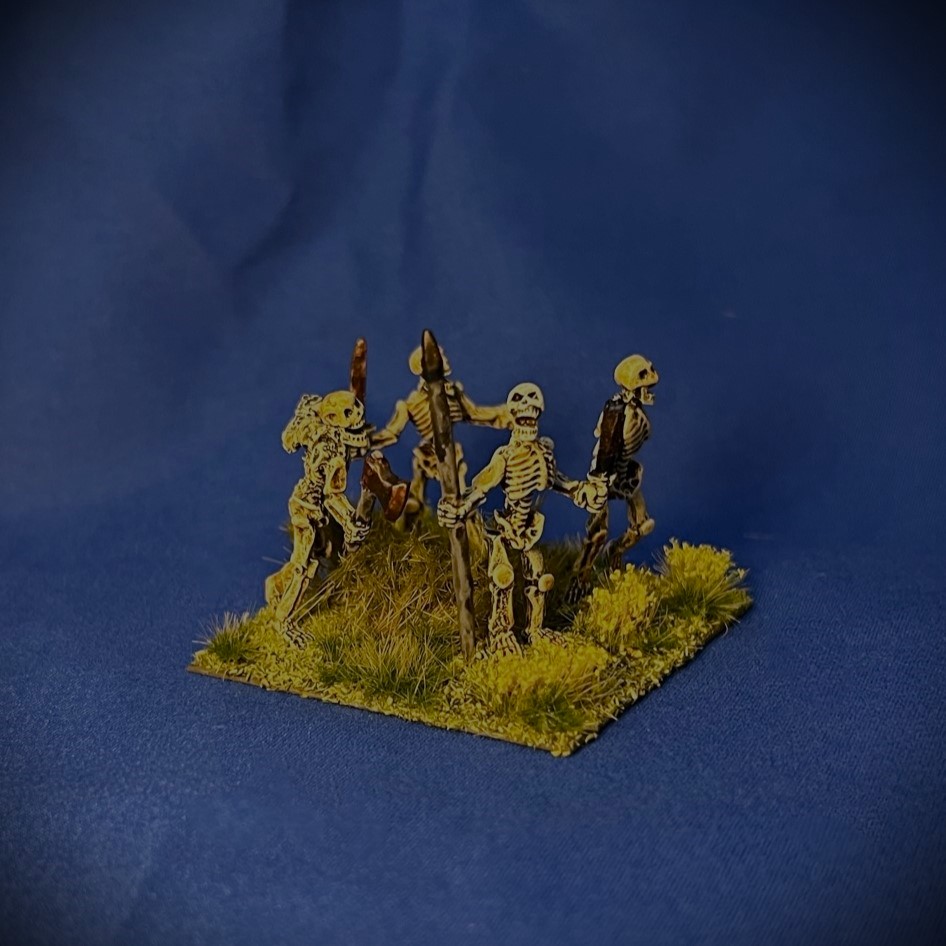
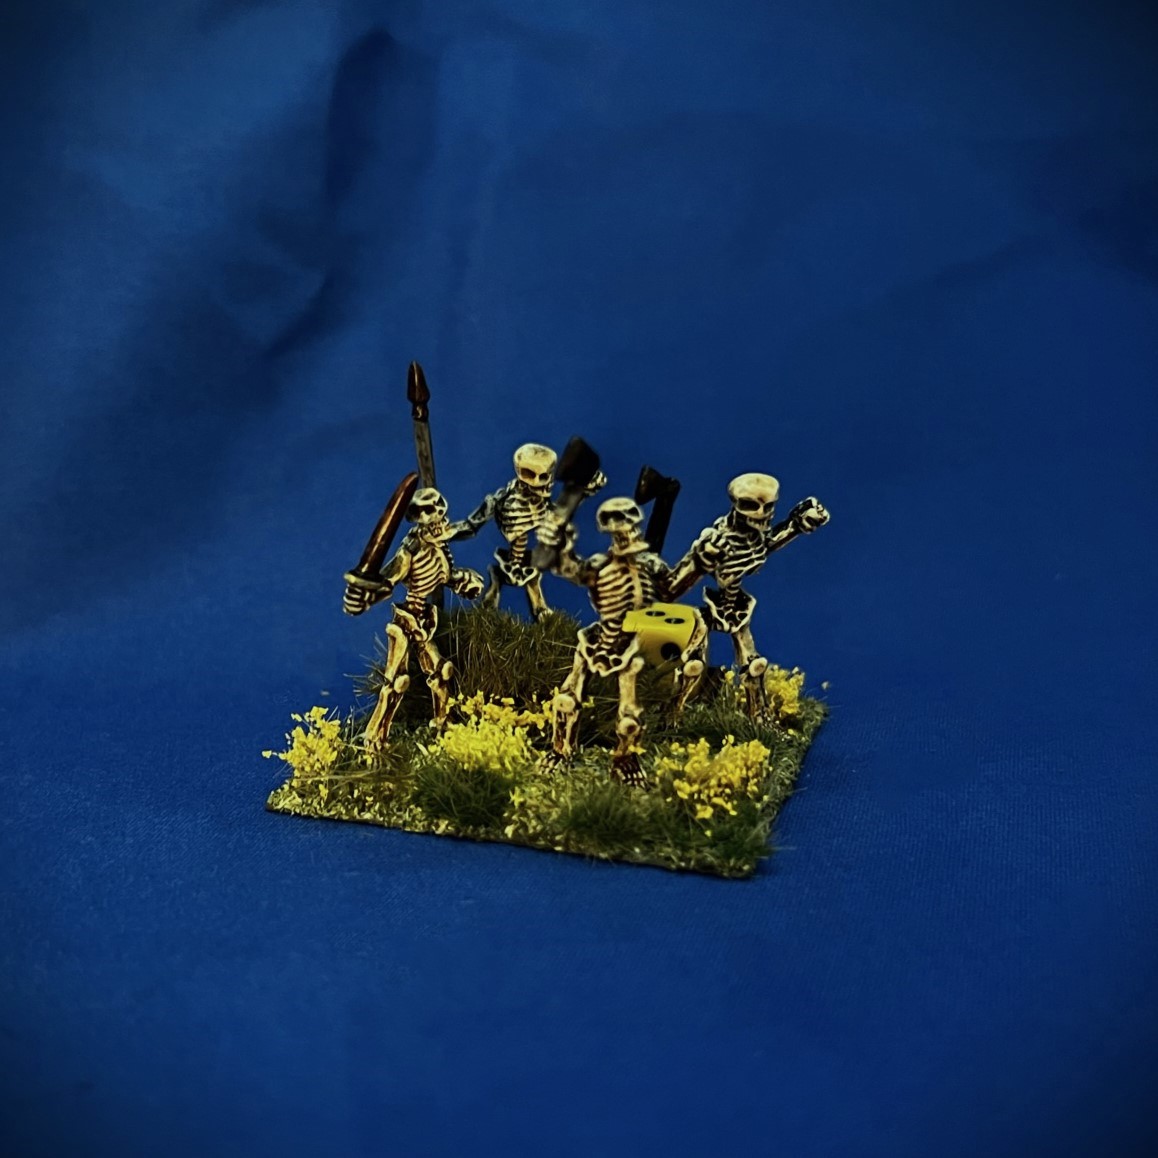
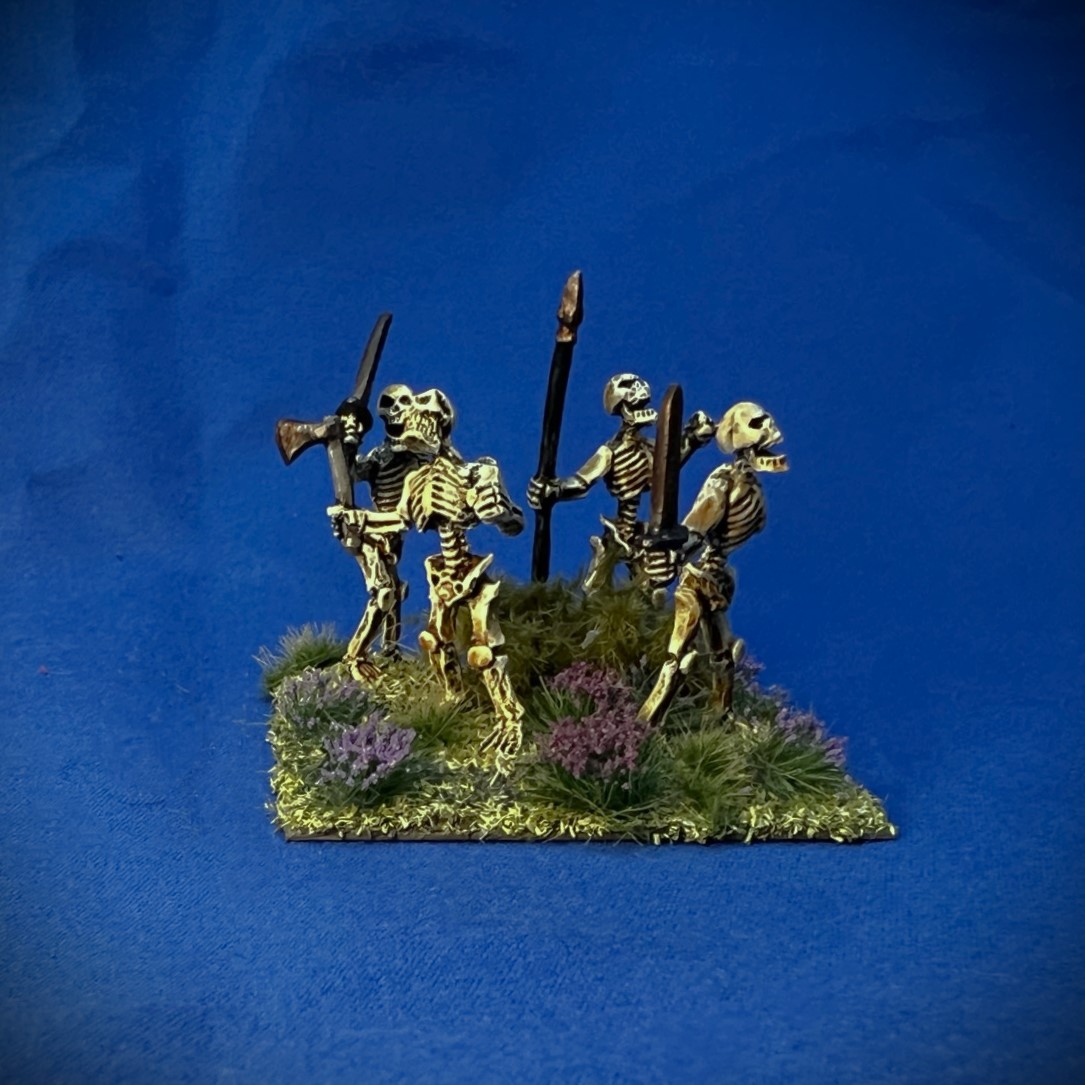
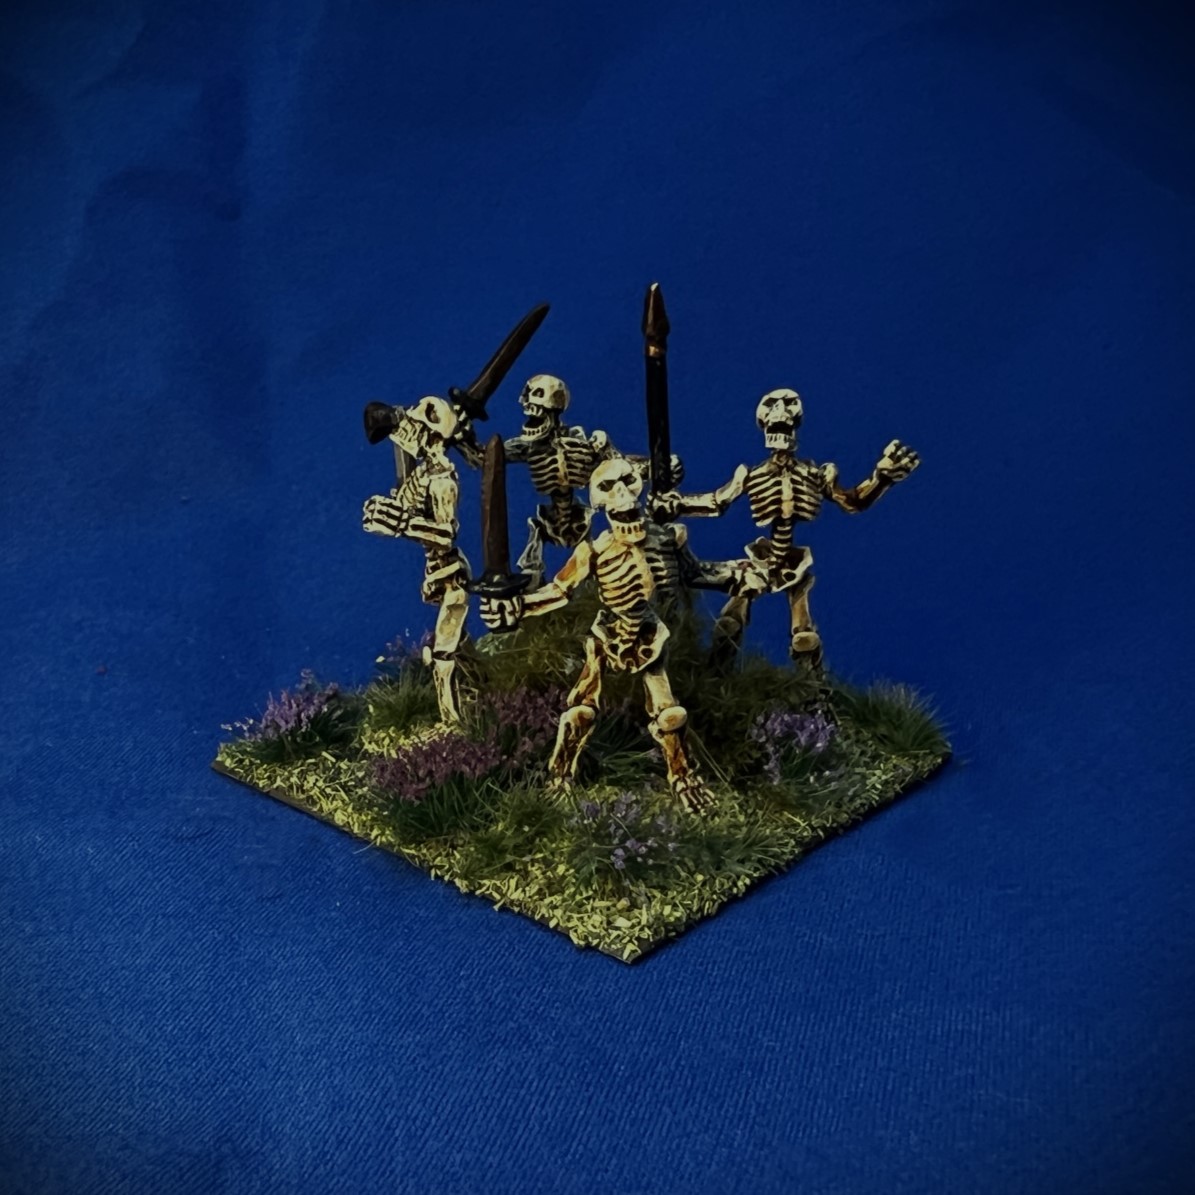
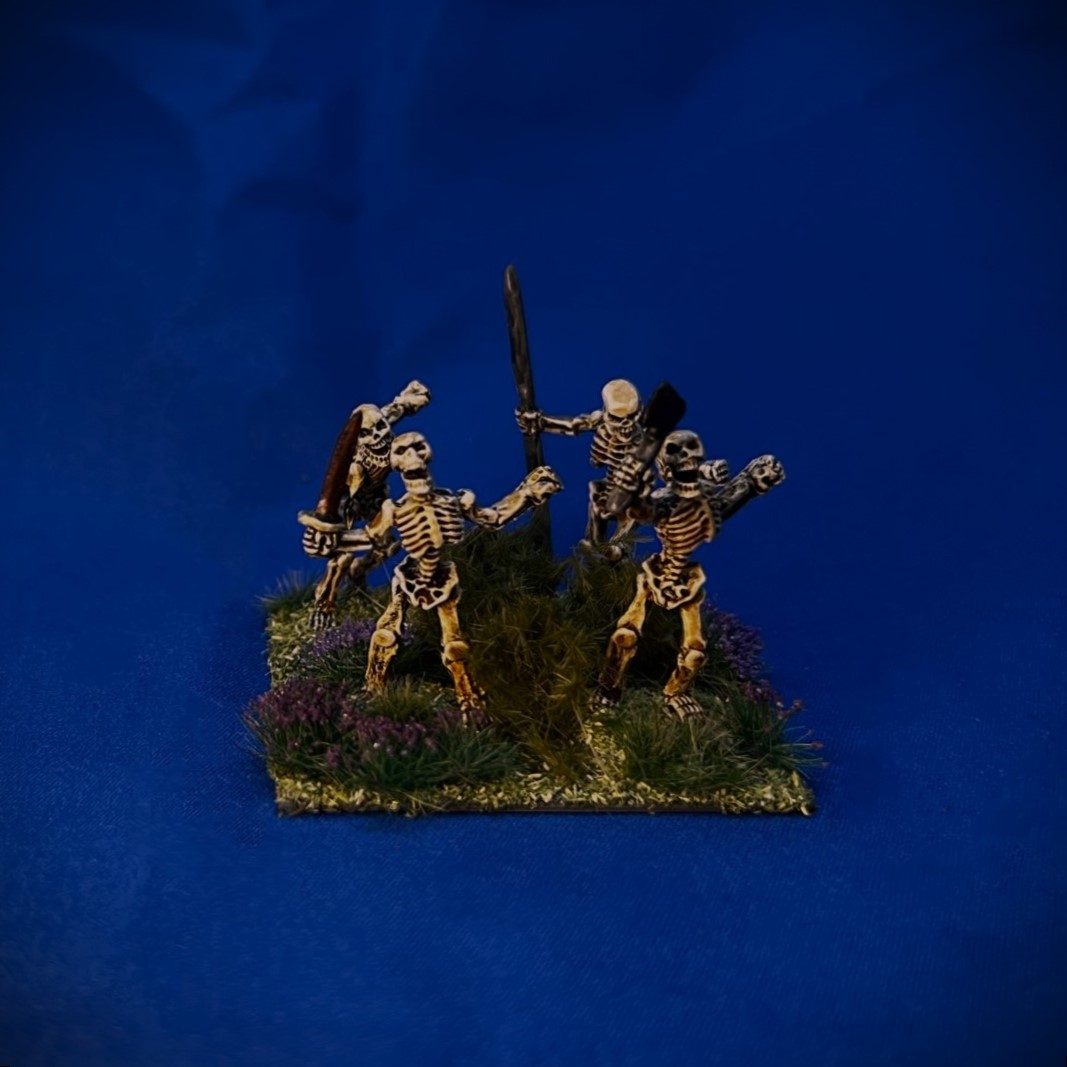
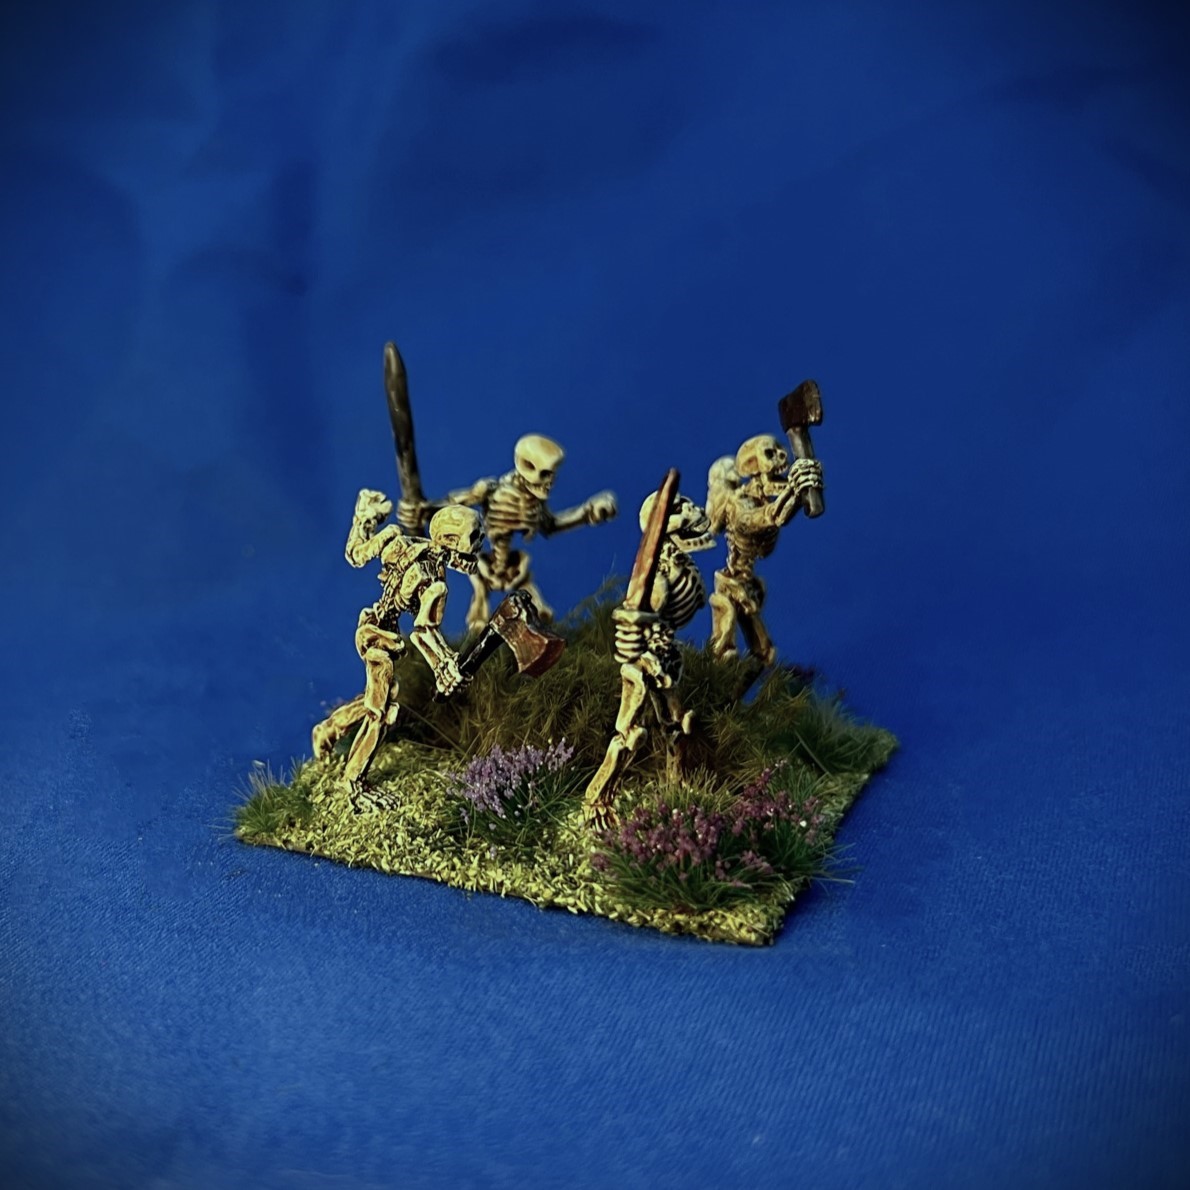
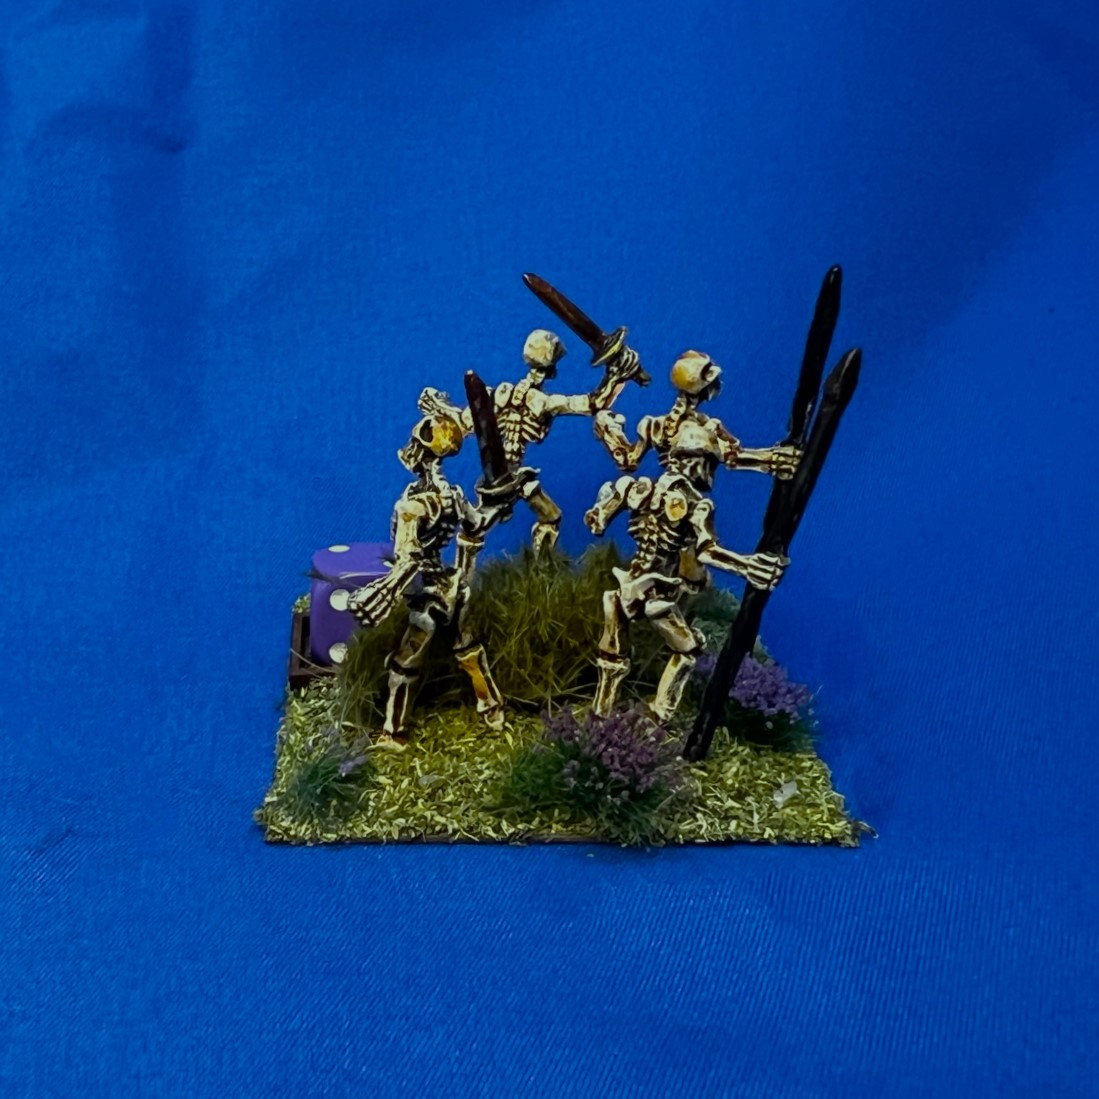
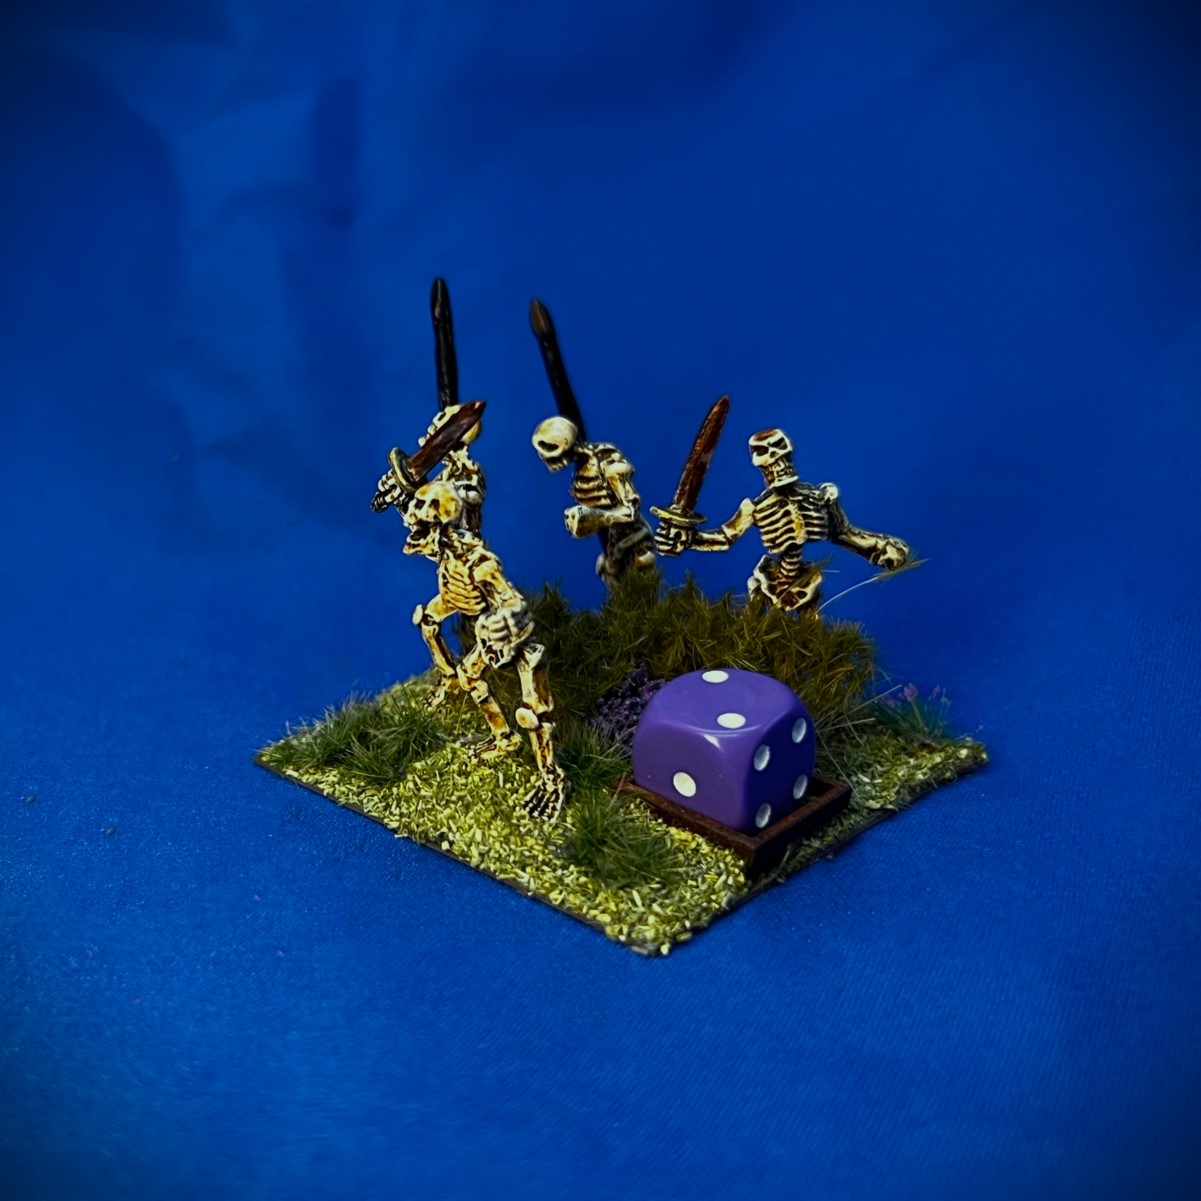
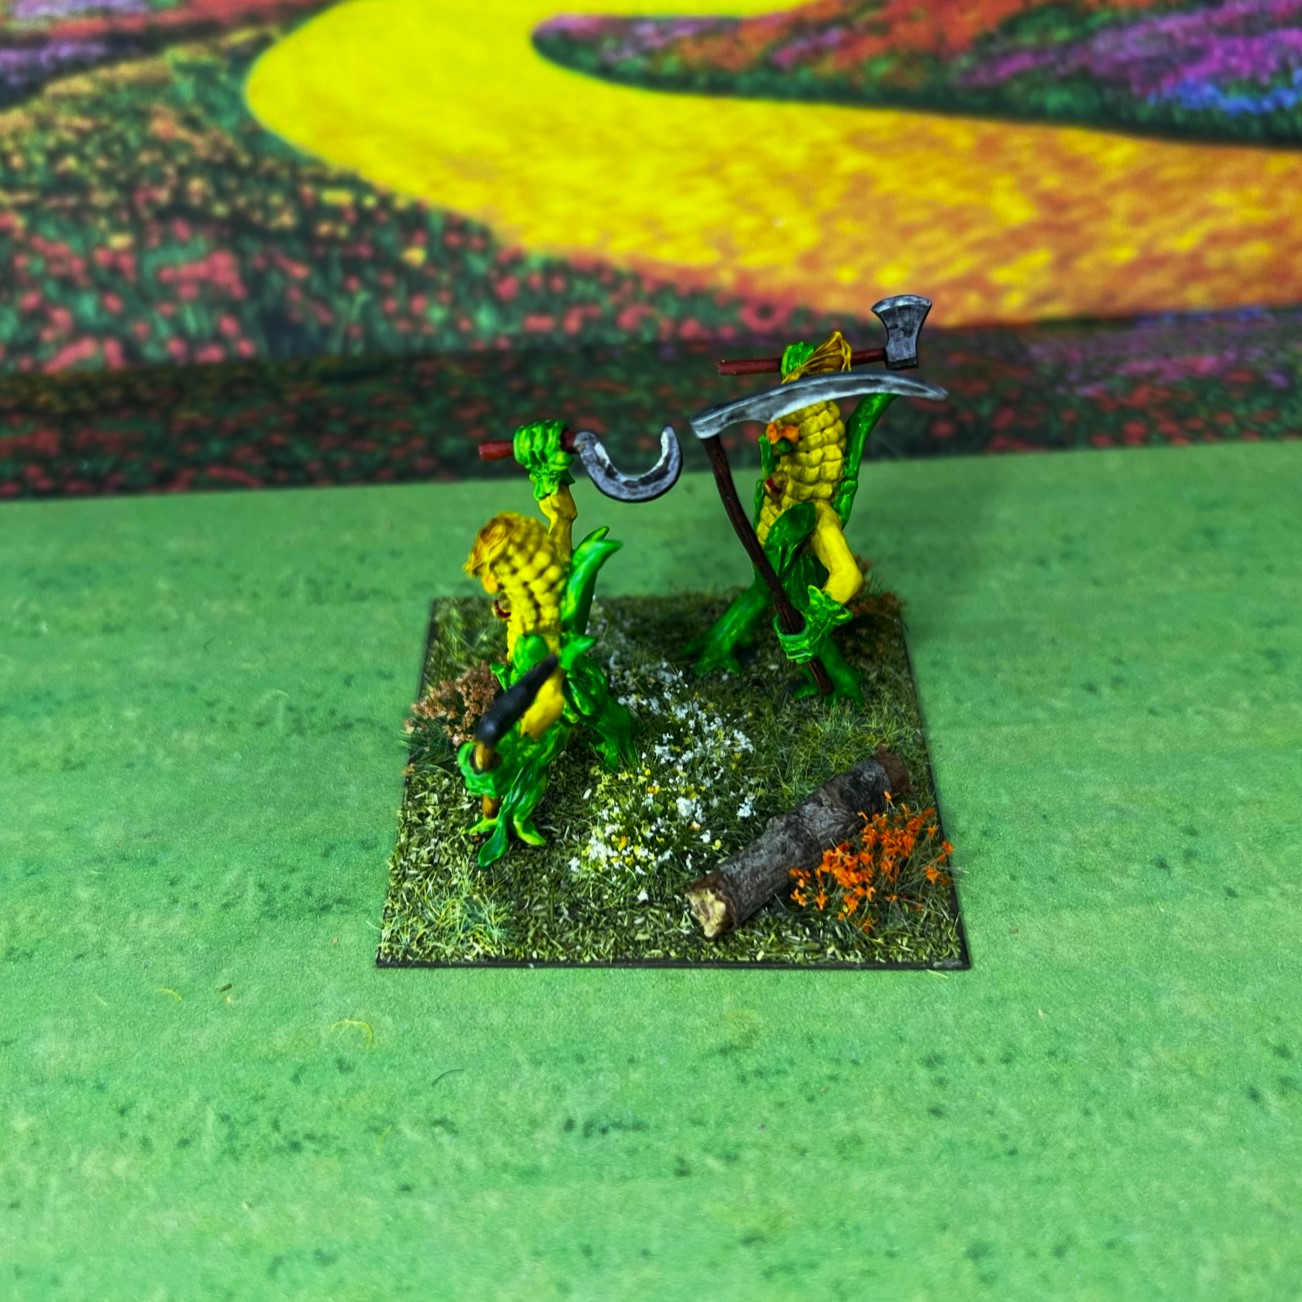
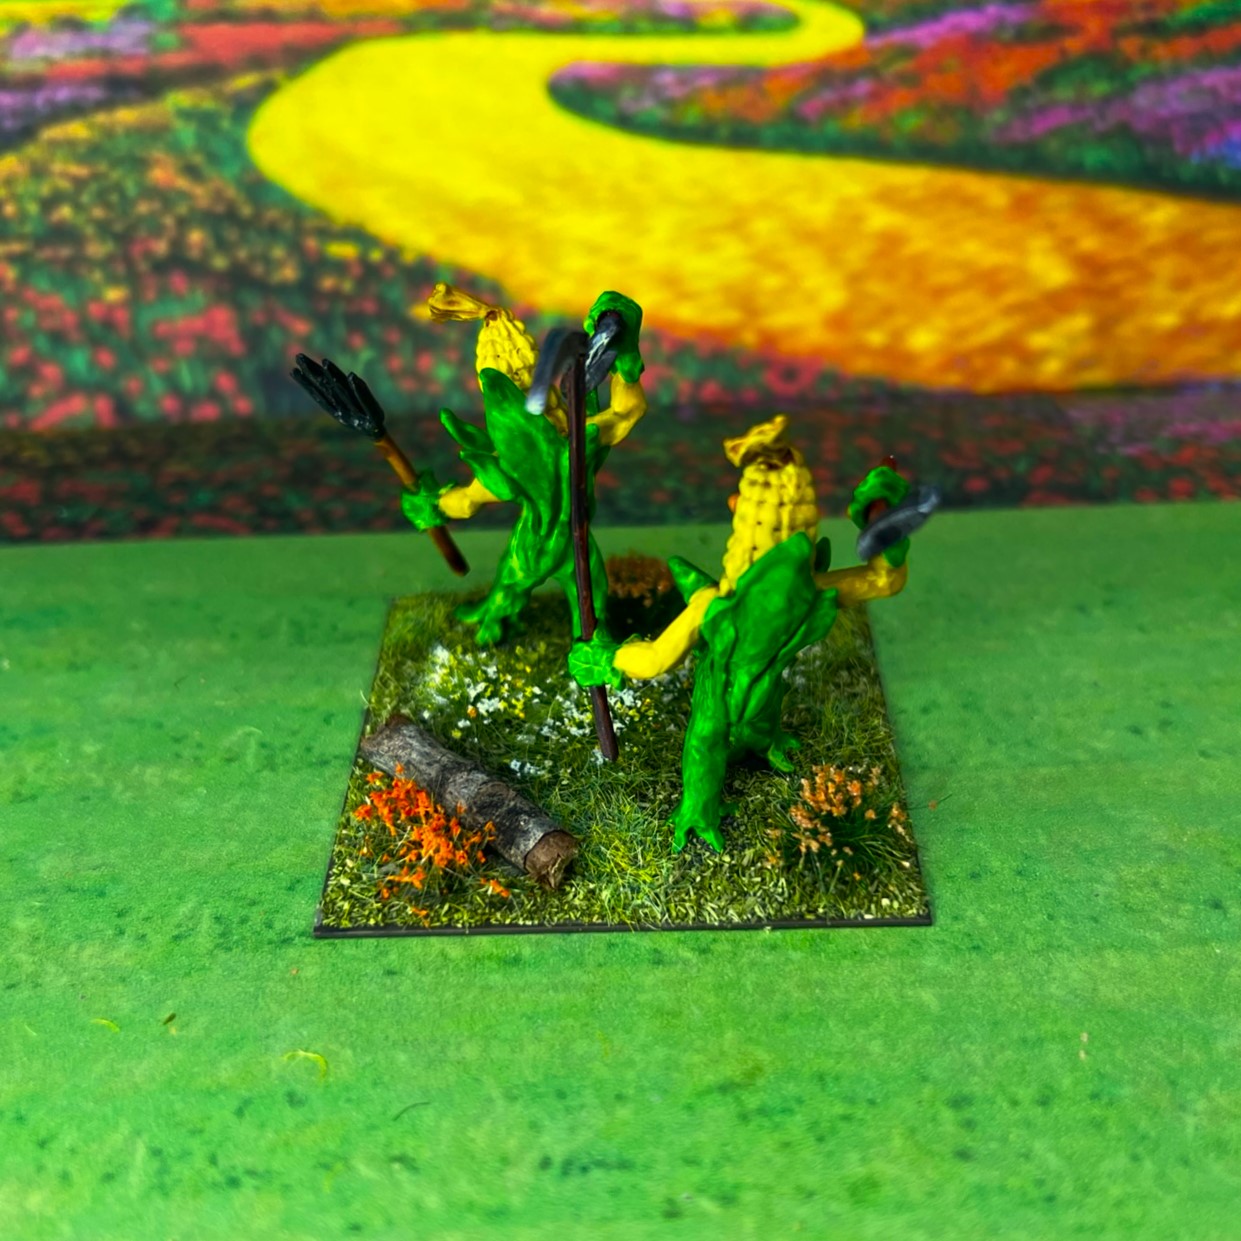
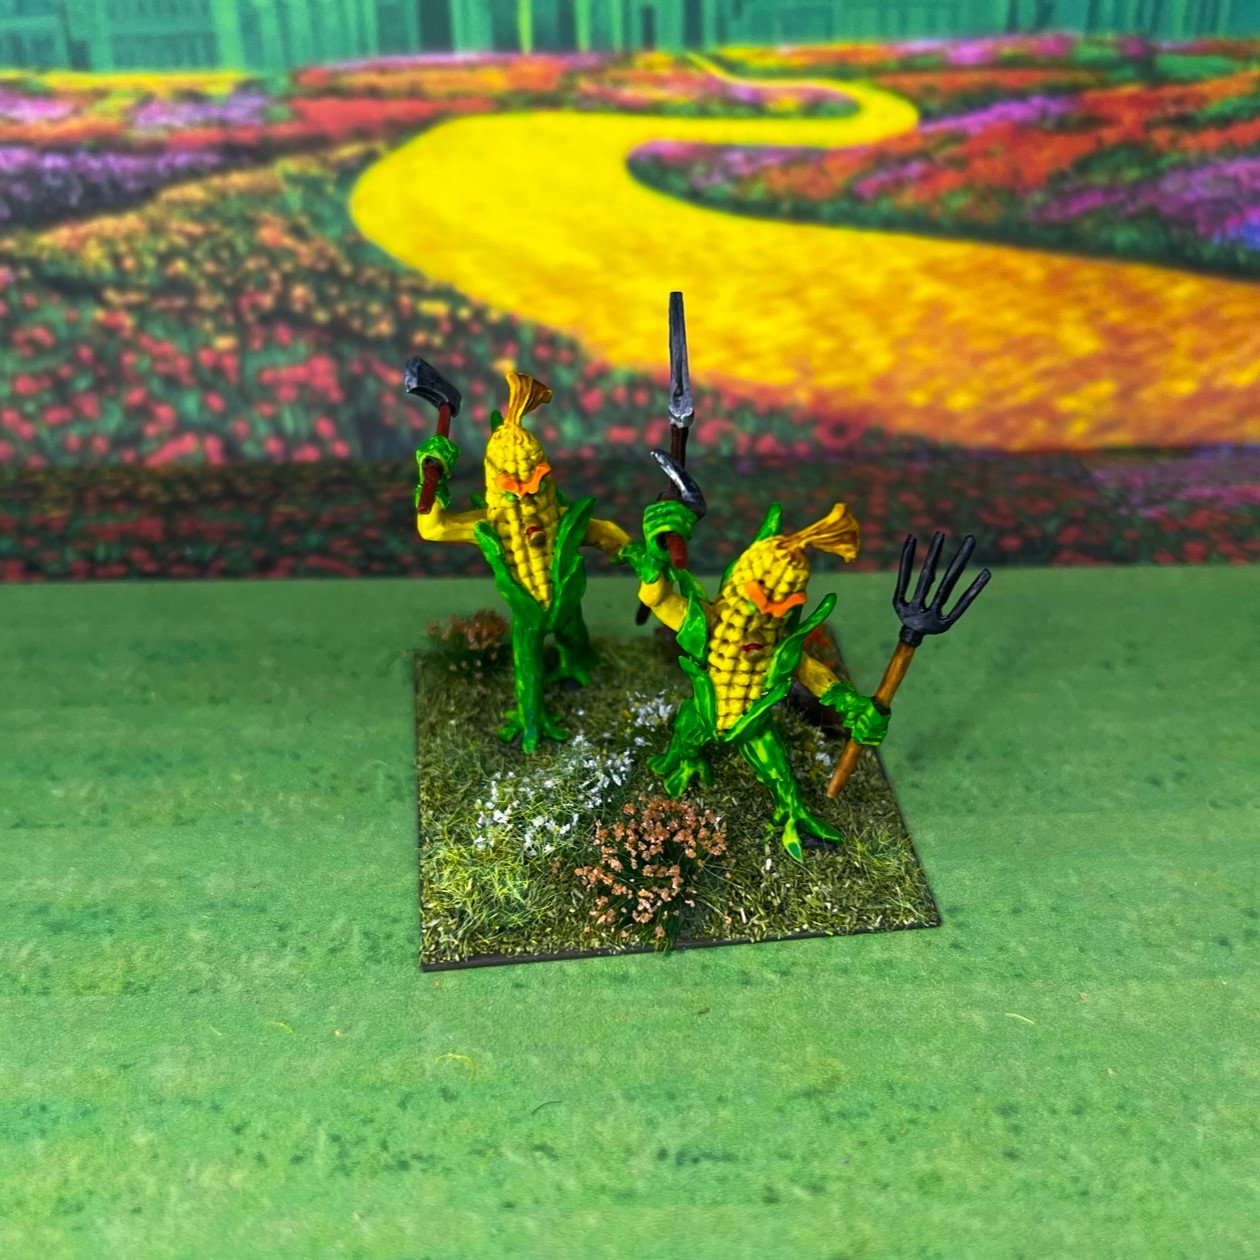
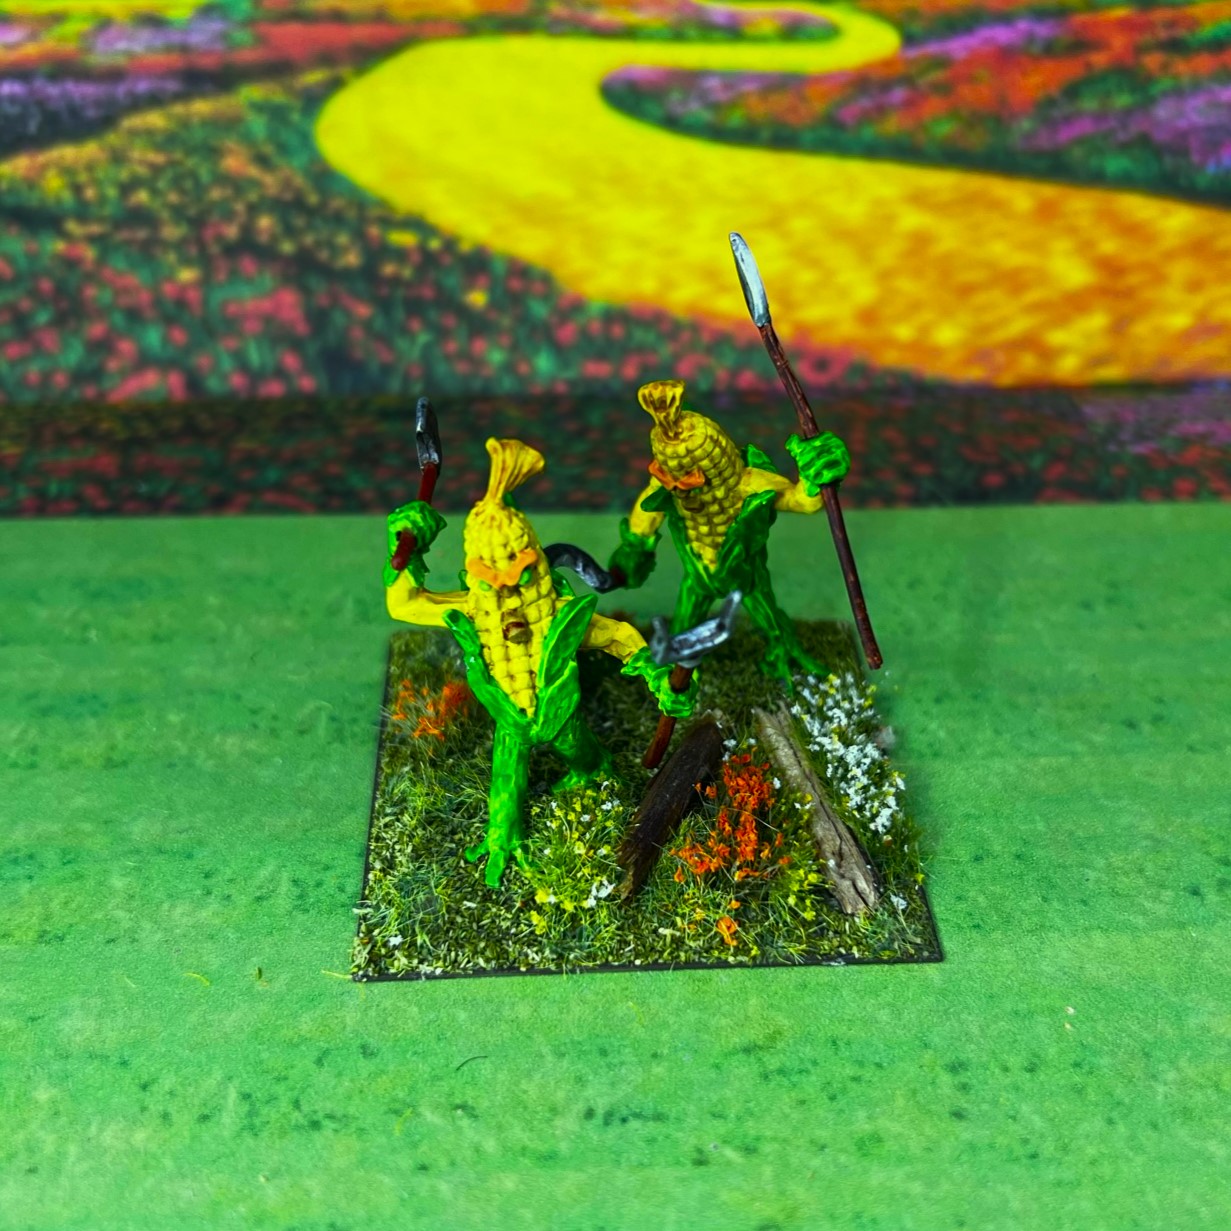
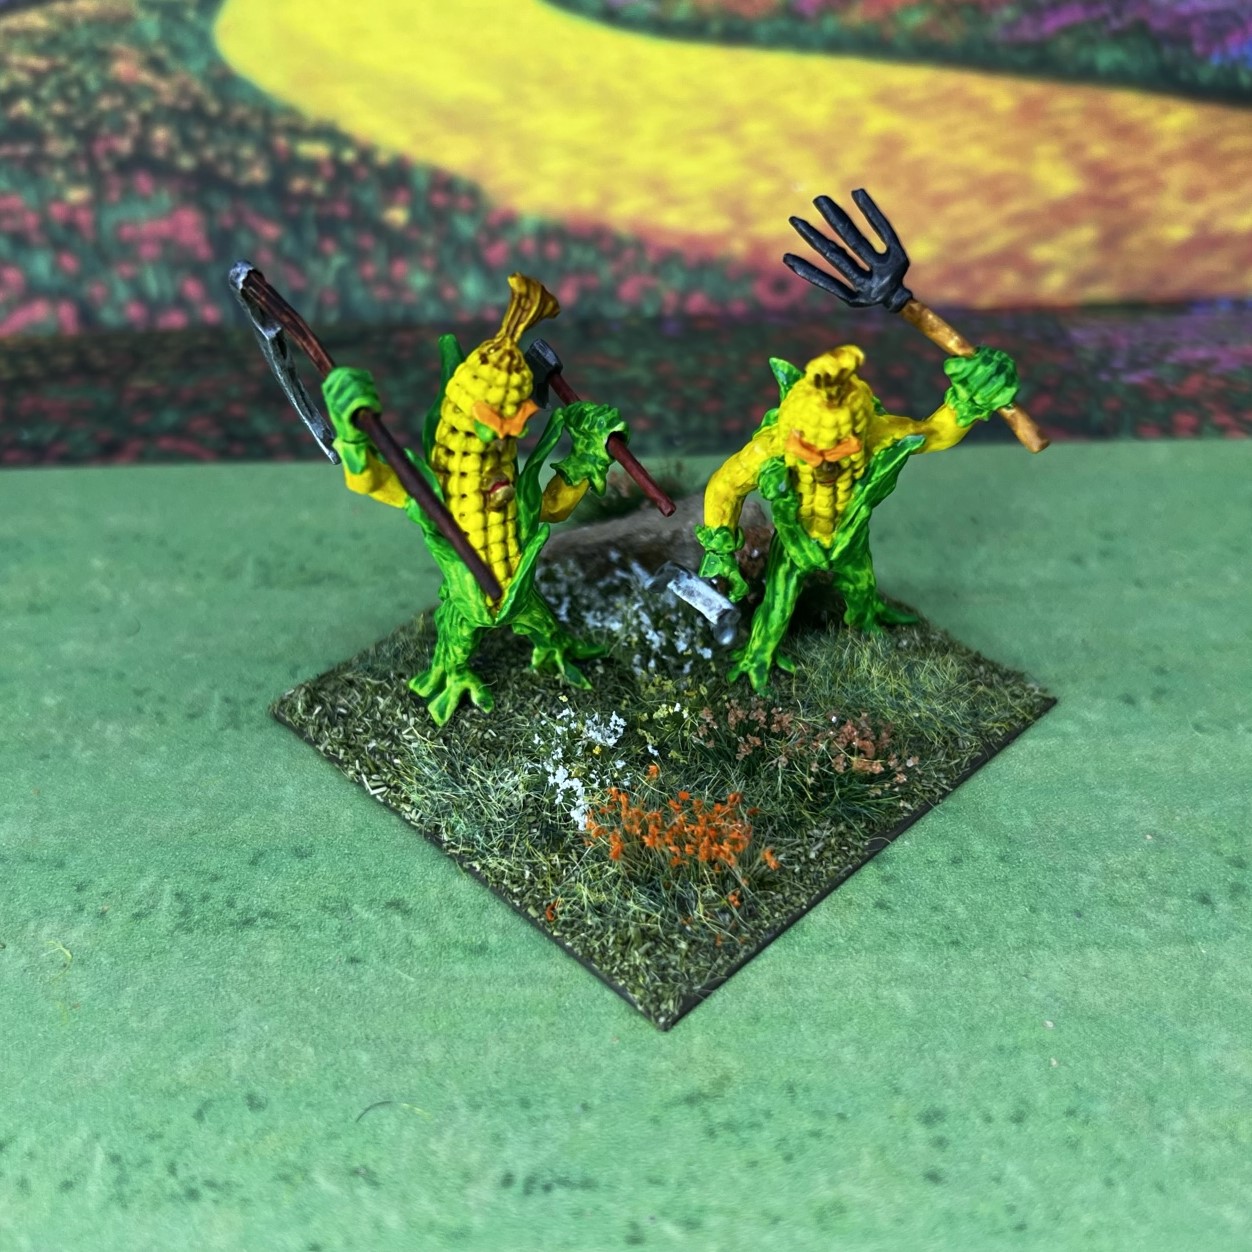
Base 1
Base 2
Base 3


Base 4


Command Base


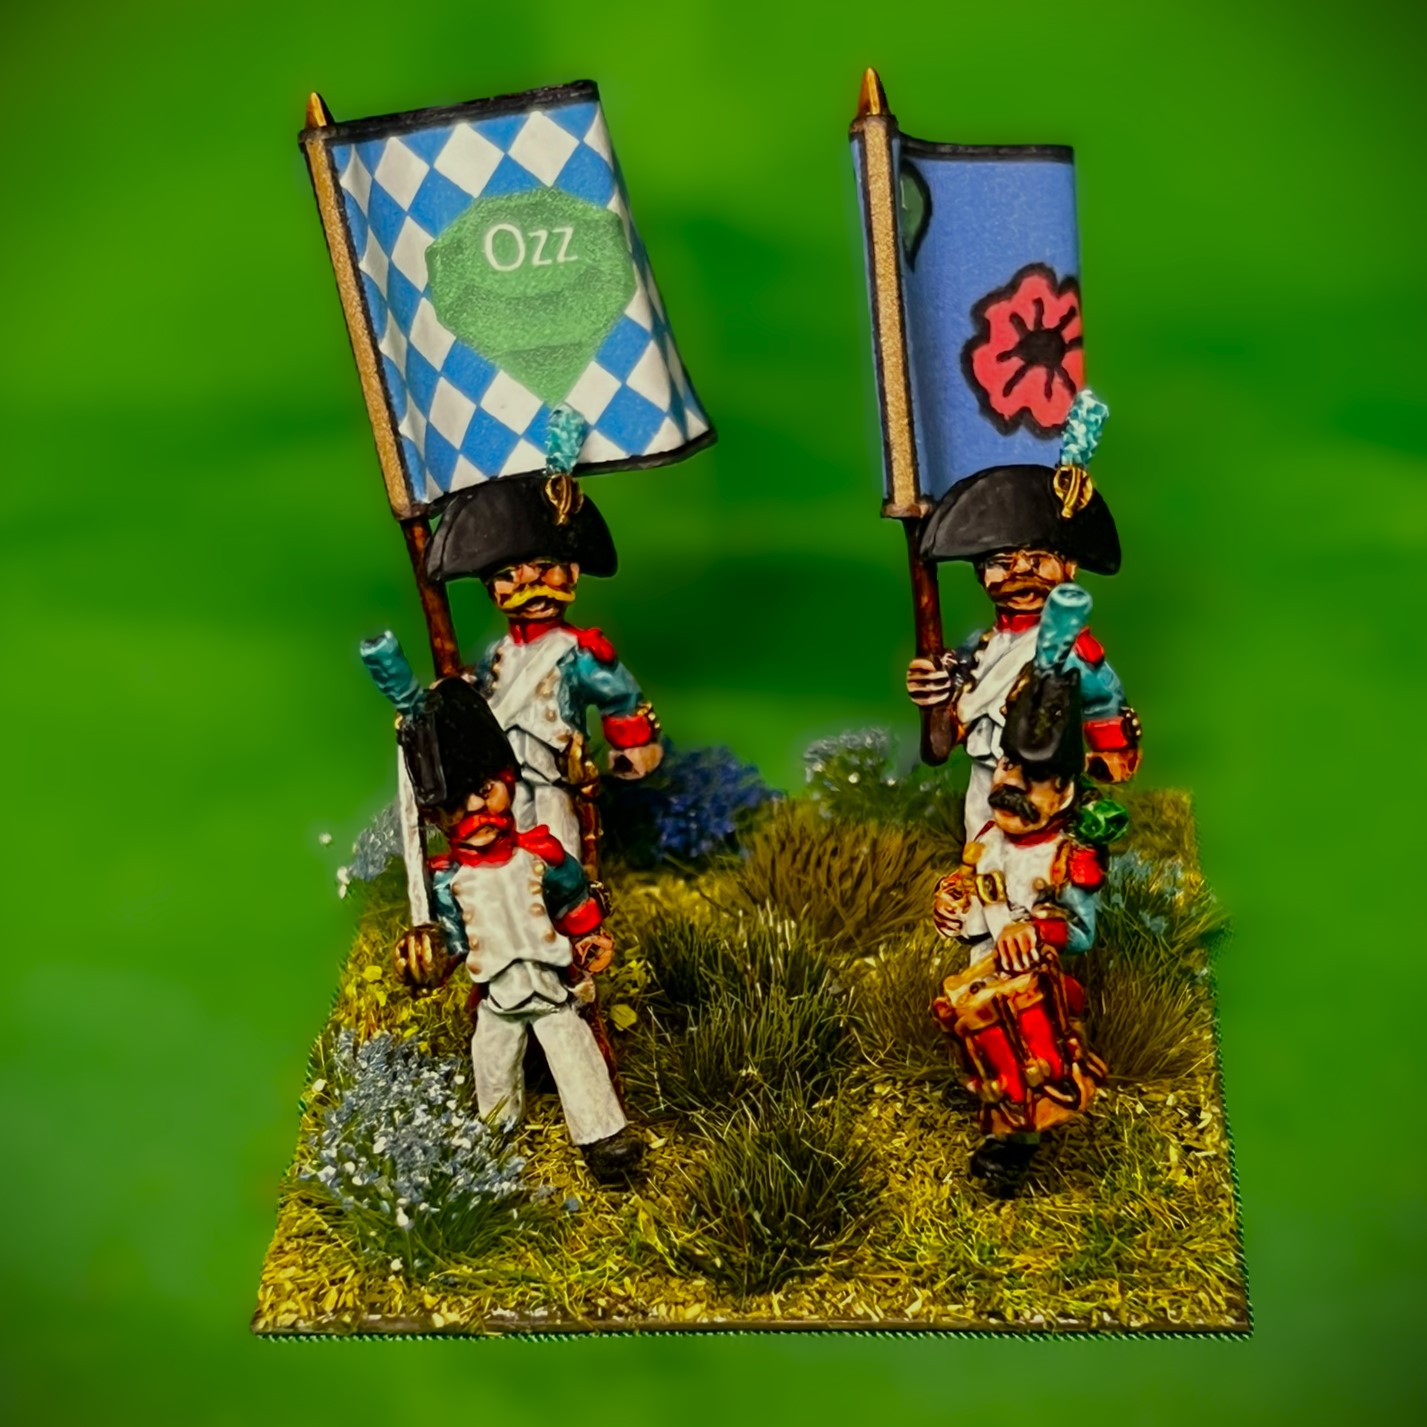
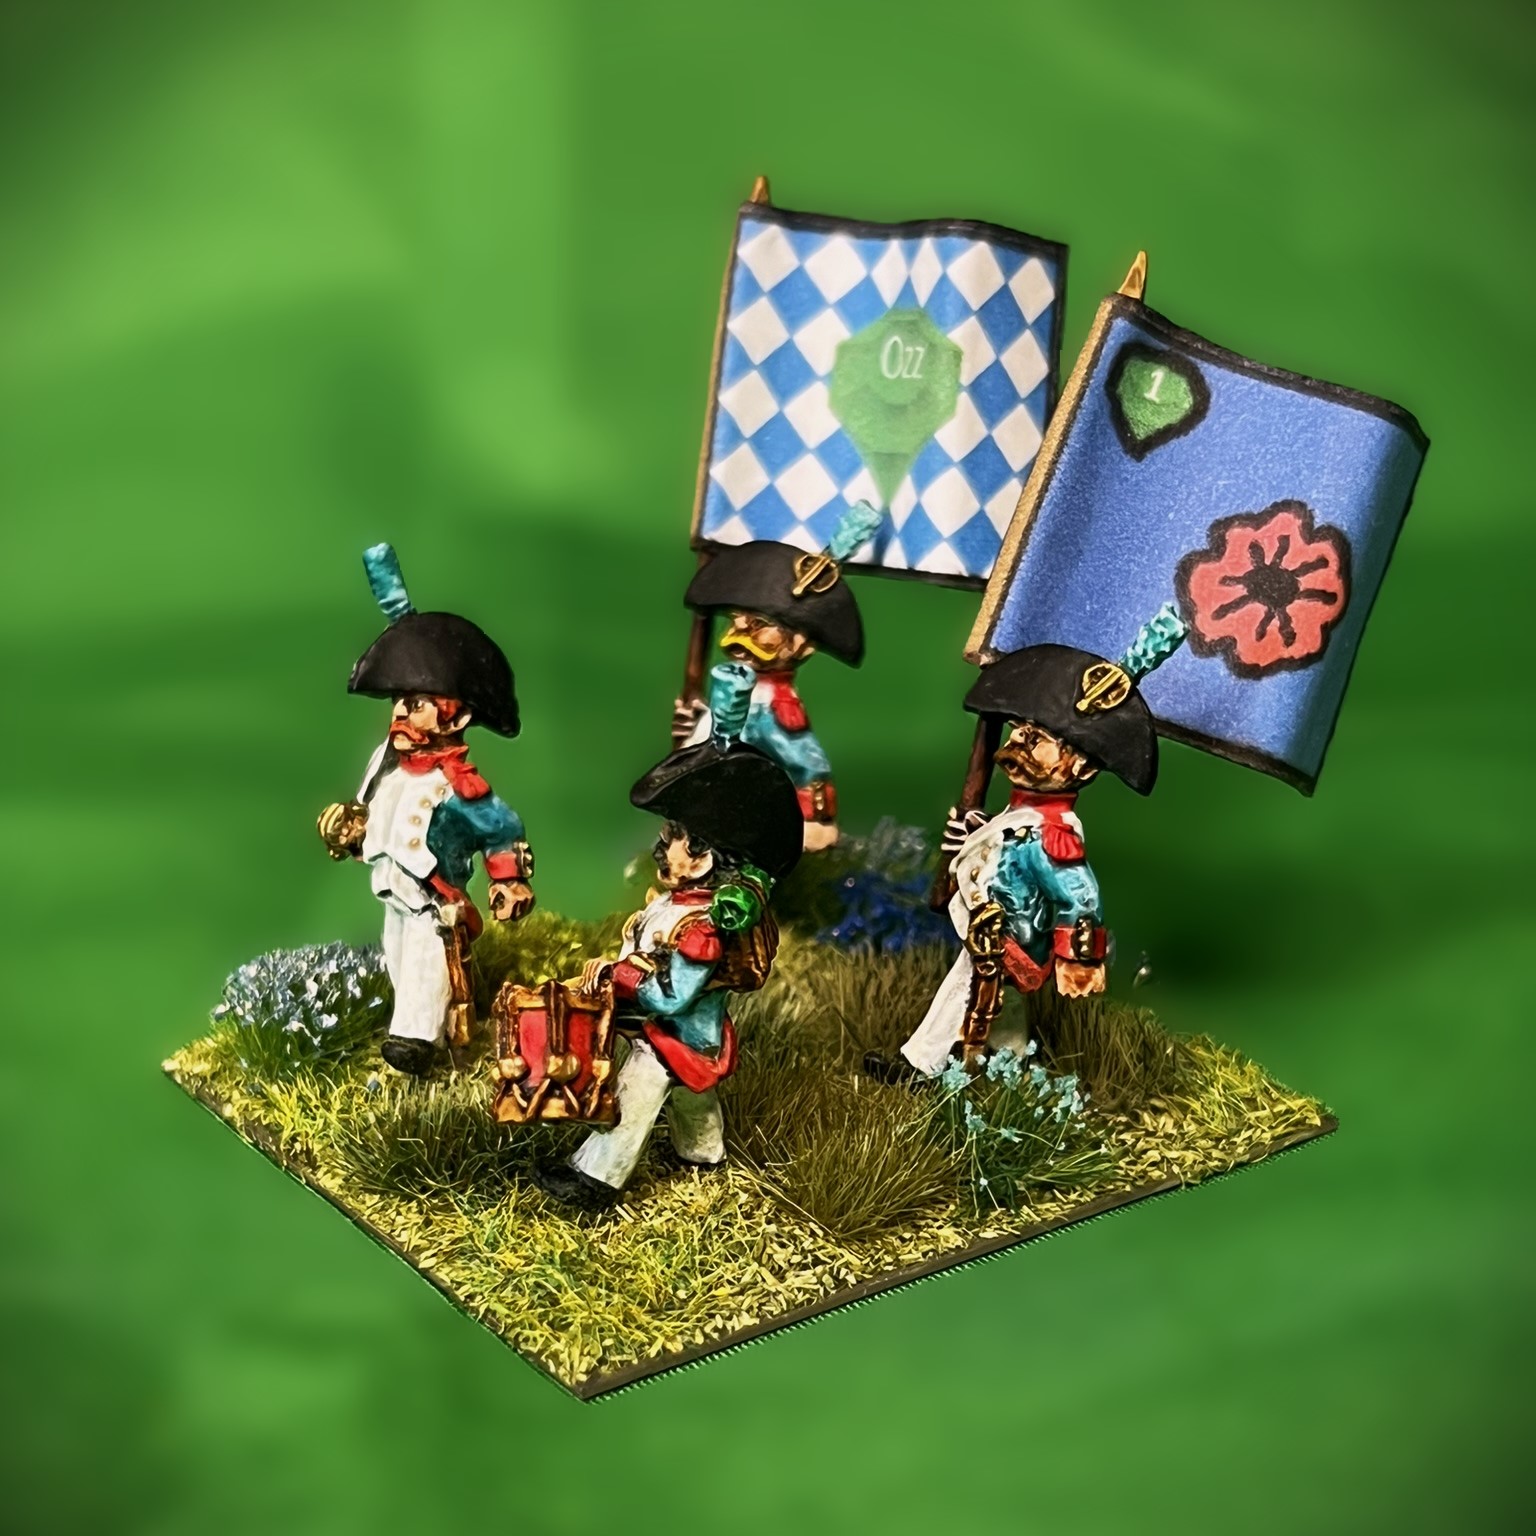
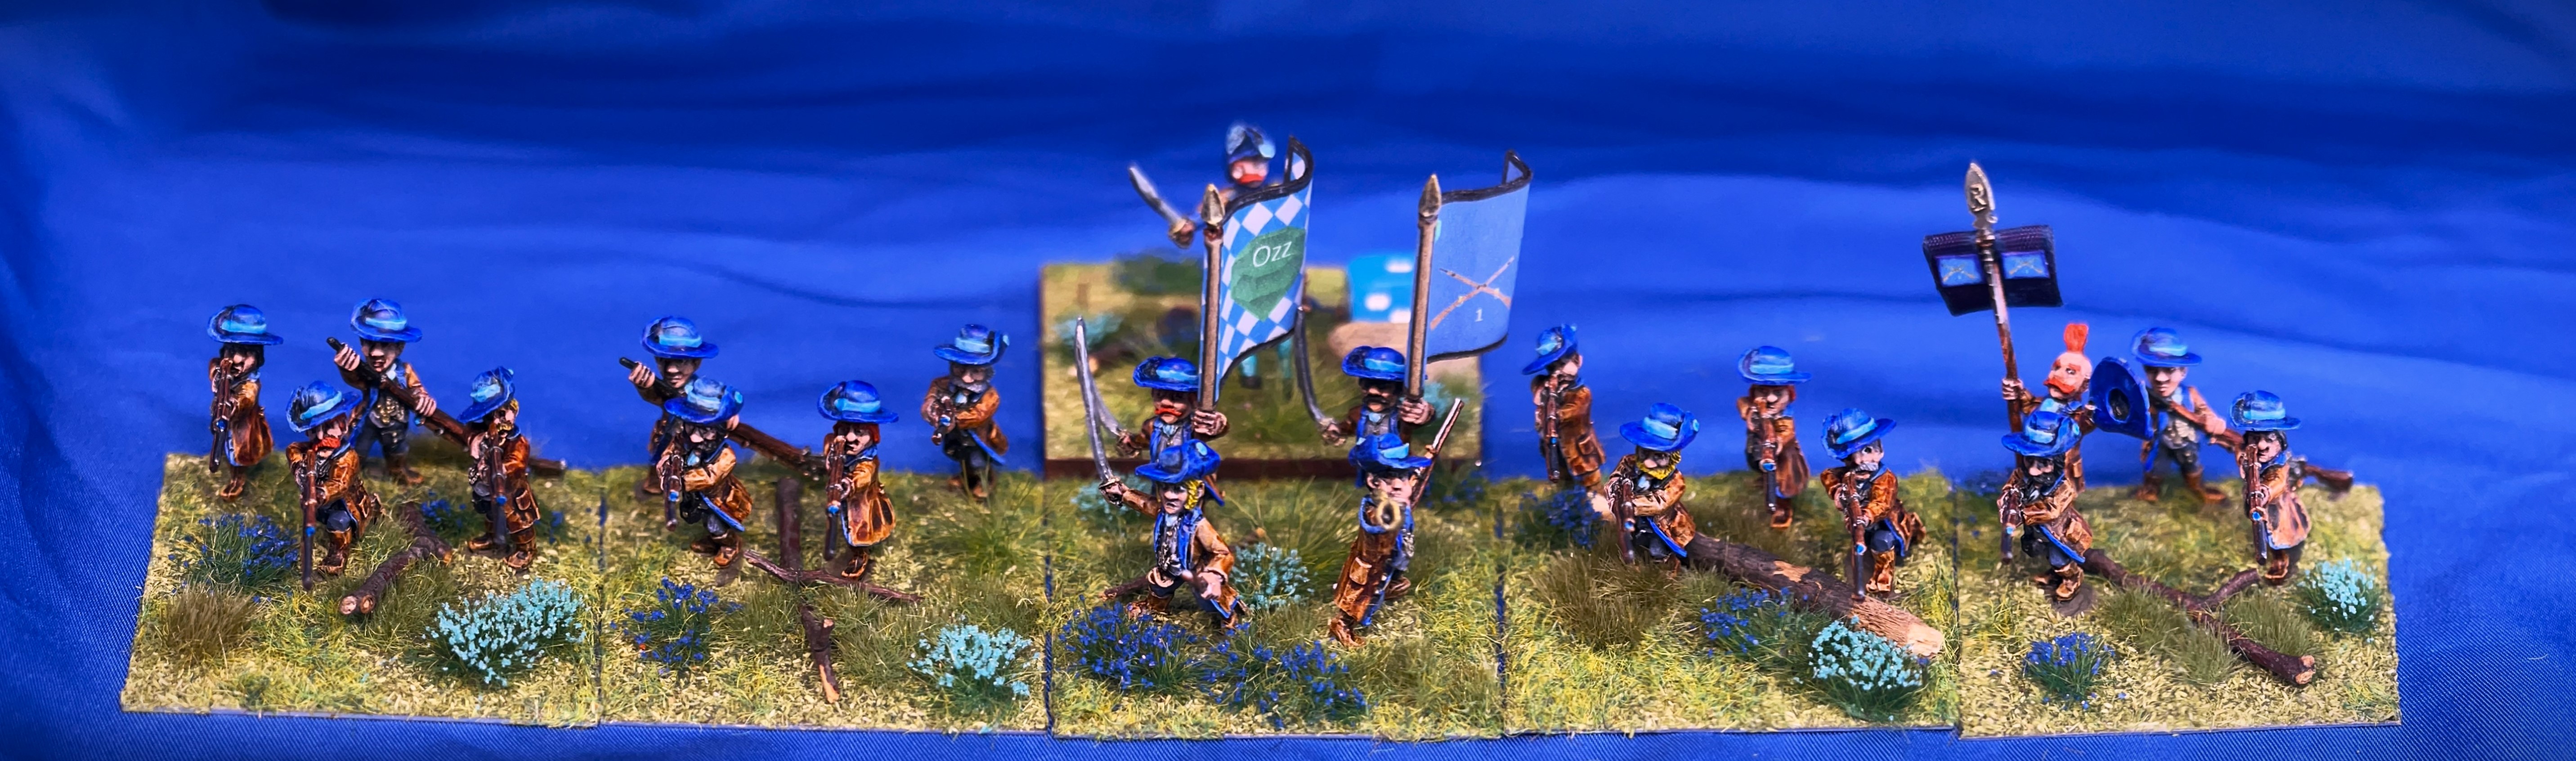
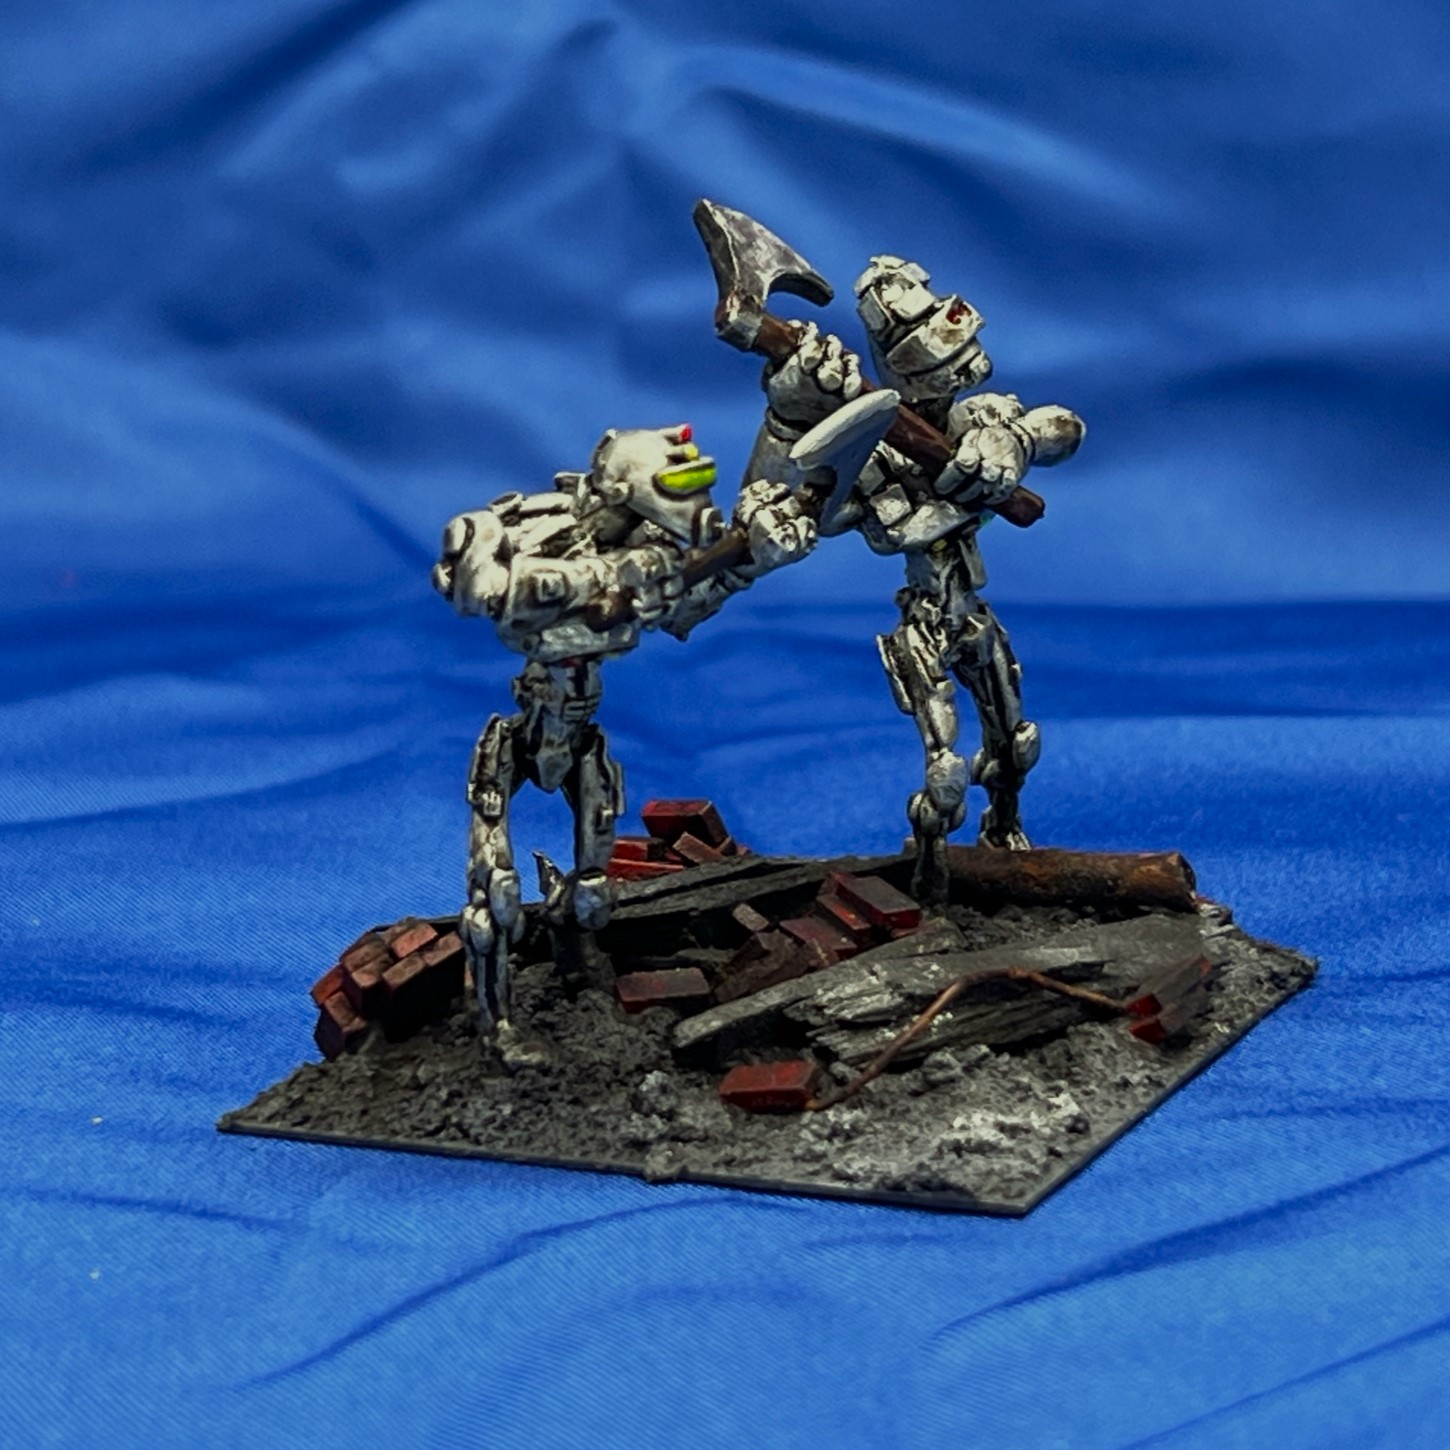
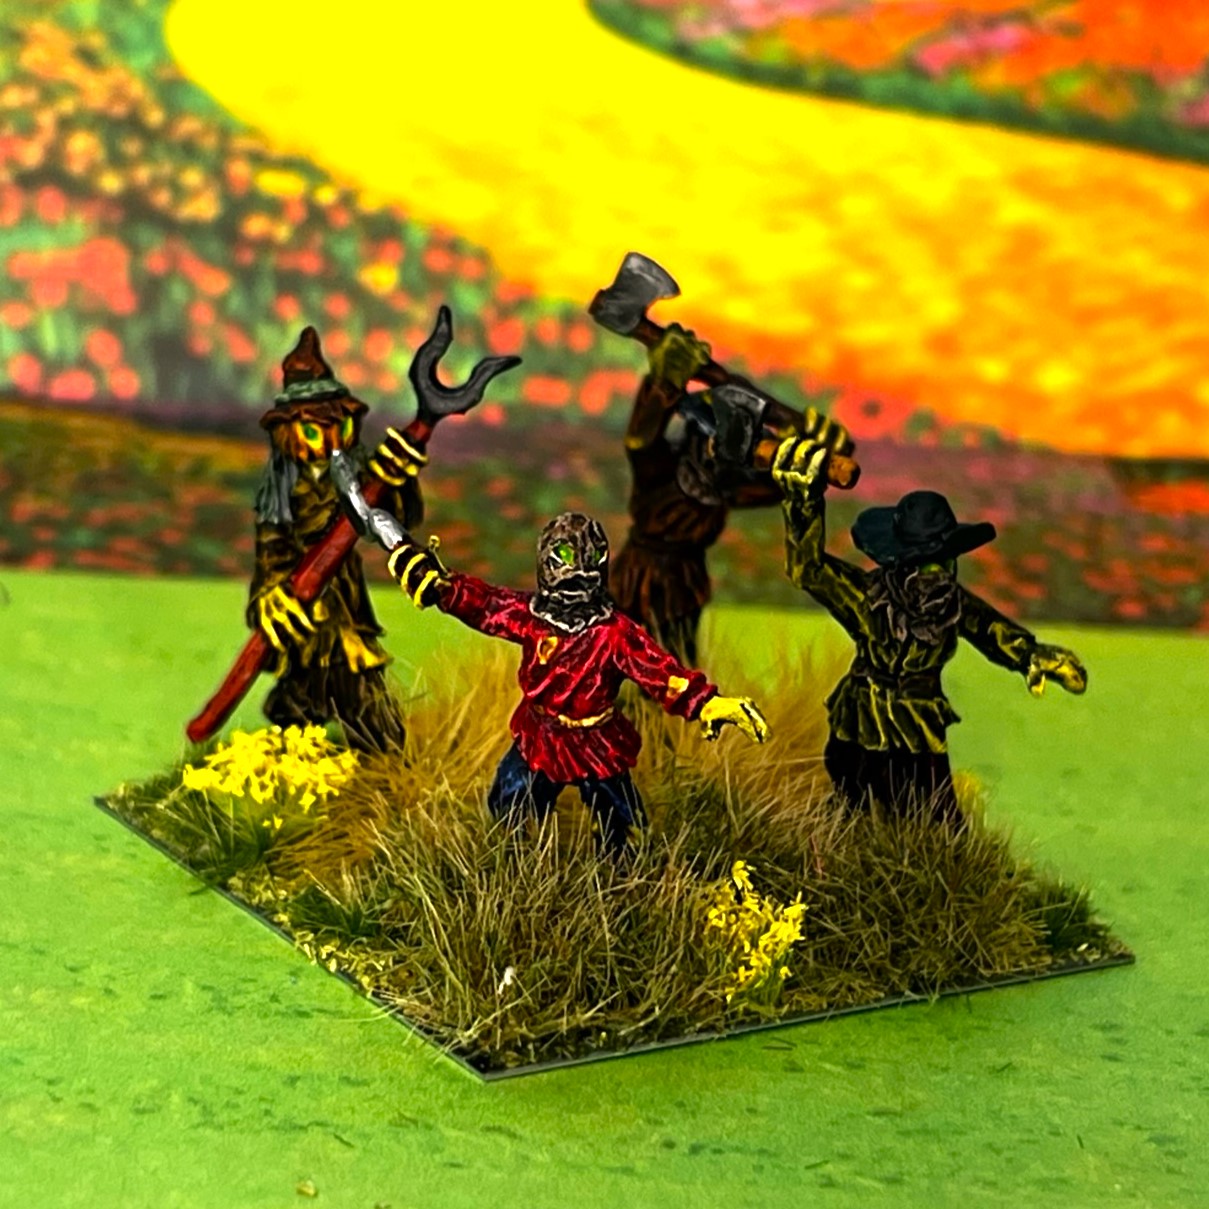
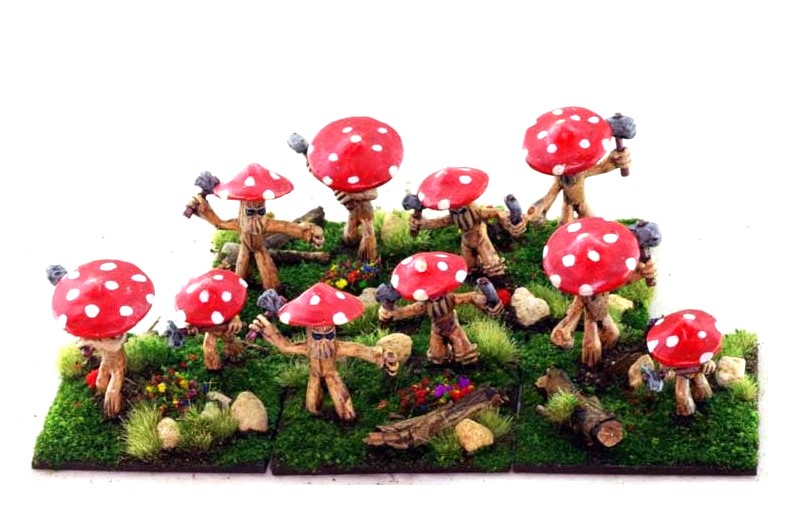
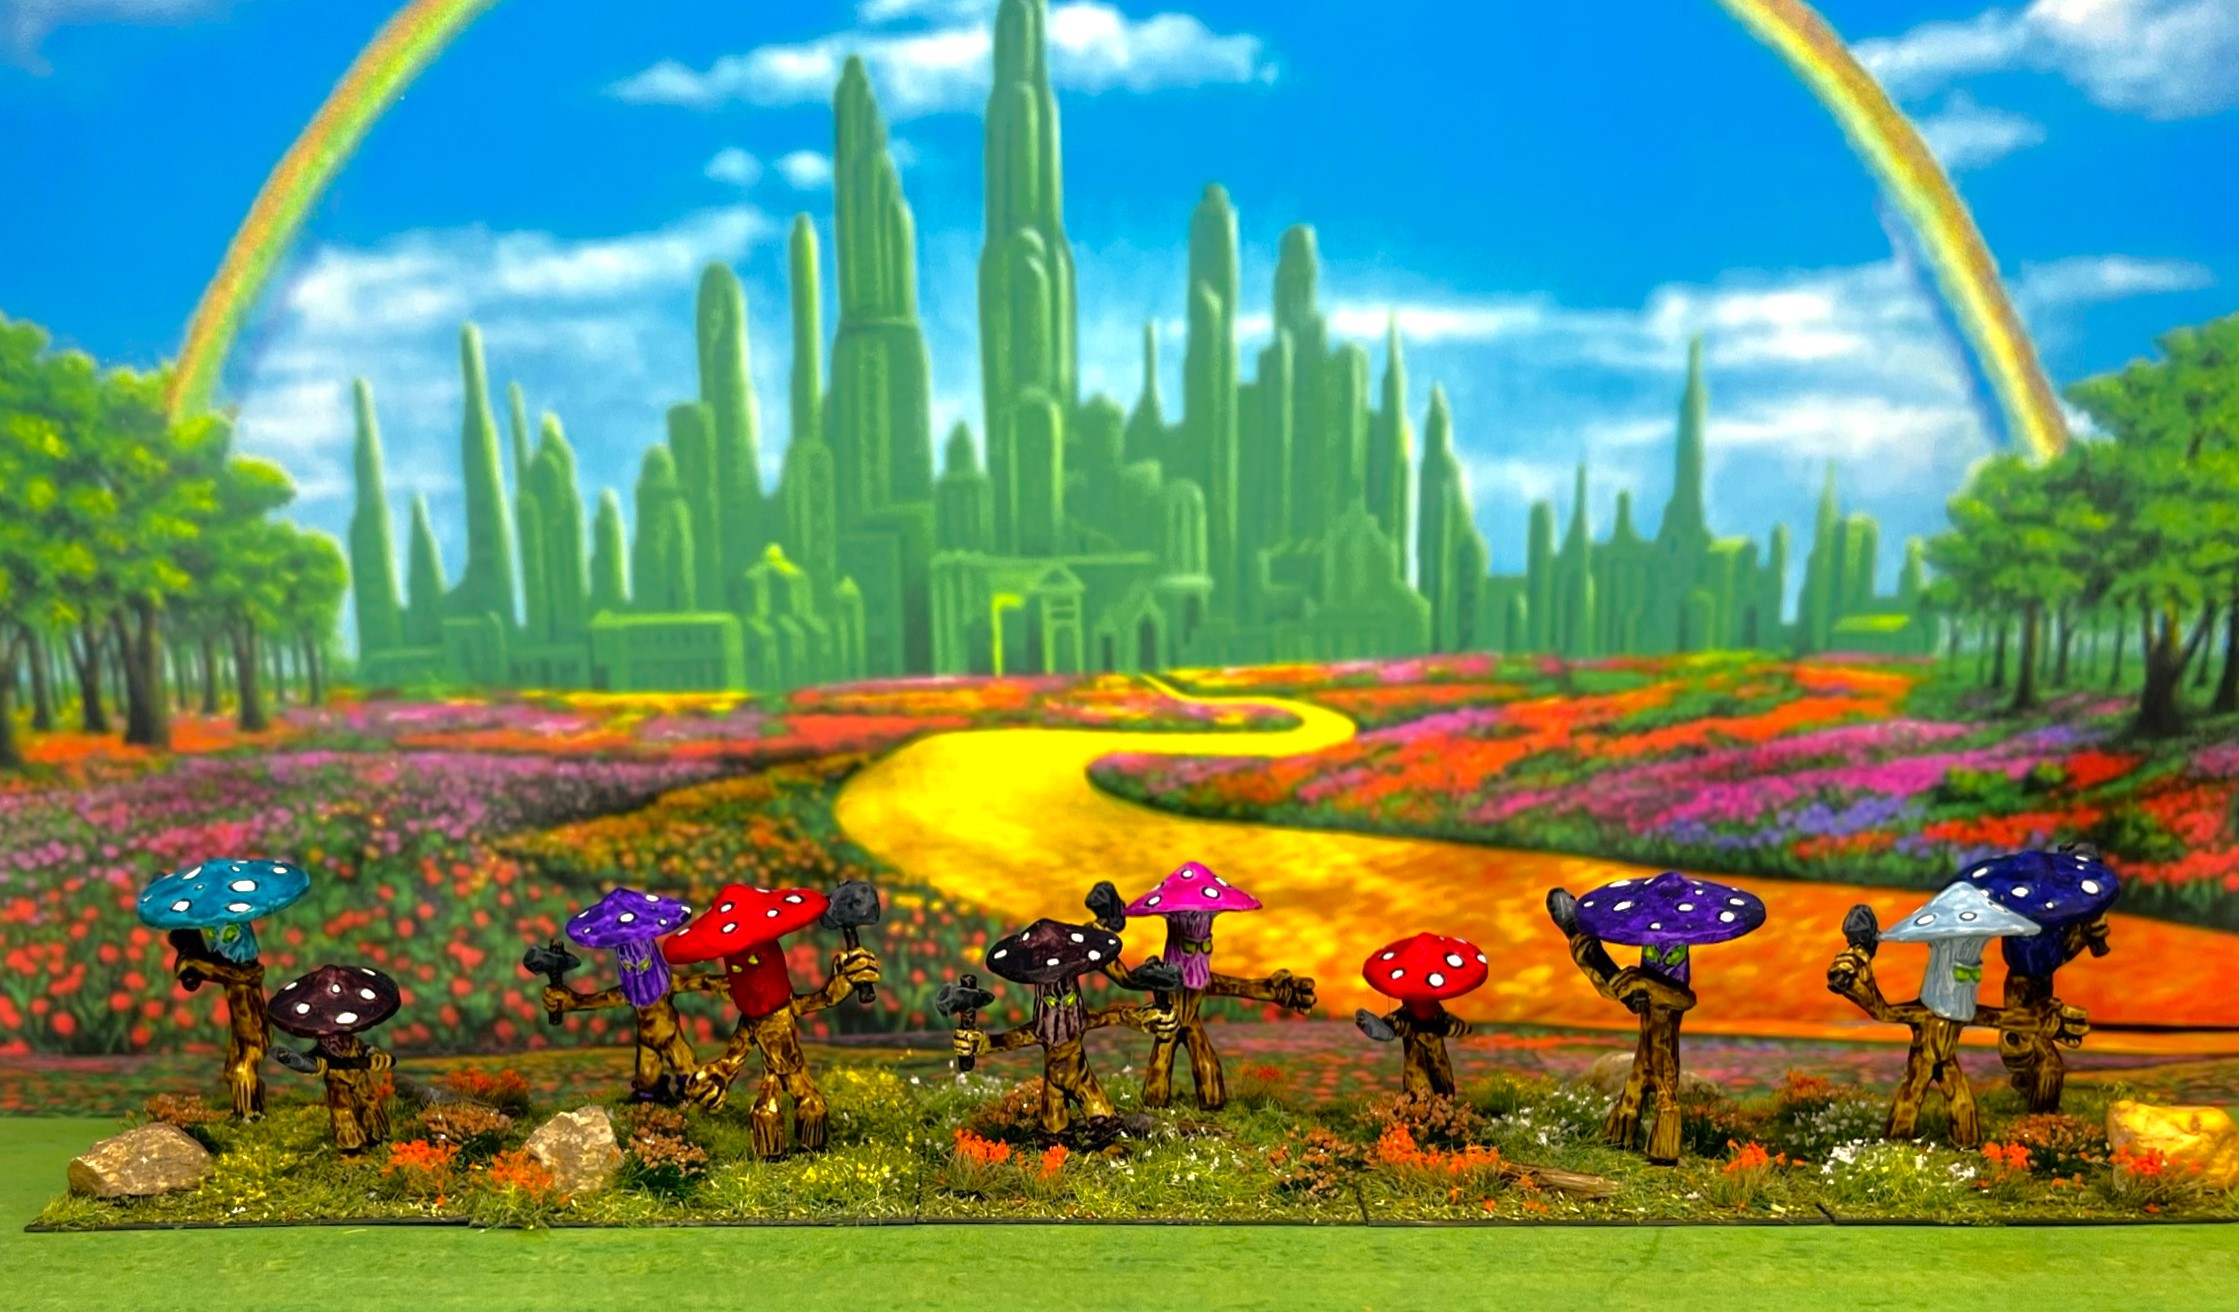
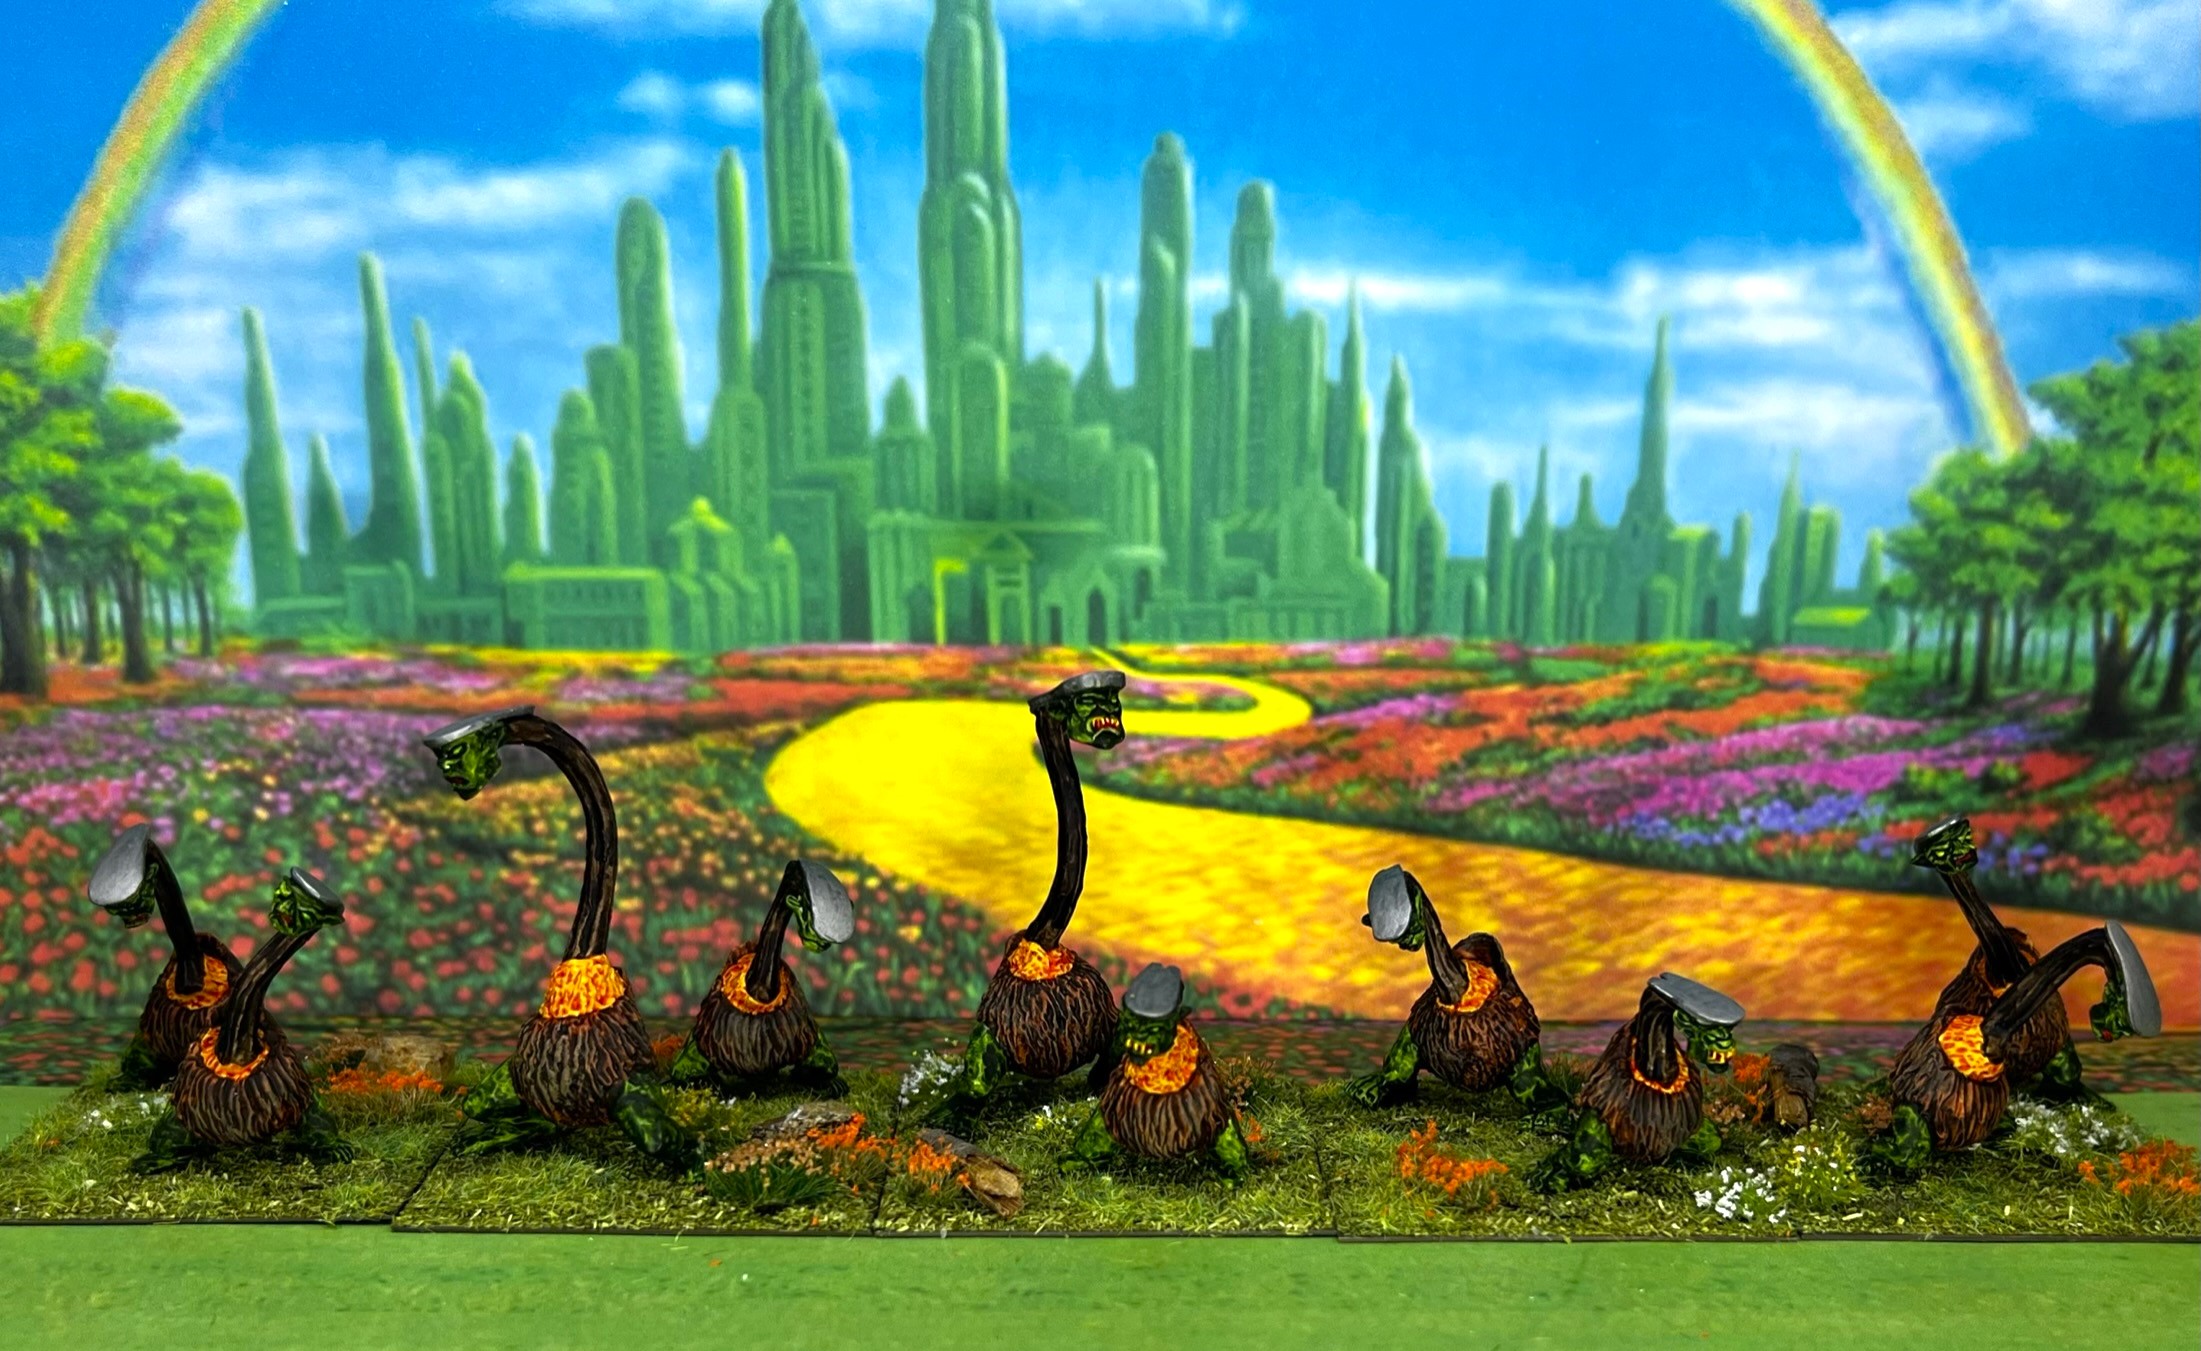
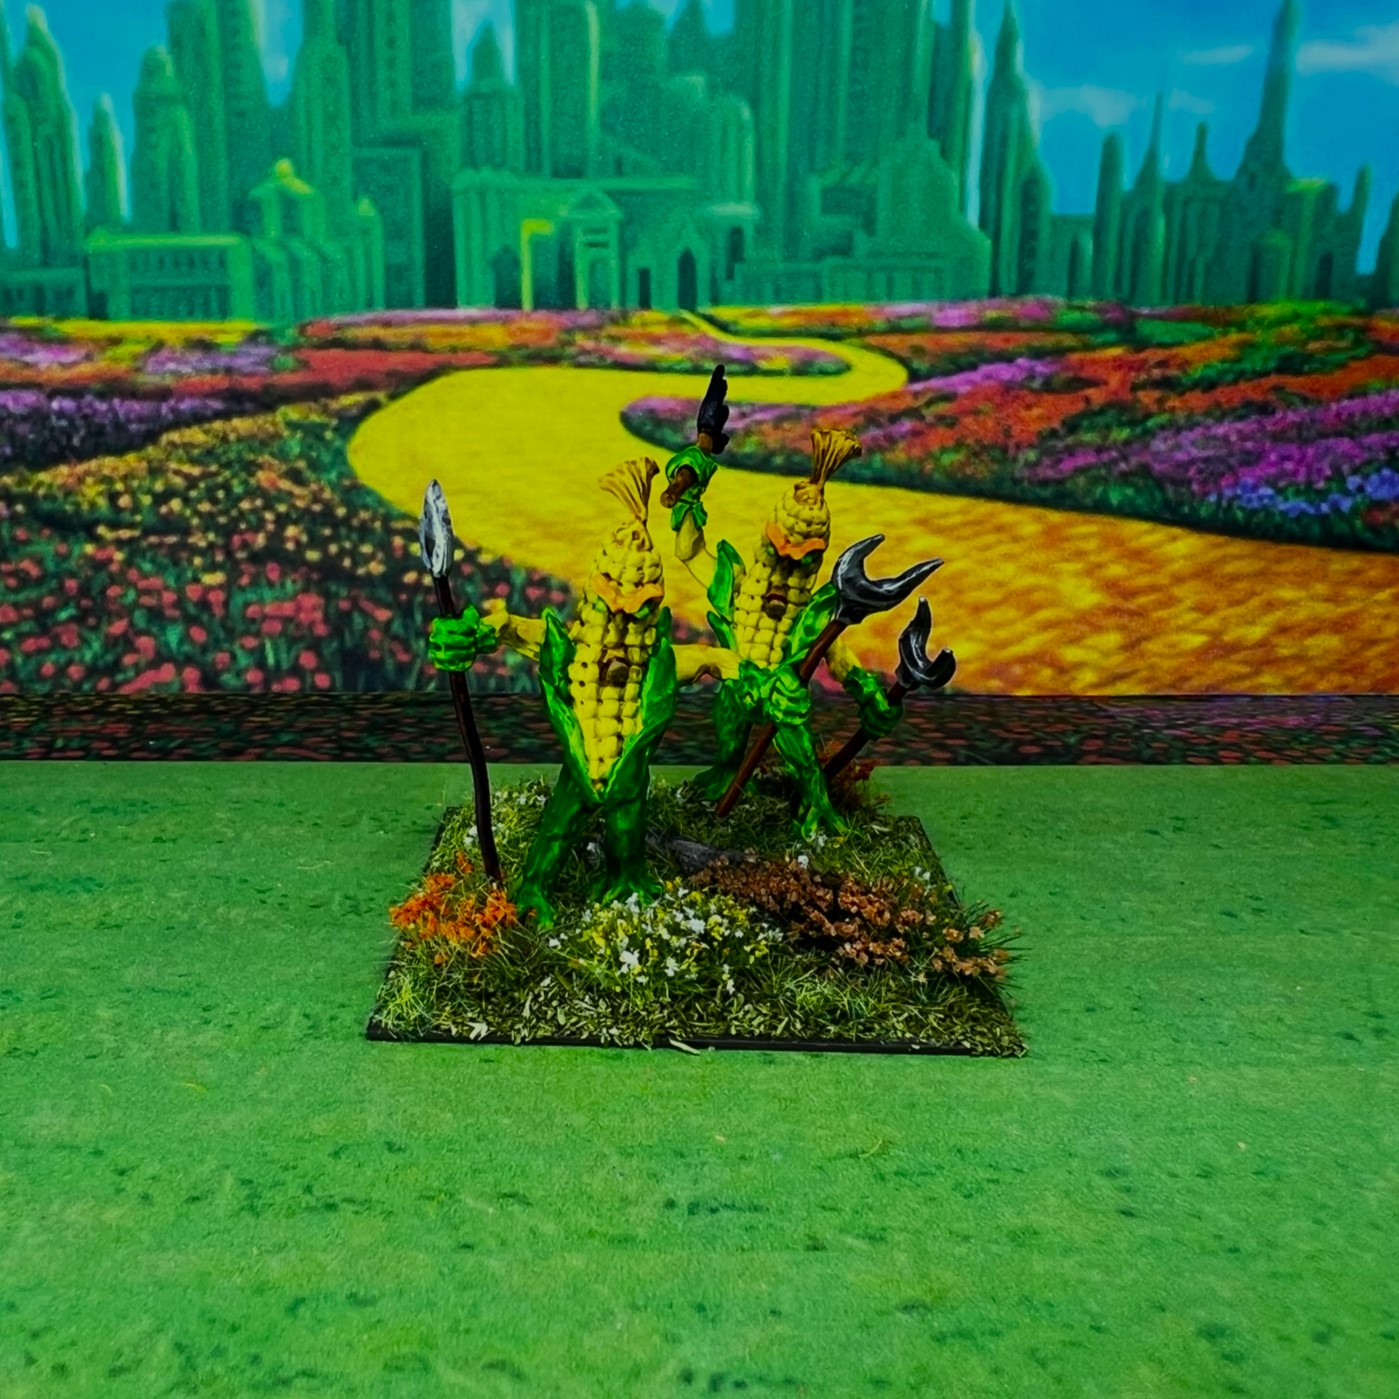
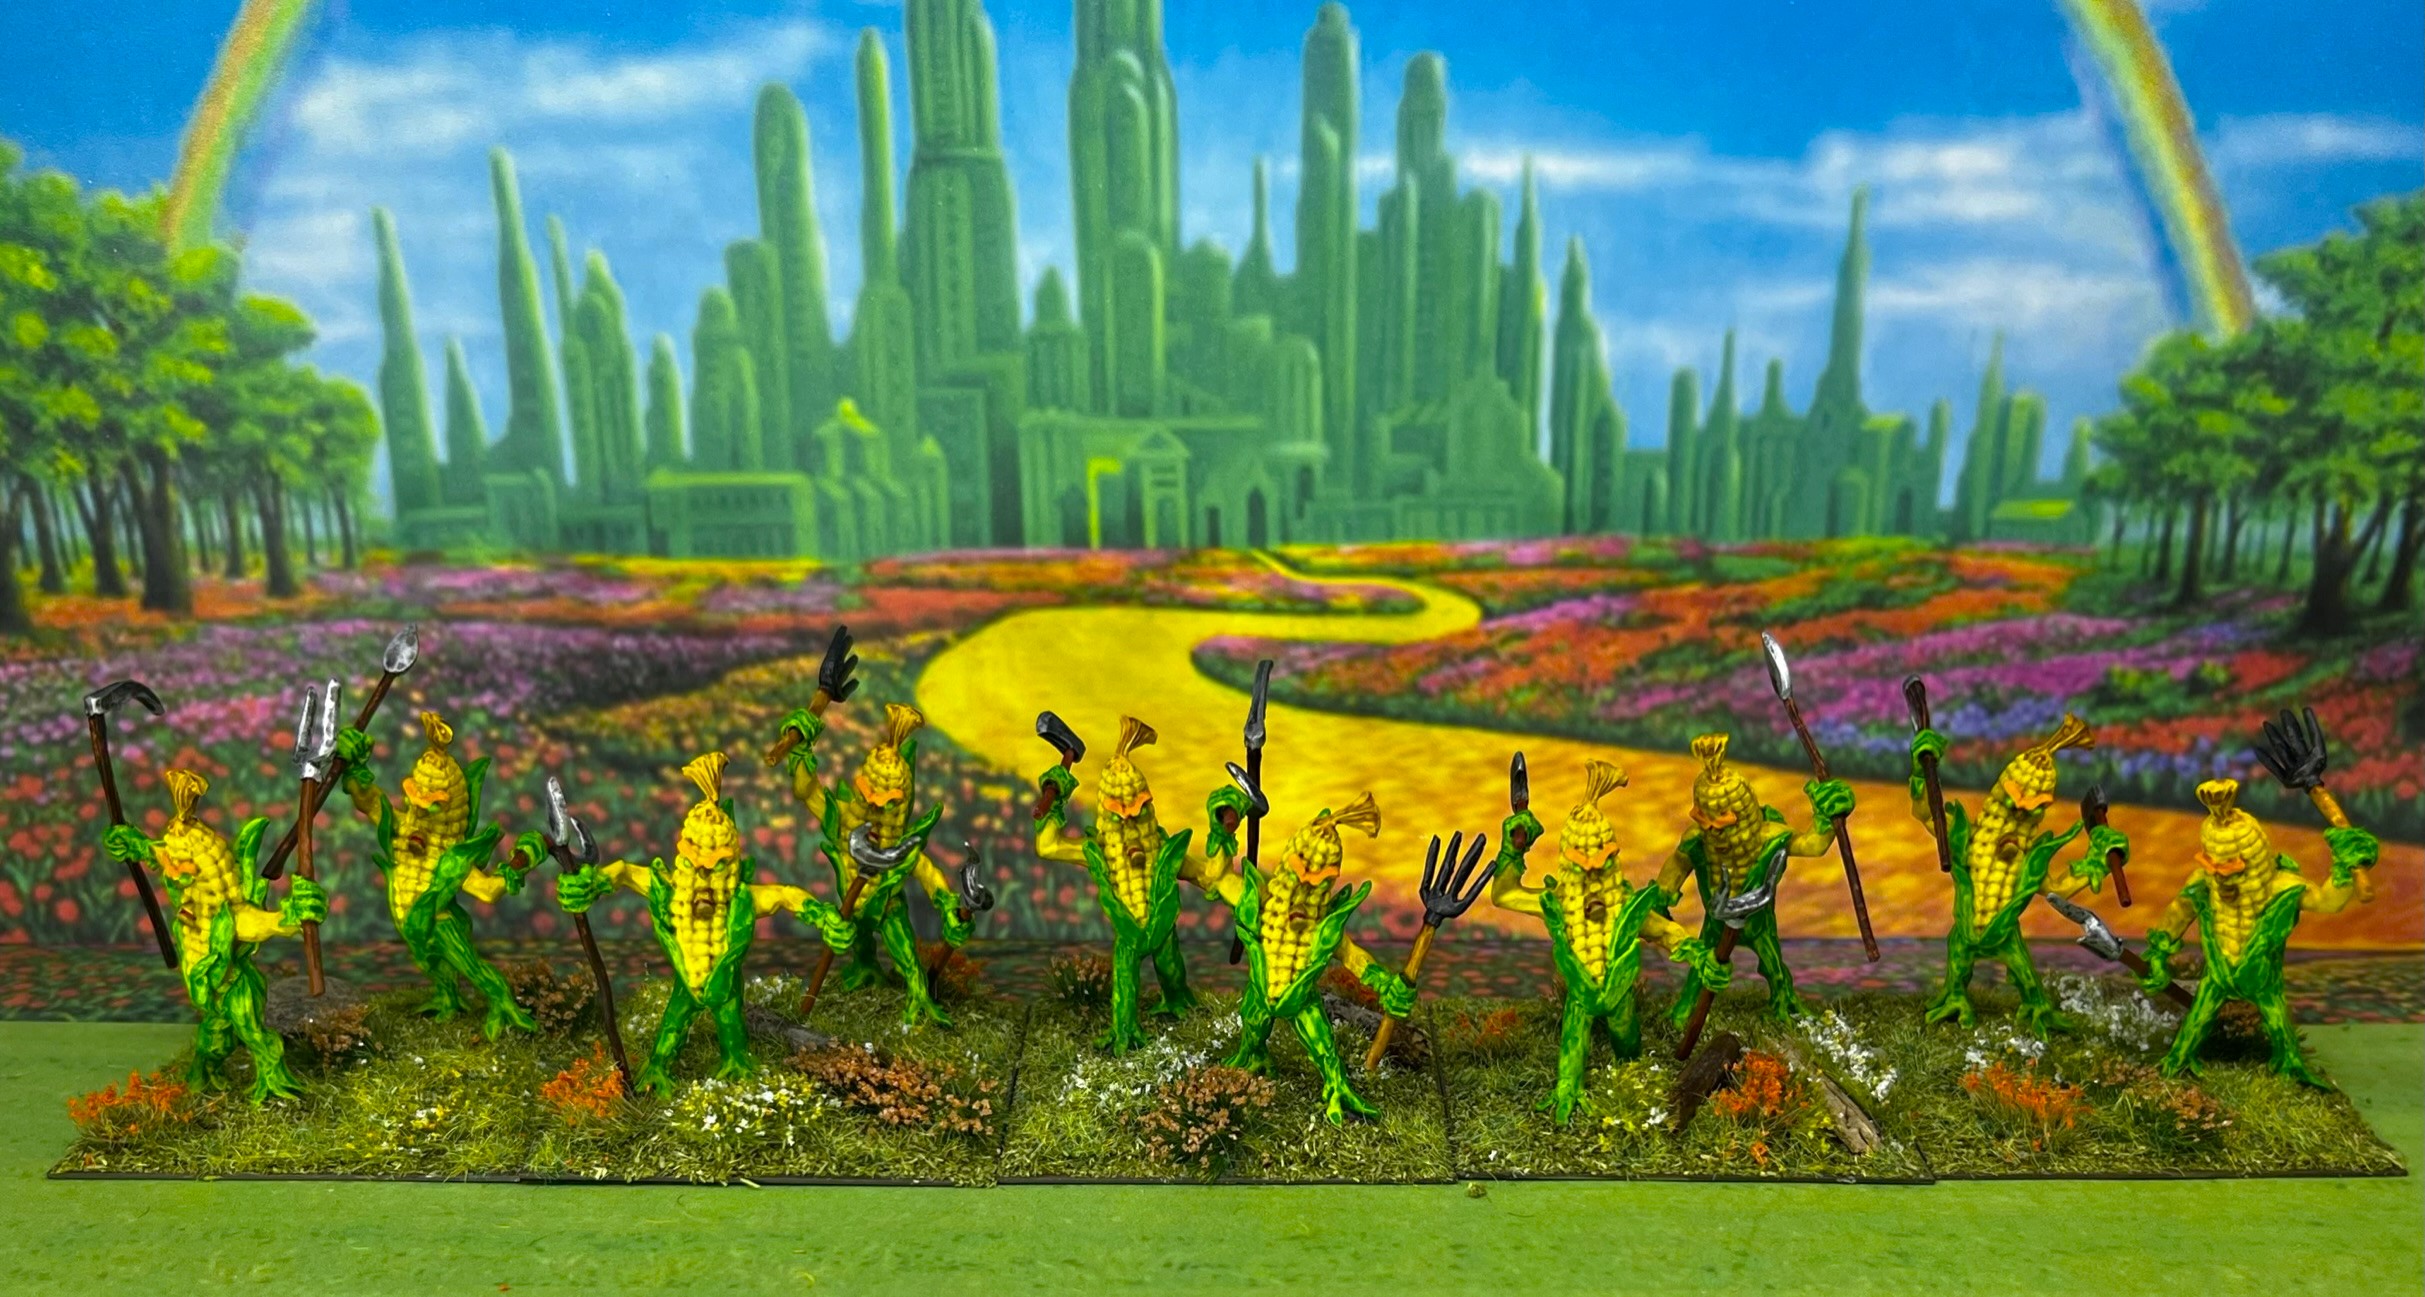
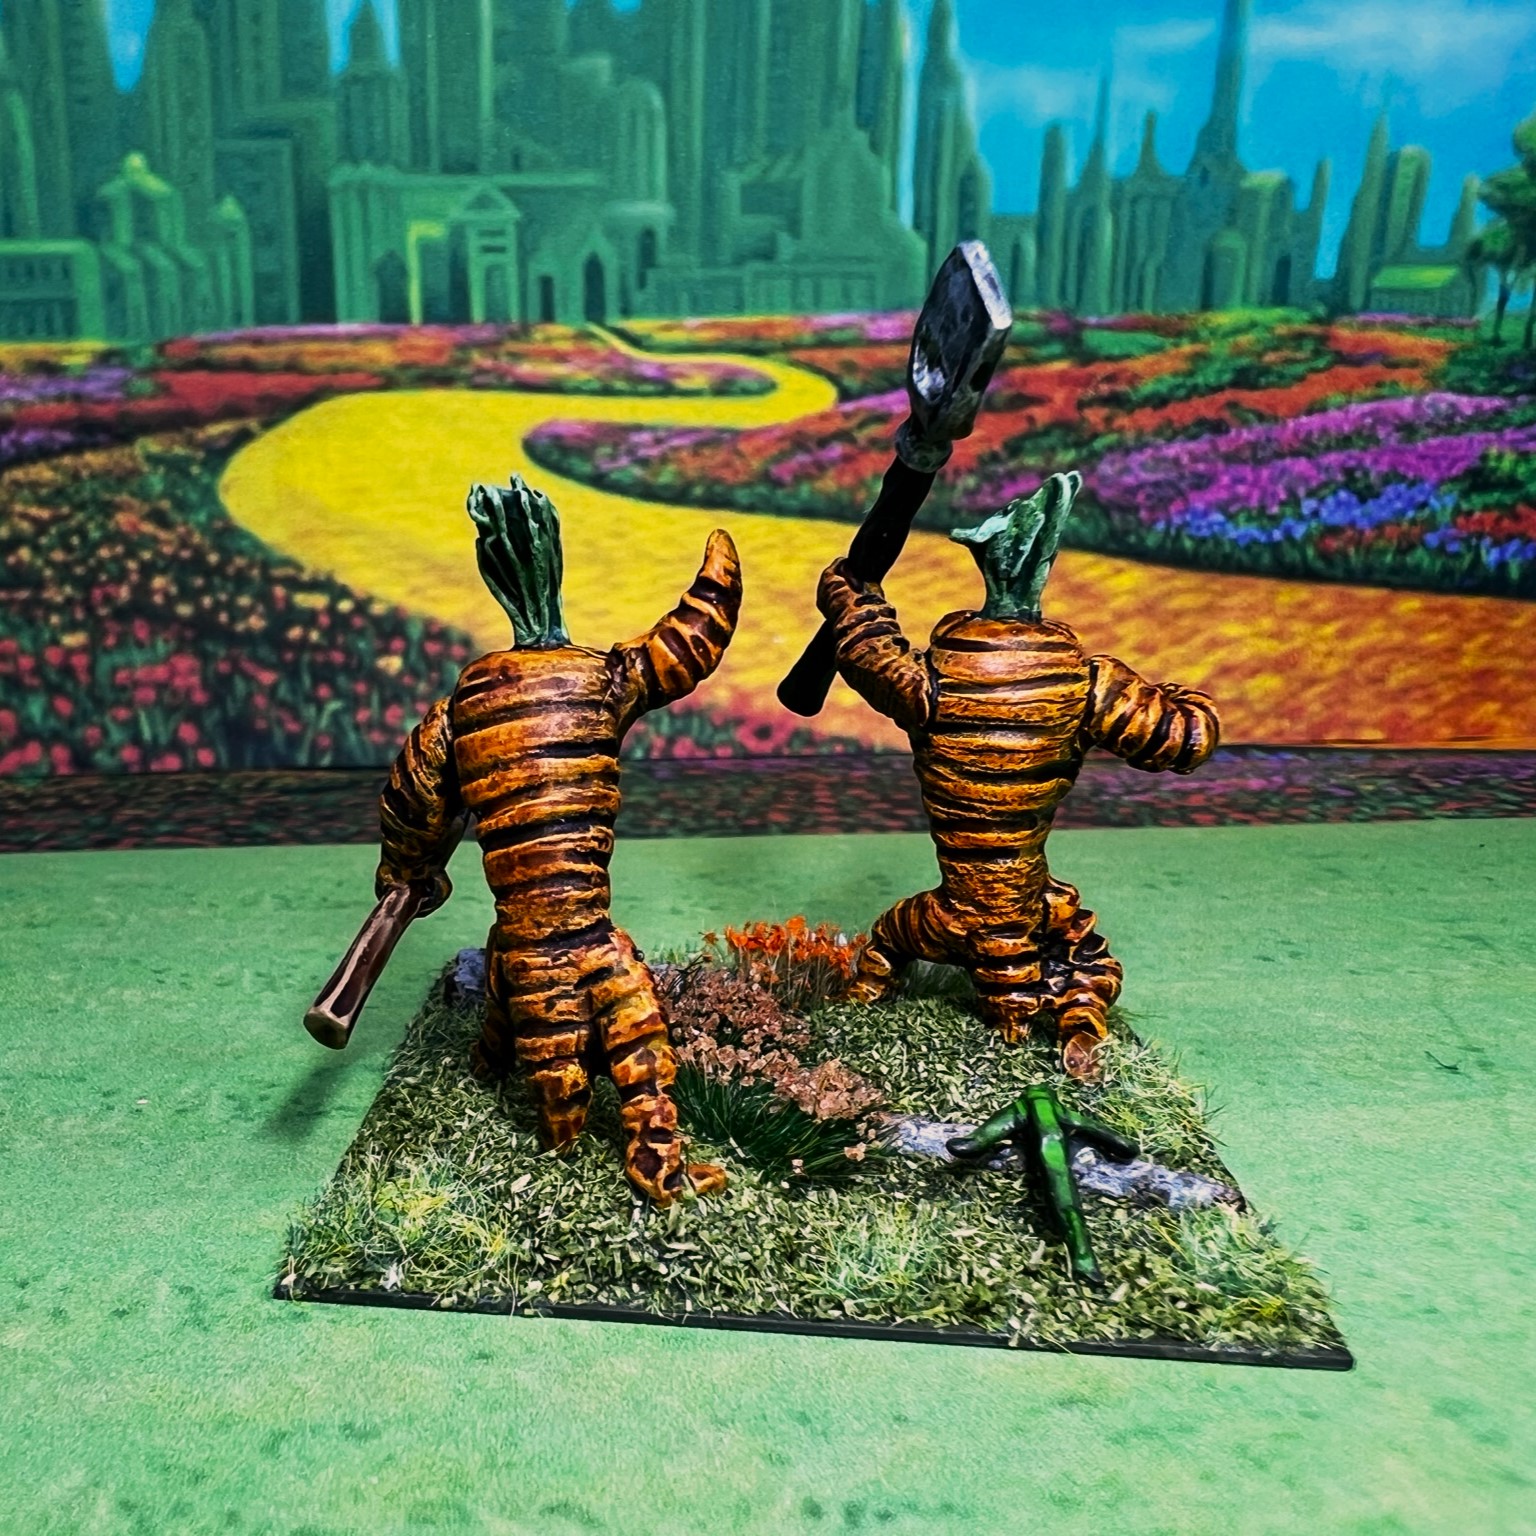
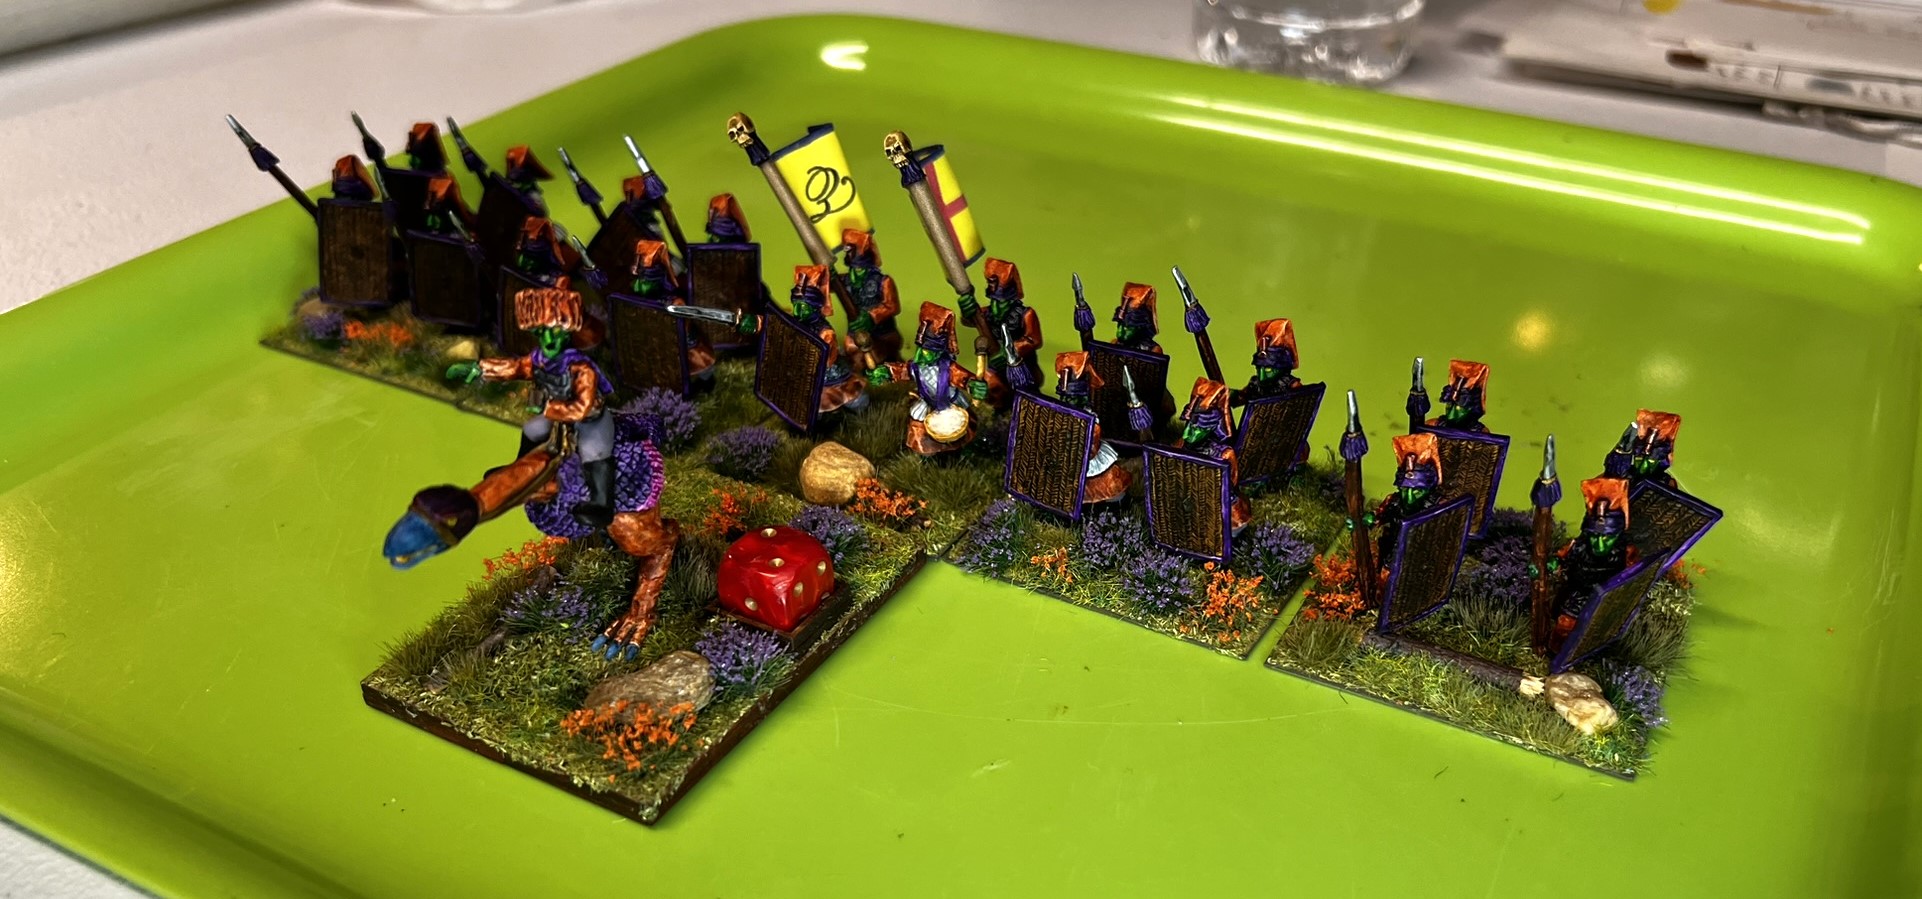
Group Shots


Admittedly, early work on the color scheme and the painting and shield difficulties I encountered were dampening my enthusiasm for this unit. However, once I completed it, I found that I really do like it.
I’d be very interested in your feedback on the unit and its colors as they are far from run of the mill. Ozz is supposed to be colorful – and these guys certainly fit that bill.
I do hope that you enjoyed seeing the EBIR and reading the post. Next up will be a new Winkie artillery unit for Dave’s challenge – and soon. Thanks for looking!
And yes, I still have much more Ozz to come…
Miscellaneous details and references for those interested in that sort of thing:
For all of my previous posts on Wars of Ozz games, figures, units, and other related projects – please see this page.
PAINTS, INKS, GLAZES, SHADES, WASHES, PIGMENTS, FLOCKING, GLUES AND MORE THAT I USED ON EVORA’S BODYGUARD INFANTRY REGIMENT:
- Rectangular Brigade MDF base (used as a Regimental base) from Old Glory
- 2″ square steel bases from Wargames Accessories (#21)
- 1.25″ x 1″ square steel base from Wargames Accessories (#FOW1)
- #19 x 1/2″ steel nail (for pinning)
- Paper clip wire (for pinning)
- 3/4″ Everbilt steel washers (ABA)
- Gorilla Glue
- Poster tack
- Elmer’s PVA Glue
- Black Sharpie pen
- Vallejo Premium Primer “White”
- Vallejo “Flow Improver”
- Vallejo “Airbrush Thinner”
- Secret Weapon Washes “Heavy Body Black” (wash)
- Citadel “Nuln Oil” (wash)
- Vallejo Model Color “White”
- Citadel “Contrast Paint – Snakebite Leather”
- Citadel “Contrast Paint – Contrast Medium”
- Army Painter “Speed Paint – Purple Swarm 2.0”
- Citadel “Seraphim Sepia” (wash/shade)
- Army Painter “Purple Tone” (shade/wash)
- P3 “Brown Ink” (ink)
- Army Painter “Speed Paint – Enchanted Steel 2.0”
- Citadel “Contrast Paint – Apothecary White”
- Reaper MSP “Pure Black”
- Citadel “Warpfiend Grey”
- Vallejo “Thinner Medium”
- Vallejo Model Color “Wood Grain”
- Vallejo Model Color “English Uniform”
- Vallejo Mecha Color “Off White”
- Army Painter “Speed Paint – Nuclear Sunrise 2.0”
- Army Painter “Speed Paint – Talos Bronze 2.0”
- Vallejo Mecha Color “Magenta Fluorescent”
- Citadel “Contrast Paint – Ironjawz Yellow”
- Citadel “Retributor Armour”
- Citadel “Ushabti Bone”
- Vallejo Model Air “Wood”
- Army Painter “Speed Paint – Pallid Bone 1.0”
- Vallejo Model Air “Steel”
- Martha Stewart Crafts “Brushed Bronze”
- Citadel “Contrast Paint – Ork Skin”
- Citadel “Contrast Paint – Striking Scorpion Green”
- Vallejo Mecha Color “Green Fluorescent”
- Vallejo Model Ink “Black Green” (ink)
- Vallejo Mecha Color “Blue Grey”
- Army Painter “Blue Tone” (shade/wash)
- Army Painter “Speed Paint – Moonlake Coral 2.0”
- Army Painter “Speed Paint – Speed Paint Medium 1.0”
- Citadel “Nuln Oil GLOSS” (wash/shade)
- Battlefront “Sherman Drab”
- Citadel “Agrax Earthshade” (wash/shade)
- Vallejo Mecha Varnish “Gloss Varnish”
- Vallejo Mecha Varnish “Matte Varnish”
- Pendraken 12mm dice frames
- Army Painter “Battlefield Grass Green” (flocking)
- Army Painter “Battlefield Field Grass” (flocking)
- Small stones
- Twigs
- Army Painter “Lowland Shrubs” (flocking)
- Gamers Grass “Green Meadow Tufts” (flocking)
- Army Painter “Battlefield XP Woodland Tufts” (flocking)
- Shadow’s Edge Miniatures “6mm Dark Forest Dark Purple Tufts” (flocking)
- Gamers Grass “Orange Flowers” (flocking)
- Blue Sharpie pen
- Brown Sharpie pen
- Flags printed on card stock
As you may want to check out the Wars of Ozz figures’ range – there are two places to get them and the rules (and I make no money from this btw). The game rules and the figures are available from the following two places:
In the US Old Glory has a site – Wars of Ozz Miniatures.
In the UK go to Sally 4th.