In WWII, the Royal Italian Army was heavily engaged in the North African Campaign starting in June 1940. They fought first alone against the British and then in concert with Nazi Germany’s Afrika Korps after February 1941. The tide of battle ebbed and flowed across North Africa. The Italians and the Germans formed the Panzerarmee Afrika. They battled the British 8th Army in Egypt, Libya, and eventually Tunisia. There, along with US and UK troops from Operation Torch, Axis forces were driven from North Africa in May 1943. Shortly afterwards, in early July of 1943, Operation Husky – the invasion of Sicily – occurred. By the end of that month, Mussolini was ousted. Italy then requested a separate armistice and was out of the war. German forces seized any available Italian war materiel and continued to fight in Italy. Italy then was really in a state of civil war. Some Italian forces fought with the Allies. Others sided with the Germans. Partisan attacks were common – and continued even after the German surrender in April 1945.
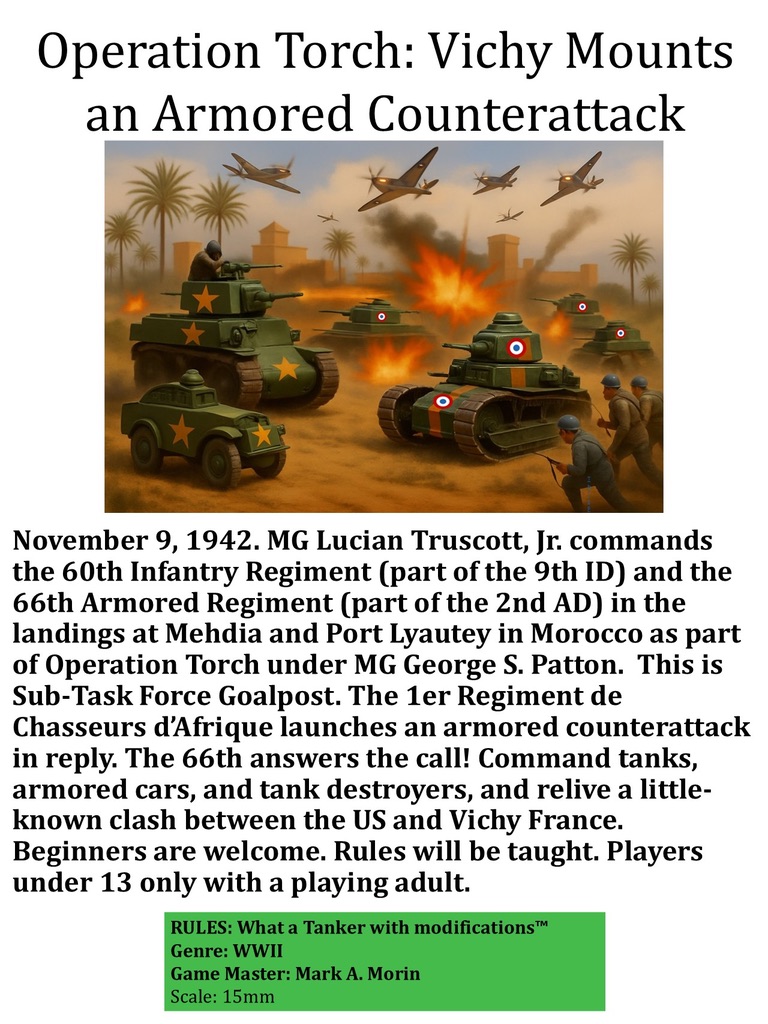
I have found the Royal Italian Army and its equipment interesting. At HAVOC I had run a big North Africa What a Tanker game back in 2019. At this year’s HISTORICON, discussions with one of the players intrigued me. We talked about a “what if” scenario for a “What a Tanker” game where I could have the French defending against the Italians. Mulling that over the summer, I decided to do it! I call it “Il Duce’s Desert Gamble“.
It’s 1942 or 1943. Here, the Allies do not launch Operation Torch. Instead, with the USSR on the verge of collapse, they make the disastrous decision to launch Operation Sledgehammer . It fails miserably. The USSR seeks a separate peace with Germany. The British 8th Army is routed and German forces advance towards the Middle East and its oil fields. The US and UK are in no position militarily or logistically to try any invasion anywhere in Europe for years. The US refocuses on Japan and the Pacific.
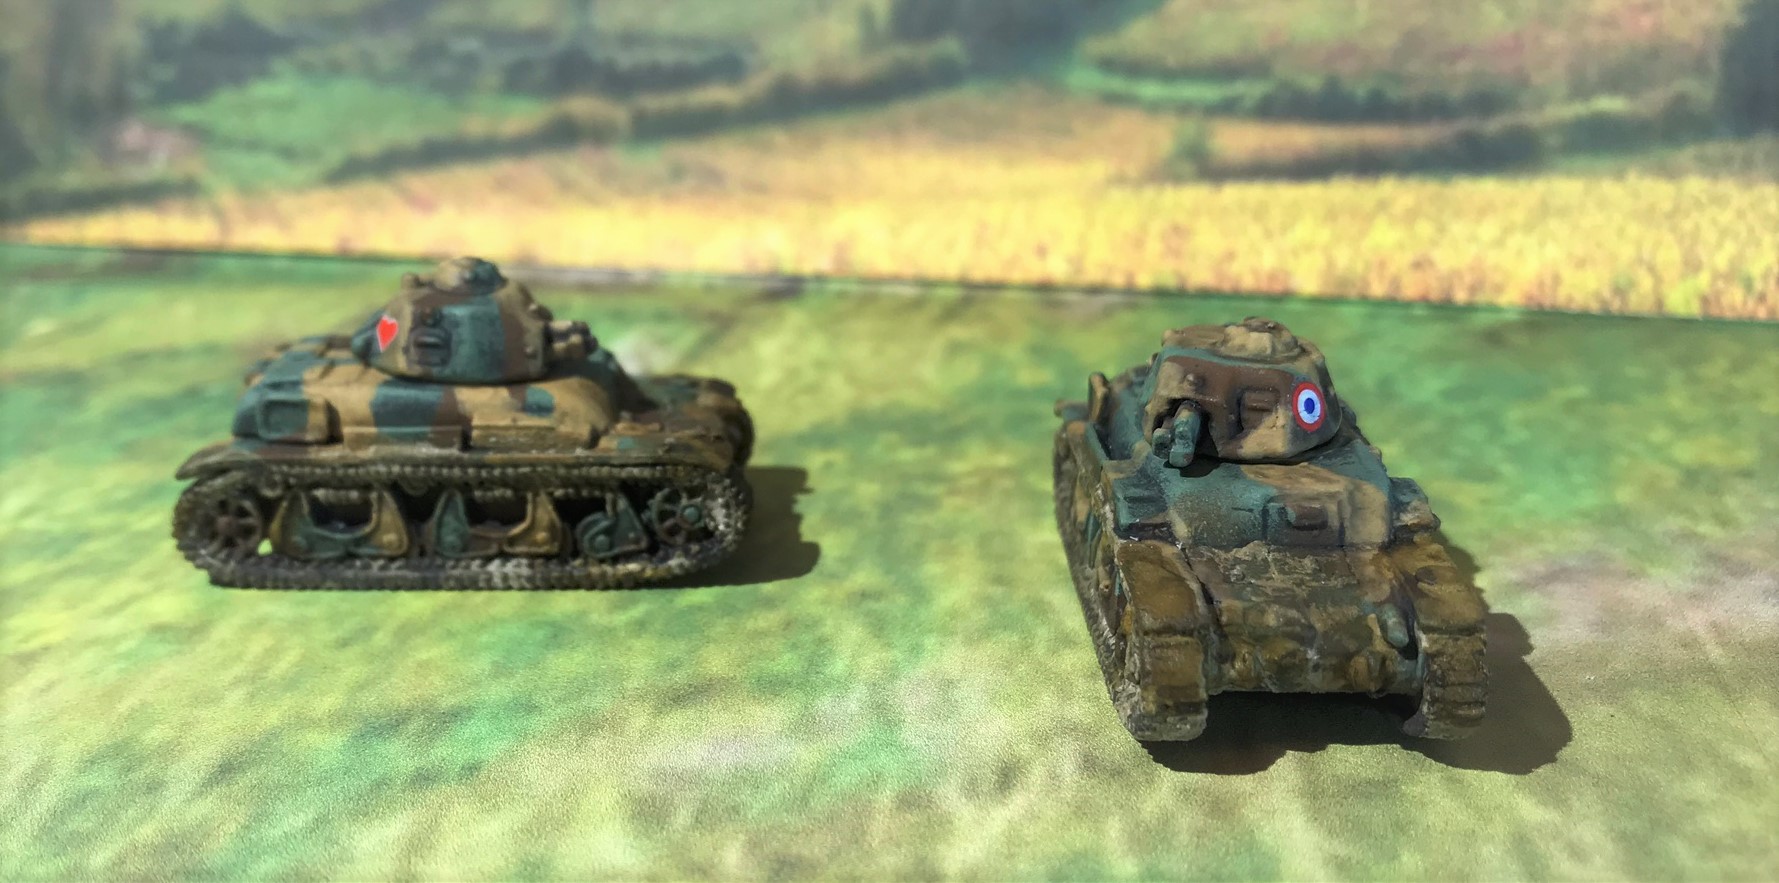
Meanwhile, Mussolini sees an opportunity to further his vision of a new Roman Empire that would dominate the Mediterranean. He sees France’s colonies as ripe for the taking, and gains Hitler’s assent to take them. This sets up my desert battle scenario between Vichy French armor and the Italians.
In preparation for the game – I have enough French from my Operation Torch game. I did however need to augment the Italians.
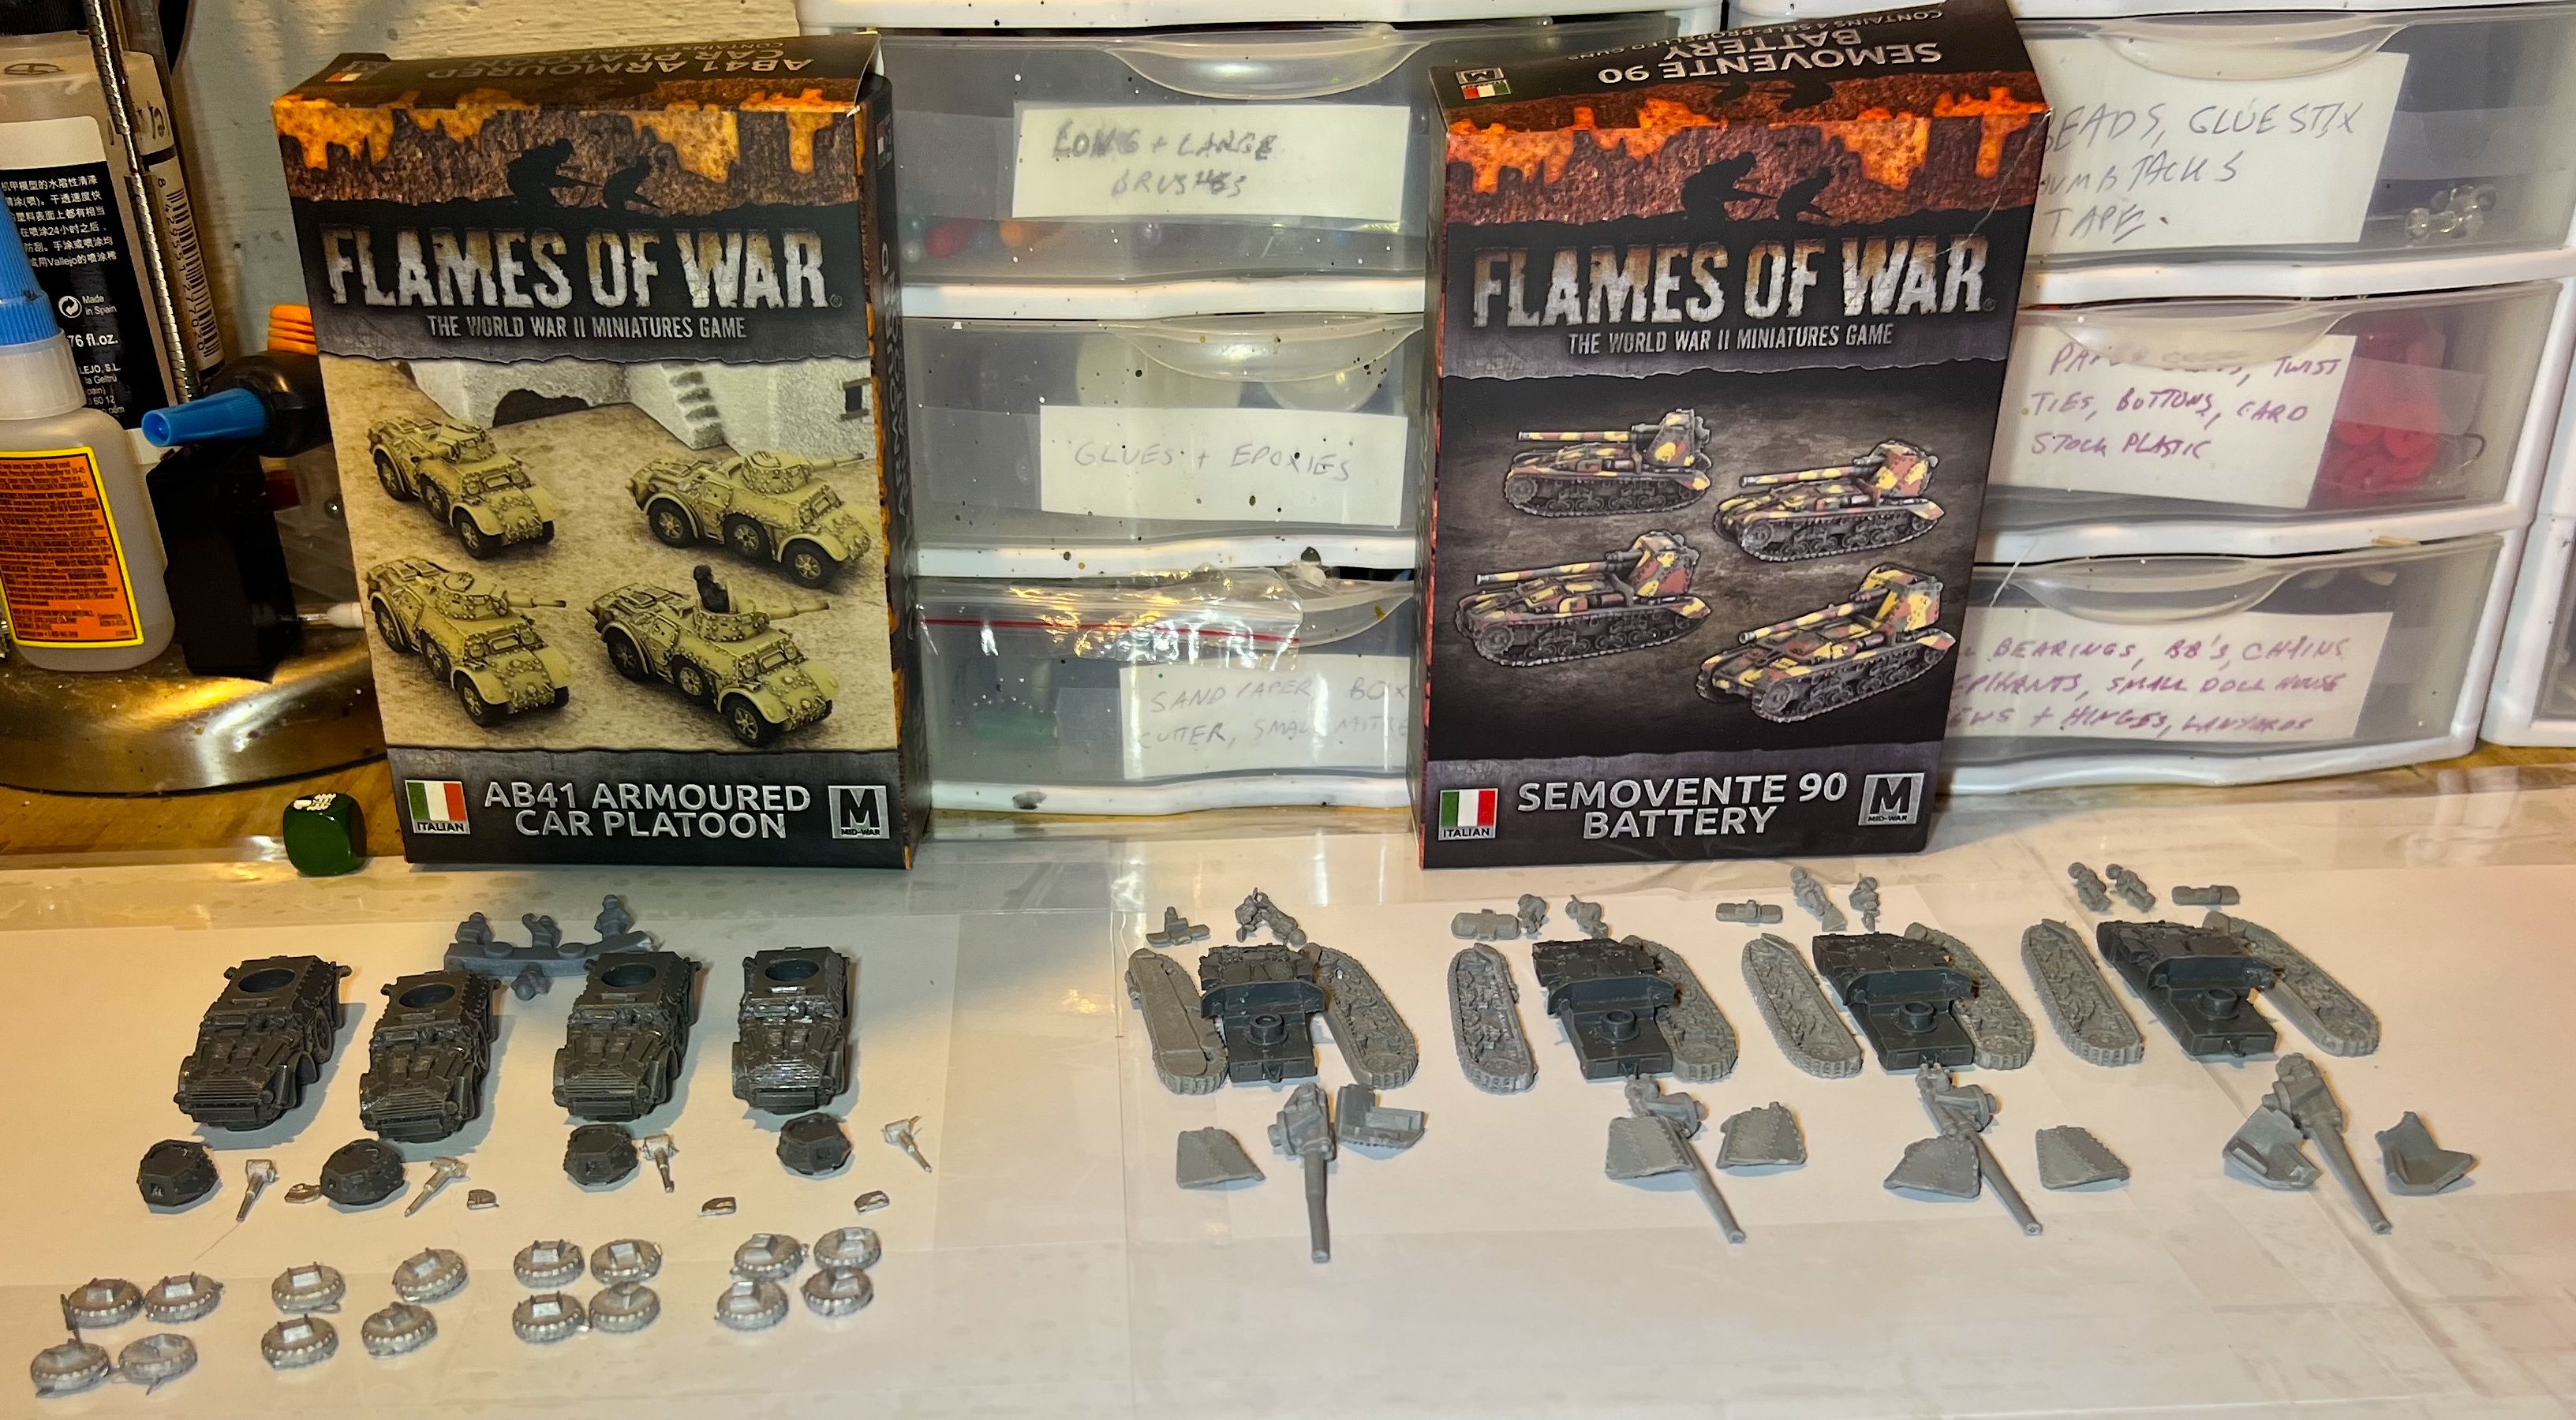
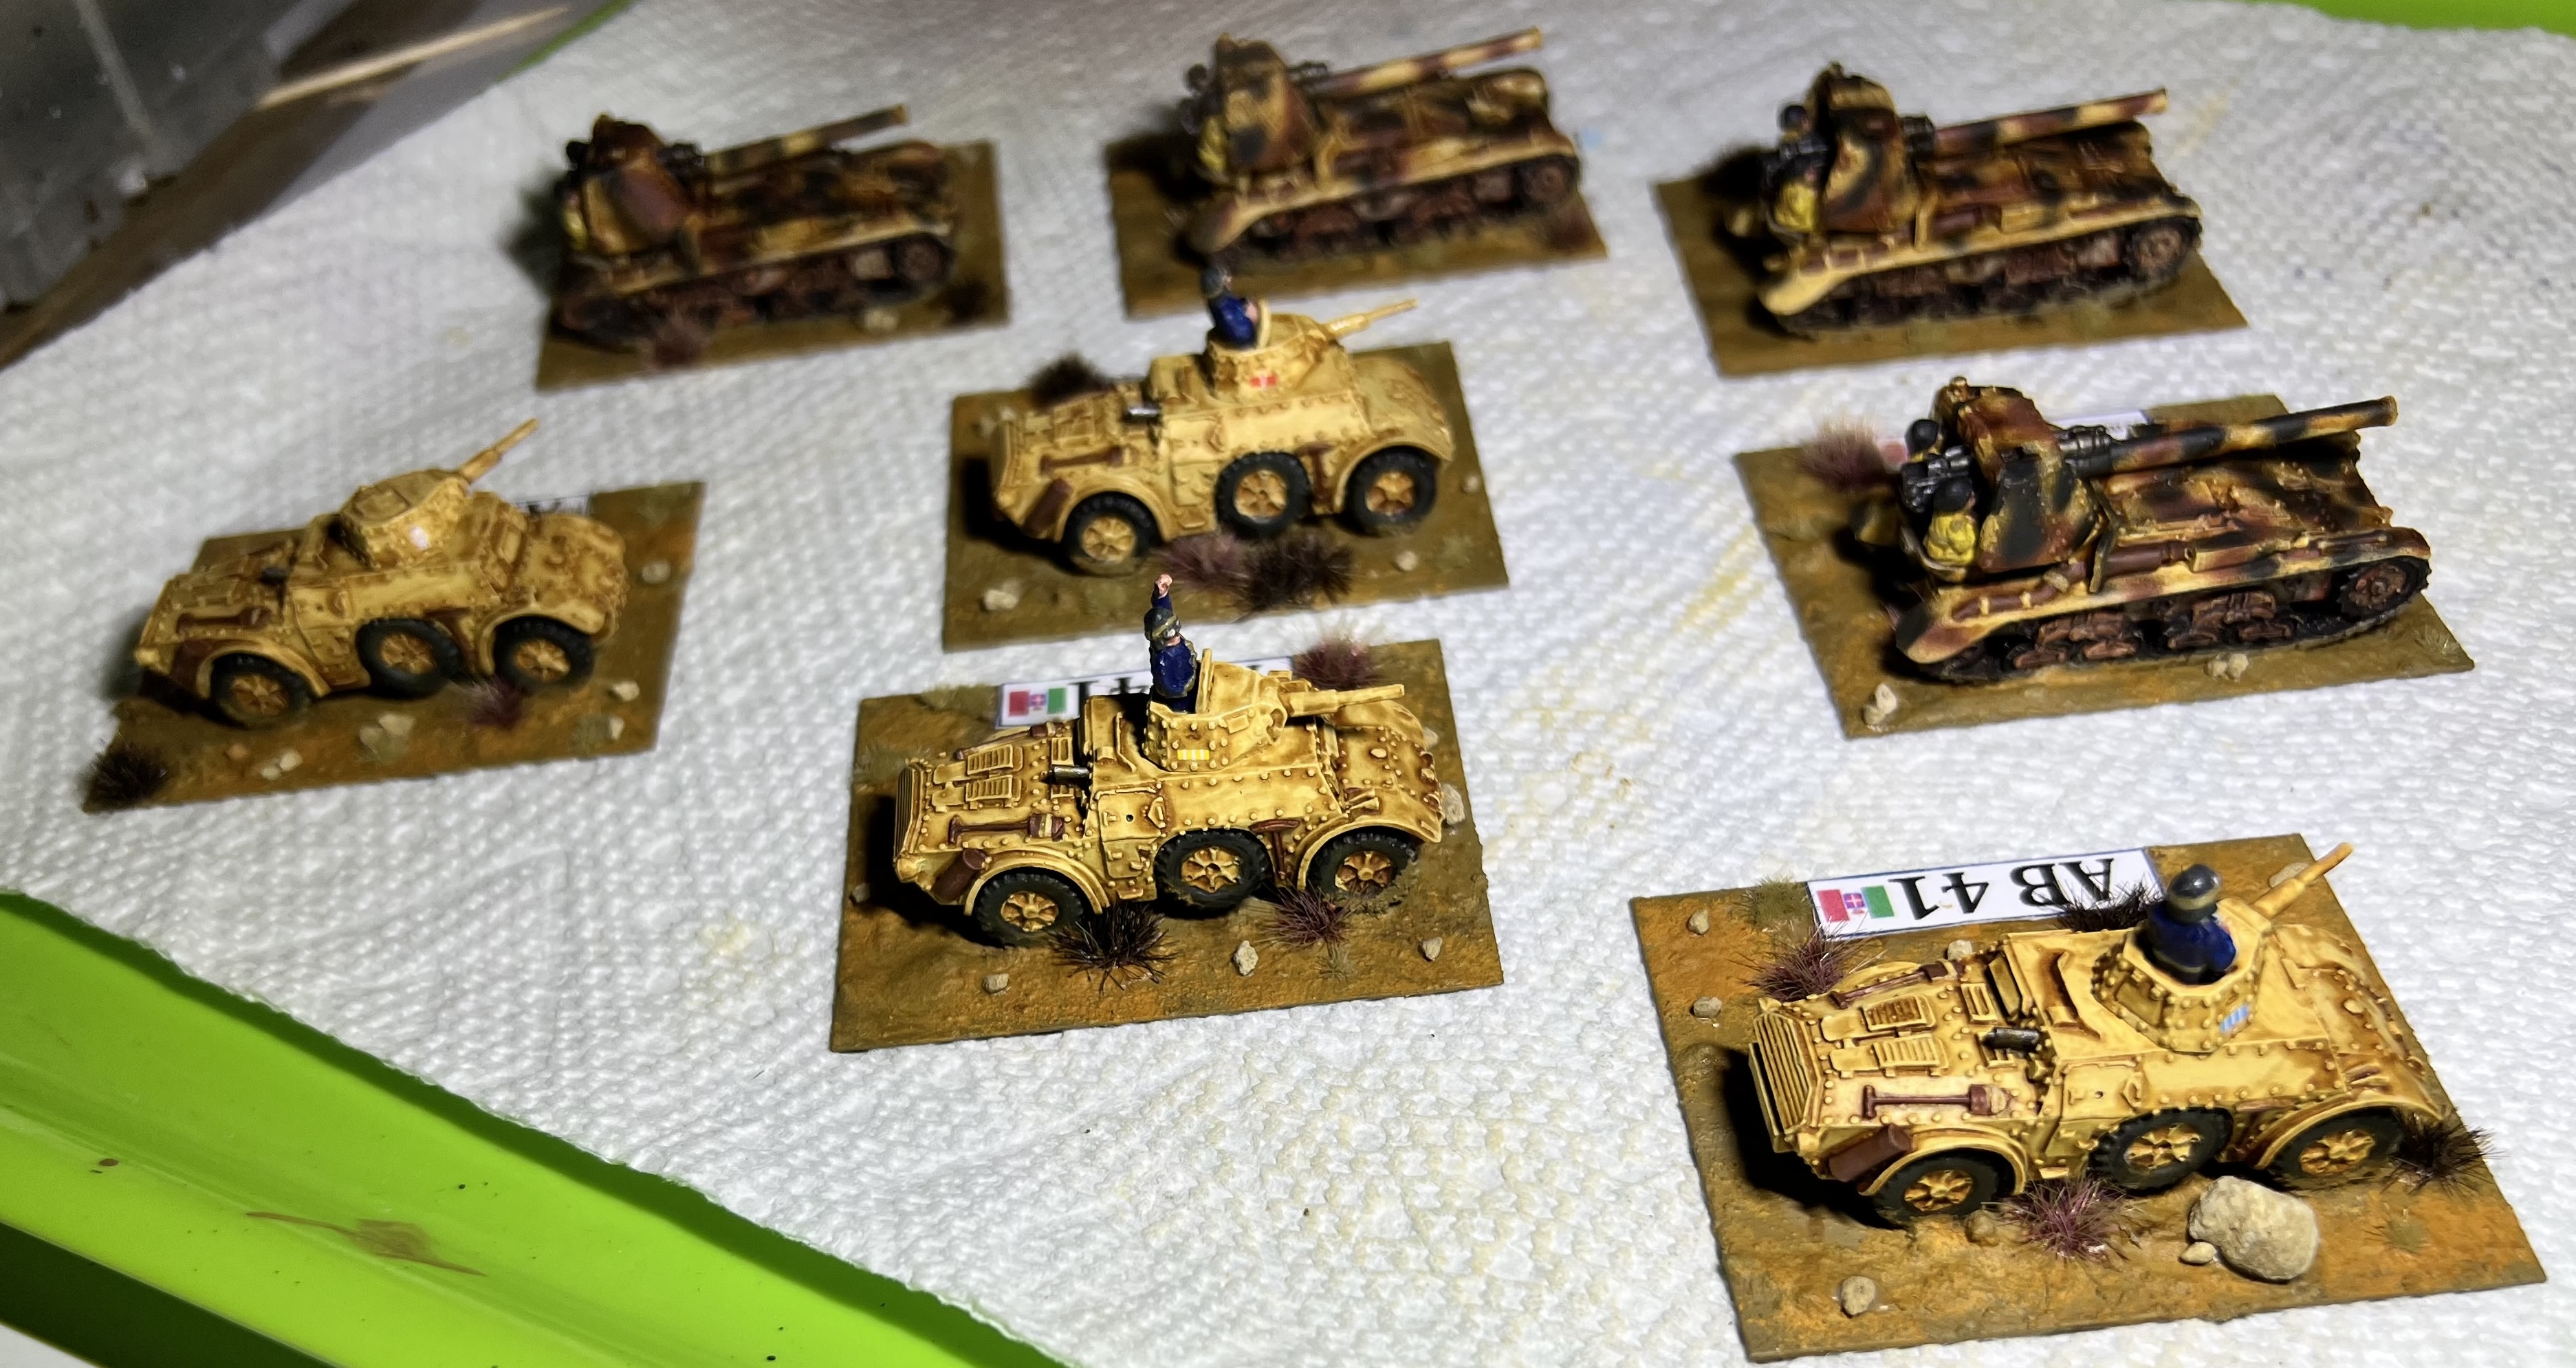
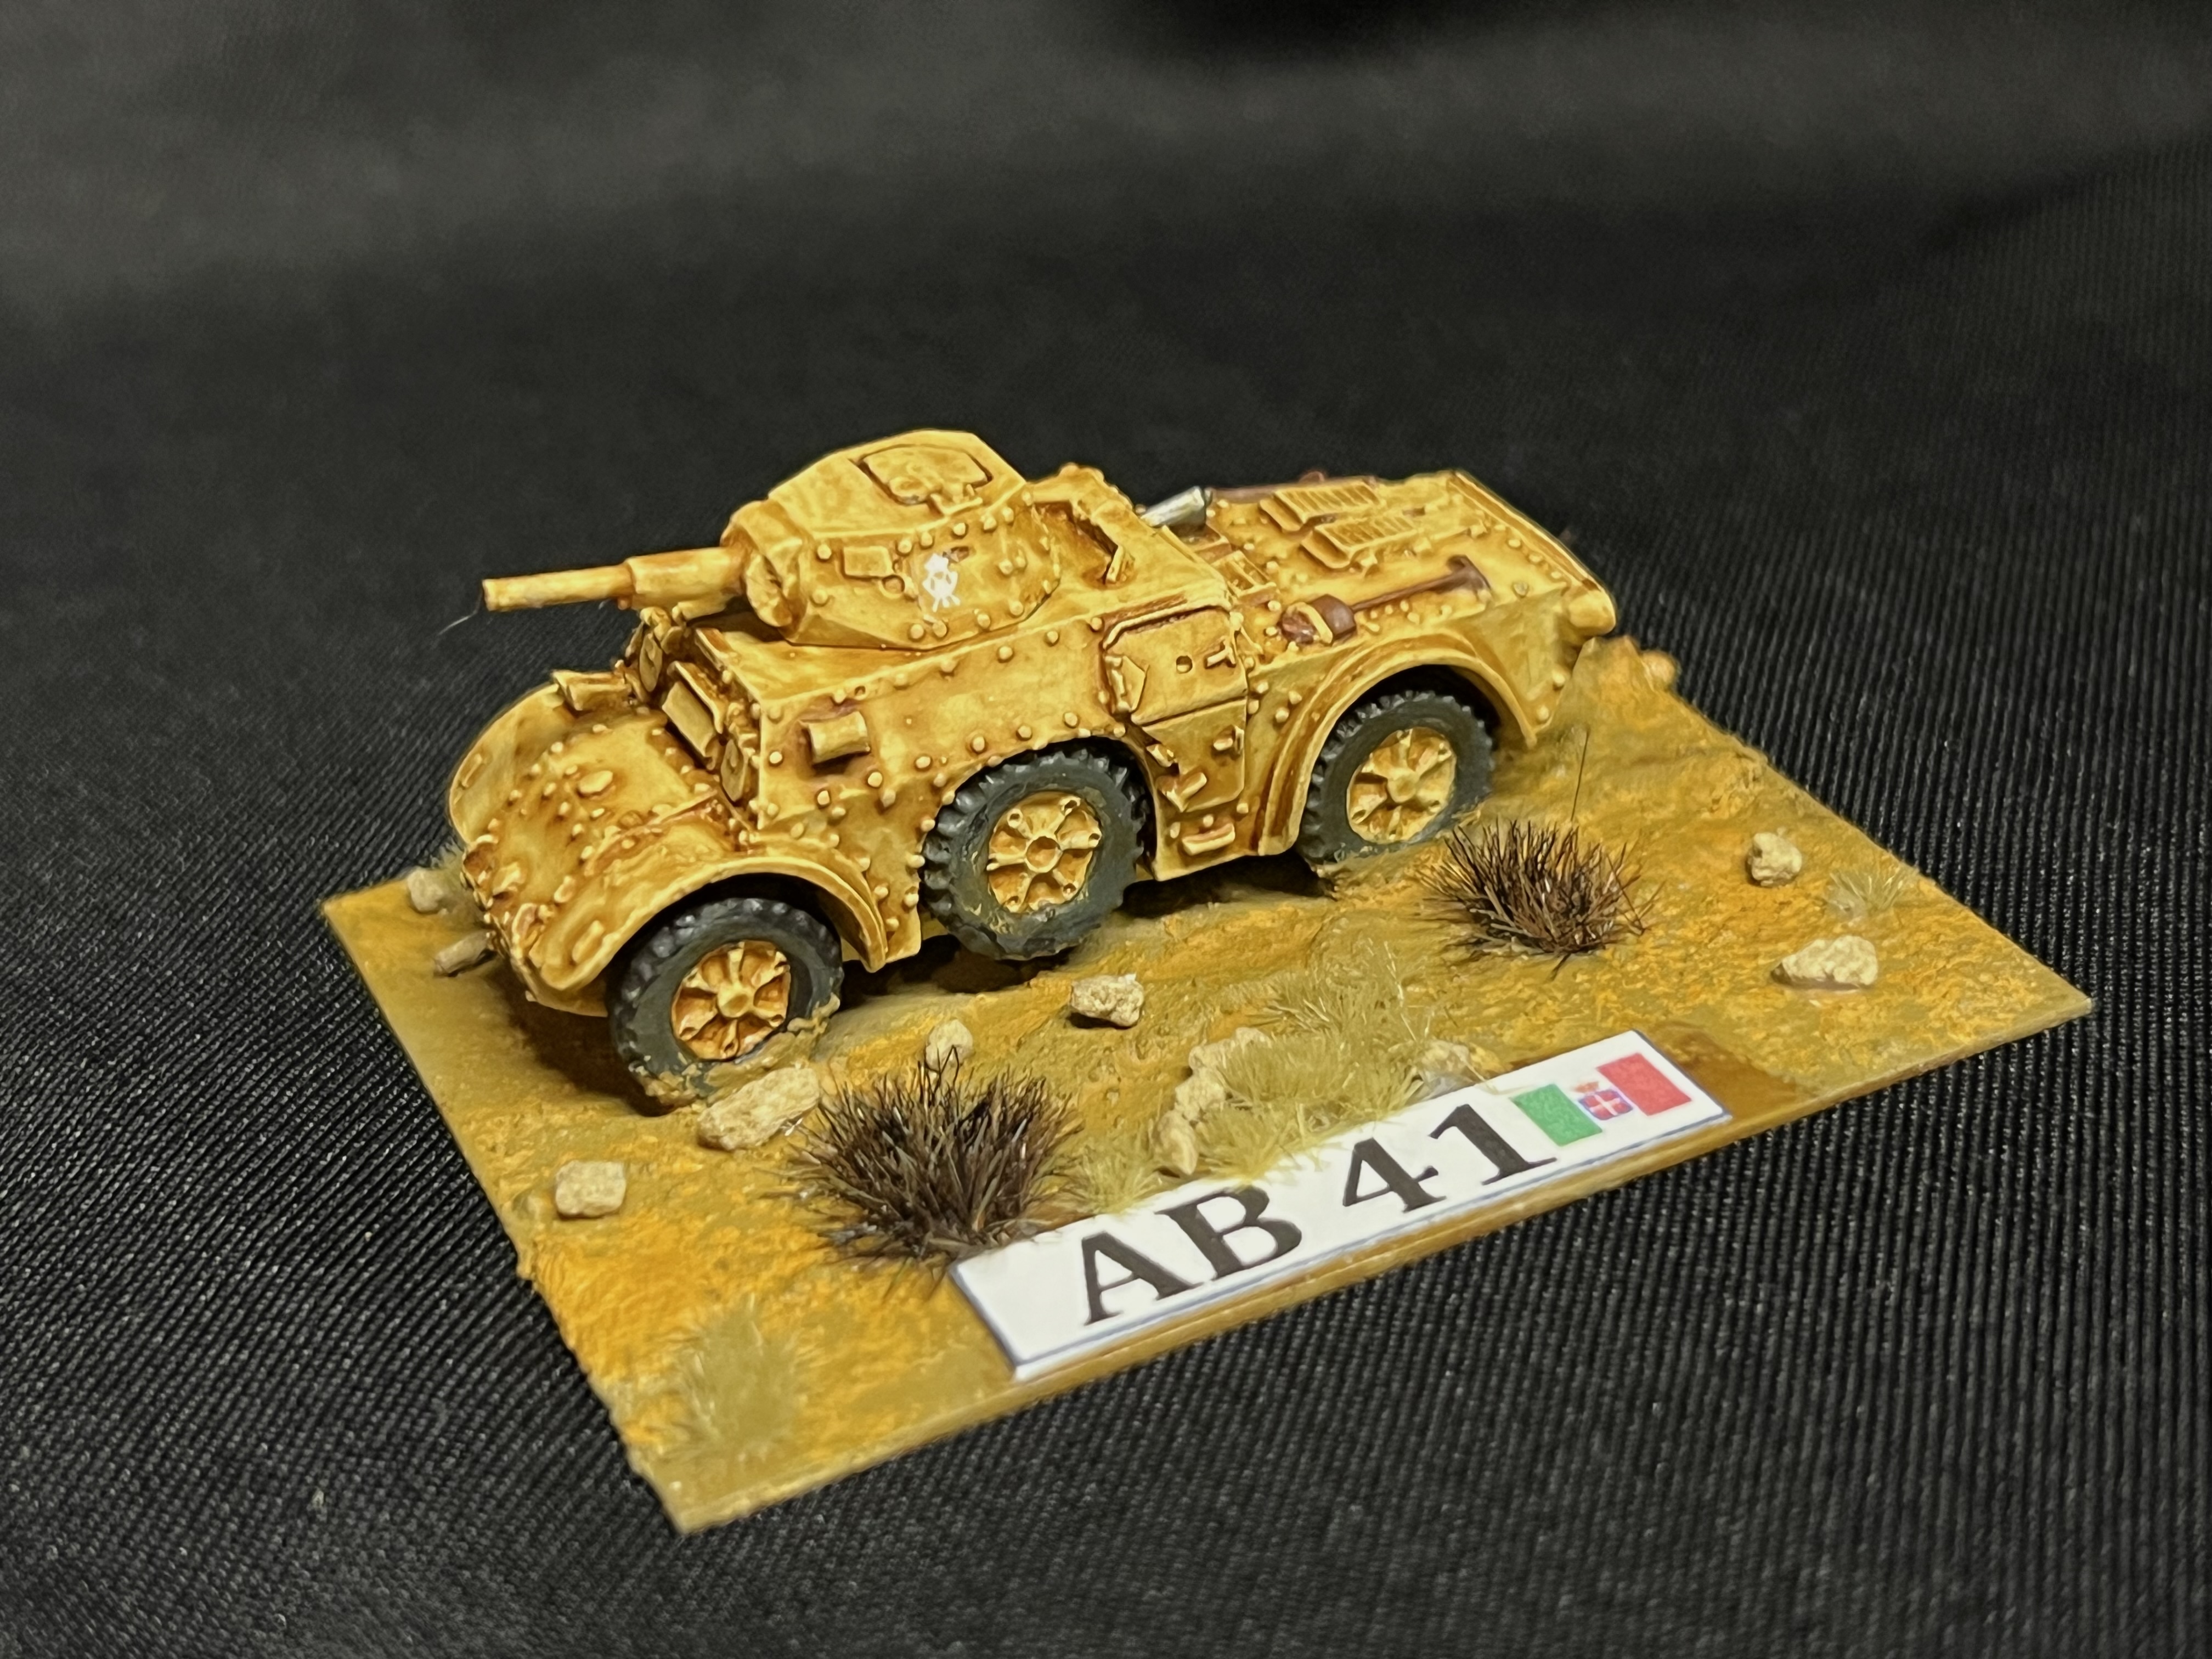
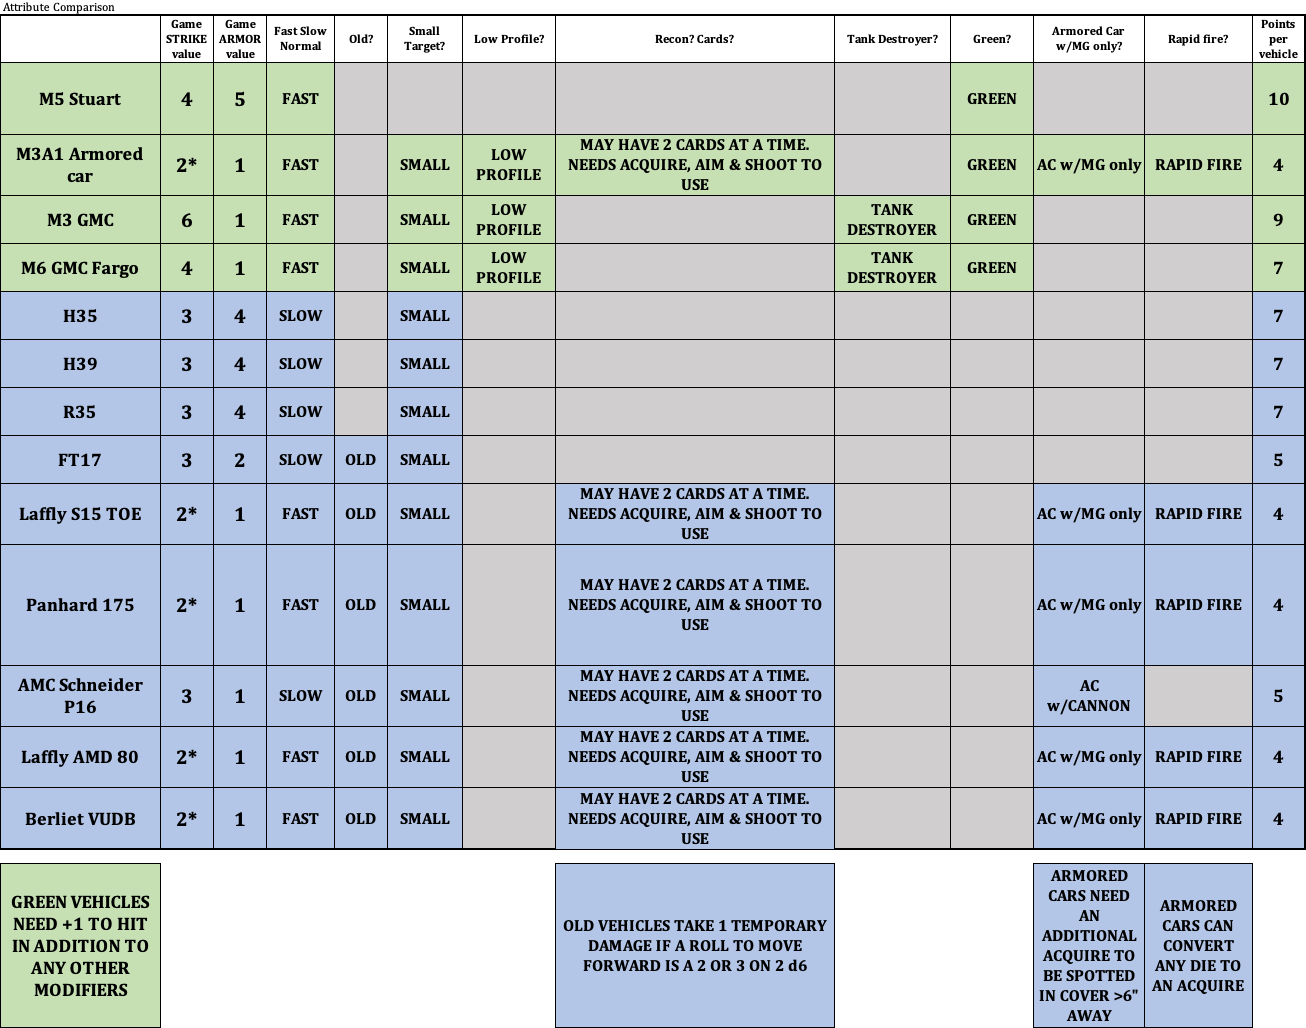
Specifically, I wanted to give them some armored cars. These include the Autoblinda Fiat-Ansaldo 41, also known as AB 41. I also wanted to provide another newer and more powerful tank destroyer, the Semovente 90/53. I use 15mm/1:100 scale models for these games. I acquired a 4-vehicle platoon of the AB 41’s. Simultaneously, I bought a 4-vehicle battery of the Semovente 90/53’s. Both kits are from Battlefront (Flames of War).
The AB 41 had a 20mm Breda autocannon – similar to the Panzer II- with decent anti-armor penetration capabilities. Its armor was effective against infantry small arms. 667 were built, and served everywhere the Royal Italian Army fought. It served also post-war until the mid-1950’s.
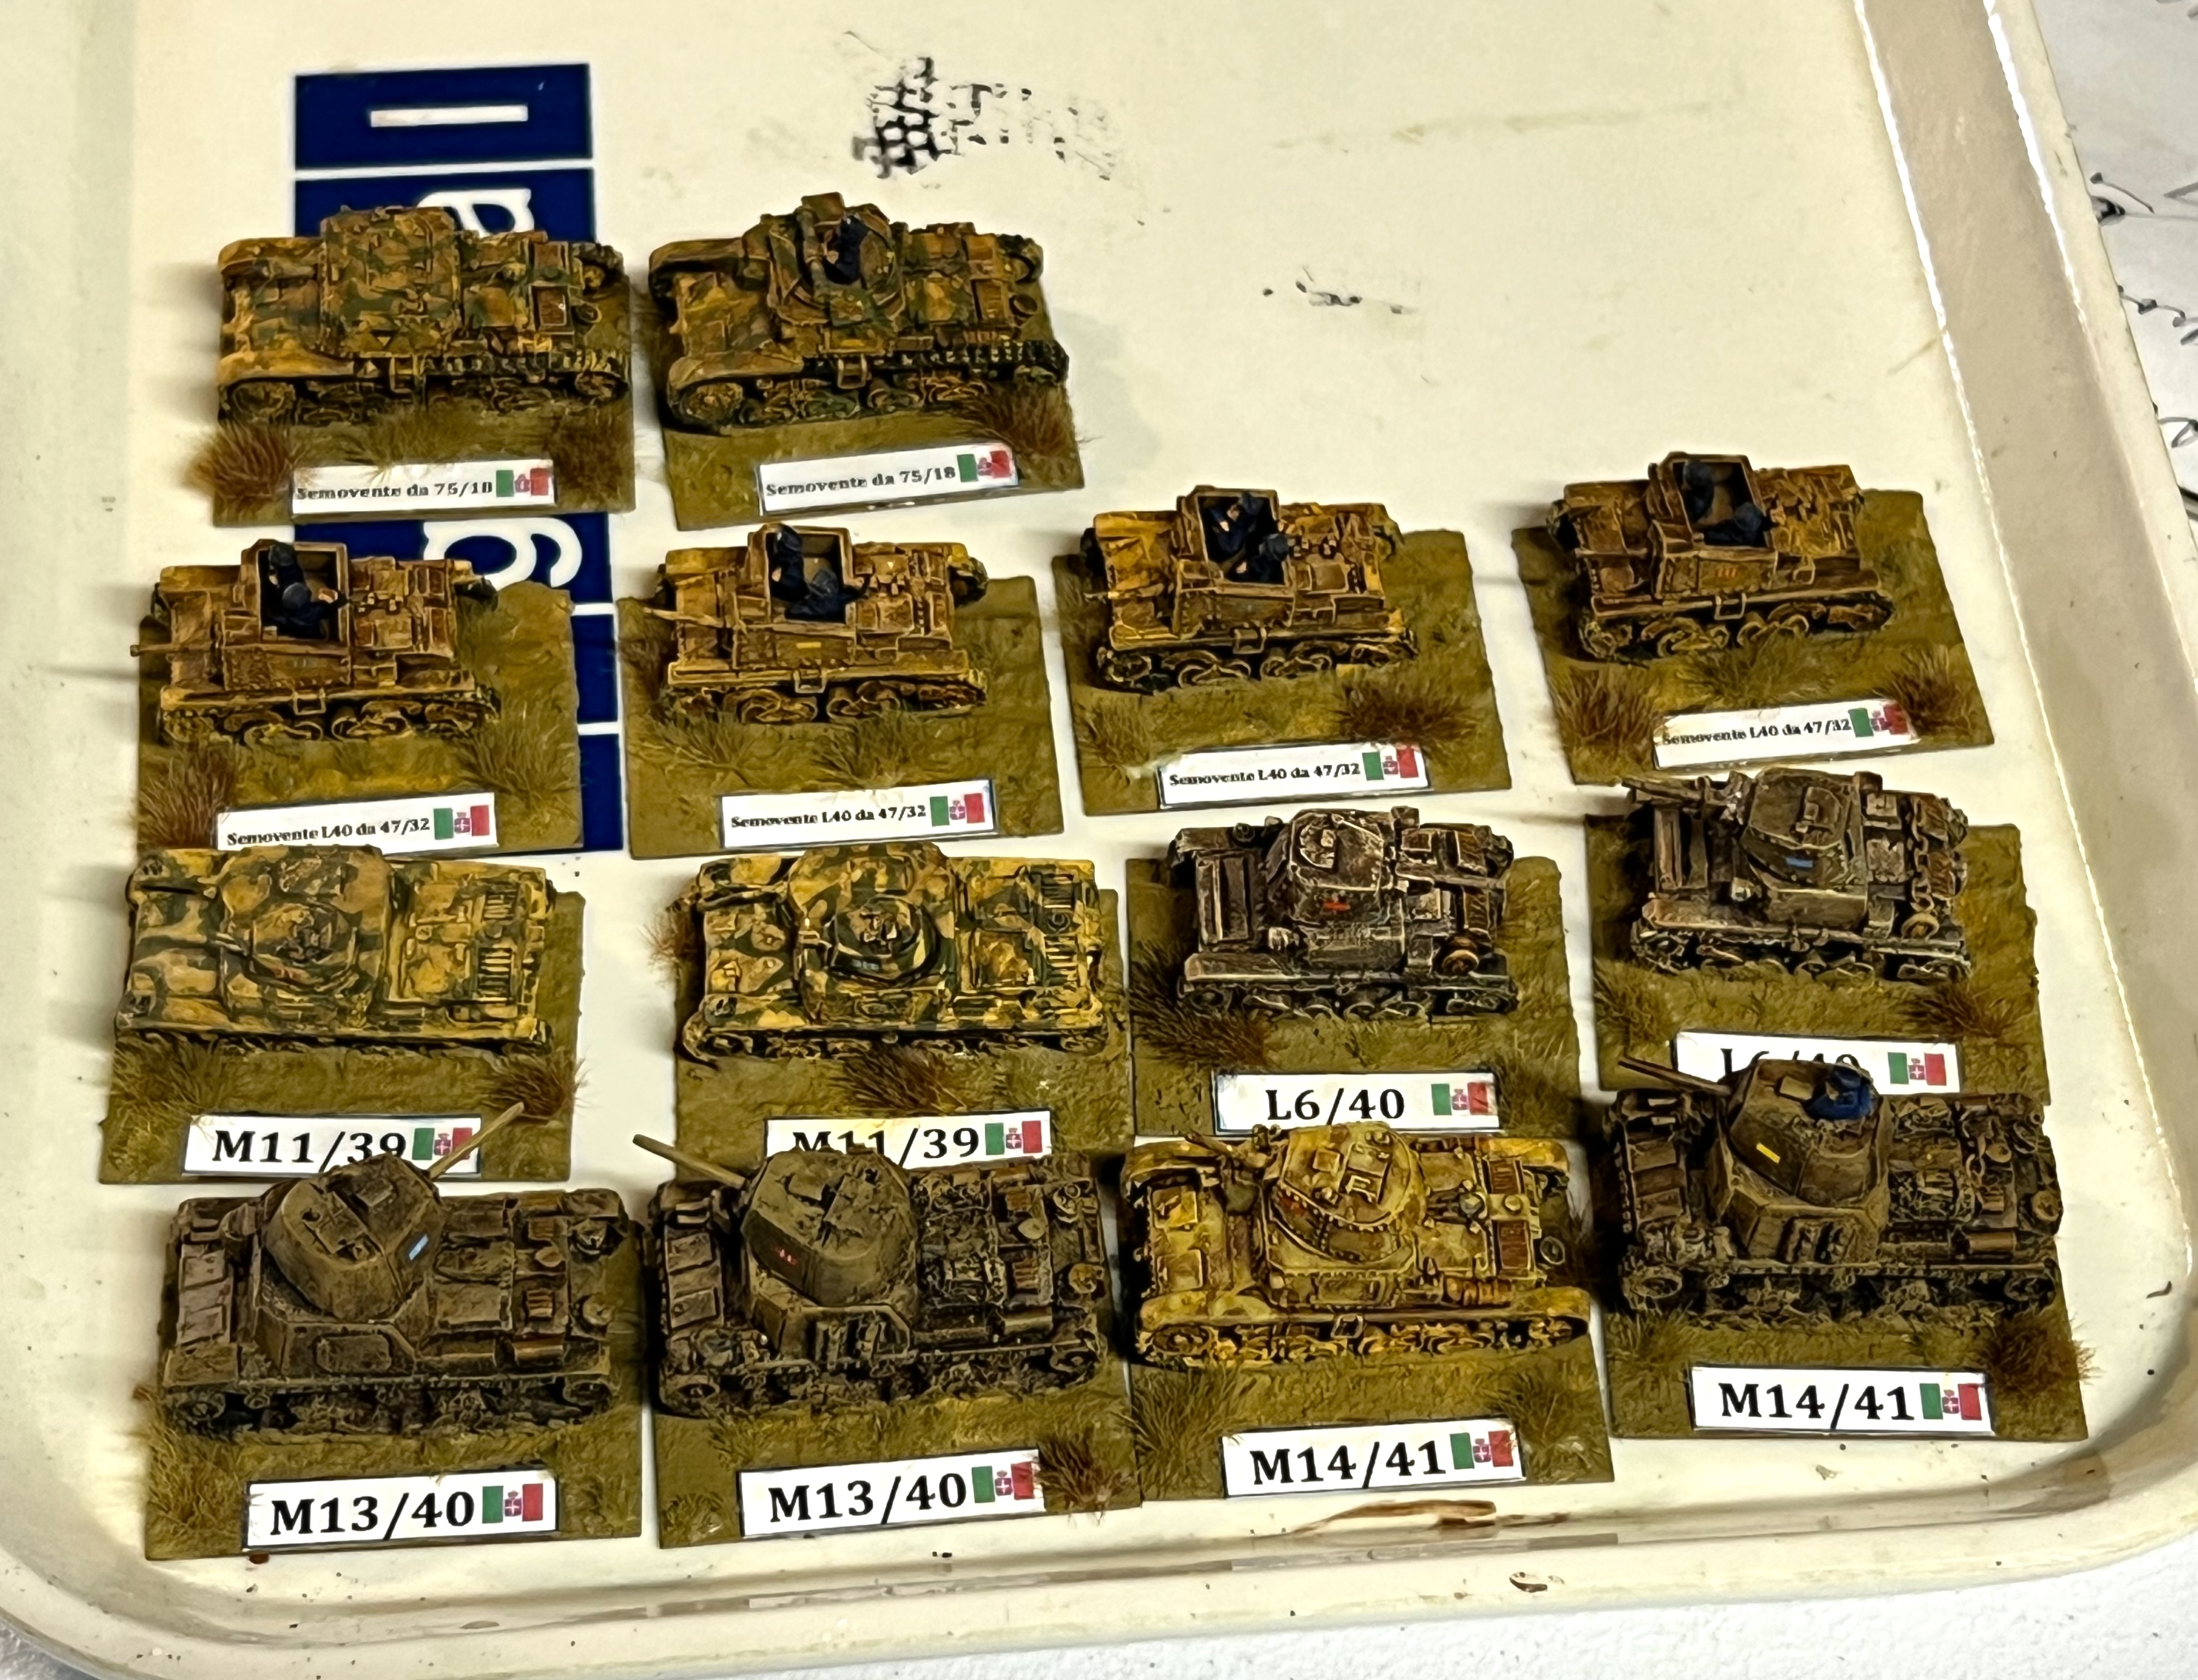
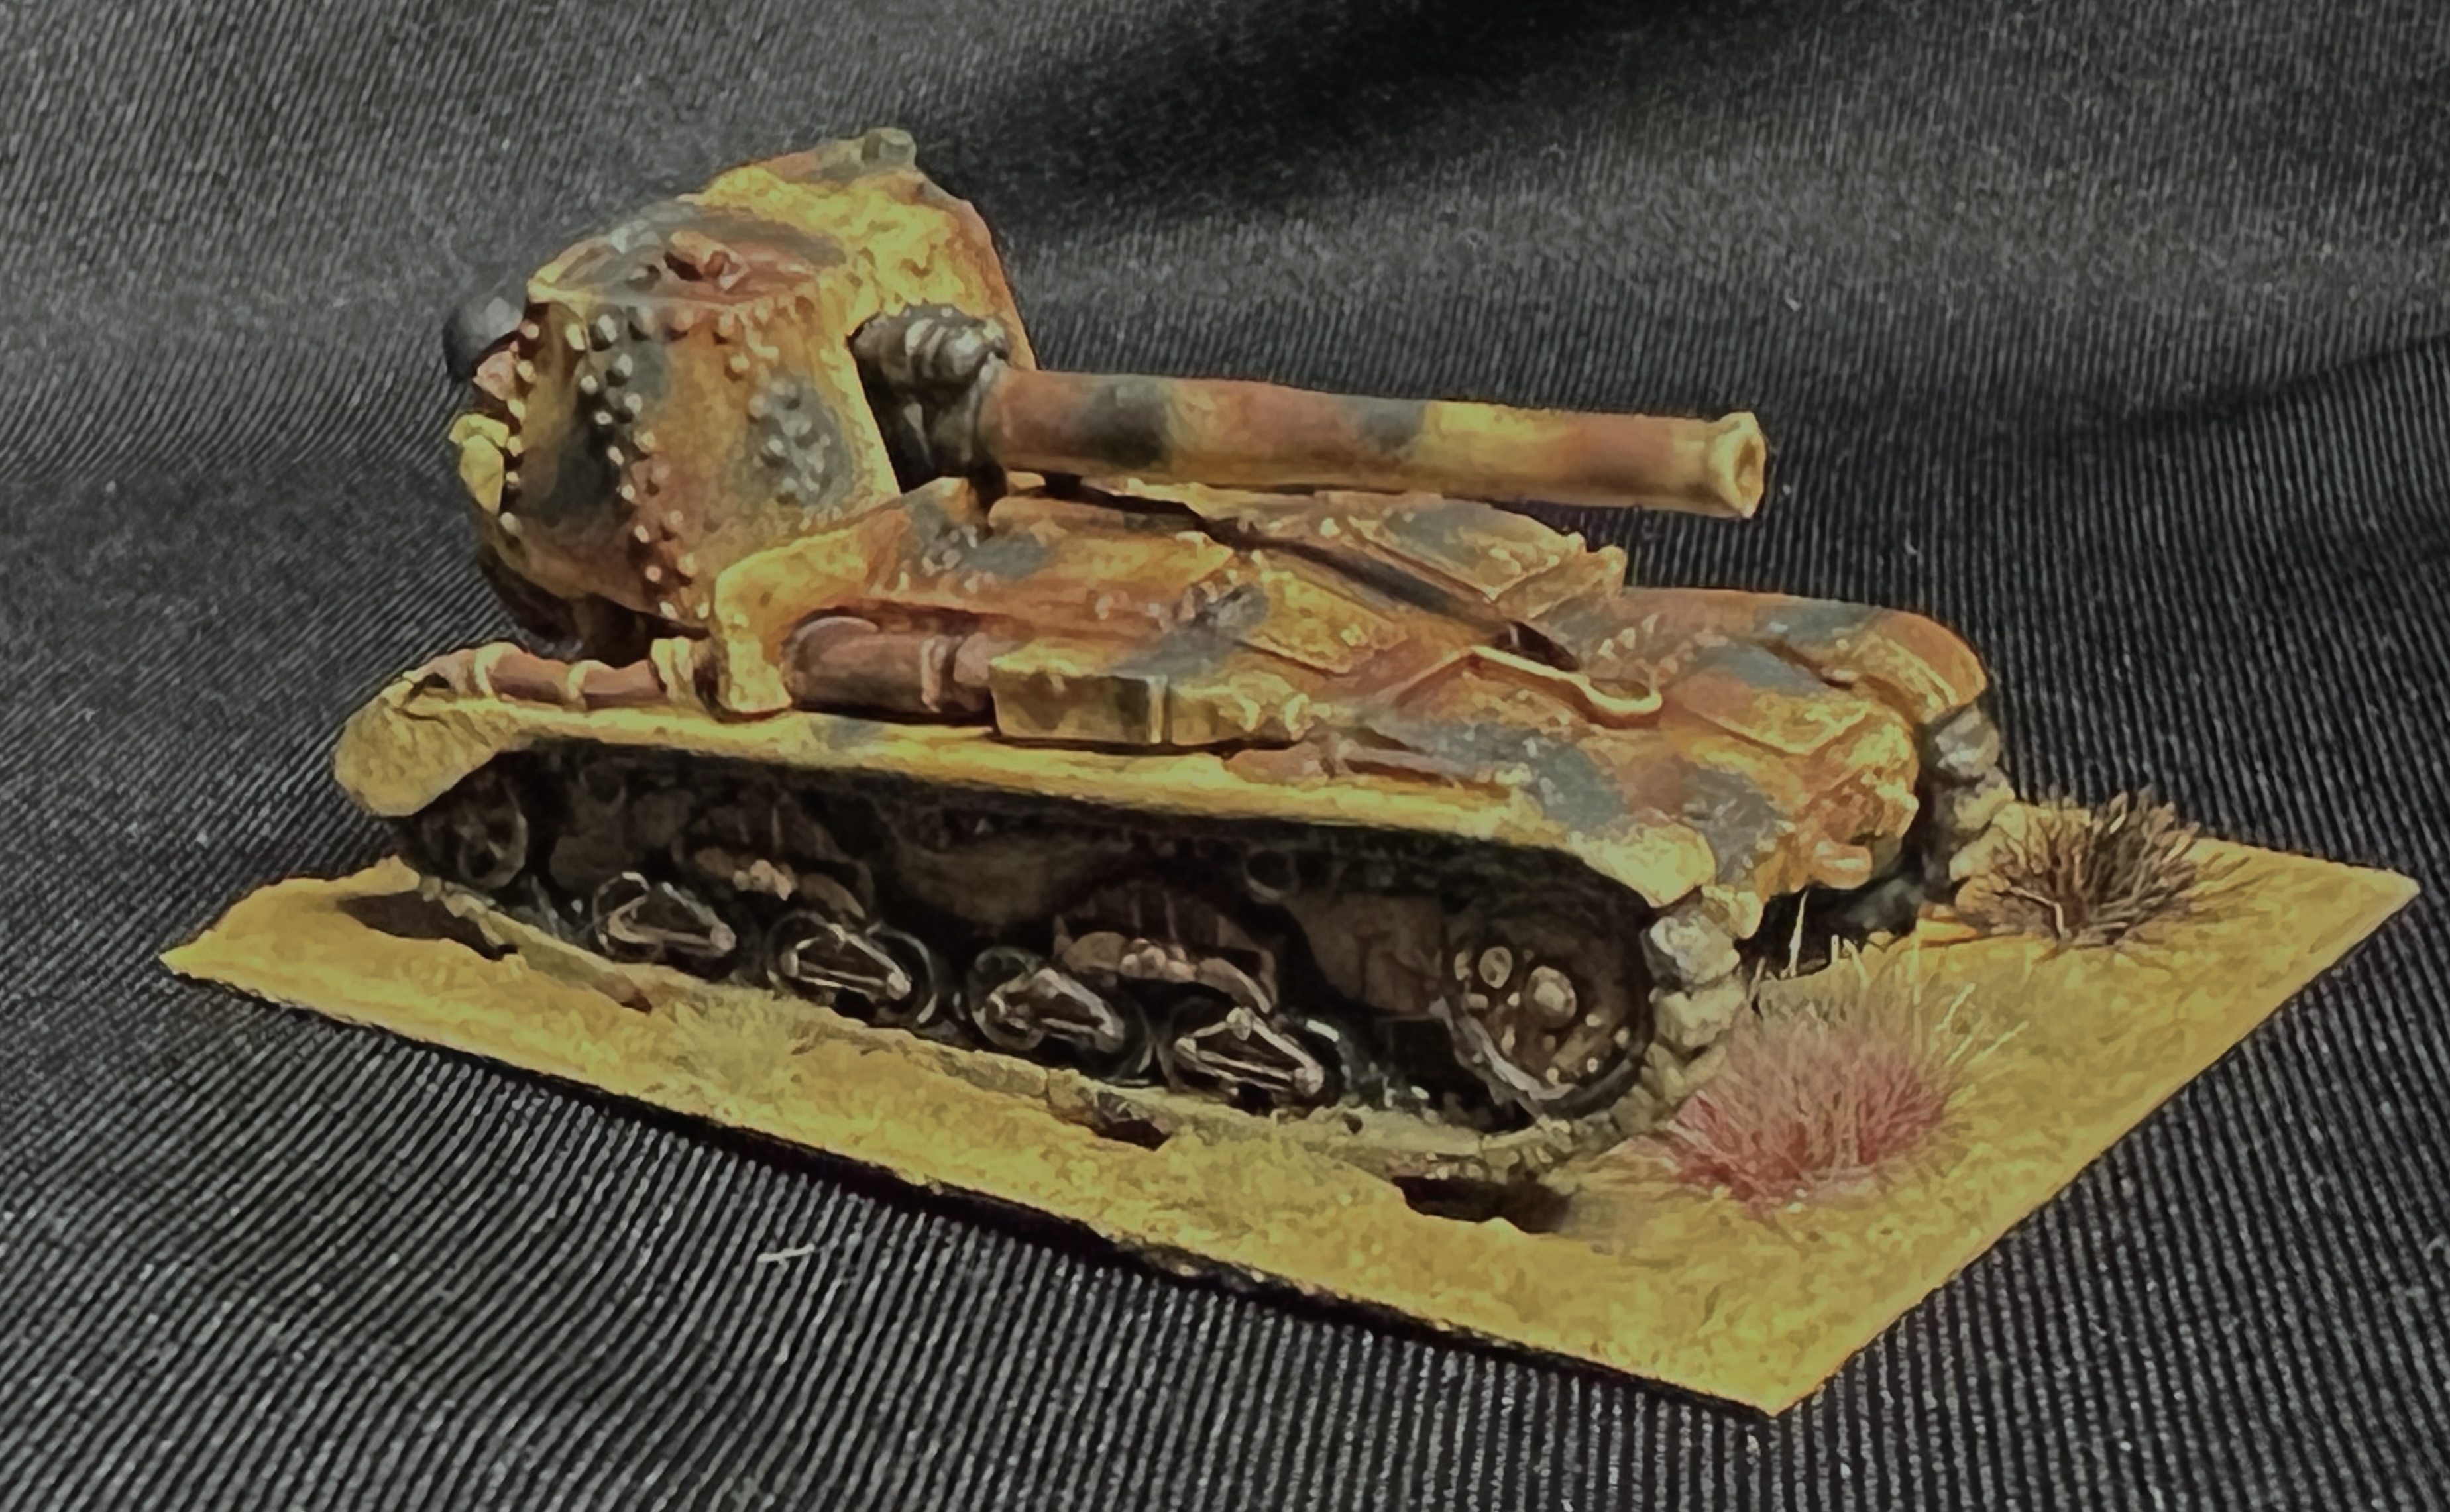
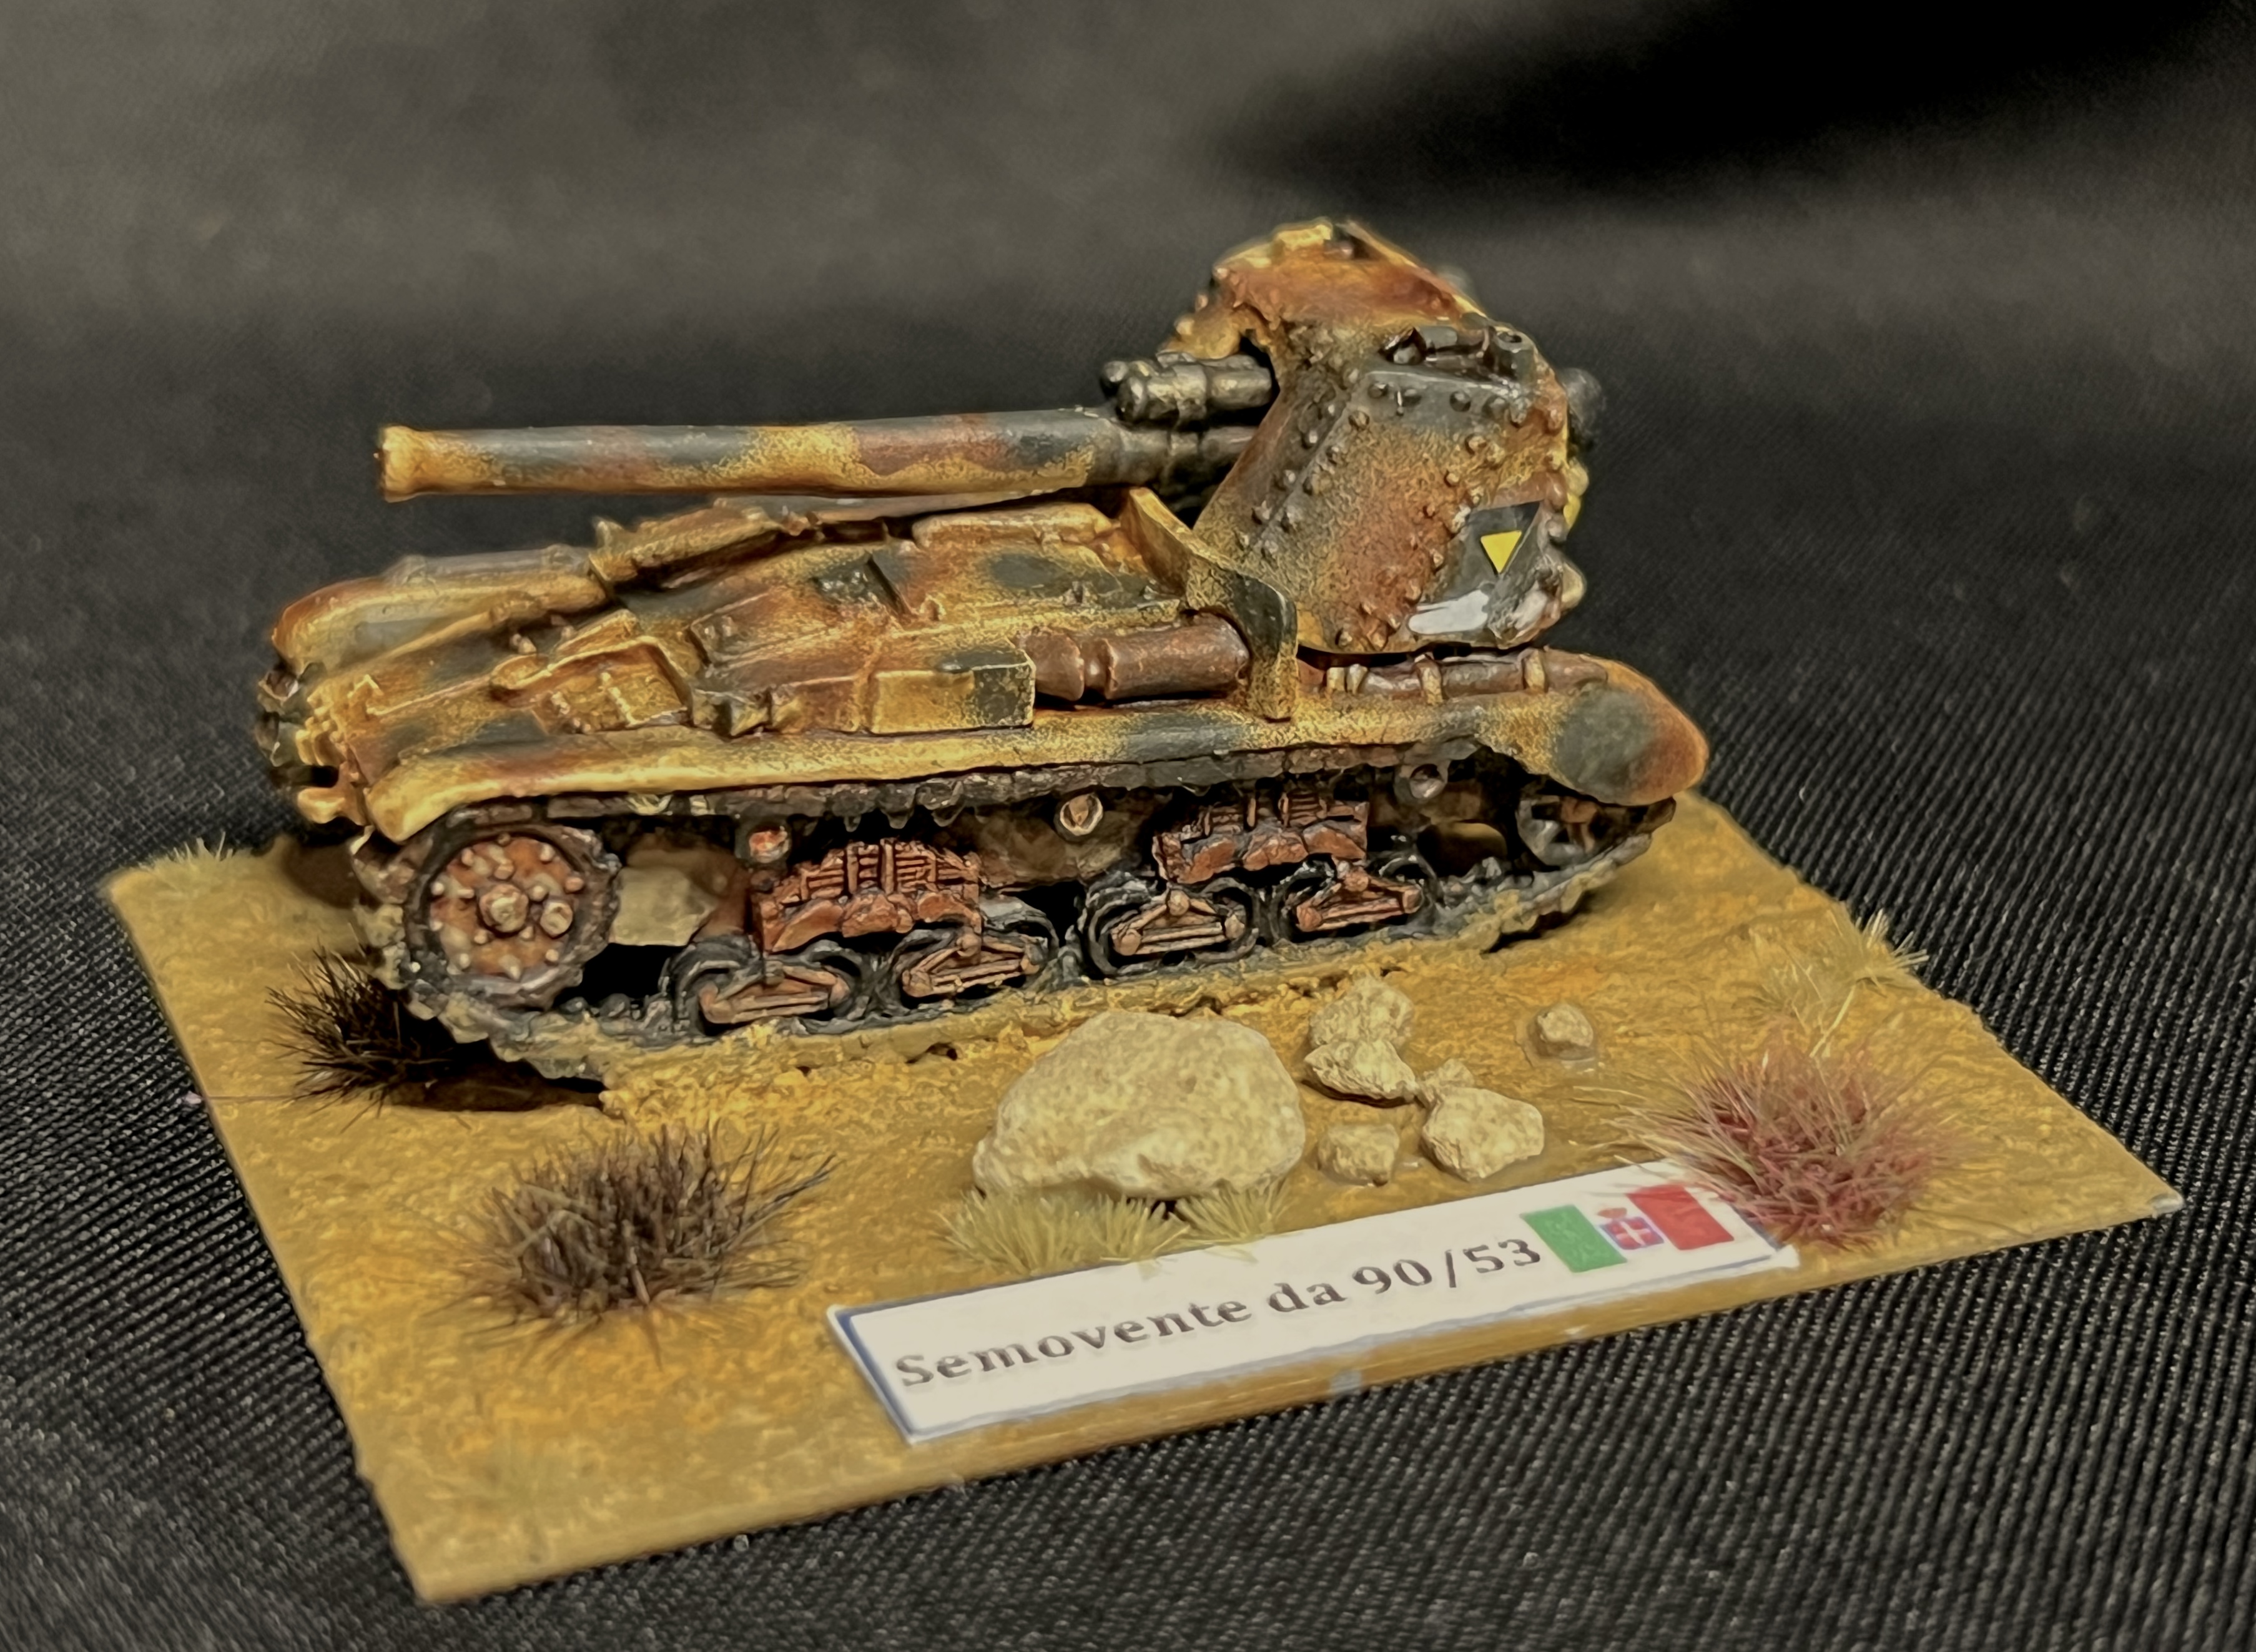
The Semovente 90/53 was built too late and in too few a quantity (only 30 were ever built) to see much WWII action. It had some (not much) experience in North Africa and Sicily under Italian control. The Germans also used seized examples. It’s design was inspired by the Italian experience on the Eastern front. The Italians there found that they had no way of stopping T-34’s or other more modern armor. It took a 90mm cannonne da 90/53 anti-aircraft gun and put it on an M14/41 tank chassis. The gunners would be exposed as they were behind a mantlet. It also needed an L6 tank modified to carry its ammunition. It’s armor penetration was impressive and any Allied tank it faced was vulnerable even at long range. I have decided to forego using any L6 tanks as ammo carriers for the game. I’ll just assume they are there. I’m also assuming that these would have been available in sufficient numbers for my game scenario in the absence of the Italian Armistice. Just one survives to this day at Fort Sill here.
An interesting aside note – 12 of the same type of anti-aircraft gun were taken from the Italian battleship Vittorio Veneto. These guns were awarded to Yugoslavia as war reparations. I remember playing with that ship’s token in Avalon Hill’s War at Sea game as a kid. That they ended up firing in 1991 is somewhat odd!
According to Wikipedia:
After the war, the twelve 90/53 guns from the Italian battleship Vittorio Veneto were assigned to Yugoslavia as a part of war reparations. They were mounted on a coastal artillery battery on island Žirje off Šibenik as a part of the Cold War defense strategy. These guns saw action in September 1991 during the Croatian War of Independence, deterring the Yugoslav People’s Army assault on Šibenik and blocking 34 Yugoslav Navy’s patrol boats and minesweepers which were later captured by Croatian forces in the inner harbor.
Reminiscing ended – back to the vehicles!
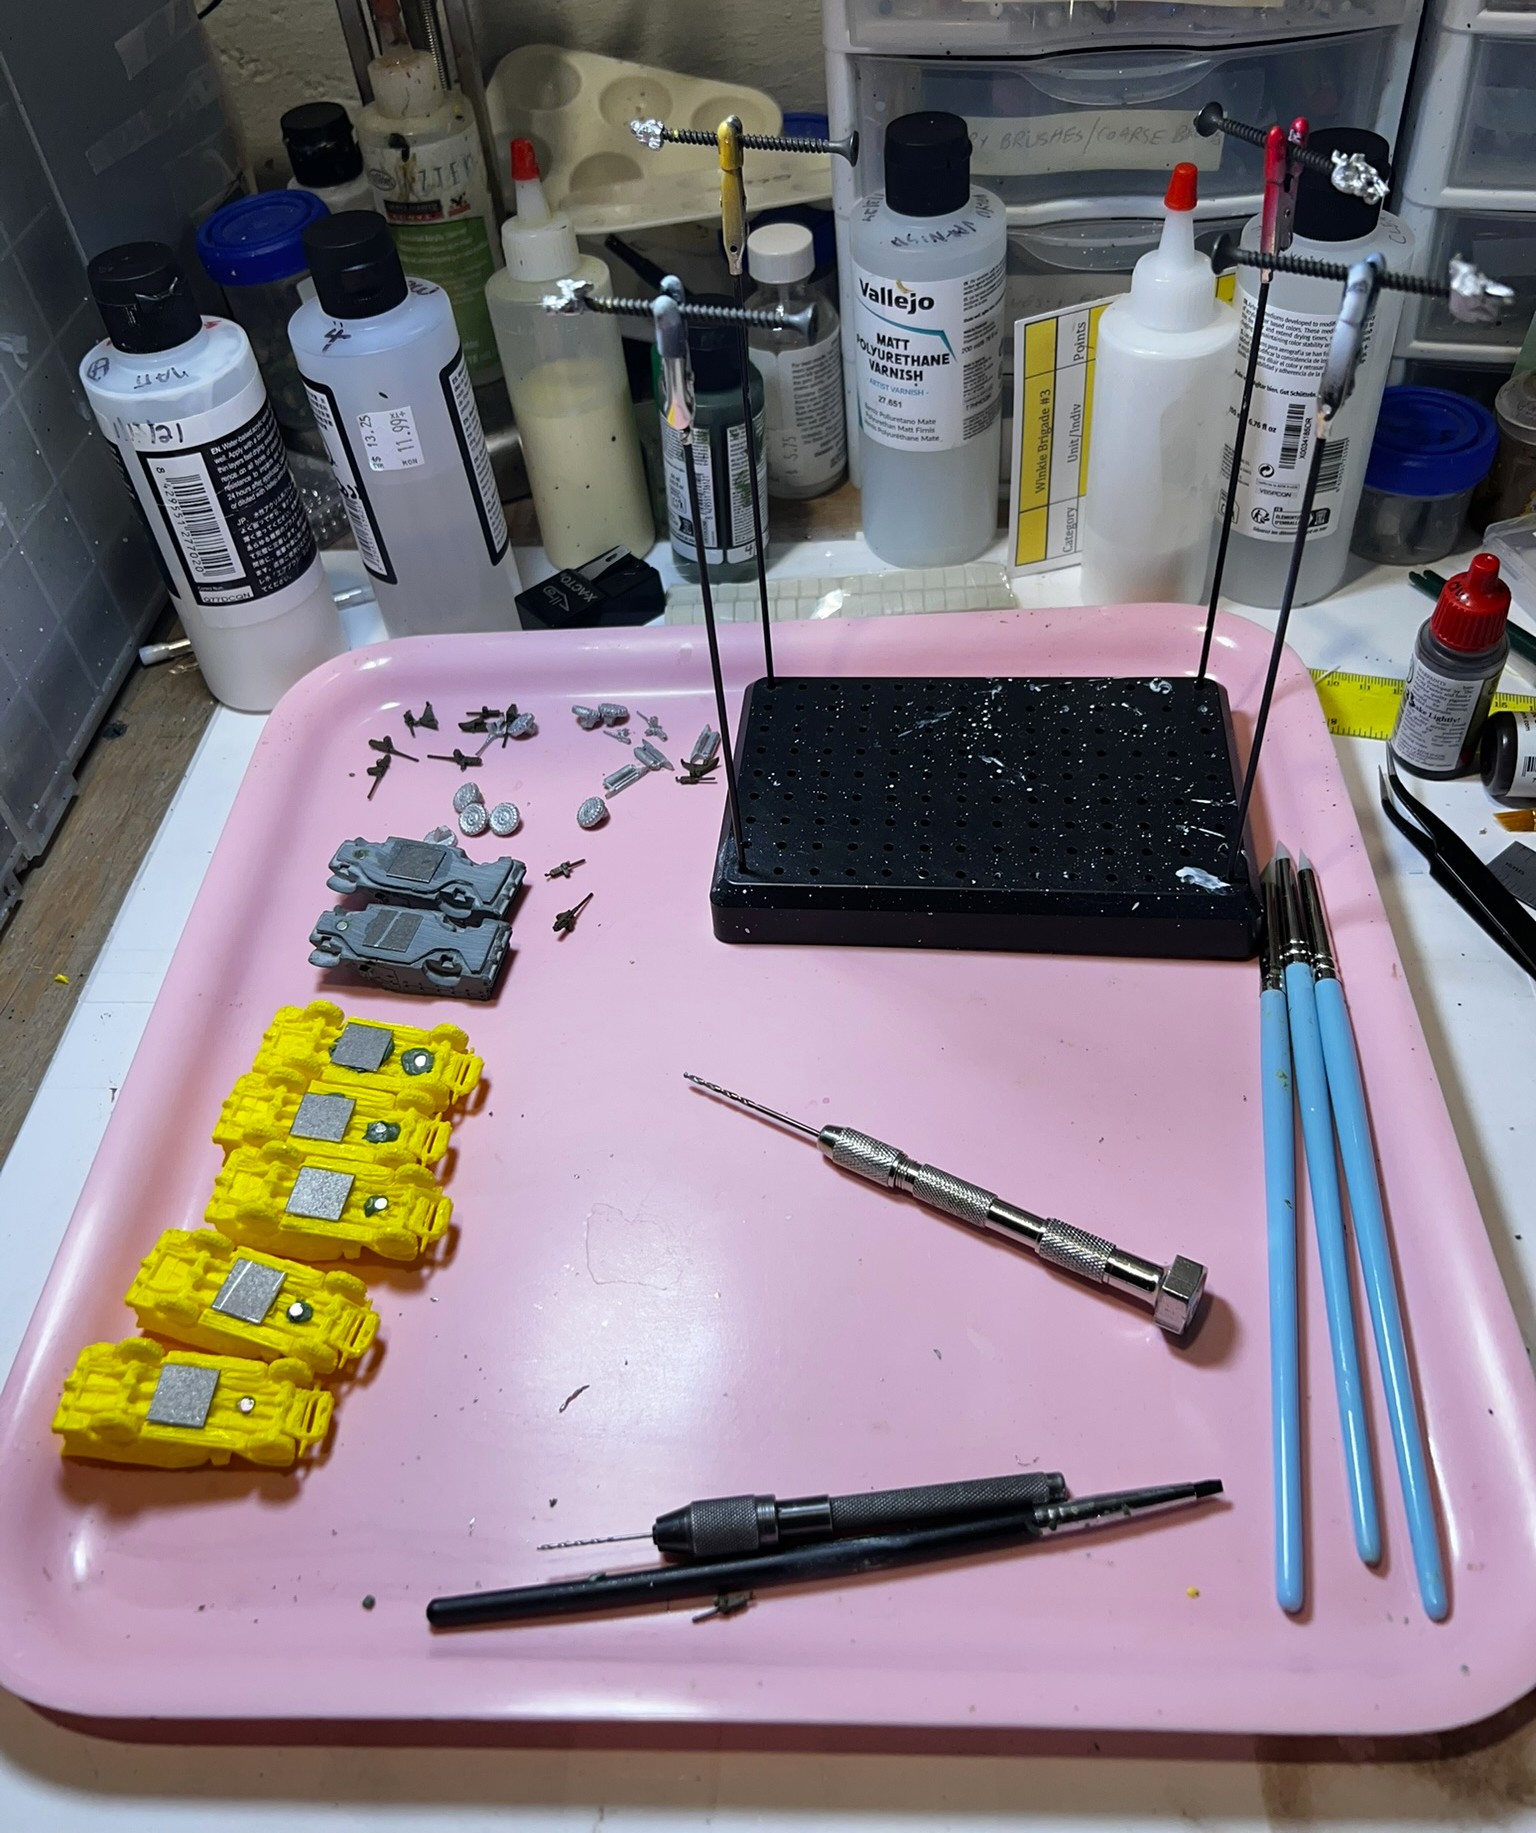
WIP Shots
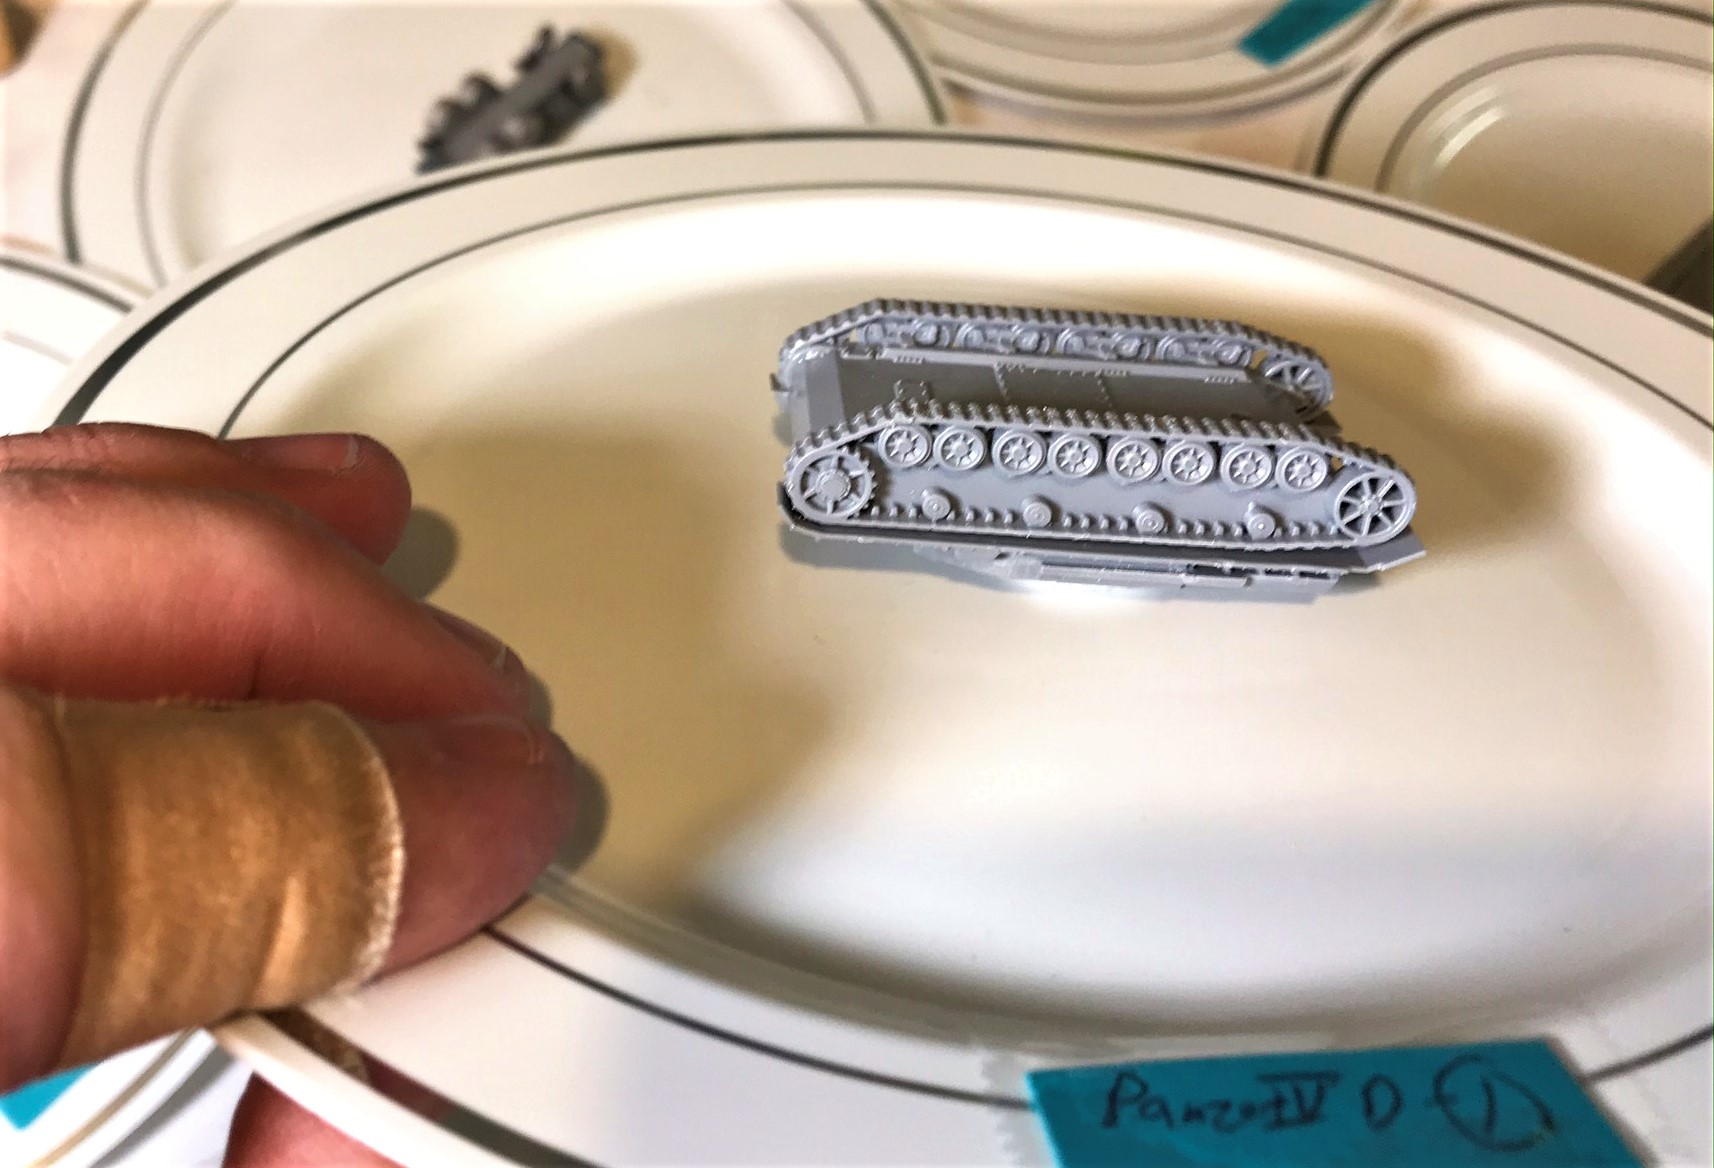
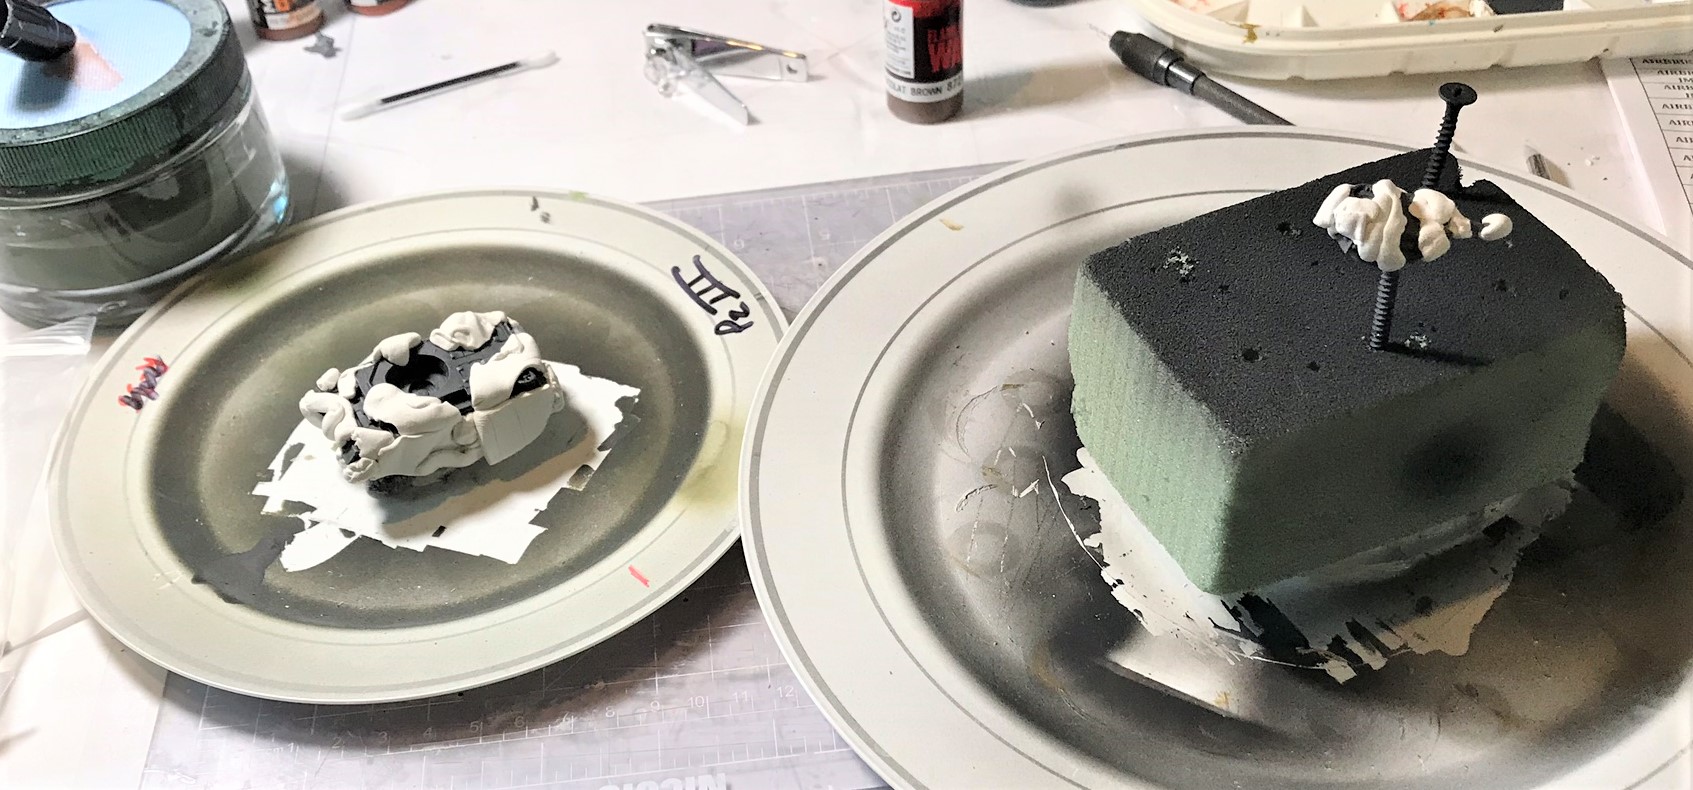
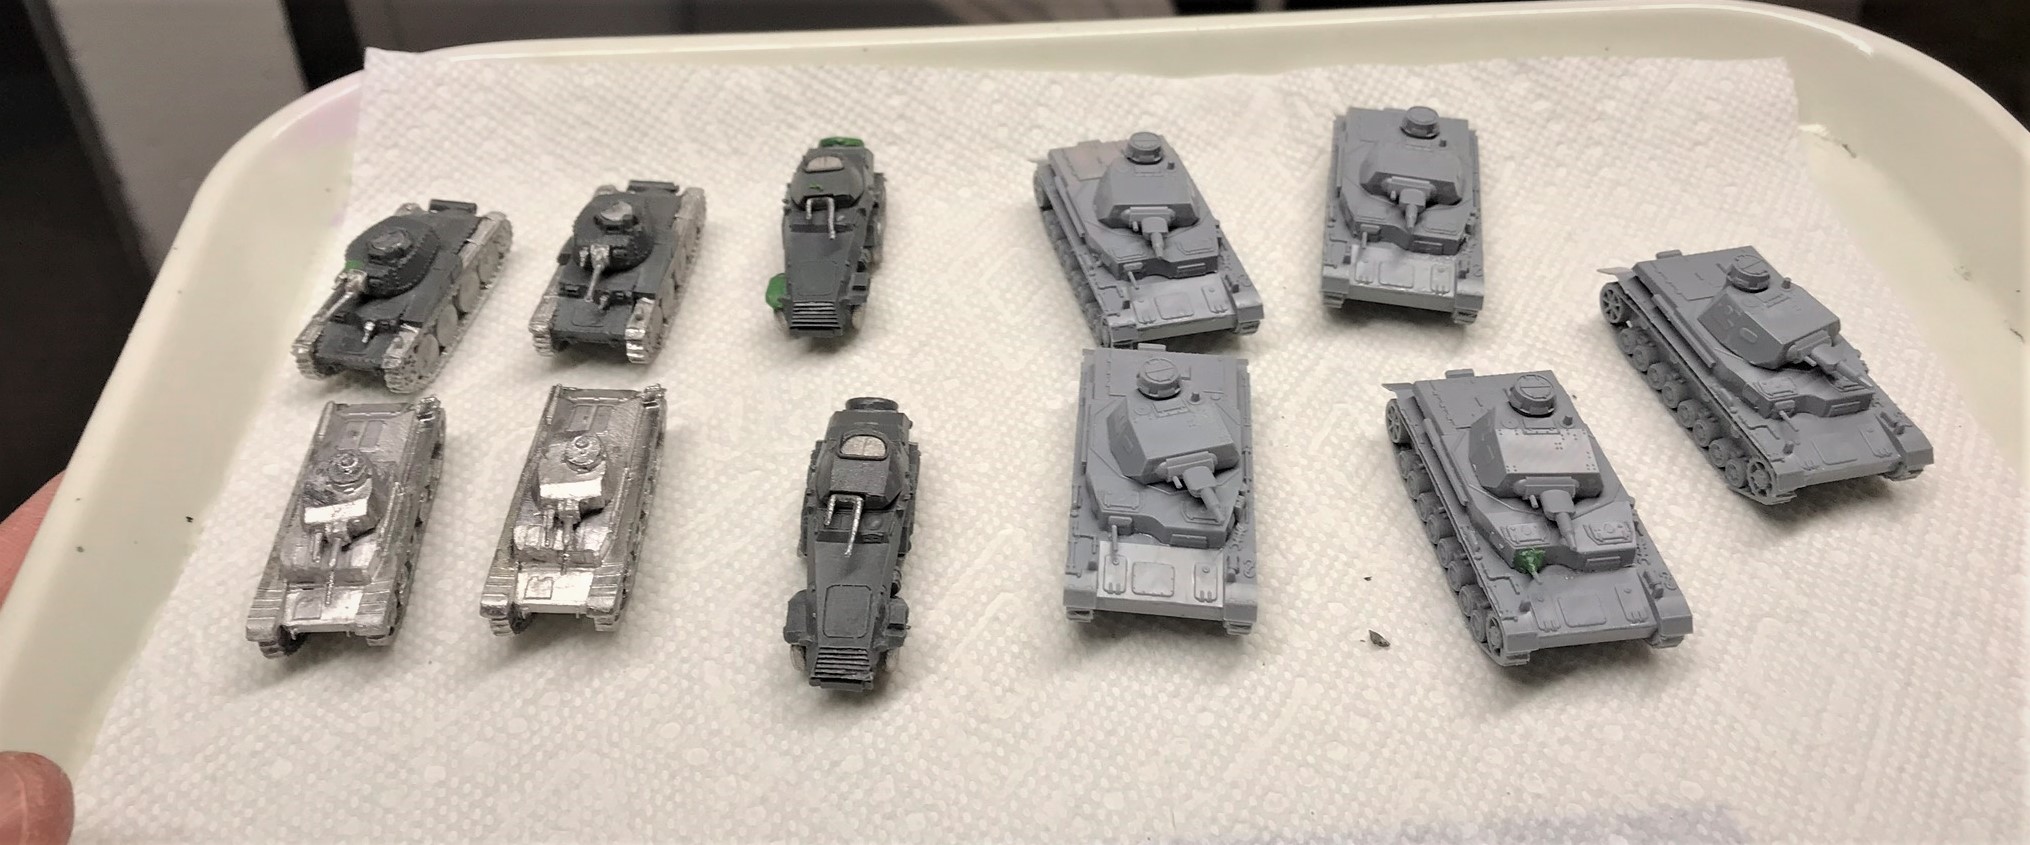
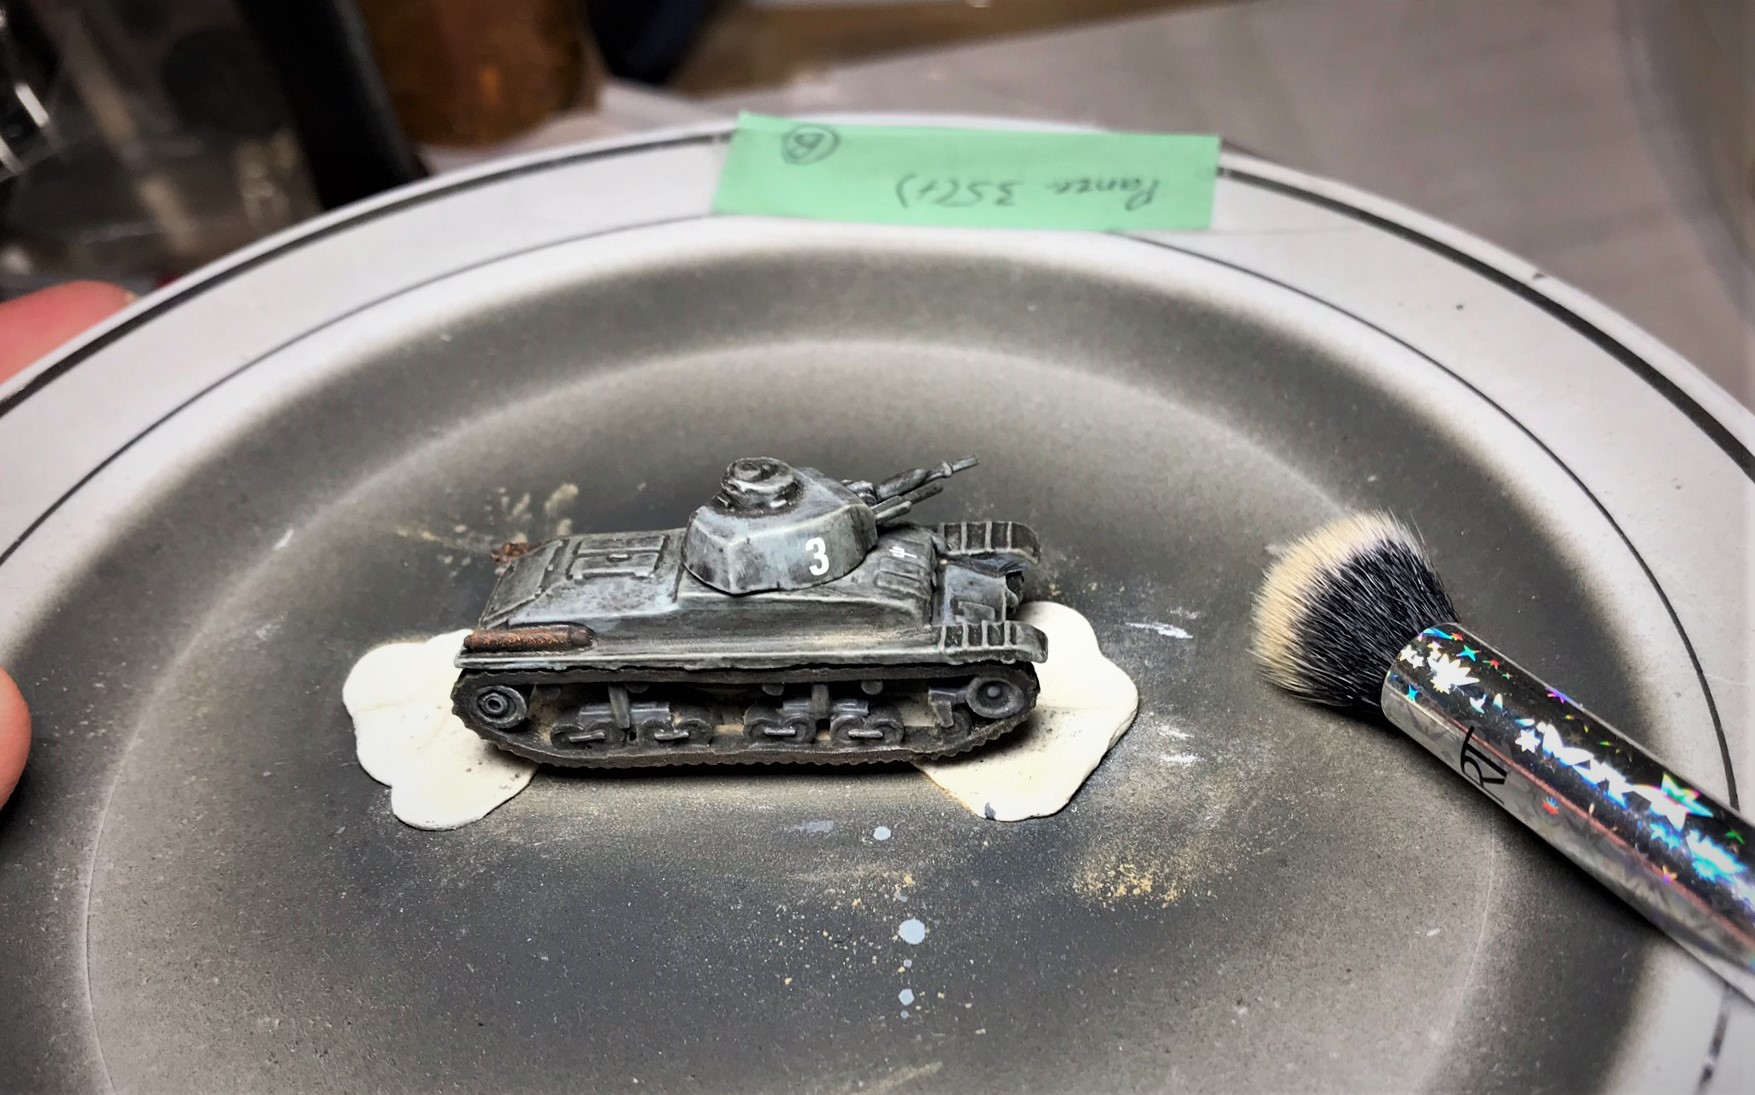
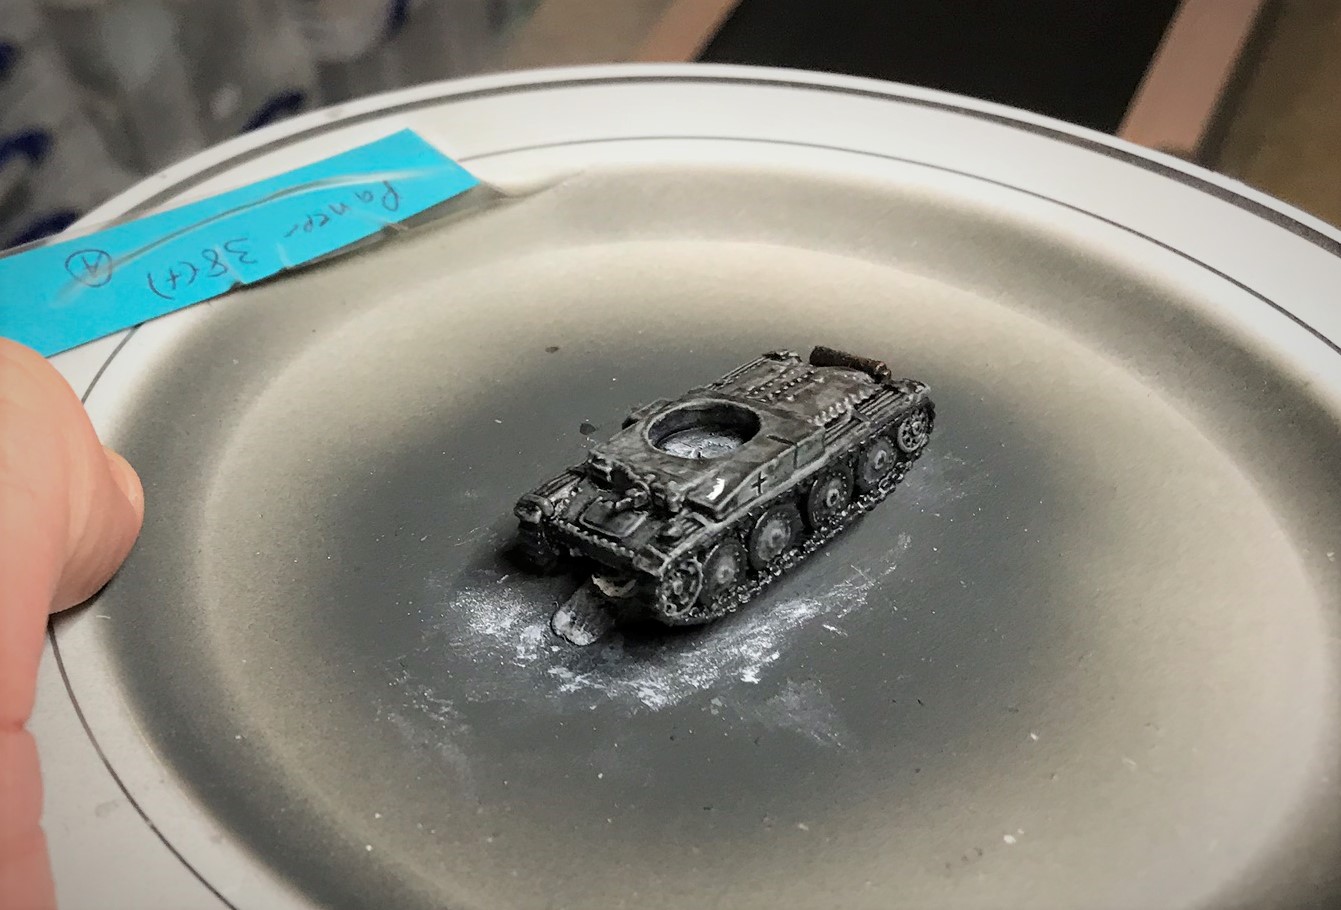
As is my usual practice, I washed and scrubbed the components.
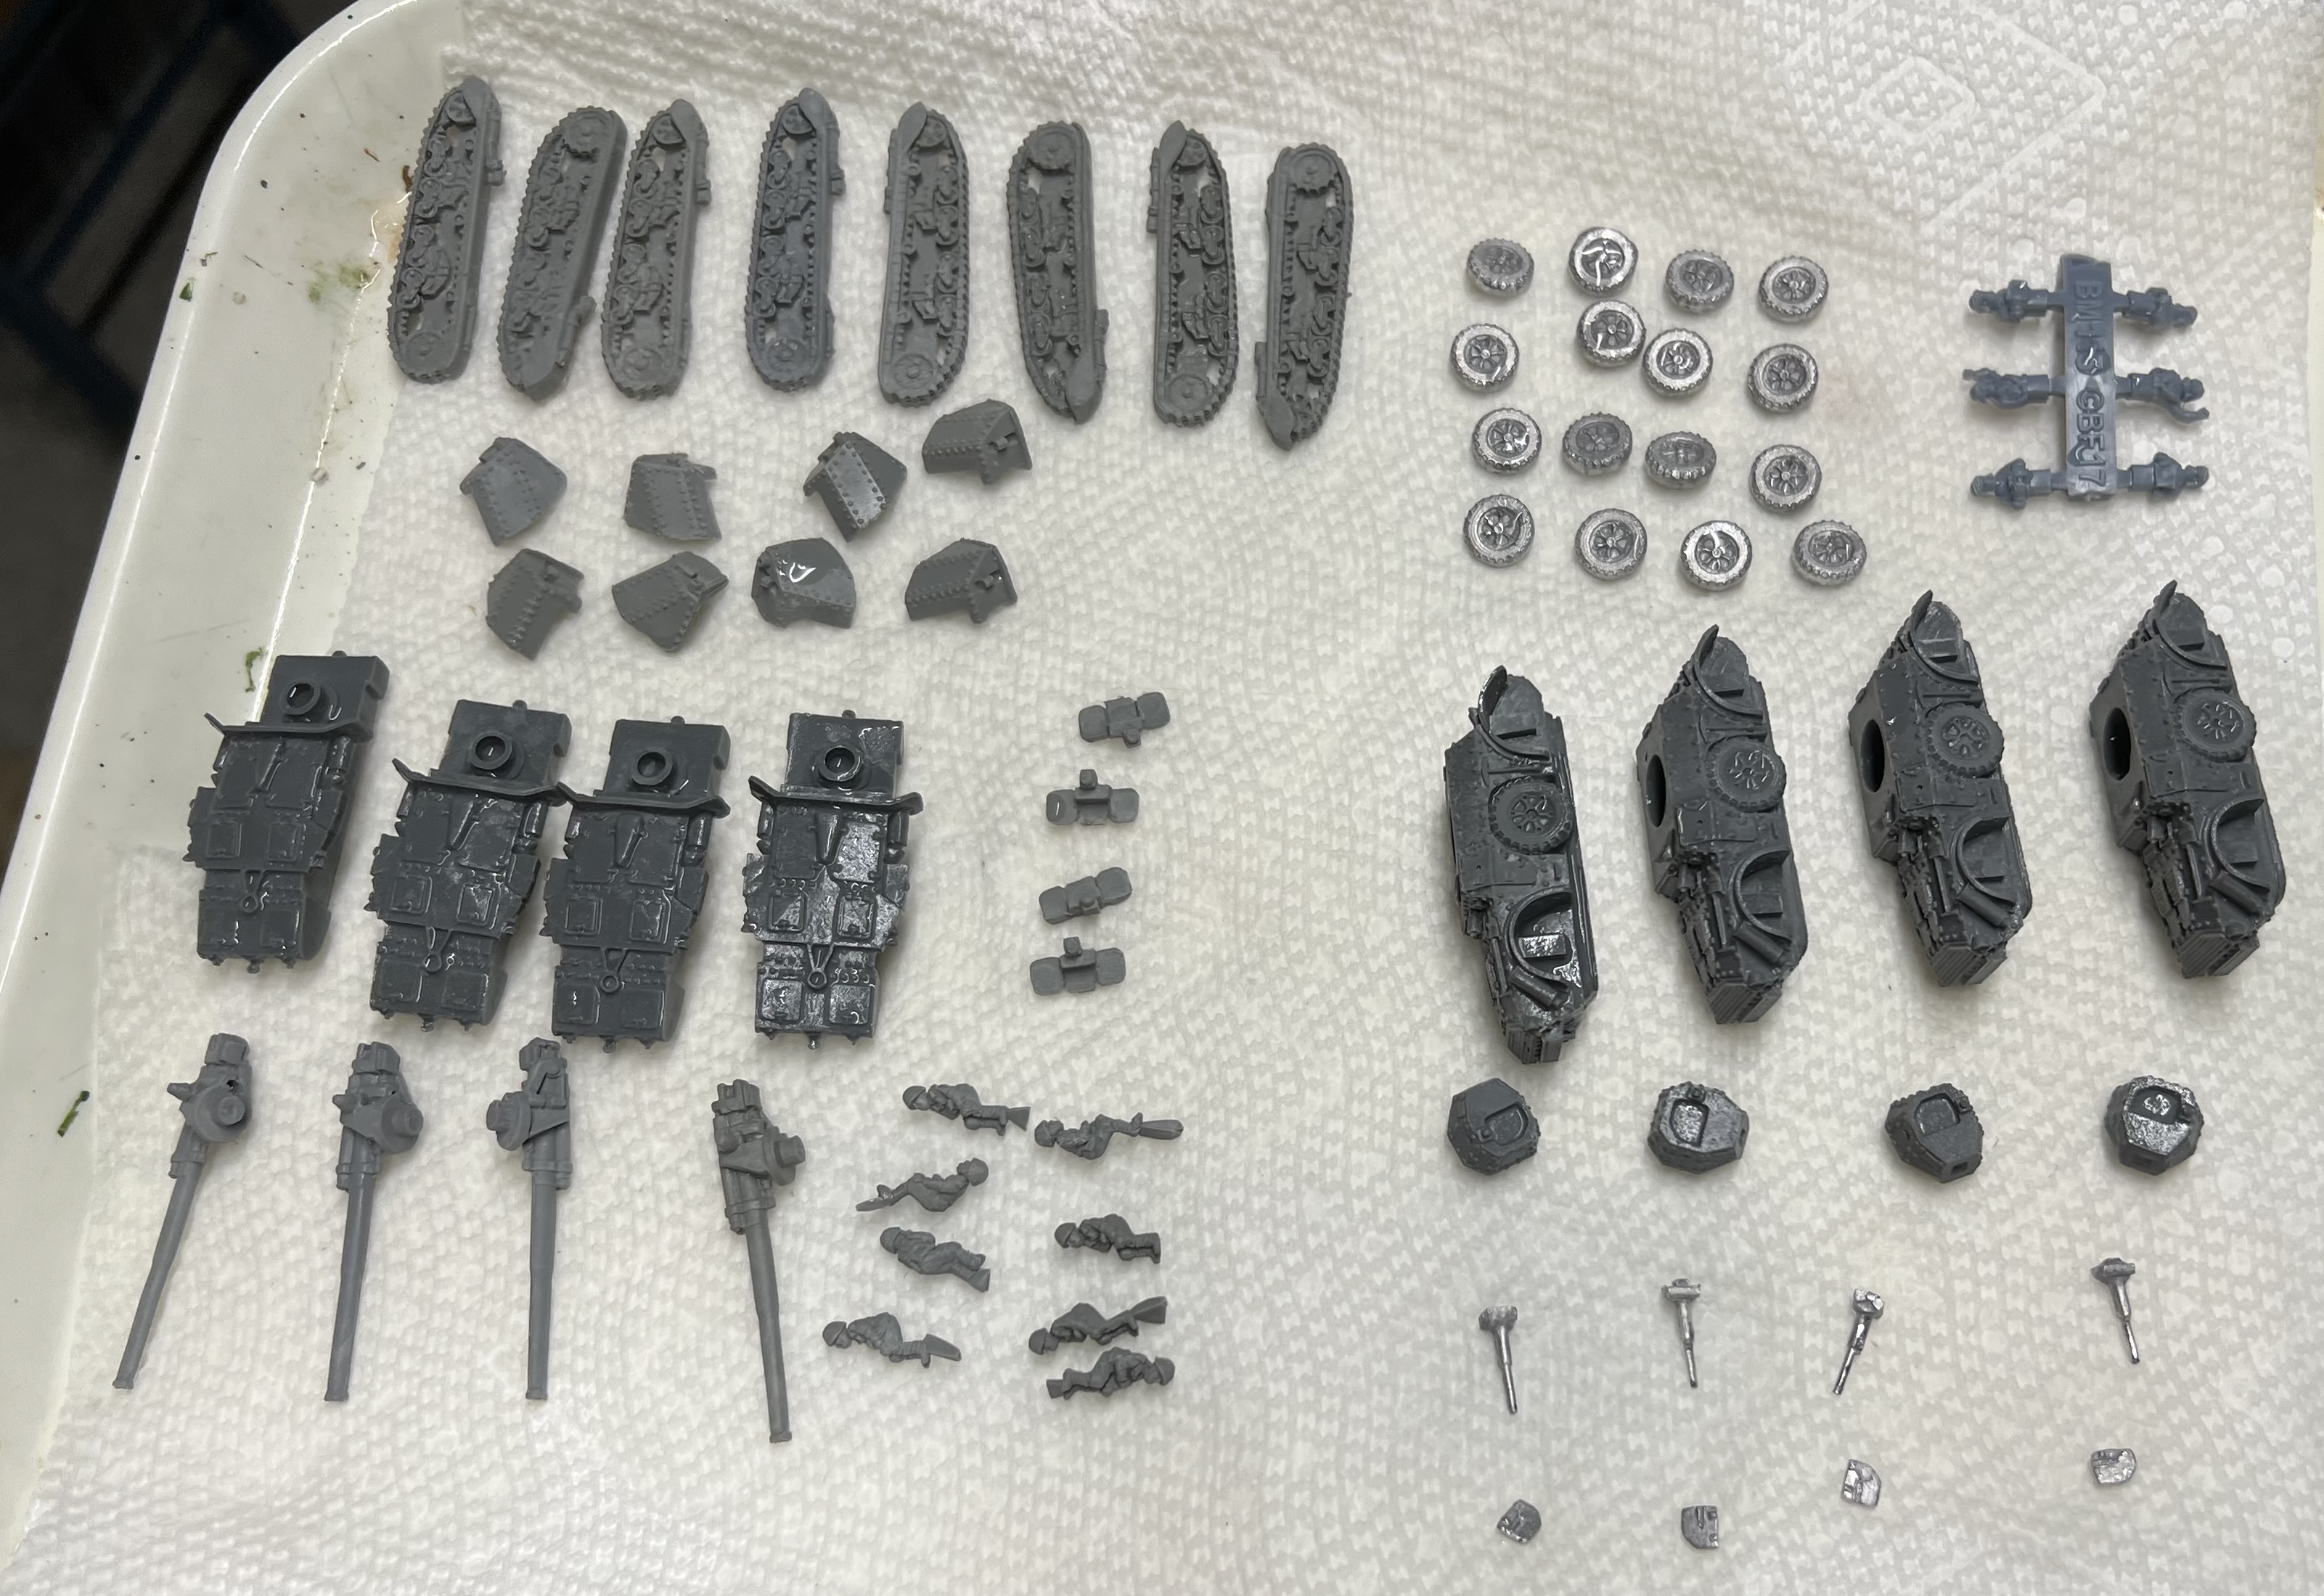
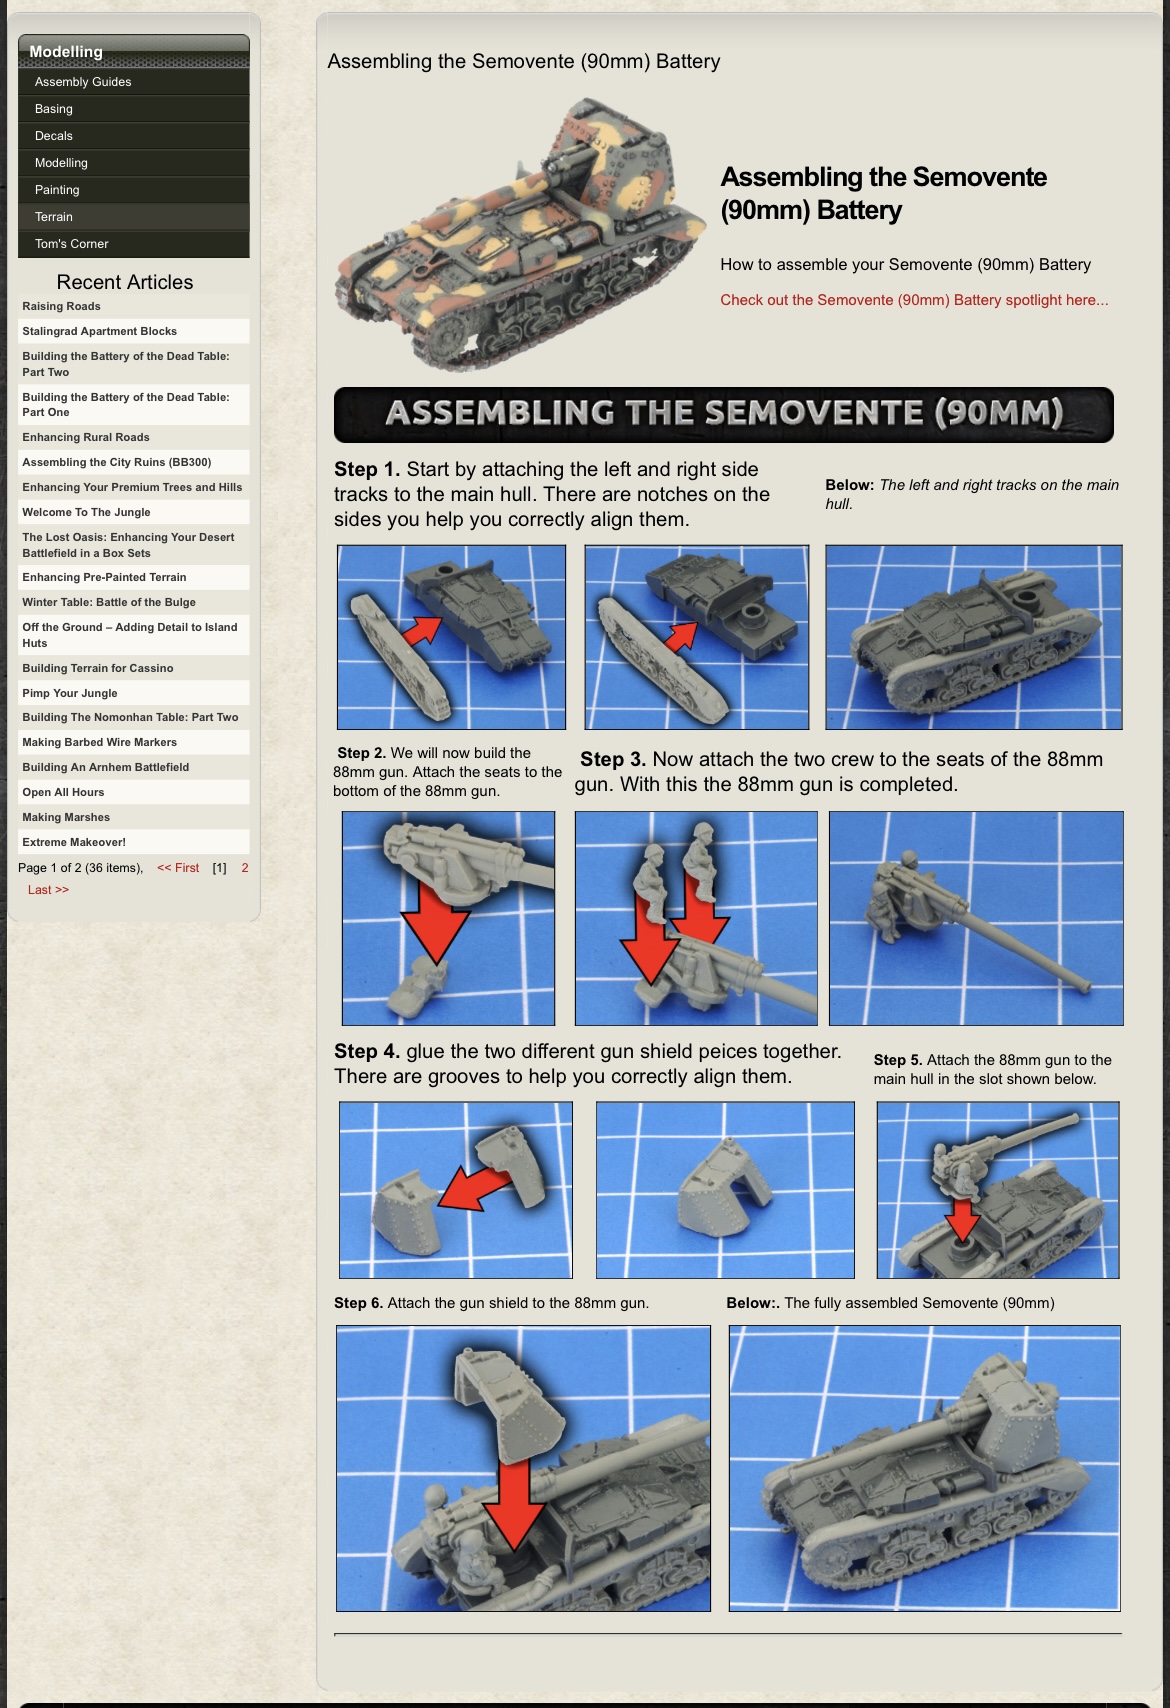
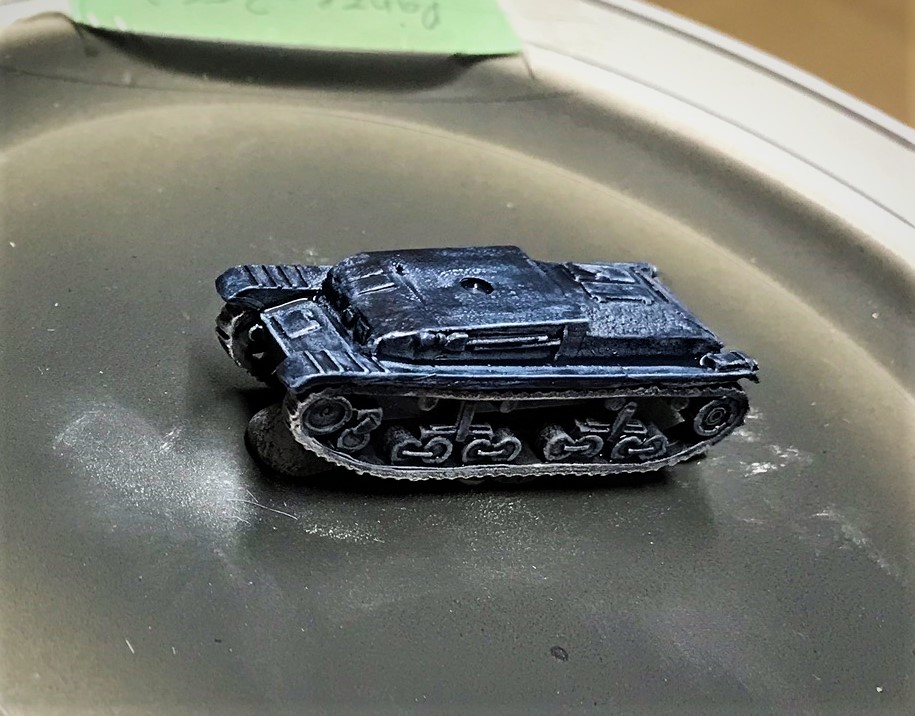
I assembled and painted the tracks, wheels, crews, mantlets, and chassis separately. Battlefront has a page on assembling the Semovente which was helpful.
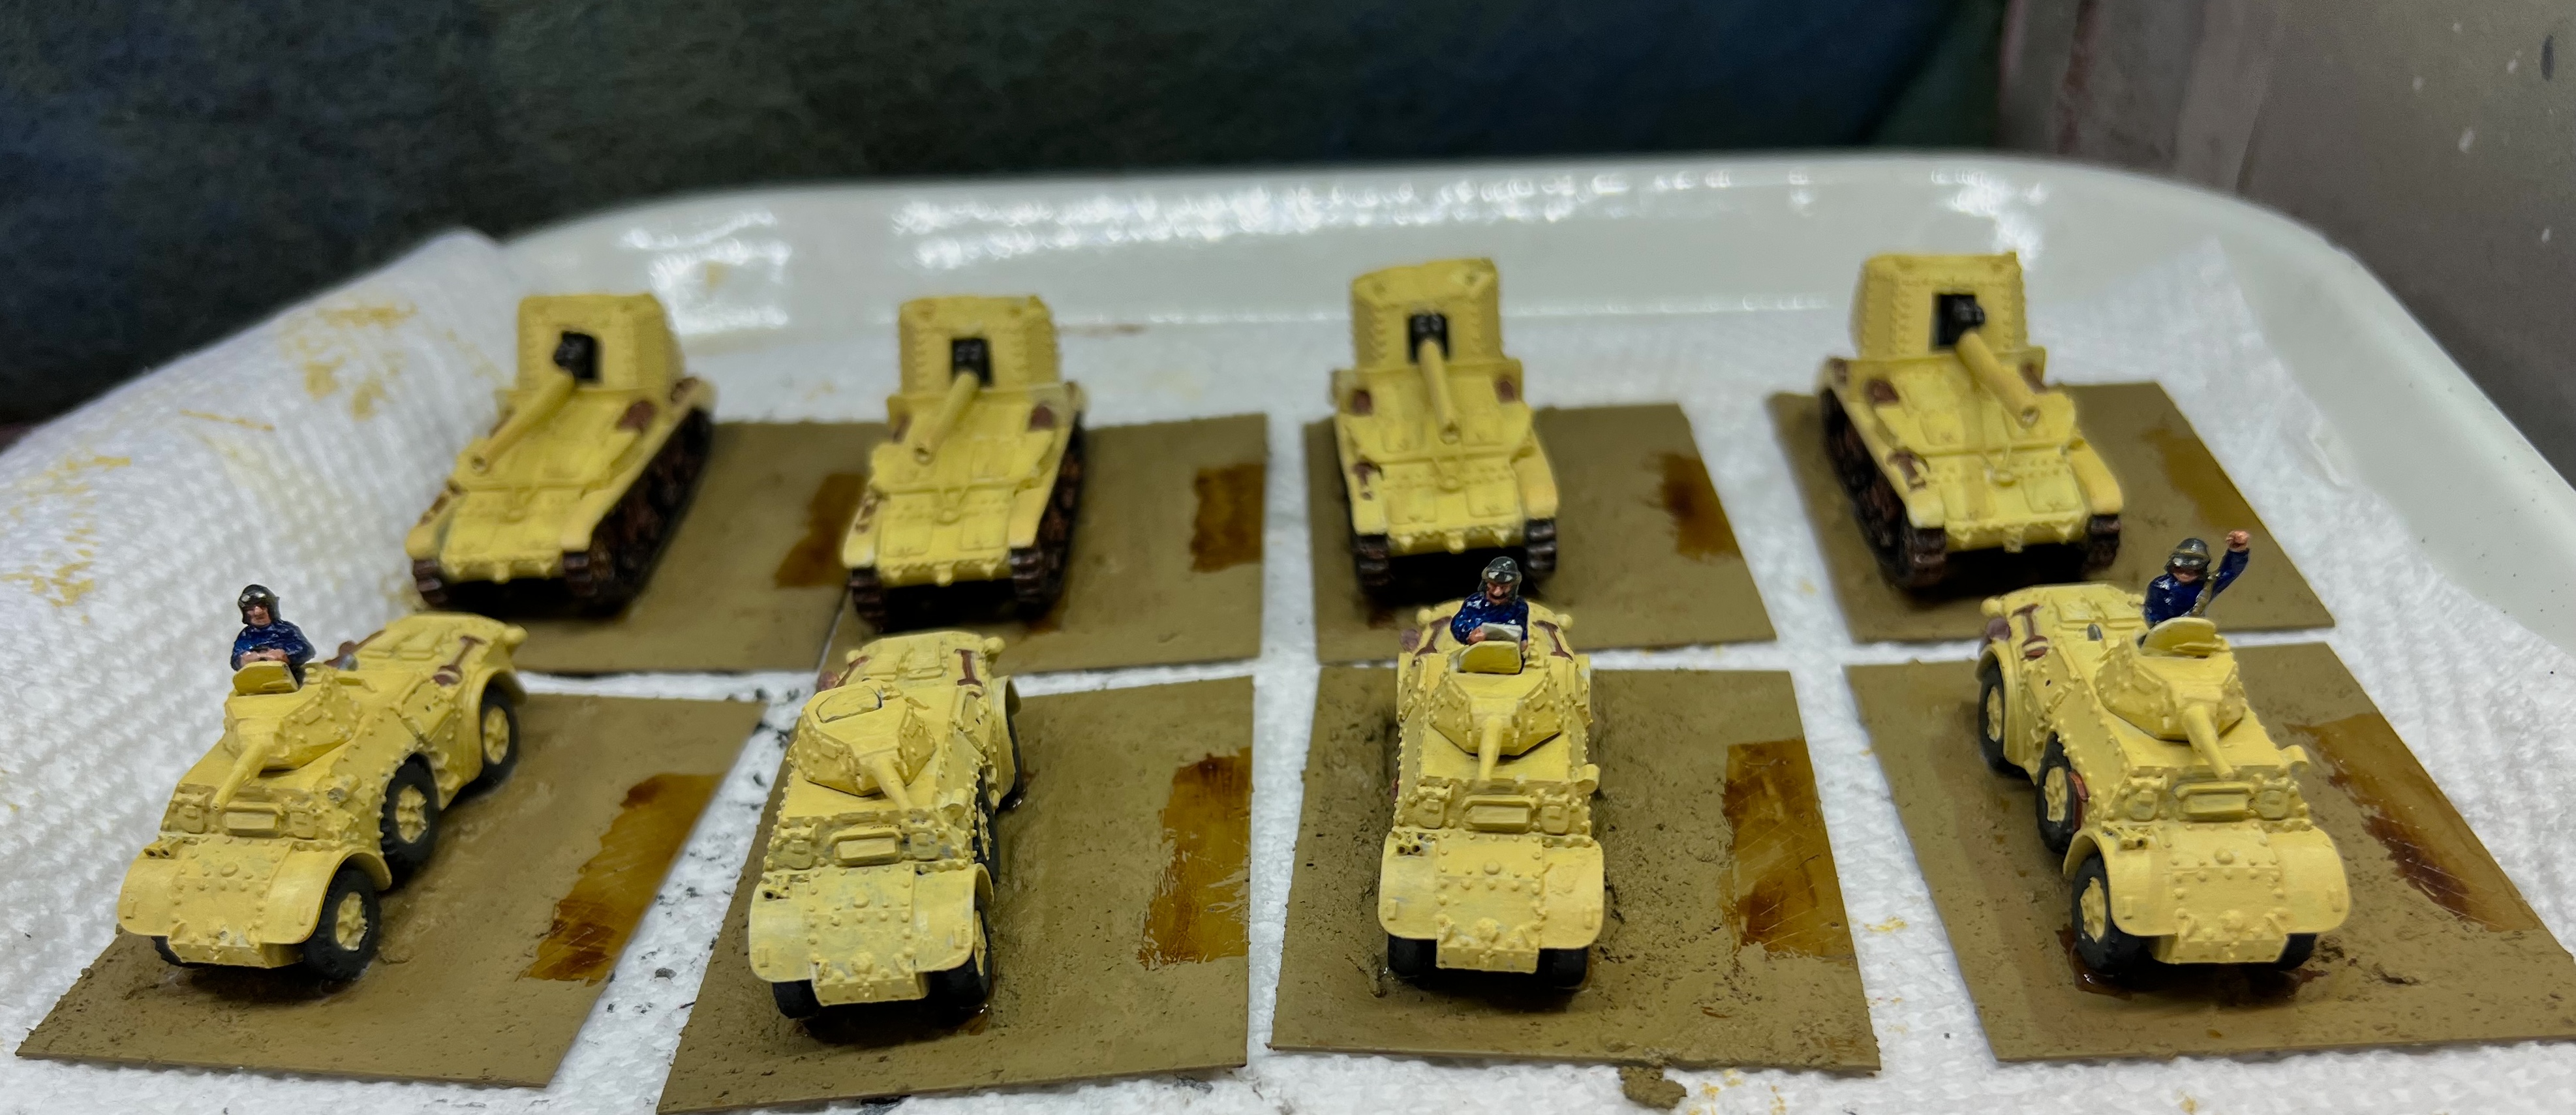
That model was not so easy to work on – mainly the crew and weapon mounting. I ended up using green stuff on the fiddly mantlets. I did paint the crew of the Semovente’s – though no one will ever see their faces! As for the commanders of the AB 41’s – I used three different poses plus one with the hatch shut.
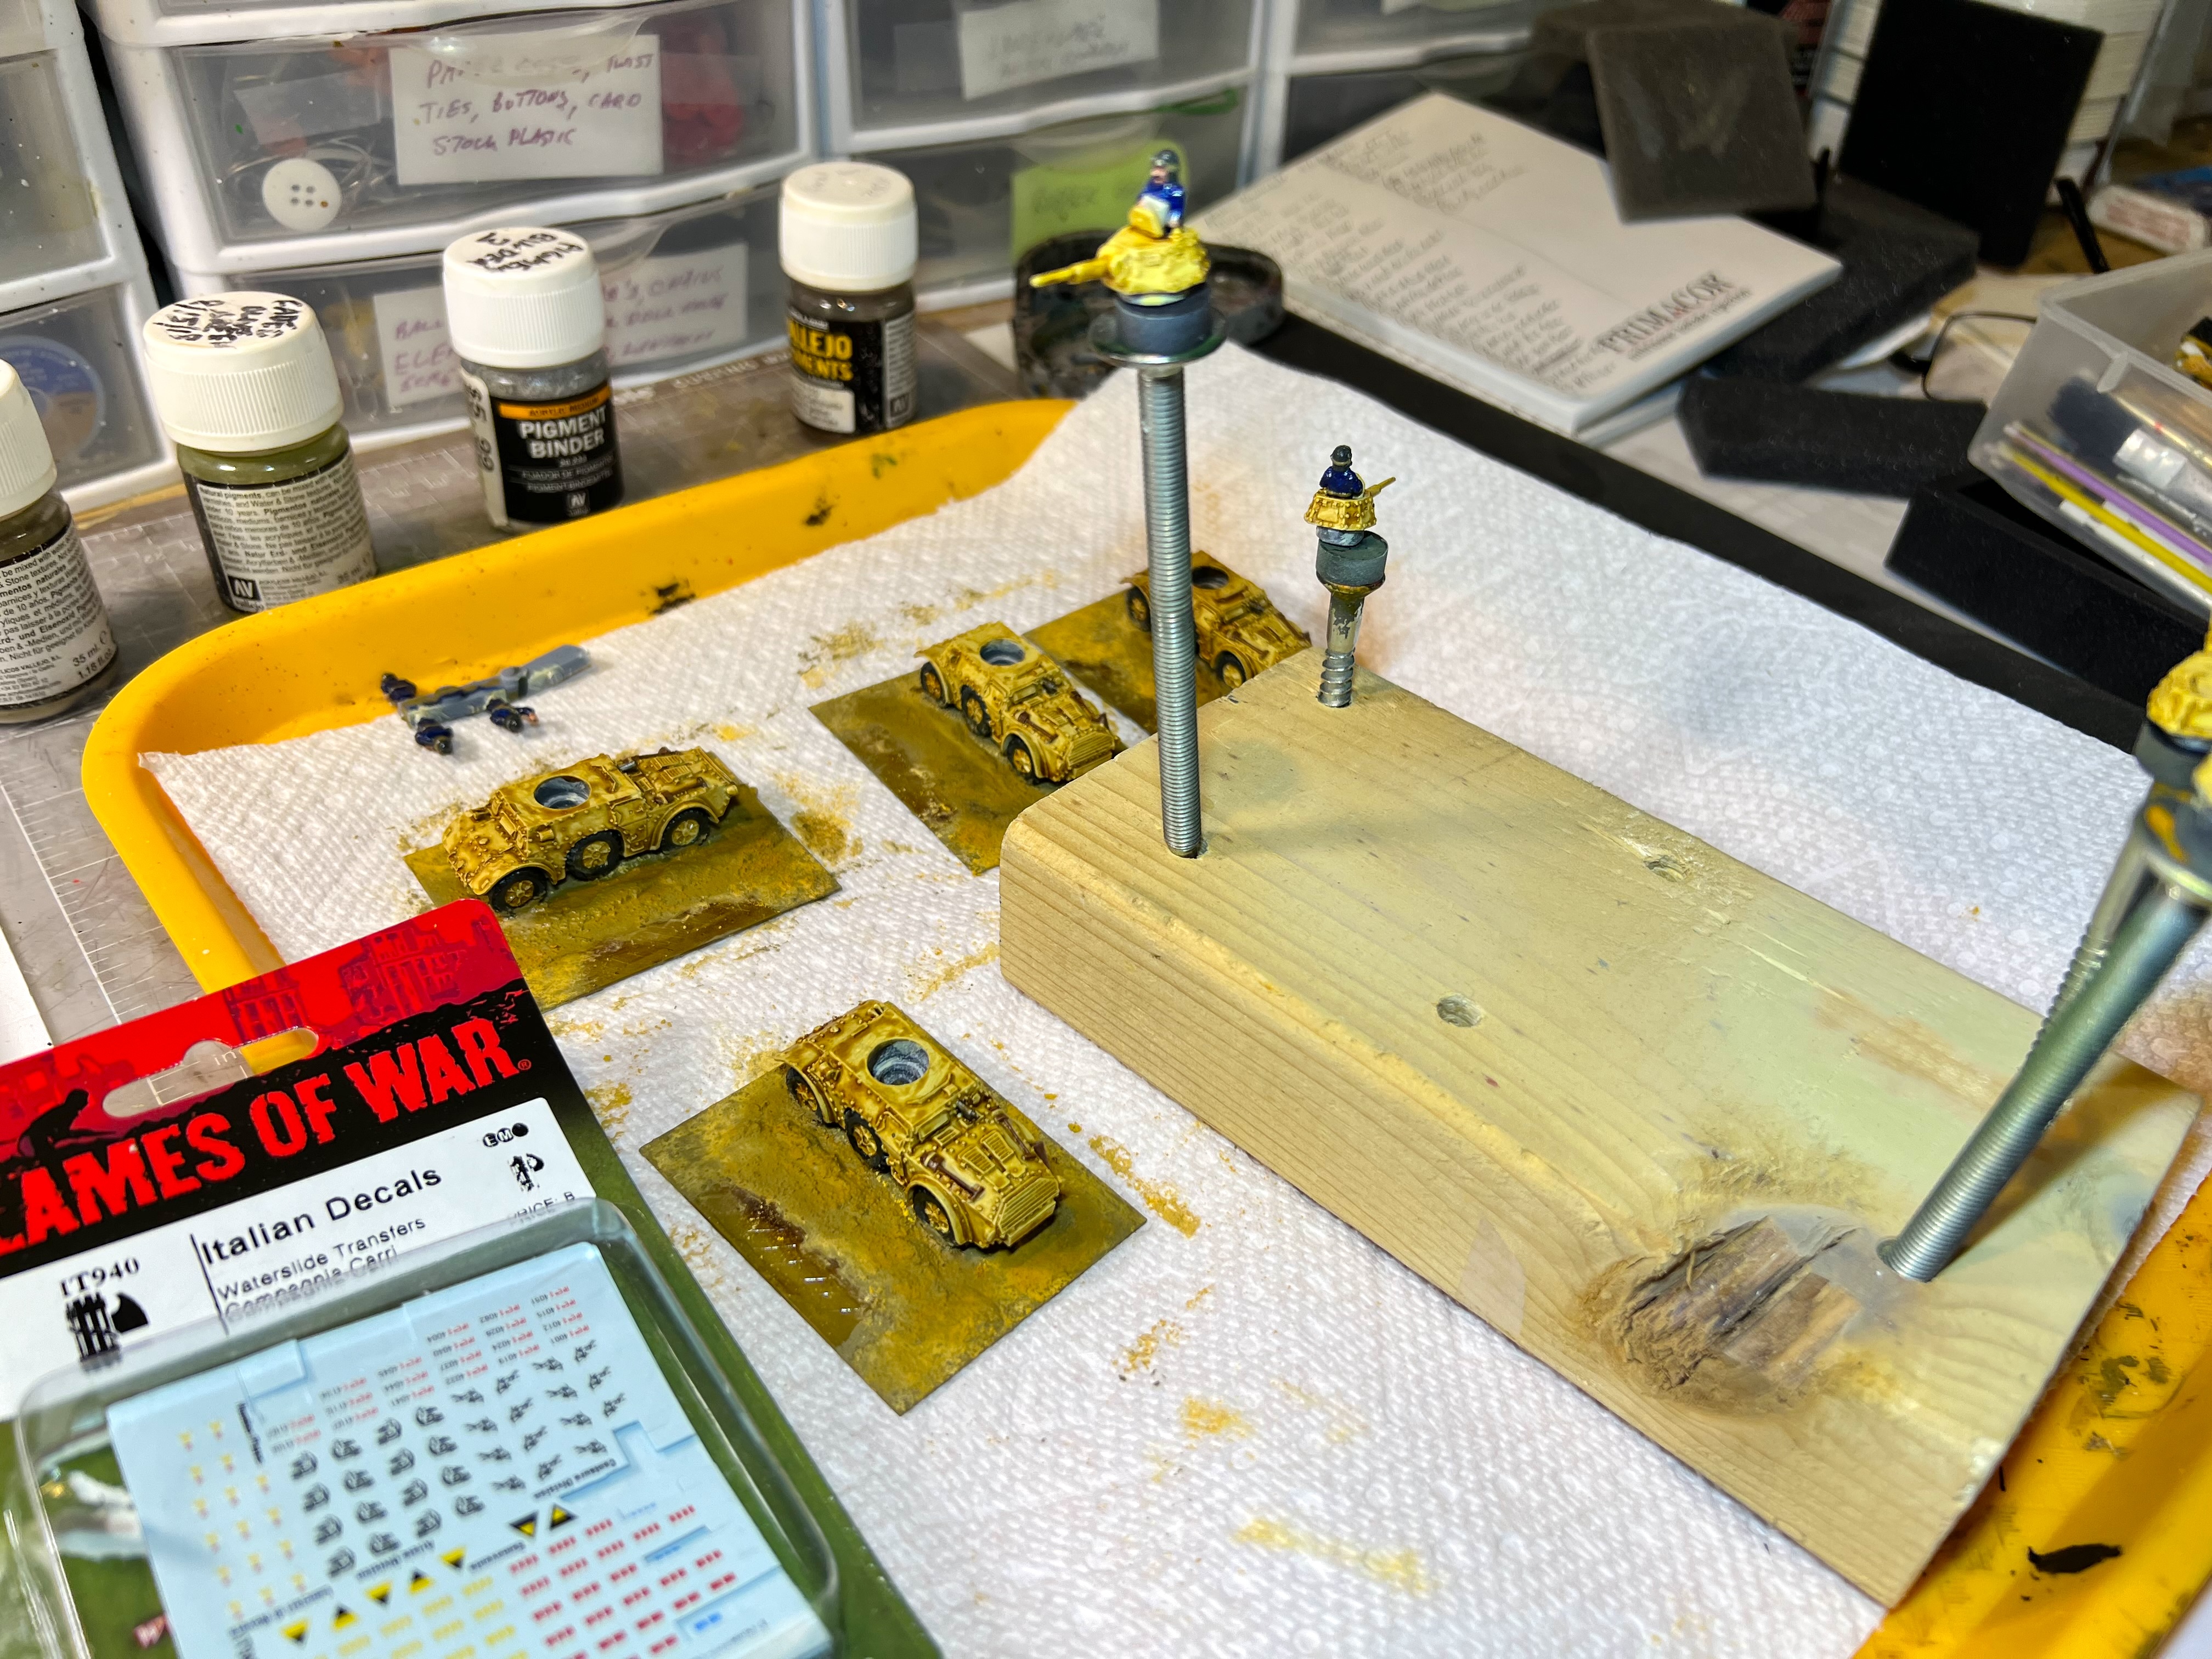
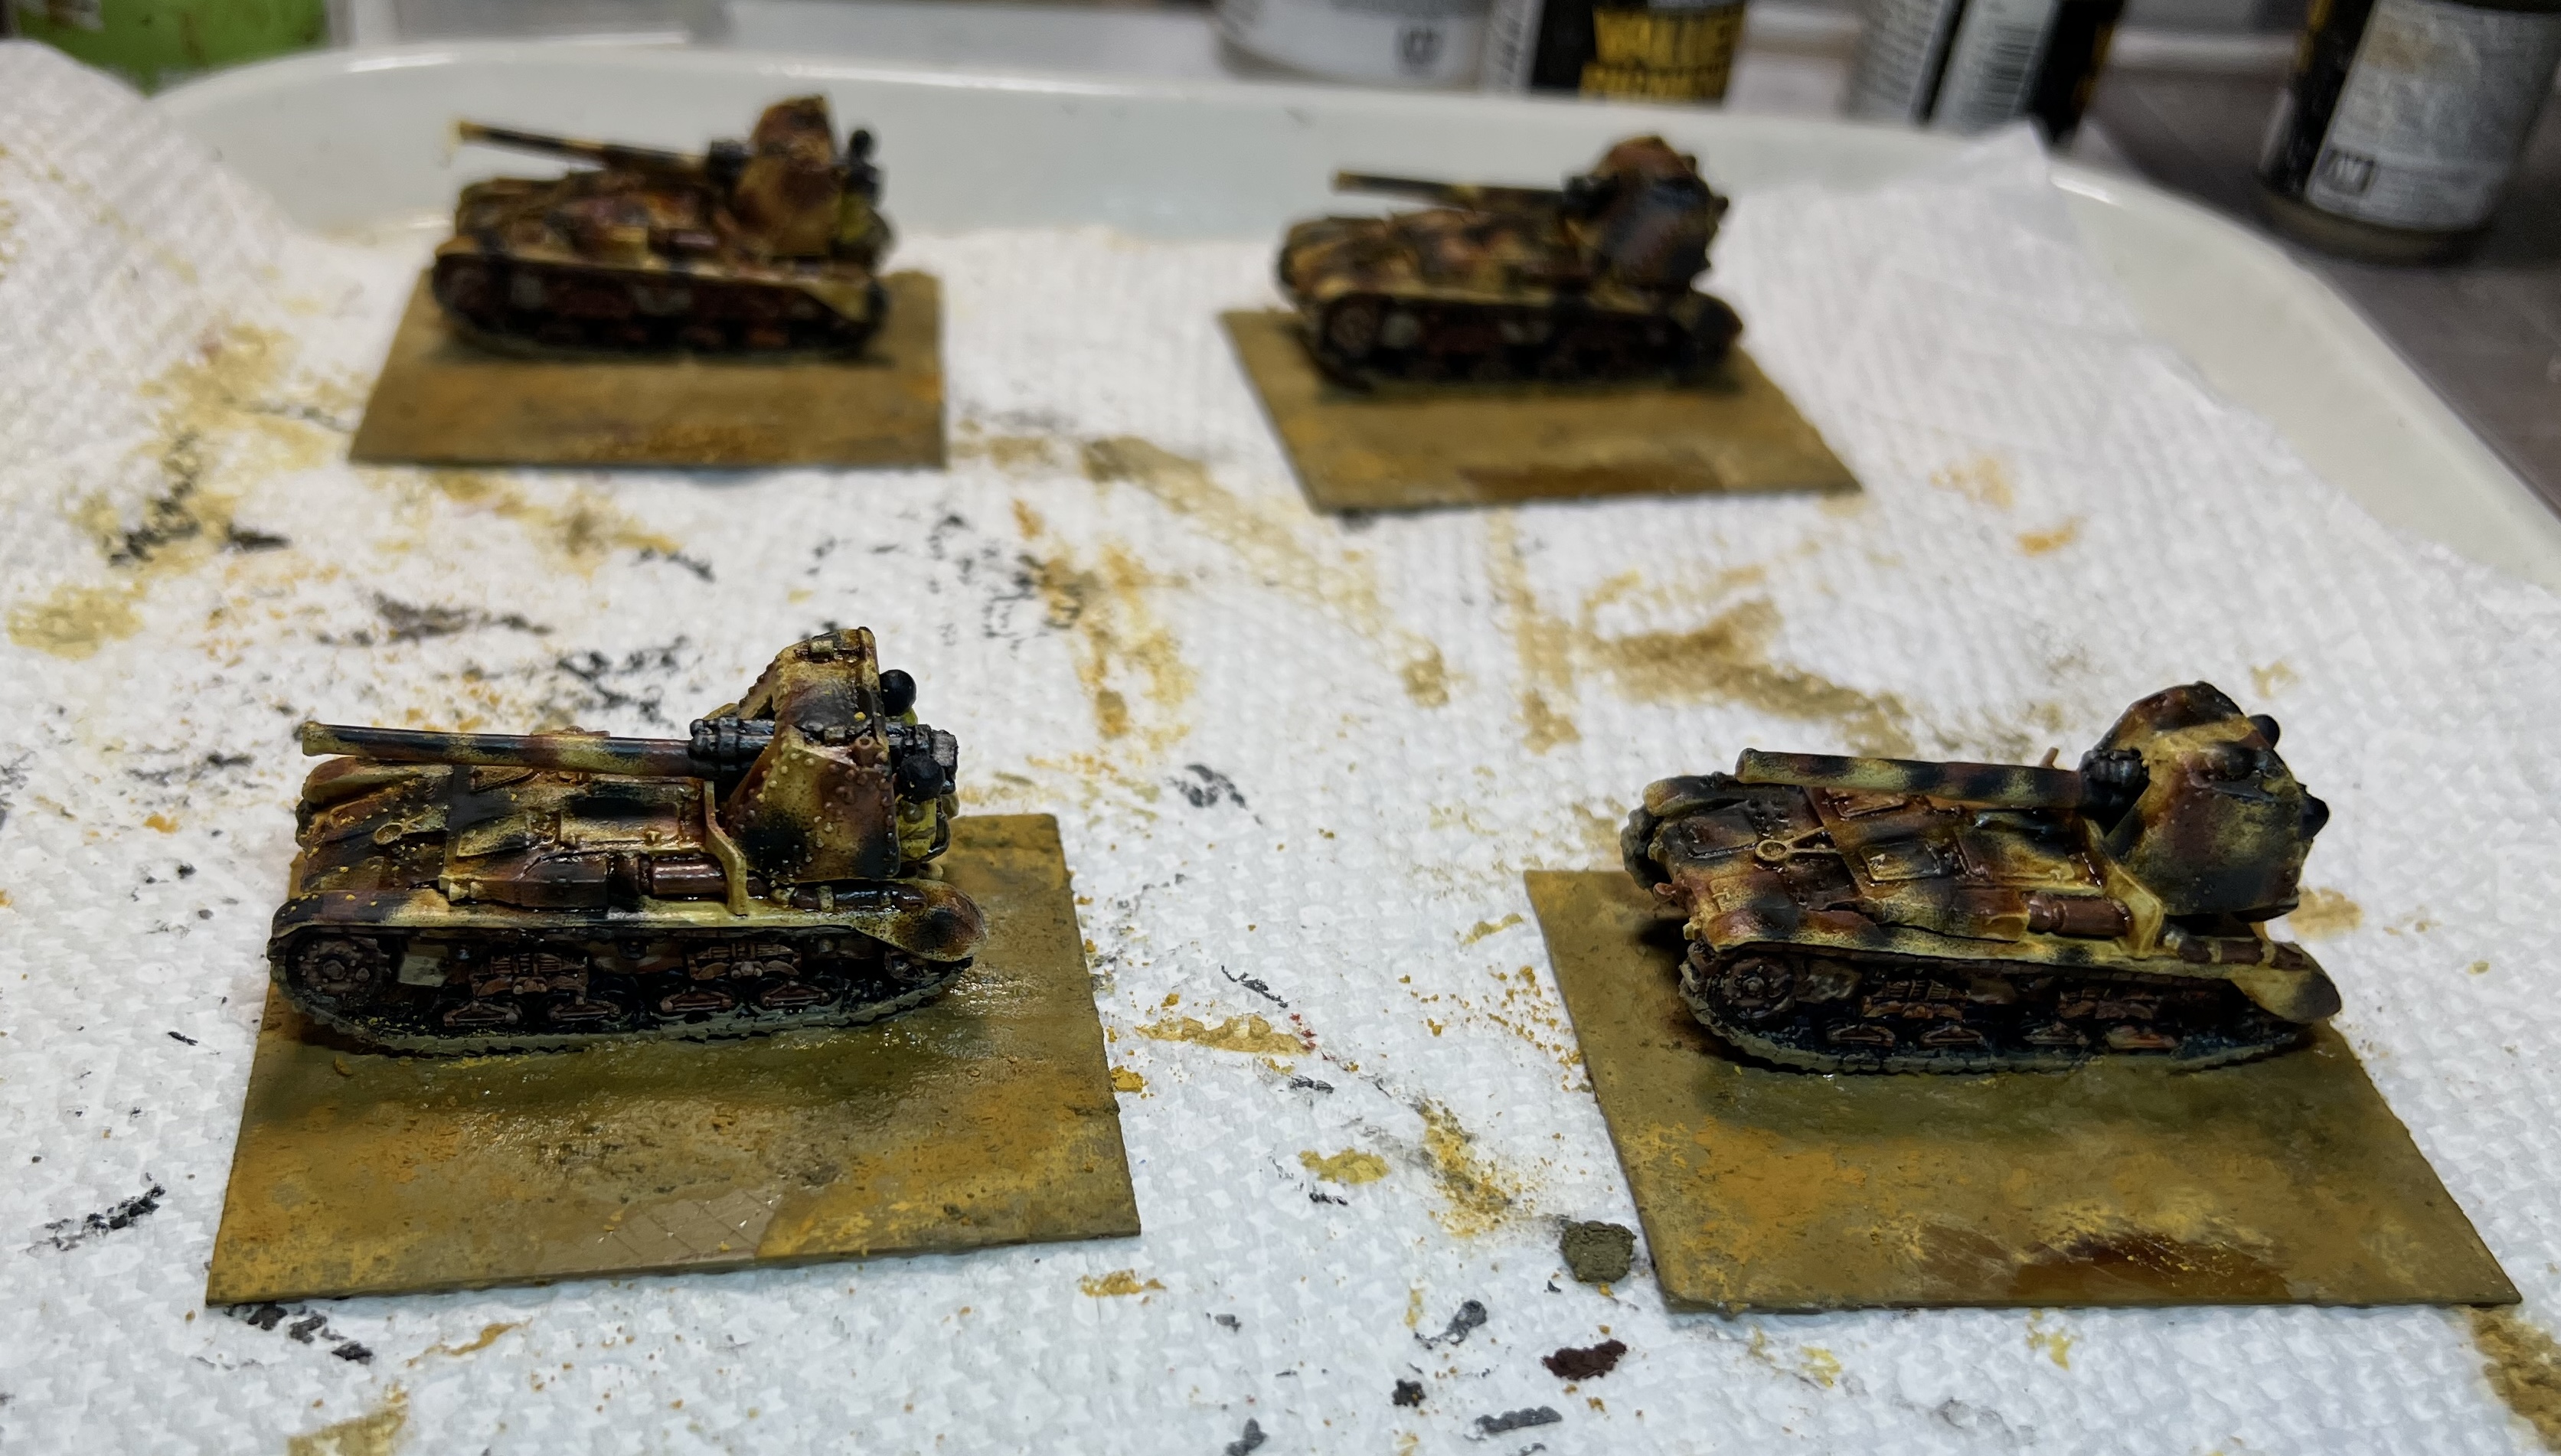
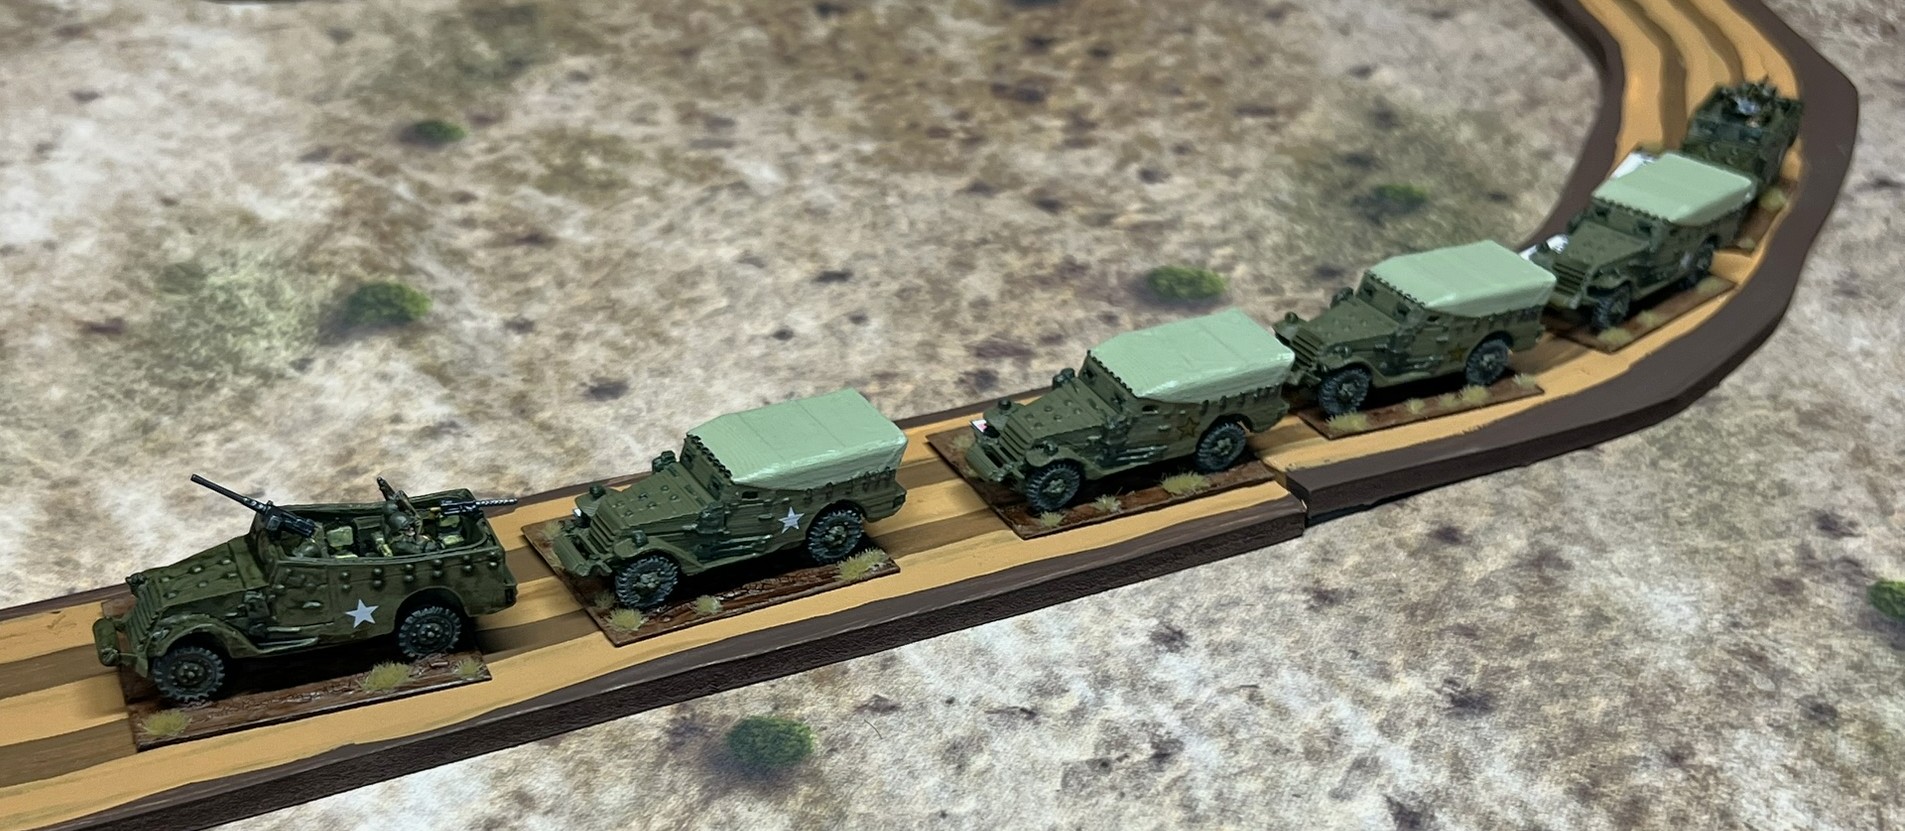
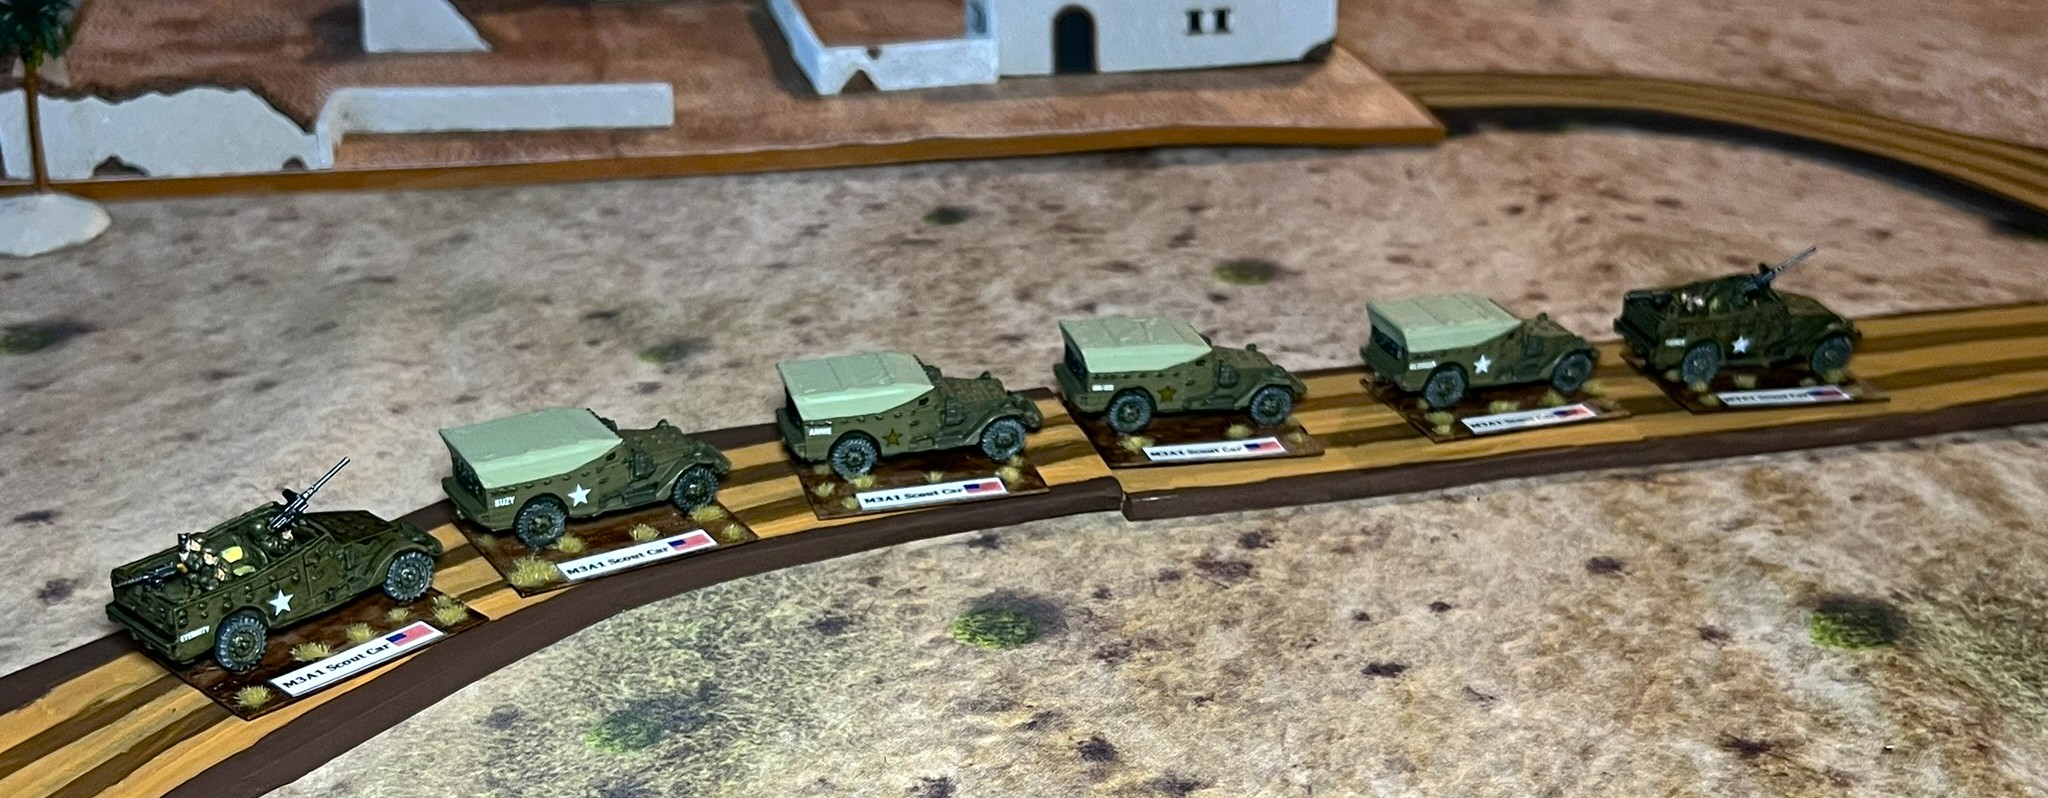
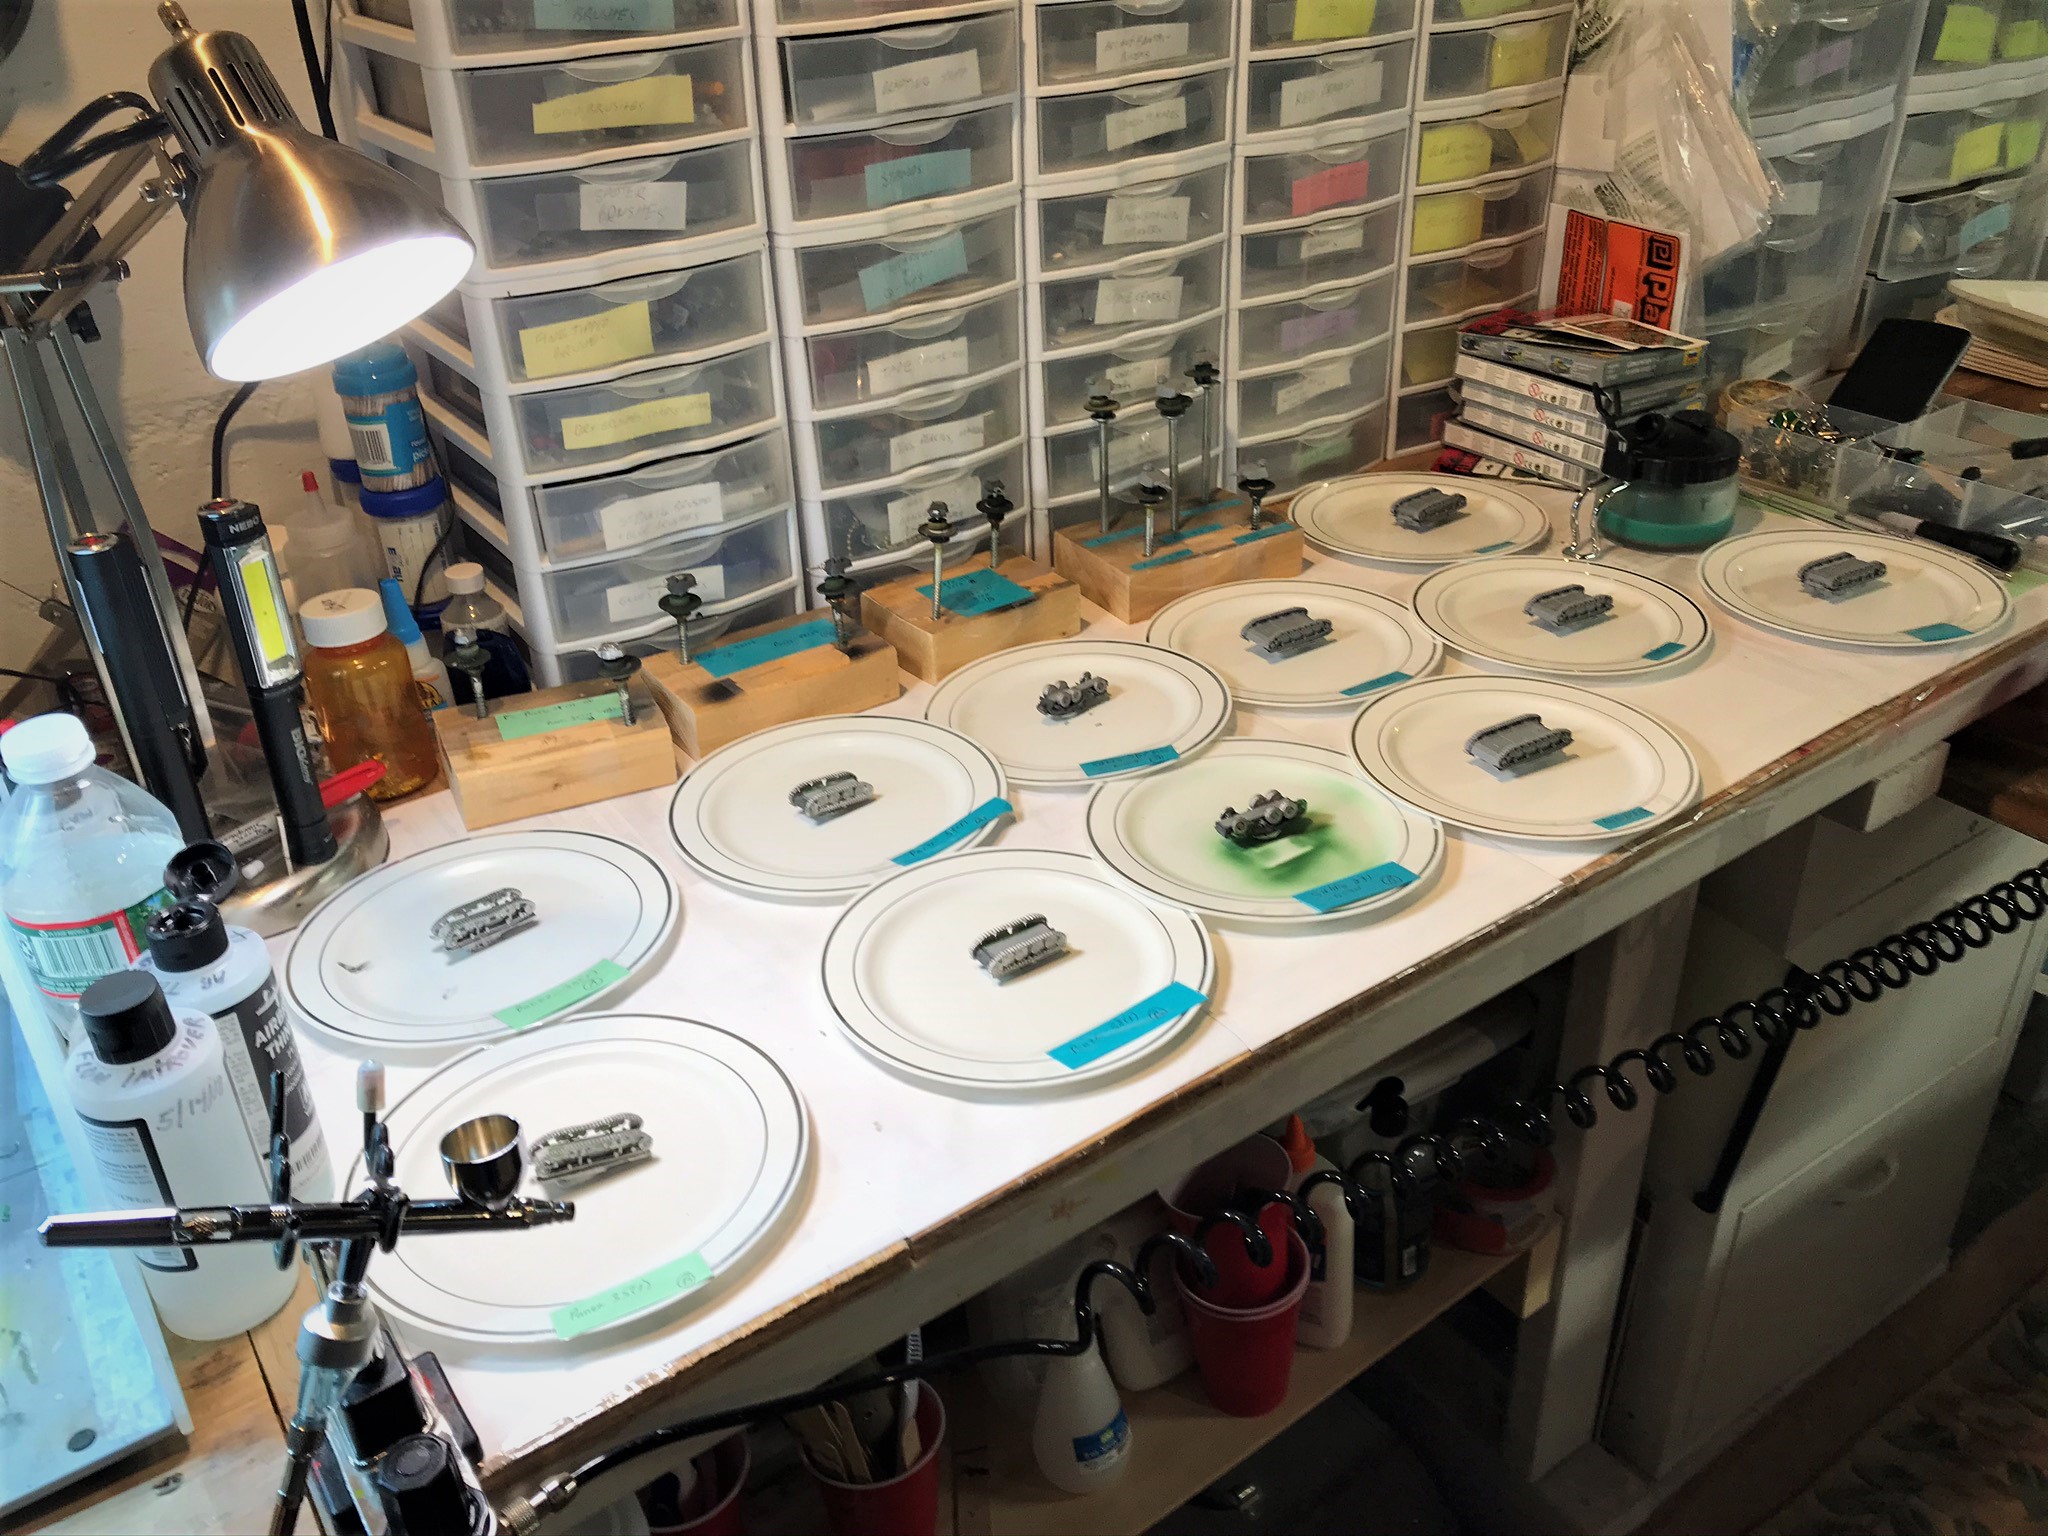
I mounted the vehicles on their bases as shown below. Once painted, I applied decals for better tabletop recognition (for the players).


I shaded the AB 41’s. I applied decals on the vehicles and pigments to some texture paints on the bases. All paints and more that I used are listed at the end of this post.
I airbrushed the camouflage pattern on the Semovente’s.
At this point, the models were finished!


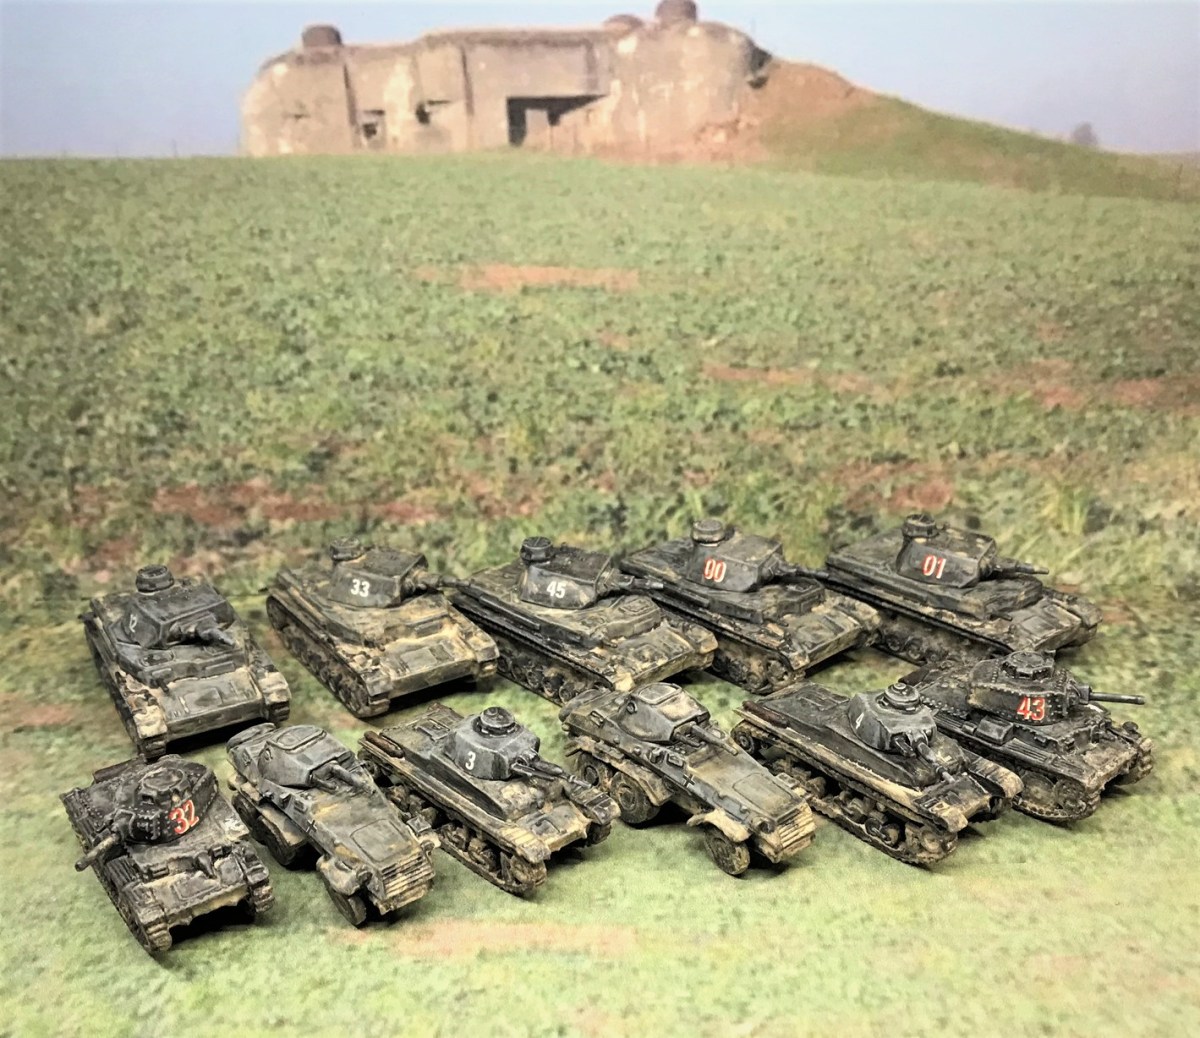
Let’s now see some eye candy of the models.
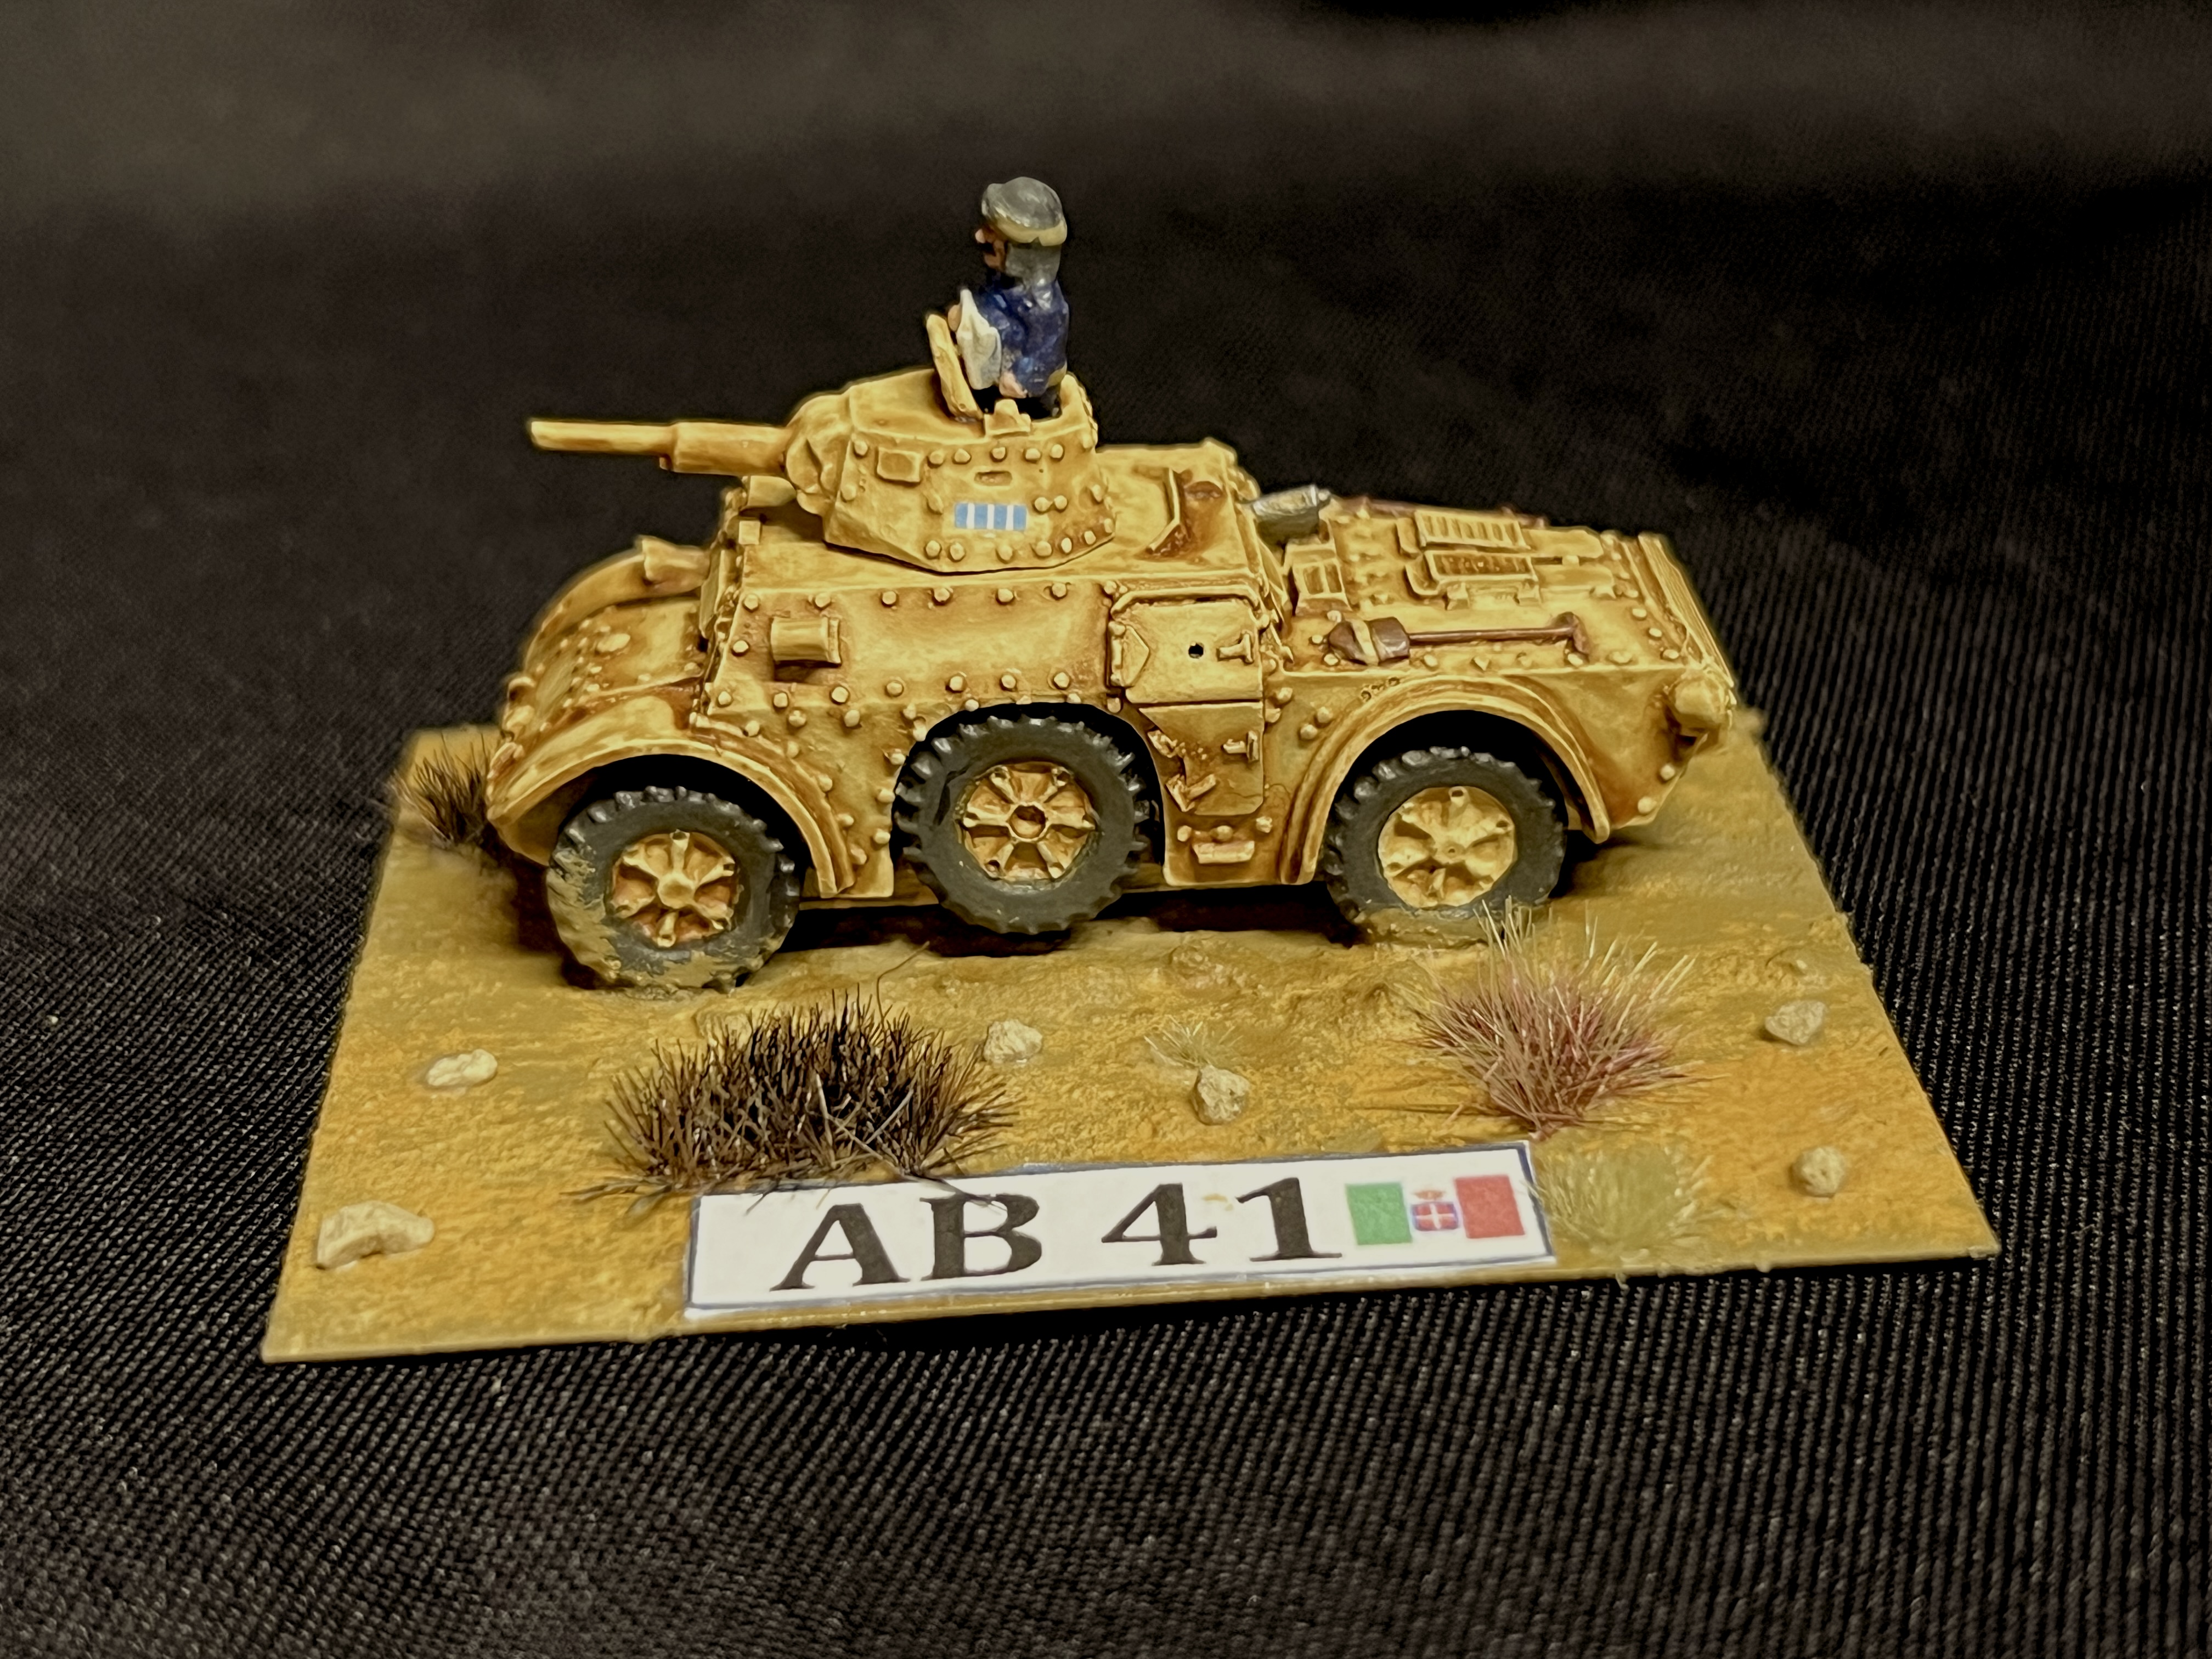
AB 41
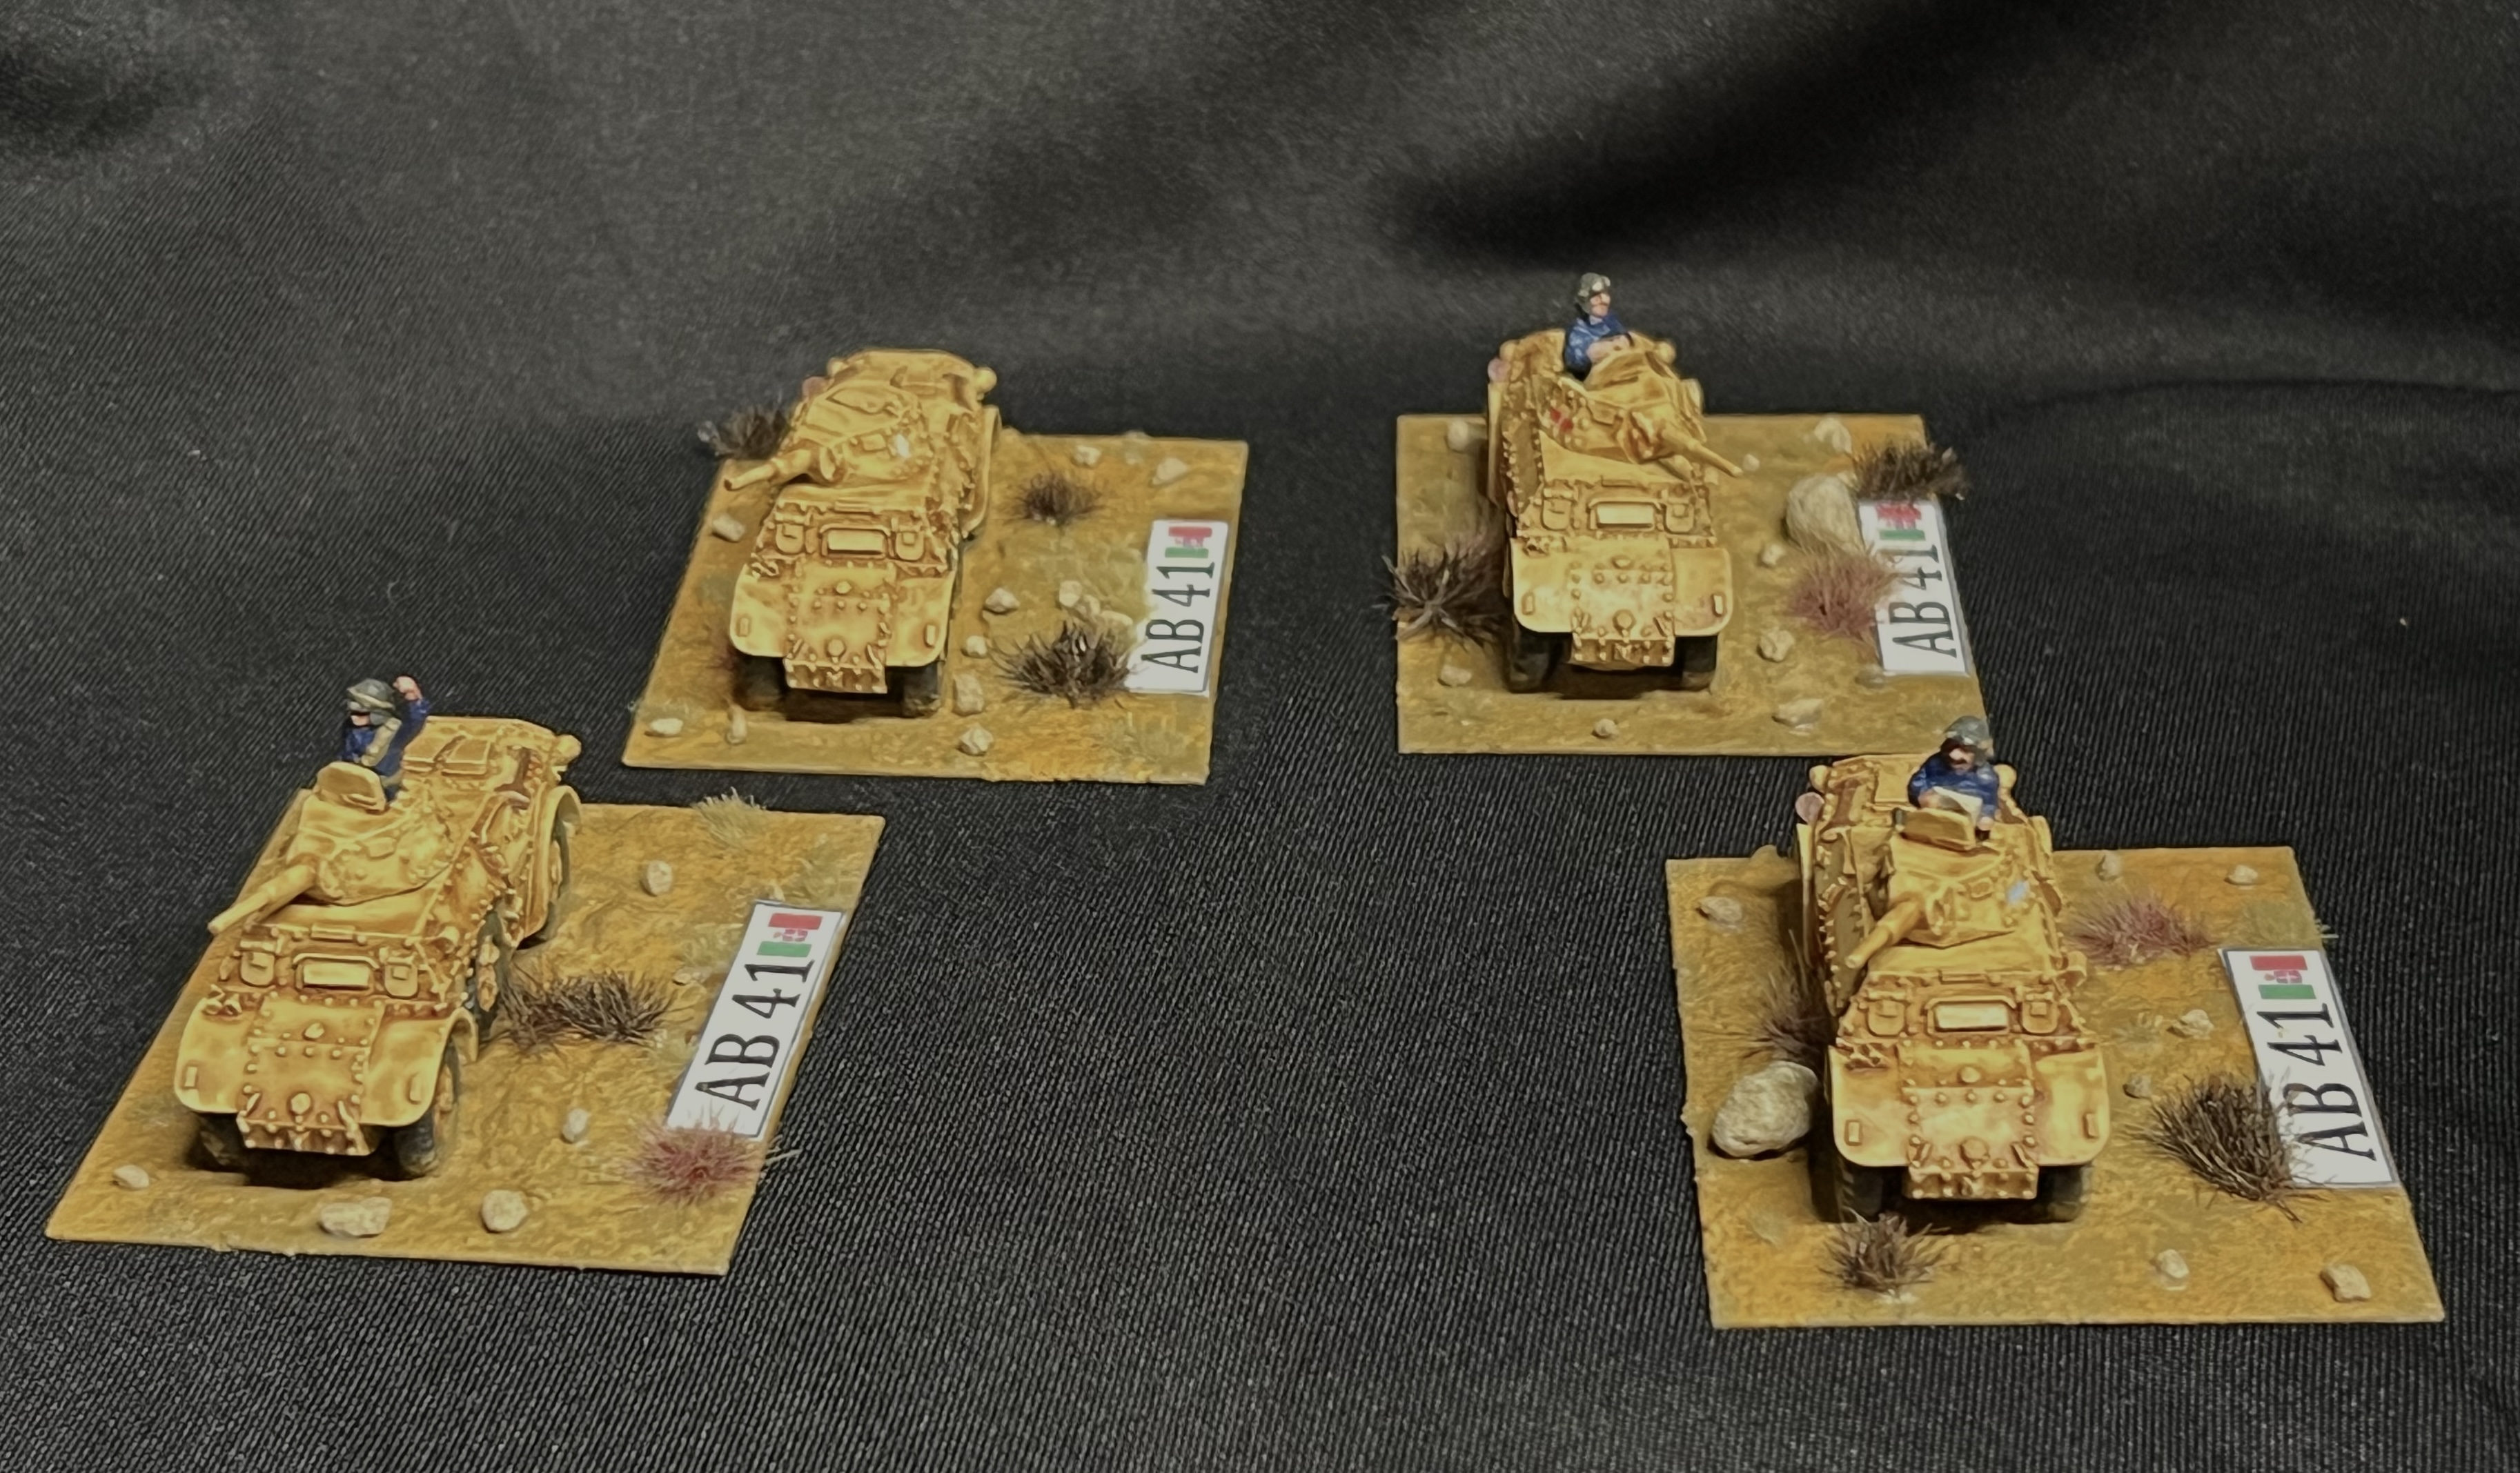


Lastly, close up shots of the 4. Note that they all have different decals on their turrets.


Semovente da 90/53
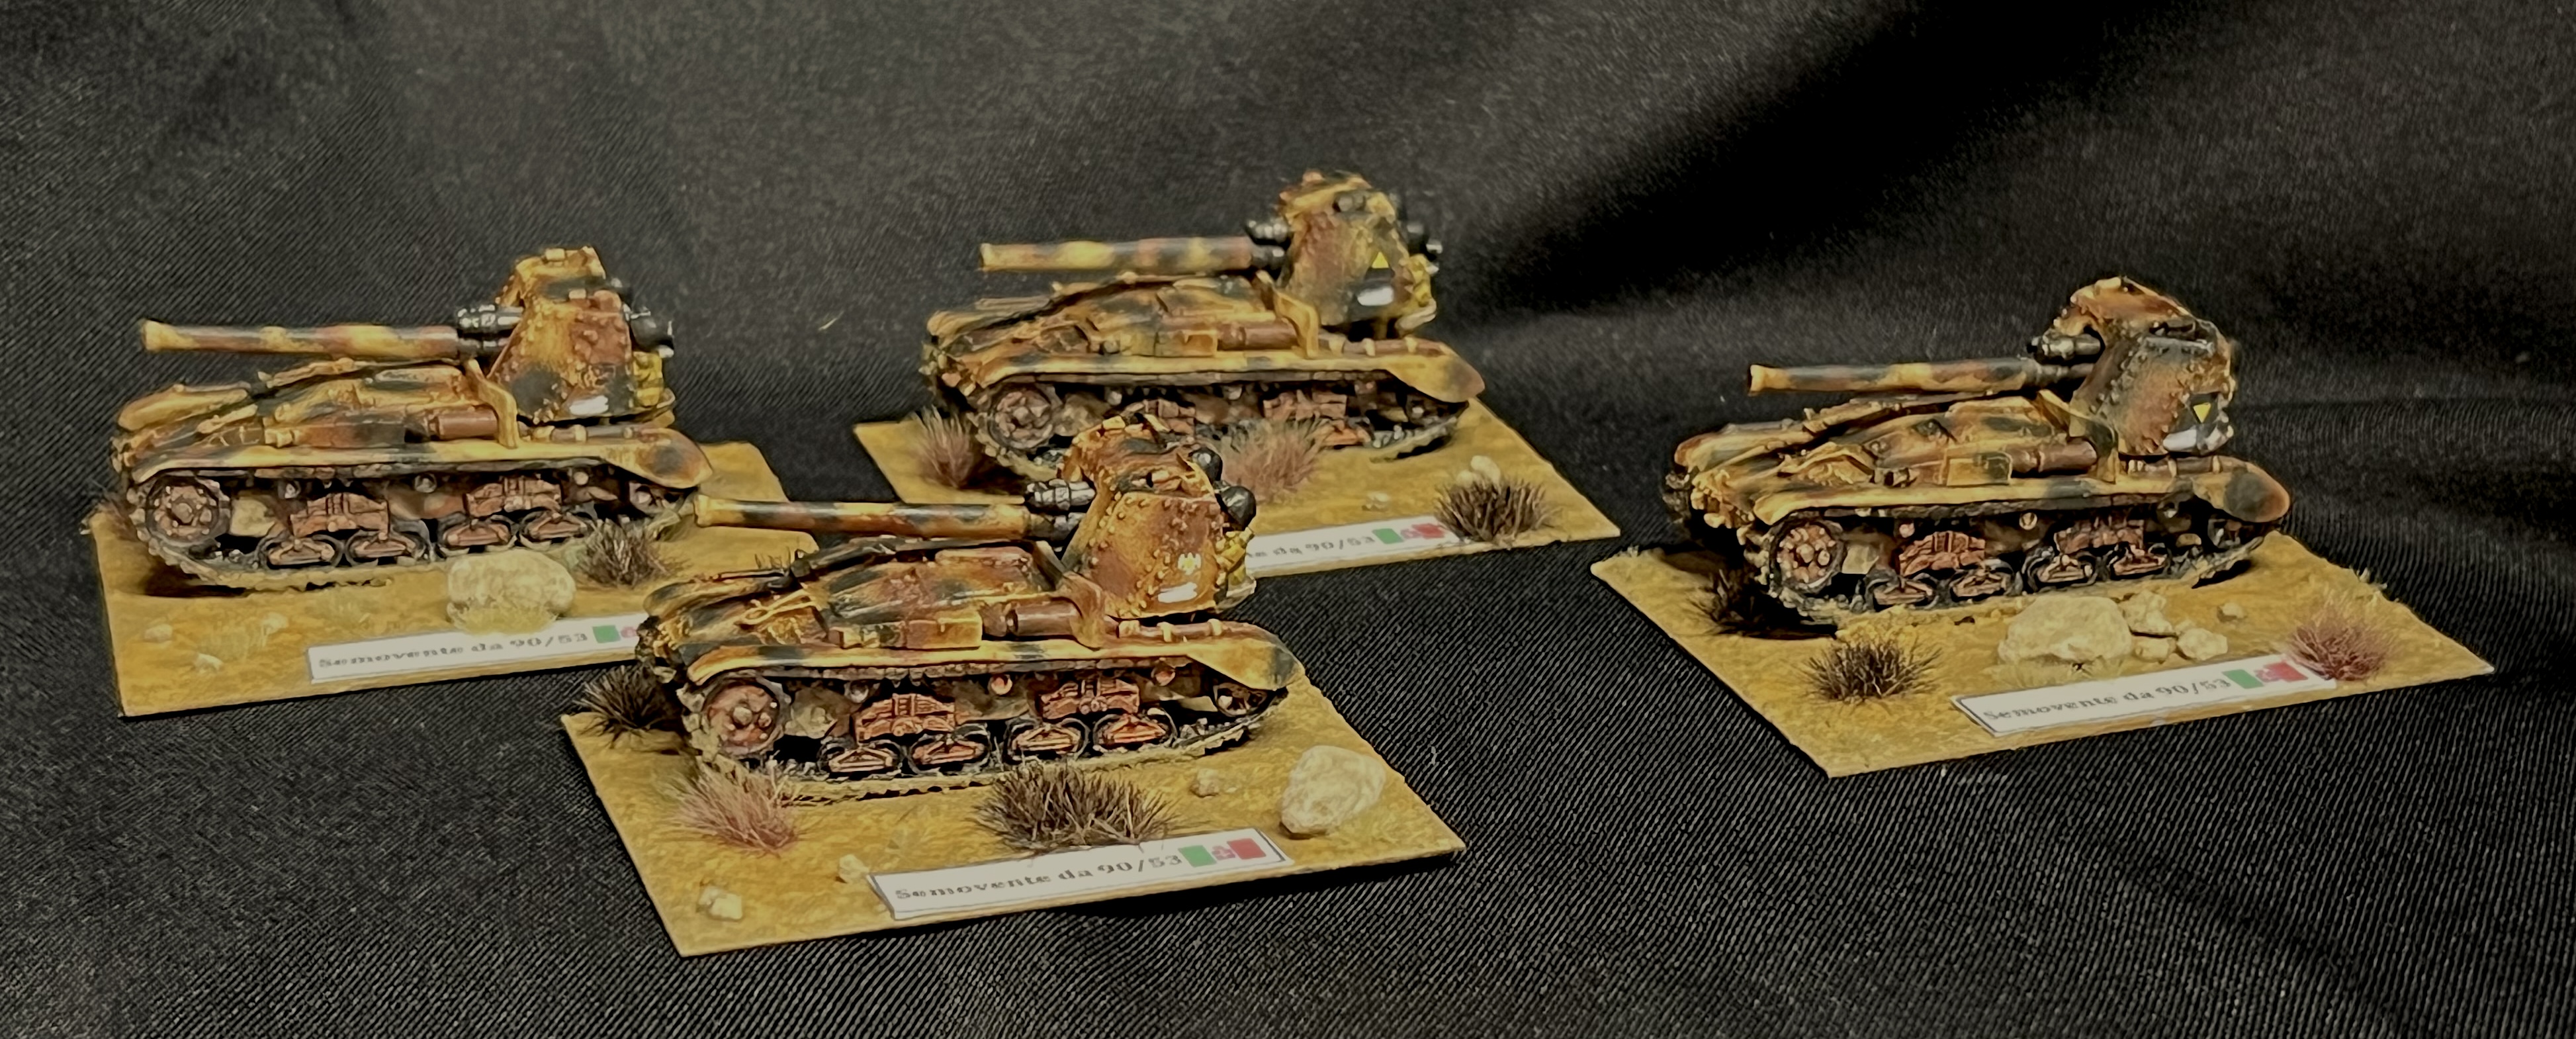
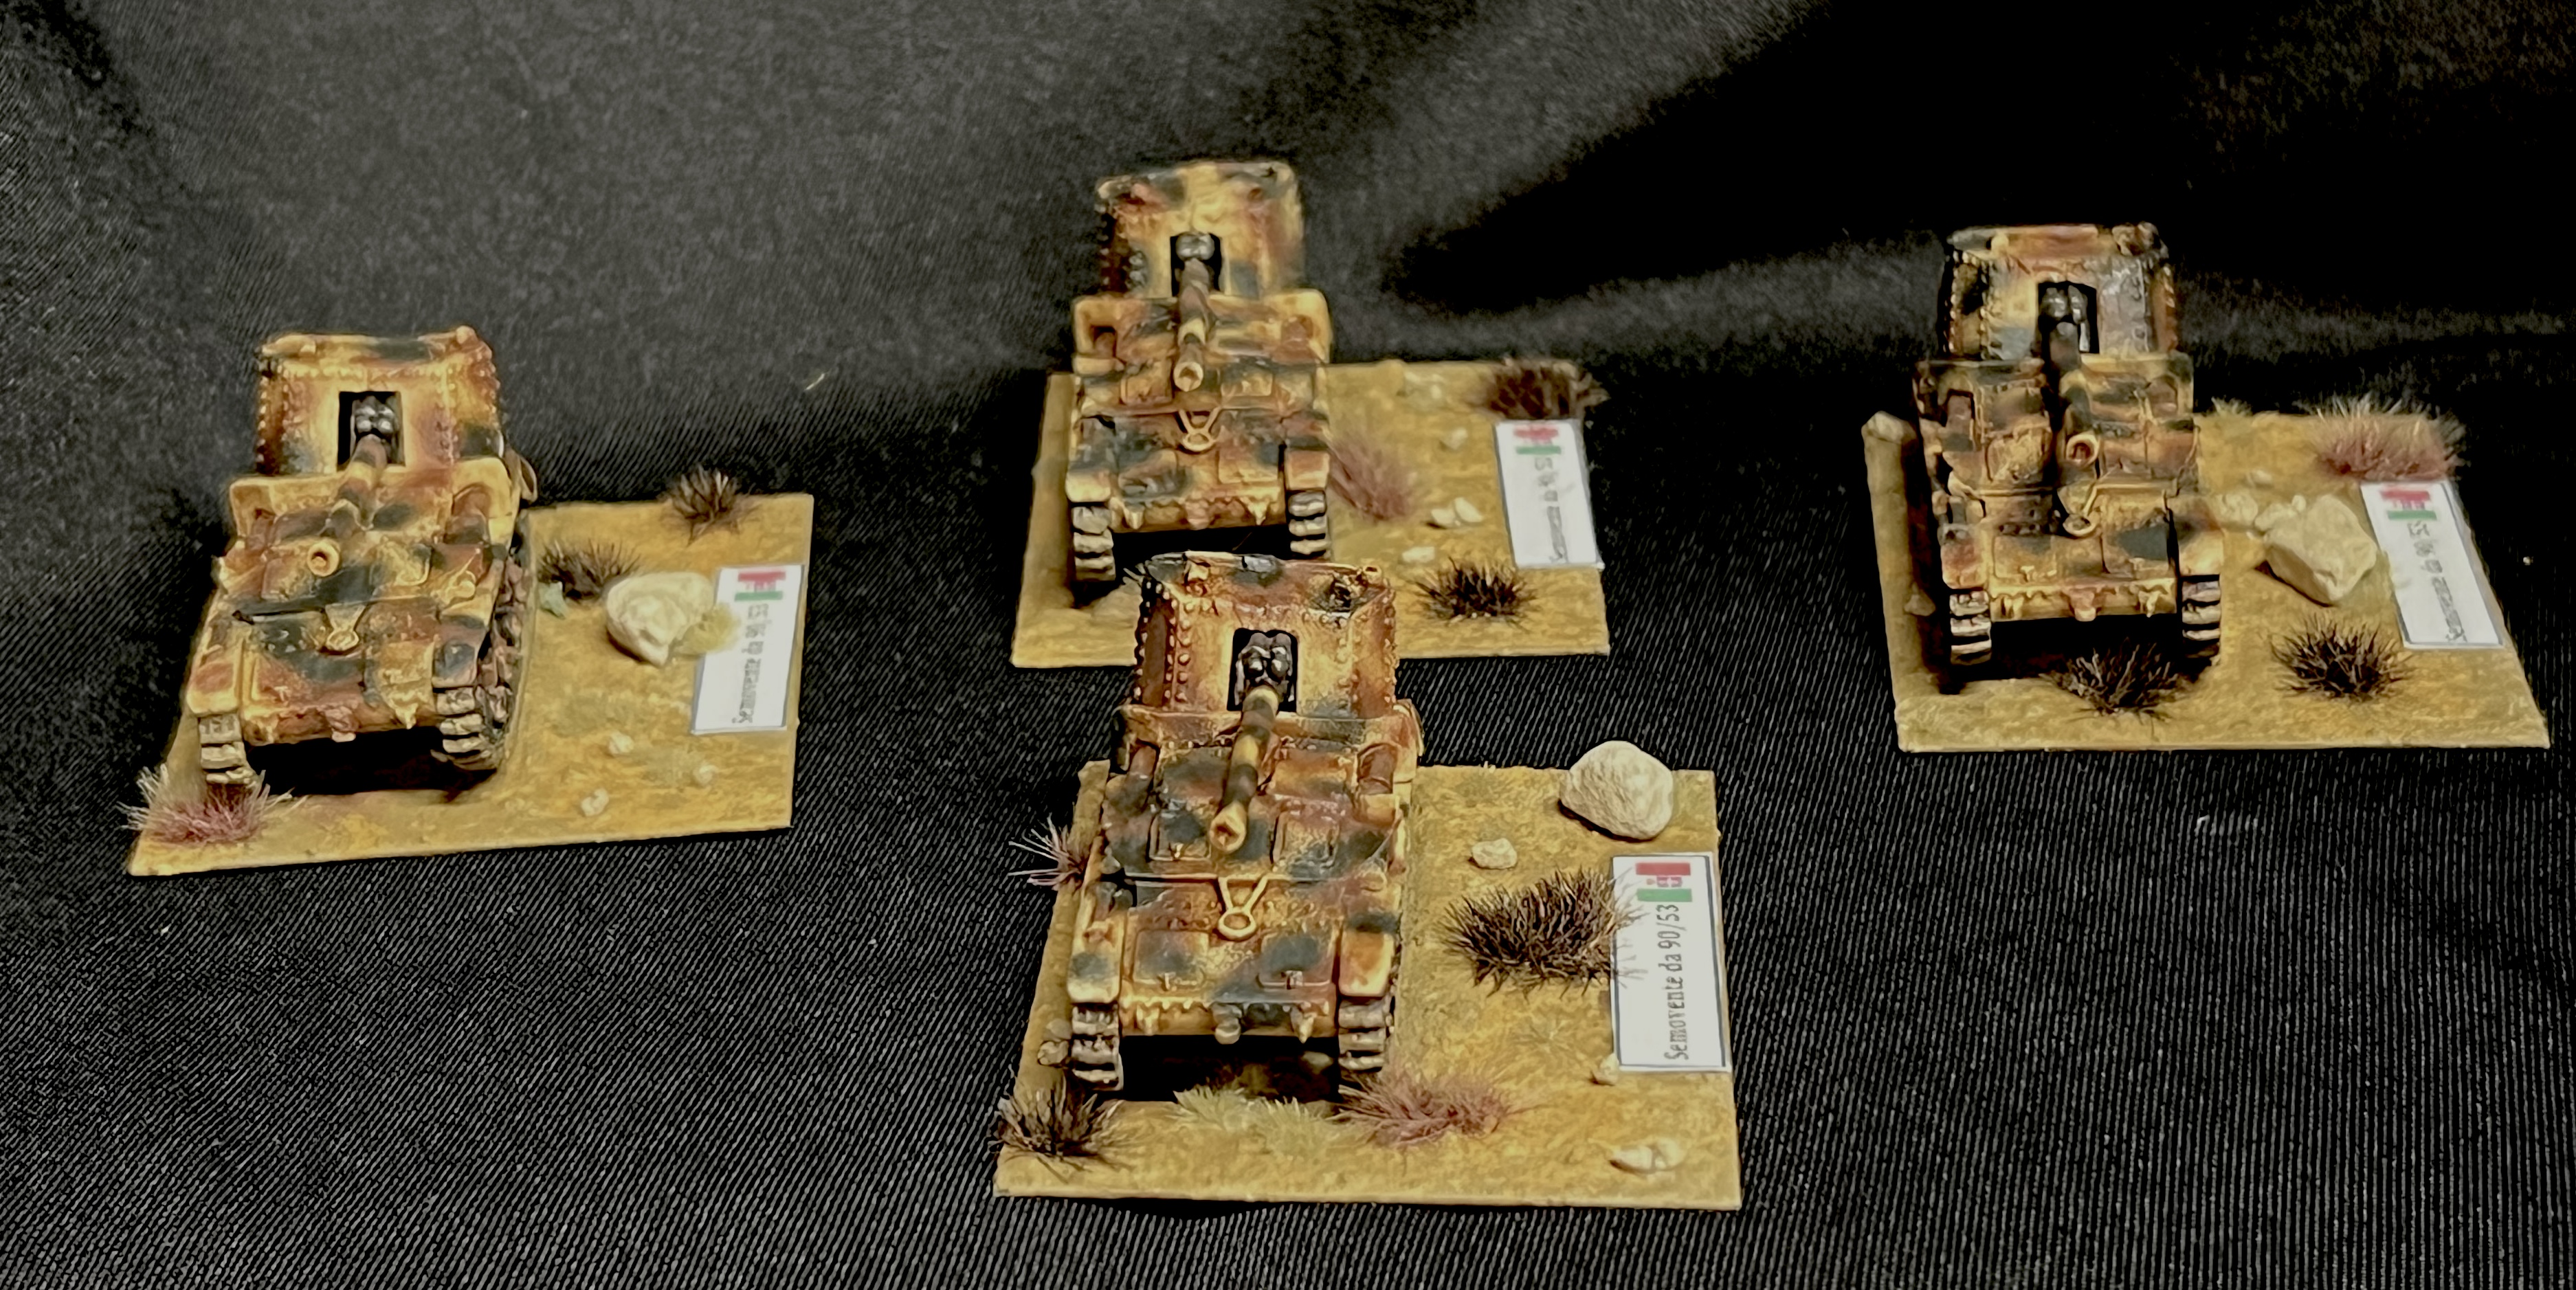


Lastly, close up shots of the 4. Note that they all have different decals on their mantlets.


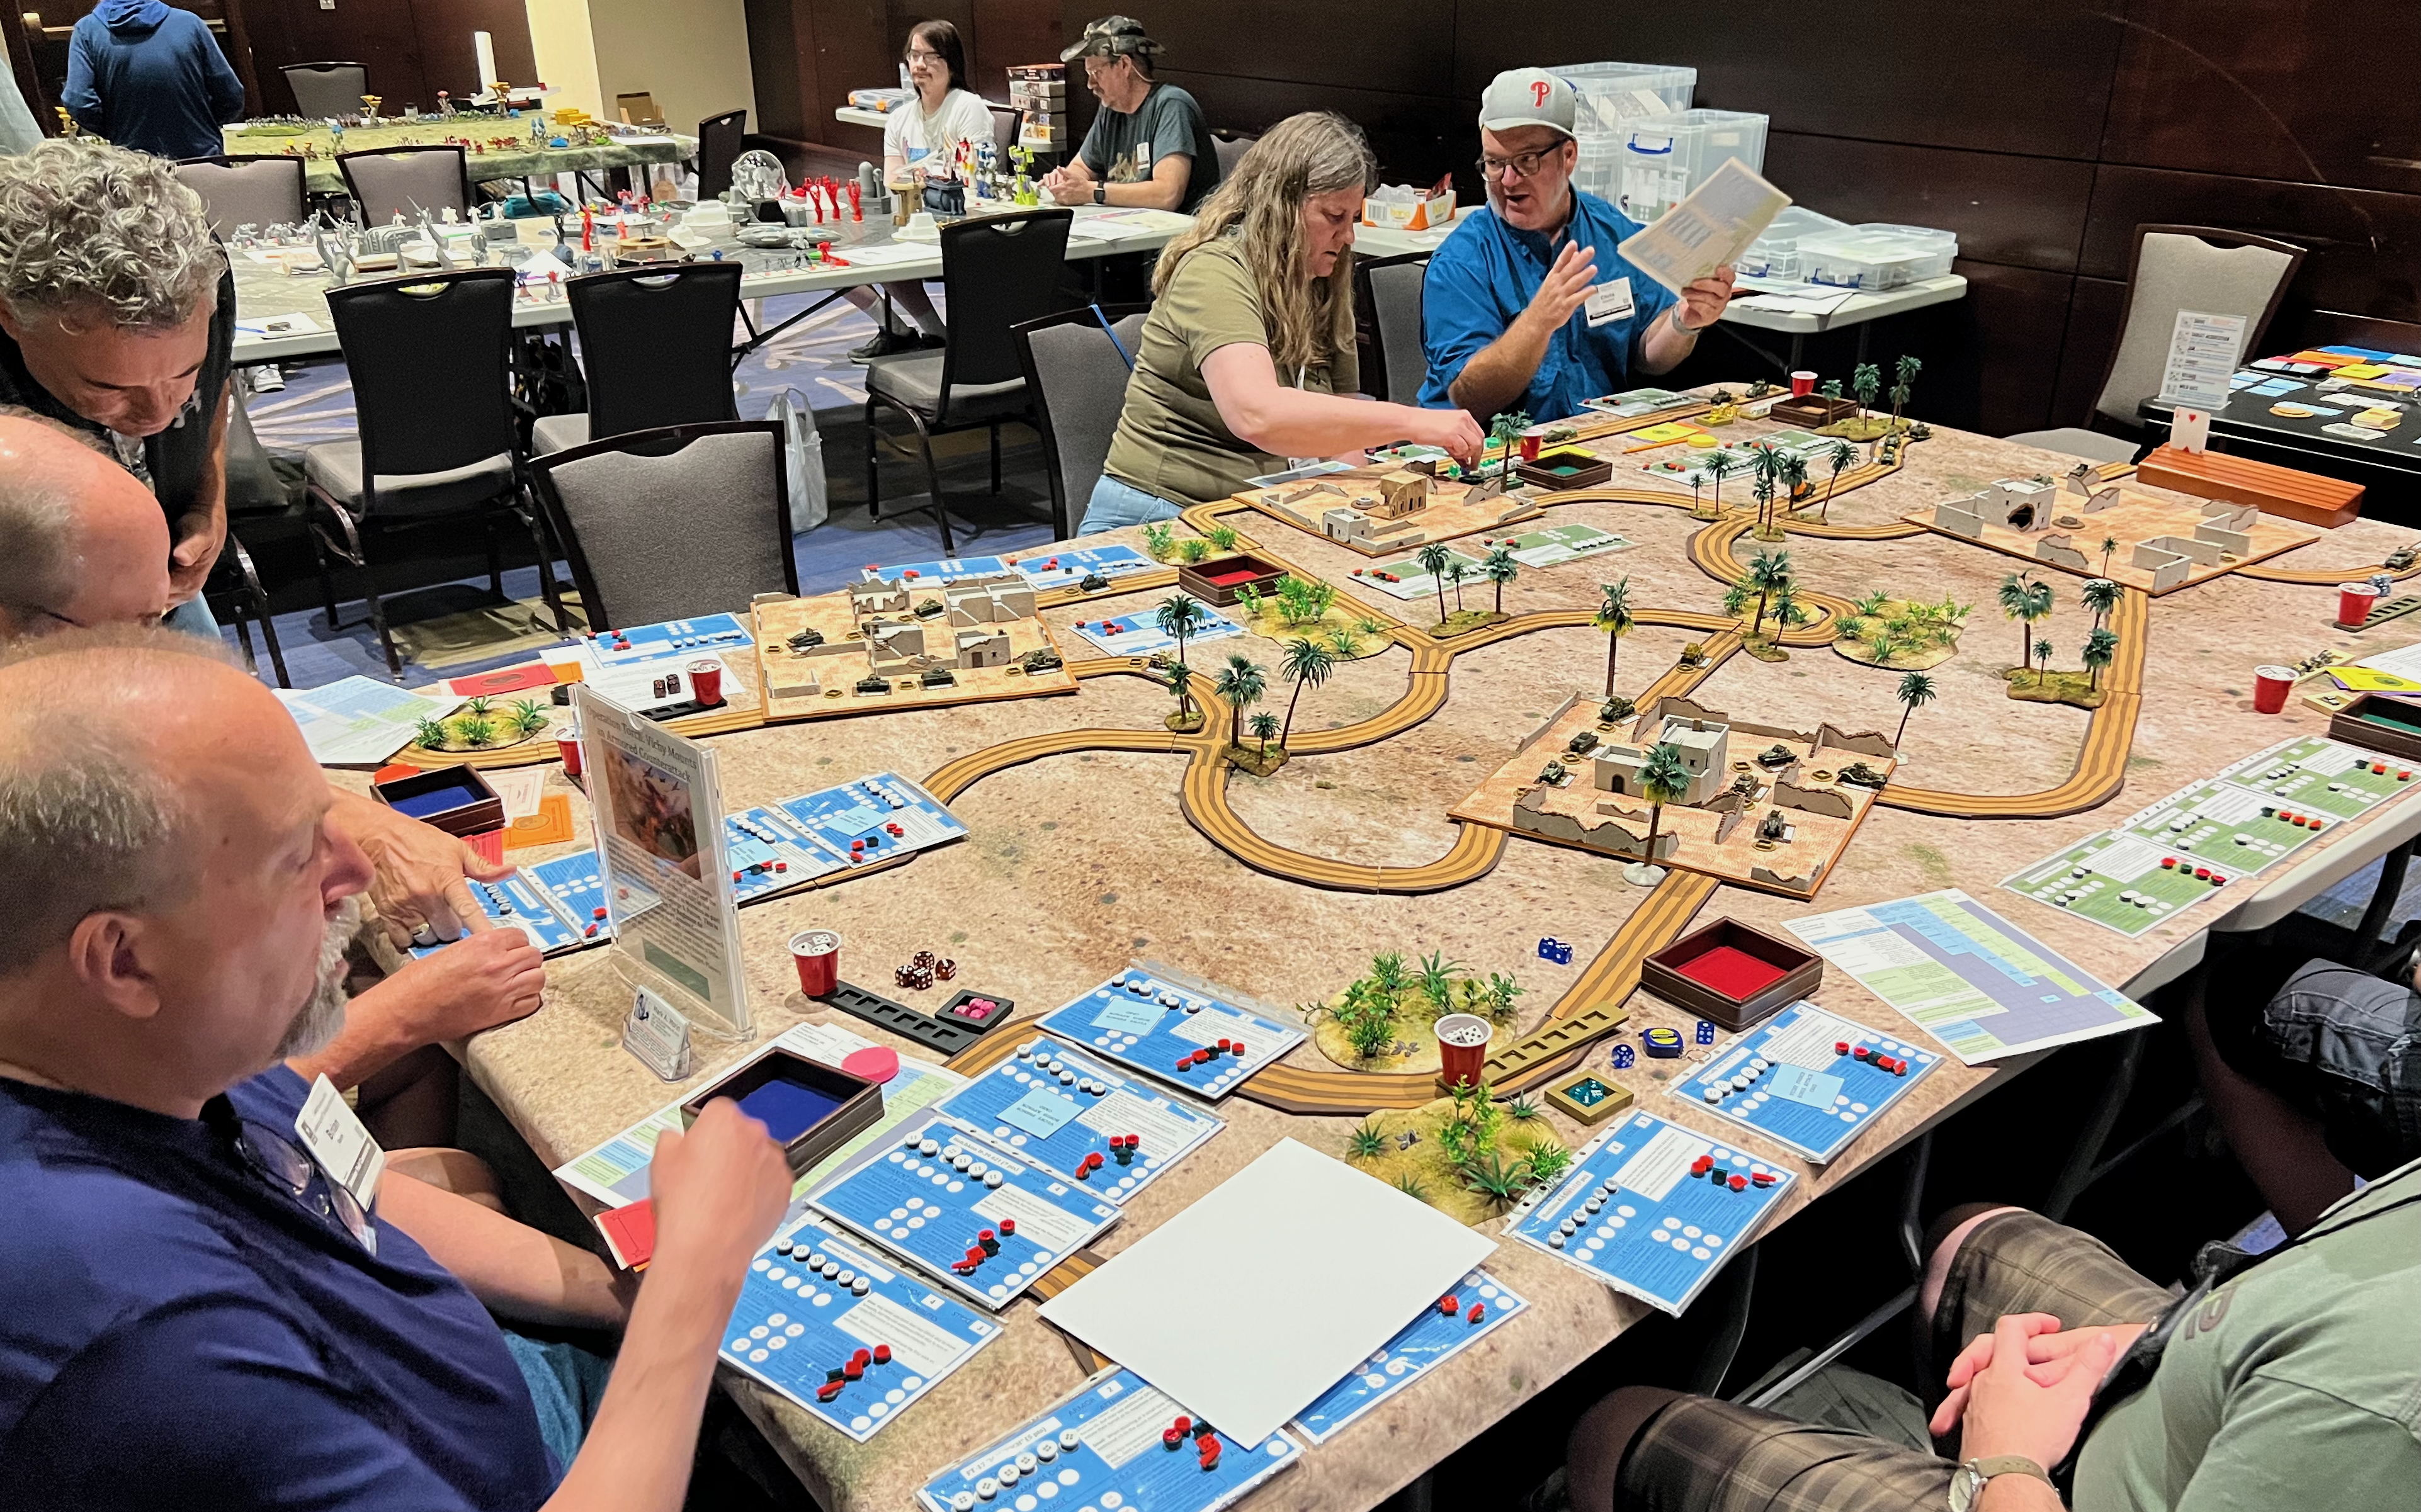
These will be on the tabletop at Cold Wars, TotalCon, and other upcoming conventions. Please let me know your thoughts and feedback in the comments section. Thanks in advance for your input. As always, thanks for reading.
For all of my posts on WWII games and projects, there is a consolidated list. You can find the posts and their links located here.
MATERIALS USED
PAINTS, INKS, GLAZES, SHADES, WASHES, PIGMENTS AND FLOCKING USED ON THE FOUR BATTLEFRONT/FLAMES OF WAR AB 41 ARMORED CAR MODELS
- Green Stuff
- Gorilla Glue
- War Games Accessories Steel Bases Number FOW 3 (2″ x 2½”)
- Neodymium magnets (⅛”)
- Vallejo Primers “Desert Tan”
- Vallejo Surface Primer “Panzer Grey”
- Vallejo Model Color “Dark Sand”
- Vallejo “Thinner Medium”
- Vallejo Model Air “Tire Black”
- Vallejo Model Color “Dark Prussian Blue”
- Vallejo Model Air “Rust”
- P3 “Midland Flesh”
- P3 “Flesh Wash”
- Citadel “Tallarn Sand”
- Reaper MSP Core Colors “Pure Black”
- Vallejo Model Air “Dark Brown”
- Battlefront “Worn Canvas”
- FolkArt “Champagne”
- Vallejo Thinner
- Vallejo “Gloss Acrylic Varnish”
- Citadel “Armageddon Dust” (texture)
- Army Painter “Light Tone” (wash)
- Vallejo “Dark Yellow Ochre” (pigment)
- Vallejo “Light Yellow Ochre” (pigment)
- Vallejo “Light Sienna” (pigment)
- Vallejo “Pigment Binder”
- Microscale Industries “Liquid Decal Film”
- Flames of War Italian Decal Set (IT940)
- Microscale Industries “Micro Set”
- Microscale Industries “Micro Sol”
- Vallejo Mecha Varnish “Matte Varnish”
- Shadow’s Edge Miniatures “6mm Pink Sunset” (flocking)
- Shadow’s Edge Miniatures “4mm Badlands Tufts” (flocking)
- Gamers Grass “Tiny Beige 2mm Tufts” (flocking)
- PVA Glue
- Printed labels on card stock
- Small talus
PAINTS, INKS, GLAZES, SHADES, WASHES, PIGMENTS AND FLOCKING USED ON THE FOUR BATTLEFRONT/FLAMES OF WAR SEMOVENTE DA 90/53 MODELS
- Green Stuff
- Gorilla Glue
- War Games Accessories Steel Bases Number FOW 3 (2″ x 2½”)
- Vallejo Primers “Desert Tan”
- Vallejo Surface Primer “Panzer Grey”
- Vallejo Model Color “Dark Sand”
- Vallejo “Thinner Medium”
- Vallejo Model Color “Dark Prussian Blue”
- Vallejo Mecha Color “Steel”
- Vallejo Mecha Weathering ” Dark Rust Wash” (wash)
- Vallejo Model Air “Gun Metal”
- P3 “Midland Flesh”
- P3 “Flesh Wash”
- Army Painter “Dark Tone” (wash)
- Vallejo Model Color “Japanese Uniform WWII”
- Citadel “Karak Stone”
- Citadel “Tallarn Sand”
- Battlefront “Worn Canvas”
- Army Painter Speed Paint 1.0 “Pallid Bone”
- Reaper MSP Core Colors “Pure Black”
- Battlefront “Boot Brown”
- Vallejo Model Air “Rust”
- Vallejo Thinner
- Citadel “Armageddon Dust” (texture)
- Army Painter “Light Tone” (wash)
- Wooden Blocks, steel bolts, steel washers, nails, magnets, steel screws
- Vallejo “Dark Yellow Ochre” (pigment)
- Vallejo “Light Yellow Ochre” (pigment)
- Vallejo “Light Sienna” (pigment)
- Vallejo “Pigment Binder”
- Vallejo “Gloss Acrylic Varnish”
- Vallejo “Light Sienna” (pigment)
- Vallejo “Pigment Binder”
- Microscale Industries “Liquid Decal Film”
- Flames of War Italian Decal Set (IT940)
- Microscale Industries “Micro Set”
- Microscale Industries “Micro Sol”
- Vallejo Mecha Varnish “Matte Varnish”
- Shadow’s Edge Miniatures “6mm Pink Sunset” (flocking)
- Shadow’s Edge Miniatures “4mm Badlands Tufts” (flocking)
- PVA Glue
- Printed labels on card stock
- Small talus


 left side close up")
 right side")
 rear view")
 frontal view")
 left side view")
 rear view")

 frontal view close up")
 frontal view")
 rear view close up")


 rear close up view")
 right side view")
 frontal close up view")