
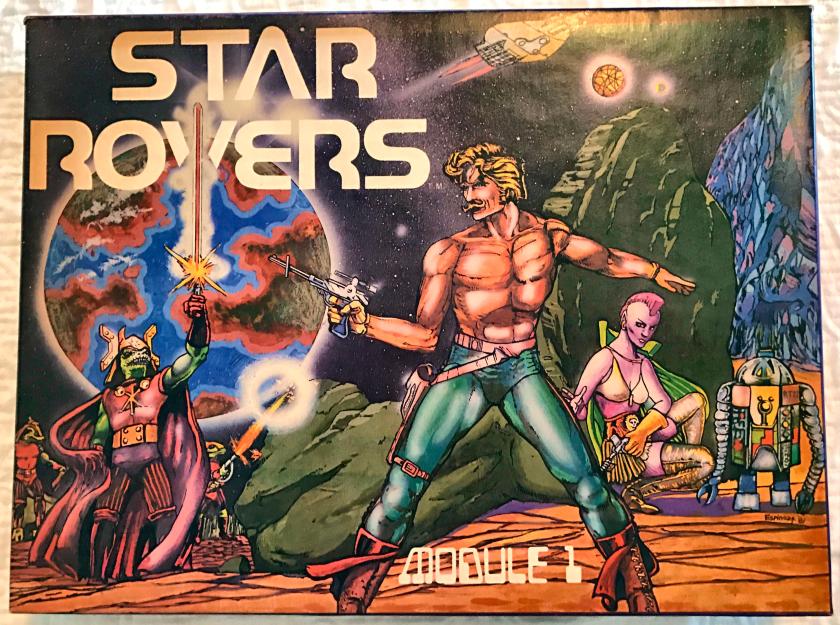
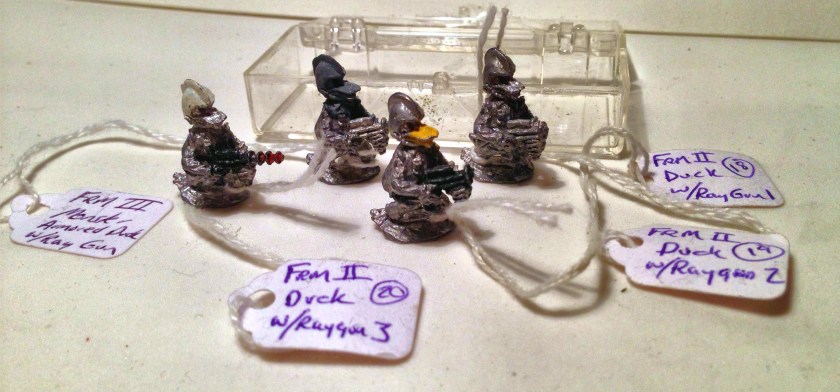
Back in March of 2017, I read that WSD (Wargames Supply Dump) in the U.K. was shutting down its website and its figures from the Dirk Garrison line would no longer be available. Very bad news! I had not yet had the chance to buy any of these, and their retro sci-fi look lured me in to try to get a few before it was too late.
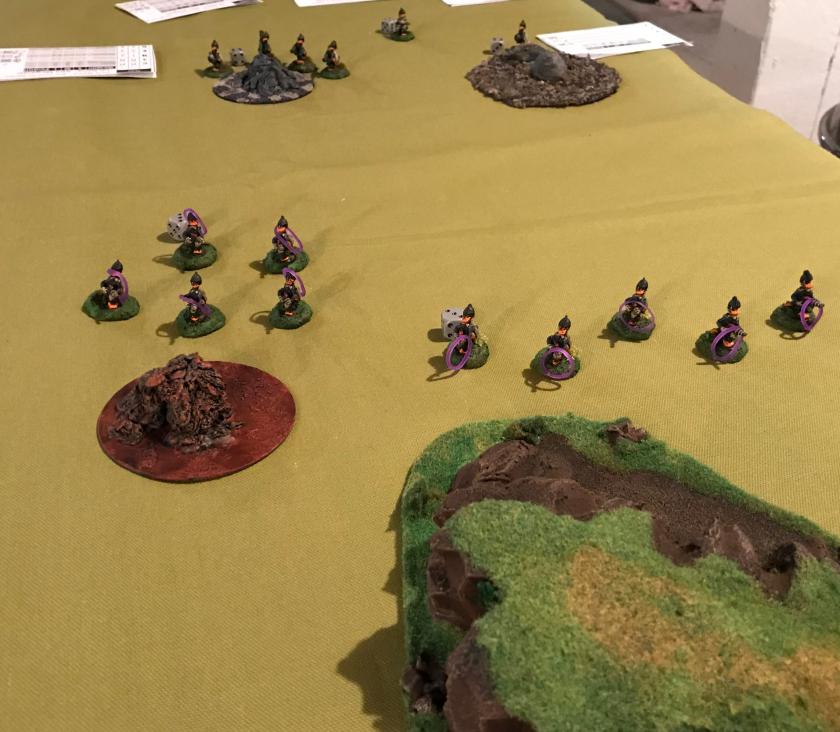
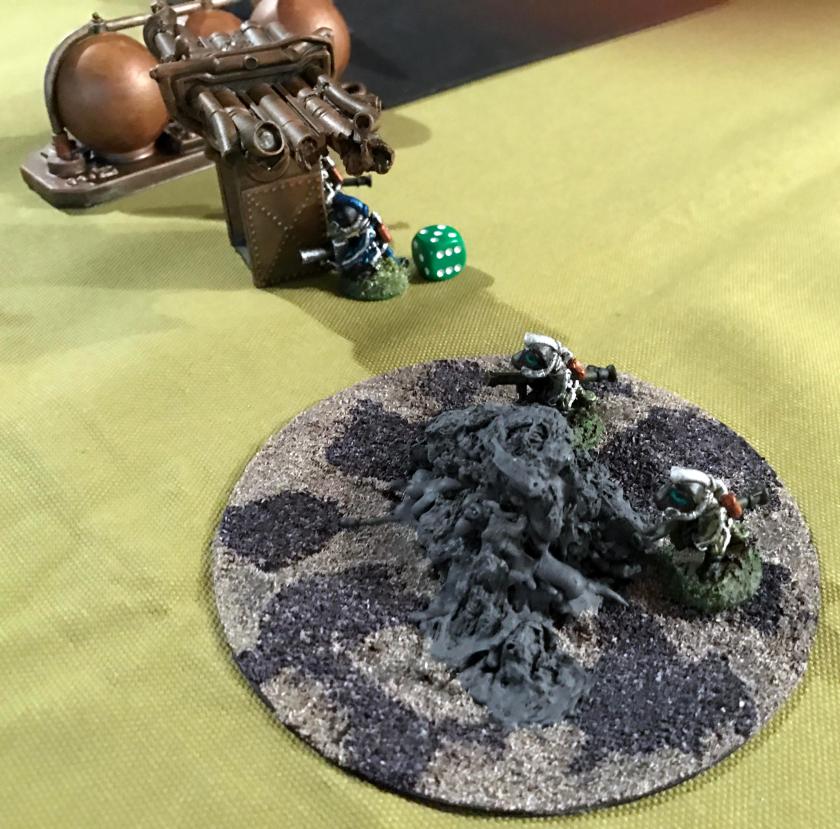
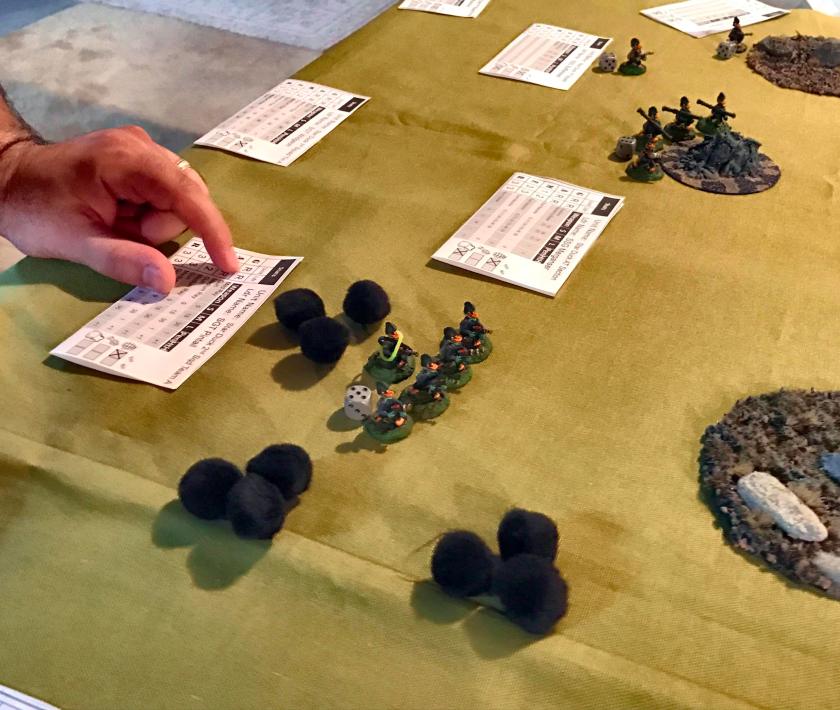
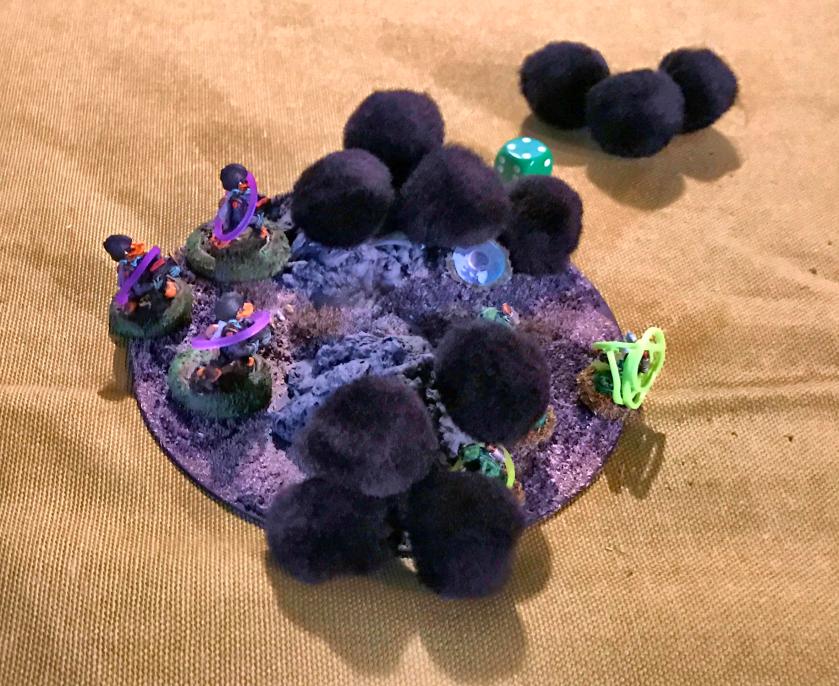
I was able to get a few different sets, which I will be painting up and using in my retro sci-fi games using the card-based Combat Patrol™ system.
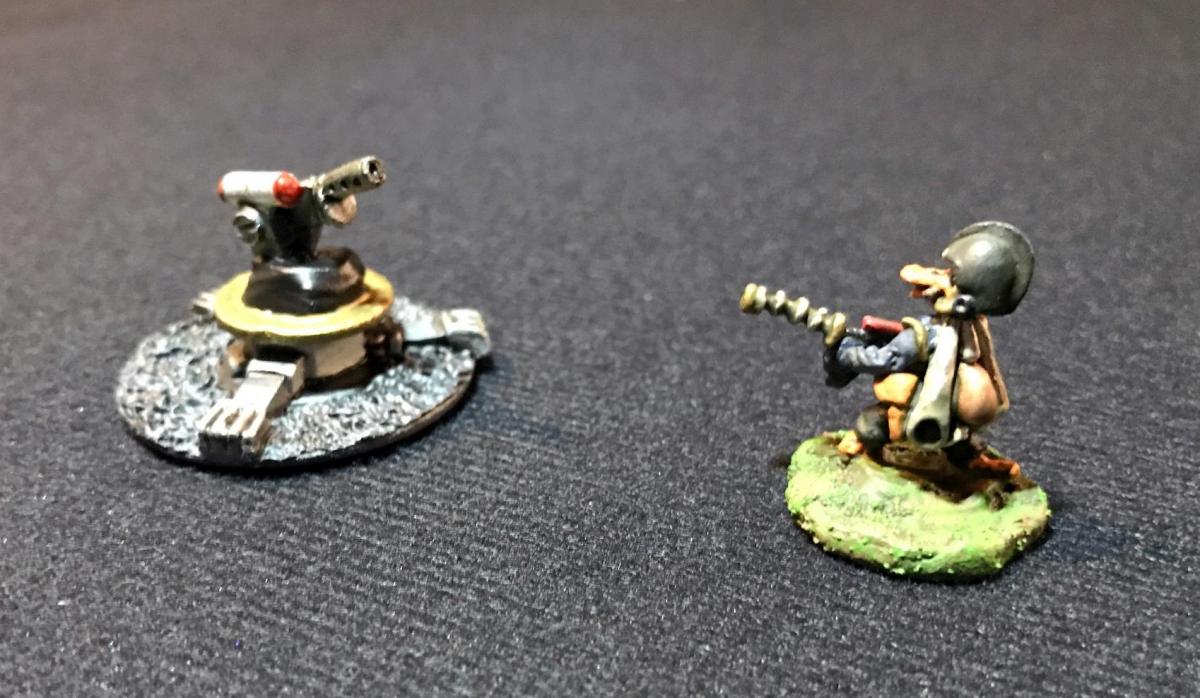
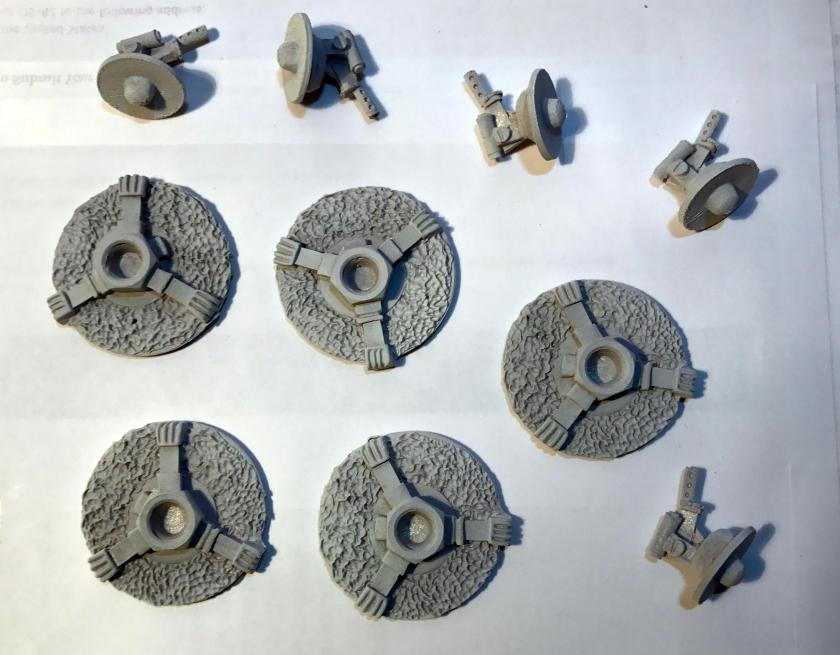
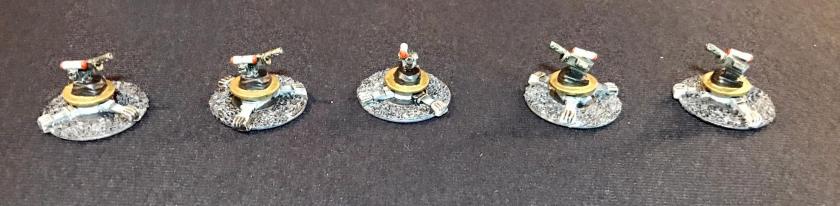
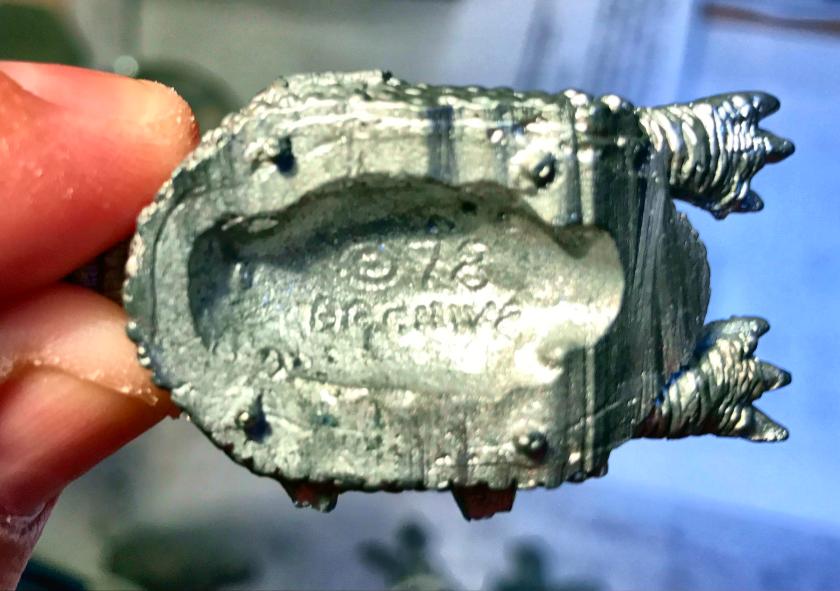
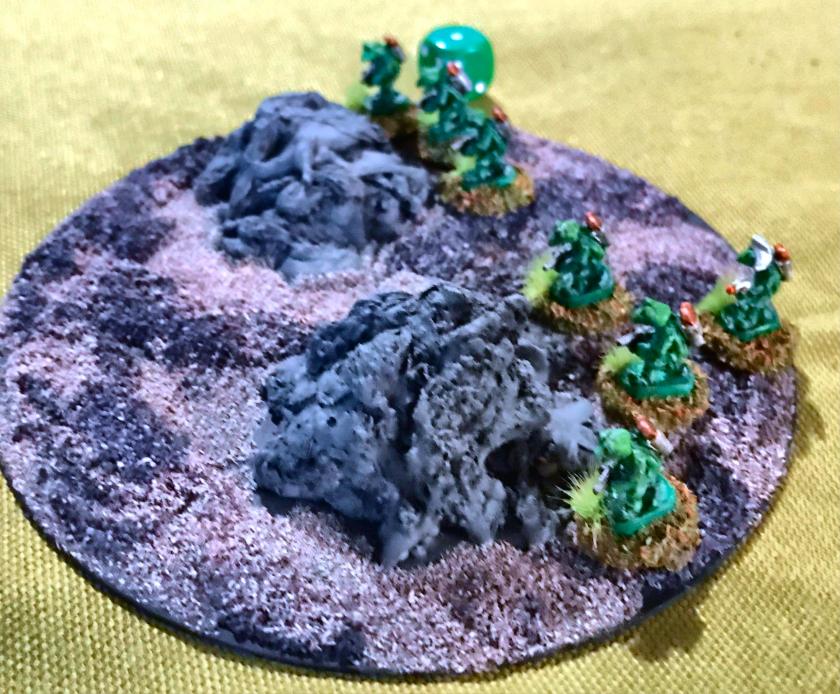
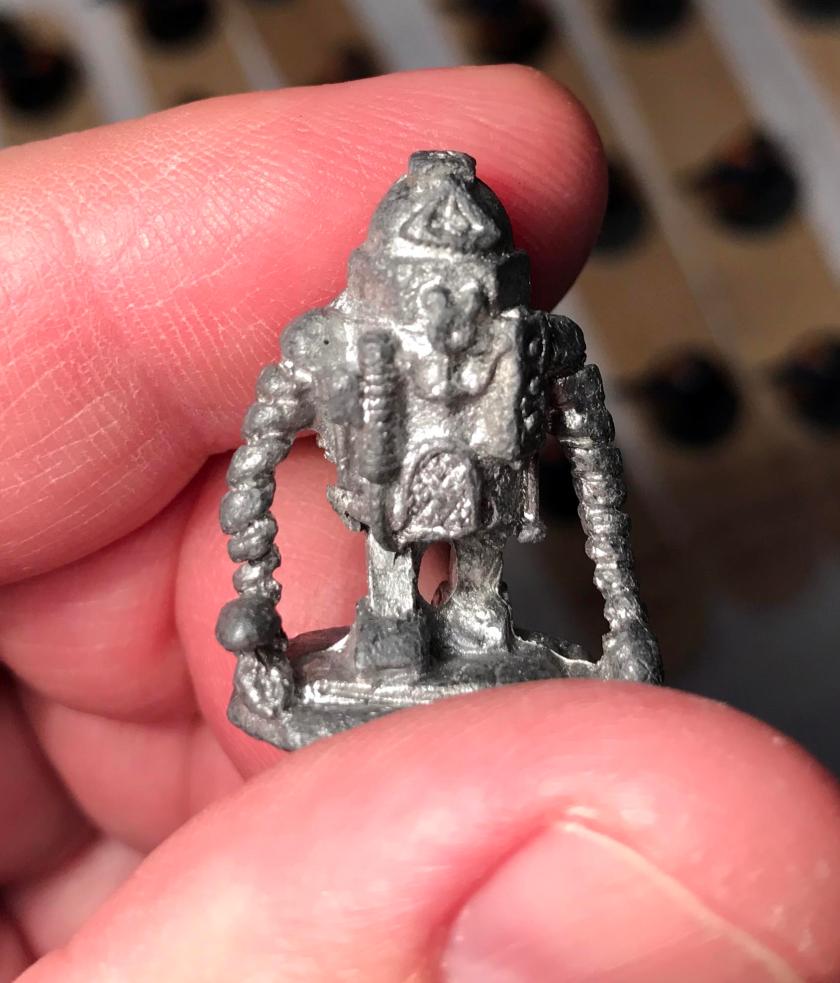
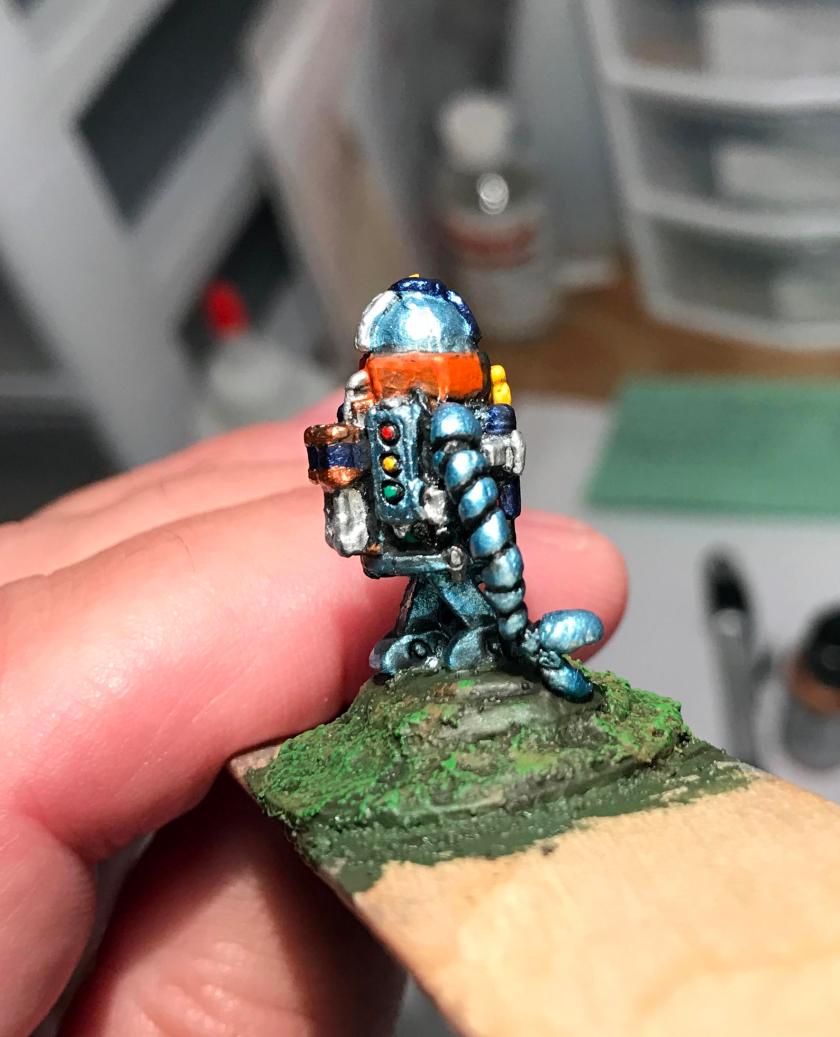
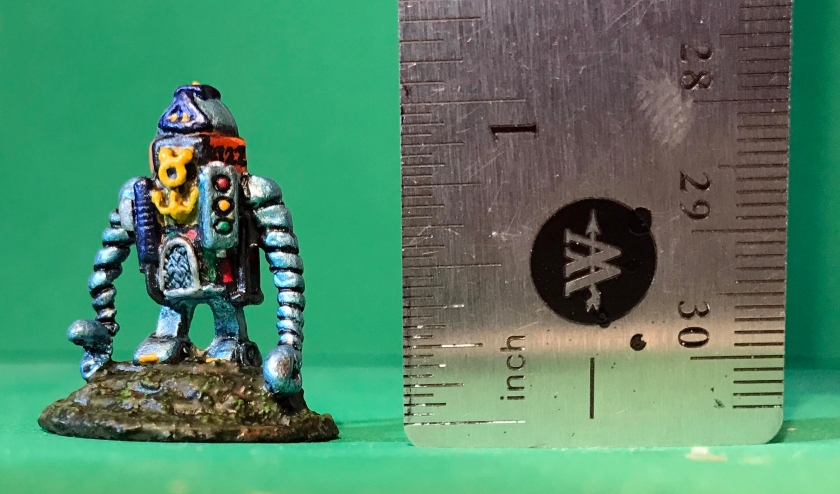
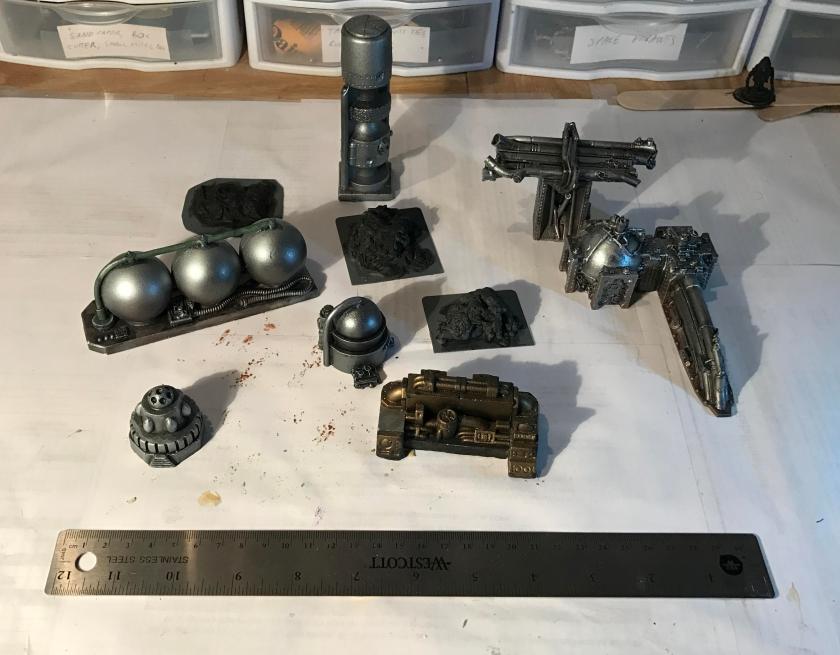
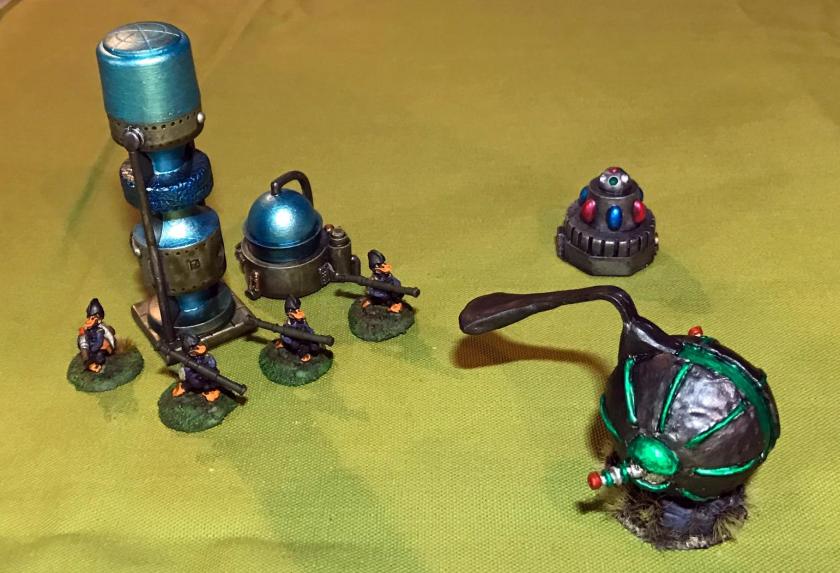
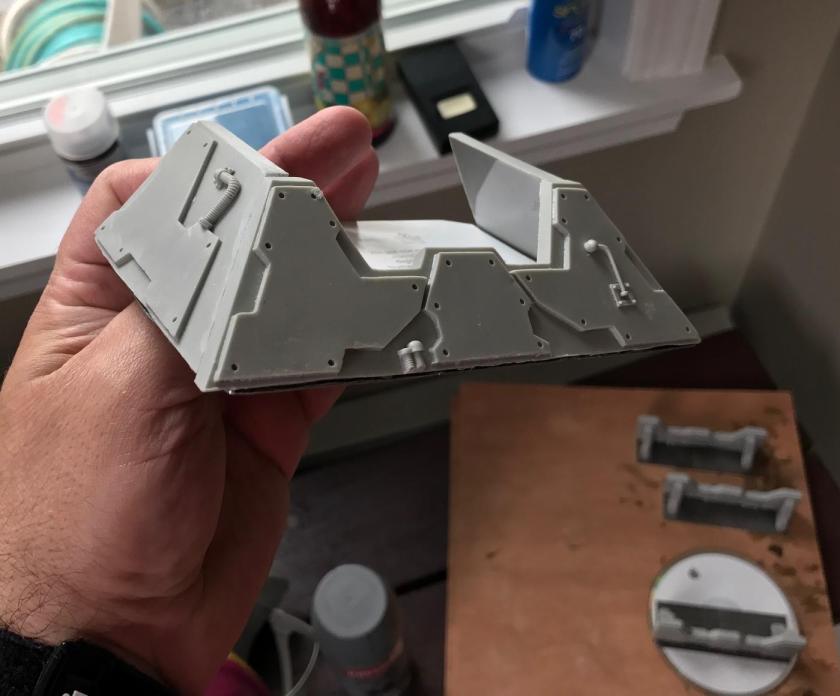
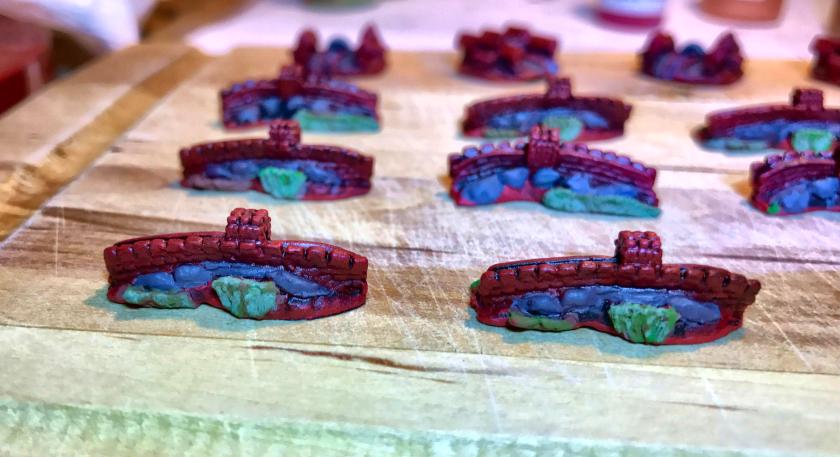
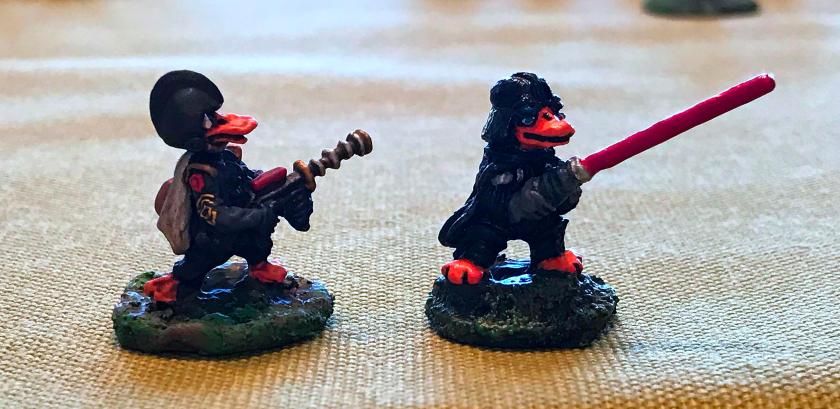
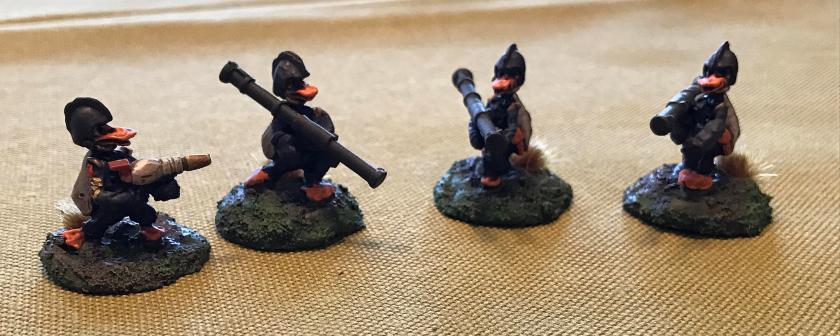
The first ones I started were MIS06 “Robo Sentry Guns“. These came in a two-pieces per kit. As you can see below, the models were not greatly detailed, but very nice for what I wanted – unmanned and immovable guns for attacking infantry (or vehicles) to deal with during a skirmish. They were sculpted by Jason Miller. I wanted to buy 10, but only 5 were left by the time I tried to buy them. I grabbed them as they were heavily discounted!
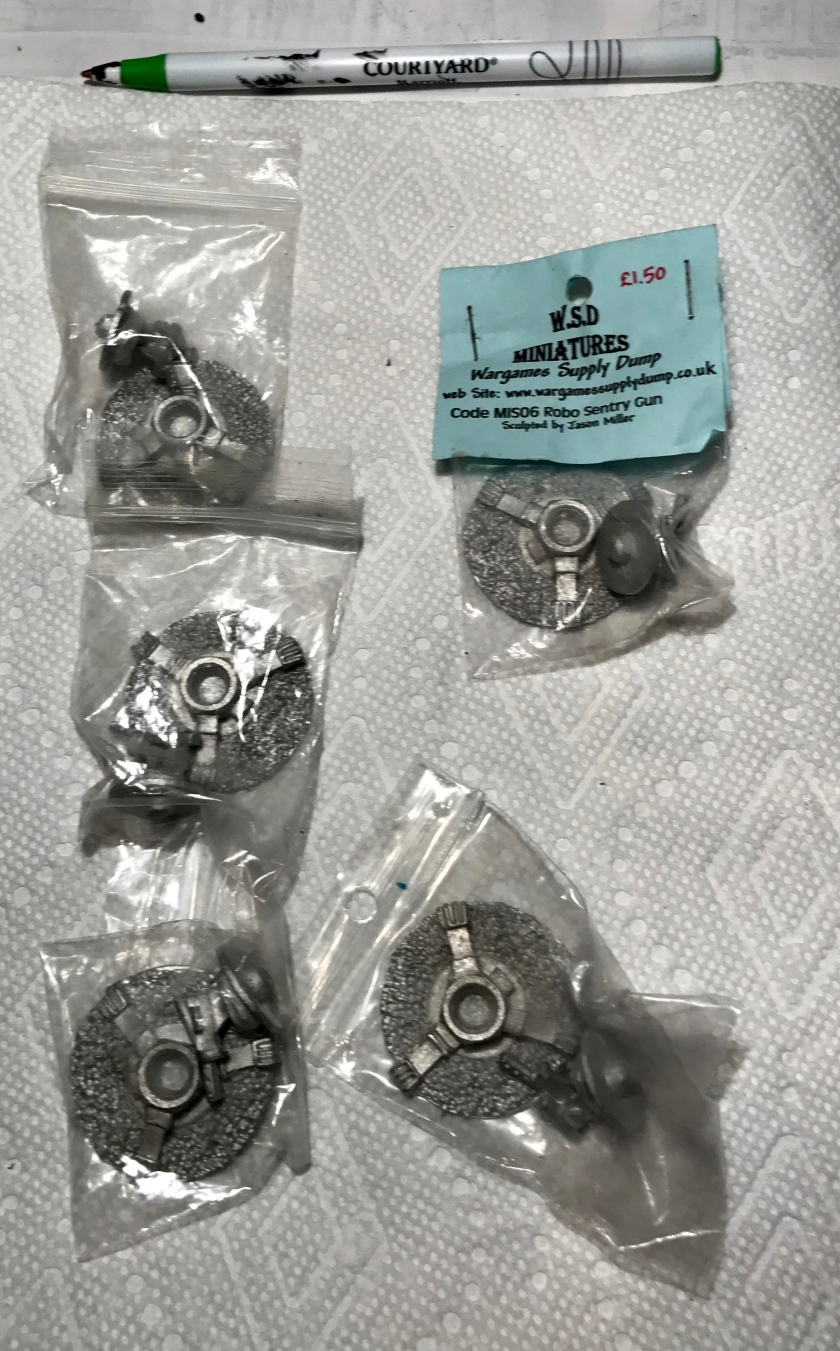
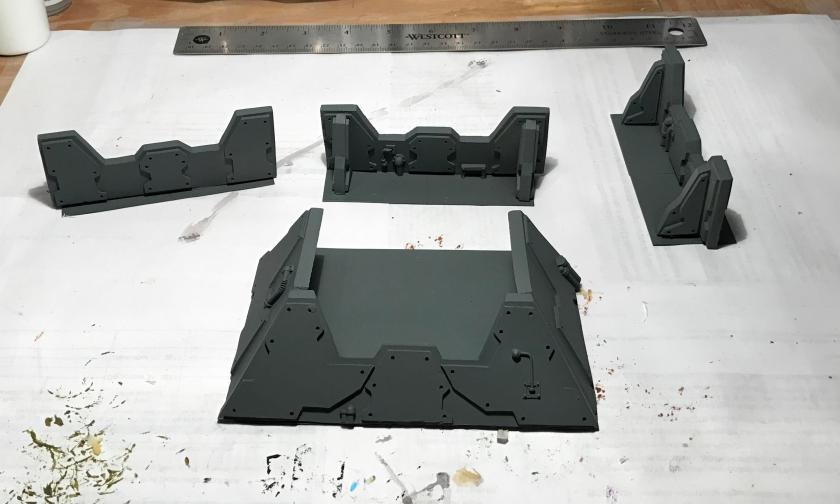
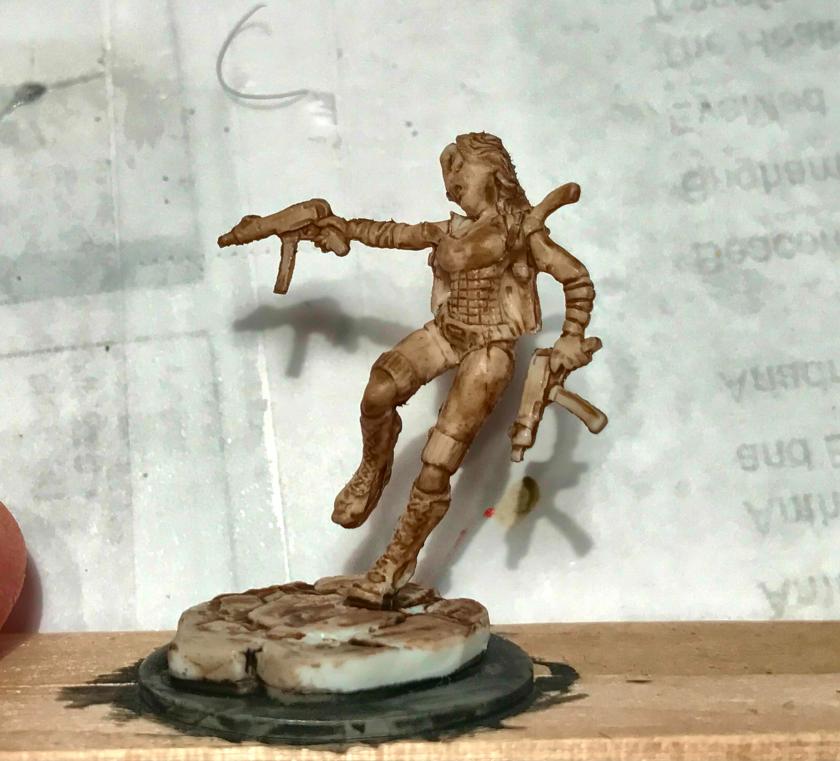
I affixed the bases to a 1¼” steel washer using Loctite glue. This tactic allows me to use magnetic sheets to easily store them in plastic boxes. I then primed them with Krylon “Ultra Flat” matte spray paint. I also made sure that I painted the bottoms white as well, as I find that leaves me the option to place information on the bottom that I’d like to have once the models are done, such as the model’s name, the date it was finished, and any unit identification, etc. I just use a fine-tipped Sharpie.
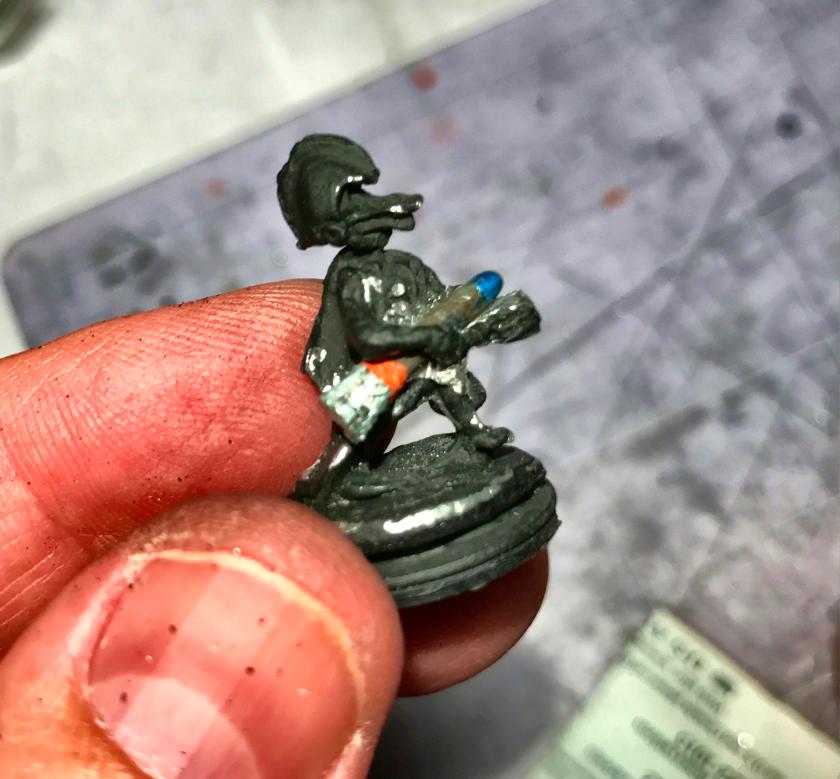
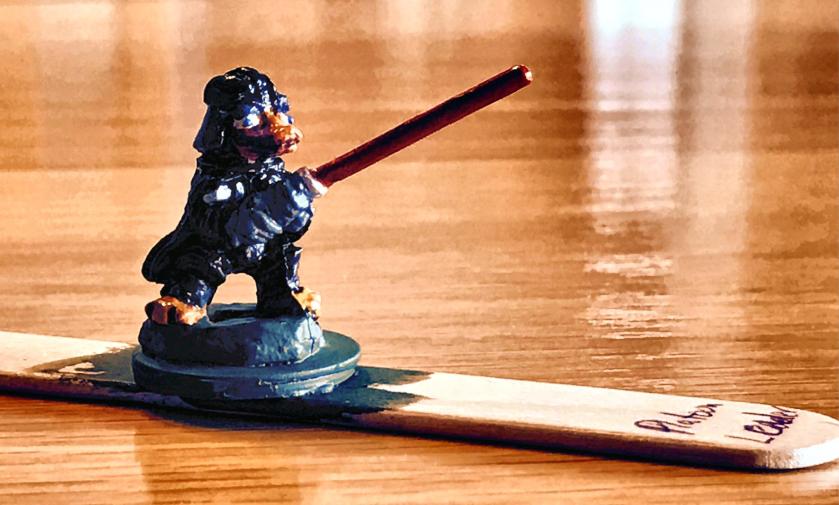
I decided to paint the two parts separately, base coat both, and then assemble the kit after that. I also made a change in my process in that I used 3M white poster tack from Michael’s to affix the bases to popsicle sticks for painting instead of white glue. This worked MUCH better – and the tack is reusable – so I was happy to discover this would work and so well. The models stayed affixed very well.
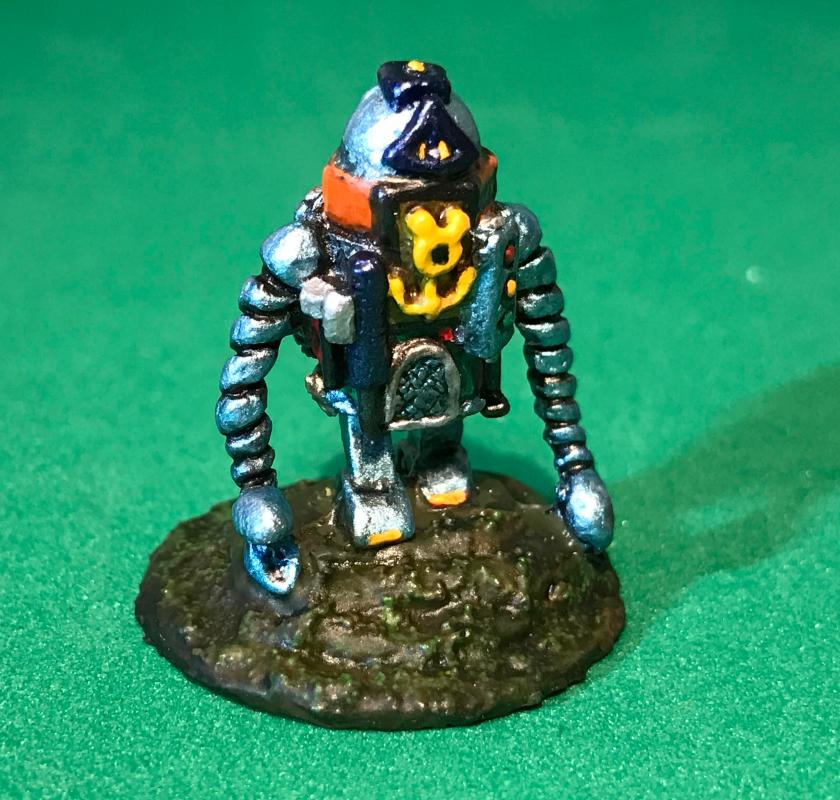
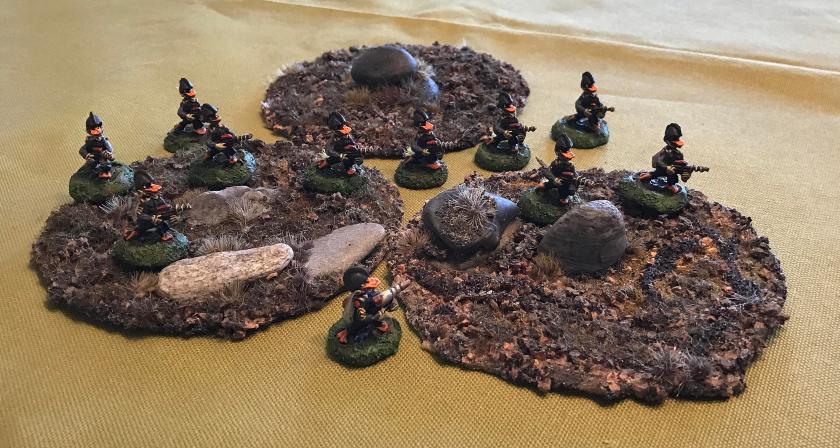
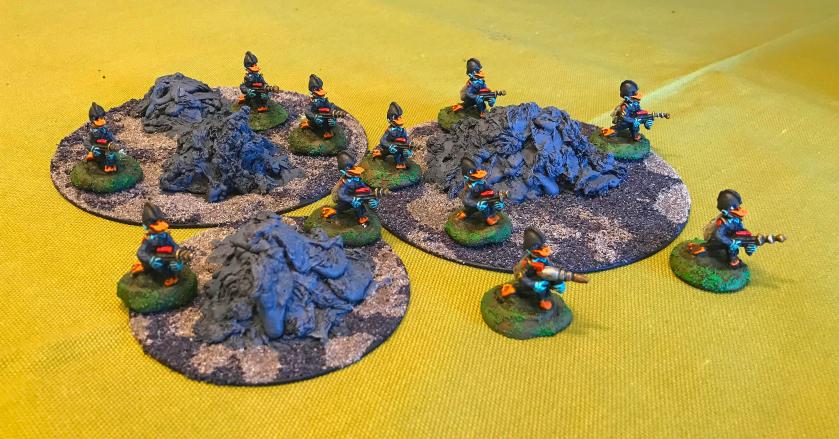
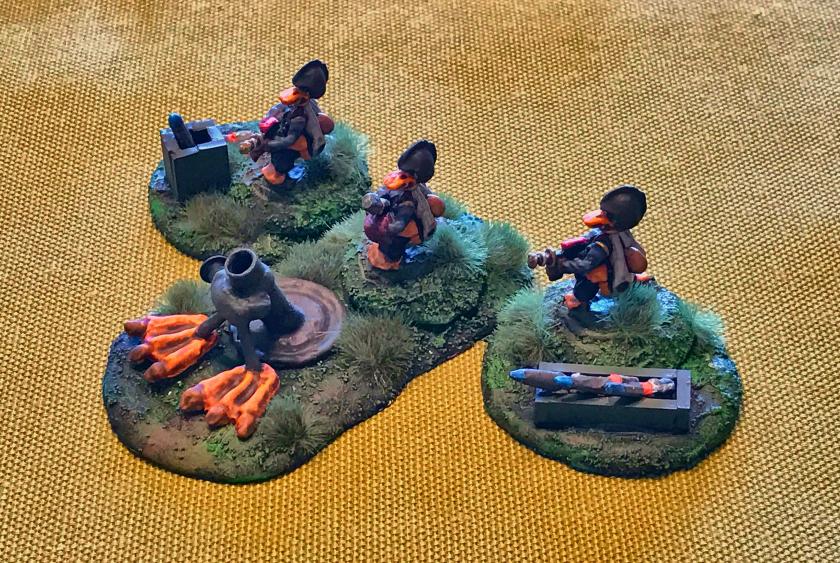
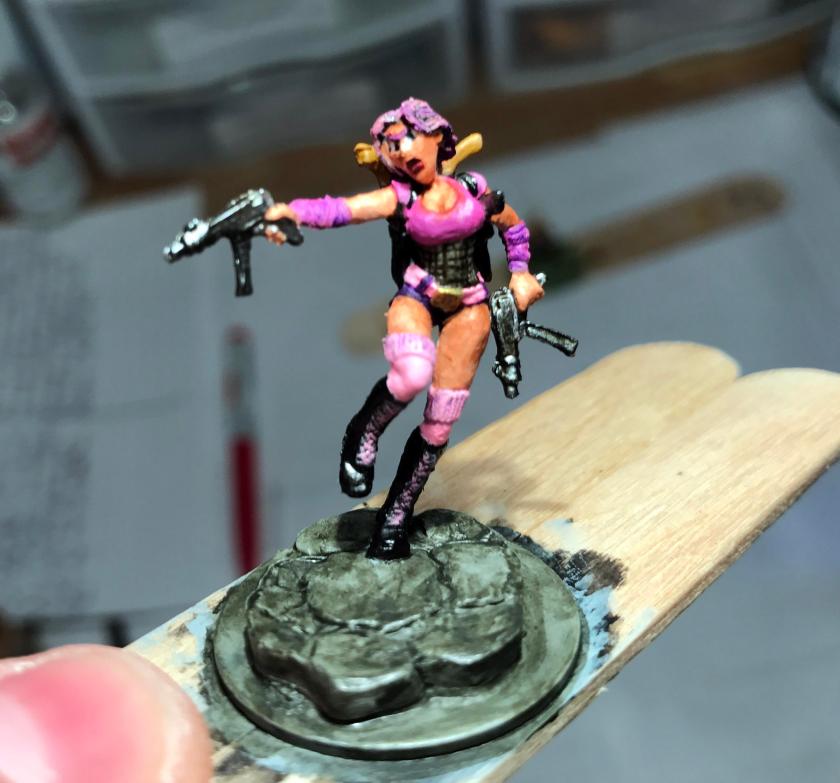
I started brushwork with a wash of Citadel “Nuln Oil” over both pieces. I followed this with a heavy dry brushing with Citadel “Mechanicus Standard Gray”. Then, I switched to Vallejo Model Air “Medium Gunship Gray” for the tripod legs (with a brush – no airbrushing was done on these models). For the tripod feet, and the center mount, I used Vallejo Model Air “Steel”. The gun itself was mounted on a rock-like structure on a washer disk. I thought the rock made little sense for a robo sentry gun, so I decided to obscure it with Armory “Gloss Black” (still good from 1996!). I then shaded the tripod base with “Nuln Oil”. I subsequently used Secret Weapons Washes “Heavy Body Black” on the base, followed by lightly dry brushing and stippling it with “Mechanicus Standard Gray”.
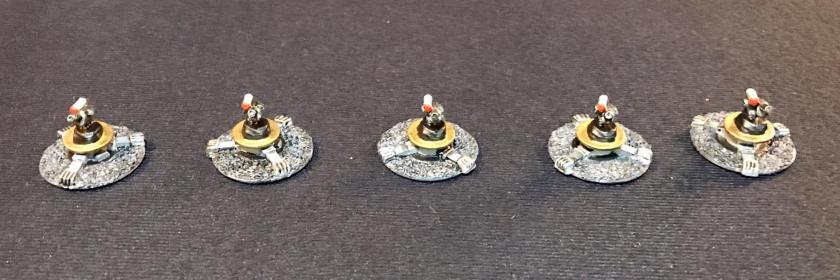
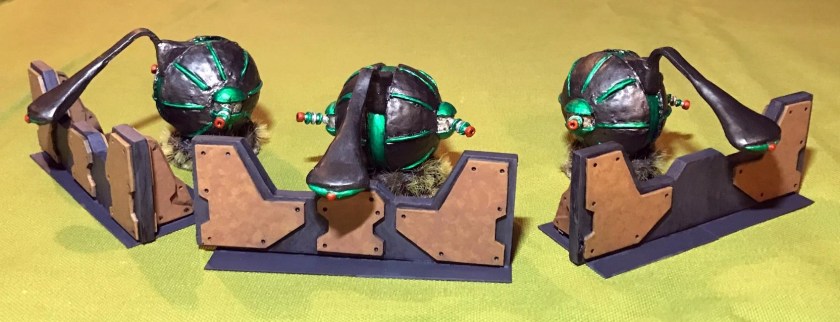
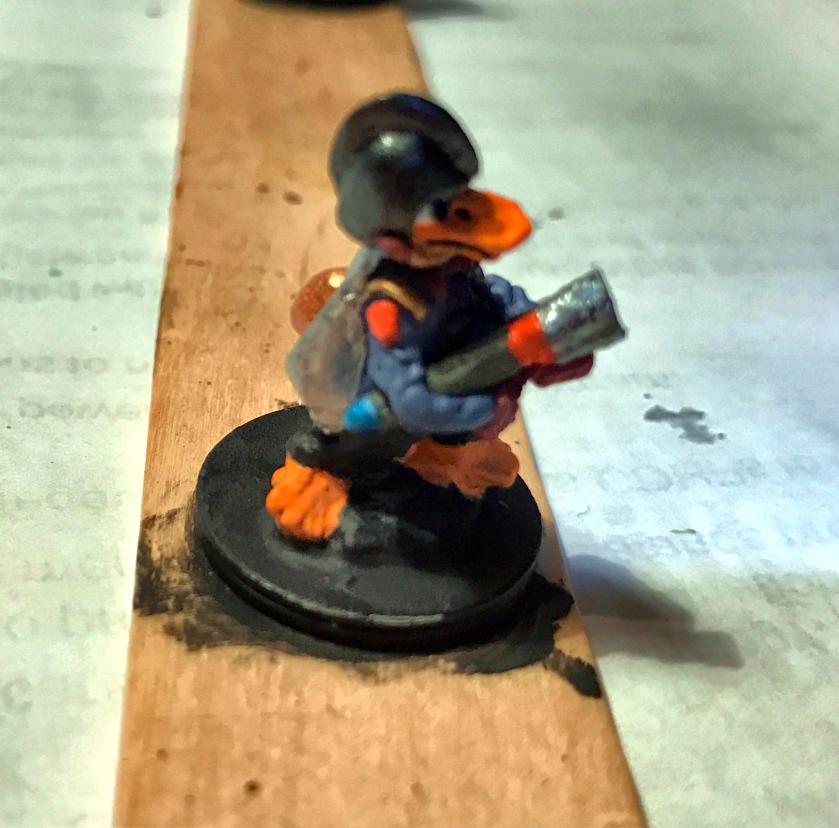
At this point, I glued the two pieces together with wood glue, and let the assembly dry overnight. To further obscure the rock, I used Vallejo Model Air “Gold” on the washer – with an eye towards mimicking the coloration of the lunar modules from the Apollo missions. I thought it worked well, though it took three coats to get it properly covered.
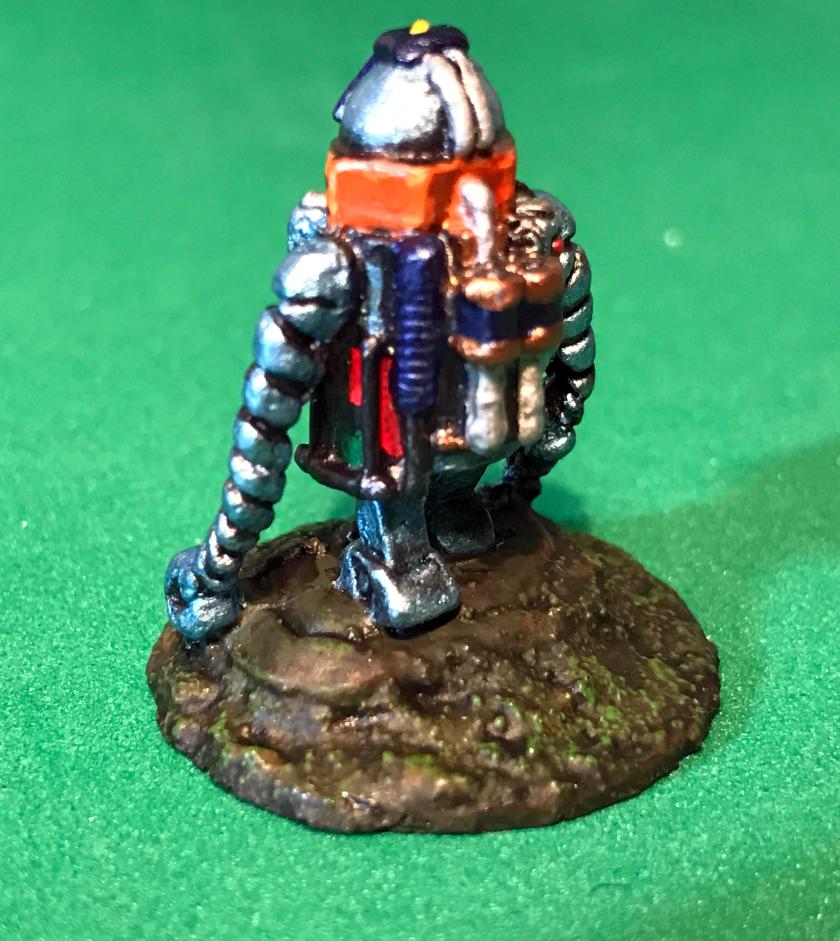
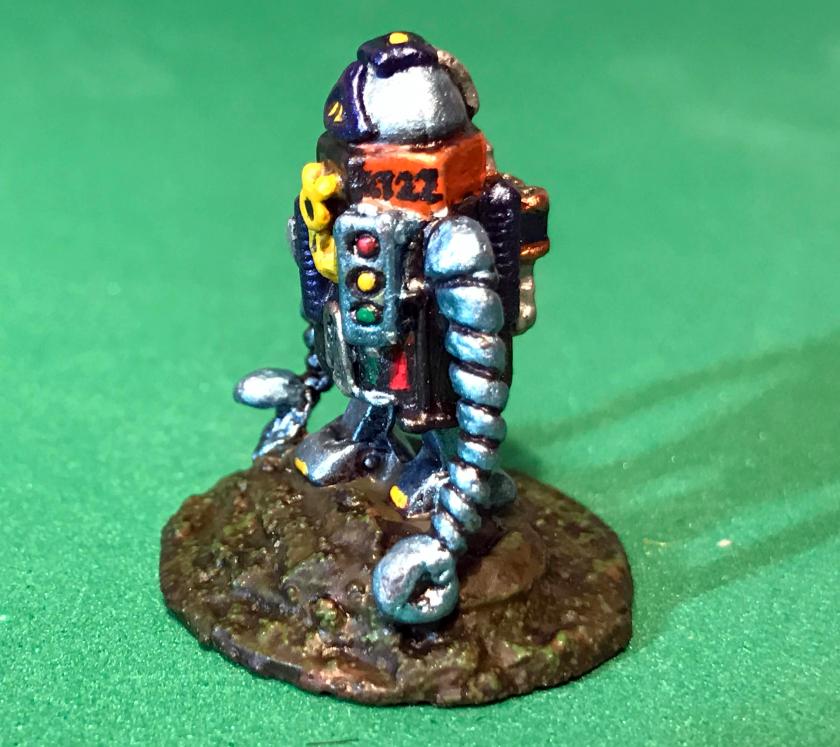
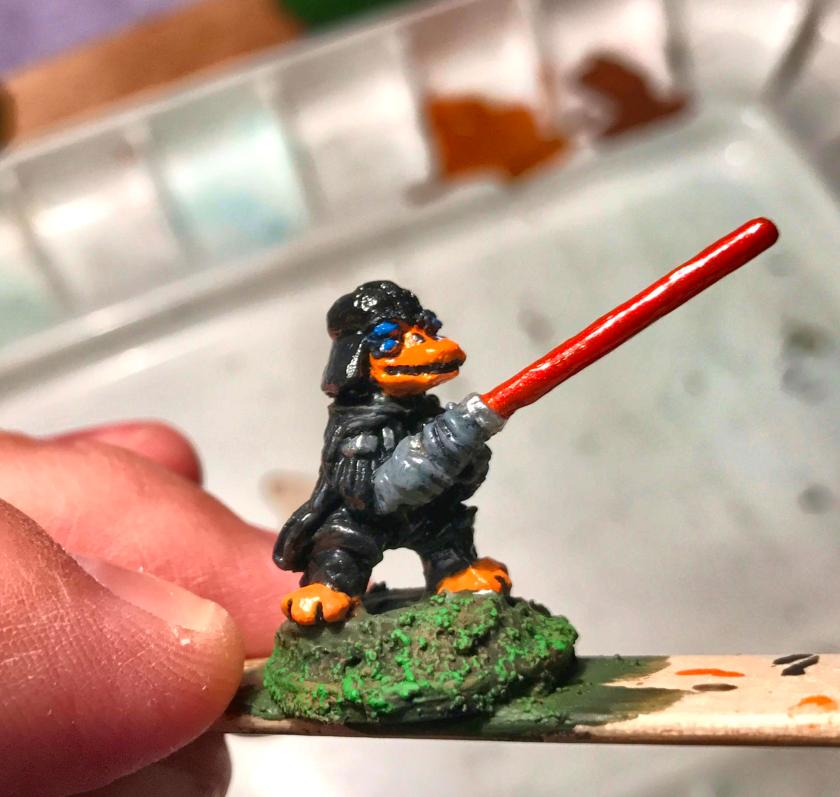
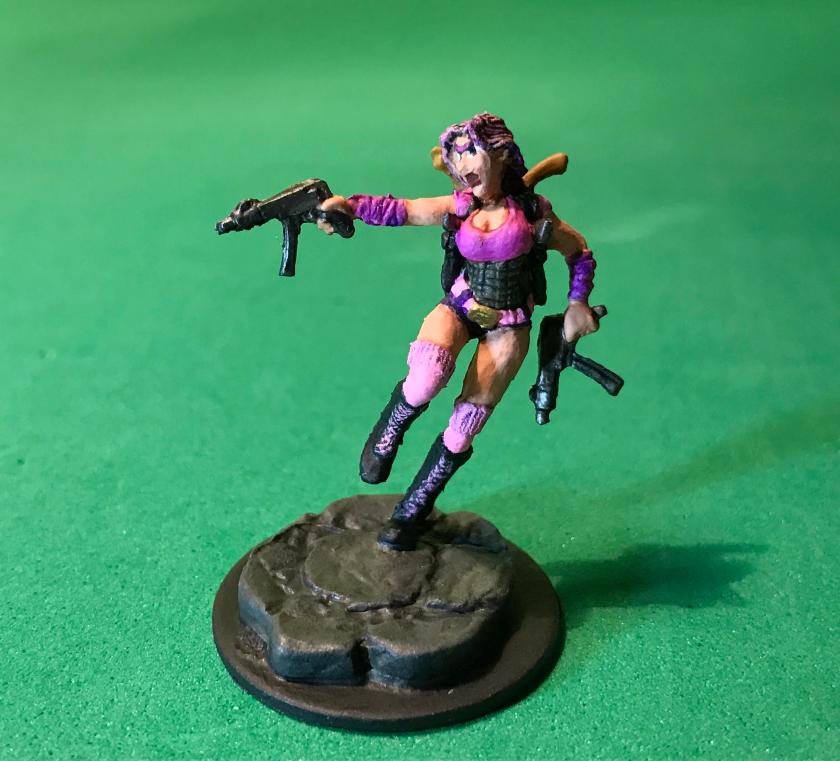
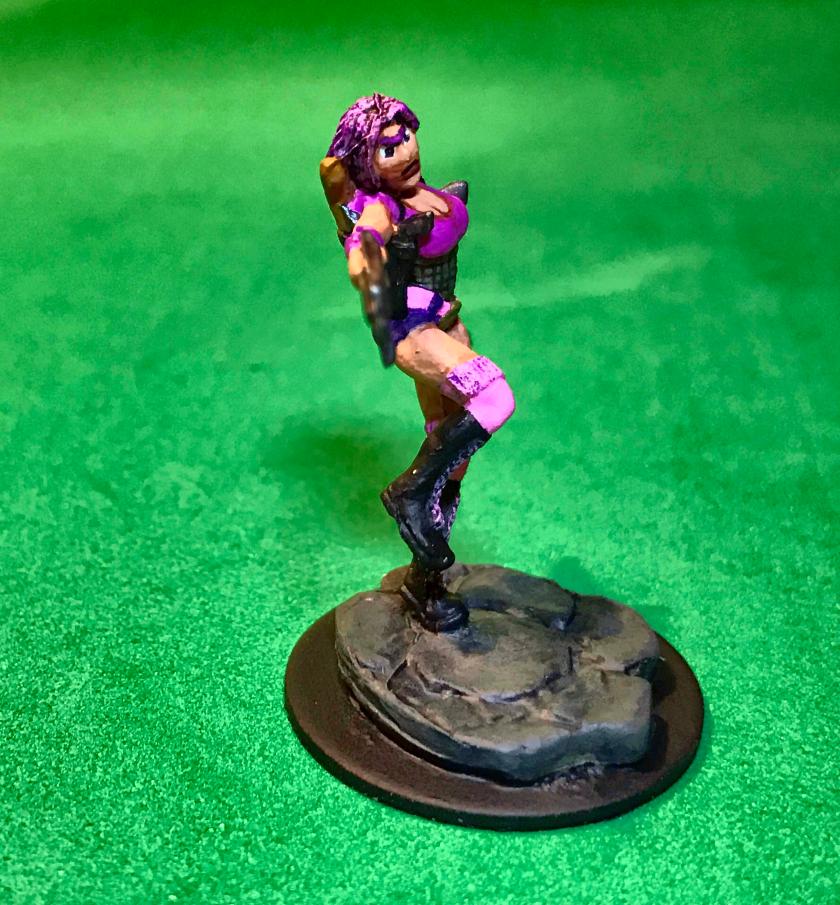
On the gun, I used Vallejo Model Air “Gun Metal”, with Vallejo “Aluminum” on the optics. On the optics I then painted the ends with “Gold” and Citadel “Spiritstone Red”. I finished the gun with Secret Weapons Washes “Armor Wash”, with some light highlighting with “Gun Metal”. Once dry, I applied two coats of Testors “Dullcoat”, allowing for adequate drying between coats.


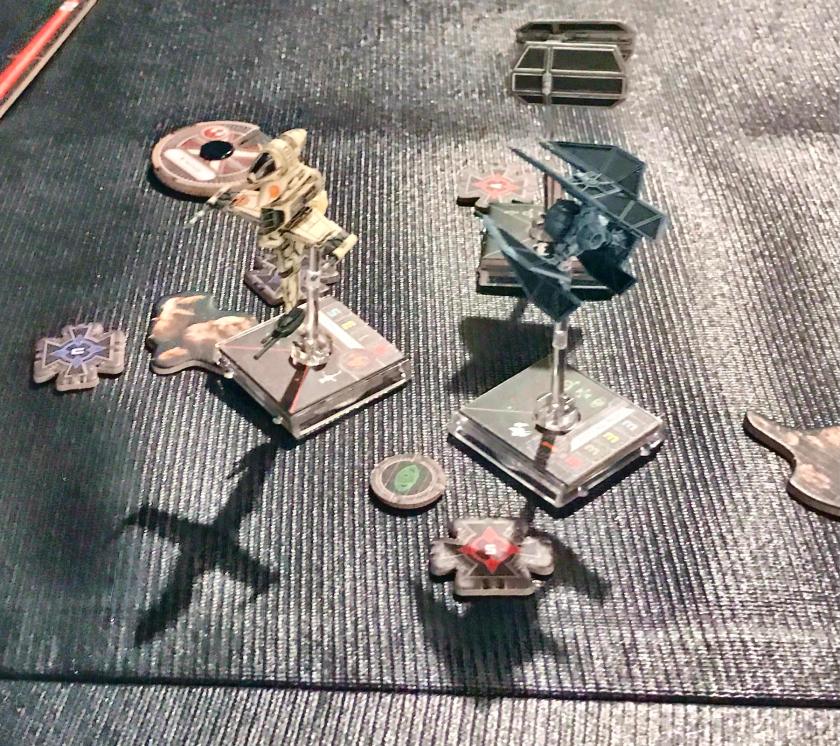
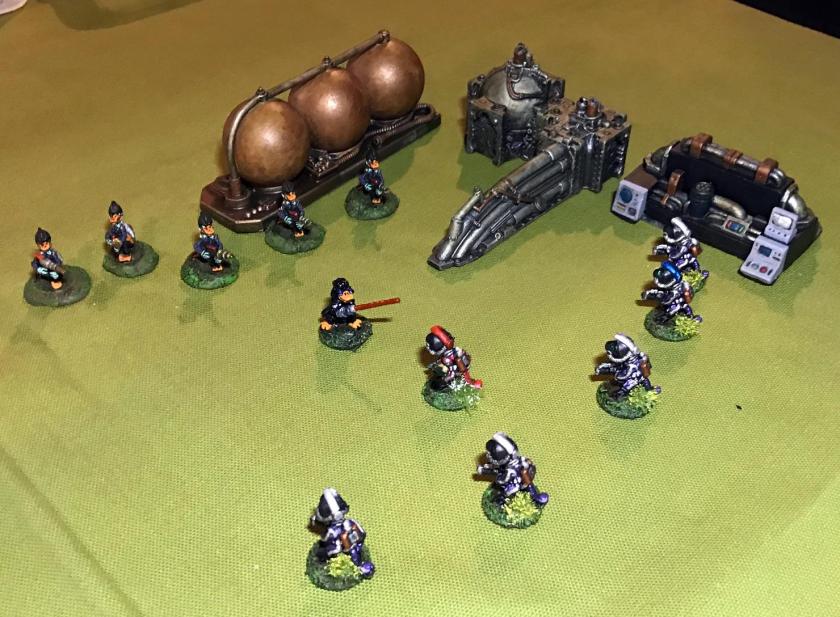
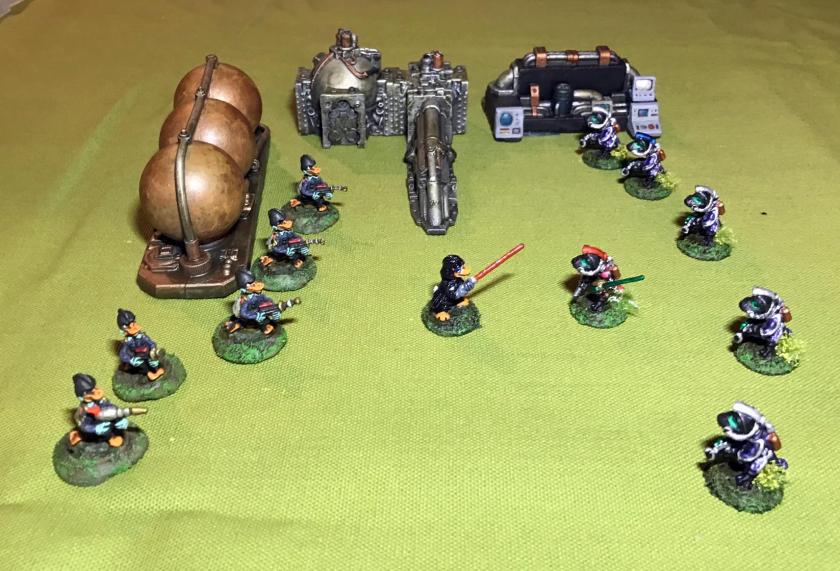
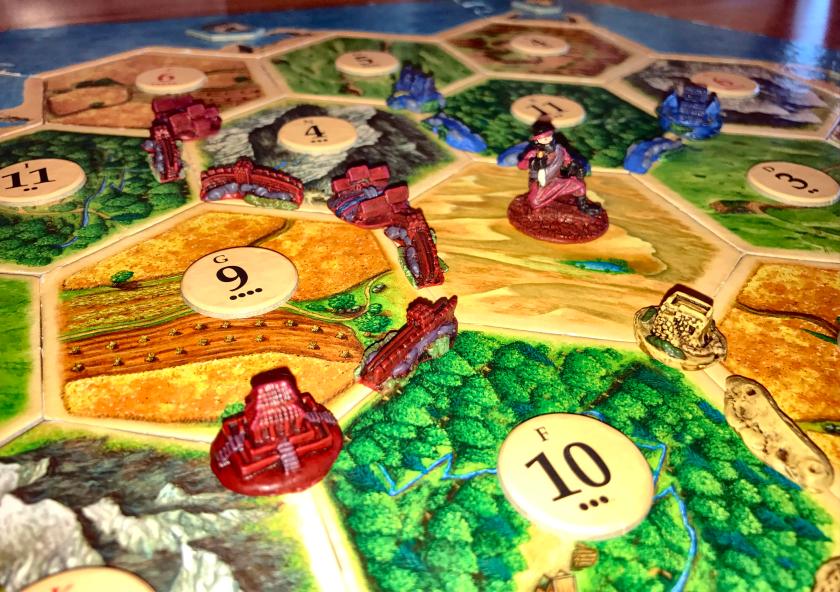
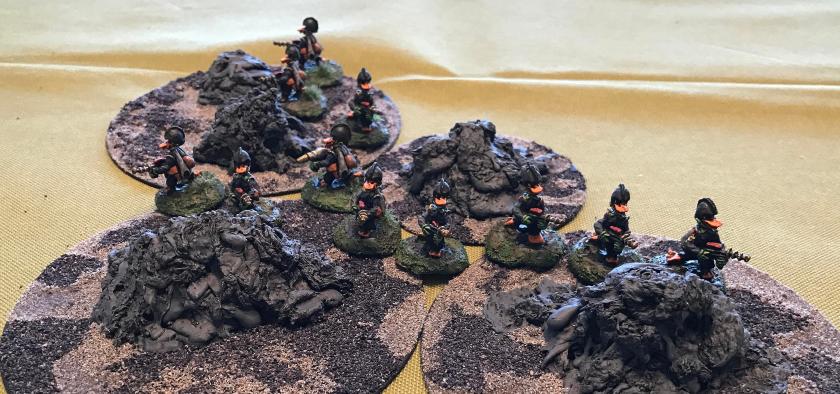
I think these will be a nice addition to my Combat Patrol™ games, as I can use these in multiple situations as a GM. I like the retro sci-fi look, and as I move into building a Robot army, these will fit in nicely (more to come on those in future blog posts). I also added a photo to the Lost Minis Wiki on the model, as there was none there. Still, sad to see that WSD will no longer produce these cool minis.


