As I have been recovering from pre-Christmas knee surgery, my painting opportunities have been touch and go. As my painting habit is to do so while standing up at a workbench, I have needed to pay attention to my body and go carefully. I do not paint while sitting. The good news (at least for me) is that I recovery is going well and that I have been able to work in painting figures here and there.
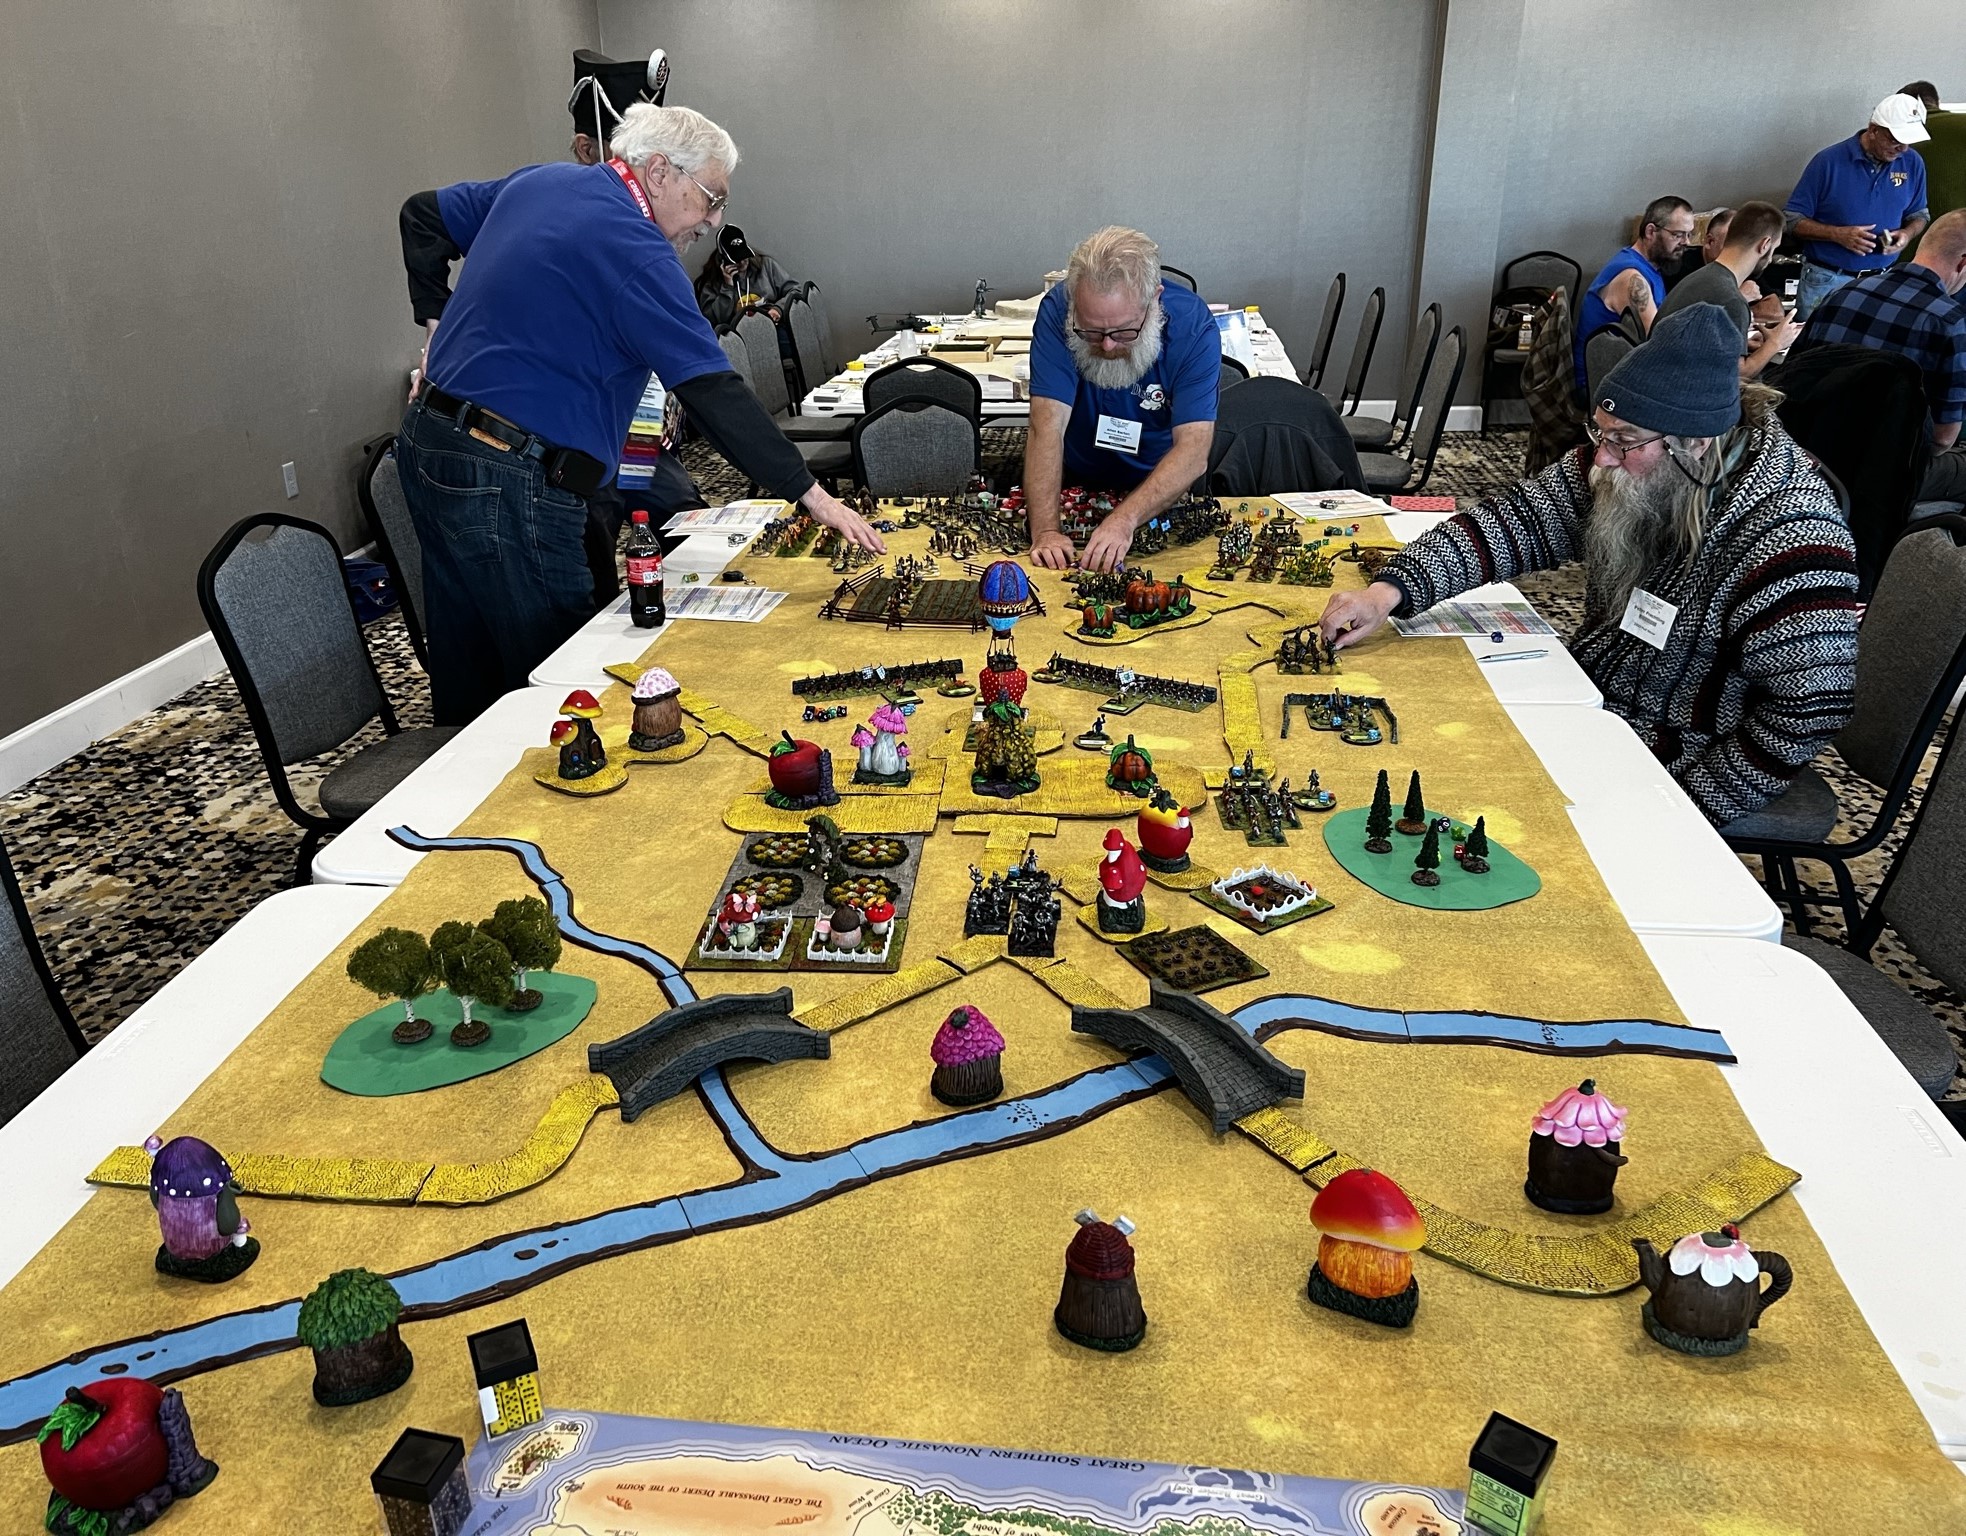
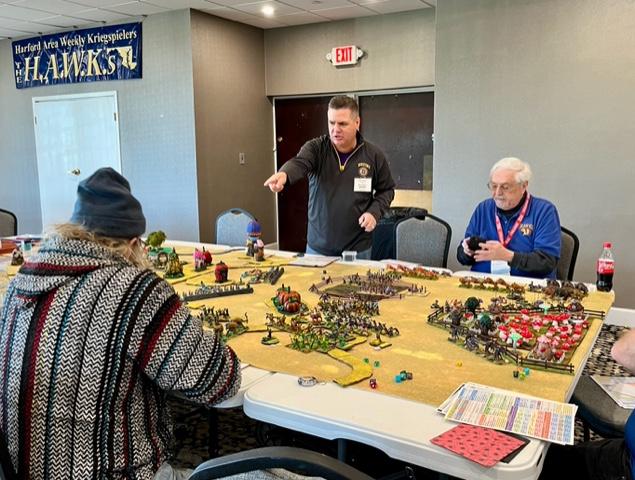
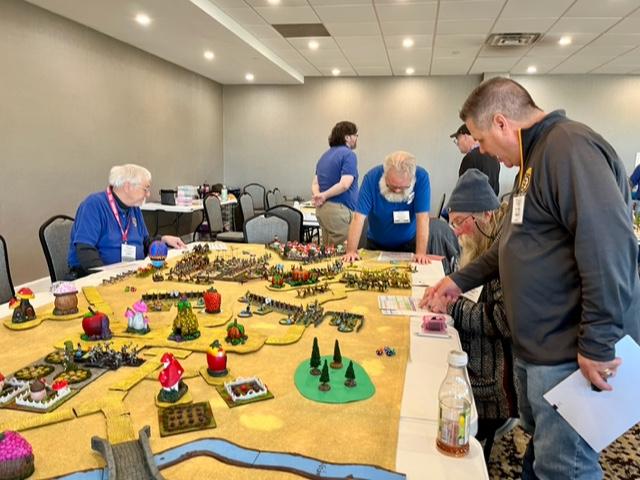
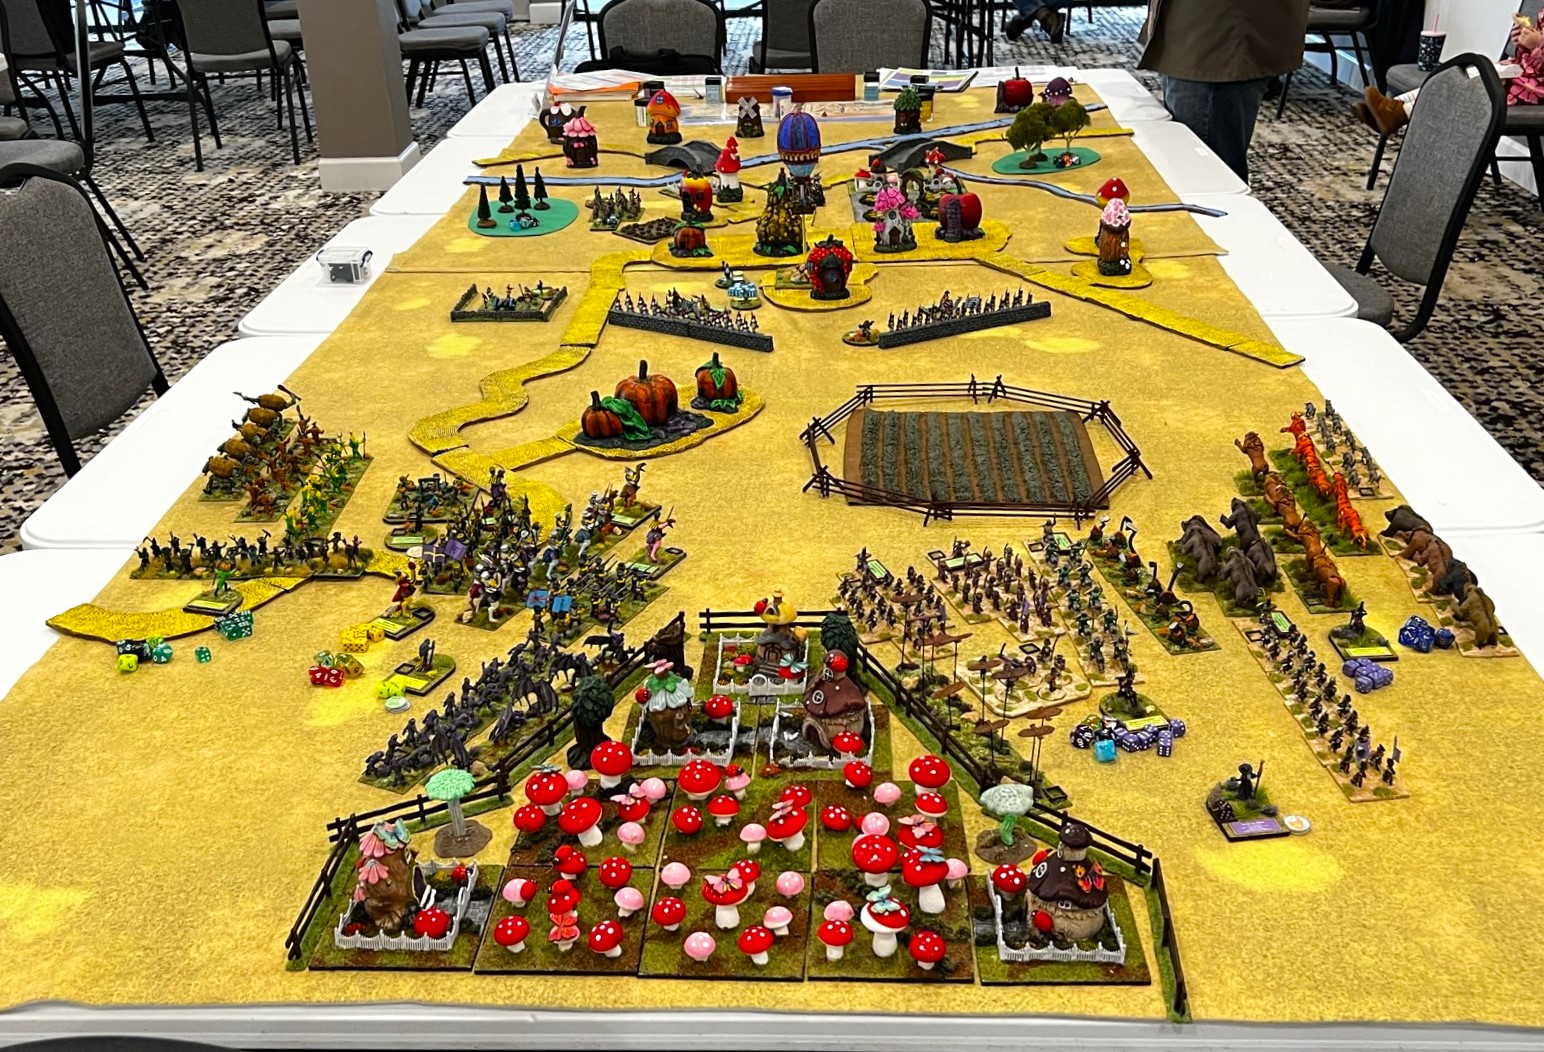
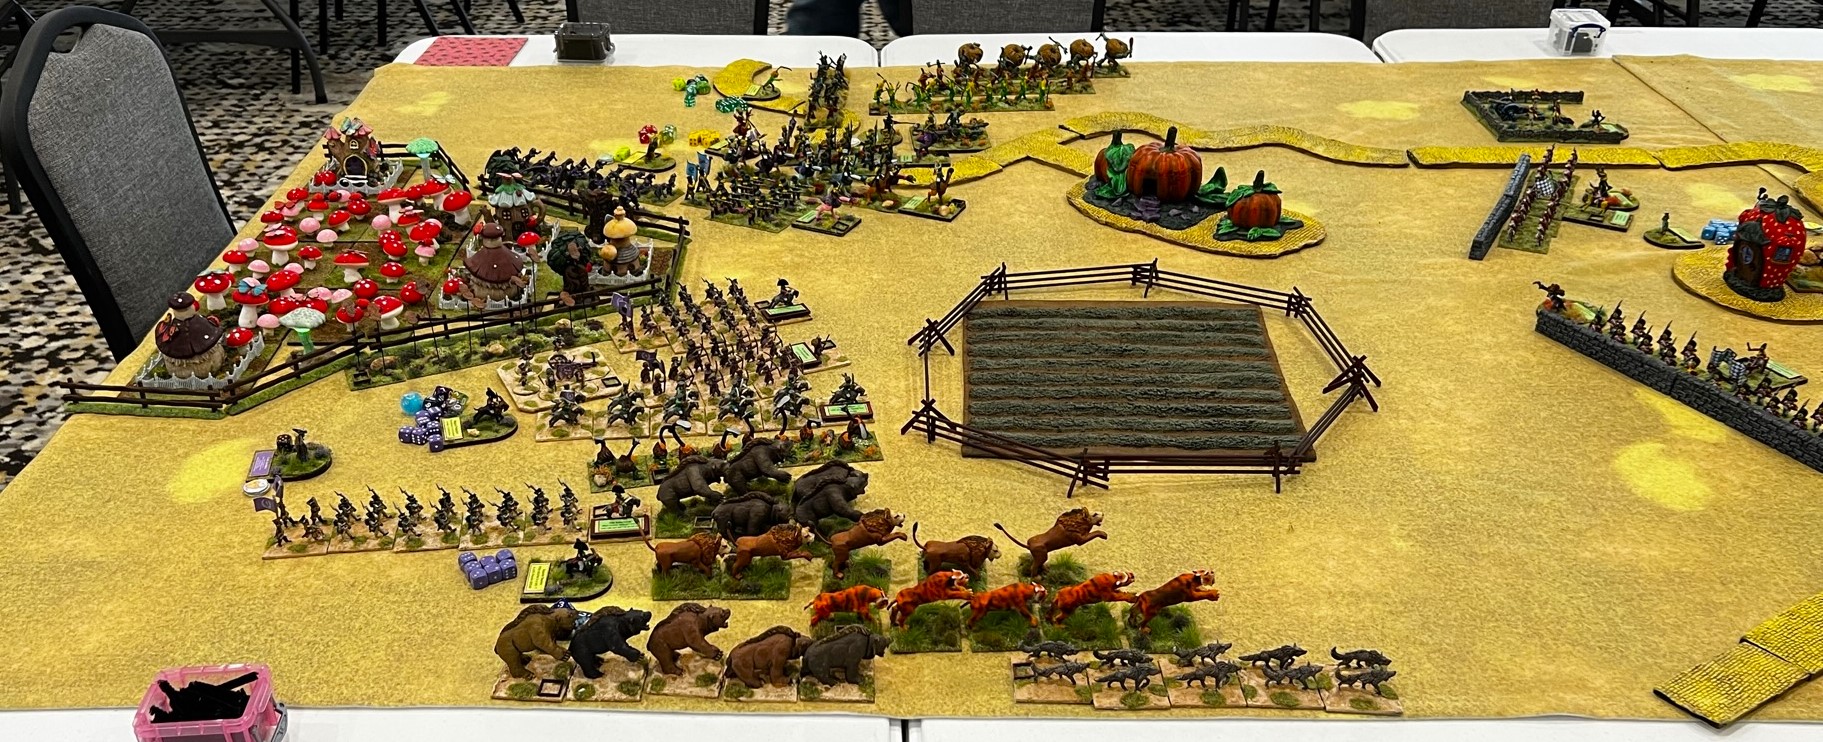
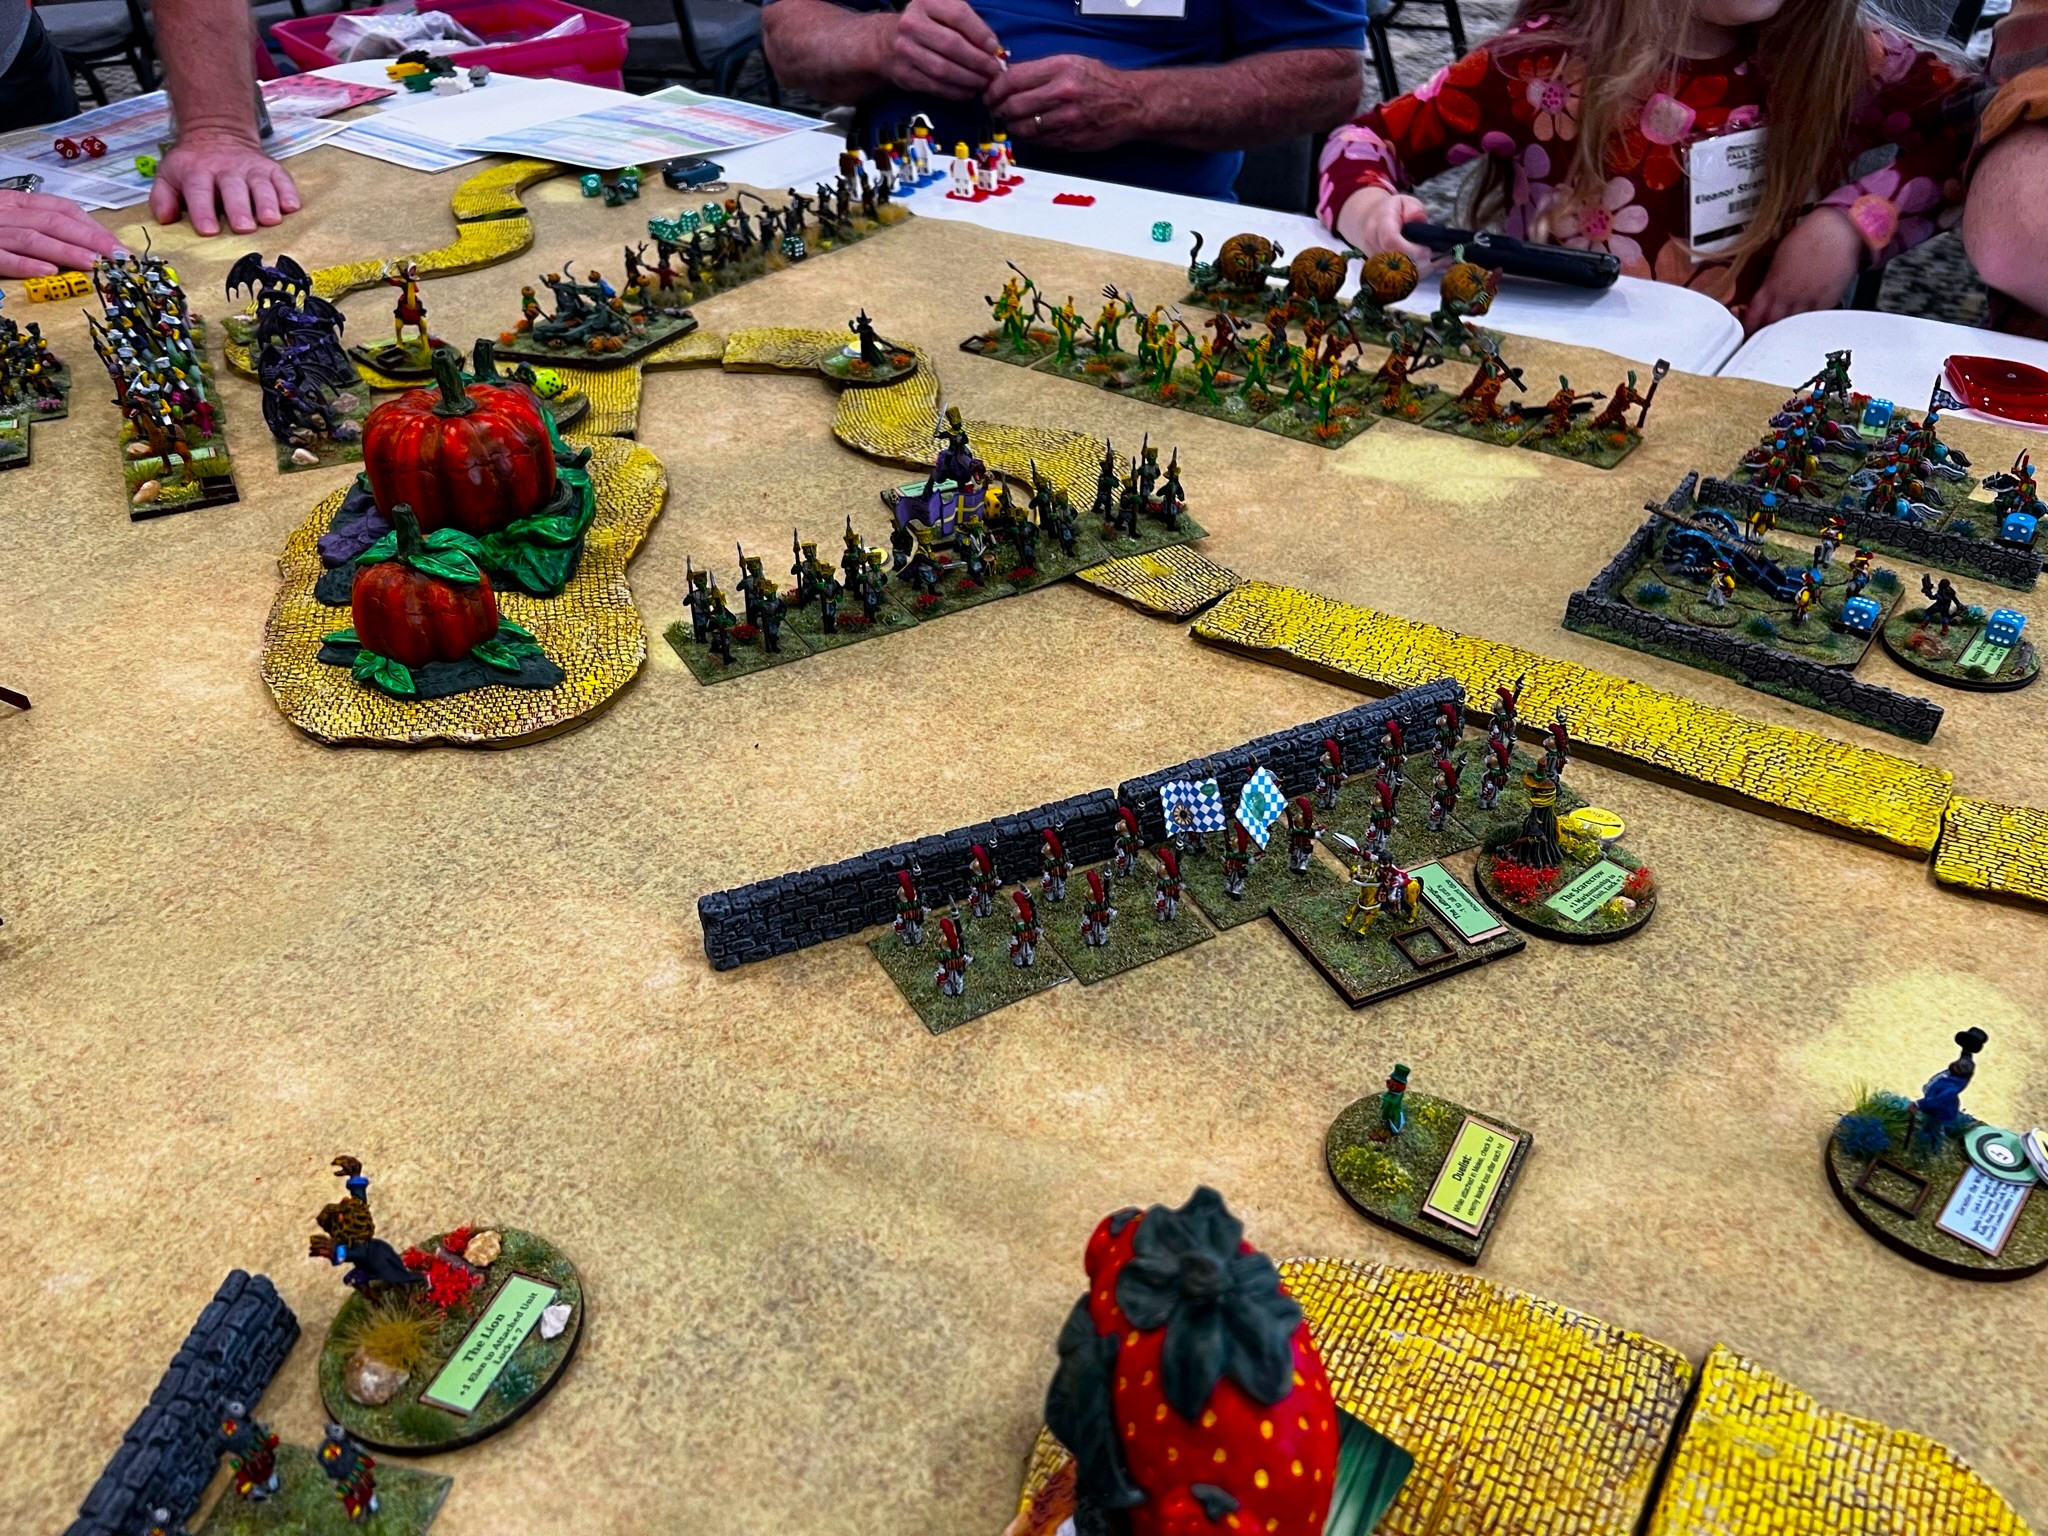
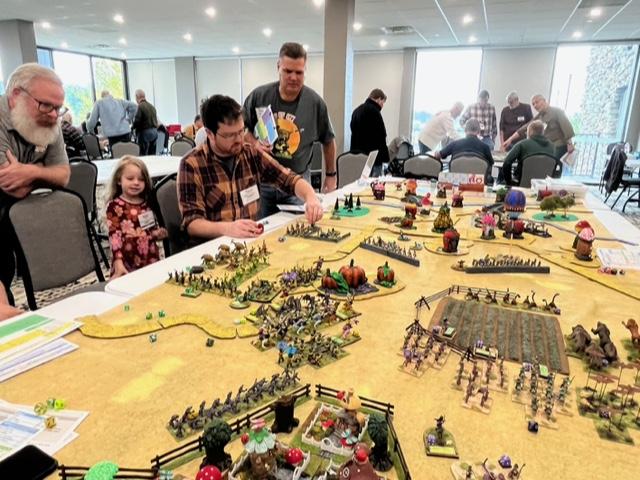
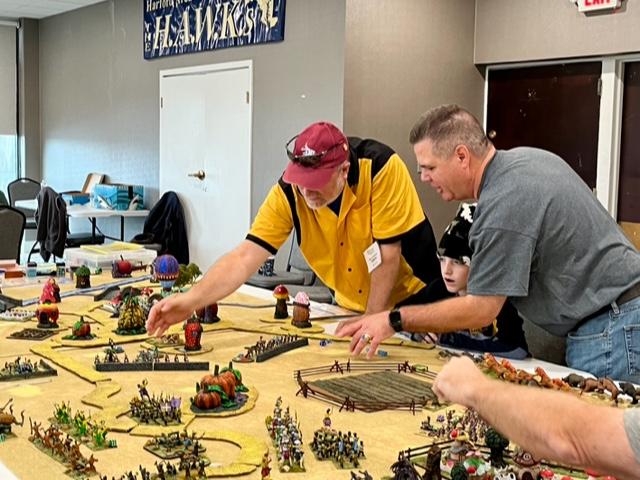
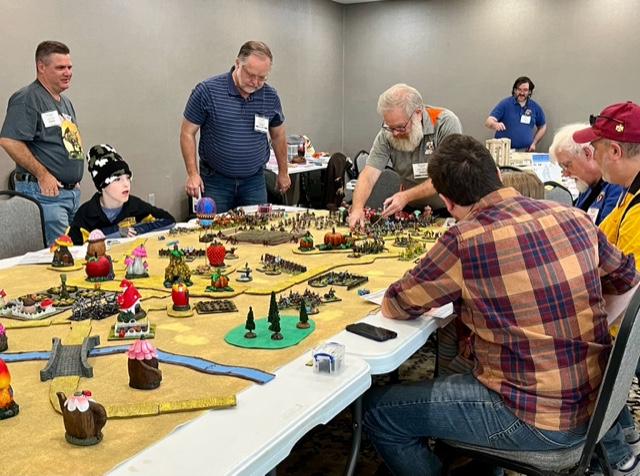
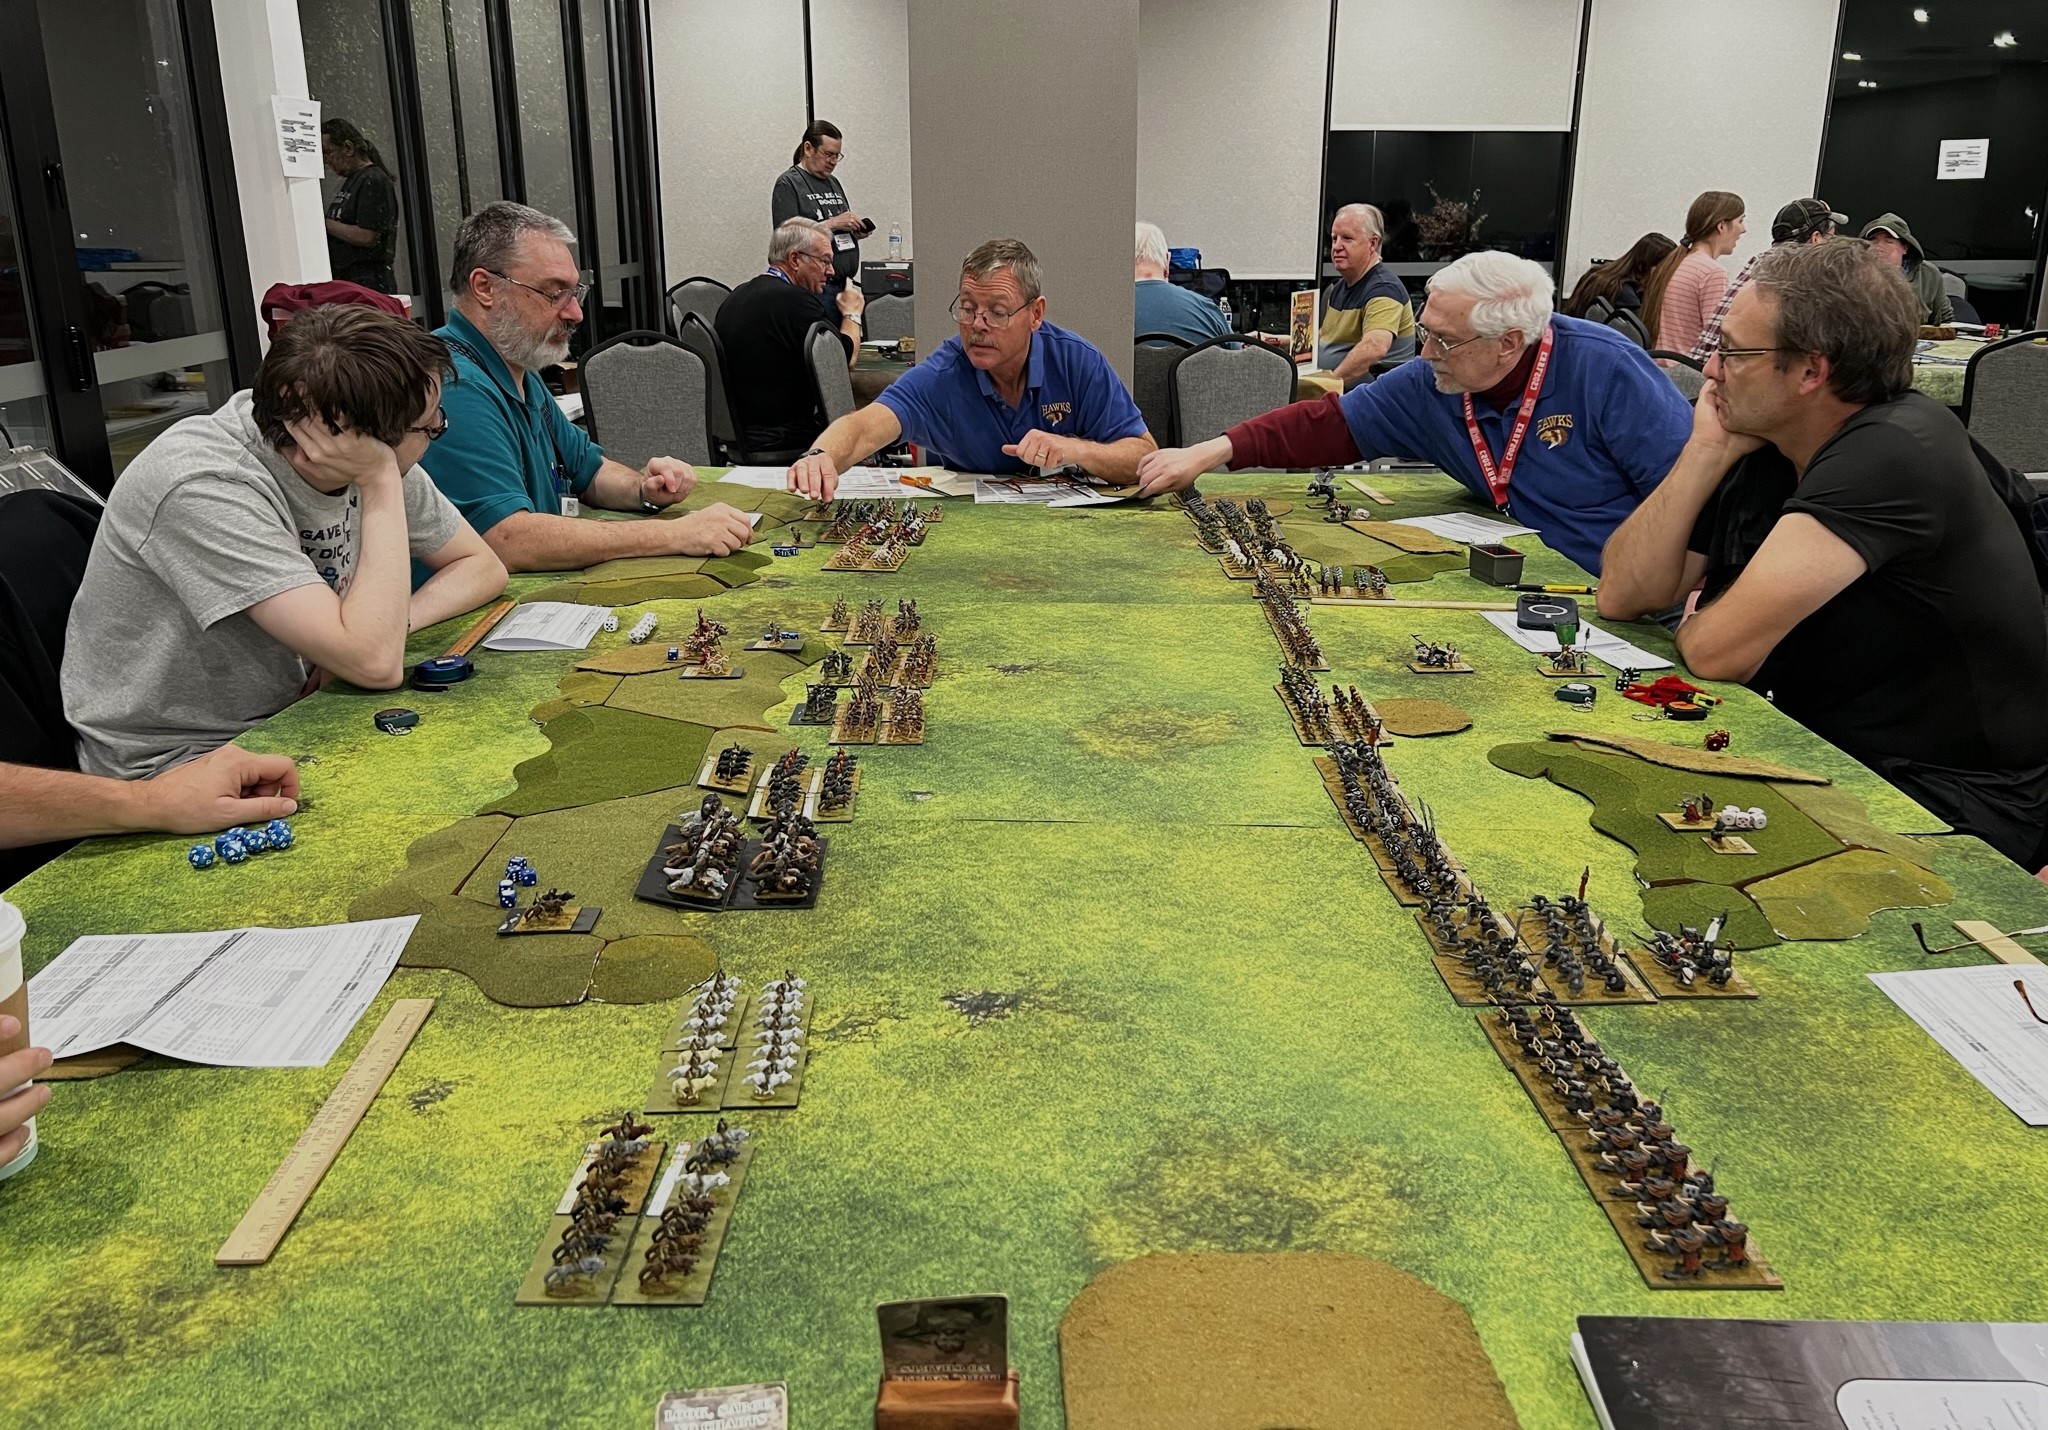
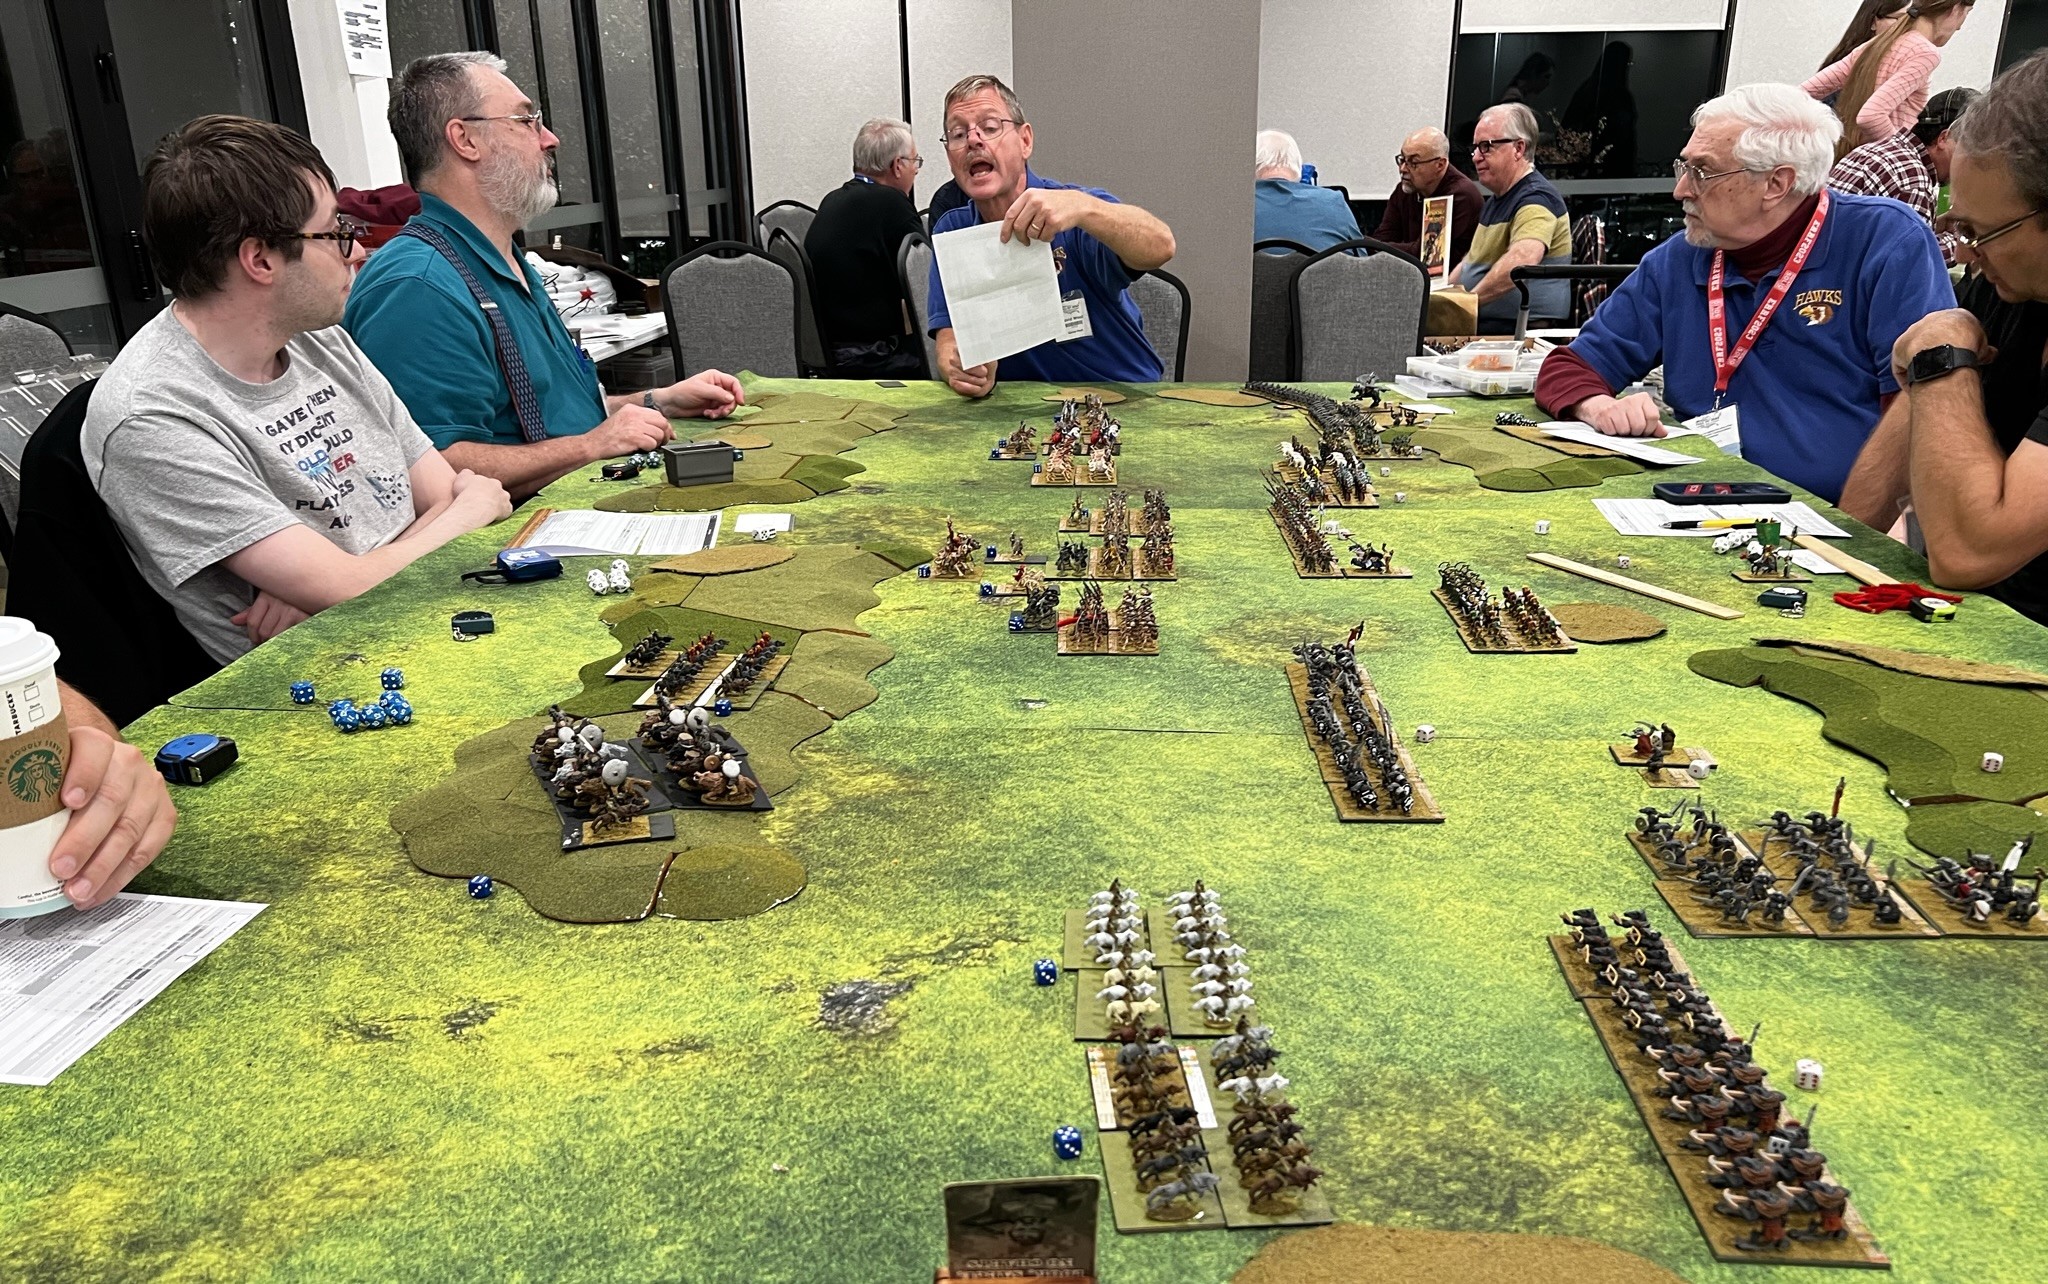
Luckily for me, Dave Stone is also currently running another of his painting challenges. It is called the “PAINT WHAT YOU GOT CHALLENGE 2023/2024”, and it runs from December 26th, 2023 to February 29th, 2024. It’s always fun to be part of his challenges – and it’s a lot of work on his part to collect and collate all the entries from around the globe (and it is much appreciated Dave!). My plan is to complete as many Wars of Ozz units and individuals as possible – both for the challenge – and for the multiple gaming conventions that I plan on supporting as a GM.
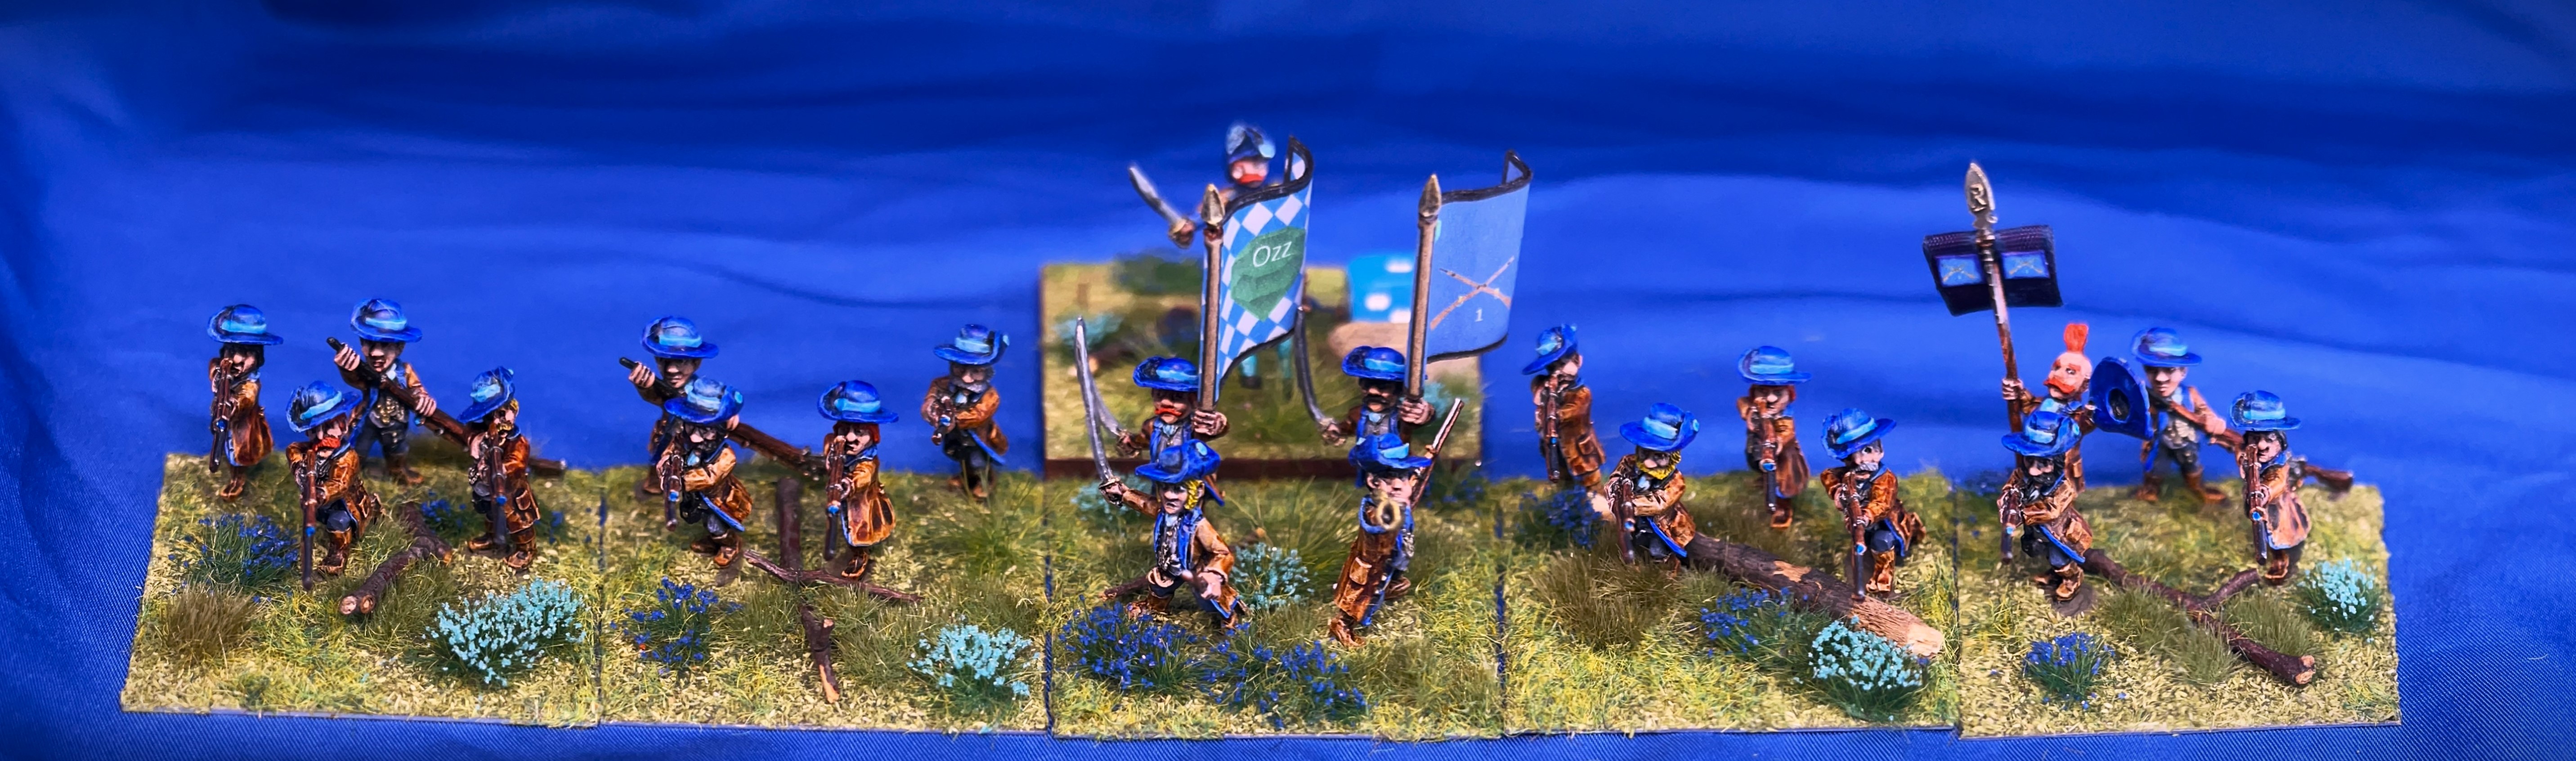
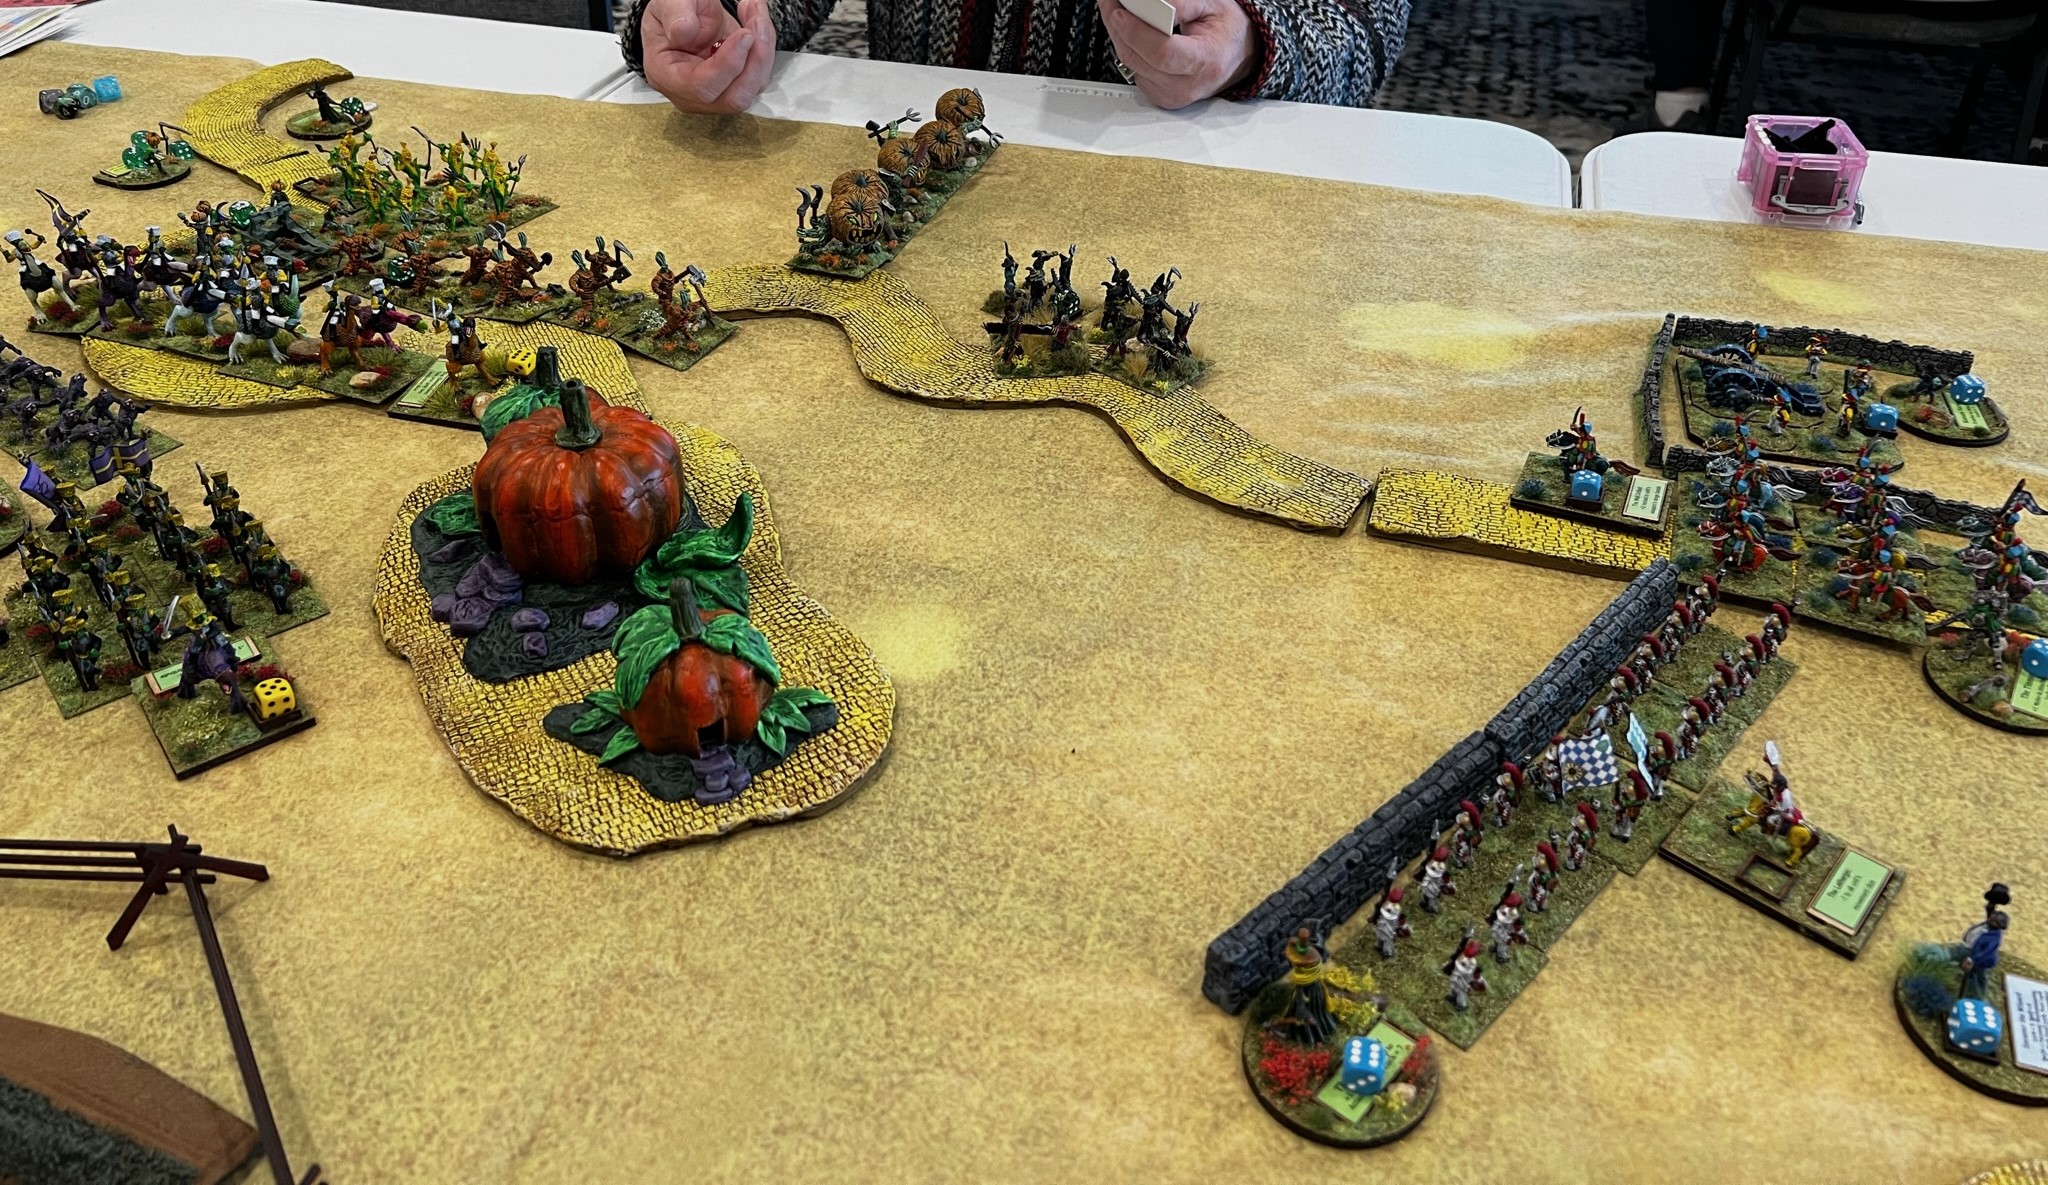
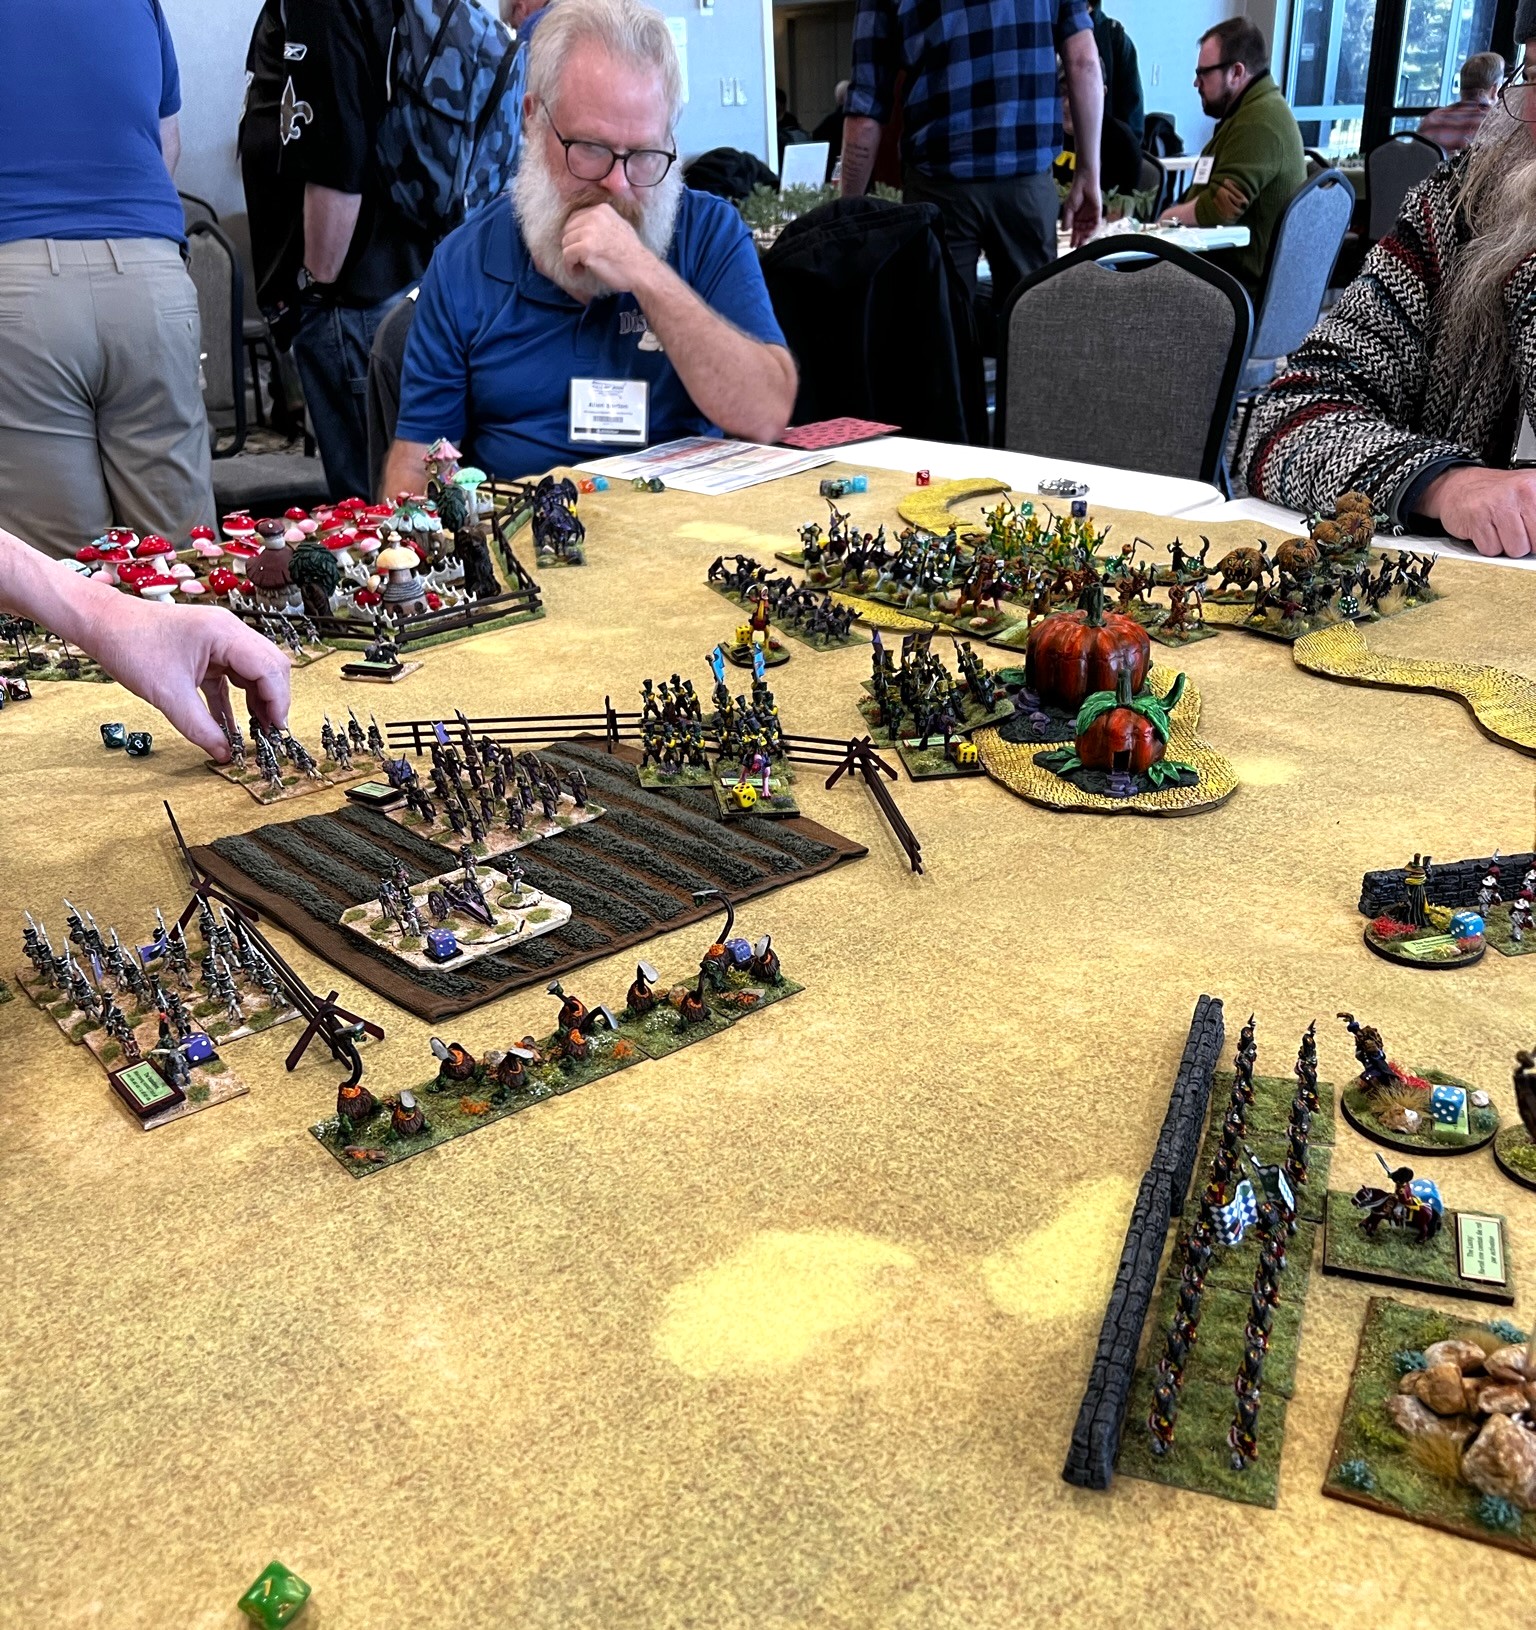
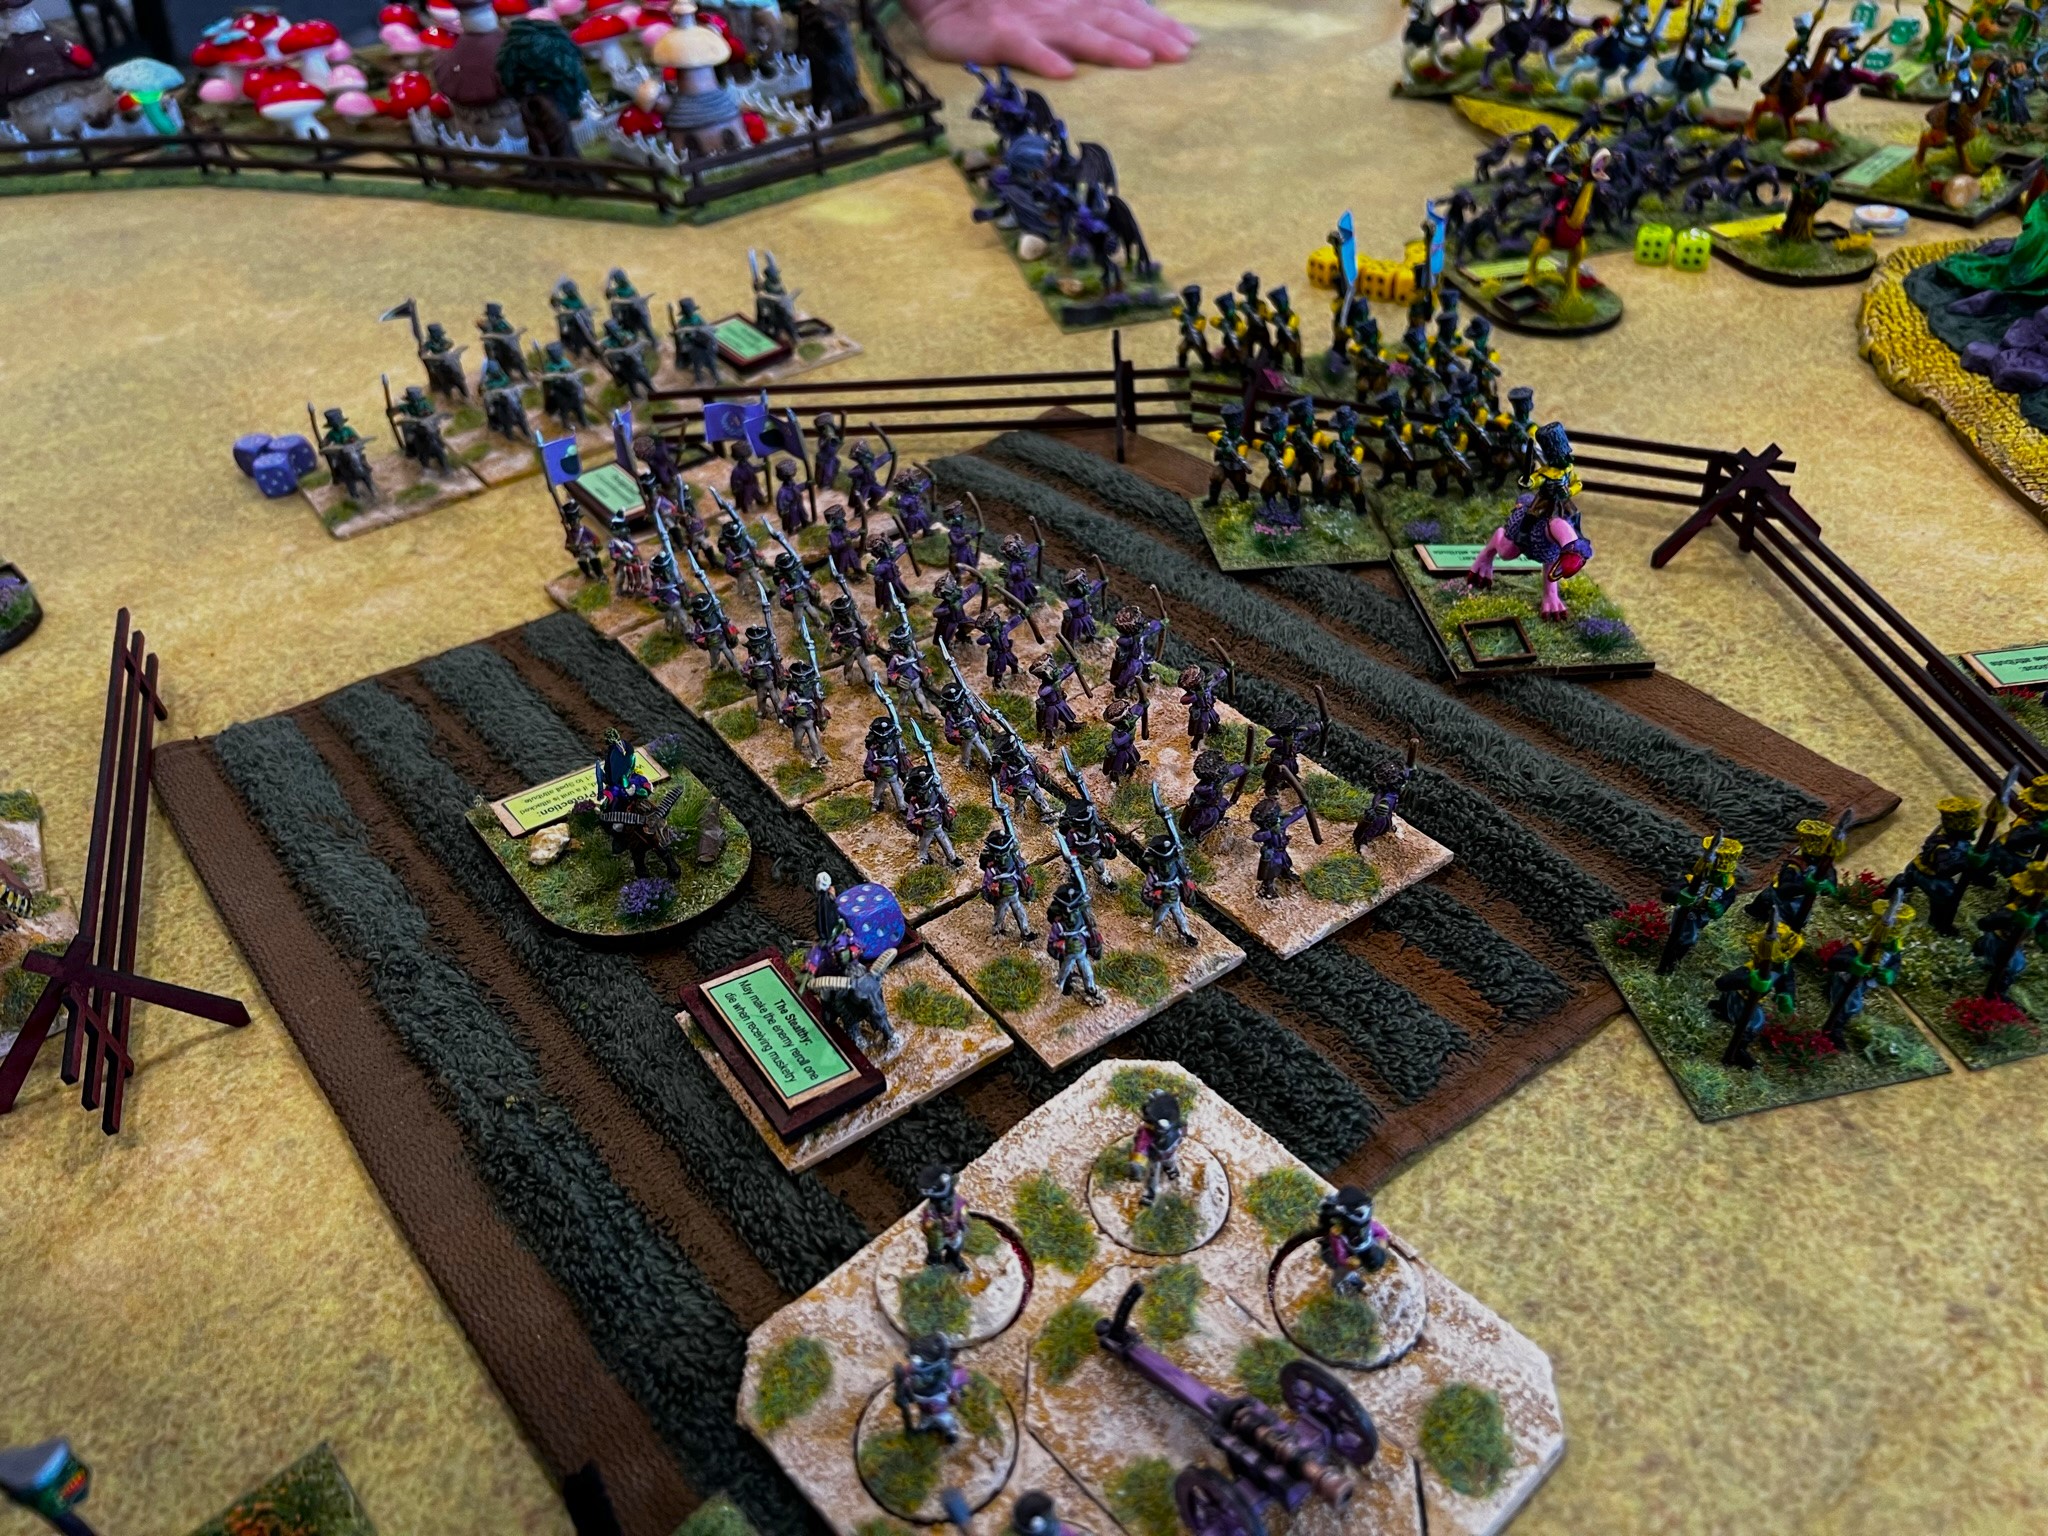
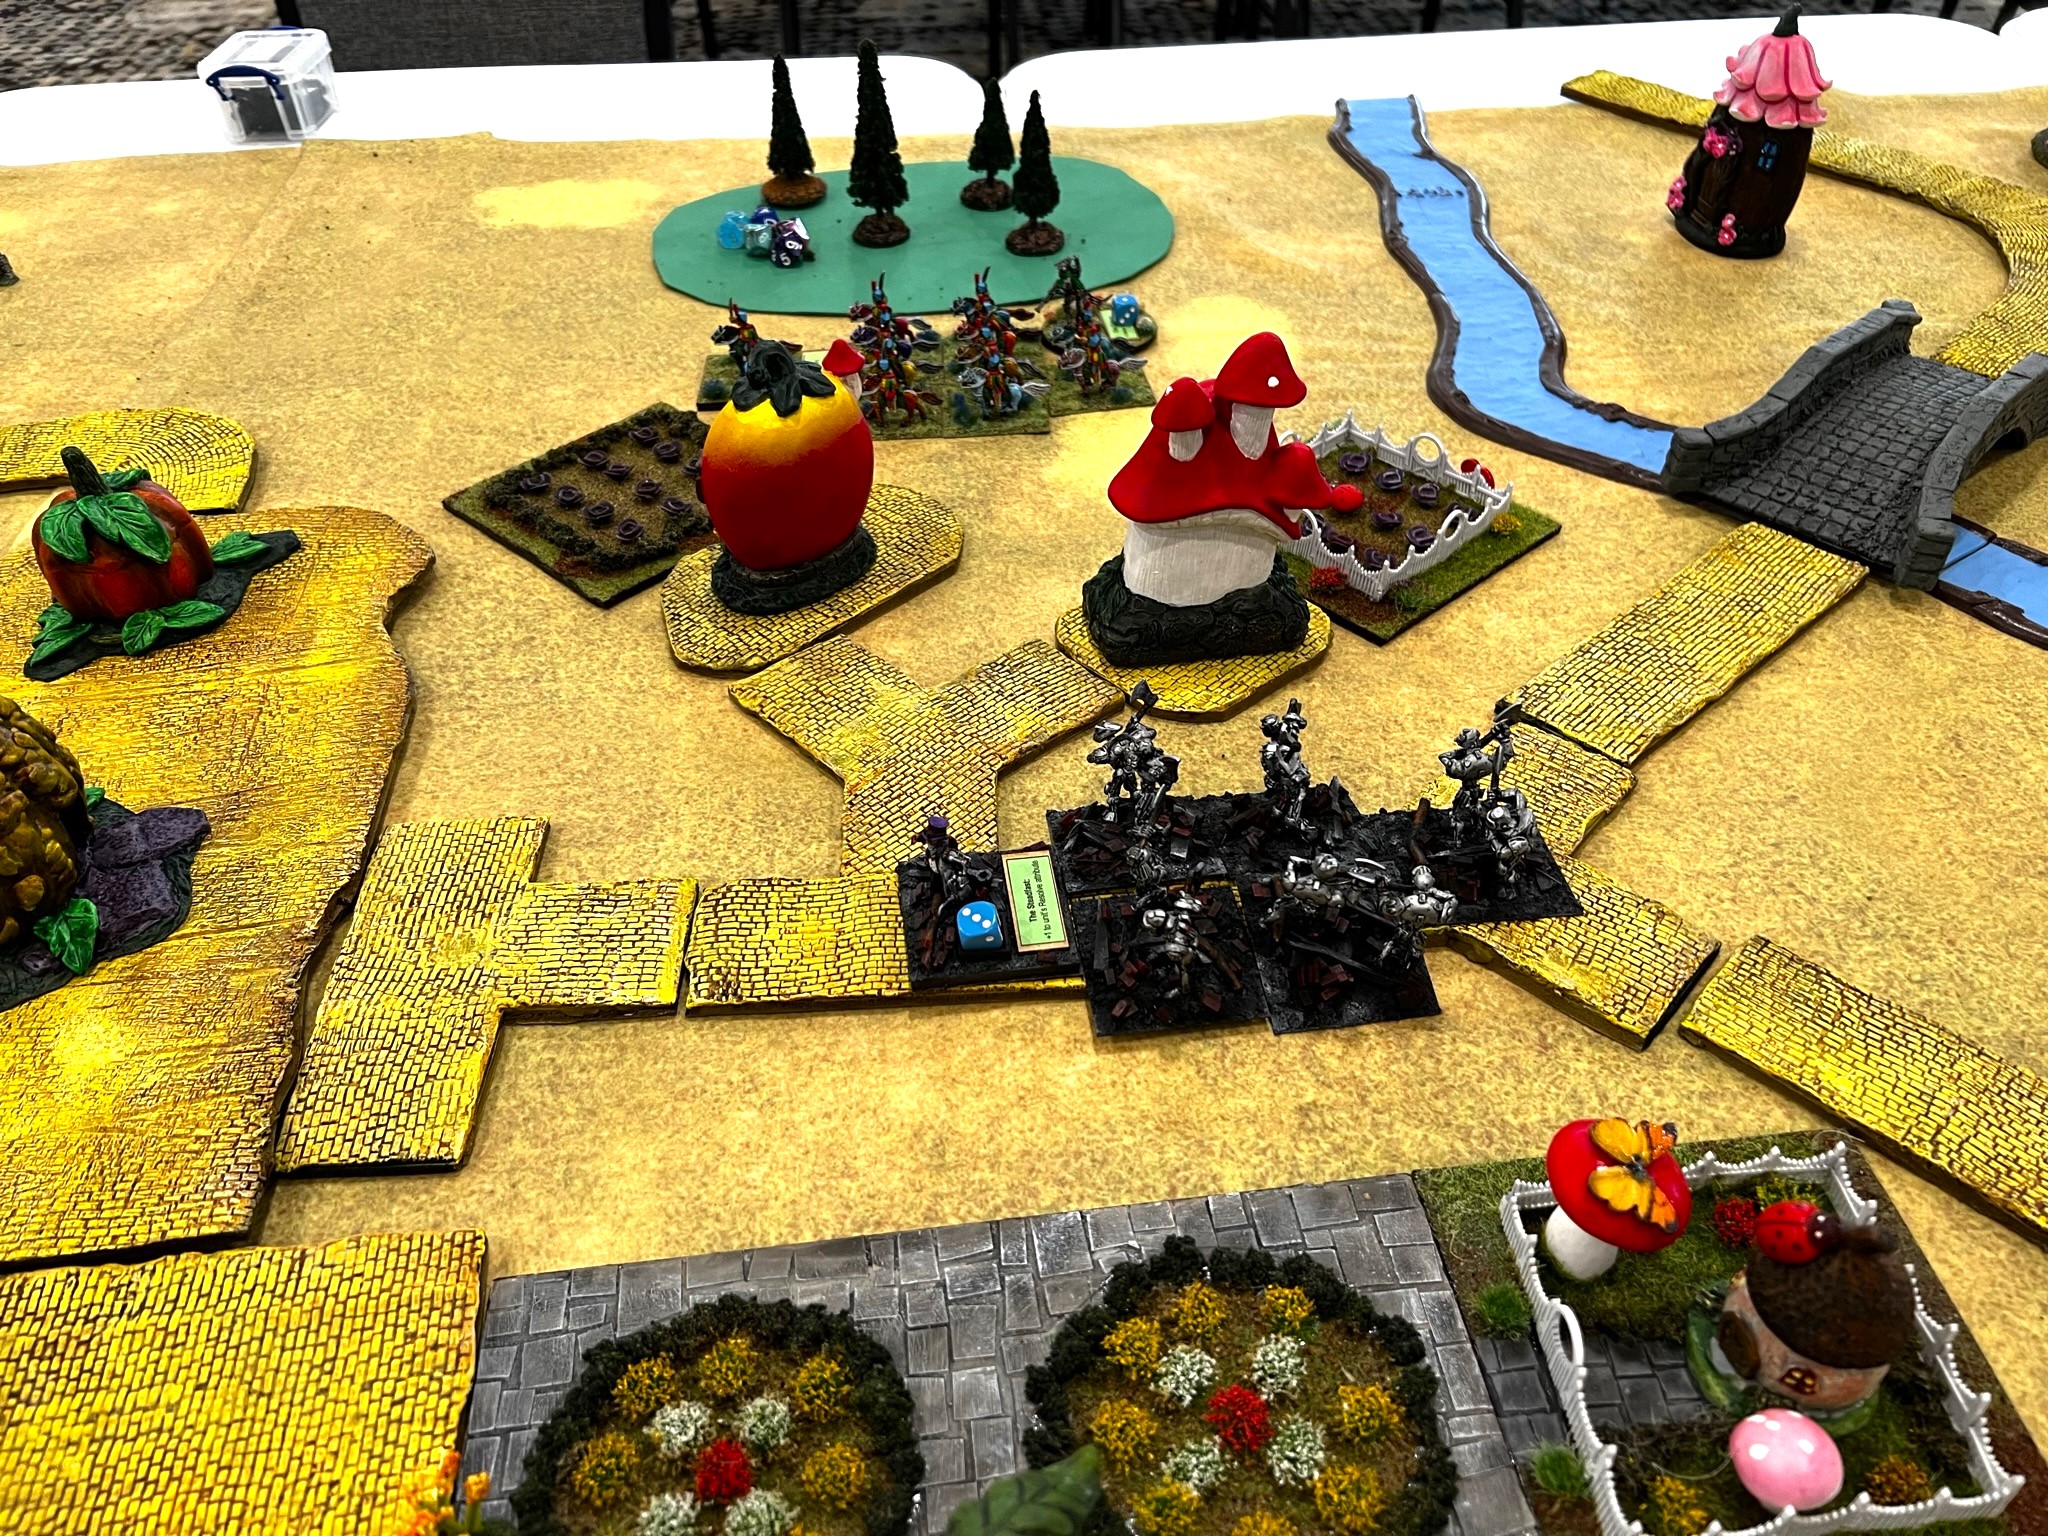
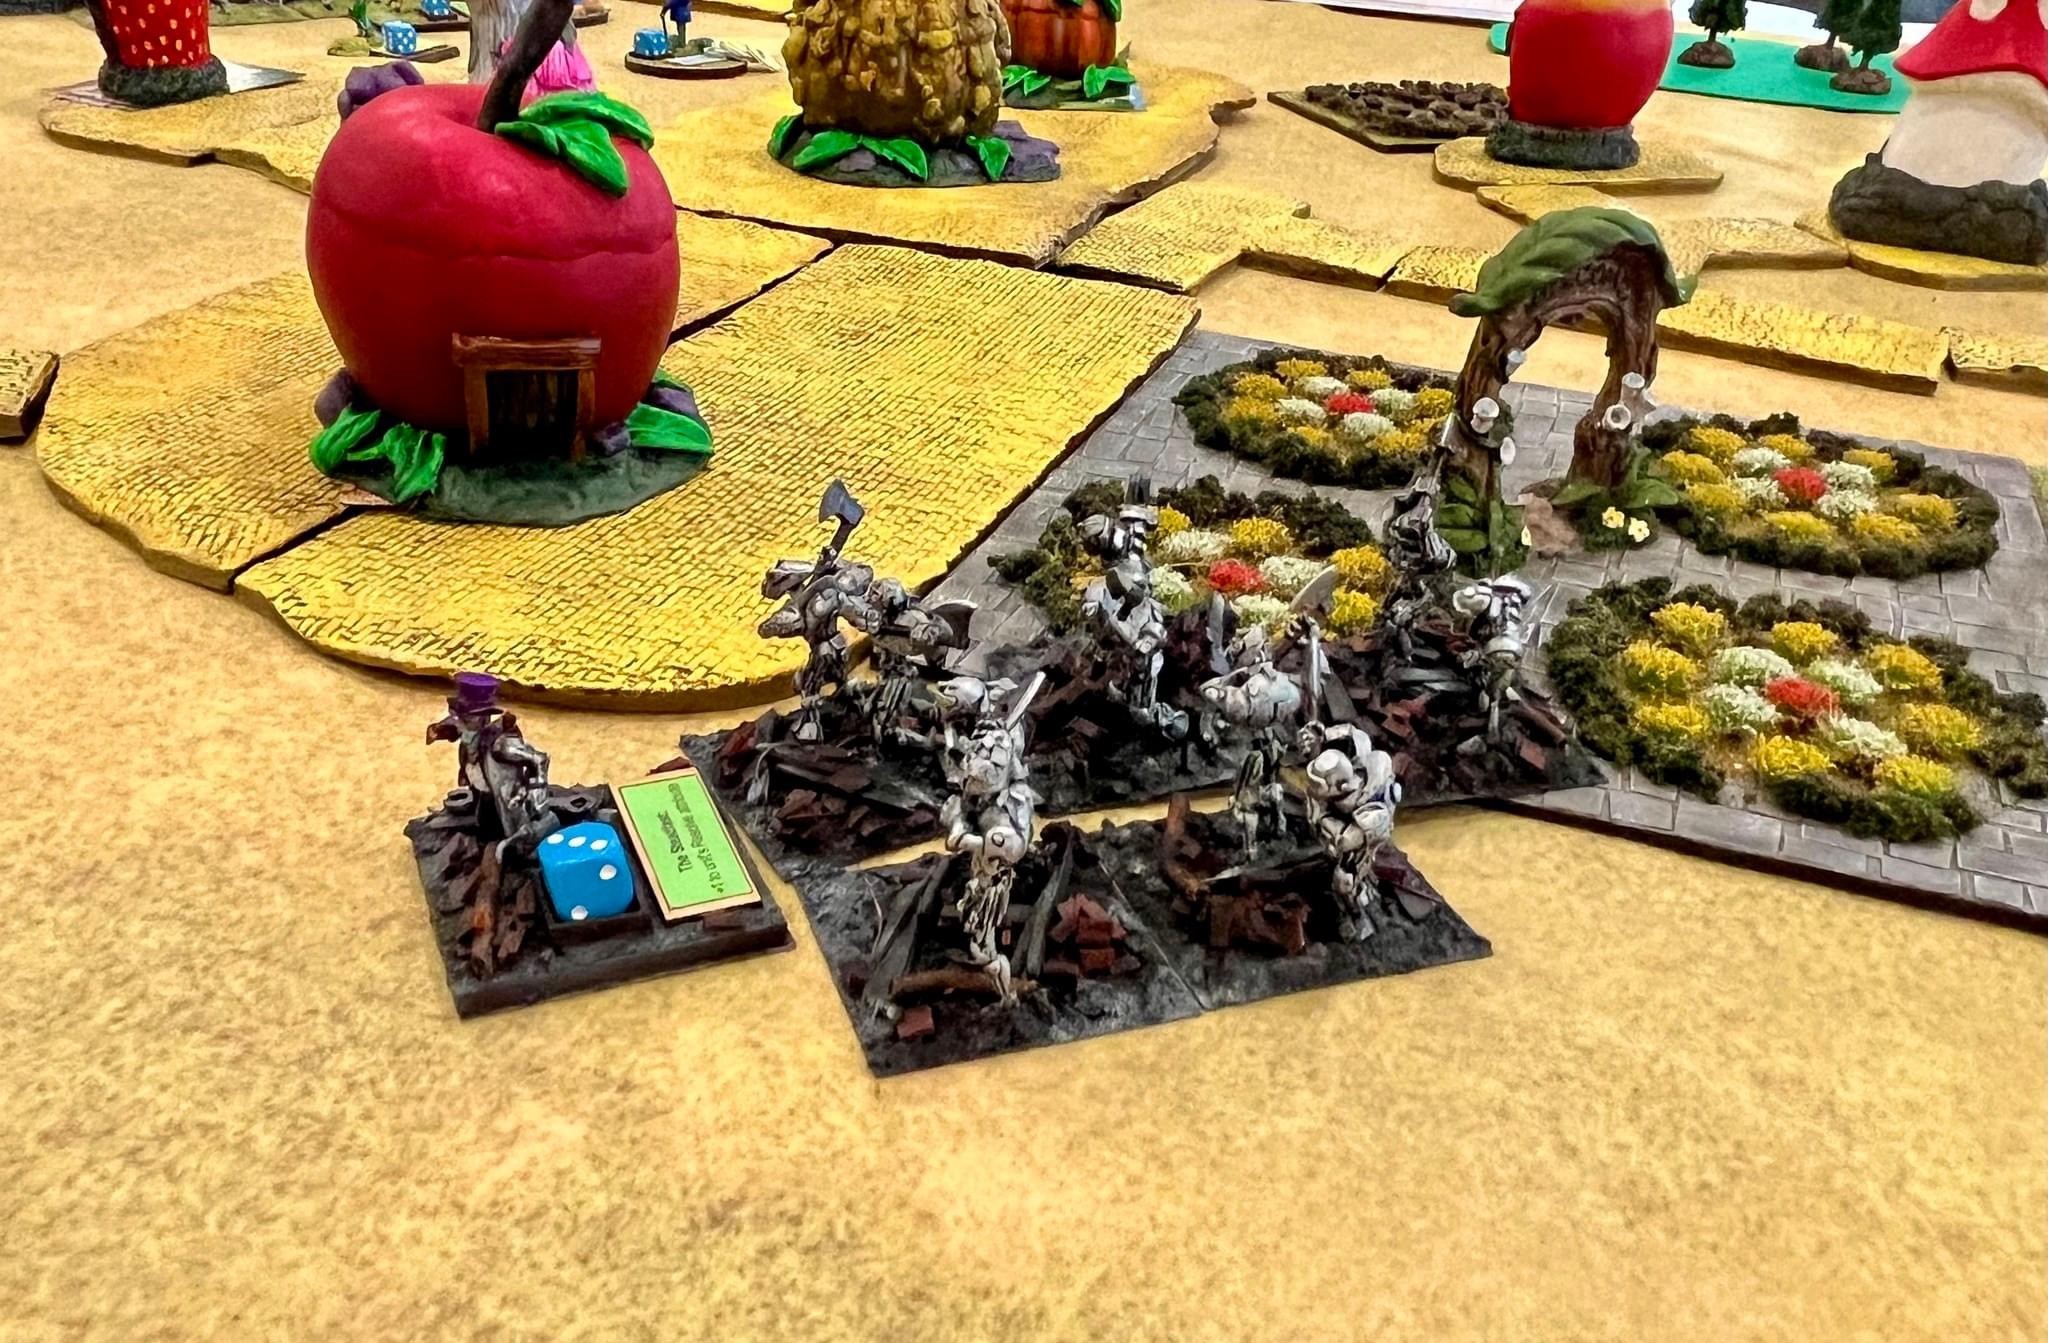
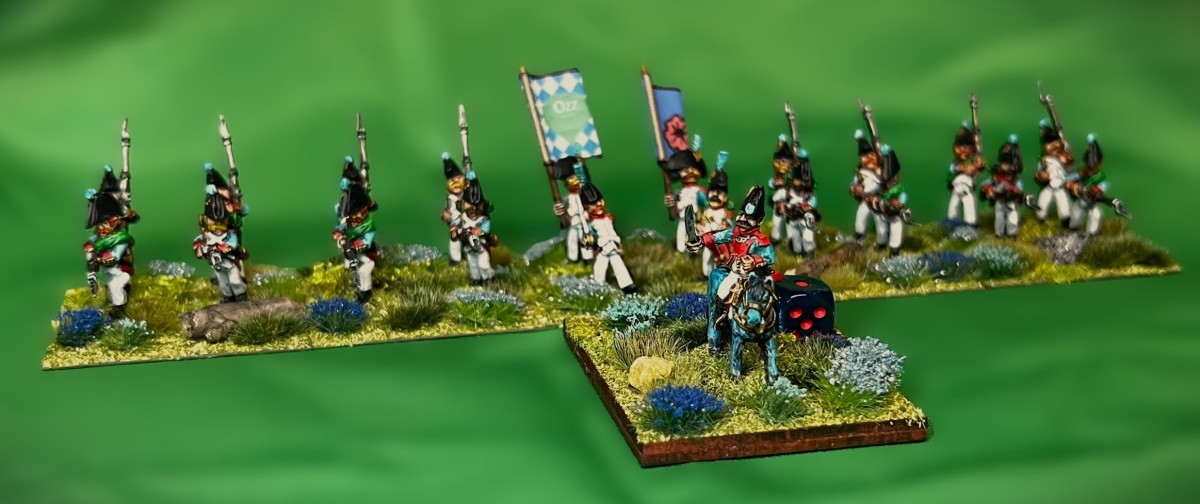
My first entry in the challenge is the subject of this post – and it is a very nice Munchkin Landwehr Infantry Regiment. I had been wanting to get another “cheaper” infantry unit for my Wars of Ozz games. This would enable me to round out my Munchkin forces to about 2 brigades which gives me more flexibility and variety for game play. In the game, Munchkin Landwehr units are basically militia/national guard-type units. What is nice is that there are two types of Landwehr infantry regiments that are visibly indistinguishable from each other – but that have very different costs and stats. One type is called National Guard (Landwehr) and the other is called Dubious National Guard (Landwehr). The former is a better-trained unit, but one that is more expensive than the latter.
The better Landwehr regiment is good at missile combat with their muskets – having a Marksmanship value of 6/10. The Dubious Landwehr only has a Marksmanship value of 4/10 (they need time on the firing range). With regards to Melee, the better Landwehr are below average at 4/10, but the Dubious Landwehr are even worse at only a 3/10 (they need more hand-to-hand combat training). The Resolve value (the measure of the unit’s desire to stick in a fight) for the better Landwehr is okay at 6/10, but their lesser trained Dubious brother’s Resolve is a poor 4/10. As for Elan (the desire to take the fight to the enemy), the better Landwehr are an average 5/10, while the Dubious Landwehr cower on the tabletop at a 3/10. The only advantage that the Dubious Landwehr over regular Landwehr is in terms of point cost. A Dubious Landwehr Regiment can be had at 3 points, while a normal Landwehr regiment will cost 5 points. This gives a lot of flexibility to a player or a GM as a unit can be designated as either type at the game’s set up.
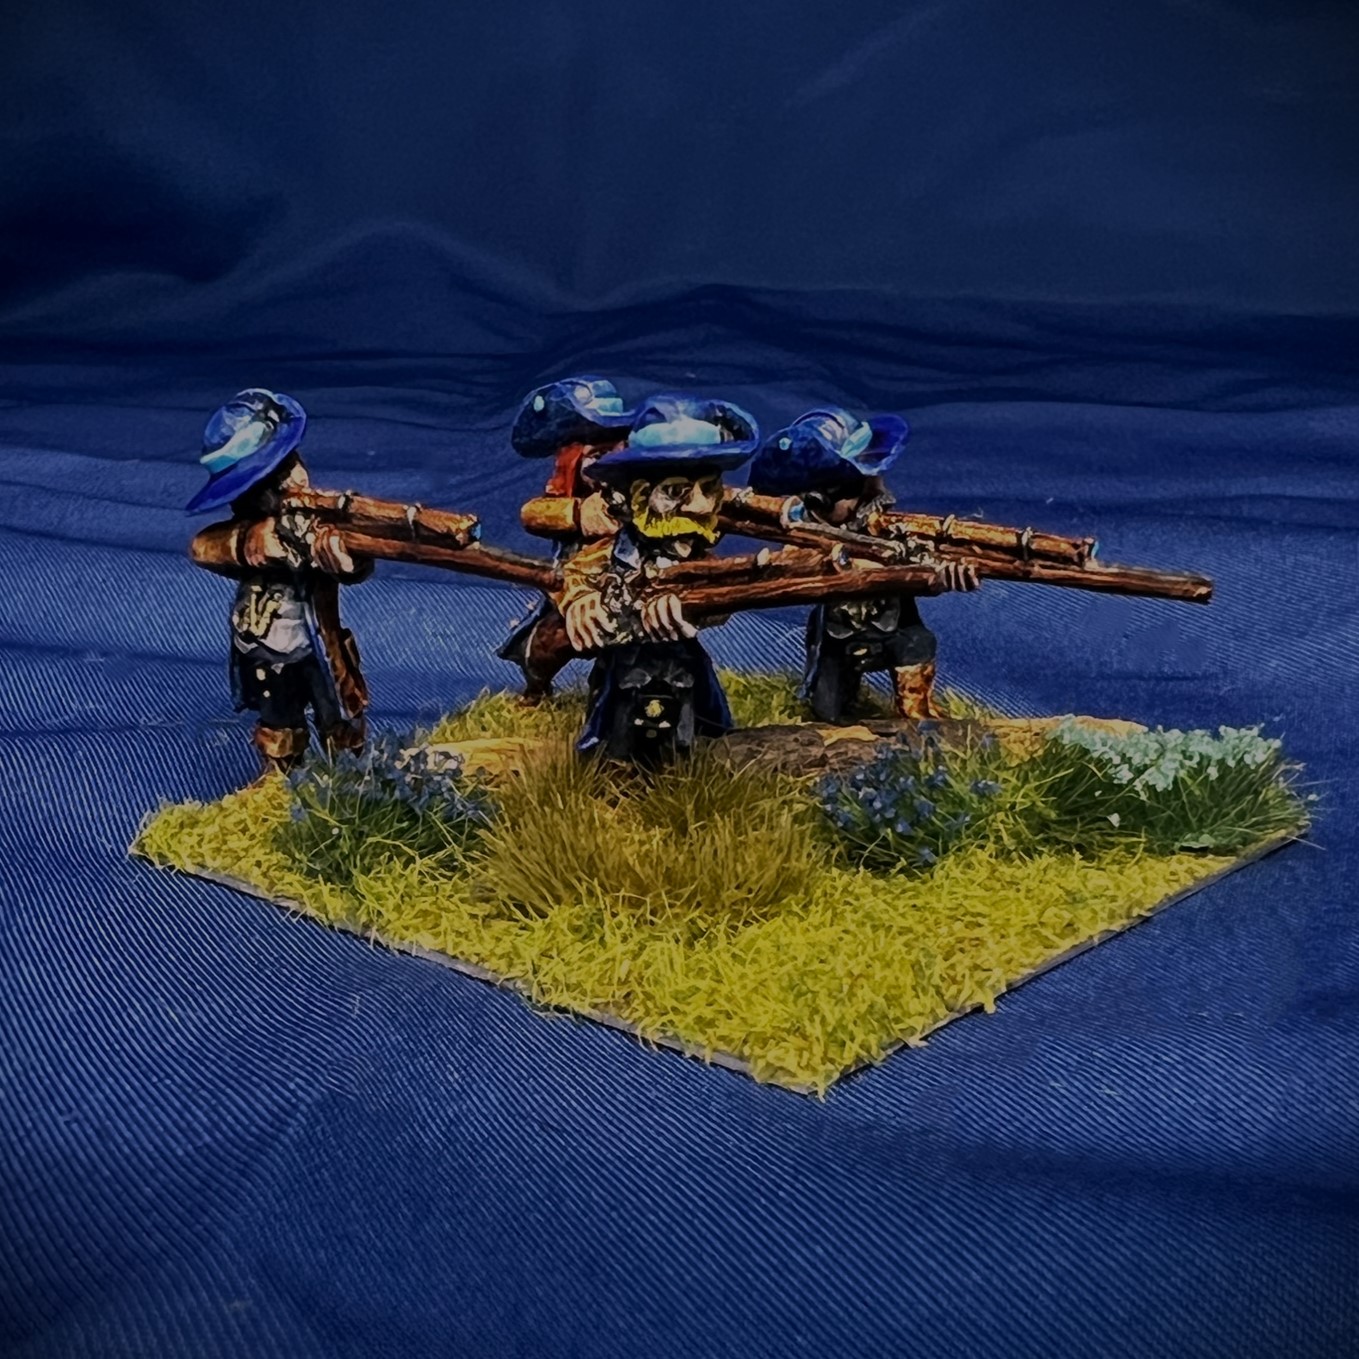
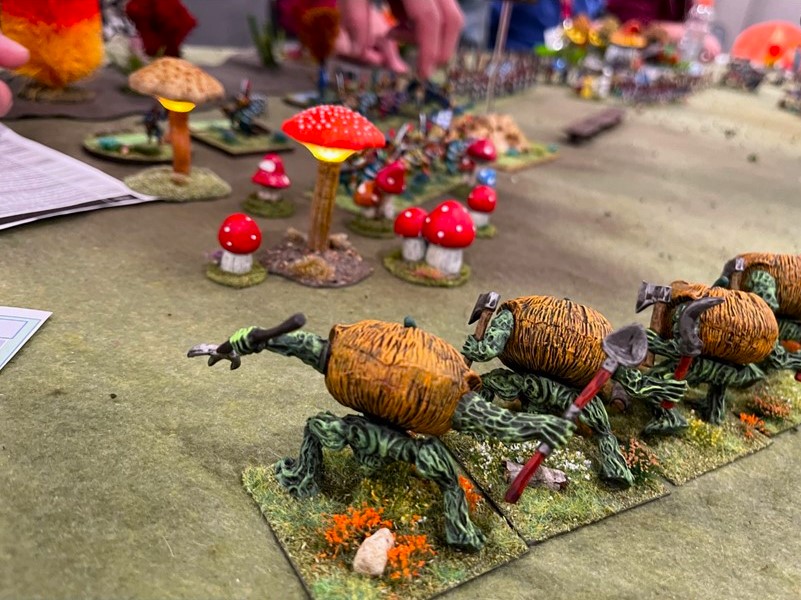
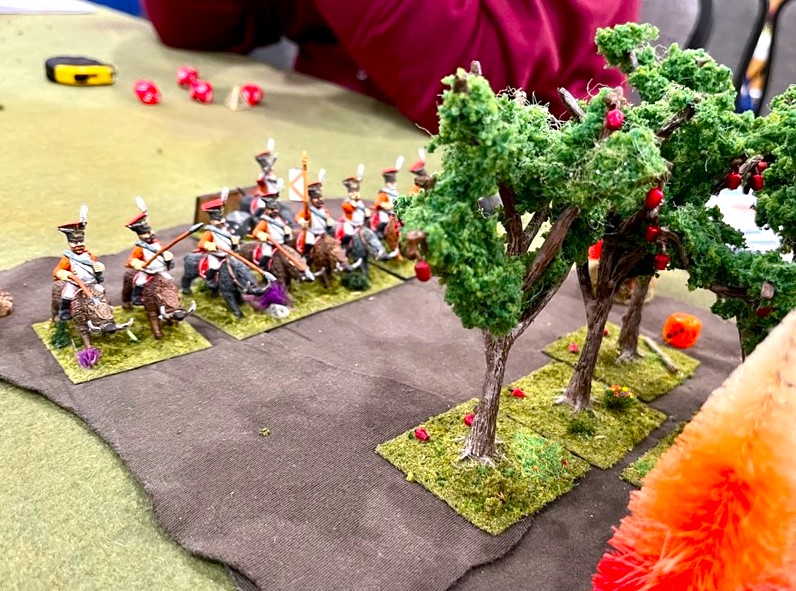
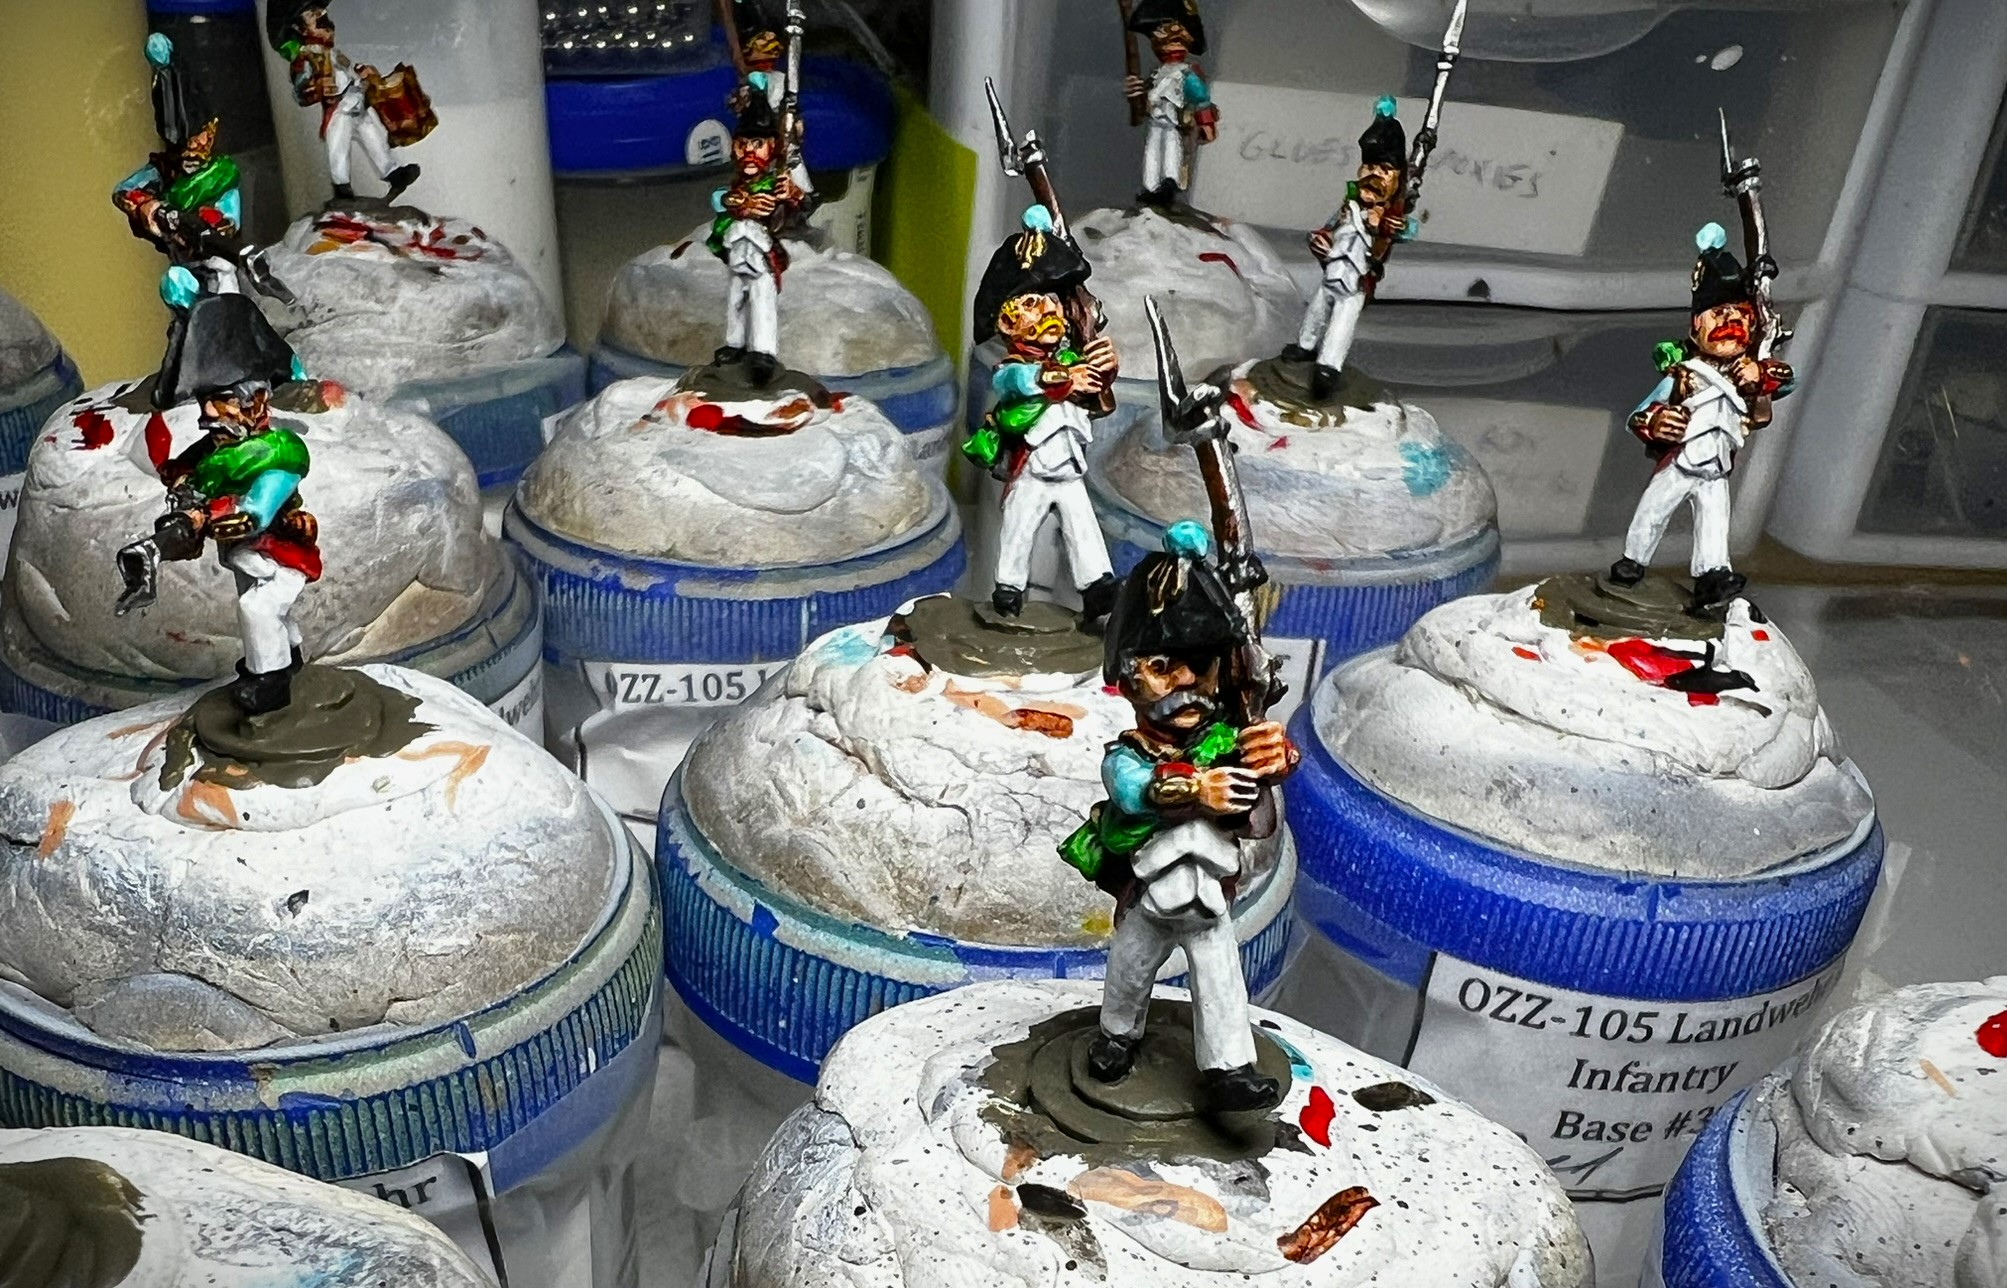
All of the figures are metal and 28mm in size. Interestingly, every convention game with Munchkin troops that I have ever set up in the past has attracted a passerby who thinks I have mixed scales on the tabletop! Yes, the Munchkins are indeed smaller, but 28mm!
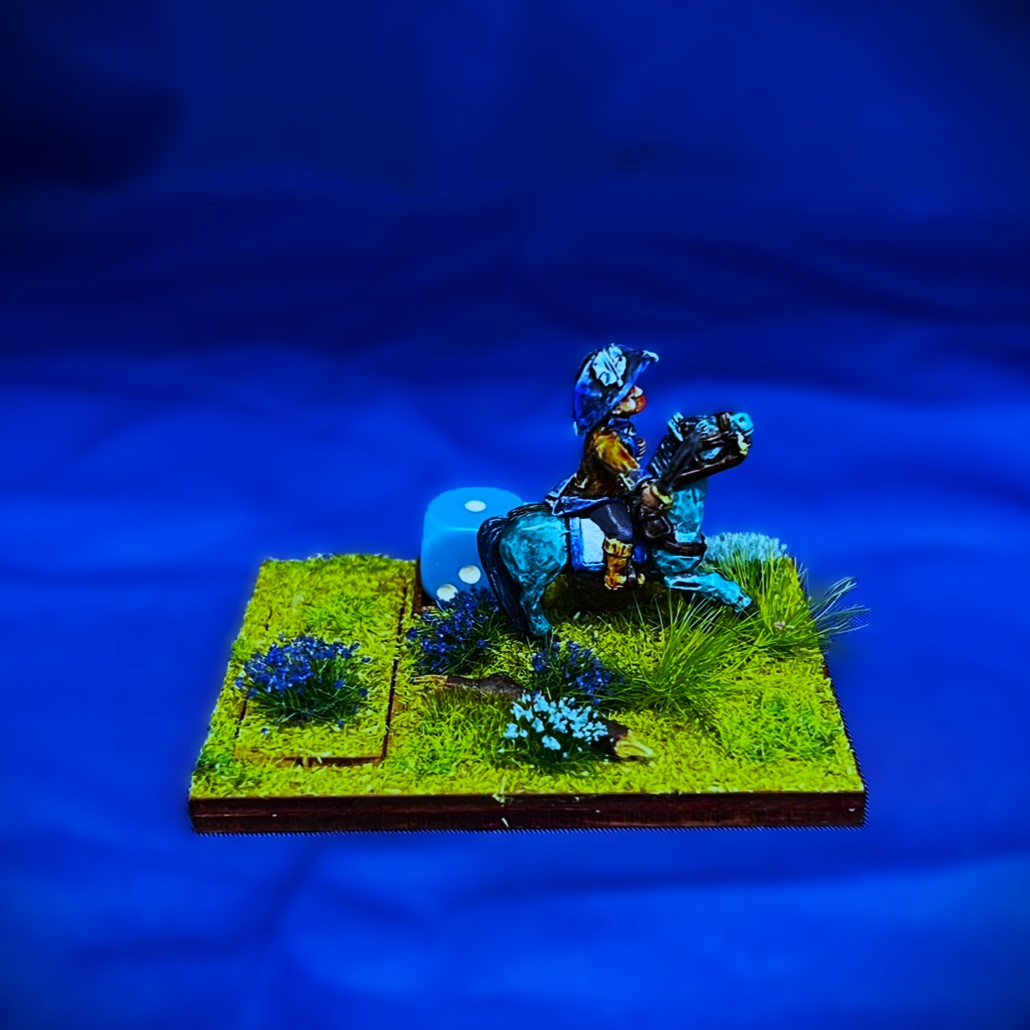
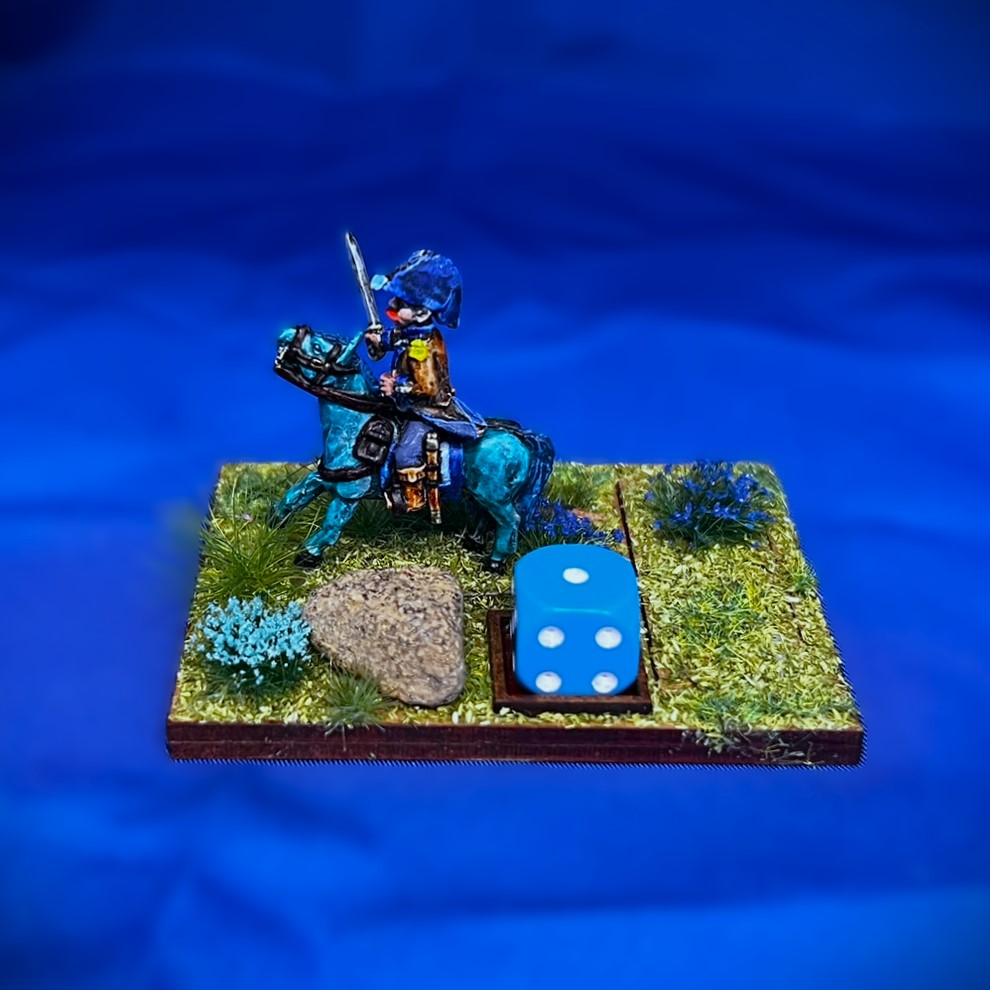
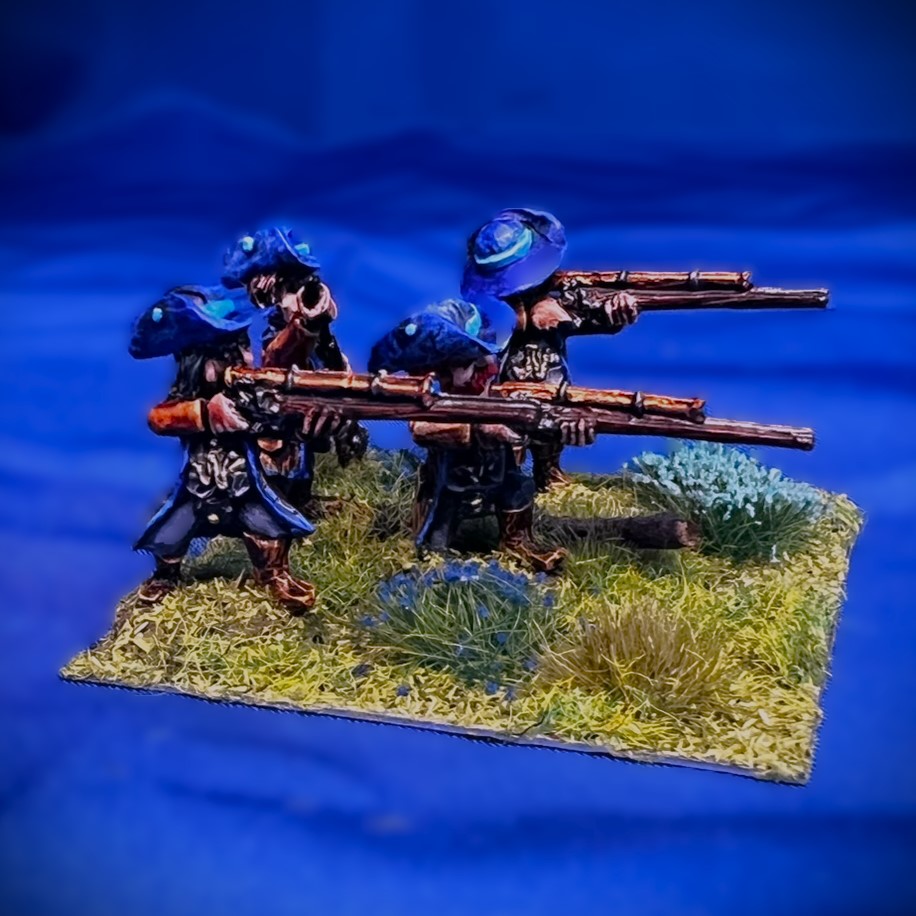
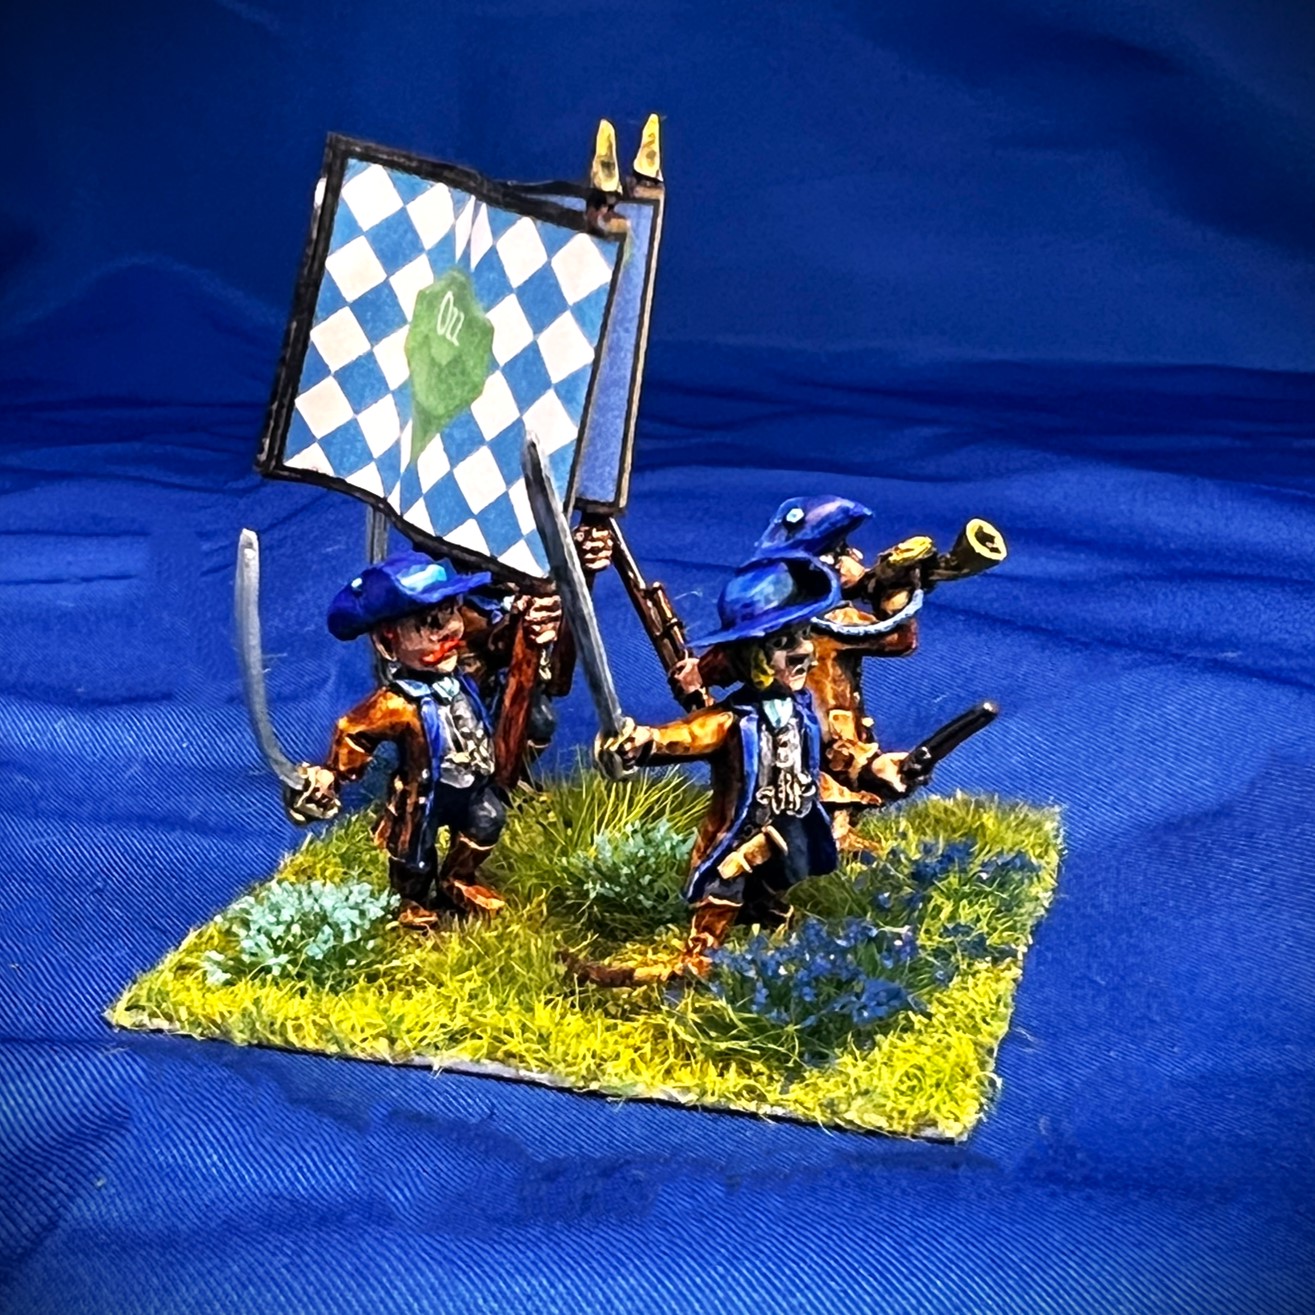
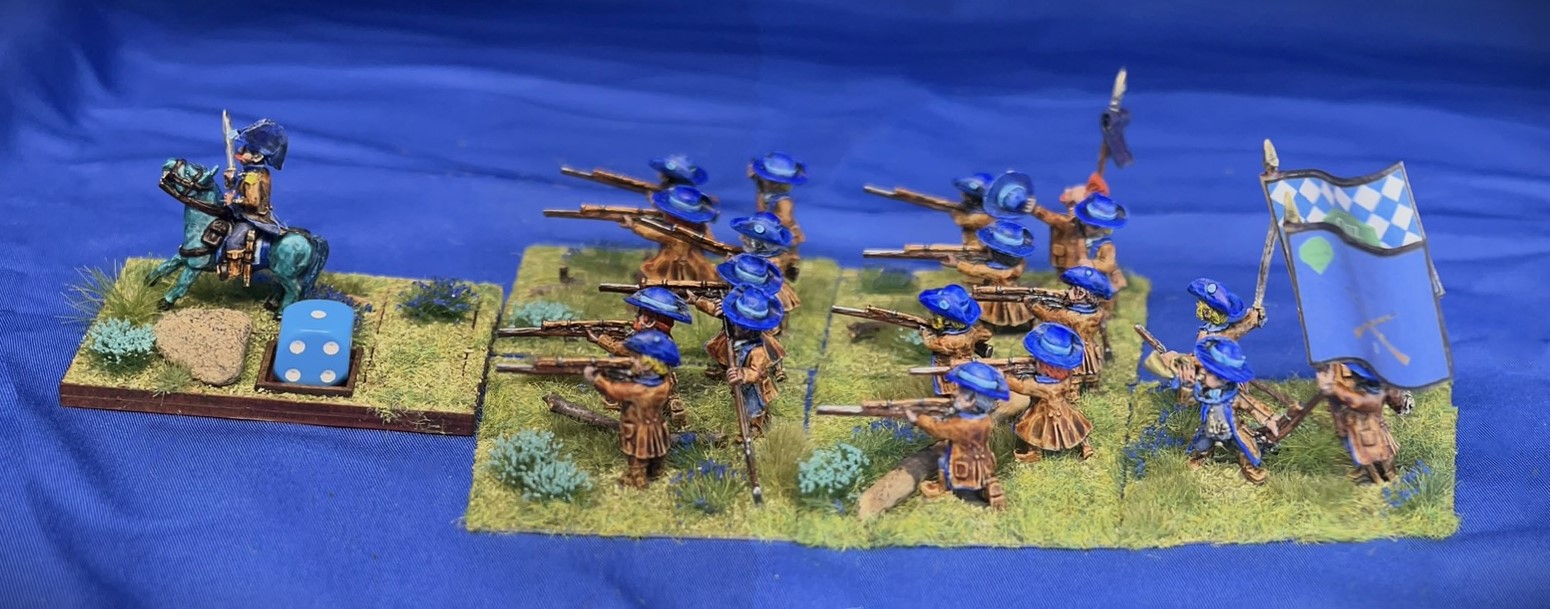
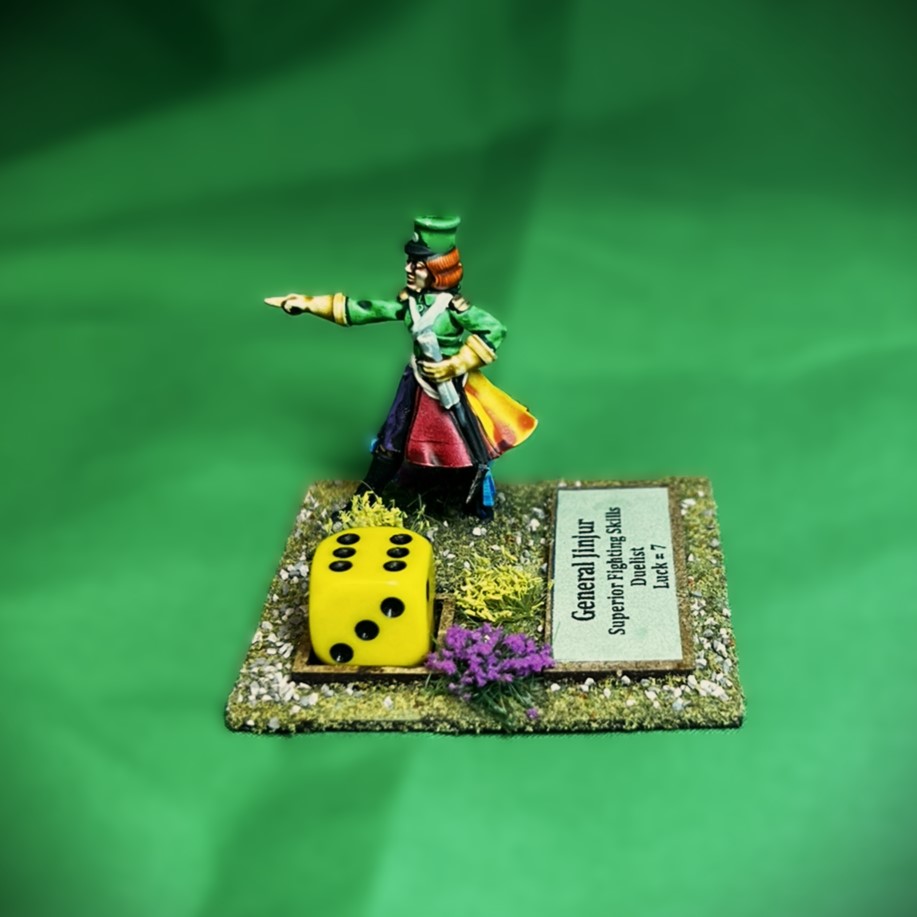
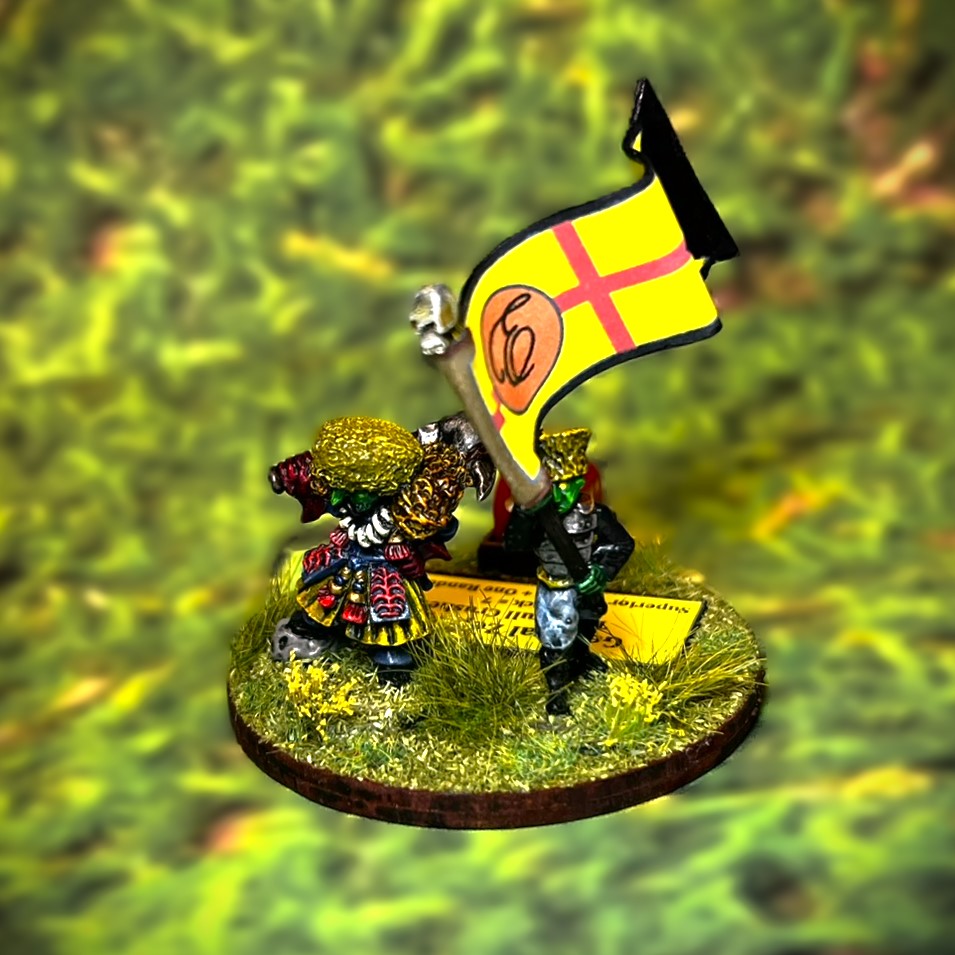
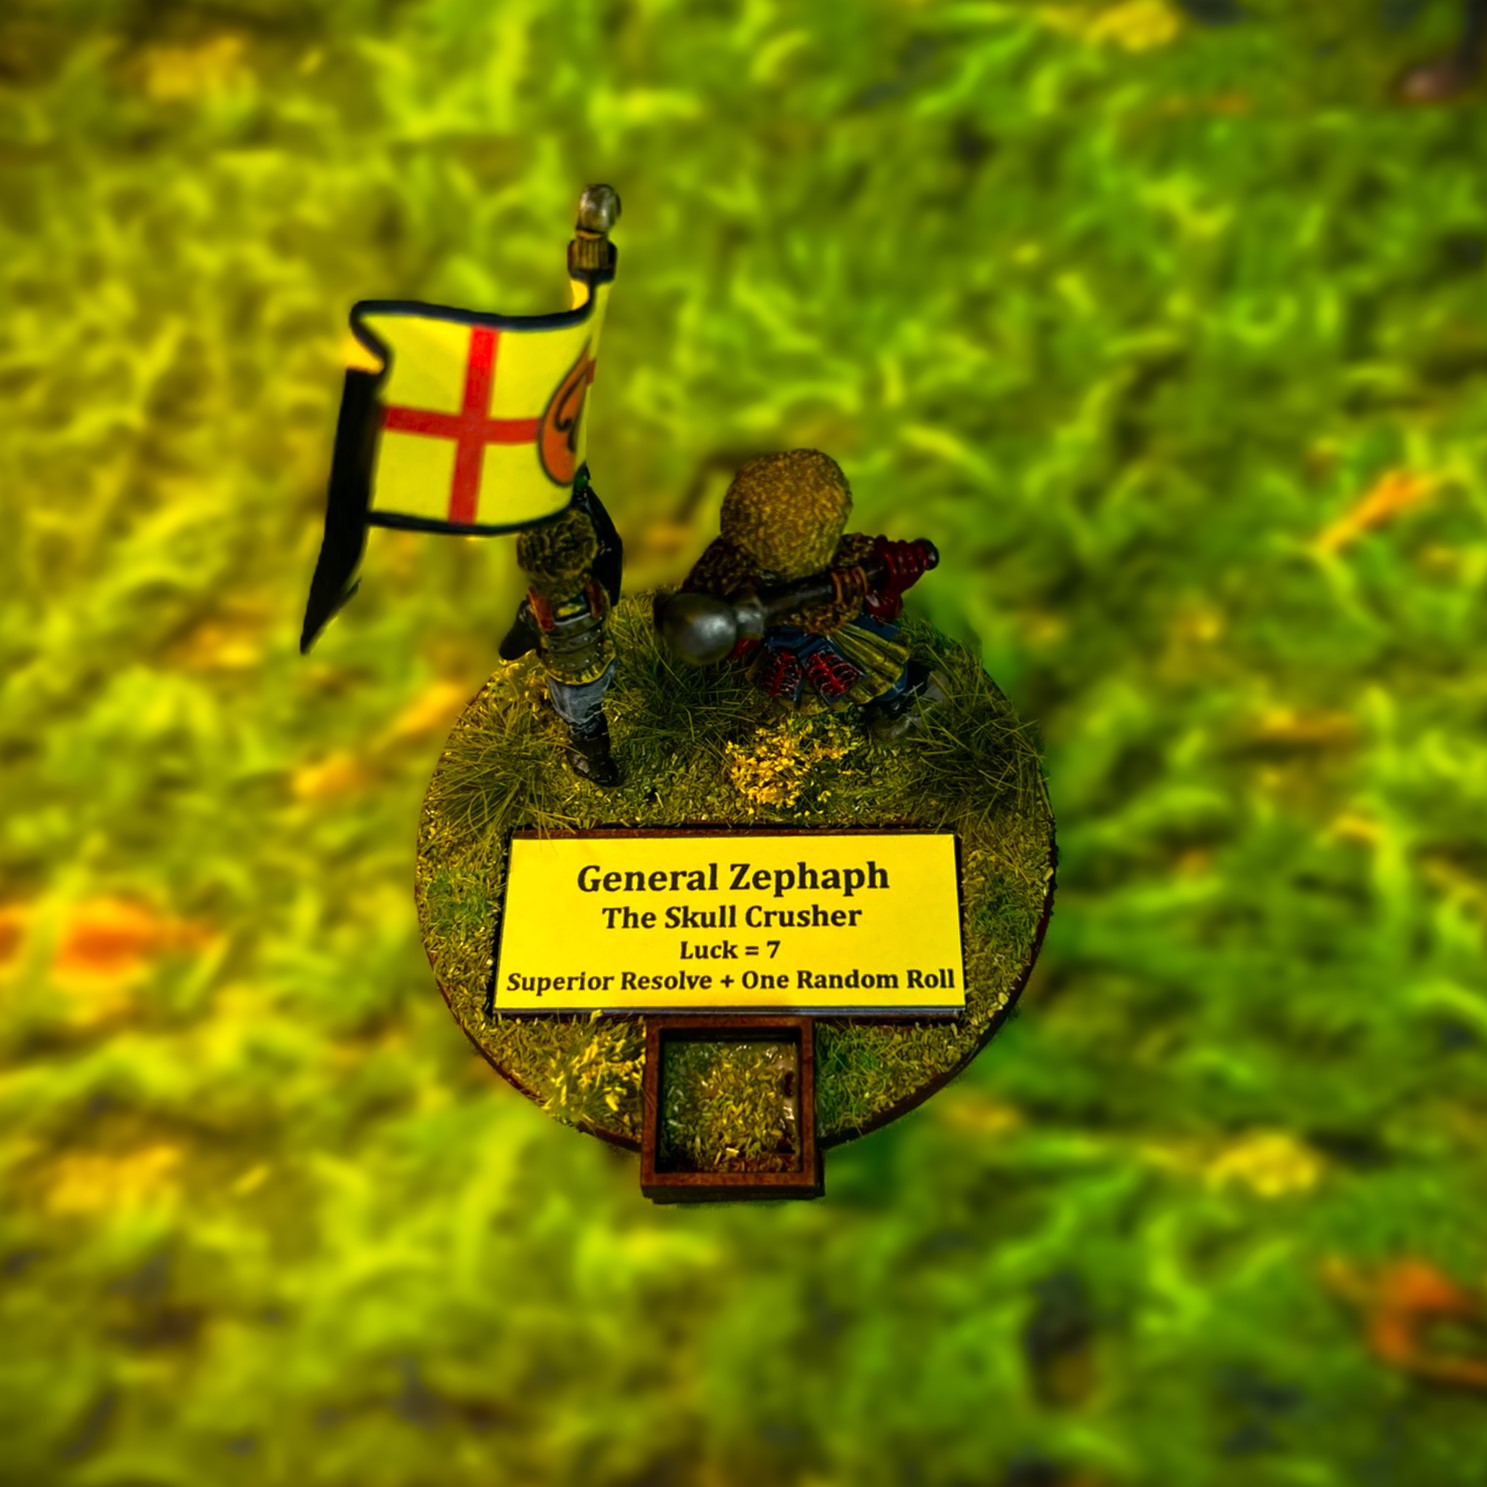
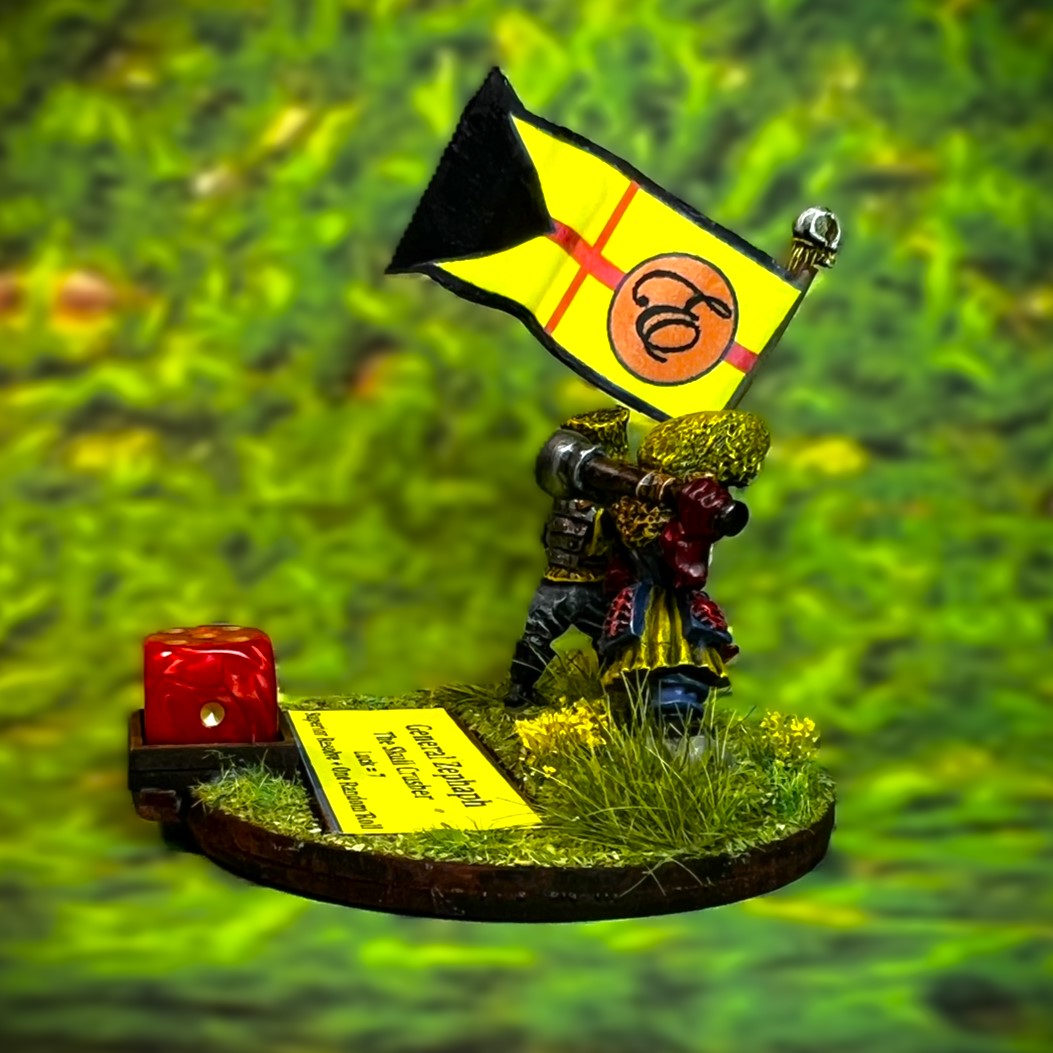
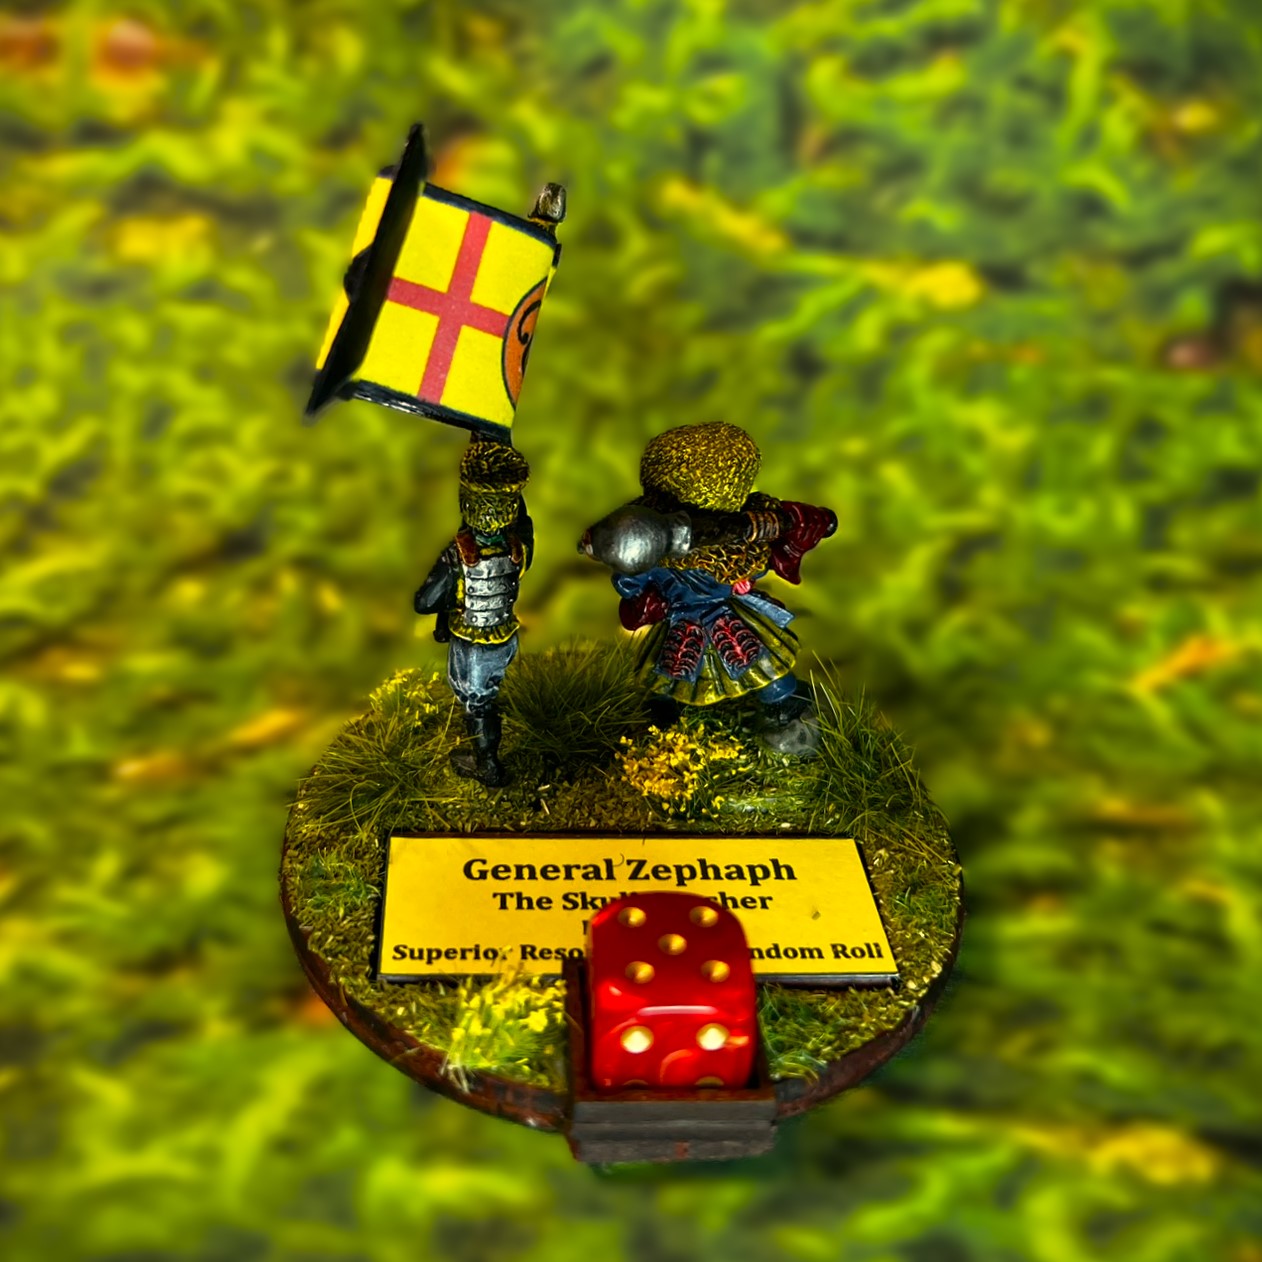
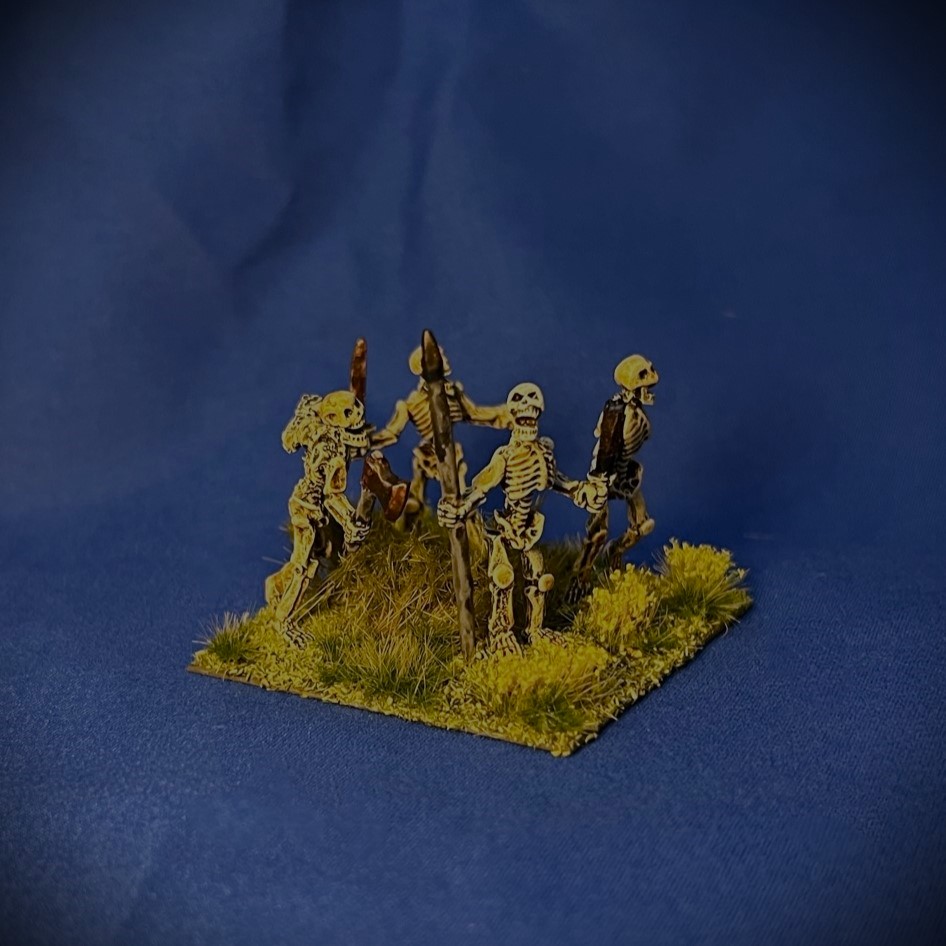
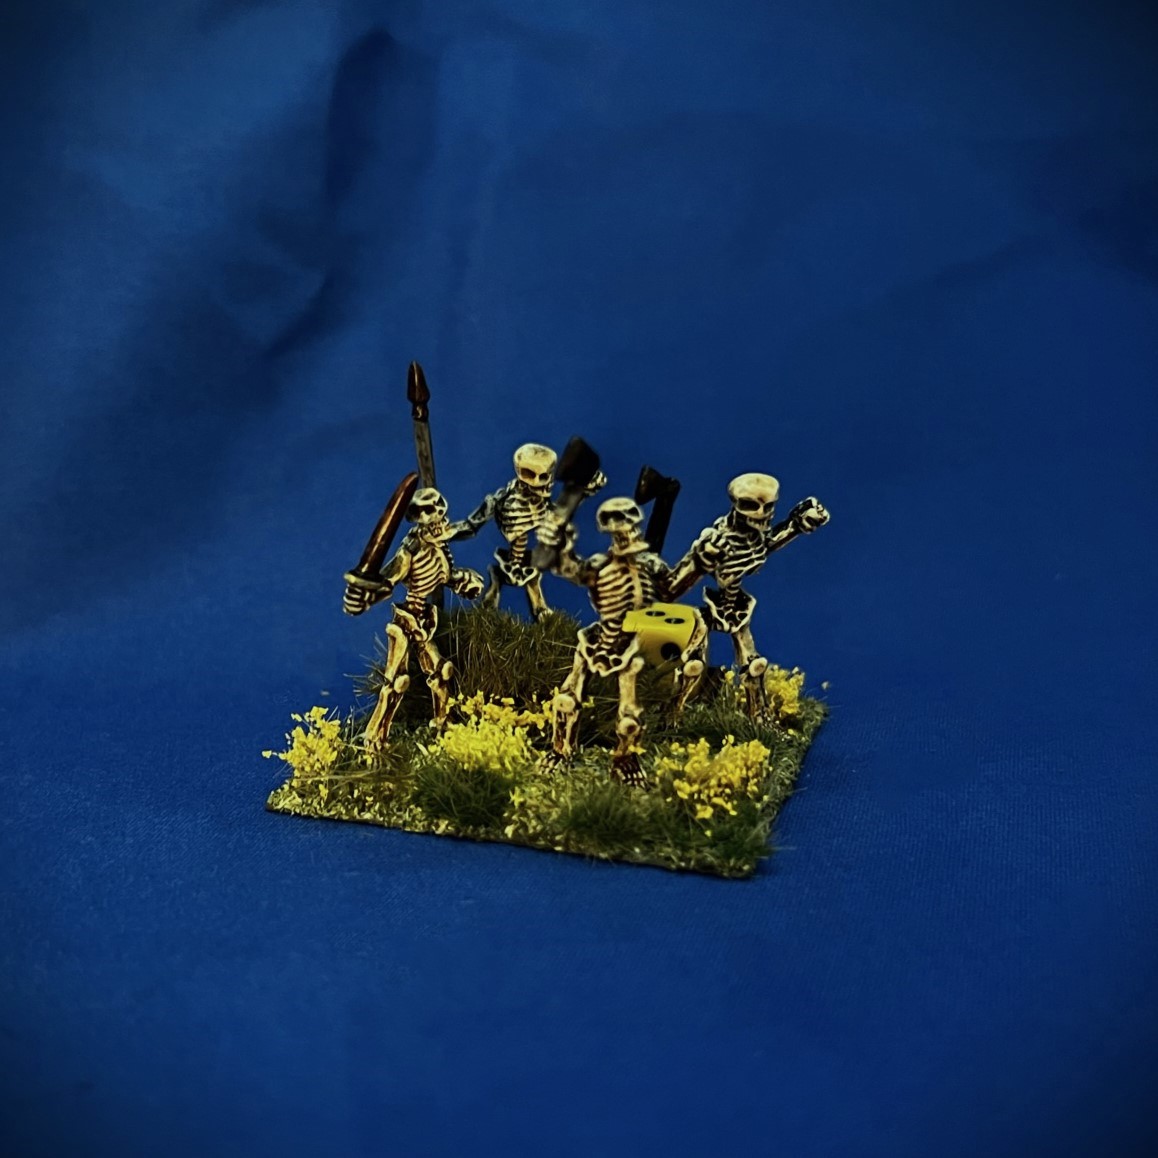
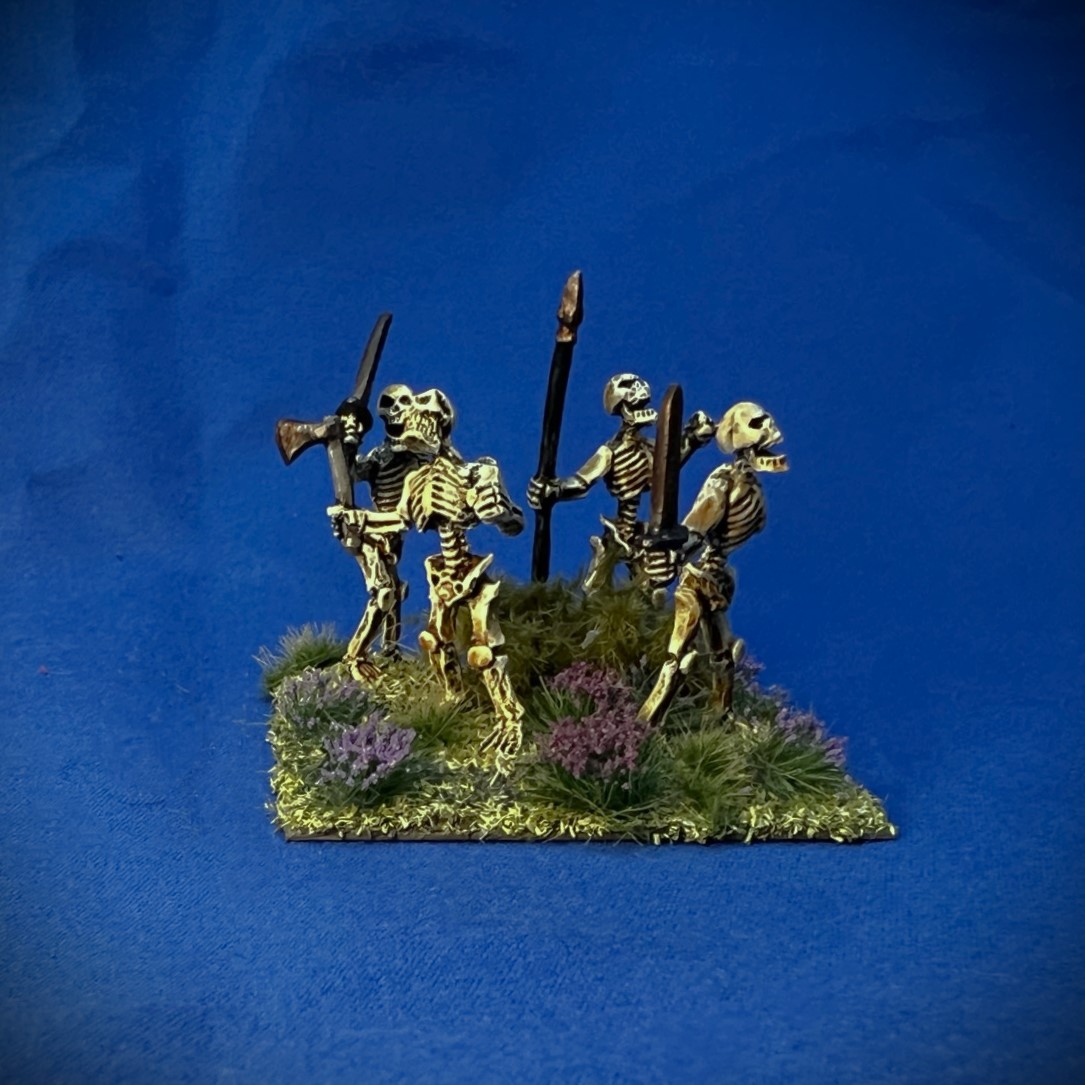
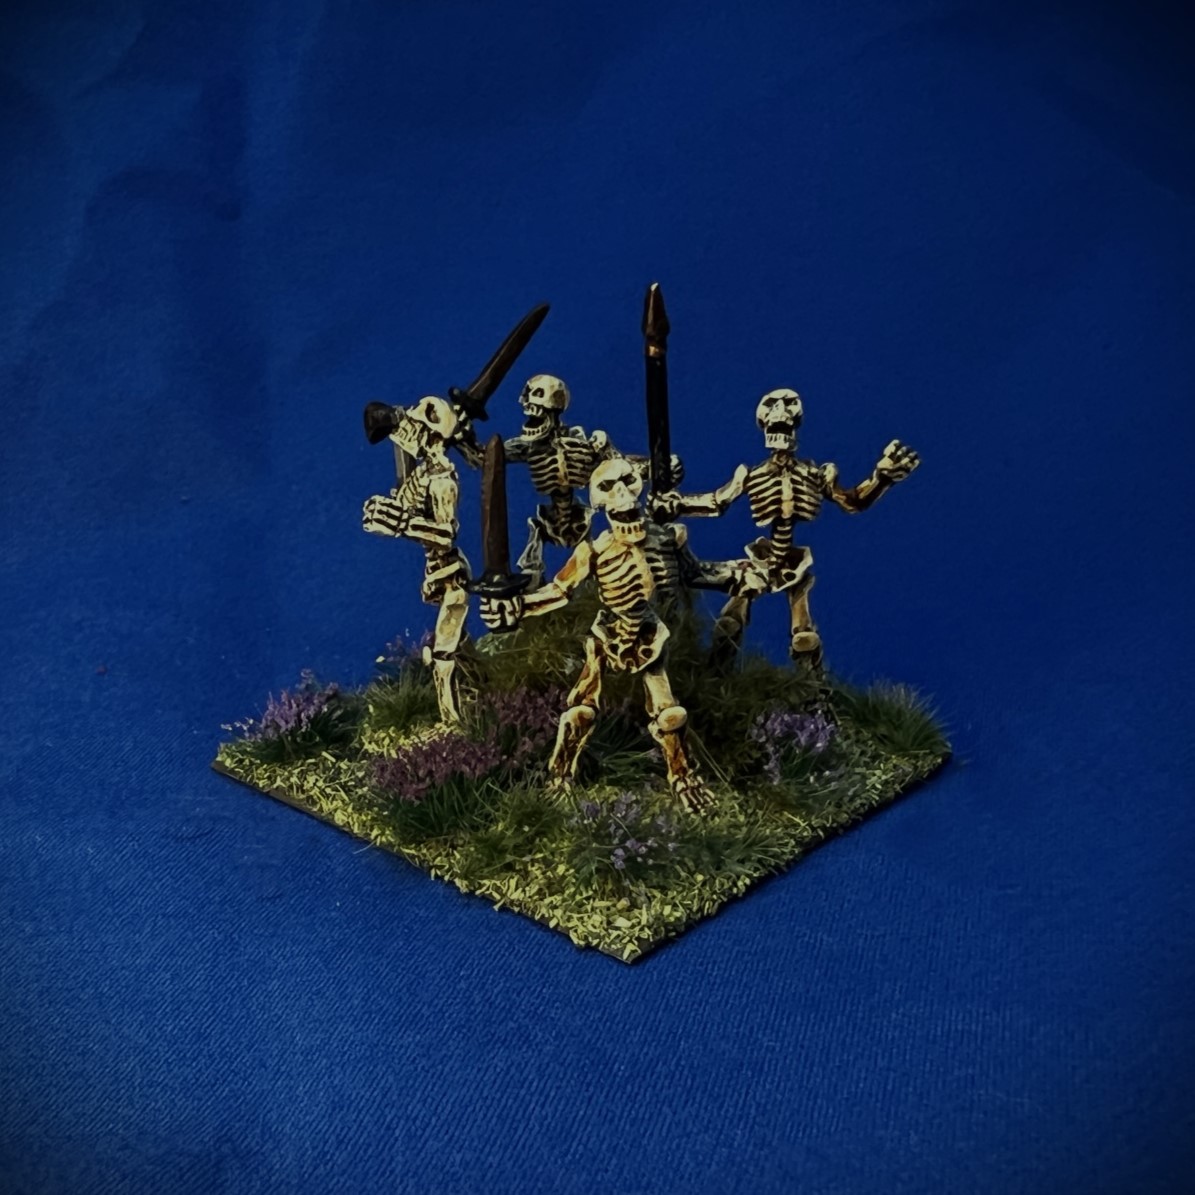
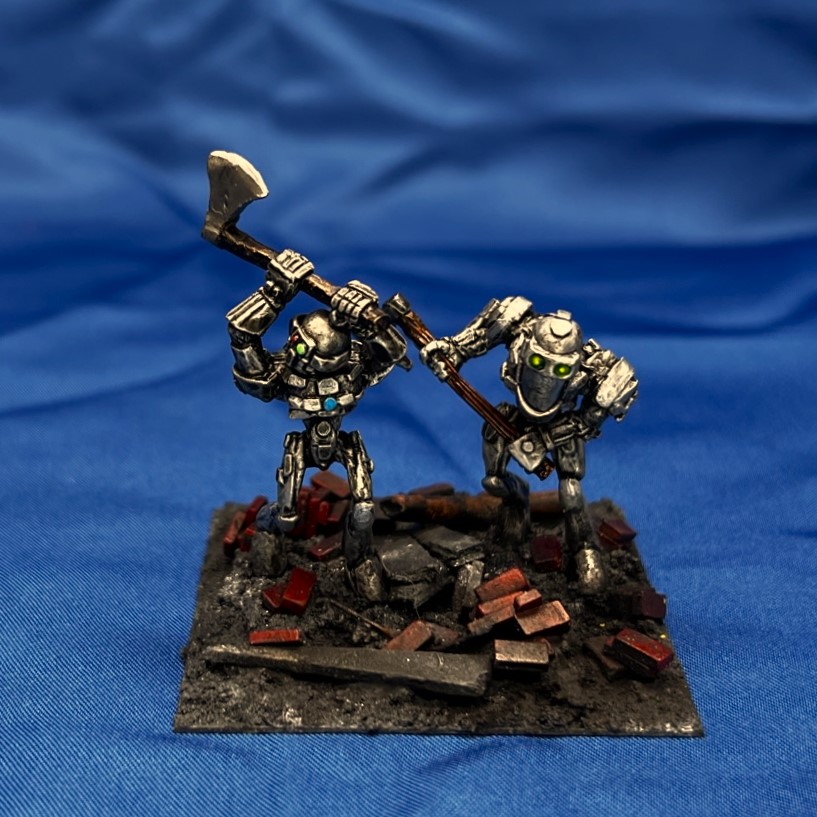
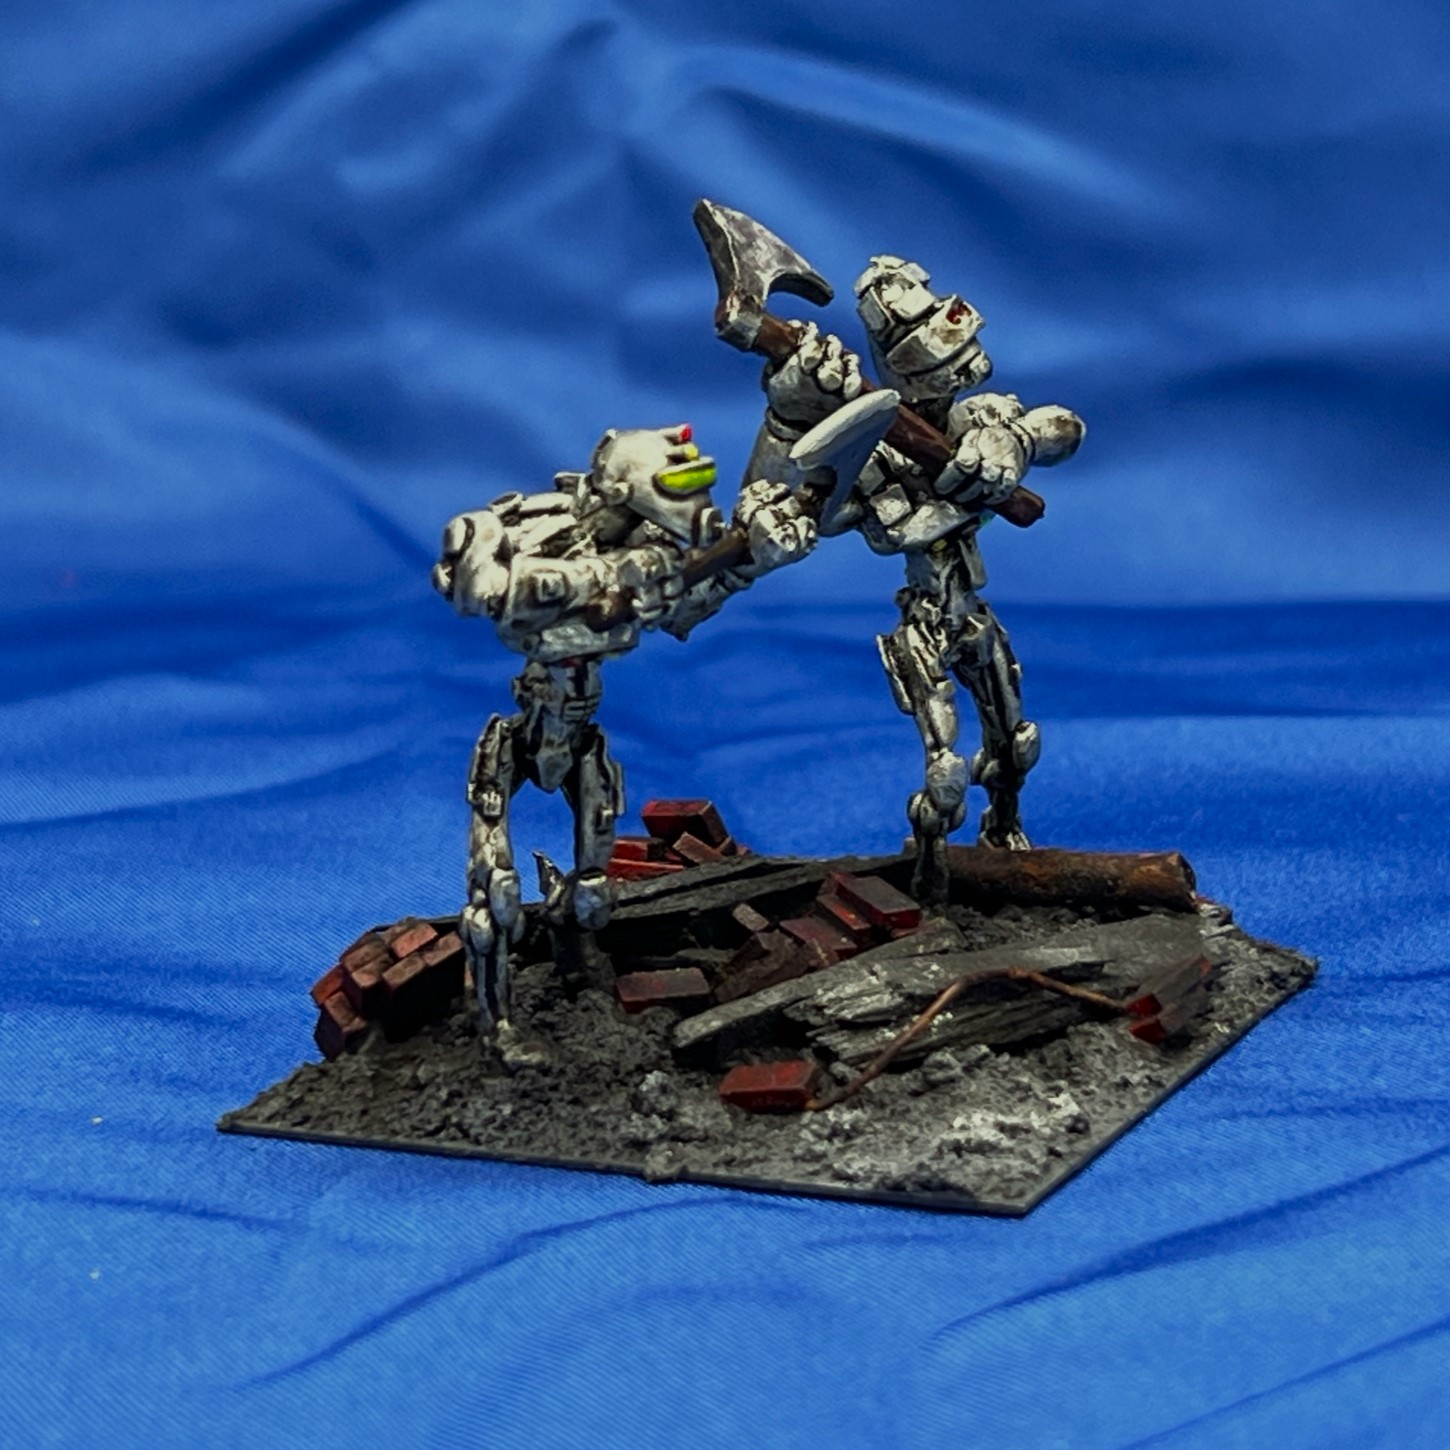
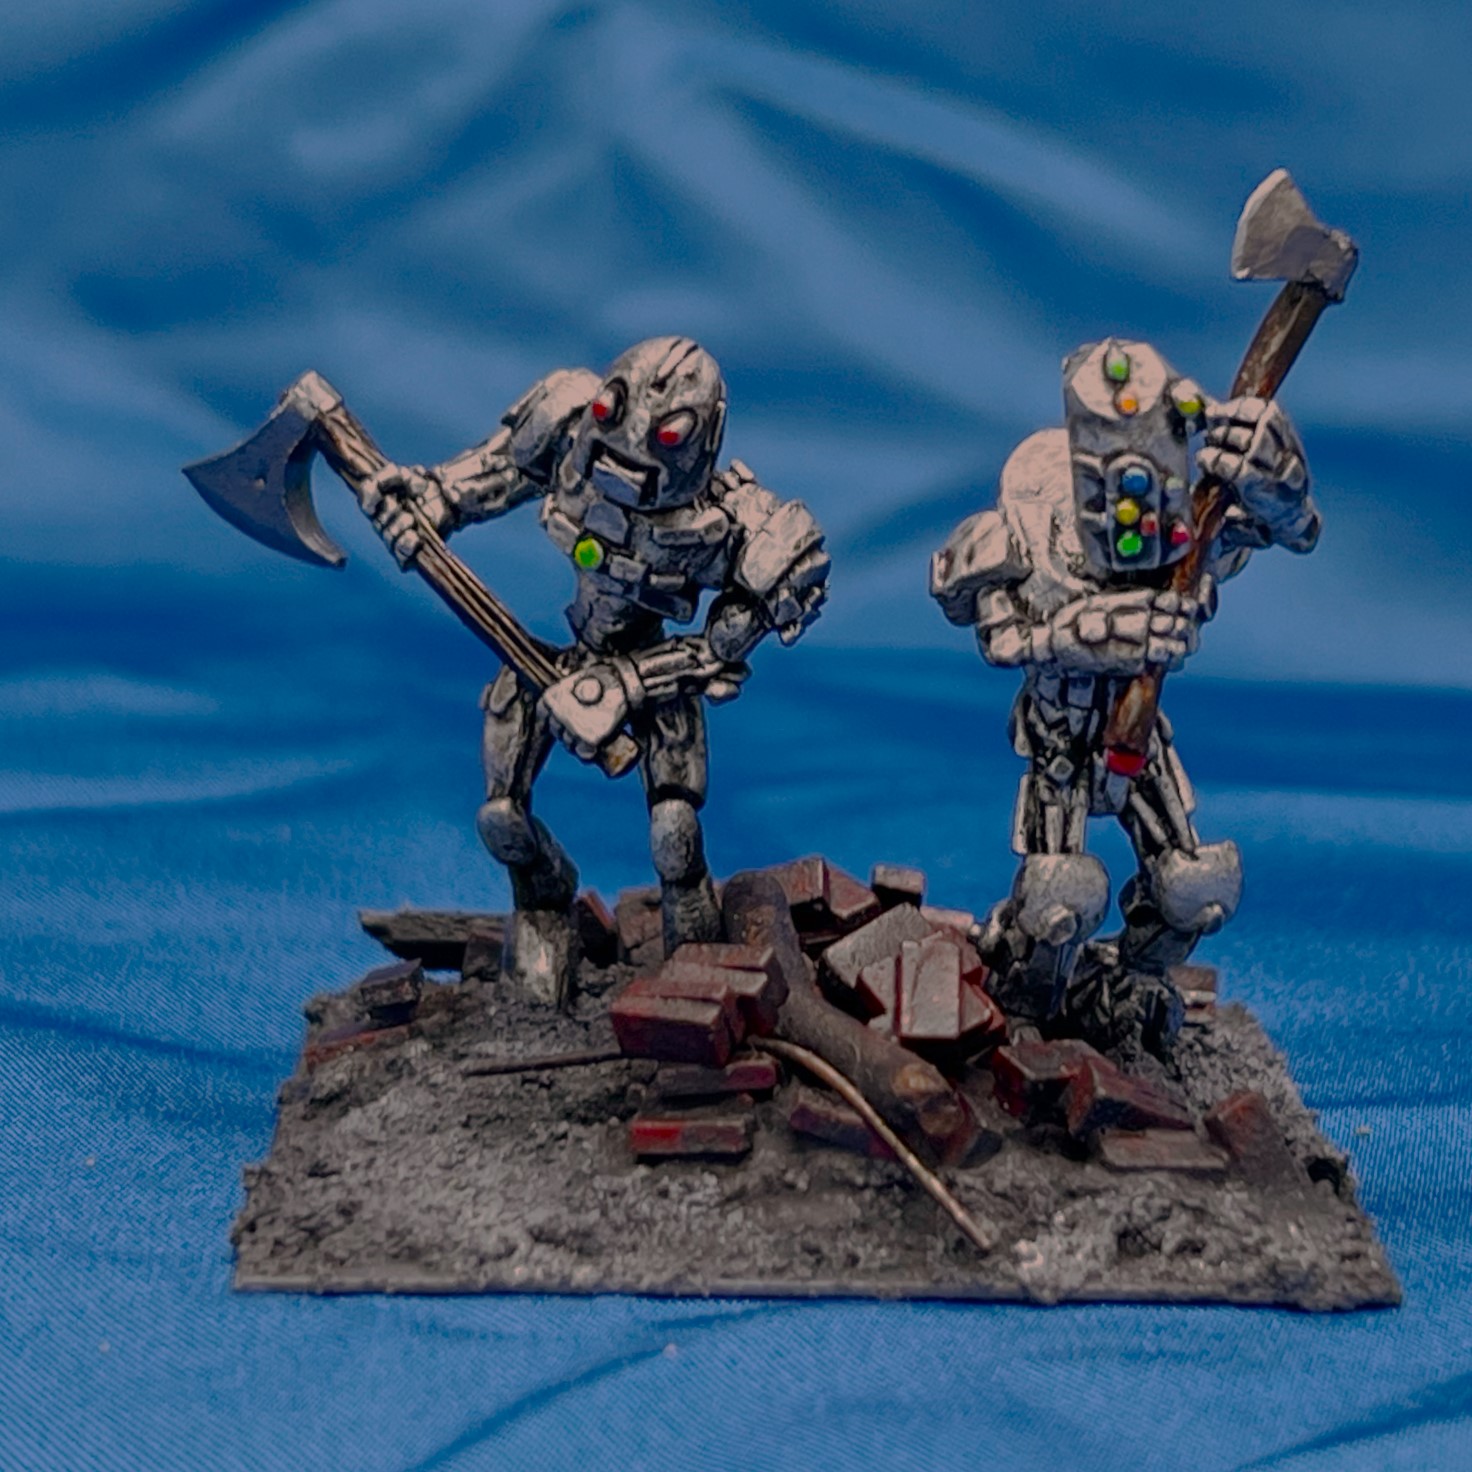
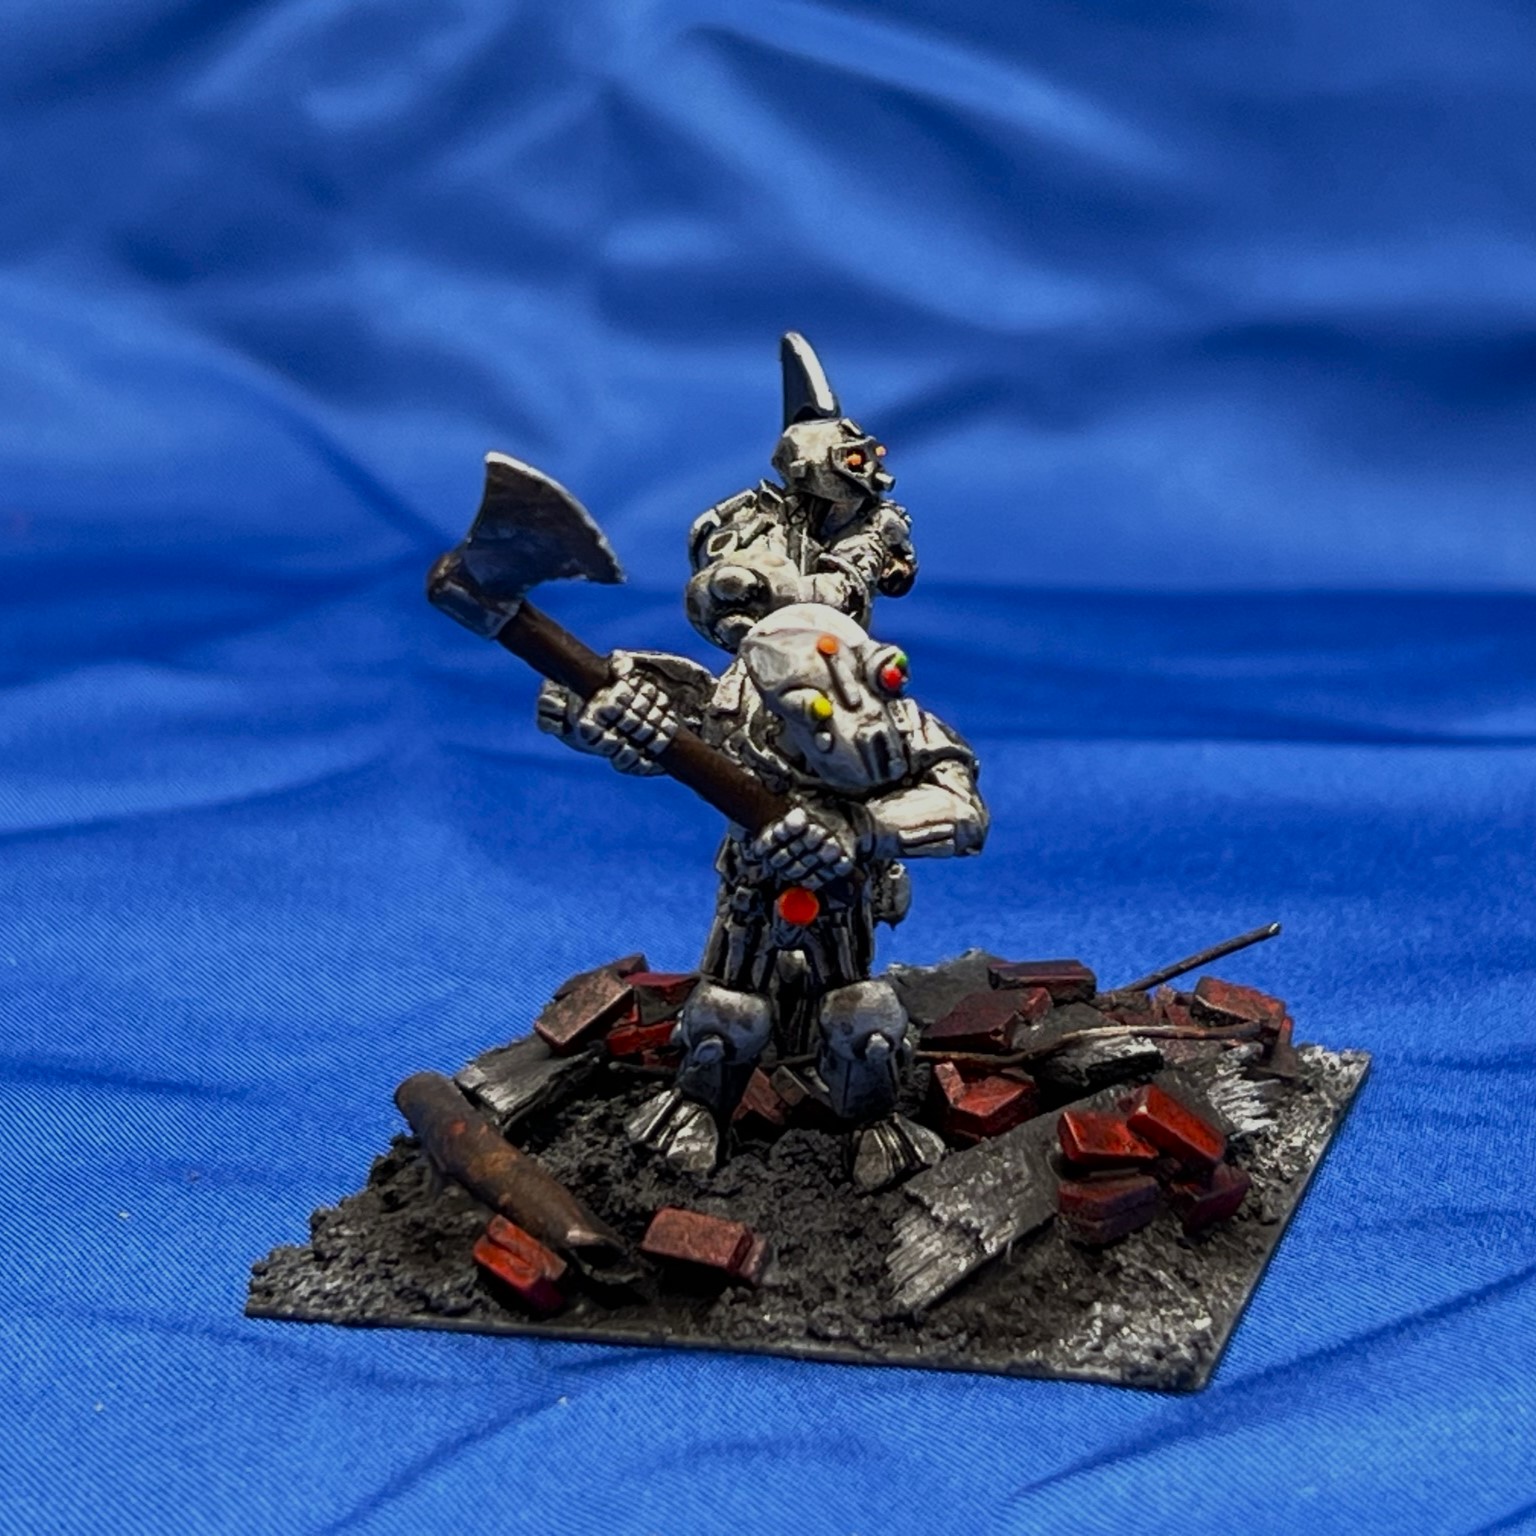
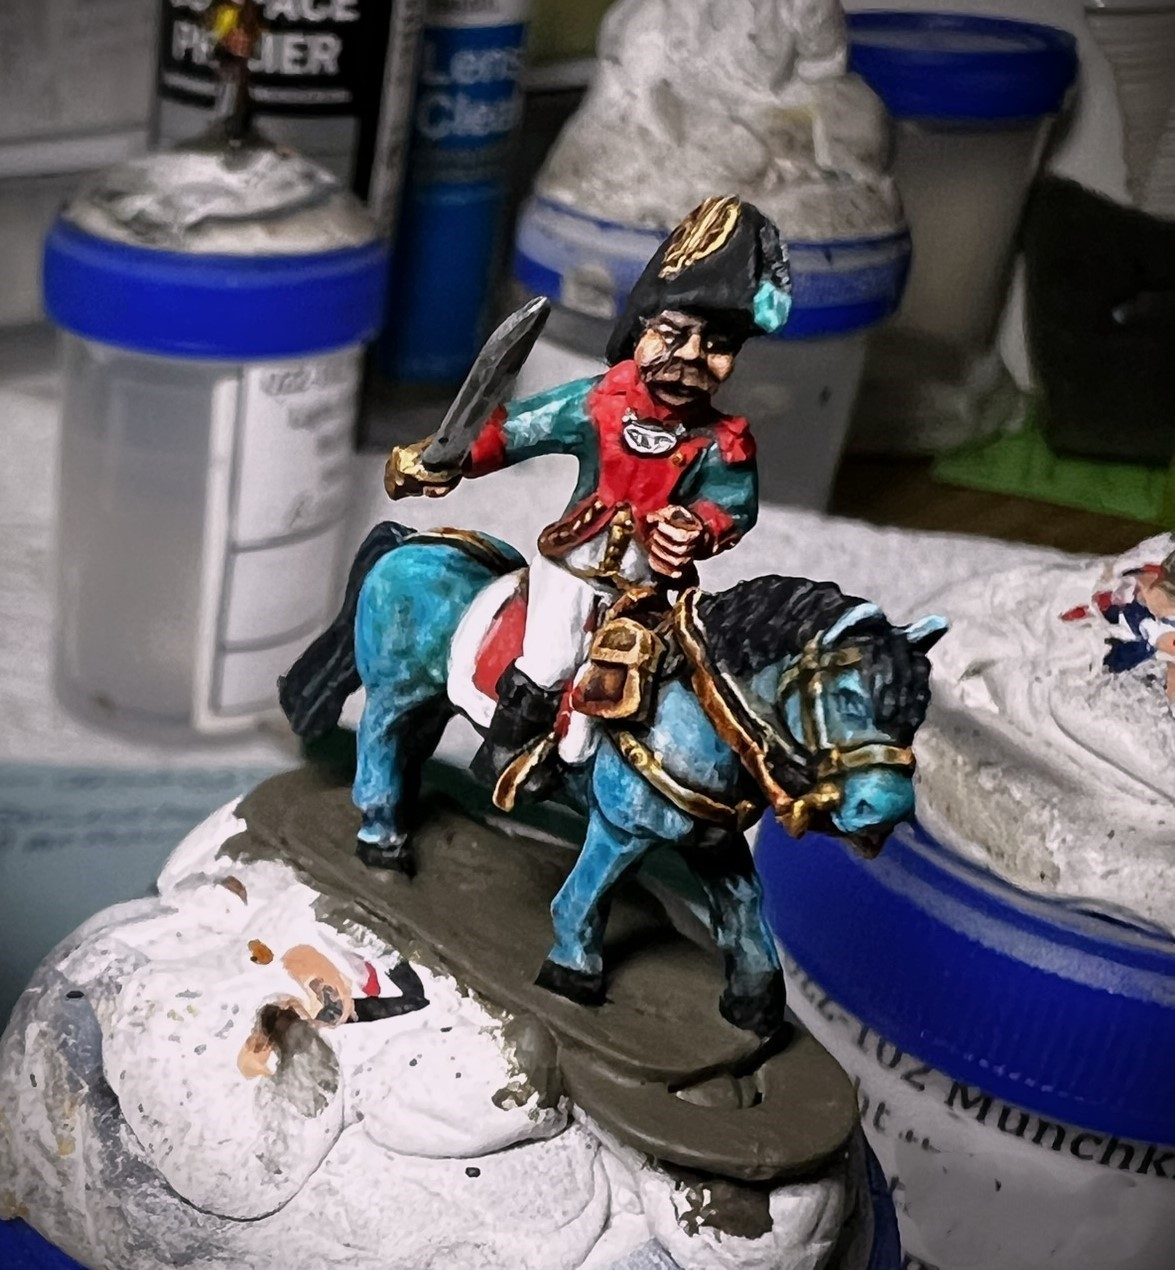
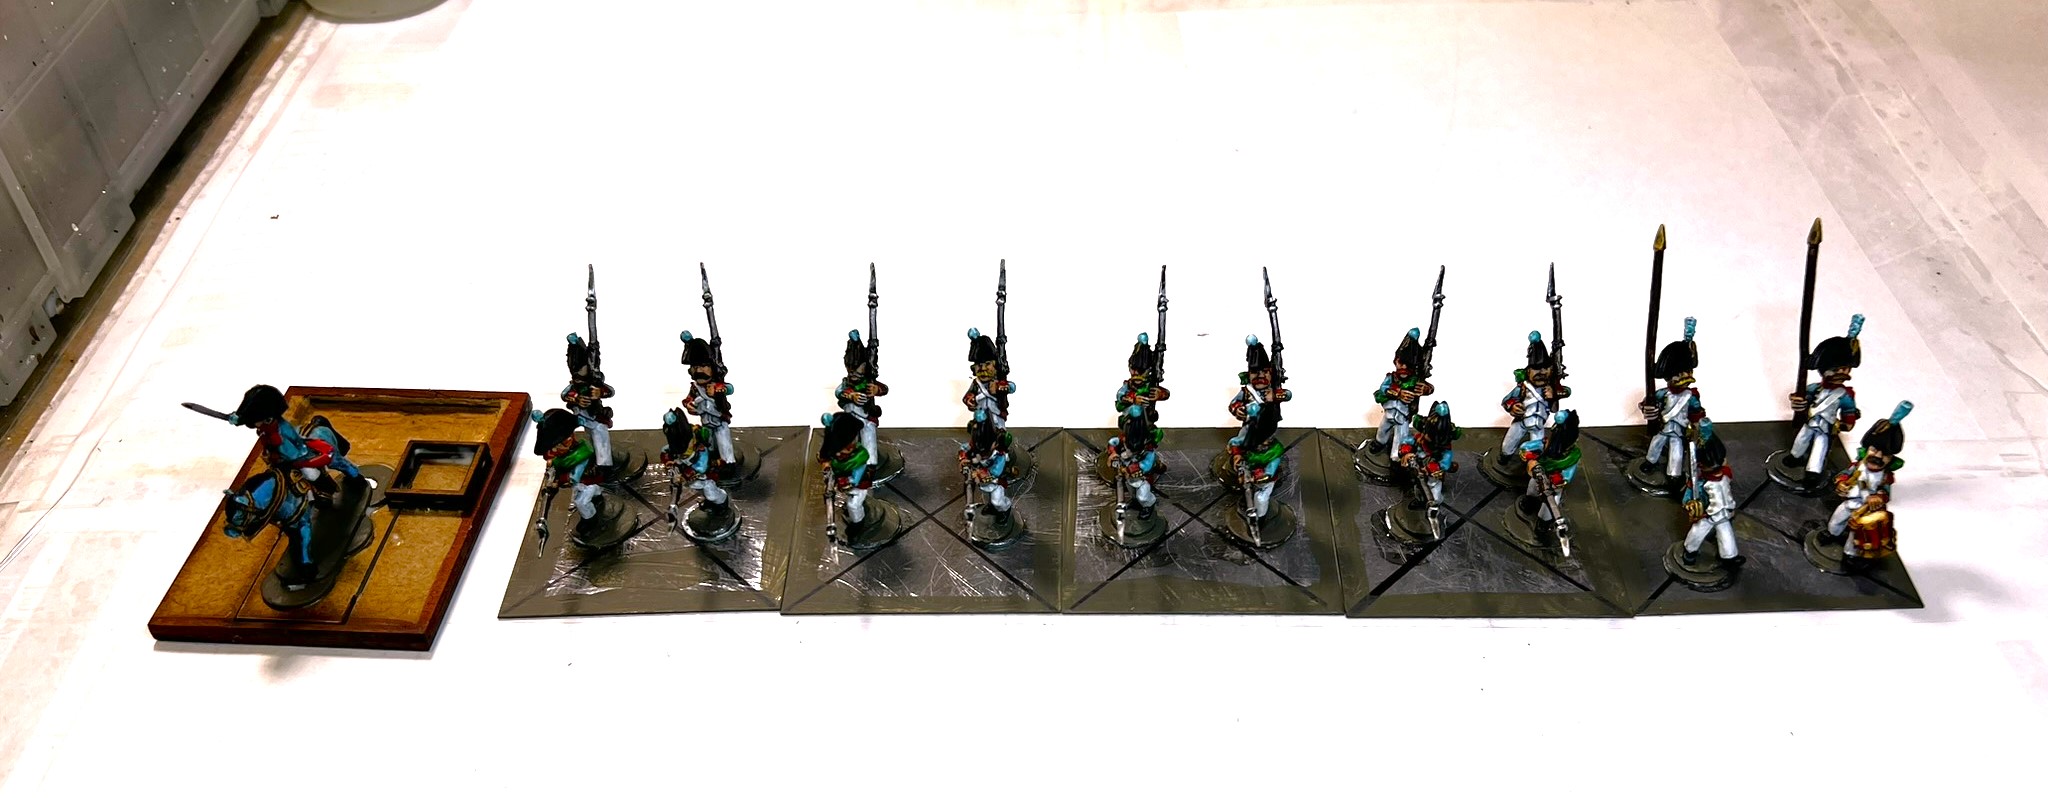
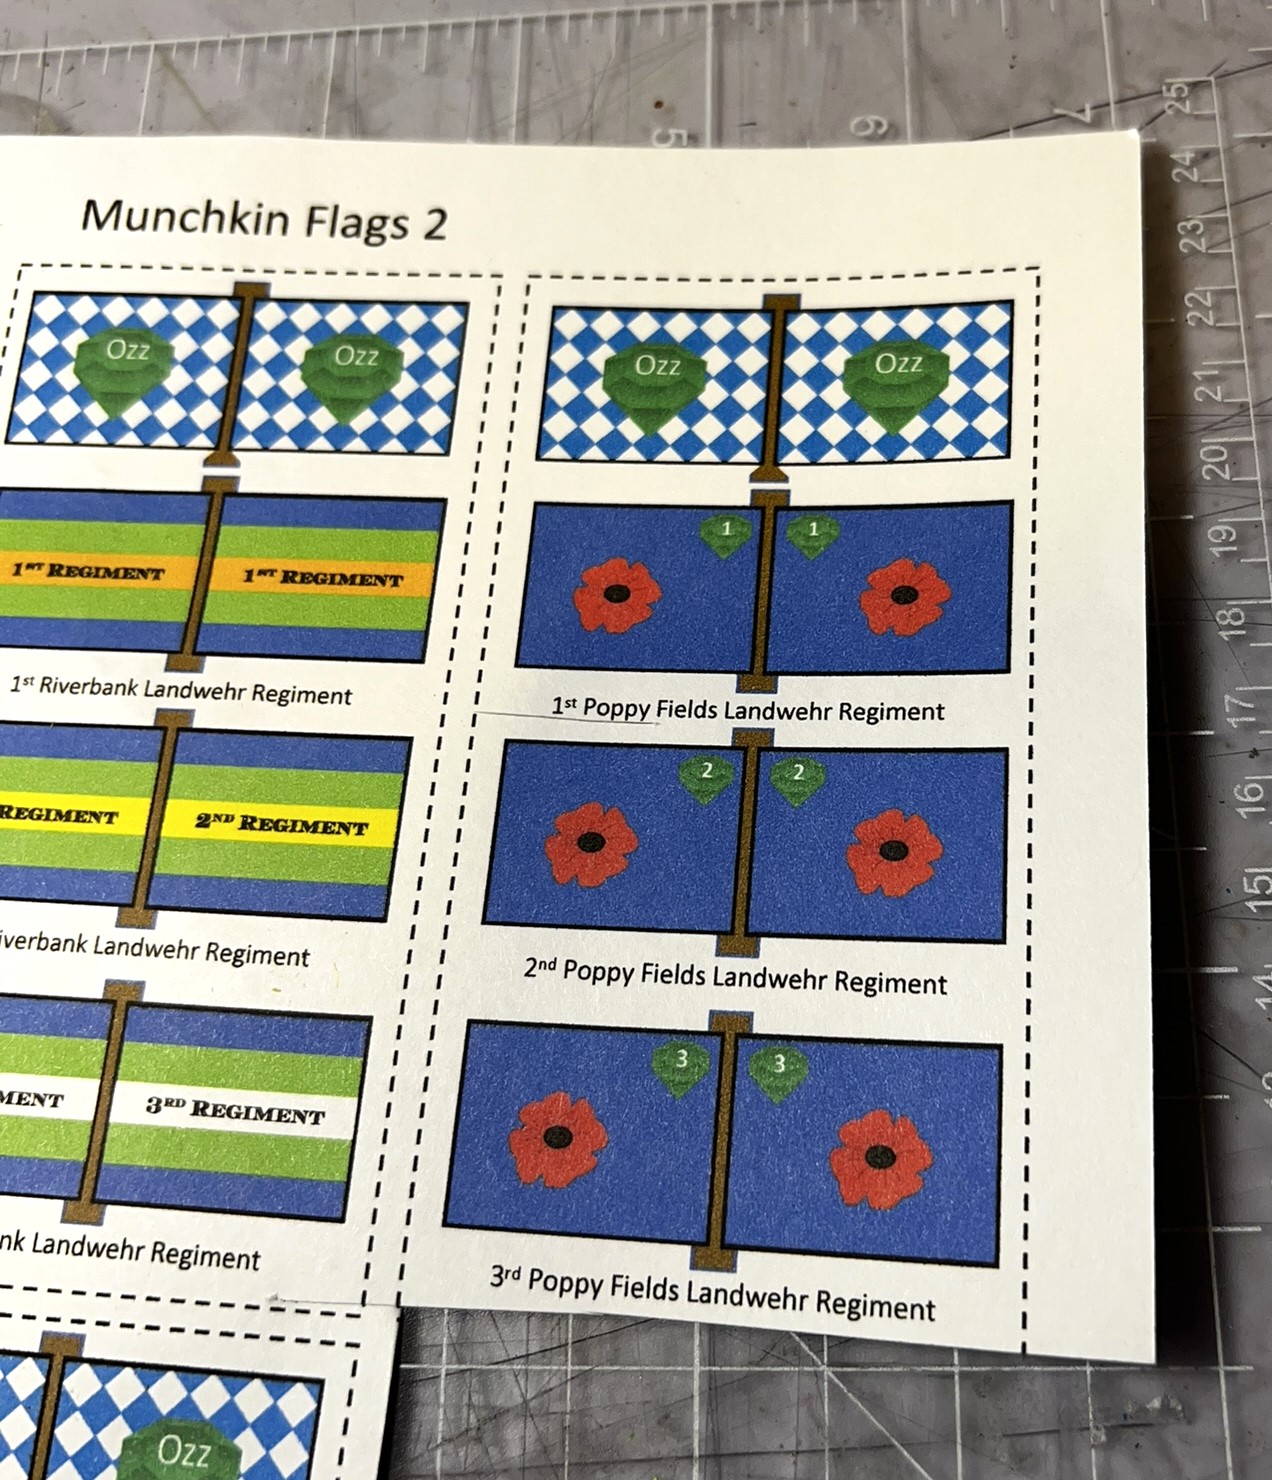
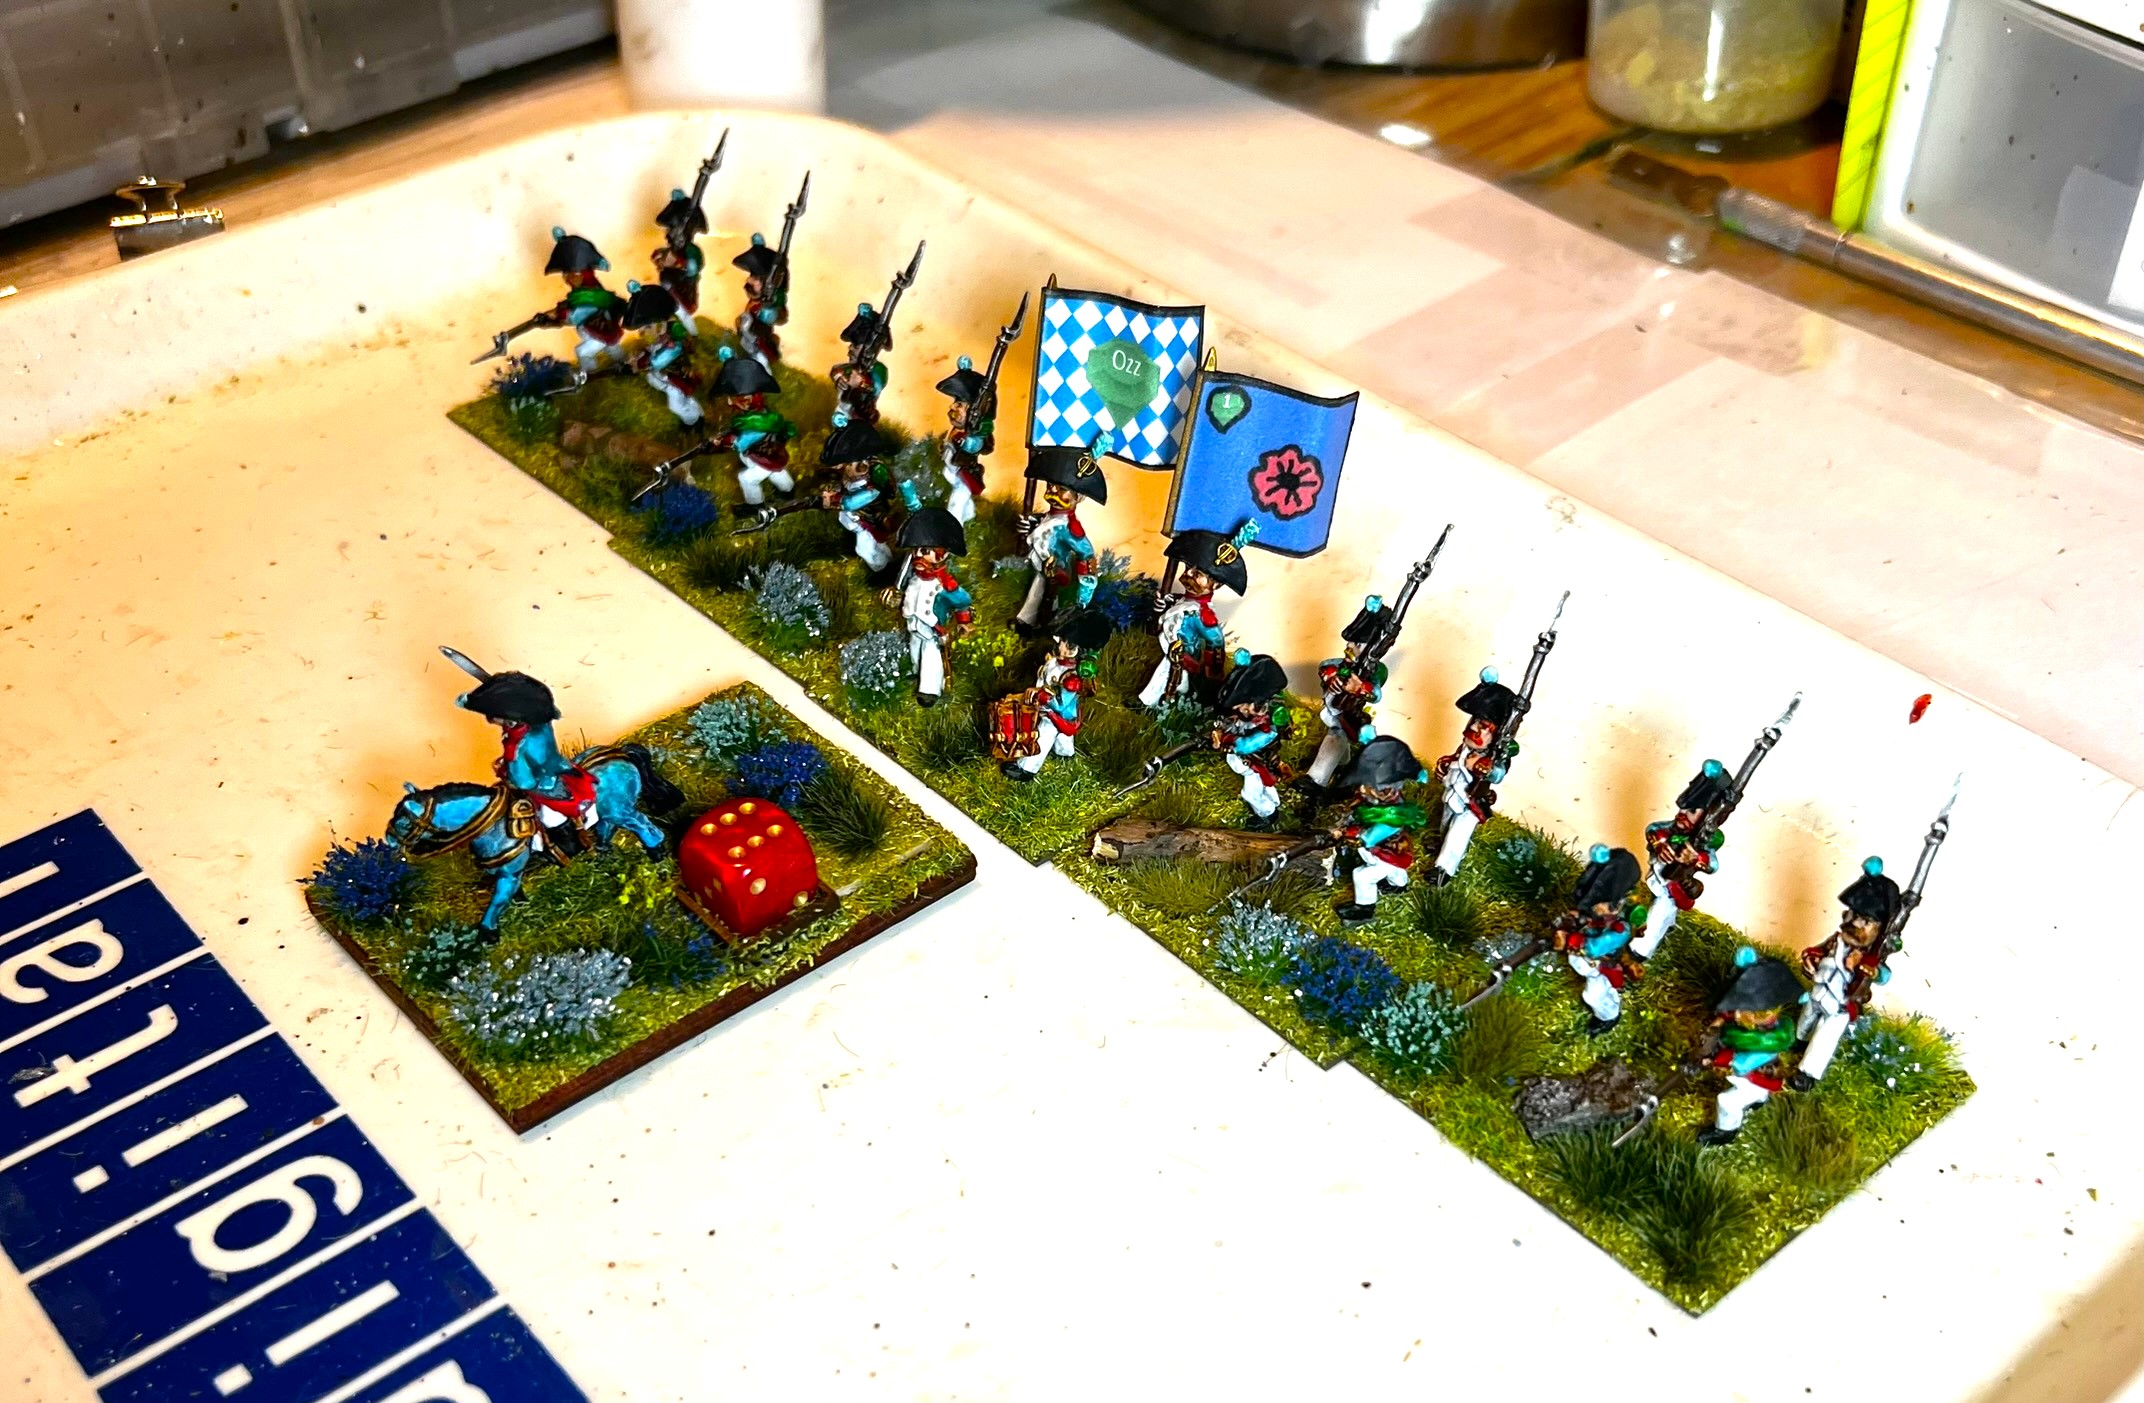
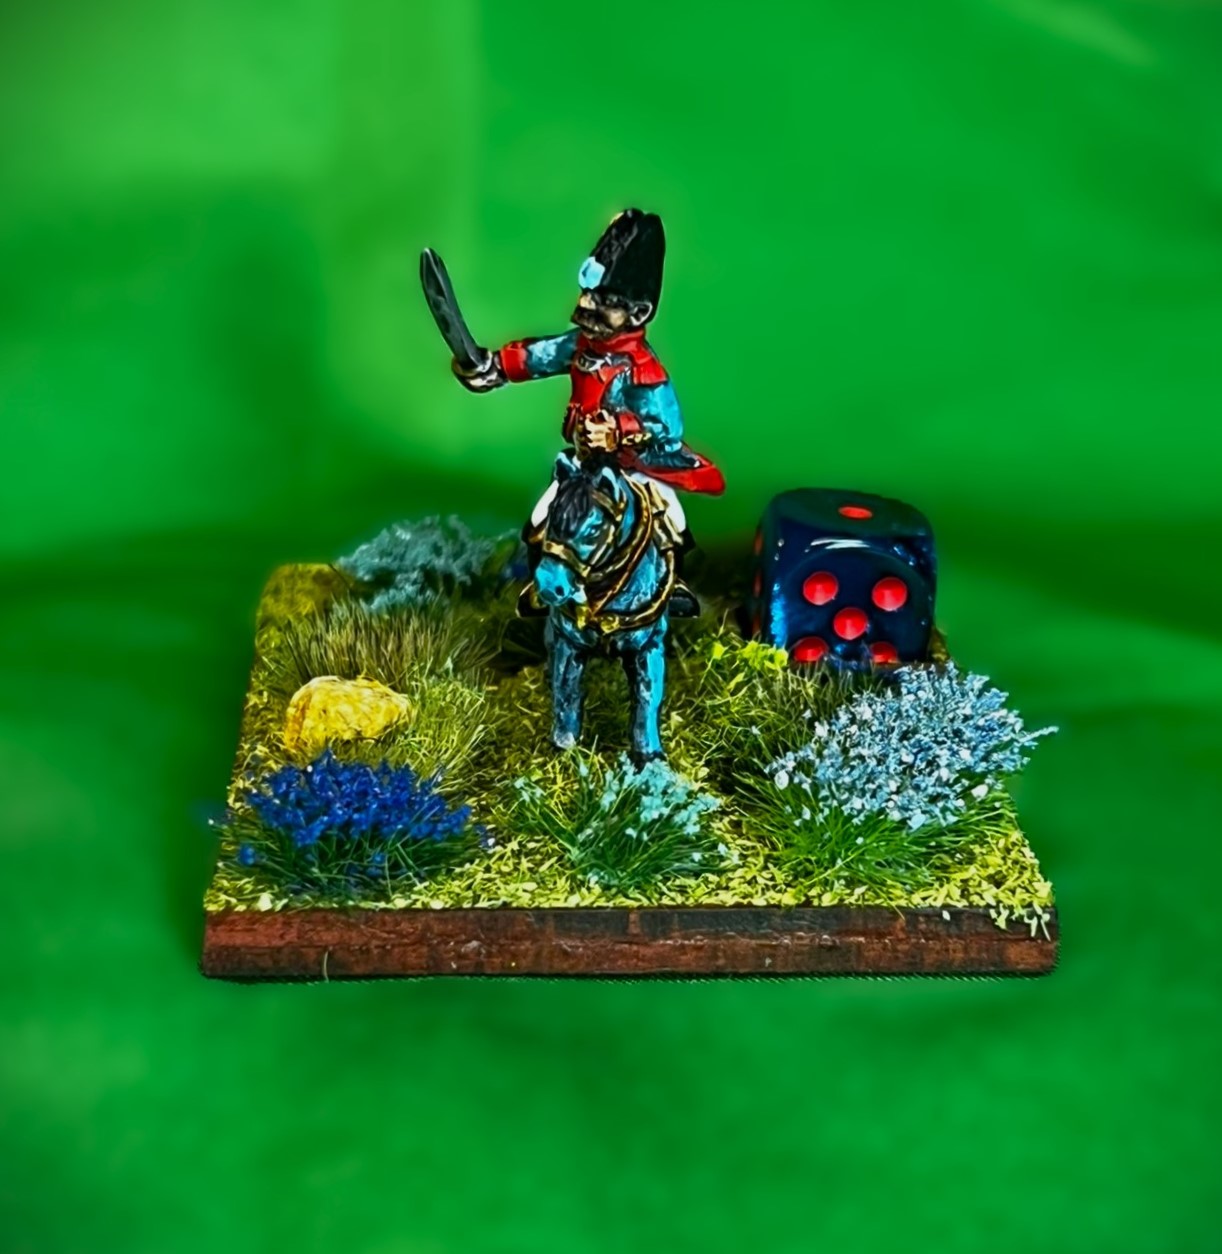
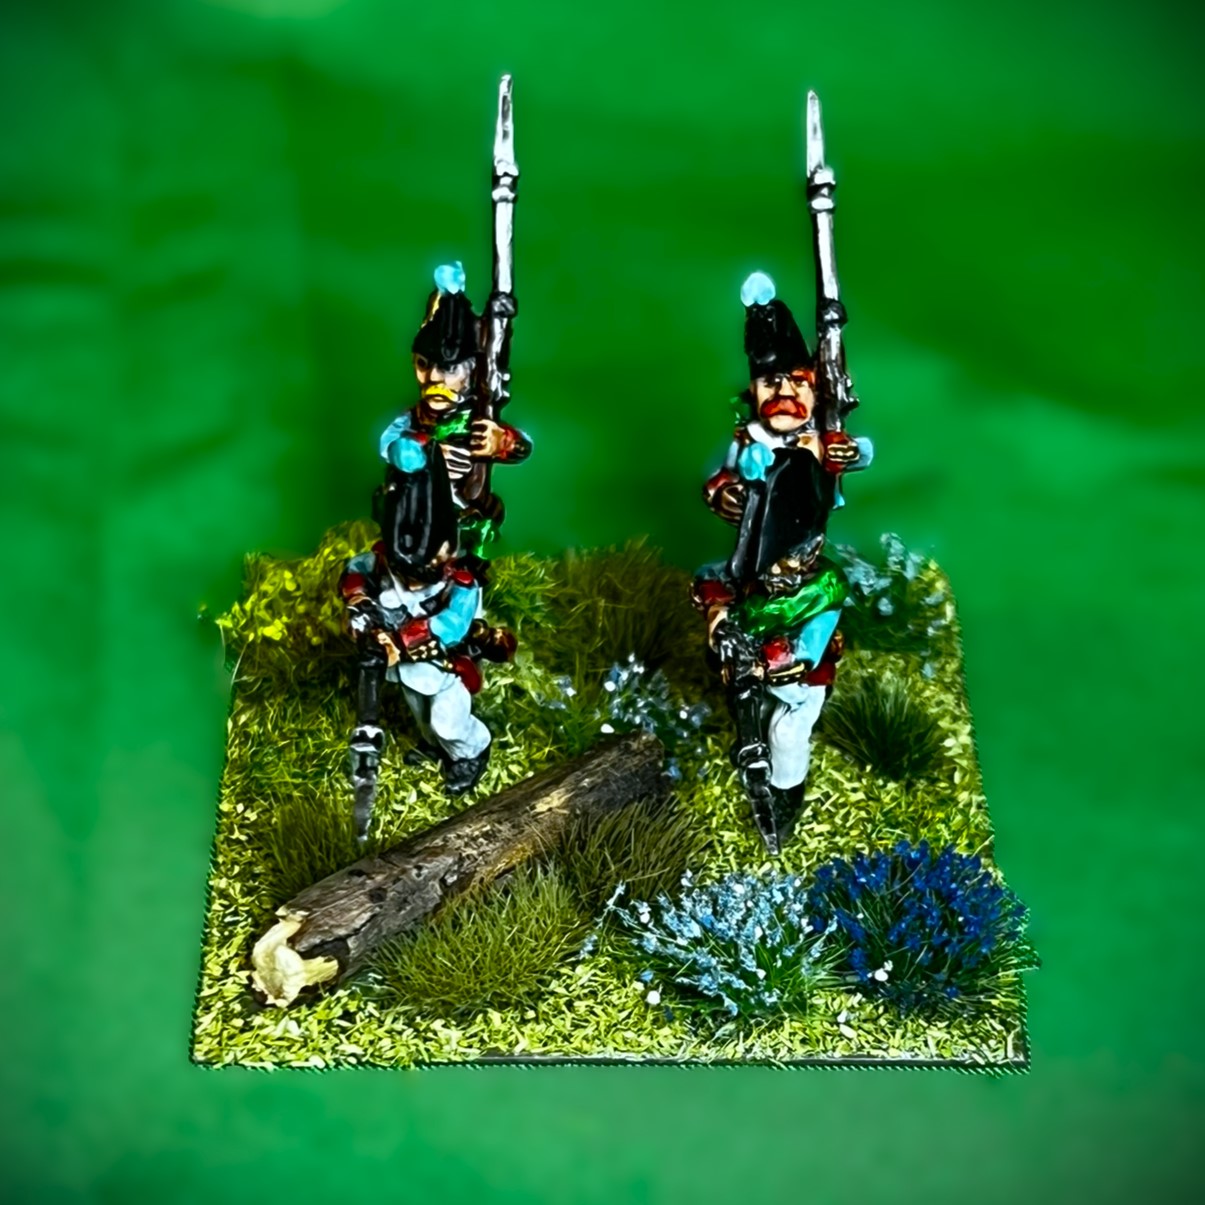
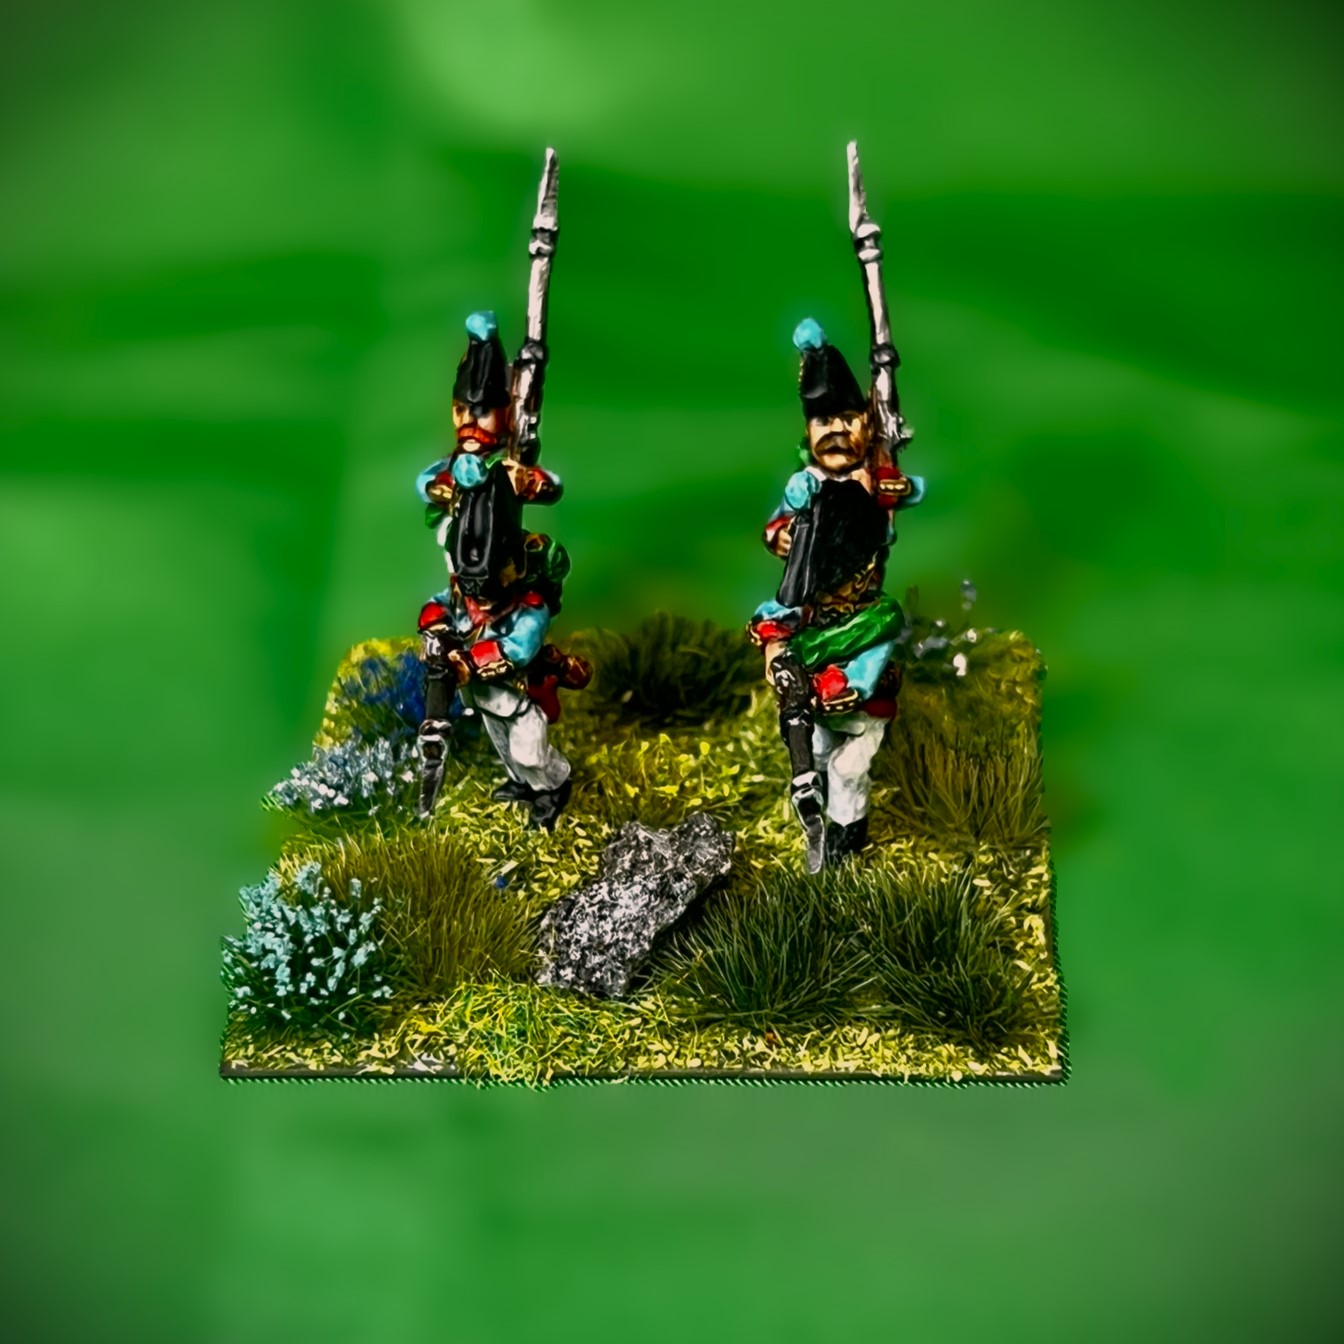
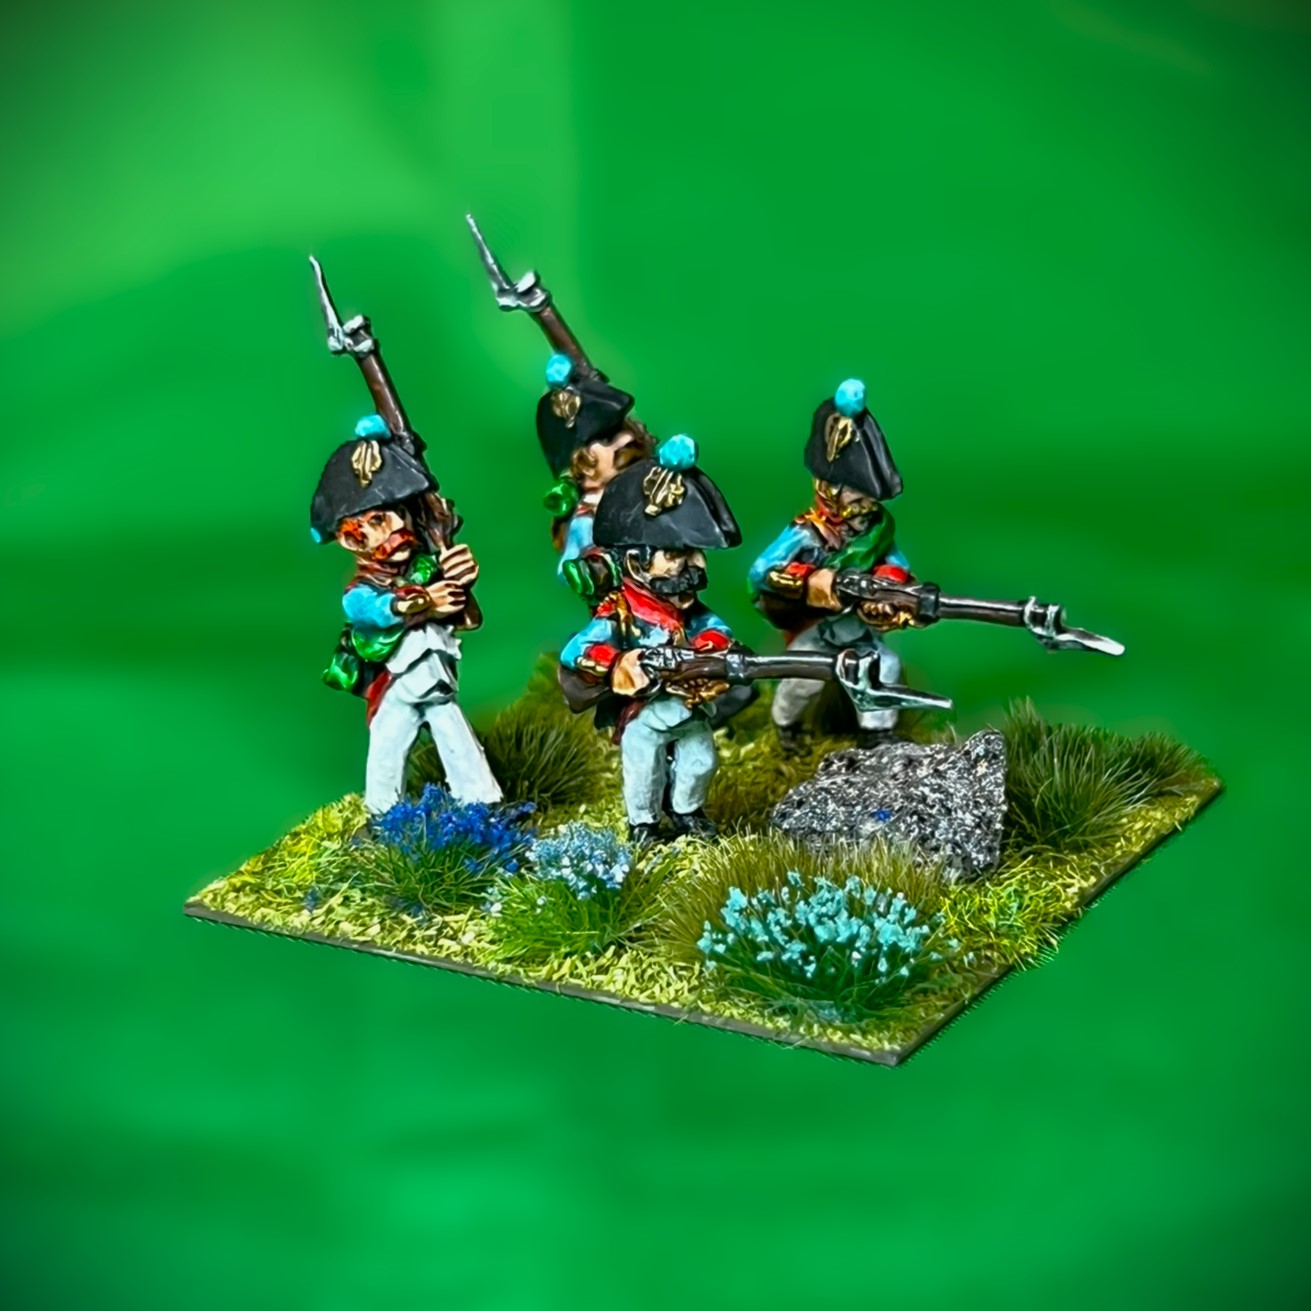
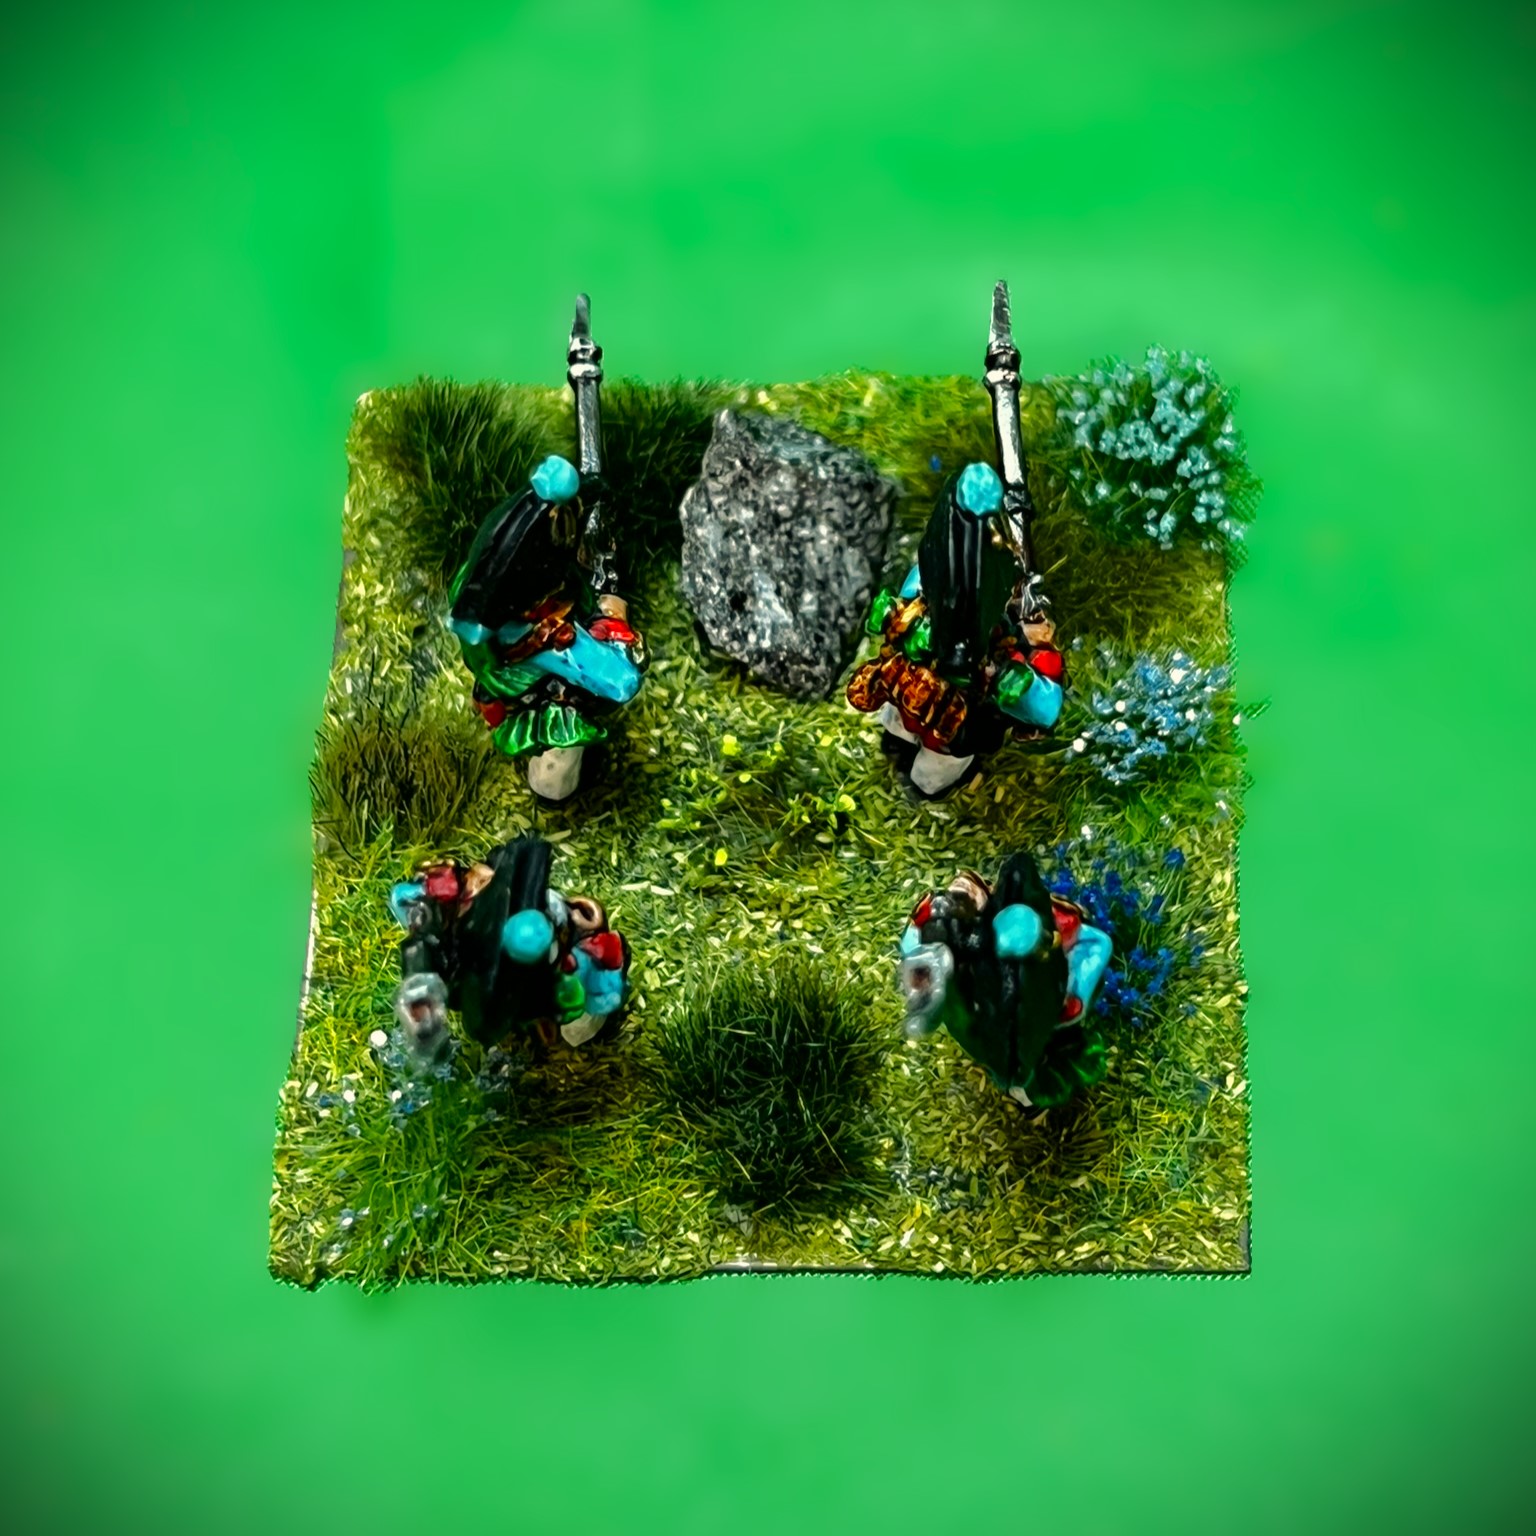
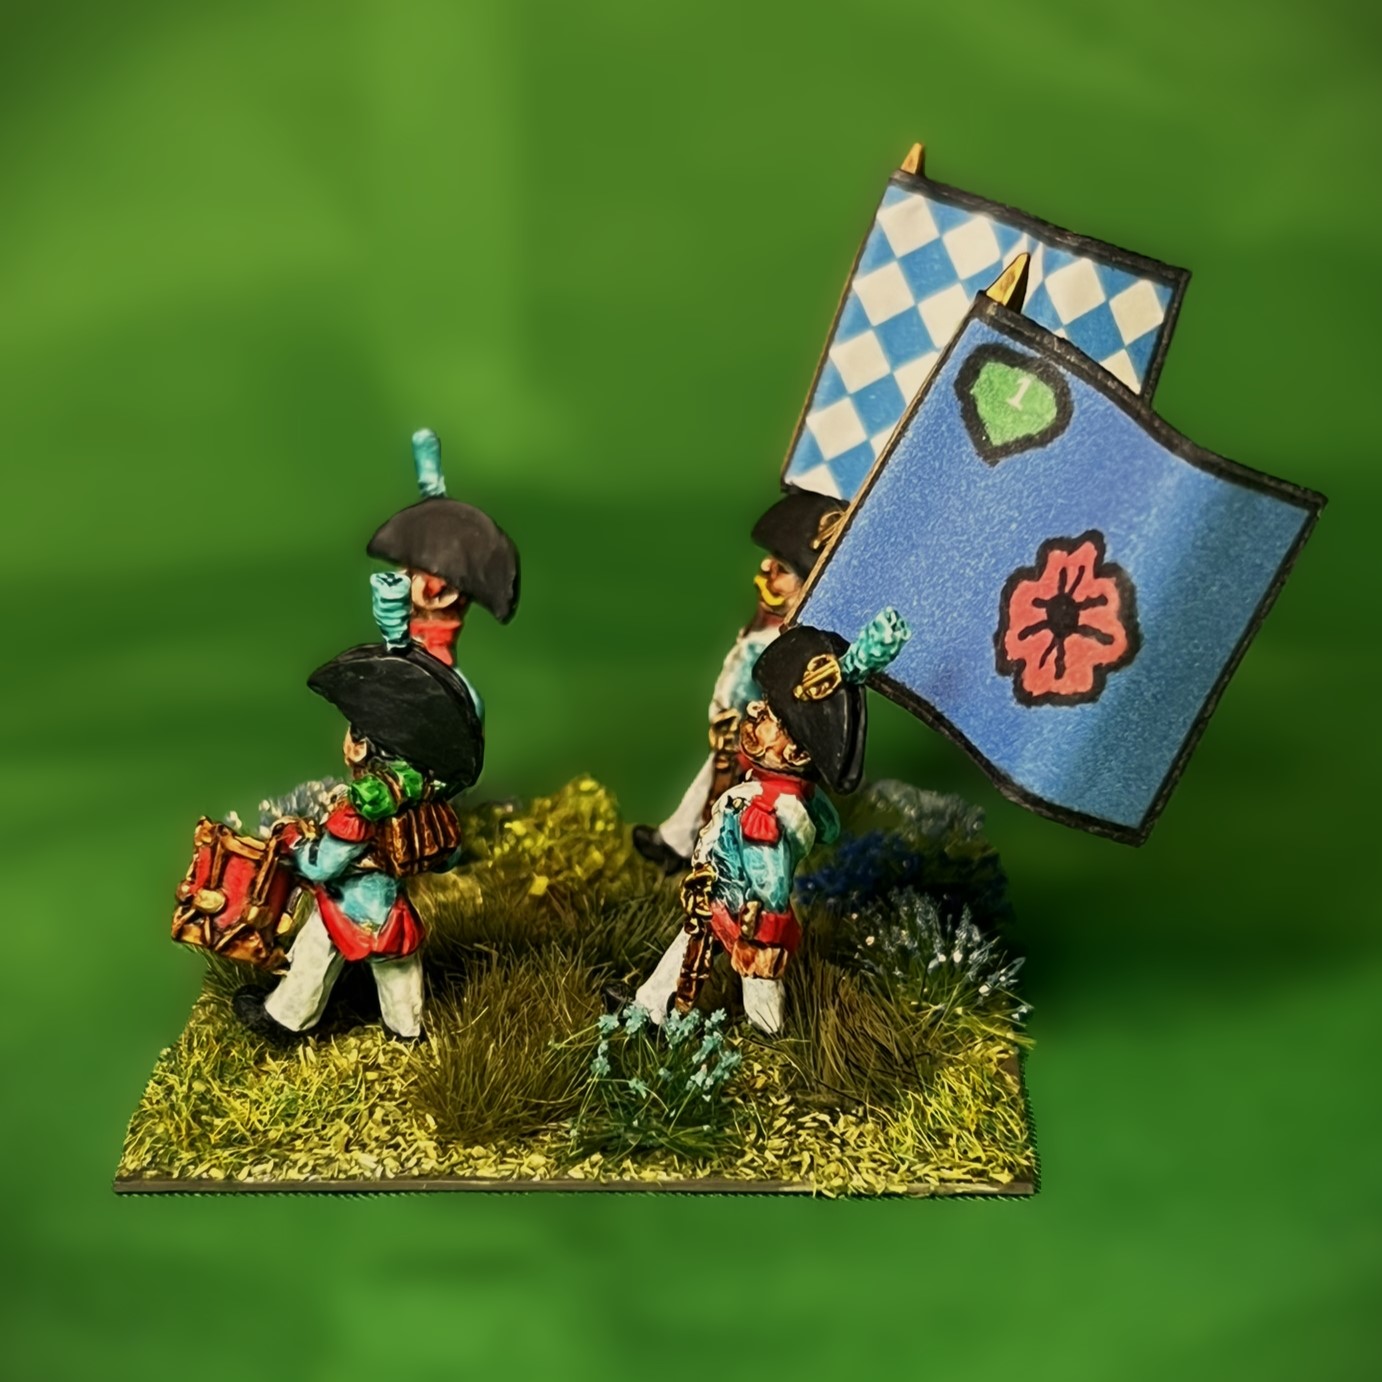
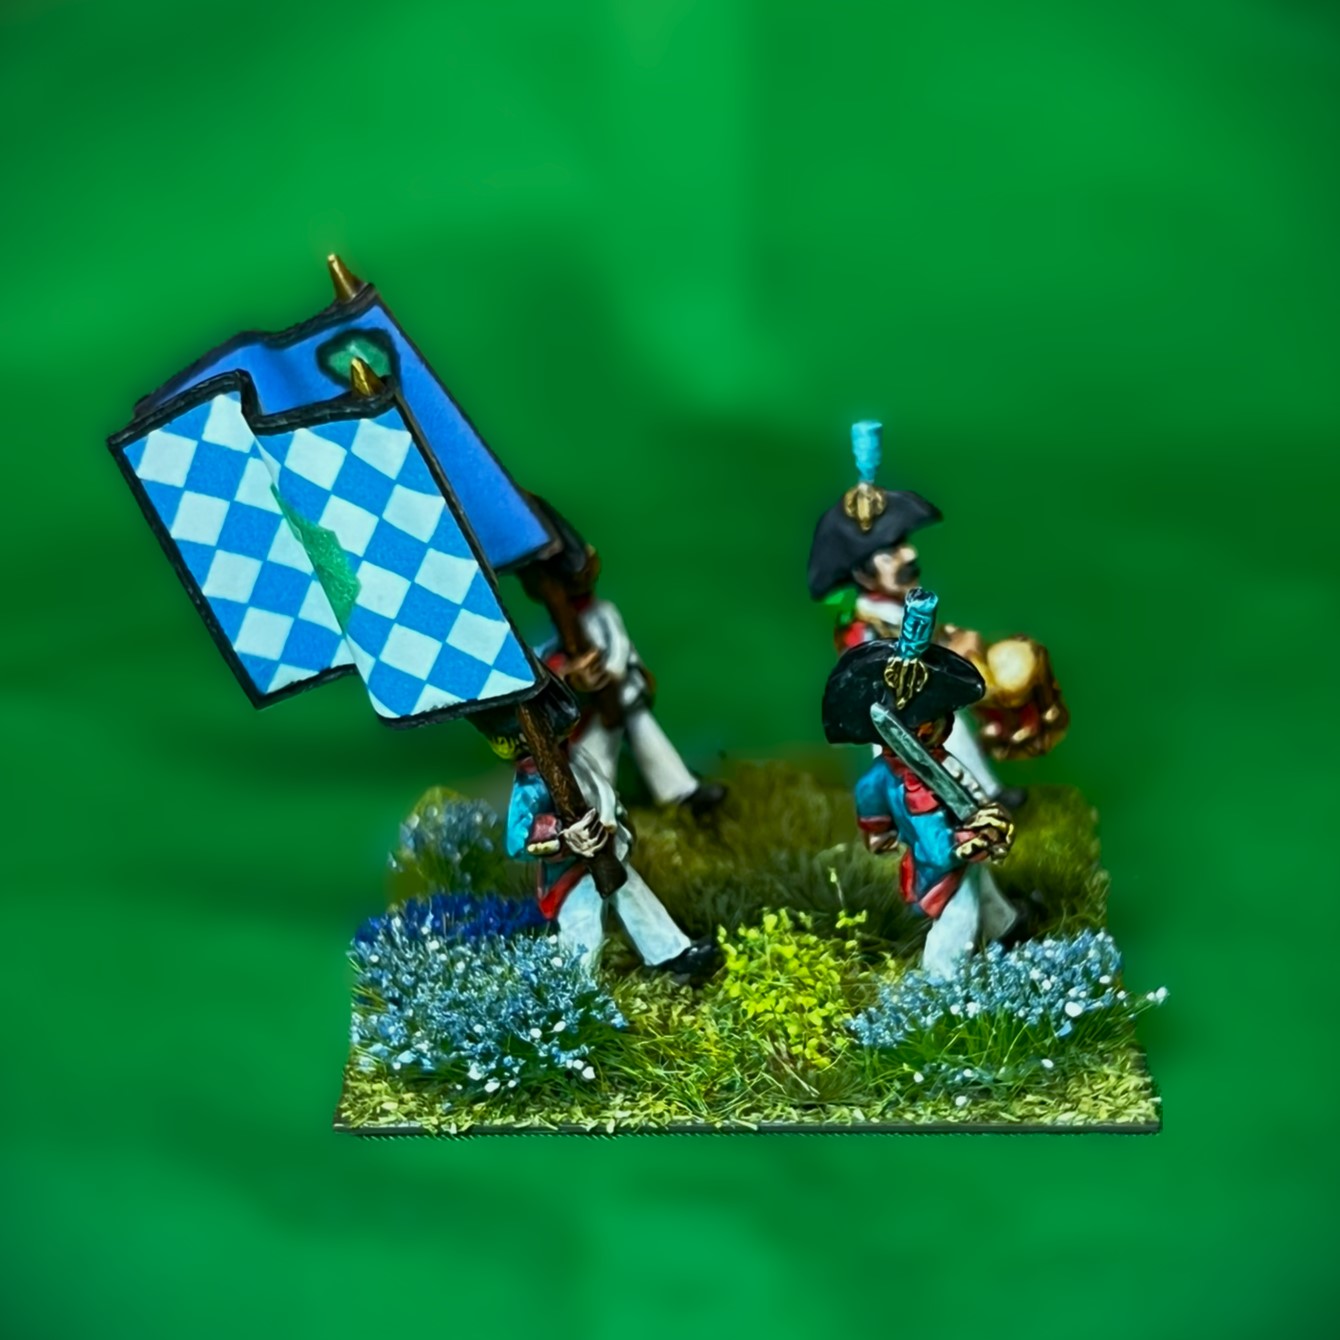
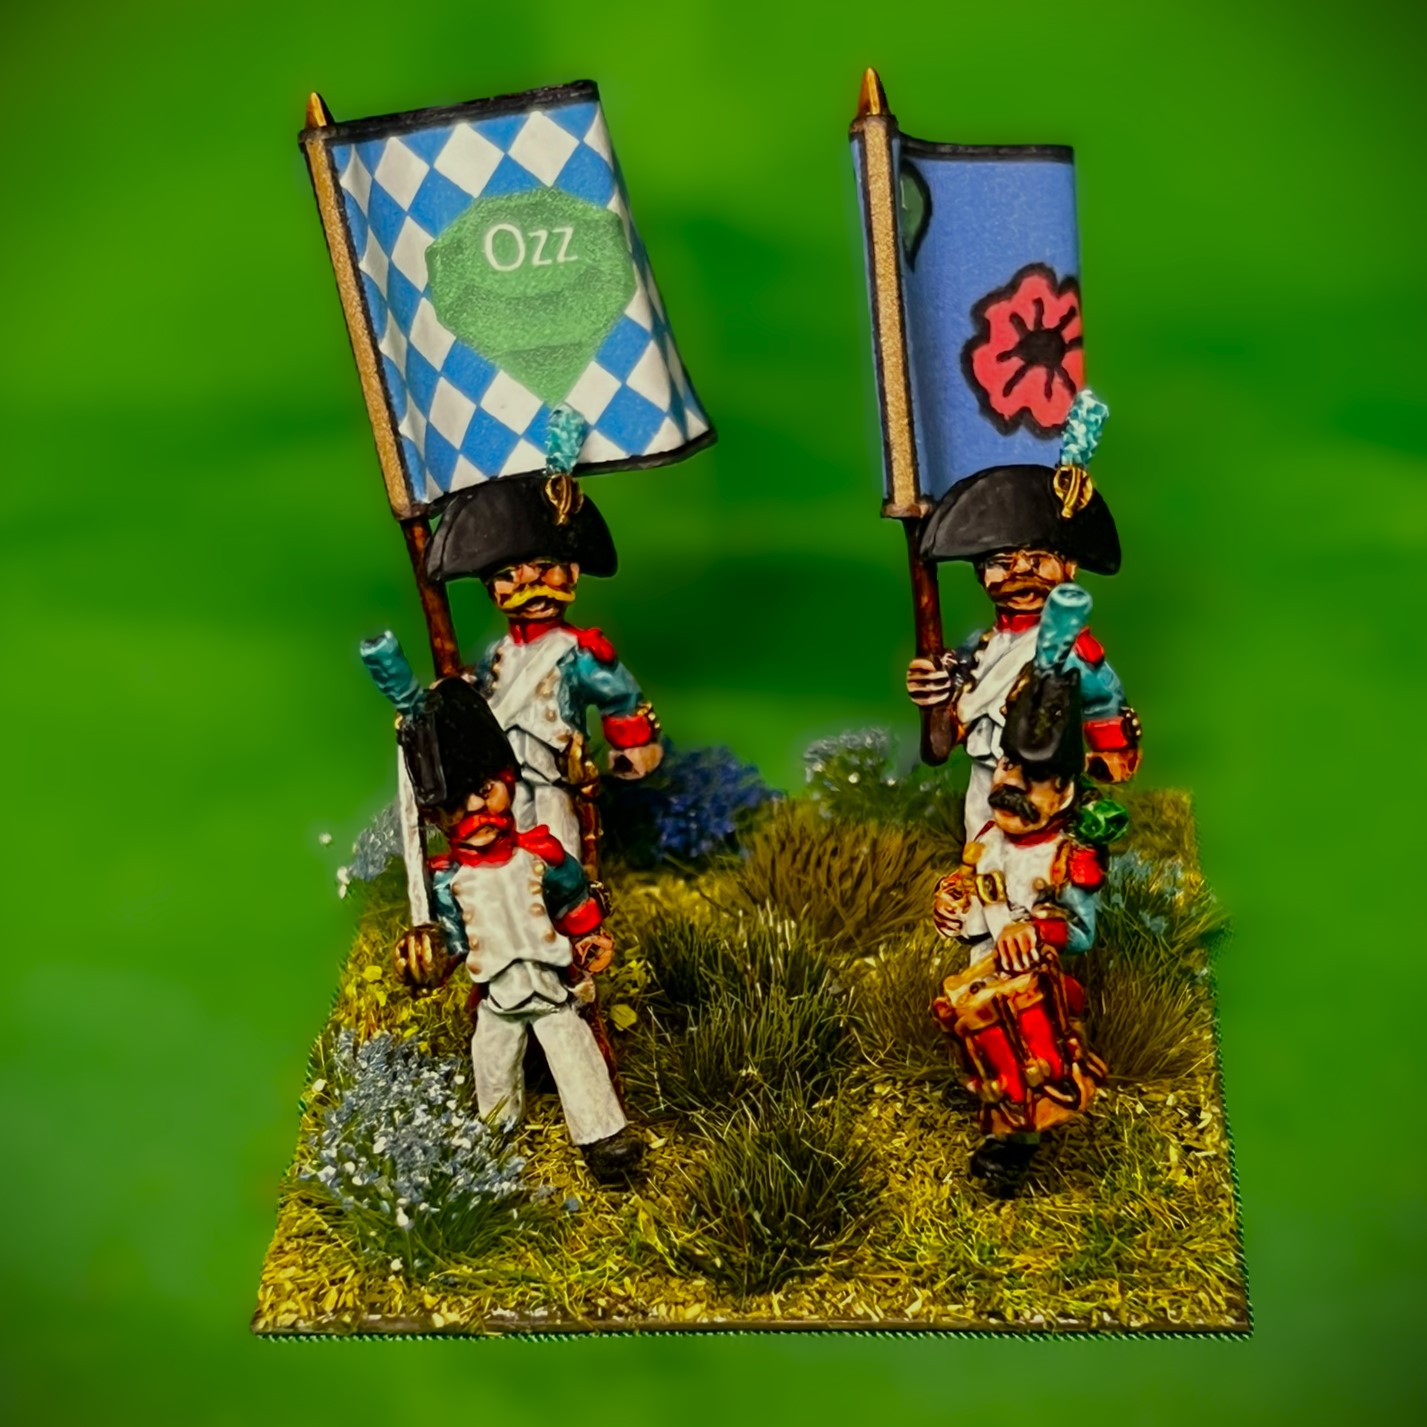
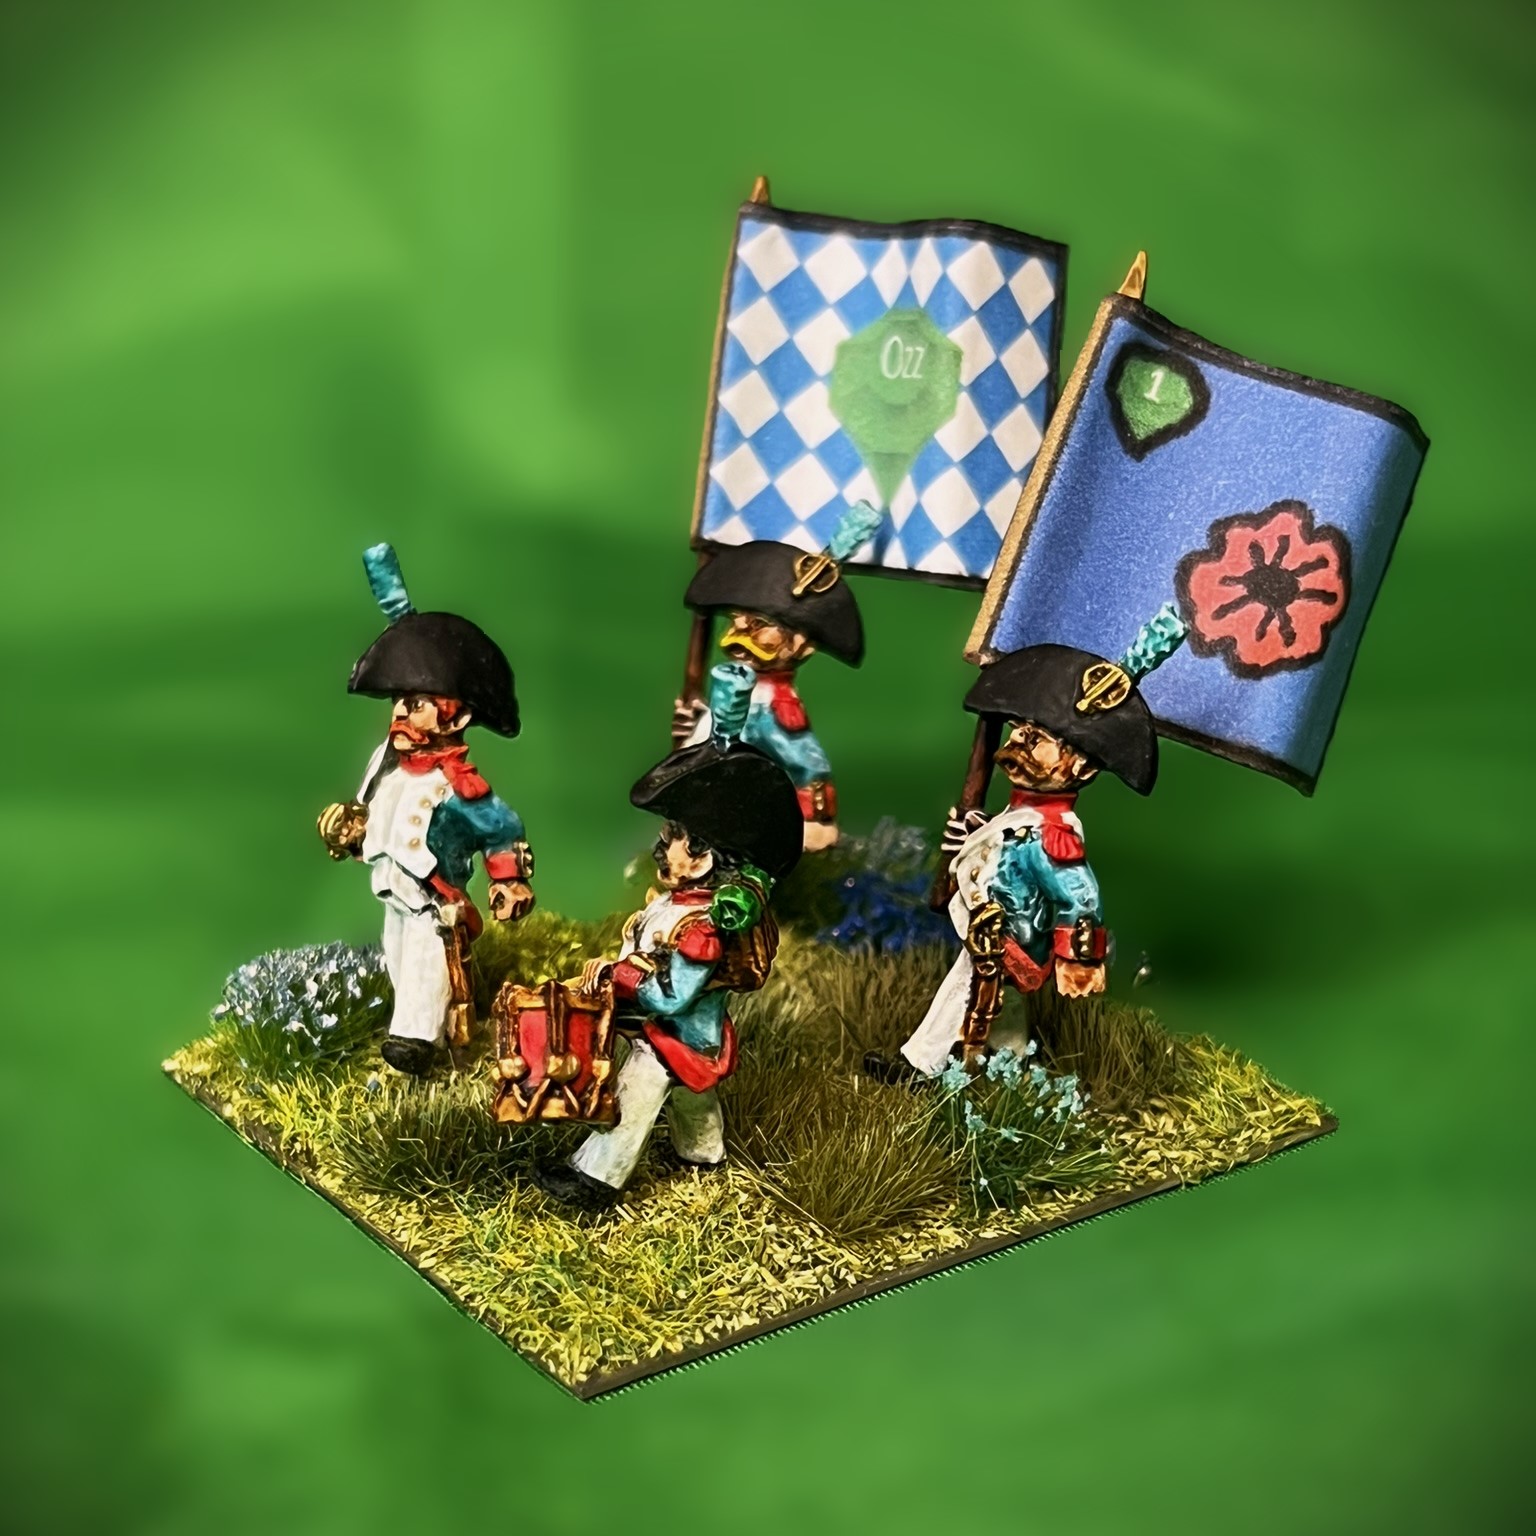
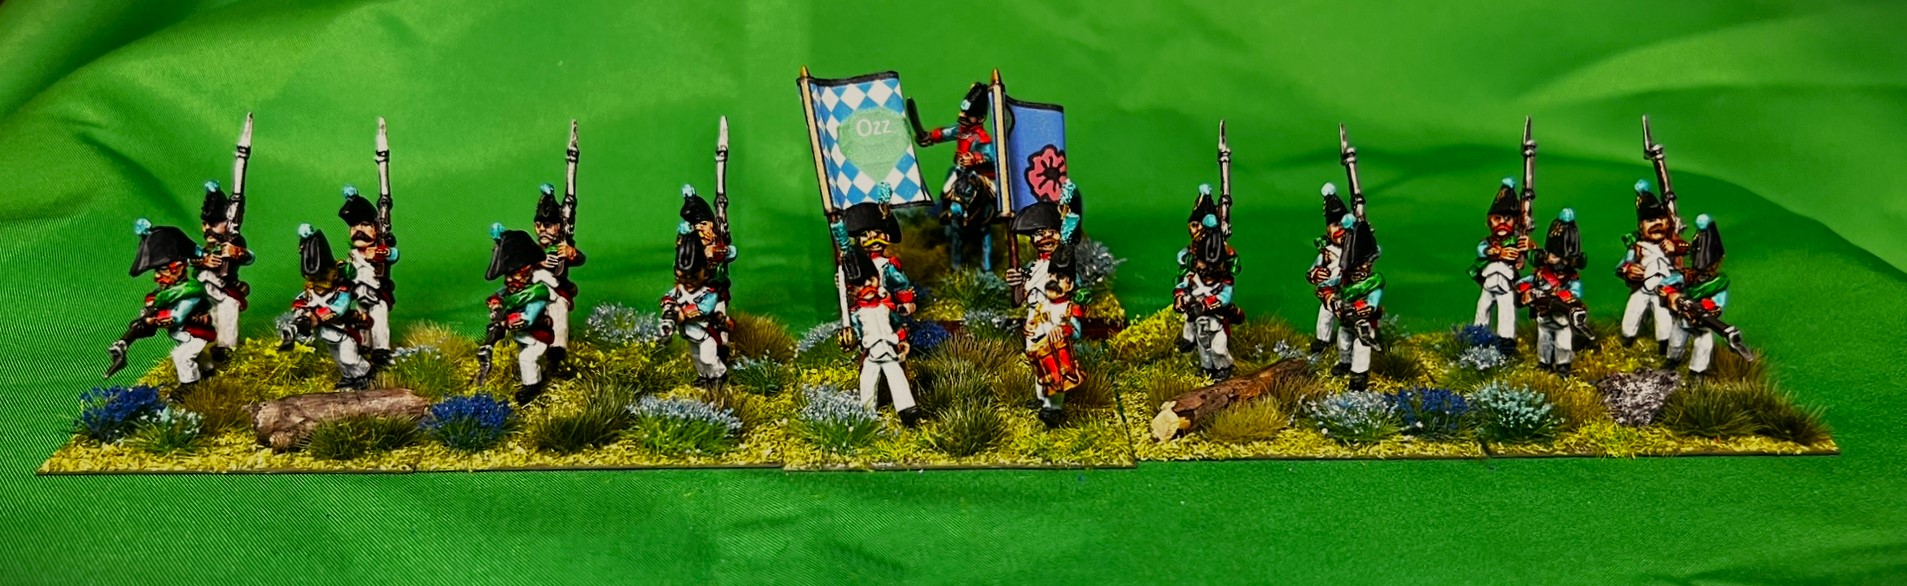
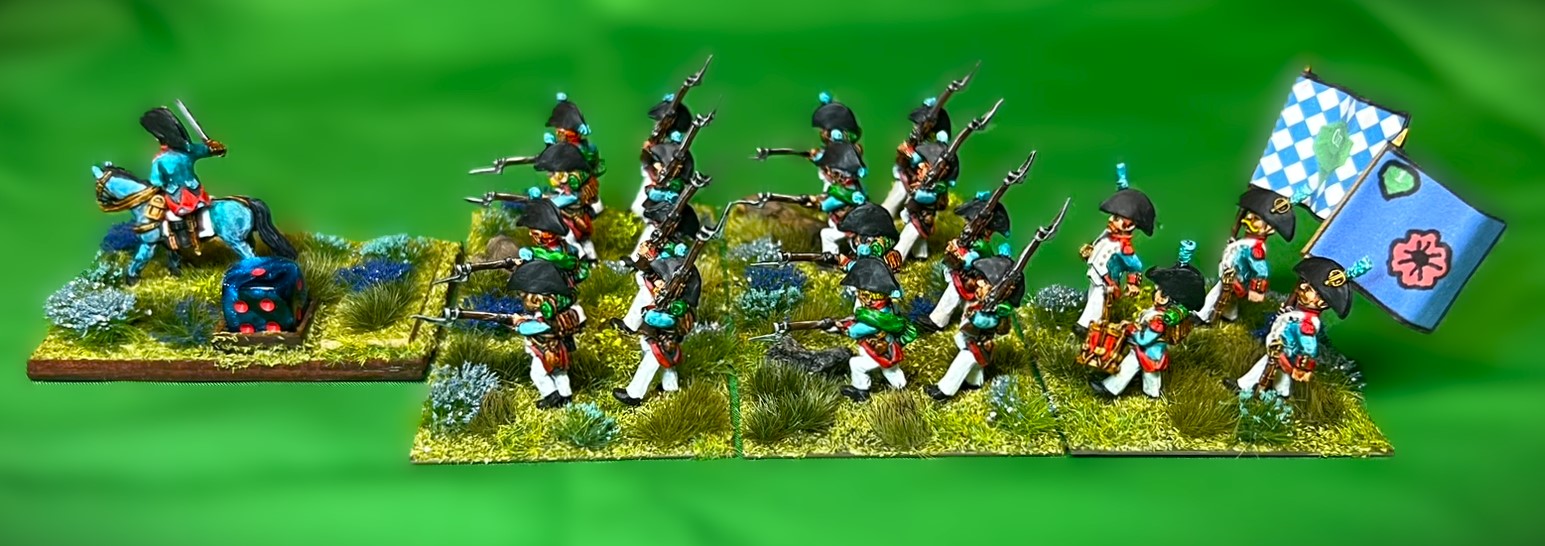
Like all other Ozz units, they are based 4 apiece to a 2″ square base – so five bases for the regiment plus the regimental commander on his own separate MDF base. I designated this unit as the 1st Poppy Fields Landwehr Infantry Regiment – mainly because I liked the regimental standard. No assembly was required for the unit other than to add the flags and to assemble the regimental commander. As I always do, I mixed and matched the figure types and poses such that no two bases of the five in the regiment were identical. The SKU for the regiment is OZZ-105. There are 21 figures for the regiment – this includes the mounted regimental commander and 20 figures. I think that the sculpts are phenomenally well done, especially the faces and weapons. They have a lot of character.
I did not take many WIP shots, but I’ll share what I have and then go into some eye candy.
WIP shots
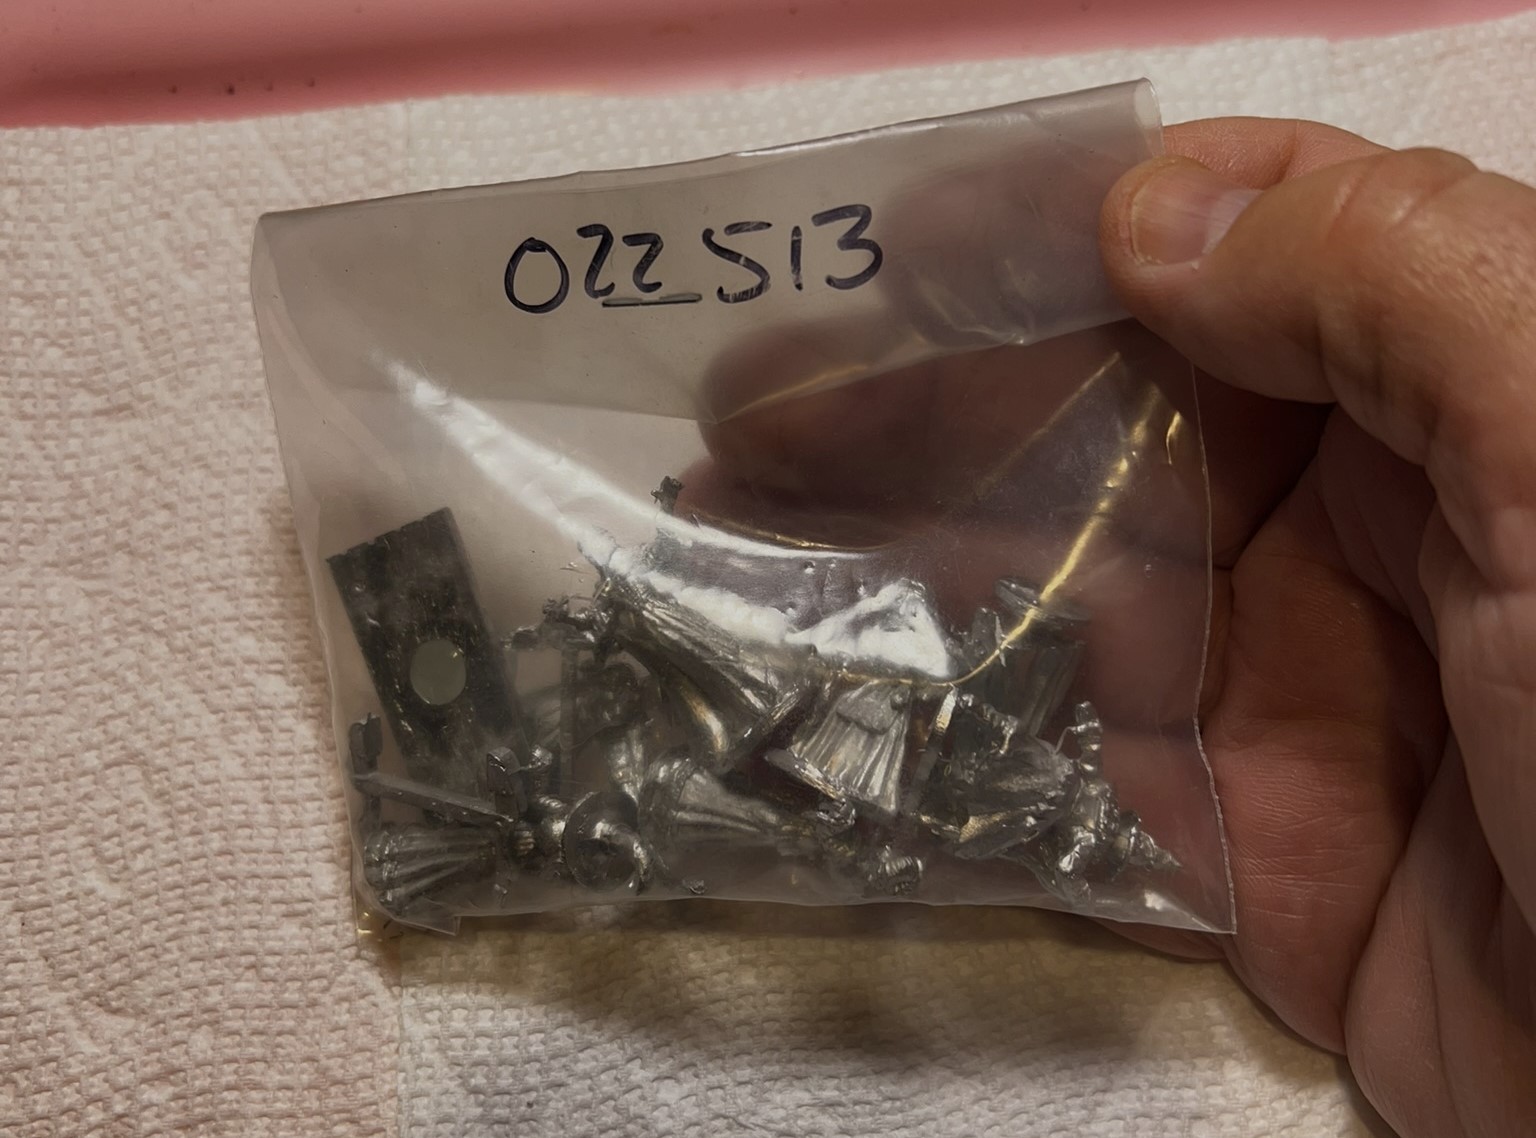
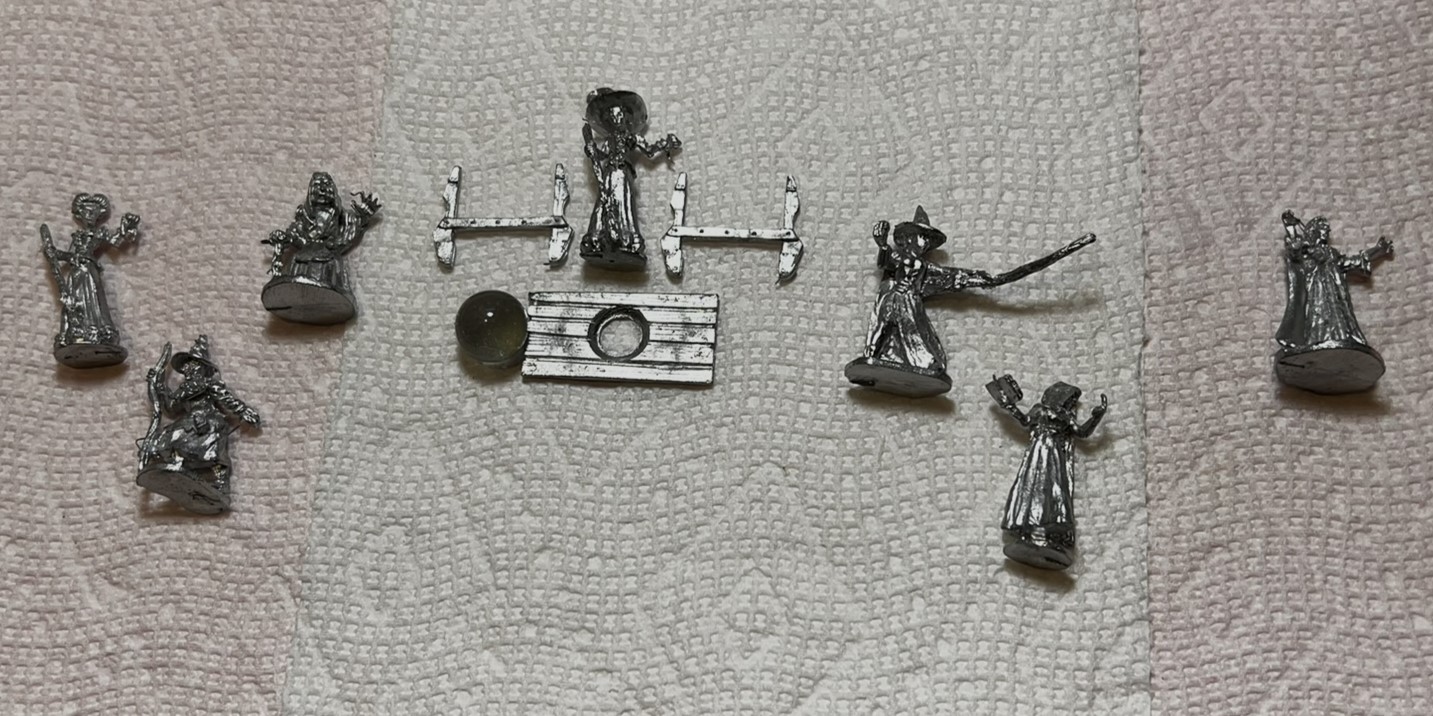
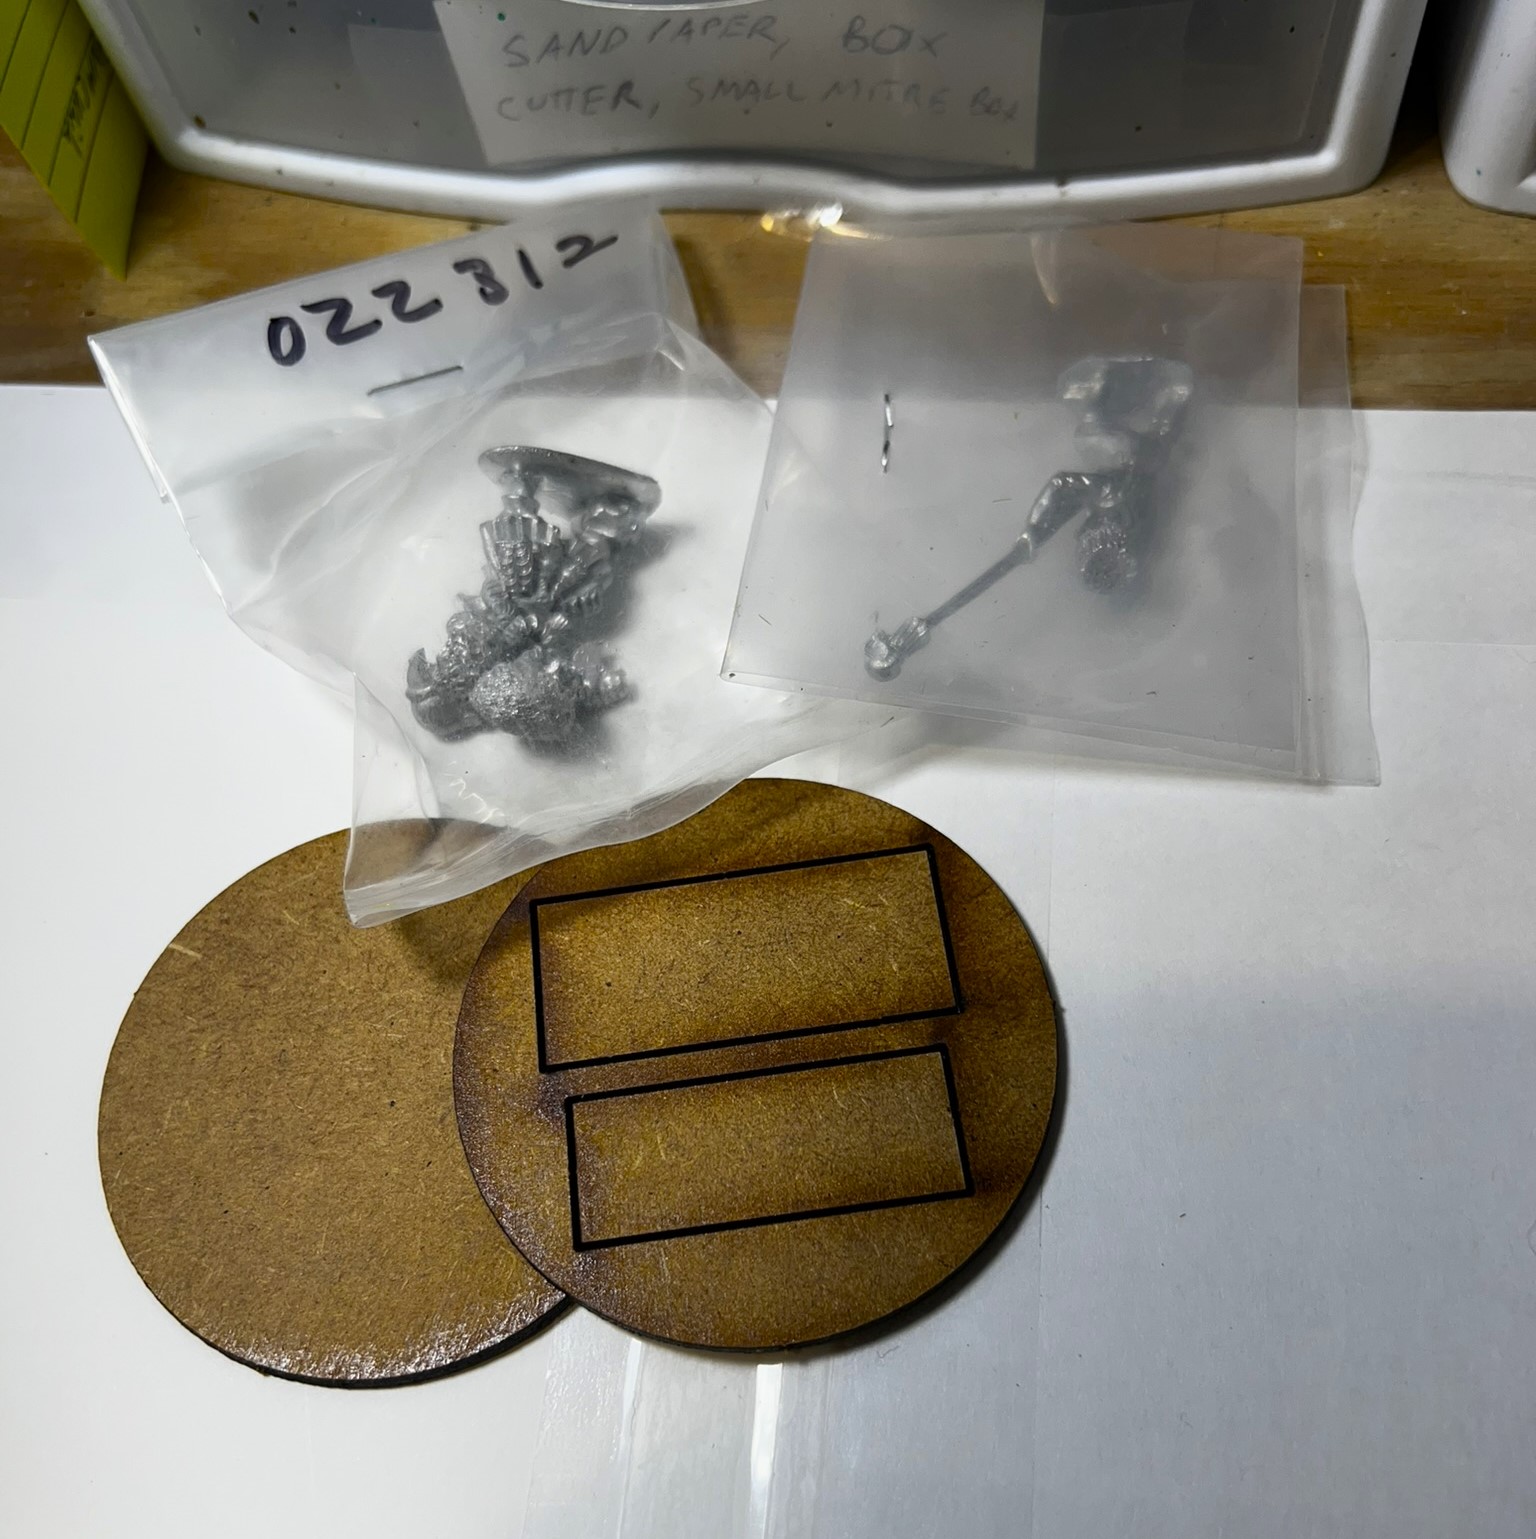
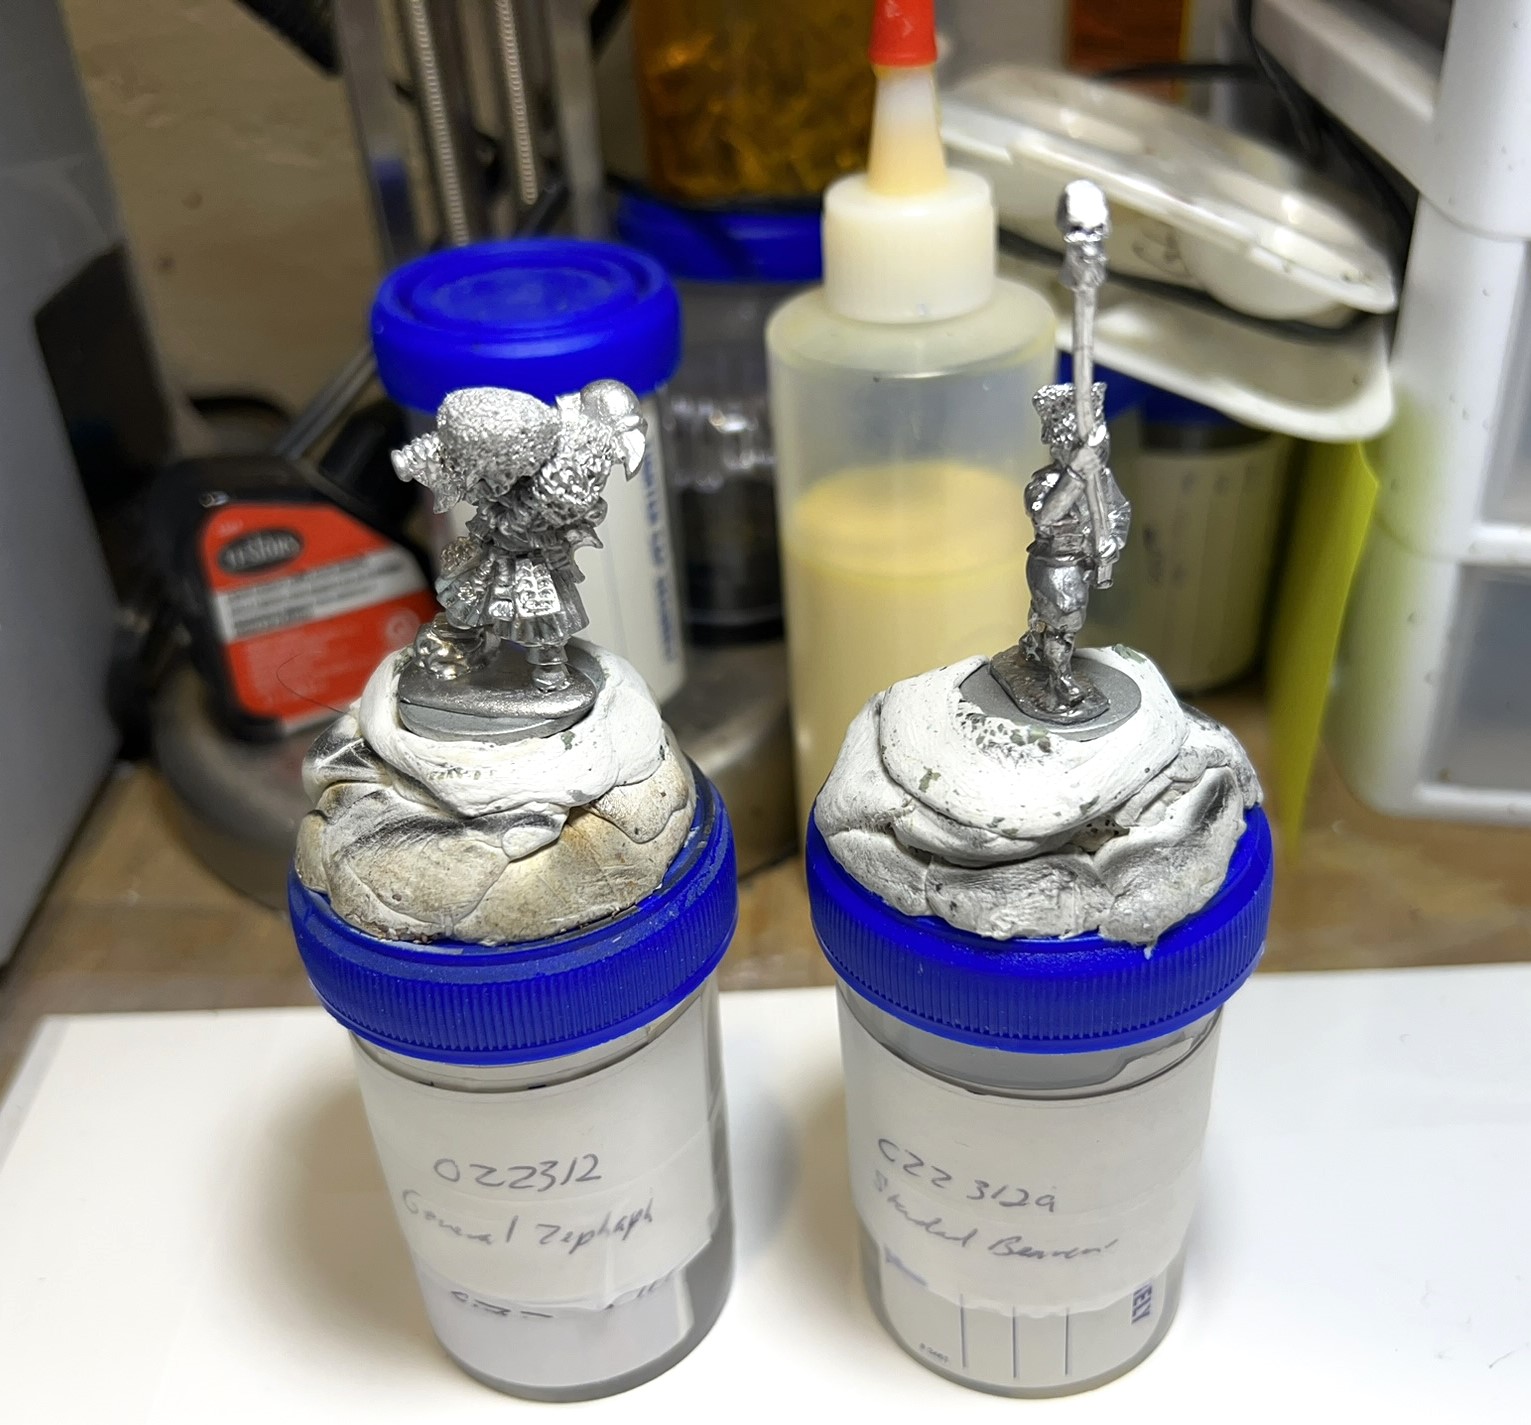
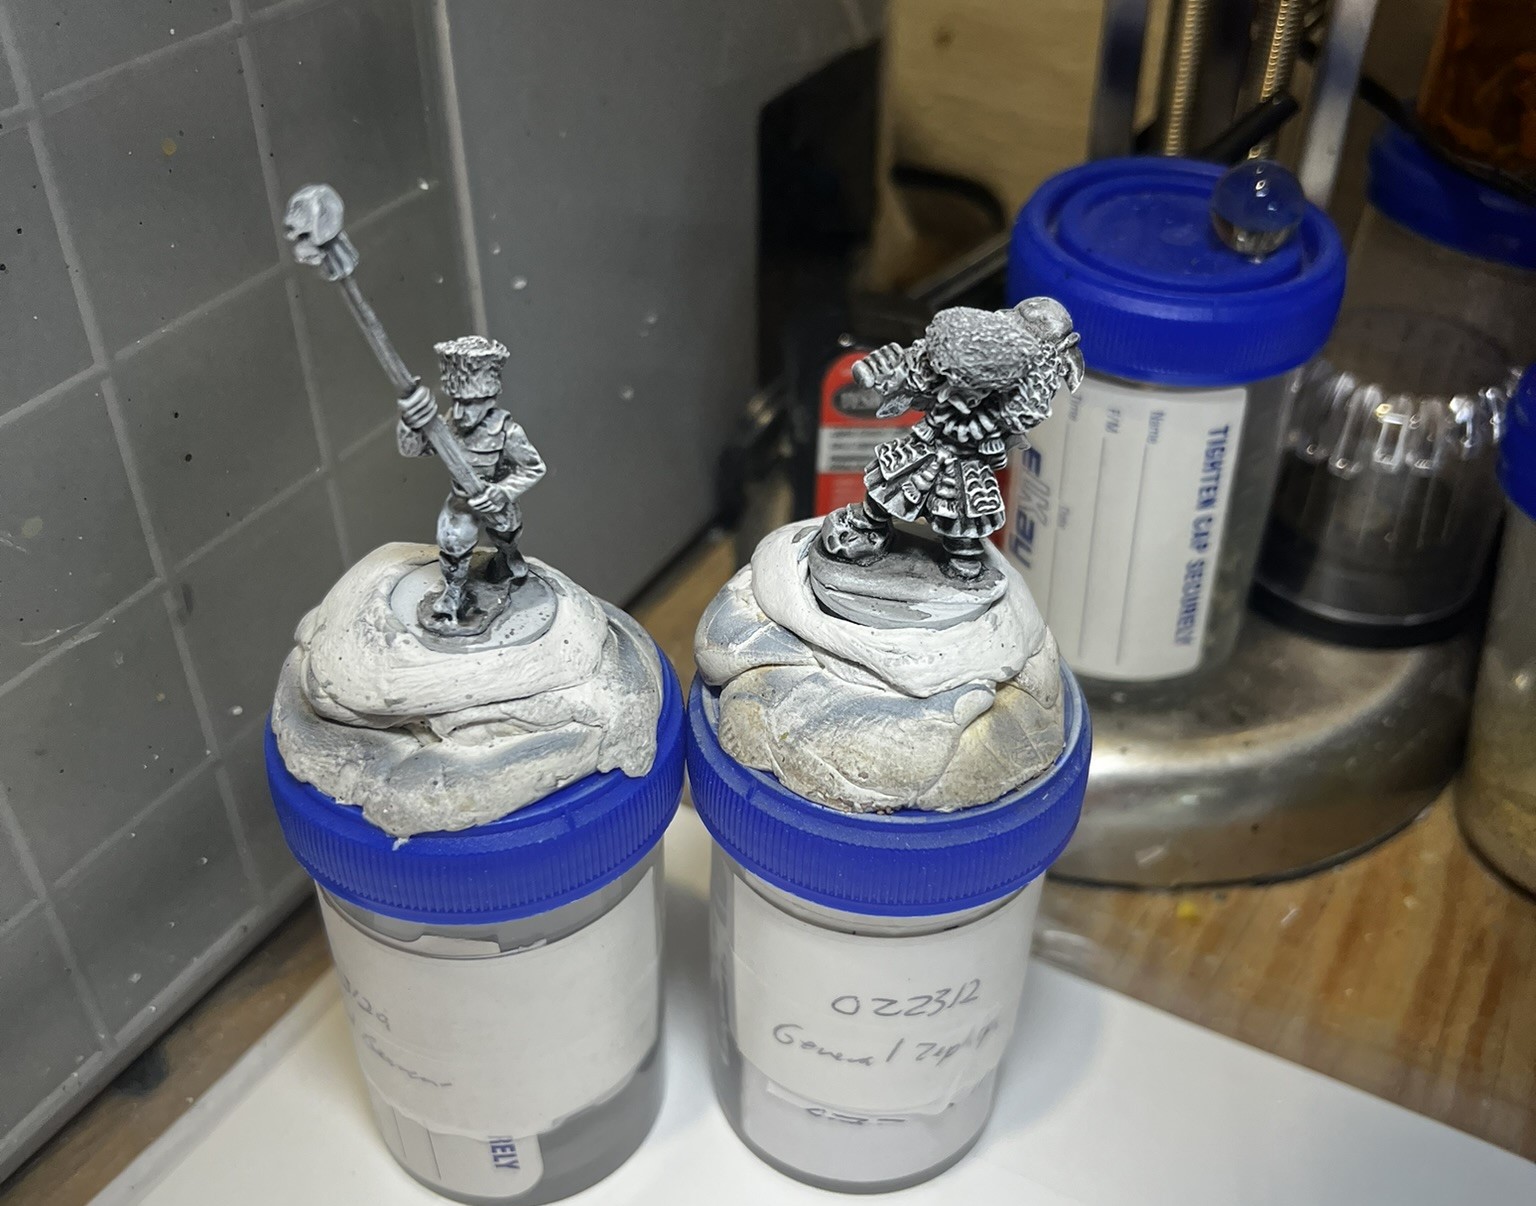
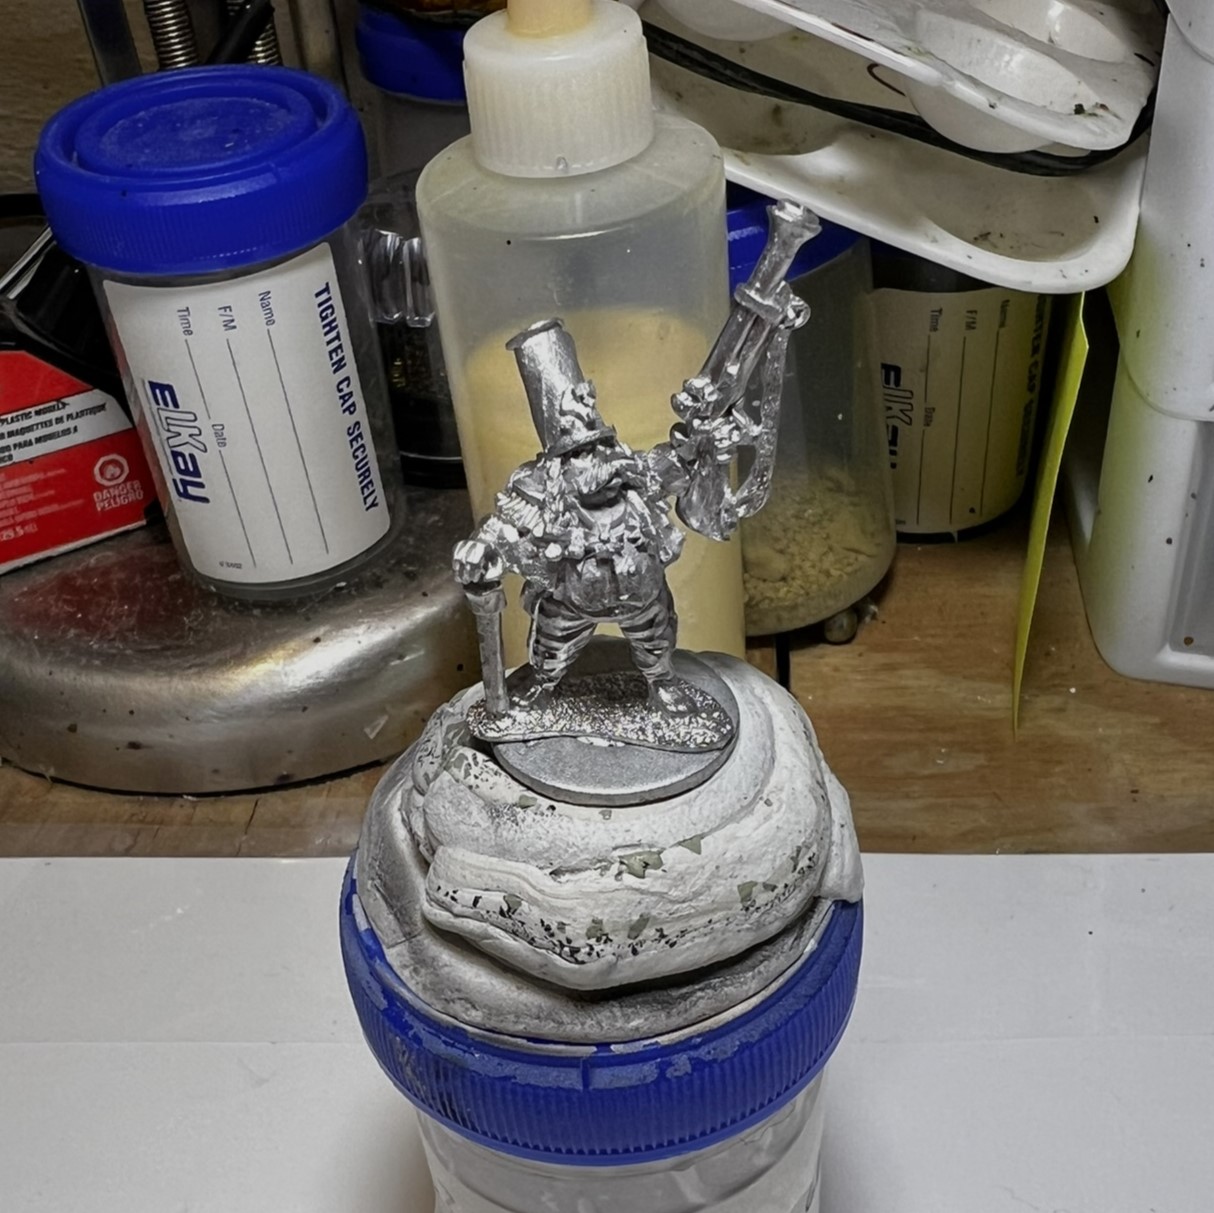
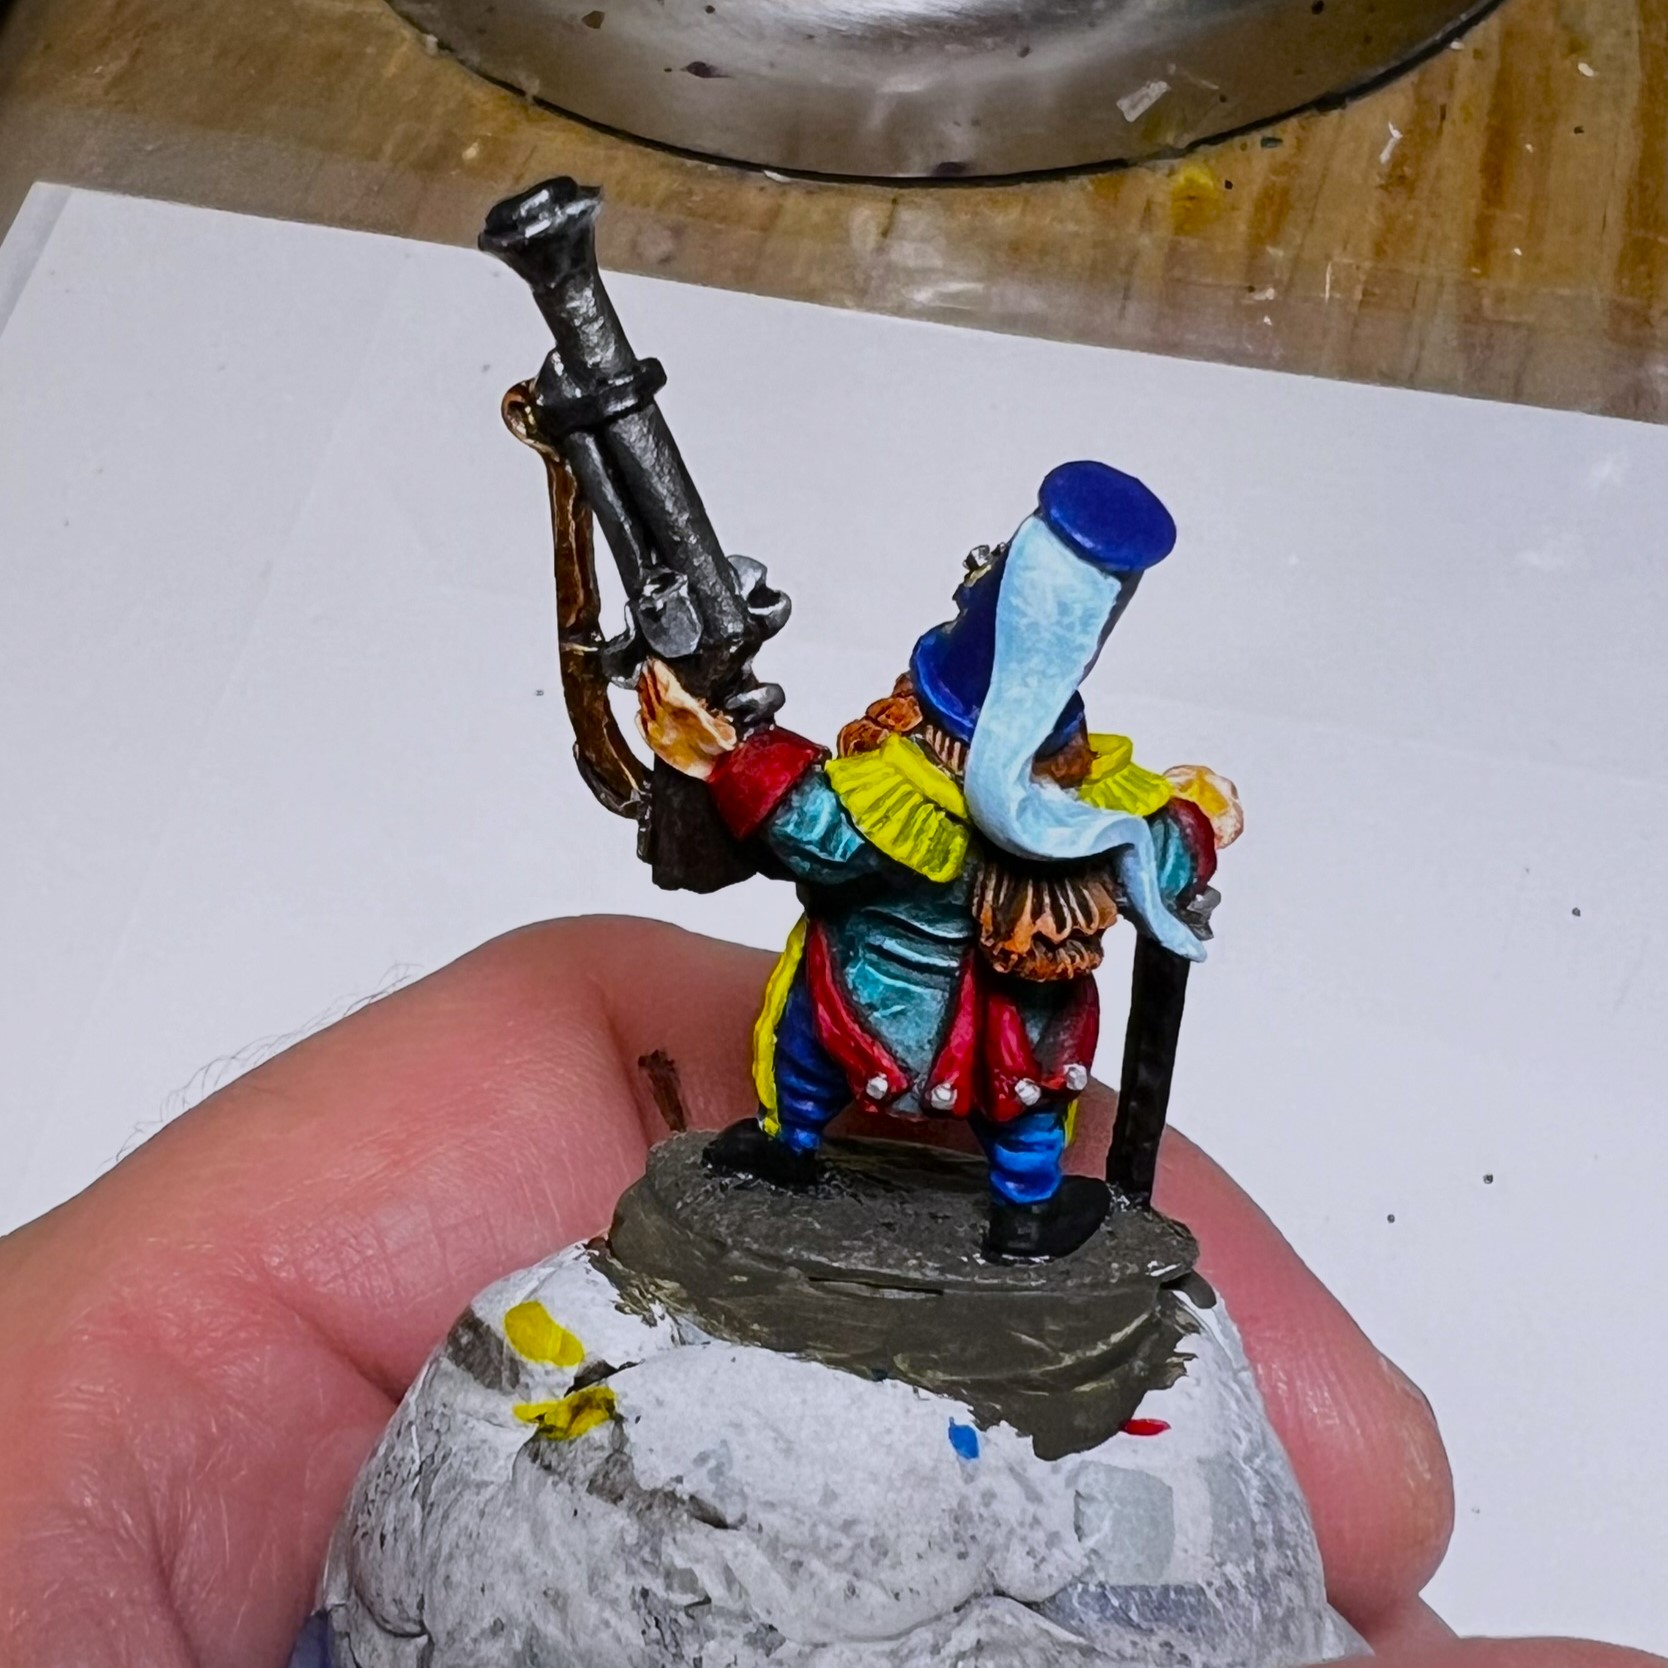
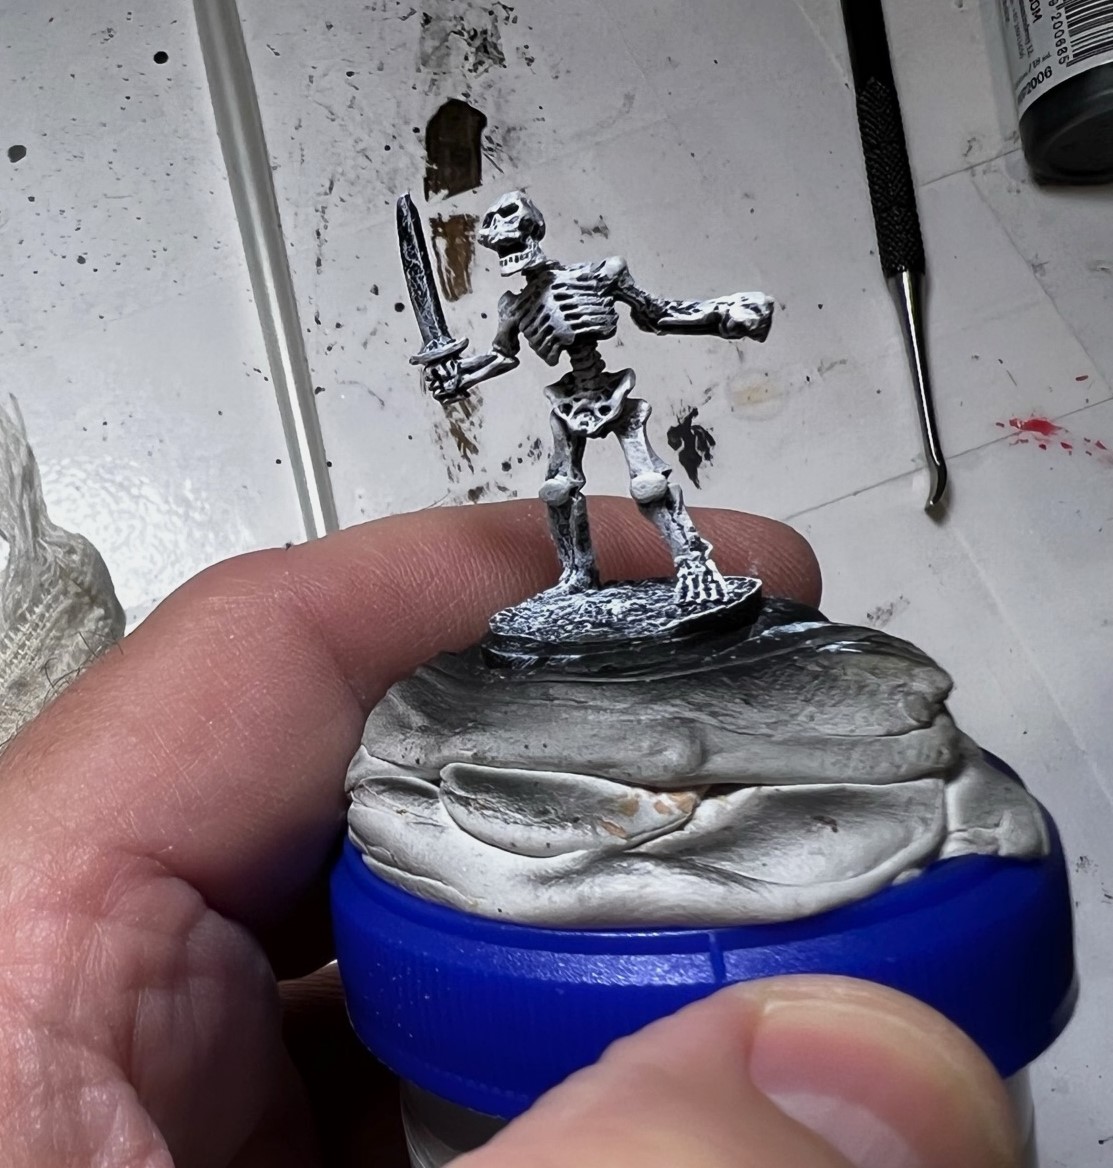
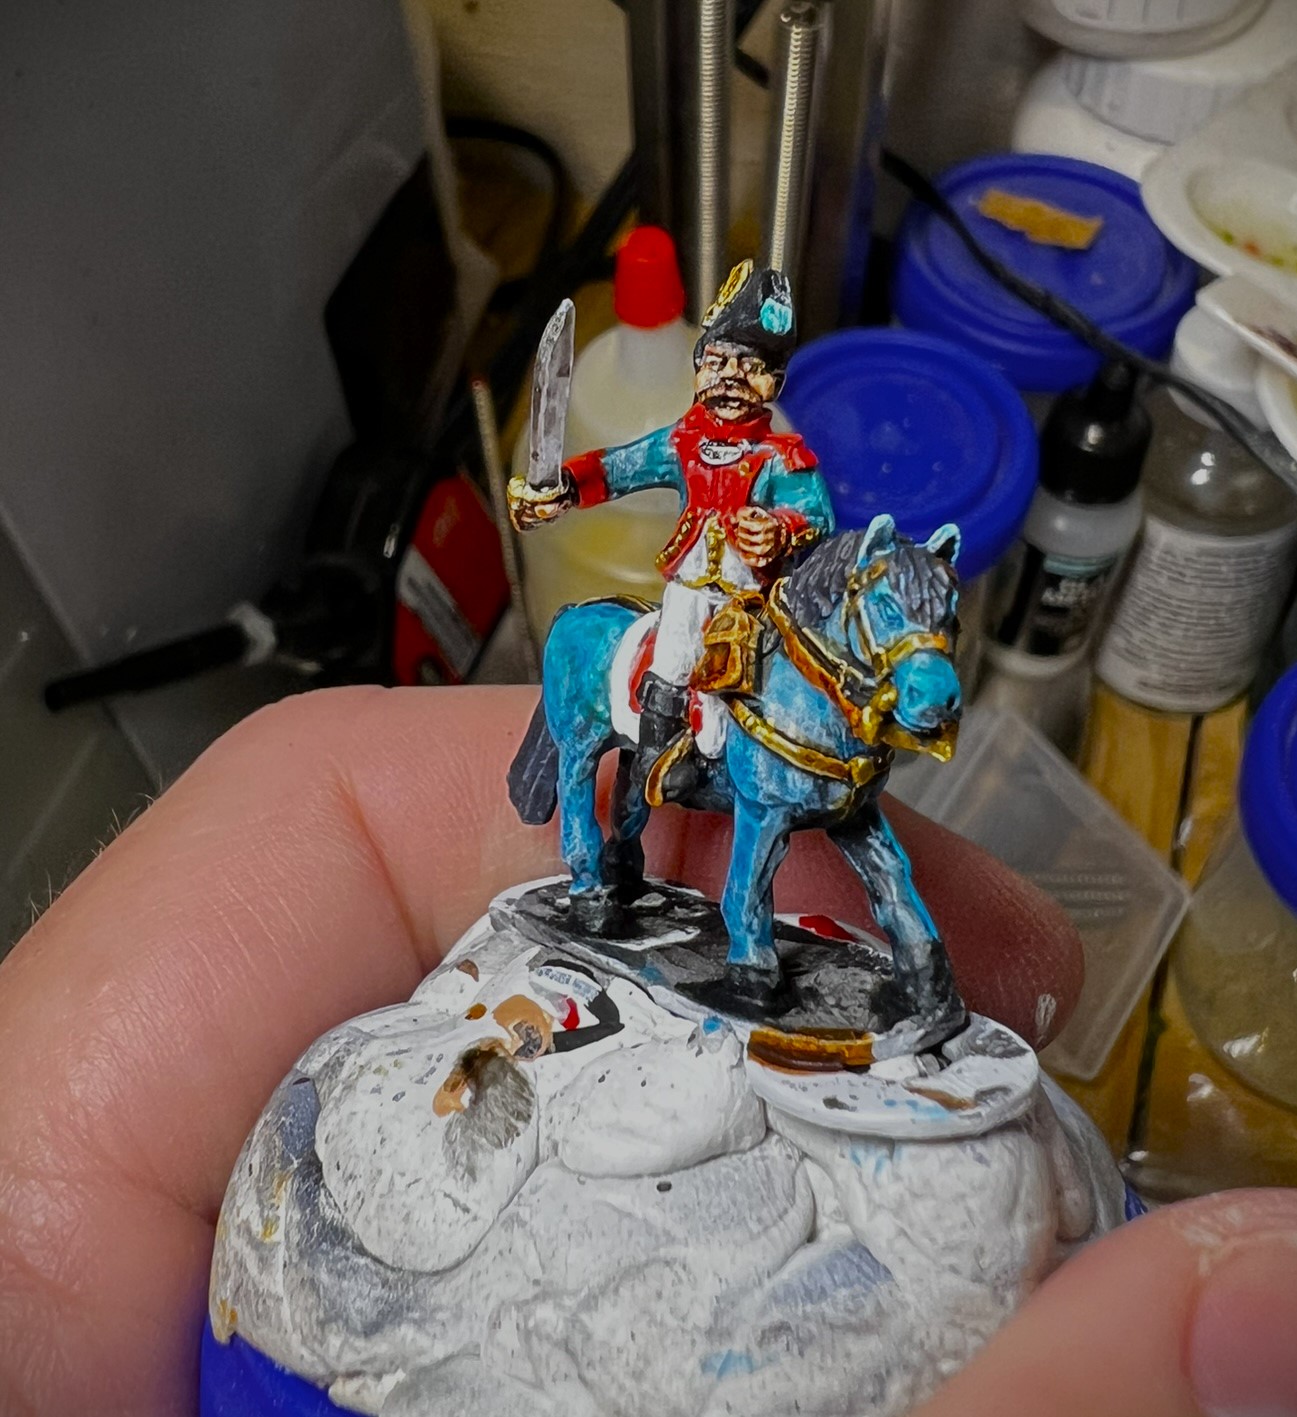
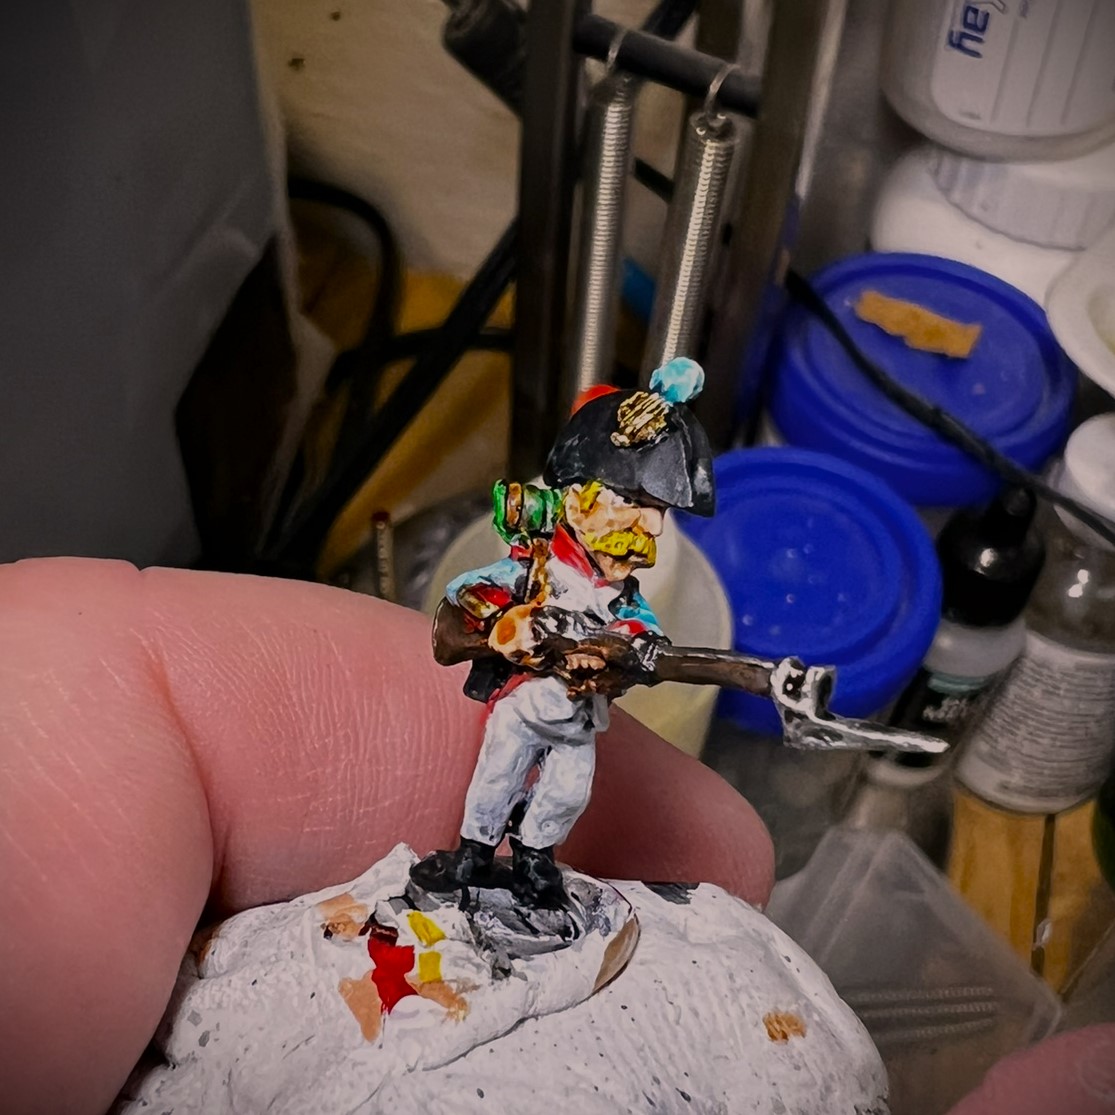
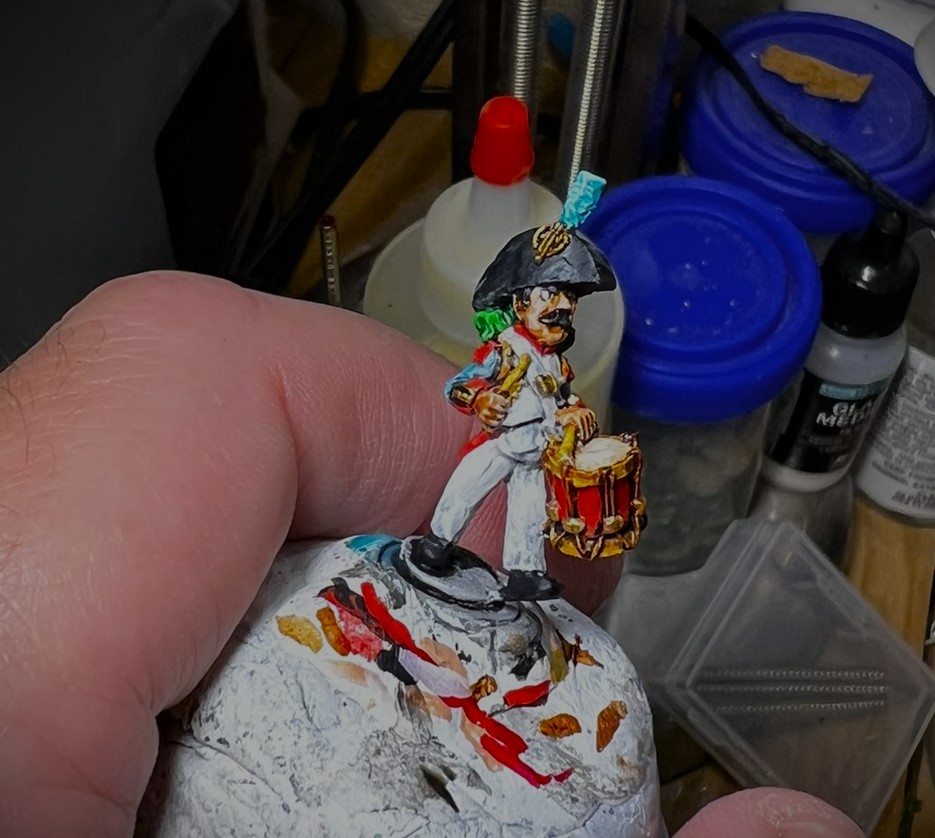
First, here are some shots of a few of the figures before I varnished them. And yes, the horse (really a pony) is of a different color (this is Ozz of course).

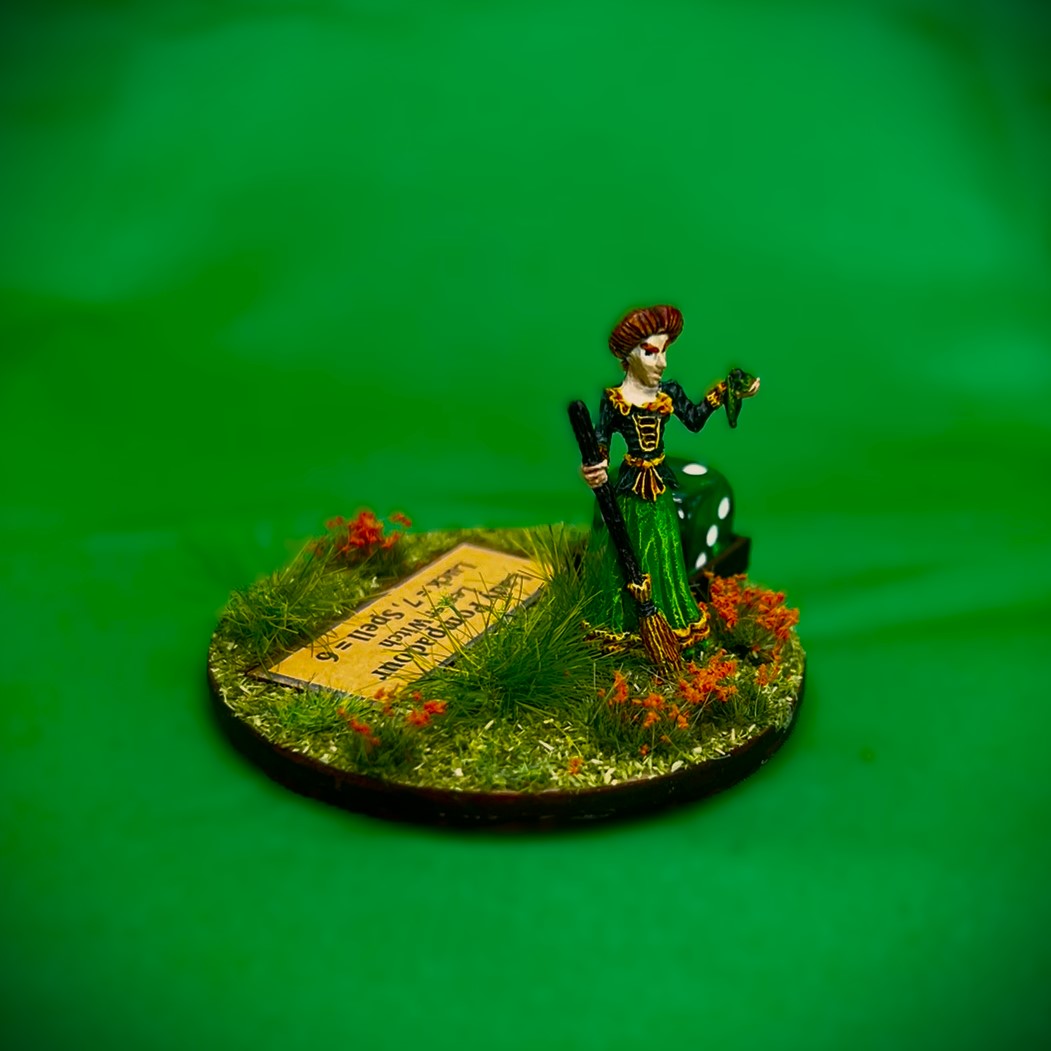
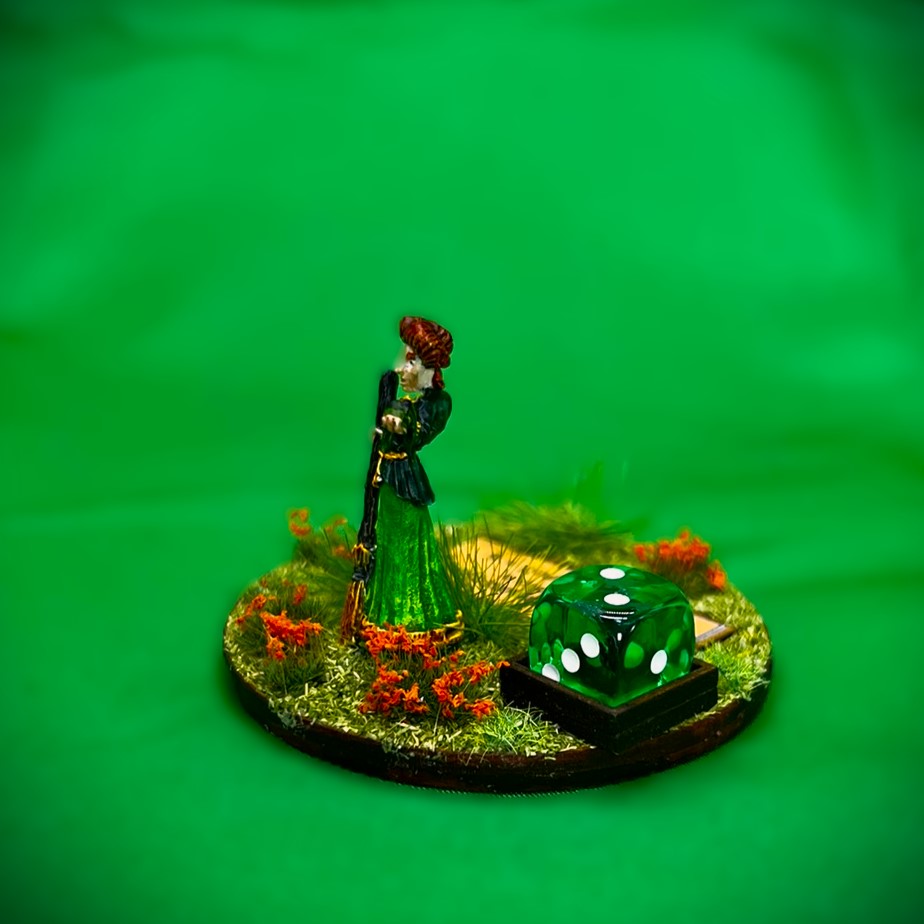
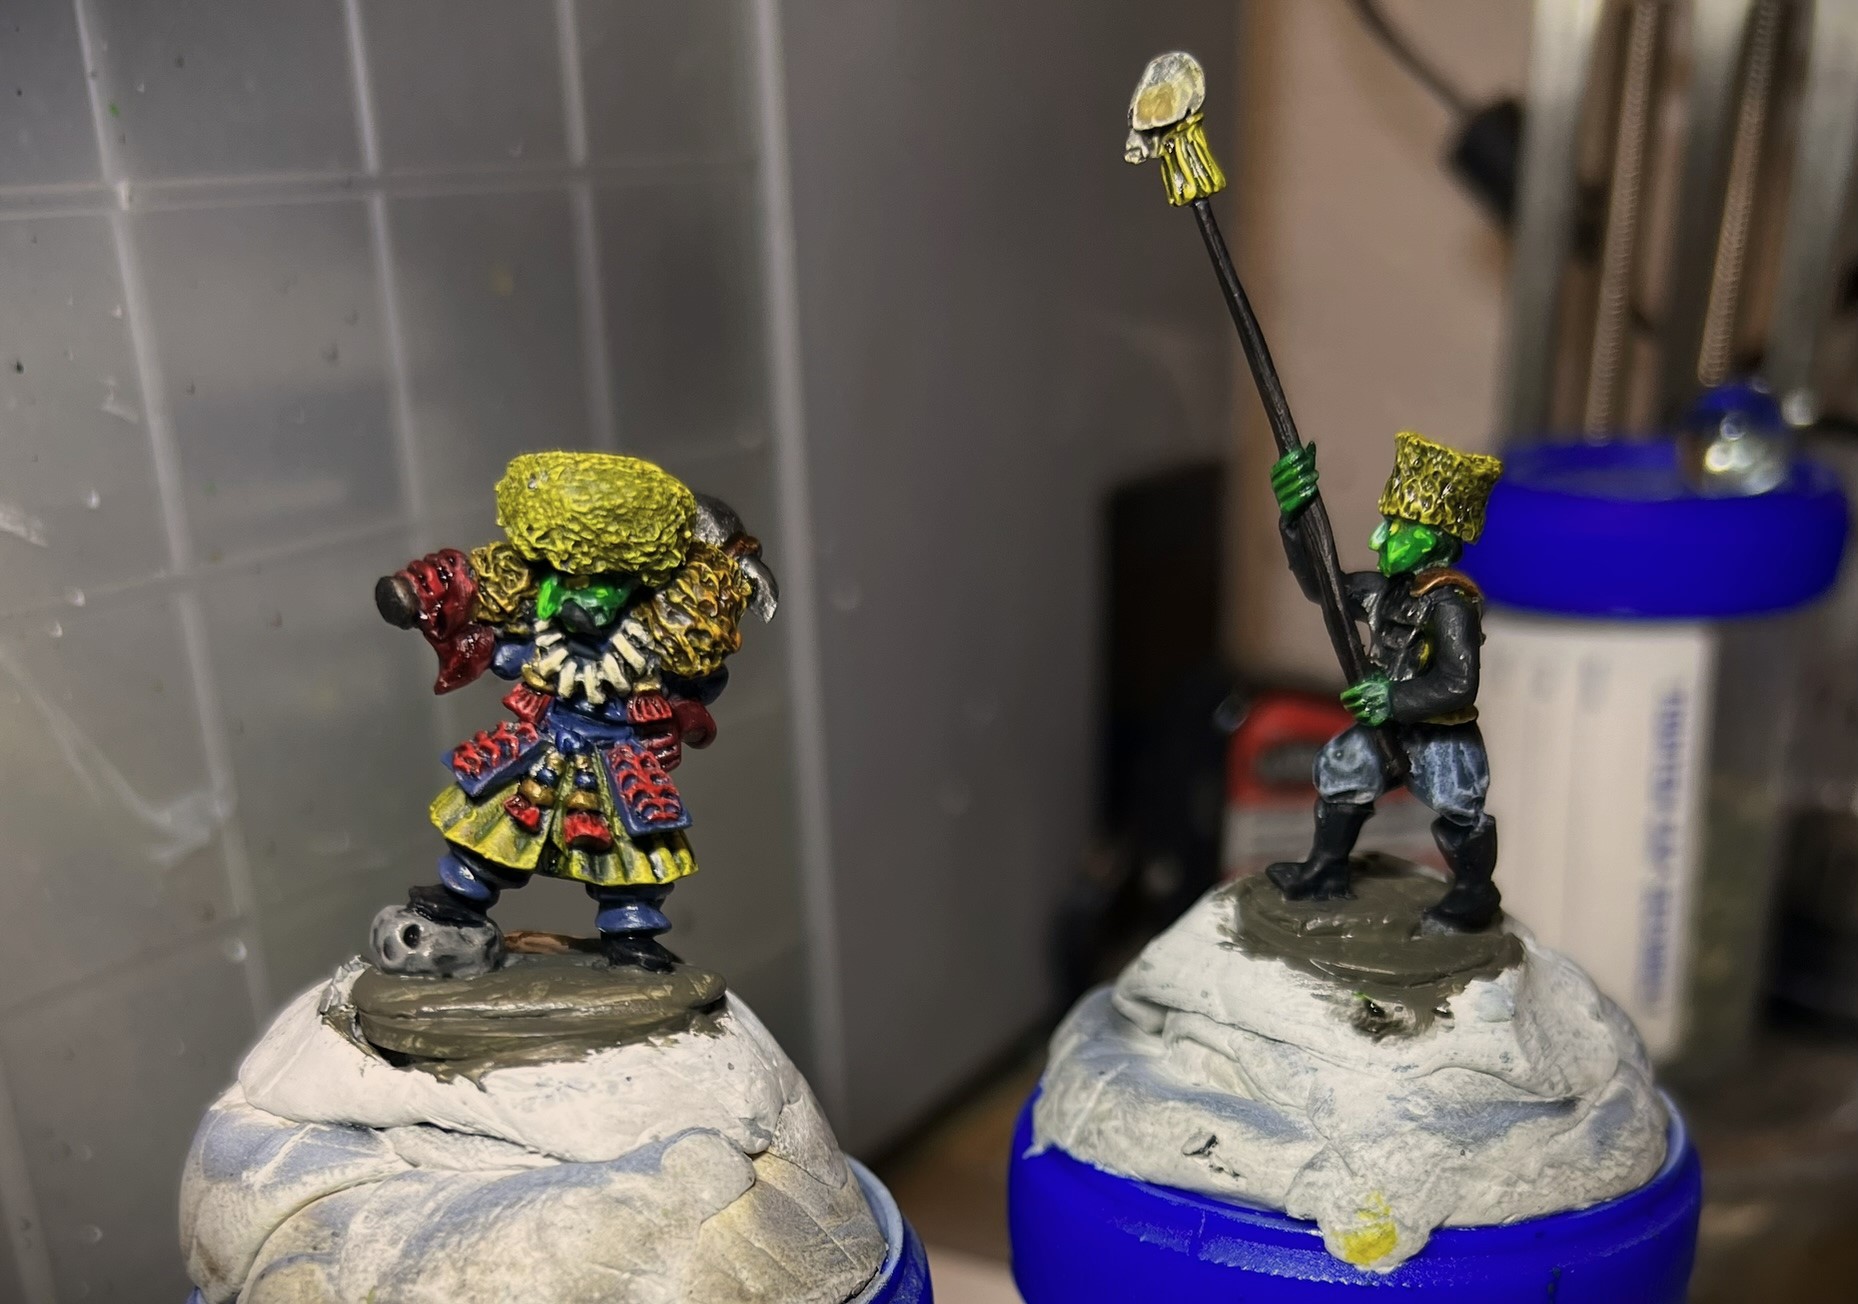
Of course, varnish improves everything! The next two images are post-varnish but pre-flocking. Note the variety of hair colors – and yes, I do paint the eyes. I am glad that I did here.
Then, I mocked up the varnished figures on their bases as shown below.
Then I needed to name the unit and cut out the standards. The Poppy Fields standard was my choice.

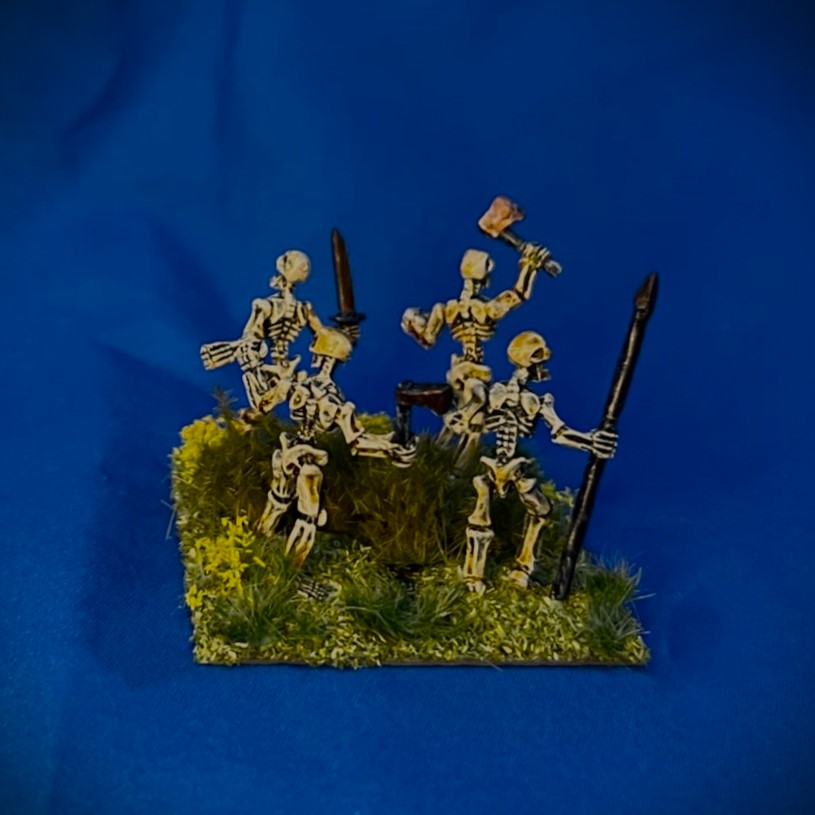
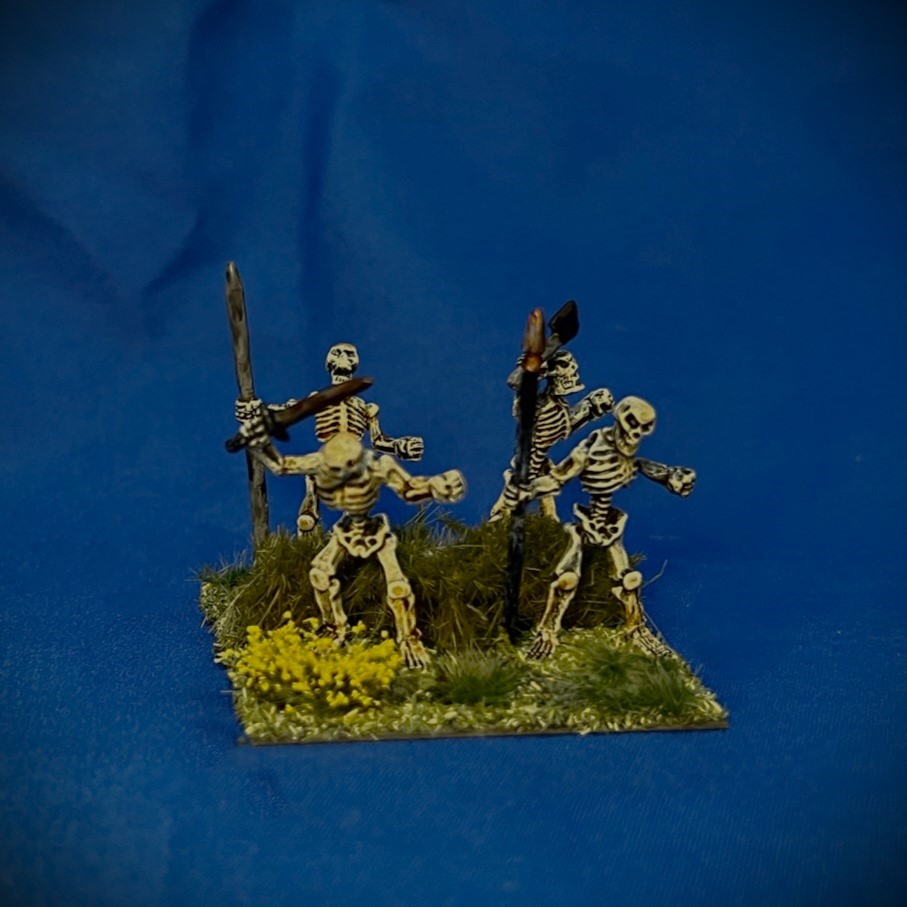
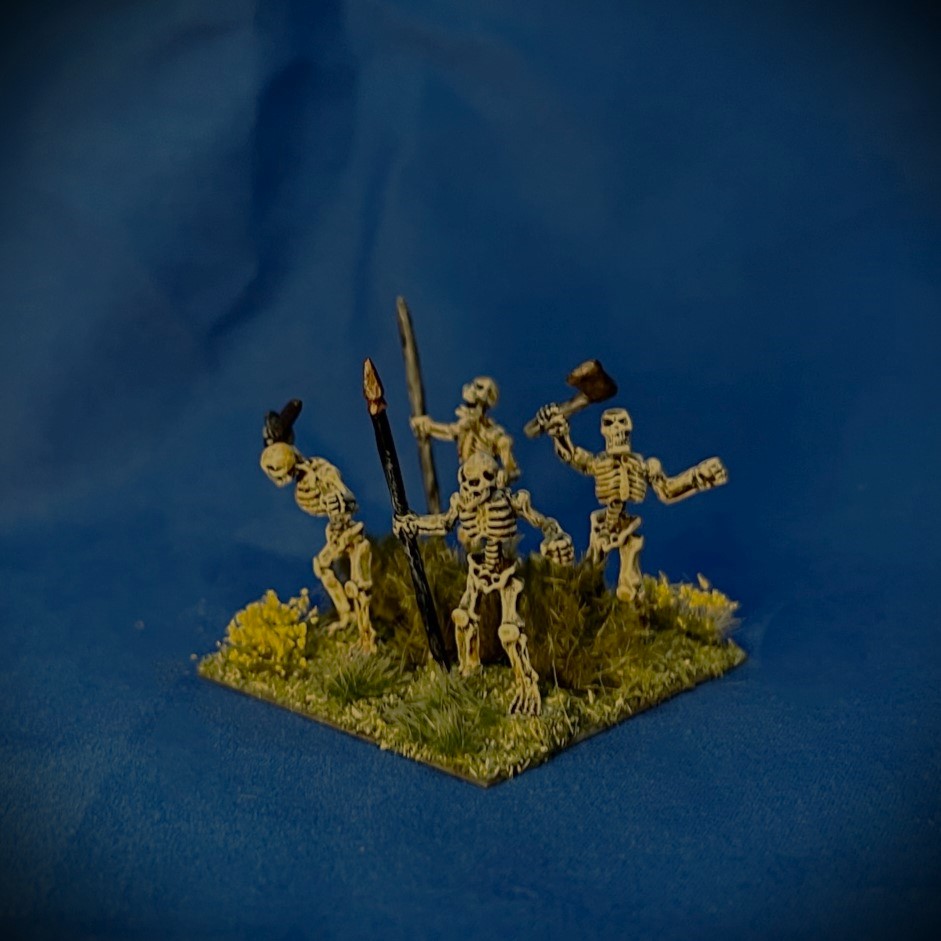
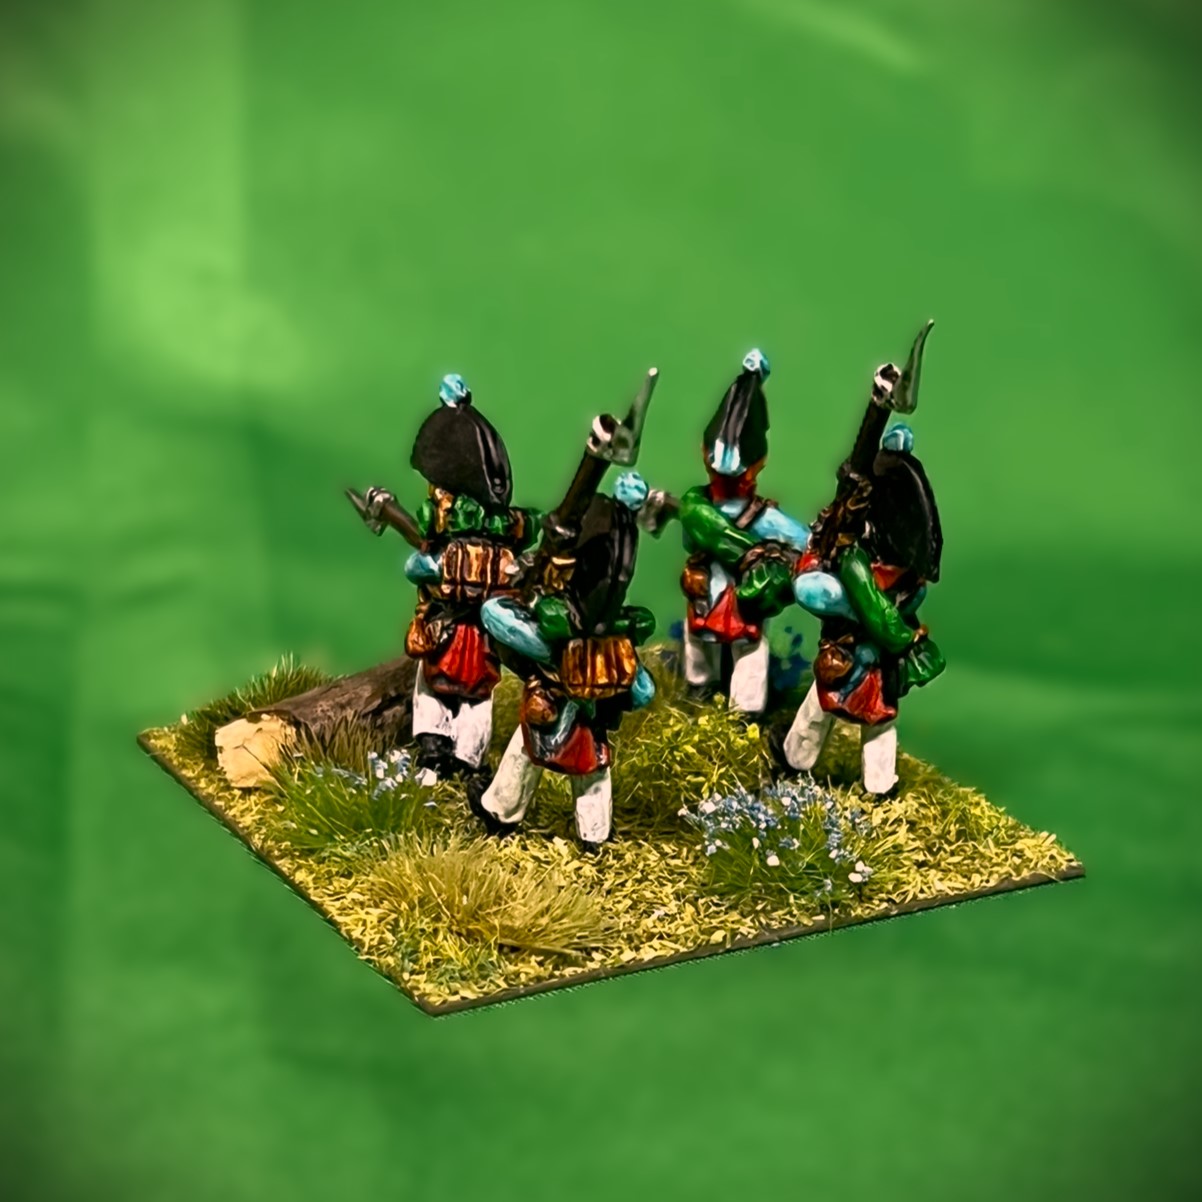
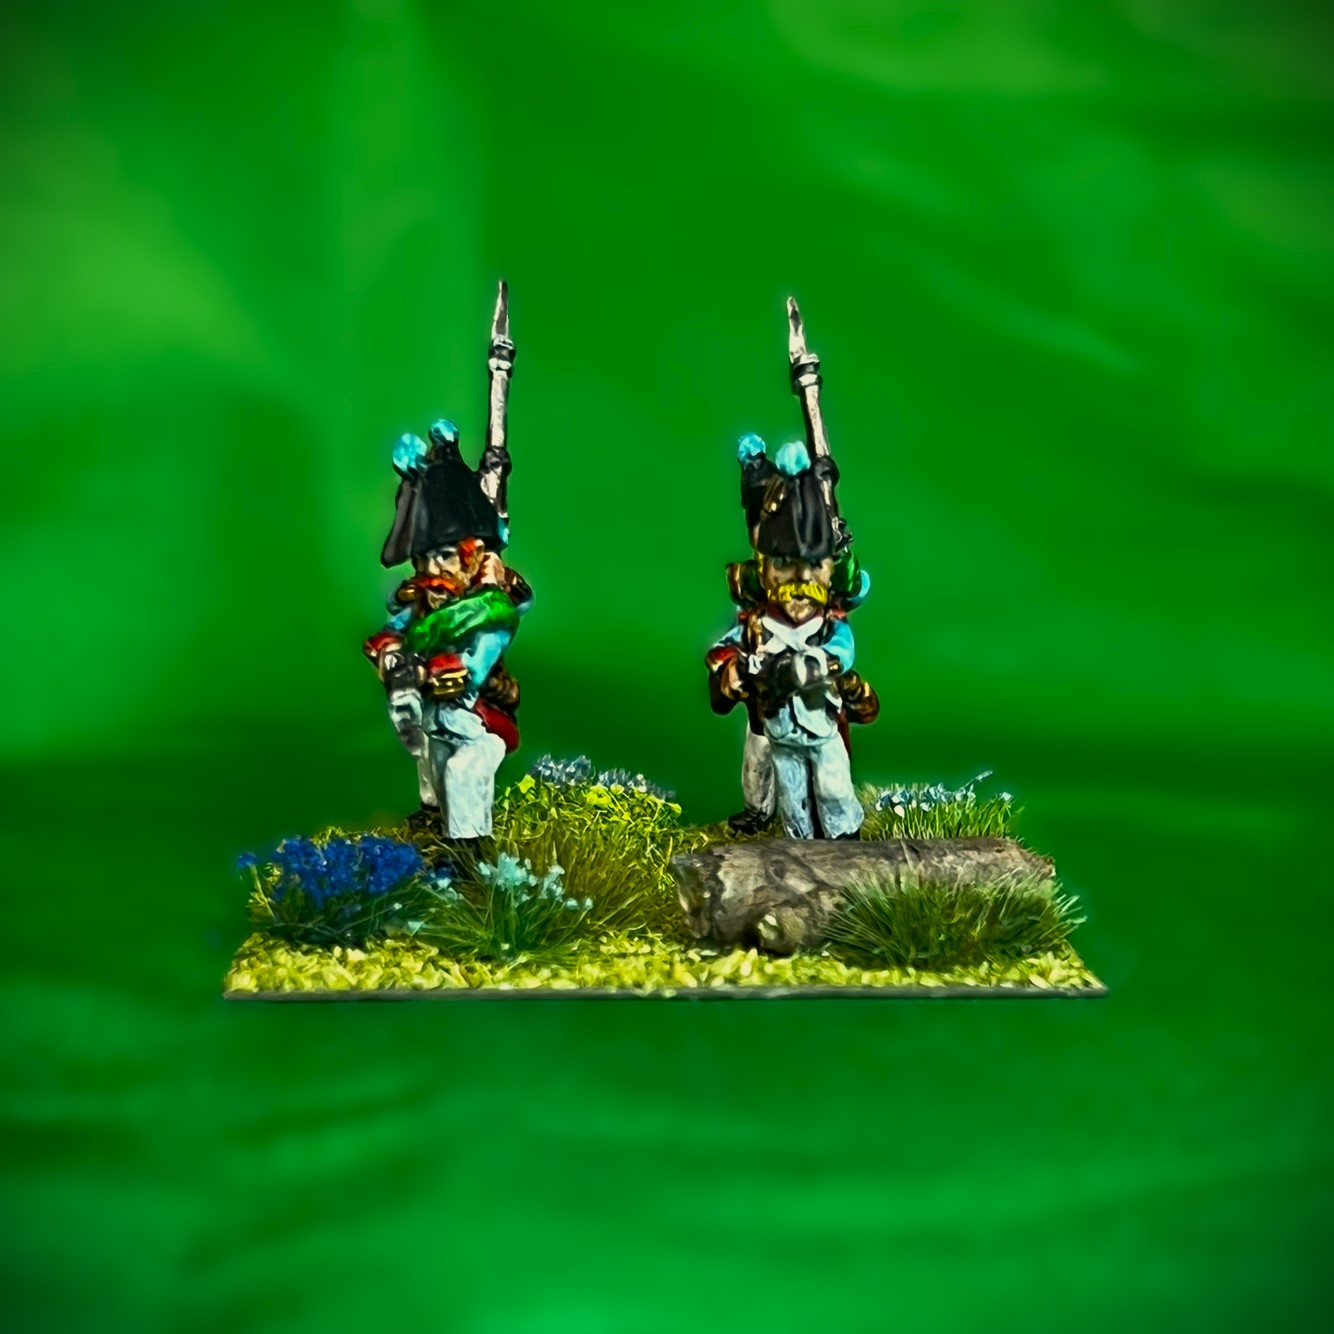
Eye Candy
Select and click on any photo for a better look.
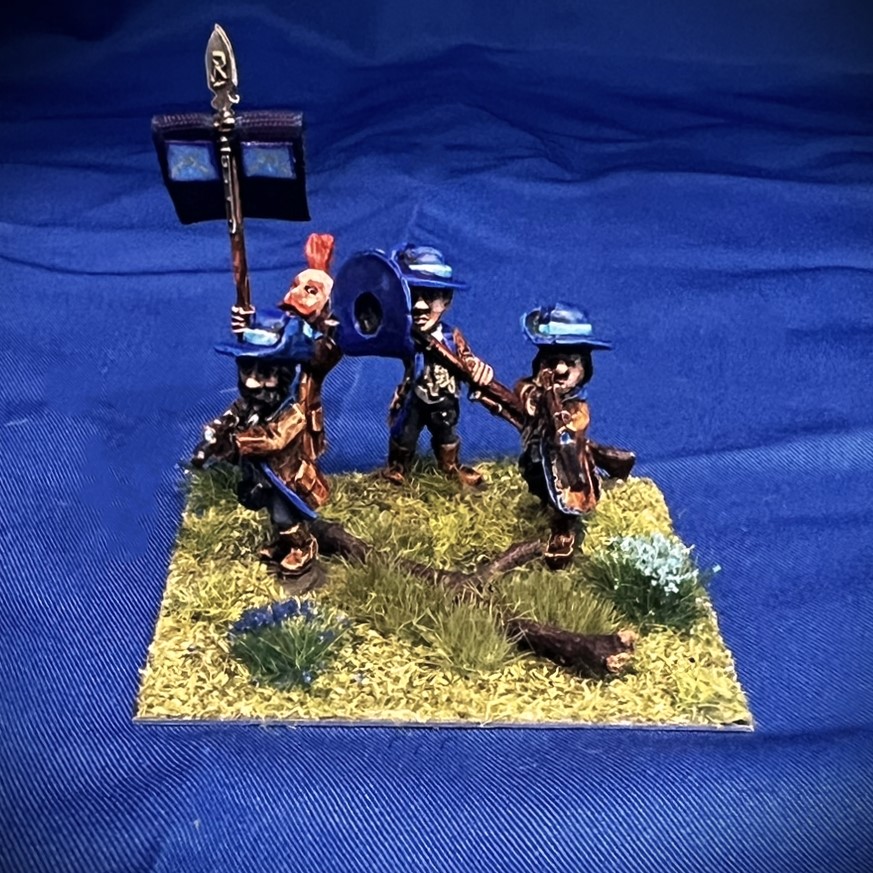
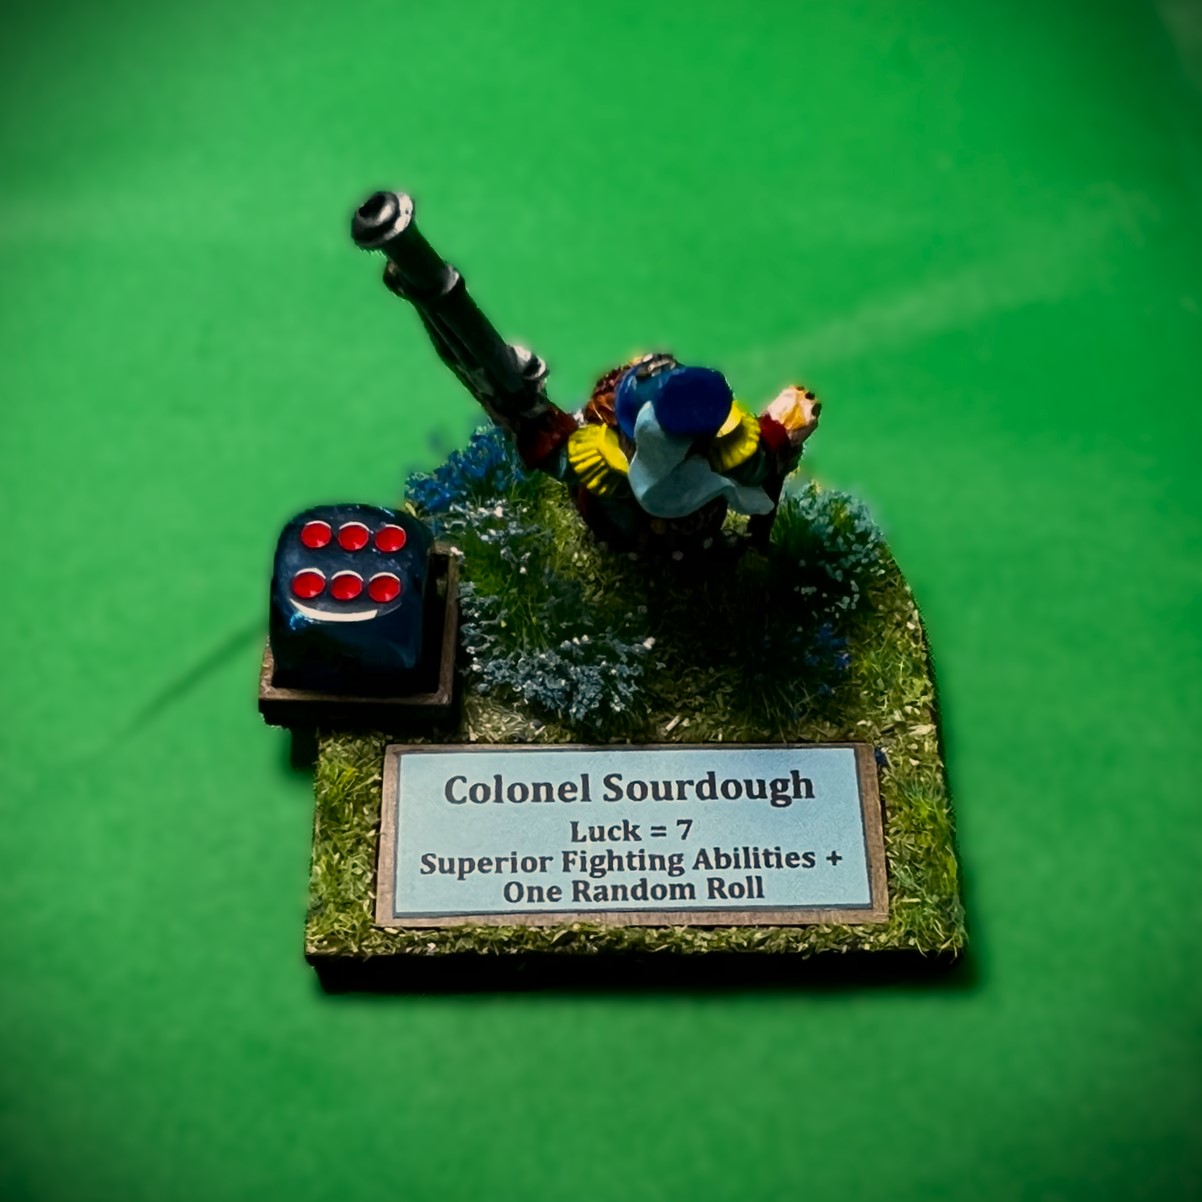
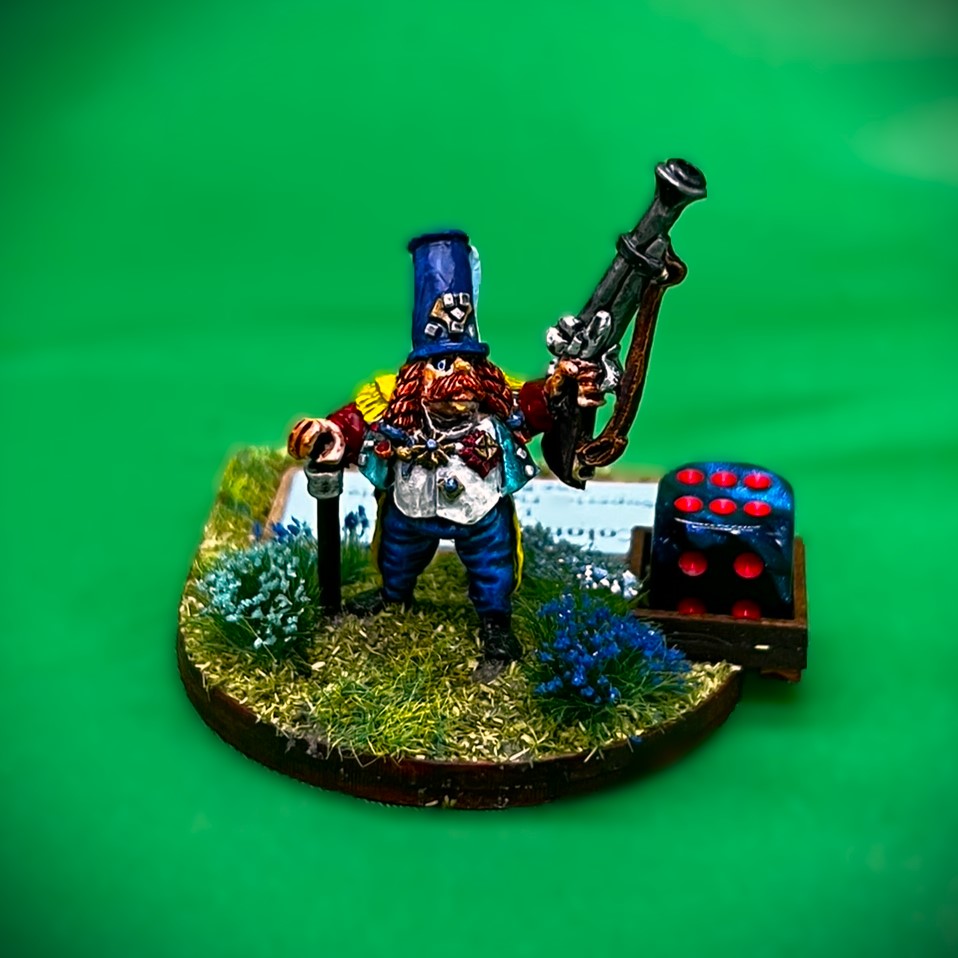
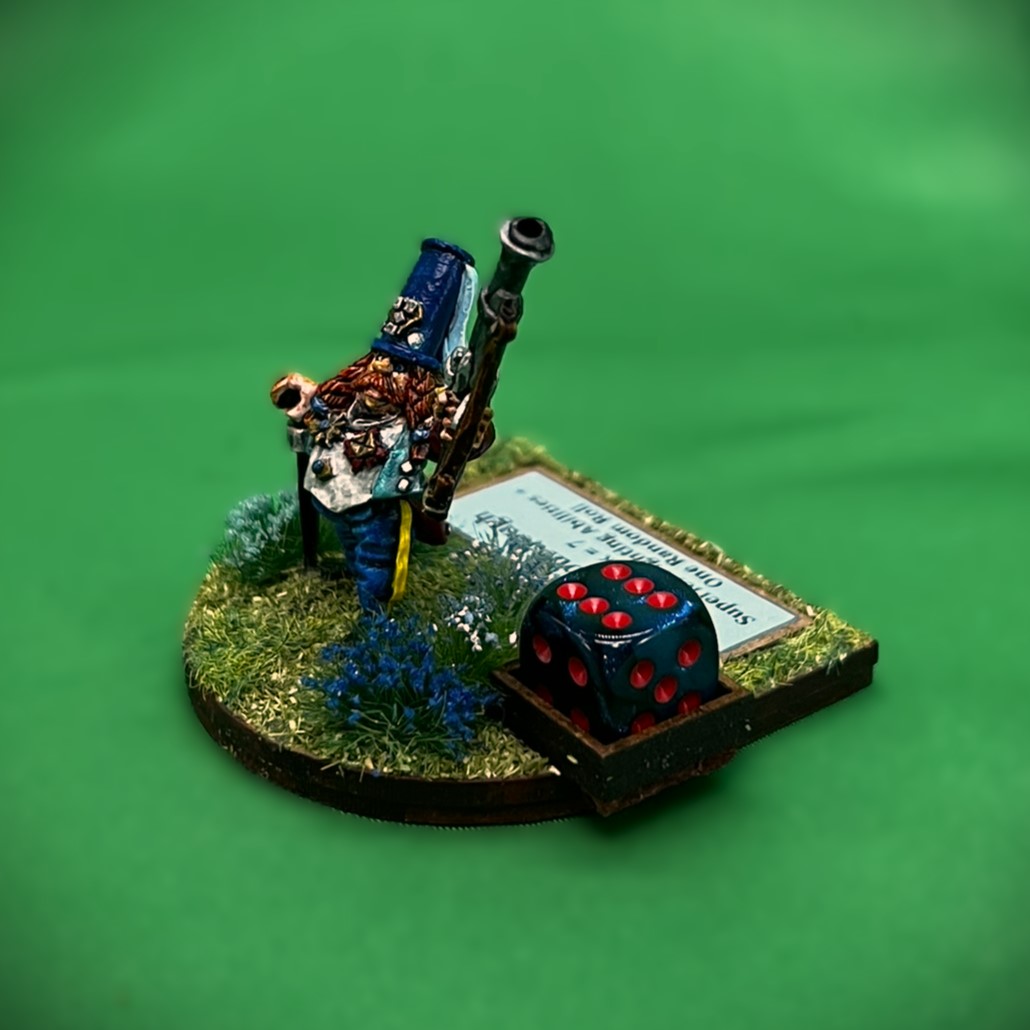
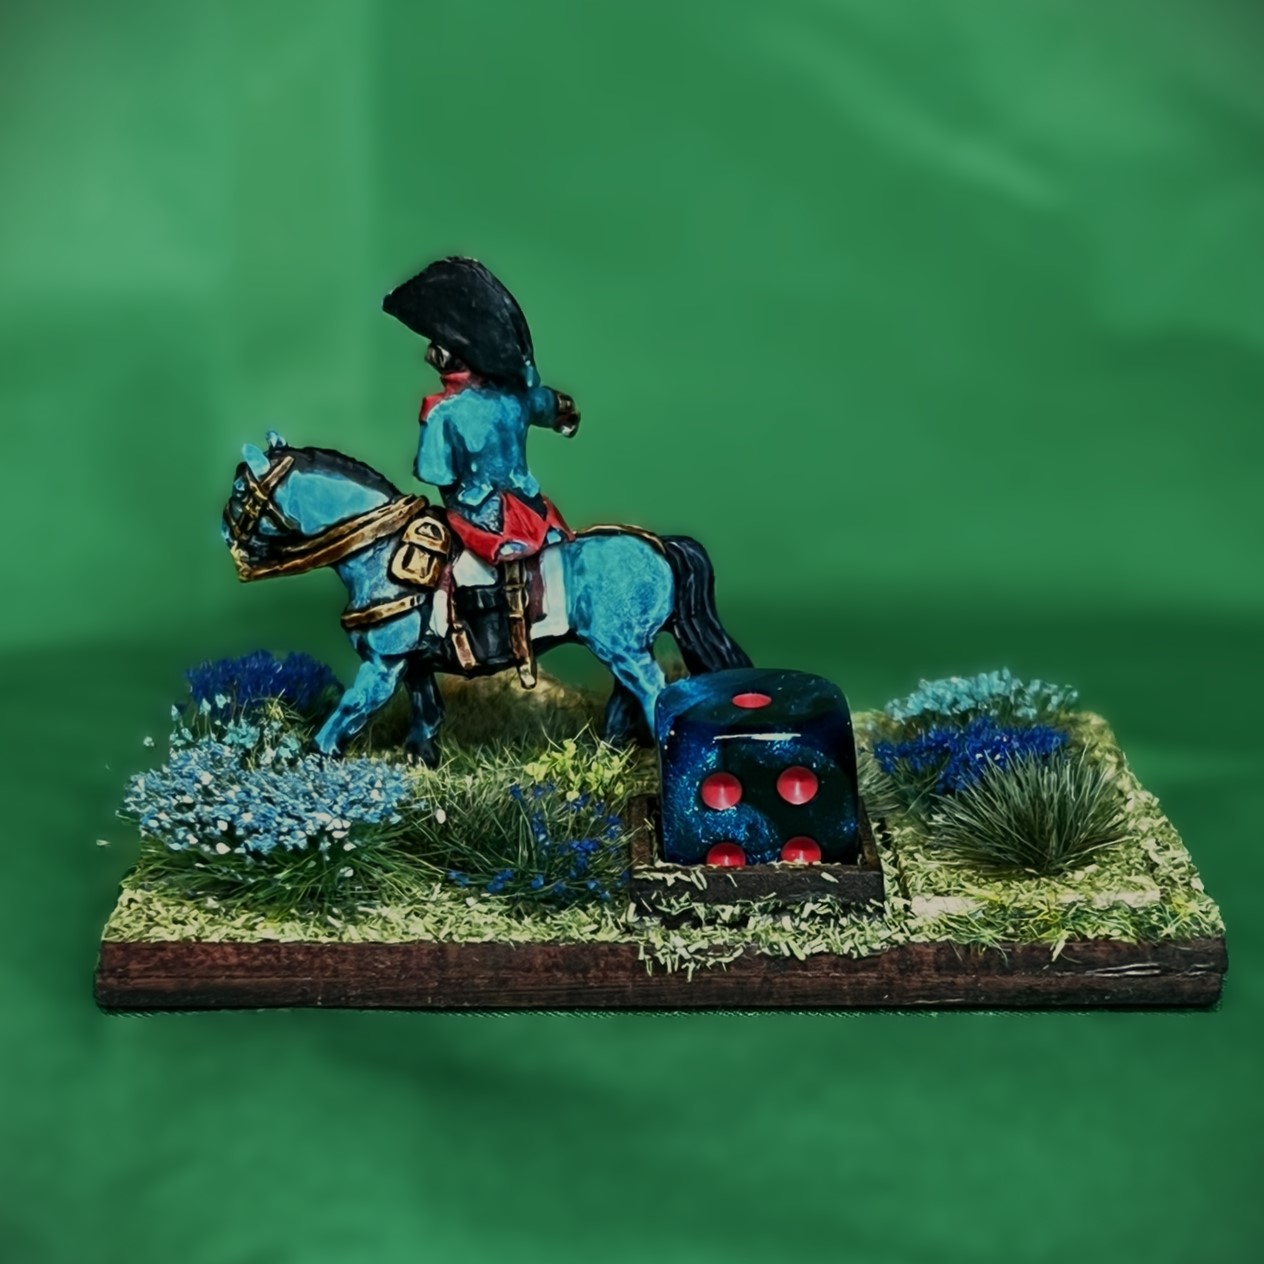
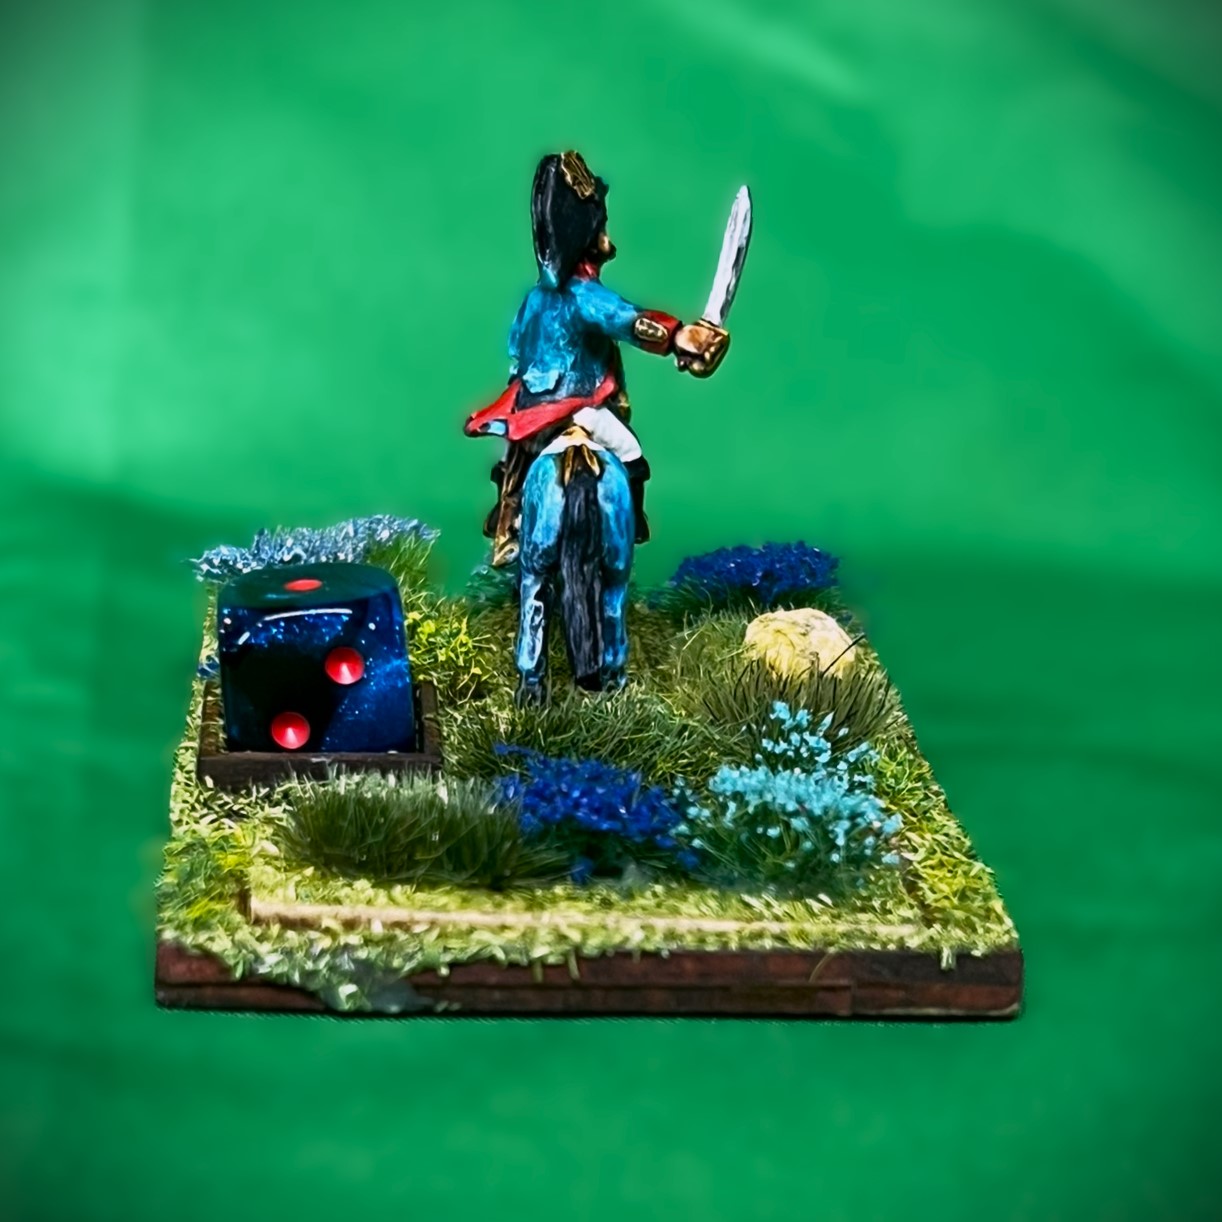
Regimental Commander Base

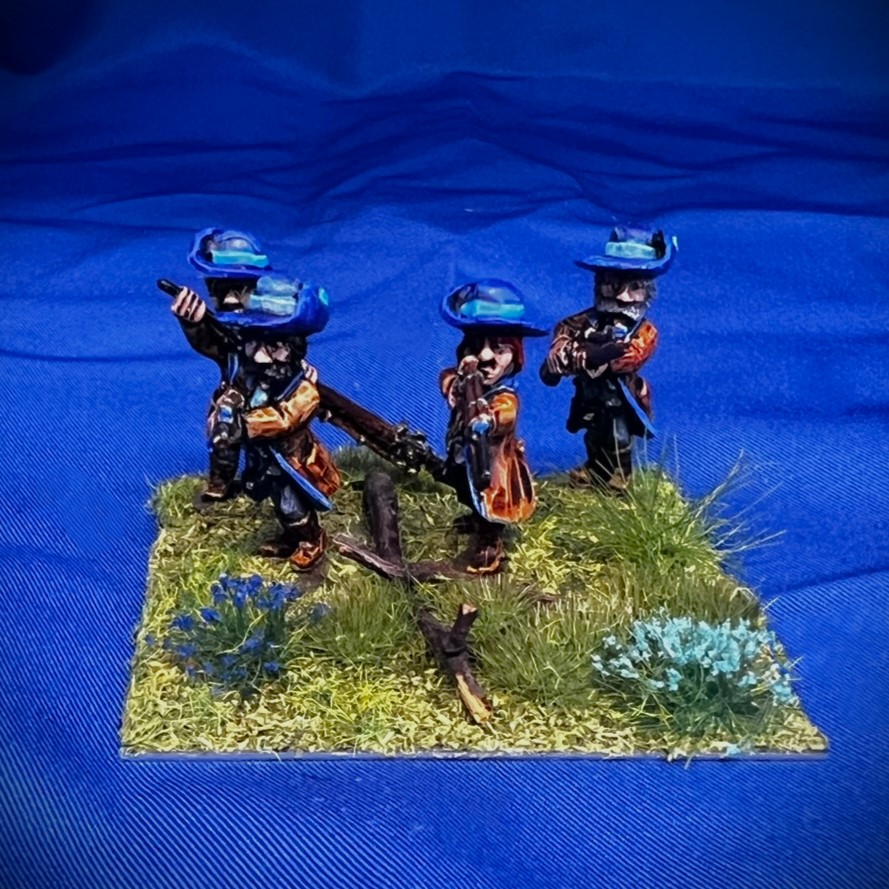
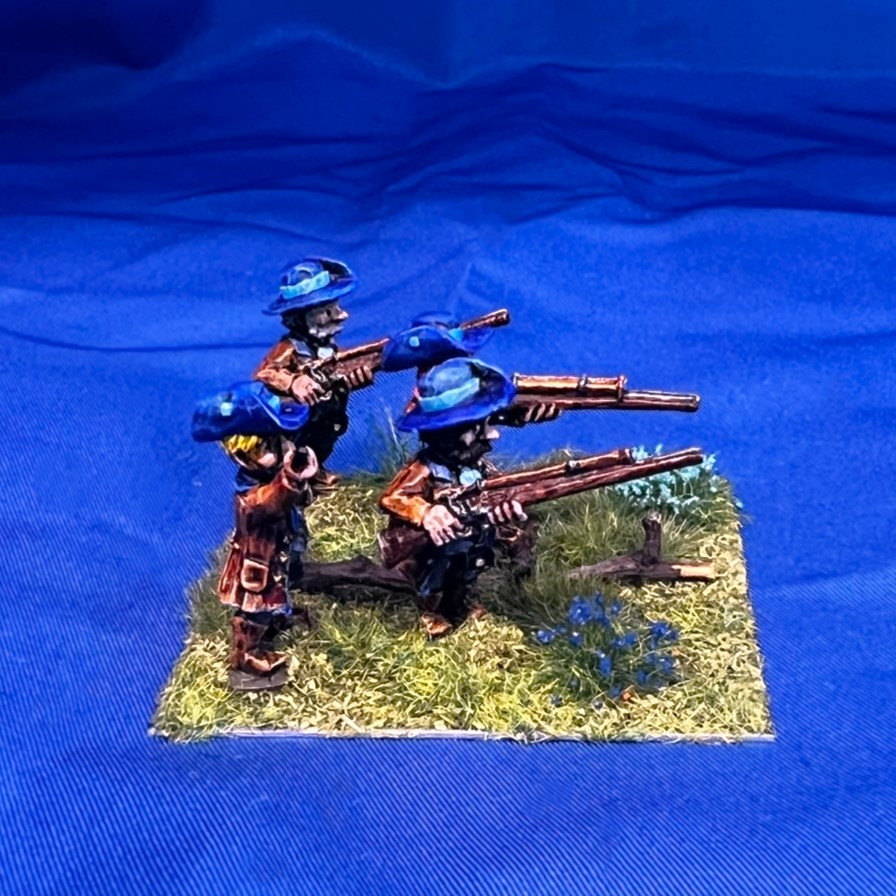
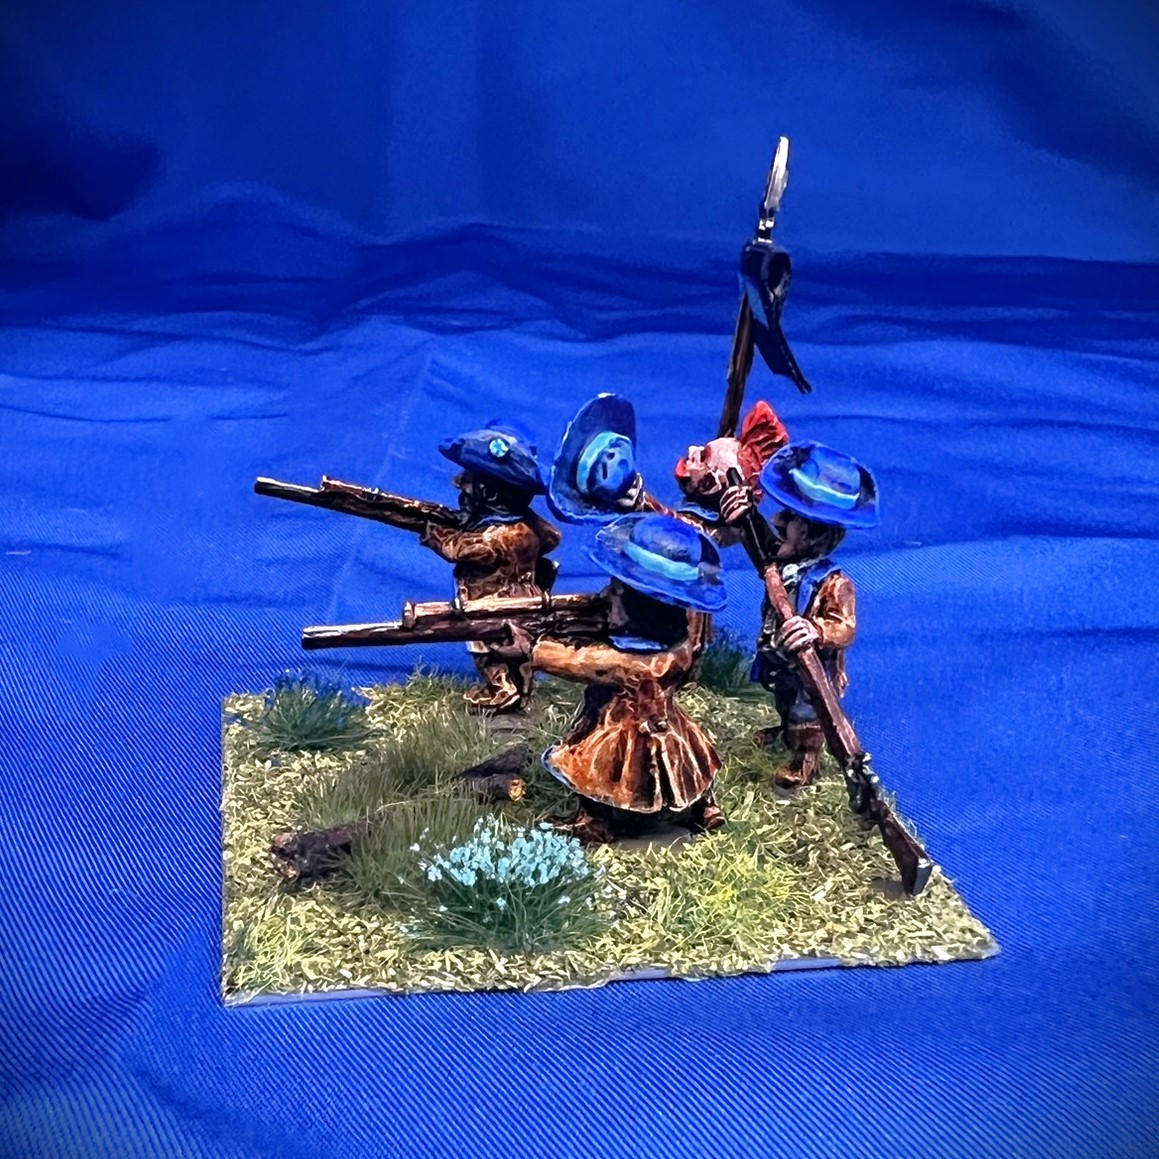
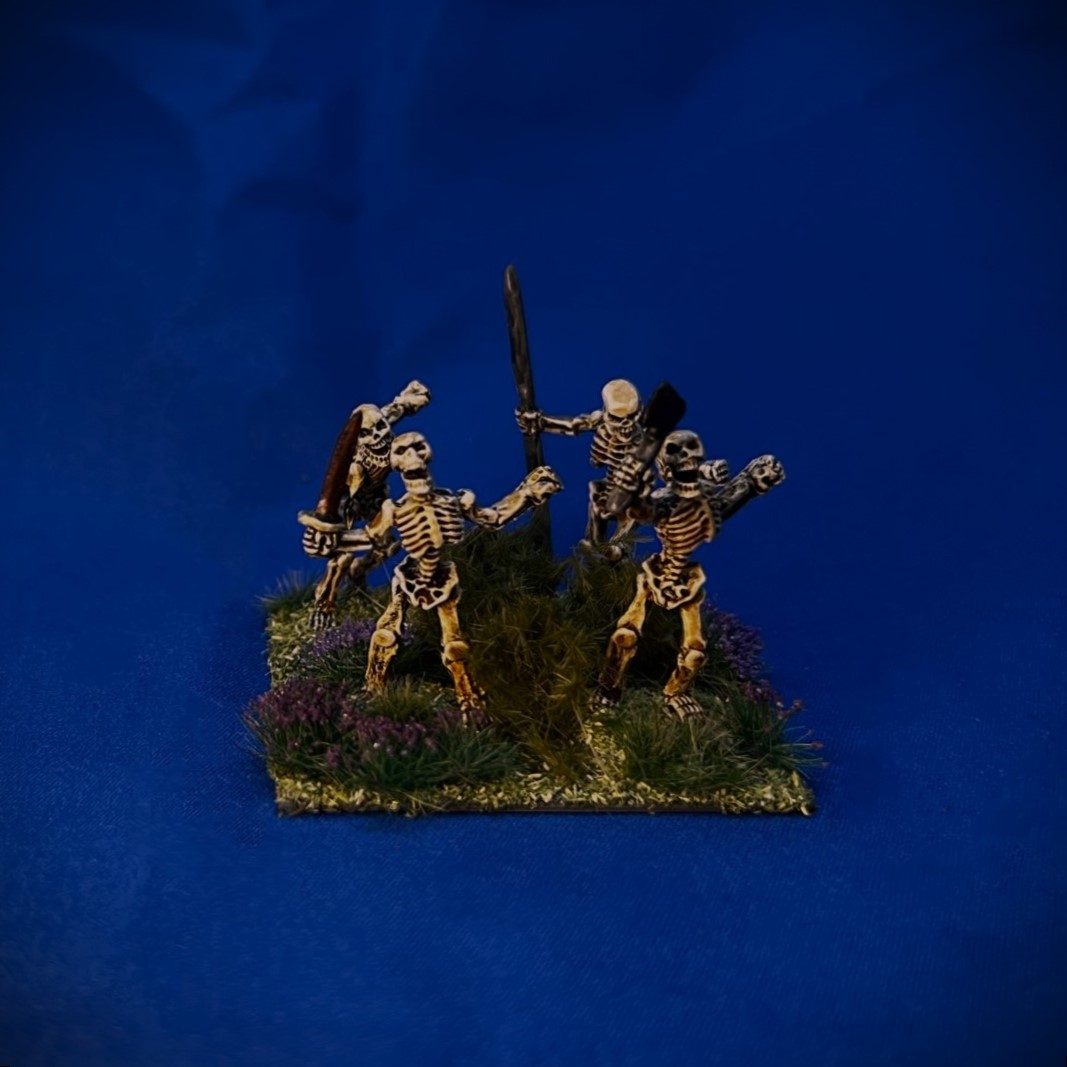
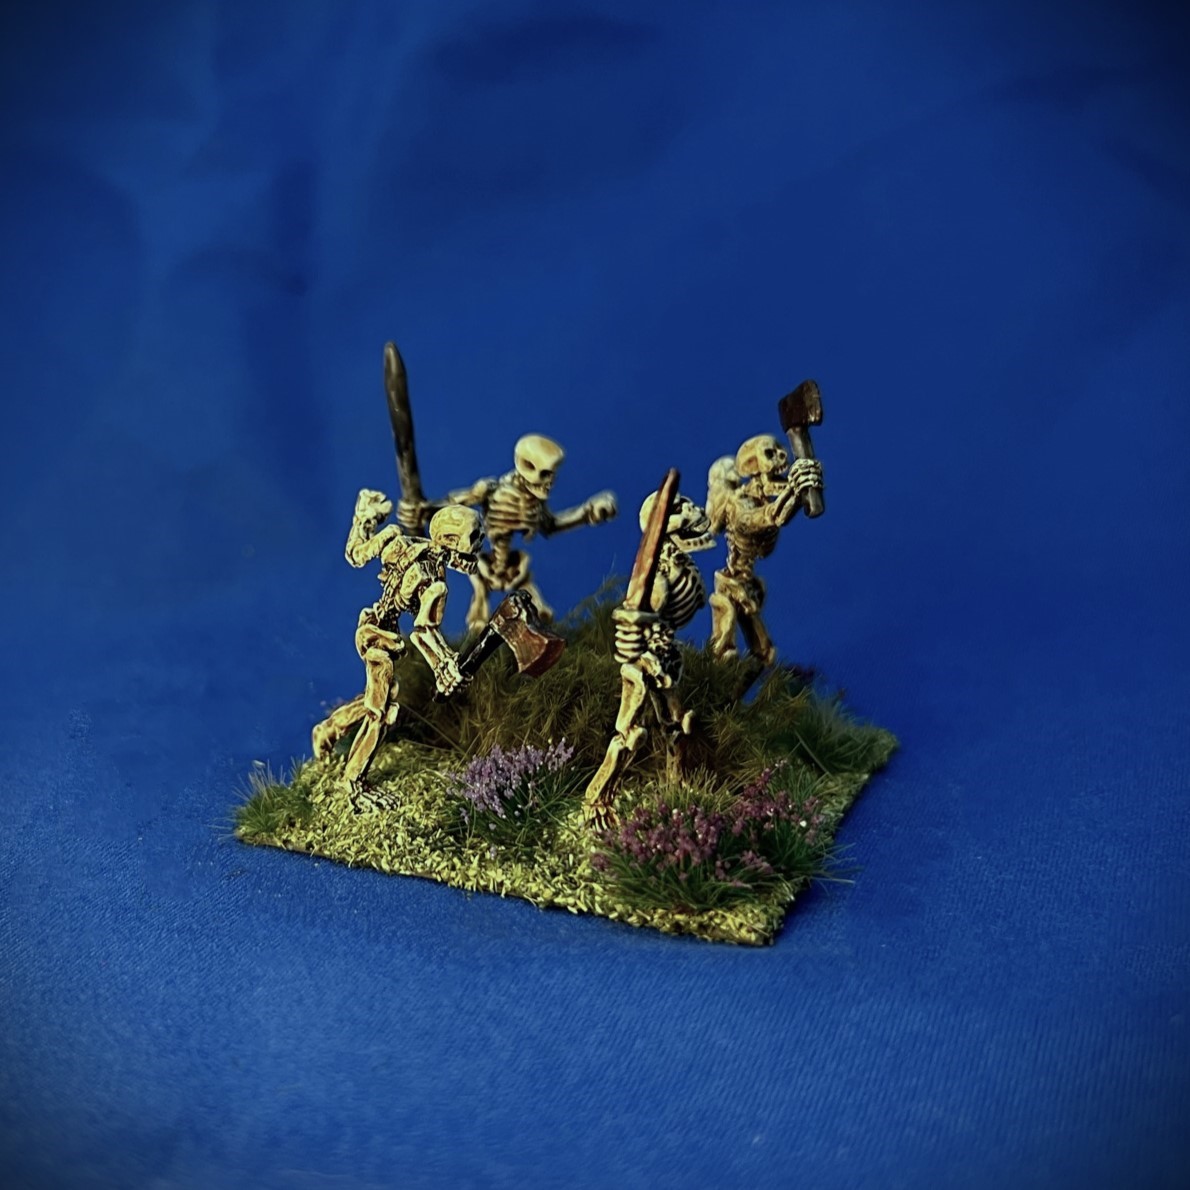
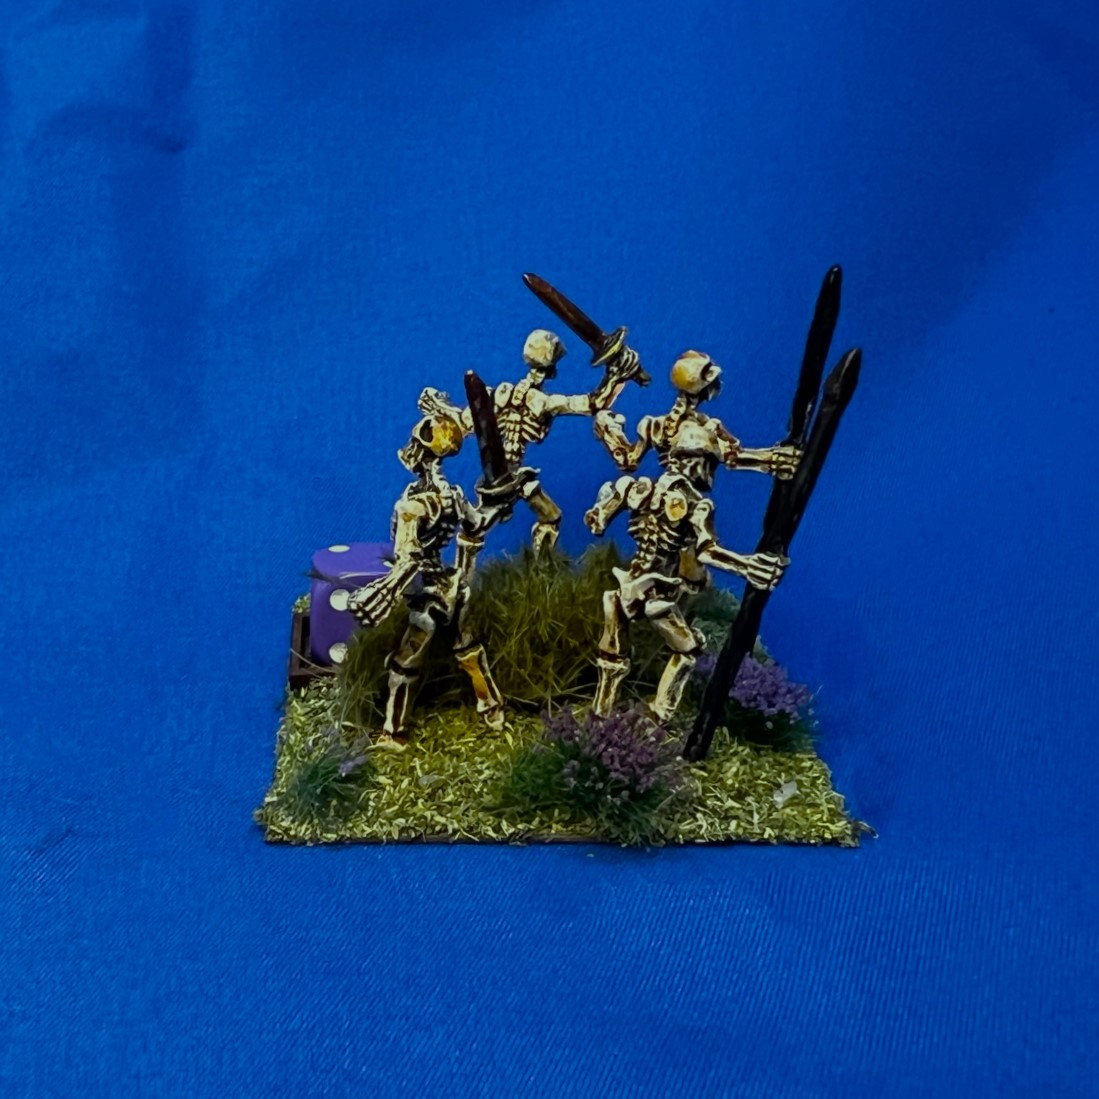
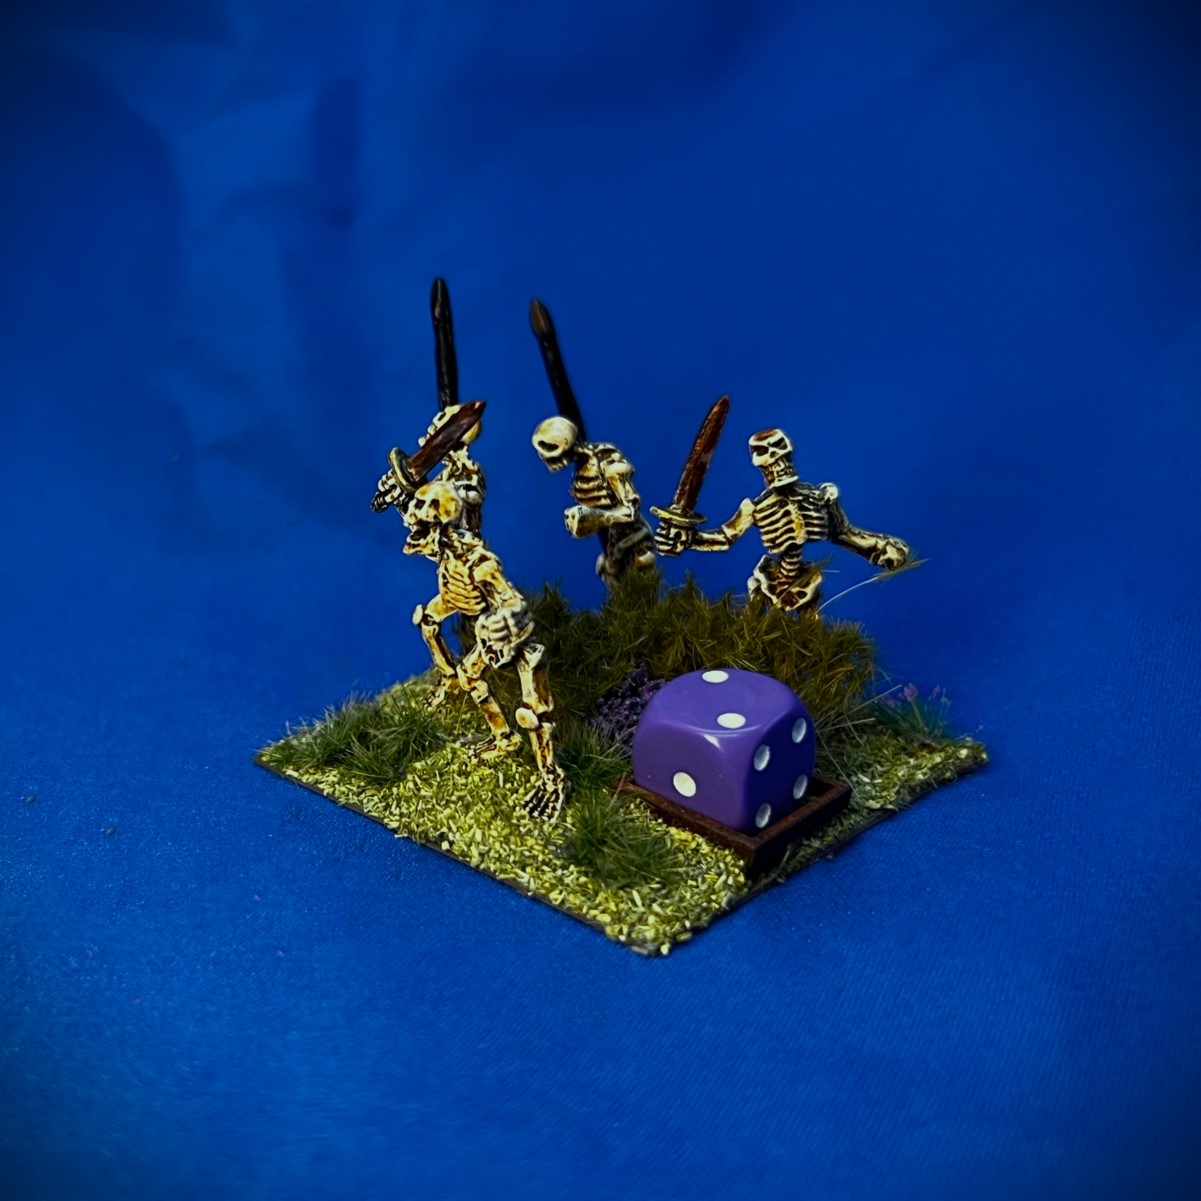
Base 1
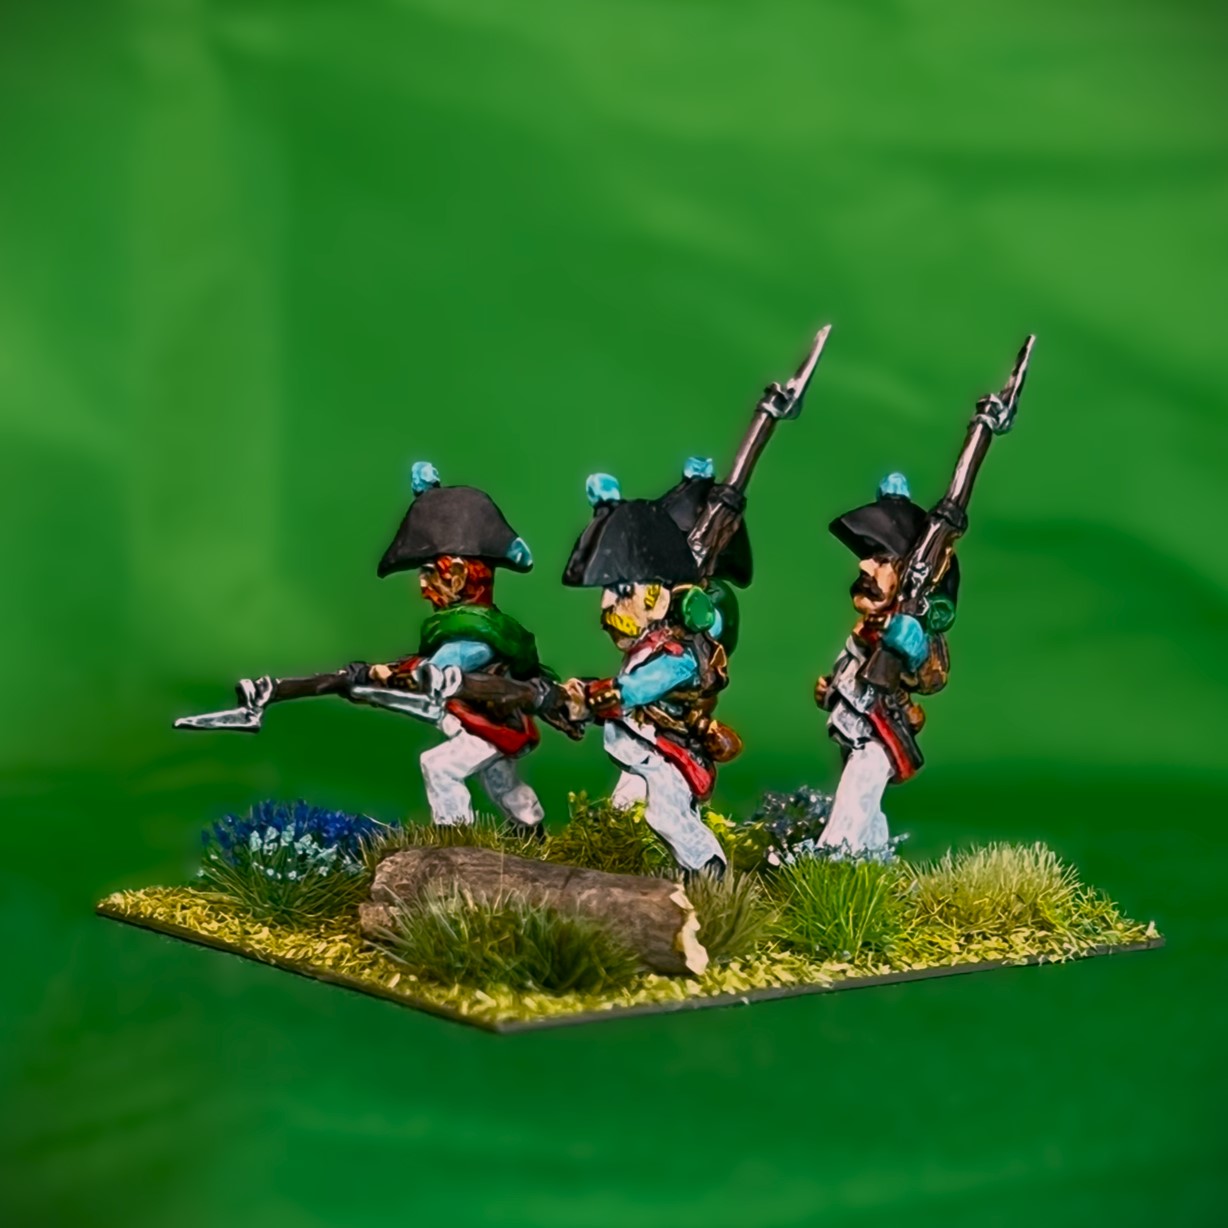

Base 2
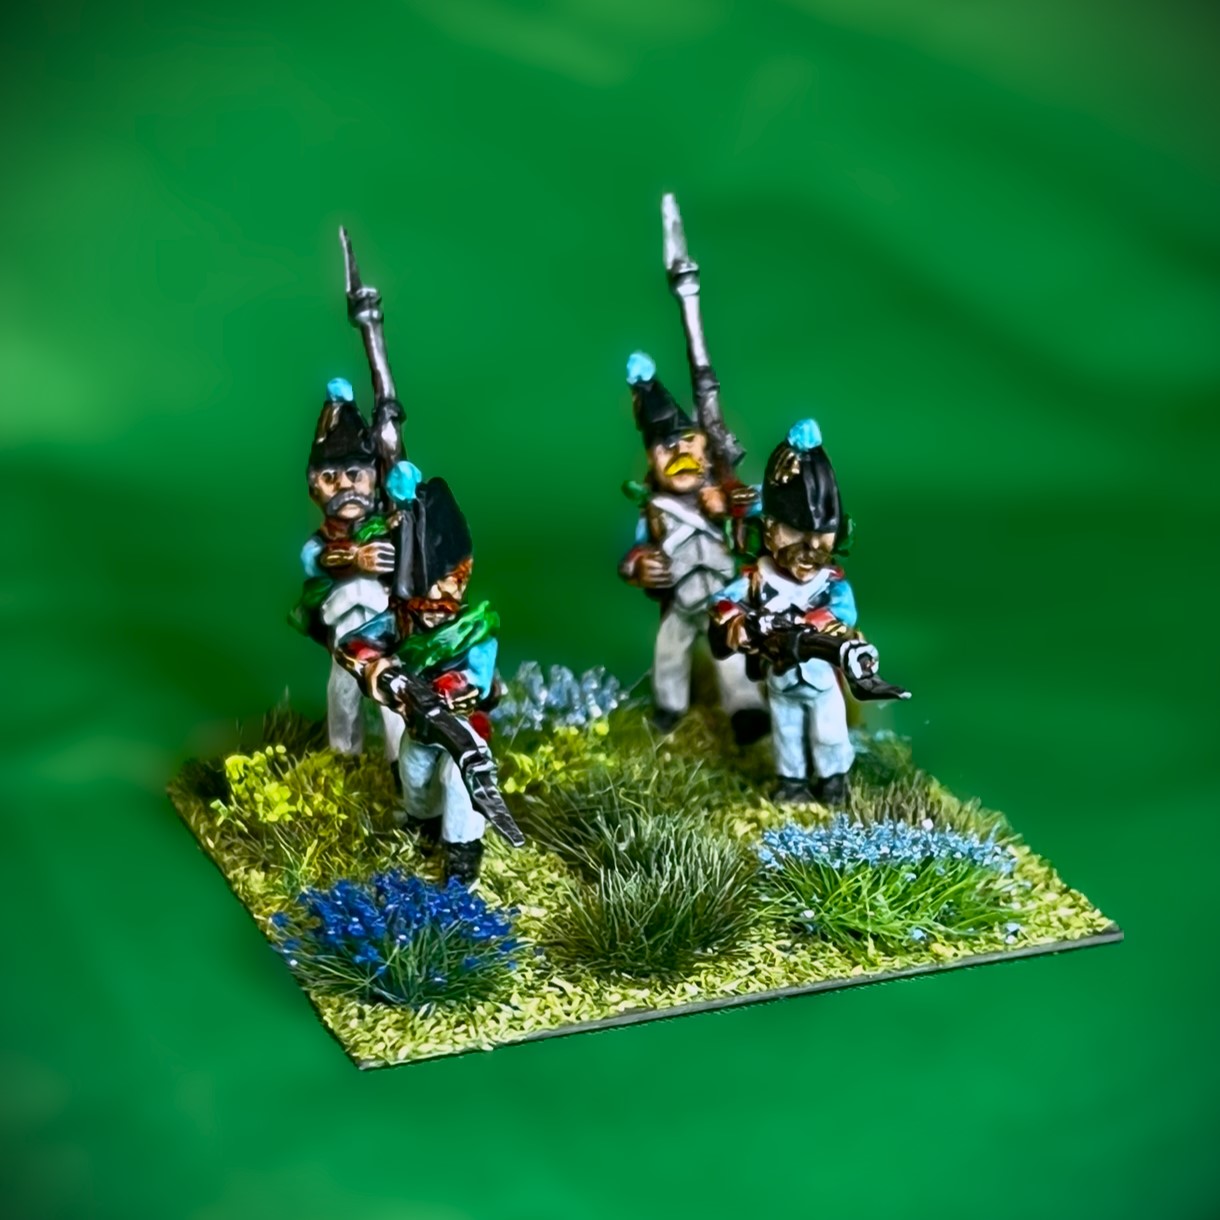
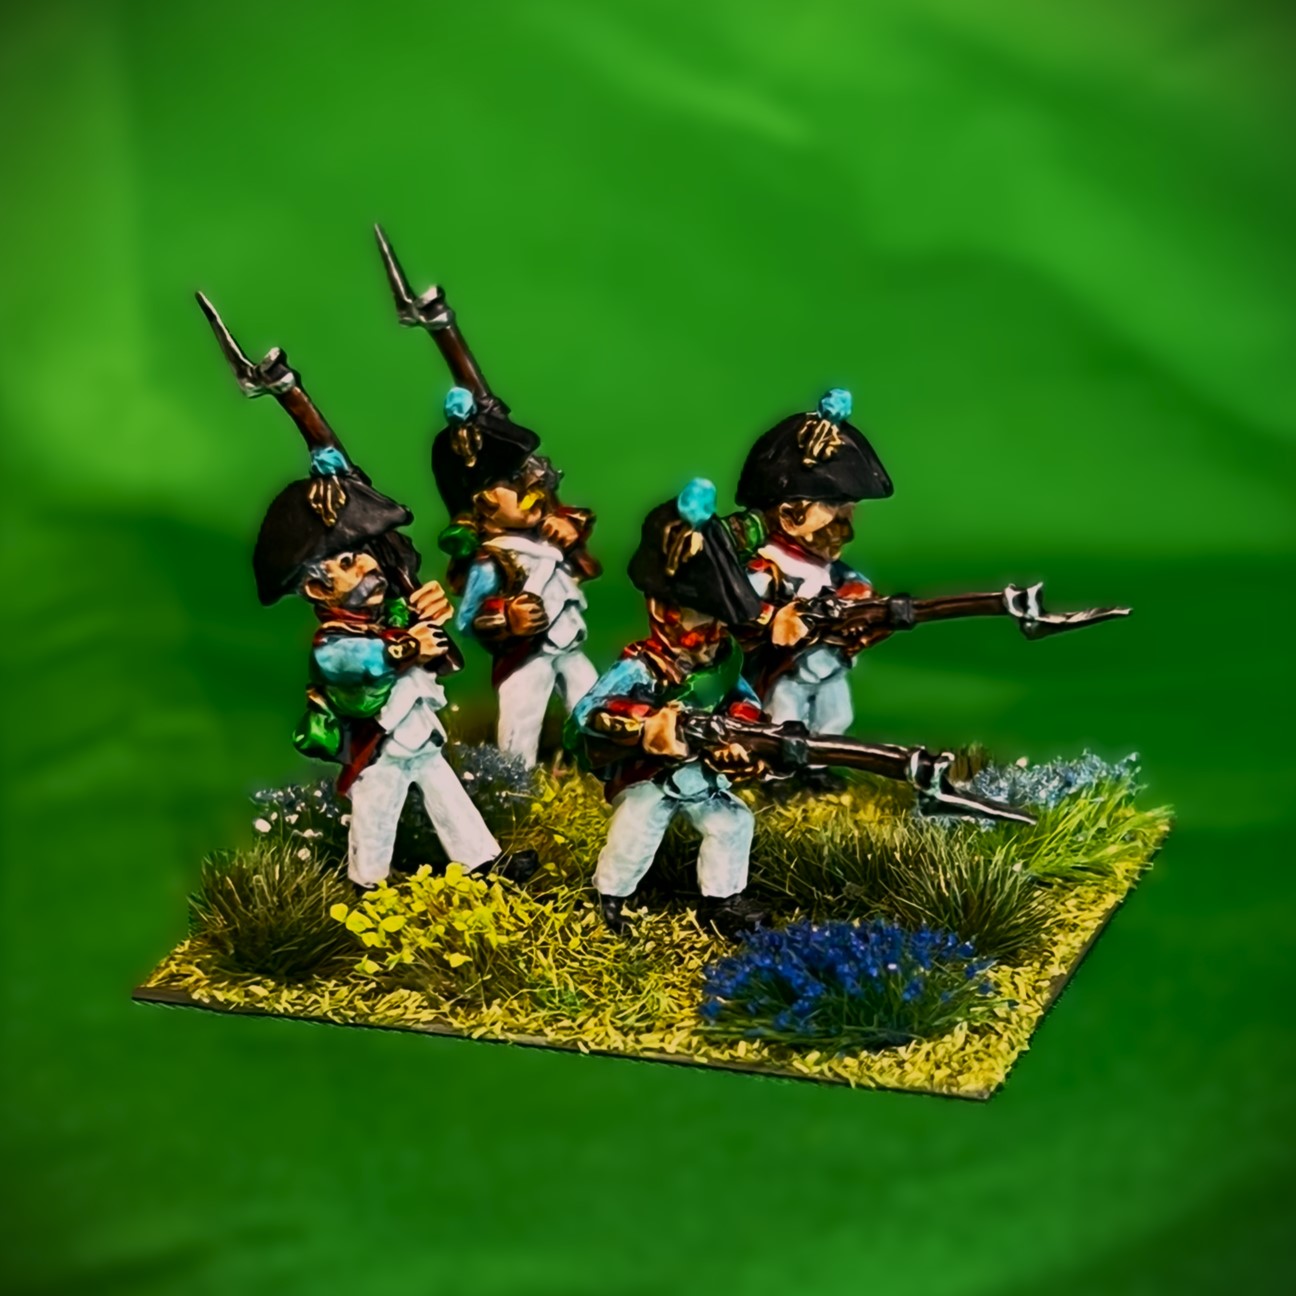
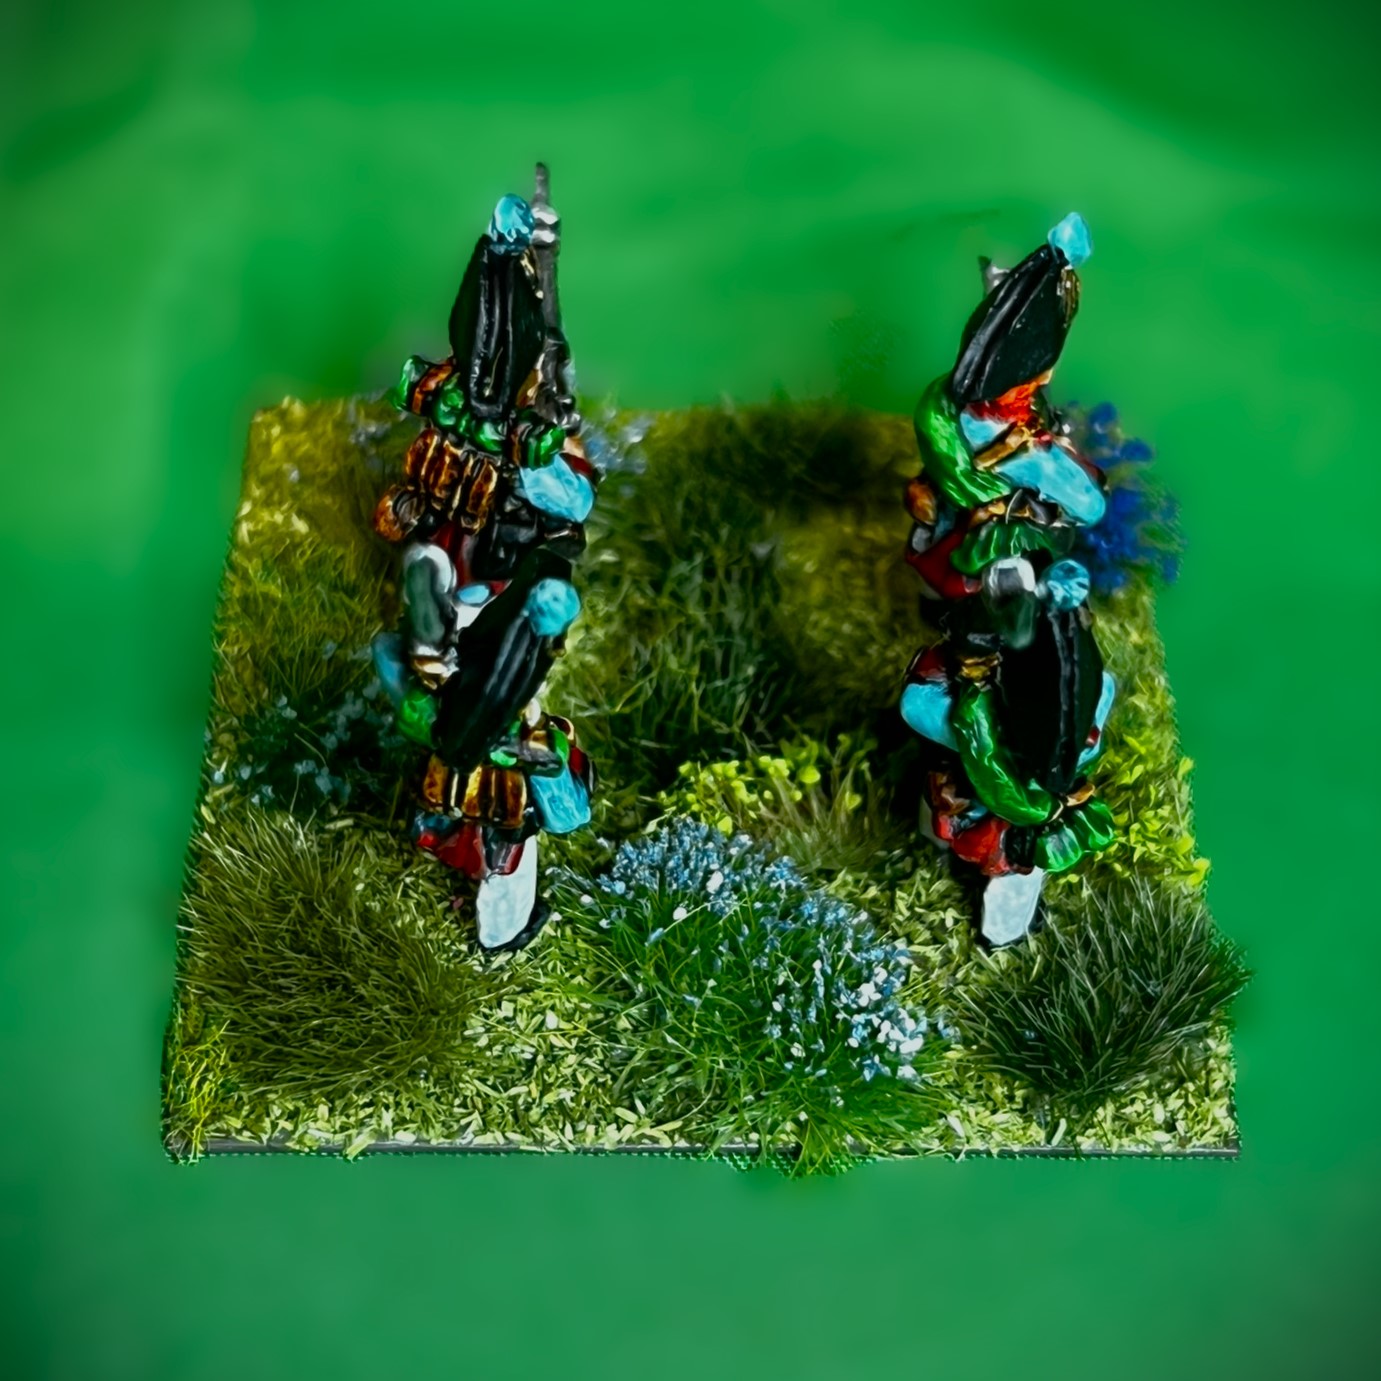
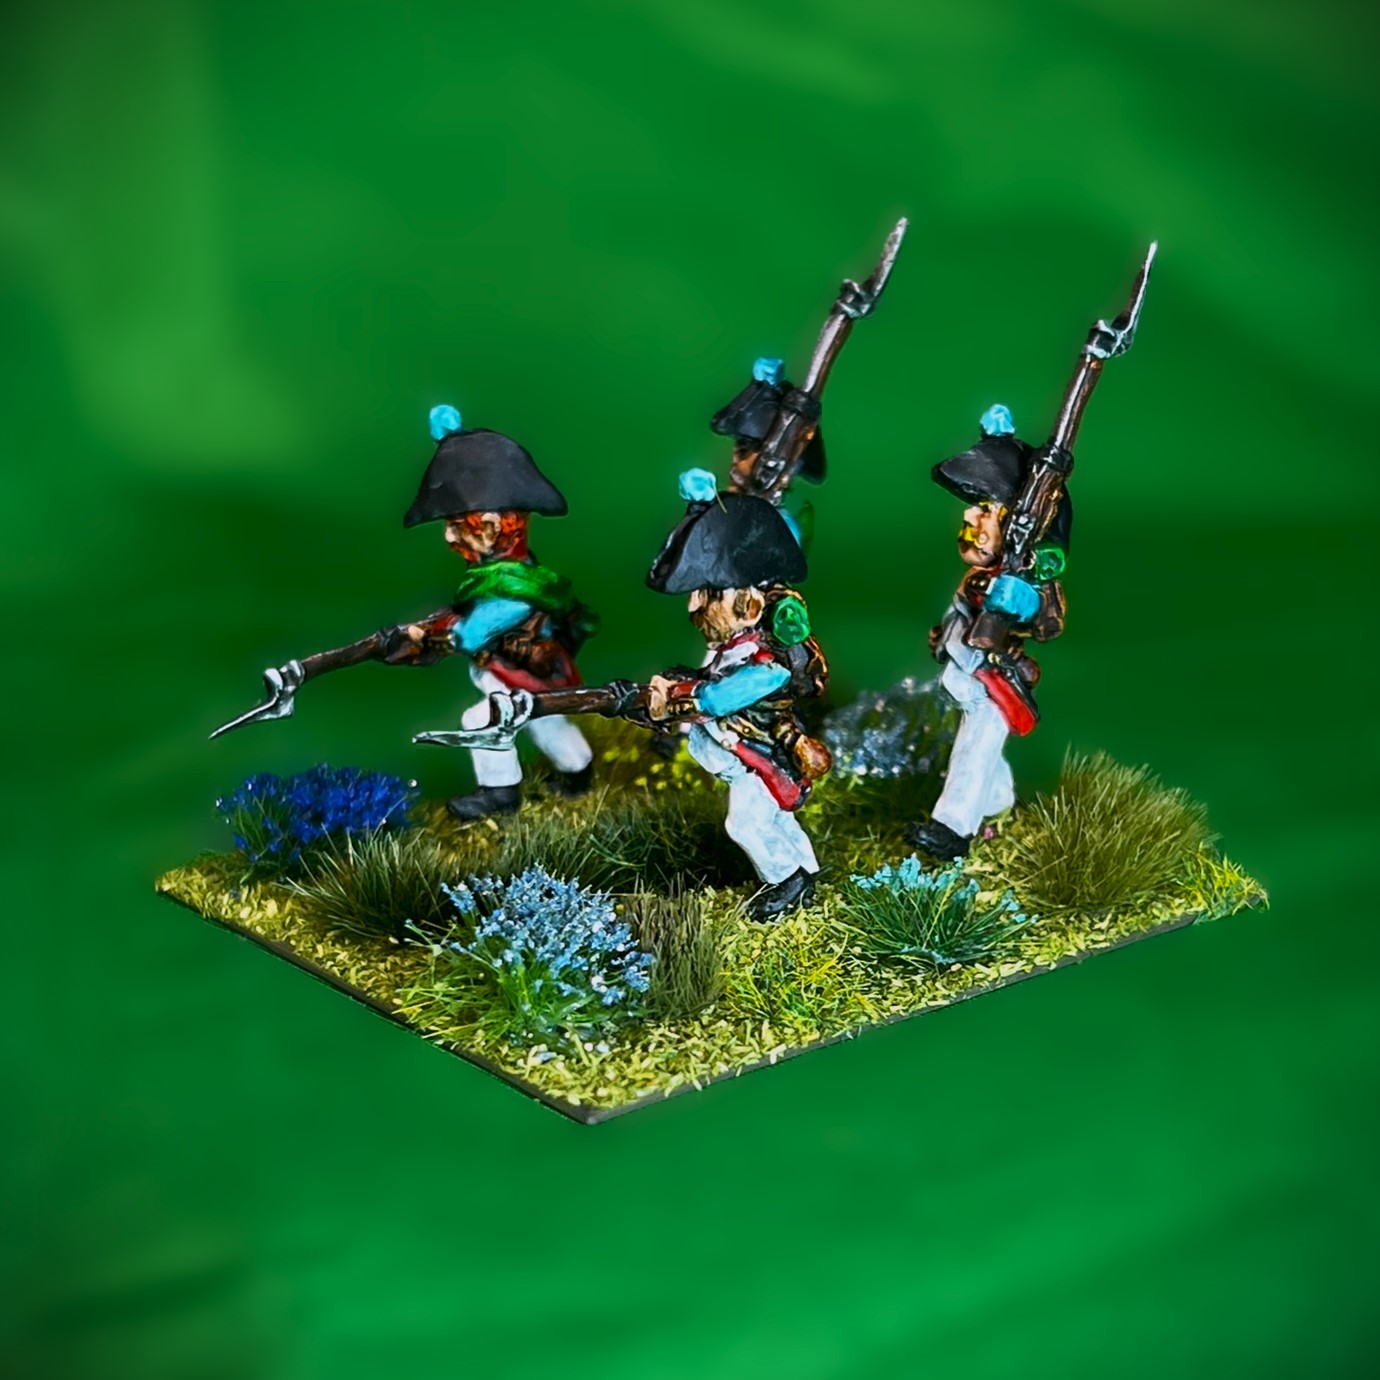
Base 3

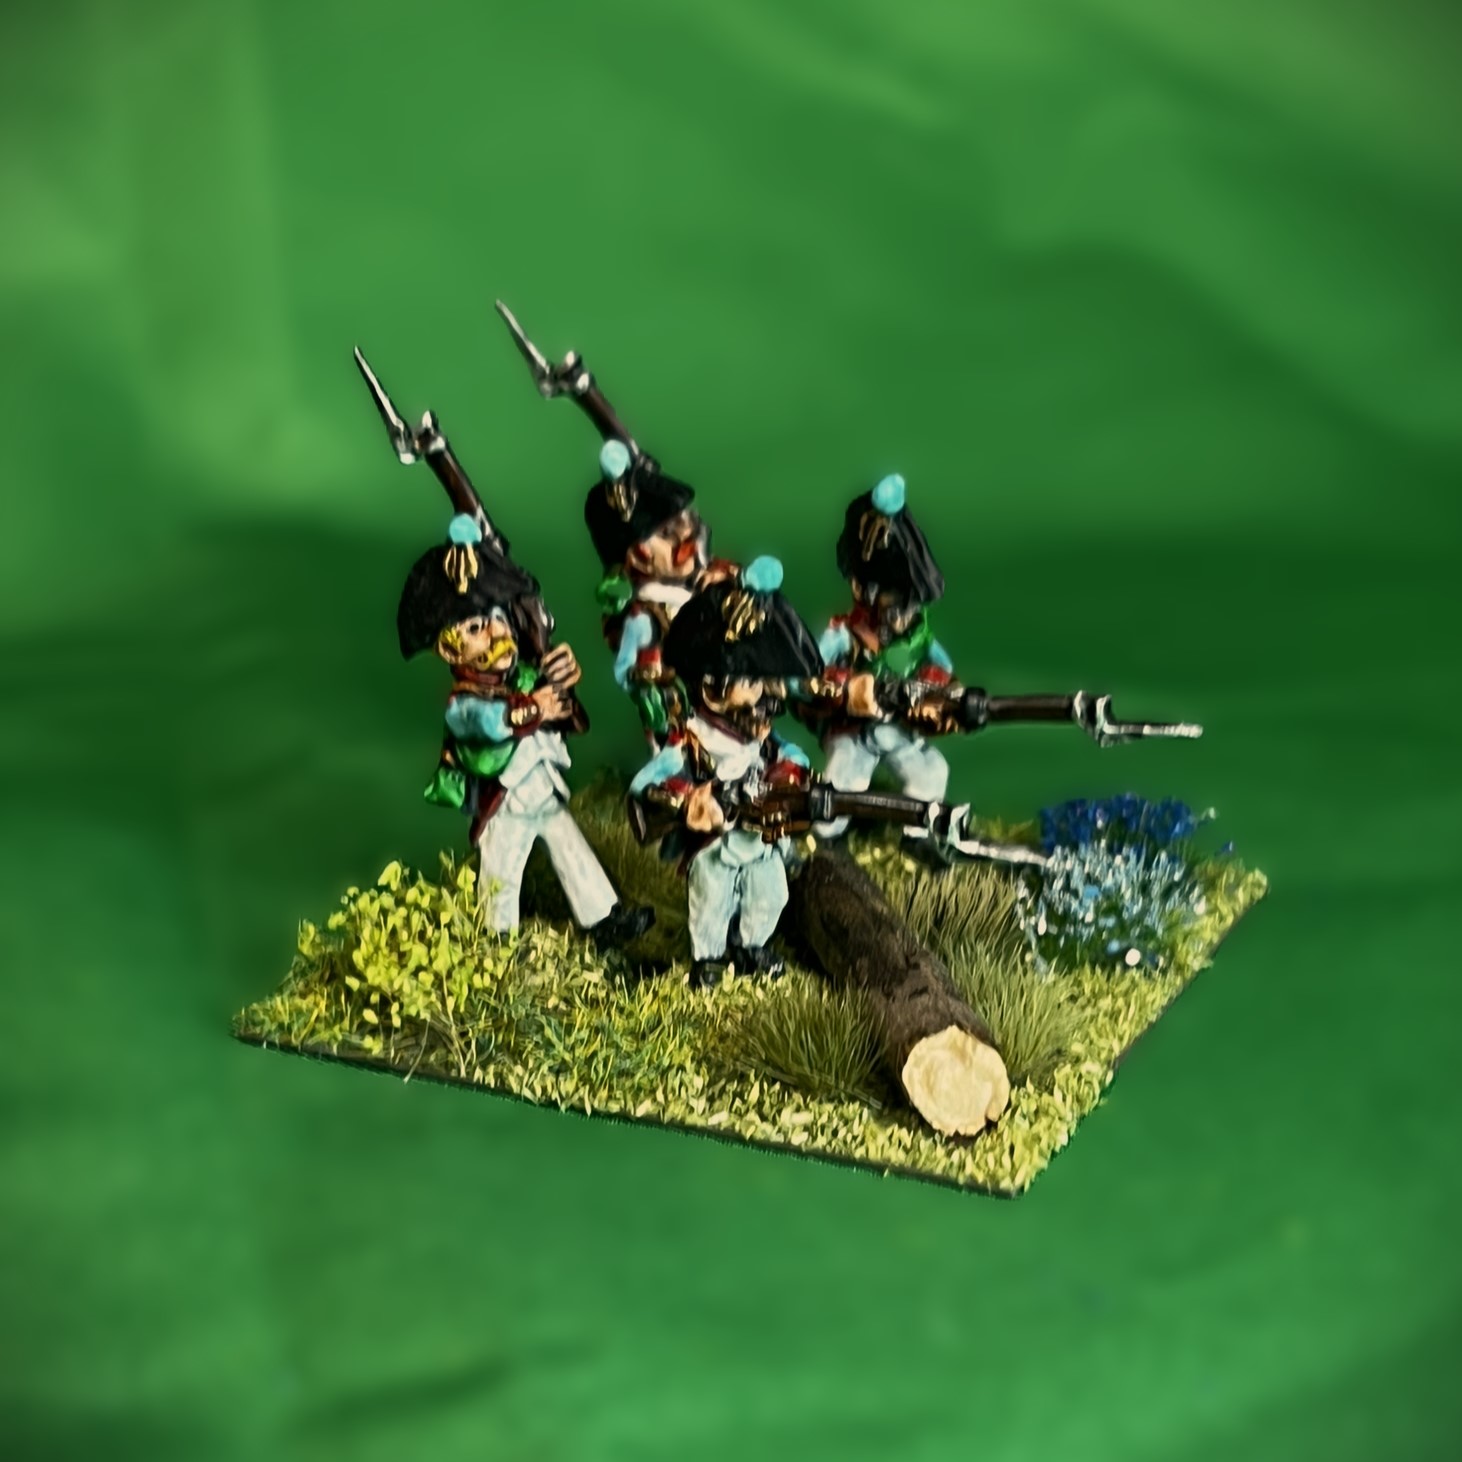
Base 4
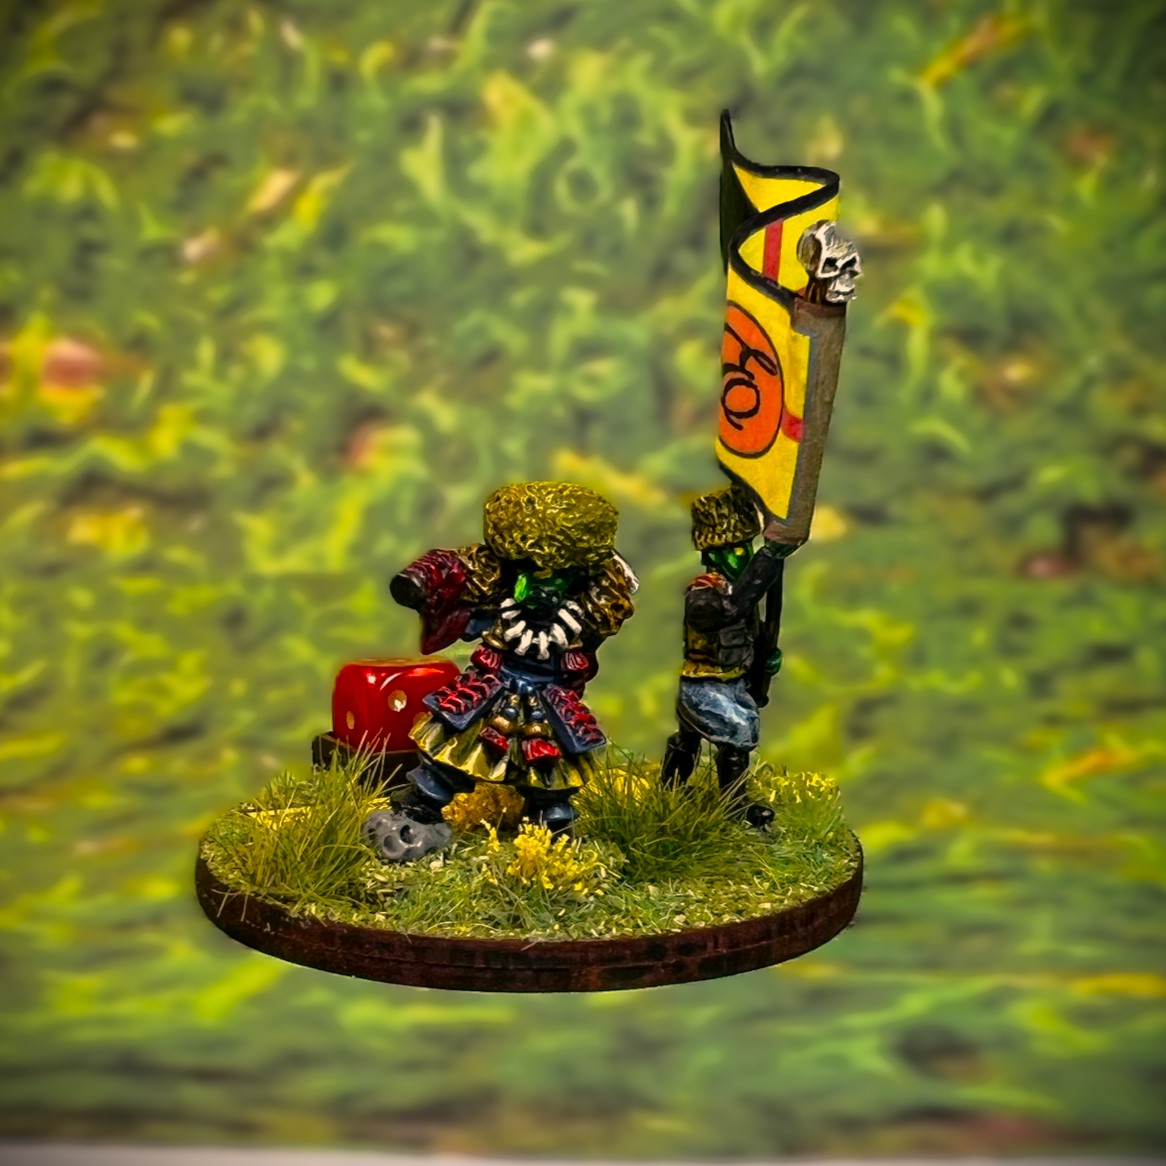
Command Base

Here now are a few:
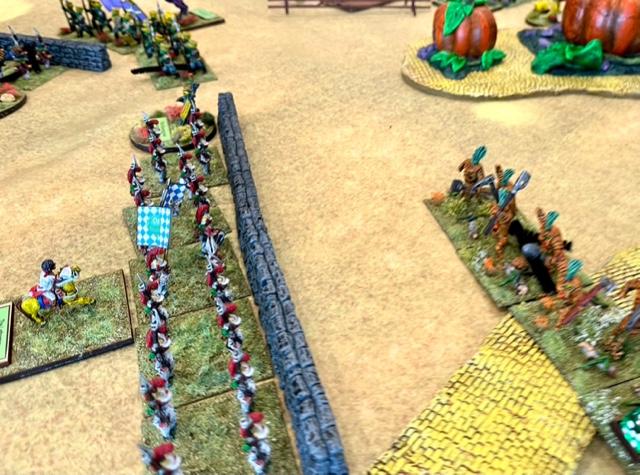
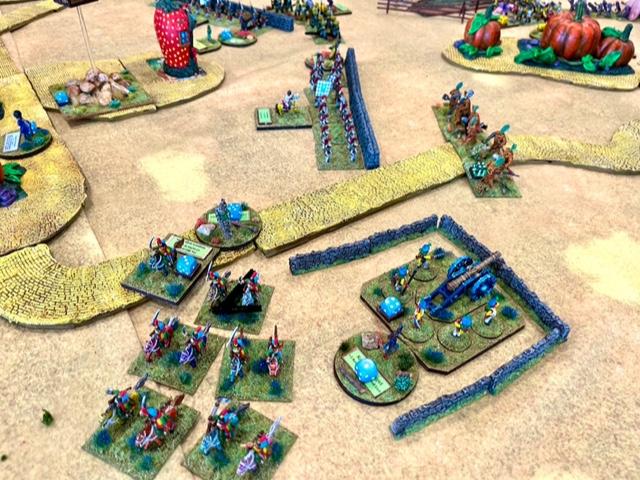
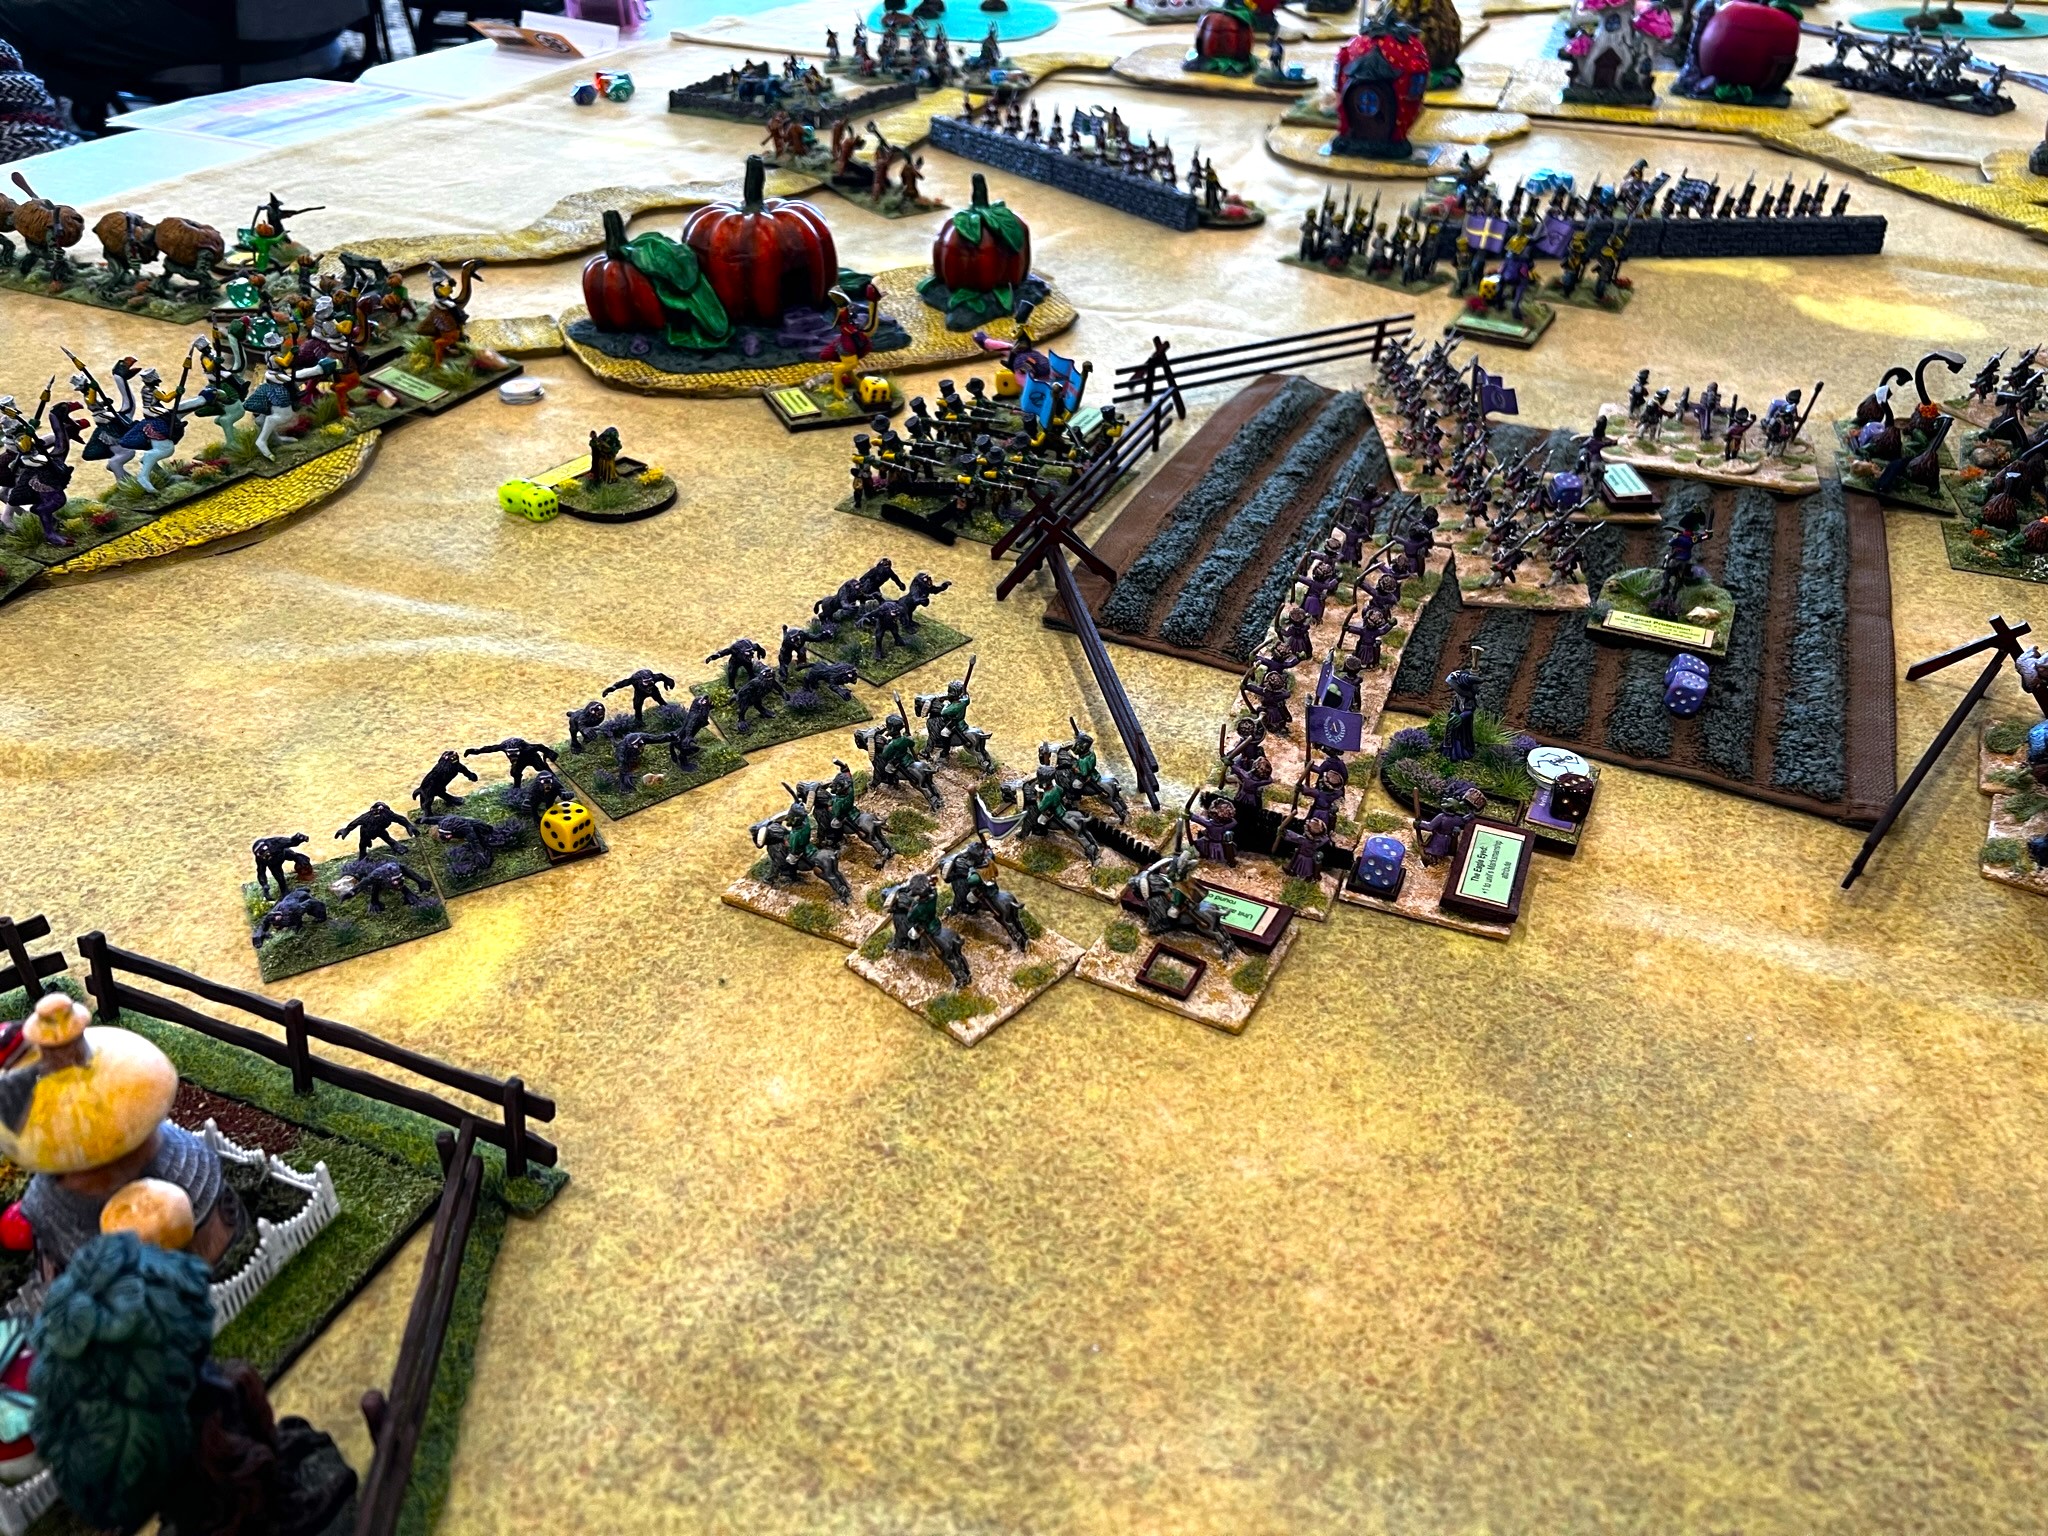
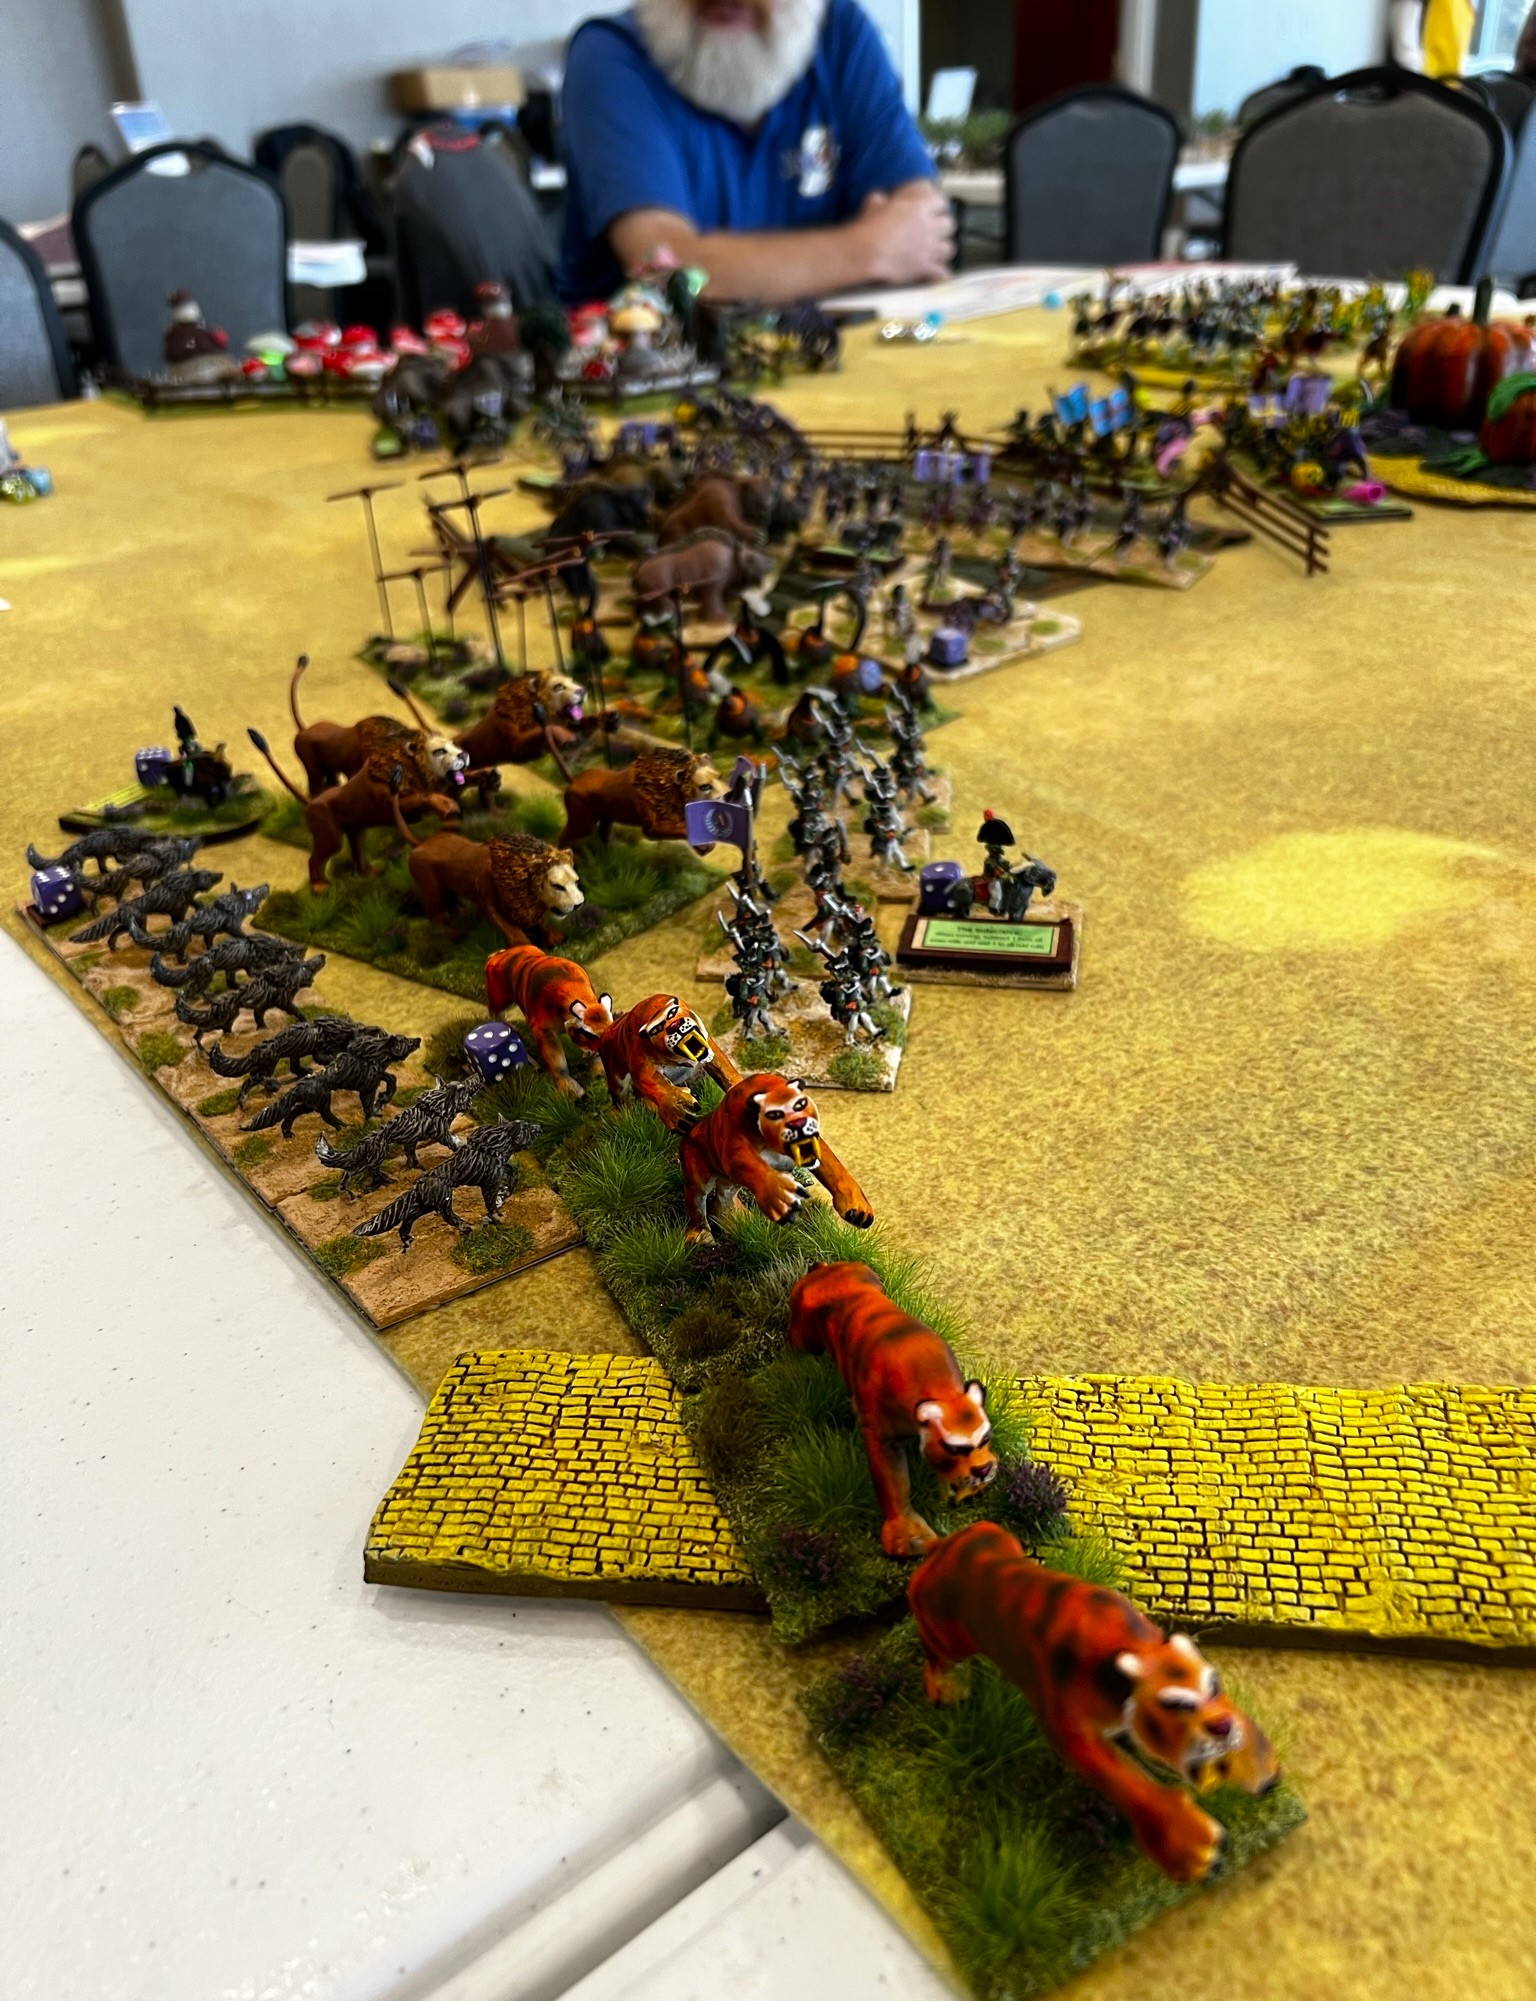
Group Shots


In the long run, I’d be tempted to paint up another Landwehr unit. But for now, this will do. I have others to paint first.
I do hope that you enjoyed seeing this unit and reading the post. Next up will be another Munchkin artillery unit for Dave’s challenge – and soon. Thanks for looking!
And yes, I still have much more Ozz to come…
Miscellaneous details and references for those interested in that sort of thing:
For all of my previous posts on Wars of Ozz games, figures, units, and other related projects – please see this page.
PAINTS, INKS, GLAZES, SHADES, WASHES, PIGMENTS, FLOCKING, GLUES AND MORE THAT I USED ON THE 1ST POPPY FIELDS LANDWEHR INFANTRY REGIMENT:
- Rectangular Brigade MDF base (used as a Regimental base) from Old Glory
- 2″ square steel bases from Wargames Accessories (#21)
- 1.25″ x 1″ square steel base from Wargames Accessories (#FOW1)
- 1/2″ Everbilt steel washers
- 3/4″ Everbilt steel washers
- Gorilla Glue
- Poster tack
- Vallejo Premium Primer “White”
- Vallejo “Flow Improver”
- Vallejo “Airbrush Thinner”
- Secret Weapon Washes “Heavy Body Black” (wash)
- Citadel “Nuln Oil” (wash)
- Vallejo Mecha Color “Off White”
- P3 “Brown Ink” (ink)
- Citadel “Contrast Paint – Karandras Green”
- Army Painter “Speed Paint – Glittering Loot 2.0”
- Citadel “Contrast Paint – Aethermatic Blue”
- Citadel “Contrast Paint – Contrast Medium”
- Citadel “Contrast Paint – Black Templar”
- Vallejo Mecha Color “SZ Red”
- Reaper MSP “Blue Liner”
- Vallejo Model Color “Black”
- Vallejo Model Color “White”
- Army Painter “Speed Paint – Hardened Leather 1.0”
- Army Painter “Speed Paint – Crusader Skin 1.0”
- Vallejo Model Air “Steel”
- Vallejo “Thinner Medium”
- Citadel “Contrast Paint – Ironjawz Yellow”
- Army Painter “Speed Paint – Fire Drake 2.0”
- Citadel “Contrast Paint – Magmadroth Flame”
- Vallejo Model Color “Light Brown”
- Army Painter “Speed Paint – Ashen Stone 2.0”
- Army Painter “Warpaint – Gun Metal”
- Vallejo Model Air “Black Metallic”
- Martha Stewart Crafts “Brushed Bronze”
- P3 “Midland Flesh”
- Vallejo Model Color “English Uniform”
- Vallejo Model Color “Wood Grain”
- Citadel “Contrast Paint – Pylar Glacier”
- Vallejo Model Color “Light Flesh Tone”
- Citadel “Seraphim Sepia” (wash/shade)
- Citadel “Contrast Paint – Apothecary White”
- Citadel “Nuln Oil GLOSS” (wash/shade)
- Army Painter “Flesh Wash” (wash)
- Black Sharpie pen
- Blue Sharpie pen
- Brown Sharpie pen
- Battlefront “Sherman Drab”
- Vallejo Mecha Varnish “Gloss Varnish”
- Vallejo Mecha Varnish “Matte Varnish”
- Elmer’s PVA Glue
- Pendraken 12mm dice frames
- Army Painter “Battlefield Grass Green” (flocking)
- Small stones
- Twigs
- Gamers Grass “Green Meadow Tufts” (flocking)
- Army Painter “Battlefield XP Woodland Tuft” (flocking)
- Gamers Grass “Wild Tufts” (flocking)
- Shadow’s Edge Miniatures “6mm Dark Forest Light Blue Tufts” (flocking)
- Shadow’s Edge Miniatures “6mm Dark Forest Dark Blue Tufts” (flocking)
- Shadow’s Edge Miniatures “6mm Wild Flower Corn Flowers Tufts” (flocking)
- Army Painter “Battlefield Field Grass” (flocking)
- Flags printed on card stock