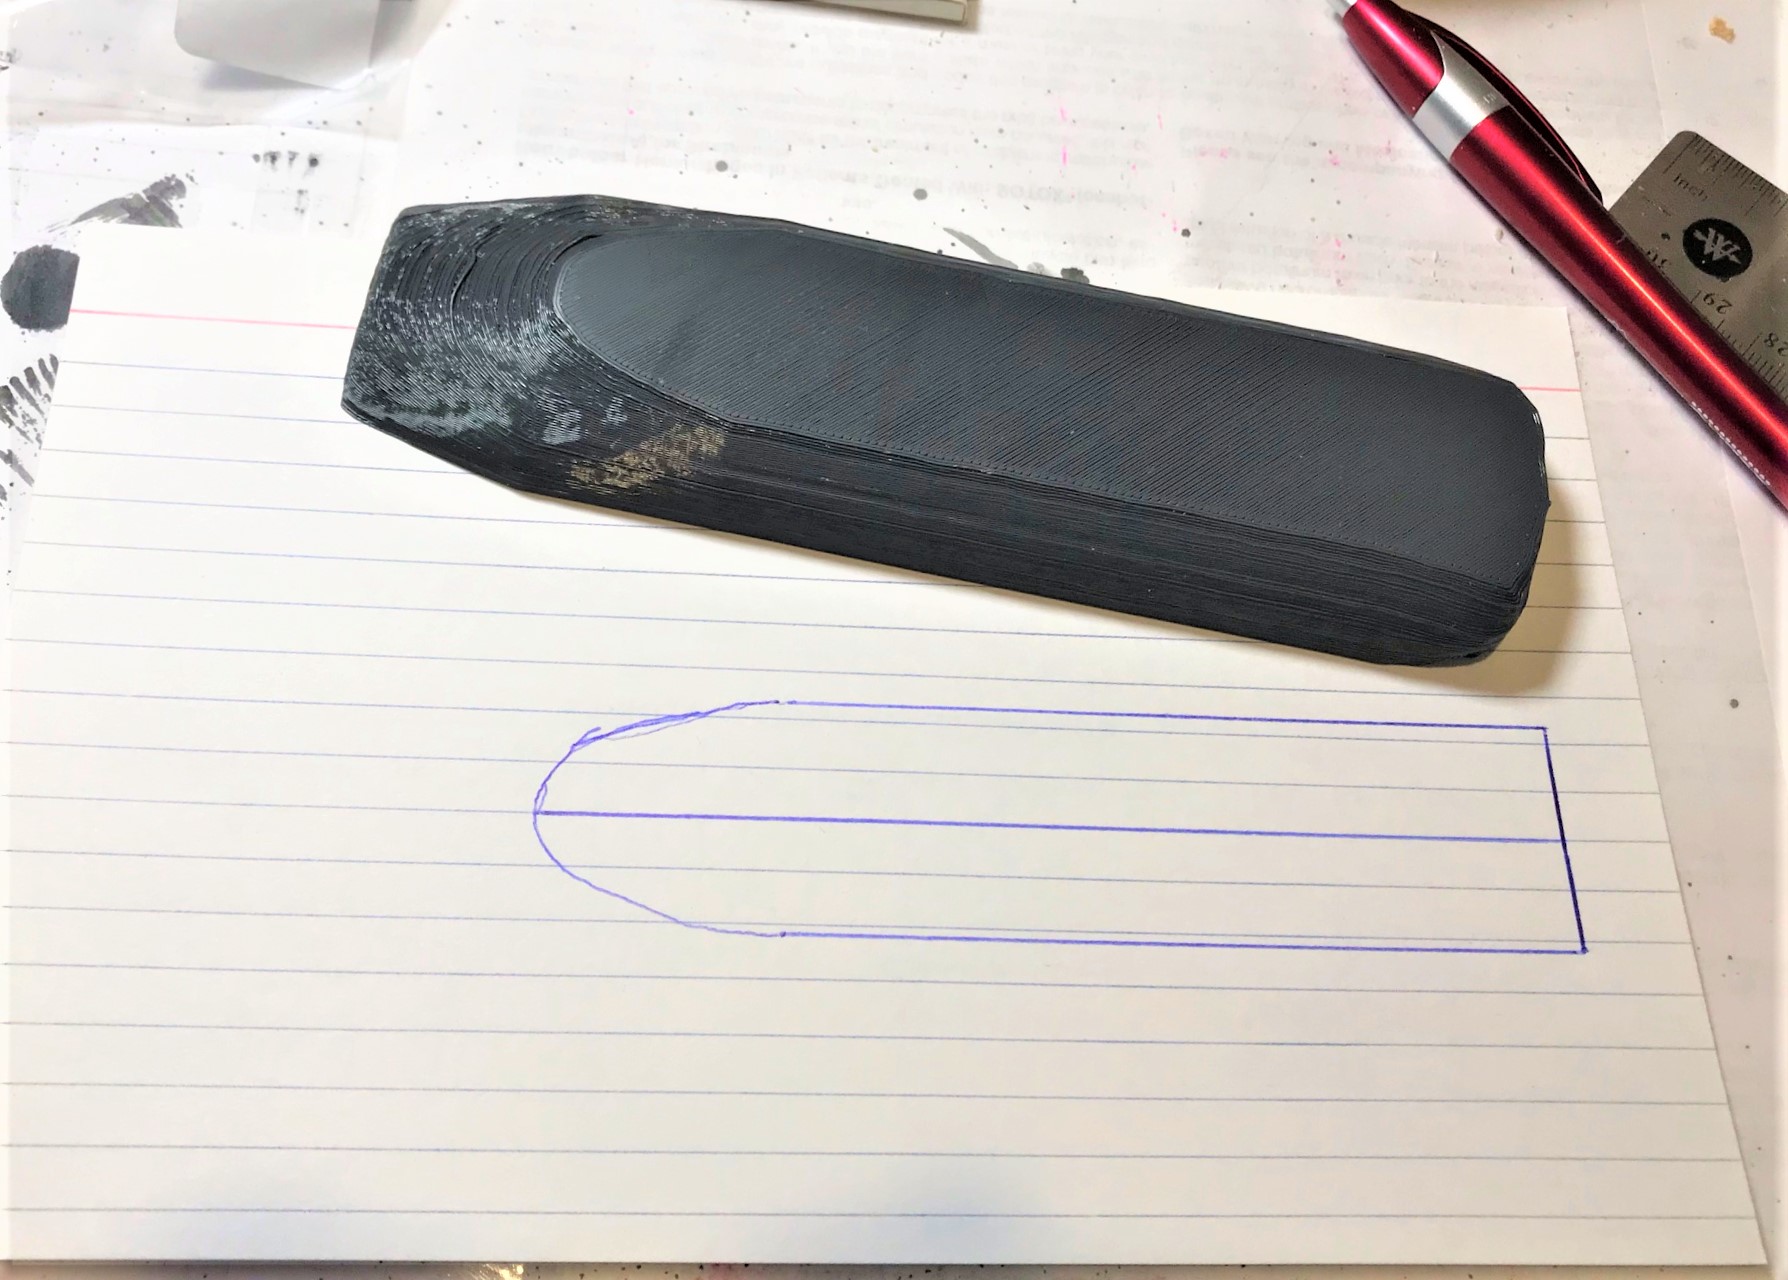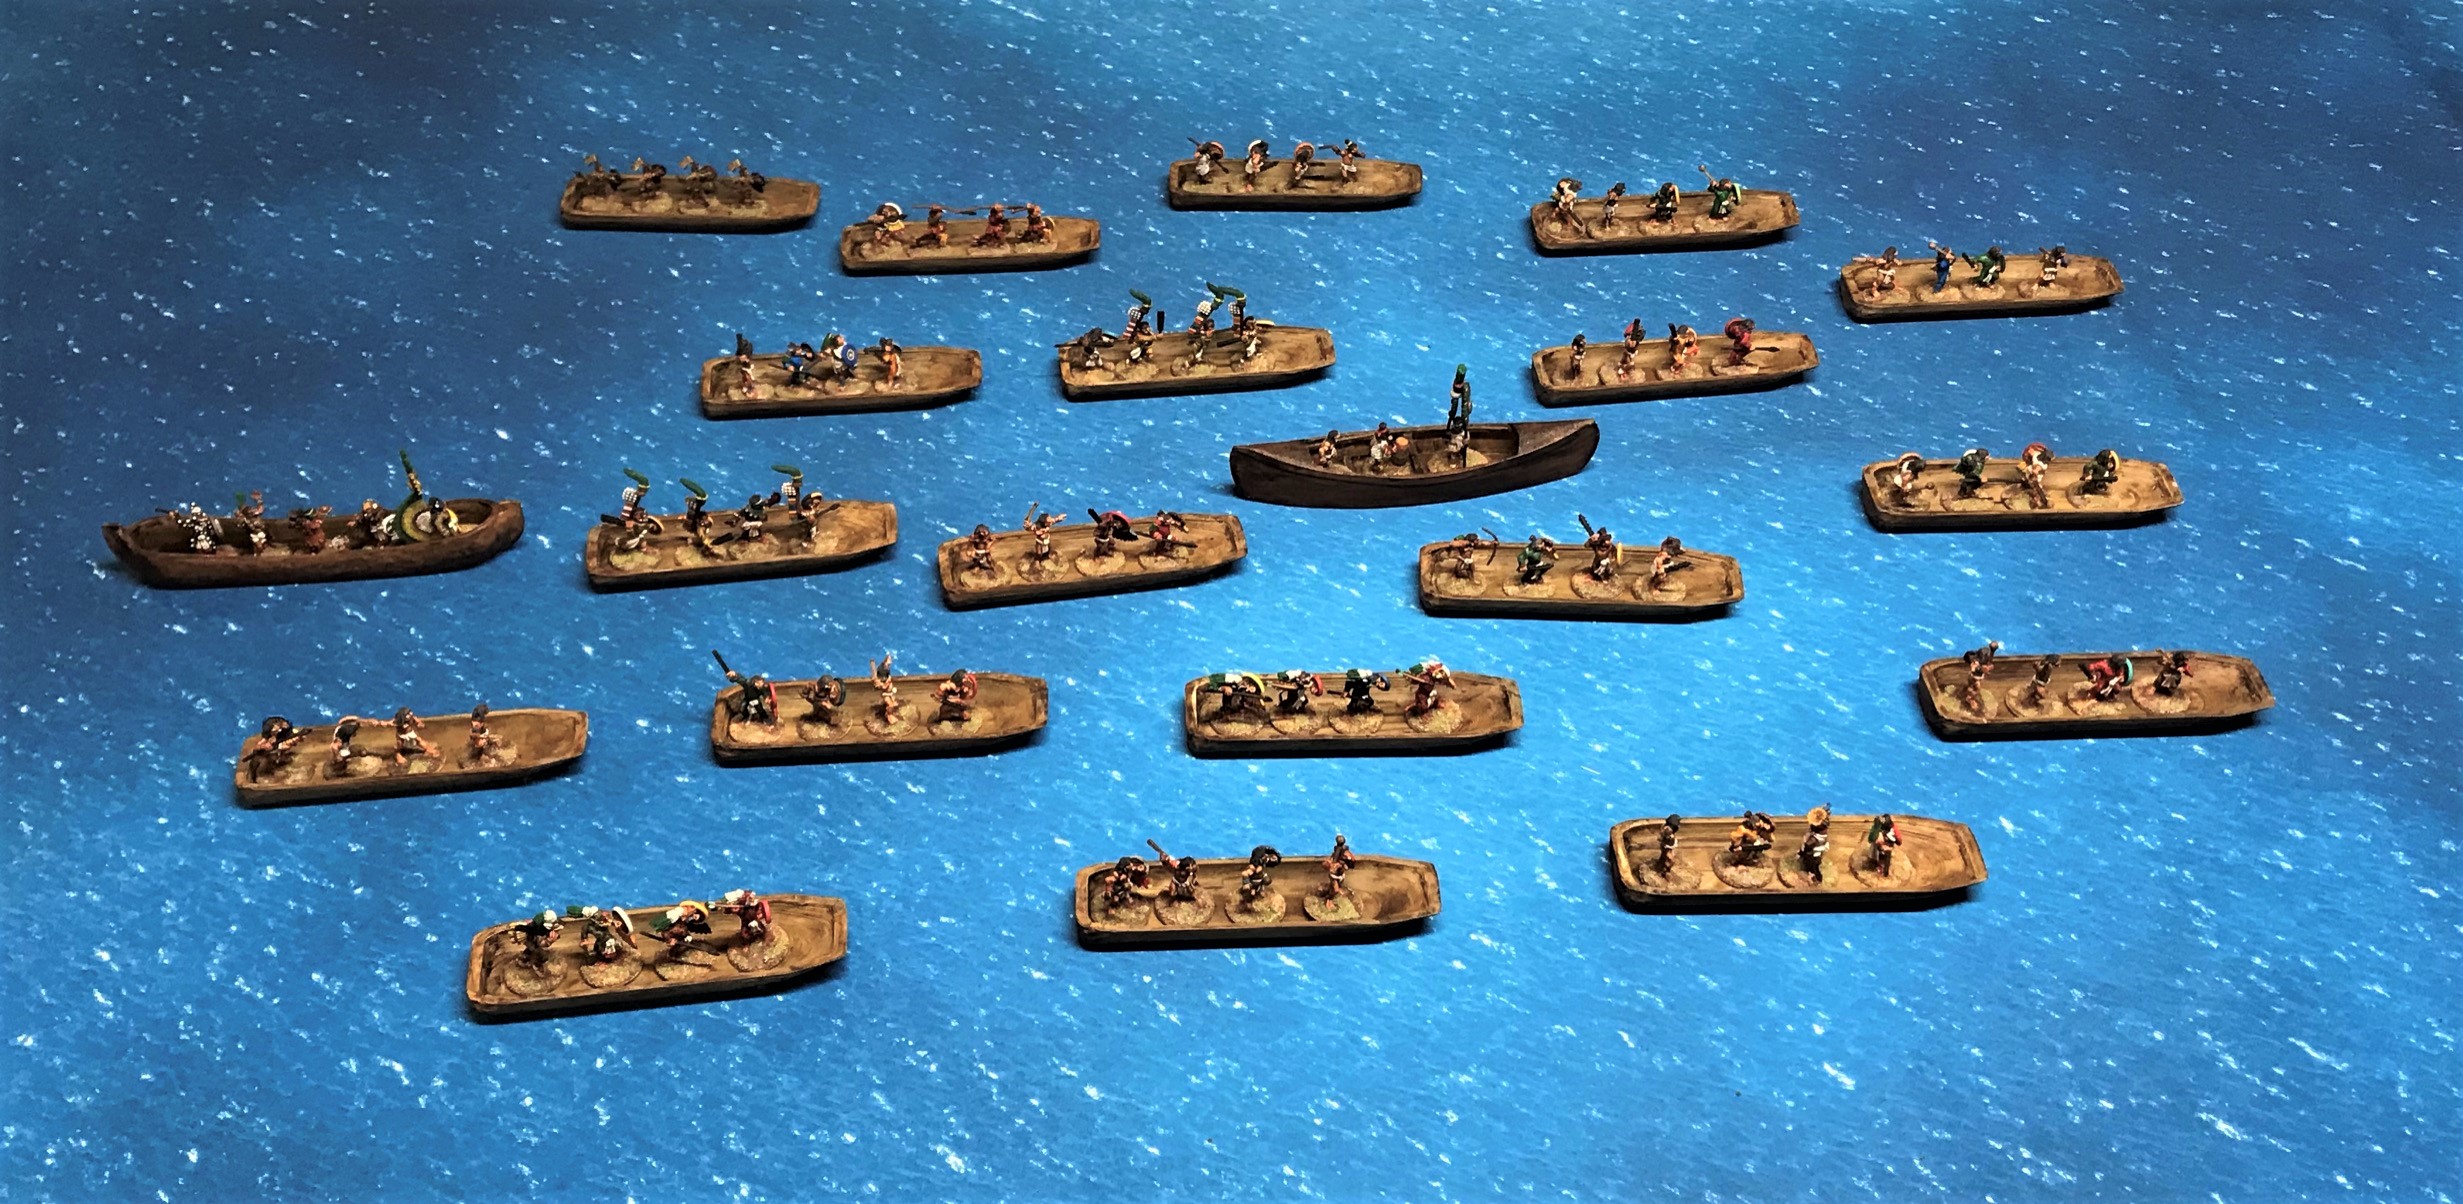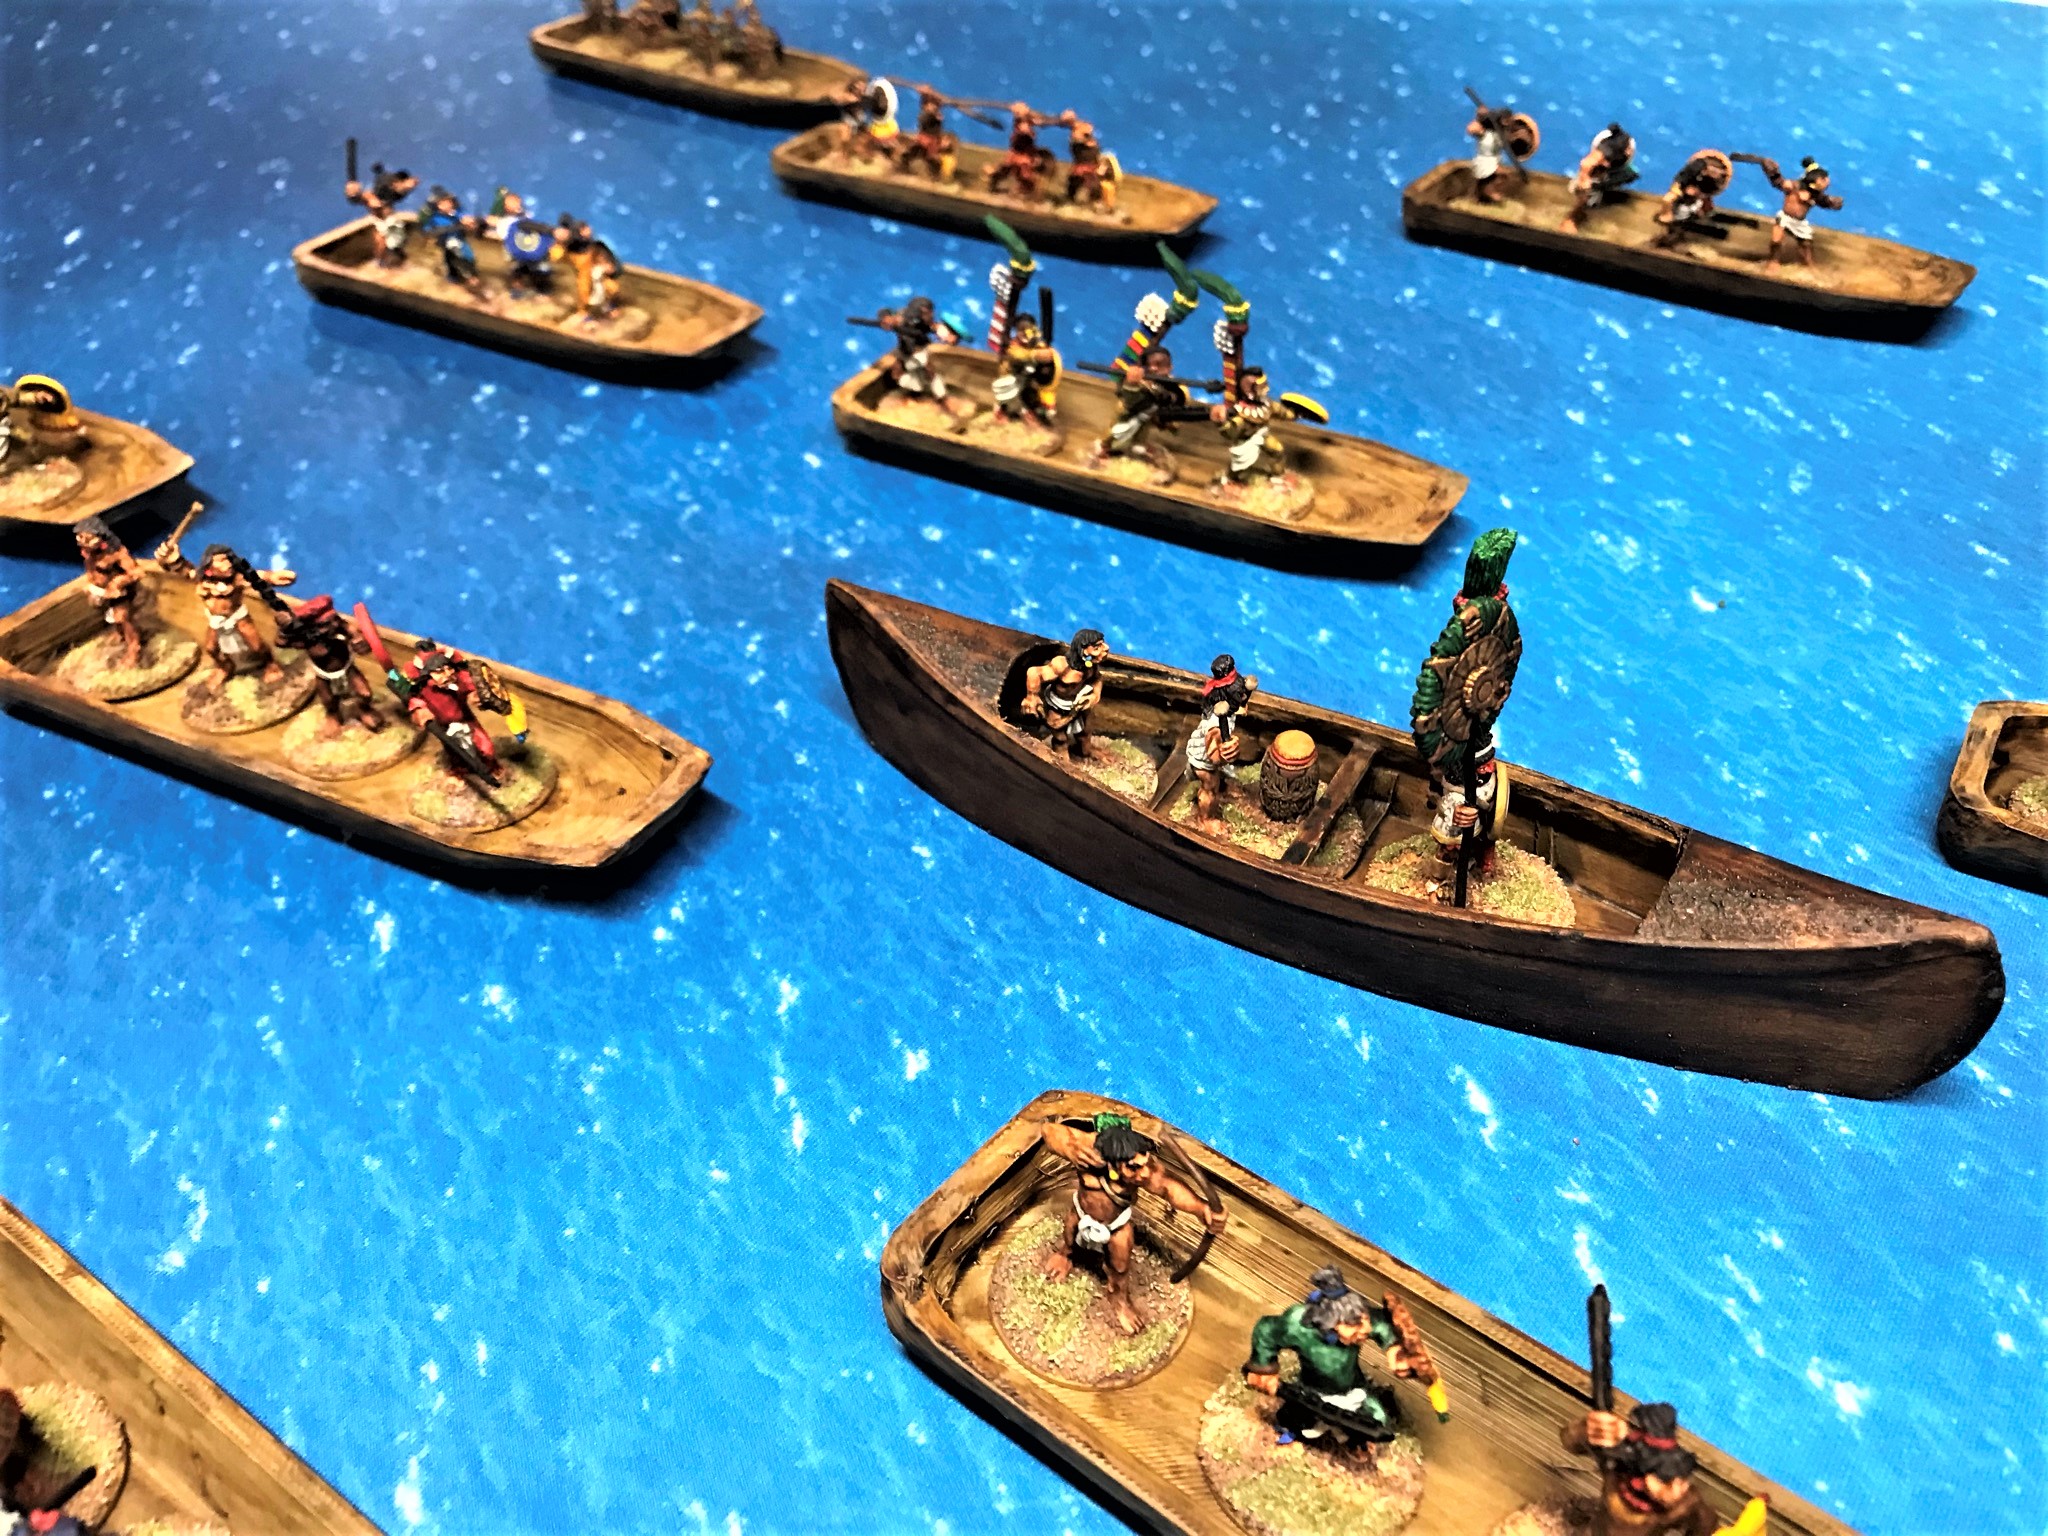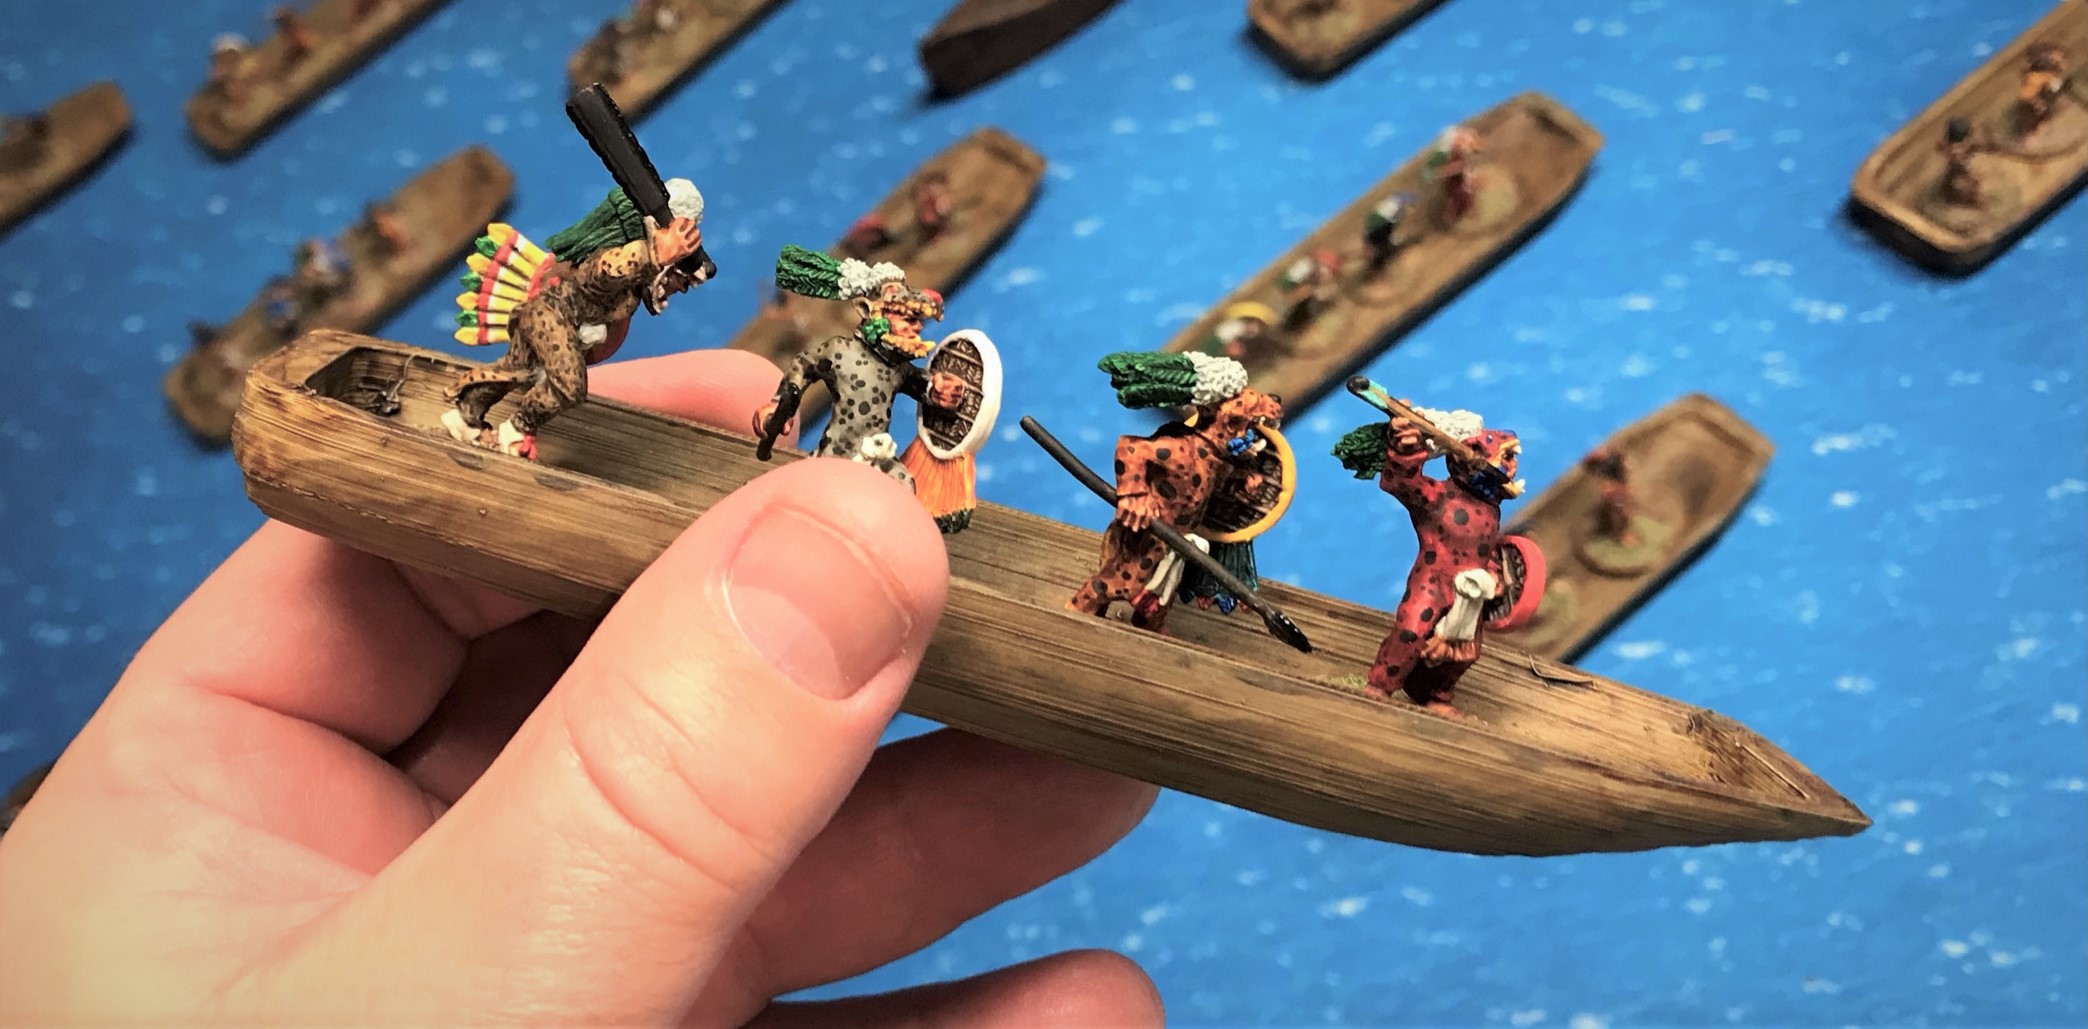
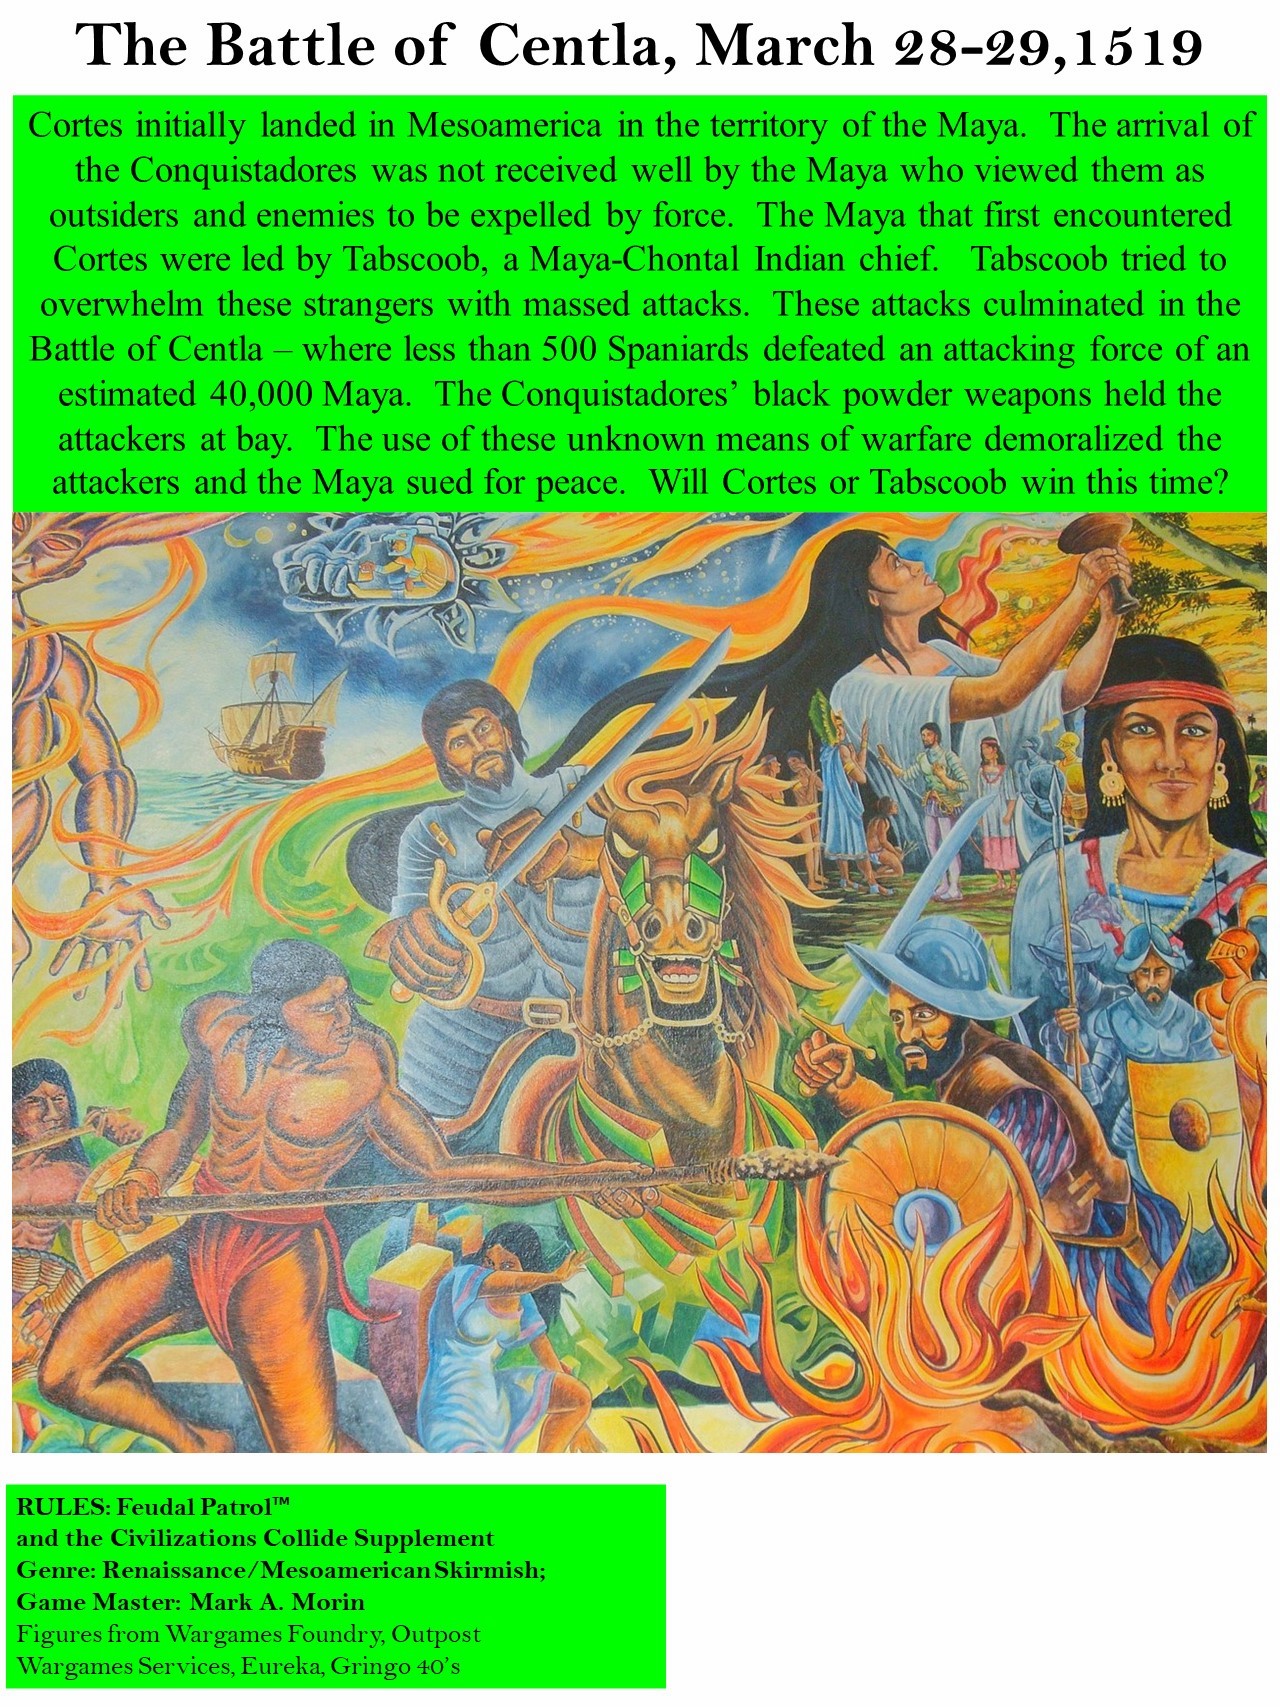
As you saw in my Sculpting Jungle Bases for the Maya post, I have been putting together jungle terrain for the coastal area of the Yucatan. These are for my Feudal PatrolTM game of the Battle of Centla using my Civilizations Collide supplement. To recap the battle history:
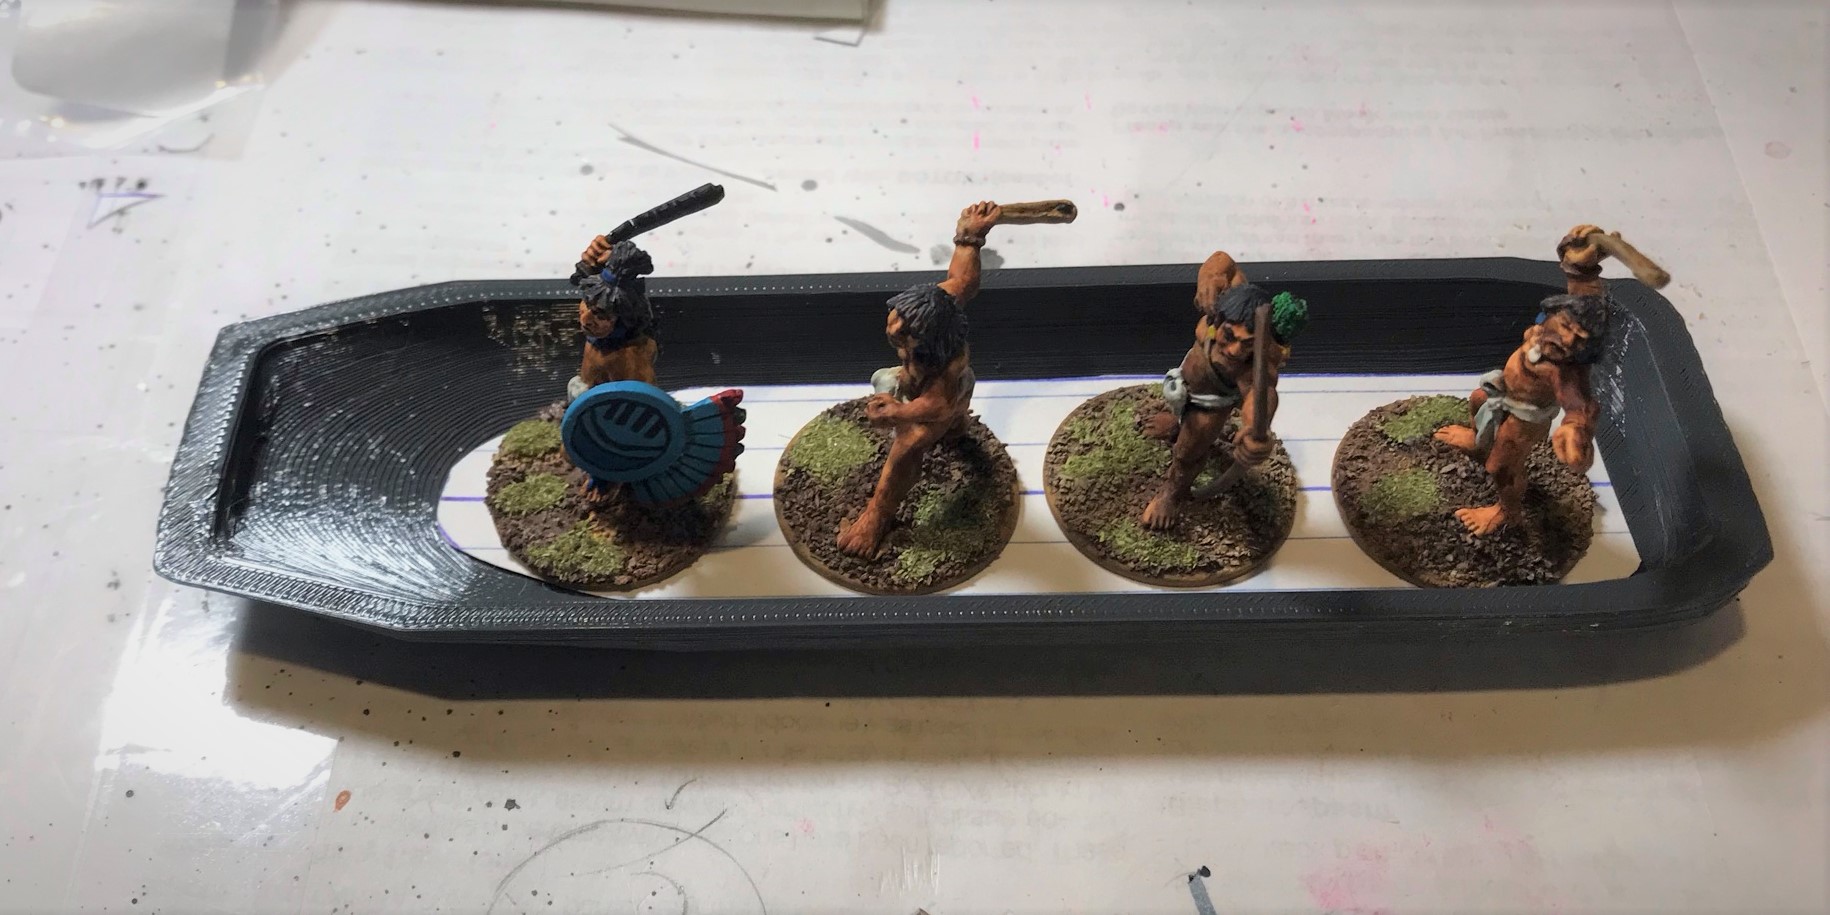
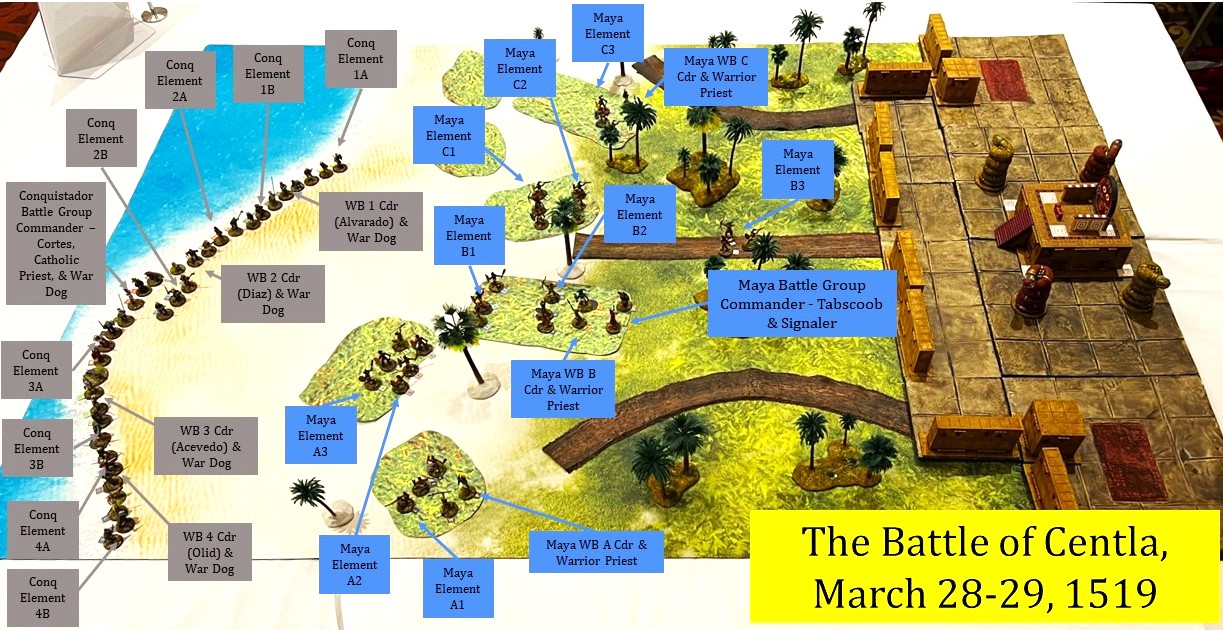
The scenario involves a beach area with a jungle nearby and a Maya city. The Conquistadors start on the beach and try to move inland. You can see a description of the game in my recent TotalCon 37 recap post. Below is a set up of the battle – note the seven printed green card stock areas at the juncture between the jungle and the beach near the ends of the jungle paths. These areas I described as being easy to cross (no movement penalty) but providing a degree of concealment and cover – basically a scrub-type area.
I used these card stock pieces in lieu of the 7 scatter terrain jungle bases that I ordered from our blogger friend Dave Stone of Wargames Terrain Workshop in the UK back at the turn of the year. I even sized my card stock pieces to match the ones that I ordered from Dave.
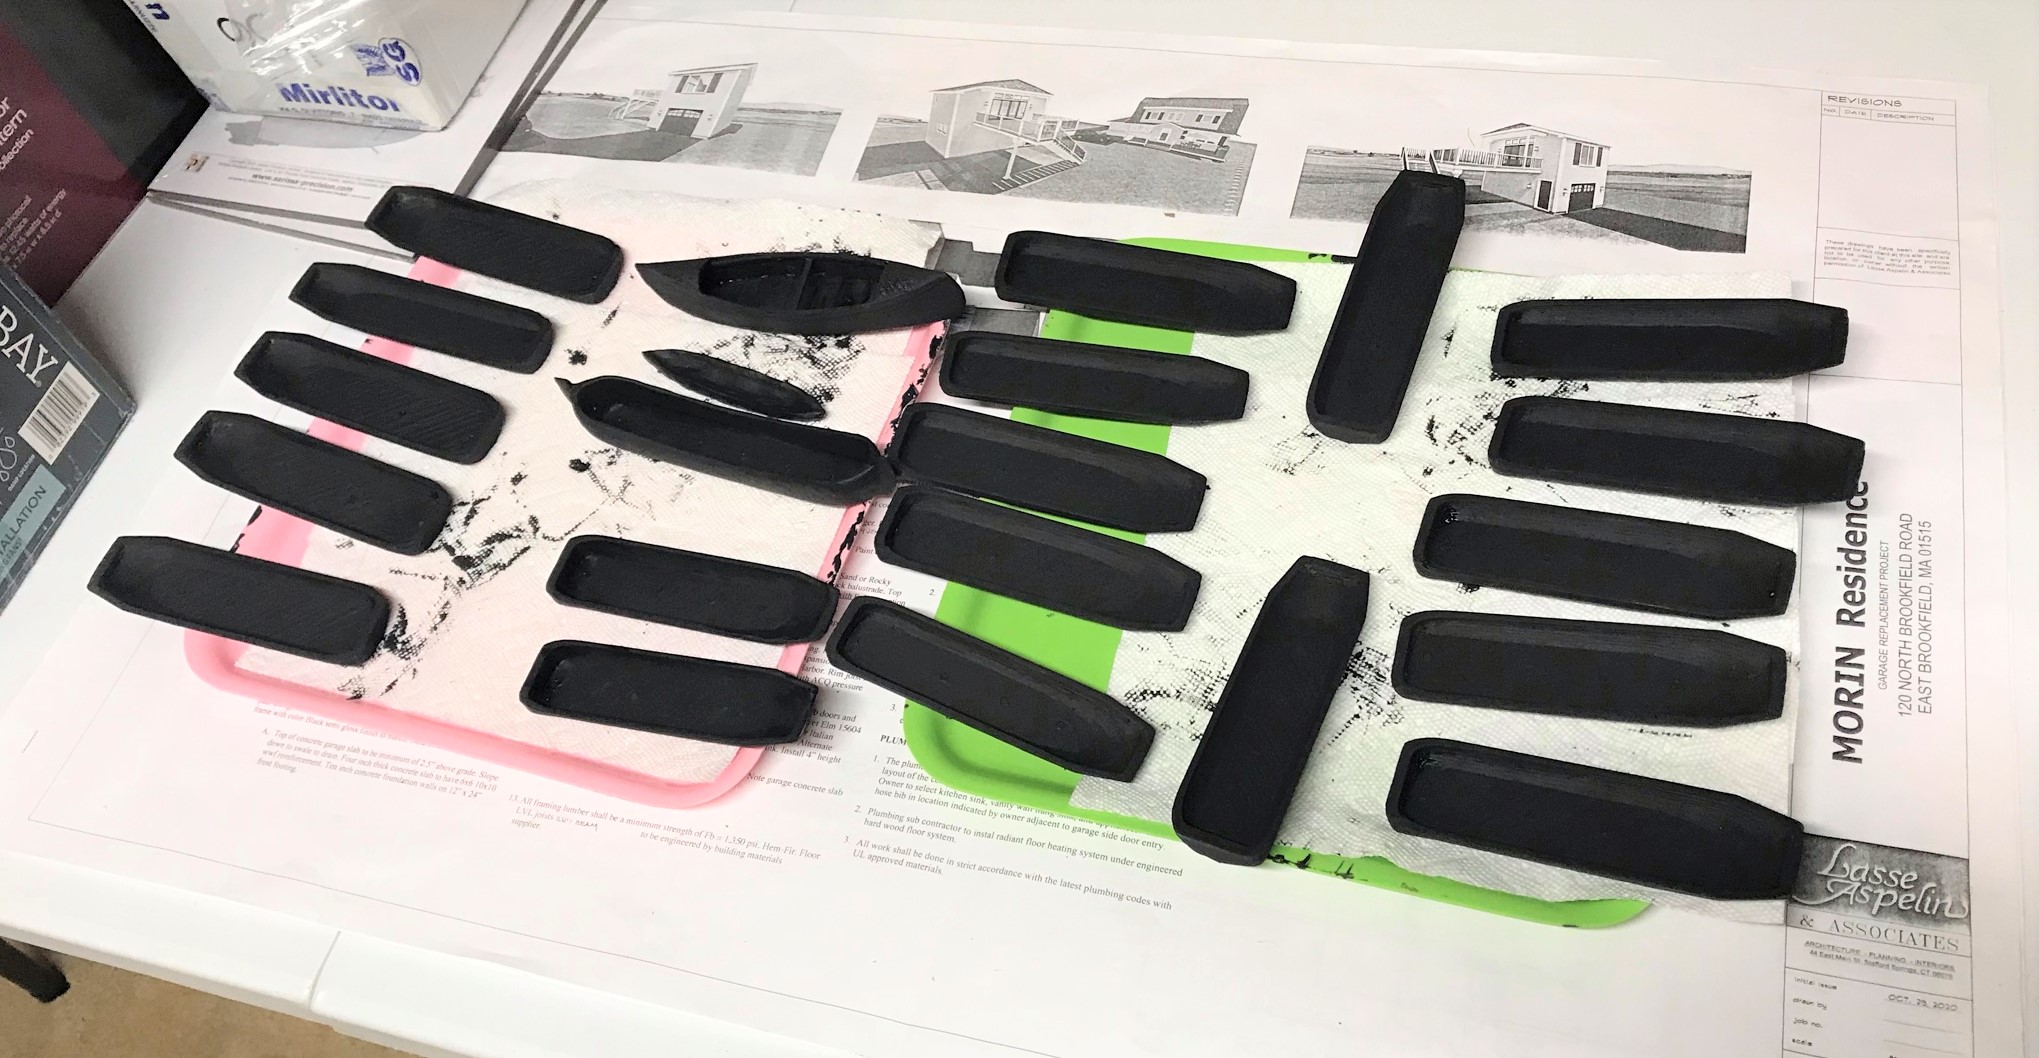
Dave built them post-haste – and sent them to me via the Royal Mail on January 11th – so we both thought I’d get them in time to prepare for the February 23rd TotalCon37 convention. Unfortunately, a combination of a cyber attack on the Royal Mail and labor strikes in the UK combined and conspired to keep them from arriving at my home until Wednesday February 22nd – one day before the convention. As I wanted to detail them for the game, and I did not have enough time to give them the justice I wanted with less than a day’s preparation, I decided to work on them after TotalCon 37 so that they’d be ready for Cold Wars. I want to say that Dave was great in following up with me and this situation was definitely not his fault. The seven bases that I bought were as follows:
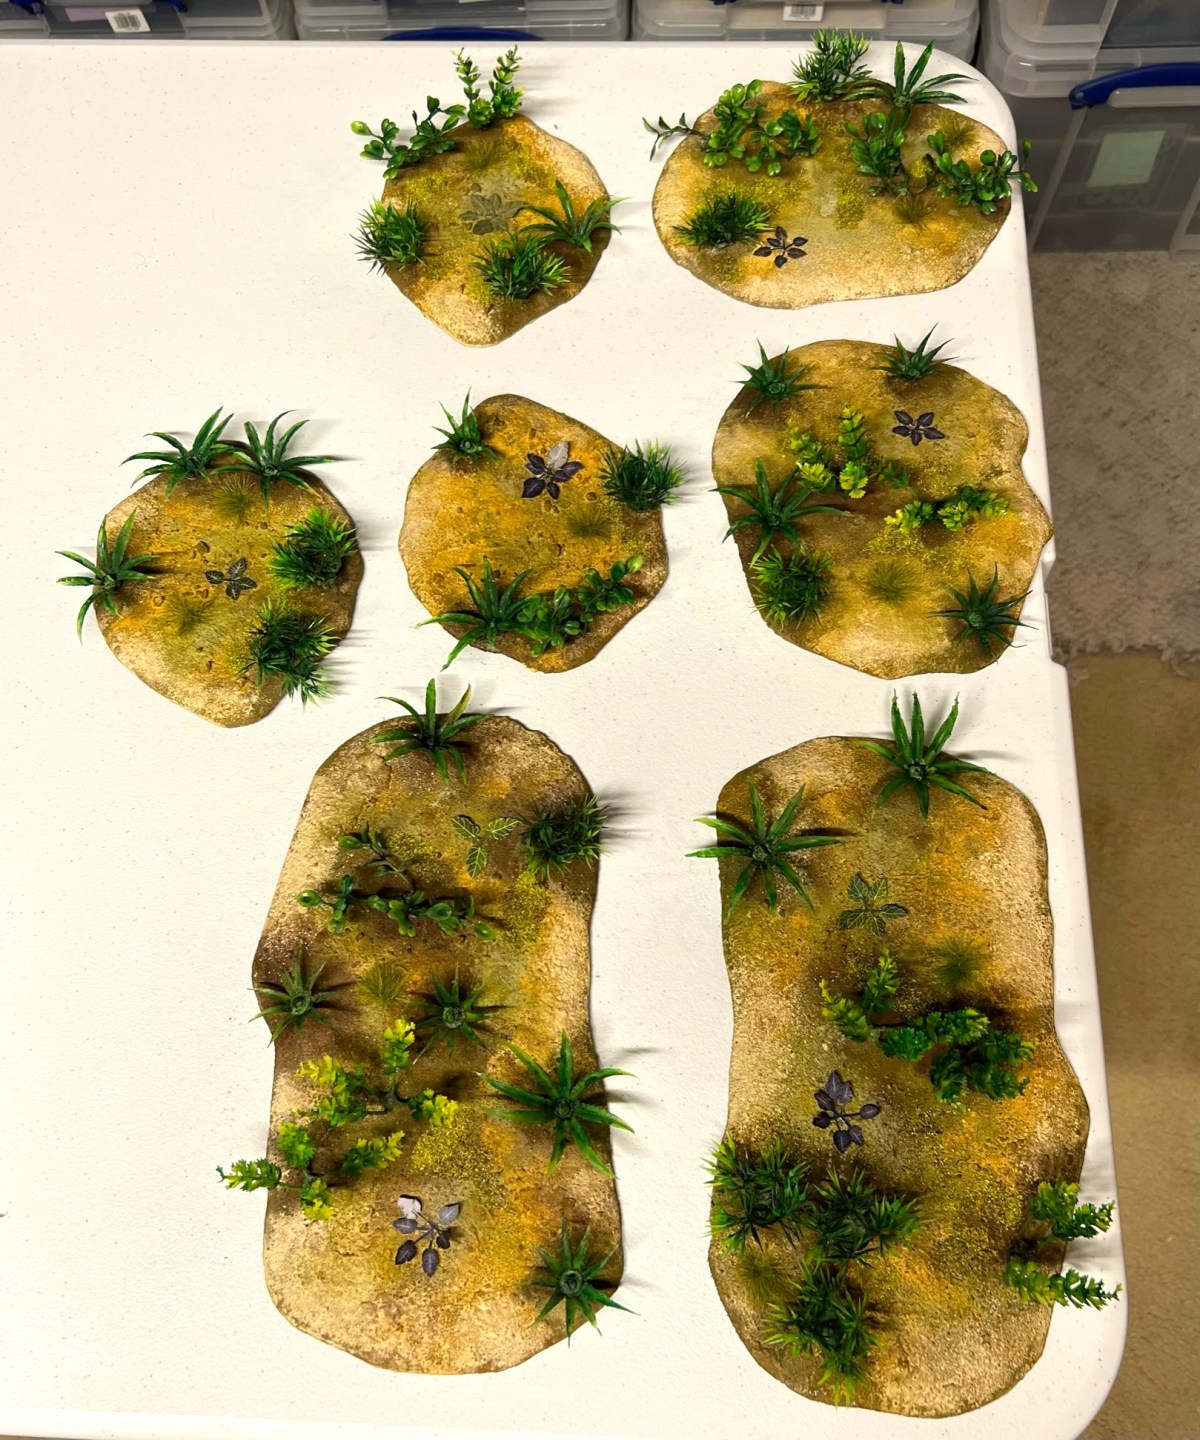
- 2 of the Scatter Scenery – Jungle Base (large), Dimensions: 11.25″ Length x 5.9″ Width x 0.2″ Depth; (metric) 285mm L x 150mm W x 5mm D
- 2 of the Scatter Scenery – Jungle Base (Medium), Dimensions: 7.9″ Length x 6.3″ Width x 0.2″ Depth; (metric) 200mm L x 160mm W x 5mm D
- 3 of the Scatter Scenery – Jungle Base (Small), Dimensions: 6.5″ Length x 5.33″ Width x 0.2″ Depth; (metric) 165mm L x 135mm W x 5mm D
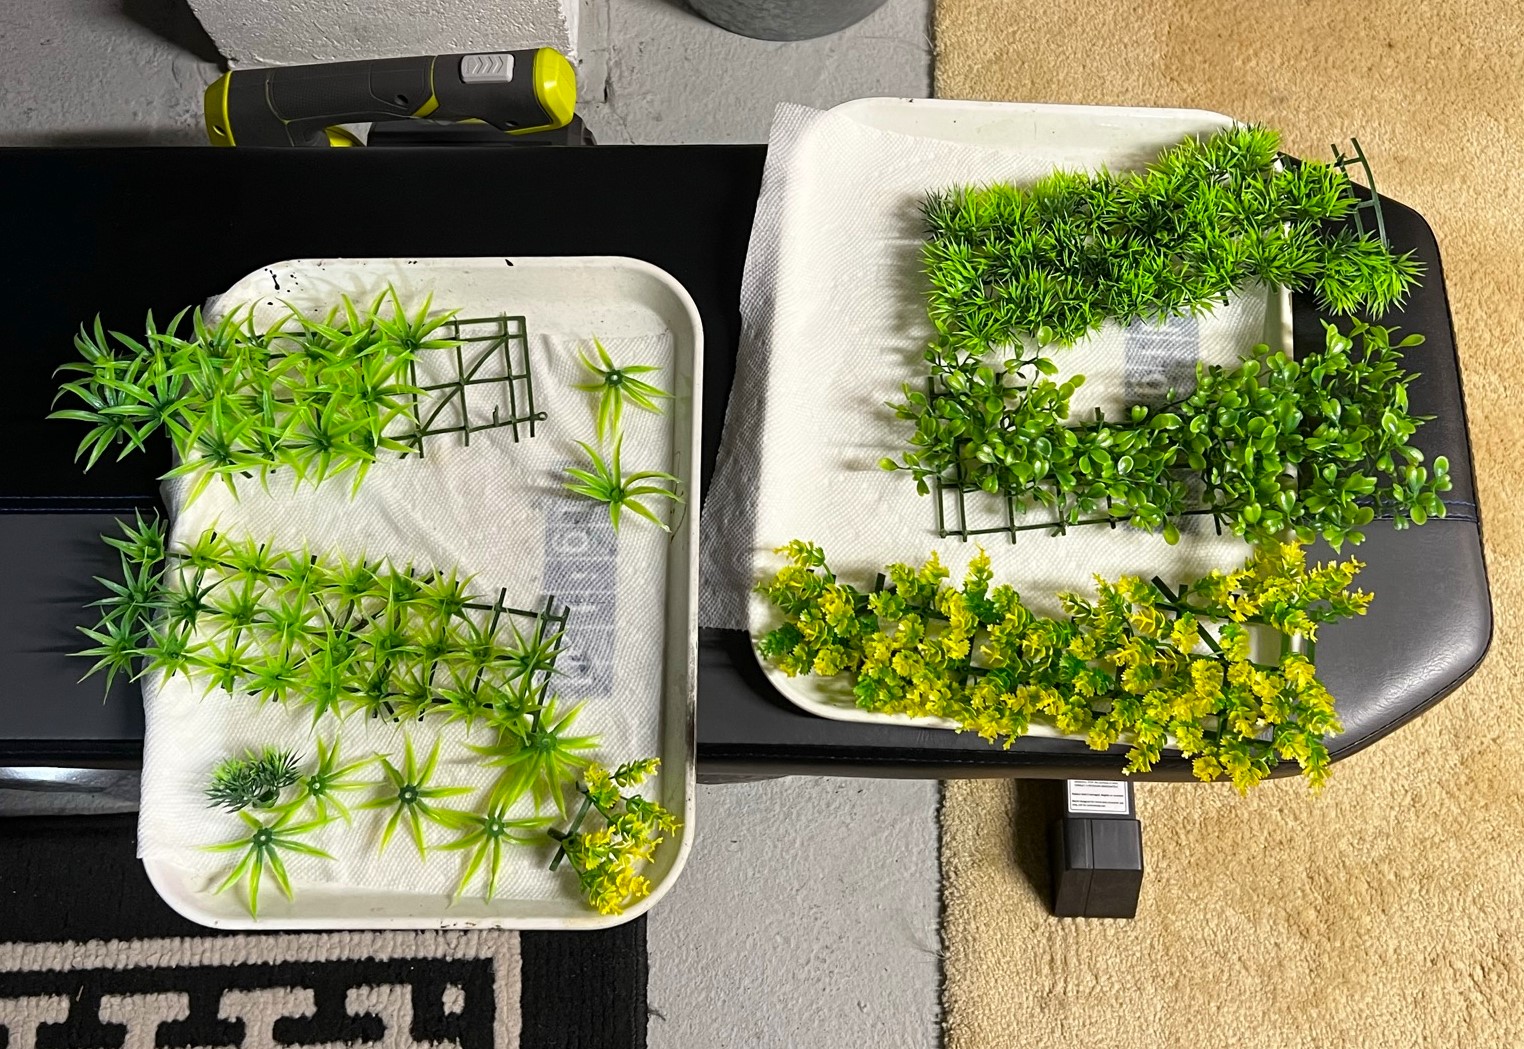
I started them on February 27th and worked on them alongside some Winkie cavalry (that I will post about next). All of the 7 bases came unpainted with a very generous supply of different plastic foliage on sprues – which allowed me to customize them. The bases themselves were resin with multiple small conical prongs with which to attach the plants. Dave recommended attaching them with green stuff – but I went with Apoxie Sculpt as I had some mixed already for a box handle I needed to repair.
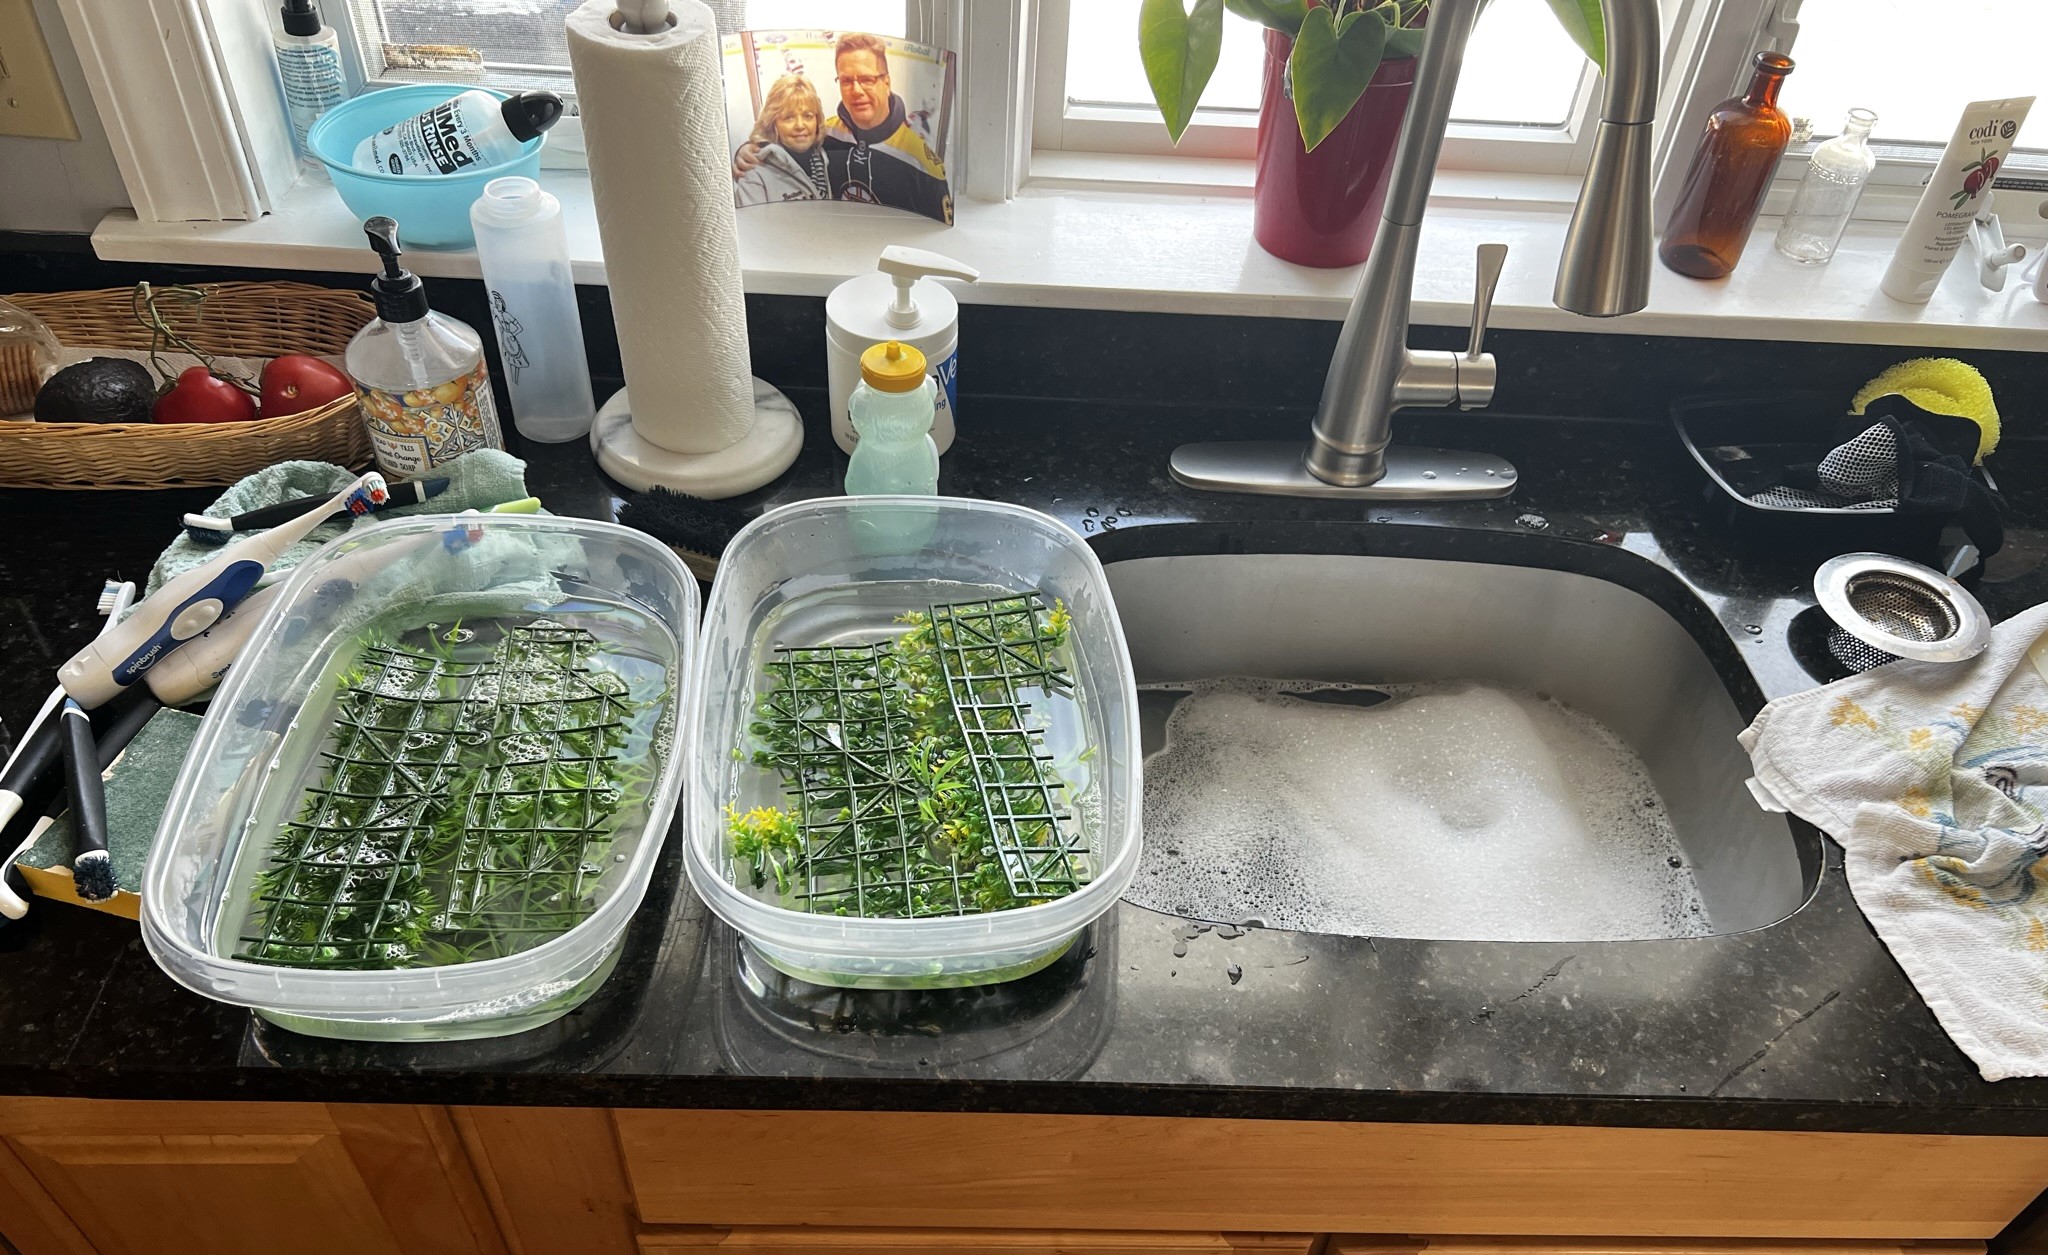
The first steps were to wash the resin and the foliage so that paints and washes would adhere properly.
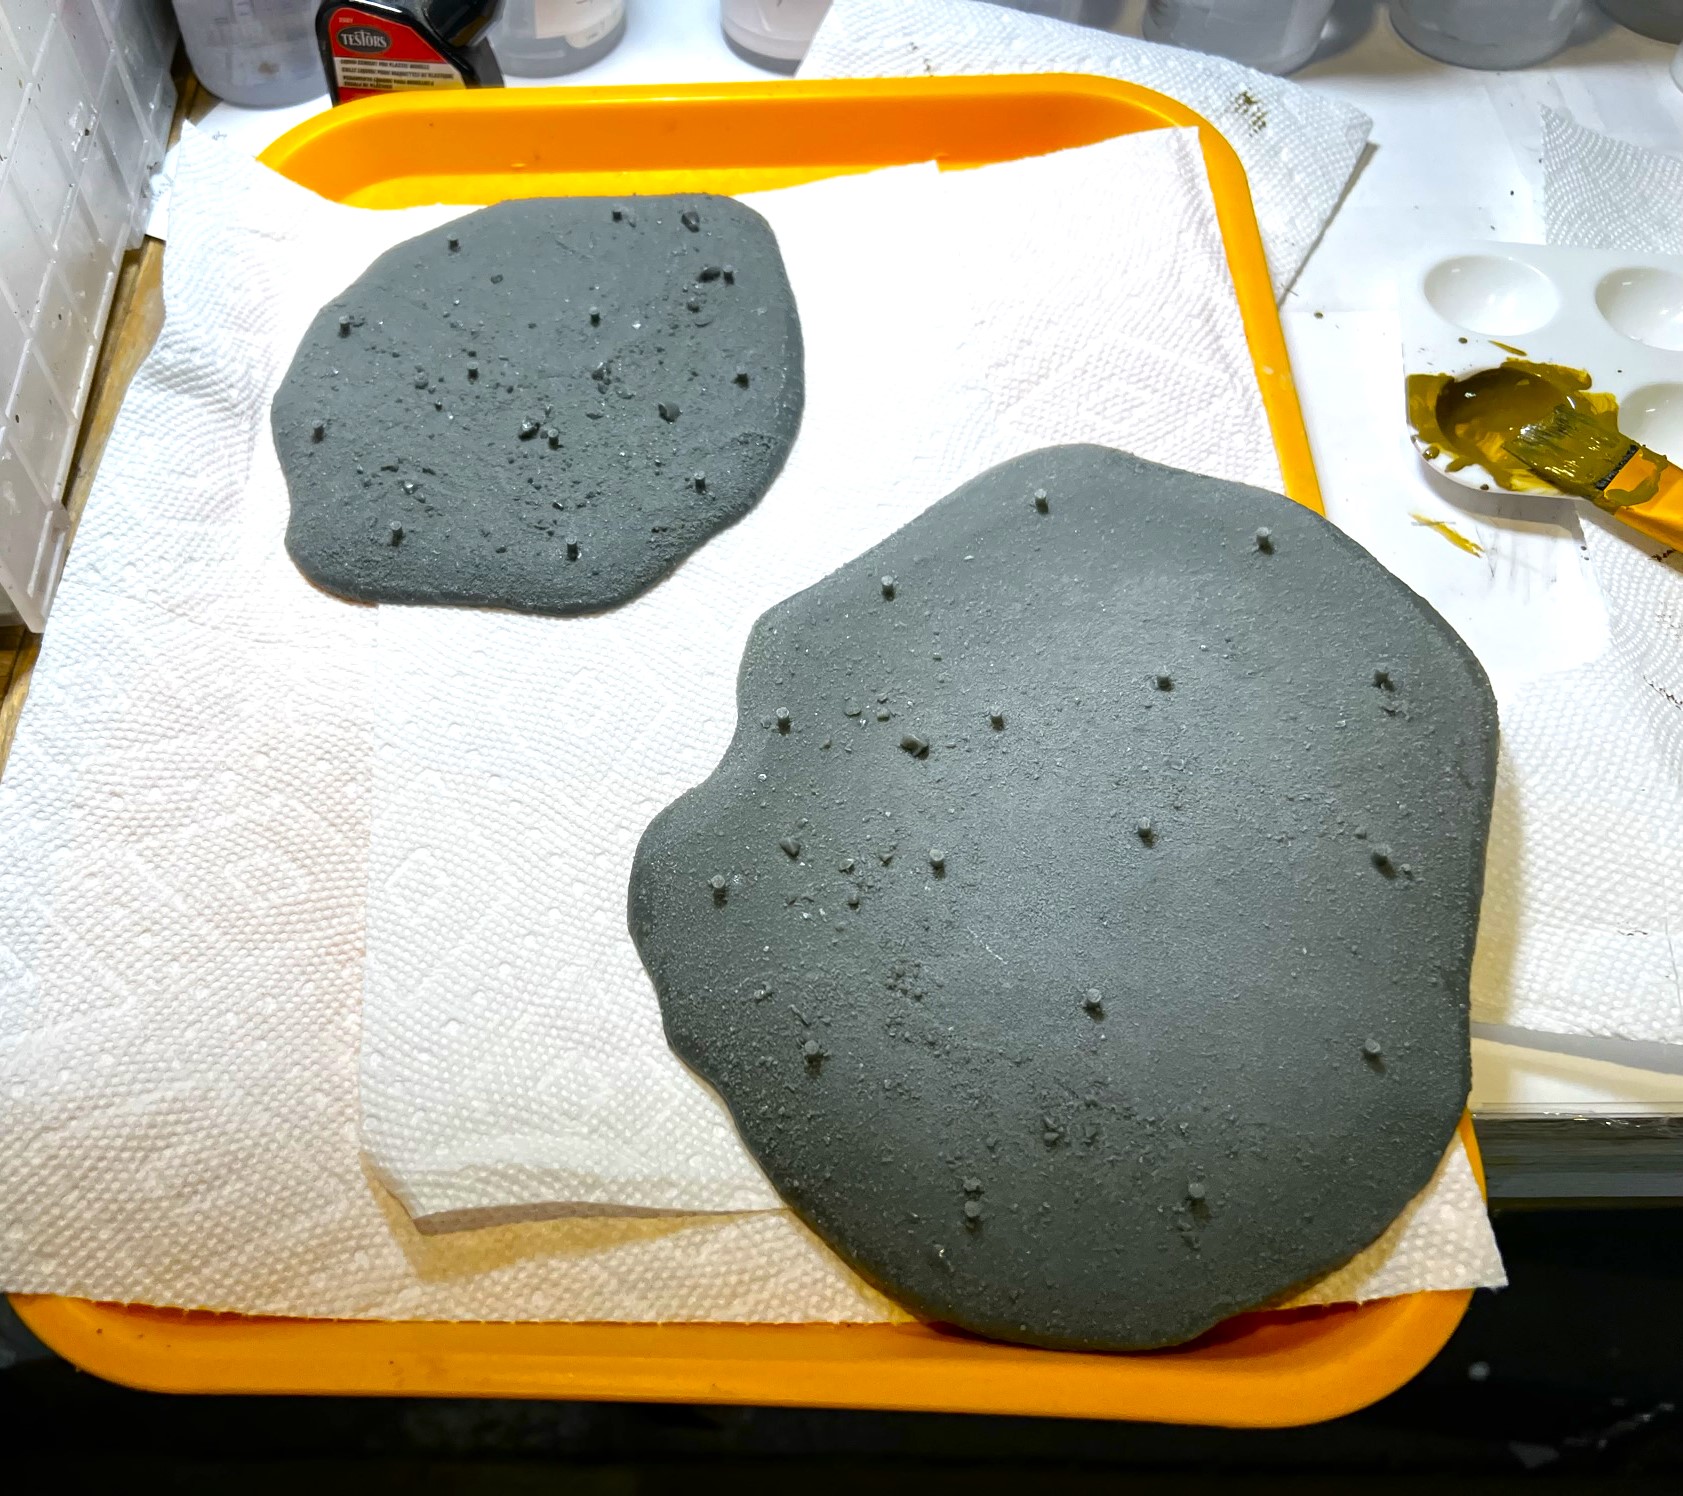
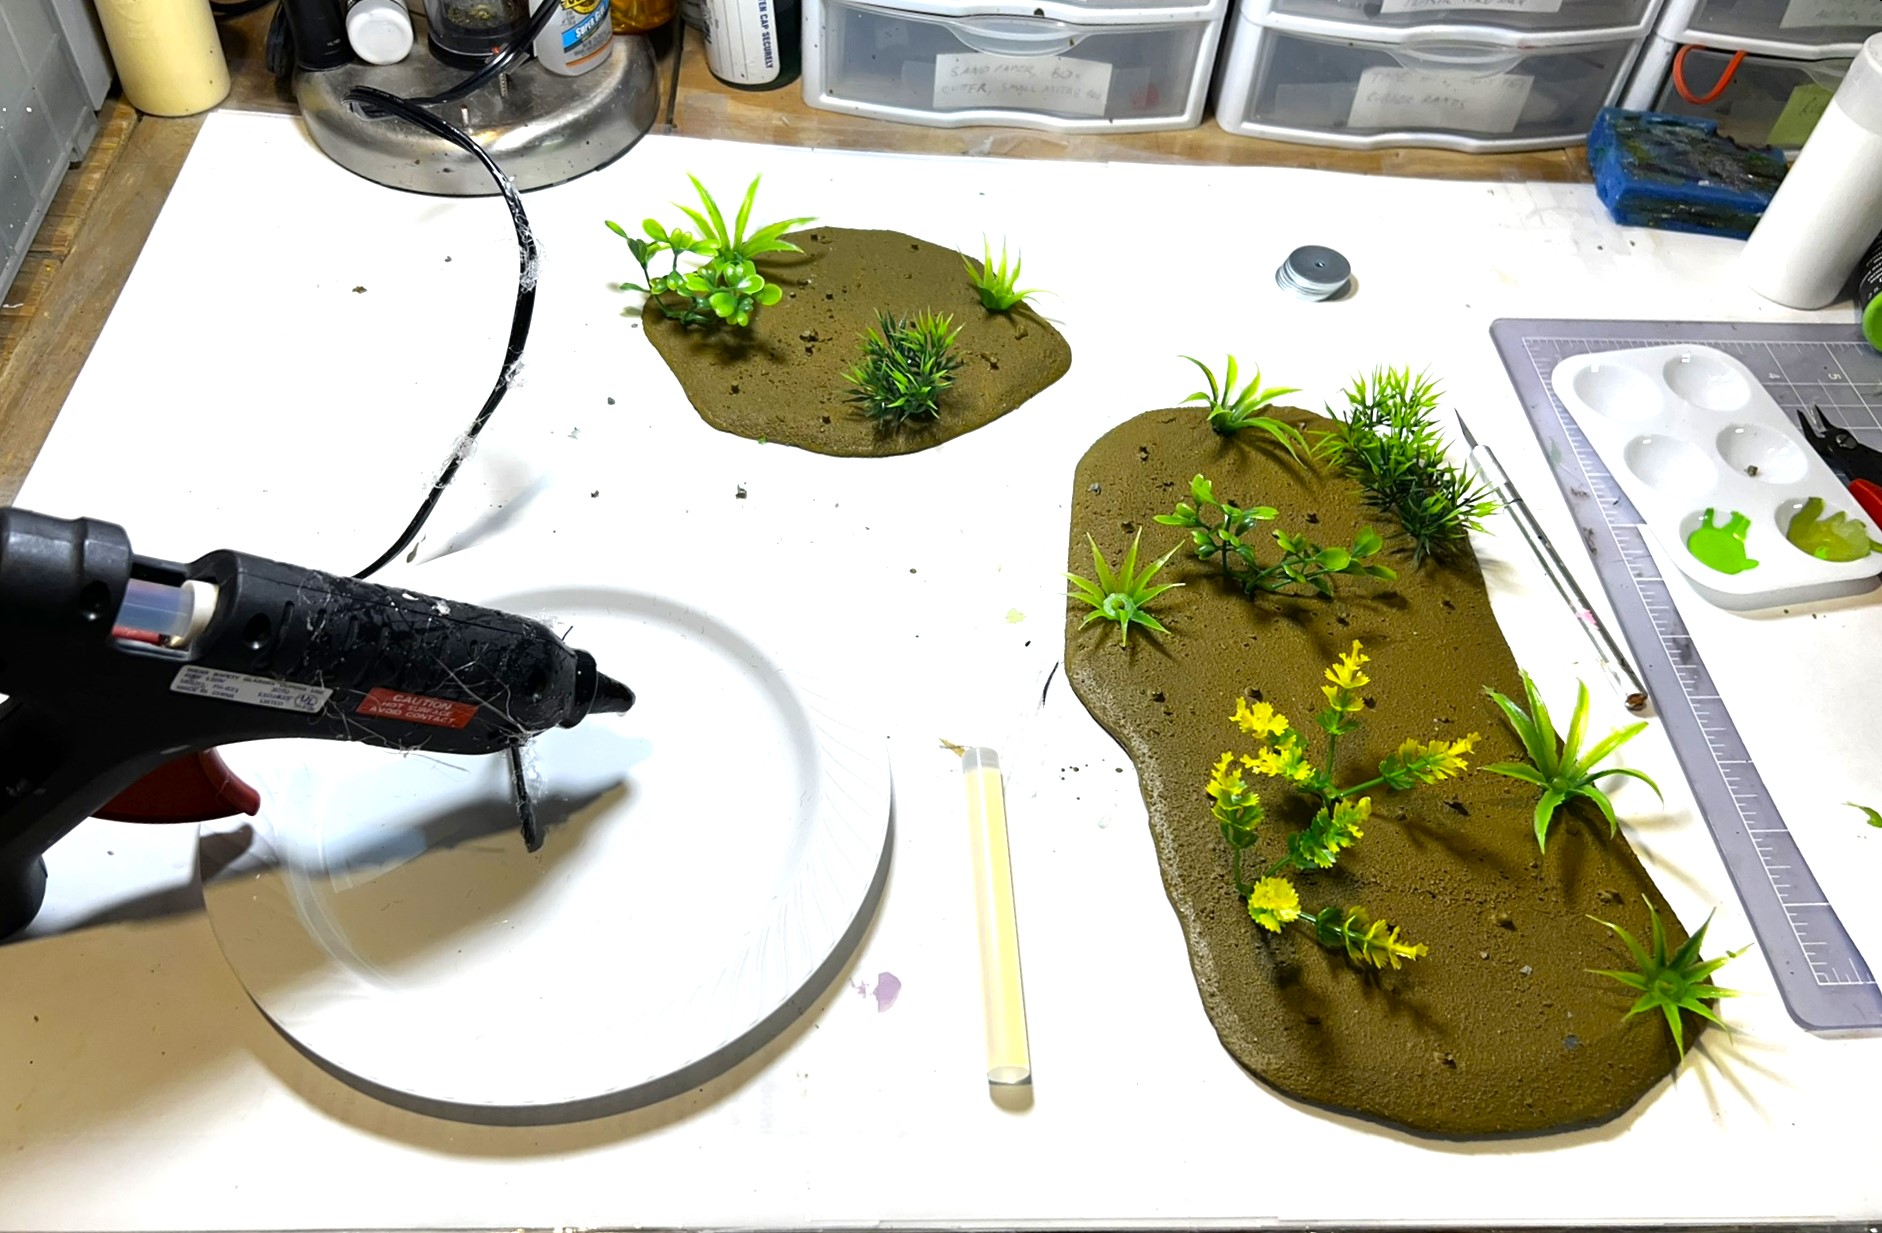
I primed the bases green-brown and let them dry overnight. I list all the paints and other materials at the end of the blog for those interested in that type of information.
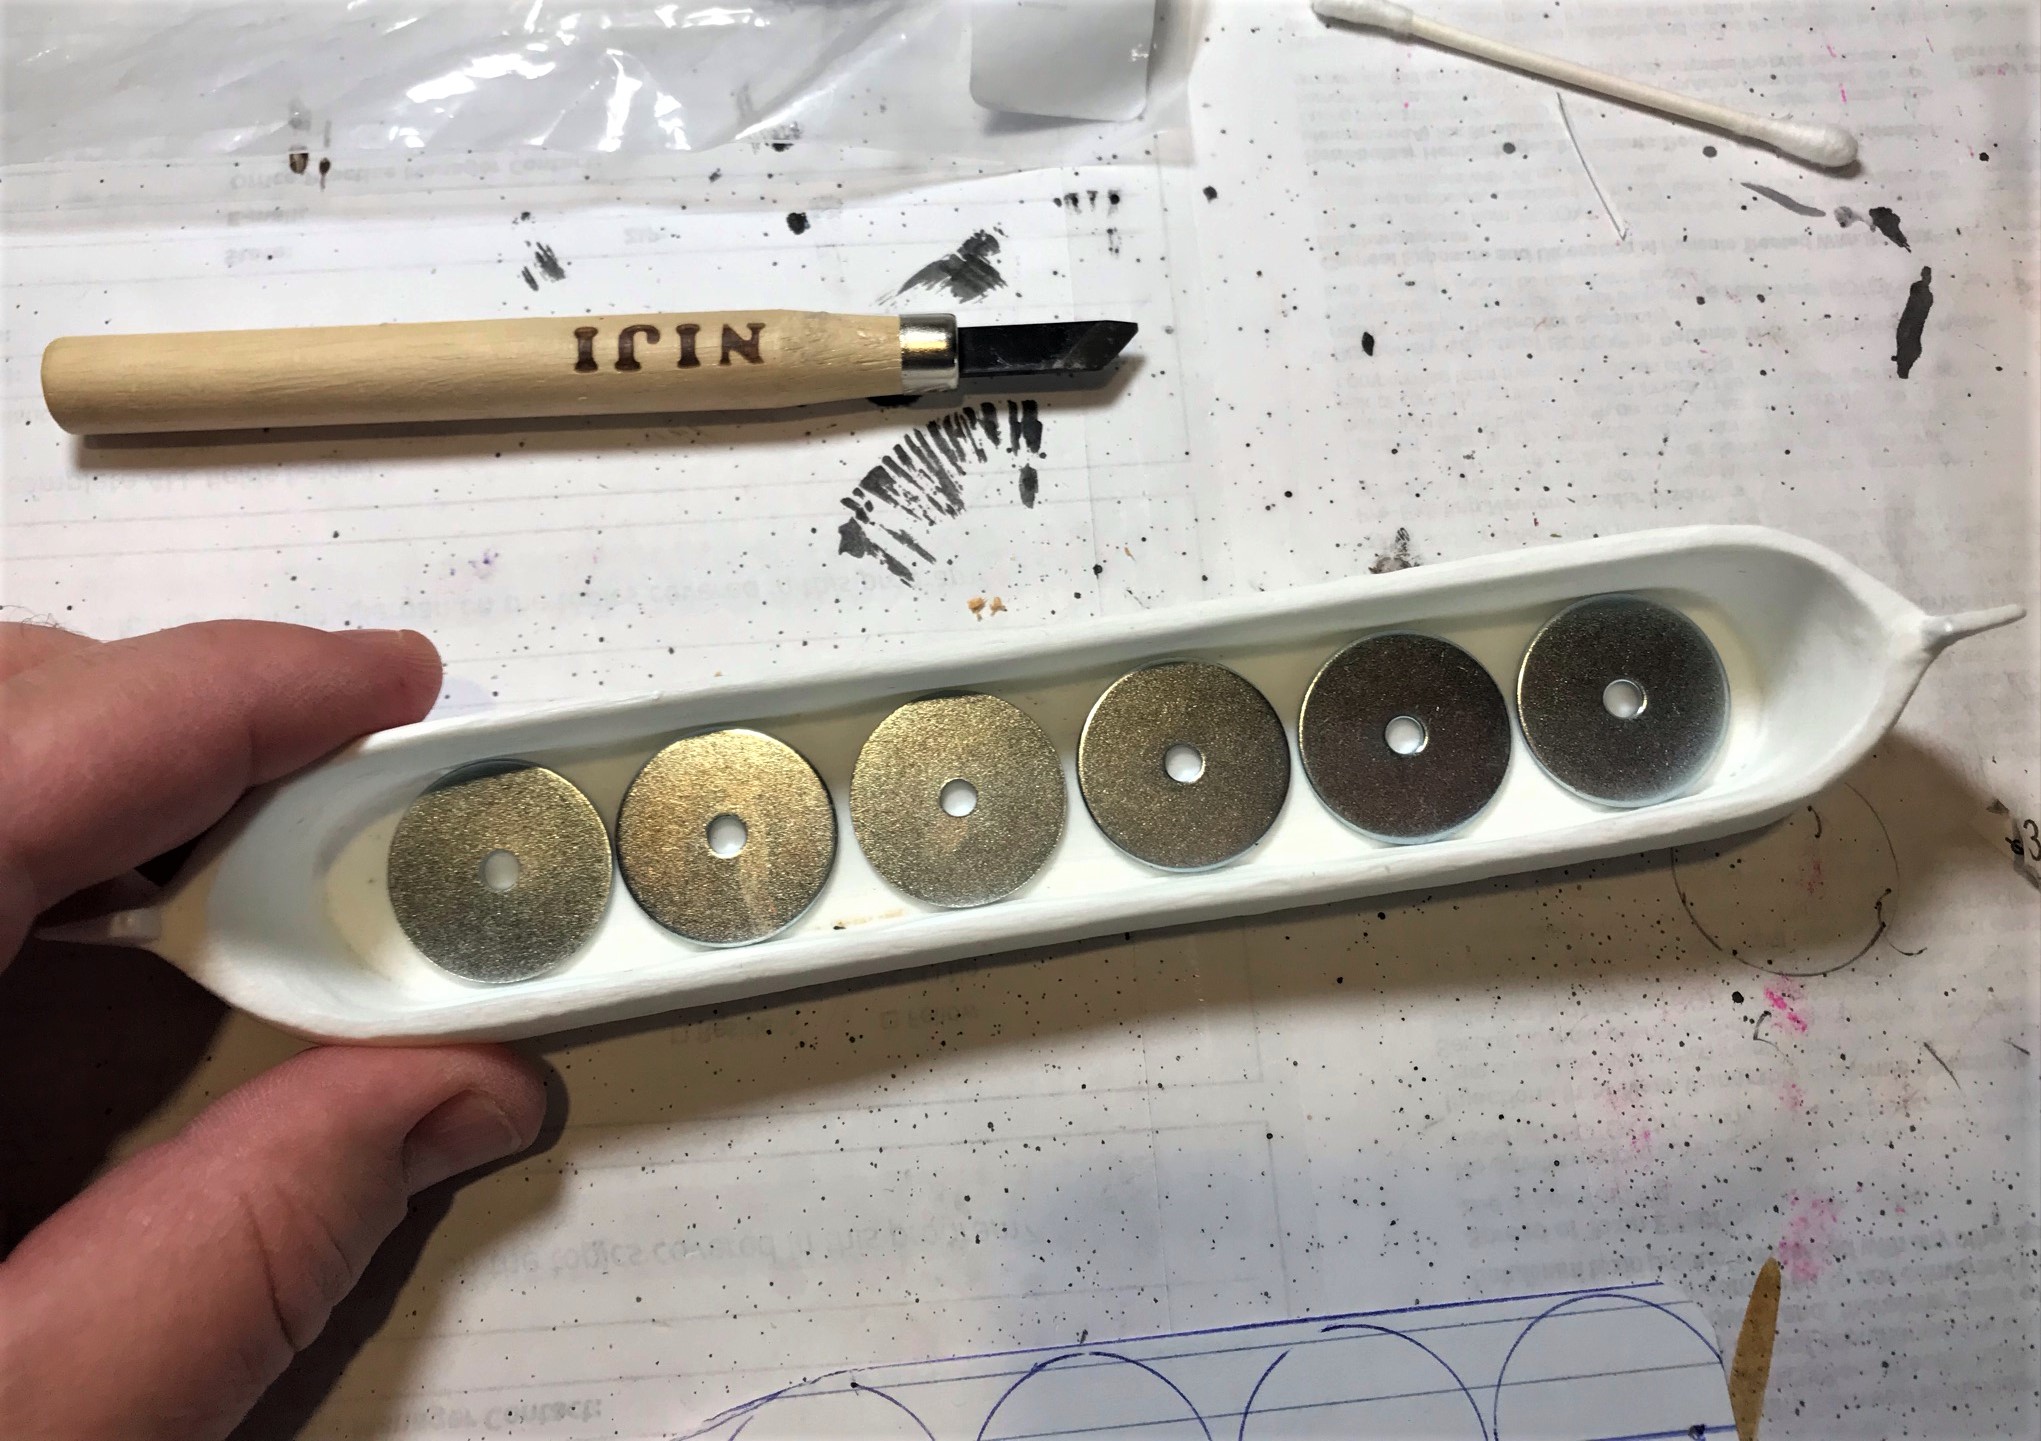
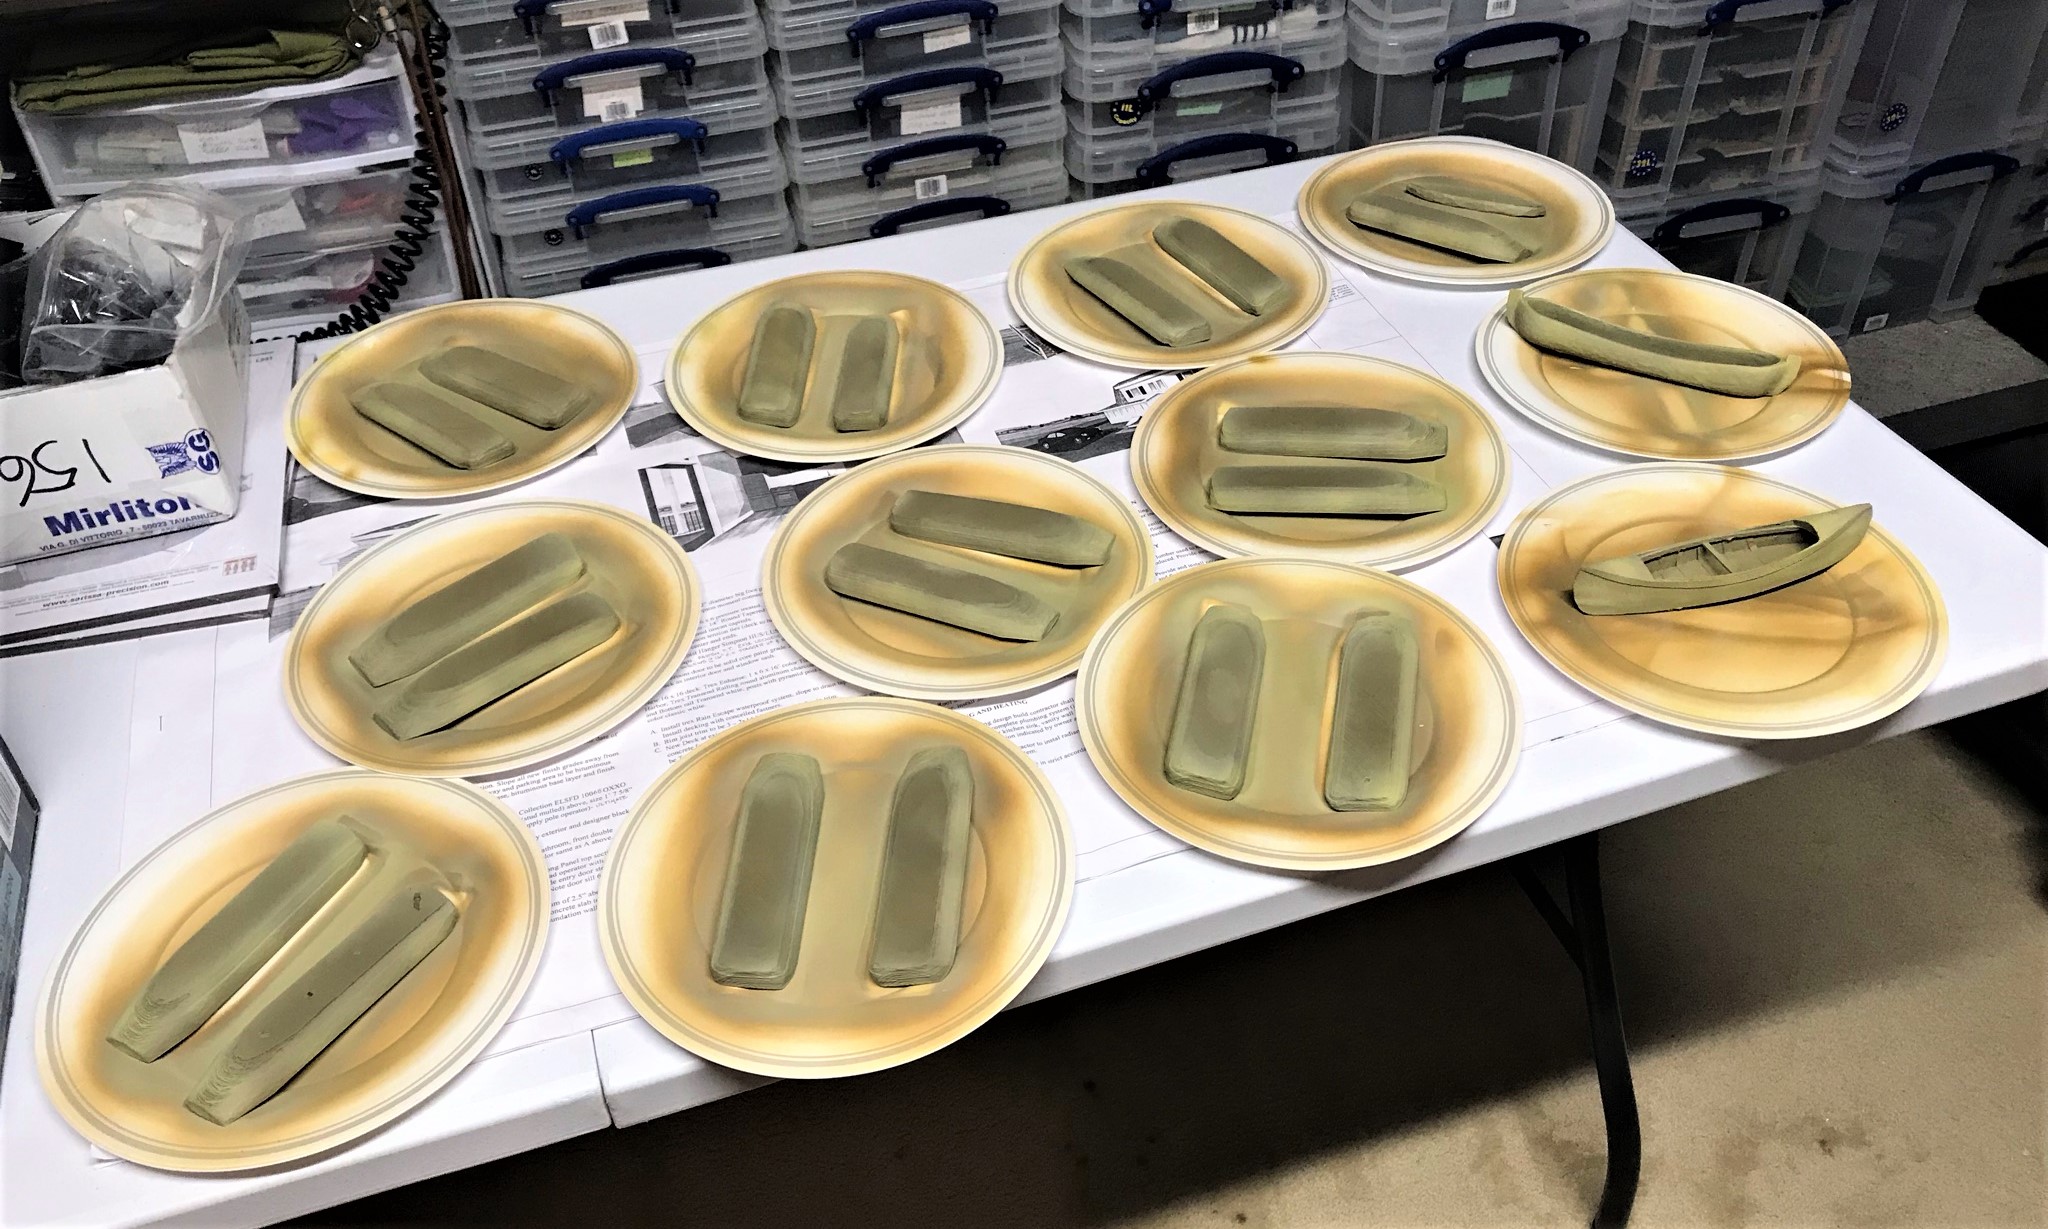
Then, I then mocked out where I would apply the foliage with 1.25″ washers. When I was happy, I applied the foliage with Apoxie Sculpt to 5 of the bases and let that cure overnight. Why five and not seven? Well, as I said, I was also working on Winkie cavalry, and two of the primed bases were hiding under a paper towel and I missed them.


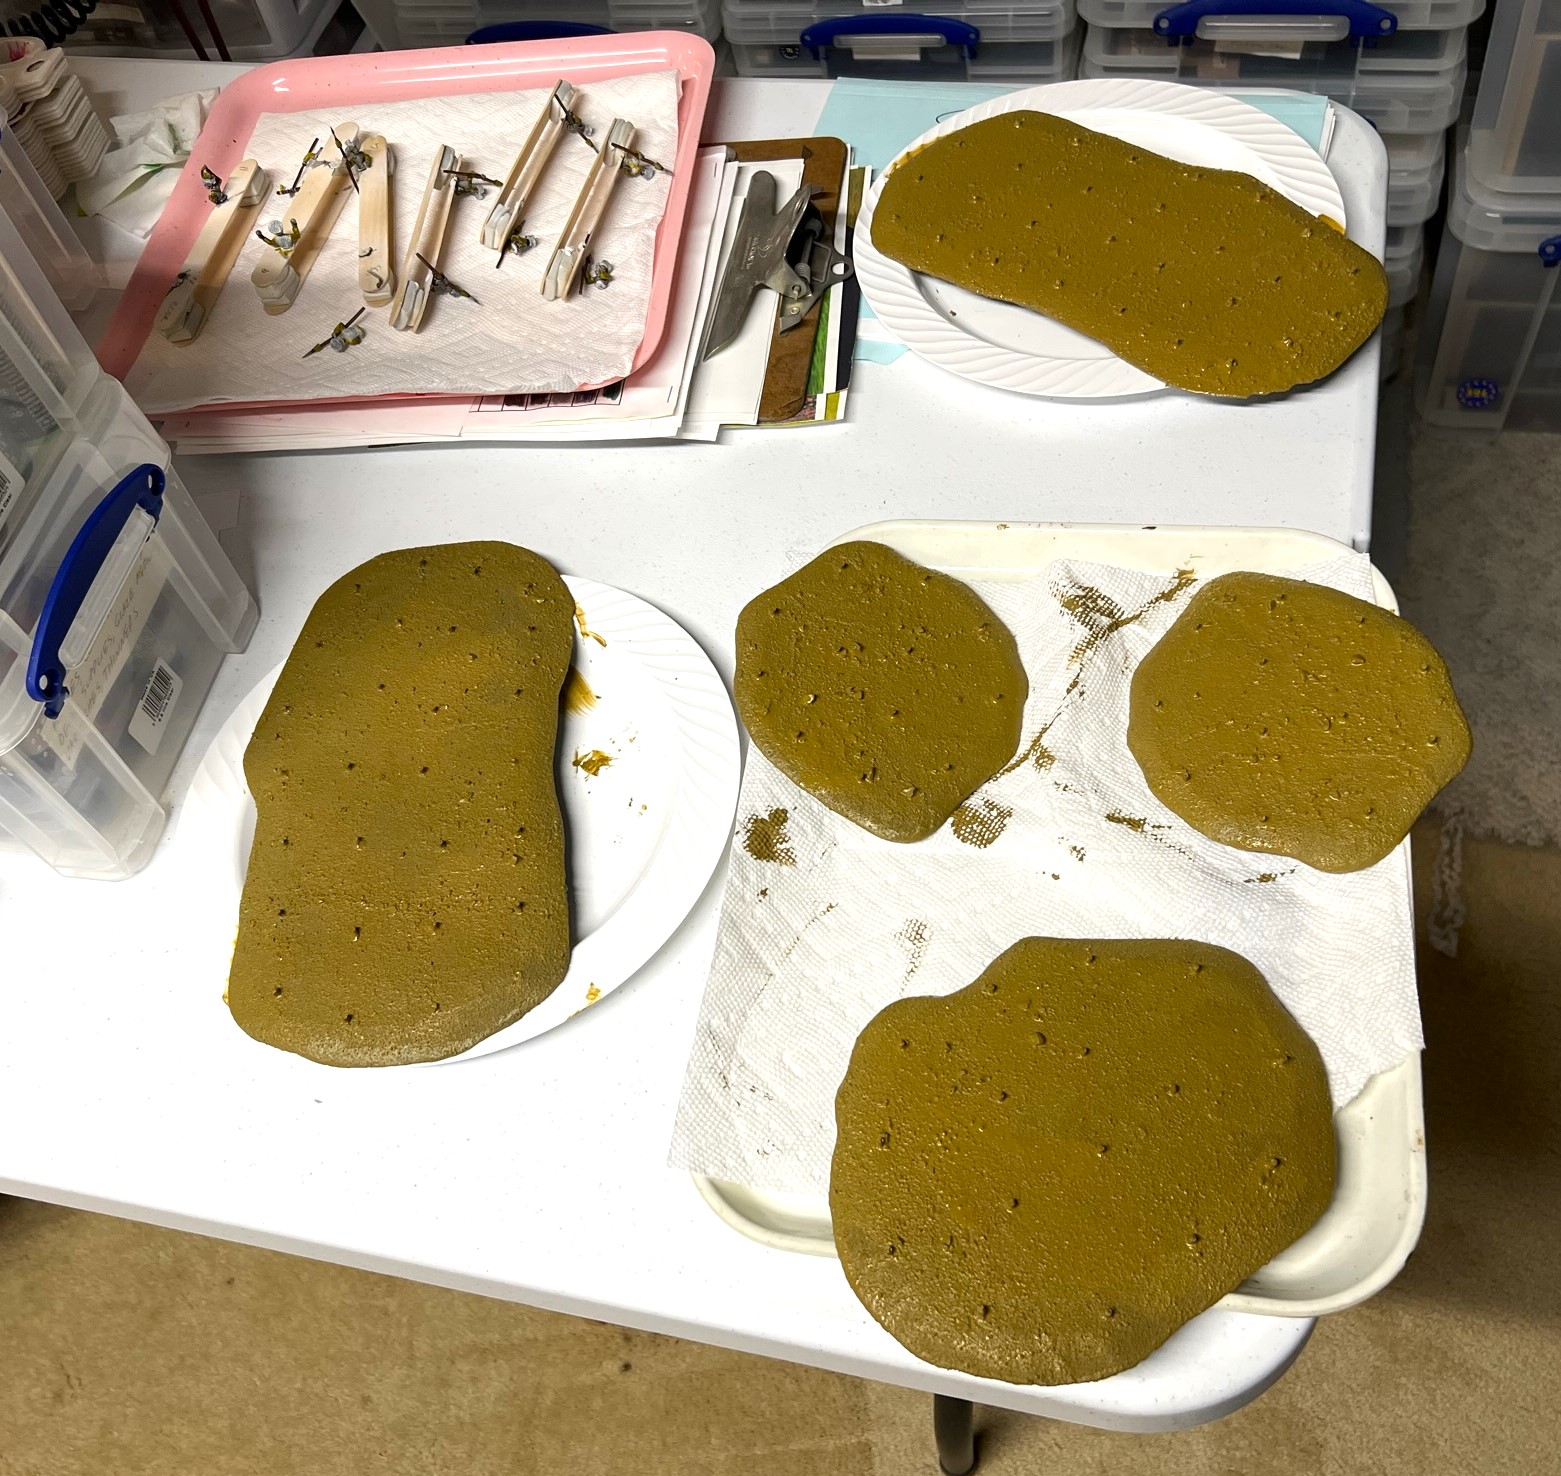
The next day, the Apoxie Sculpt had cured, I did a quick inventory and I was concerned that I did not buy enough bases! After finding the hidden two, I decided that I did not have the luxury of time to wait another day to wait for Apoxie Sculpt to cure on these last two – so I went with hot glue – which worked great and instantly. I then painted over the Apoxie Sculpt and glue with a couple of green craft paints. Next, I applied three successive green hobby washes to the foliage, and let that dry. Then I cut off the remaining prongs, and applied brown texture paint over the places where the prongs had been removed.

At this point I moved on to adding multiple pigments (like 7!). My goal was to blend the edges to look as if they bordered a beach, with a more jungle-like ground surface towards the centers of the bases. I added the 7 pigments, and fixed them with Vallejo thinner and let them dry.
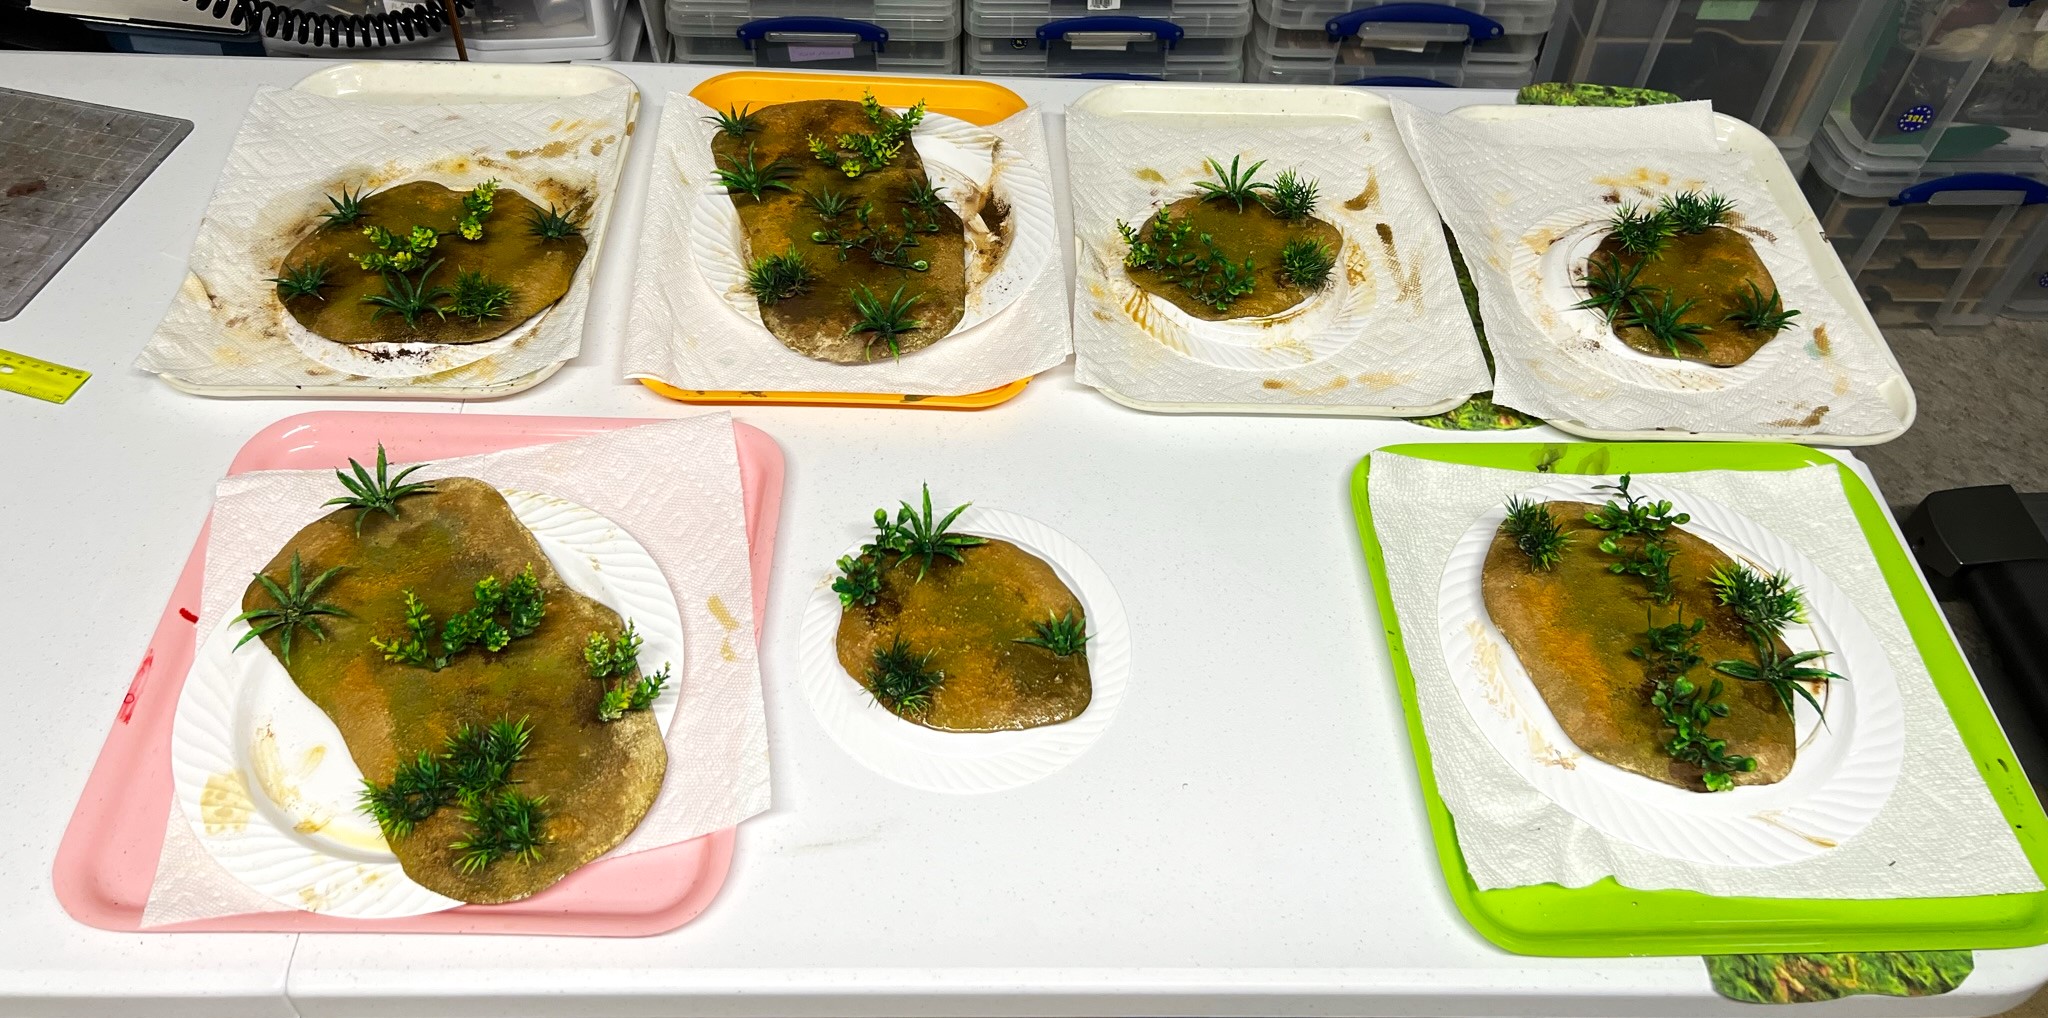
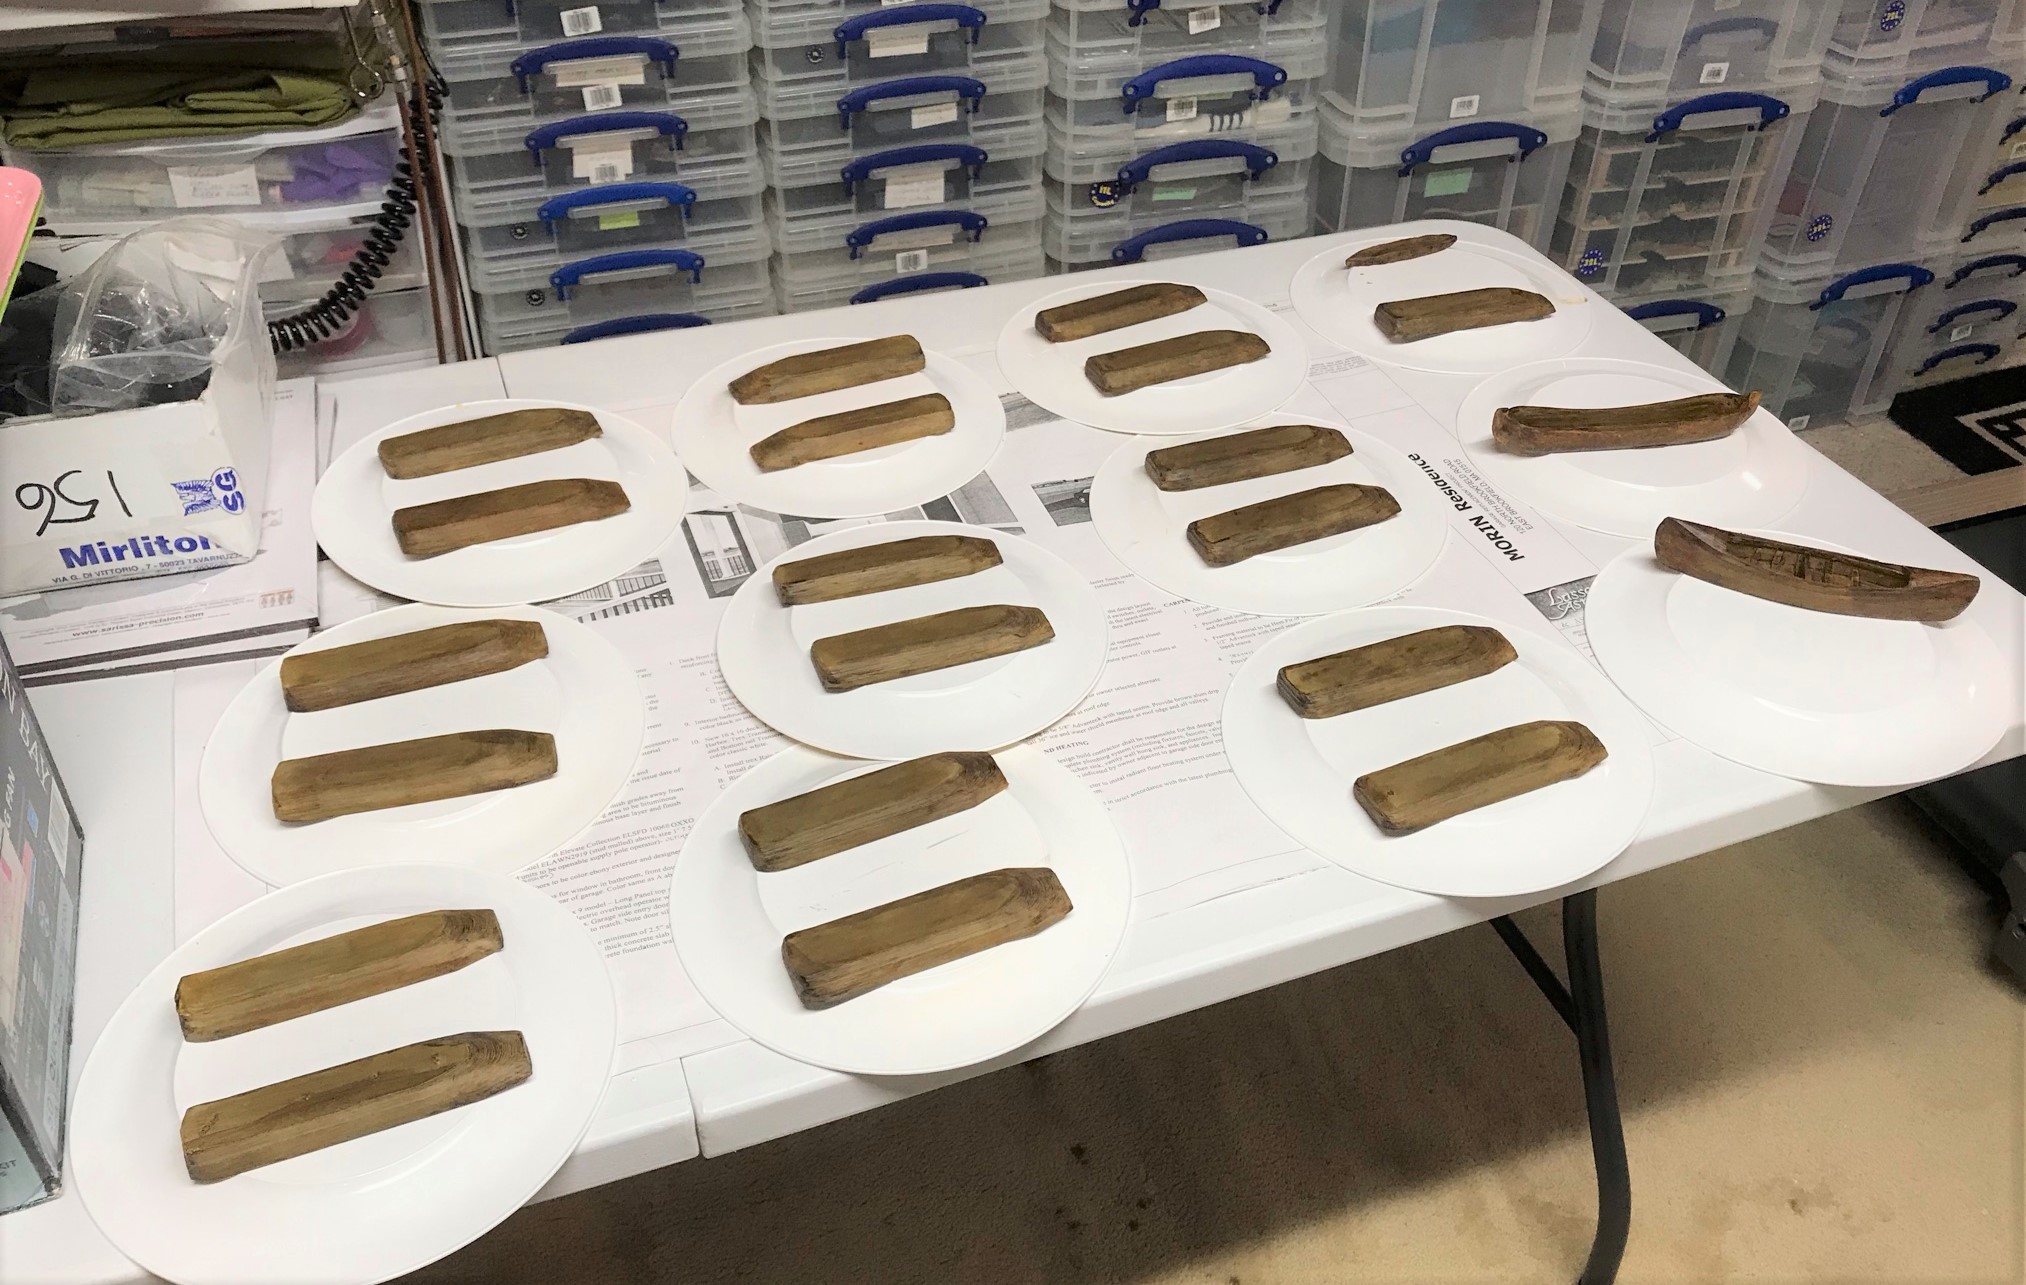
I was not satisfied with the first go with the pigments. I felt that the blends could be better – especially the transition from the beach areas inward. I also was not happy with the beach-bordering areas themselves. With that, I gave it a second attempt to address the shortcomings. That did address the issues – and then I added some scatter leaves and some laser cut low lying Gamers Grass plants that I bought from Things from the Basement at TotalCon – plus some Shadow’s Edge Miniatures jungle tufts.
I was pretty happy with the final products seen below.


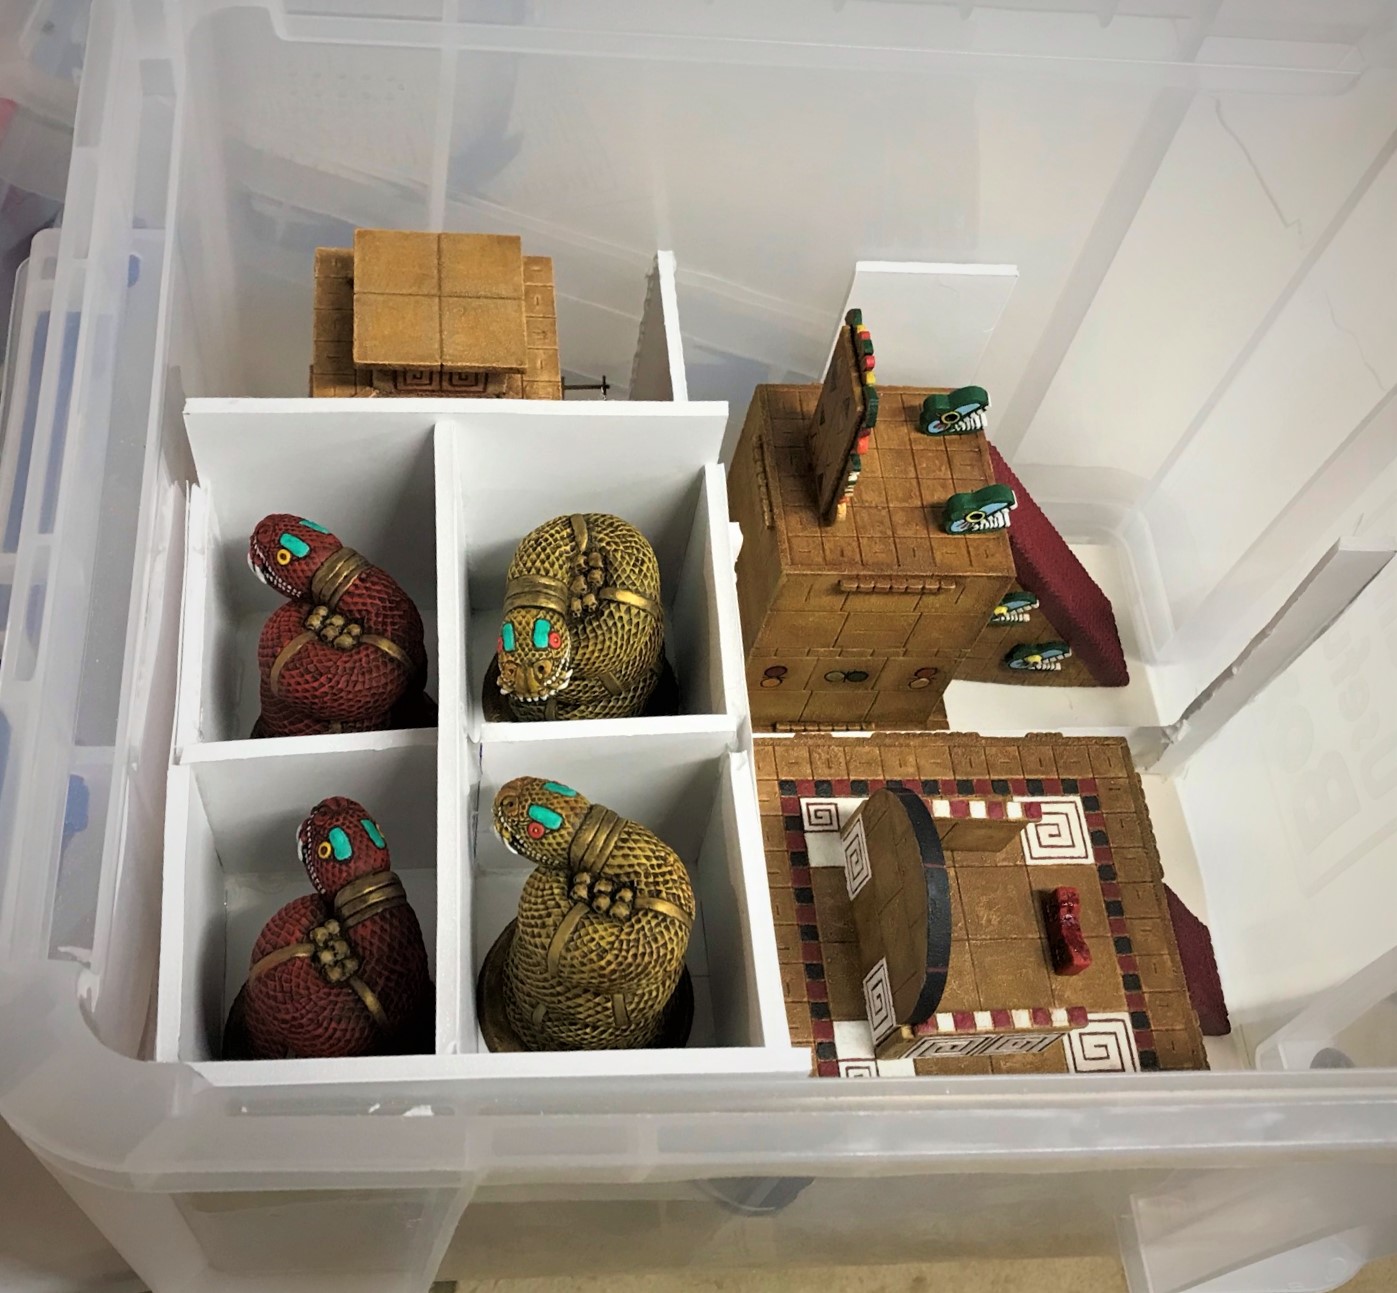
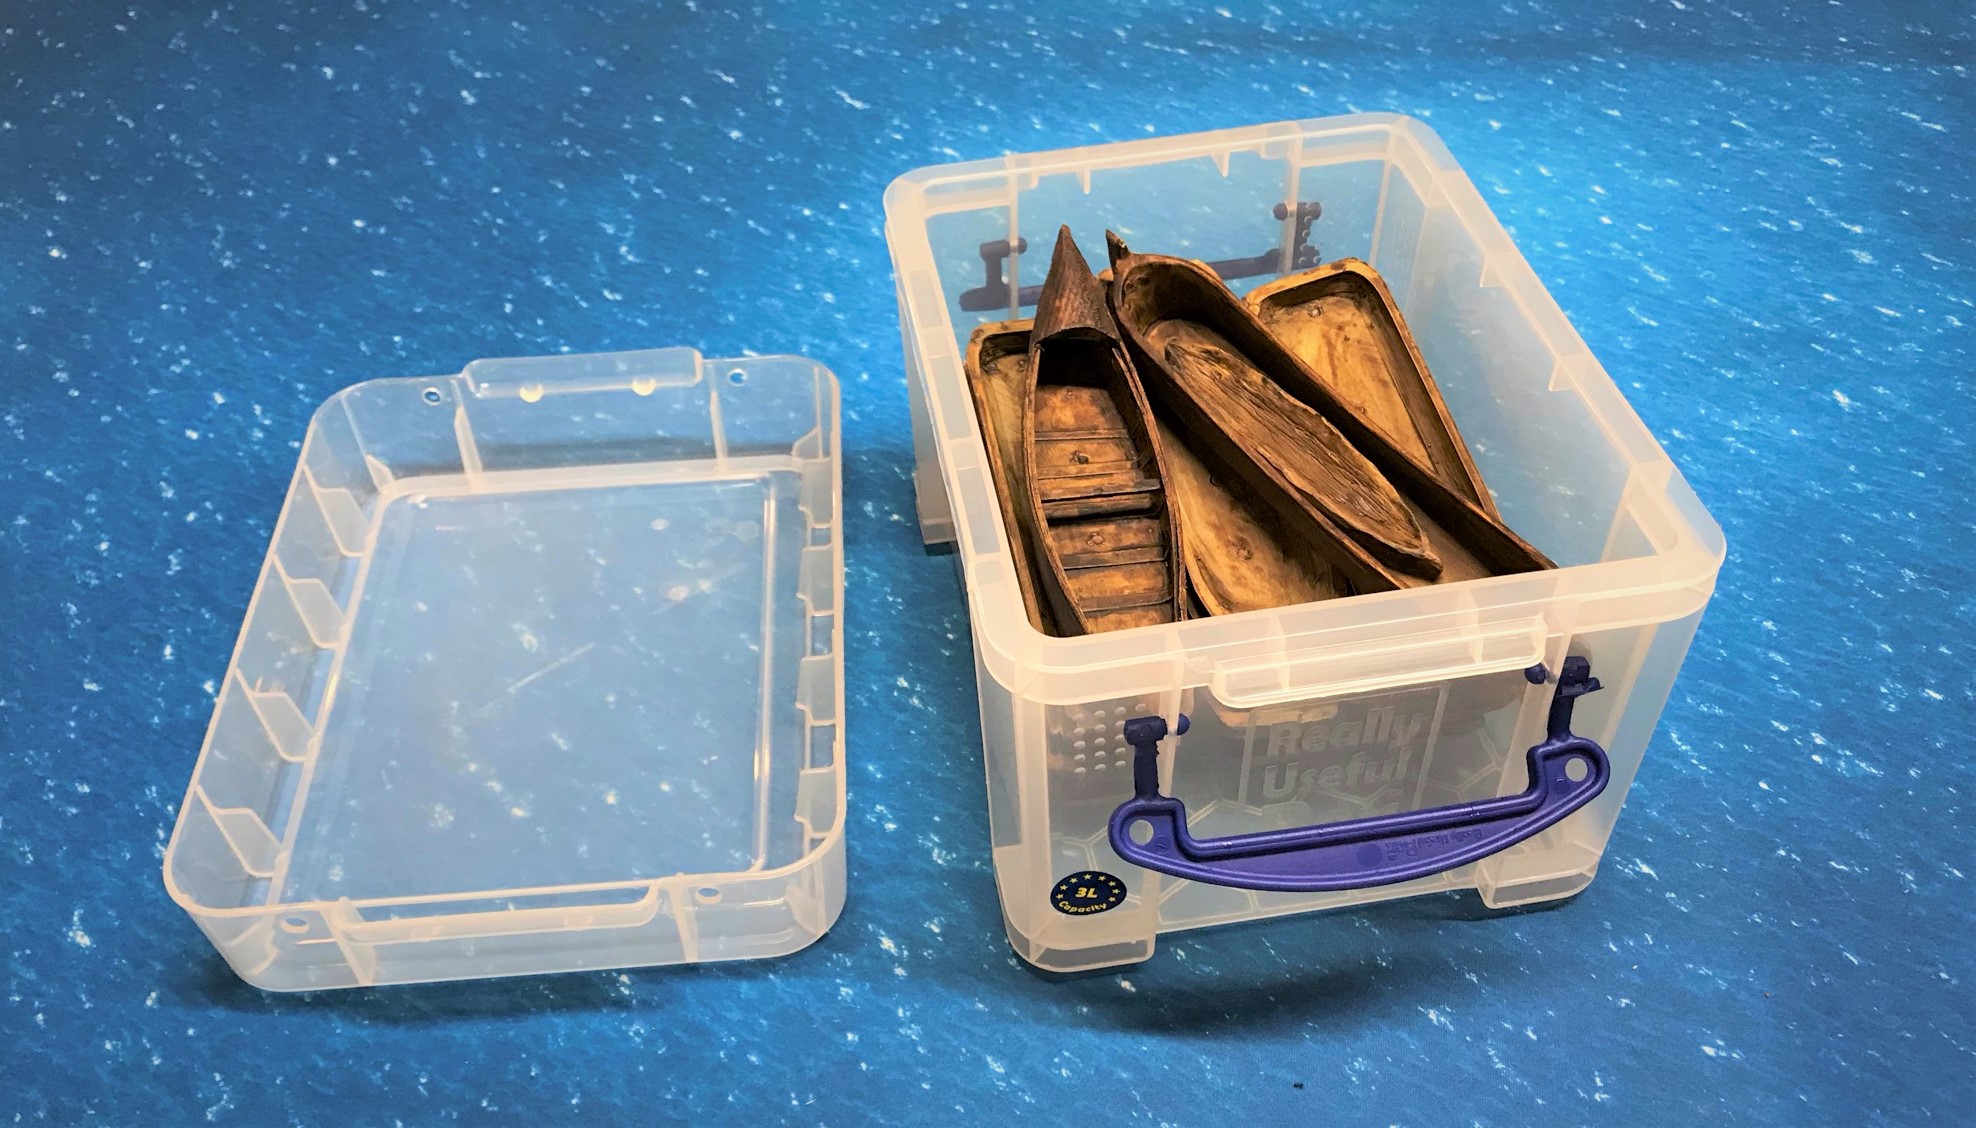
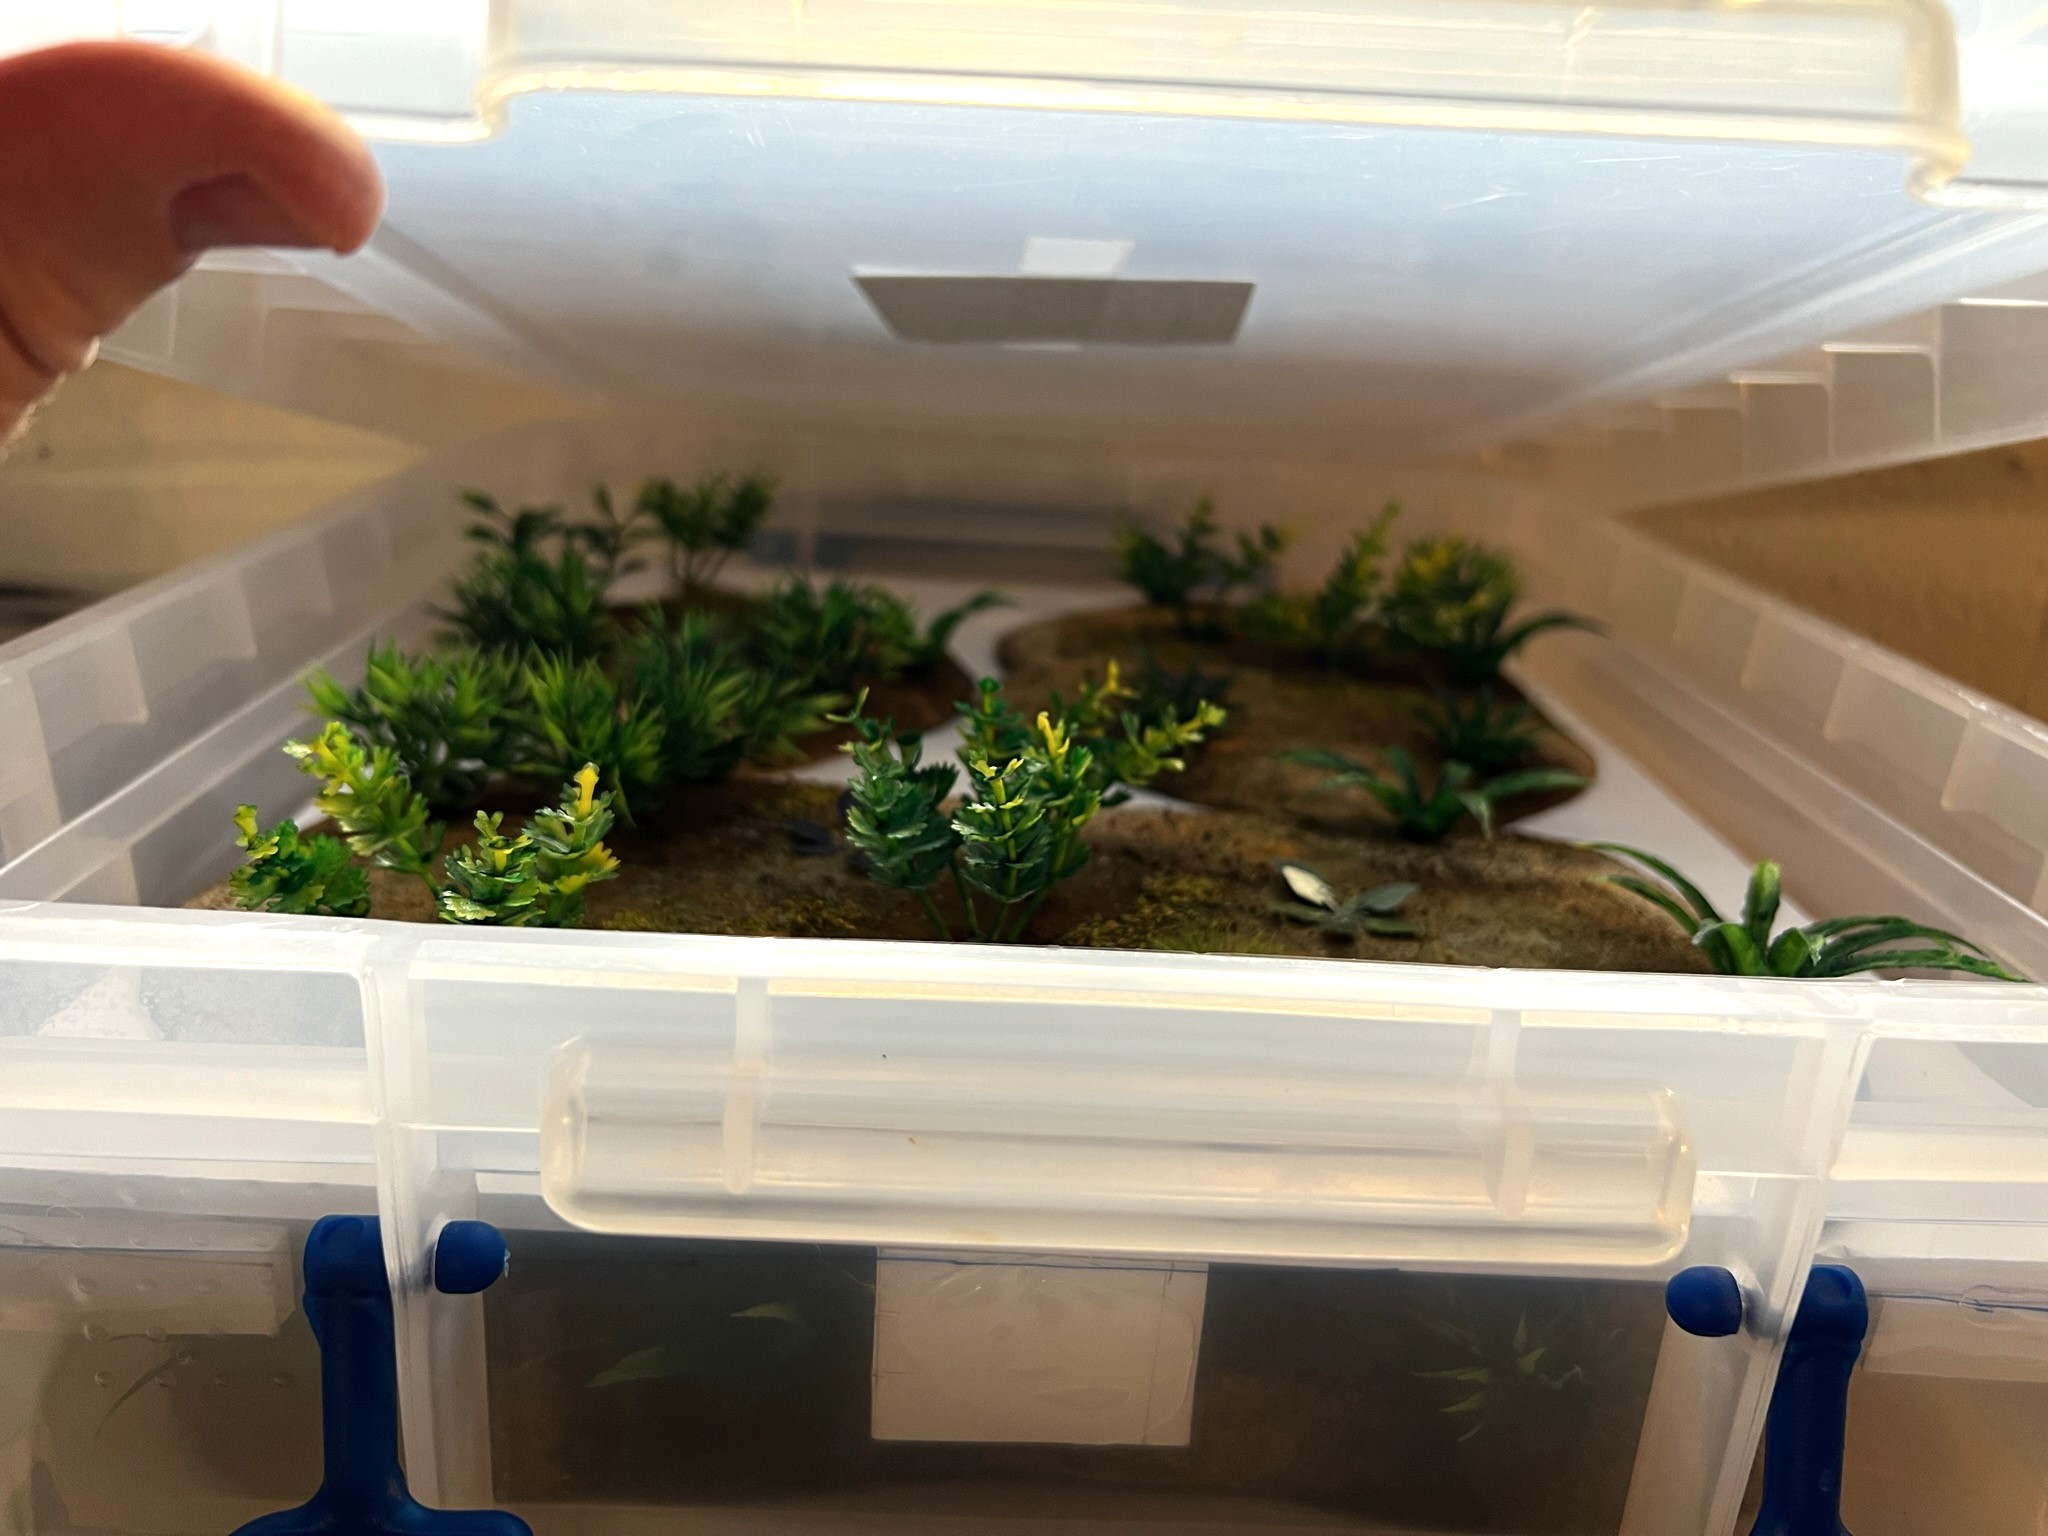
I can see using these bases for many other games – and I believe that they work well with my jungle bases with the palm trees. As to now storing and transporting them – I modified a 32-liter Really Useful Box with hot glue and posterboard/foam board into a three-level “apartment” Jungle Box. The bottom level is lined with adhesive magnetic sheets (my jungle bases with the palm trees have steel washers embedded underneath). The jungle paths also fit in here rolled up with the trees being upright. The next two levels fit the seven bases described here – four on one, and three on another. Both levels are made of posterboard and are resting on posterboard pieces that I hot-glued to the walls of the box. I did need to make the level that is immediately above the trees into three pieces so that I could get it by the supports of the top level (which is in one piece). No levels will crush any foliage (thankfully). Voila – a Jungle Box ready for Cold Wars transport!

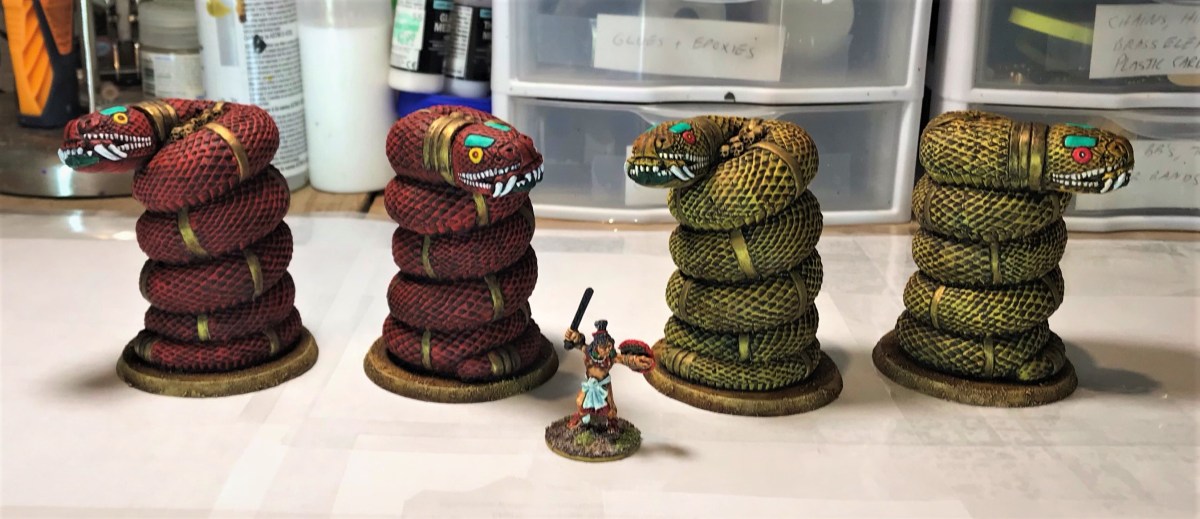
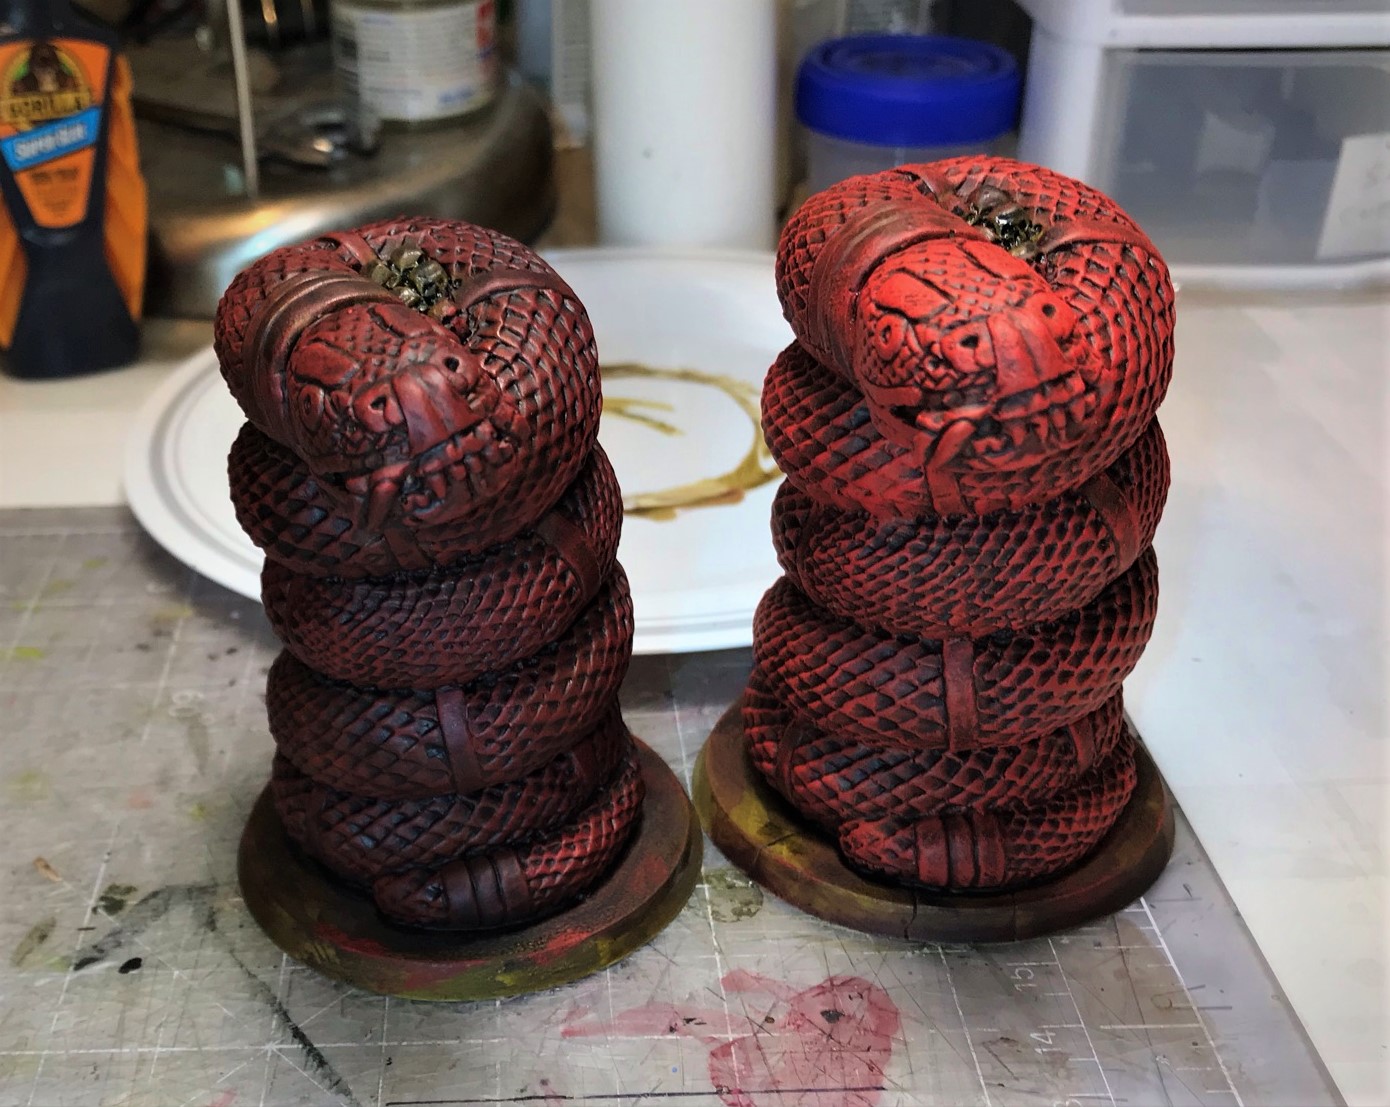
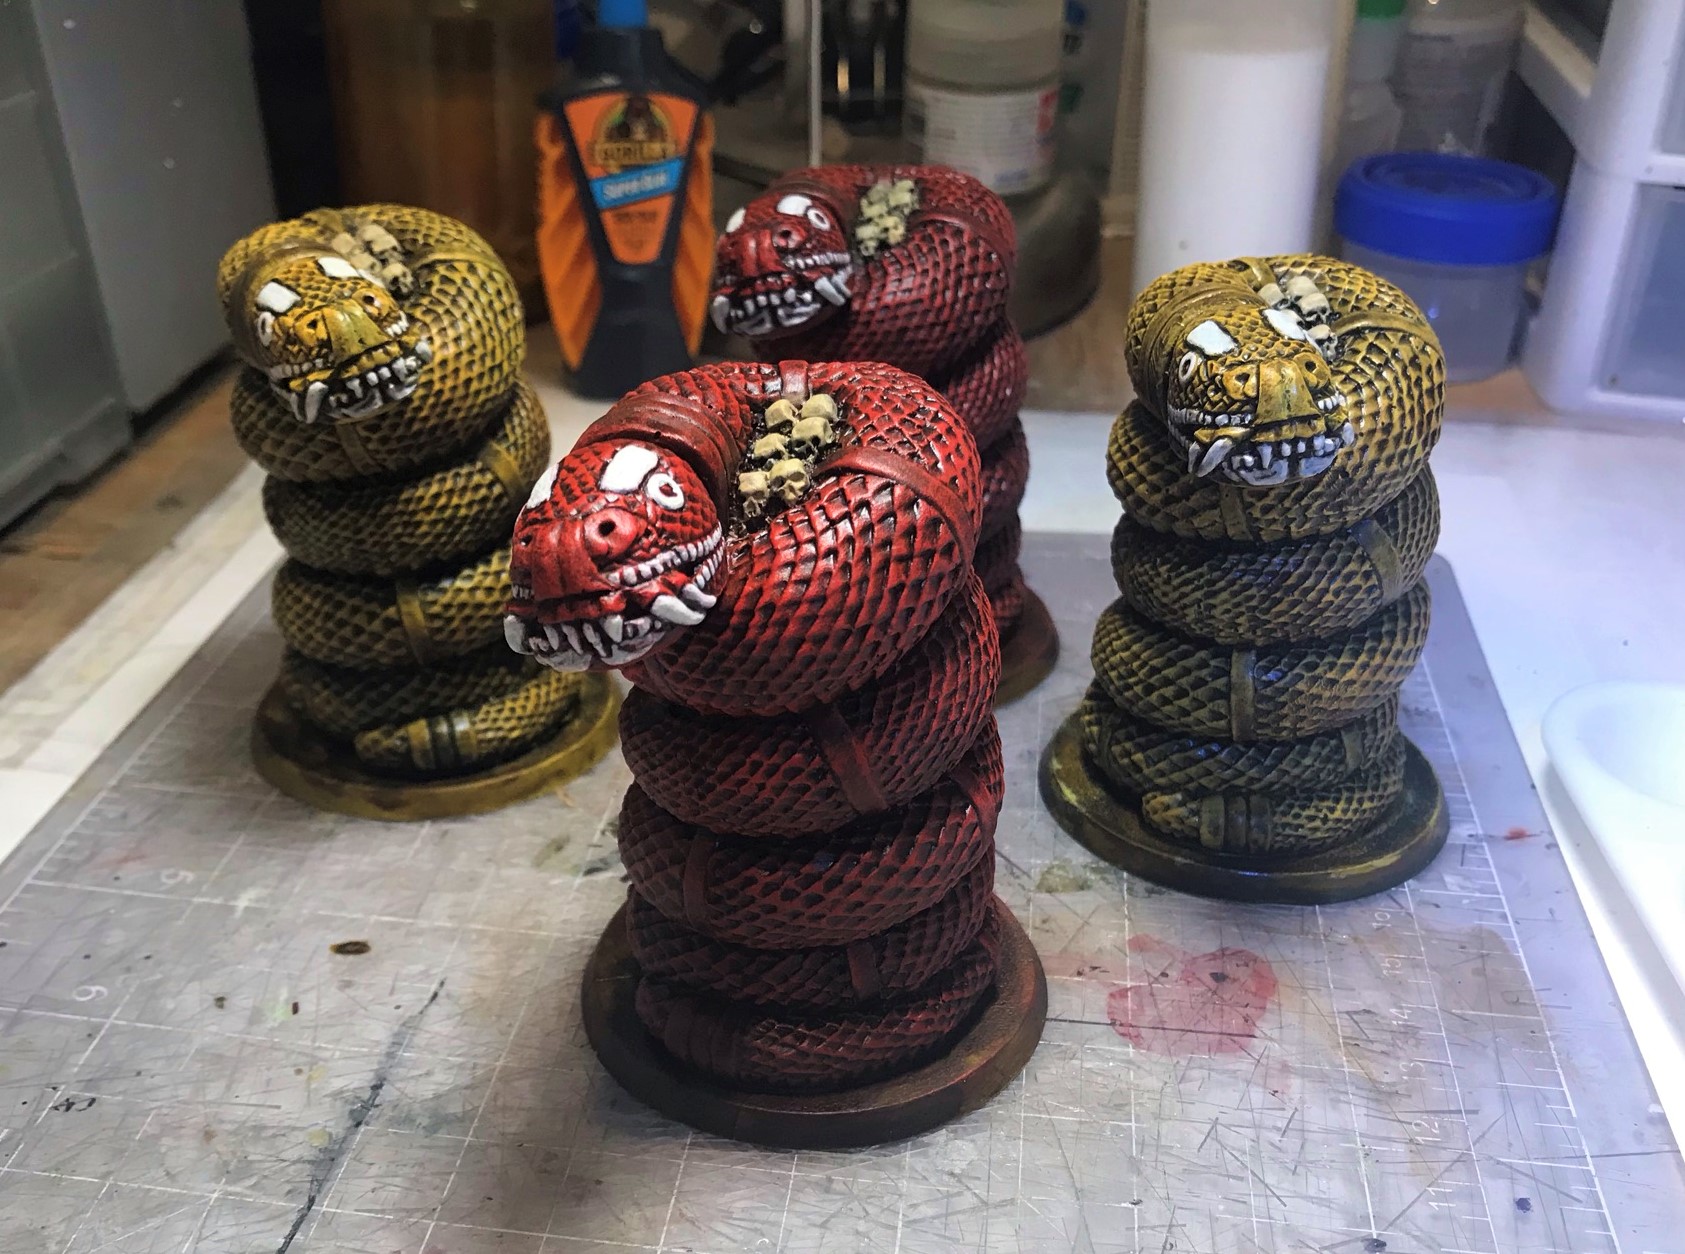
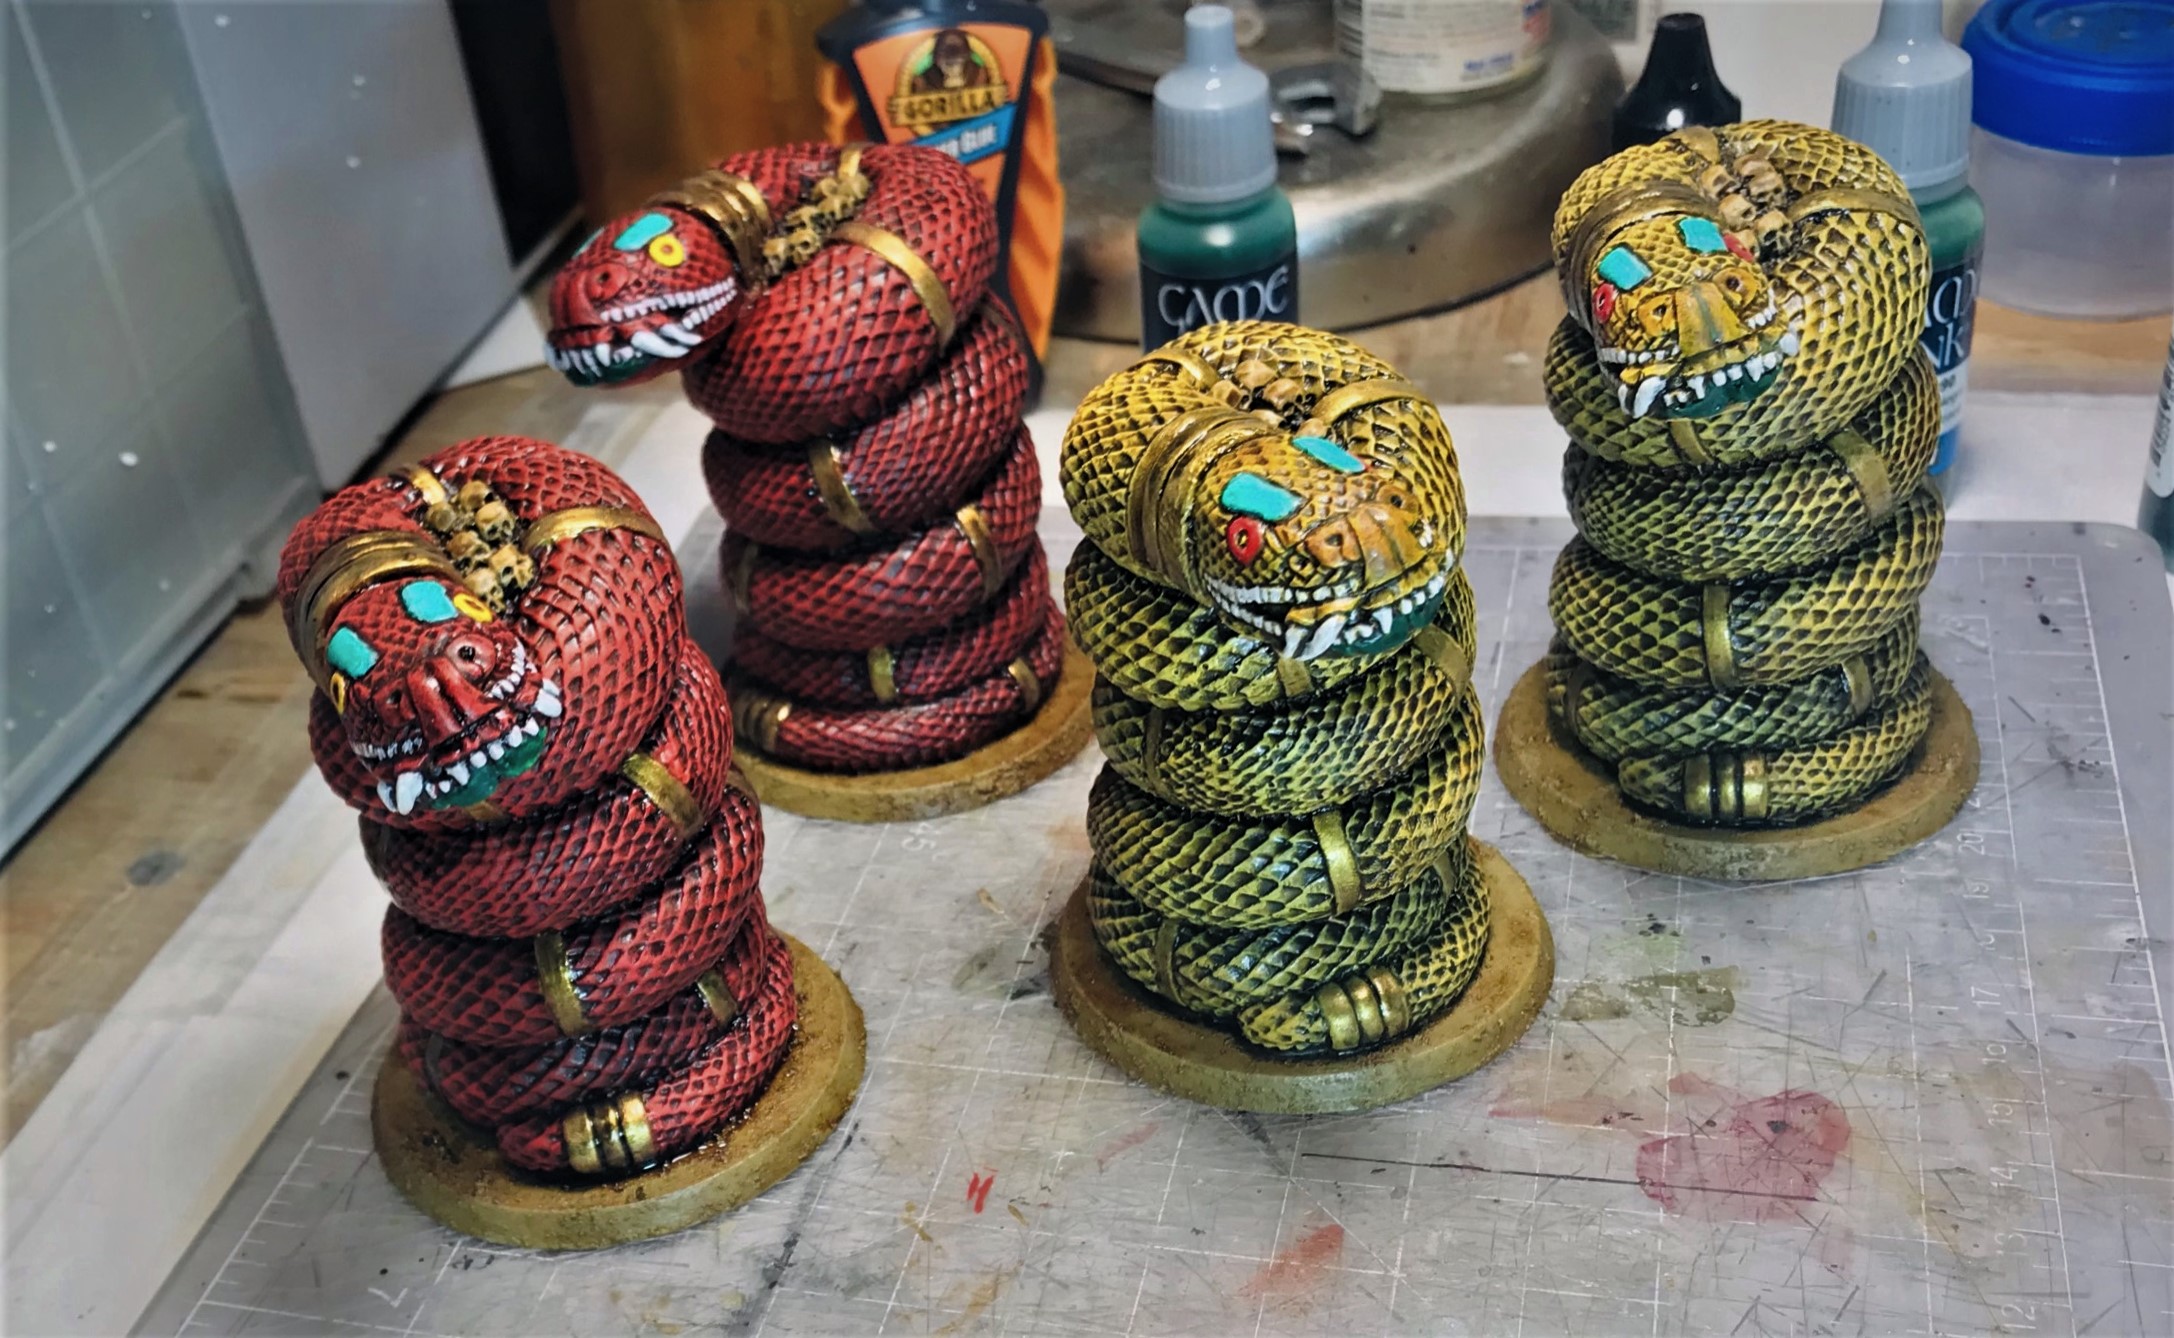
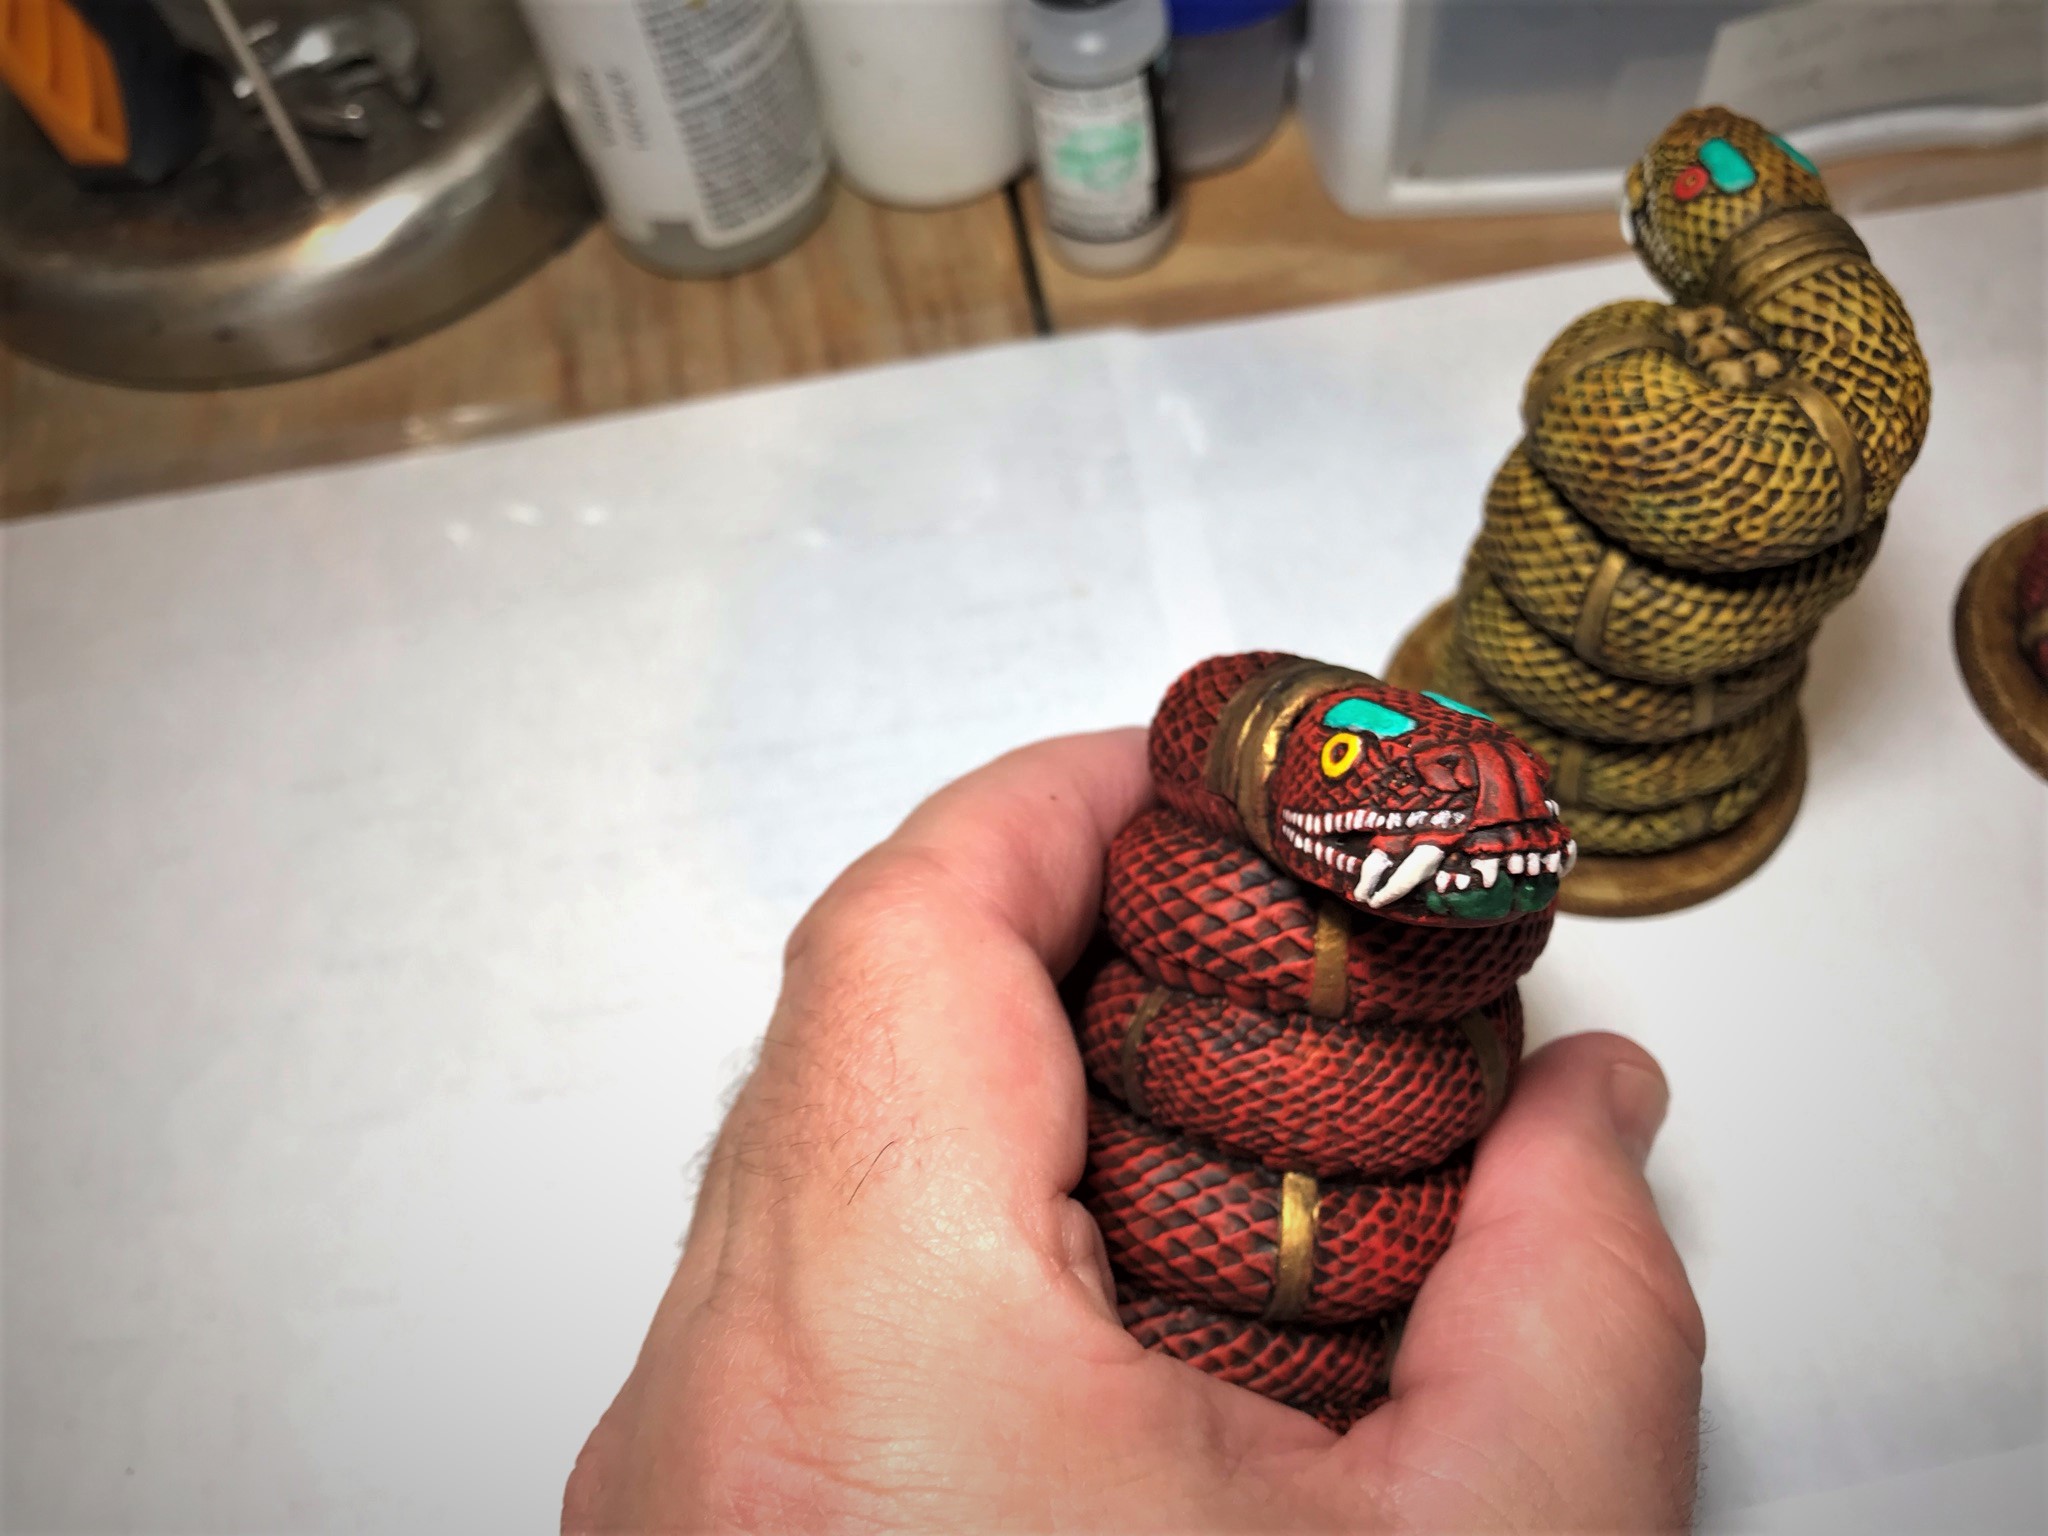
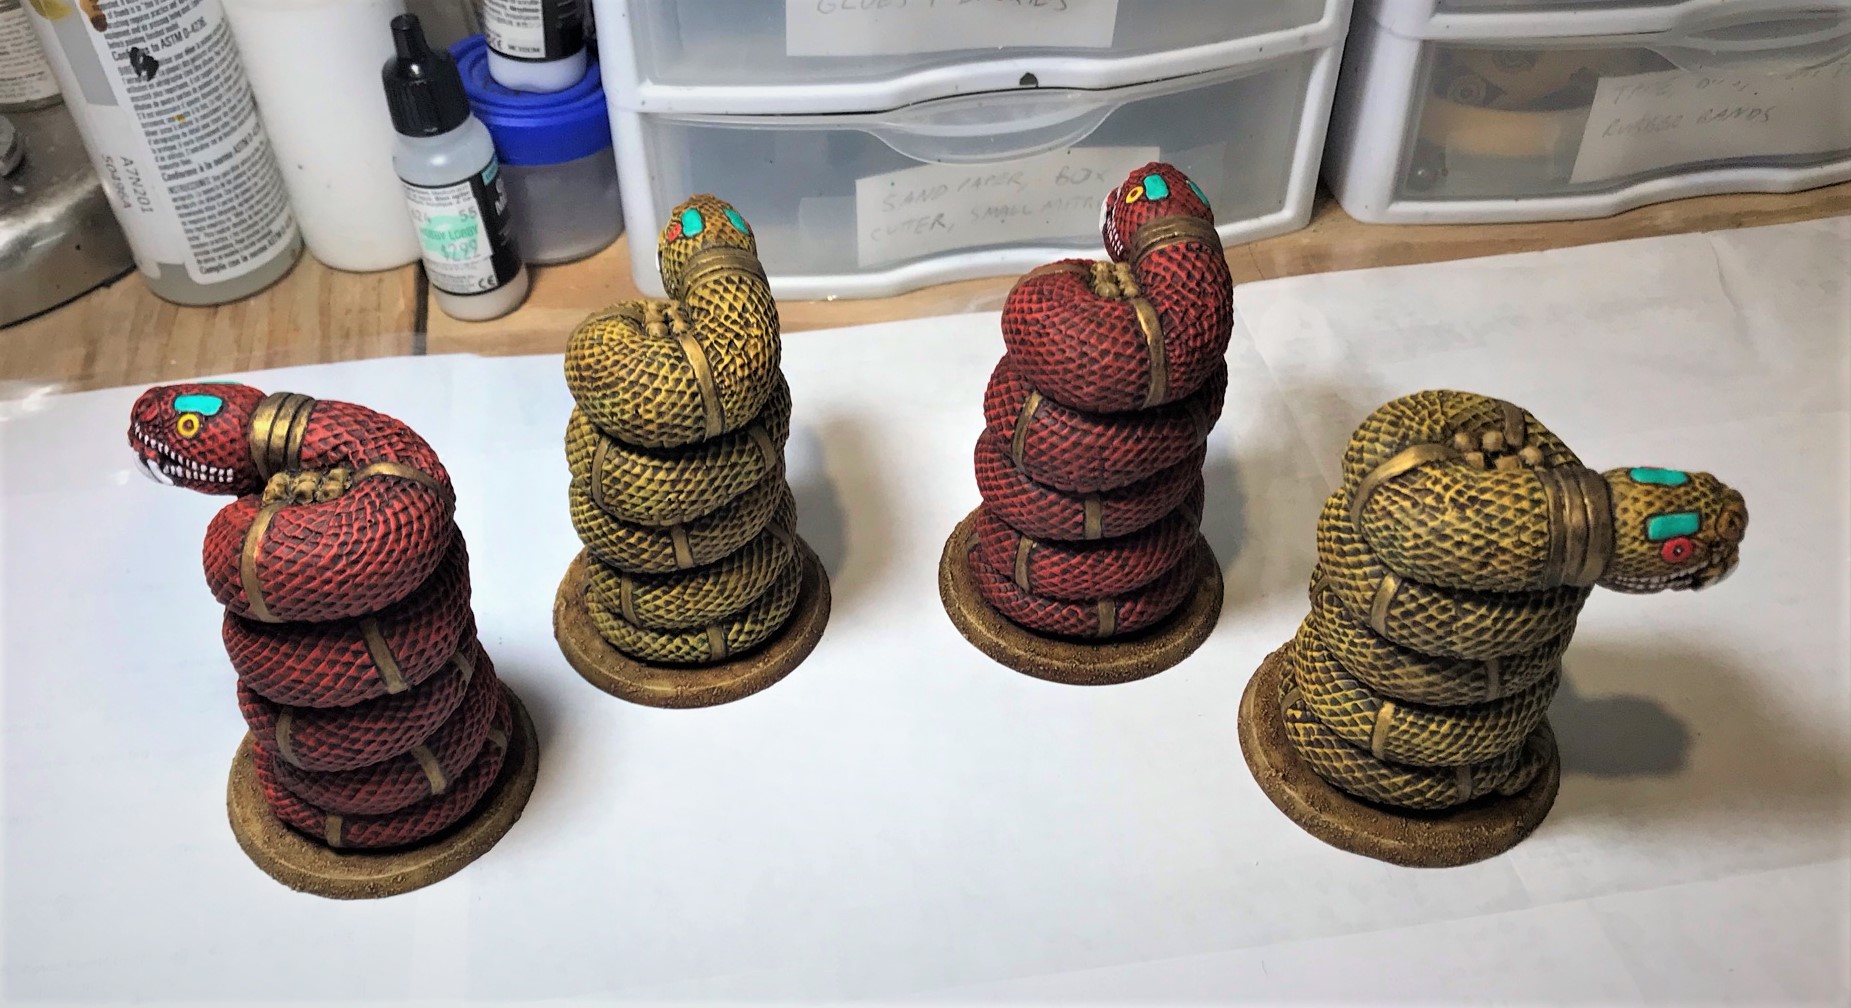
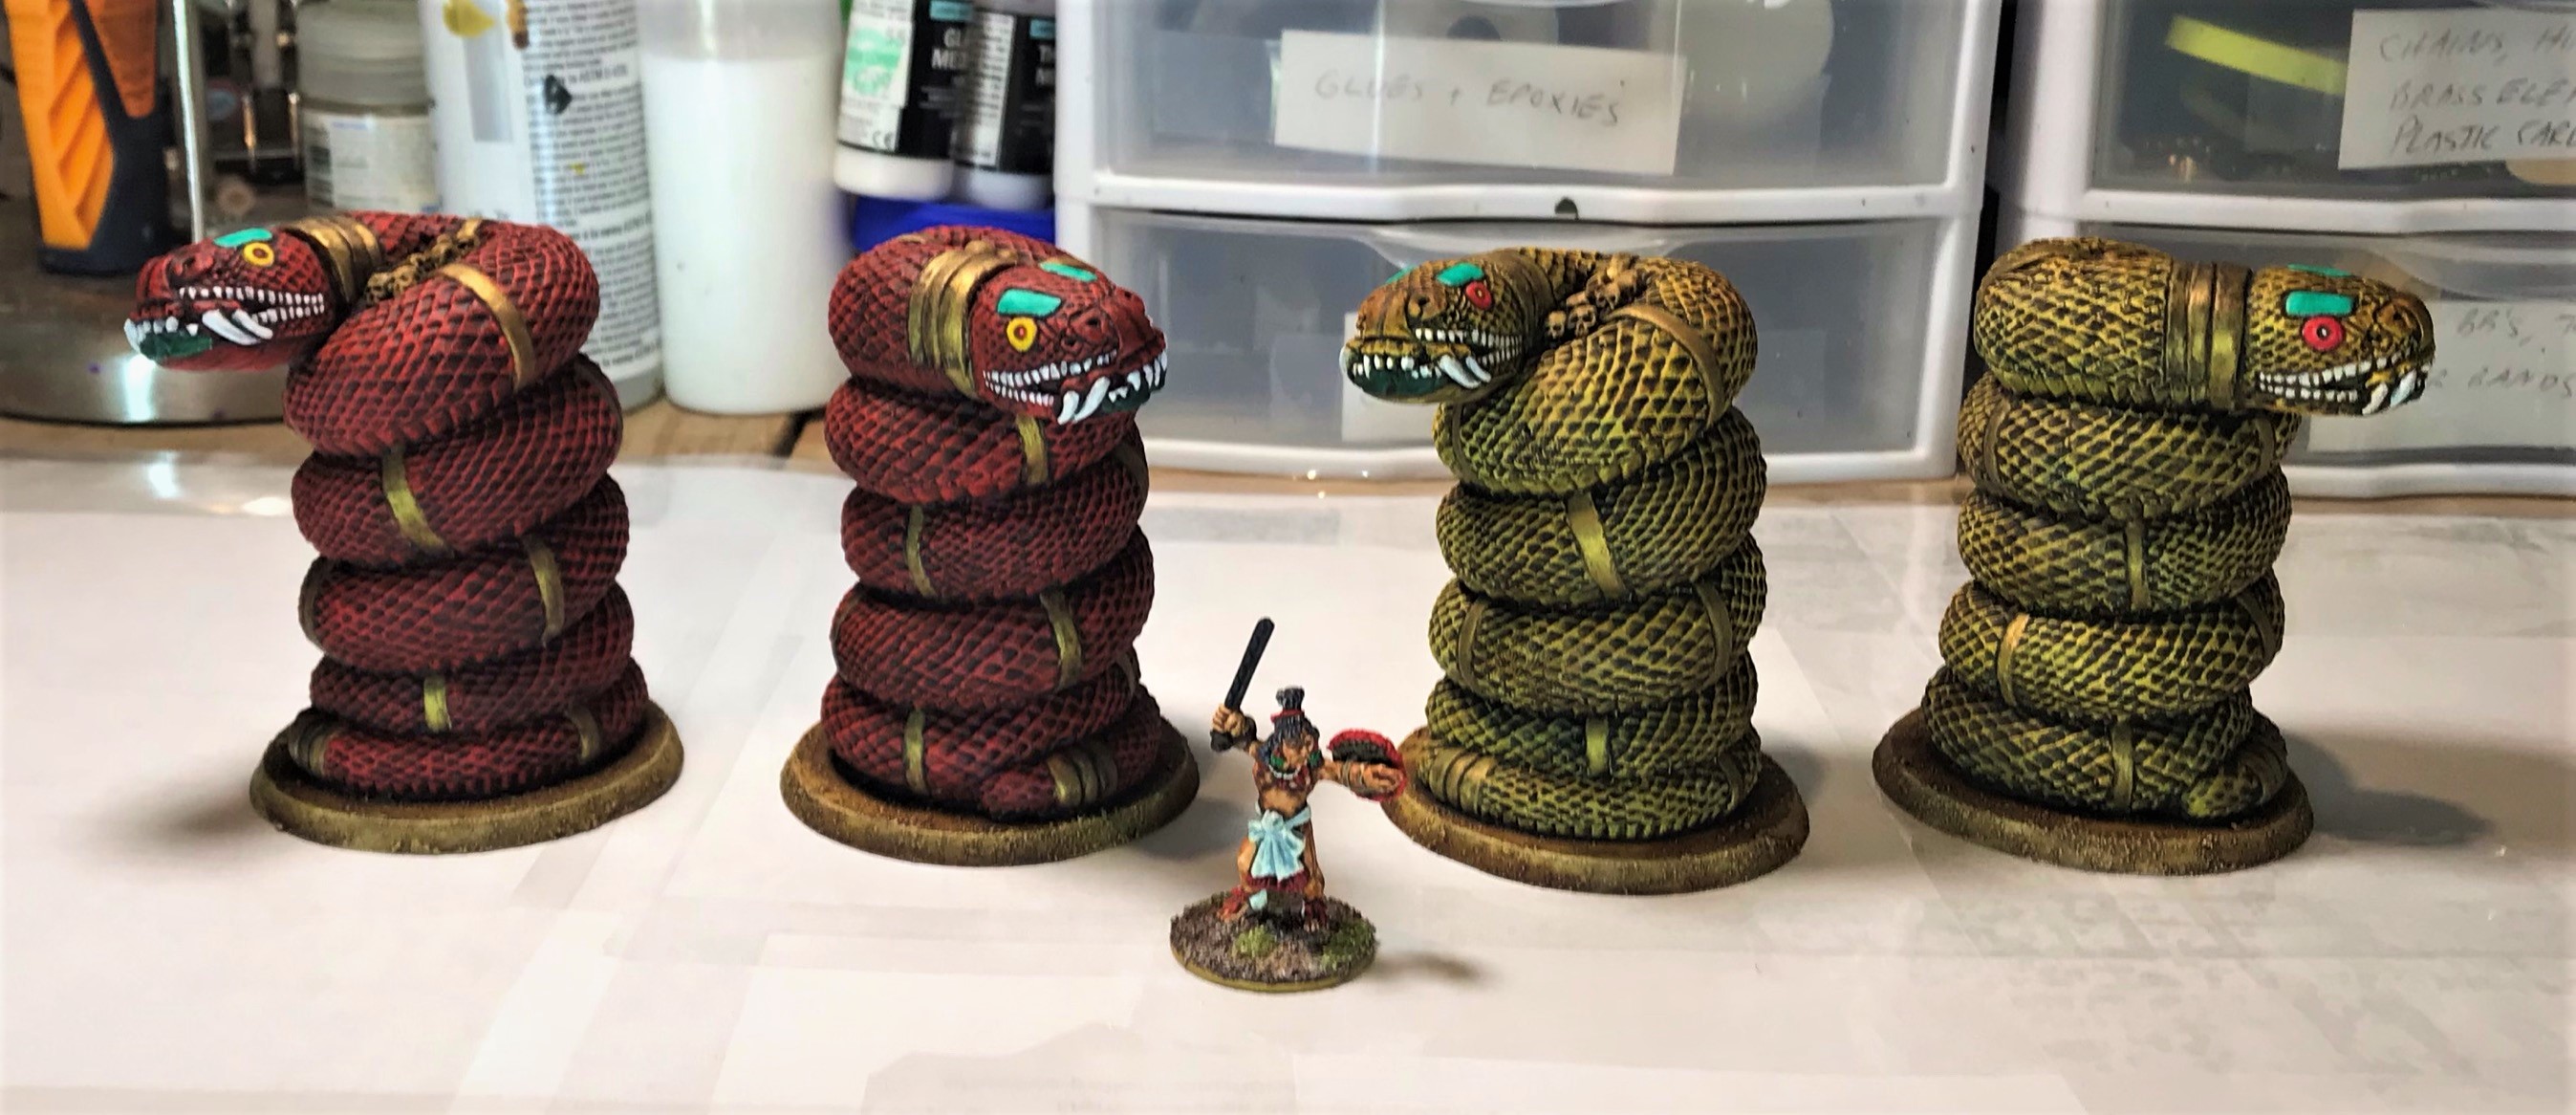
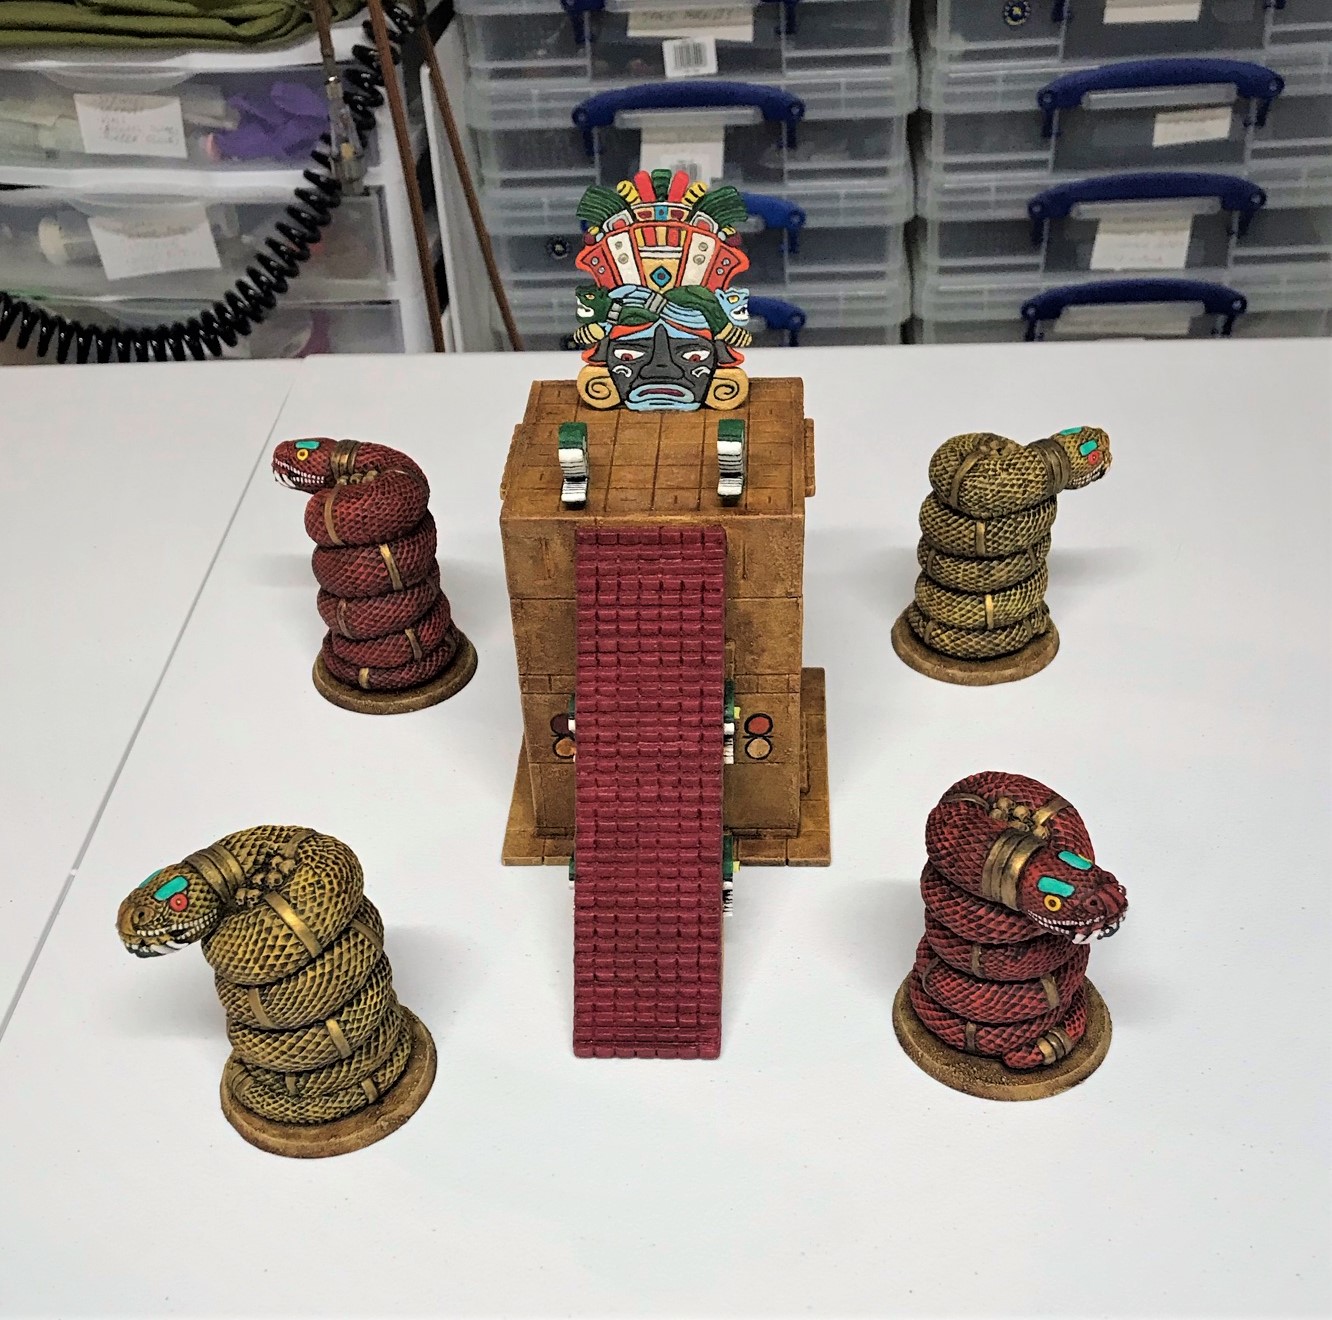
I hope this was useful to those of you considering similar projects. I do highly recommend Dave Stone’s stuff – I also previously shared his Aztec Style Serpent Statues that have been very popular at my games. Check him out!
My next post will be coming (hopefully) somewhat quickly as I need to finish preparations and packing up for Cold Wars. It will show my Winkie Zilk-riding cavalry – stay tuned! For my fellow bloggers, I’m trying to keep up with you, and know that I always read your posts and try to give you feedback. This month is, however, nuts, so I might be a bit tardy, mea culpa. As always, much thanks for taking a look – and let me know what you think!
Miscellaneous details and references for those interested in that sort of thing:
For all of my previous posts on games, units, and other projects for my 16th Century Spanish Conquest supplement for Feudal Patrol™ – “Civilizations Collide” – please see this page.
PAINTS, INKS, GLAZES, SHADES, WASHES, PIGMENTS, FLOCKING, GLUES AND MORE THAT I USED ON THESE JUNGLE BASES:
- 2 of the Scatter Scenery – Jungle Base (large), Dimensions: 11.25″ Length x 5.9″ Width x 0.2″ Depth; (metric) 285mm L x 150mm W x 5mm D
- 2 of the Scatter Scenery – Jungle Base (Medium), Dimensions: 7.9″ Length x 6.3″ Width x 0.2″ Depth; (metric) 200mm L x 160mm W x 5mm D
- 3 of the Scatter Scenery – Jungle Base (Small), Dimensions: 6.5″ Length x 5.33″ Width x 0.2″ Depth; (metric) 165mm L x 135mm W x 5mm D
- Vallejo Primer “German Green Brown”
- Apoxie Sculpt
- Hot Glue
- Americana “Apple Green Satin”
- Americana “Hauser Light Green”
- Coelia Greenshade (wash)
- Poster tack
- Biel-Tan Green (wash)
- Hexwraith Flame (as a wash)
- Vallejo “Earth Texture Acrylics”
- Vallejo “Desert Dust” (pigment)
- Vallejo “Light Yellow Ochre” (pigment)
- Vallejo “Dark Yellow Ochre” (pigment)
- Vallejo “Natural Umber” (pigment)
- Vallejo “Burnt Umber” (pigment)
- Vallejo “Faded Olive Green” (pigment)
- Vallejo “Green Earth” (pigment)
- Vallejo “Airbrush Thinner”
- Shadow’s Edge Miniatures “12mm Jungle Tufts”
- Gamers Grass “Laser cut plants – Elephant’s Ear”
- Gamers Grass “Laser cut plants – Black Magic Taro”
- Elmer’s PVA Glue
- 4-Ground TSW23 “Loose Foliage – Brown Leaves”
- 4-Ground TSW22 “Loose Foliage – Green Leaves”