Transforming a Corgi Toy Tiger Tank for the Imperial Felynxii Army

This project was a lot of fun! It allowed me to be creative and model something a bit different than just painting up a standard vehicle or unit of miniature troops. Retro sci-fi is a great genre to do just that.

Infantry need armored support in the retro sci-fi universe! I mentioned in my blog post on the Felynxii Imperial Scouts that I had a concept of adding armor to their force. I use Buck Surdu’s Combat PatrolTM WWII rules with my retro sci-fi modifications for these tabletop games. But, how to add an armored element?

First, let’s look at obvious inspirations – many vehicles have been given cat-like names. The US had the M10 Hellcat tank destroyer, The Germans have had many from the Luchs (lynx), Puma, Leopards, Panther, and … two types of TIGER!

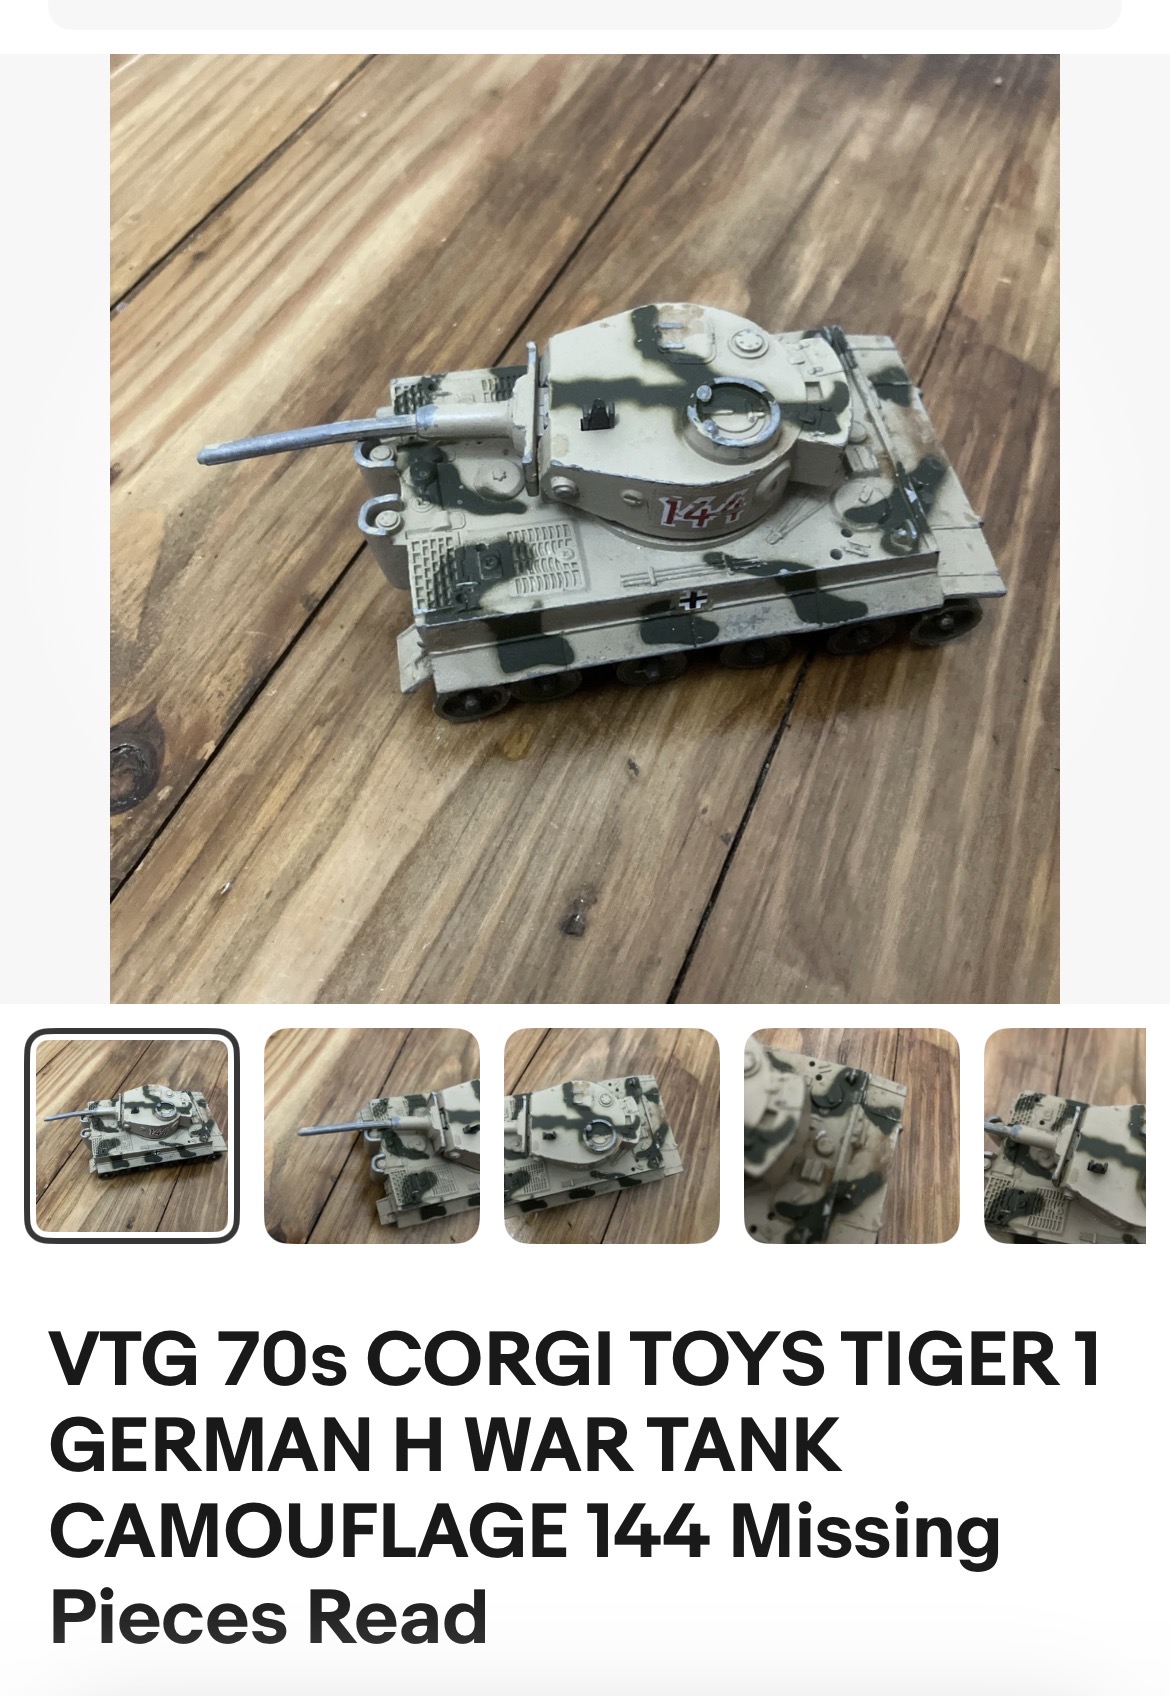
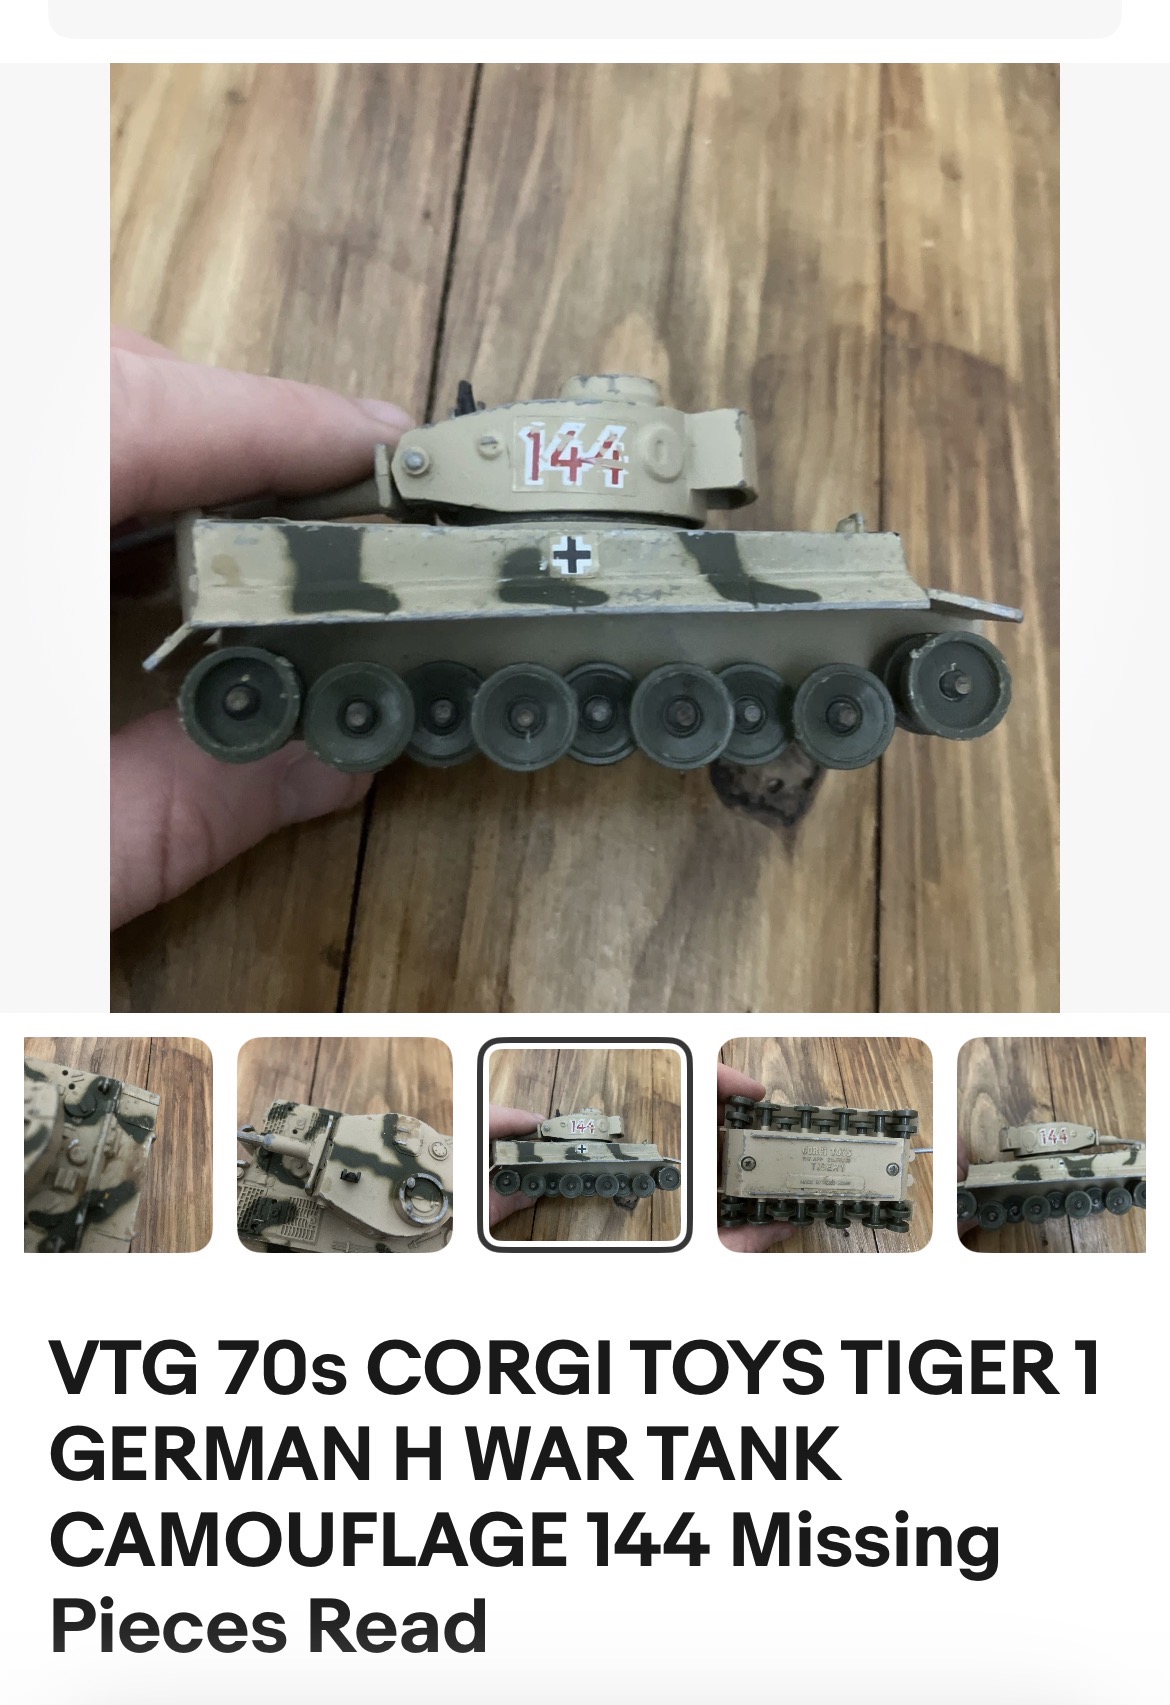
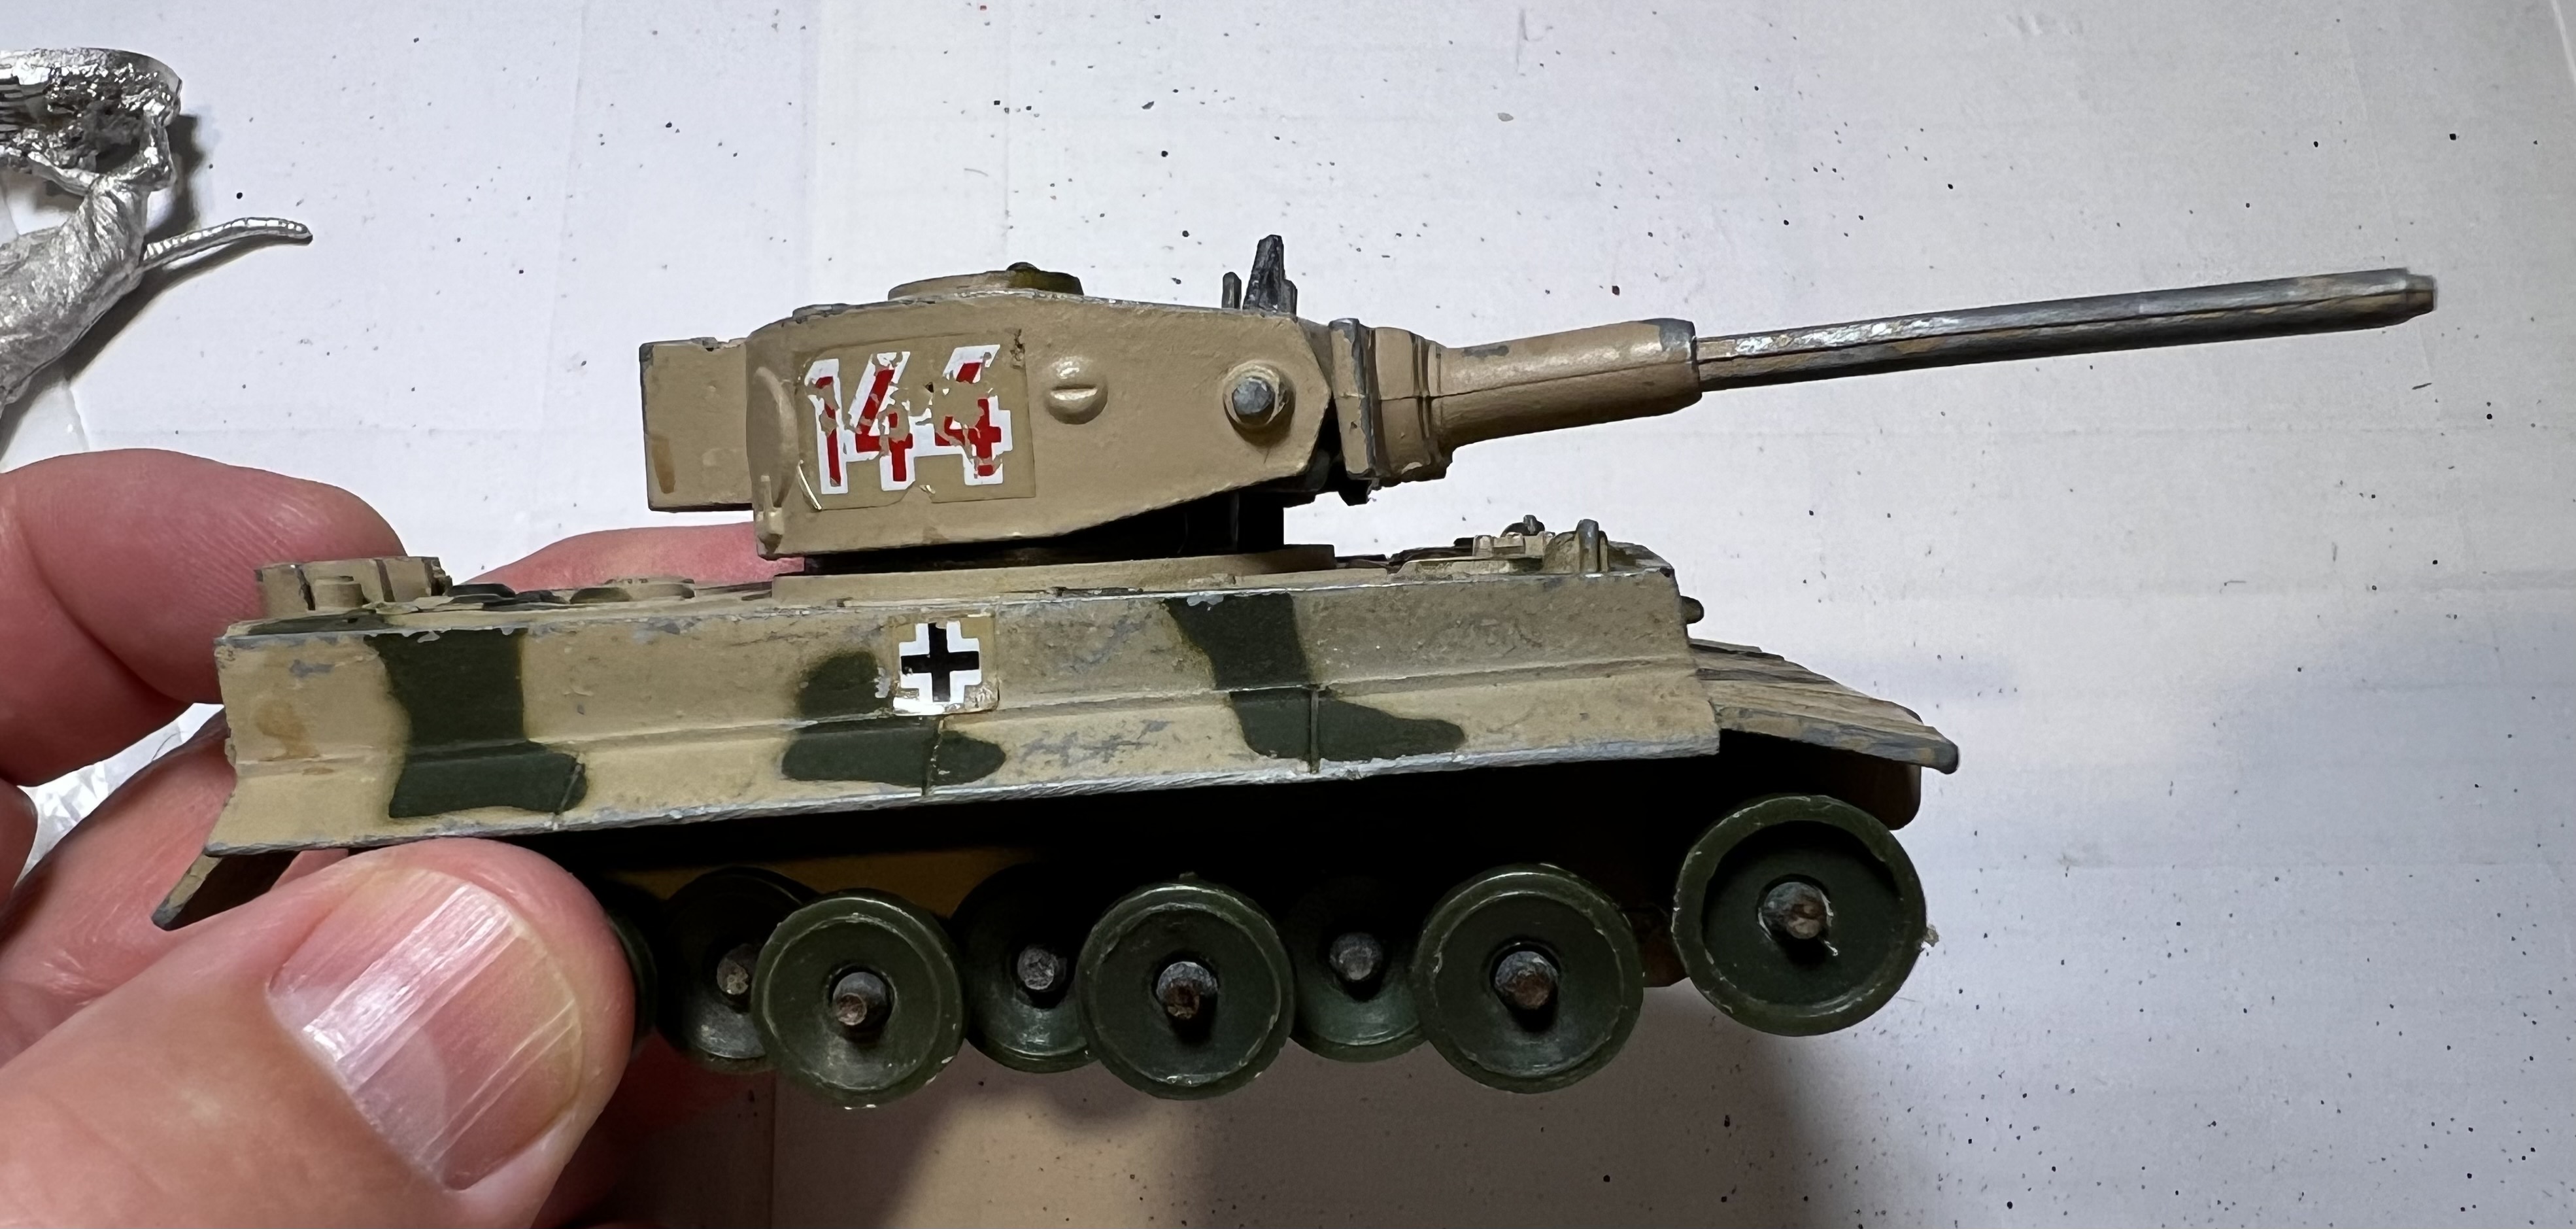
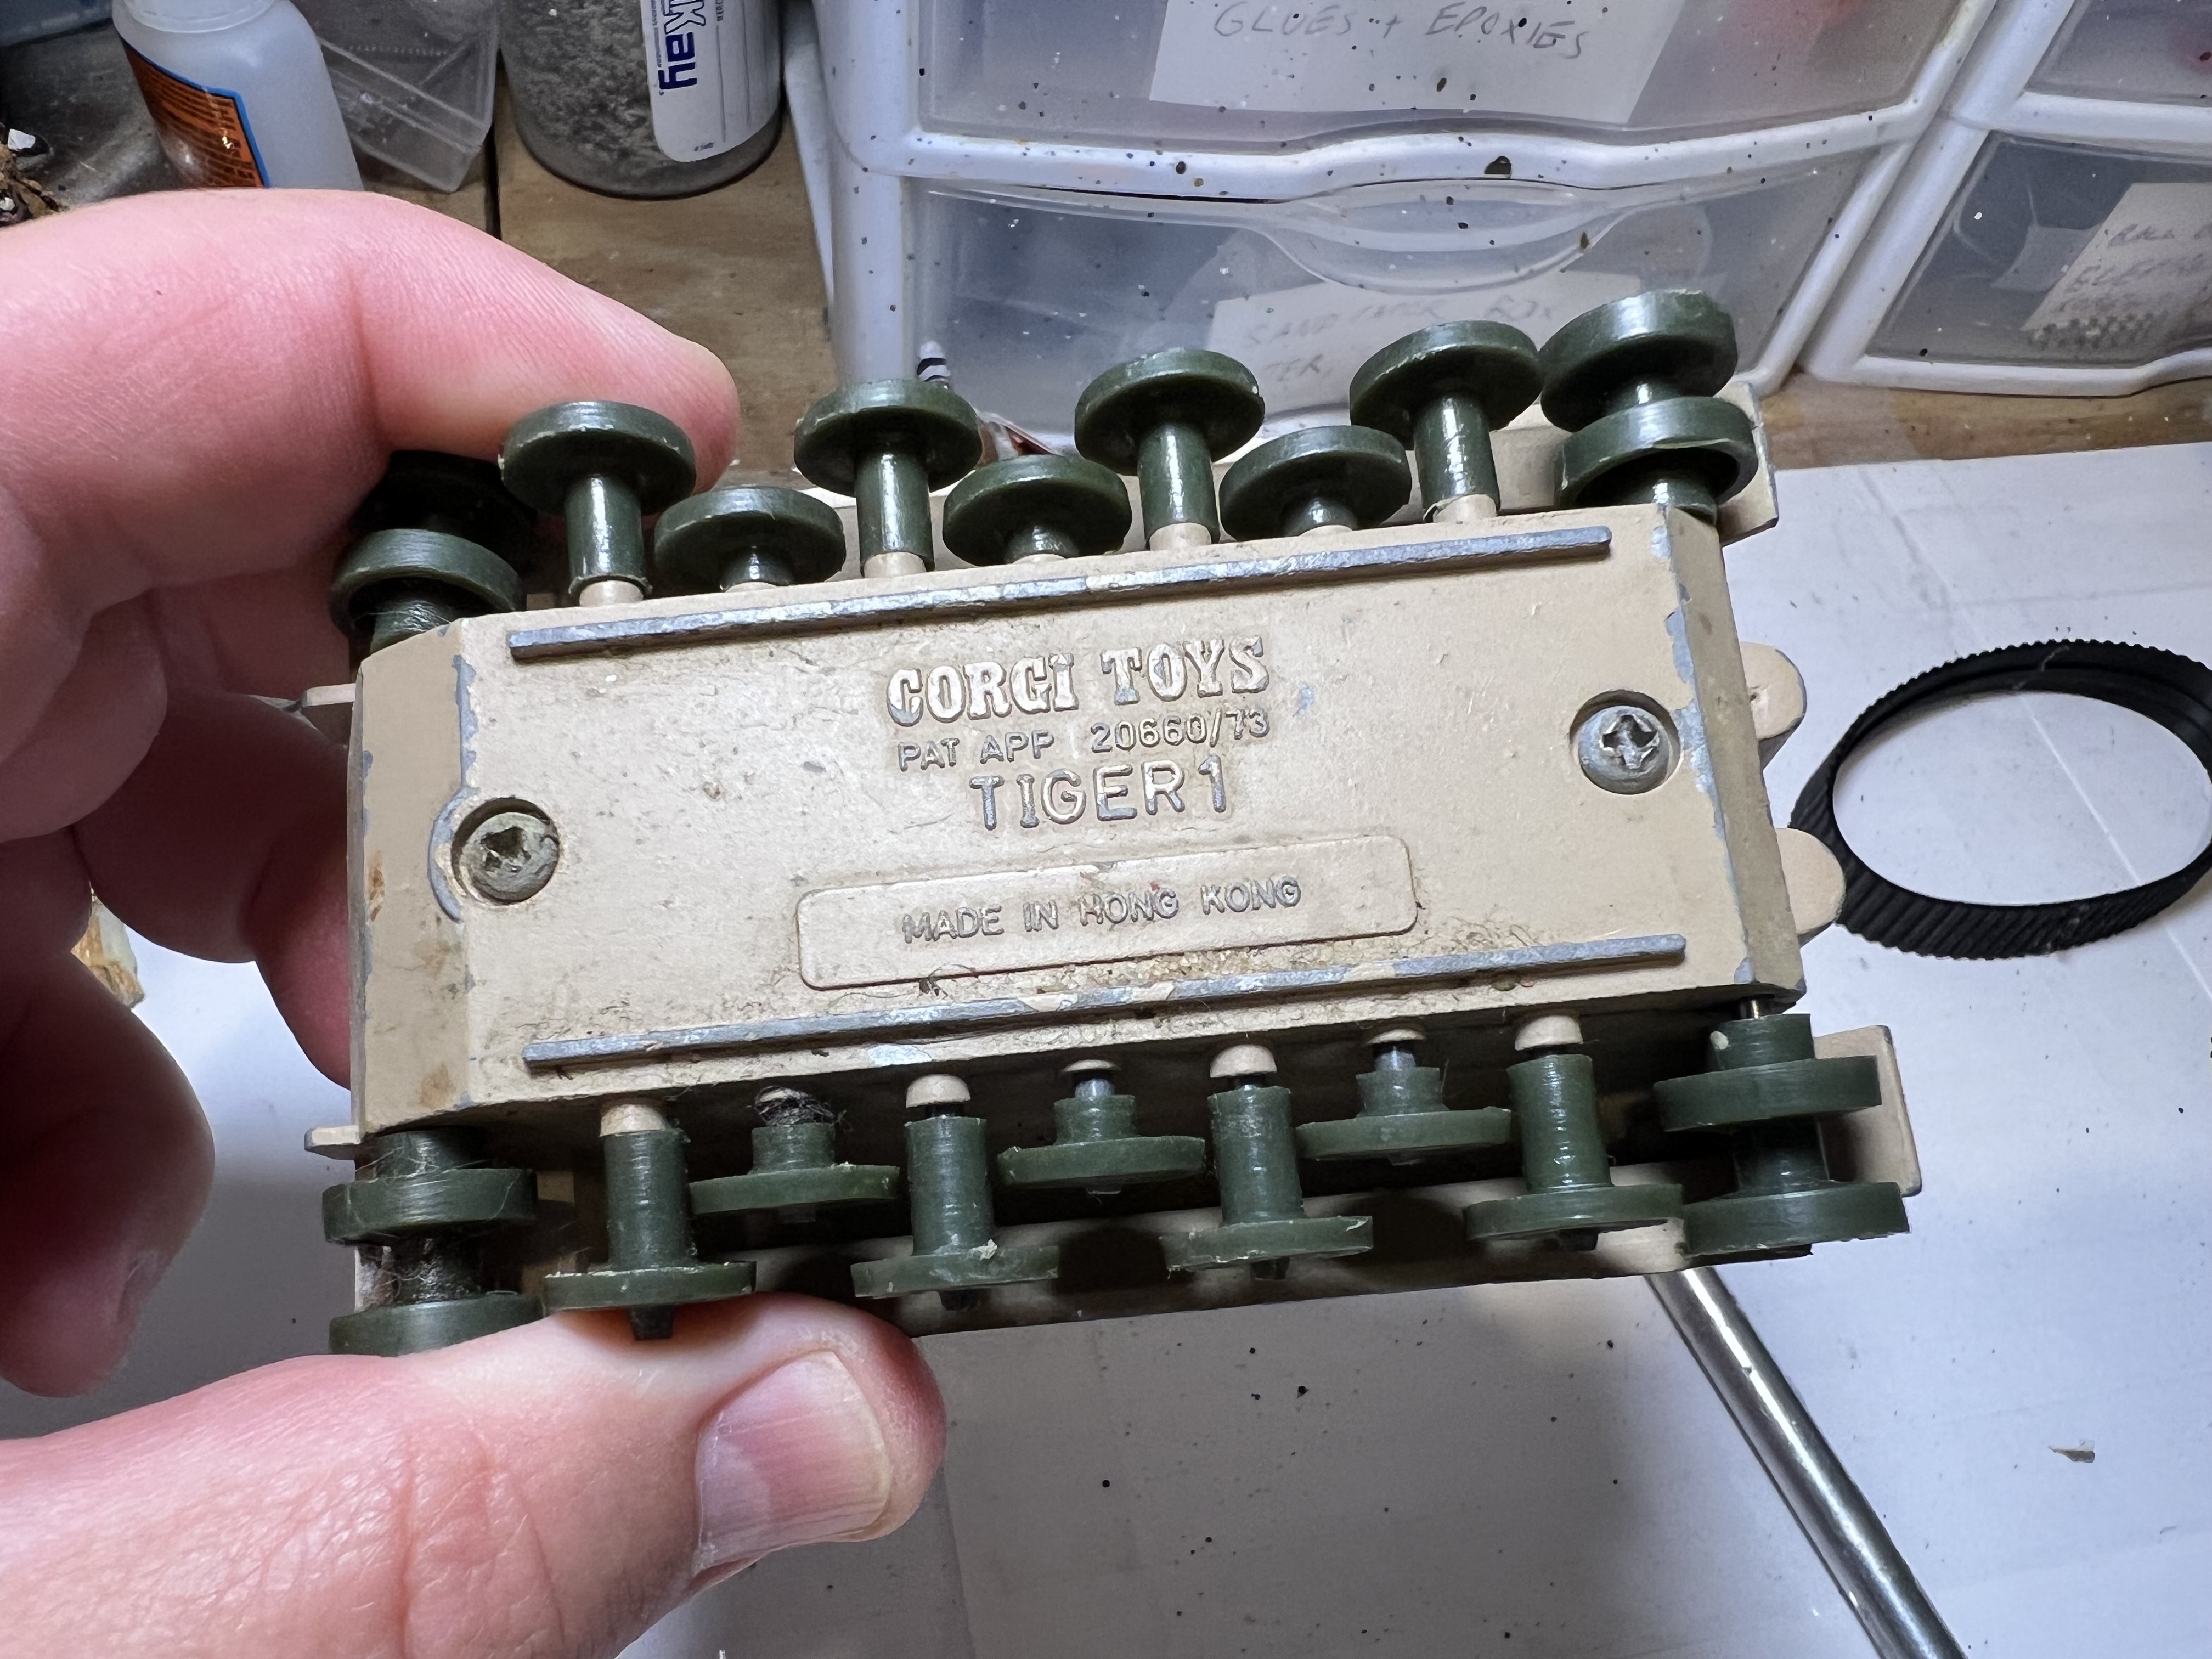
So I began my search for a suitable toy tank or model to use that was of a workable scale. I have read often that some gamers prefer 1:48 scale or 1:56 scale for 28mm game vehicles. I was agnostic on this debate – I just wanted a good feline-inspired tank. Then I saw this old and somewhat beat-up Corgi toy from the 1970’s on eBay.
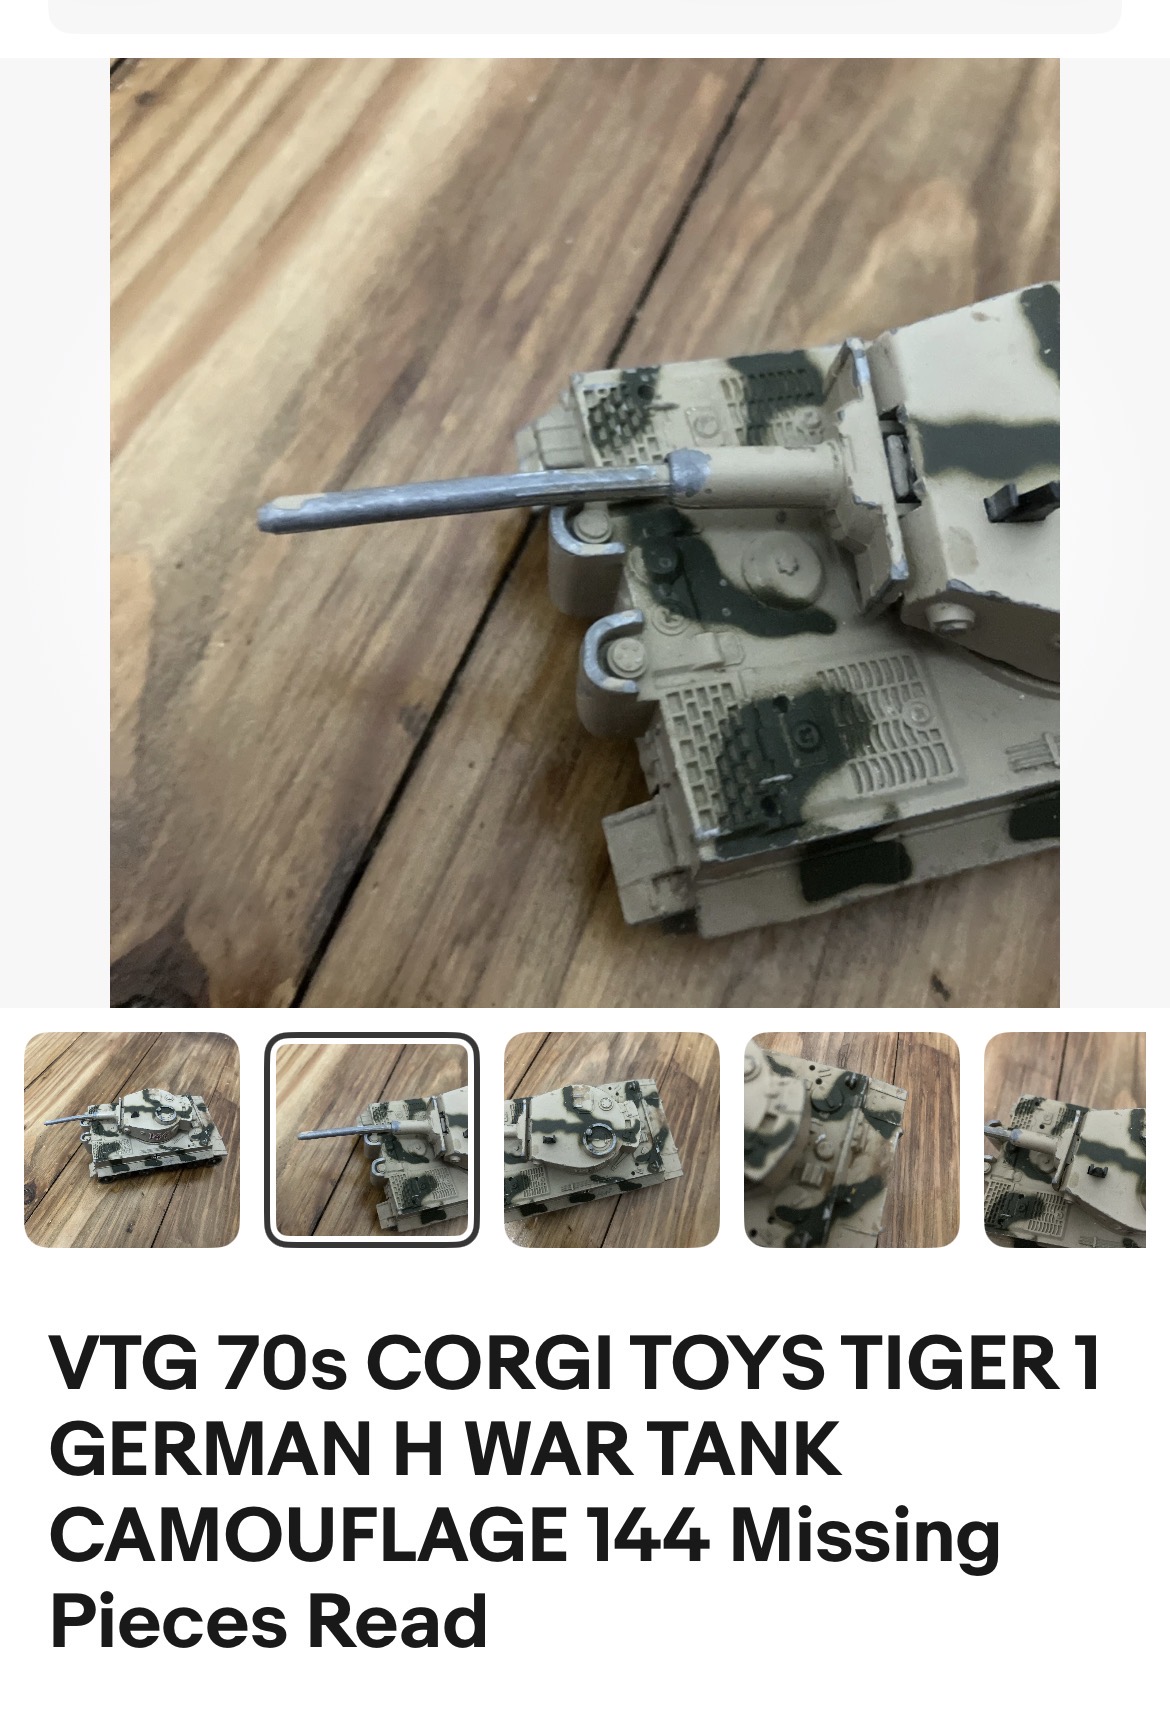
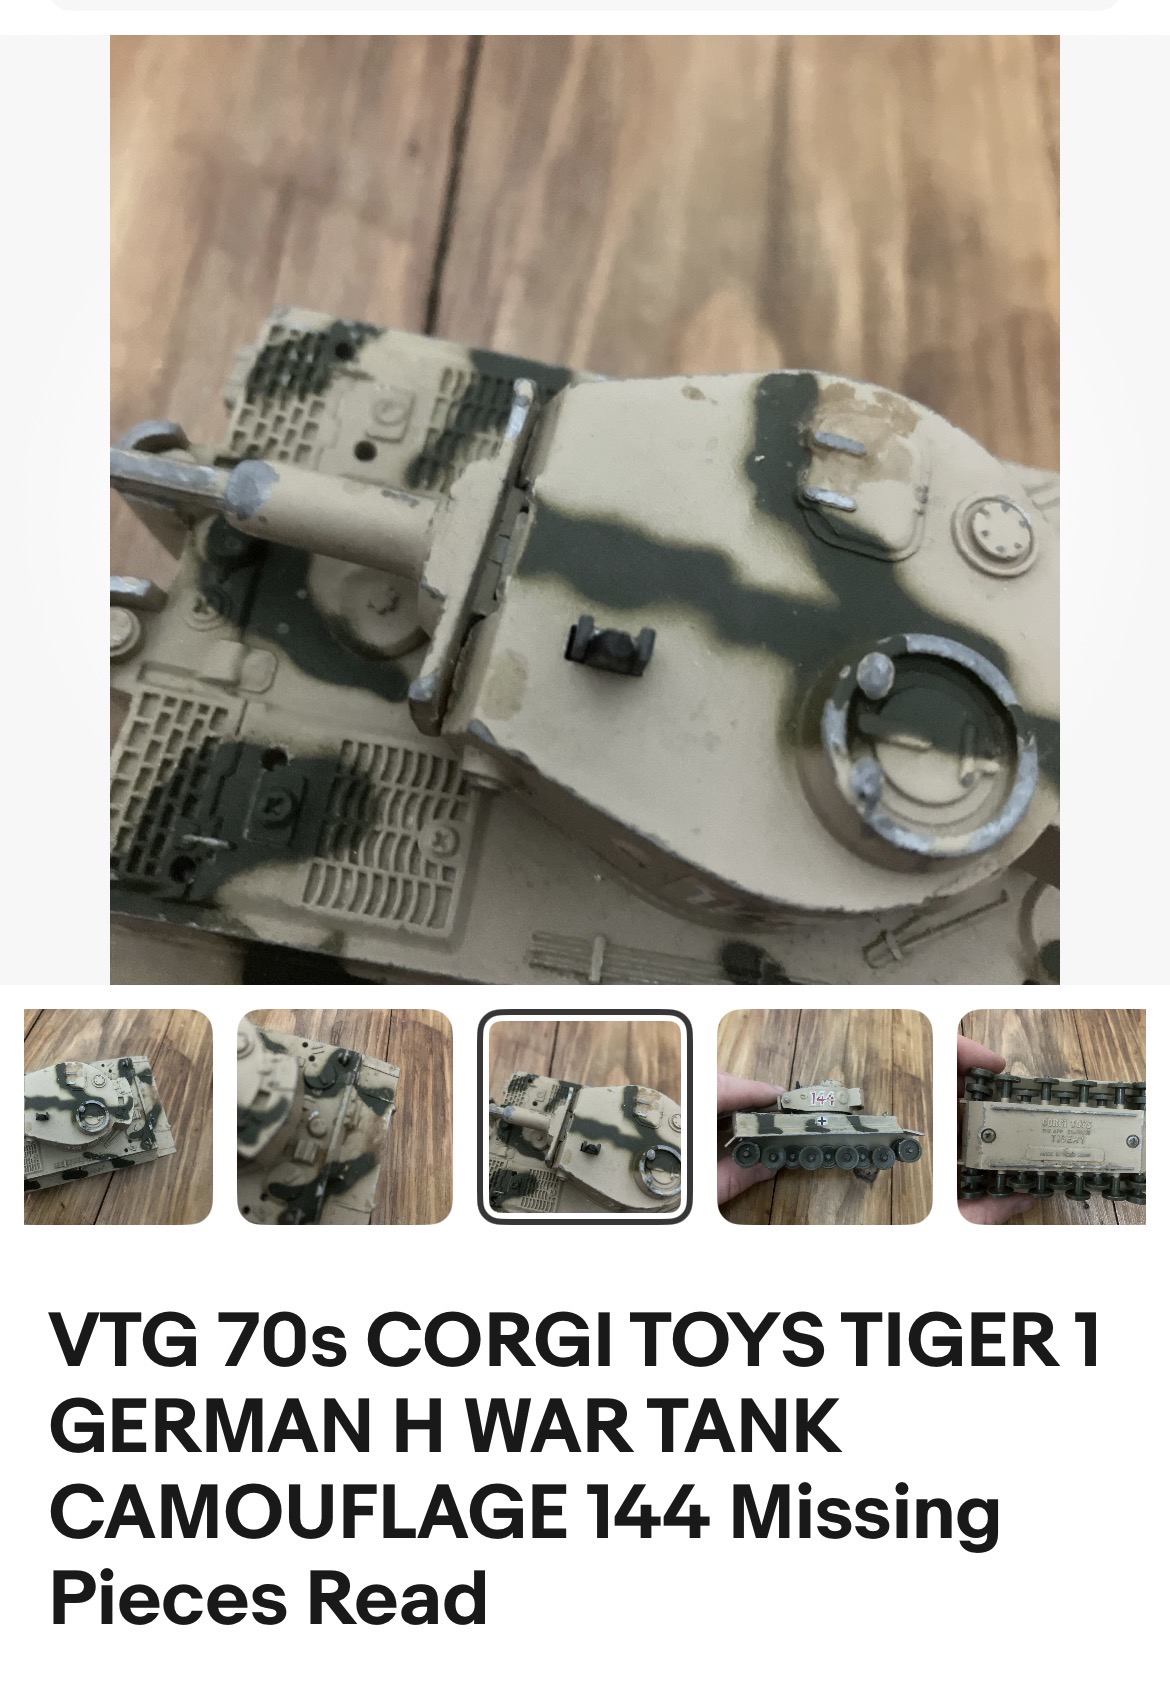
I thought this might work. The Corgi Tiger tank scale was about 1:50 (right in the middle of the two common scales). But I didn’t want to fabricate tracks. Luckily eBay had a seller (apejaycustoms) that 3d-printed tracks for a toy Corgi tank! That’s amazing!
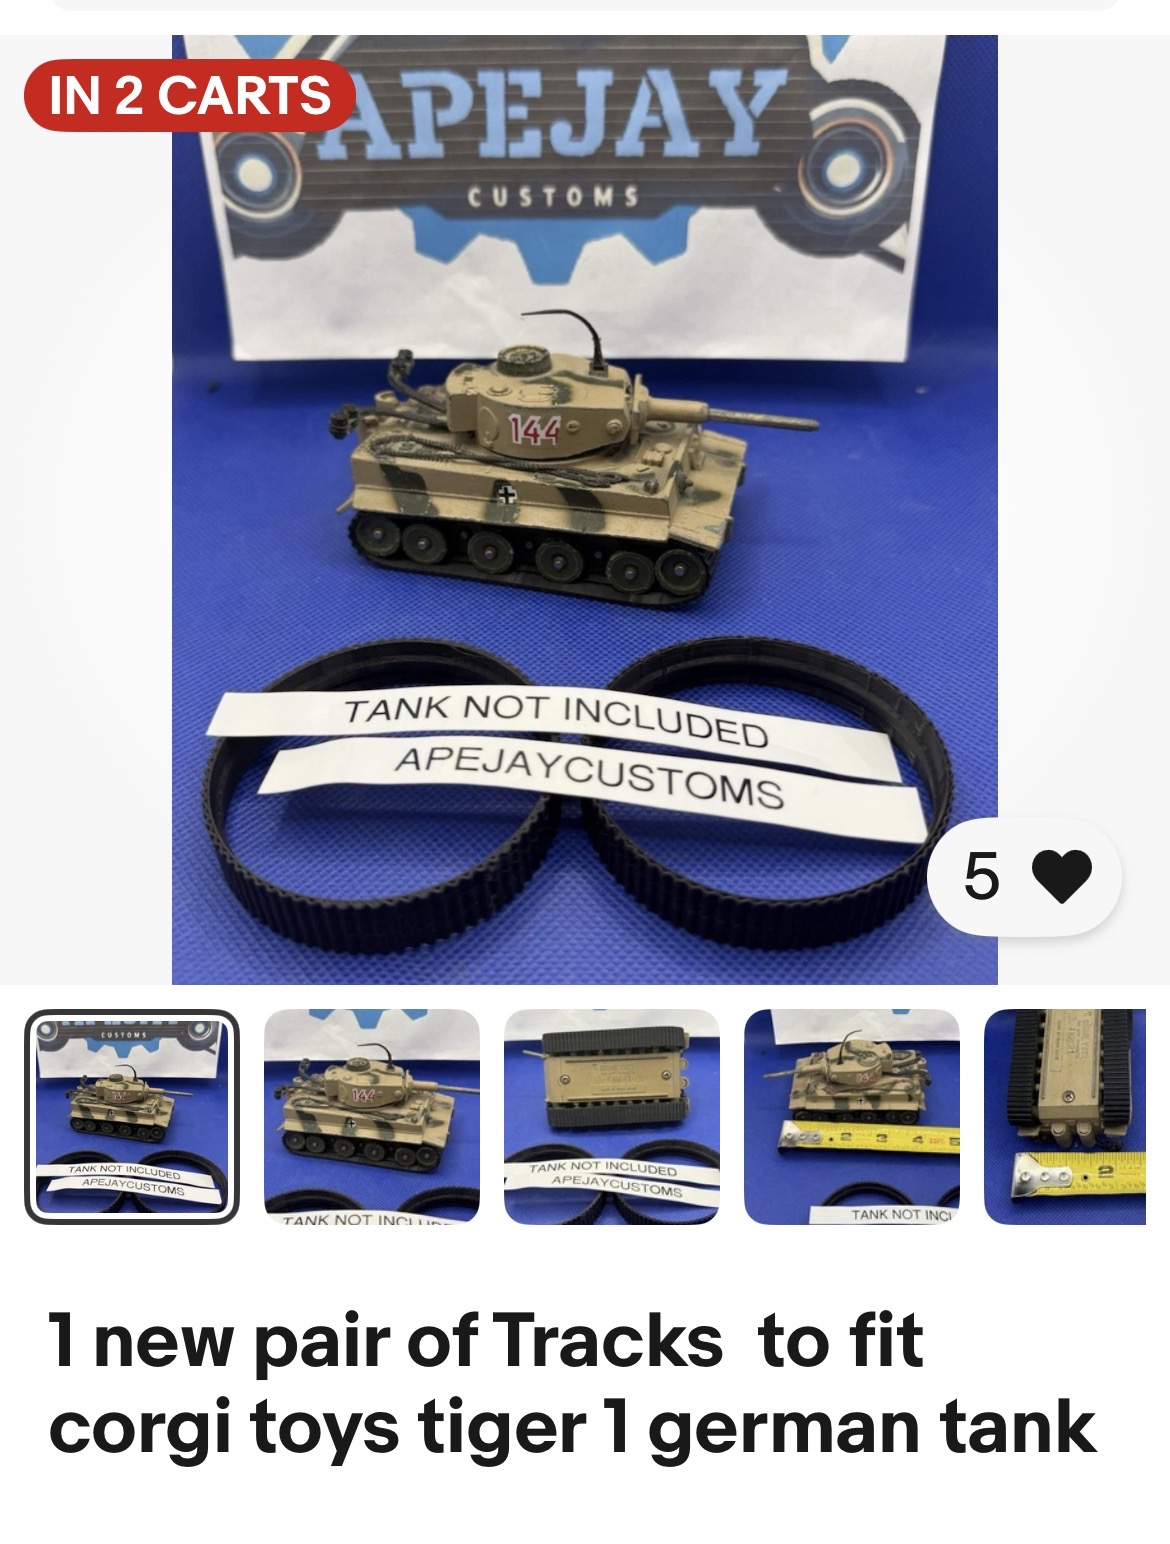
Including shipping, I bought the tank for $12.30 and the tracks for $13.15.

I could have stopped there – but as most of you know that I usually don’t. What if the Tiger could be commanded by – A TIGER! That would certainly mesh with the feline Felynxii army.I looked at a few options on eBay and in local stores – and bought the following options with the idea that I could possible remove the head and put on the top of the tank in the commander’s cupula:
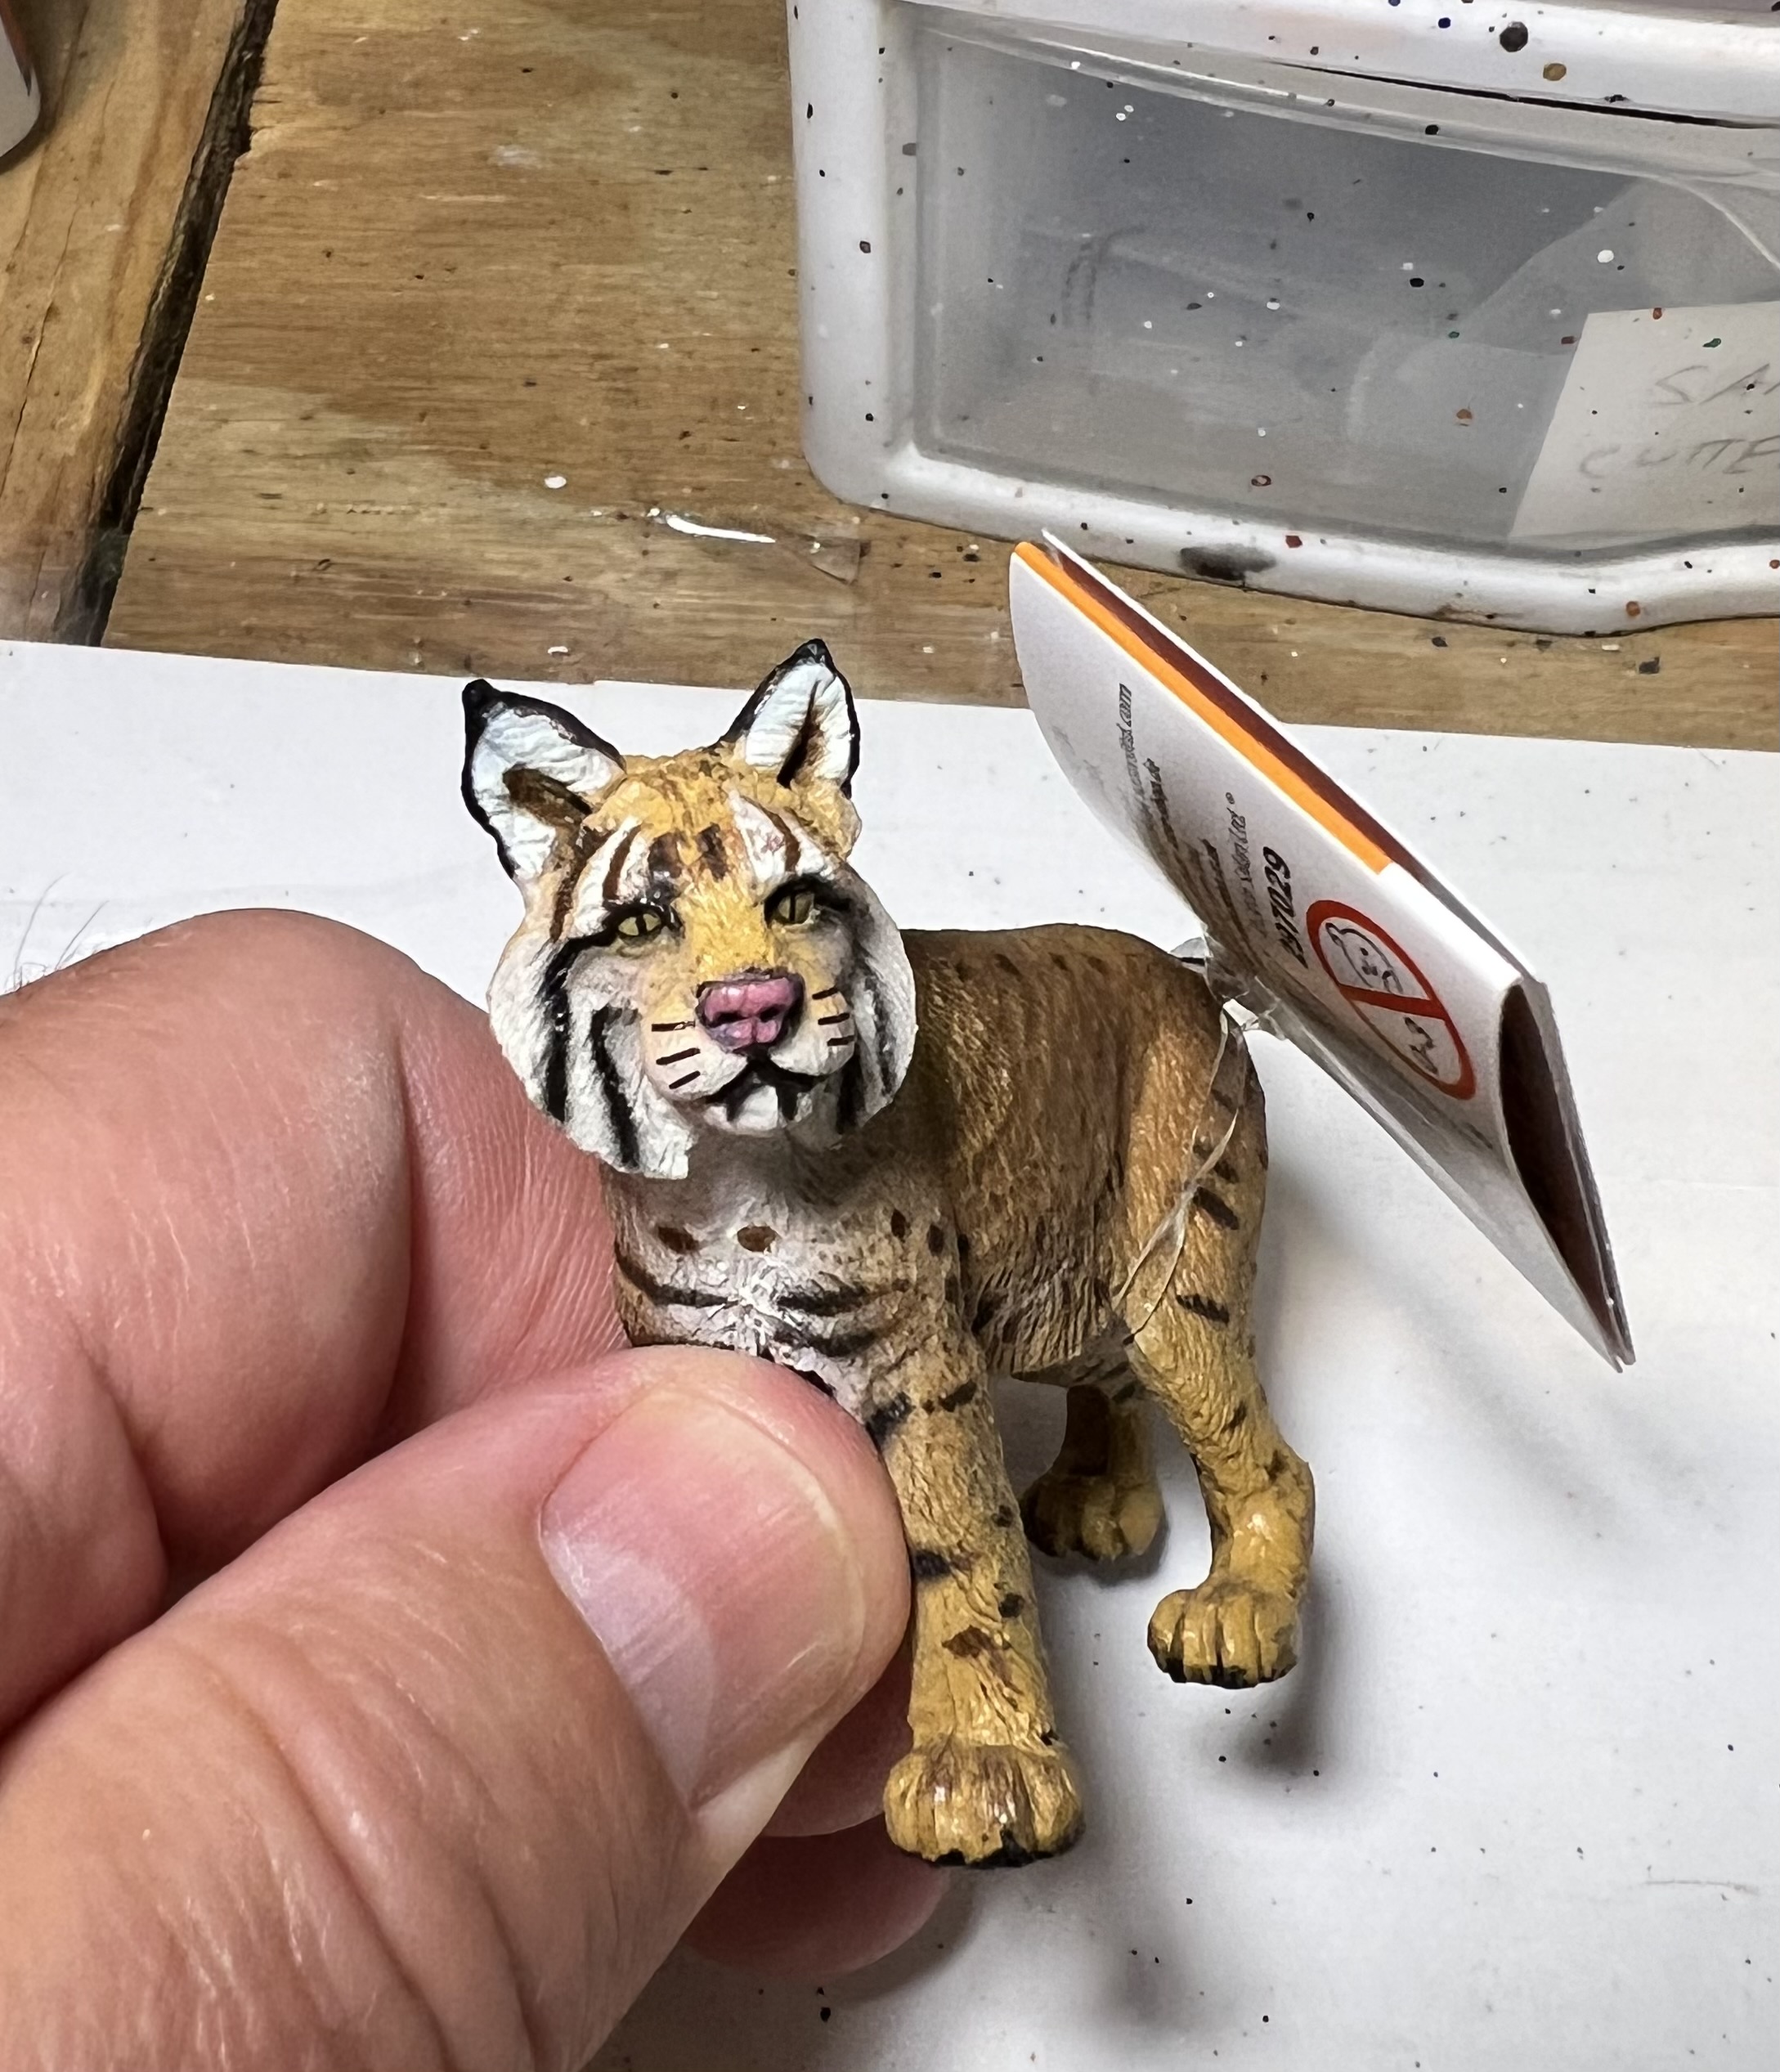
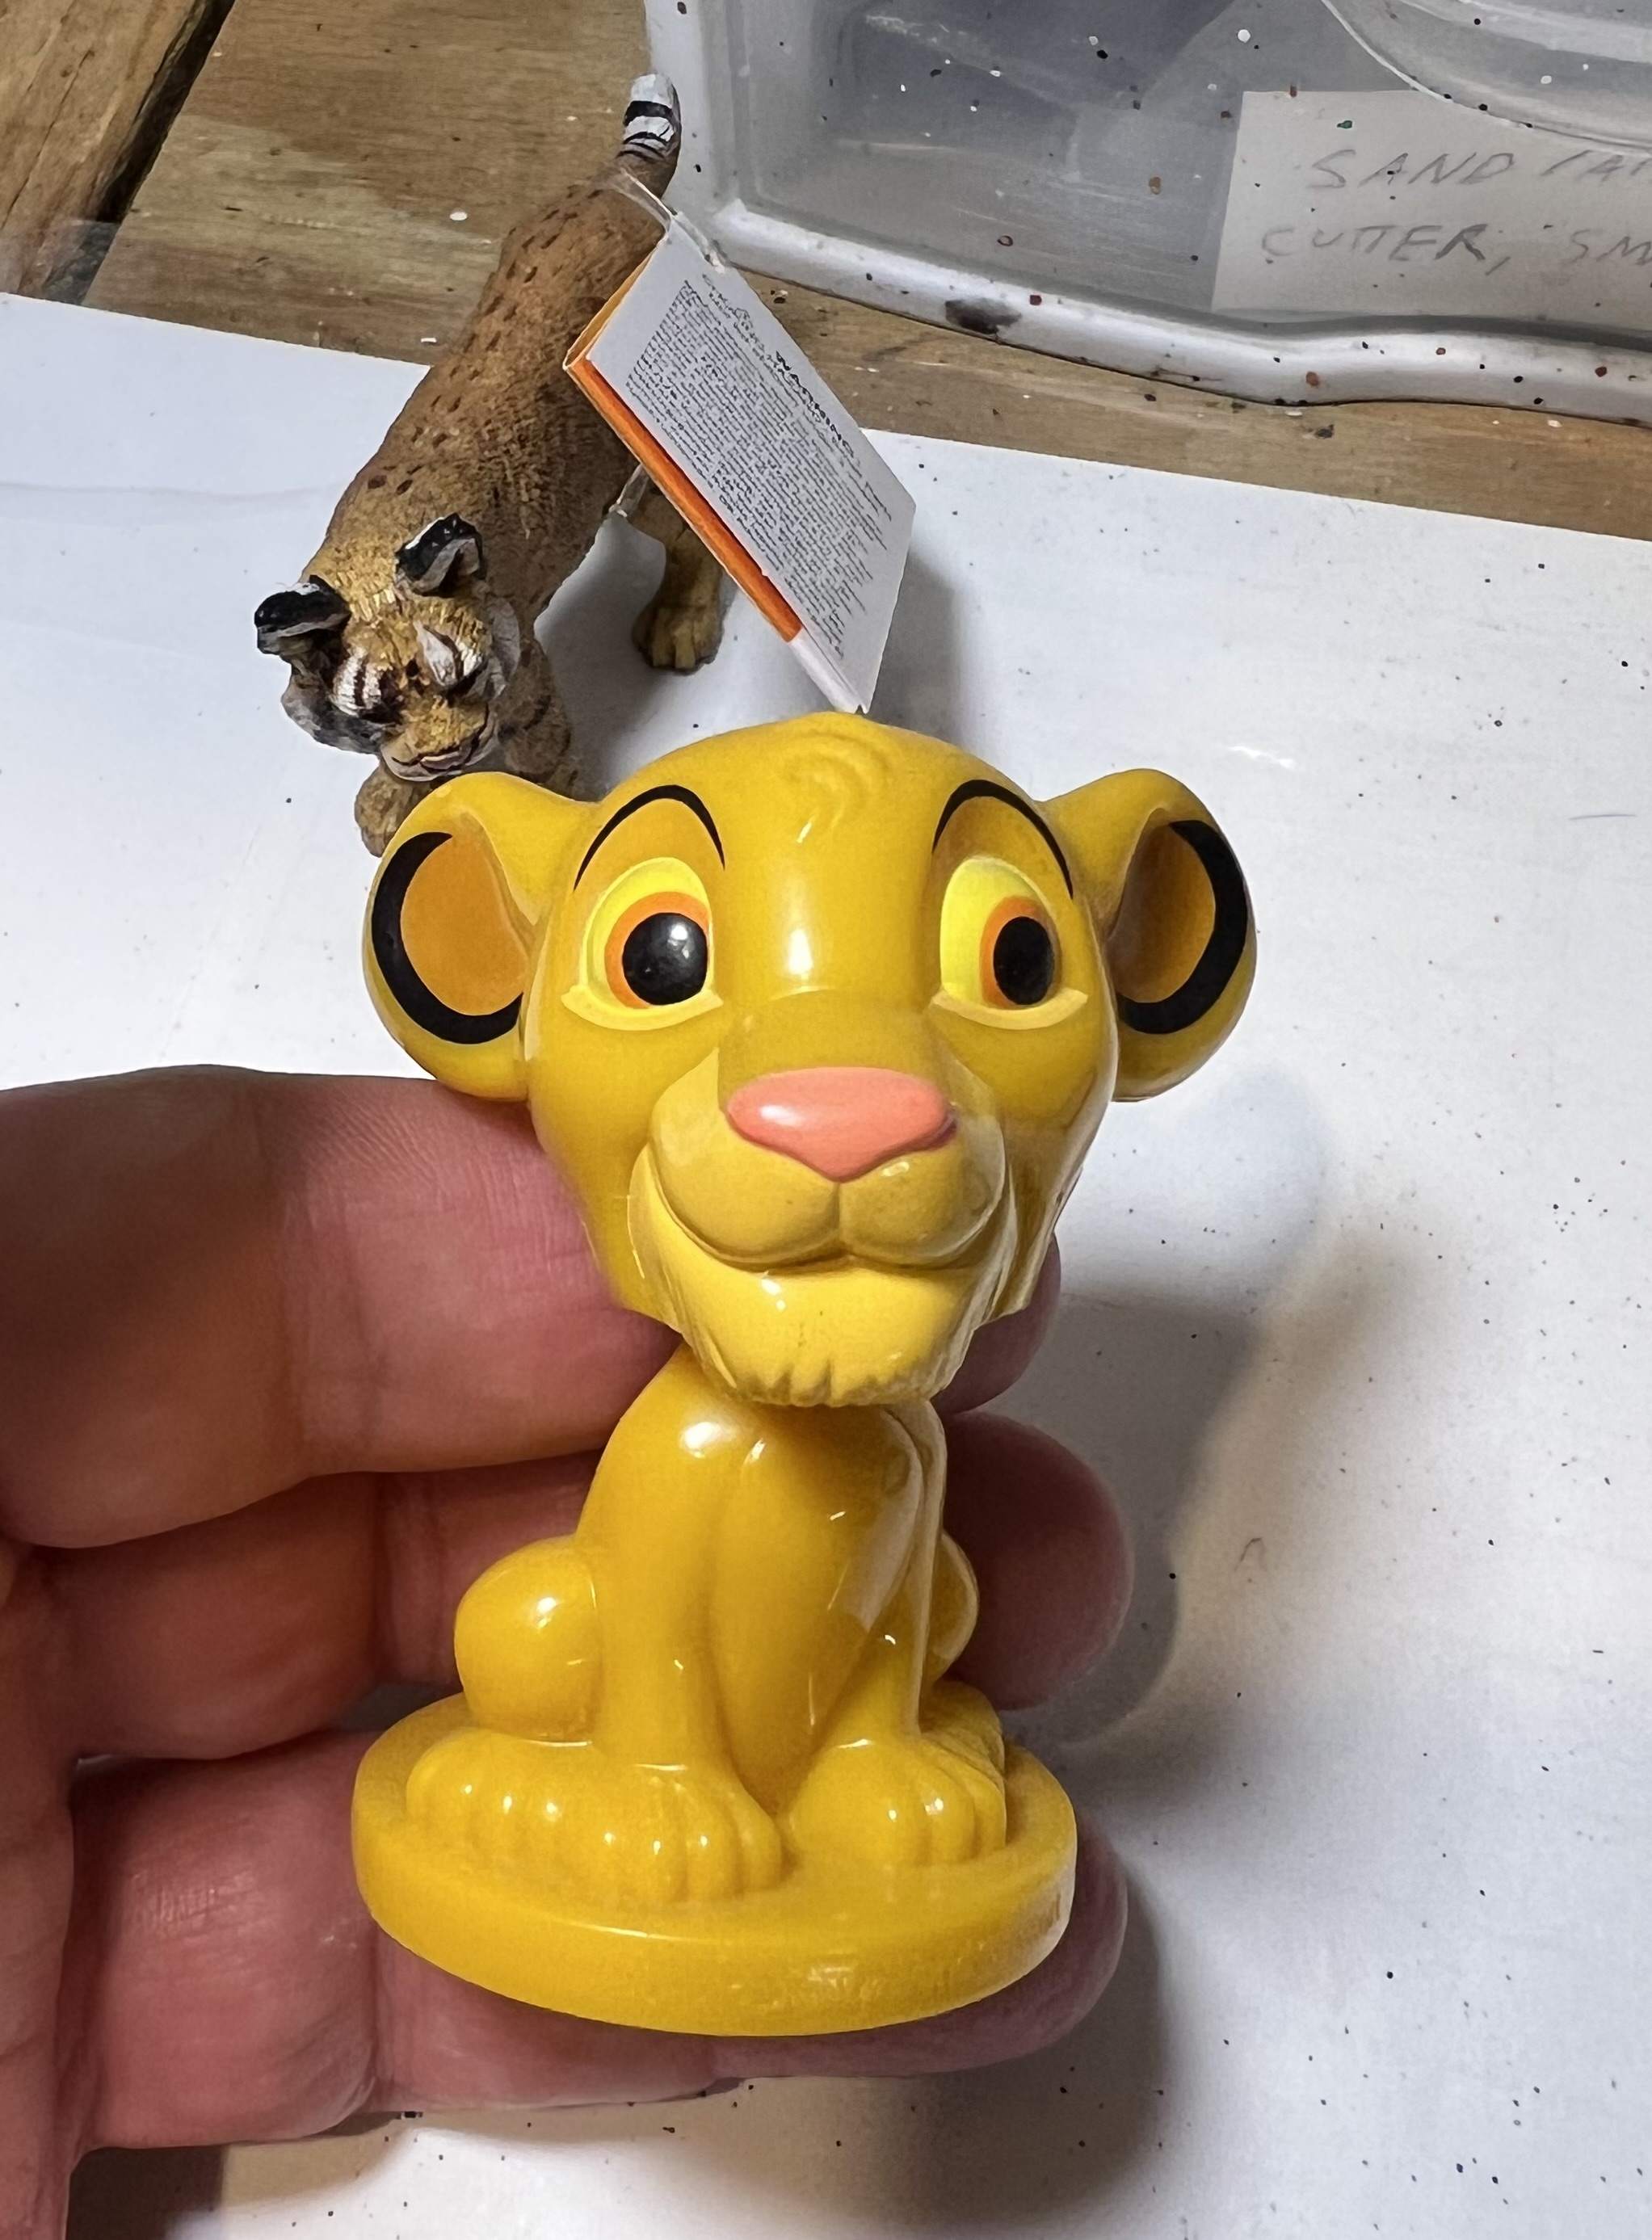
All of these were too big – though the tiger figure was in the end useful to help me pattern tiger stripes. All ended up as gifts to my grandaughter post-project.

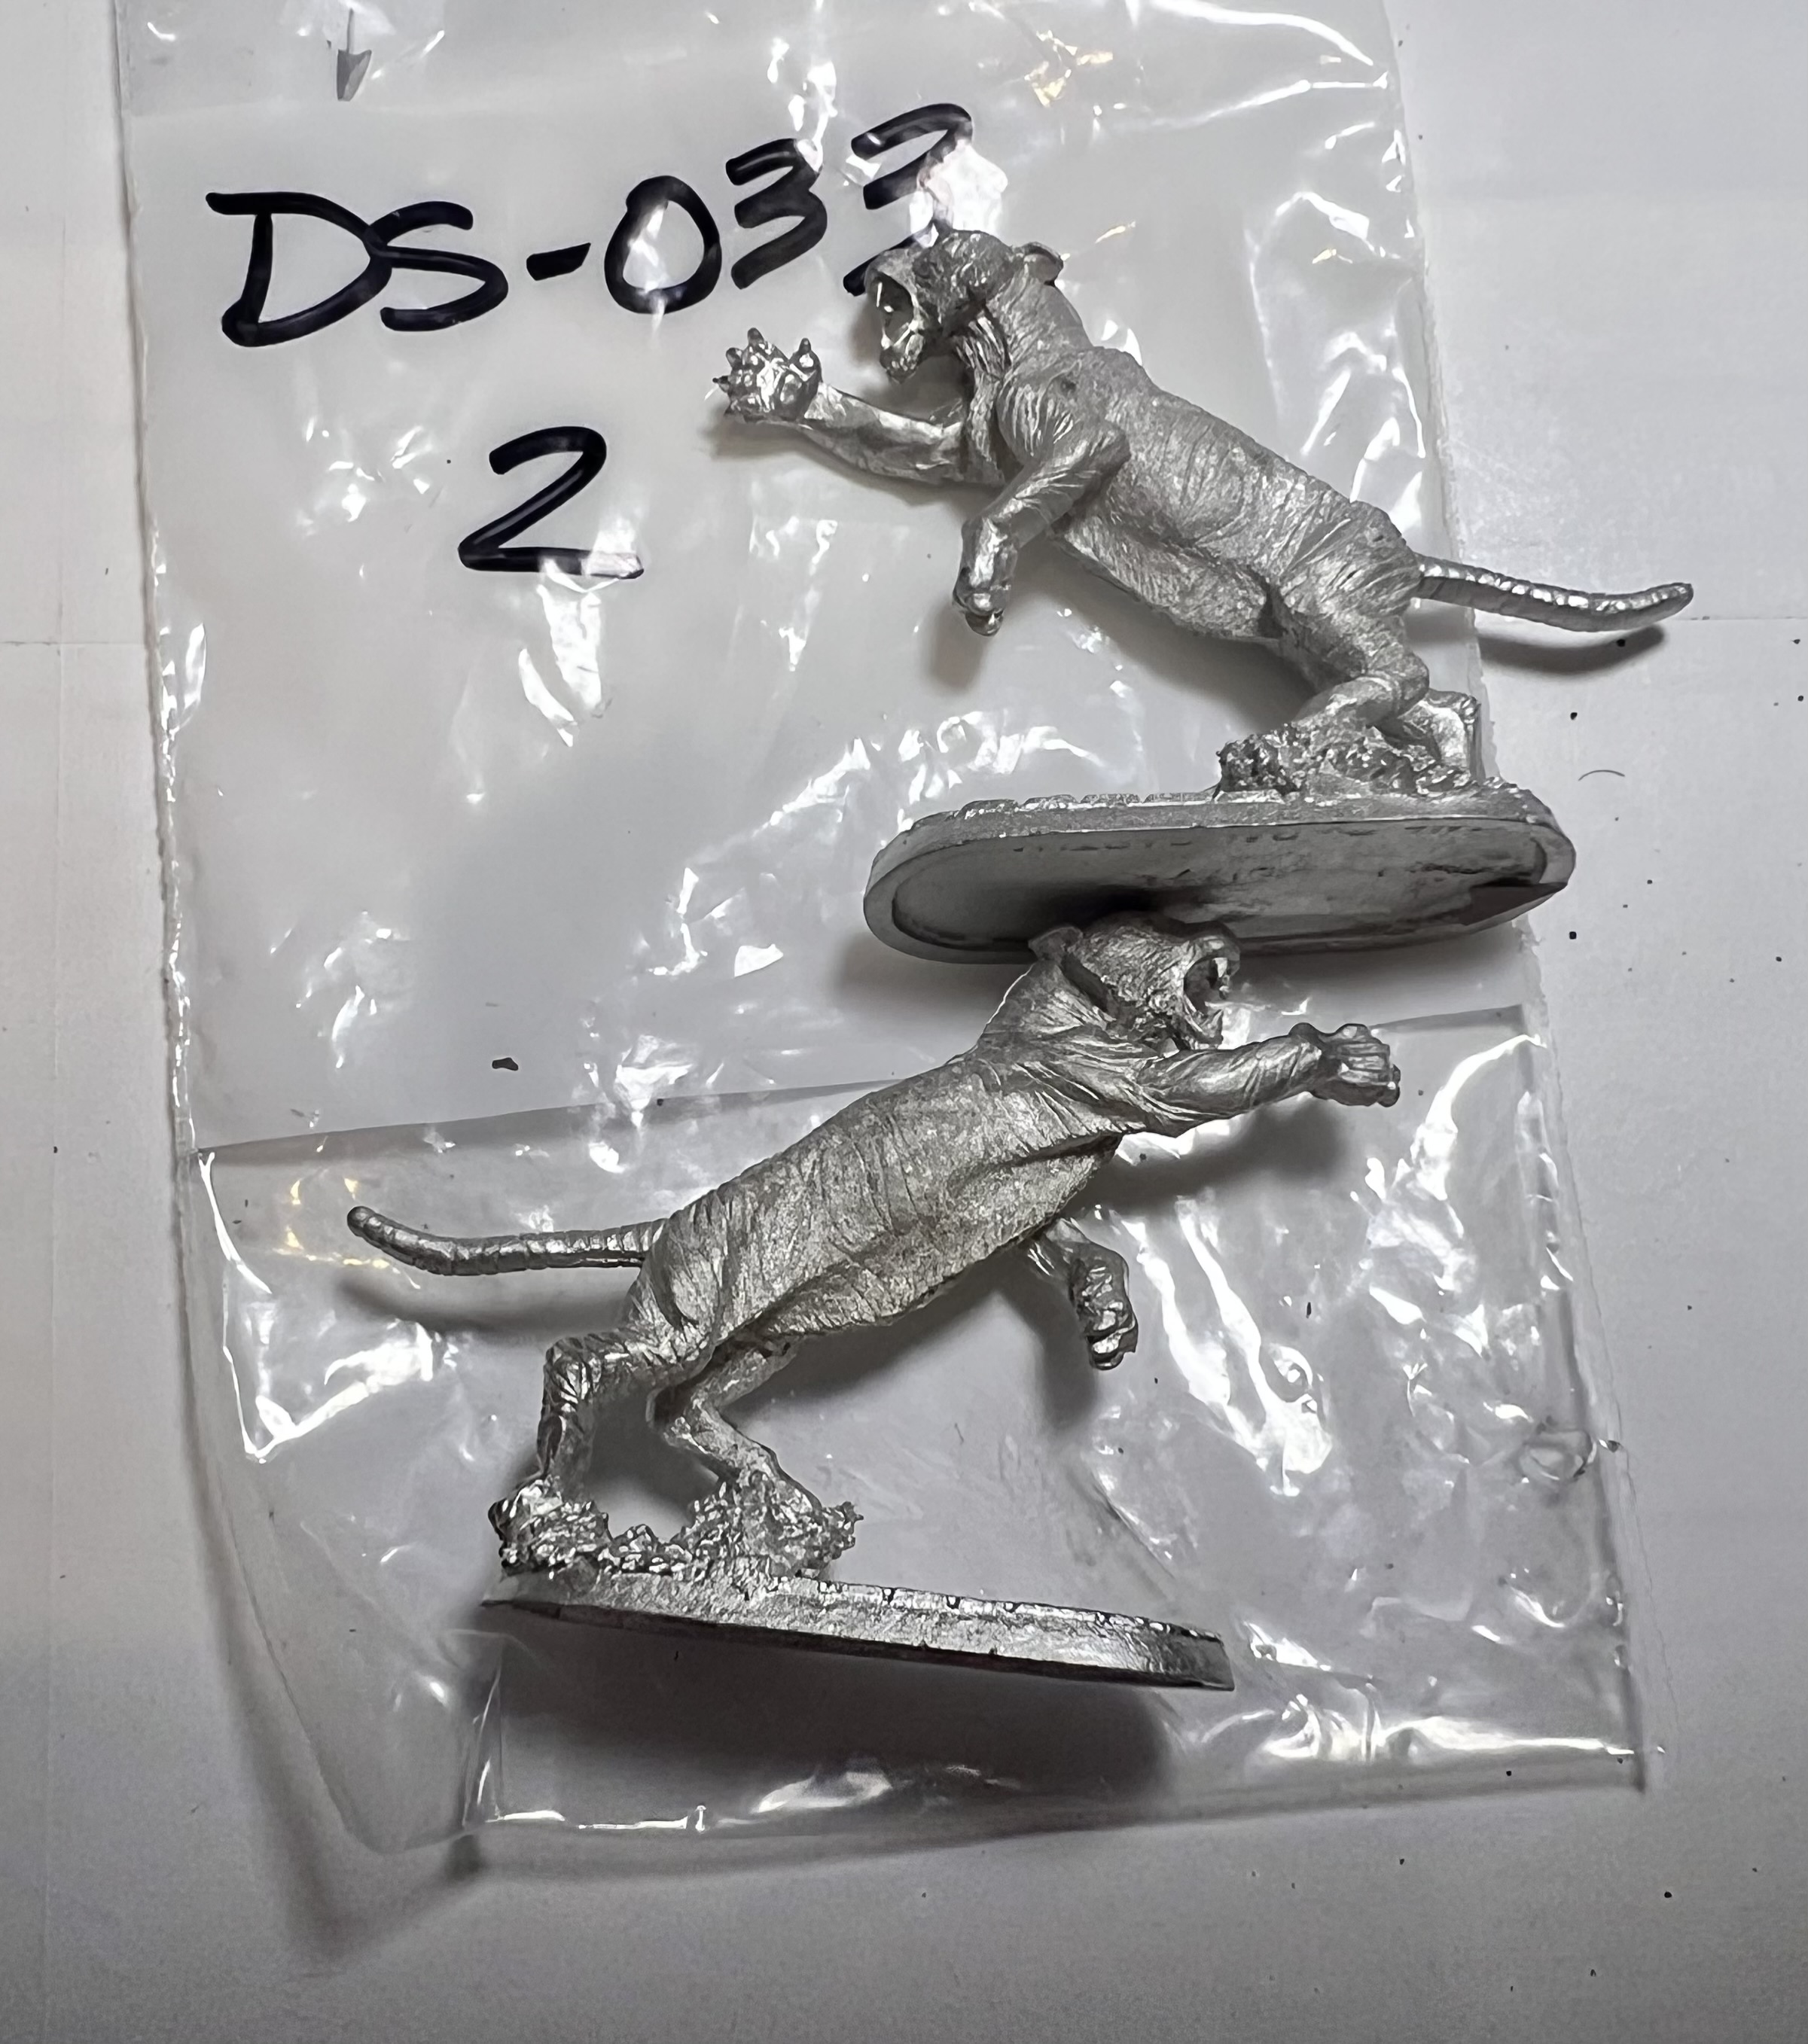
My ultimate tiger solution came with my finding a 25mm scale figure from Iron Wind Metals. It was – “Male Shape Shifter (Tiger Form)”, SKU DS-033. I’m pretty sure it was originally a Ral Partha figure, so in my mind it qualifies as an “Old School Mini”.

I thought I could modify it to work as a tank commander. I ordered two just in case for $28.90 including shipping. While 25mm is a bit smaller than 28mm – it was close in size to the Felynxii infantry from 1977. So all of them are 1970’s-era products.
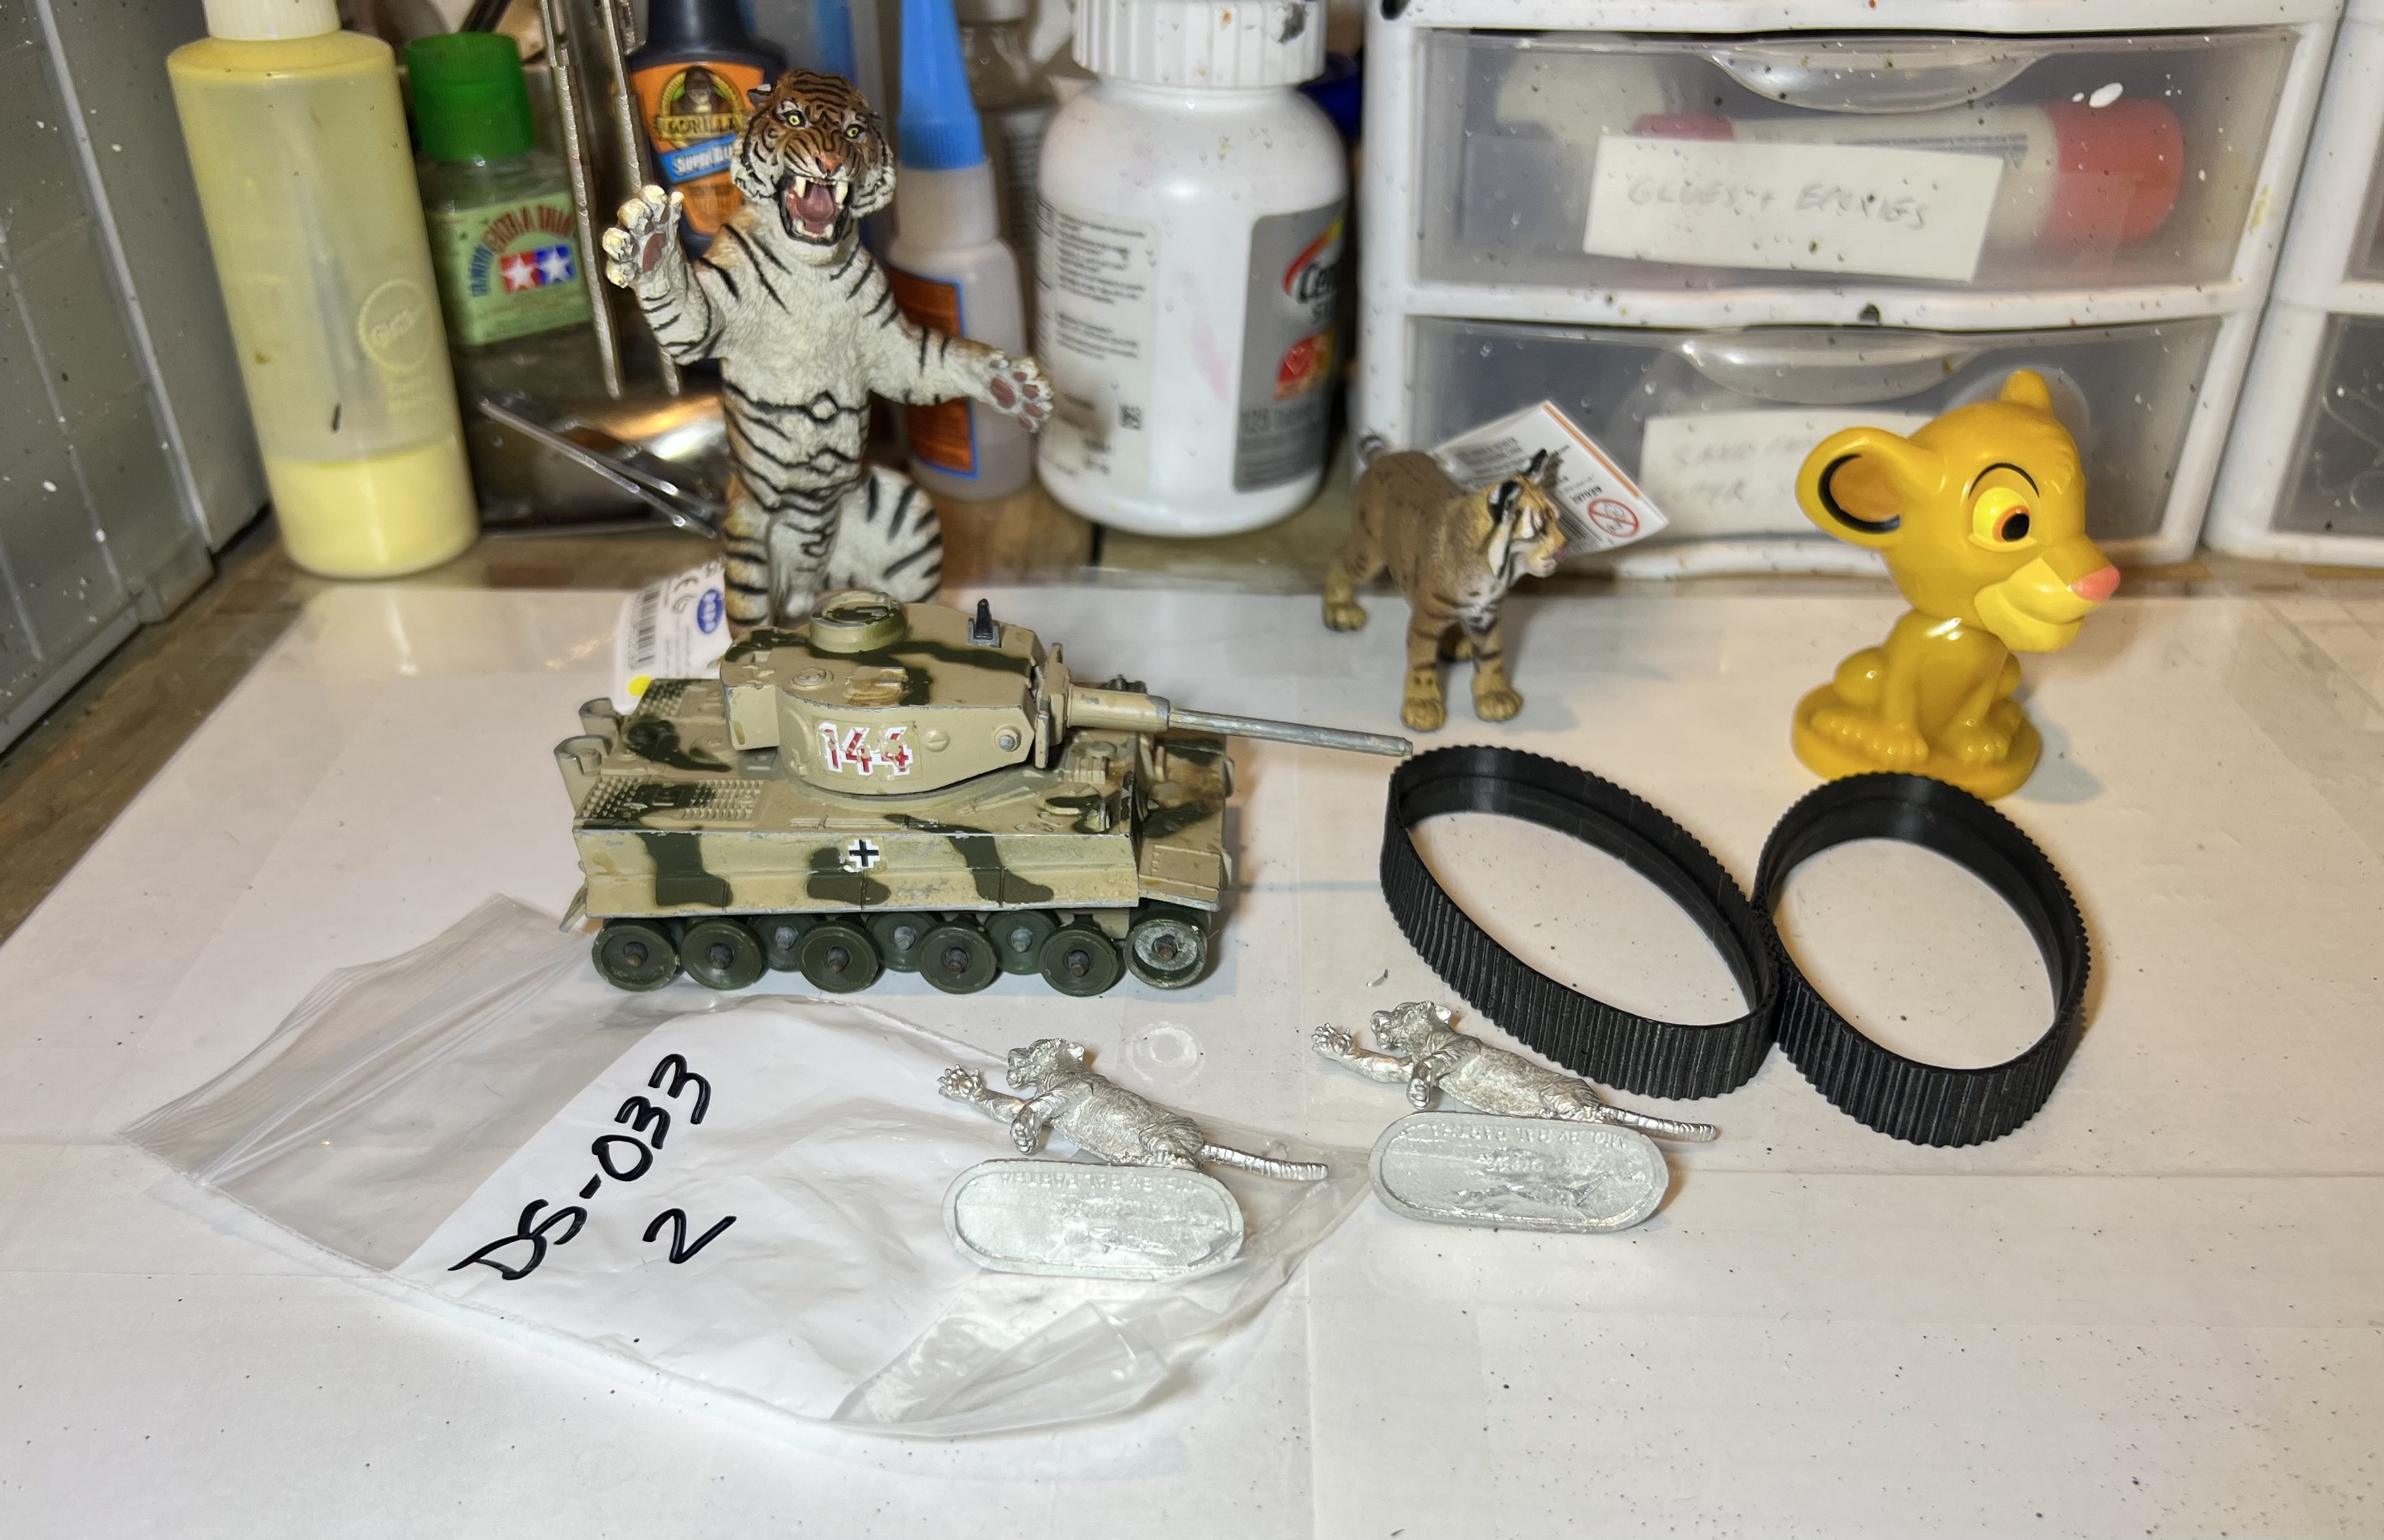
Materials assembled for consideration and planning!

The Corgi tank needed work!

As to making this old toy a retro sci-fi tank, a few additions and modifications were needed. First, some clean up of the old decals and chipped paint.
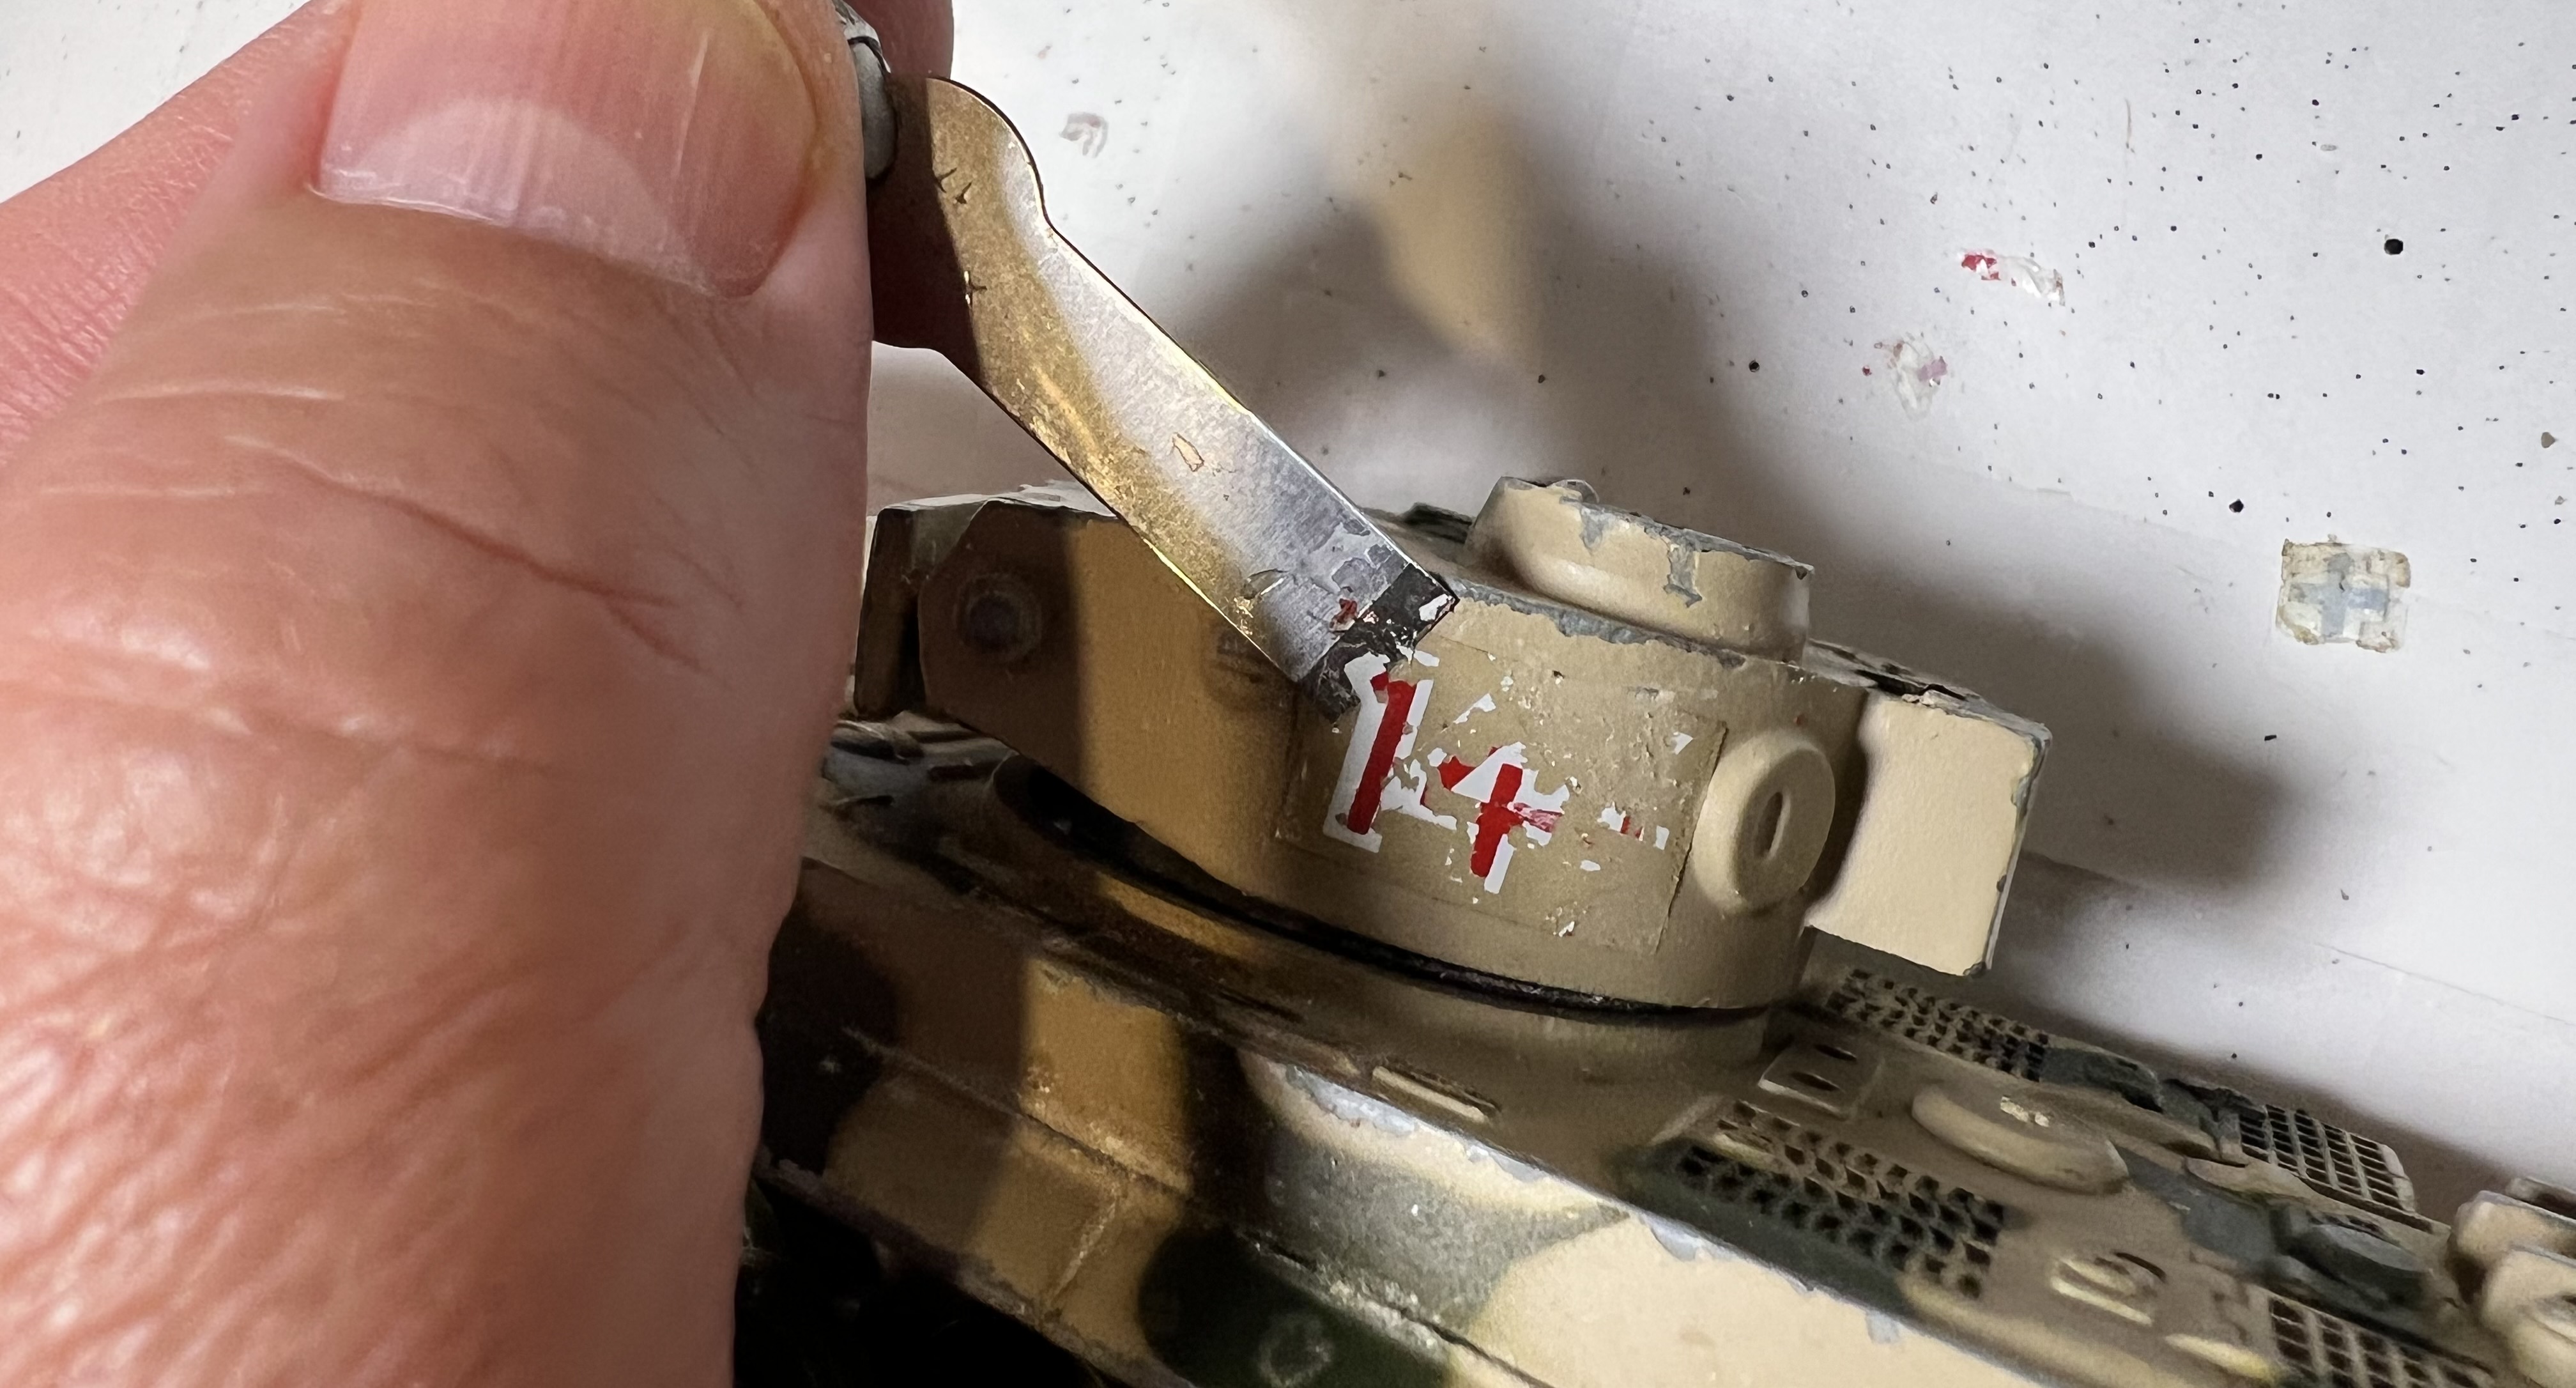
Of course, I thought it needed a big ray gun. After doing my best to straighten the gun I used a file to remove (as much as possible) its pot metal mold line. Using green stuff I added some number 6 Everbilt steel fender washers to the gun. This step was inspired by the fantastic efforts at kneadatite sculpting shared by two of my blog buddies – Roger (of Rantings from Under the Wargame Table – and Dave Stone of Wargame Terrain Workshop – check them both out). While I could have gone here with the thin look of the washers as they were – looking like a 1960’s TV Lost In Space weapon – I wanted them to be more retro sci-fi looking. Addditionally, I did worry that using the washers as initially secured would not be as secure as tabletop play might demand. That necessitated a two-step sculpt to give the main gun a more hefty look.
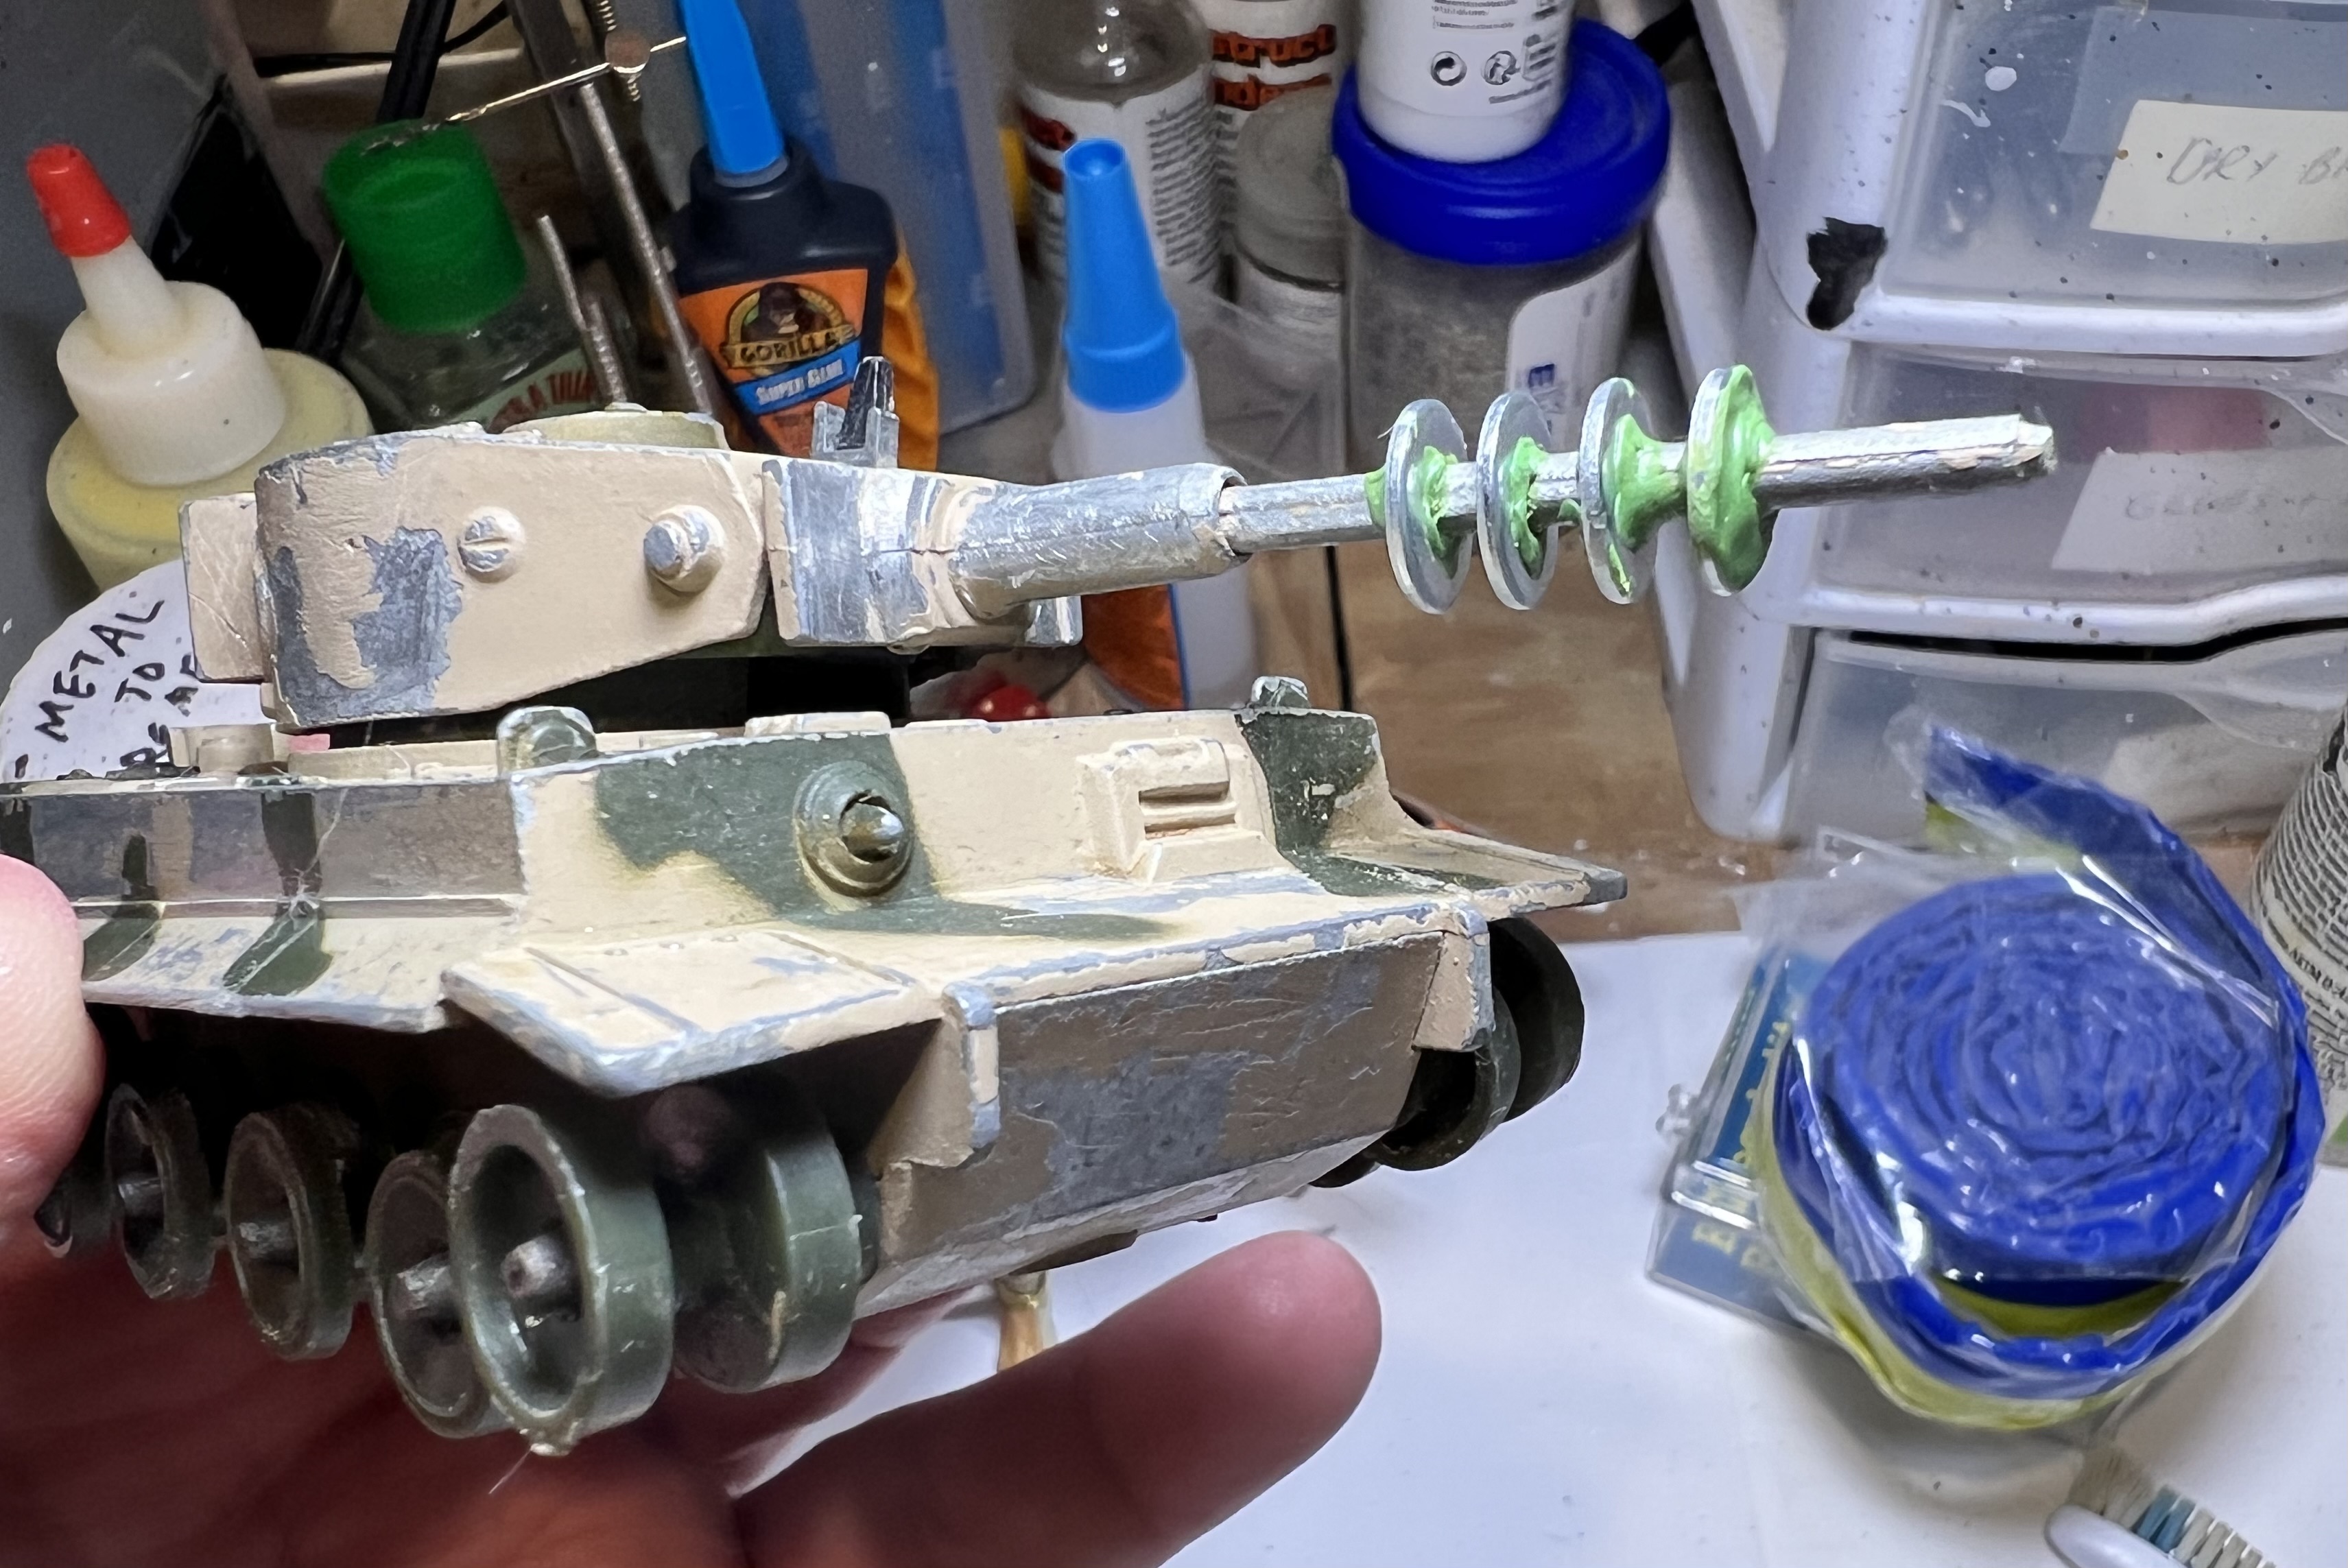
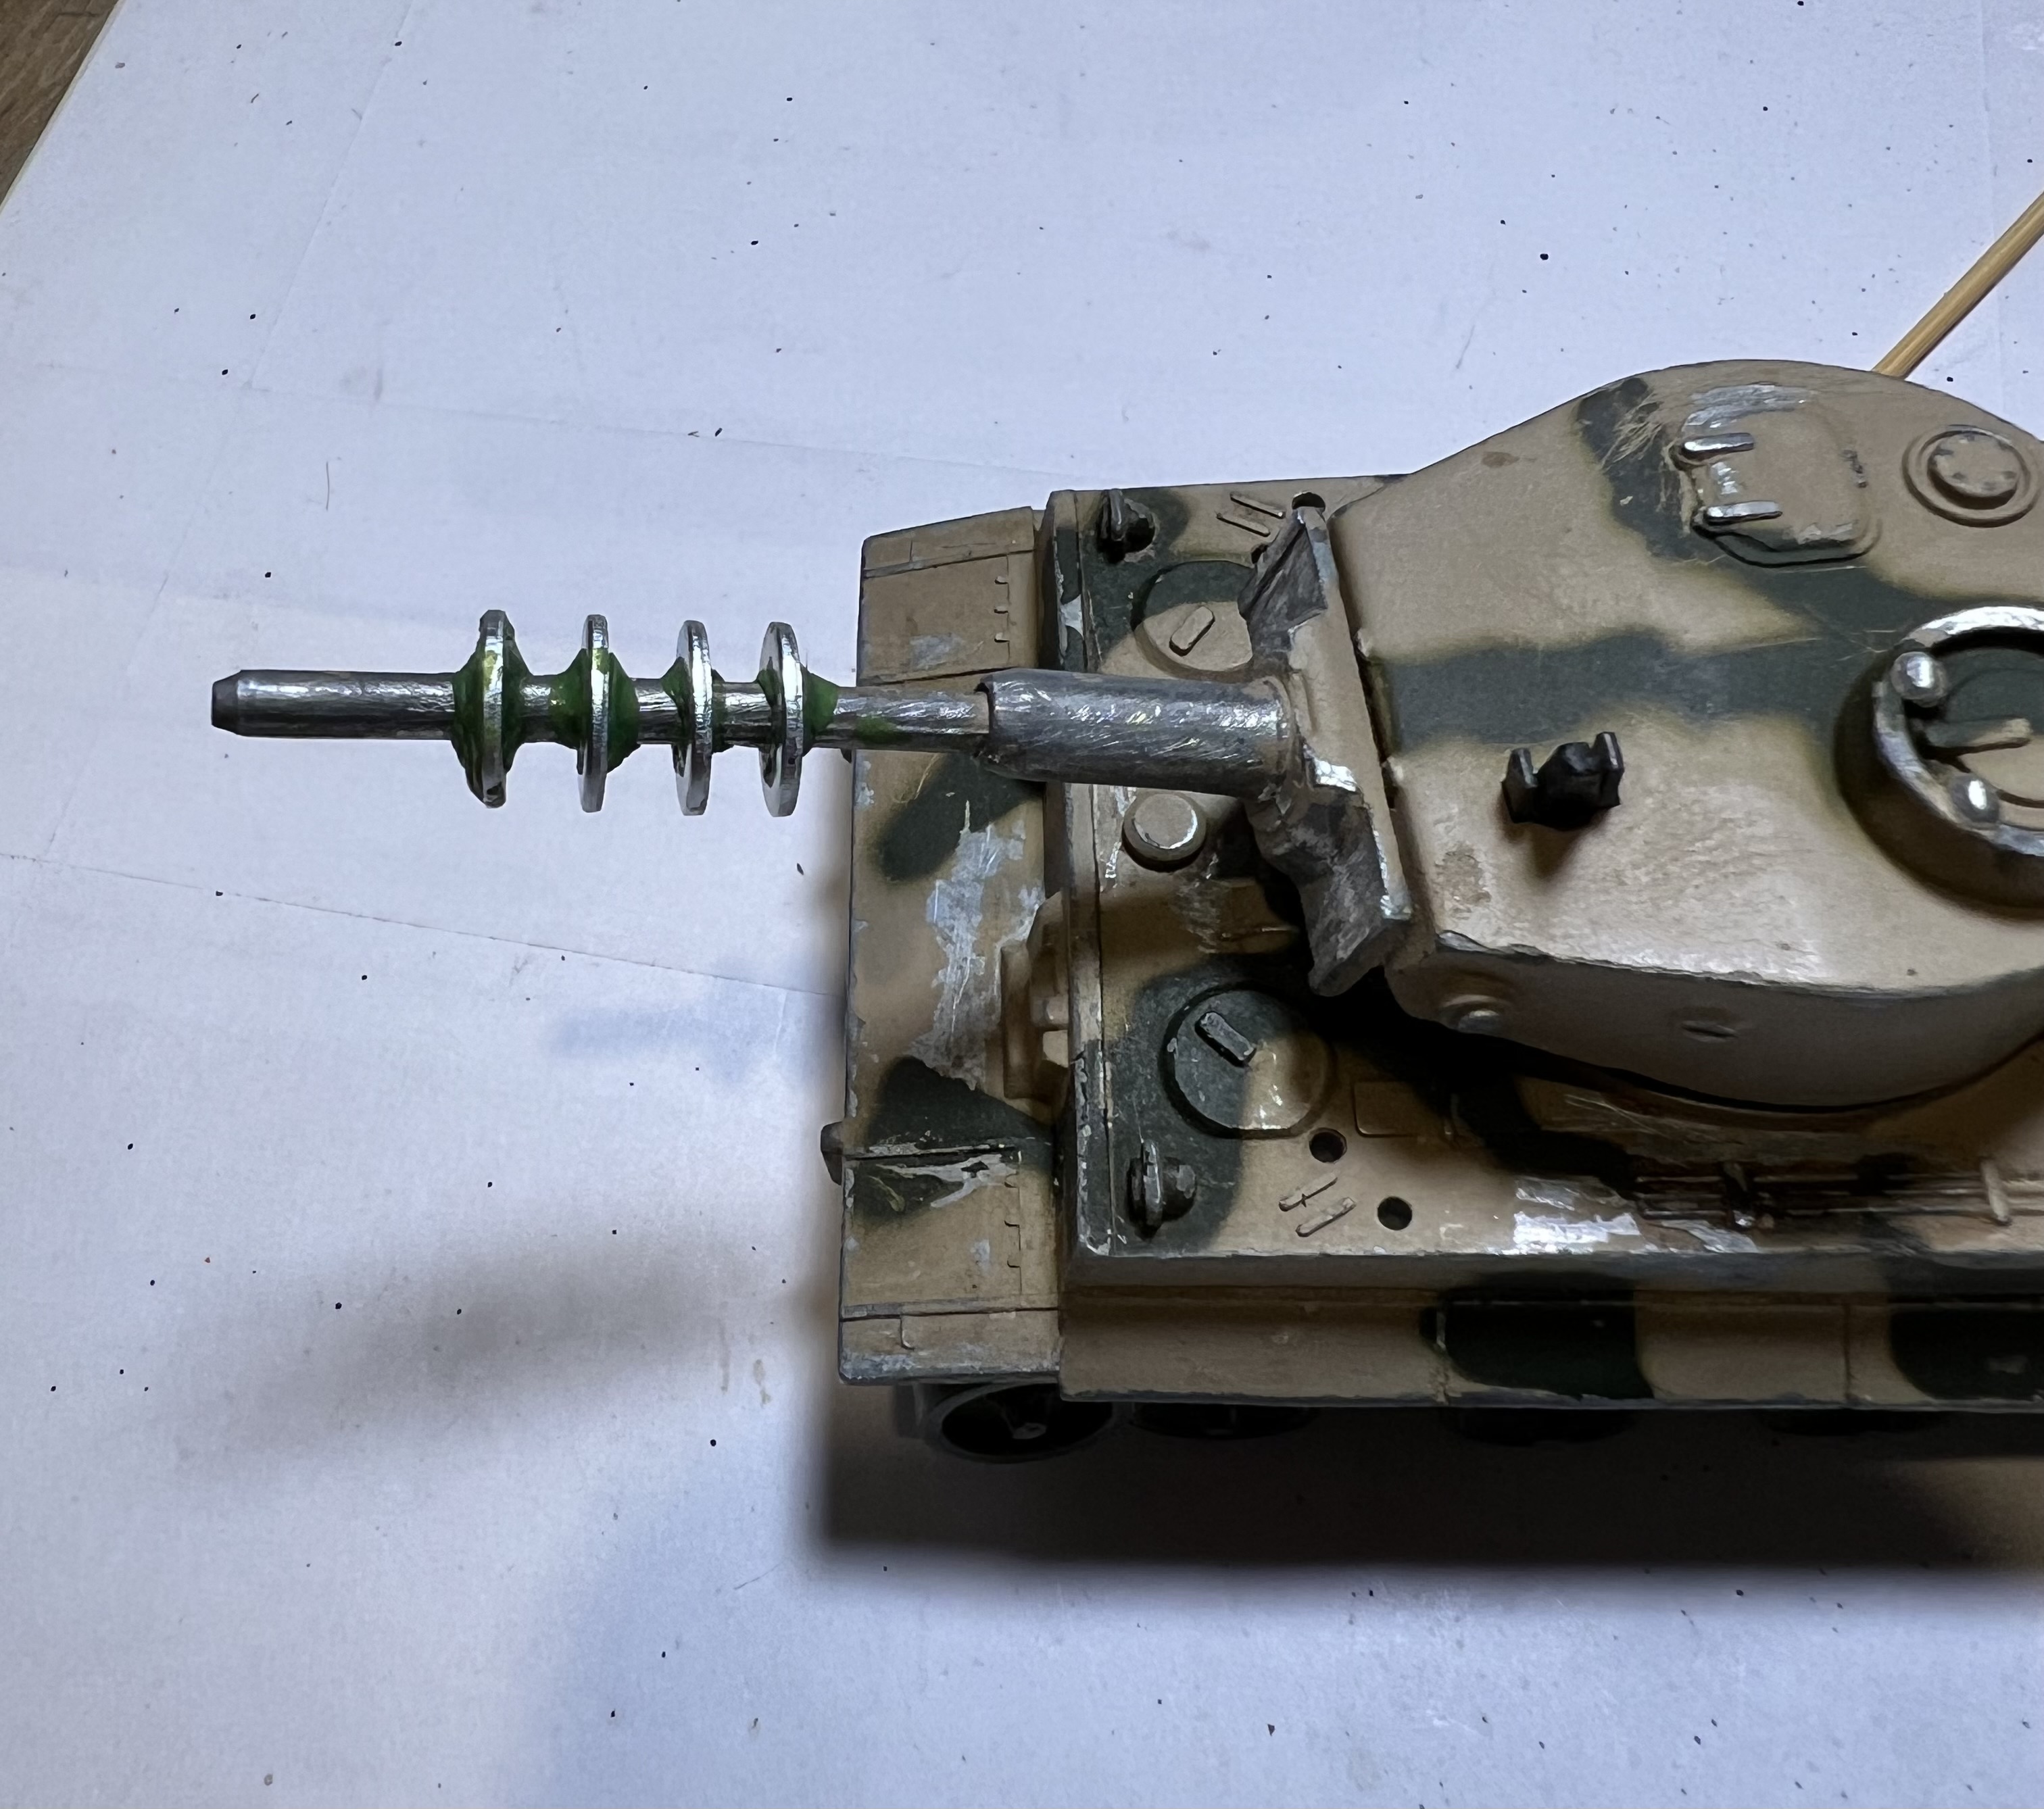
Step 1 was to get the washers fixed in place for 24 hours – before going on to further sculpting.
Another view of step 1.

While that cured, I went to work on planning out work on the tiger commander figure. I planned to have the figure’s head – or preferably its torso – coming out of the tank’s hatch. I realized that drilling out the Corgi tank commander’s hatch to insert a figure was impractical due to the thickness of the metal and the size of the hatch.

Doing a bit of research gave me insight into the different types of cupola’s that WWII Tiger I tanks had. One type swung up vertically, while another rorated out on a lateral swing arm. That would be my solution – build a cupola/hatch to mount the commander. It would also enable me to work on the cupola/hatch/tiger assembly separately from the toy tank.
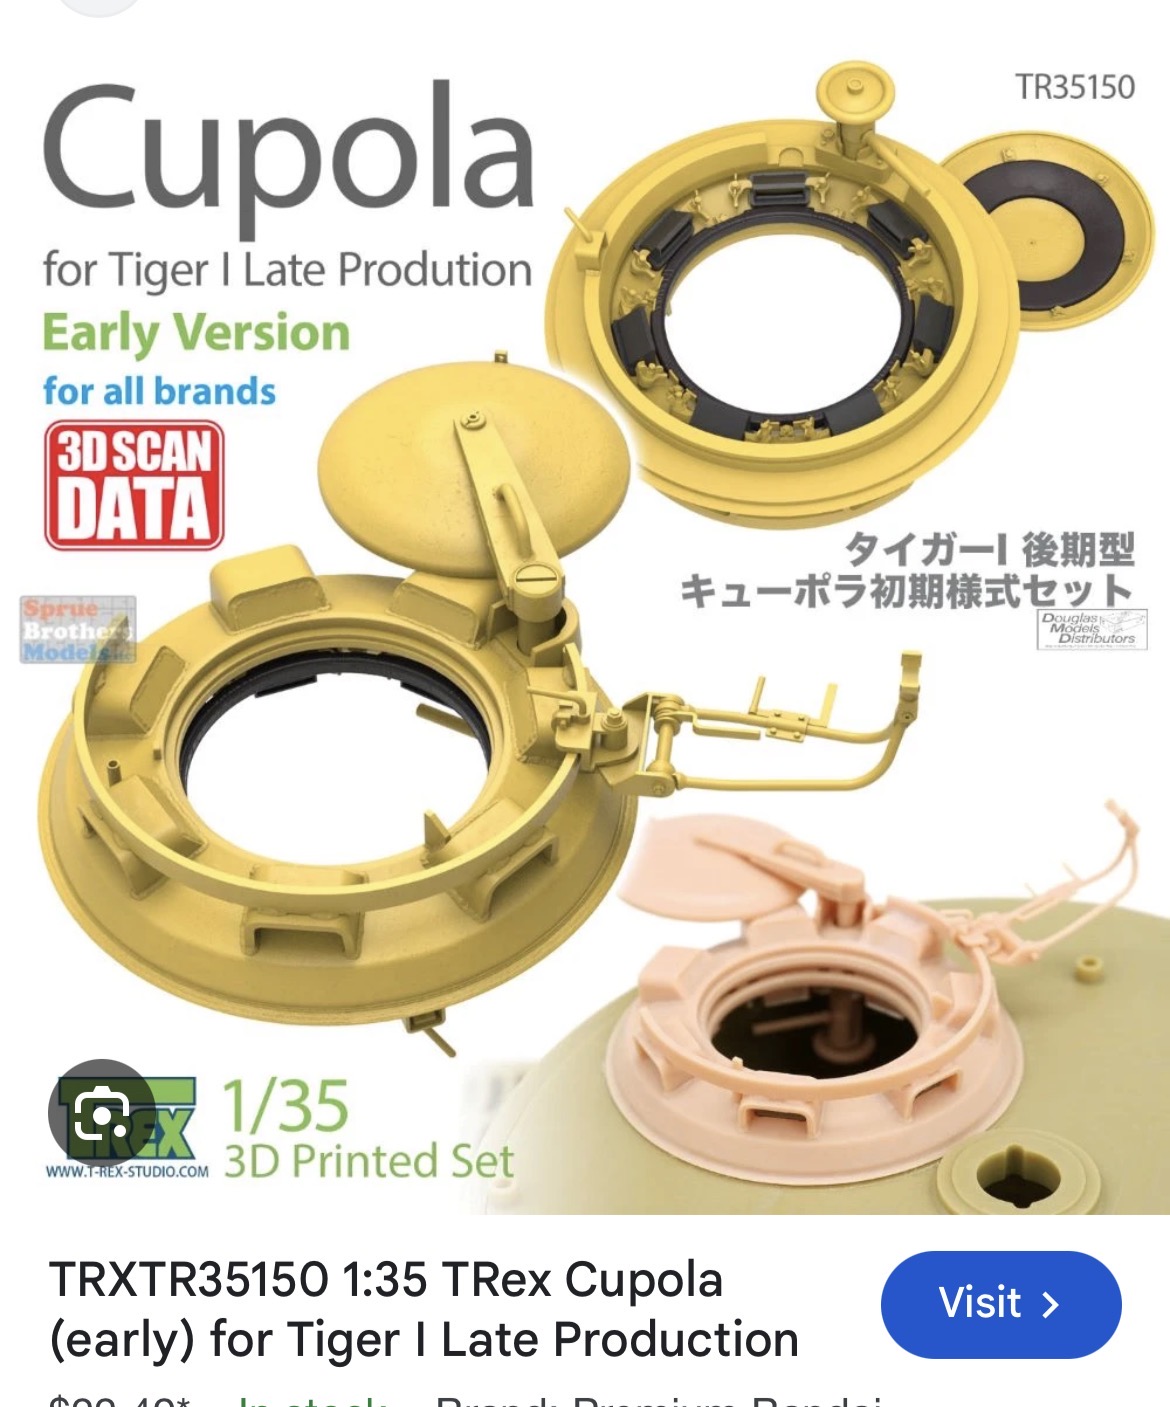
Inspiration from eBay yet again. This would be the basic orientation of my cupola.

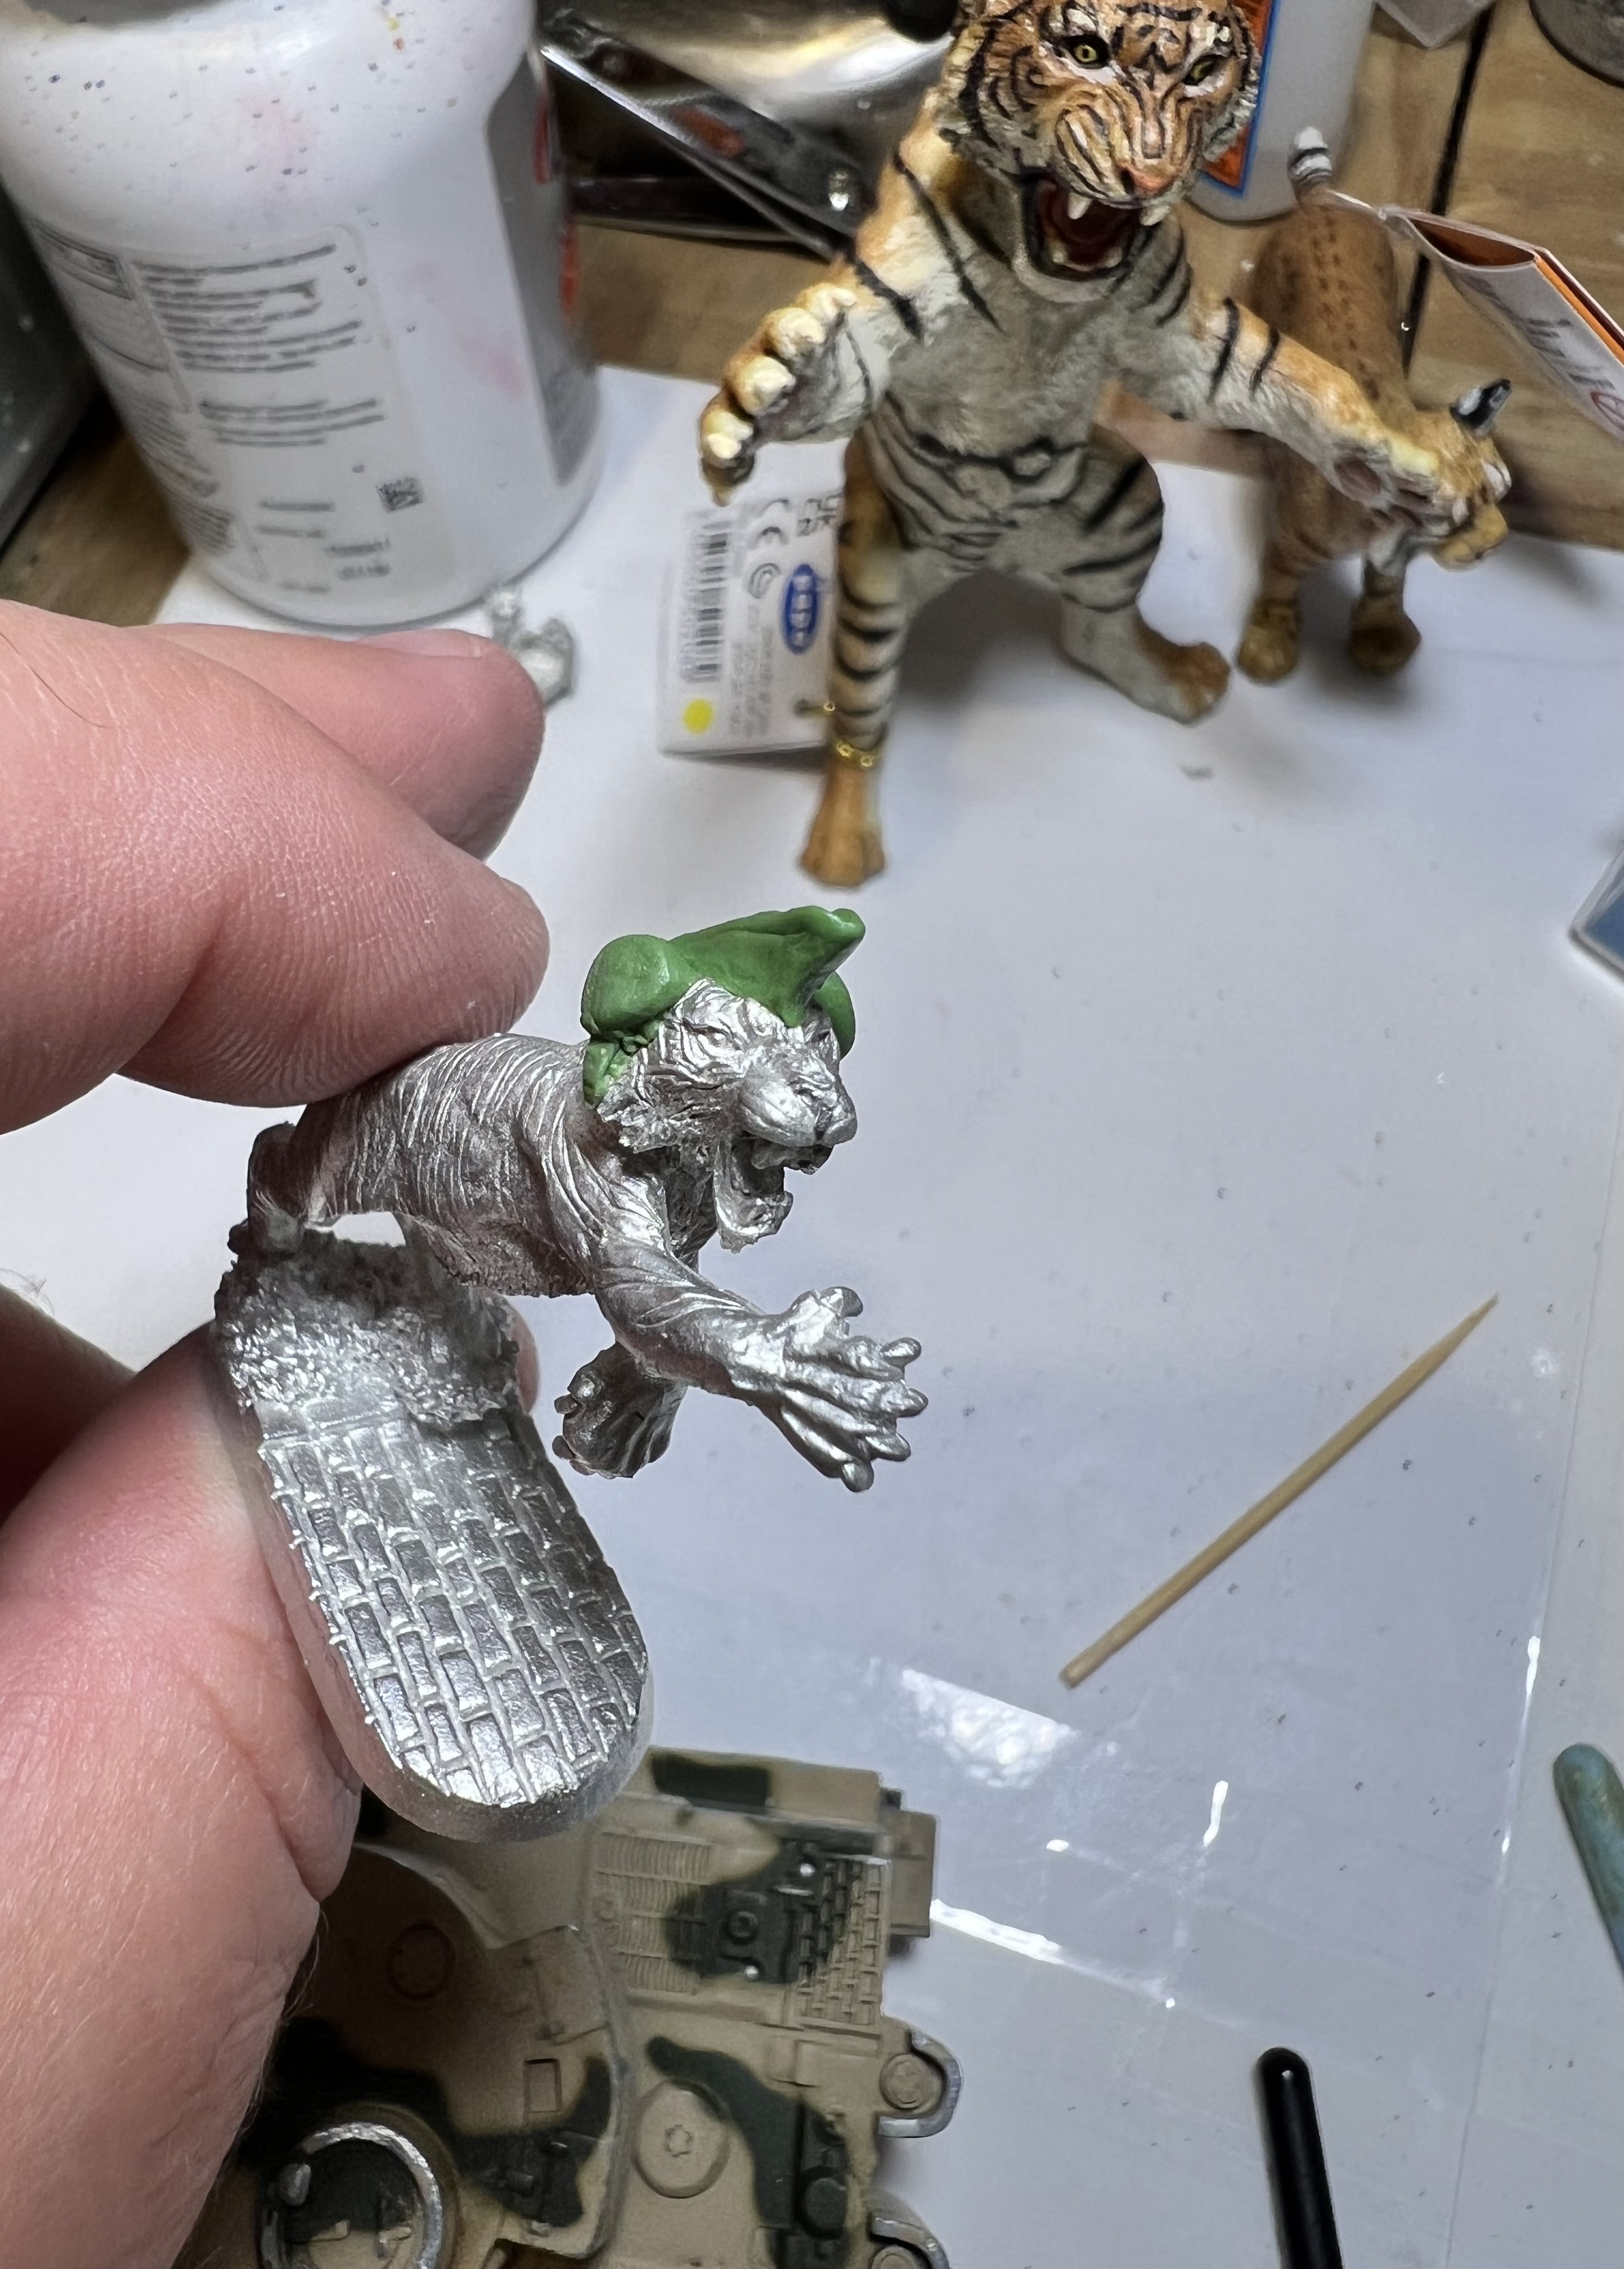
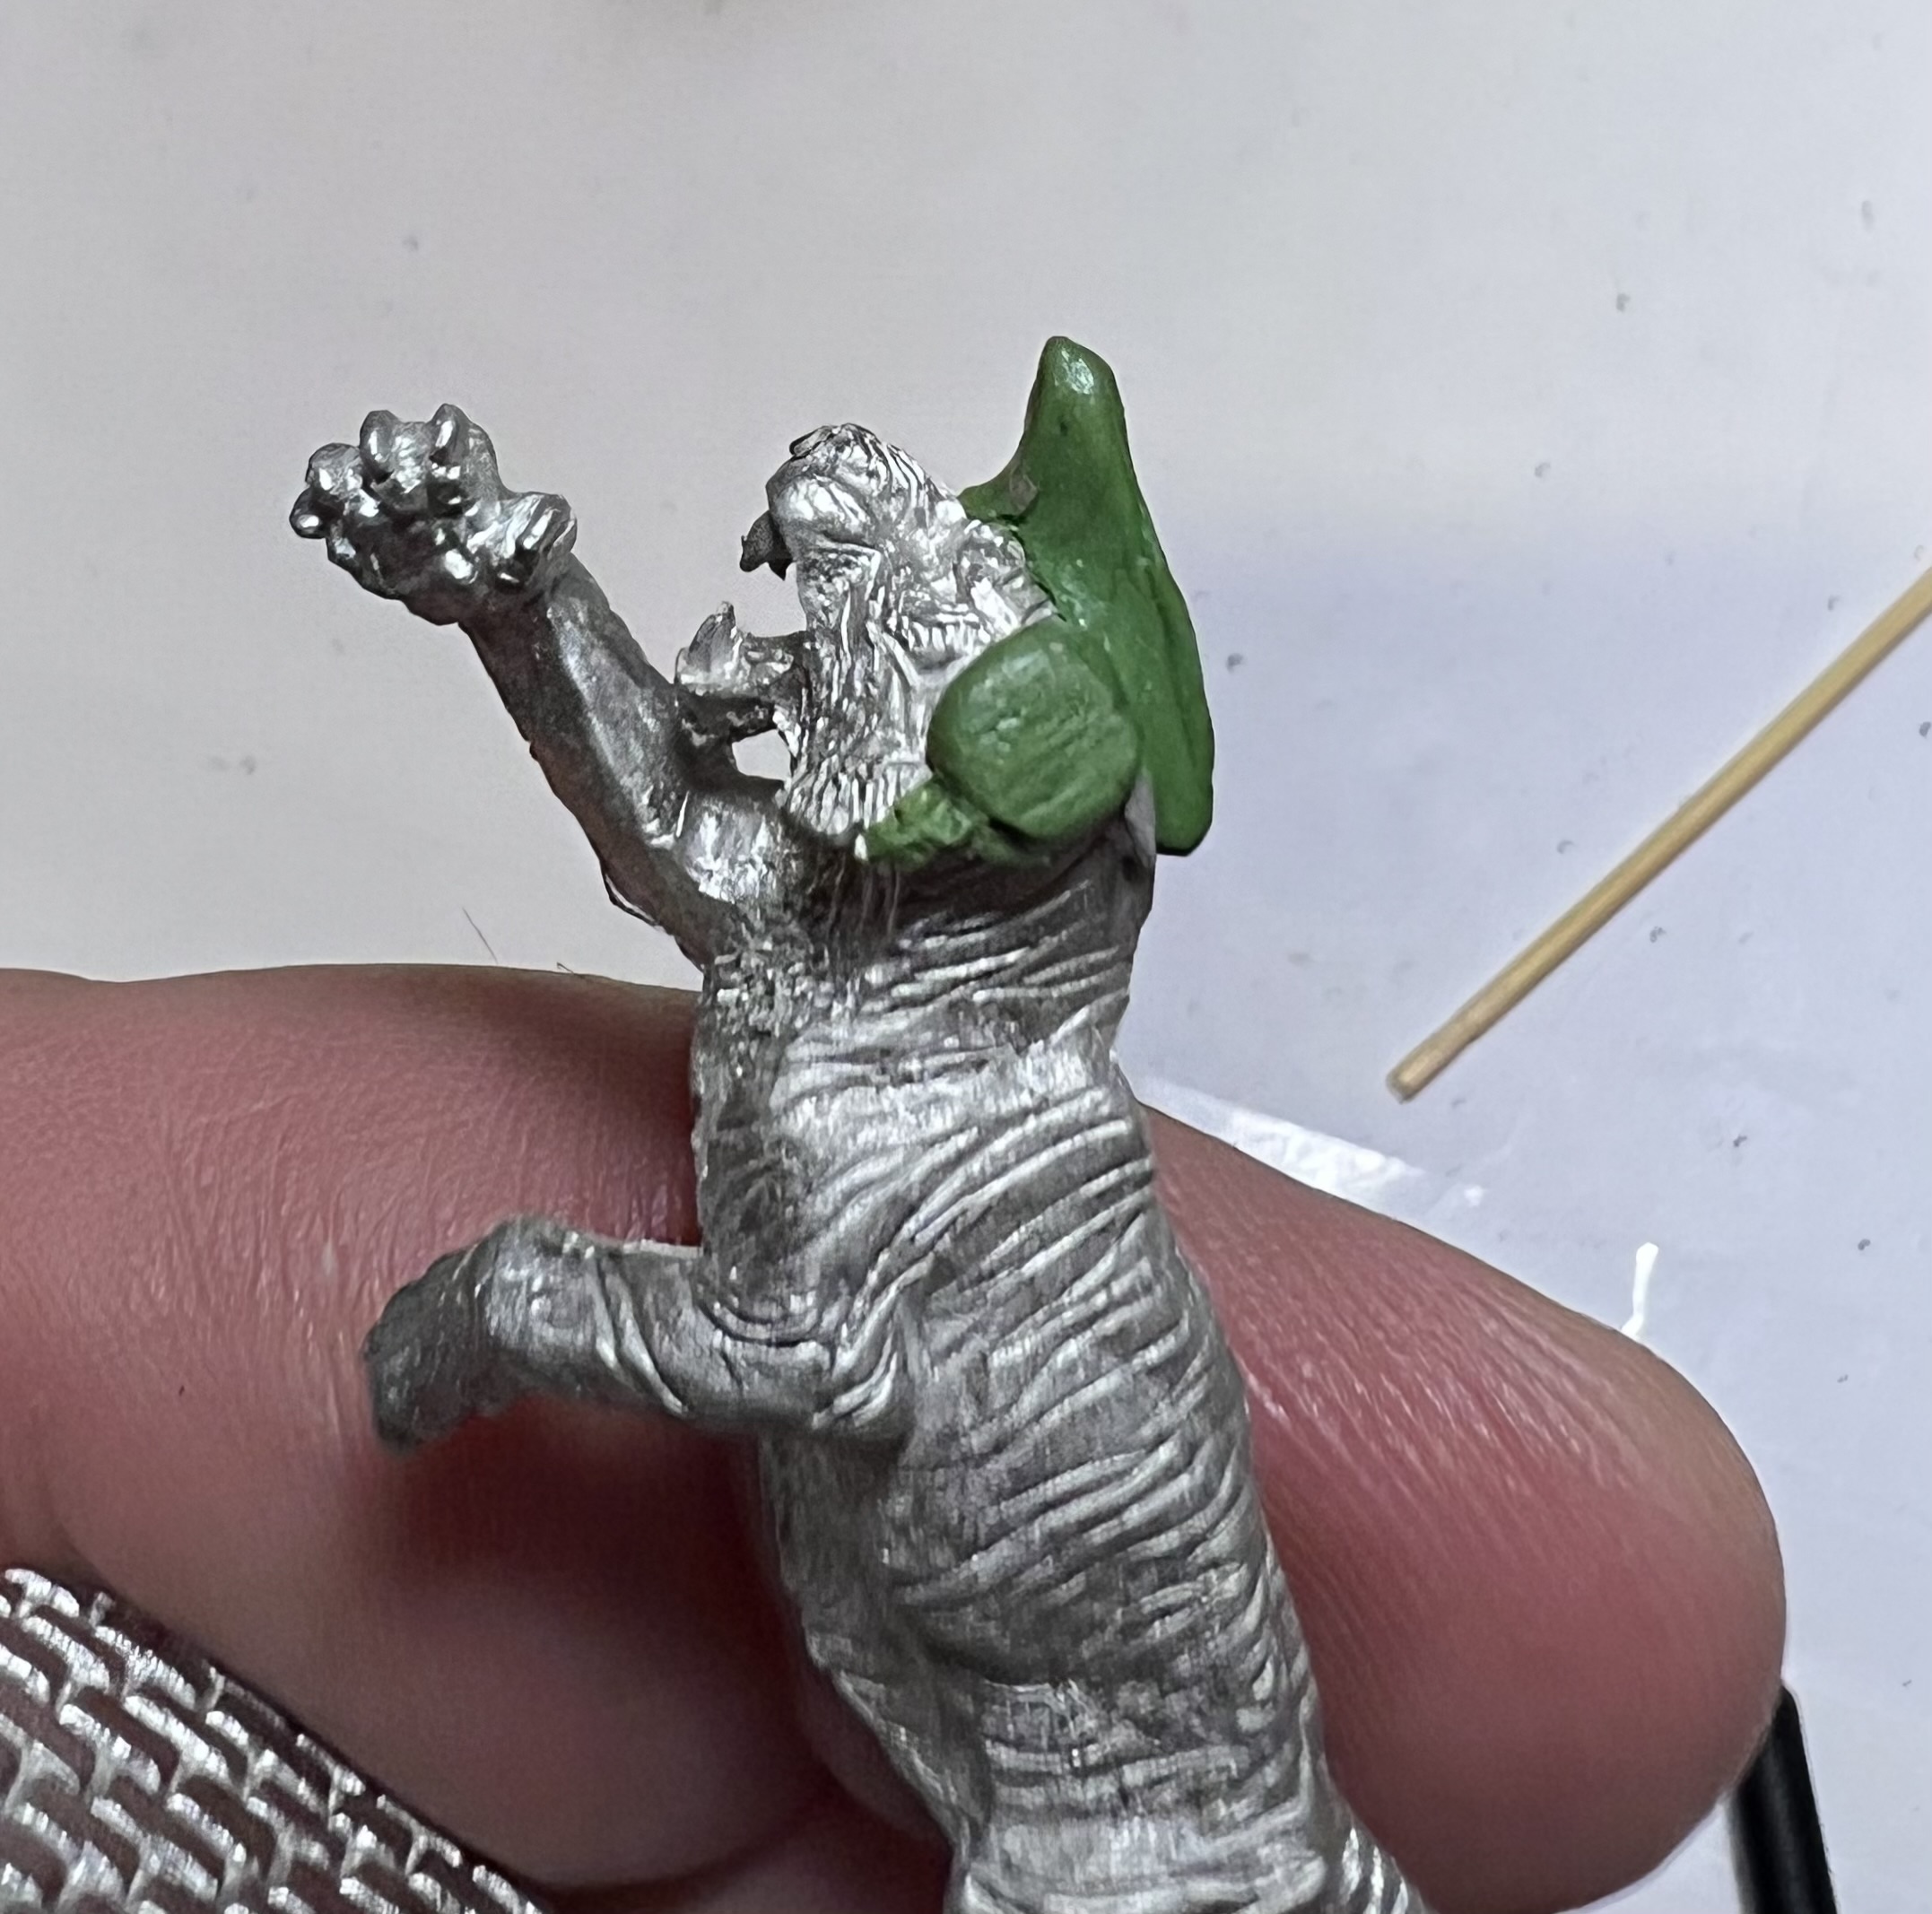
Now that I knew what I would do with the tiger figure, it was time to prime and paint it. However, I before I got to that stage – I chose to modify the figure as a tank commander with a green stuff-sculpted set of headphones and a garrison cap.
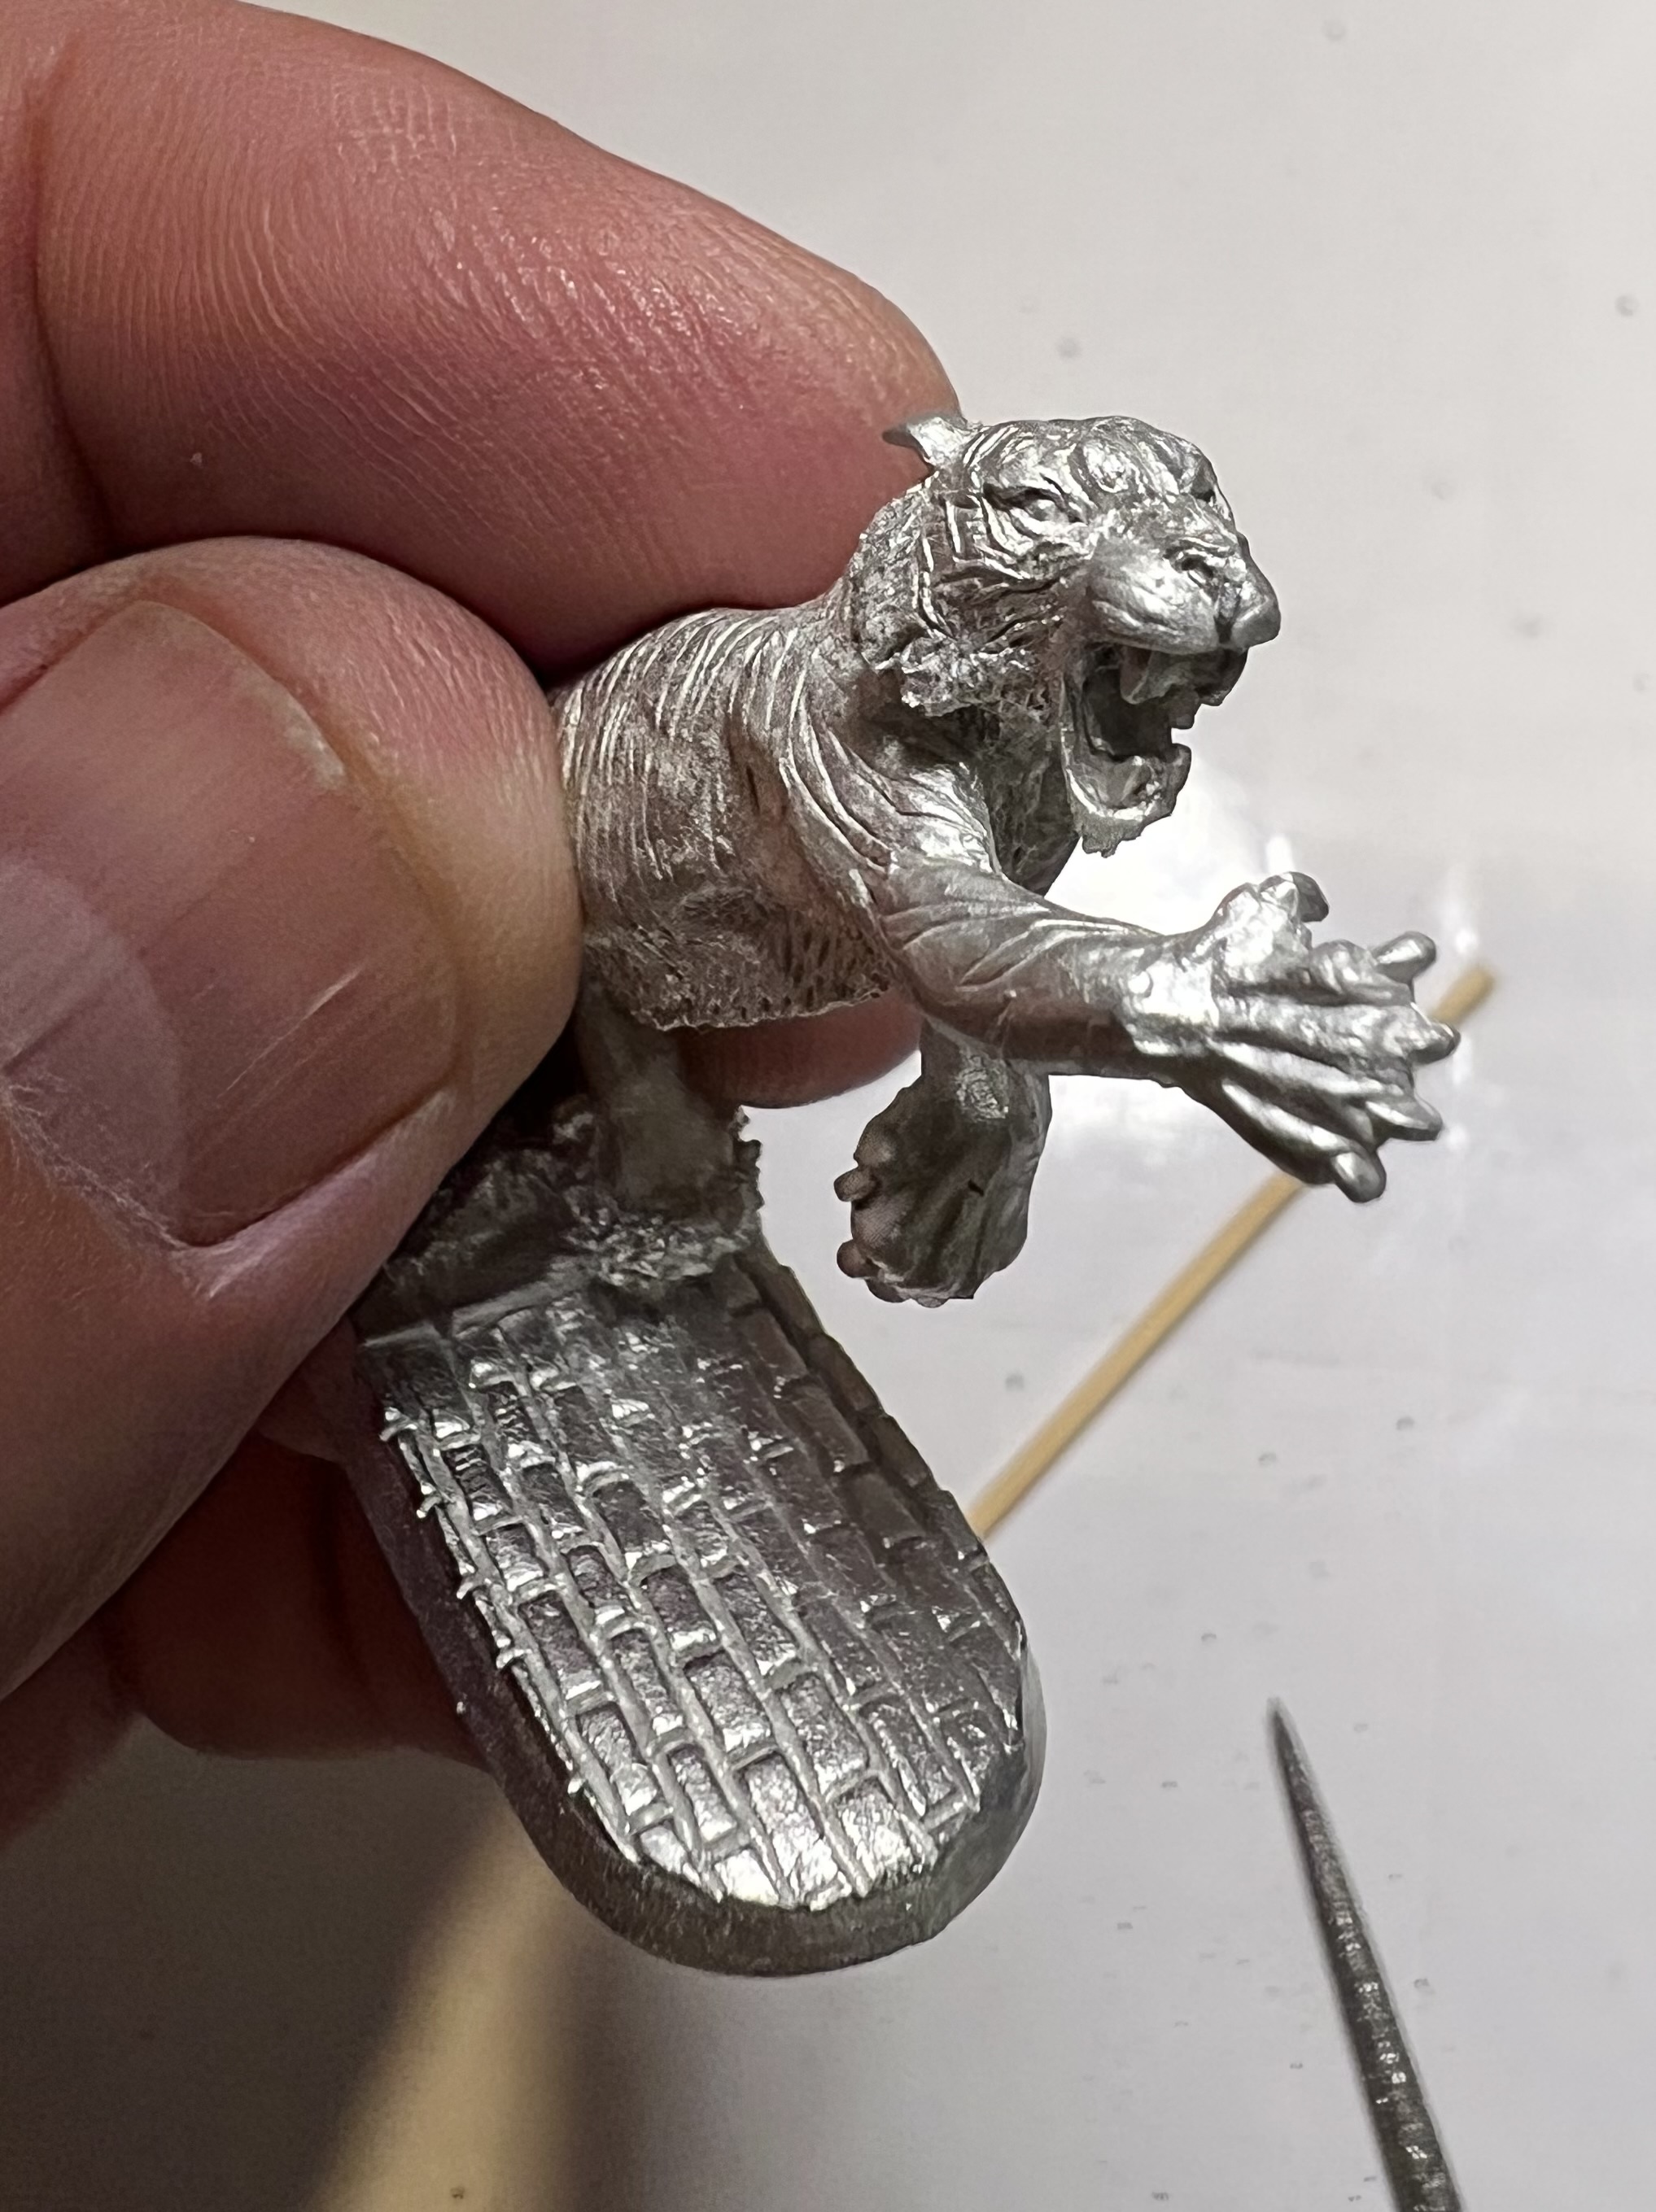
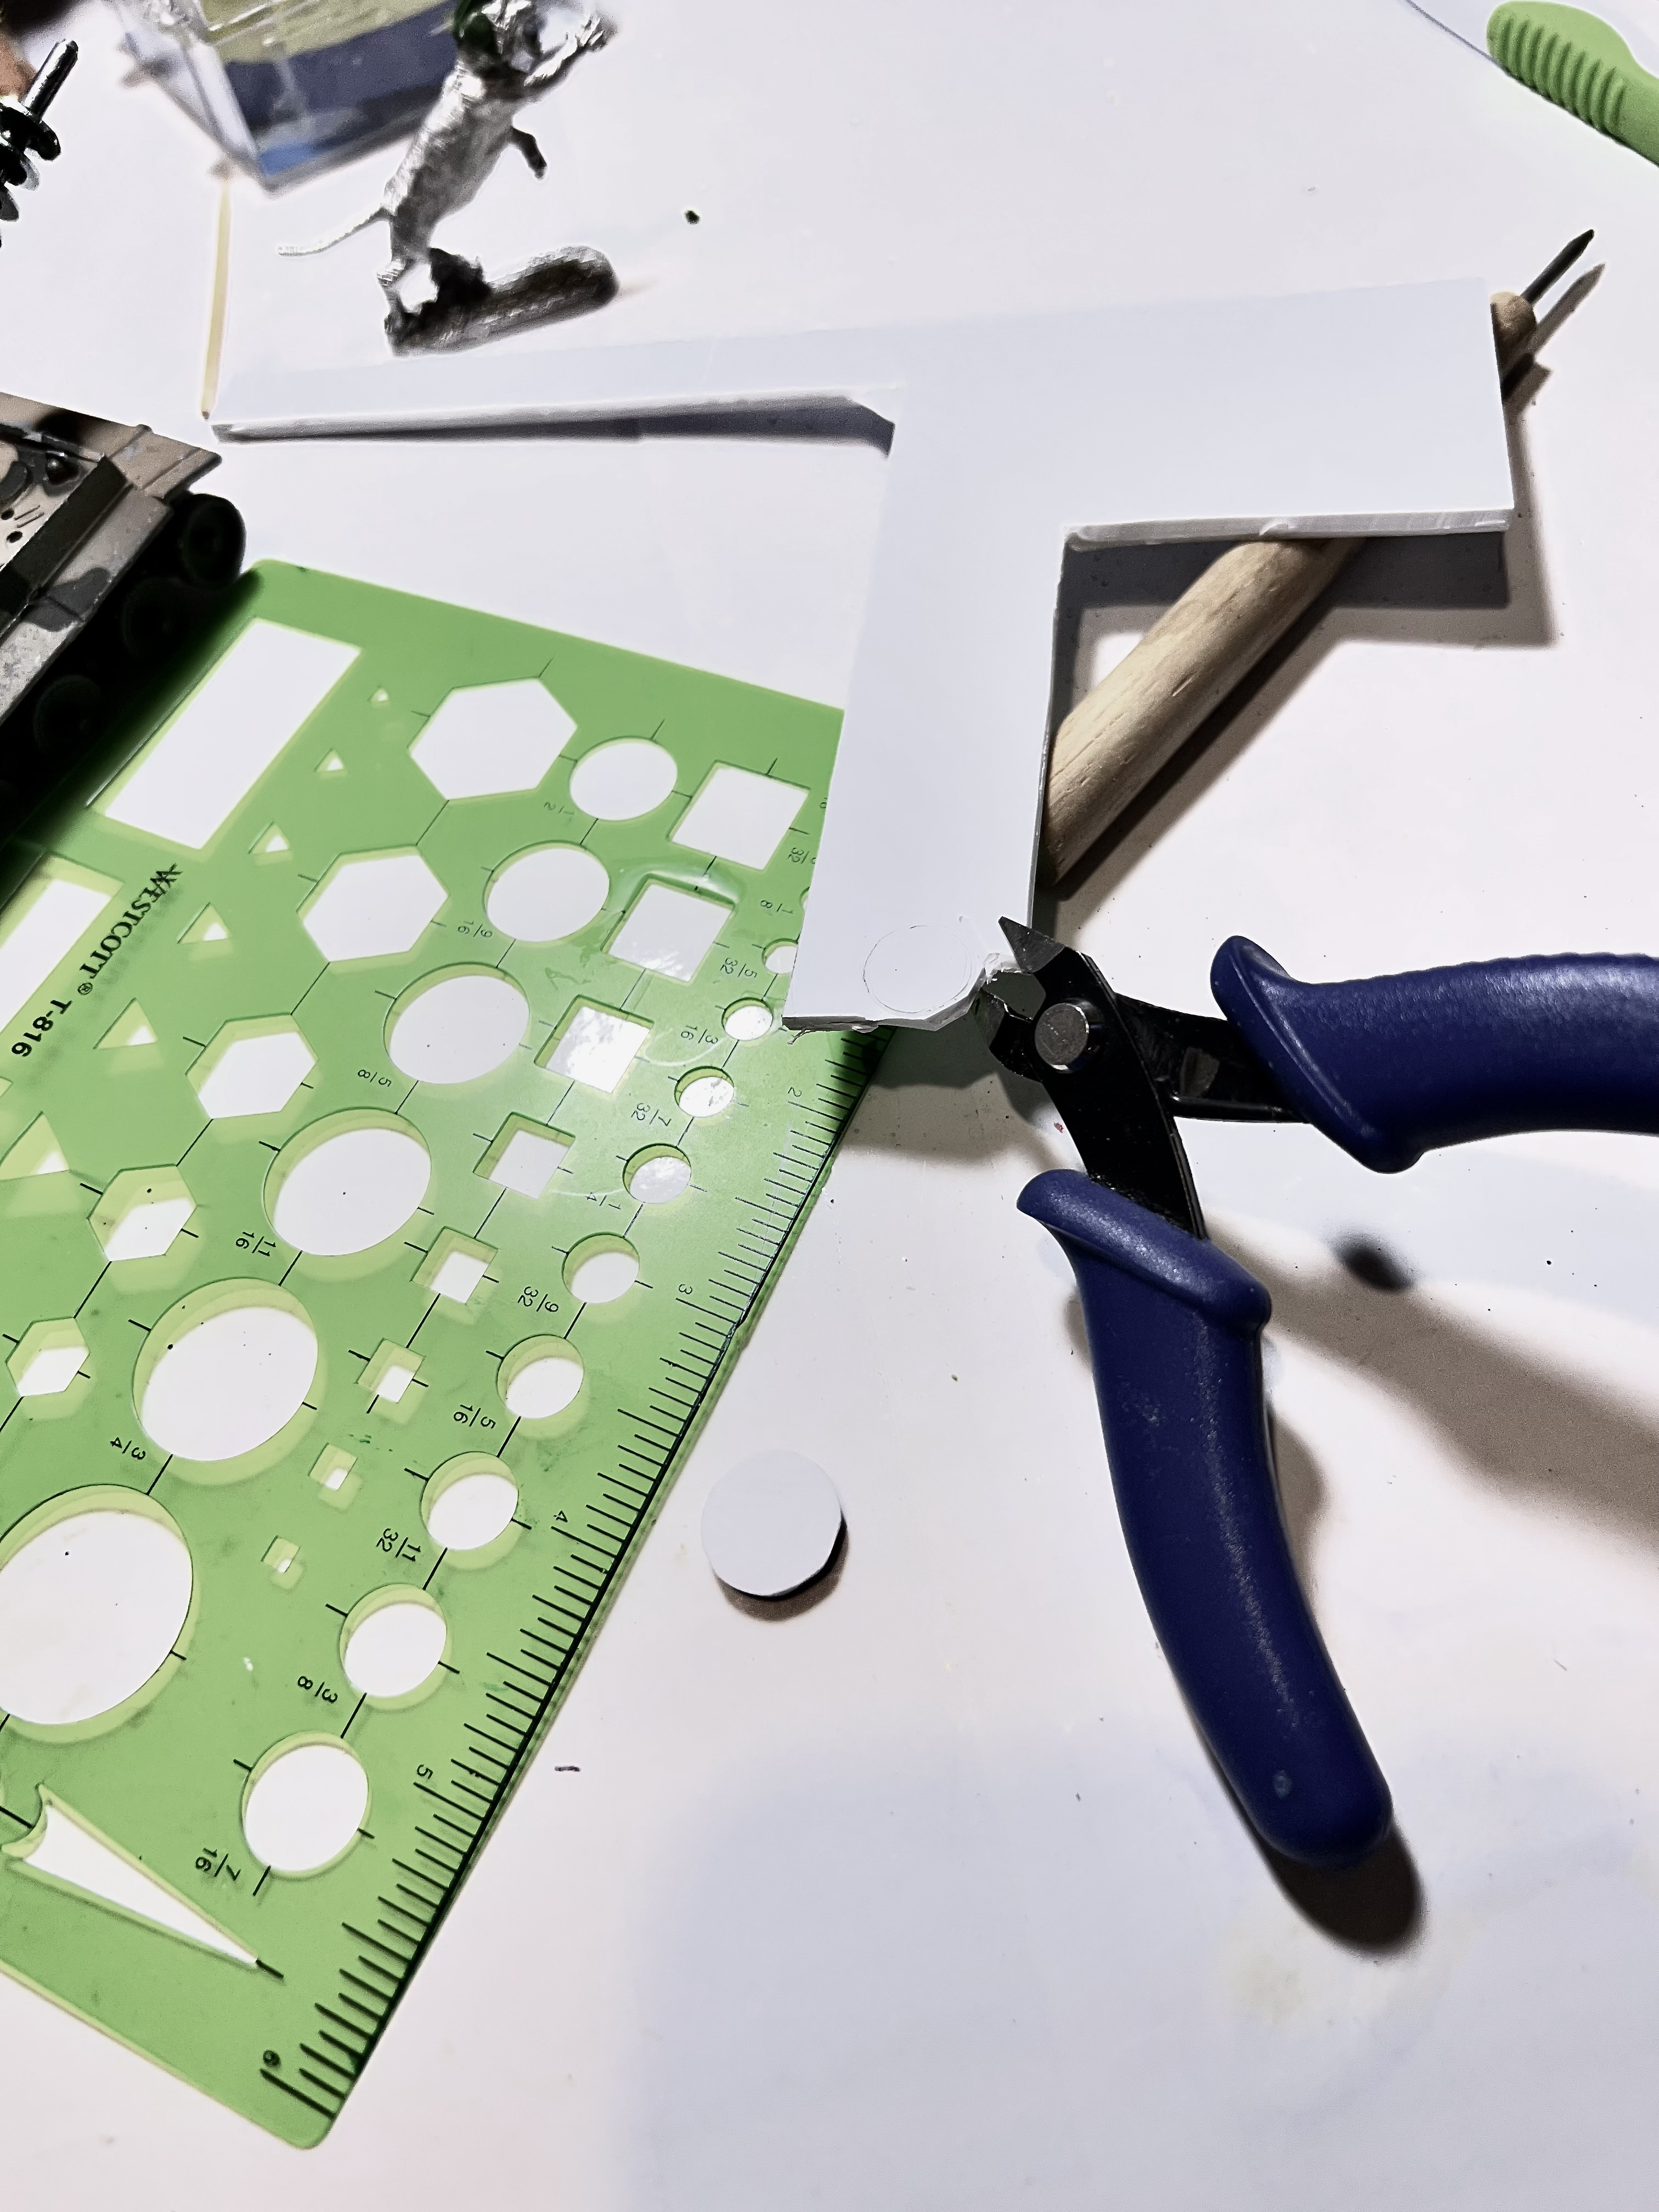
While that green stuff set up, I cut out the cupola/hatch pieces from plasticard. There were 2 differently-sized pieces used. I sized them with a plastic drafting template. Then I cut them with a sprue cutter and sanded them as round as I could. Then I went back to the tiger commander and primed the top half so that it would cure.
The next day I moved on to “Step 2” of the main gun sculpting. This way I could smooth out the “insulator” shapes over the washers on the gun and be assured that they were structurally stable and durable enough for play.
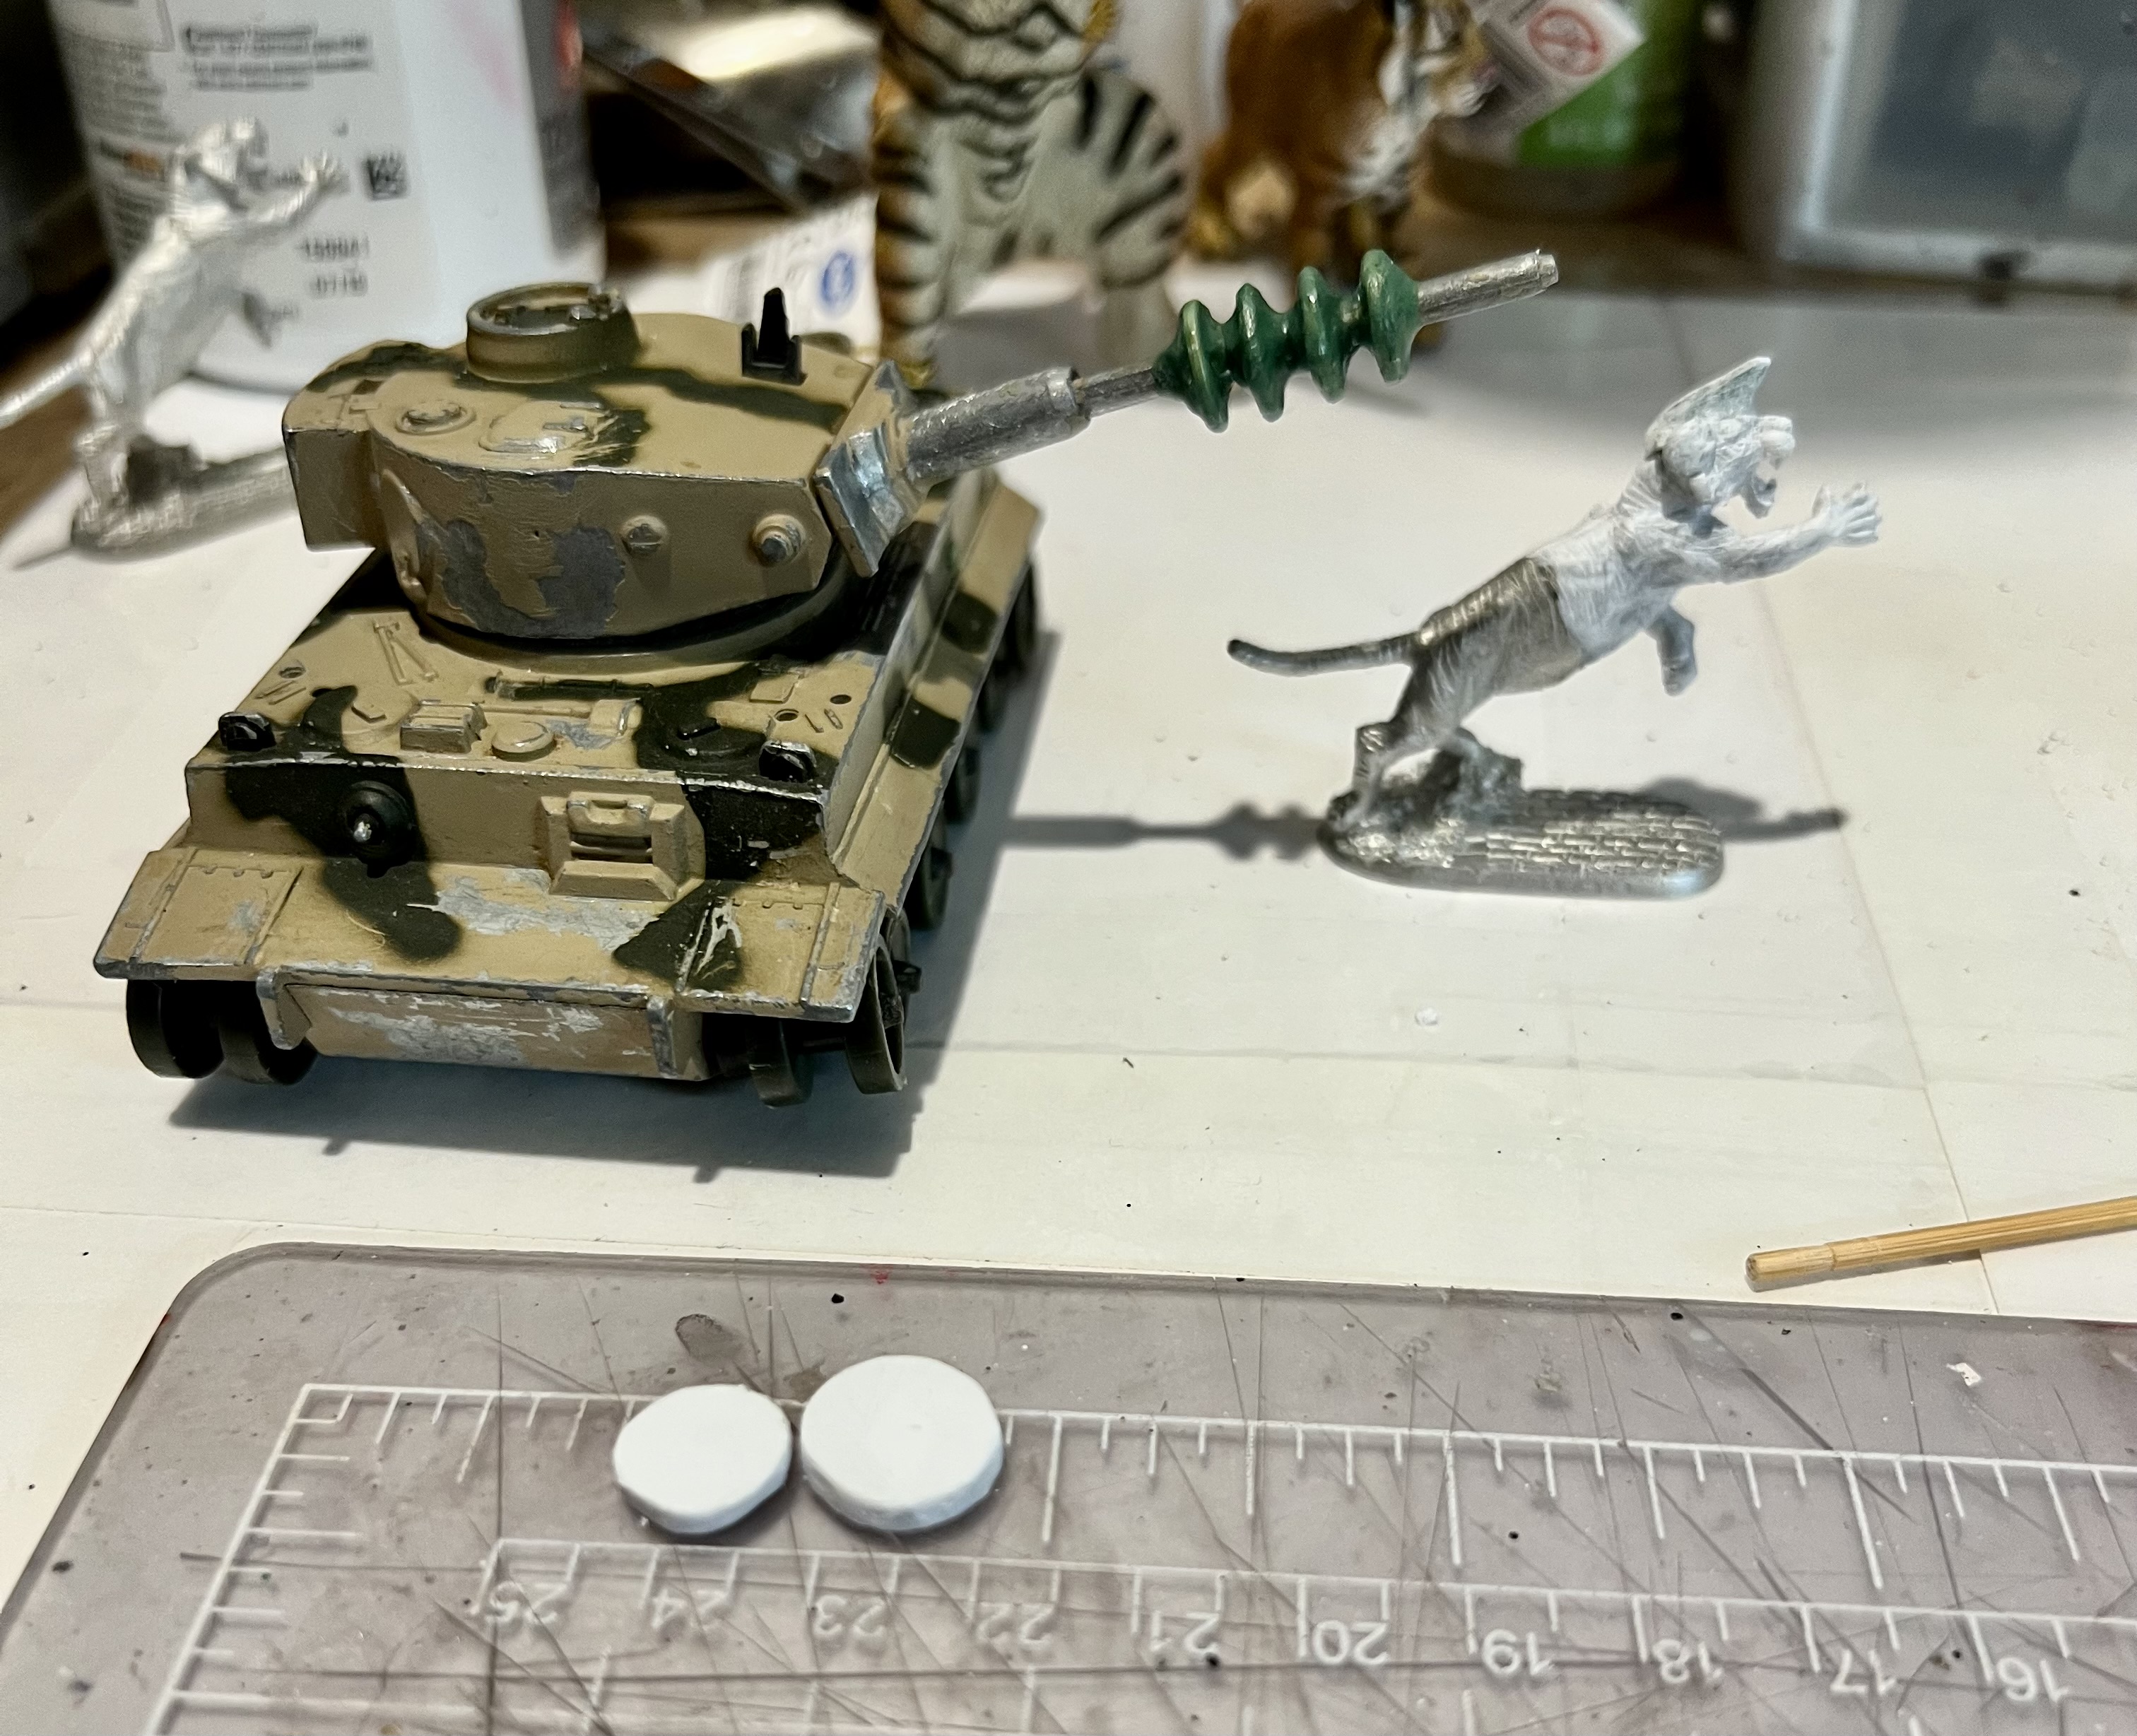
Here you see the results of the step 2 sculpting of the main gun, the primed top half of the modified commander, and the two hatch pieces.

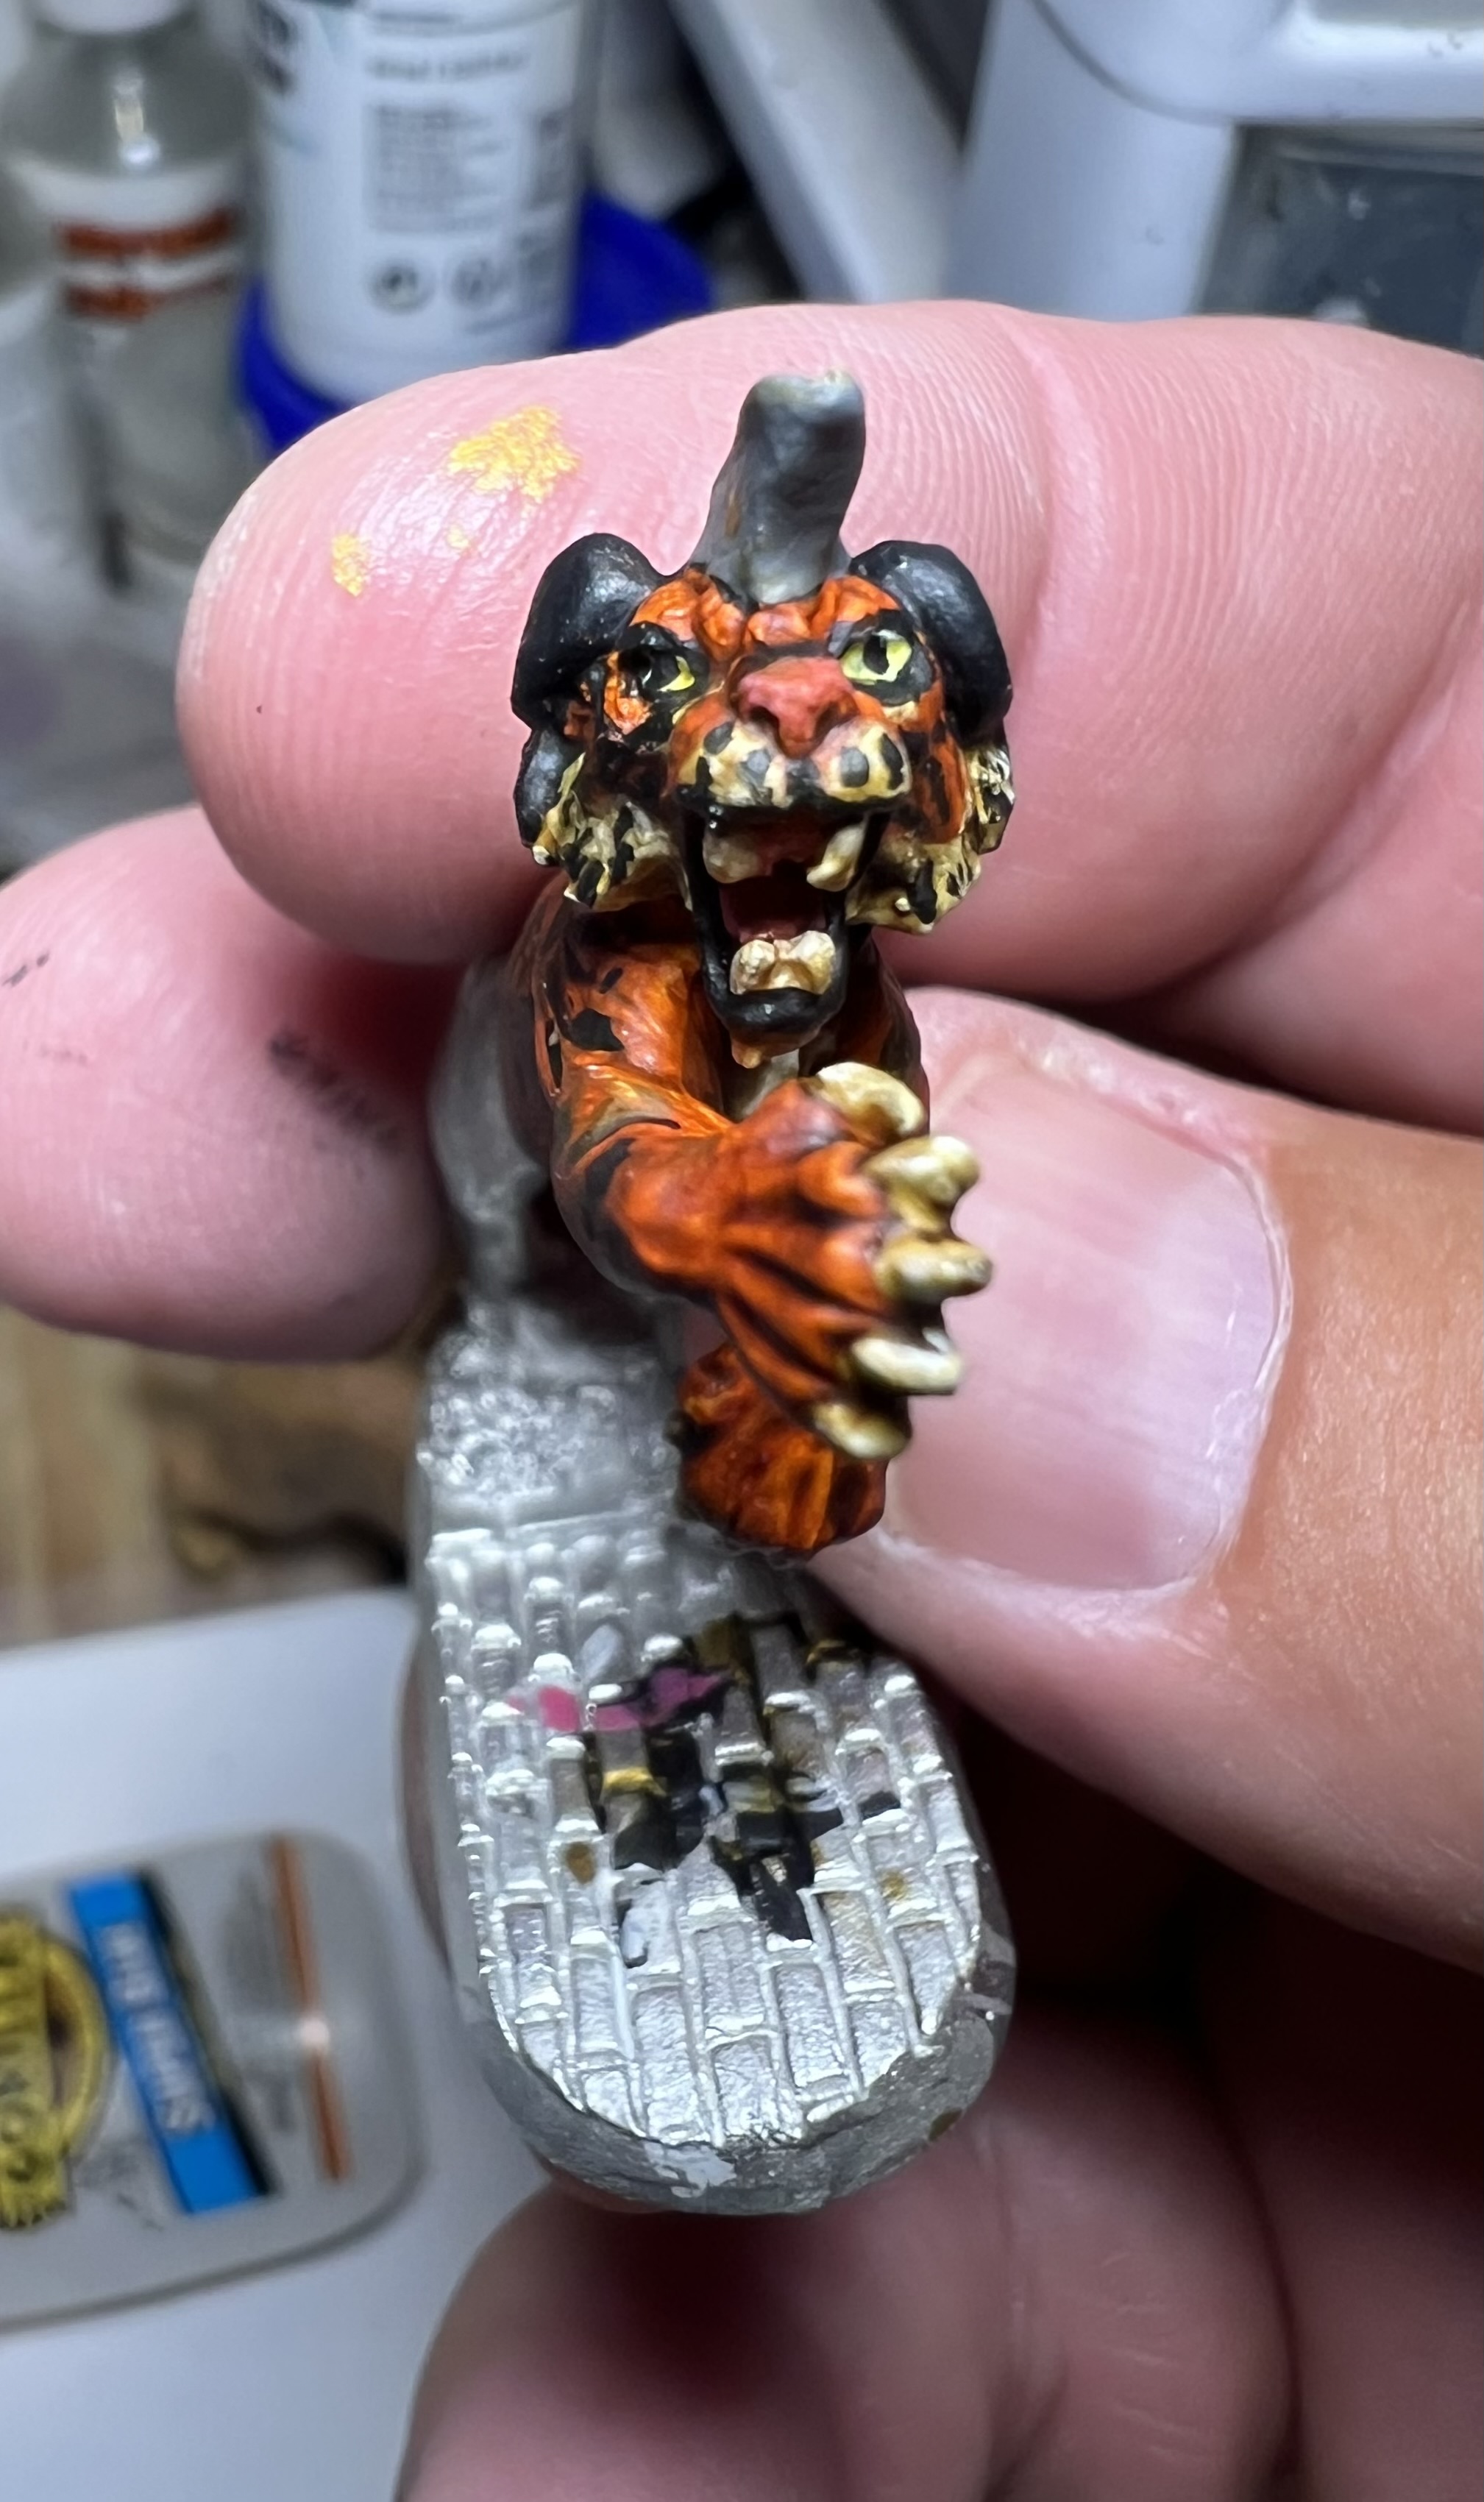
Leaving the bottom half of the figure unpainted helped me with ease of holding it for painting. The big resin tiger figure was a good model for patterning the stripes. Below are some images of how the painting went.
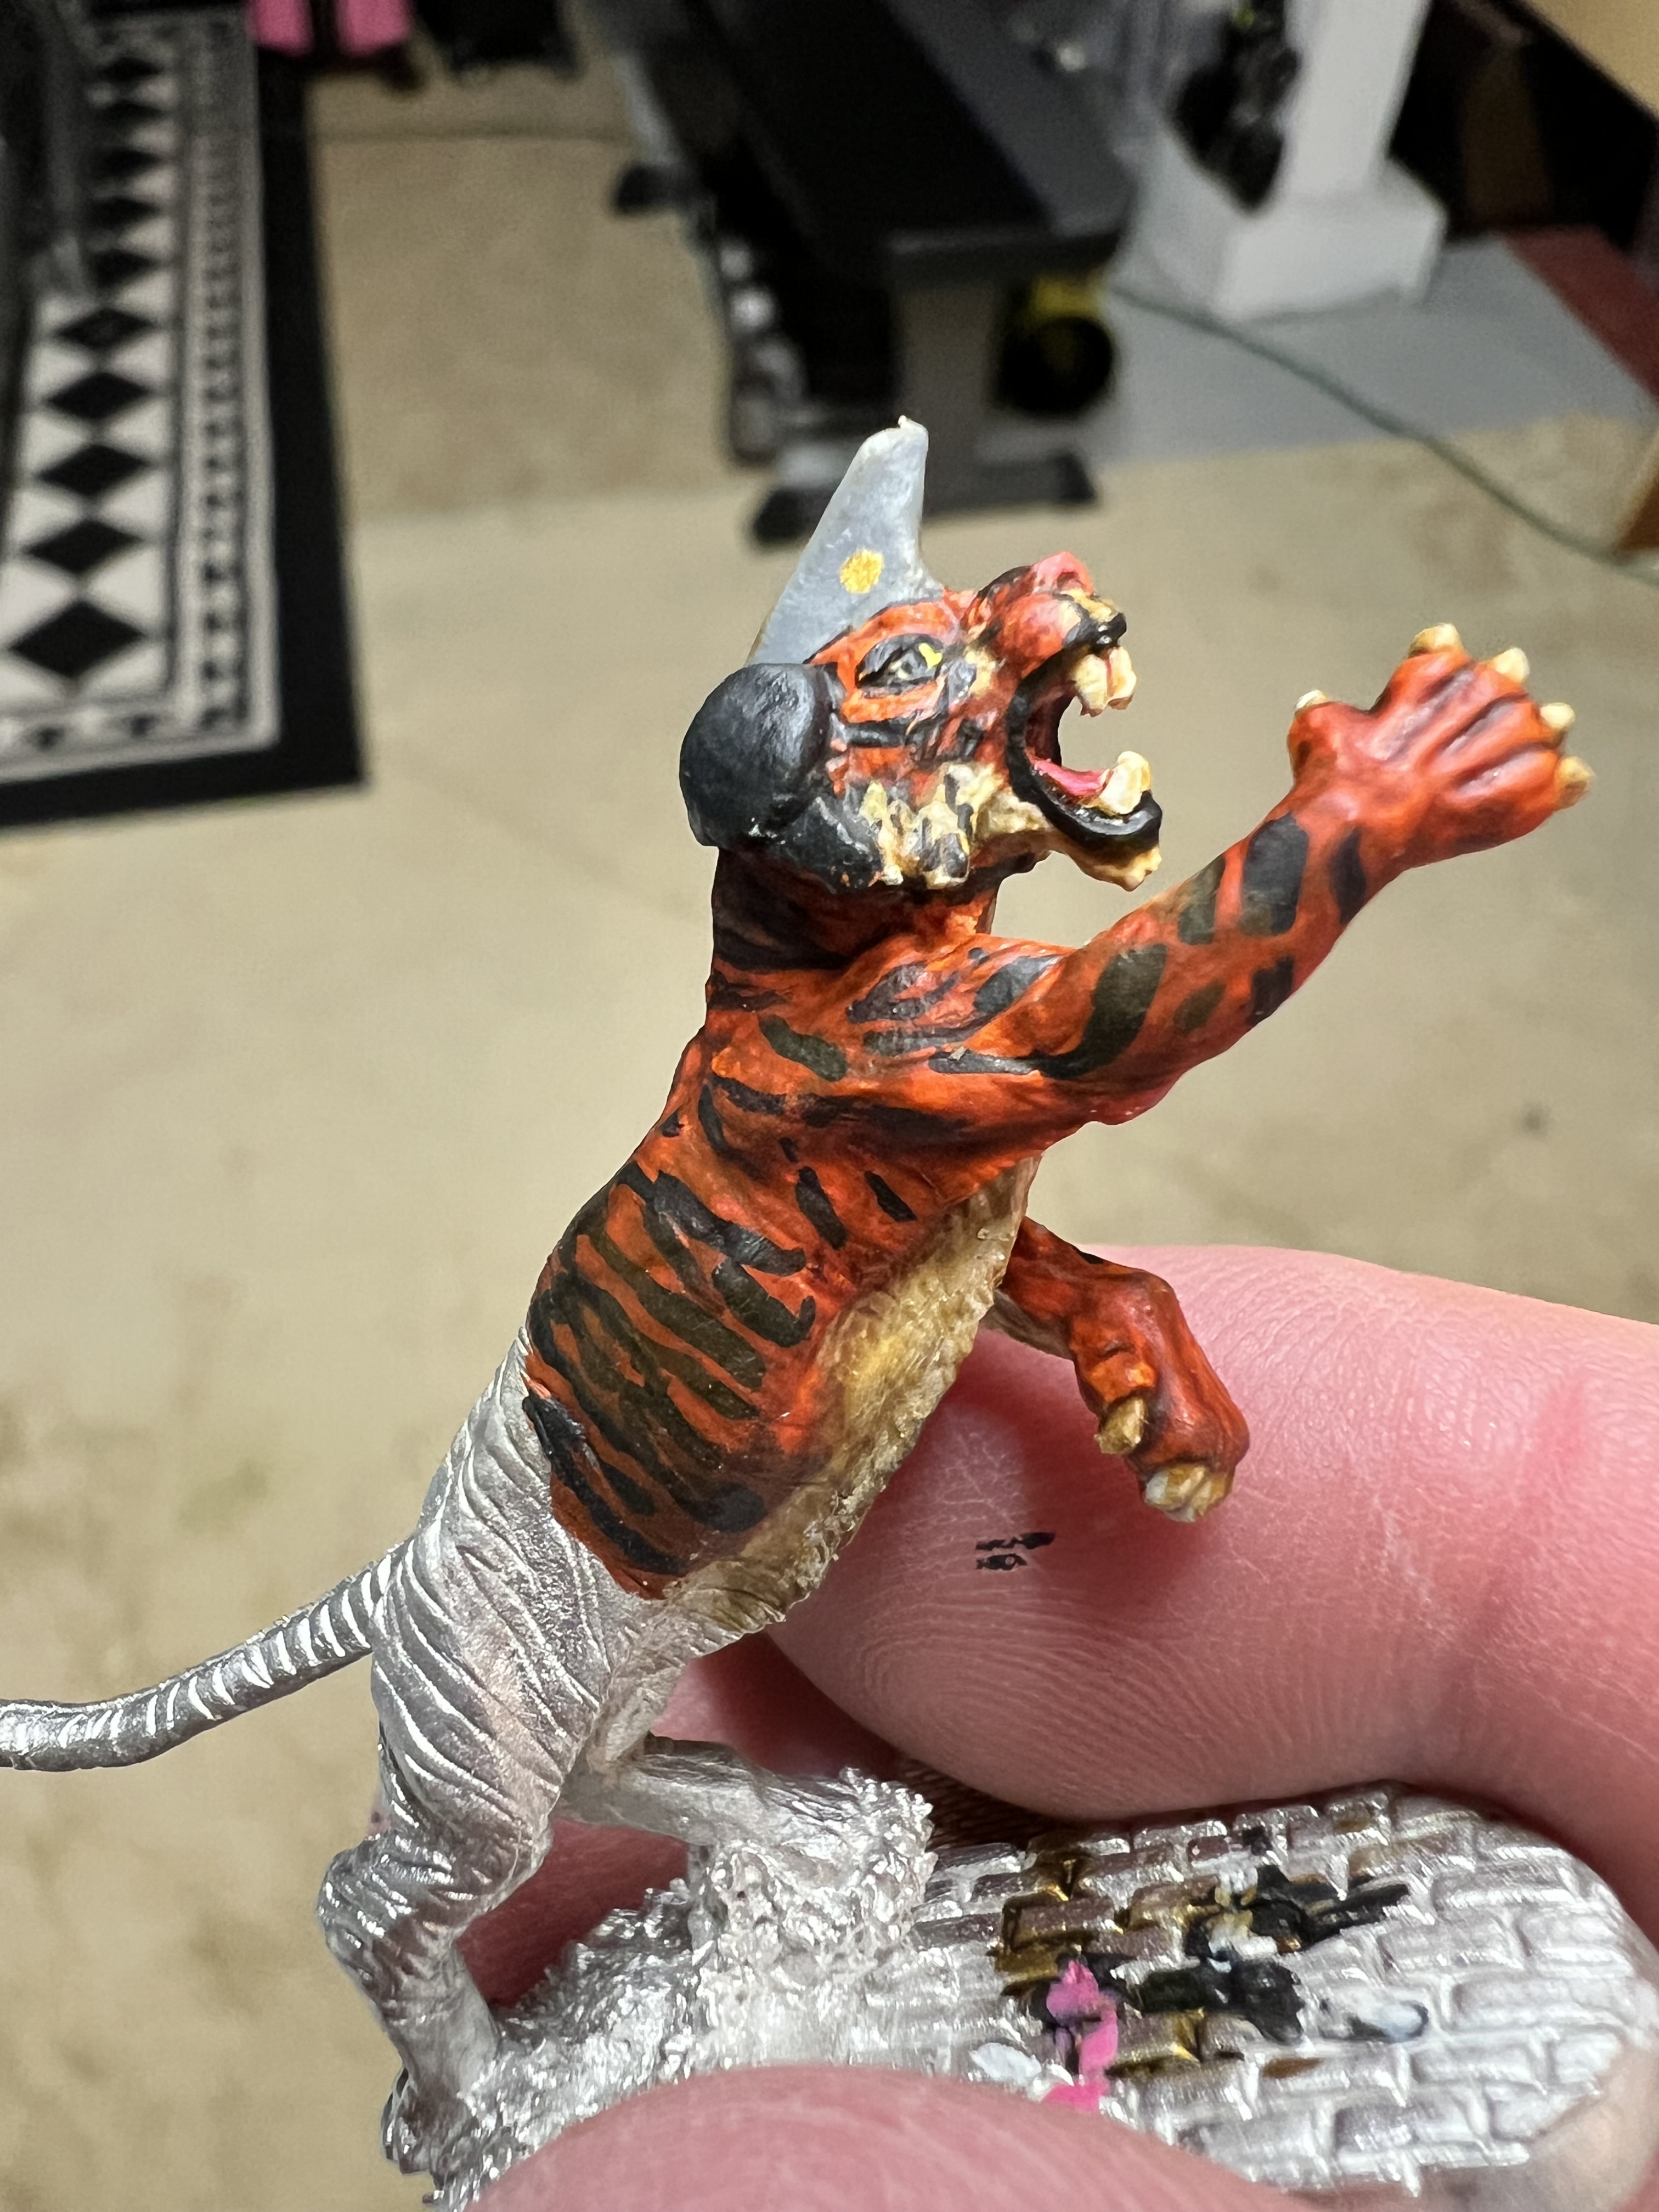
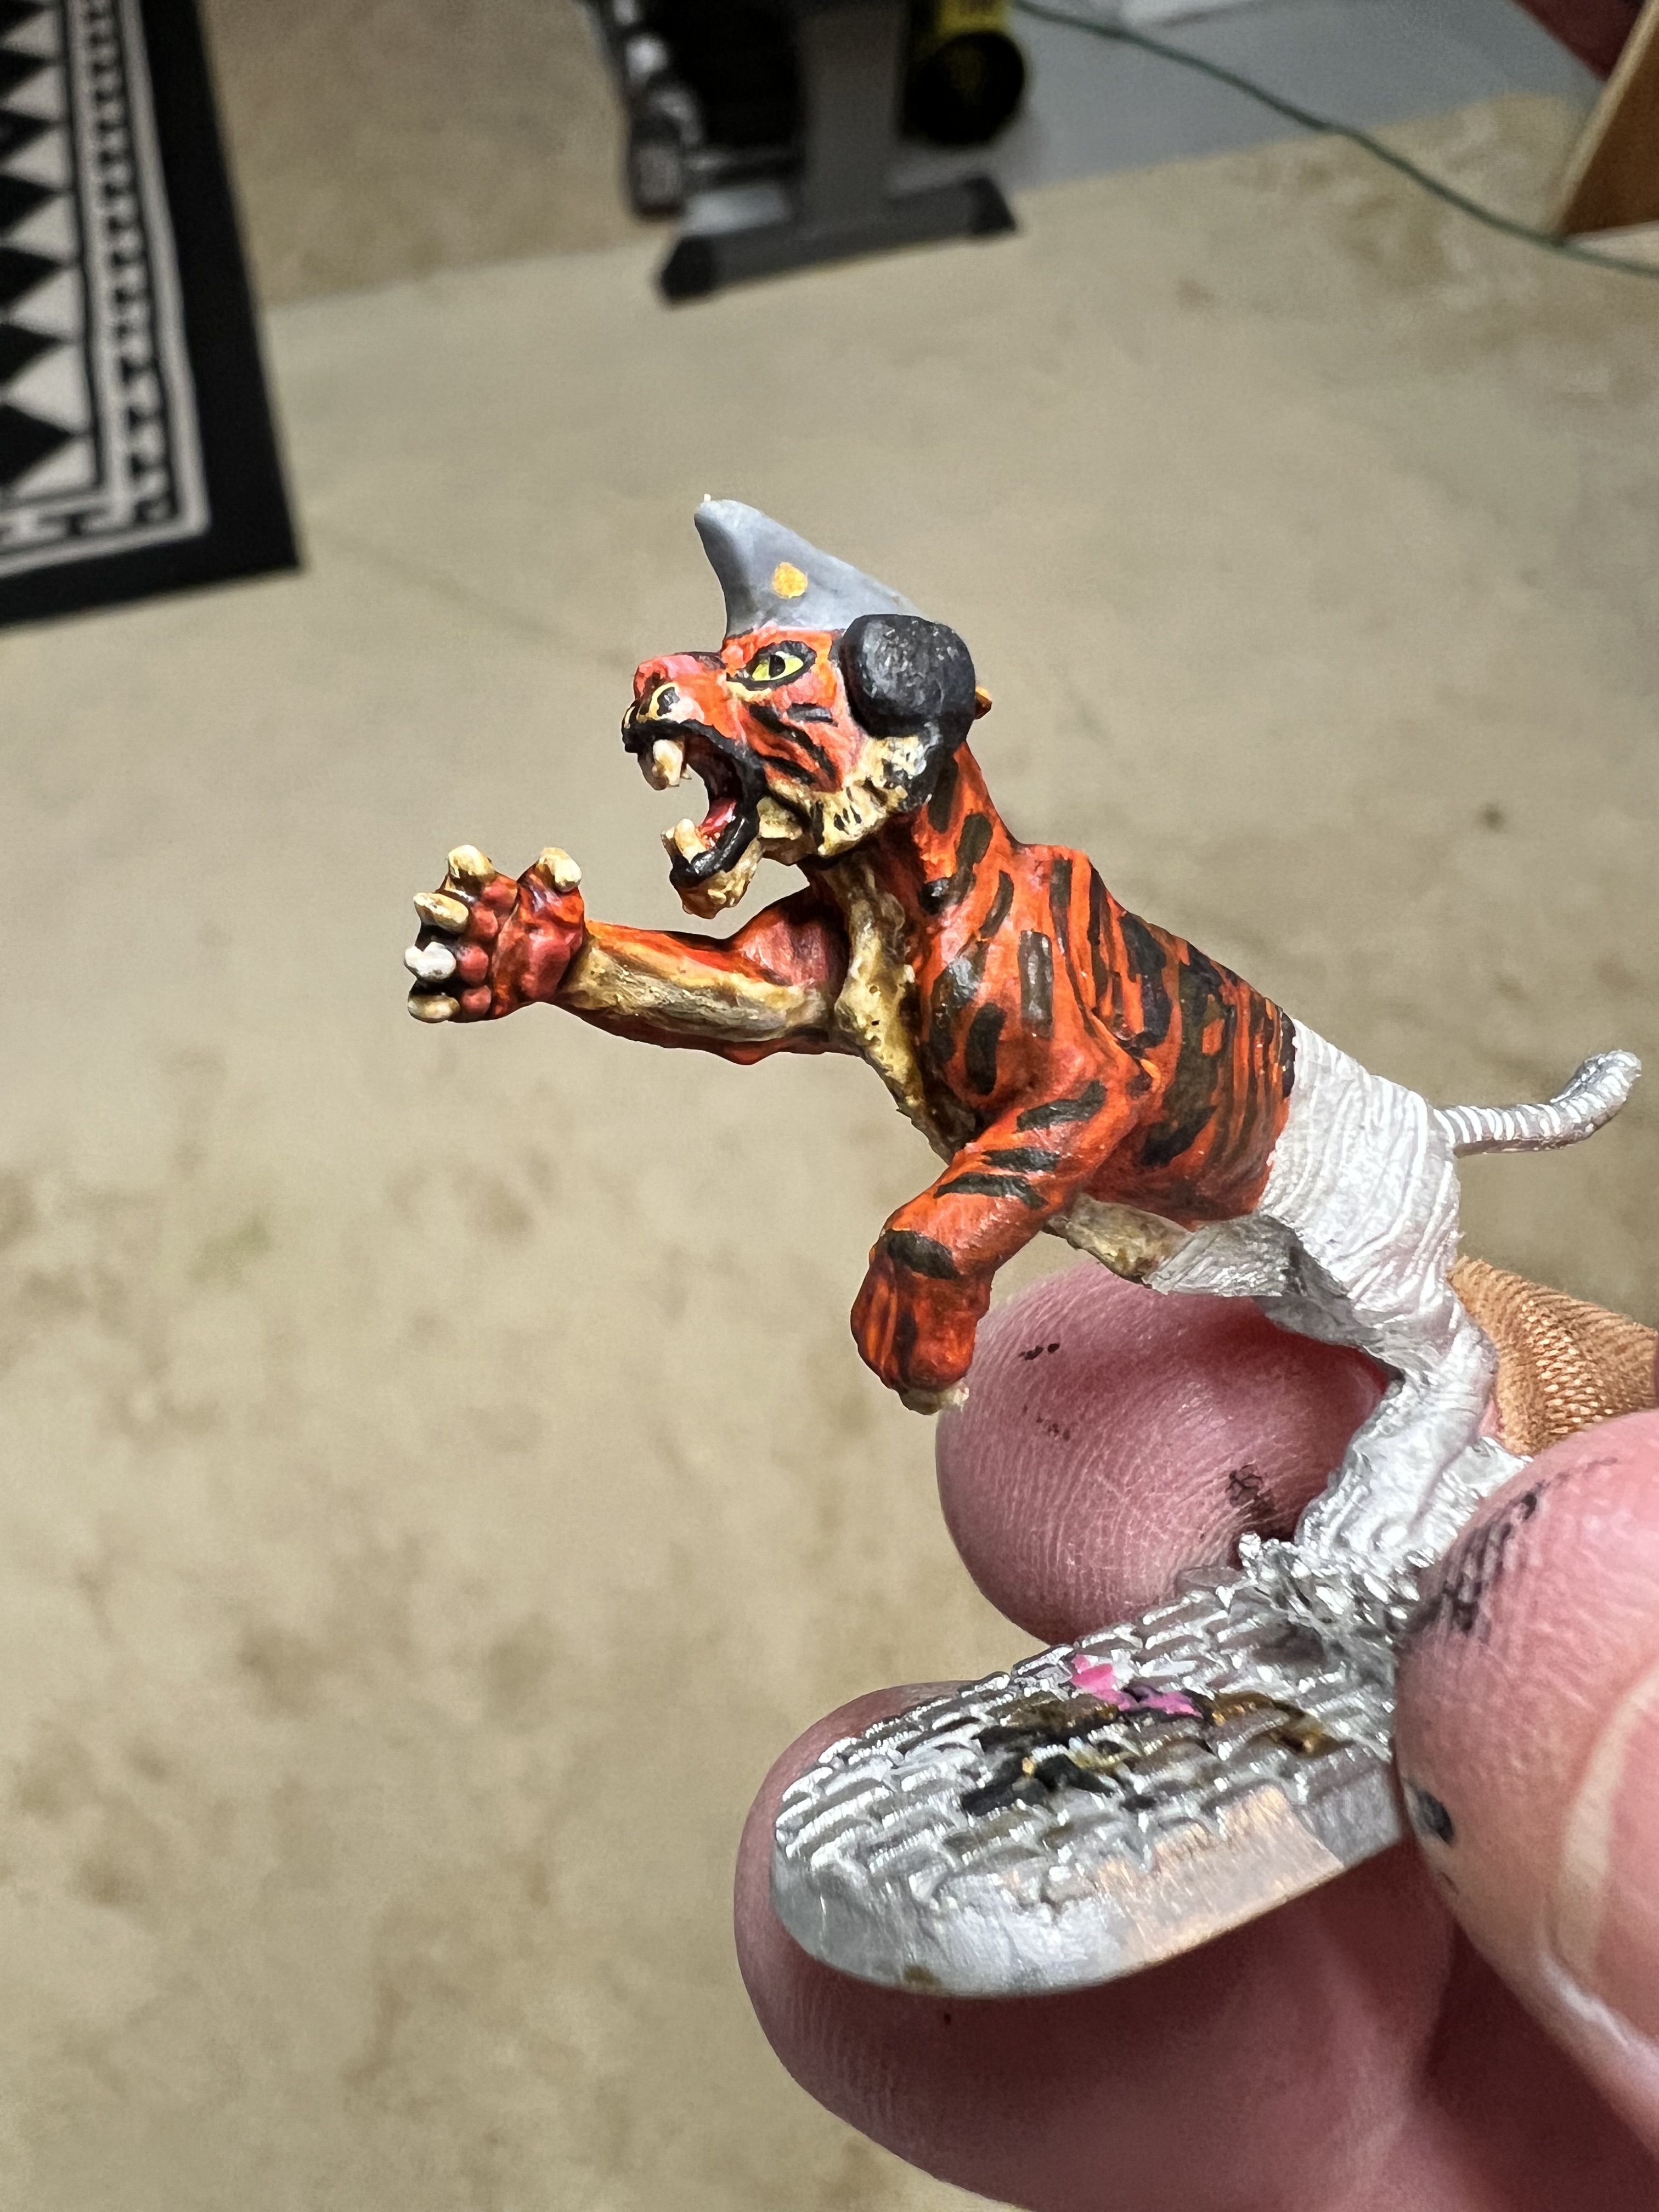
Switching back to the tank, it was time to prime it. Wanting to make sure that it got a good prime over the old factory paint job, I double-primed the tank. First, I applied a black coat, covering everything except the cupola area, the very bottom of the toy tank, and the plastic road wheels. I let it cure for 24 hours.

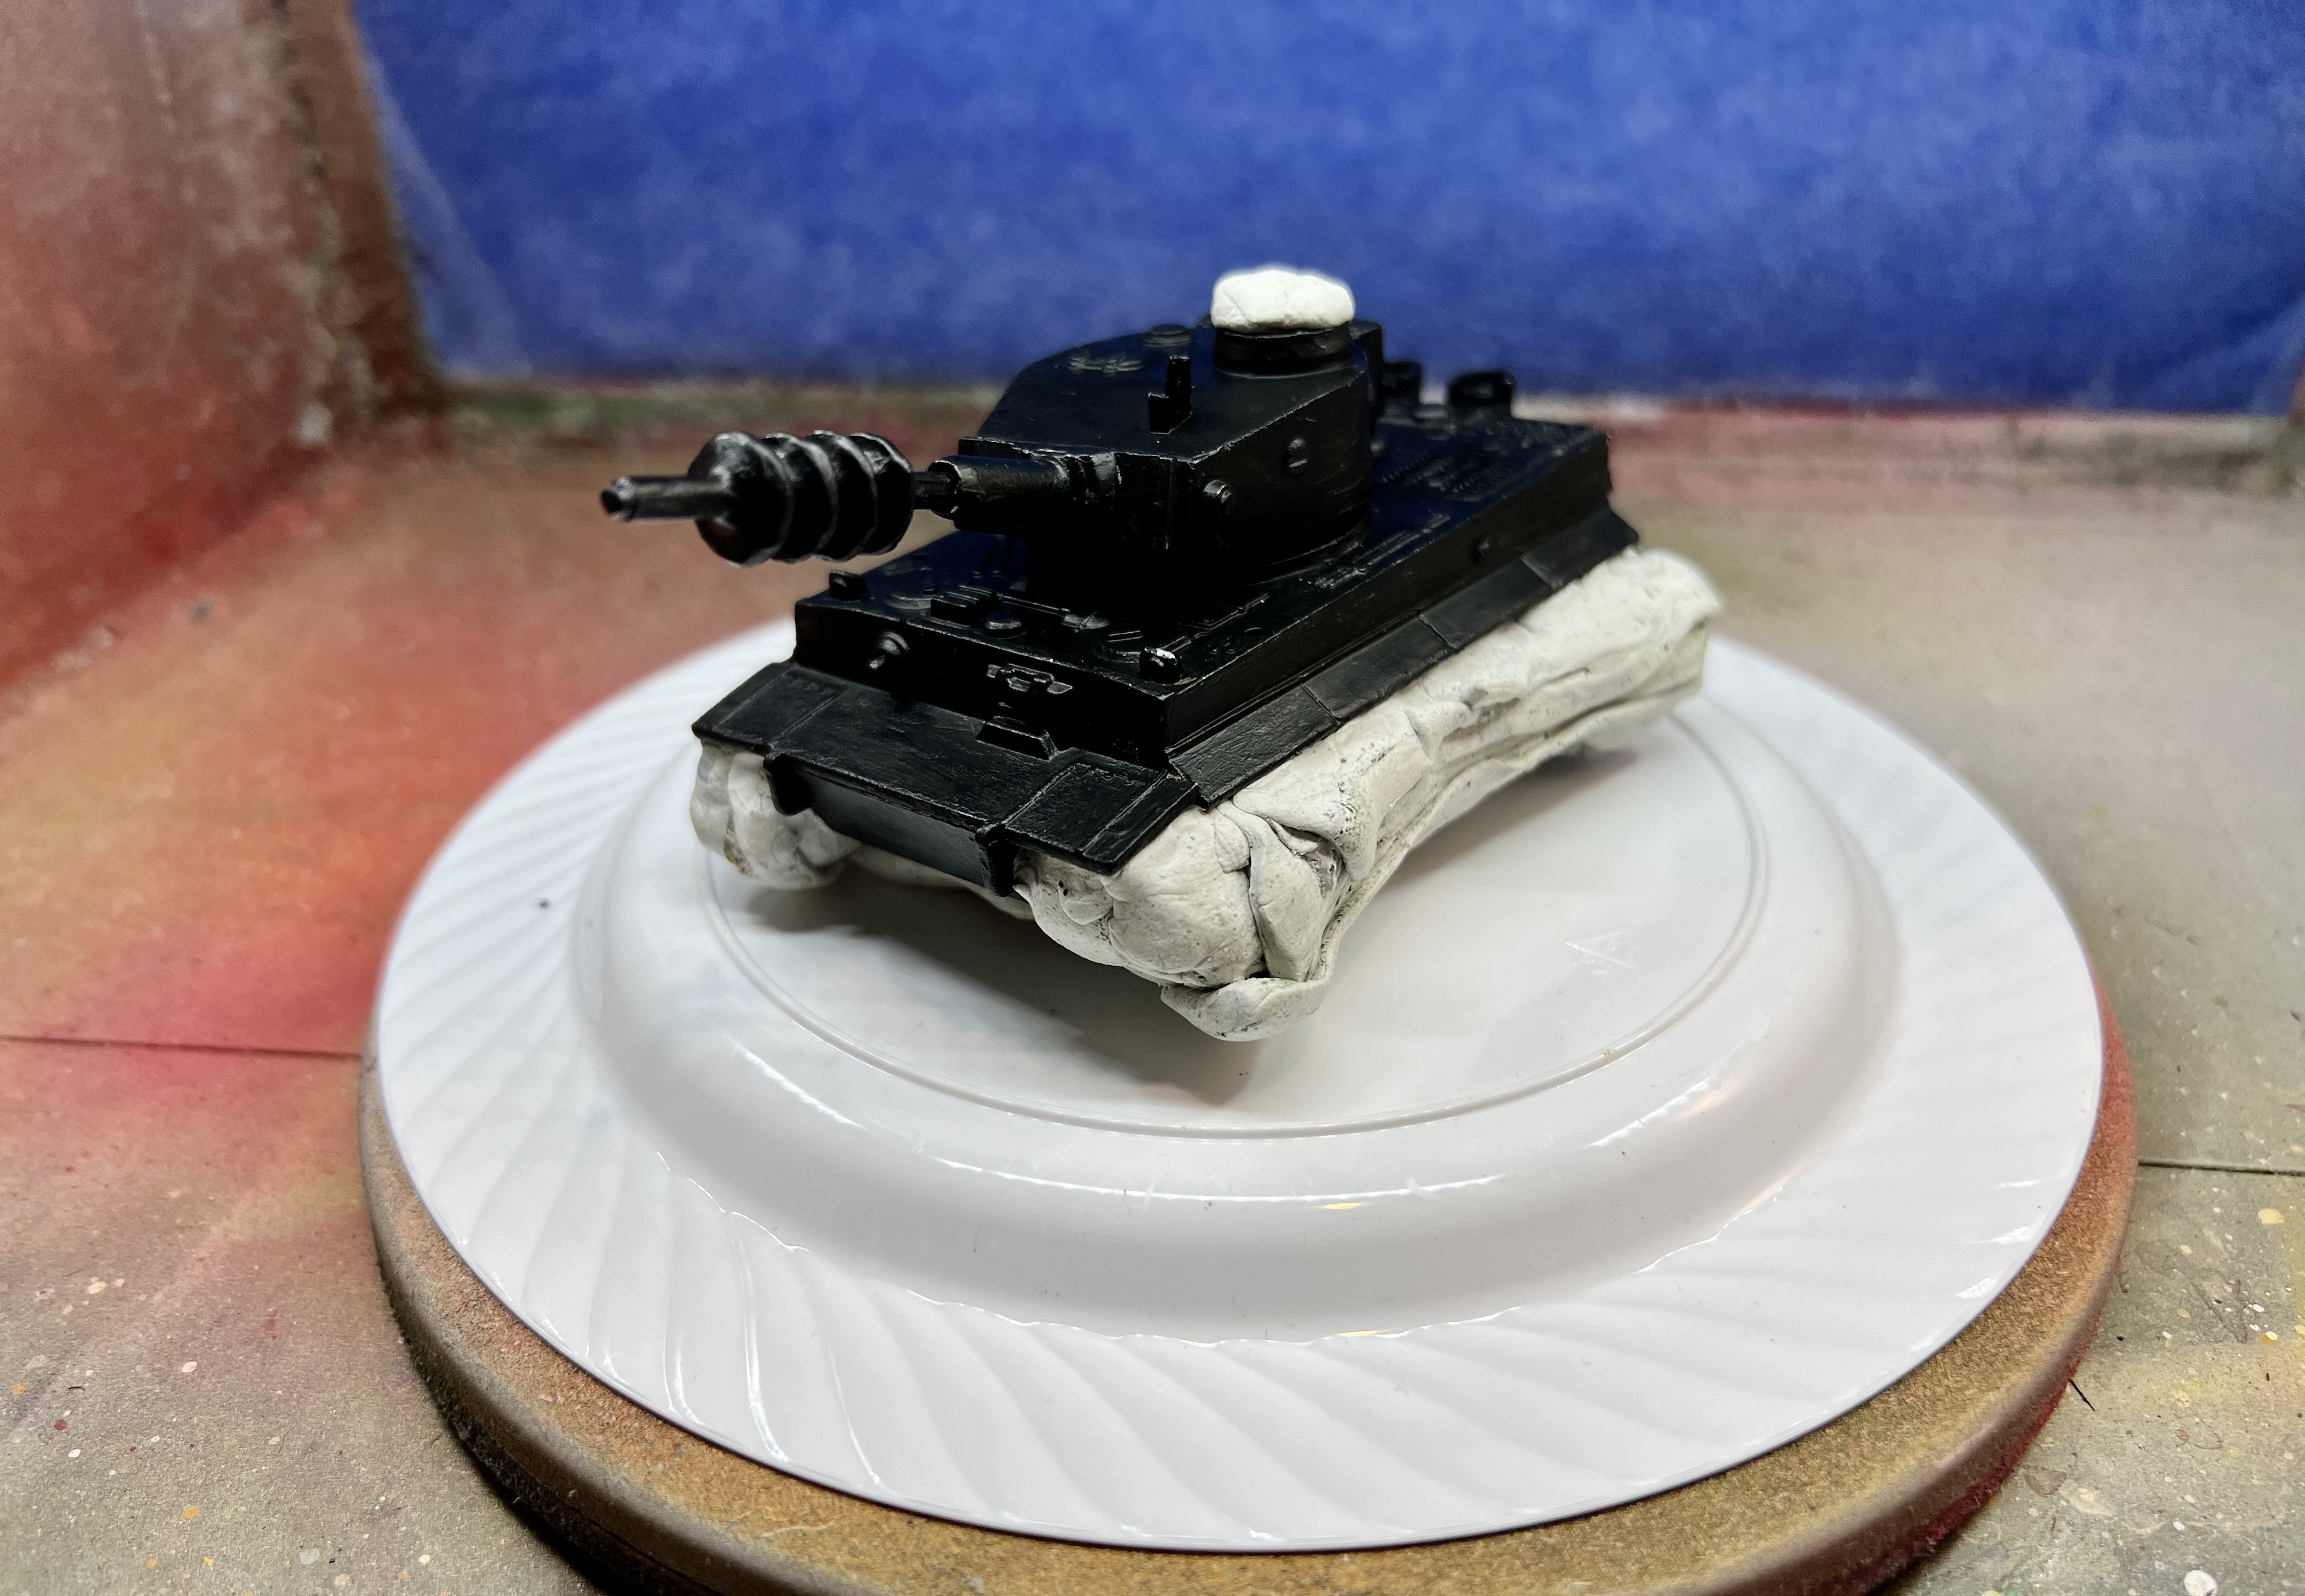
Then, I needed a second coat of white. Note that after the black coat was brush-applied to the toy tank, I blanked off the road wheels and the top of the existing hatch/cupola with poster tack. I did that for the wheels so as to keep the plastic green color intact – plus I thought that any paint on them would be very fragile and prone to rubbing off easily. For the cupola, I wanted to leave a somewhat bare surface so that the tiger commander assembly (when completed) would be easily attached with green stuff.
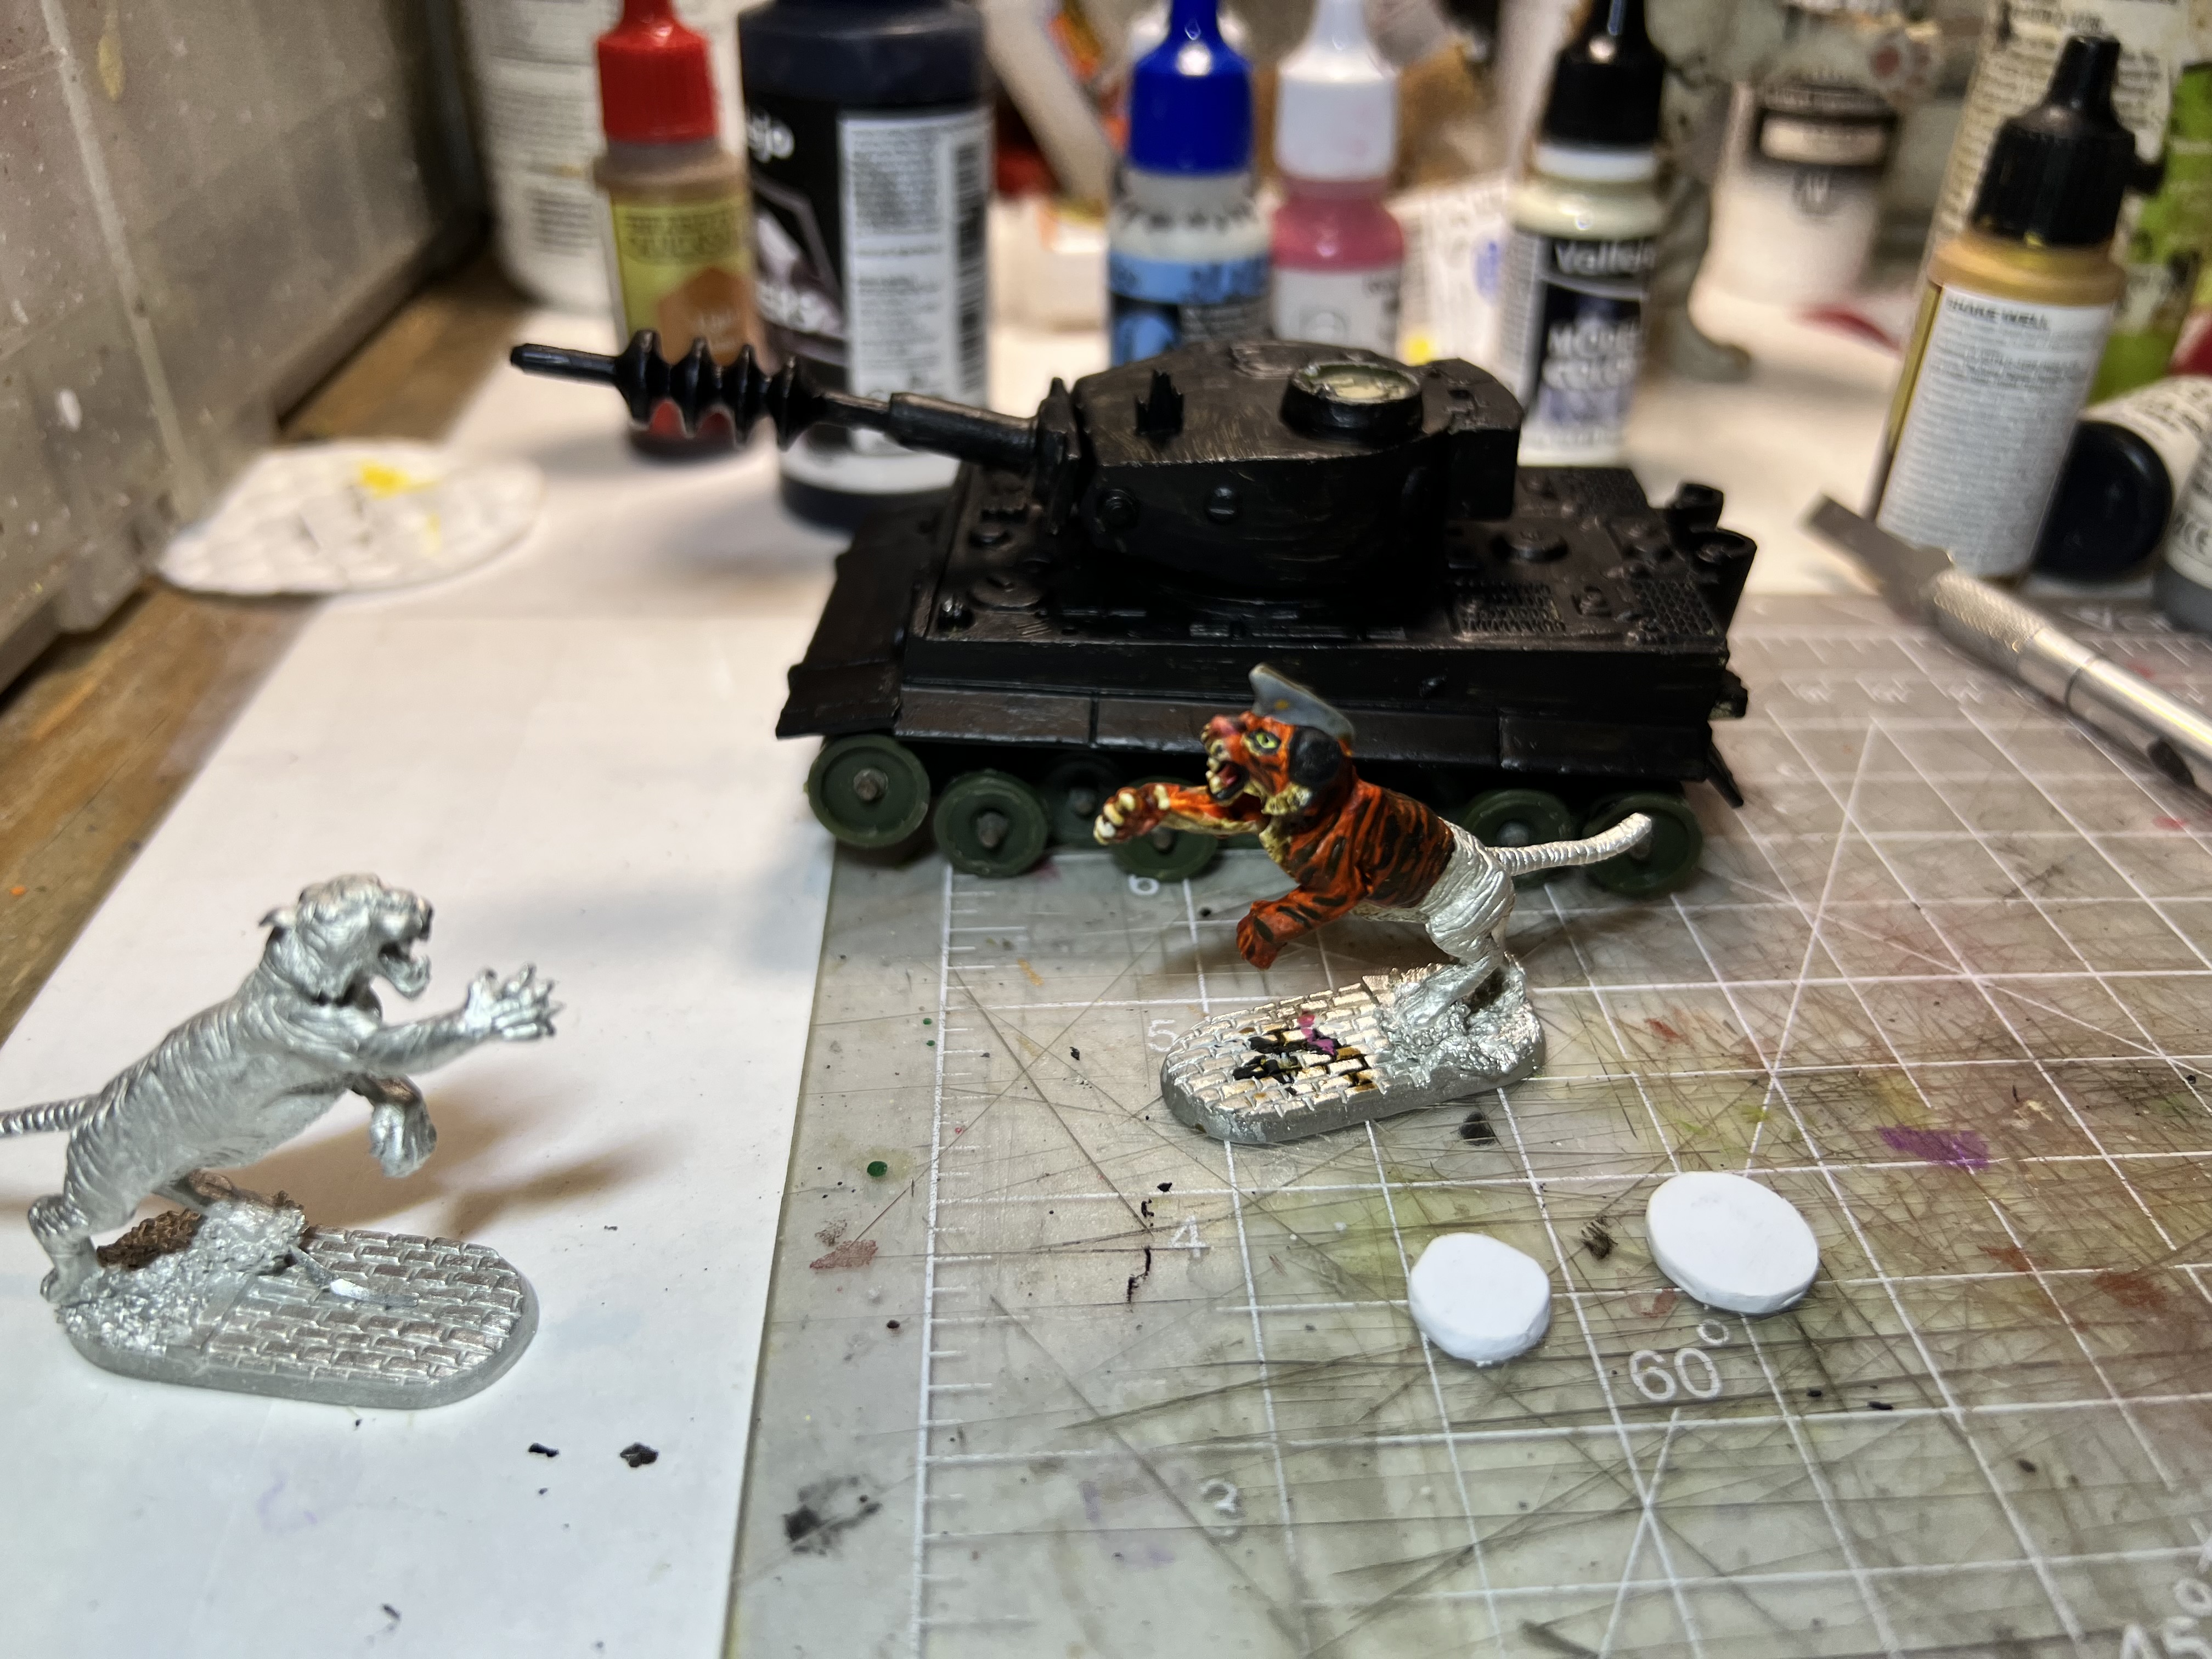
The tank primed black (I avoided the wheels), next to the painted commander, the cupola parts, and the unpainted tiger figure.
Wheels and cupola masked with poster tack before adding white primer.

It was now time to return to the tiger commander and the hatch/cupola assembly.

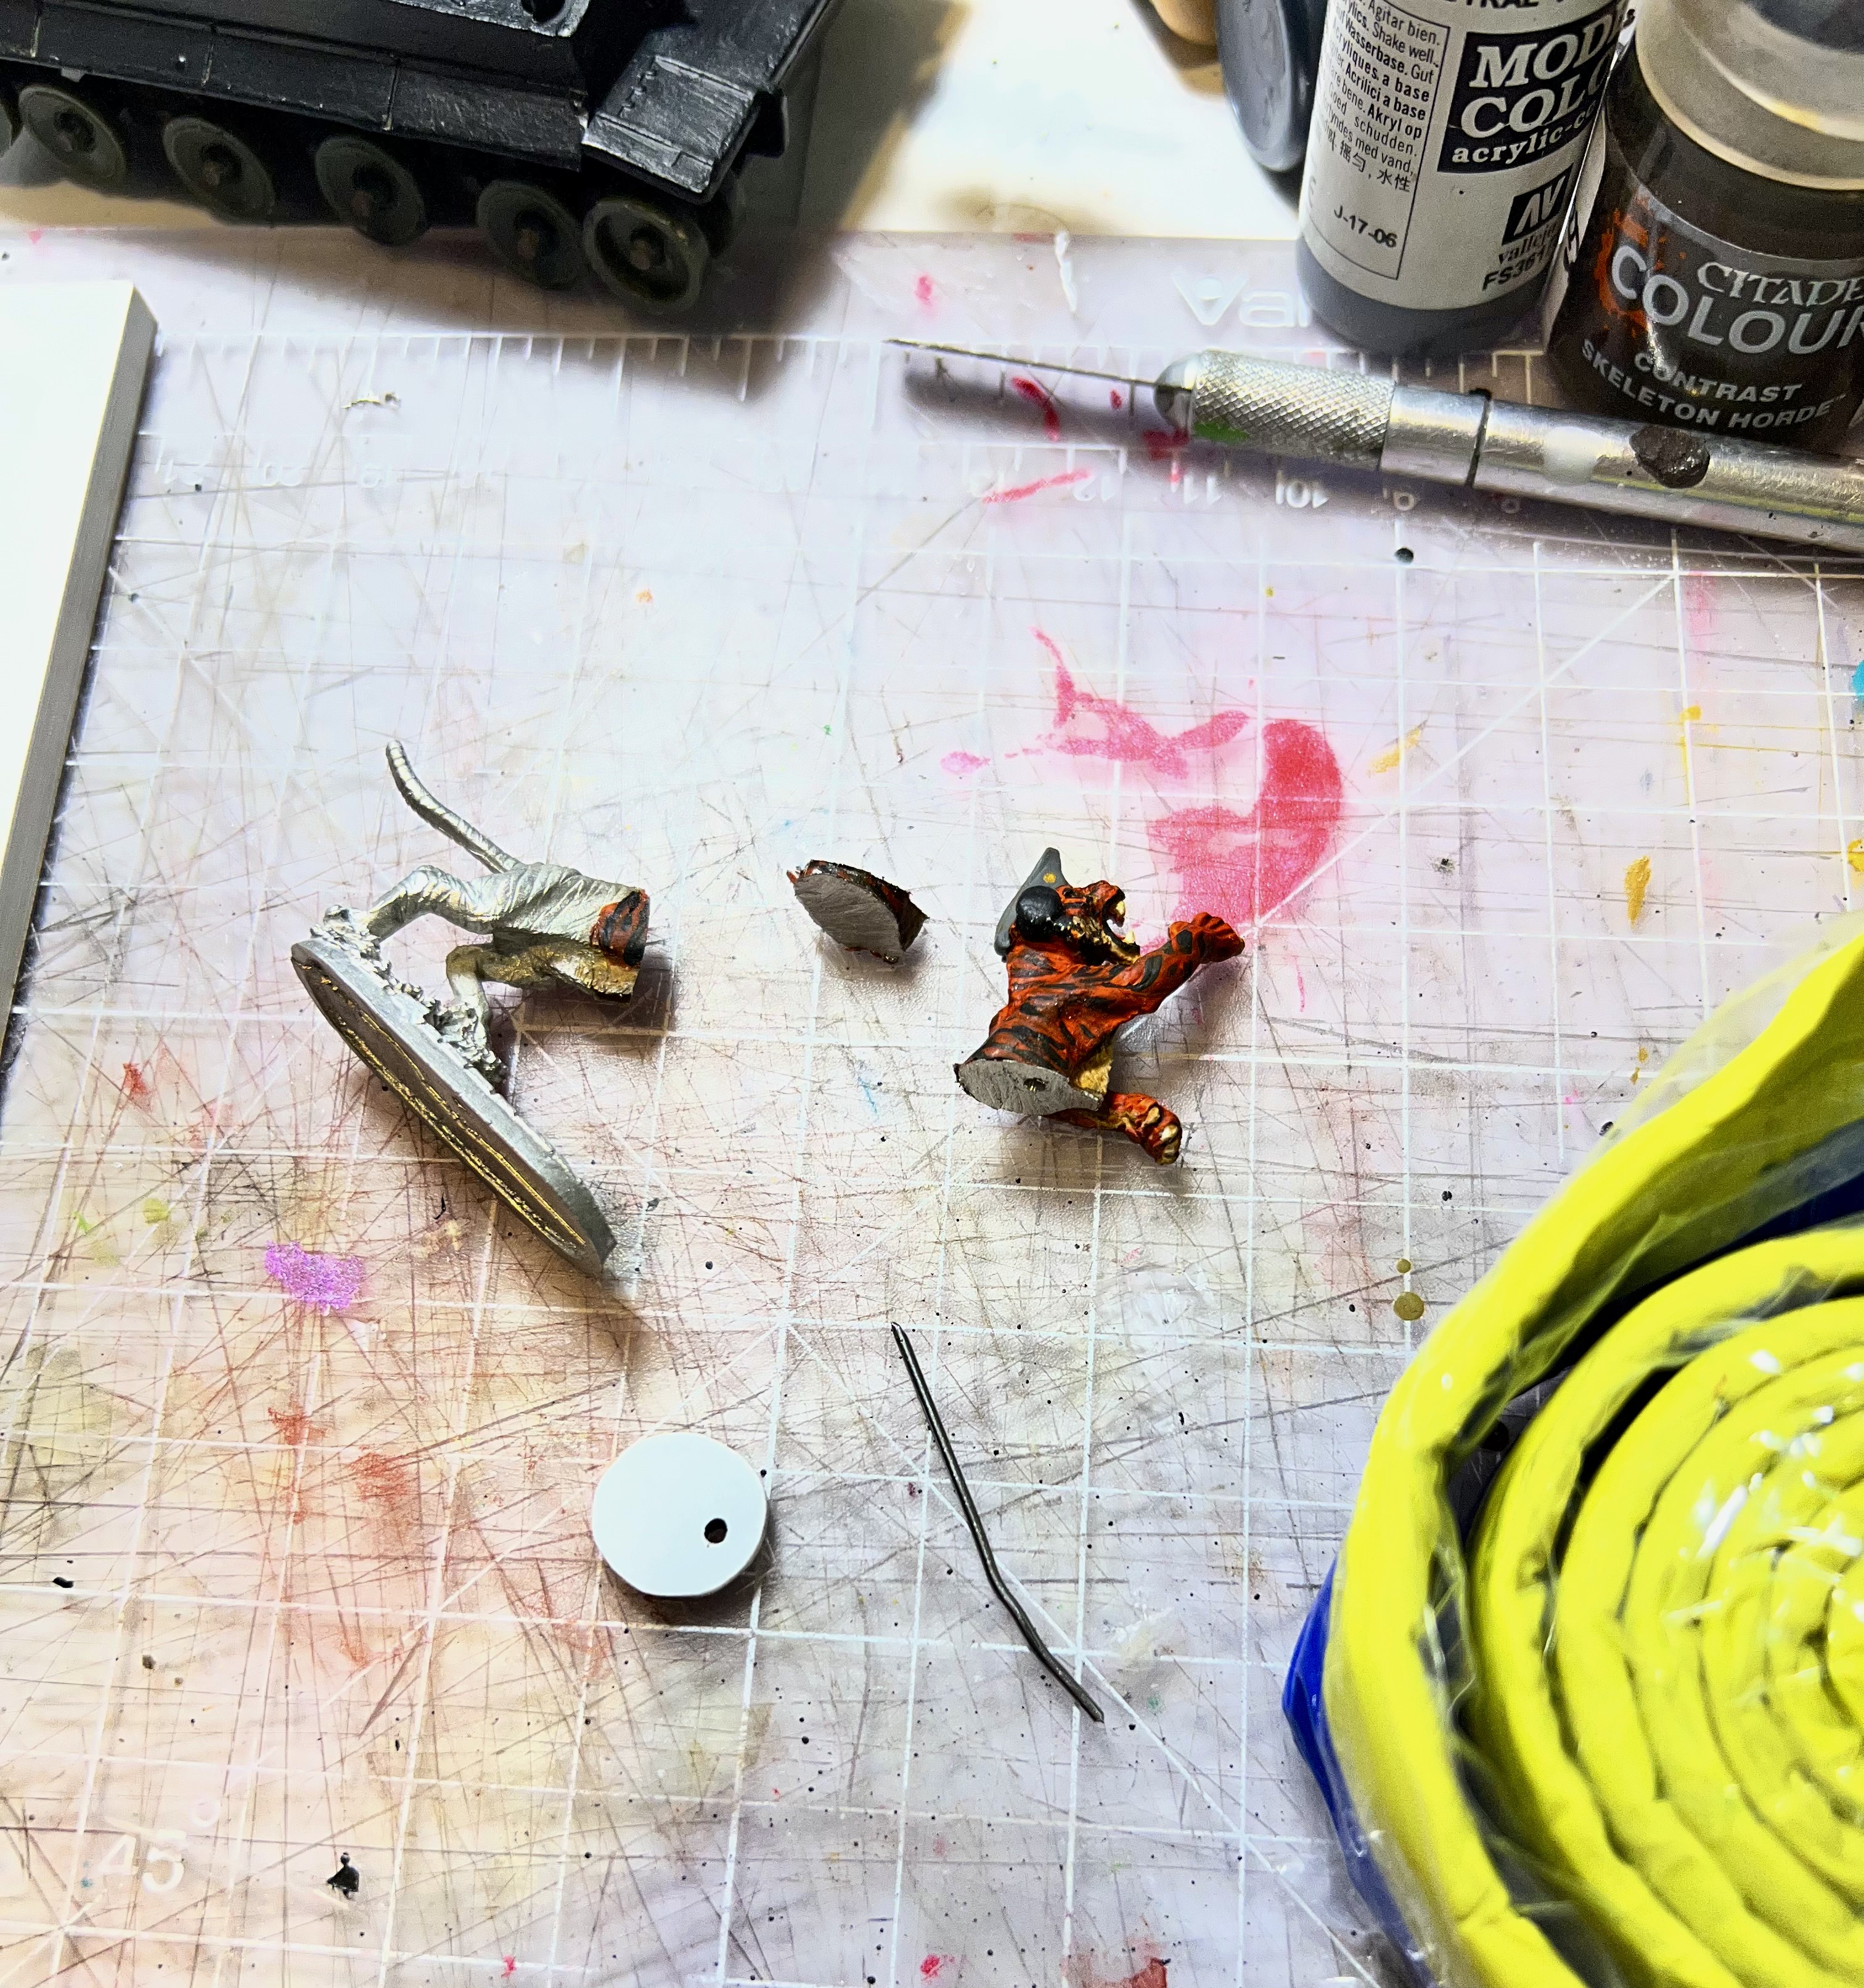
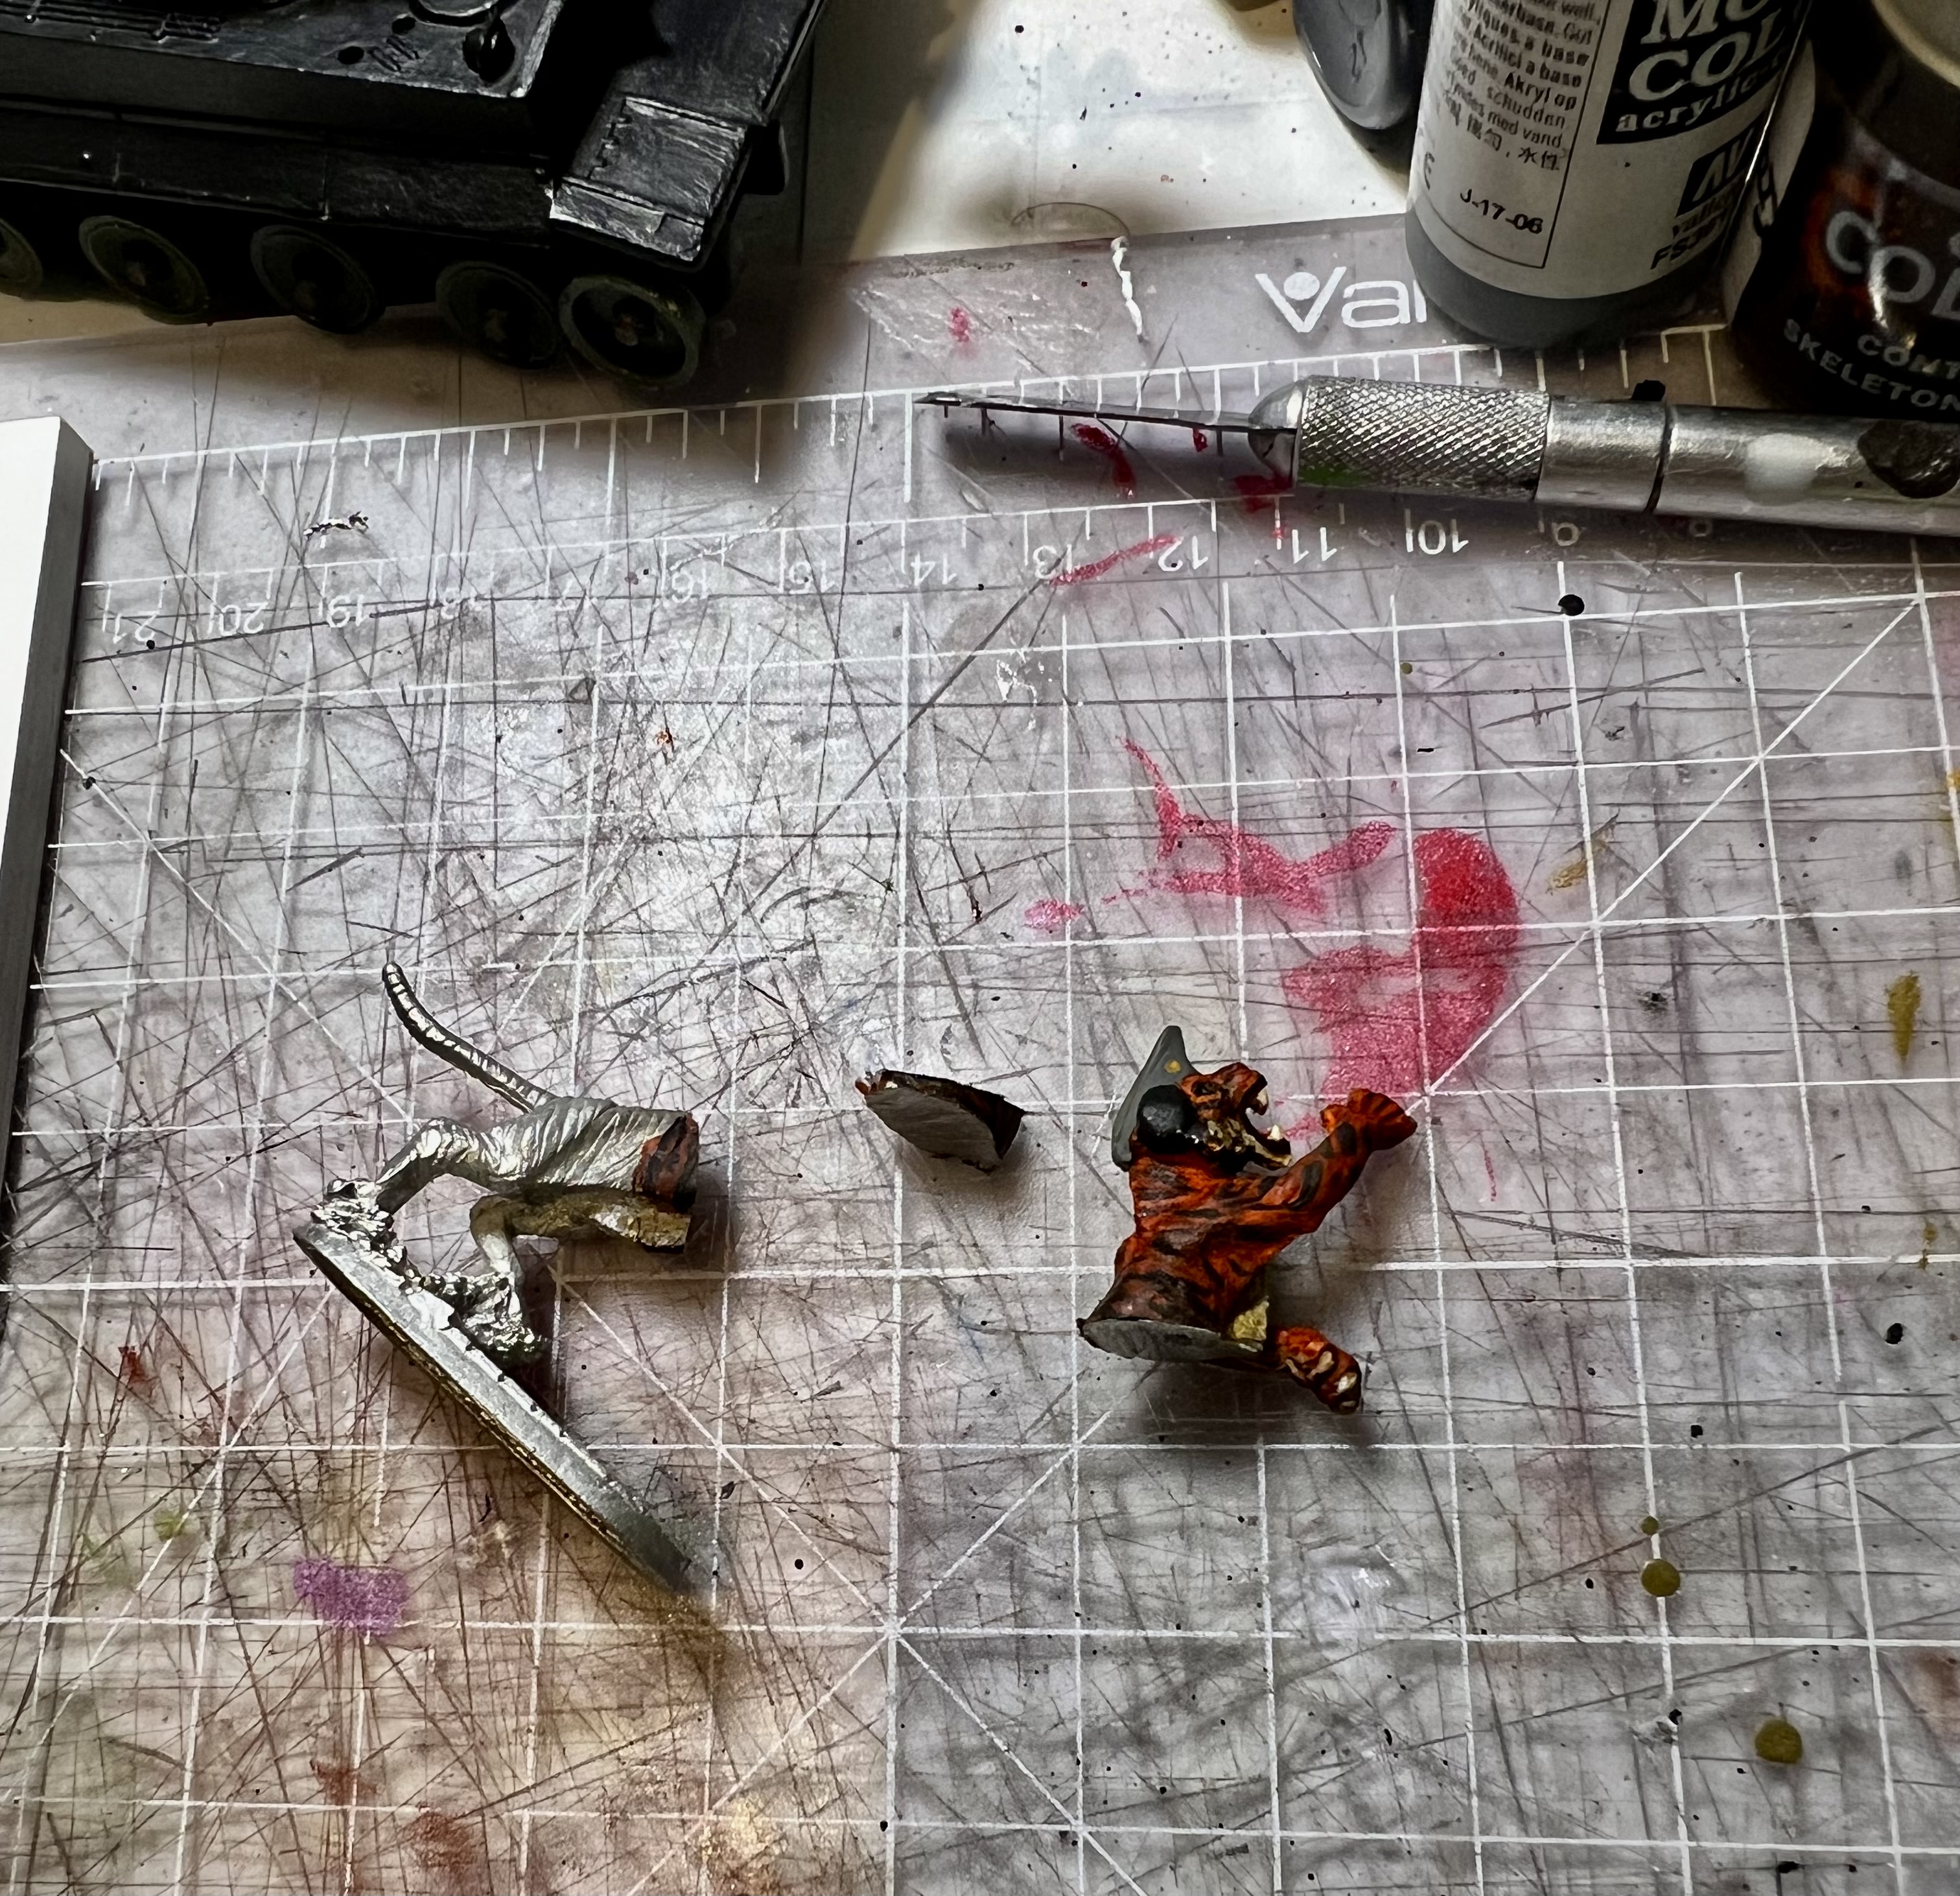
The tiger commander got a coat of varnish which I let cure. Then it was time to saw the figure in half. I was not sure of what angle to take with my jewelry saw. In the end, it took two slow cuts. I needed some minor touch-up work on the figure afterwards.

The larger cupola piece (the base part) was drilled out as was the bottom of the tiger figure. This allowed me to embed a paper clip wire through the bottom of the plastic disc and into the hole I drilled into the base of the figure. I secured this combination with green stuff over both sets of plastic and let it set. By doing this, I was able to do a couple of things. First, this allowed me to construct the hatch top in the swung out position as you will see below. Also, later I did eventually drill more holes into the bottom of the plastic disc in a honeycomb fashion – which provided more surface area when I used green stuff to attach the commander/hatch/cupola assembly to the Corgi tank.
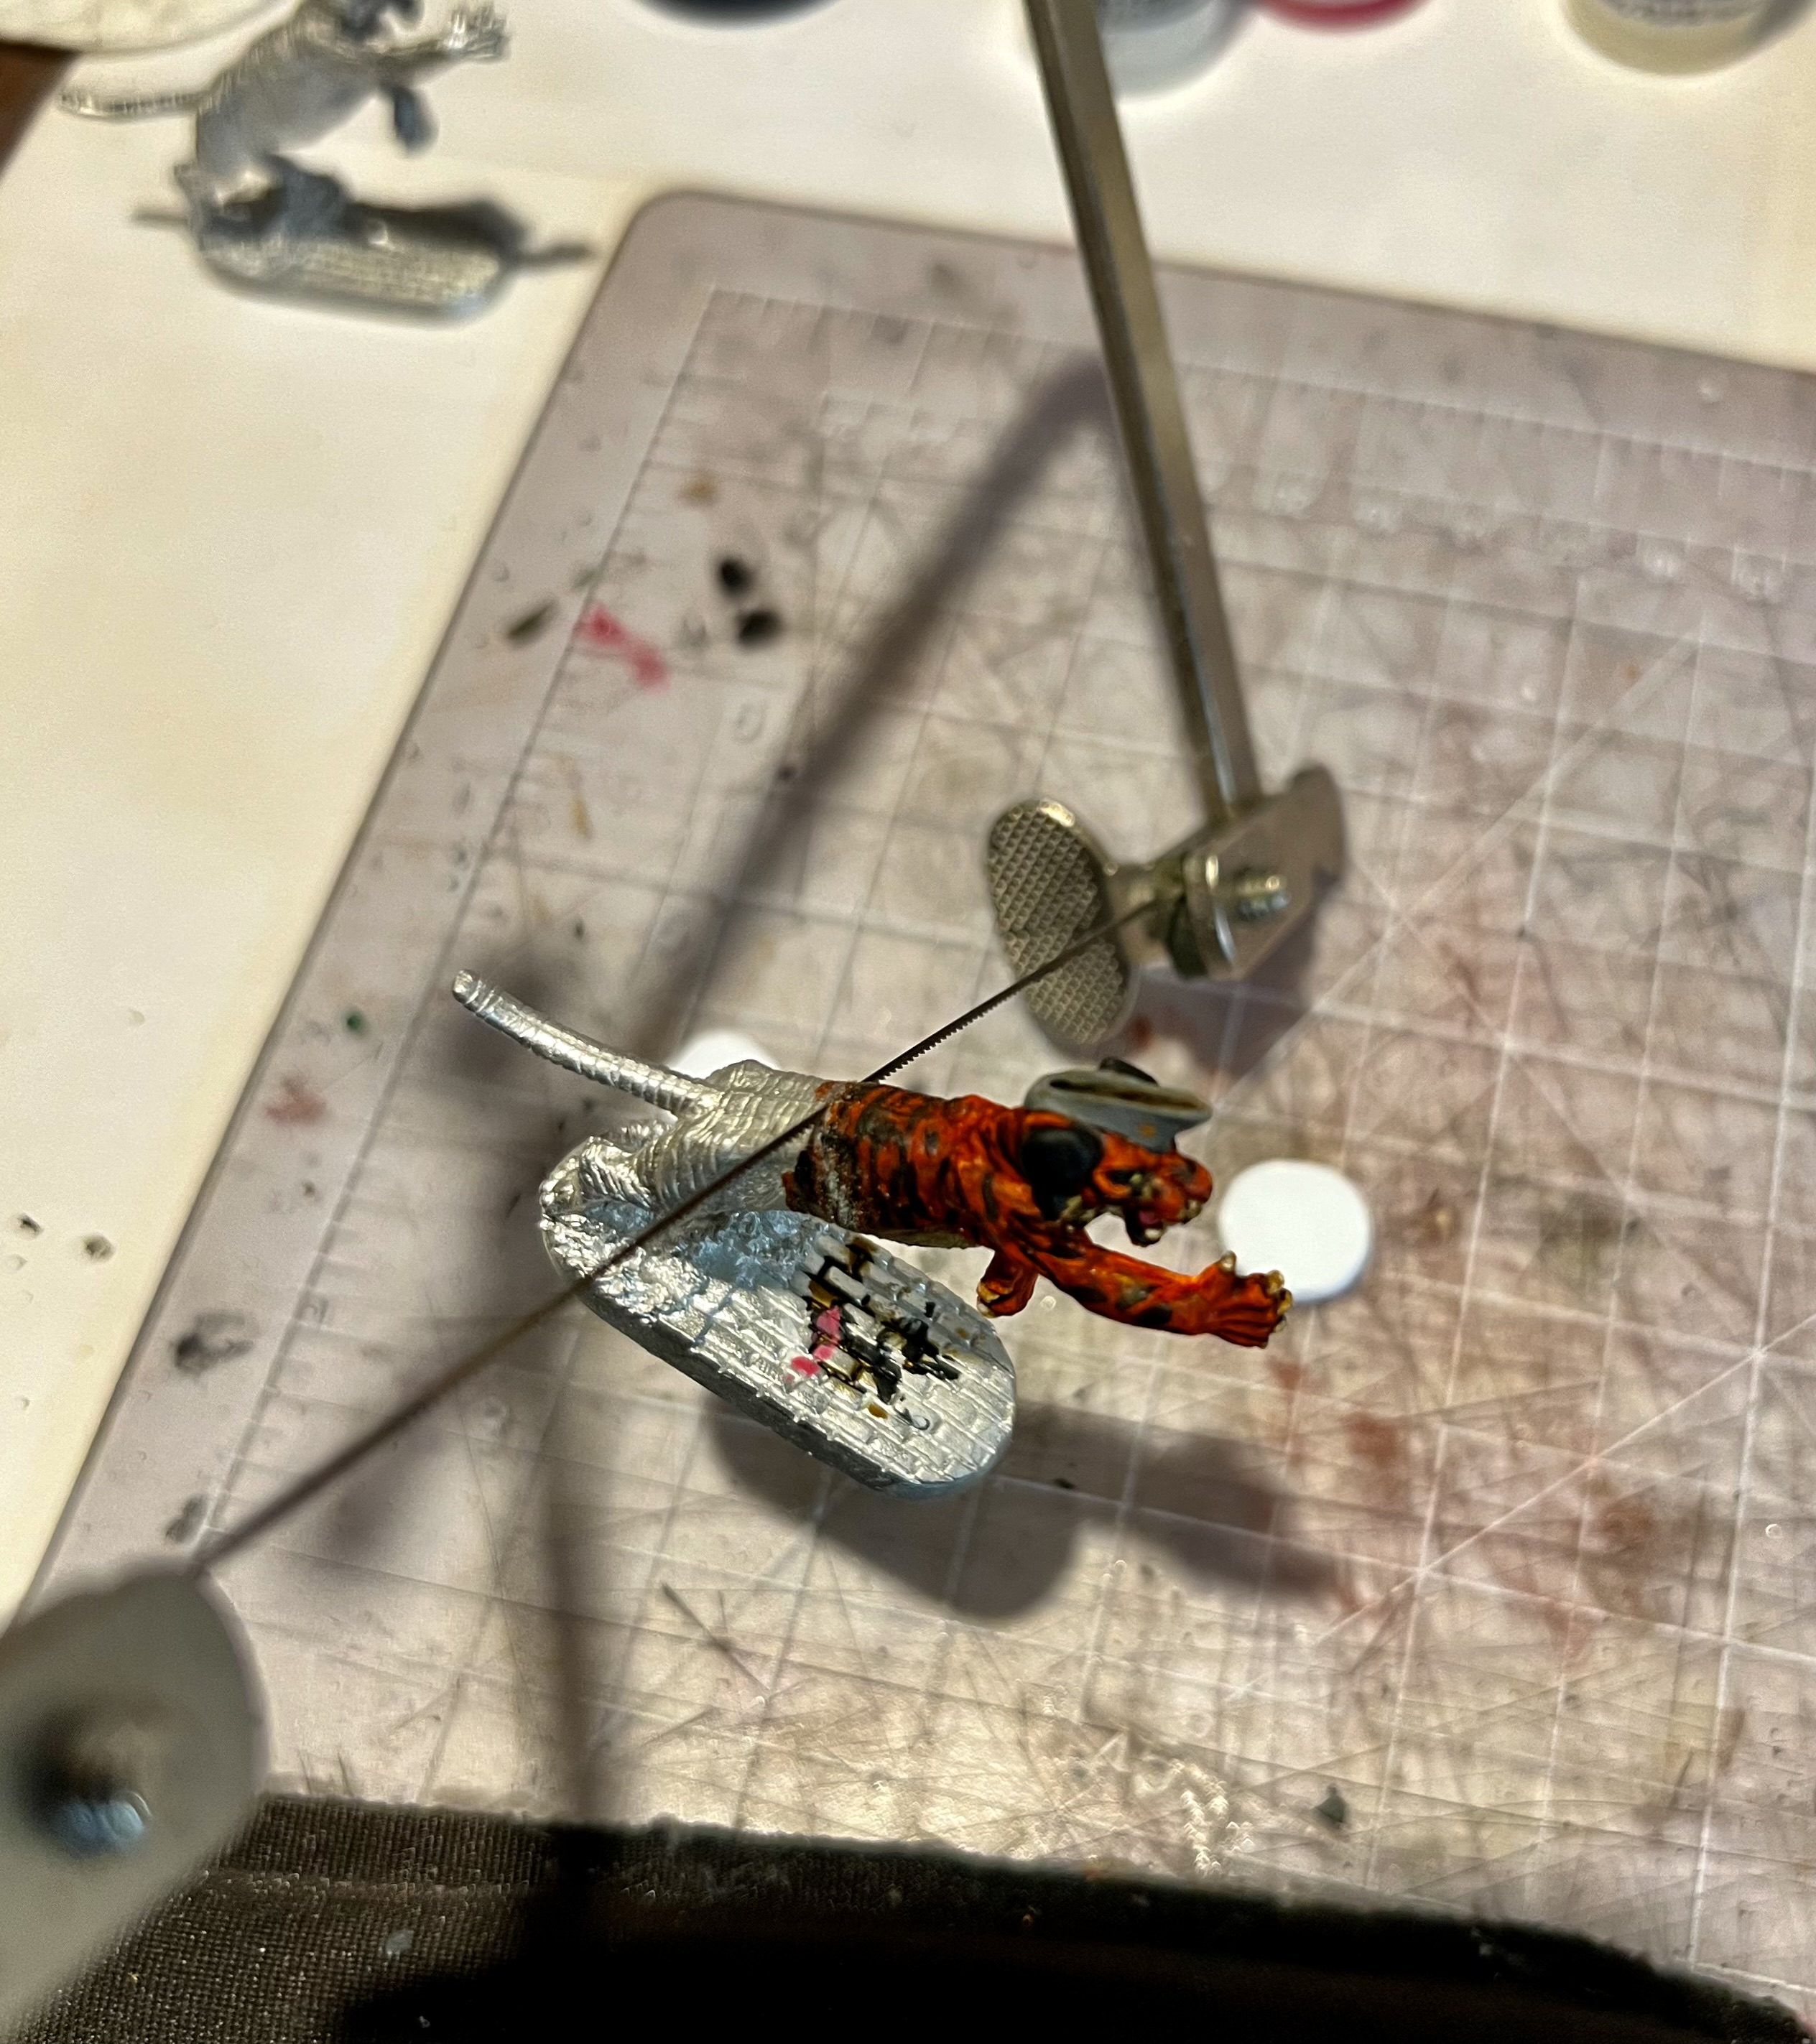
First cut!
The results of the second cut showing the slice removed after the first cut.
The drilled holes, hatch base, and paper cut wire.
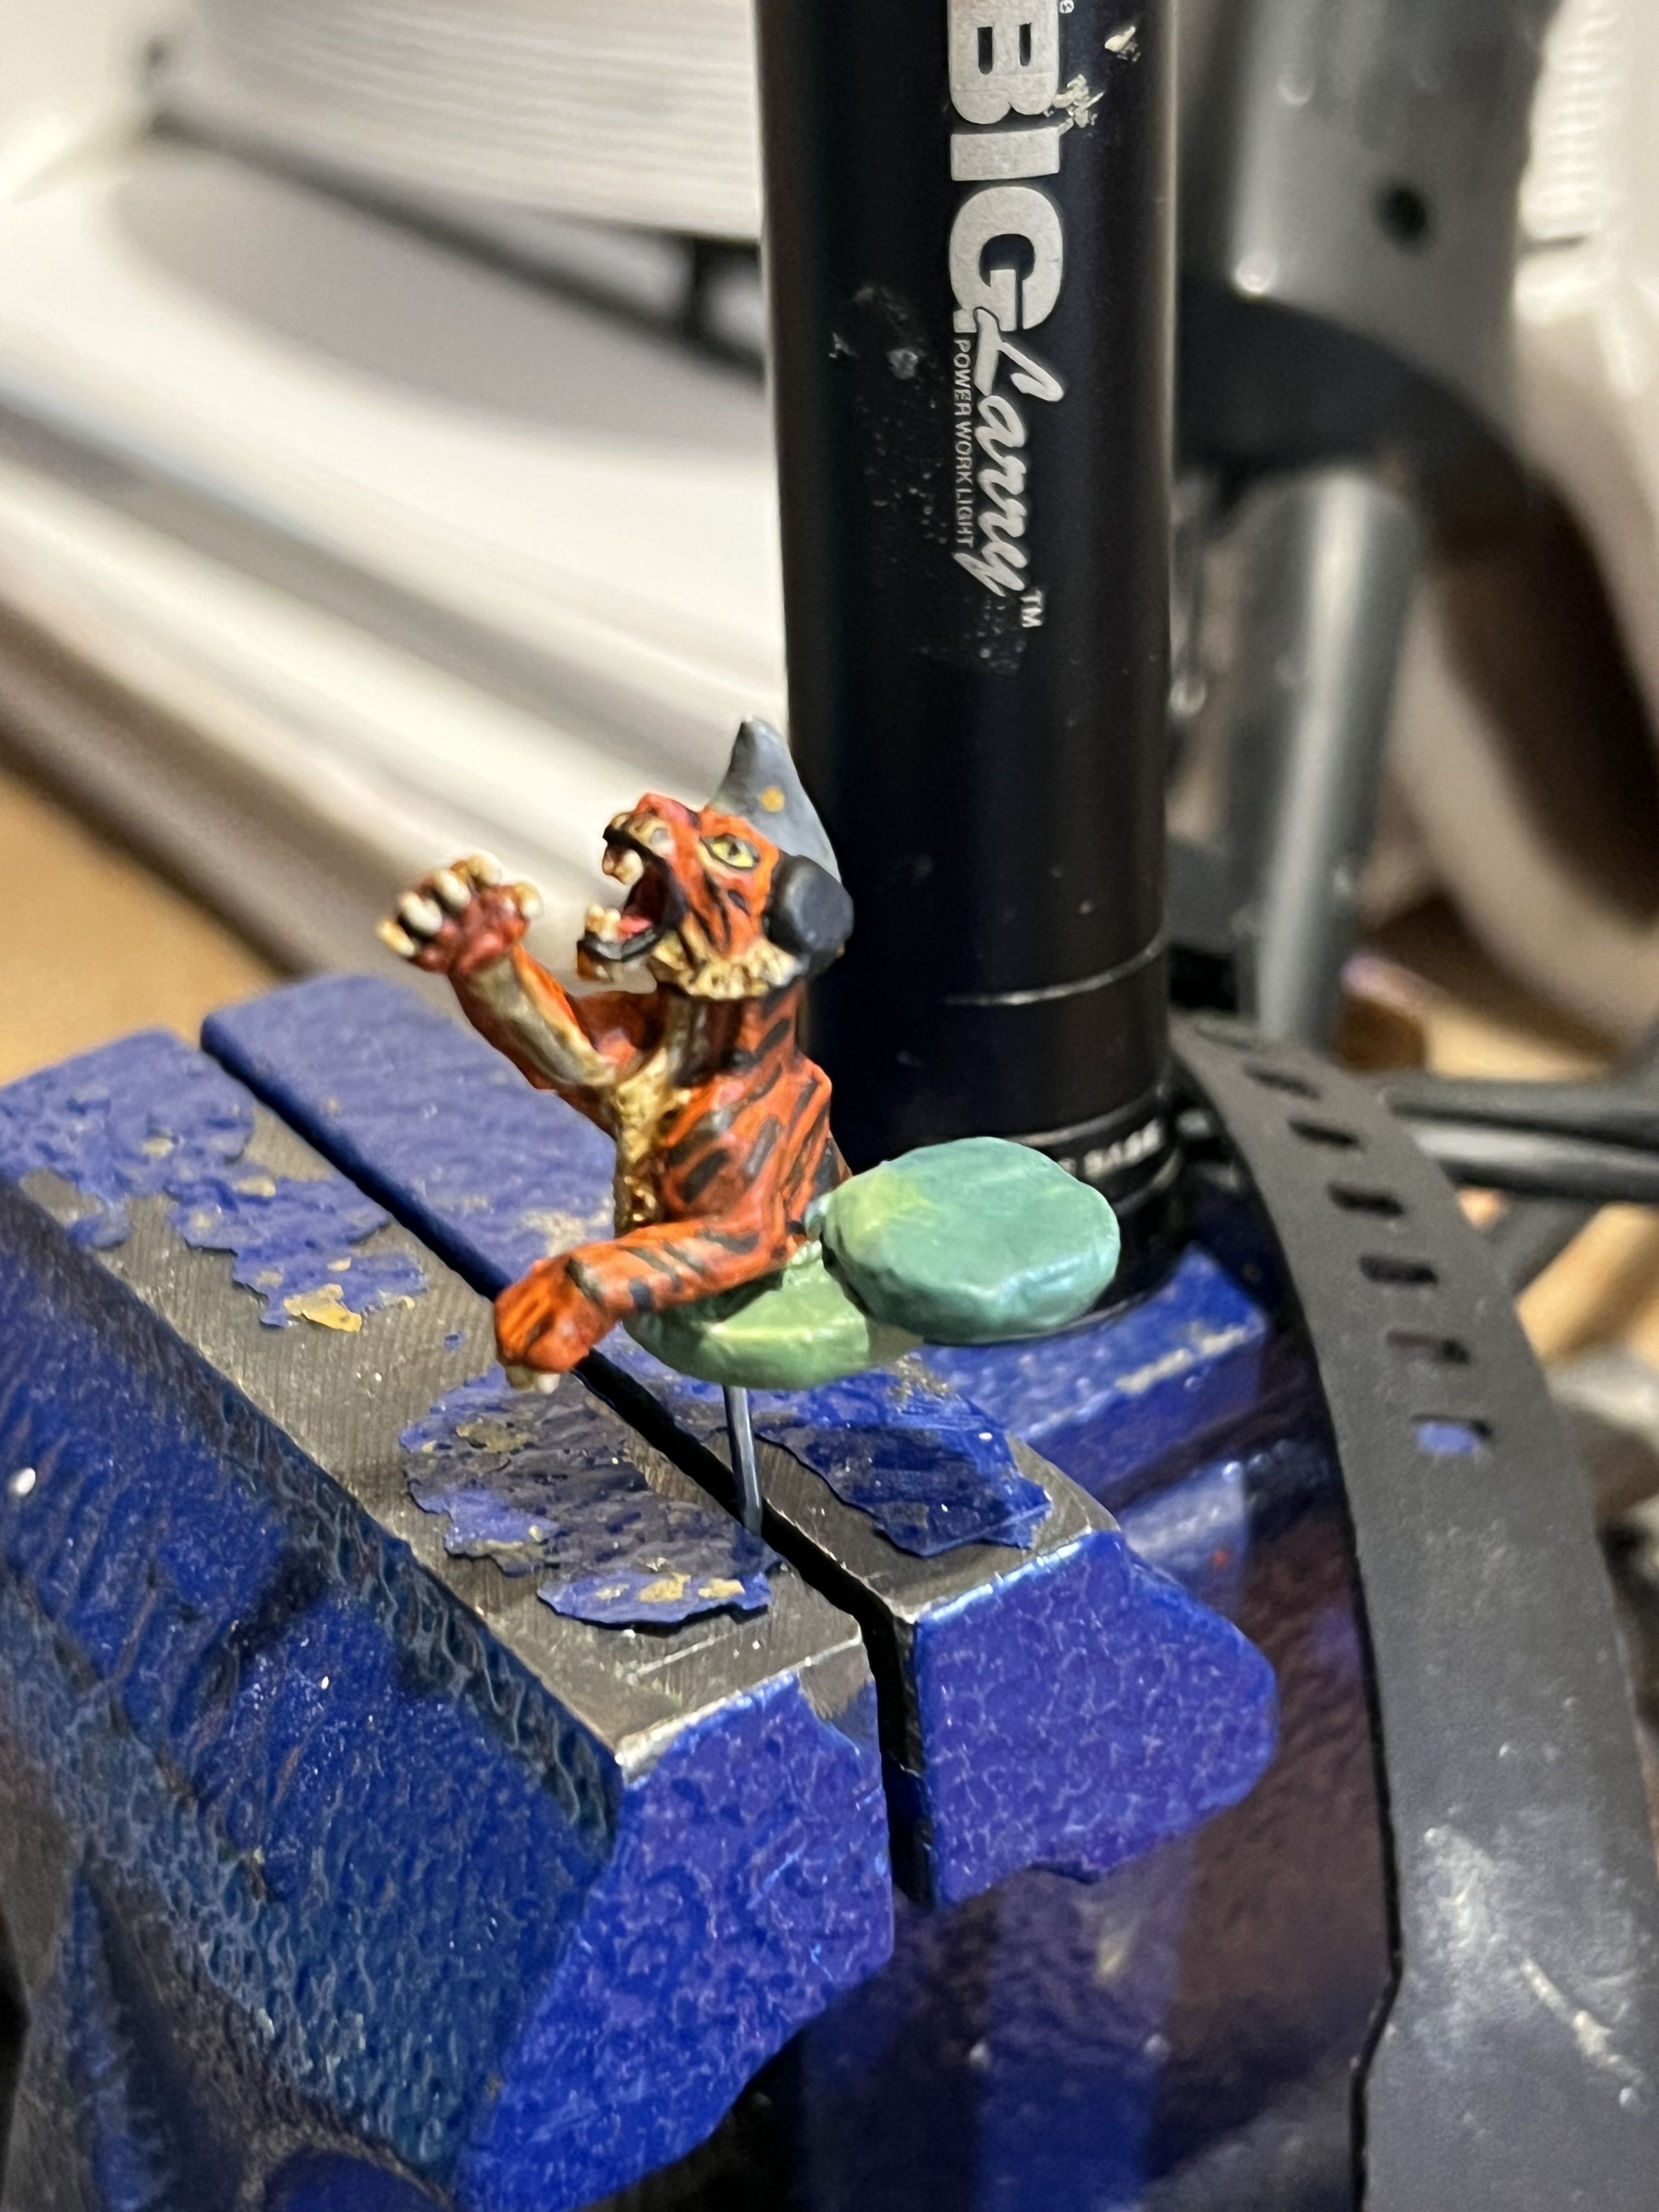
I set the hatch.cupola/tiger assembly into my vise using the extended piece of paper clip wire – and once that had set I added more details.

Those details included adding the swing arm (a toothpick shard) and some green stuff detail to the top. After this cured, I primed and painted it.
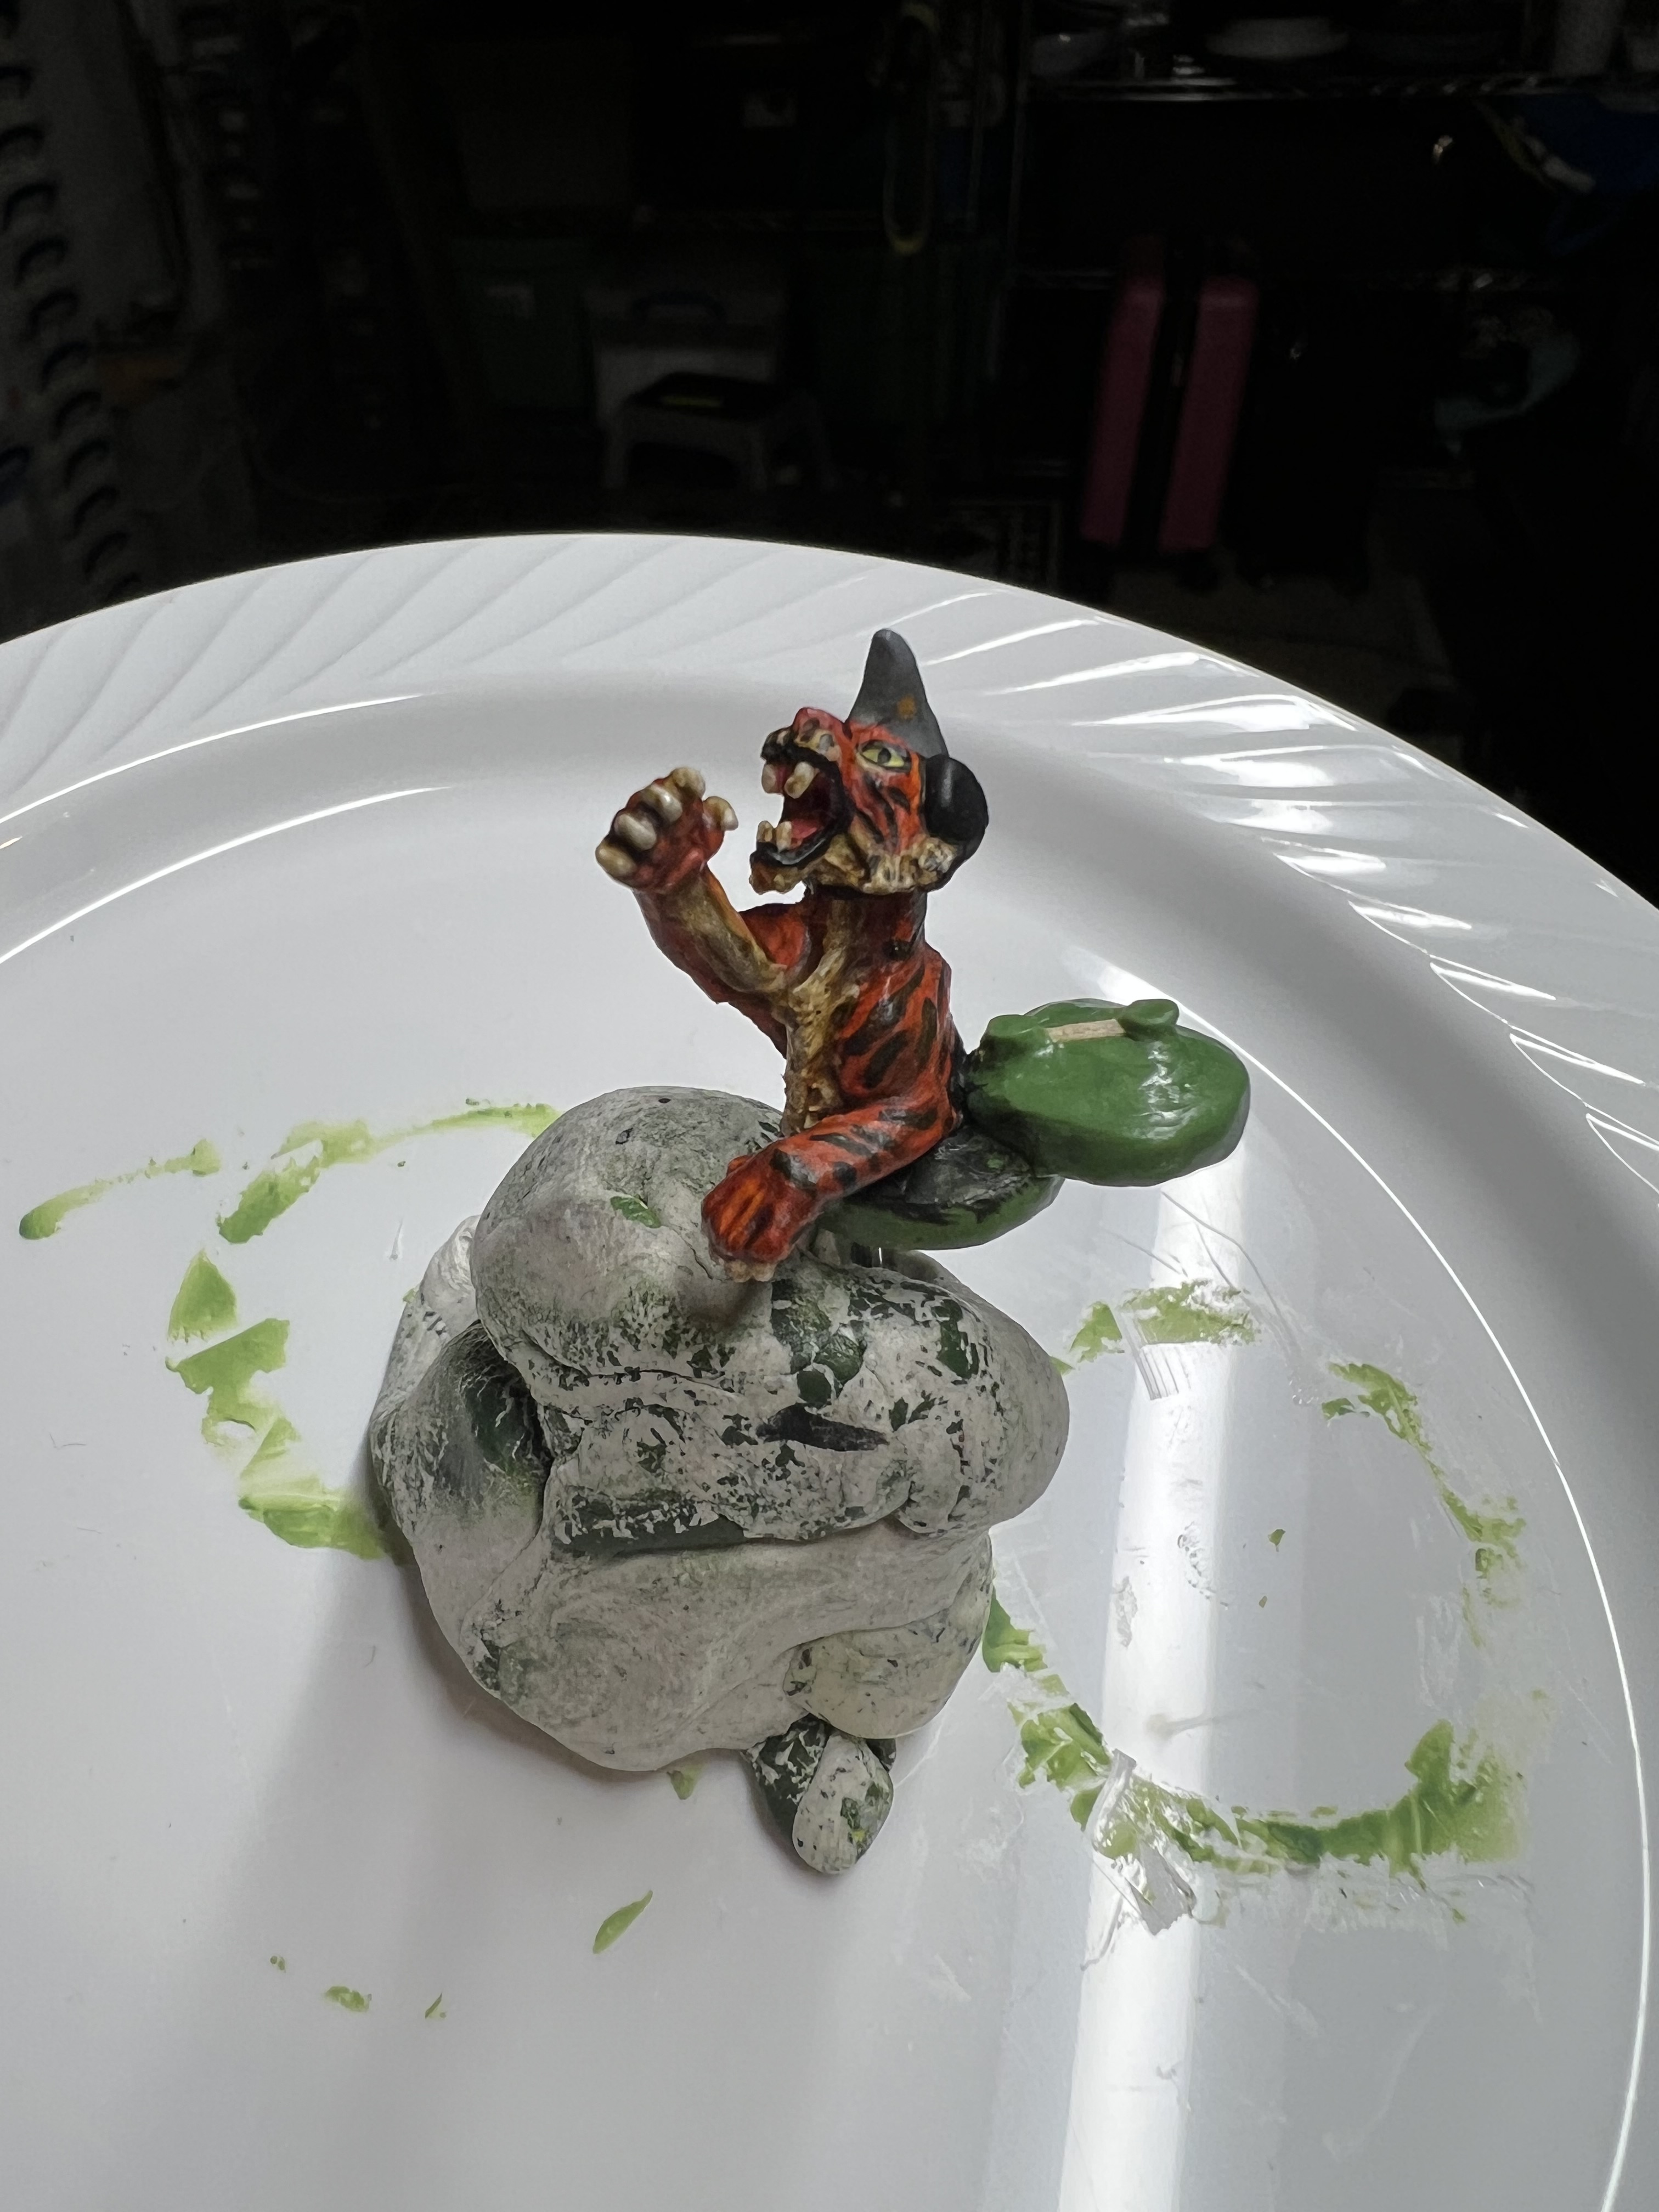
The hatch details added and the beginning of priming and painting.

Let’s now go back to my progress on the Corgi tank. I had the priming completed with the tank now primed white.
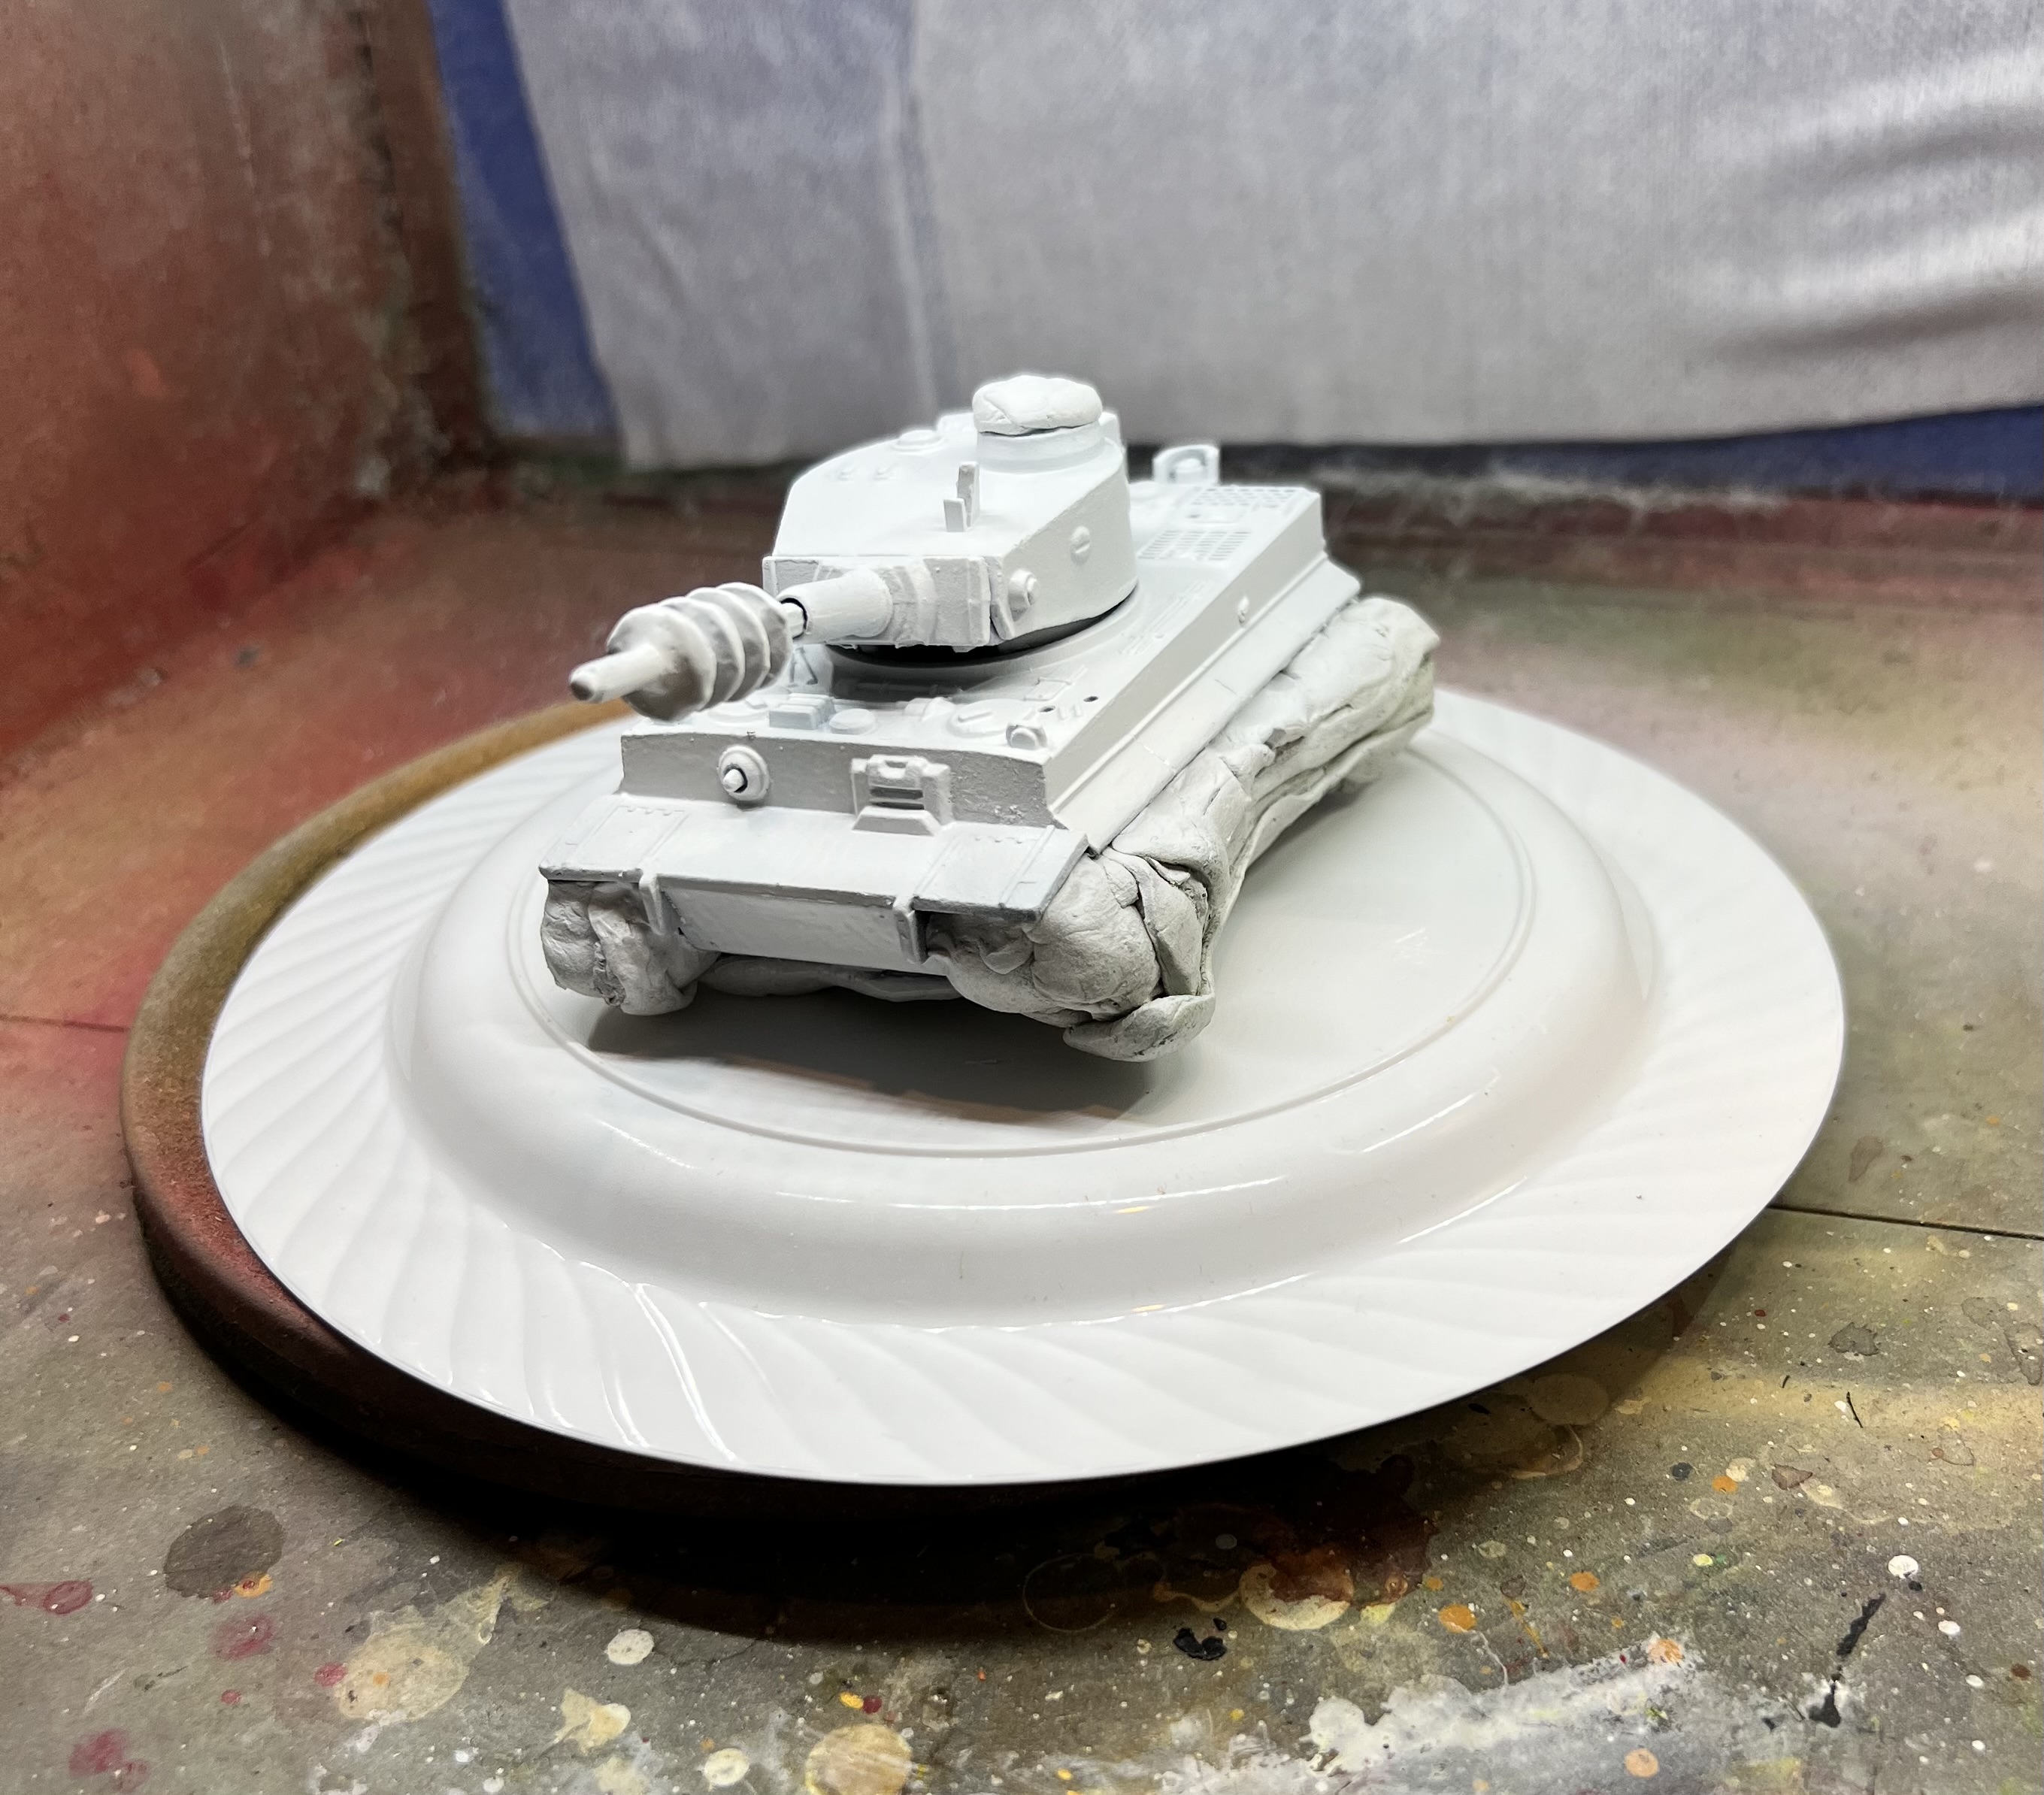
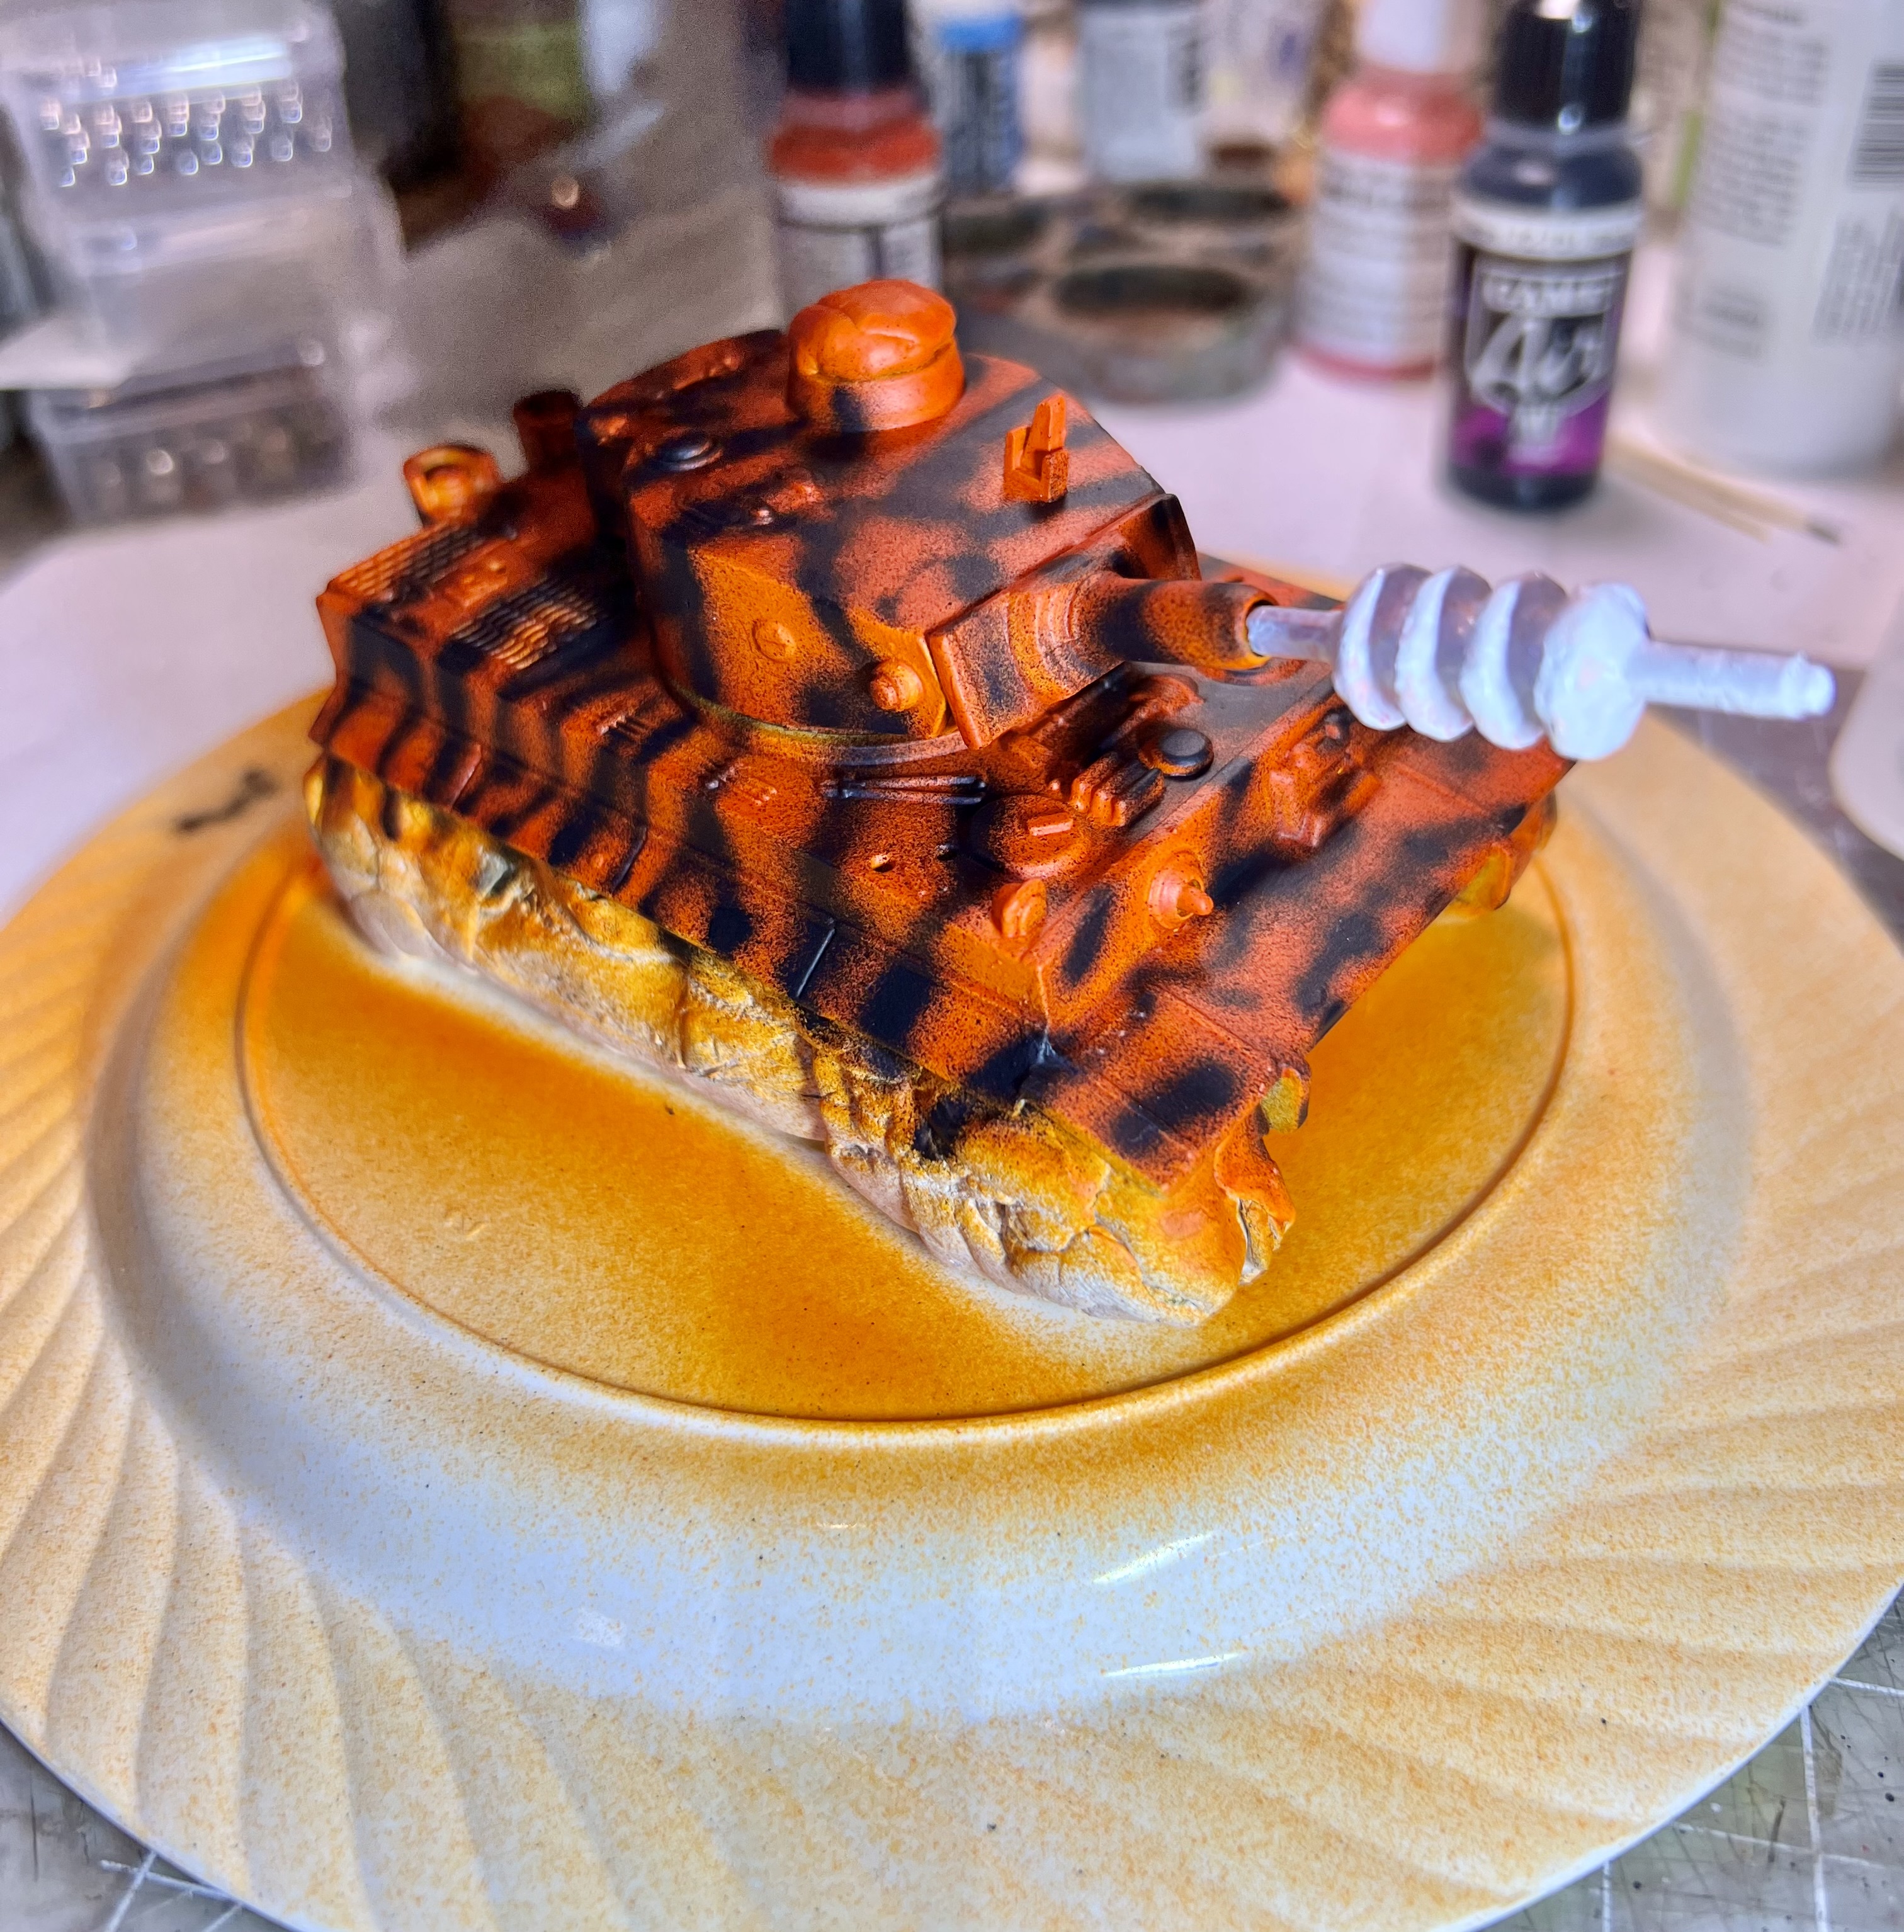
It was now time to make it really a “Tiger”. First some hot orange:
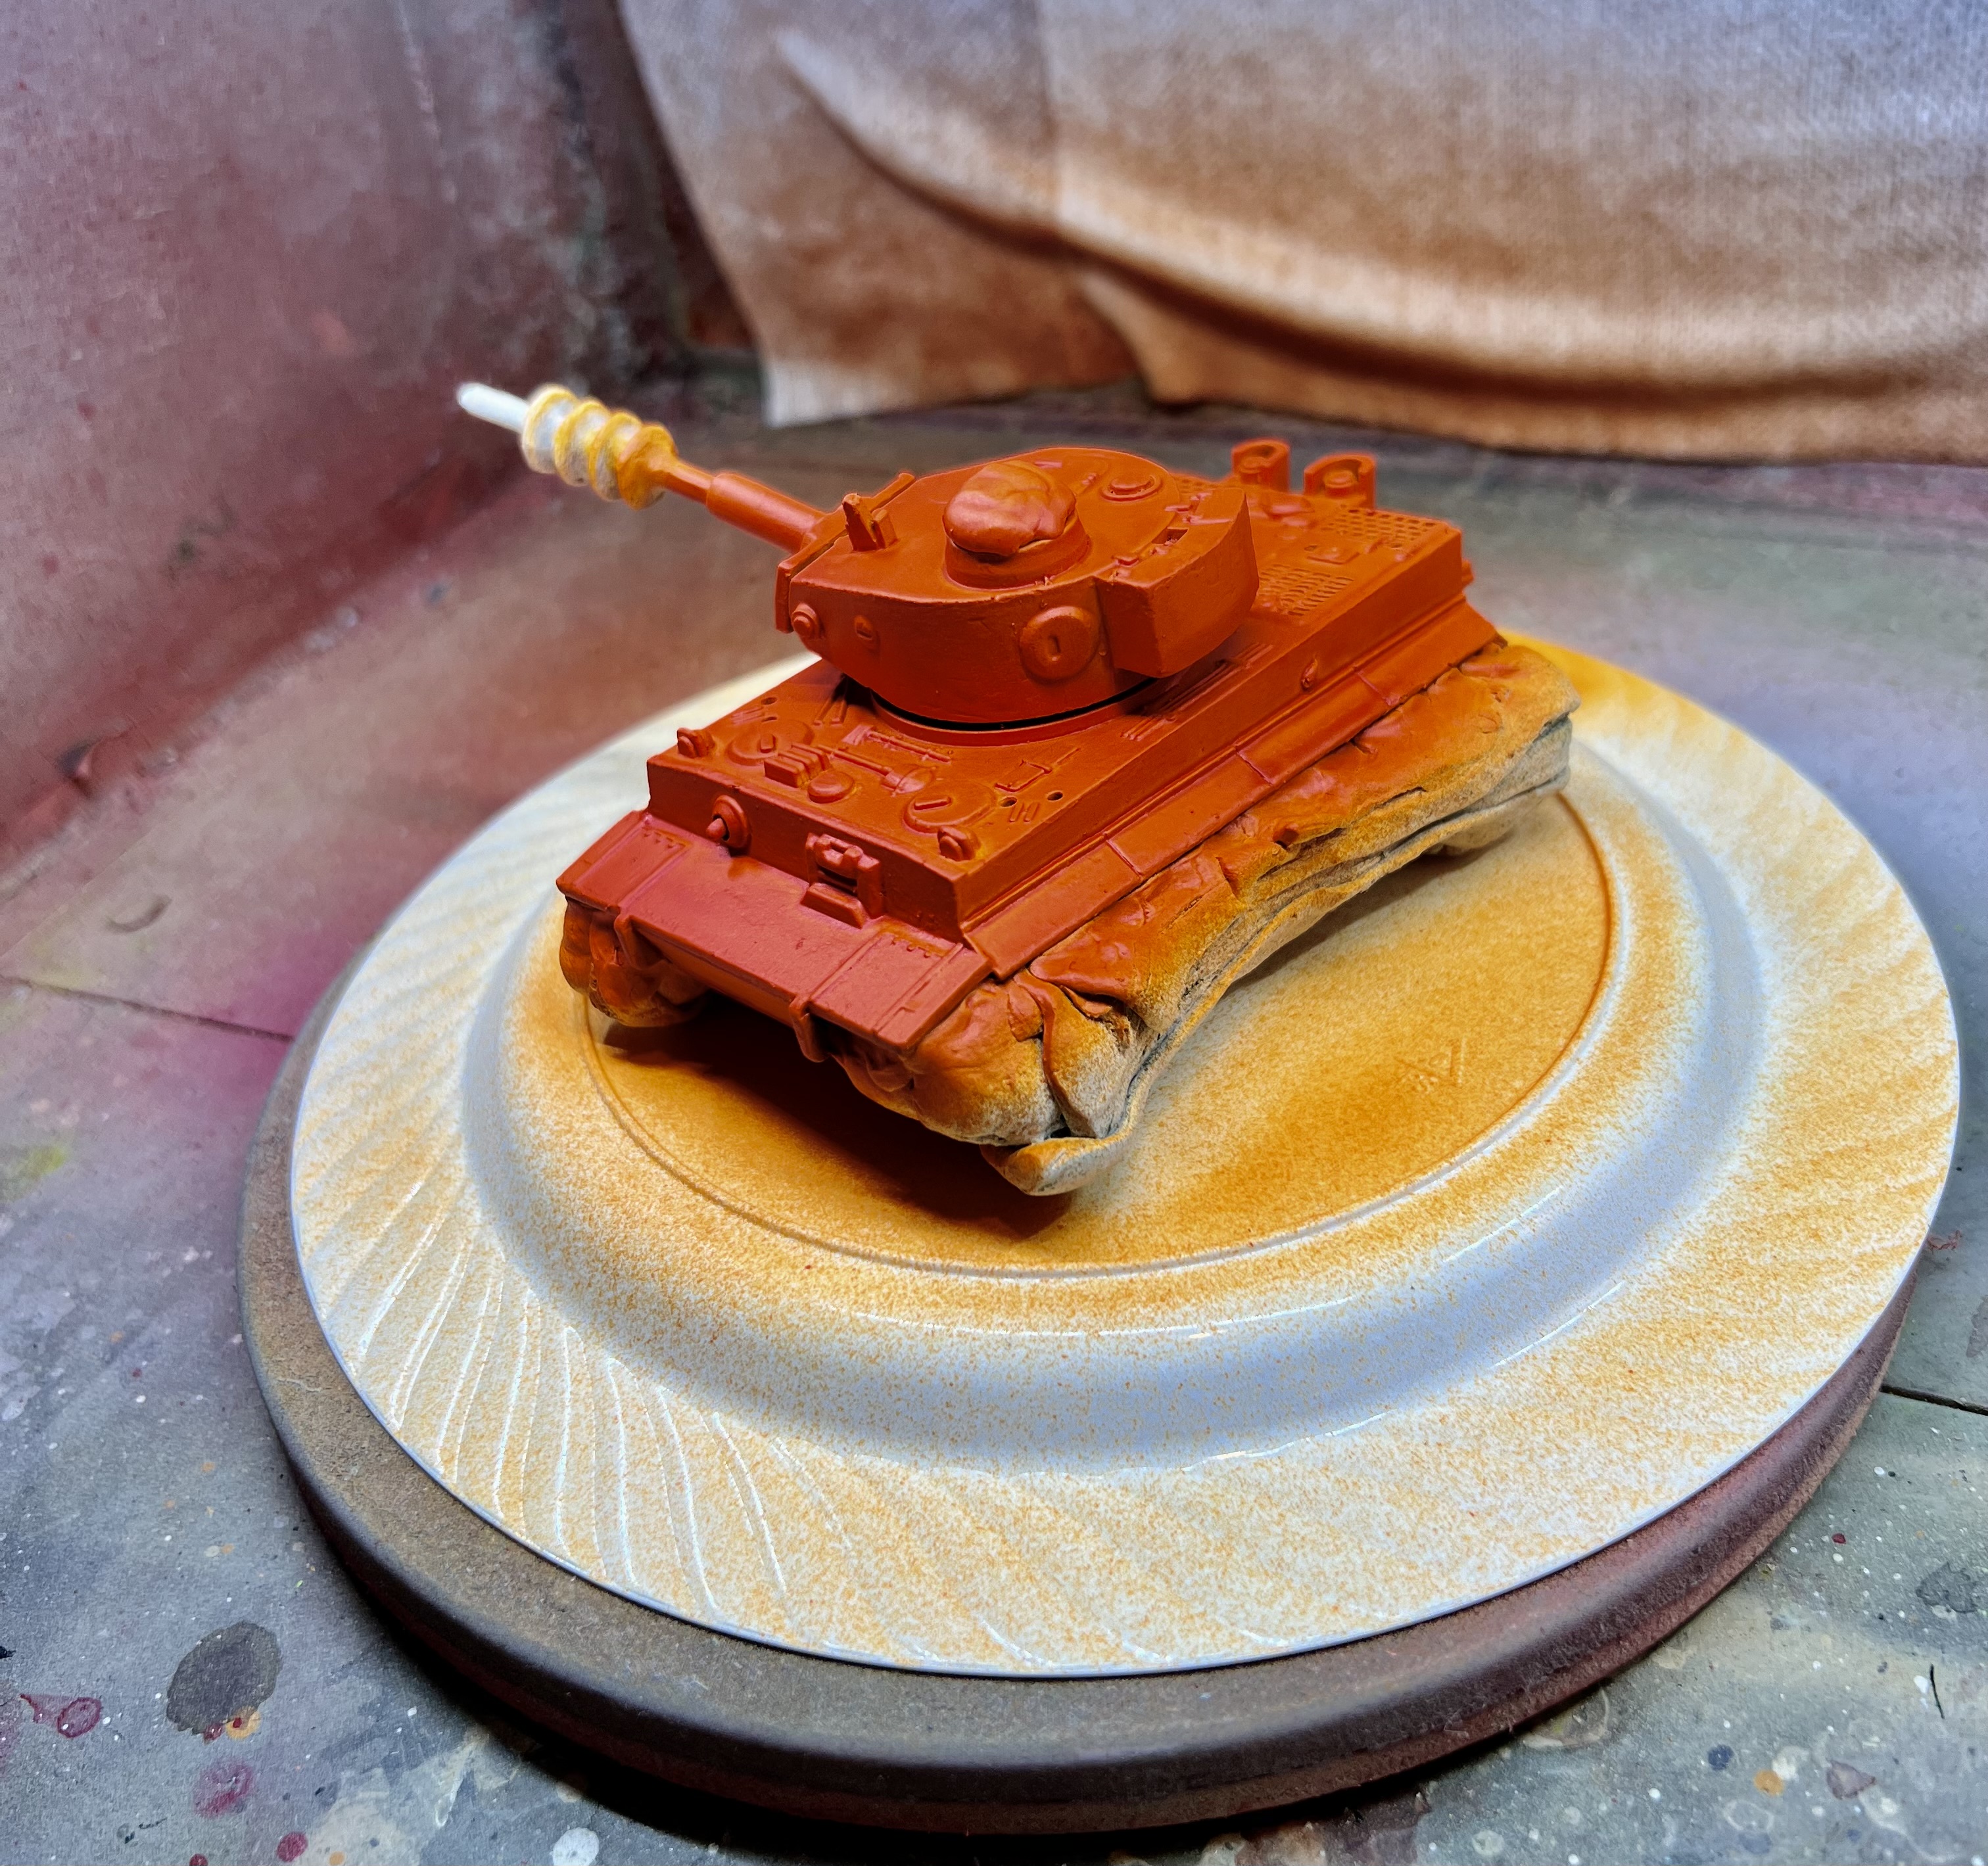
Added orange with my airbrush.

Then airbrushing some black stripes!

Looking tiger-y.

Keeping the tank on the plate, I painted up the detailed parts. The gun I wanted to glow green and purple. After removing the poster tack and more touch up work, I attached the previously dry-brushed tracks.

At this point, I wanted to give the tank a few decals – but what? I told CoPilot what I wanted for a design, and it came out perfect.

It says Imperial Felynxii!

When printed on decal paper, the design is less obvious and more black.
Felynxii design for insignia decal.

As for the attached decal looking black and less obvious – that frankly helps in my view and not hurts. It blended nicely with the stripes, and is subtly visible. I attached two decals on the side of the turret, one on its back. I also put one on the front of the hull.

The weight of the sci-fi addition to new main gun kept pulling itself down. To remedy this, I secured the gun in the elevated position.

The roadwheels got a light coat of green tone to dull the plastic. Here’s what my work area was looking like:
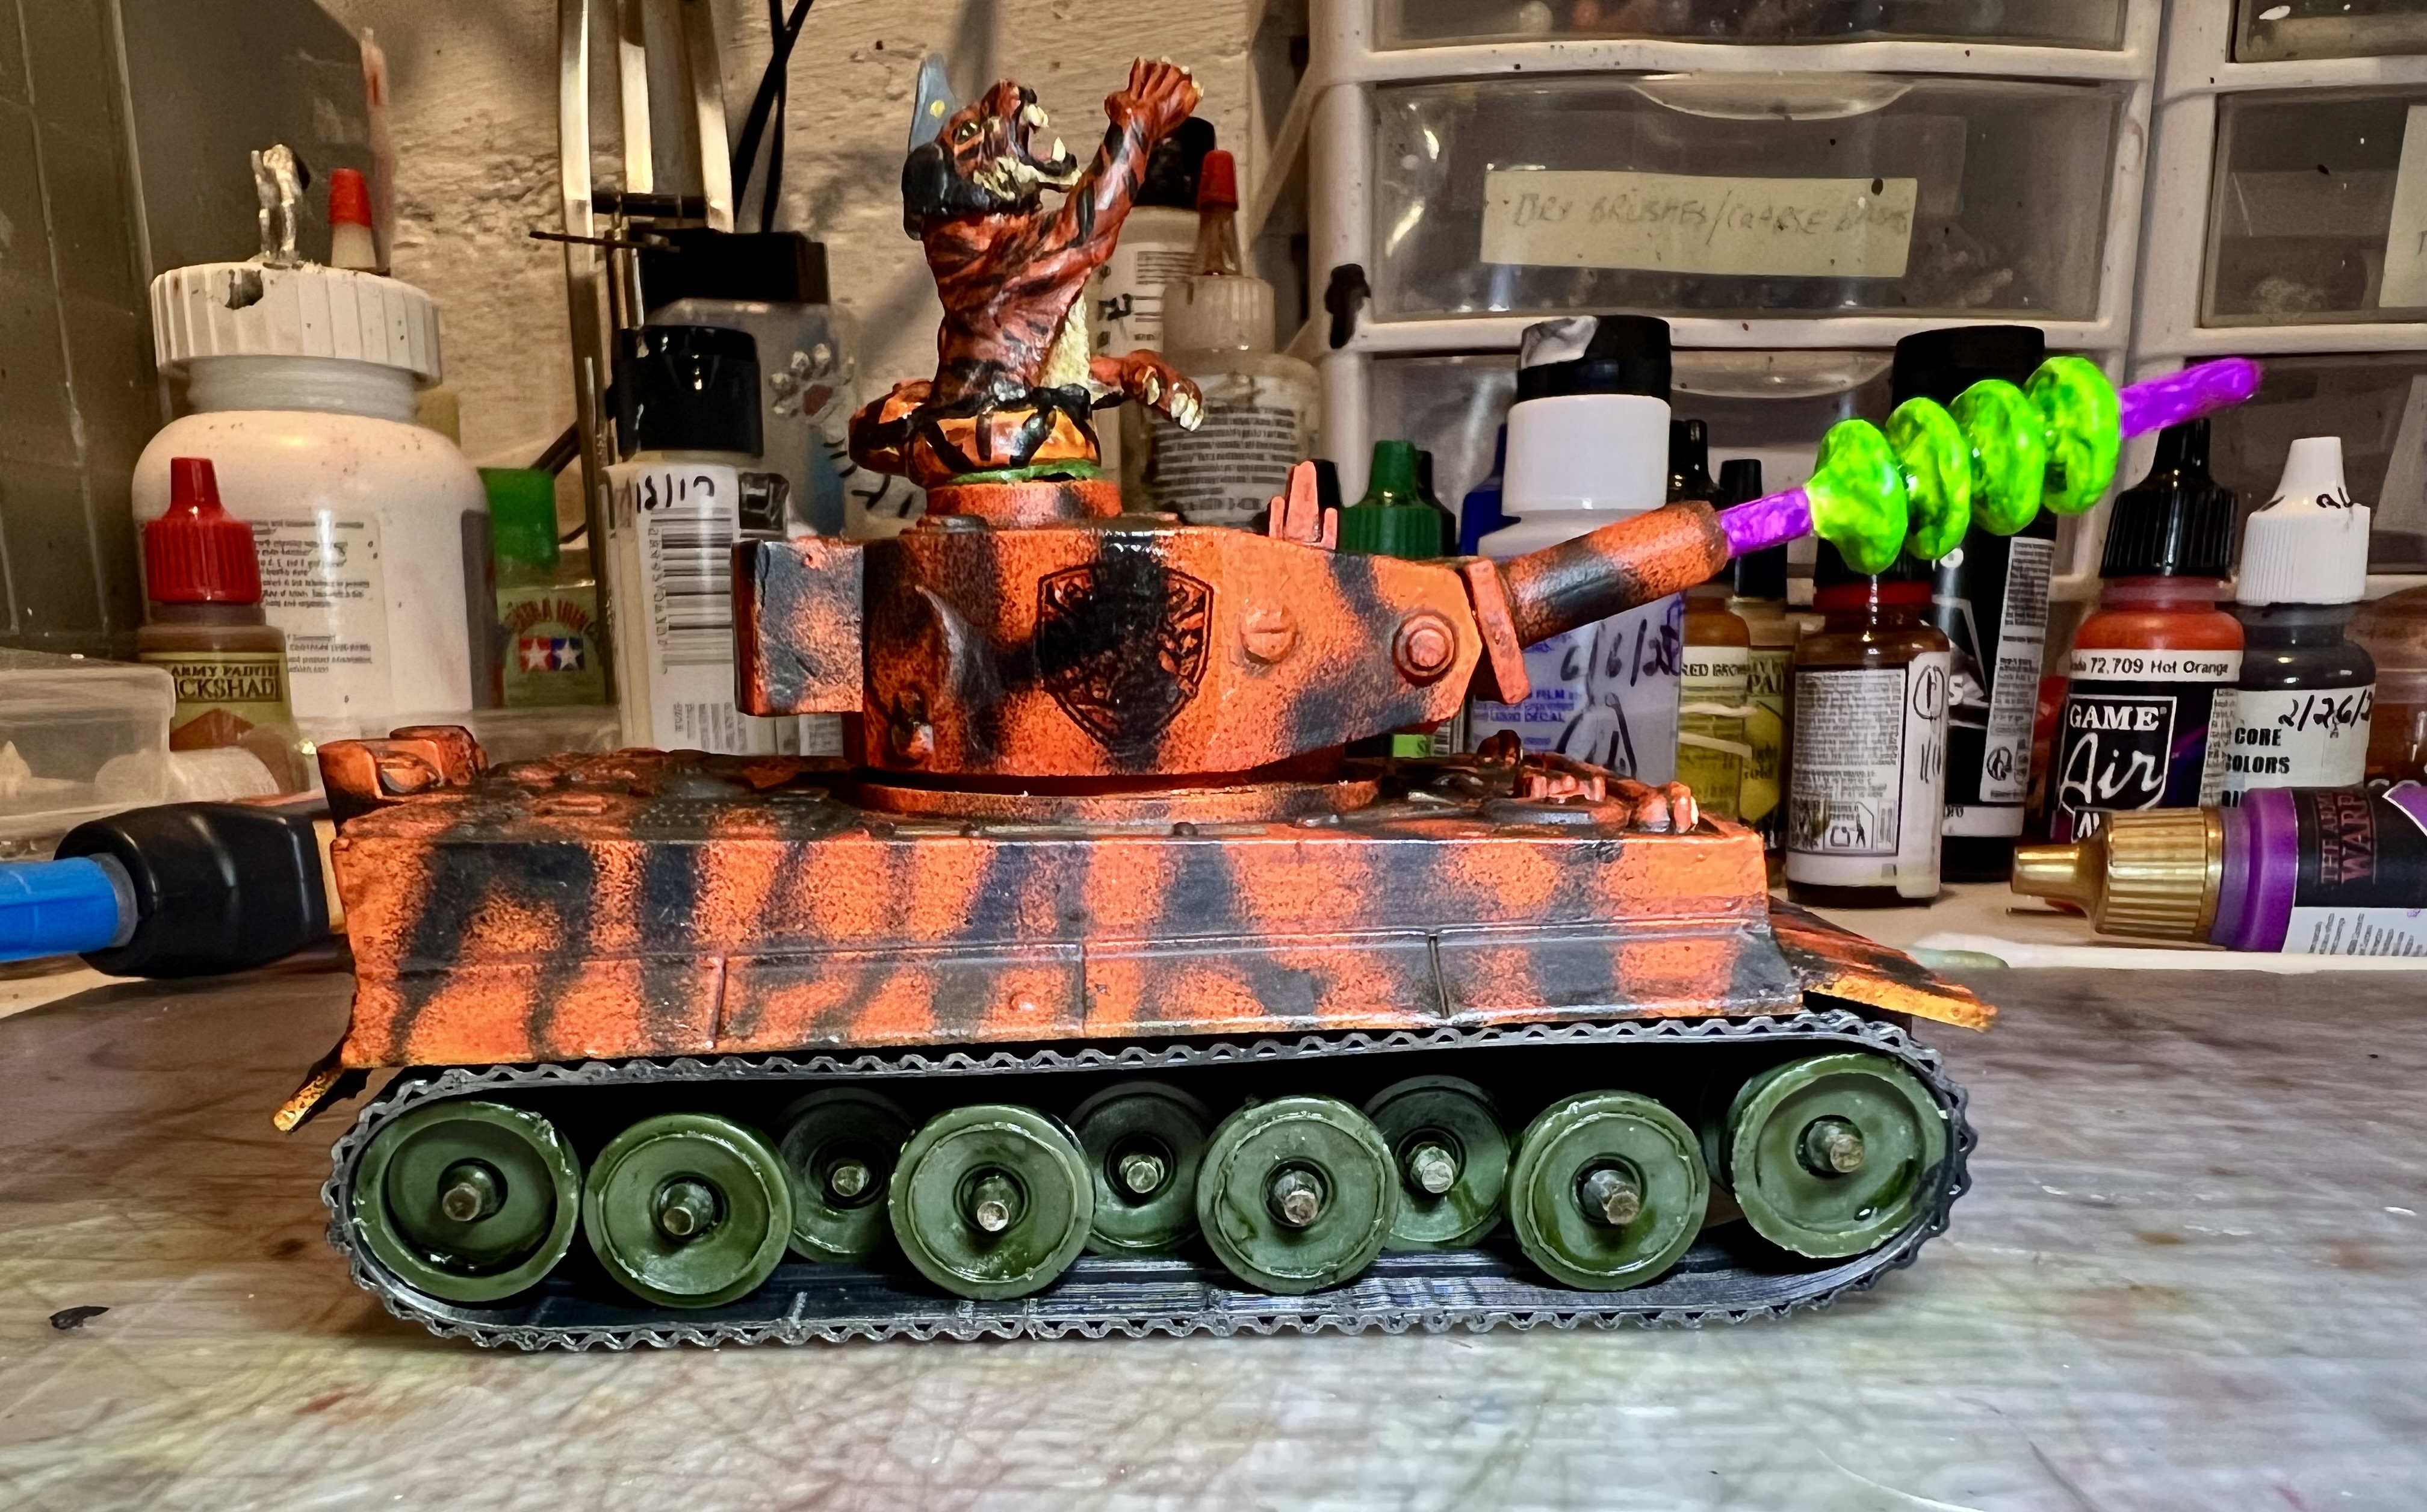
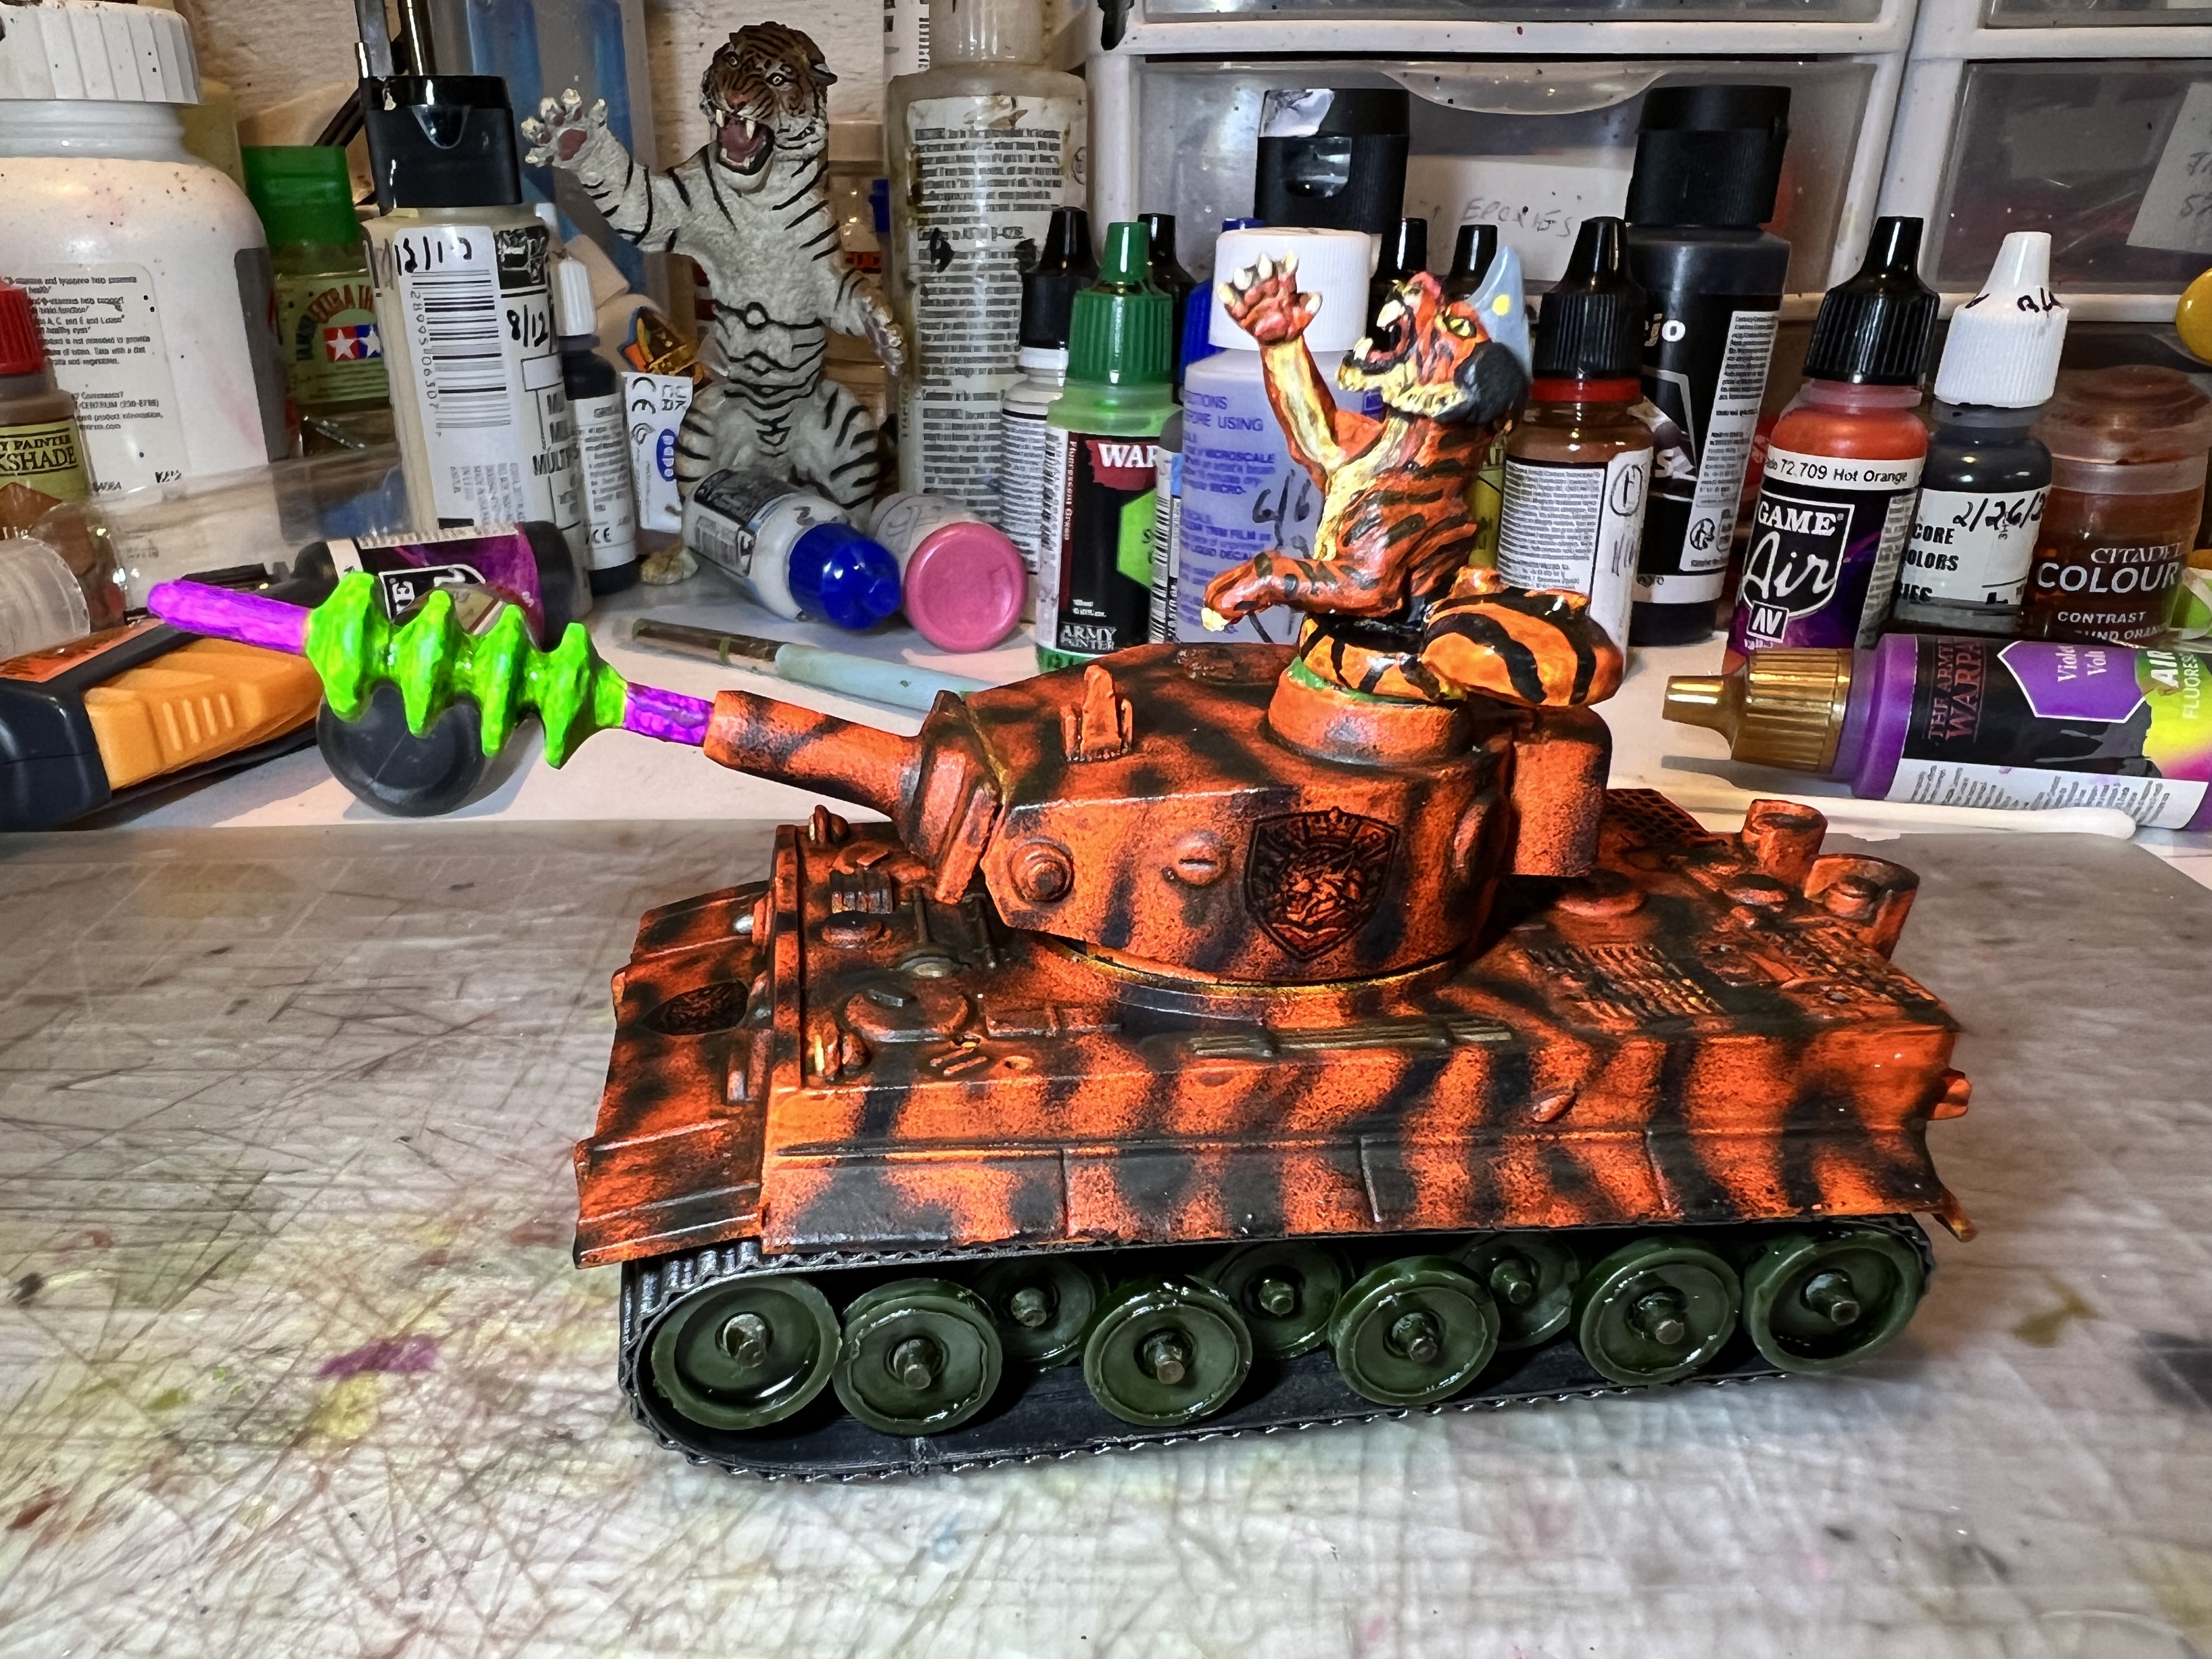
This was one of my more involved projects – and I’m pretty pleased with the result. I am also submitting this to Dave Stone’s “2026 Season of Scenery” annual painting challenge. Thanks for the invitation Dave!

This particular post is just what I did – could I have done something differently? Sure. But, I thought the sequence of events was worthwhile to share. Please let me know what you think in the comments section.

Eye Candy

Last but not least, I’d now be honored to share with you some eye candy – AND my first try at a movie of the finished work that you can check out – with an appropriate sound track. Then I’ll list all the paints etc. that I used here as a reference. The other references will be links to my pages on these types of projects.
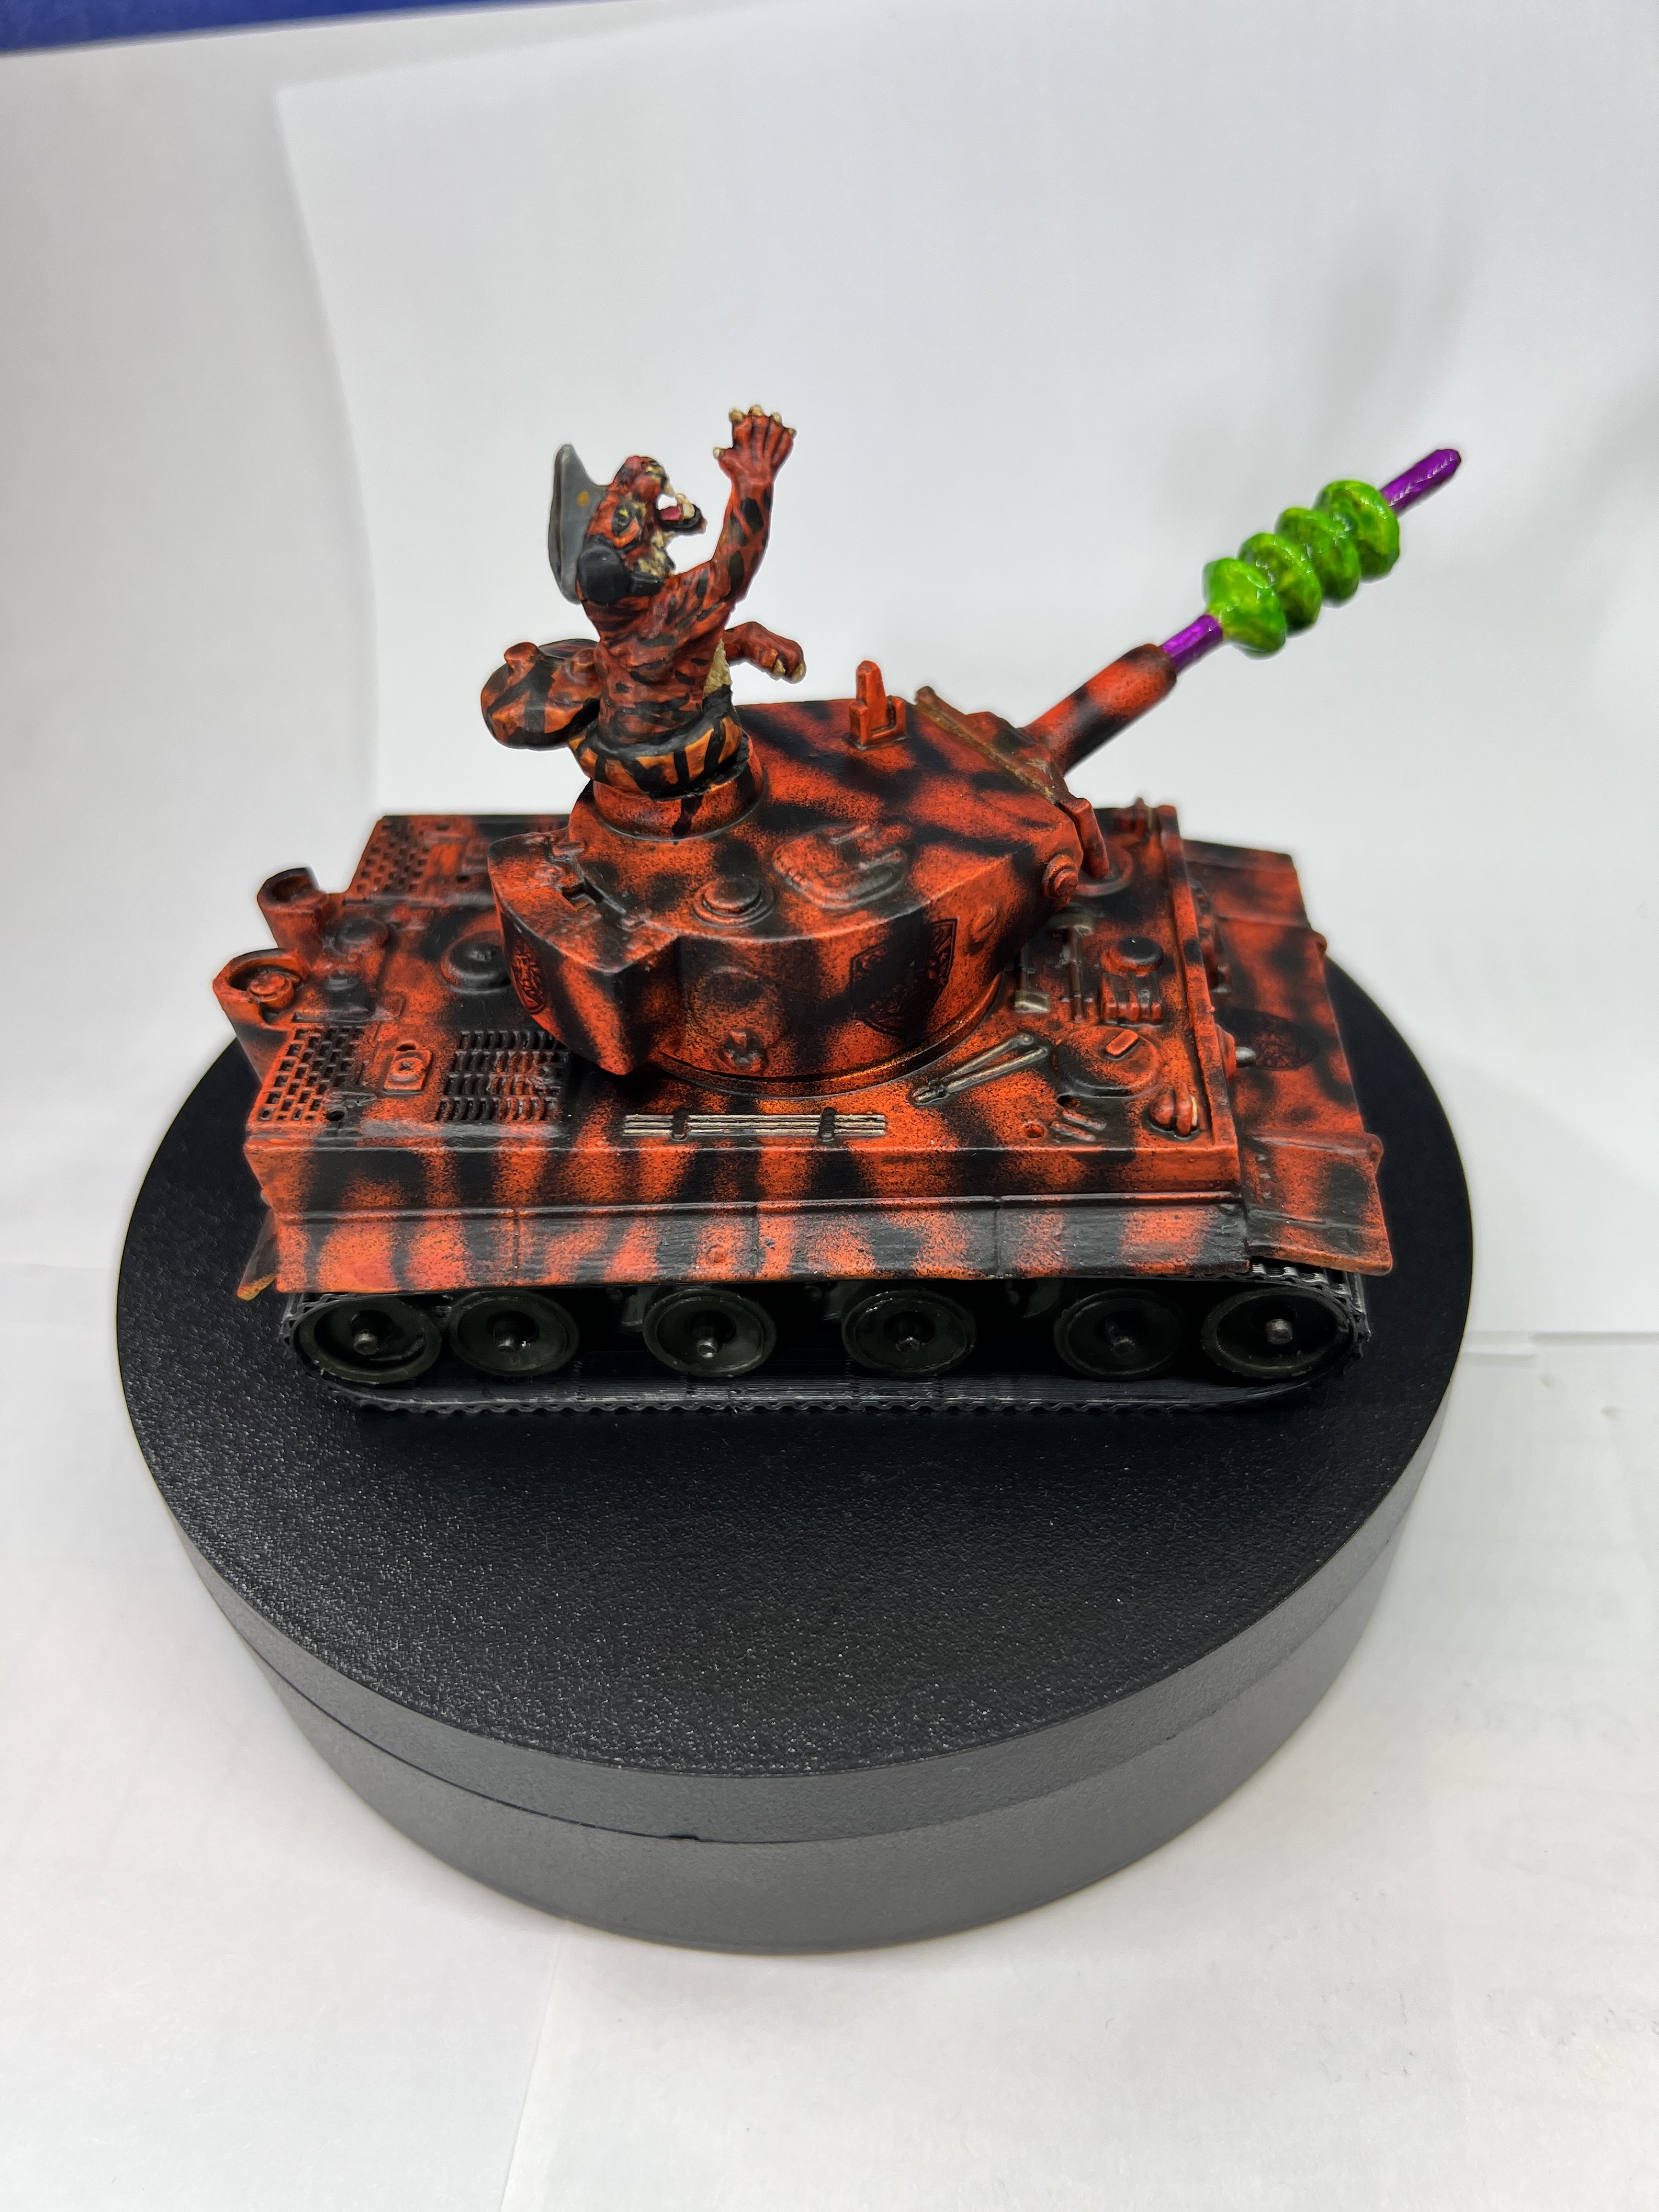
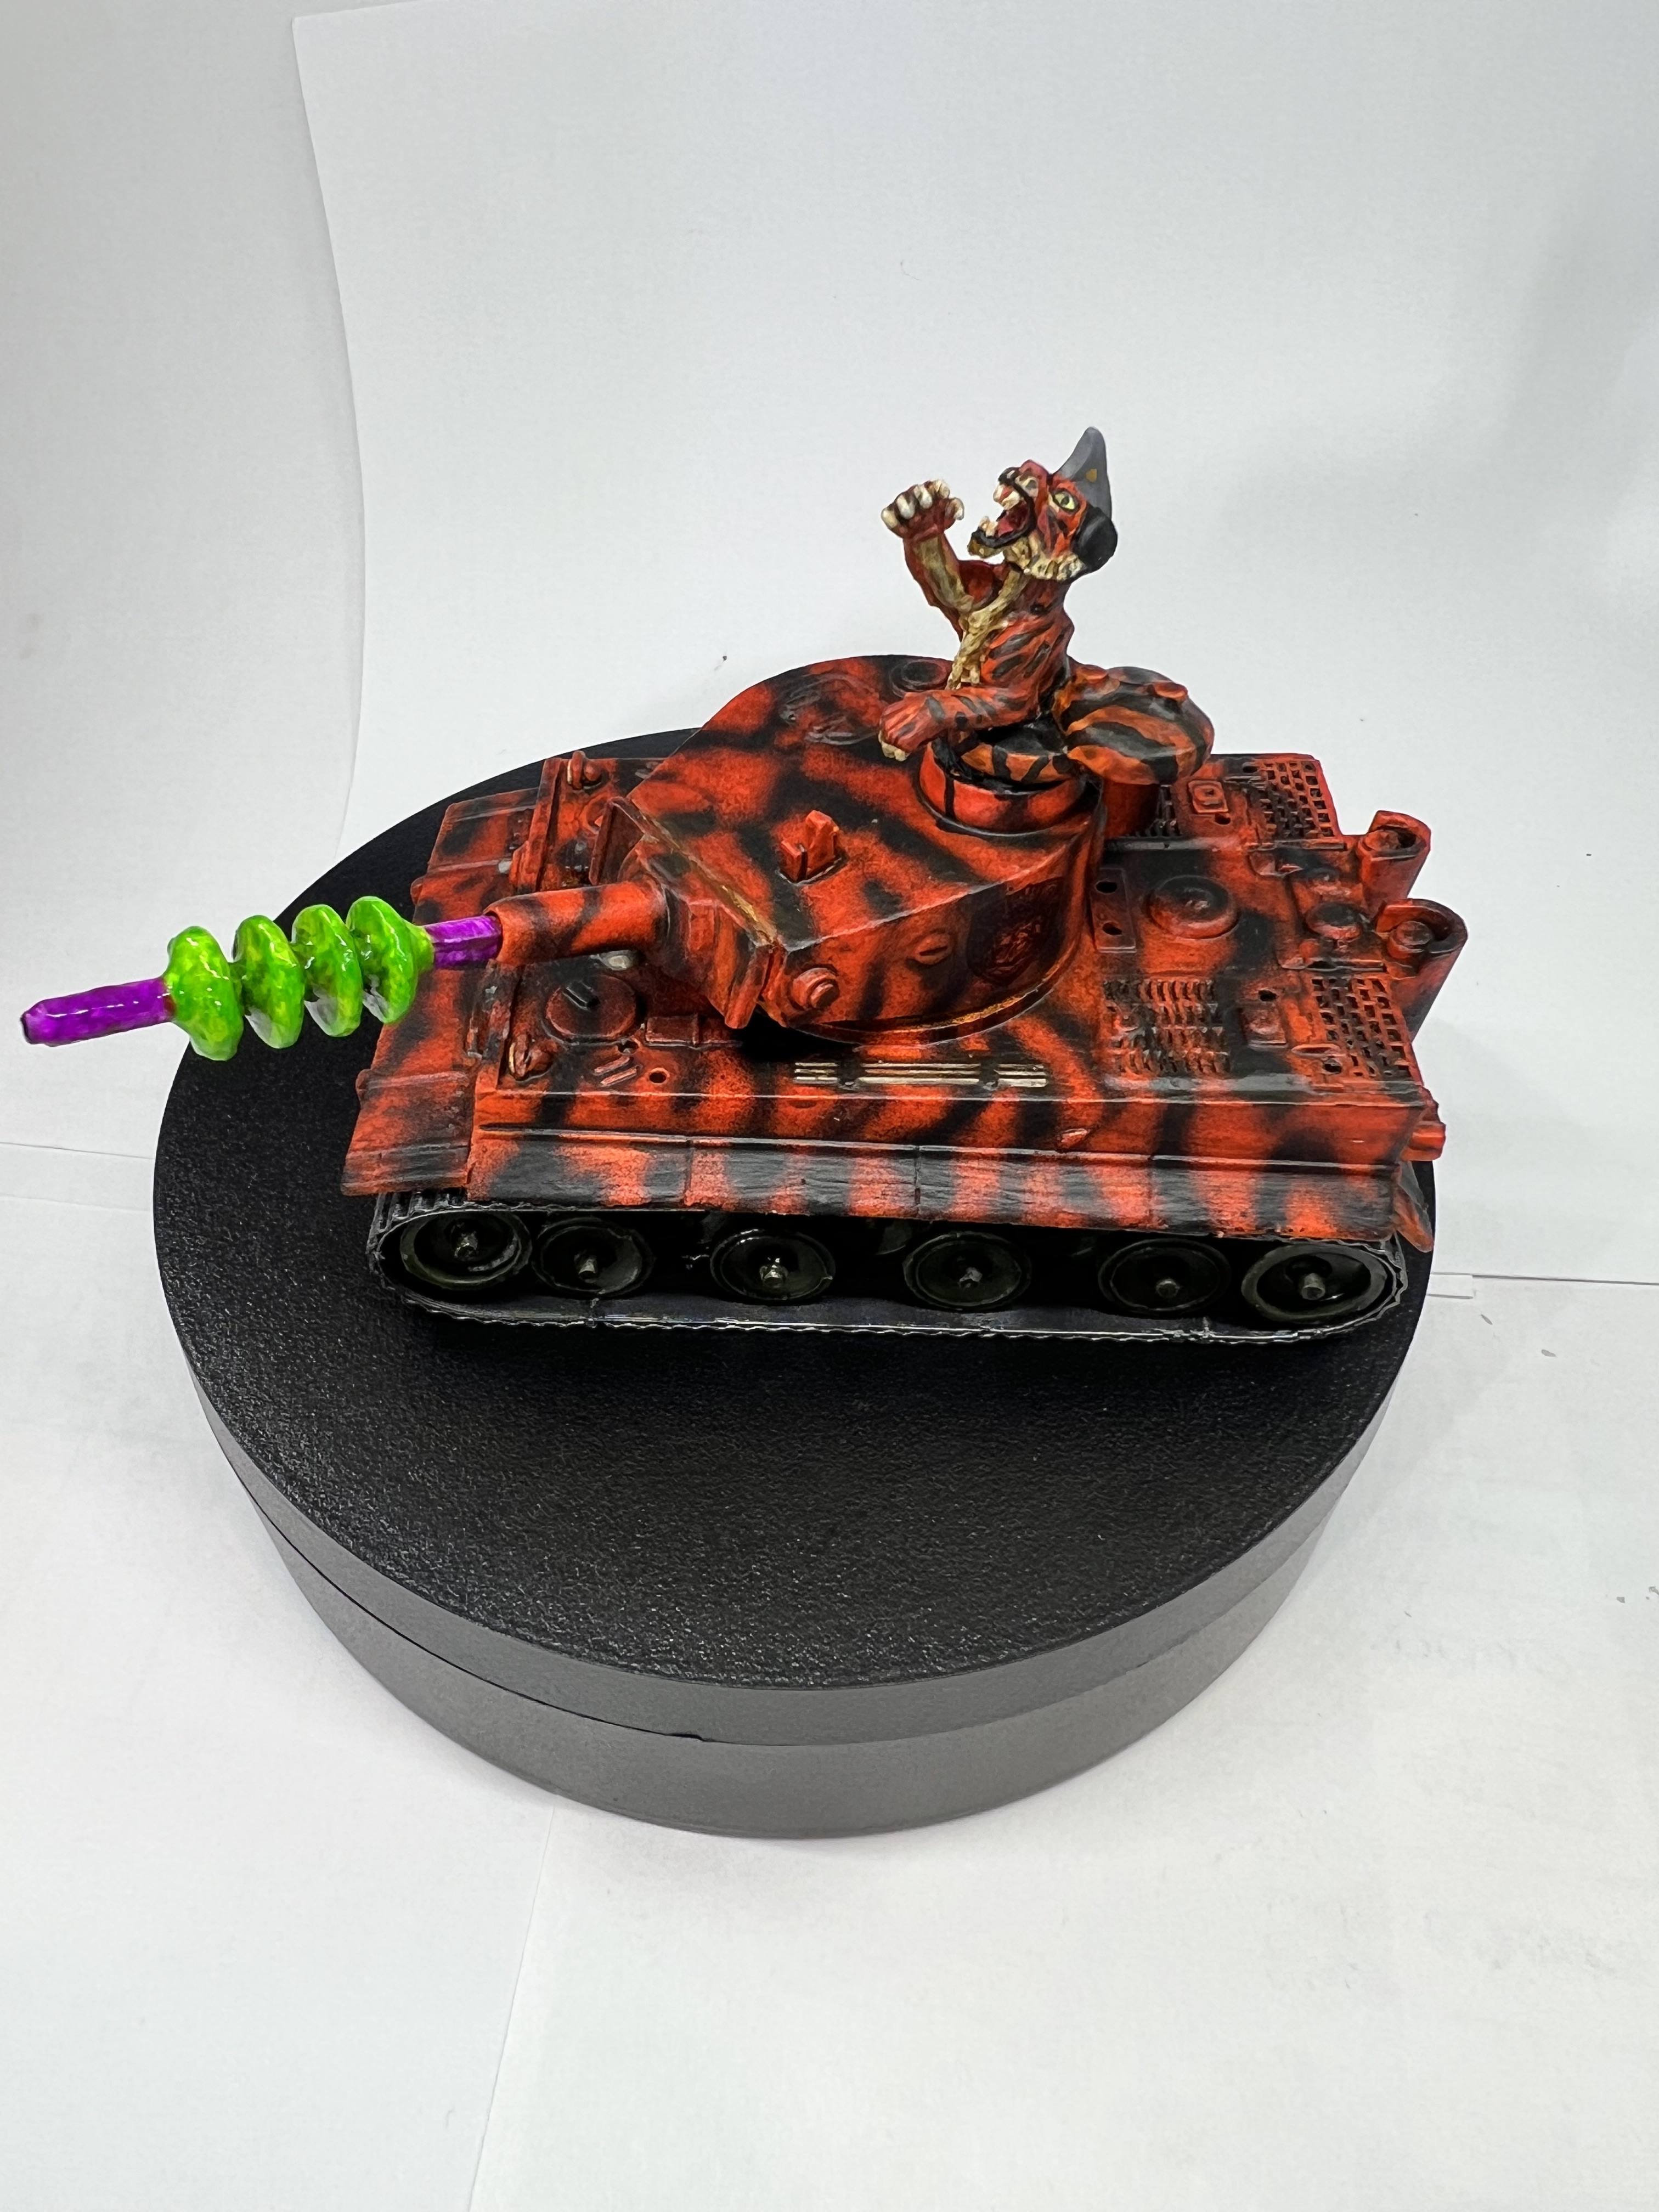
Right side view.
Left side view.
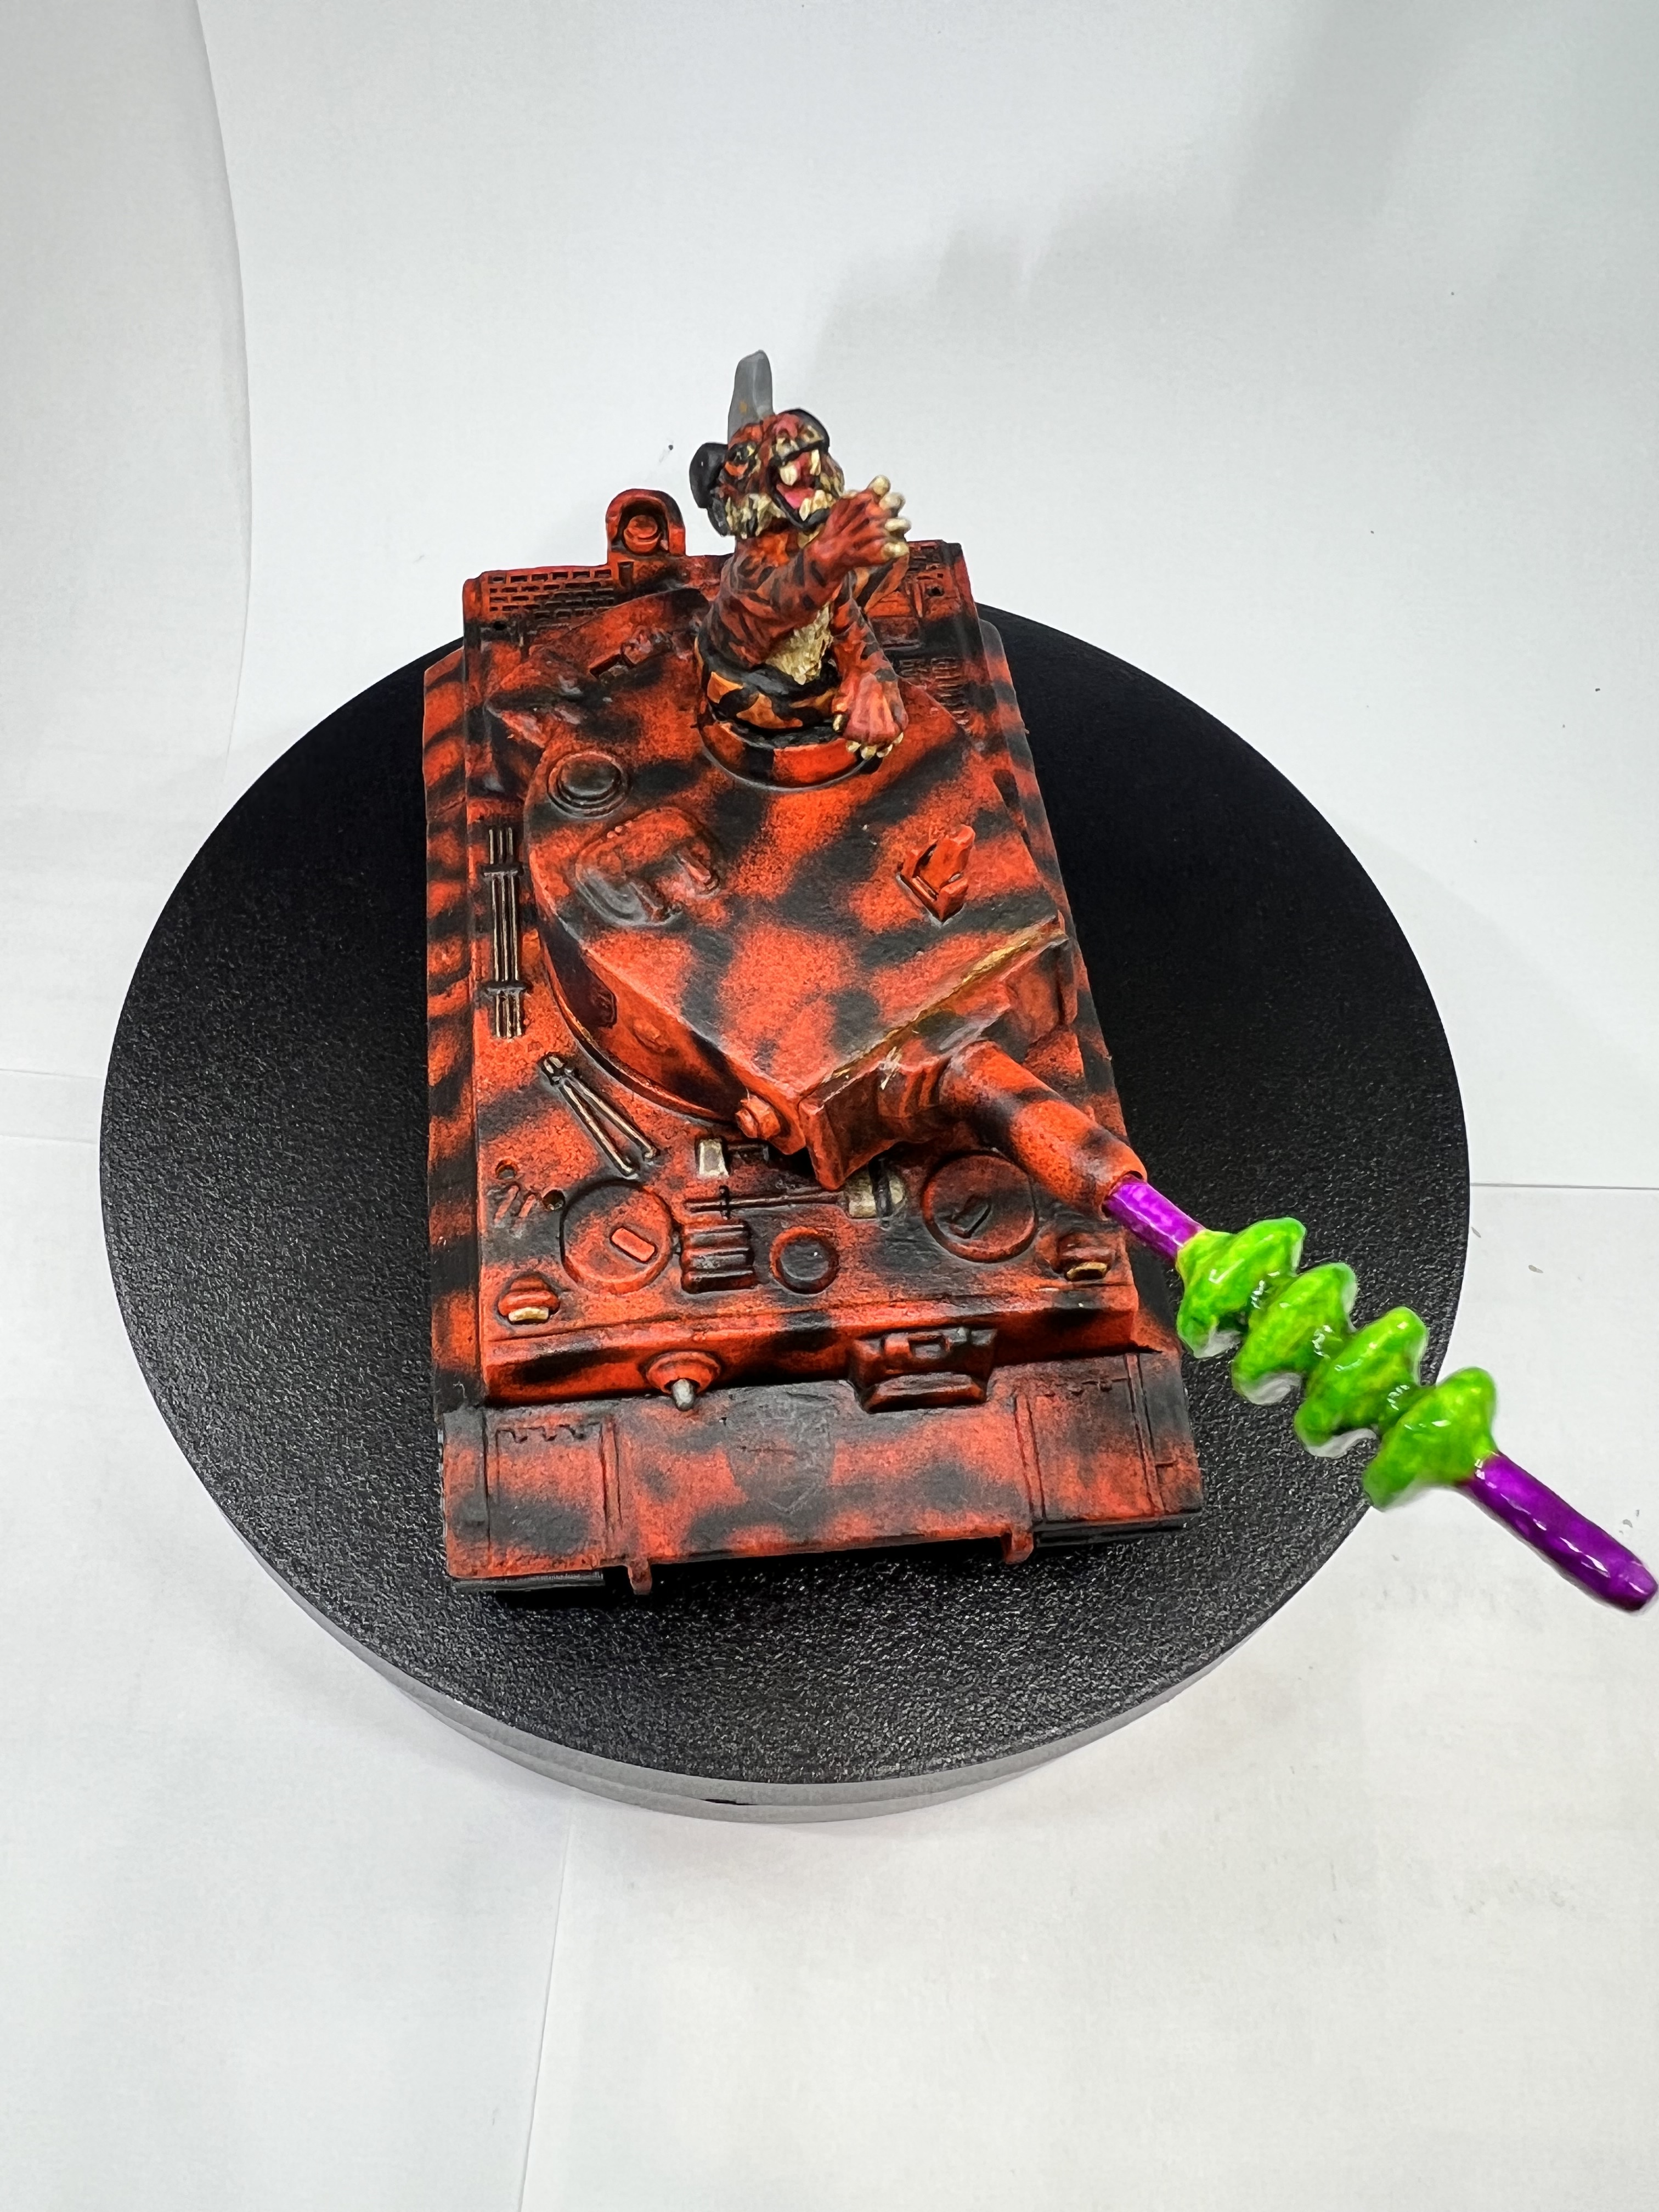
Front top view.
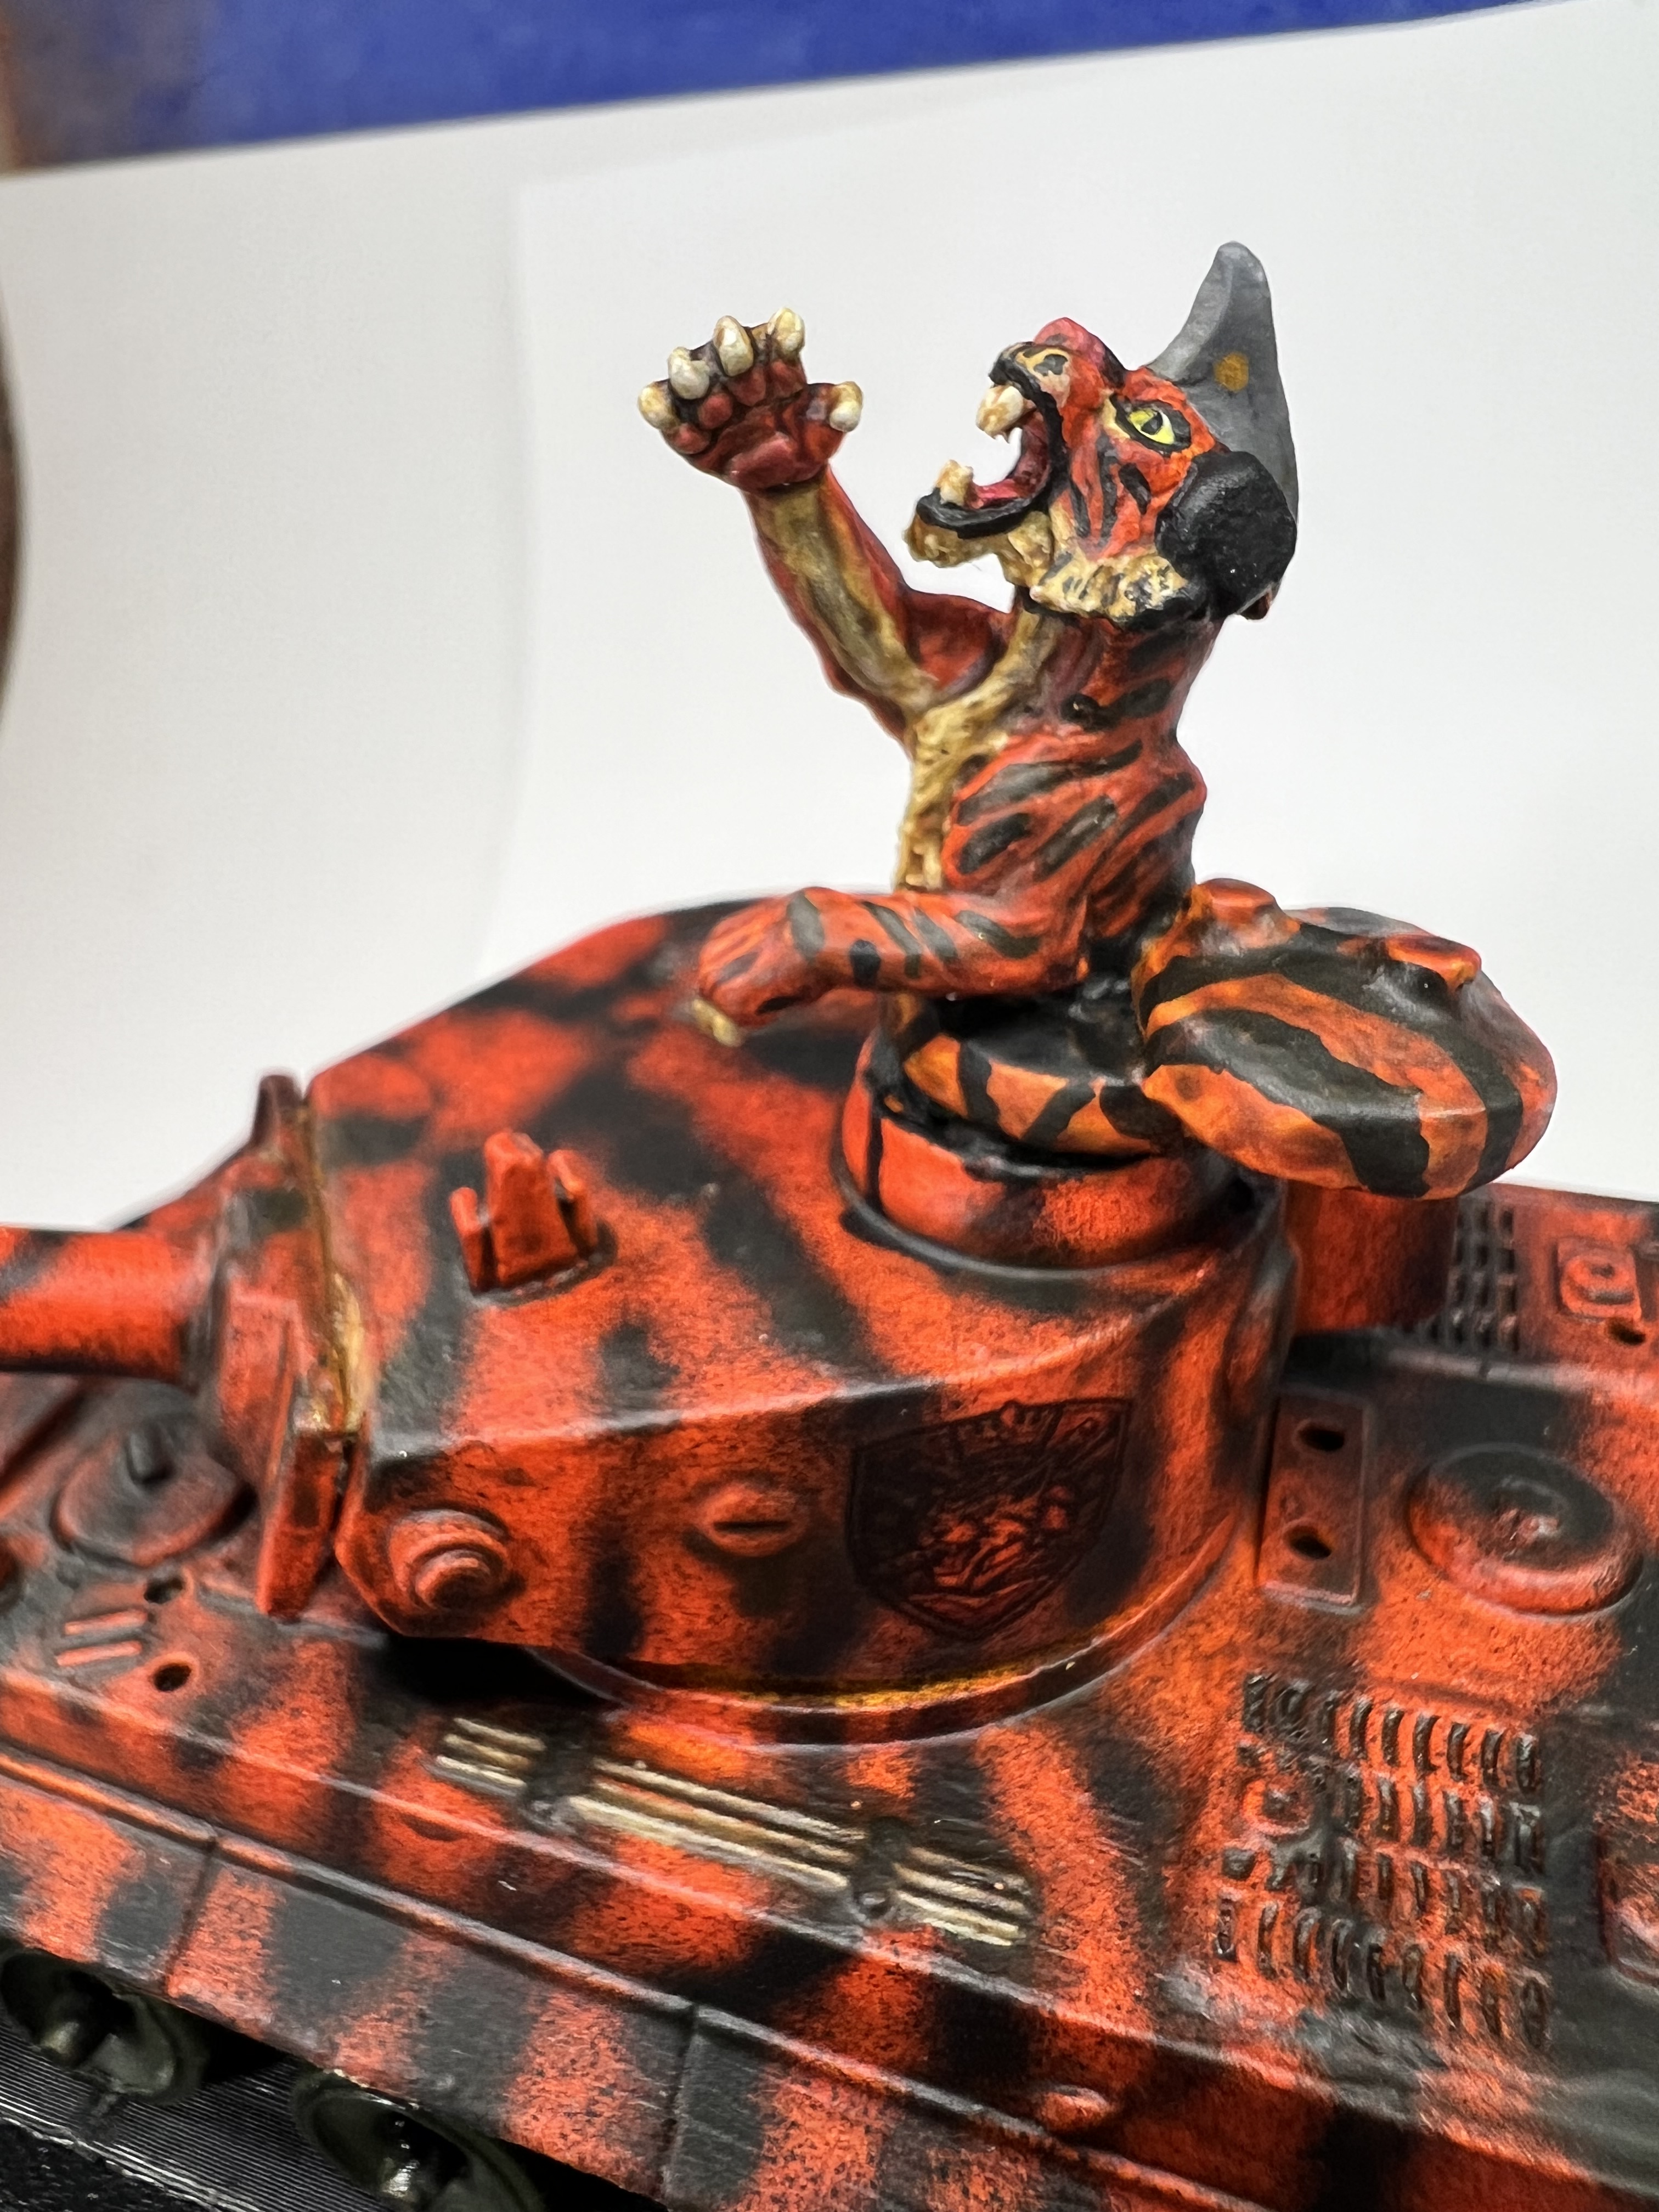
Close up view of the cupola/hatch with the tiger commander.
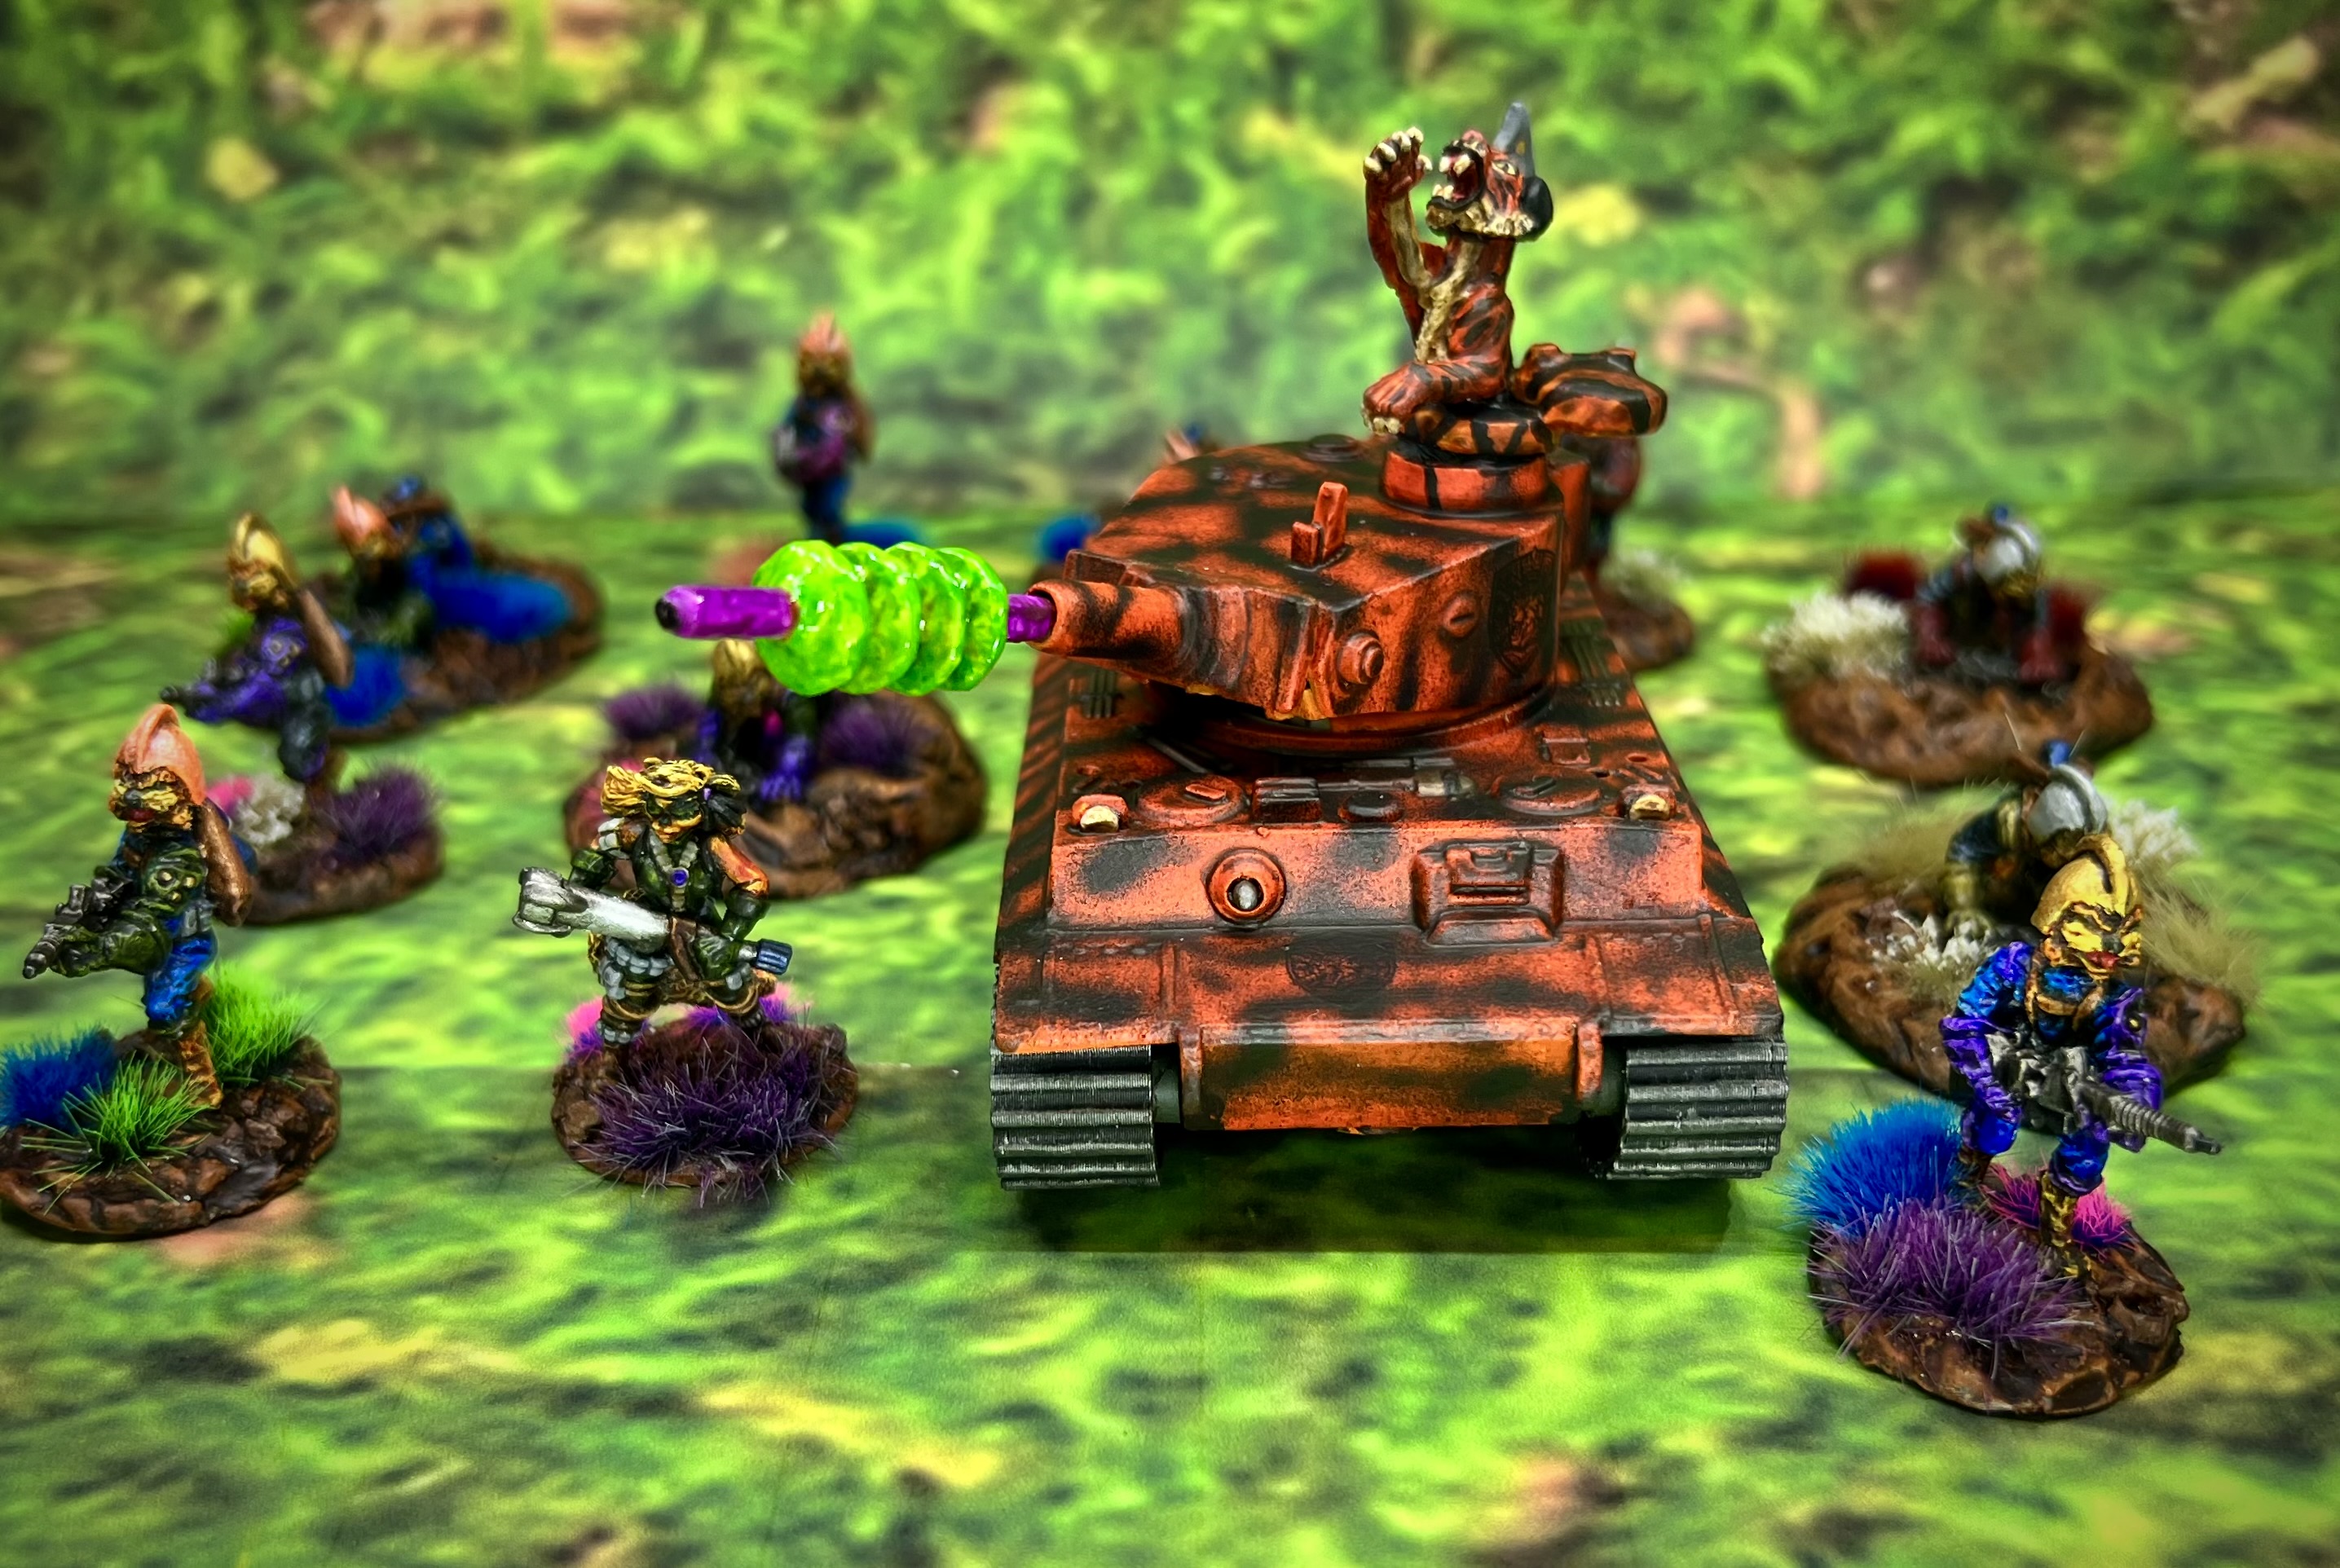
Imperial Felynxii attacking!

A Movie! Turn up the Volume!

Below are a list of some references and links that might also be of interest. I use them to refer to when I forget painting schemes that I want to replicate.

References:

For a consolidated list of links for any of my previous “Anthropomorphic Figure Project Posts”, please see this page here.

For a consolidated list of links for any of my previous “Old School Miniatures” blog posts, please see this page here.

For a consolidated list of links for any of my previous “Figure Conversions” blog posts, please see this page here.

For a consolidated list of links for any of my previous sci-fi/retro sci-fi blog posts, please see this page.

For a consolidated list of links for any of my previous “Scratch-build Projects” blog posts, please see this page here.

PAINTS, INKS, GLAZES, SHADES, WASHES, PIGMENTS, FLOCKING, GLUES AND MORE THAT I USED ON THIS FELYNXII TIGER TANK:

  1. Poster tack
  2. Vallejo Primers “White”
  3. Corgi Toys Tiger I metal toy tank
  4. 3D-printed replacement tracks for Corgi Tiger I from eBay 
  5. Everbilt number 6 steel fender washers
  6. Green stuff (kneadatite)
  7. Plastruct Plasticard (91108 SSS-125), 7/16″ thick  Plastruct Plasticard (91108 SSS-125), 7/16″ thick 
  8. Vallejo “Premium White Primer”
  9. Vallejo Game Air “Hot Orange”
  10. Citadel Contrast Paint “Gryph-Hound Orange”
  11. Vallejo Mecha Color “Off White”
  12. Reaper MSP Core Colors “Pure Black”
  13. Vallejo Primers “White”
  14. Citadel Contrast Paint “Skeleton Horde”
  15. Vallejo Model Color “German Grey”
  16. Reaper MSP “Pink”
  17. Vallejo Model Color “Neutral Grey”
  18. Vallejo Model Color “Ivory”
  19. Army Painter Warpaints Metallics “Bright Gold”
  20. Secret Weapon Washes “Sunshine” (wash/shade)
  21. Army Painter “Light Tone” (wash/shade)
  22. Vallejo Primers “Black”
  23. Jewelry coping saw
  24. Paper clip wire
  25. Toothpick
  26. Plastic plates
  27. Vallejo Flow Improver
  28. Vallejo Thinner
  29. Vallejo Mecha Color “Dark Steel”
  30. Vallejo Model Air “German Red Brown”
  31. Folkart “Champagne”
  32. Army Painter Warpaints Fanatic Effects “Data System Glow”
  33. Citadel “Tesseract Glow” (Technical)
  34. Army Painter Warpaints Air Fluorescent “Violet Volt”
  35. Vallejo Game Color “Sepia Wash” (wash/shade)
  36. Vallejo “Gloss Acrylic Varnish”
  37. Army Painter “Green Tone” (wash/shade)
  38. Experts Choice Clear Decal Film
  39. Microscale “Liquid Decal Film”
  40. Microscale “Microsol” (decal softening fluid)
  41. Vallejo “Matte Premium Varnish”

Thanks for looking!

Lions, & Tigers, & Bears…OH MY! (Wars of Ozz)

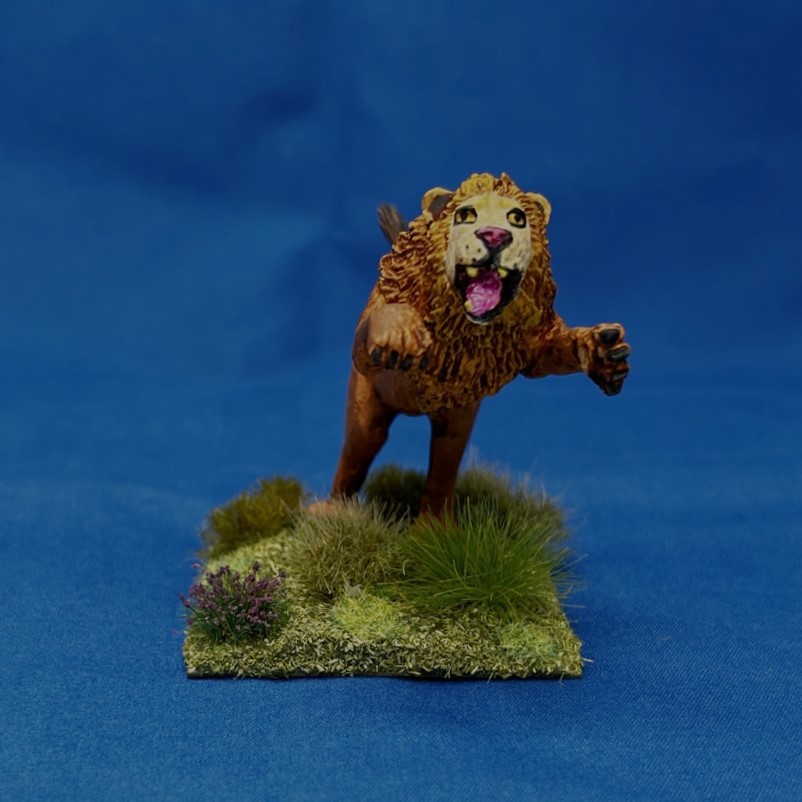
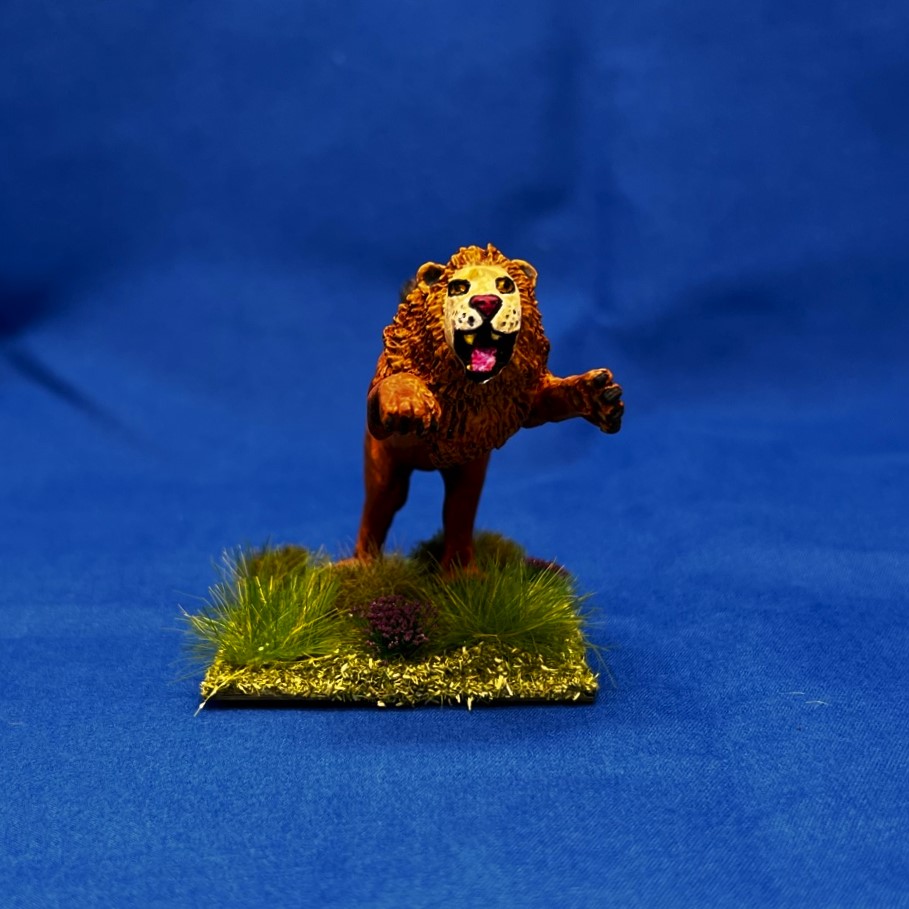
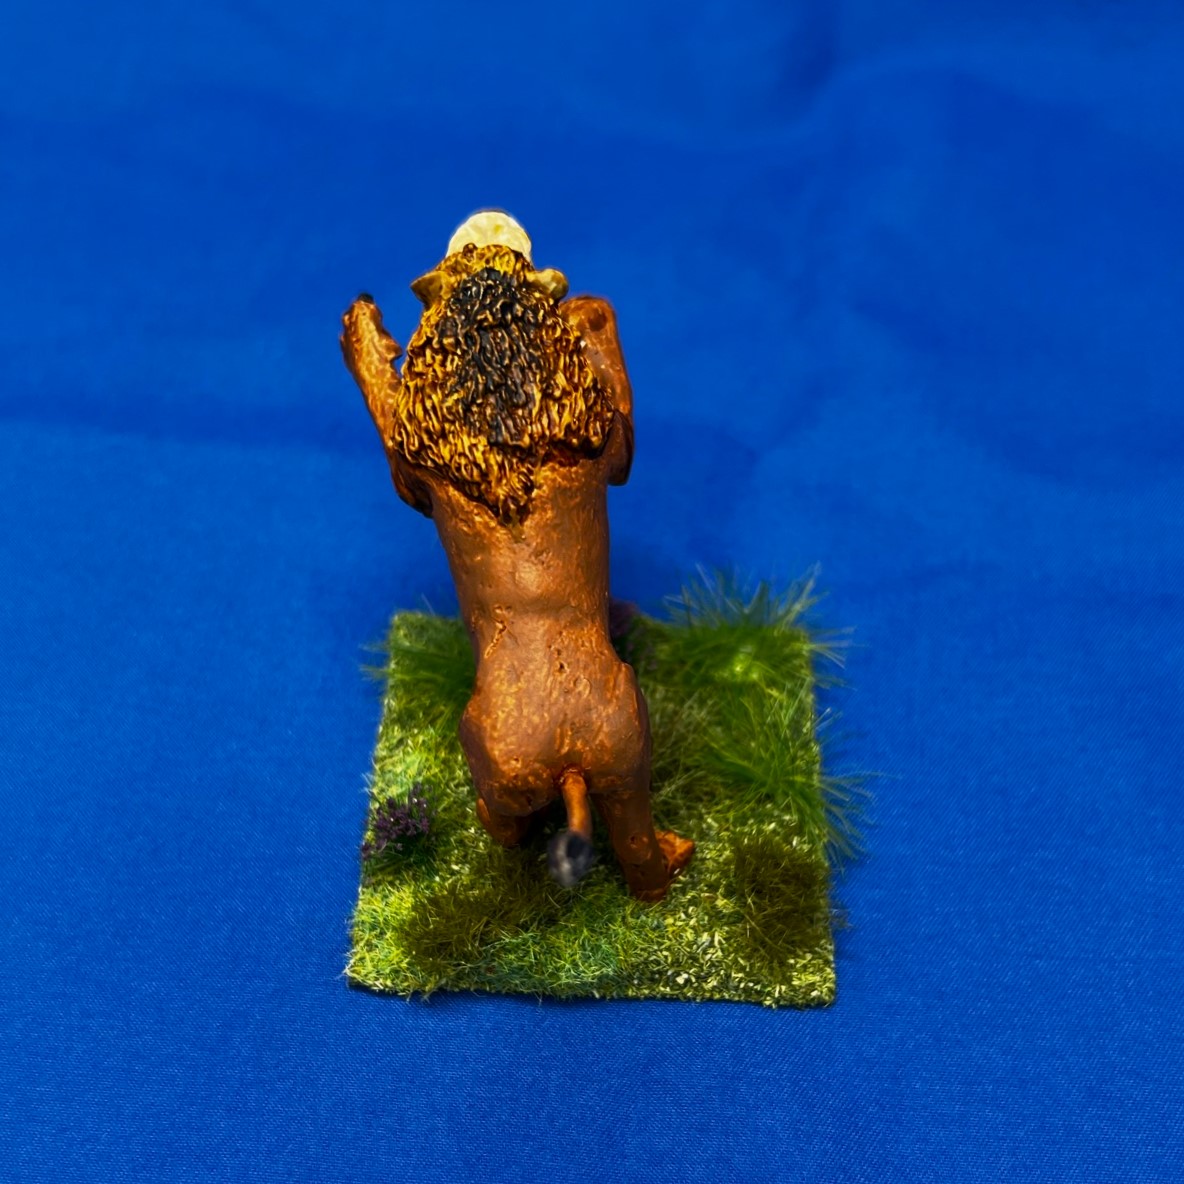
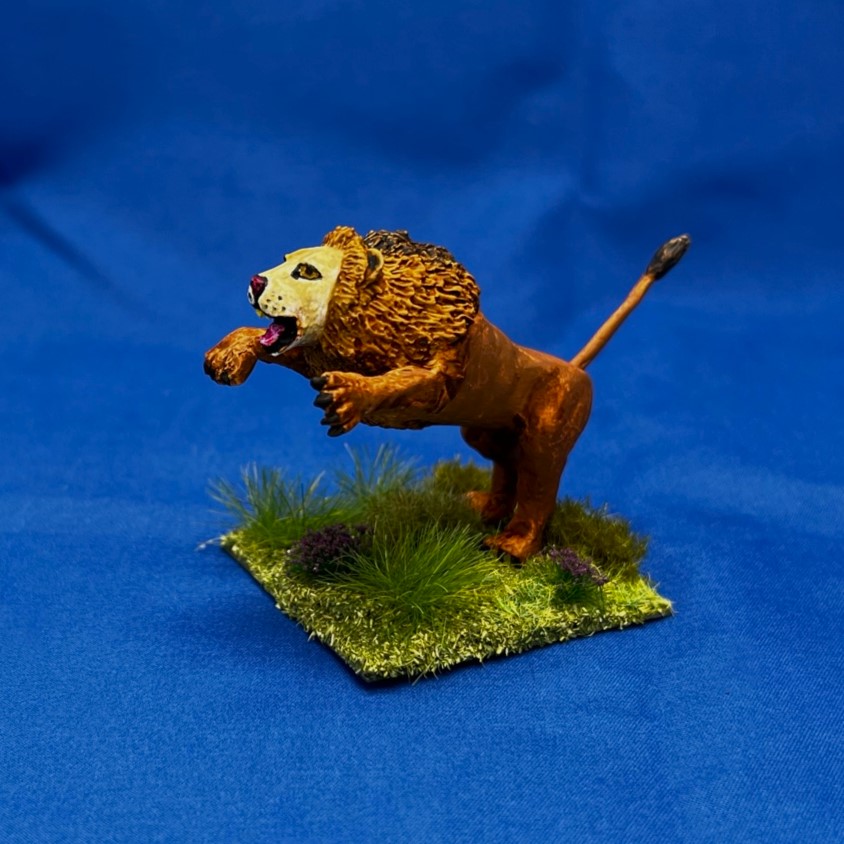
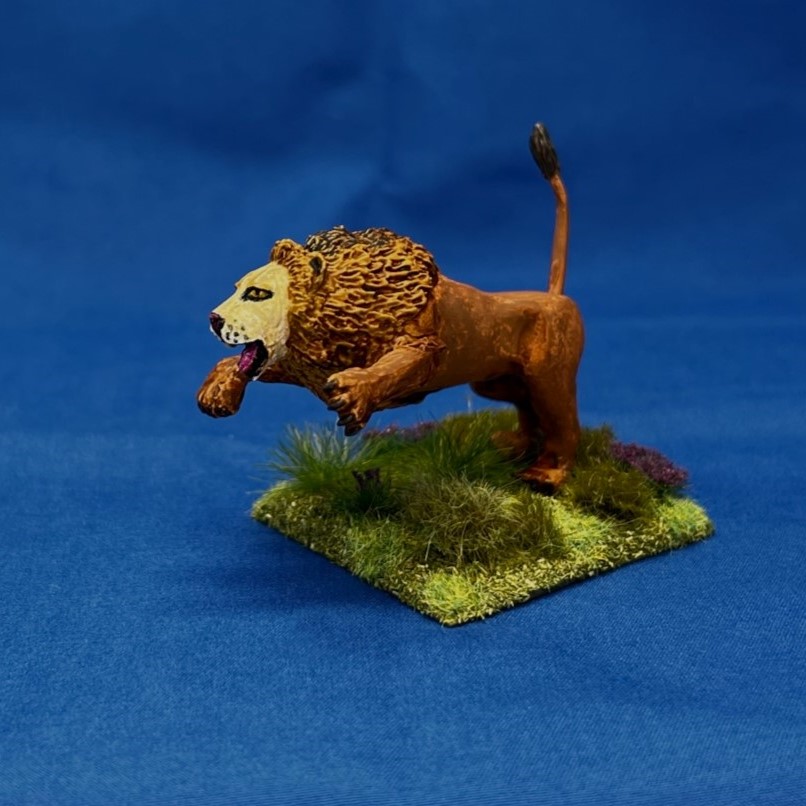
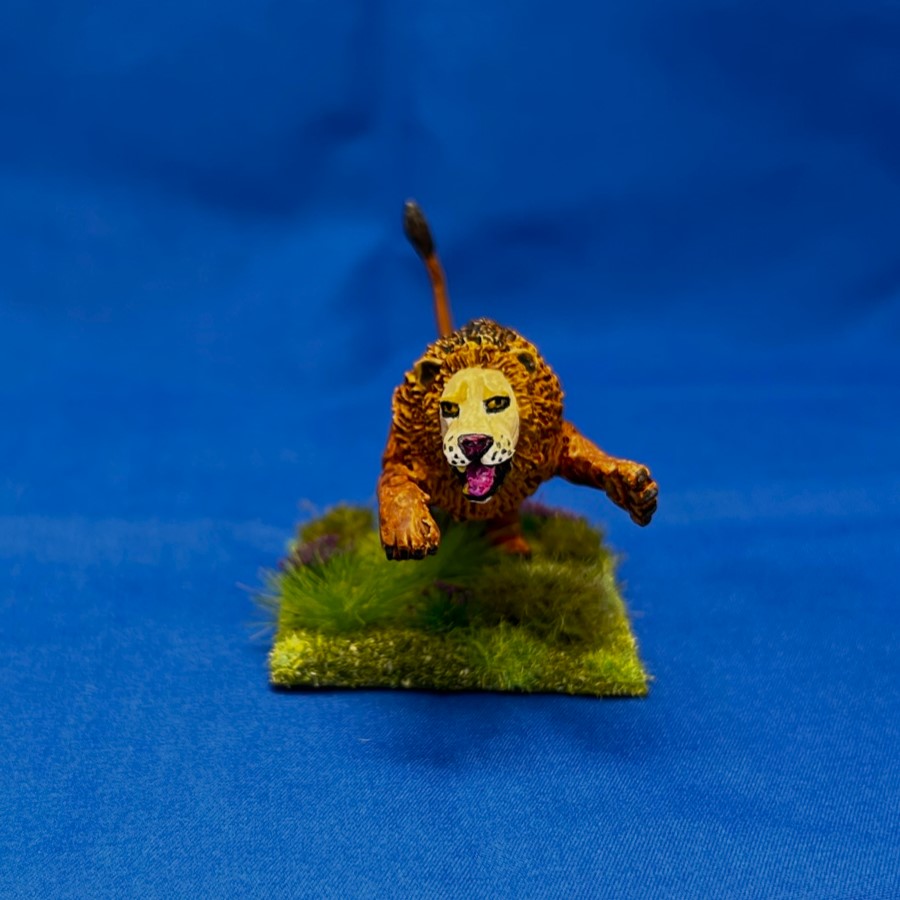
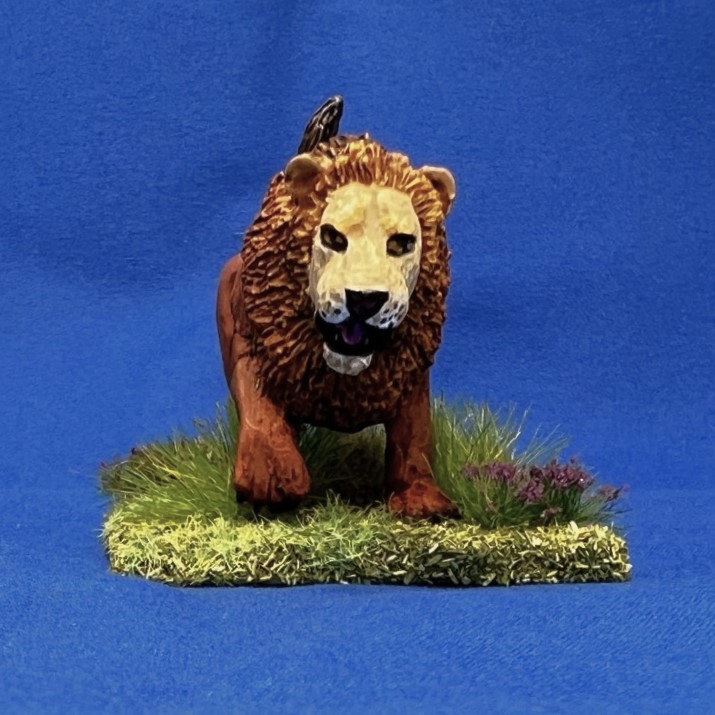
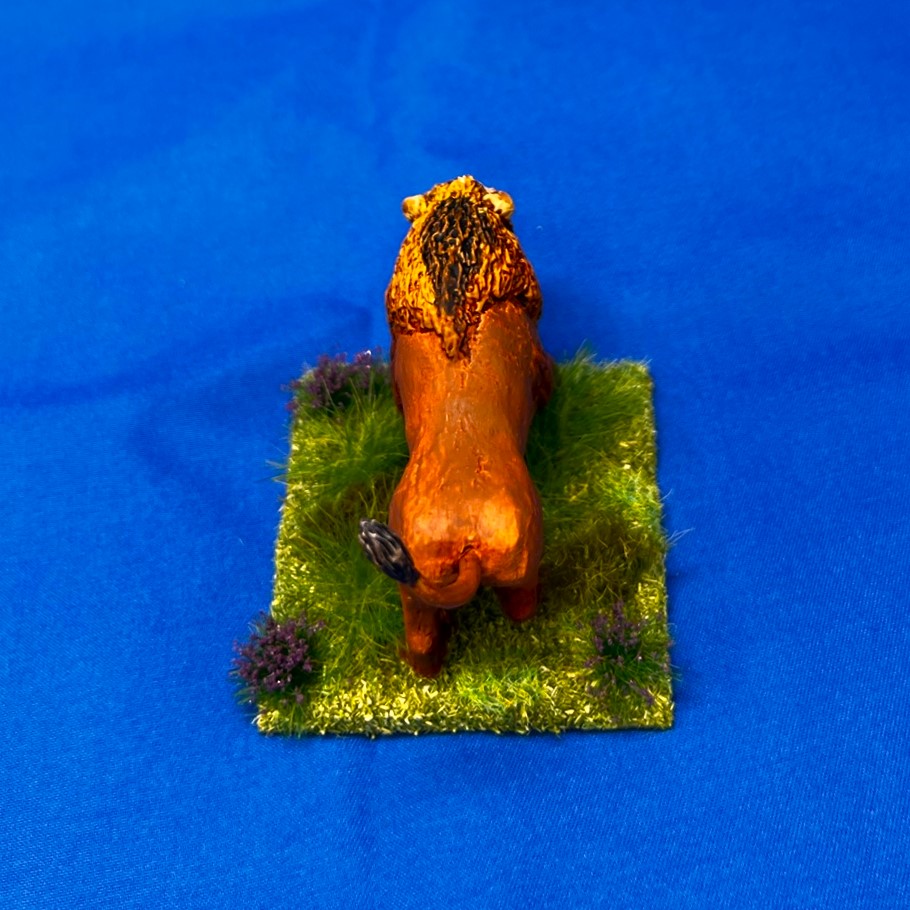
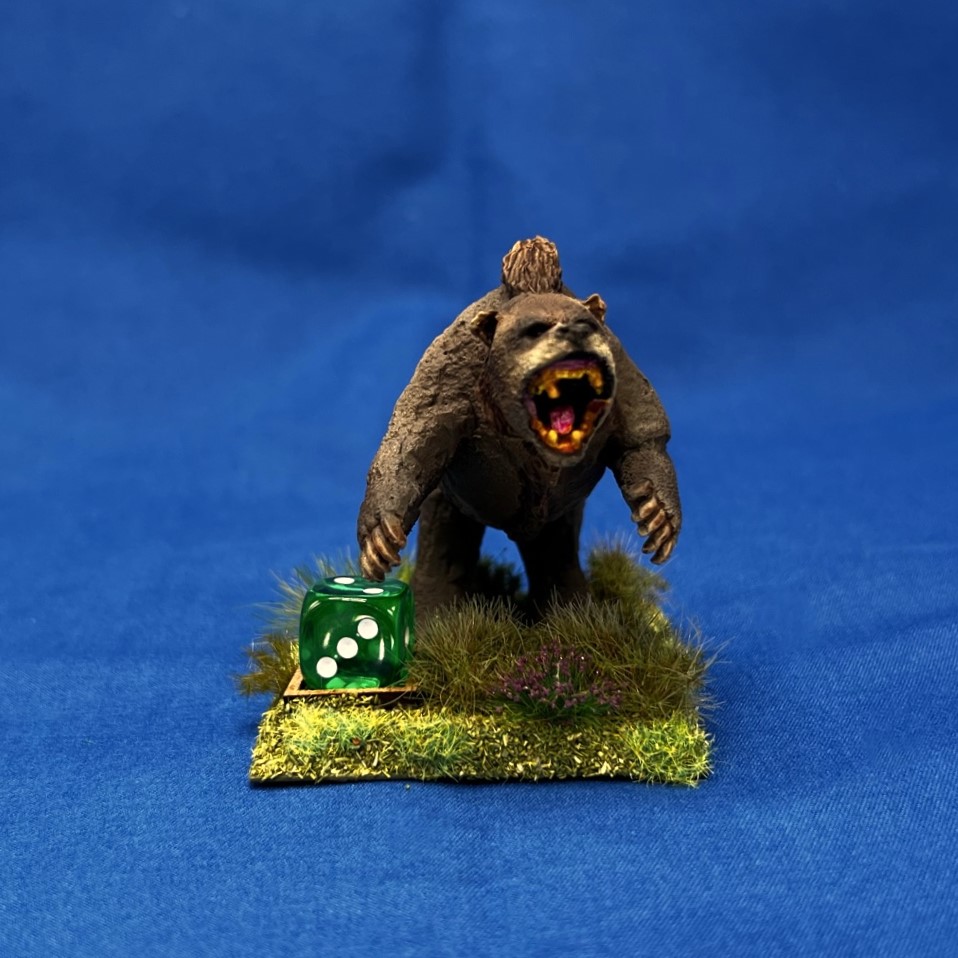
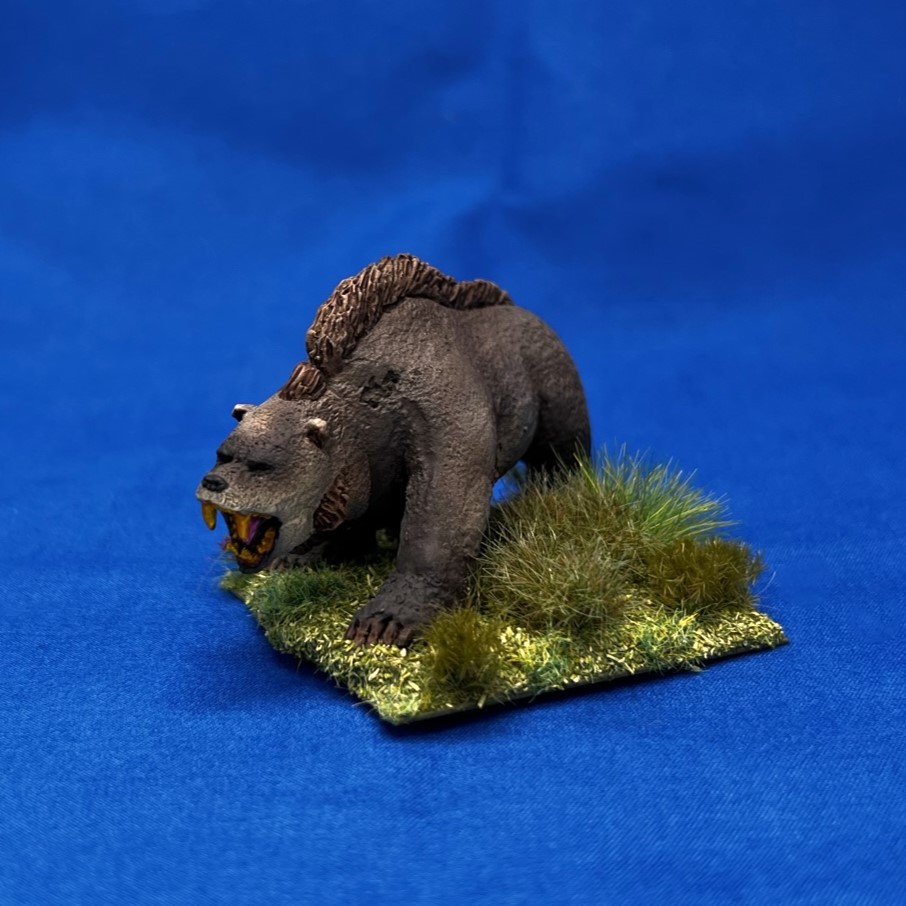
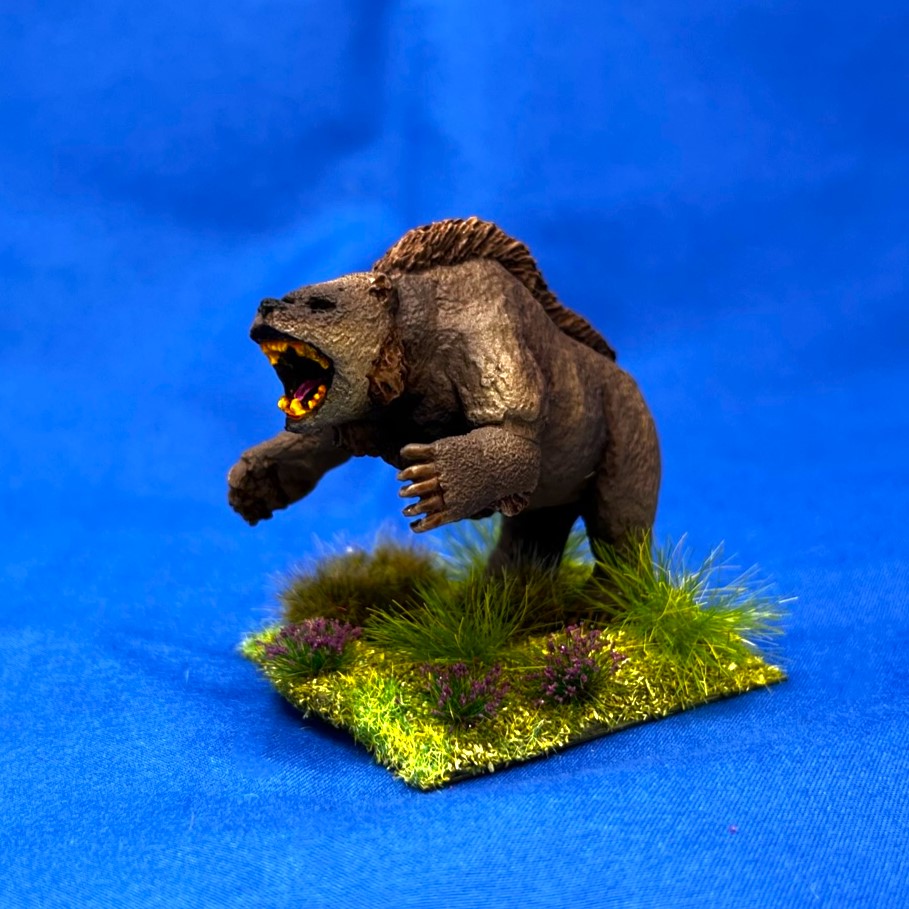
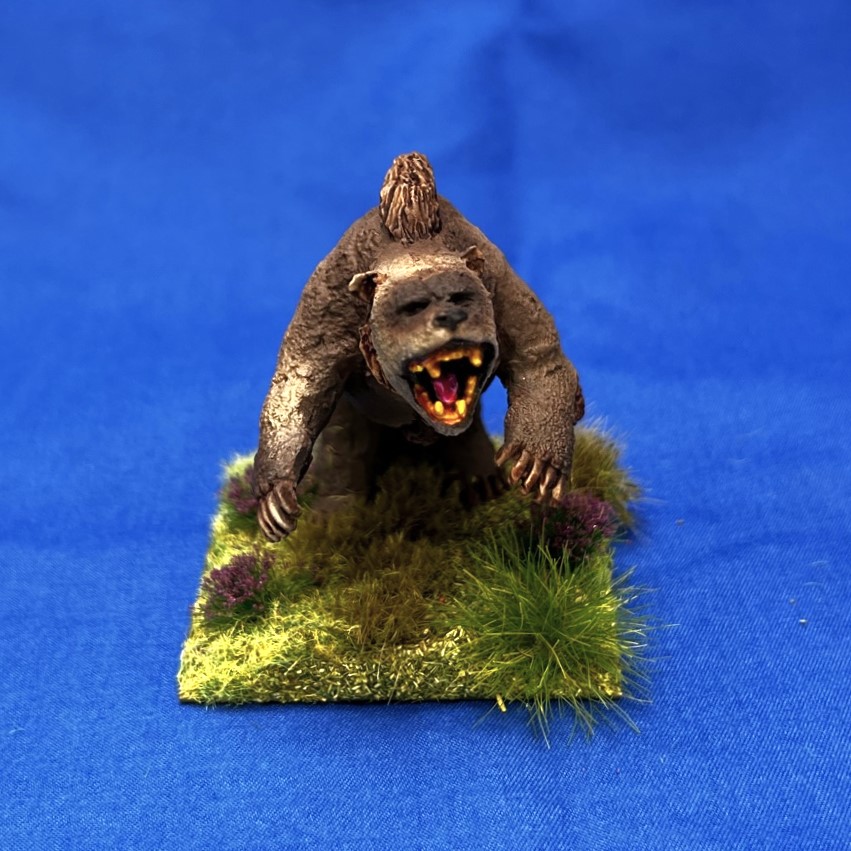
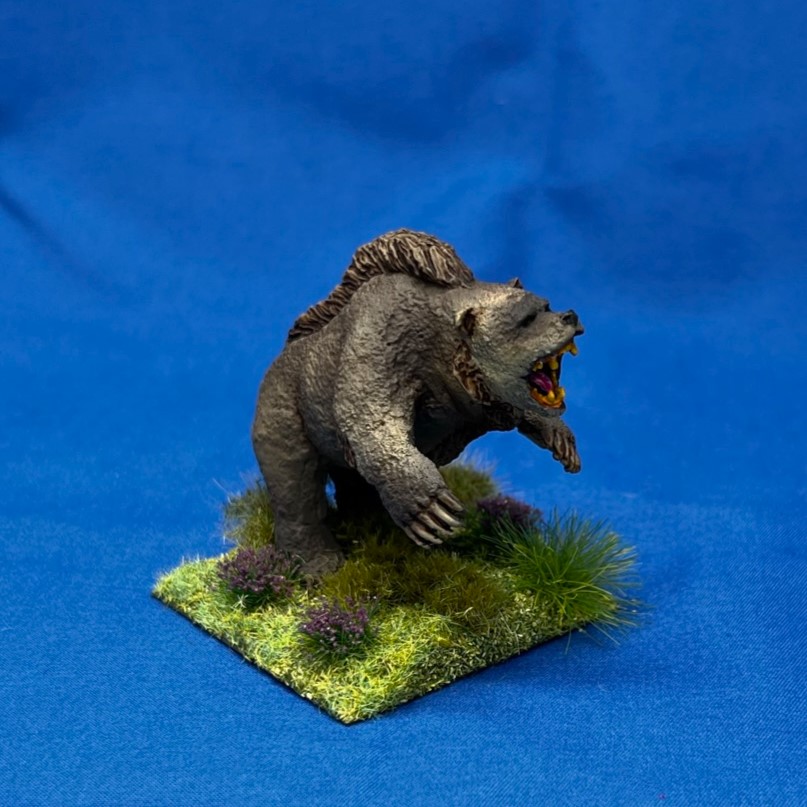
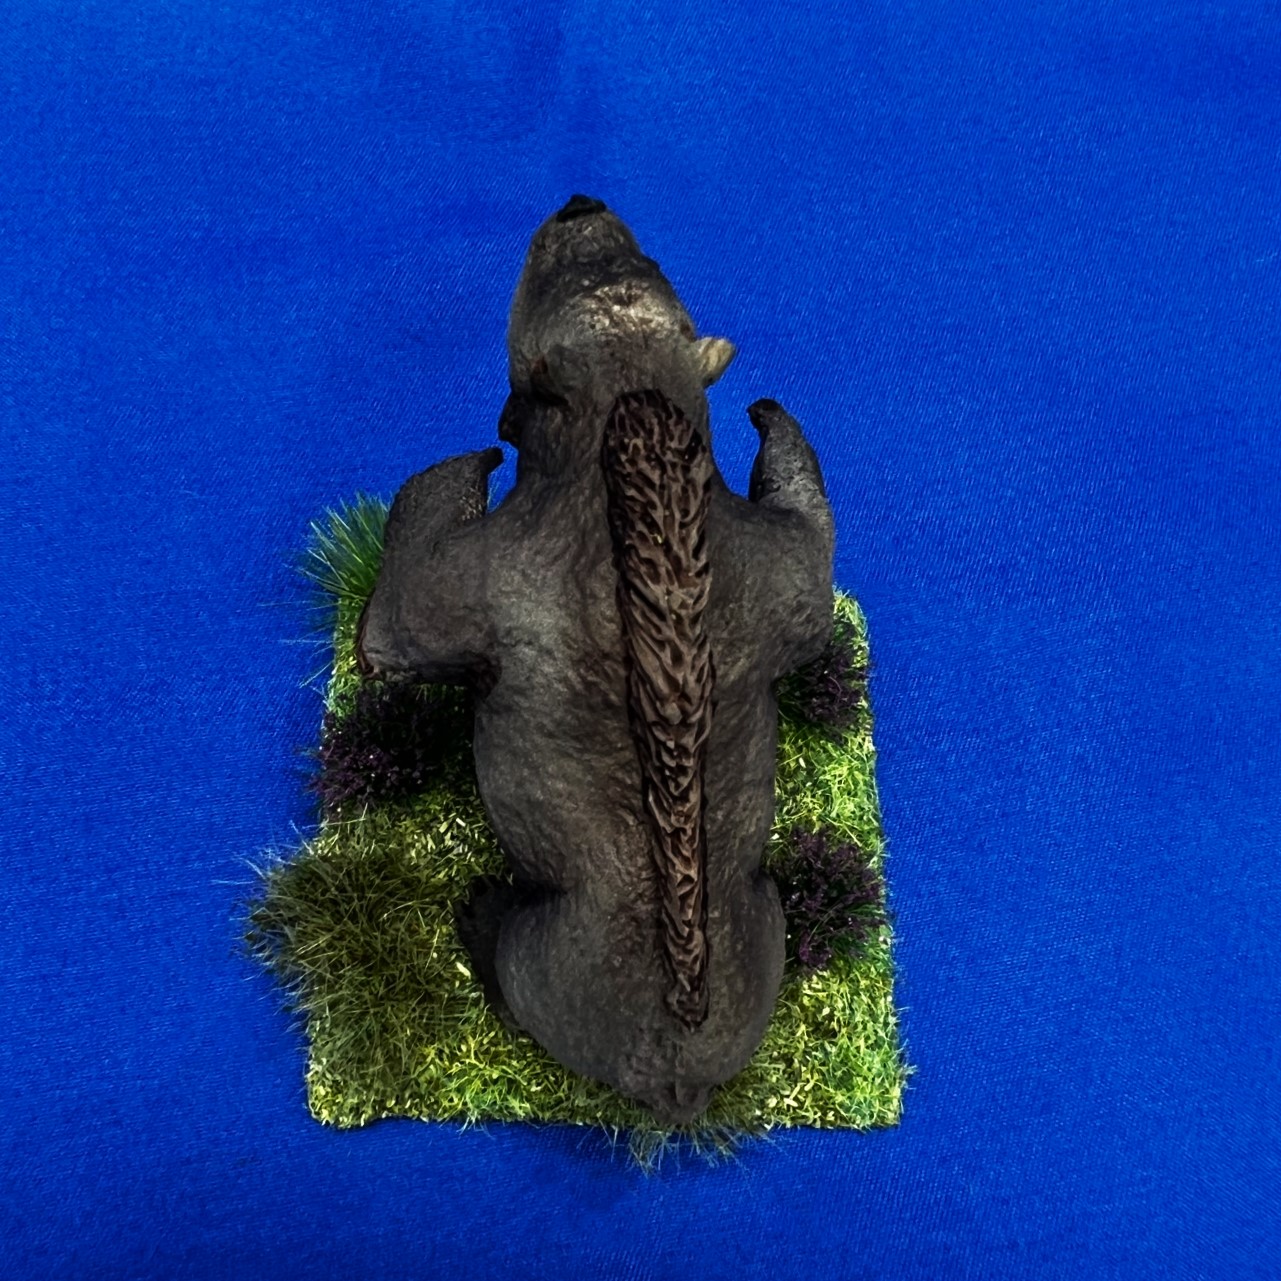
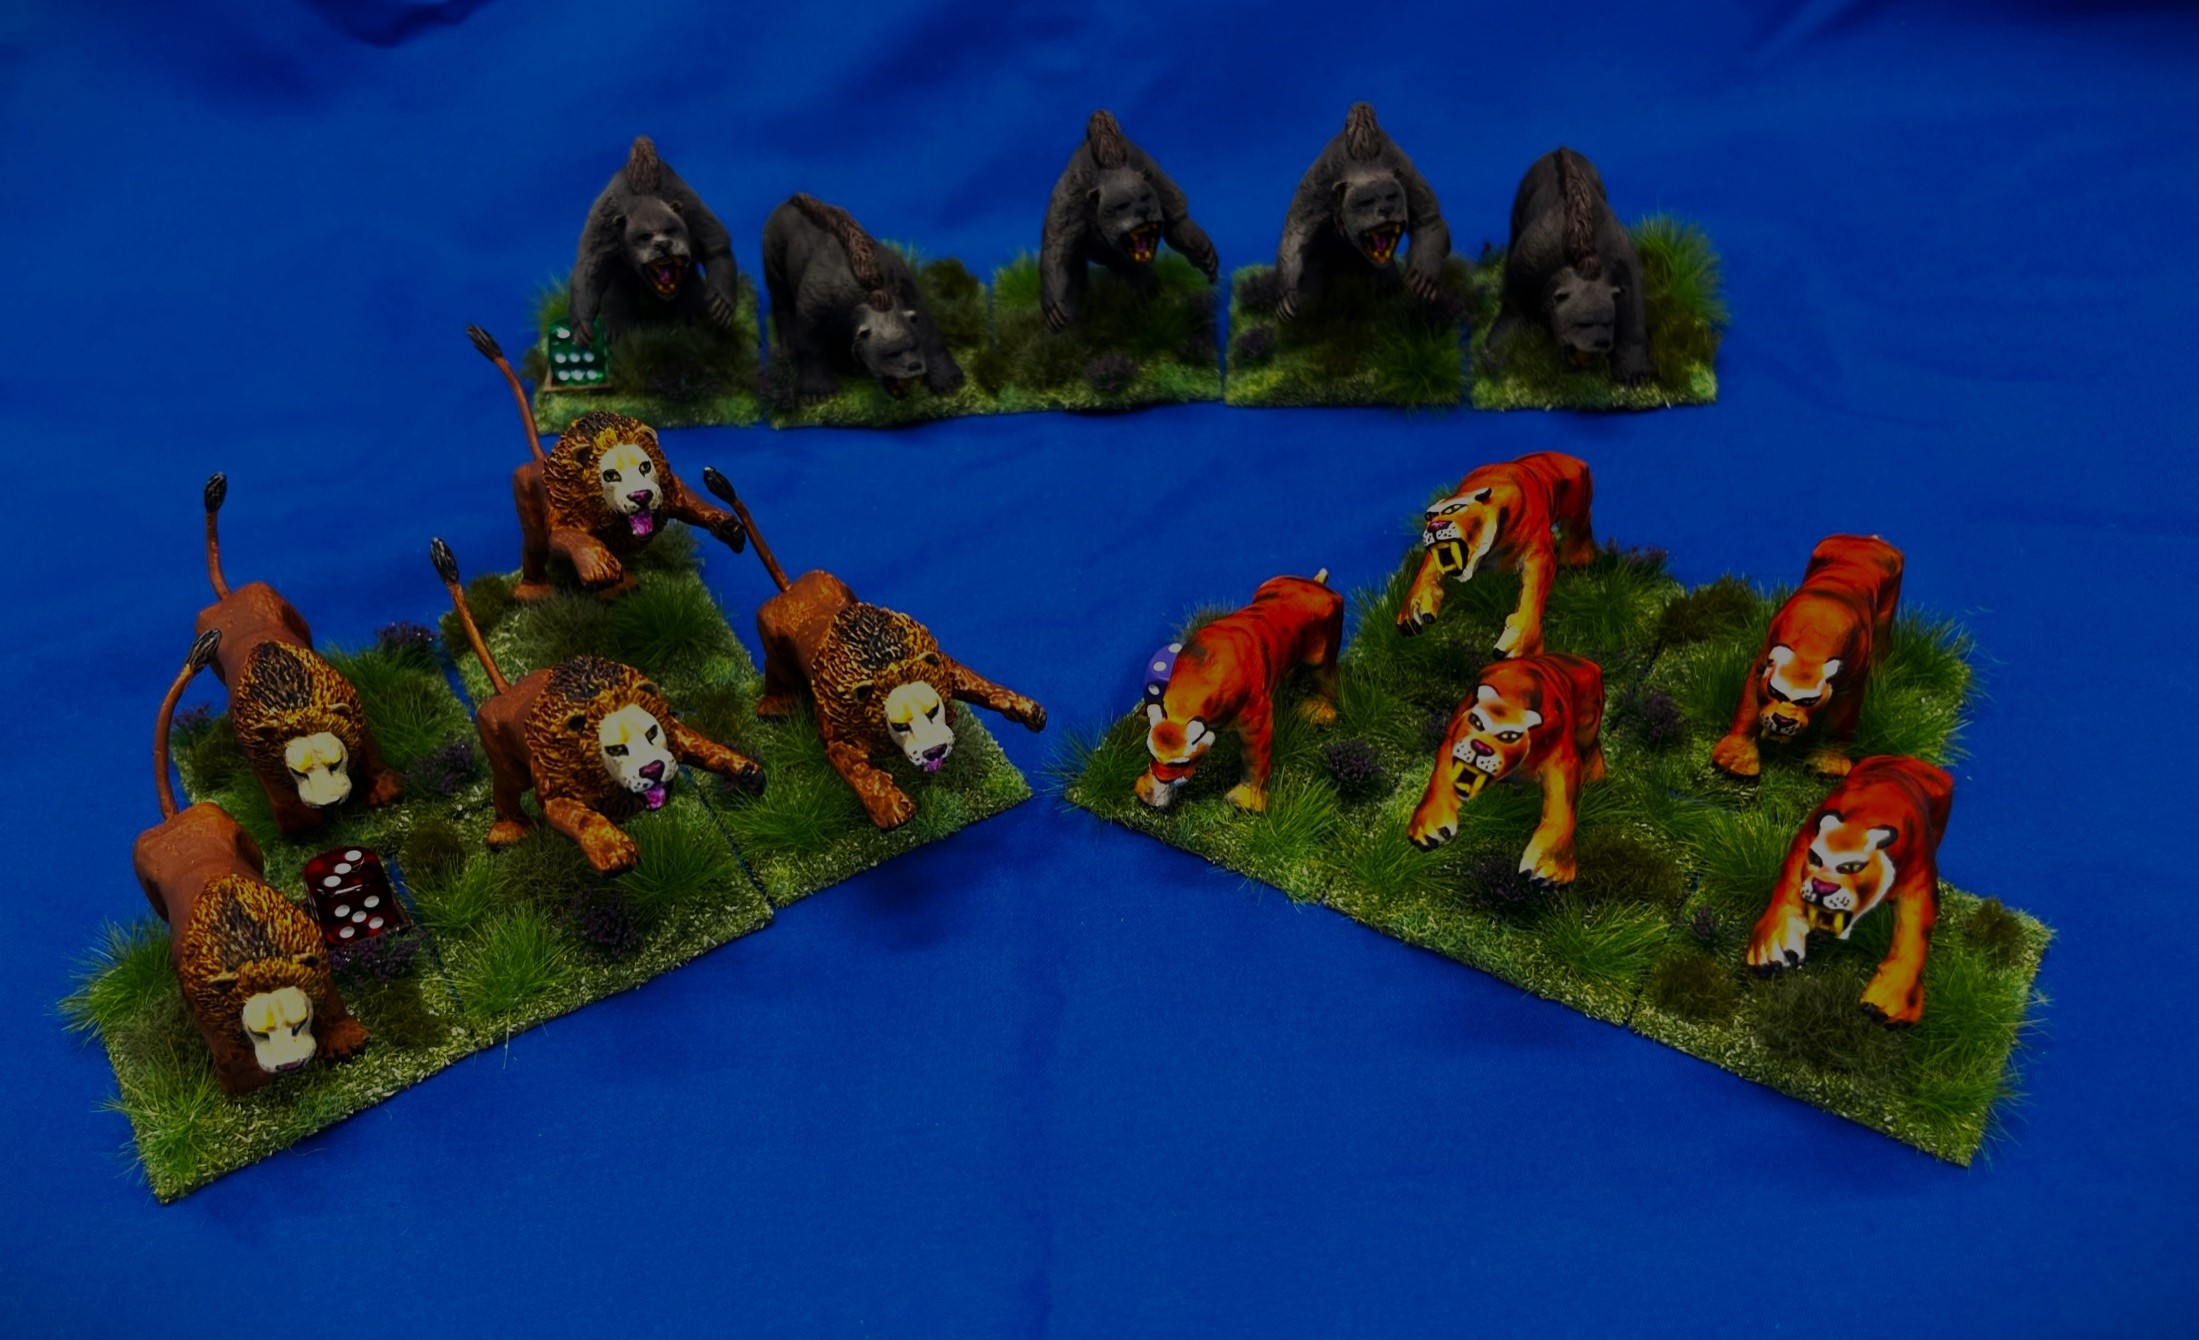
I have not painted any Ozz figures since last month – and while I did run a Wars of Ozz game at the Hobby Bunker, and finished my Frost Ogres for WOOD, it was time to jump back on my Ozz stuff. I wanted to finish off my last Gillikin units – which are not really Gillikins but are aligned to them in the game as allies. These would be the Dire Lions (OZZ-500), Dire Tigers (OZZ-501), and Dire Bears (OZZ-502), all large intelligent beasts that normally fight alongside the Gillikins. They are listed in the “Allies and Mercenaries” section on the website, and in the rules are listed under the Gillikins as well as in the “Allies and Mercenaries section”.

These figures are all large enough to fit 1 figure apiece on a 2″ square base. They come 5 to a unit, are 28mm in scale (for giant beasts that is) and are resin and metal – and most needed some minor assembly and prep. Each grouping of five had two types of poses – one with the animals on their rear haunches in an attack position and one with three or four paws on the ground. After cleaning them, I used a blow dryer to heat the legs of the lunging ones and bend them so as to make them even taller. I also assembled those with metal heads in various and slightly different positions so they would be facing forward somewhat askew from each other.

A big difference with what I did with these figures versus my normal painting process was that I resolved to use my three airbrushes as much as possible. For priming and varnishing I used my Iwata Eclipse HP-CS with a 0.5mm needle. For large areas, I used my Iwata Neo with a 0.35mm needle. And for detail, I used my Iwata Custom Micron CM-B with a tiny 0.18mm needle. At the end of this post, I’ll share all the different paints, and other supplies that I used. I also did some detail work with regular brushes. My goal here was to airbrush as much of the figures as possible to achieve fur blending and a different level of detail.

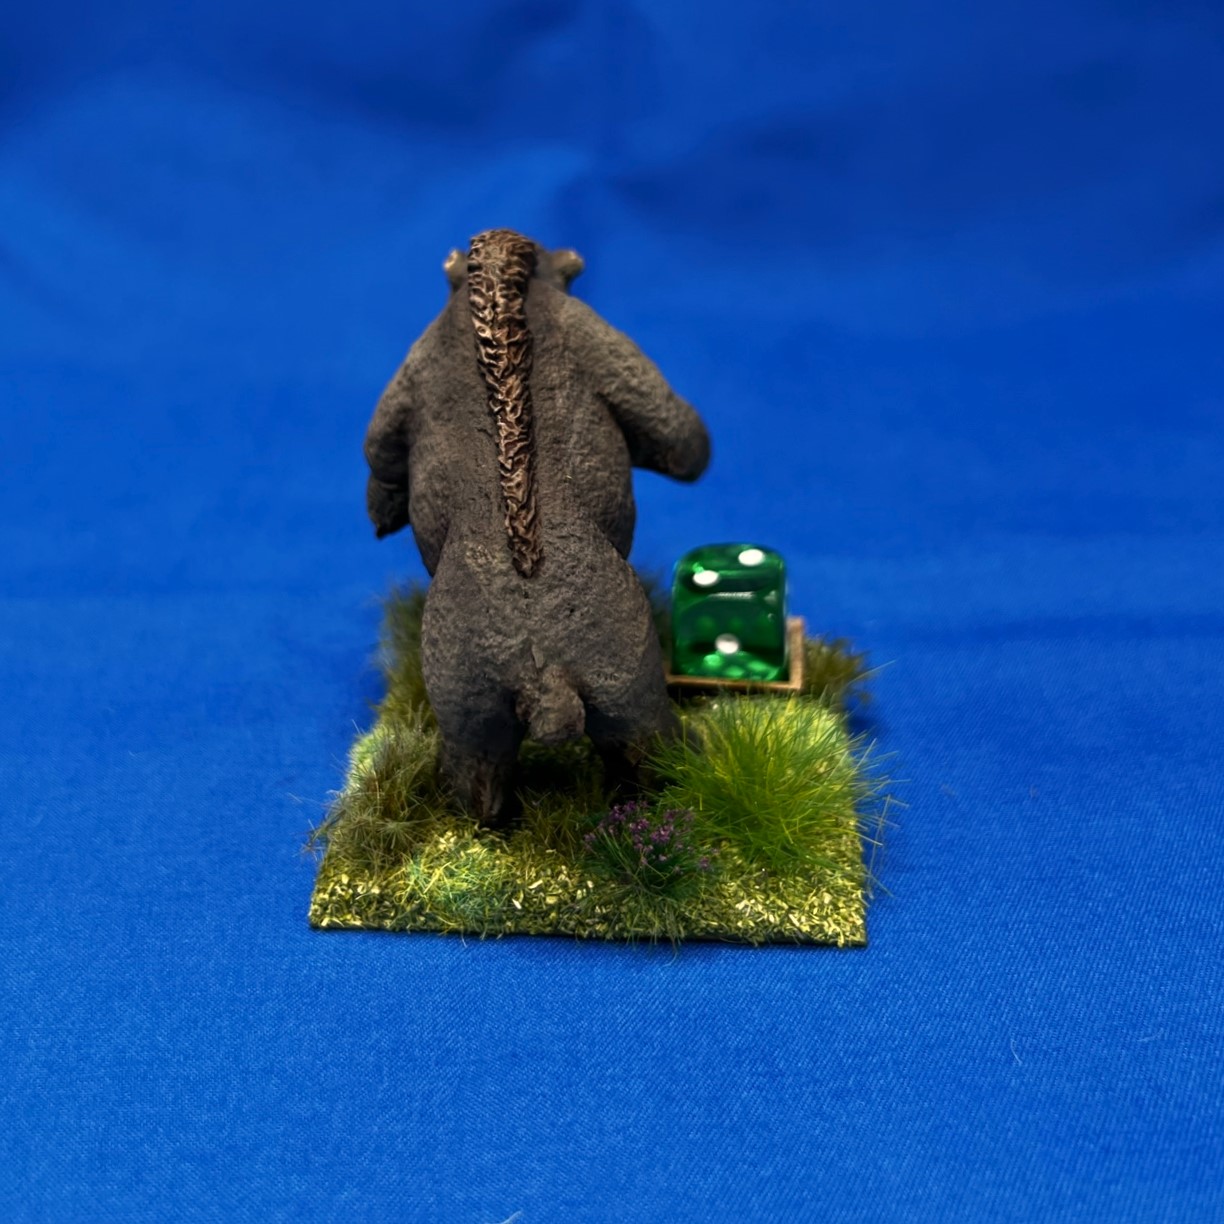
As with all Ozz infantry units, they are based on 2″ square bases – so five bases for each regiment. There is no regimental commander for any of the units, but I did add a Pendraken dice frame to one base of each unit.

As one would expect, in the game,they are good melee troops across the board, with Melee values of 6/10, 6/10, 8/10, Resolve values of 5/10, 5/10, and 6/10, and Elan values of 6/10, 7/10, and 6/10 for the Dire Lions, Dire Tigers, and Dire Bears respectively. The Dire Lions are cheapest at 4 points, with the Dire Tigers and Dire Bears costing 5. All can move sideways or backwards with no movement costs, and all can pass through woods without any penalty.

I started these on September 4th and completed them on the 26th. I’ll share some WIP shots and then some eye candy pics below.

WIP Shots…

My first step was to have a decent painting plan – so I downloaded some photos of the animals as guides. Of course, the models differed slightly as befits Ozz, but a good start nonetheless. I primed the models all in white.

The figures primed in white and surrounded by the photos that I used as painting guides.

I initially decided to go with the painting order of “Lions, and Tigers, and Bears” for some reason…but I did apply a base coat to the bears before the tigers. When I painted the tigers, I kept hearing “Eye of the Tiger” in my head…

Early airbrush work on the lions and bears.

As for order of work though, I primarily stayed with the order with the lions first and the bears last with the tigers in the middle.

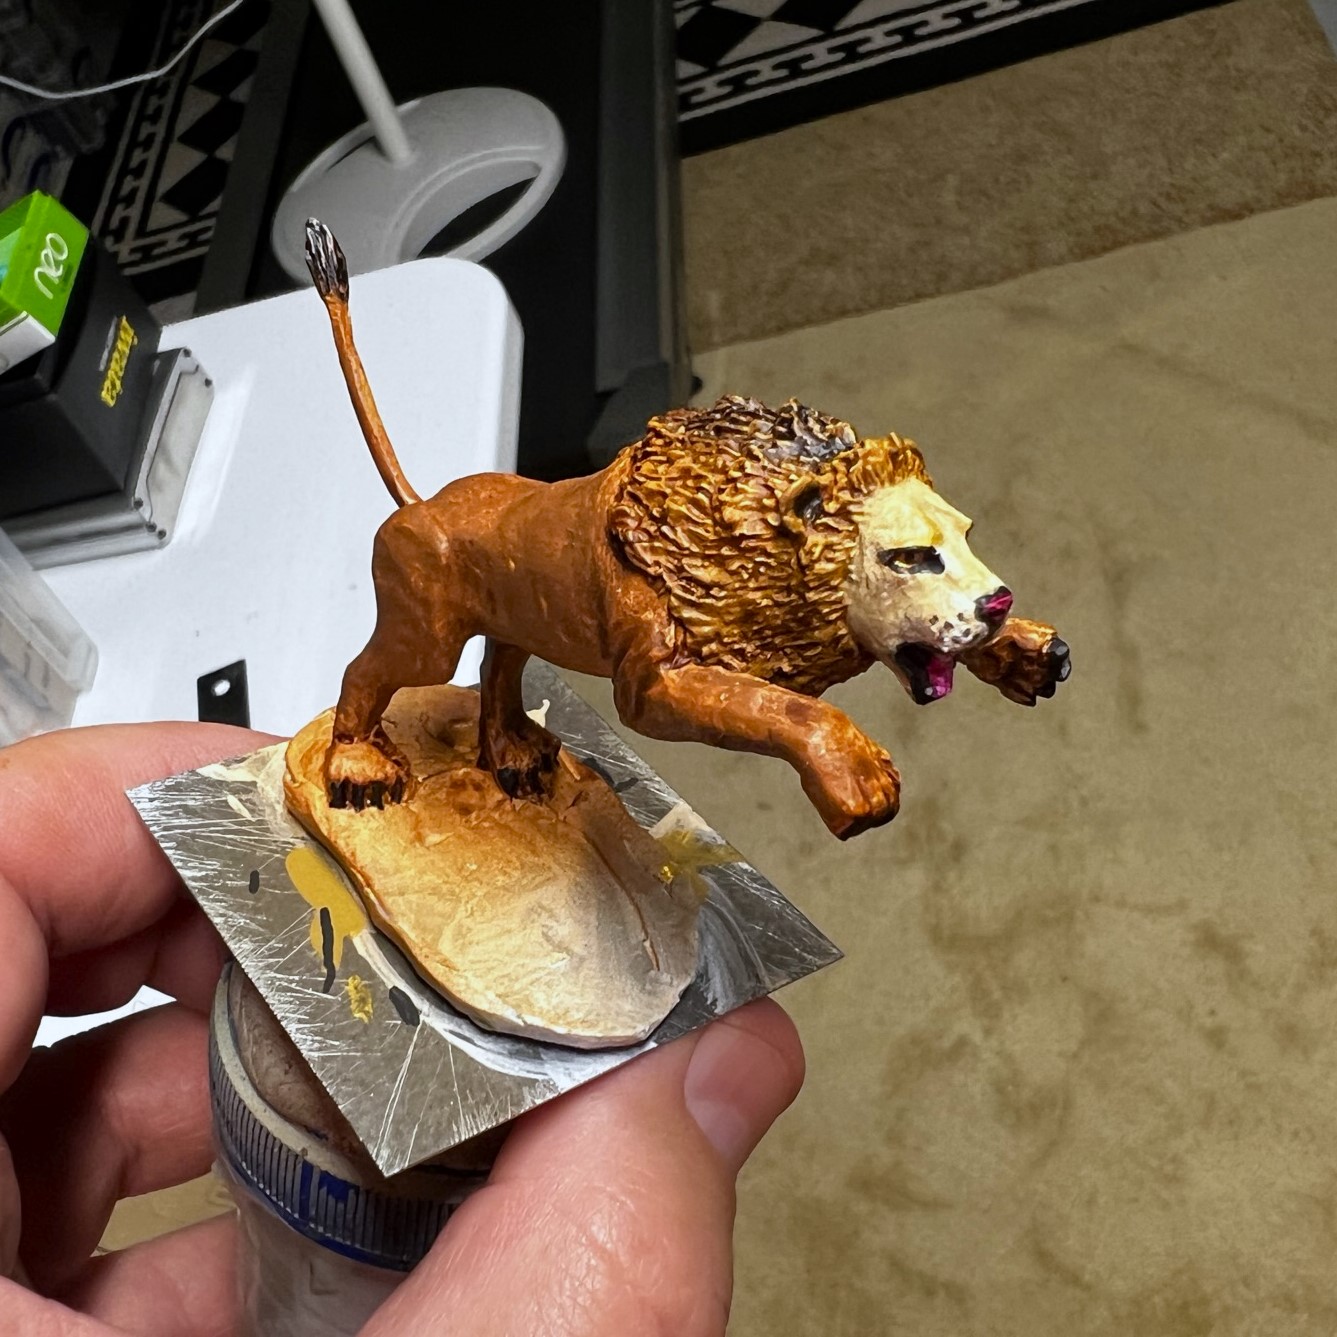
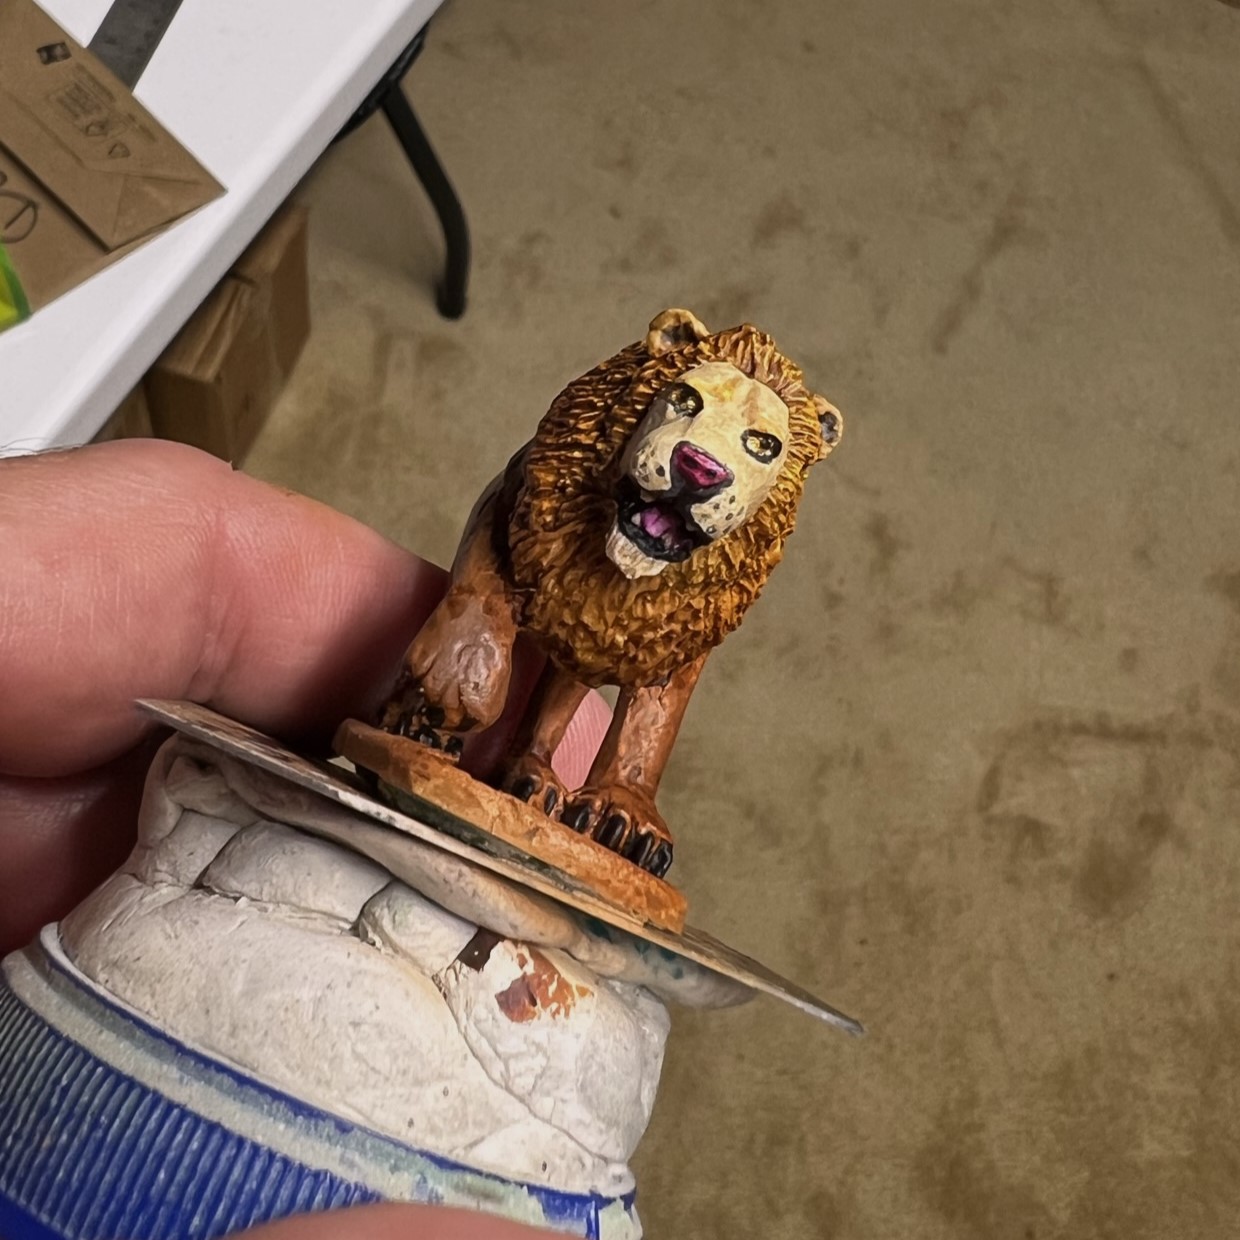
The Dire Lions mostly painted – less some highlights and washes.

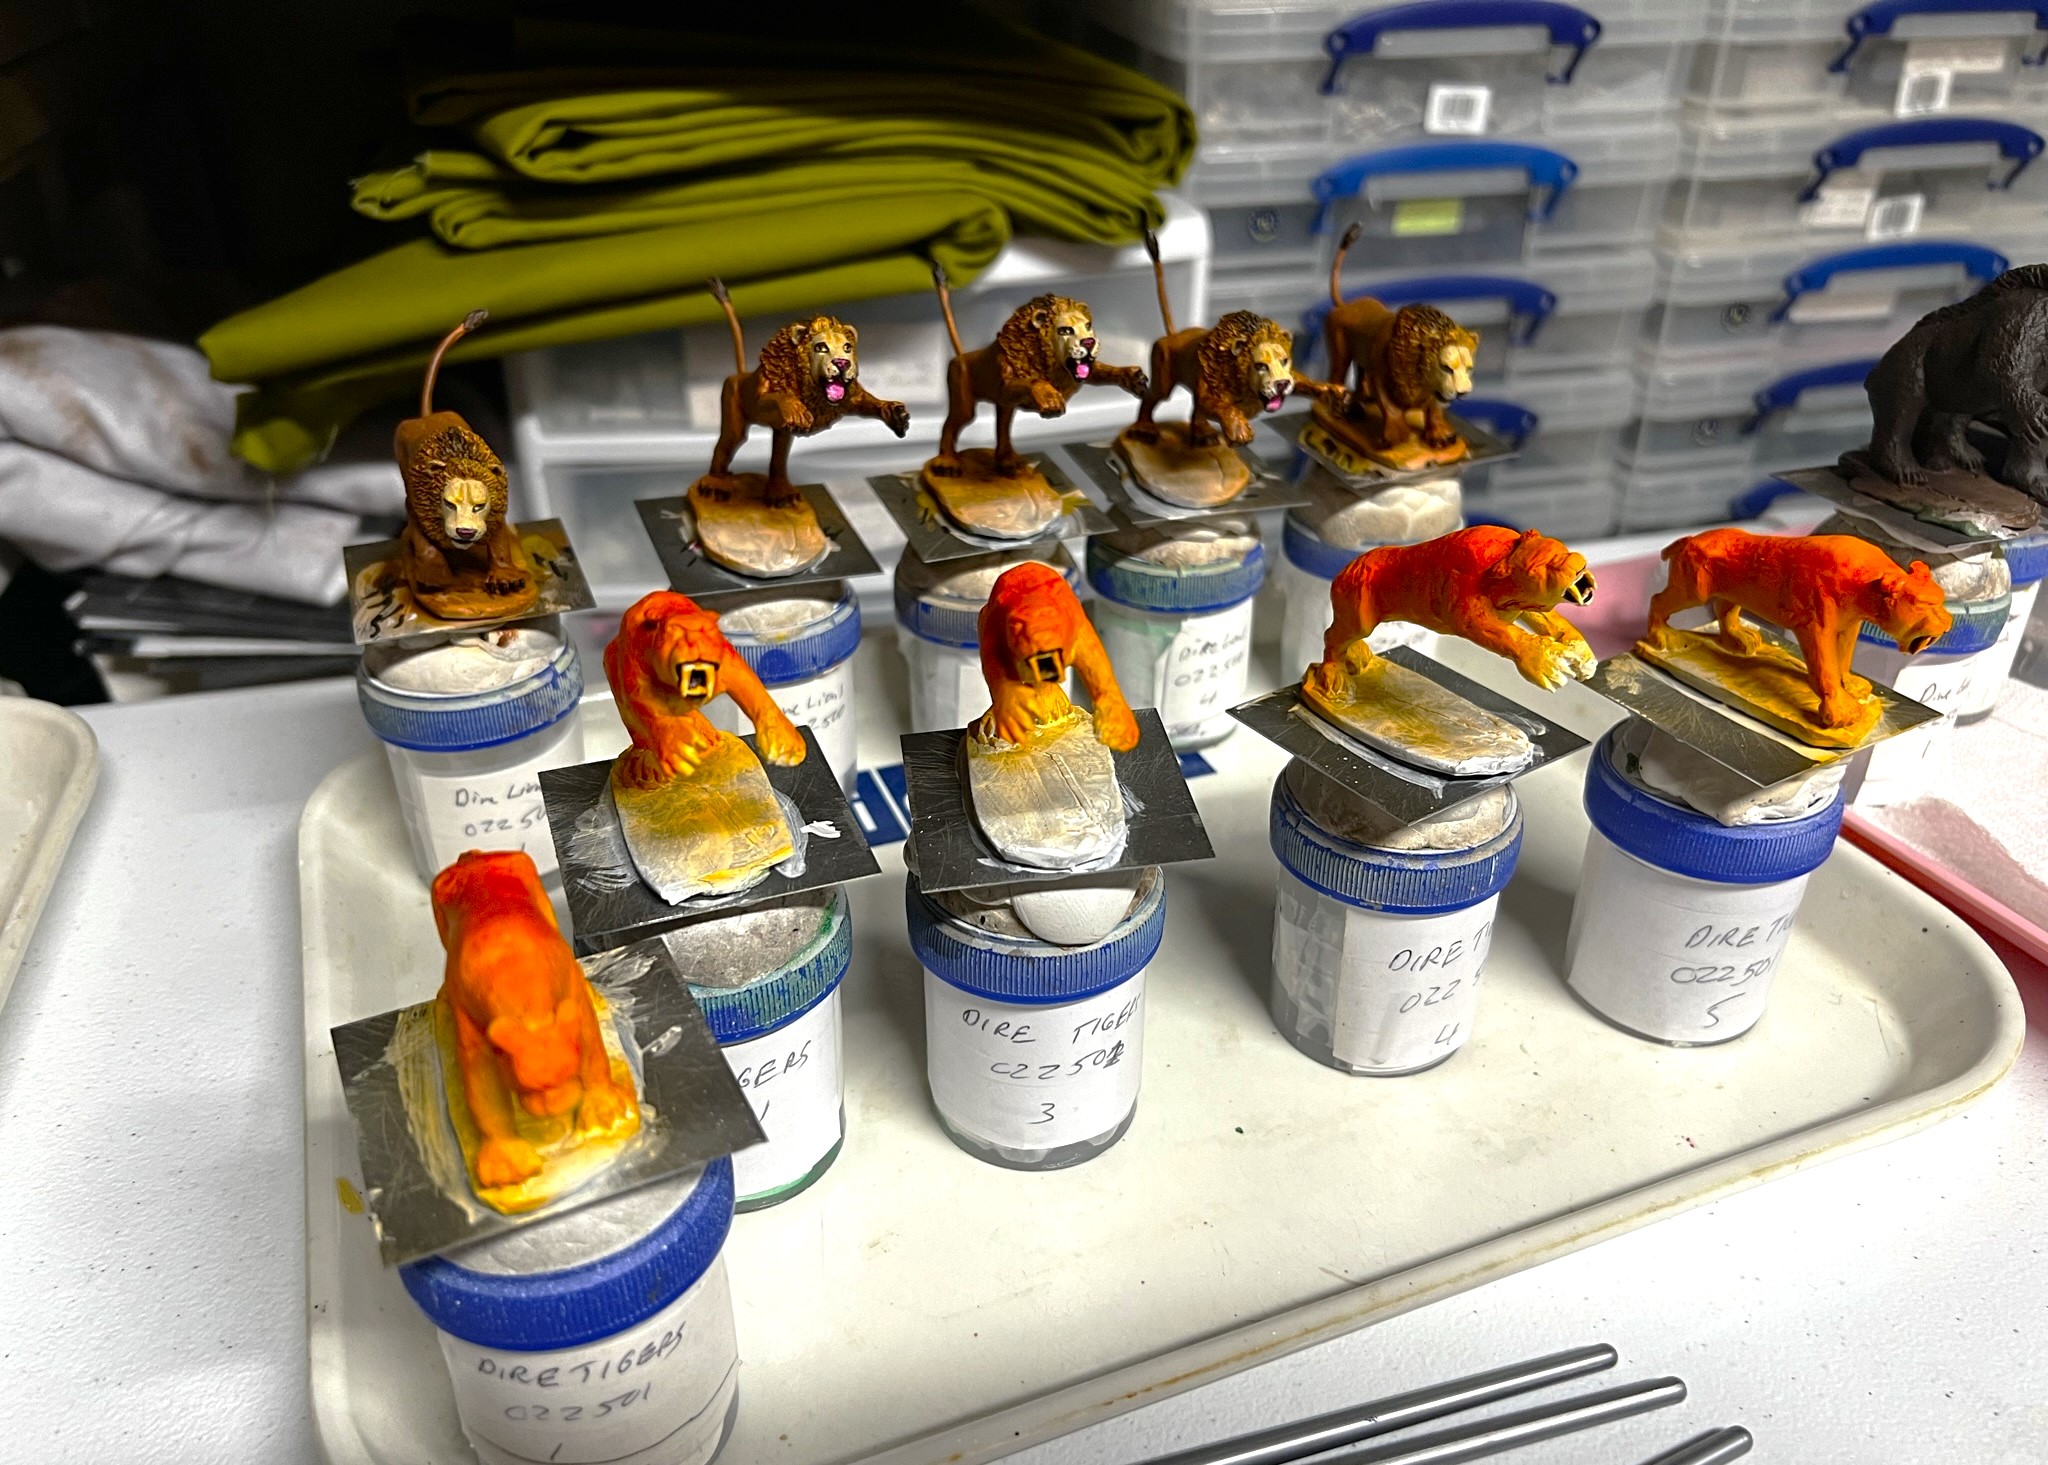
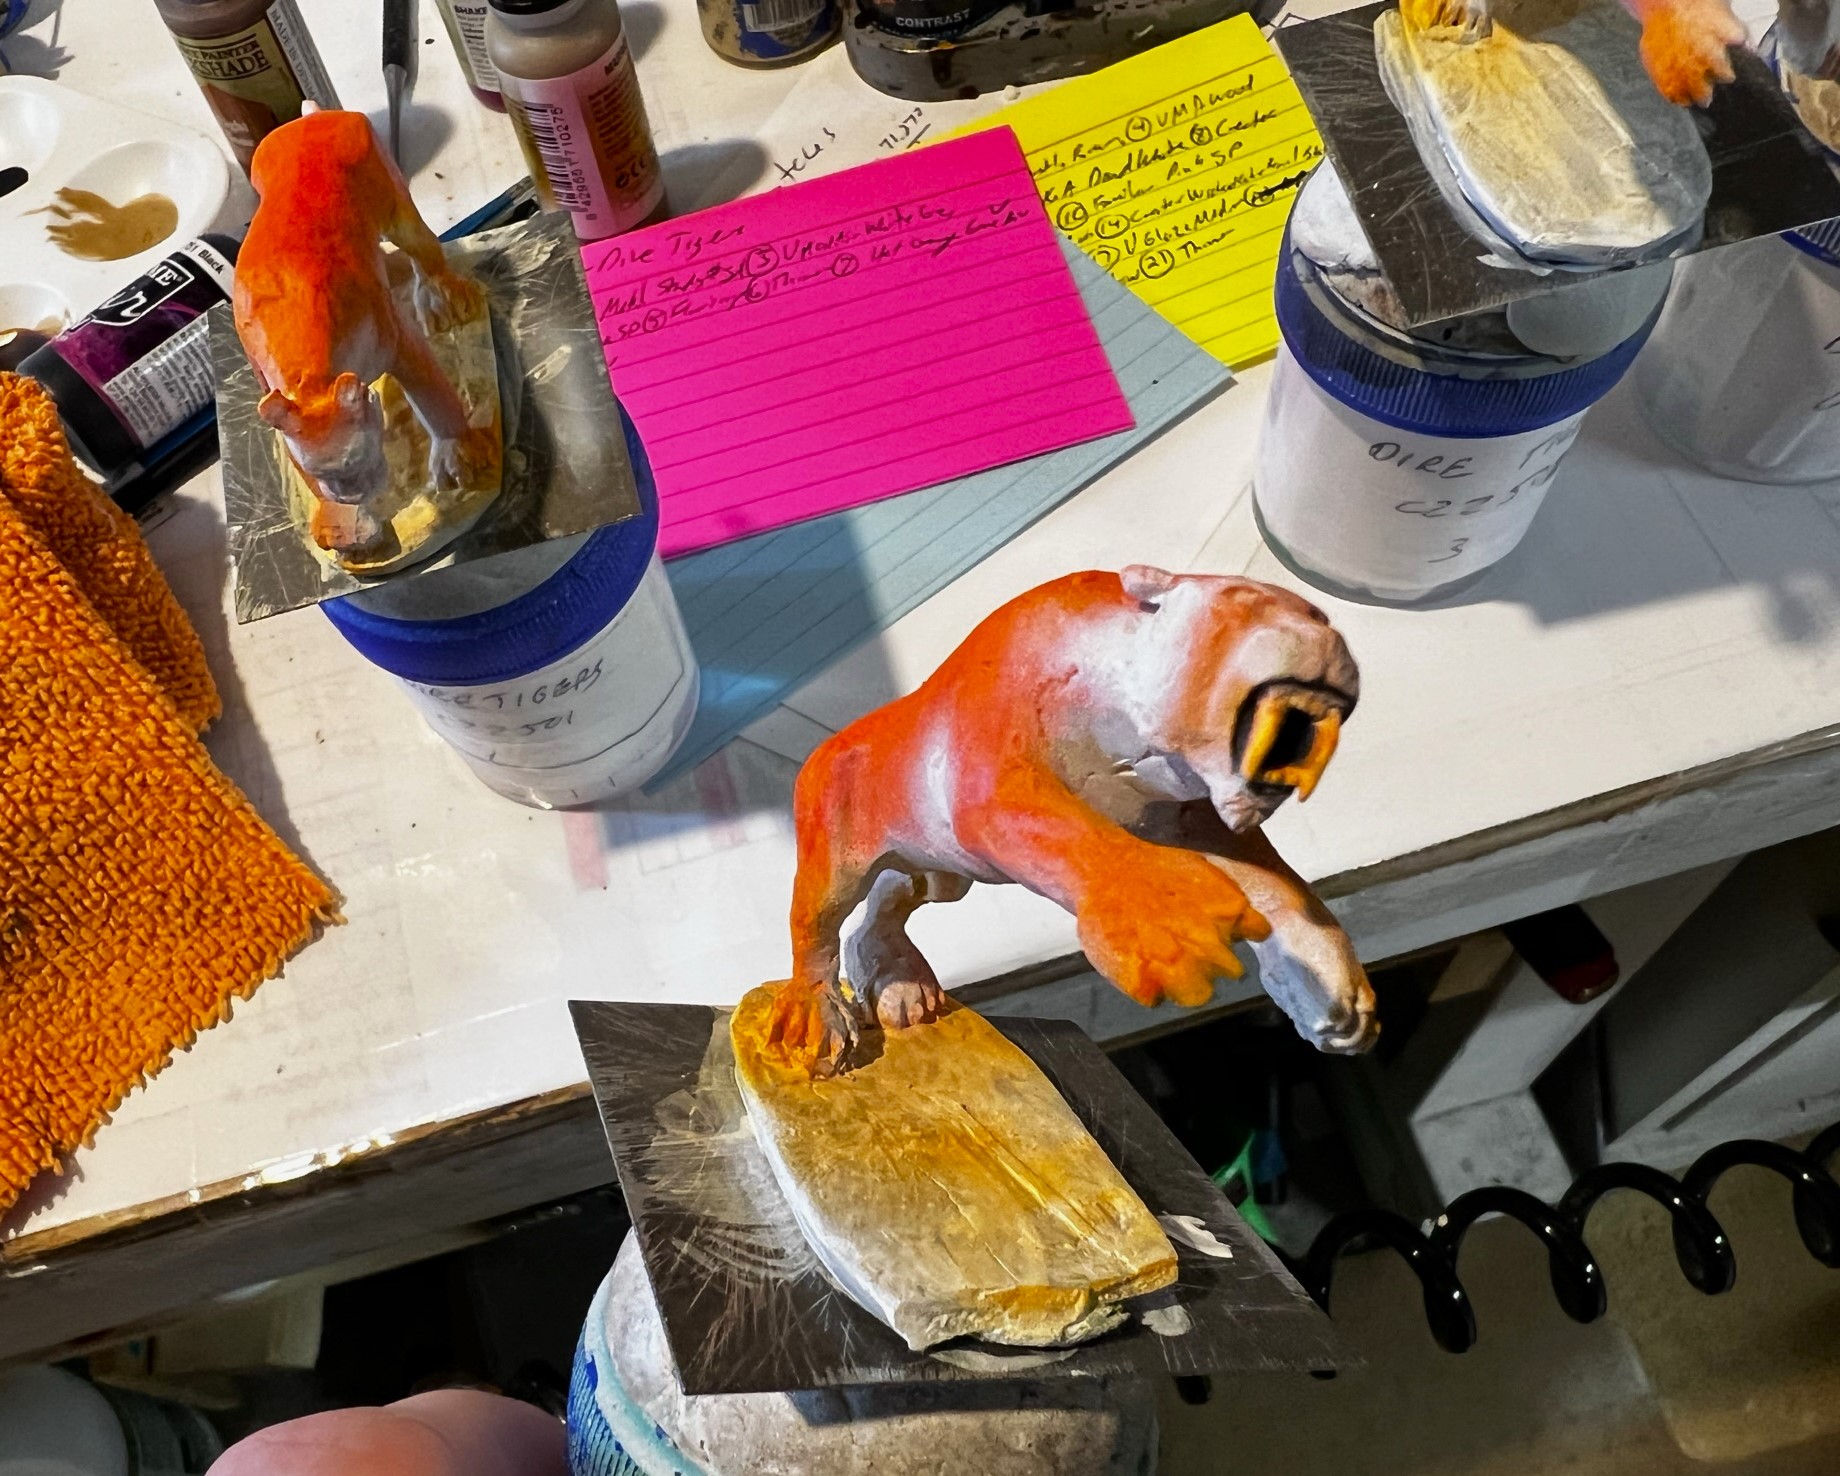
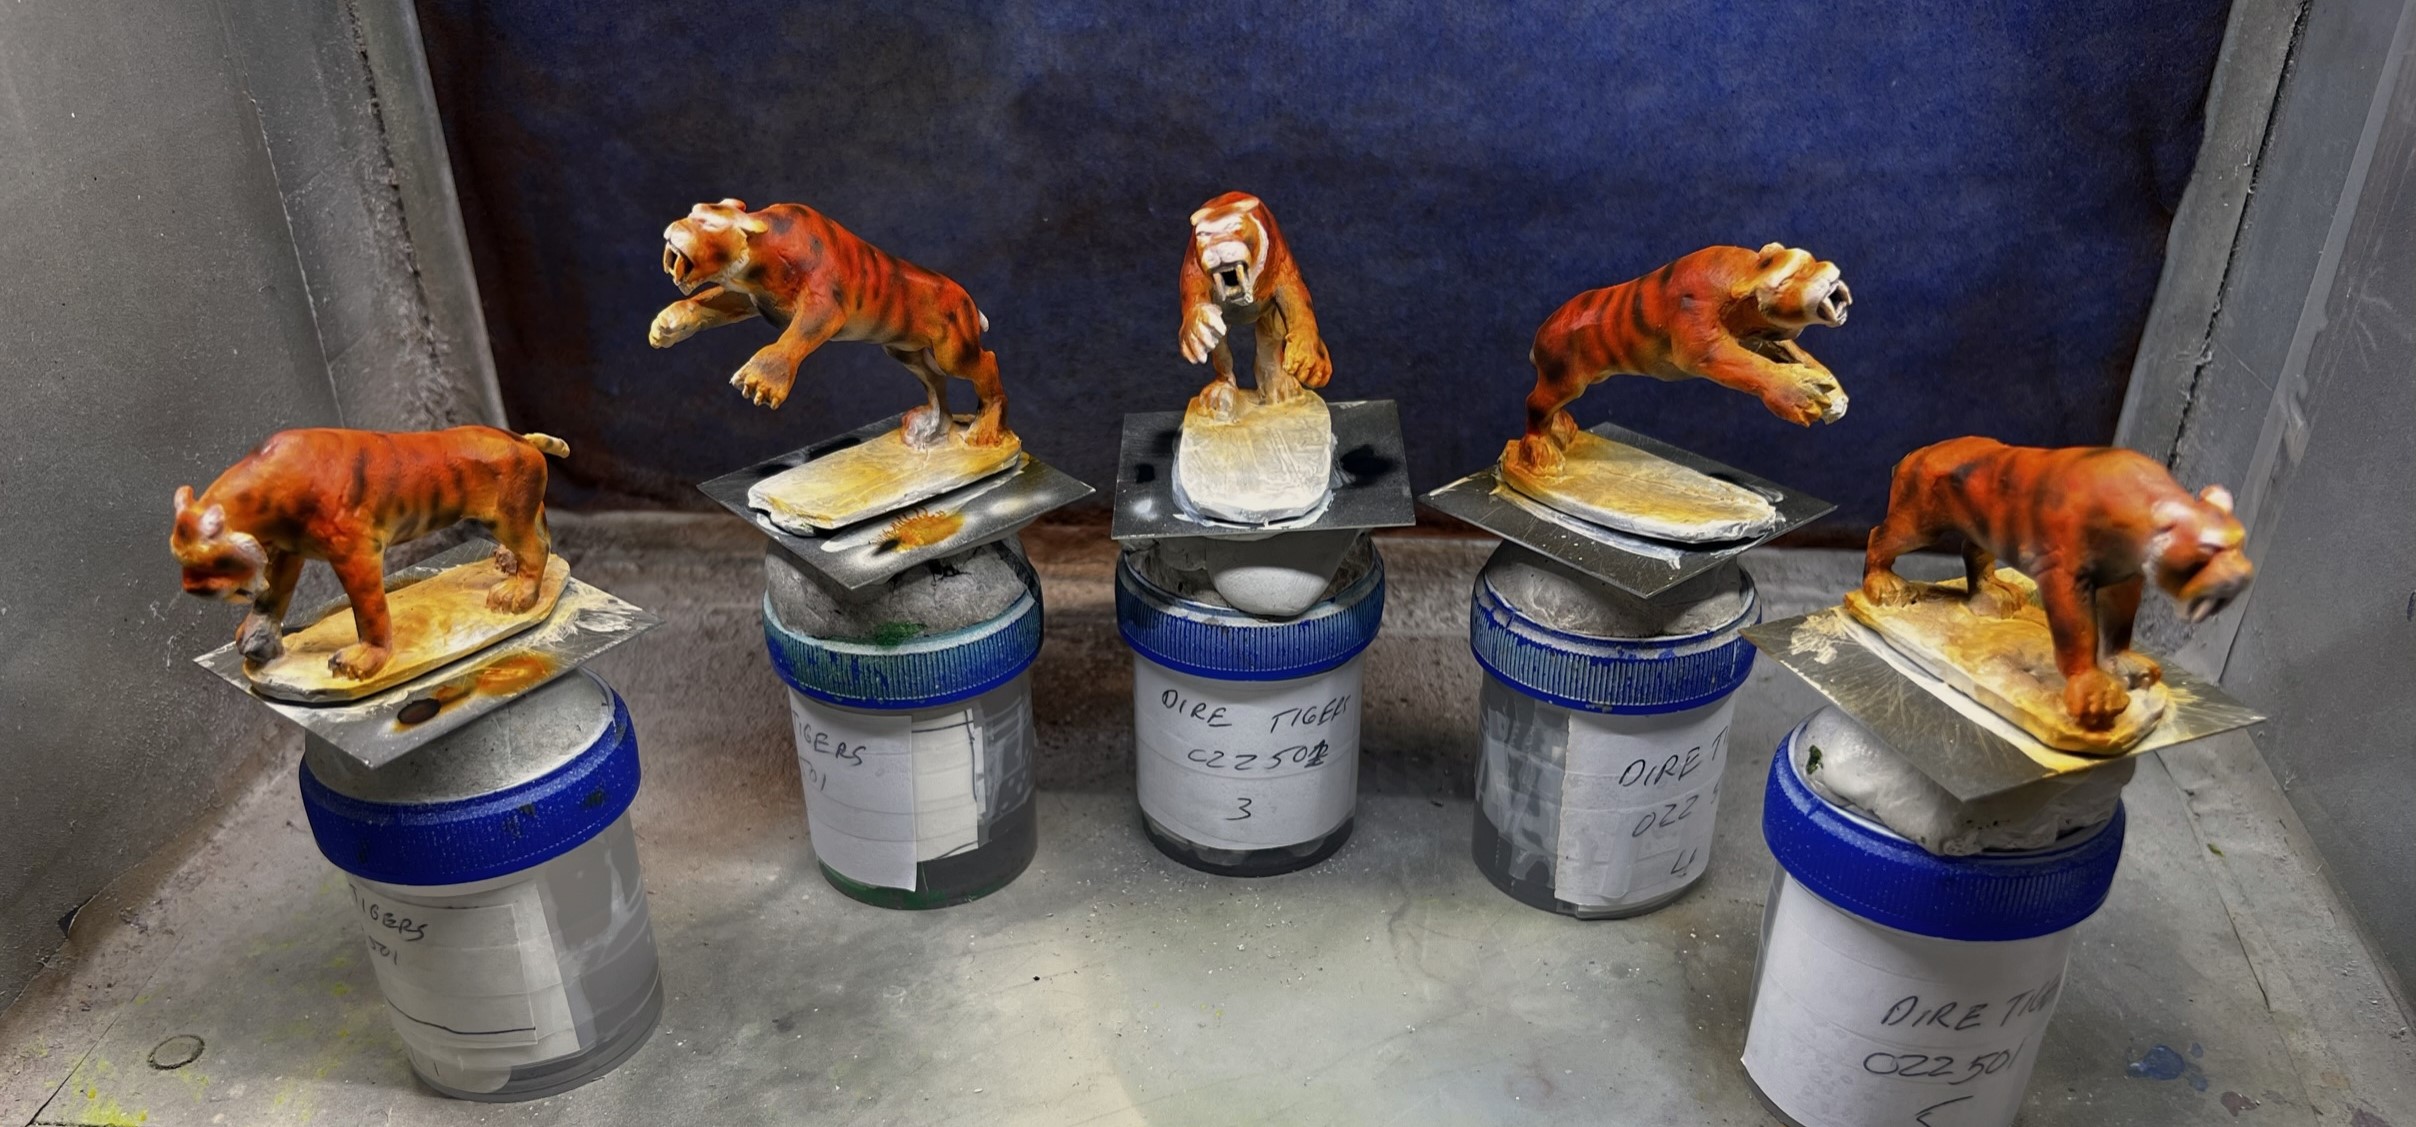
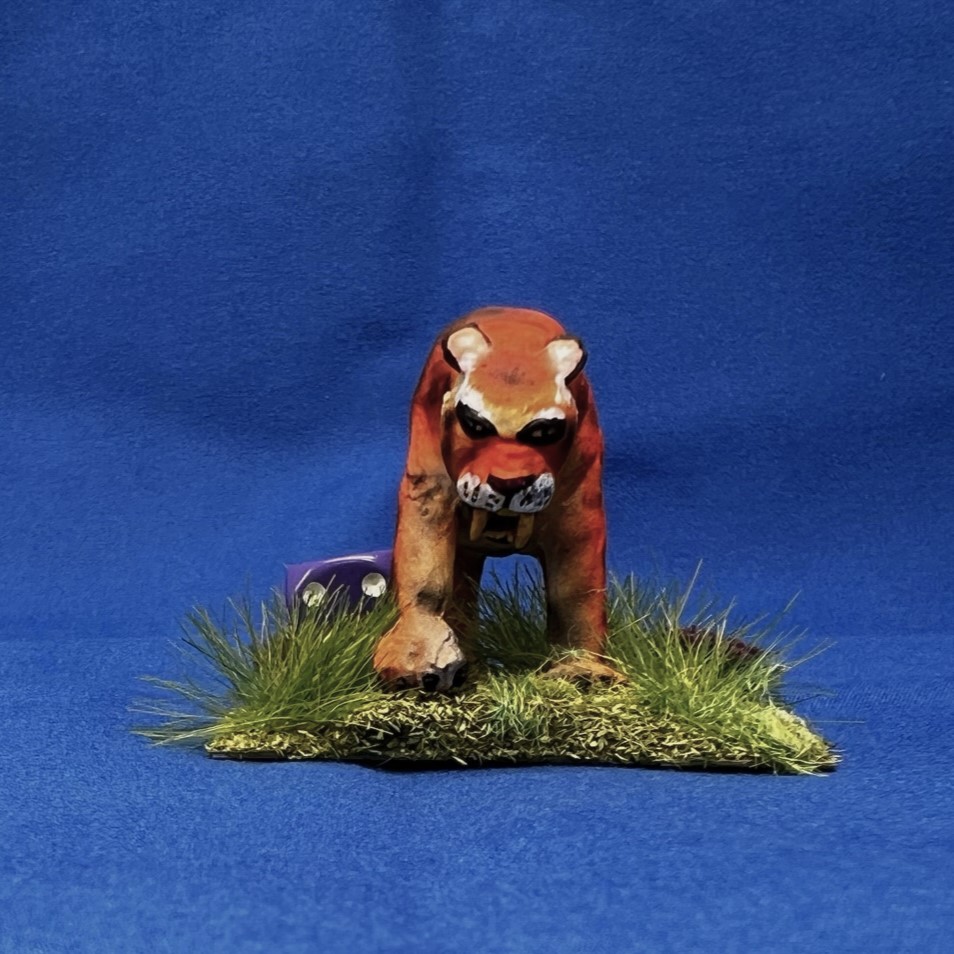
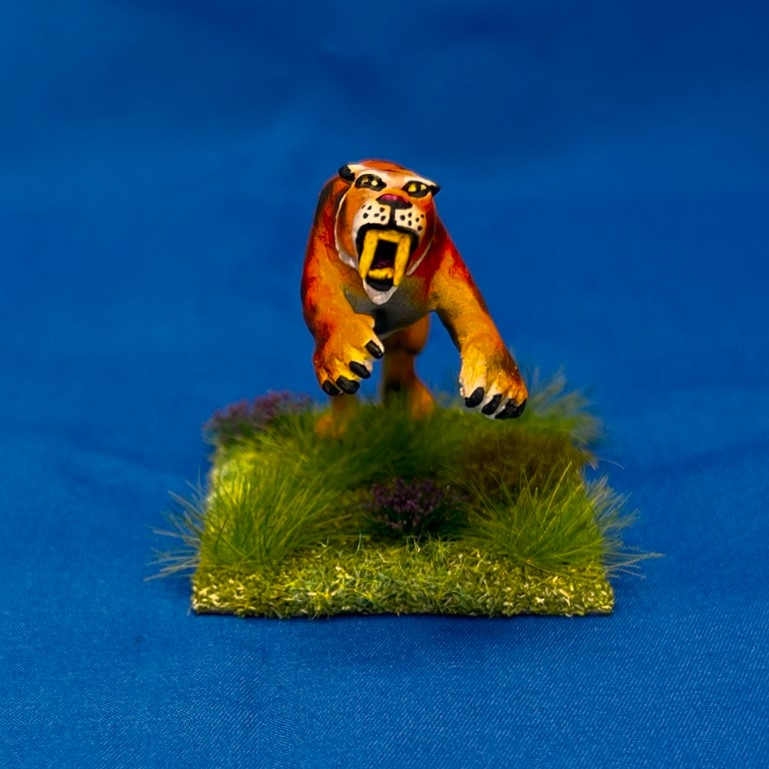
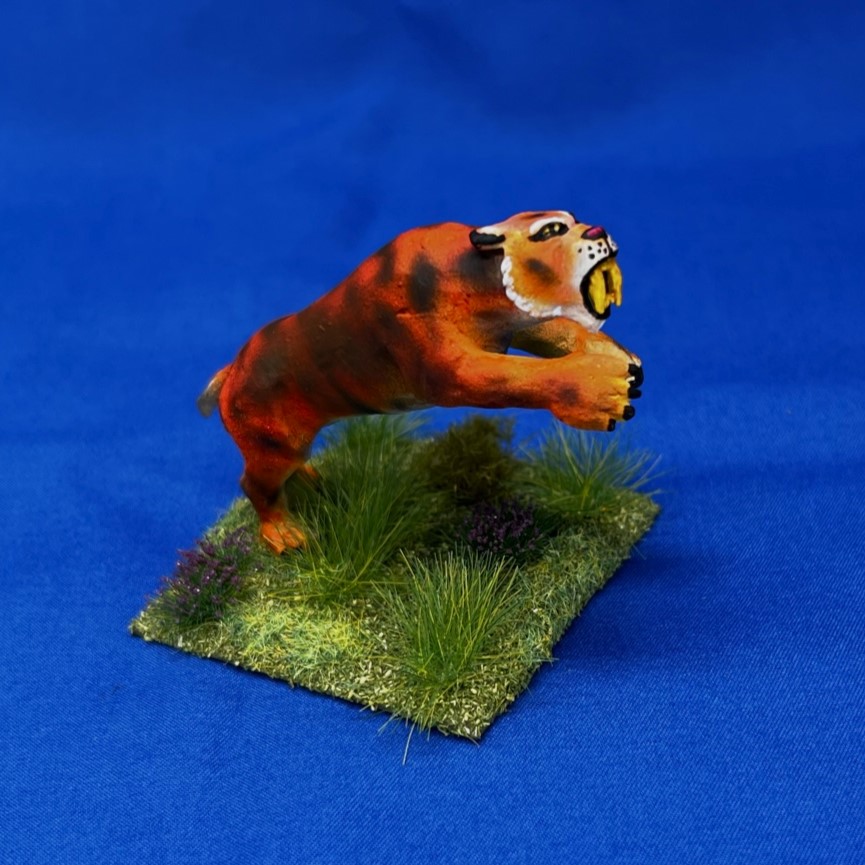
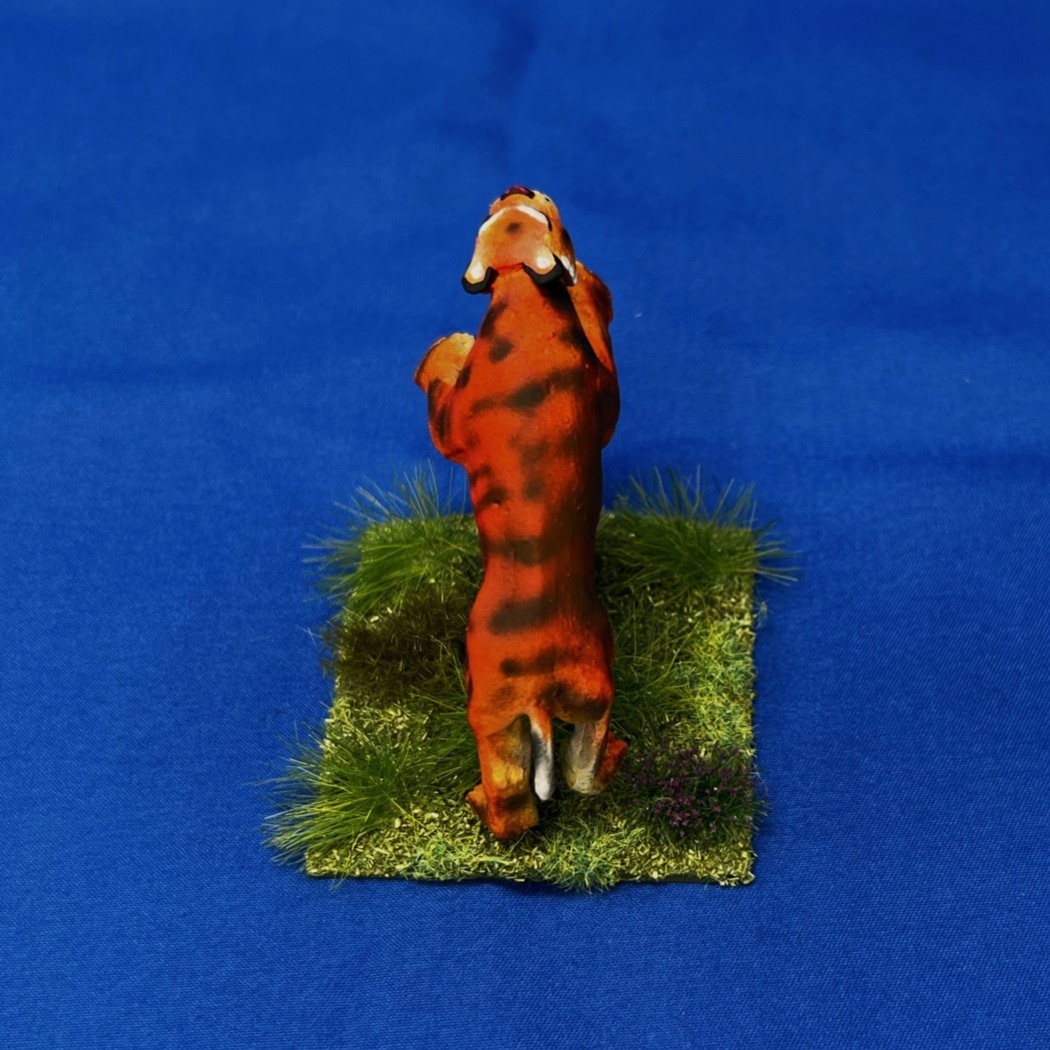
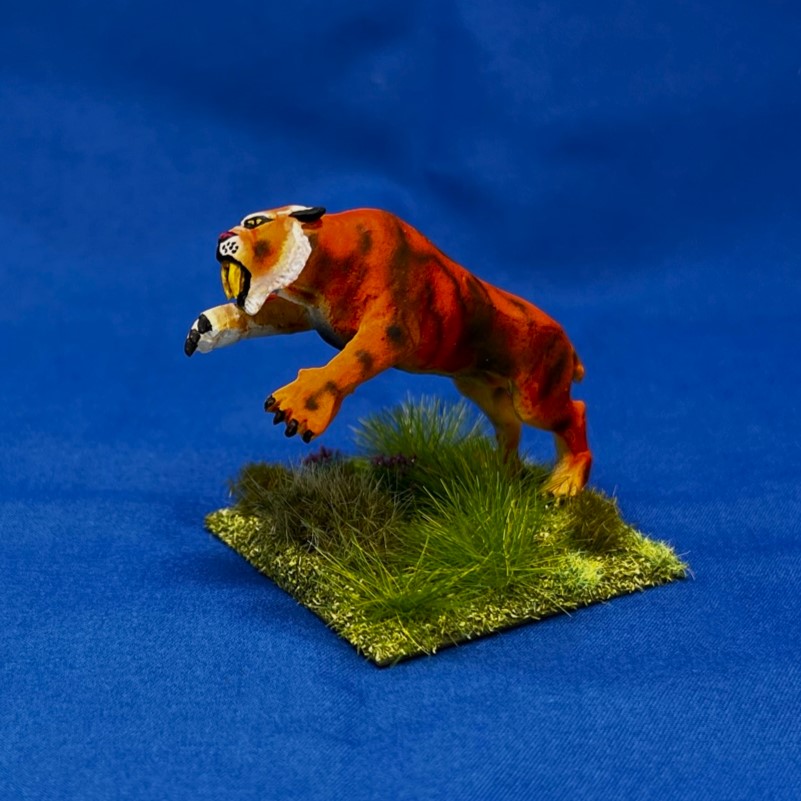
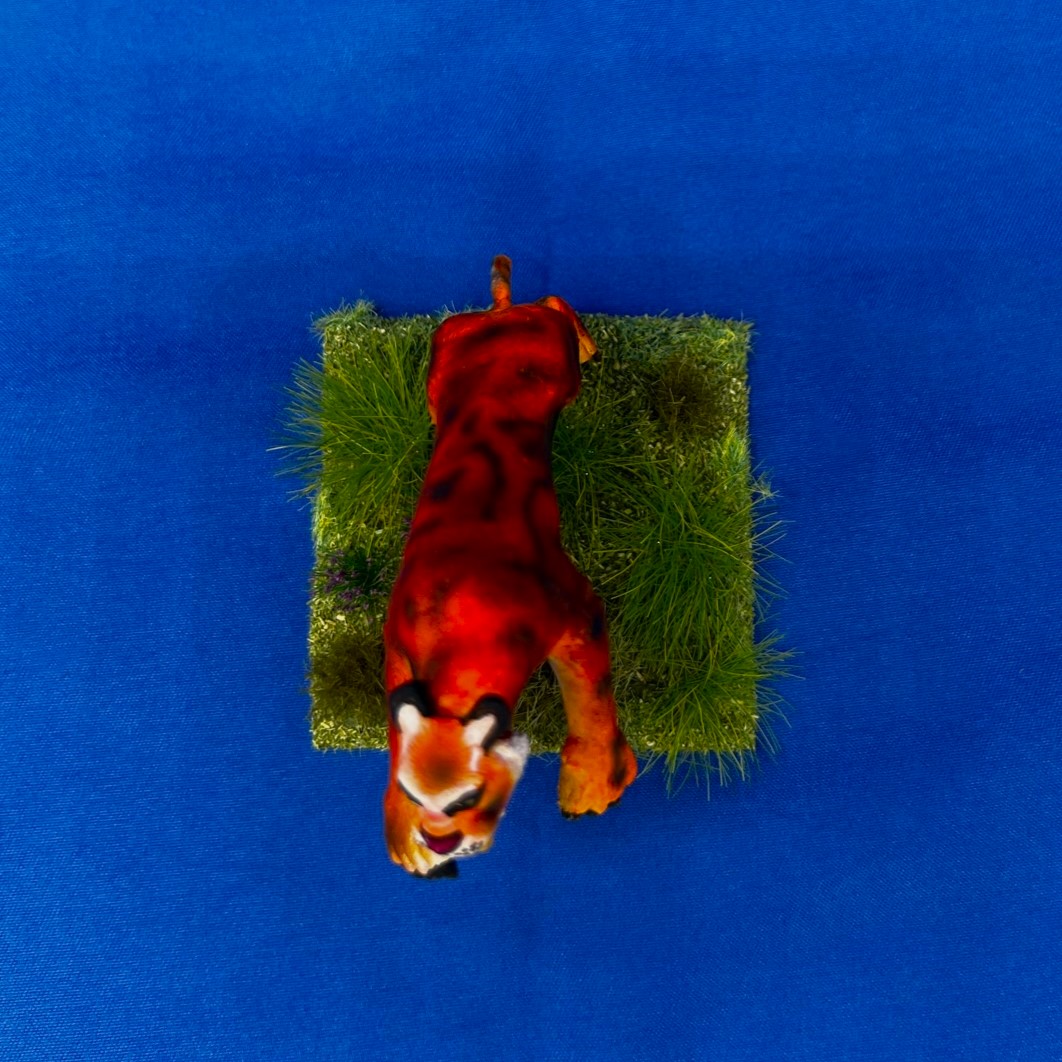
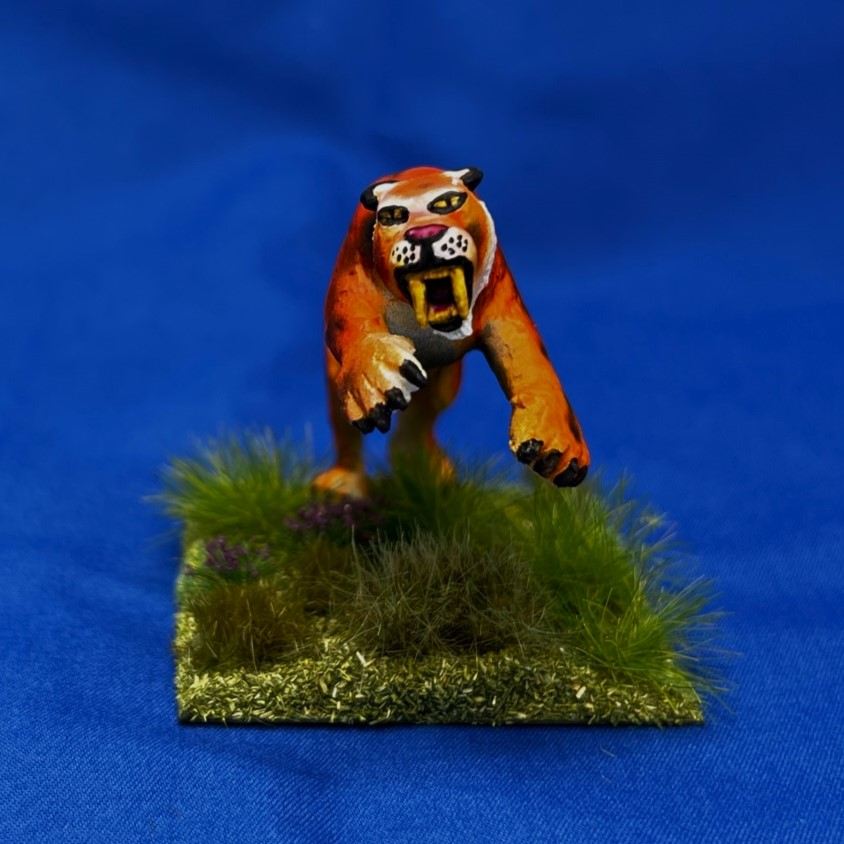
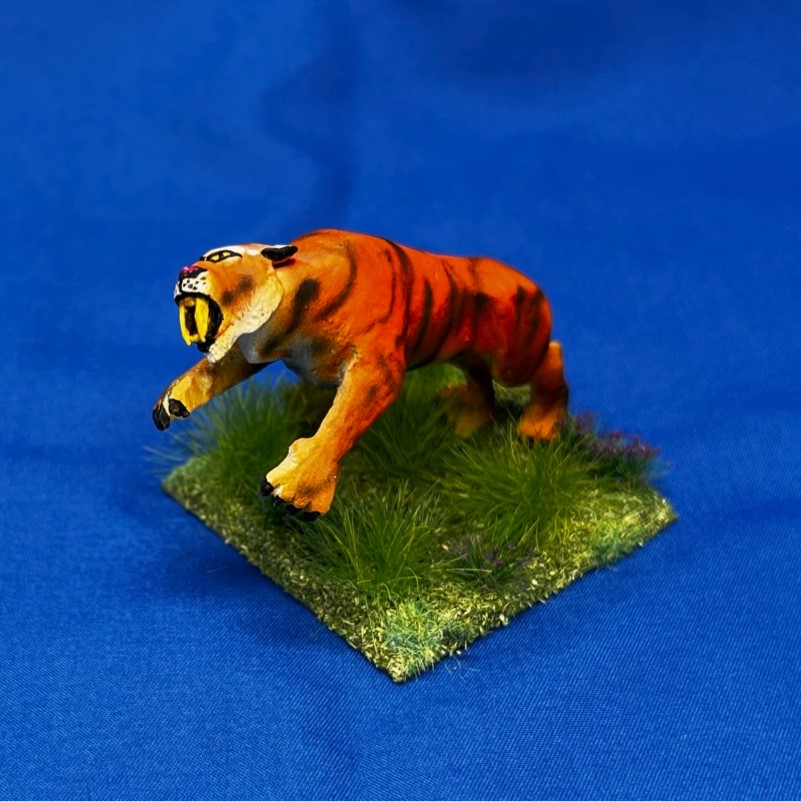
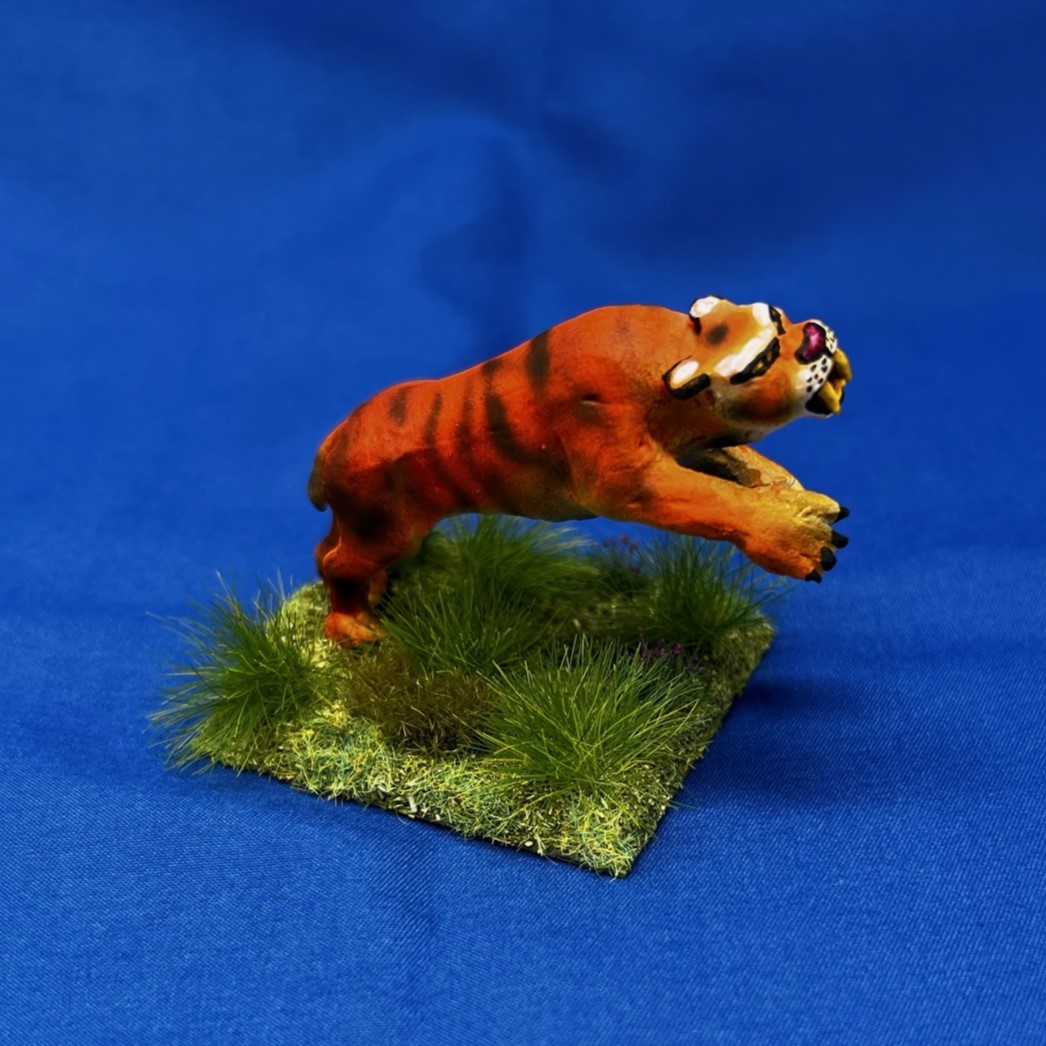
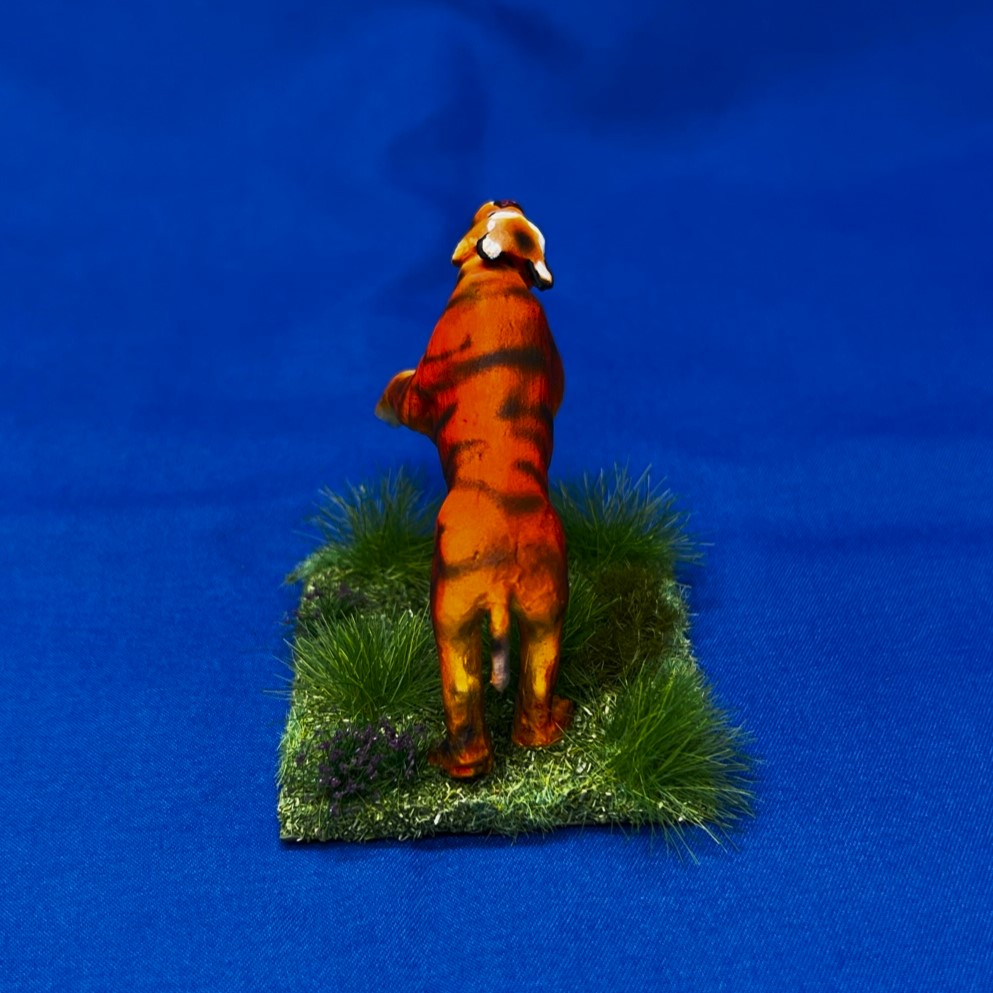
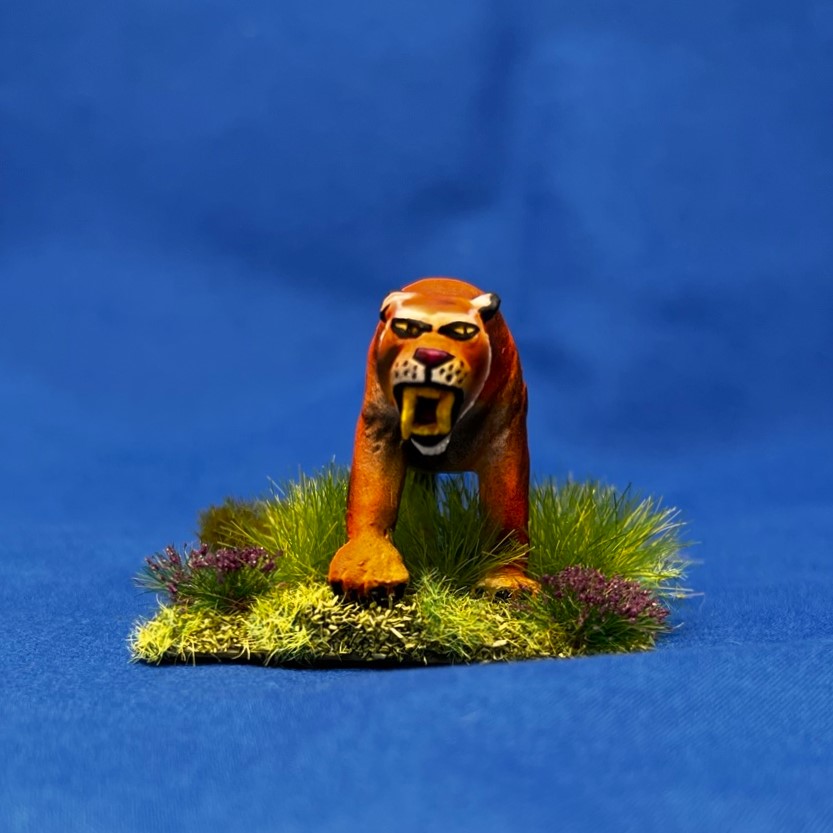
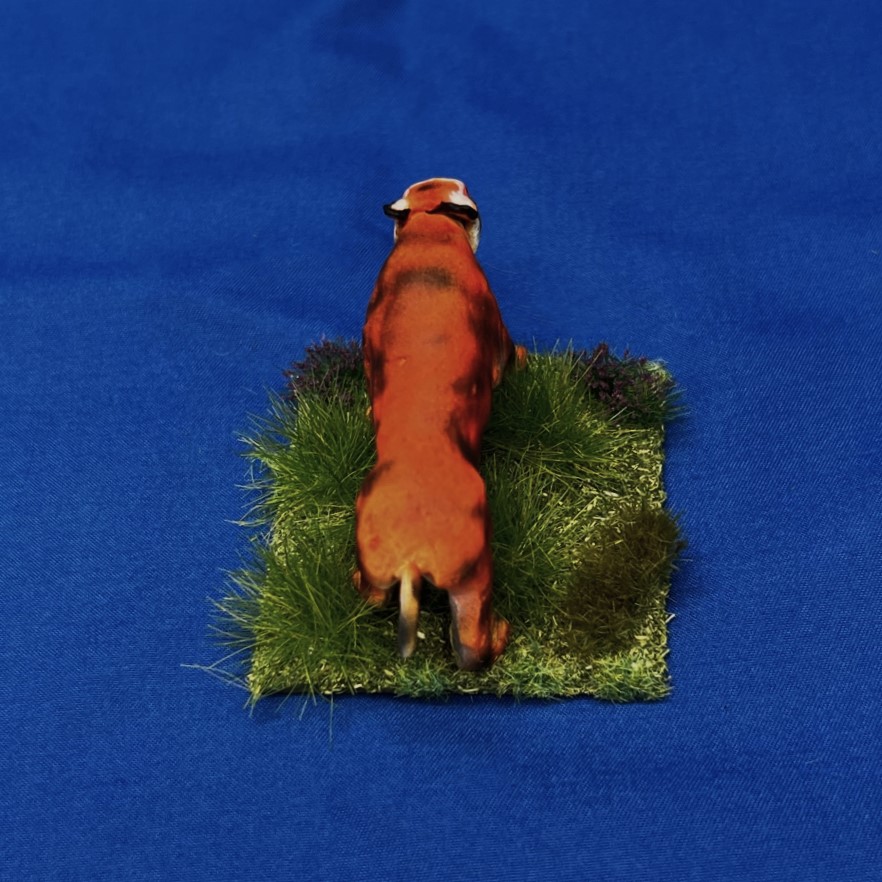
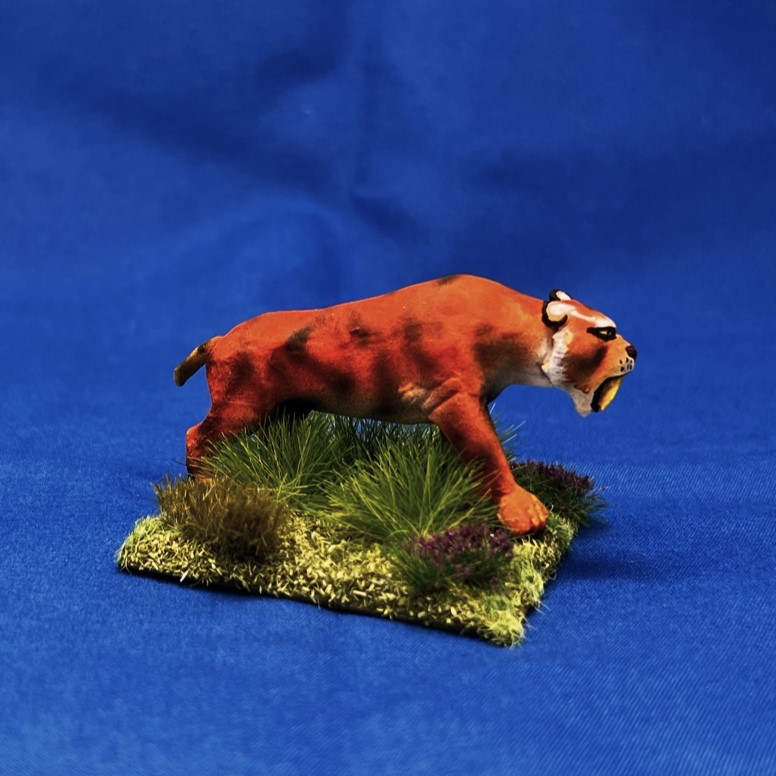
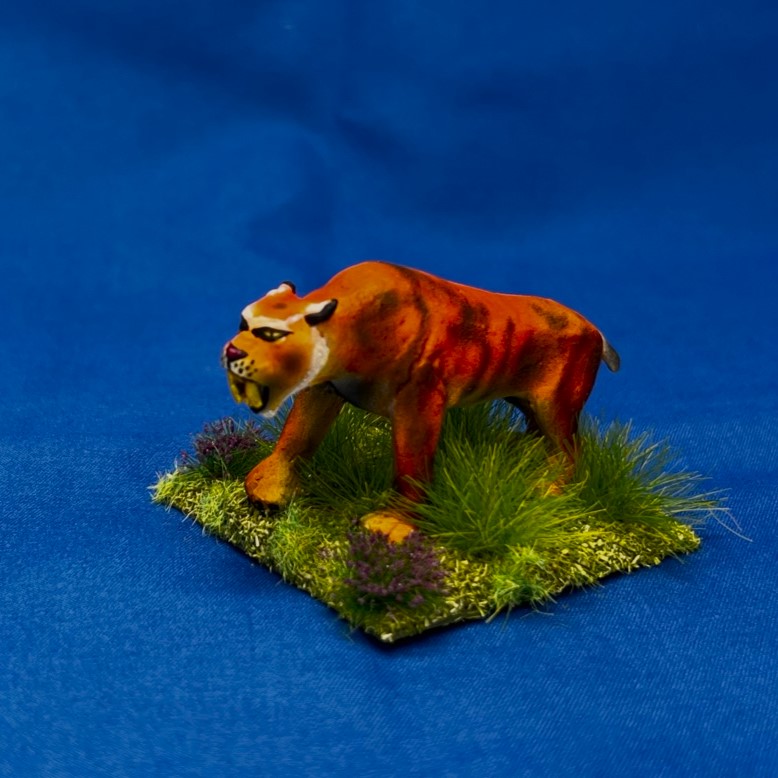
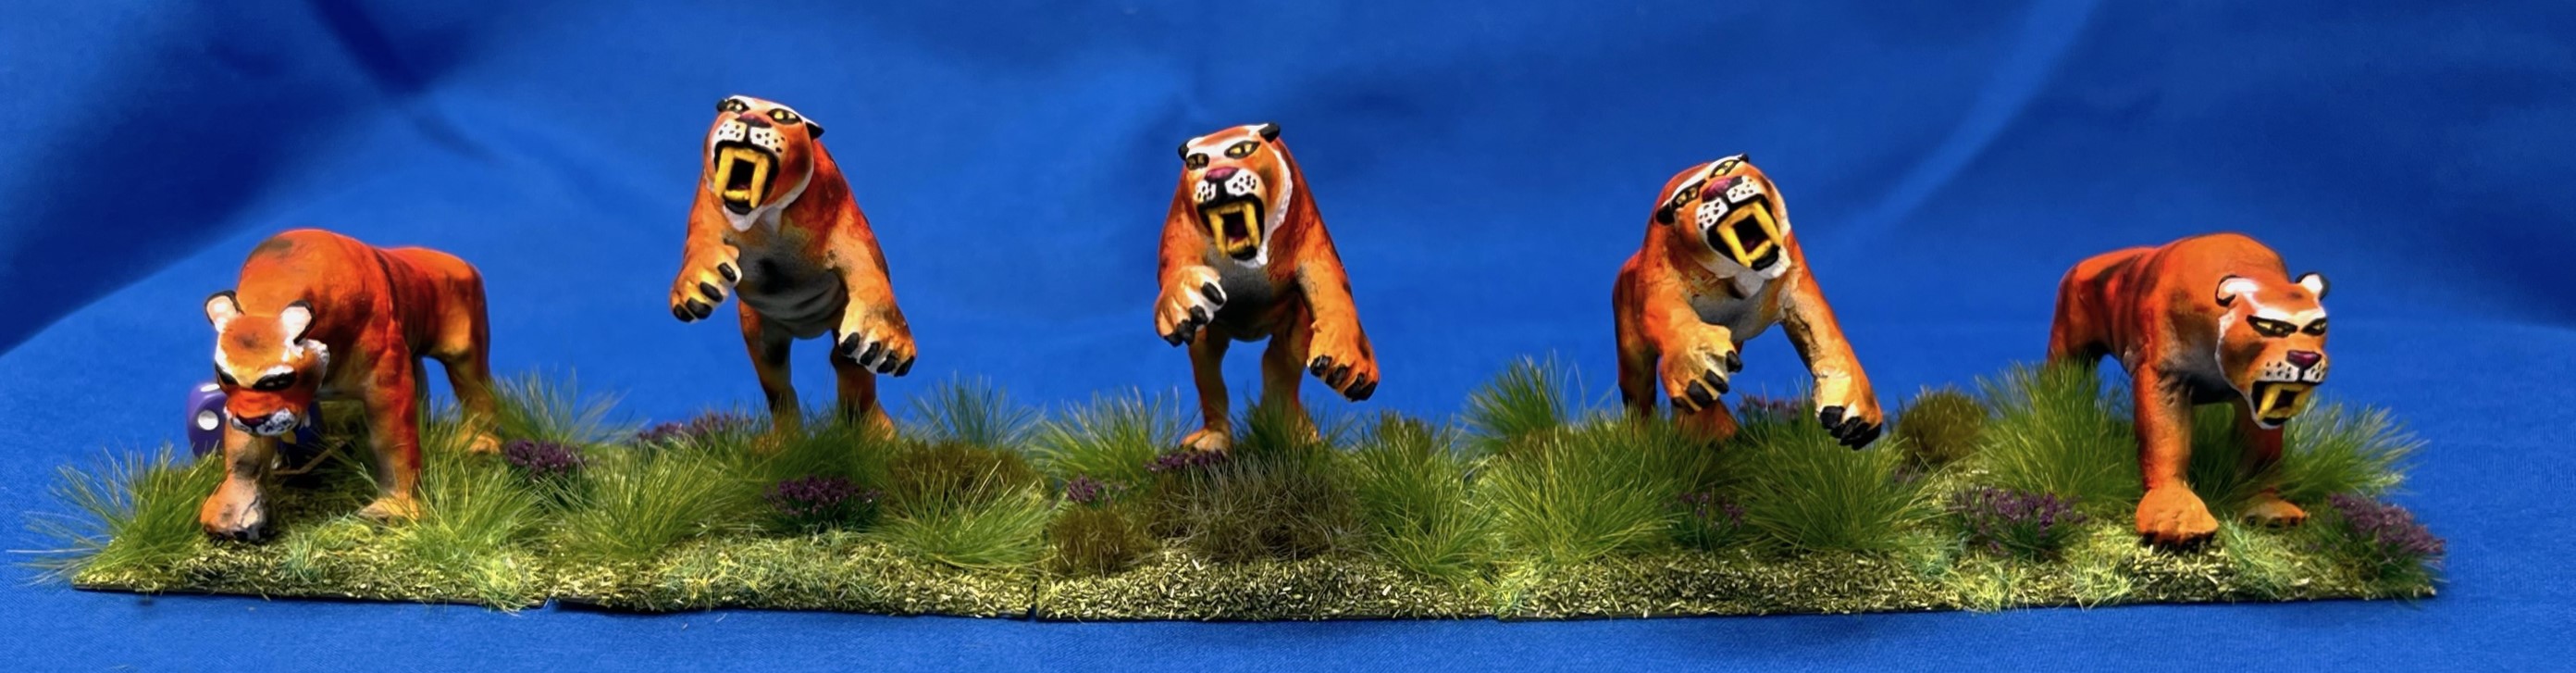
Then, it was on to the Dire Tigers, where getting the right mix of orange, black, and white on the fur was really made easier with my airbrushes. They were also saber-toothed, which was a cool aspect of the sculpts.

First, I applied a base of orange with the Iwata Neo airbrush then white details with the Iwata Custom Micron airbrush – multiple coats were needed for blending.
Added white…
…then some black tiny stripes with the Micron.
Ready for faces!
Faces added with both brushwork and airbrush.

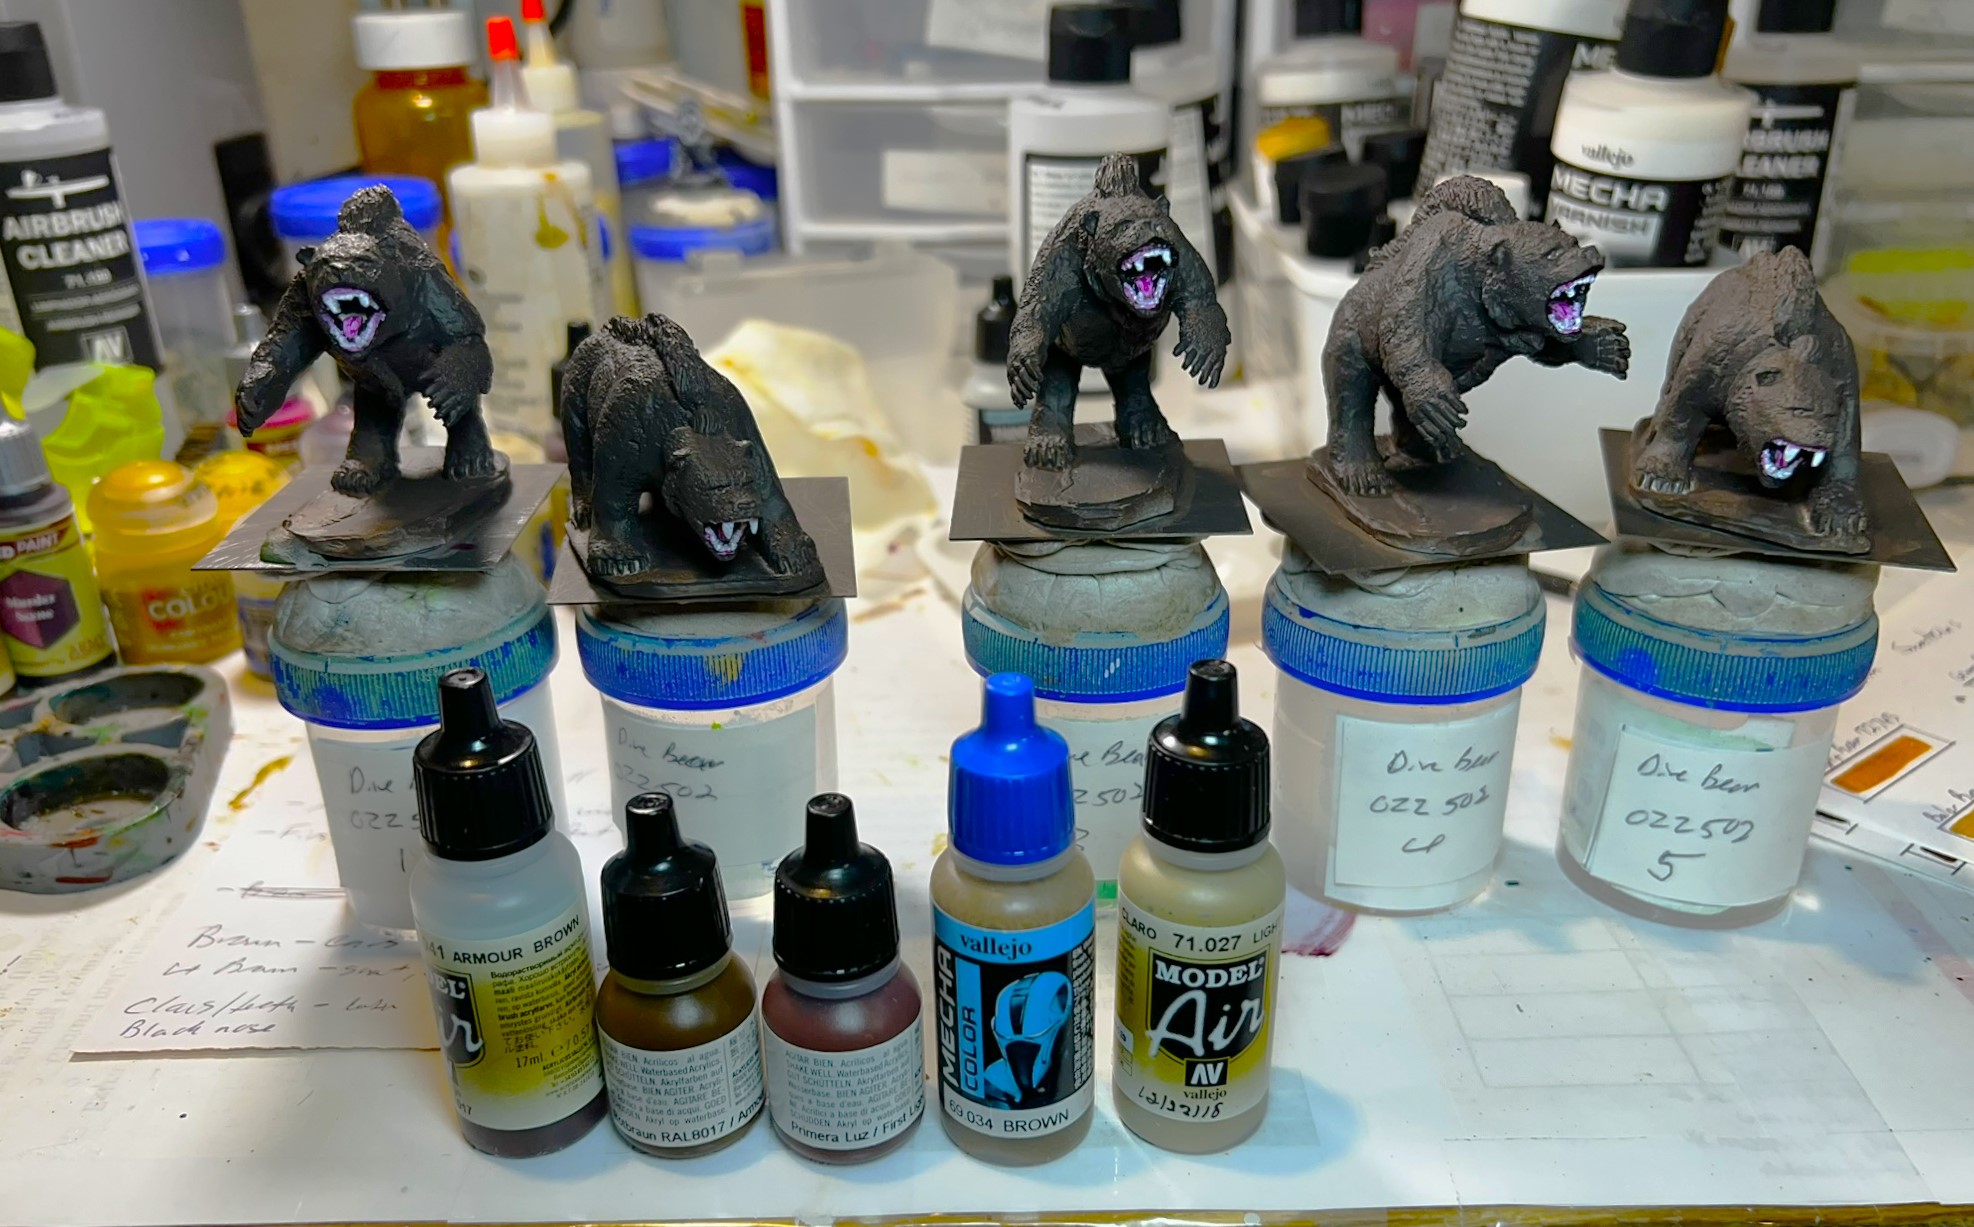
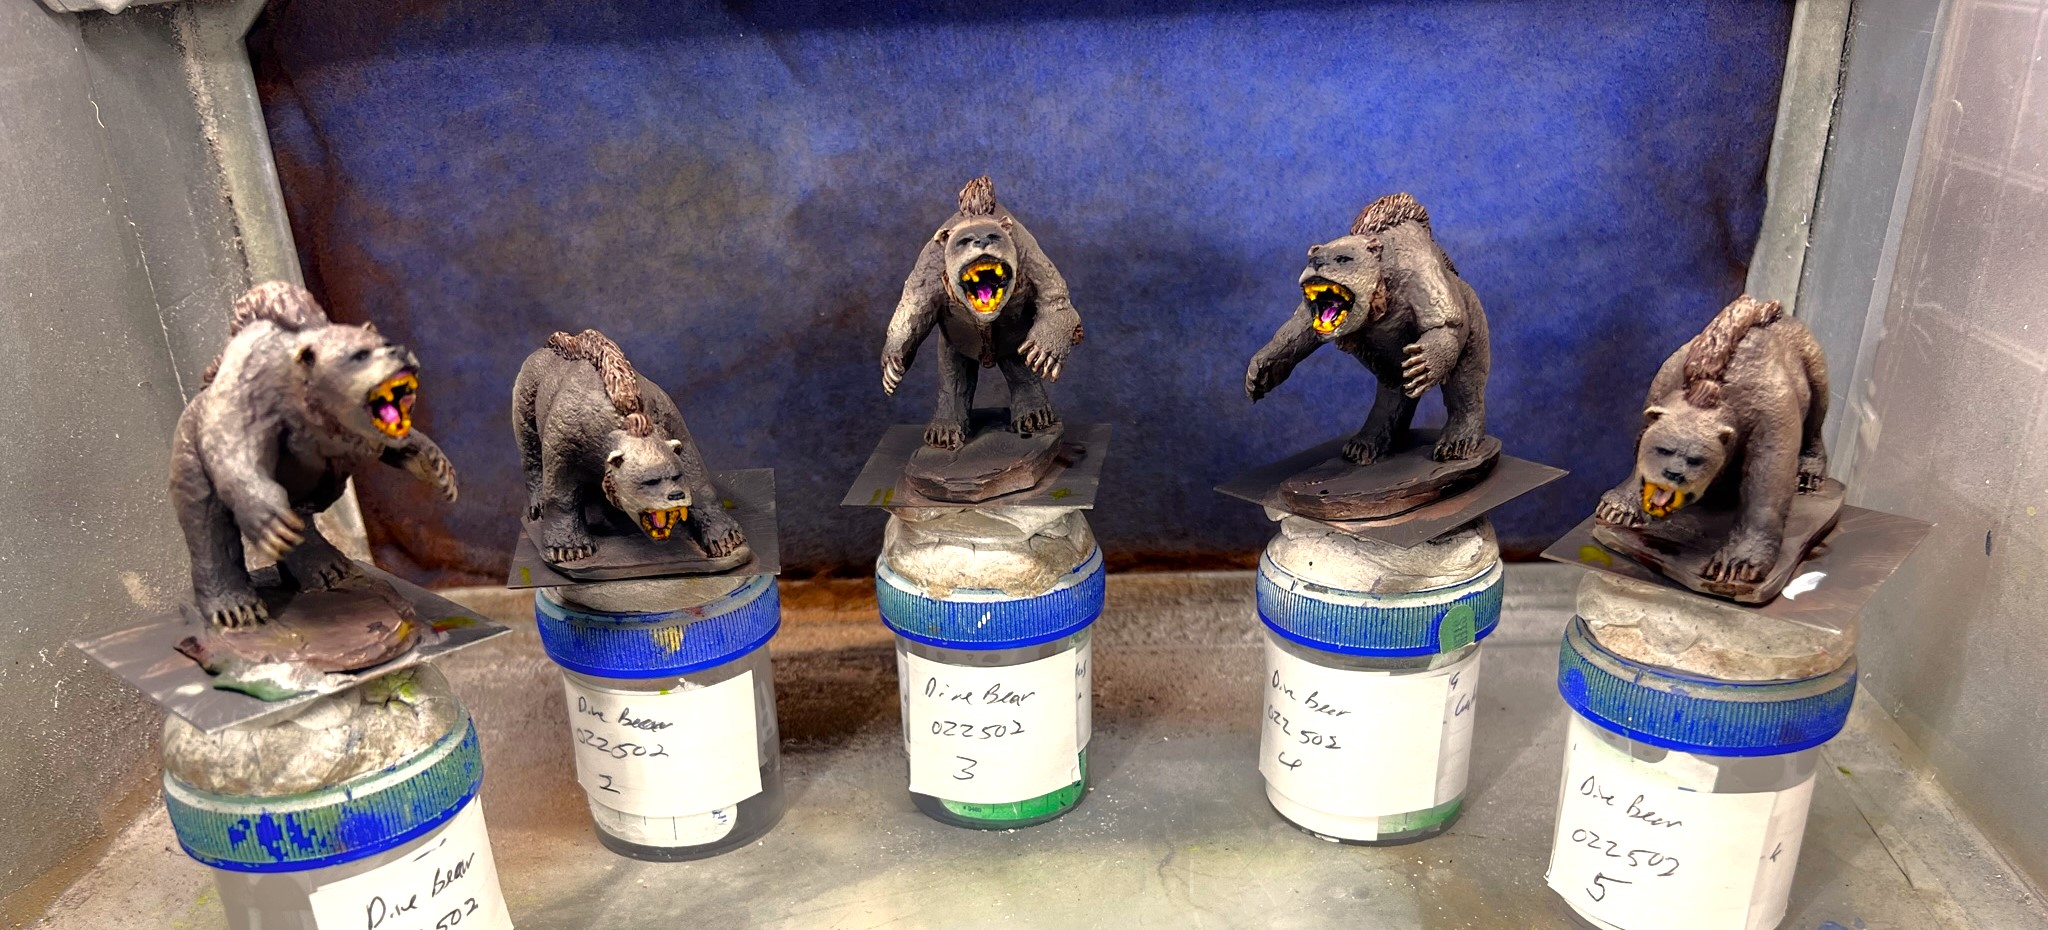
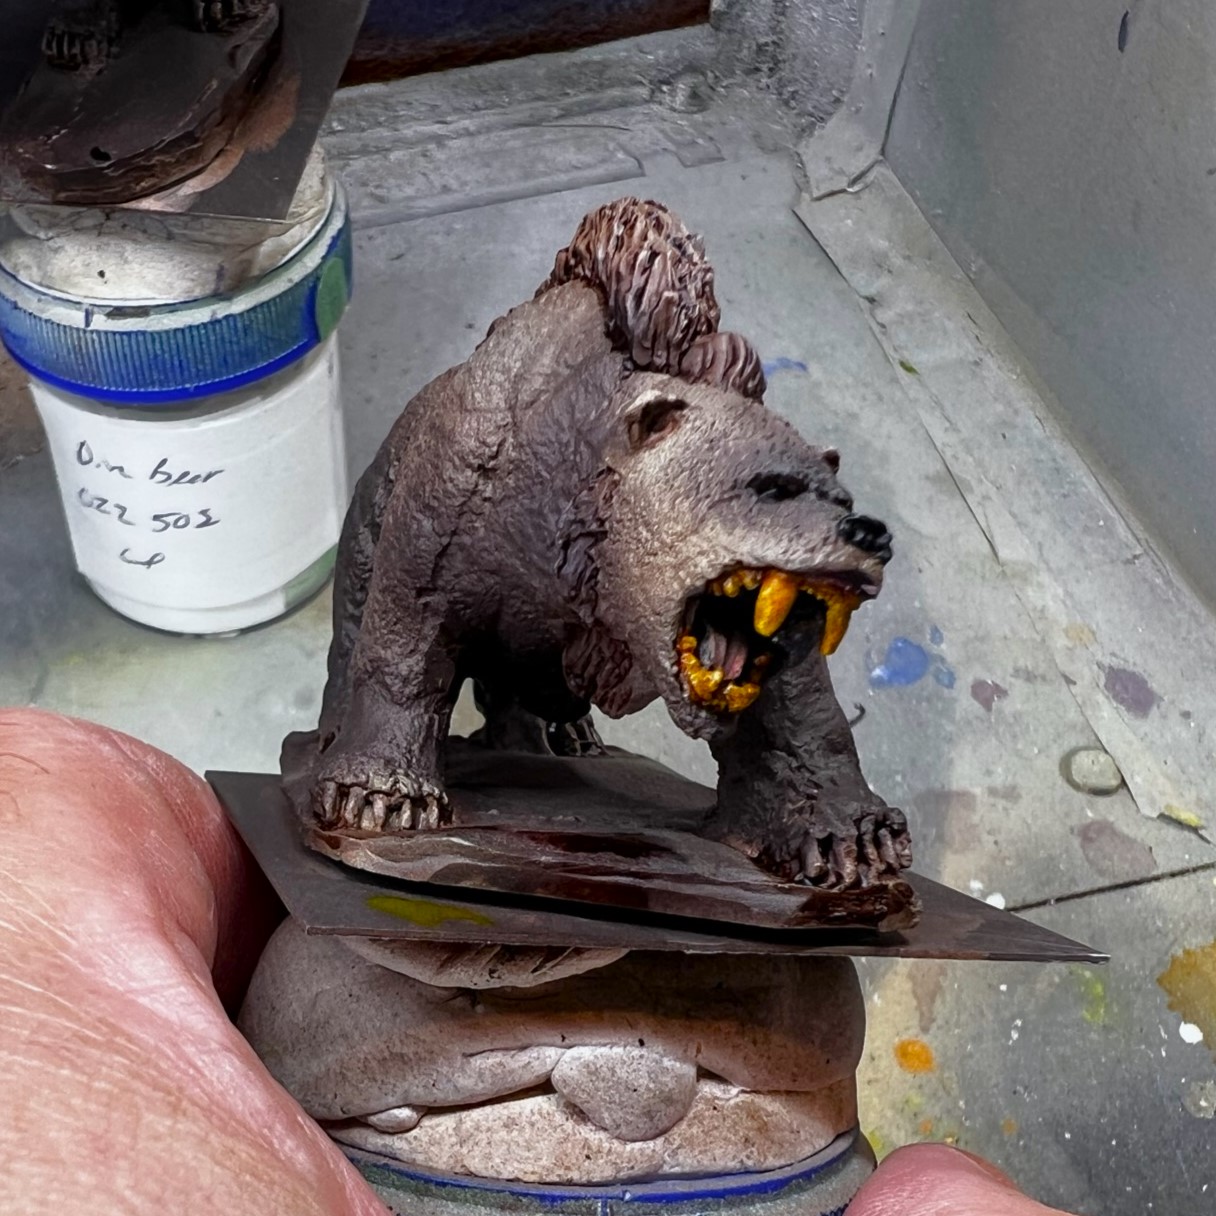
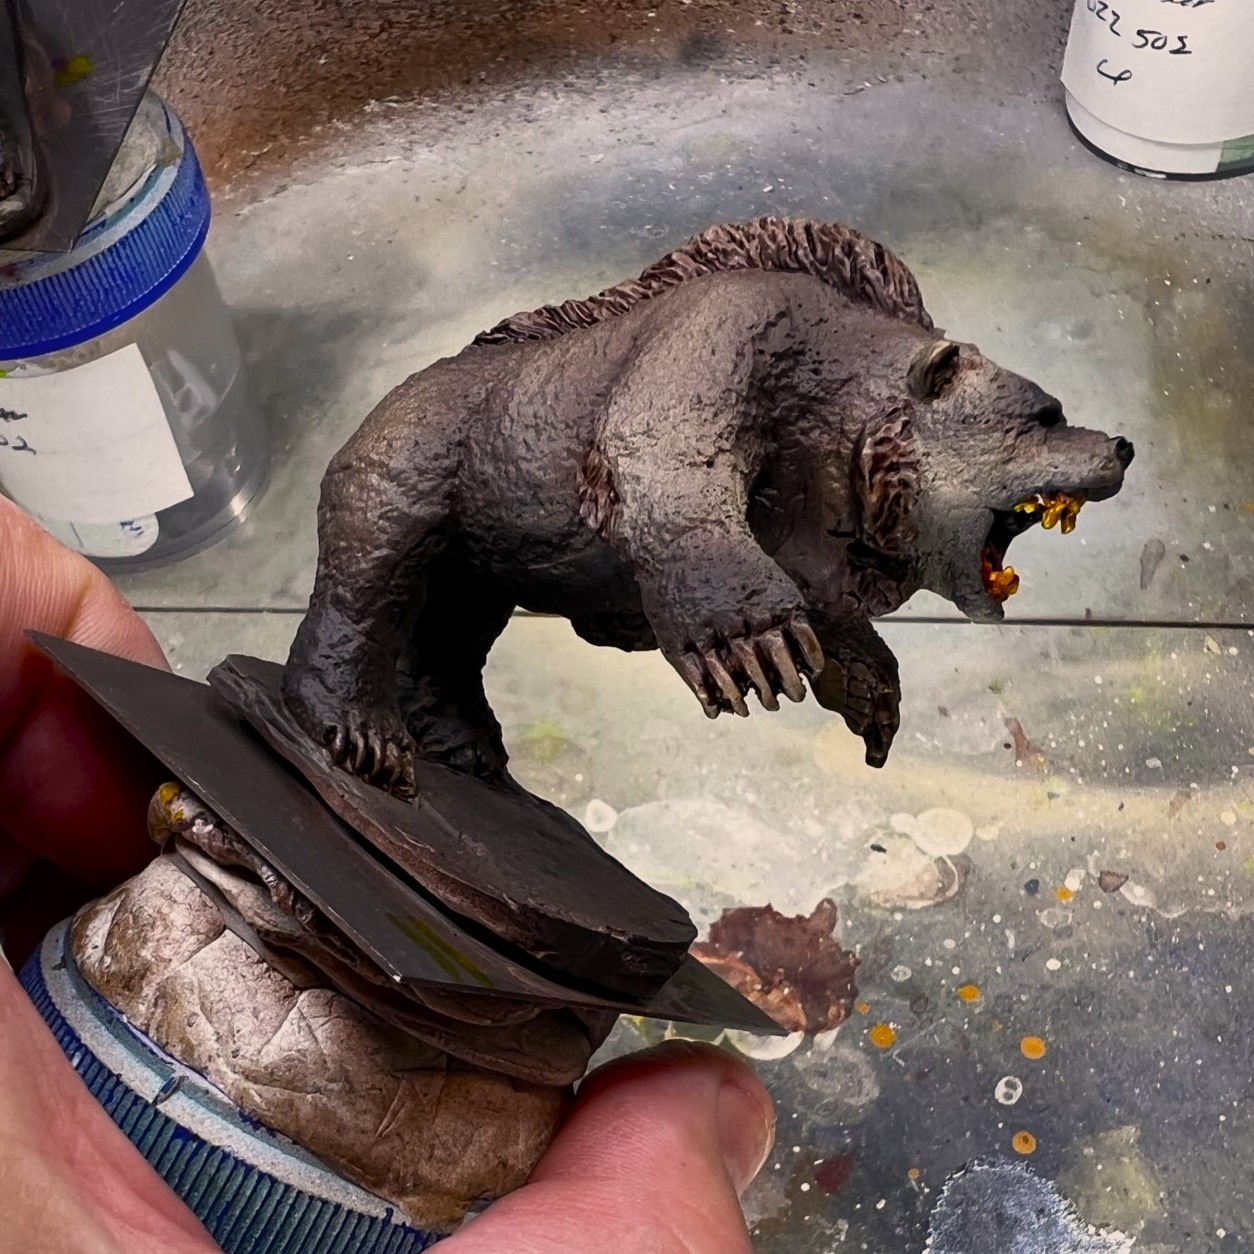
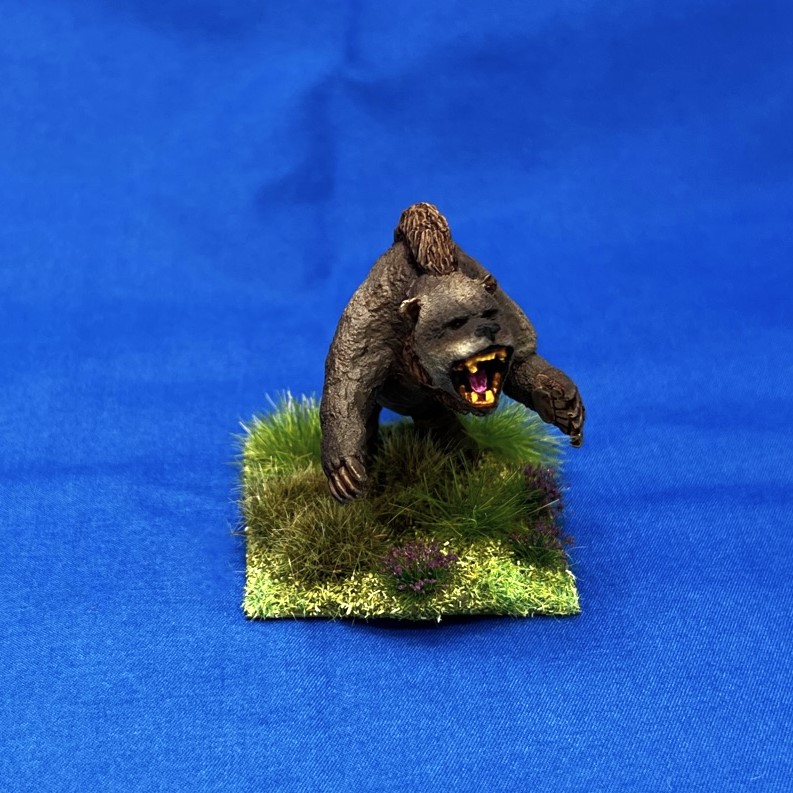
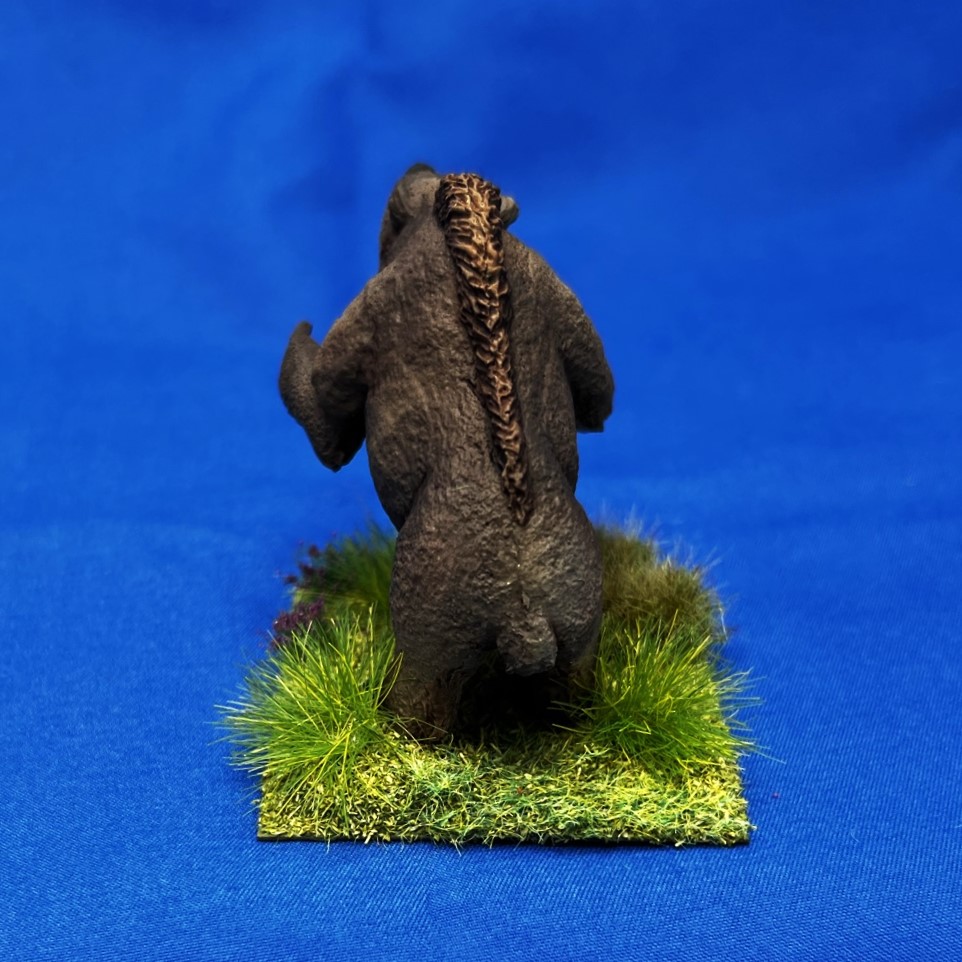
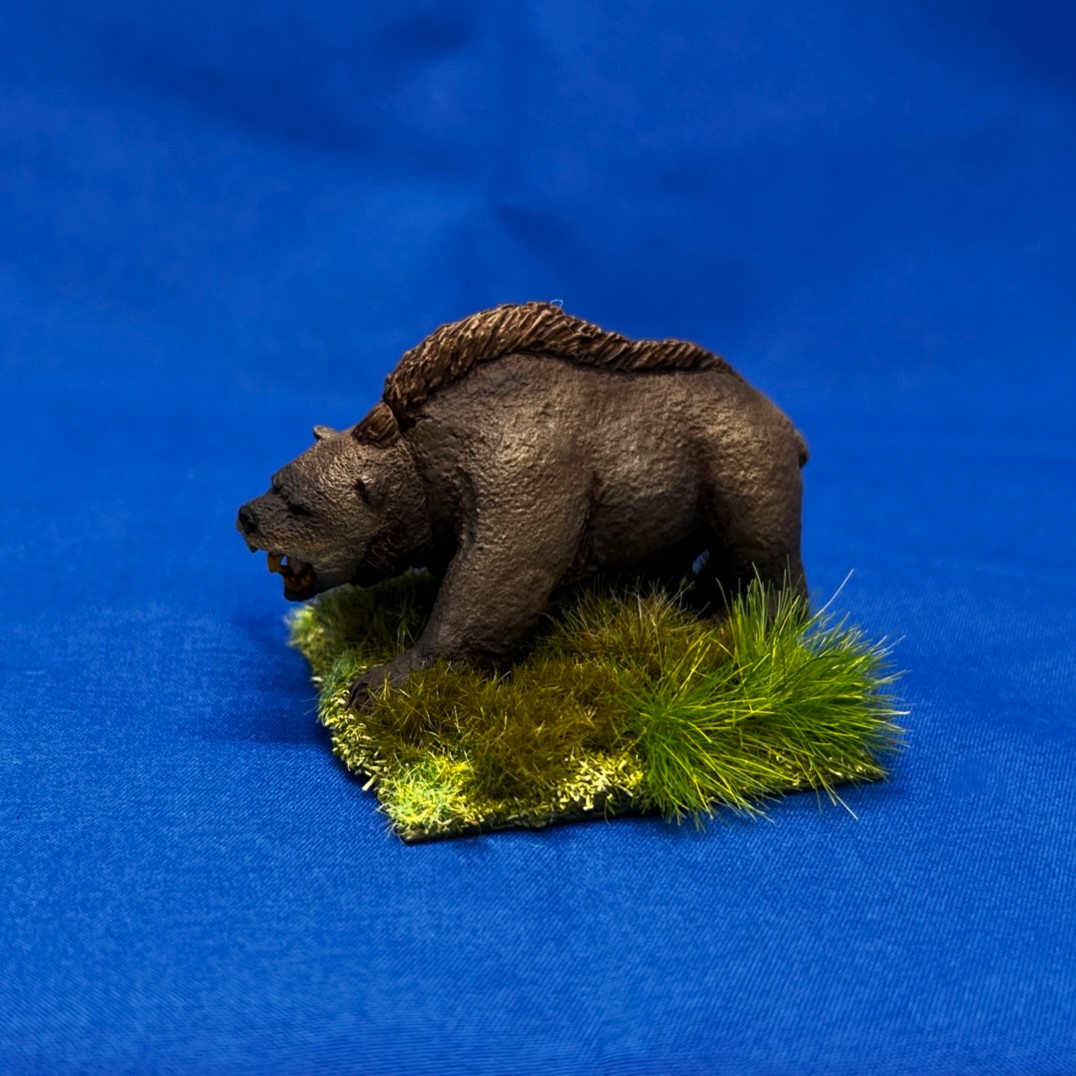
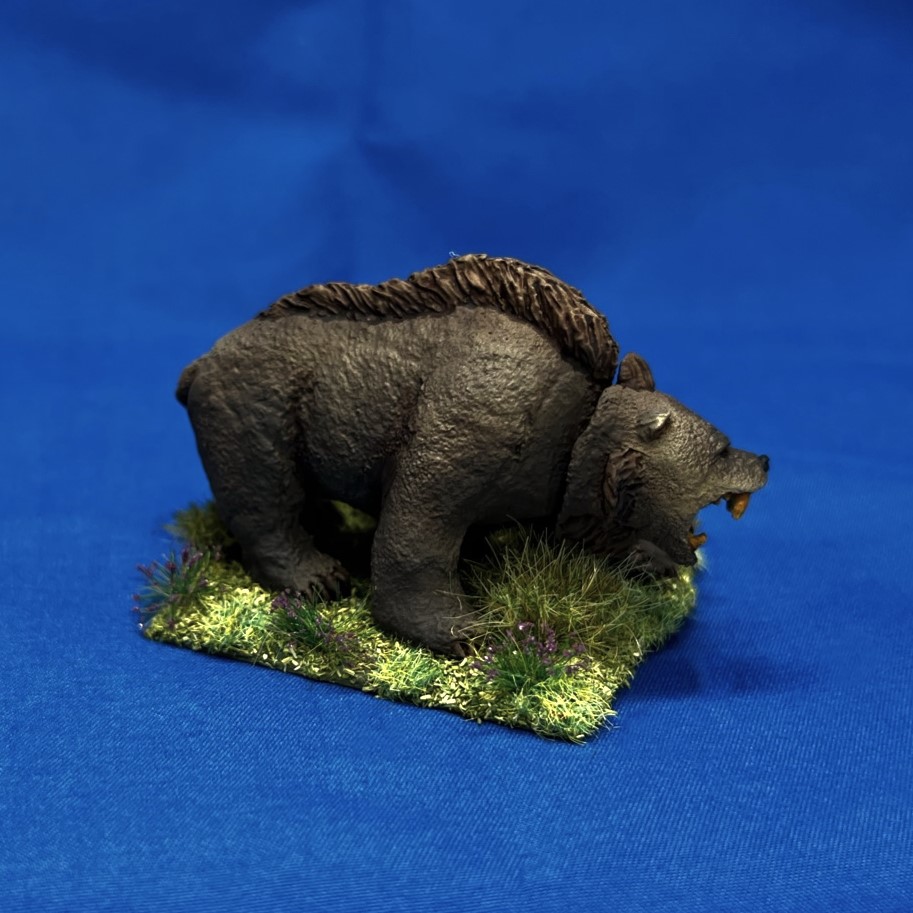
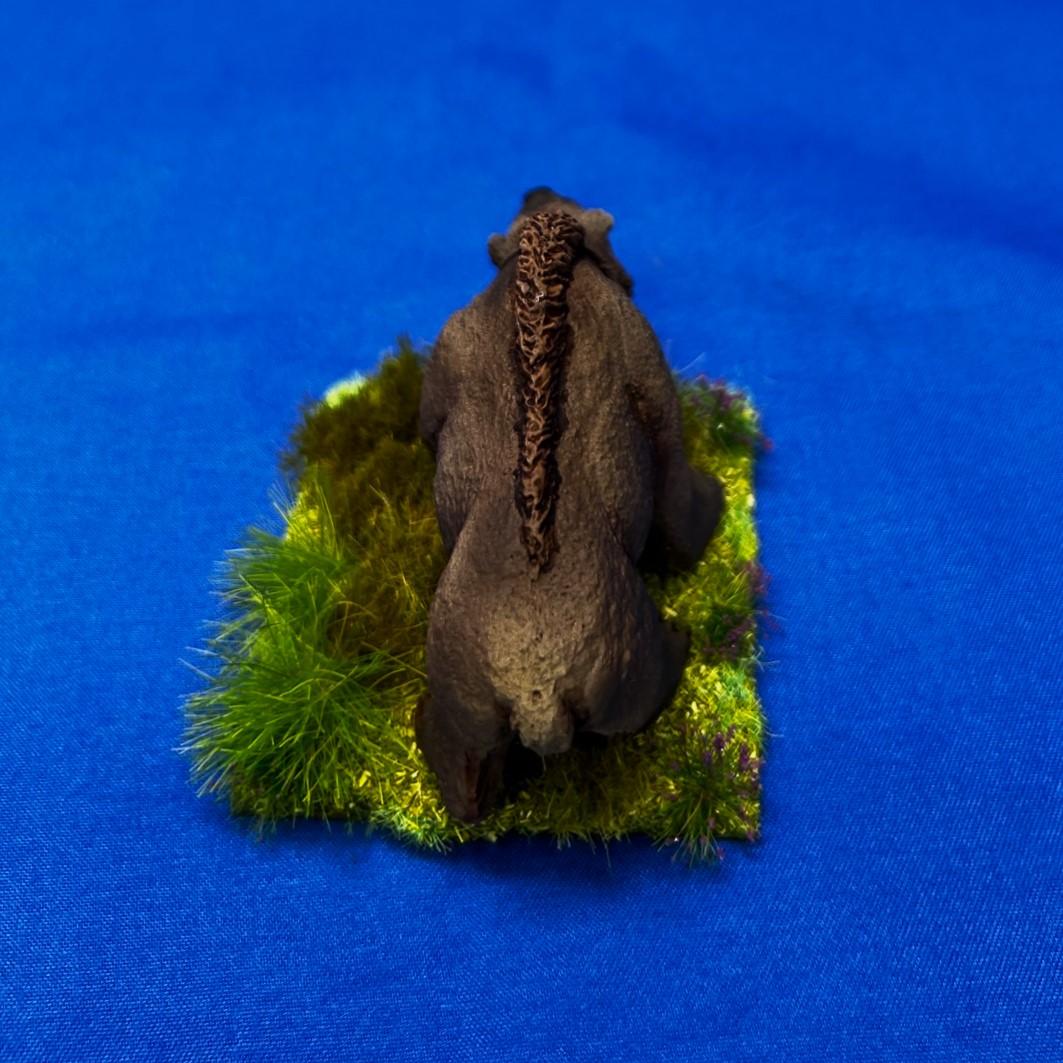
Next, I moved on to the Dire Bears. Here I wanted a brownish blended paint job – which sounds easier than it was.

I painted the mouths by hand, then proceeded to try to blend the fur on the Dire Bears to resemble grizzly bears.
After painting, this and the gallery below show the results before varnishing.

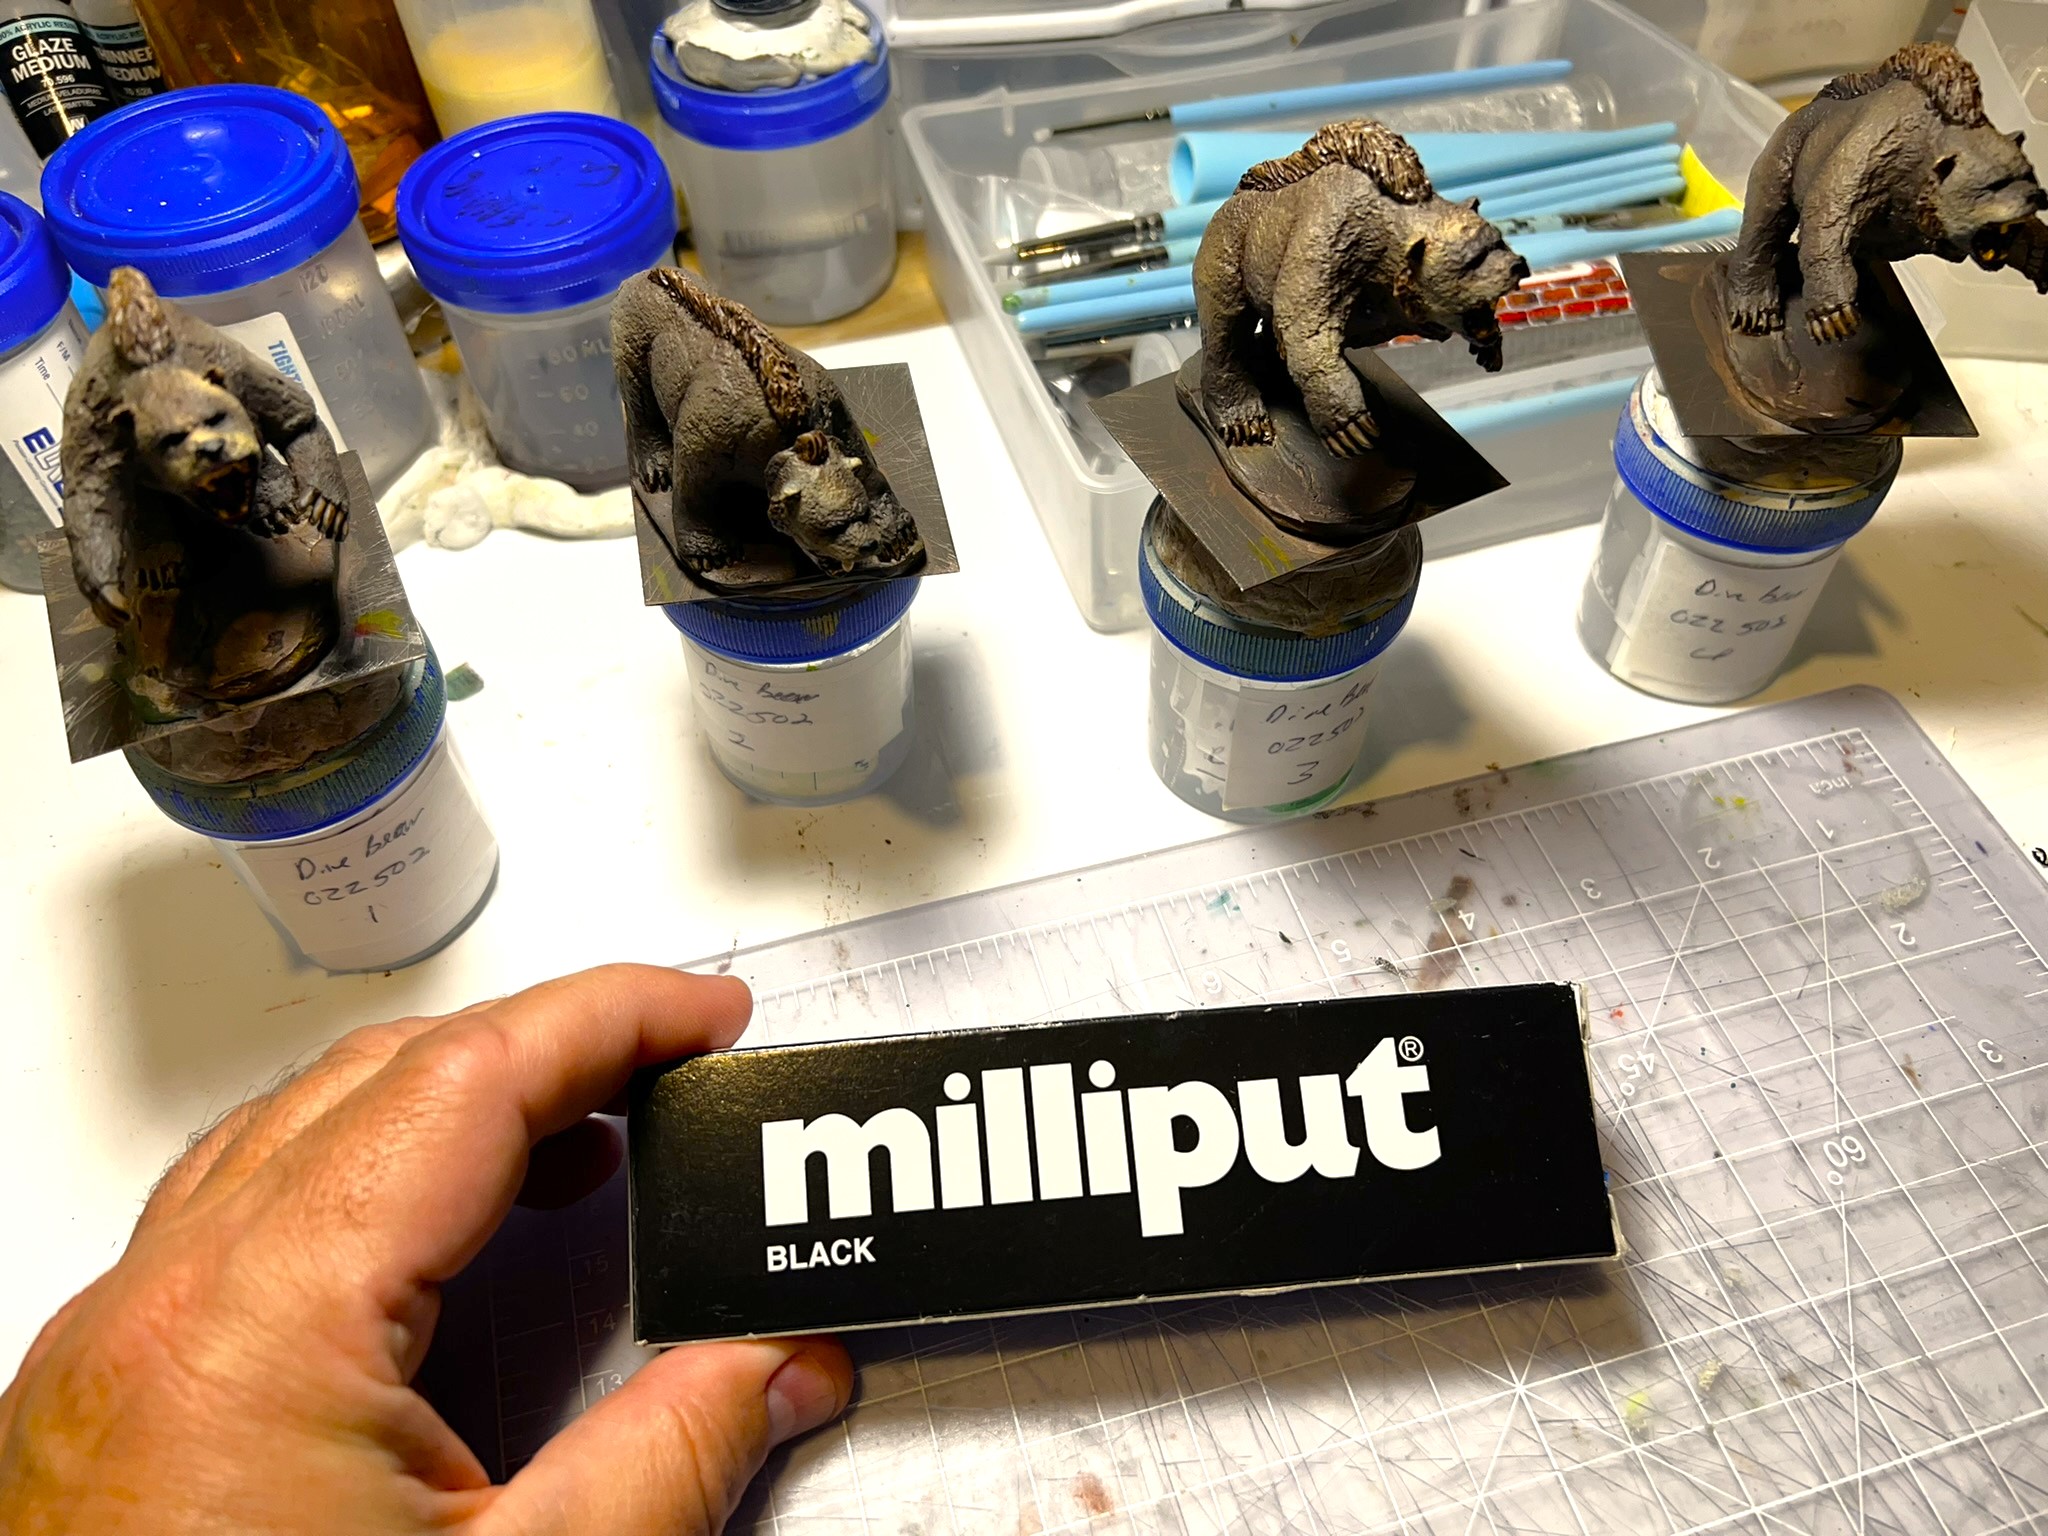
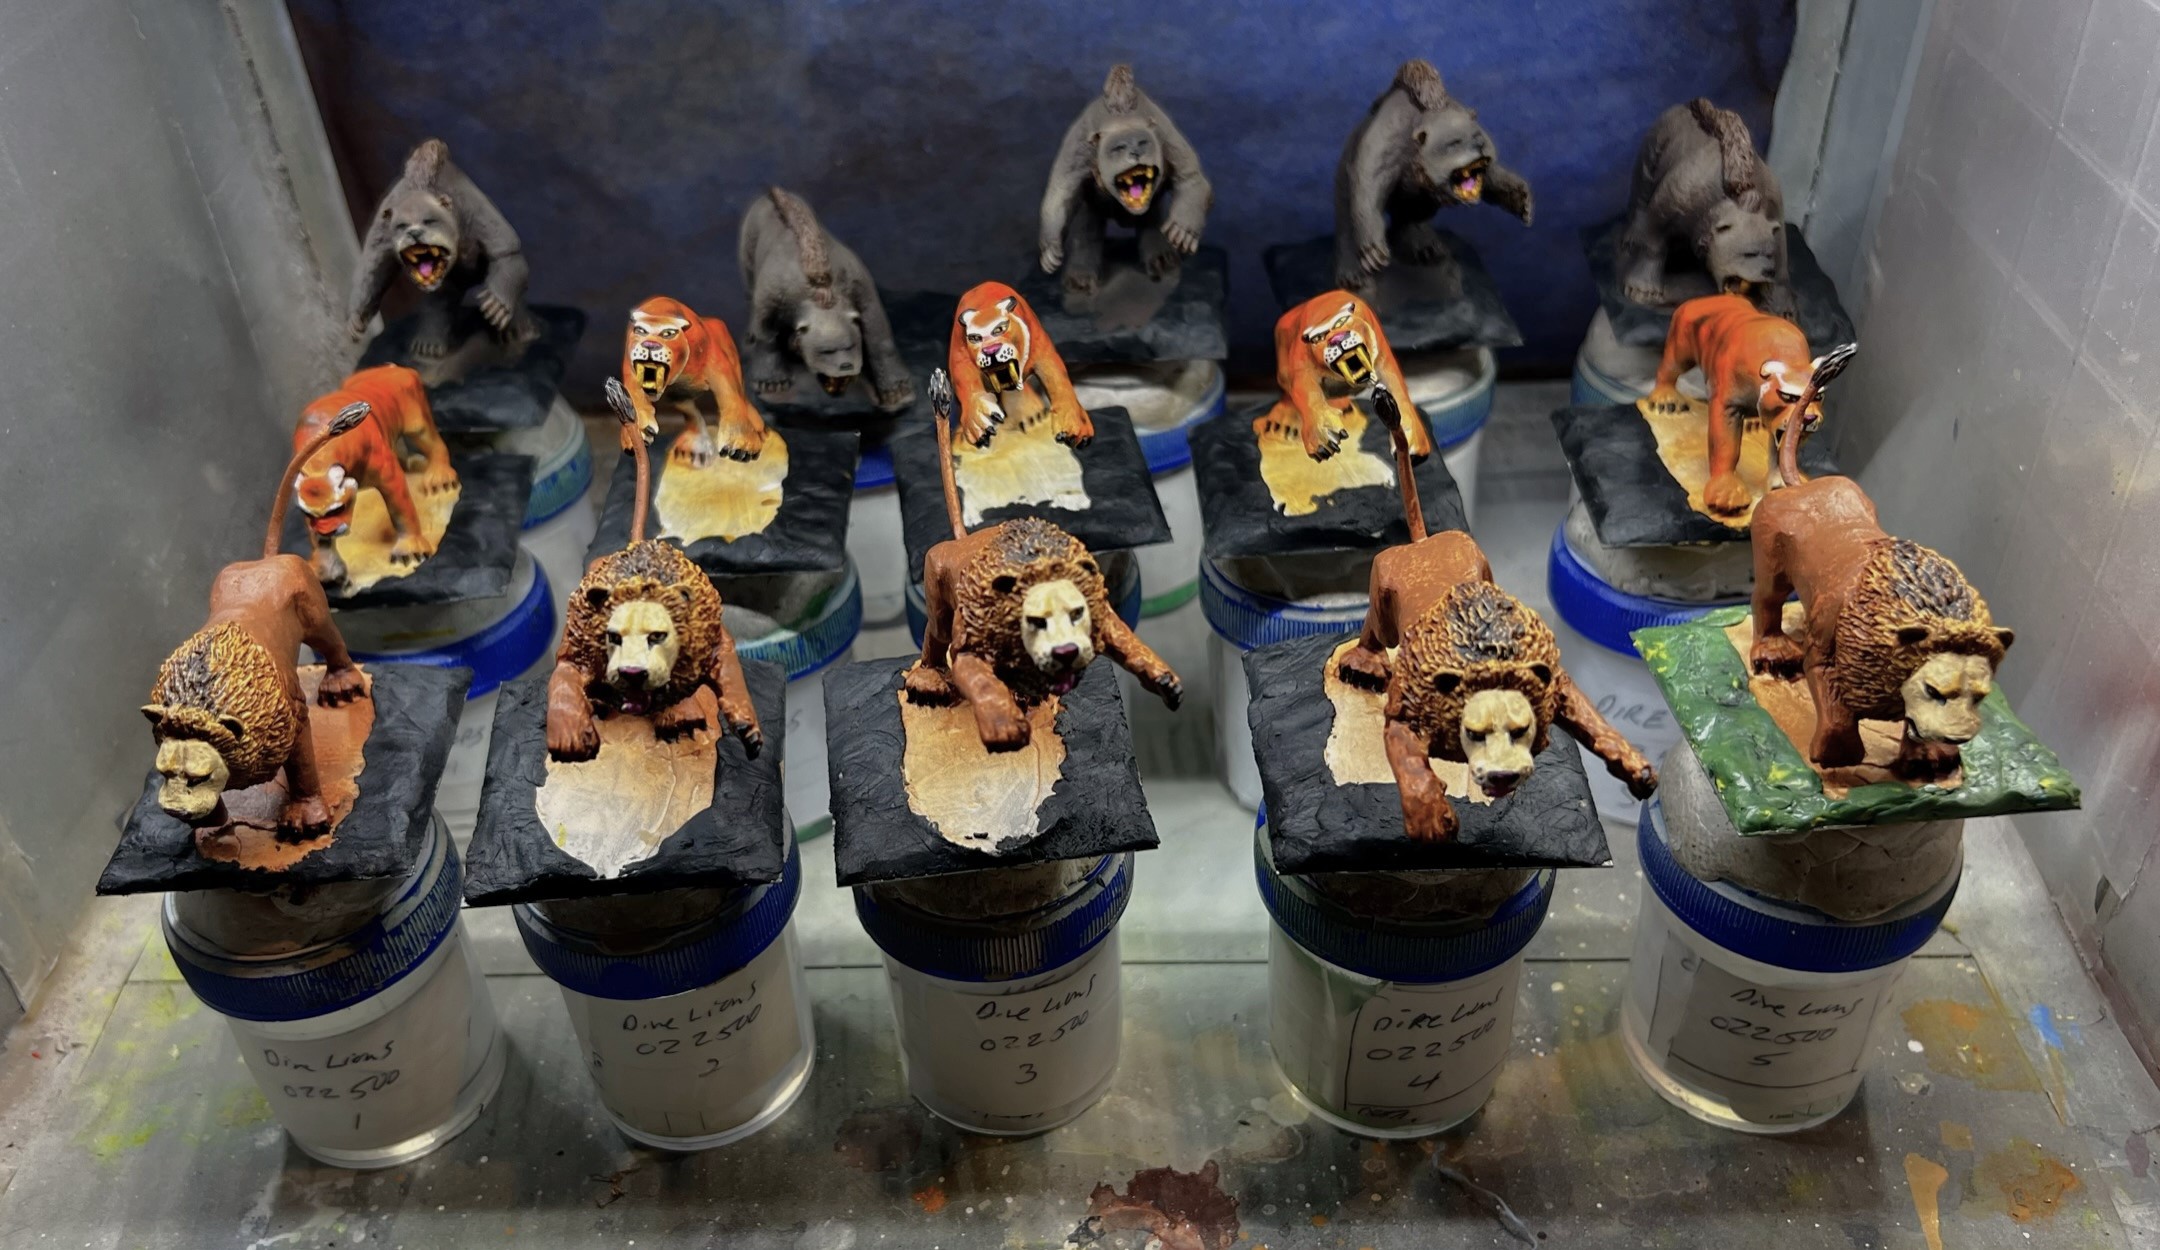
At that point, I could begin to finish the bases. The models’ bases on the steel bases were raised up and in some cases overlapping the 2″ steel bases. To level it all out, I used up an umopened box of black Milliput that I had hanging around -and ended up running out of it on my last Lion – so I used green stuff there on the last lion.

Base work time!
Bases all leveled out and ready for a coat of green to go under future flocking. Guess where the black Milliput ran out…
After varnishing with the Iwata Eclipse HP-CS and ready for flocking!
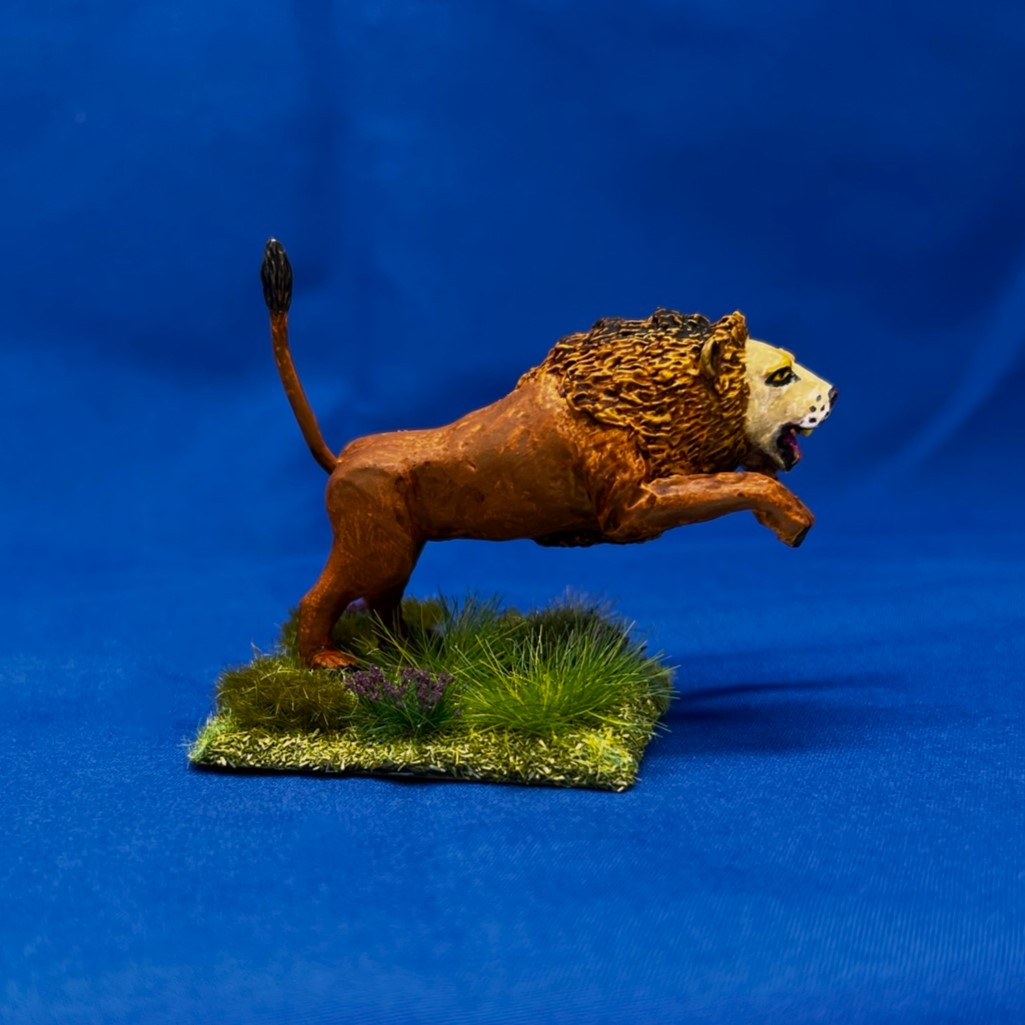
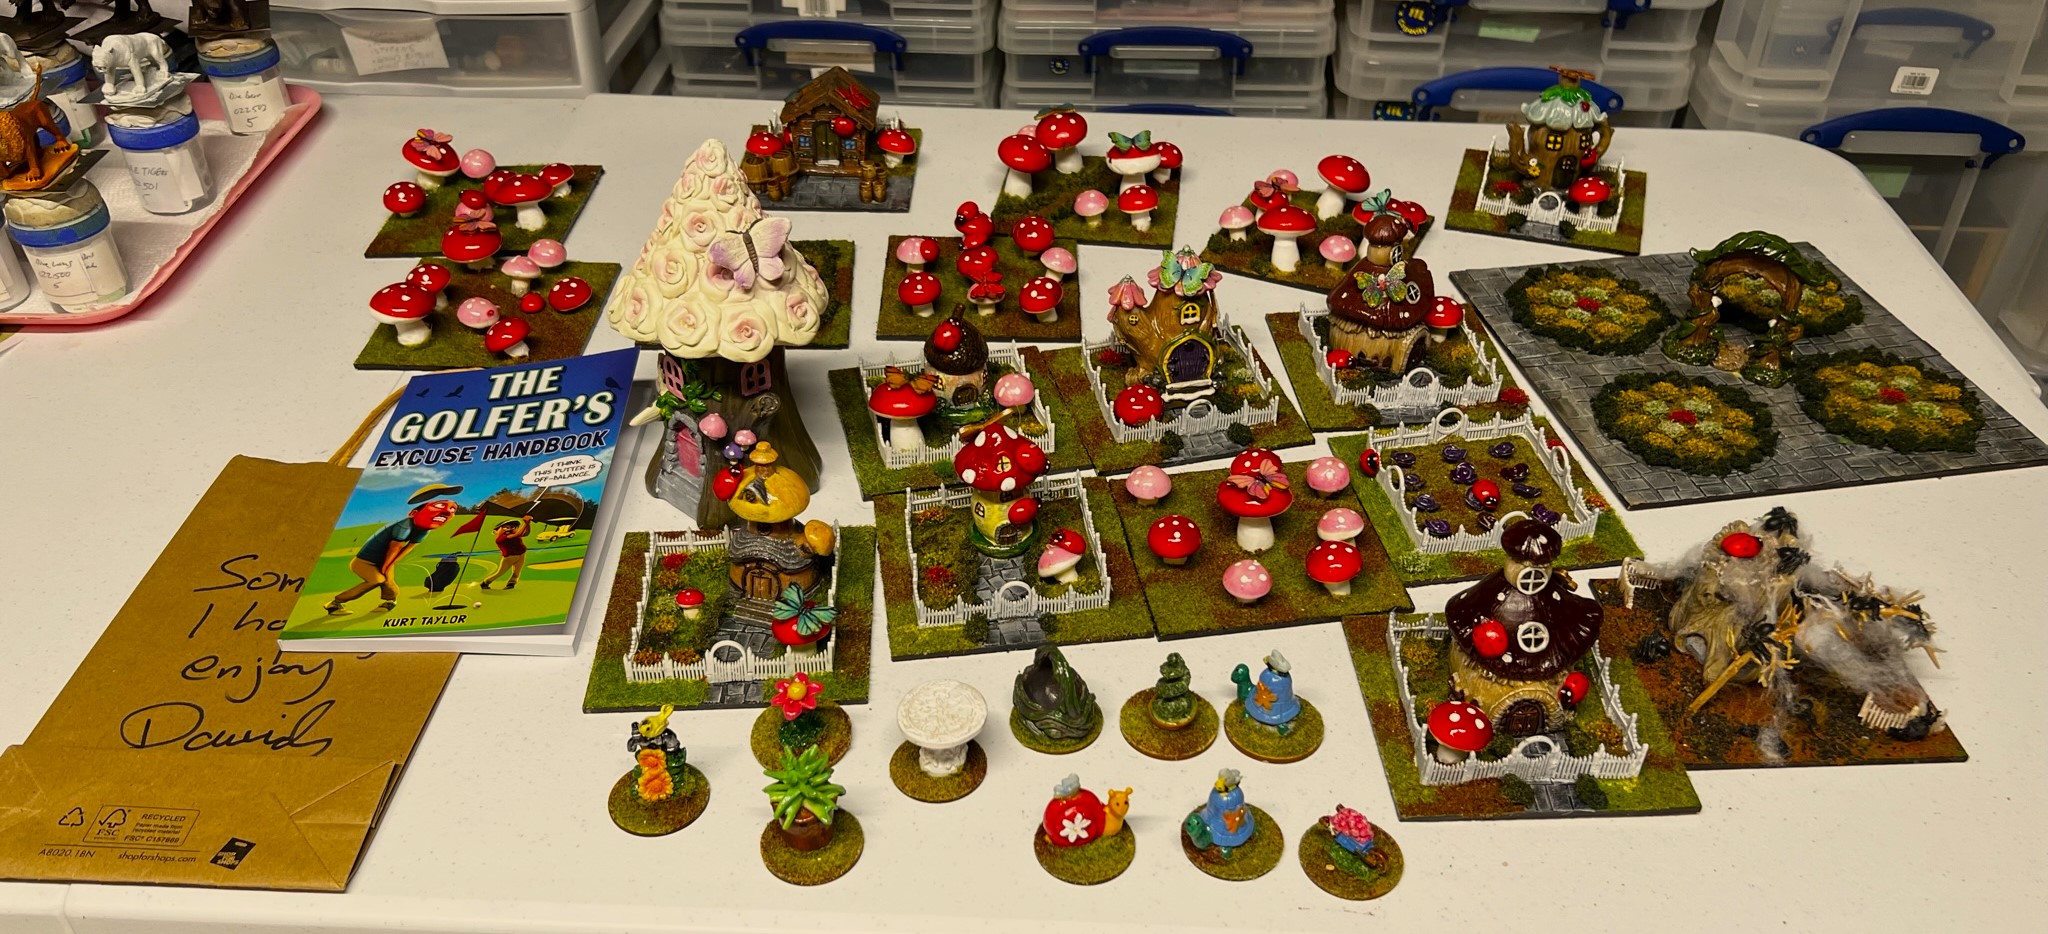
Before I get to the eye candy – a brief and happy segue. I had a fun chat with Dave – (aka Guru from Guru PIGS blog down under in Australia). A wonderful package from Dave subsequently made the 10,470 mile trip to my home. What, pray tell, was in the package? Well, just a great collection of whimsical hand-made stuff! The most wonderfully Ozz-appropriate terrain, a “Mouse Metropolis”, along with a fun golf book (for you know I love golf). Thanks so much Dave, I look forward to incorporating this great collection into my games! I just have to figure out a boxing solution (which I will of course!). You can see Dave’s blog post on the Mouse Metropolis here. So much appreciated Dave, thank you! You are a gentleman and a scholar!
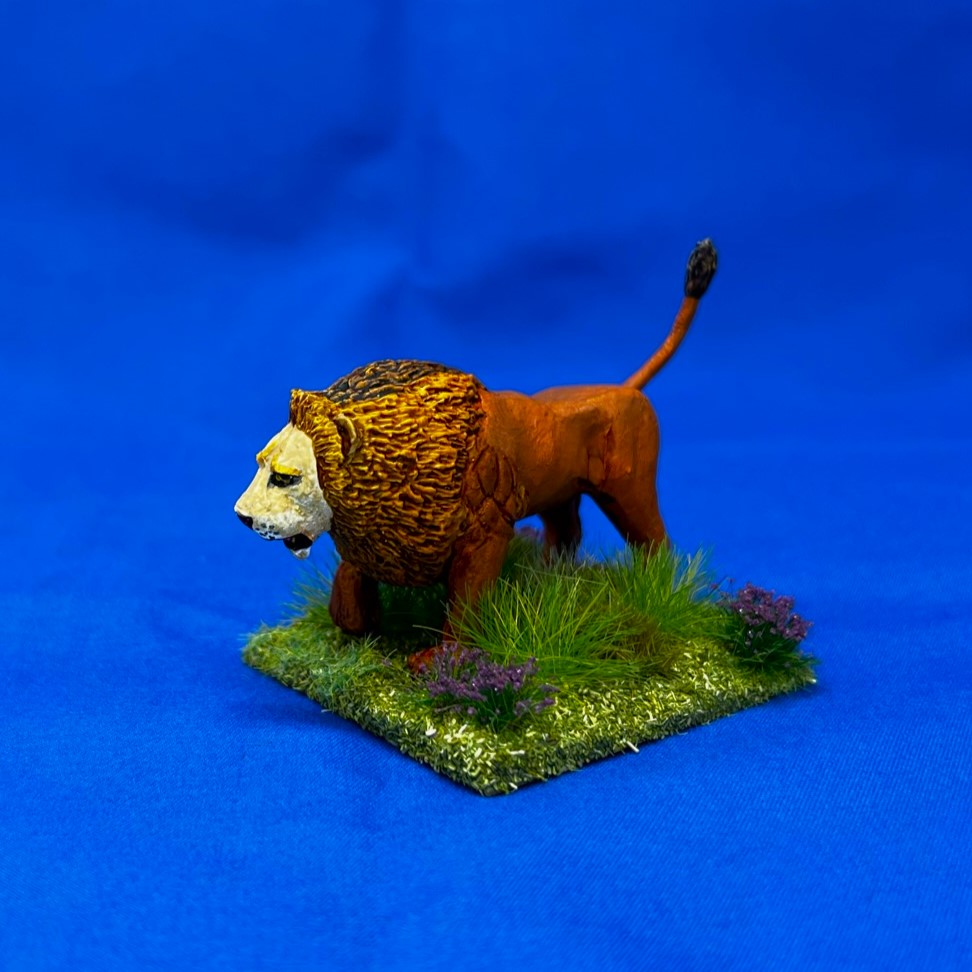
Wonderful!

Back to the dire beast models at hand – and the flocking. As Gillikins love purple, I added some purple flowers to each base, along with different grass ans grassy tufts to give an “beast in ambush mode” feel to the miniatures. Without further ado, let’s look at some…

Eye Candy

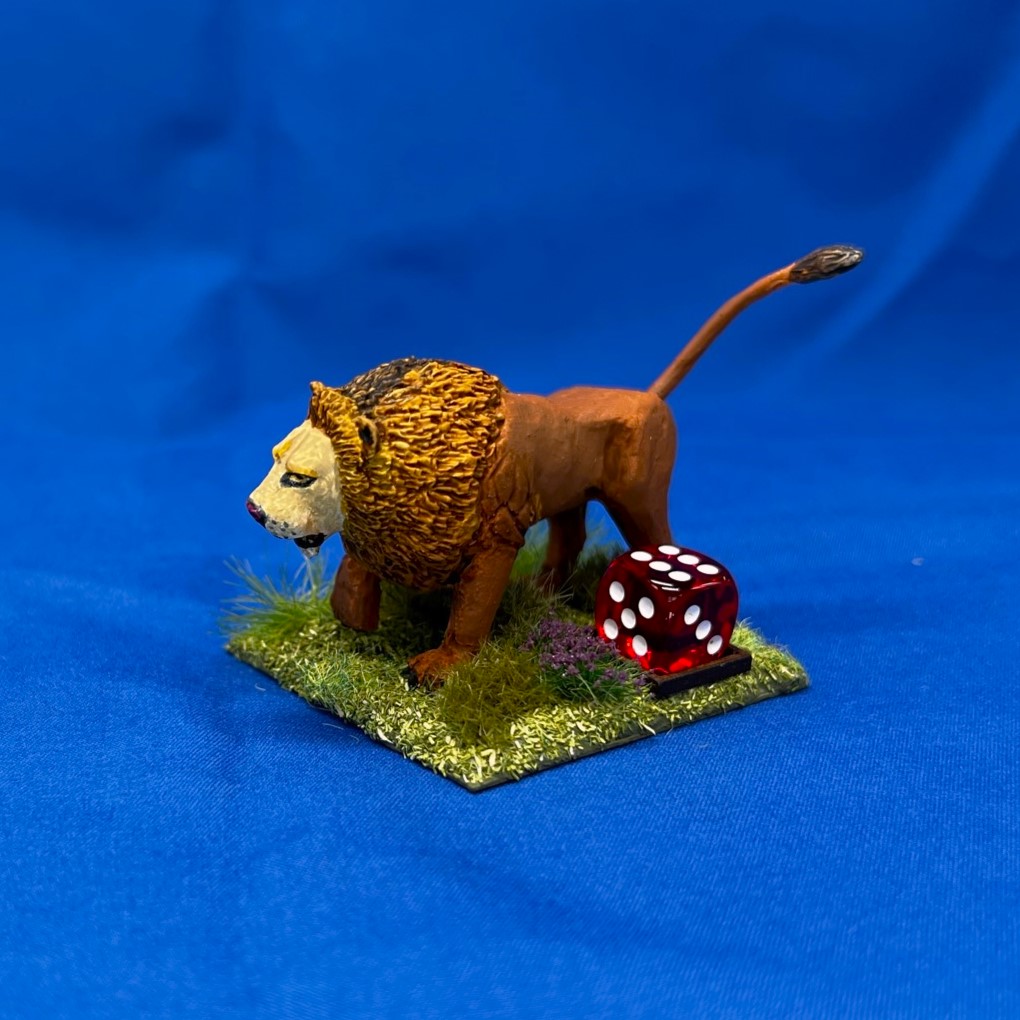
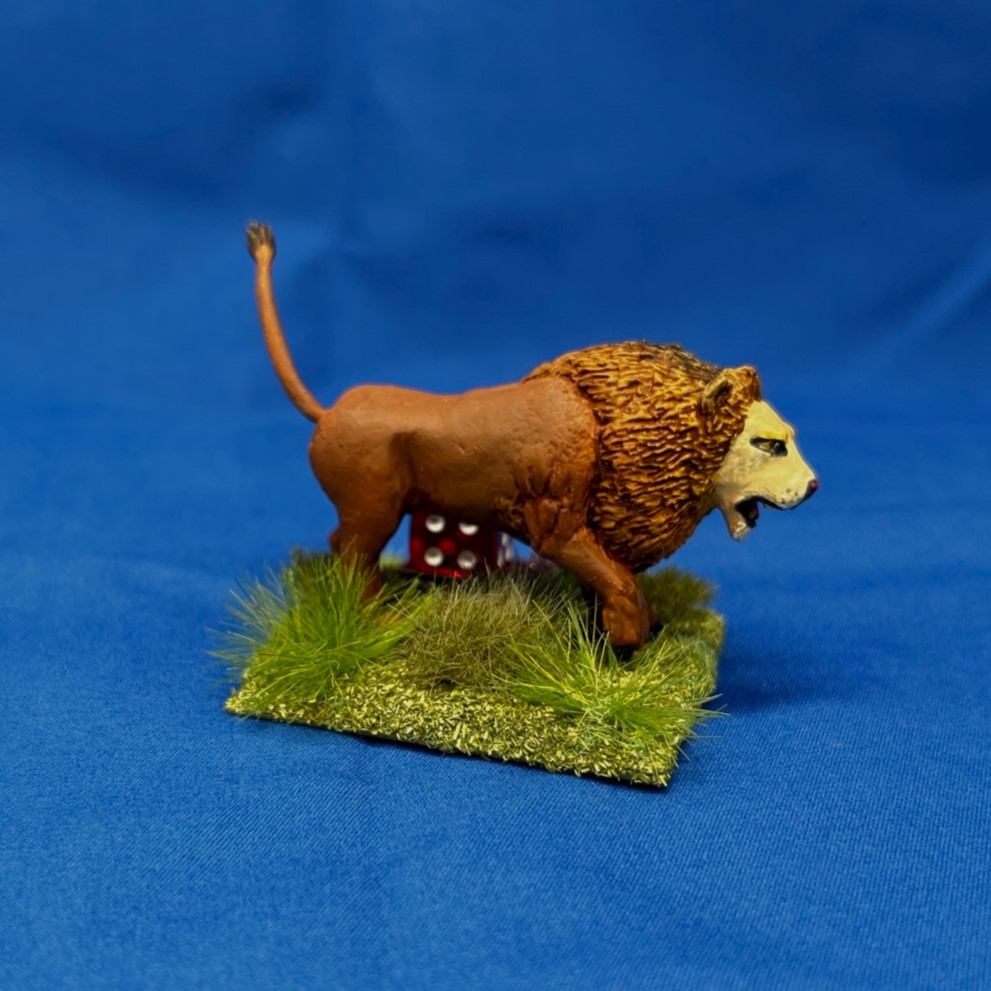
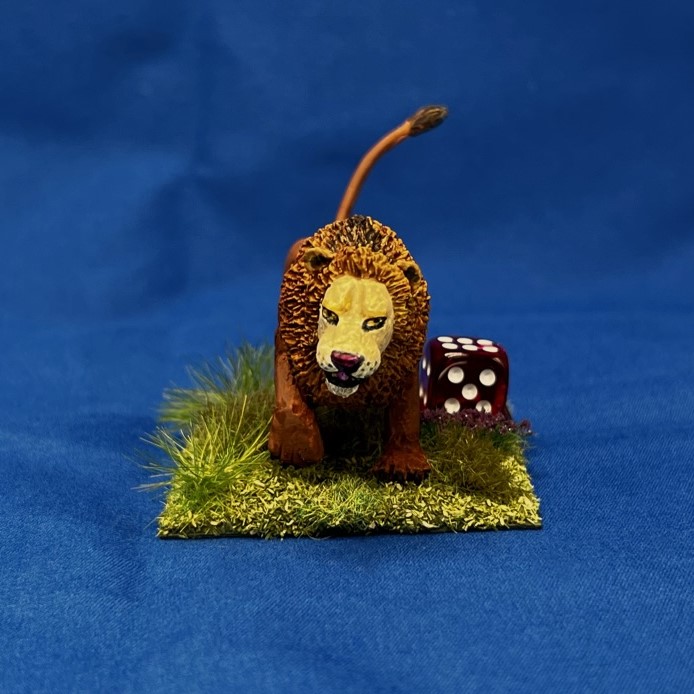
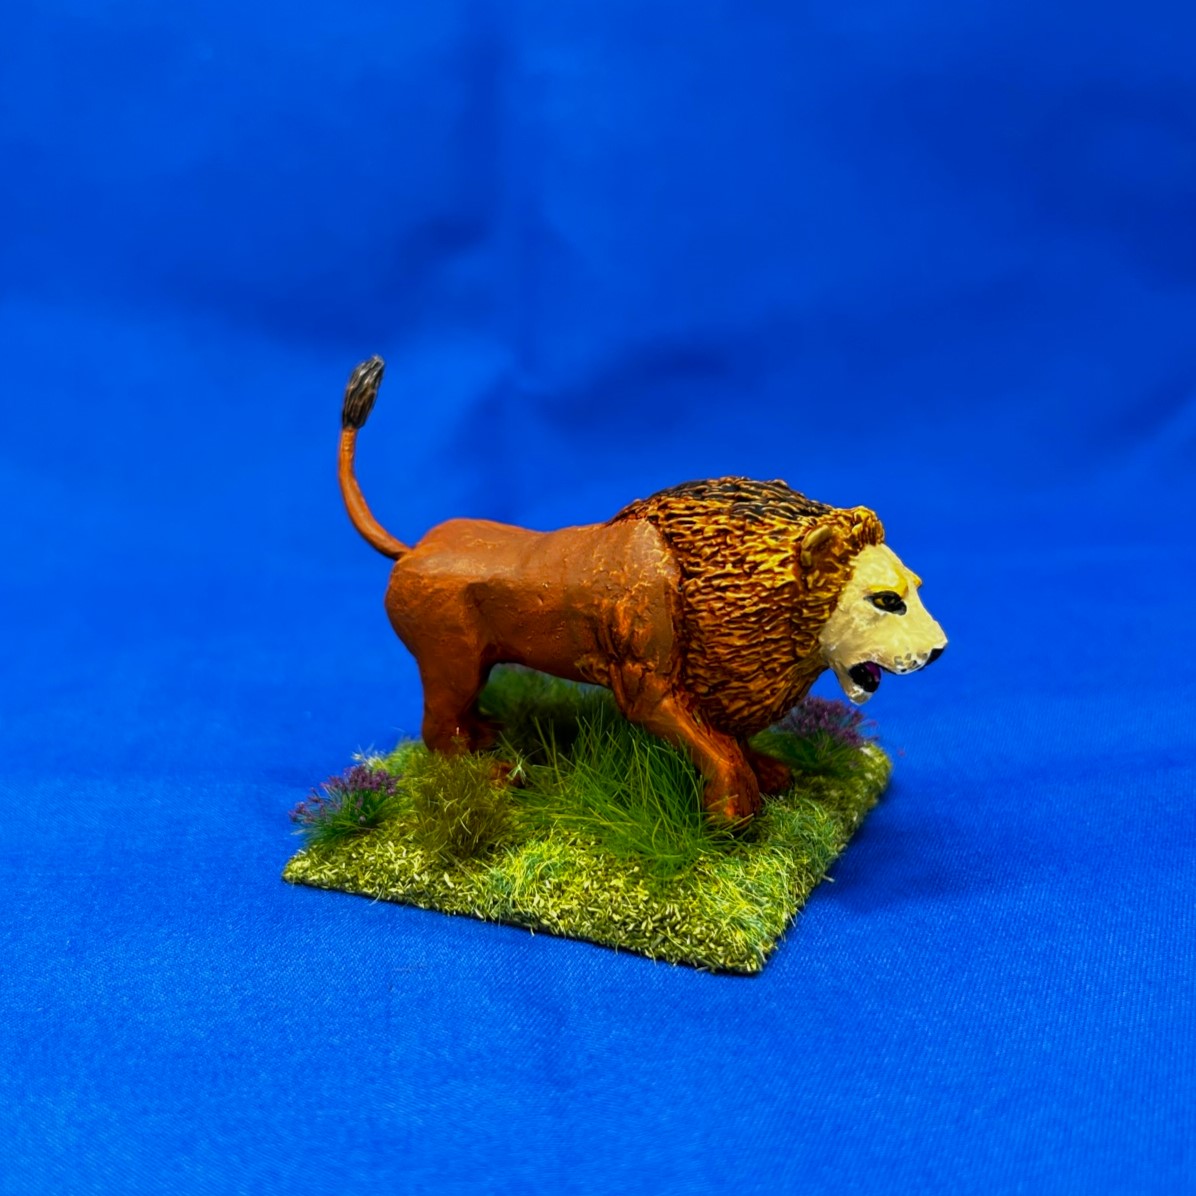
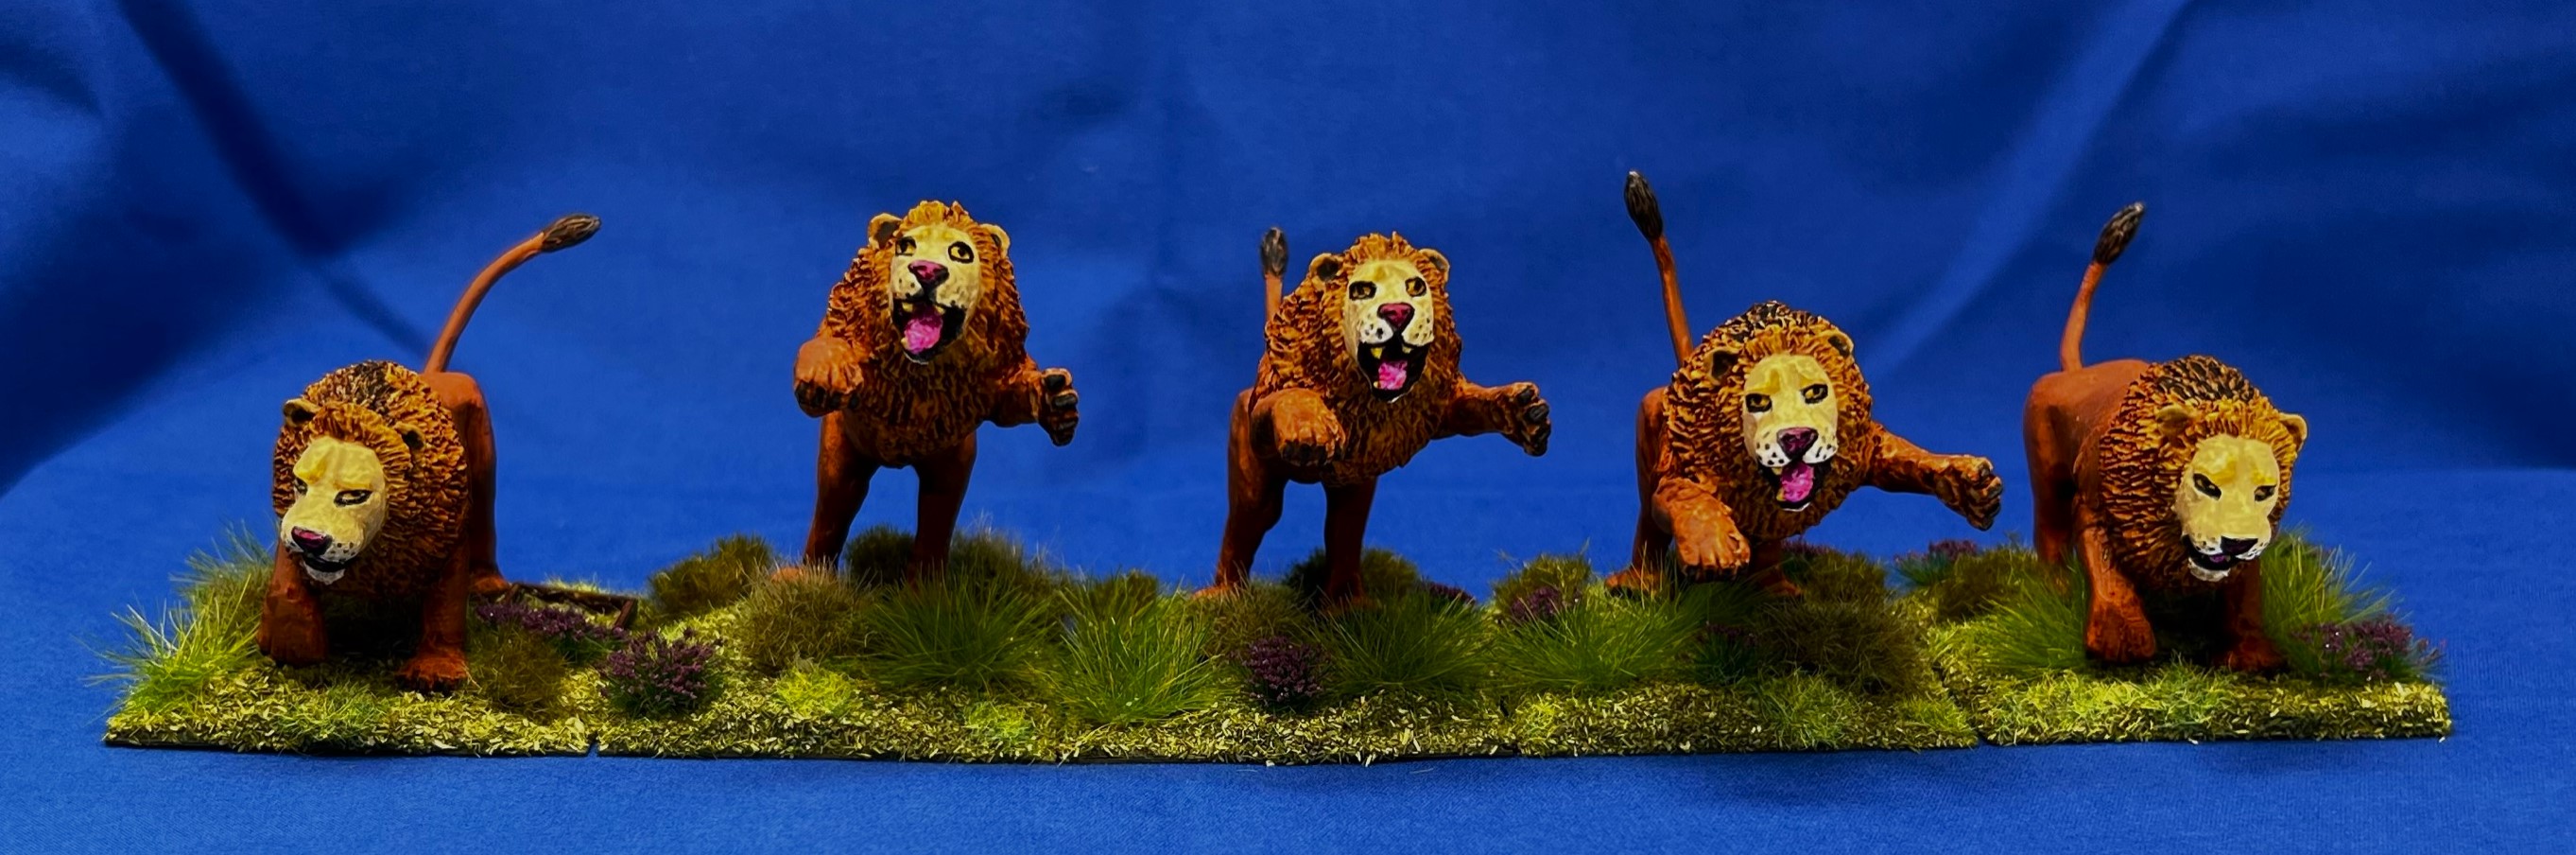
Dire Lions

Base 1

Base 2

Base 3

Base 4

Base 5

Dire Lions Group Shot

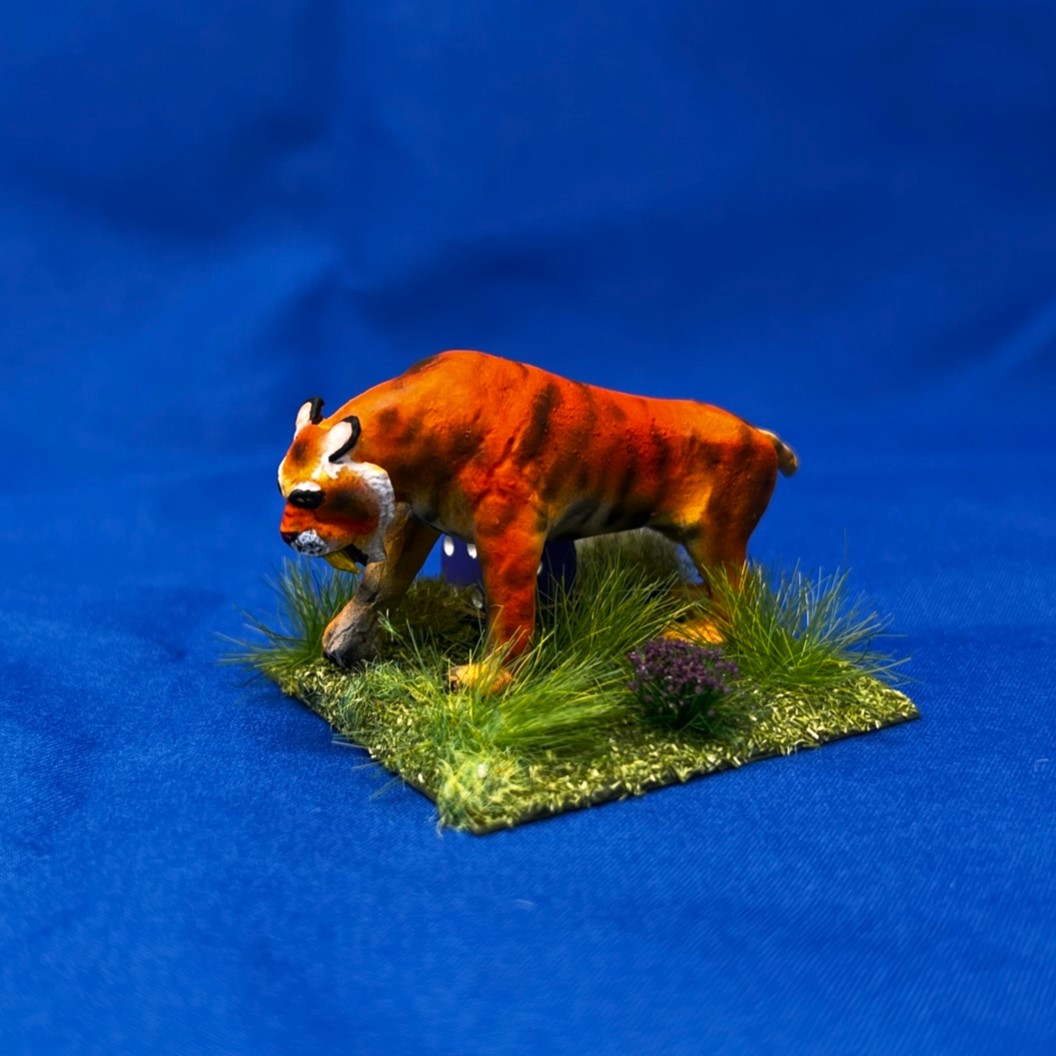
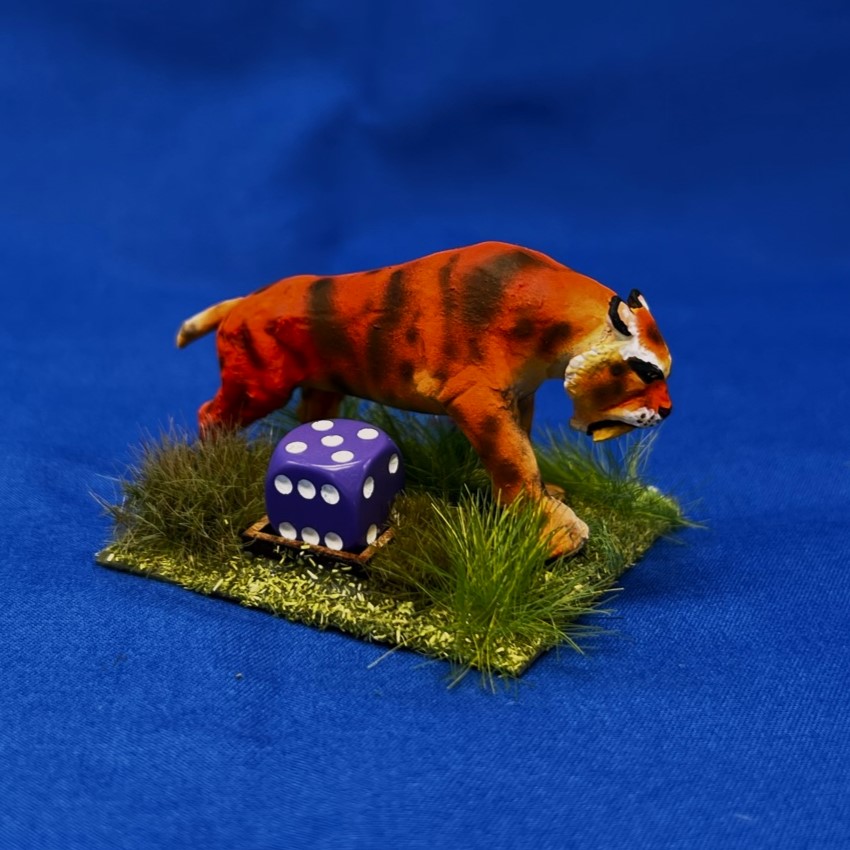
Dire Tigers

Base 1

Base 2

Base 3

Base 4

Base 5

Dire Tigers Group Shot

Dire Bears

Base 1

Base 2

Base 3

Base 4

Base 5

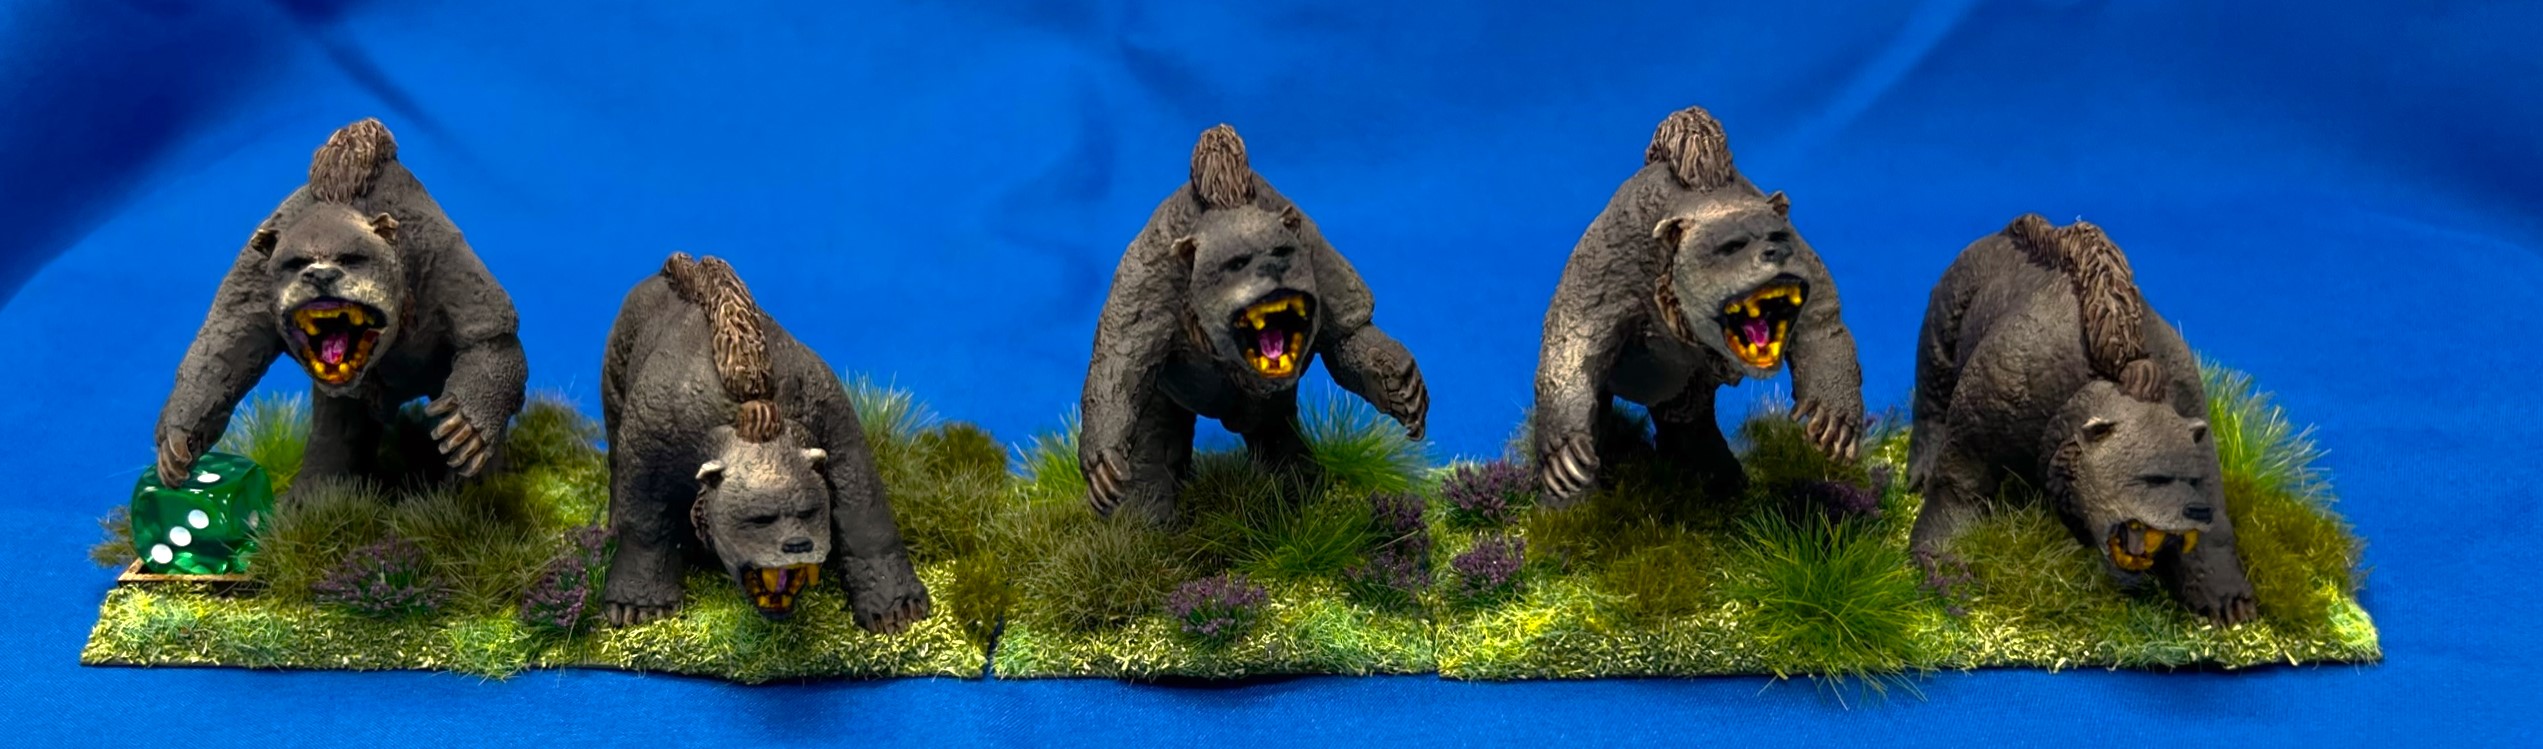
Dire Bears Group Shot

Dire Beasts Group Shots

I now have 2 regiments of Dire Bears, and one each of Dire Wolves, Dire Lions, and Dire Tigers – a Dire Beast Brigade!

All of my Dire Beasts in a Really Useful Box!

I hope that you found this somewhat post as interesting as I found painting these figures. I do have another Harvest unit to do, then some terrain and then maybe the Quadlings. I have 394 painted Ozz figures to date, and 200 this year alone.

And yes, I still have more to come…

Miscellaneous details and references for those interested in that sort of thing:

For all of my previous posts on Wars of Ozz games, figures, units, and other related projects – please see this page.

PAINTS, INKS, GLAZES, SHADES, WASHES, PIGMENTS, FLOCKING, GLUES AND MORE THAT I USED ON THESE FIGURES:

Dire Lions

  1. 2″ square steel bases from Wargames Accessories (#21)
  2. Green Stuff (kneadatite)
  3. Poster tack
  4. Vallejo Mecha Surface Primer “White”
  5. Vallejo “Flow Improver”
  6. Vallejo “Airbrush Thinner”
  7. Vallejo Game Air “Beastly Brown”
  8. Vallejo Model Air “Wood”
  9. Citadel “Balor Brown Air”
  10. Vallejo Game Air “Black”
  11. Vallejo Game Air “Dead White”
  12. Createx “Pearl Copper”
  13. Army Painter “Speed Paint – Murder Scene”
  14. Army Painter “Speed Paint – Familiar Pink”
  15. Citadel “Ushabti Bone”
  16. Citadel “Contrast Paint – Volupus Pink”
  17. Createx Wicked Colors “Pearl Black”
  18. Vallejo Model Air “Light Brown”
  19. Vallejo “Thinner Medium”
  20. Vallejo “Glaze Medium”
  21. Army Painter “Light Tone” (wash/shade)
  22. Citadel “Contrast Paint – Basilicanum Grey”
  23. Citadel “Lamenters Yellow” (glaze)
  24. PS Model Color “British Brown Drab”
  25. Black Milliput
  26. Vallejo Varnish “Satin Varnish”
  27. Vallejo Varnish “Gloss Varnish”
  28. Vallejo Varnish “Matte Varnish”
  29. Elmer’s PVA Glue
  30. Army Painter “Battlefield Field Grass” (flocking)
  31. Pendraken 12mm dice frame
  32. Shadow’s Edge Miniatures “12mm Jungle Tufts” (flocking)
  33. Gamer’s Grass “6mm Dense Green” (flocking)
  34. Army Painter “4mm Wilderness Tufts” (flocking)
  35. Gamer’s Grass “Autumn XL” (flocking)
  36. Shadow’s Edge Miniatures “Dark Forest Plum Flowers” (flocking)
  37. Army Painter “Battlefield Field Grass” (flocking)

Dire Tigers

  1. 2″ square steel bases from Wargames Accessories (#21)
  2. Green Stuff (kneadatite)
  3. Poster tack
  4. Vallejo Mecha Surface Primer “White”
  5. Vallejo “Airbrush Thinner”
  6. Vallejo “Flow Improver”
  7. Vallejo Model Air “White Grey”
  8. Army Painter “Speed Paint – Murder Scene”
  9. Vallejo Game Air “Hot Orange”
  10. Vallejo Game Air “Black”
  11. Vallejo Game Air “Dead White”
  12. Vallejo Game Air “Beastly Brown”
  13. Createx “Pearl Copper”
  14. Citadel “Contrast Paint – Volupus Pink”
  15. Army Painter “Speed Paint – Familiar Pink”
  16. Citadel “Contrast Paint – Ironjawz Yellow”
  17. Army Painter “Light Tone” (wash/shade)
  18. PS Model Color “British Brown Drab”
  19. Black Milliput
  20. Vallejo Varnish “Satin Varnish”
  21. Vallejo Varnish “Gloss Varnish”
  22. Vallejo Varnish “Matte Varnish”
  23. Elmer’s PVA Glue
  24. Army Painter “Battlefield Field Grass” (flocking)
  25. Pendraken 12mm dice frame
  26. Shadow’s Edge Miniatures “12mm Jungle Tufts” (flocking)
  27. Gamer’s Grass “6mm Dense Green” (flocking)
  28. Army Painter “4mm Wilderness Tufts” (flocking)
  29. Gamer’s Grass “Autumn XL” (flocking)
  30. Shadow’s Edge Miniatures “Dark Forest Plum Flowers” (flocking)
  31. Army Painter “Battlefield Field Grass” (flocking)

Dire Bears

  1. 2″ square steel bases from Wargames Accessories (#21)
  2. Green Stuff (kneadatite)
  3. Poster tack
  4. Vallejo Mecha Surface Primer “White”
  5. Vallejo “Airbrush Thinner”
  6. Vallejo “Flow Improver”
  7. Vallejo Model Air “Dark Brown”
  8. Army Painter “Speed Paint – Murder Scene”
  9. Vallejo Game Air “Dead White”
  10. Army Painter “Speed Paint – Familiar Pink”
  11. Vallejo Model Air “Armour Brown”
  12. Vallejo Model Air “First Light”
  13. Vallejo Mecha Color “Brown”
  14. Vallejo Model Air “Light Brown”
  15. Vallejo Game Air “Black”
  16. Citadel “Contrast Paint – Ironjawz Yellow”
  17. Army Painter “Mid Brown” (wash/shade)
  18. Army Painter “Light Tone” (wash/shade)
  19. PS Model Color “British Brown Drab”
  20. Black Milliput
  21. Vallejo Varnish “Satin Varnish”
  22. Vallejo Varnish “Gloss Varnish”
  23. Vallejo Varnish “Matte Varnish”
  24. Elmer’s PVA Glue
  25. Army Painter “Battlefield Field Grass” (flocking)
  26. Pendraken 12mm dice frame
  27. Shadow’s Edge Miniatures “12mm Jungle Tufts” (flocking)
  28. Gamer’s Grass “6mm Dense Green” (flocking)
  29. Army Painter “4mm Wilderness Tufts” (flocking)
  30. Gamer’s Grass “Autumn XL” (flocking)
  31. Shadow’s Edge Miniatures “Dark Forest Plum Flowers” (flocking)
  32. Army Painter “Battlefield Field Grass” (flocking)

Again, as you may want to check out the Wars of Ozz figures’ range – there are two places to get them (and I make no money from this btw). The game rules and the figures are available from the following two places:

In the US Old Glory has a site – Wars of Ozz Miniatures.

In the UK go to Sally 4th.

Man of TIN blog two

Toy Soldiers, Gaming, ImagiNations

Gisby's Gaming Blog

Miniatures gaming projects, products, and reviews

Carrion Crow's Buffet

Narrative Wargaming, Fiction and General Musings on the Universe

Despatches from Fort Syllabub

An account of fictional adventures on the North West Frontier - and other times and places, real or imagined

Man of Tin blog

Toy soldiers, gaming, Imagi-Nations

Zauberwurfs Blog

Ein Blog über Tabletop und Miniature Wargames.

Frank Tank Rants

musings of a fat old bloke on tanks and wargames

Dragons of Lancasm

Games, miniatures, painting, books and more games

Tiny Painted Heroes

The Adventures of a lifelong Tabletop Gamer, Game Design hobbyist, and full-time Software Engineer

Steve's Paint Brush

Grimdark model making and mini painting

Wargamesculptors Blog

Life, Golf, Miniatures, & Other Distractions

Dead Dick's Tavern and Temporary Lodging

Life, Golf, Miniatures, & Other Distractions

Guru Pig - the gaming Guru

Guru's thoughts on wargaming, life, and the universe!

Wisely lead... without a head!

History, Miniatures and Wargaming

Kuribo's Painting

Fallout Wasteland Warfare, Warhammer, and Hellboy Painting, Terrain, Dioramas, and Battle Reports

Don't Give Greg Ideas

Seriously, just don't

War Across the Ages, and other dark horrors

A discussion of miniatures collecting, painting and gaming.

Classic Warhammer 40K

Painting diary focused on Warhammer 40K 2nd ed., 5th ed. WHFB, related GW games, and miscellaneous whimsy

Colonel Mustard

WW2 Modelling in 1/72 Scale

Bogenwald

Random painting and terrain making.

Pat's 1:72 Military Diorama's

Scale diorama tips and ideas

Arcade Dreams

Building the Arcade Dream

P.B.Eye-Candy

Phil's 20th century wargame pages

SP's Projects Blog

A futile fight against entropy or 'Every man should have a hobby'? Either way it is a blog on tabletop wargames, board games and megagames

30mmdave

Wargaming Plausible reality?

The Imperfect Modeller

Miniature Figure Painting and Diorama Modelling

Double Down Dice

Painting miniatures and rolling dice!

Just Needs Varnish!

My ongoing wargames projects!

miniaturepopcorns

Sculpting some worlds

Despertaferres

Wargaming with the ability of a dull nine year old

Dawn of the Lead

Miniature wargaming and the occasional zombie

Rantings from under the Wargames table

Wargames, Figures, Sculpting and Converting Miniatures

Simple as War

Miniatures & Terrains

Buck's Blog

Life, Golf, Miniatures, & Other Distractions

IRO aka Imperial Rebel Ork

- I model - therefore I am -