The US Army had a lot of catching up to do at the start of World War II. This was true both in terms of vehicles and doctrine in the way of armored warfare. This included anti-tank units.
Initially, the US Army experienced internal squabbles about anti-tank troops and control. These were among the infantry, cavalry, and artillery branches. They disputed over which would control what were then-called “anti-tank battalions”. Interestingly, the Armor Branch (created in 1940) had little interest in that fight. It desired to stay focused on offensive operations.
The September 1941 Louisiana Maneuvers demonstrated the efficacy of anti- tank battalions. In June 1942, the Army created a new branch for this force. They also developed a doctrine to support their use (Field Manual 18–5, Tactical Employment, Tank Destroyer Unit). Tank destroyer battalions were then created and began to be fielded.
Developing doctrine is one thing – fielding self-propelled anti-tank equipment is another. When Operation Torch was launched, there were not any of the tank destroyers that you saw in later battles. No M10 Wolverines, M18 Hellcats, or M36 Jacksons – or even towed M1 57mm or M5 guns – took part in Torch.
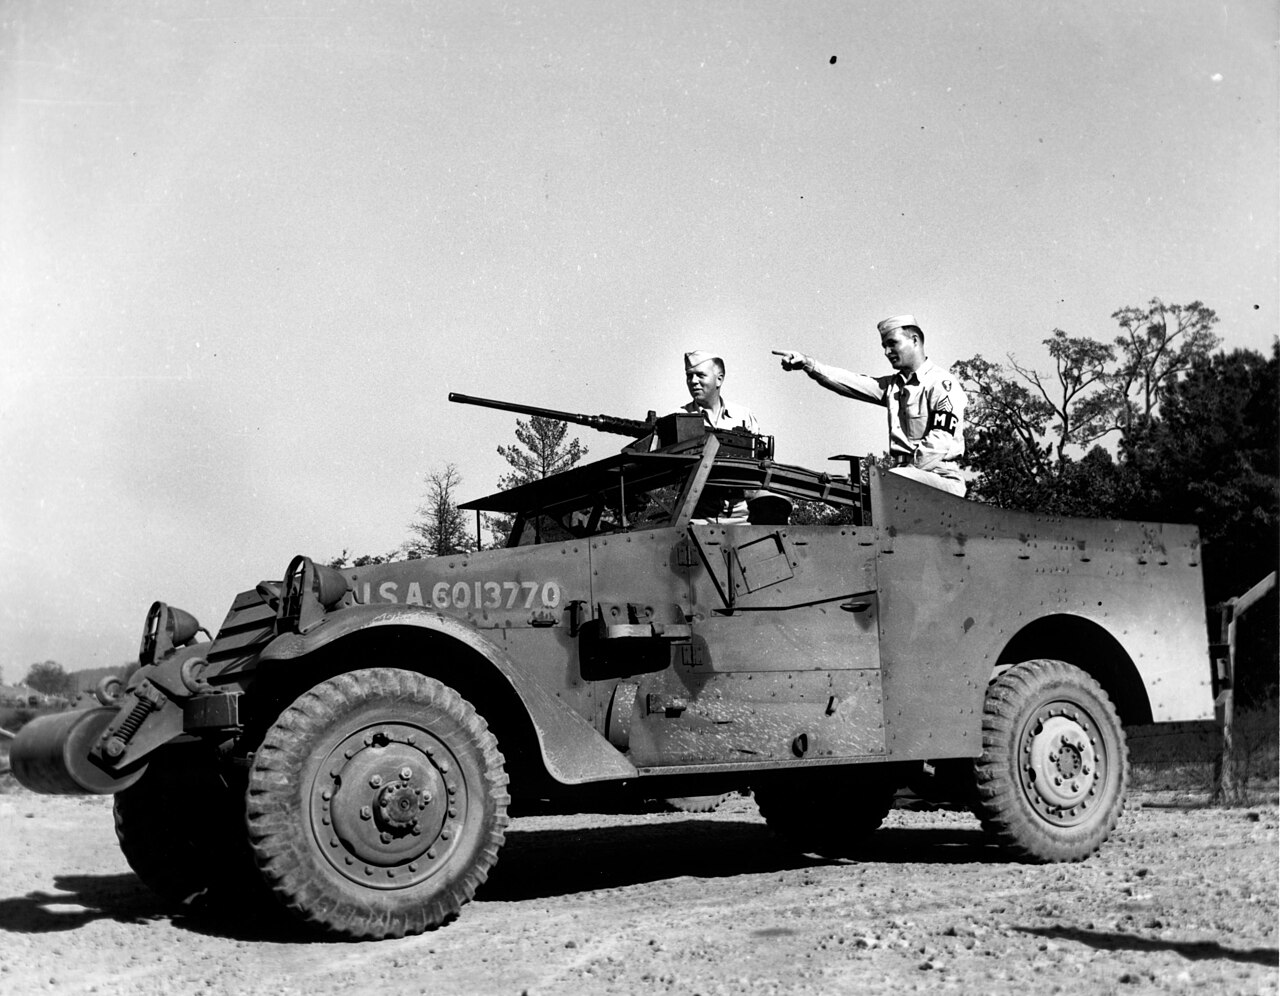
Nope, at the start of the war, the US Army fielded just two models of tank destroyer. One was on an M3 half-track, which mounted the venerable 75mm Canon_de_75_modèle_1897. This combination was called the M3 Gun Motor Carriage (GMC). The other was the M6 Gun Motor Carriage (GMC). This was a Dodge Fargo truck with a rear-mounted M3 37mm gun. Defensively, needless to say, both of these types were not well-armored at all.
Offensively, while the 75mm gun could still pack an anti-armor punch, the 37mm was well on its way to complete obsolescence. Add to that the M6 GMC was rearward-facing. It would have to be turned around to fire, That would have been quite a challenge in combat. I imagine that it was inspired by the British use of portee anti-tank weapons. However, the main reason was probably the urgency of fielding something to fight in the anti-tank role. Add to that – US industrial might had not yet reached full production capacity seen later in the war.


But you go to war with the Army you have. Tank Destroyer battalions were formed, consisting of a headquarters company, a reconnaissance company (including a pioneer platoon – Engineers!), and 3 twelve-vehicle tank destroyer companies. Each company fielded each one platoon of M6 Fargo GMC’s and two platoons of M3 GMC’s. Each M6 platoon had 4 vehicles, and each of both of the M3 platoons had 4. These would see combat starting in November 1942 during Operation Torch.
At that point, doctrinally, tank destroyers were by nature defensive forces. They were supposed to blunt any enemy armored attack or counterattack – obviously by destroying tanks. This would allow for counterattack by US tanks and infantry. Operation Torch would be the first test.
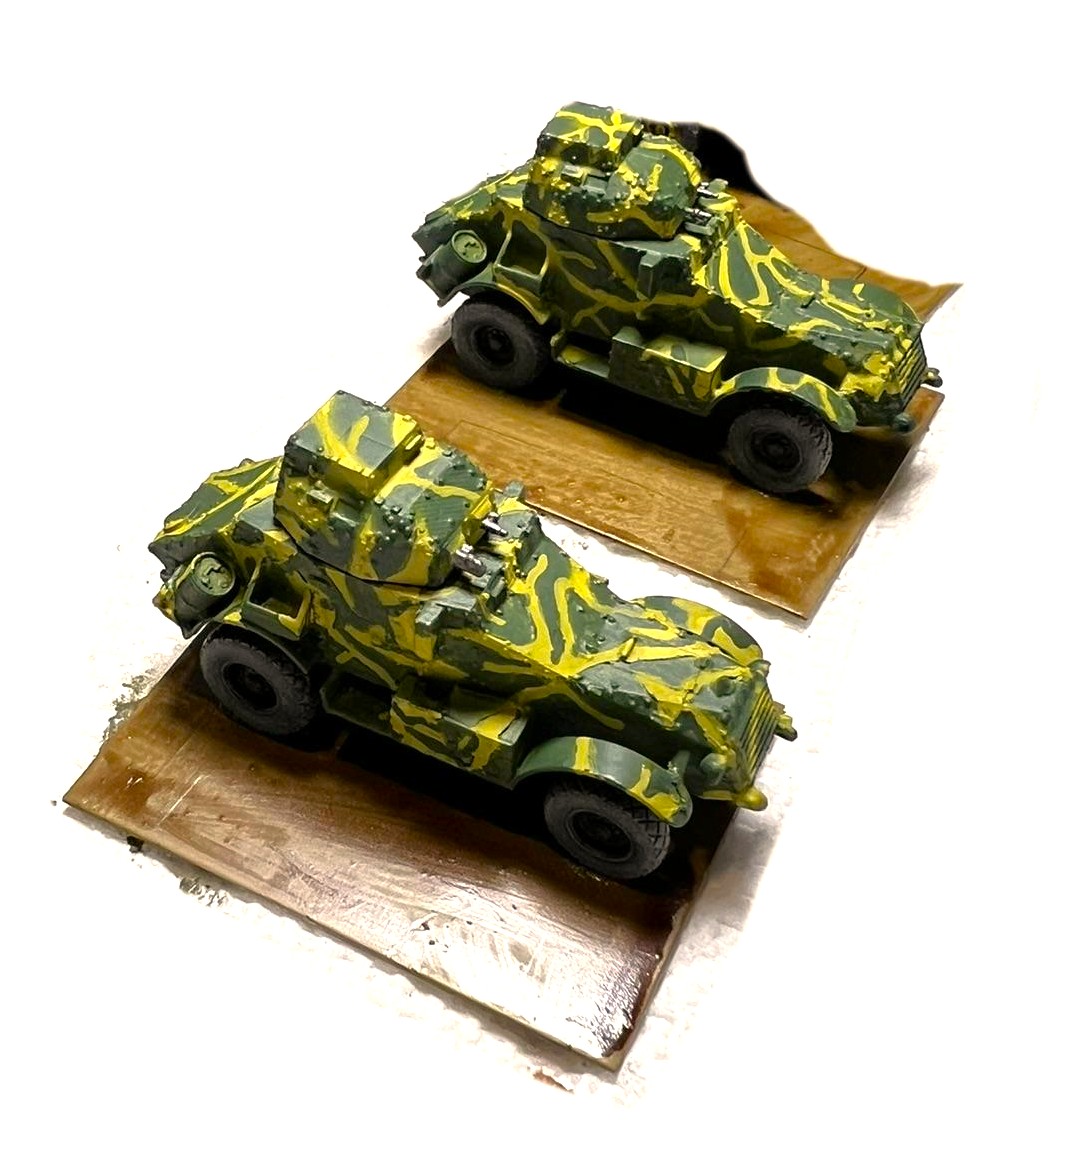
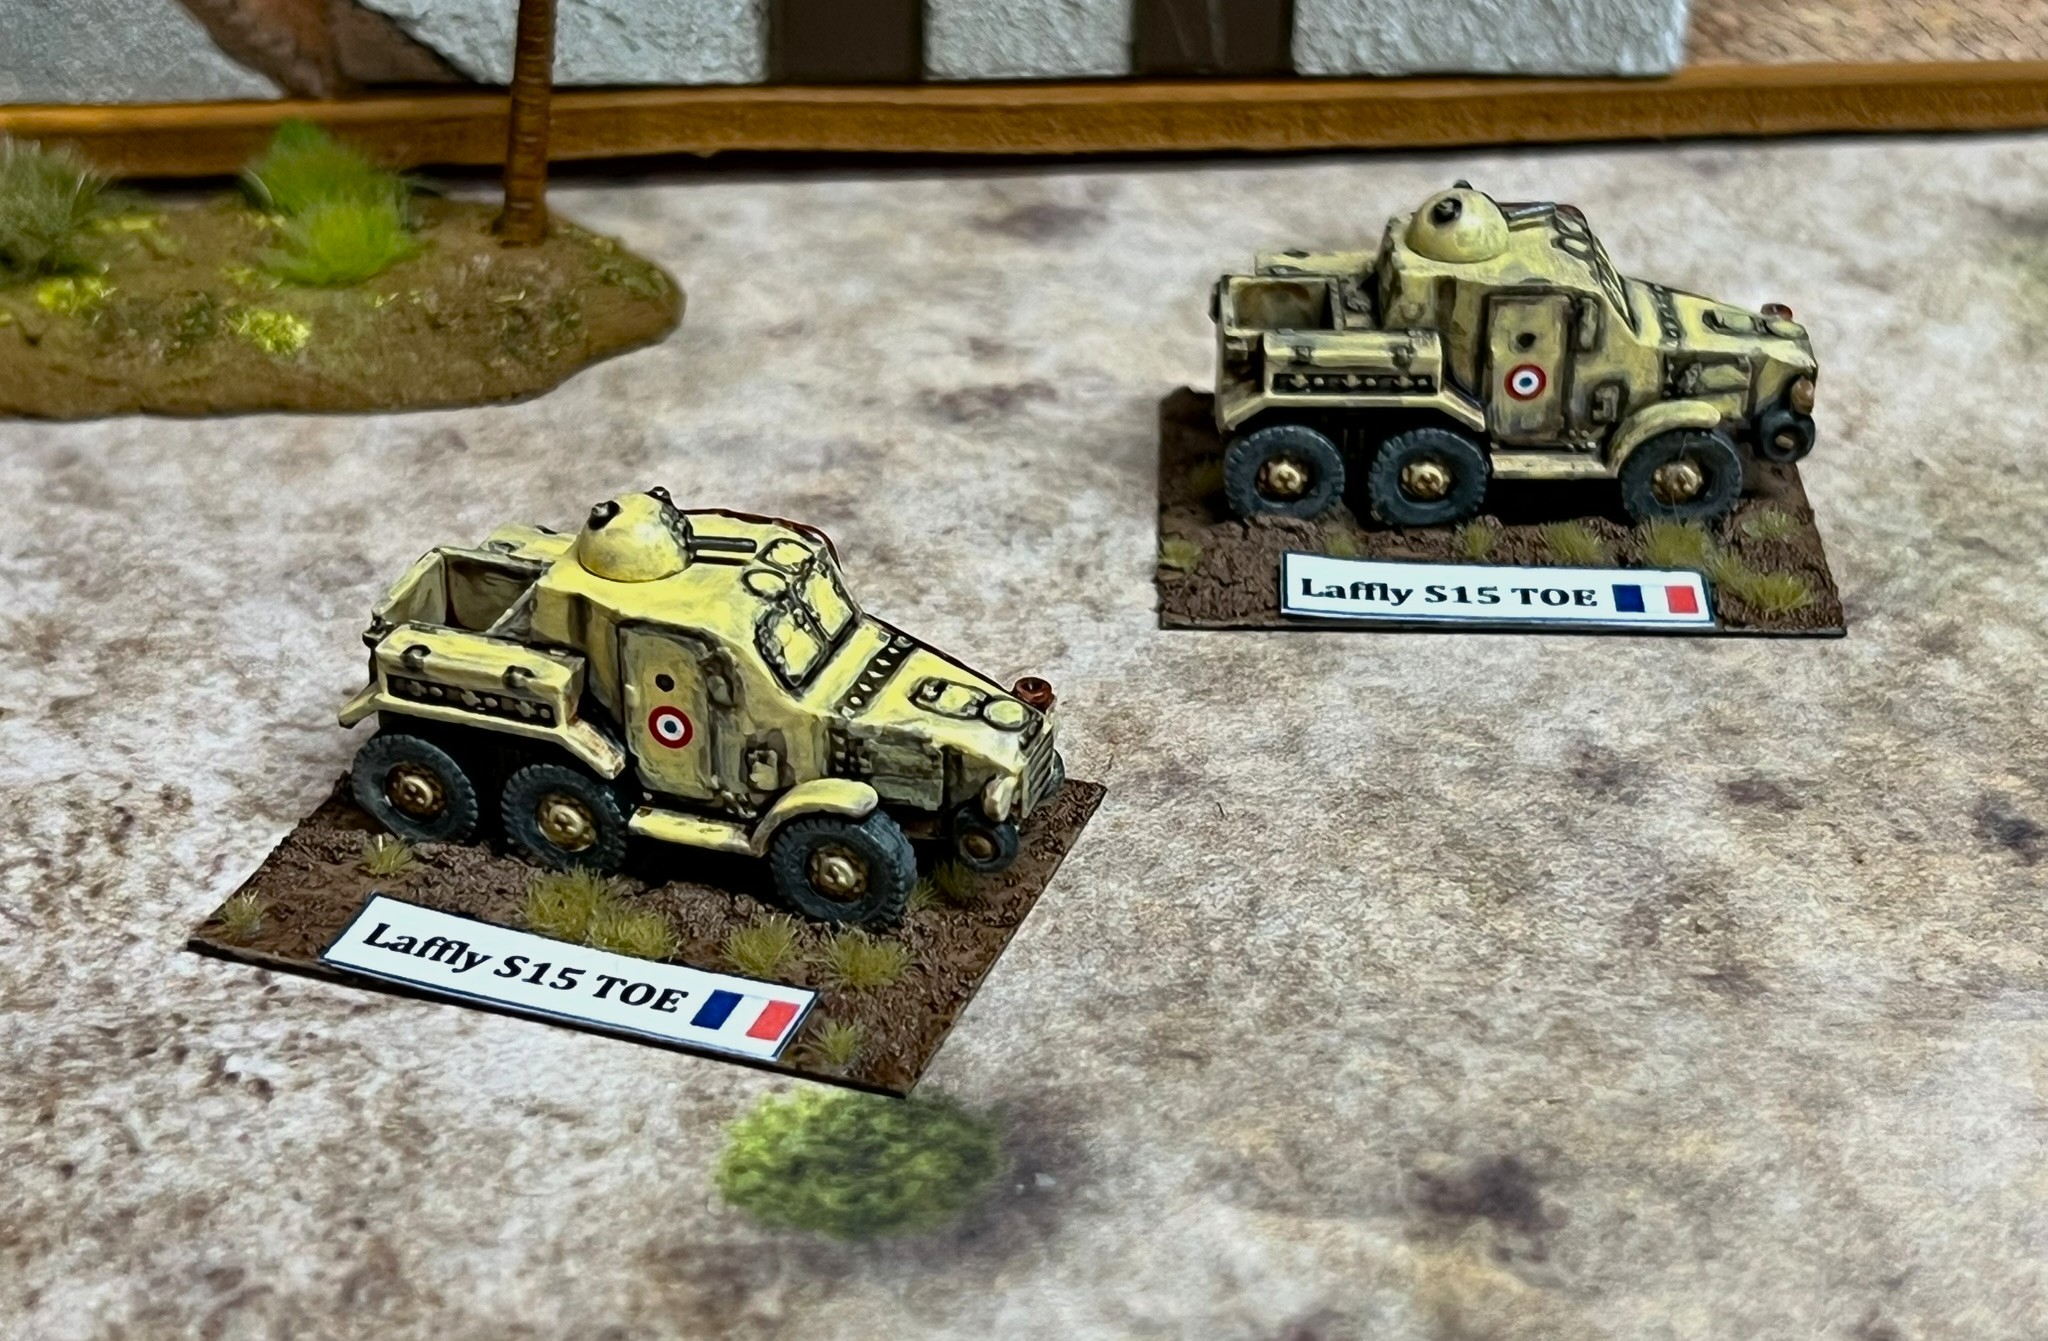
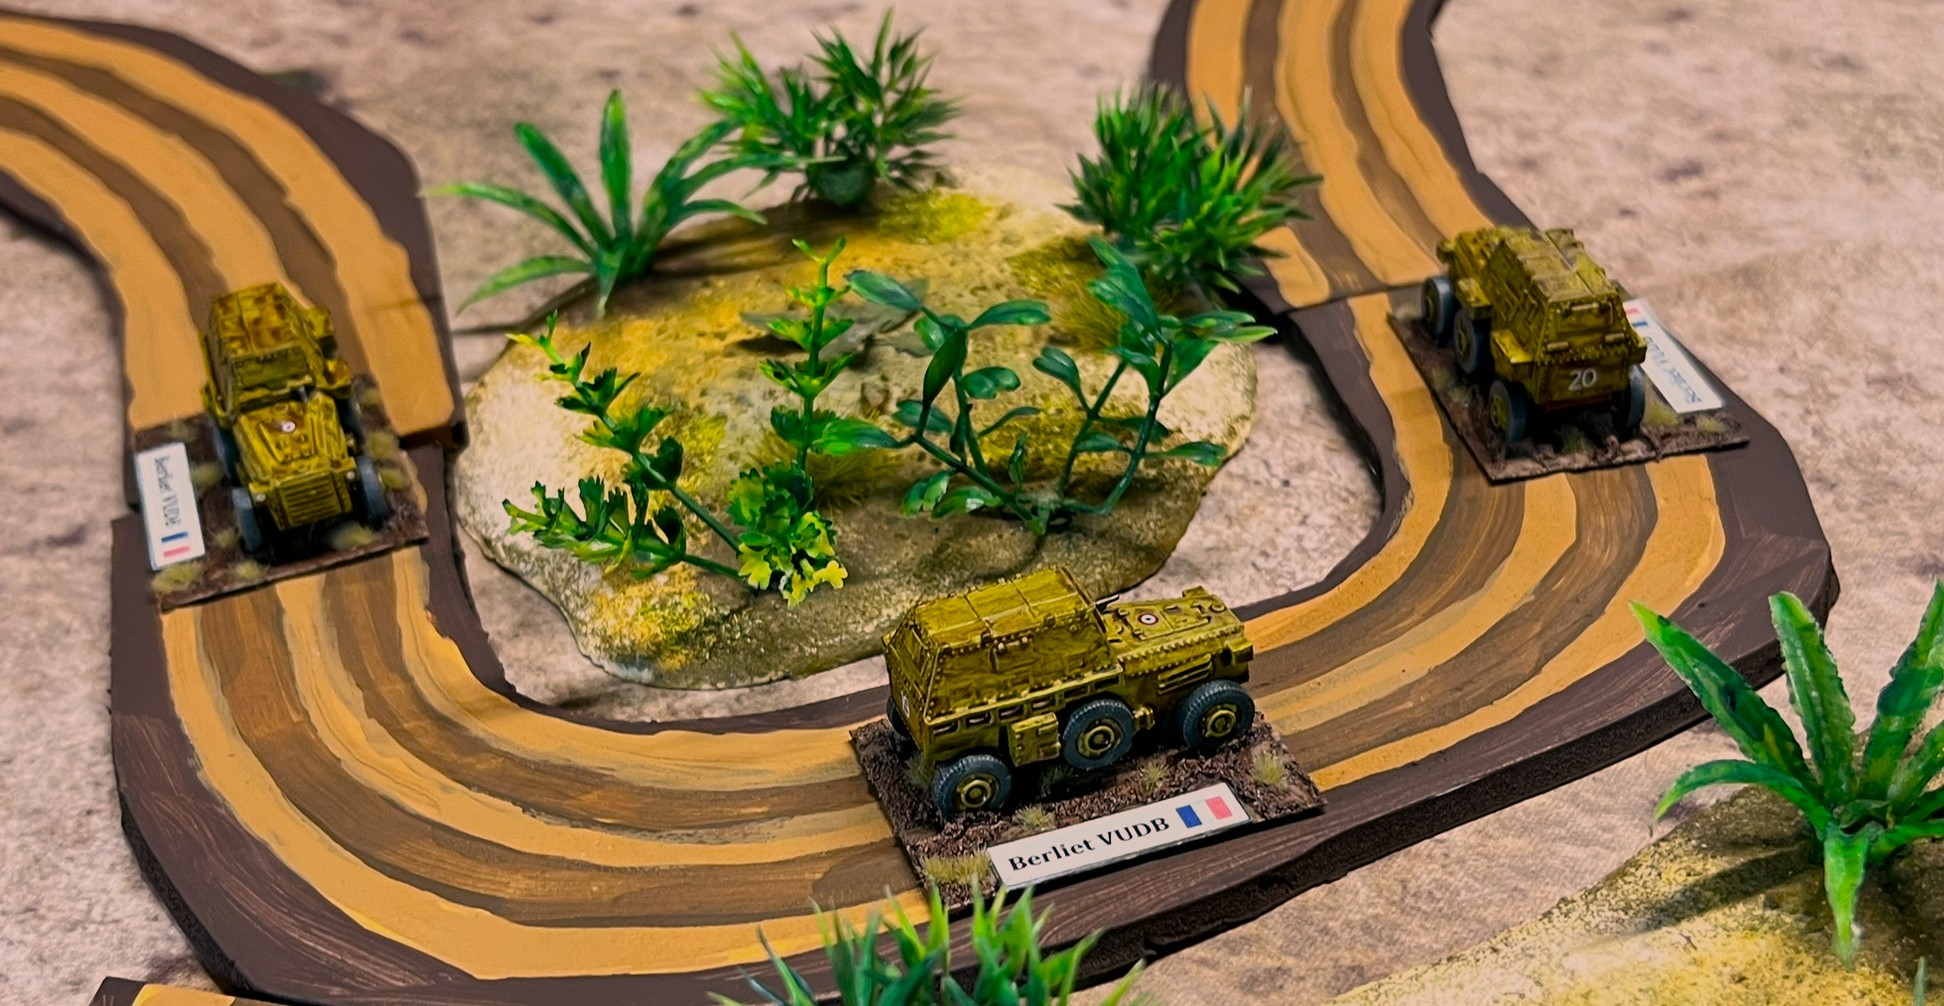
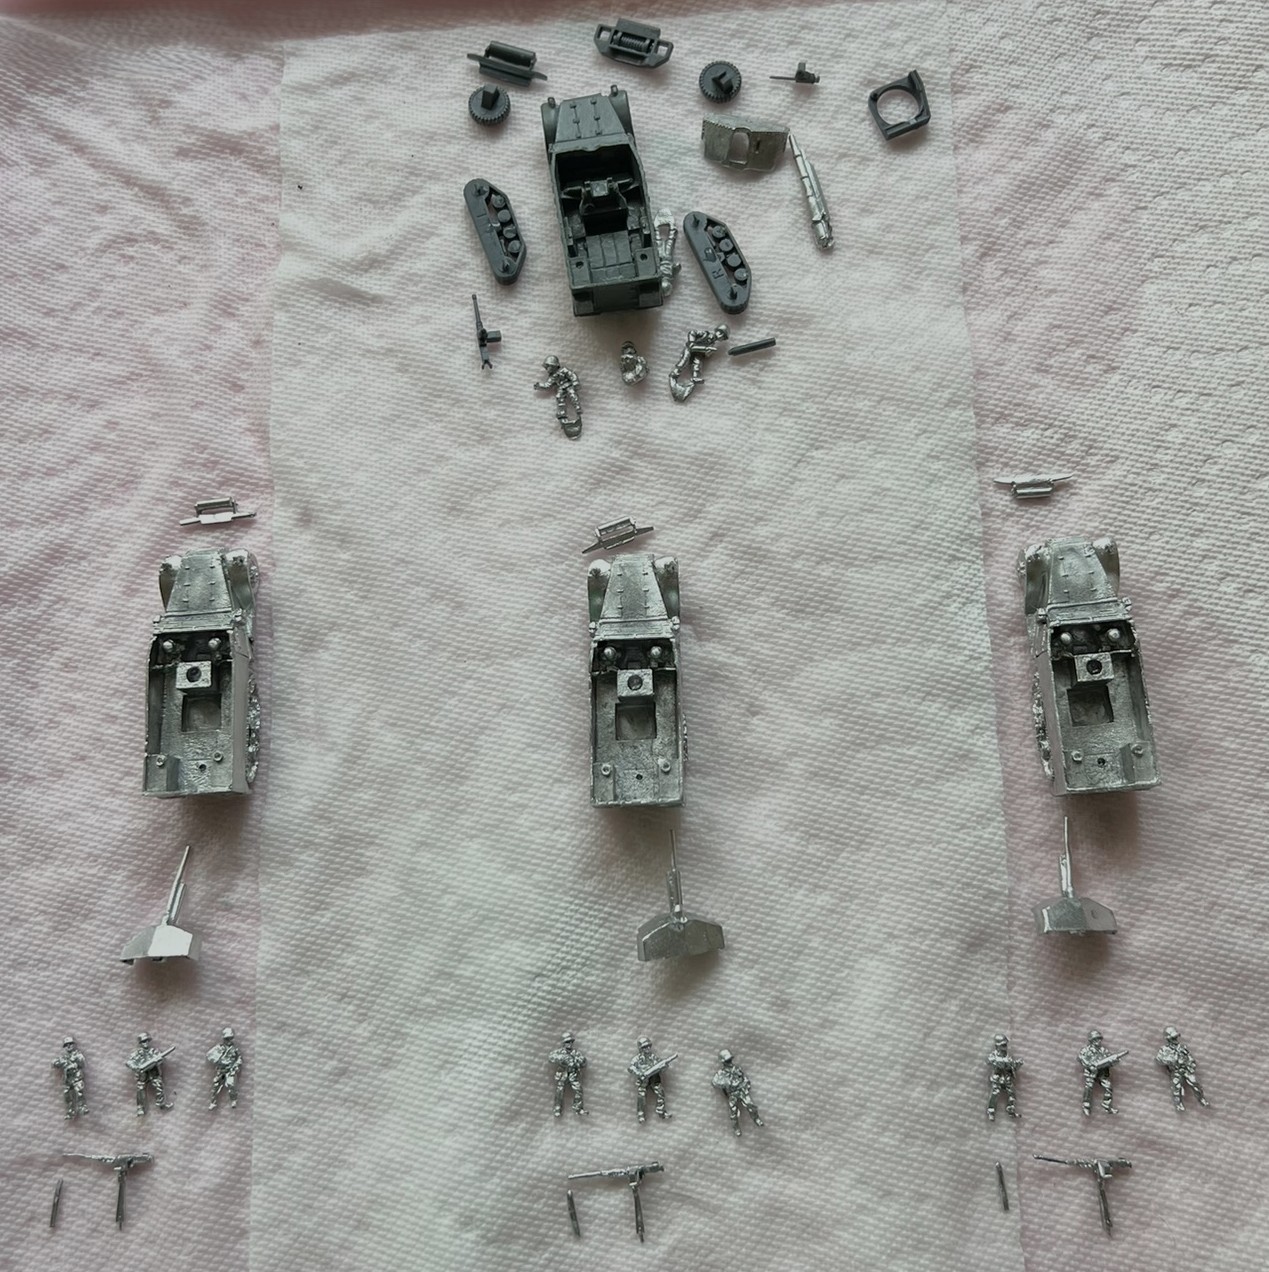
For my What a Tanker games for Operation Torch at HISTORICON 2025, I needed both types of tank destroyers. For the M3 GMC’s, I bought 6 from Old Glory (SKU CD-223A) and assembled and painted up just 3. I also found one Battlefront/FOW model (SKU US101) at HAVOC that joined the mix. Now I had 4 M3 GMC’s for gaming. M6 GMC were not easy to source – and I also had never heard of them. So my friend Greg Priebe agreed to 3D-print some for me. You may remember that Greg printed the French vehicles for me I previously wrote about here. He made Panhard 175 TOE’s and Berliet VUDB’s for me.
Thanks again Greg!
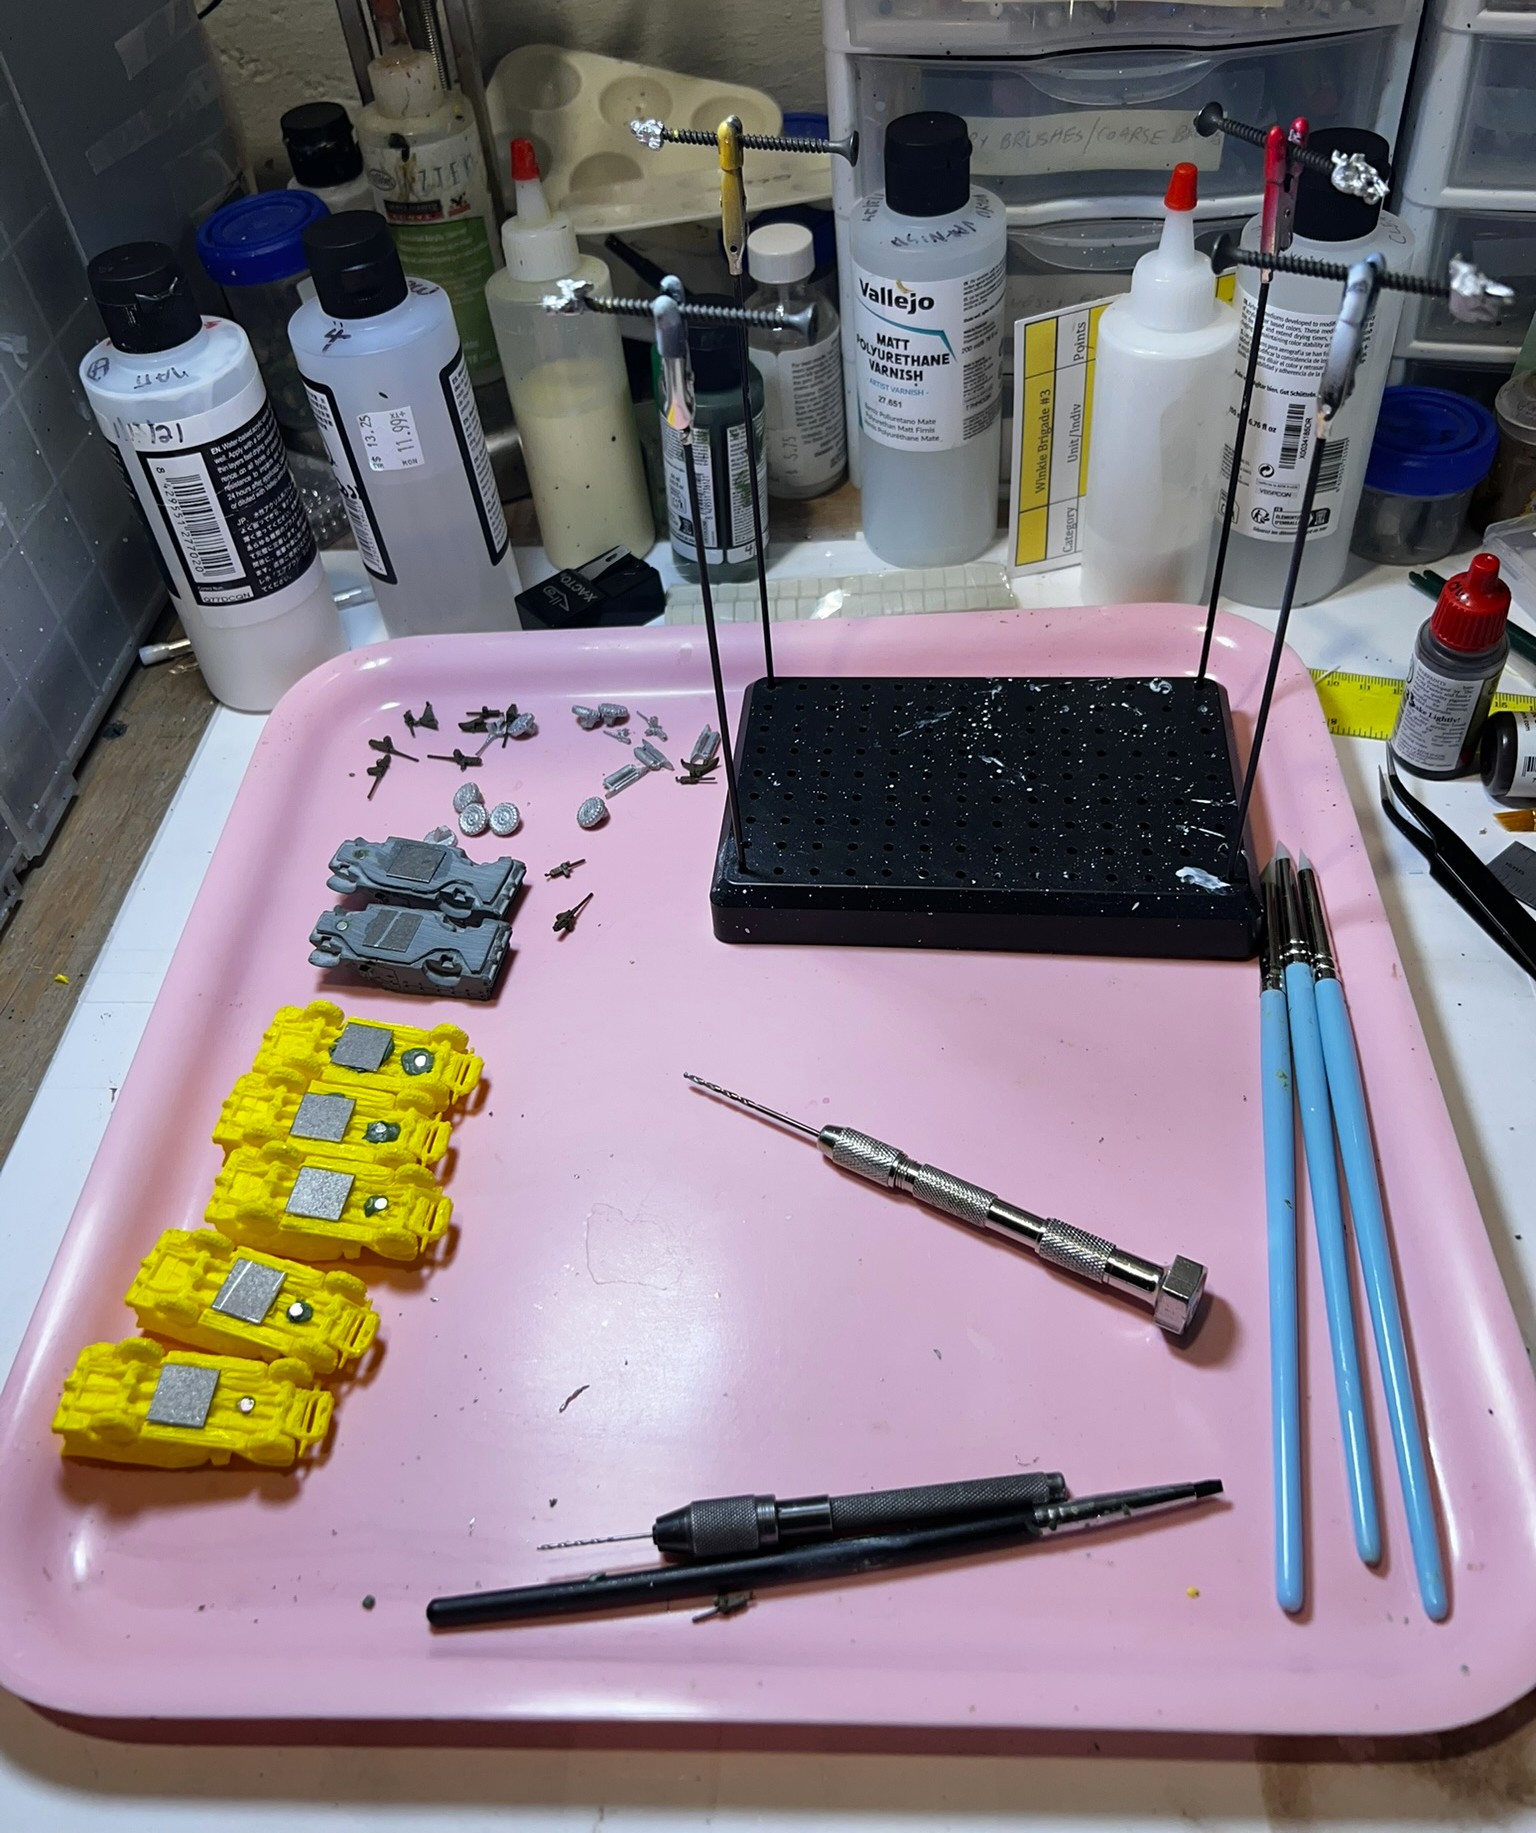
I was able to put together 3 M6 GMC’s with what Greg sent me. I worked on these in June as well.
June was a crazy month – and I was able to get these together before HISTORICON 2025. As for photos – well you’ll see what I have.
M3 GMC
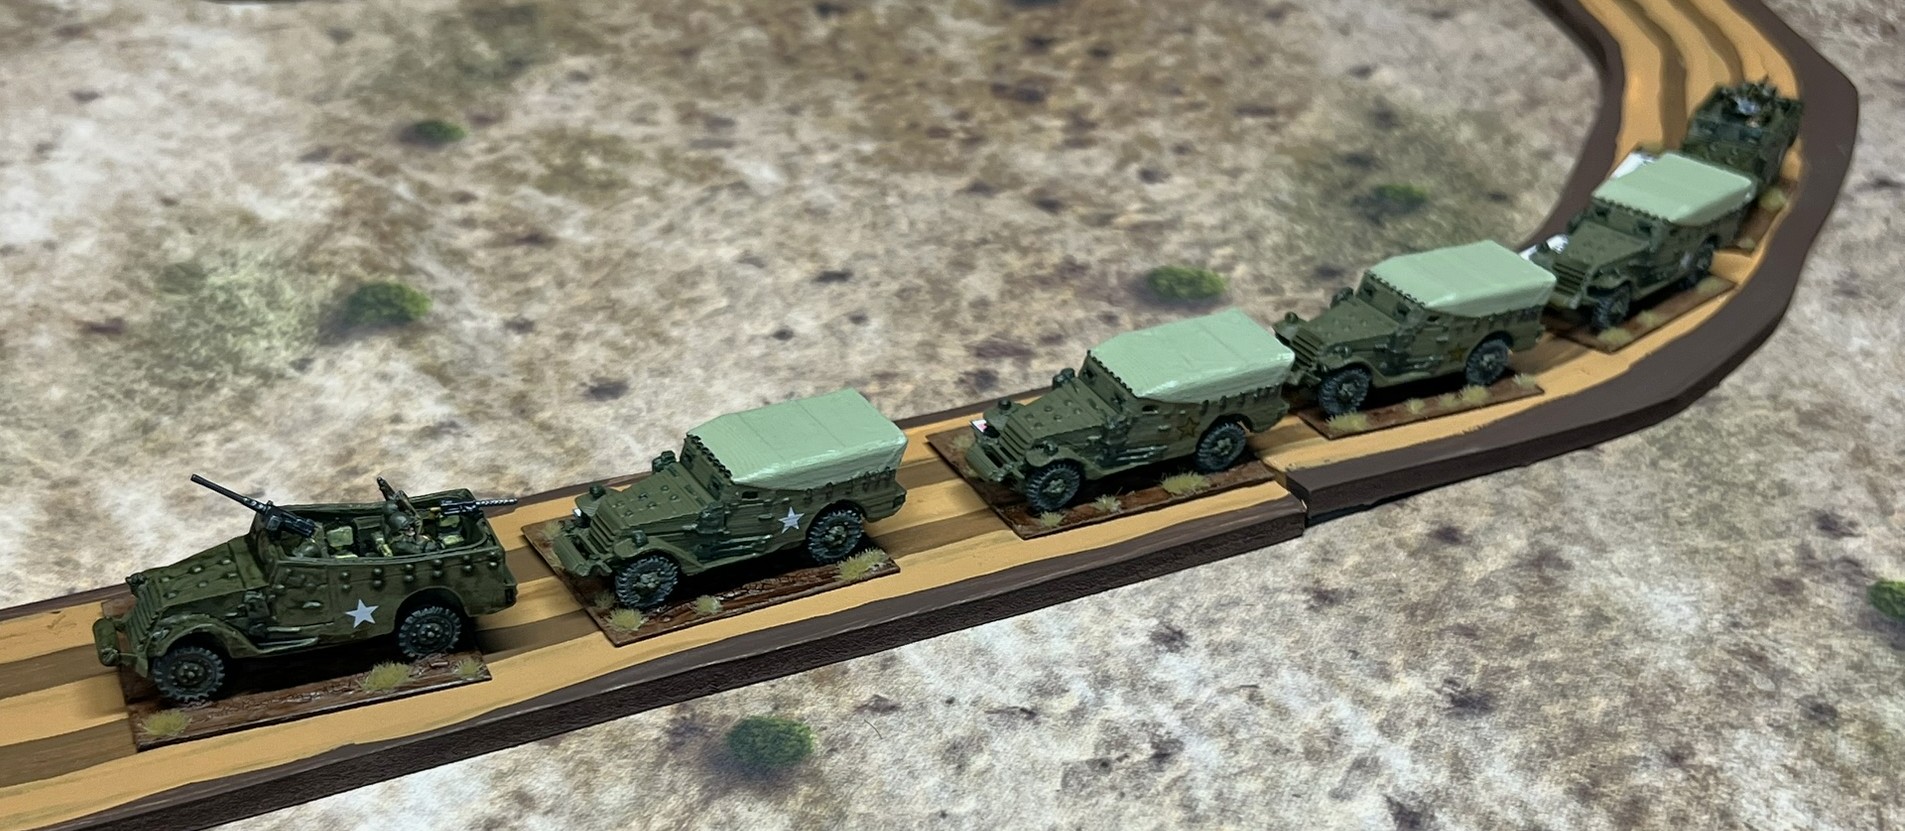
The three Old Glory models are metal, while the FOW model is metal and resin. all are 15mm/1:100 scale. Painting the crews was challenging (and fun)!
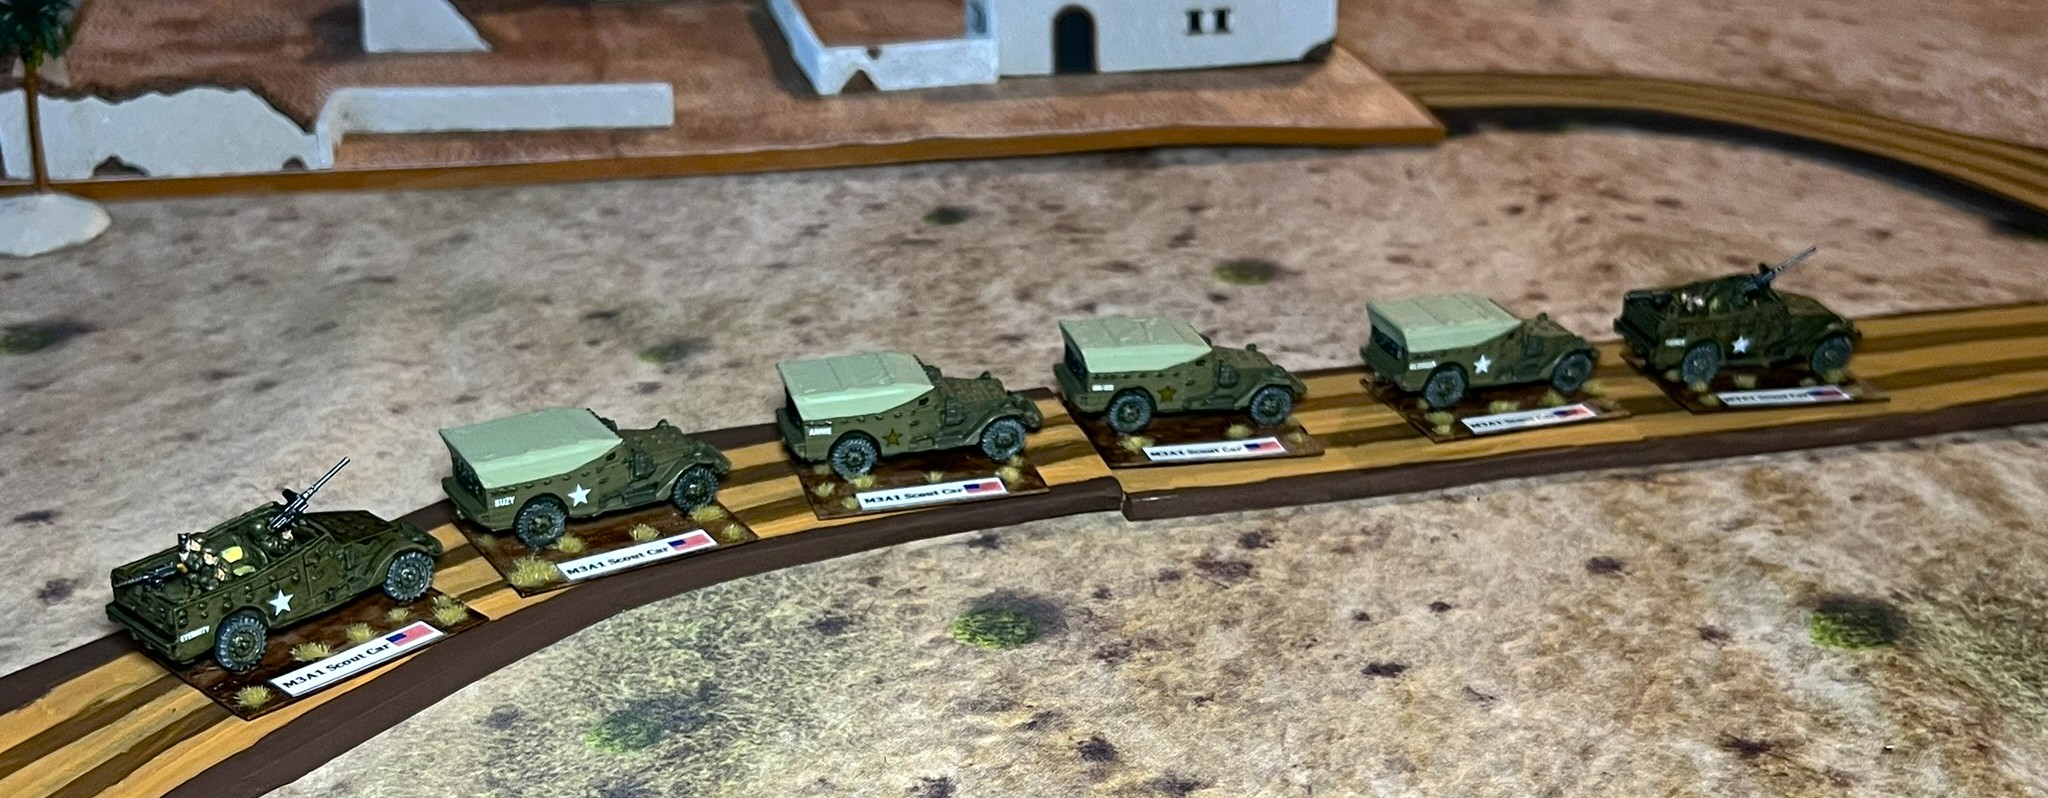
I painted them up with both gold and white stars. The gold stars were unique to the North African campaign. I thought they gave a more authentic Operation Torch look. Apparently in November of 1942, standardization to white stars was not yet part of the US Army’s official painting scheme. Unlike my M3A1 Scout Cars, I freehand painted the stars. I found they looked better than my decals. For more variation, I either painted the stars on the hood or the grills. Also, each got a name – I used the decals that I had available. The names of these were:
- BLOOD N GUTS
- DESTRUCTION
- HURRICANE
- LUCKY


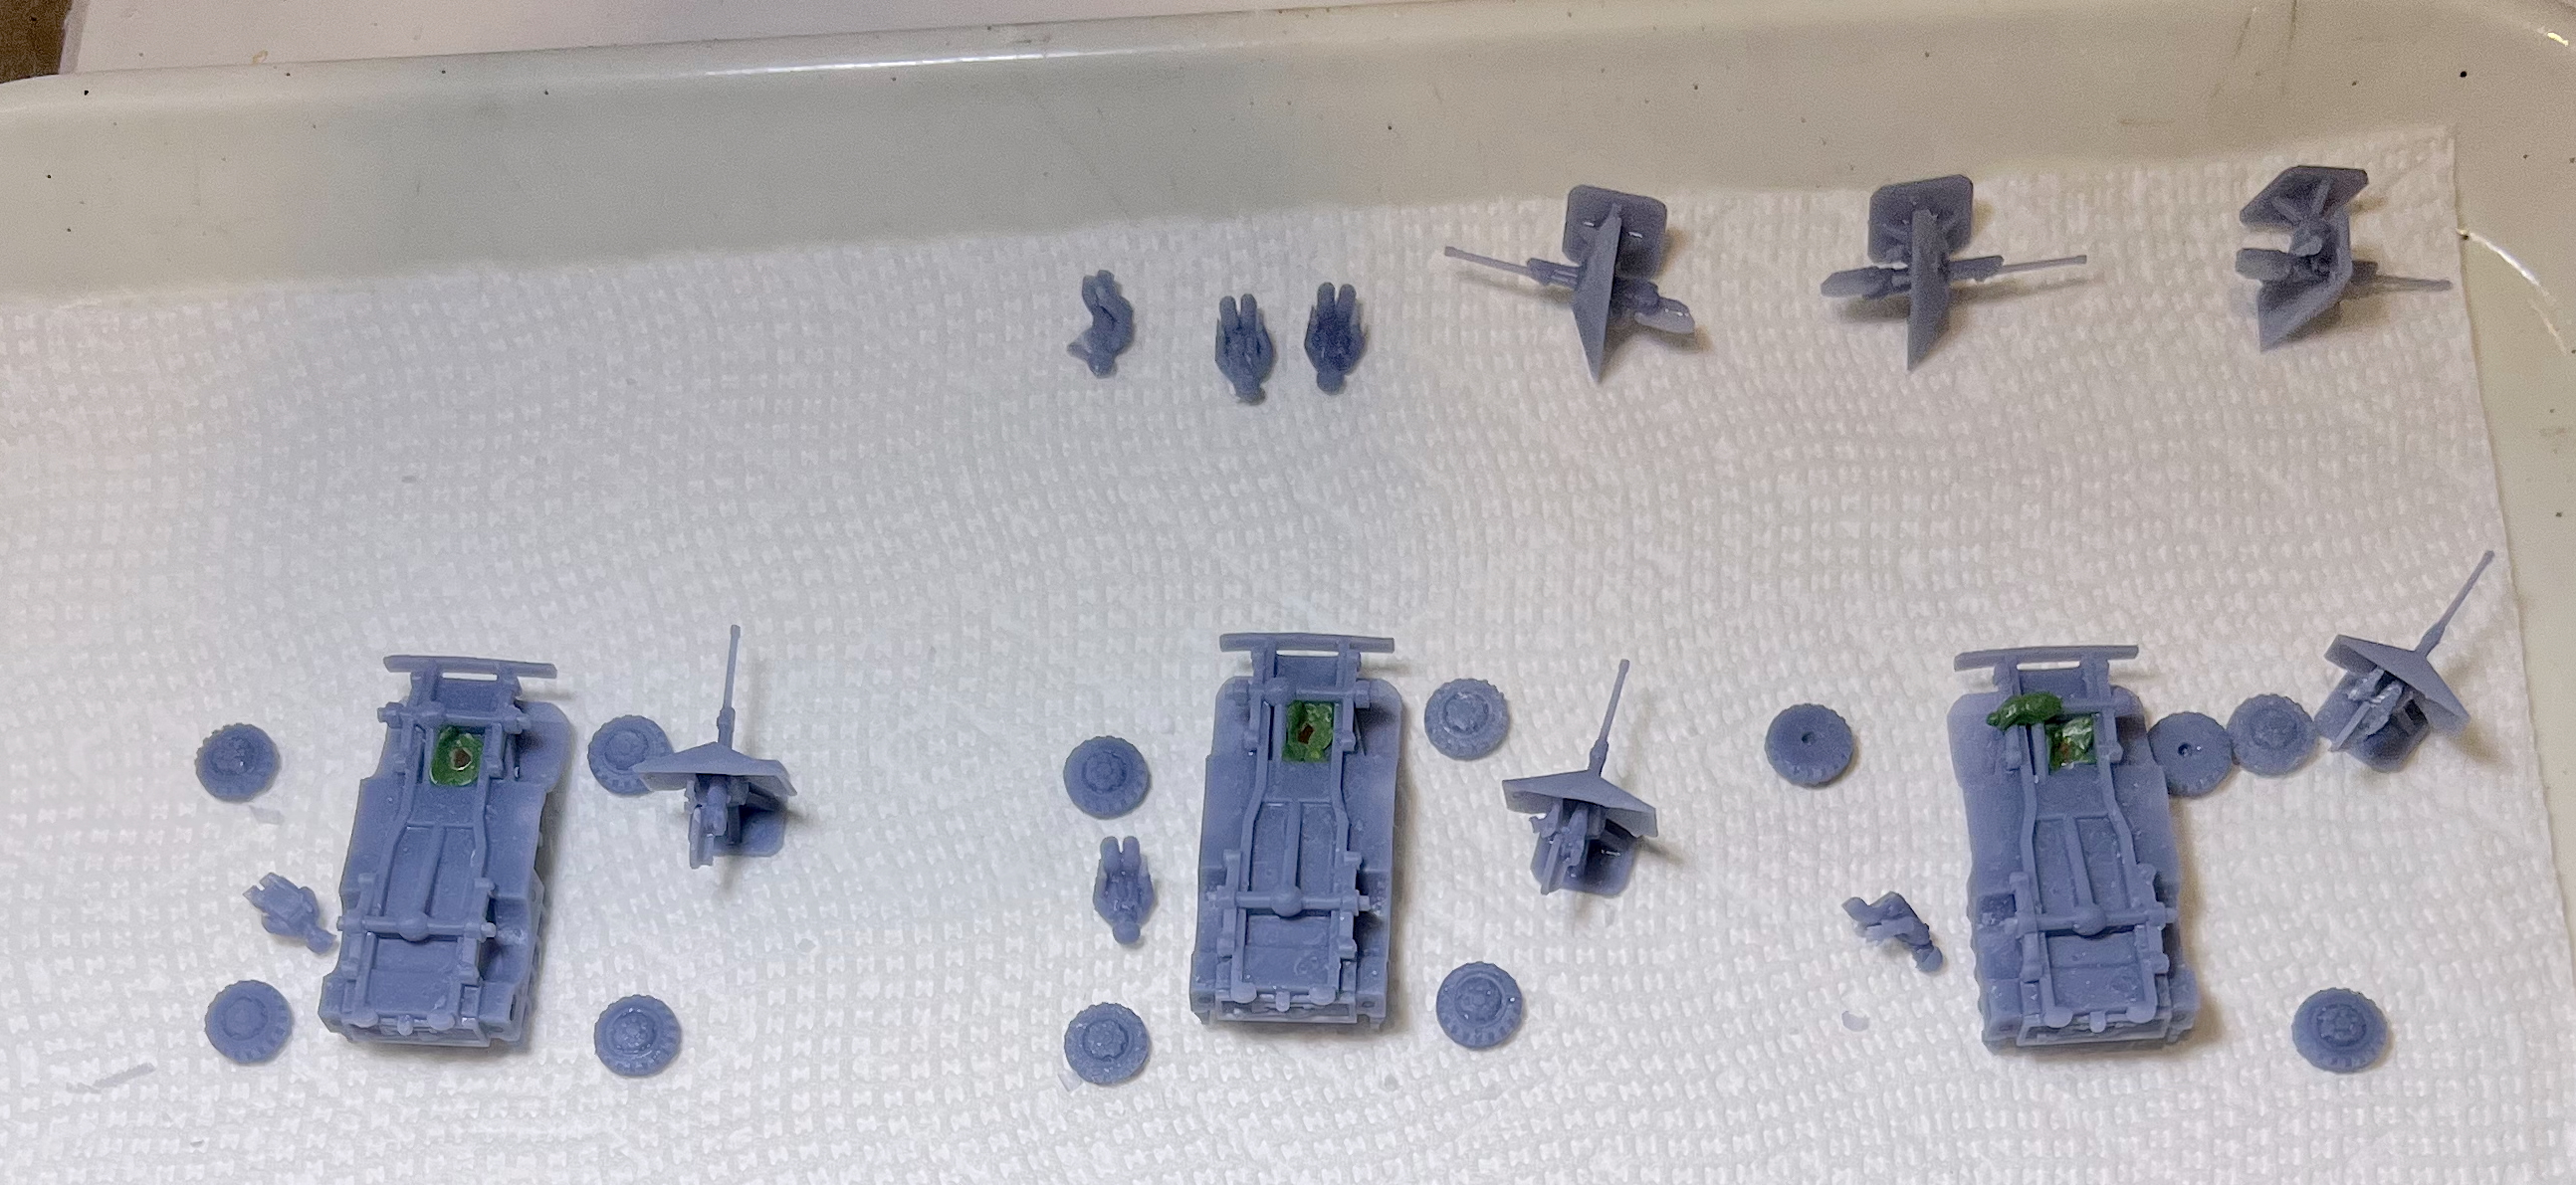
M6 GMC (FARGO)
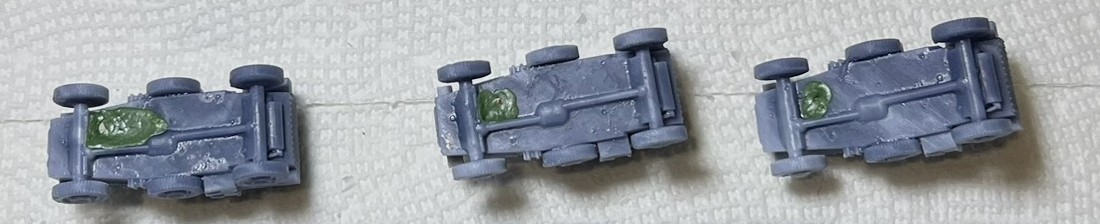
These were all 3D-printed resin in 15mm/1:100 scale. I wish that I had been able to add crew to these. They were already so fiddly and small, that I satisfied myself with just having a driver. Even at that I had to do a good amount of surgery to get him to fit in his seat!

Like with the M3 GMC’s, I gave names to these as well. These names were the only differentiator for these models. The names were:
- BUCK (for Buck Surdu)
- DUKE
- TEX


While the M3 GMC was partially effective in North Africa, the M6 was not. Clearly, both were very vulnerable to direct and indirect fire. As time progressed, they were both replaced by self-propelled vehicles with turrets and better protection. The M3 GMC’s were converted back into half-tracks. The M6 GMC’s were stripped of their guns, and were later used as just trucks.
In conclusion, I had some tank destroyers for Operation Torch games of What a Tanker! I also hope that you enjoyed this post on my early war tank destroyers. All that I have left to share on this project are my 8 American M5 Stuart tanks. I will also share a bit about my games at HISTORICON.
What did you think of these tank destroyers? Did anything surprise you? Motivate you to get some for yourself? Please let me know your thoughts in the comments section!
Lastly, you can find all of my posts on WWII games and projects in one place. There is a consolidated list of posts and their links located here.
The next lists are what I used on these vehicles. I review these lists for my own uses on future projects. For some of you, they may also be helpful.
MATERIALS USED
PAINTS, INKS, GLAZES, SHADES, WASHES, PIGMENTS AND FLOCKING USED ON THE ONE BATTLEFRONT/FLAMES OF WAR RESIN M3 GMC MODEL AND THE THREE OLD GLORY M3 GMC MODELS:
- Green Stuff
- Vallejo Surface Primer “Black”
- Vallejo Surface Primer “USA Olive Drab”
- Gorilla Glue
- Battlefront “European Skin”
- Vallejo Thinner Medium
- War Games Accessories Steel Bases Number 23 (1½” x 2″)
- War Games Accessories Steel Bases Number 16 (½” x ½”)
- Green Stuff Wooden Blocks, steel bolts, steel washers, magnets, steel screws
- Neodymium magnets (⅛” and ¼”)
- Vallejo Surface Primer “German Green Brown”
- Army Painter “Mid Brown” (shade/wash)
- Reaper MSP Core Colors “Blackened Brown”
- Vallejo Model Color “USA Olive Drab”
- Army Painter “Flesh Wash” (shade/wash)
- Vallejo Model Color “Brass”
- Vallejo Model Air “Tire Black”
- Vallejo Model Color “Dark Sea Grey”
- Vallejo Primers “NATO Green”
- Army Painter “Military Shader” (shade/wash)
- Reaper MSP “Pure White”
- Citadel “Averland Sunset”
- Vallejo Mecha Color “Dark Steel”
- Army Painter “Dark Tone” (wash/shade)
- Citadel “Agrellan Badlands” (texture)
- Citadel “Agrellan Earth” (texture)
- Vallejo Mecha Weathering Effects “Dark Rust Wash”
- Vallejo “Mecha Varnish Gloss”
- Microscale Industries “Micro Set”
- Microscale Industries “Micro Sol”
- Microscale Industries “Liquid Decal Film”
- Gin Fritter US Army decals
- Battlefront US Army decals
- Vallejo “Gloss Acrylic Varnish”
- Citadel “‘Ardcoat”
- Vallejo “Gloss Acrylic Varnish”
- Vallejo Flow Improver
- Vallejo Thinner
- Vallejo “Matte Polyurethane Varnish”
- Printed labels on card stock
- Gamers Grass “Tiny Beige 2mm Tufts” (flocking)
- PVA Glue
PAINTS, INKS, GLAZES, SHADES, WASHES, PIGMENTS AND FLOCKING USED ON THE THREE RESIN M6 GMC MODELS (FARGO’S):
- Gorilla Glue
- Green Stuff Neodymium magnets (⅛”)
- Wooden Blocks, steel bolts, steel washers, magnets, steel screws
- Vallejo Surface Primer “Black”
- Vallejo Surface Primer “USA Olive Drab”
- Battlefront “European Skin”
- Vallejo Thinner Medium
- War Games Accessories Steel Bases Number 23 (1½” x 2″)
- Vallejo Surface Primer “German Green Brown”
- Army Painter “Mid Brown” (shade/wash)
- Reaper MSP Core Colors “Blackened Brown”
- FolkArt “Champagne”
- Army Painter “Flesh Wash” (shade/wash)
- Vallejo Model Air “Tire Black”
- Vallejo Model Color “Dark Sea Grey”
- Vallejo Primers “NATO Green”
- Army Painter “Military Shader” (shade/wash)
- Citadel “Averland Sunset”
- Citadel “Agrellan Badlands” (texture)
- Citadel “Agrellan Earth” (texture)
- Vallejo “Mecha Varnish Gloss”
- Microscale Industries “Micro Set”
- Microscale Industries “Micro Sol”
- Microscale Industries “Liquid Decal Film”
- Battlefront US Army decals
- Vallejo “Gloss Acrylic Varnish”
- Citadel “‘Ardcoat”
- Vallejo “Gloss Acrylic Varnish”
- Vallejo Flow Improver
- Vallejo Thinner
- Vallejo “Matte Polyurethane Varnish”
- Printed labels on card stock
- Gamers Grass “Tiny Beige 2mm Tufts” (flocking)
- PVA Glue
Thanks for checking this out!