TotalCon 40 is an annual gaming convention that is held in Marlborough, MA at the Best Western Conference Center. There are events for miniature games, board games, RPG’s, and much more. Attendance is well over 1,000.
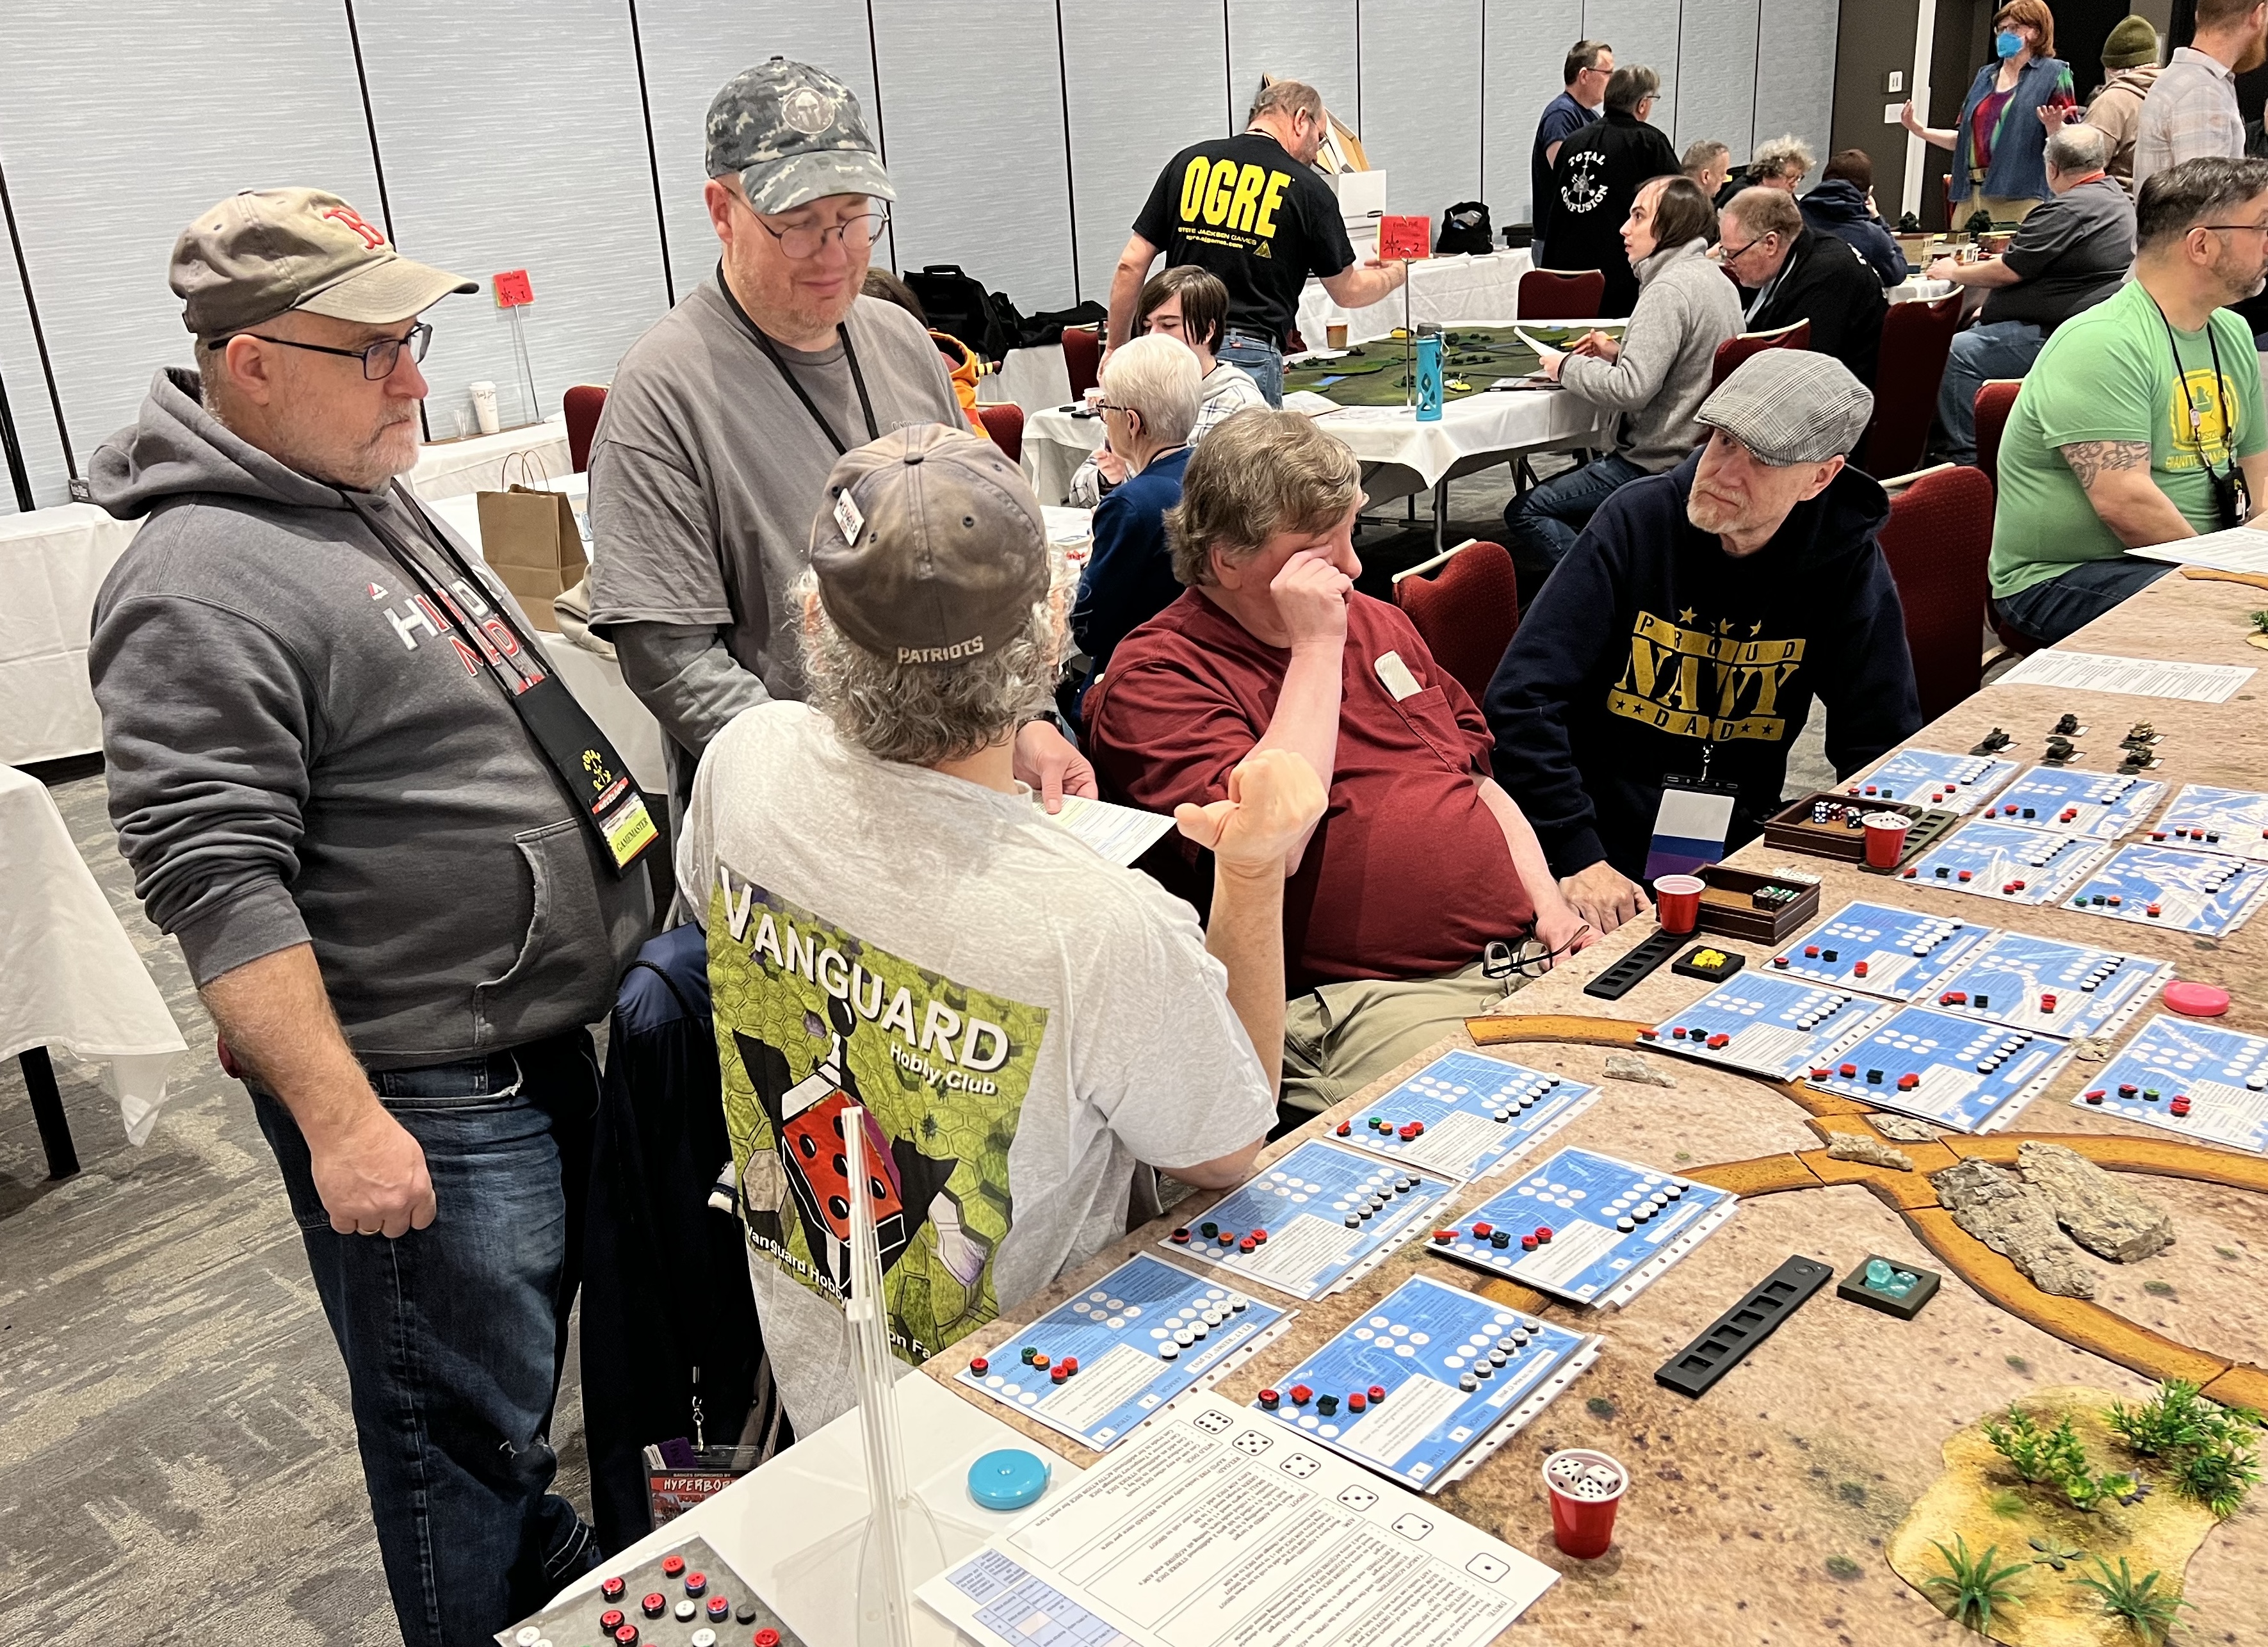
This year it was held between February 19th and 22nd of 2026. I usually run several tabletop miniatures games there. This year was no exception. I ran eight 4-hour games across the 4 days.
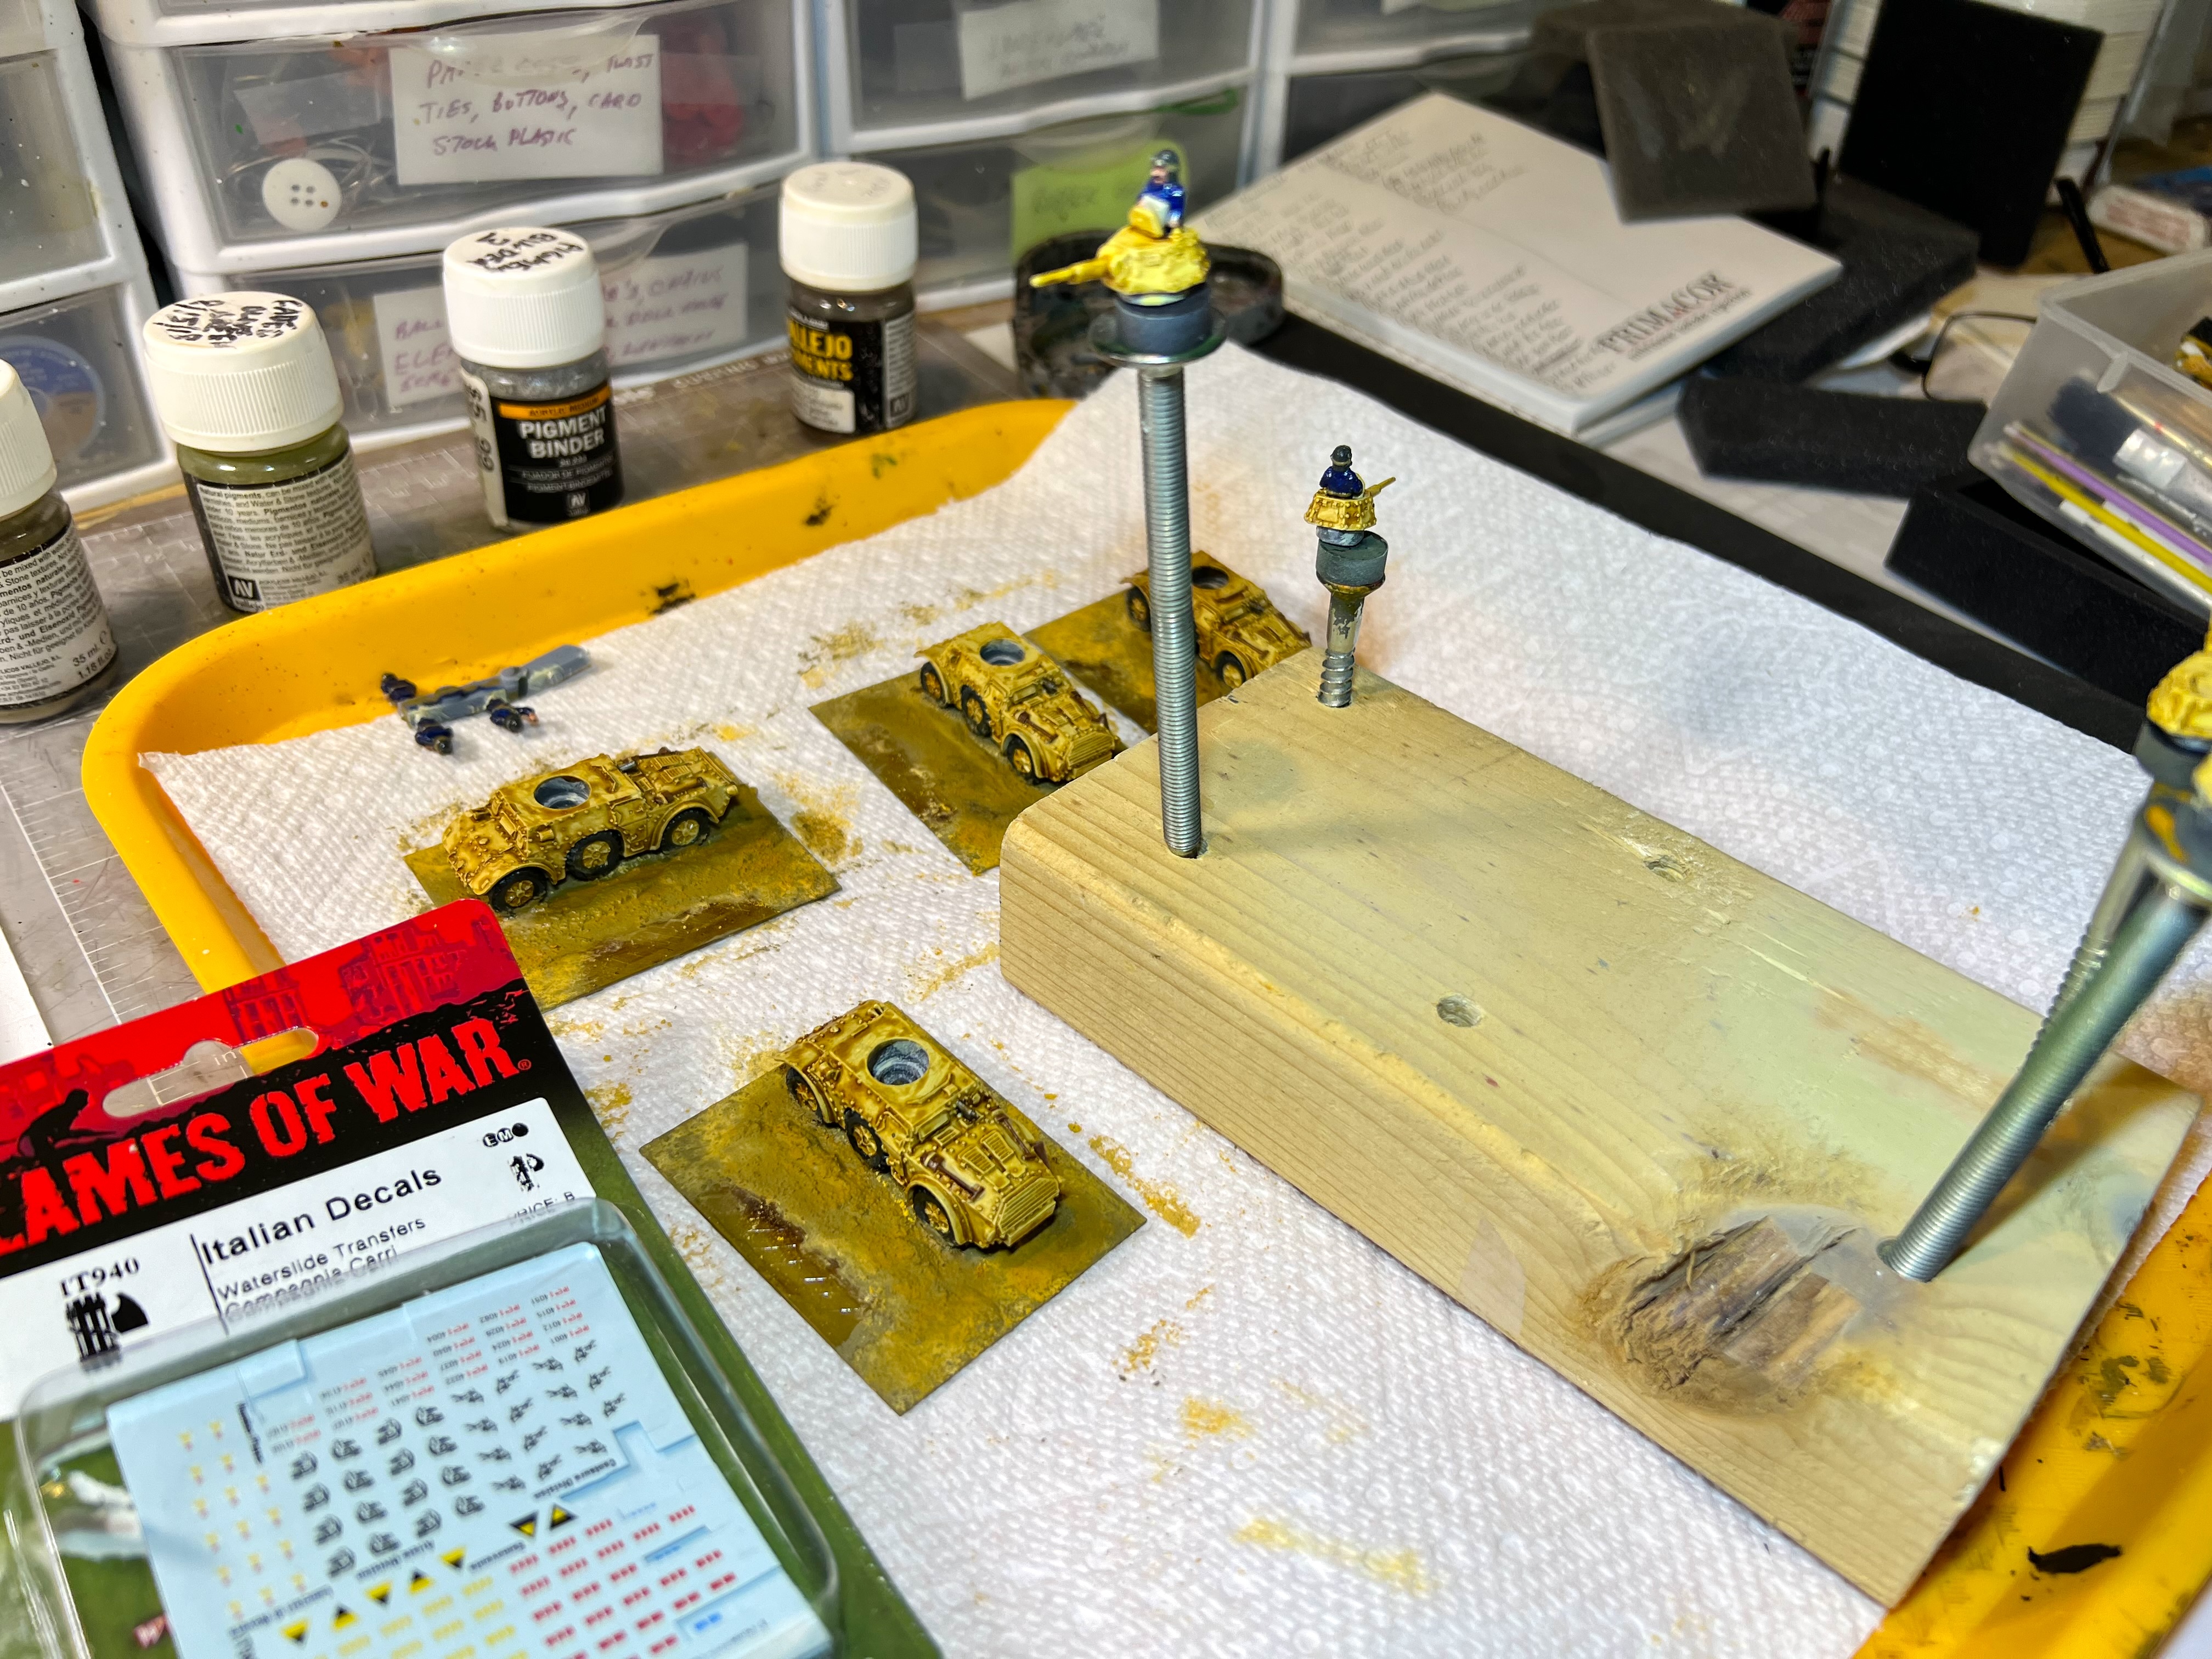
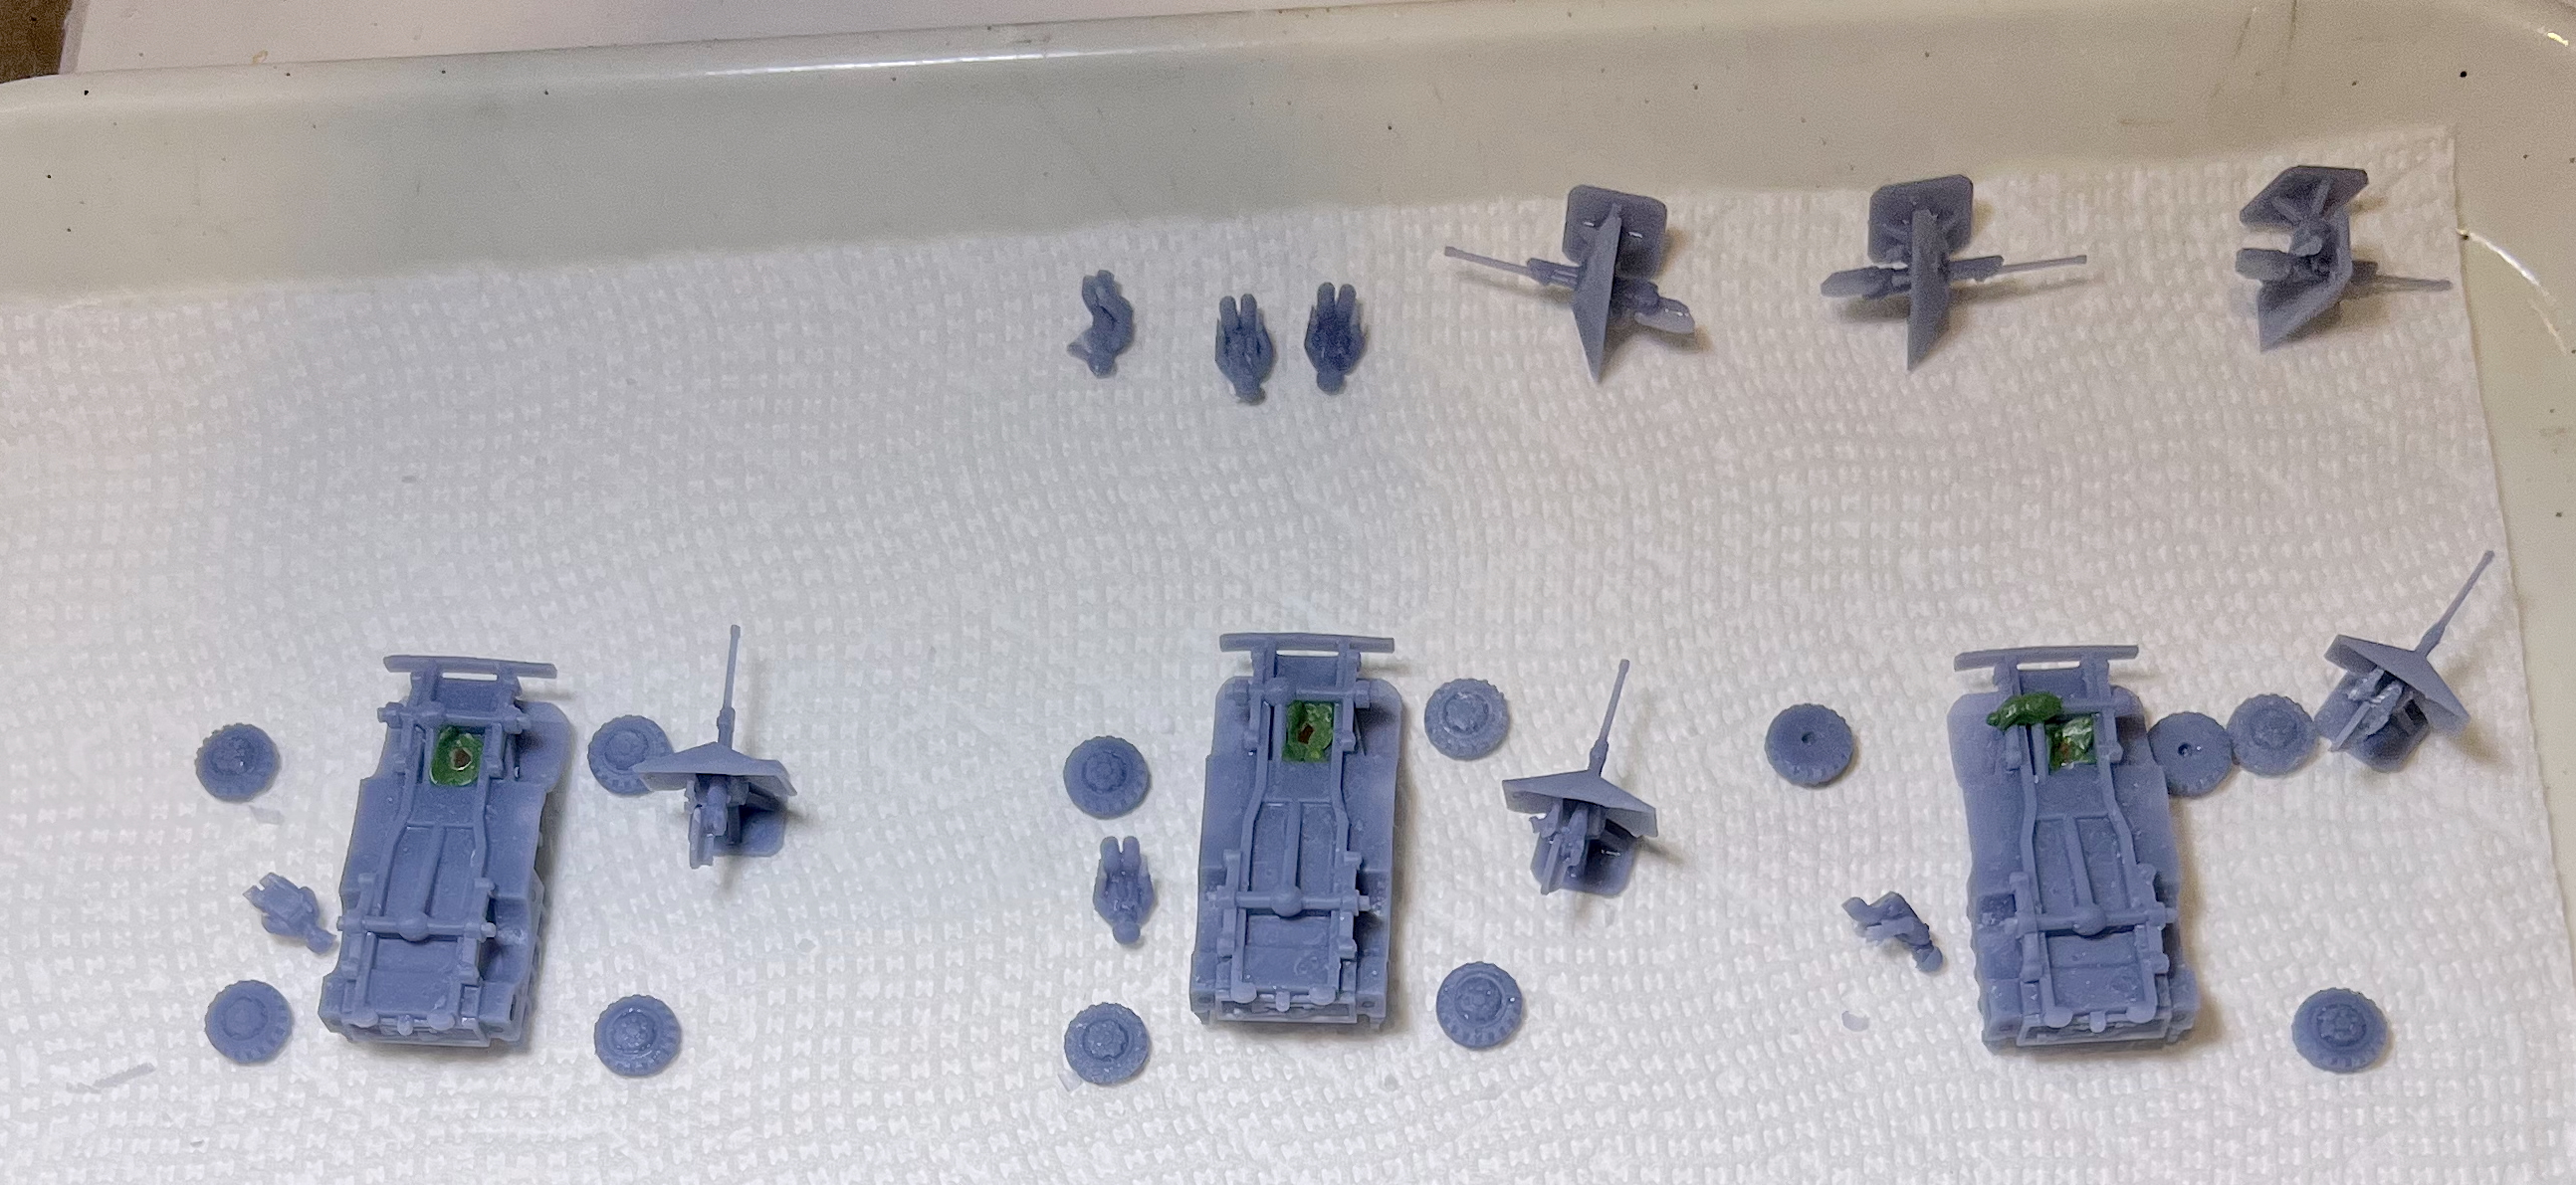
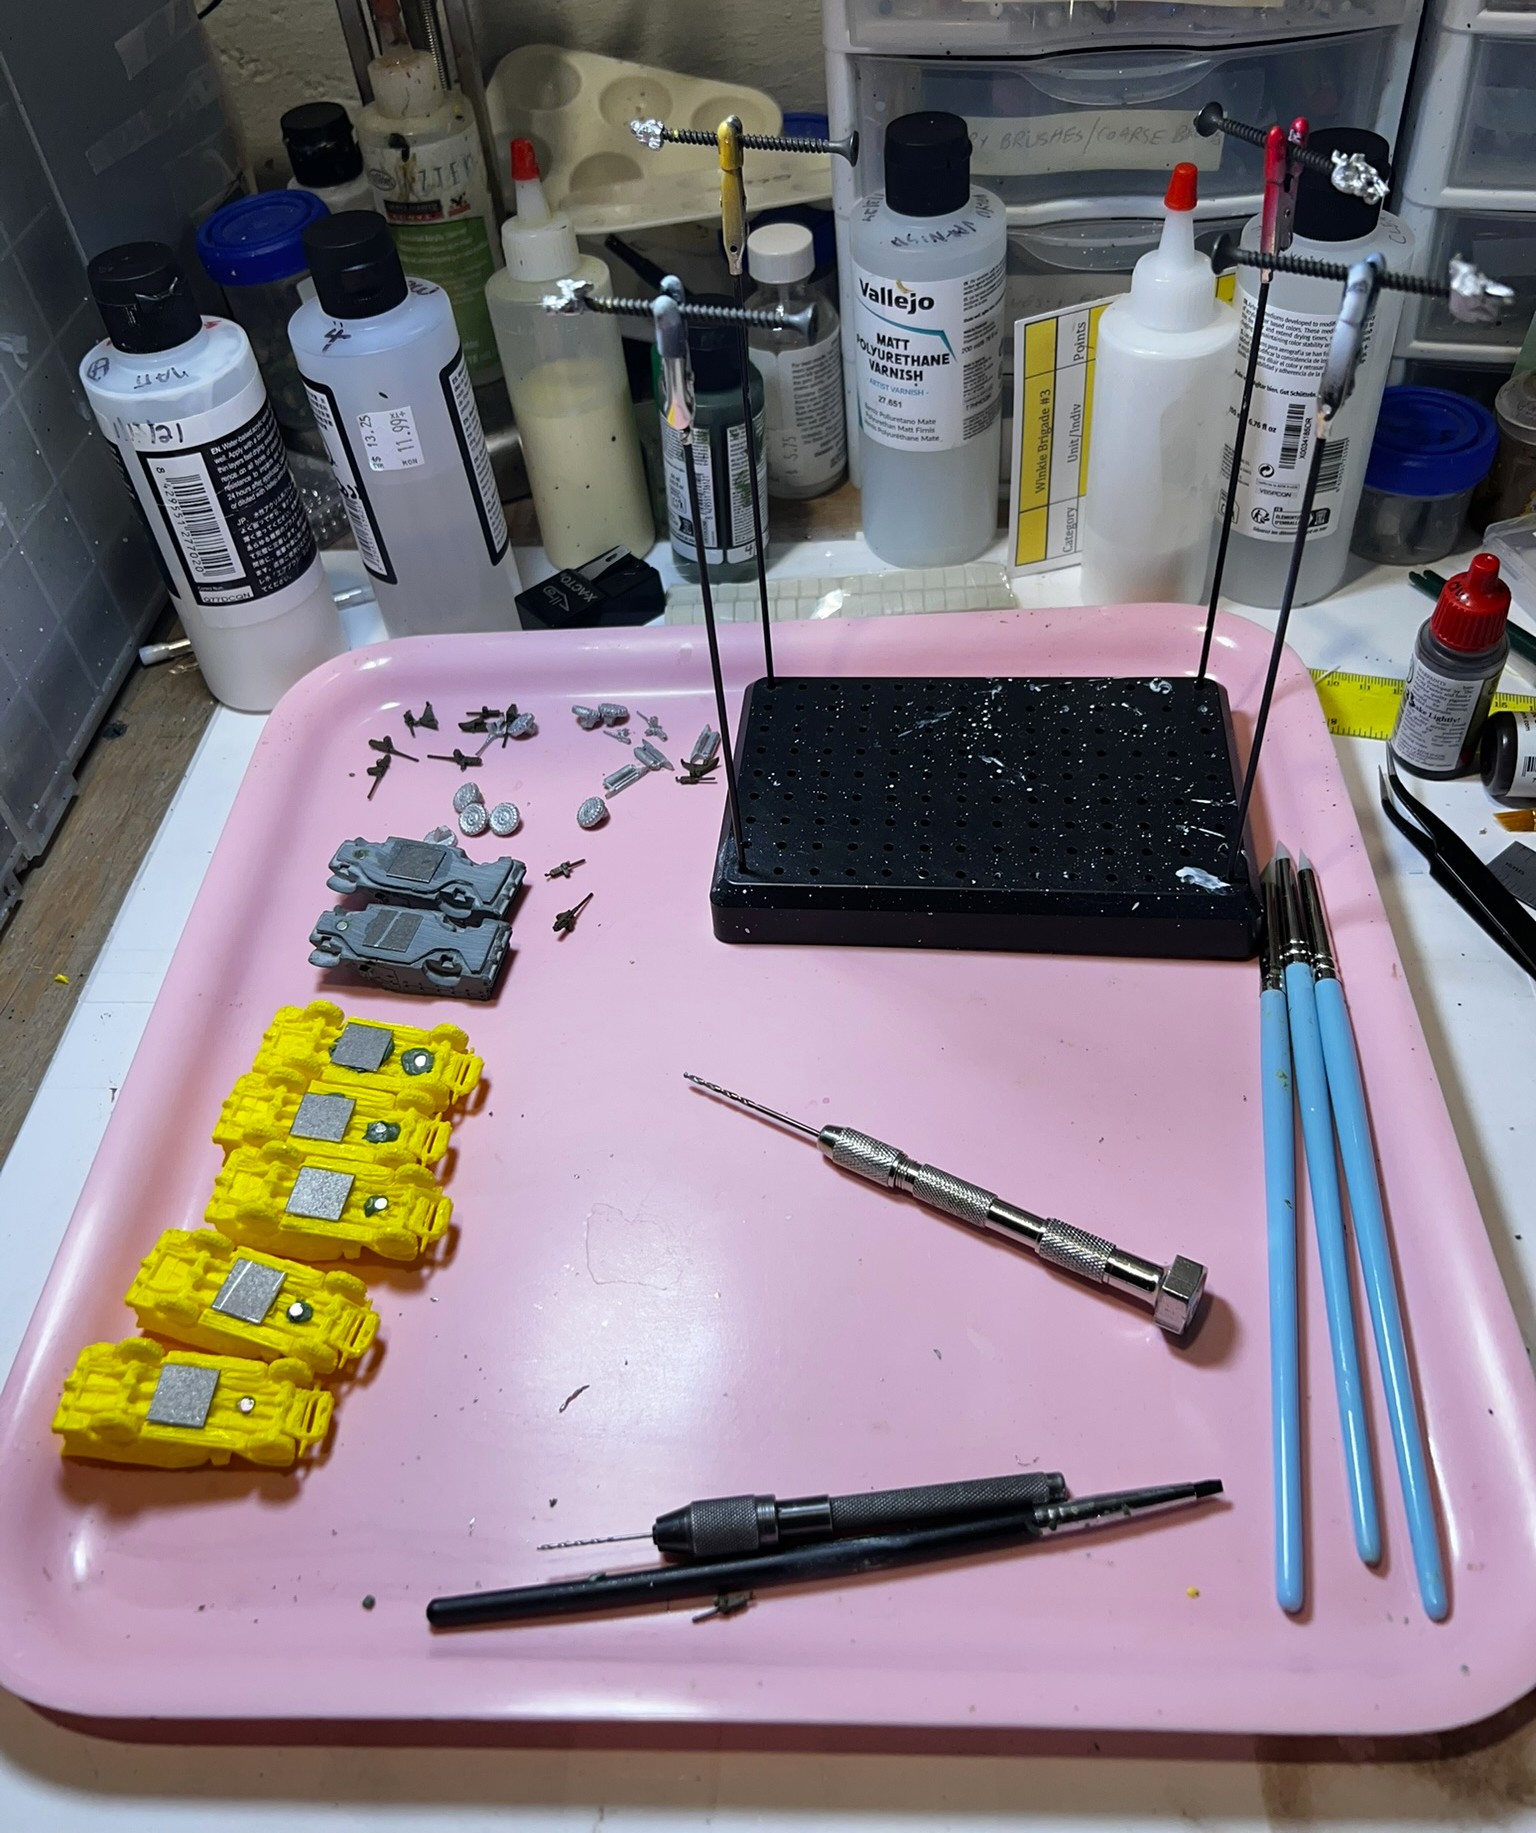
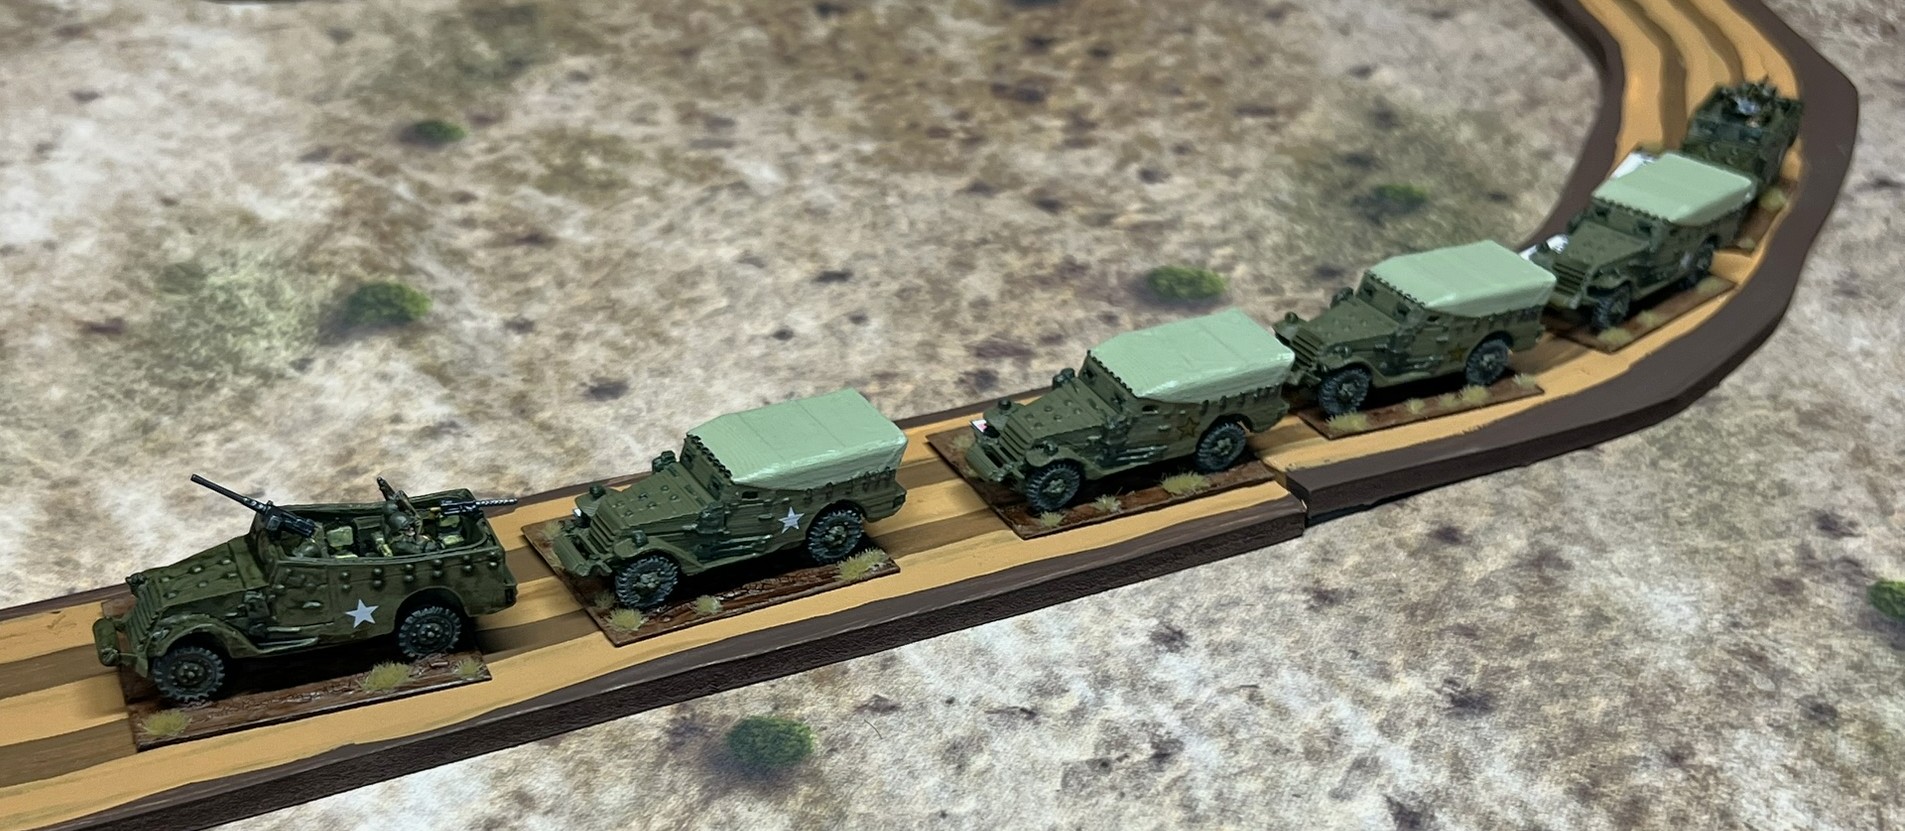
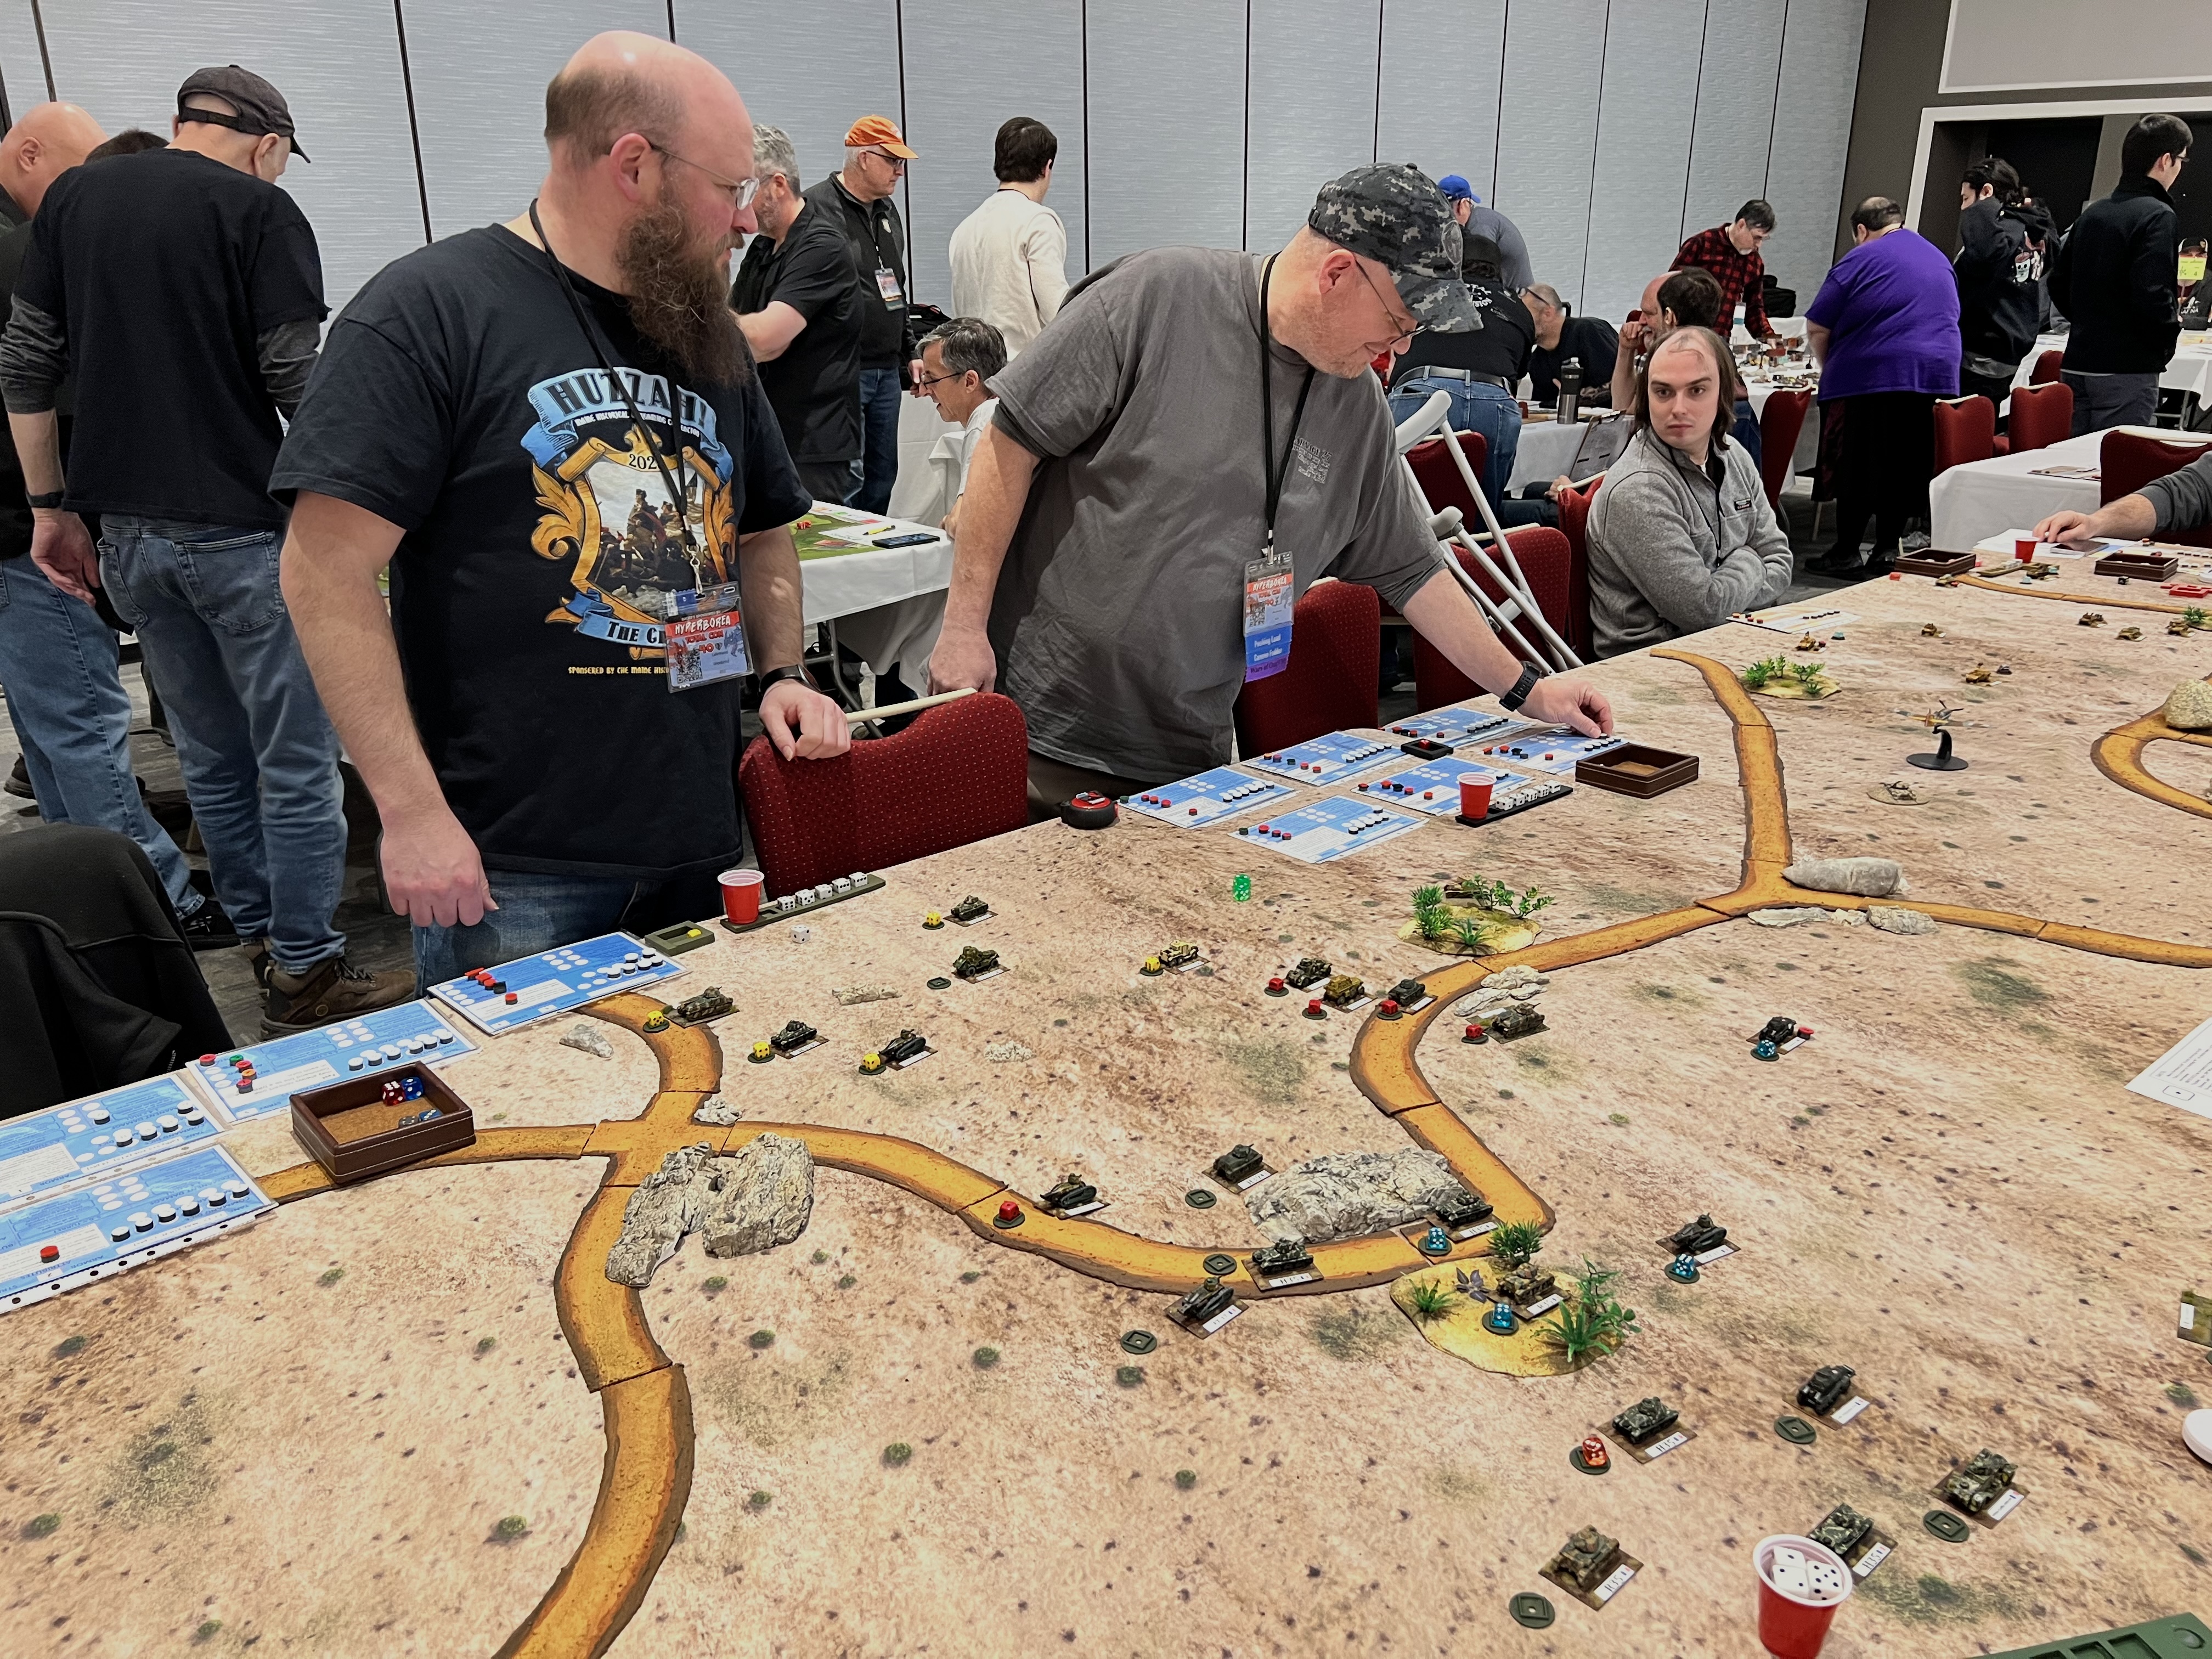
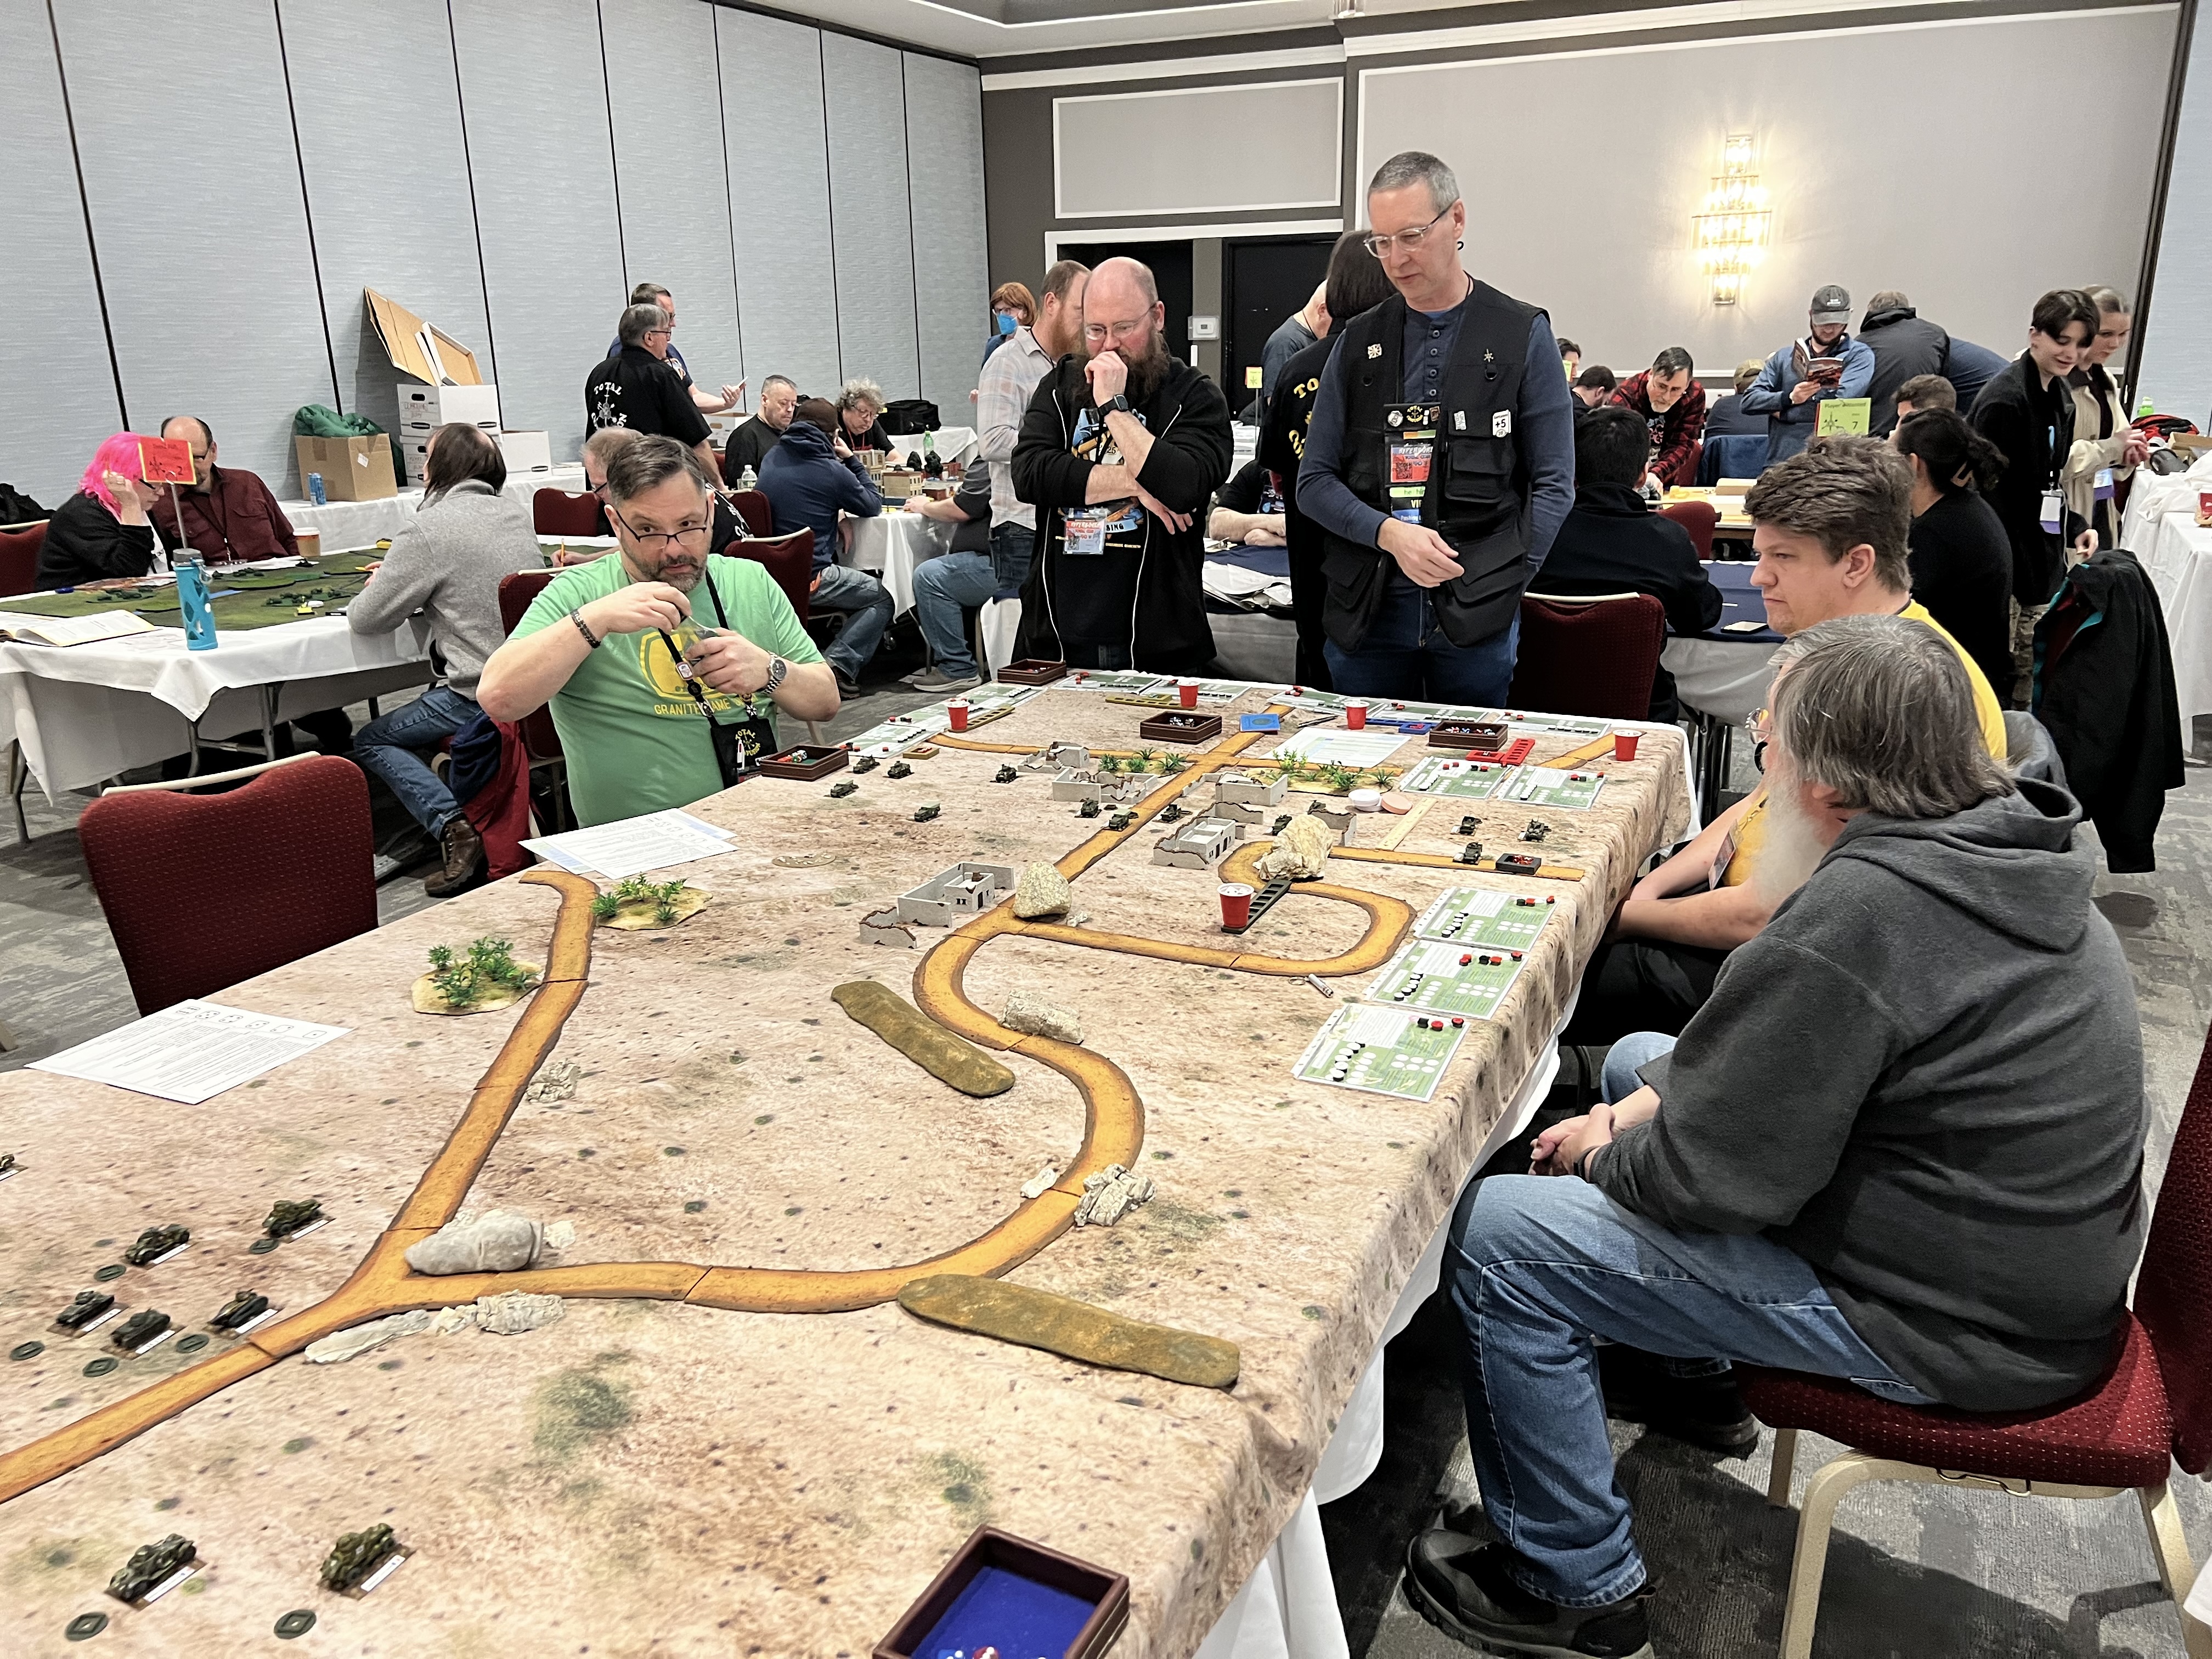
Several players who participated in my games are eager to see some game shots. Not to disappoint, his post will be picture heavy and text light!
On Thursday of every TotalCon, there is a large flea market in an adjoining room to the main hall. From Friday to Sunday, I get a very big table in that room. Because of the flea market’s need for space, I settle for a smaller footprint on Thursday. That smaller table was fine for two games (afternoon and evening).
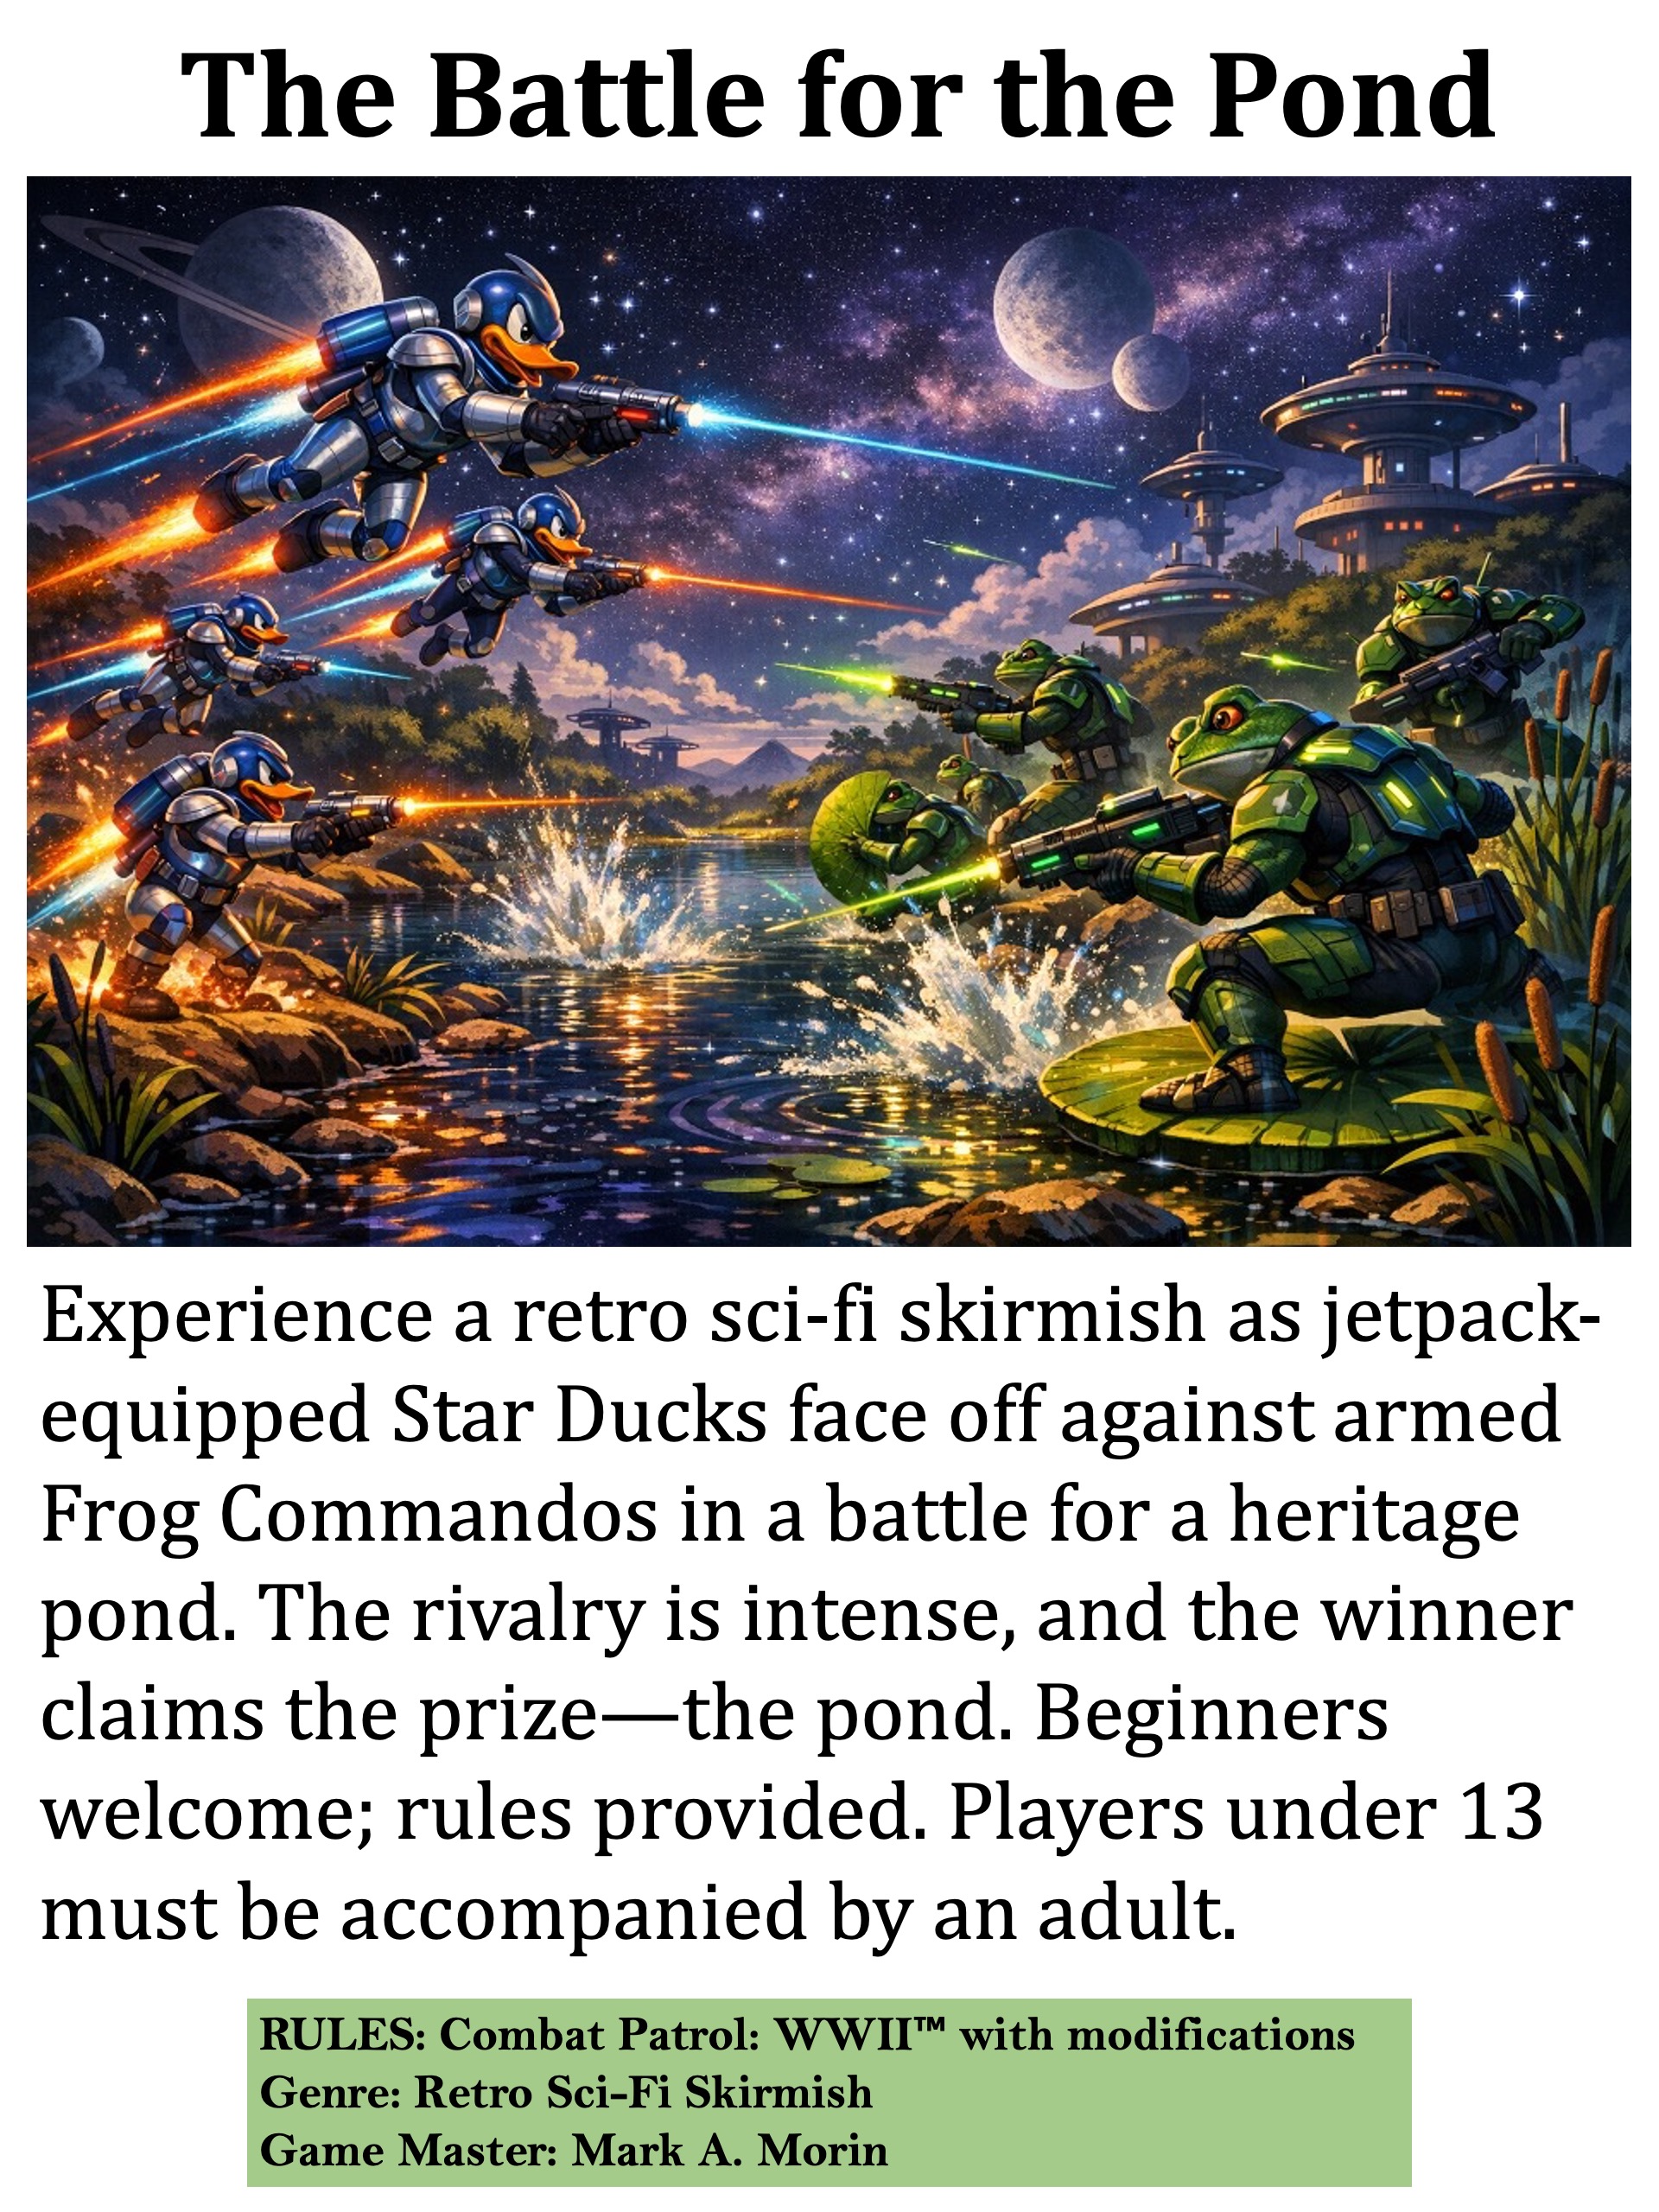
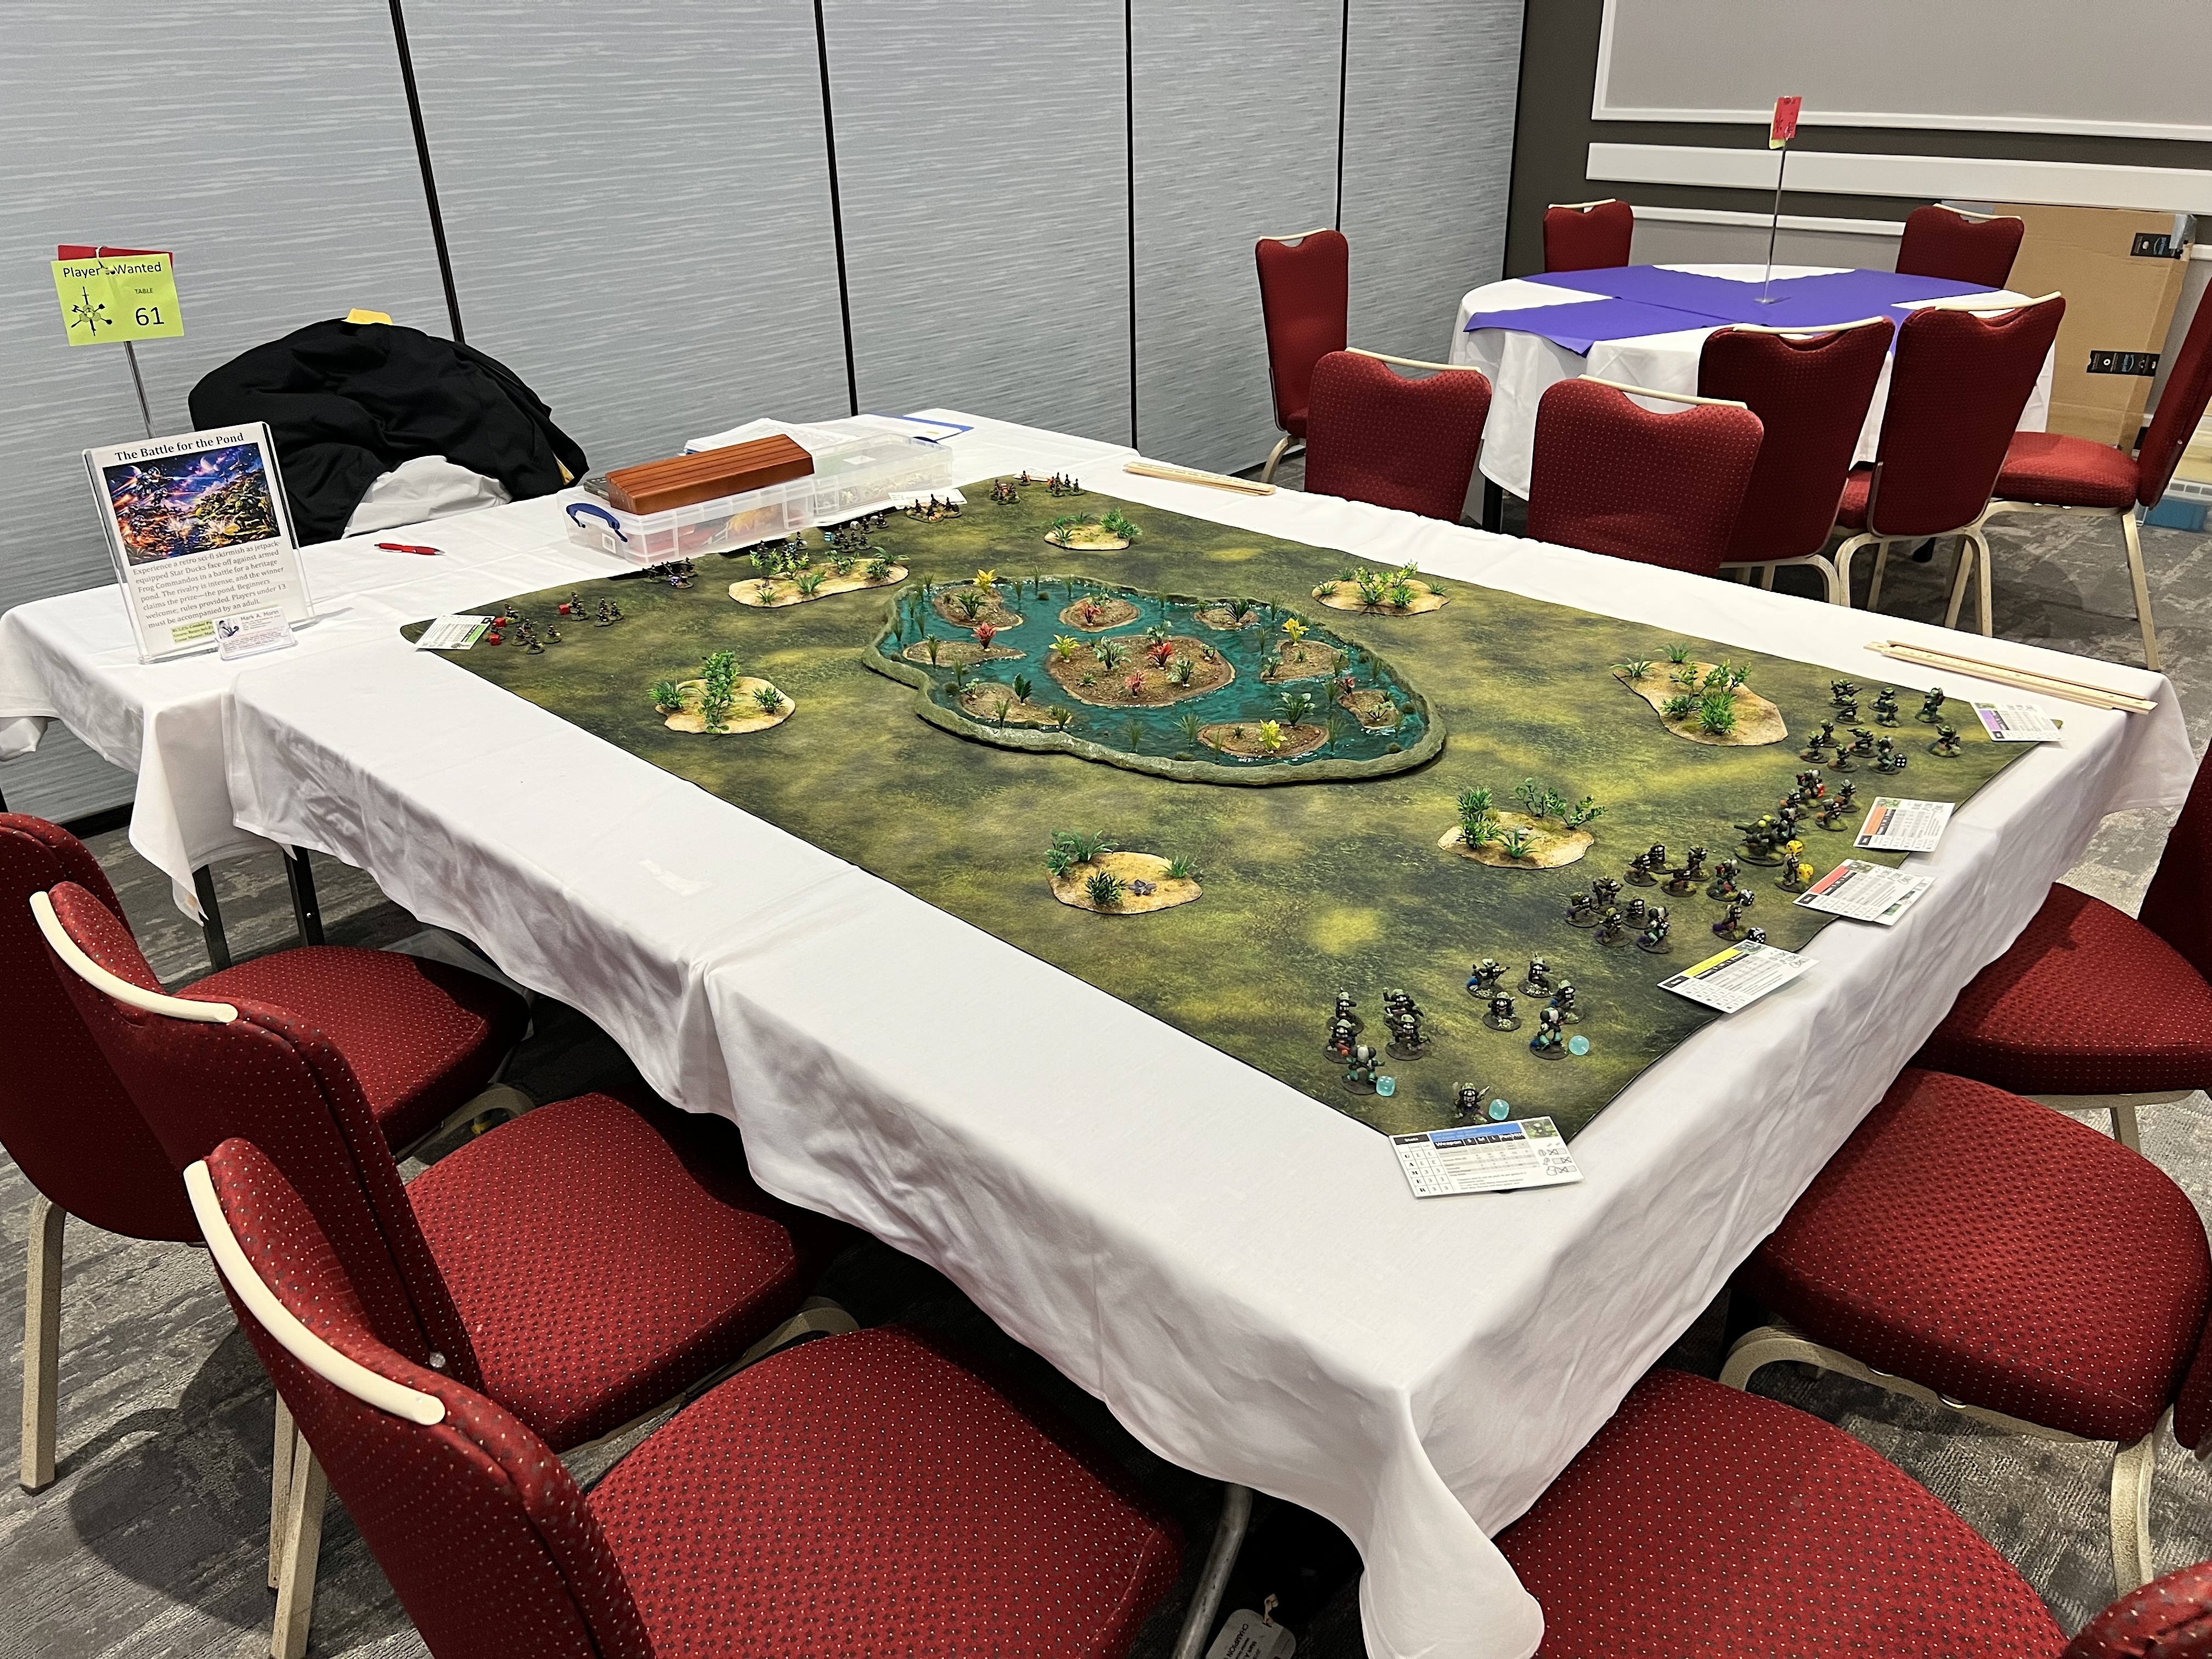
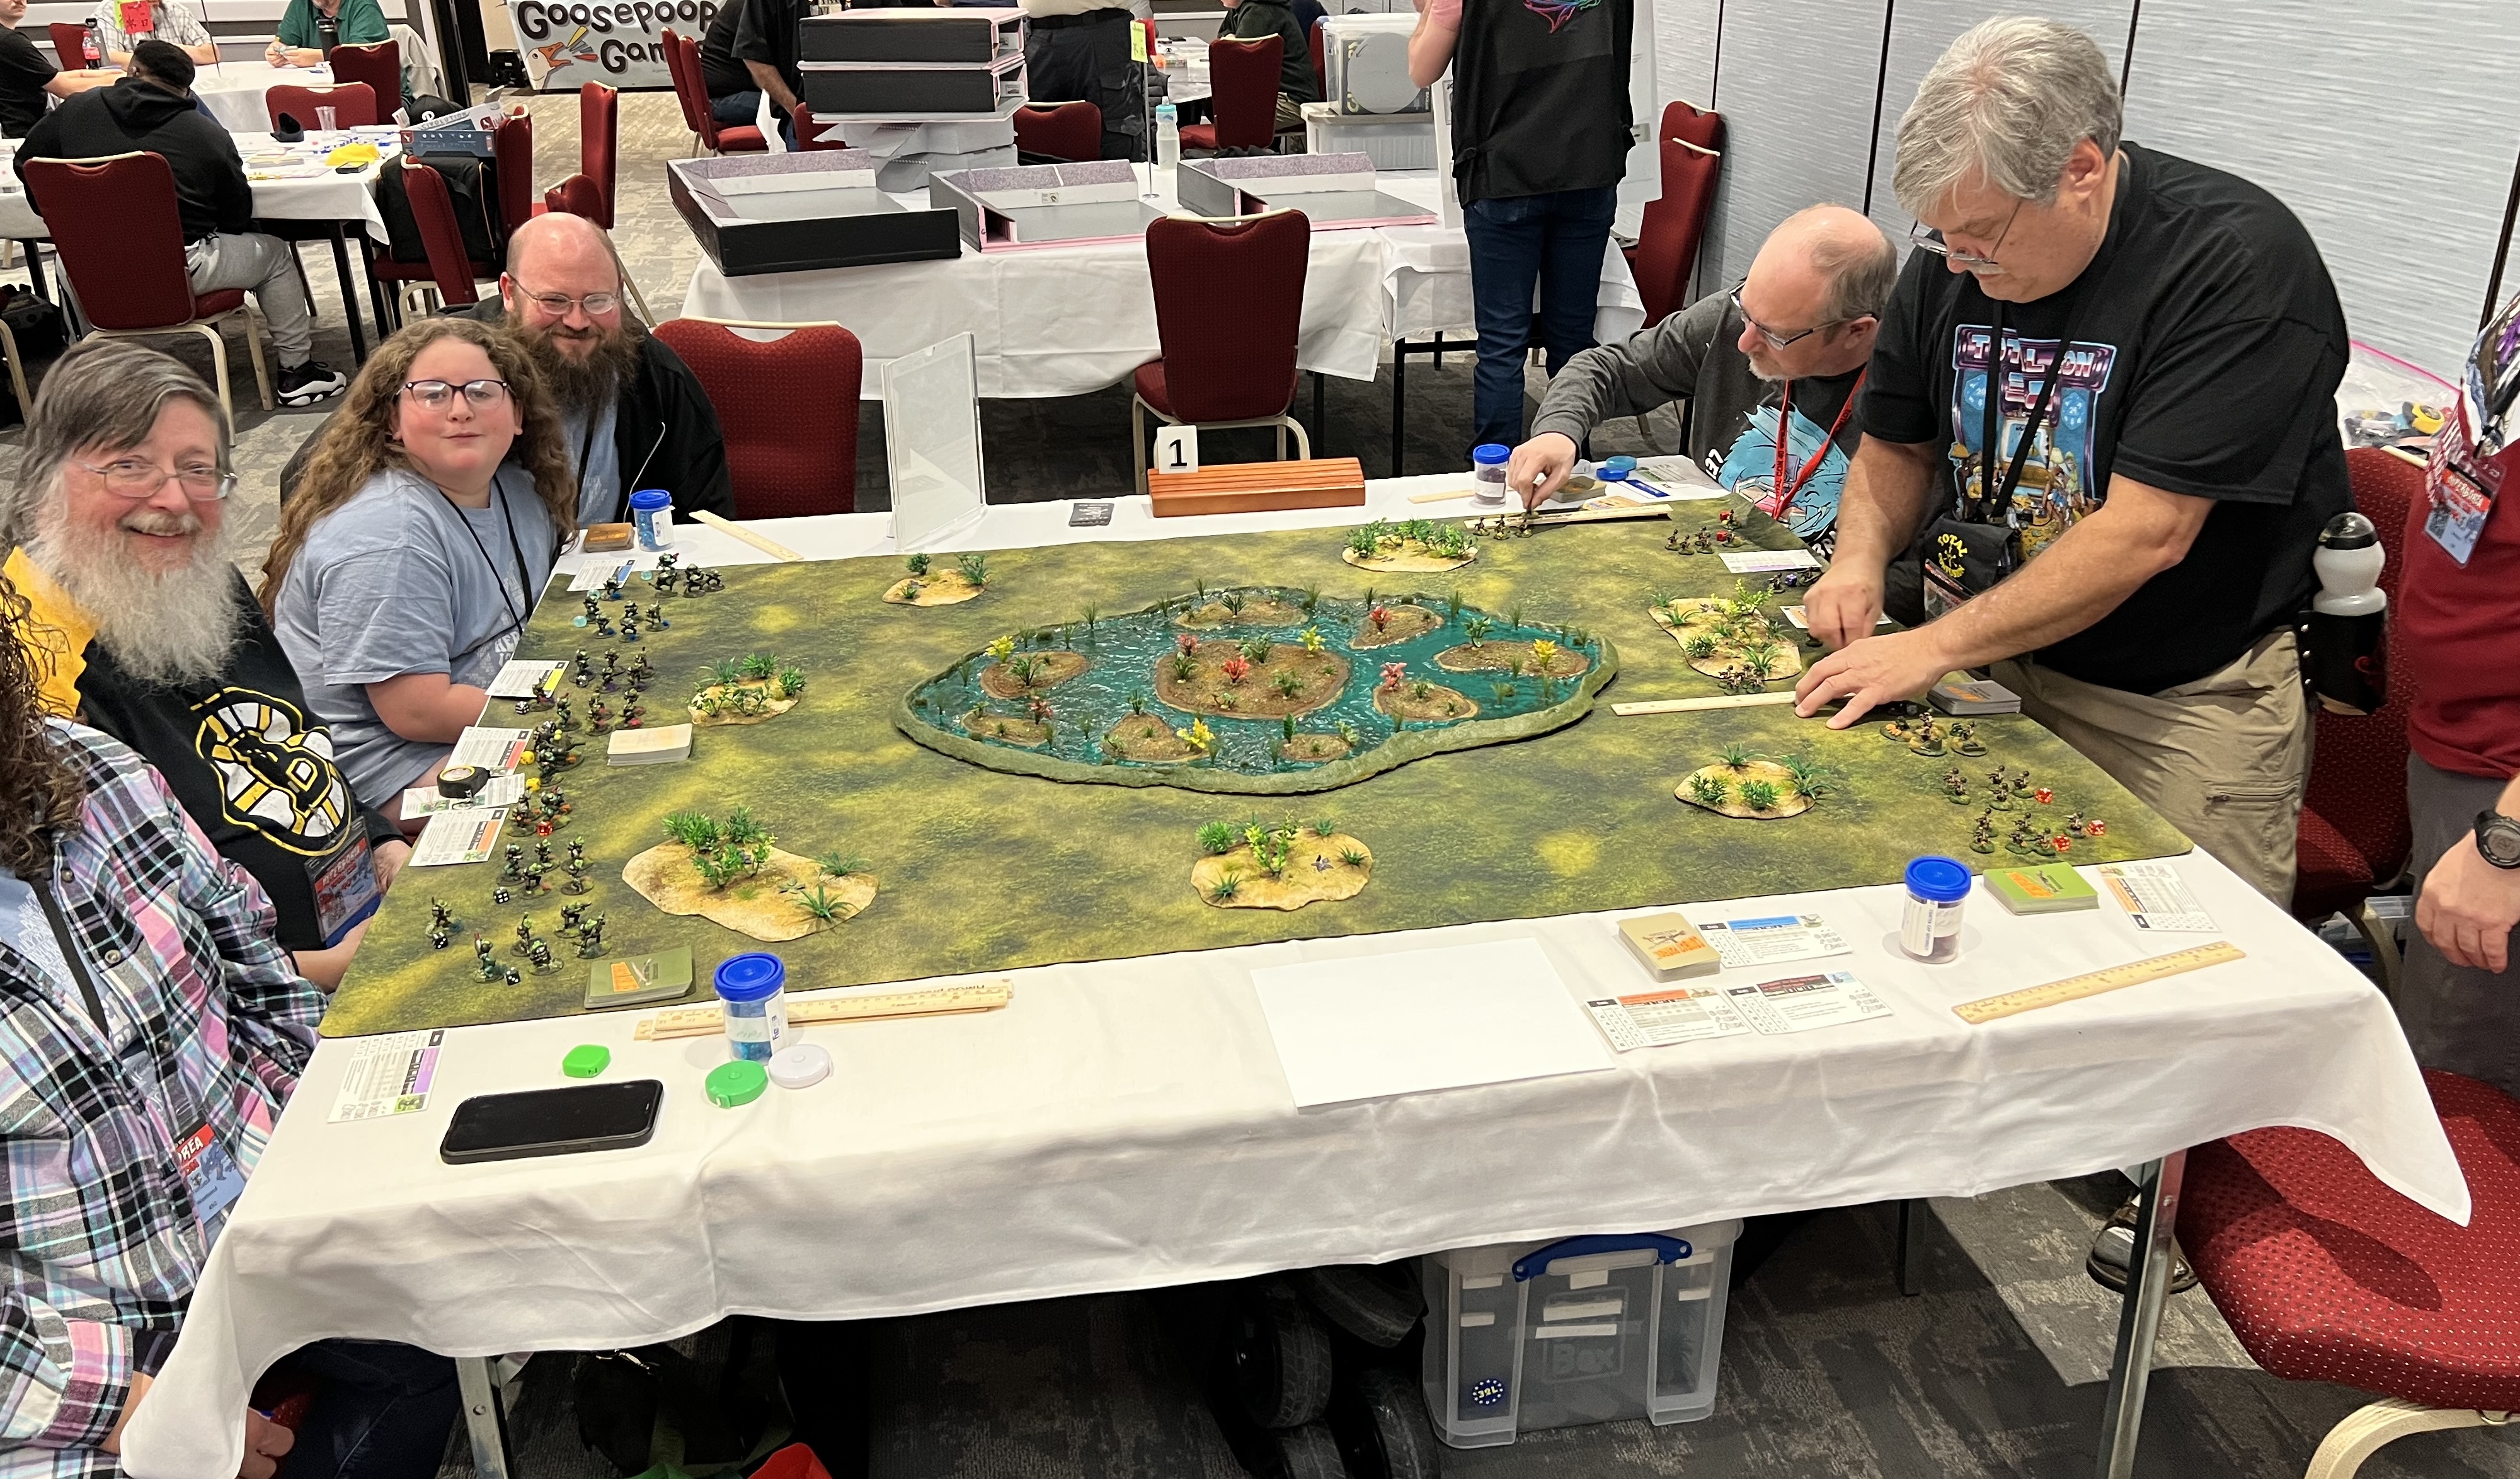
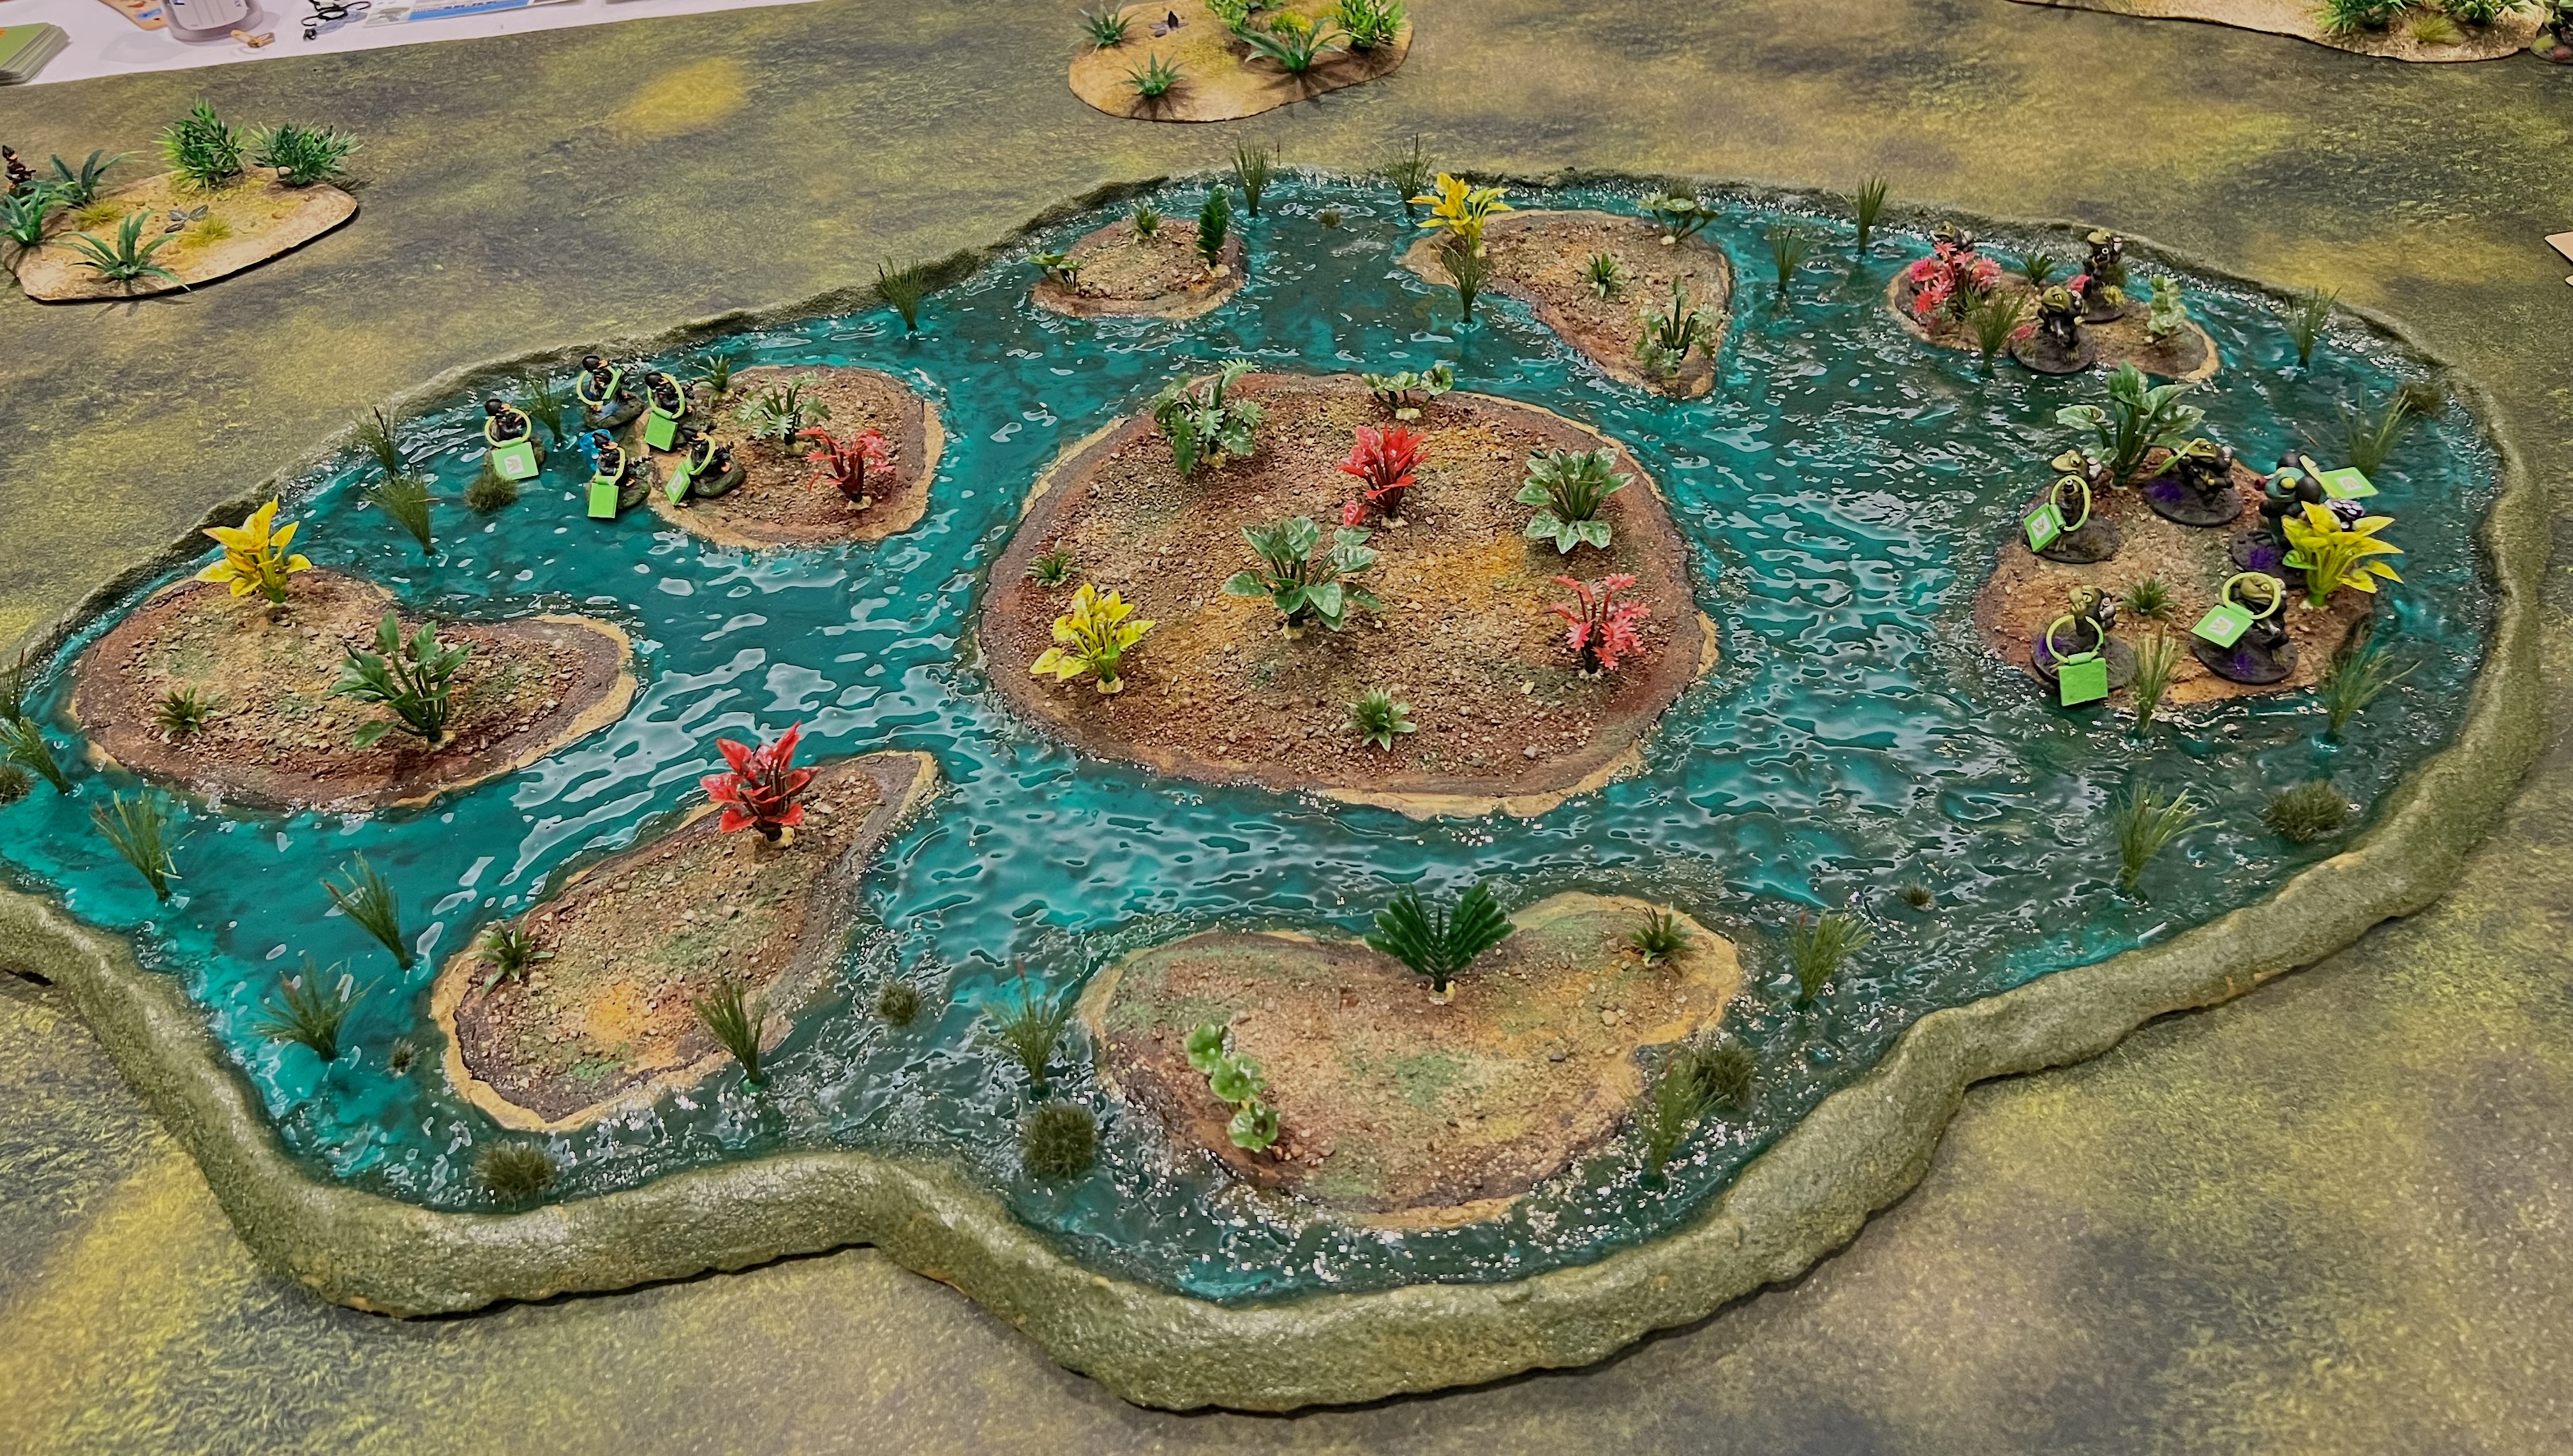
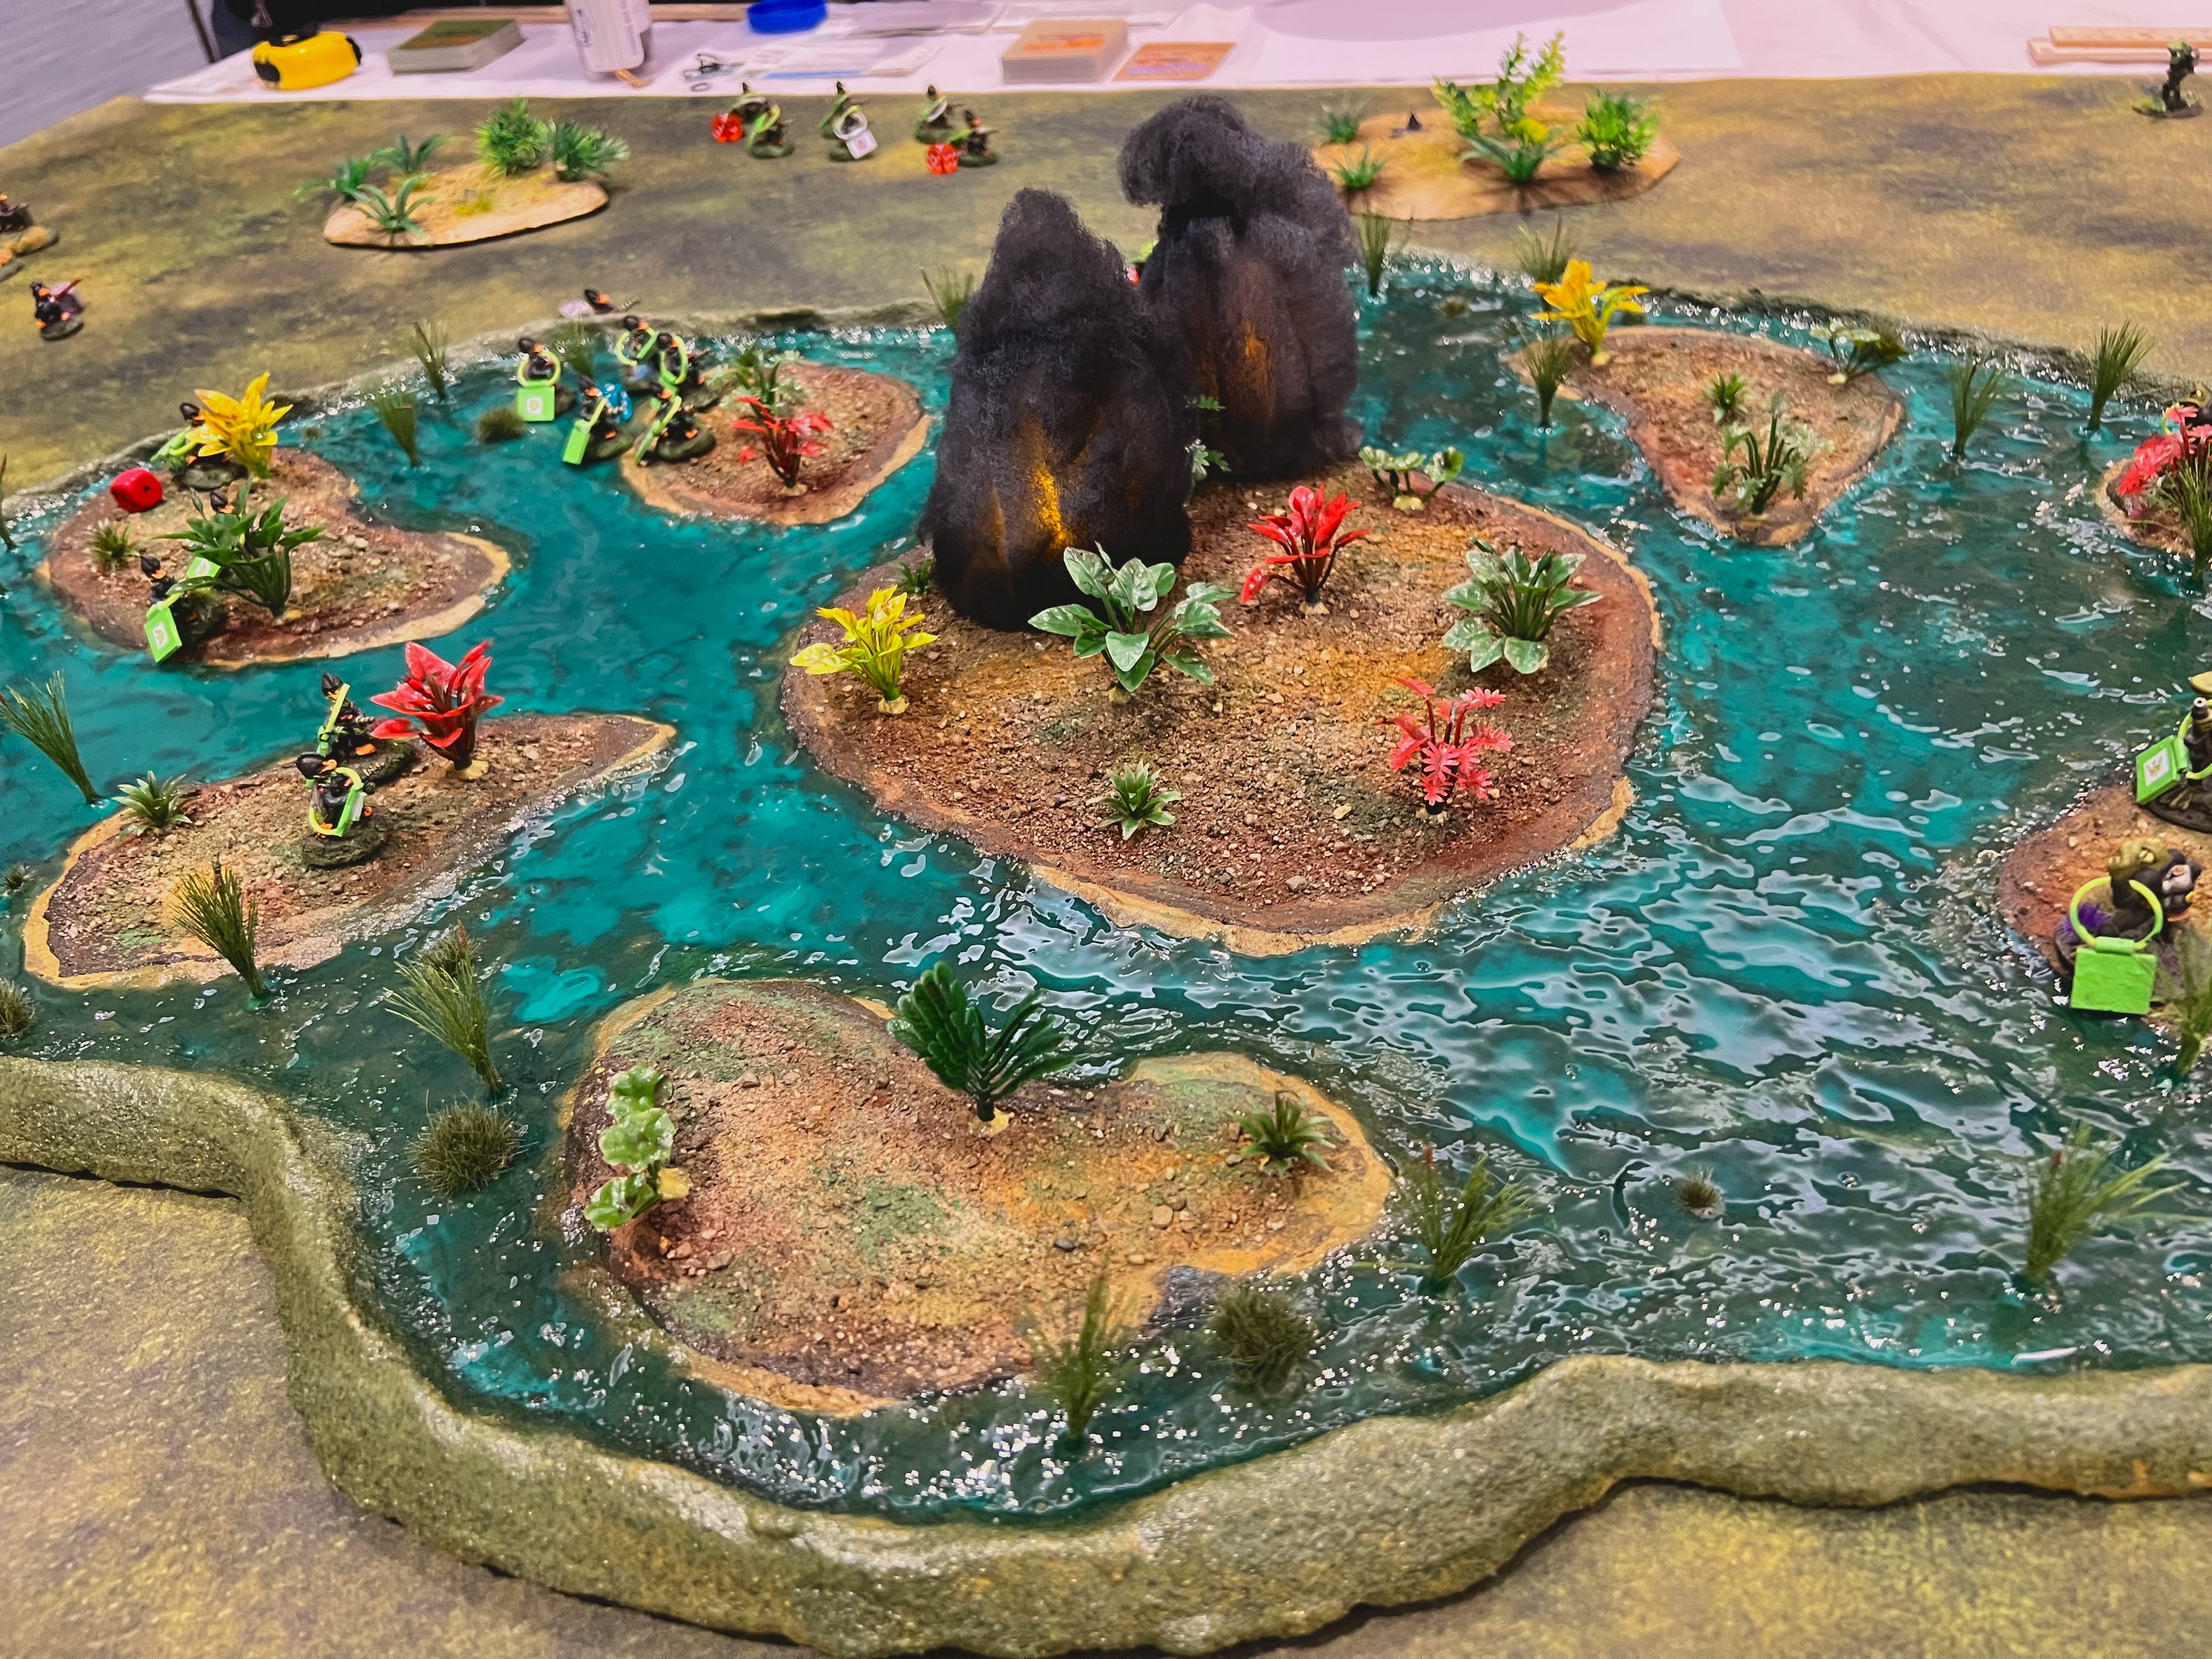
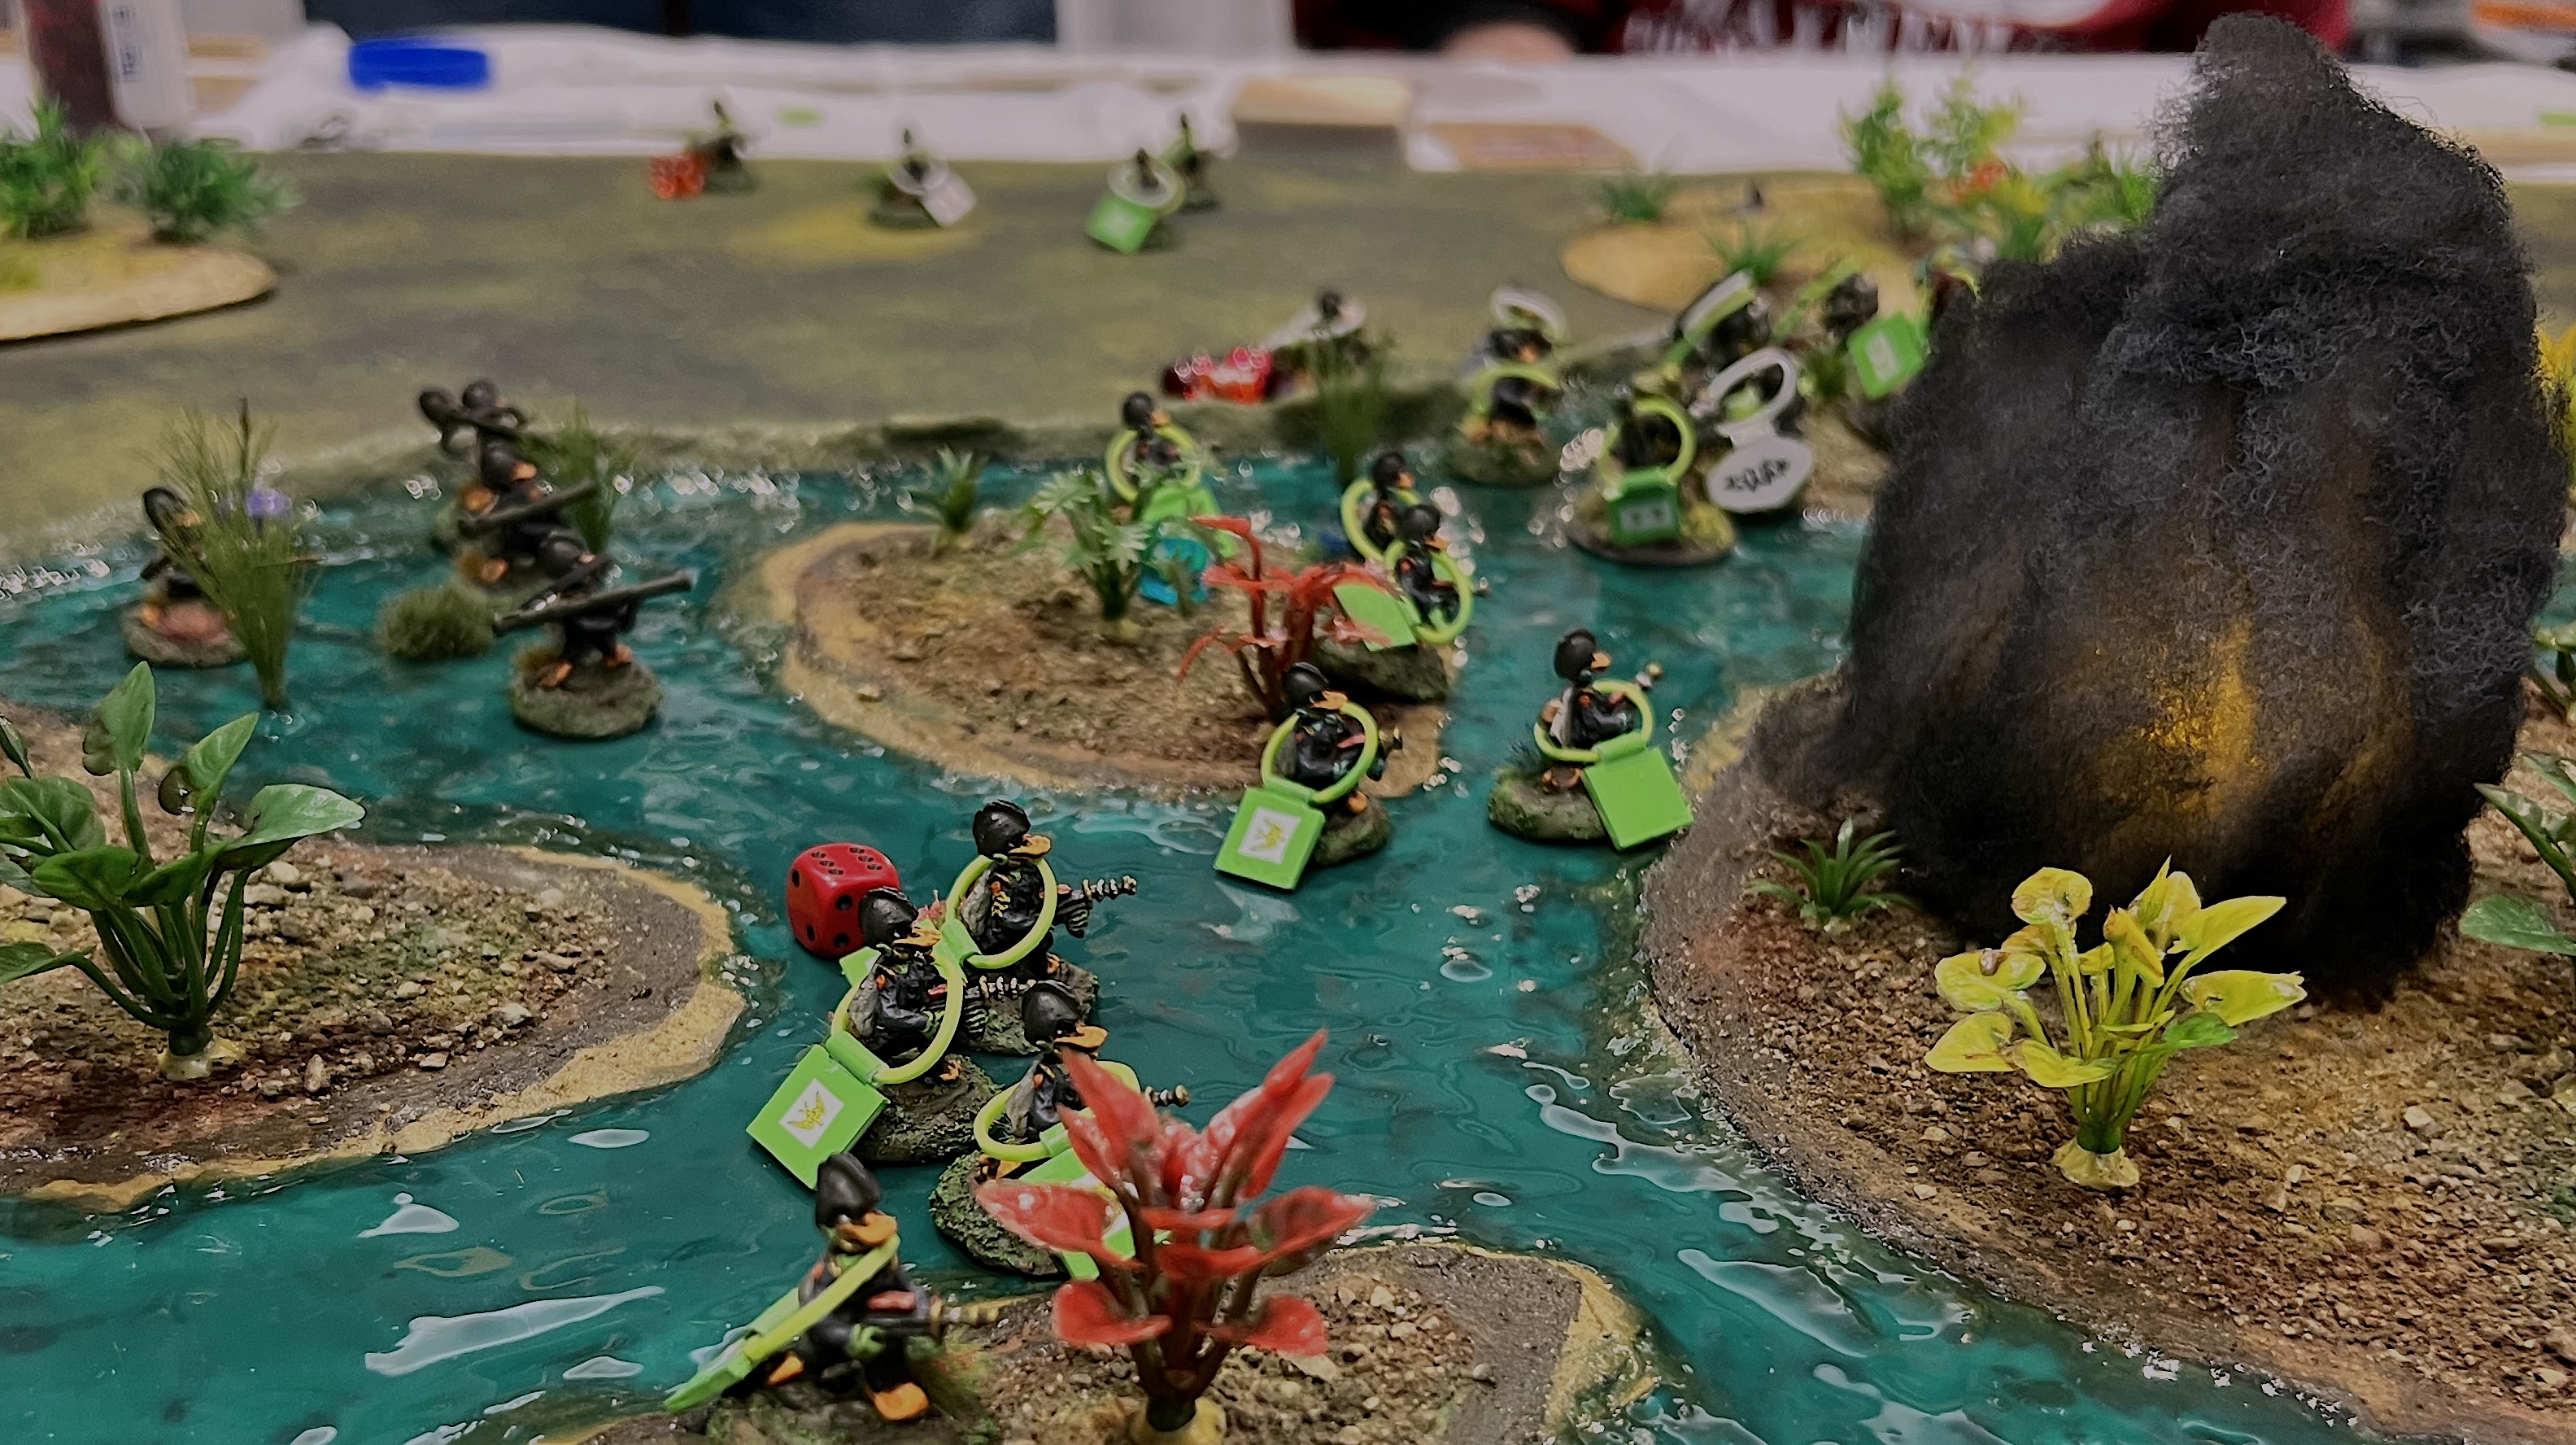
Battle for the Pond
This was a Combat Patrol:WWII retro sci-fi game using the pond that I described in my last post.
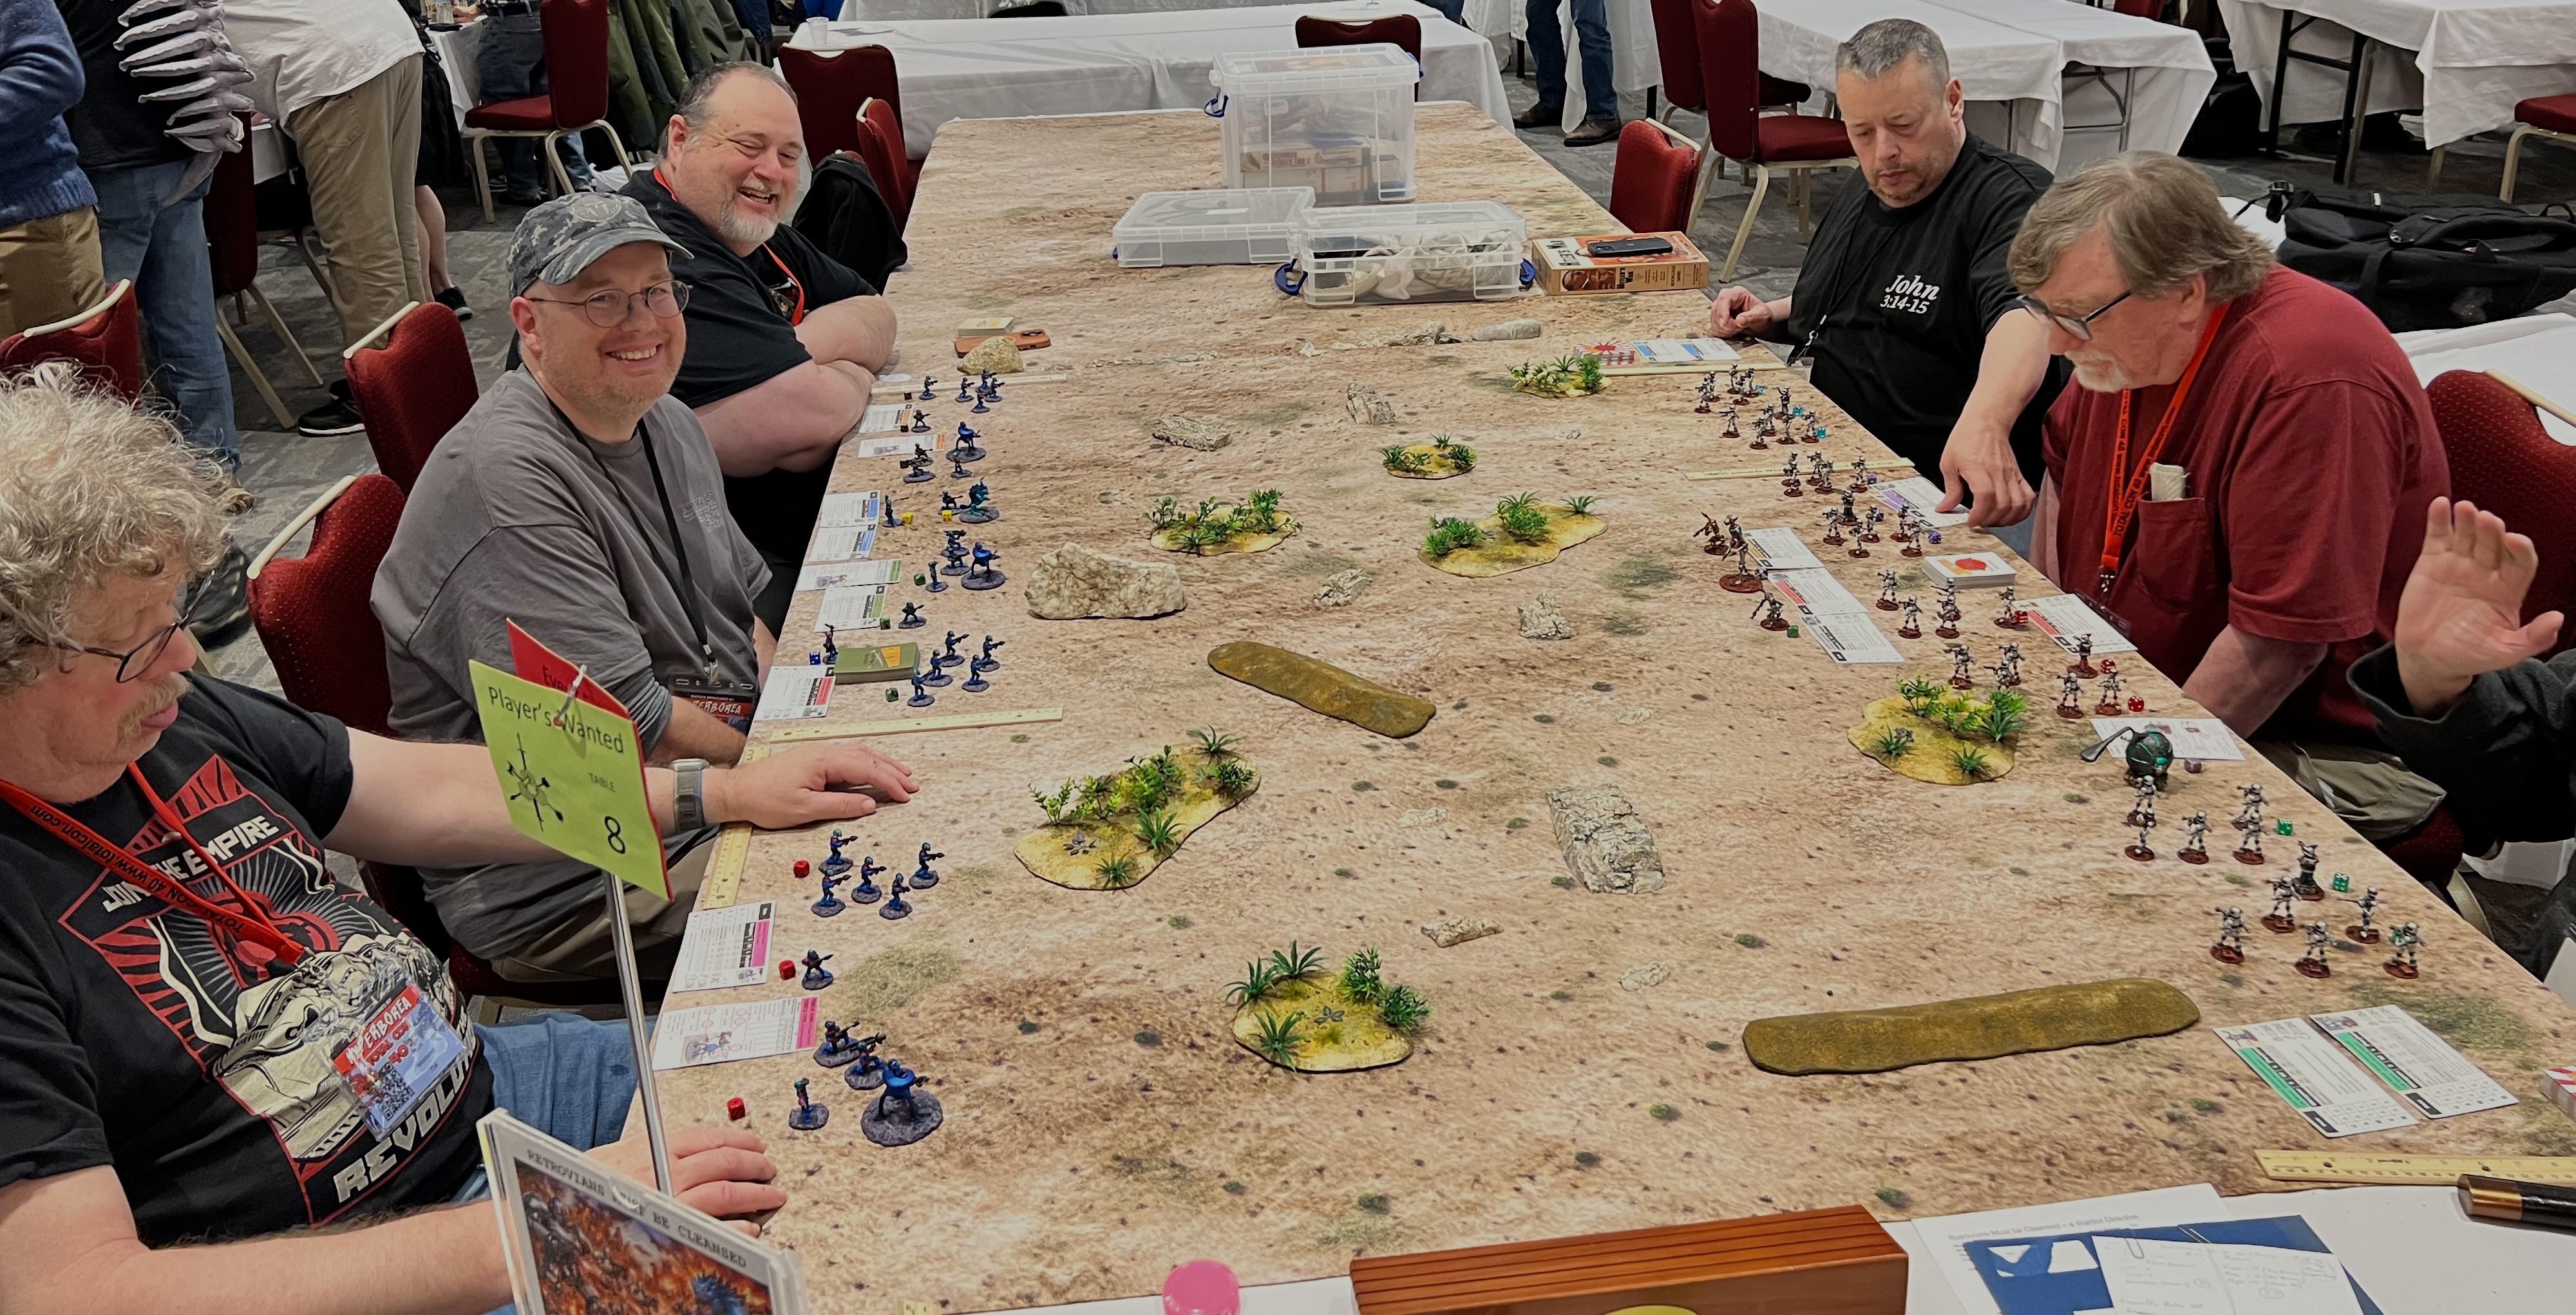
High Noon at the Cyber Ruins
I ran this Combat Patrol retro sci-fi game at Cold Wars, but on a bigger table. I used a different mat and adapted the game to a smaller footprint.
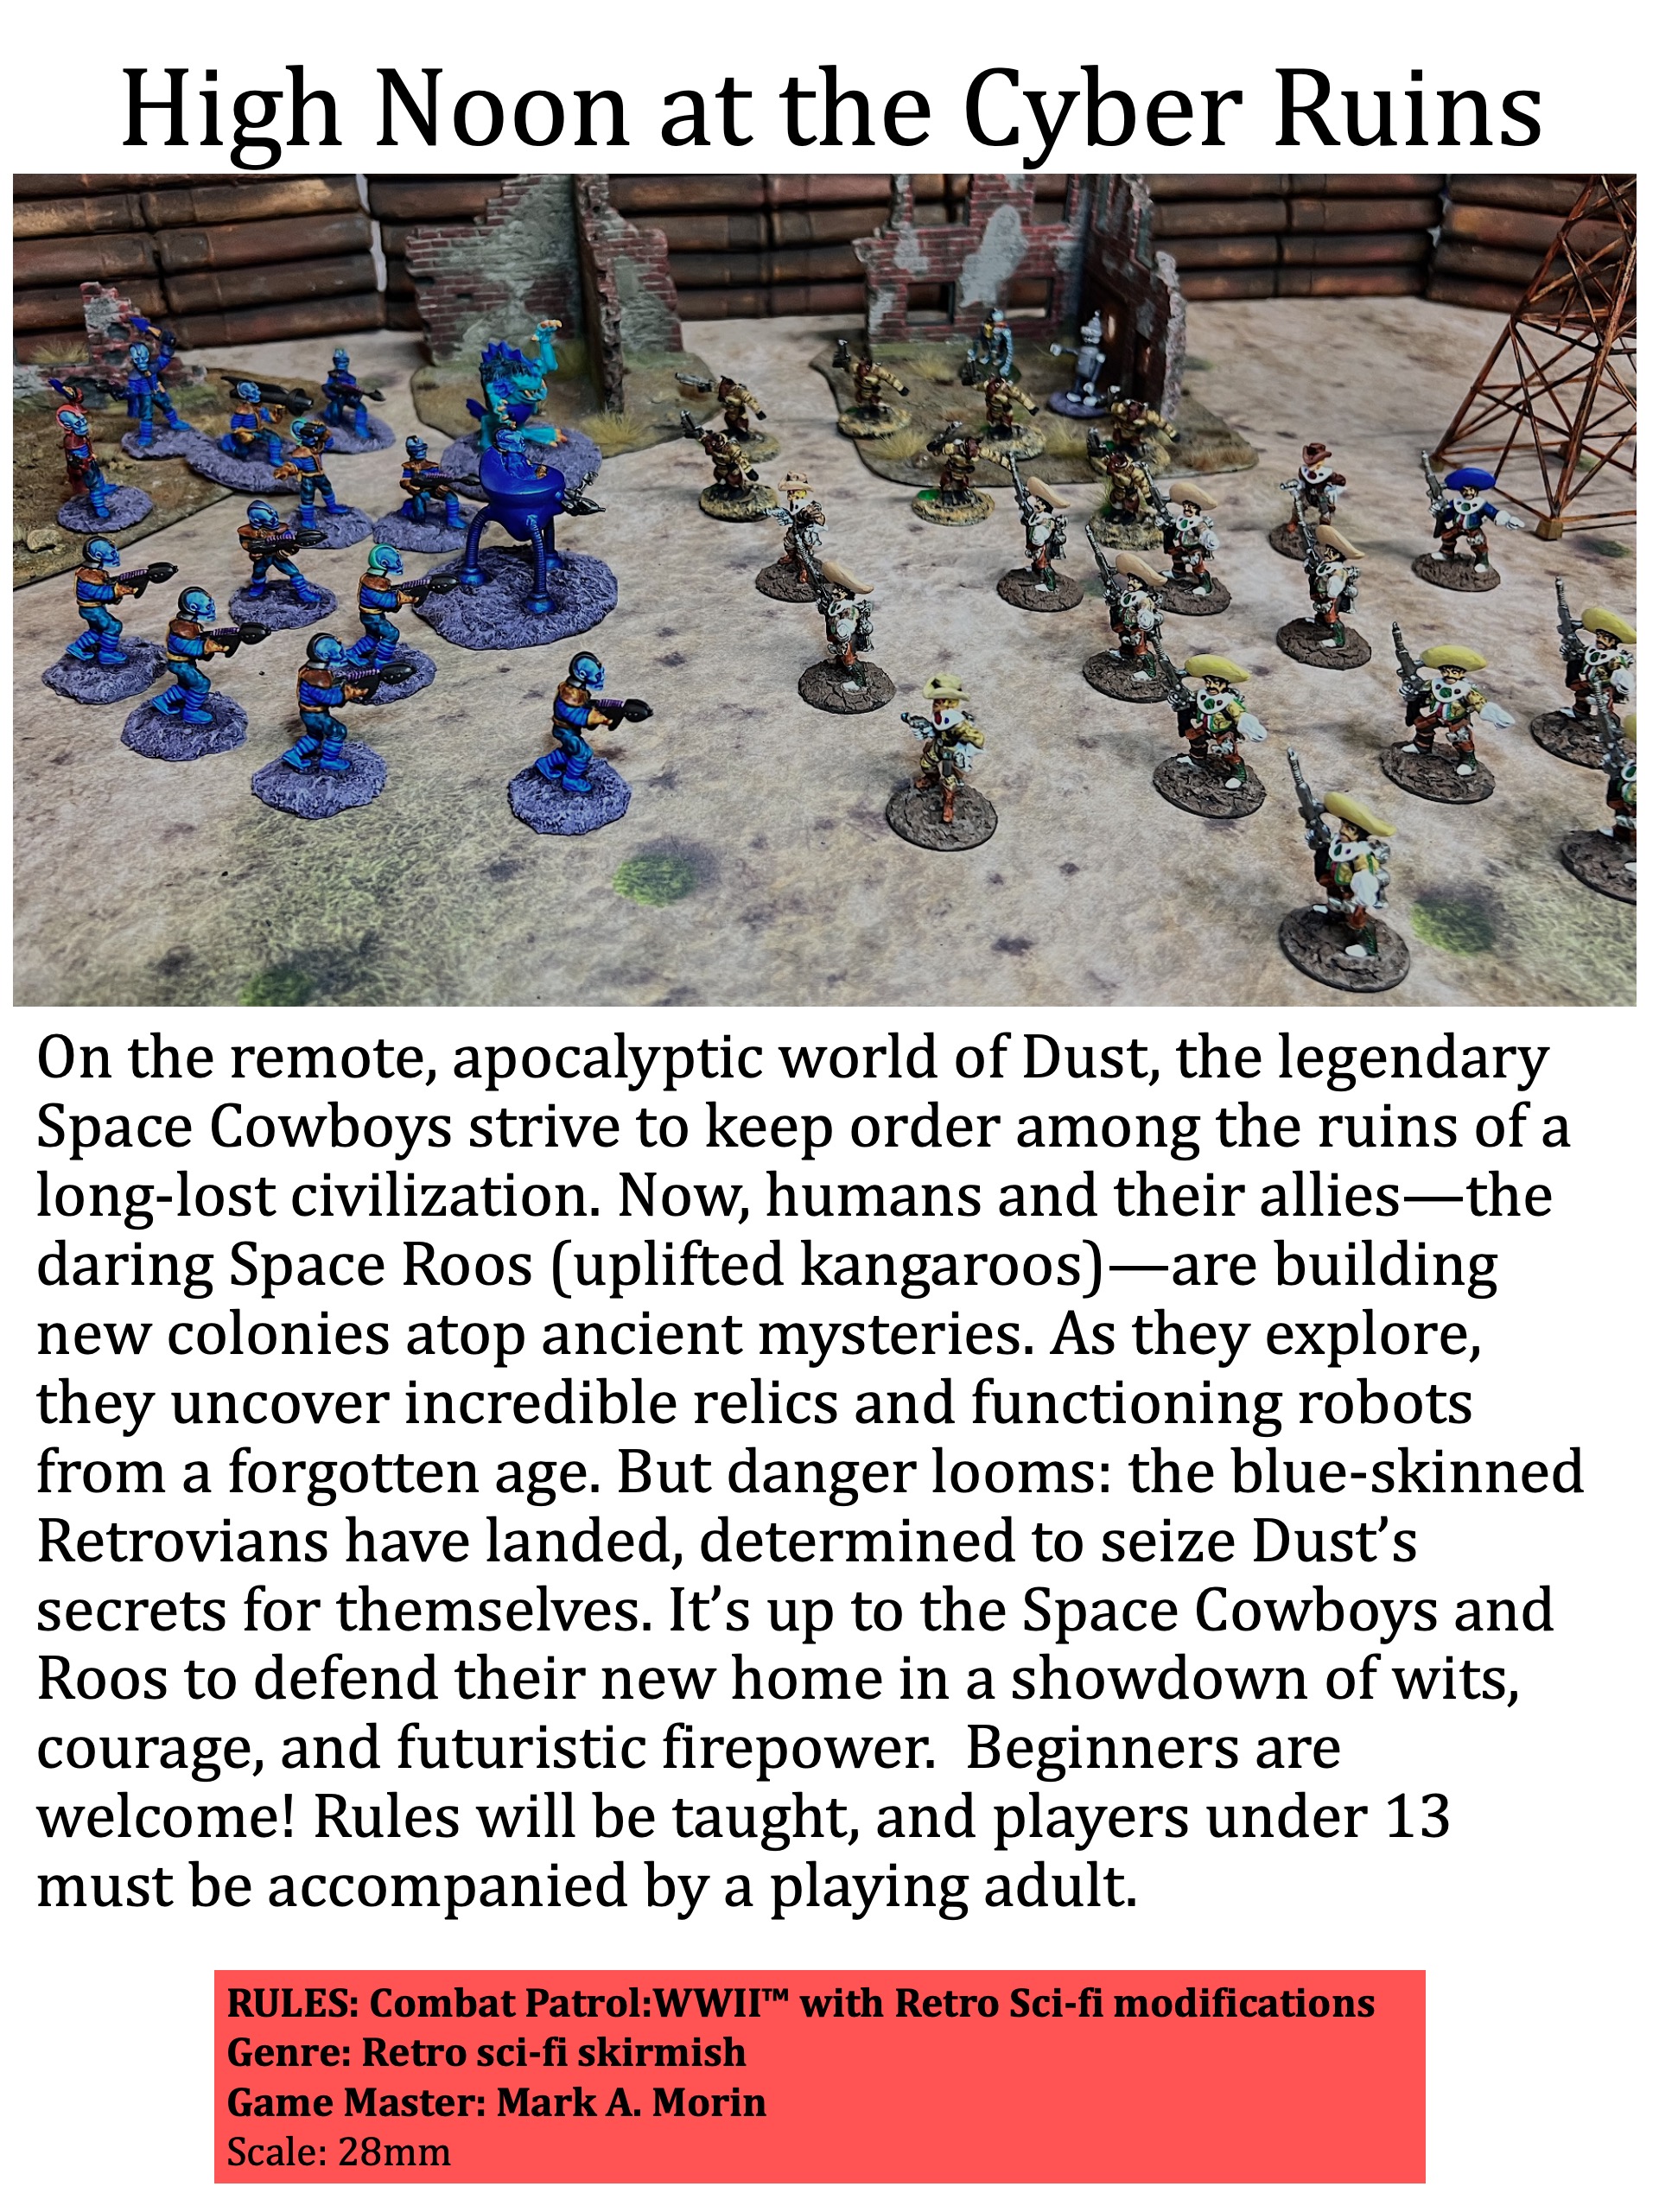
To win the game, both sides get credit (victory points) for inflicting enemy casualties and finding hidden ancient robots.
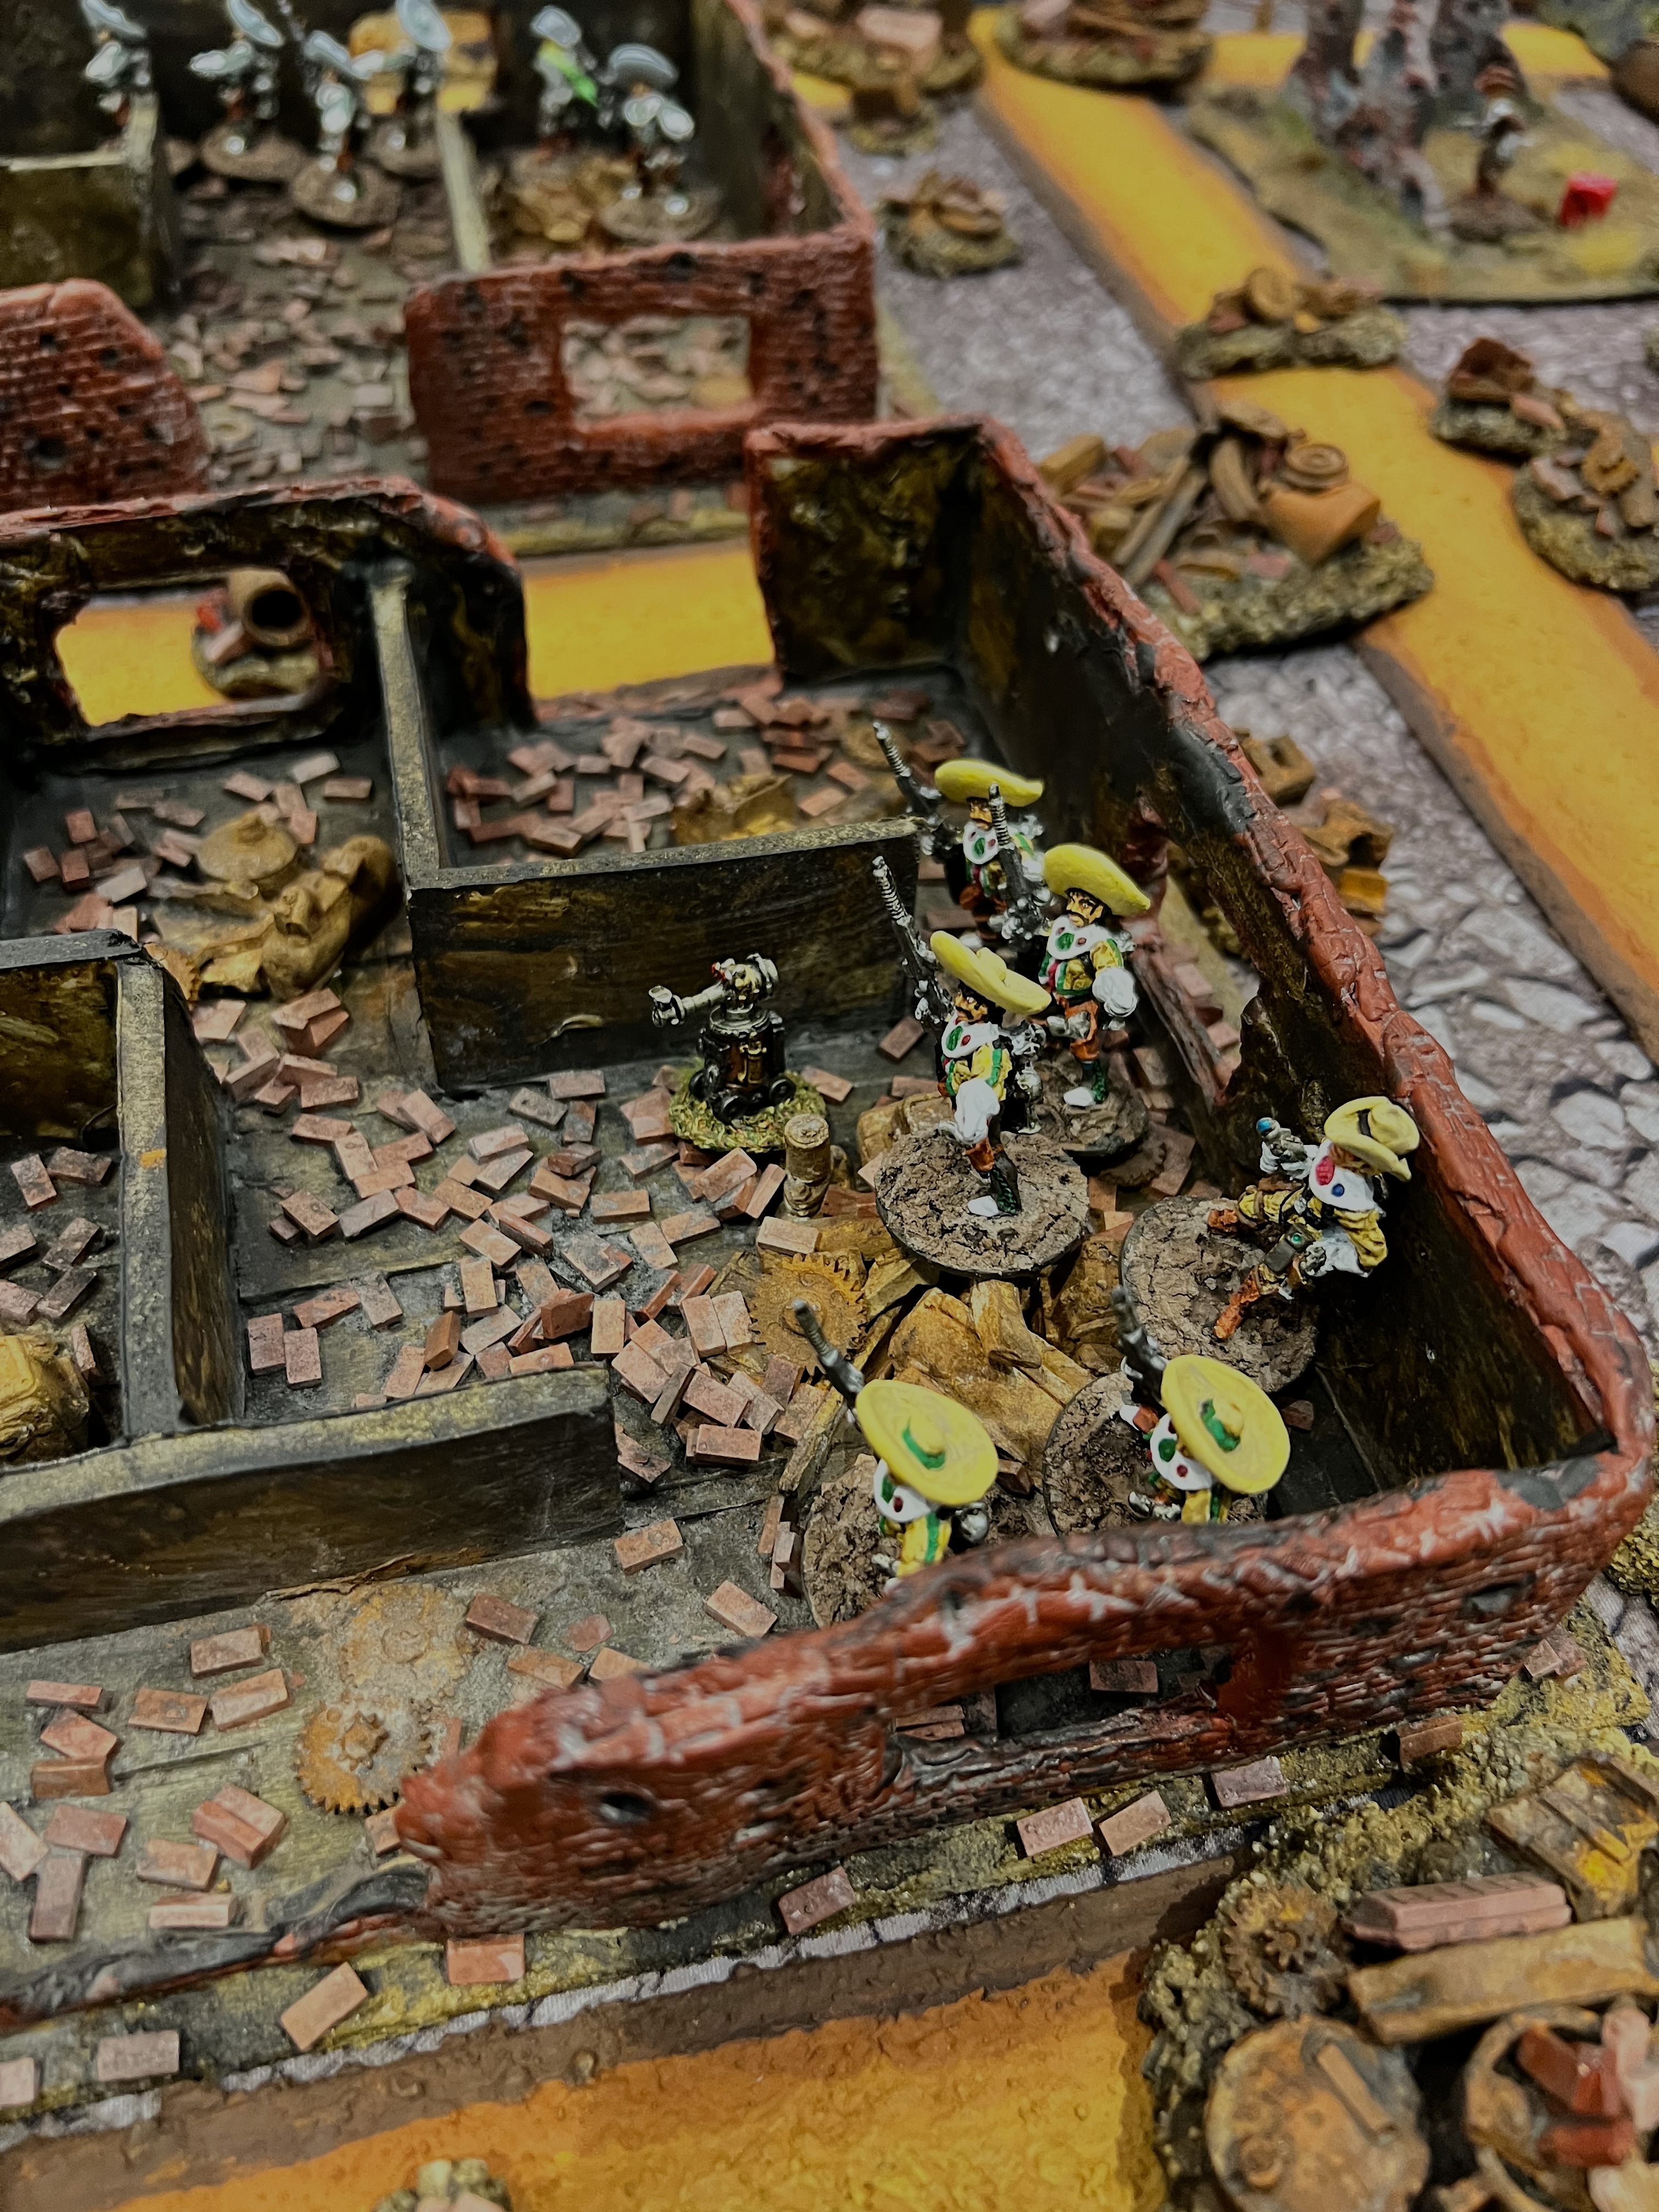

In the end, the casualties on both sides were high. But, the Space Cowboys possession of robots allowed them a narrow 15-10 victory. That wrapped up Thursday’s games.
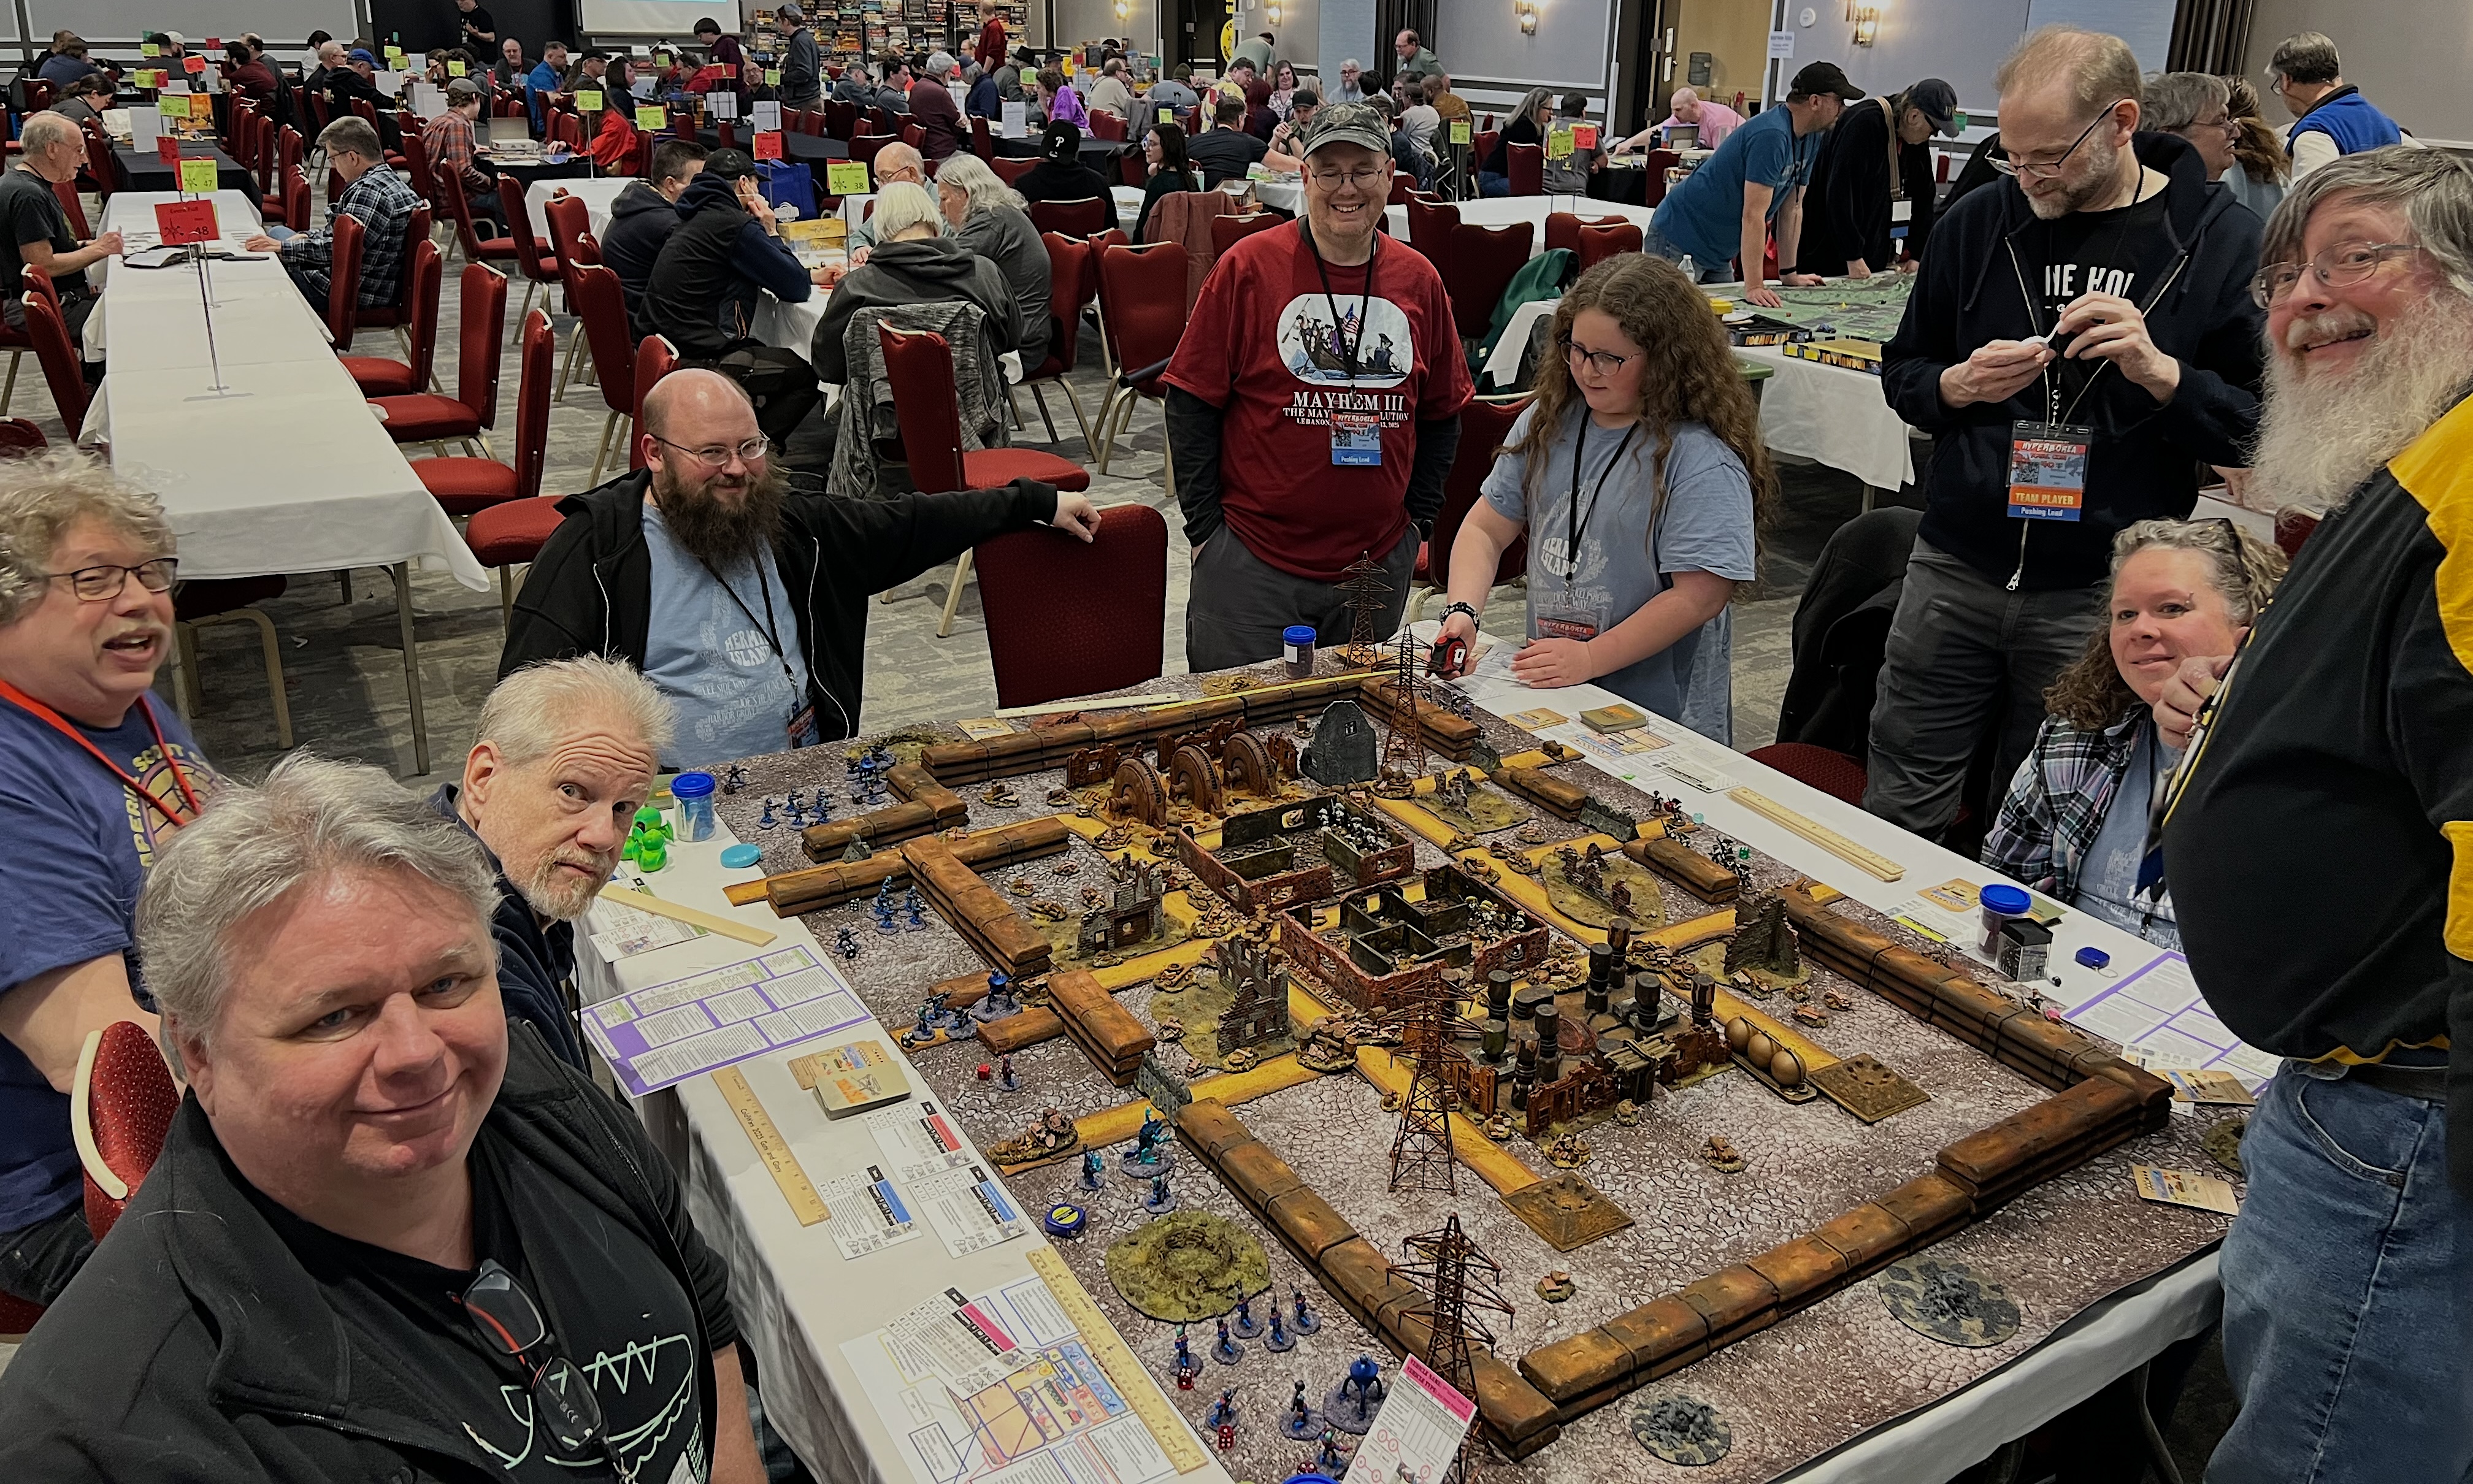
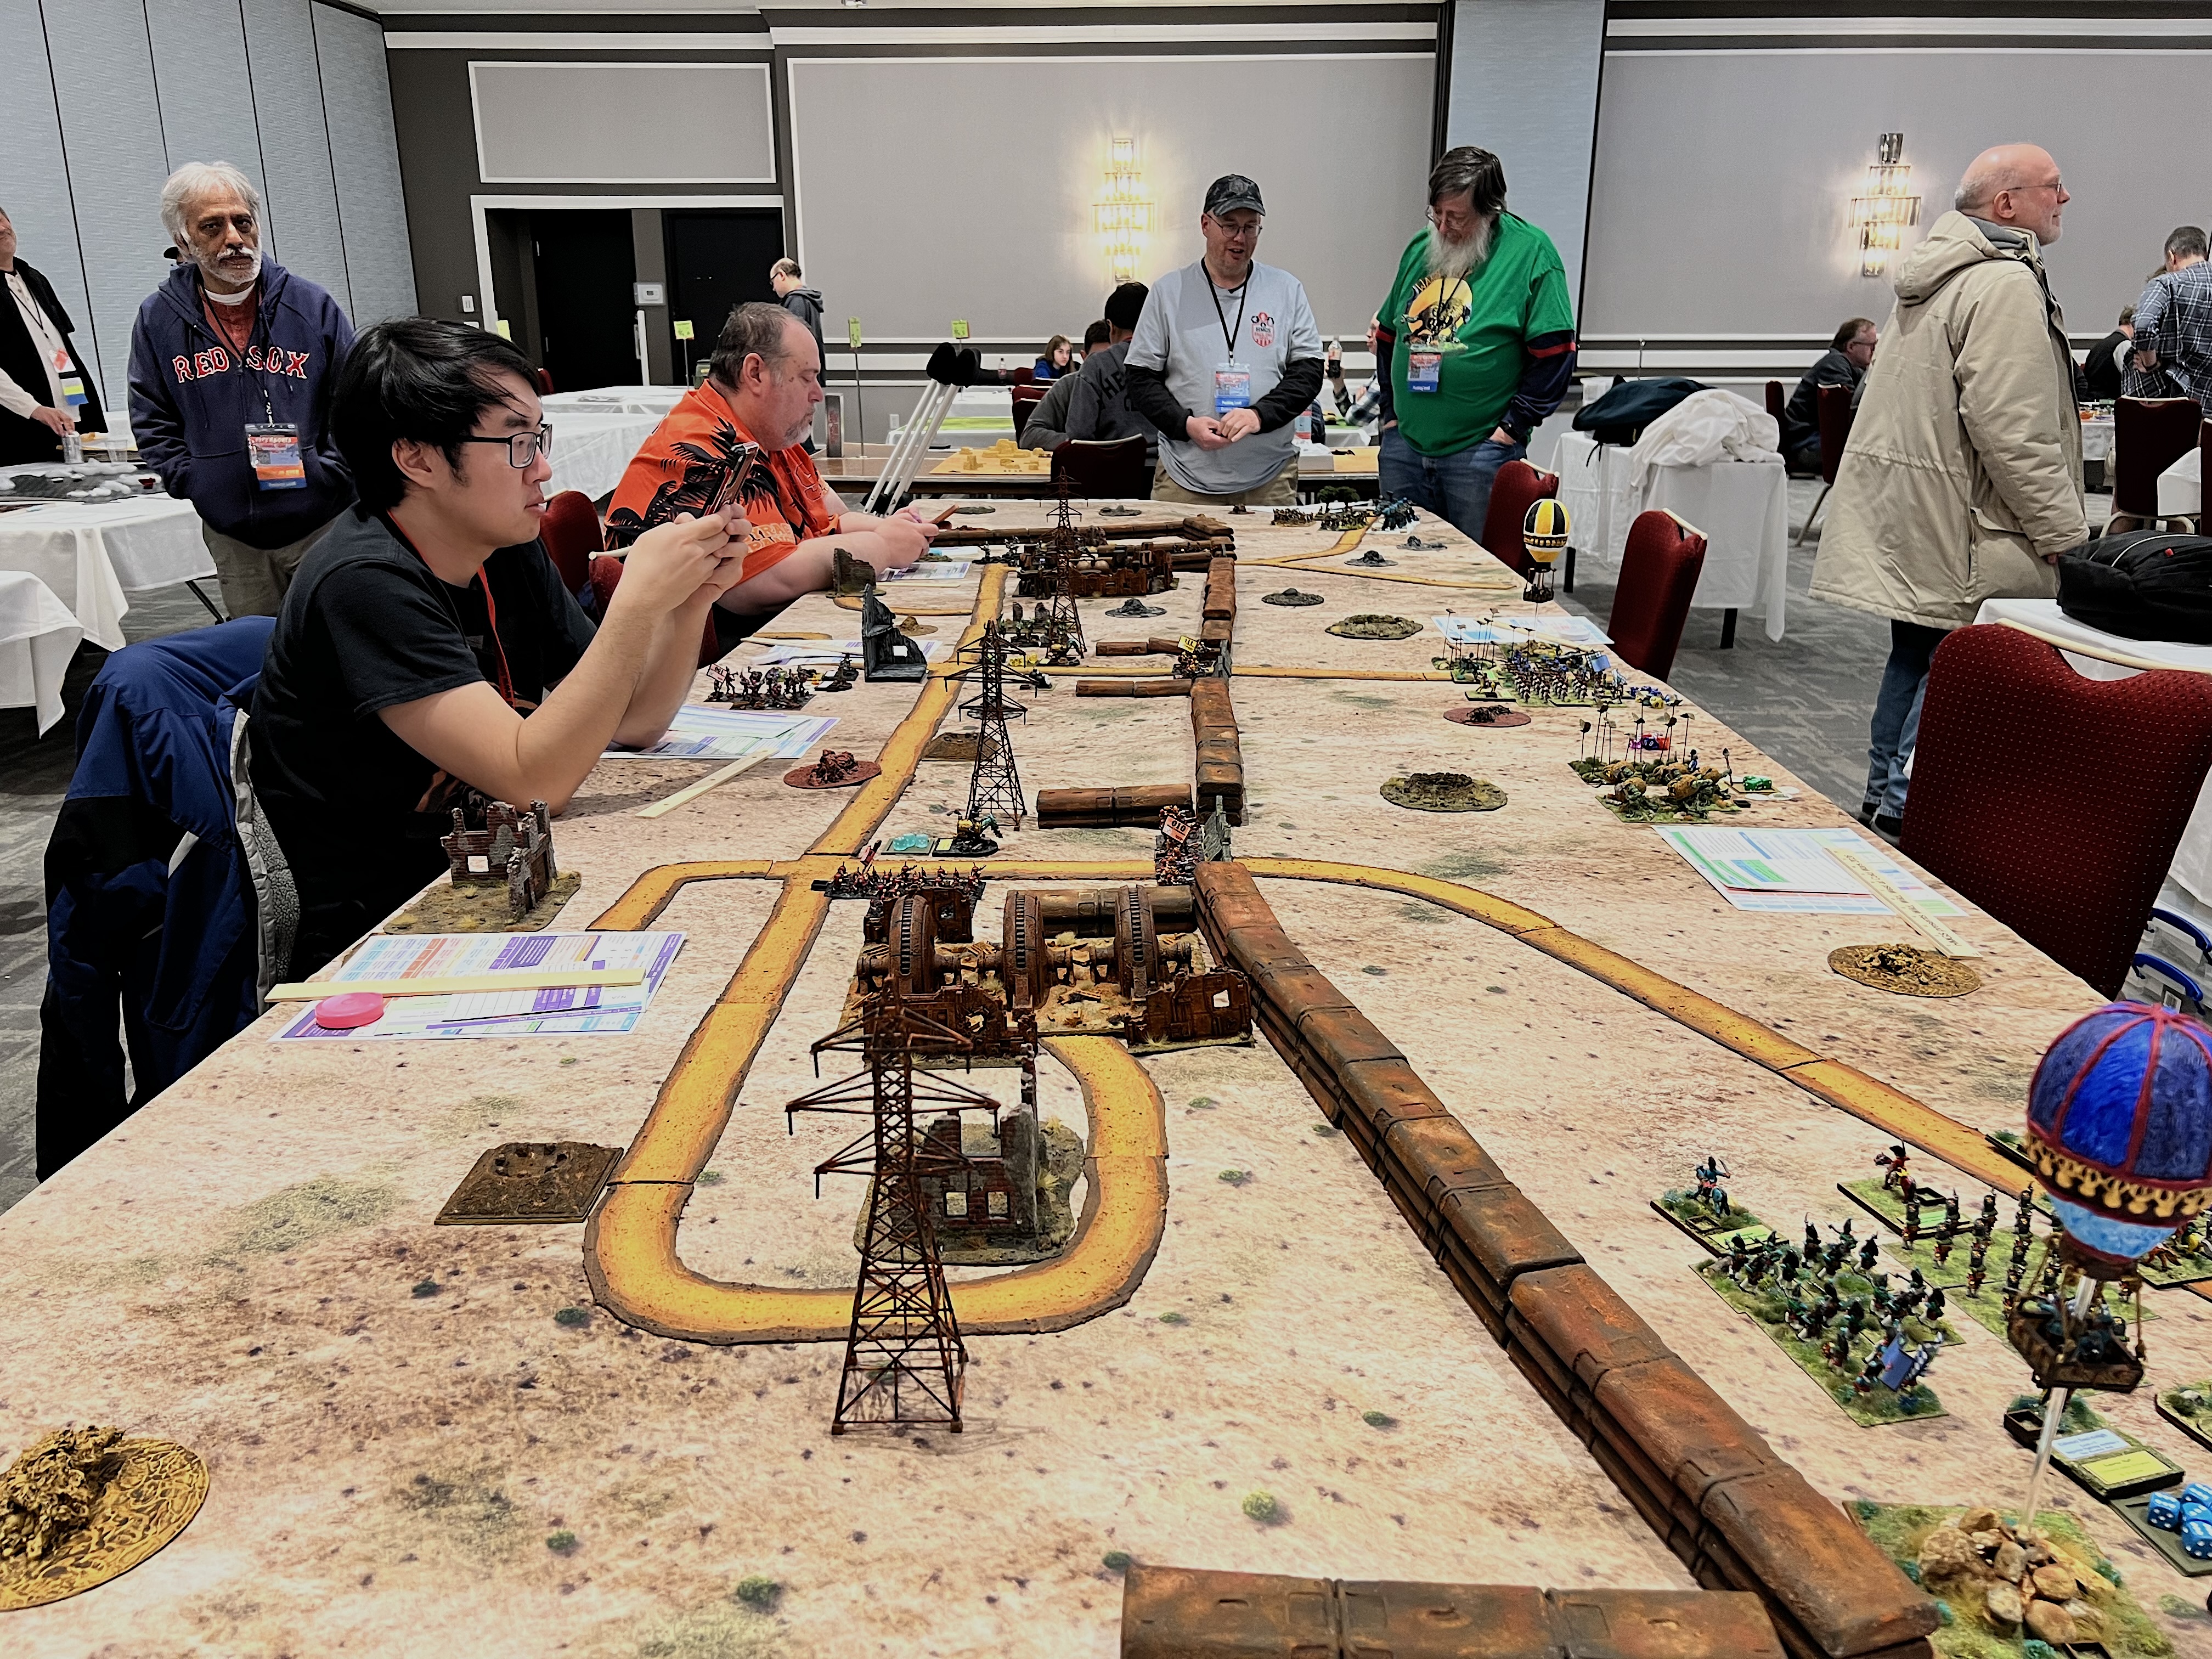
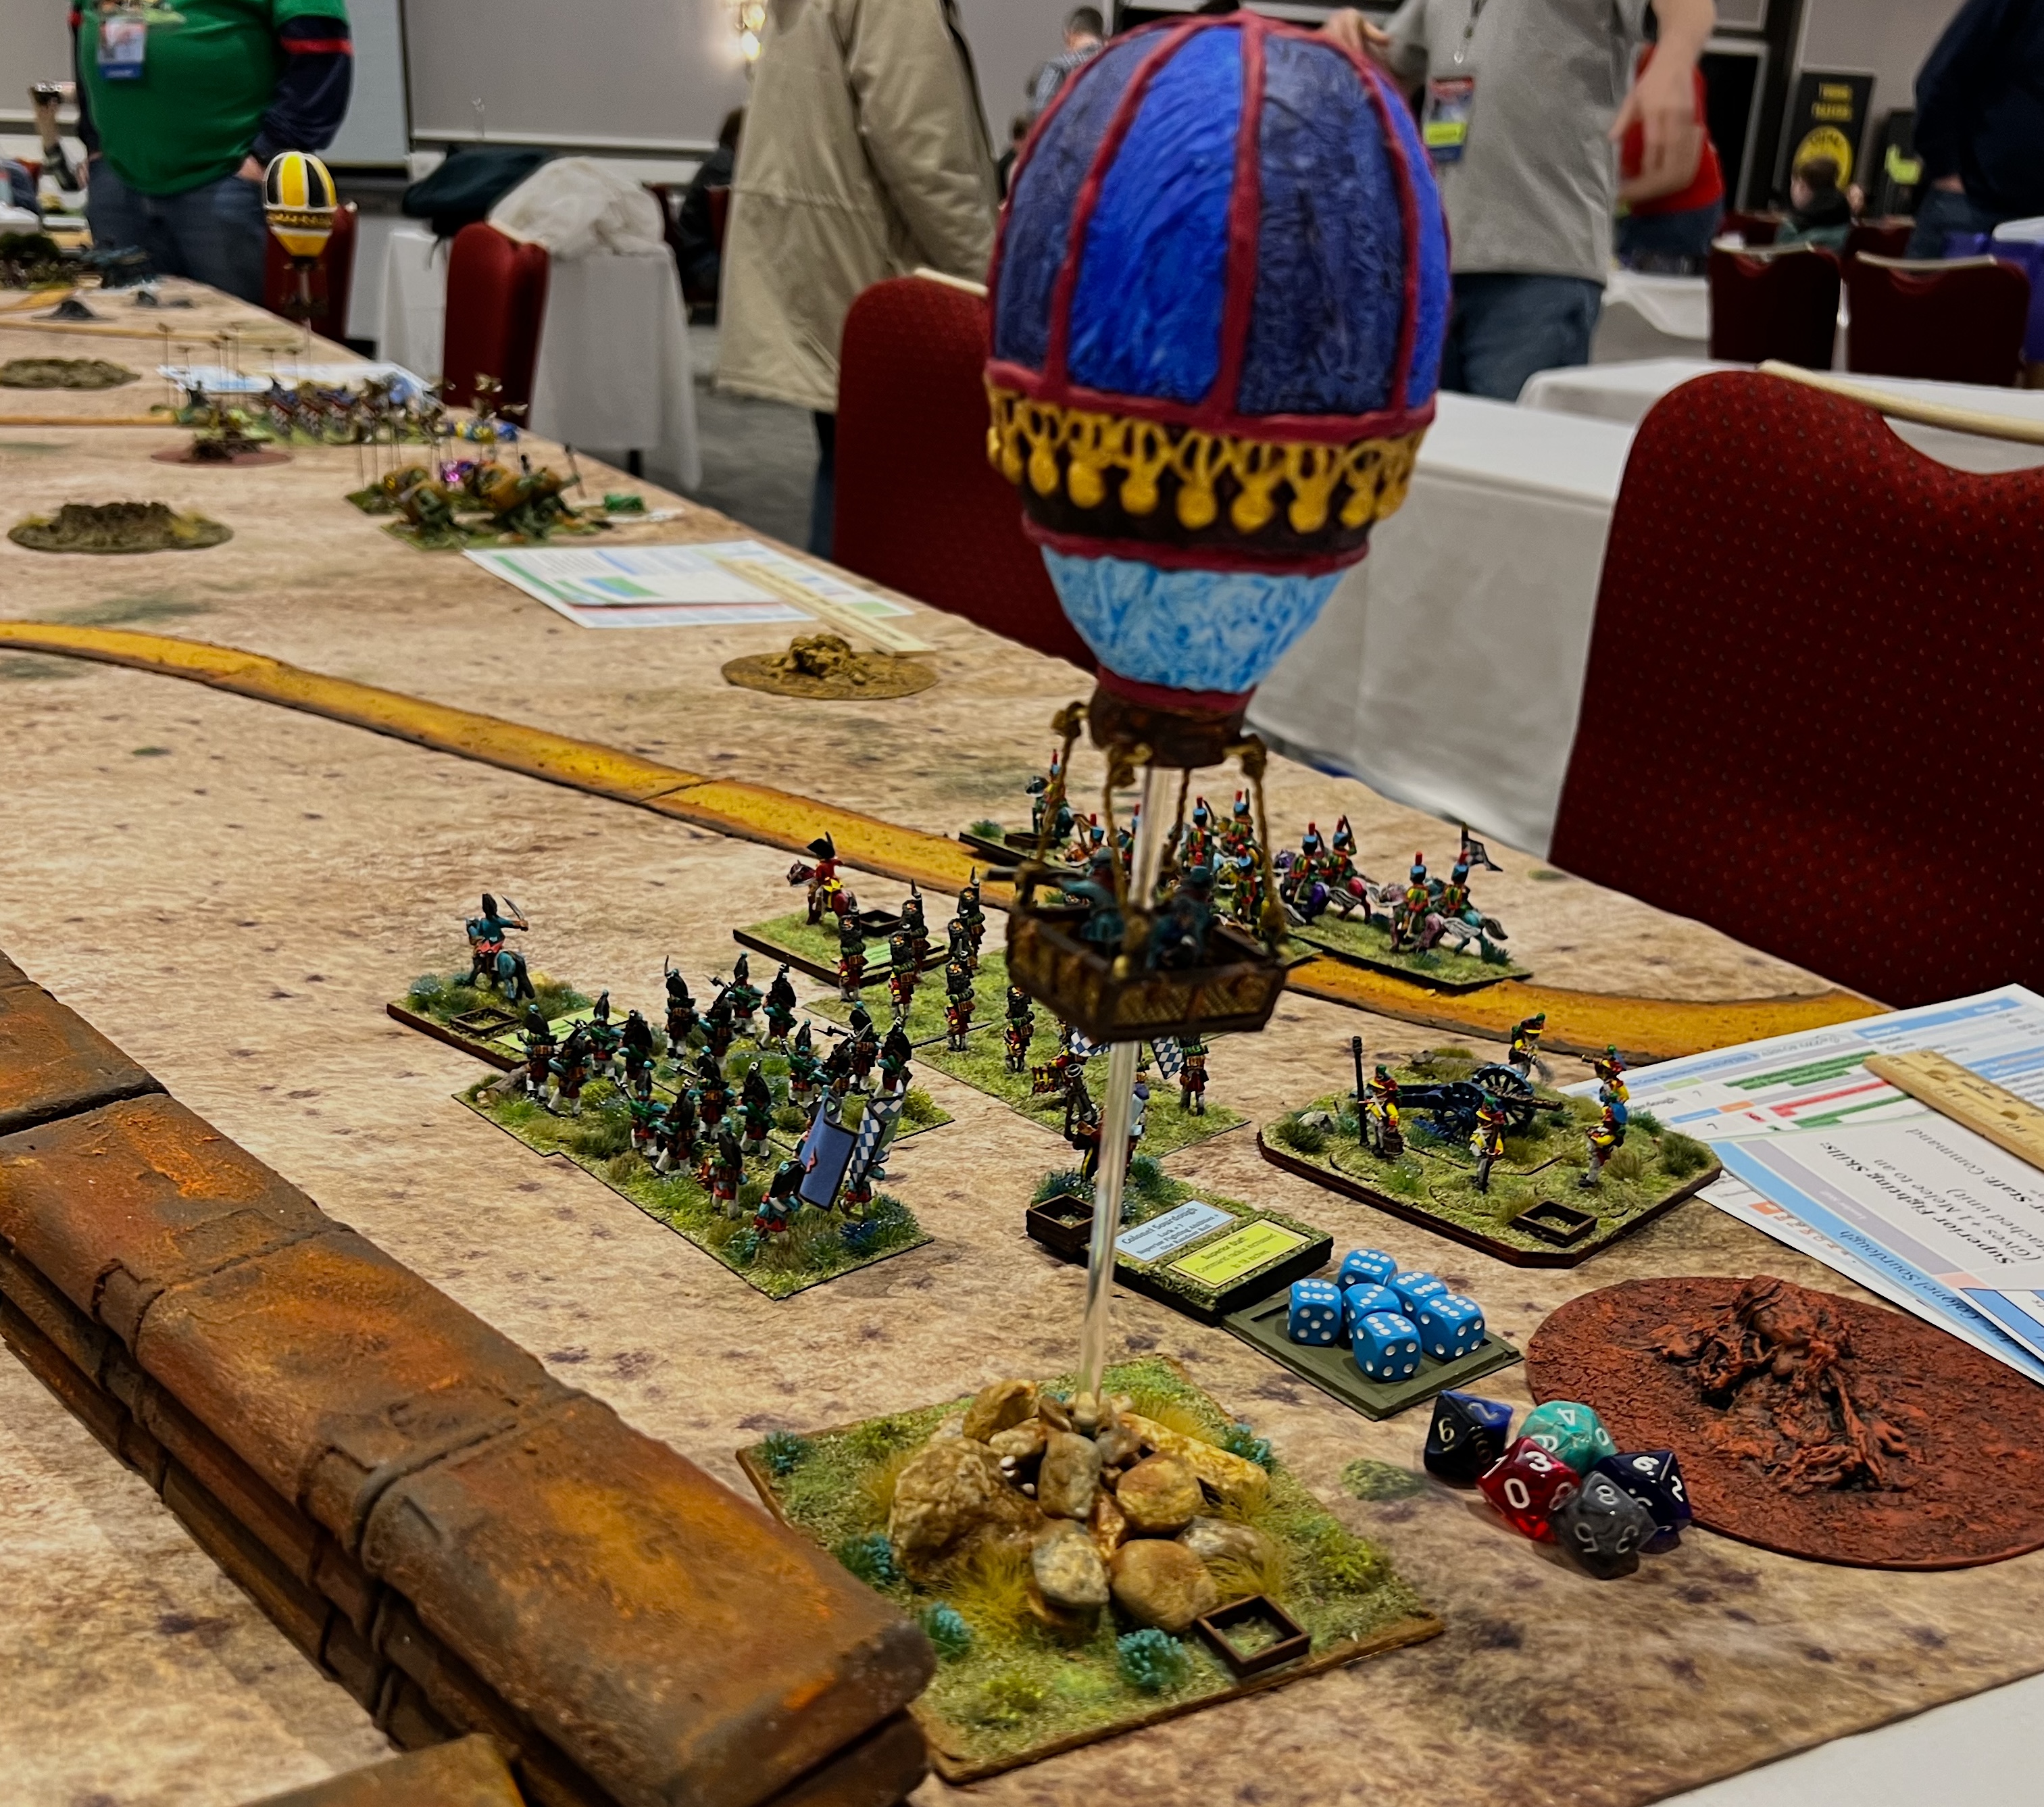
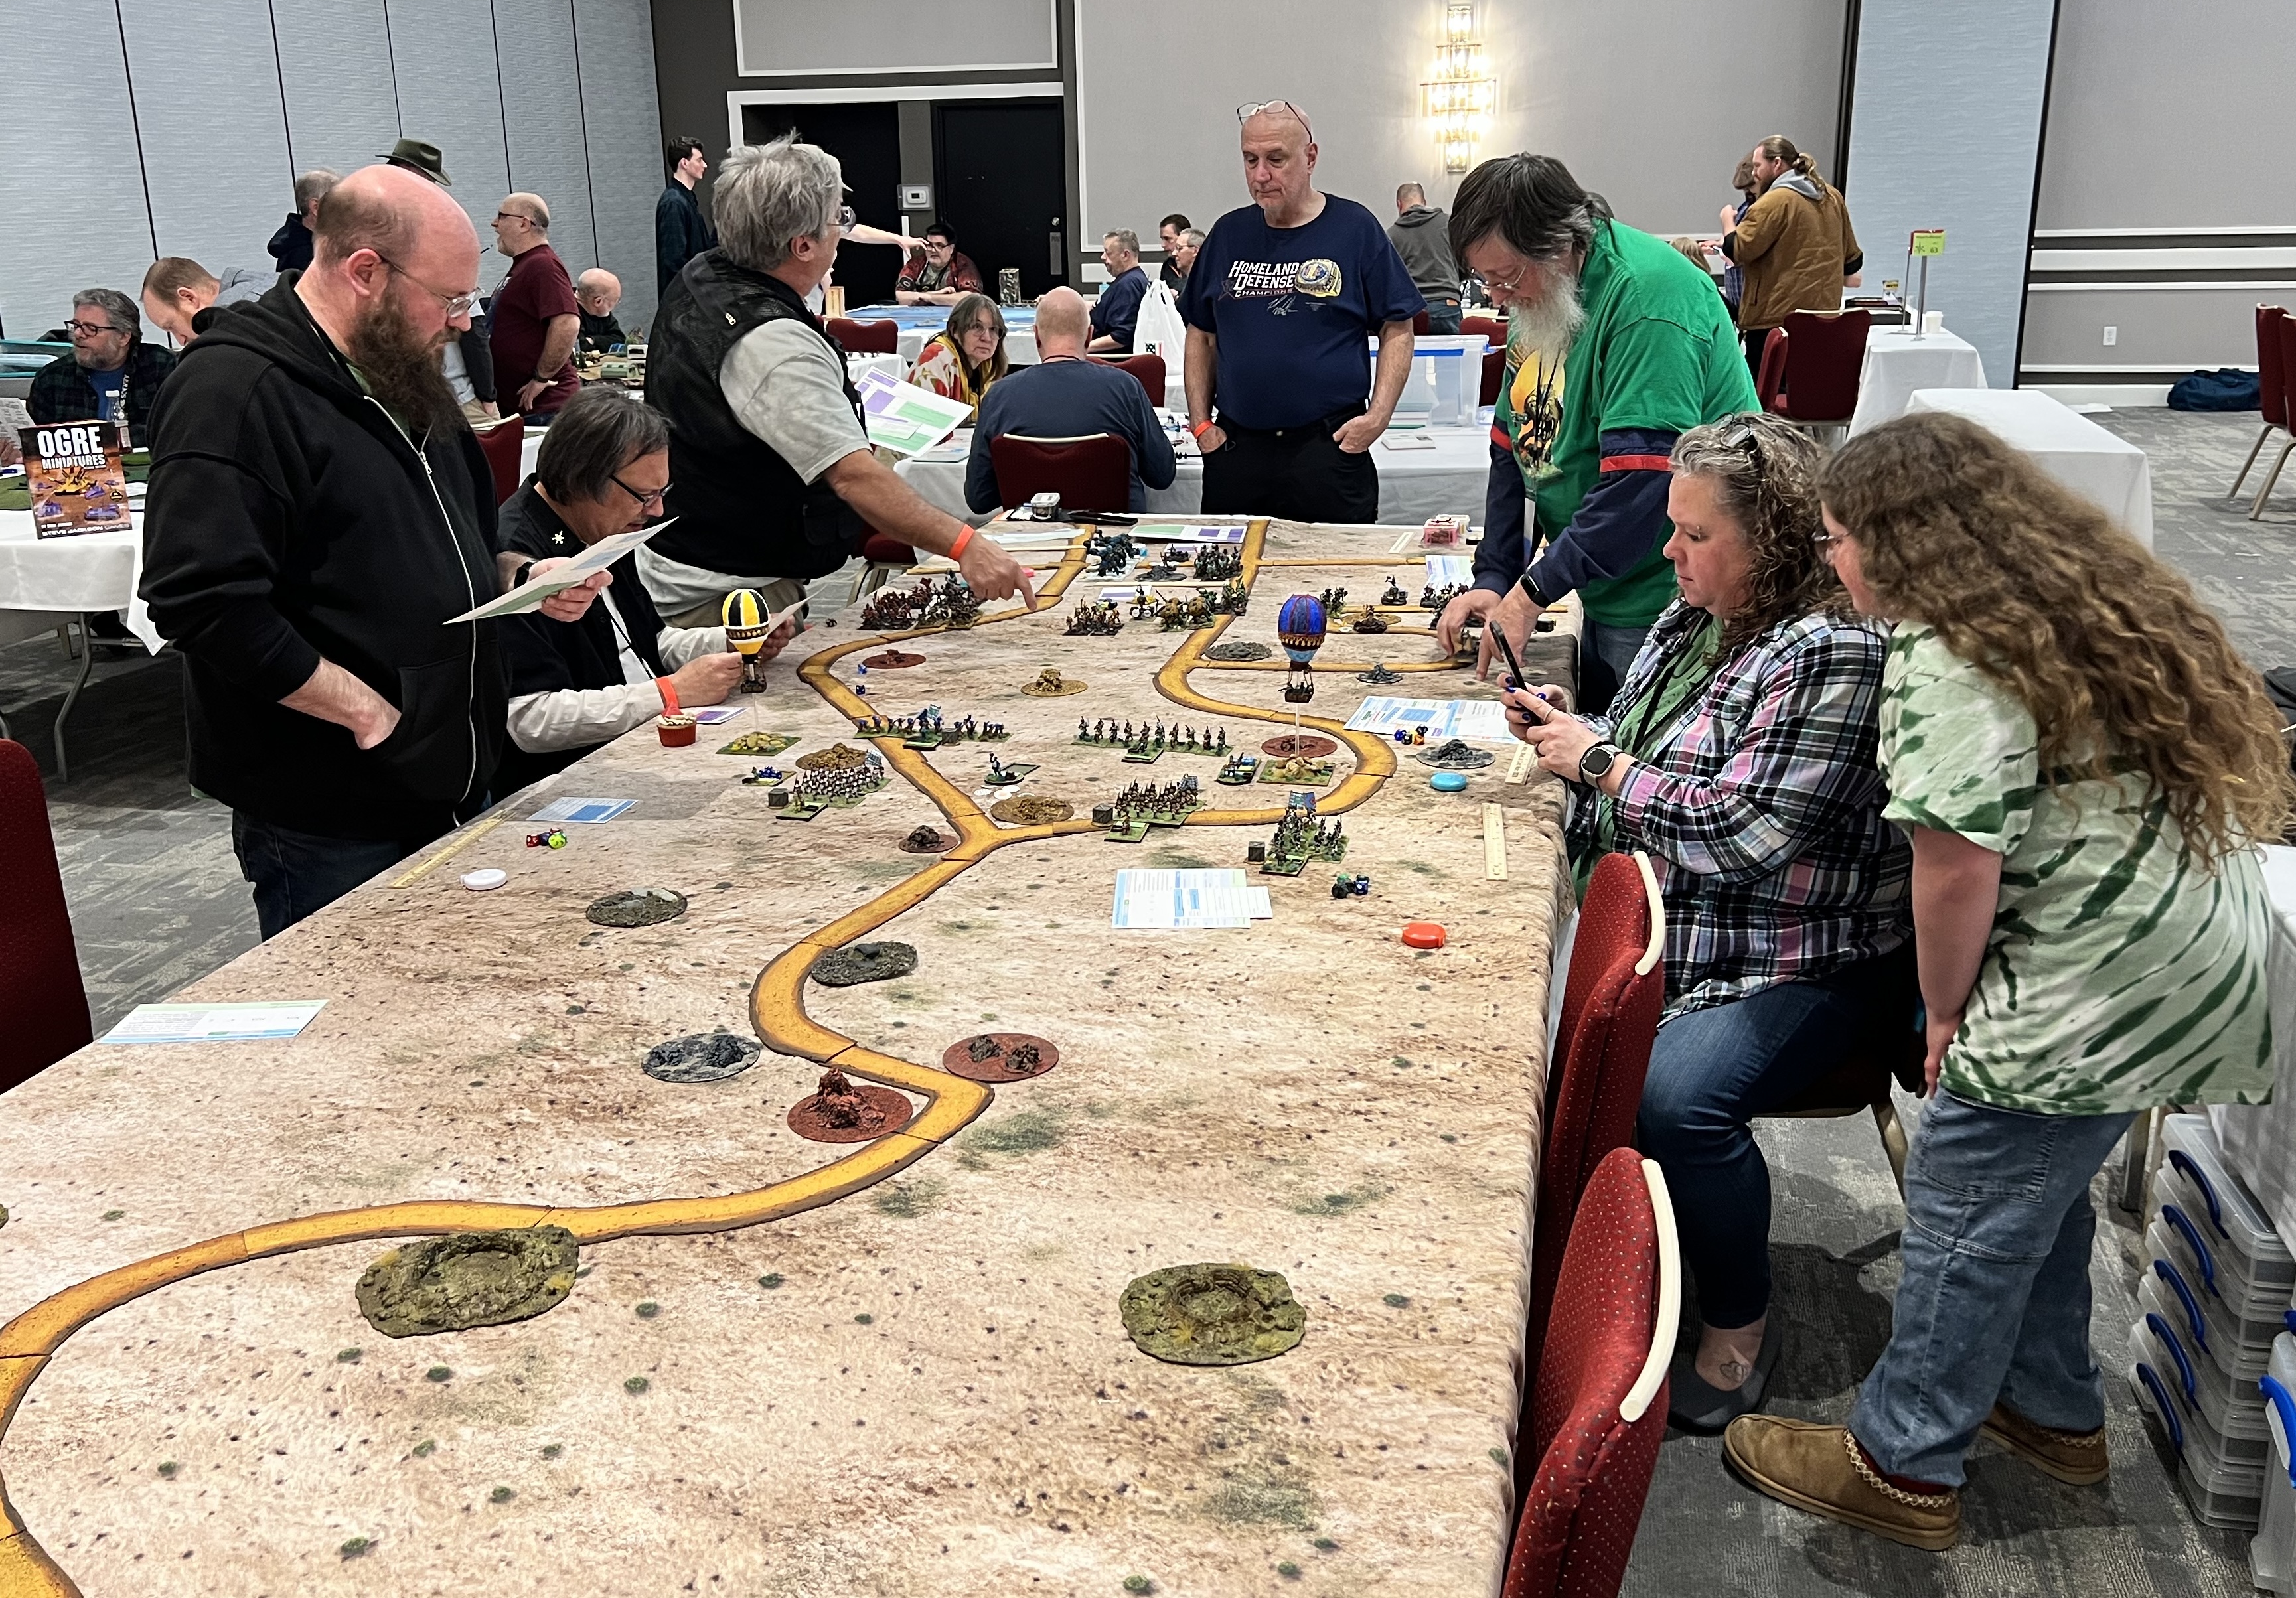
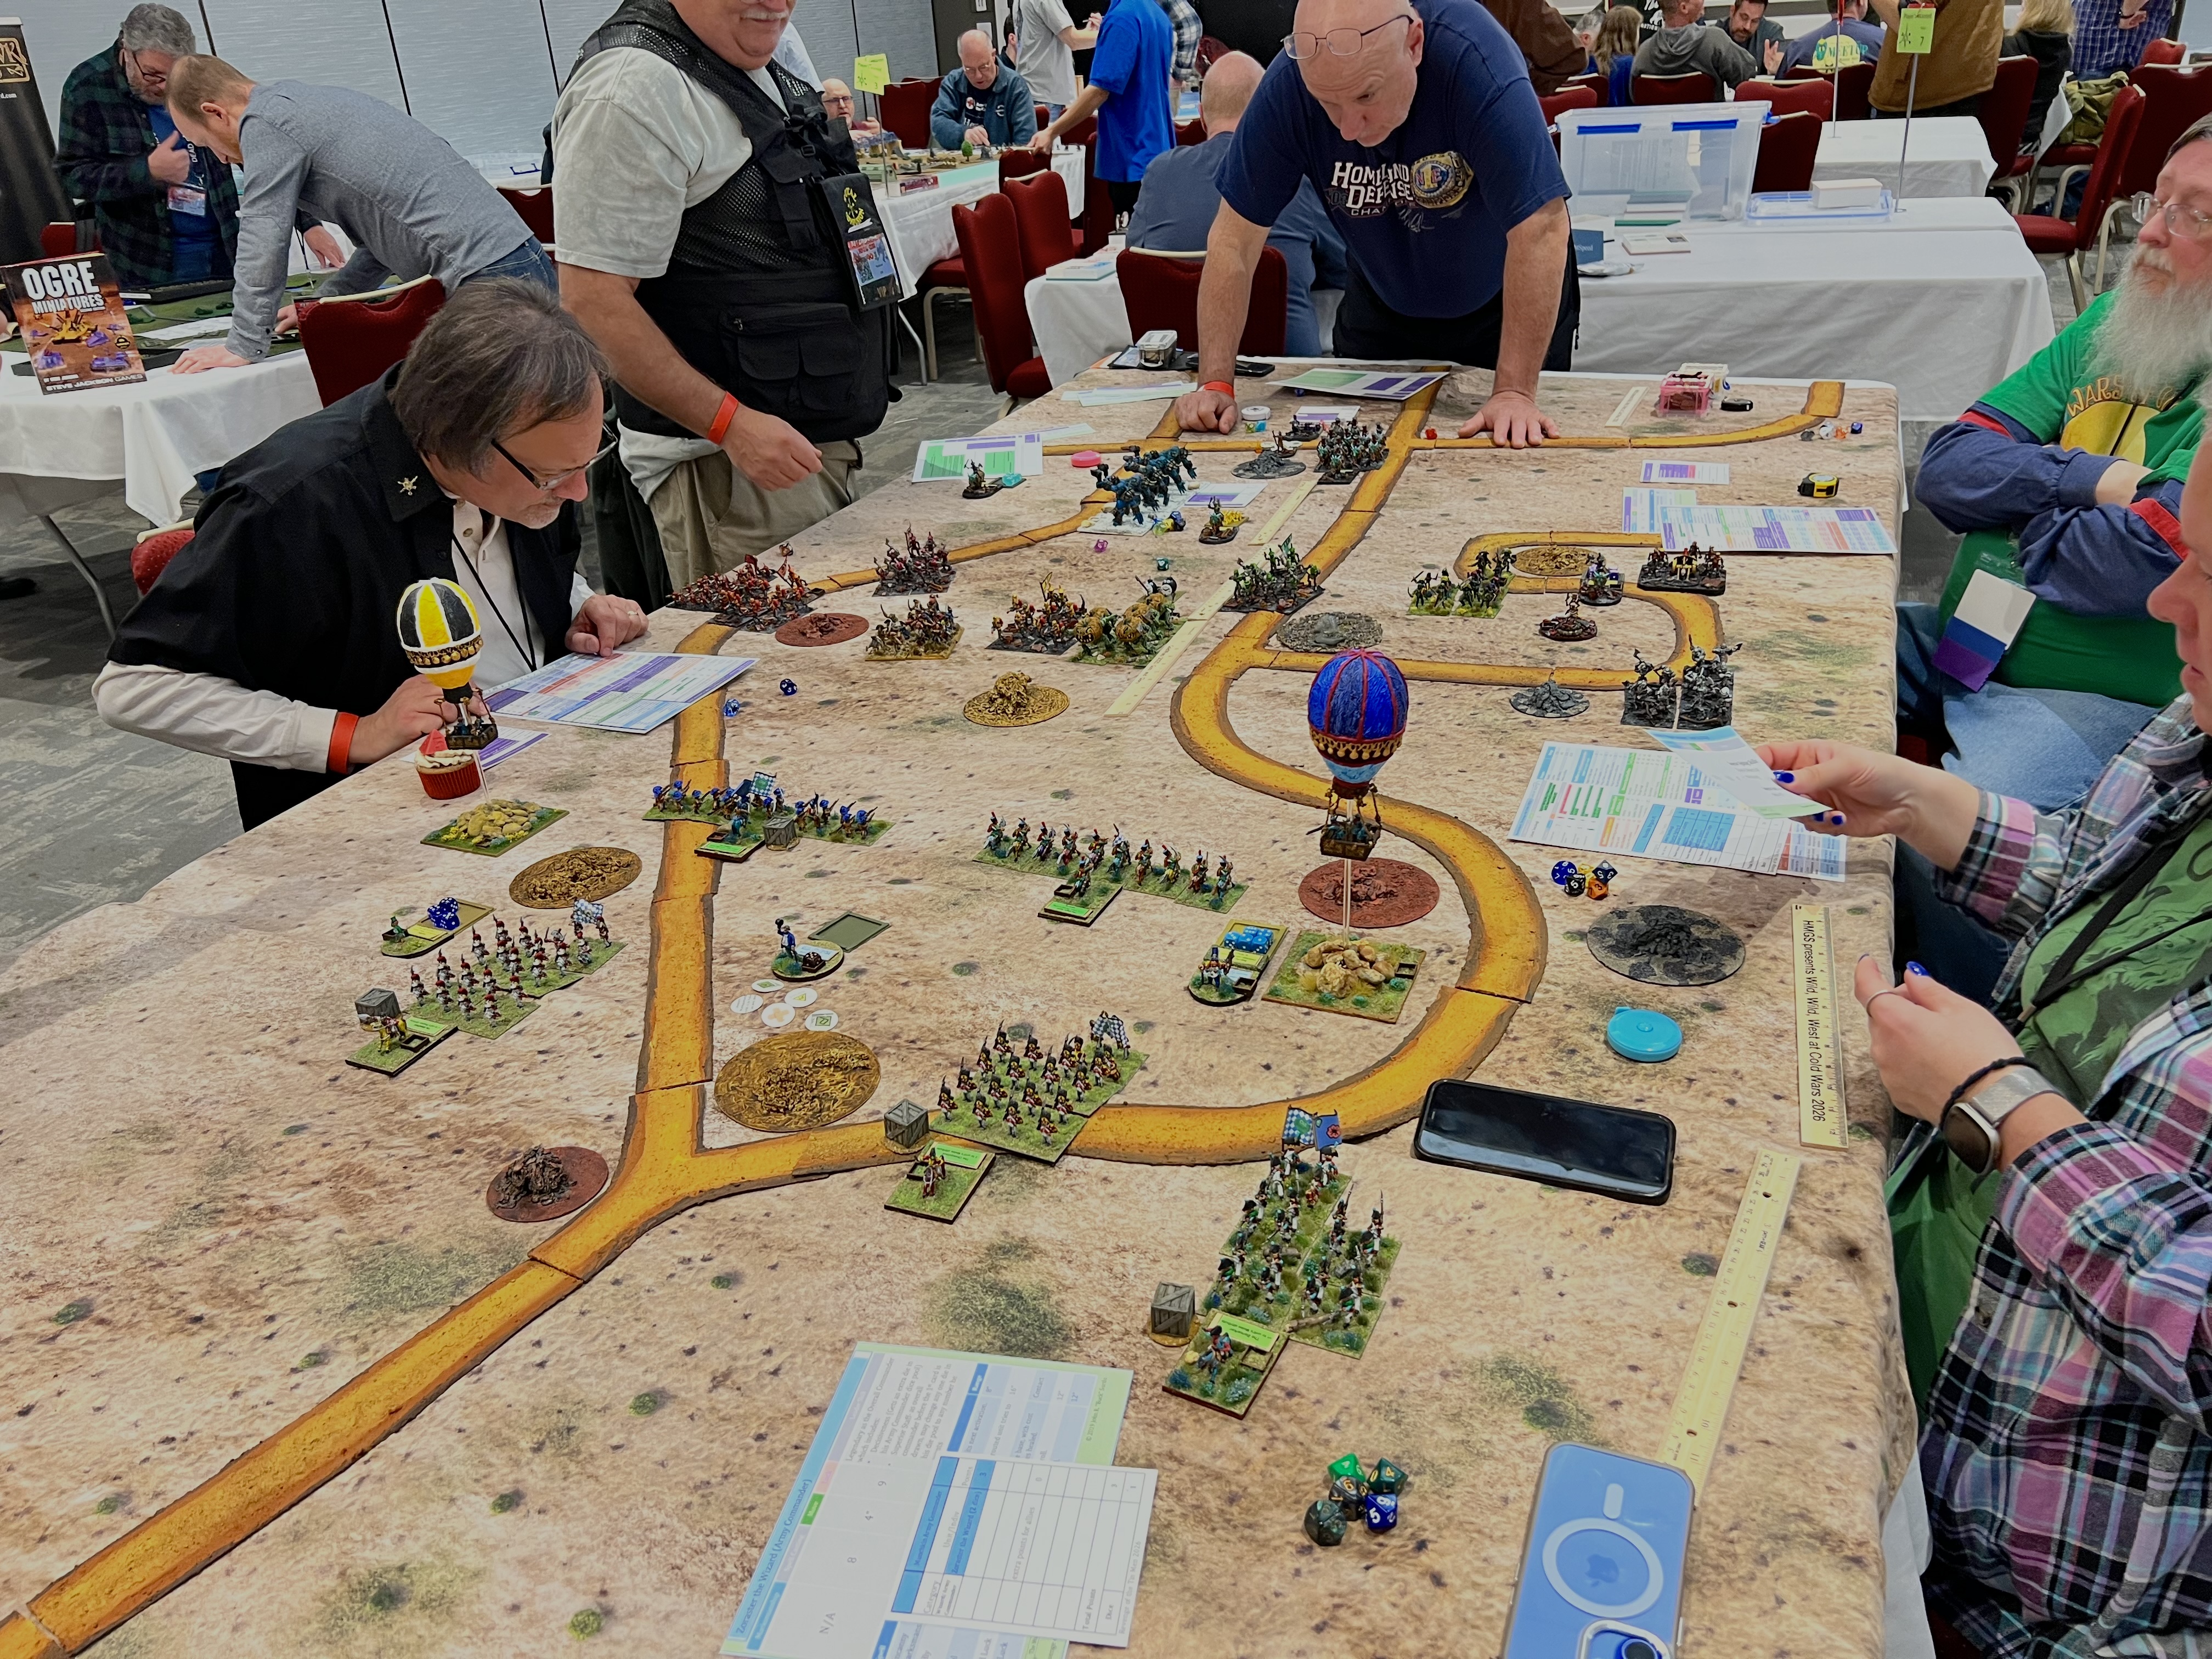
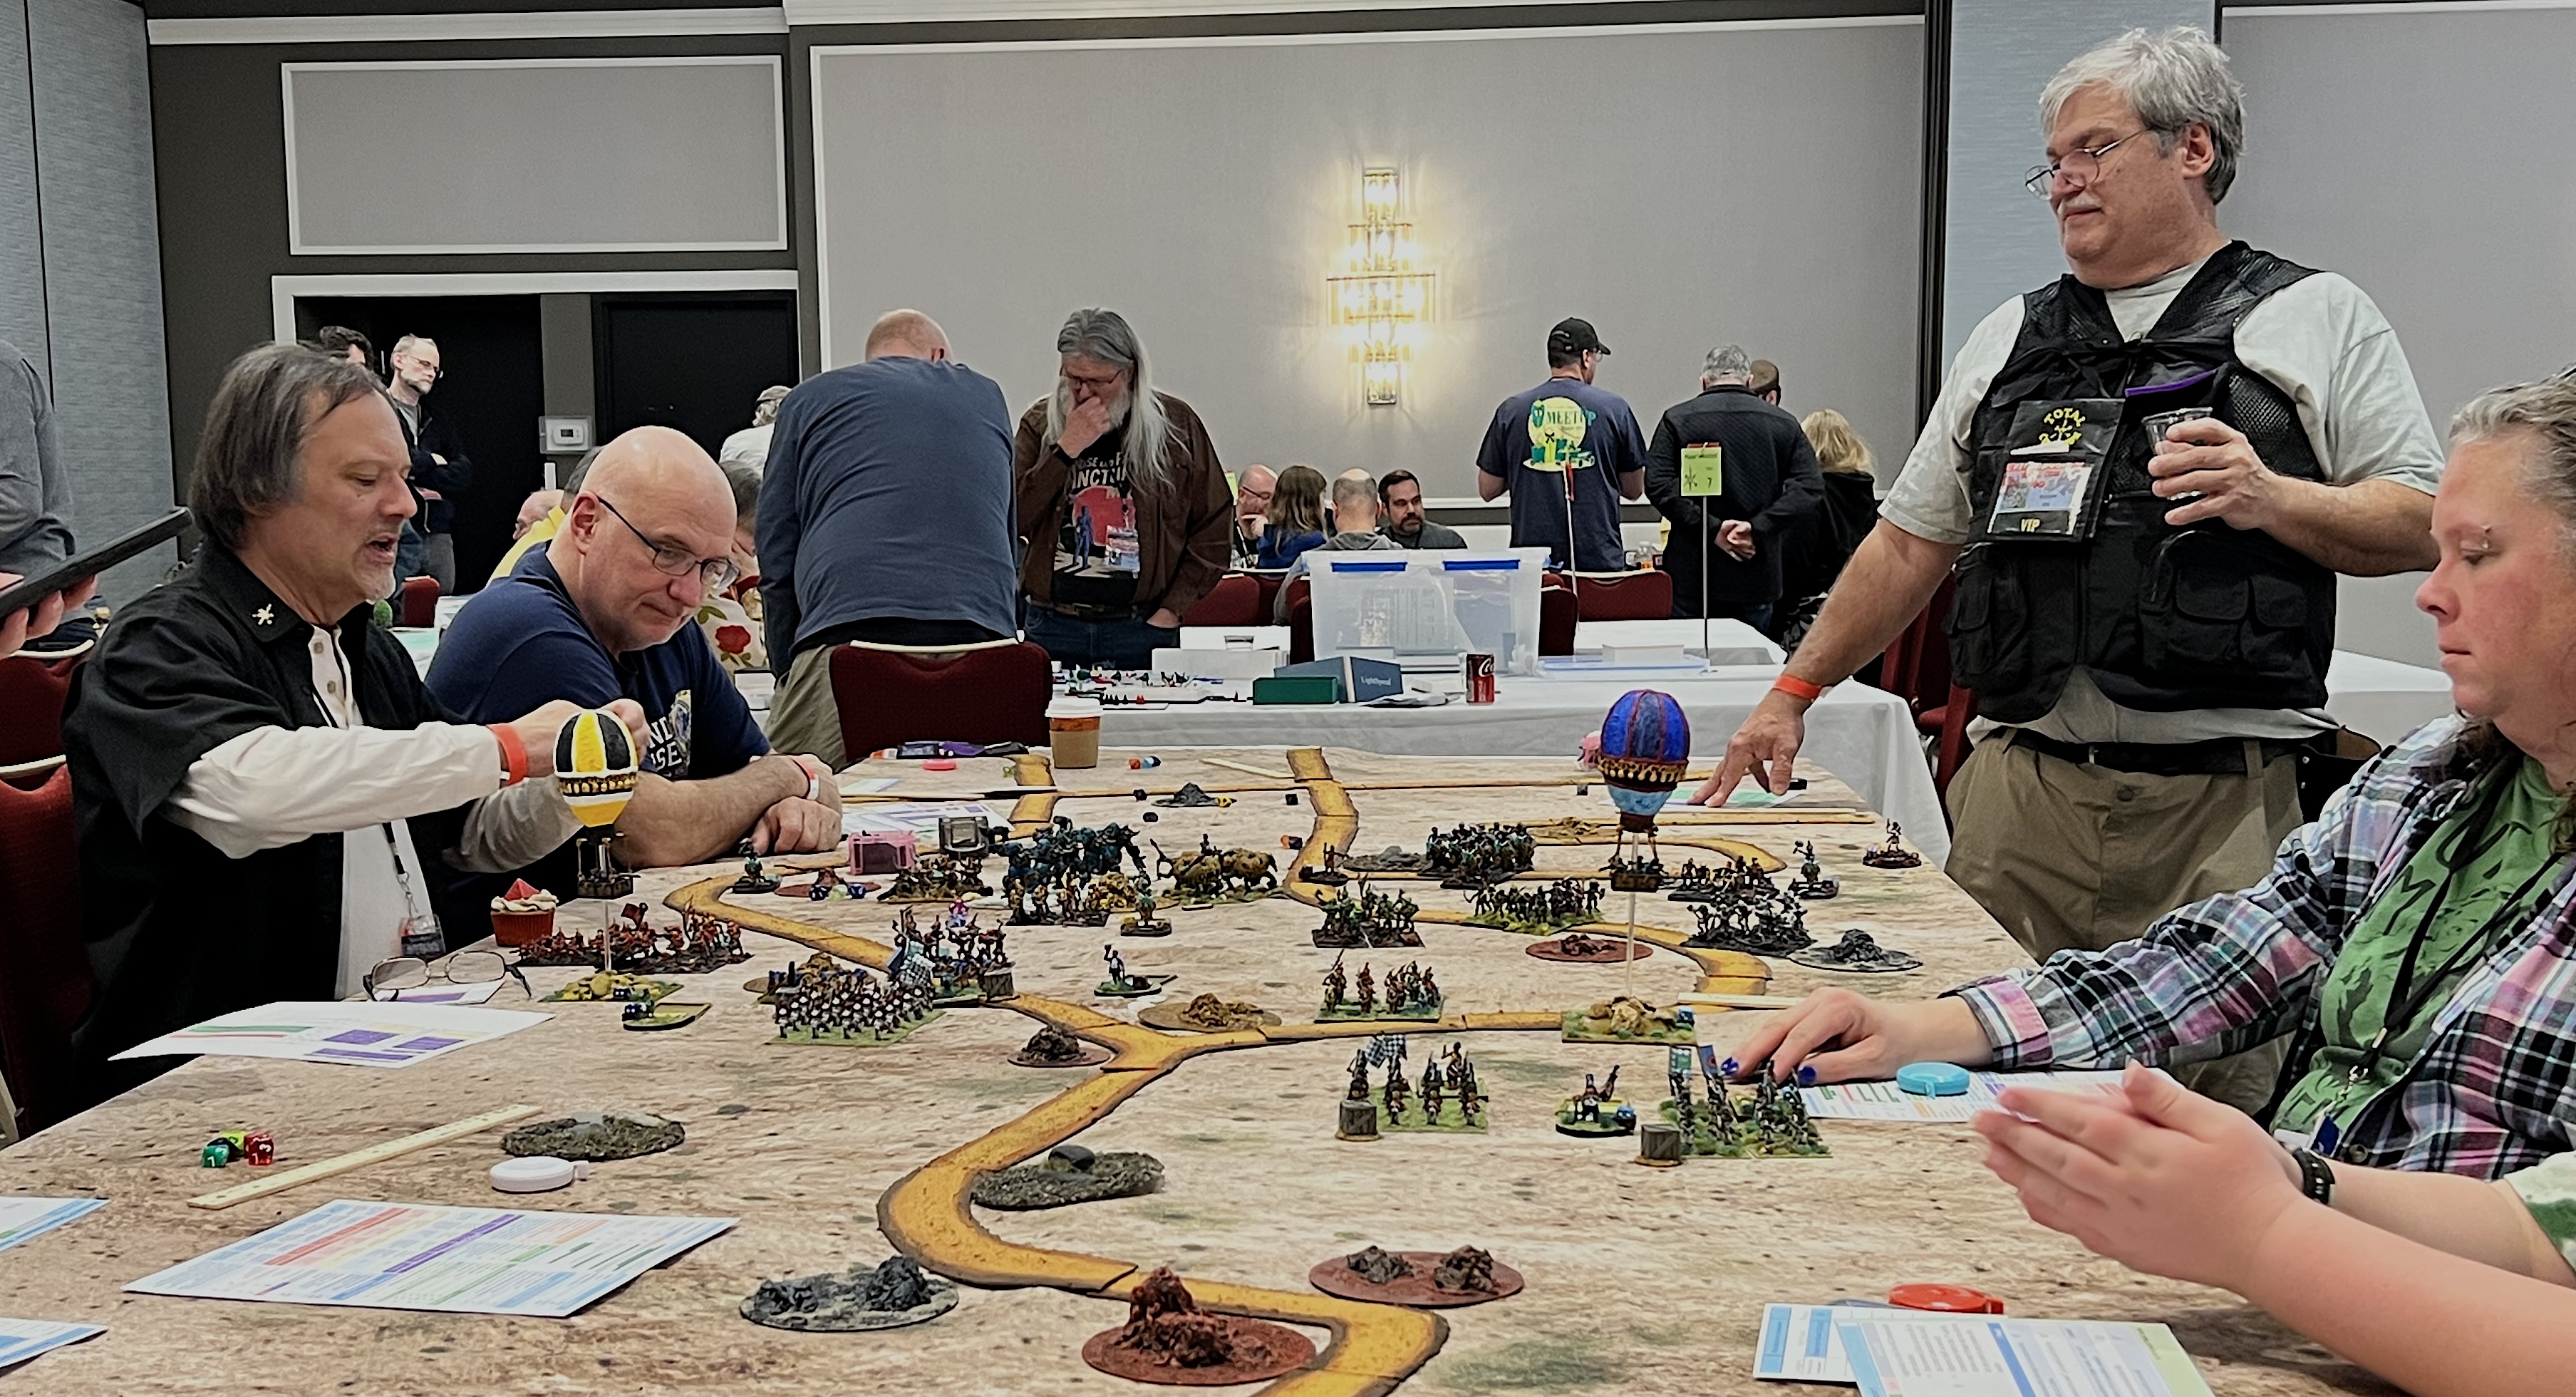
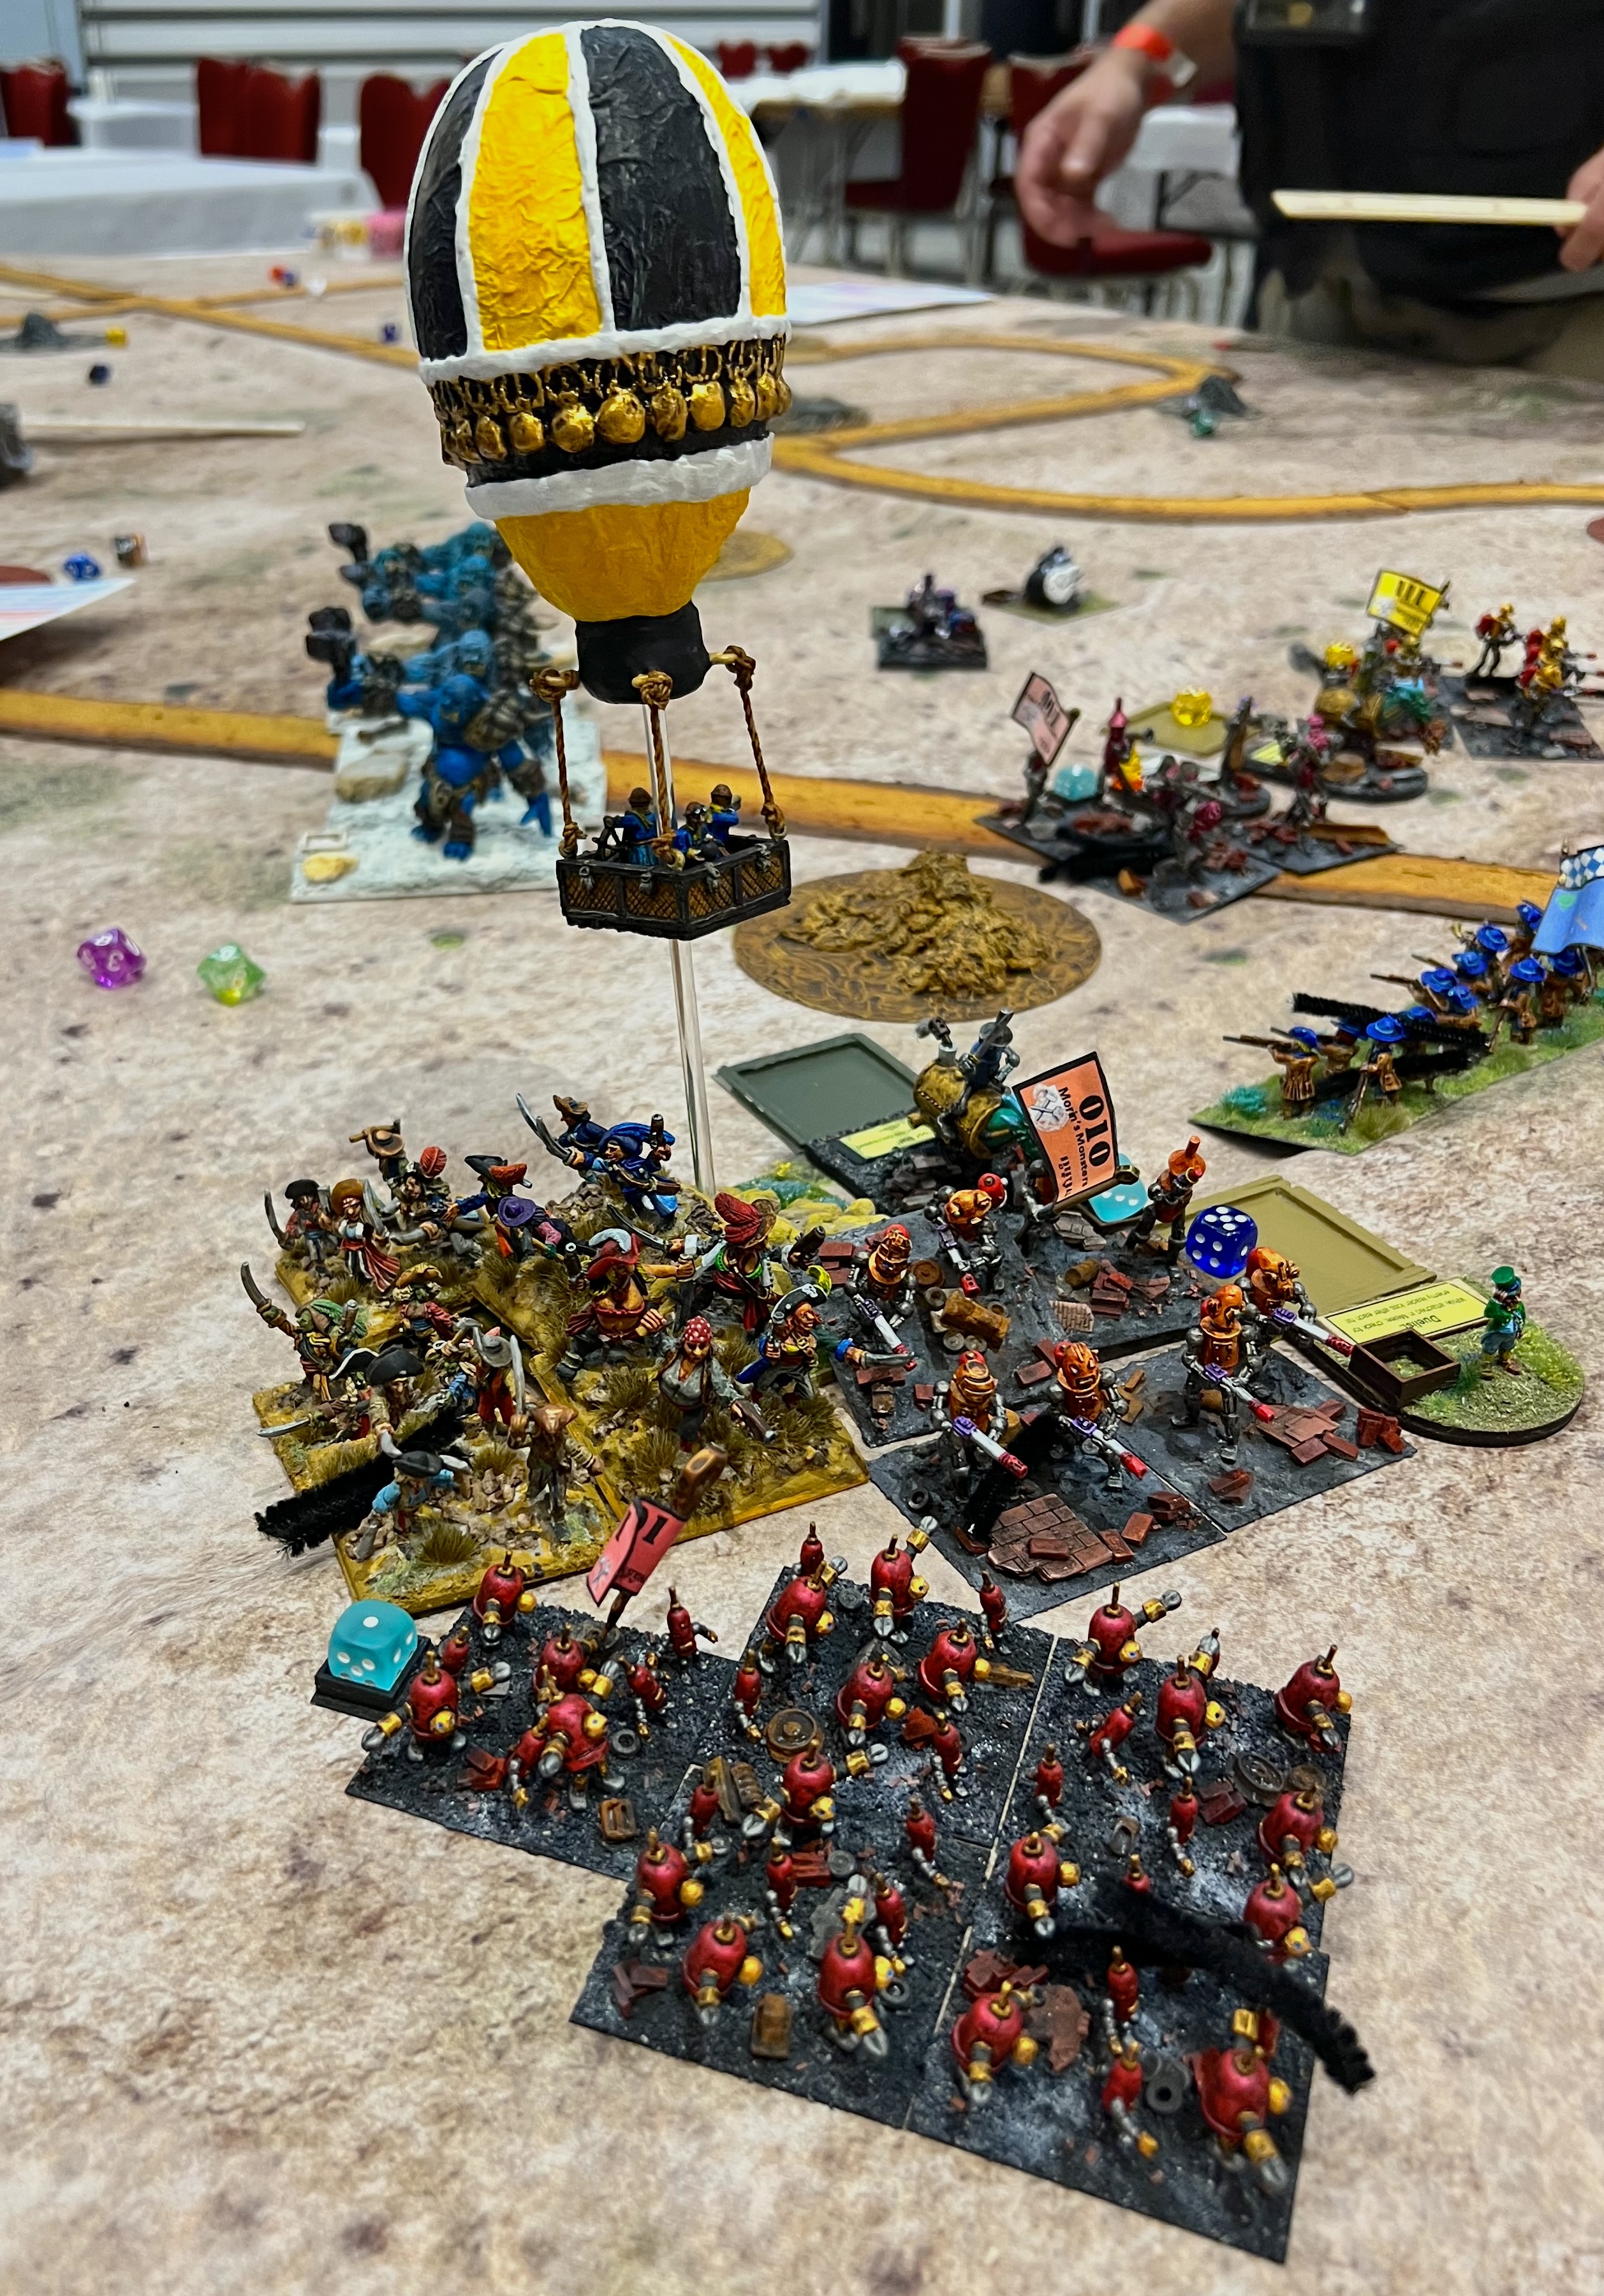
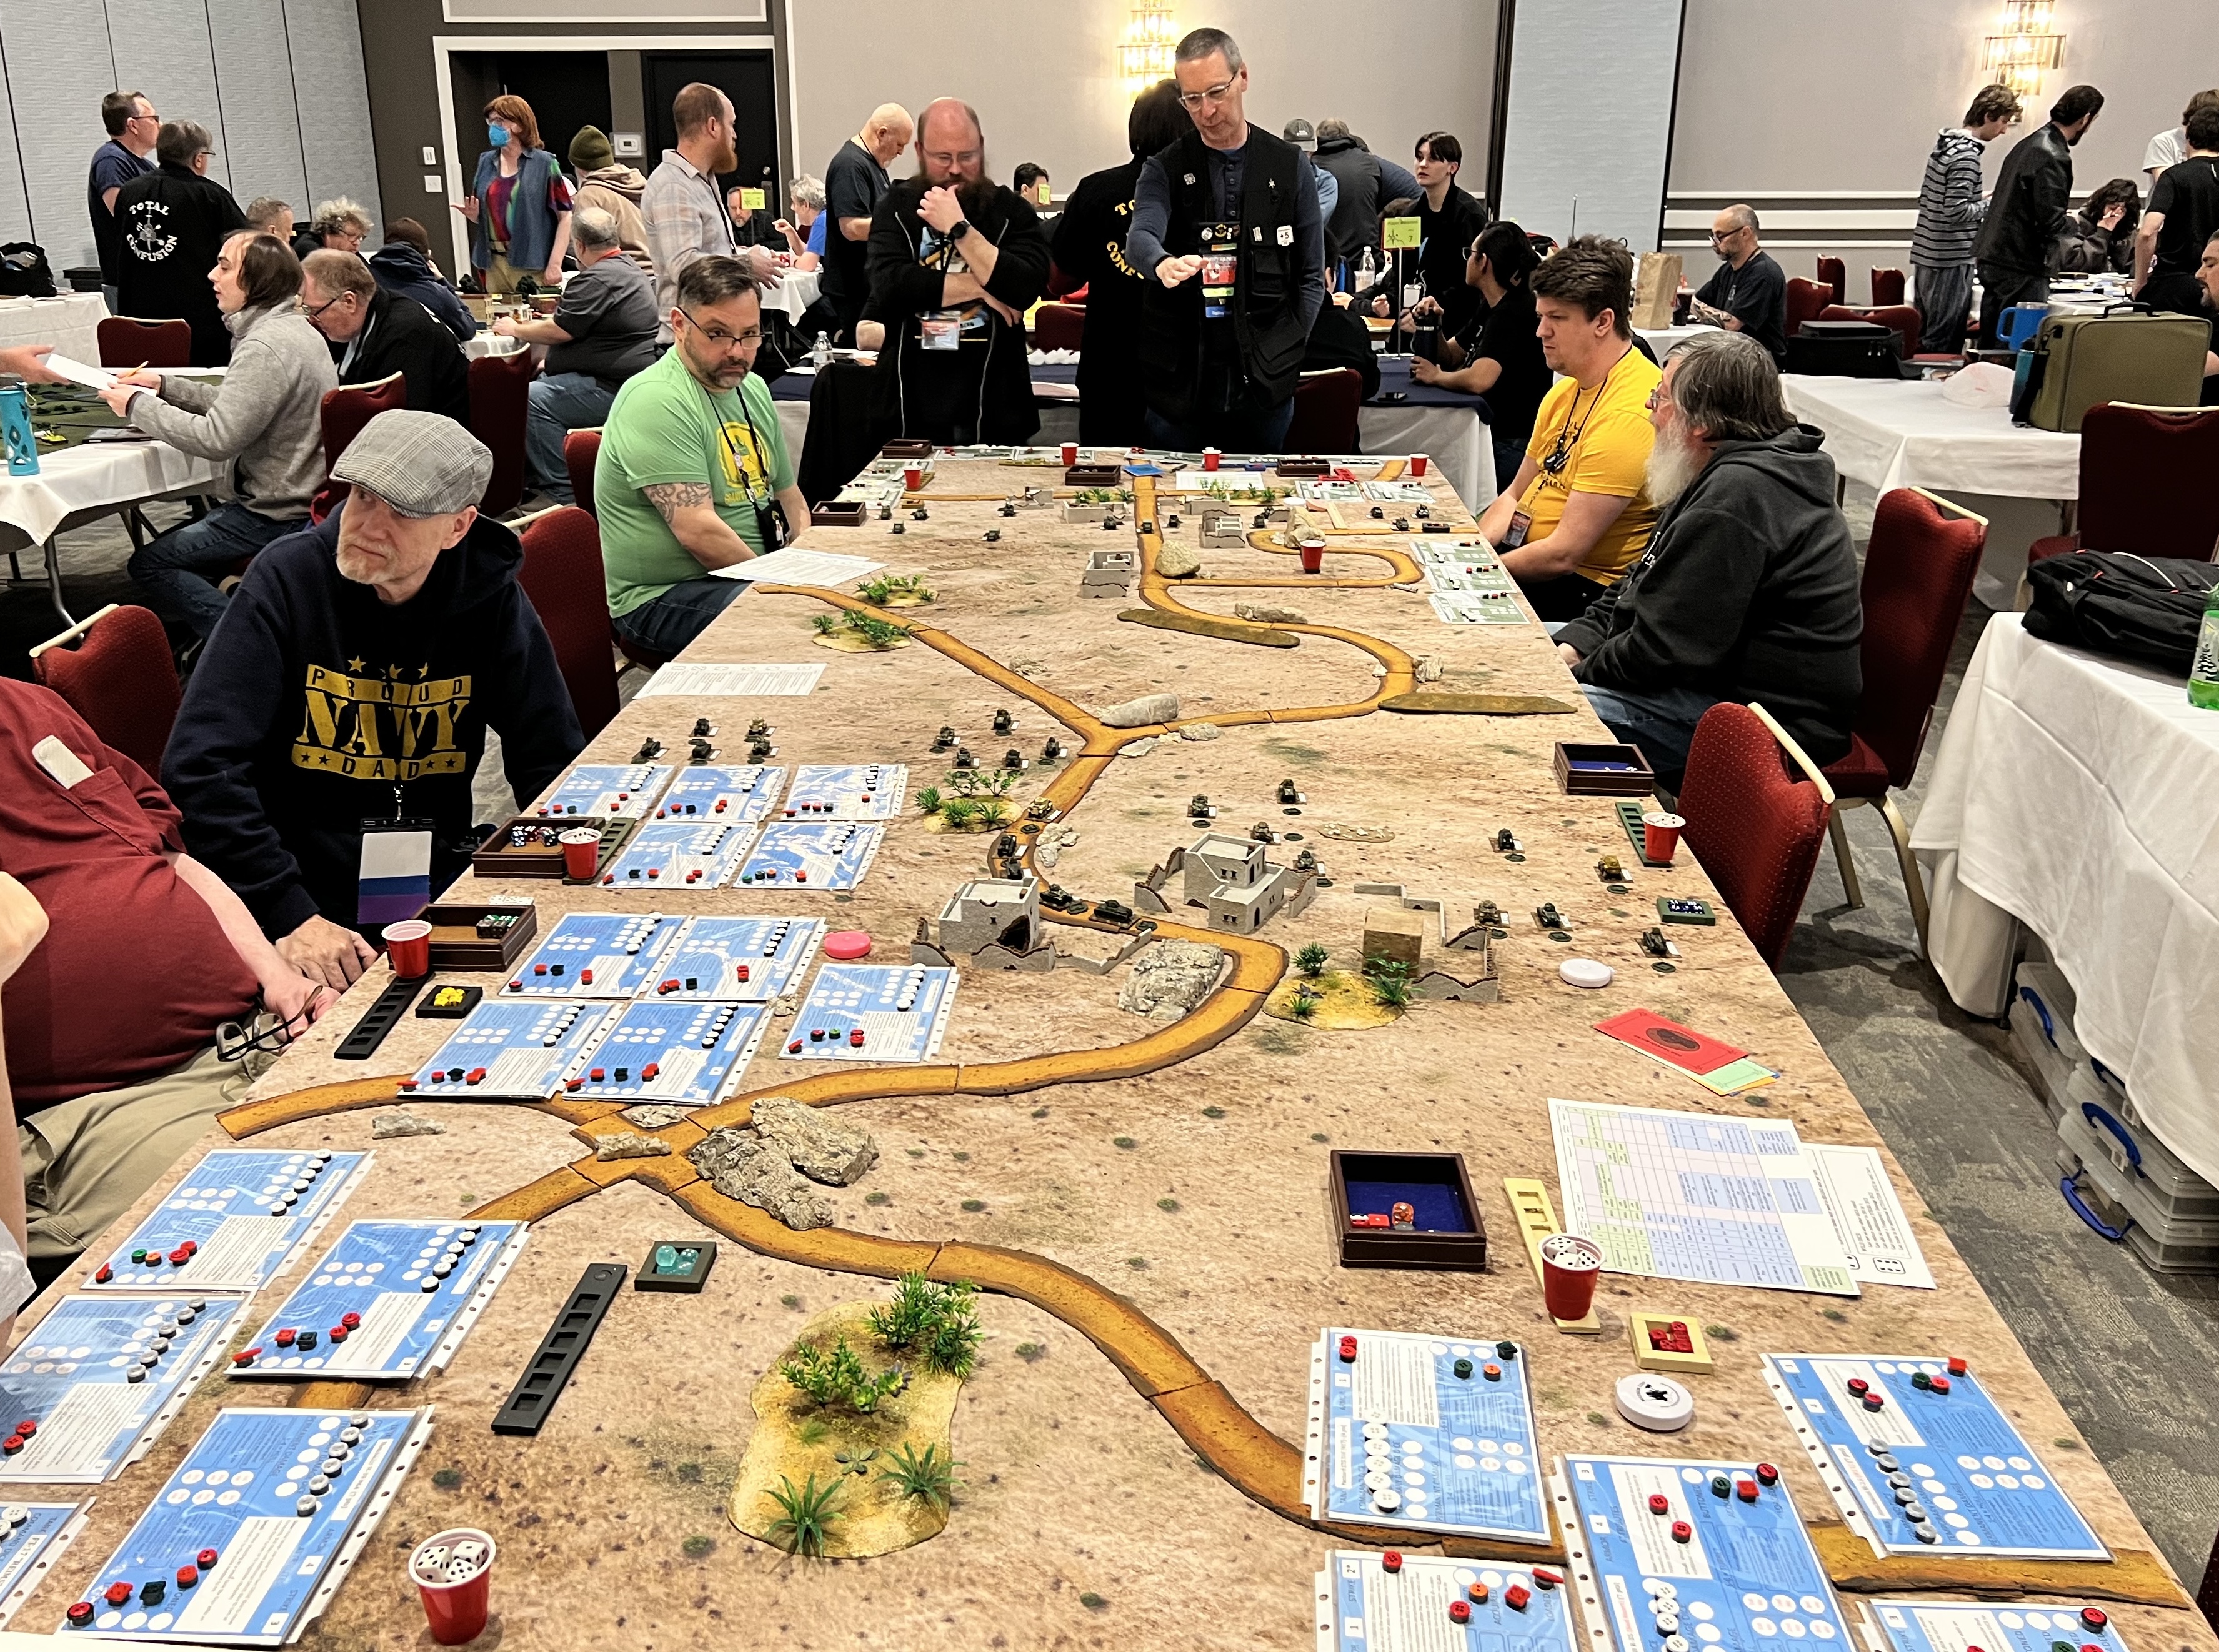
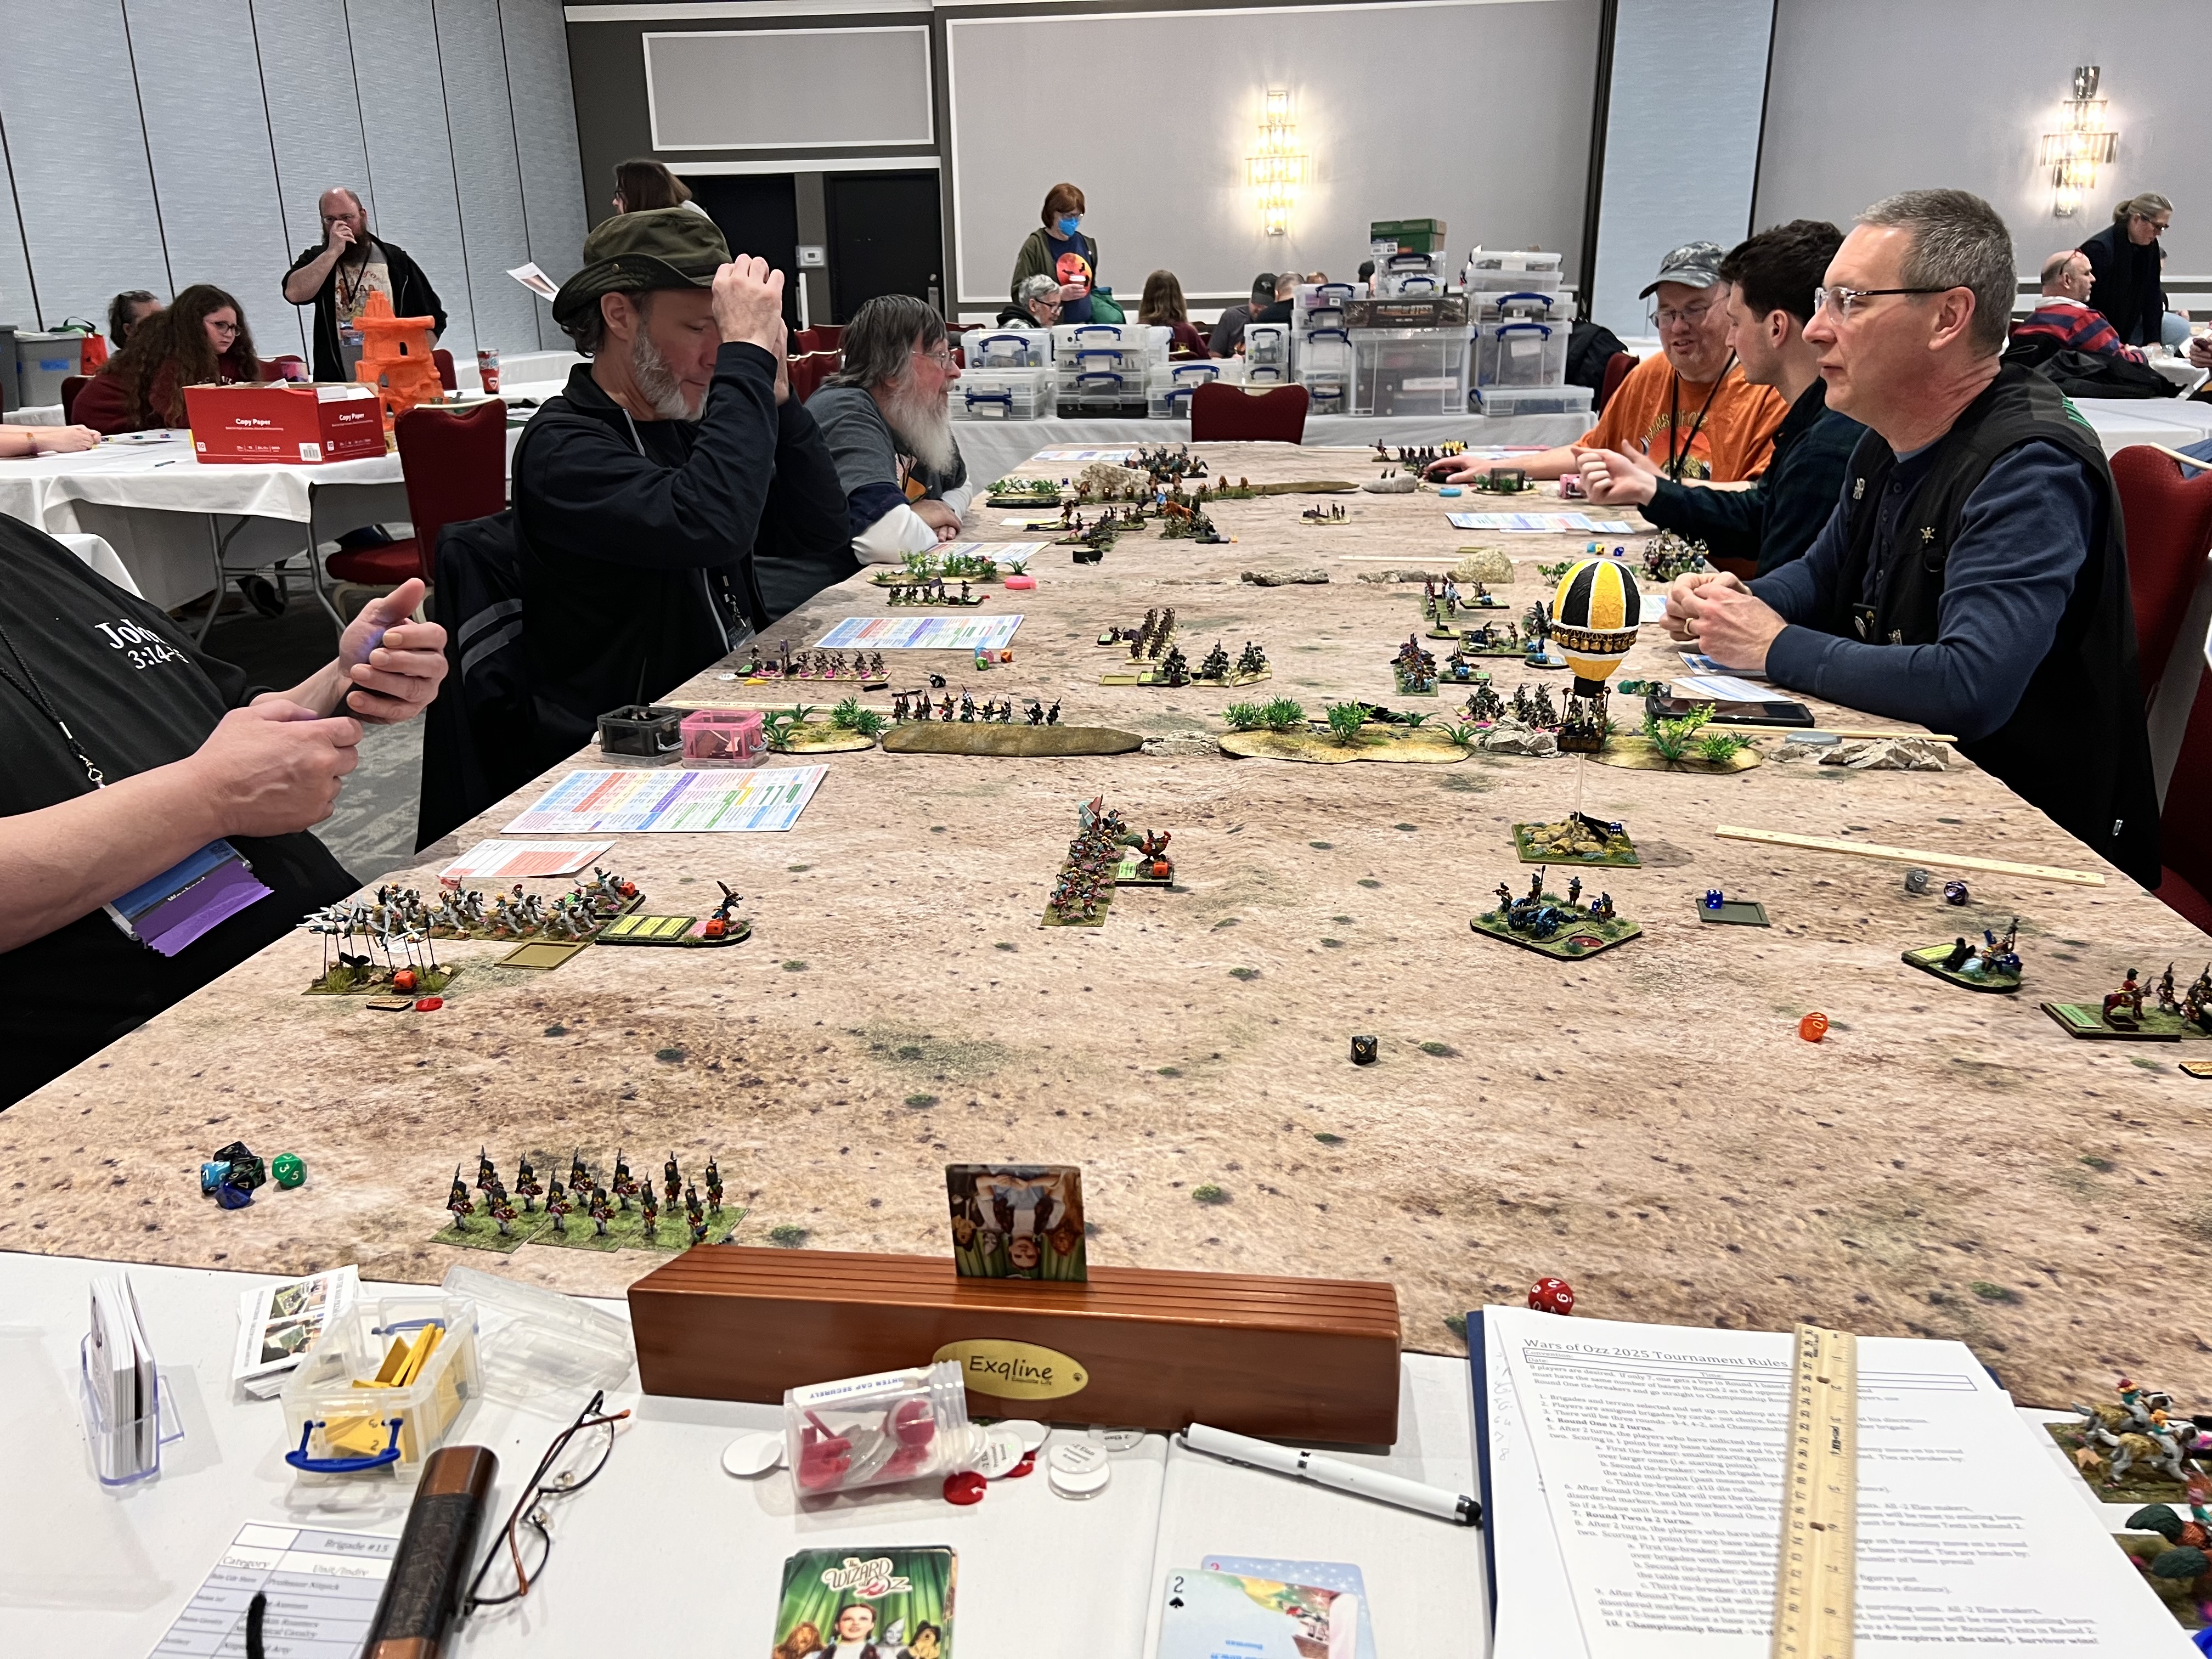
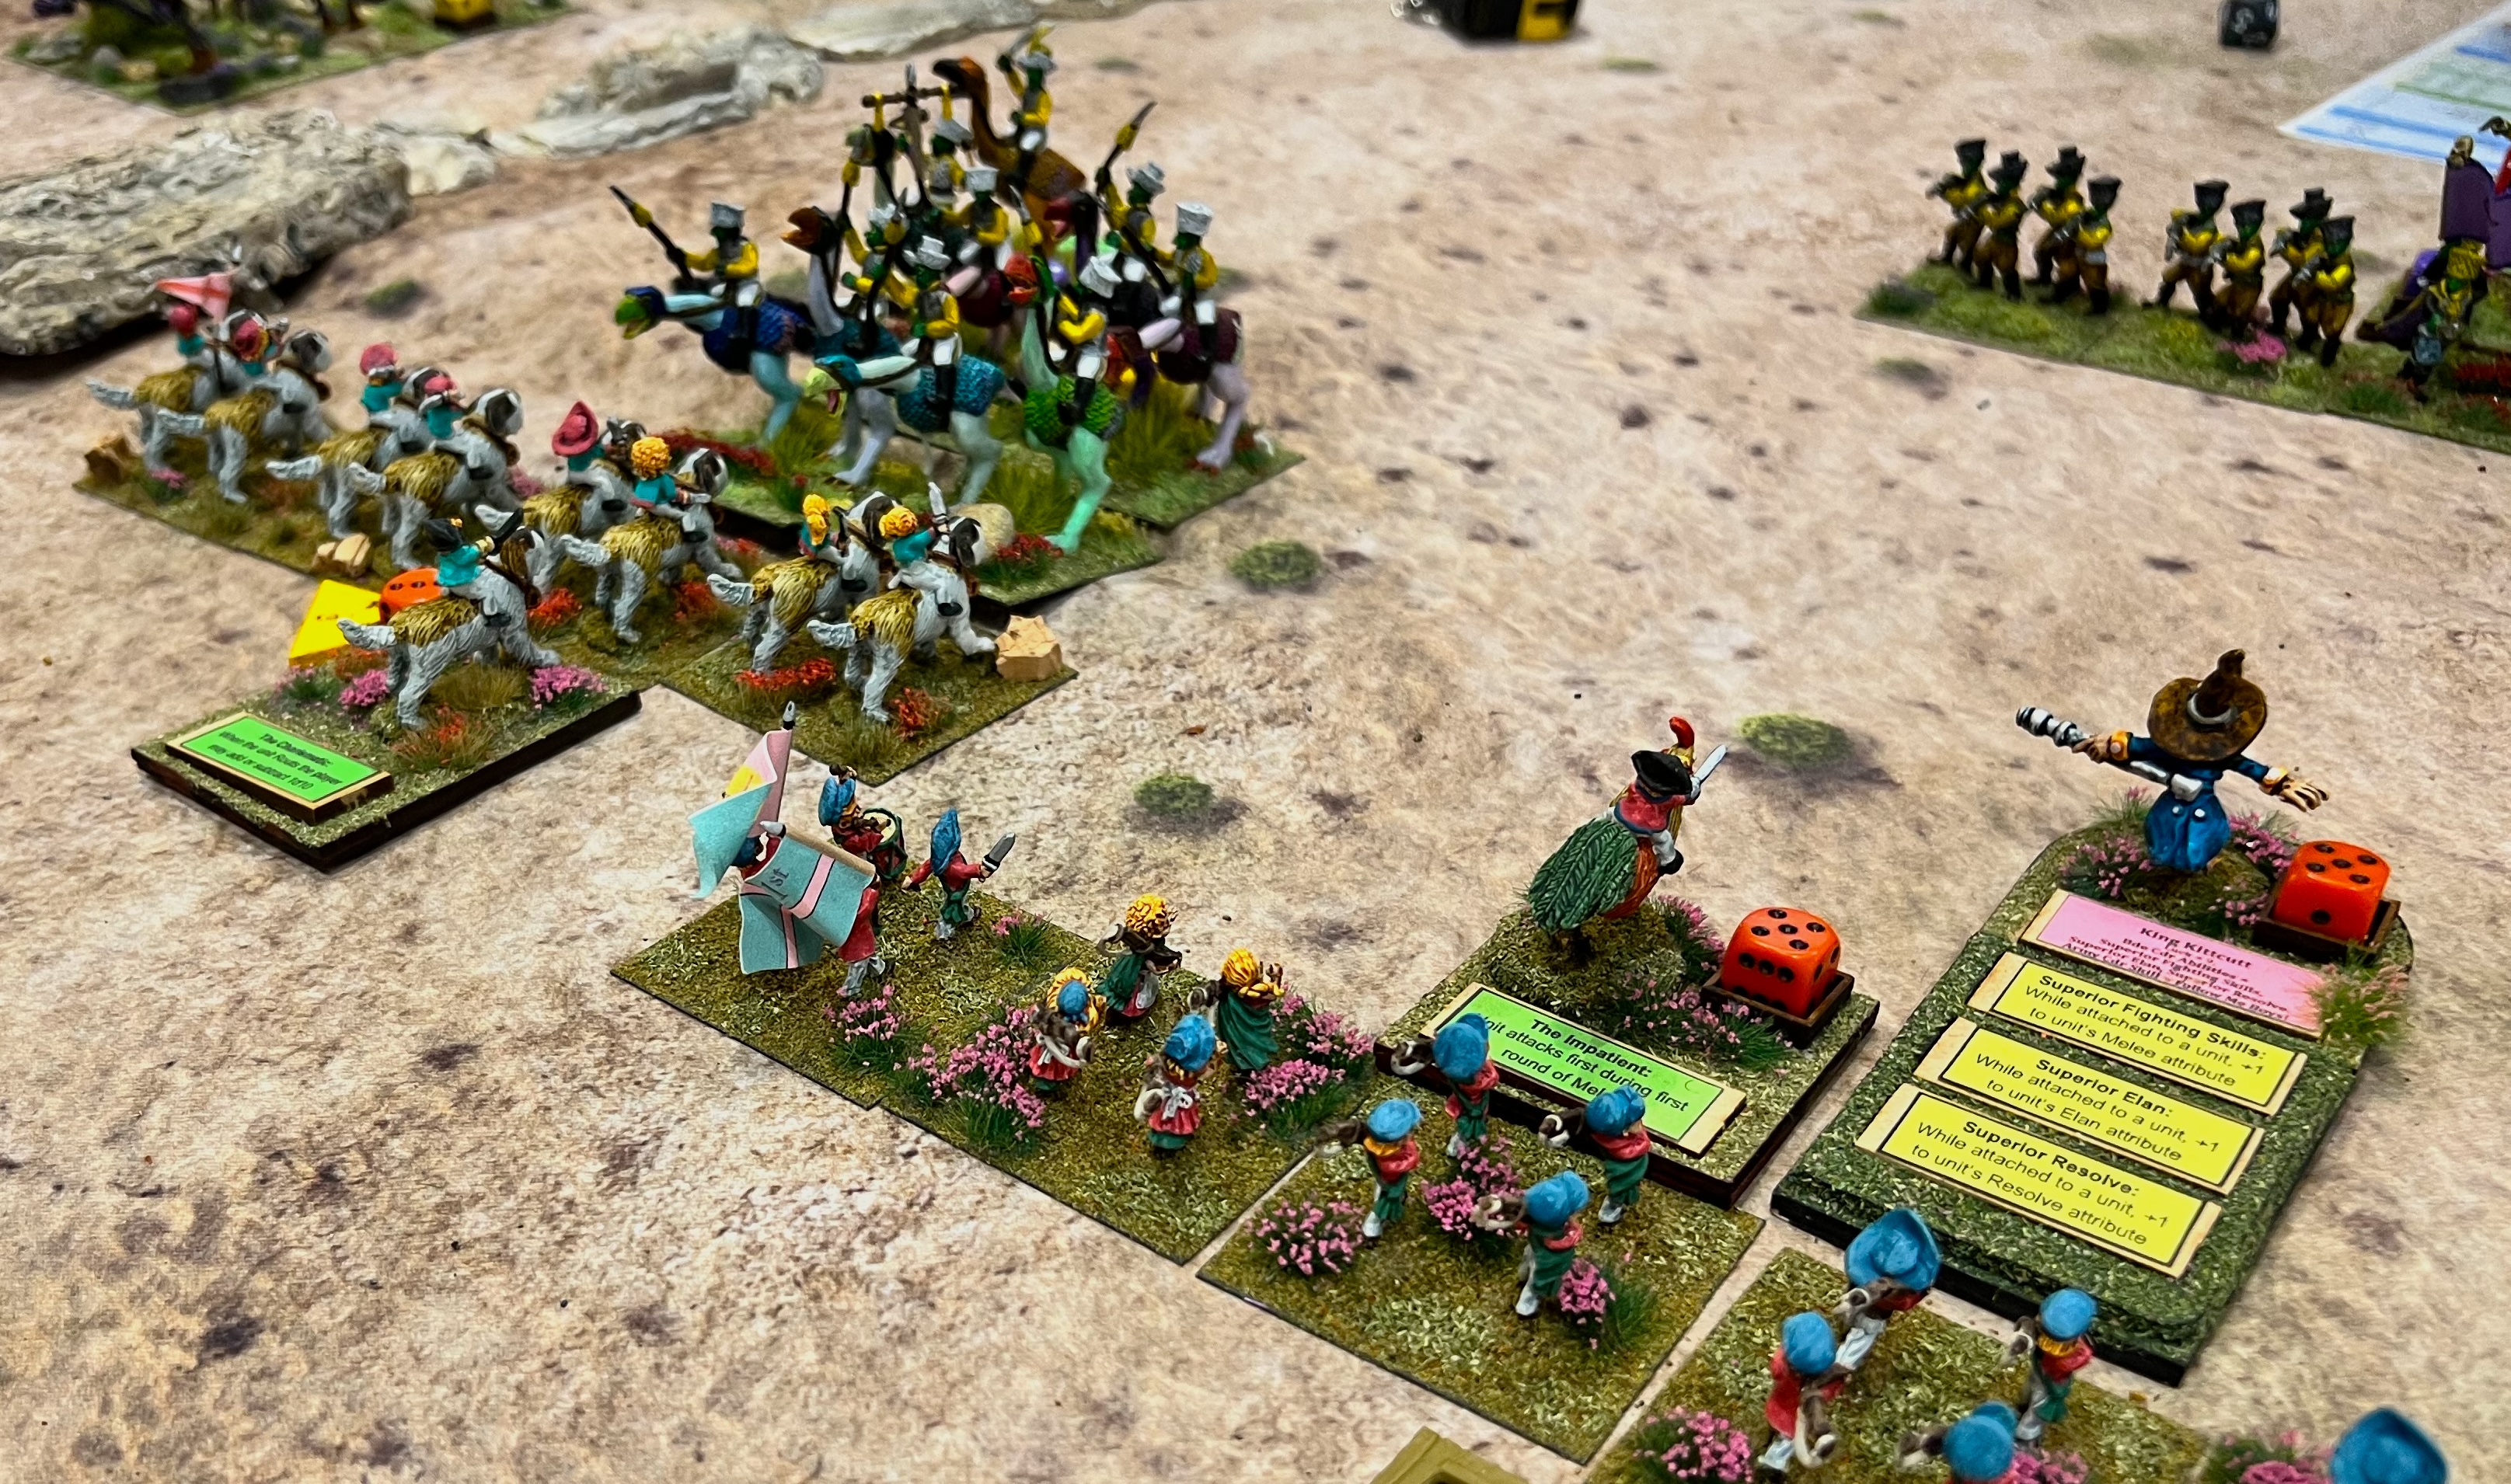
I decided not to run a Friday morning game this year. Last year, resetting the flea market room took too much time. It interfered with my morning game setup. Instead, I had plenty of time to move everything into the “big room” and set up on the “big table”. My first game was a Wars of Ozz game. It was titled “The Great Munchkin Heist”. I had also run it at Cold Wars. This time I had an even bigger table than I had there!
The Great Munchkin Heist
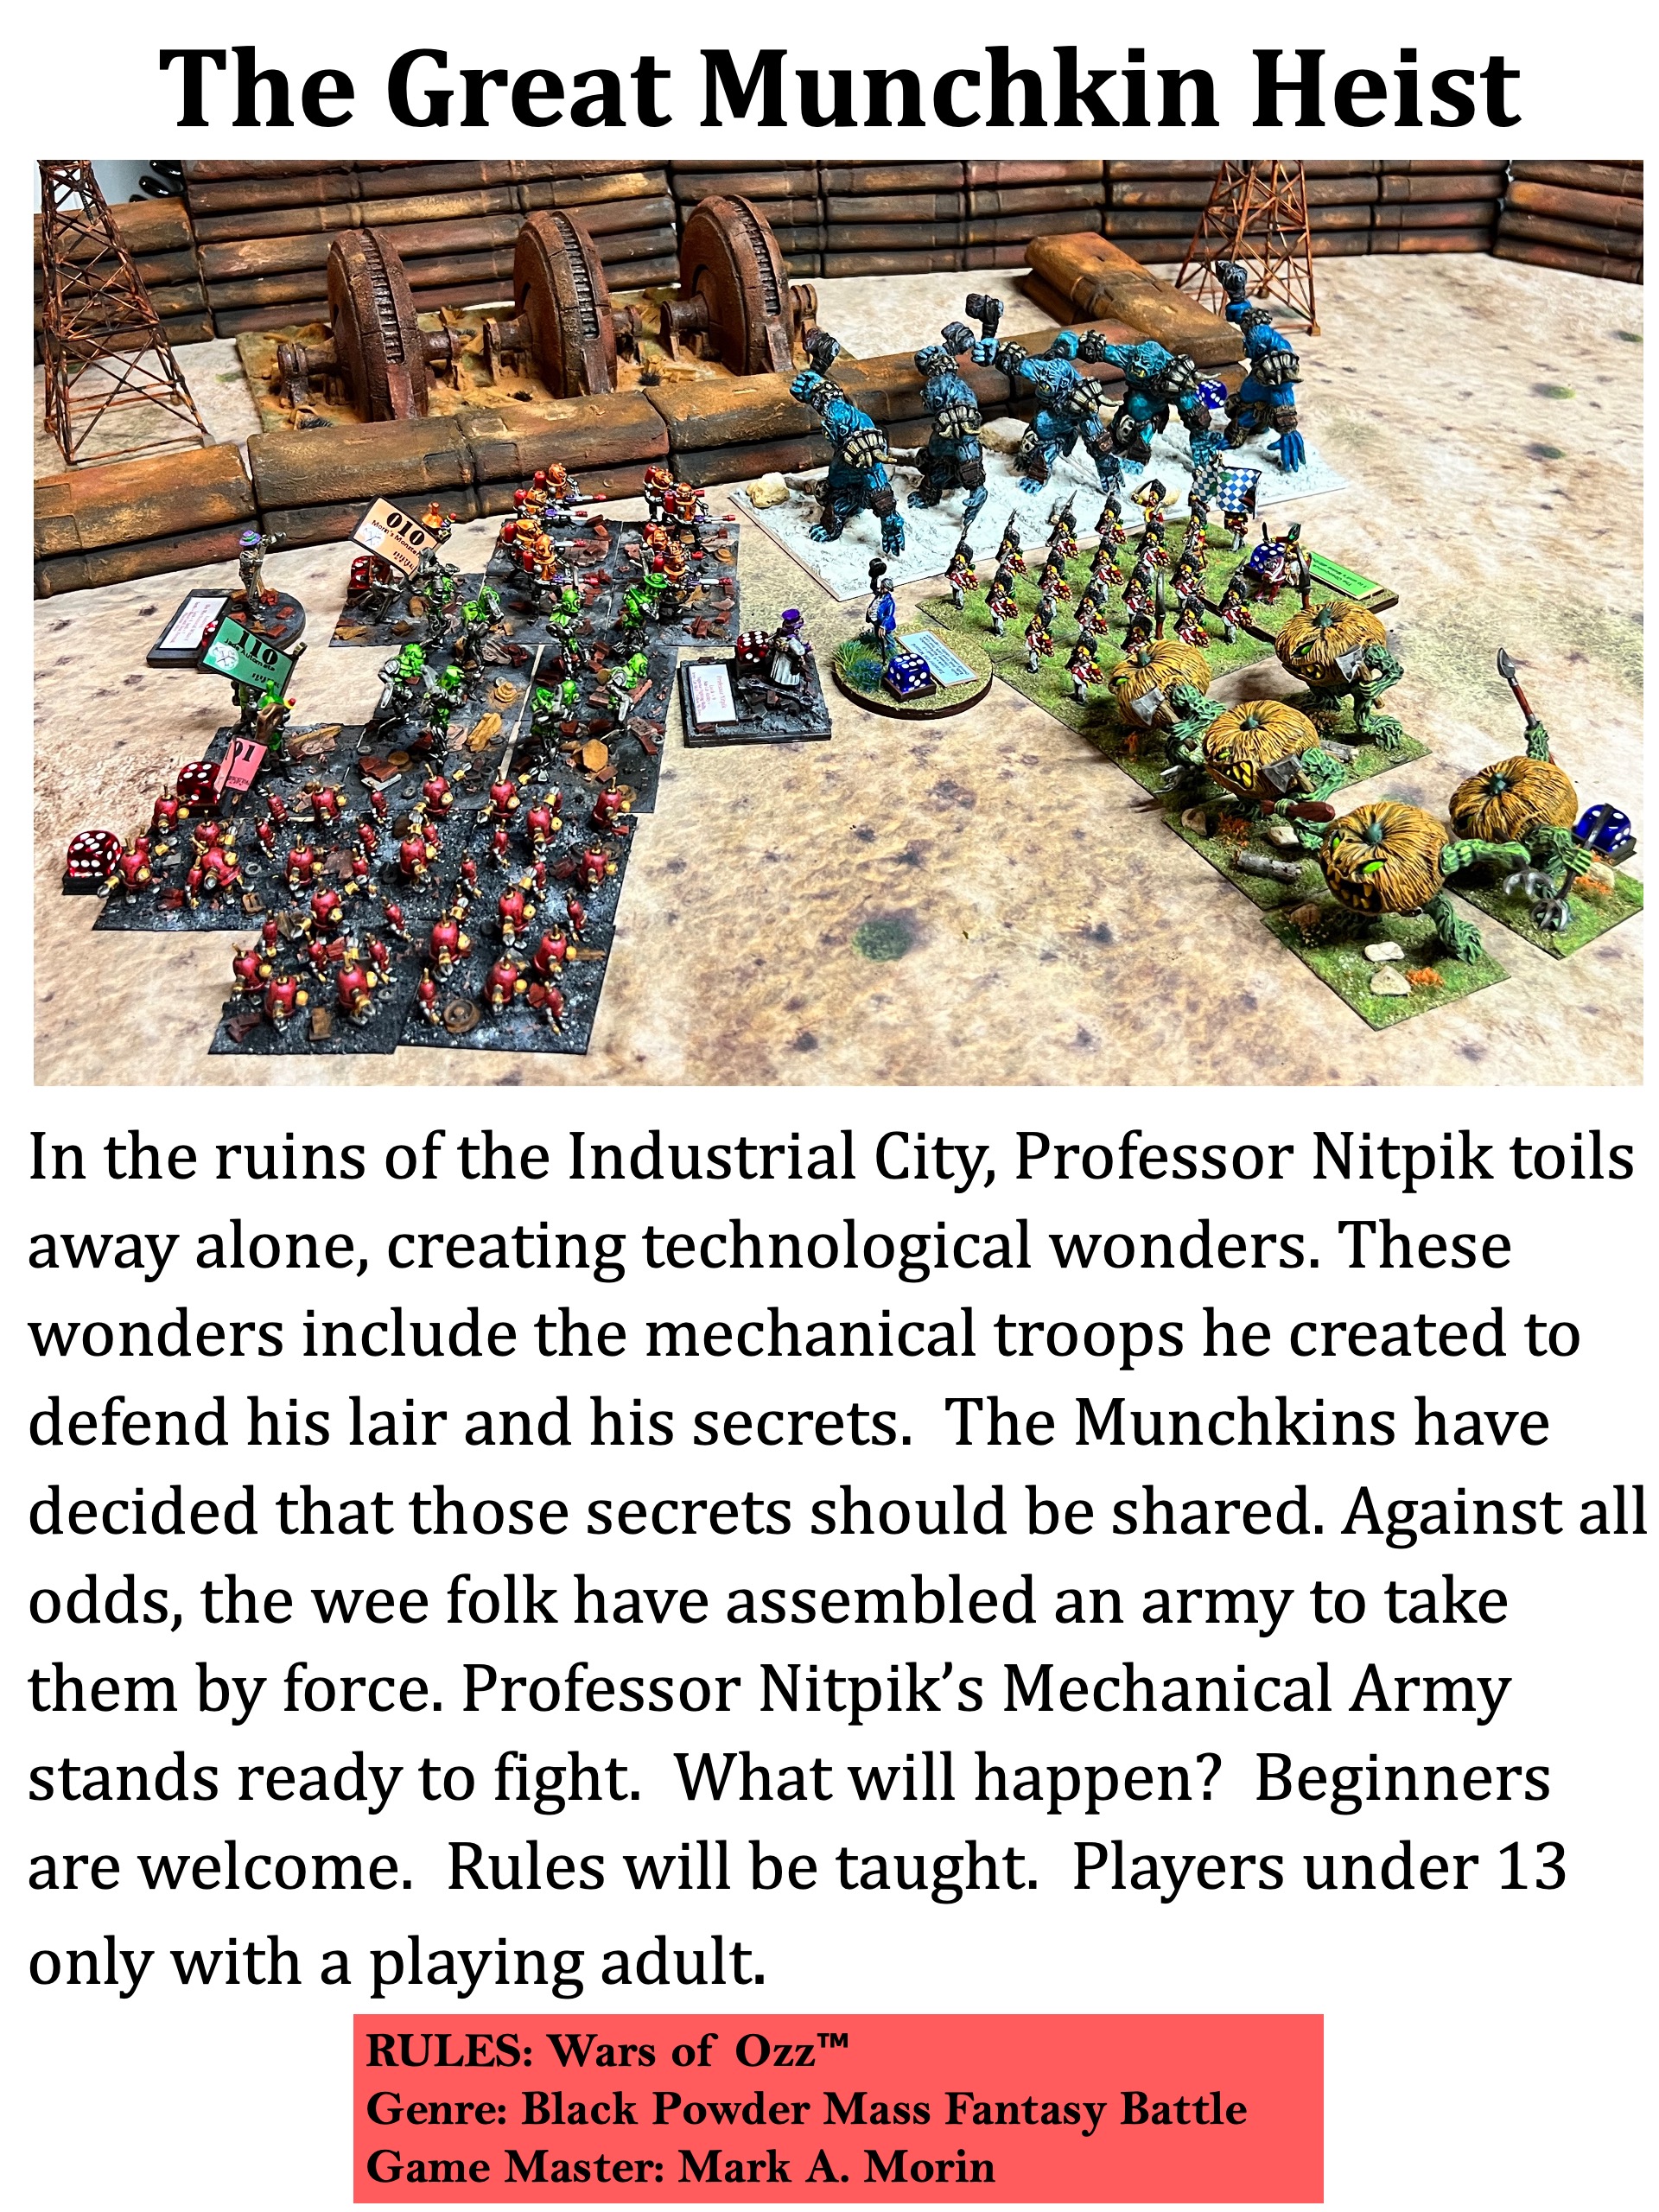
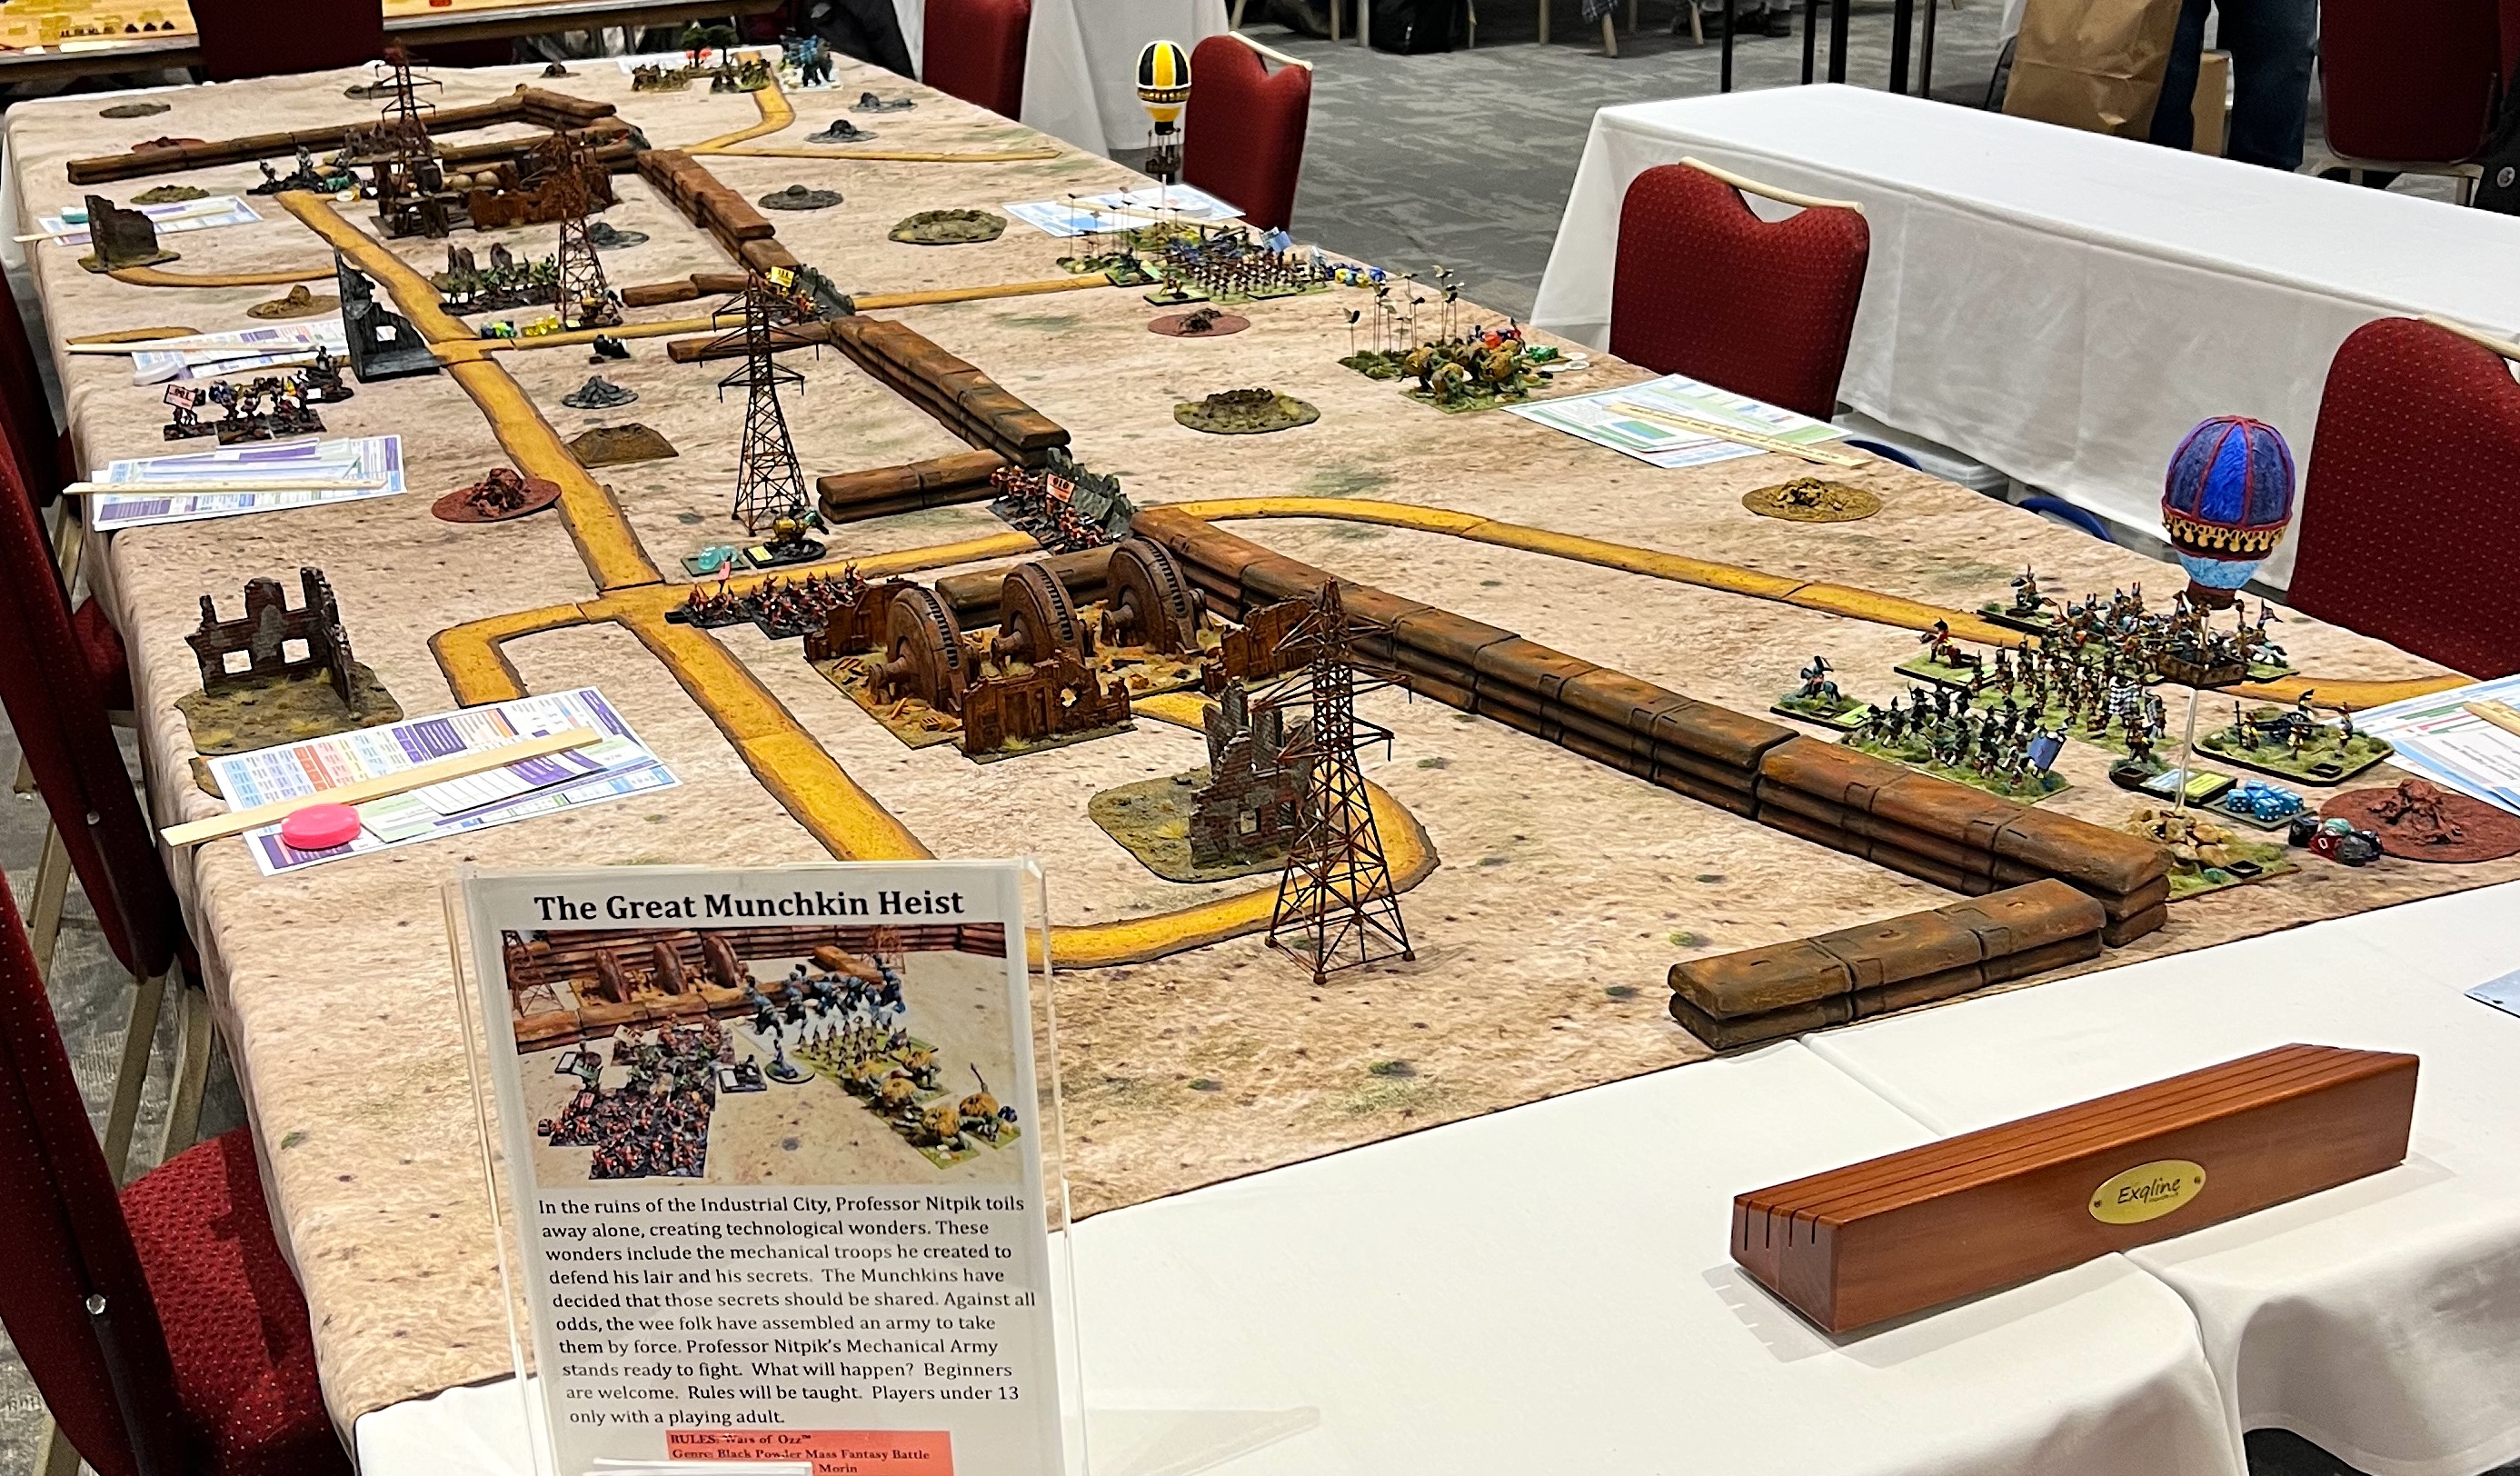
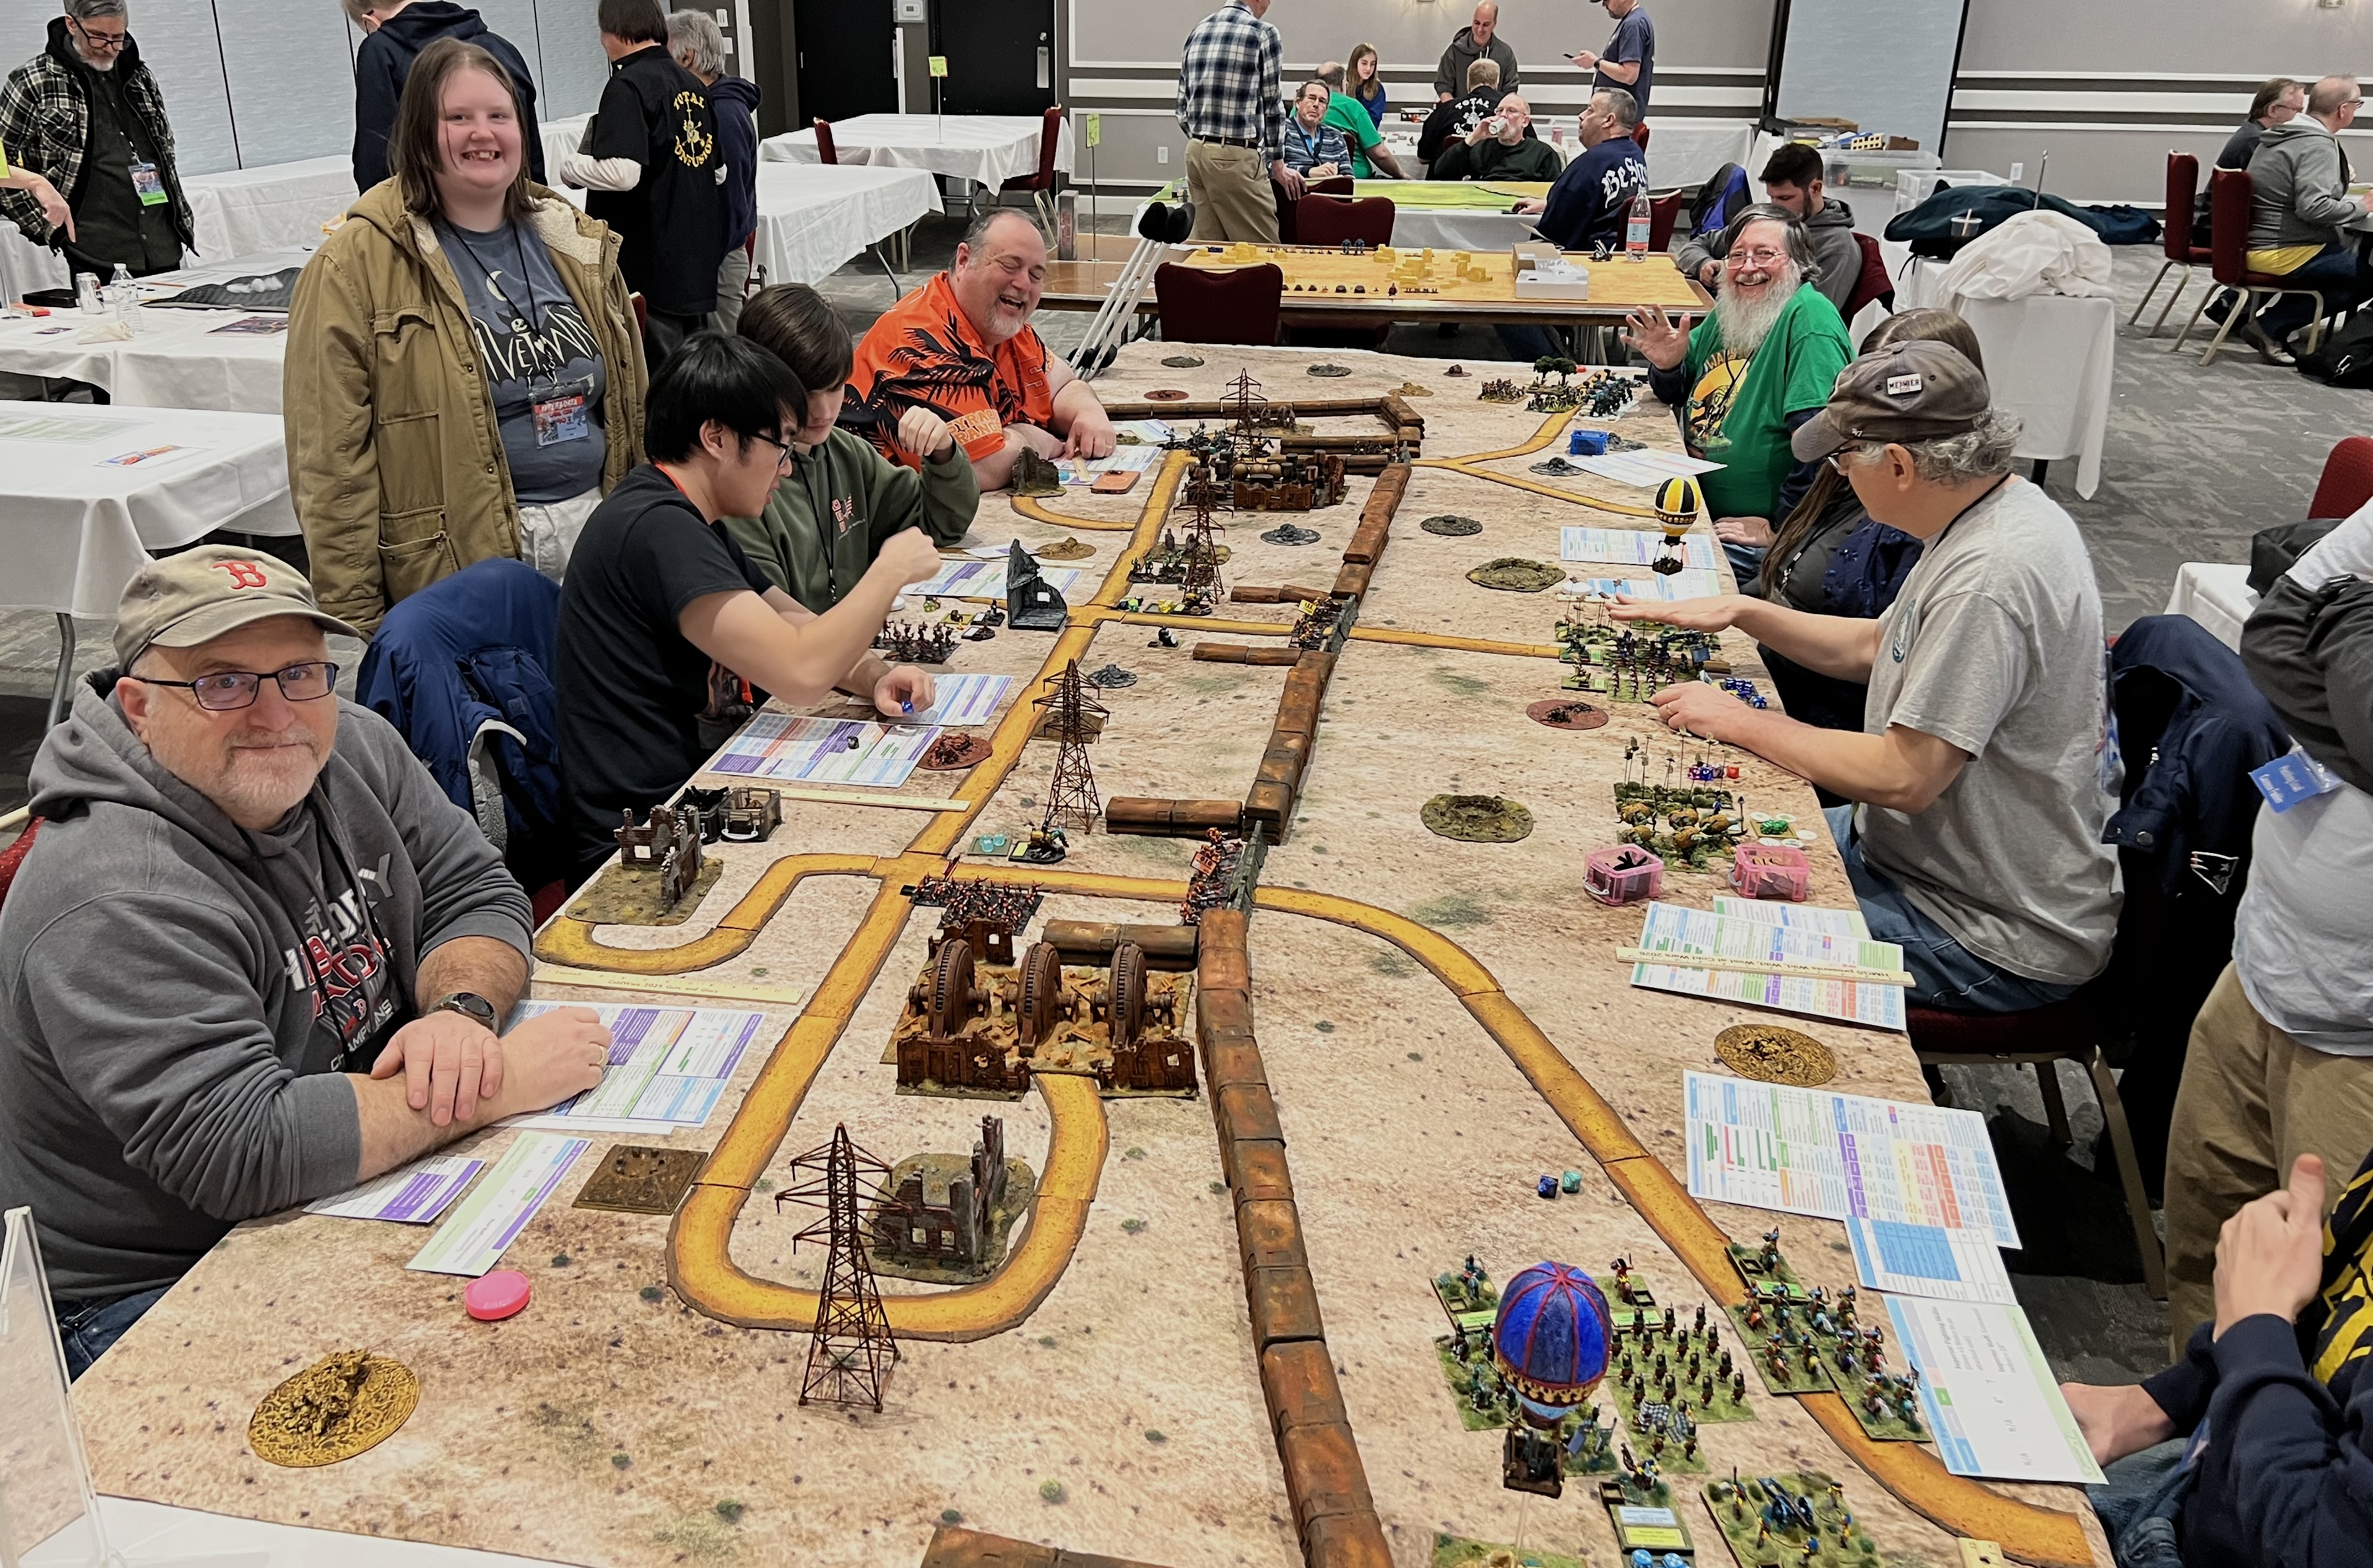
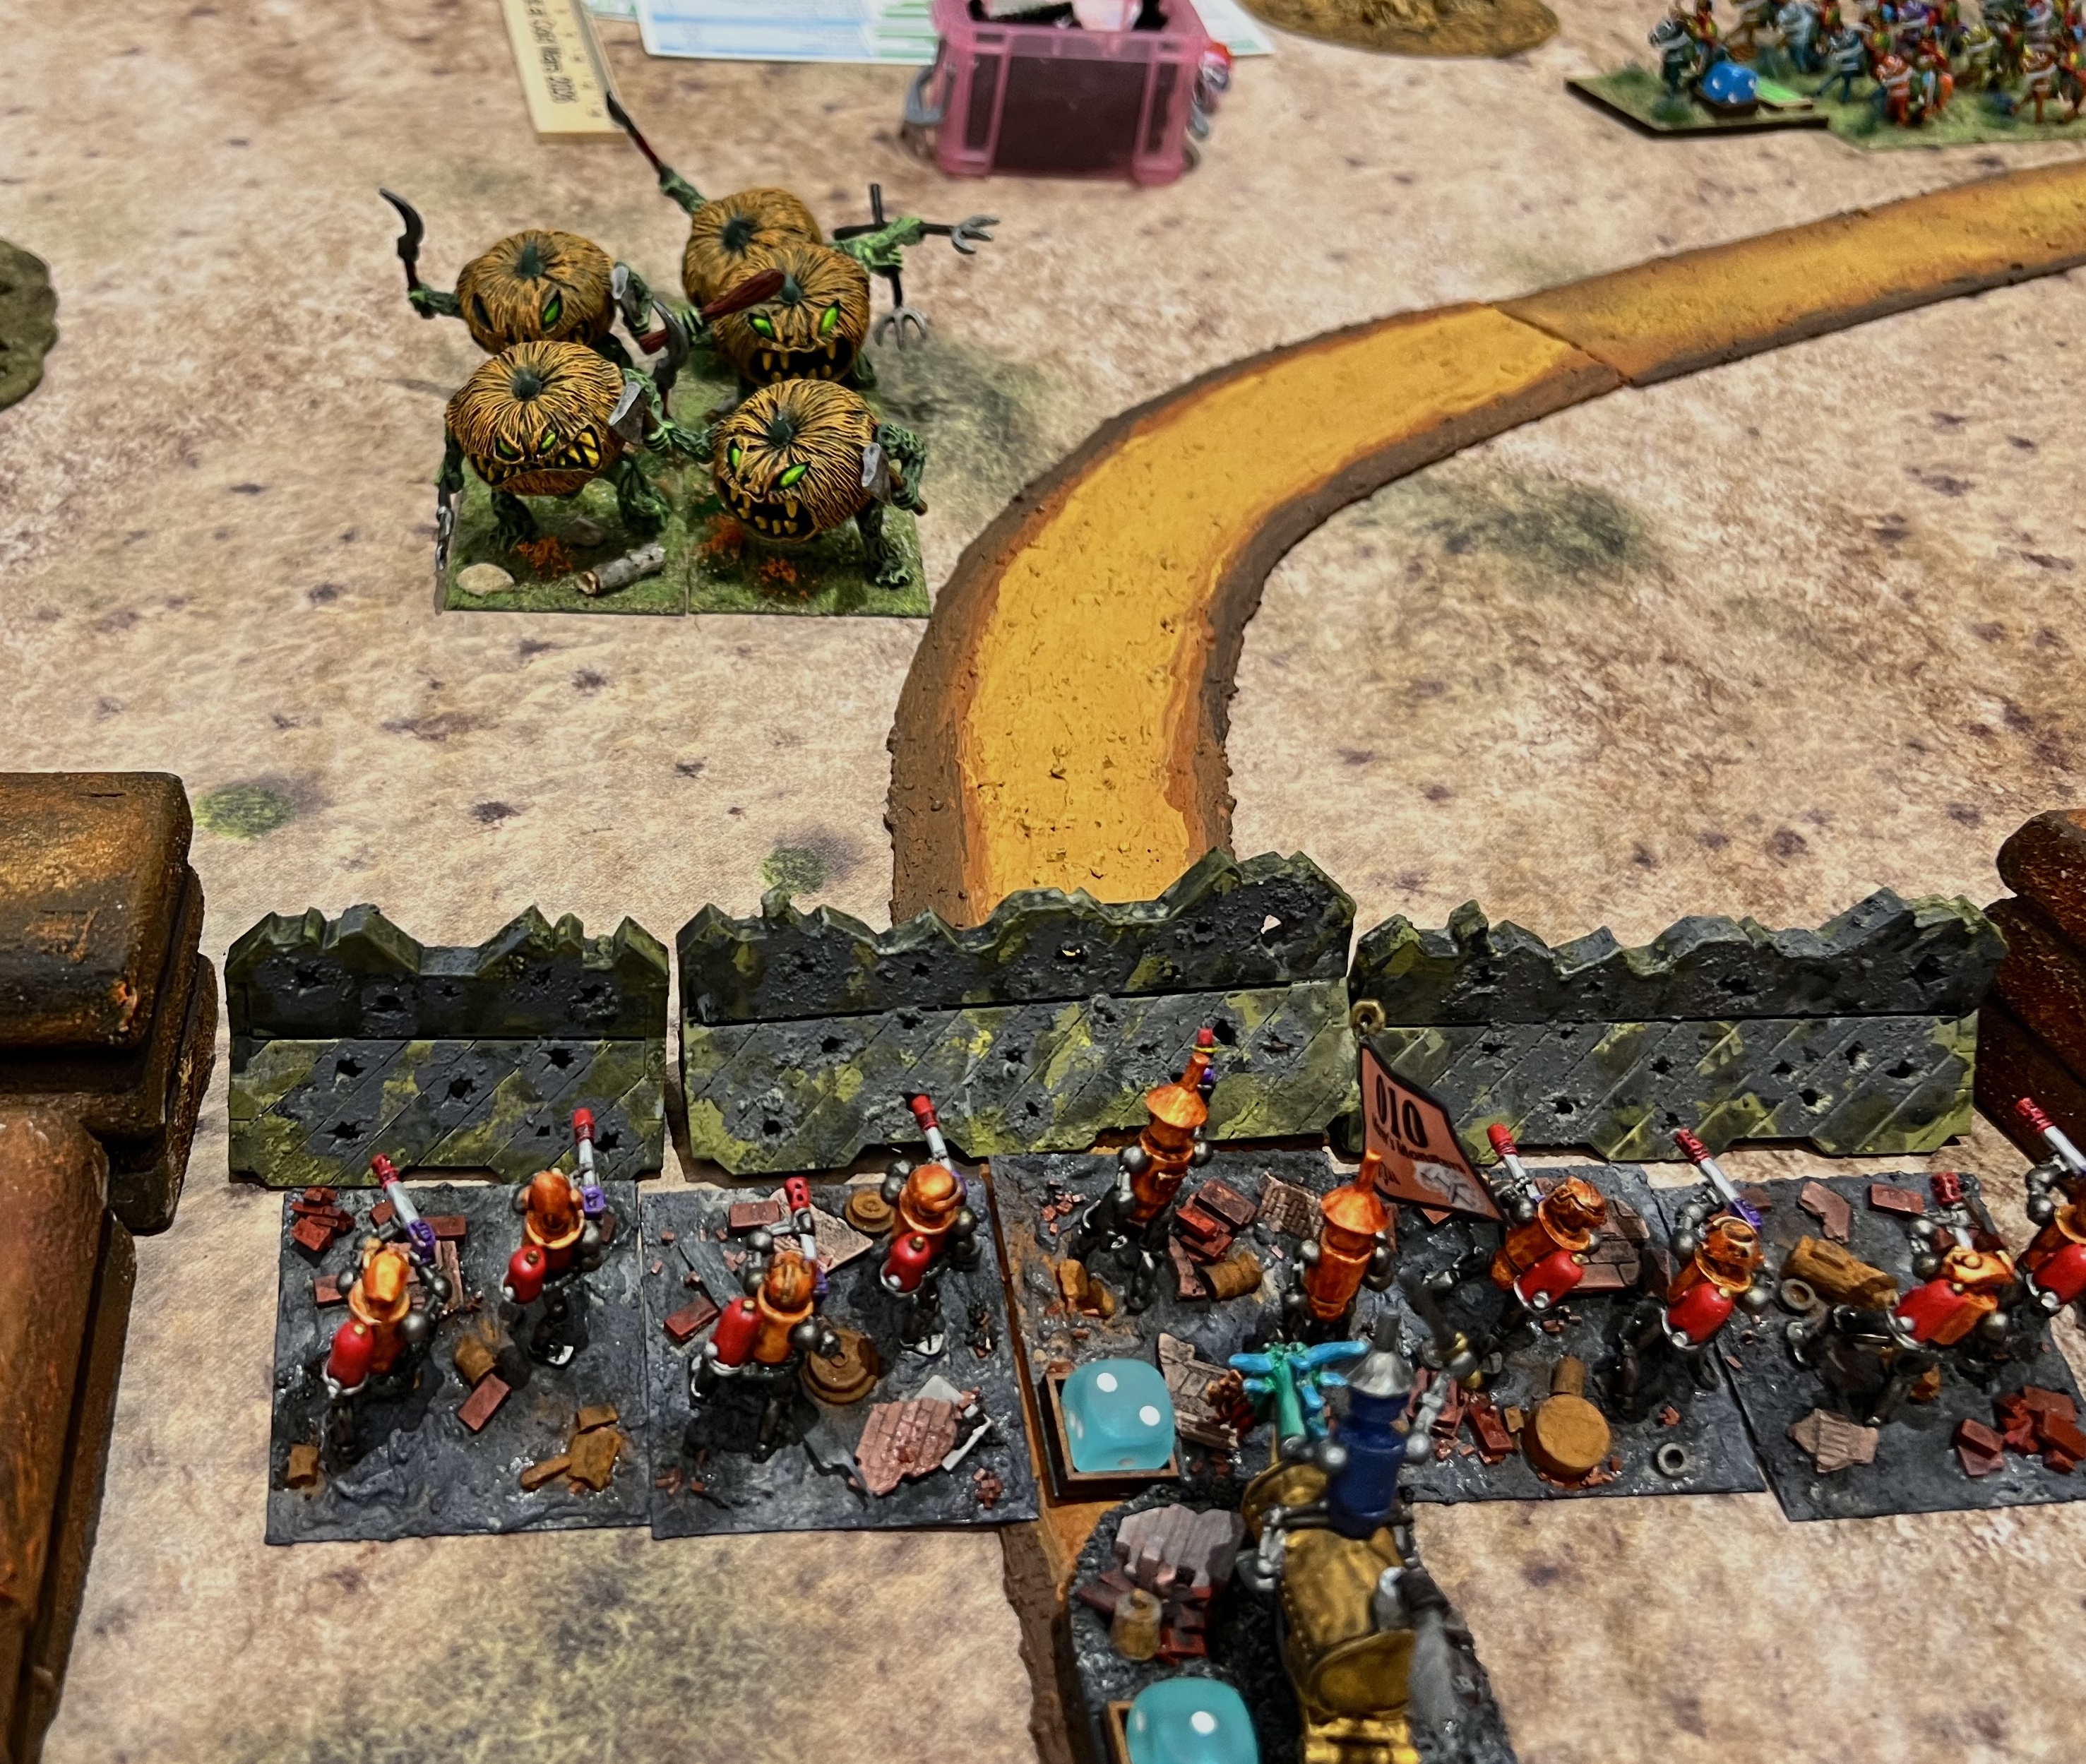

The game ended – in a dead tie 23-23! A real nail-biter to be sure!
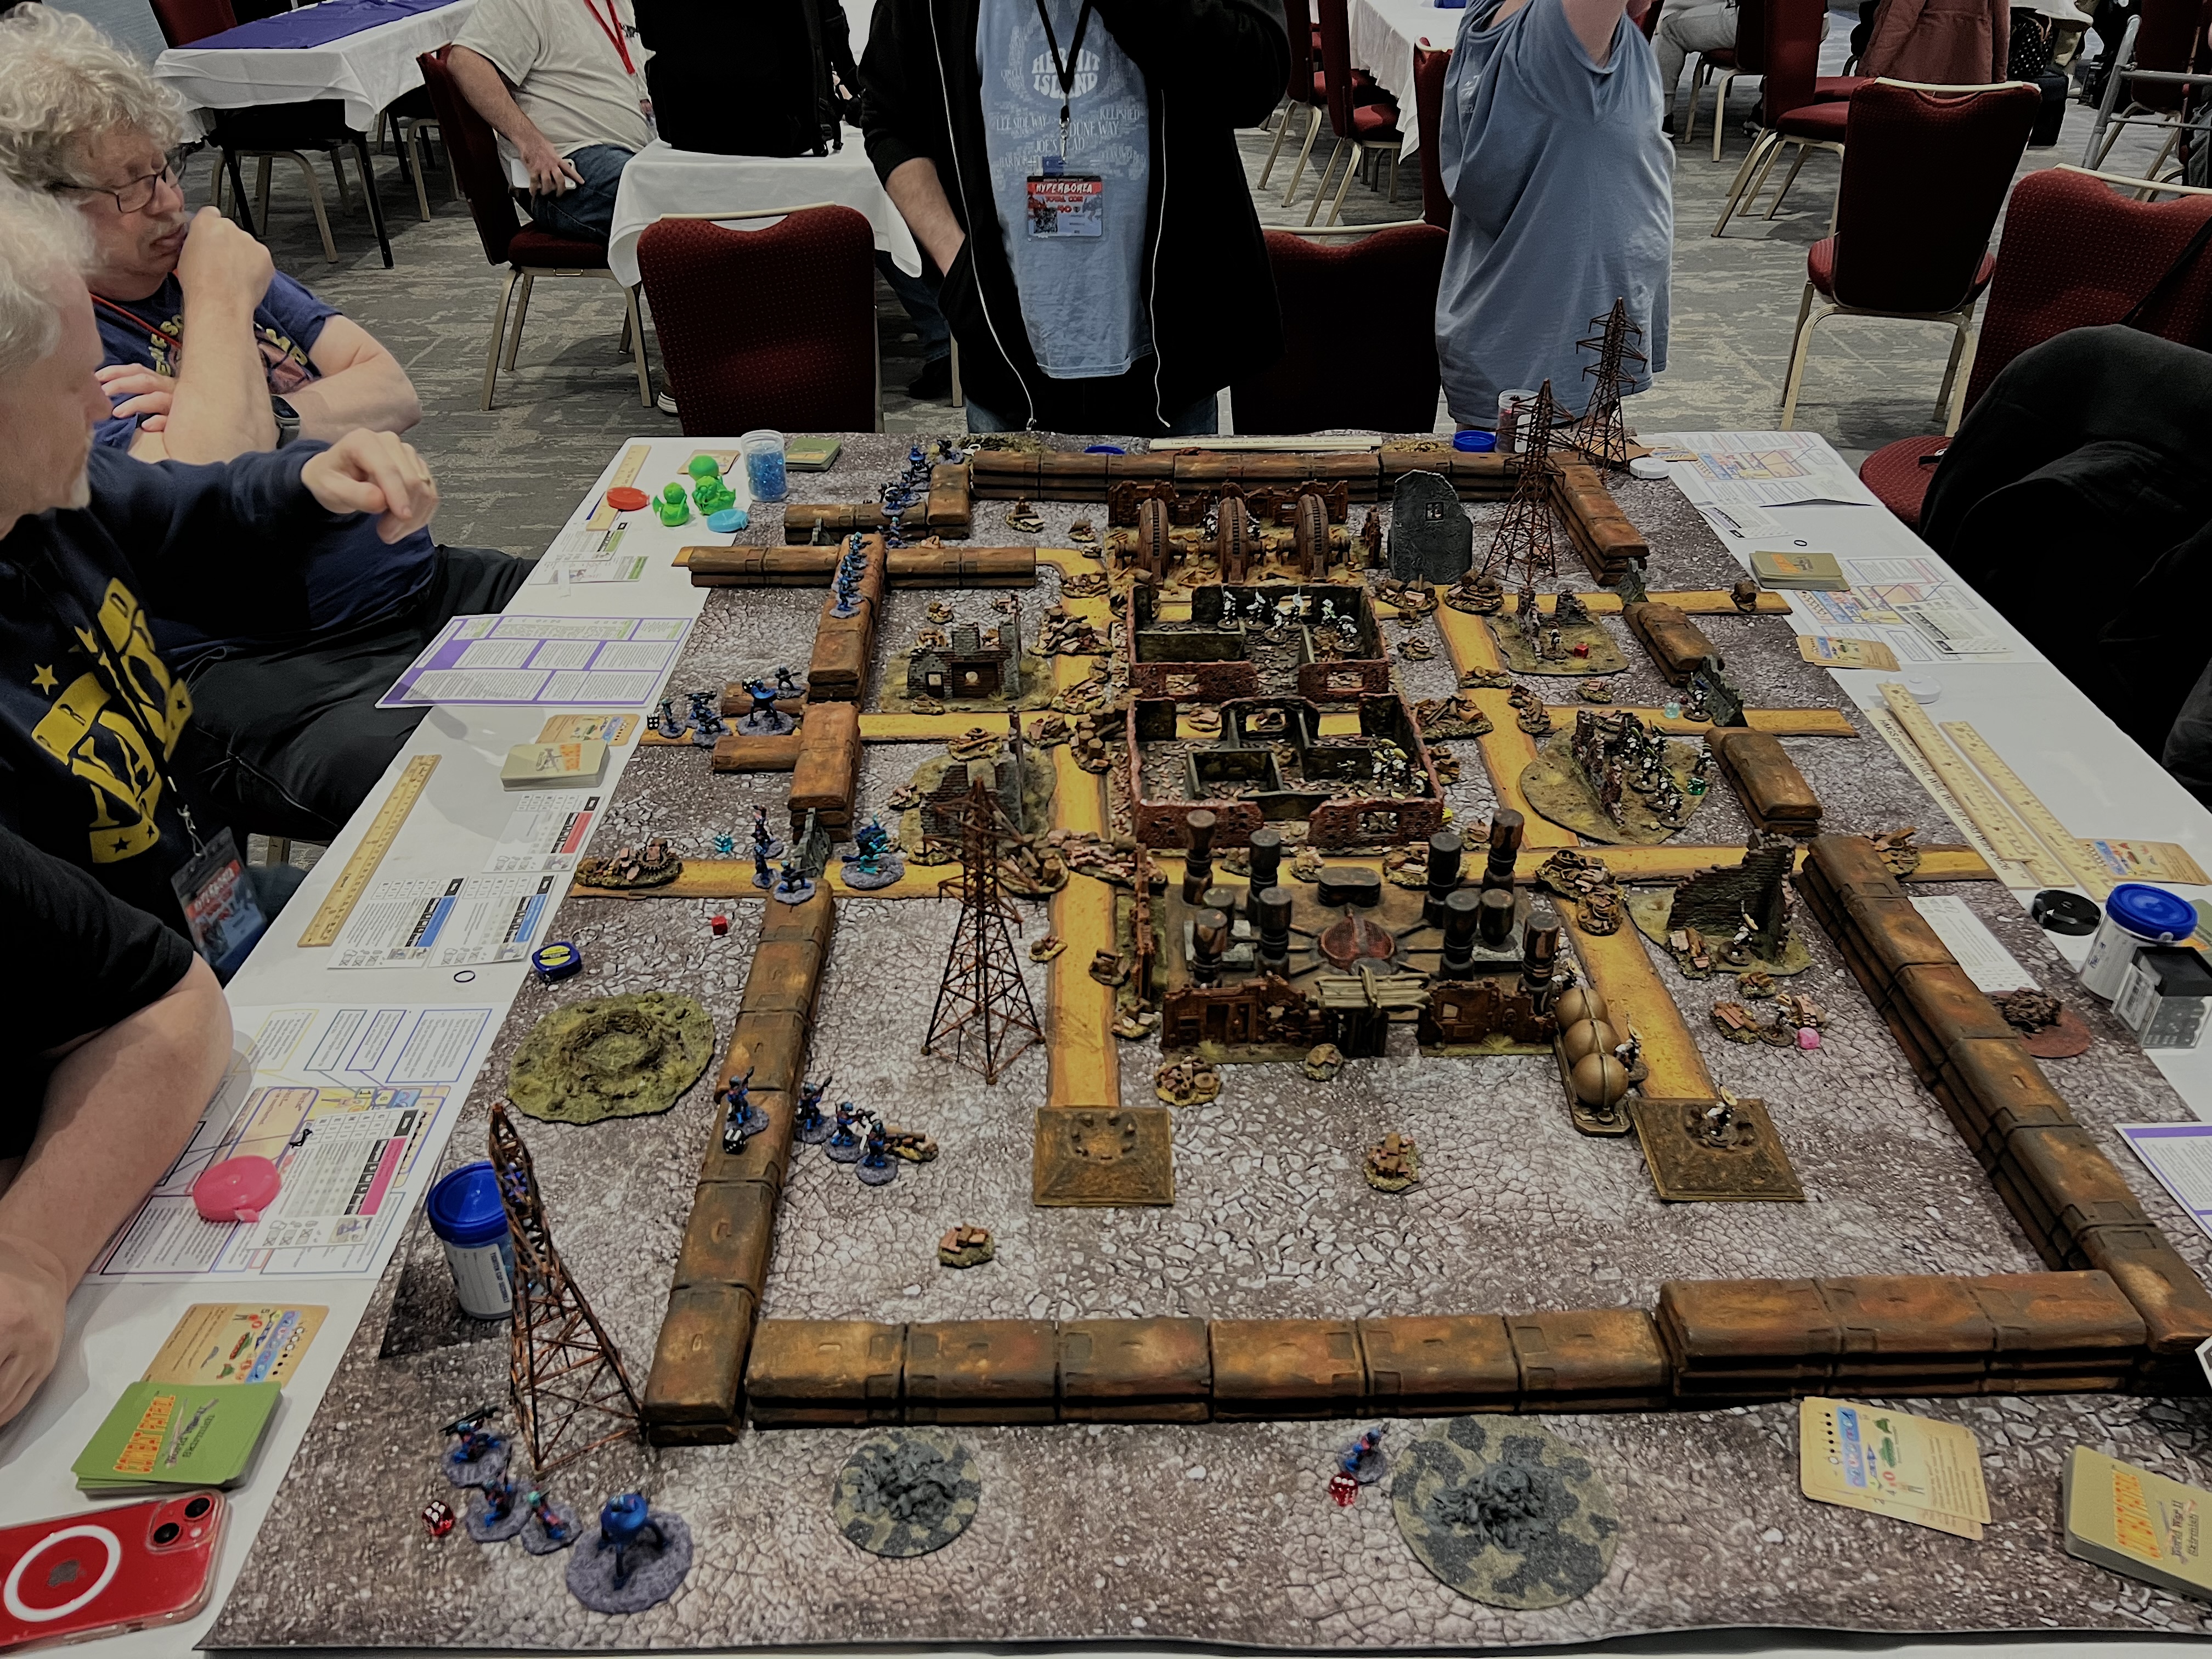
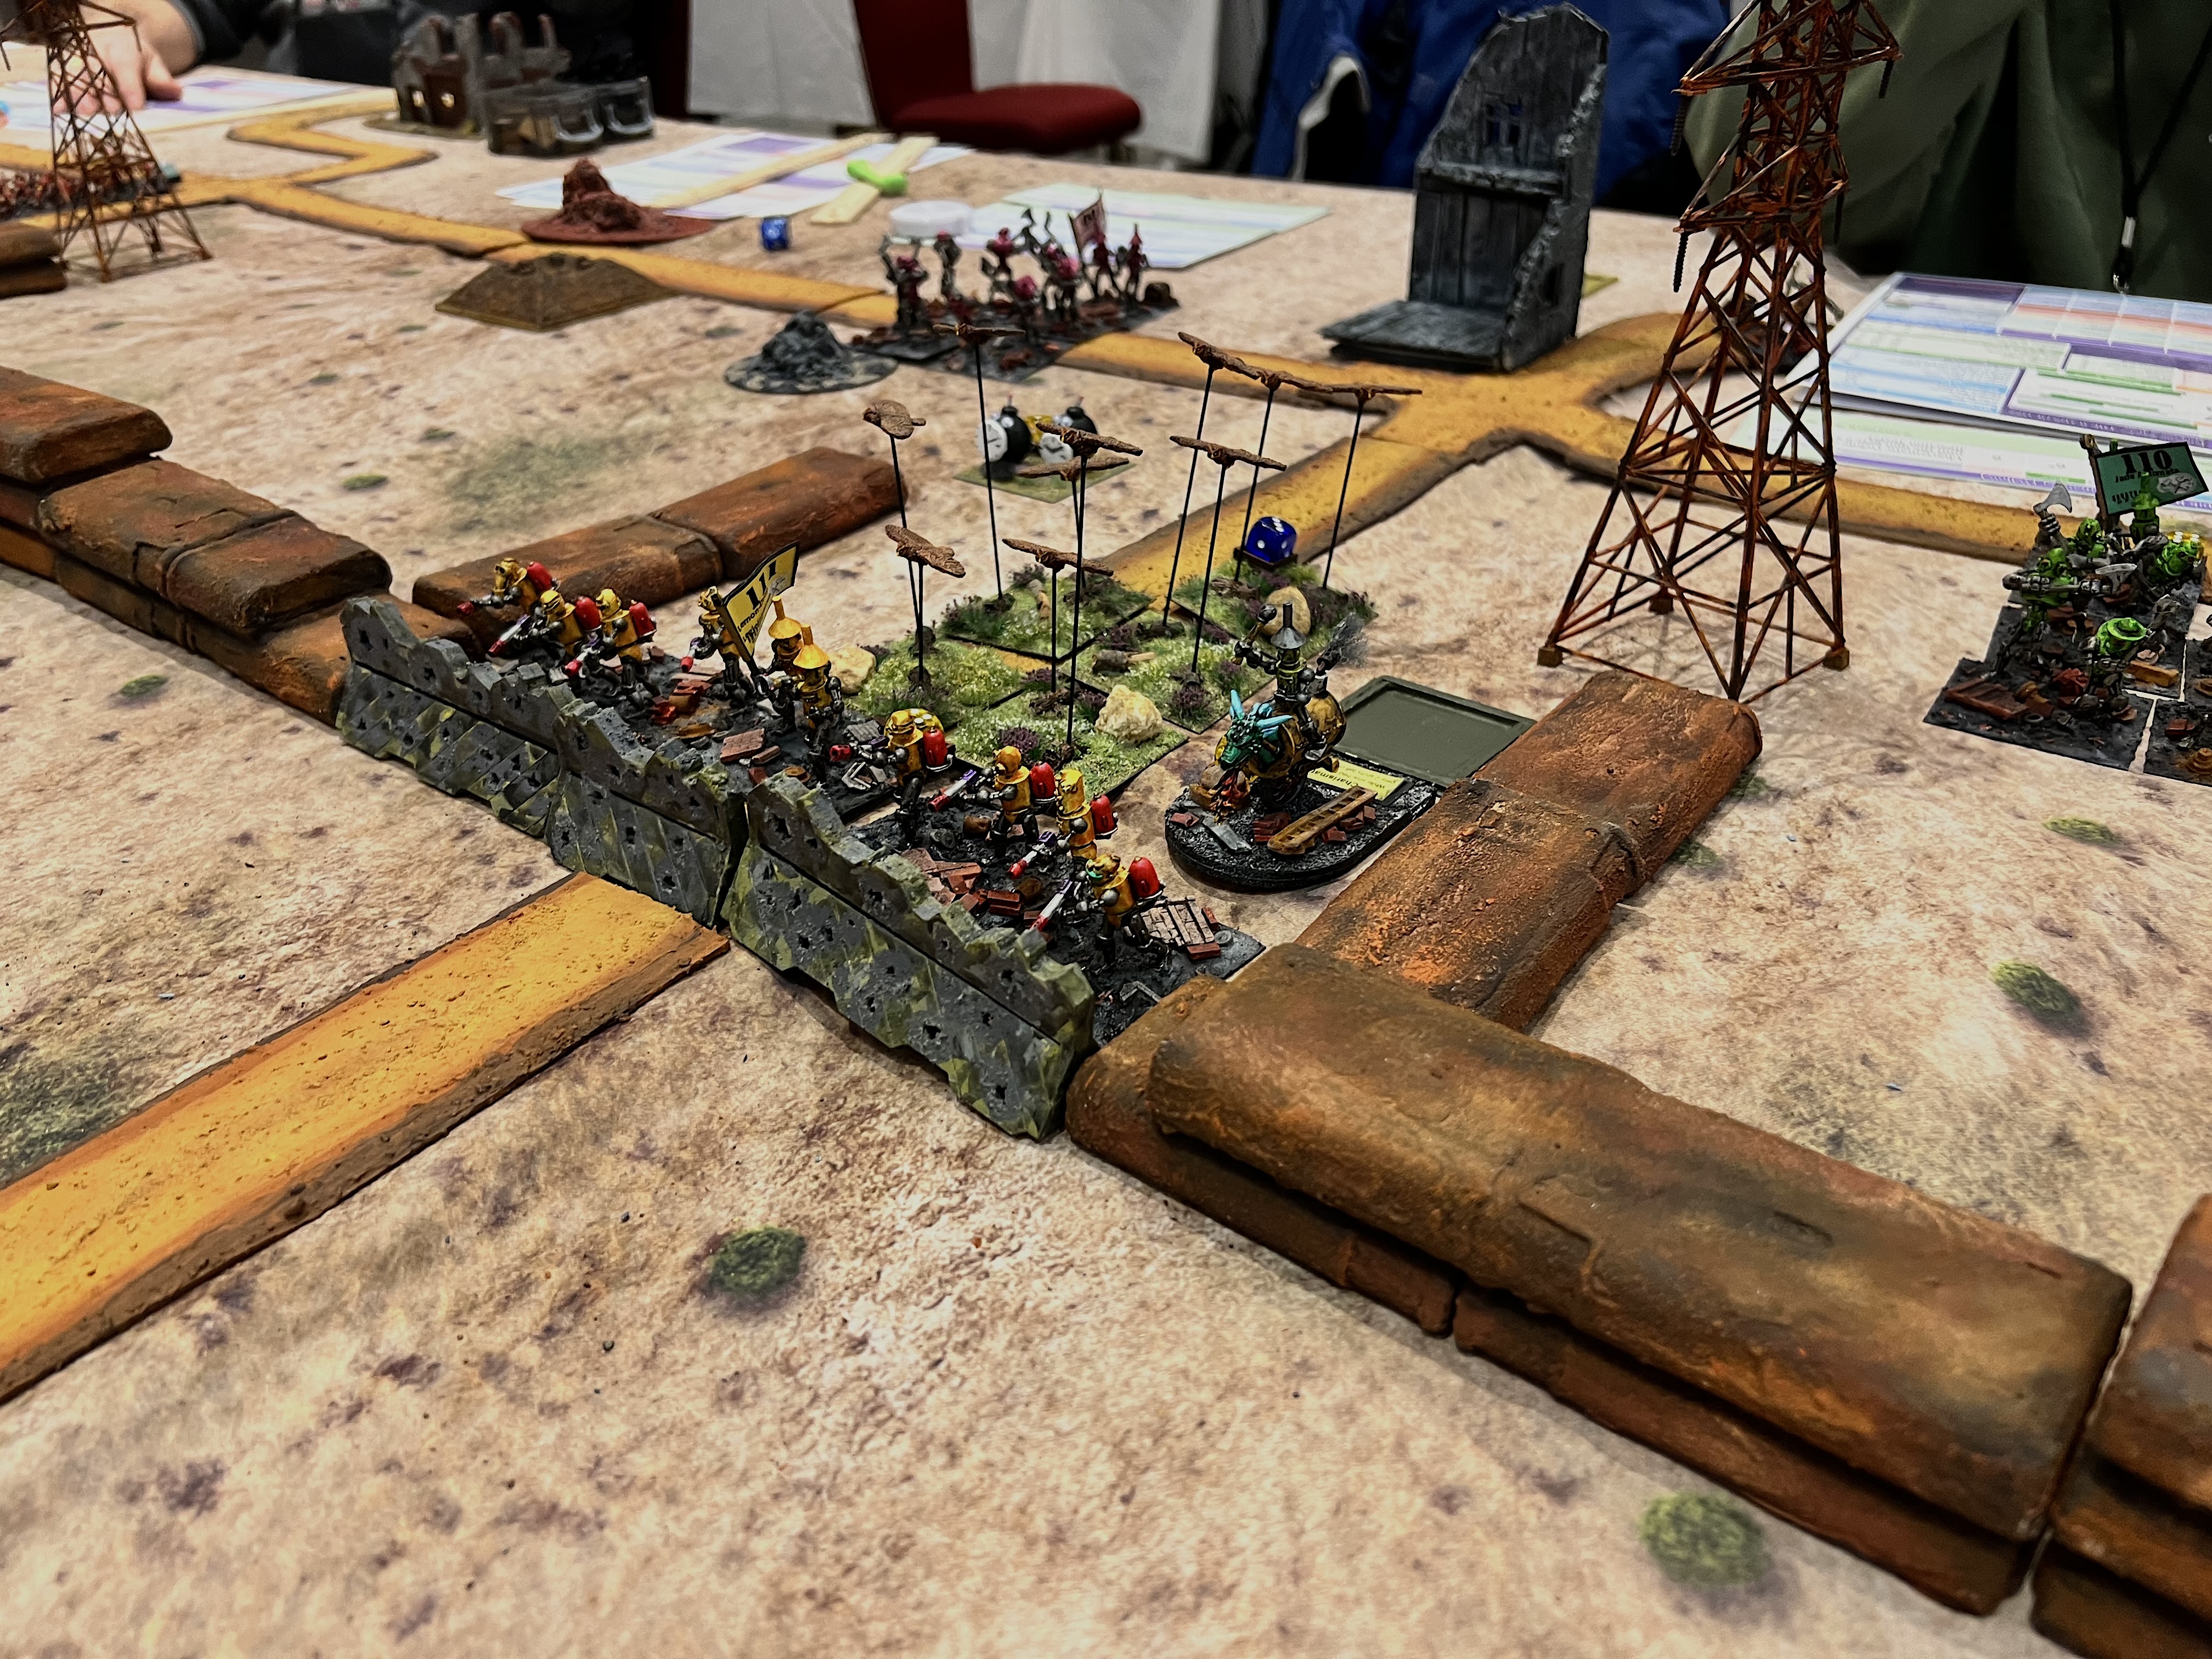
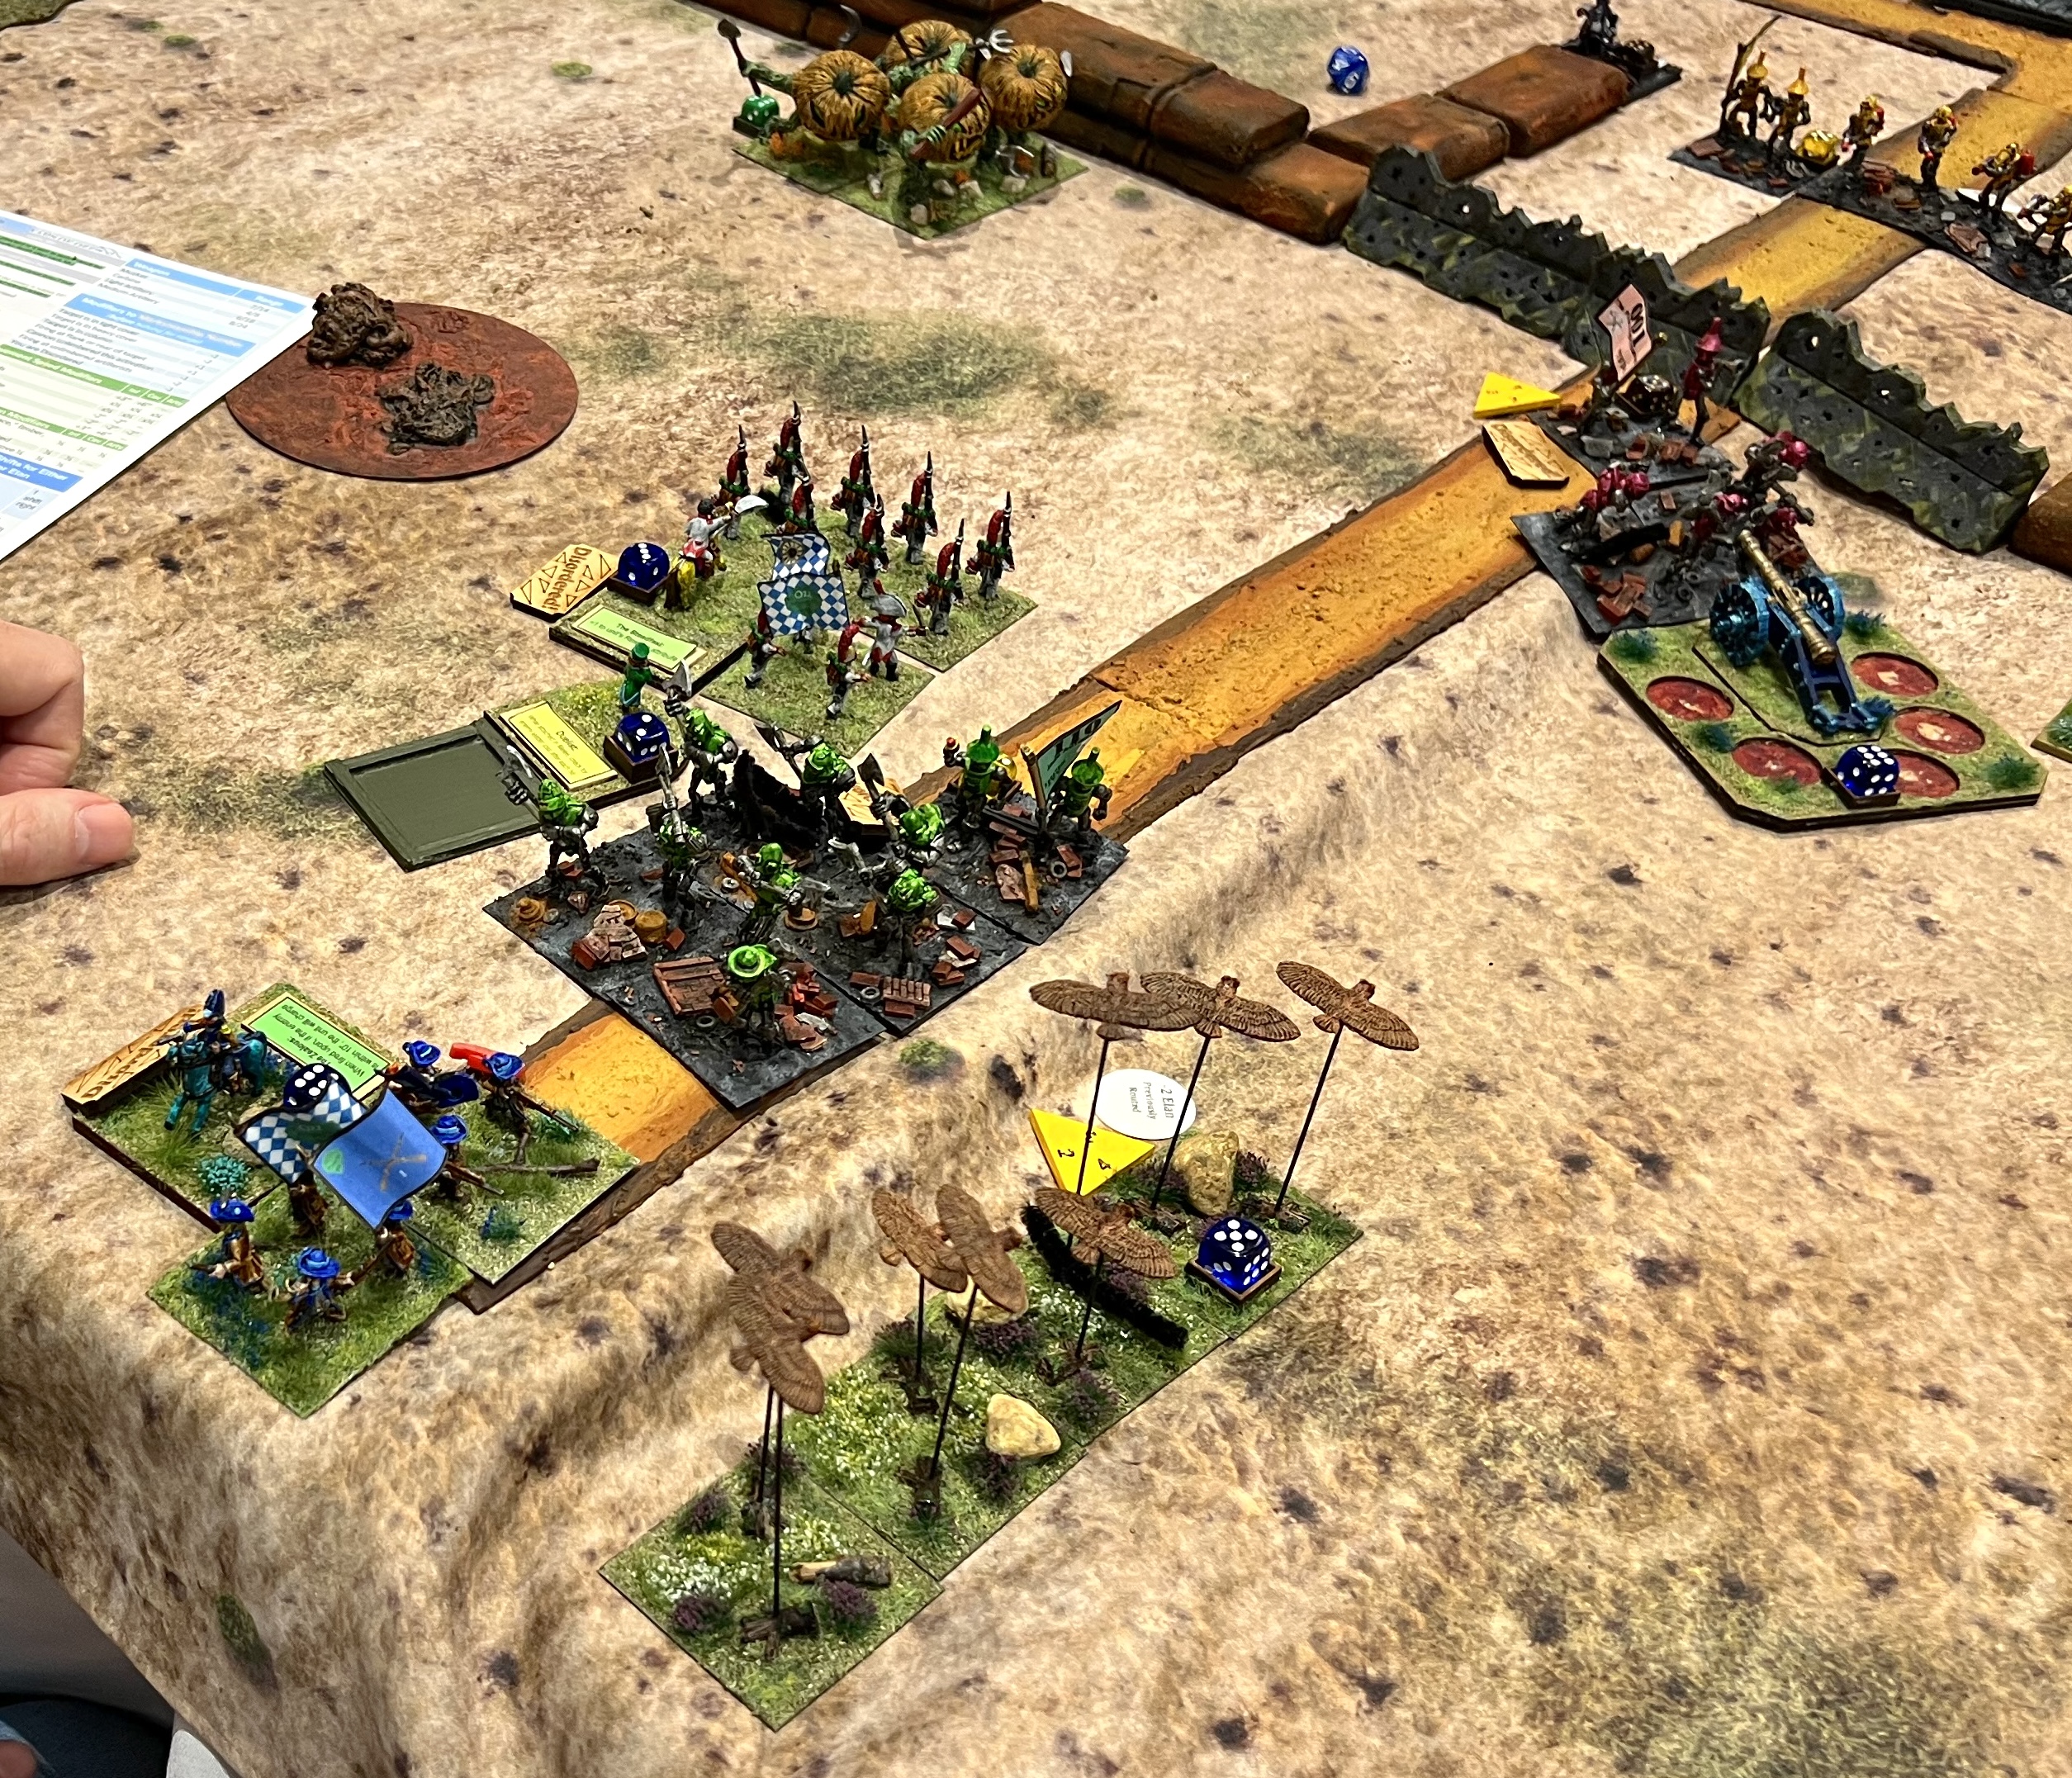
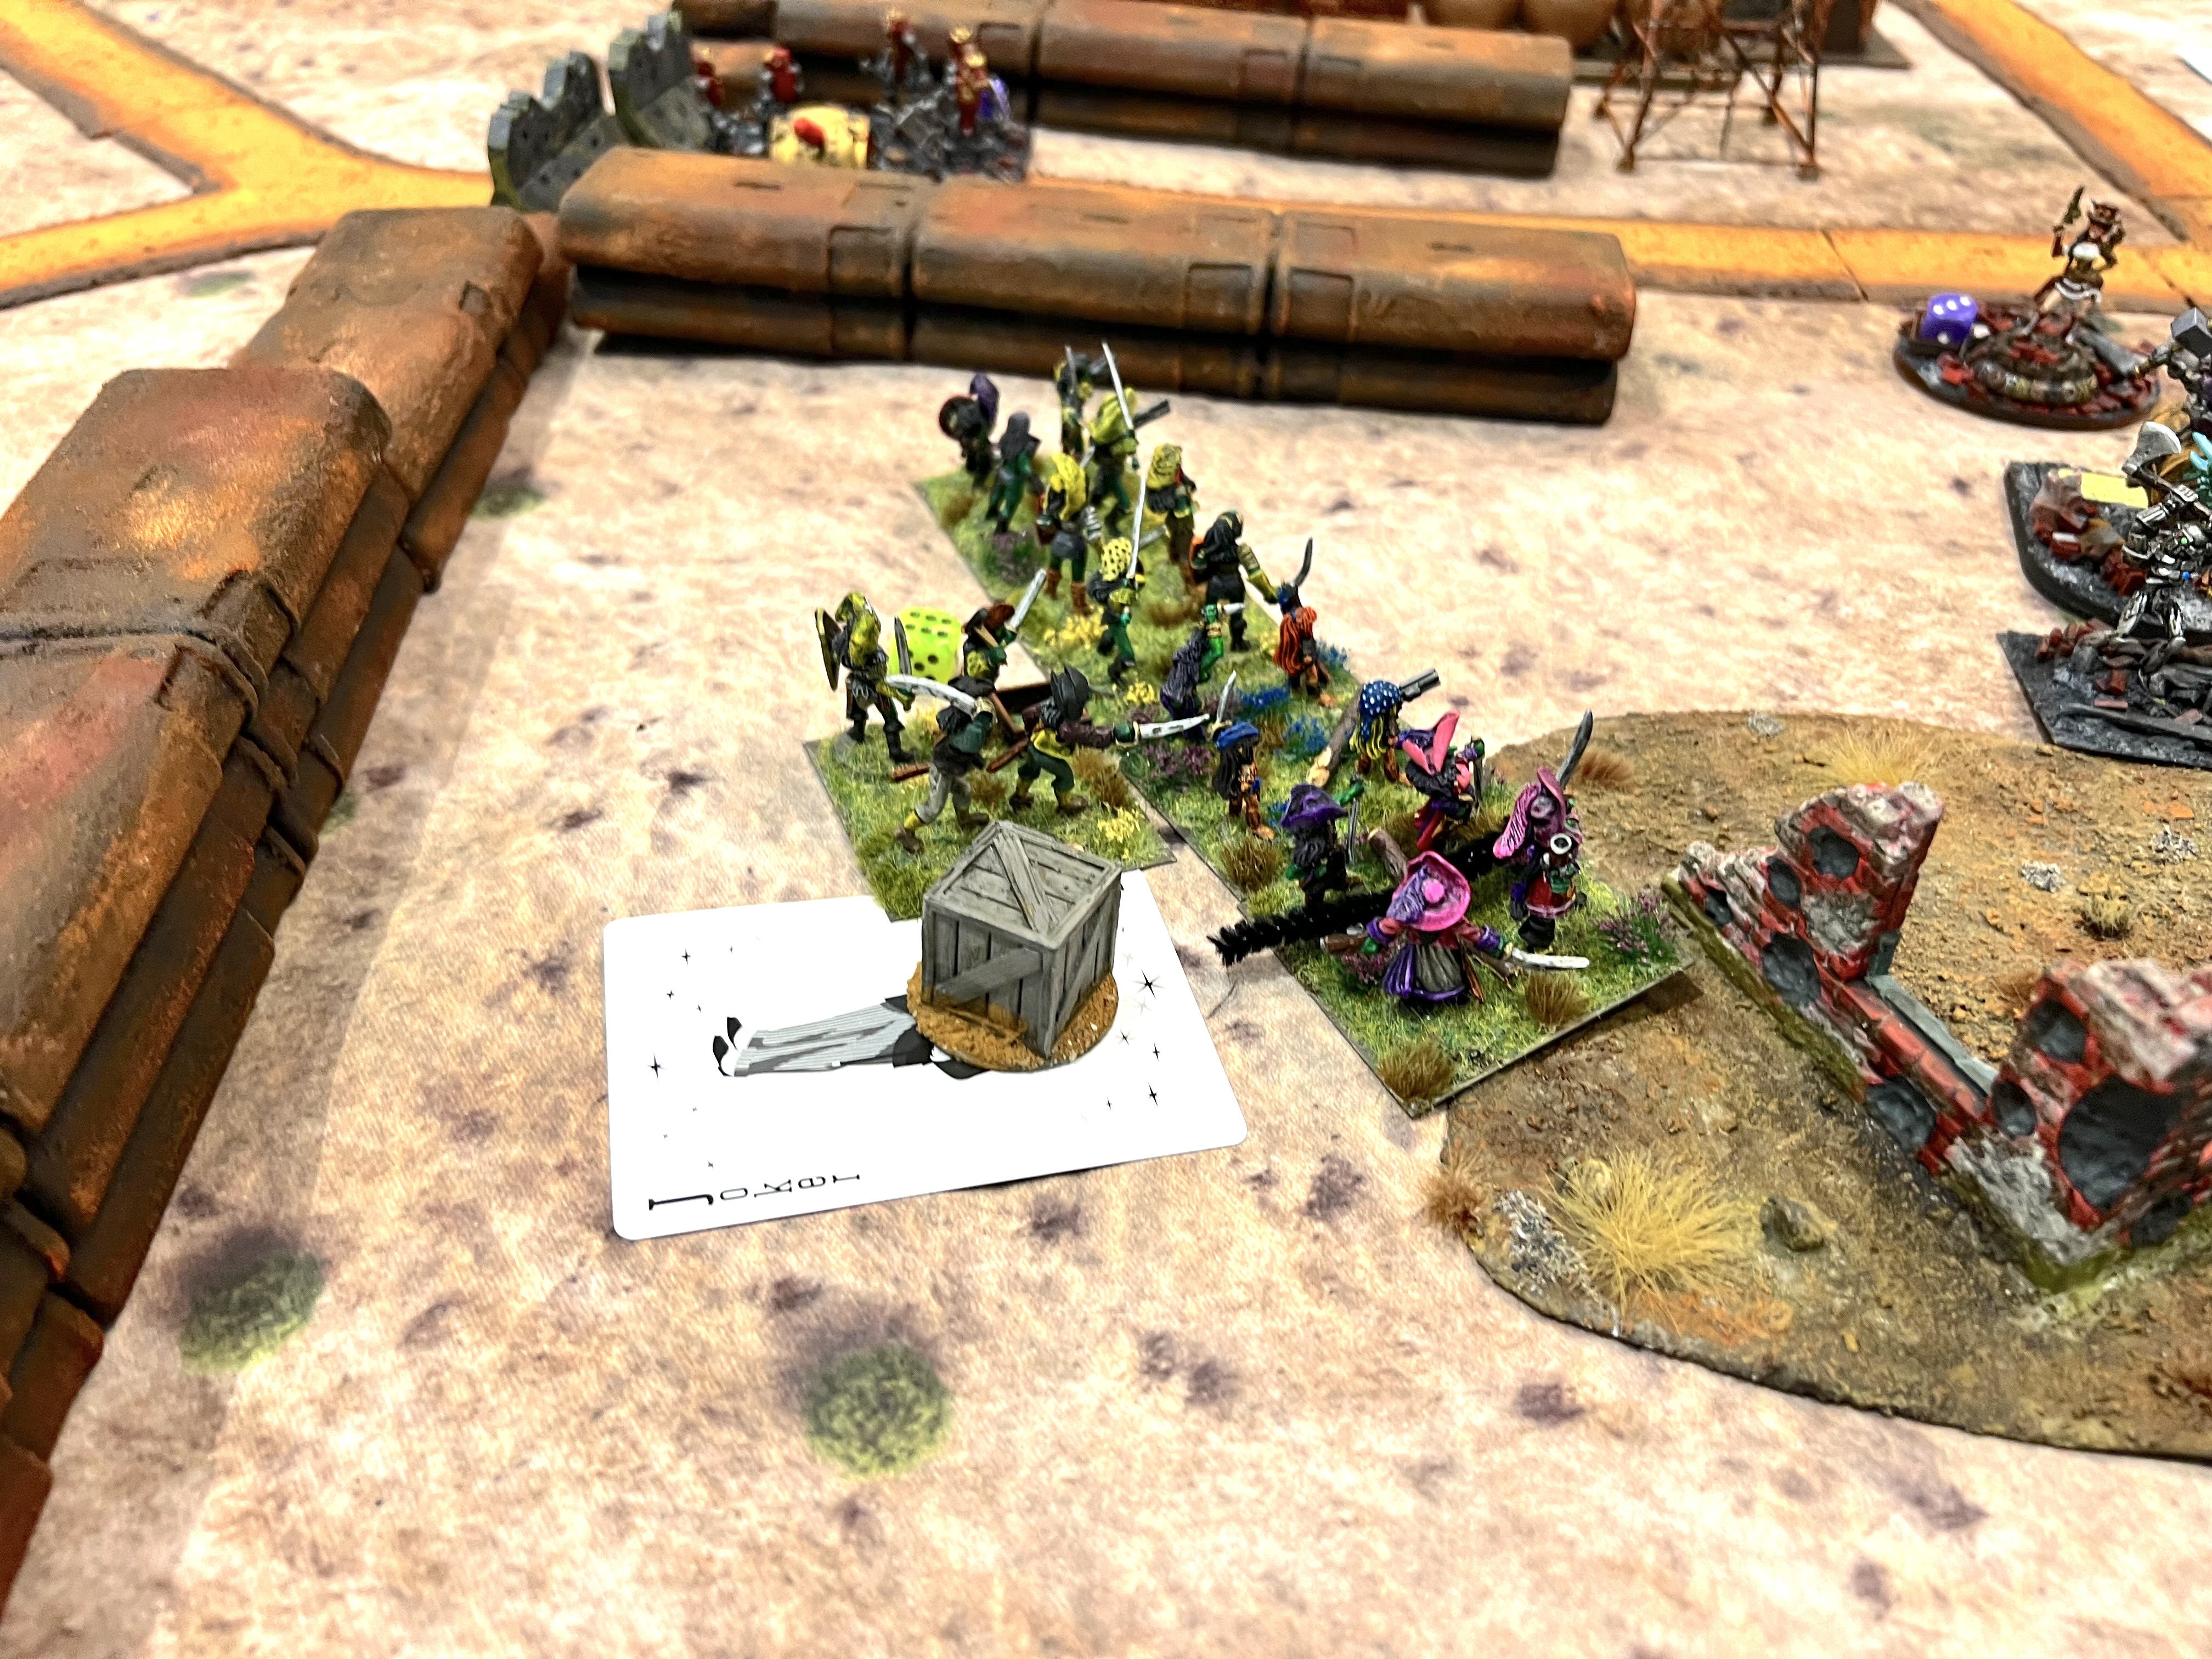
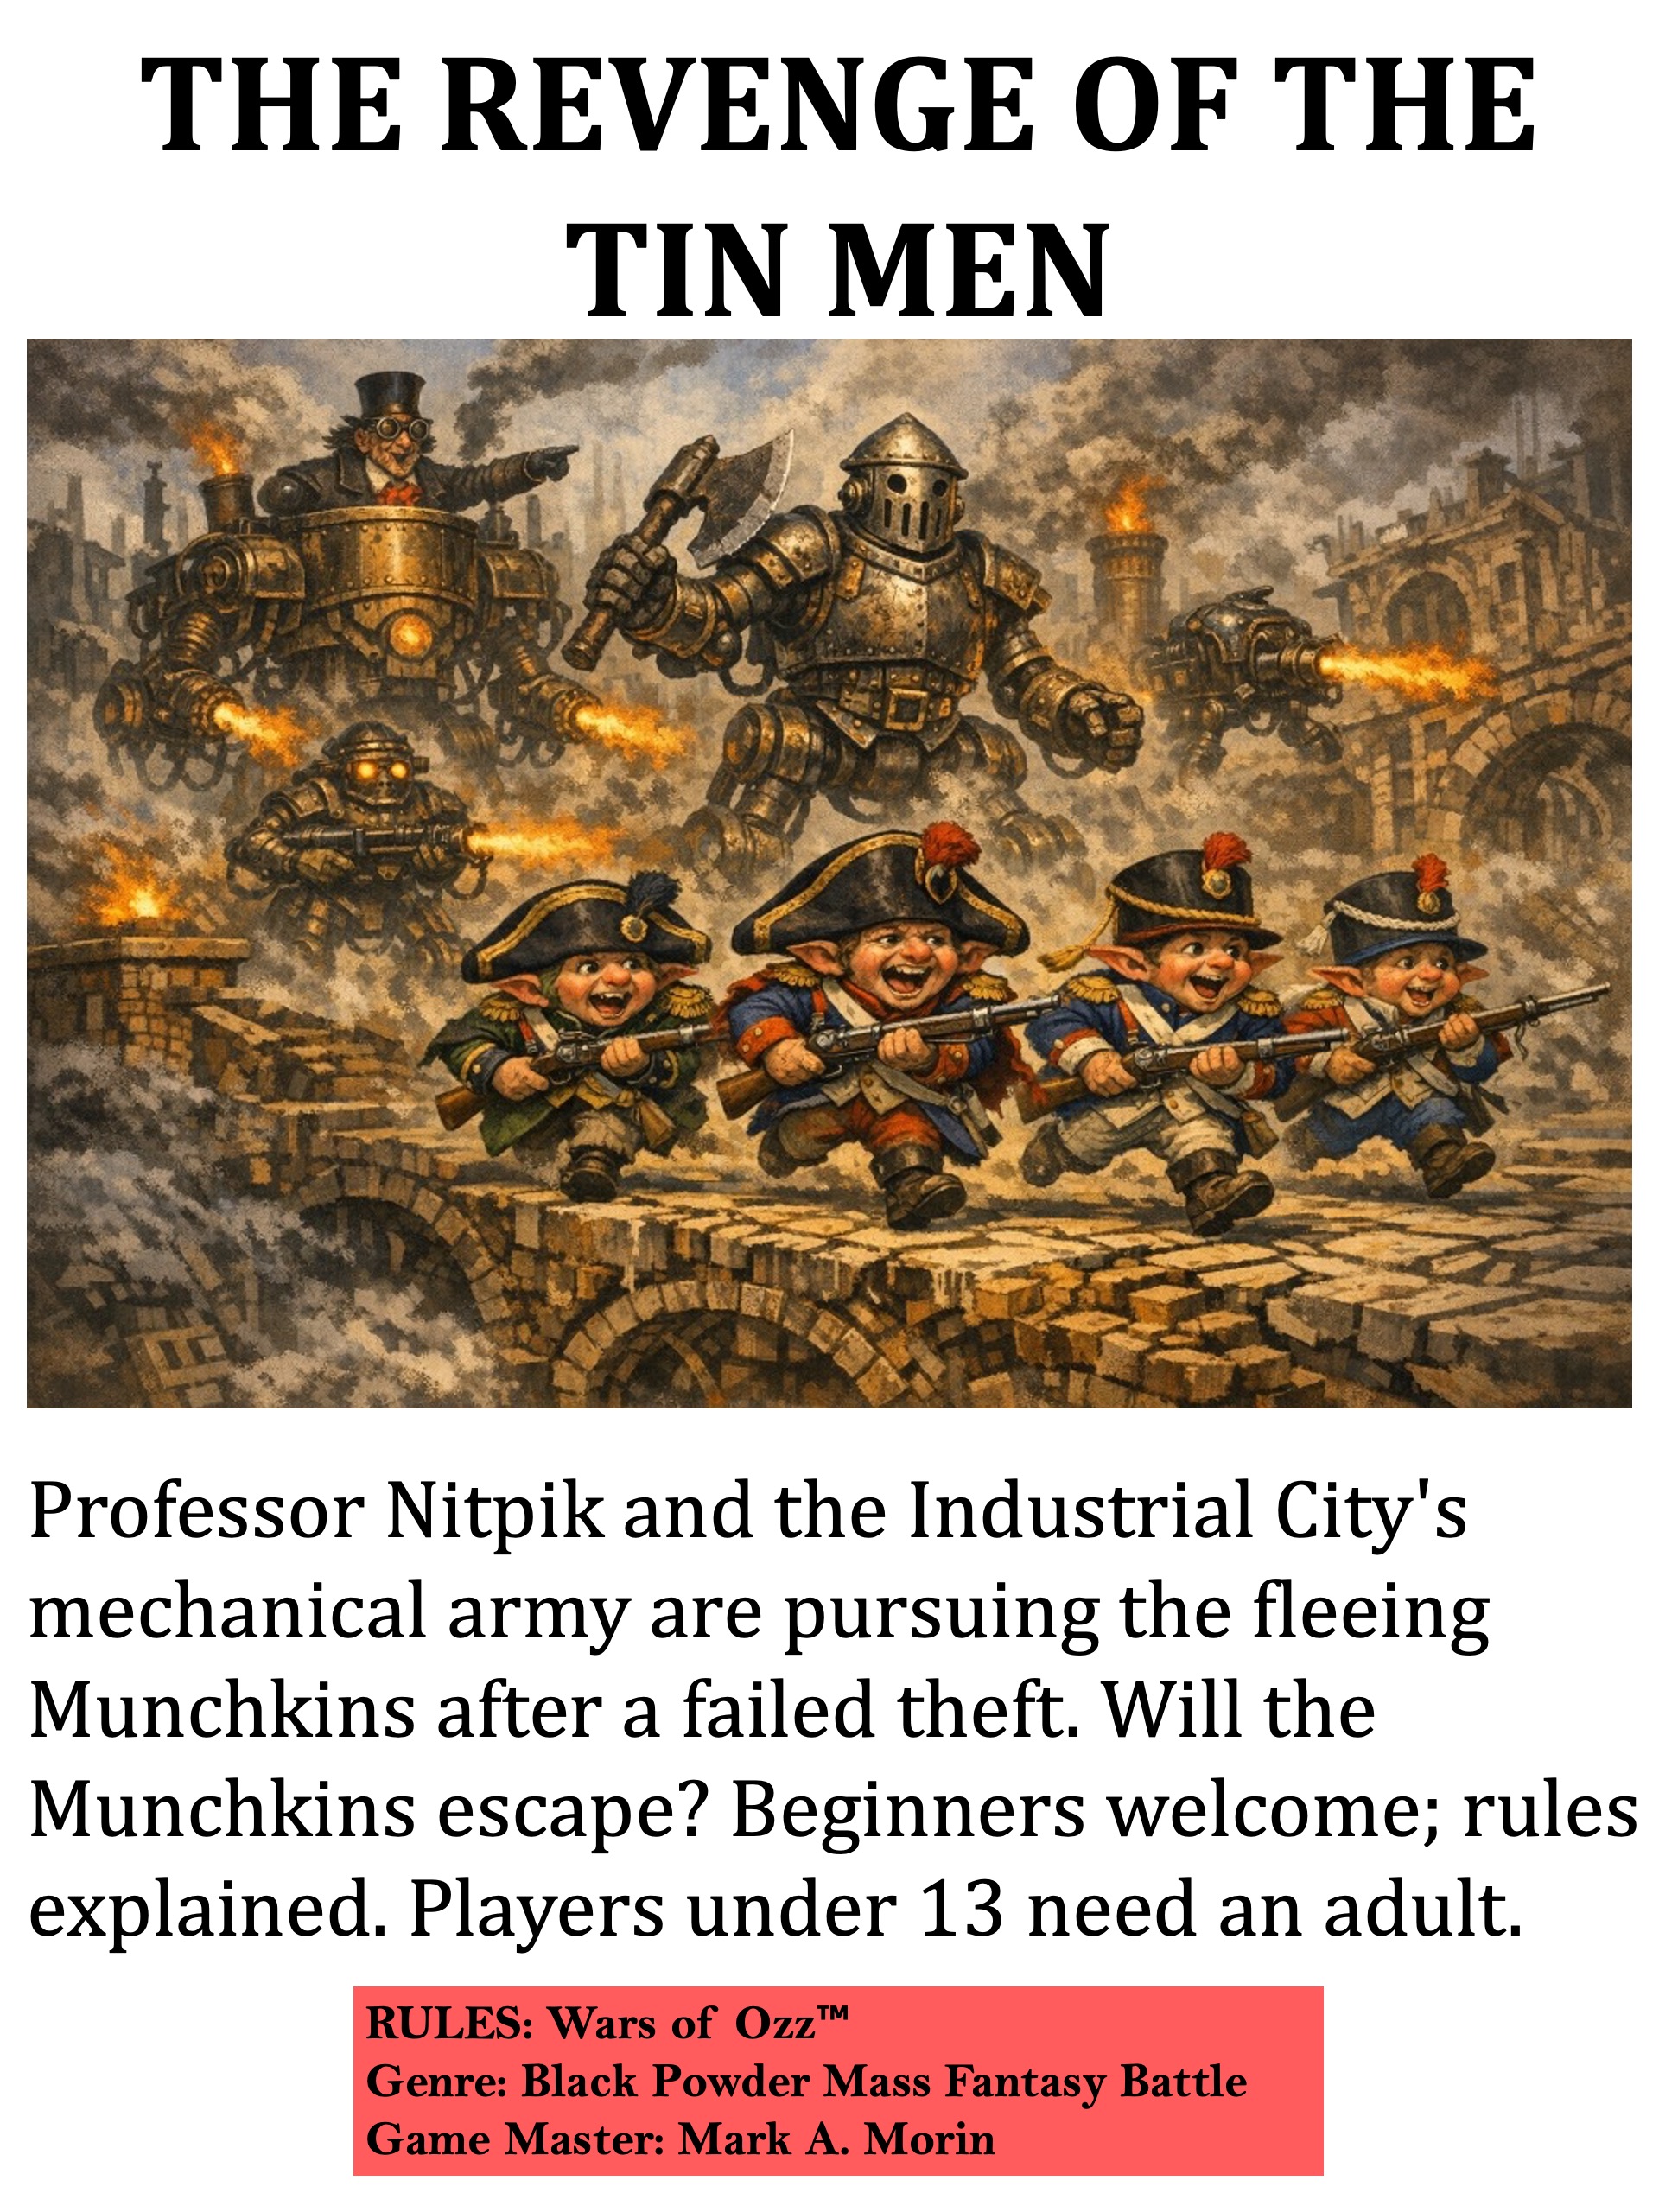
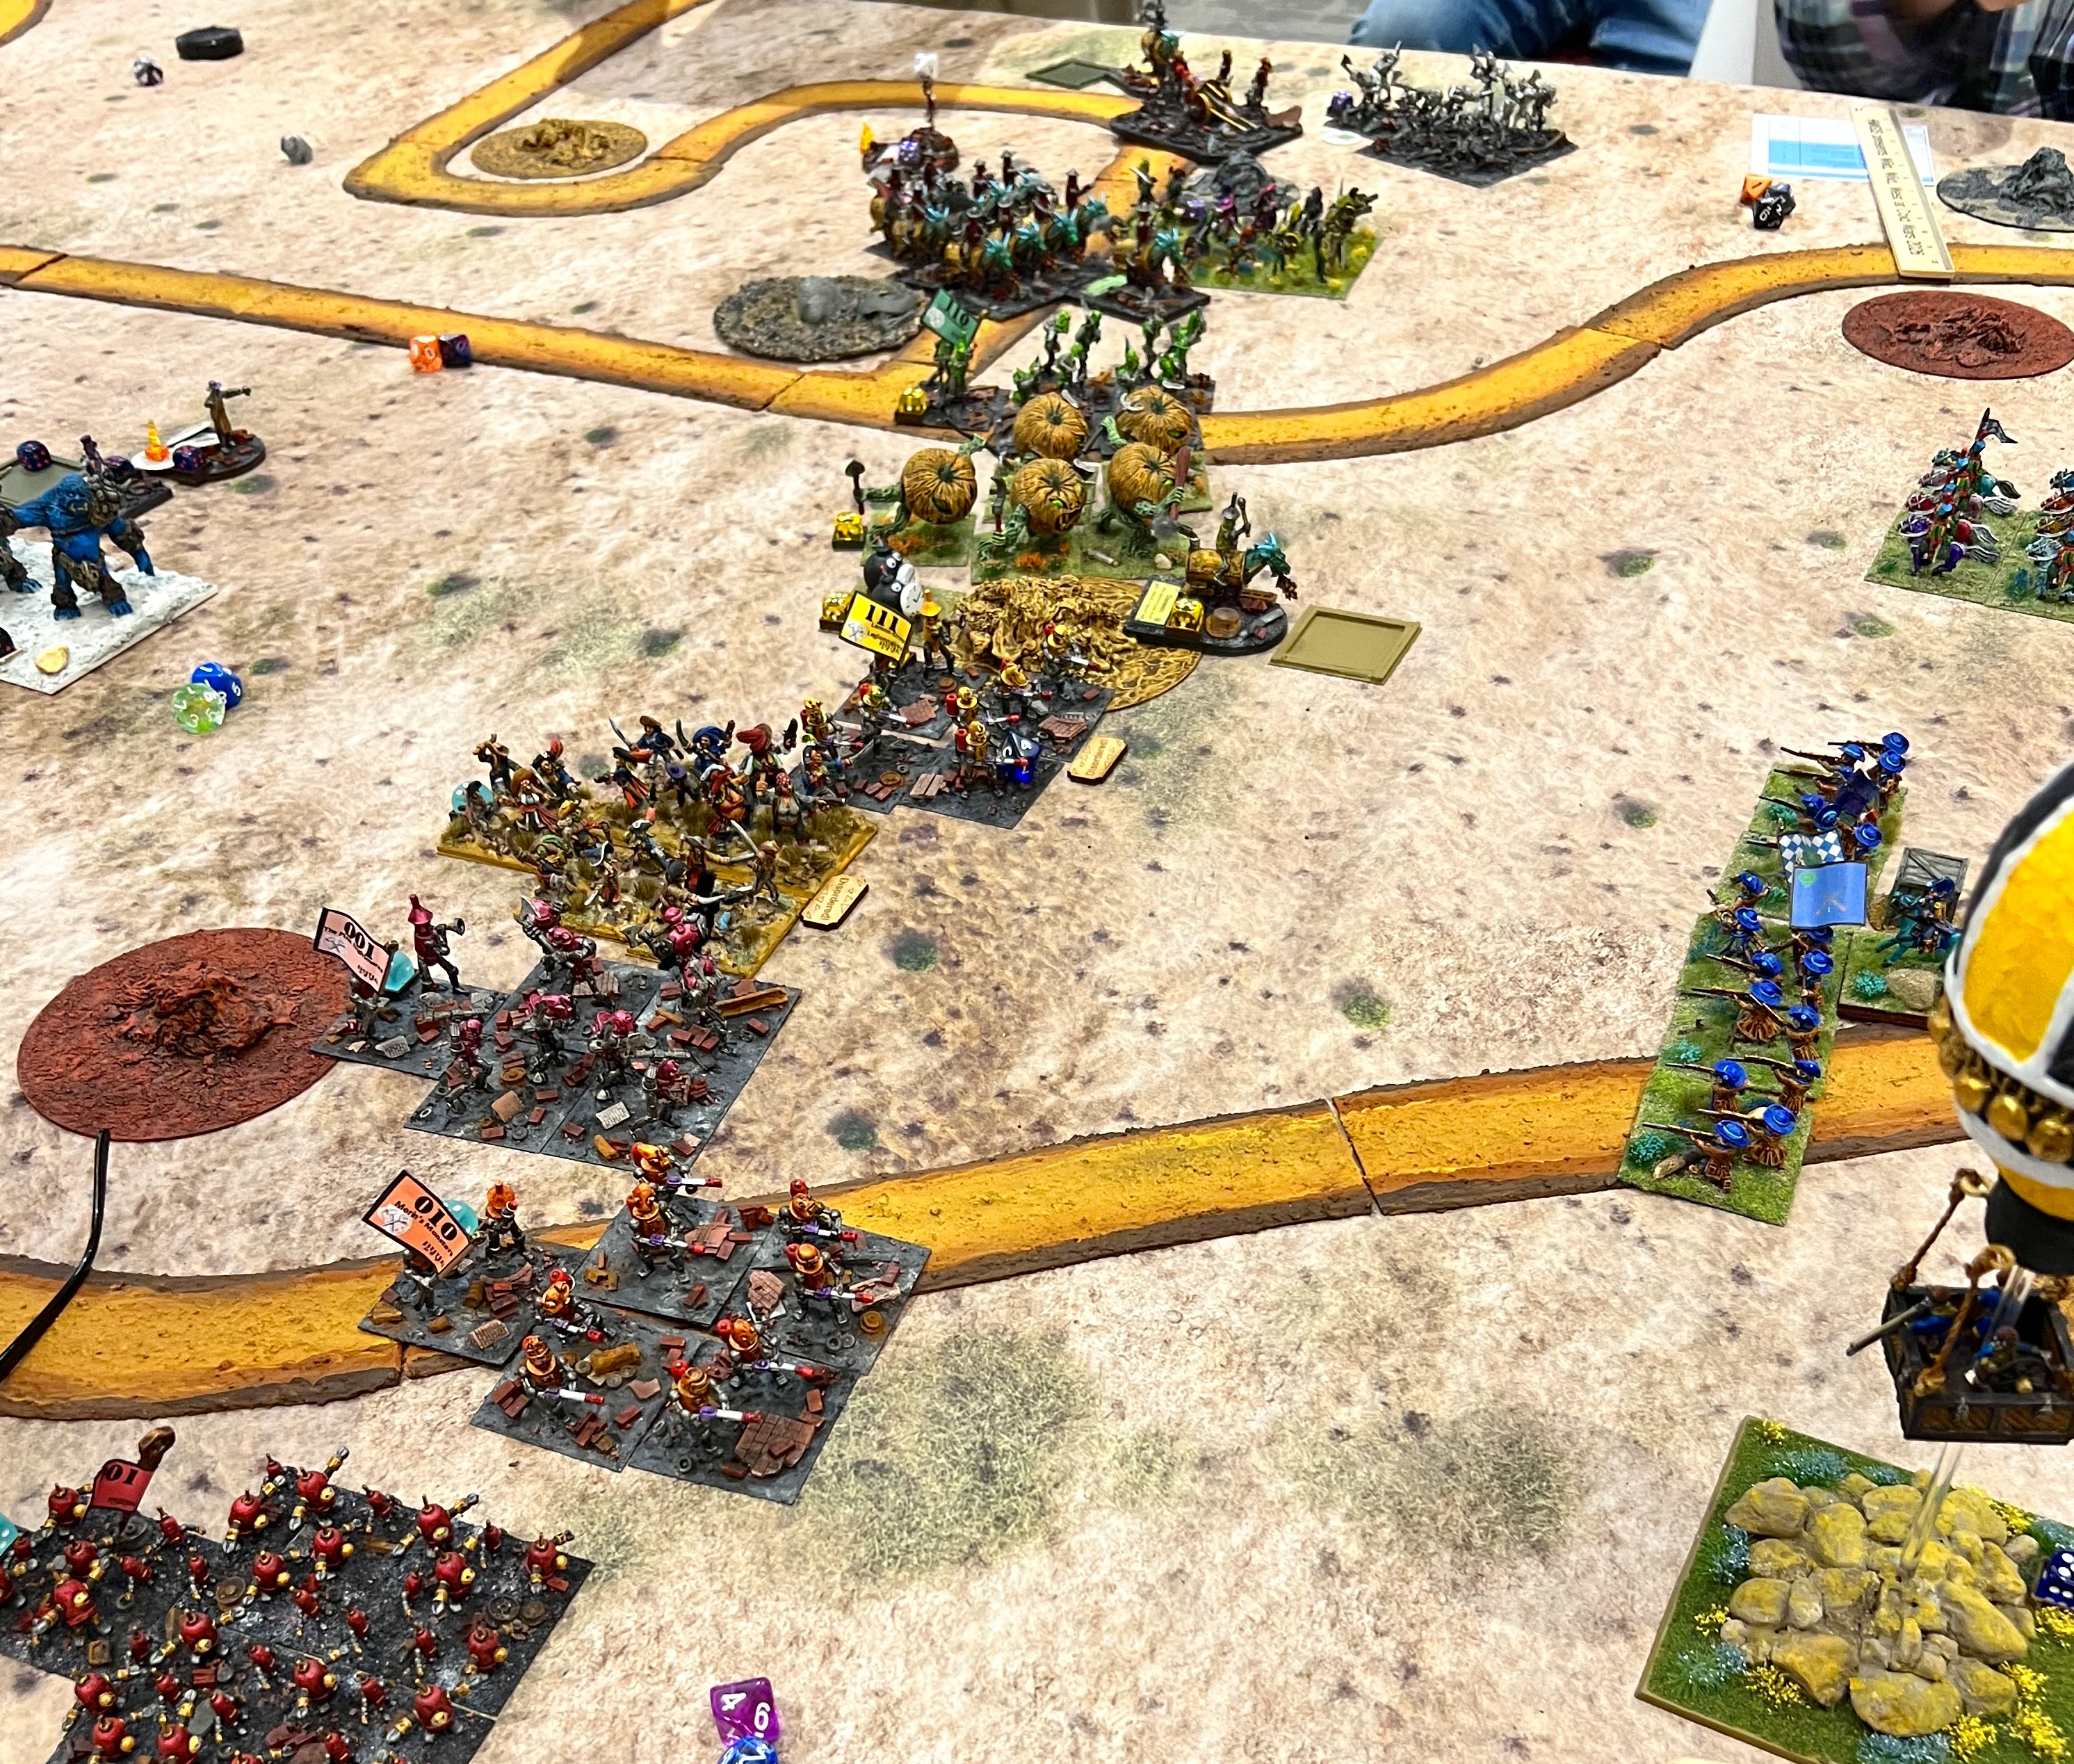
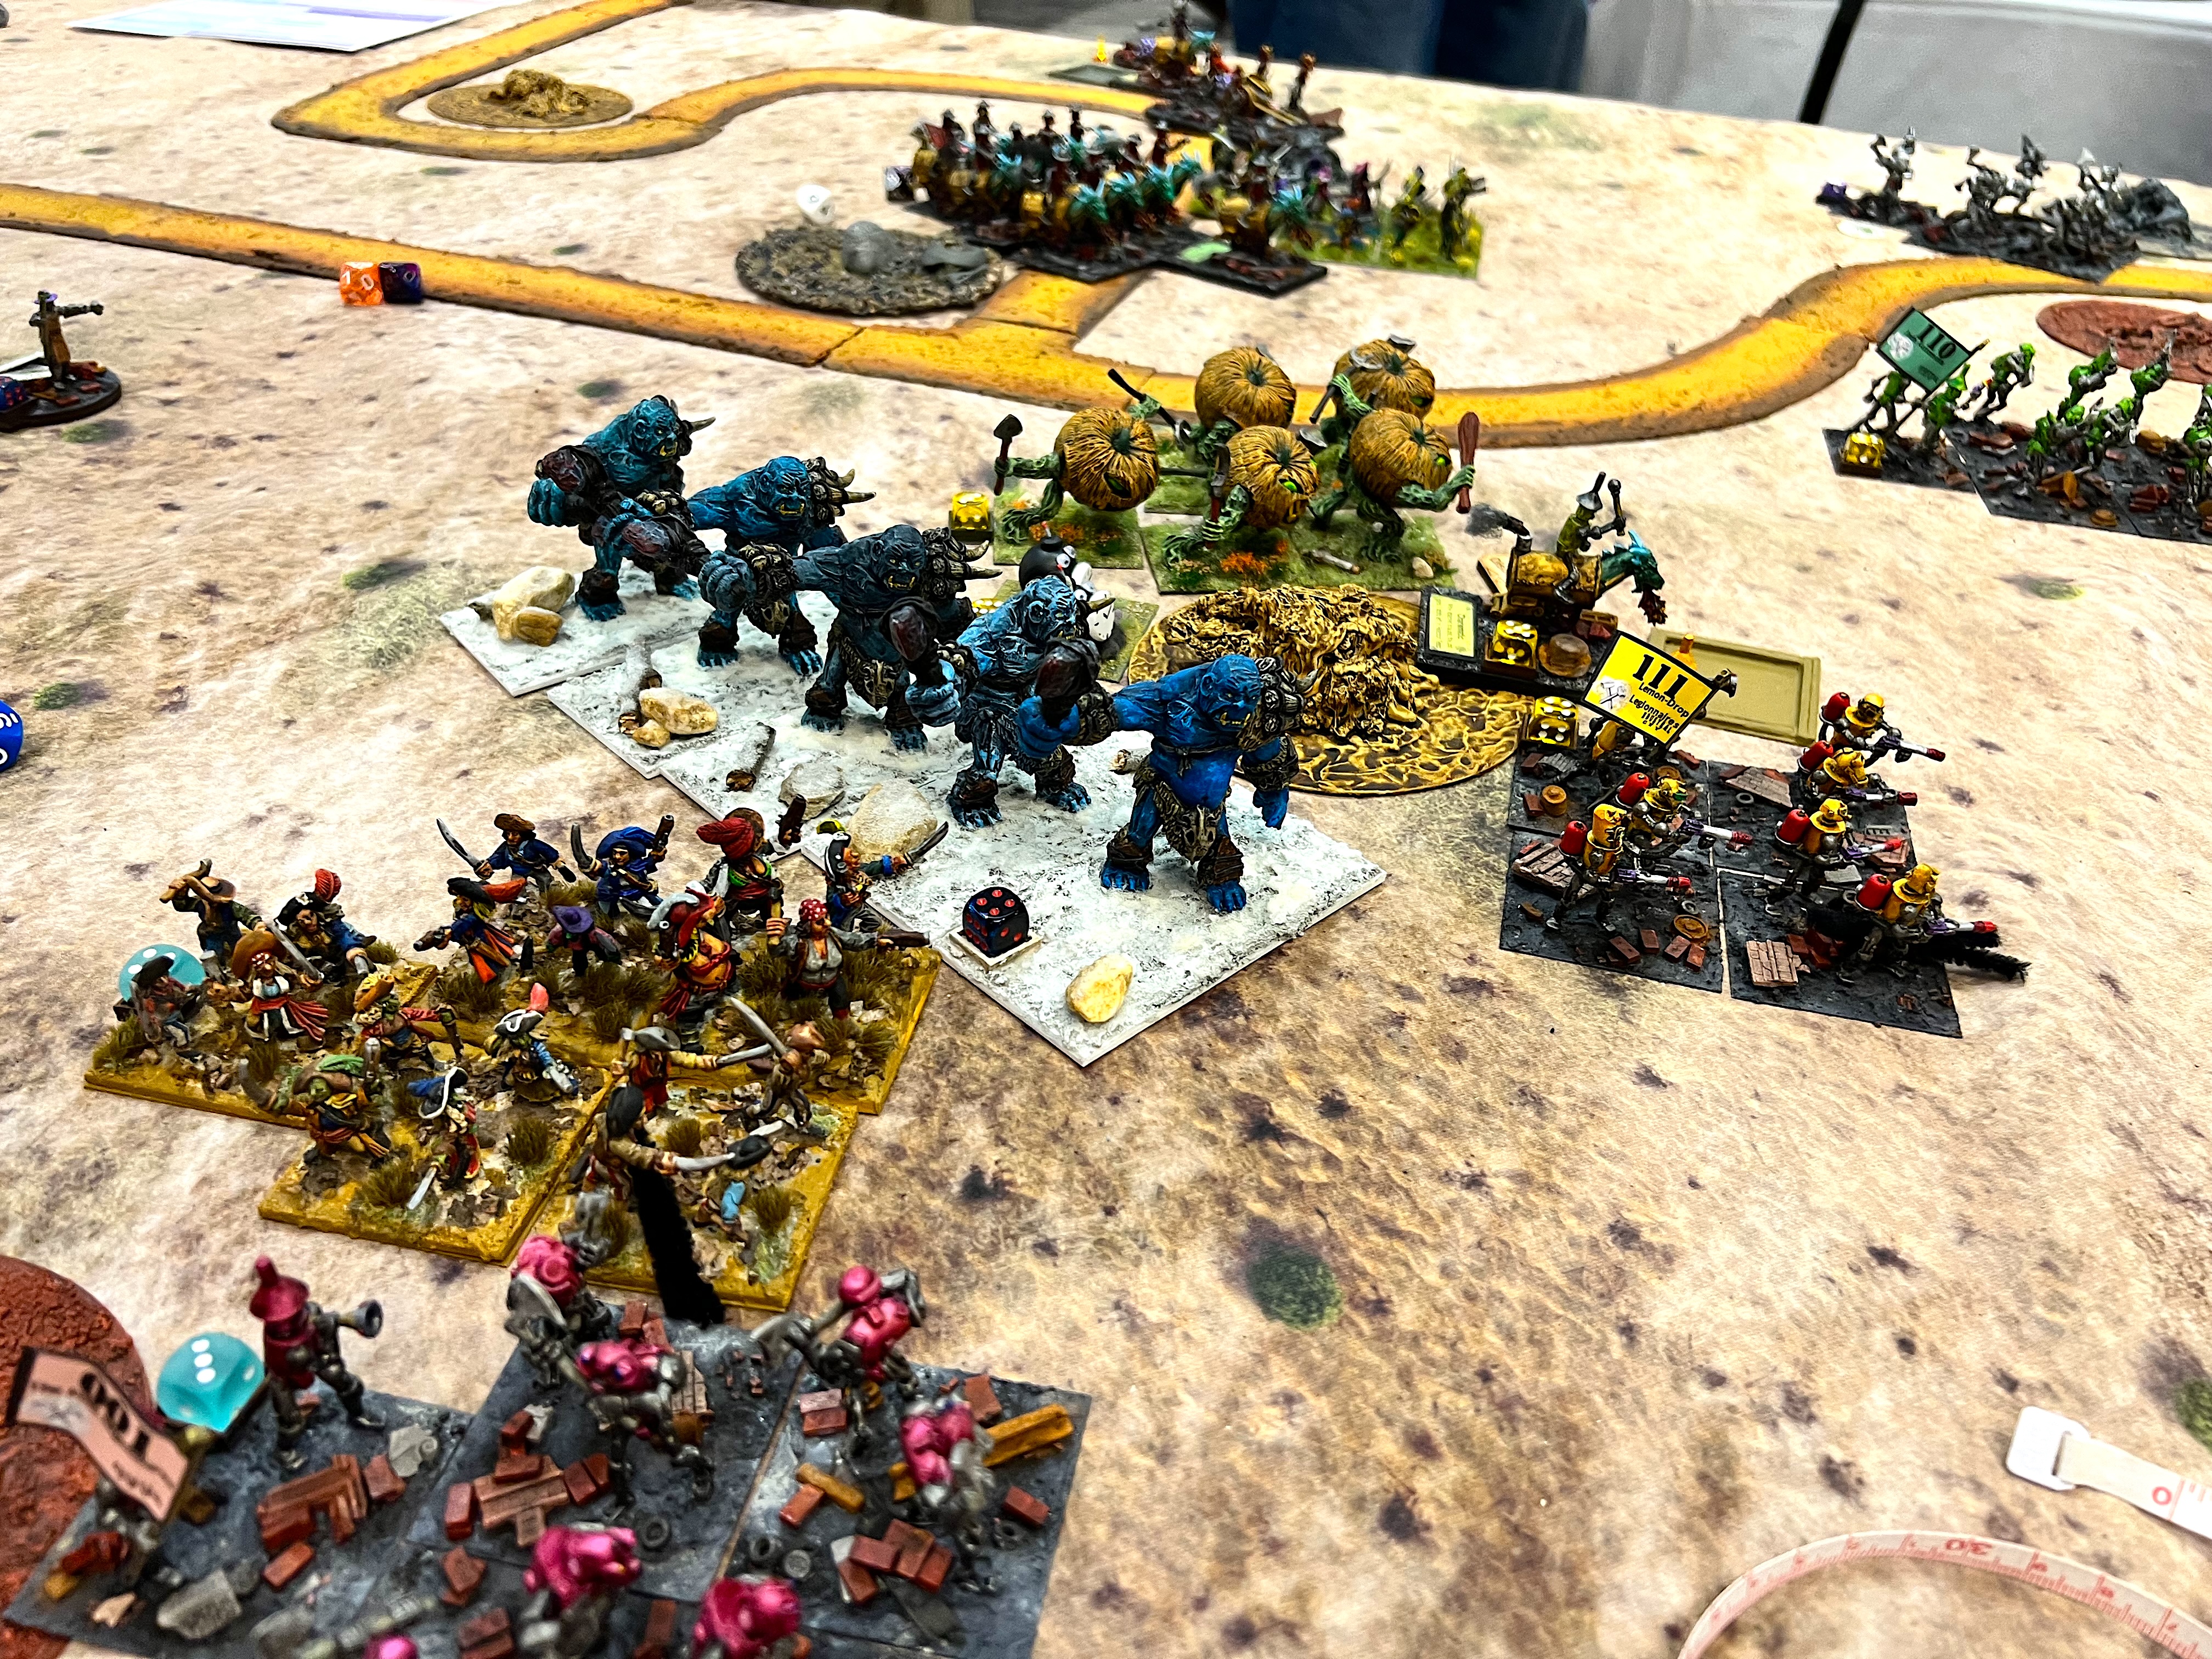
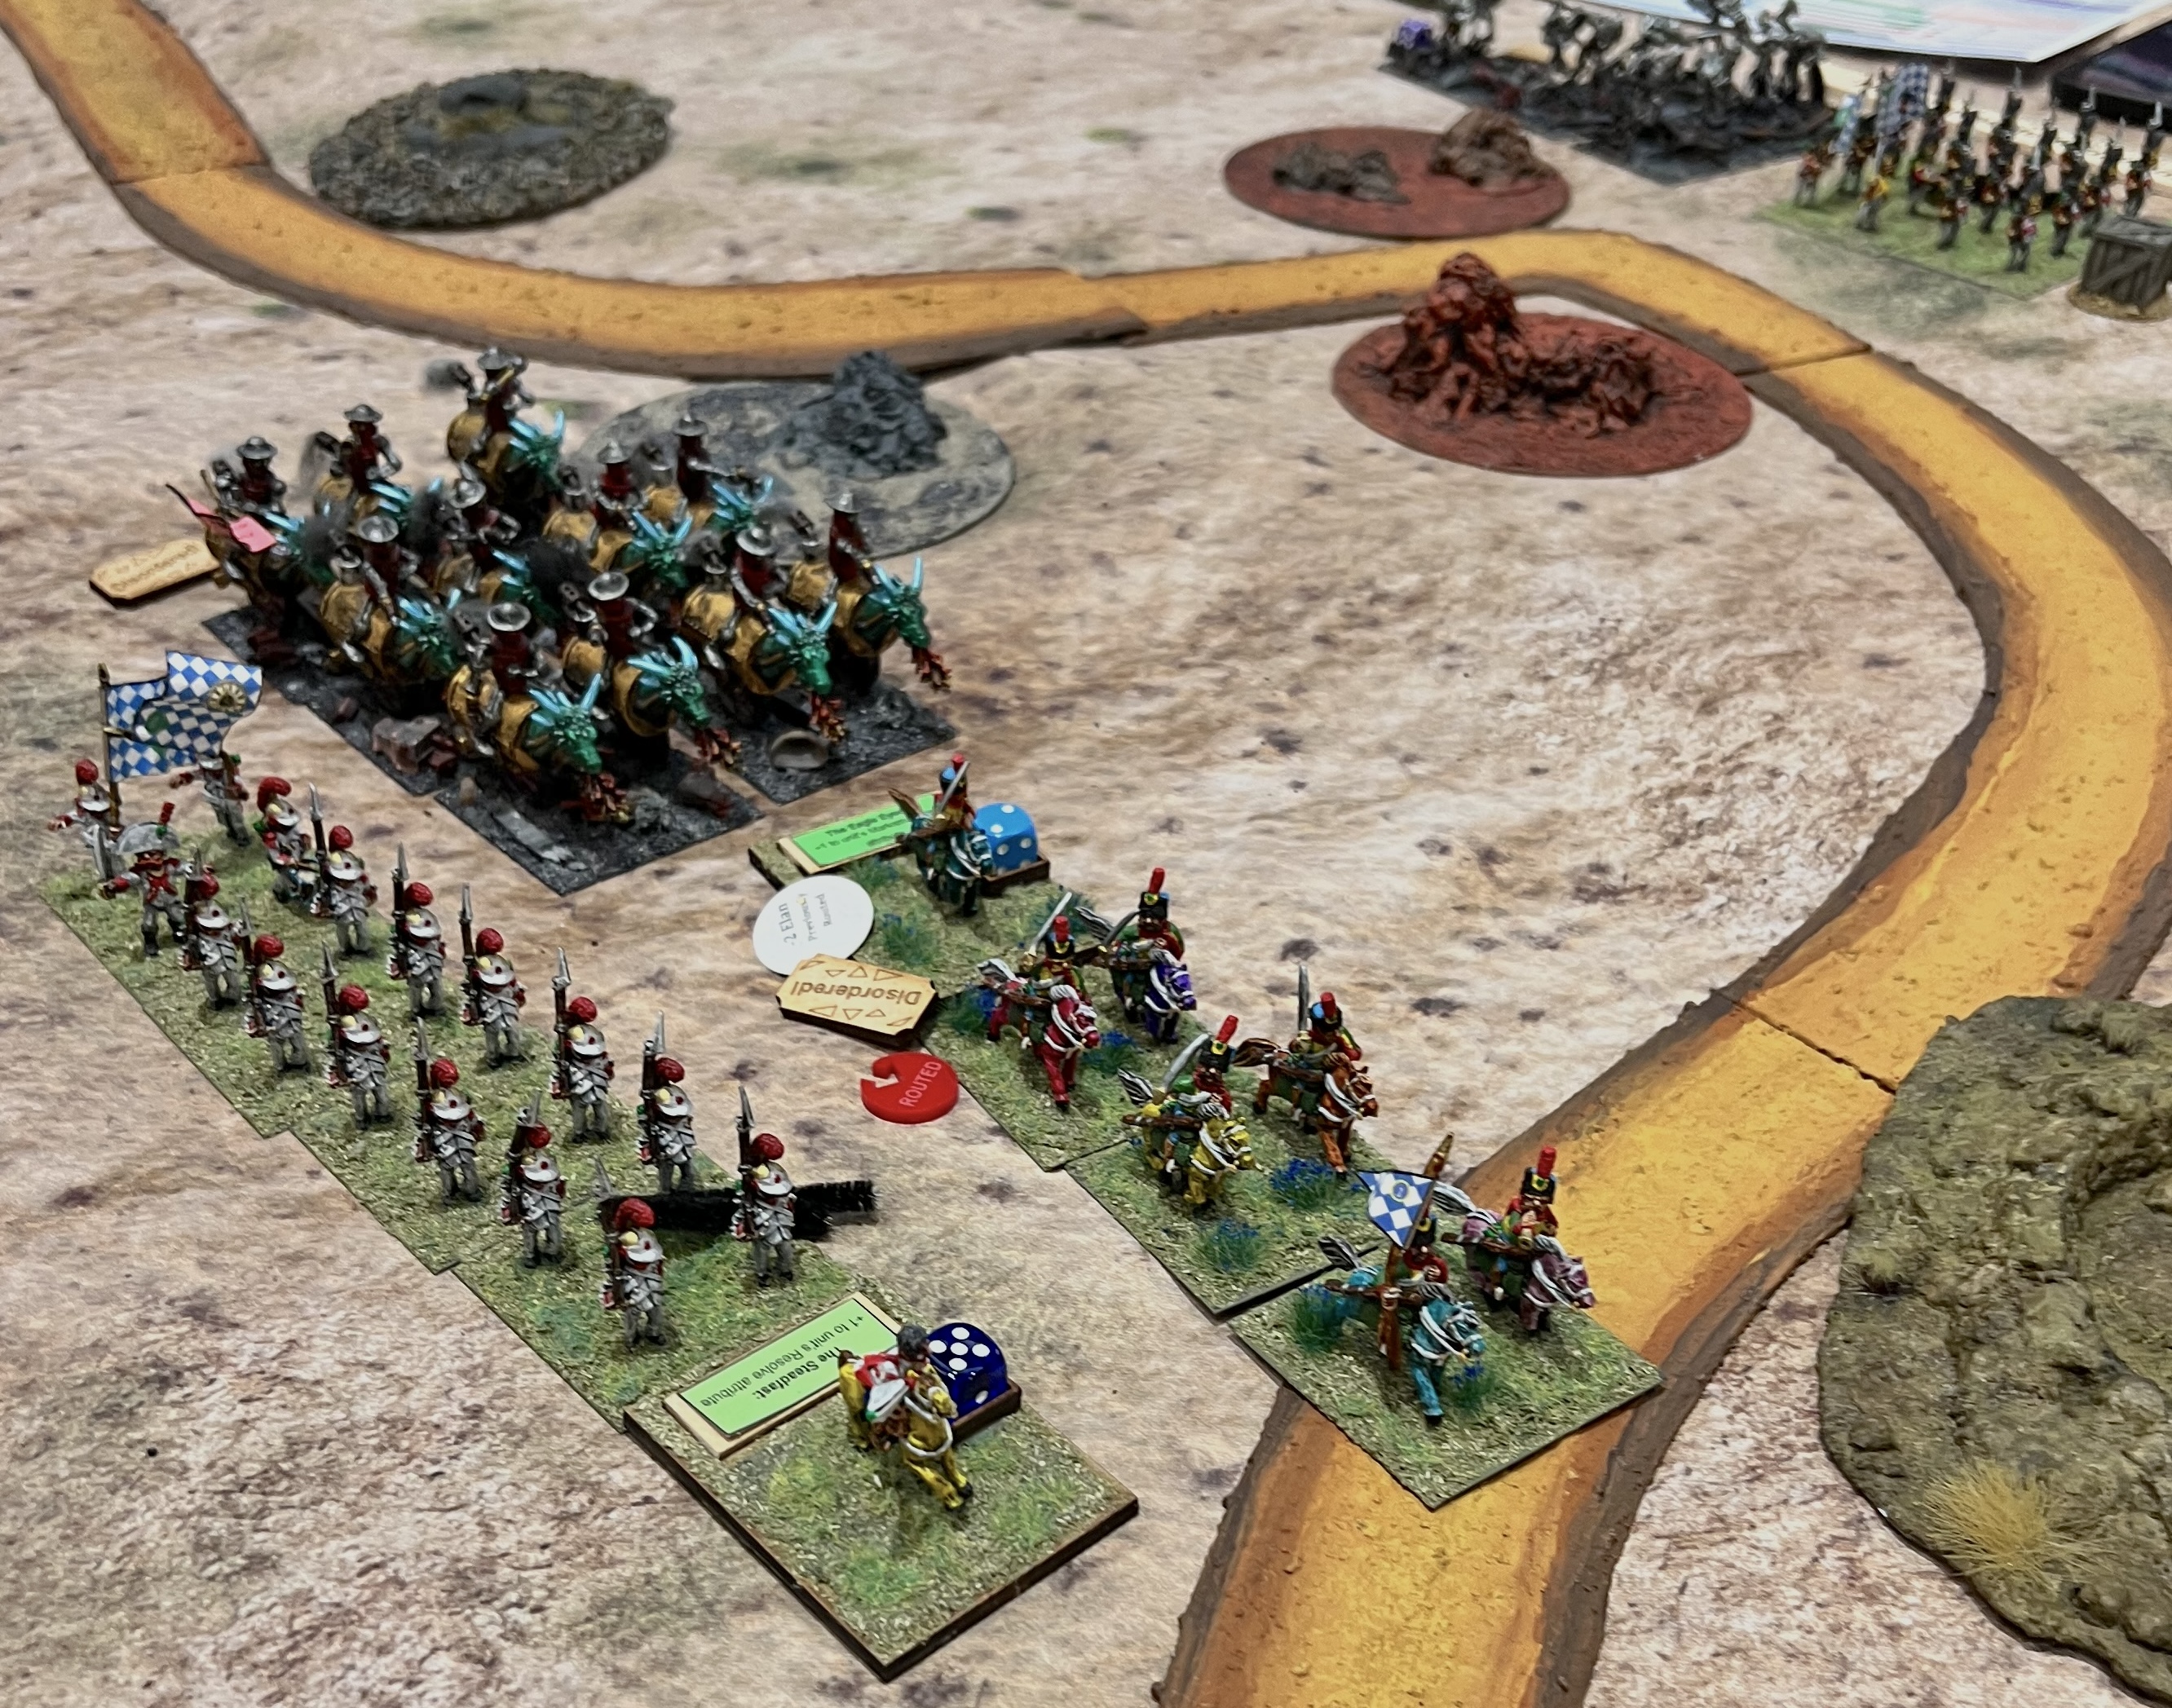
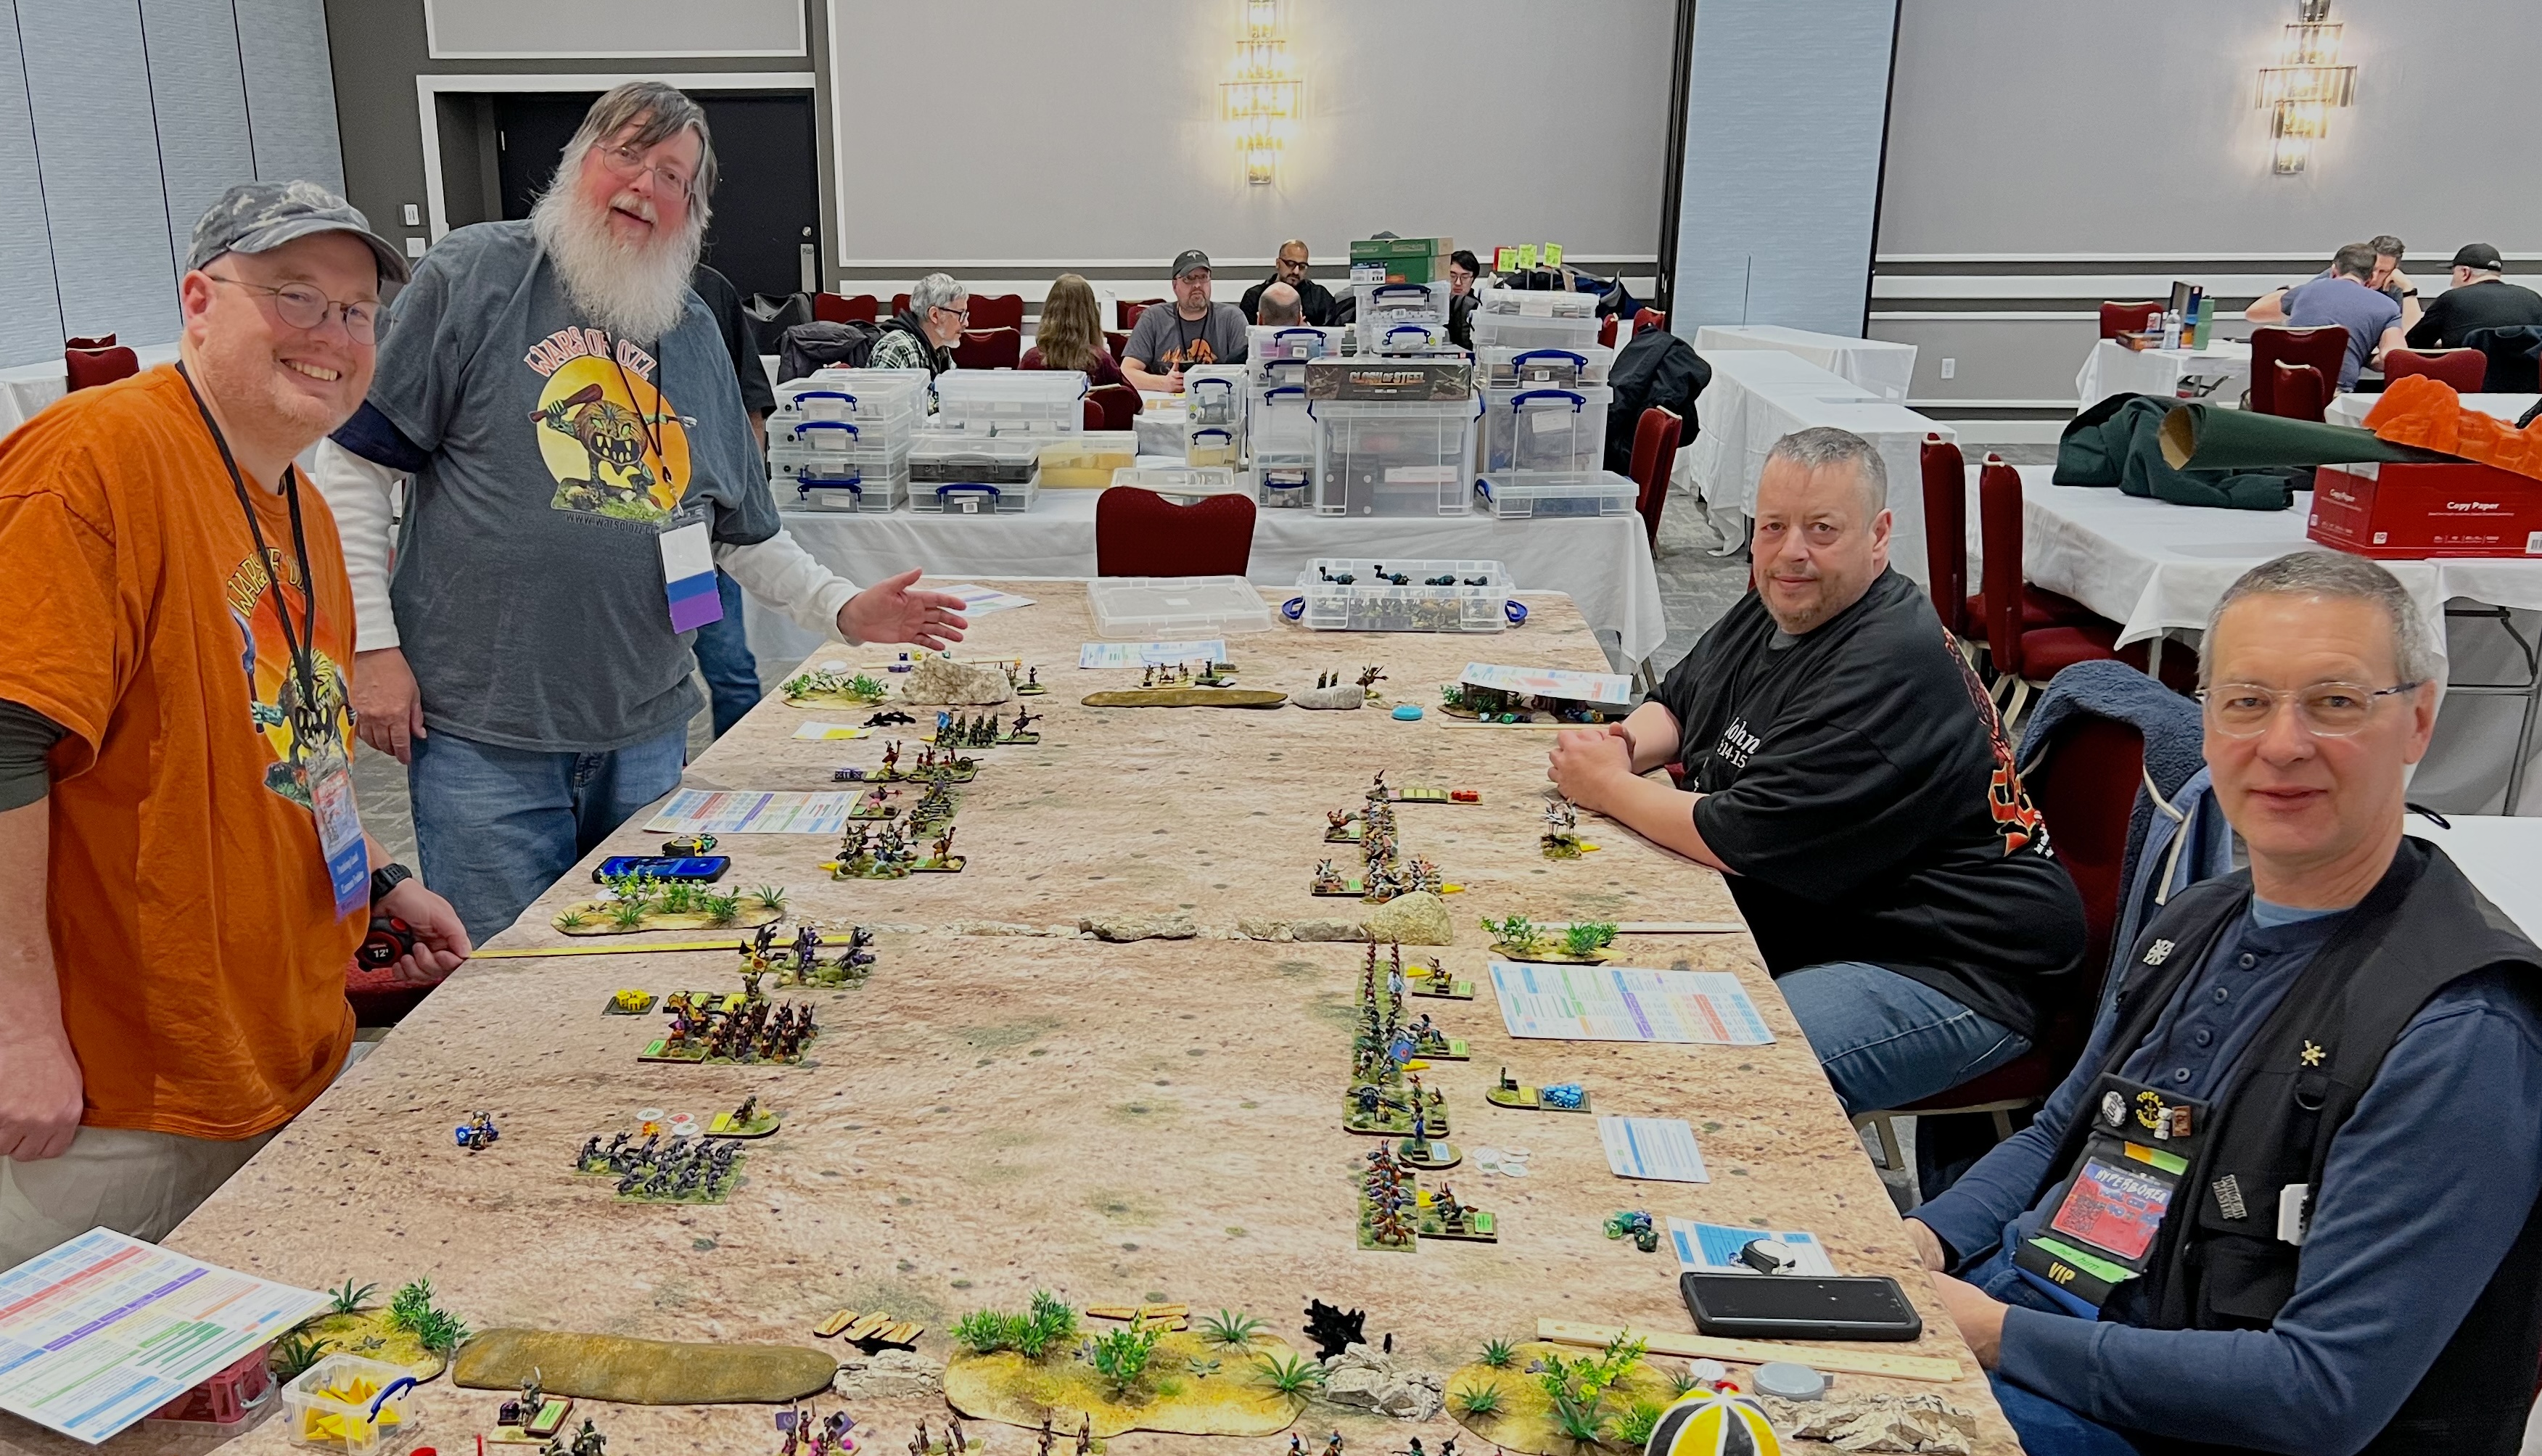
The next game builds on this one. The Munchkins have found technology, but welshed on their agreement to share! Thus, they betrayed their allies. As a result, their former allies have jumped over to the Nitpik side. The Munchkins are fleeing to safety, with Nitpik in hot pursuit.
Revenge of the Tin Men
That wrapped up Friday night. The next game would happen Saturday morning set in North Africa.
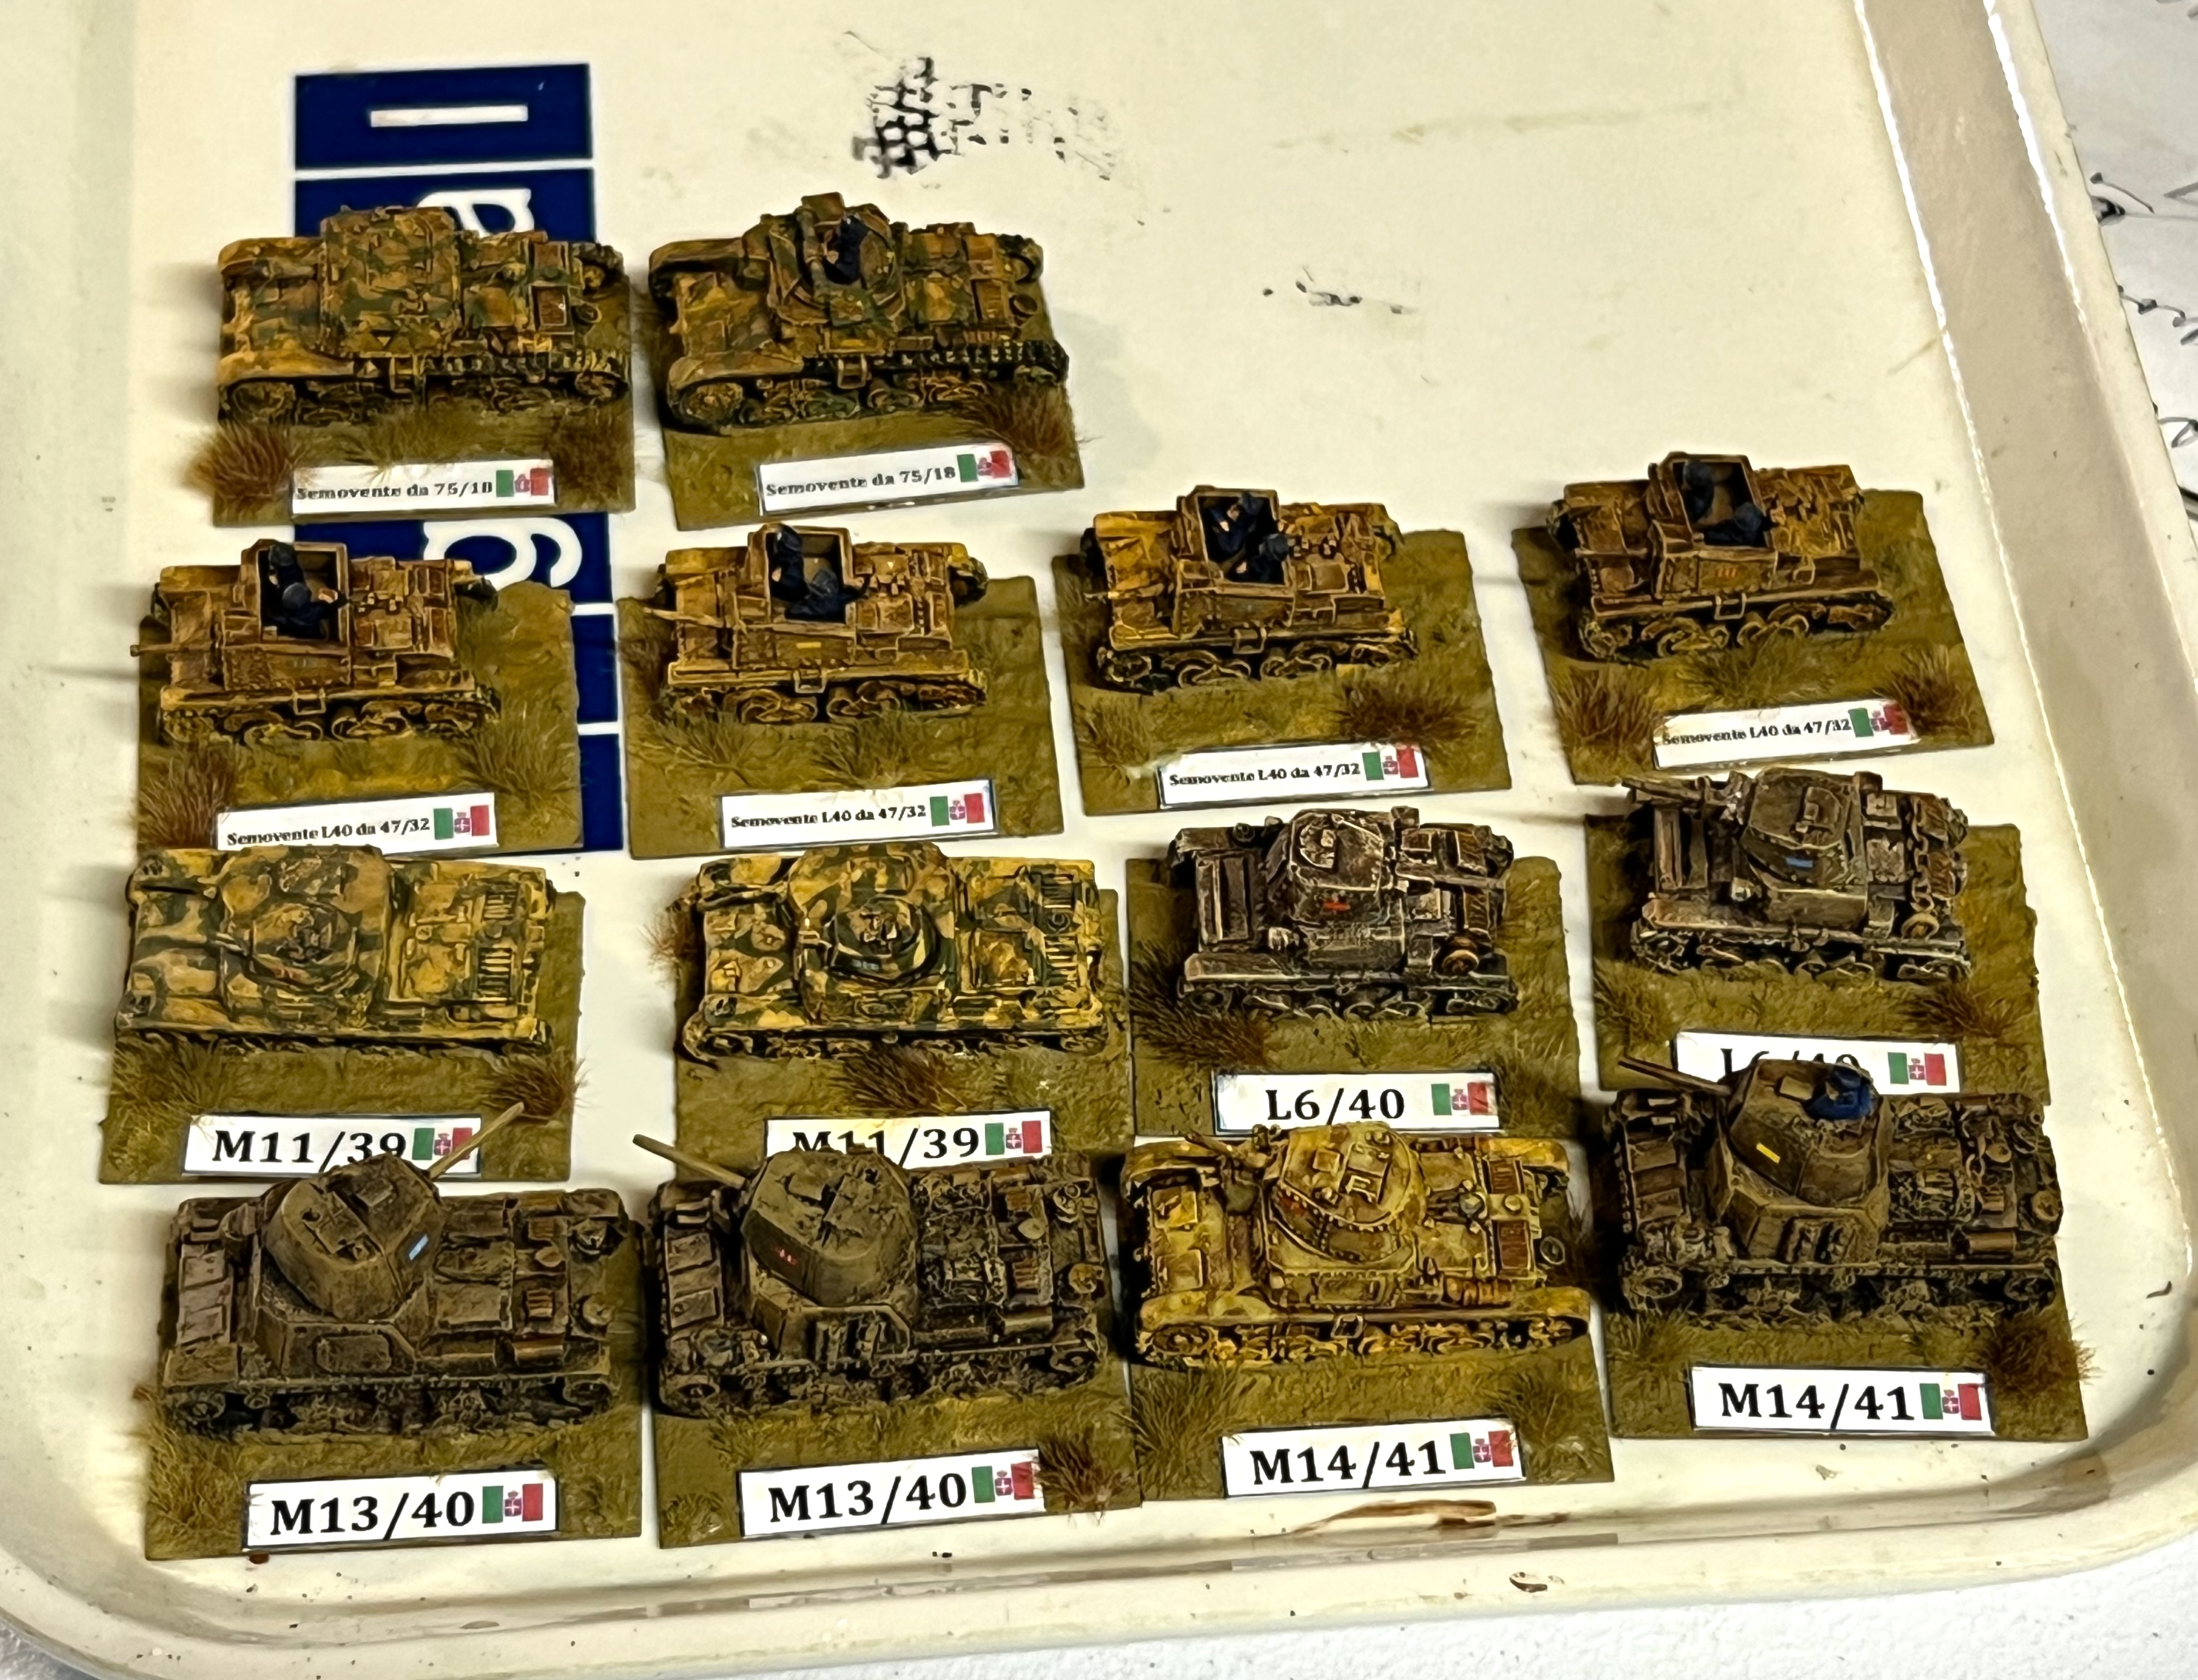
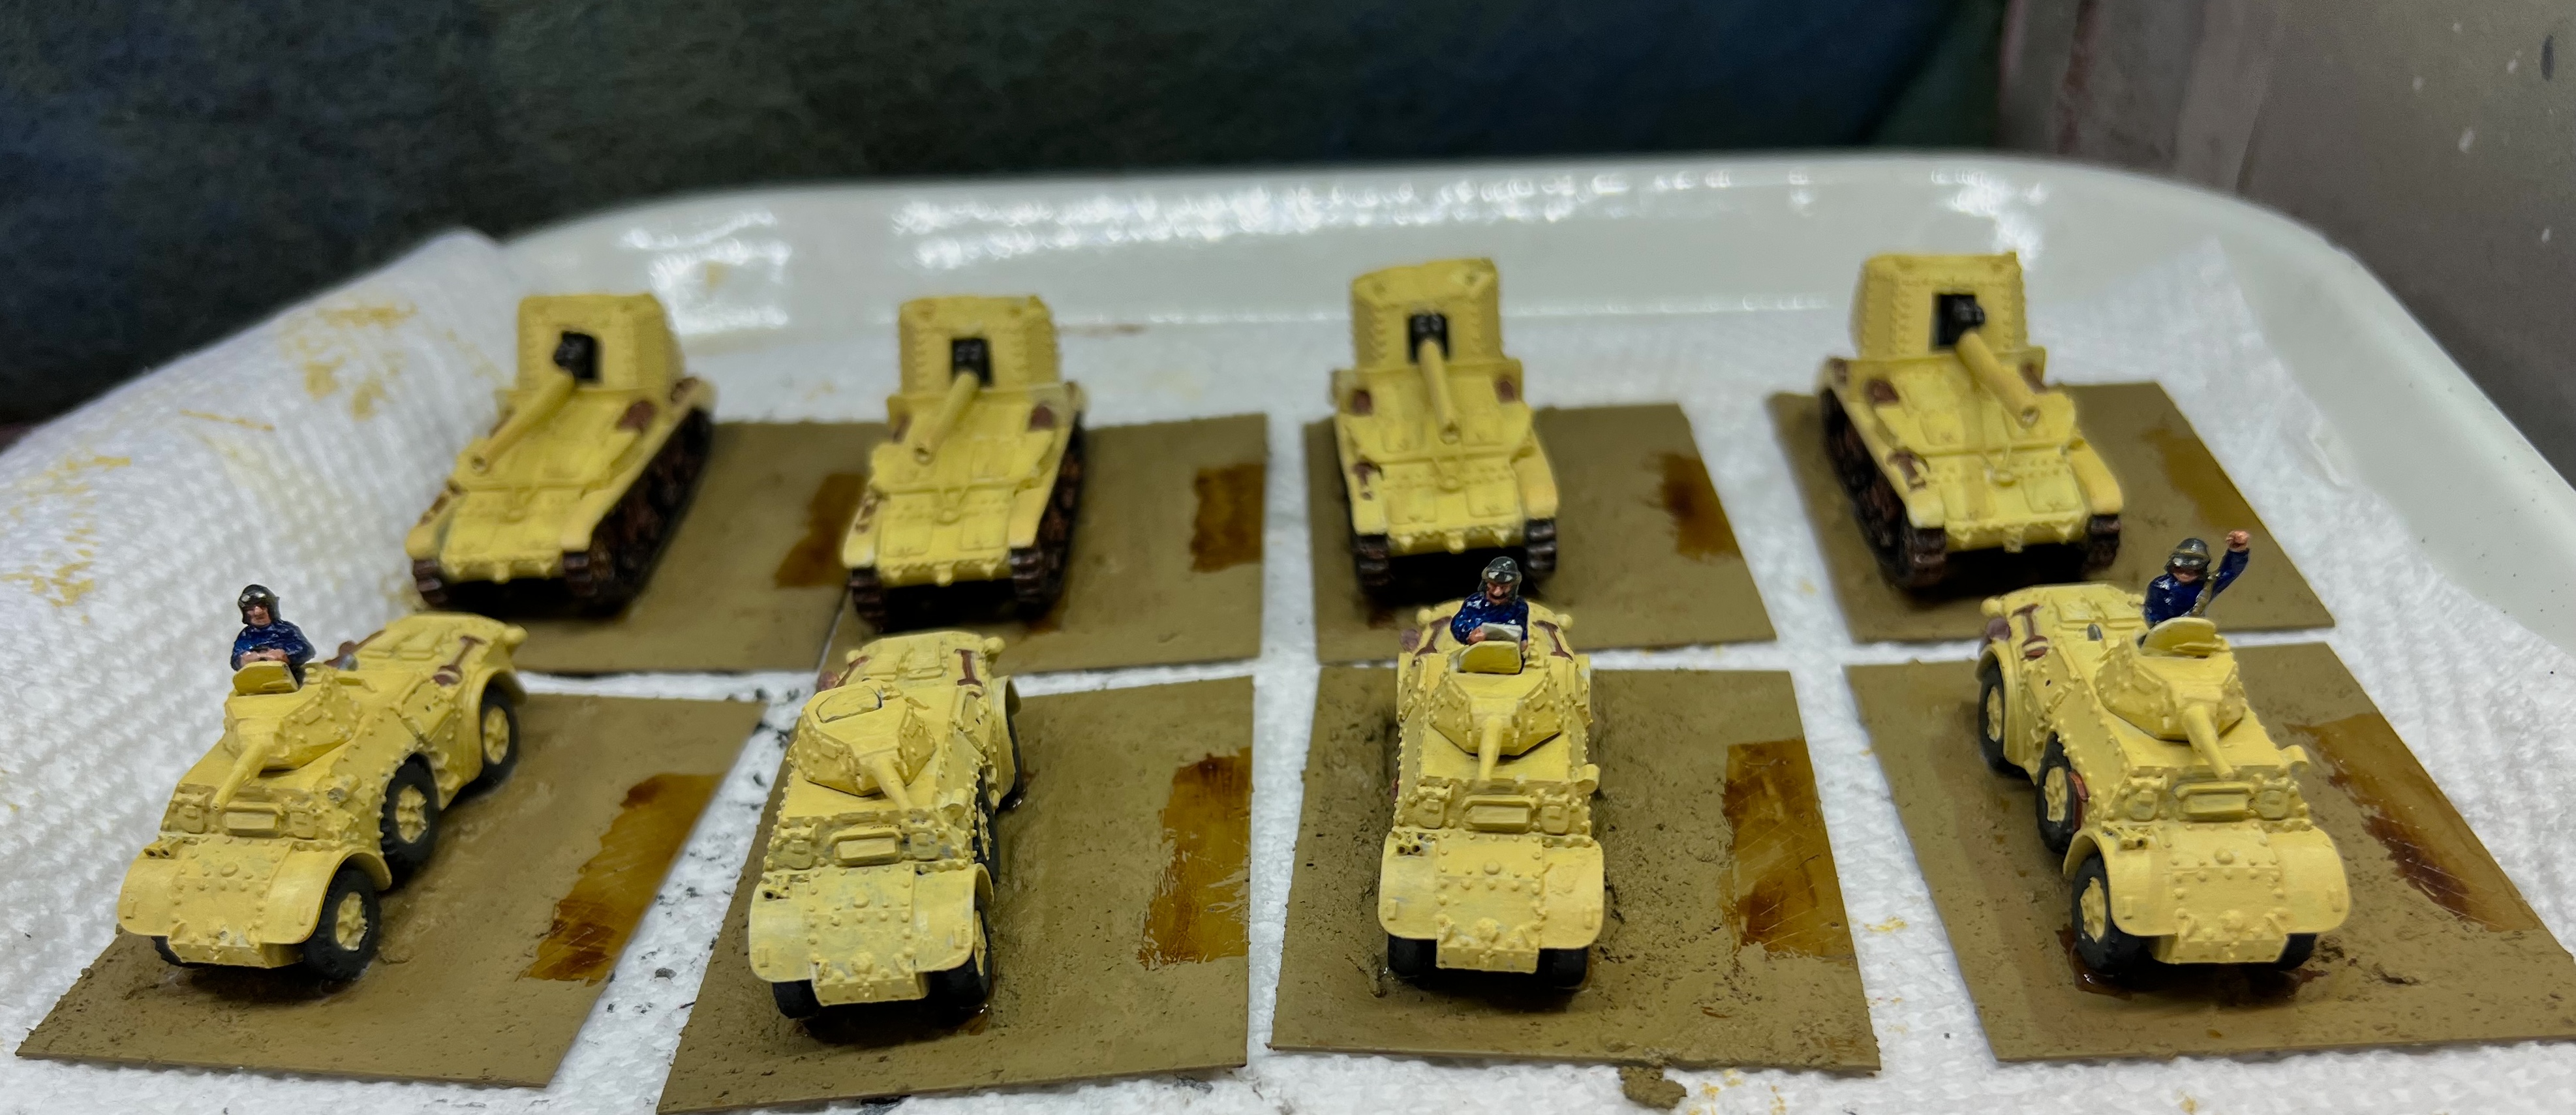
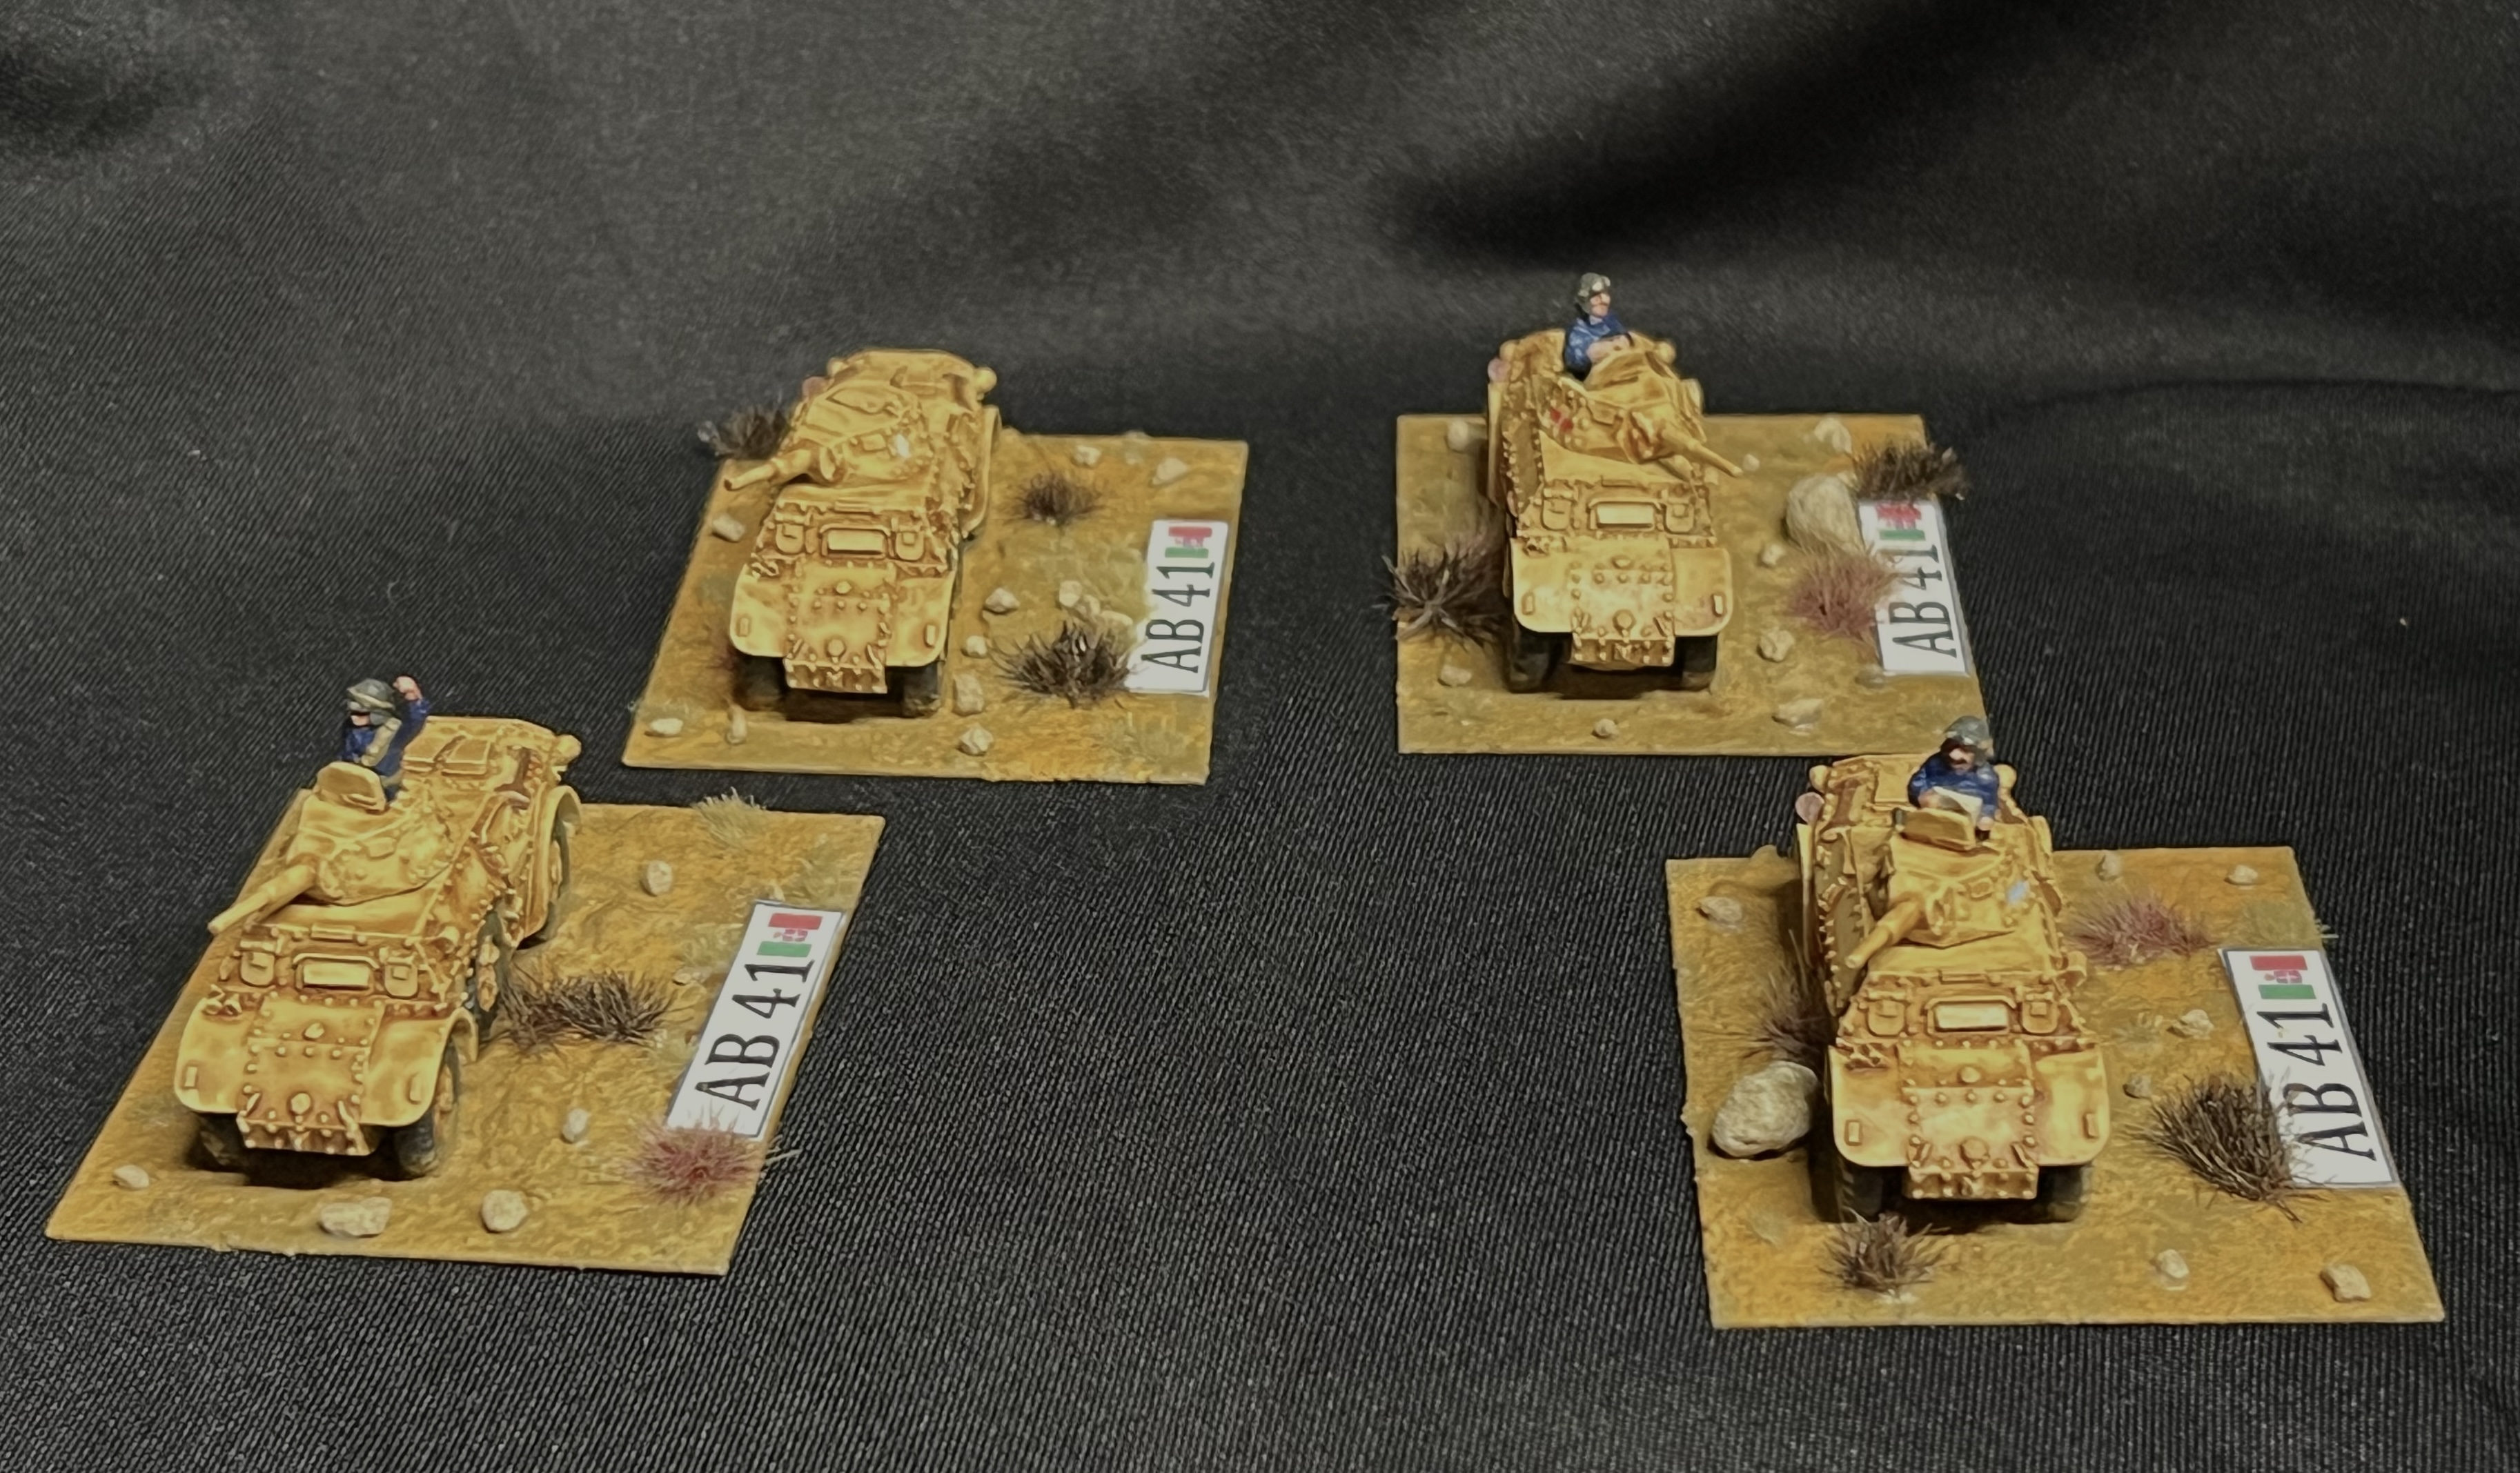
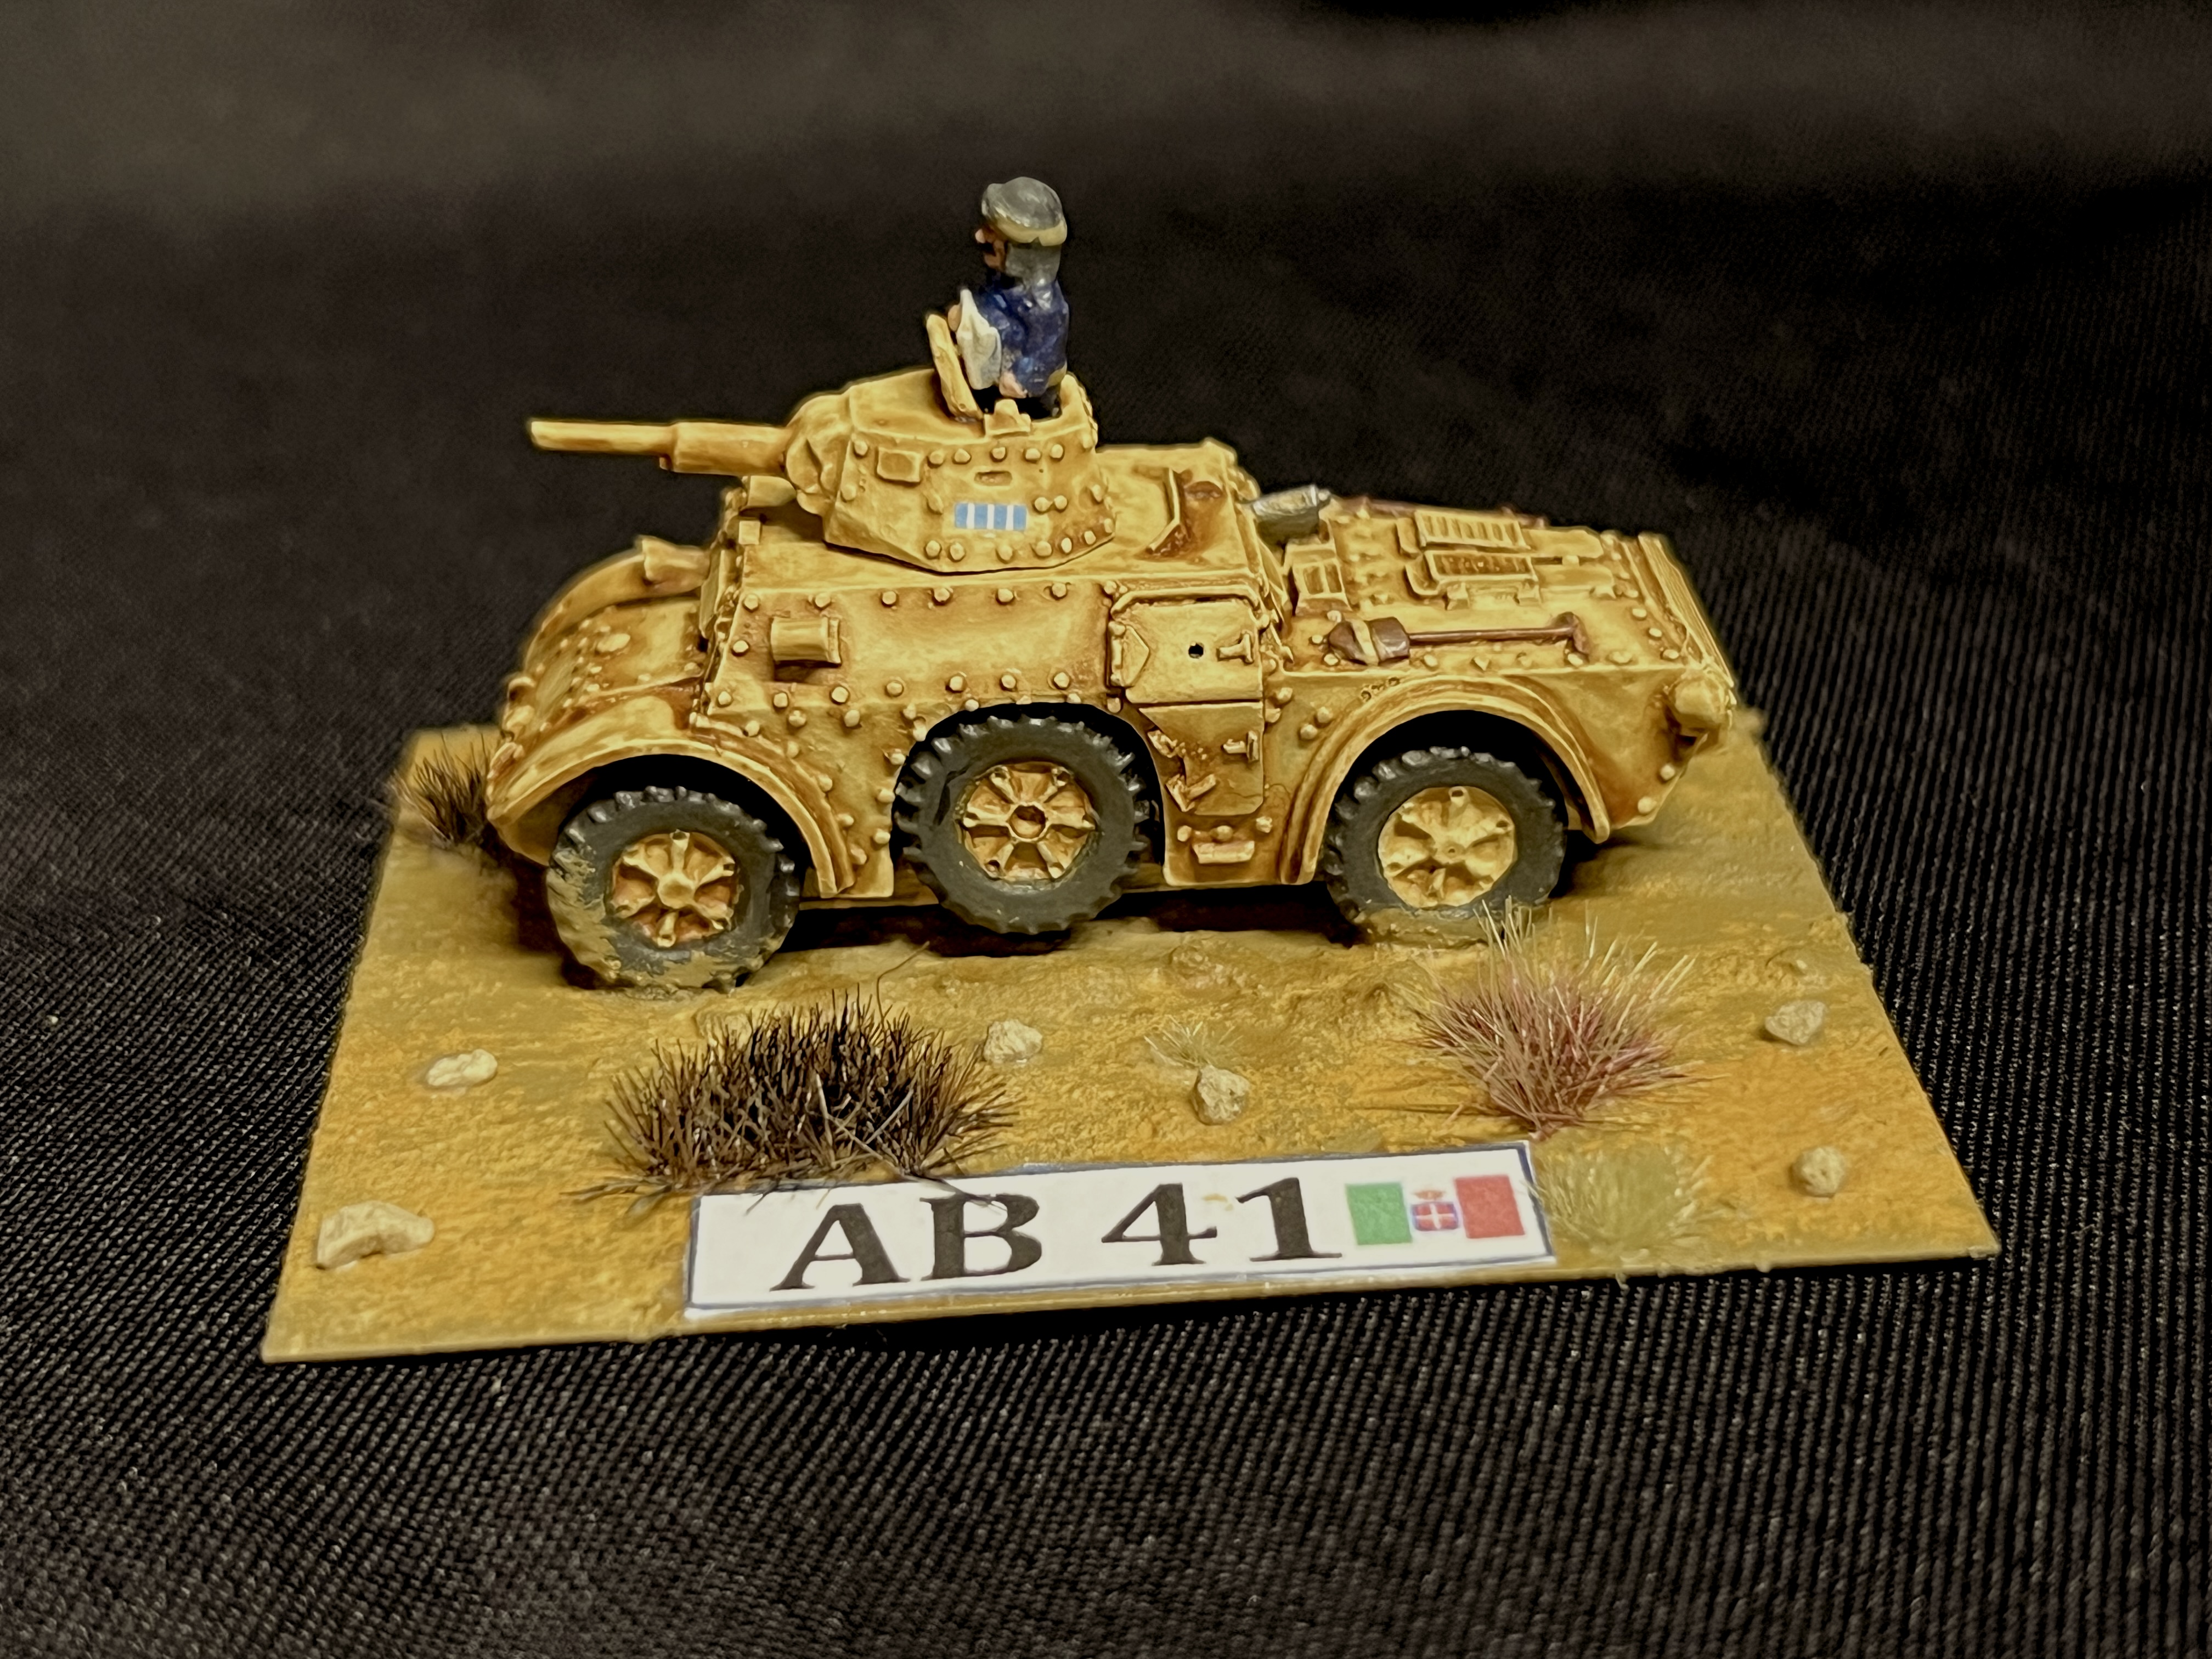
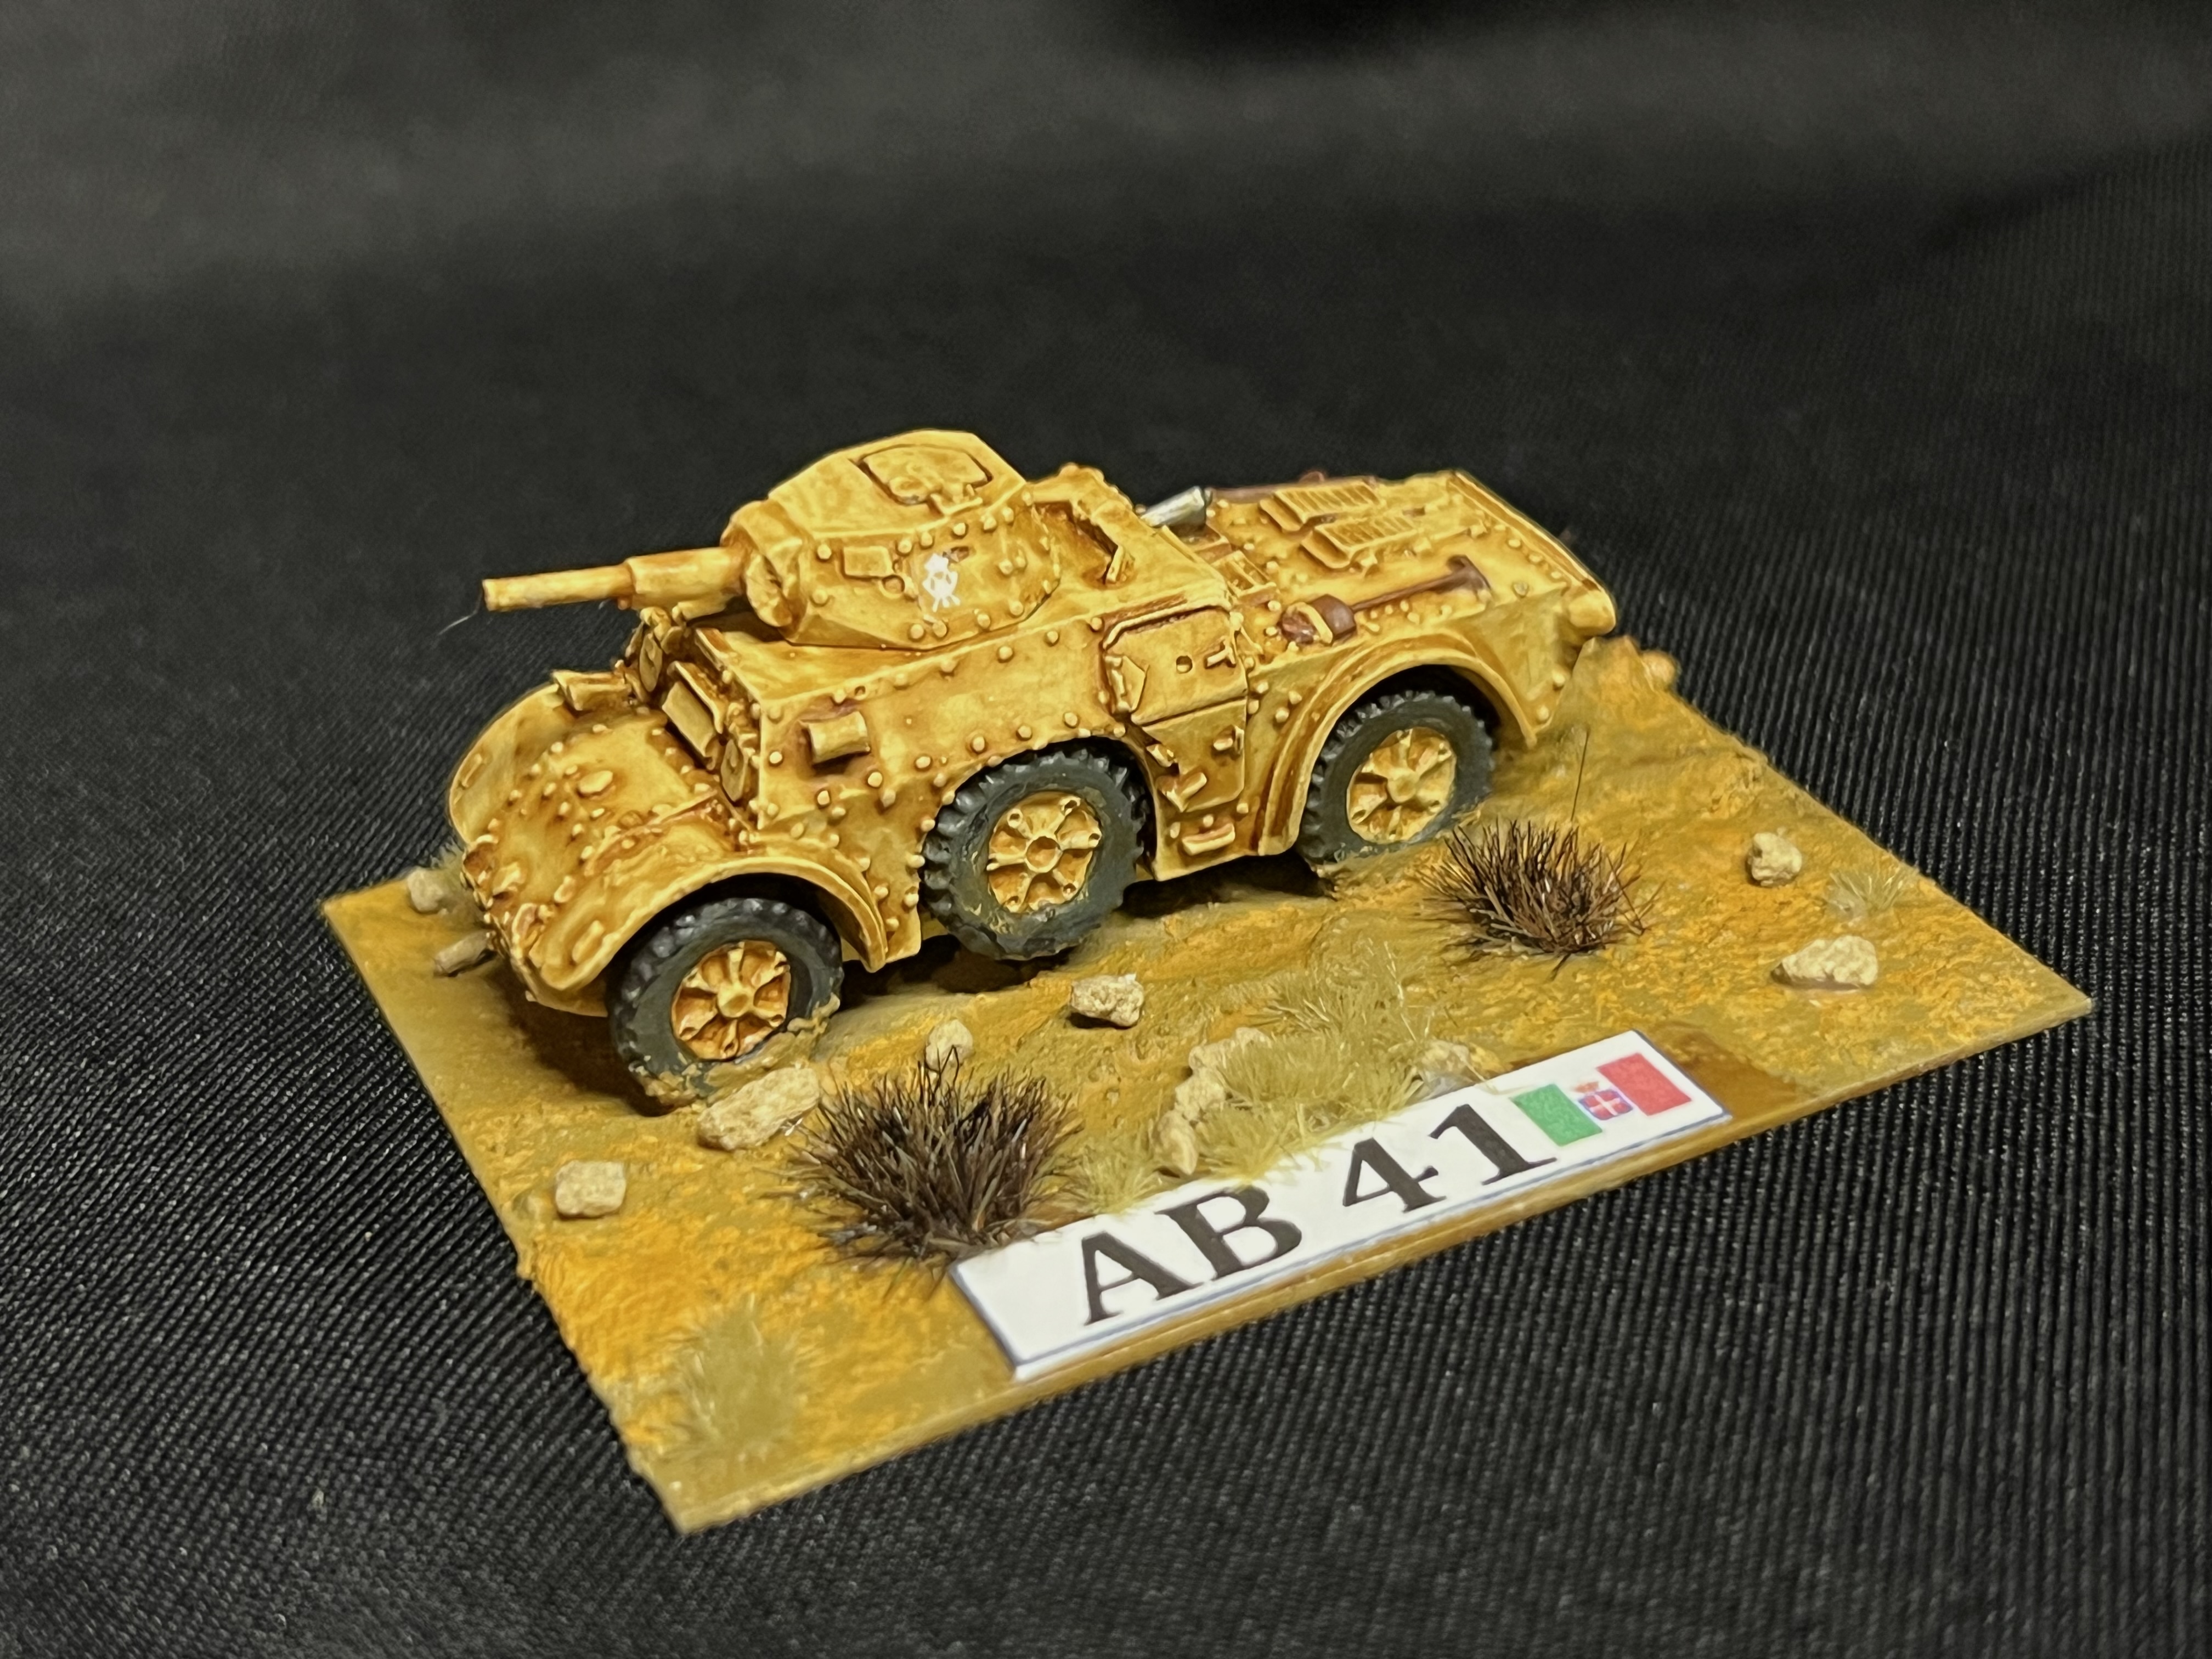
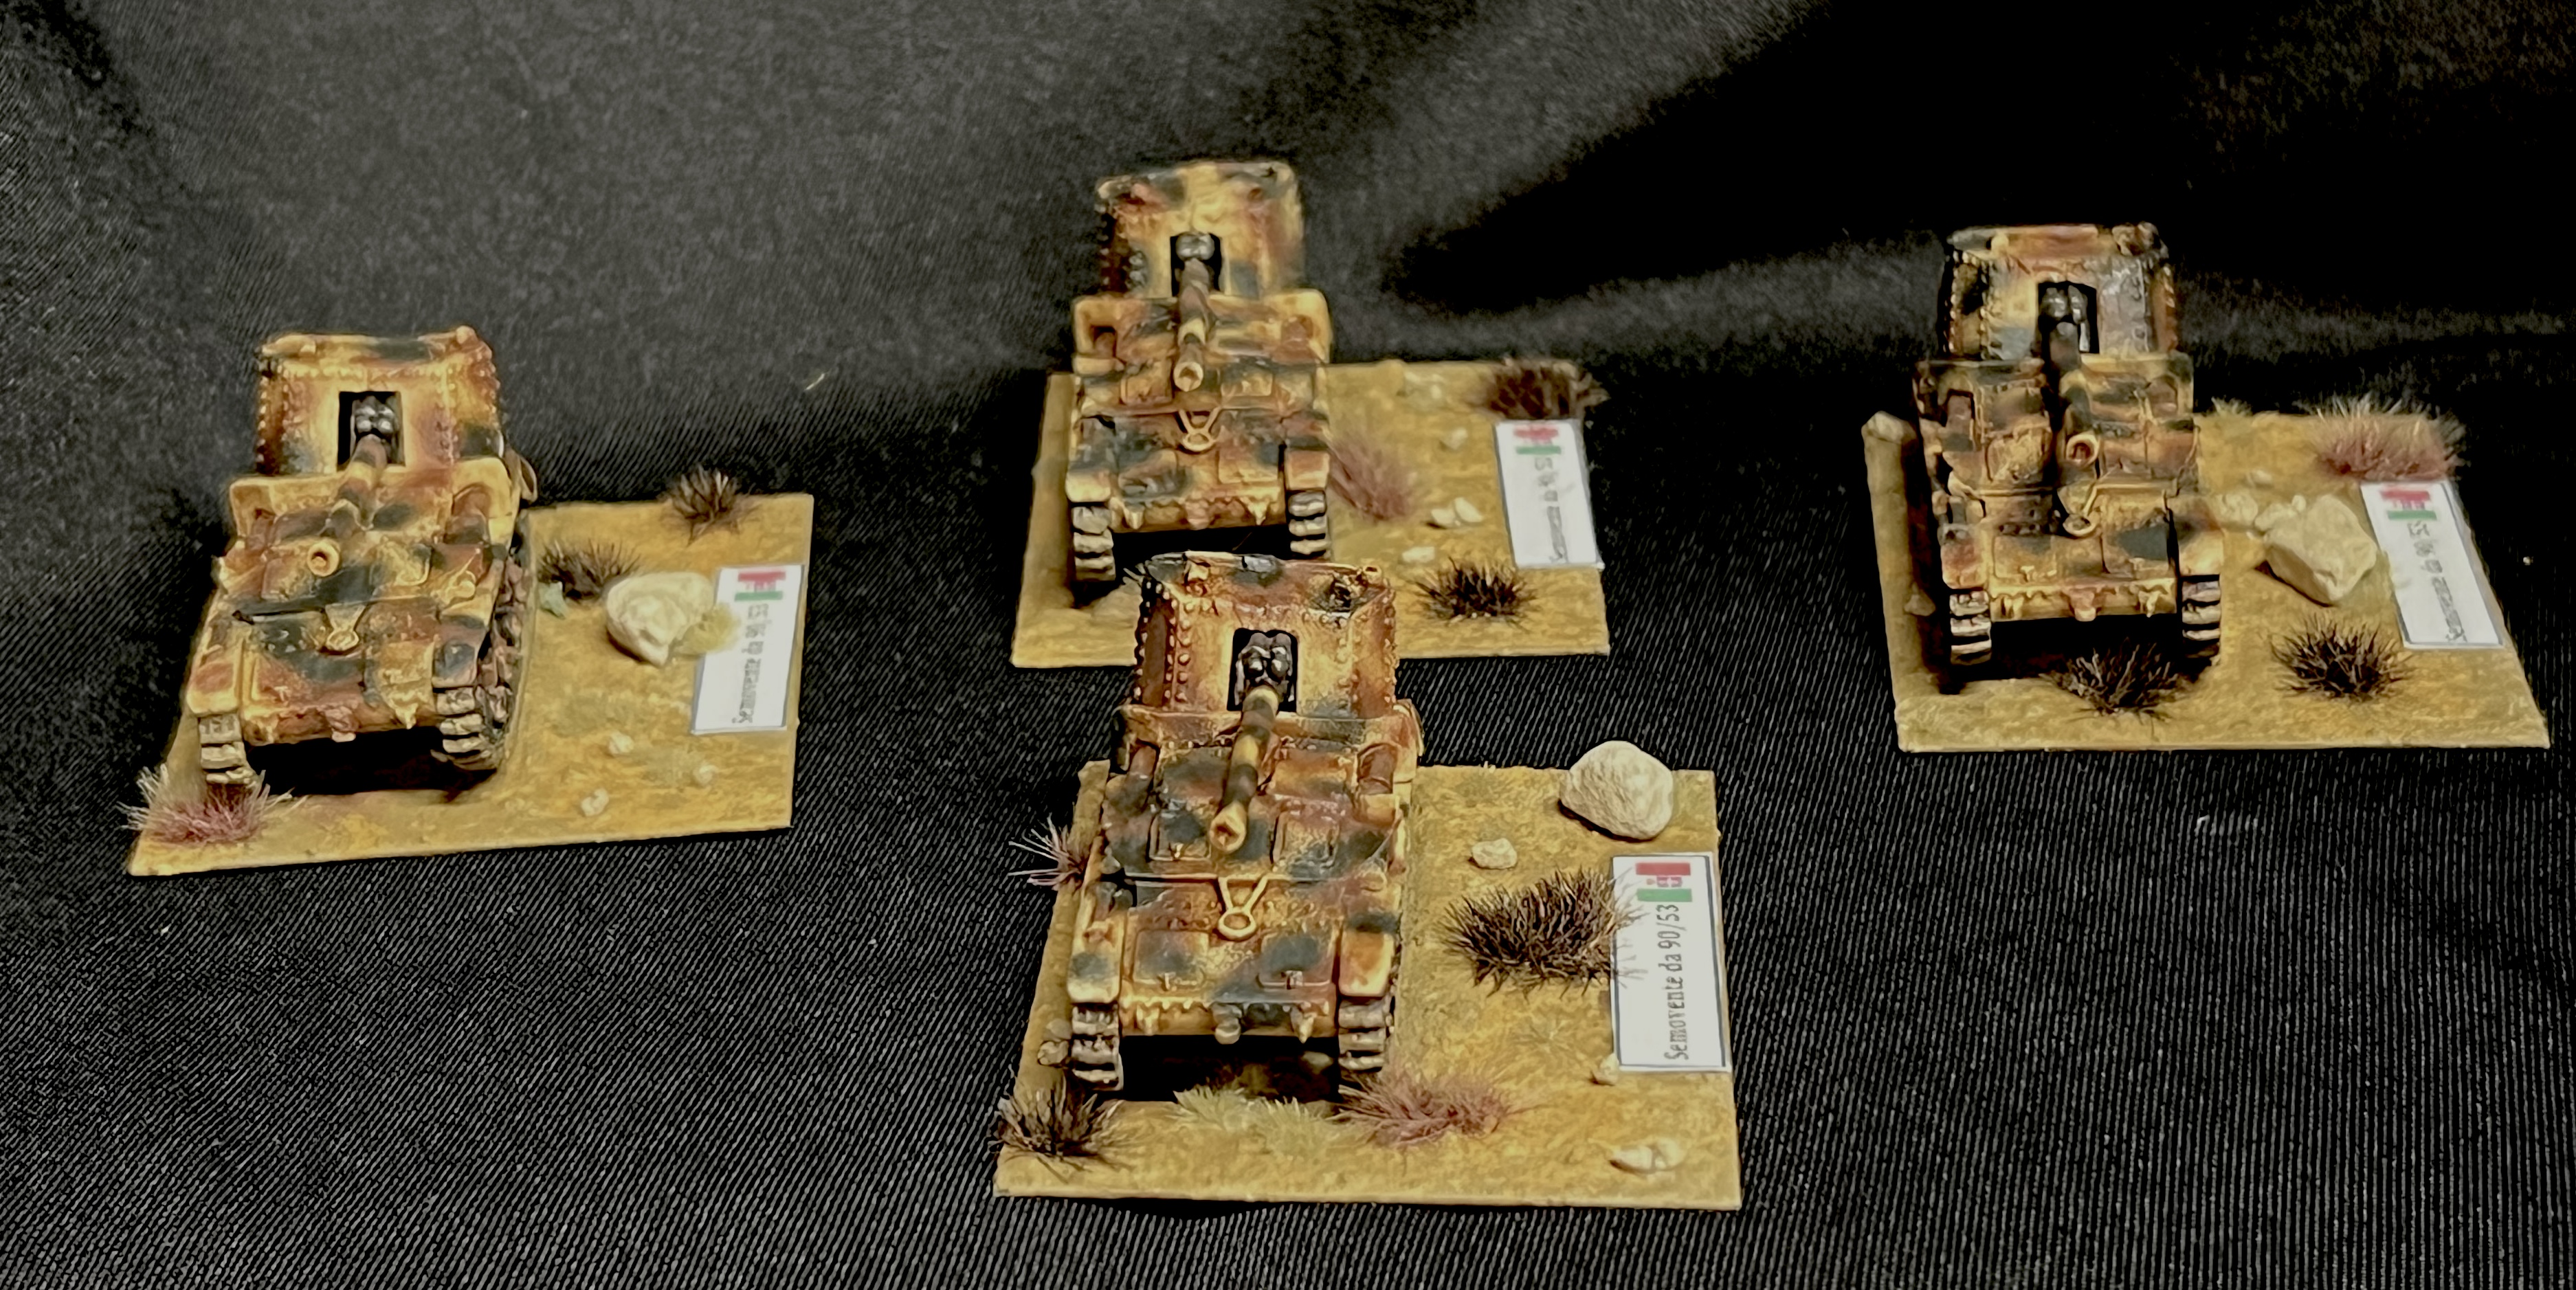
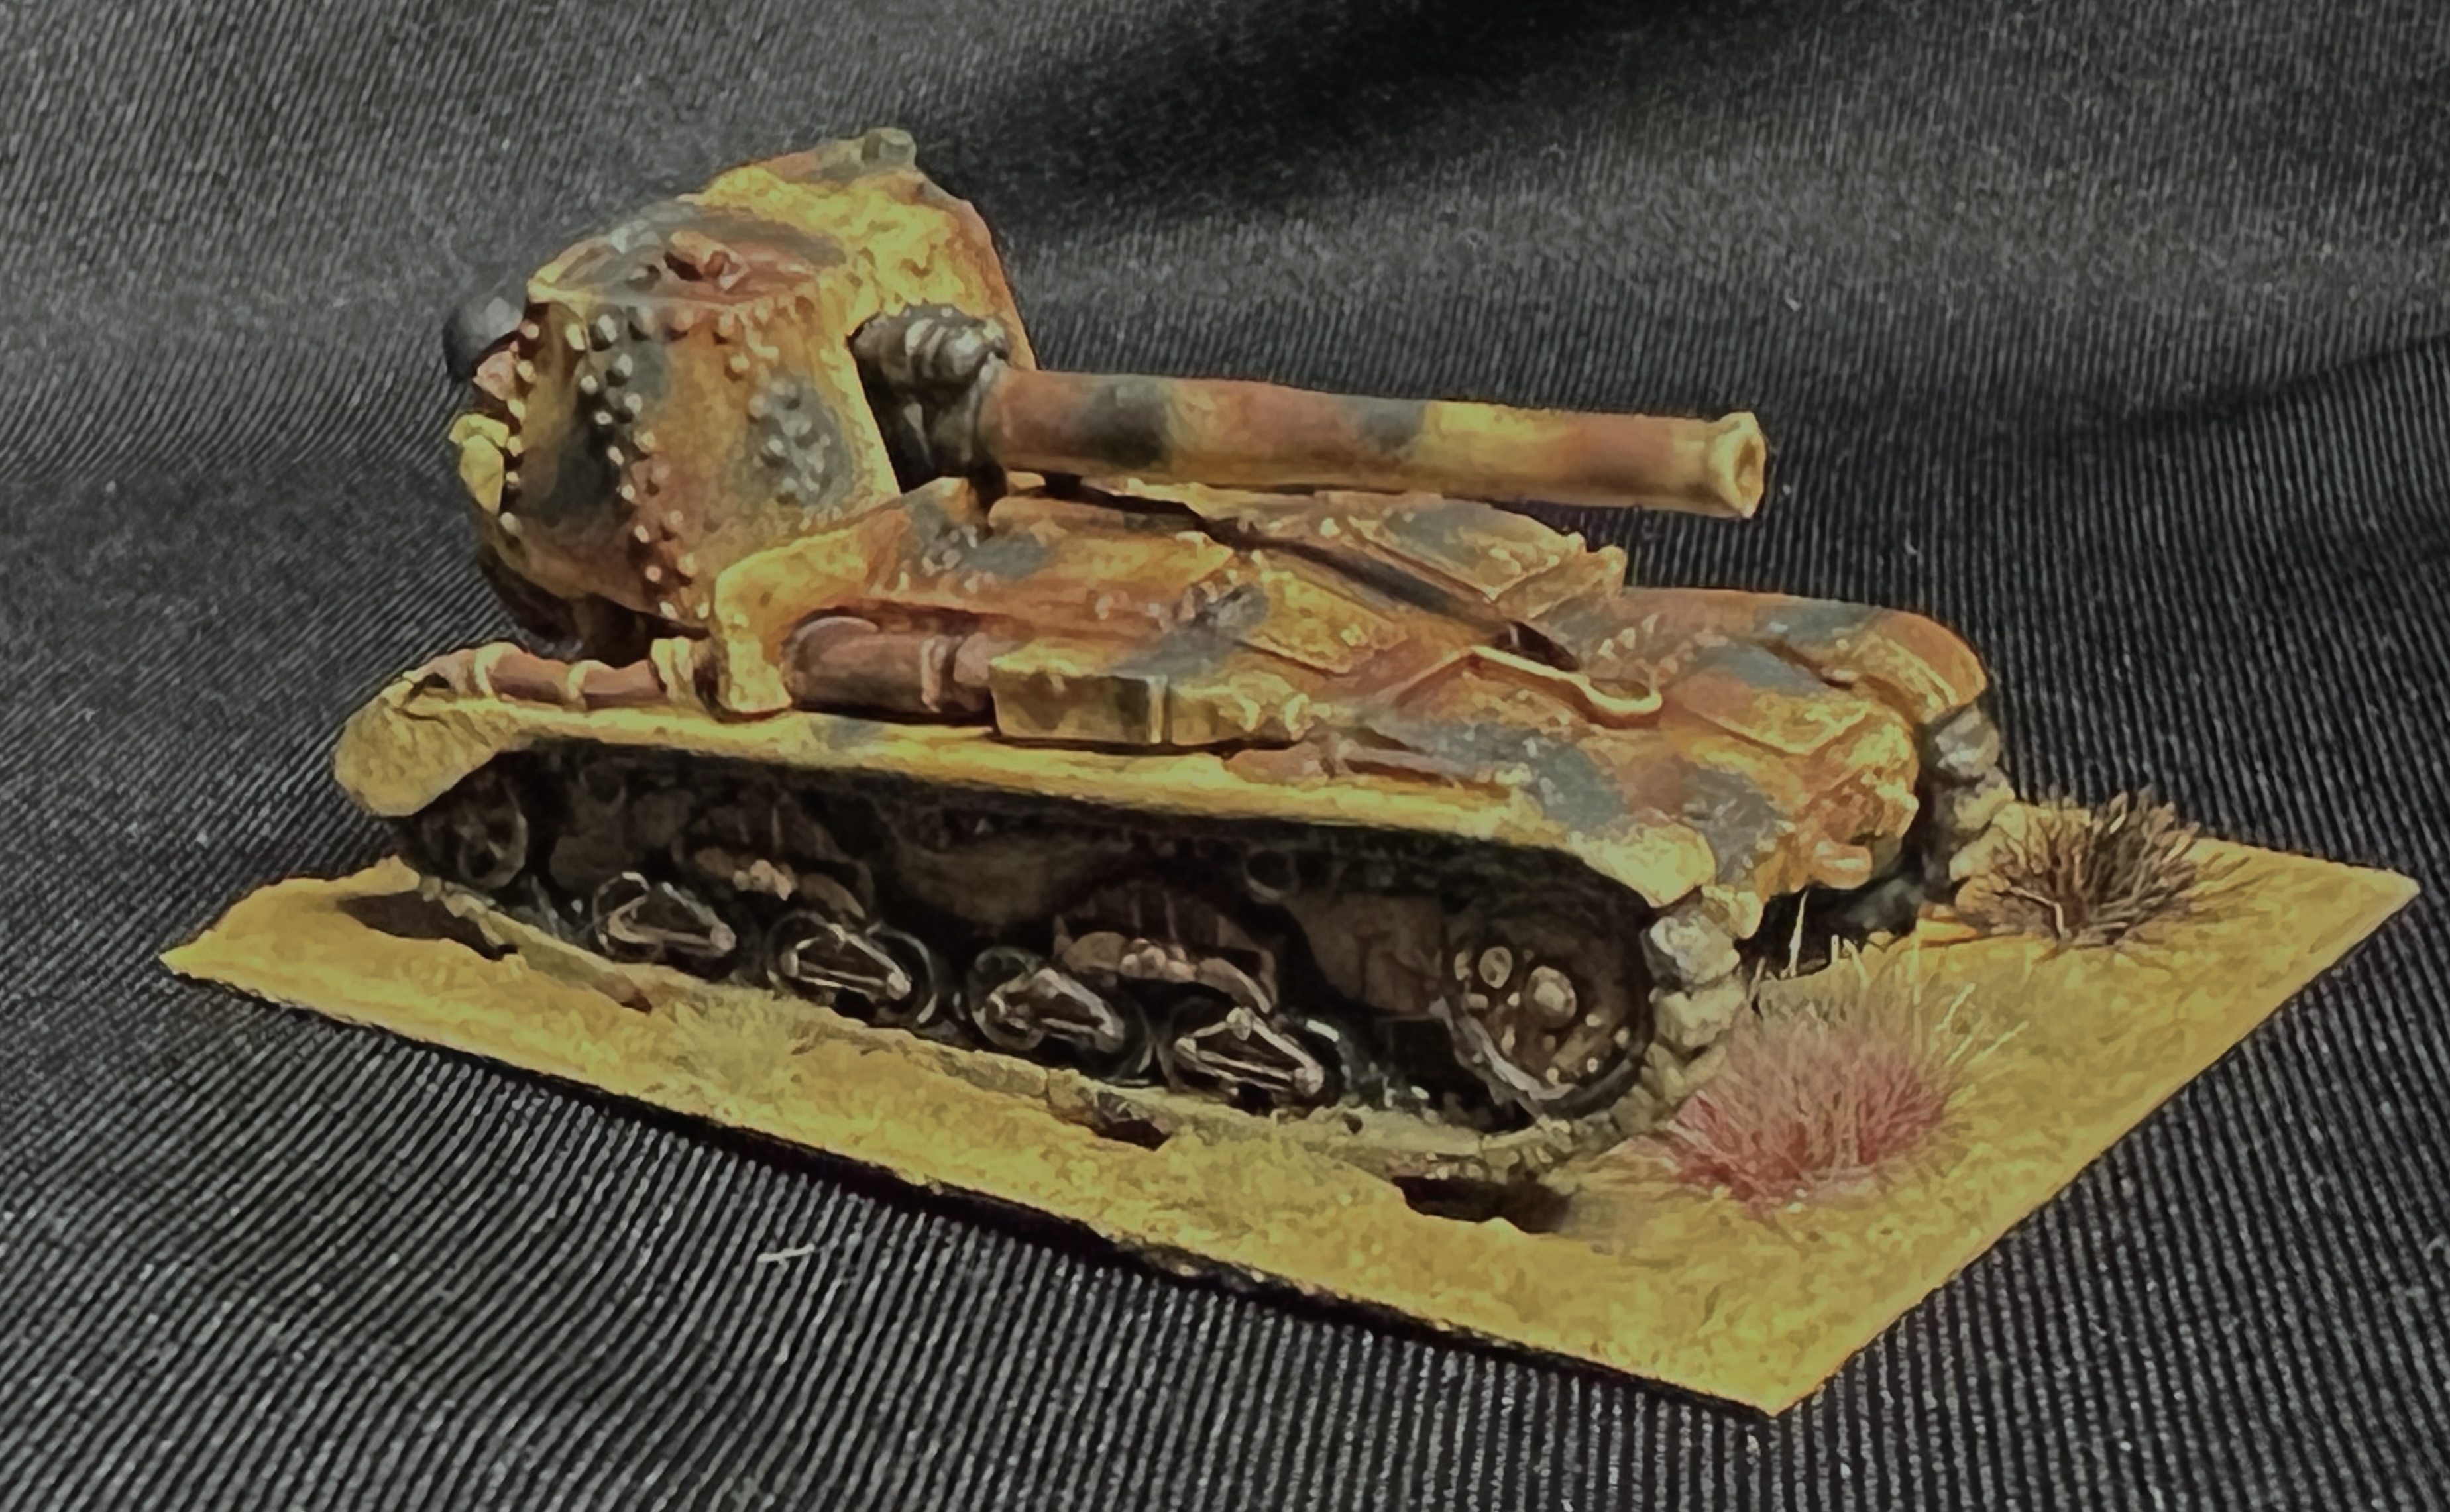
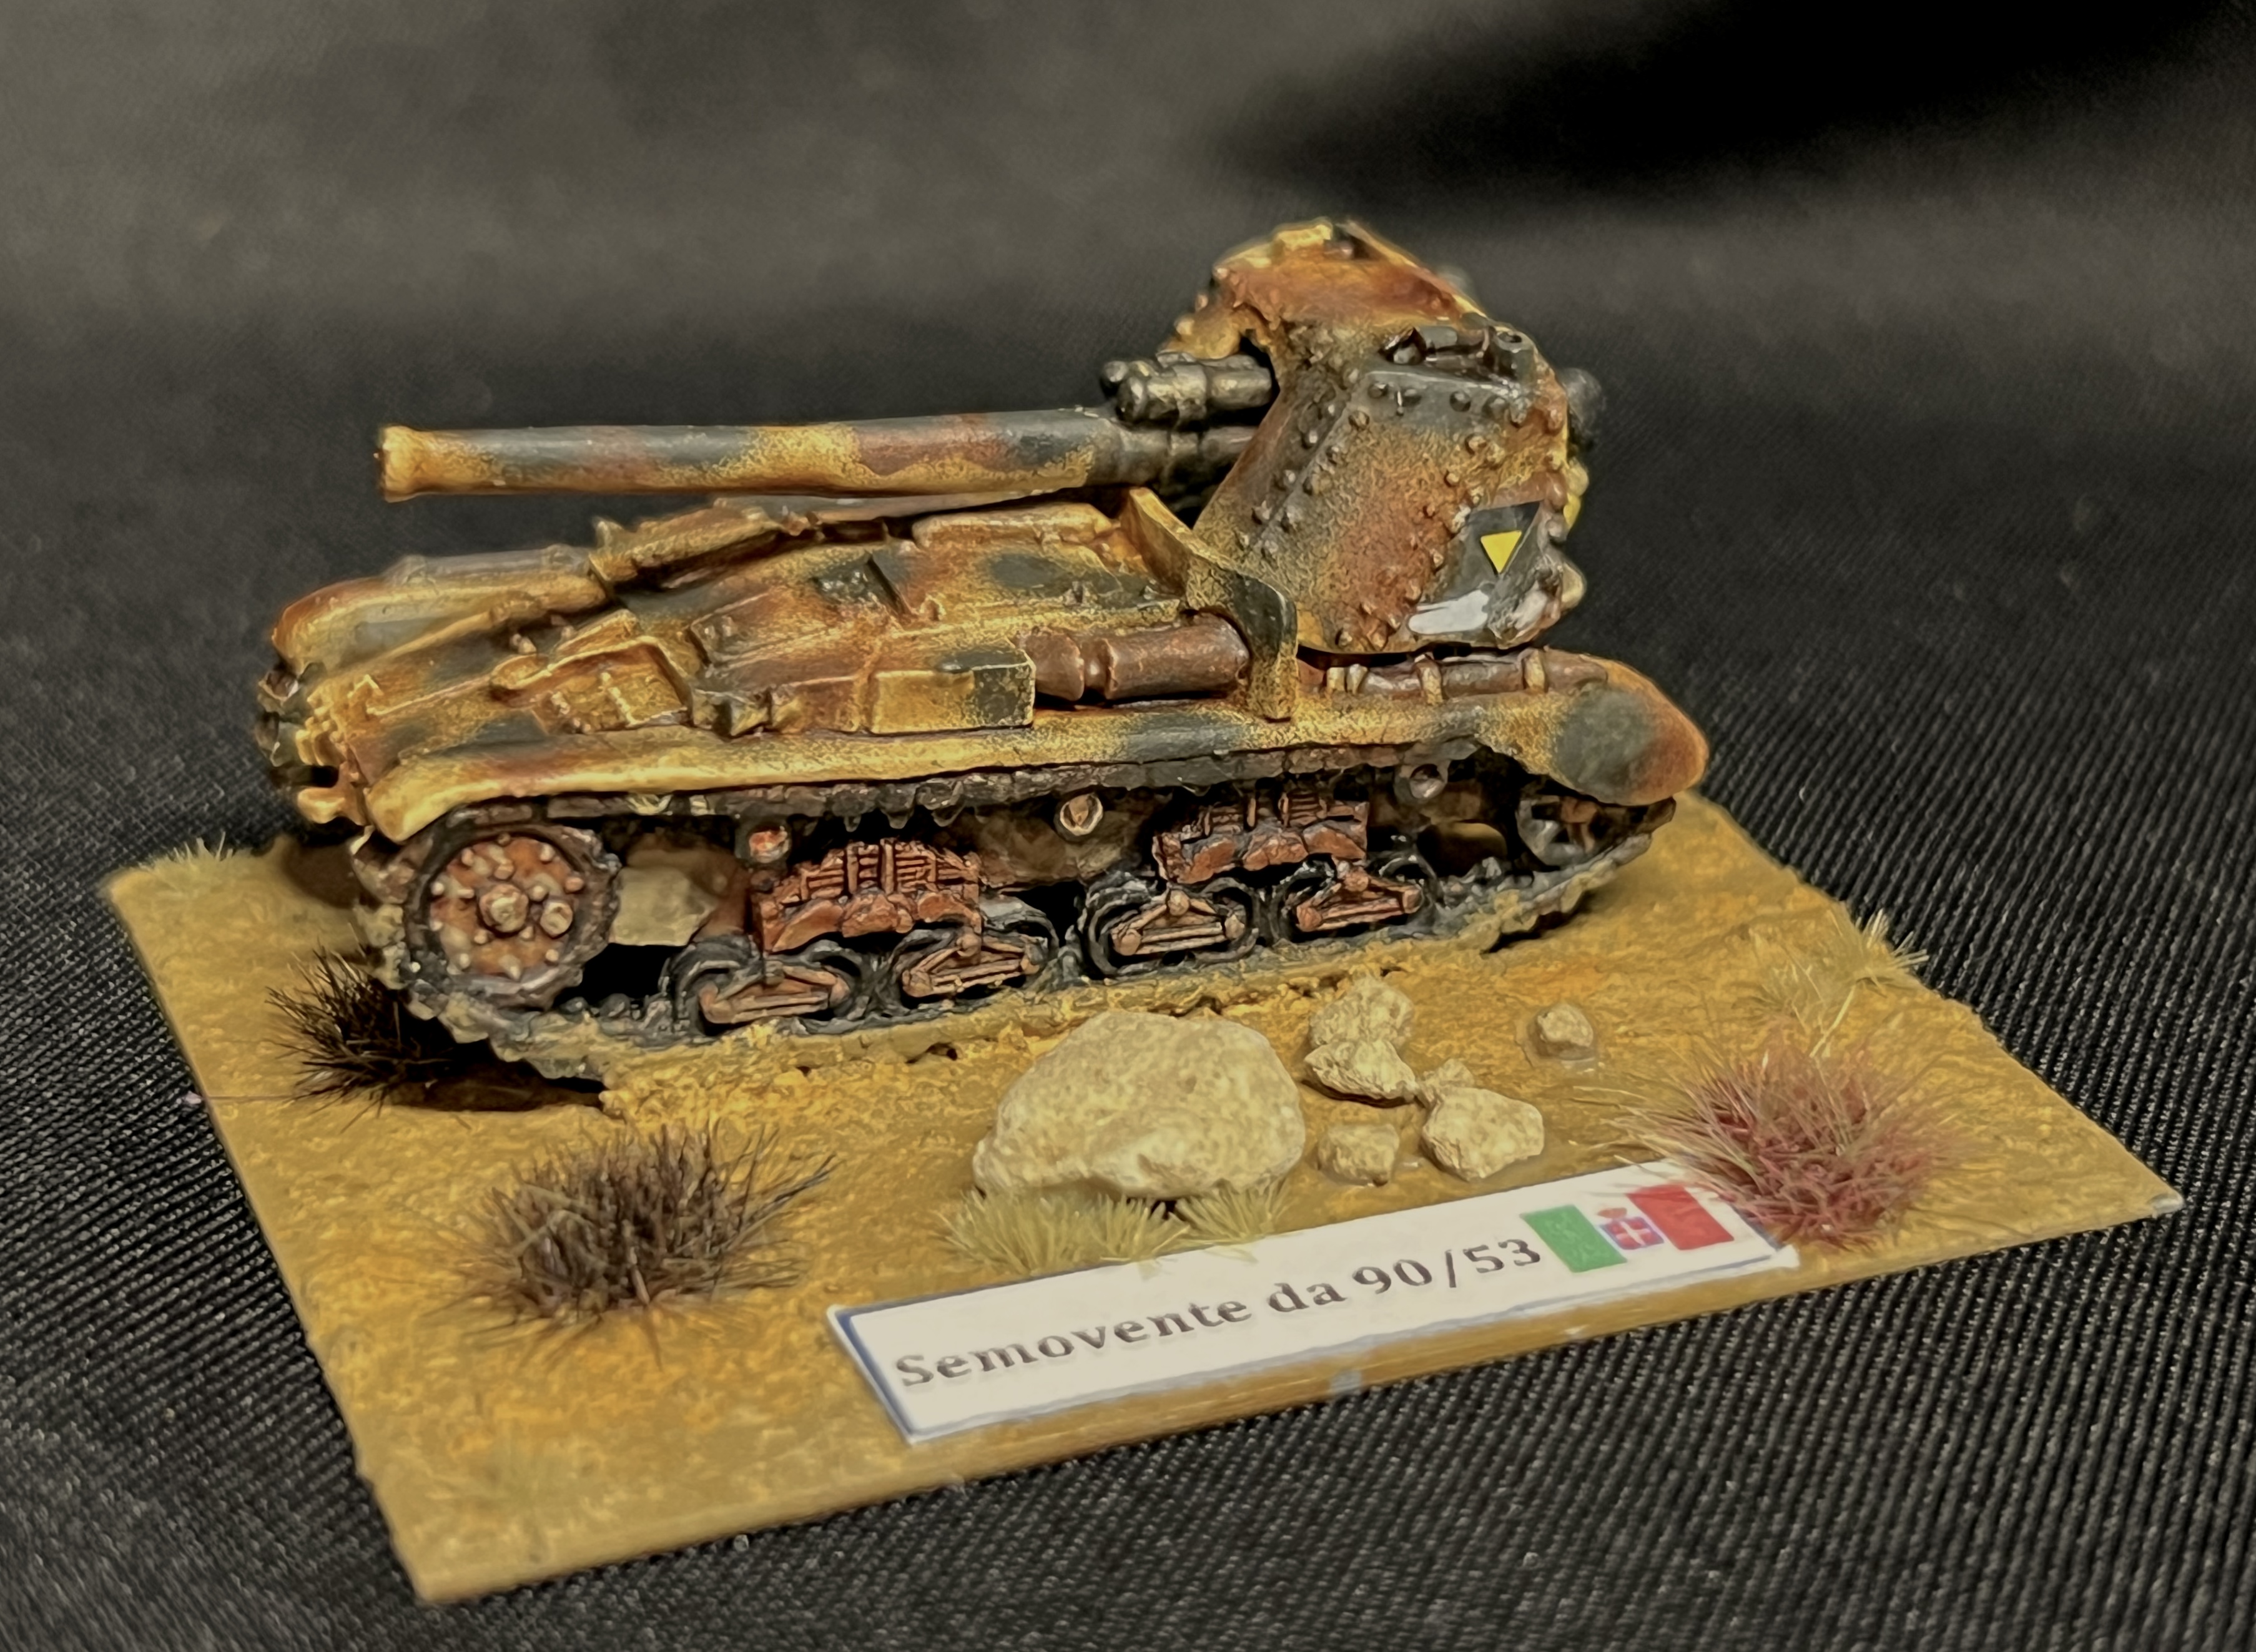
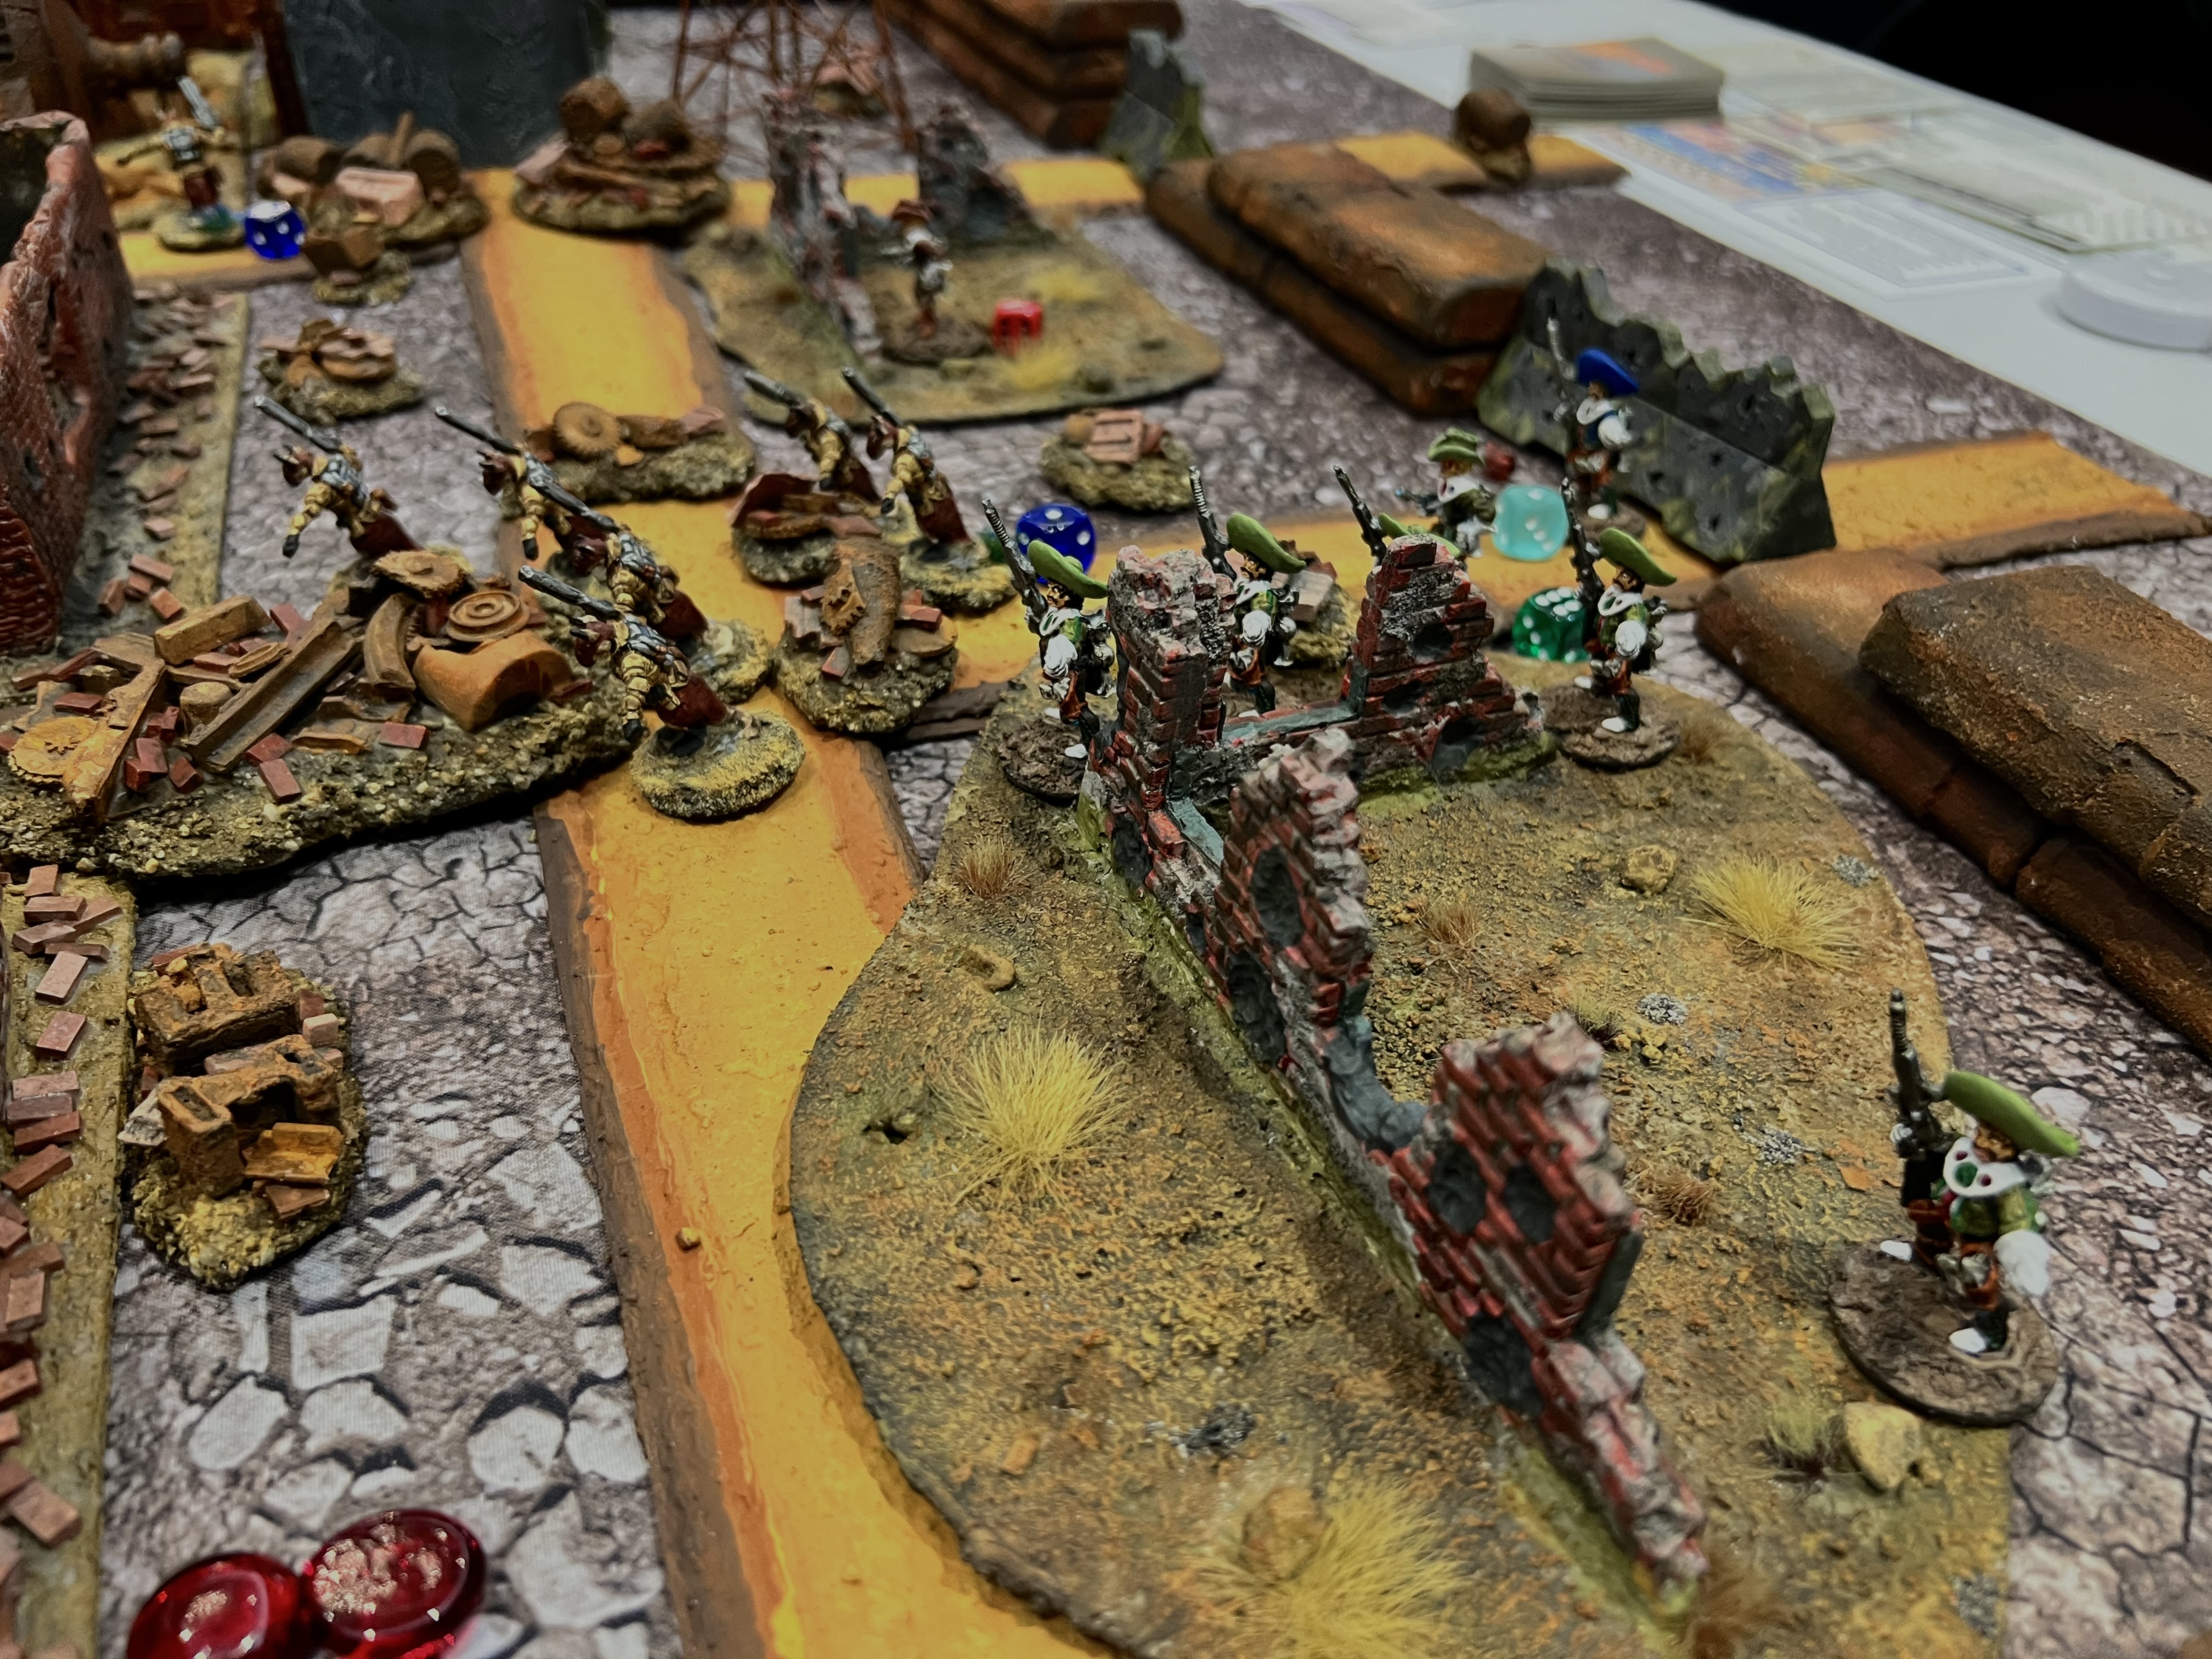
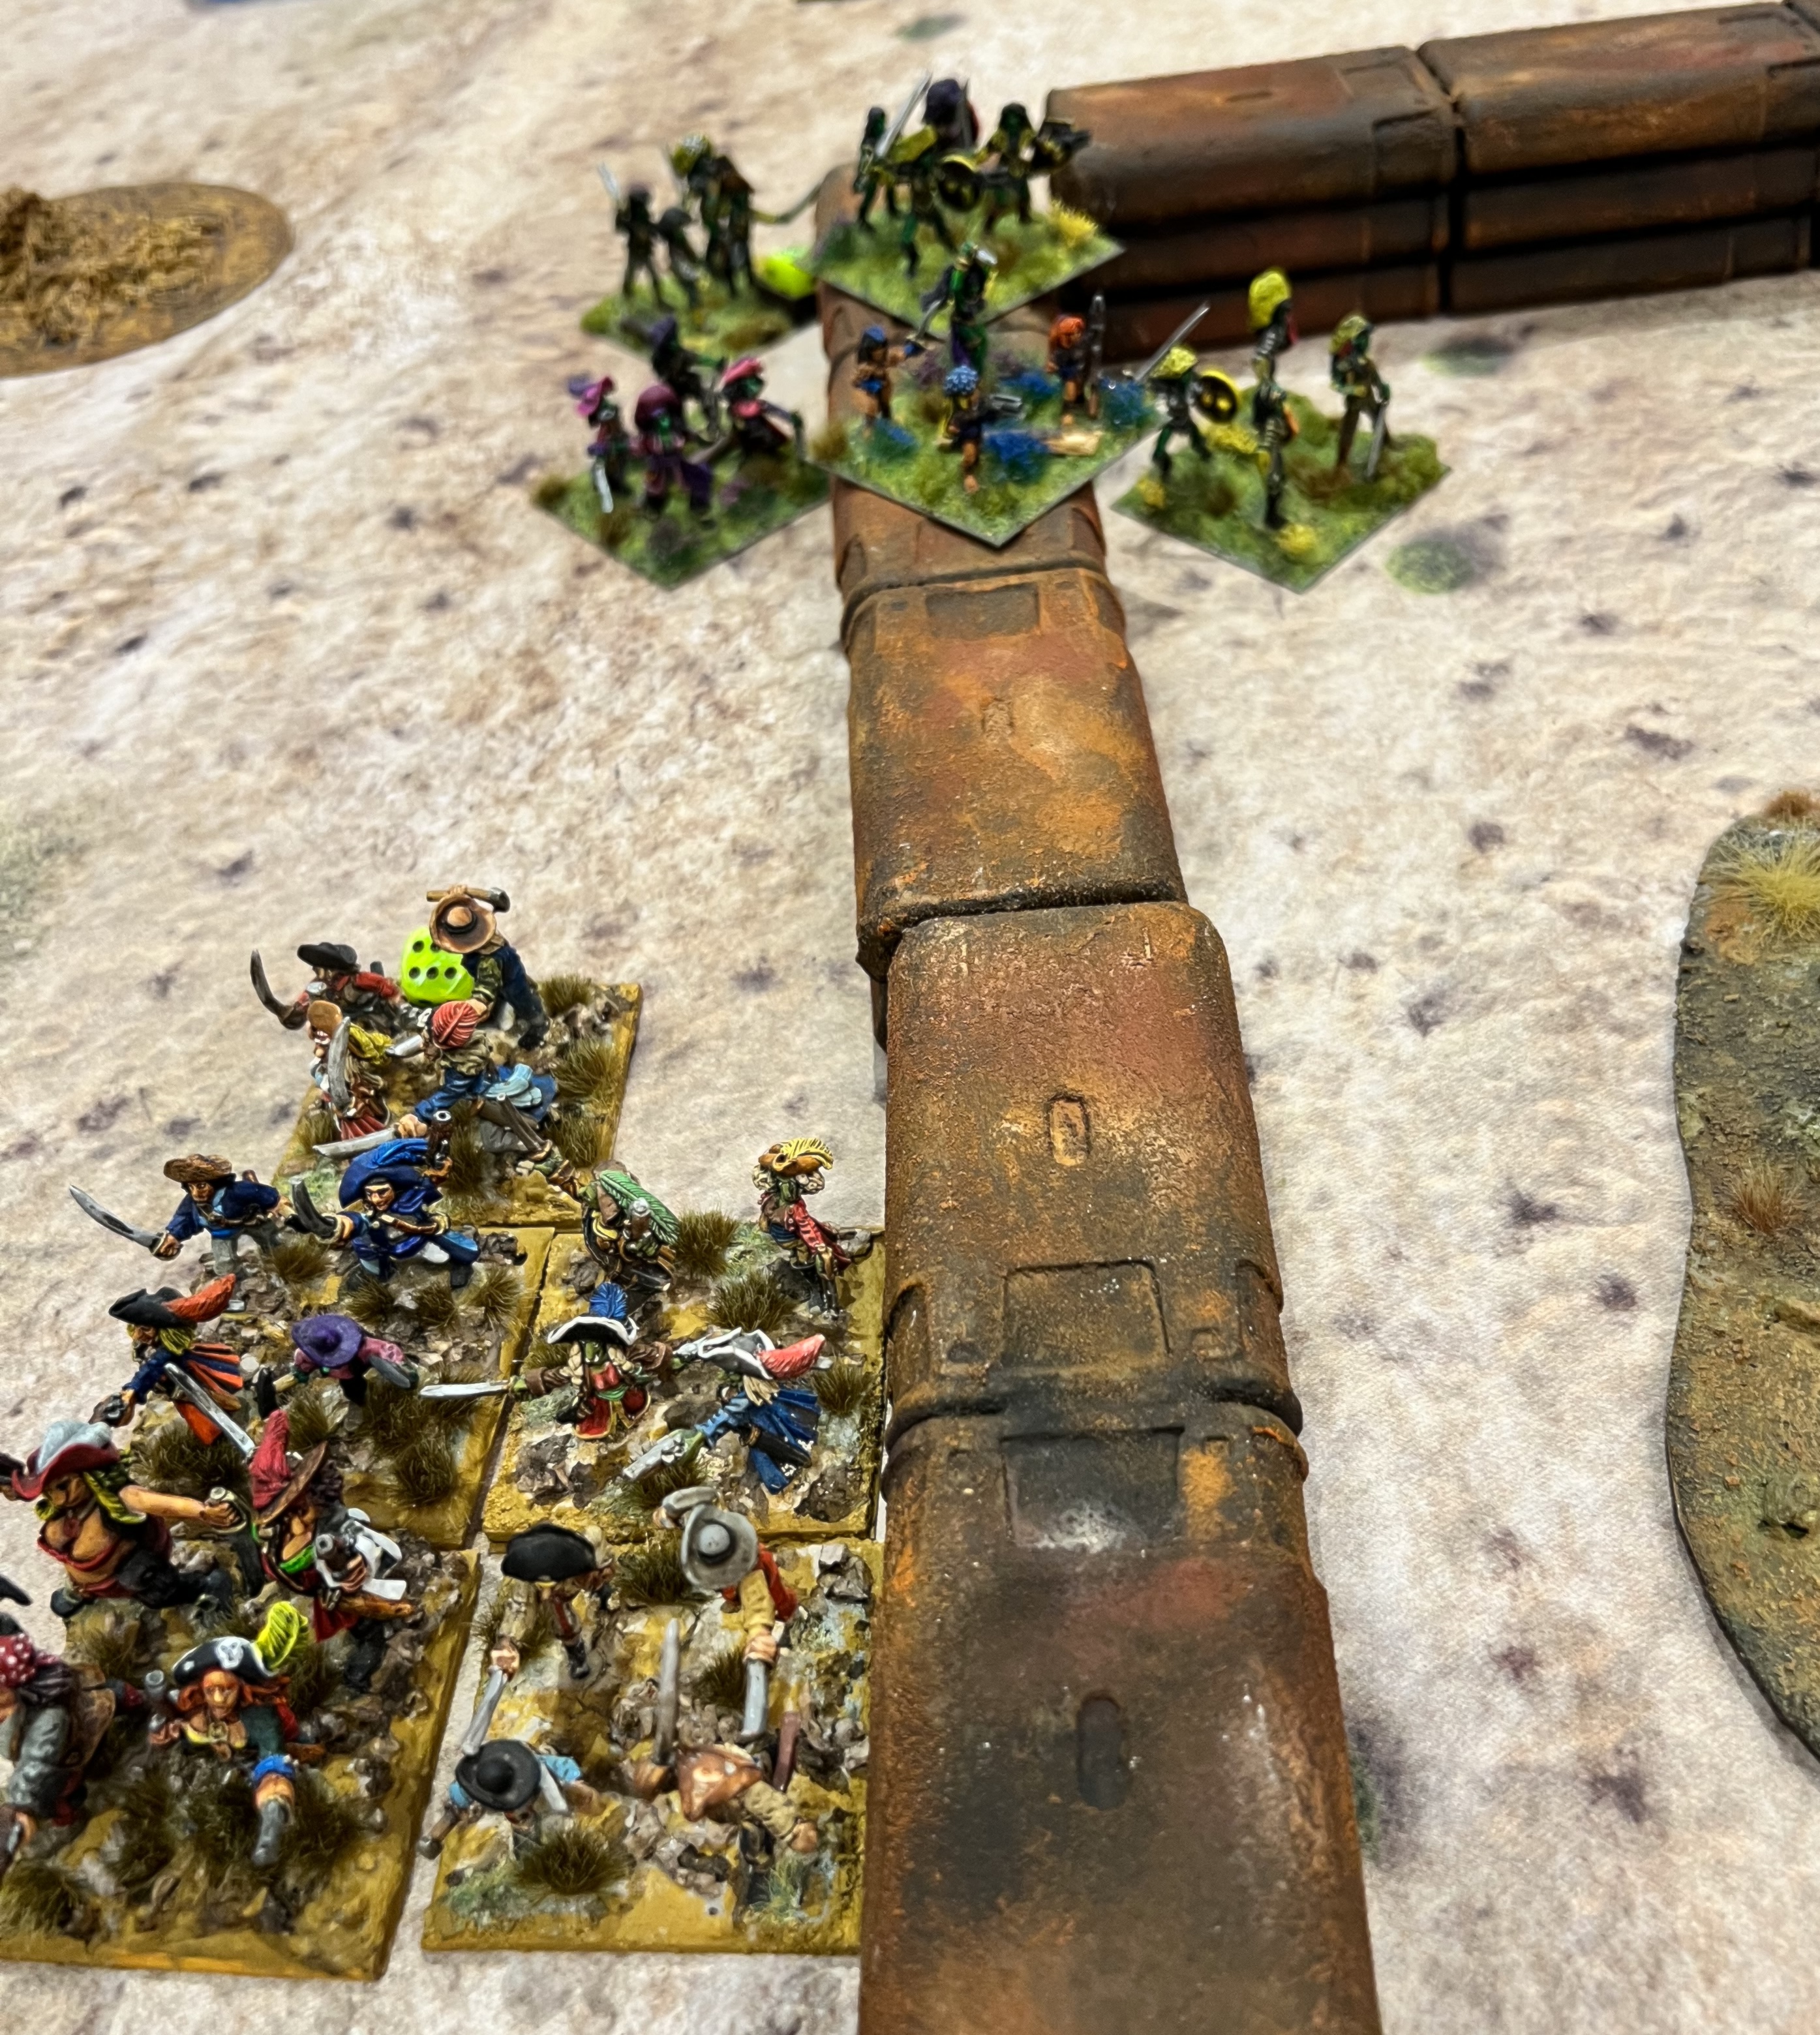
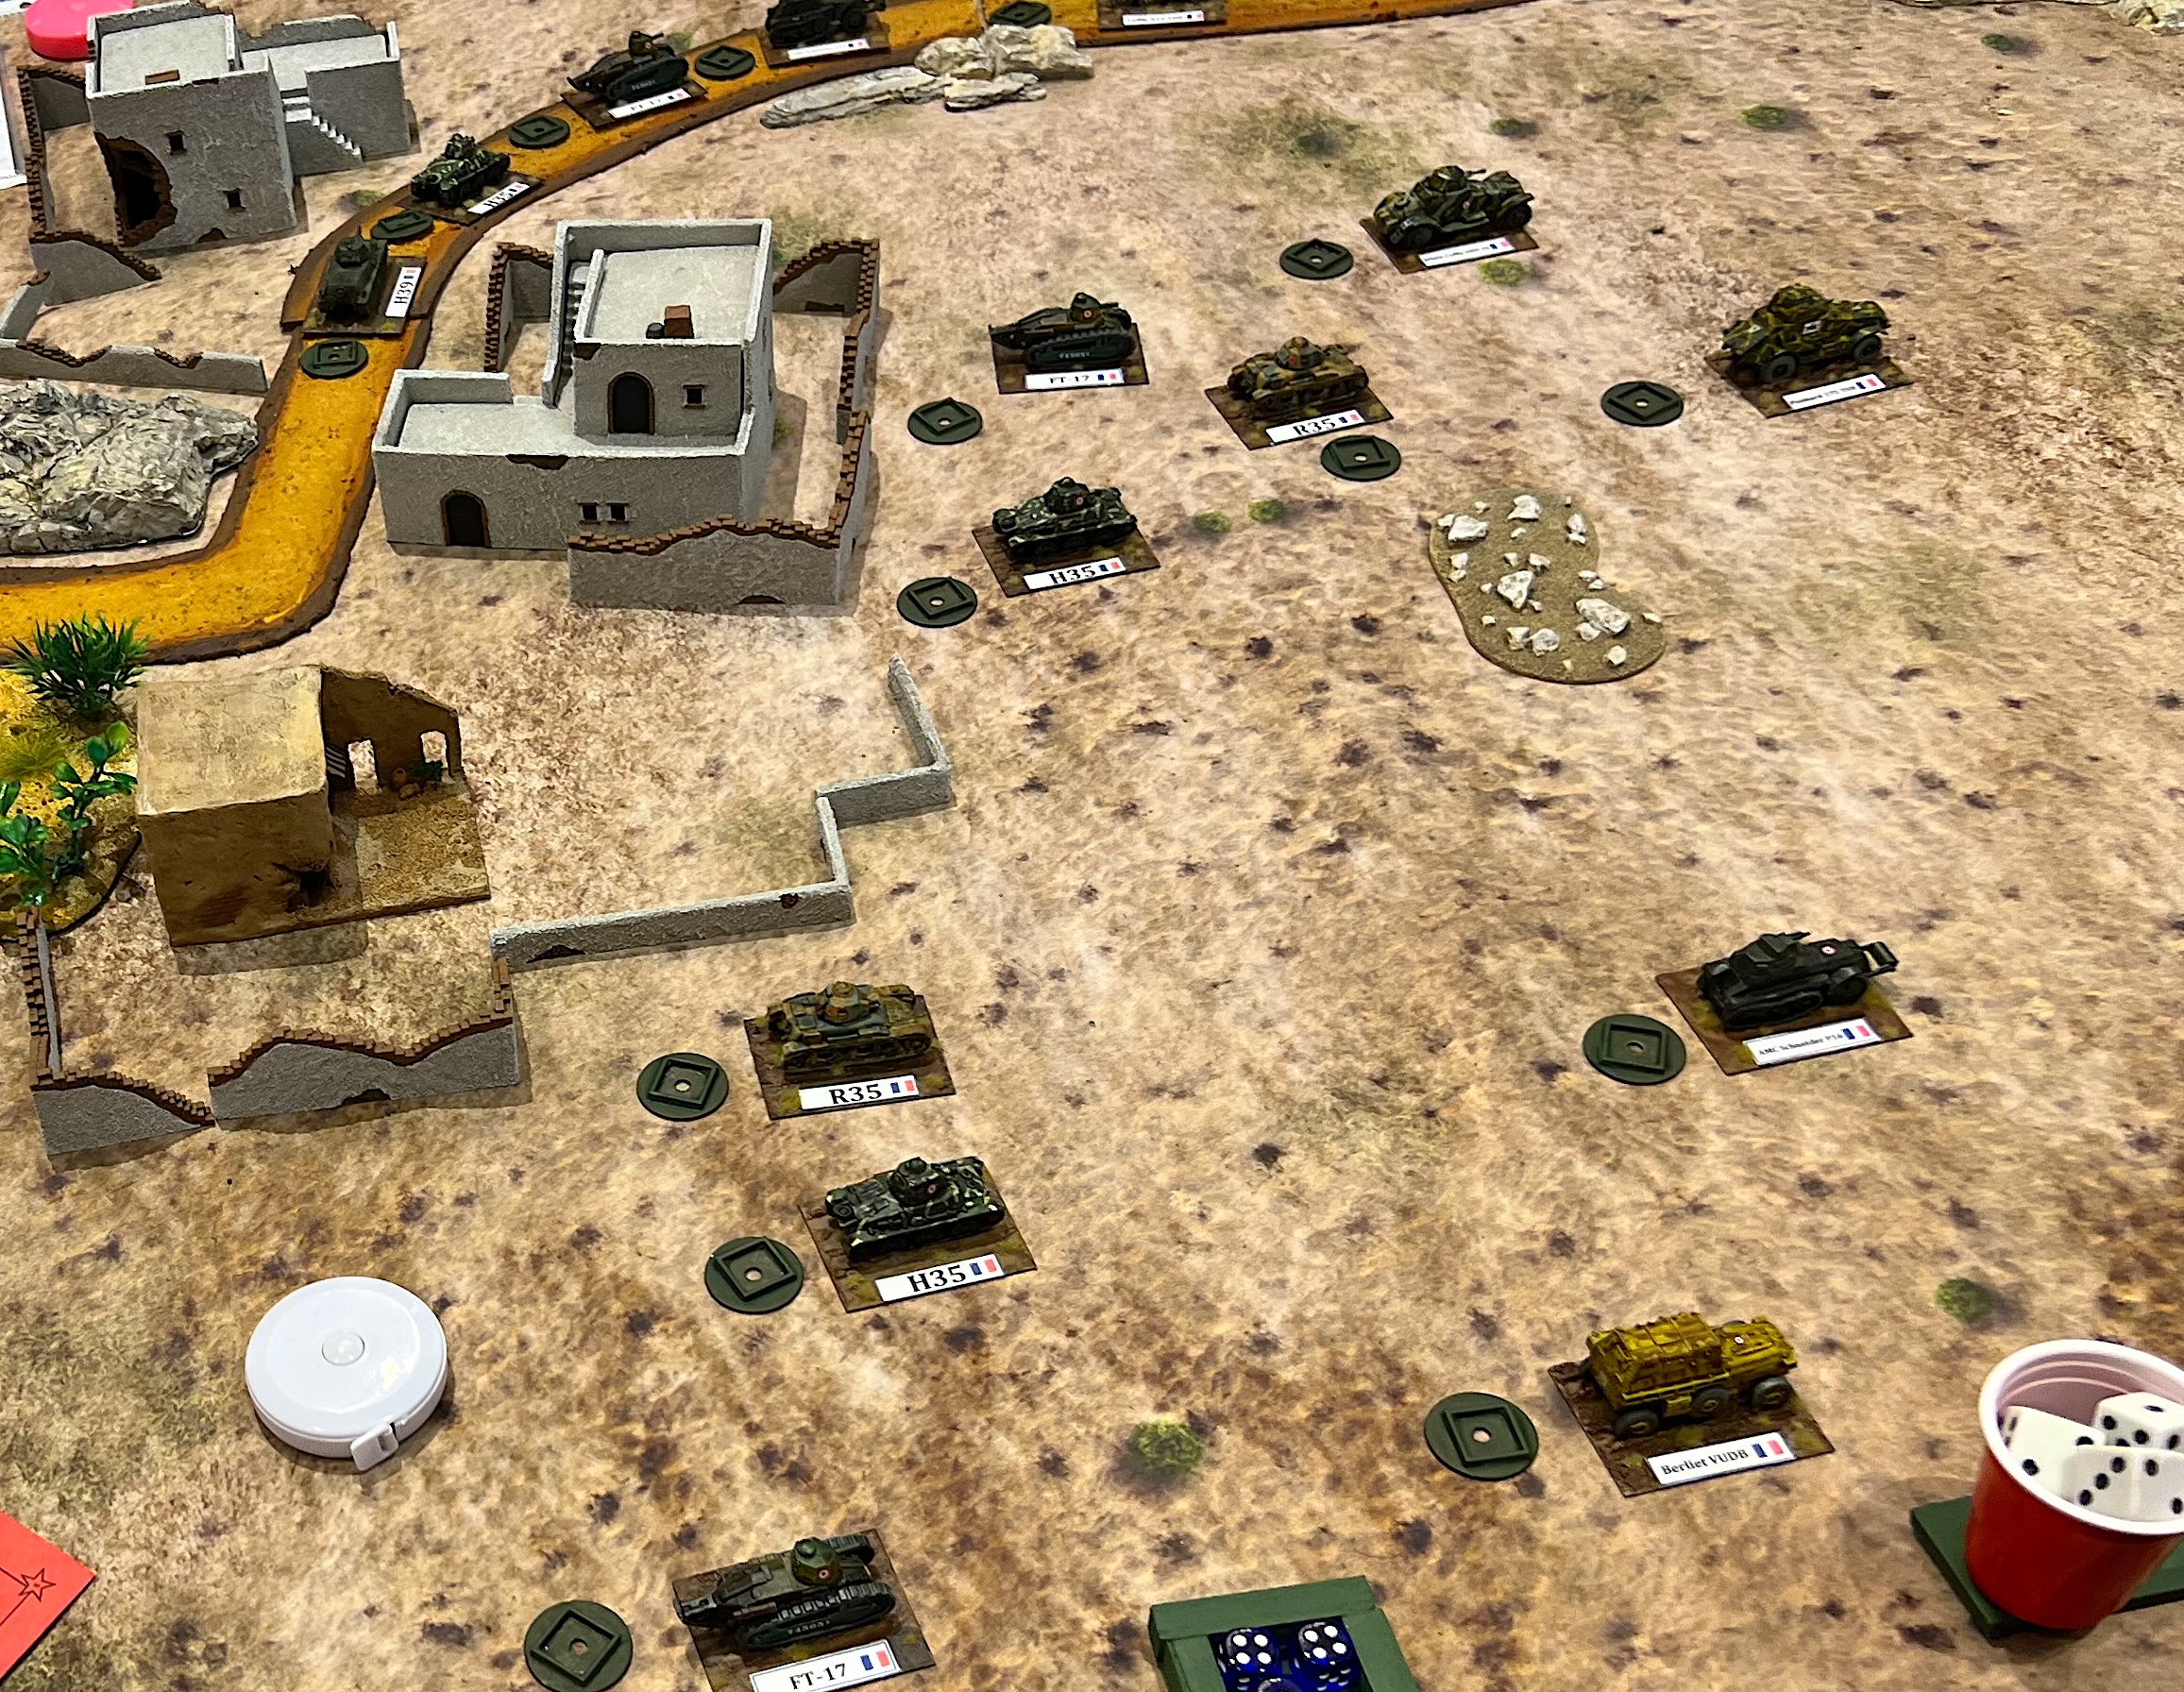
Il Duce’s Desert Gamble
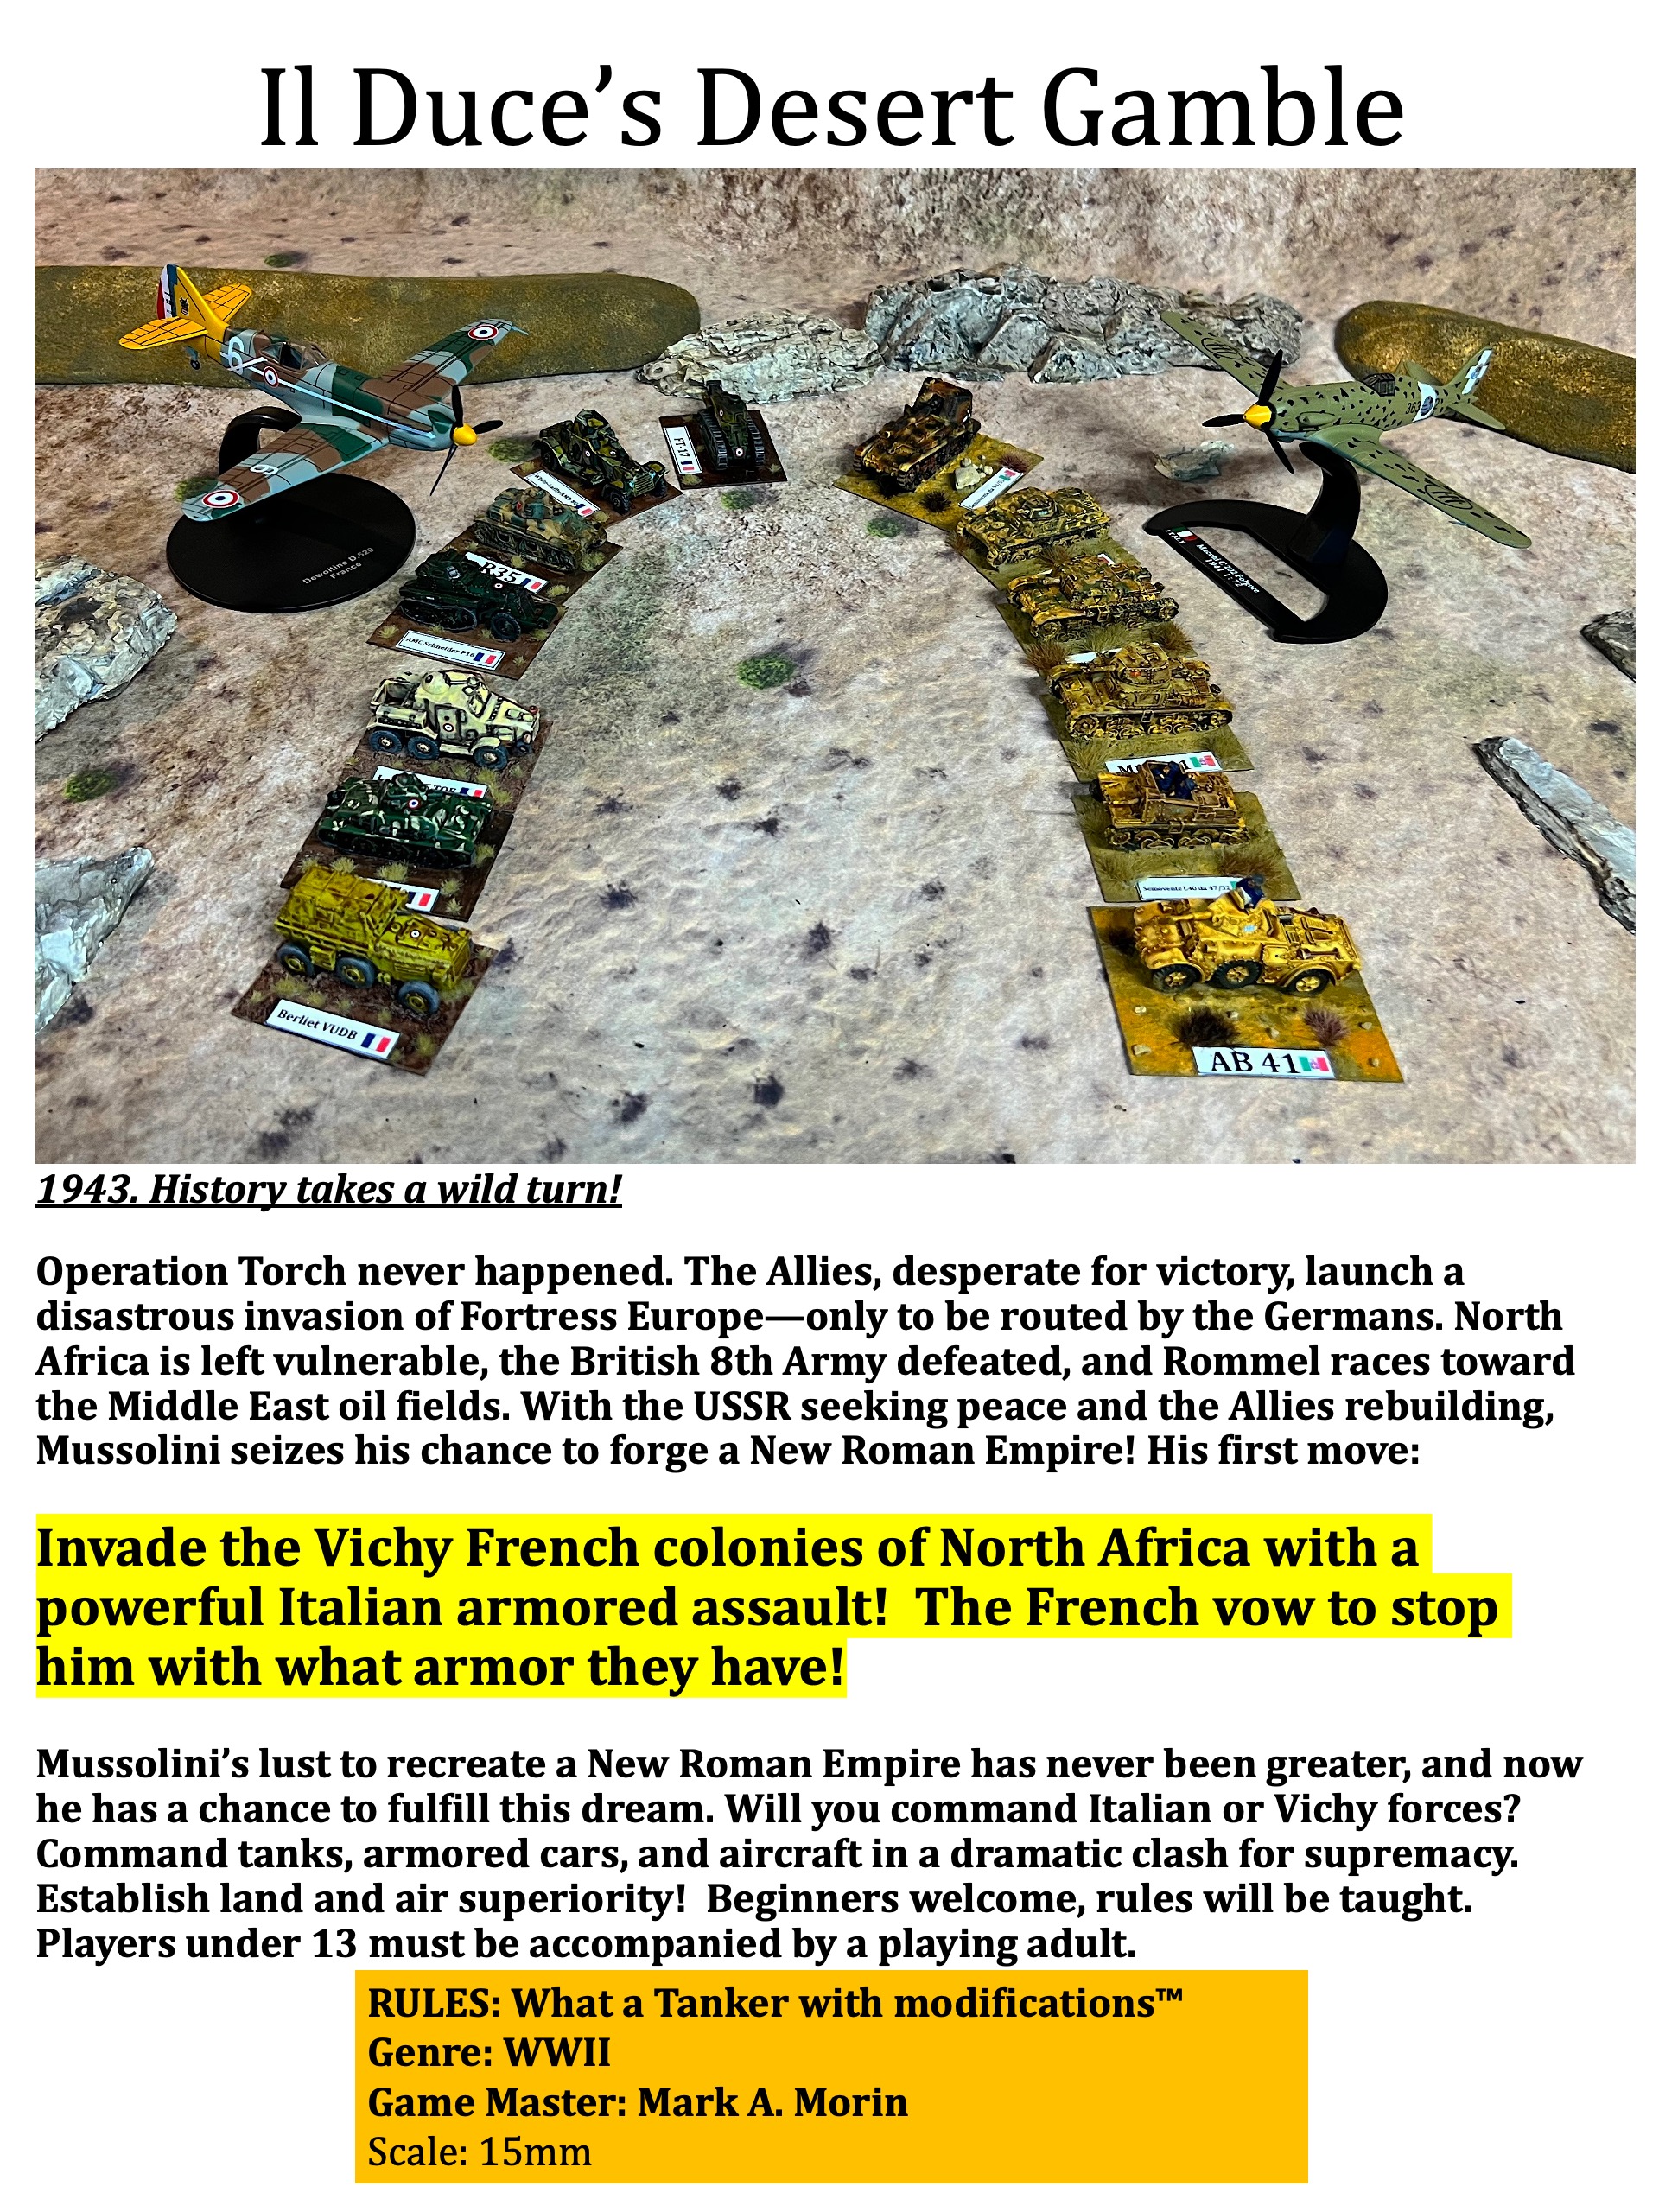
This what-if modified What a Tanker scenario also filled up quickly as well.
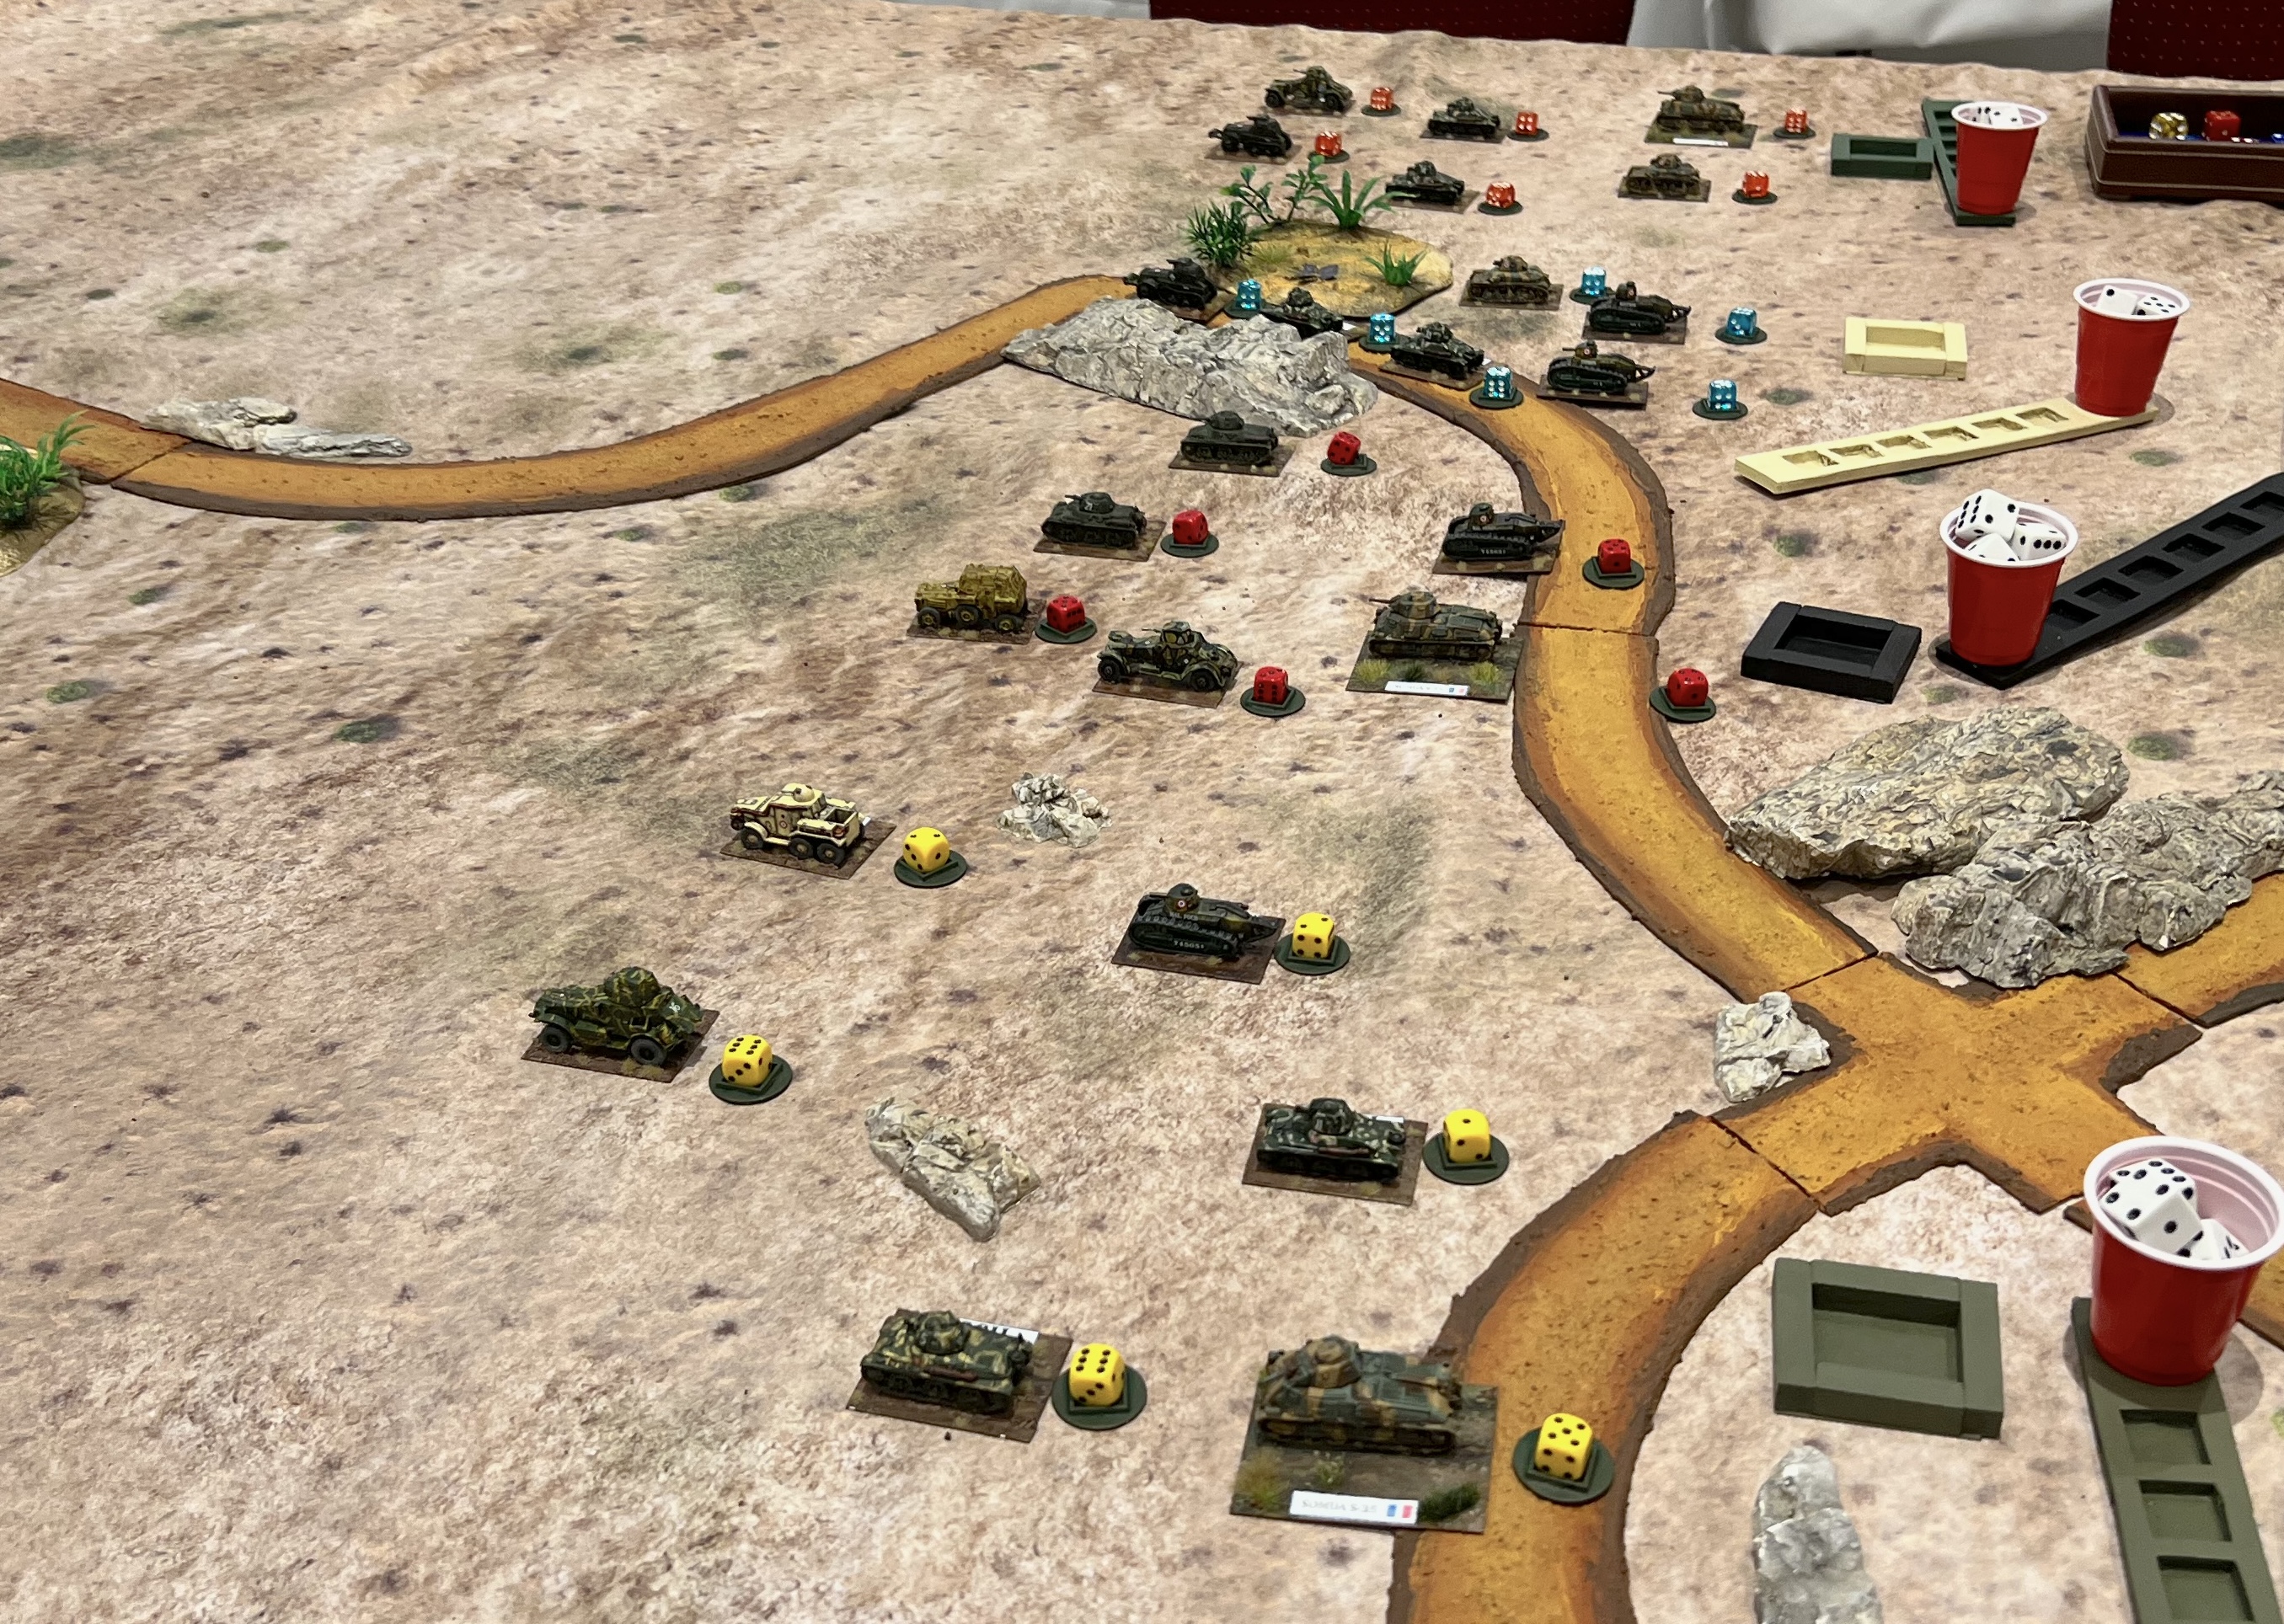

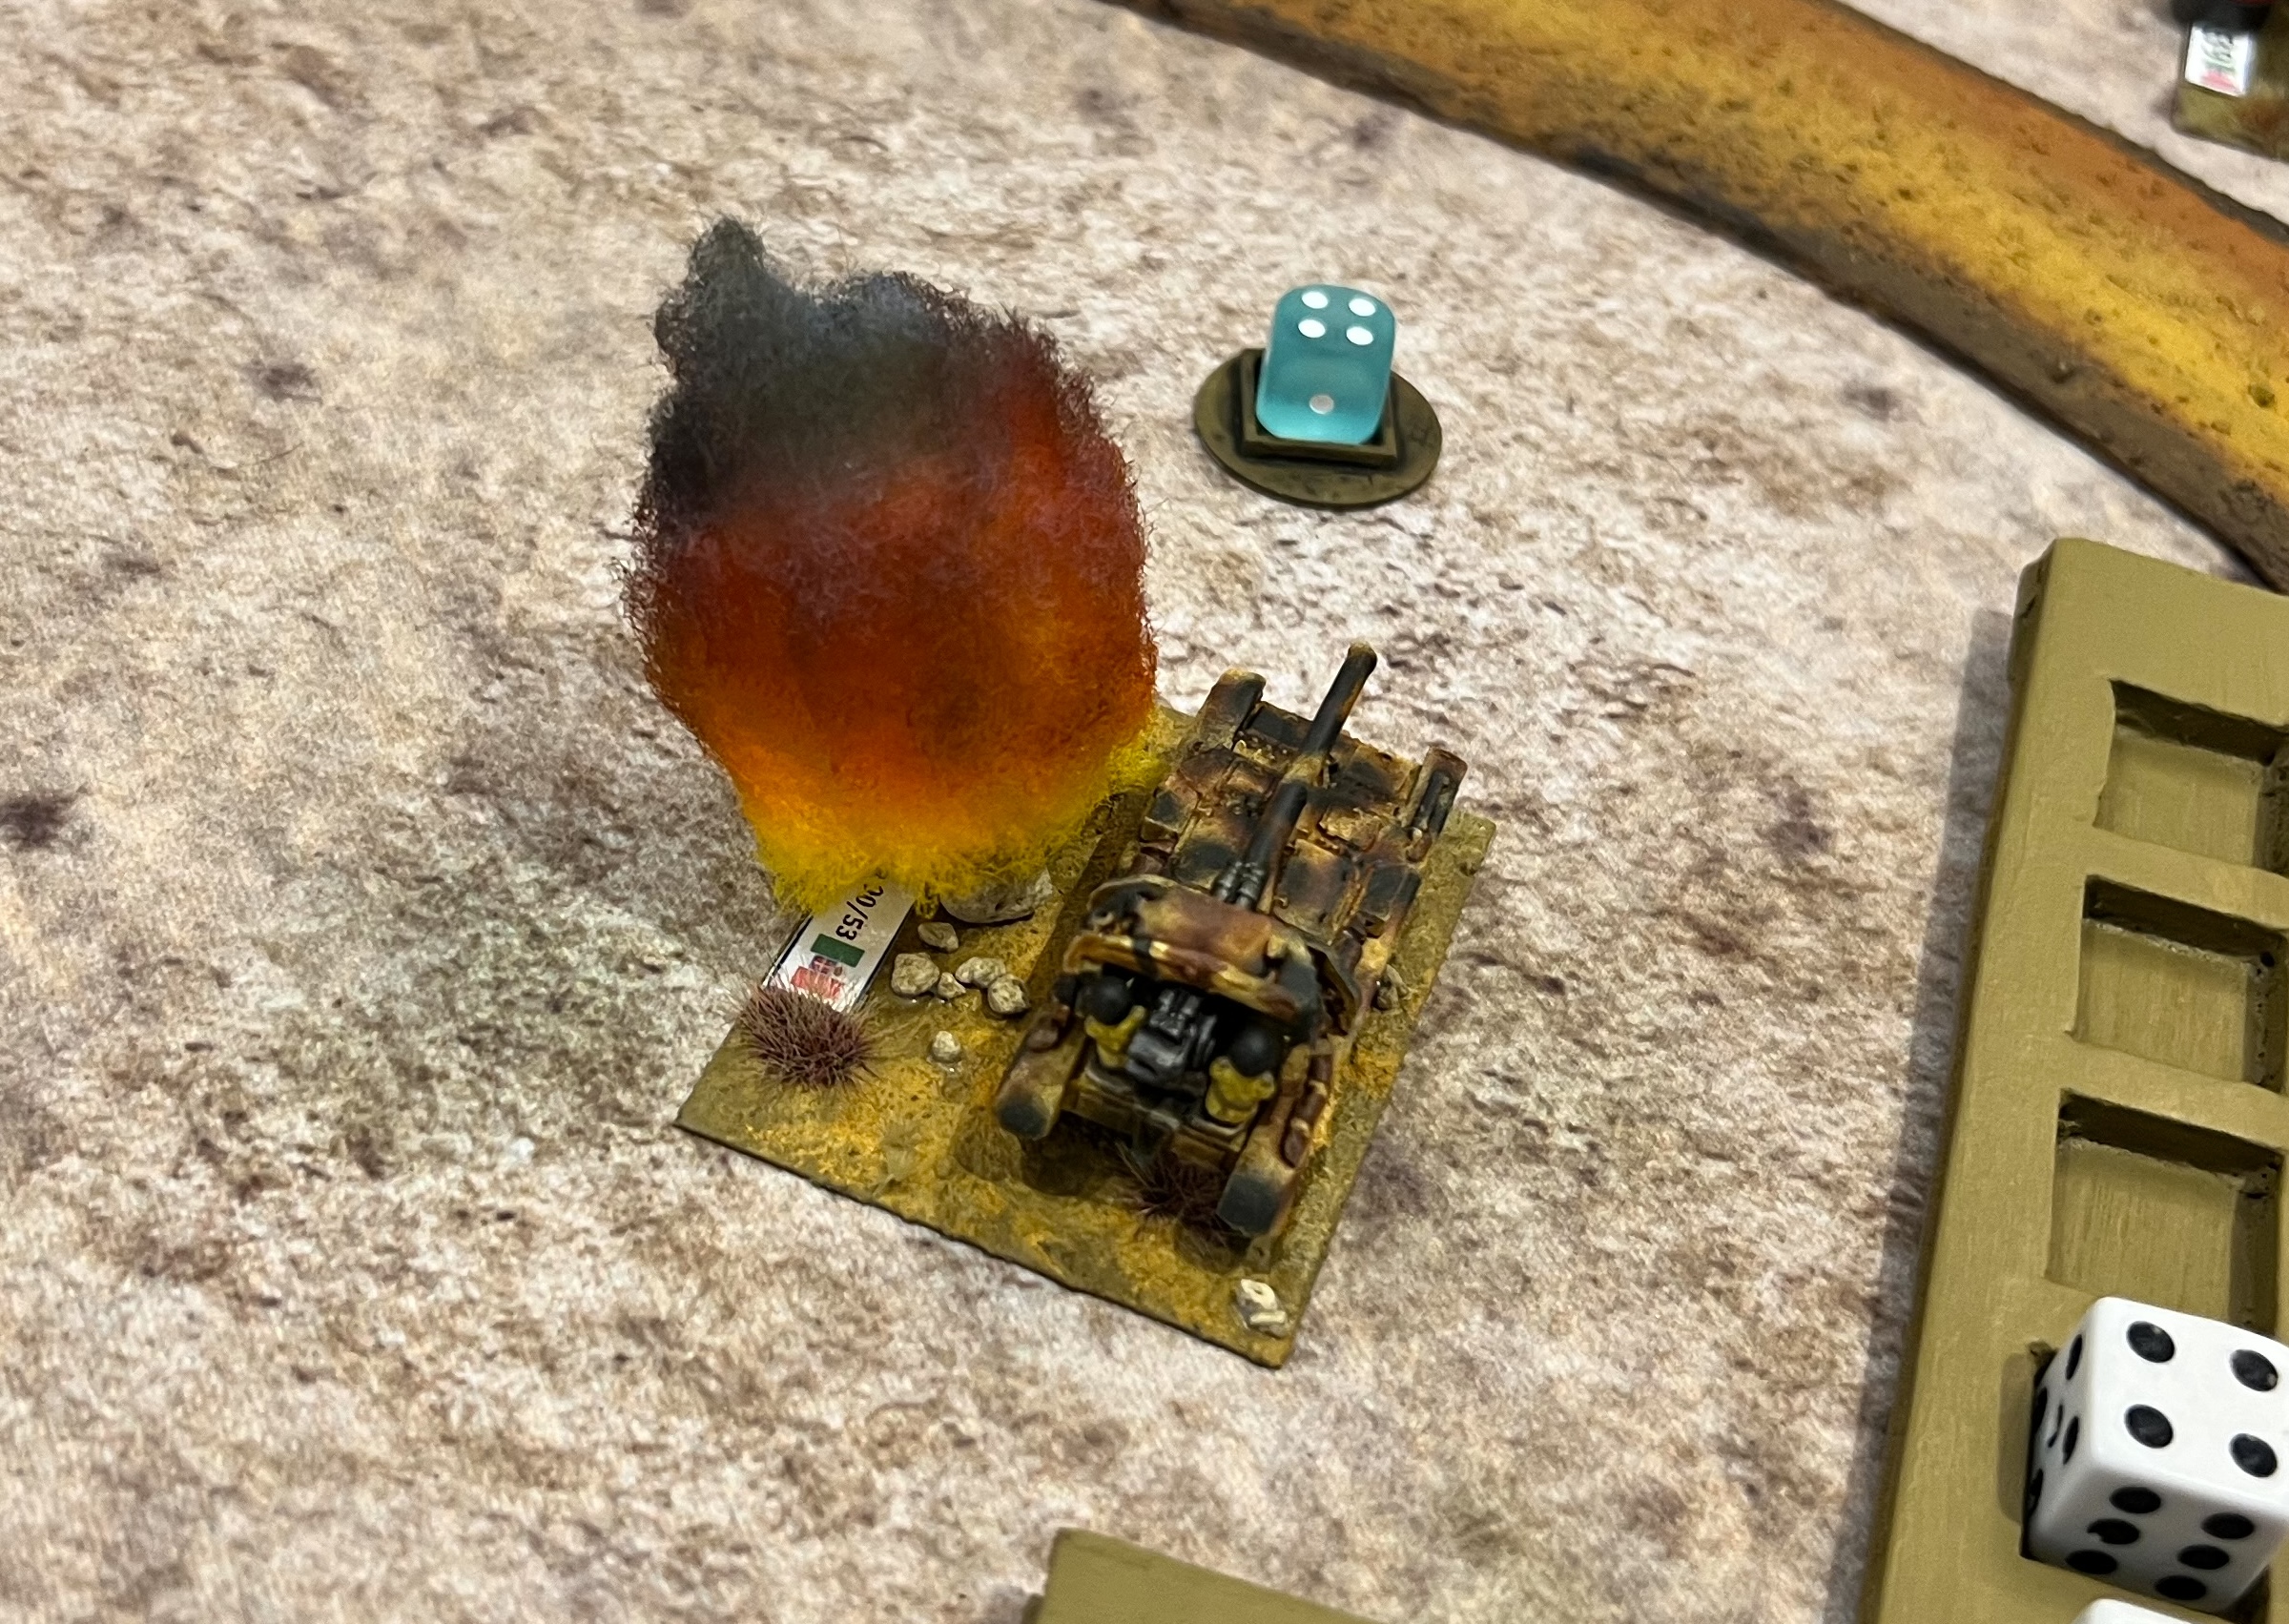
The game ended with Vichy winning 540-440.
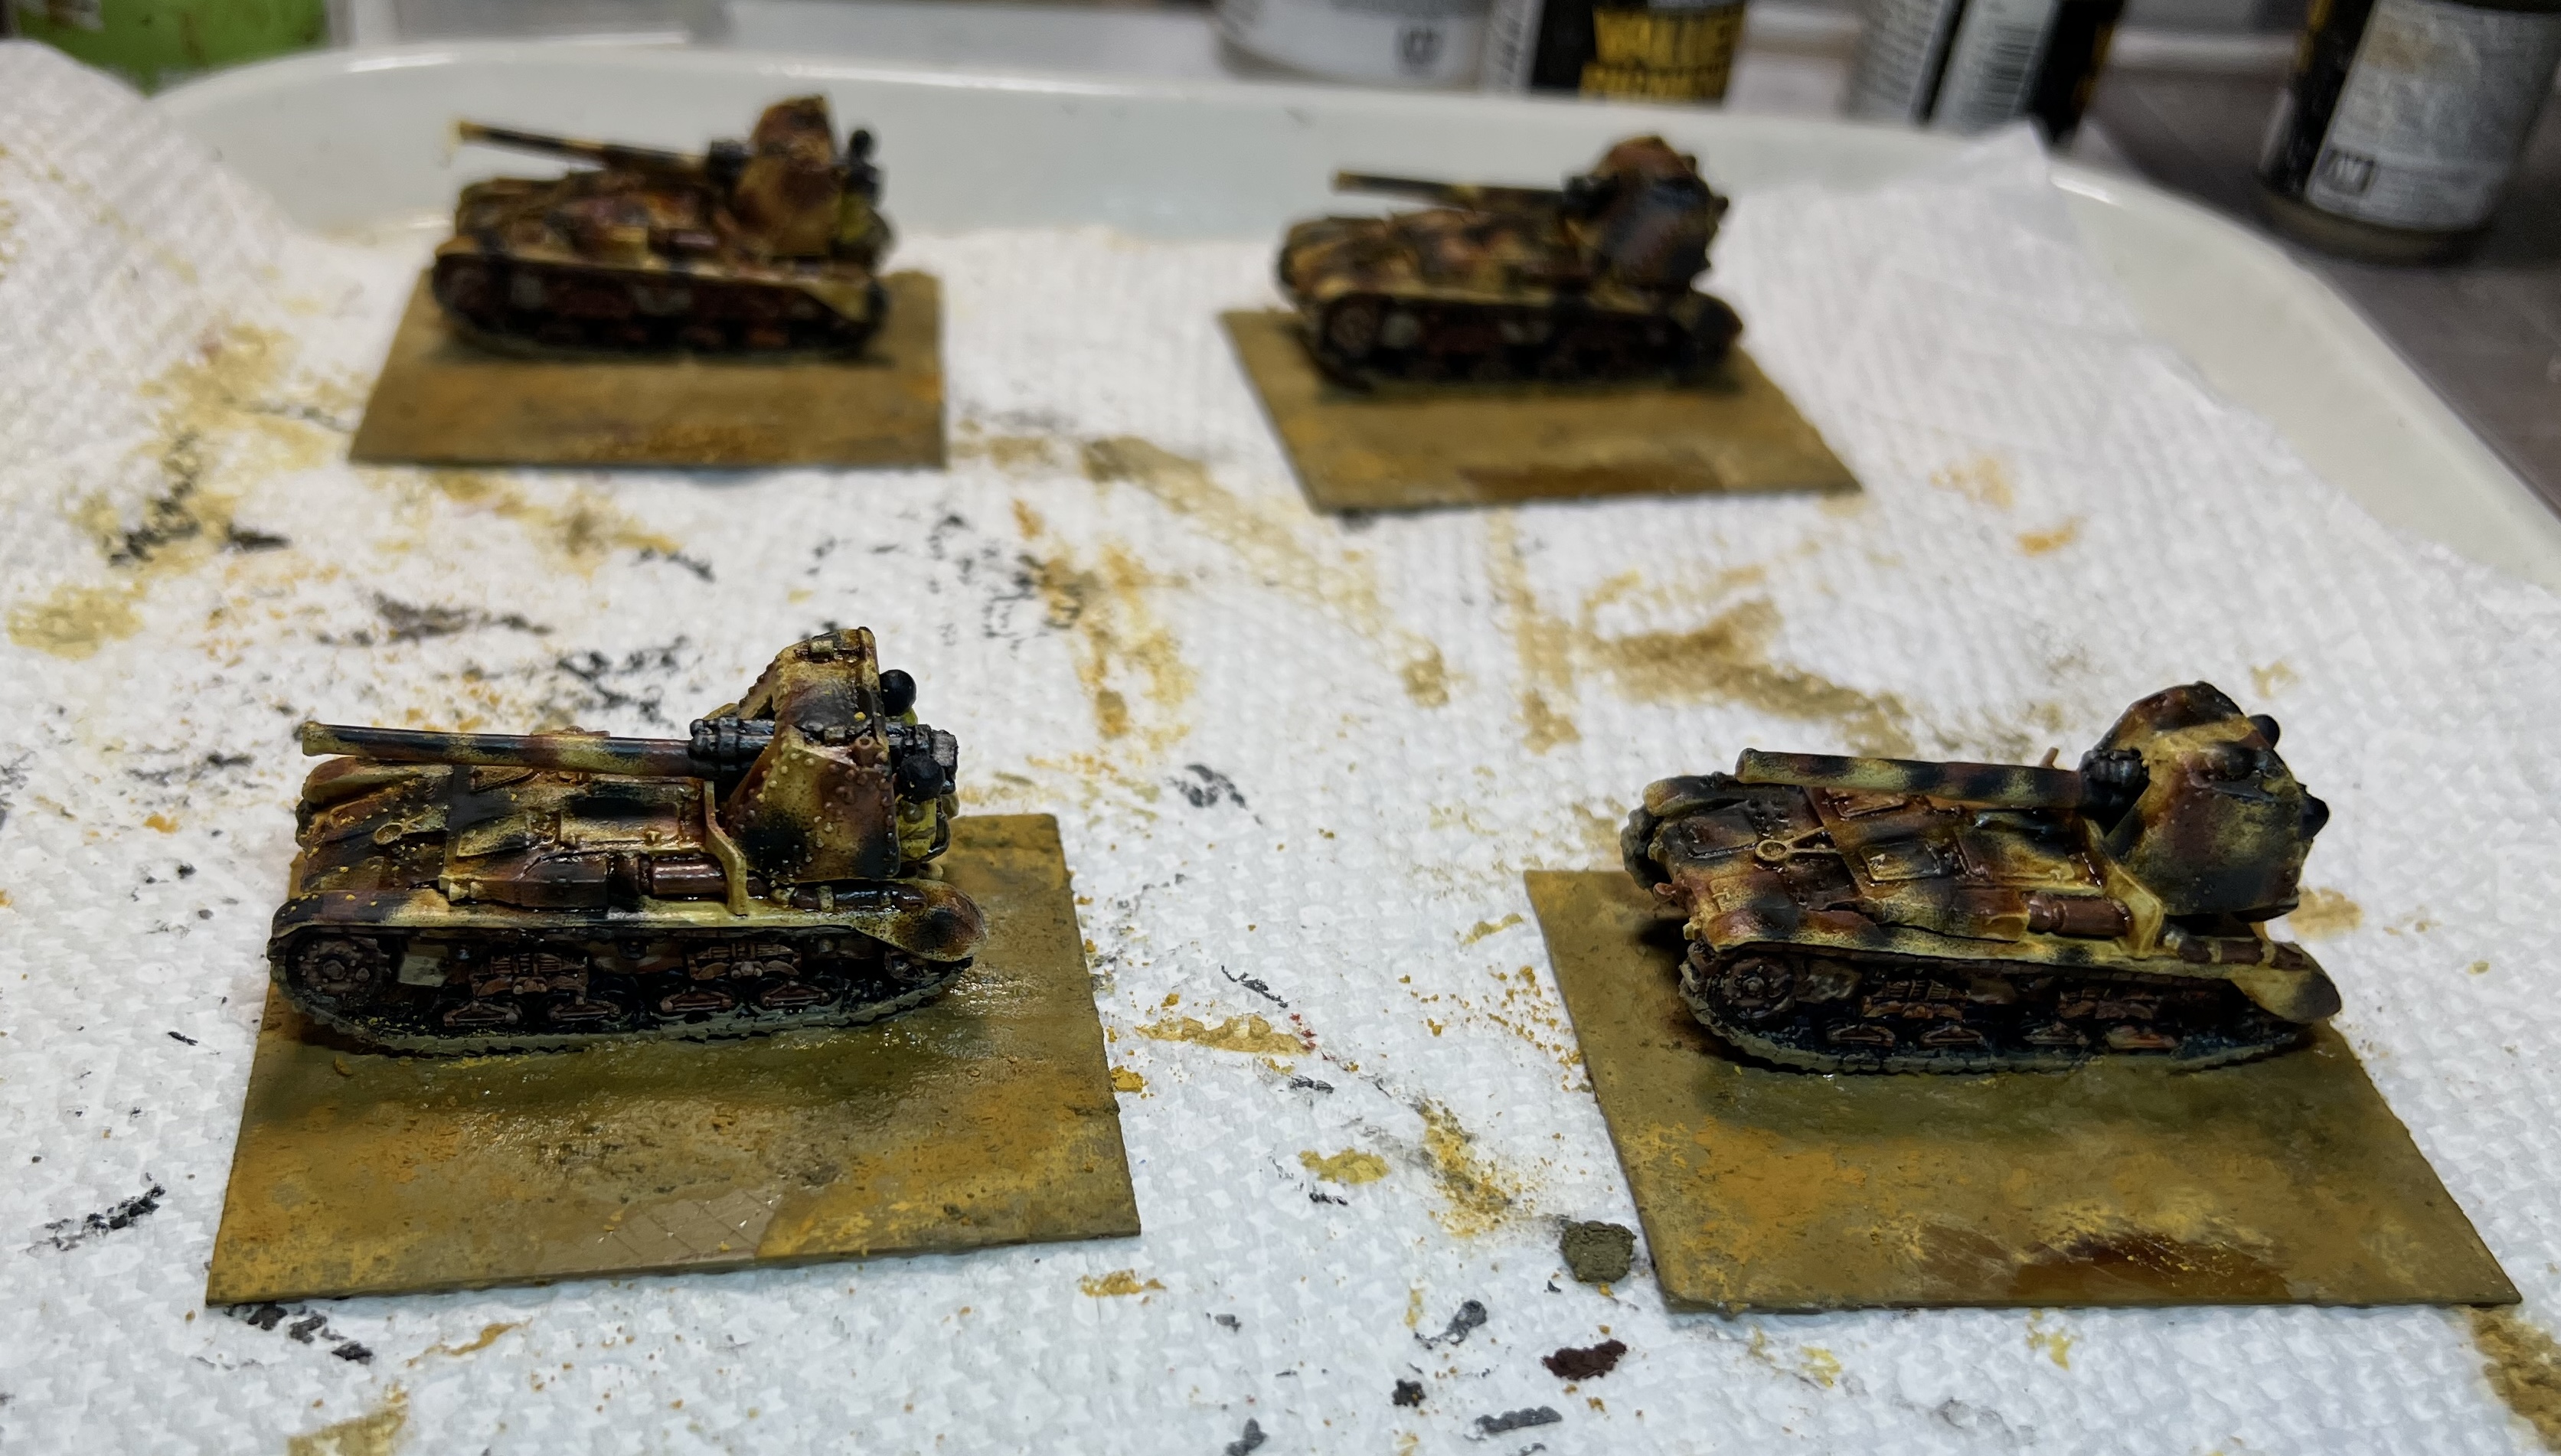
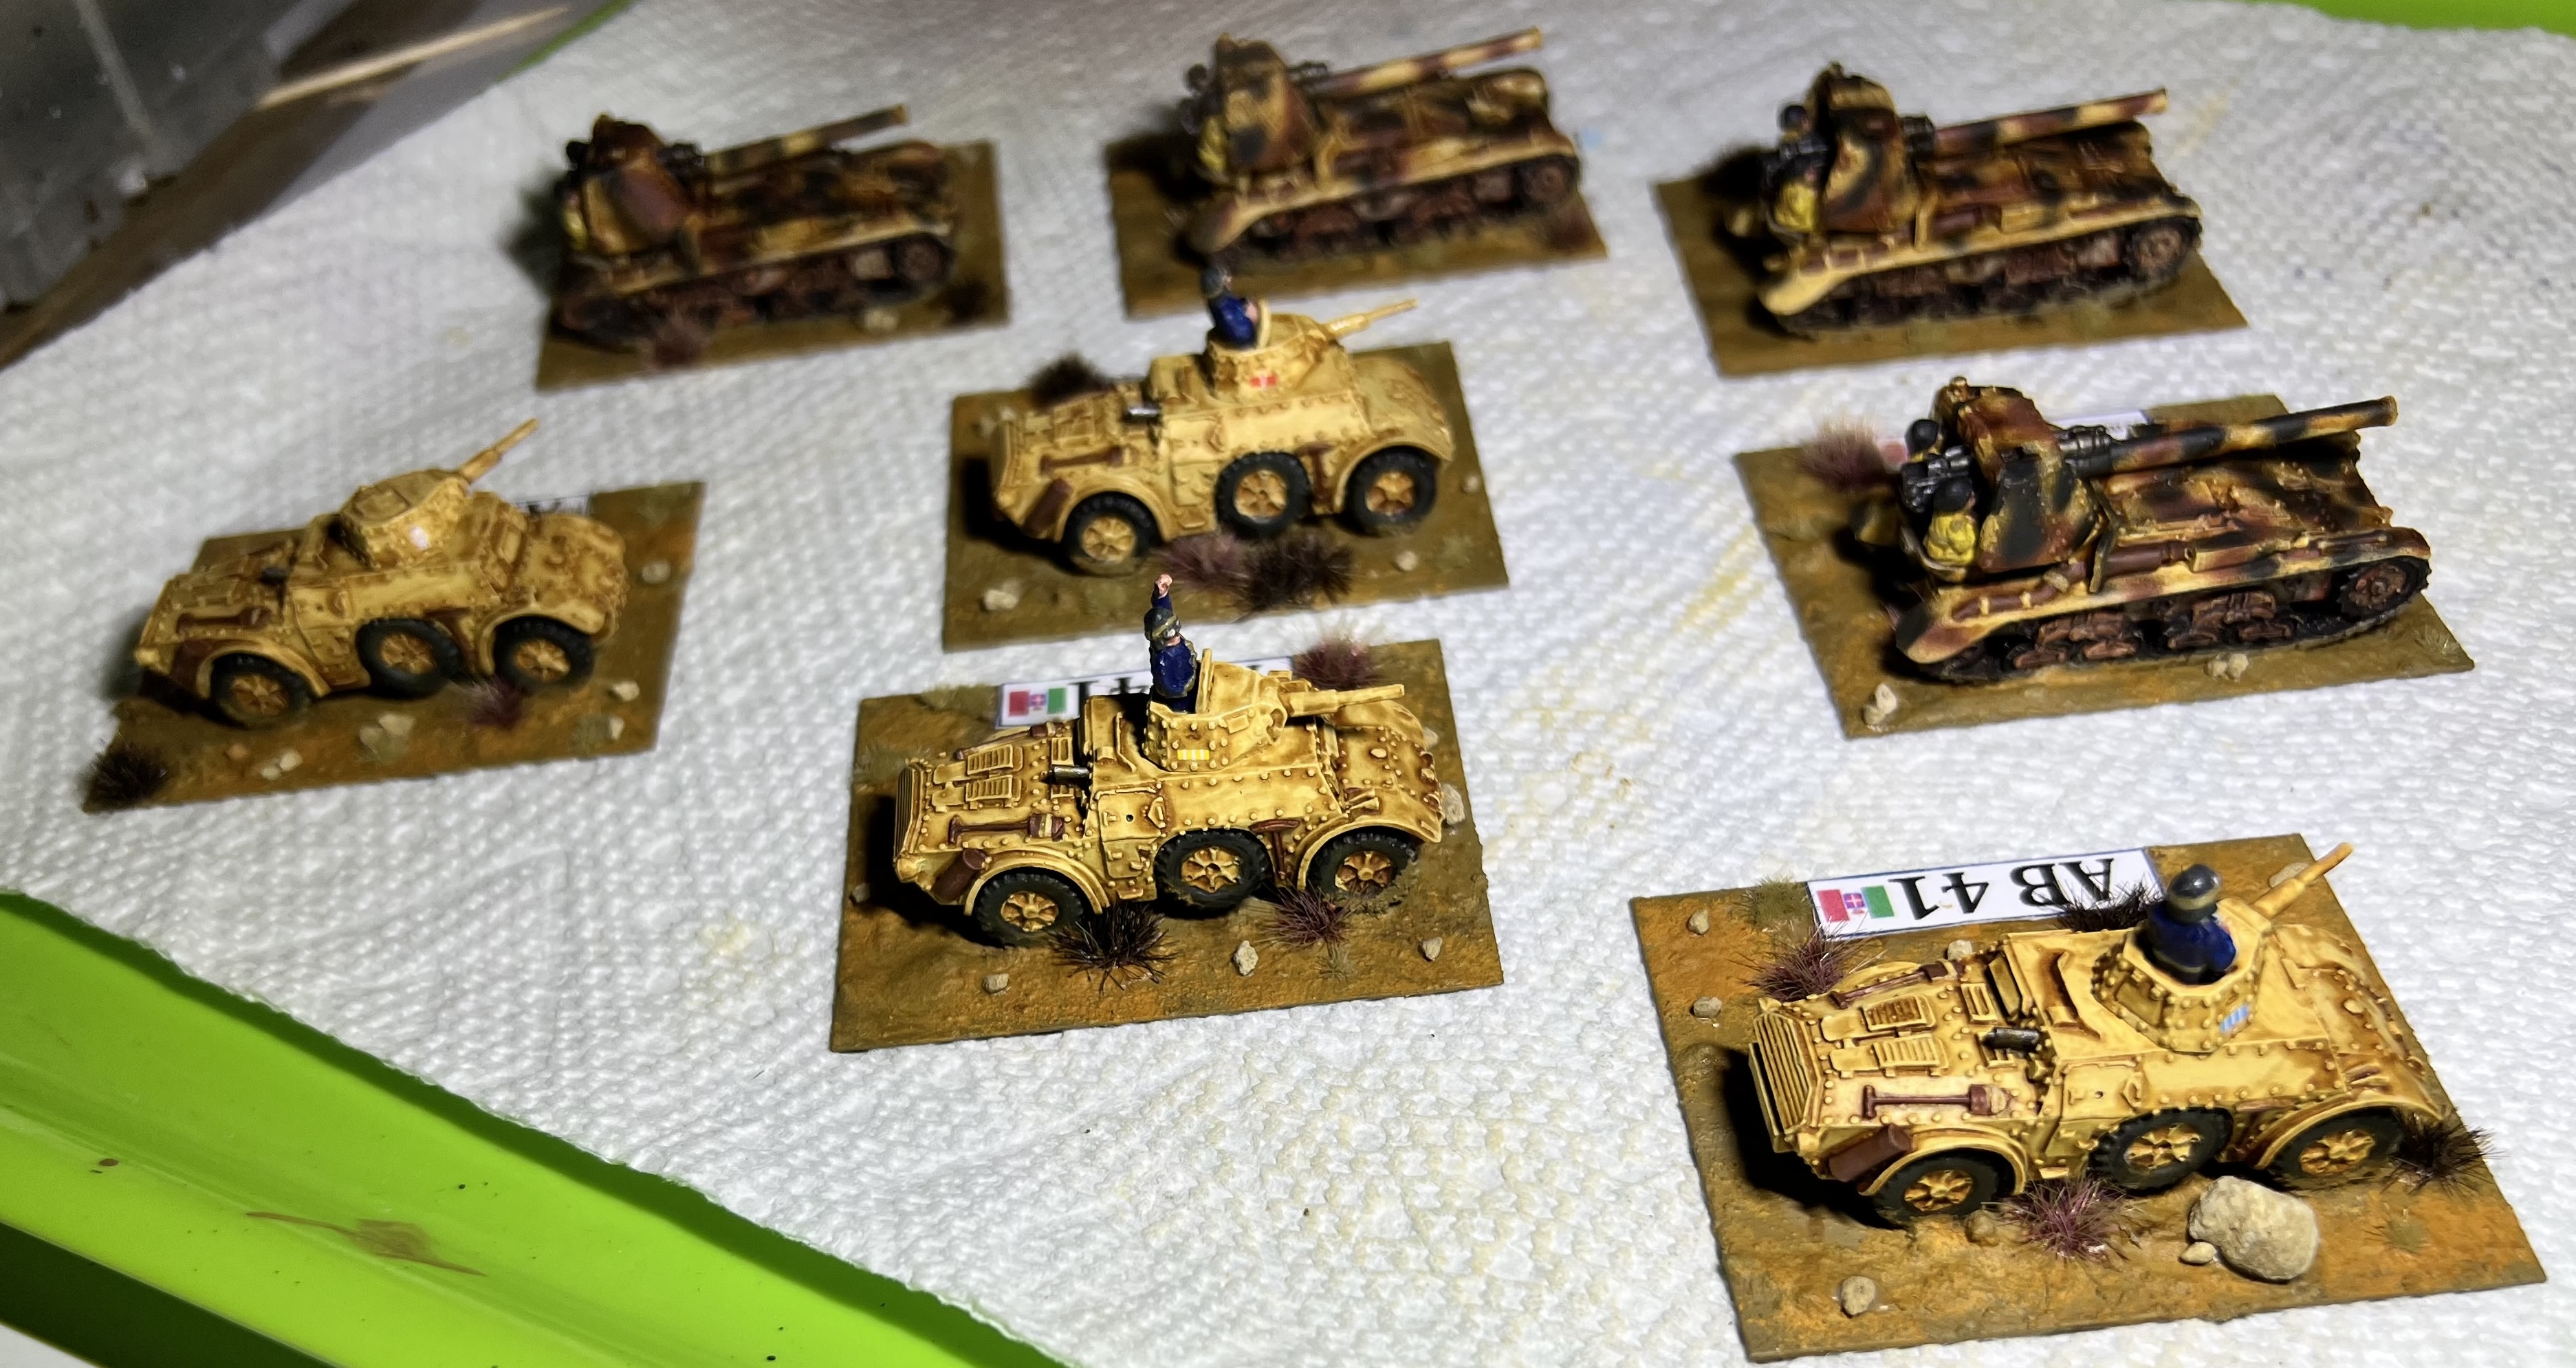
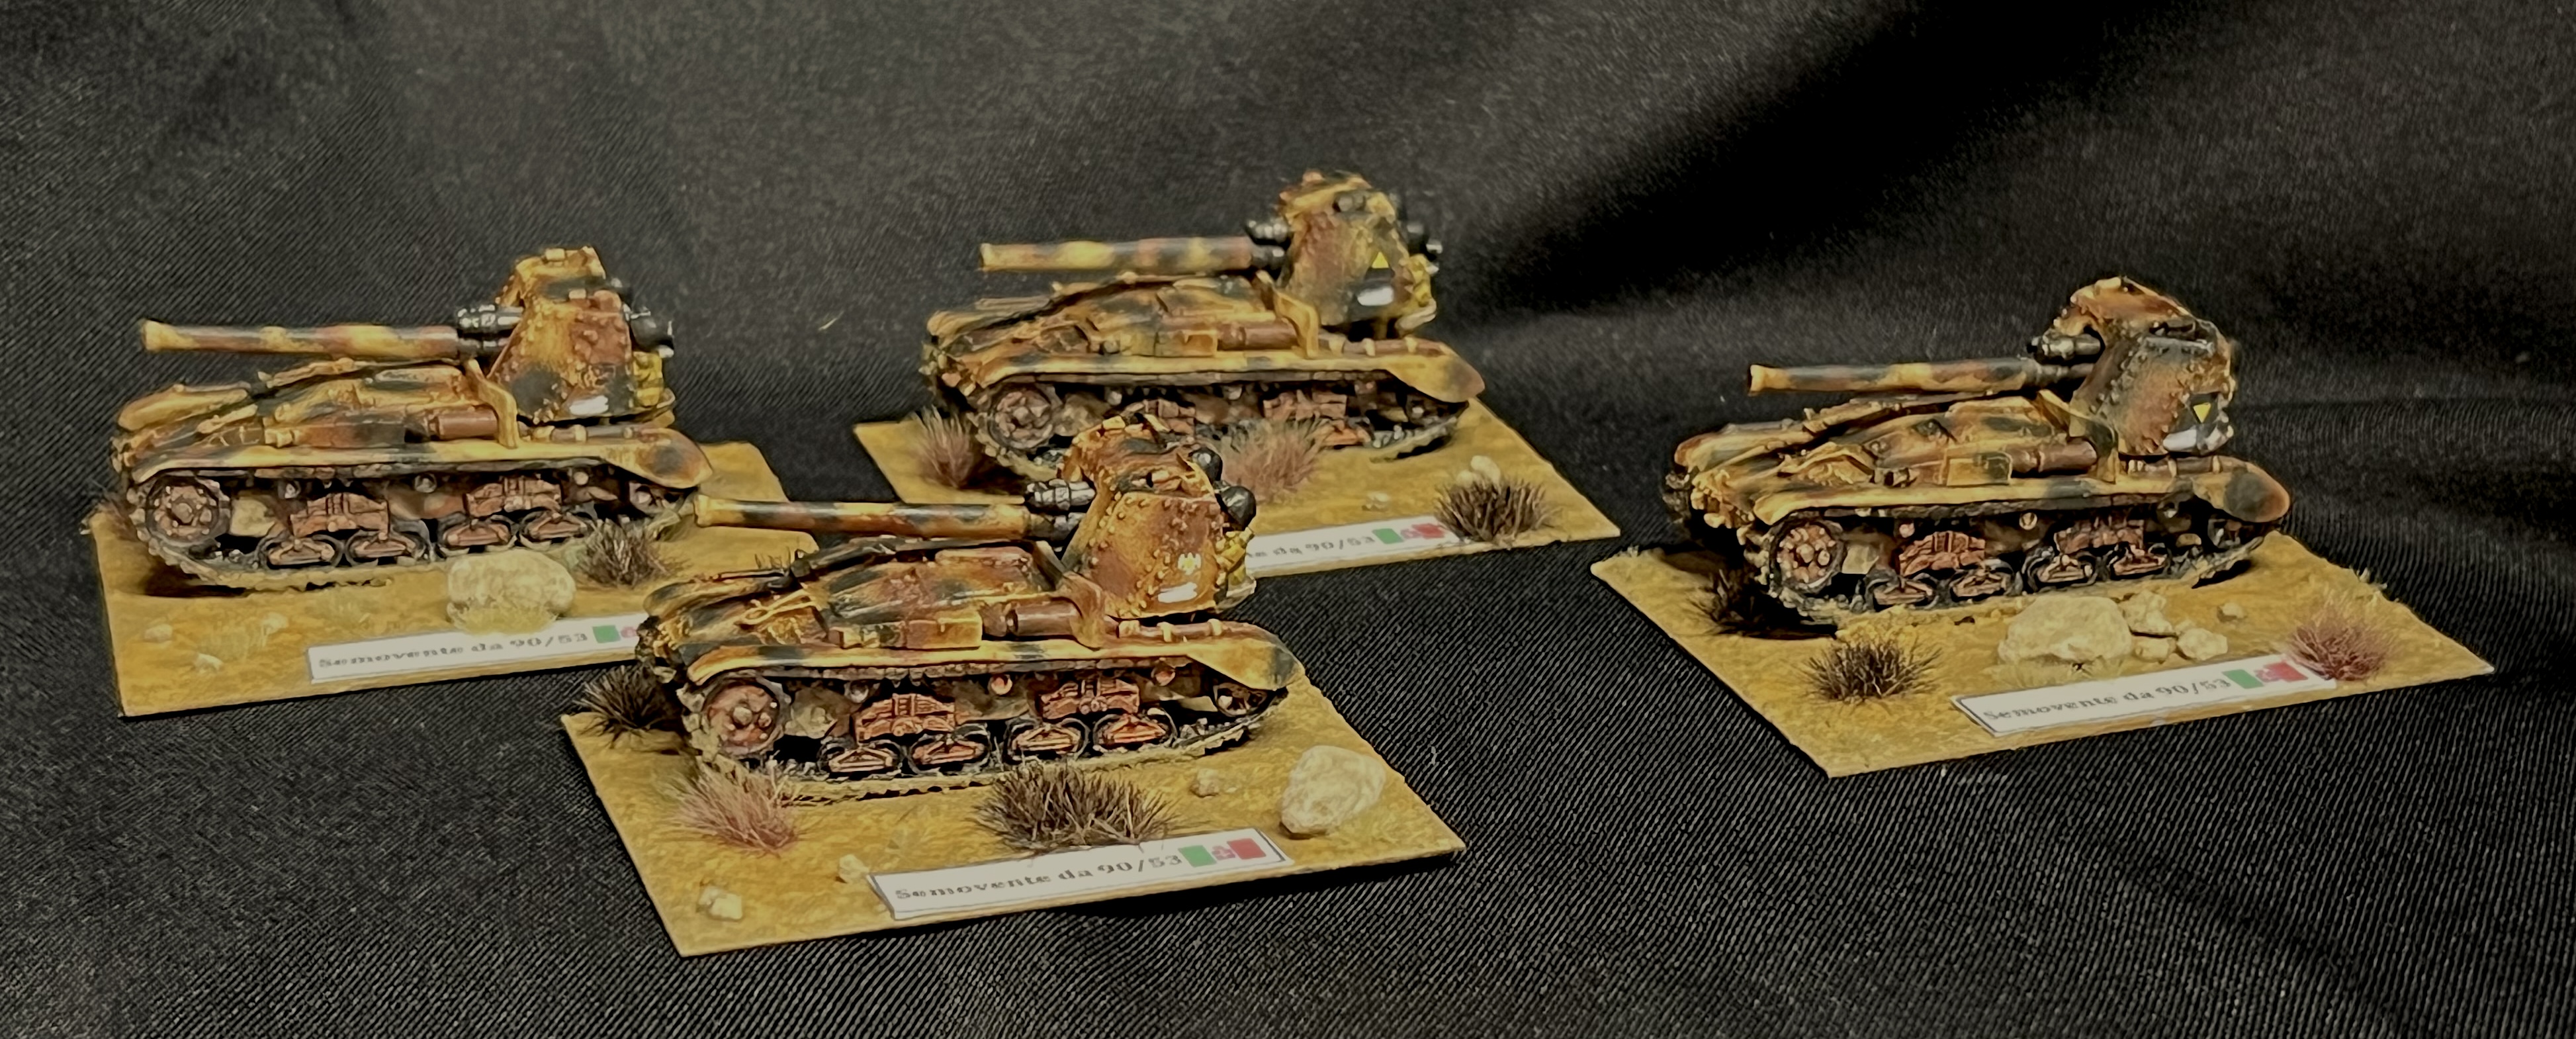
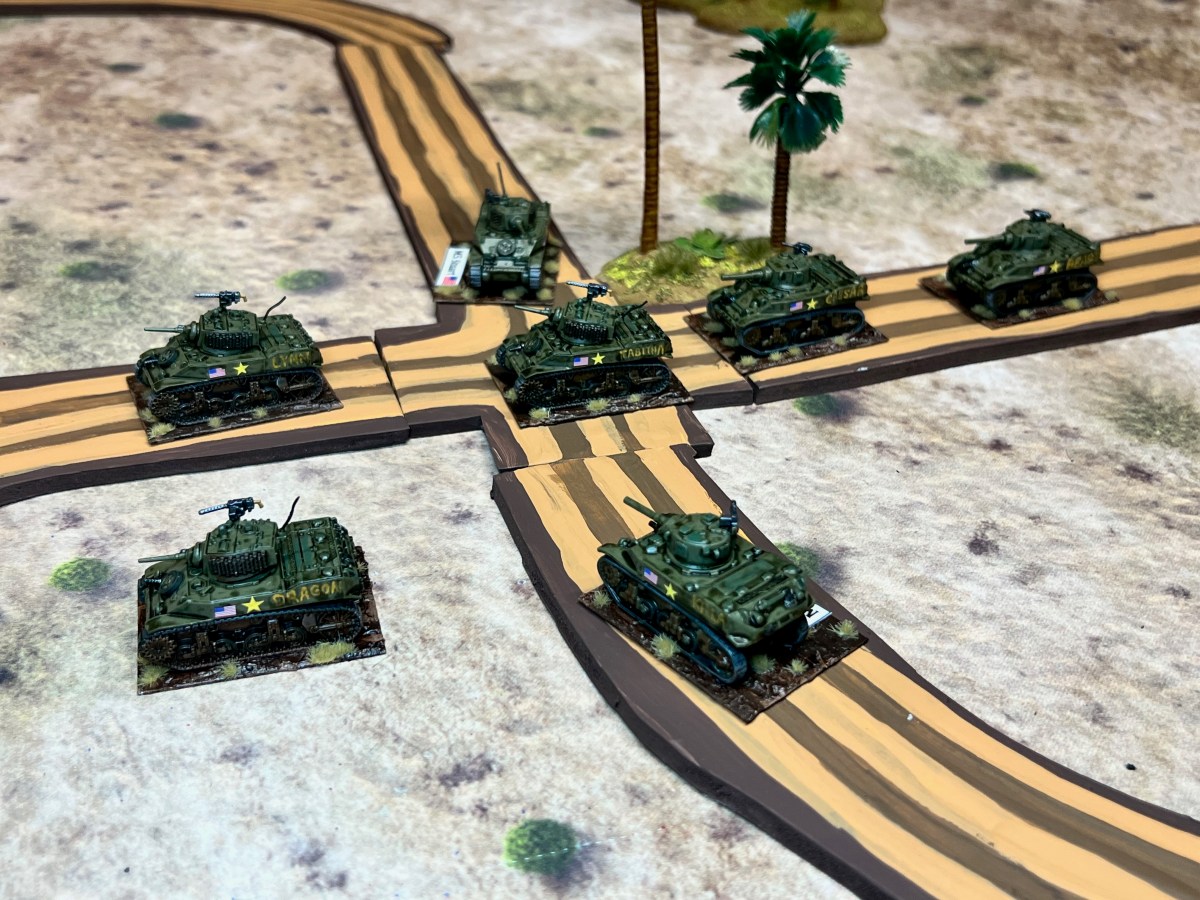
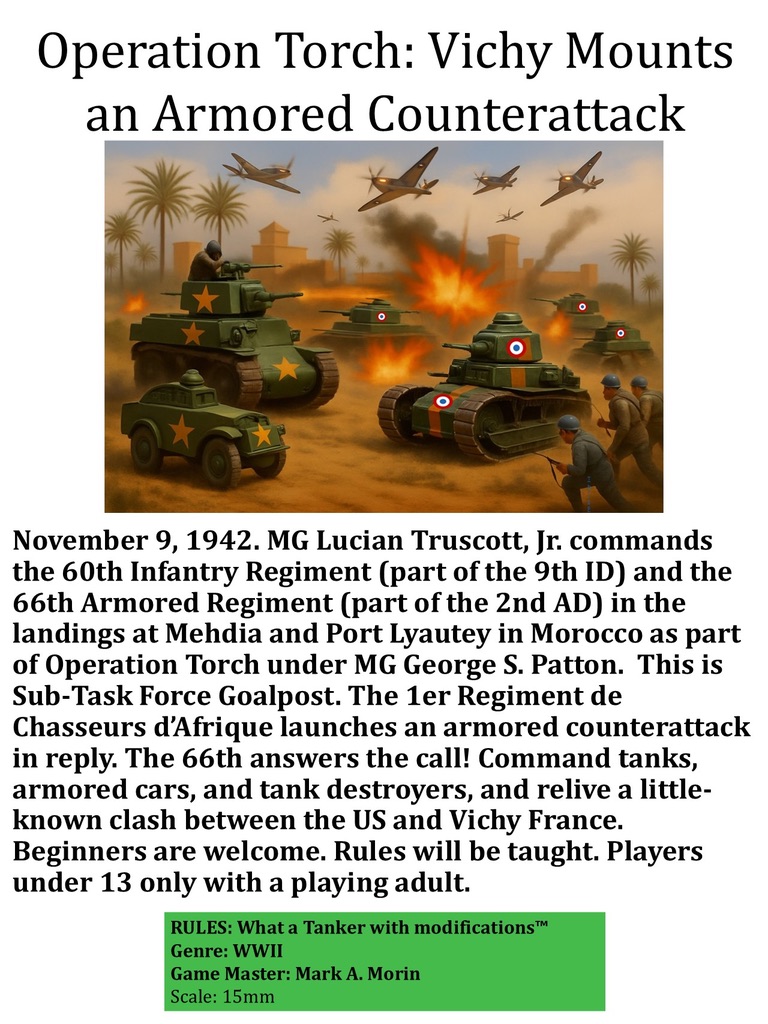
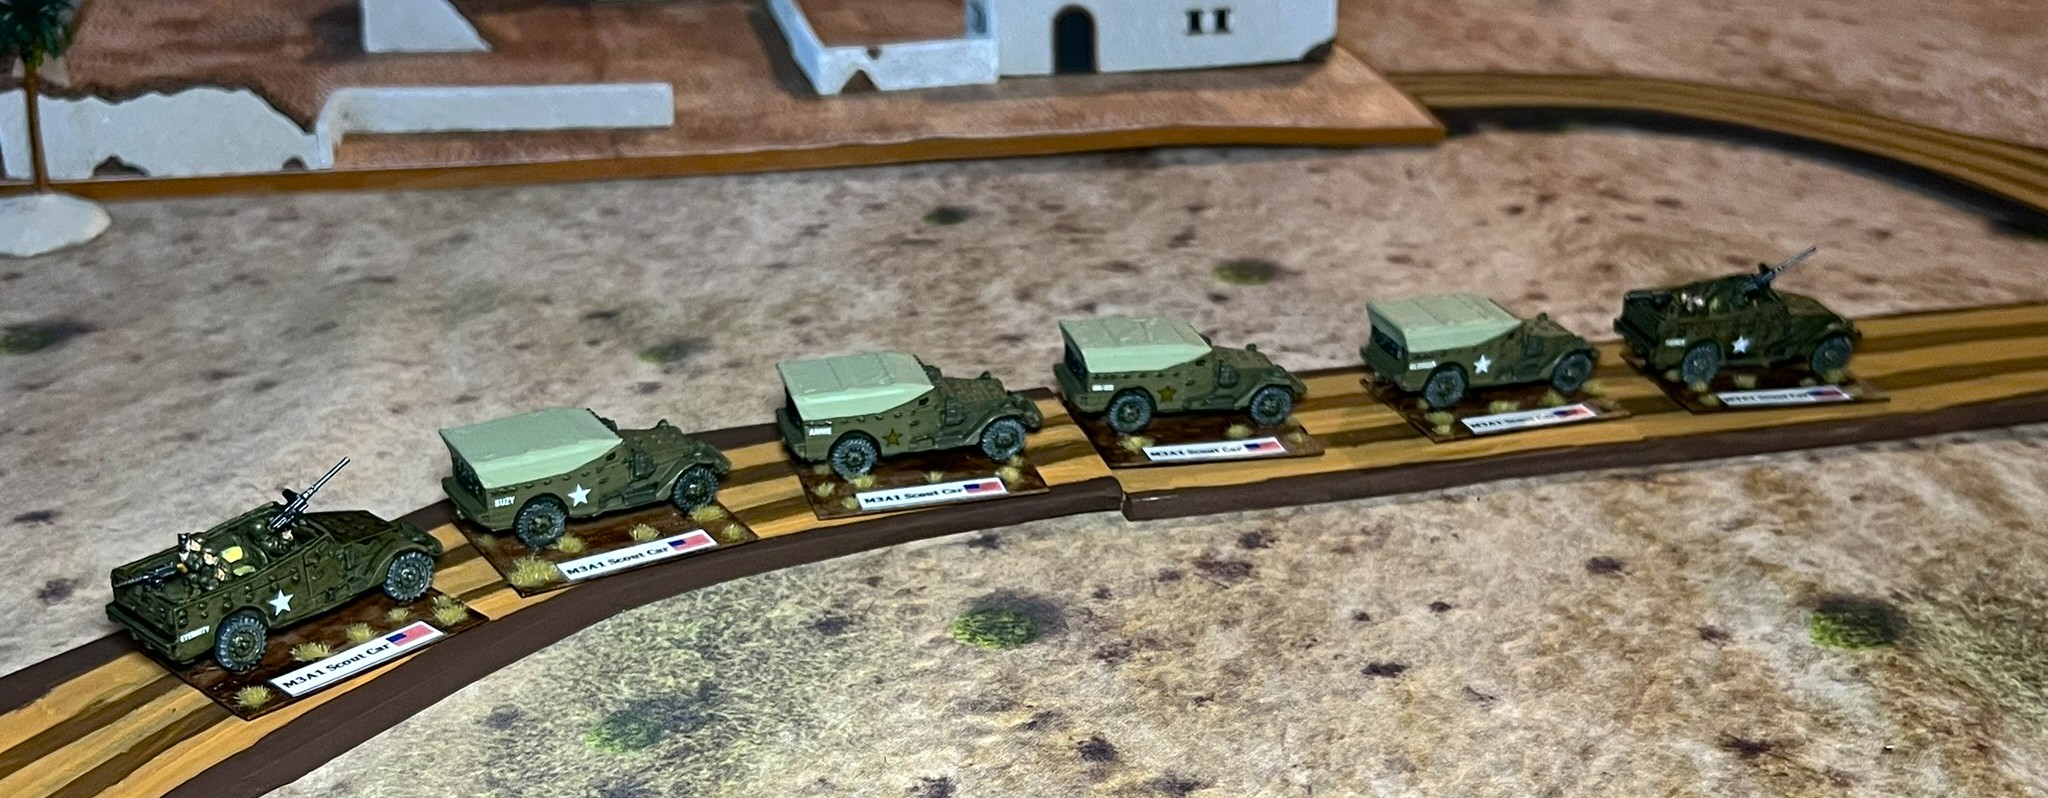
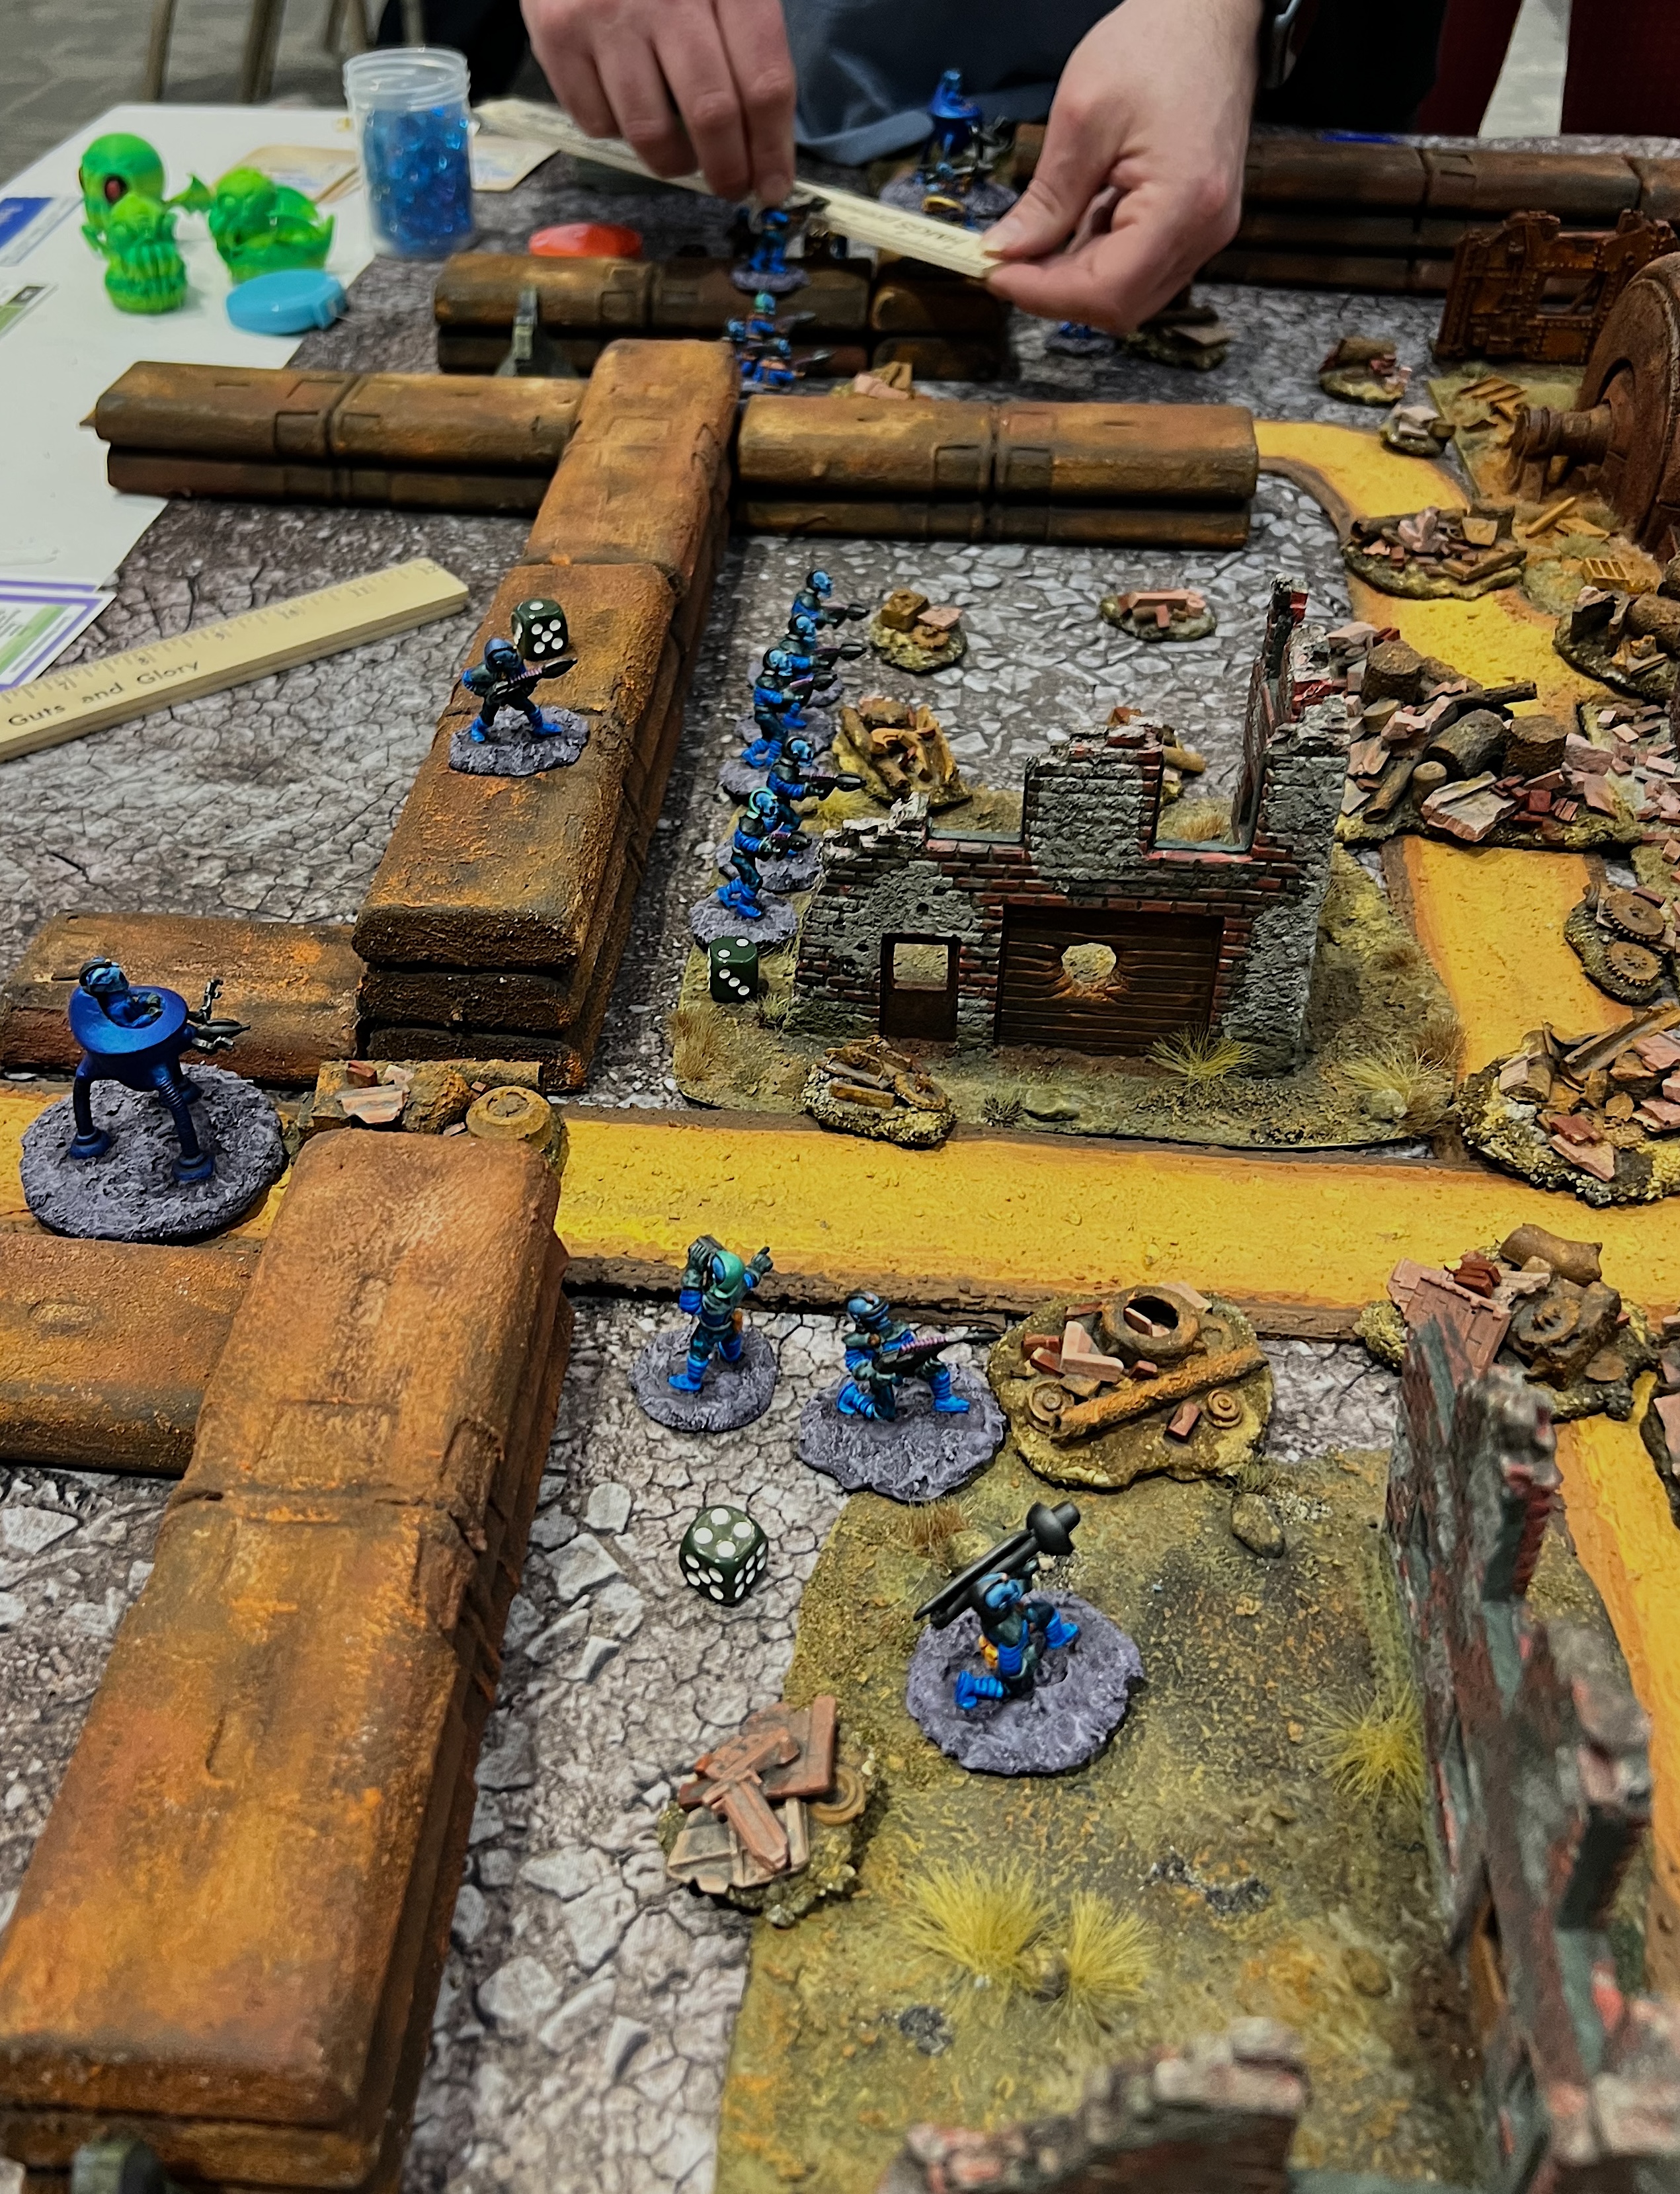
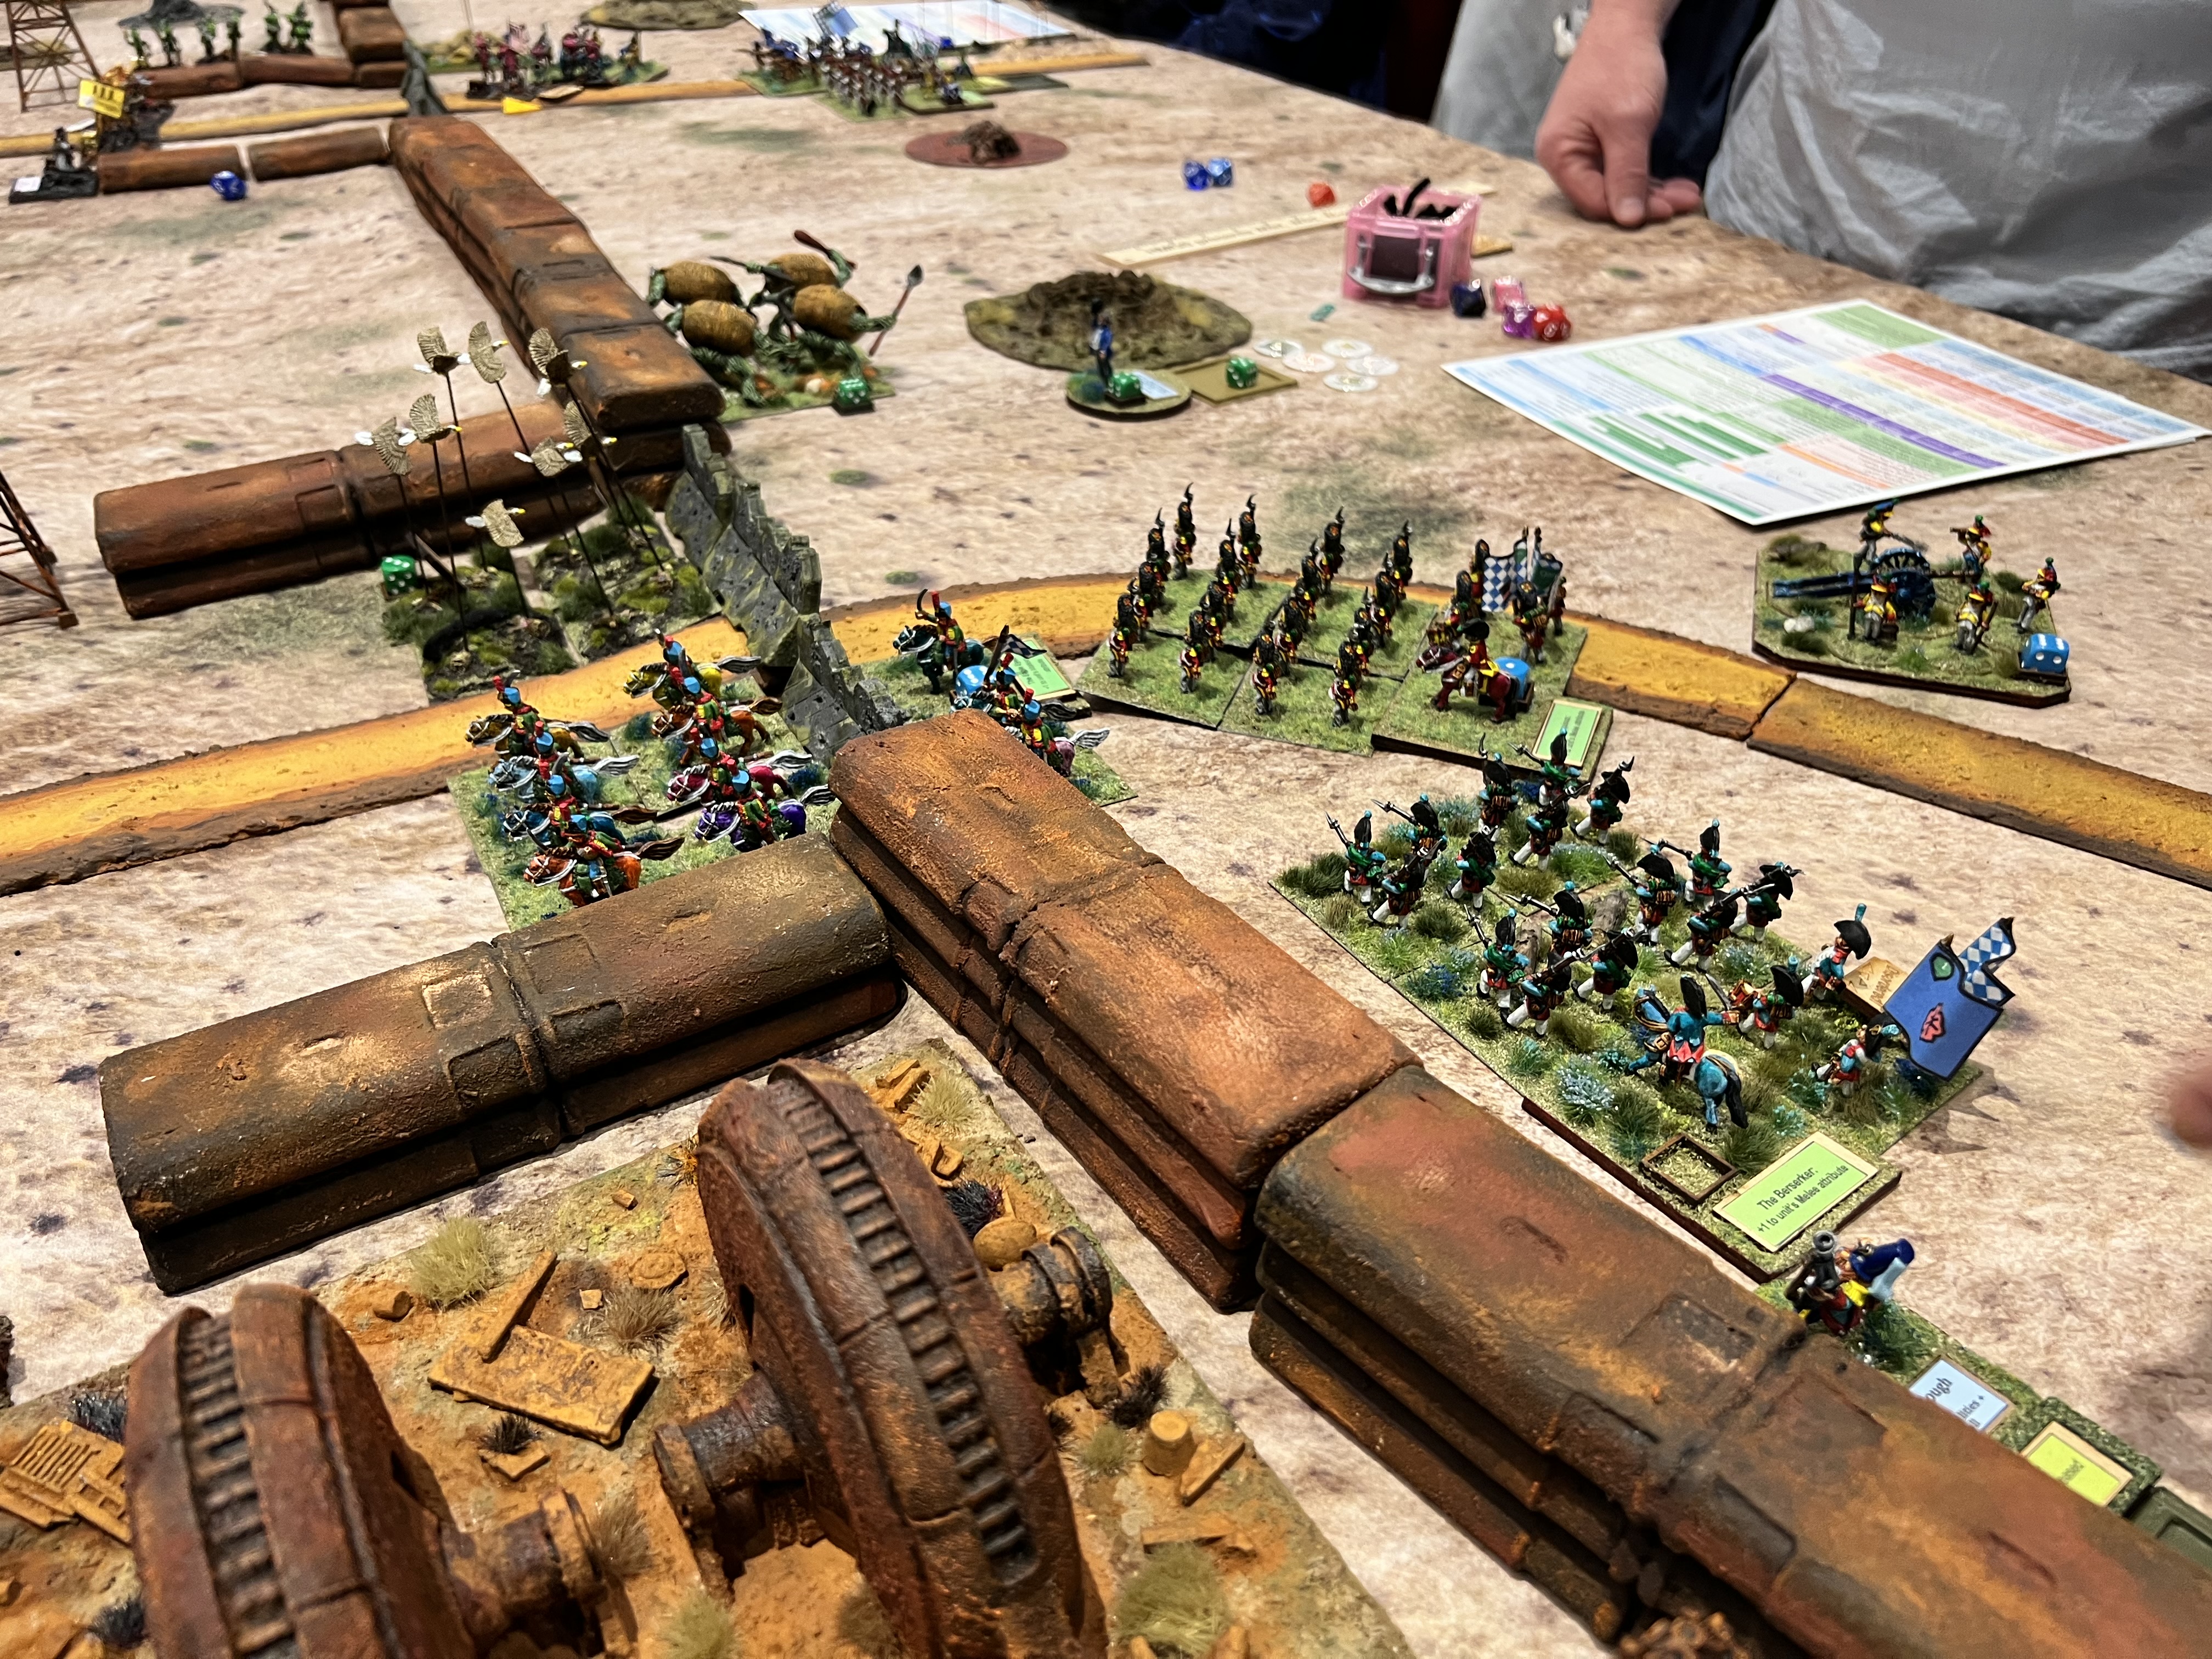
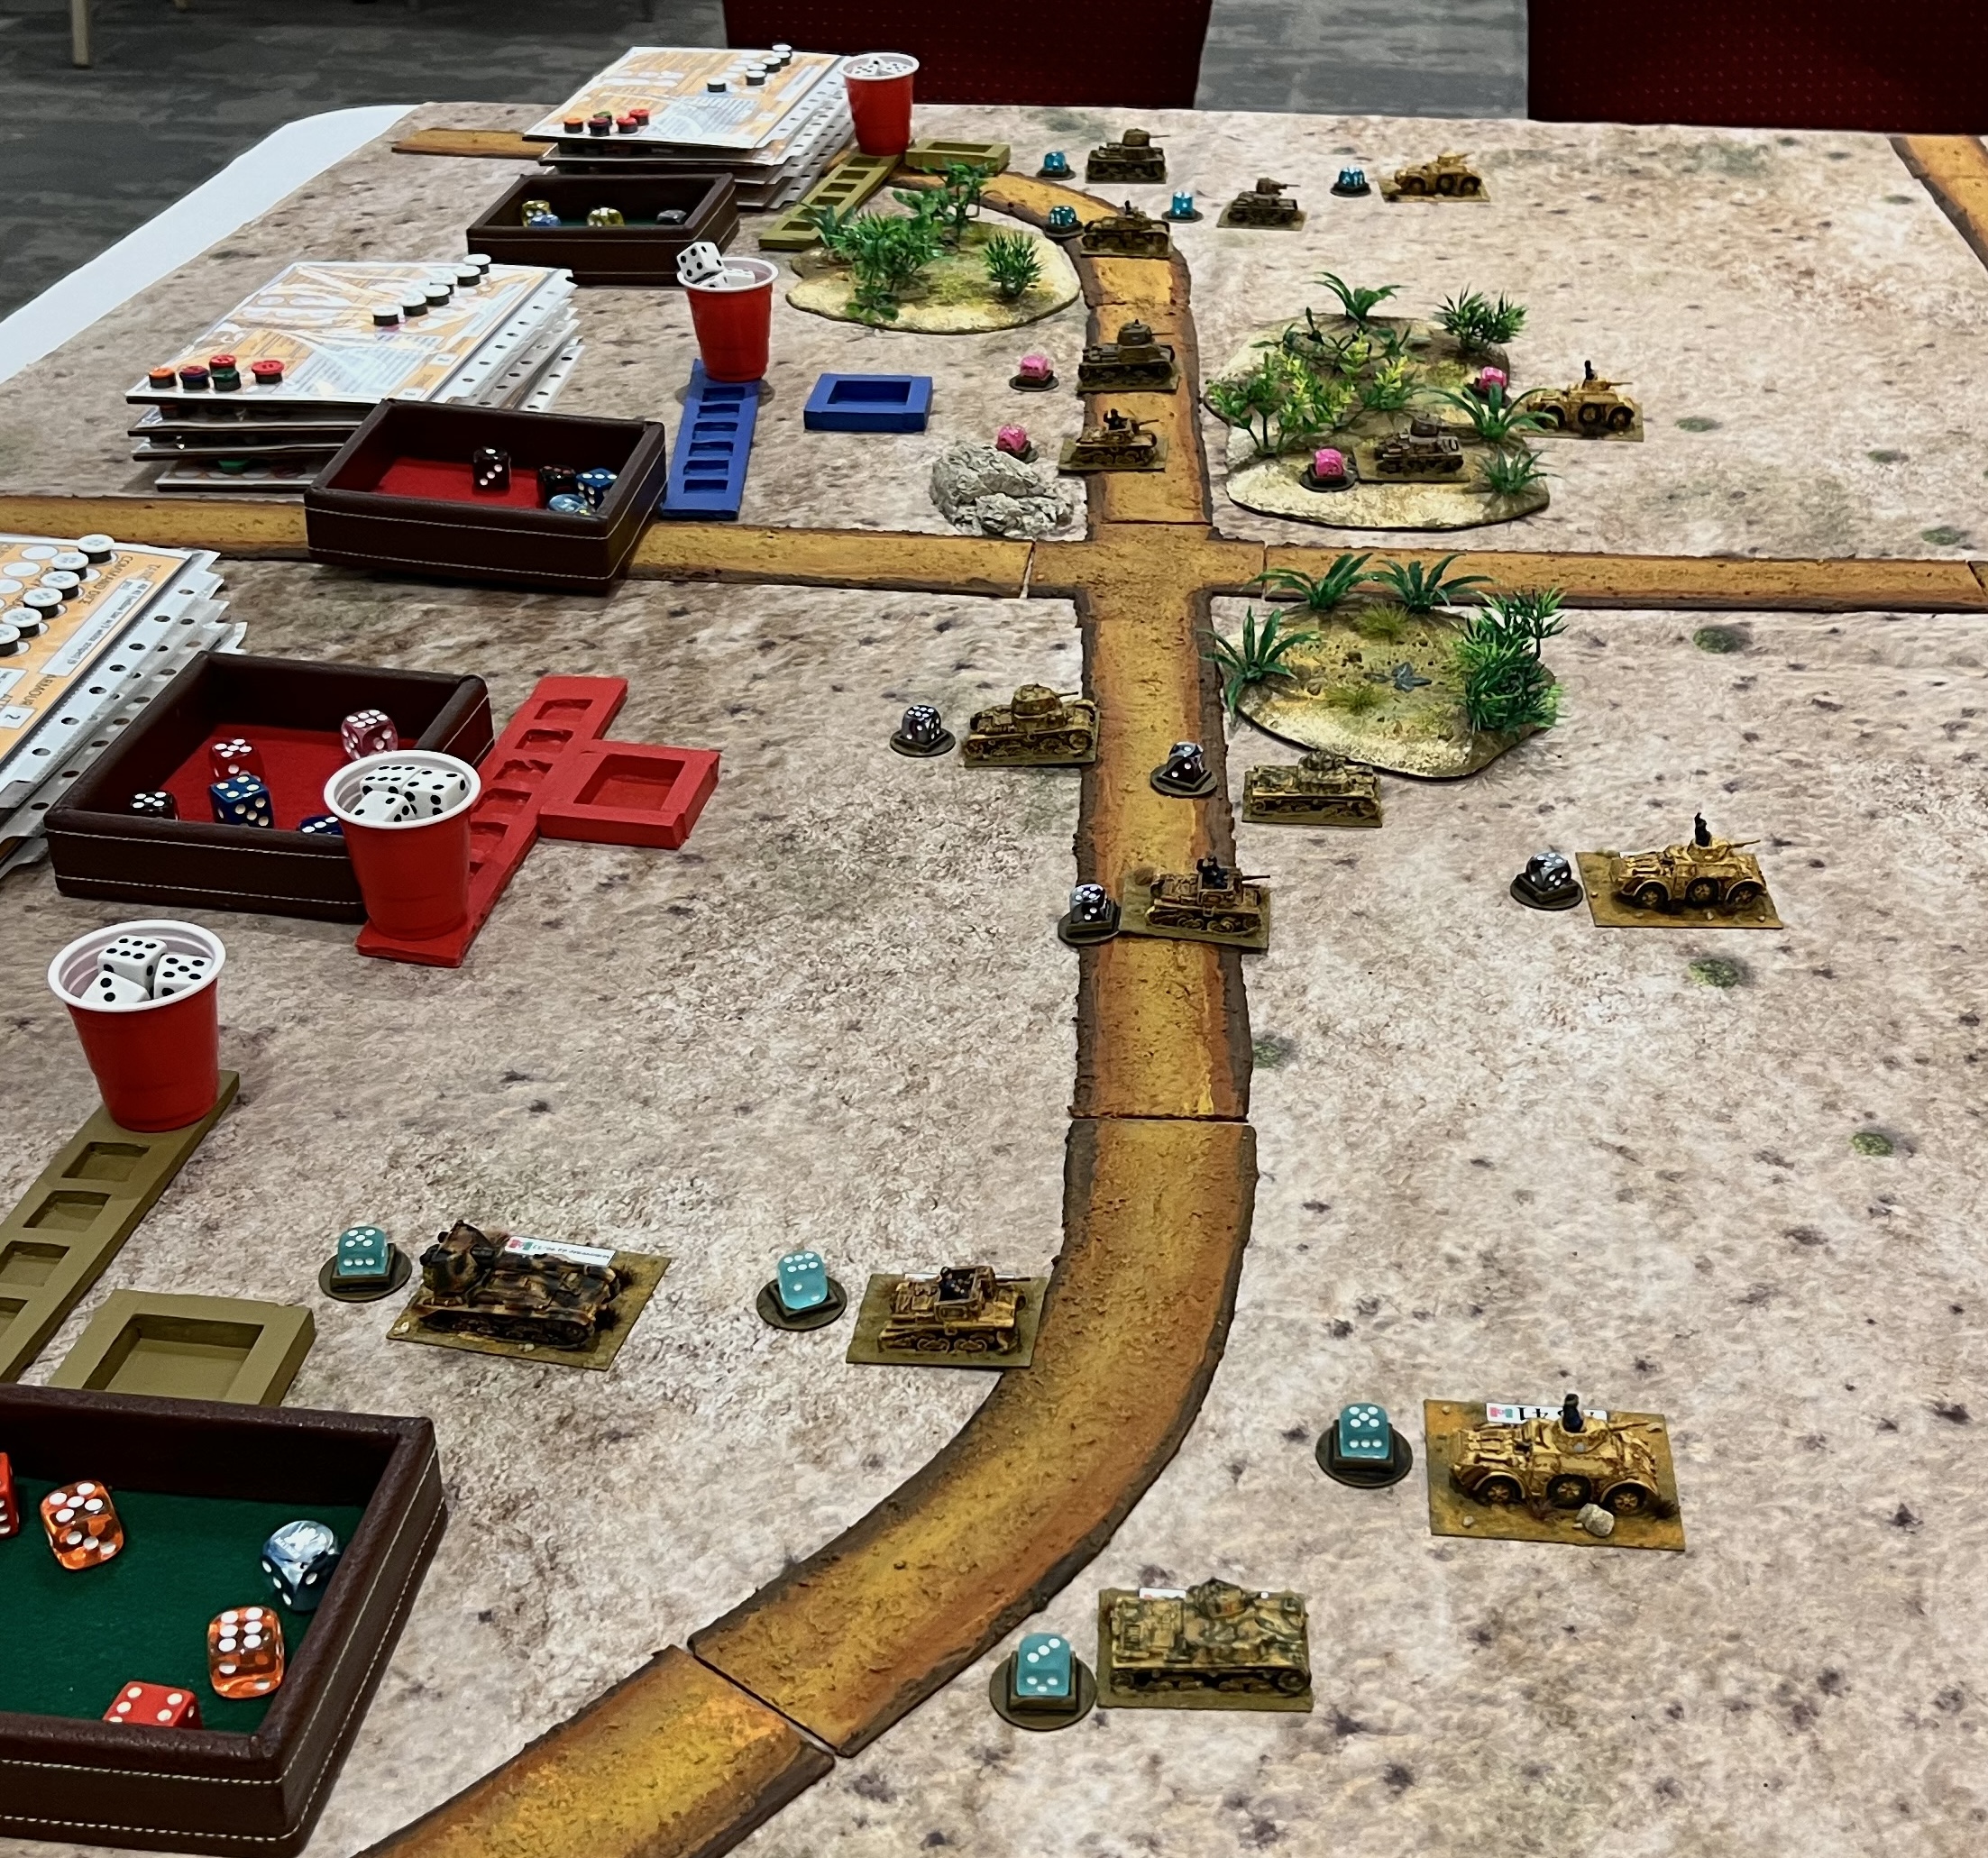
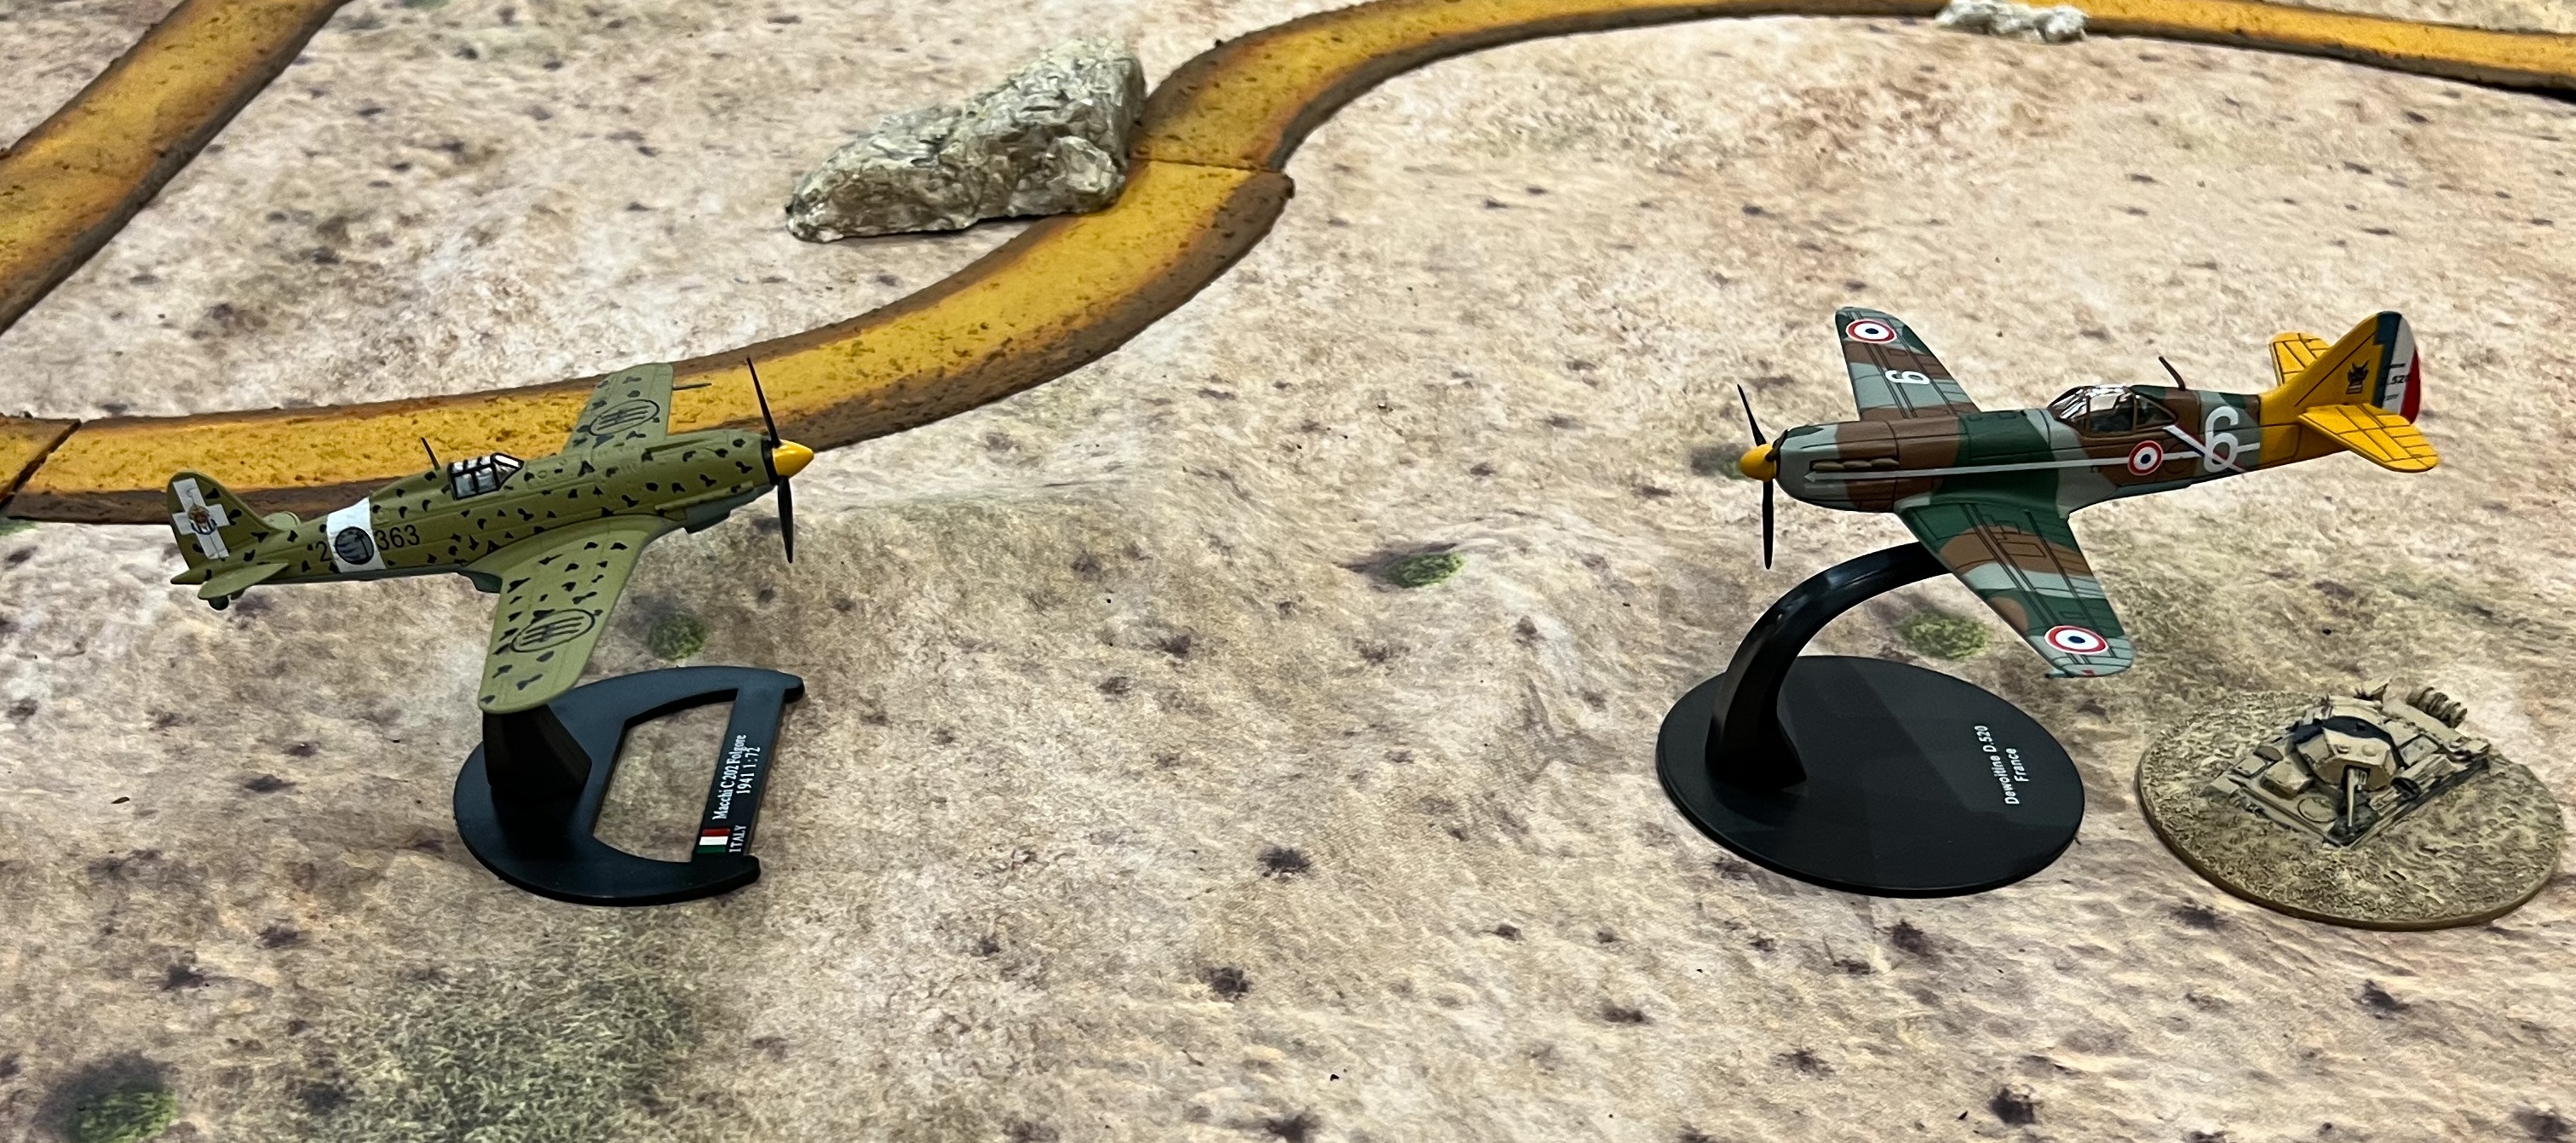
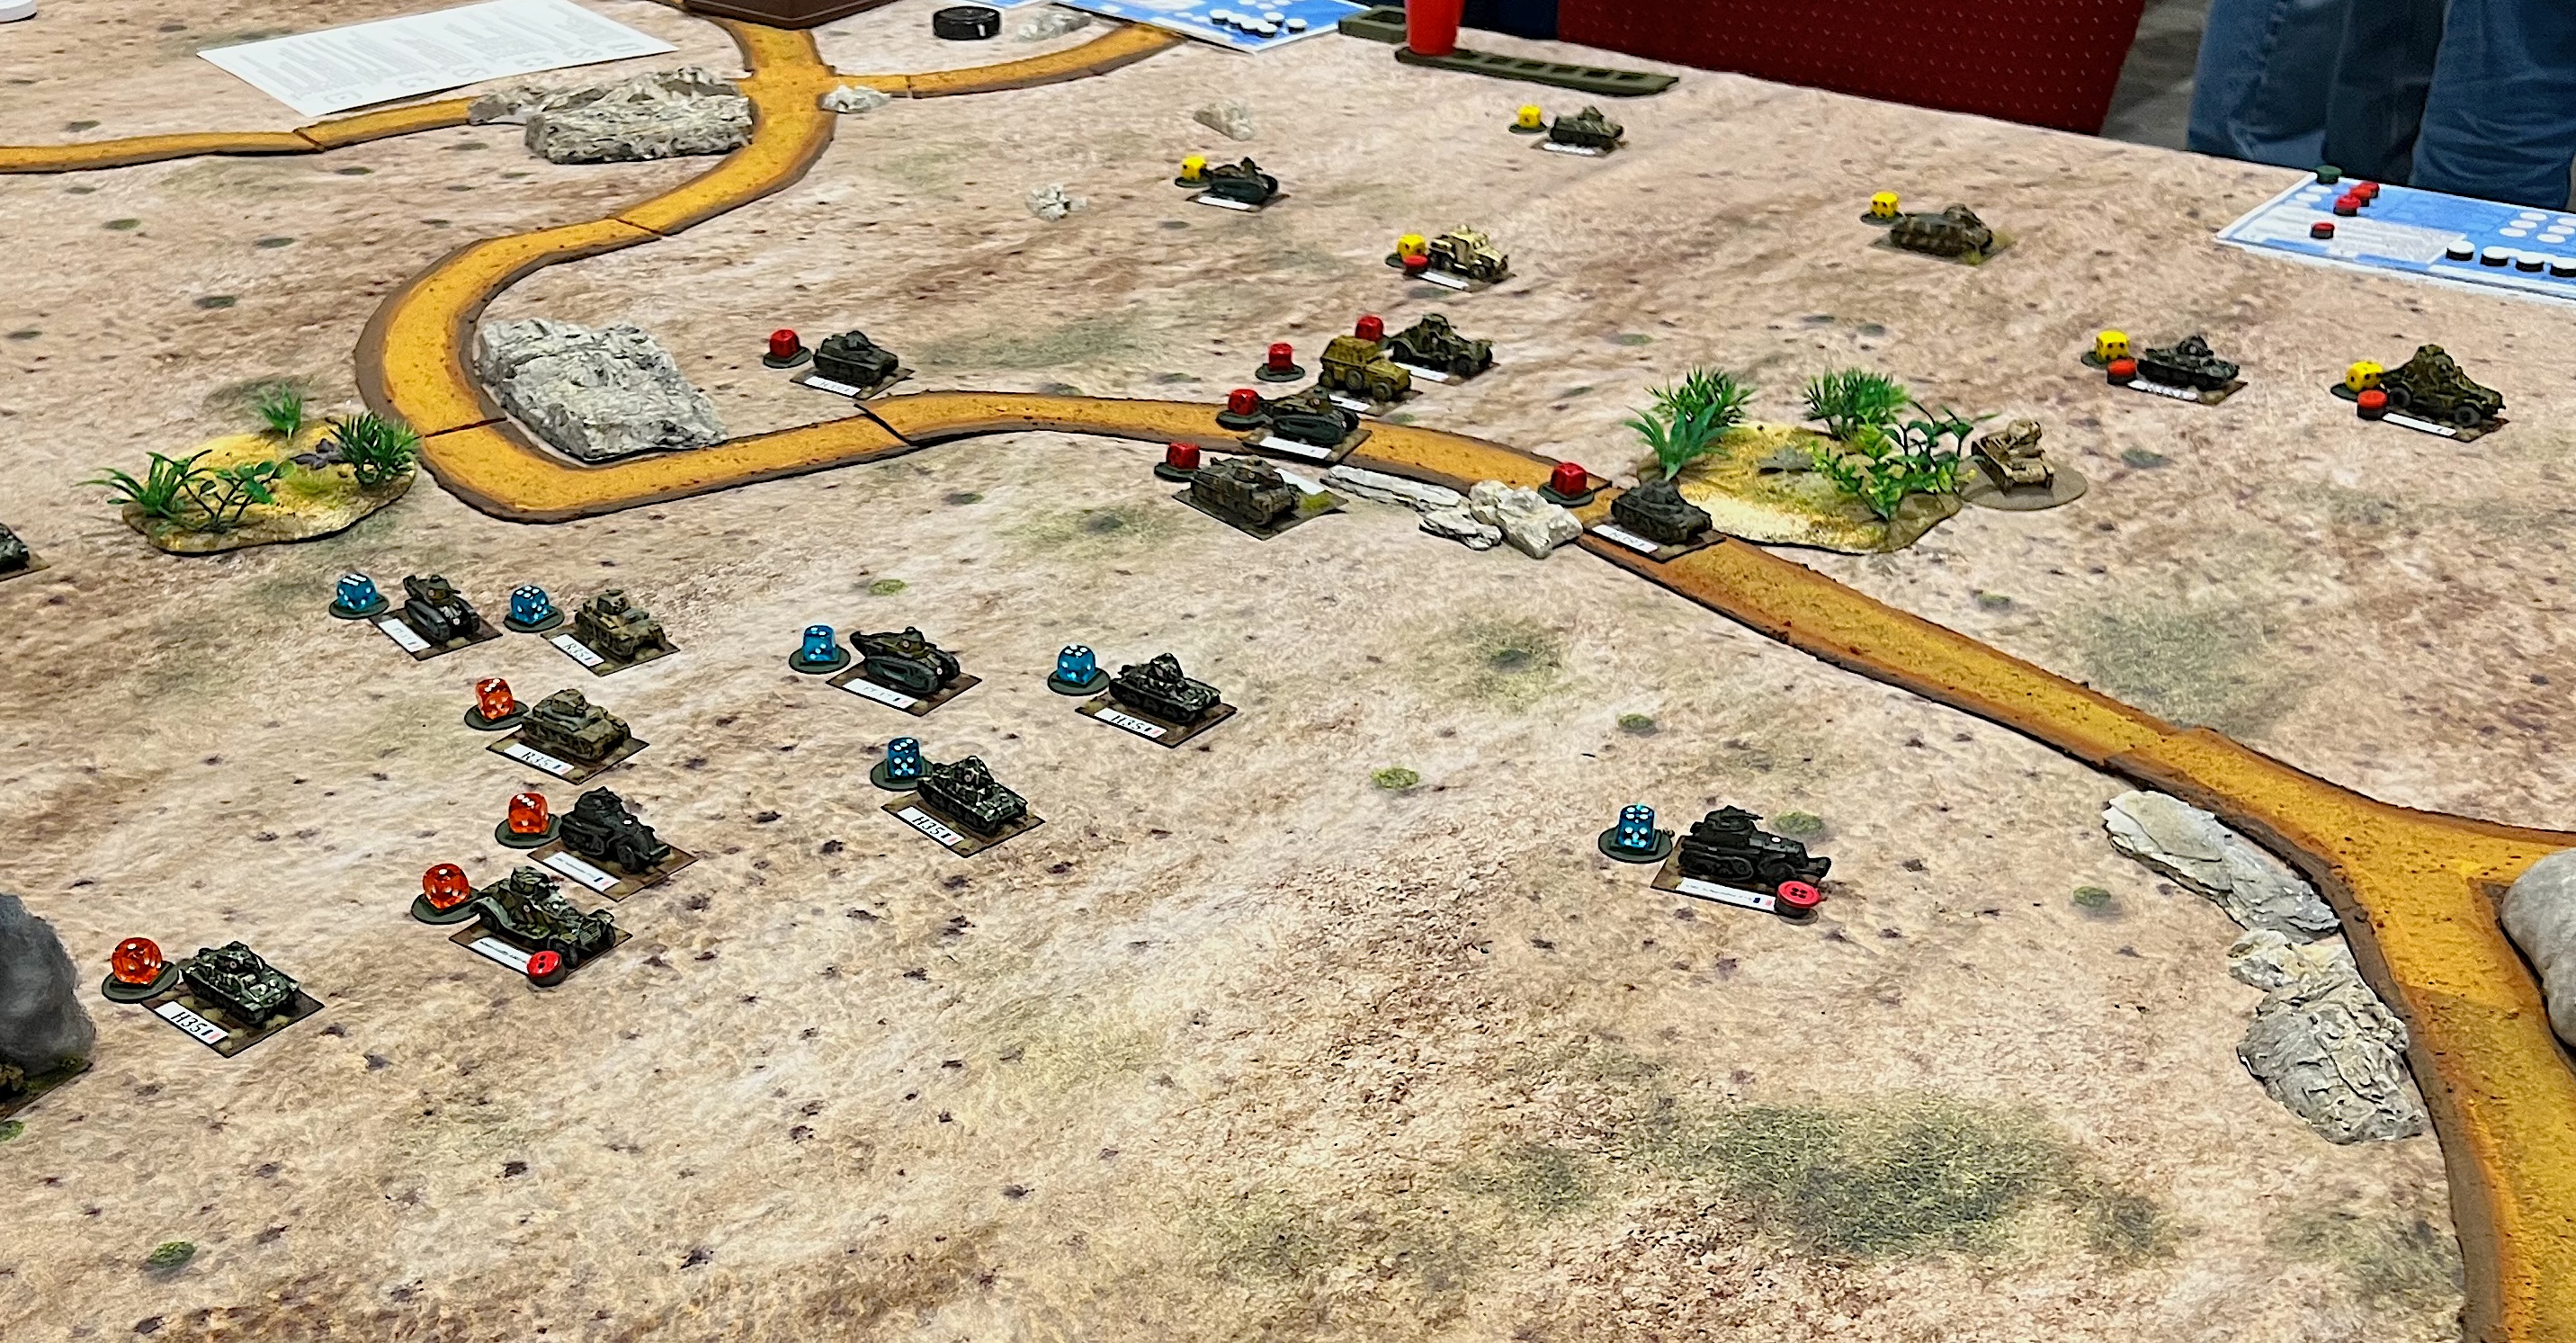
For Saturday afternoon, I ran Operation Torch: Vichy Mounts an Armored Counterattack. This was also a modified What a Tanker game.
Operation Torch: Vichy Mounts an Armored Counterattack


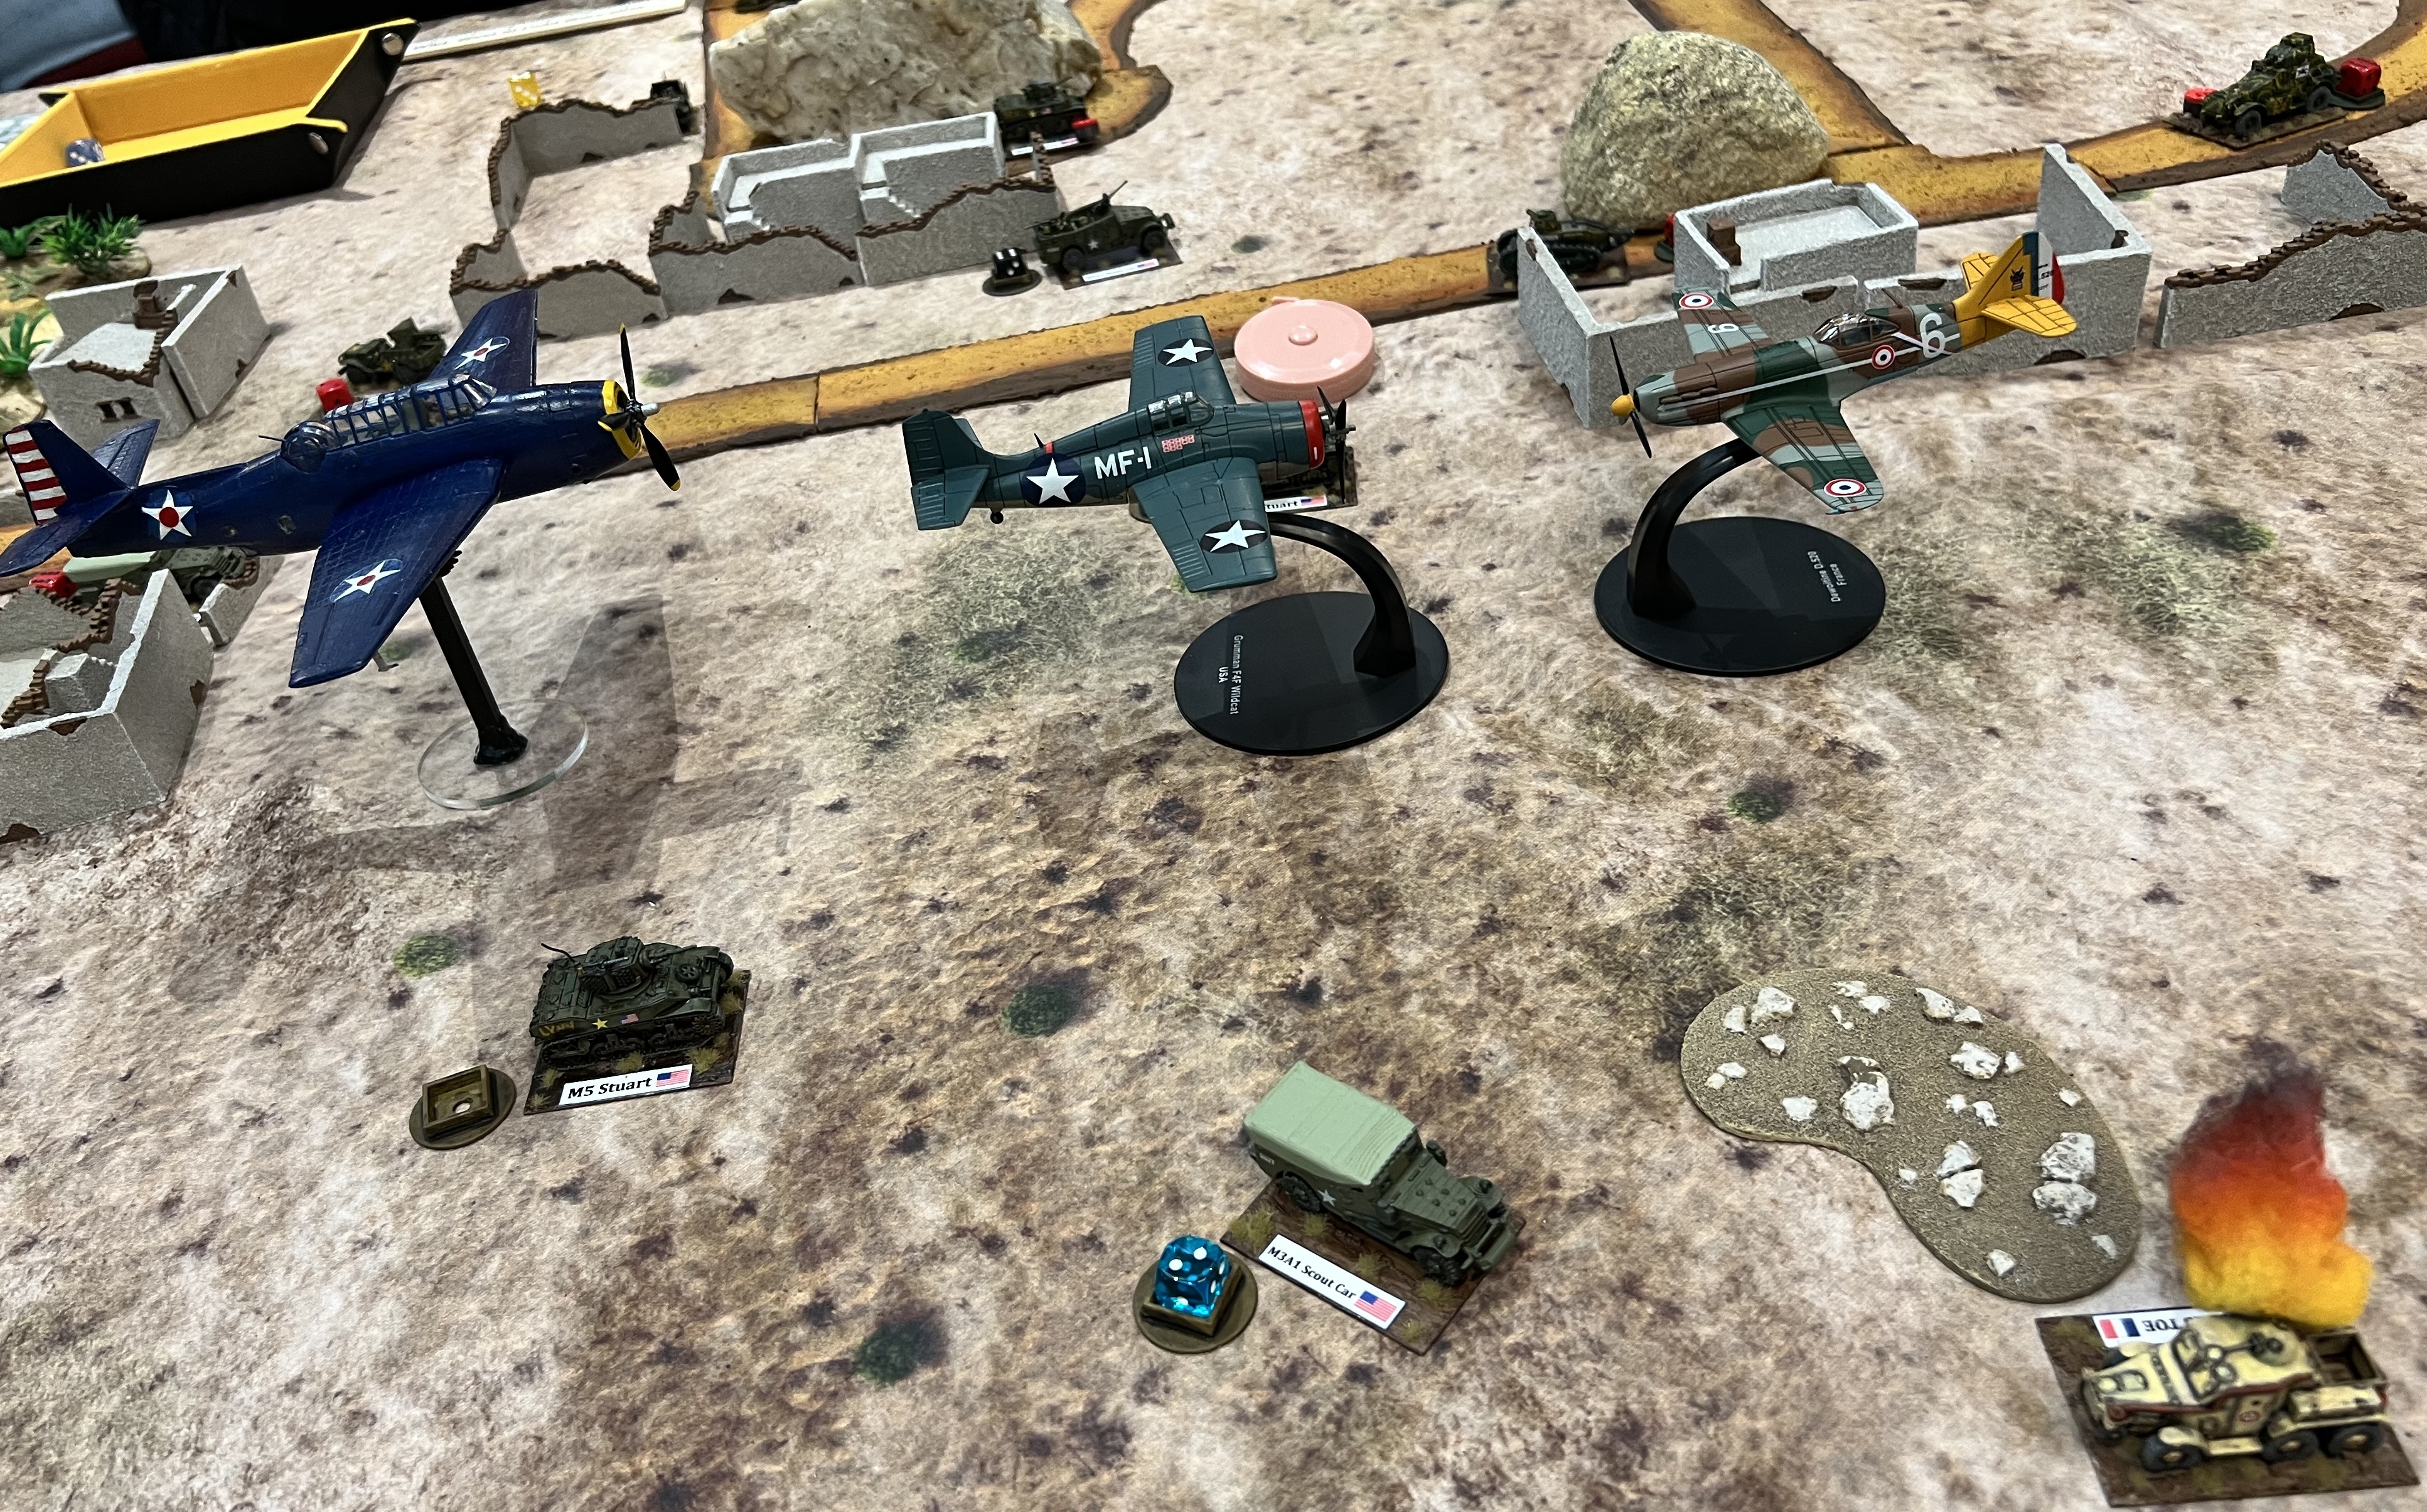
The US air superiority and naval gunfire carried the day – with the US winning a significant victory.
RETROVIANS MUST BE CLEANSED
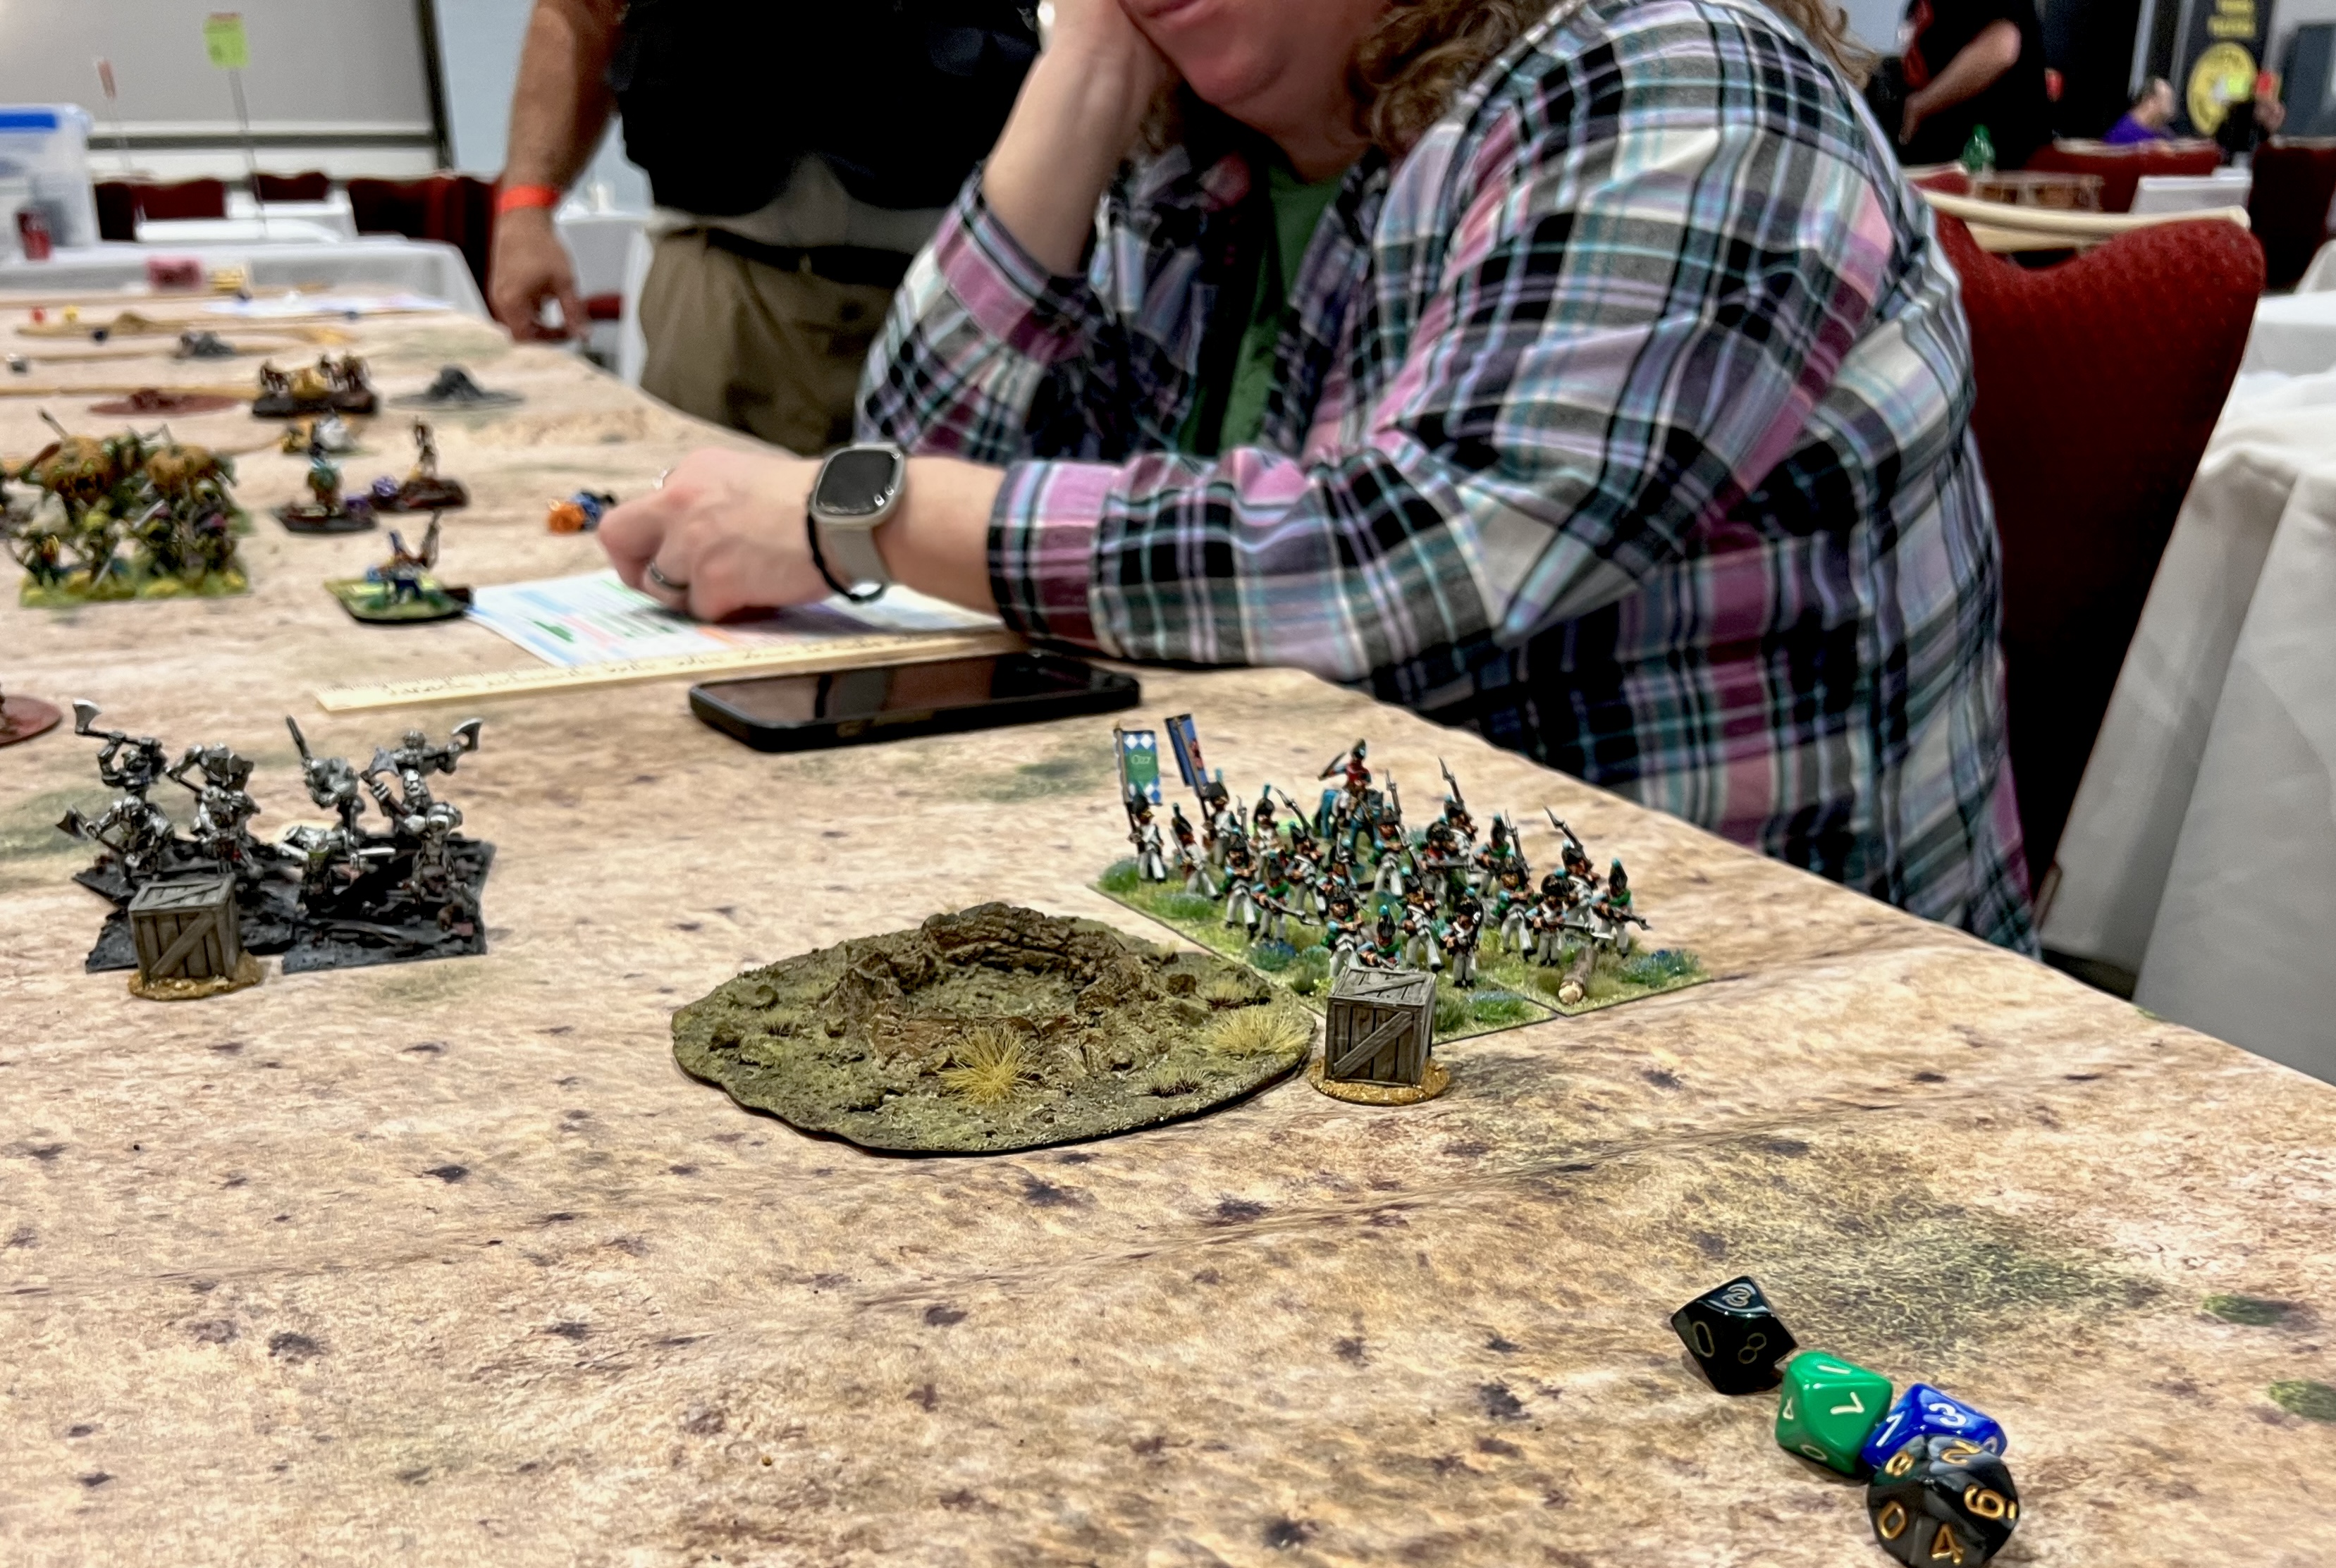
Saturday night’s game was upon me, and I had decided to run another Combat Patrol retro sci-fi game. This time, the Retrovians would face the Archive Star Rovers Warbots. They would also confront my own creation – the Mark 1 Sphere tank.
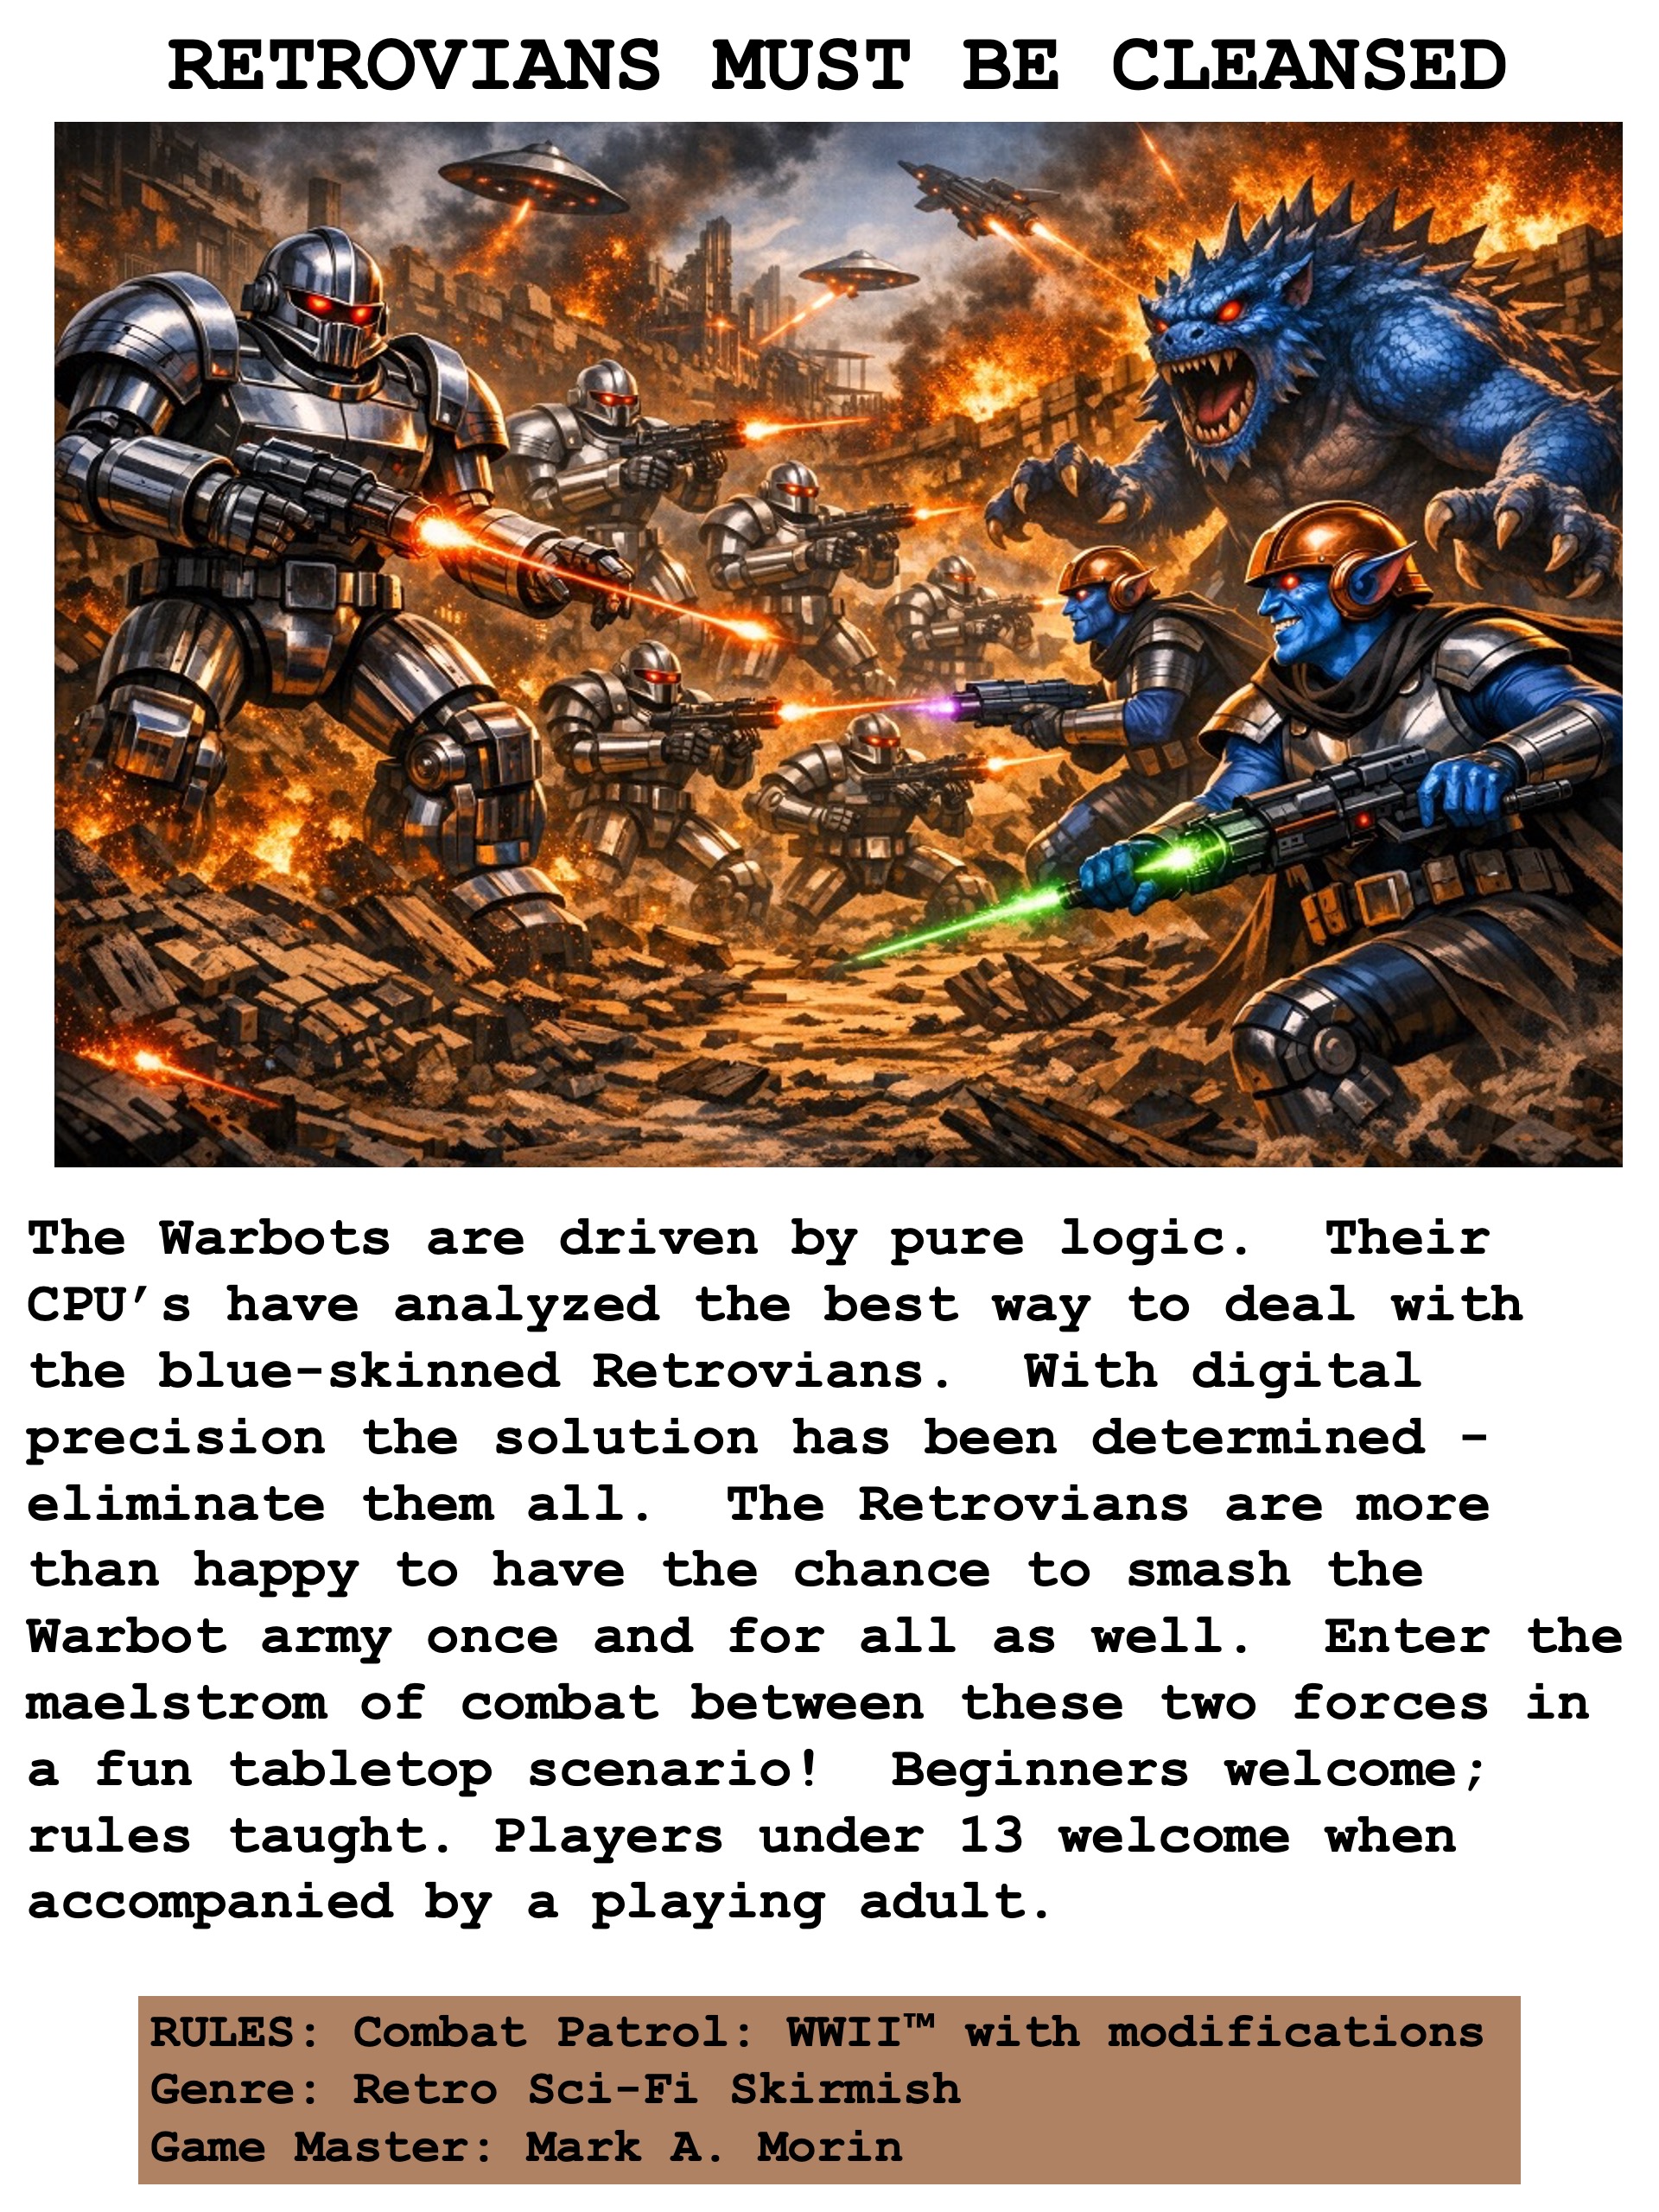
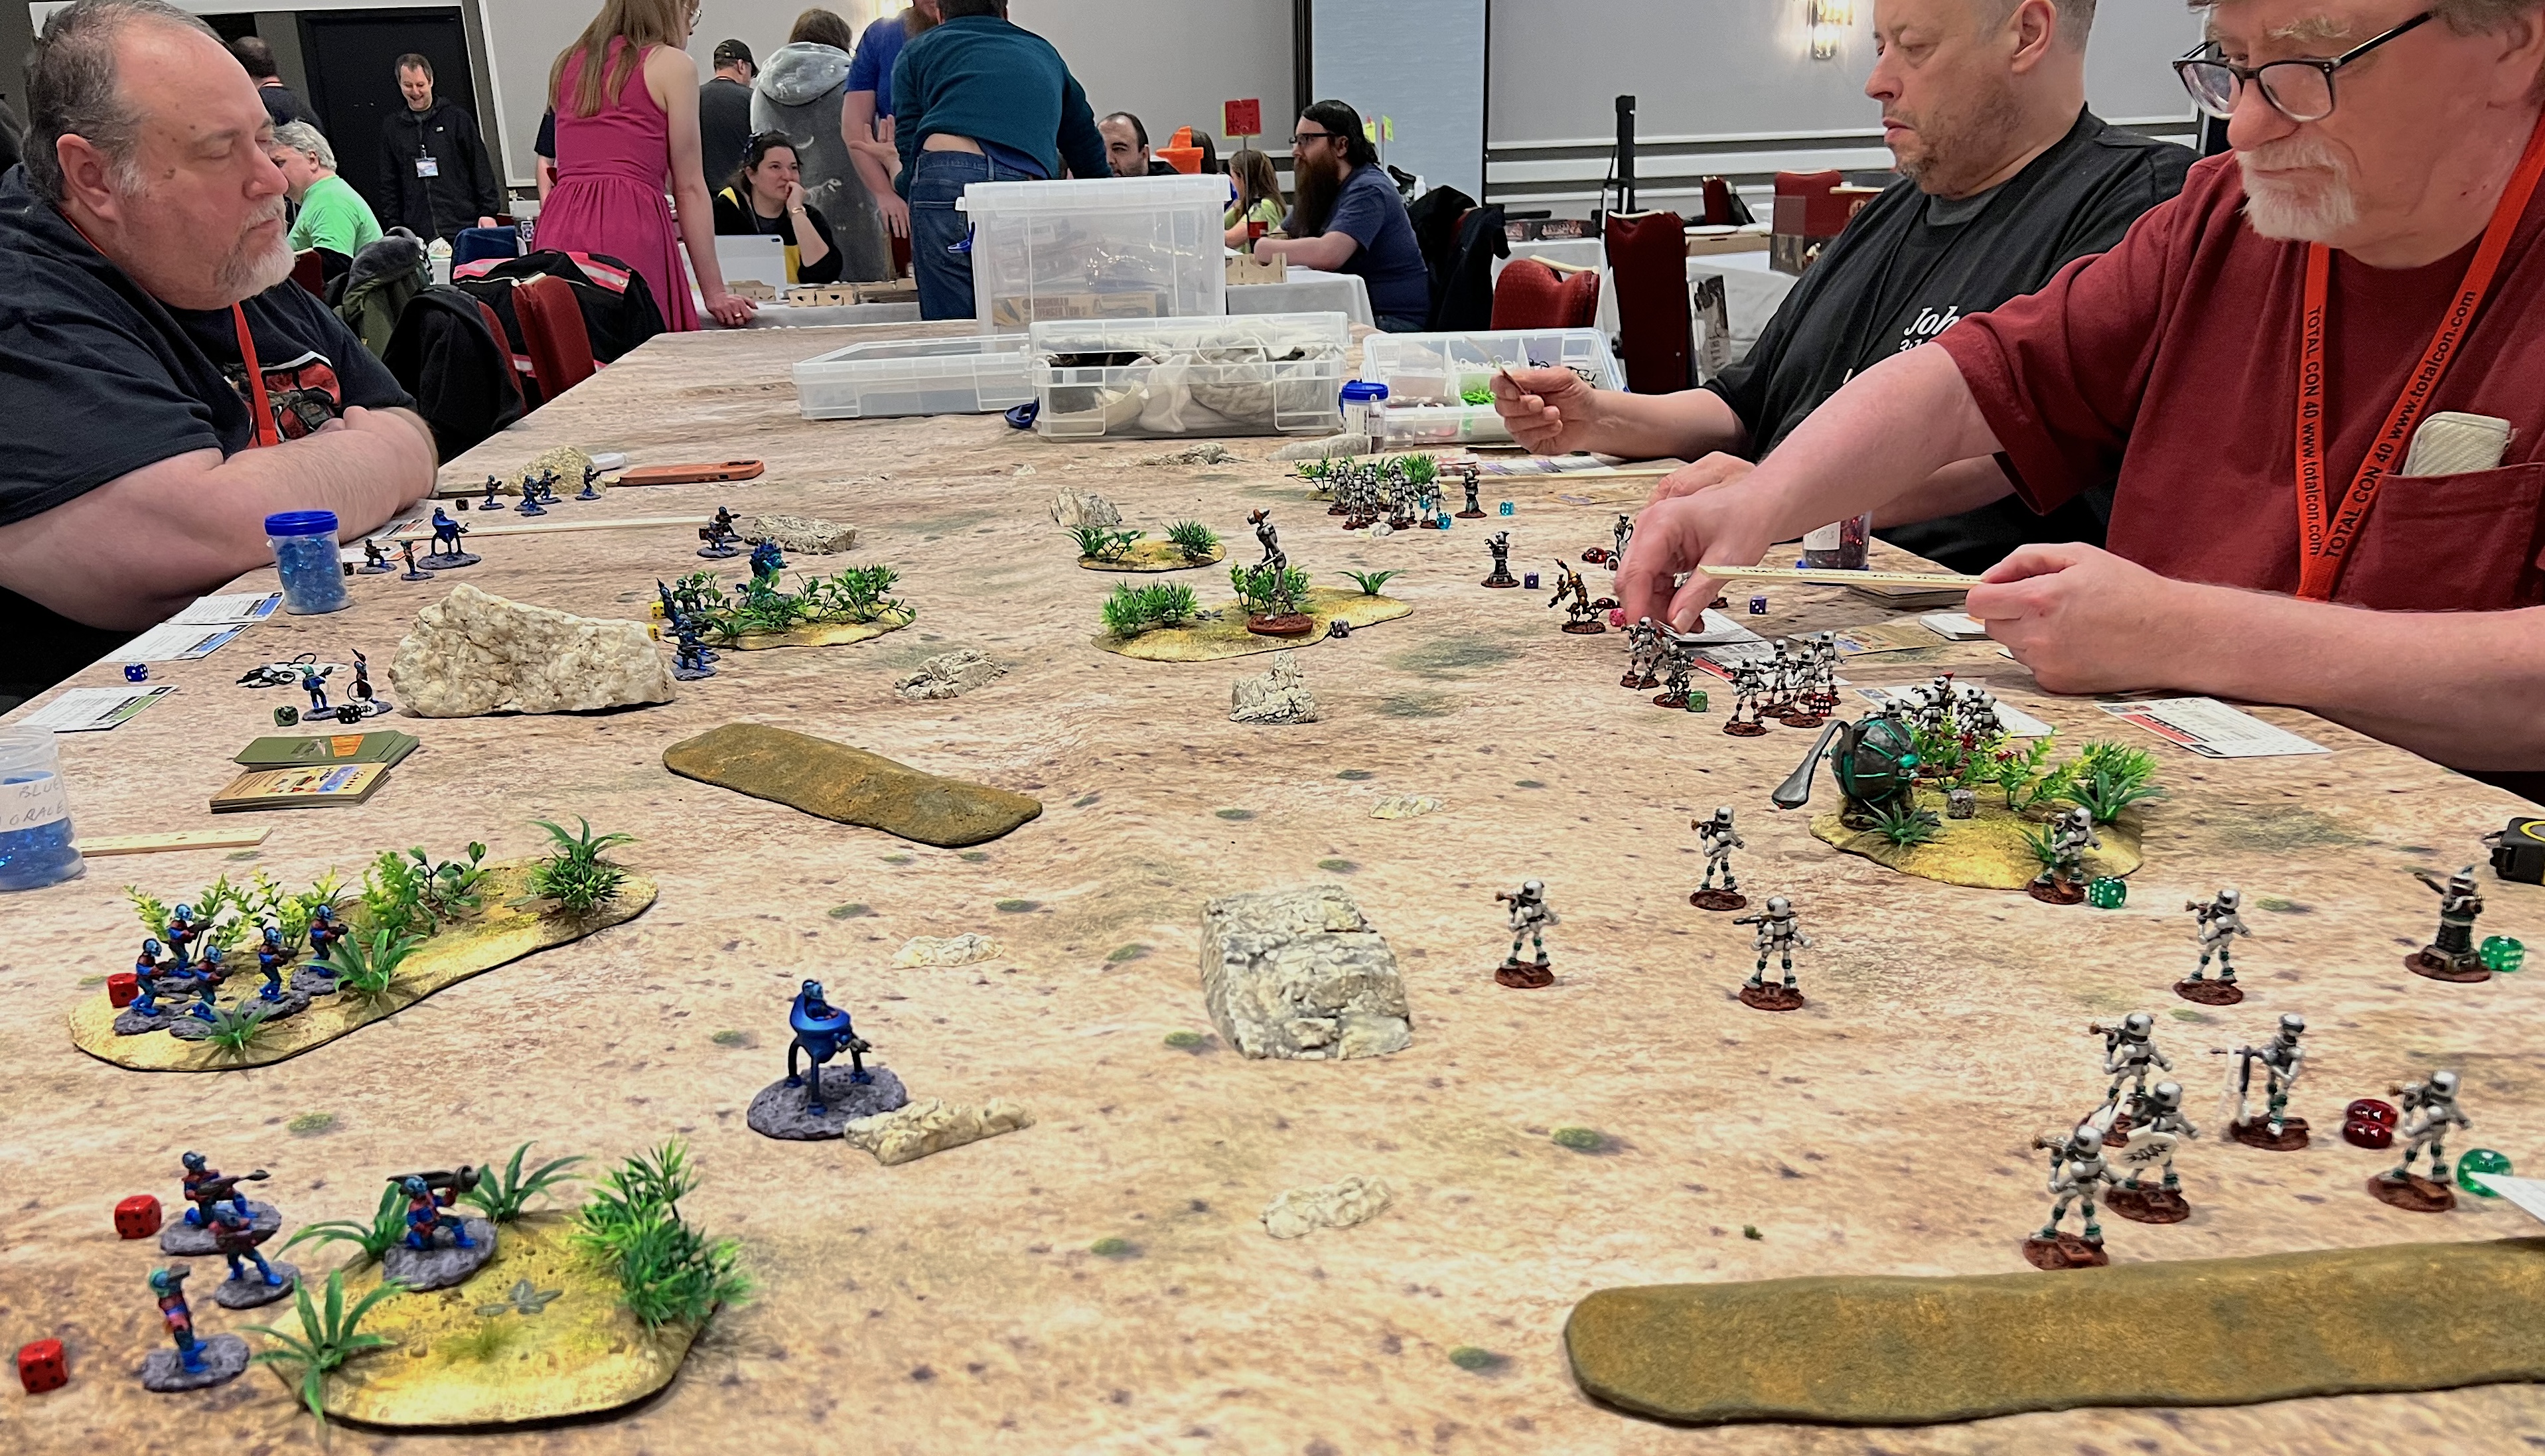
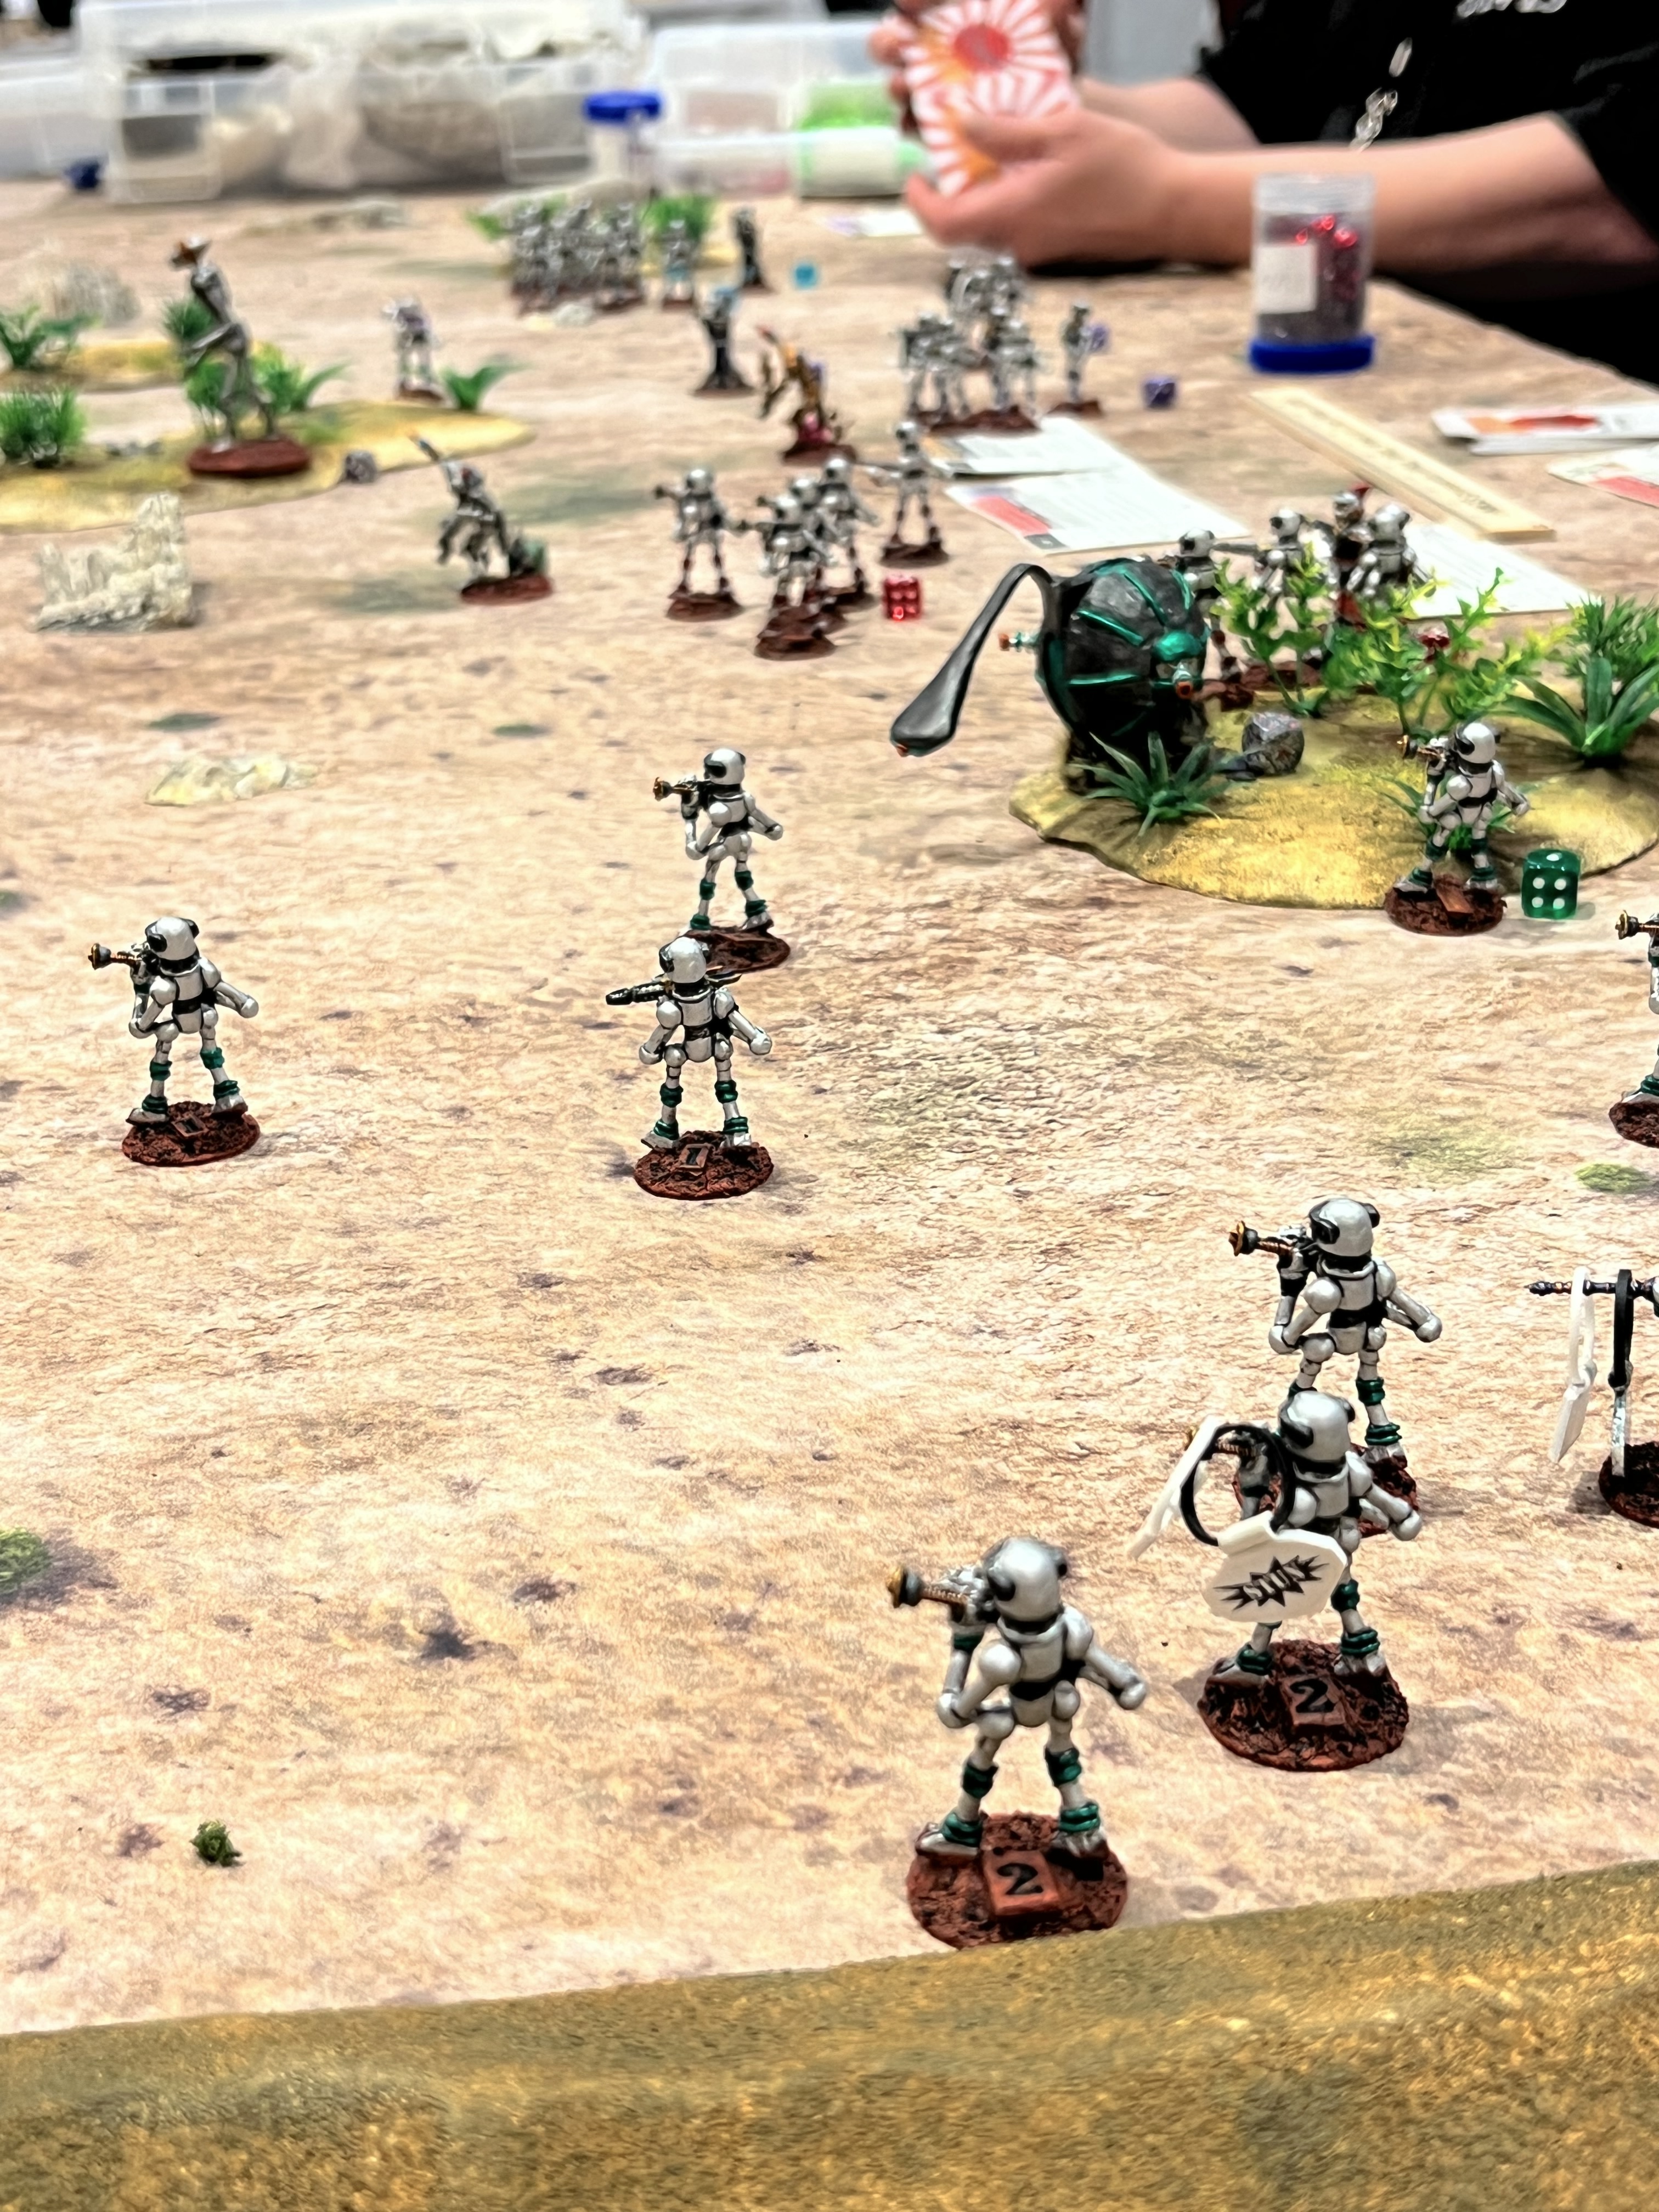
I did not take many pictures of this game. I do believe that the Warbots wore down the Retrovians. Yes, they were “cleansed”. It was nice to see these figures back on the tabletop.
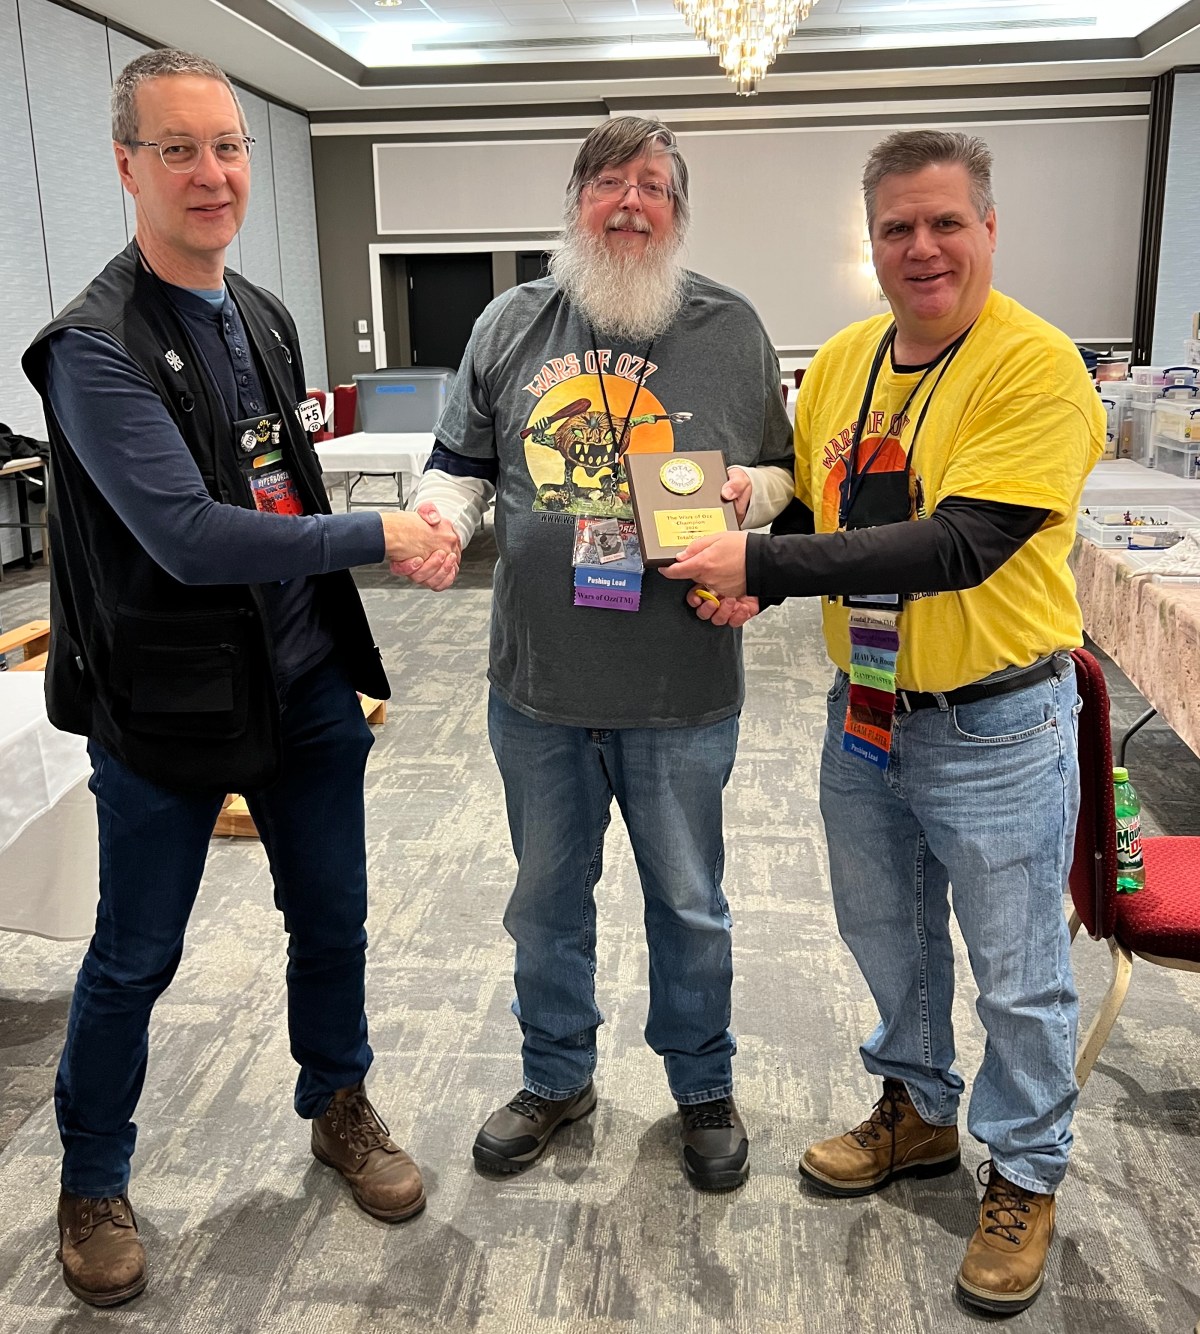
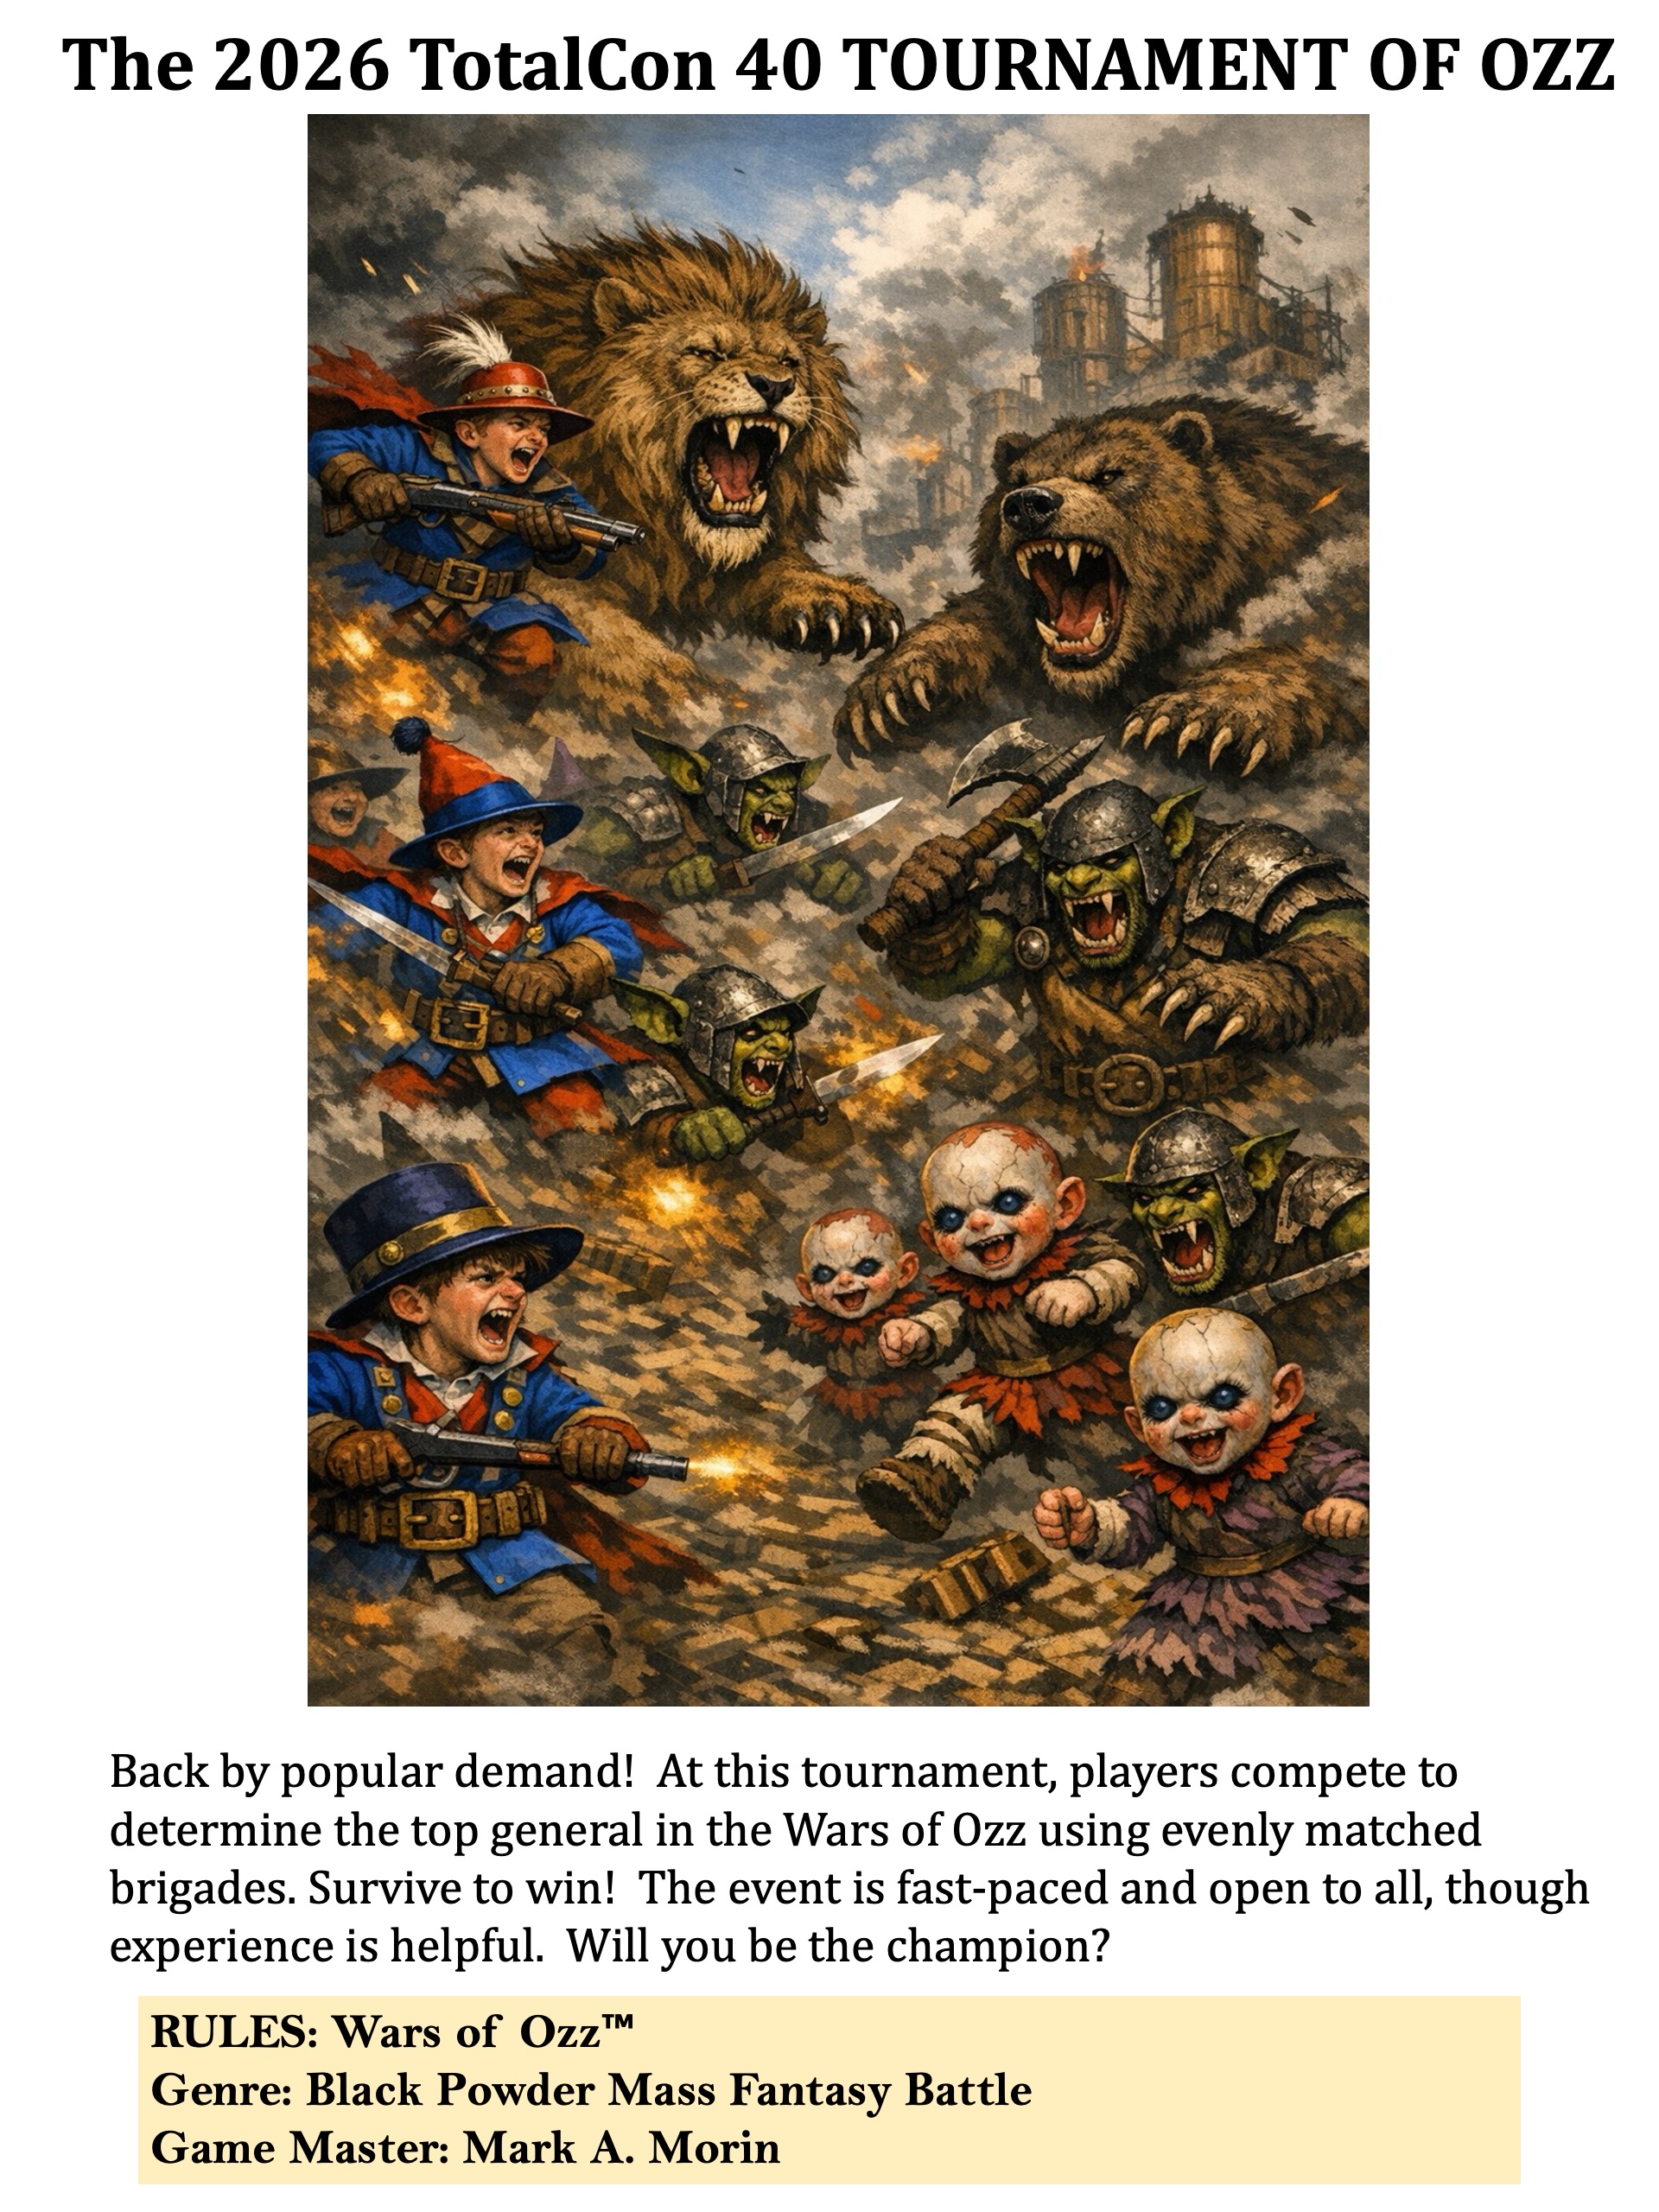
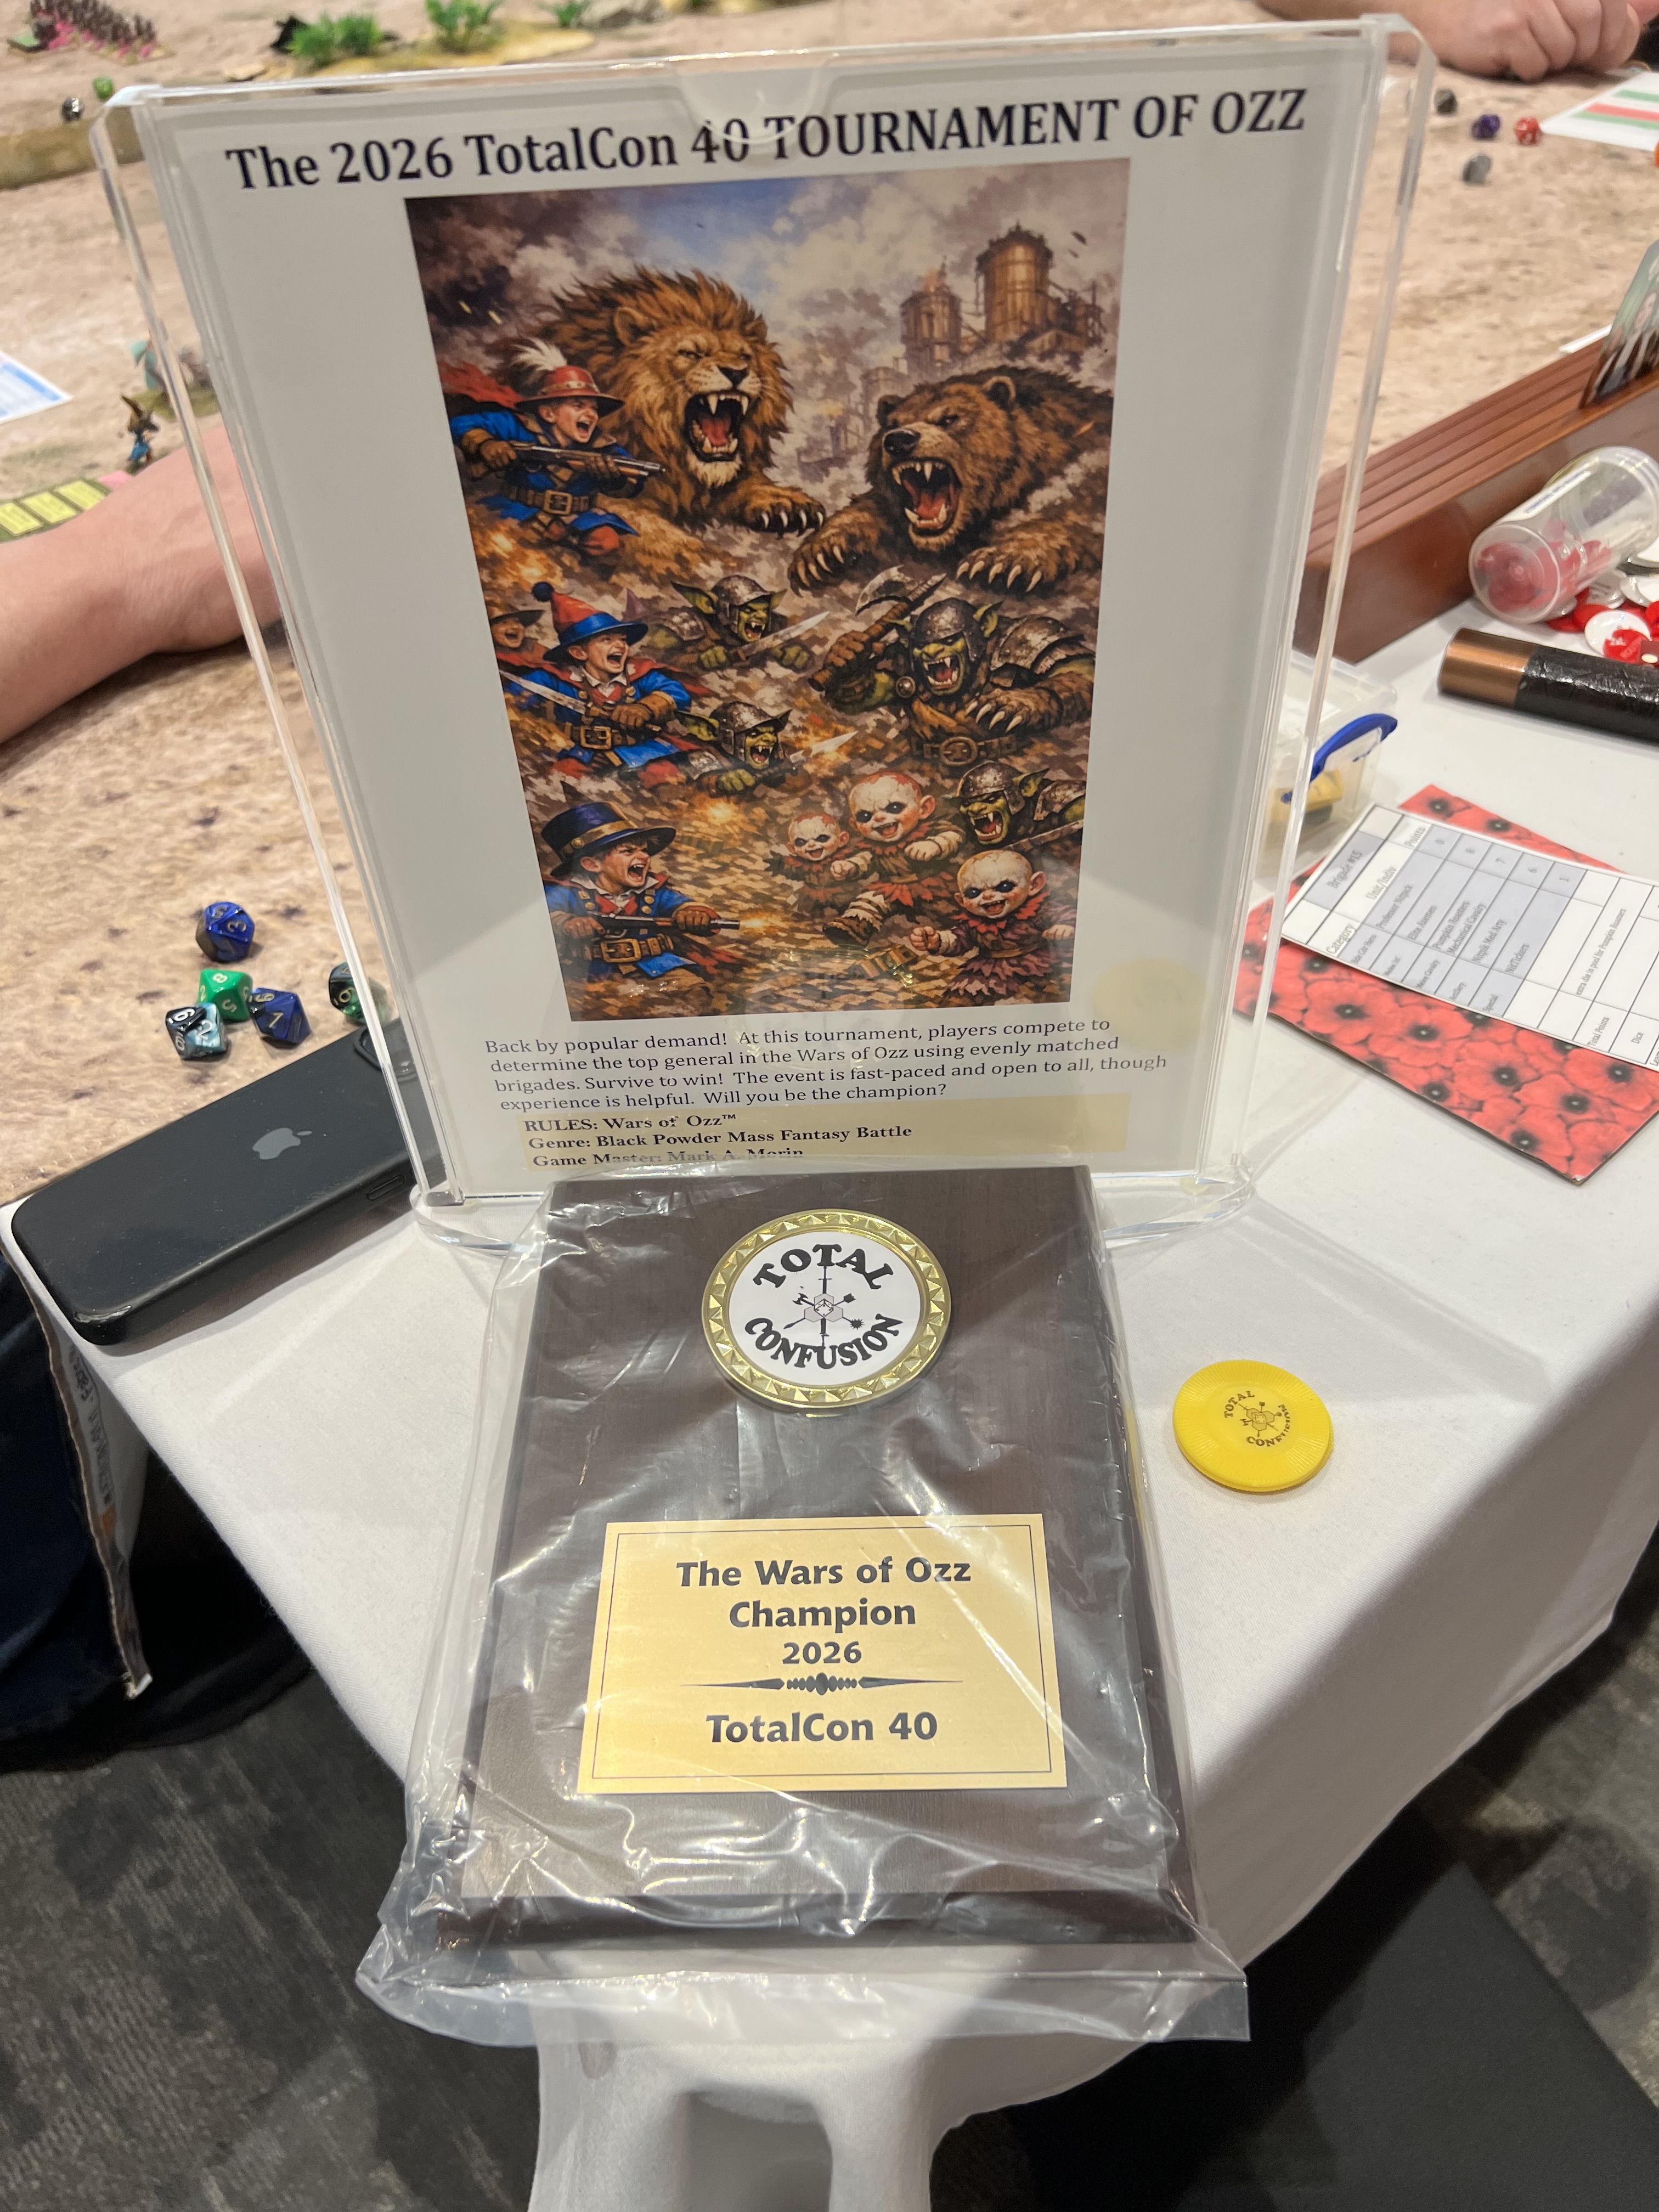
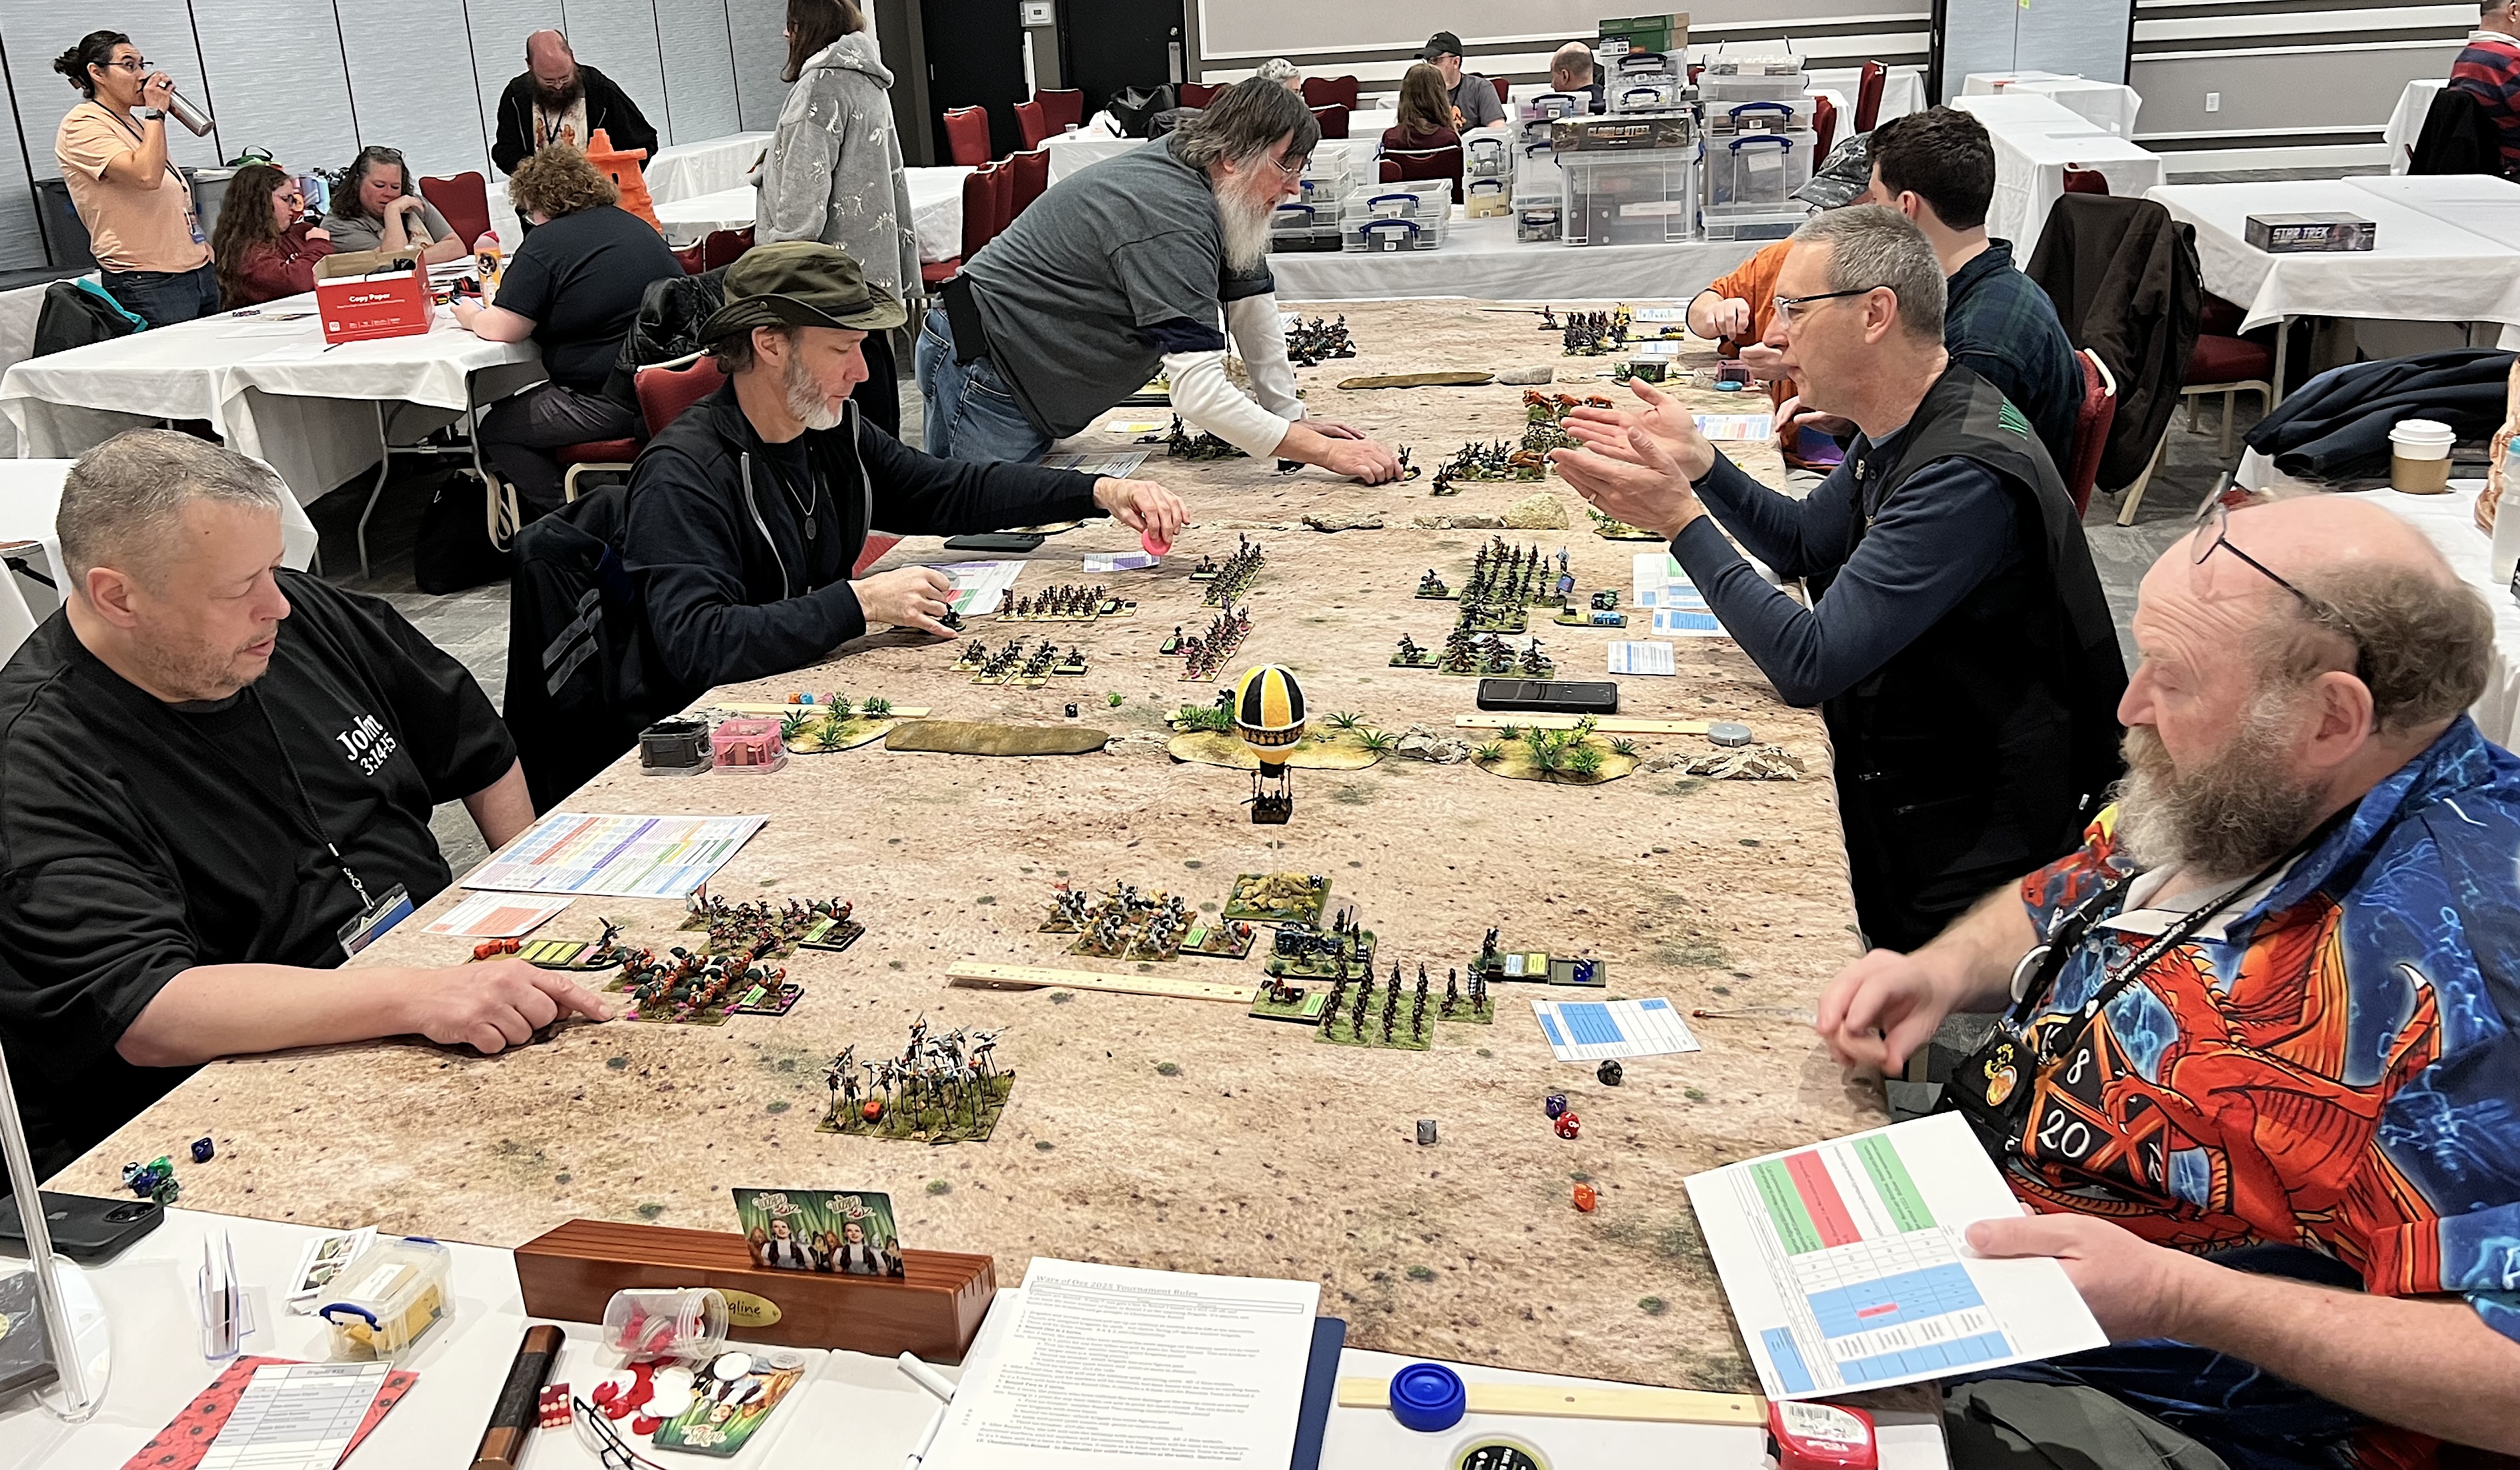
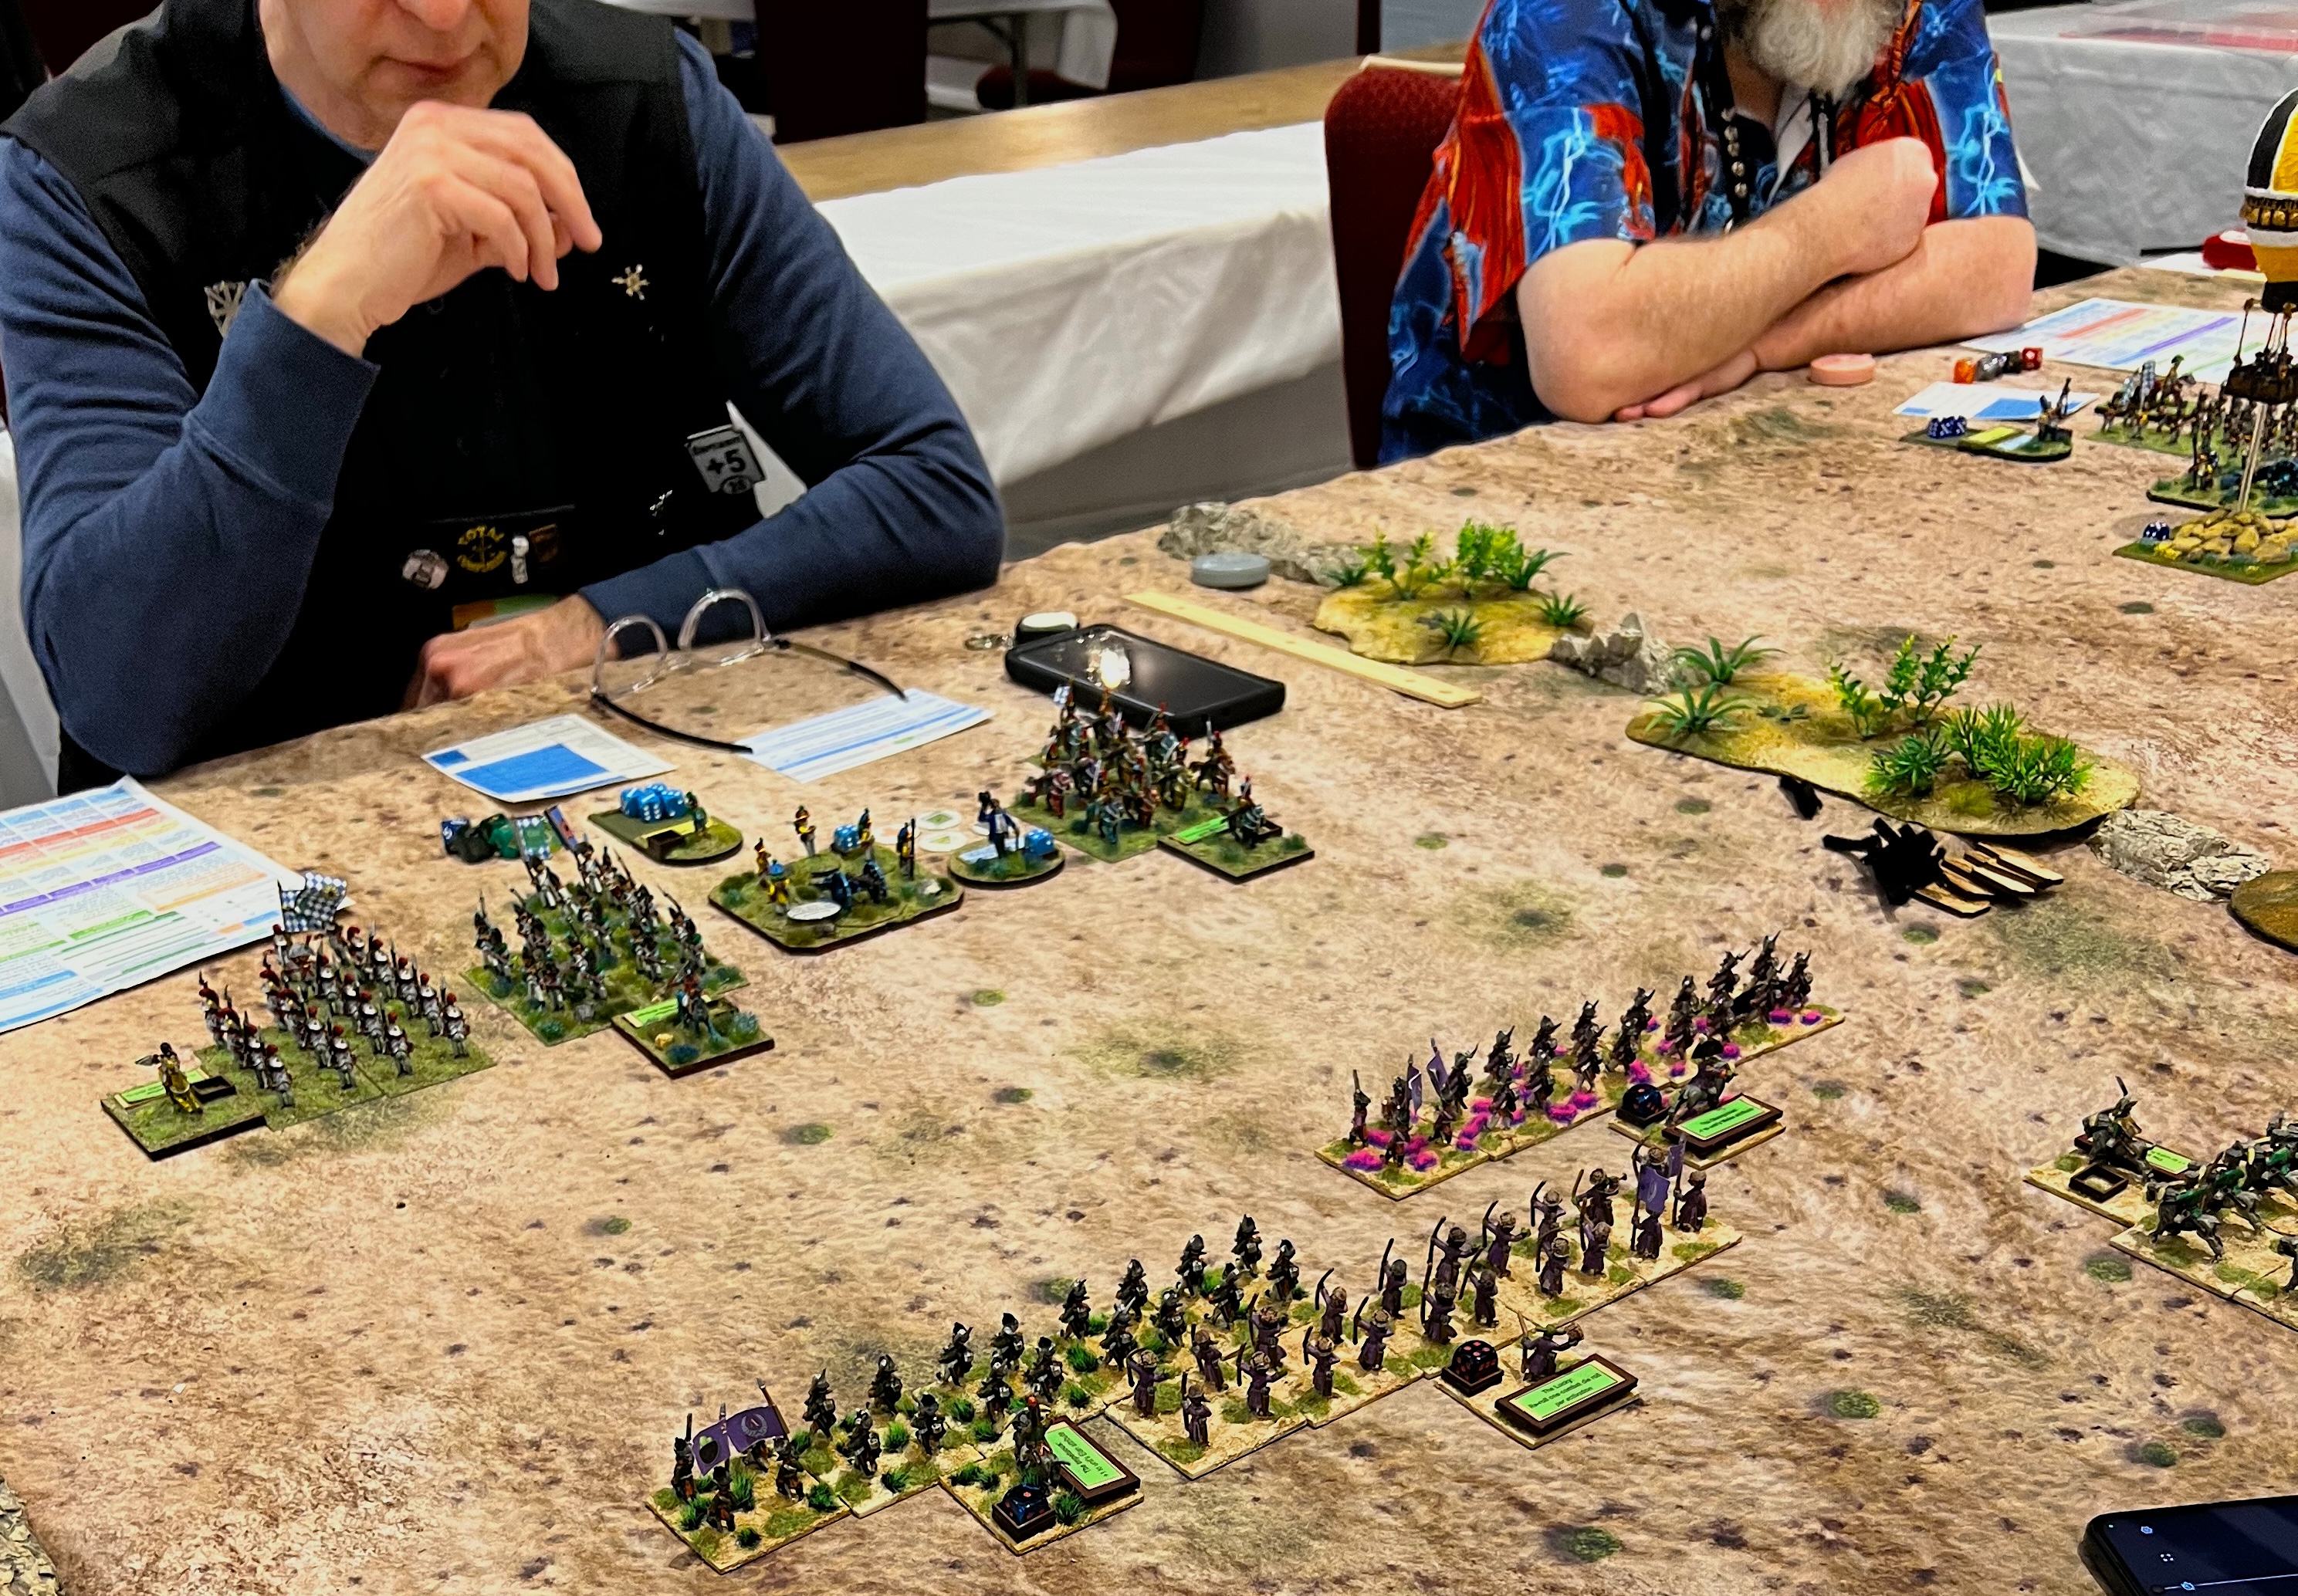
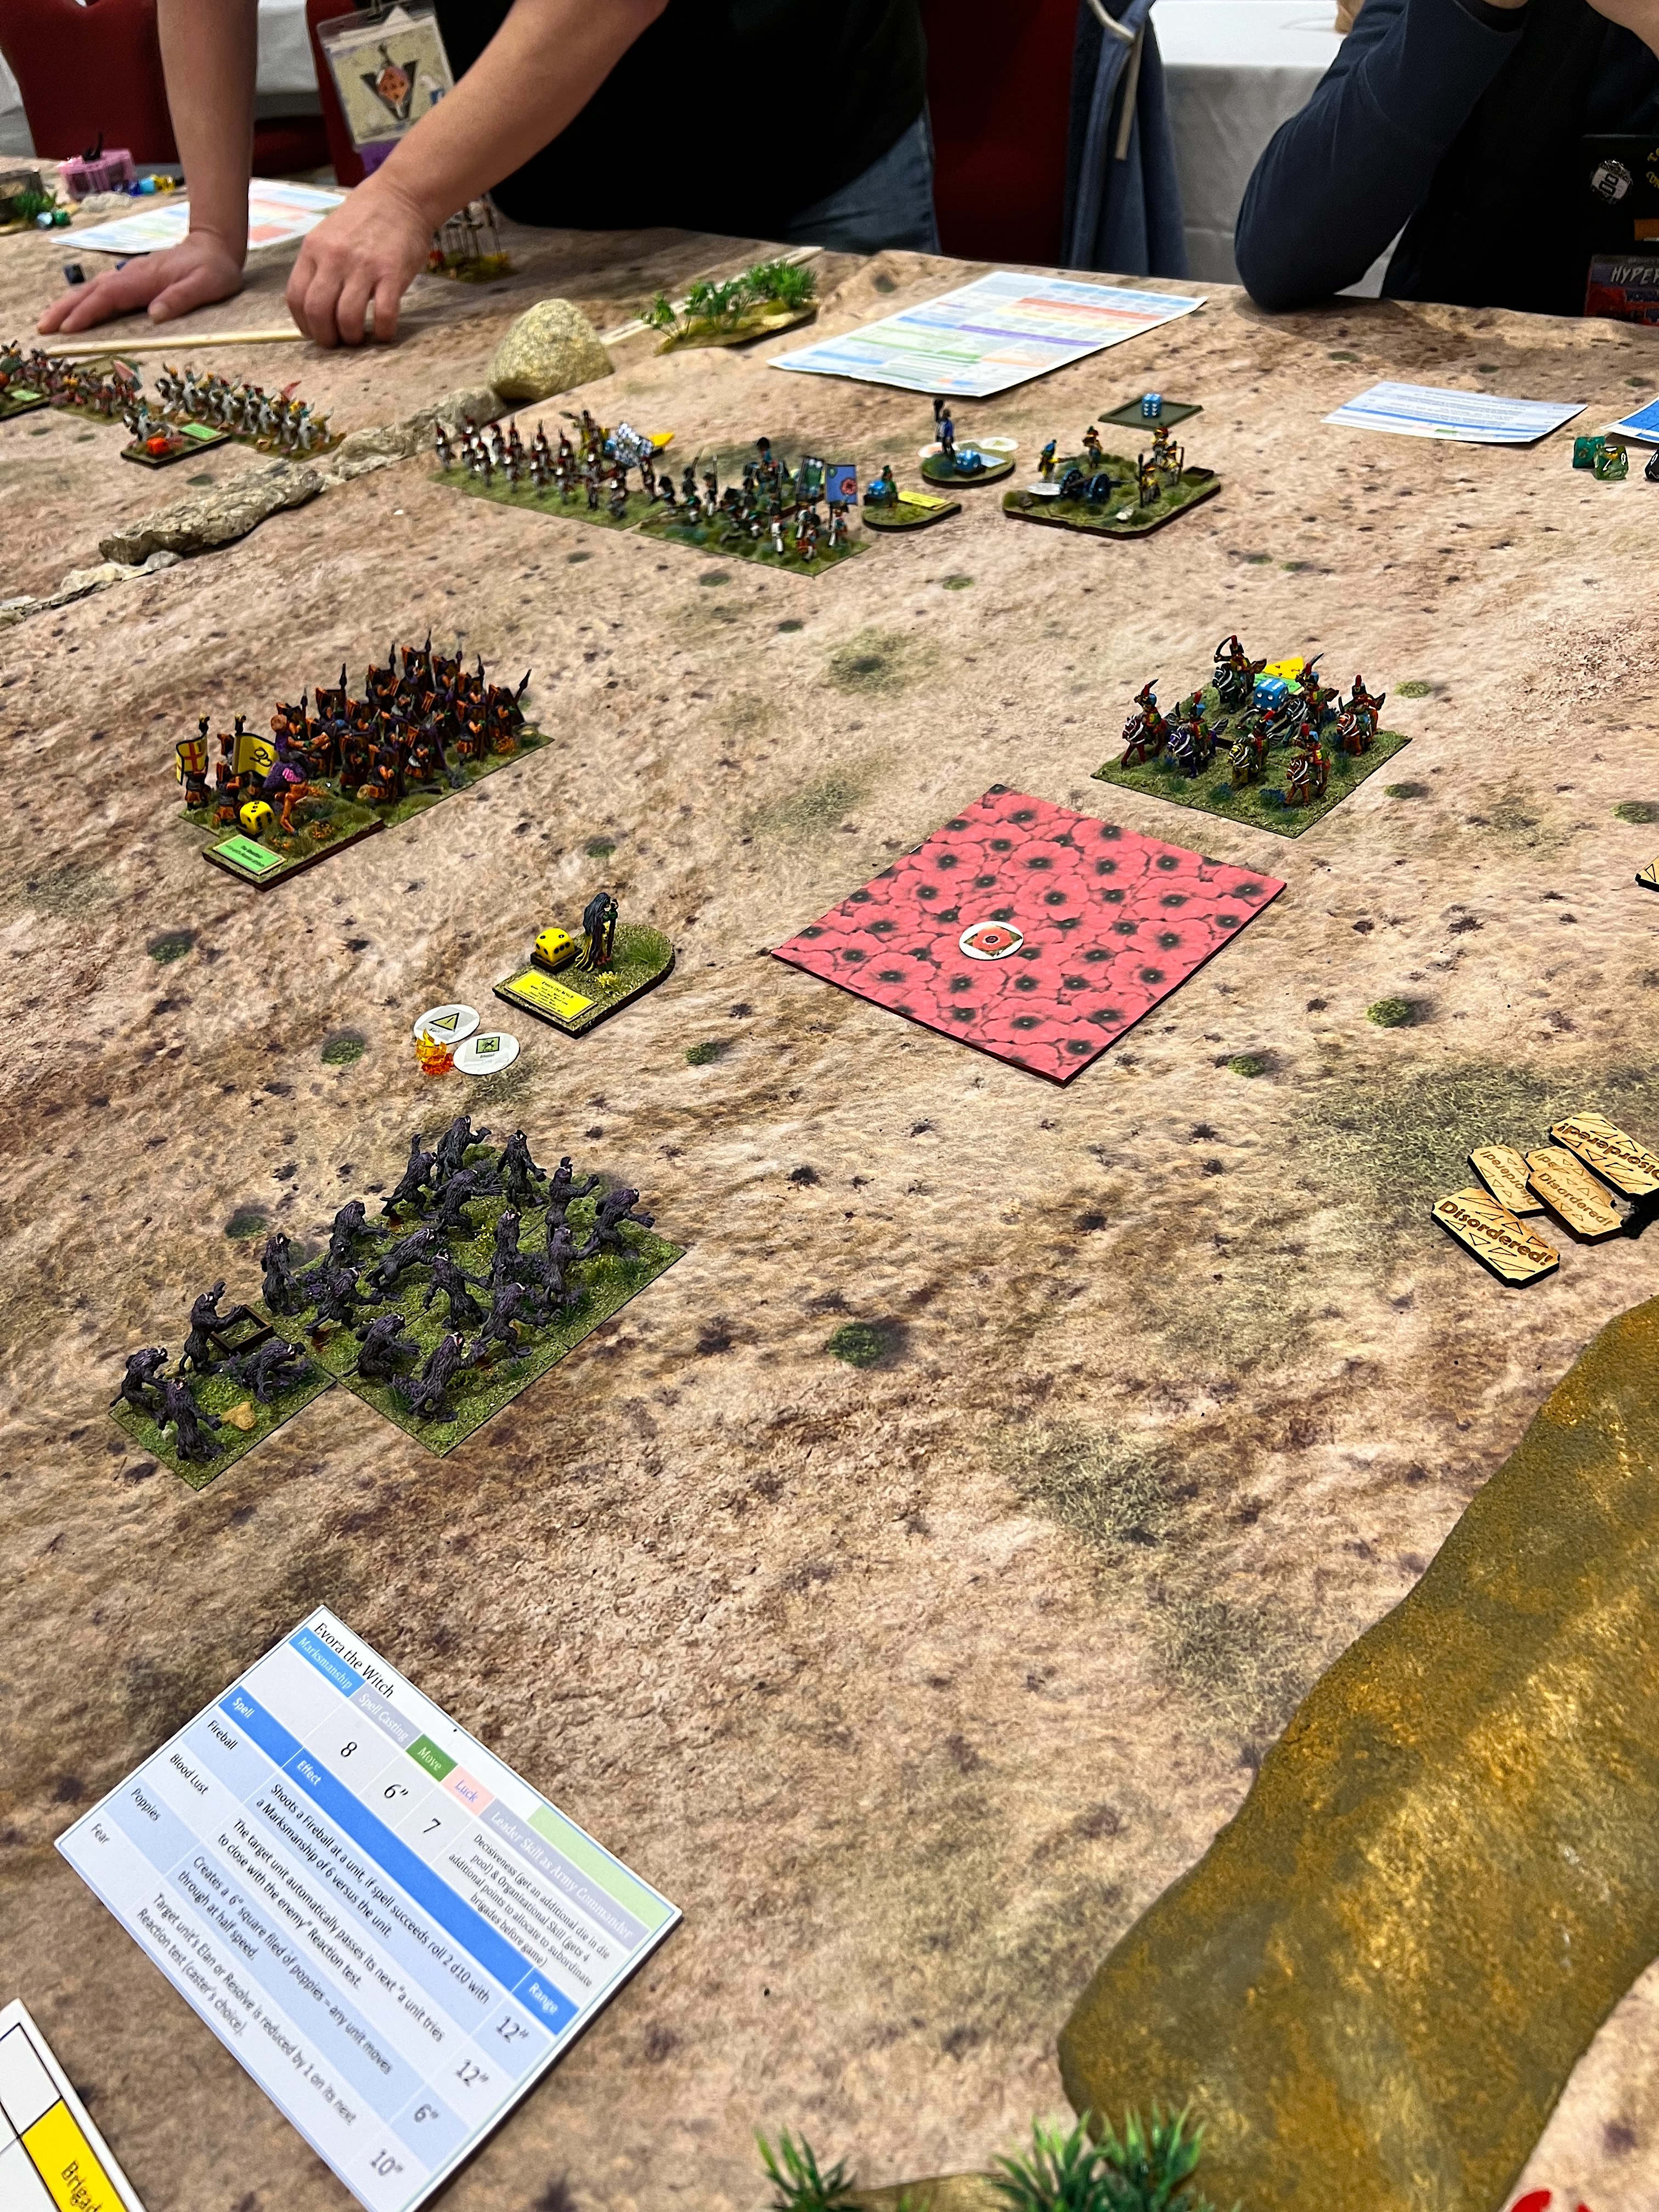
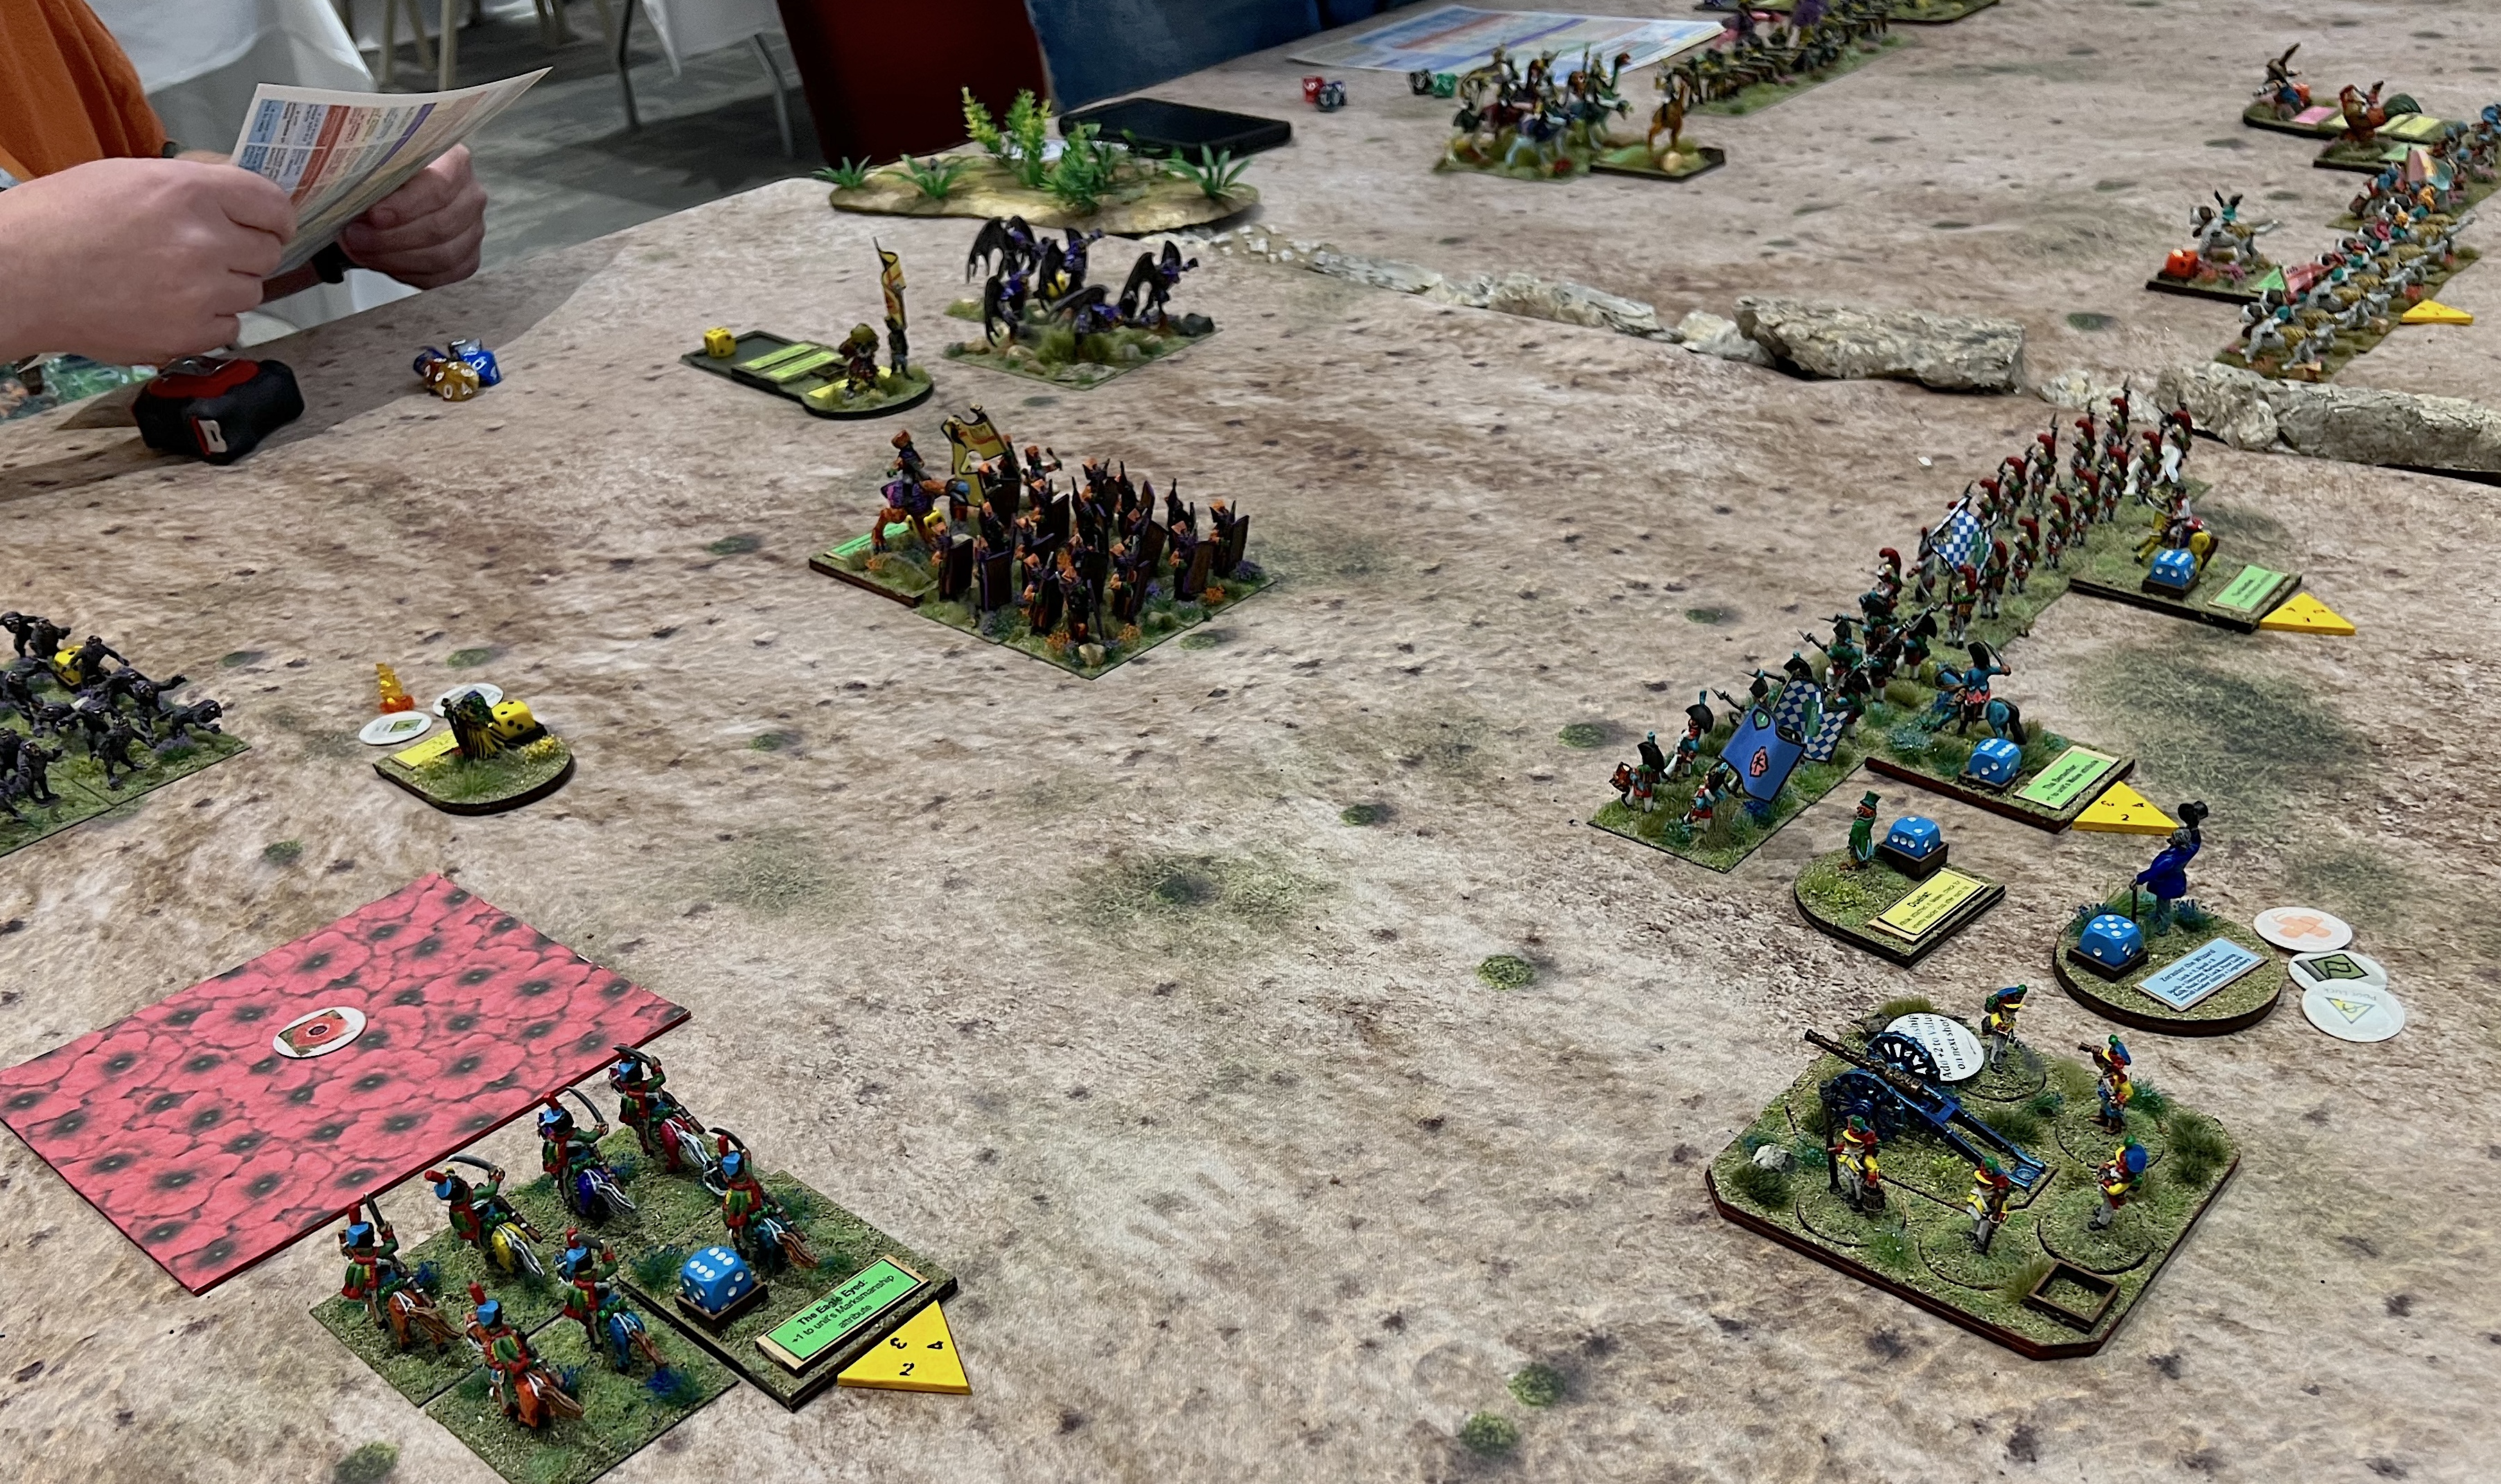
This was the penultimate game for me of TotalCon 2026. I headed off to my room. I was ready for the 2026 TotalCon “Tournament of Ozz” on Sunday morning.
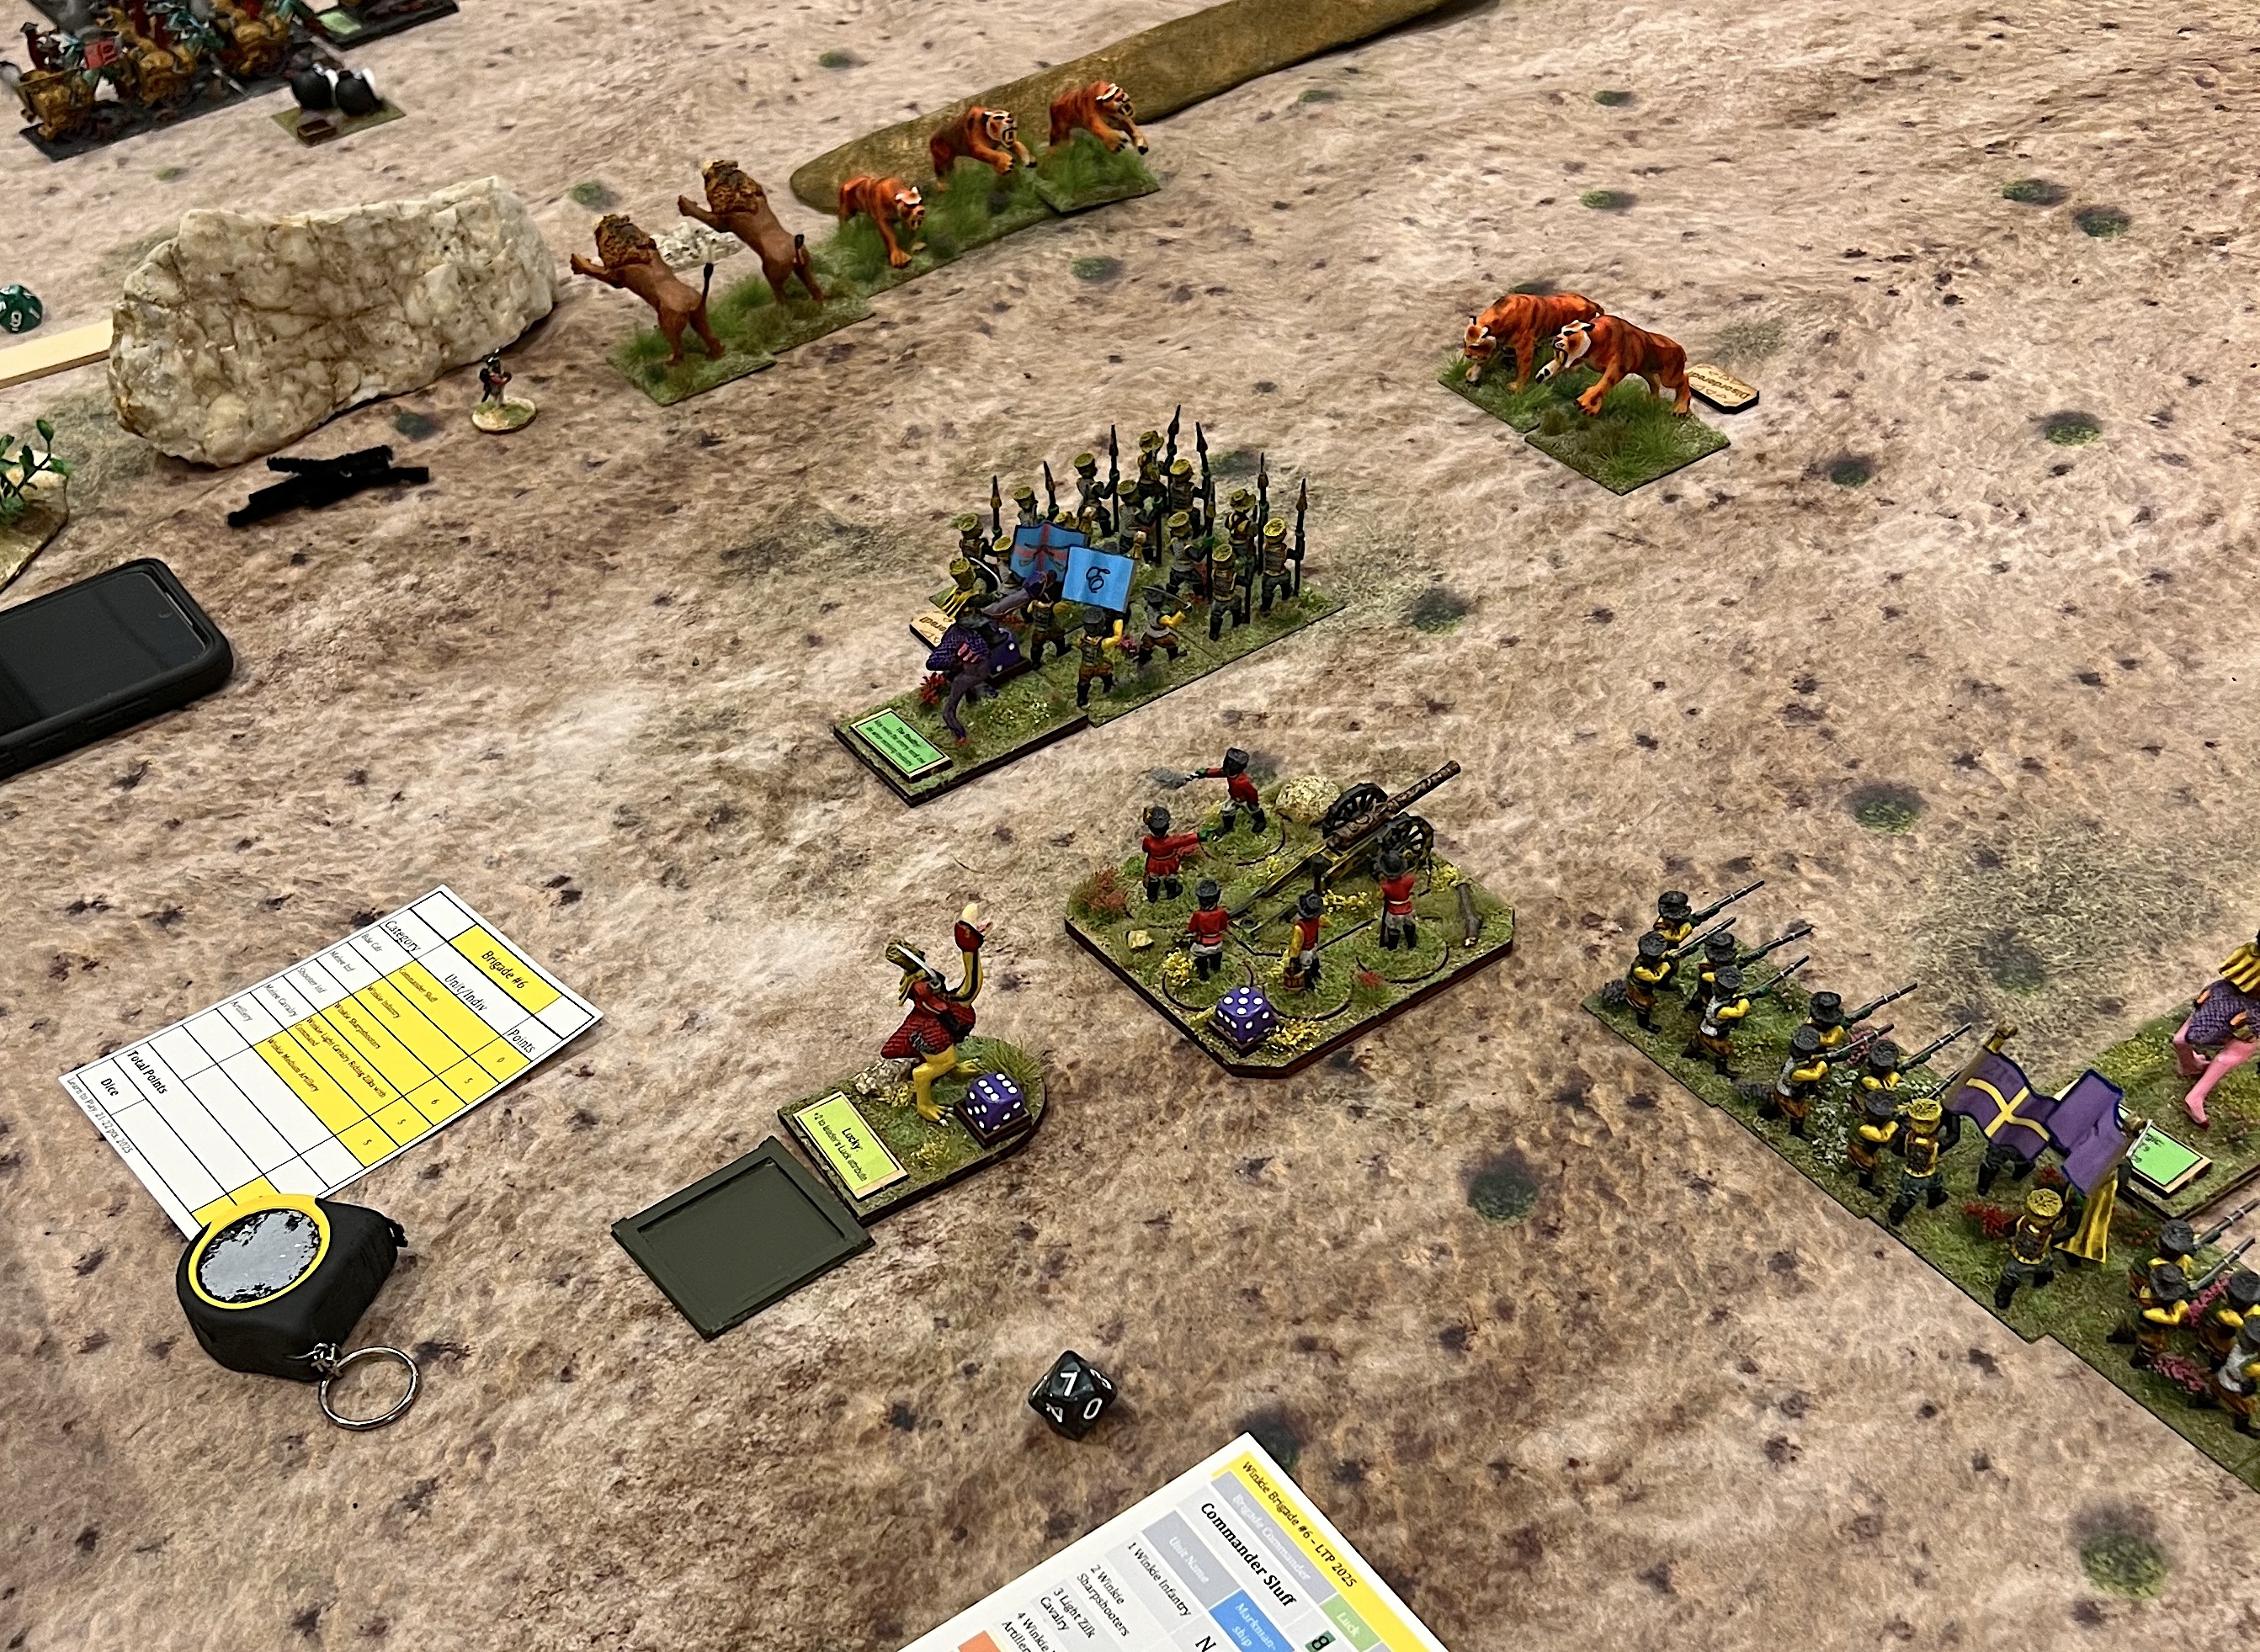
I had 7 out of a possible 8 players. At random, one player got a “bye” in round one. The match-ups were done at random and 7 different 21-point brigades were assigned at random. Inflicting the most damage on the enemy was the victory condition to move forward in the tournament. Tie breakers were also in play if that was needed.
In Round 1 – the match ups were:
- Impkins (Ken) versus Munchkins (Eric)
- Munchkins (Bob) versus Gillikins (Dave)
- Winkies (Brad) versus Gillikins (Jacob)
- Winkies (Leif) got the round 1 bye
The Round 1 results were:
- Impkins (Ken) defeated Munchkins (Eric)
- Munchkins (Bob) defeated Gillikins (Dave)
- Winkies (Brad) defeated Gillikins (Jacob)
- Winkies (Leif) got the round 1 bye
Yielding the semifinals as:
- Impkins (Ken) versus Winkies (Brad)
- Munchkins (Bob) versus Winkies (Leif)
The Round 2 (semifinals) results were:
- Winkies (Brad) defeats Impkins (Ken)
- Munchkins (Bob) defeats Winkies (Leif)
Yielding the FINALS as:
- Munchkins (Bob) versus Winkies (Brad)
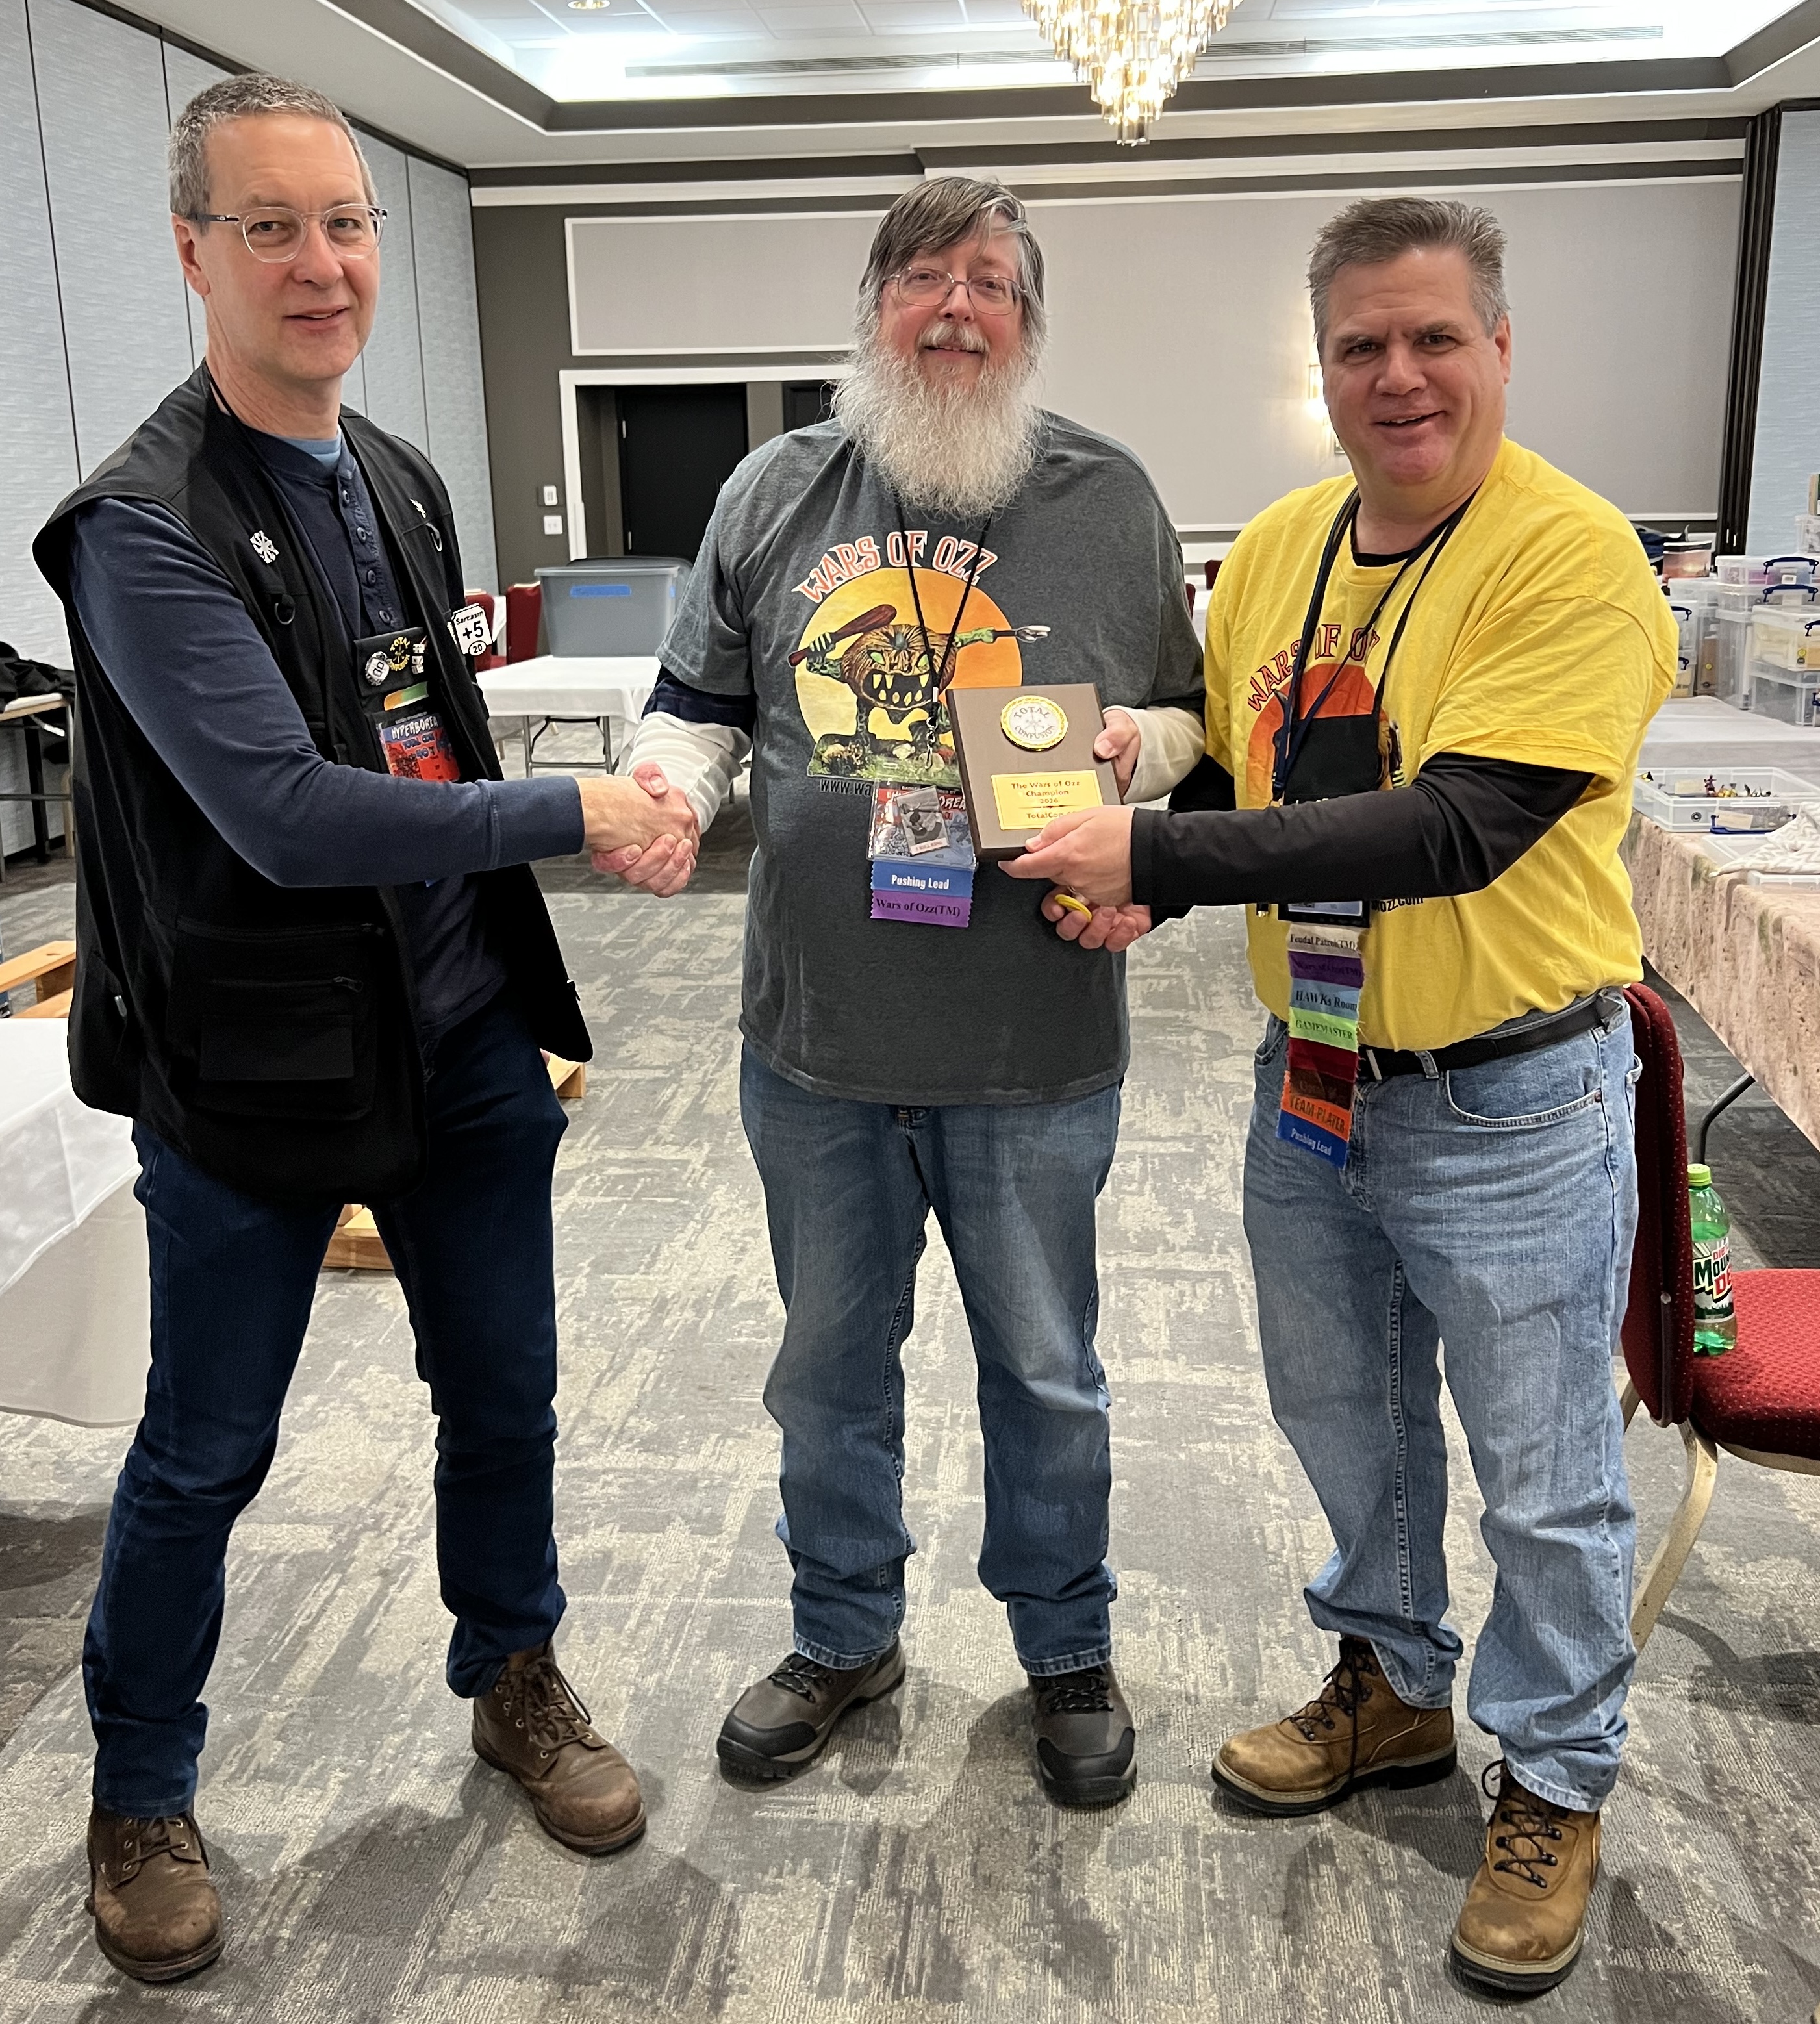
In the end, Brad outlasted Bob – though it was close! Congratulations to Brad as the 2026 TotalCon Wars of Ozz Champion! Congrats to Brad!
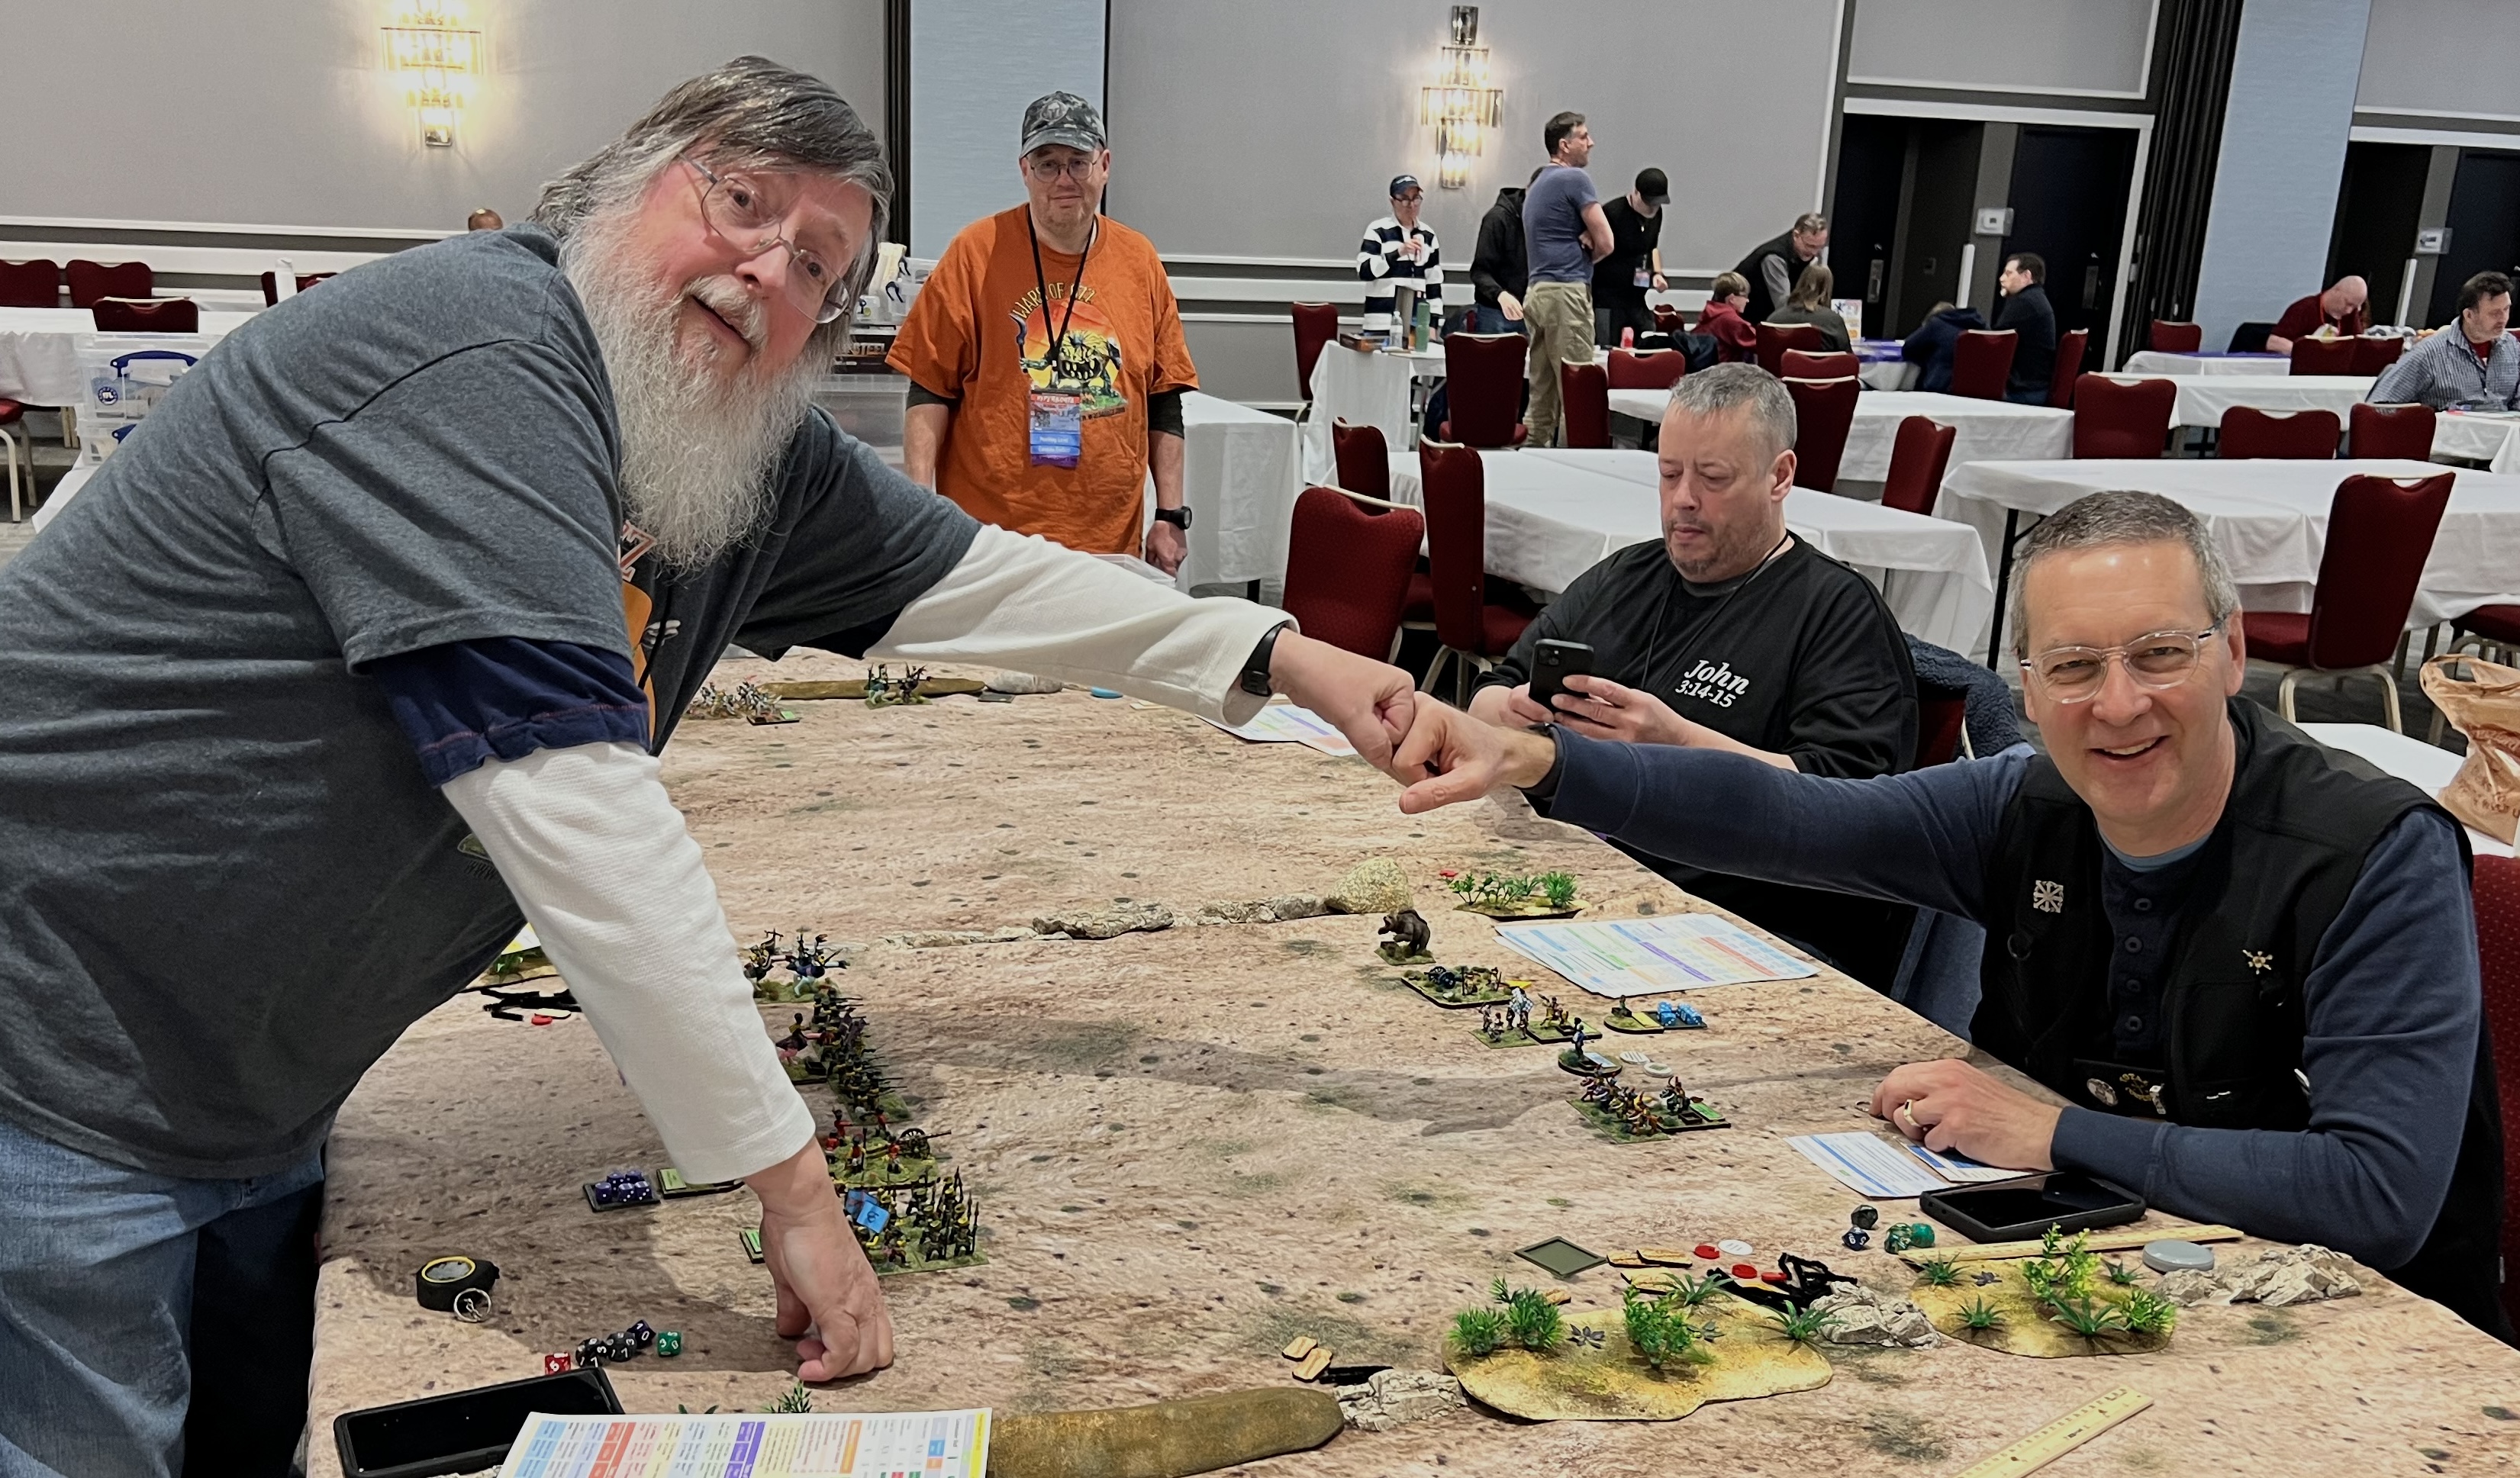
Thank you to all who helped me at the convention. Special thanks to Leif and Brad.
I also want to extend a very special thanks to Bryan Clauss, Steve Parenteau, Kevin Baumann, and the entire TotalCon staff. They do a magnificent job running a great convention! BIG THANKS!!
Lastly, a few areas that you can check out if you dare:
References:
For a consolidated list of links for any of my previous convention/club/game battle report blog posts, please see this page: https://markamorin.com/club-convention-games/
For a consolidated list of links for any of my previous Wars of Ozz posts, please see this page: https://markamorin.com/miniatures/wars-of-ozz/
For a consolidated list of links for any of my previous sci-fi/retro sci-fi posts, please see this page: https://markamorin.com/sci-fi-retro-sci-fi-projects/