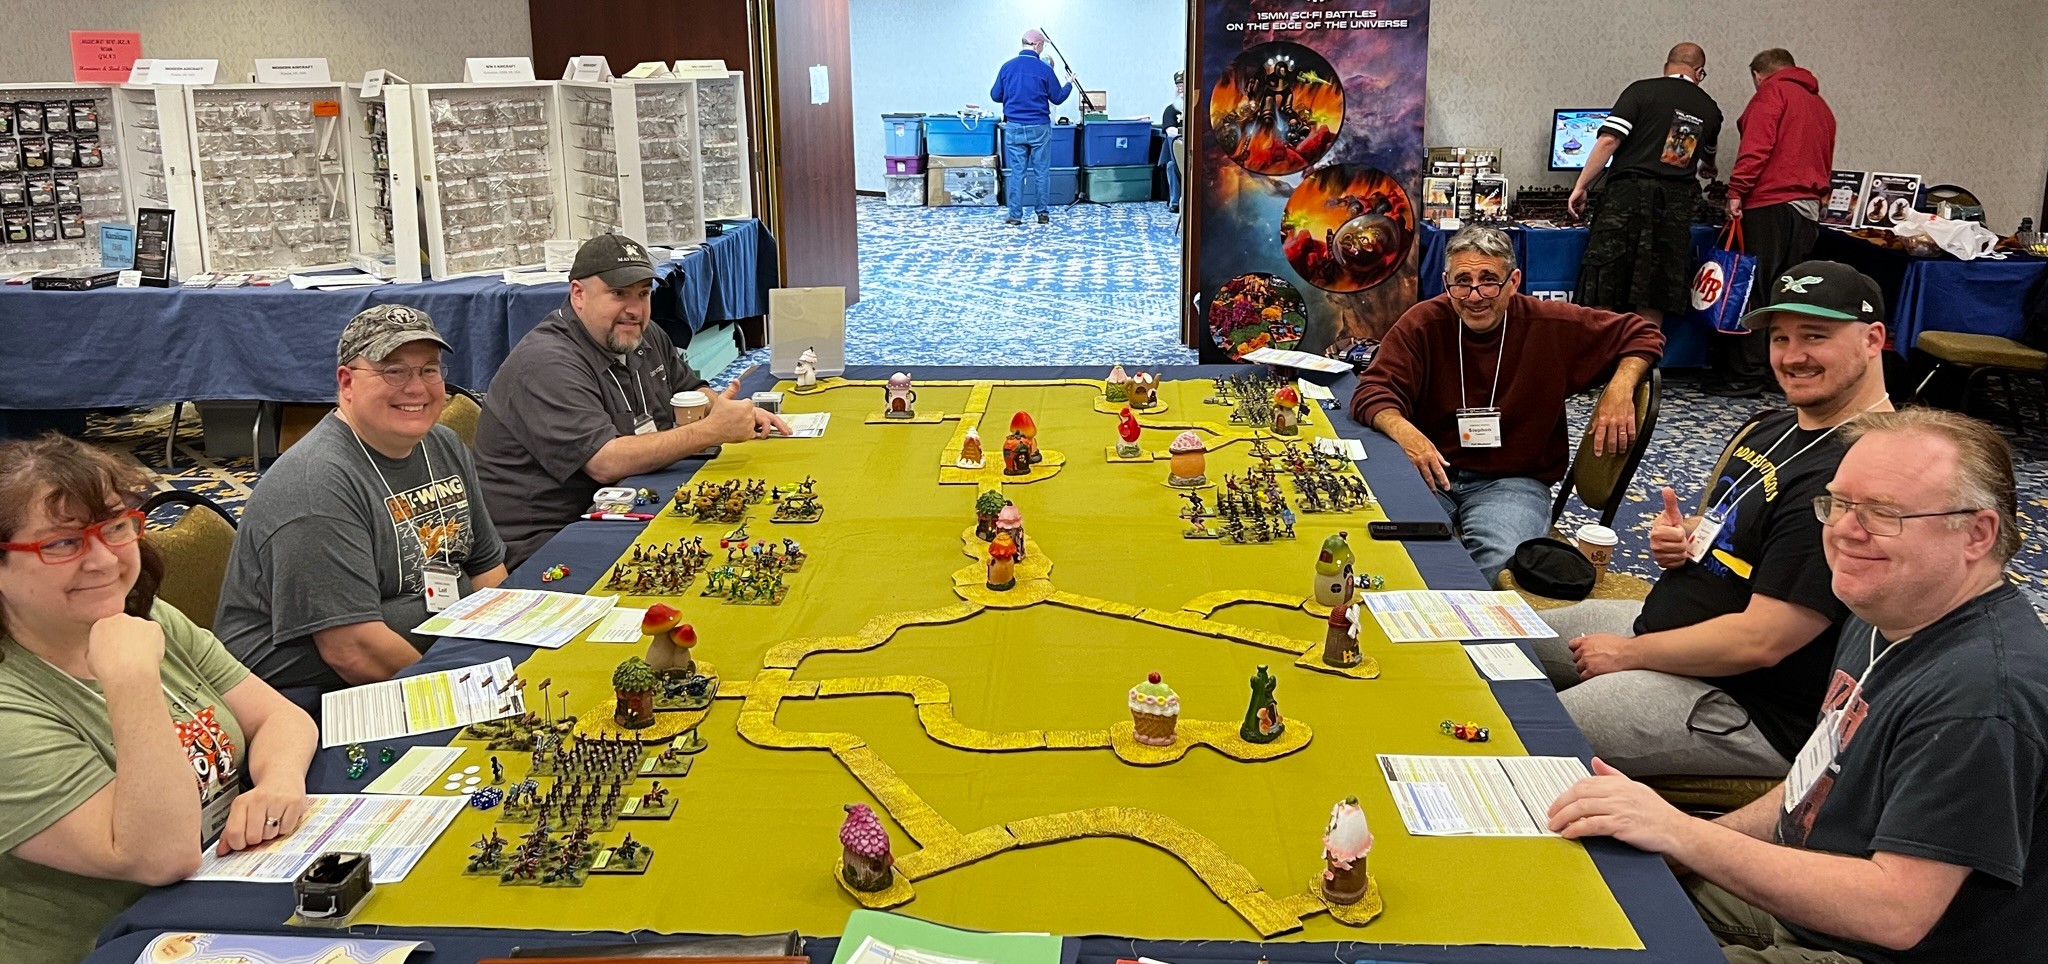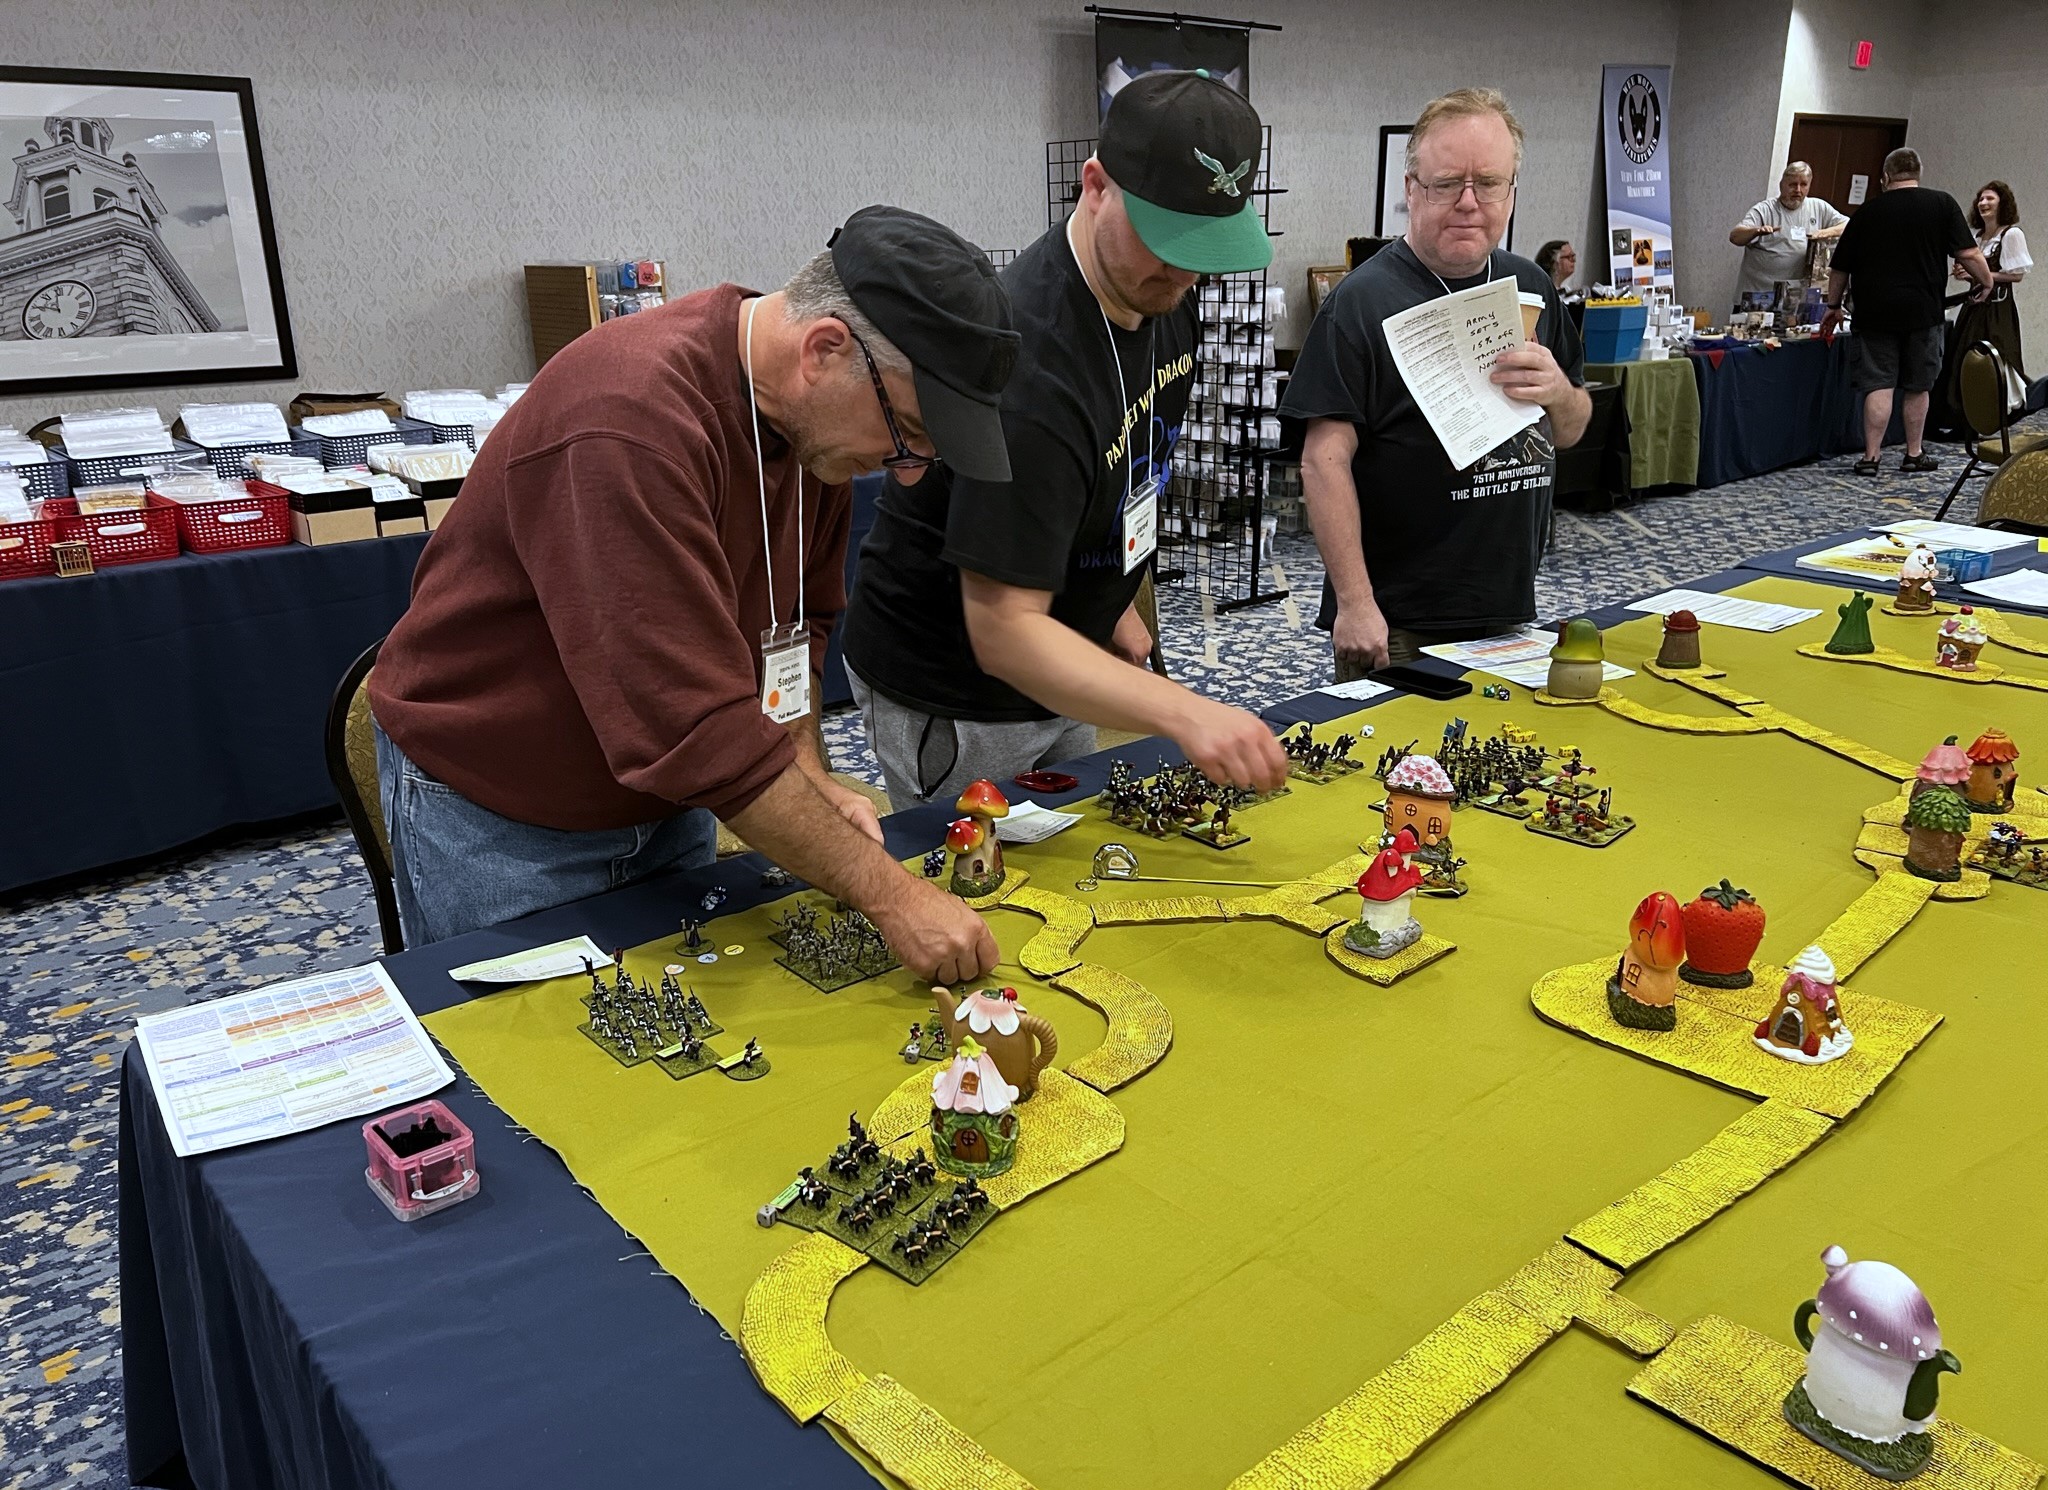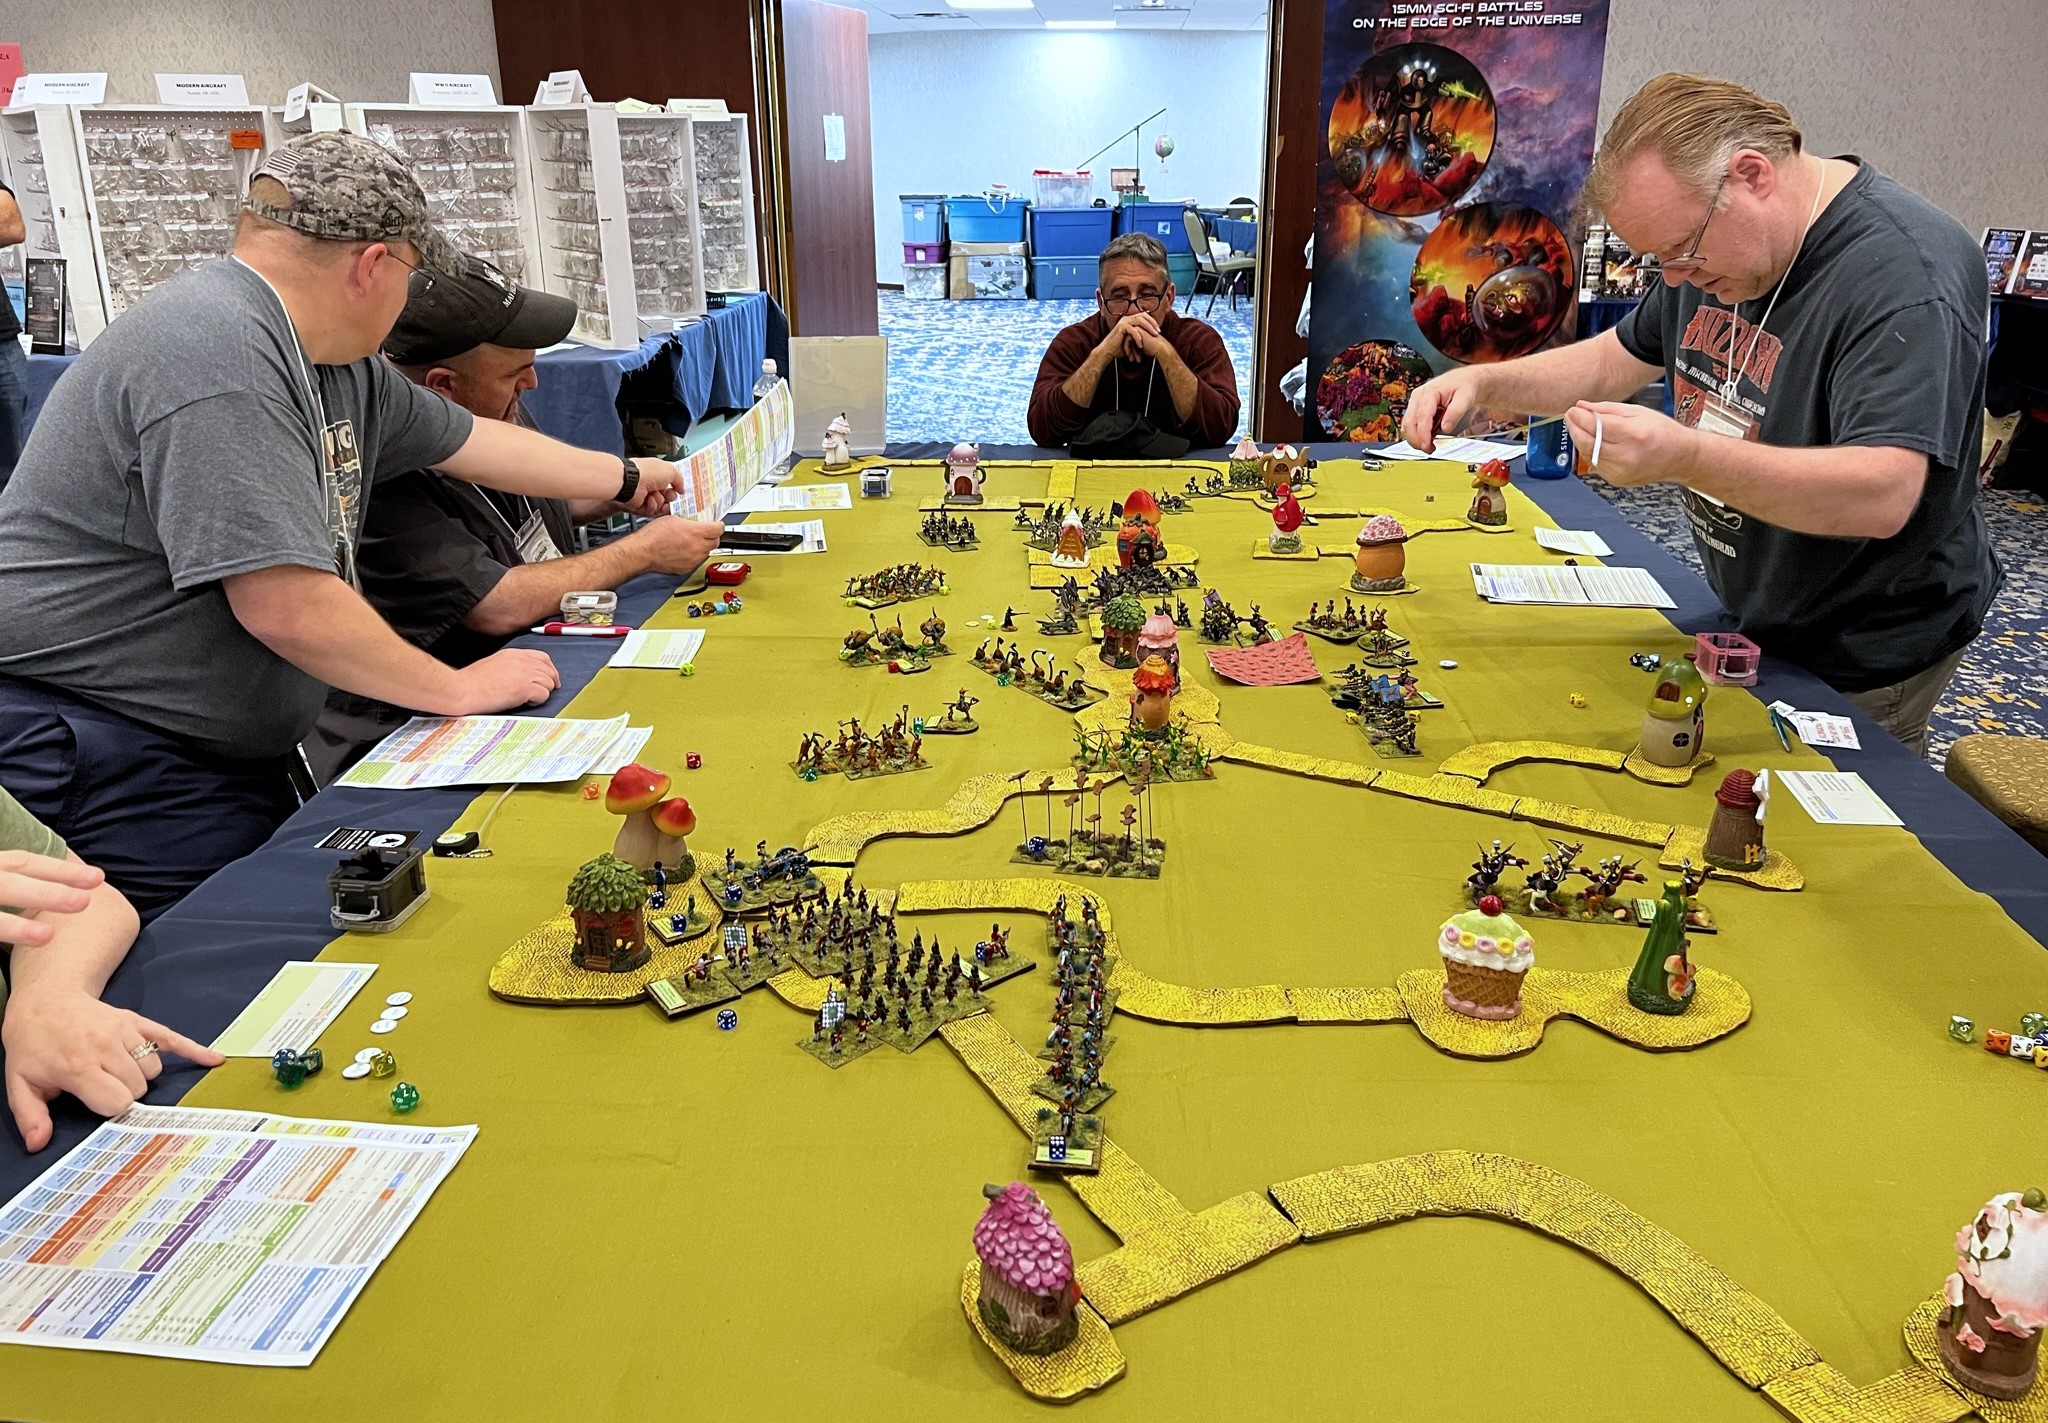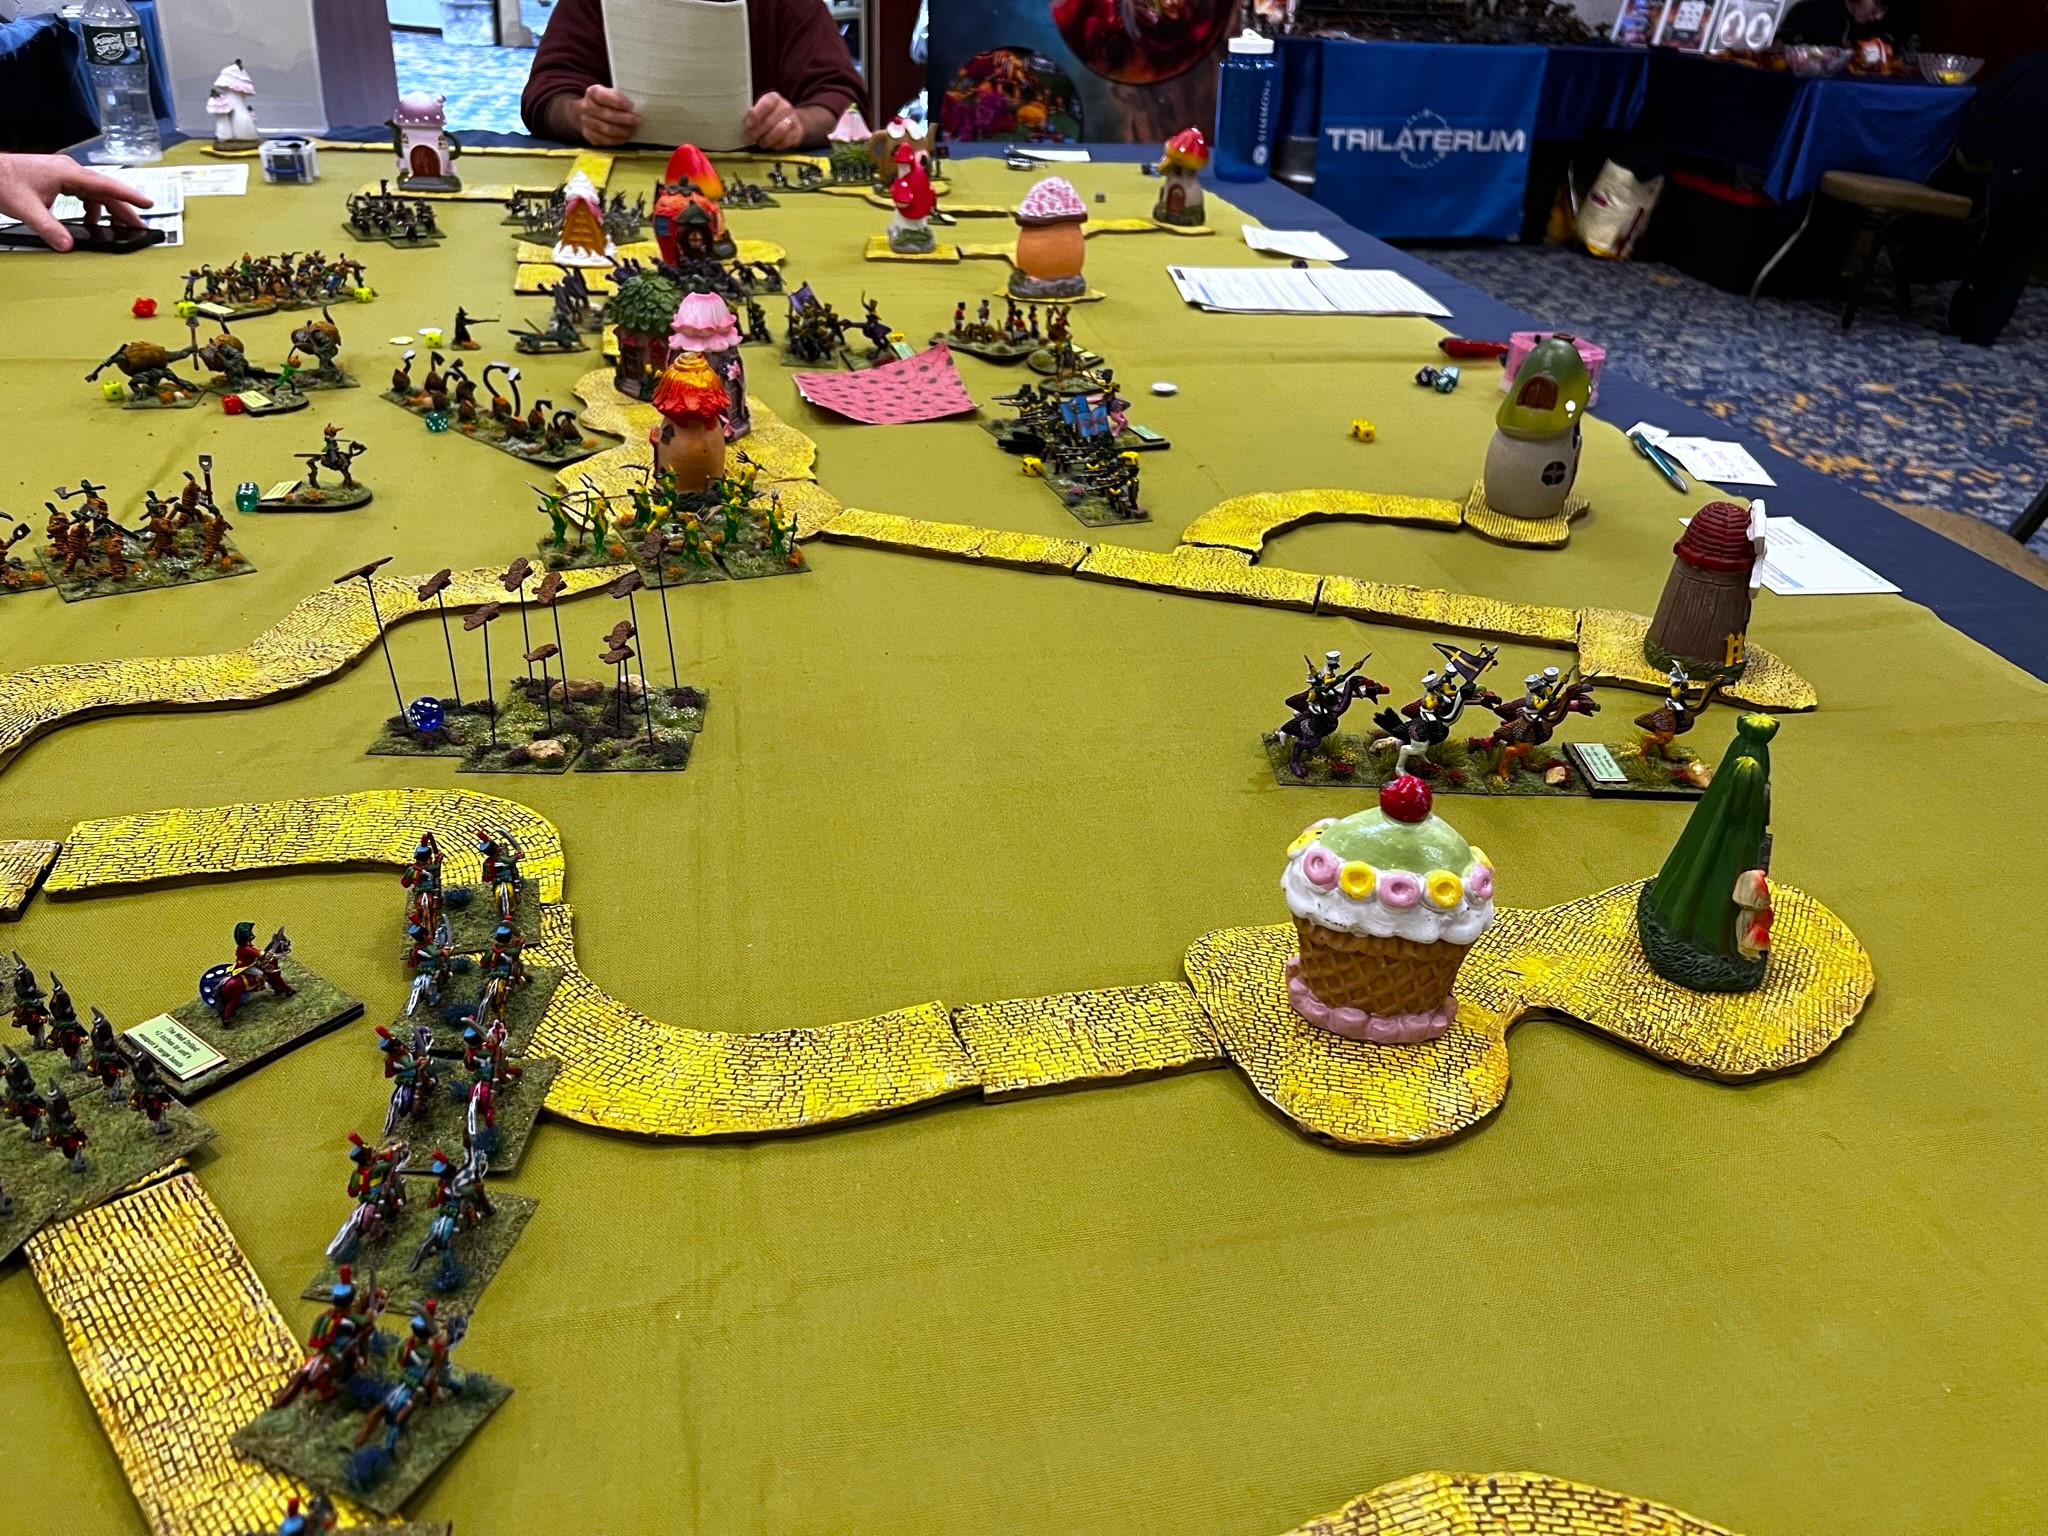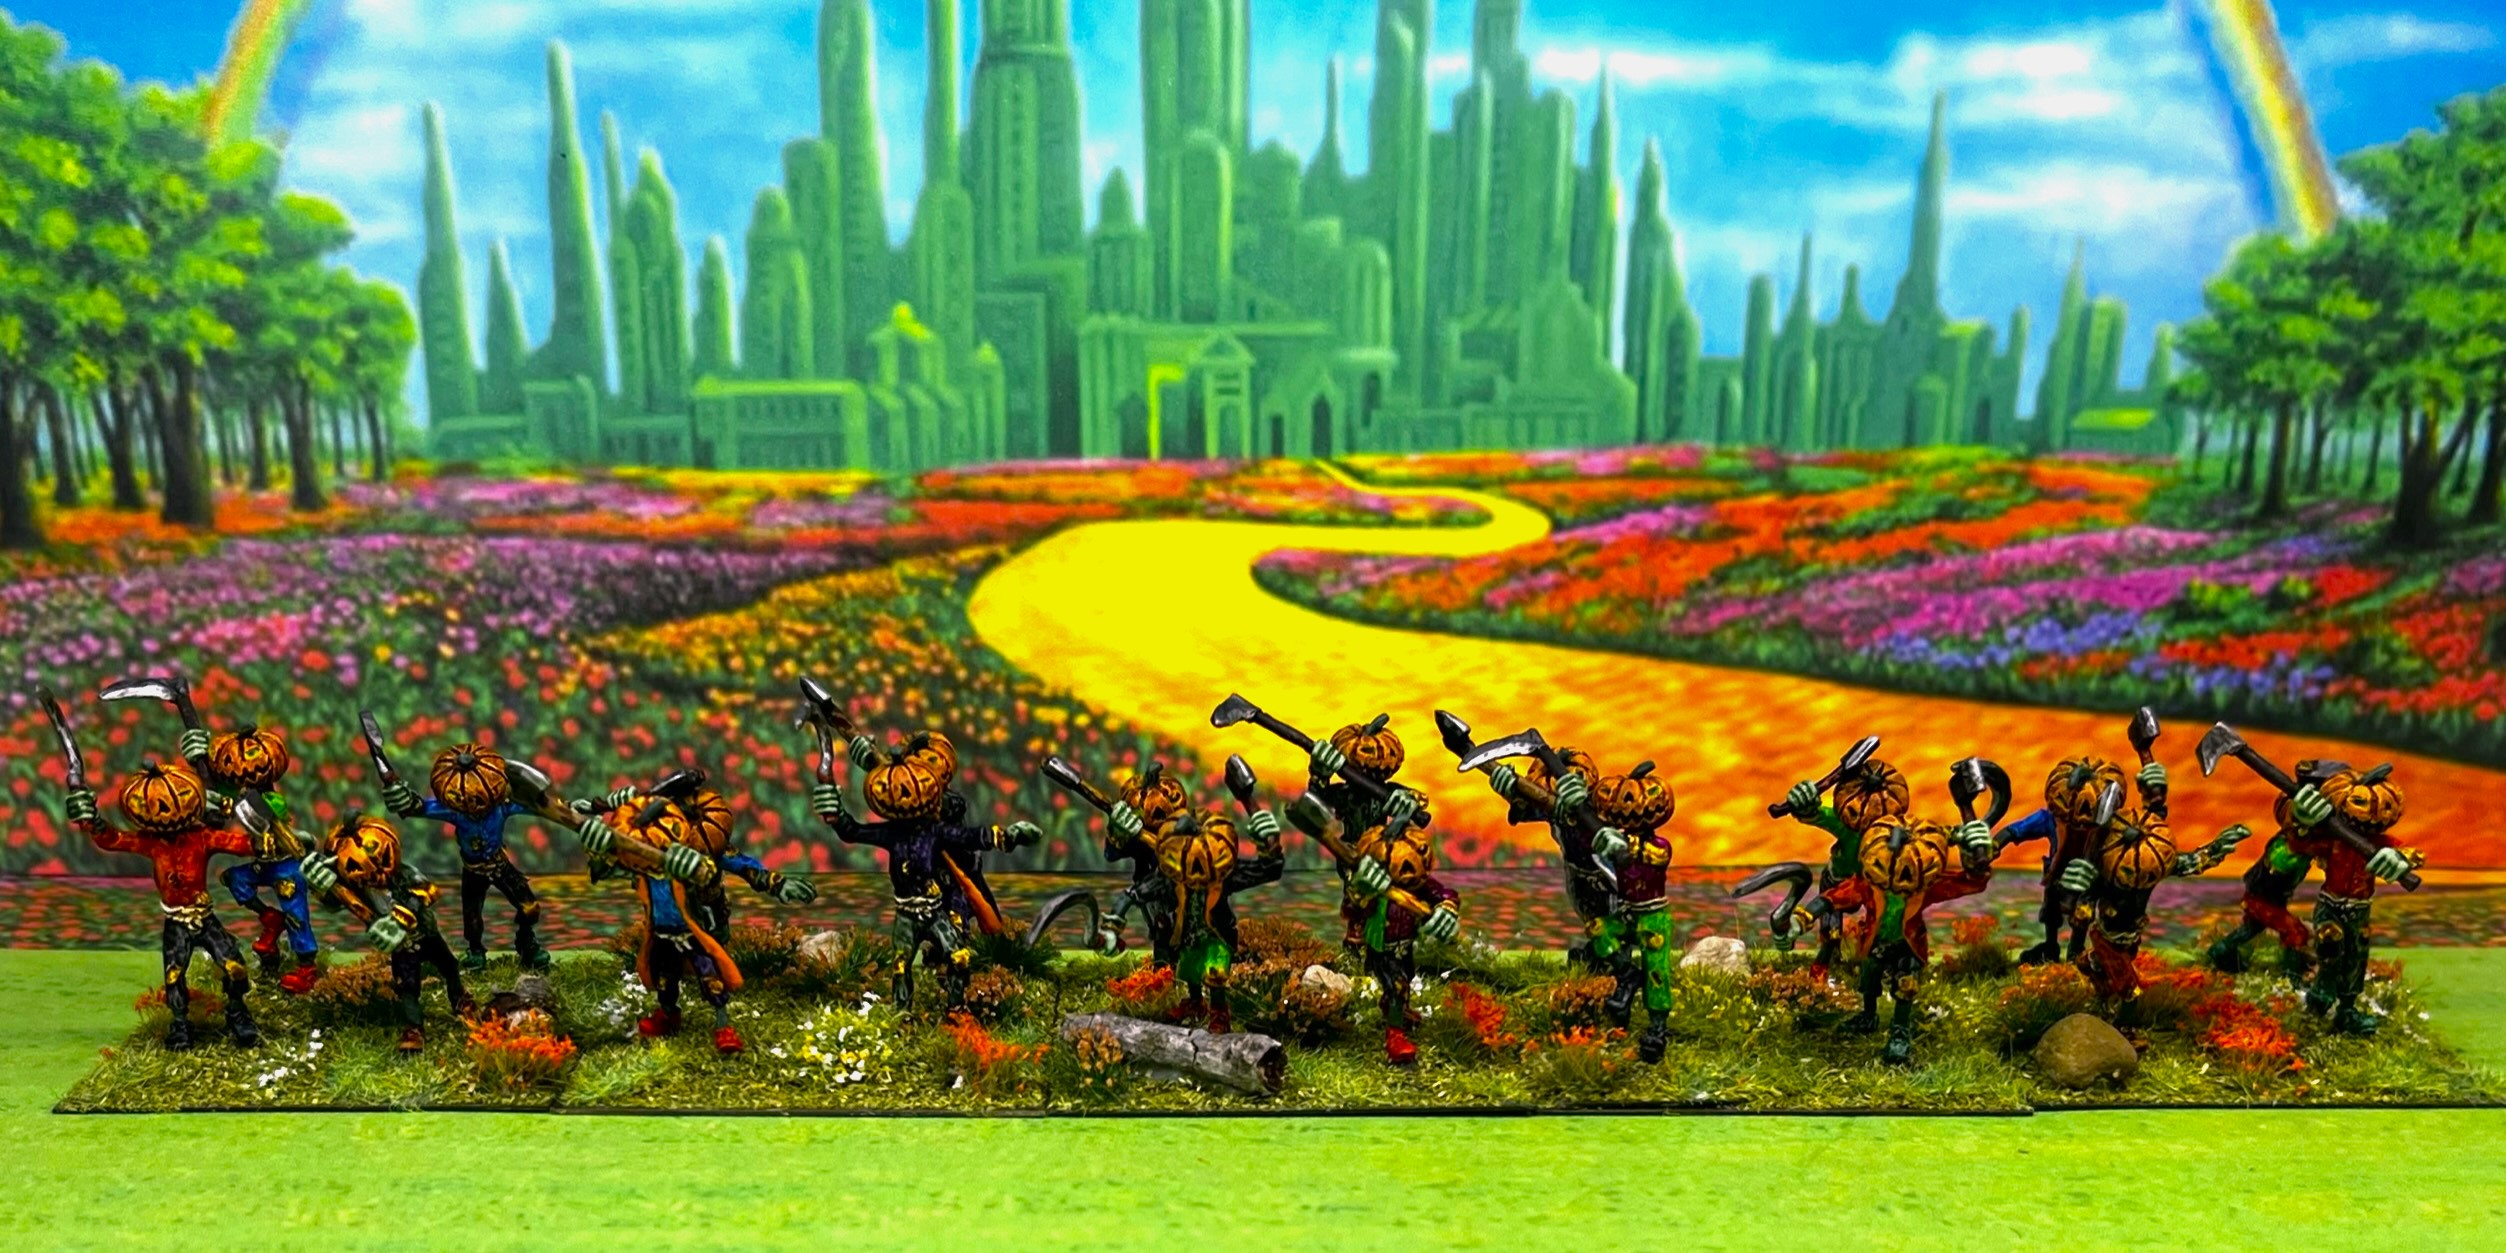
It’s time that I round out the last group of Wars of Ozz figures that I painted and used in games at Huzzah 2023.
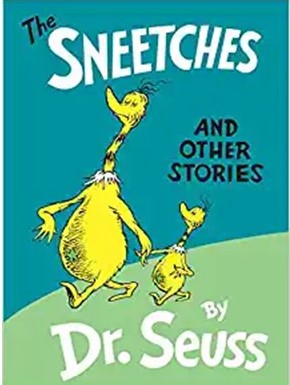
In my last post, I gave you all a hint at the subject of this post with the following great album cover:

It was my way at connecting the Great Owls, OZZ-530, listed in the “Allies and Mercenaries” section – as are all the Land of Harvest figures. Plus, I really love this album and the Who…who…who…
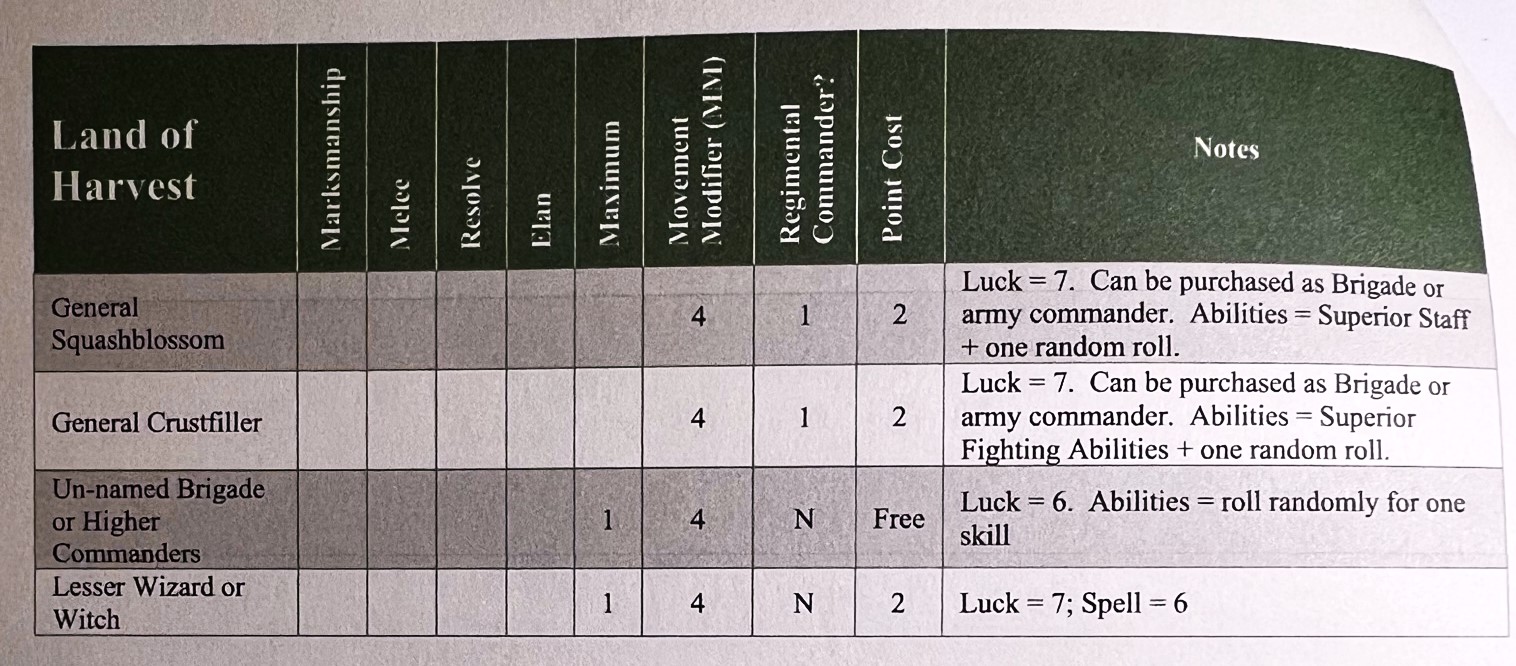
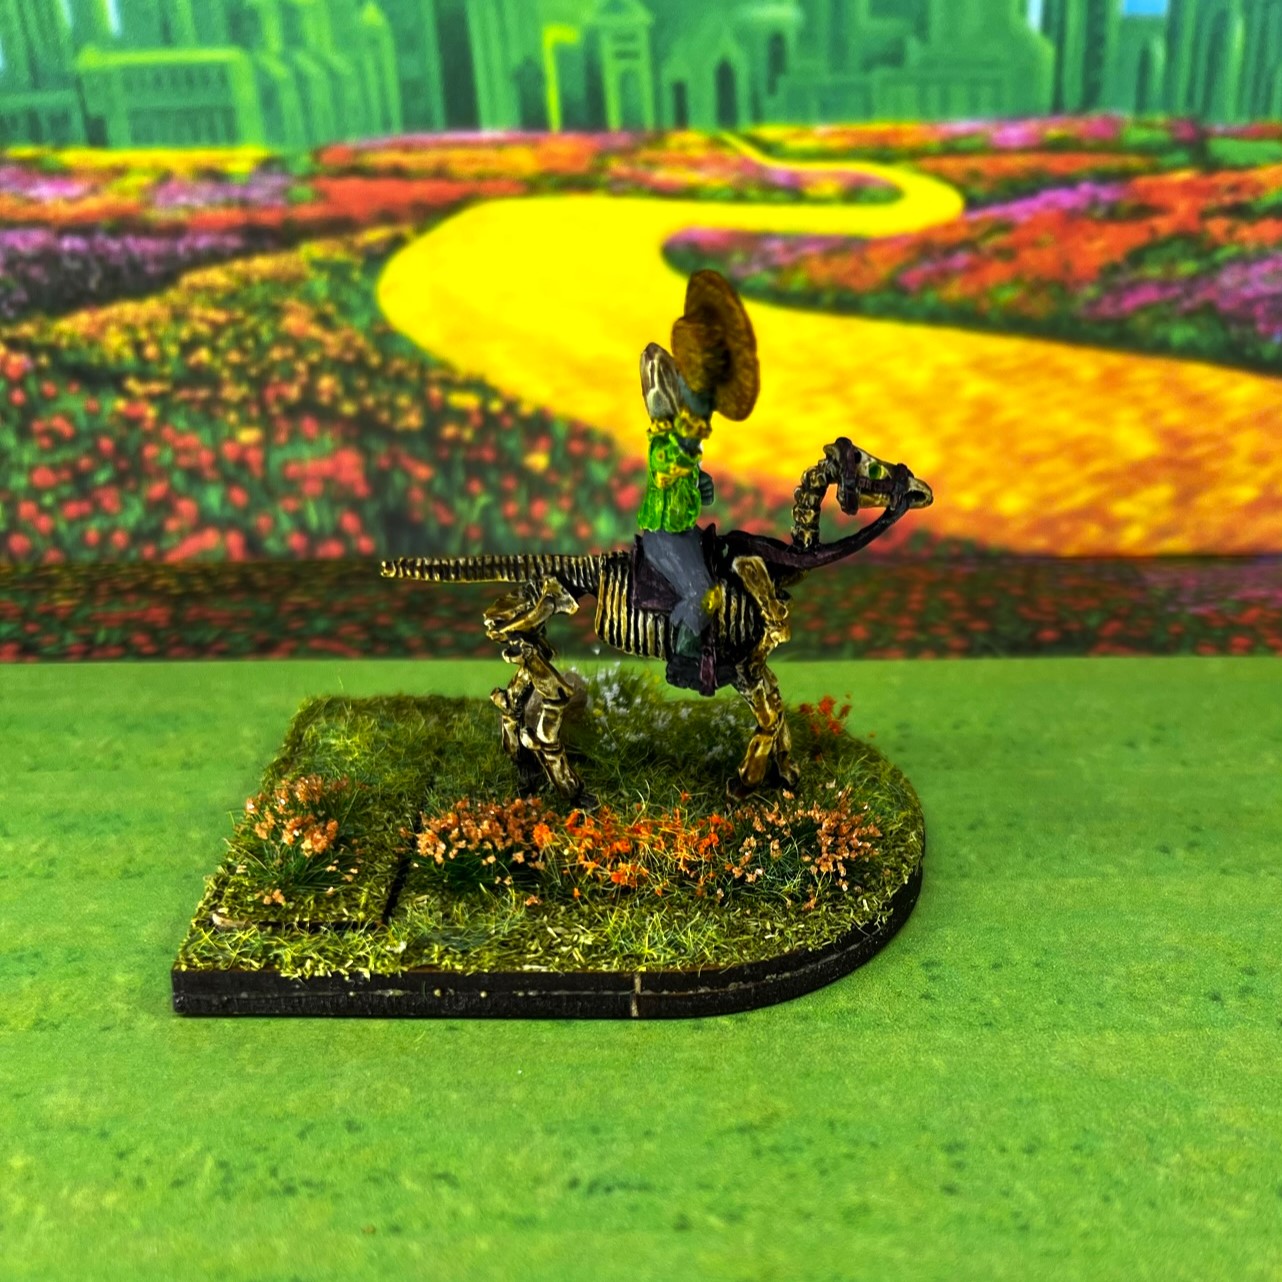
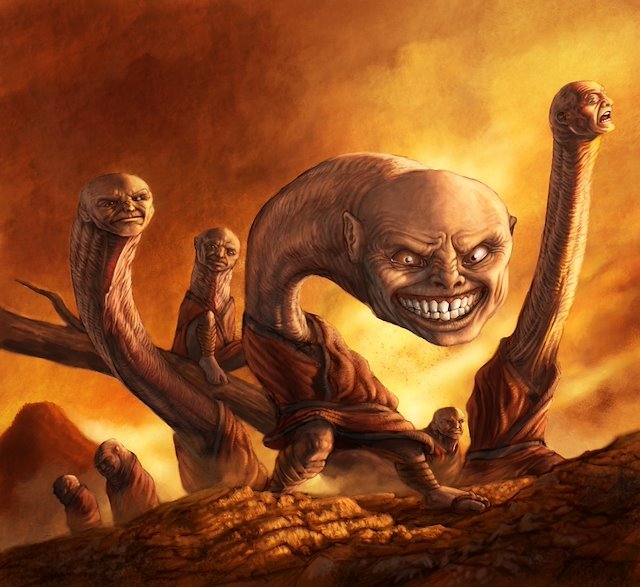
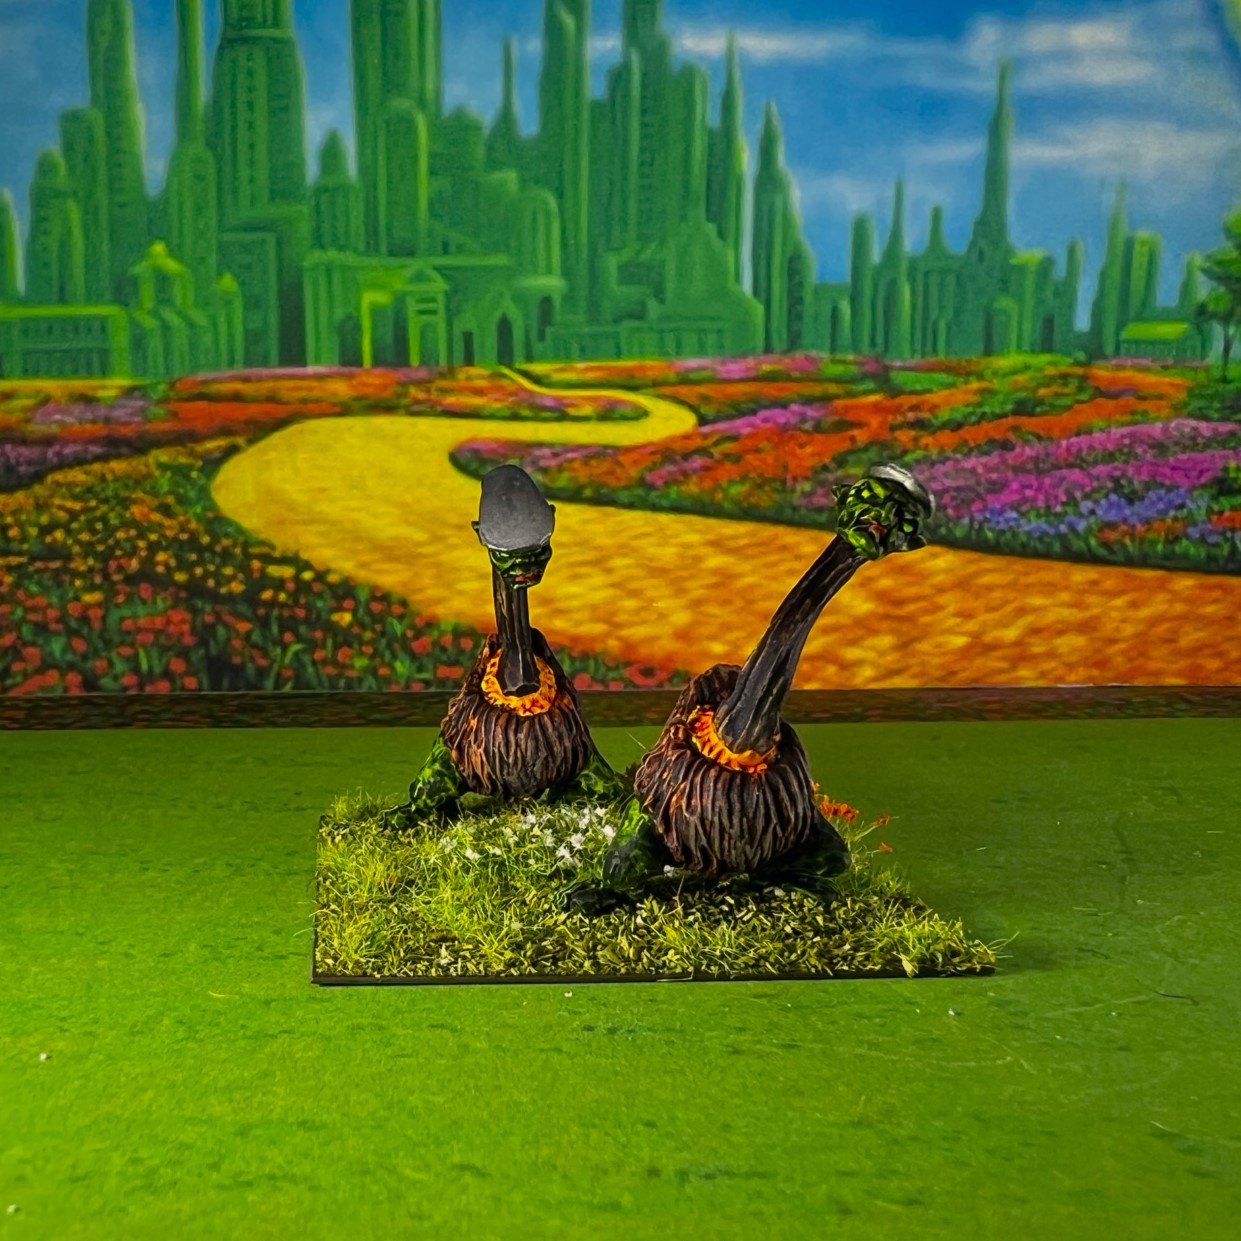
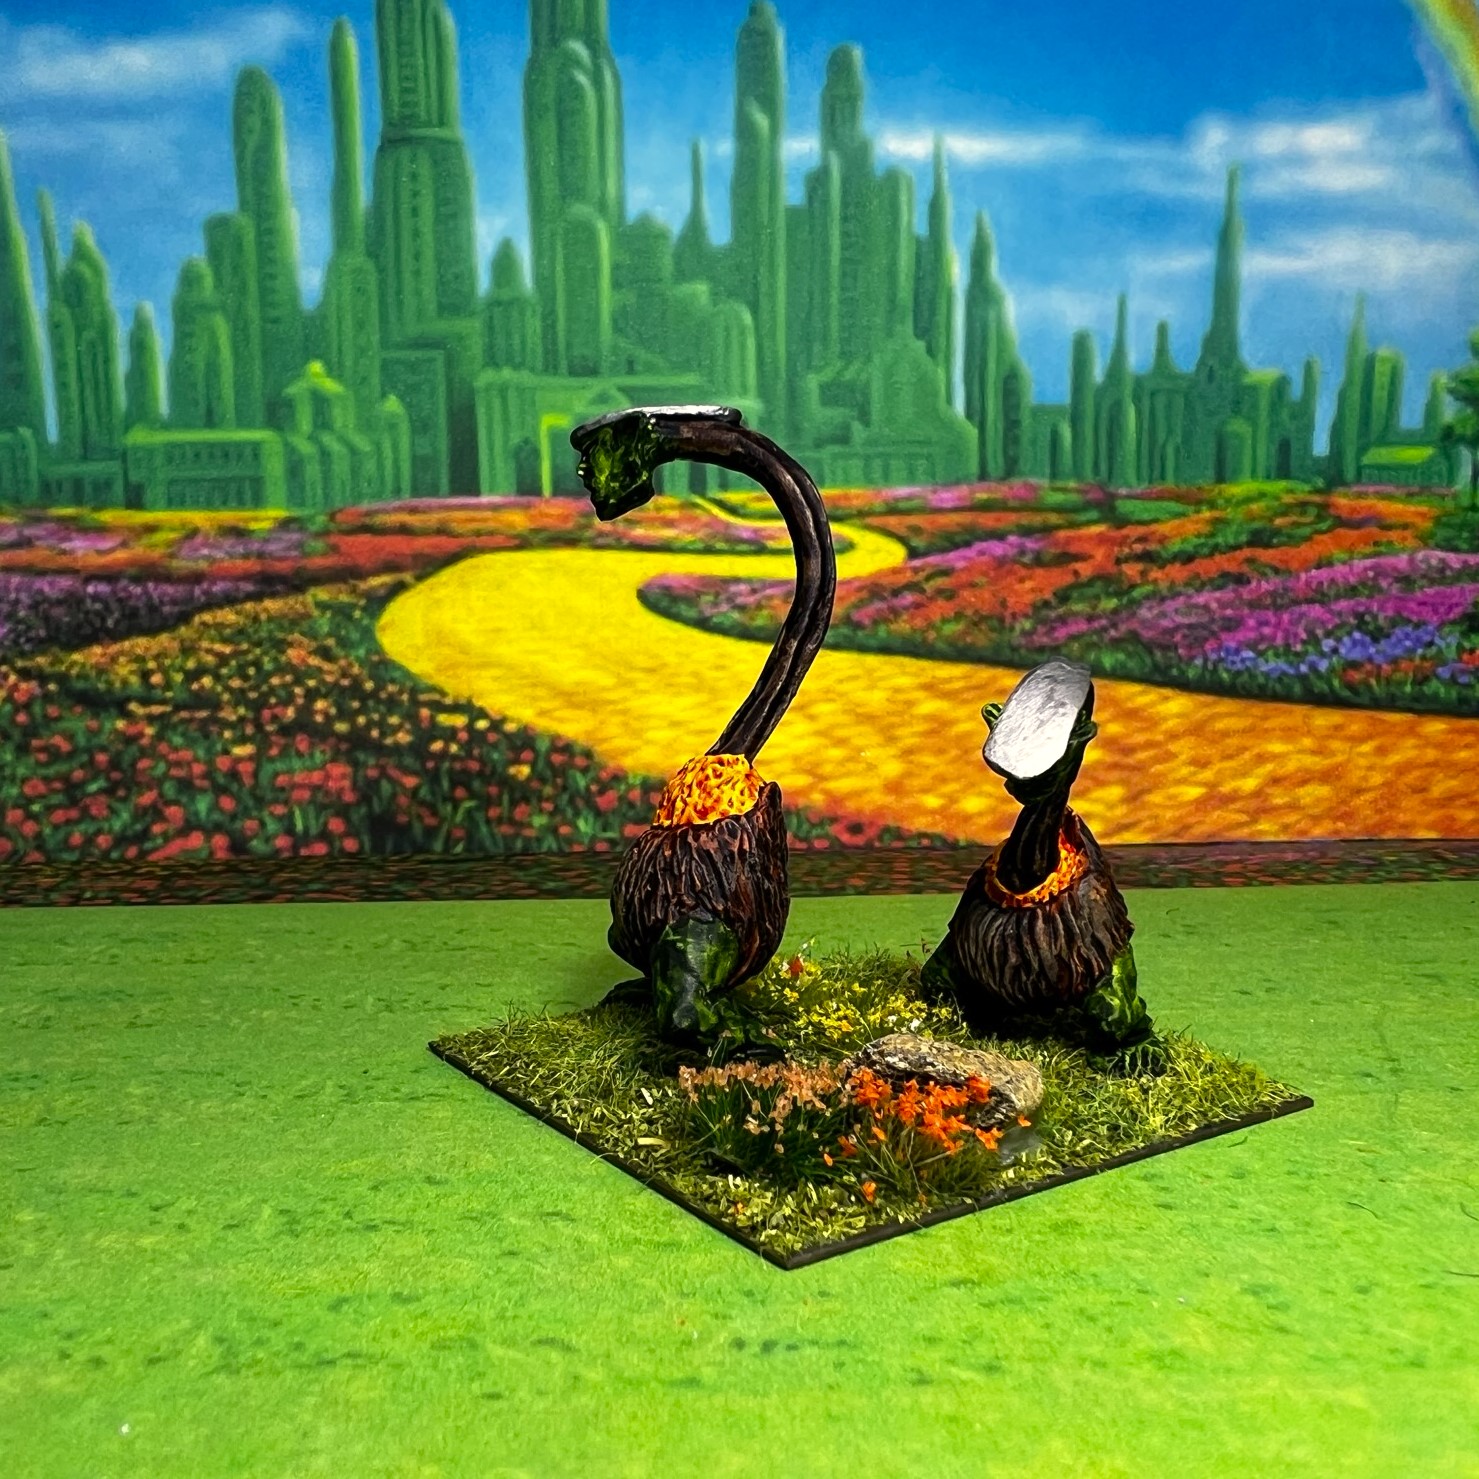
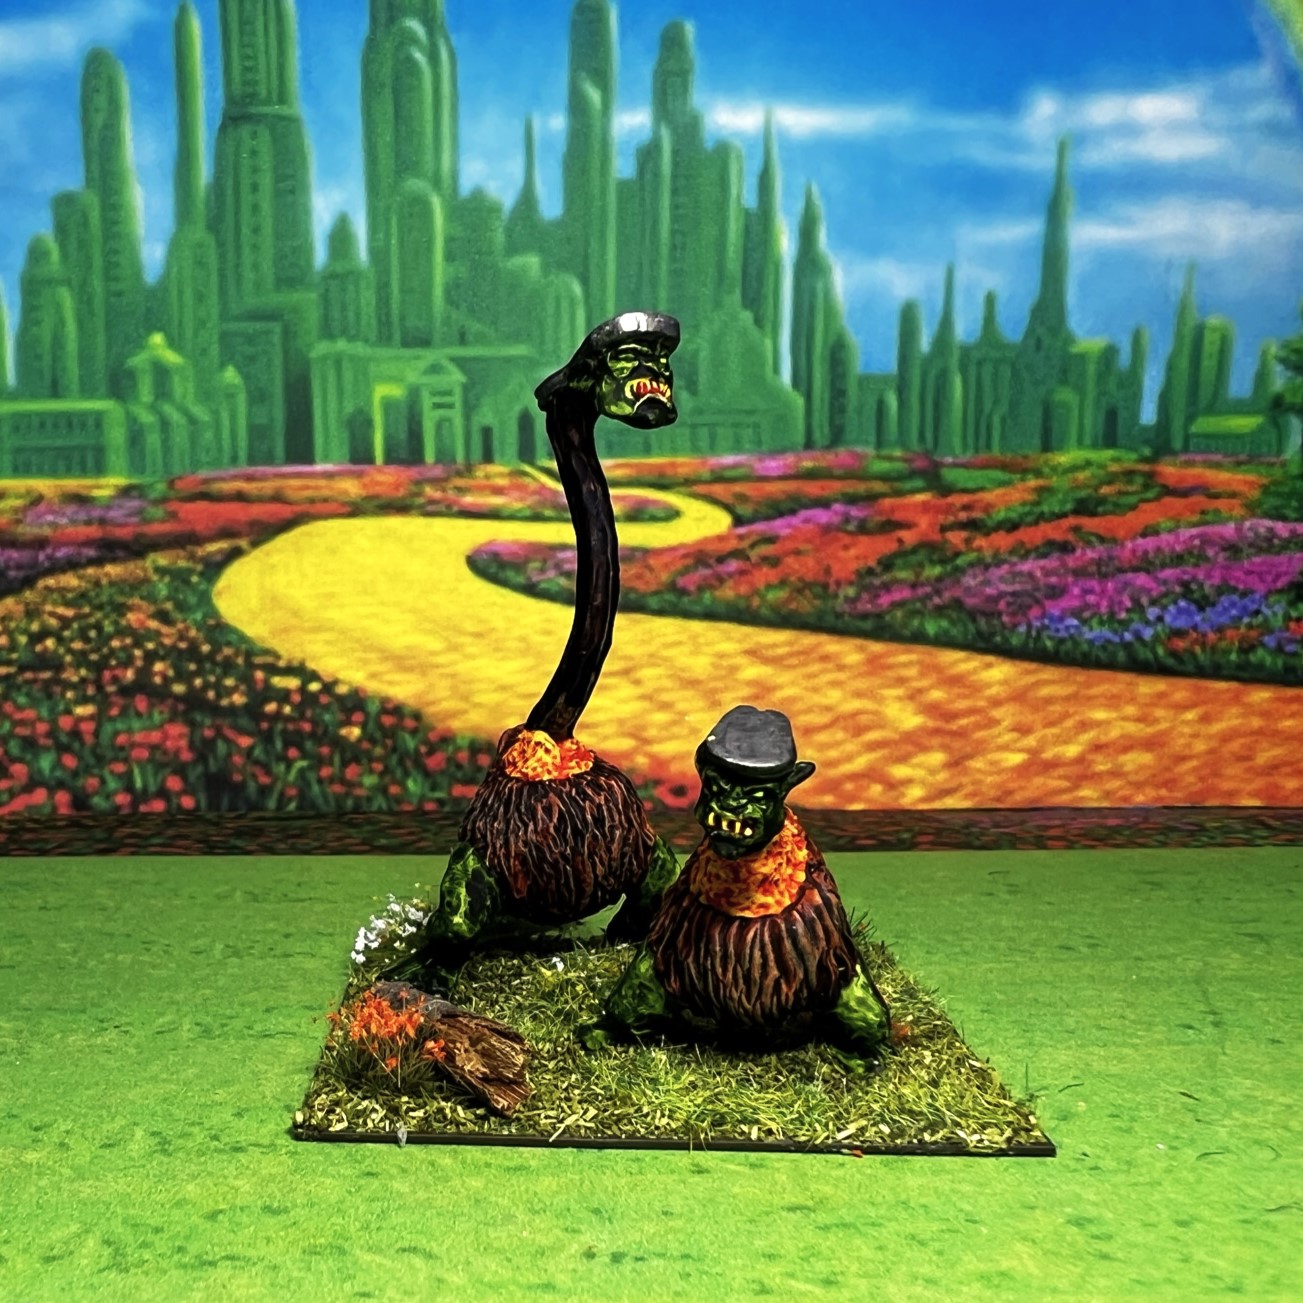
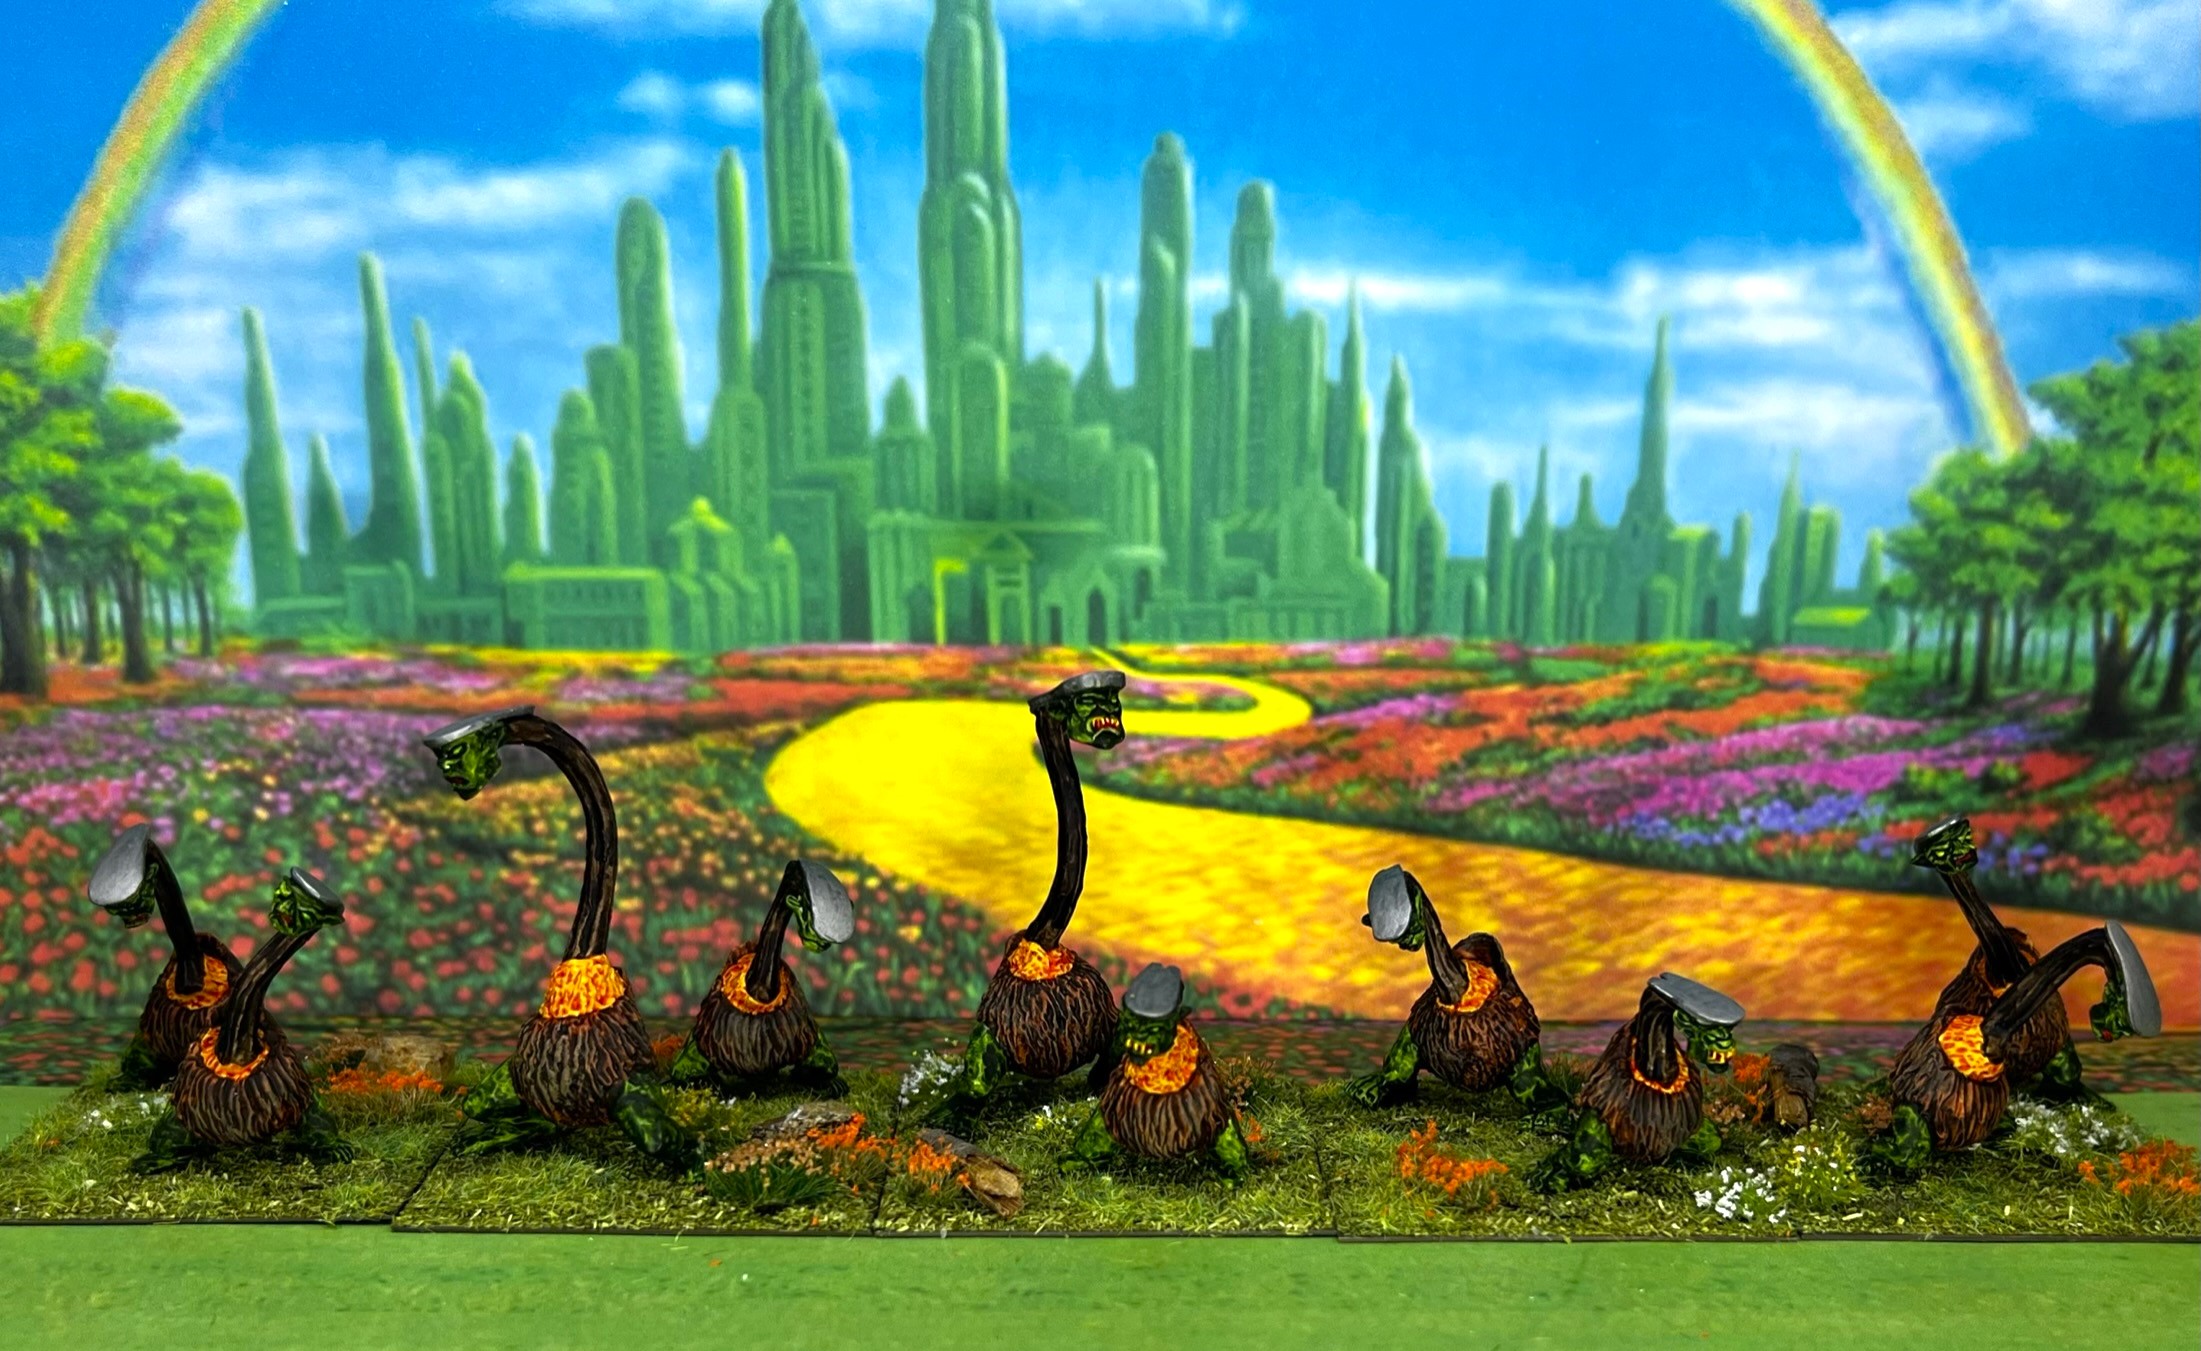
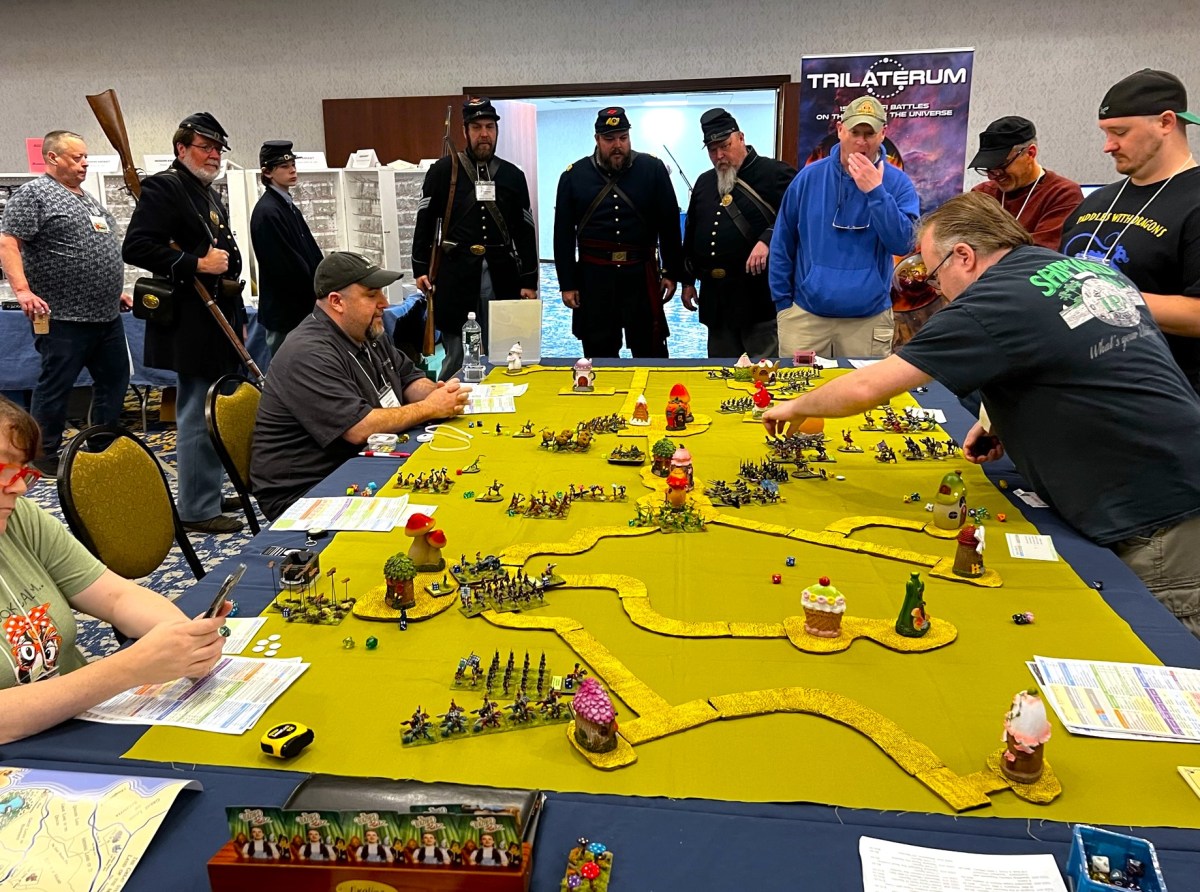
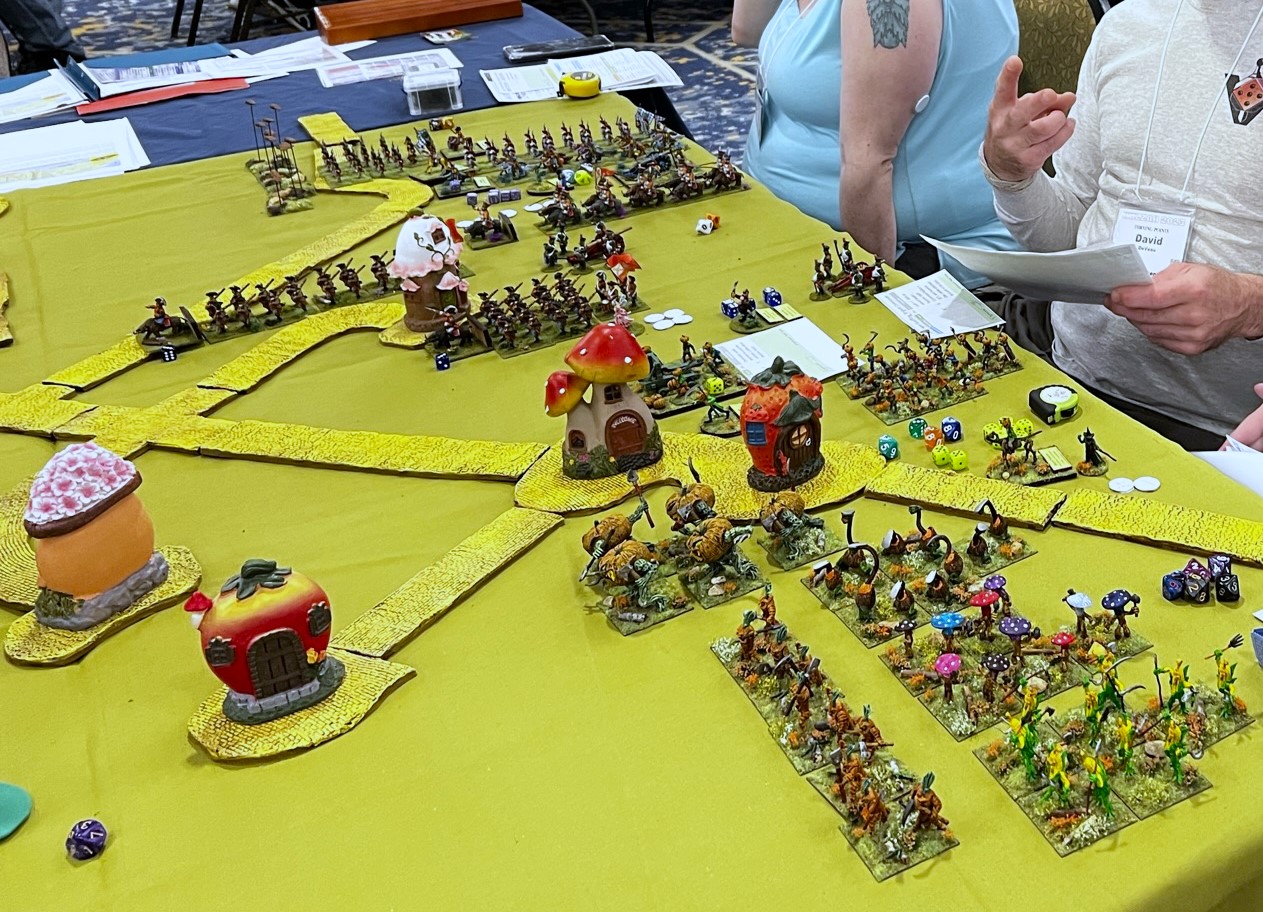
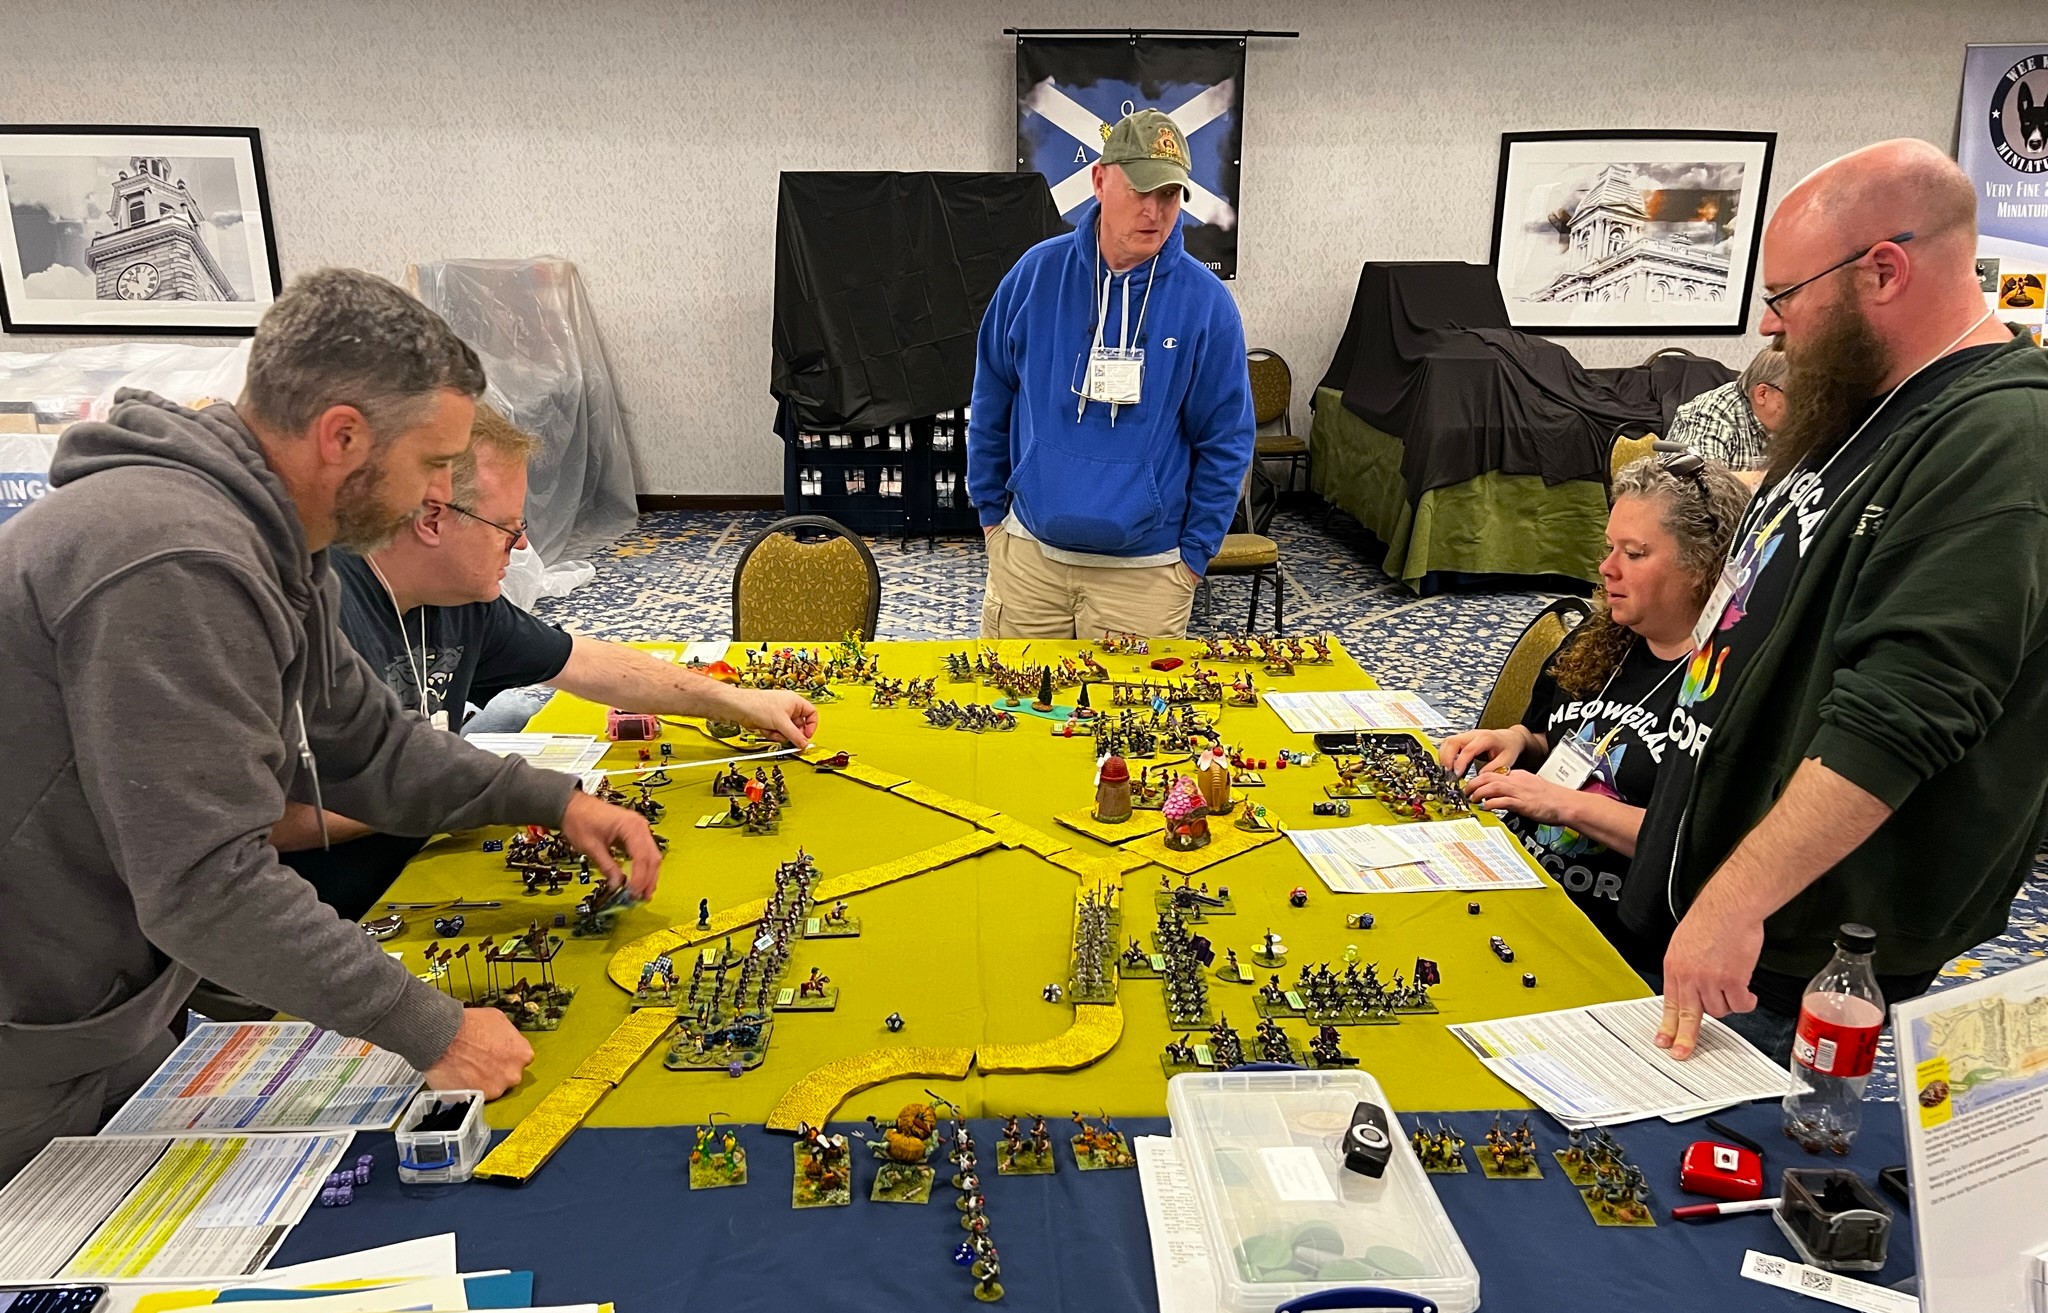
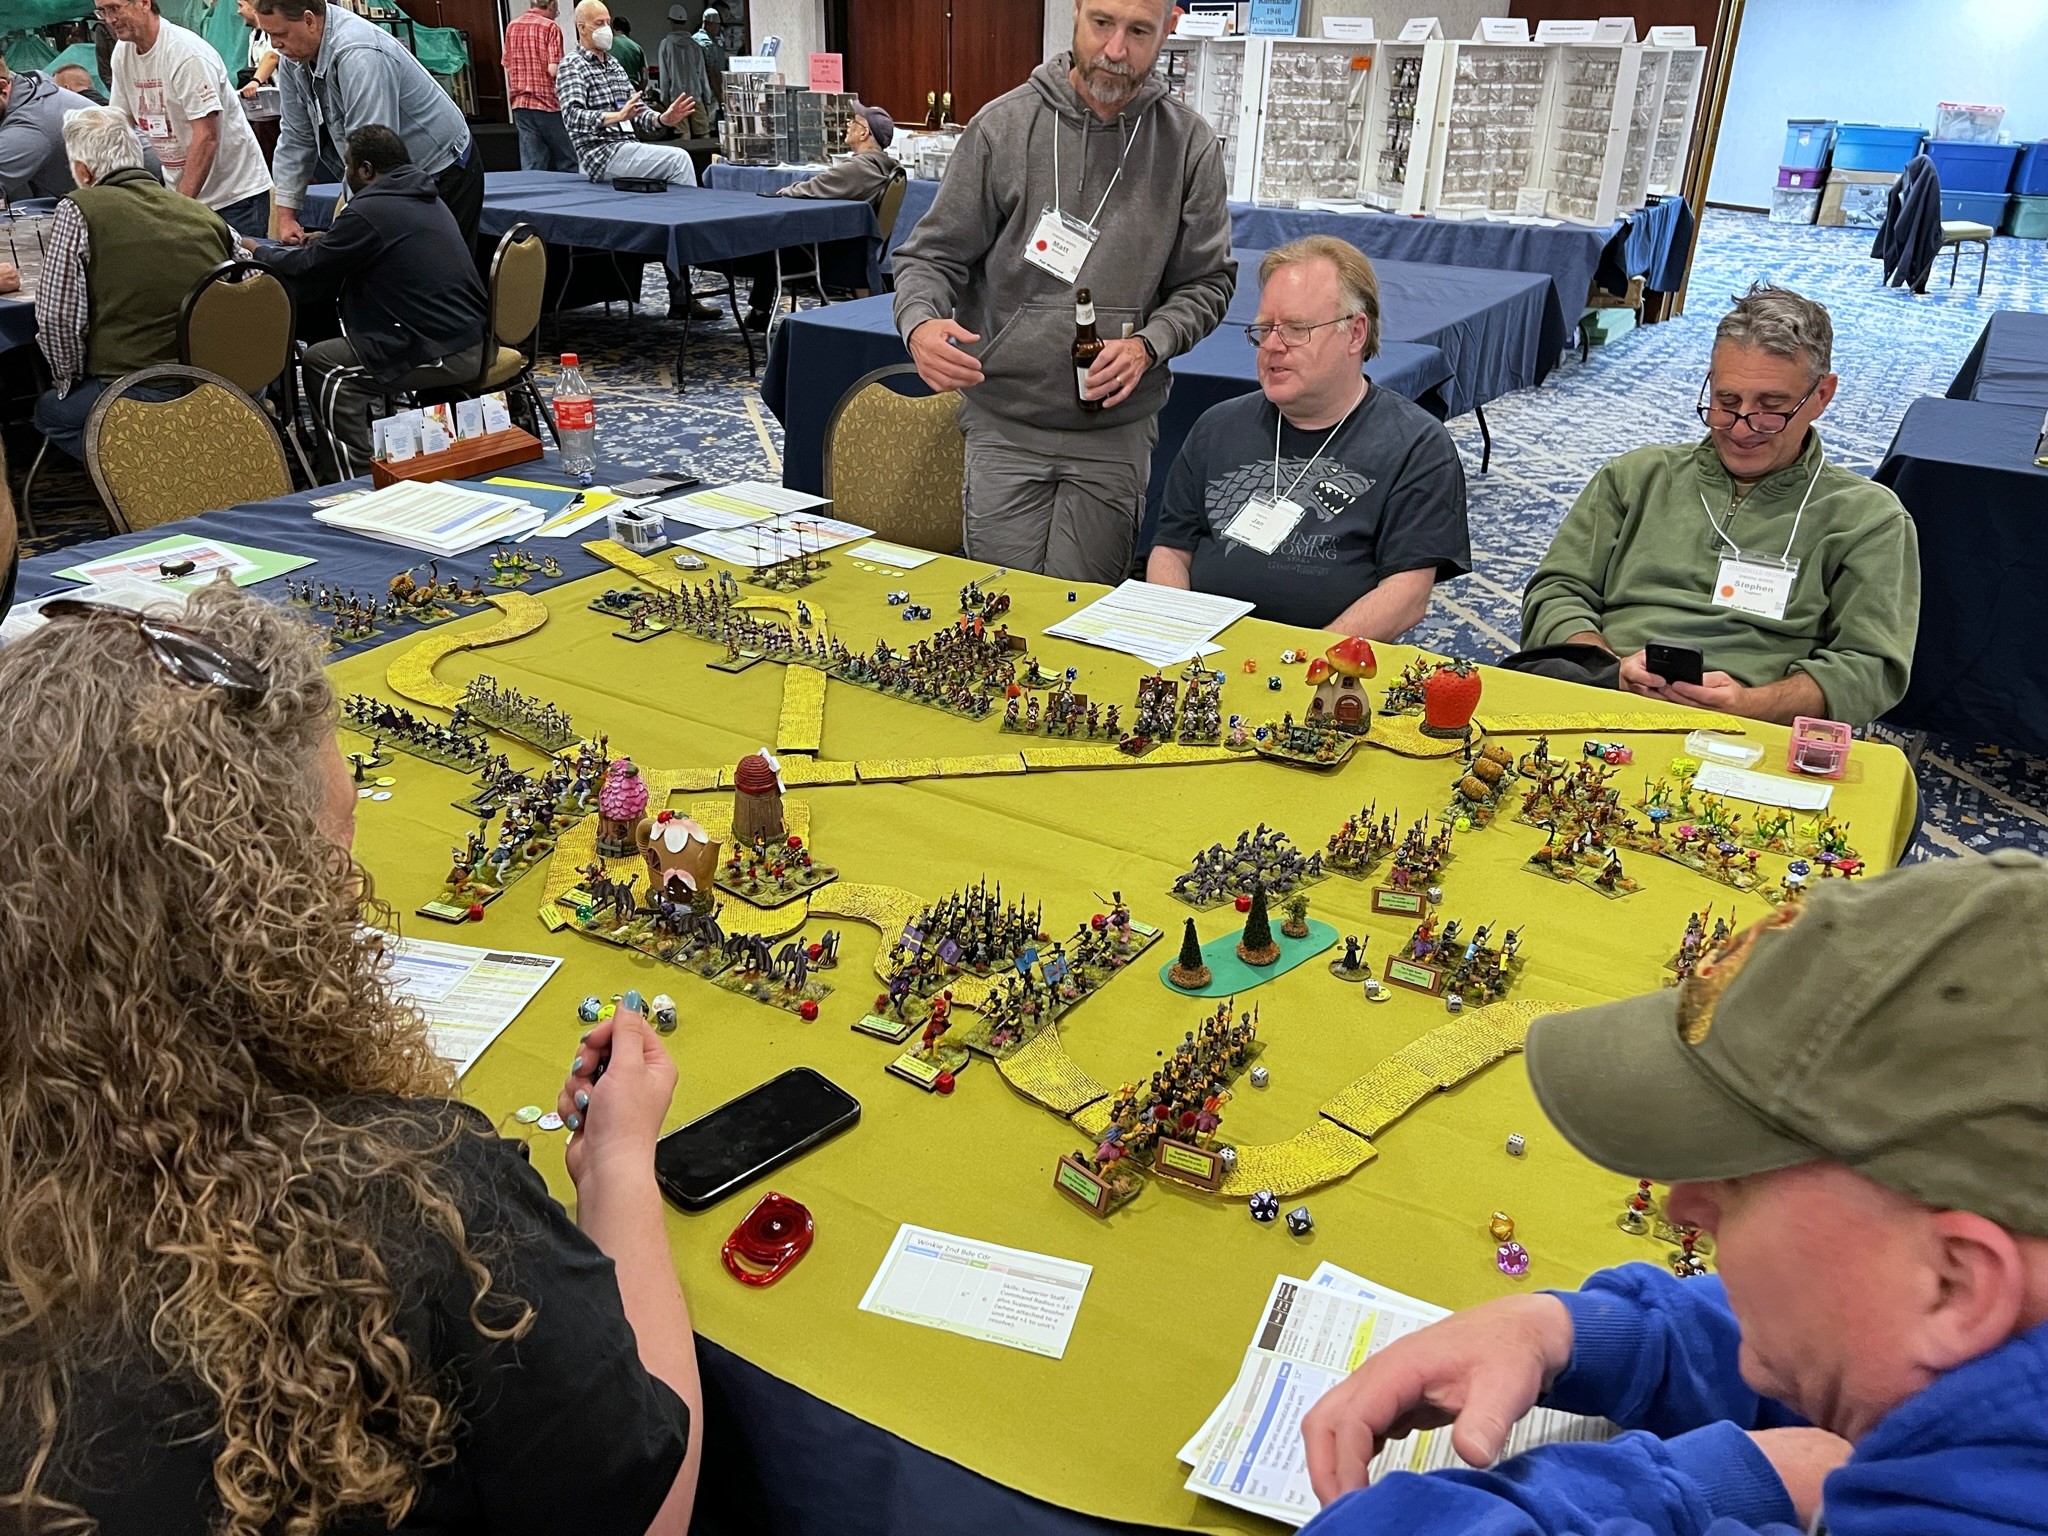
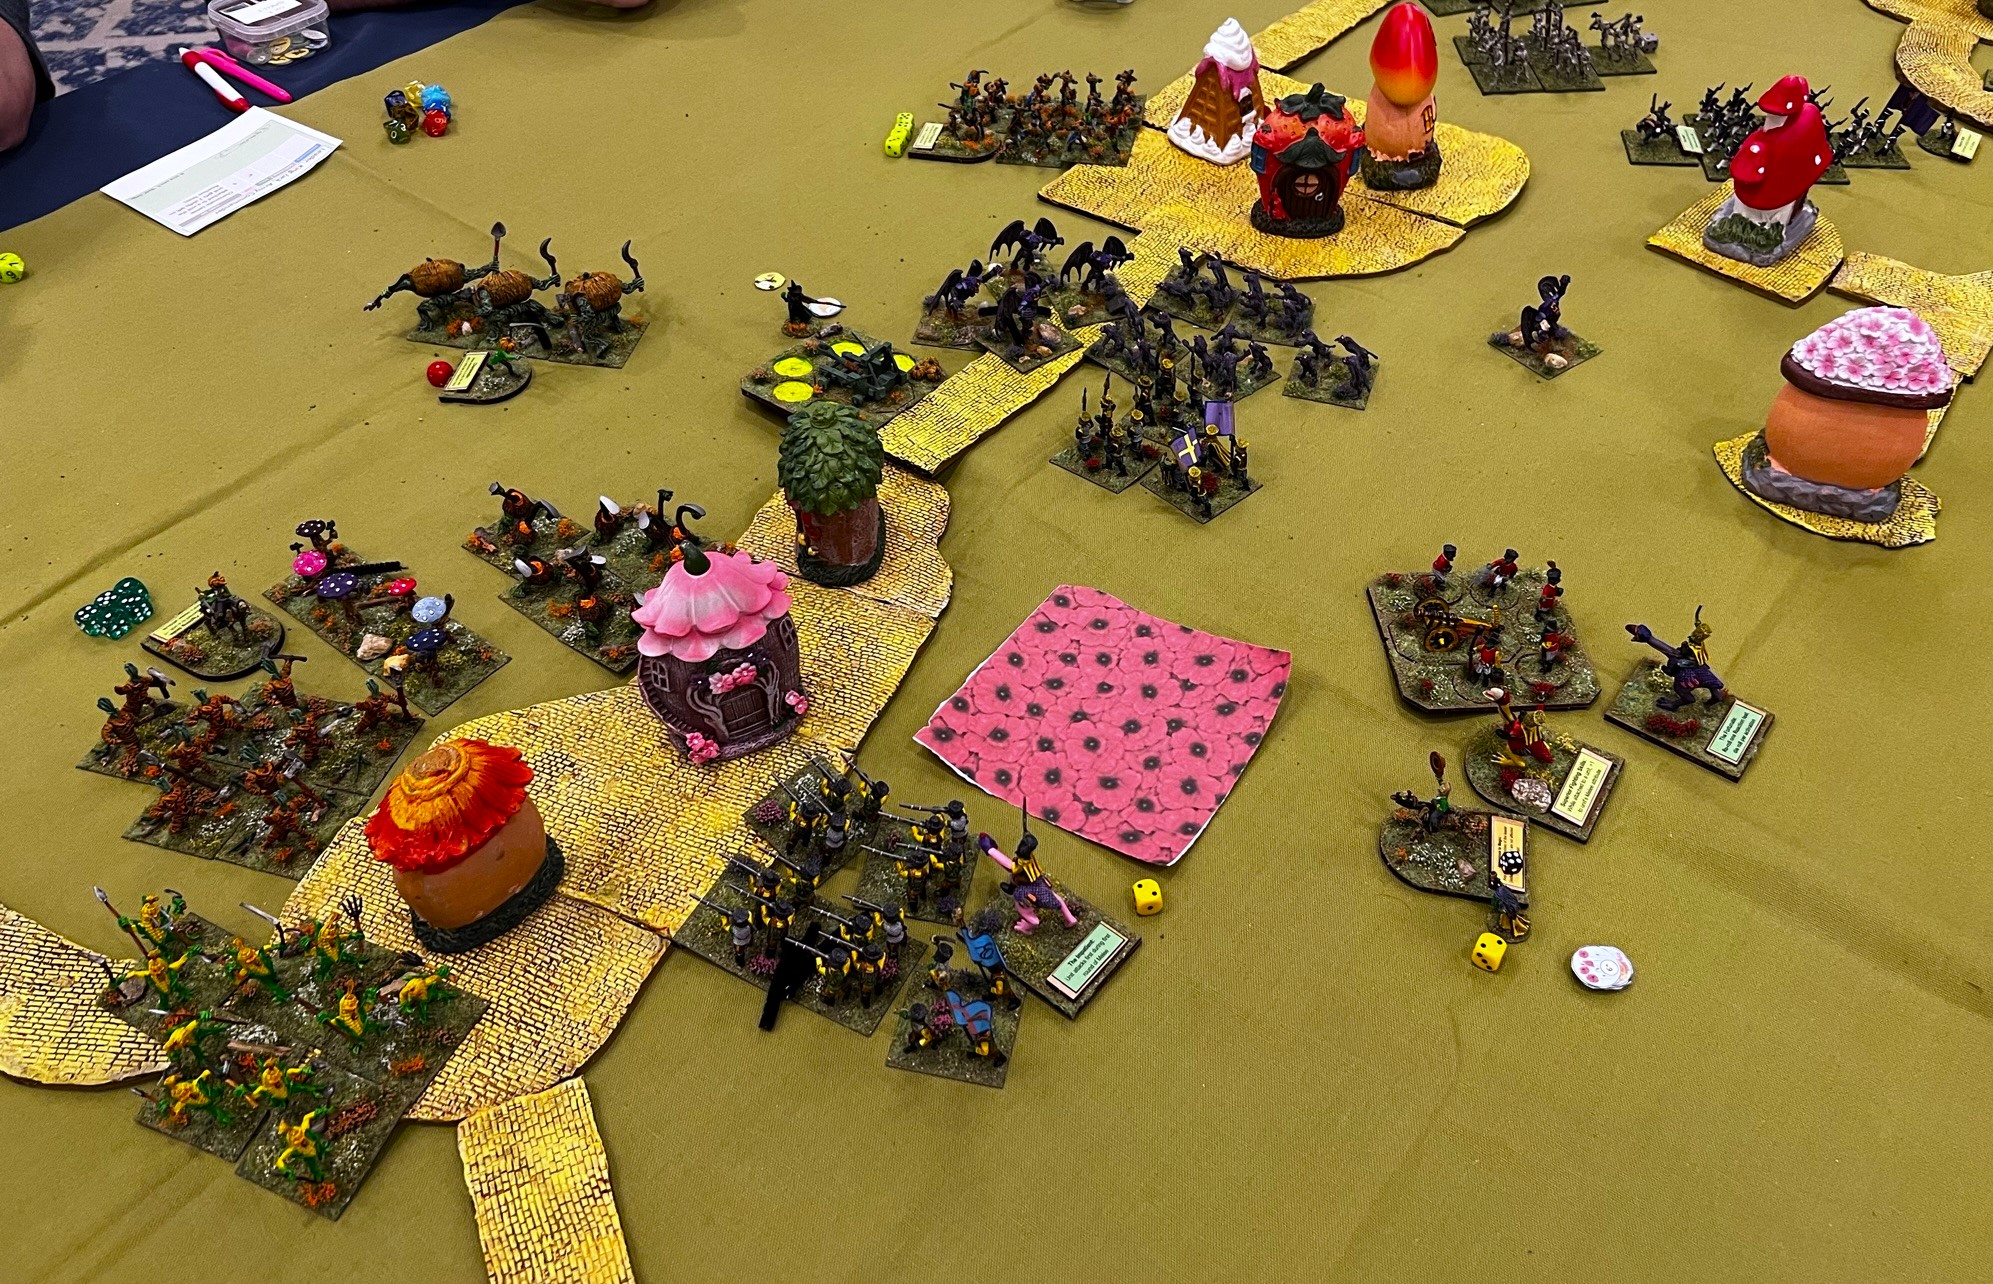
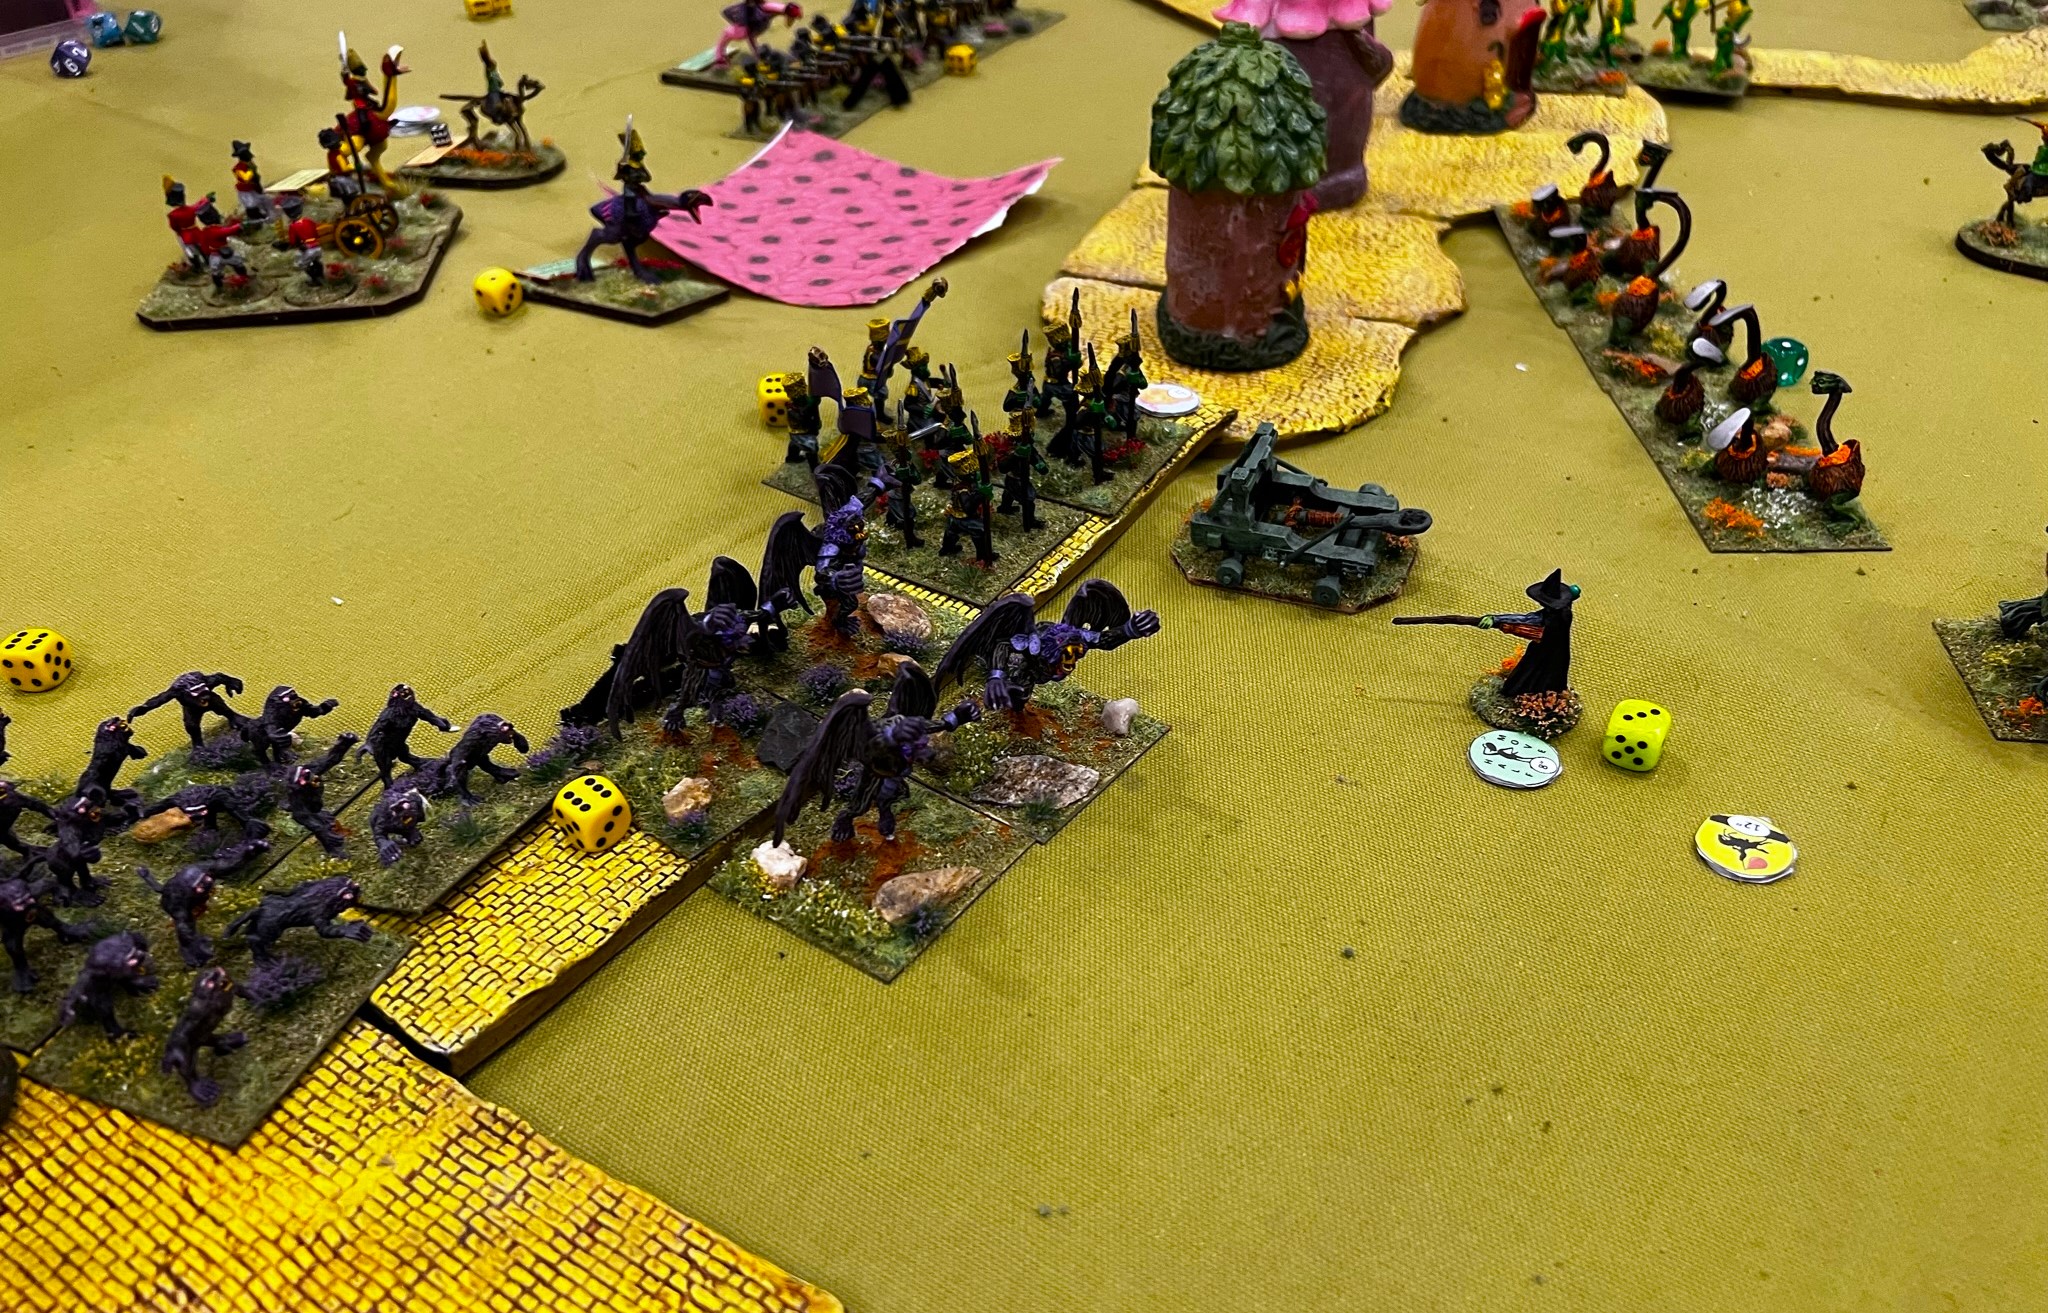
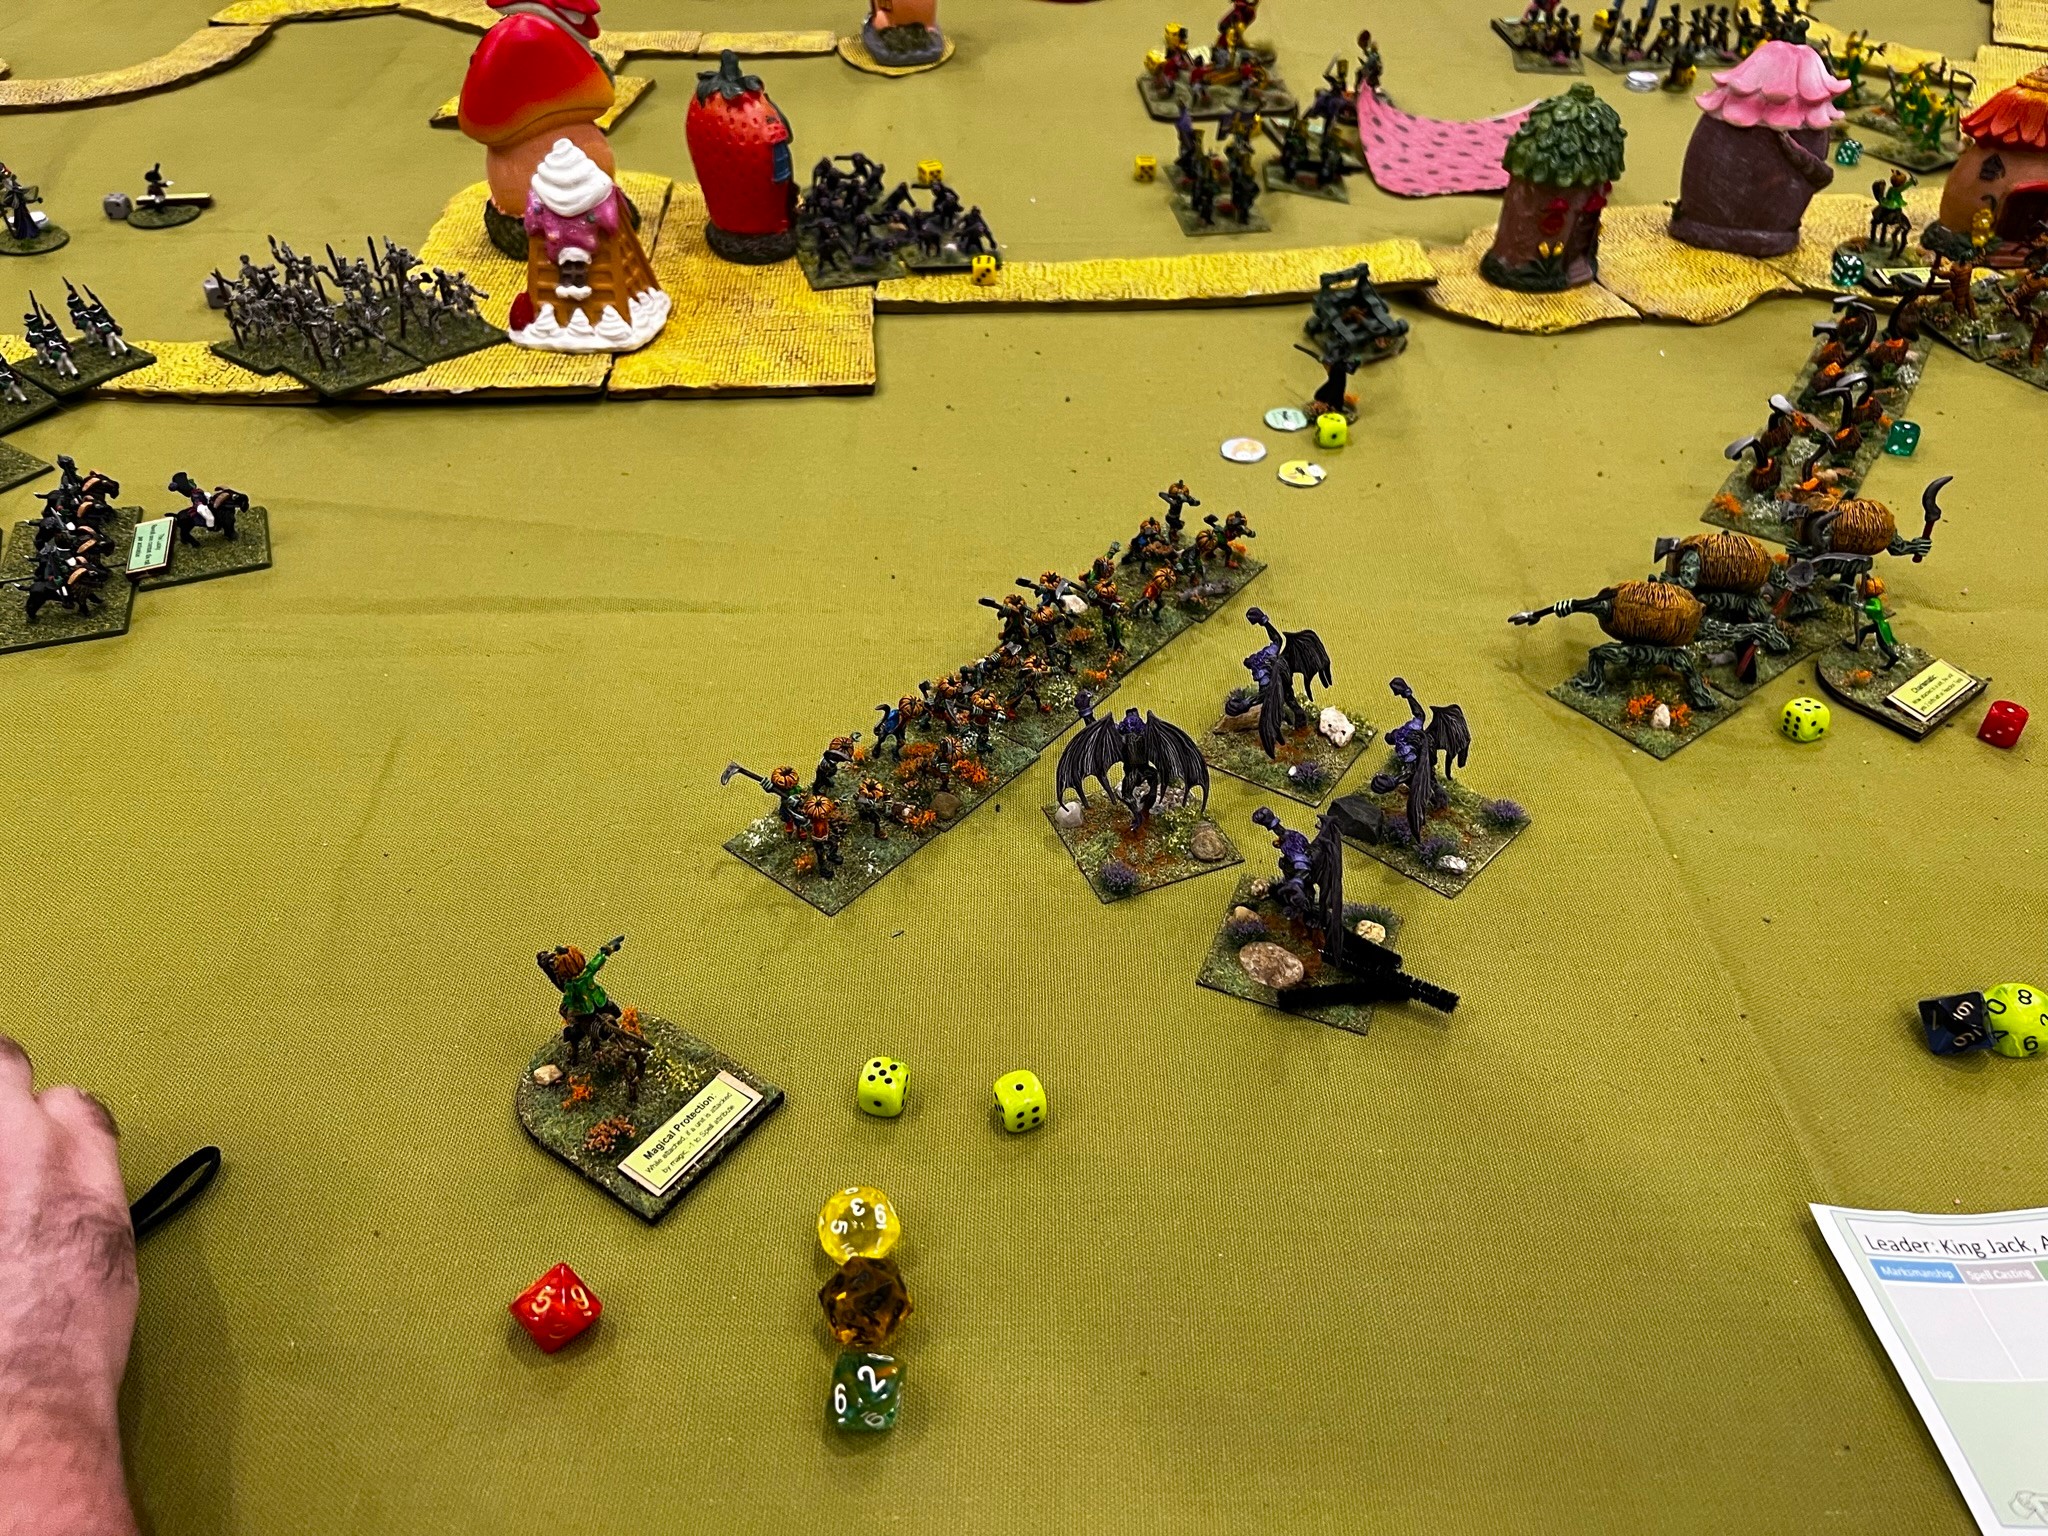
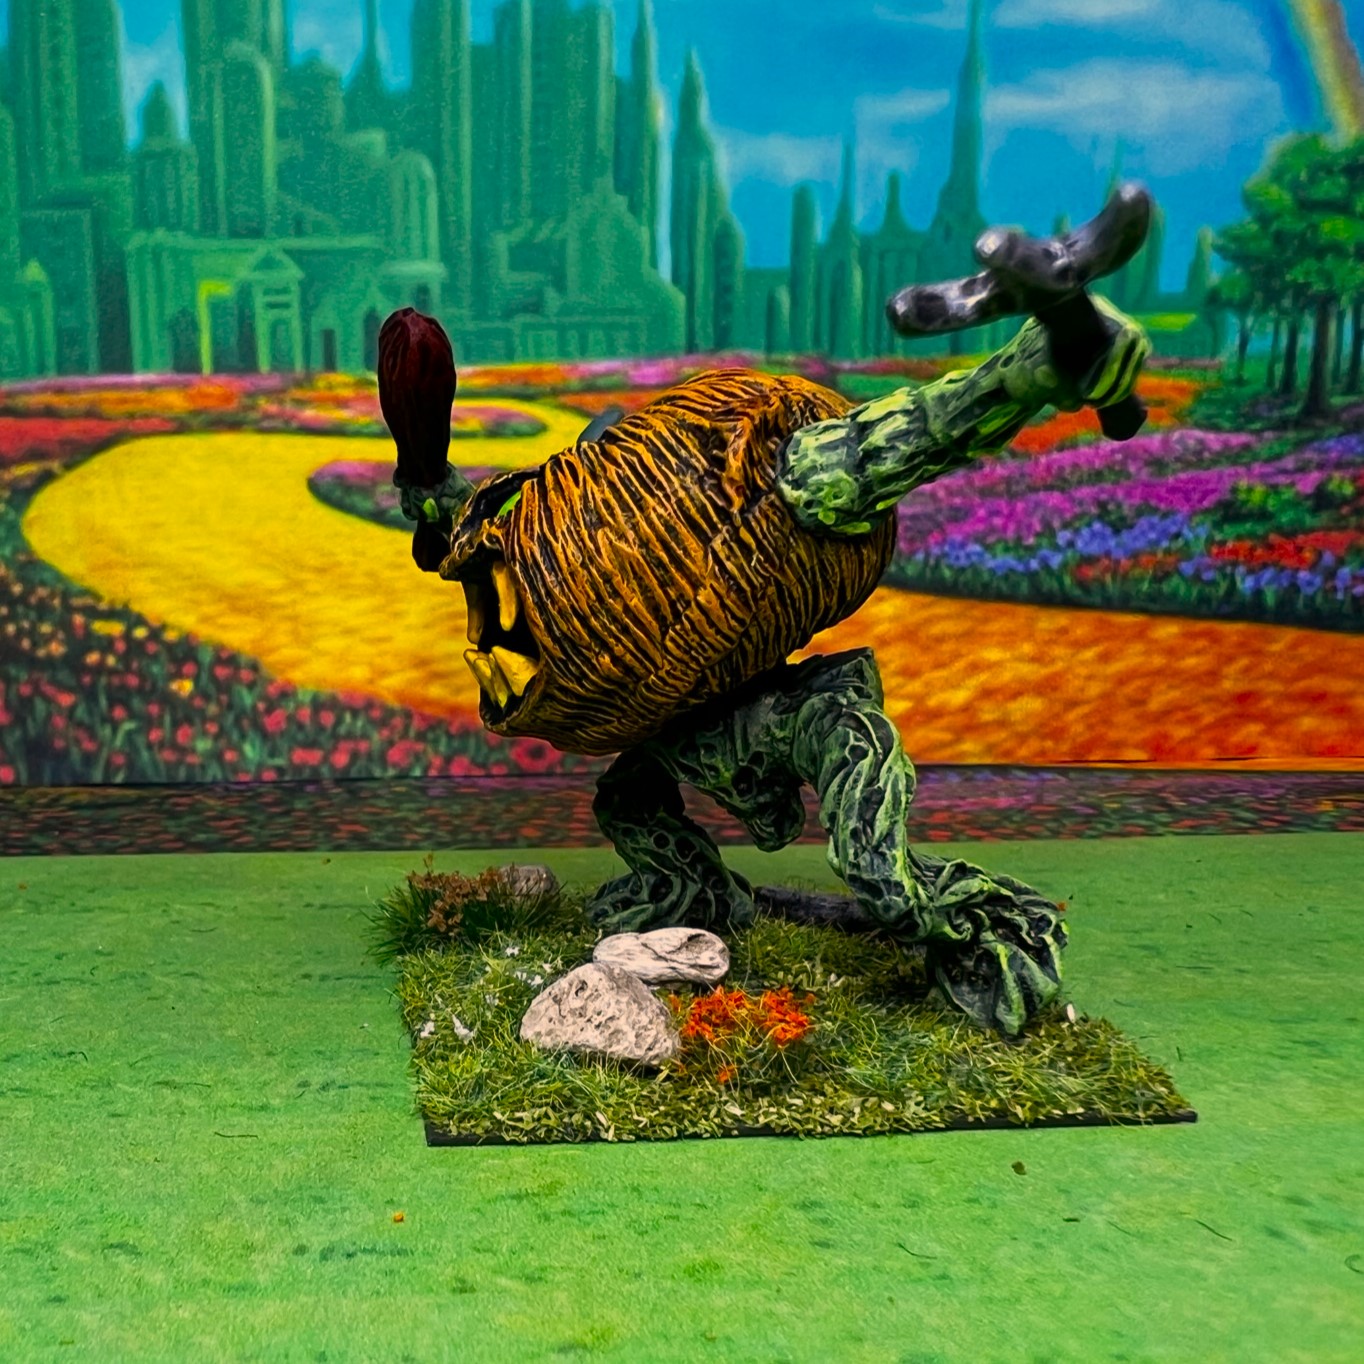
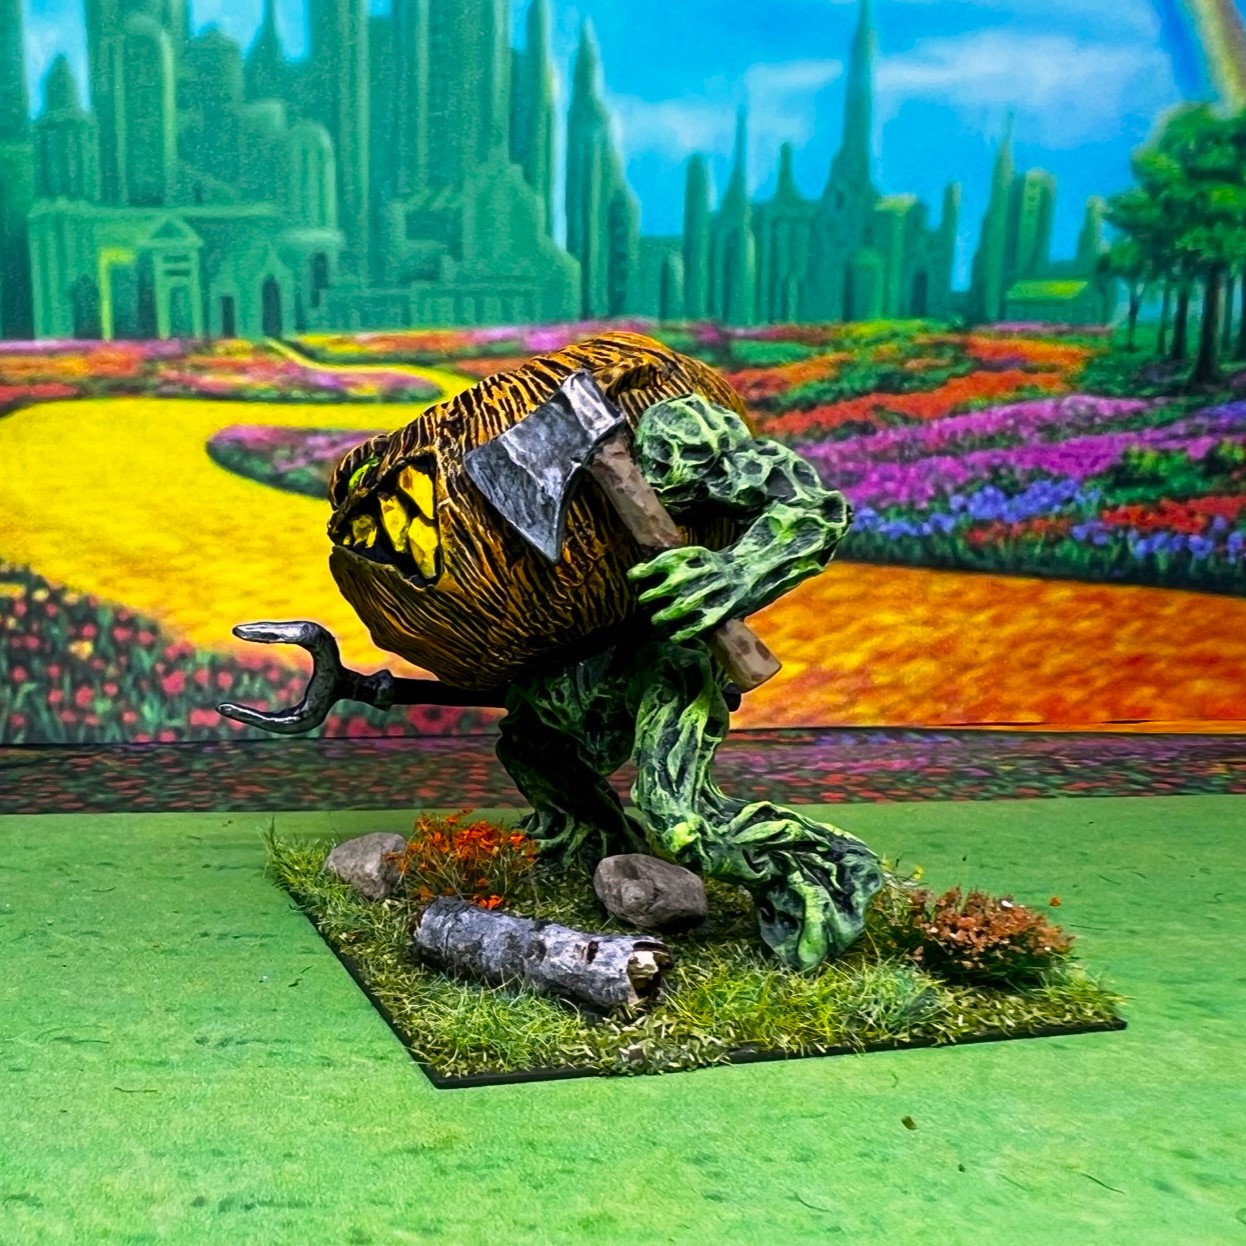
These Great Owls are not part of the Land of Harvest – but can be added to any side as an ally in a game. As flyers, they have an advantage in mobility and maneuver, plus while they are treated as infantry in the game, they may, unlike infantry, charge cavalry. Their ability to vertically envelop an enemy and hit them in the rear are also quite powerful. Their Melee value is 7/10, while Resolve (stay in the fight value) is only 5/10 and Elan (take the fight to the enemy value)is 6/10. At Huzzah 2023, I added this regiment to the Munchkin player’s forces. As the Winkies had the Great Flying Apes as flyers, that was also a consideration for me in play balance.
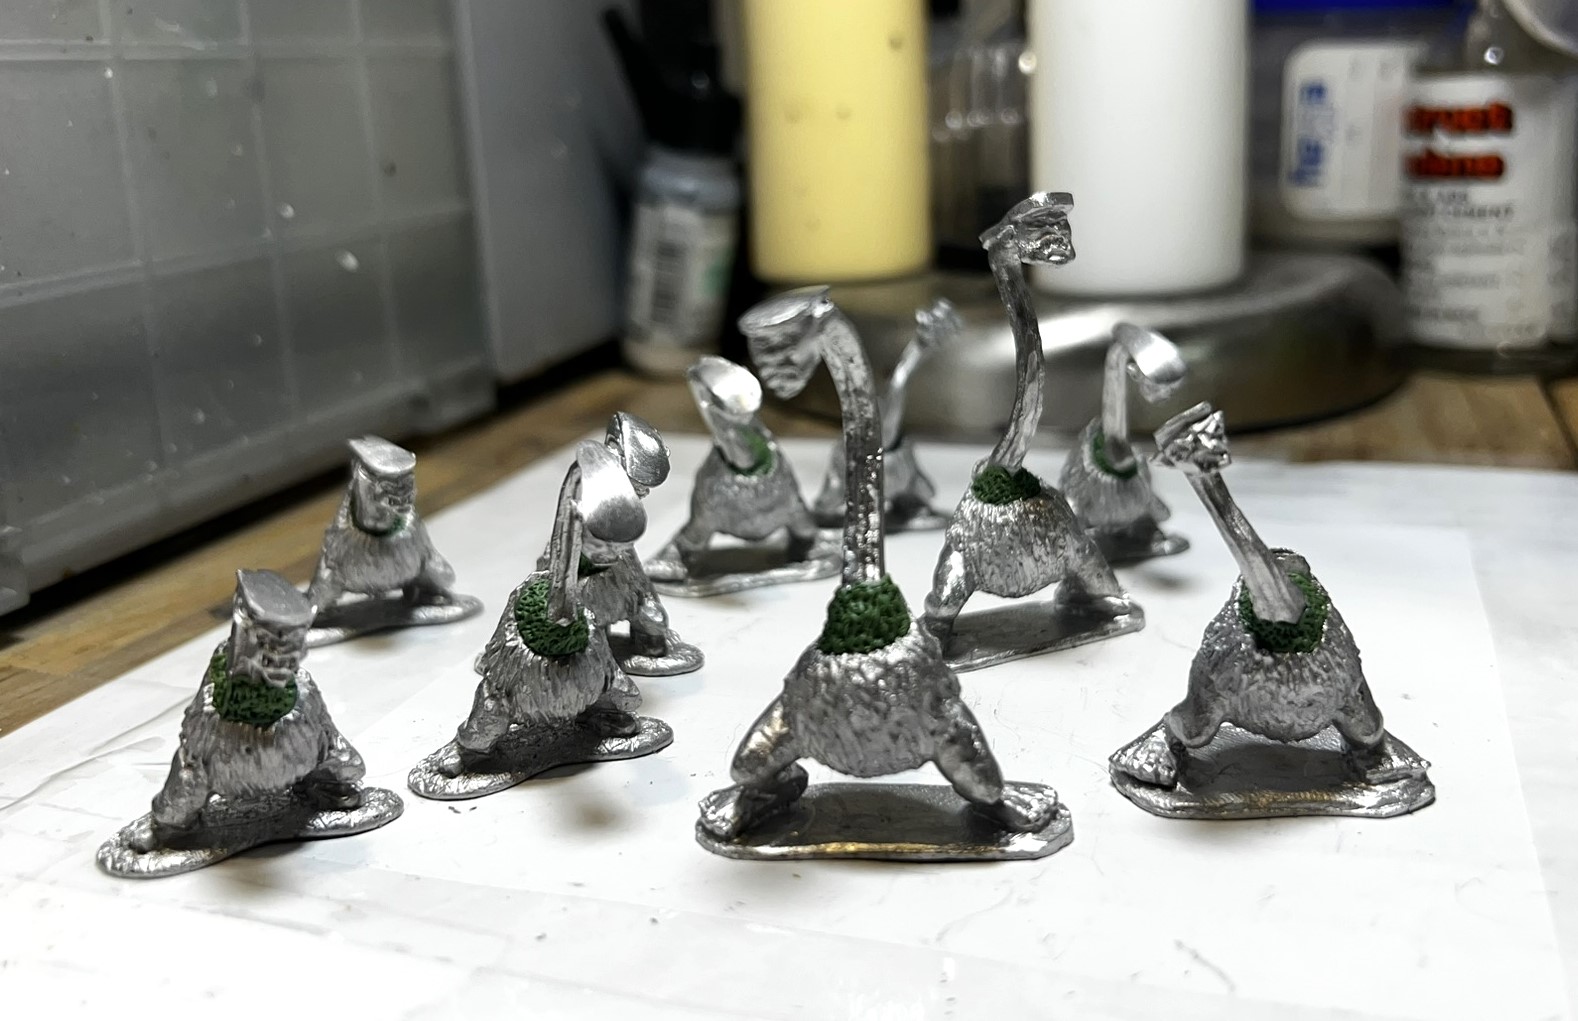
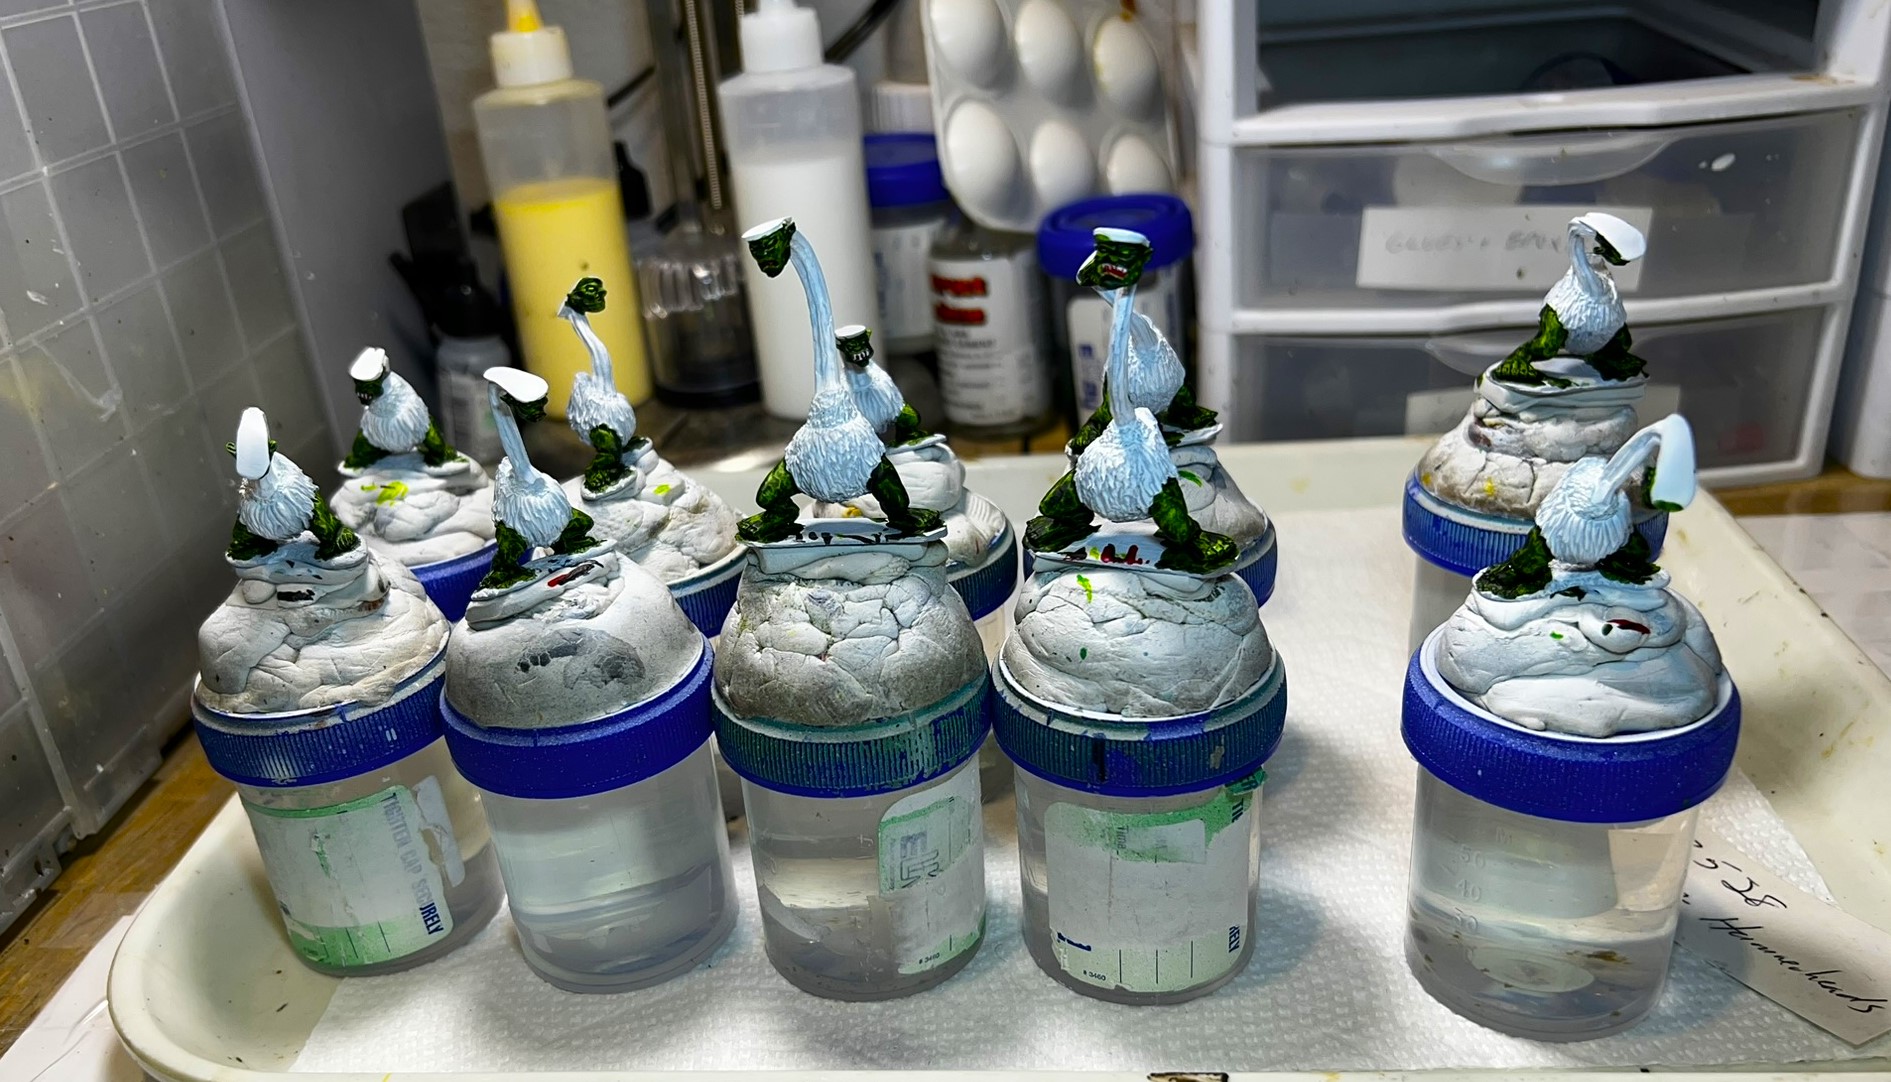
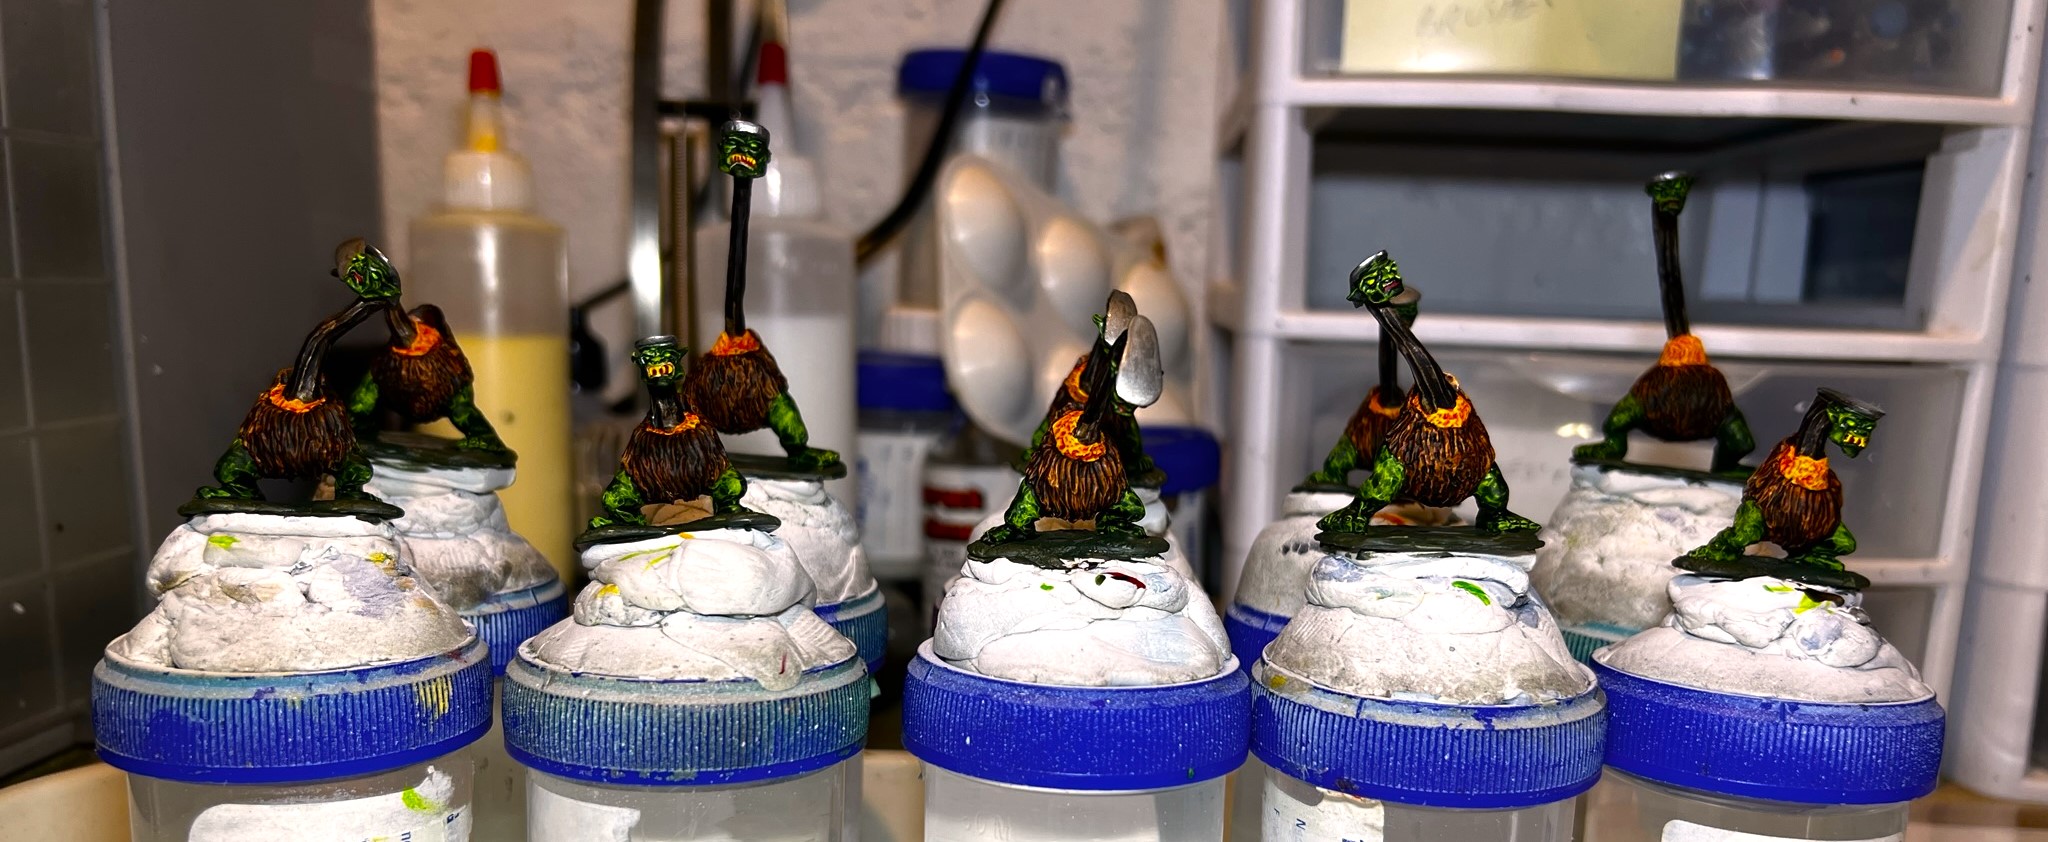
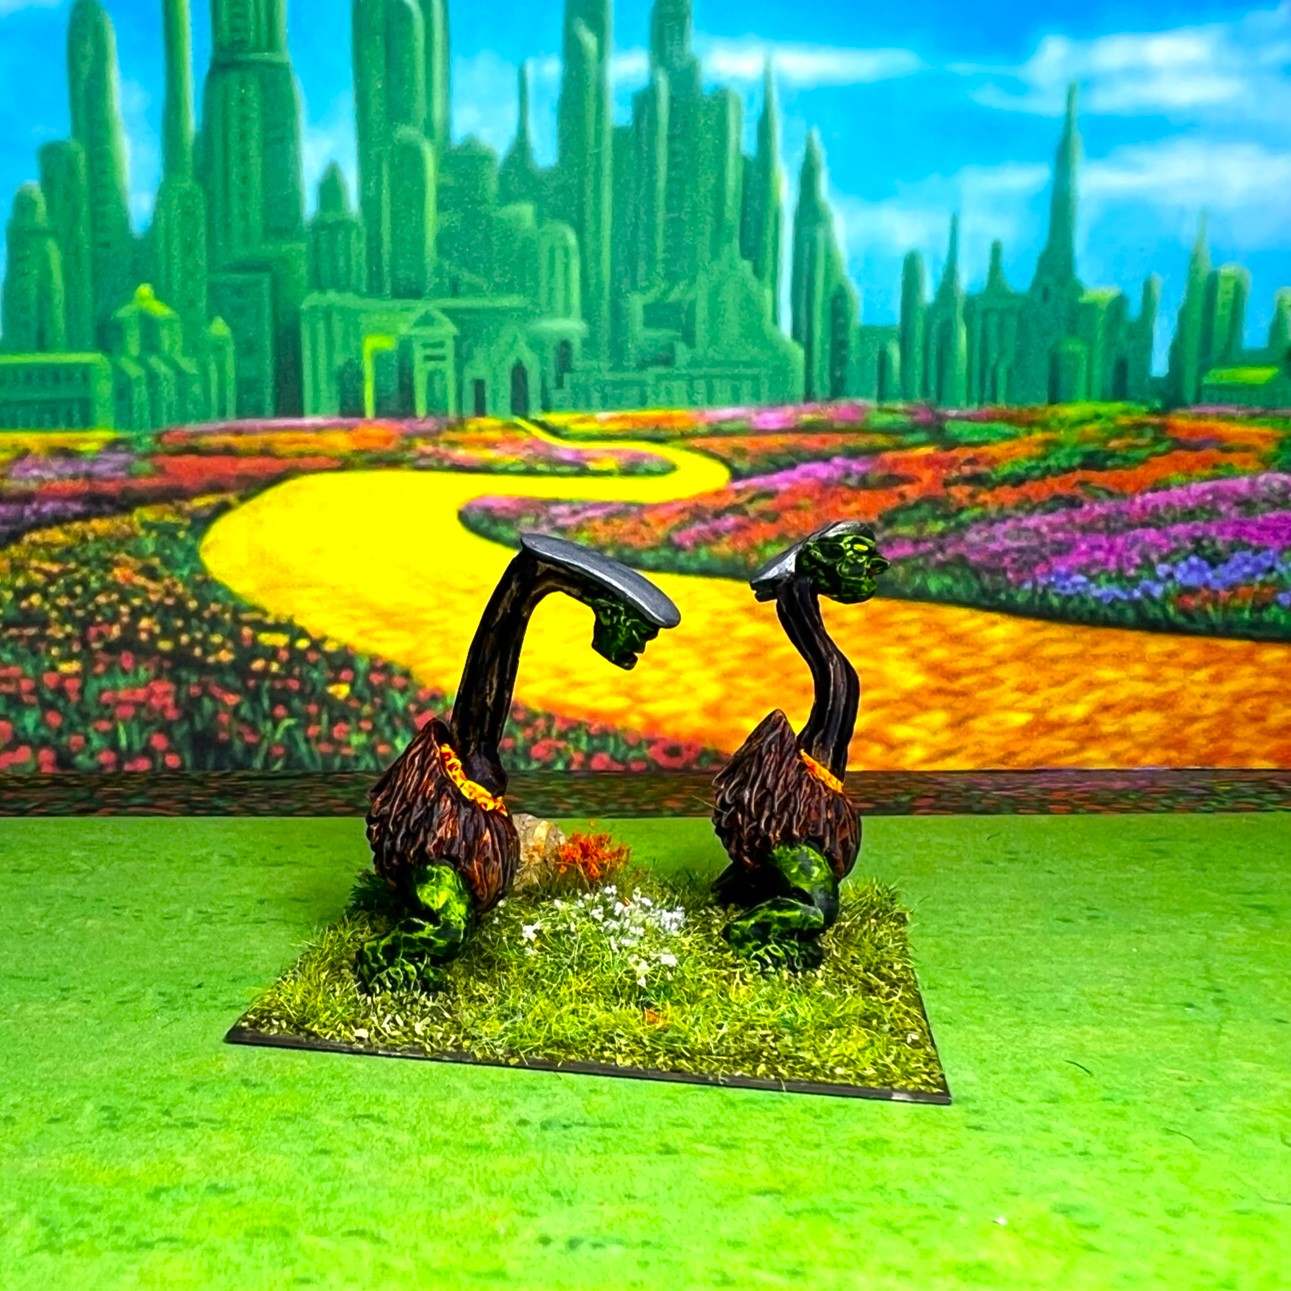
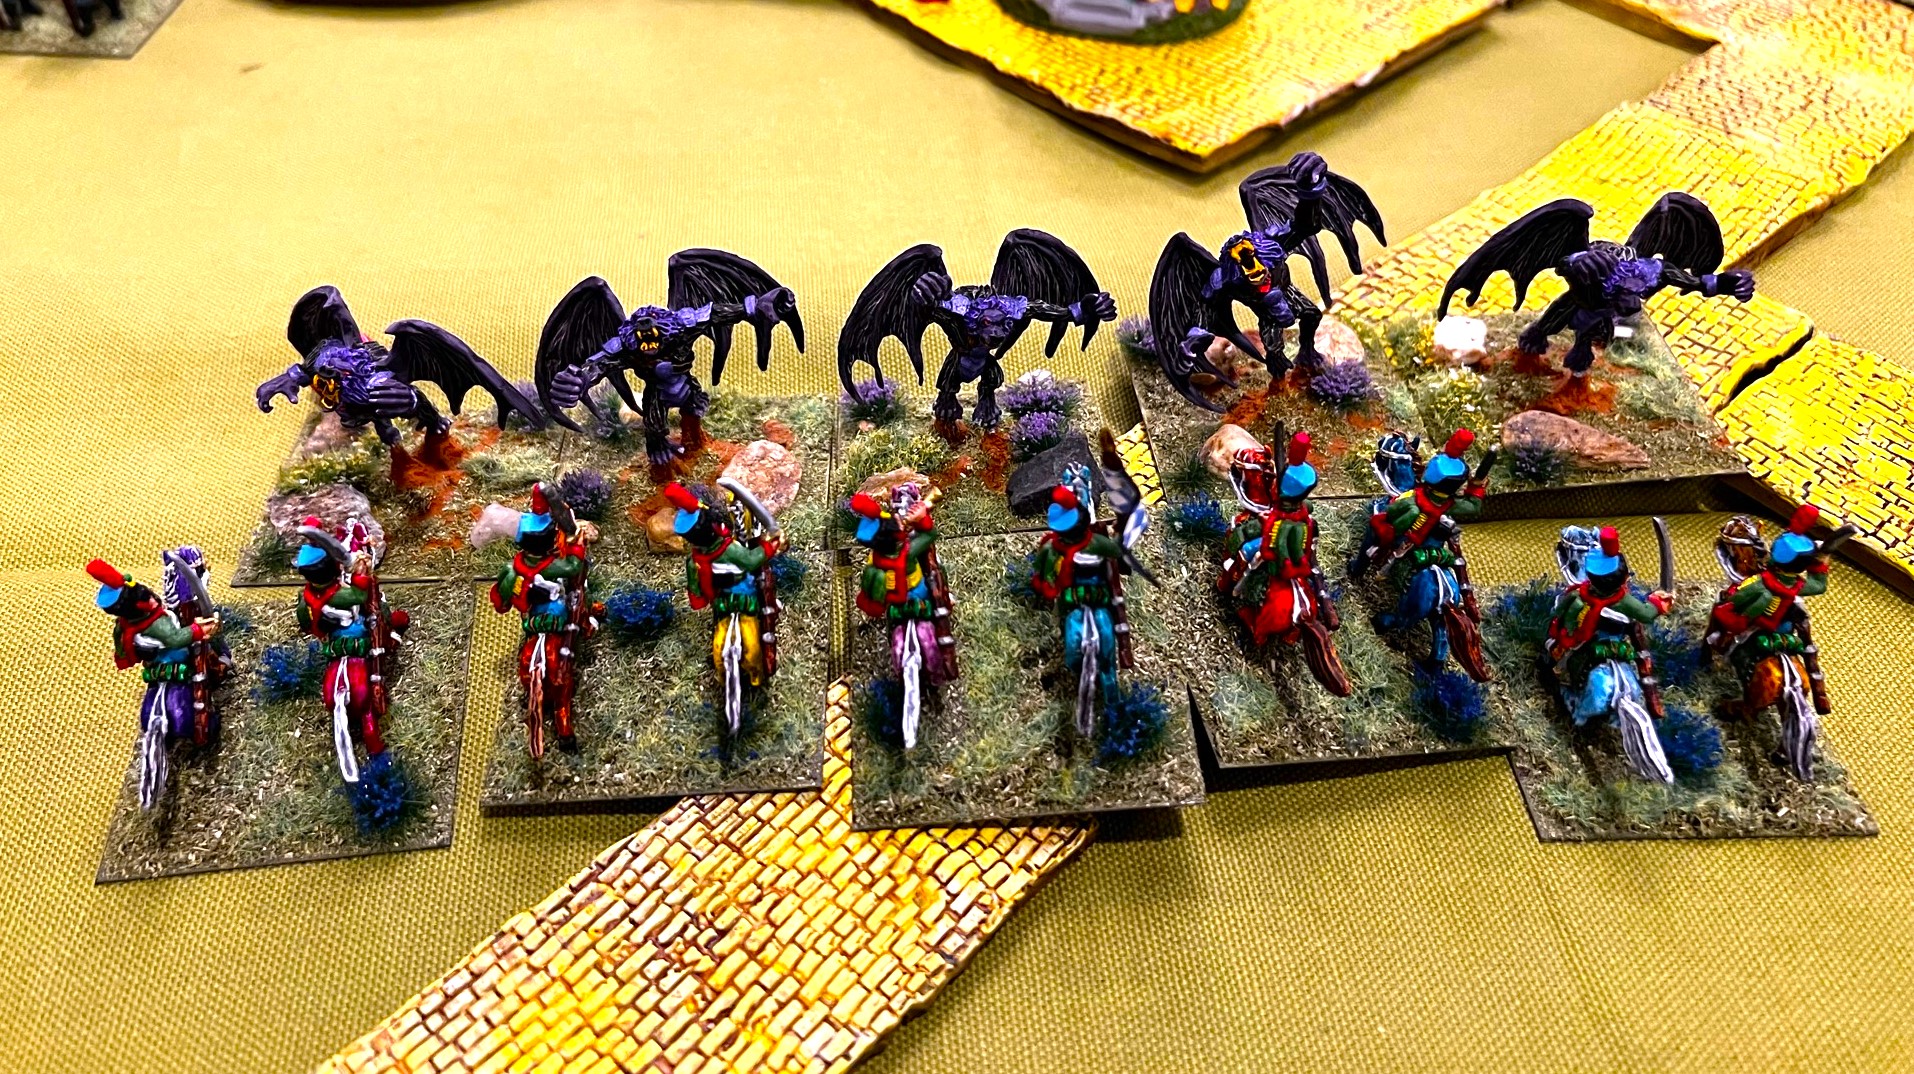
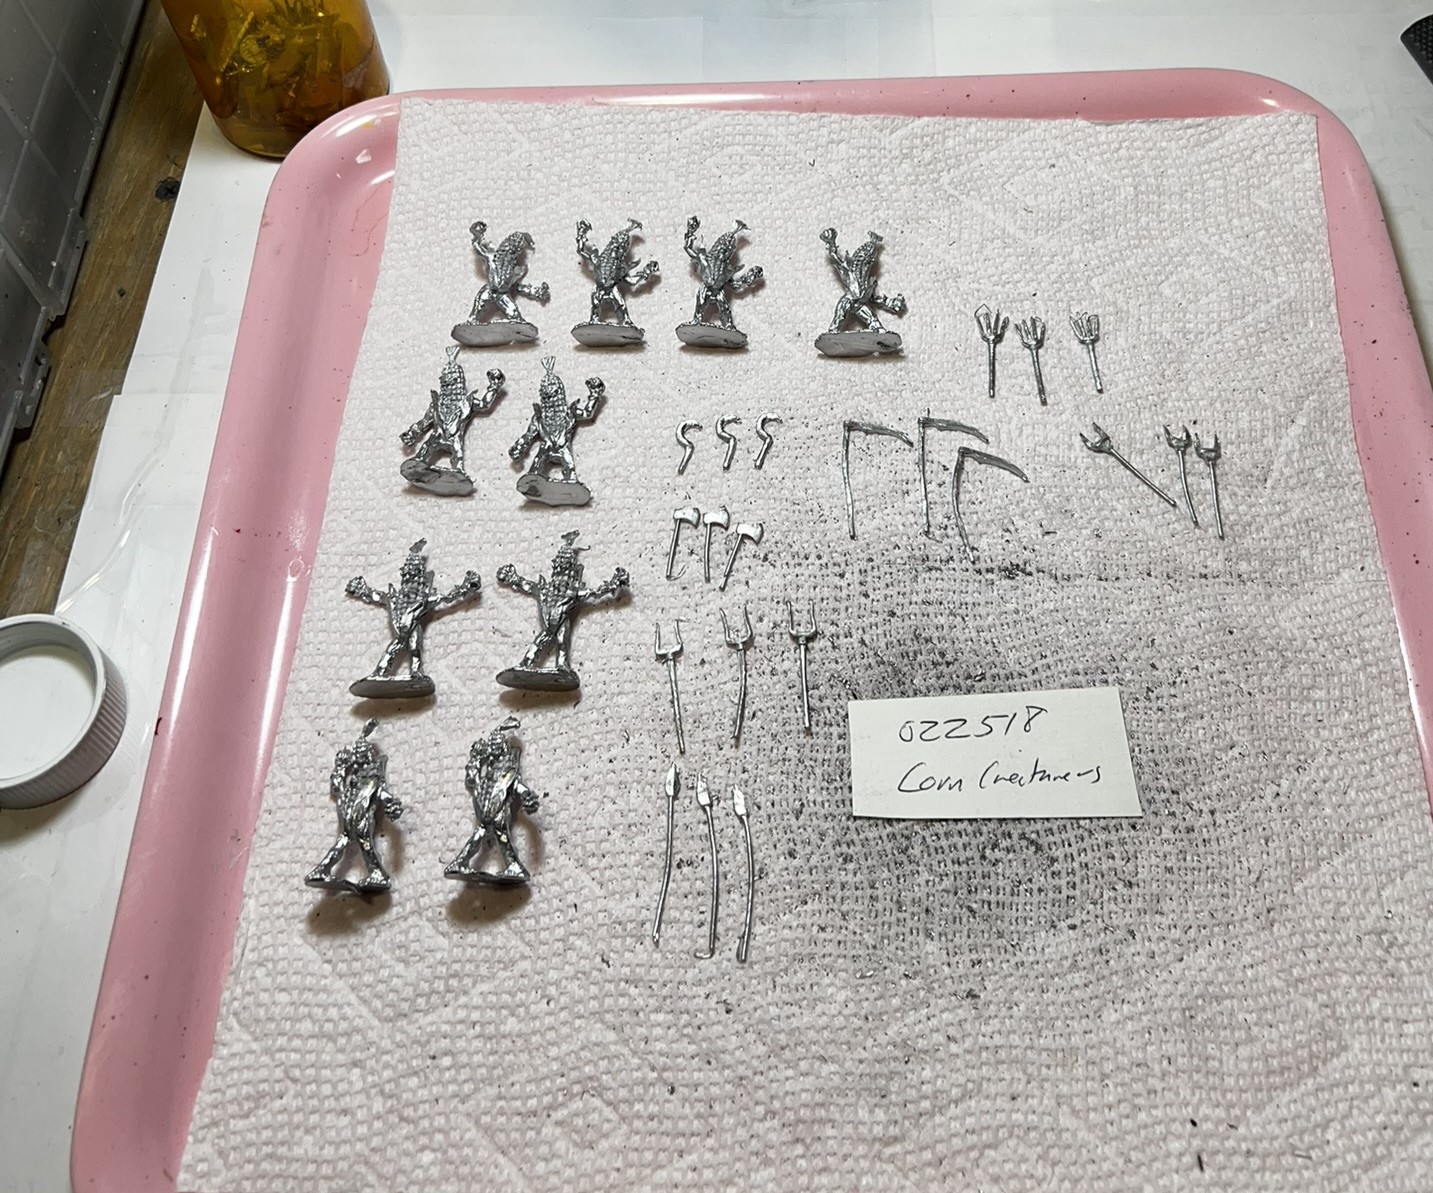
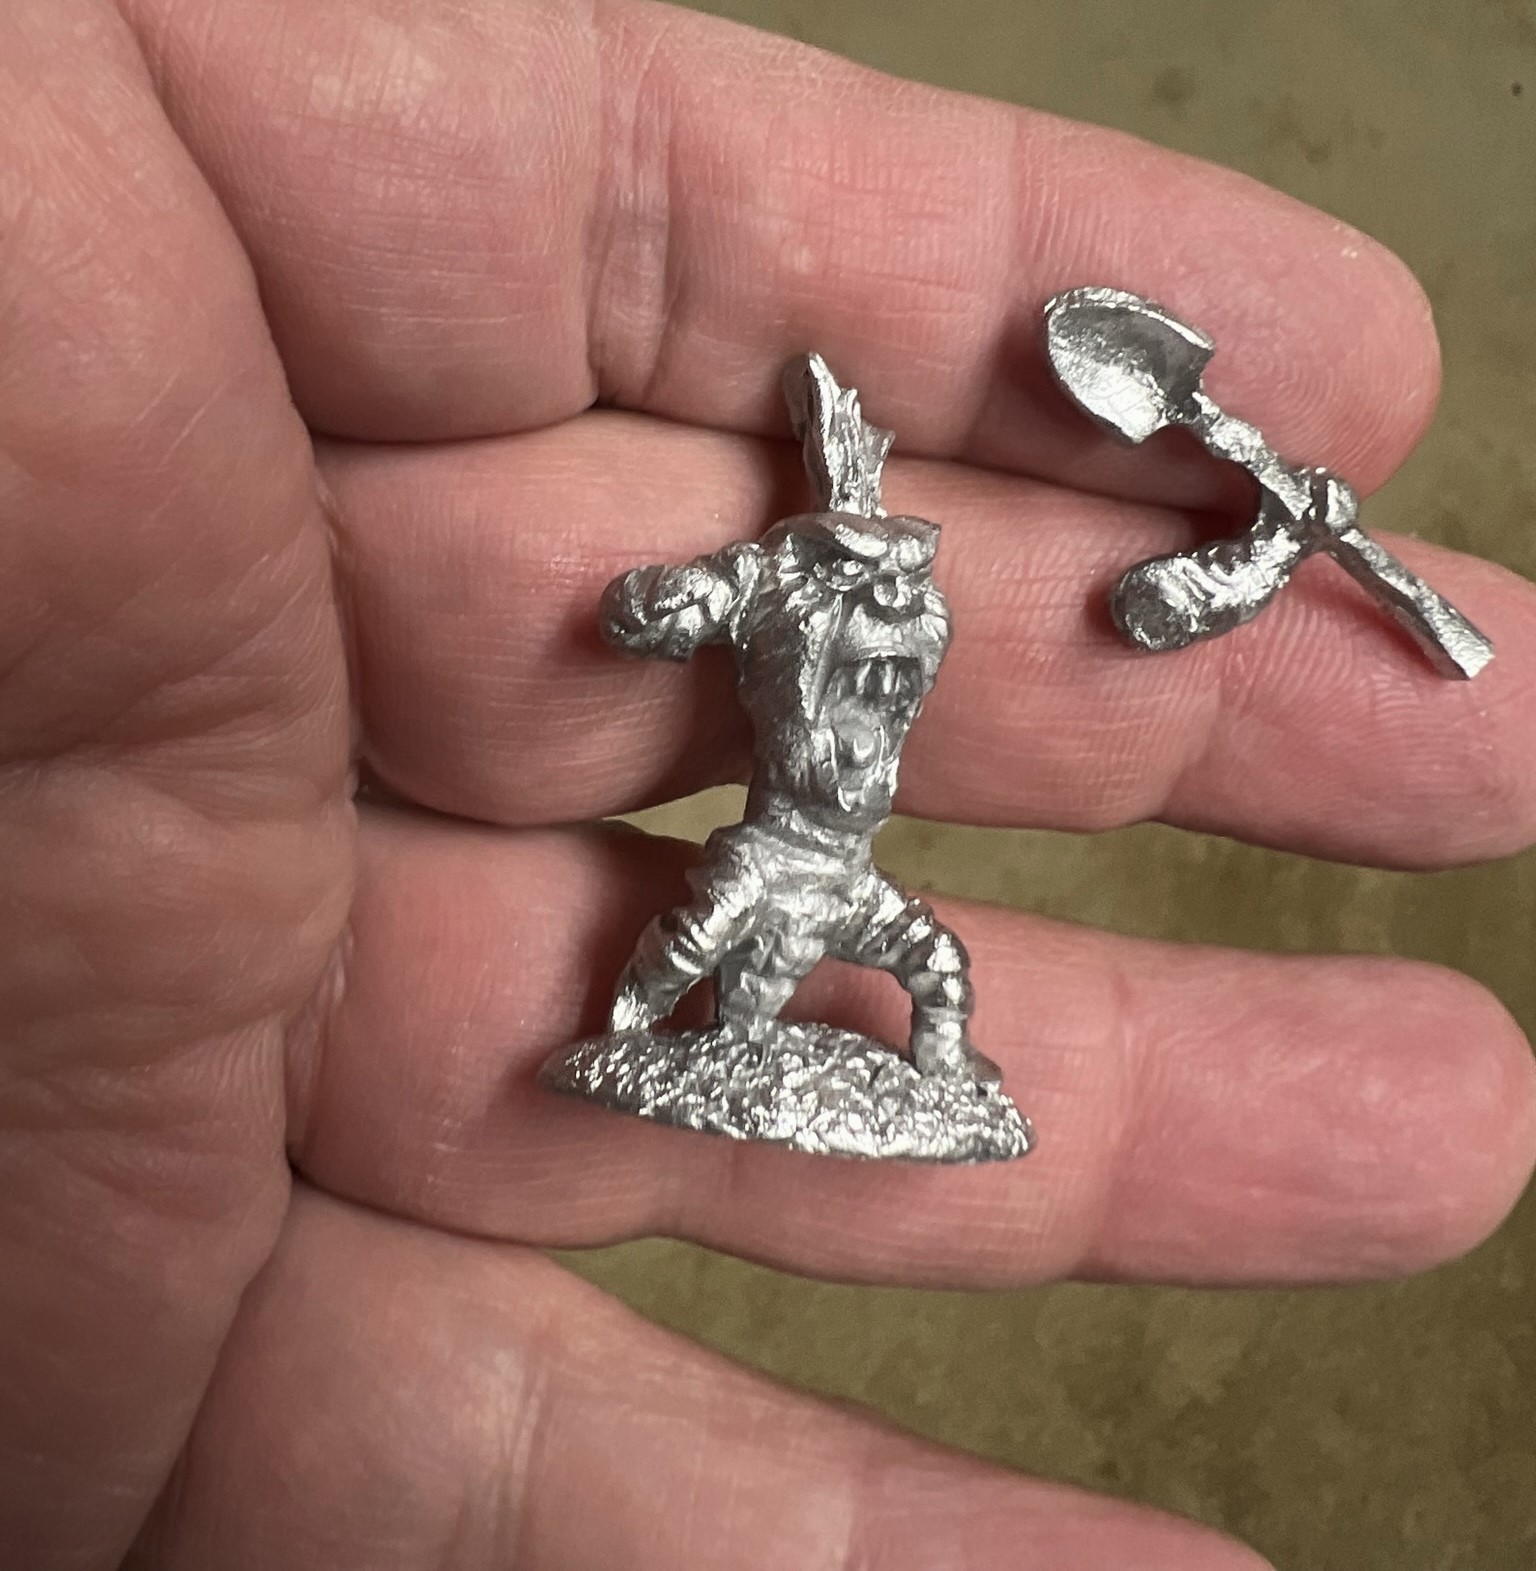
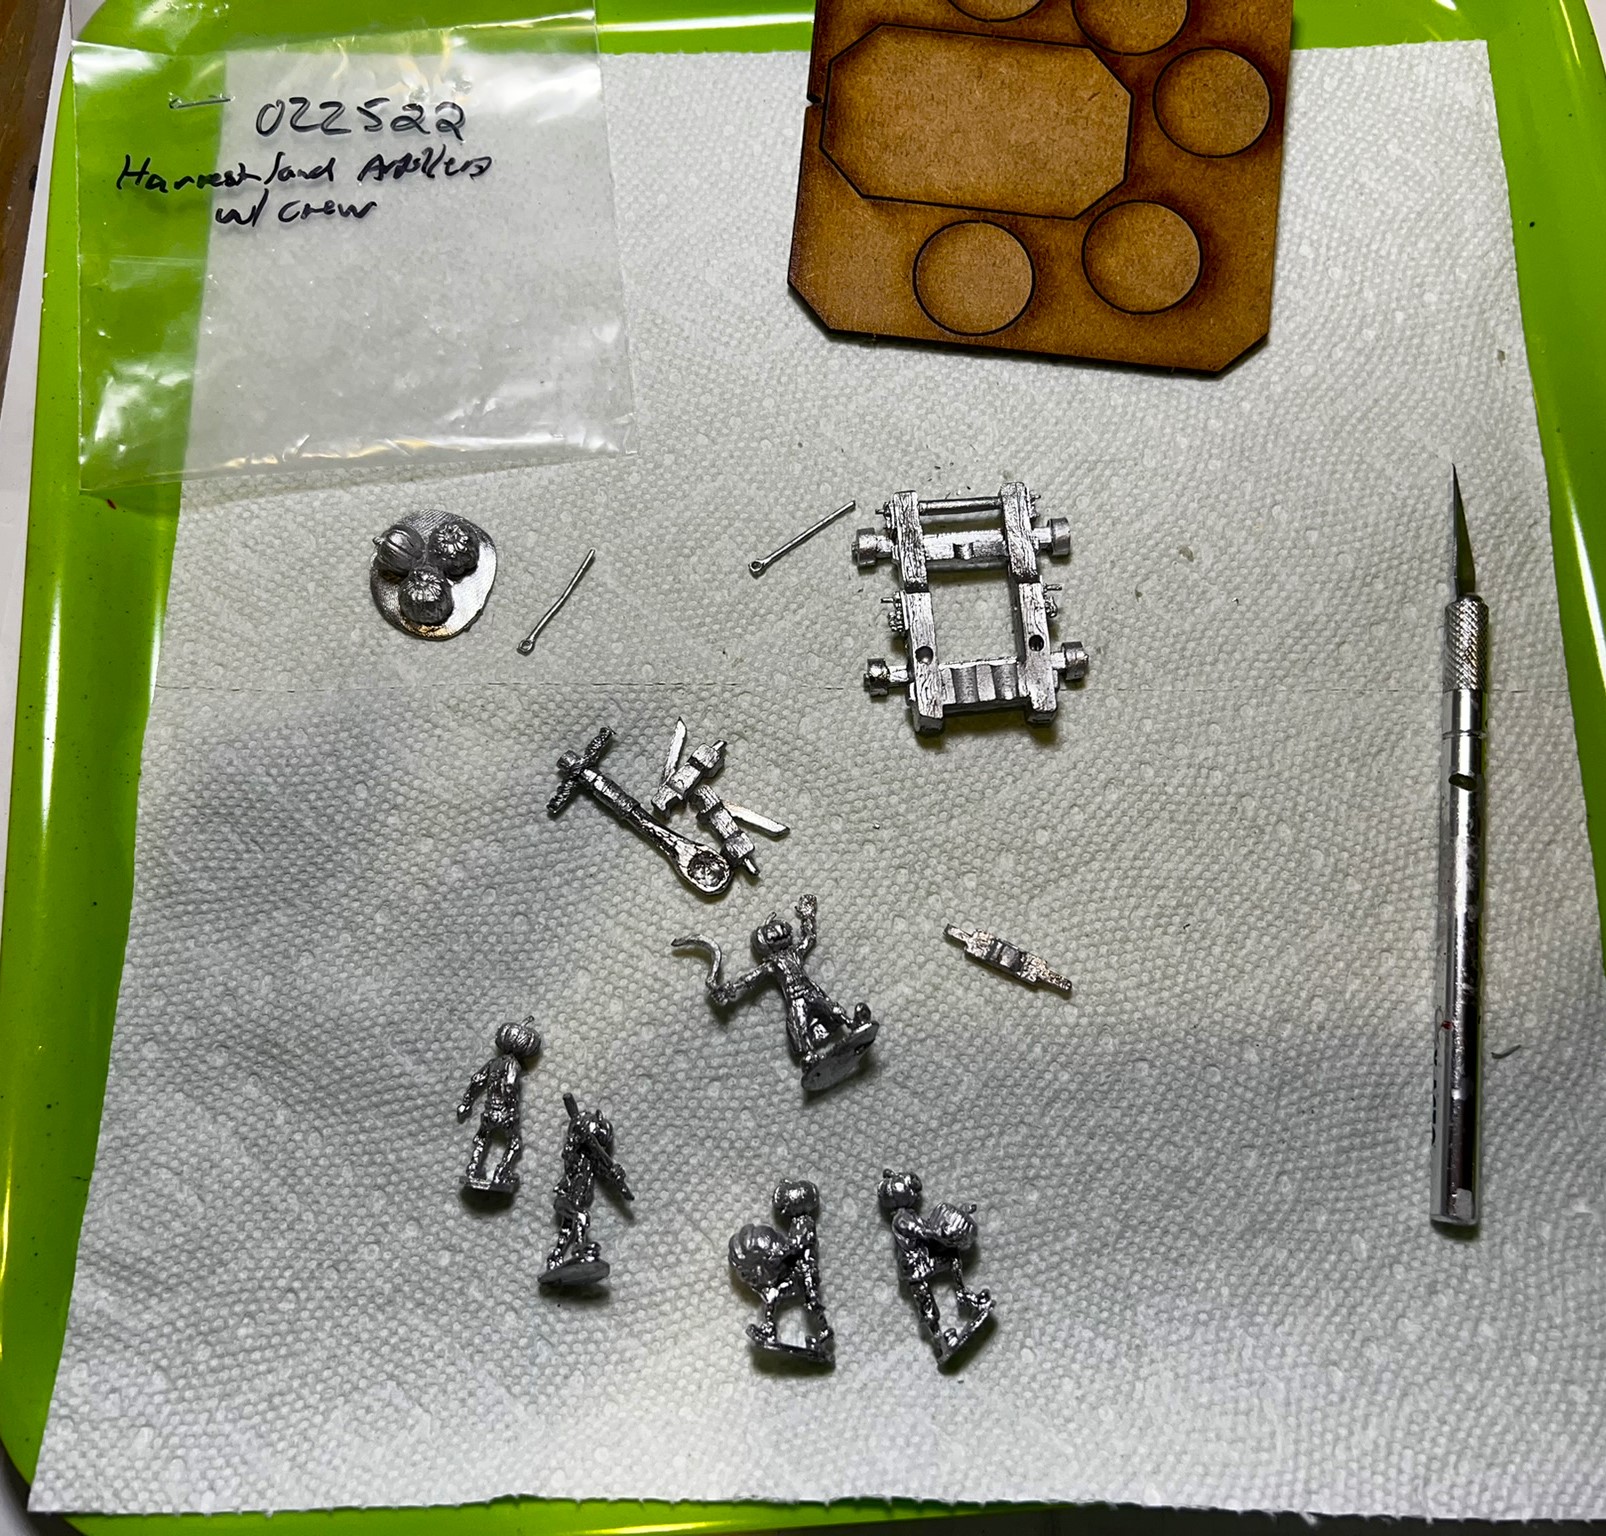
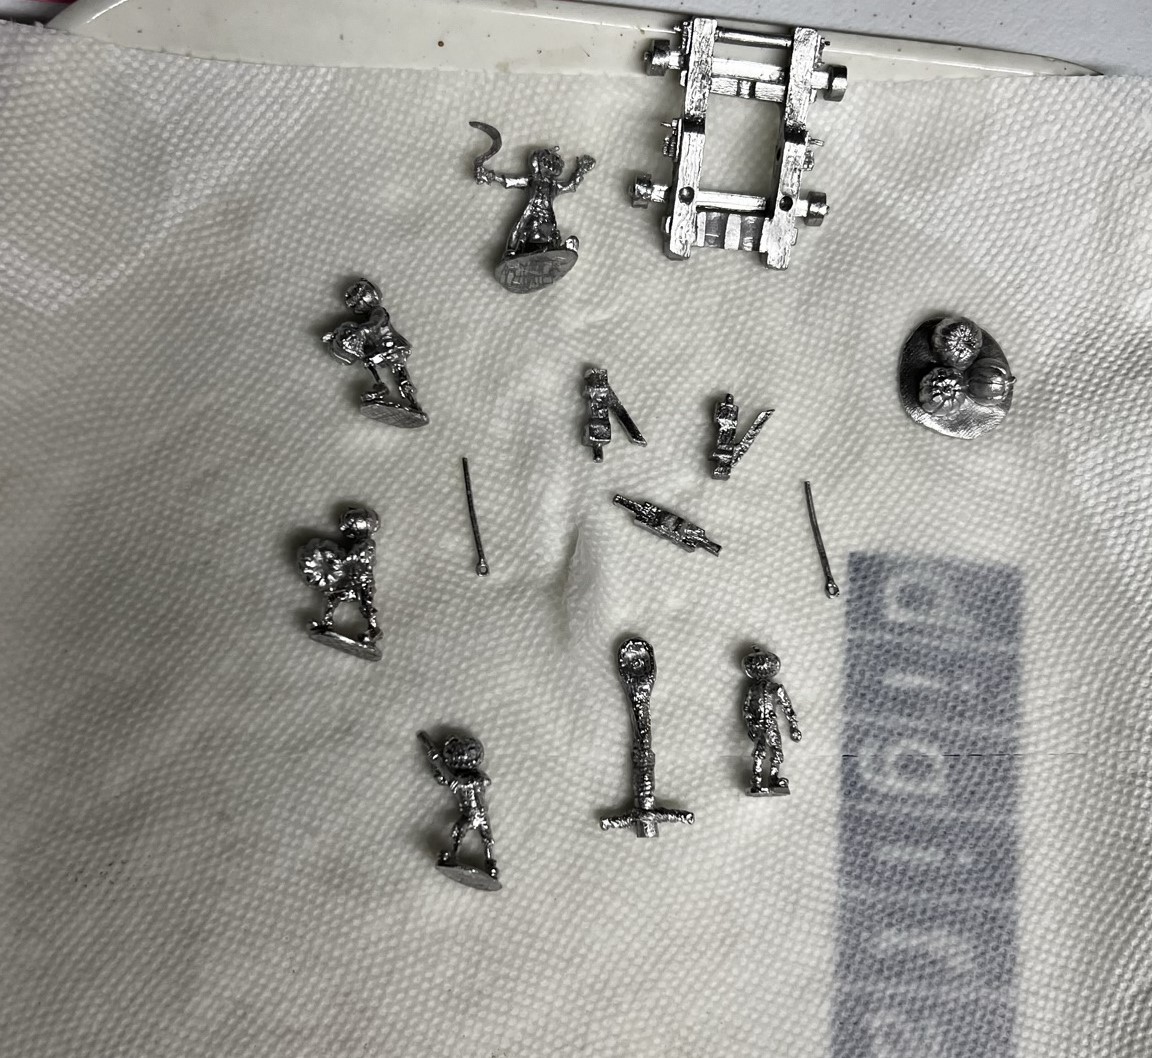
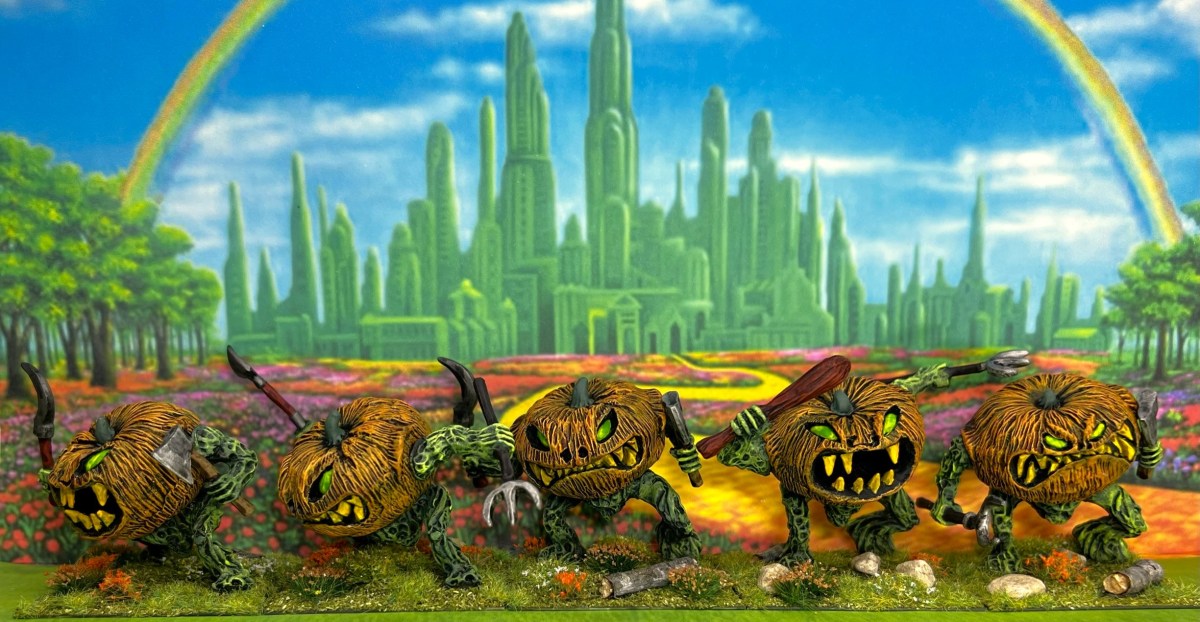
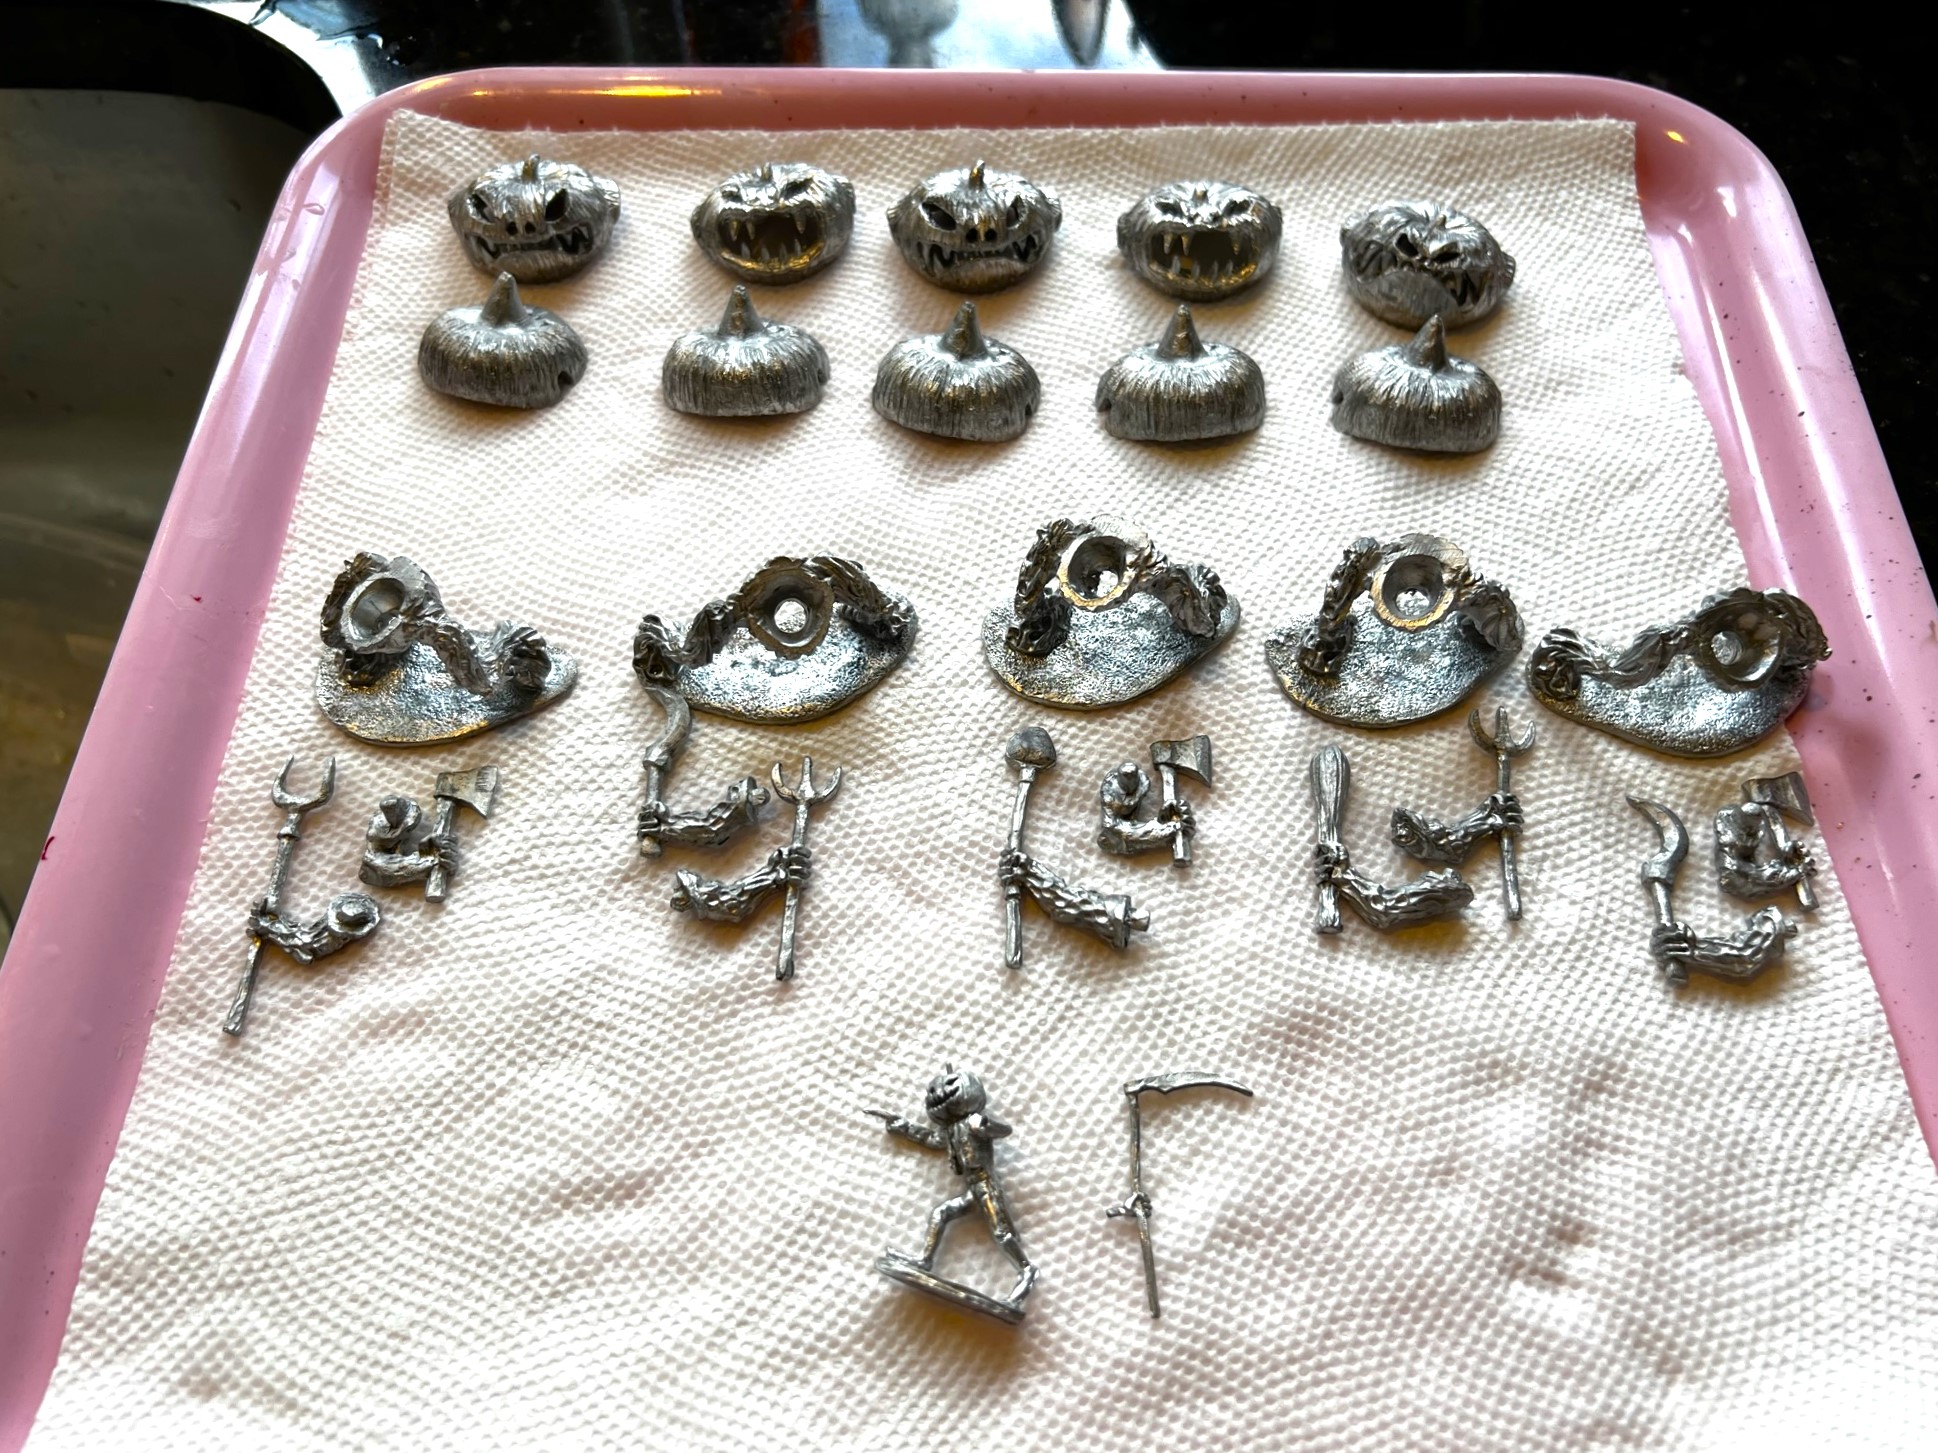
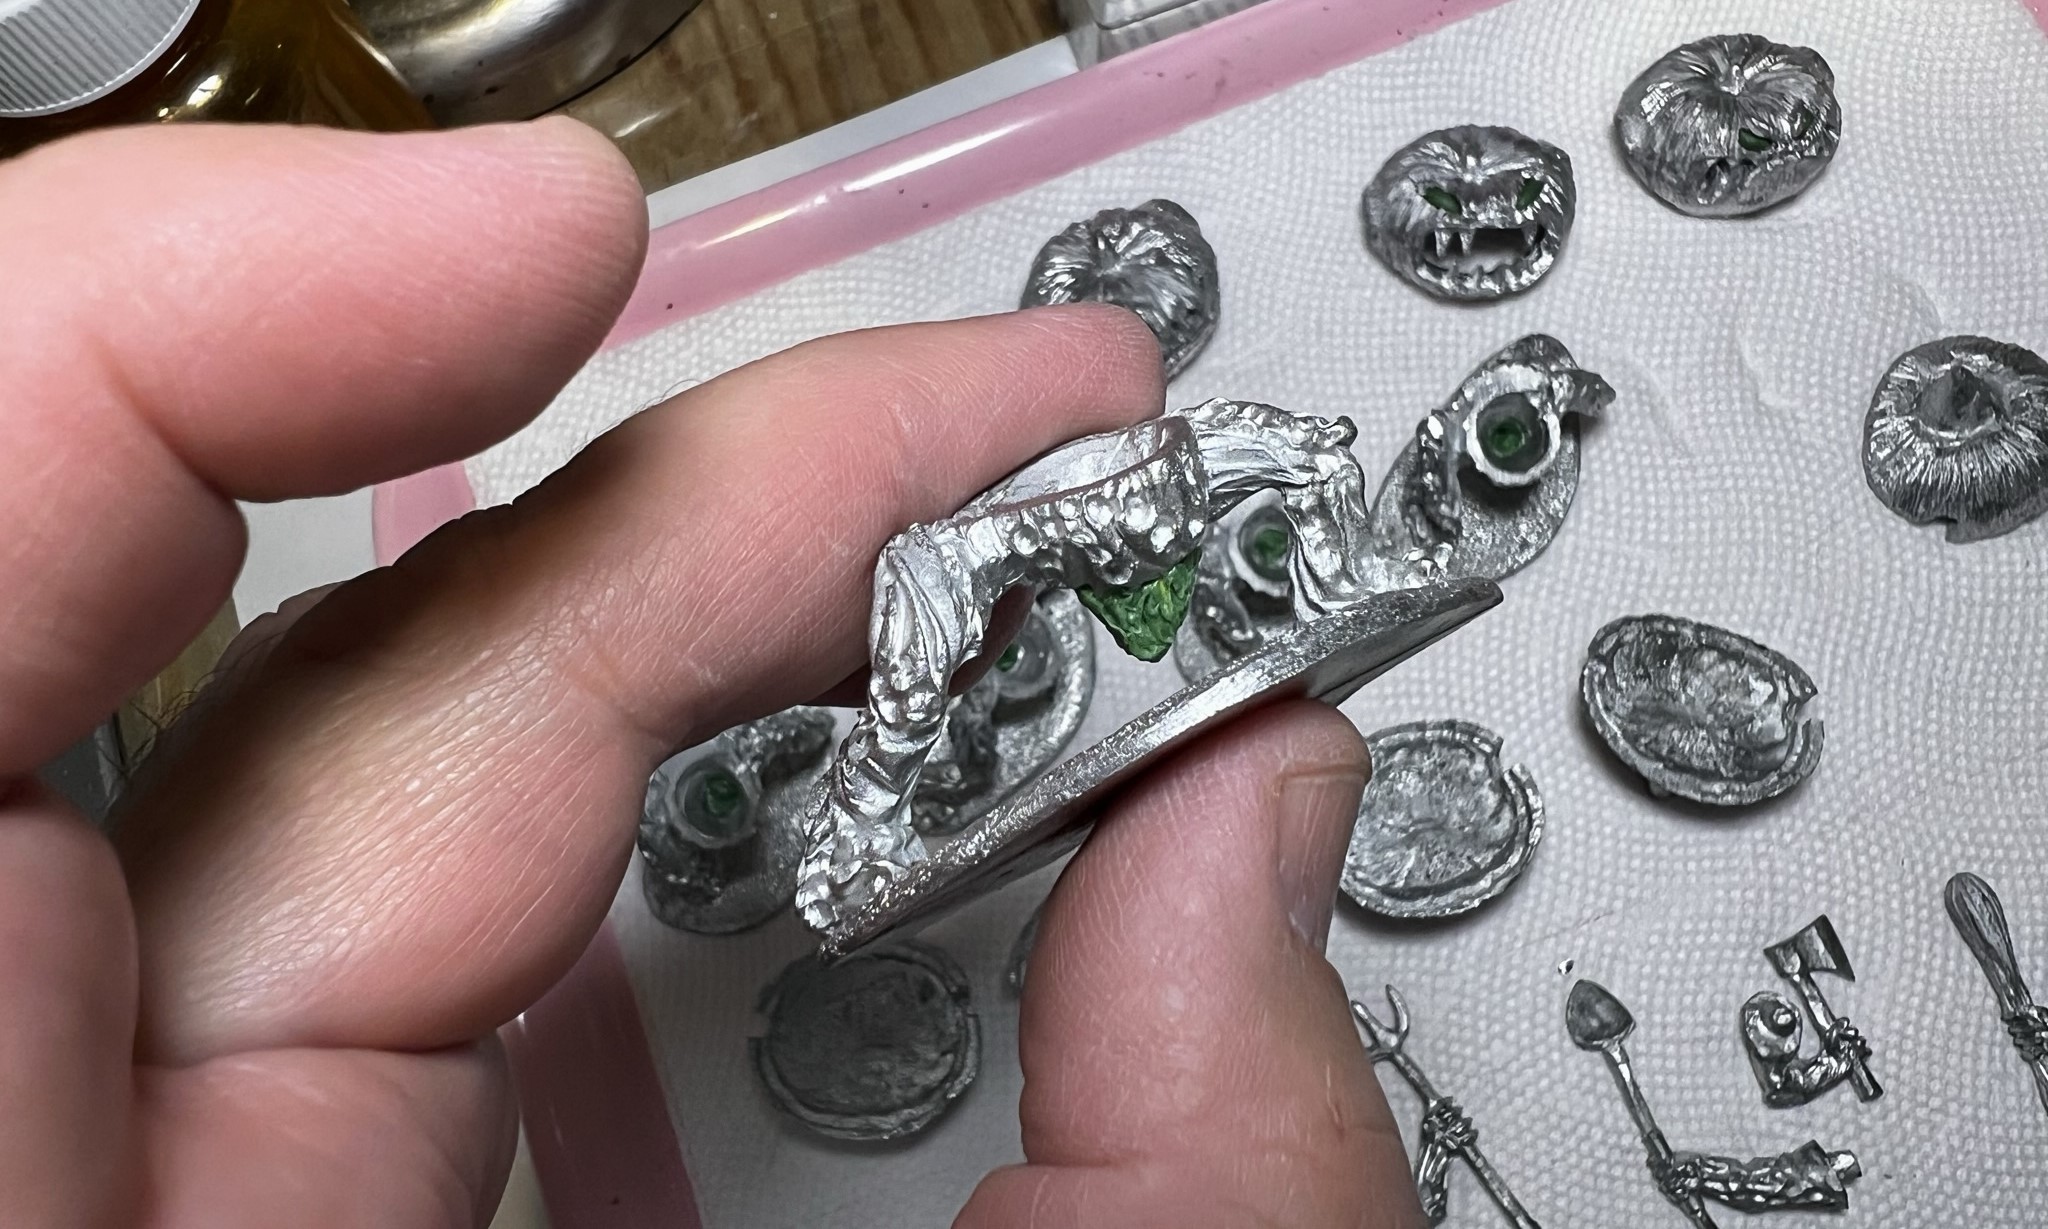
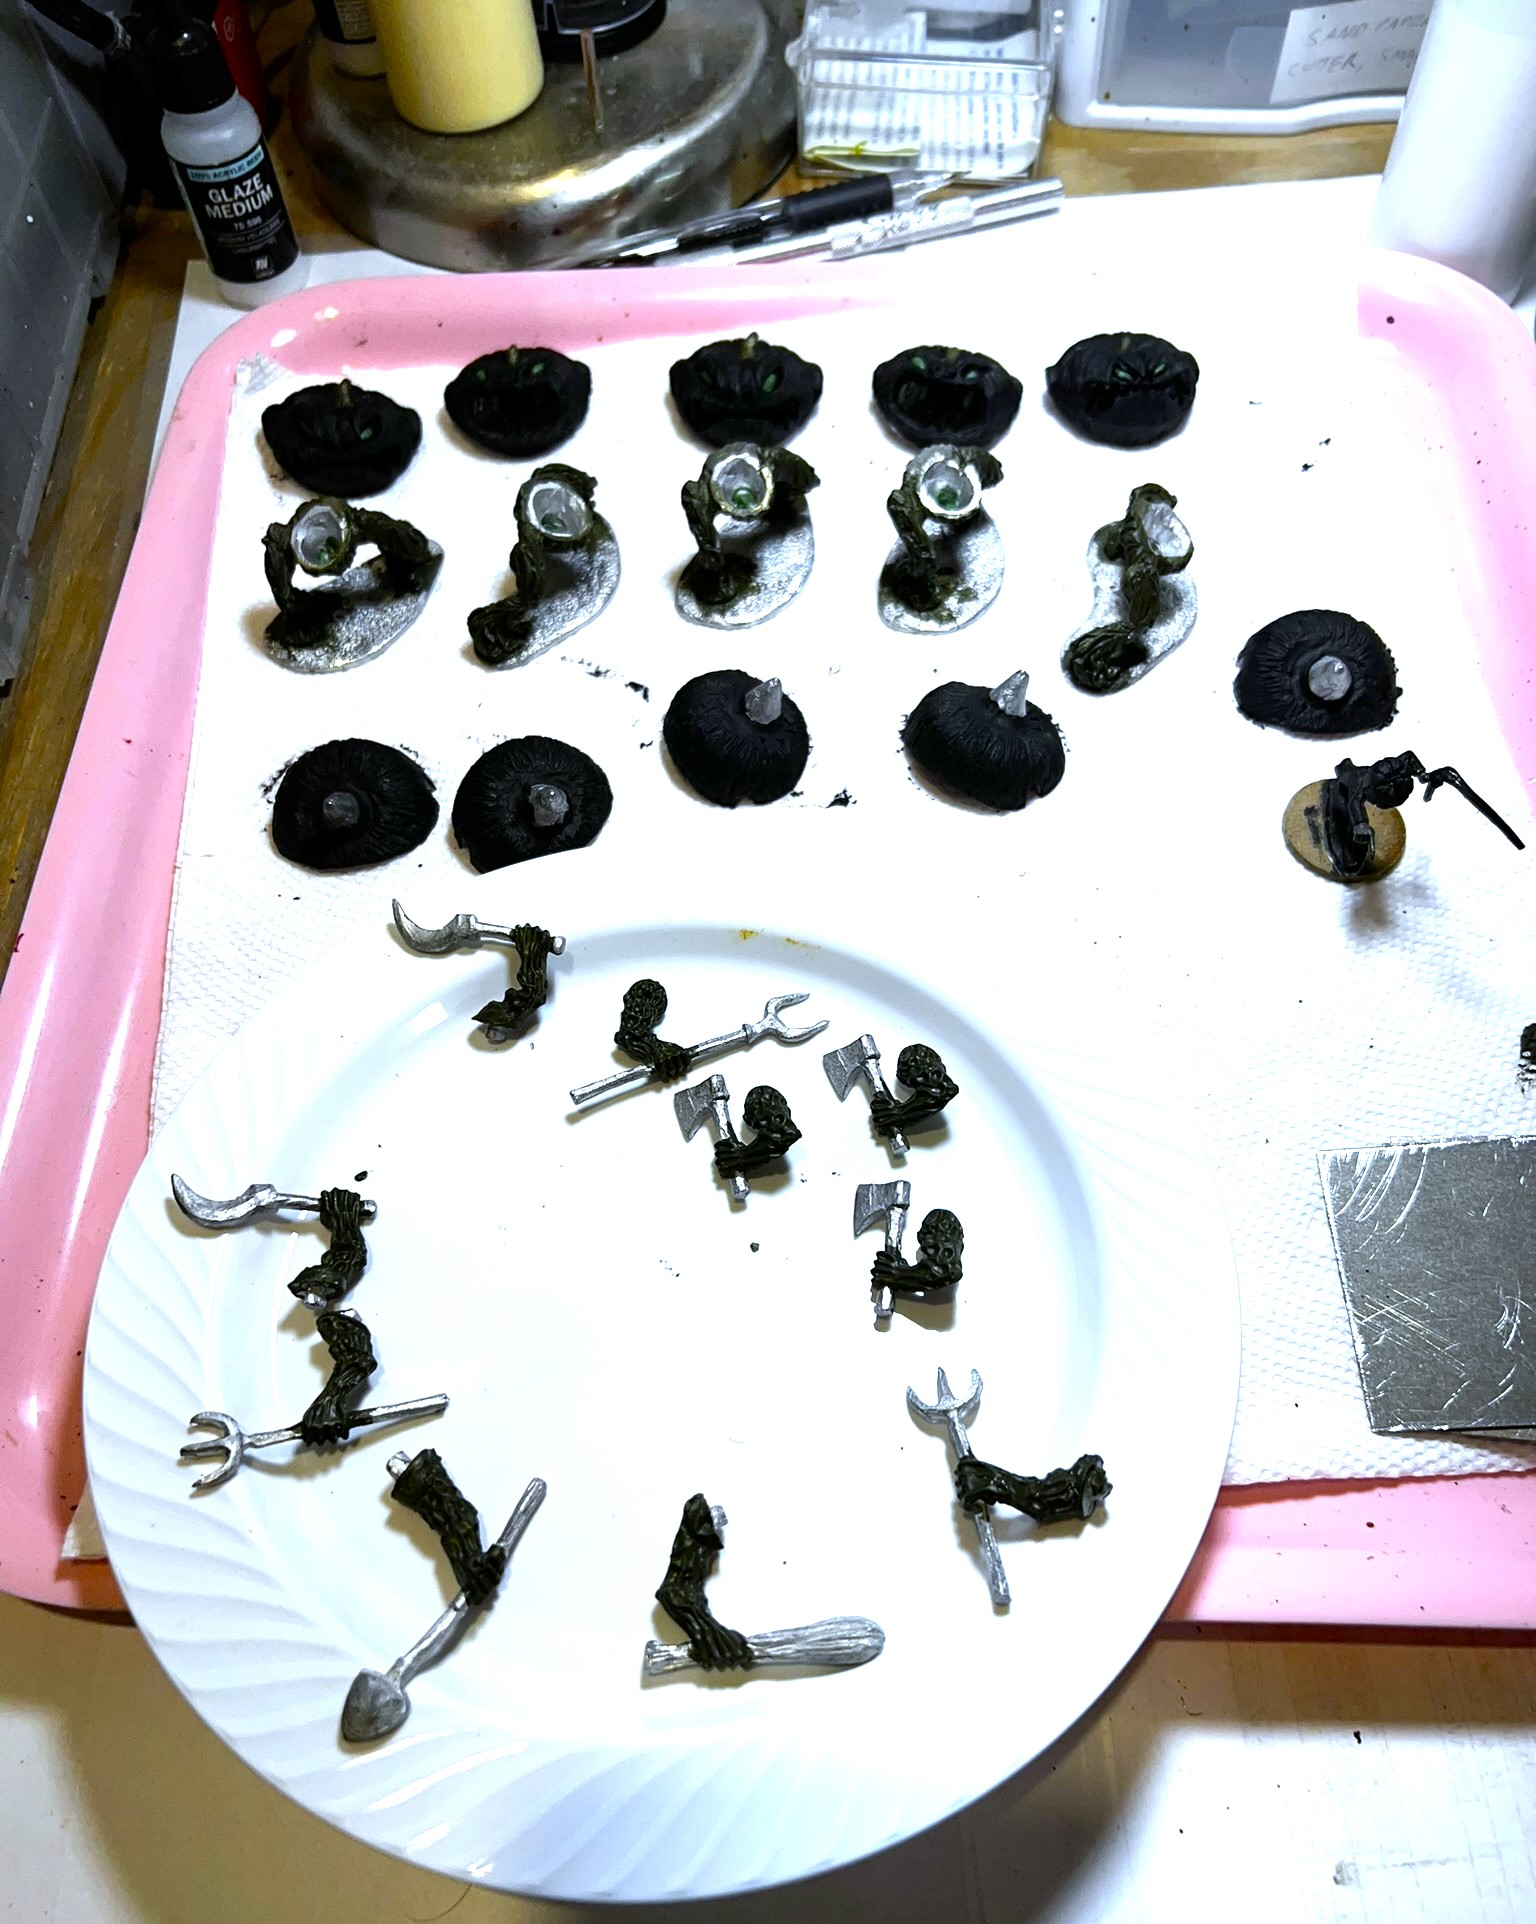
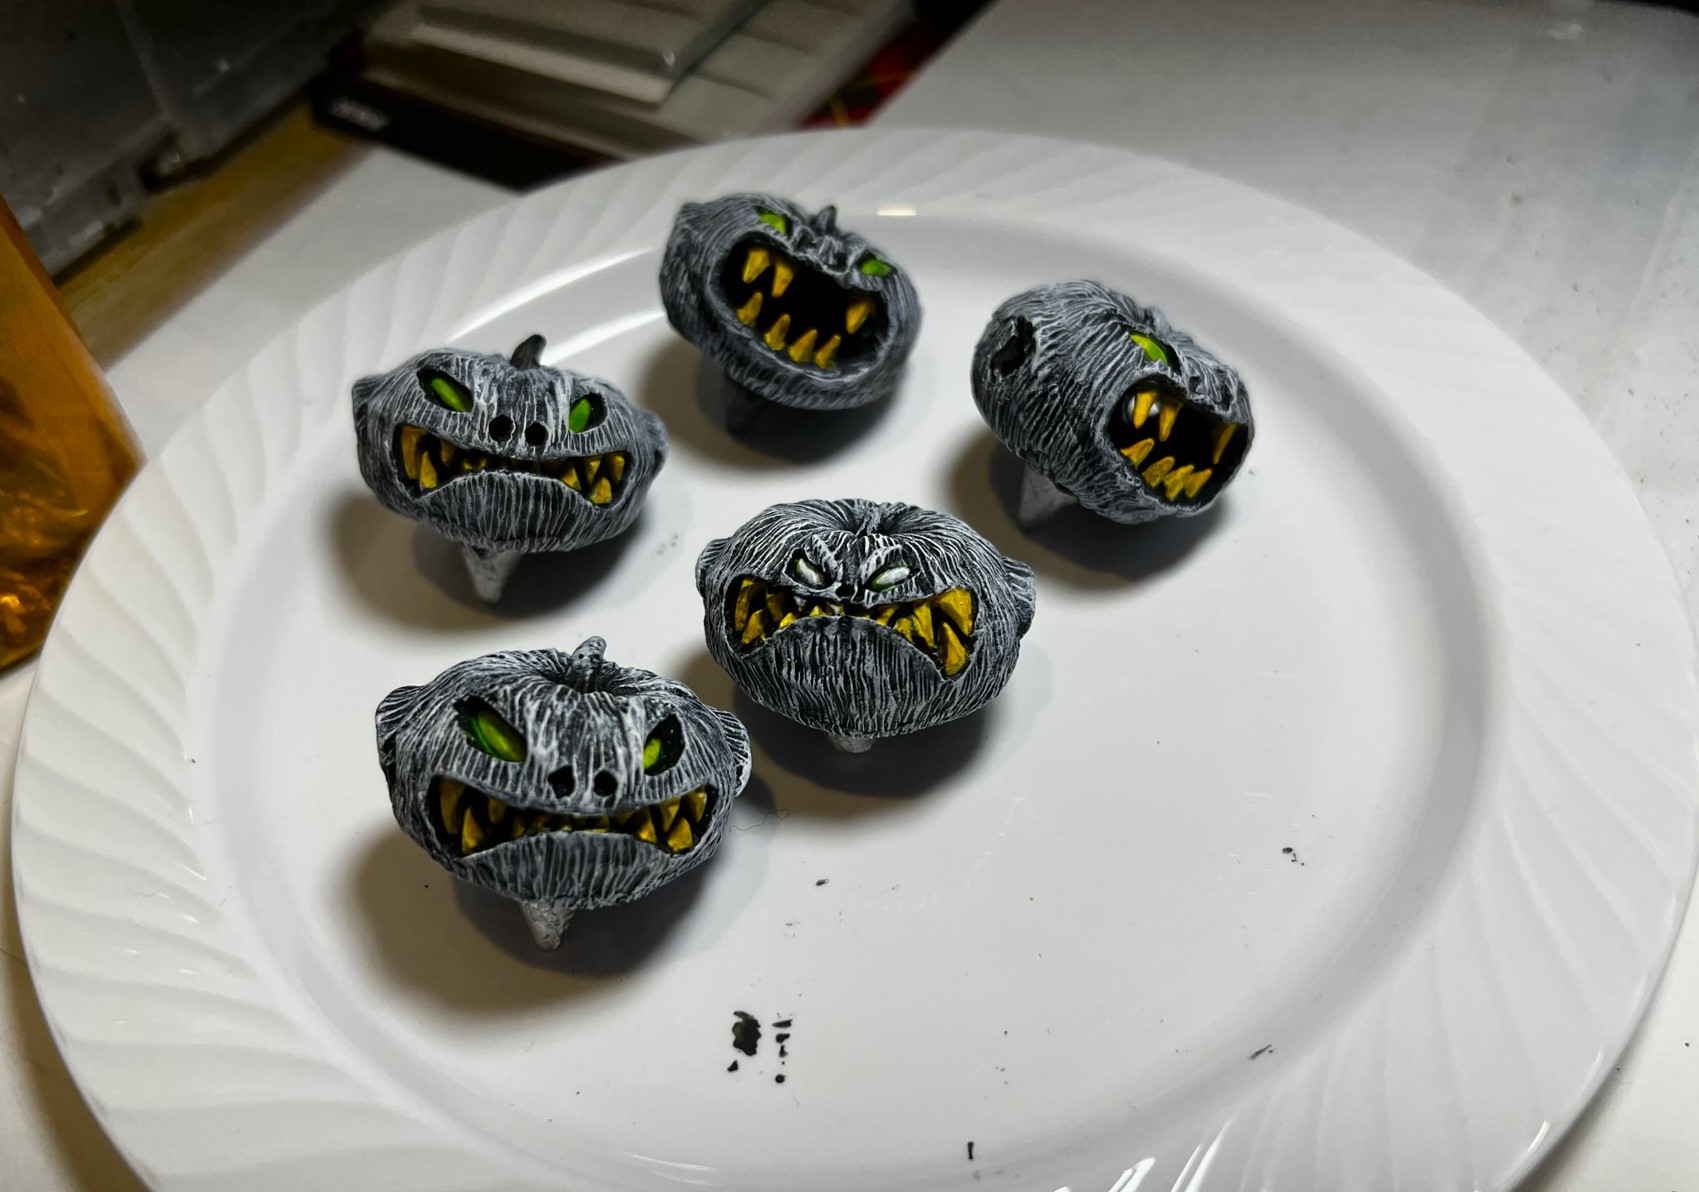
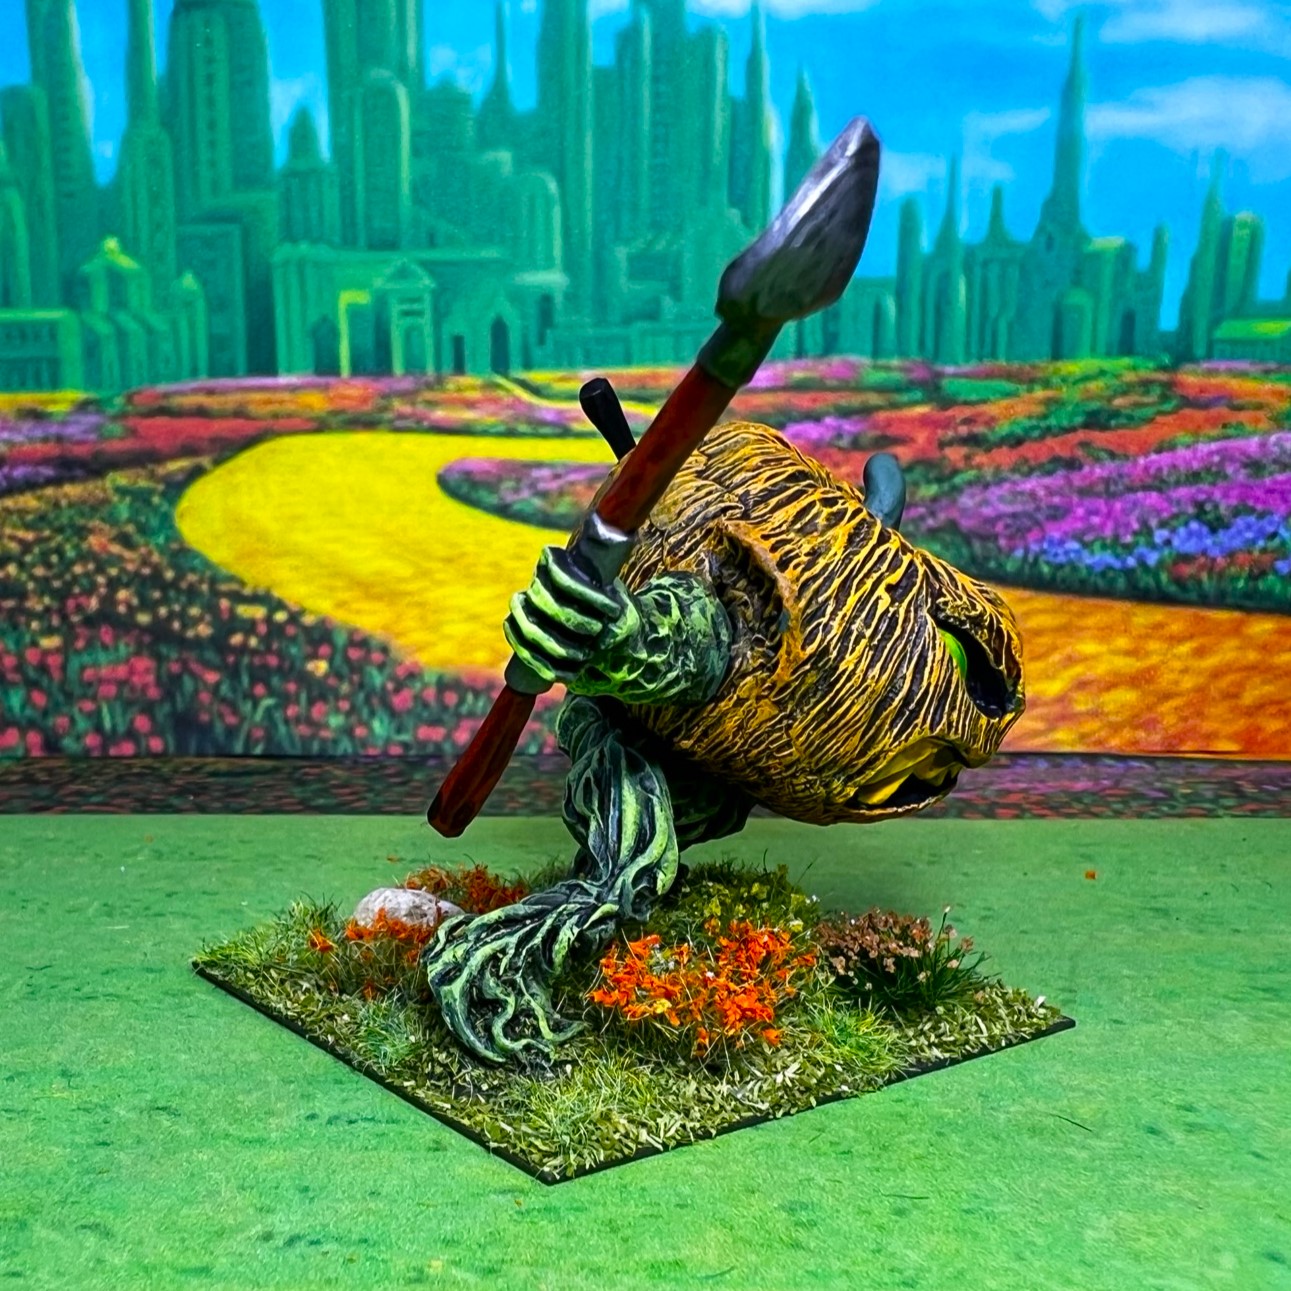
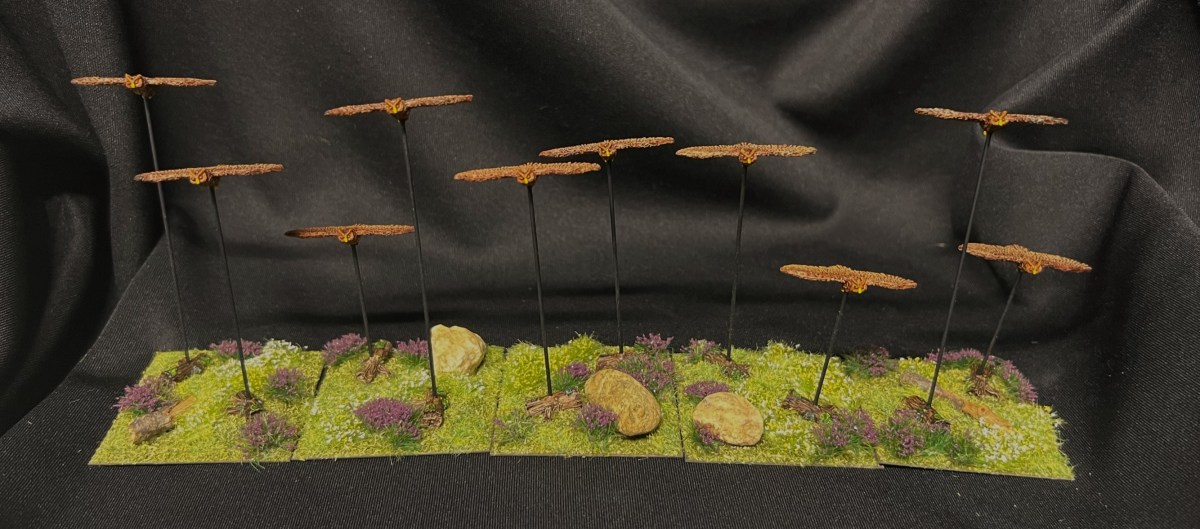
The figures come as a pack of 10 owls with stiff-wired flight stands and a log base. The stands are of different heights. All the pieces are metal, and 28mm scale. They are quite nice figures, and pretty straightforward to assemble and to paint. I went with a basic brown on the feathers, and black eye circles with red eyes. I dry brushed the bodies, and added a brighter yellow for the beaks and feet. Again, pretty easy.
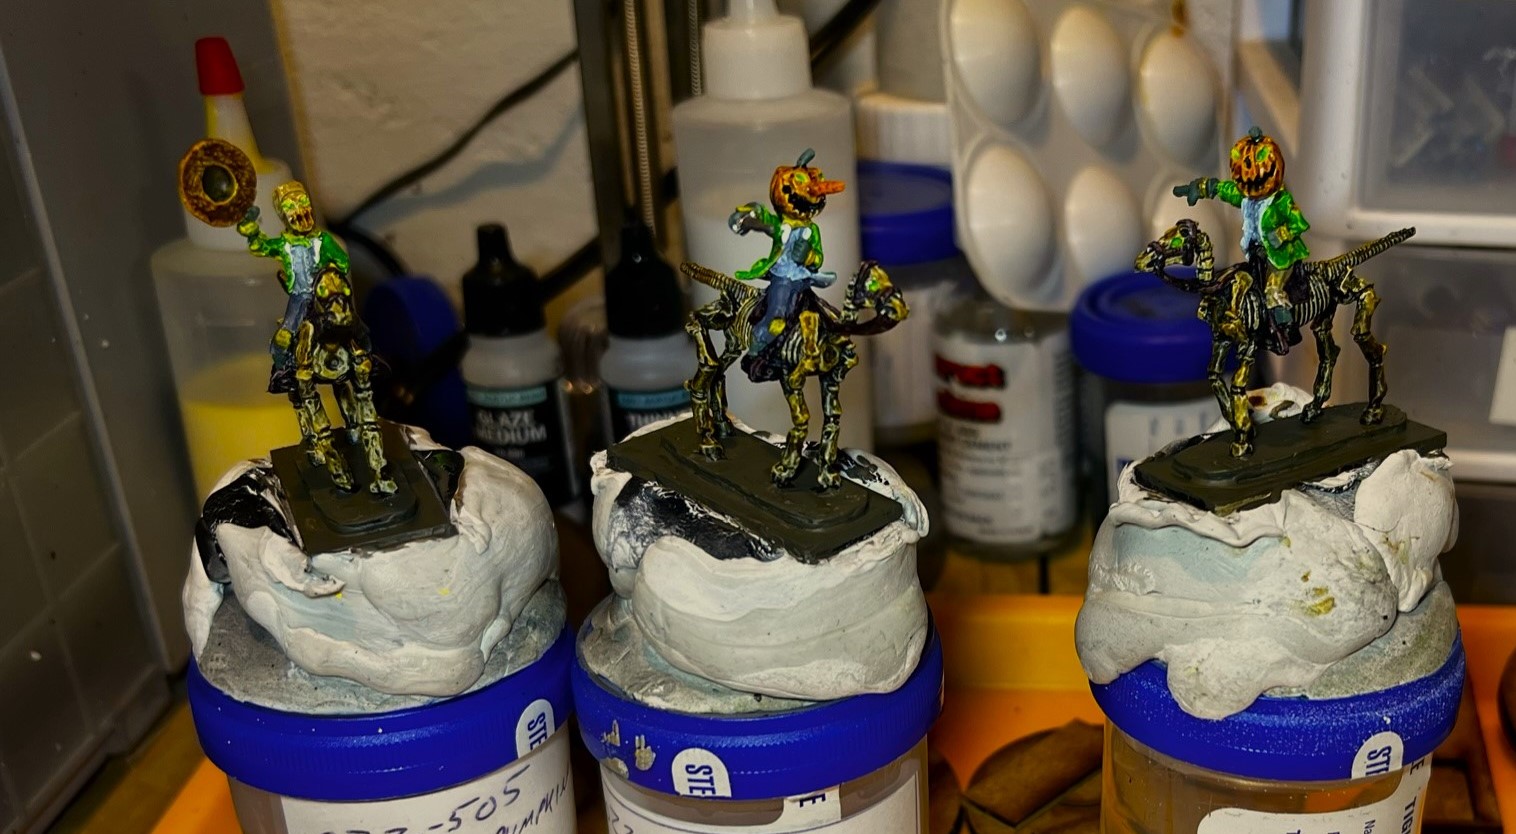
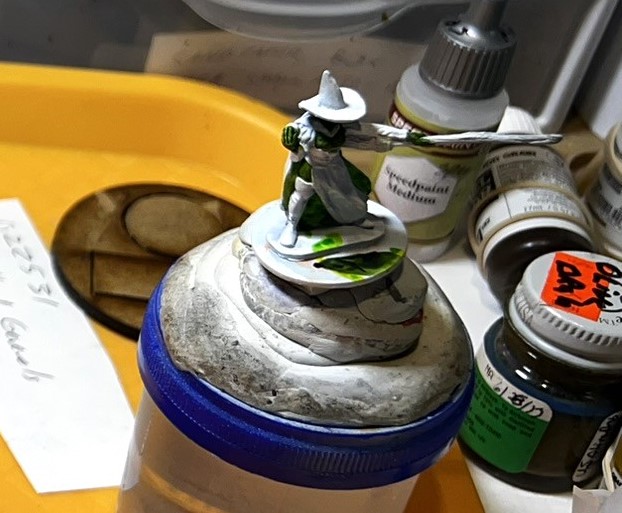
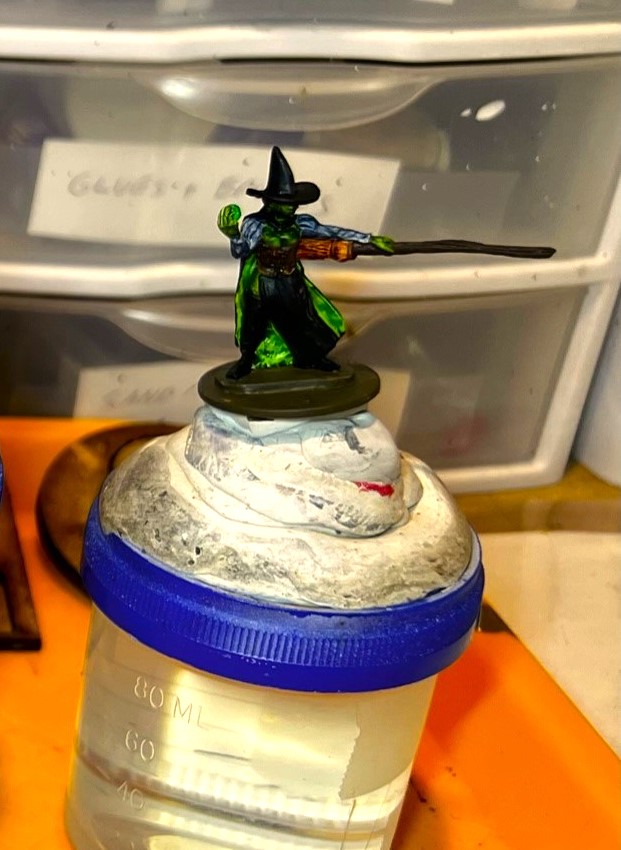
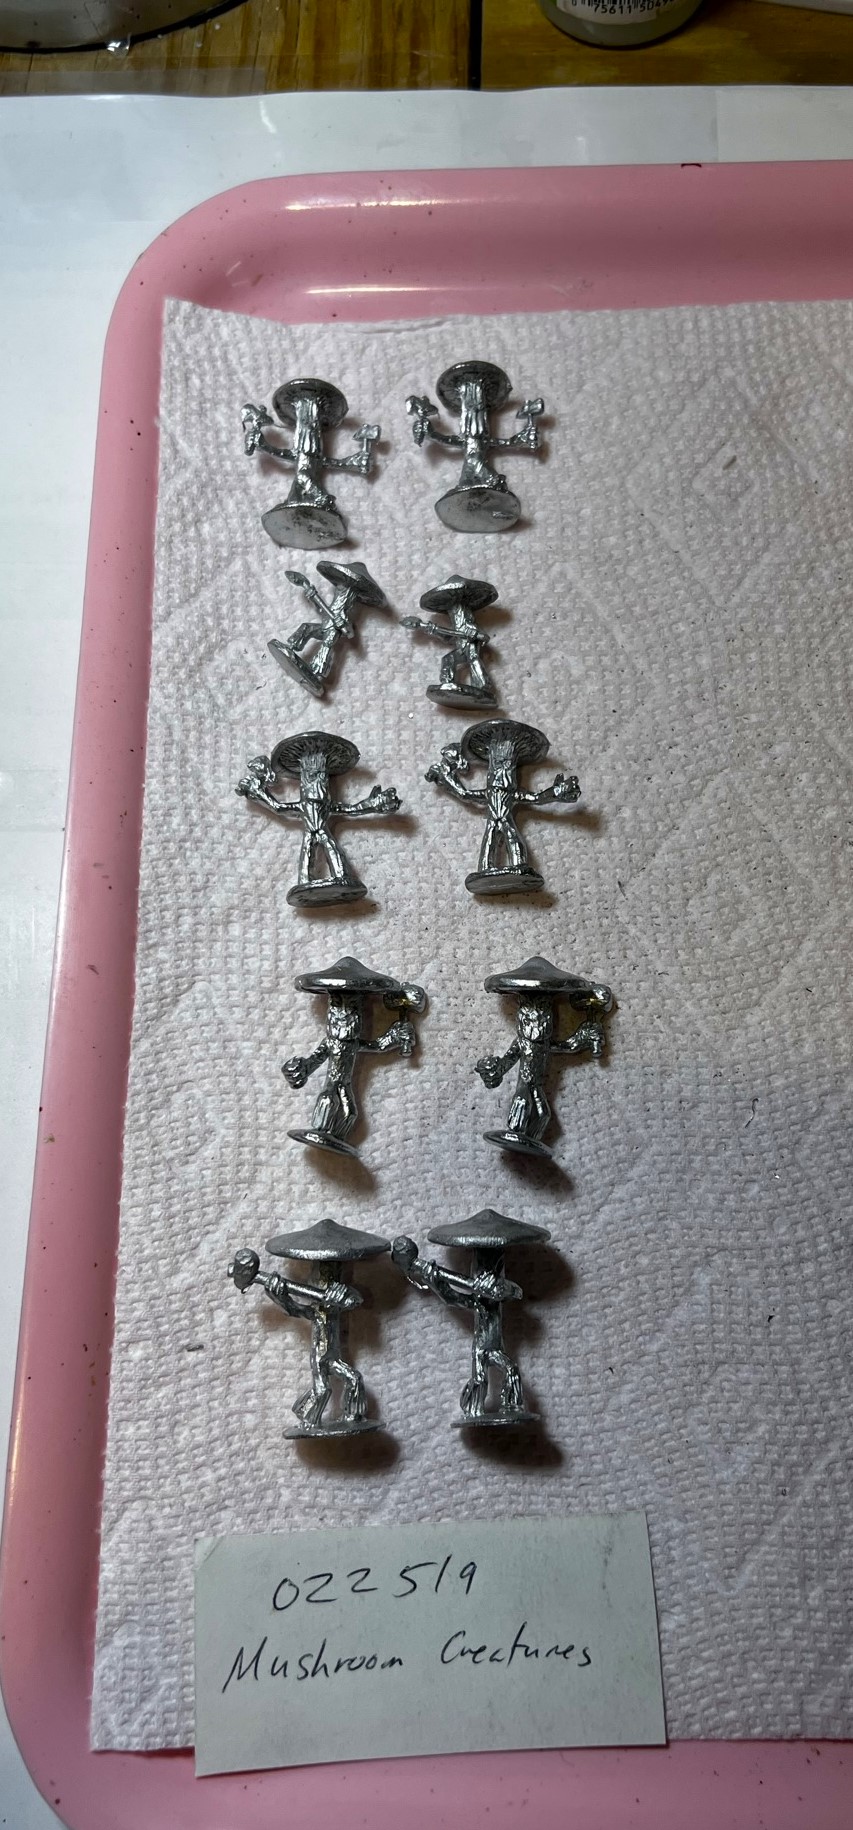
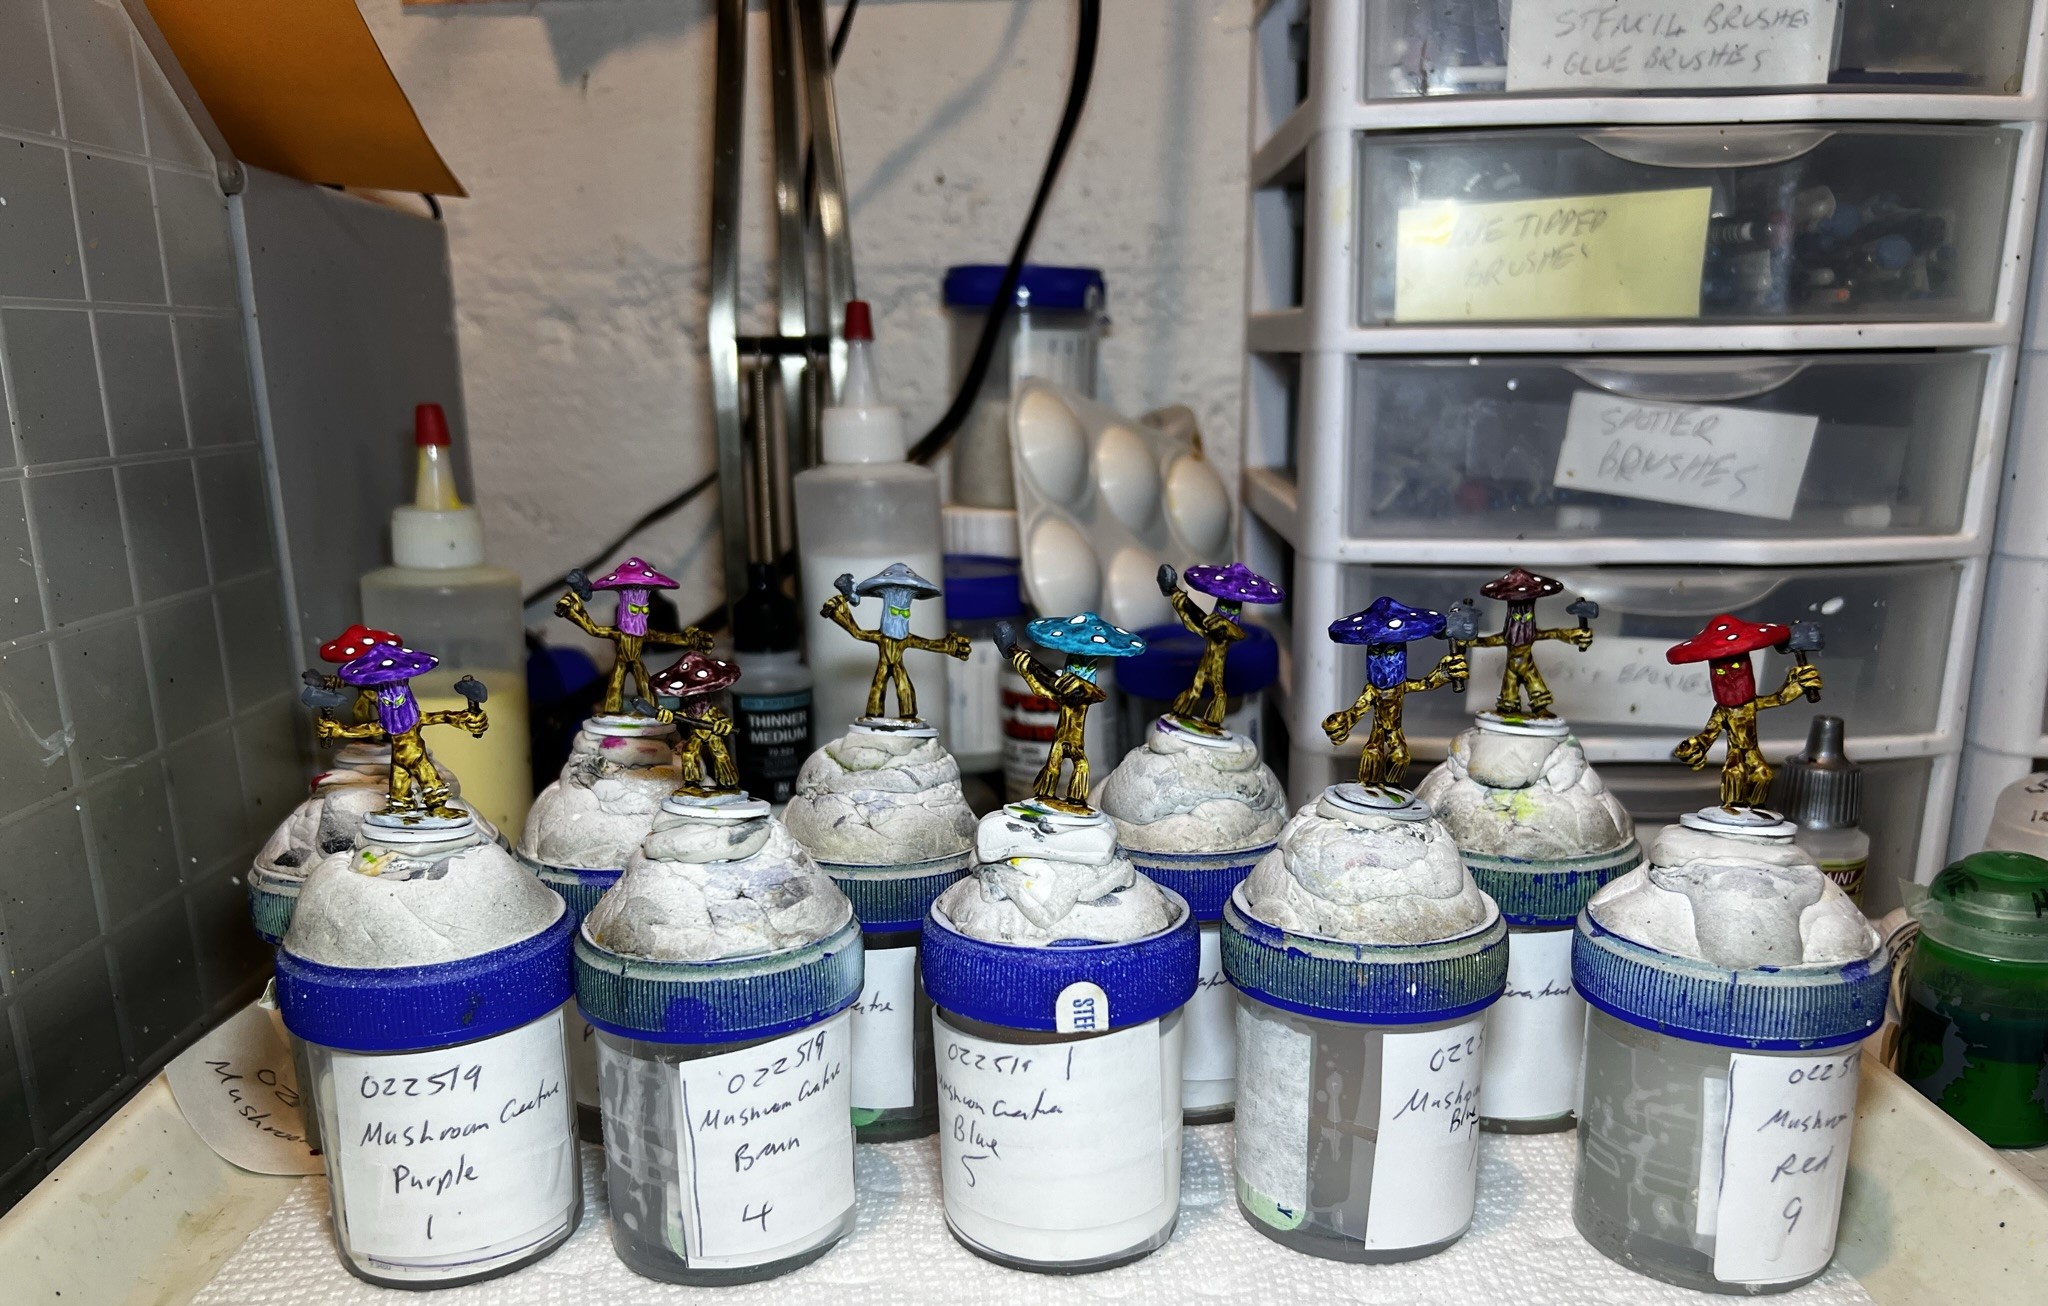
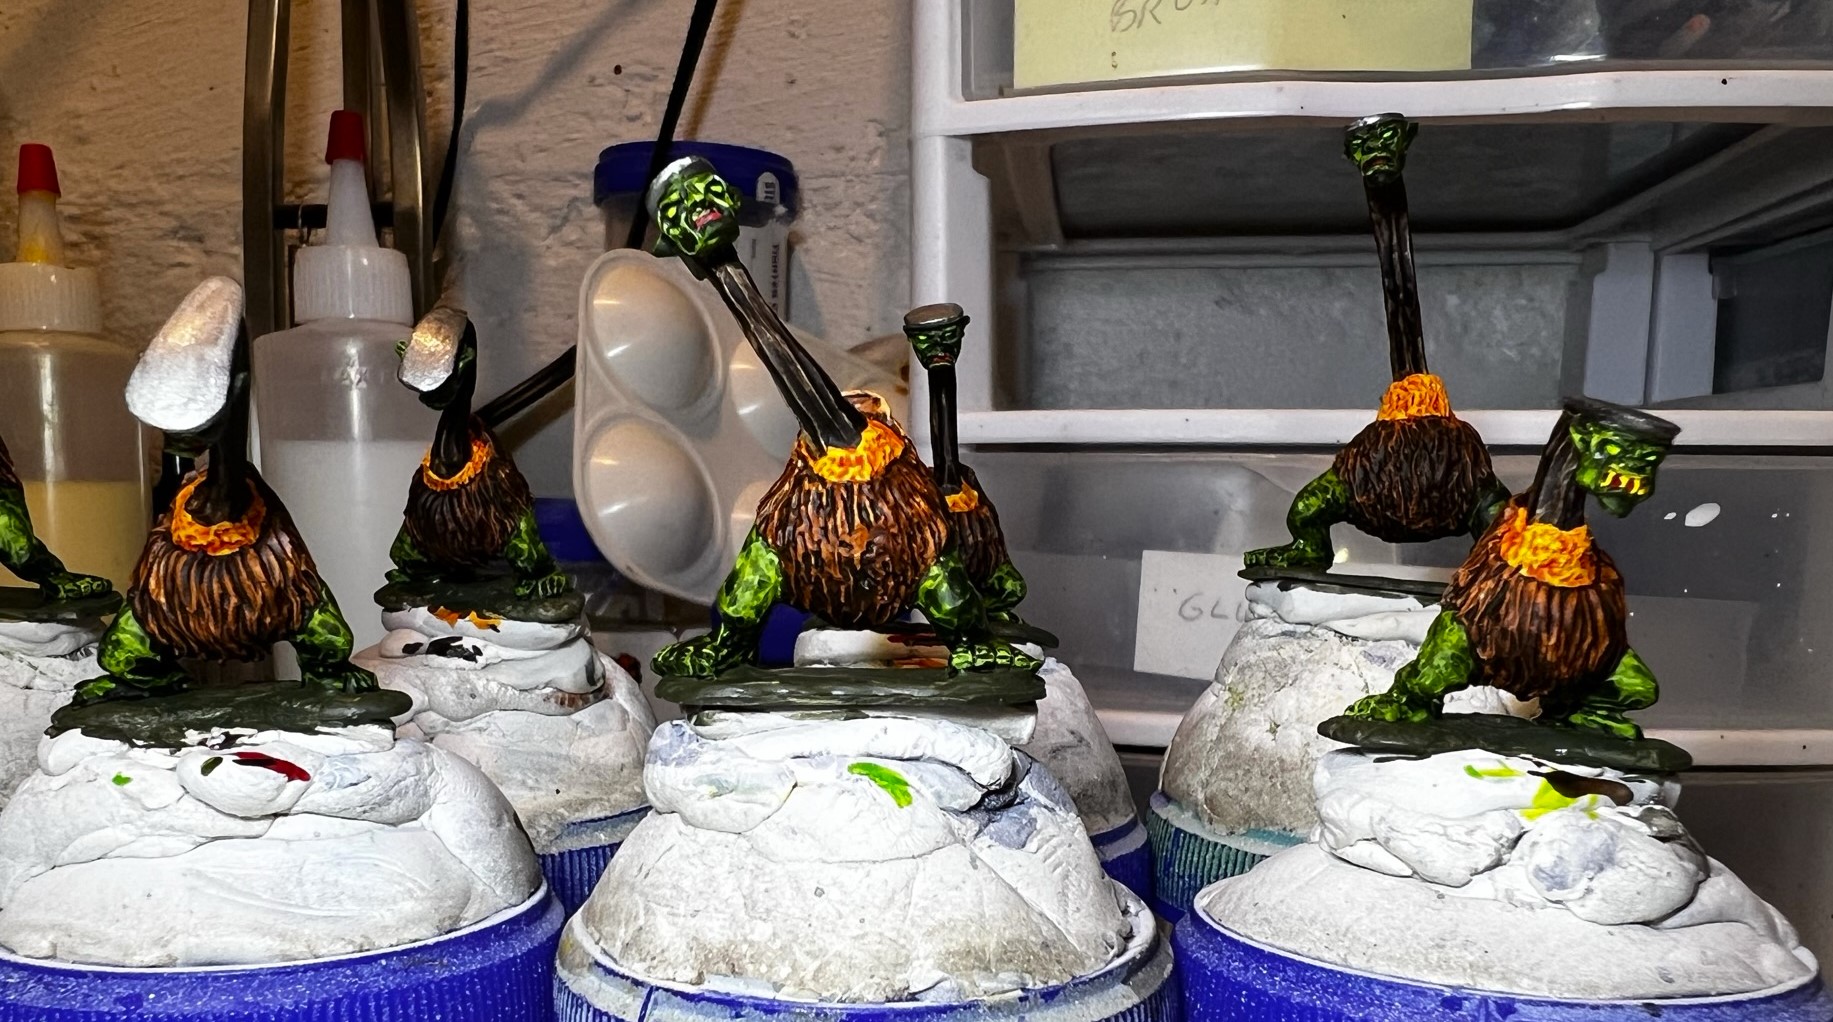
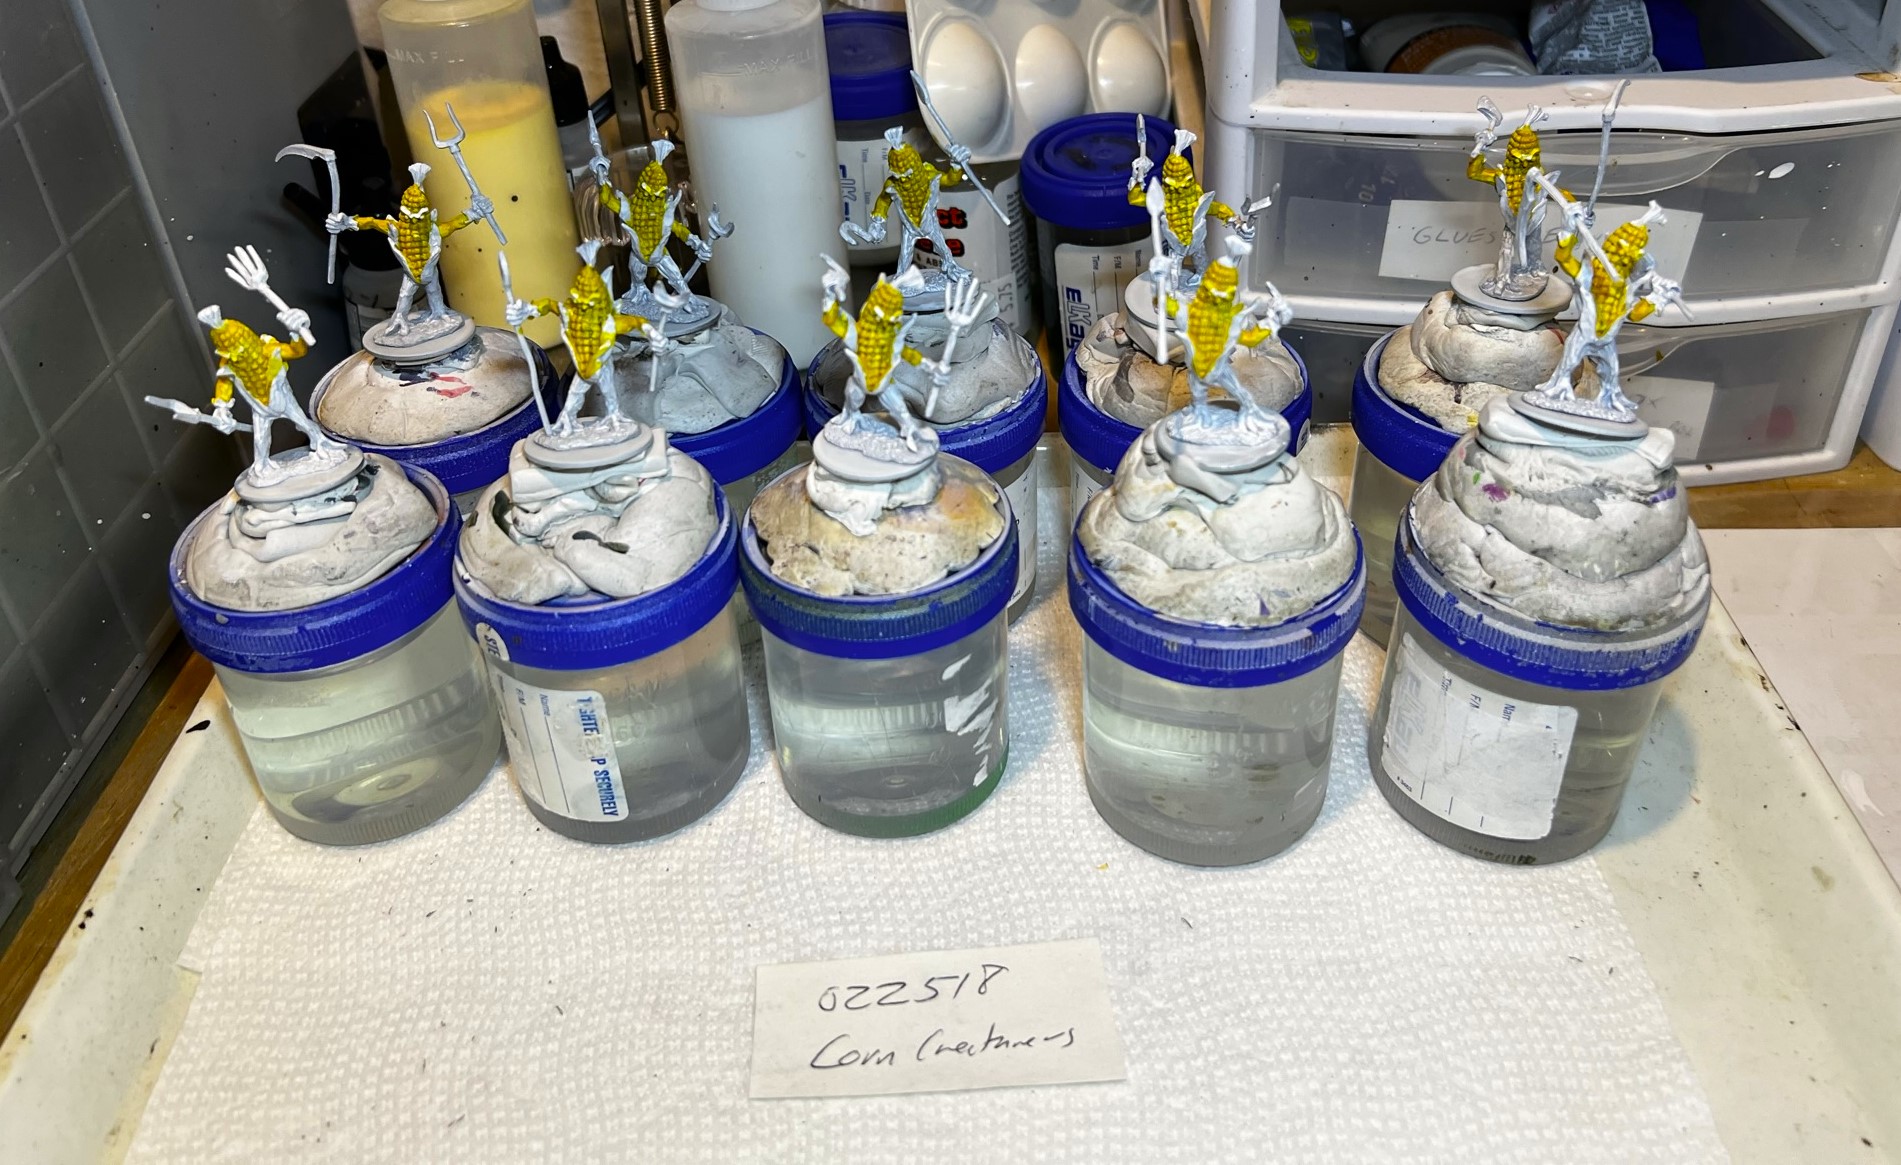
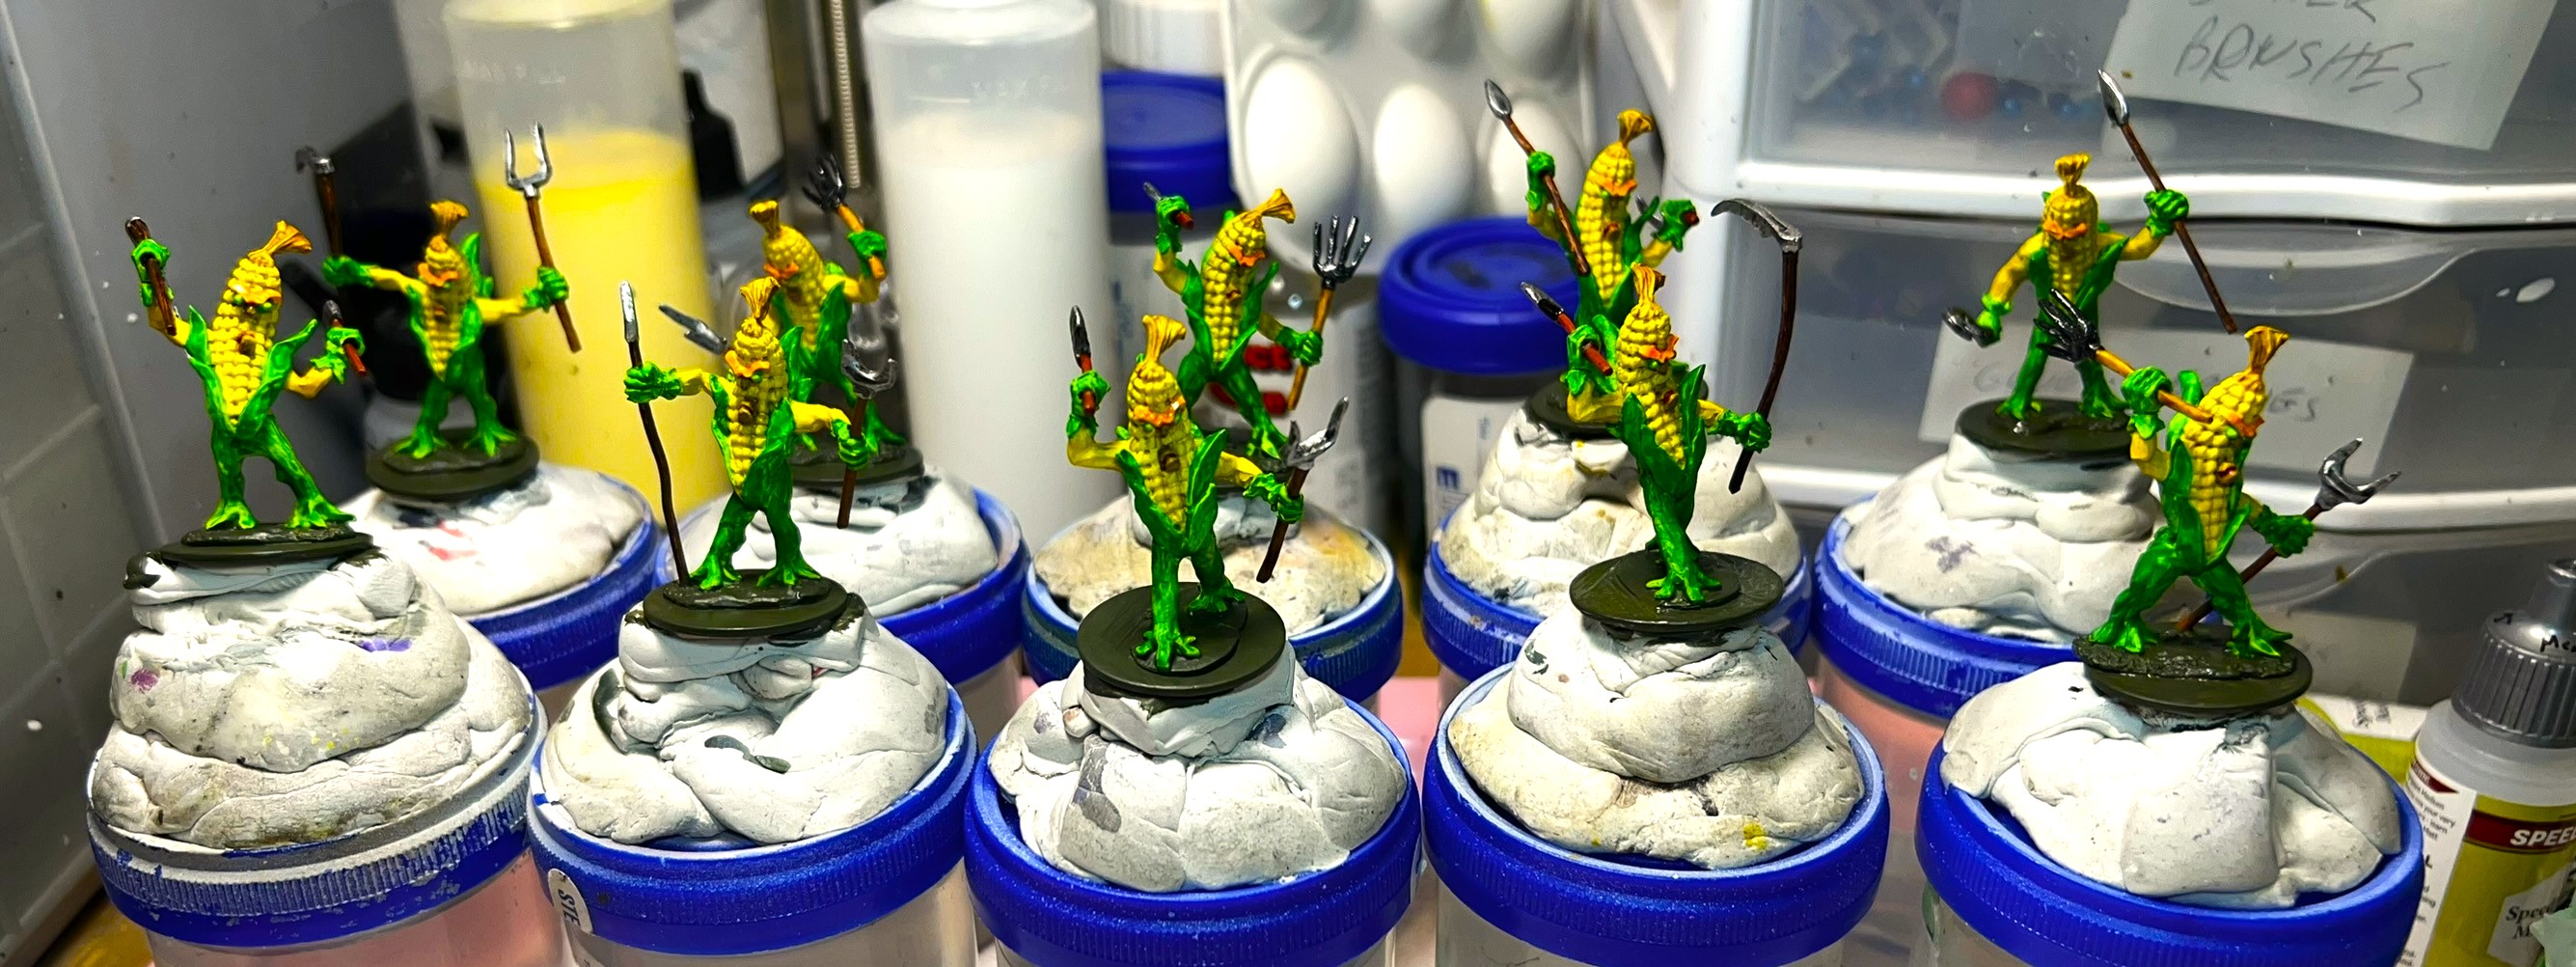
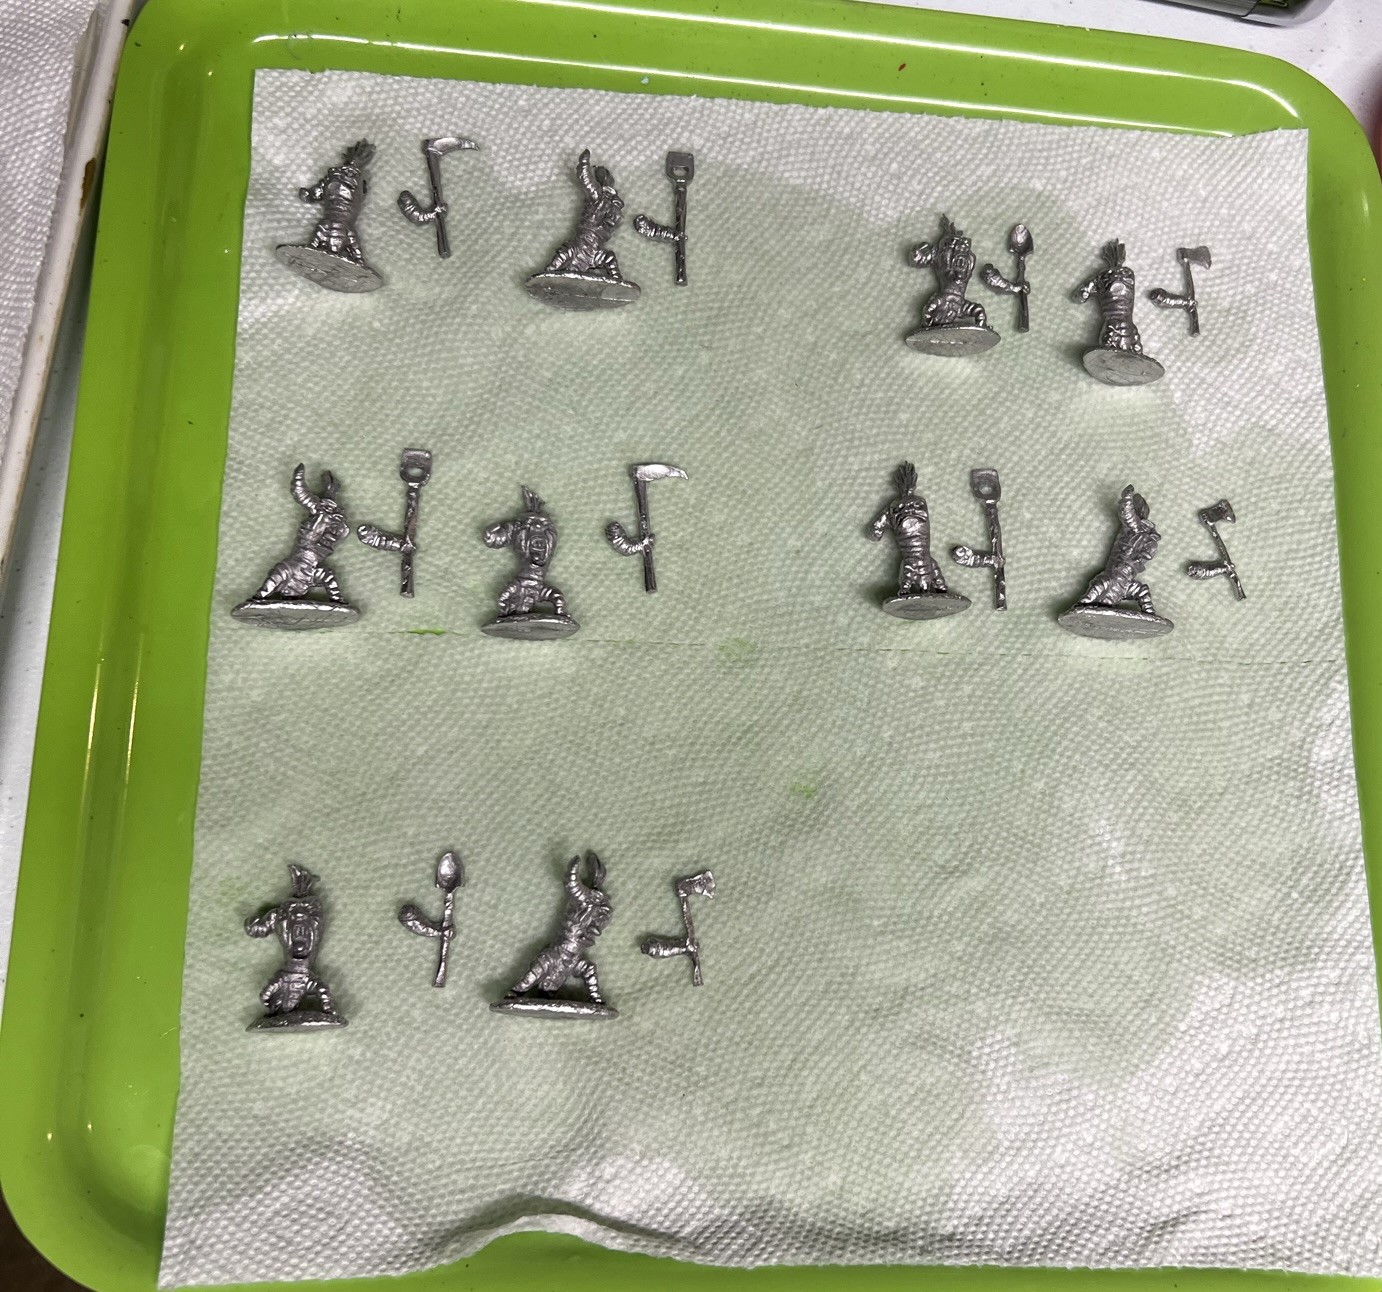
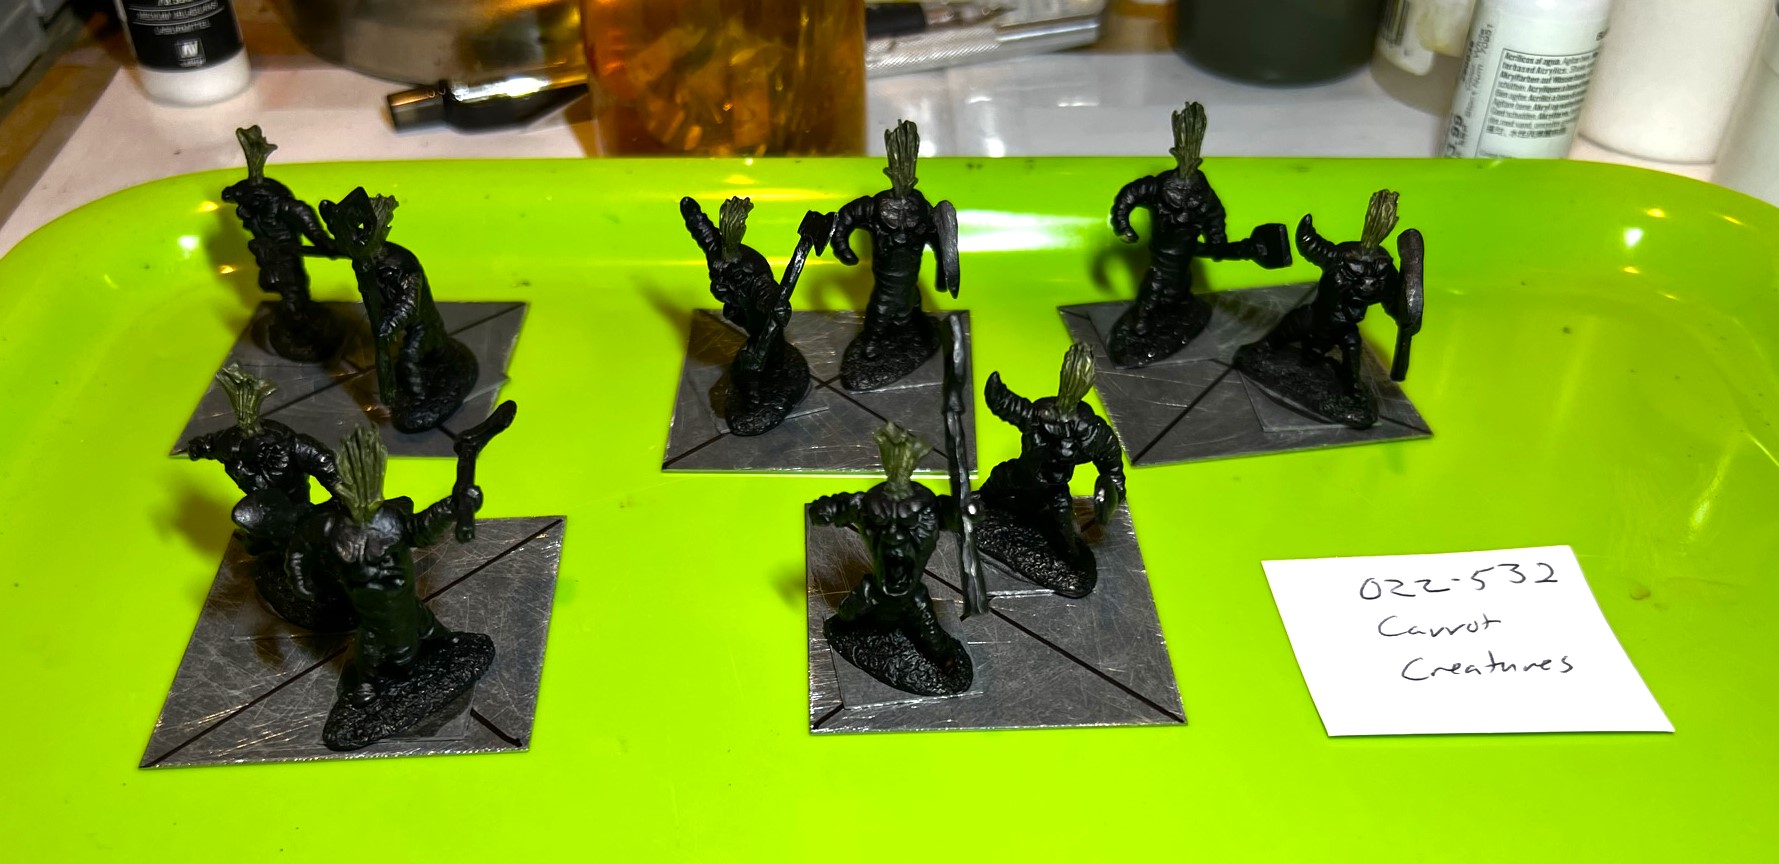
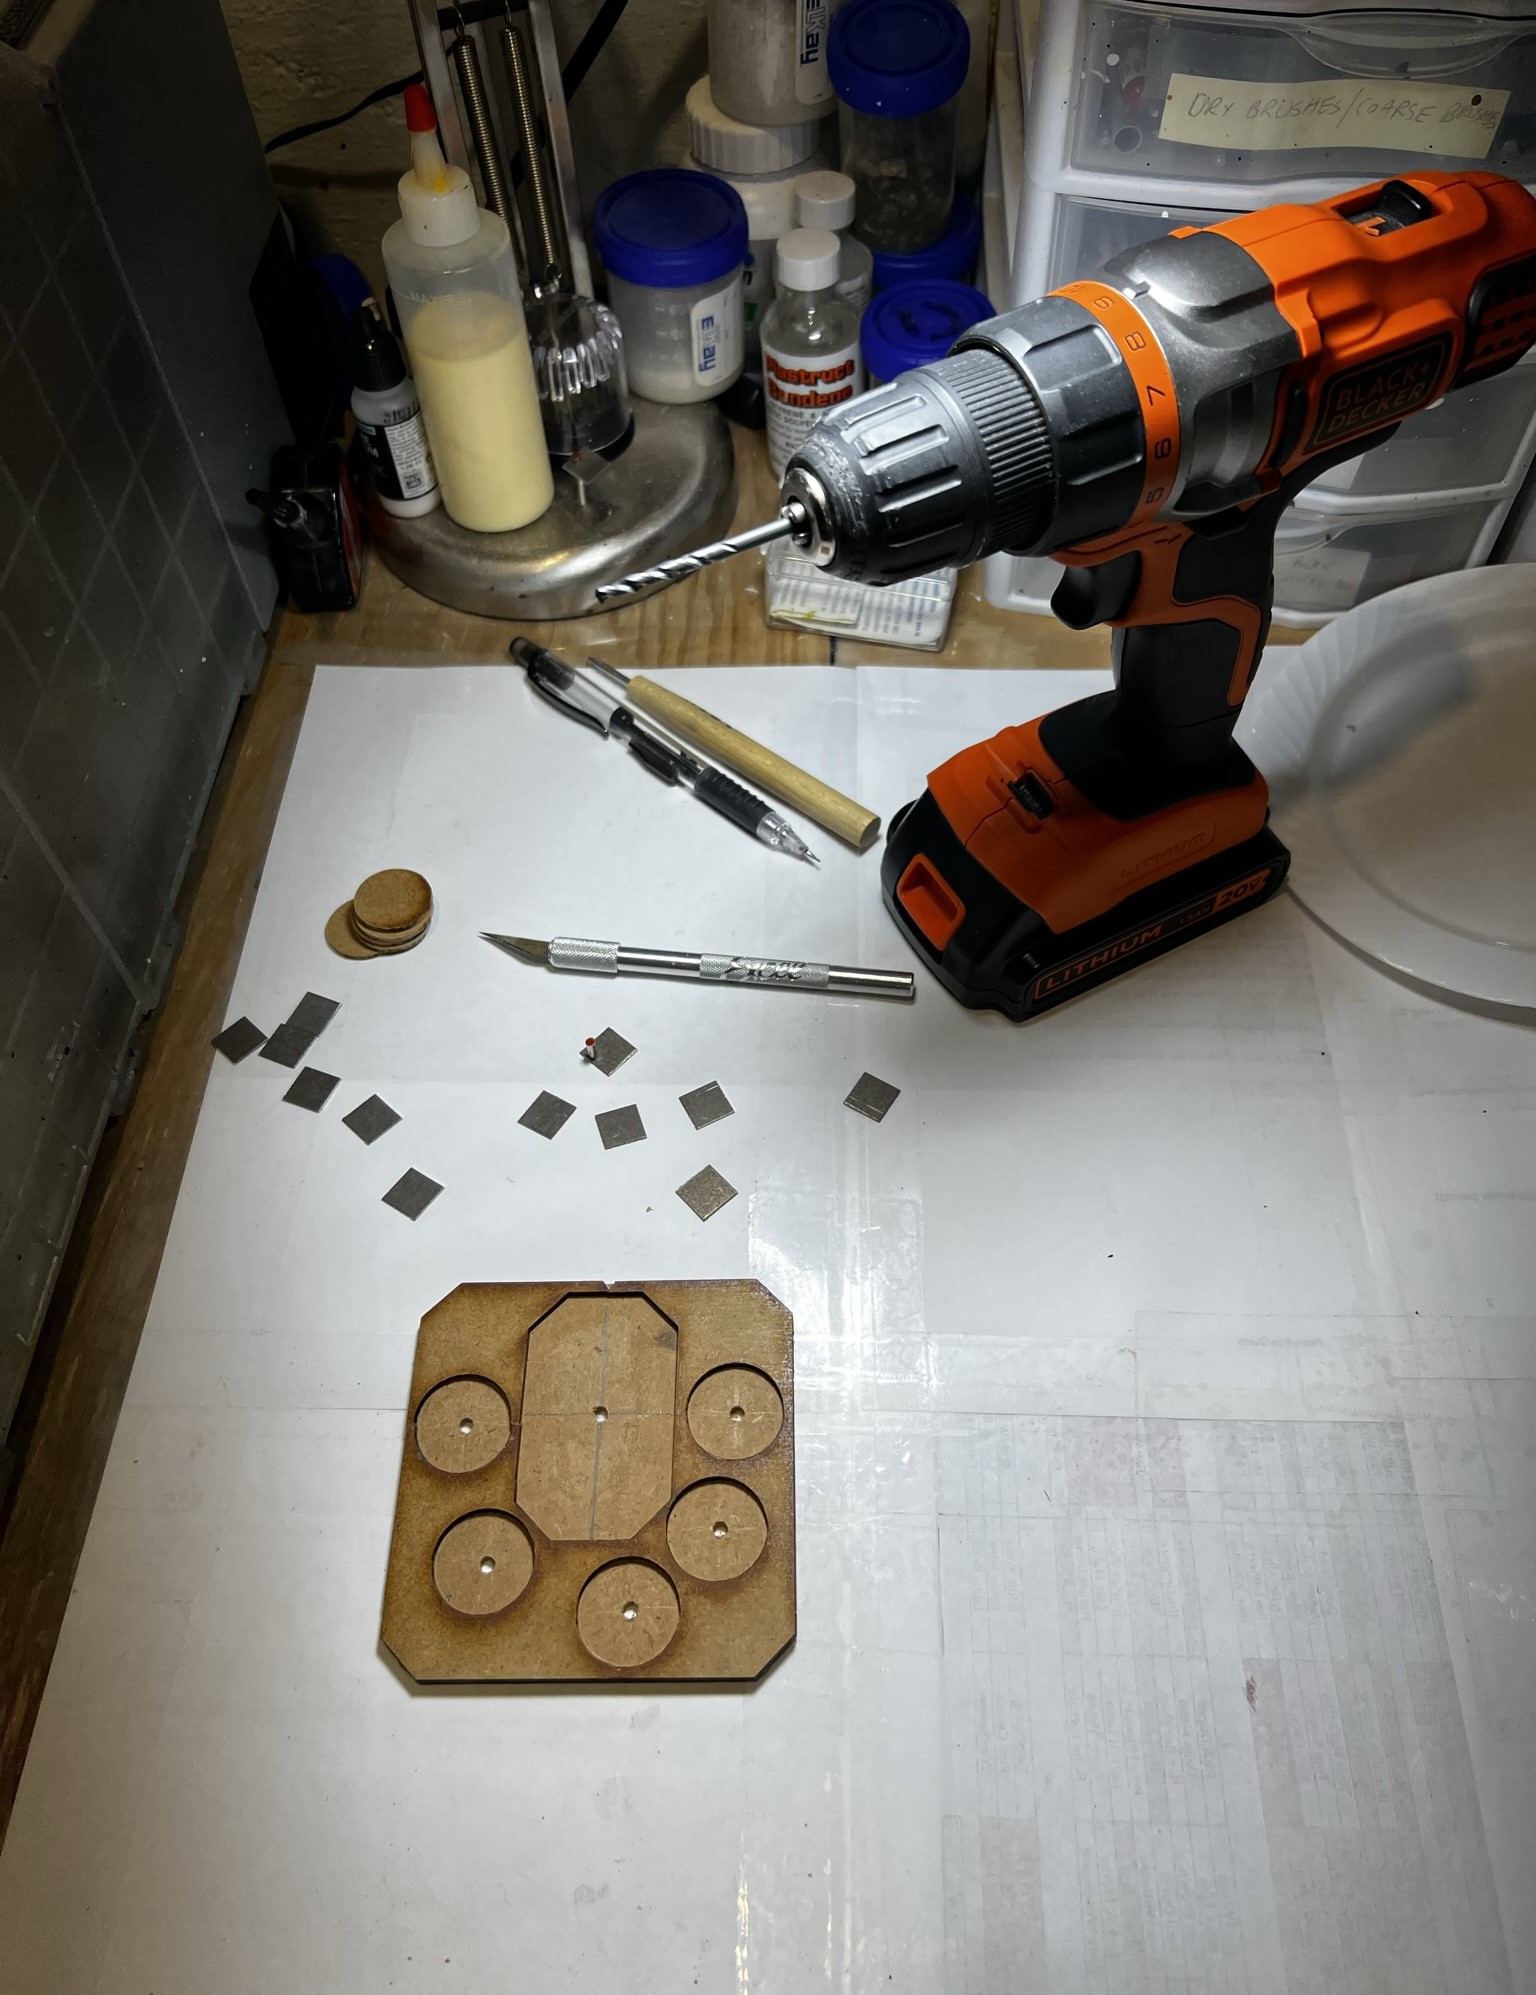
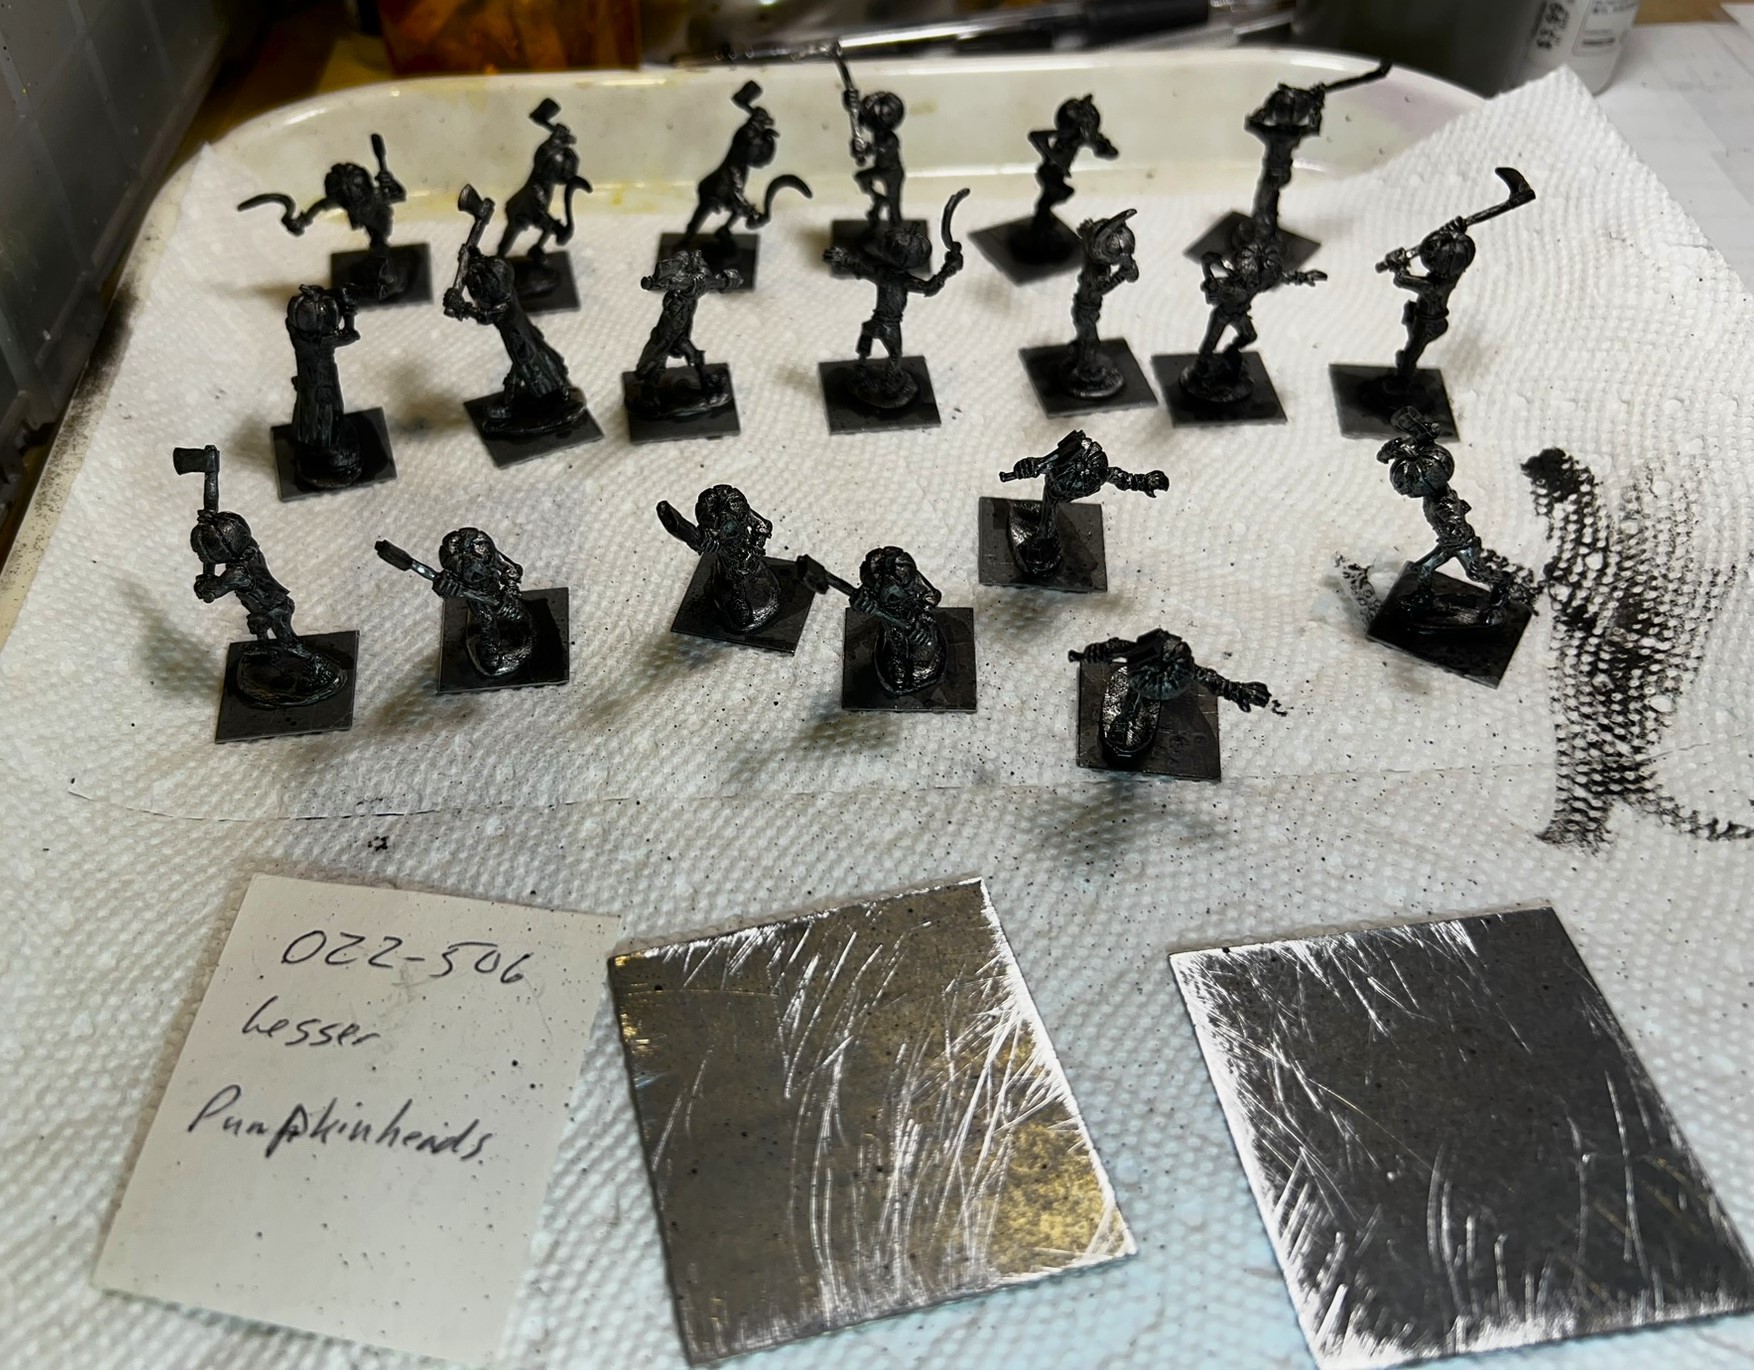
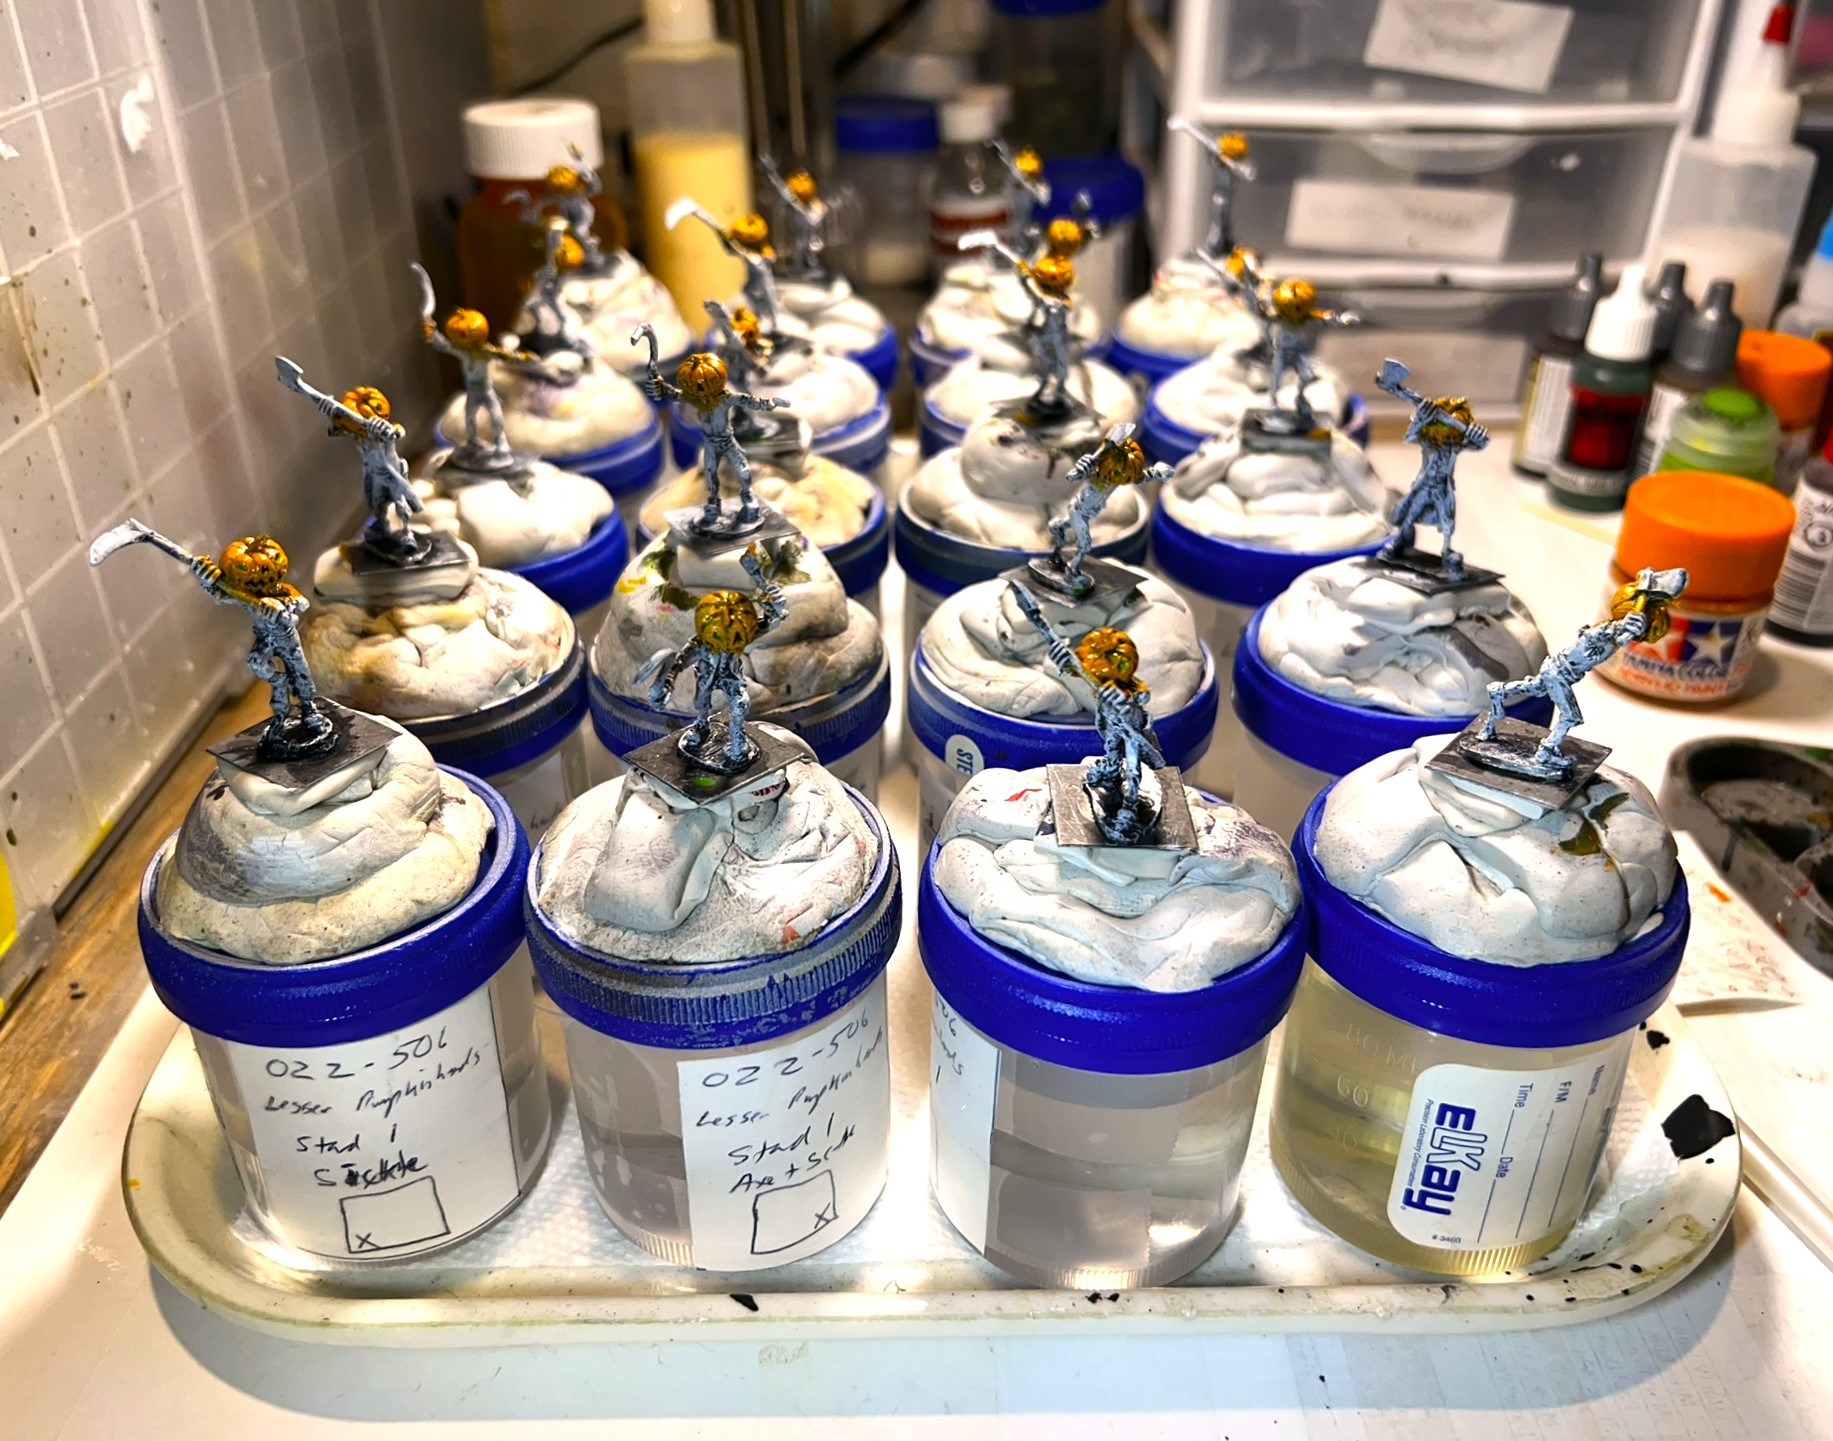
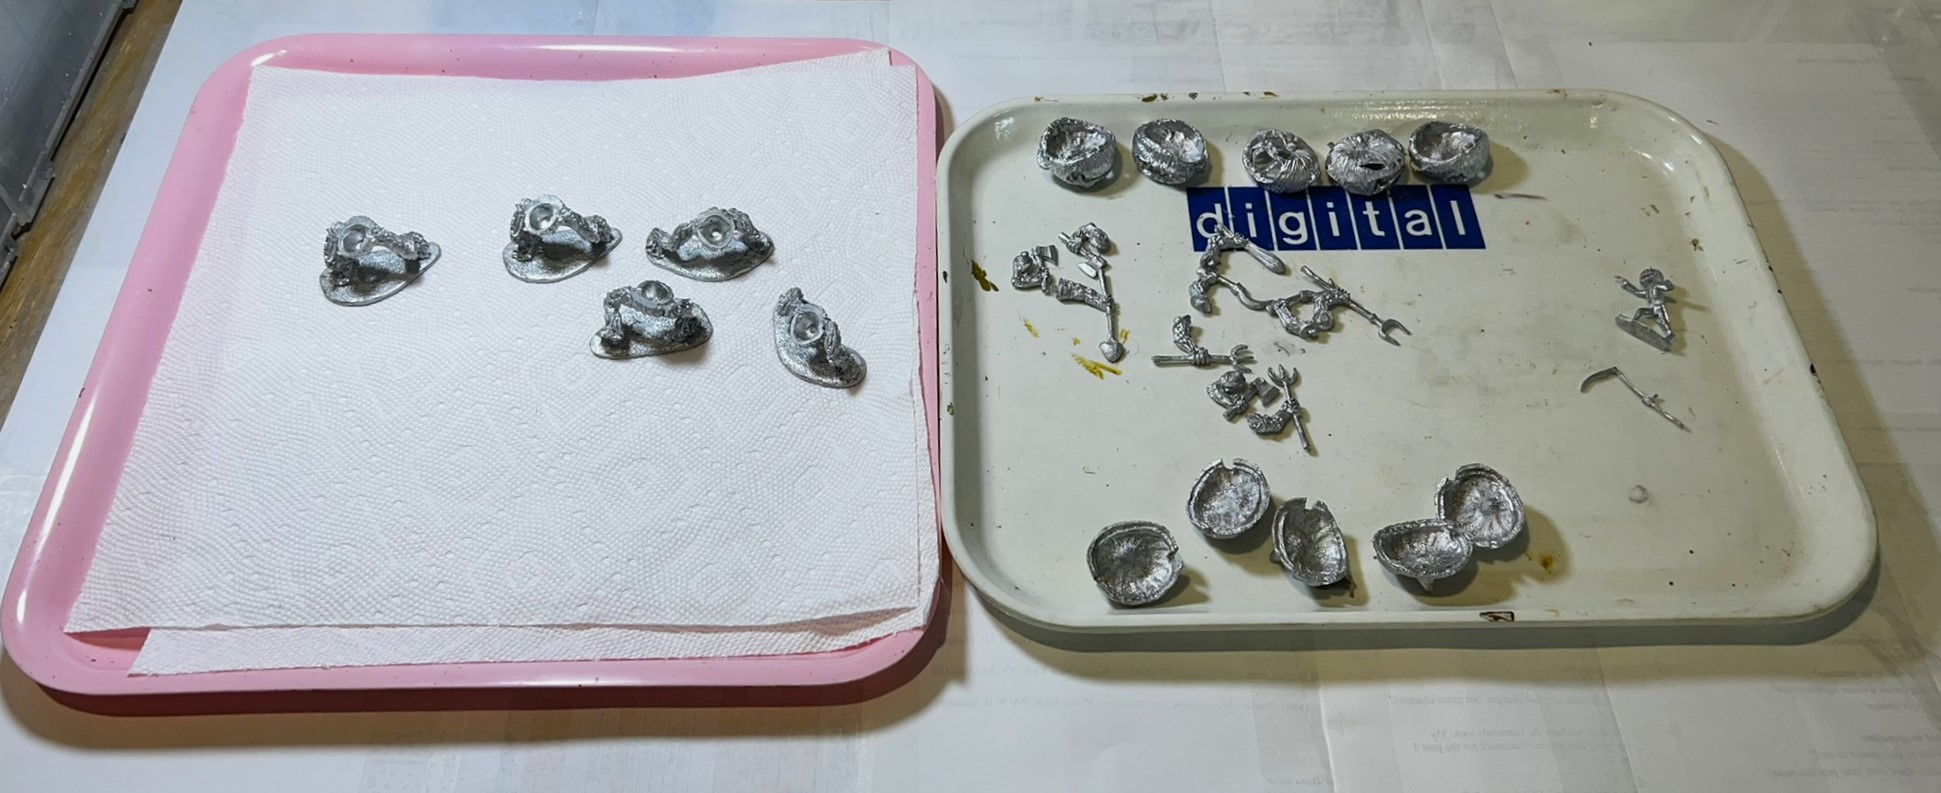
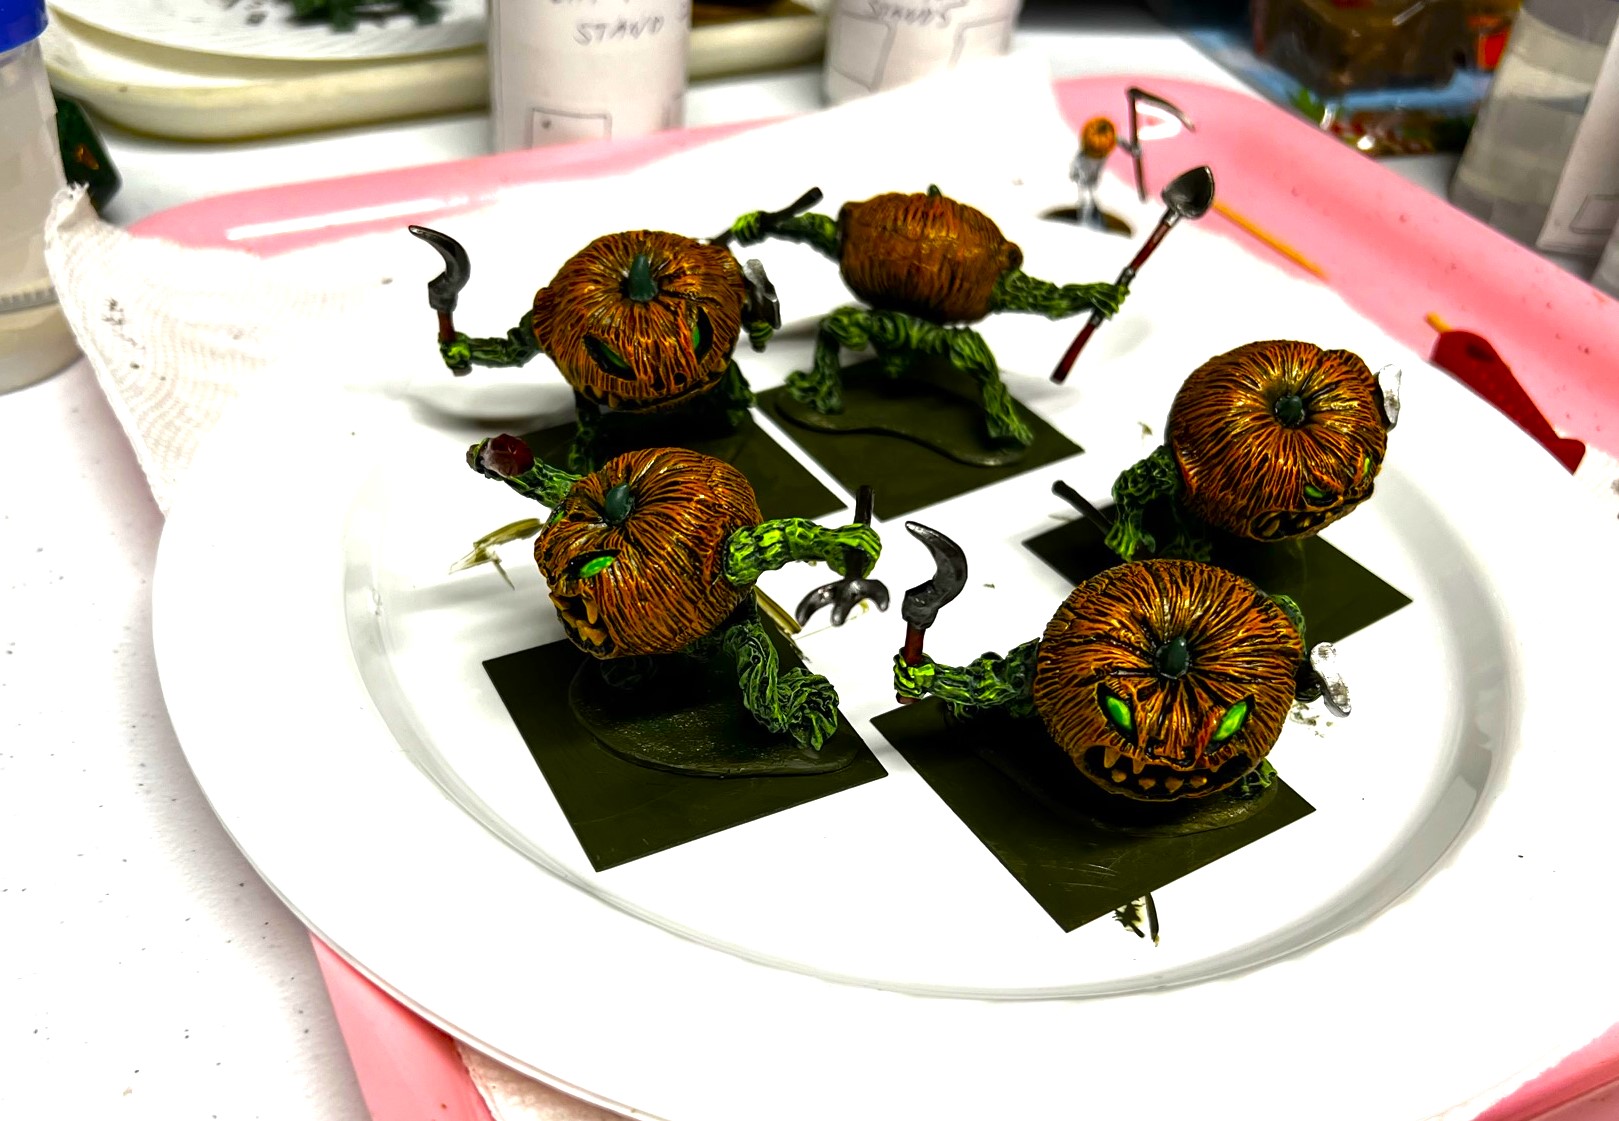
WIP Shots…
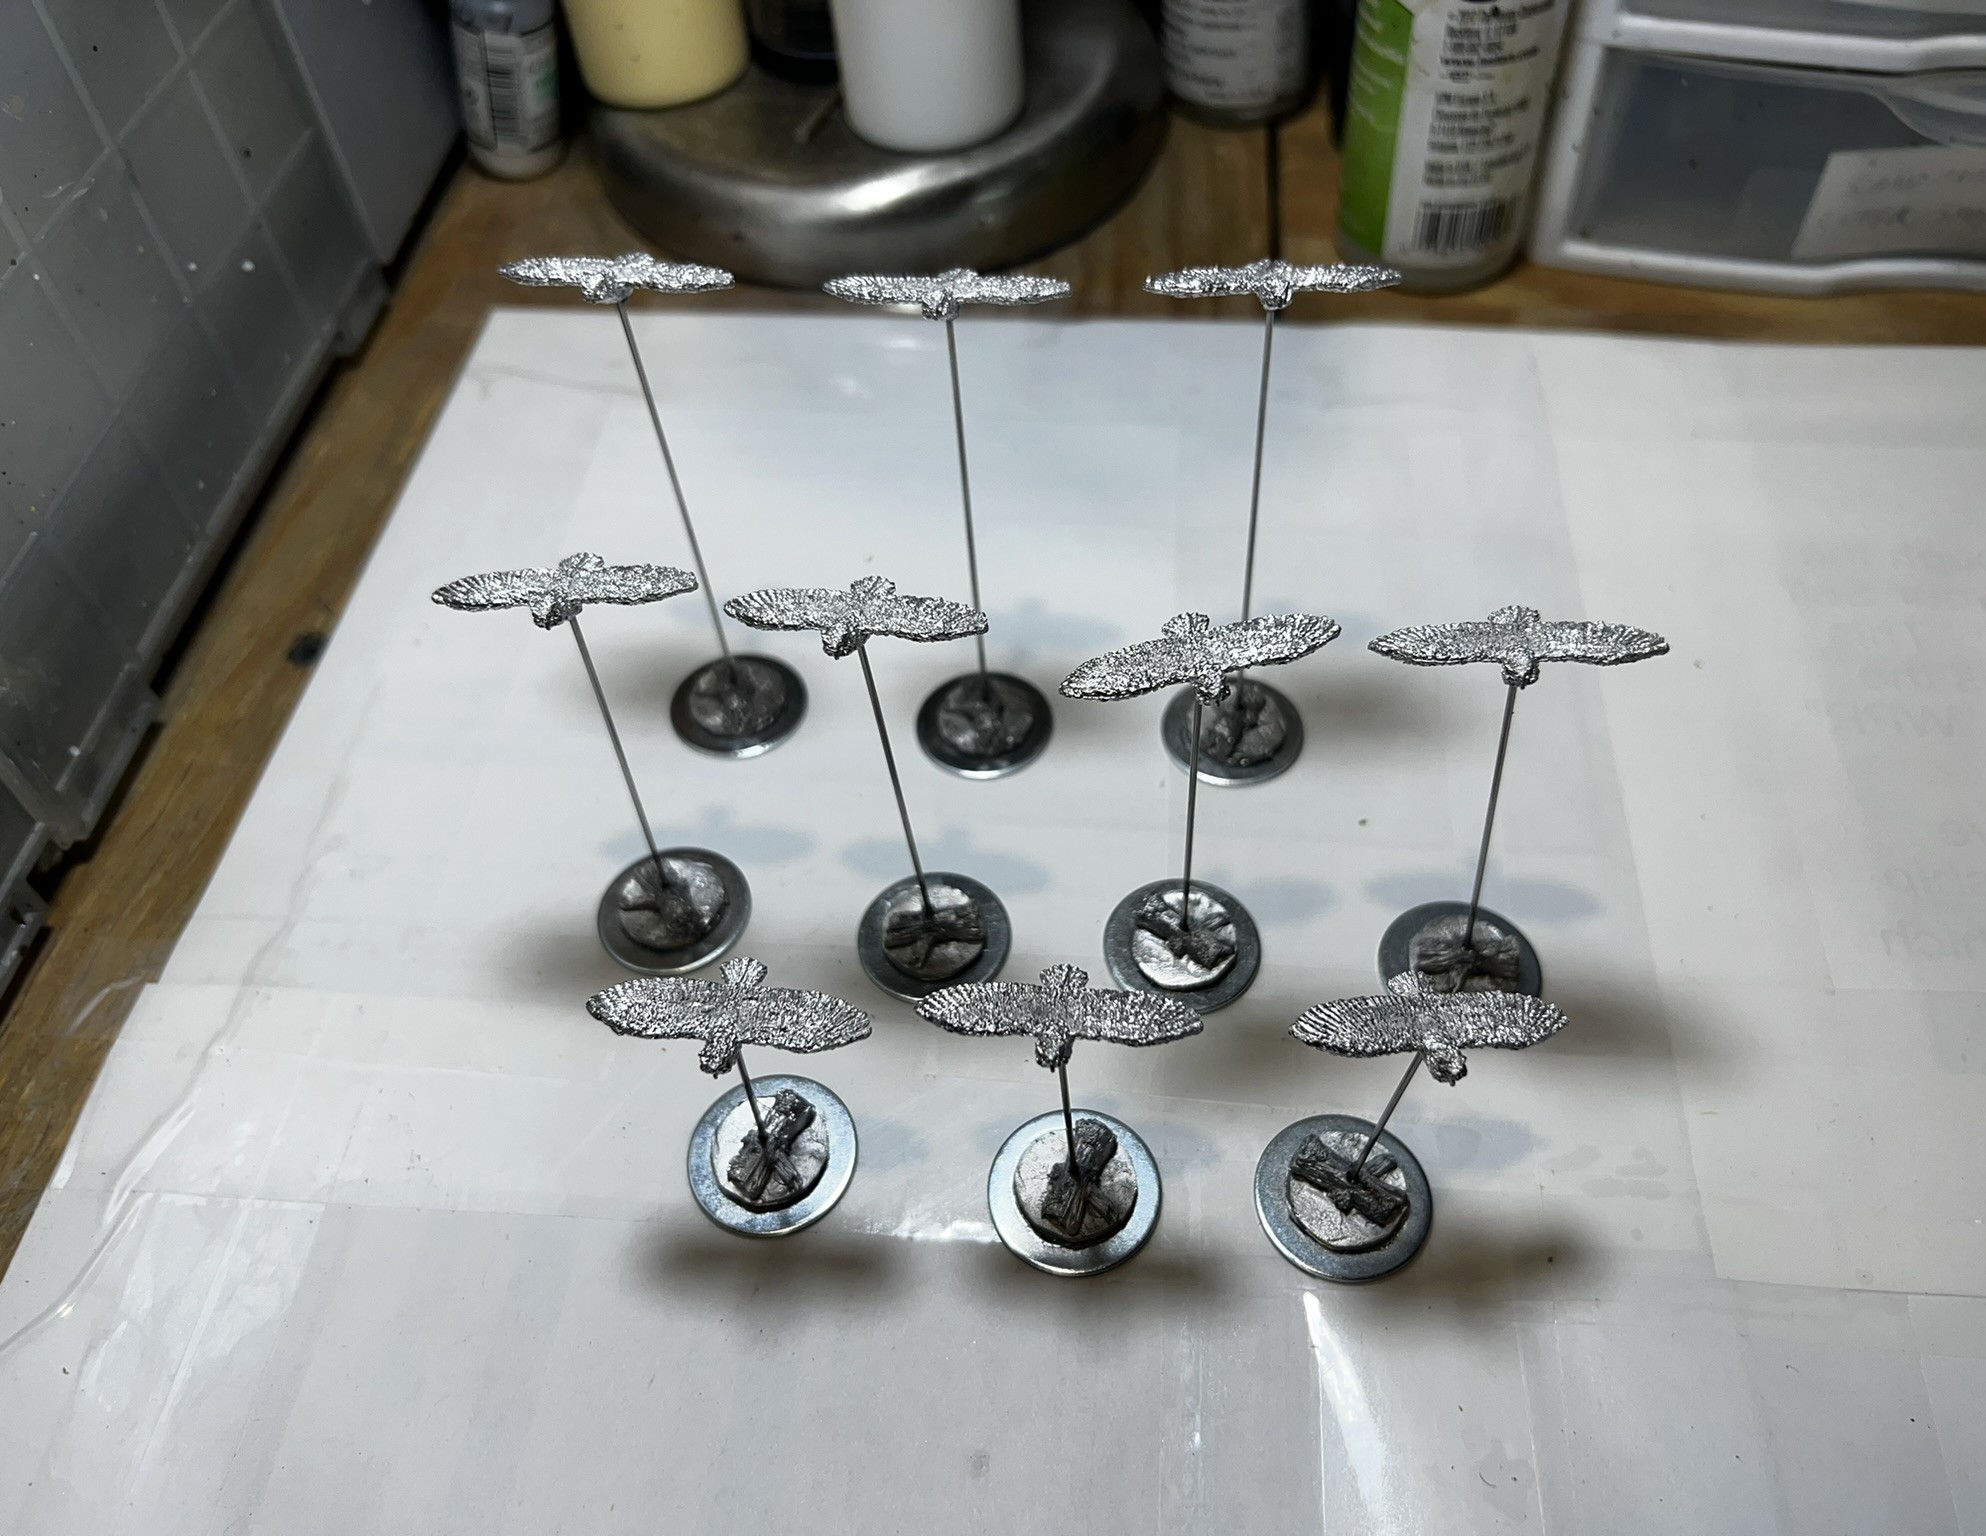


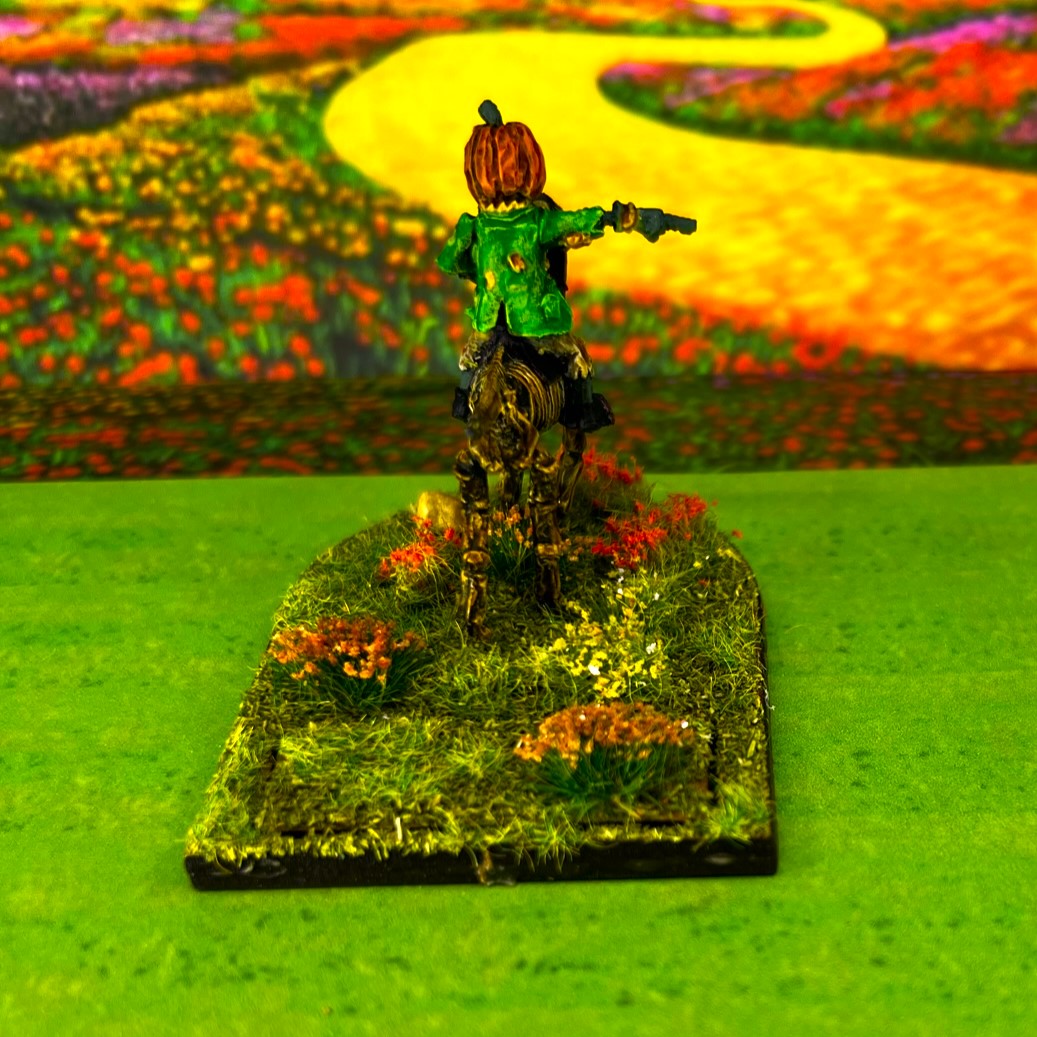
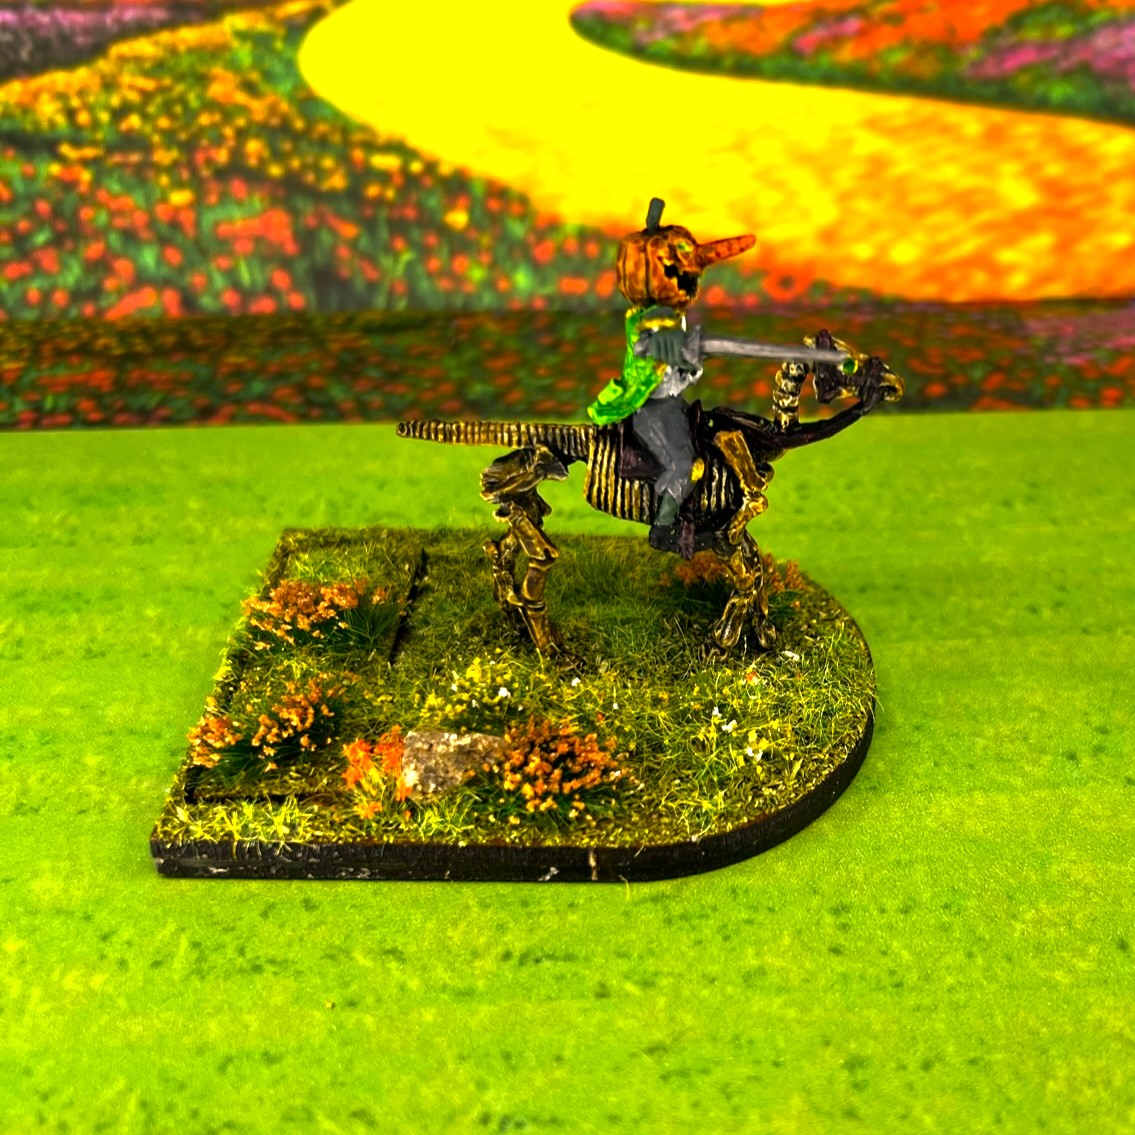
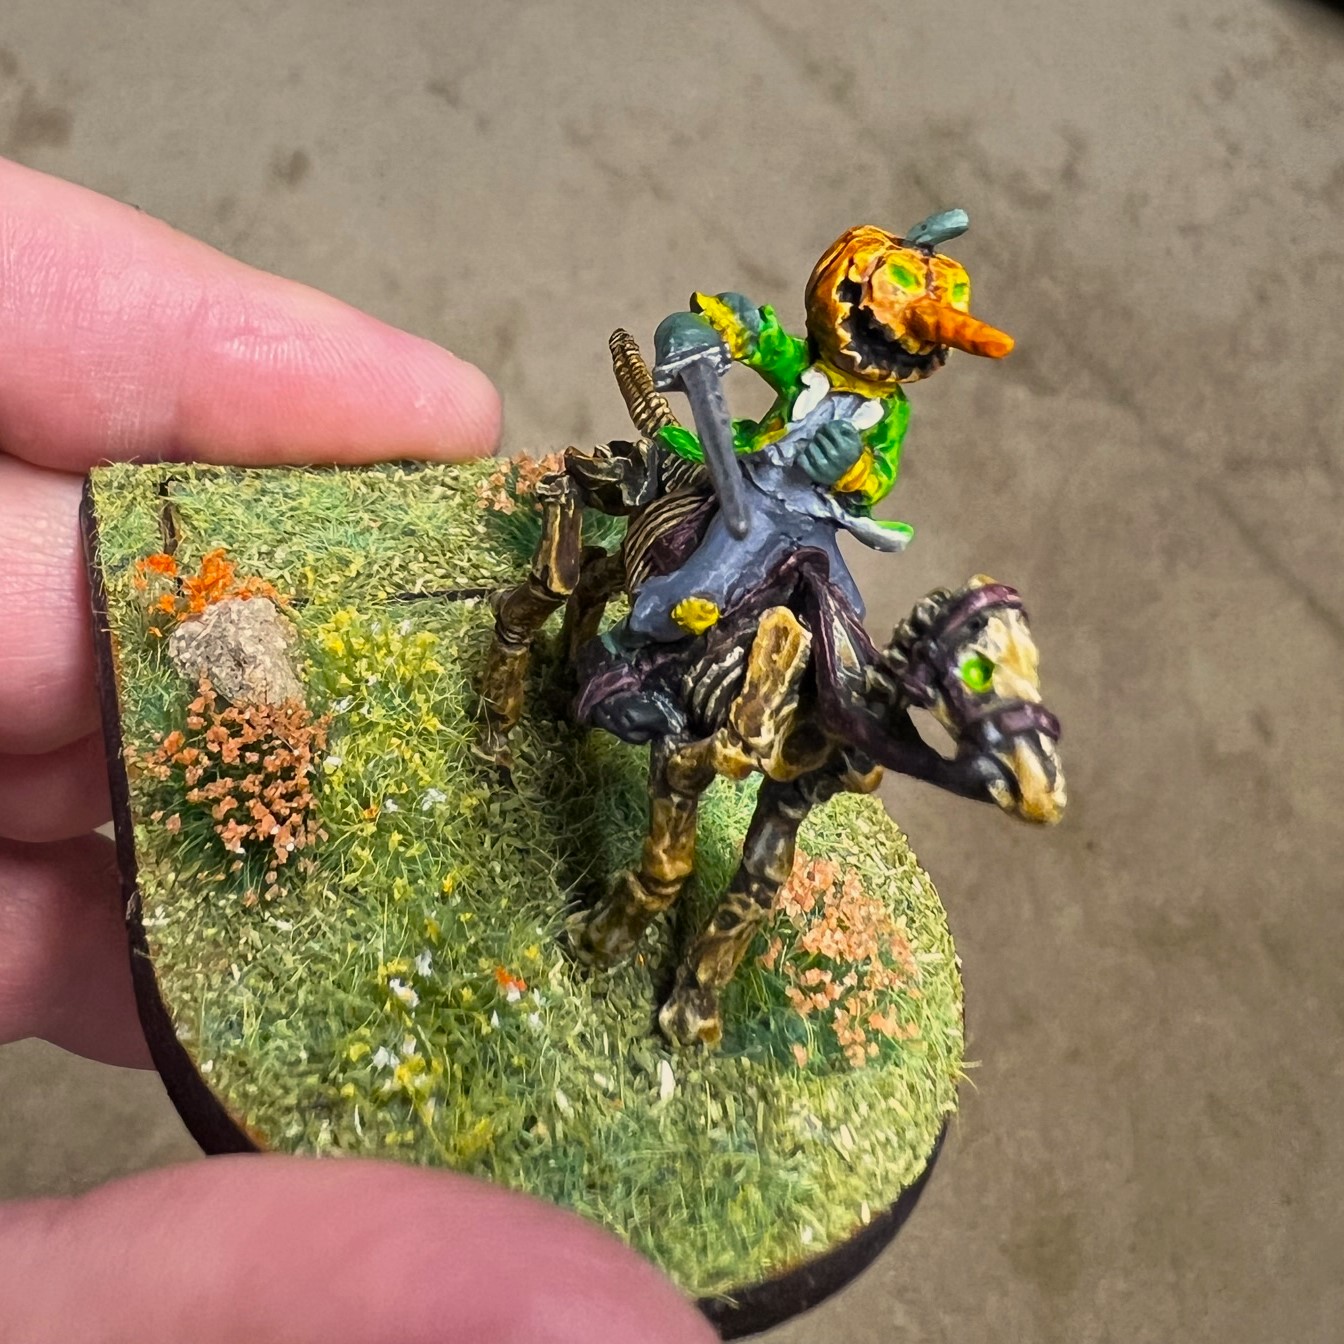
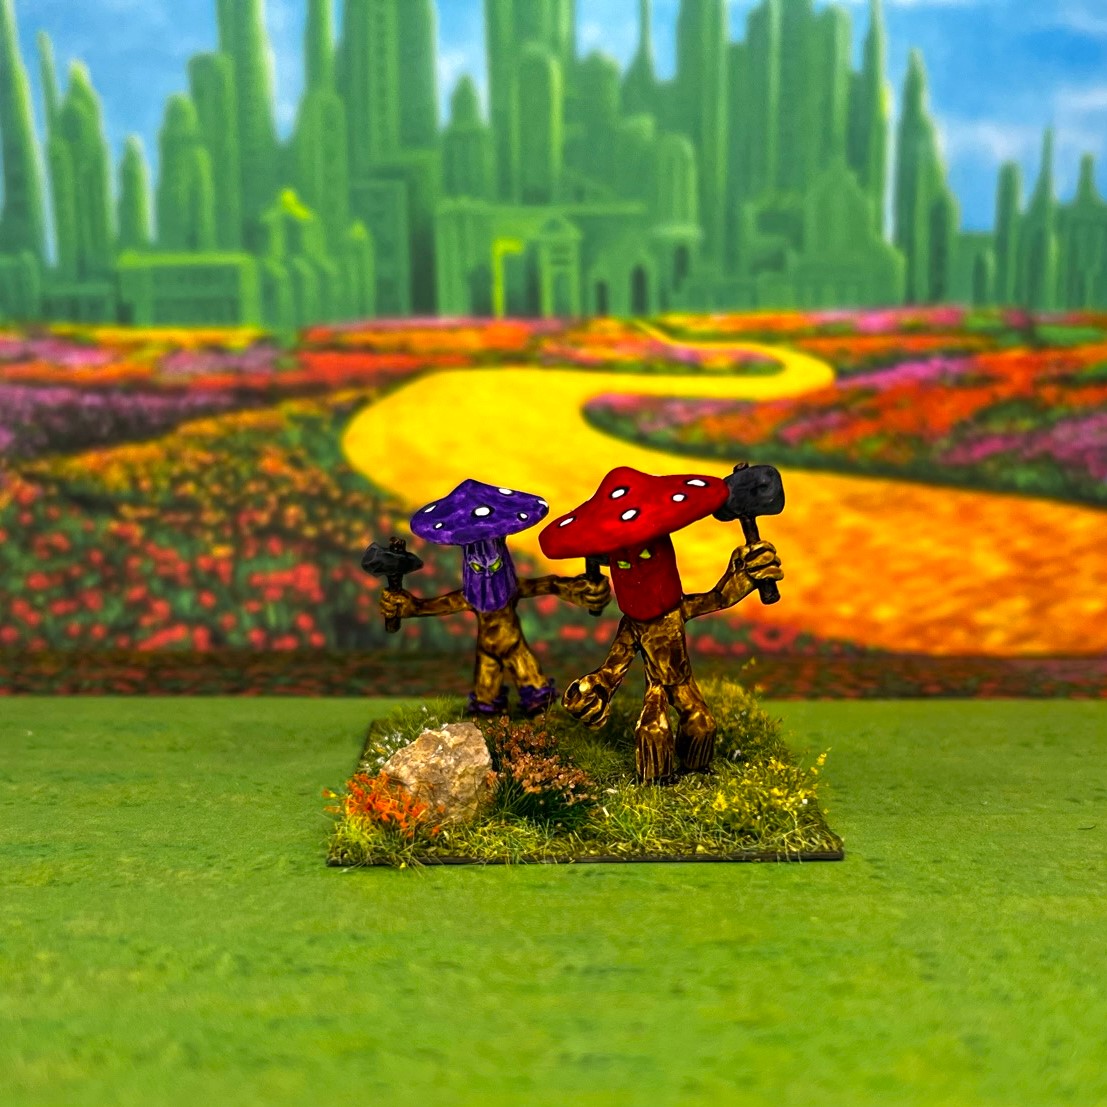
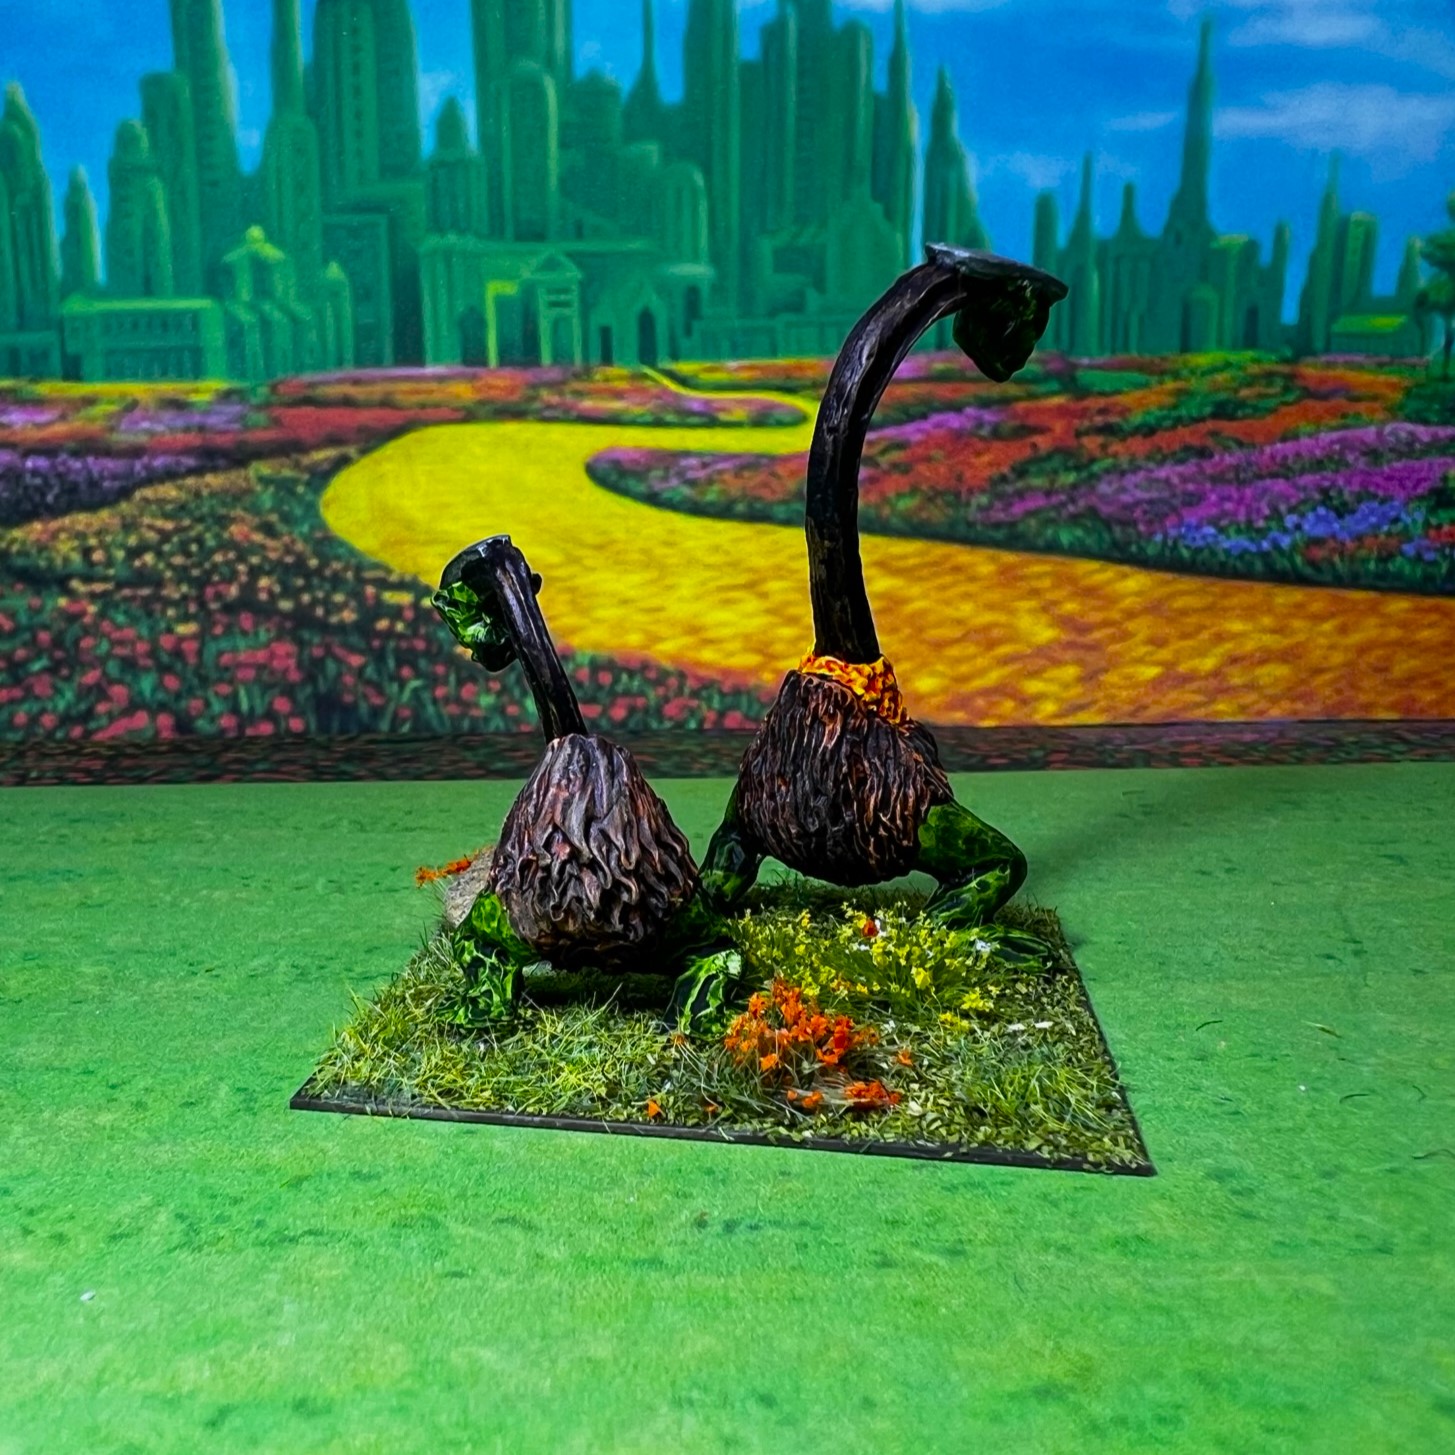
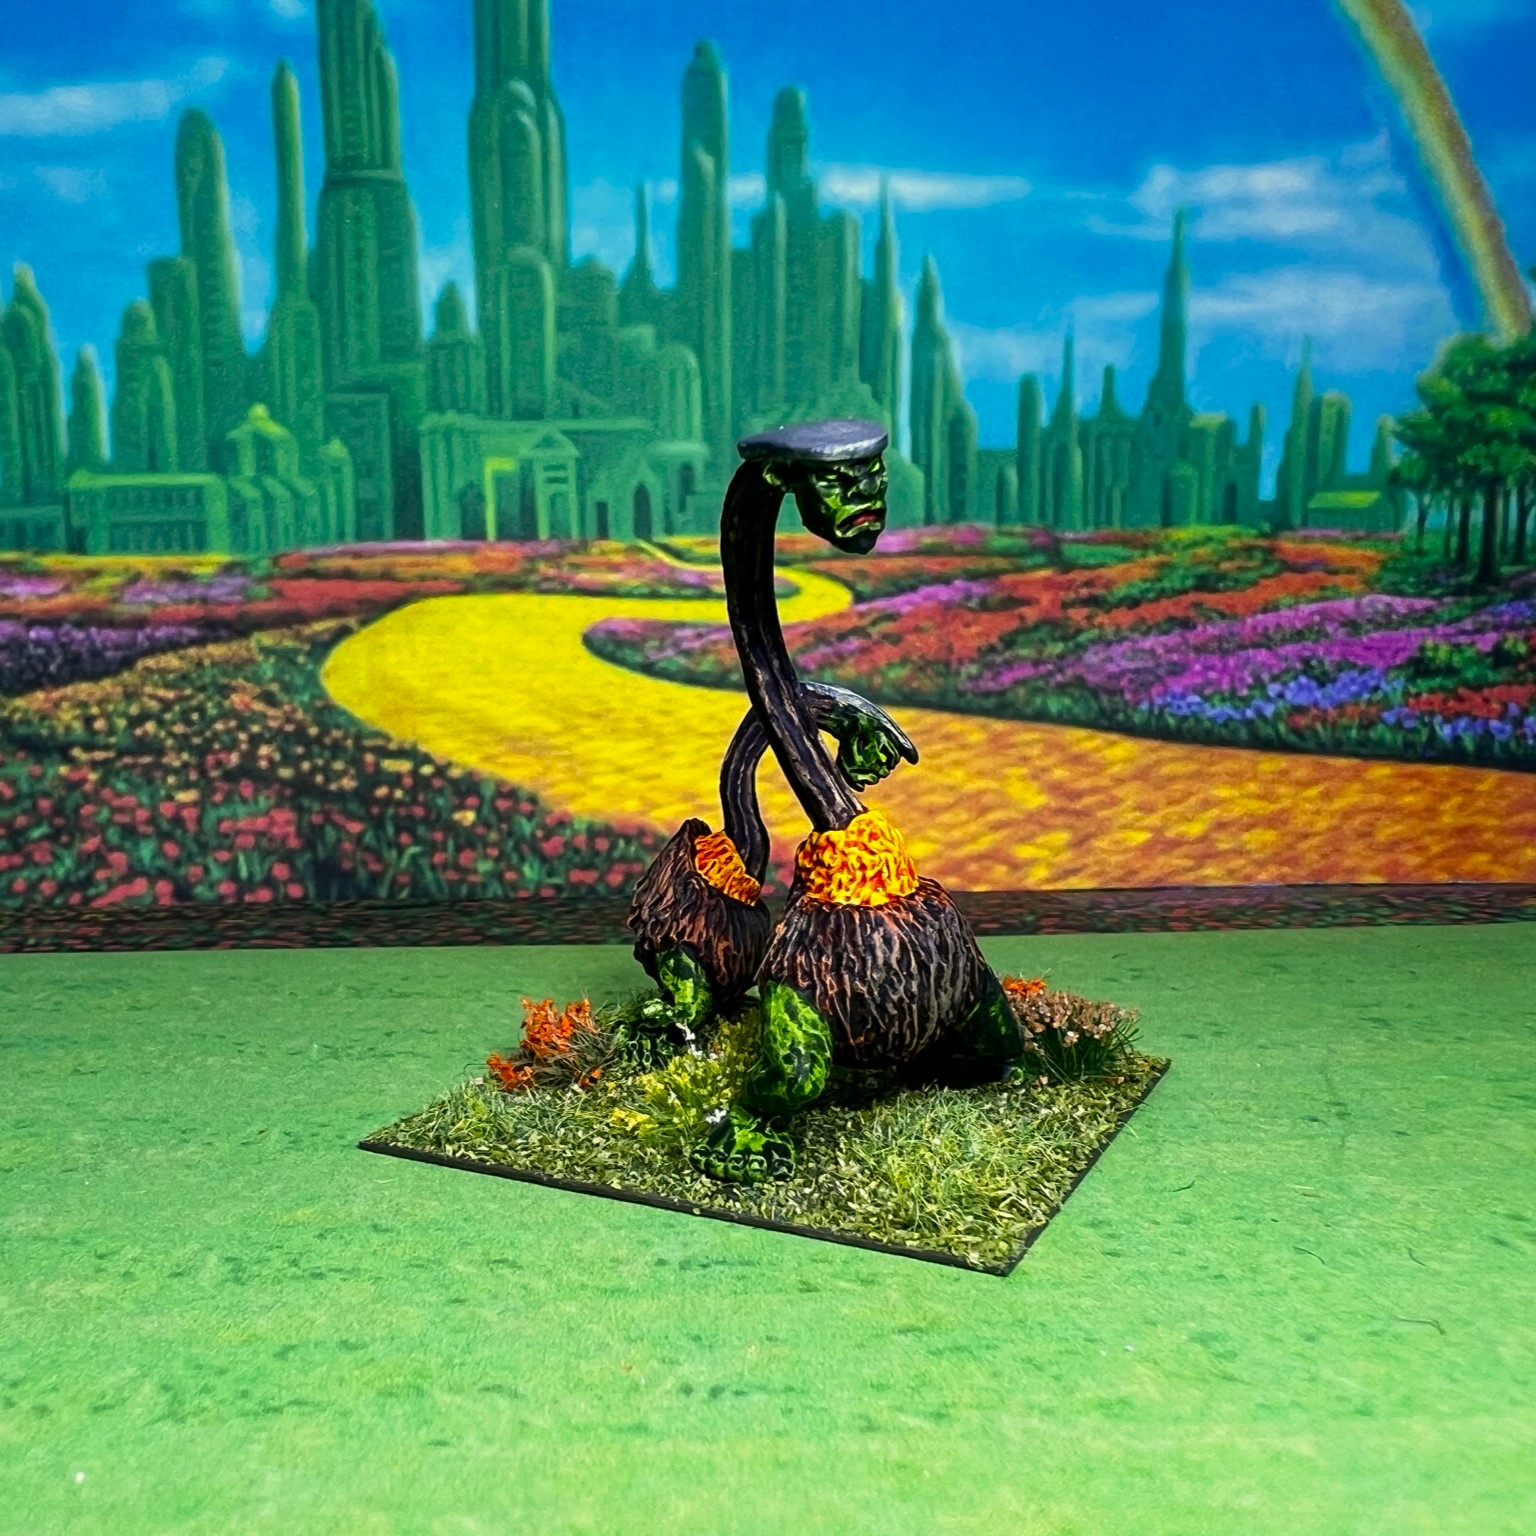
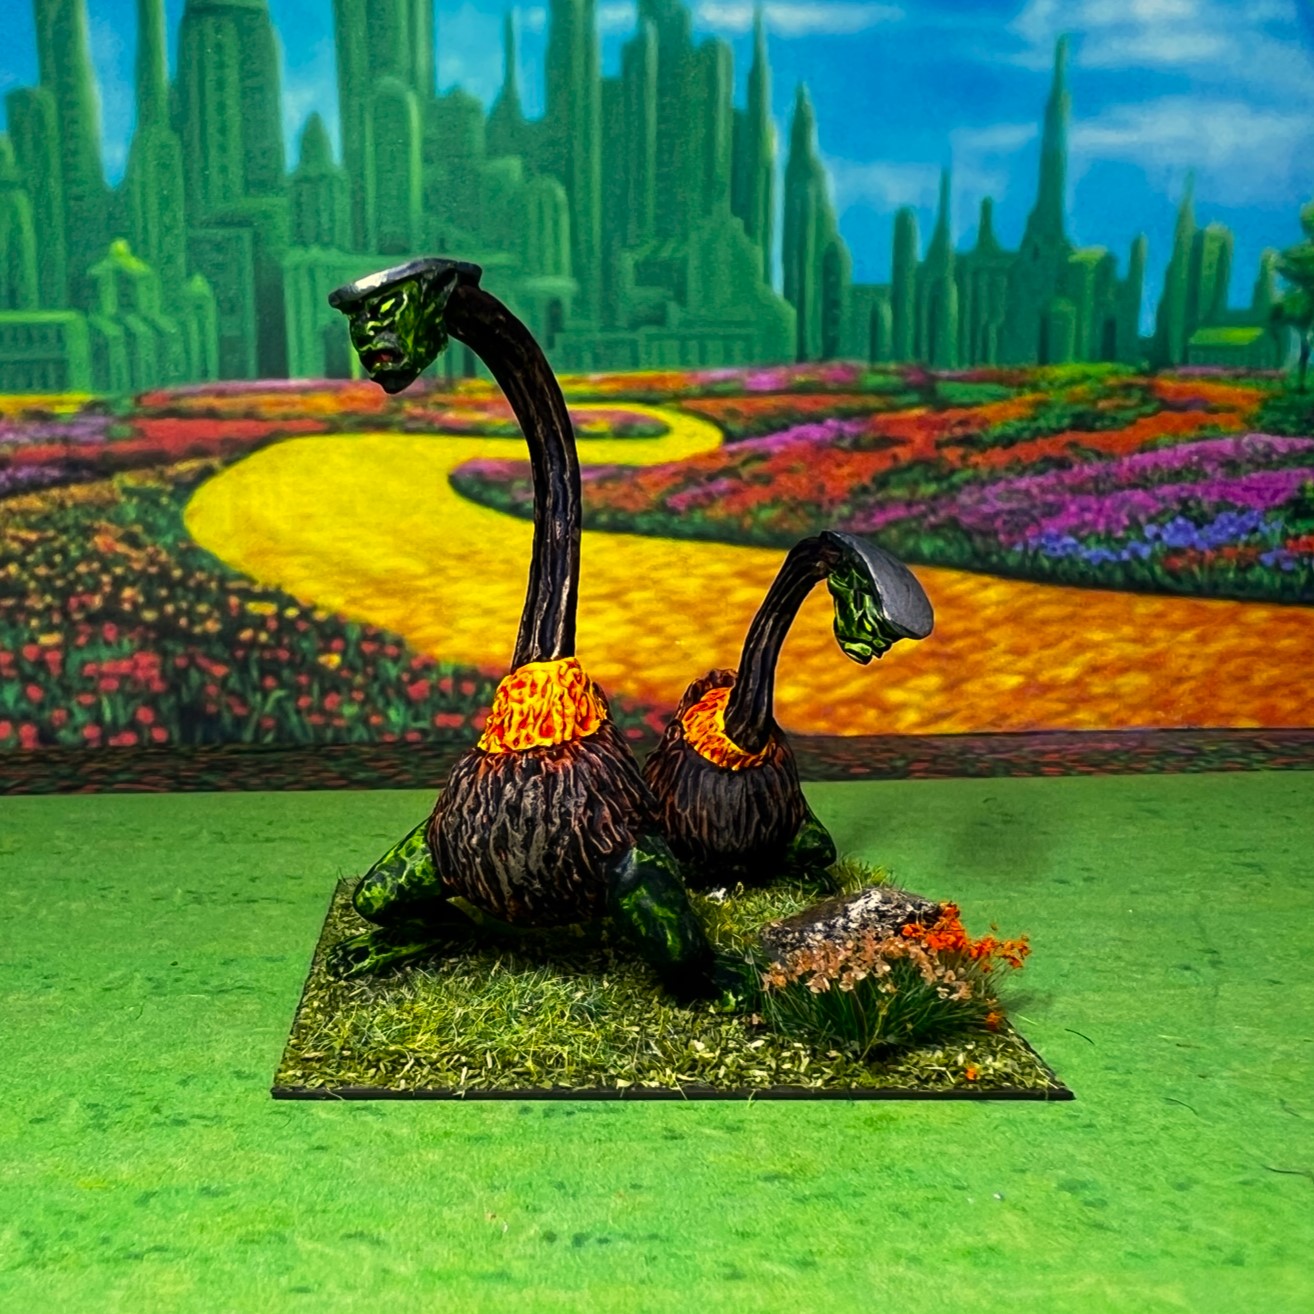
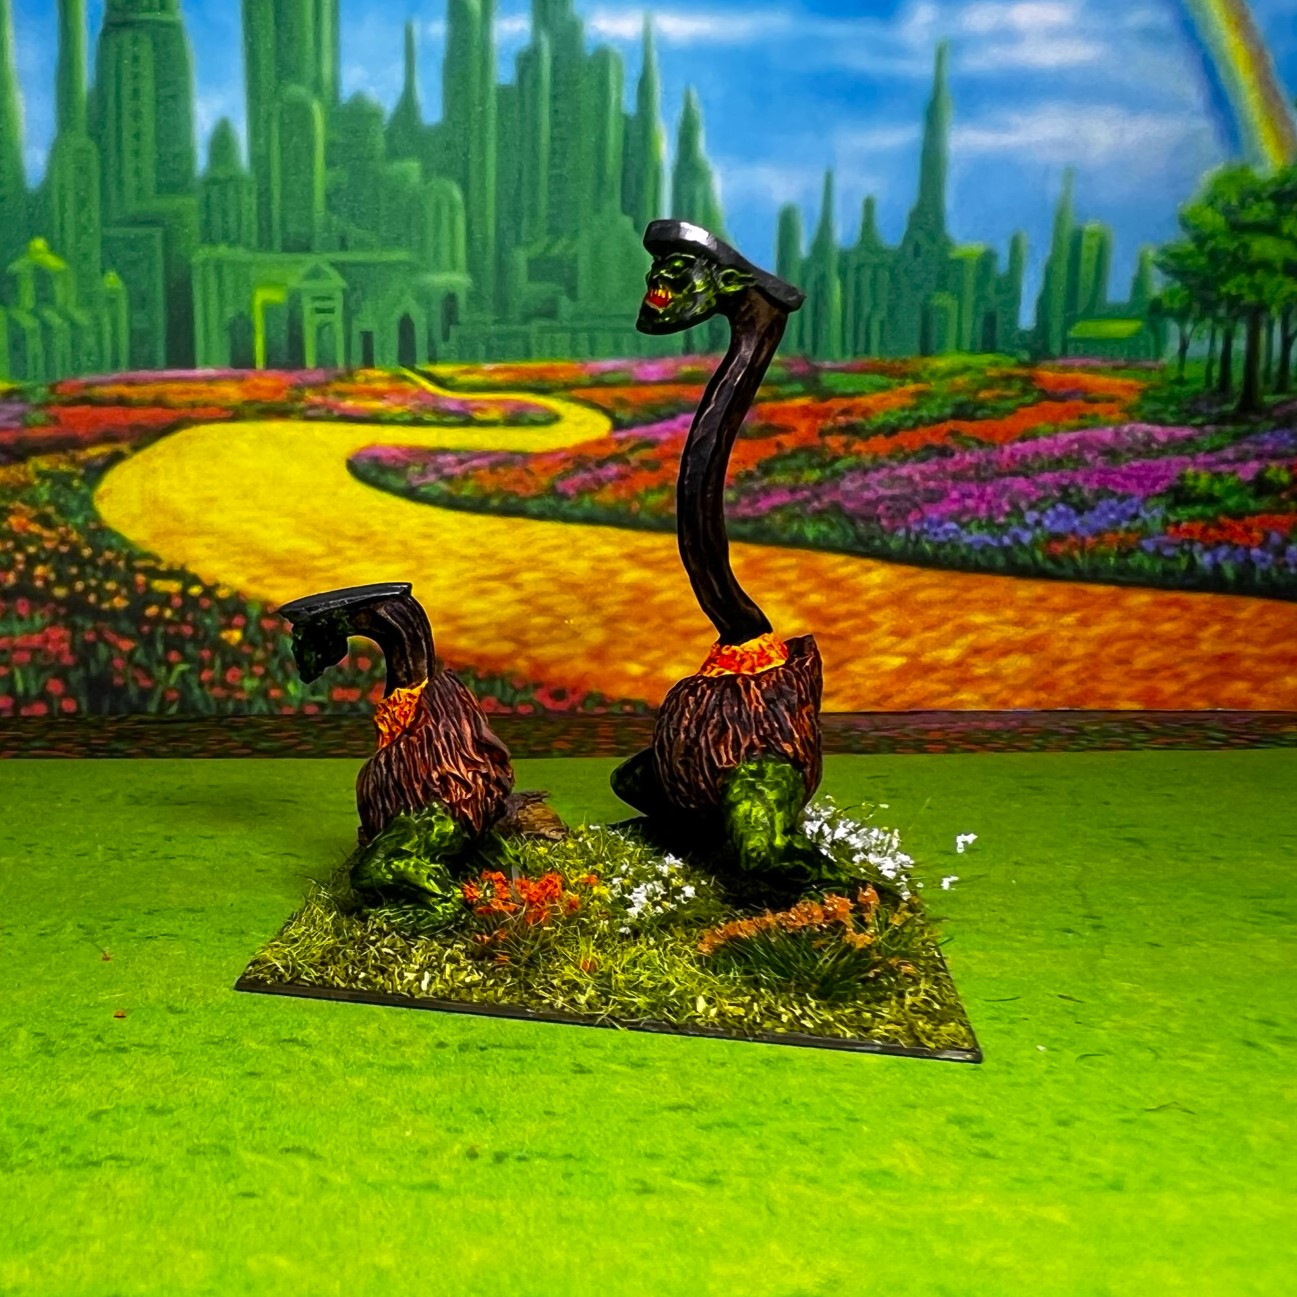
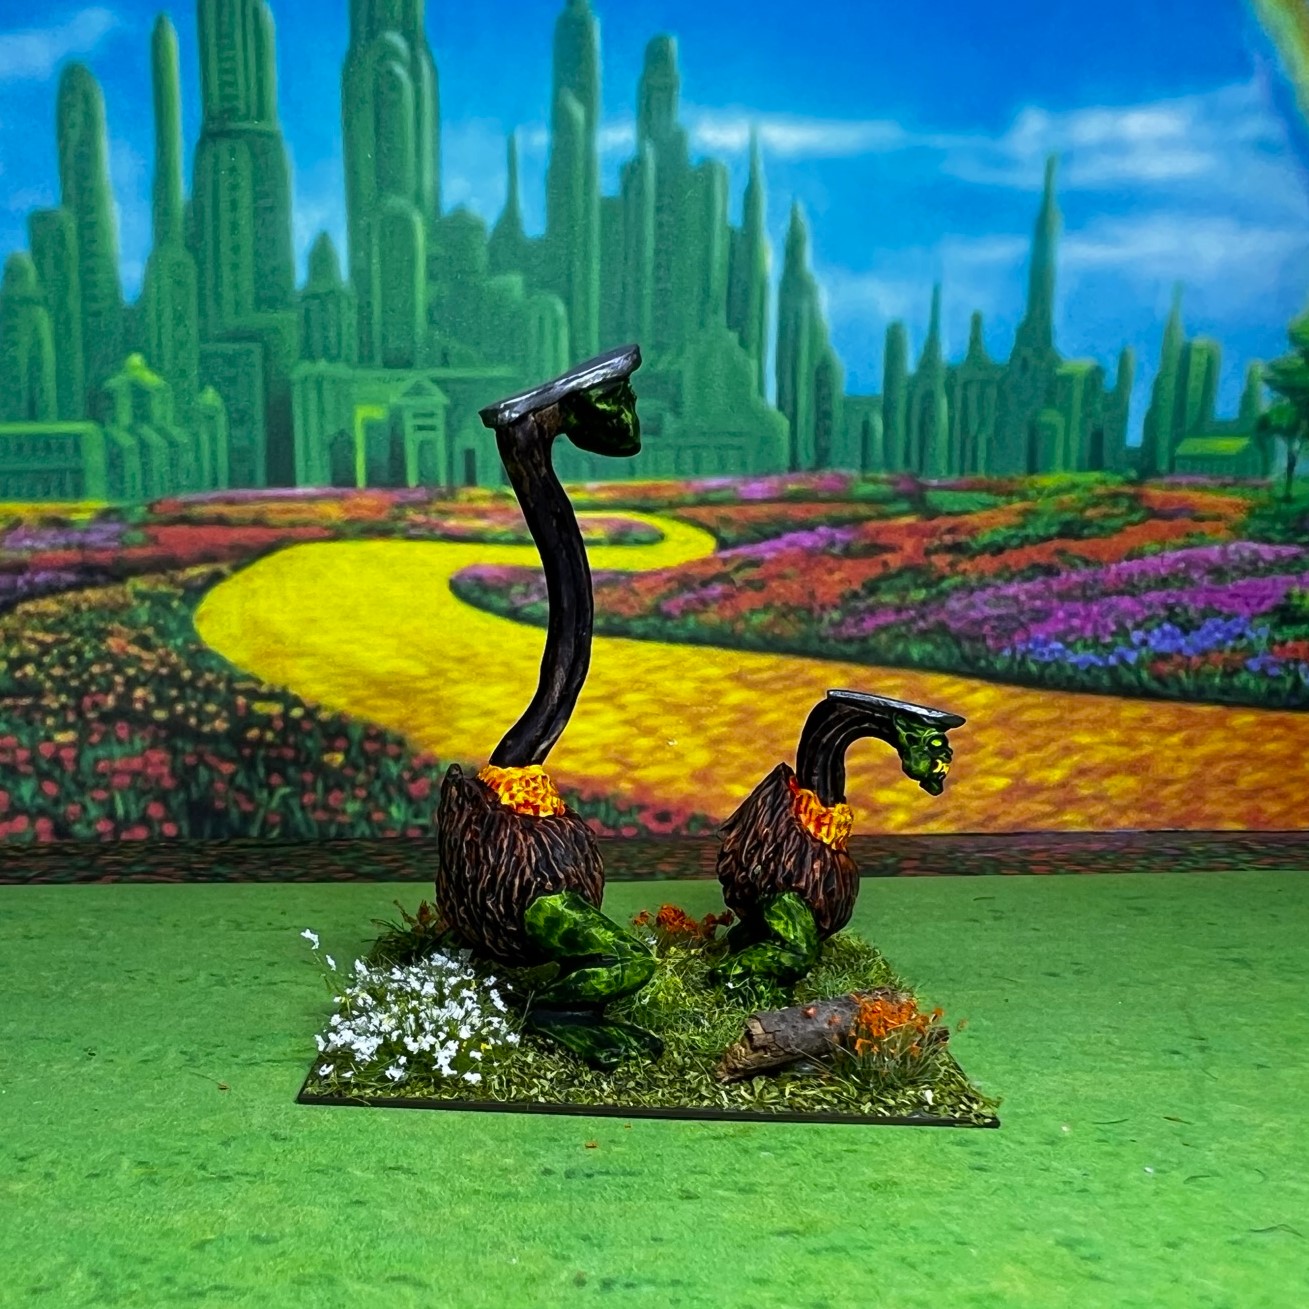
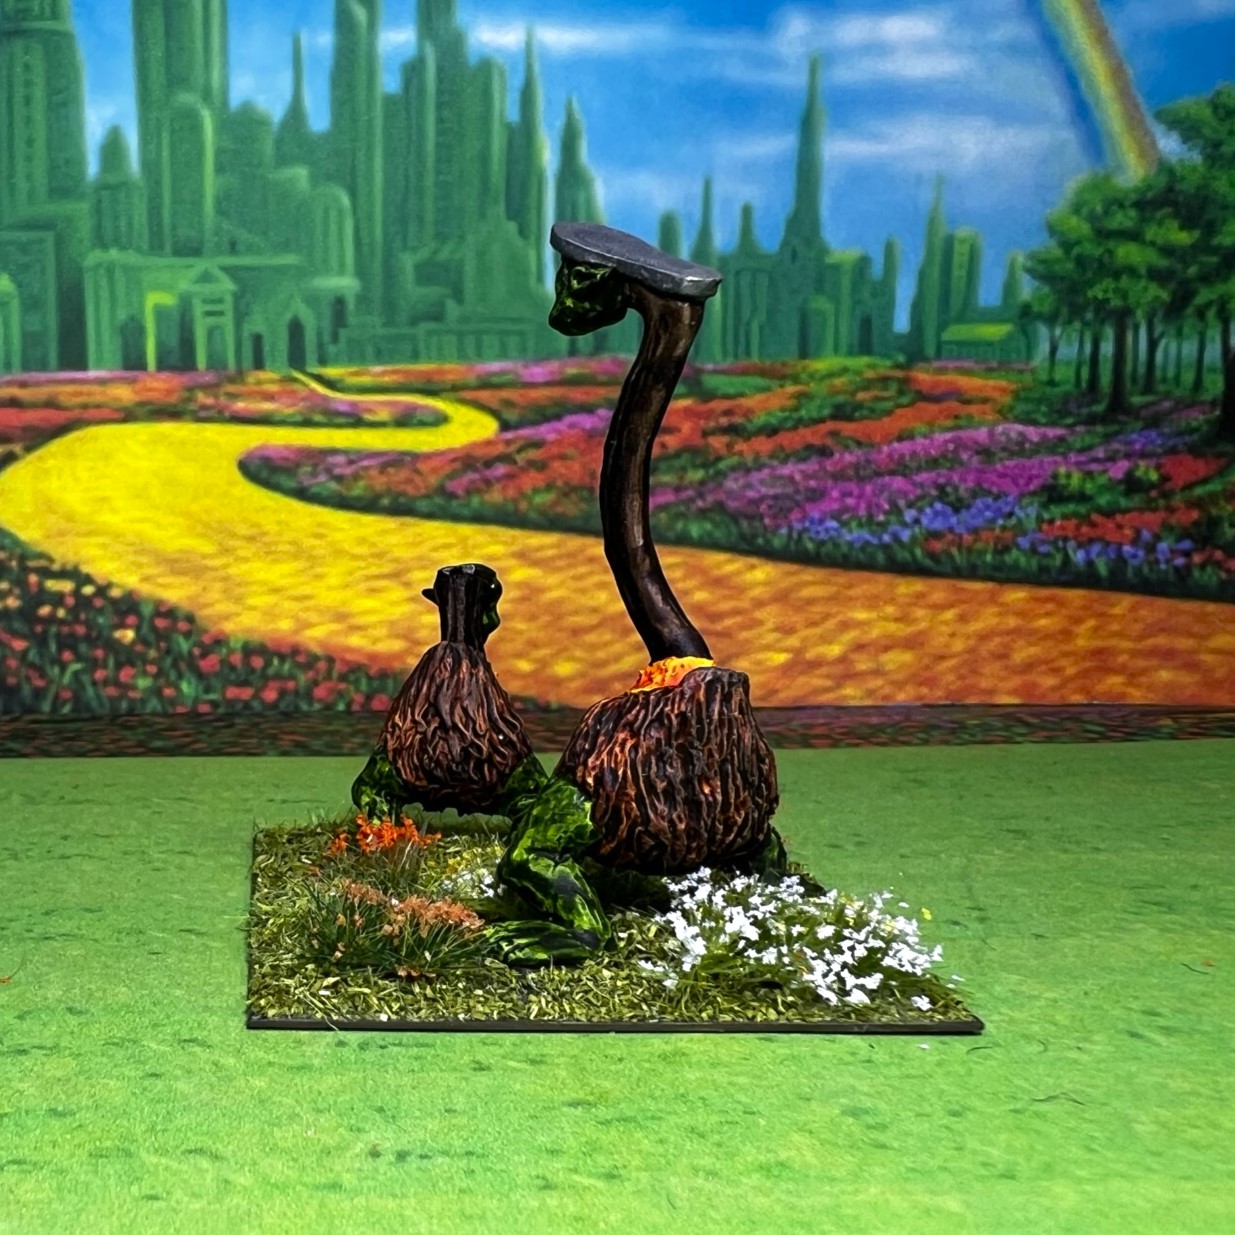
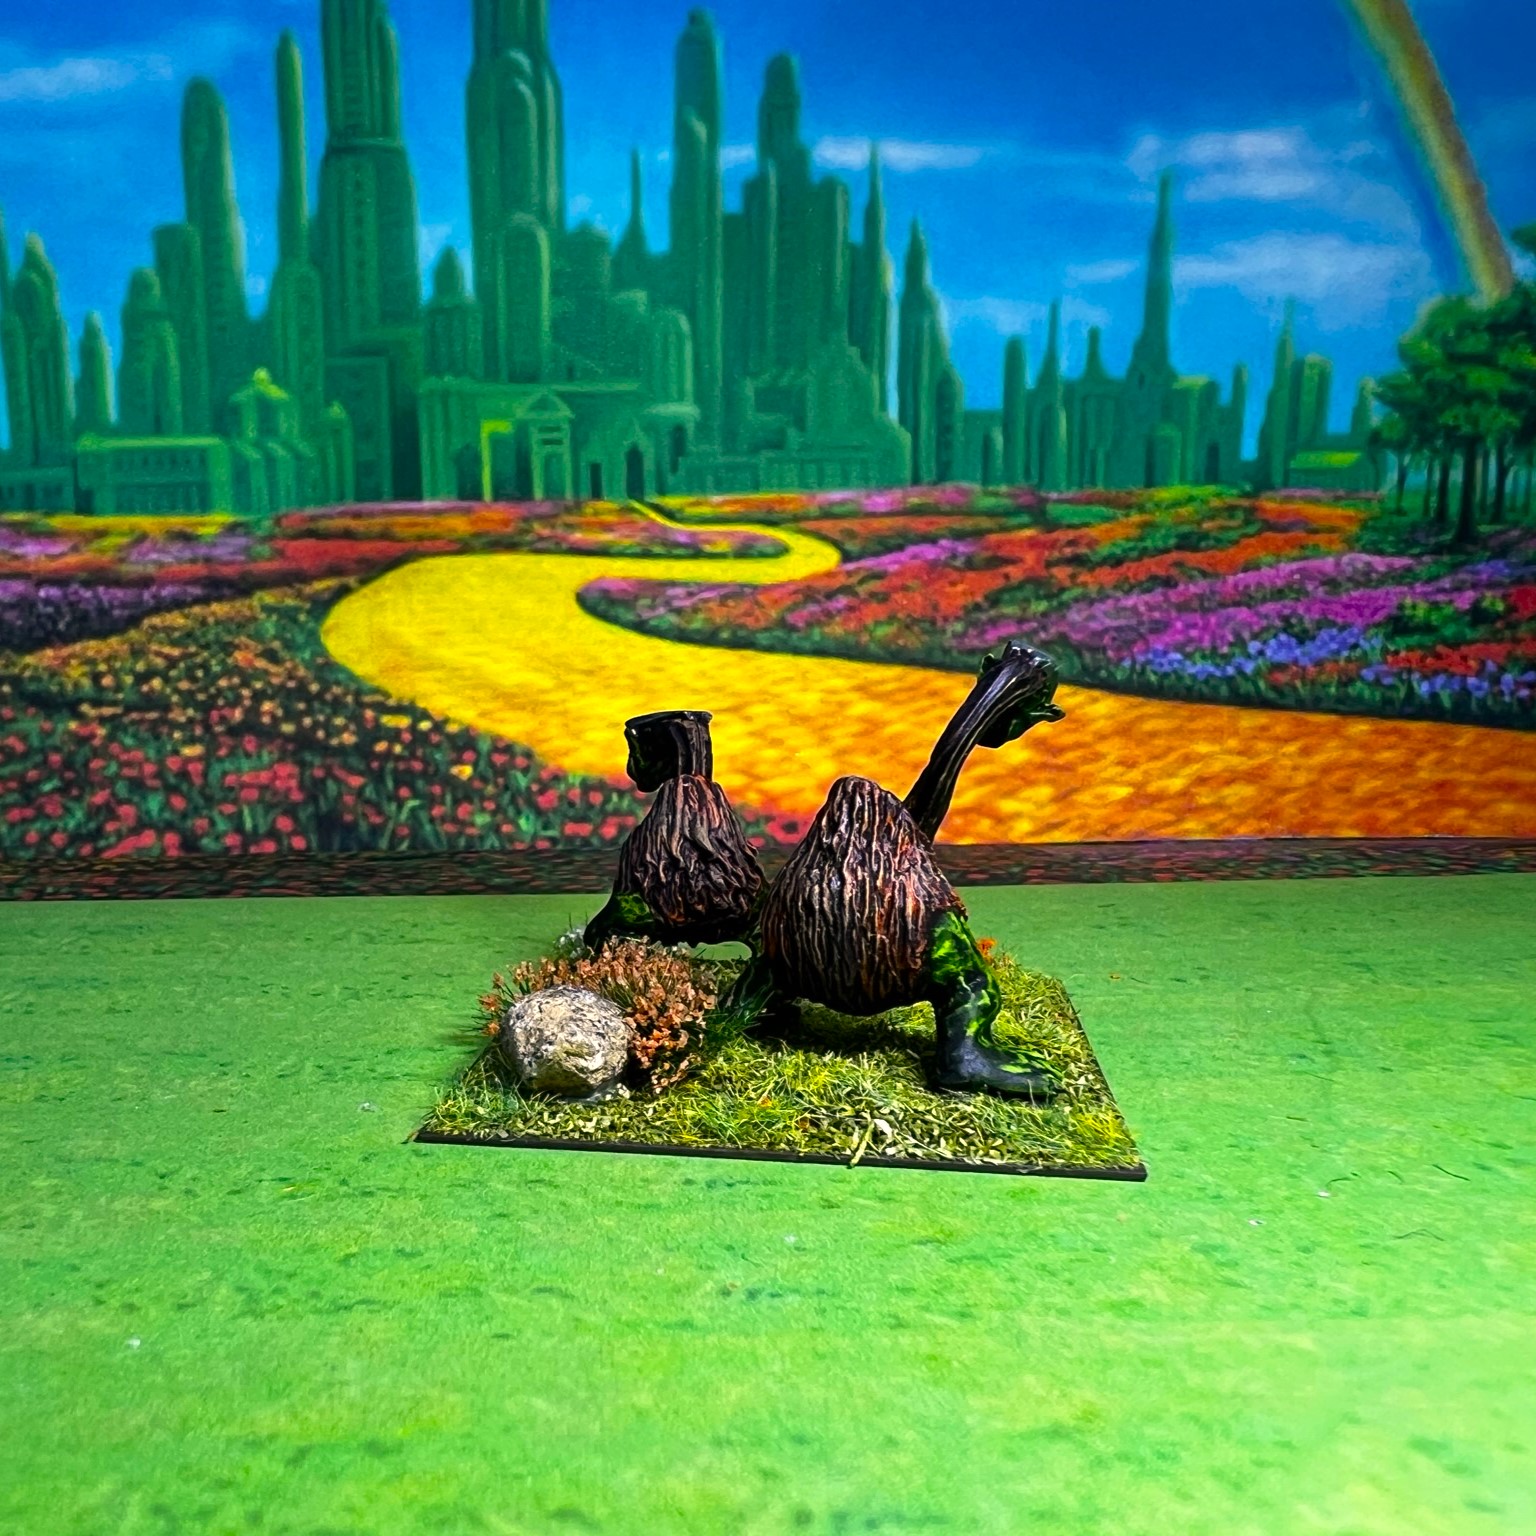
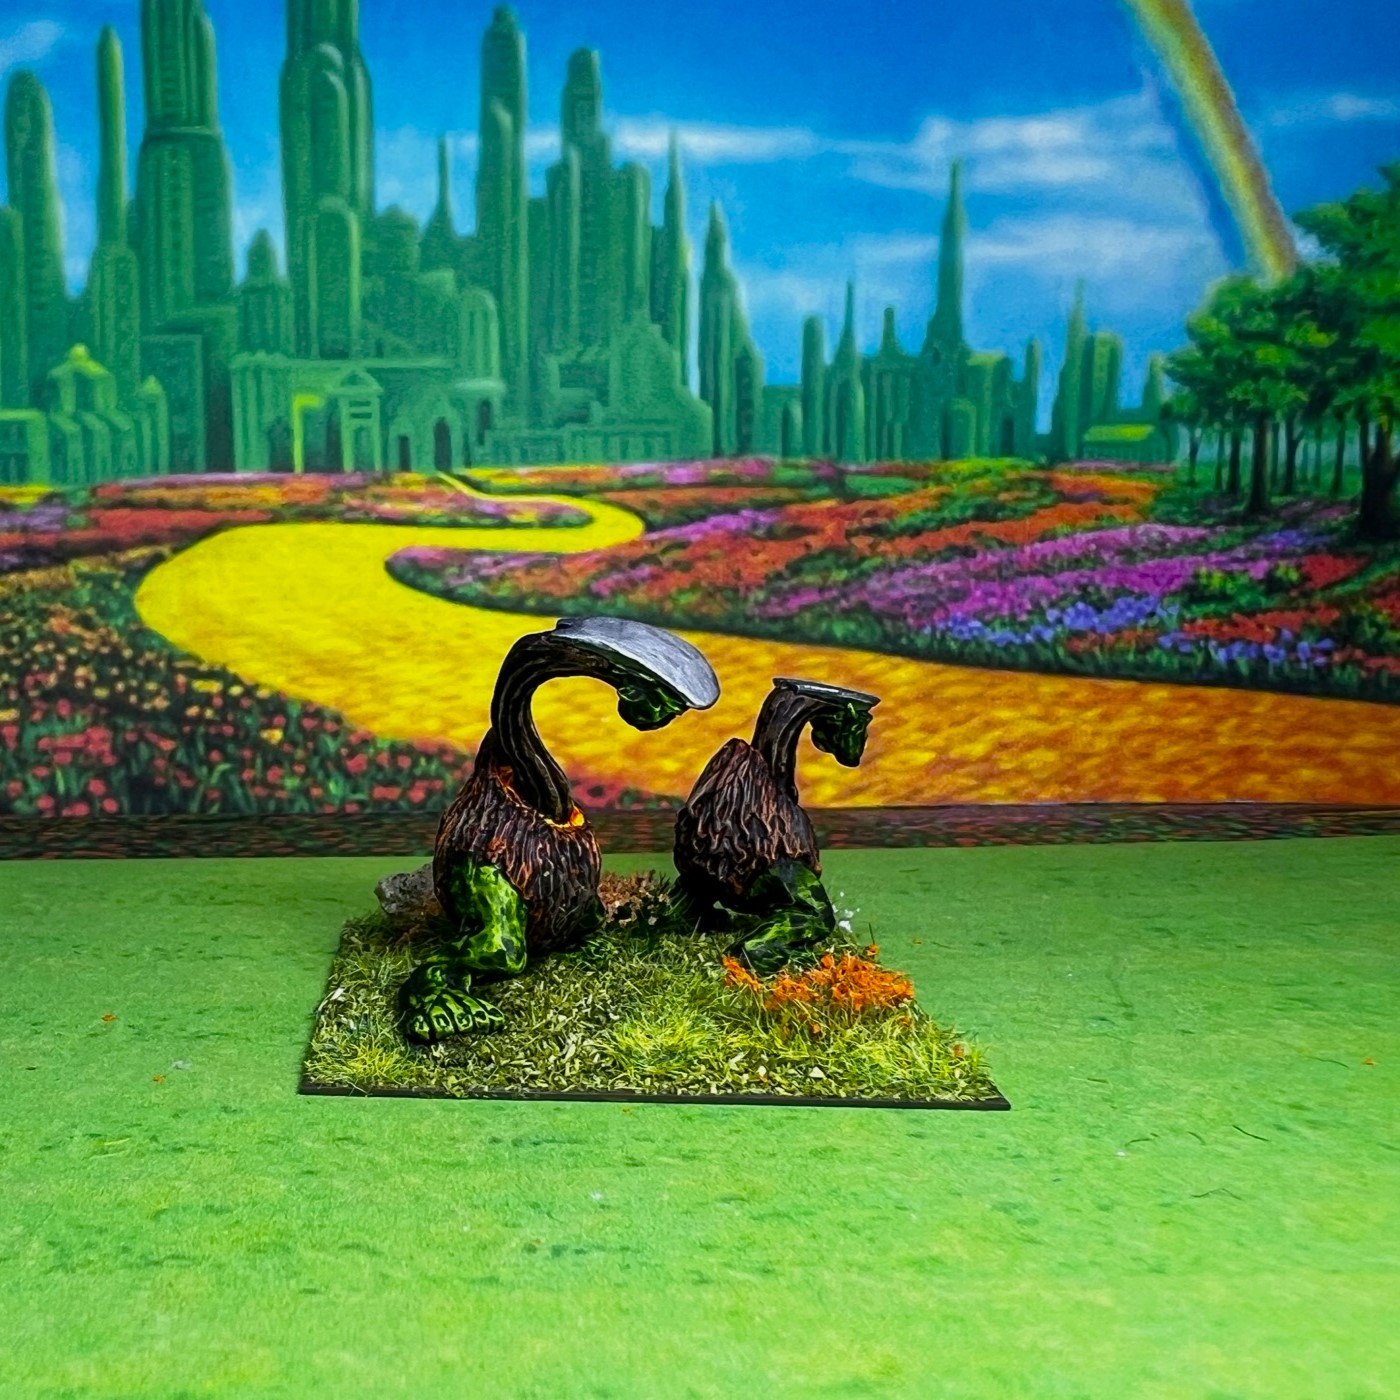
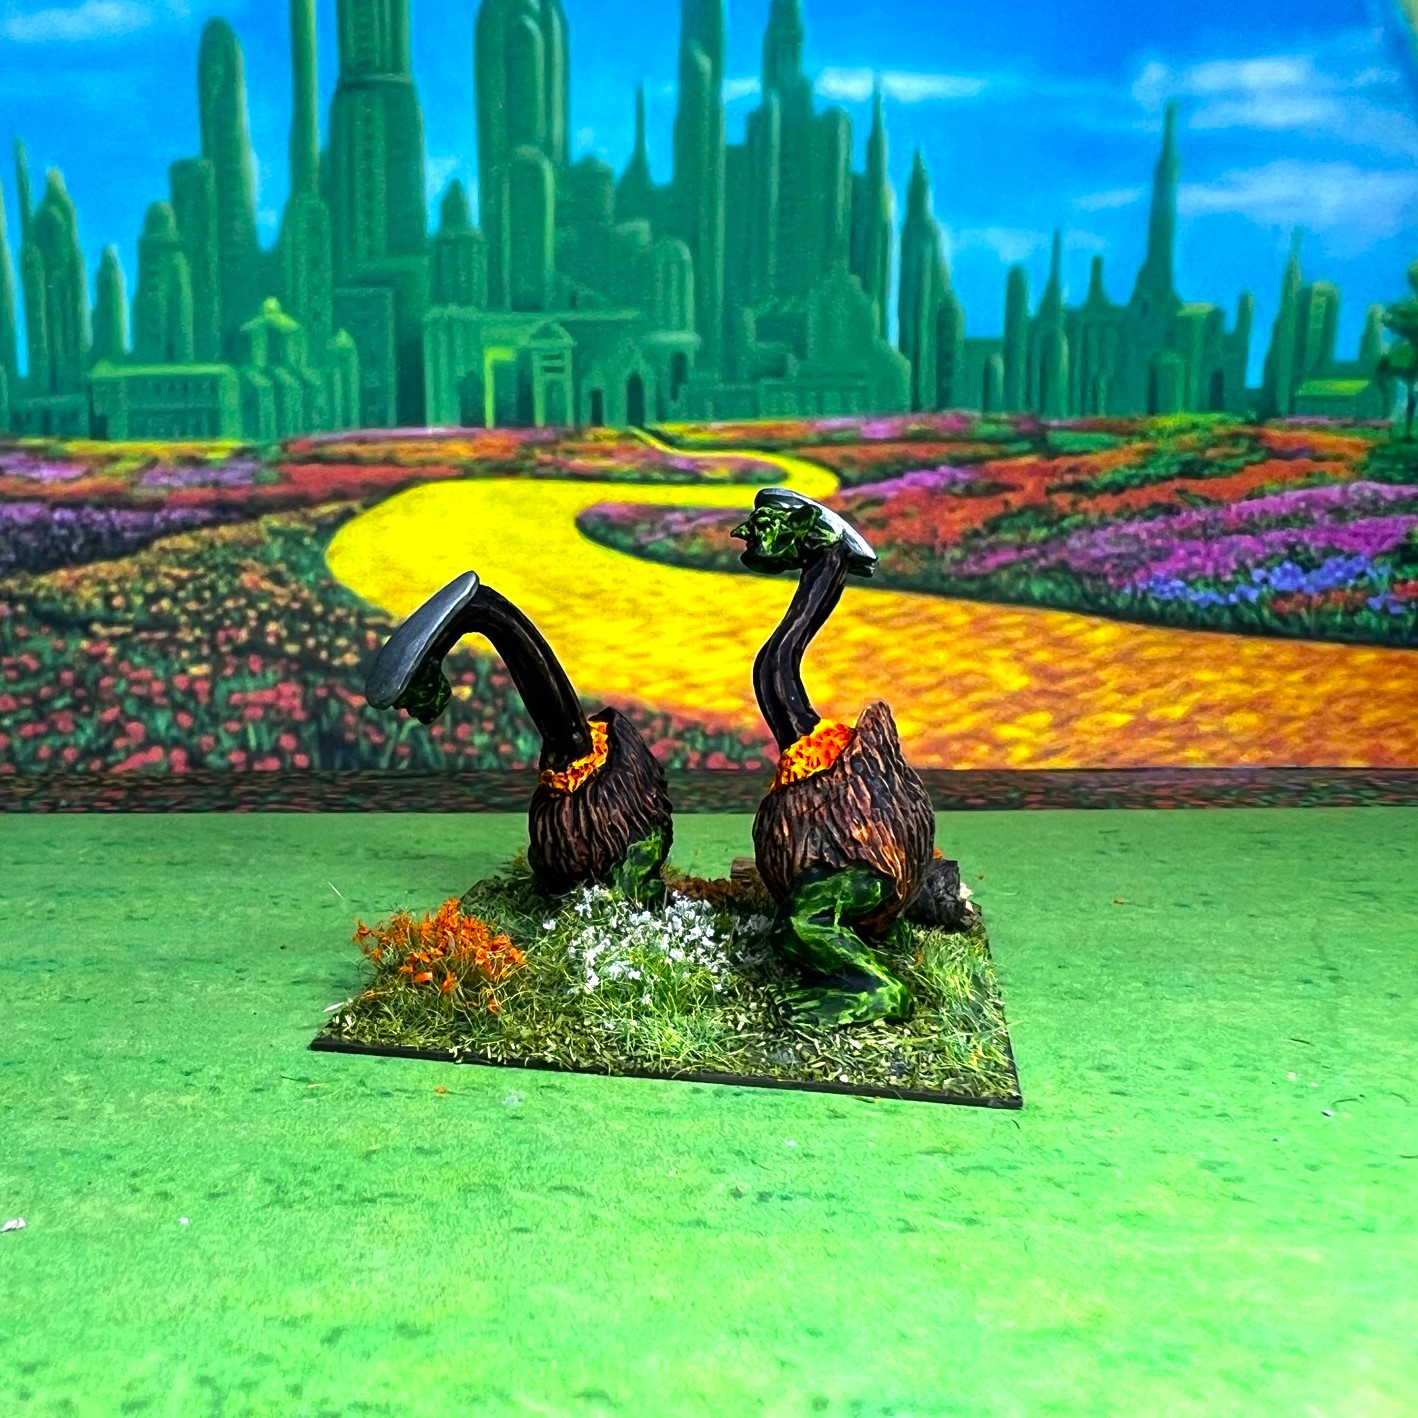
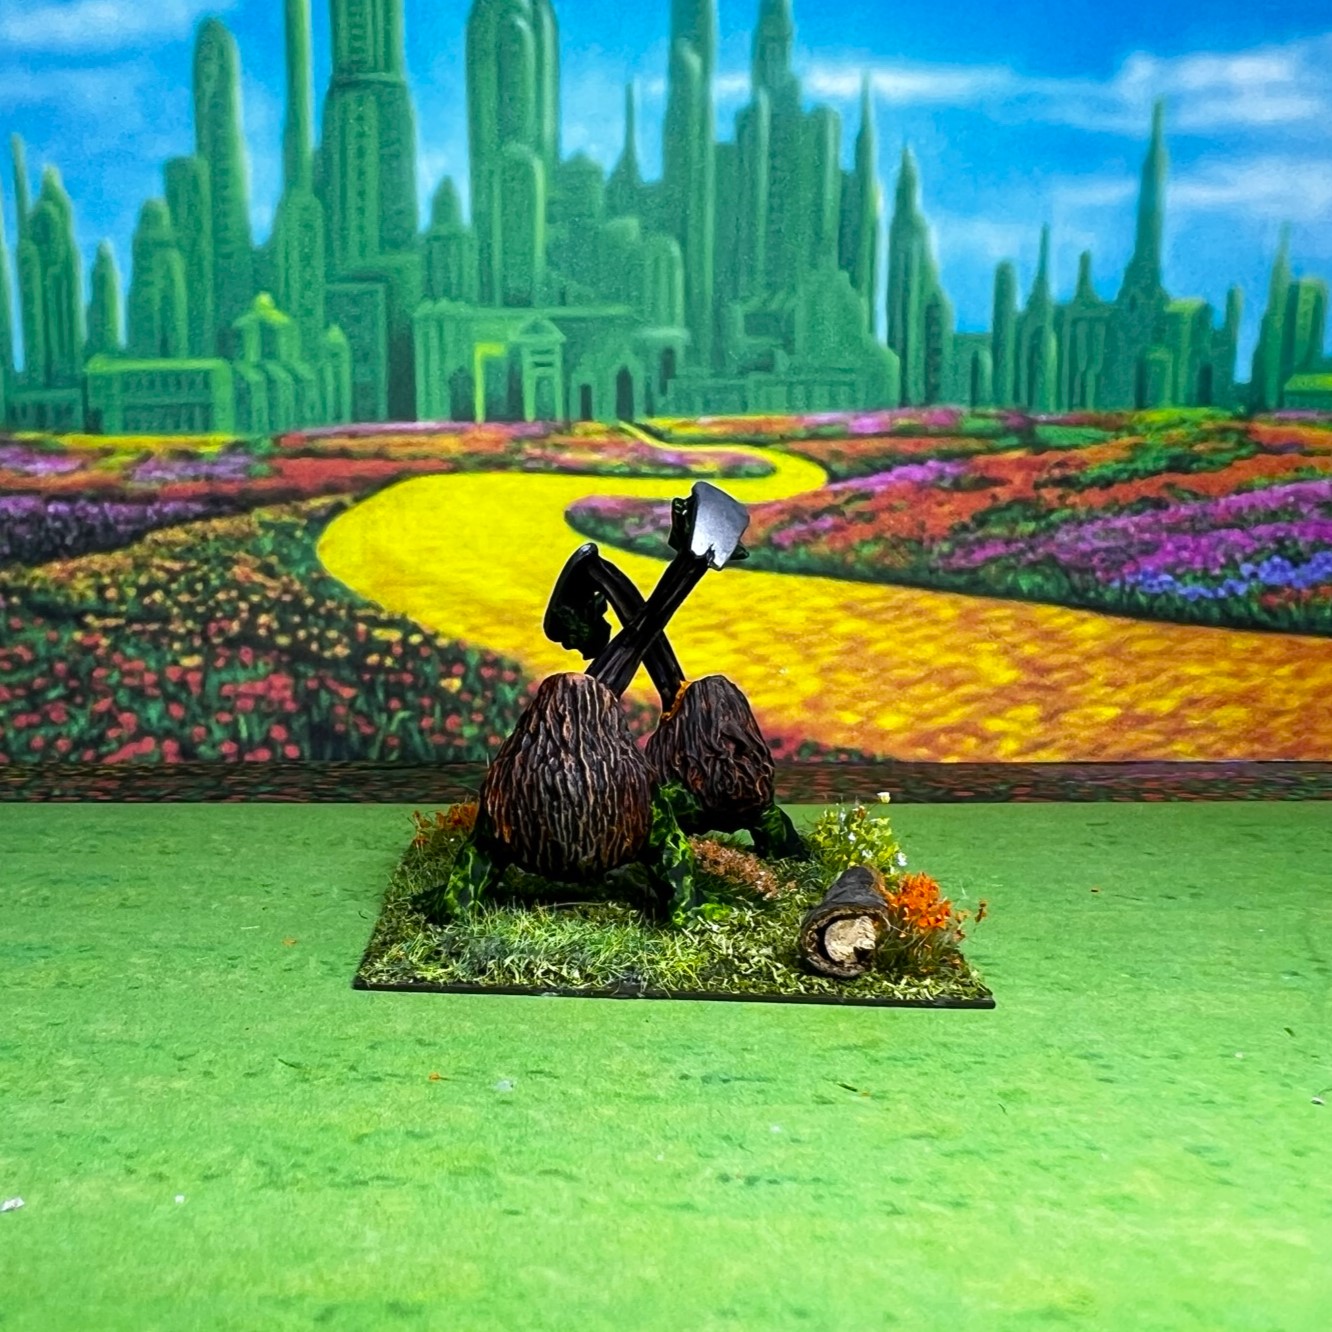
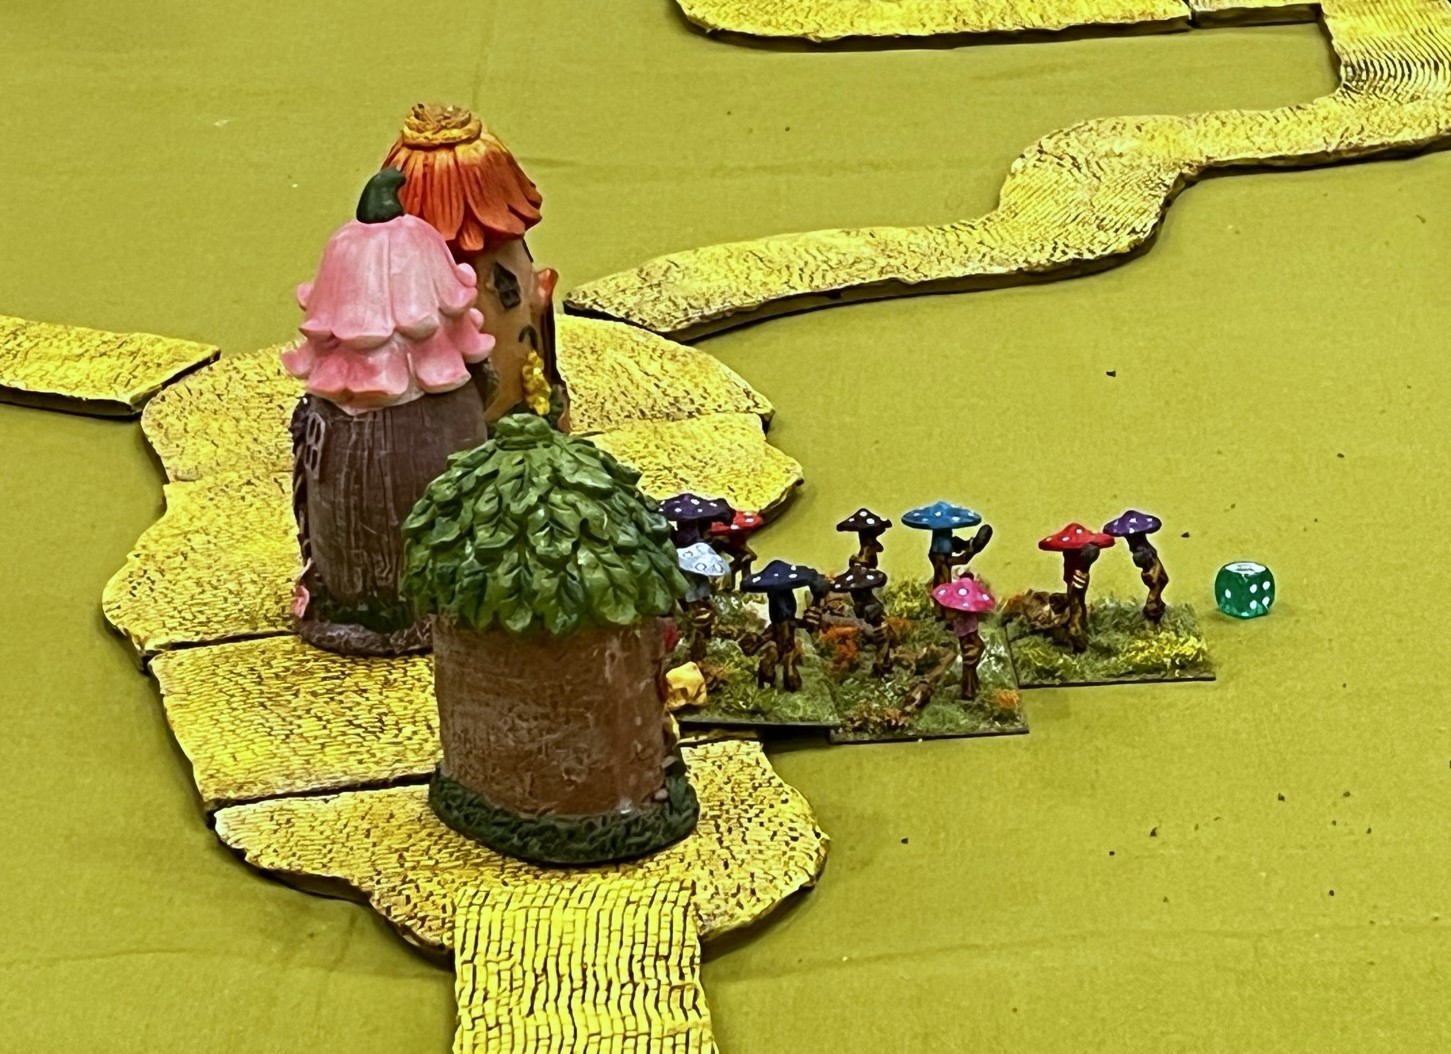
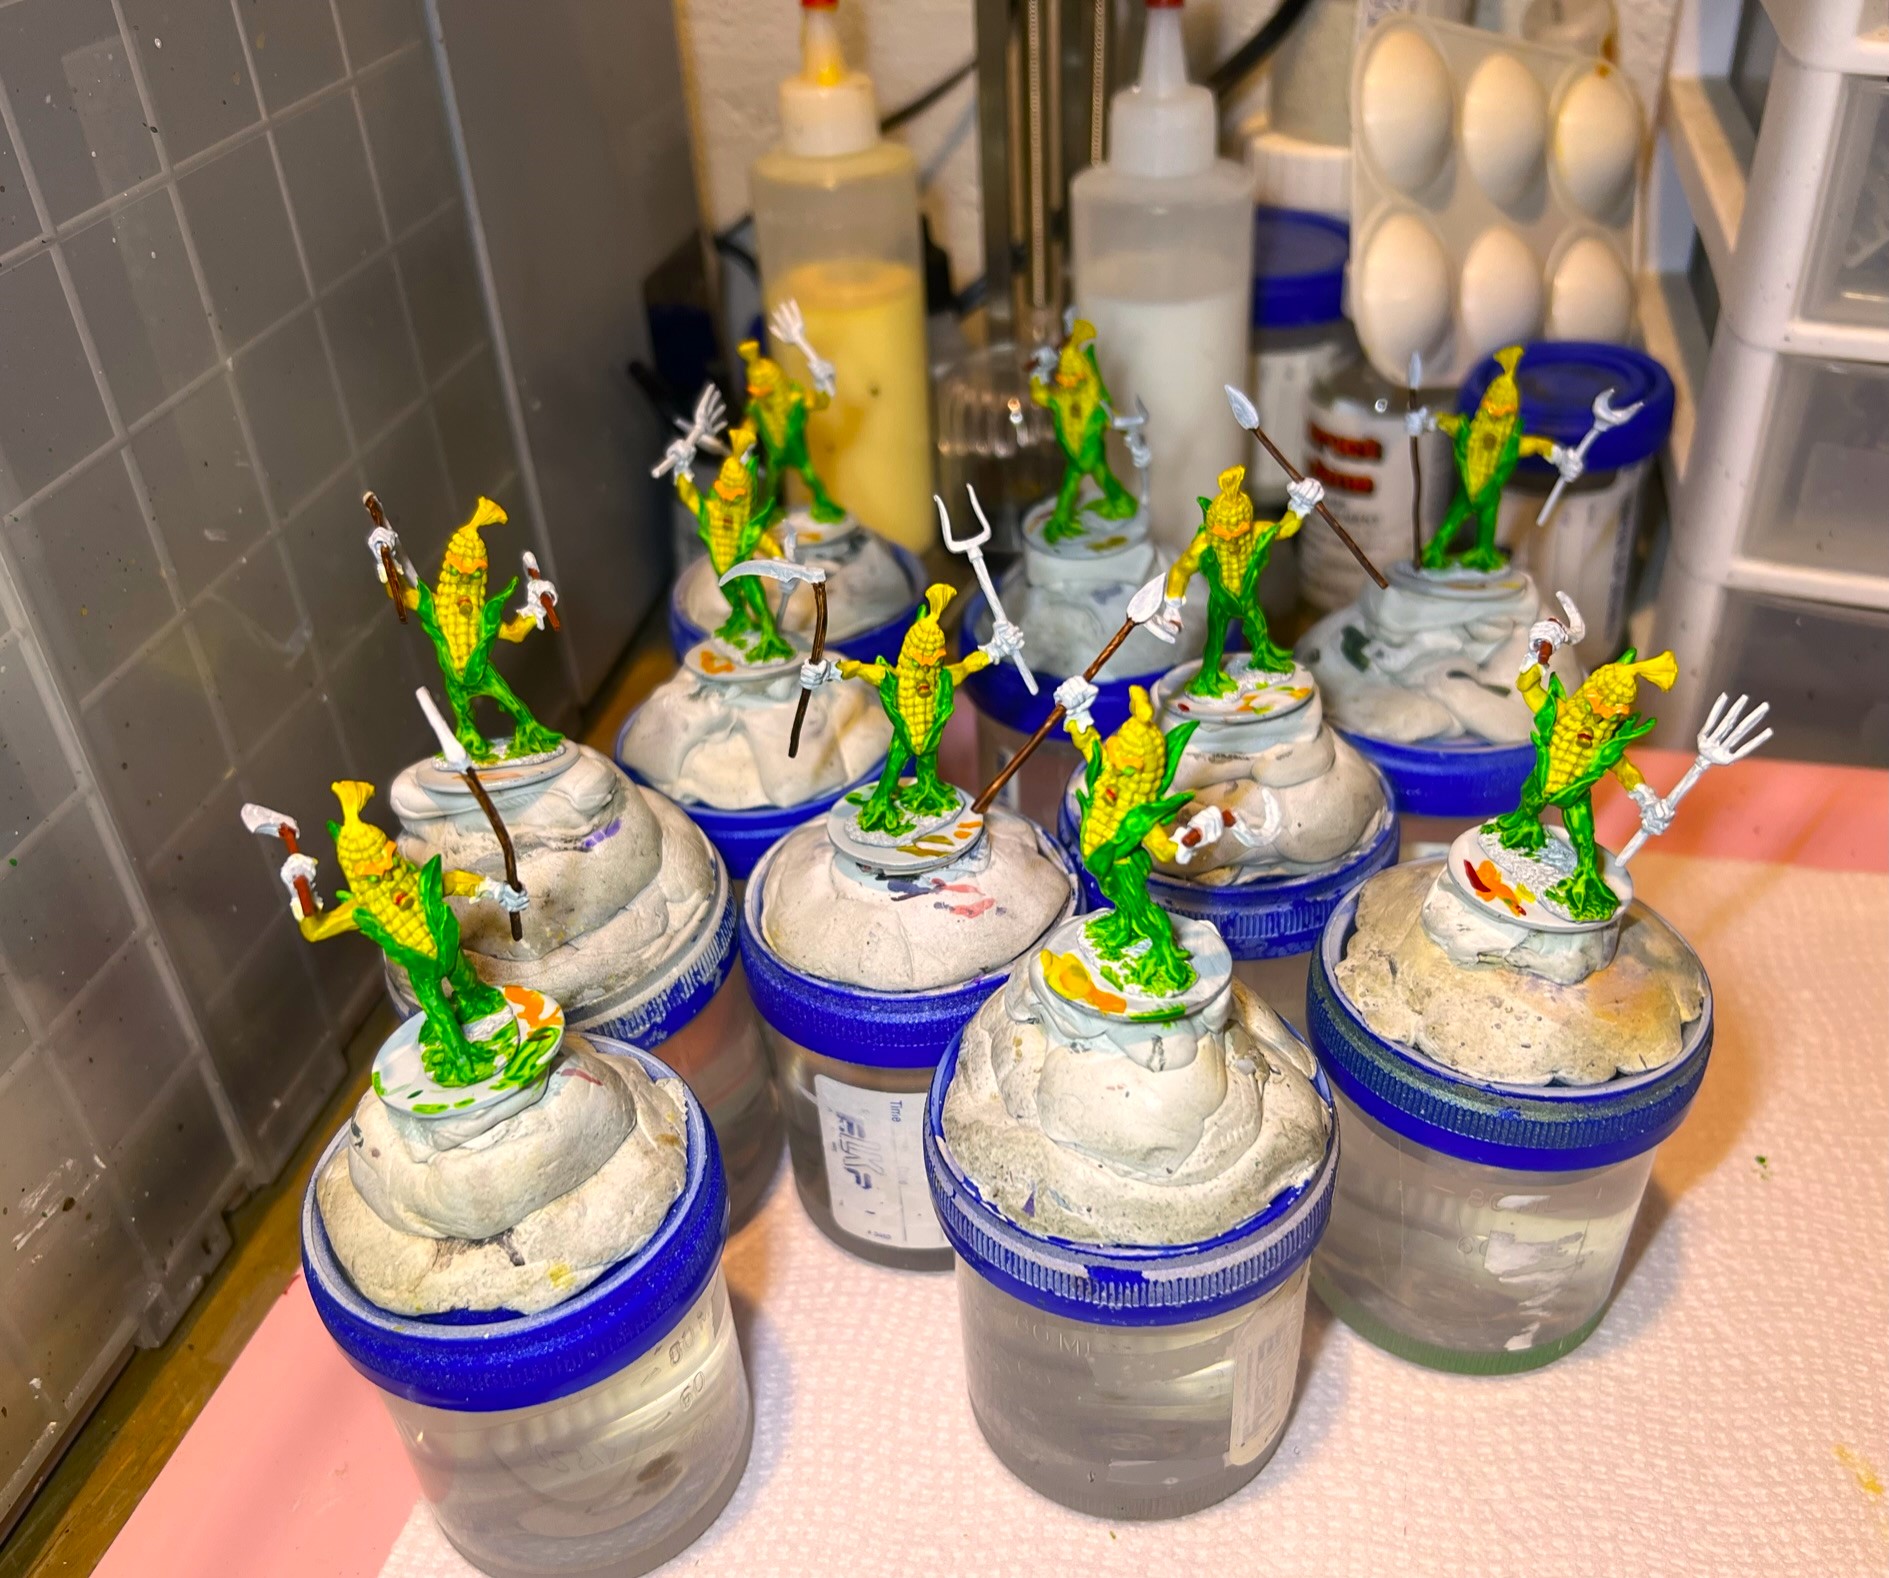
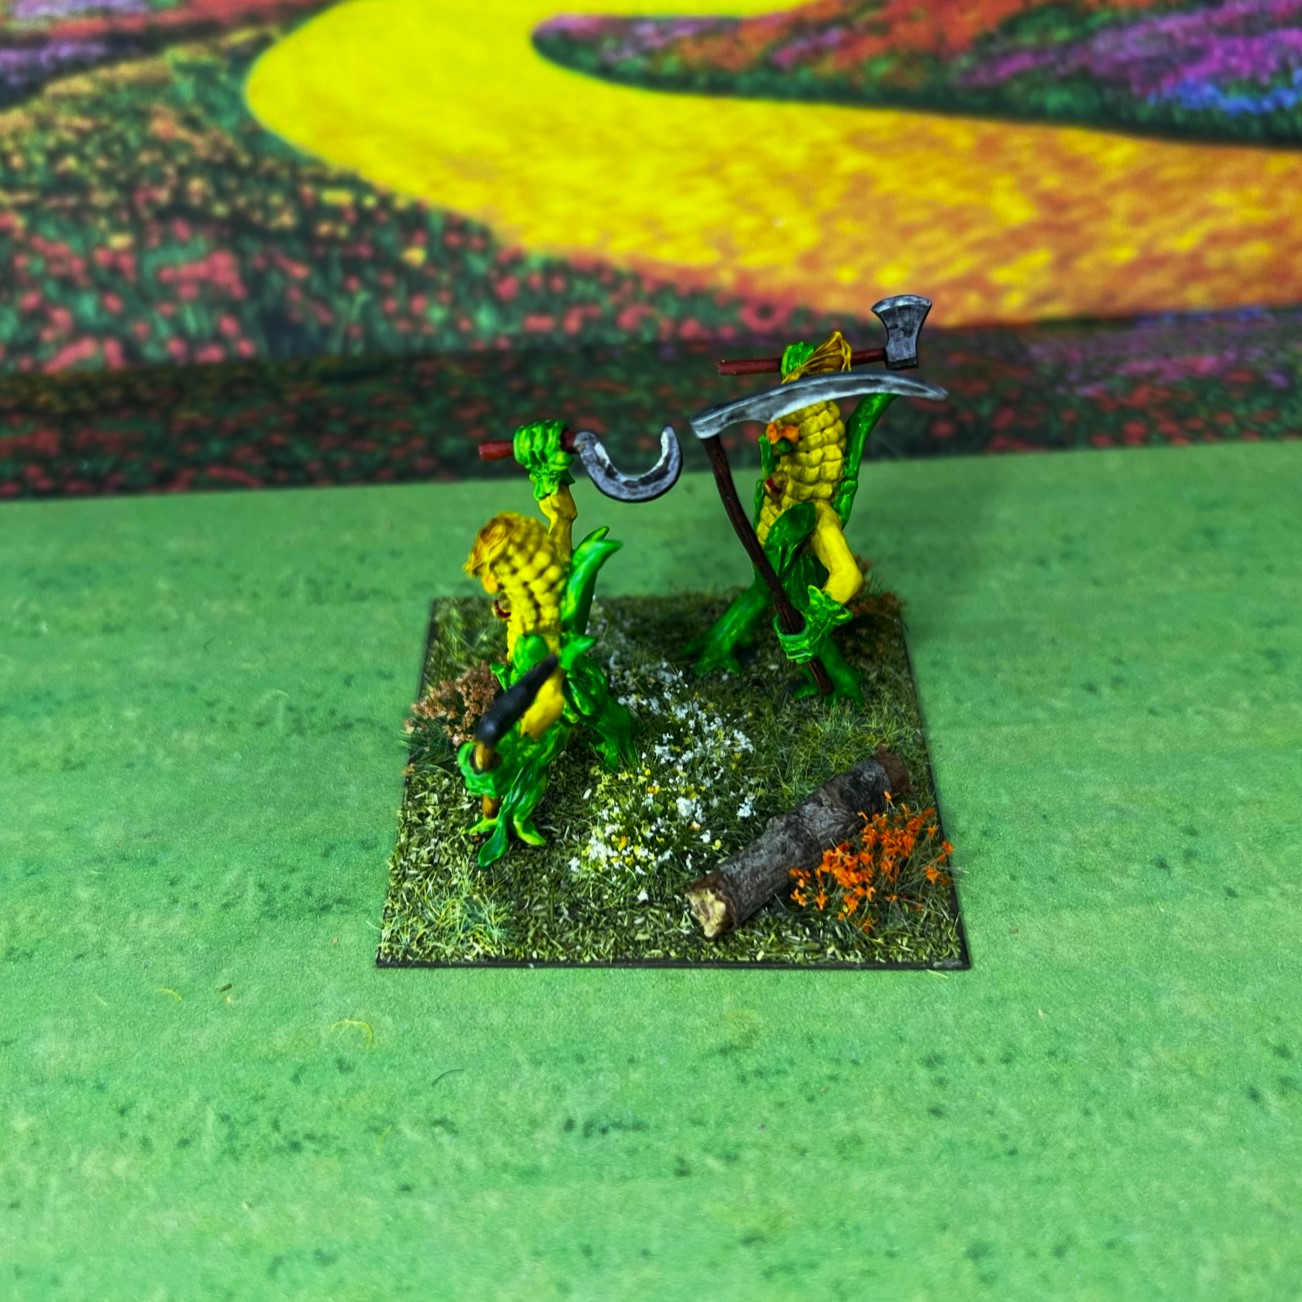
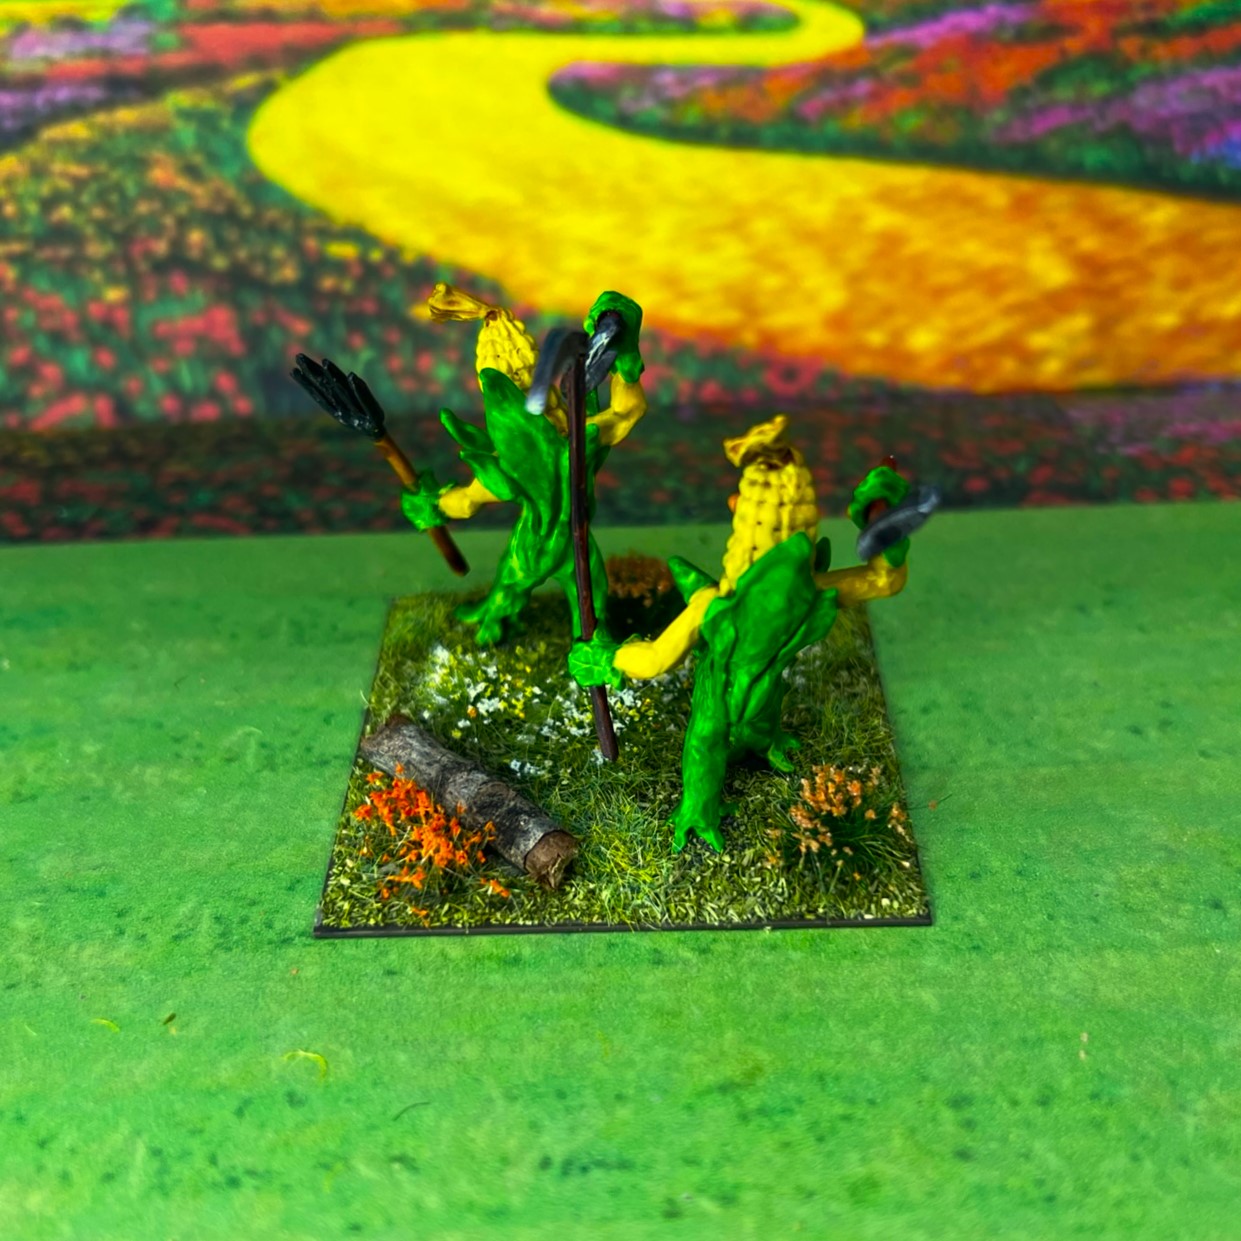
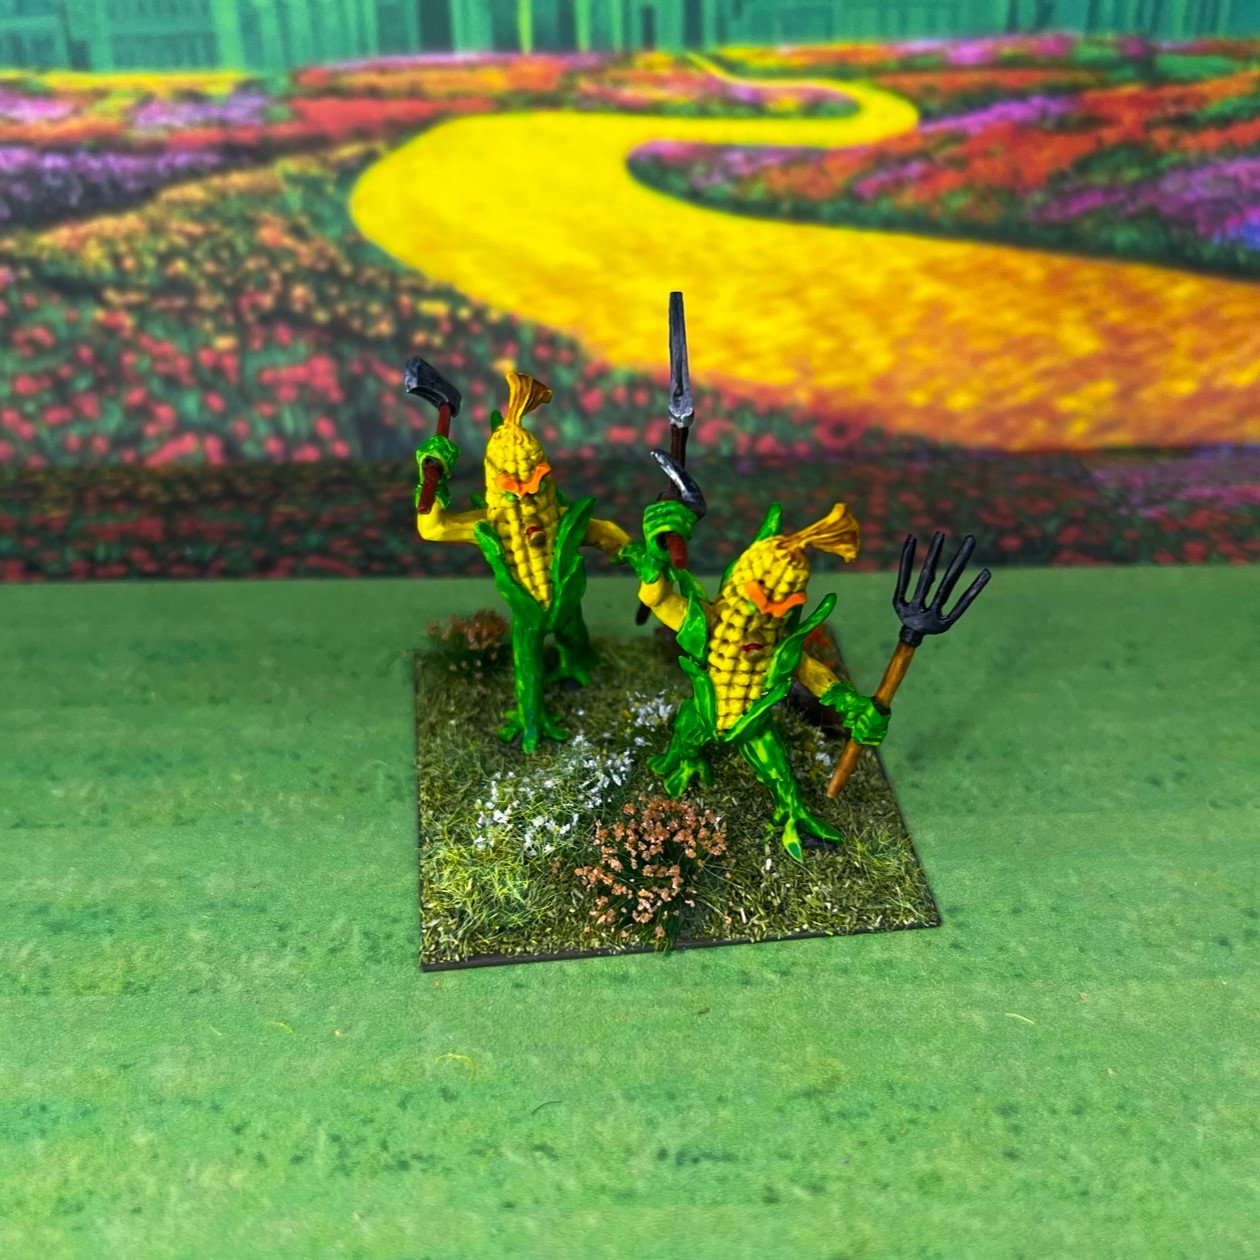
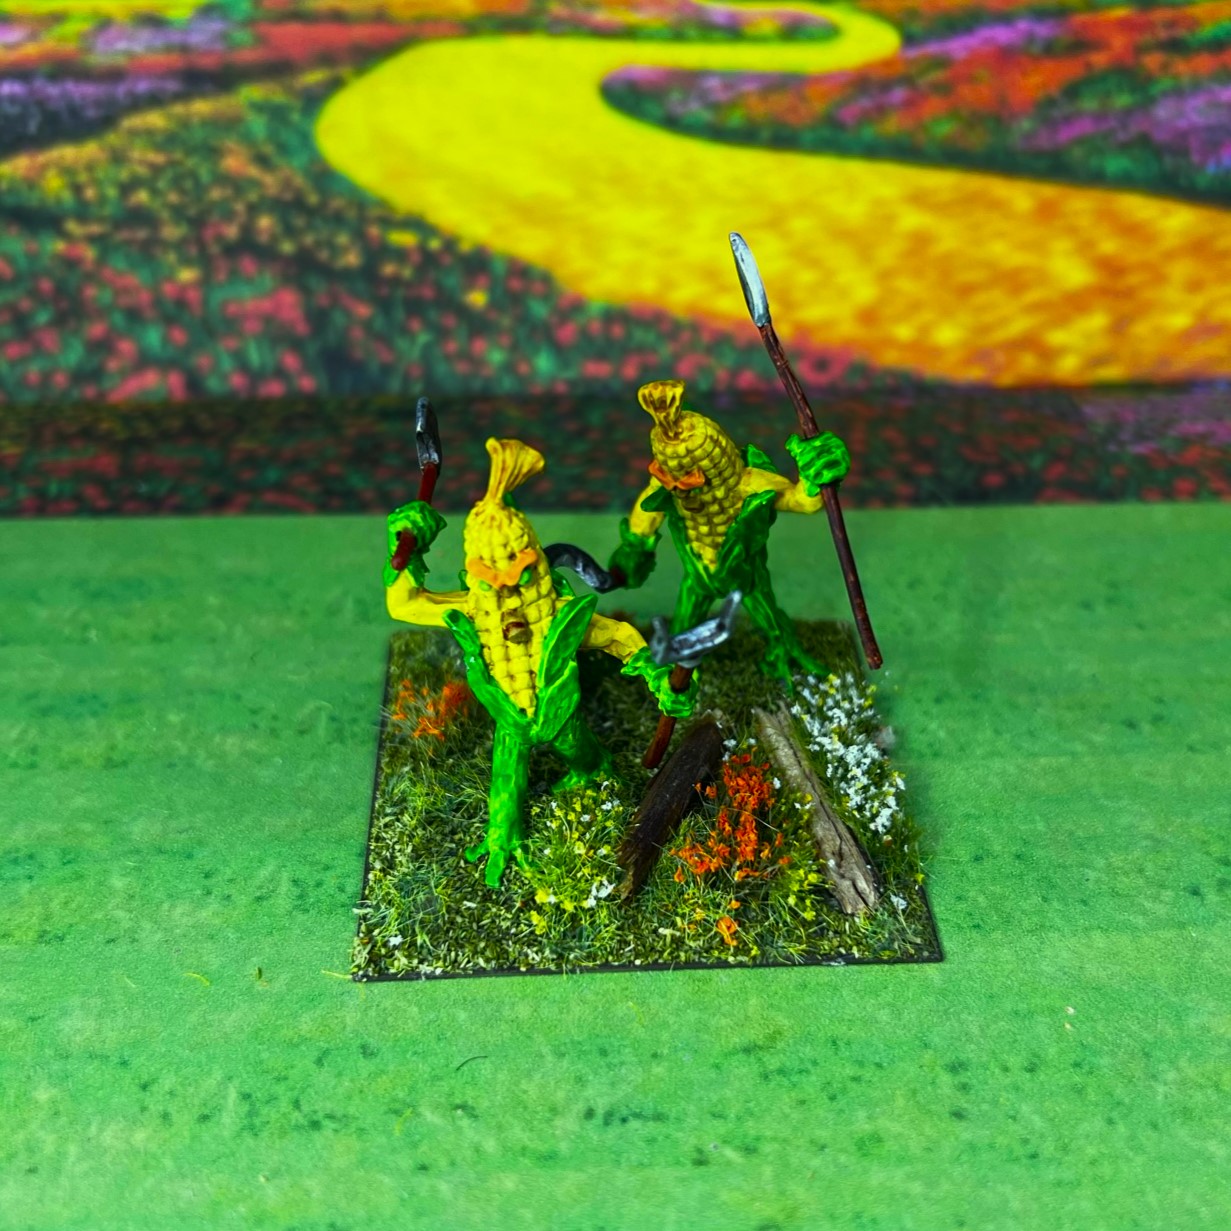
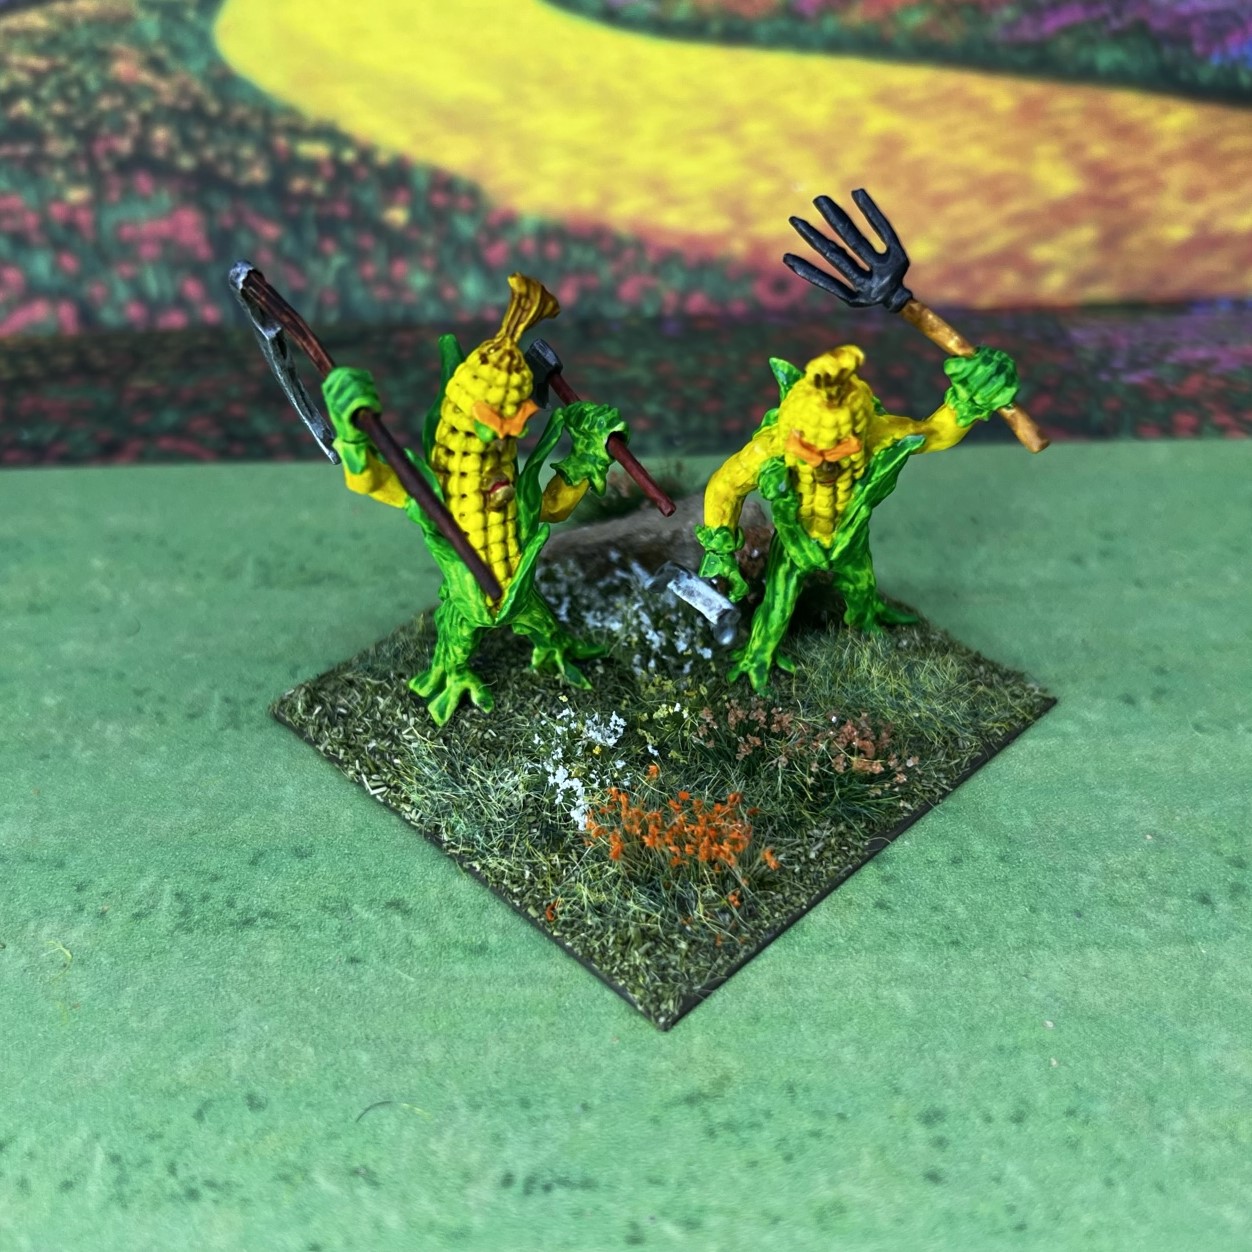
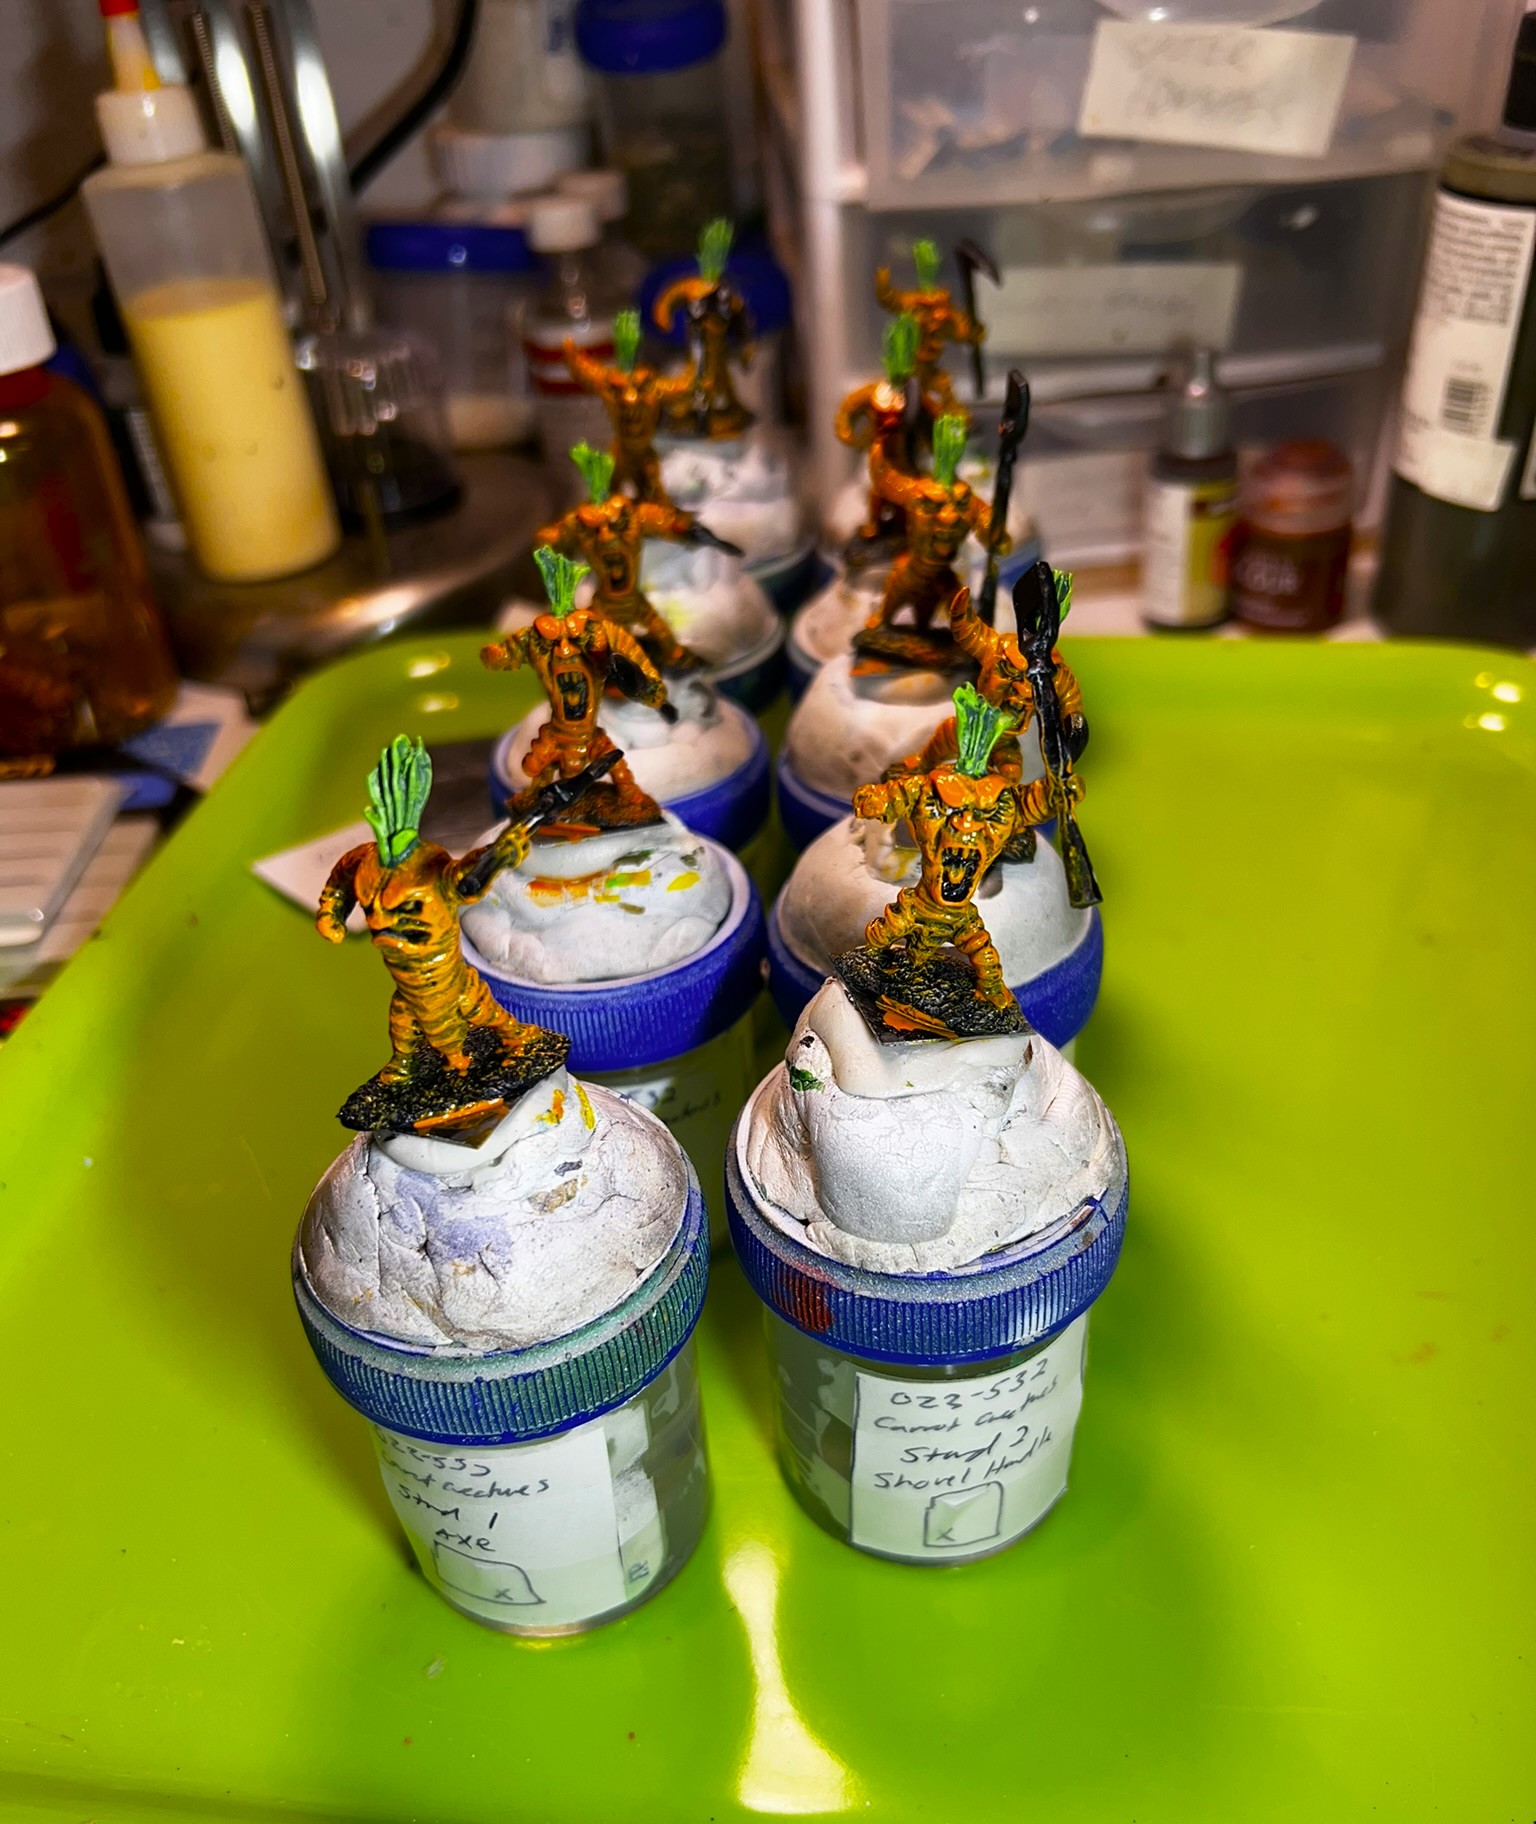
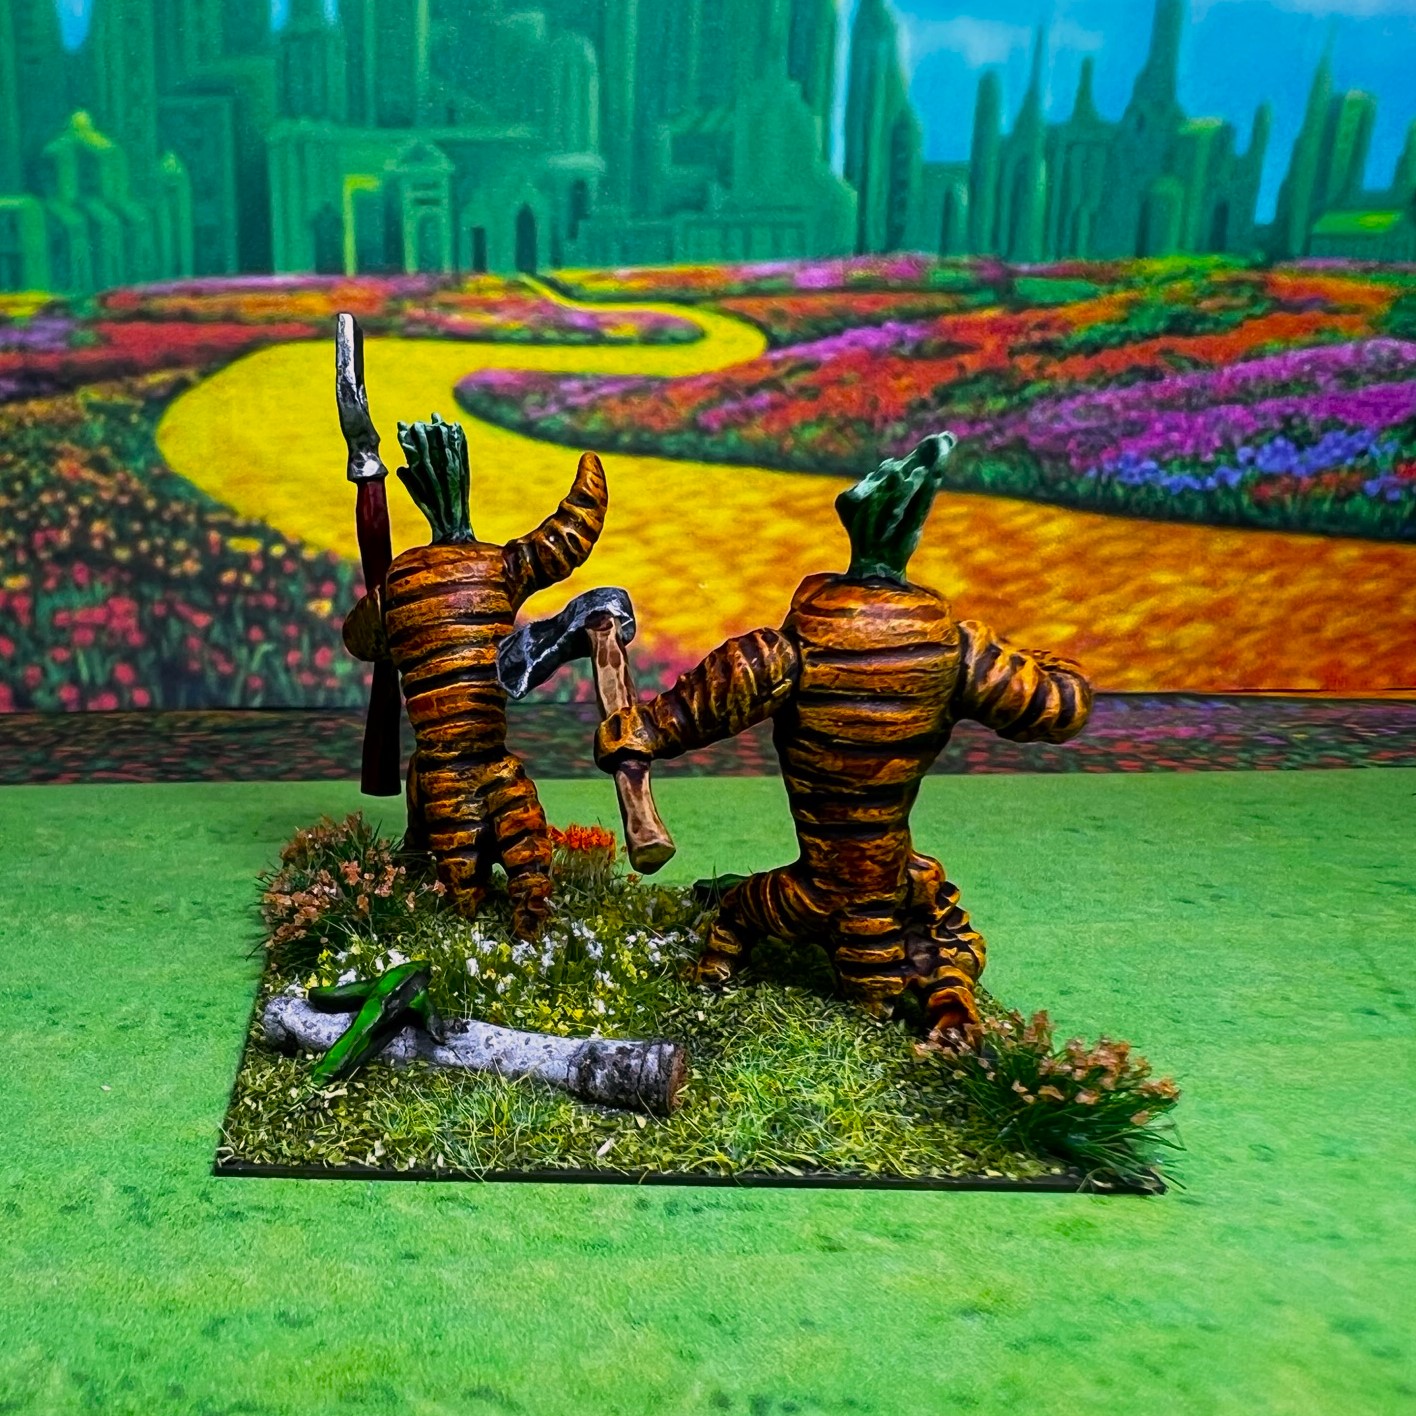
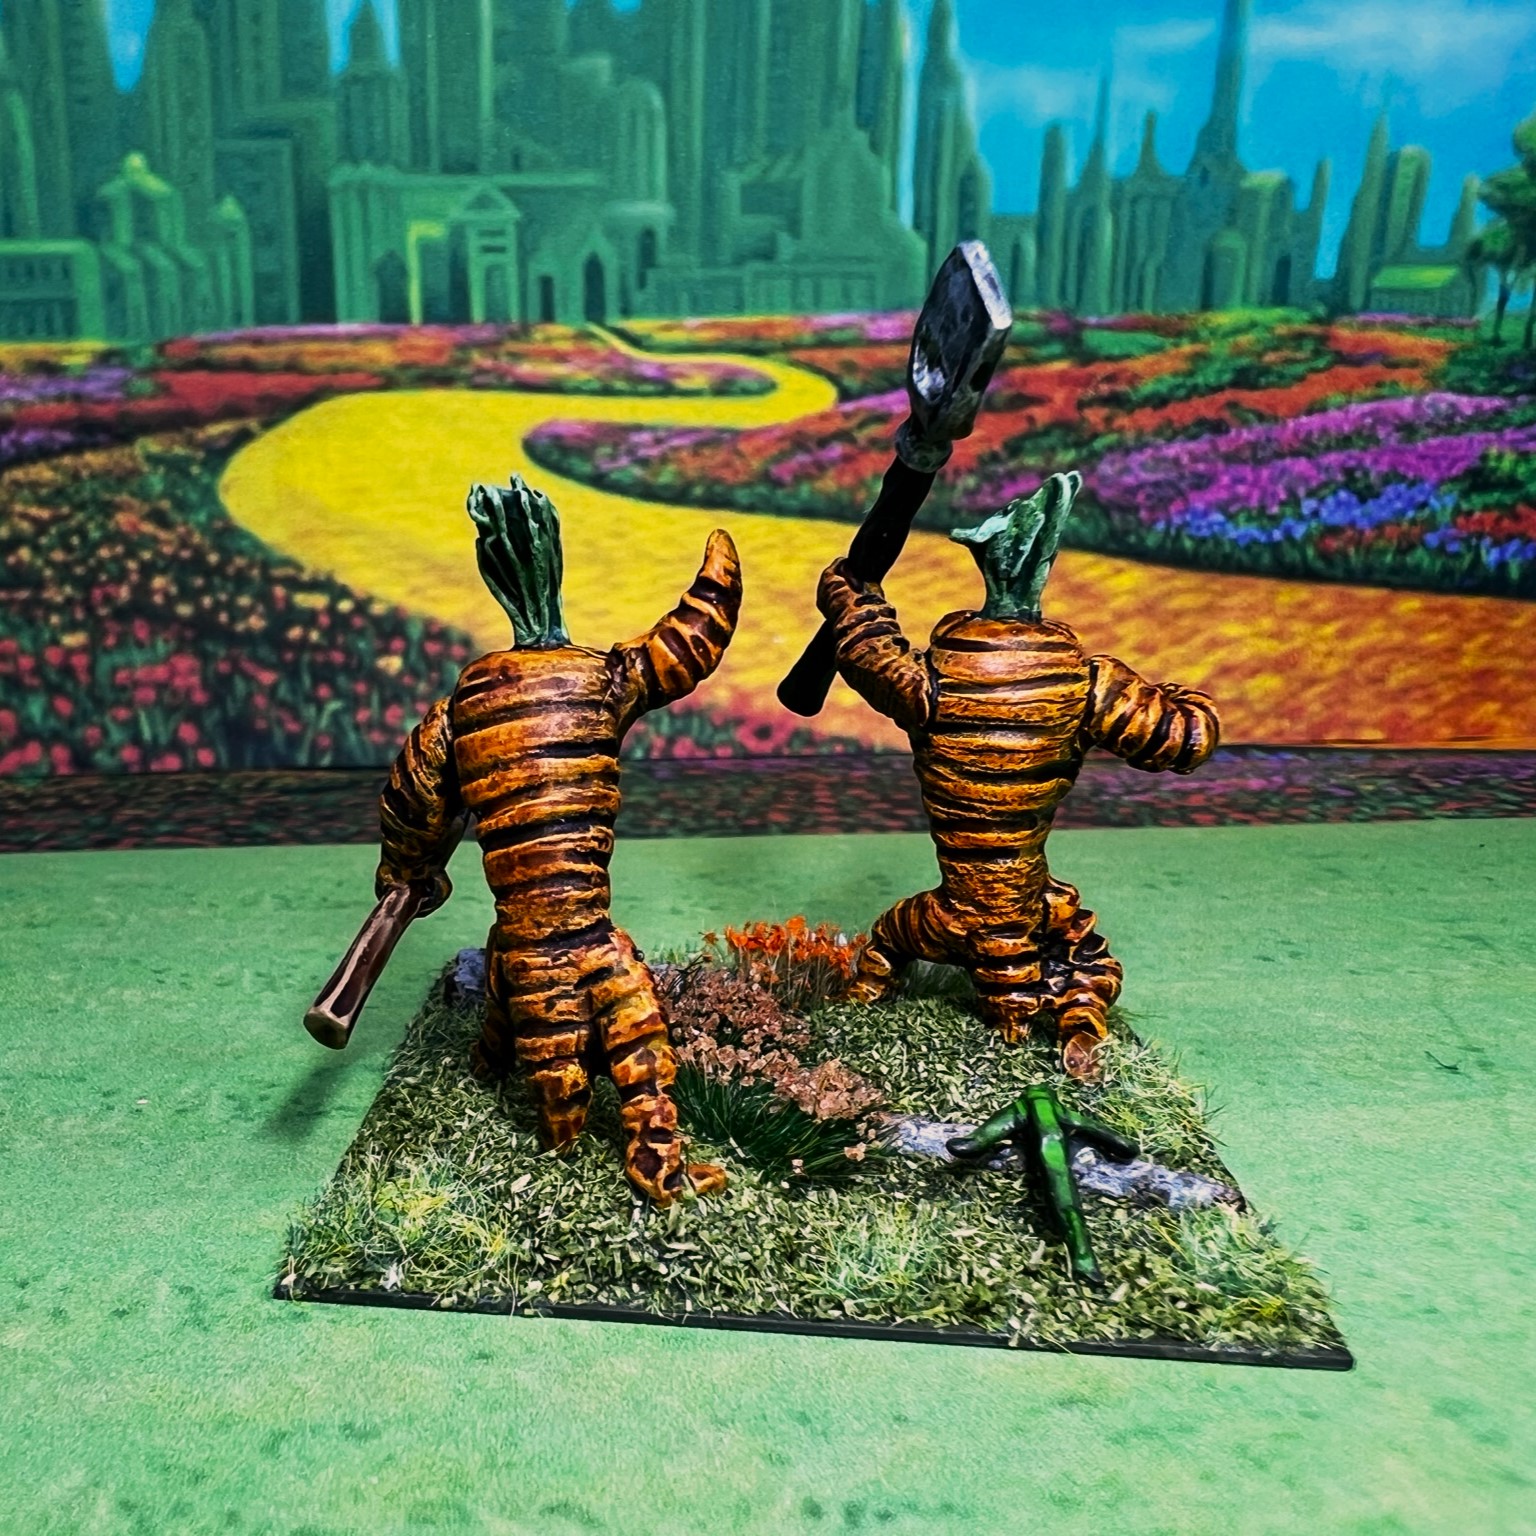
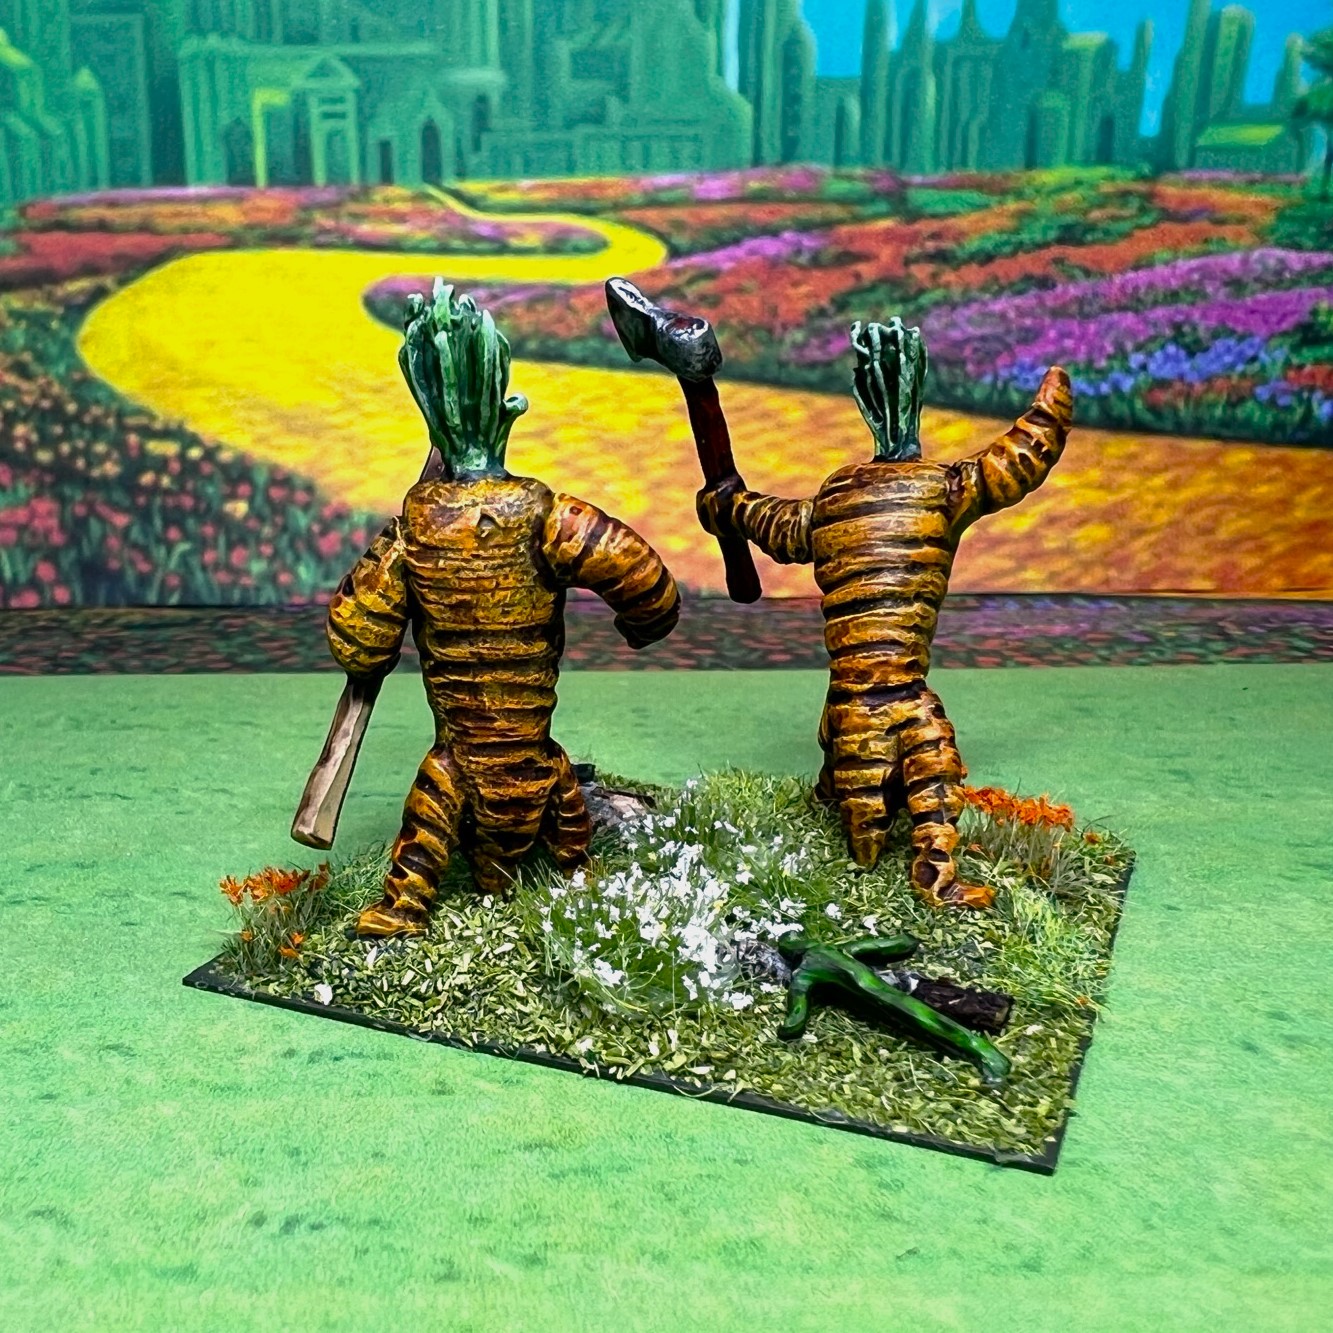
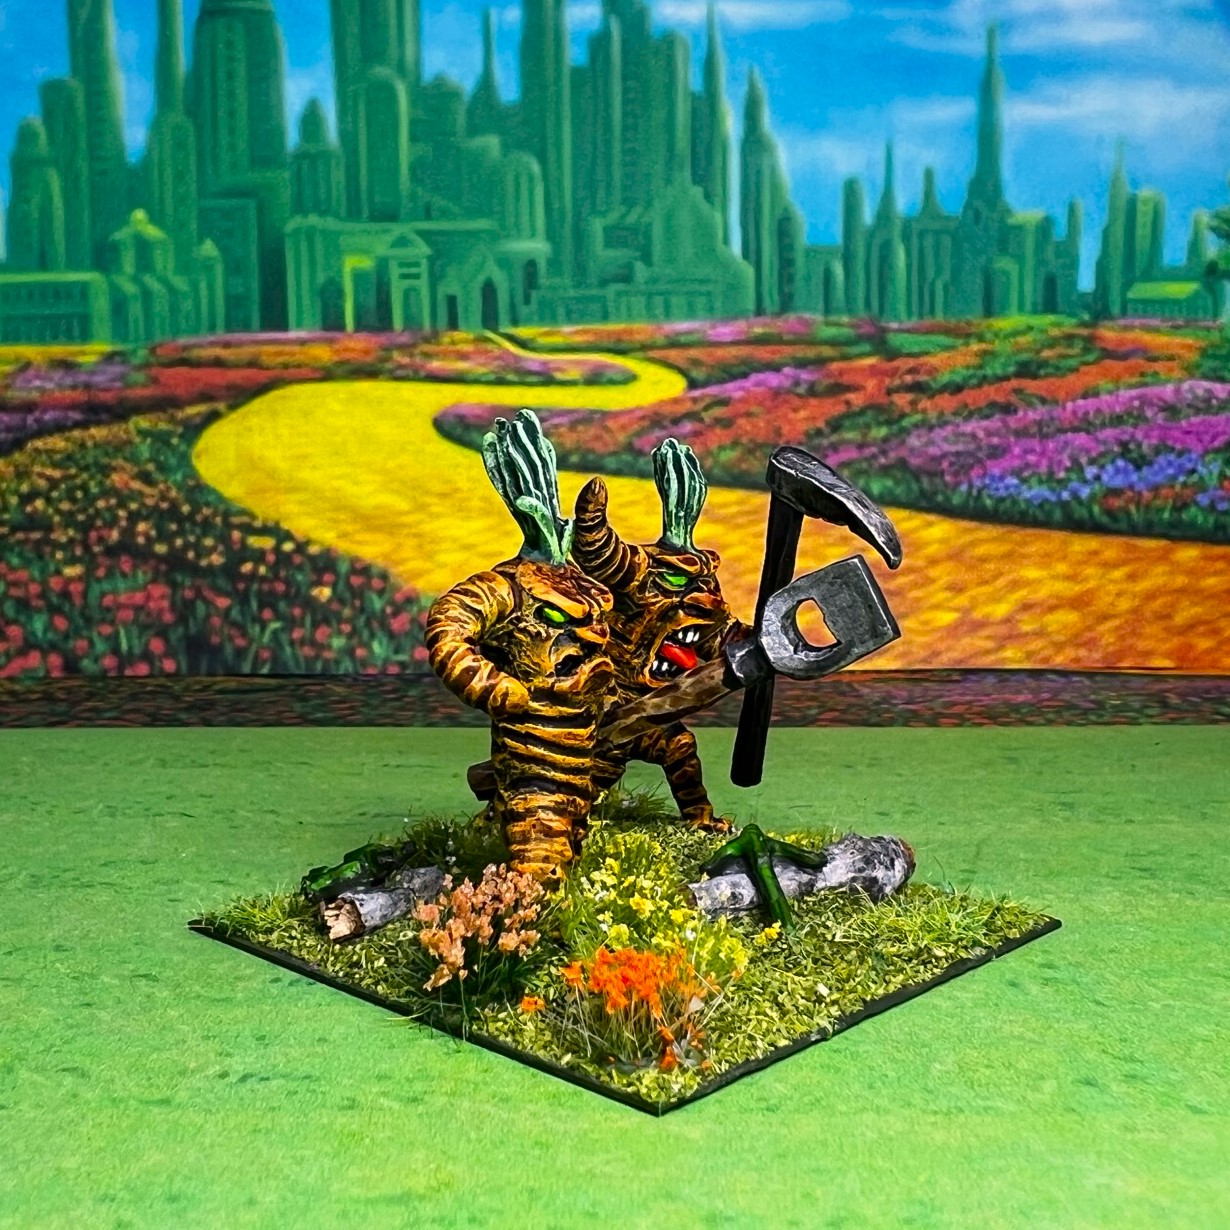
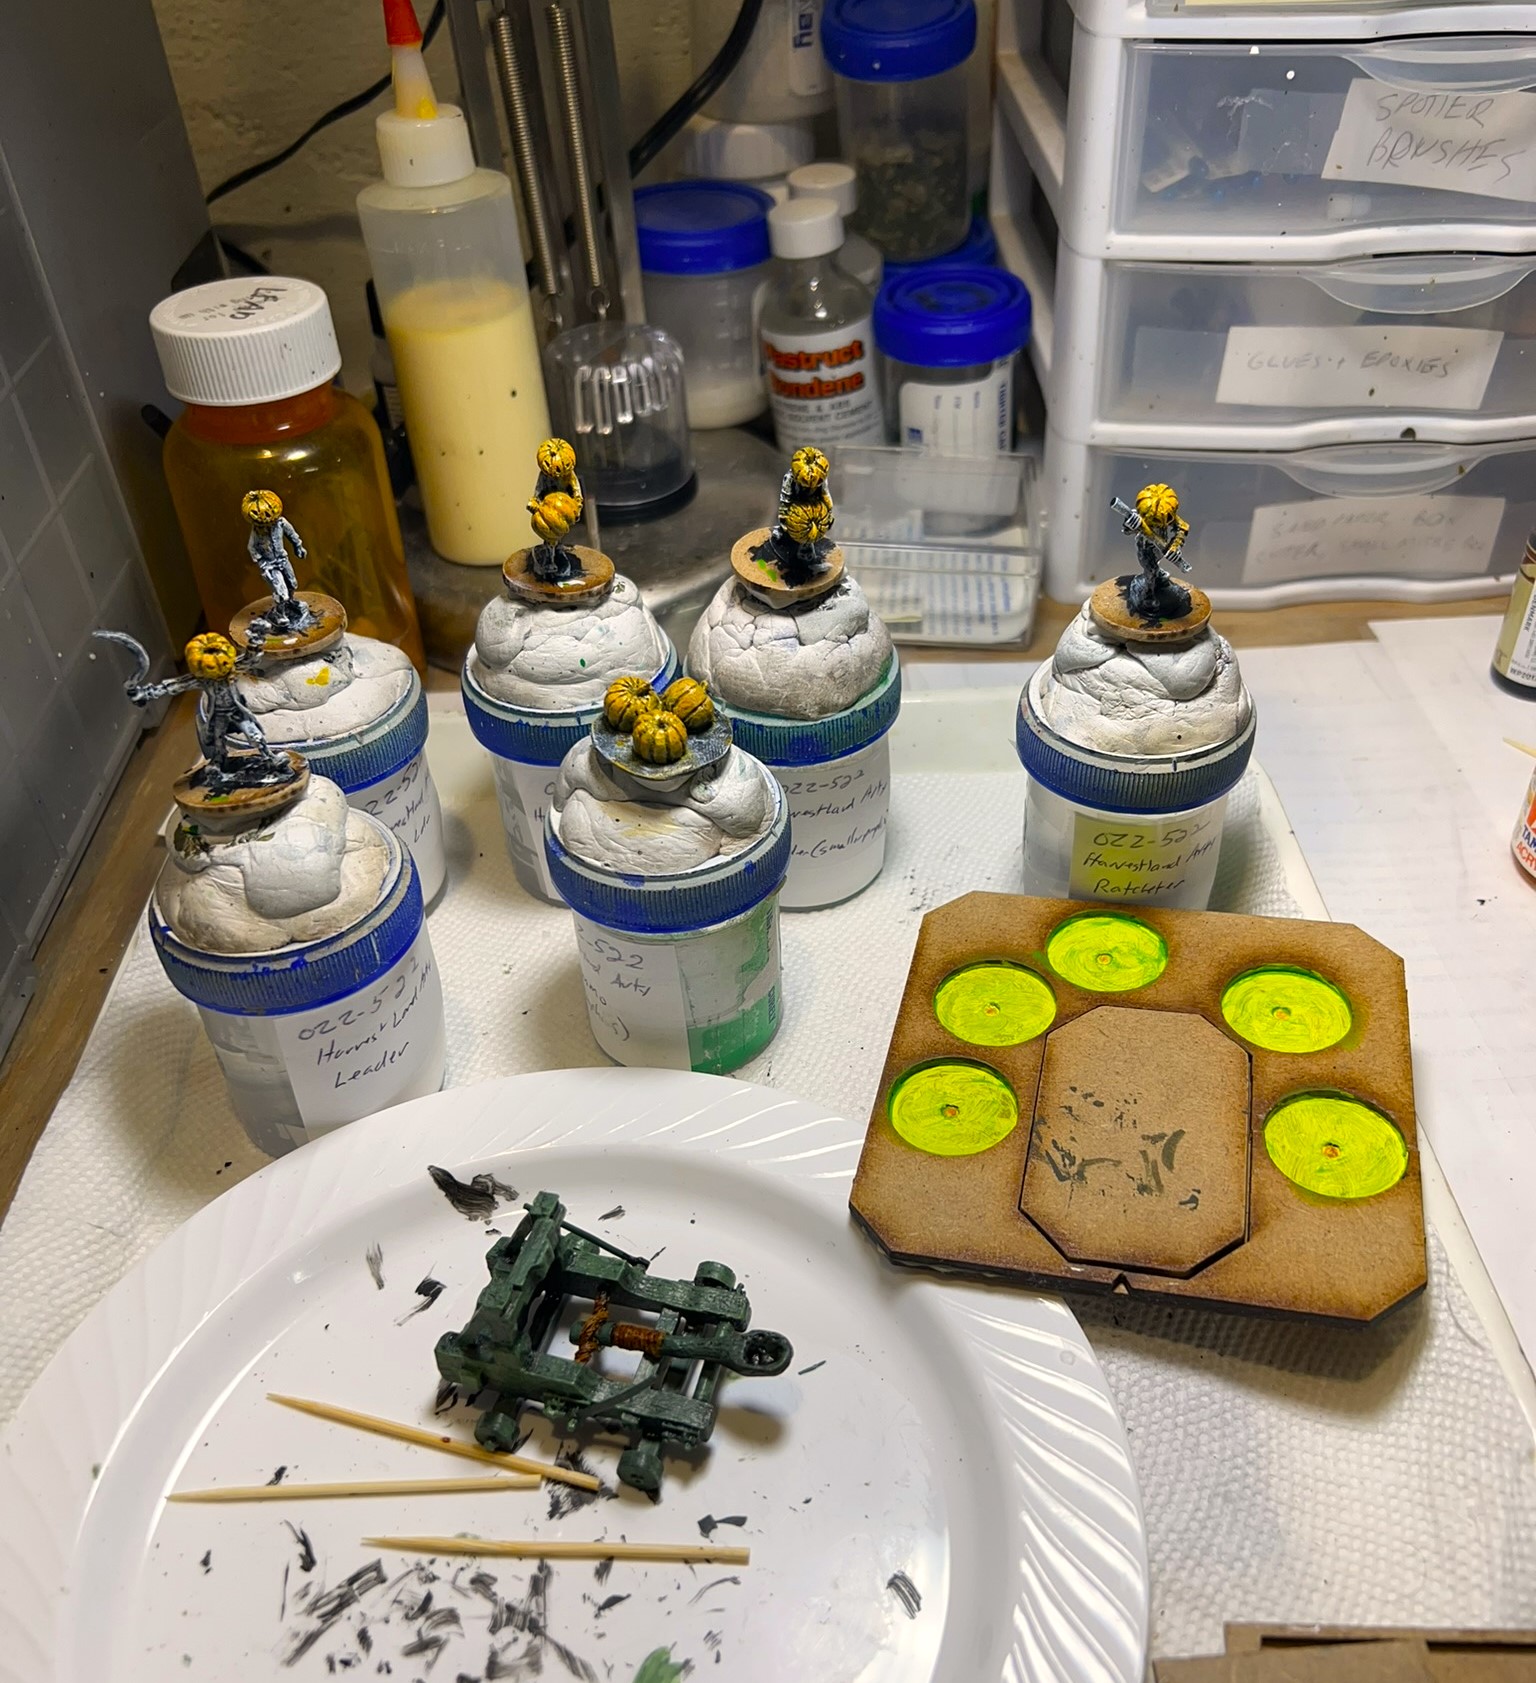
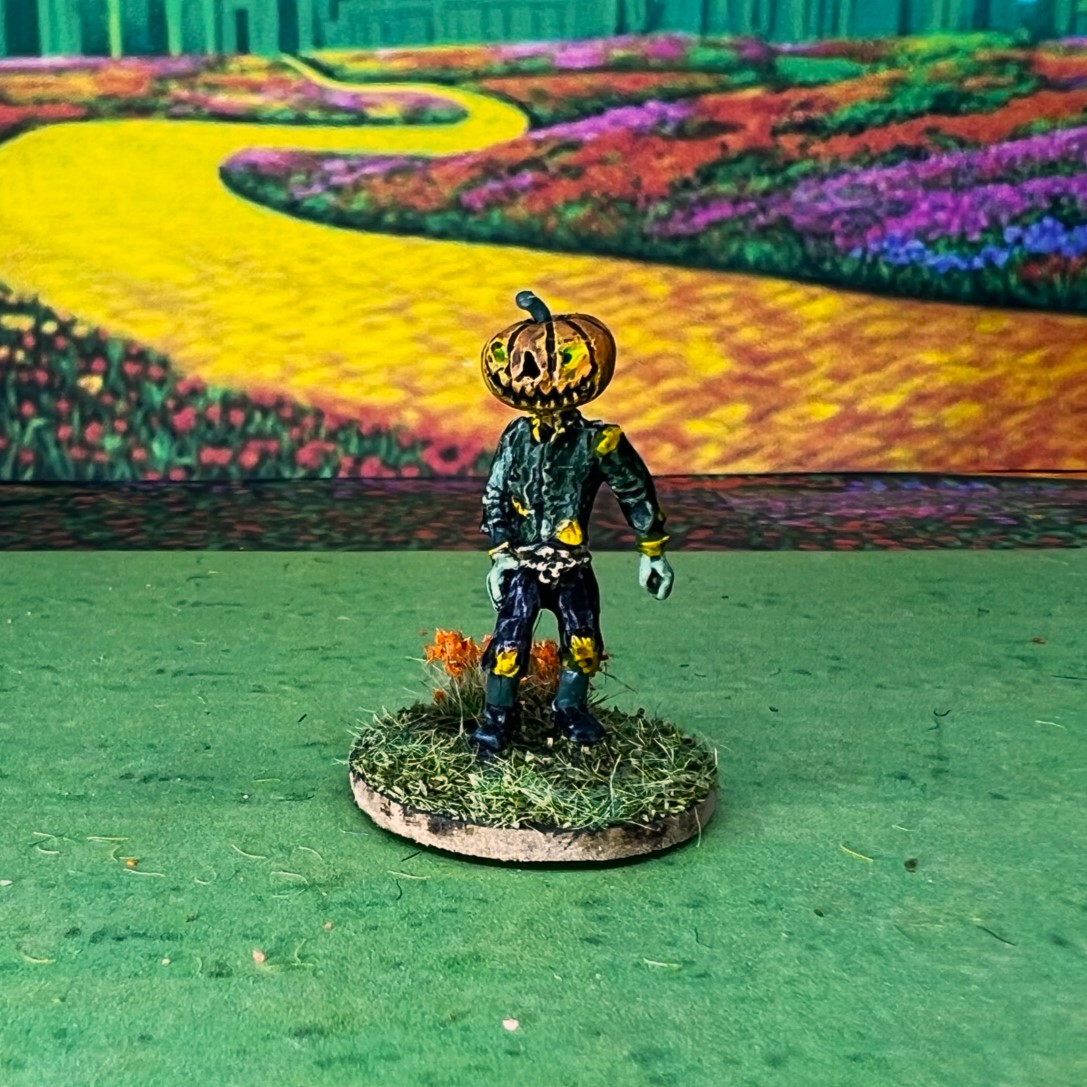
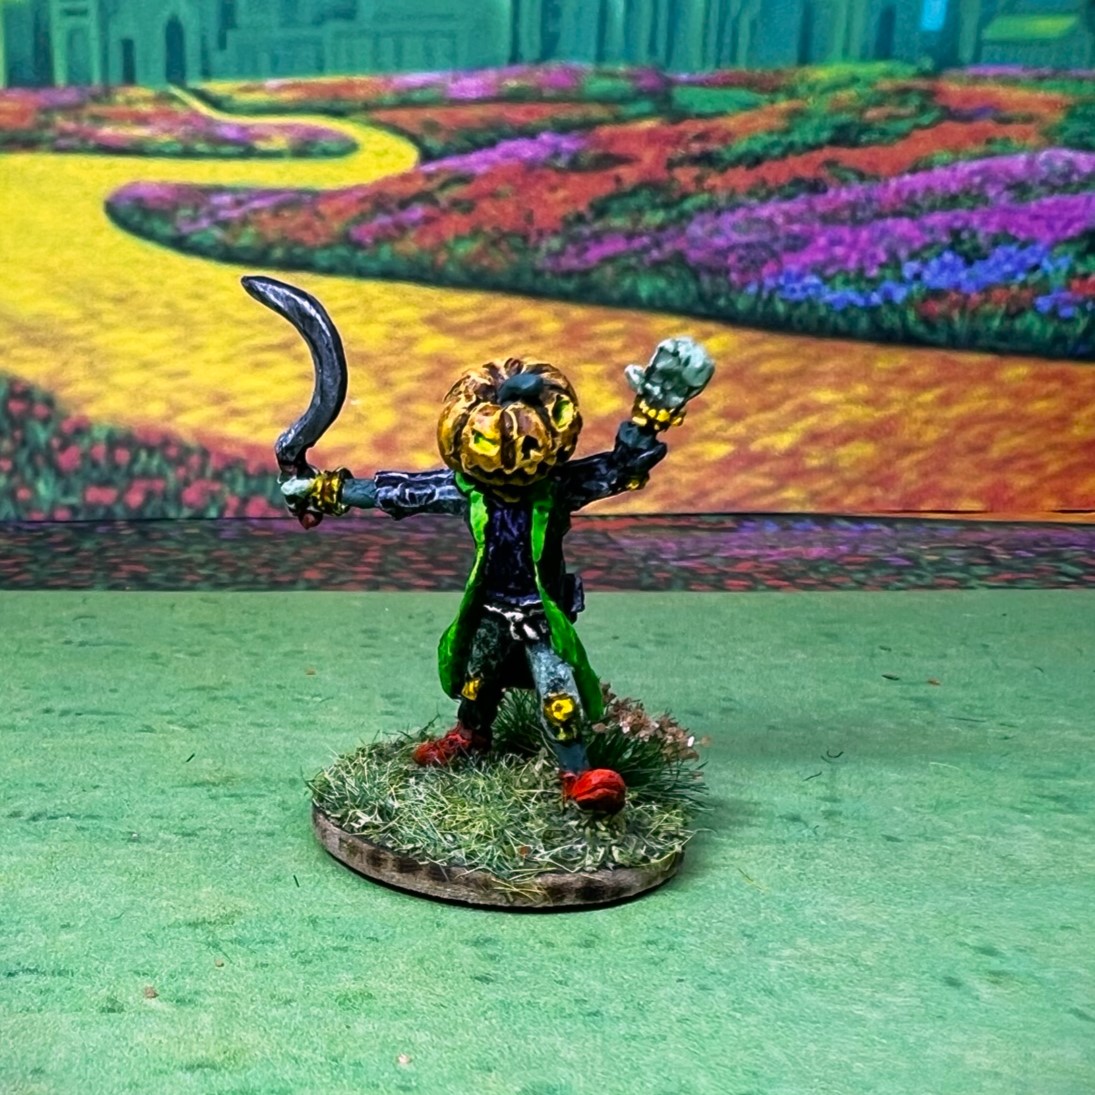
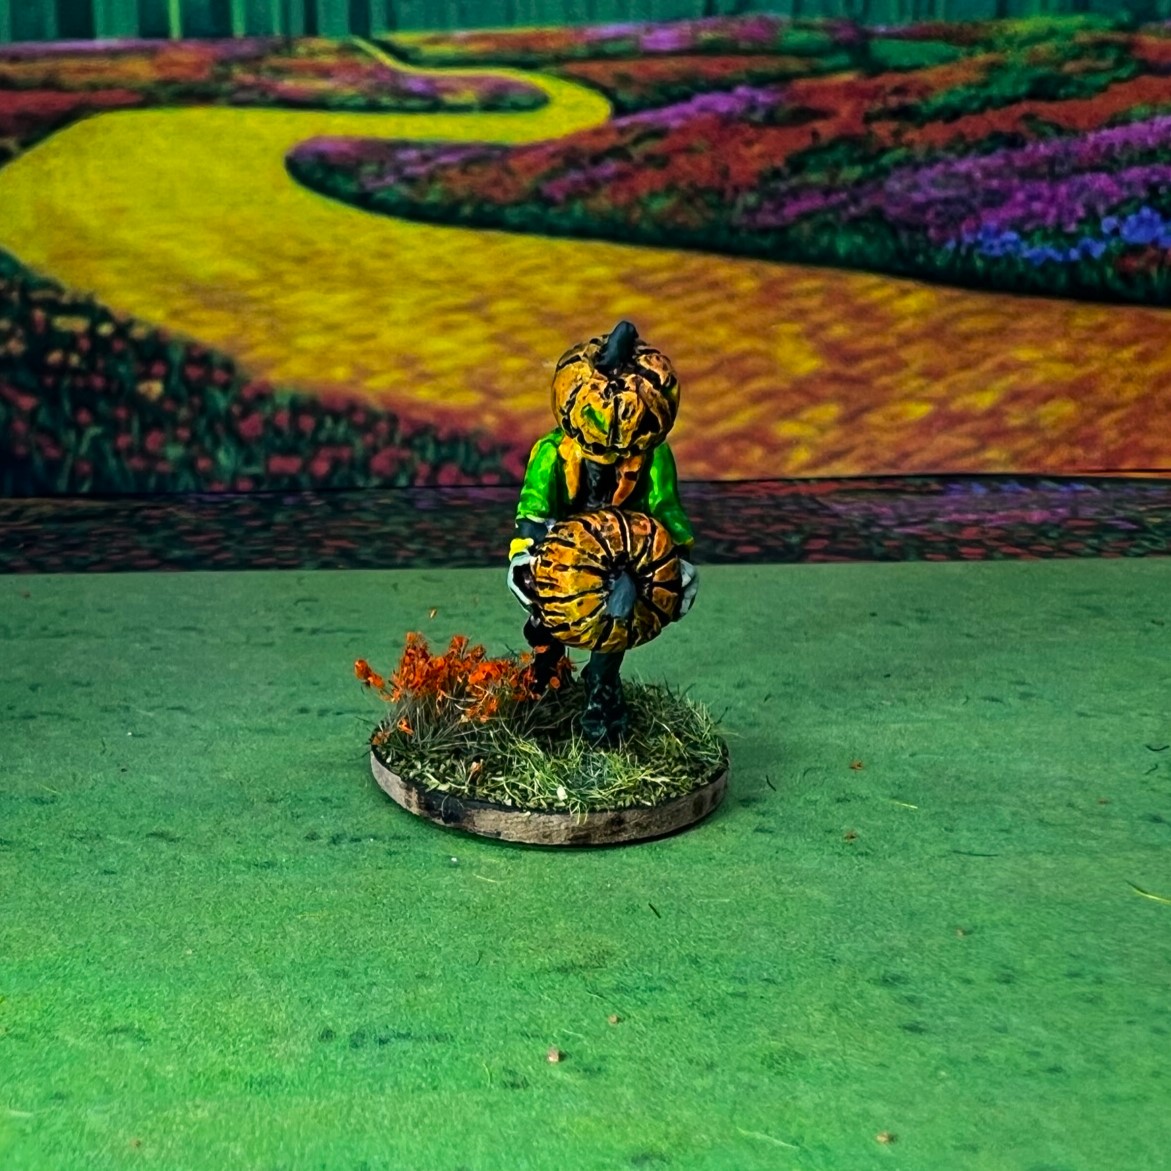
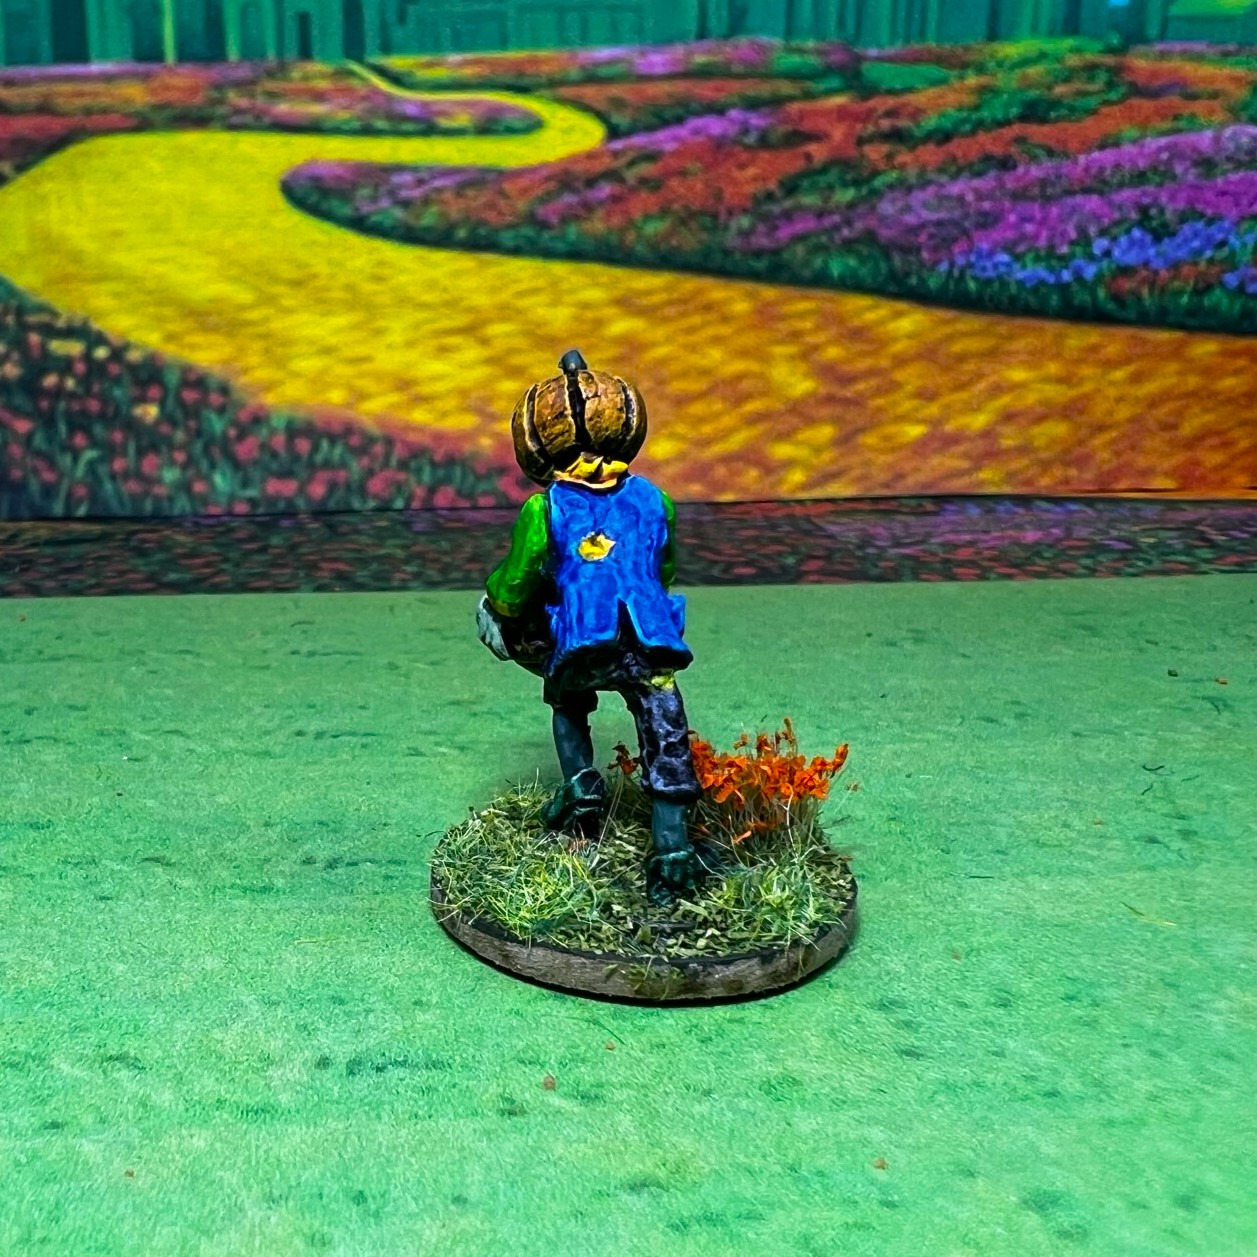
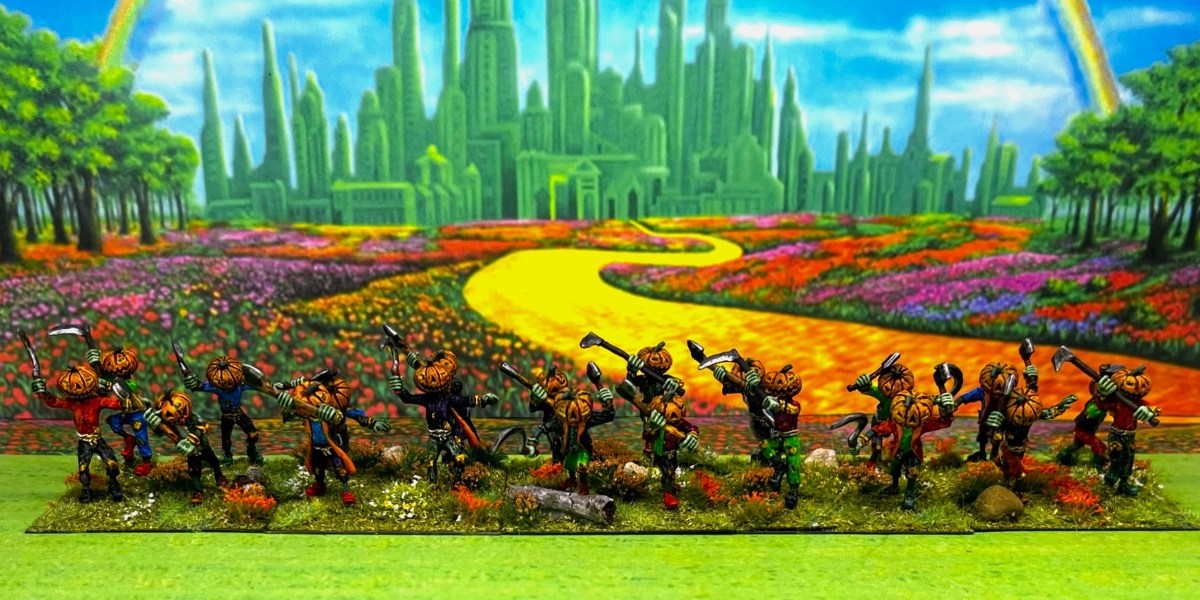
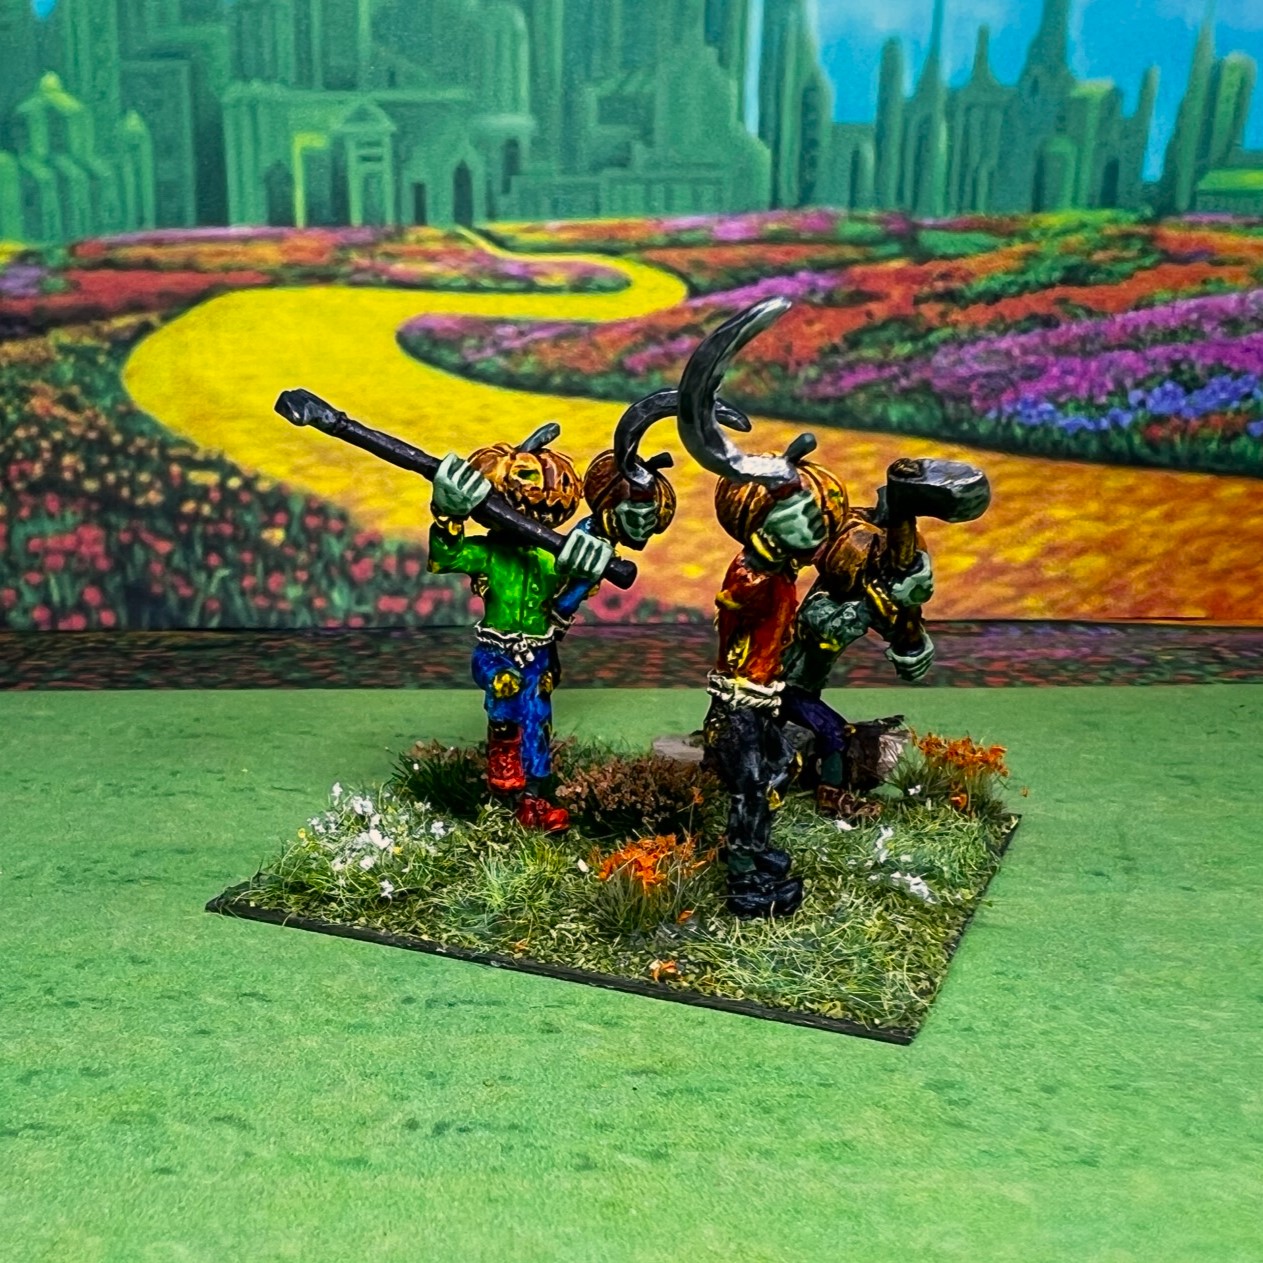
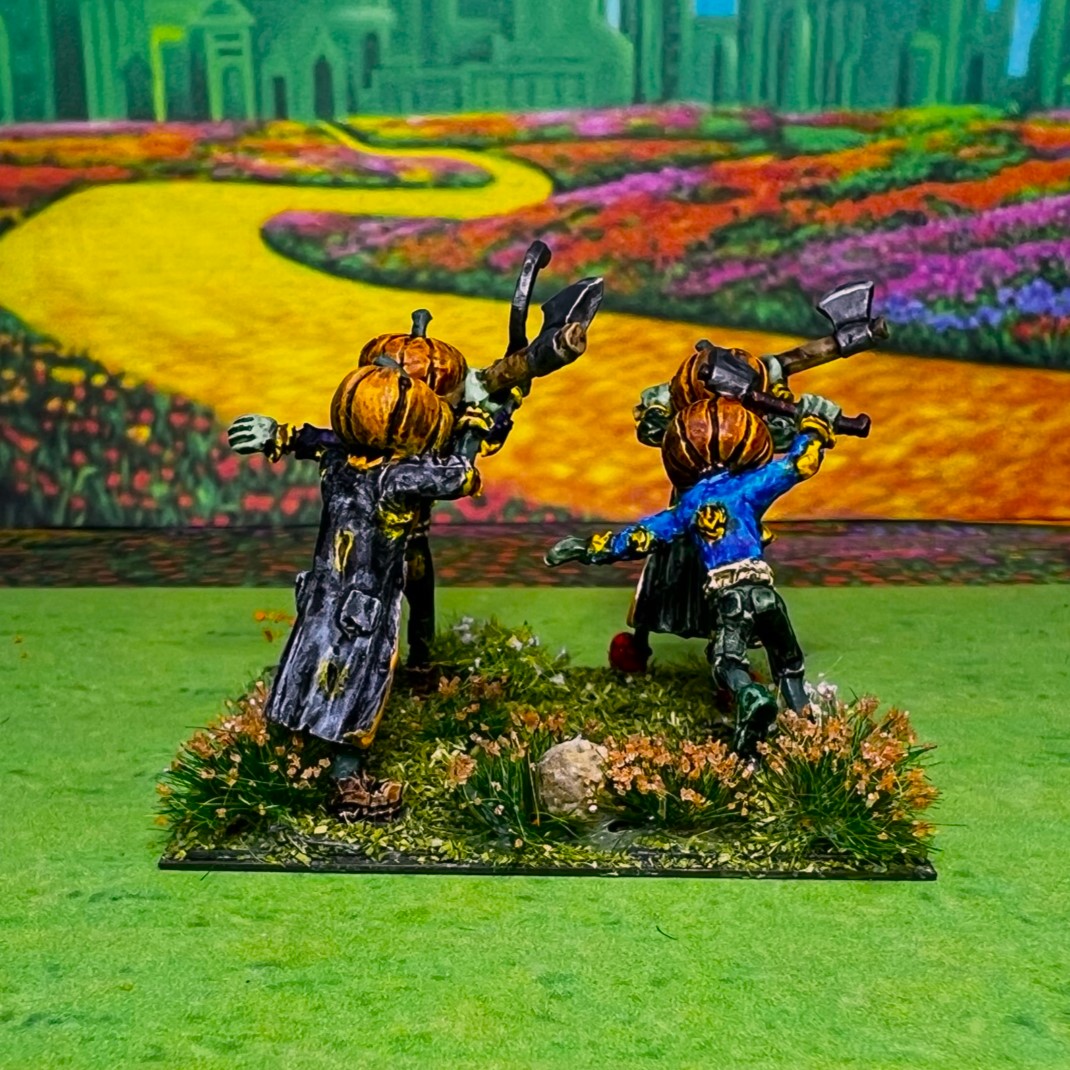
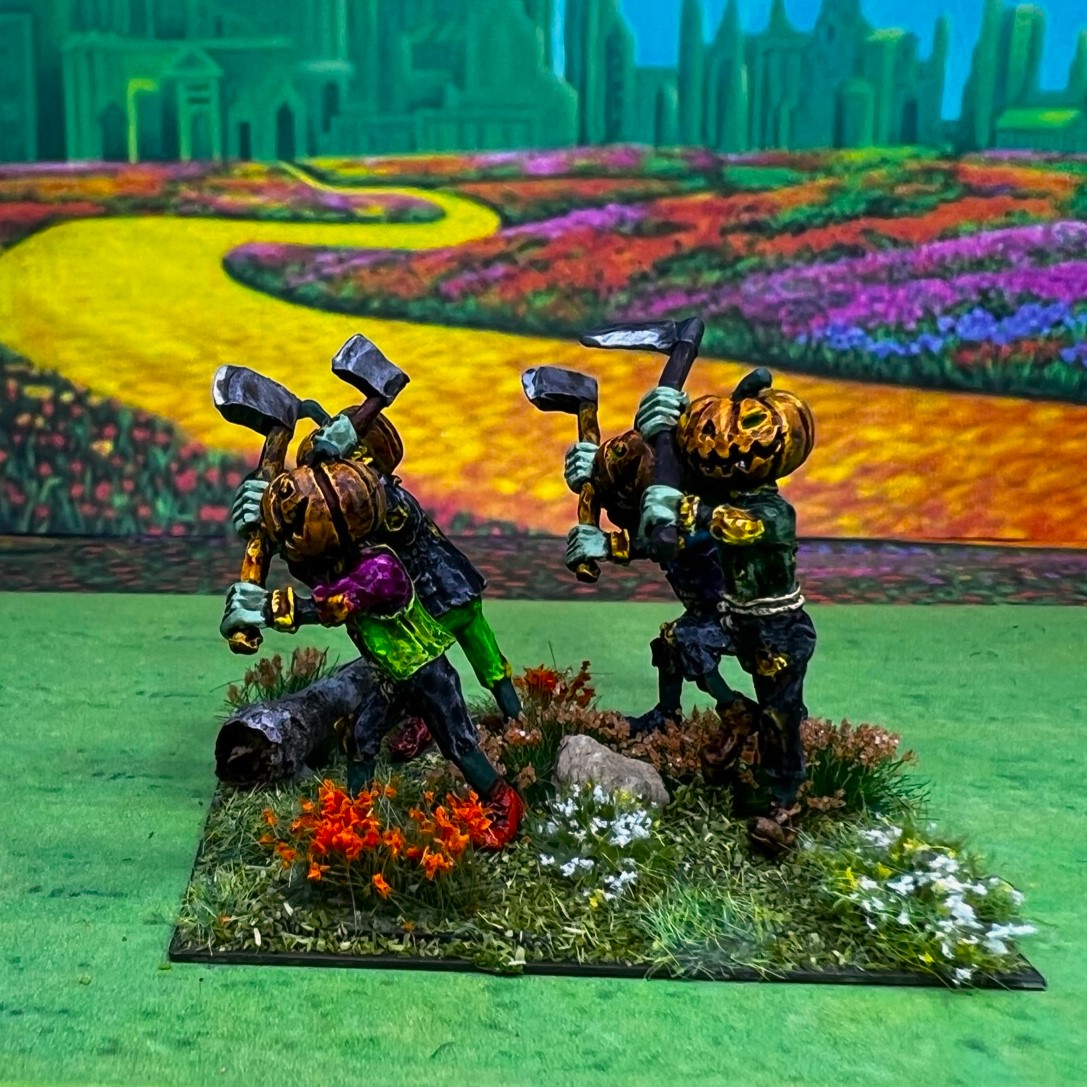
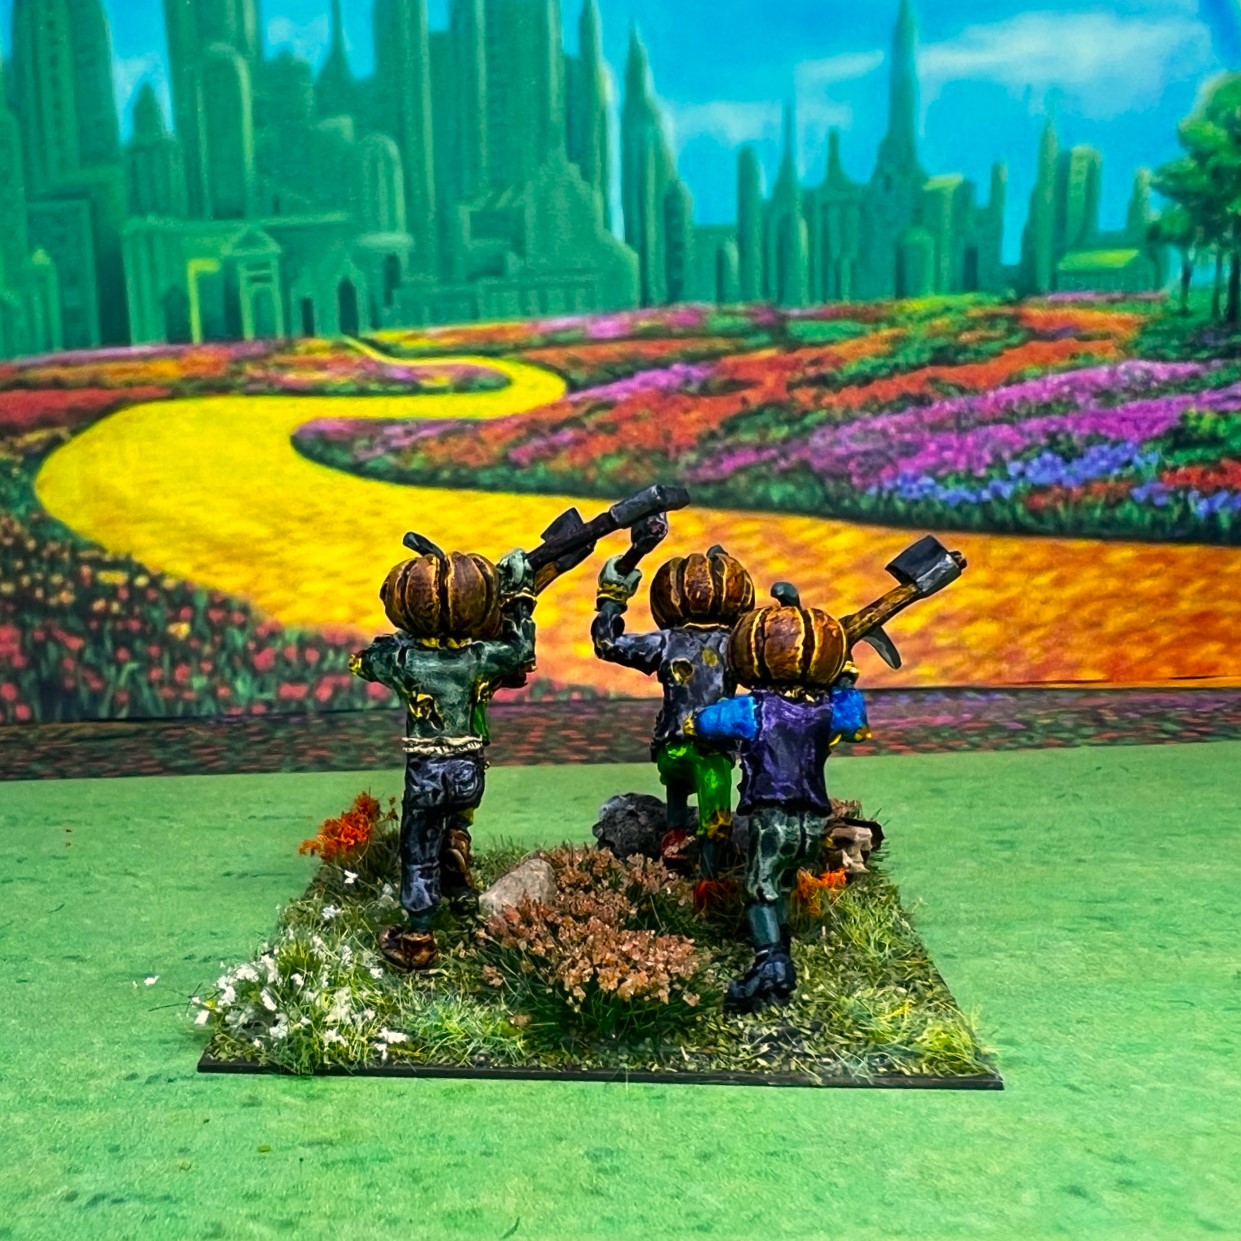
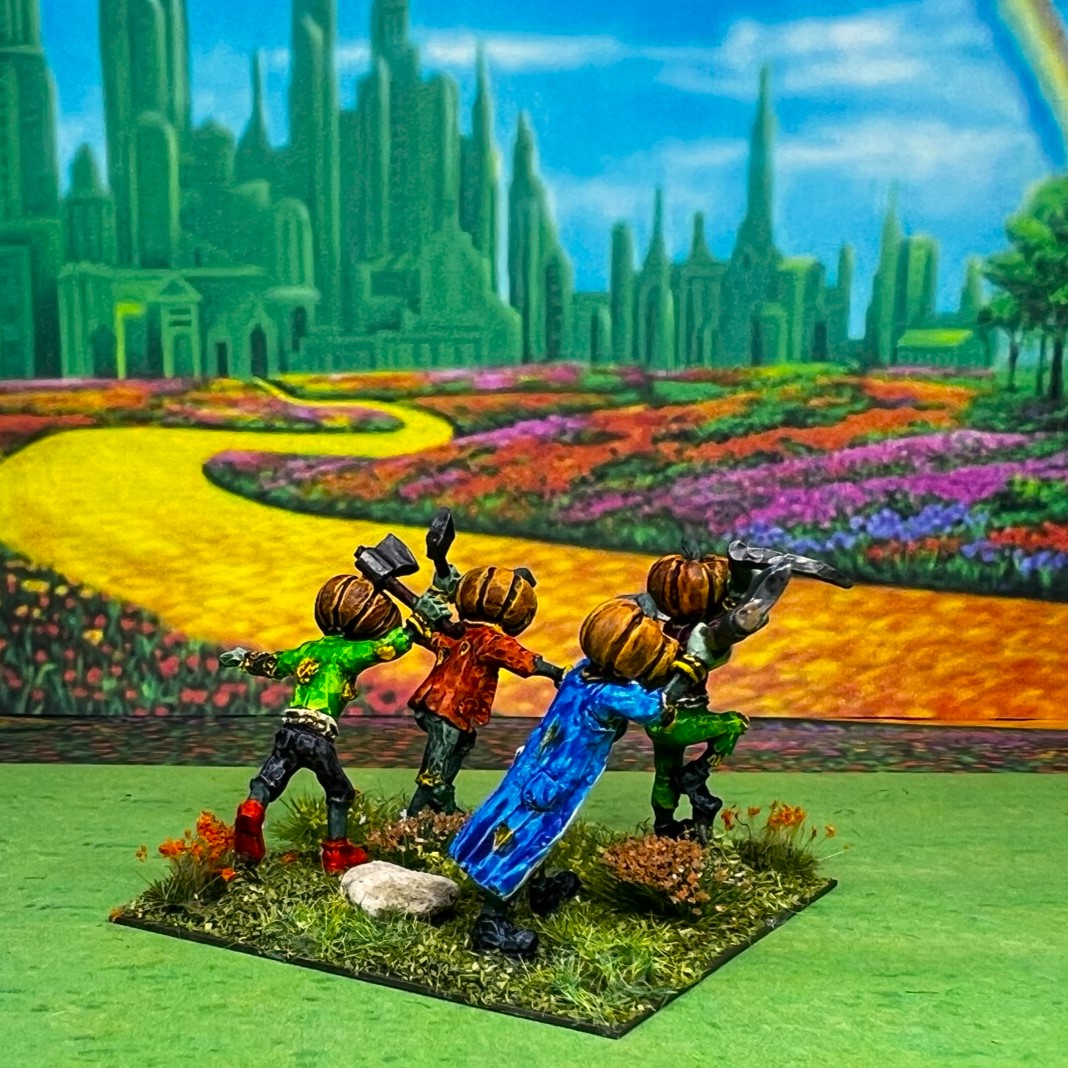
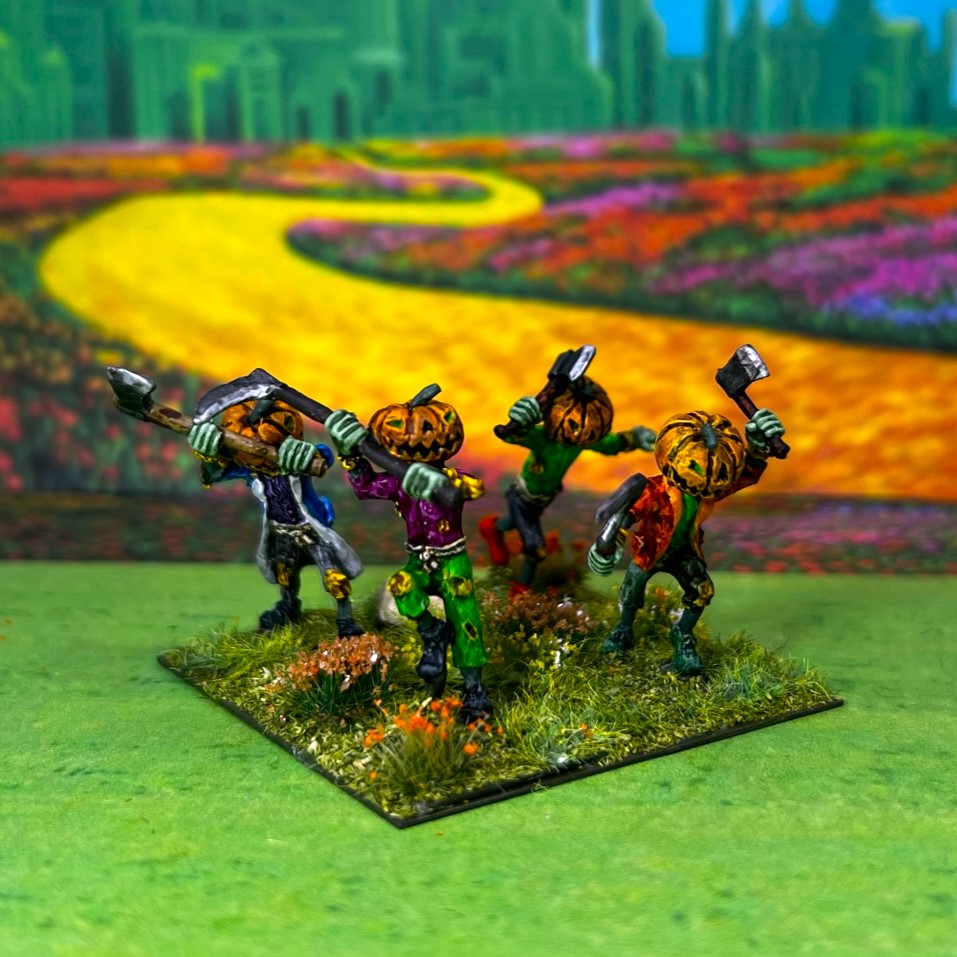
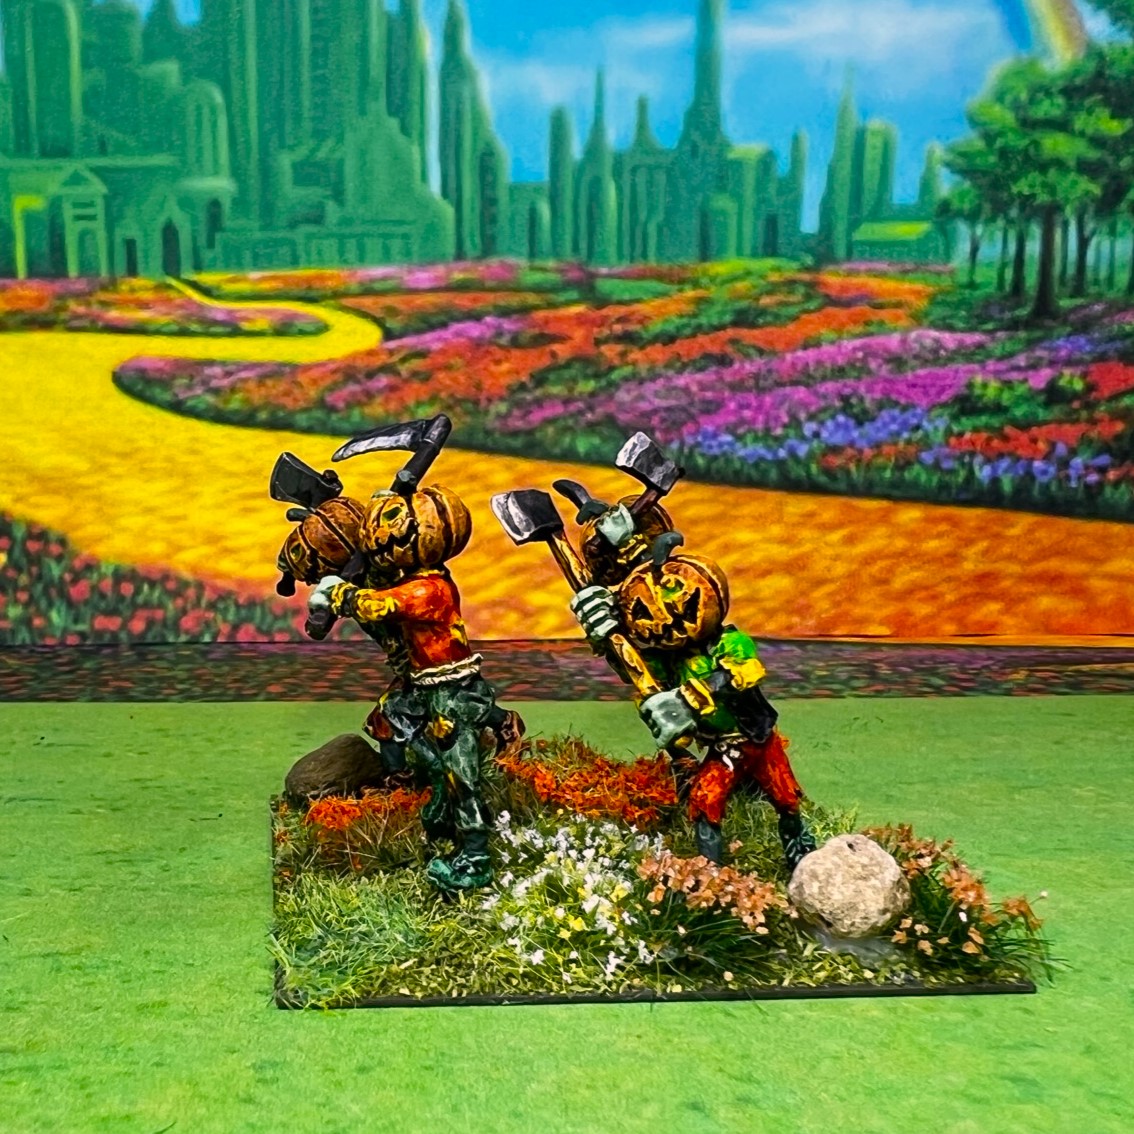
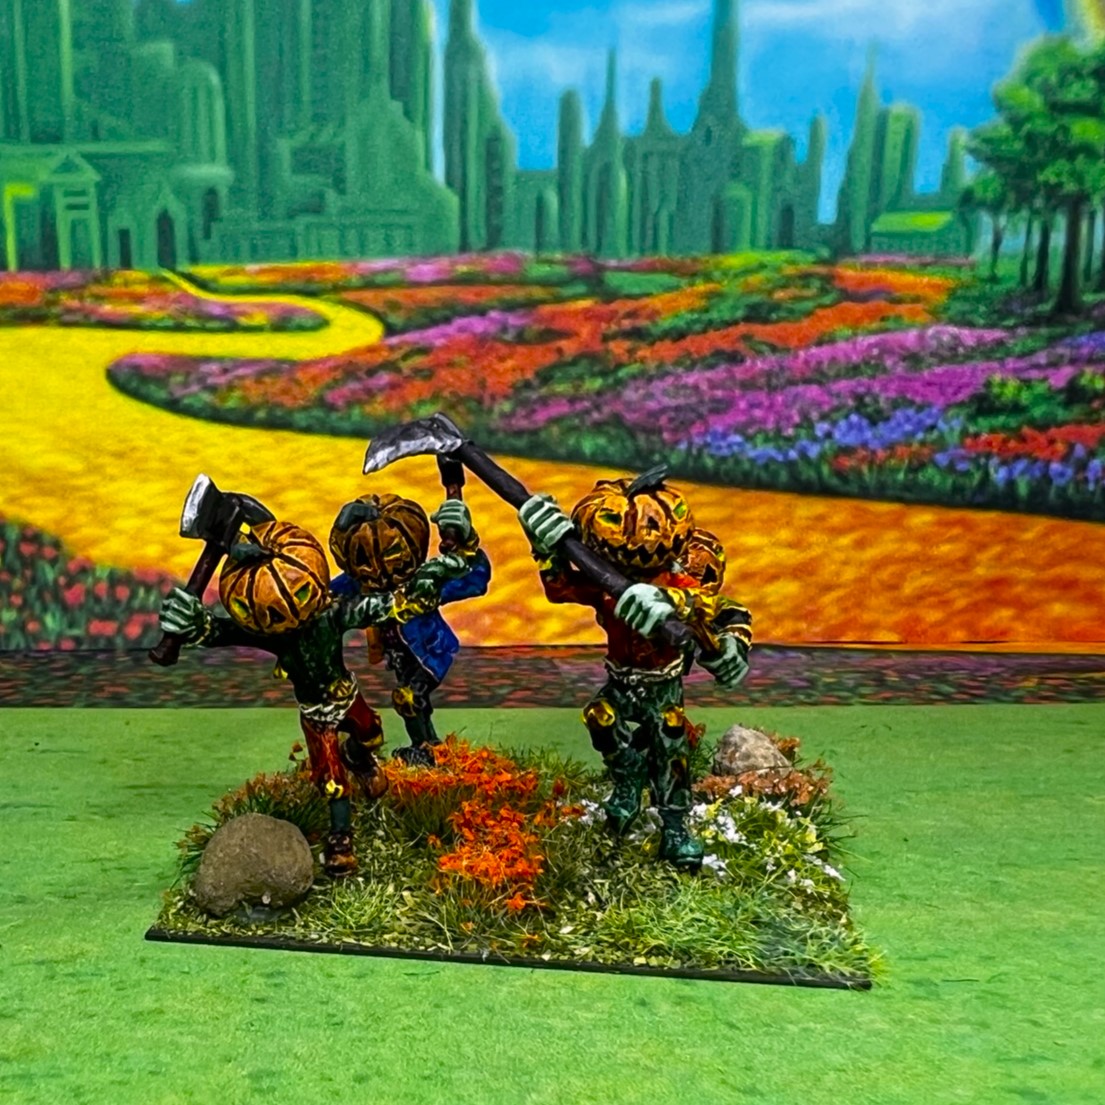
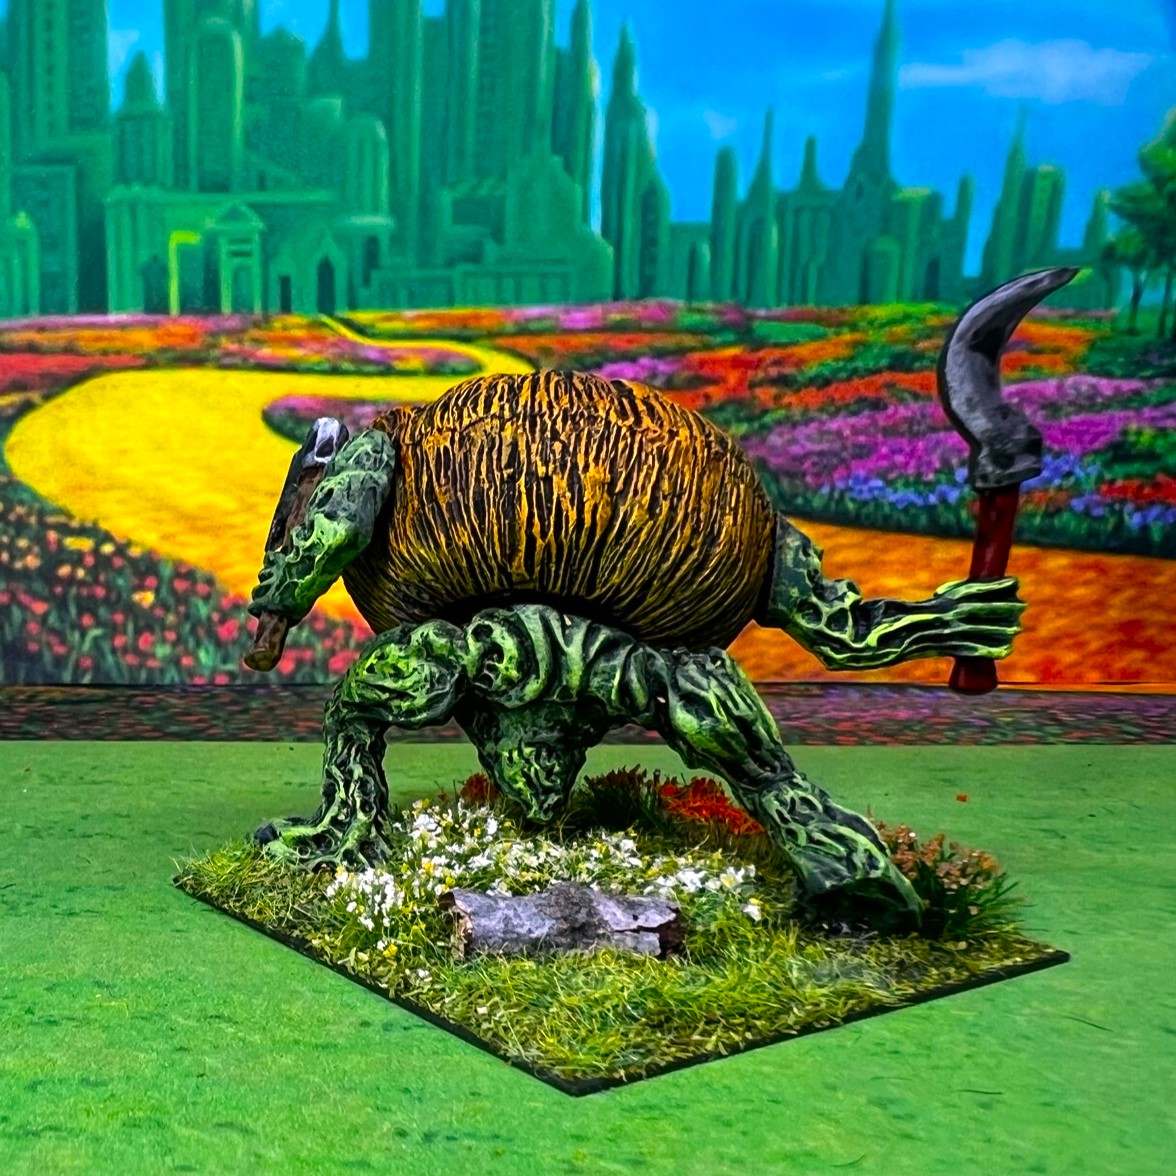
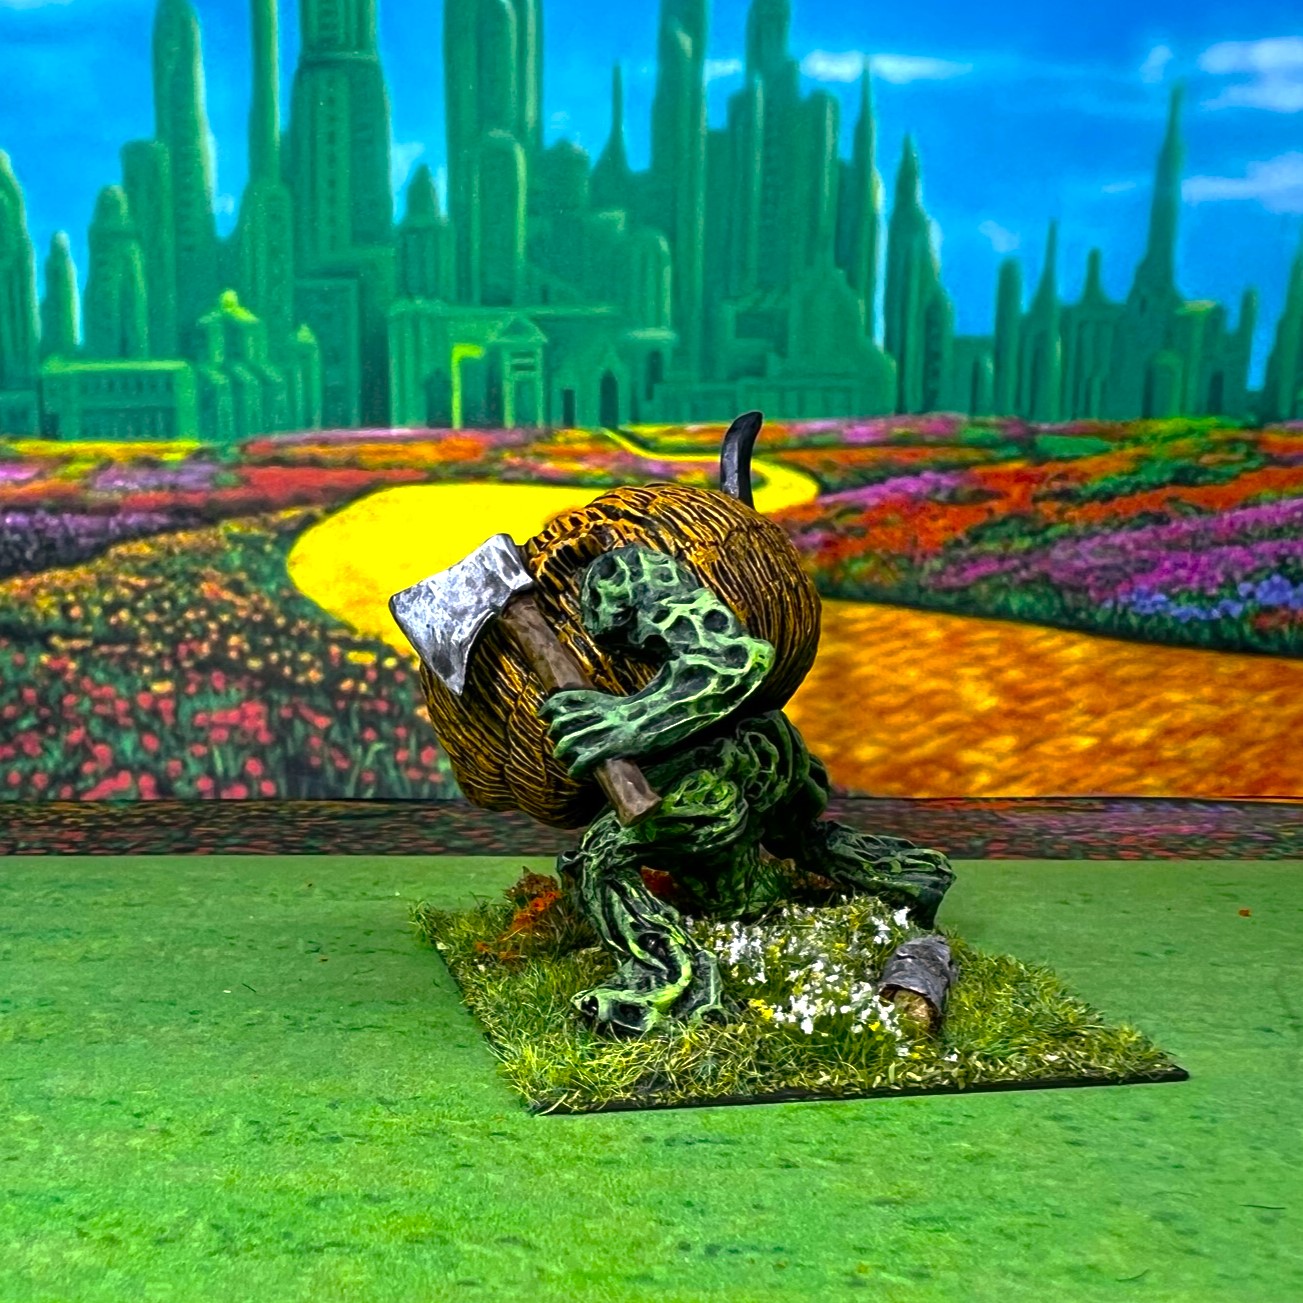
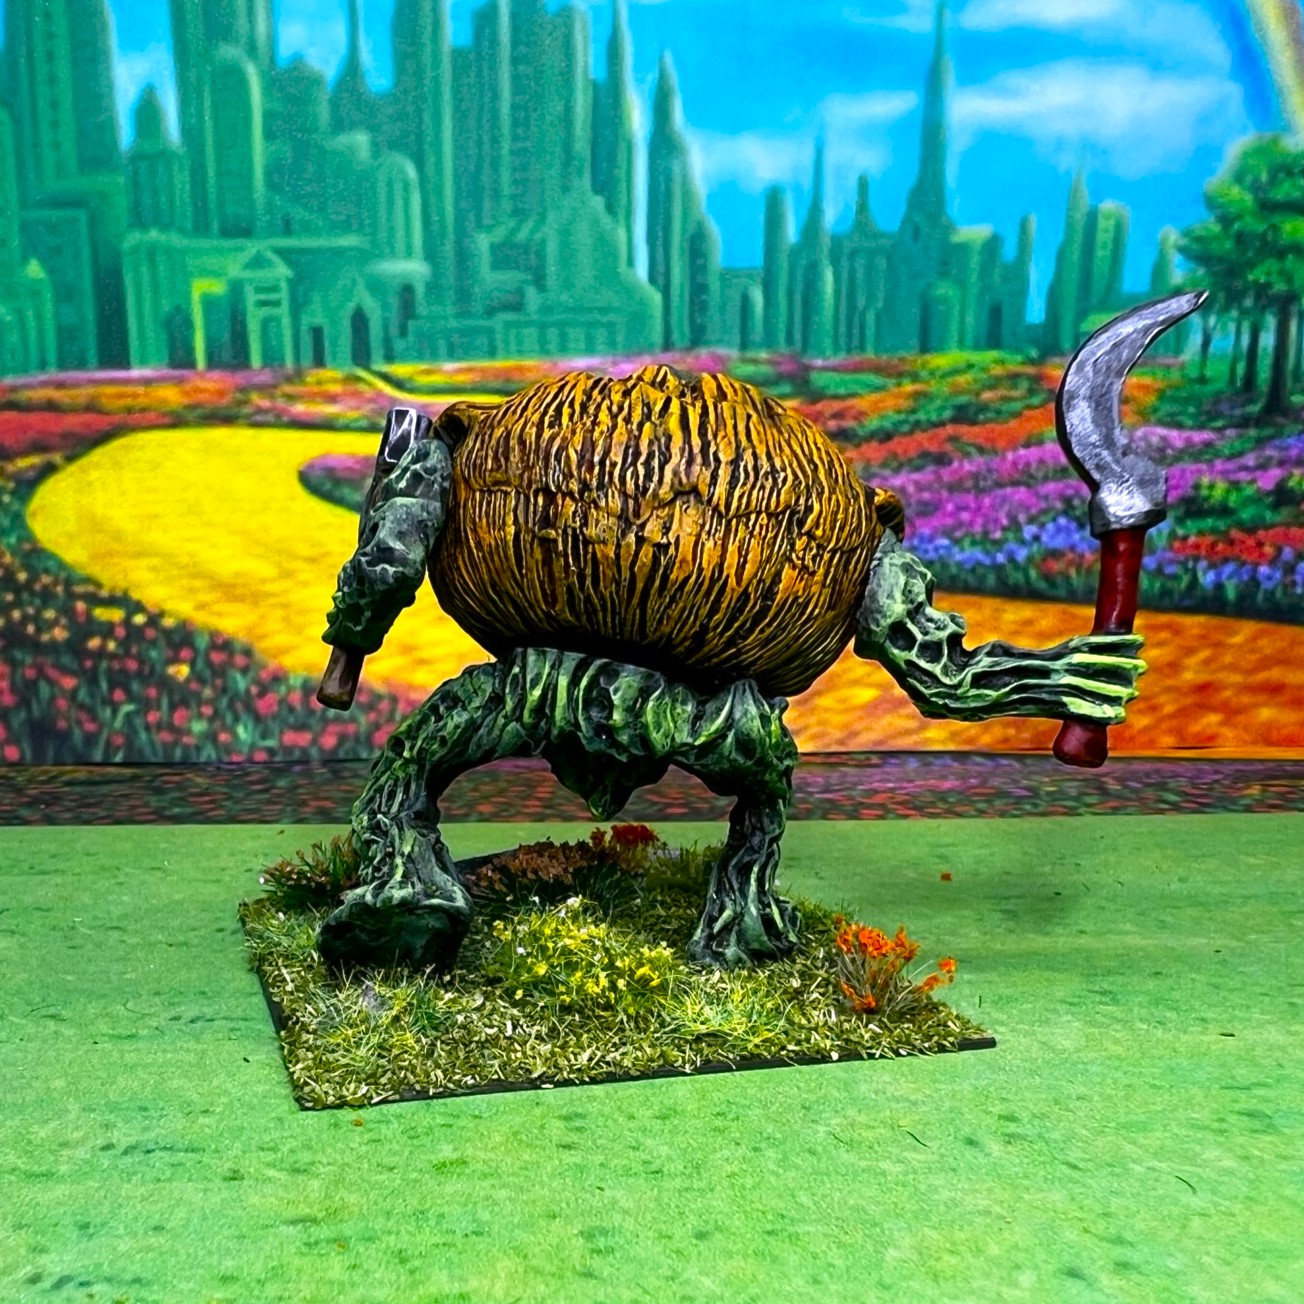
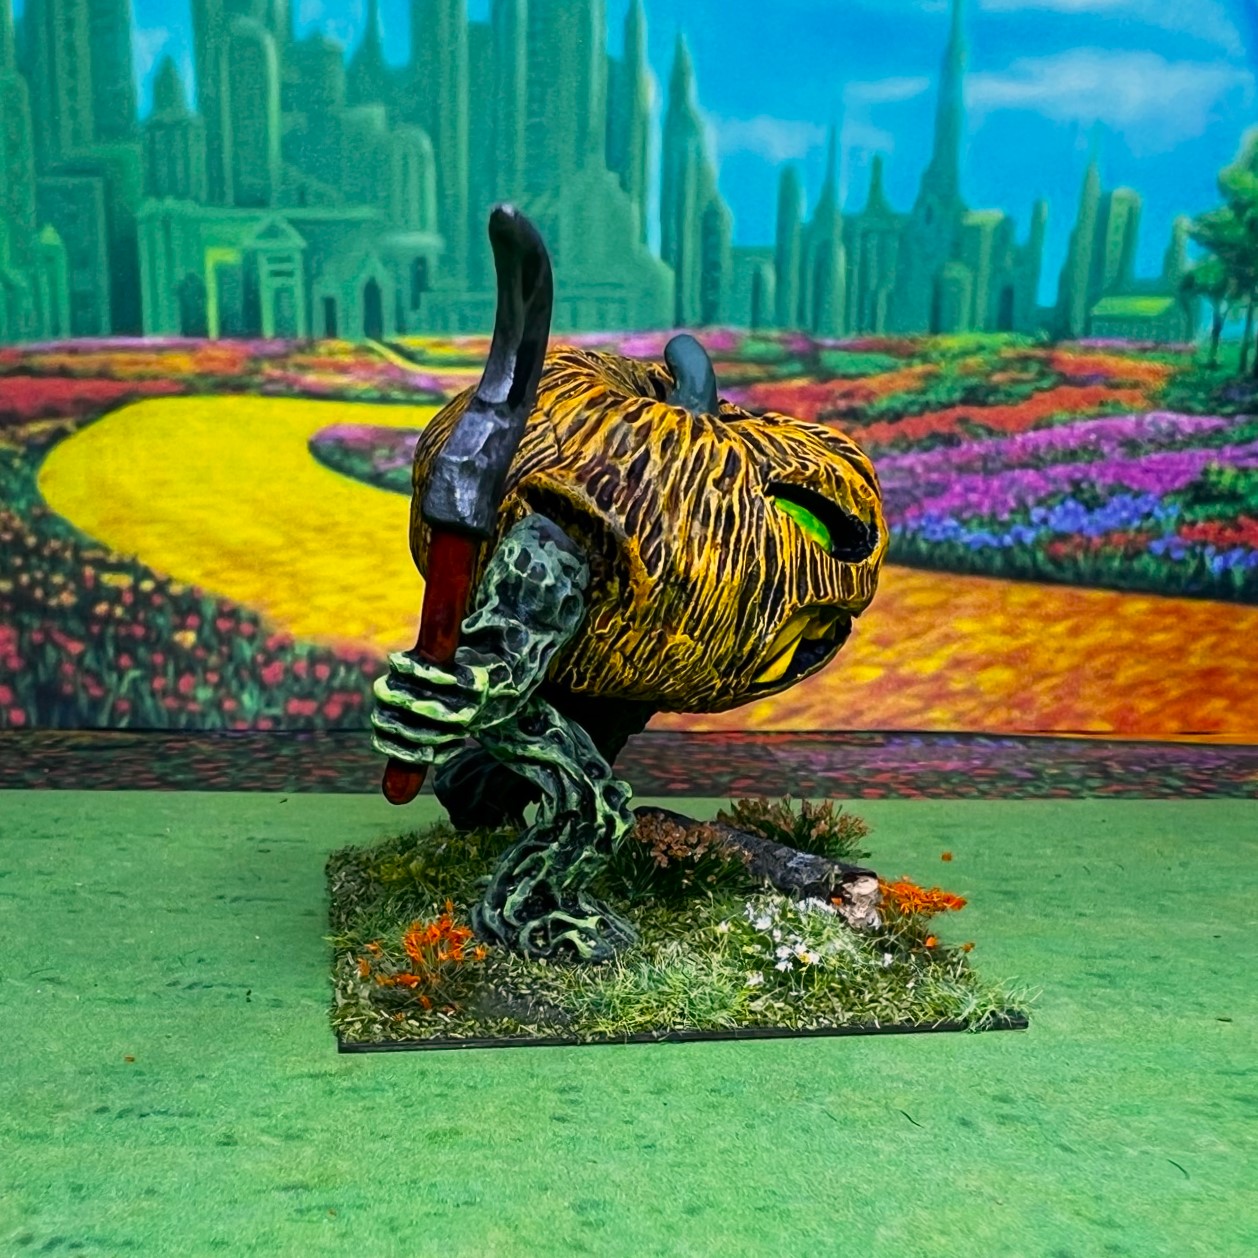
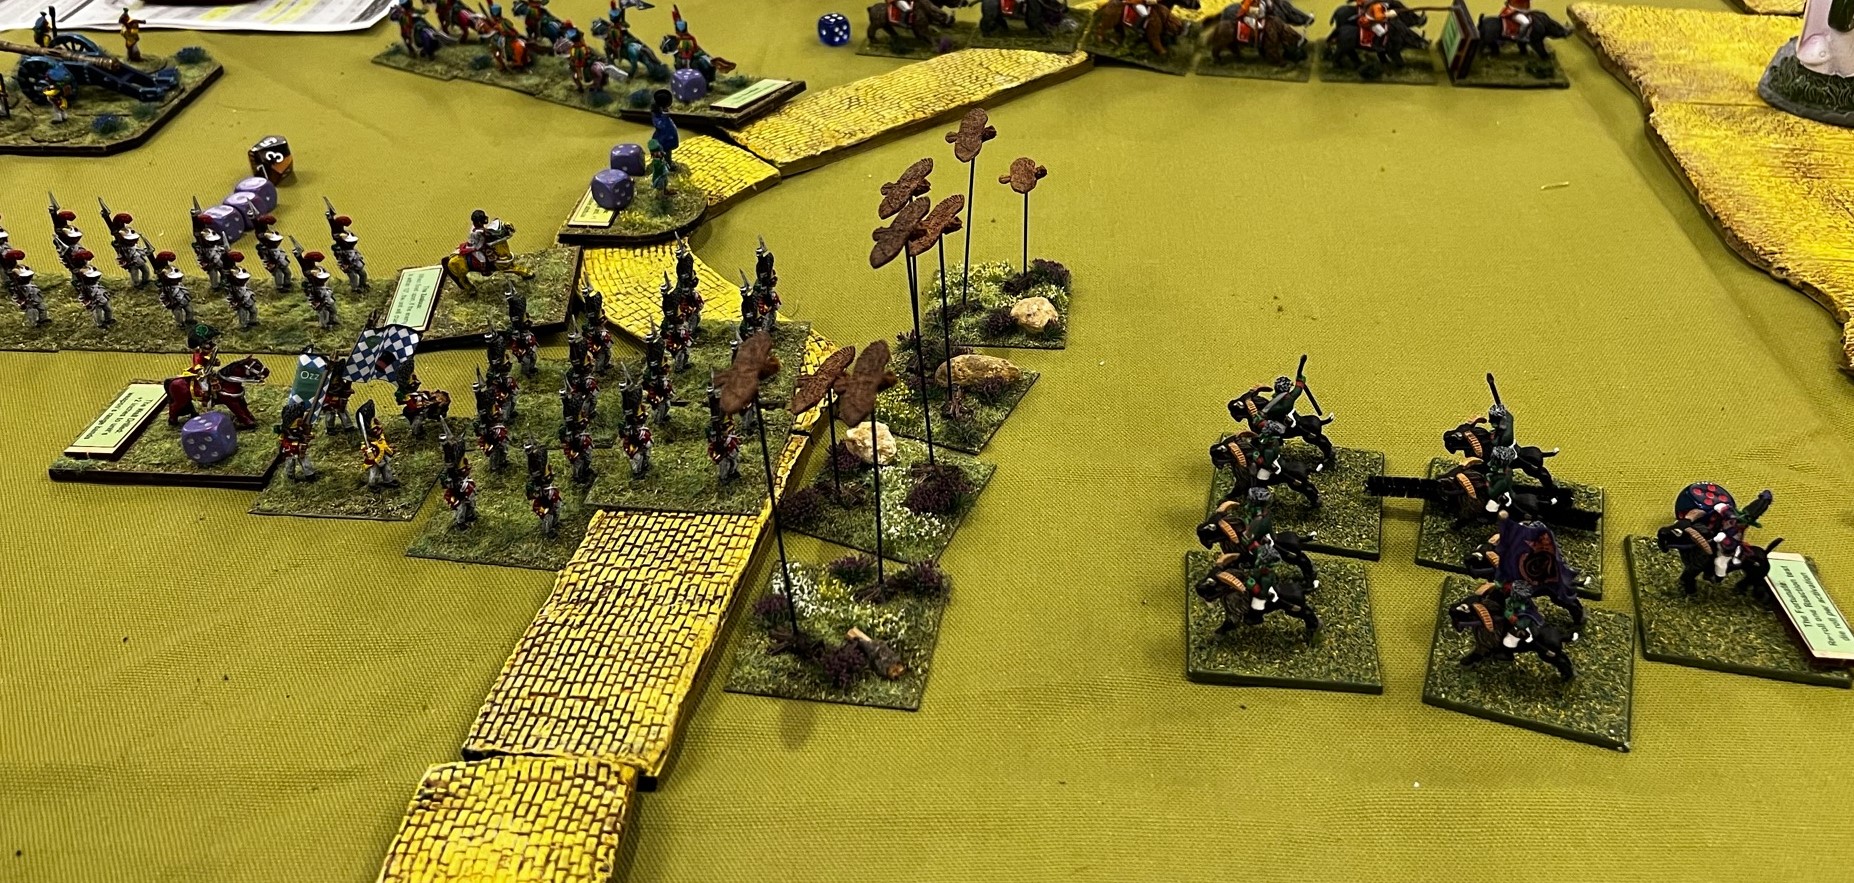
As these figures are pretty much the same, I did not take photos of each stand like I normally would do. Additionally, I found it difficult to light and to shoot each one with an Ozz background as you can see below:

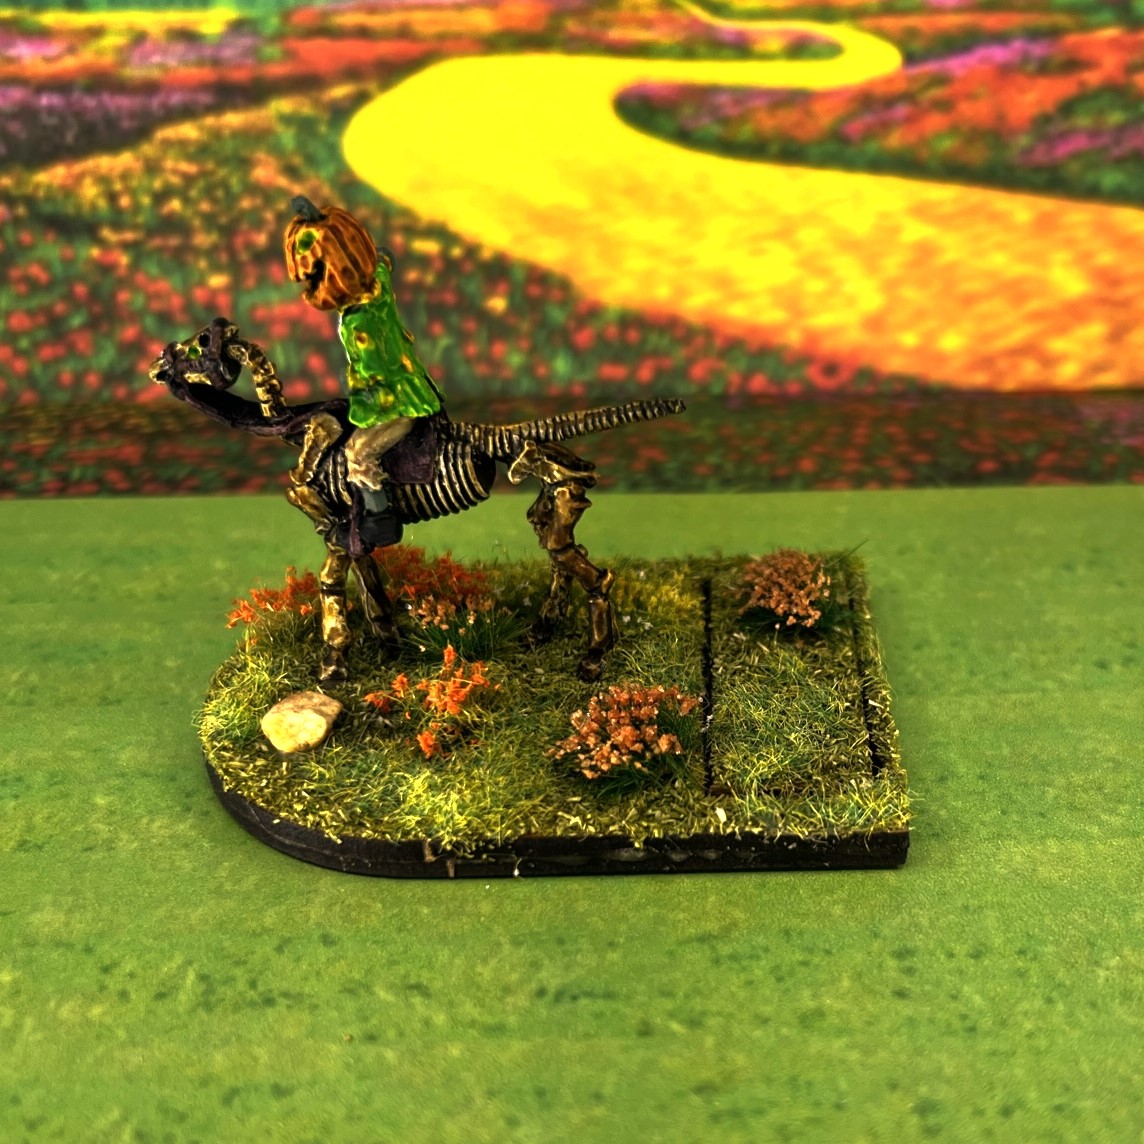
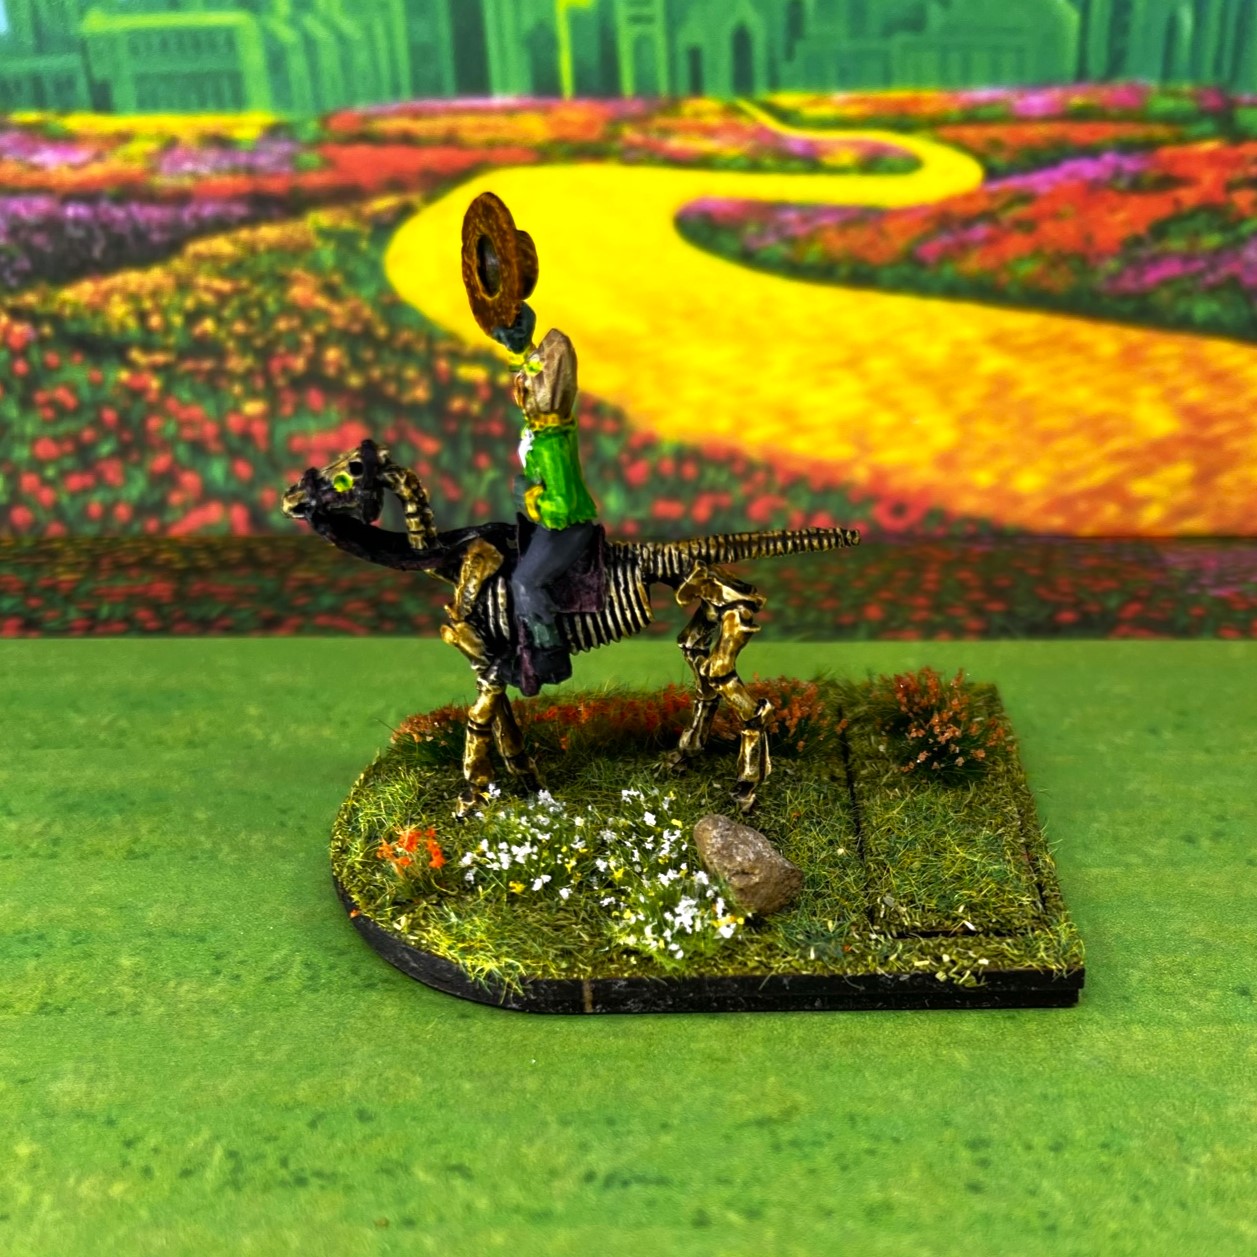
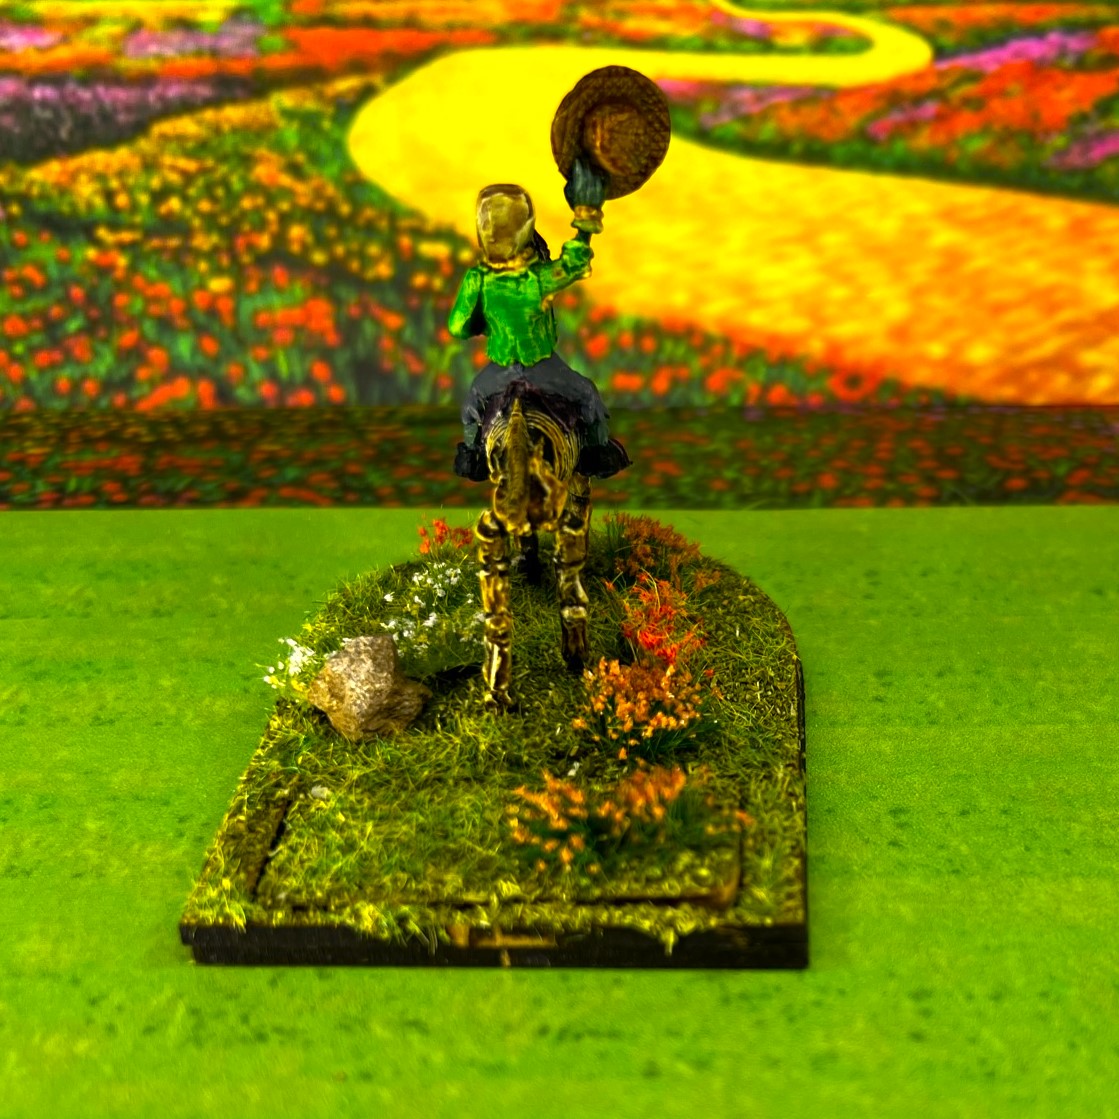
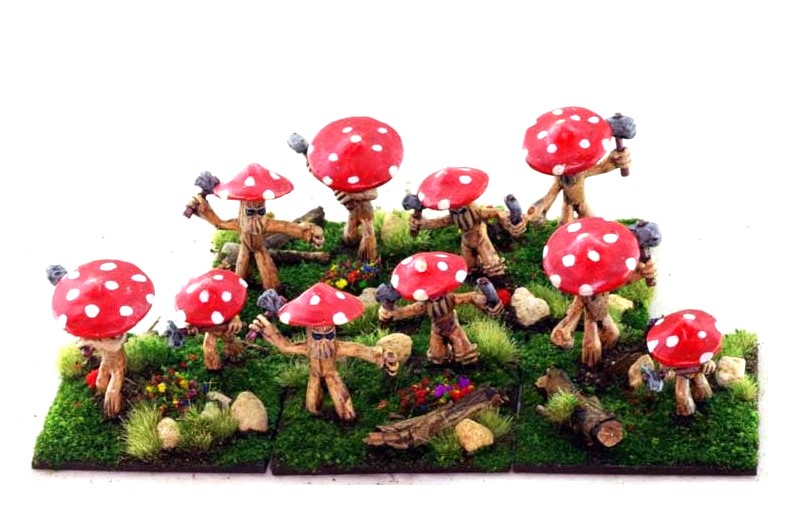
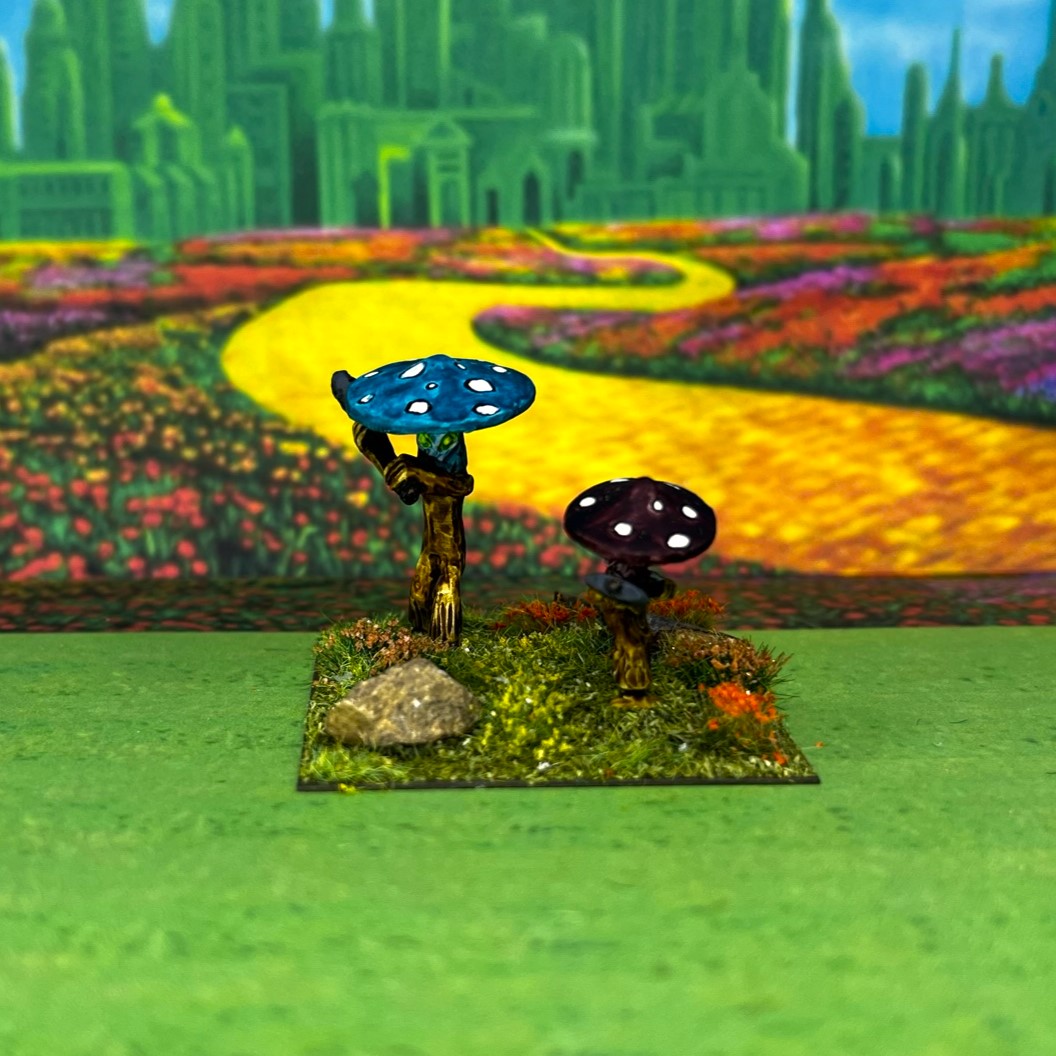
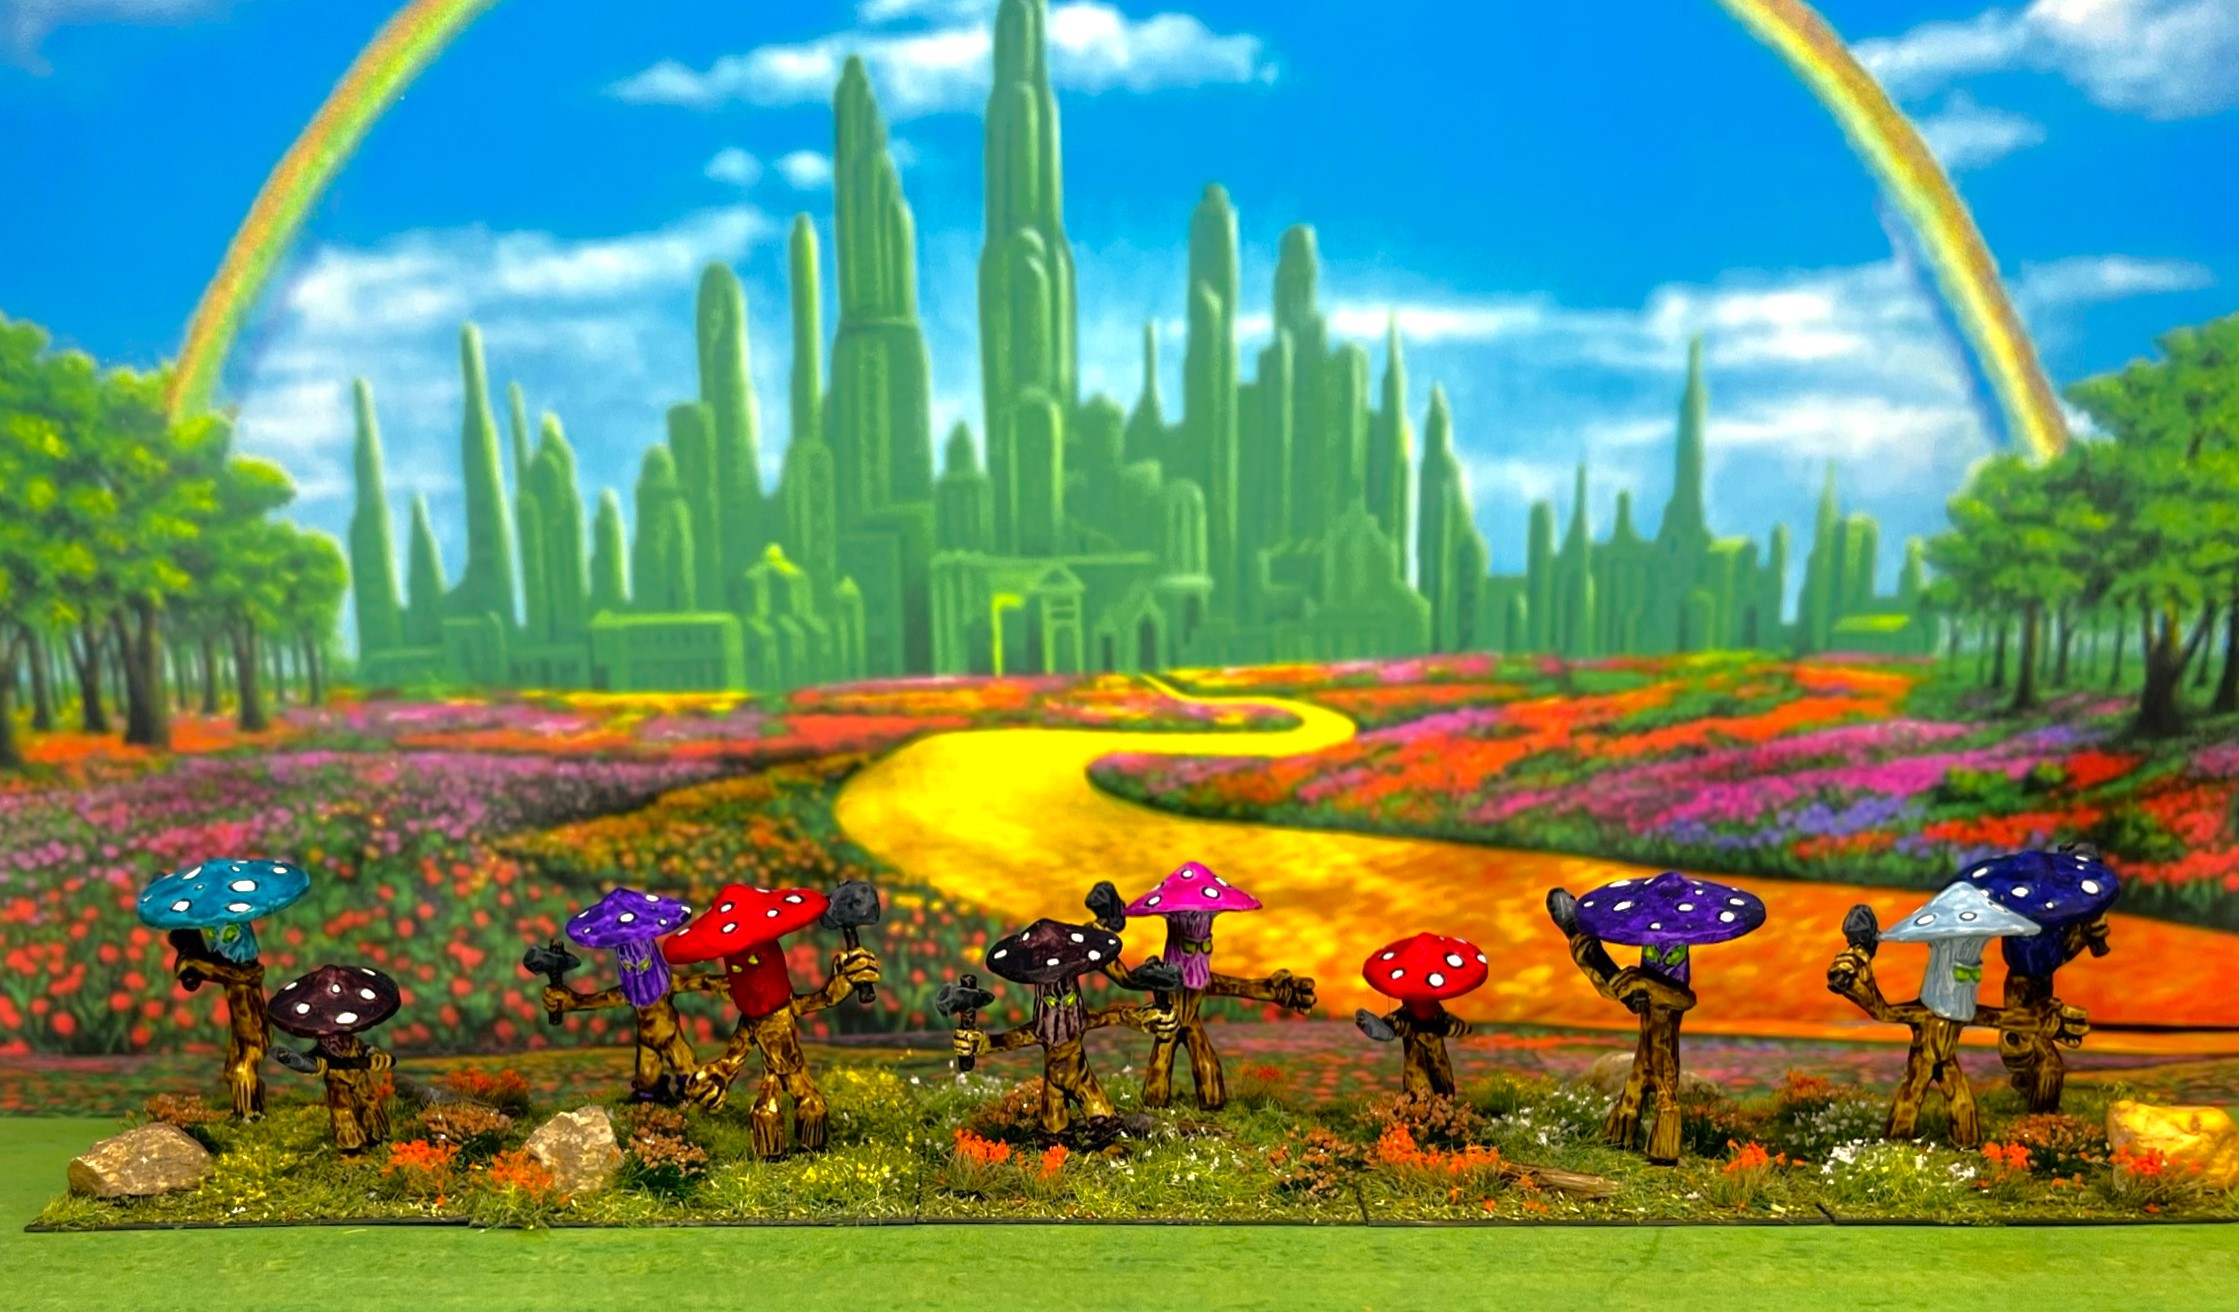
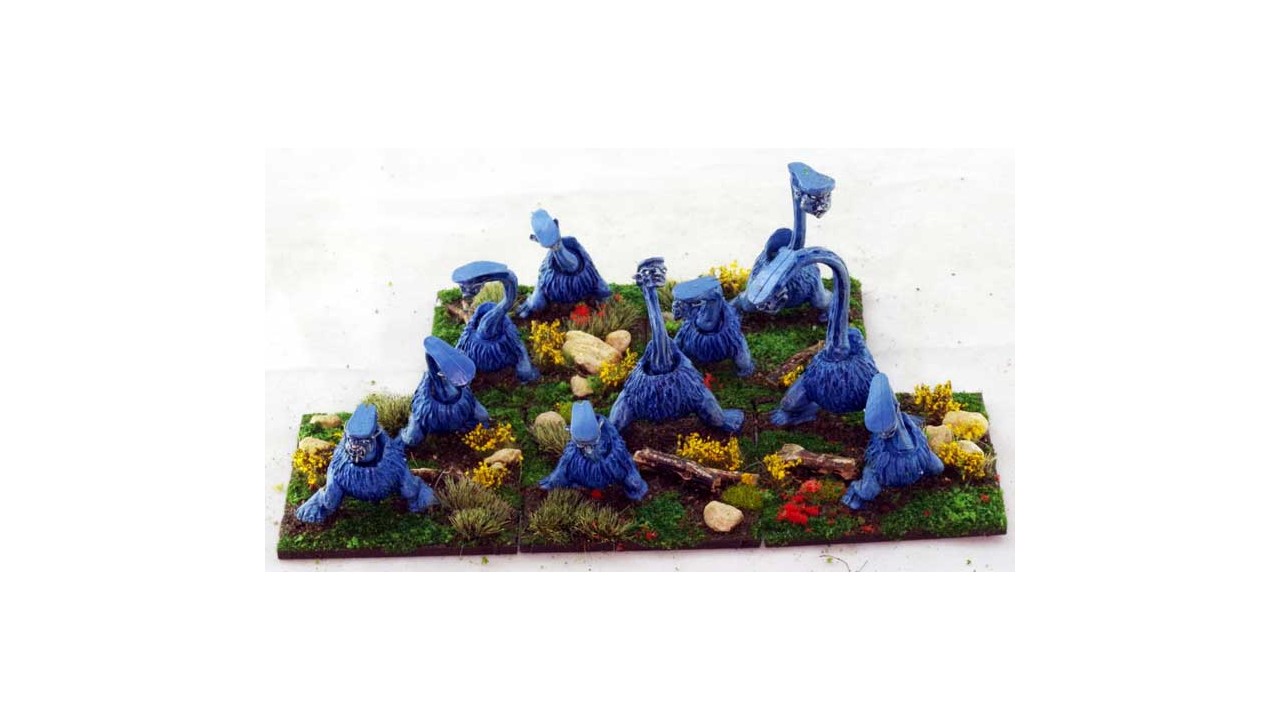
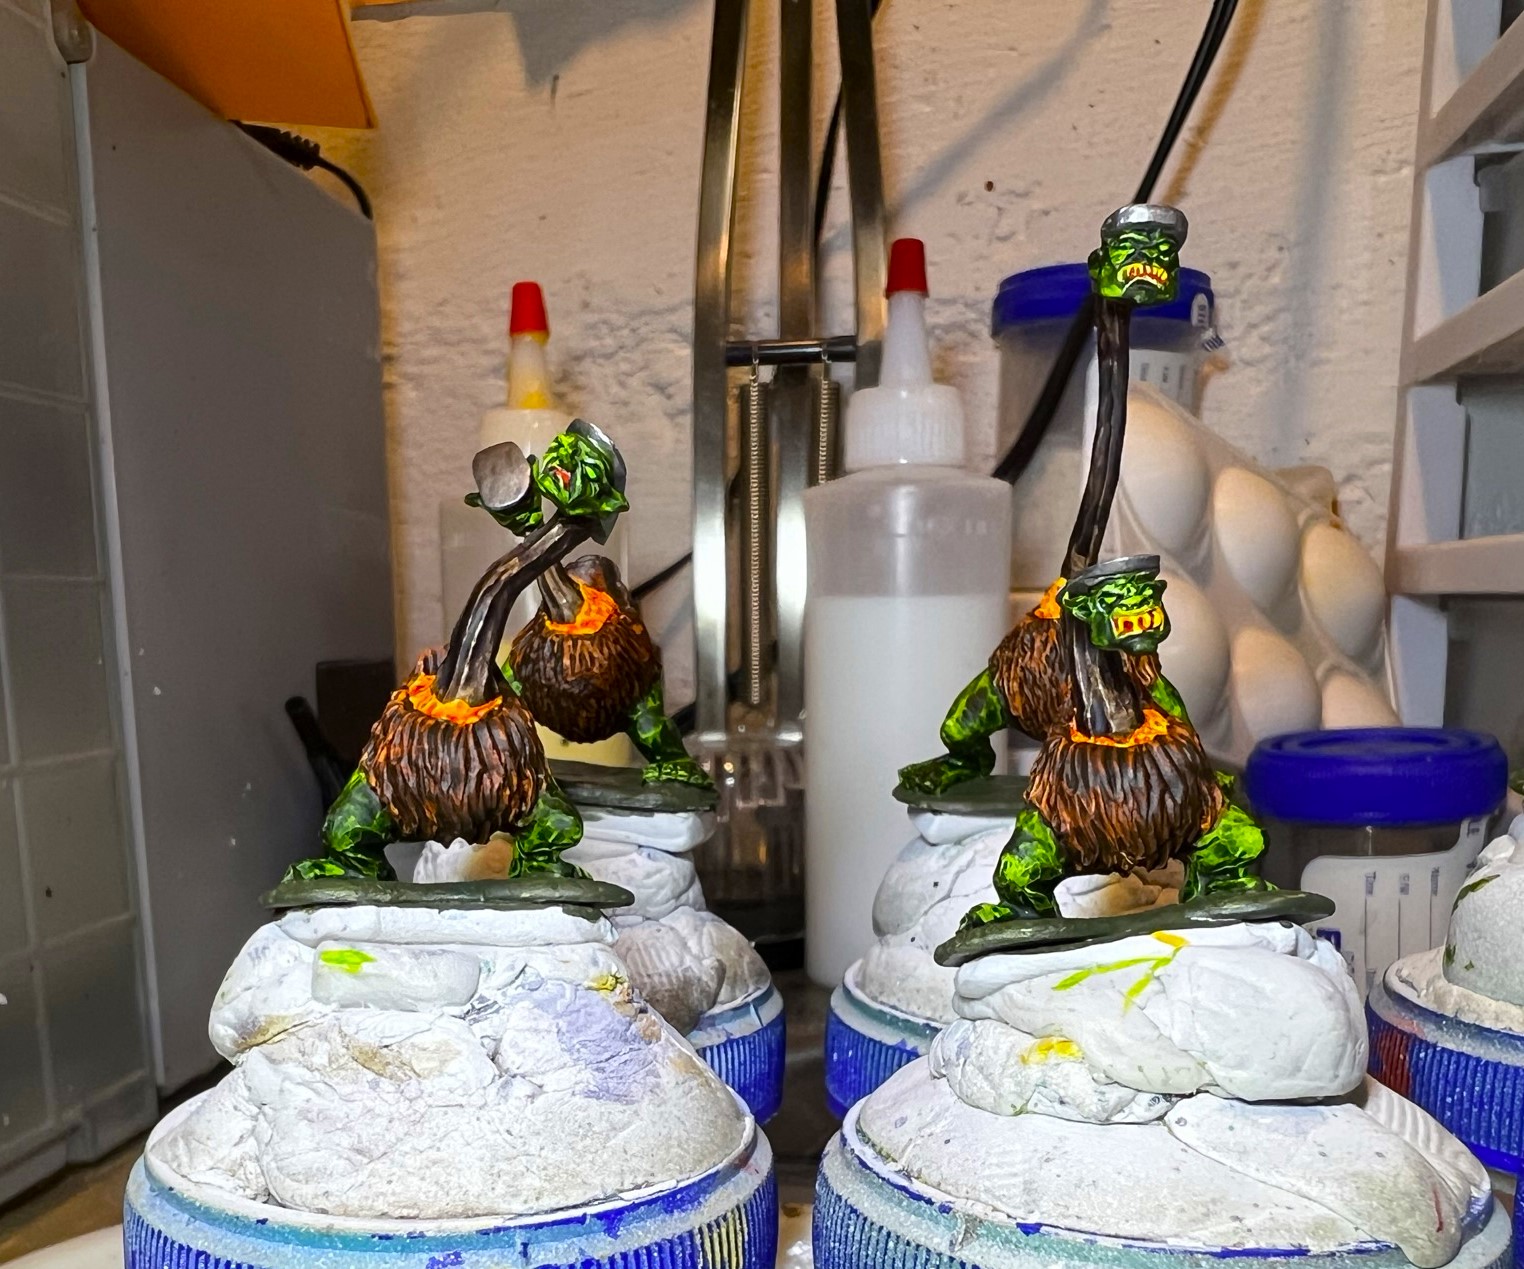
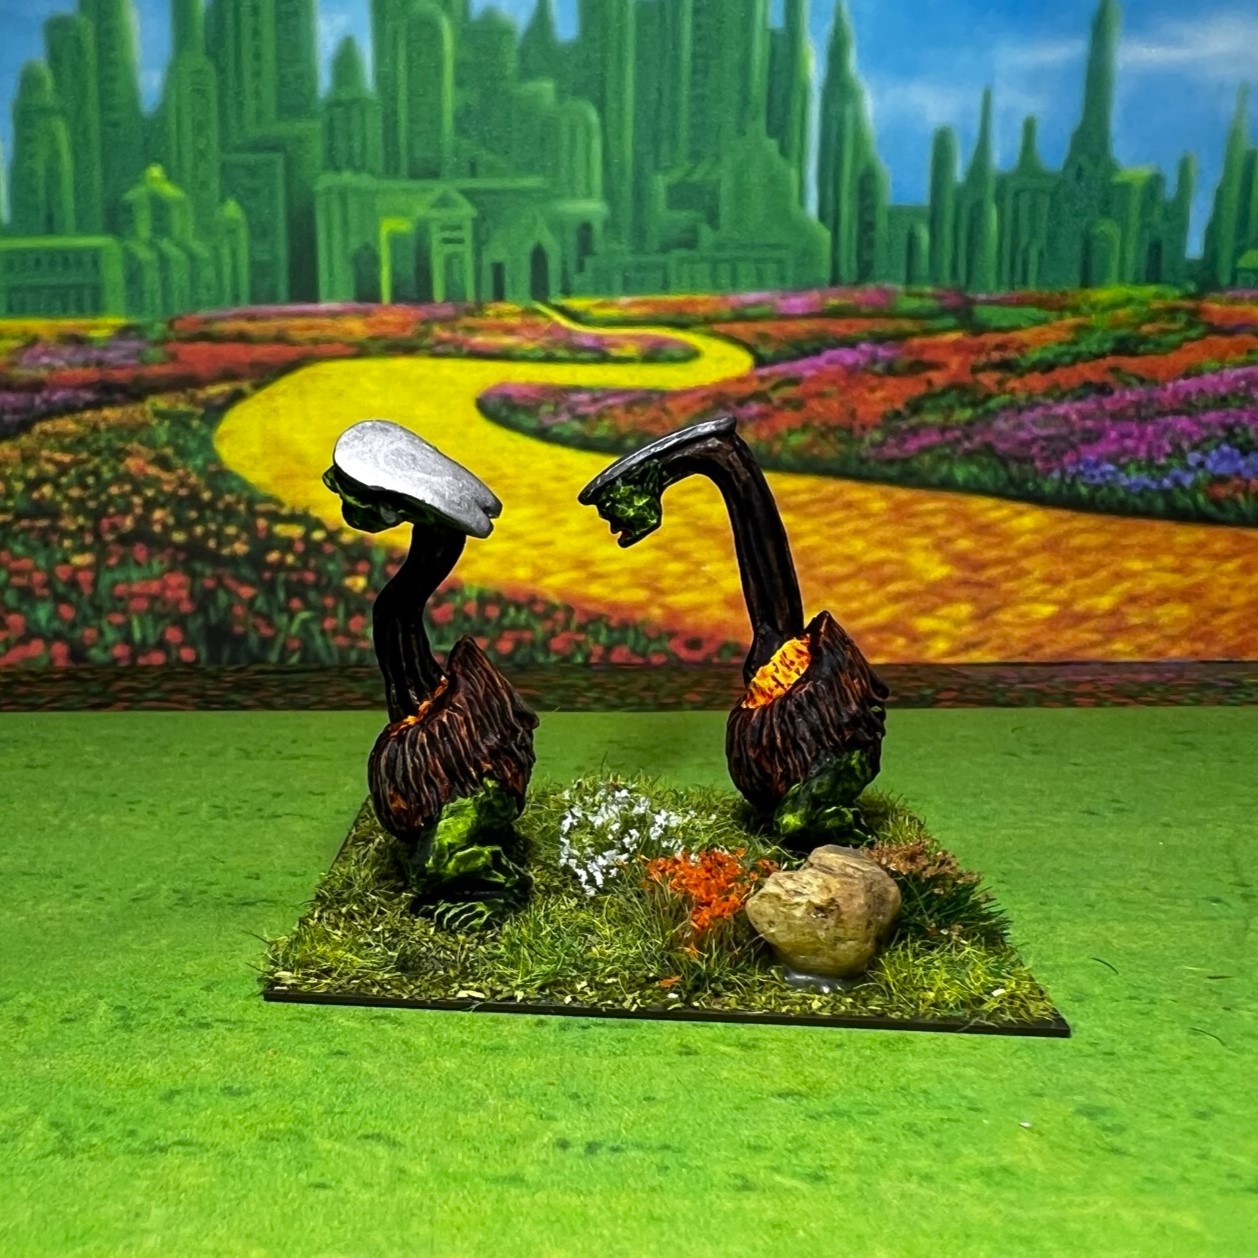
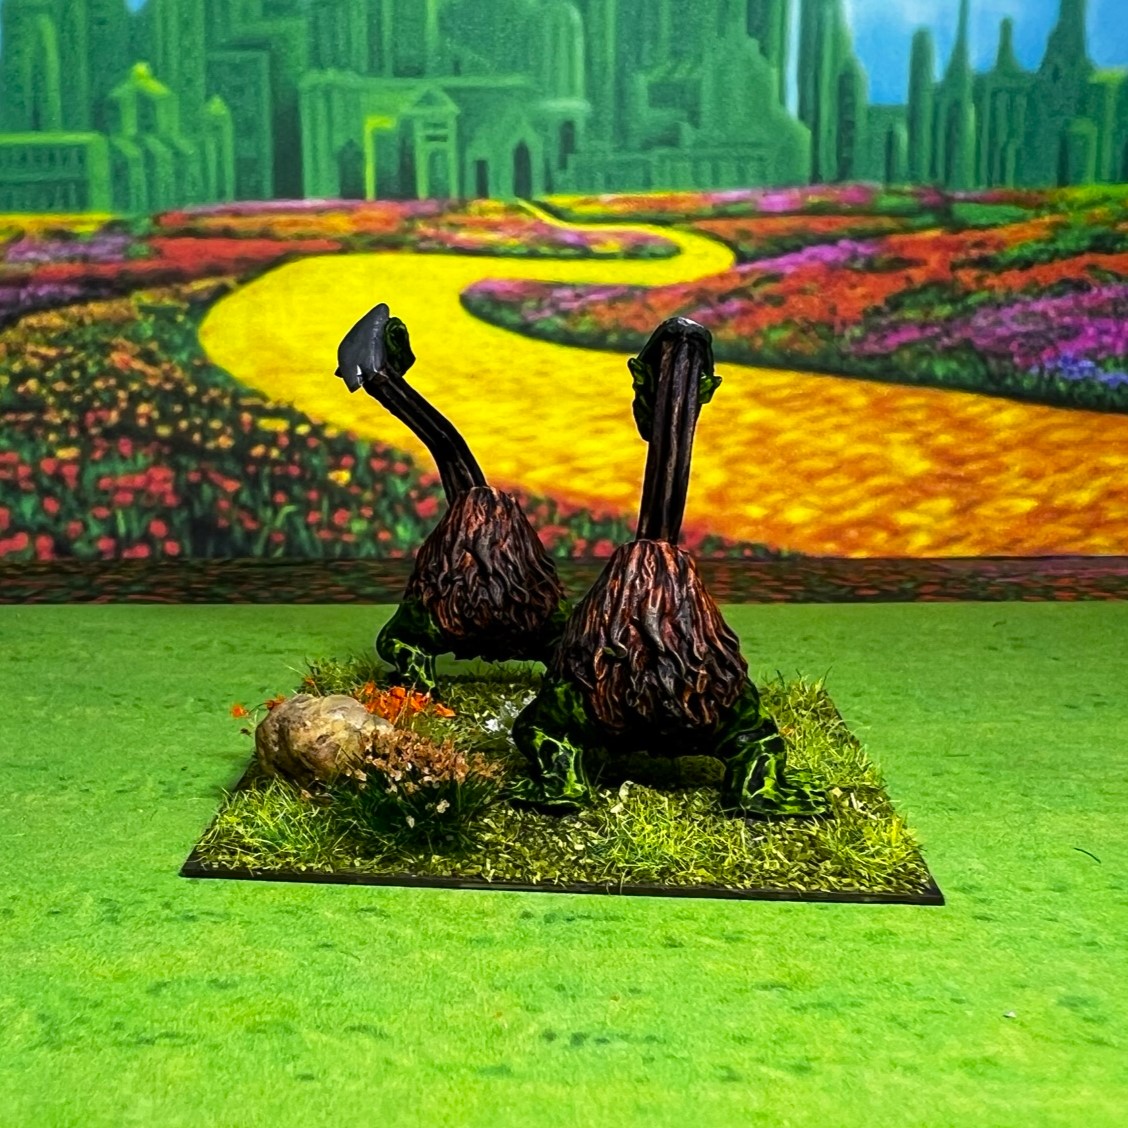
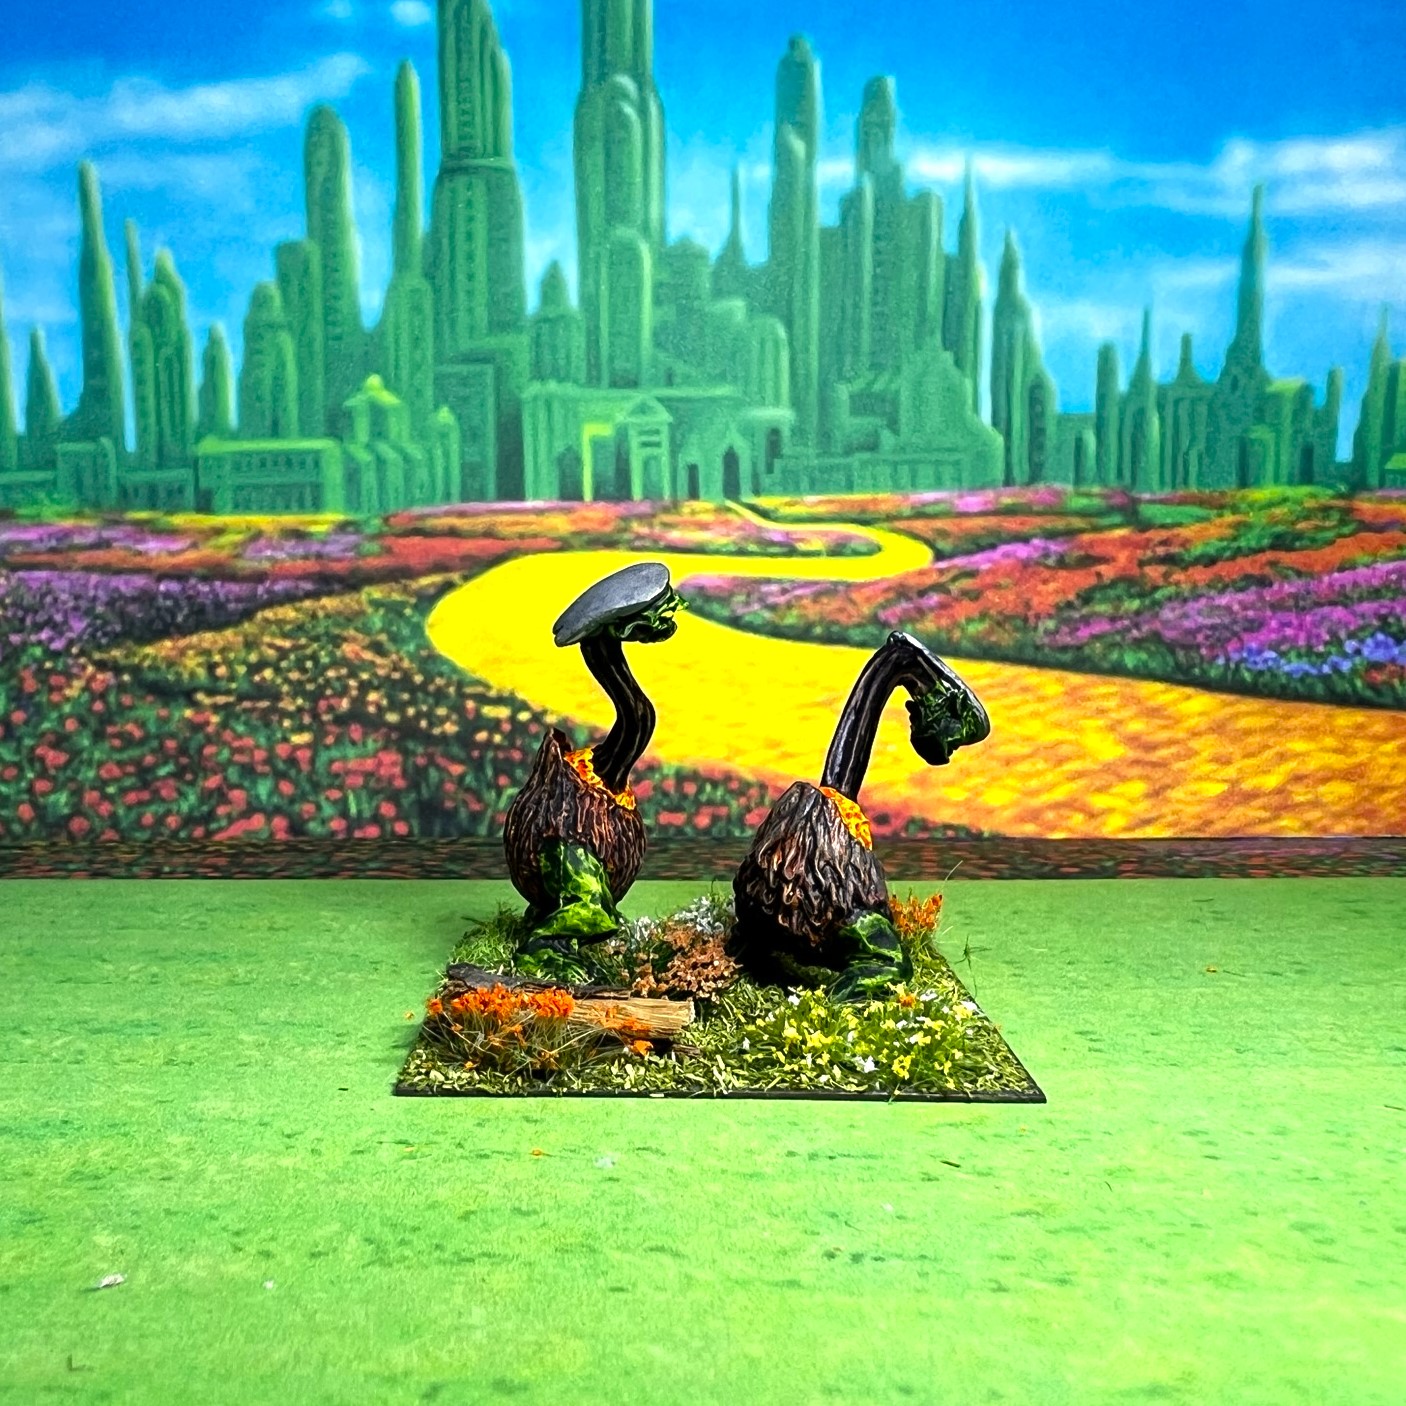
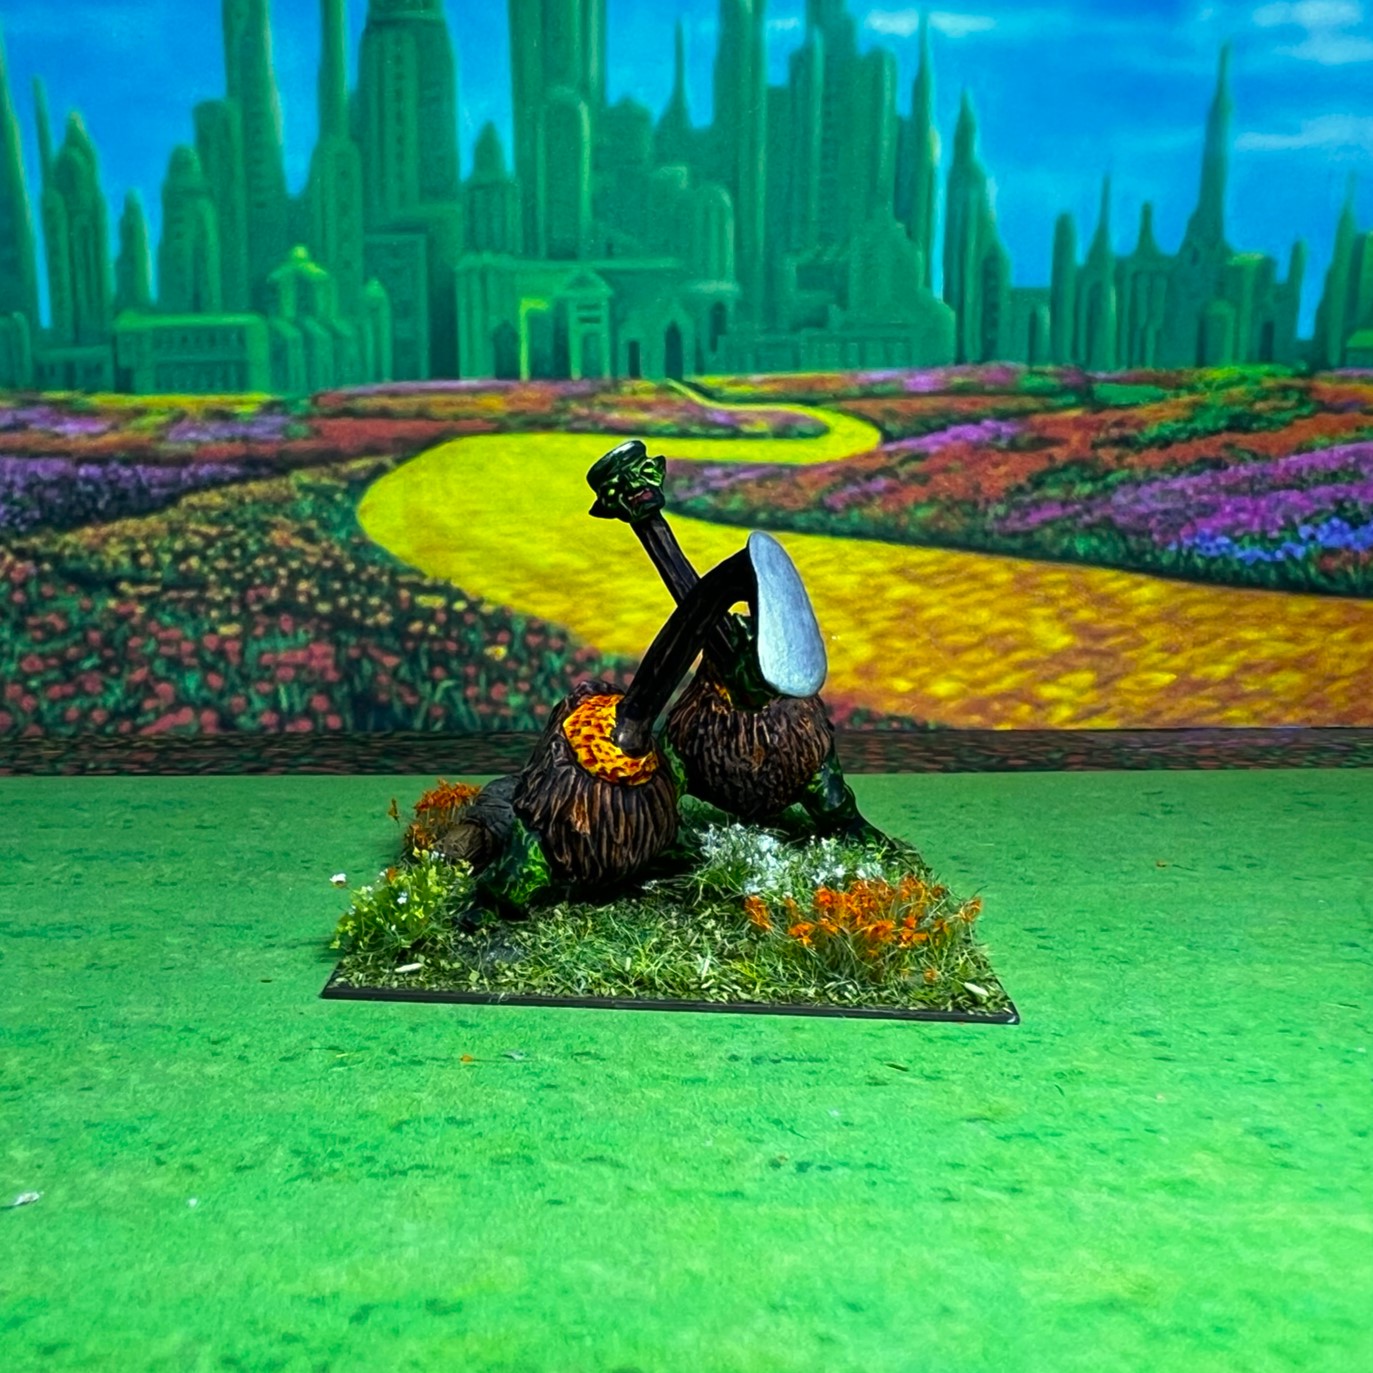
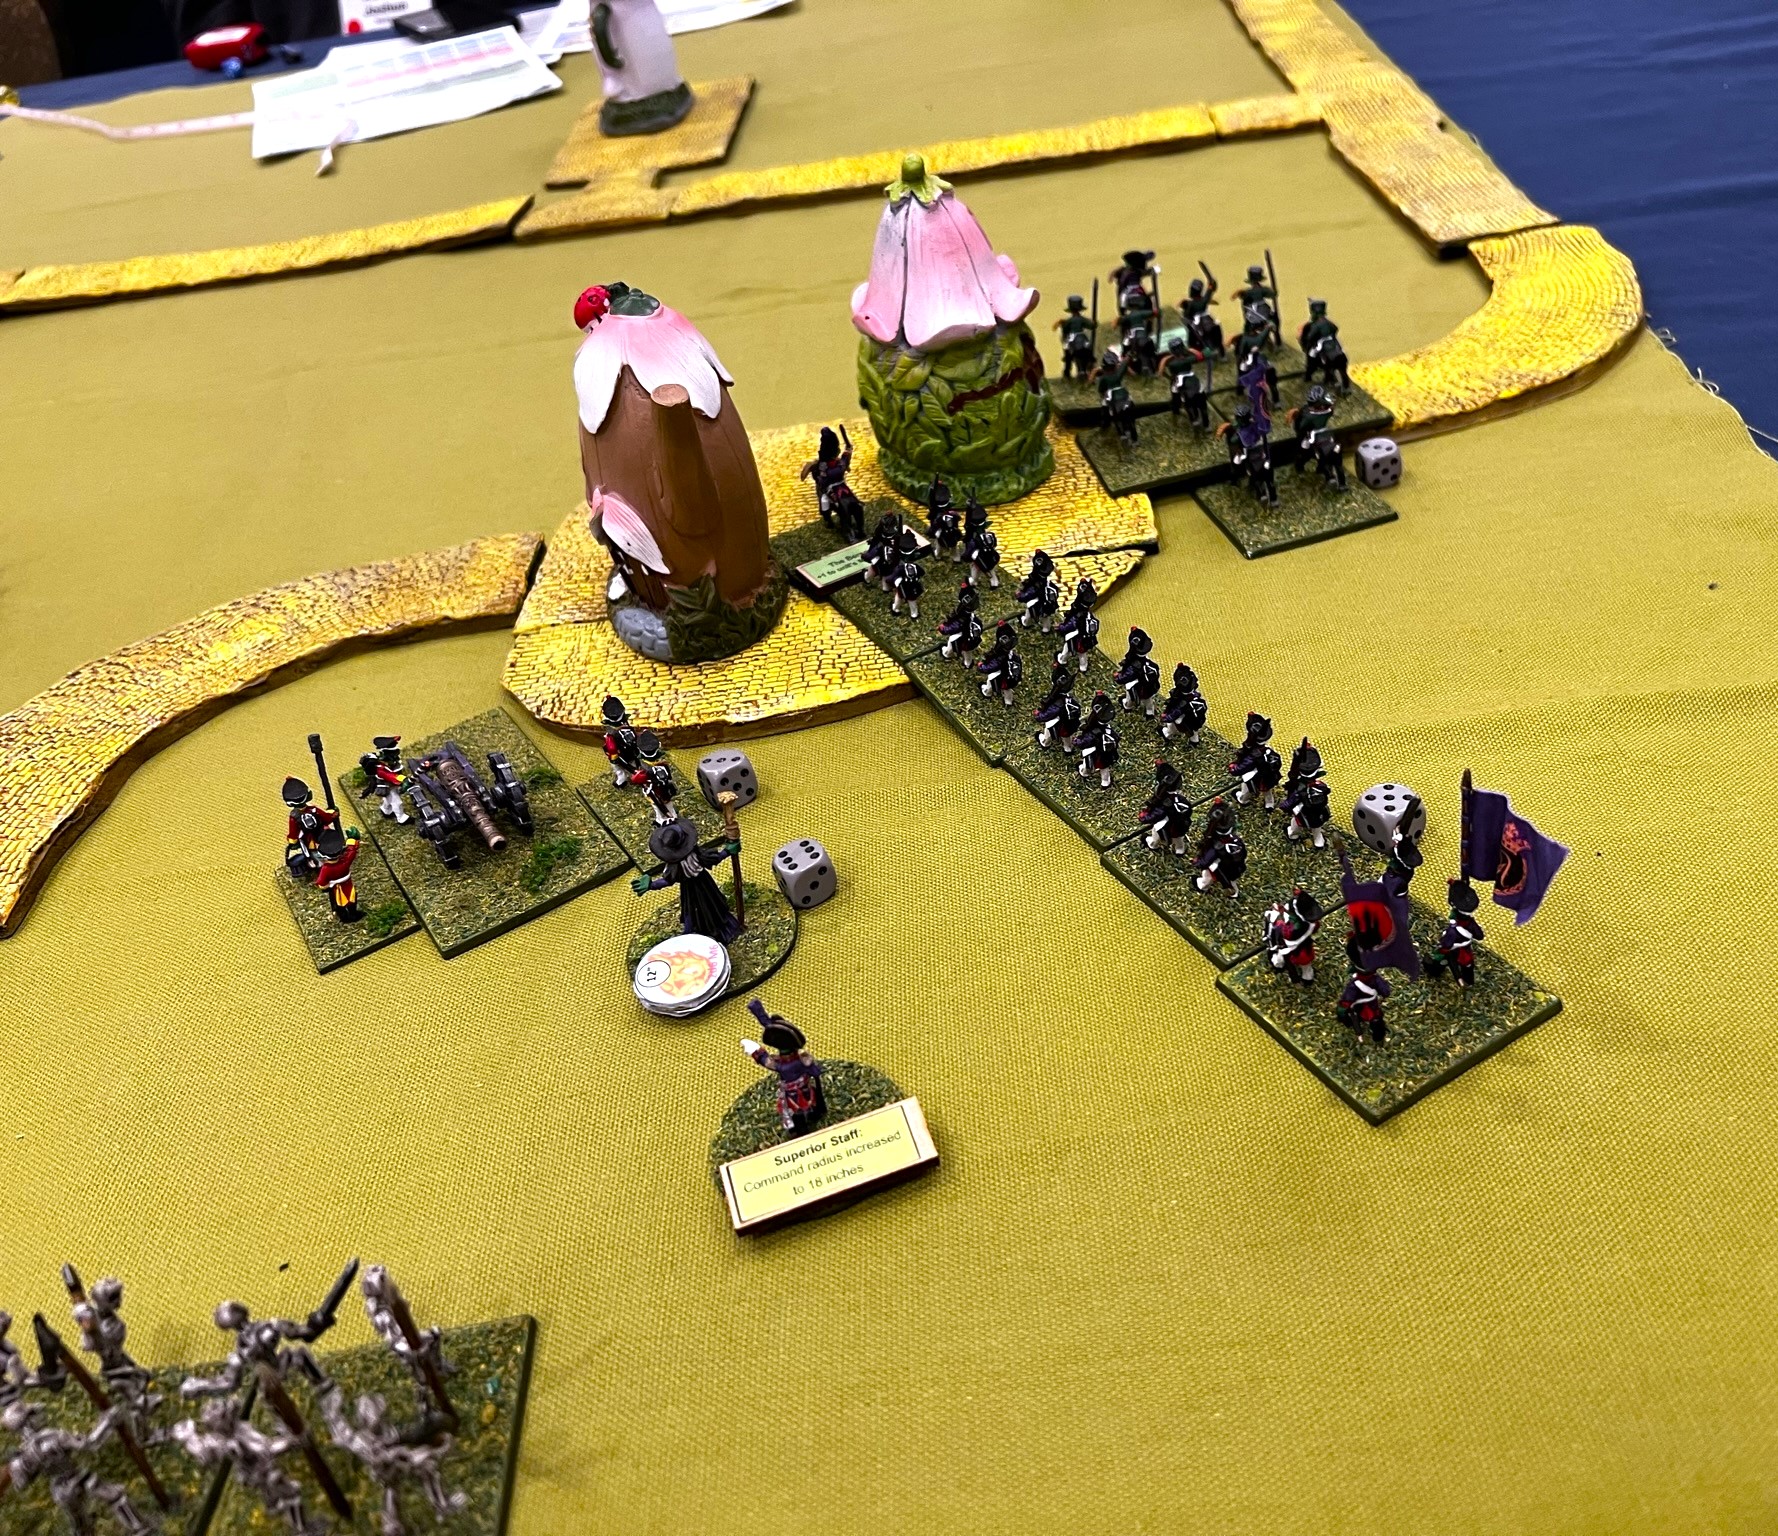
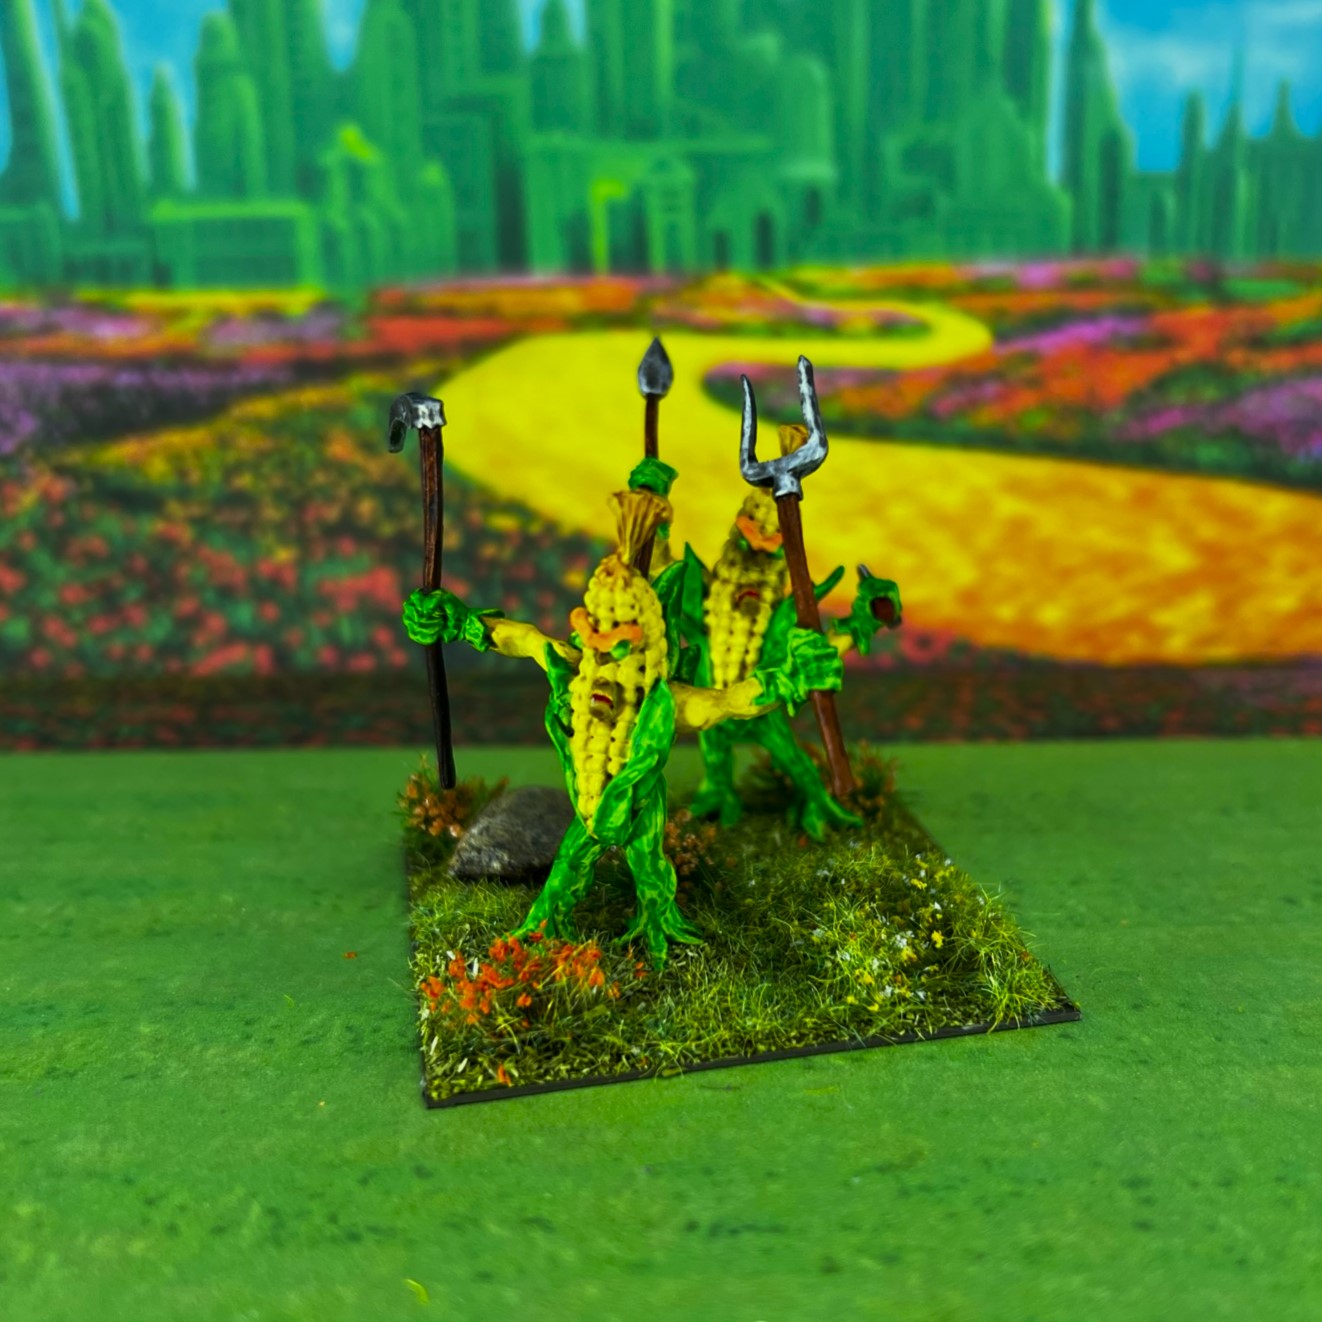
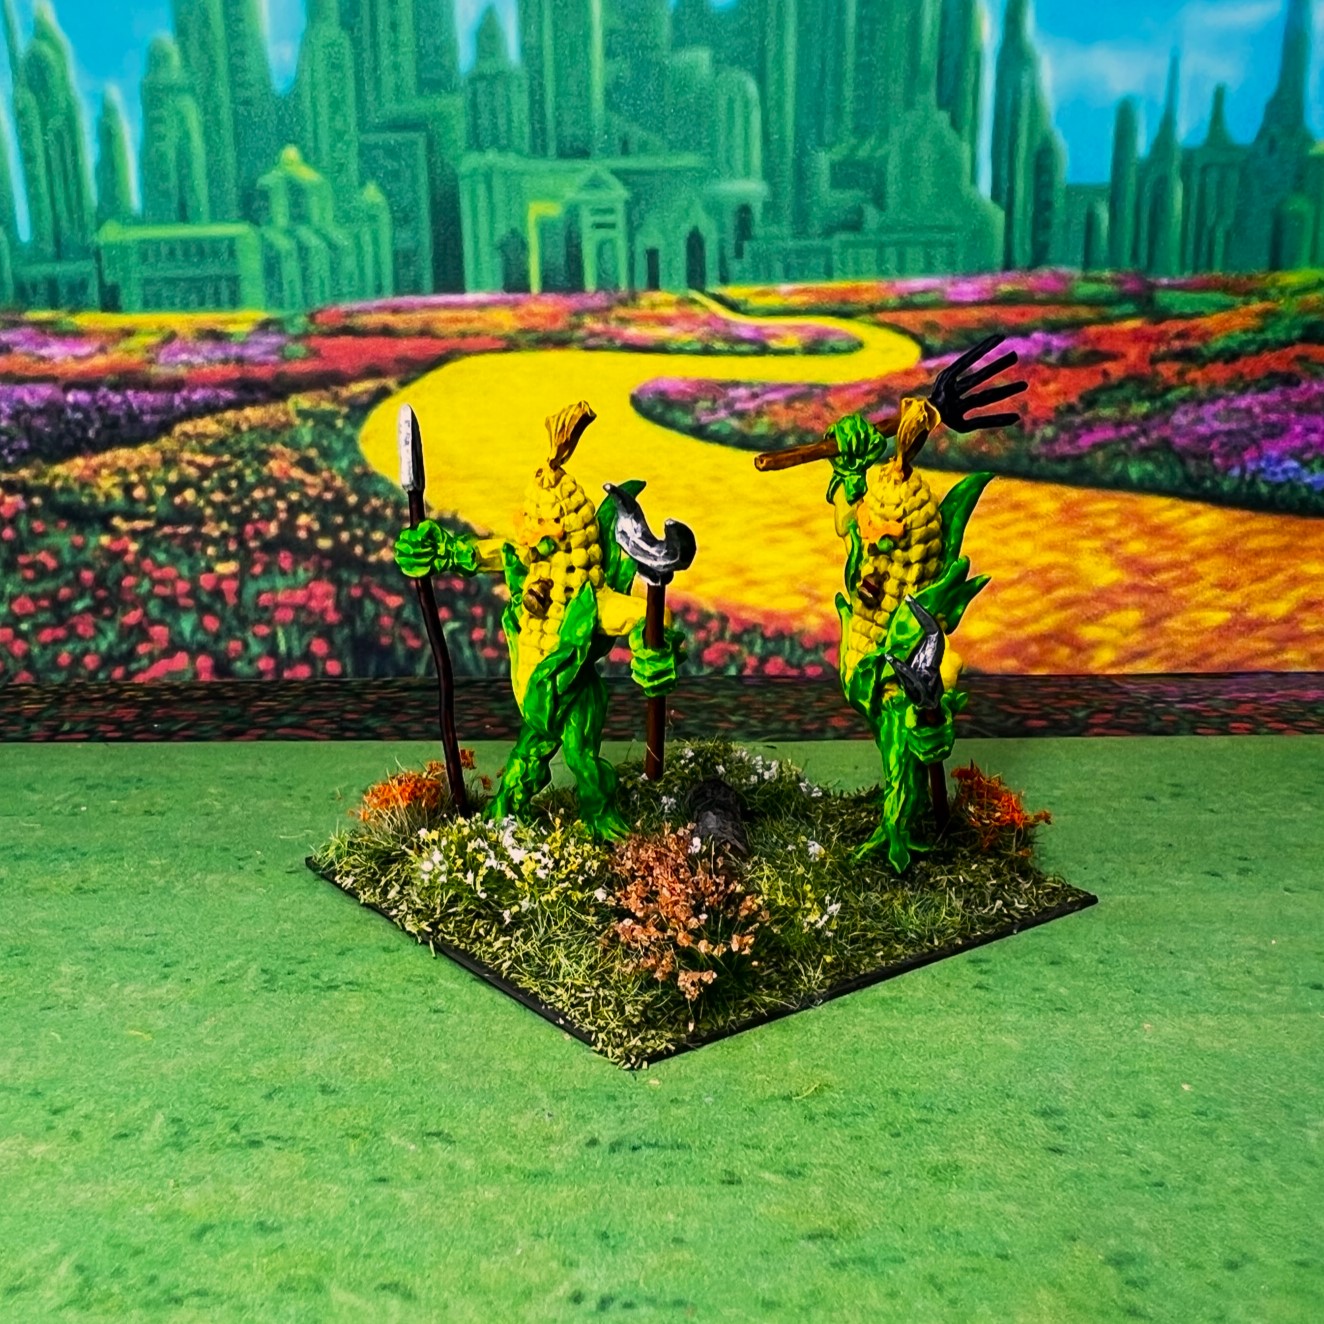
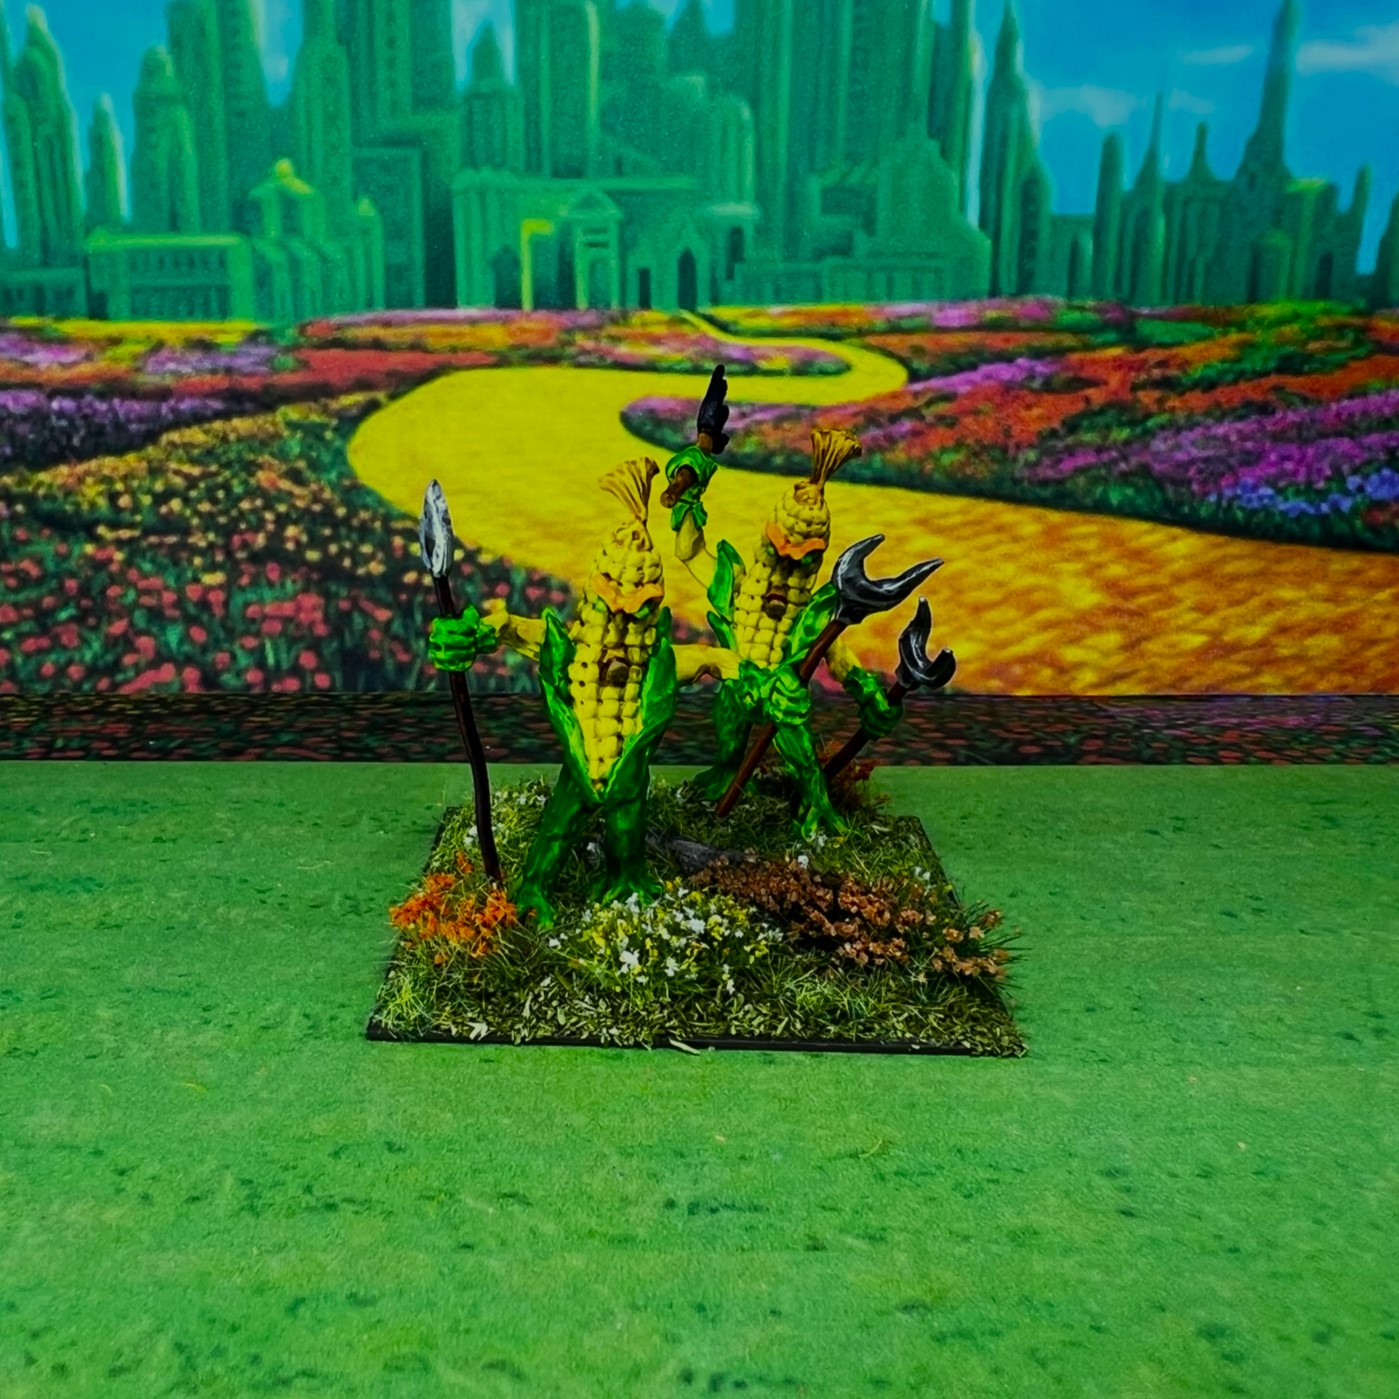
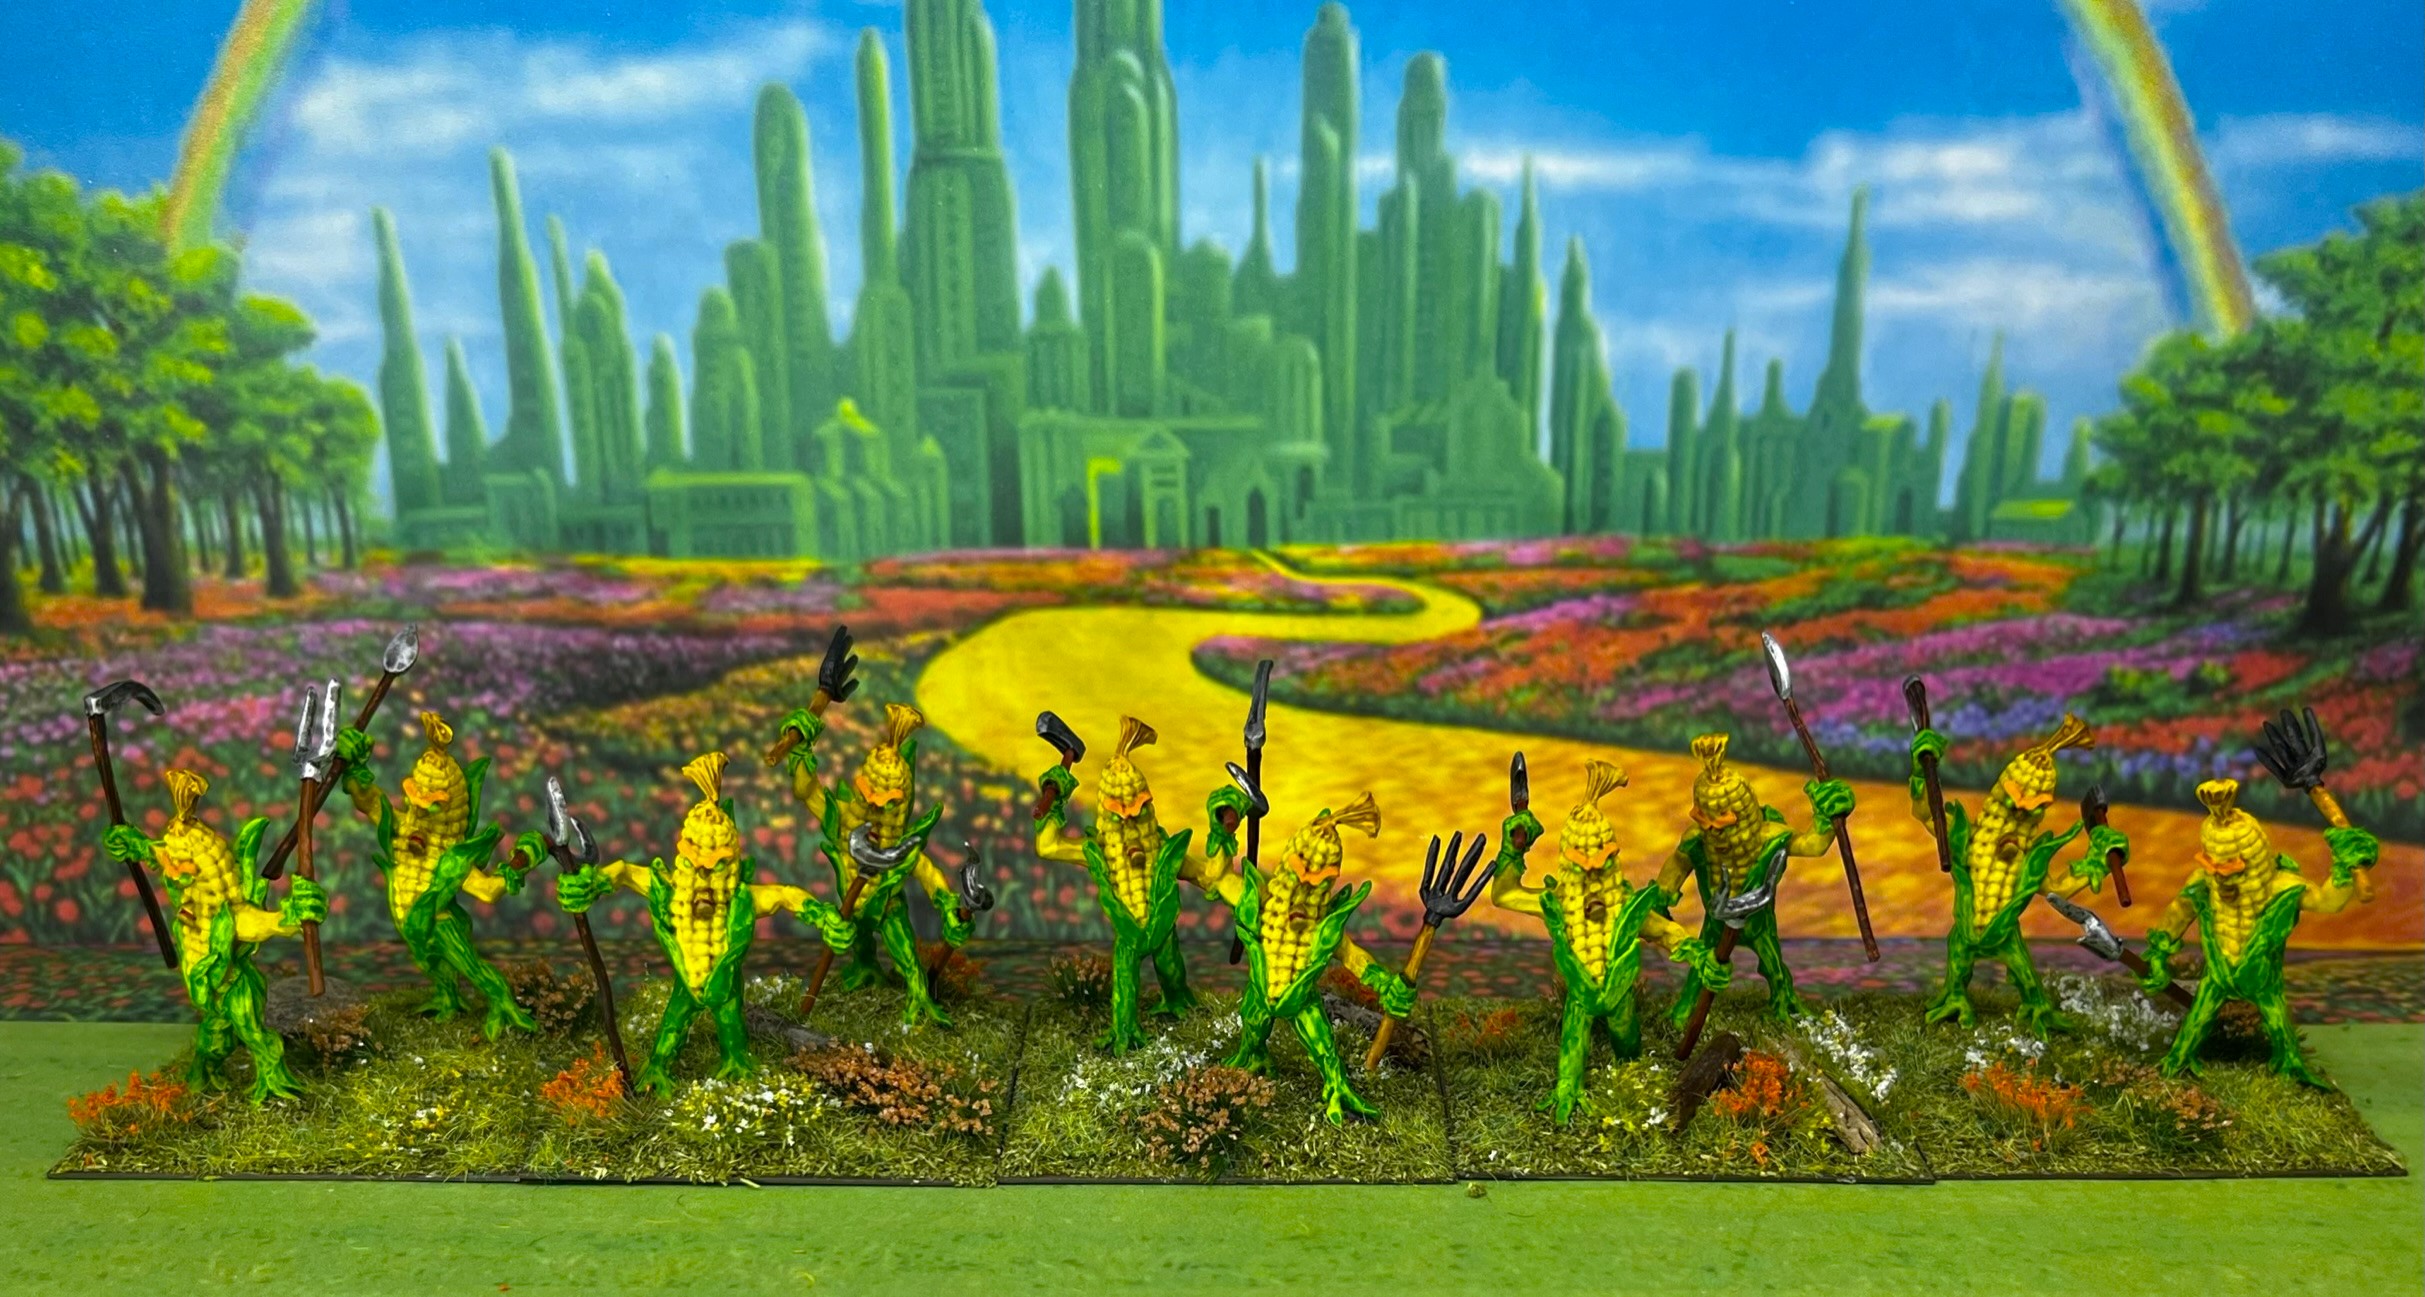
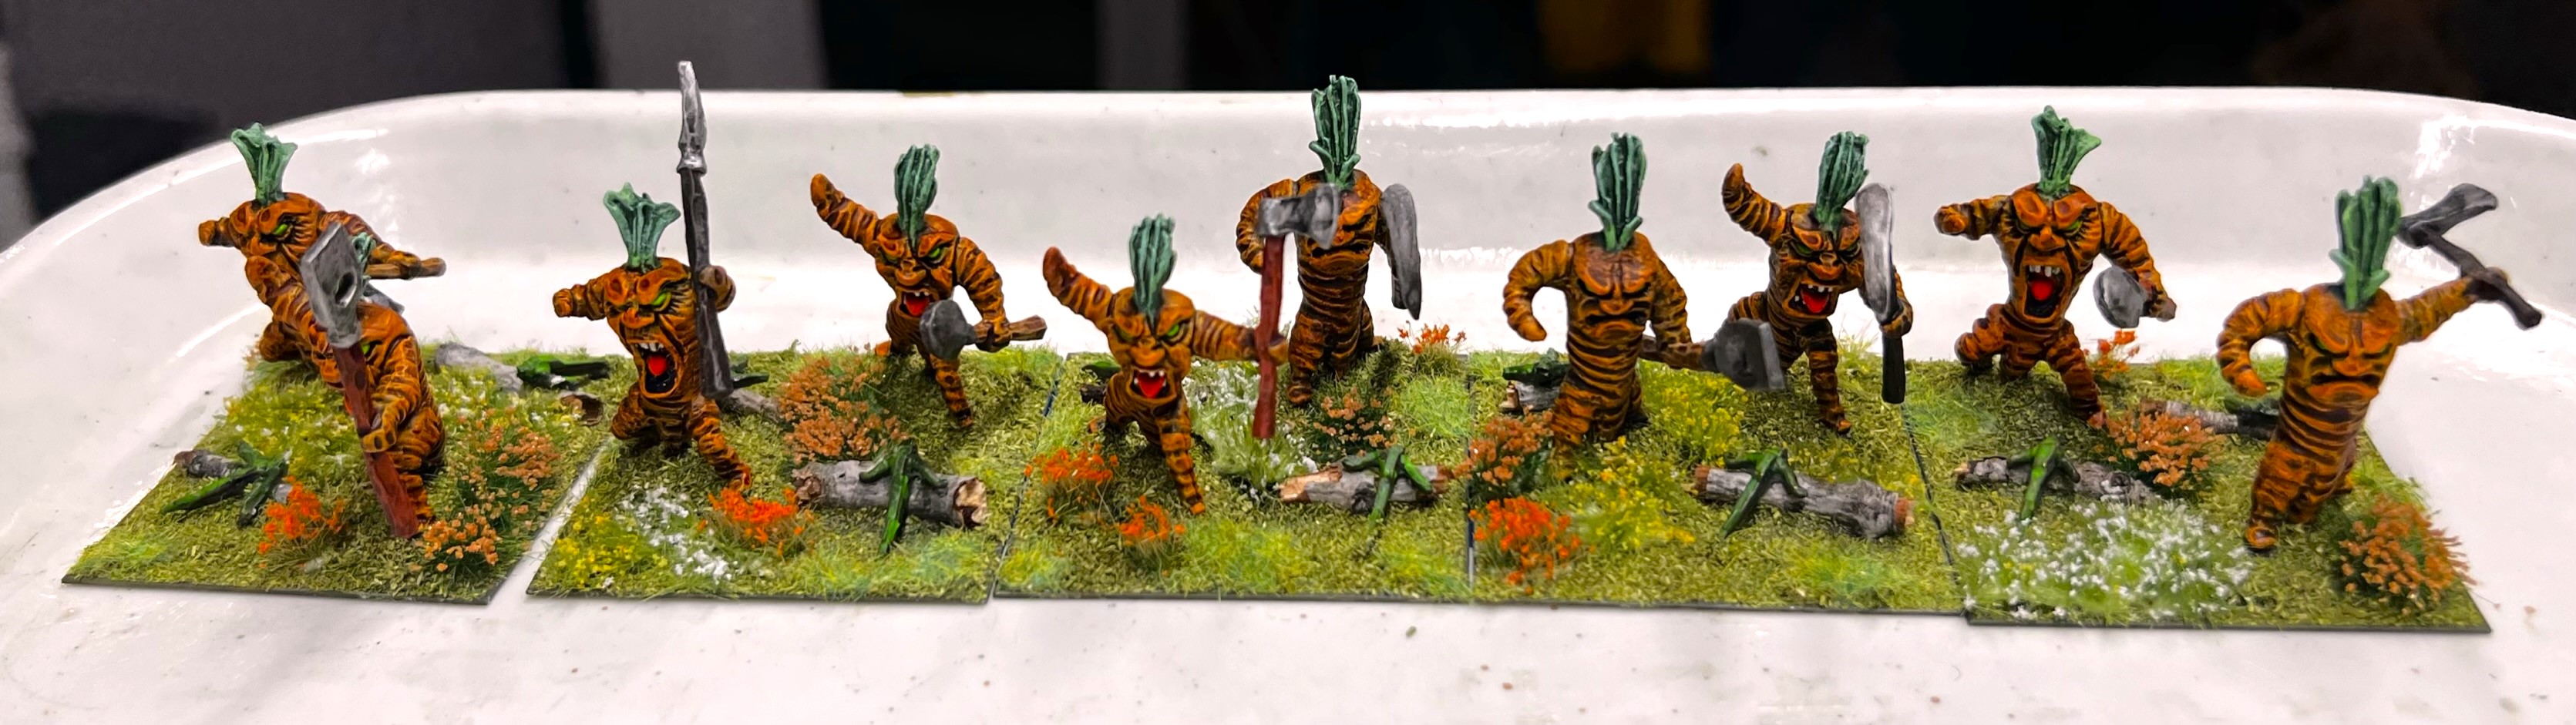
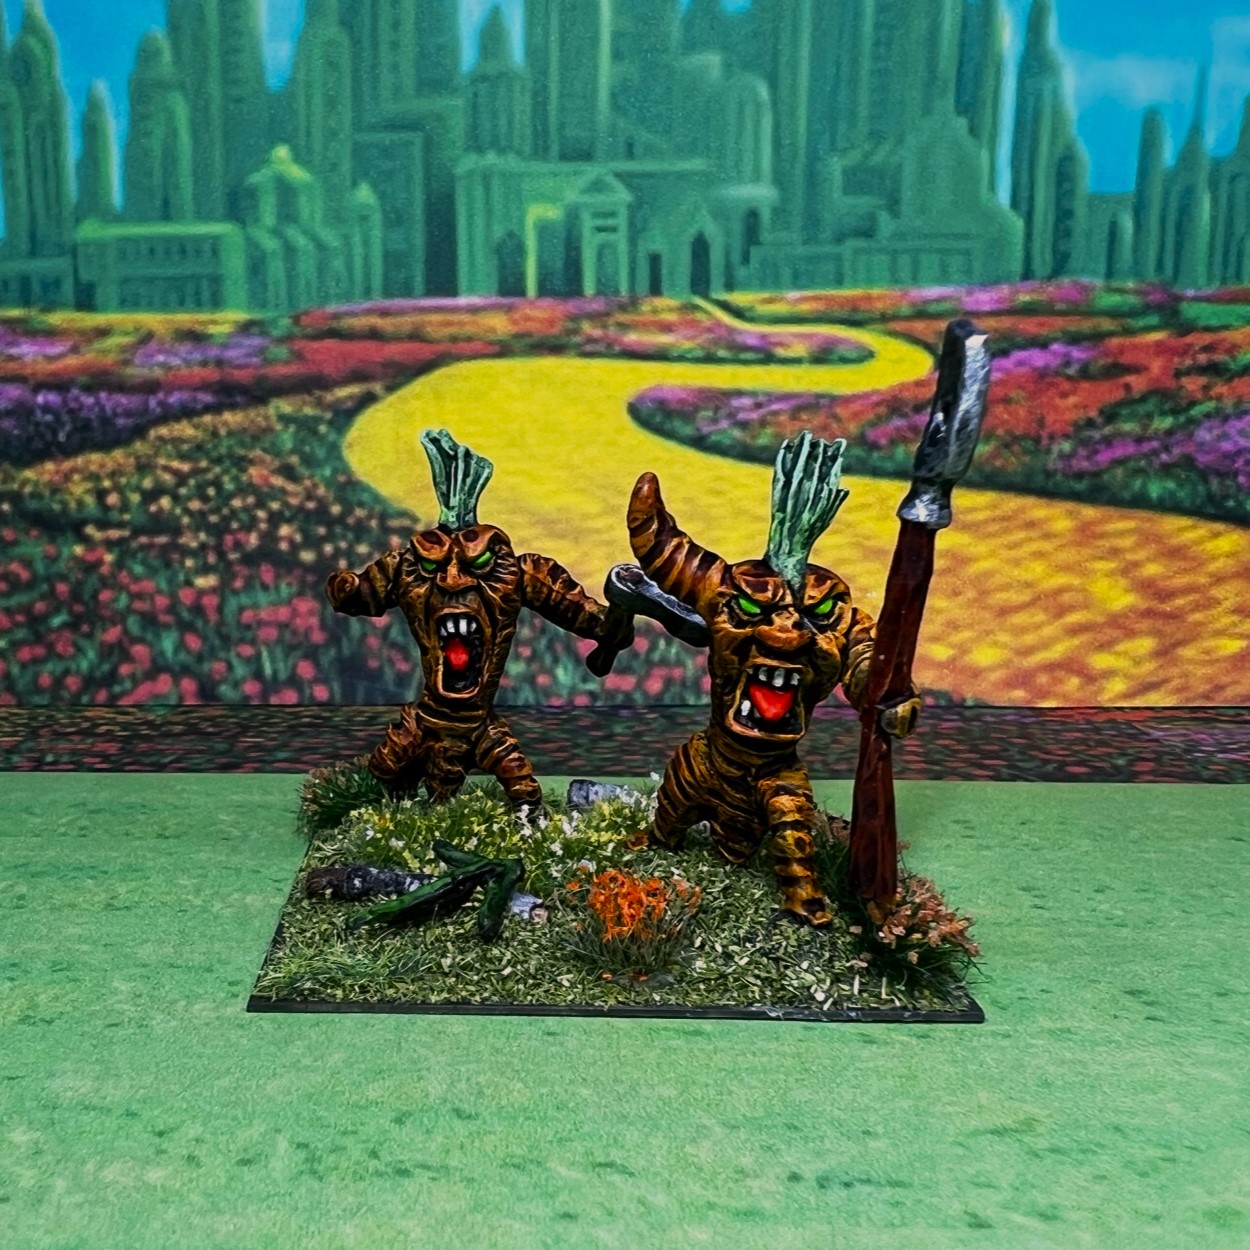
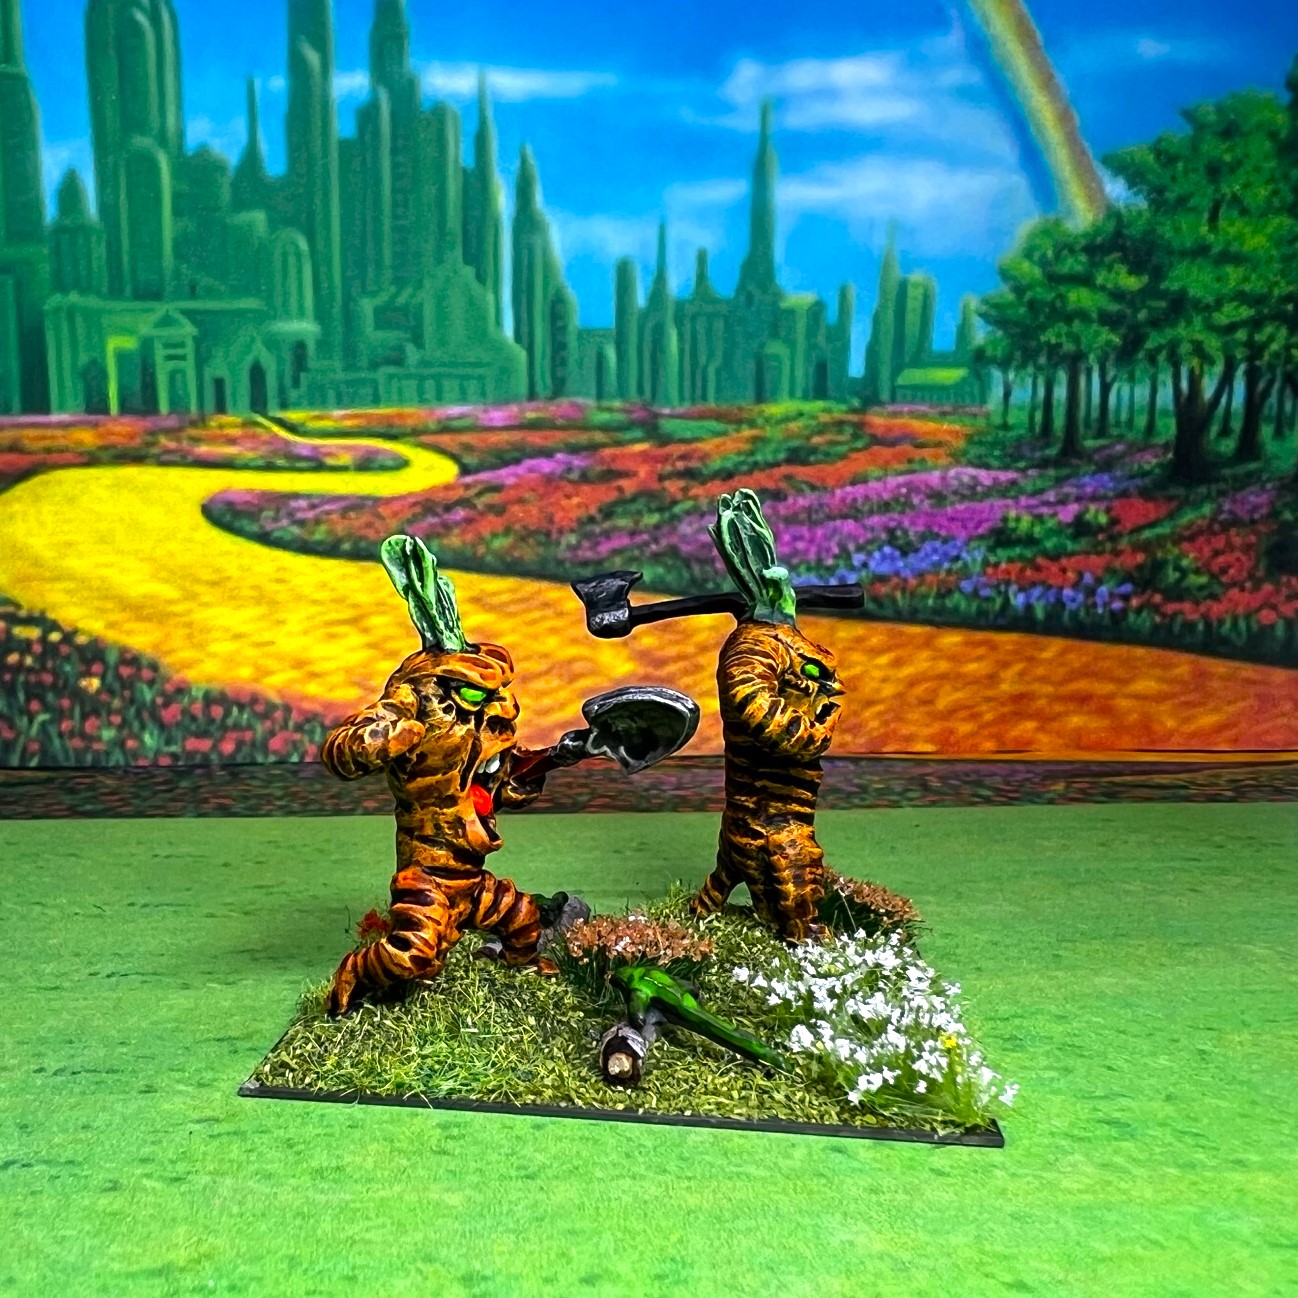
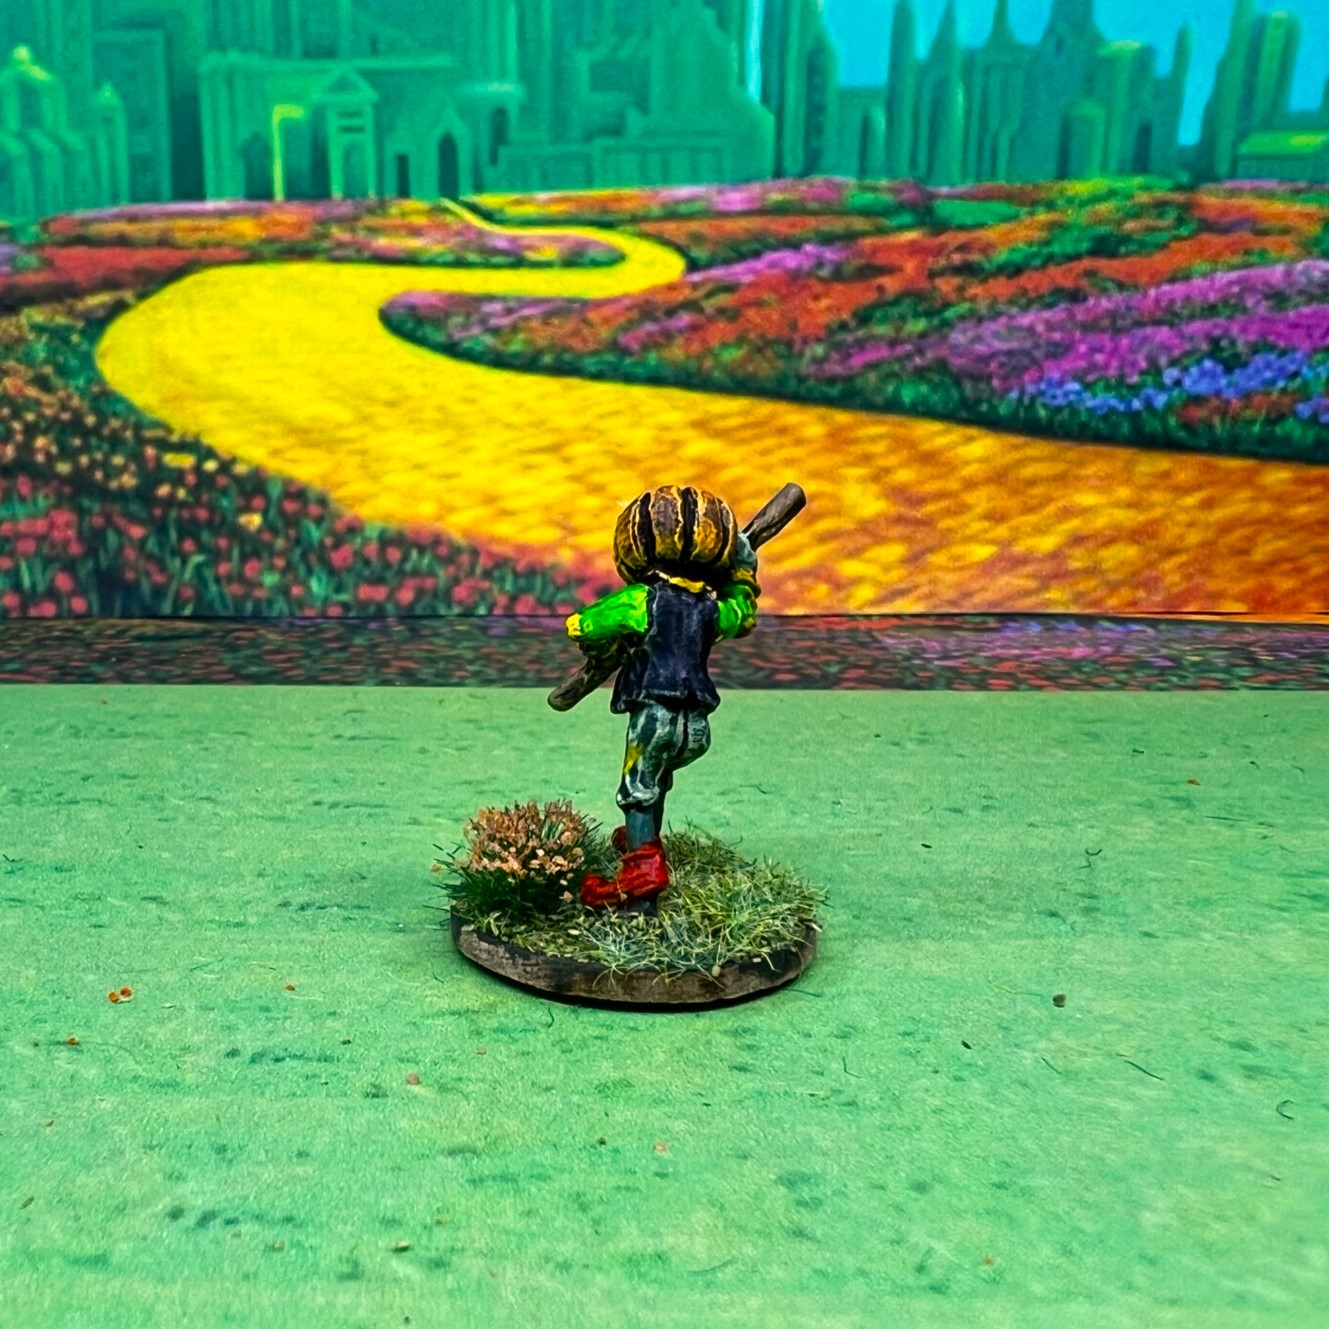
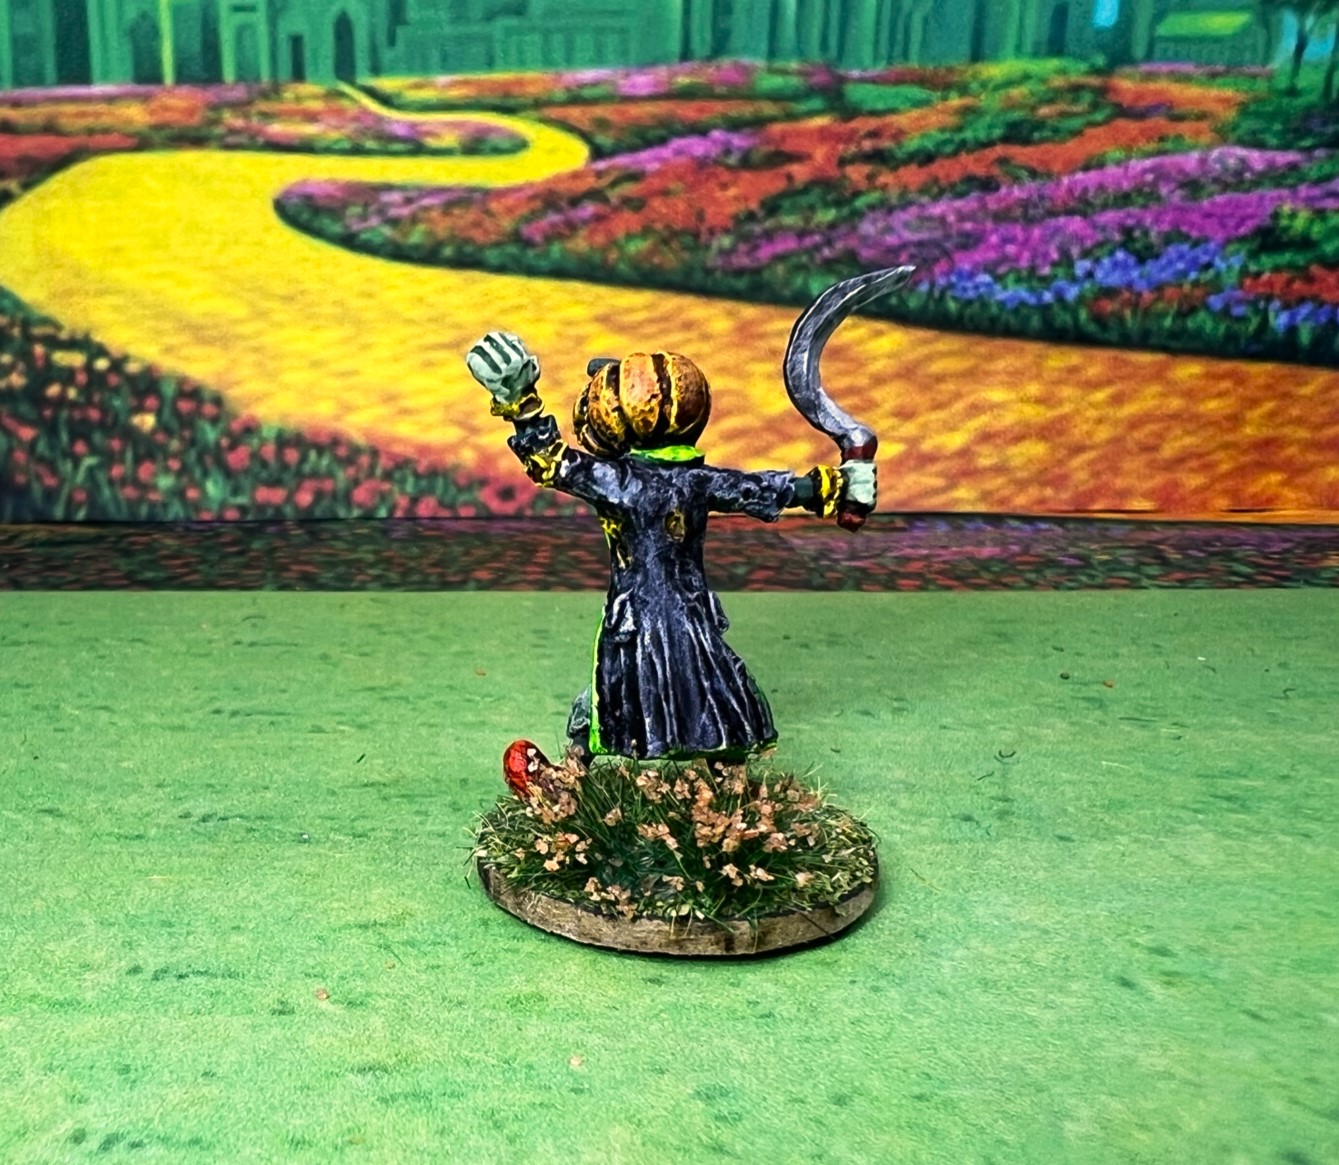
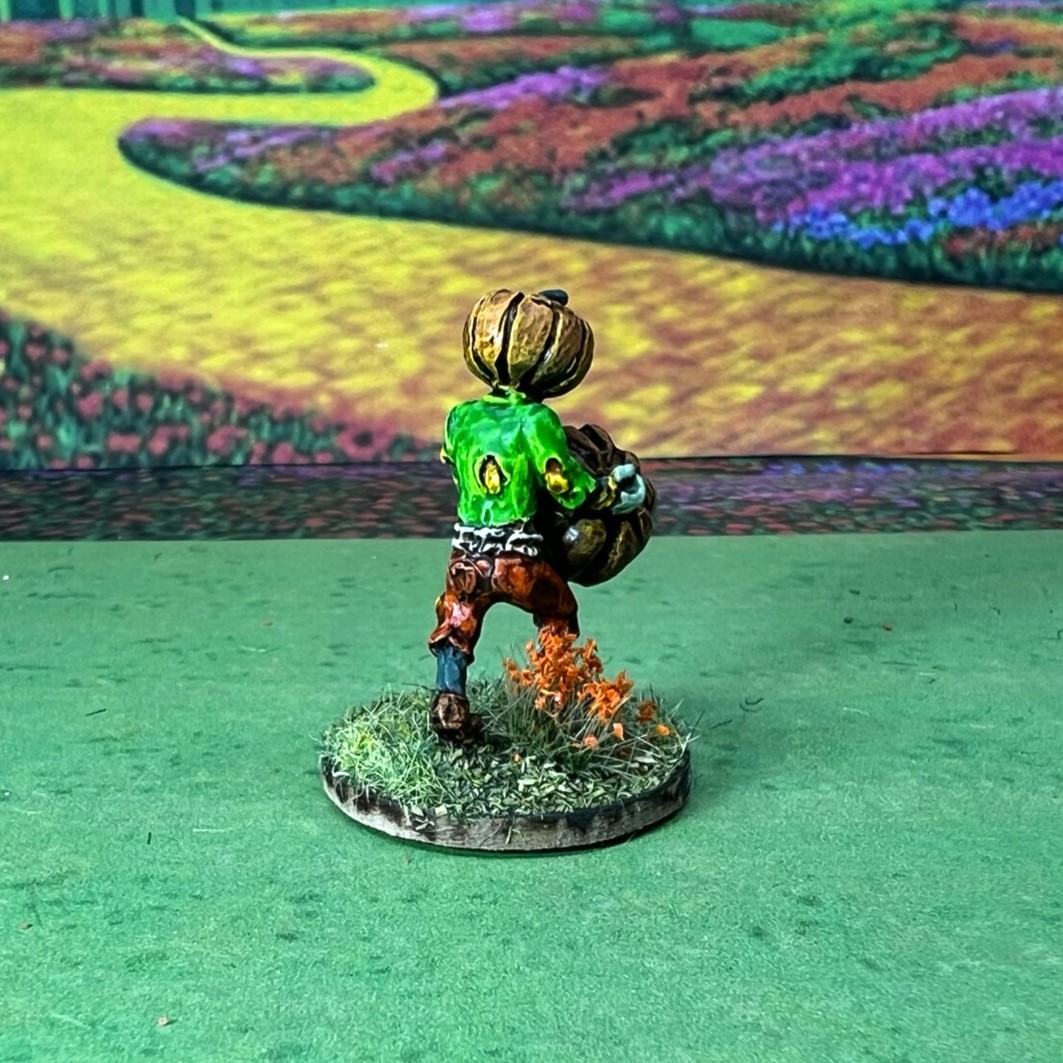
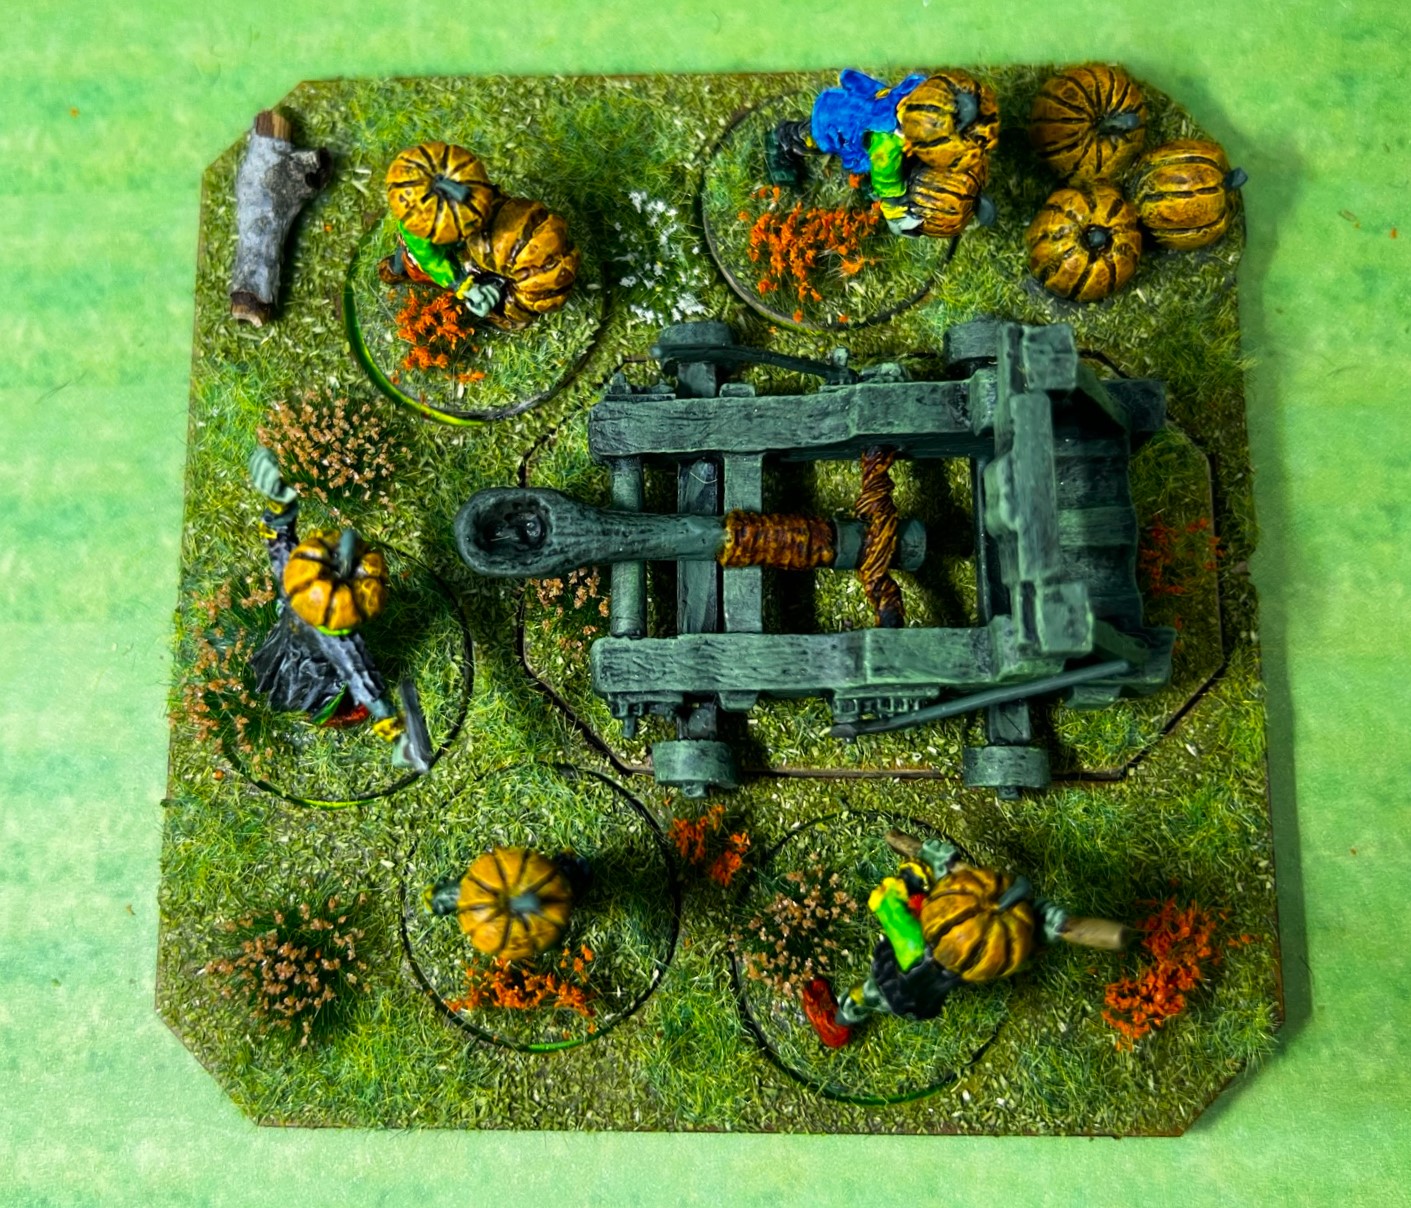
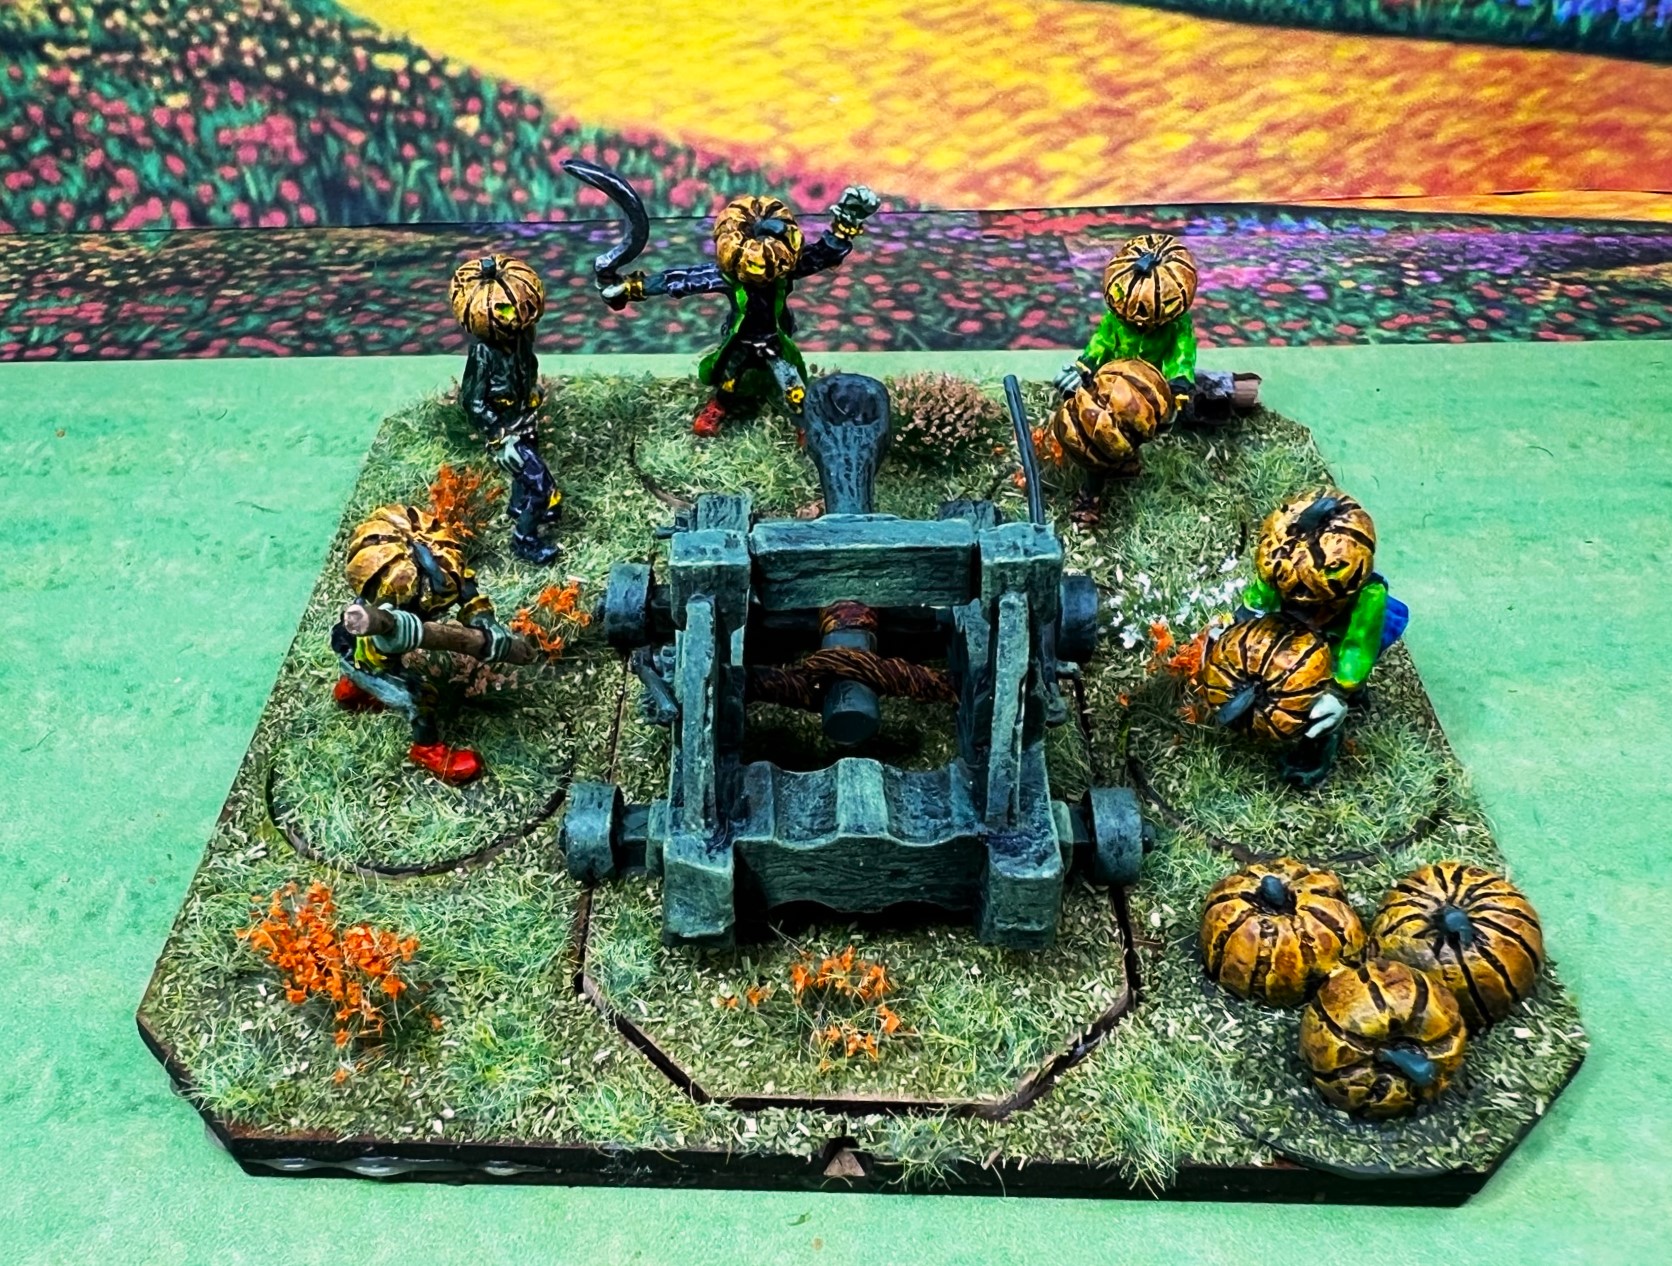
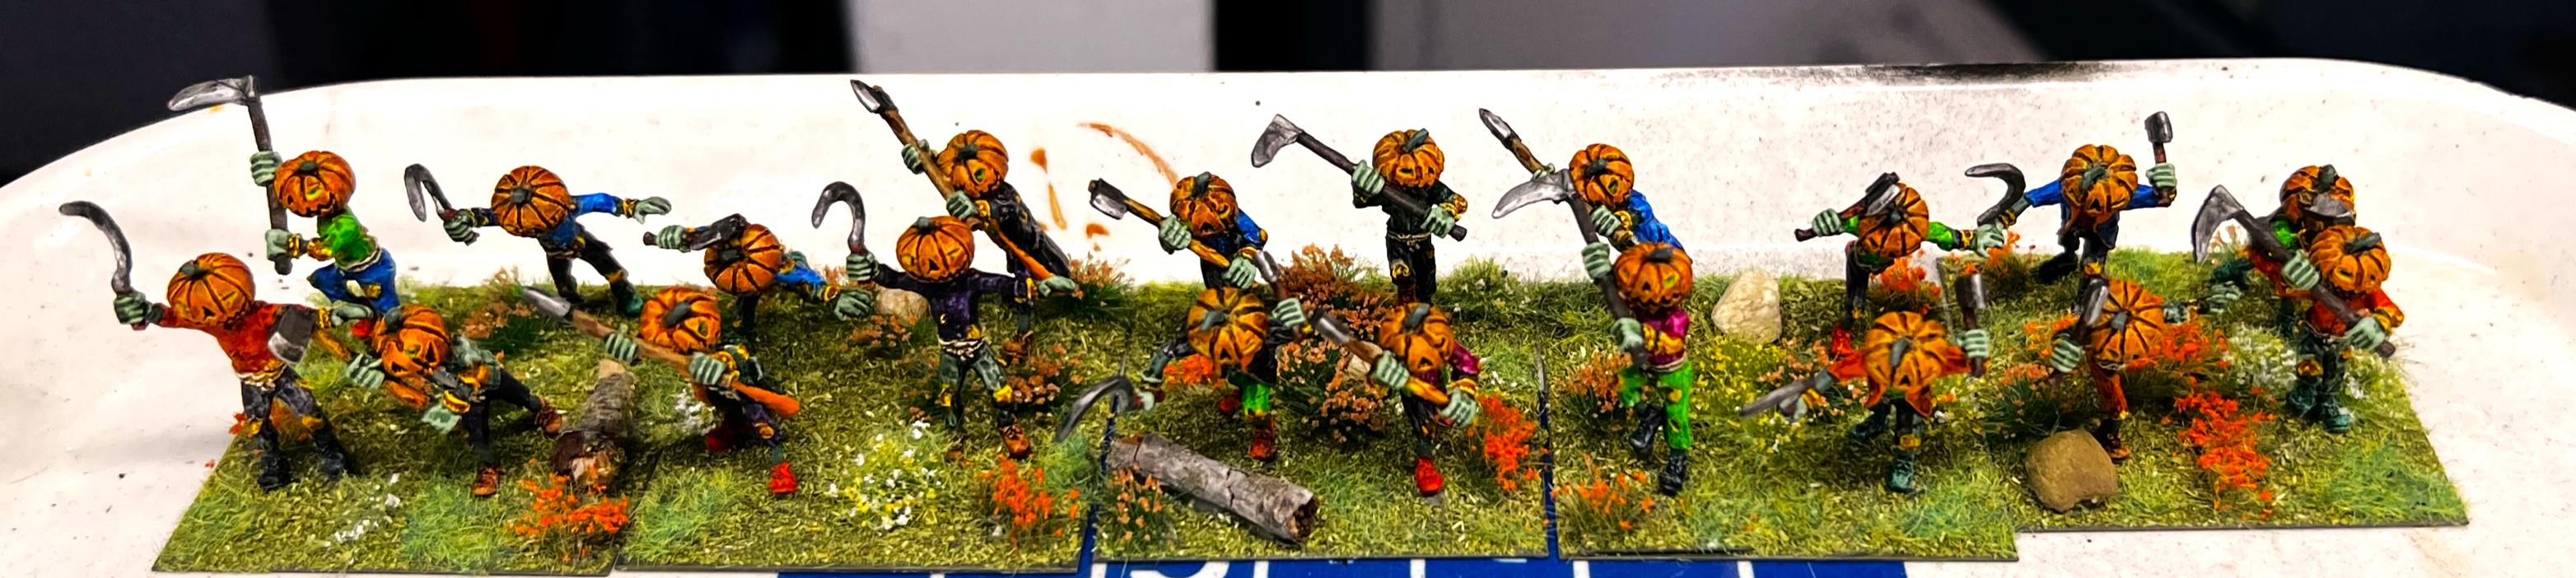
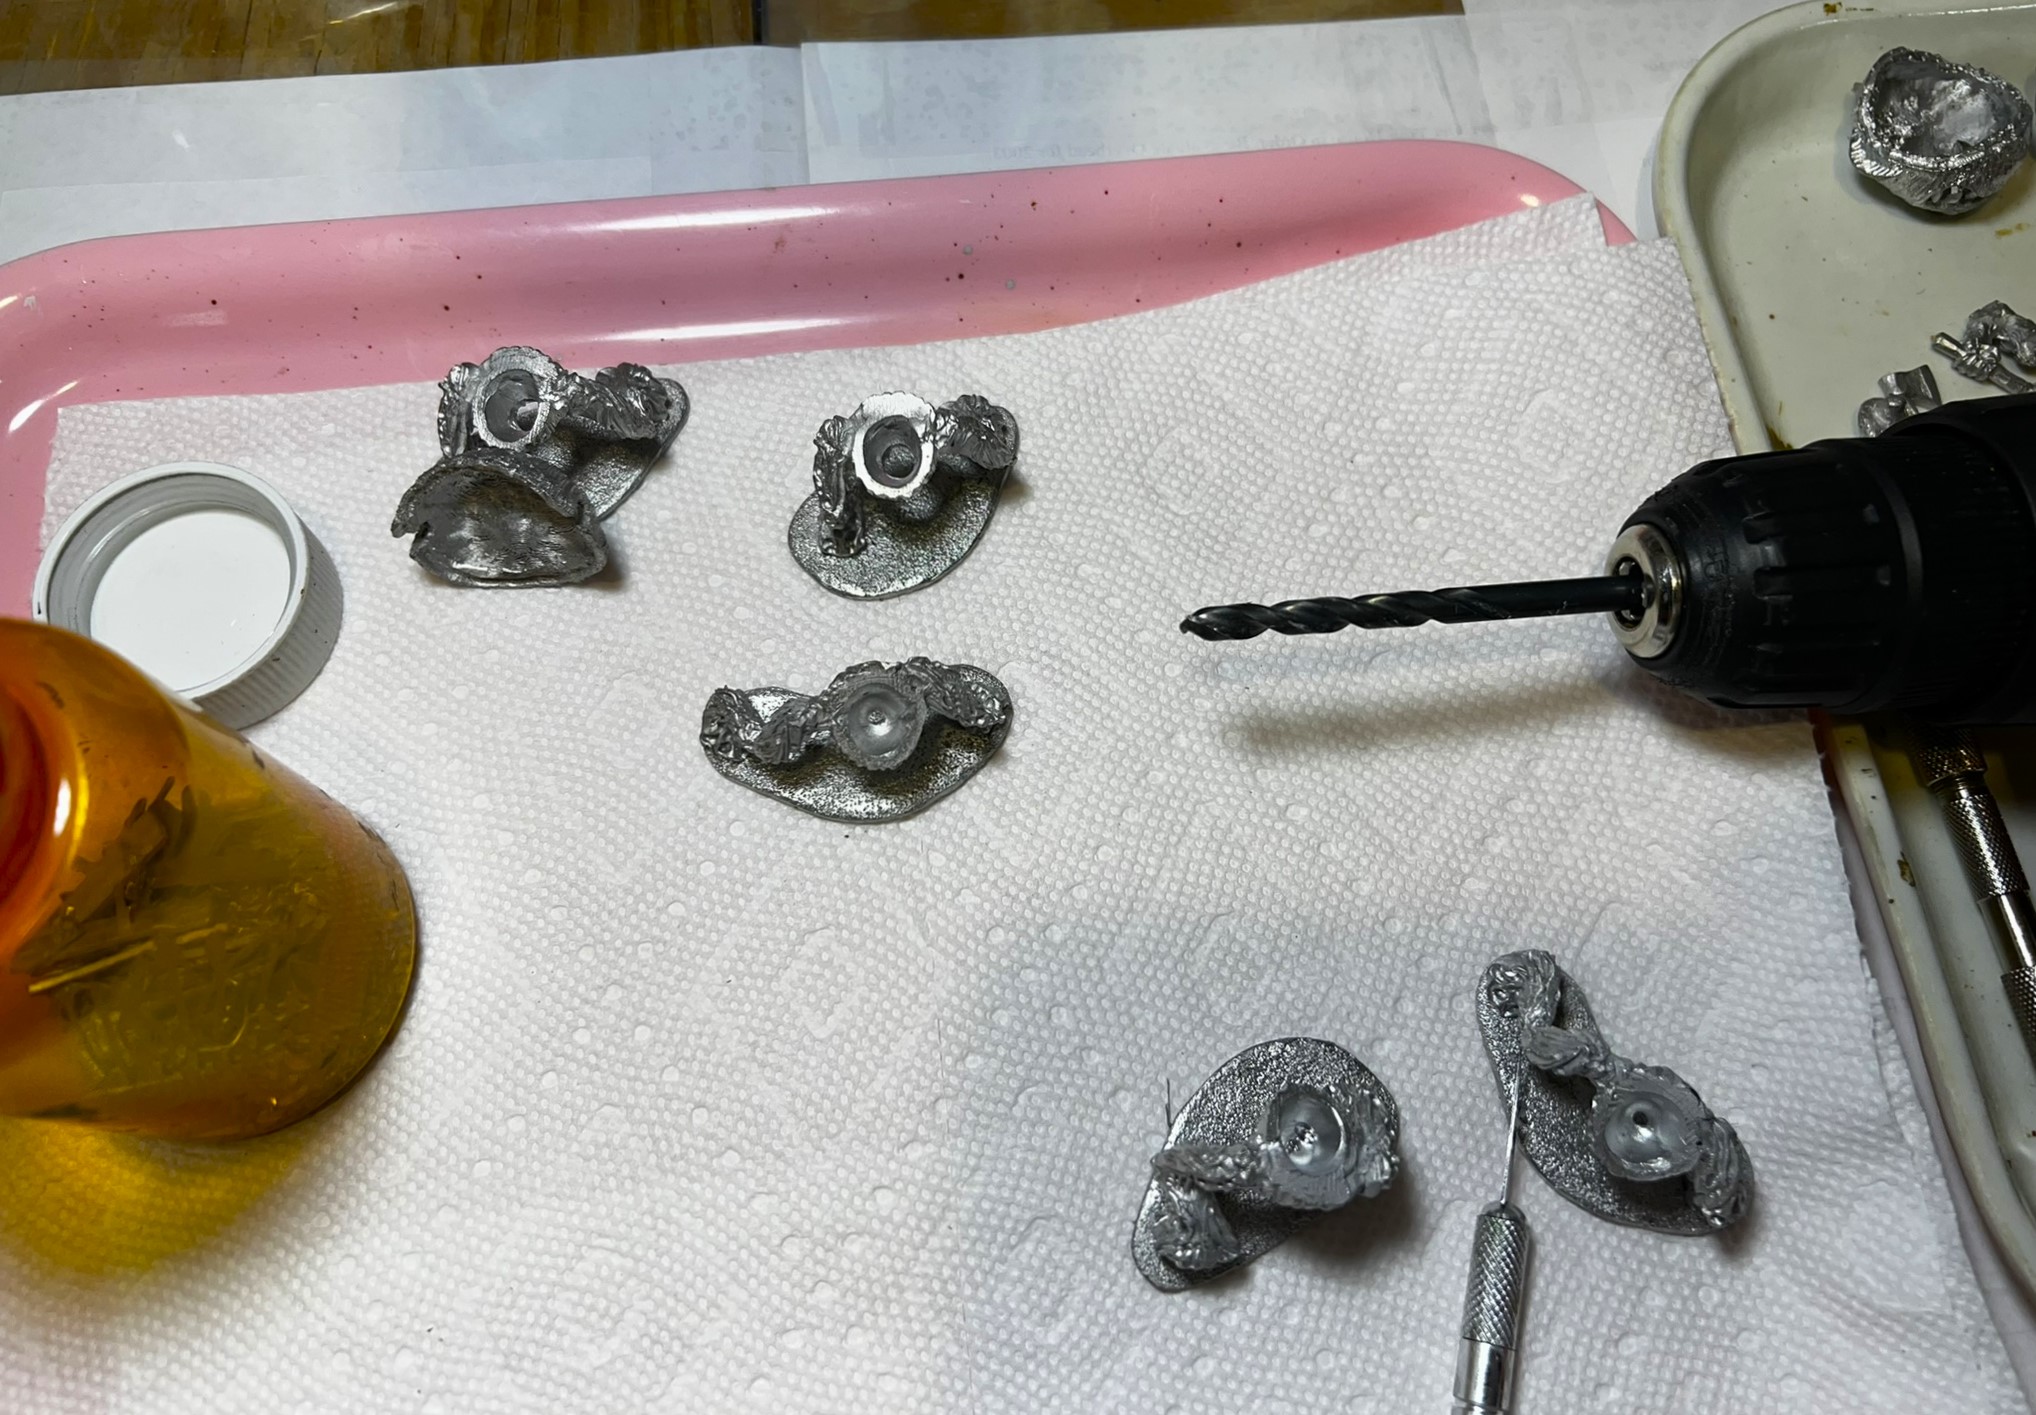
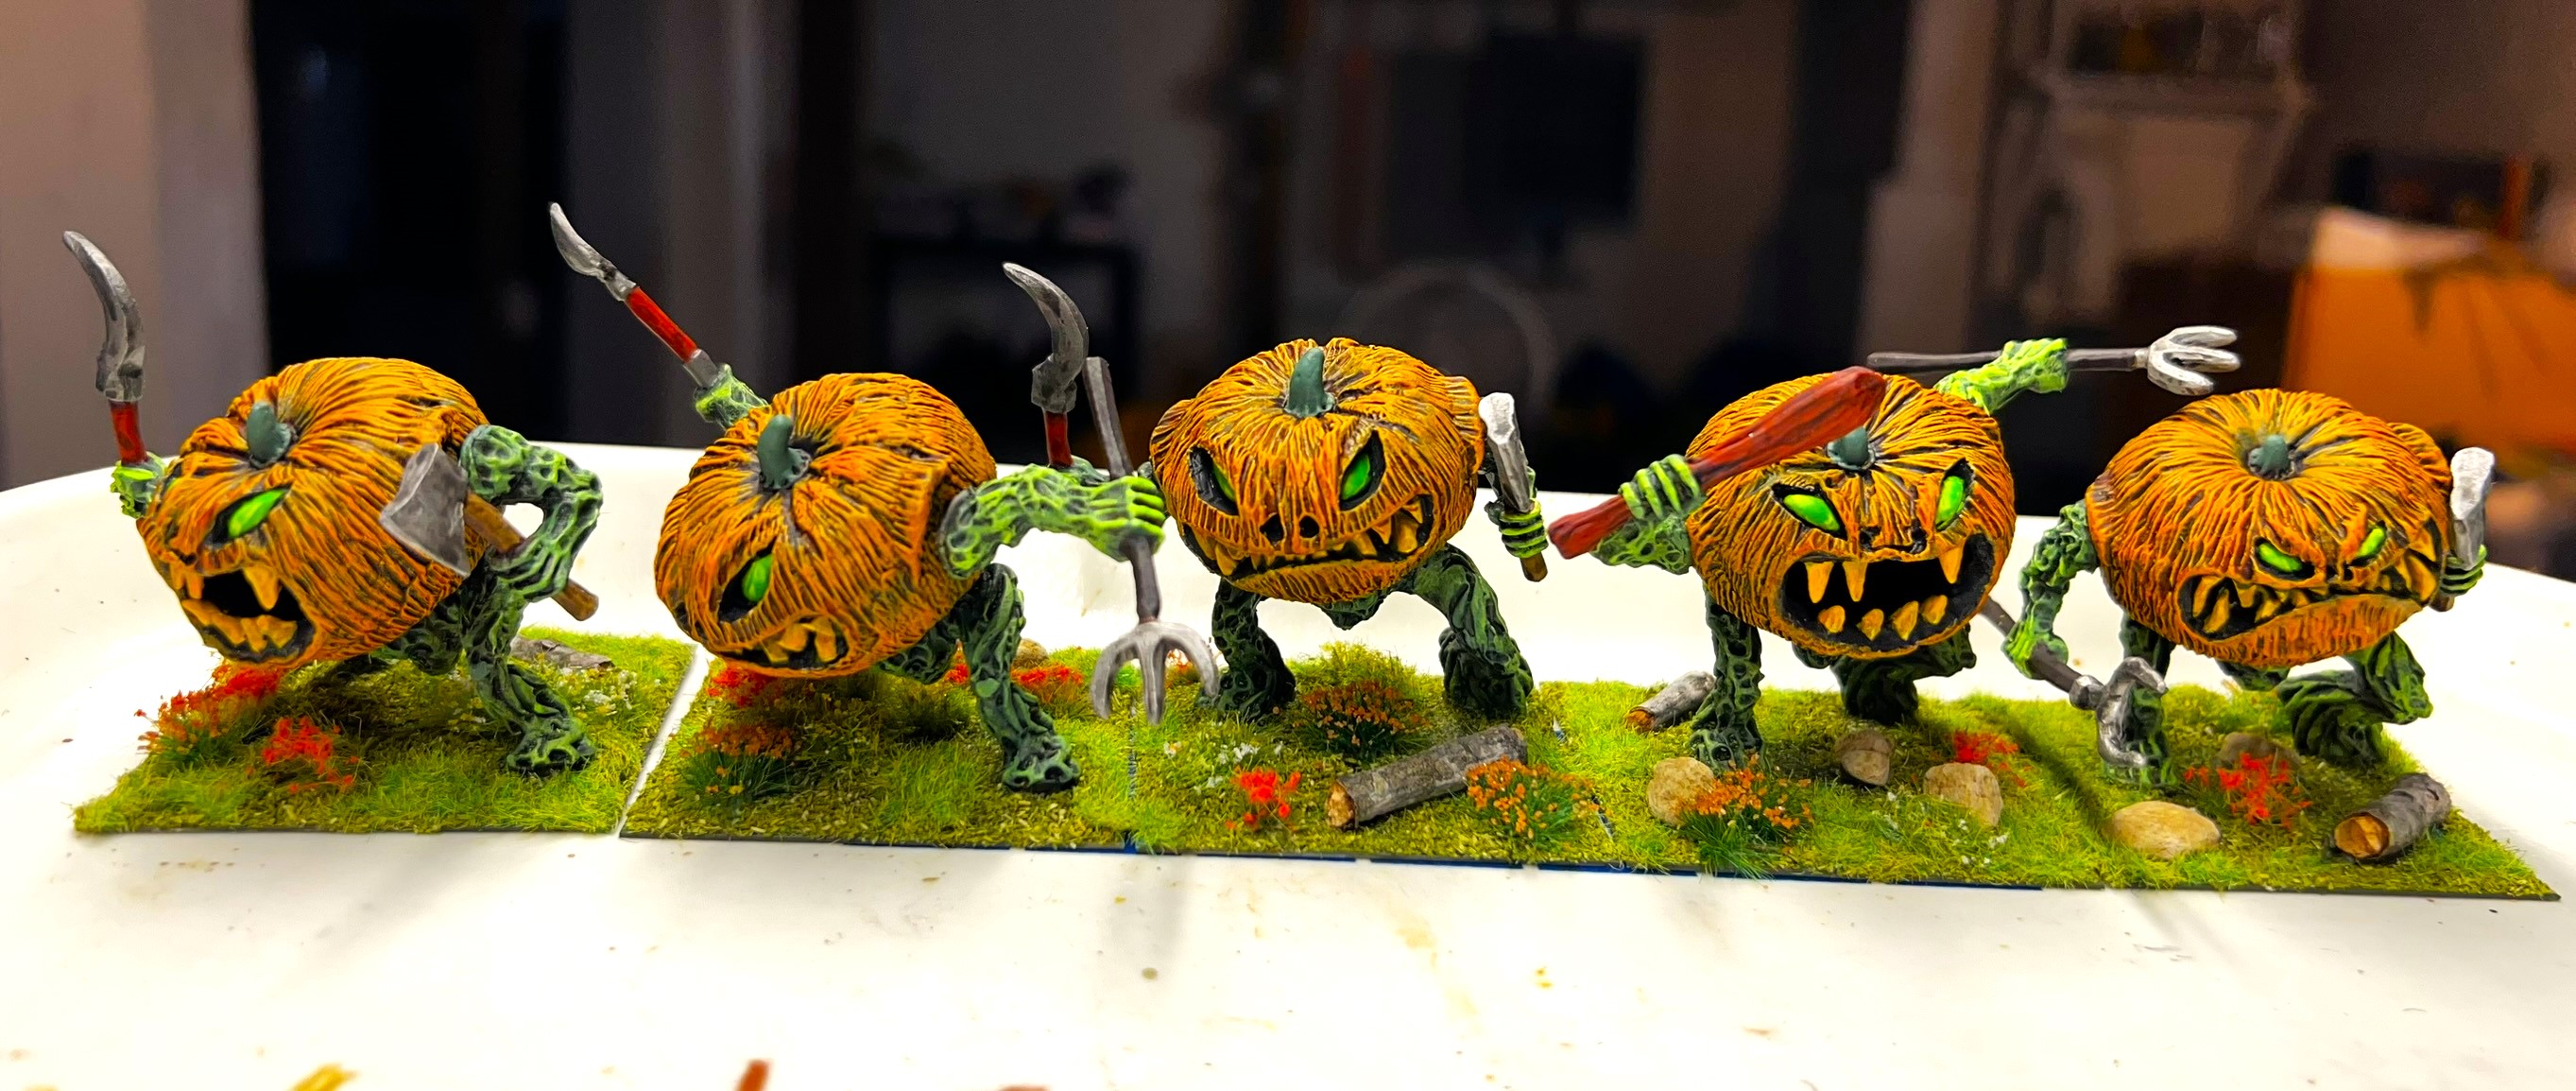
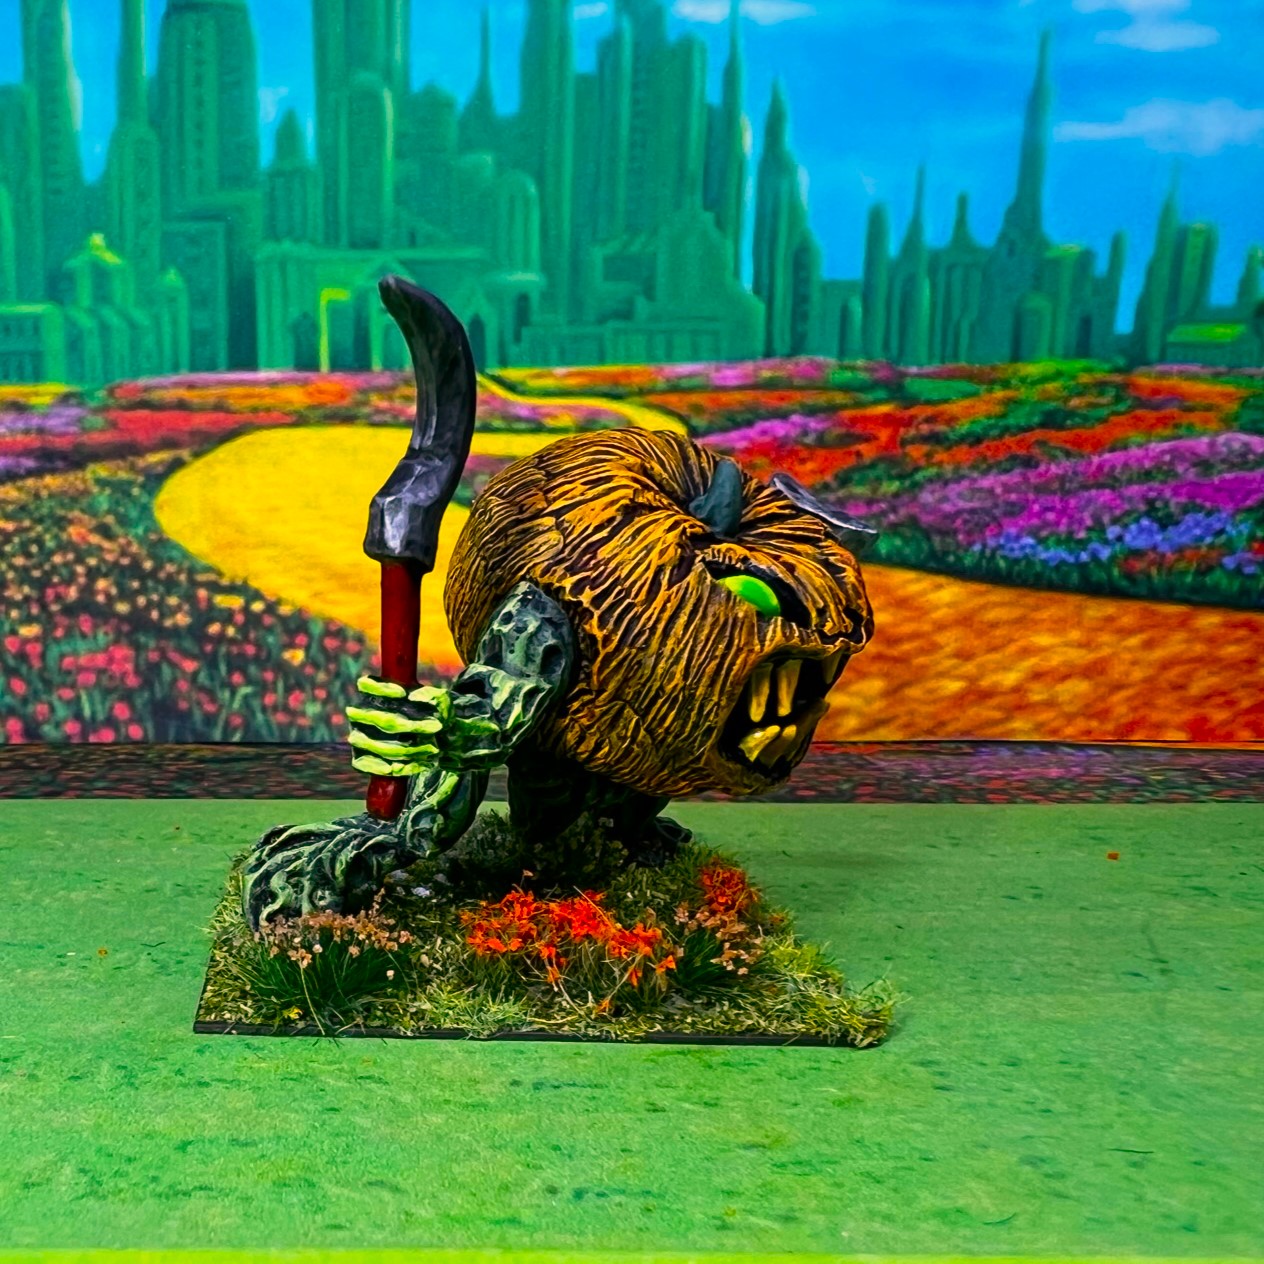
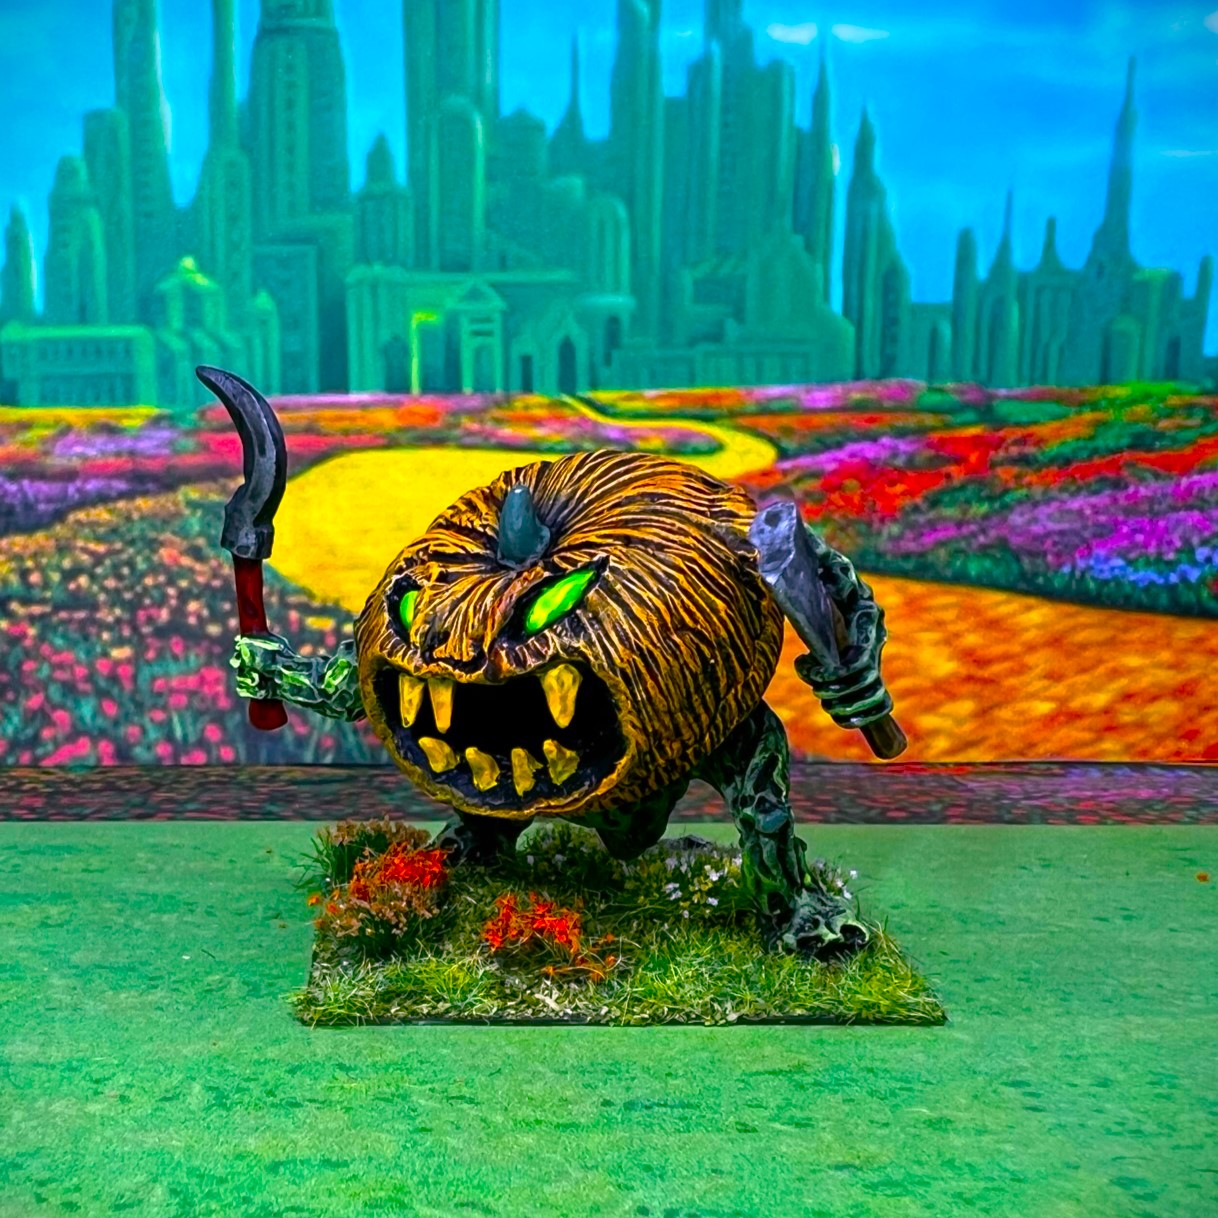
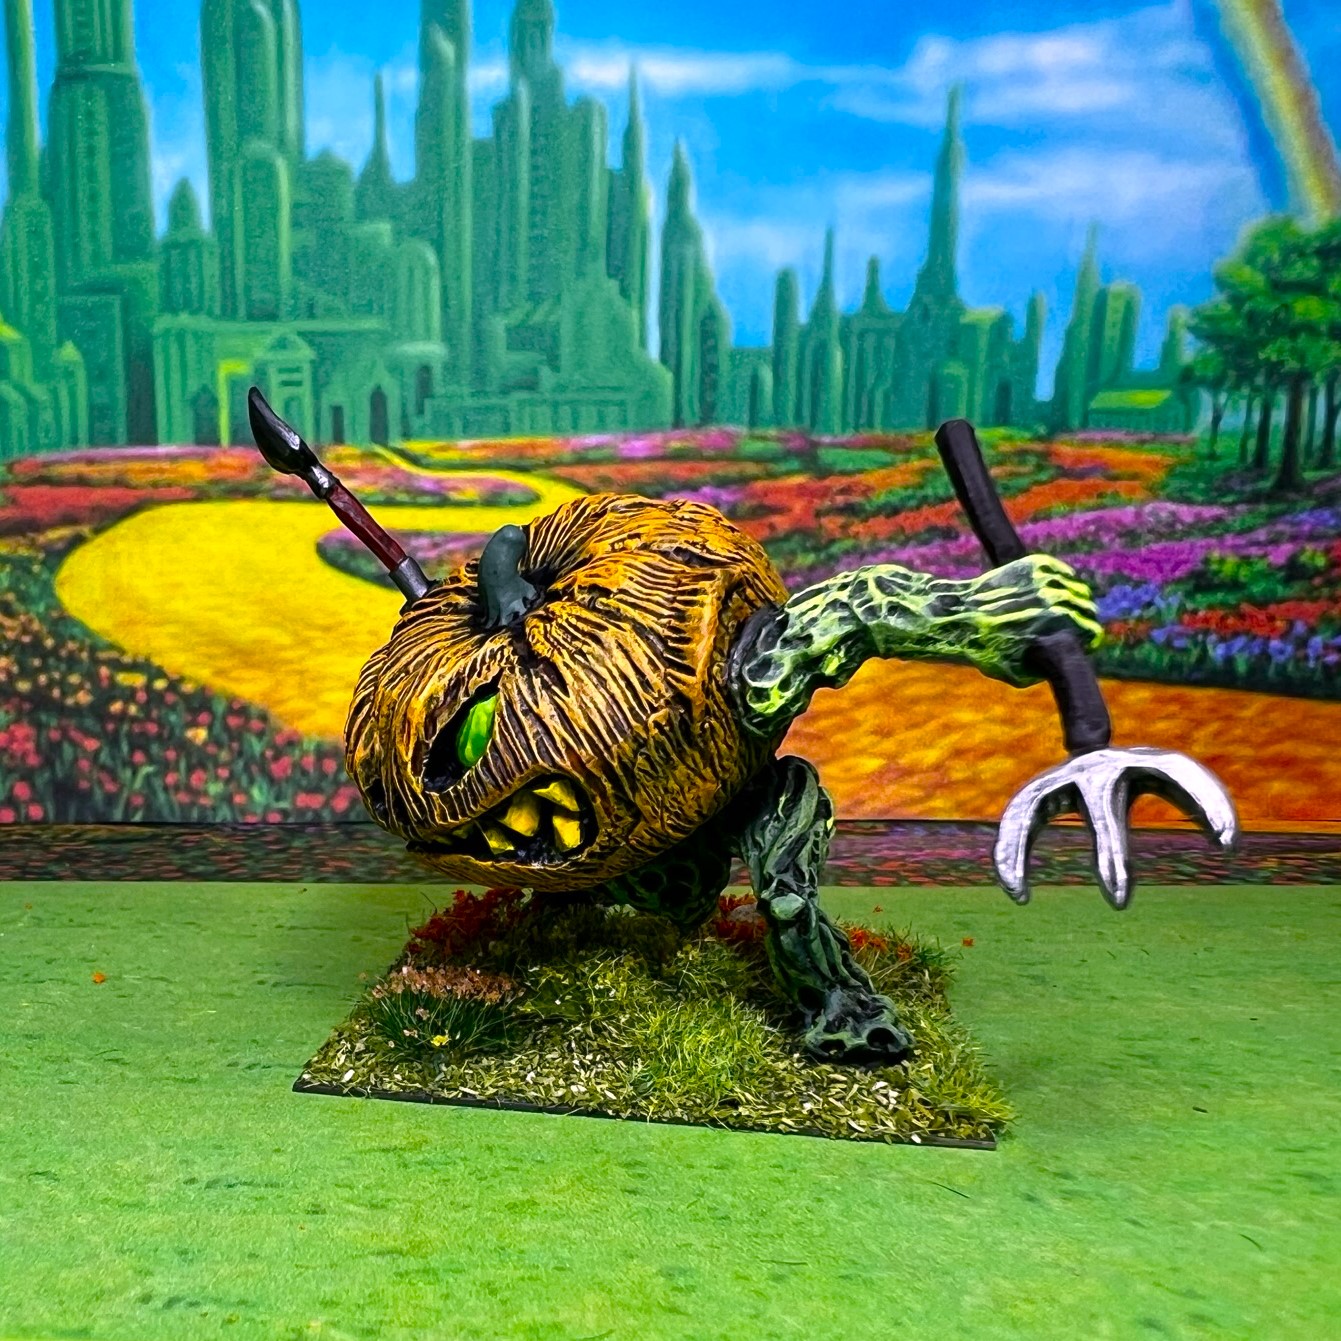
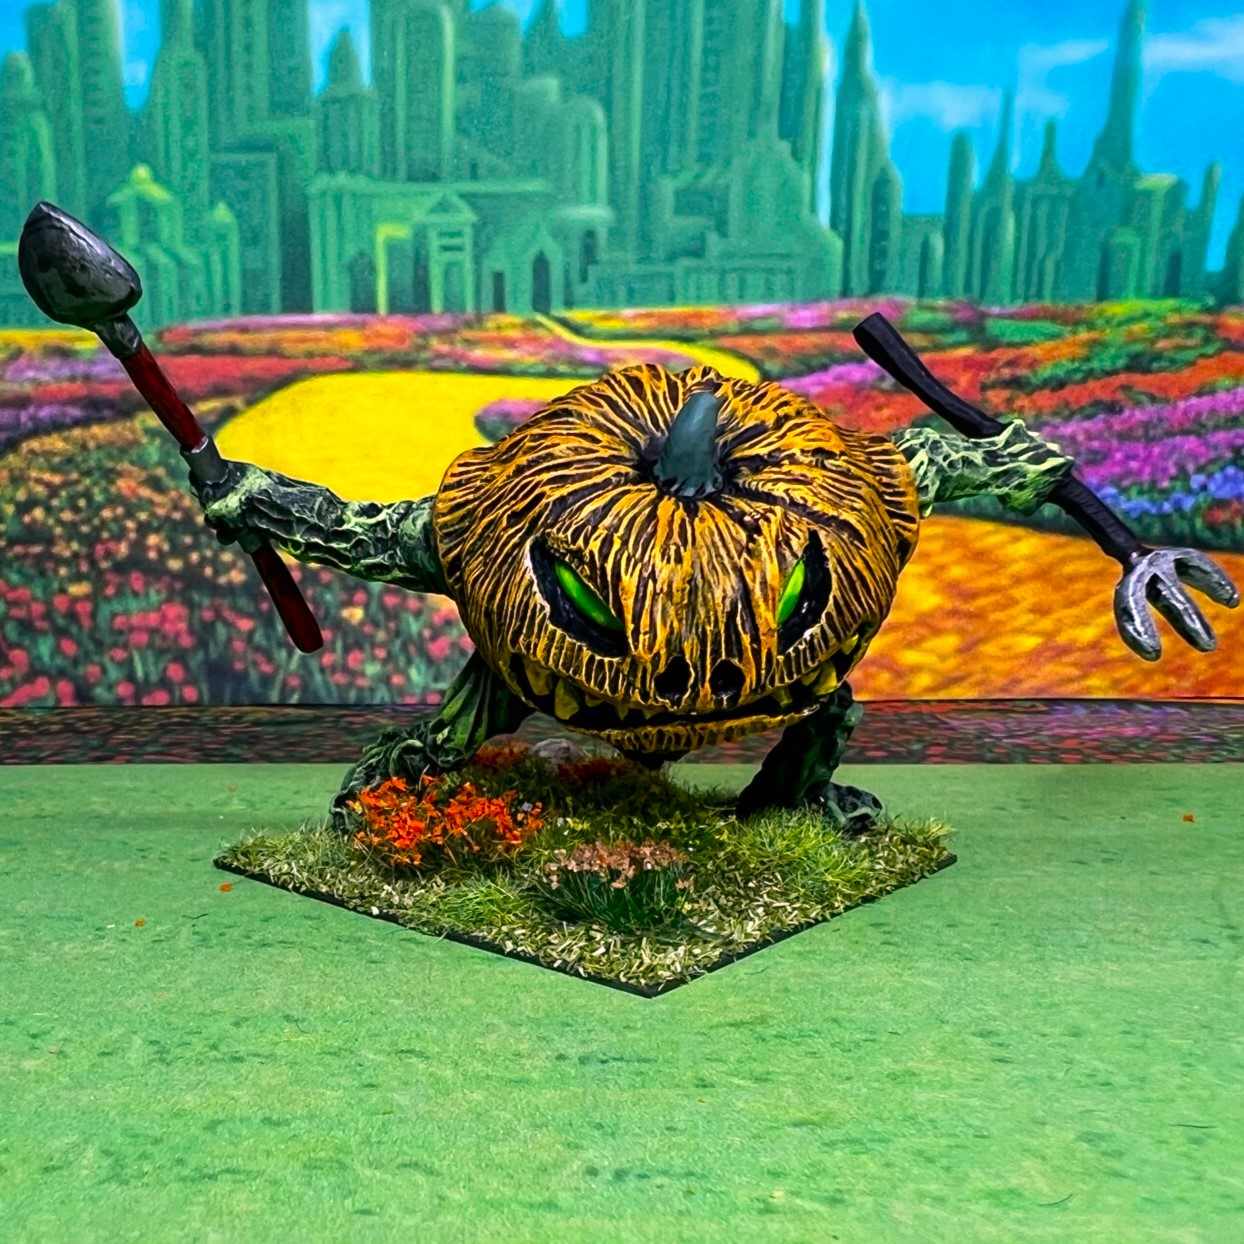
I mean, you get the idea, but I was not very happy with this situation. I did try my alternate photo booth – which is a cardboard box with cloth over it:

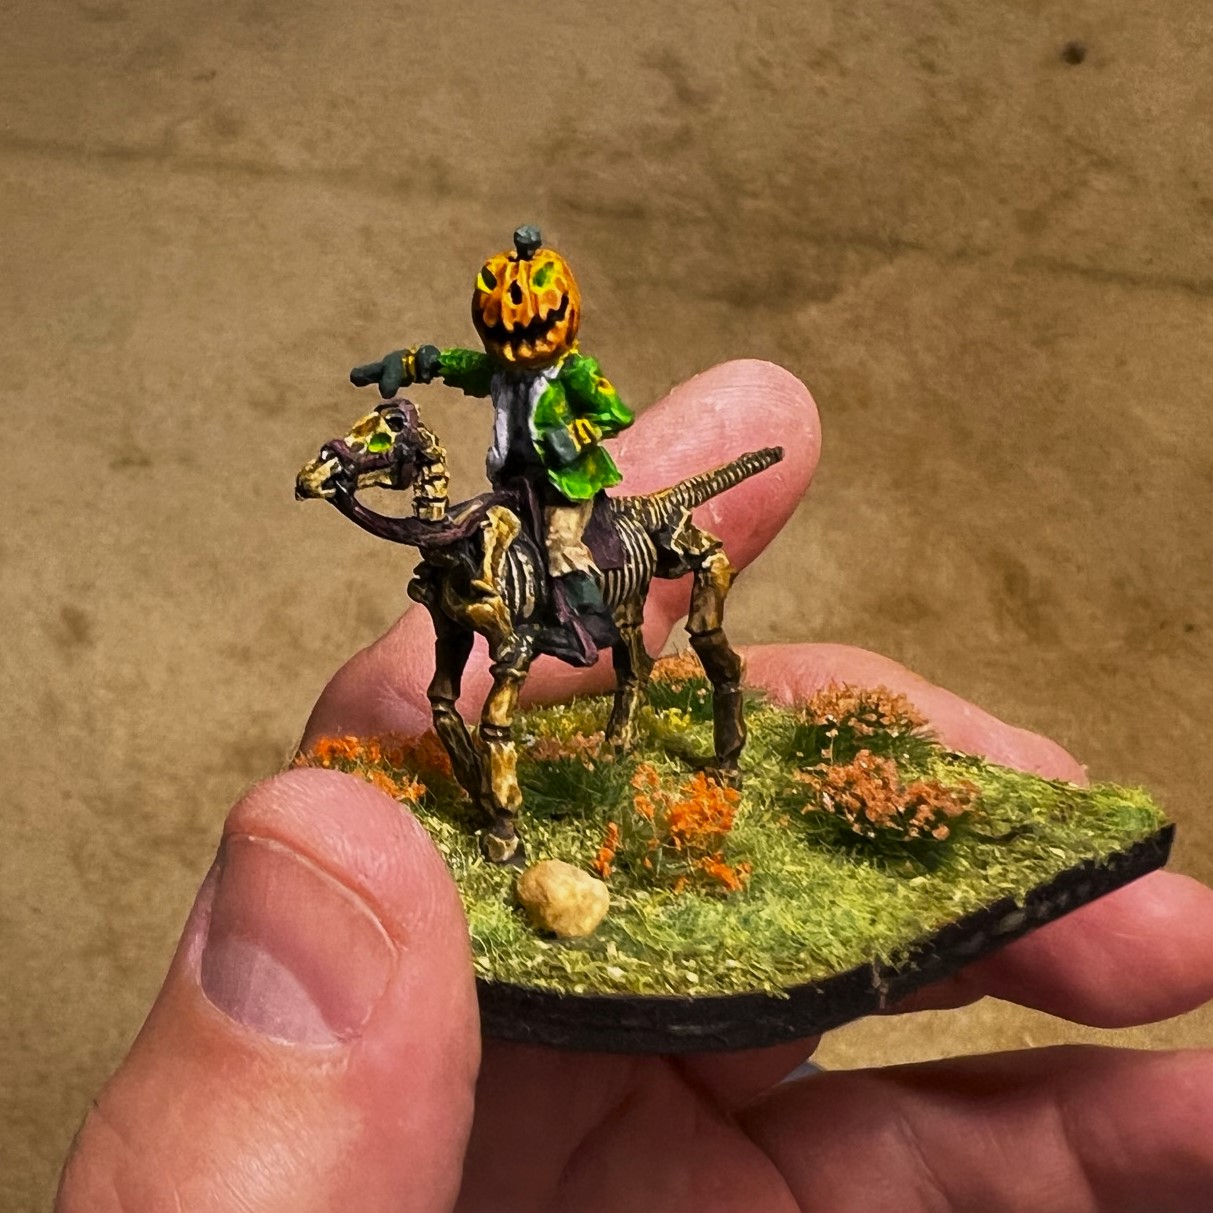
This photo came out better – and I was pleased that now on the Ozz website part of this photo is up as the “official” image for OZZ-530!
I have since bought a new light booth which I think will improve over the issues that I have been having. More on this in my next miniatures post…as my next one is likely going to be a golf post.
That wraps up the Great Owls and the units and individuals that I did for HUZZAH 2023.
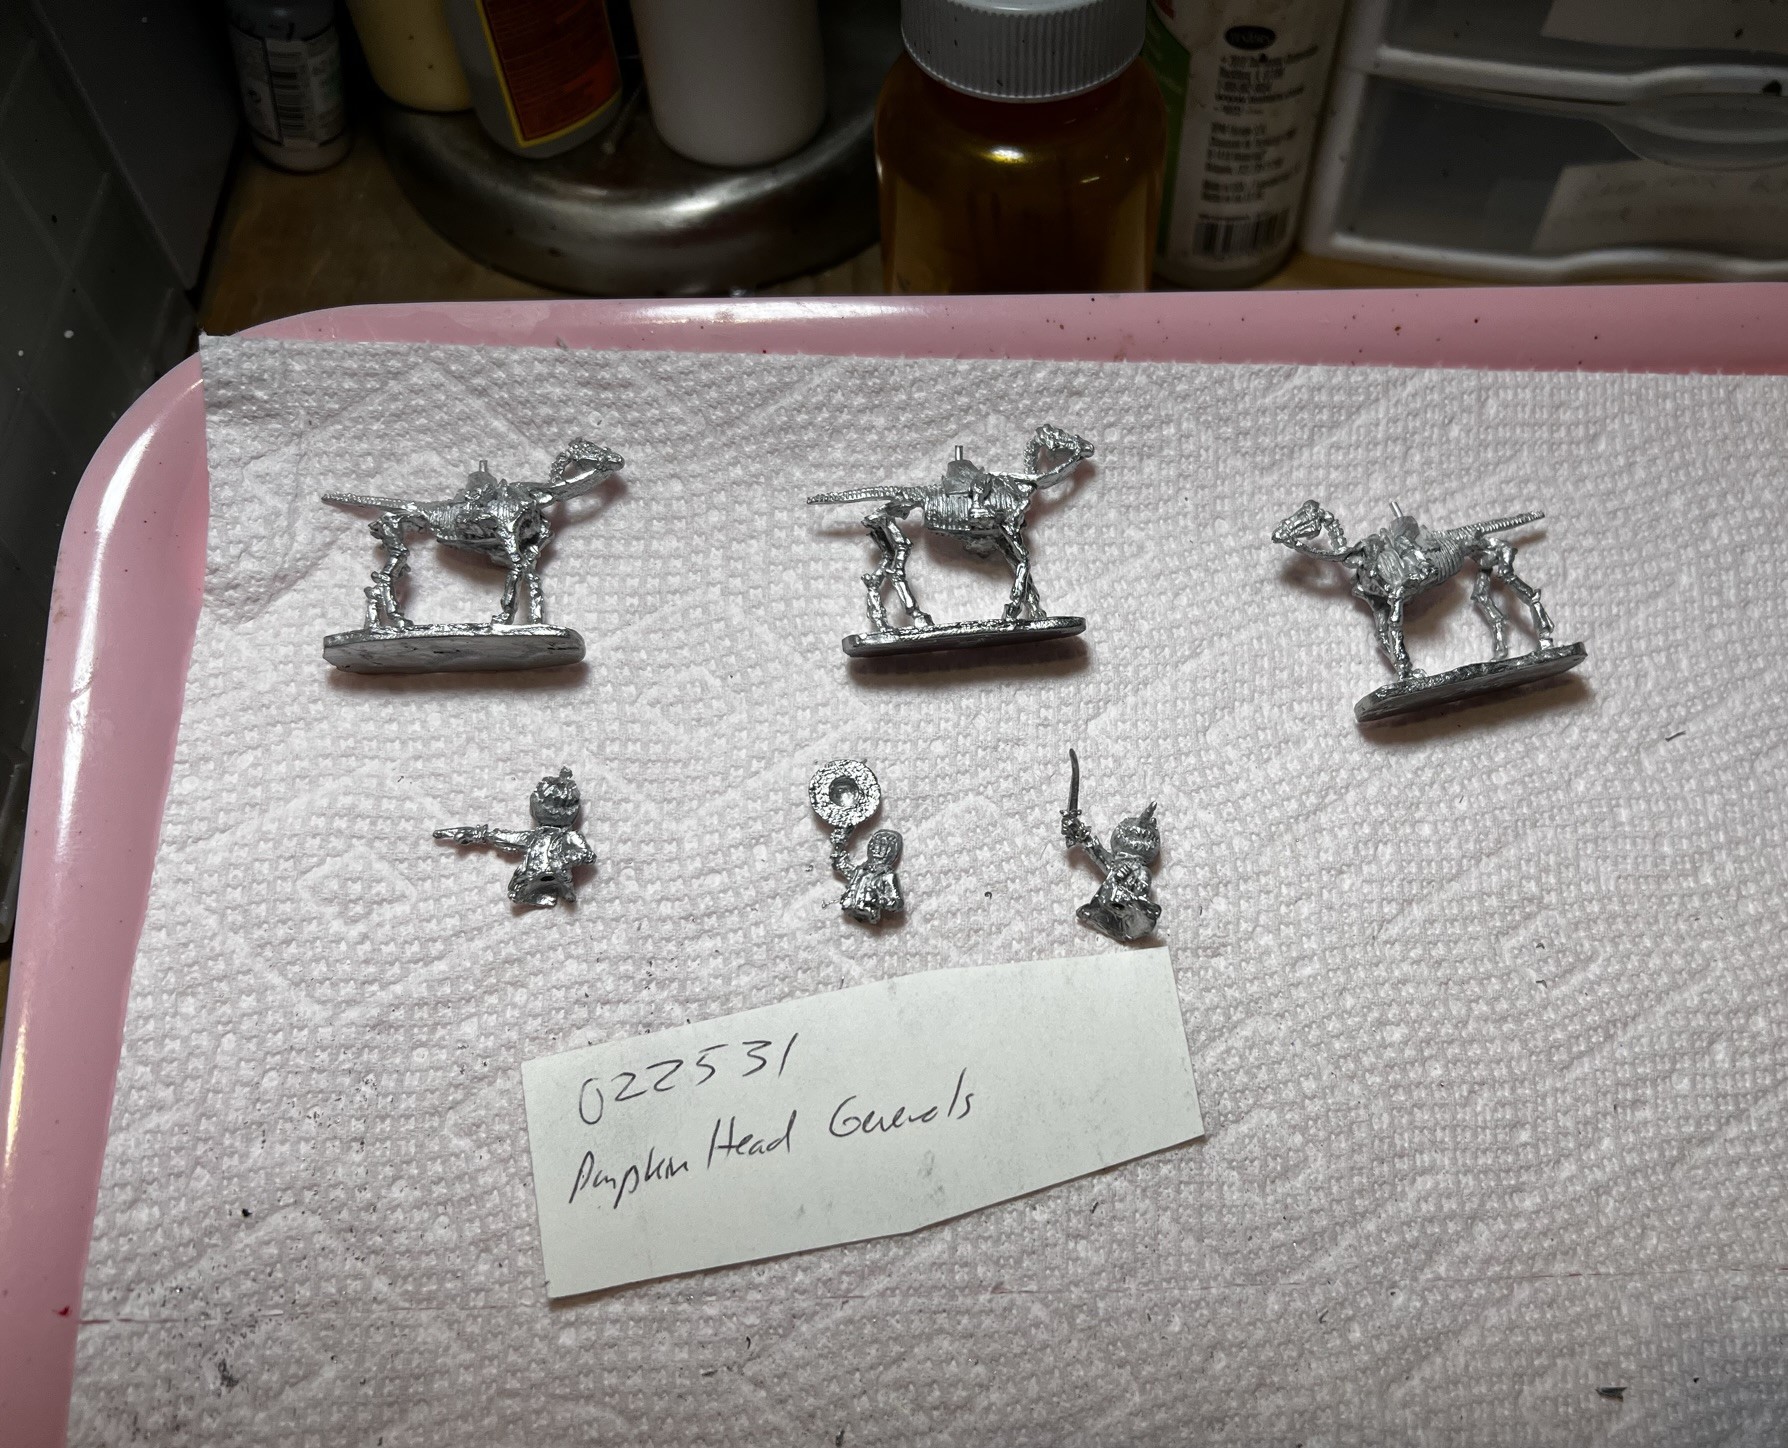
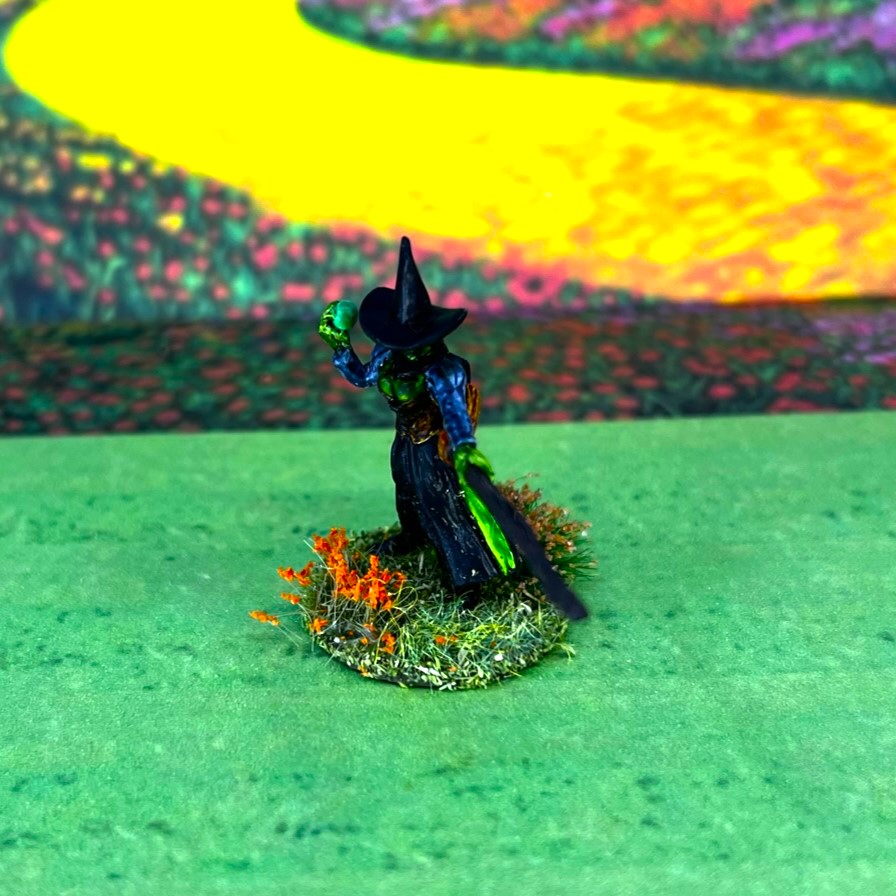
Thanks for taking a look and for any feedback. Next, I will get to some characters with which you are ALL intimately familiar – except that this is Ozz and not Oz… Stay tuned!
And yes, I still have more to come…
Miscellaneous details and references for those interested in that sort of thing:
For all of my previous posts on Wars of Ozz games, figures, units, and other related projects – please see this page.
PAINTS, INKS, GLAZES, SHADES, WASHES, PIGMENTS, FLOCKING, GLUES AND MORE THAT I USED ON THESE GREAT OWLS:
- 2″ square steel bases from Wargames Accessories (#21)
- Gorilla Glue
- 1.25″ steel fender washers
- Poster tack
- Vallejo “Flow Improver”
- Vallejo “Airbrush Thinner”
- Vallejo Mecha Surface Primer “White”
- Army Painter Airbrush Primer “White”
- Battlefront “Black”
- Vallejo Model Color “White”
- Citadel “Skrag Brown”
- Vallejo Game Air “Sun Yellow”
- Citadel “Contrast Paint – Magmadroth Flame”
- Citadel “Contrast Paint – Contrast Medium”
- Army Painter “Speed Paint – Pallid Bone”
- Army Painter “Speed Paint – Ruddy Fur”
- Army Painter “Speed Paint Medium”
- Army Painter “Speed Paint – Dark Wood”
- Army Painter “Speed Paint – Burnt Moss”
- Citadel “Hexwraith Flame”
- Army Painter “Speed Paint – Forest Sprite”
- PS Model Color “British Brown Drab”
- Americana/DecoArt “Honey Brown”
- Vallejo Mecha Varnish “Gloss Varnish”
- Vallejo Mecha Varnish “Matte Varnish”
- Elmer’s PVA Glue
- Army Painter “Battlefields Grass Green” (flocking)
- Army Painter “Battlefield Field Grass” (flocking)
- Army Painter “Battlefields Field Grass” (flocking)
- Army Painter “Battlefields Meadow Flowers” (flocking)
- Shadow’s Edge Miniatures “6mm Dark Forest Plum Tufts” (flocking)
- Small stones (flocking)
- Small oak twigs (flocking)