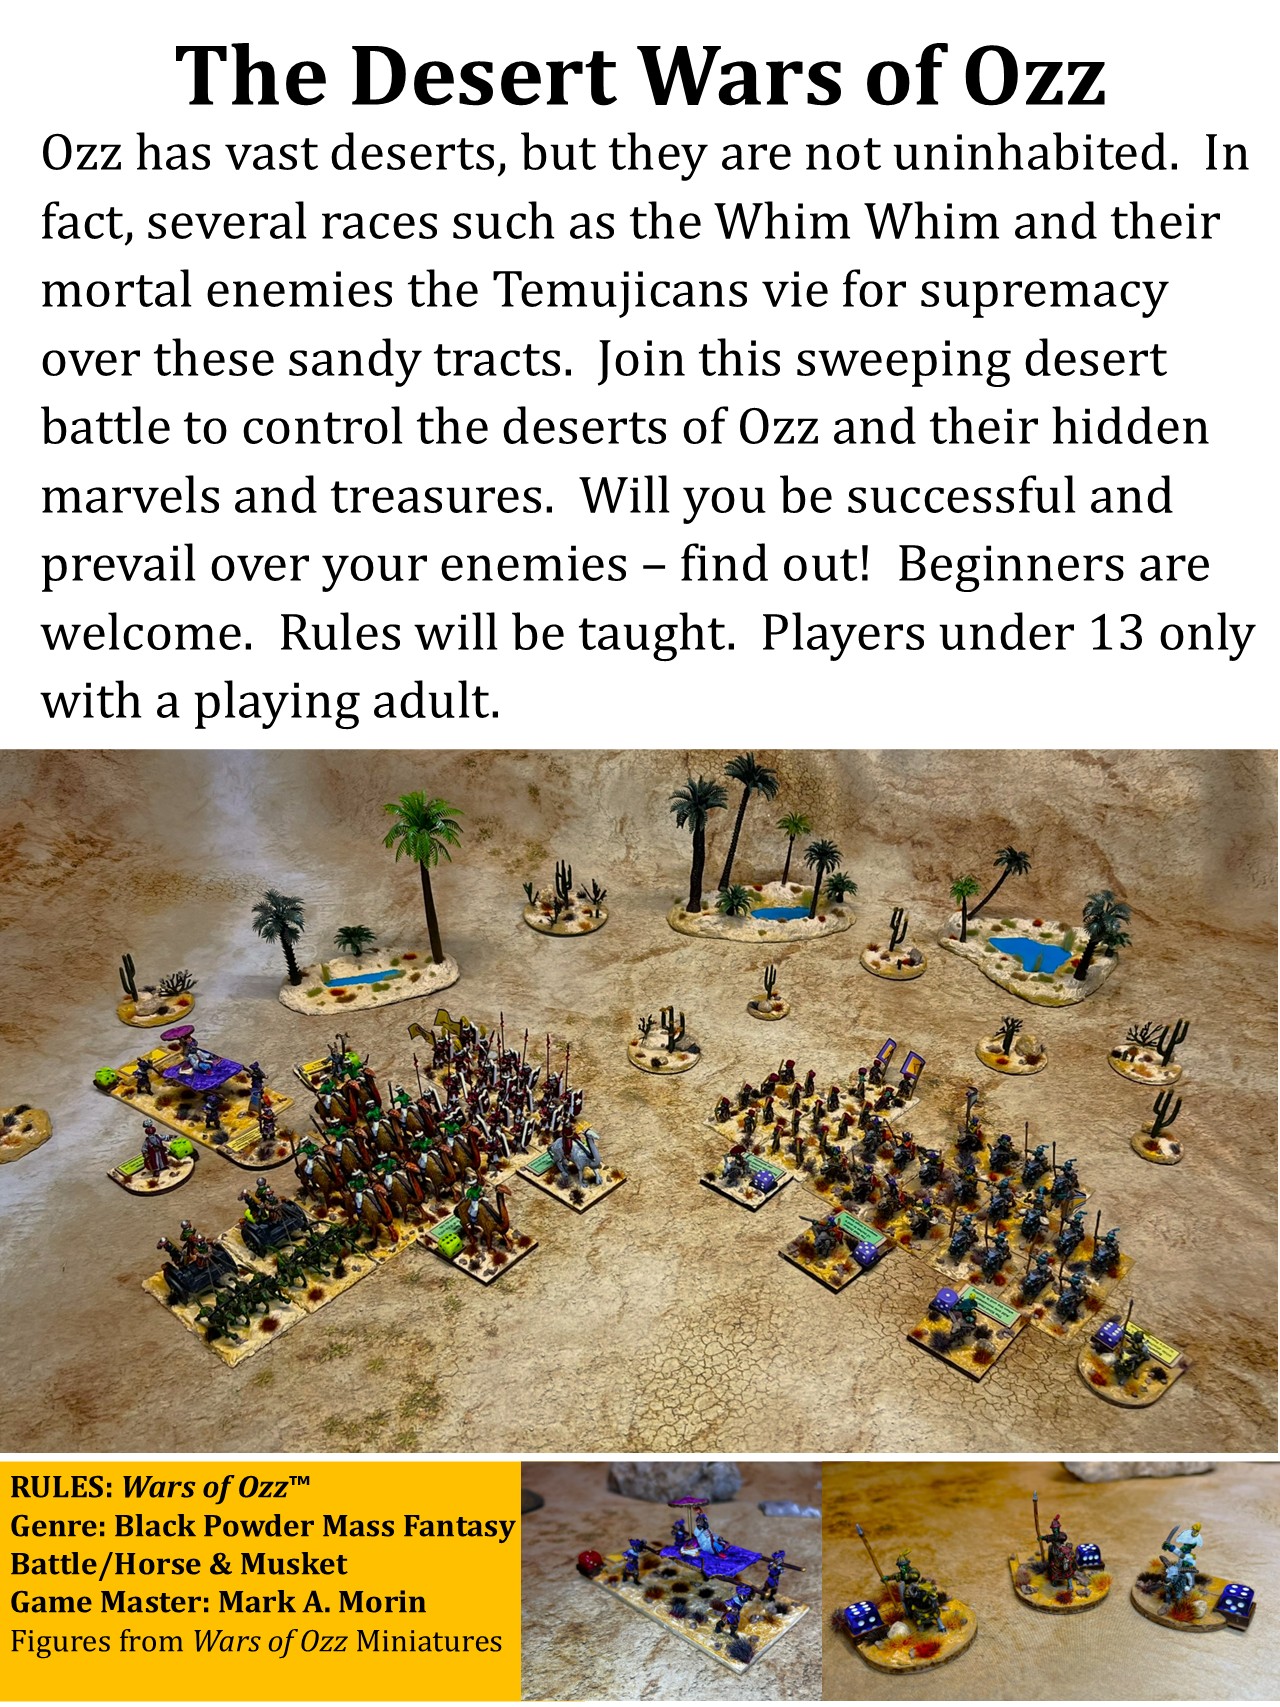
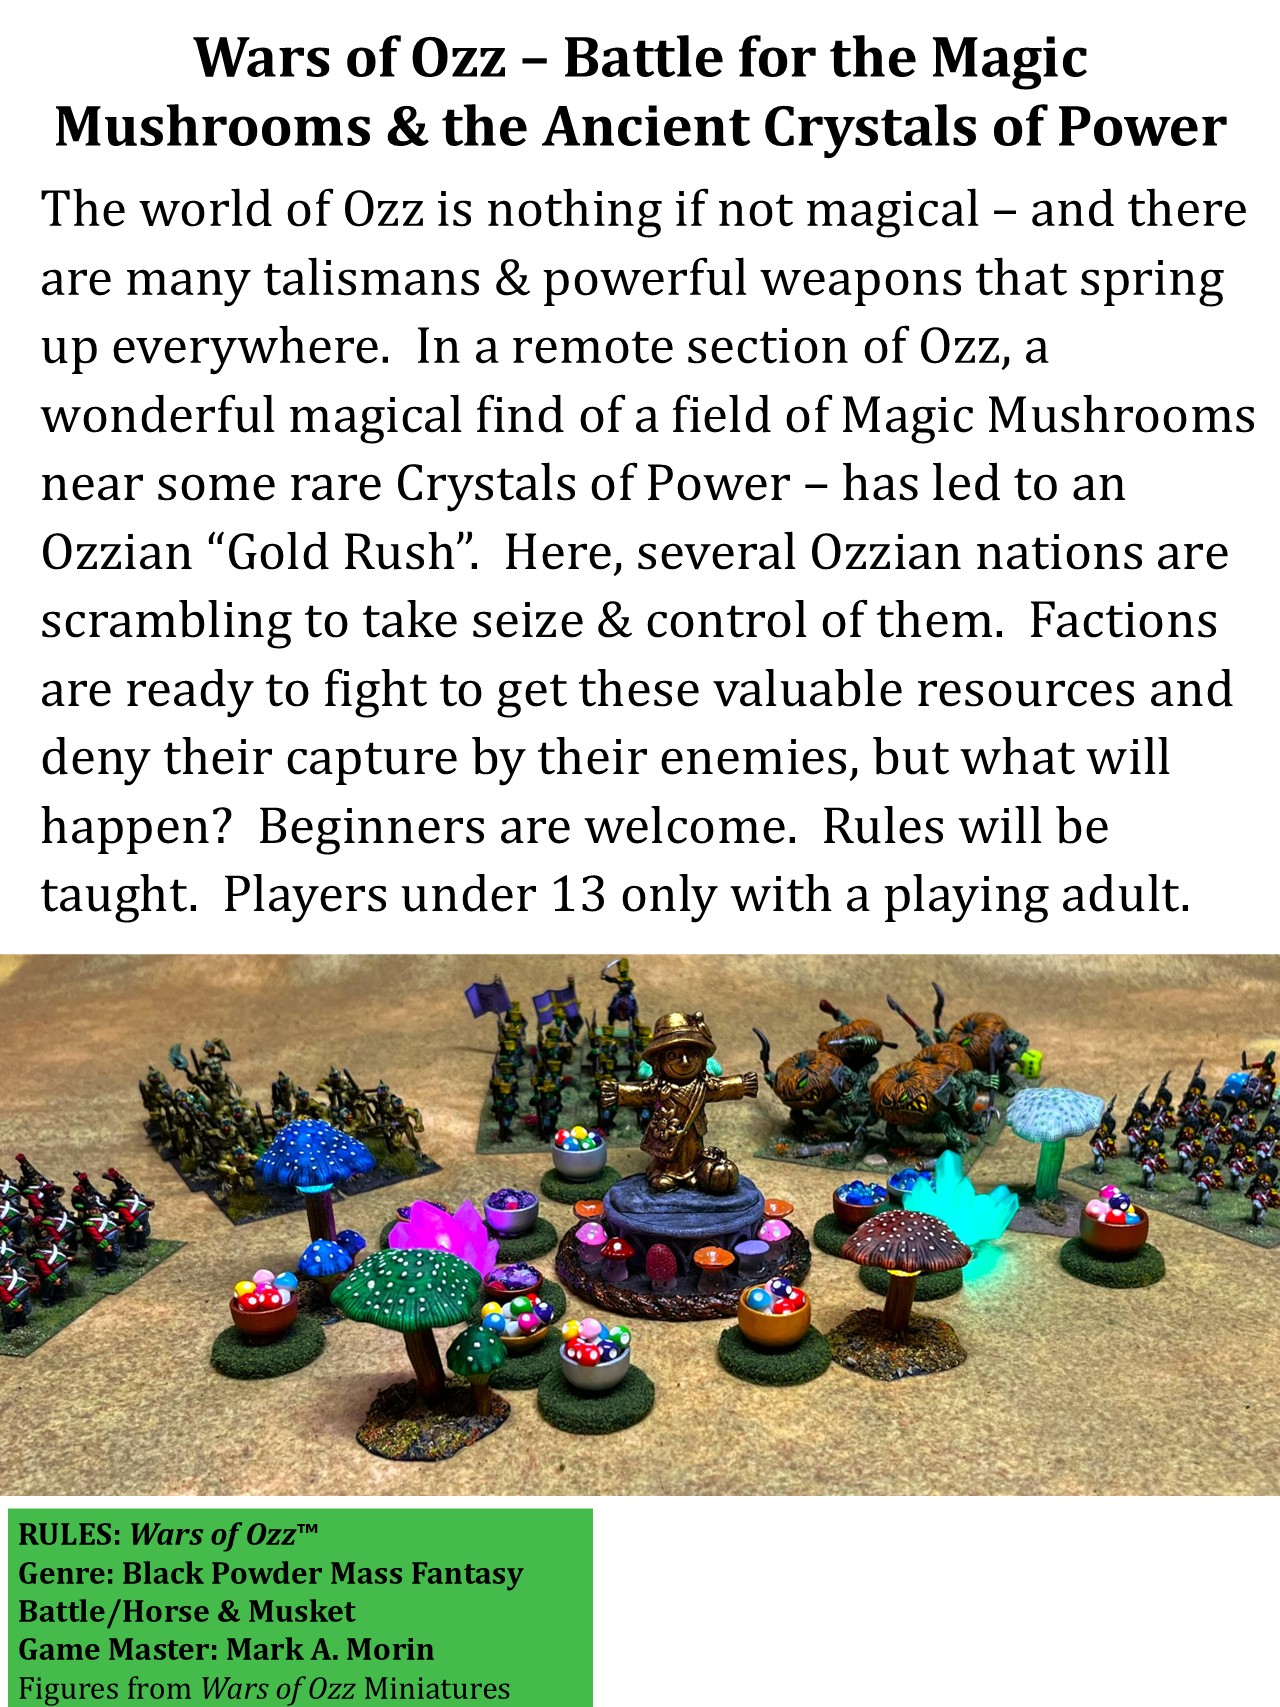
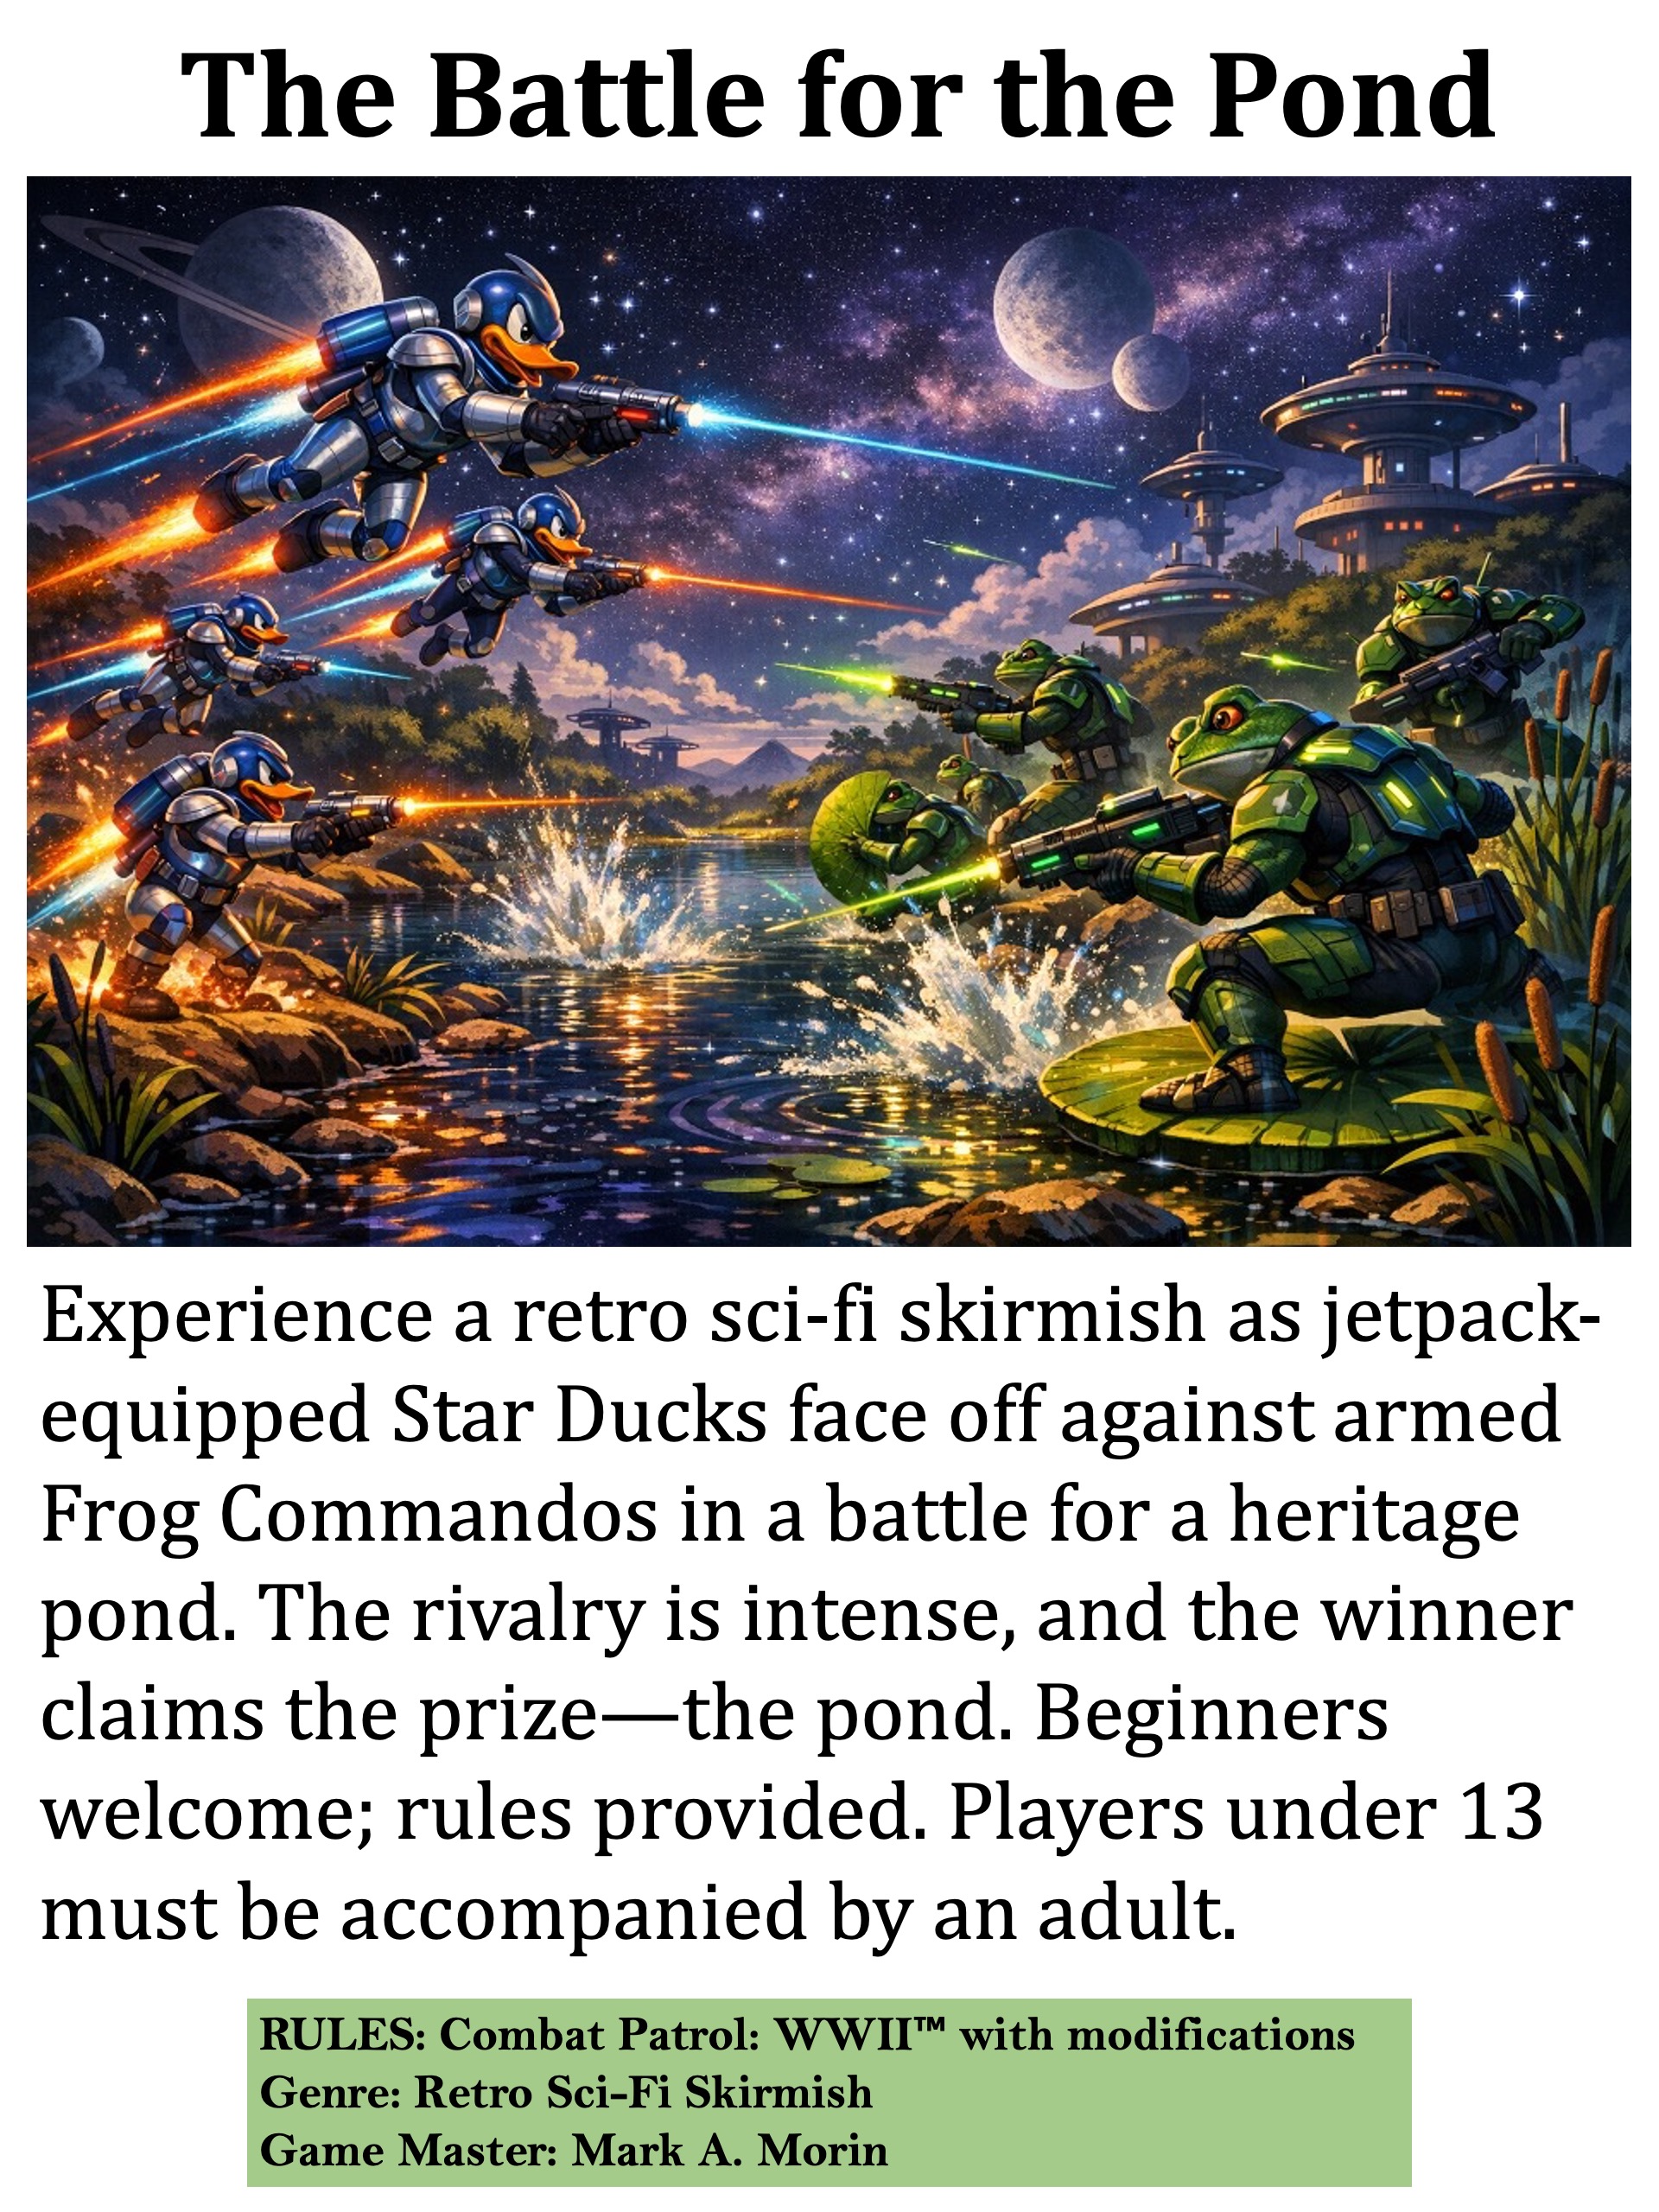
TotalCon 40 was held in Marlborough, MA in February 2026. I ran 8 games there. I envisioned one of them as a battle between Archive Miniatures Star Ducks (from Star Rovers) and F.R.O.G. Critter Commandos. What would they fight over?
Yes, a pond!
Not just any pond, but one they both claimed as part of their cultural and historical heritage. I would run the game with Buck Surdu’s Combat Patrol: WWII rules modified for retro sci-fi skirmish.
With that said, I needed a suitable pond for the tabletop. I did not have a lot of time to build it. The period from the end of Cold Wars on February 8th to the start of TotalCon on February 19th was short. It did not allow for much preparation.
This is the story of that pond build! There are a lot of WIP shots. Additionally, you will find a few videos. They will give you a better flavor of the project.
Like most of my projects, I think a good deal about it, design it and plan it, then get it done. I wanted the pond to be big enough to really be a spectacle on the tabletop – and to be very functional for a game.
I sketched out a concept on February 9th – the pond would have several islands for the players to fight to control. Additionally, I needed to have a plan to use Vallejo “Still Water” on the pond. Those initial design concerns that I had were:
- Dealing with the effective application depth of “Still Water”. The depth is supposed to be less than 3mm per application. How would I make that work?
- What type of pond “structure” would hold the “Still Water”?
- I read online that “Still Water” could be acidic and/or destructive to acrylic paint, even a primer. I did not want to get to a stage in the project where I needed to restart or acquire more supplies. How could I deal with this issue?
- How could I build island structures onto the pond and how could I integrate them into it?
As is my habit, I got out the graph paper and drew an initial concept with 6 islands. I did end up building 8 islands in the end. The size I wanted was approximately 36″ x 24″.

I chose to use foam board as the base. However, the foam board from Michael’s is 30″ x 20″. I added extra pieces of foam board to augment the base. I hot-glued them to the main board as you see below.
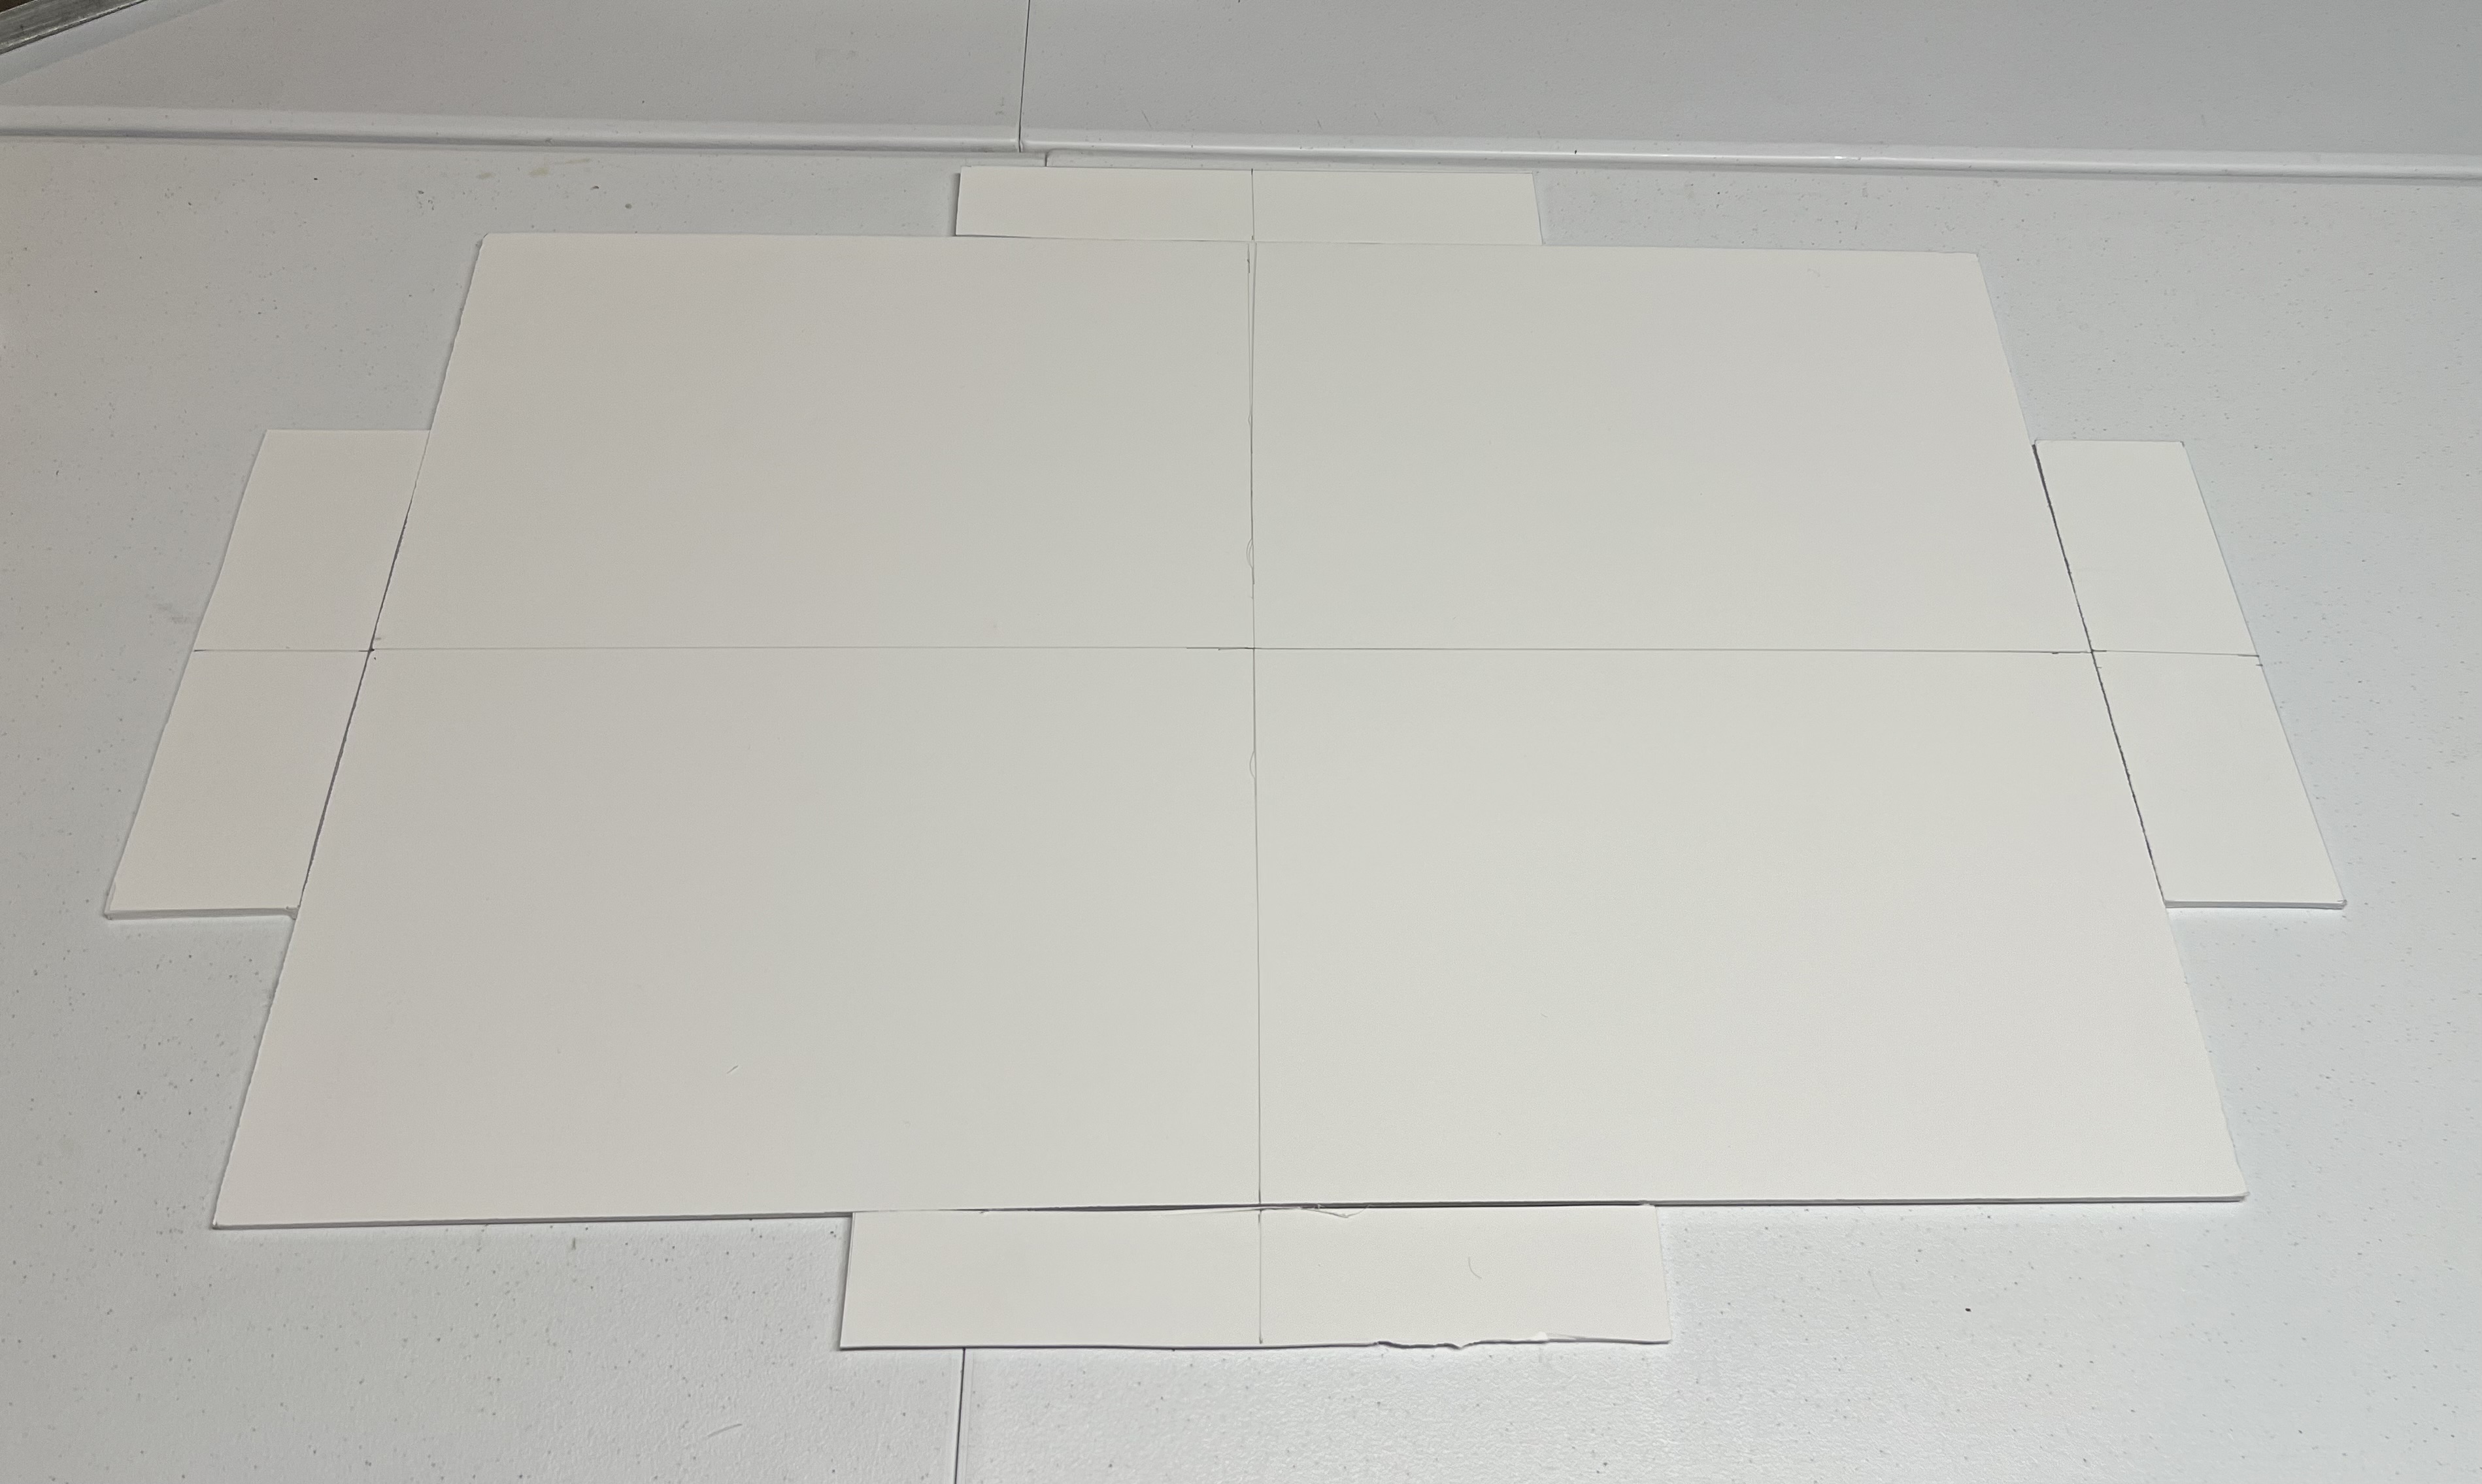
Once the glue had cooled, I shaped the base irregularly with an Exacto knife.
At this point, the base would not have a lot of strength in resisting any shearing forces. To solve that, I hot-glued thin polystyrene sheets to the base to conform to its shape. These sheets would be on the bottom of the terrain piece.

Once that cooled, I flipped it over. I cut out pieces of foam board and made 8 islands of different sizes. As the foam board thickness is .47 cm, I believed that they would not get inundated by any of the “Still Water” later on. They did act usefully as guides to depth application, helping to deal with concern #1. These were hot glued to the base.

Regarding concern #2, I decided to go with Apoxie Sculpt to build around the islands and to make the pond’s edge. Once cured, I had my basic structure to hold the pond.


I did not want any white edges to show underneath the terrain piece. So, I flipped it over and primed the bottom edges brown.

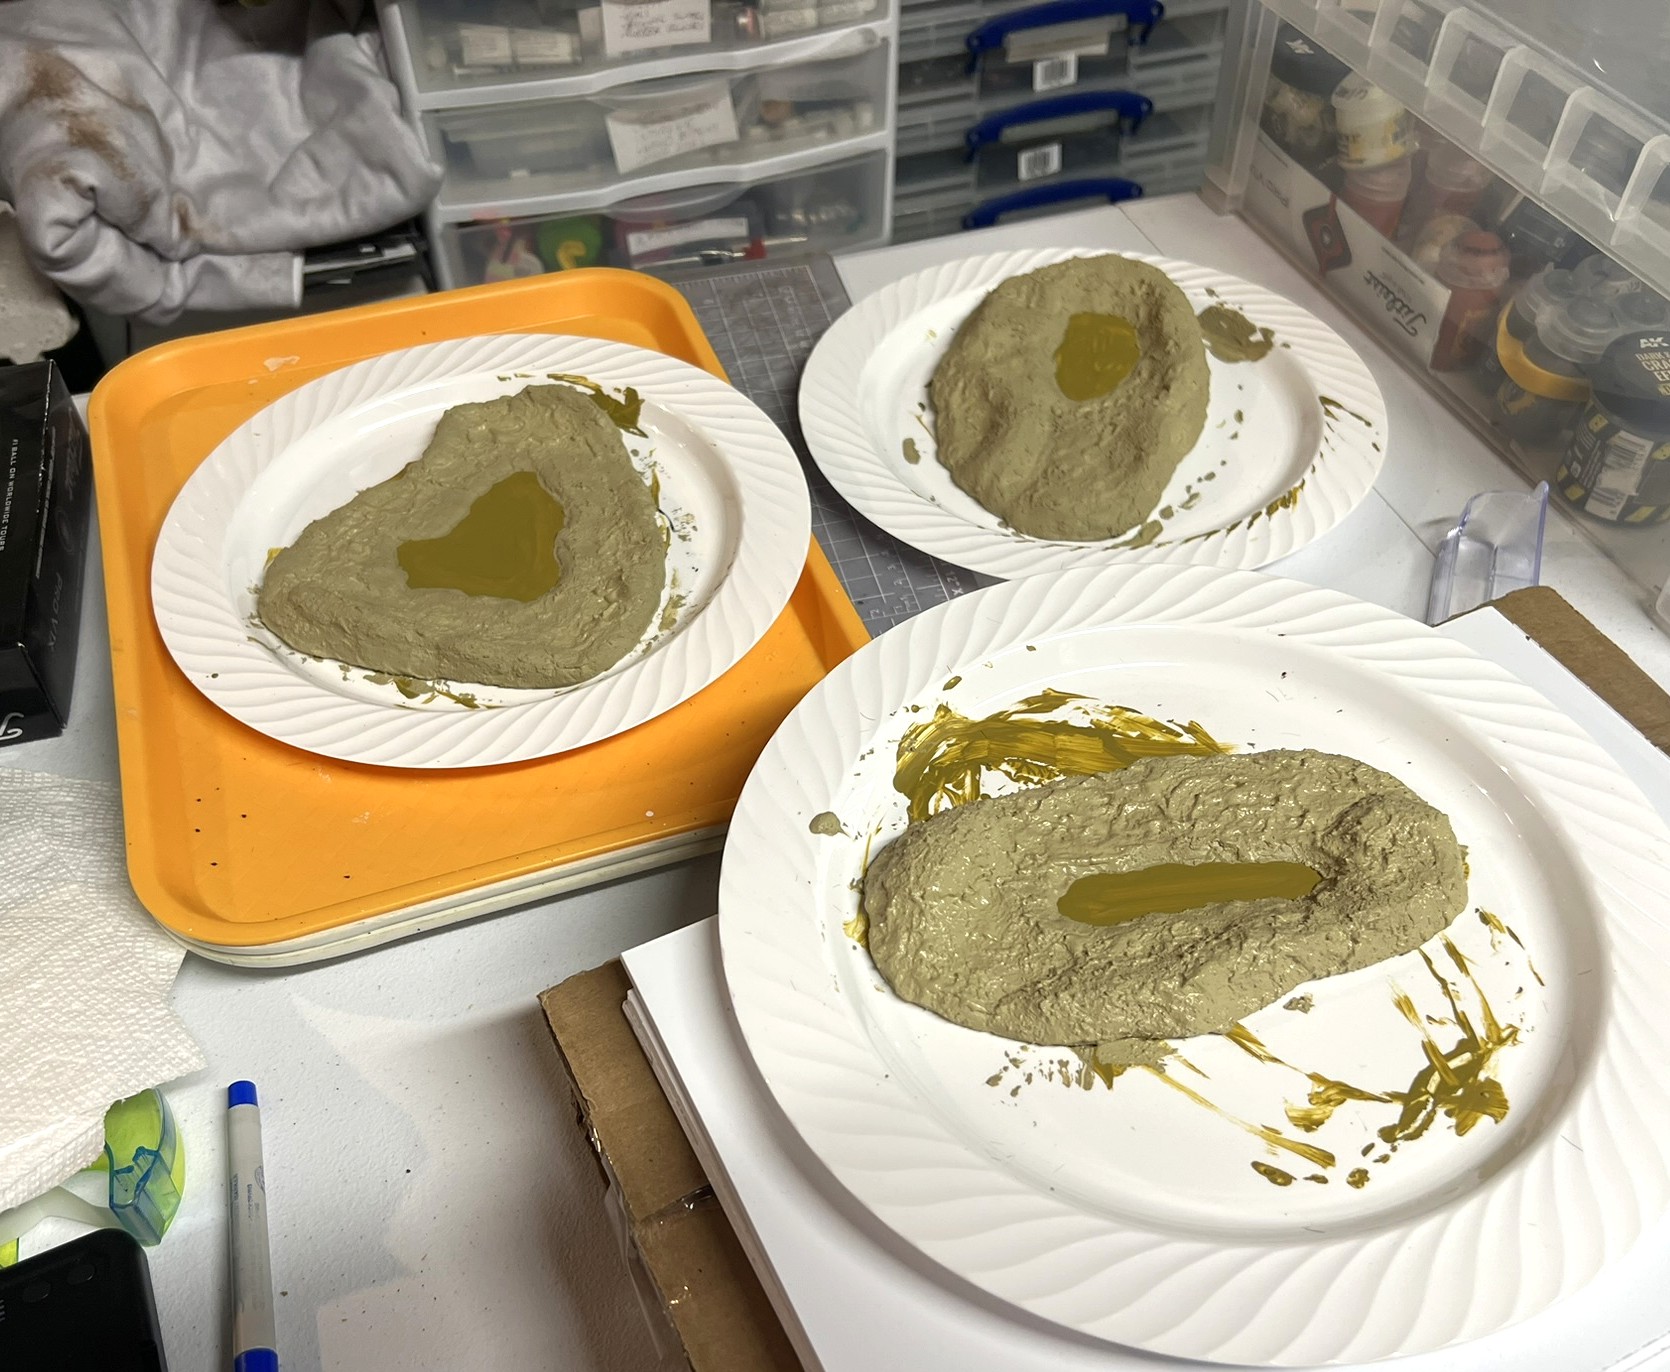
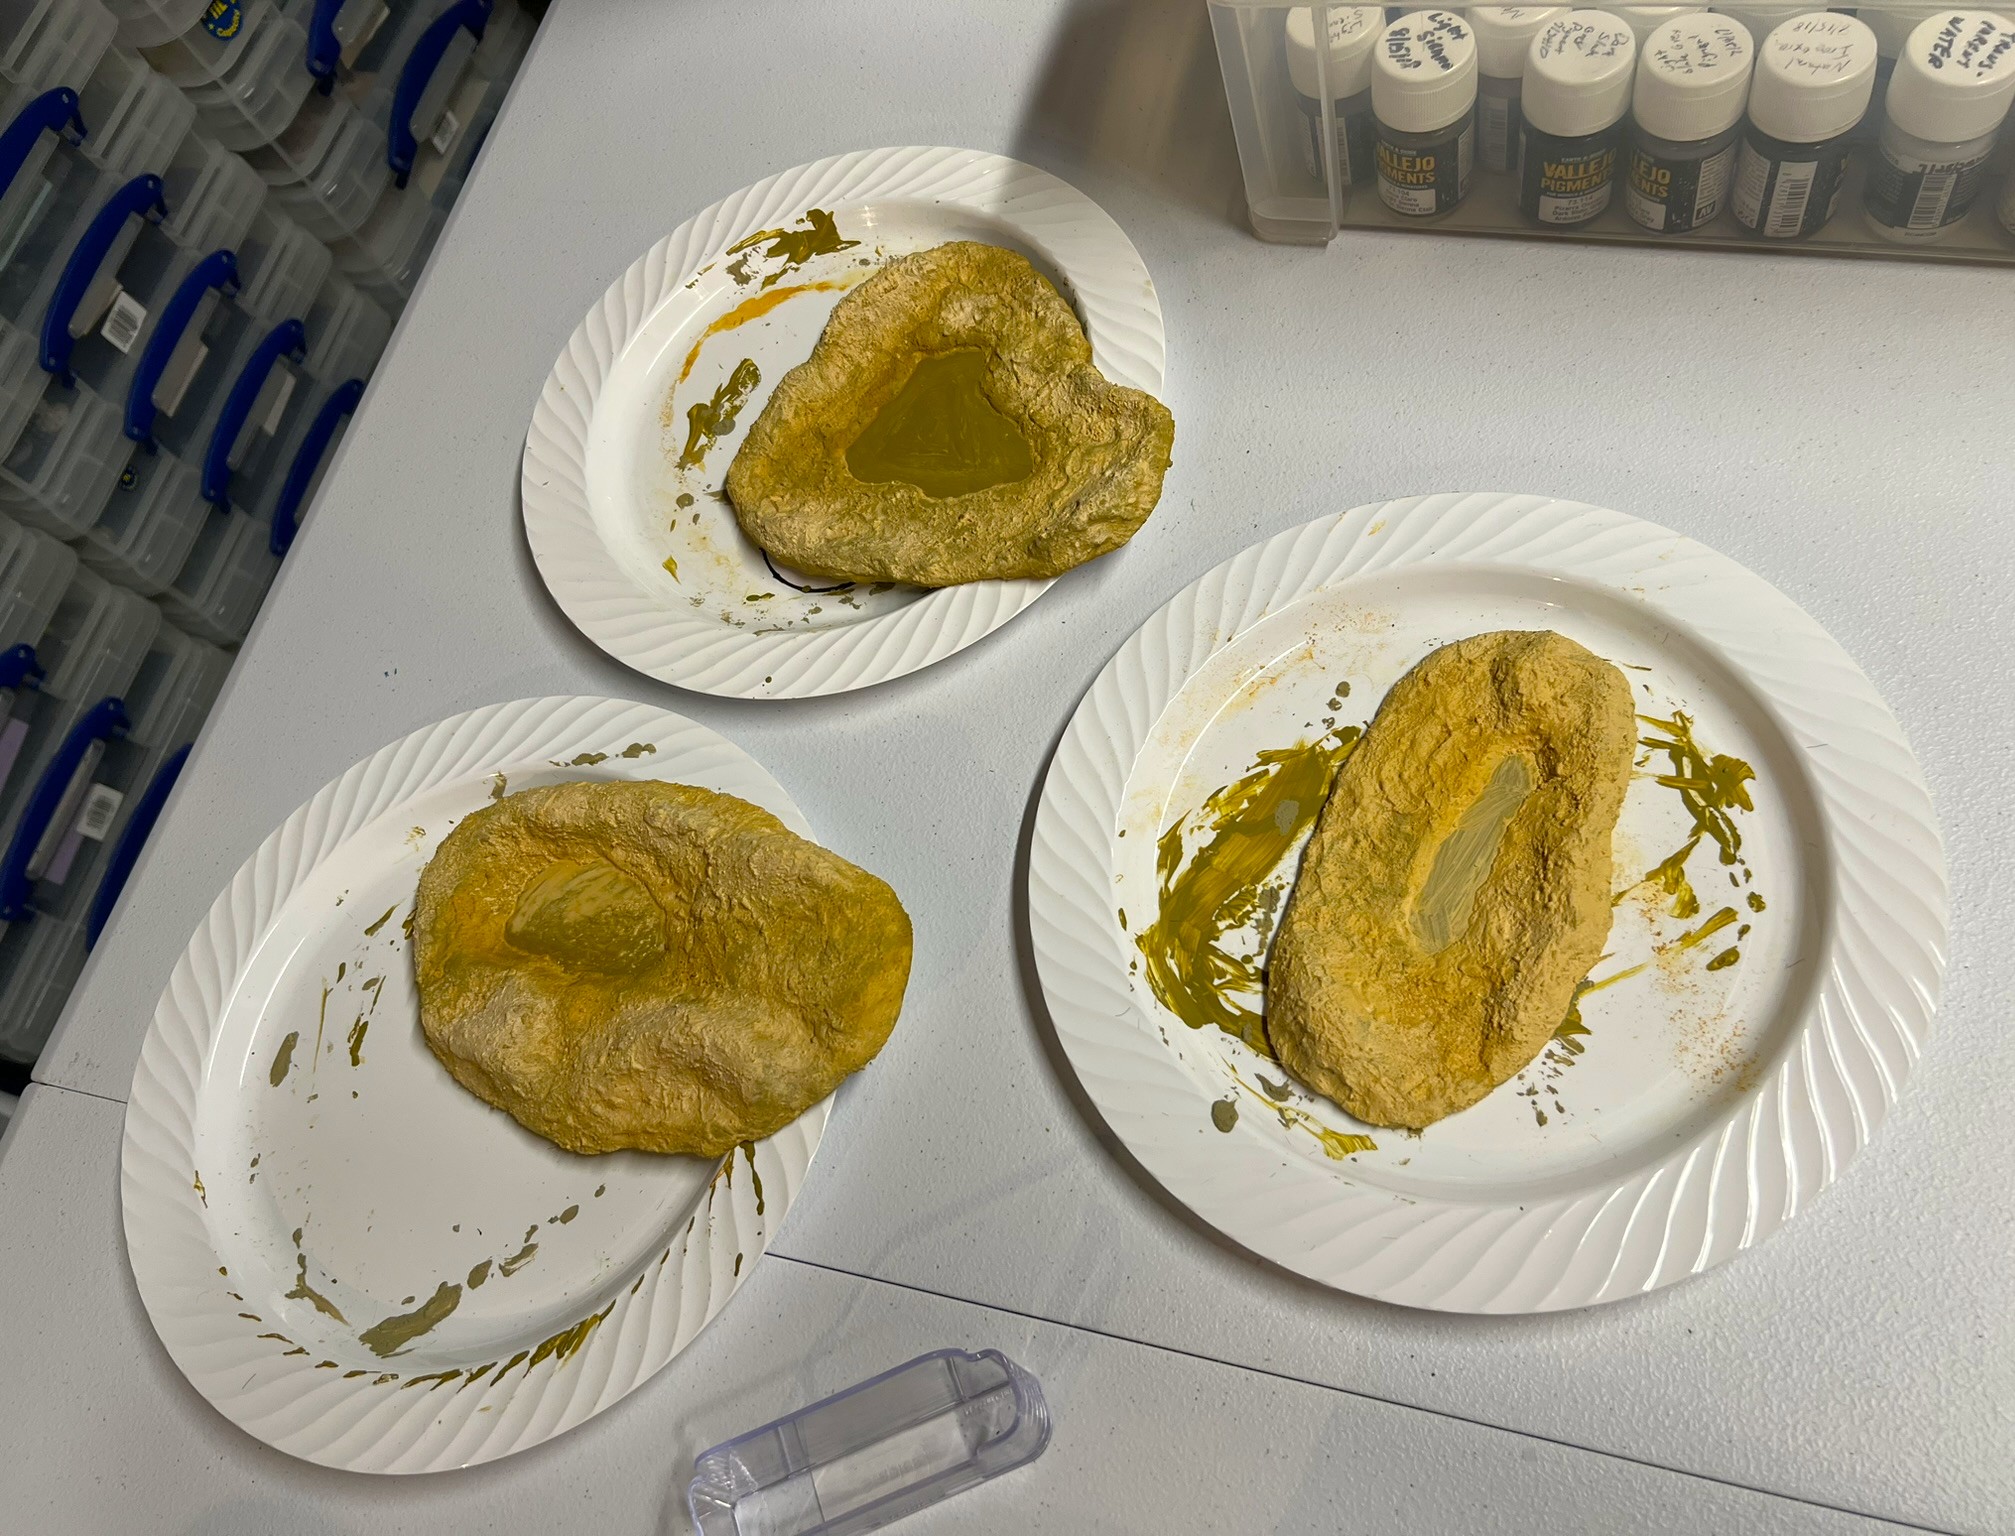
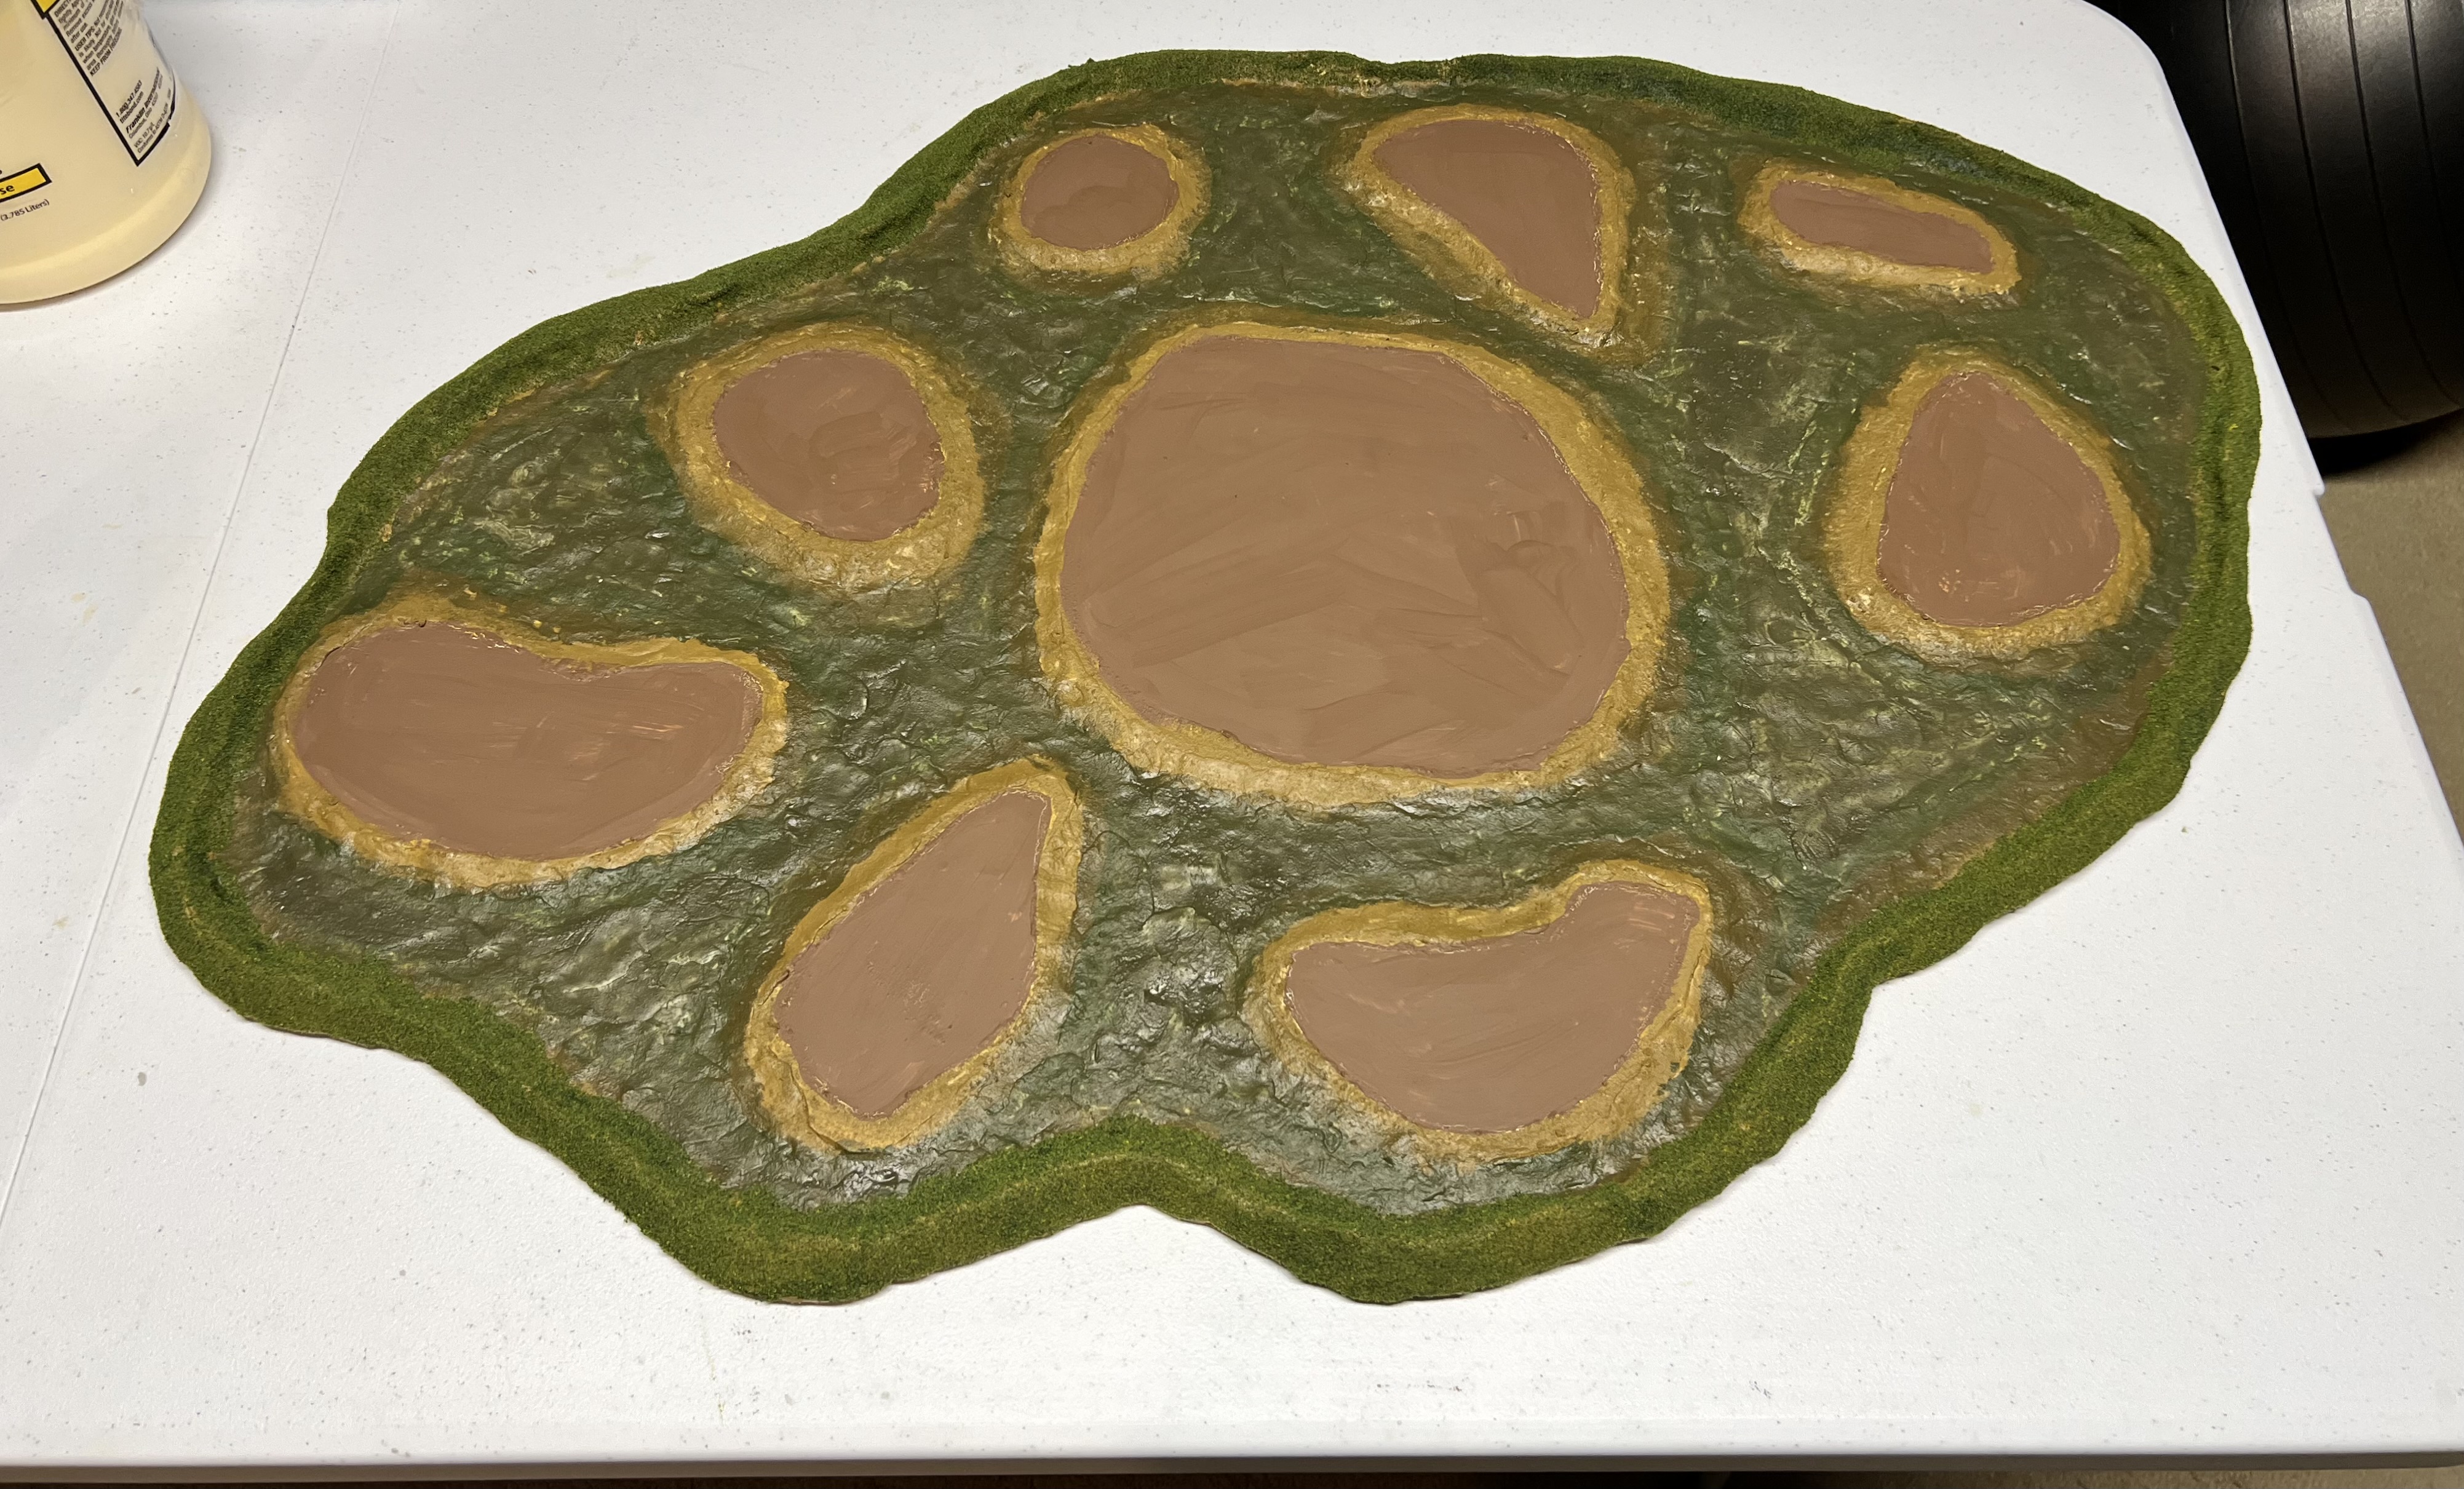
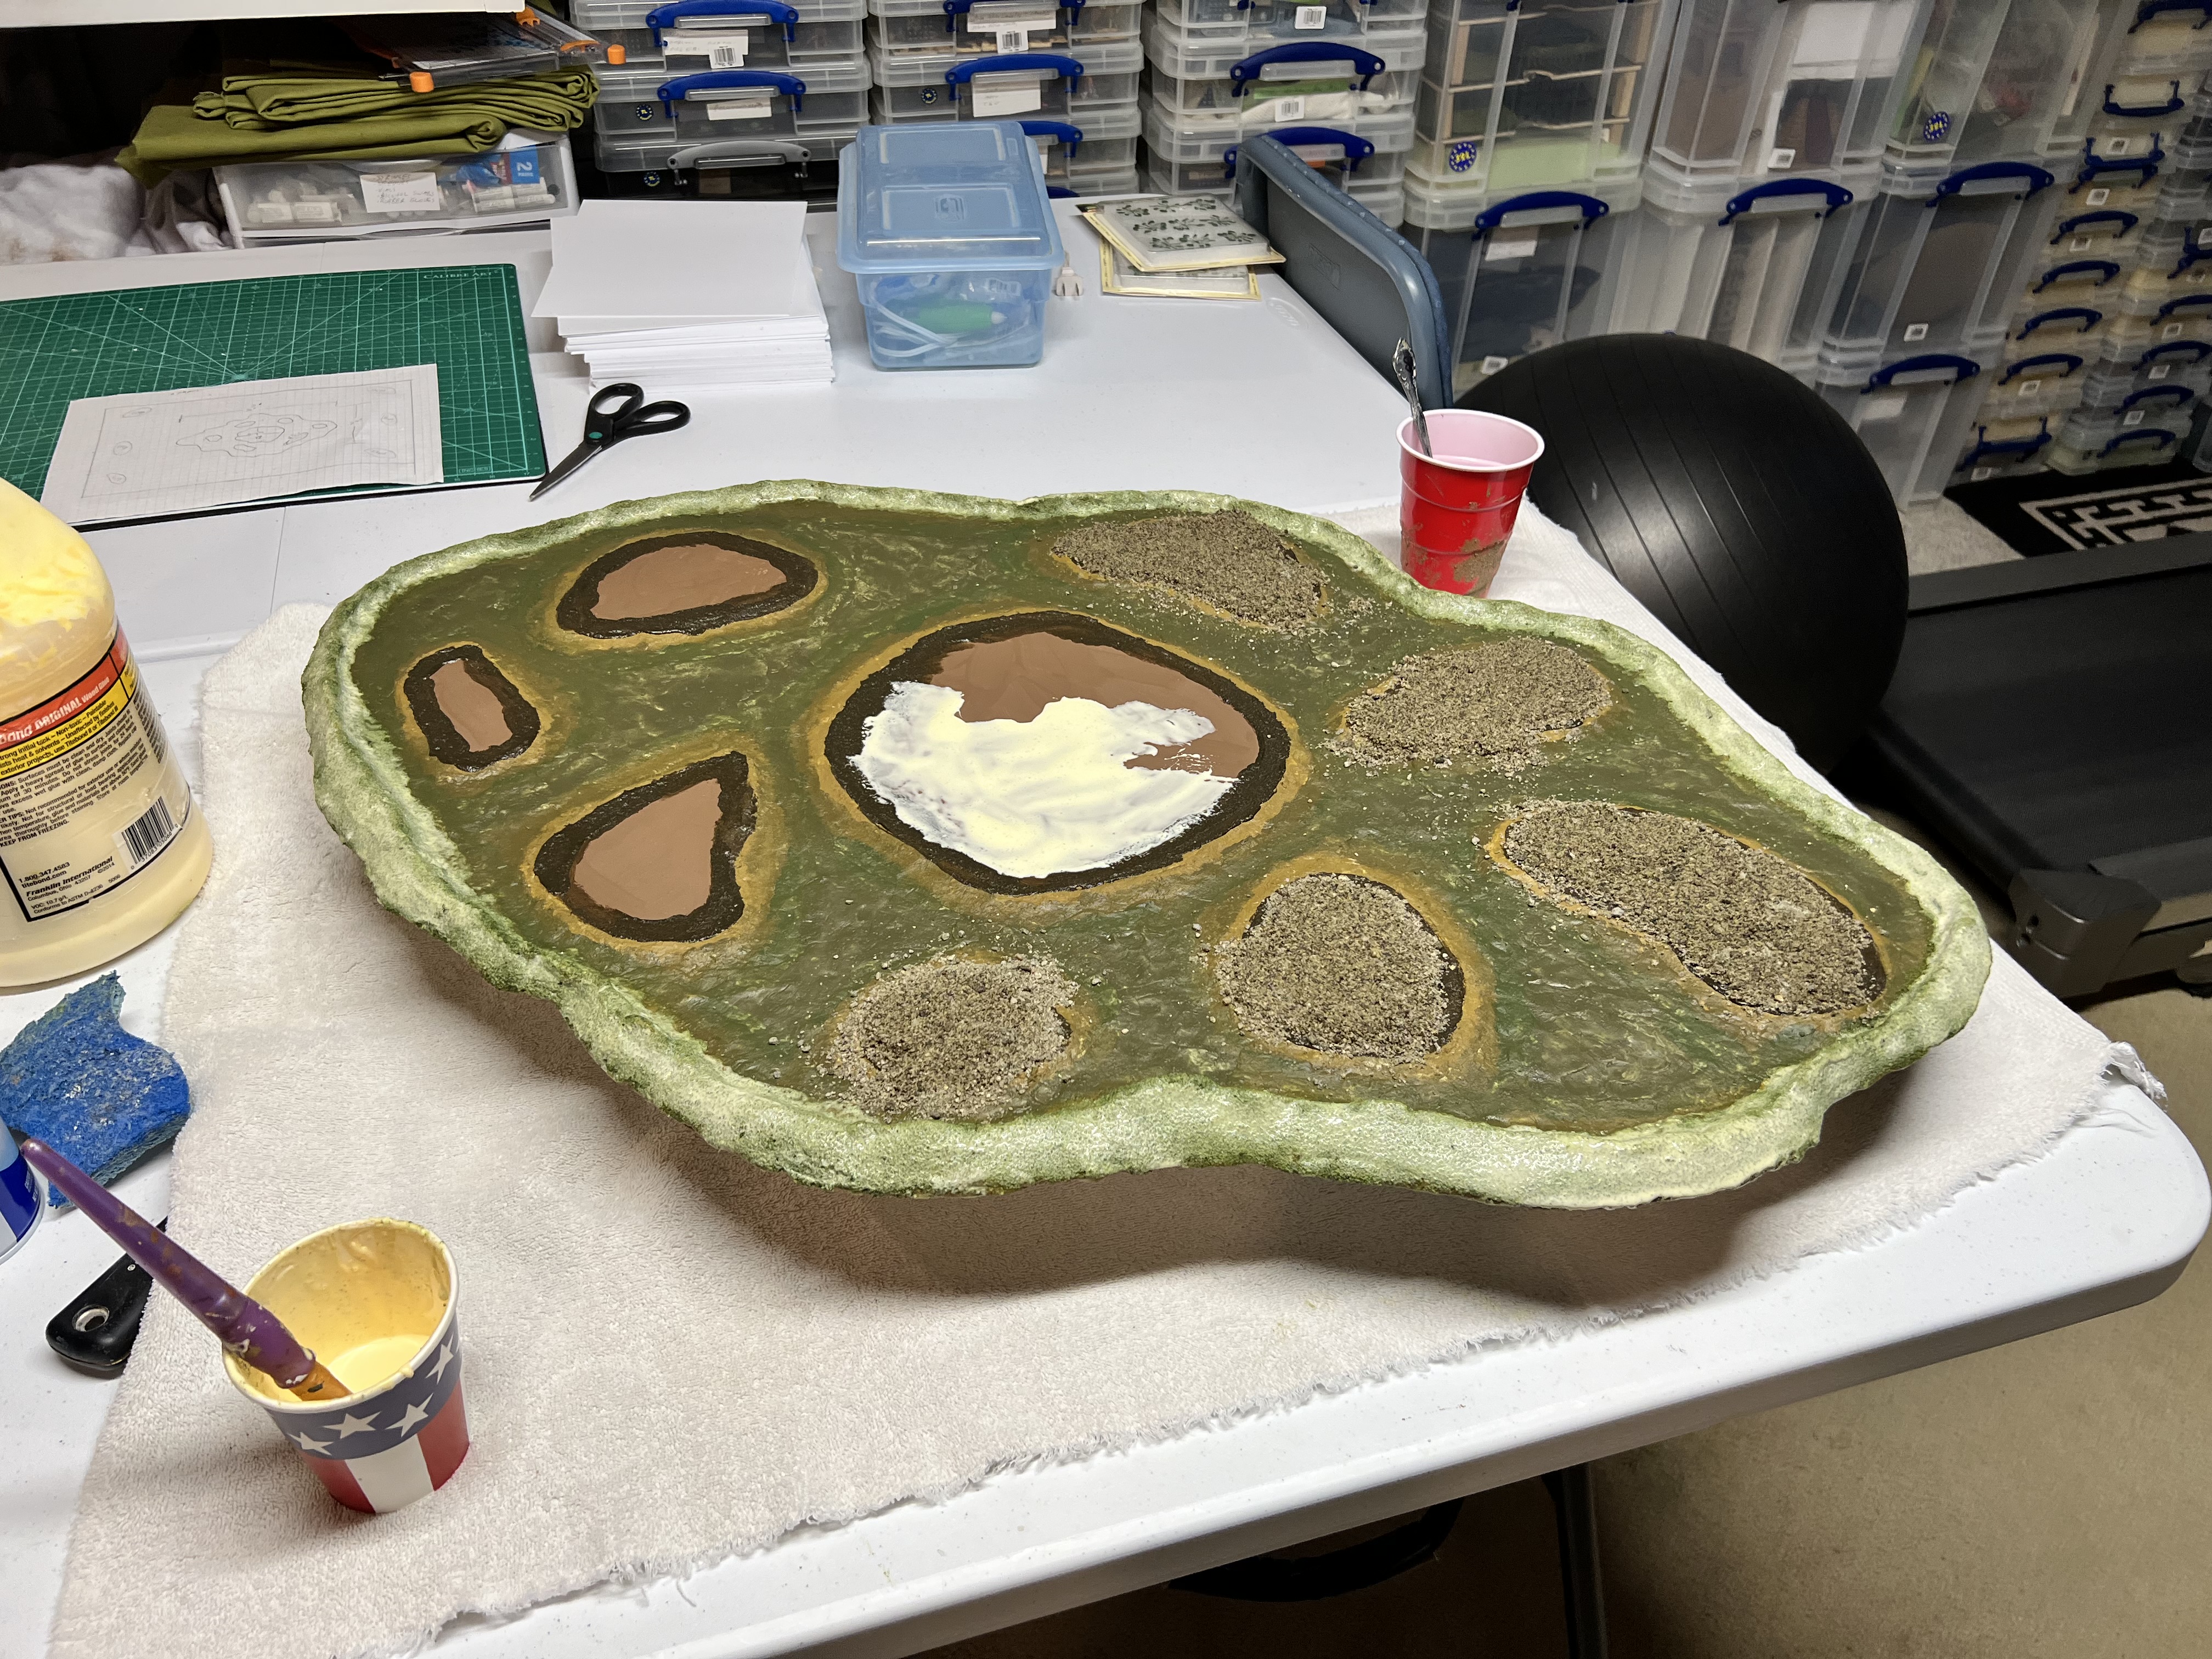
I flipped it over again so that it rested normally on its bottom. Concern #3 still loomed. My solution was to mix equal parts of wood glue and primer and paint the piece with that slurry. I used four different primers and the glue to paint the pond bottom and island edges. This helped to create a shoreline to depth look. Then I flocked the pond’s edge with Woodland Scenics blended turf and the wood glue.

The primed structure is shown below. I hoped that this would work and protect against the “Still Water”.
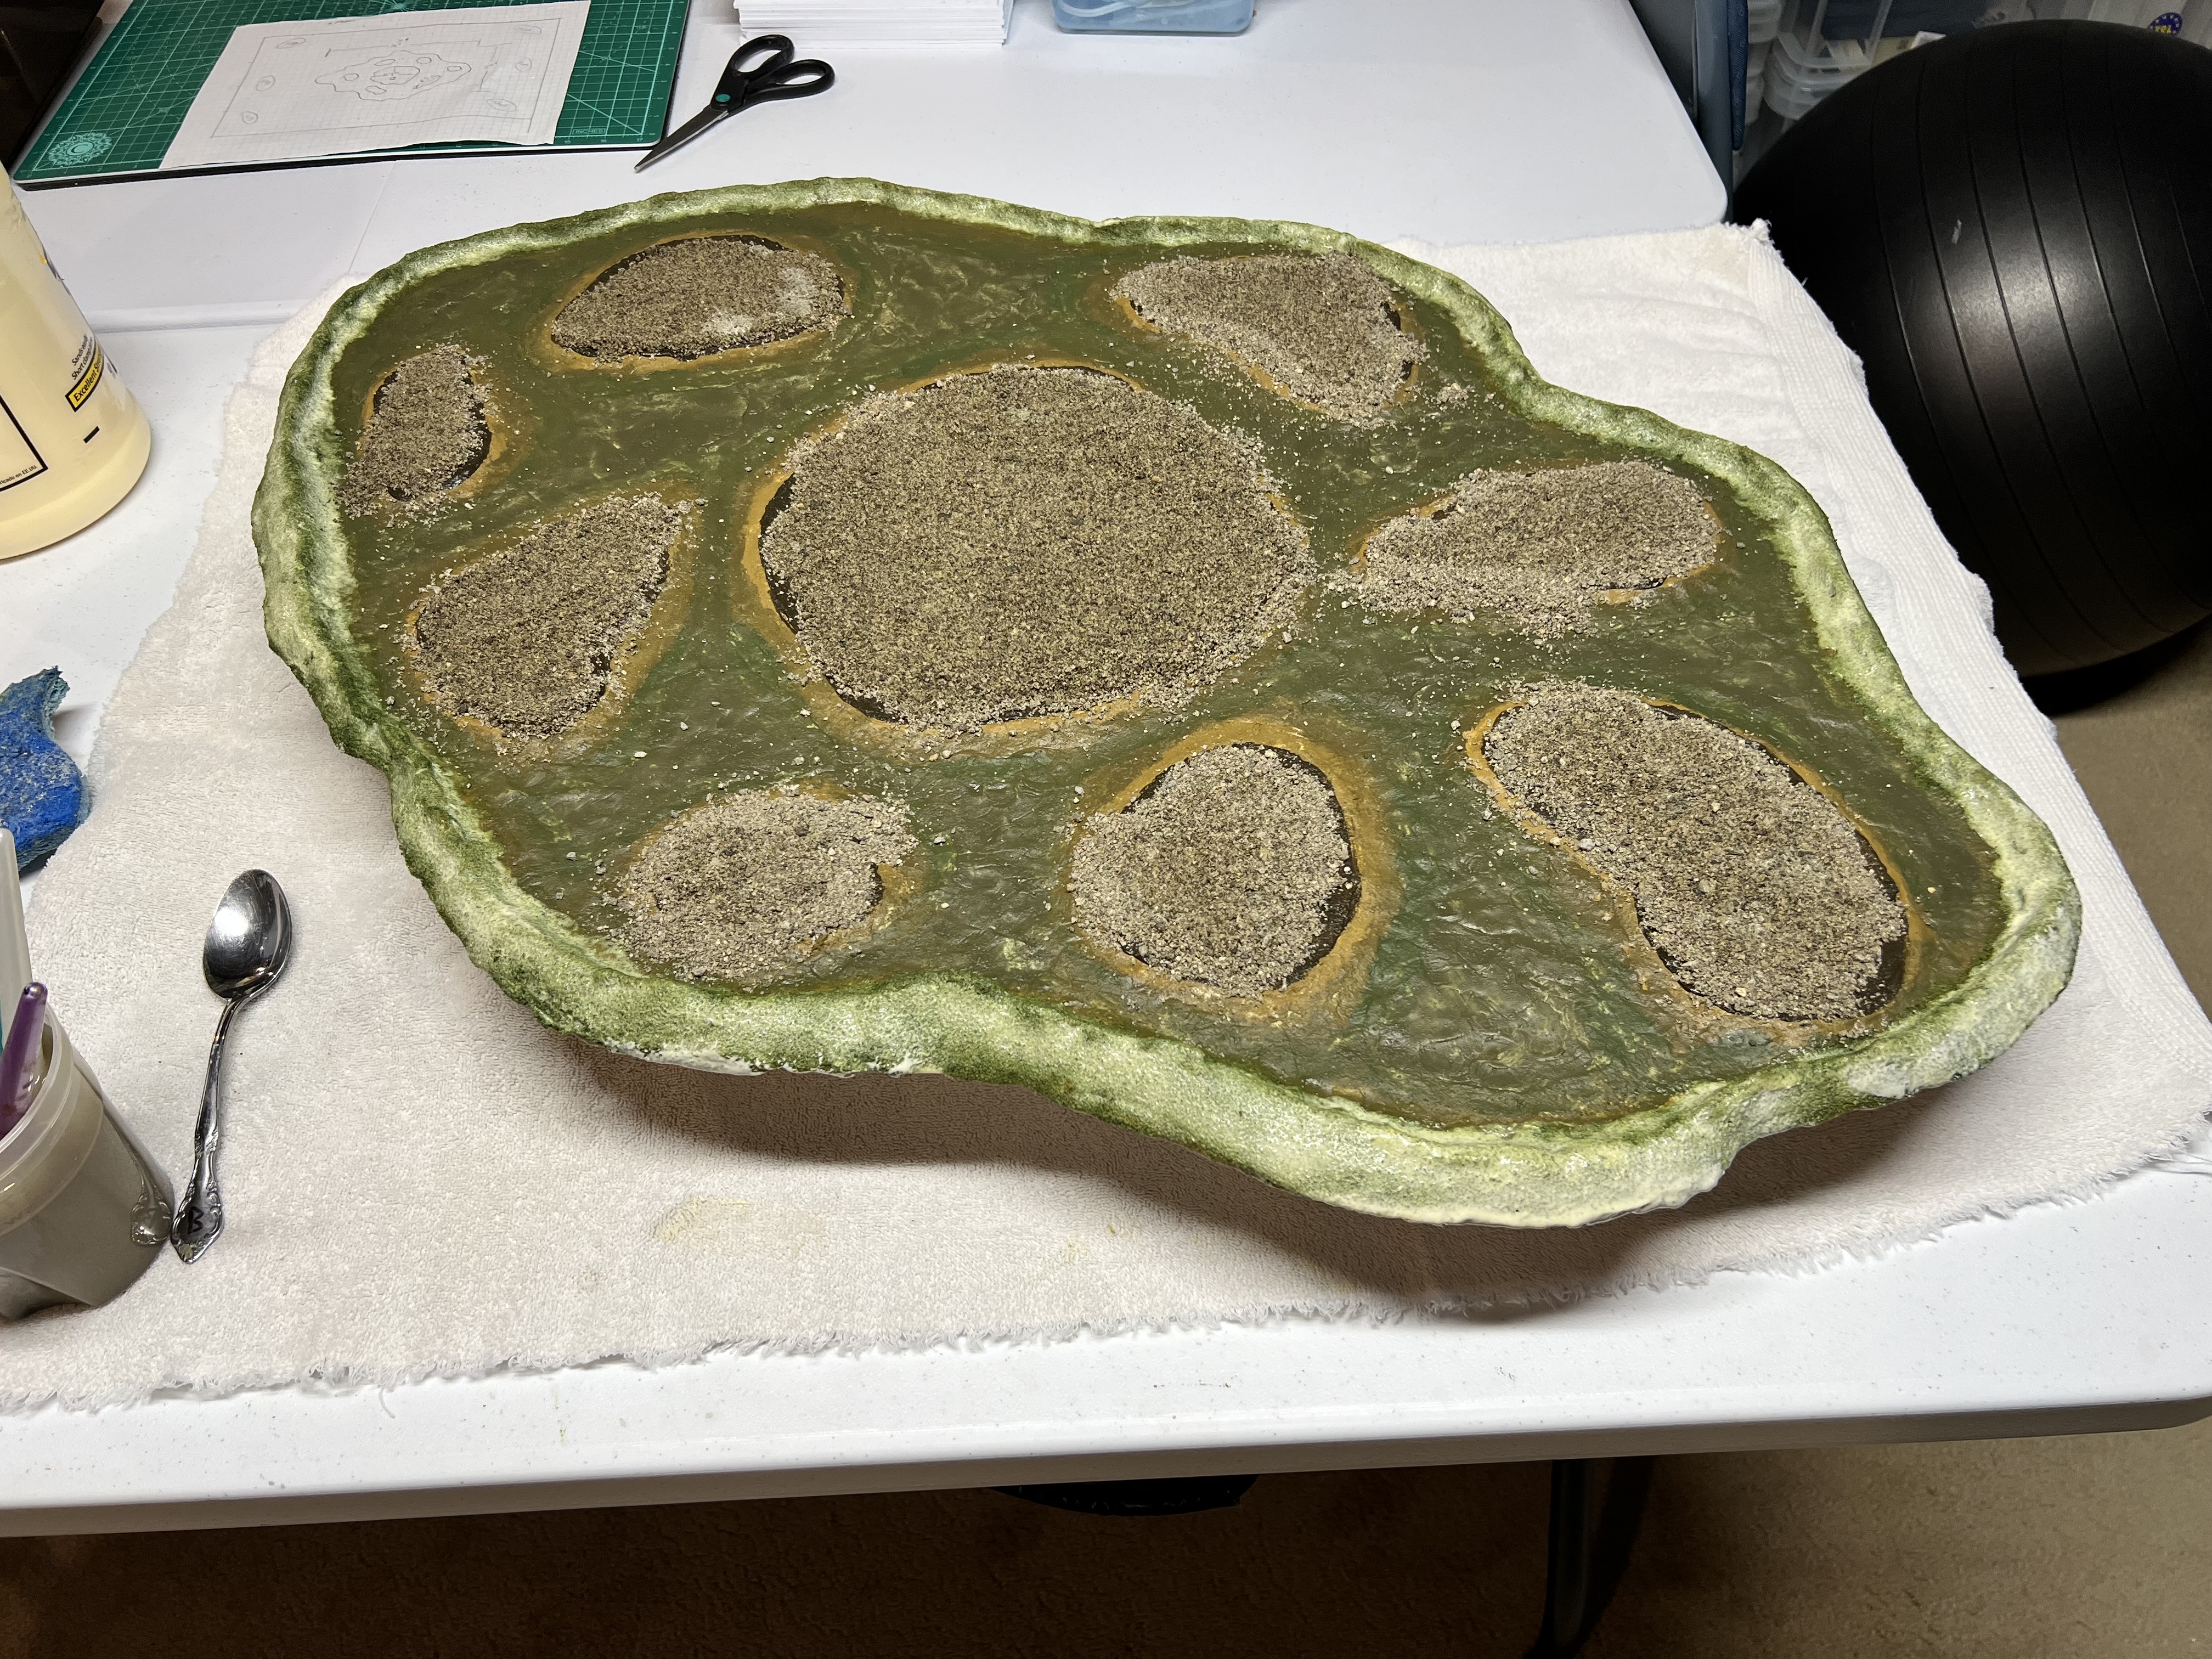
Once it all dried, I reapplied a coating of wood glue over the pond’s edge flocking. This helped to harden it up. It also kept loose flocking from contaminating the future water surface. I then added all-purpose sand to the islands with the wood glue. I let that dry before I extensively vacuumed the surface and edges of the pond. This was to remove all loose materials, again to protect the water.

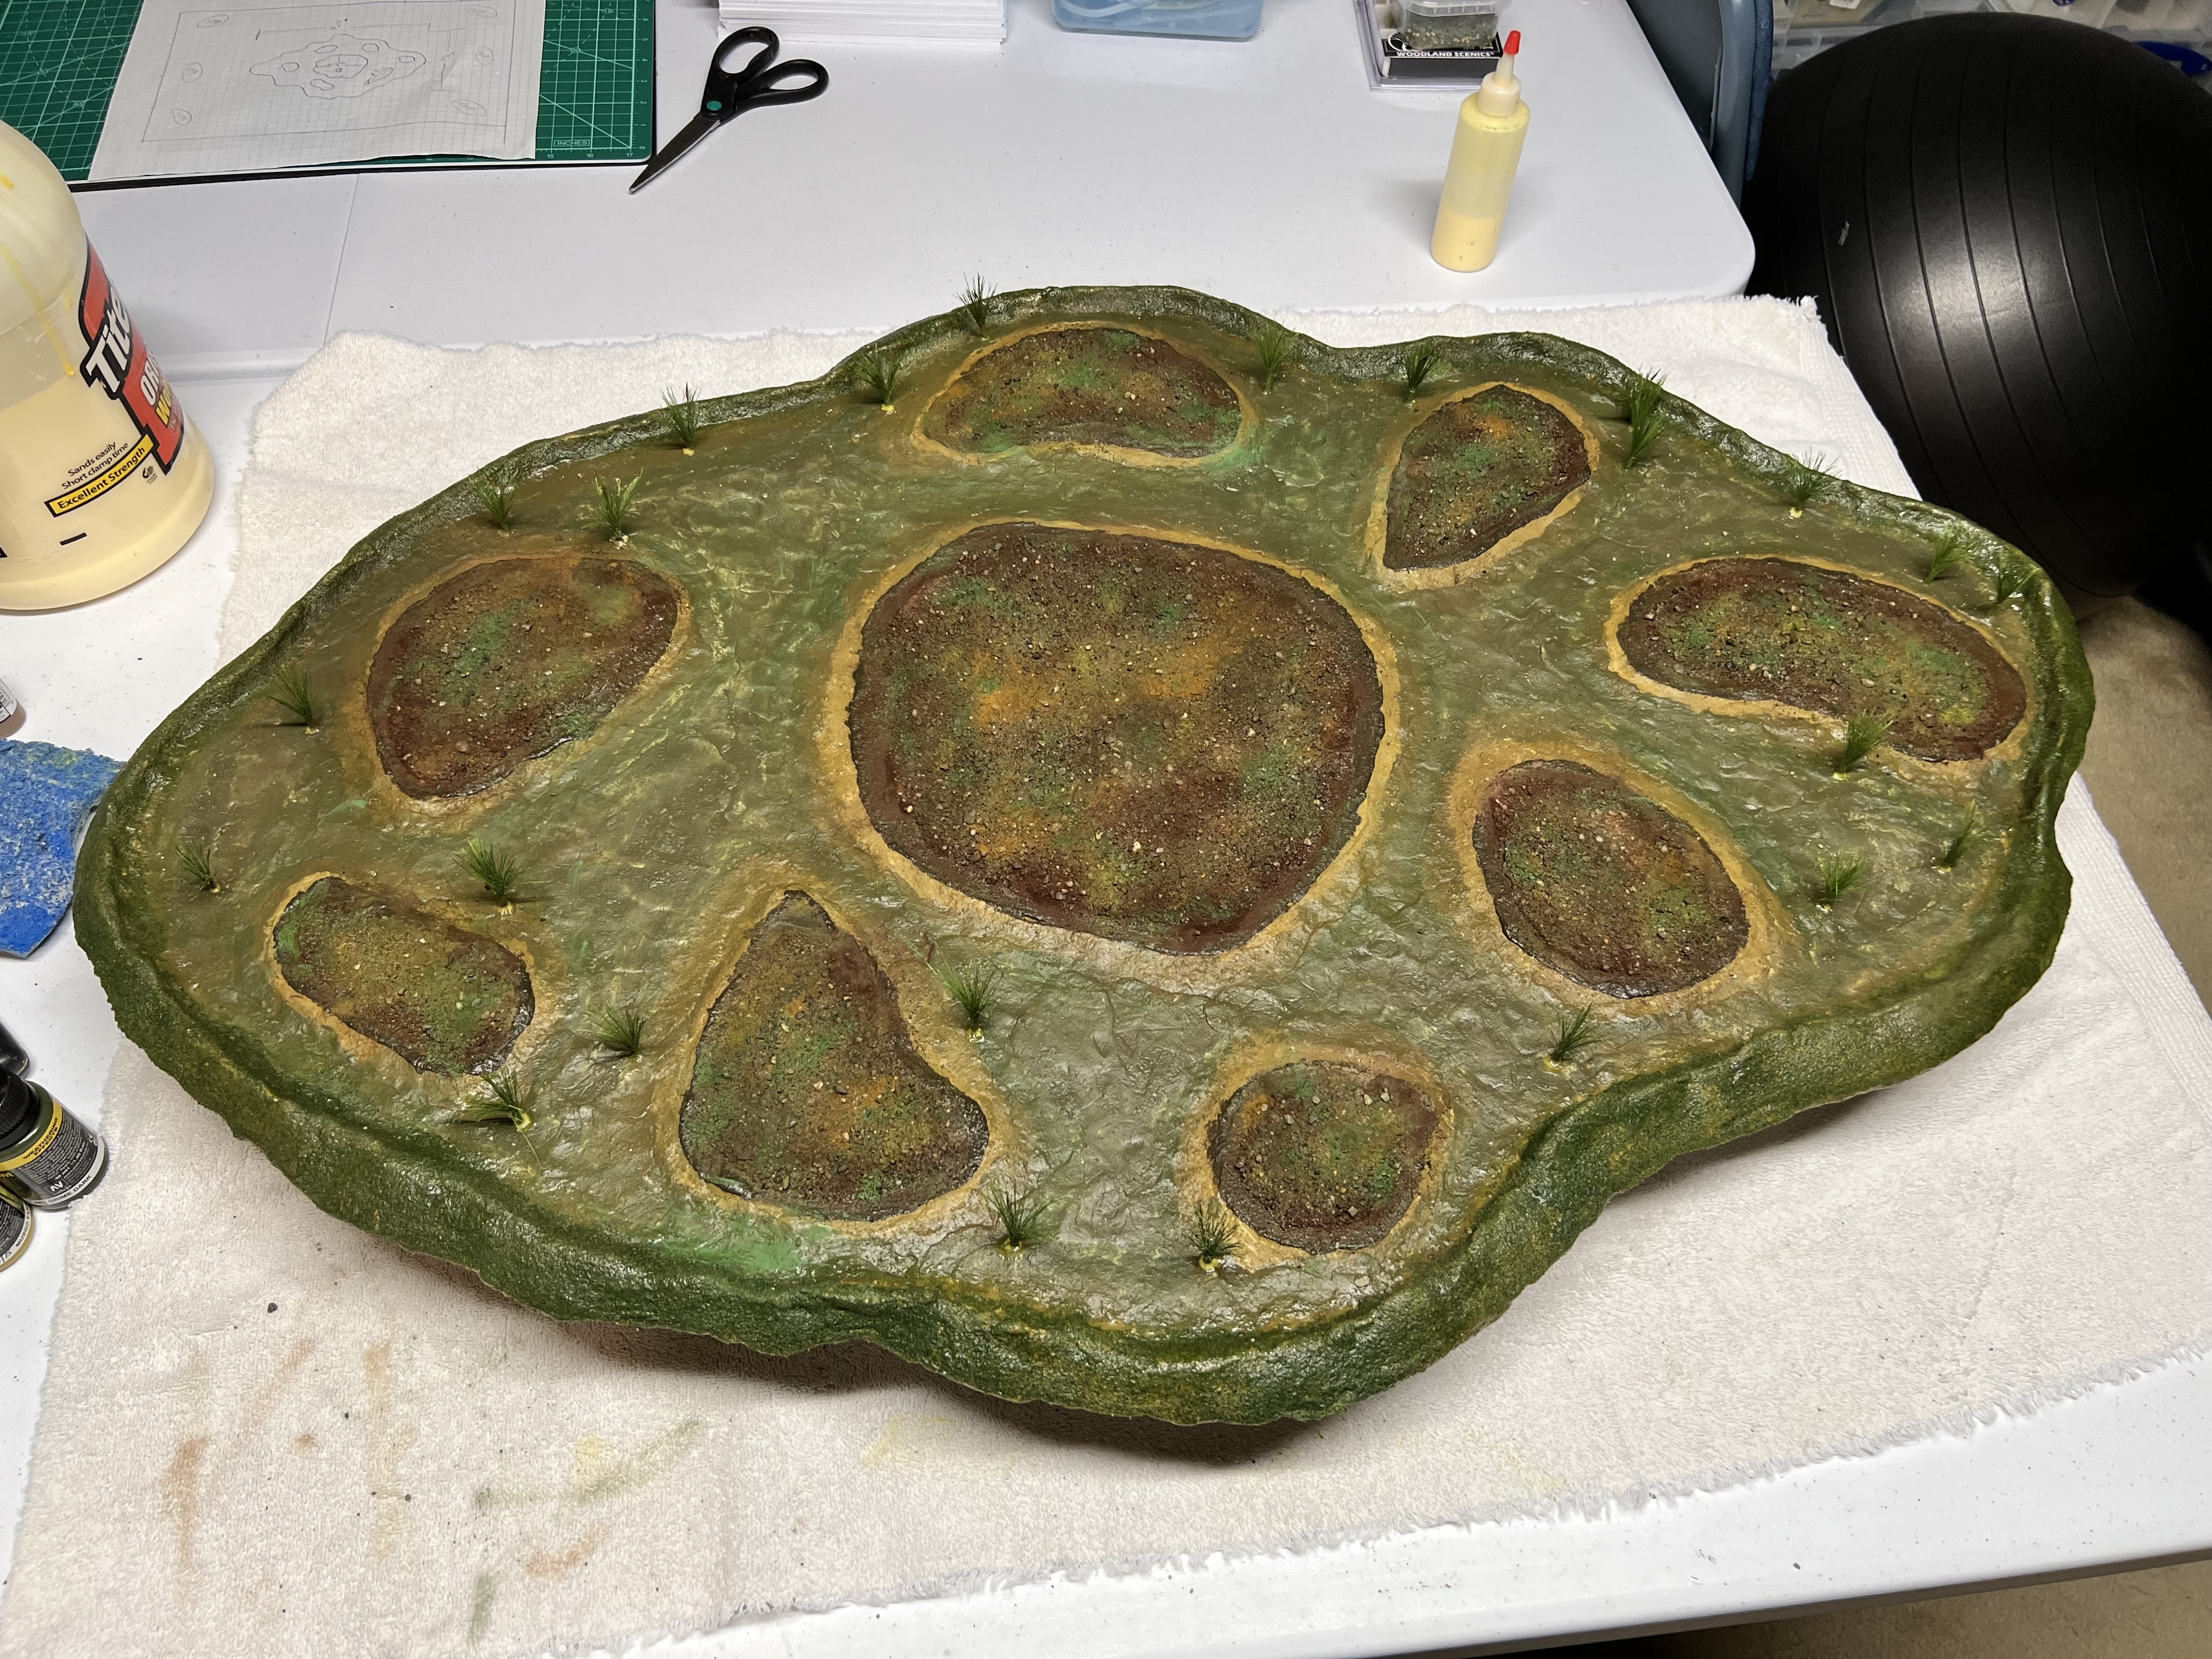
It was time to apply the cattails into the base. Luckily, it was easy to use an awl to punch holes through the Apoxie Sculpt and into the foam core board underneath. I did that, and used more wood glue to secure the cattails. Then I had more drying time to wait out…


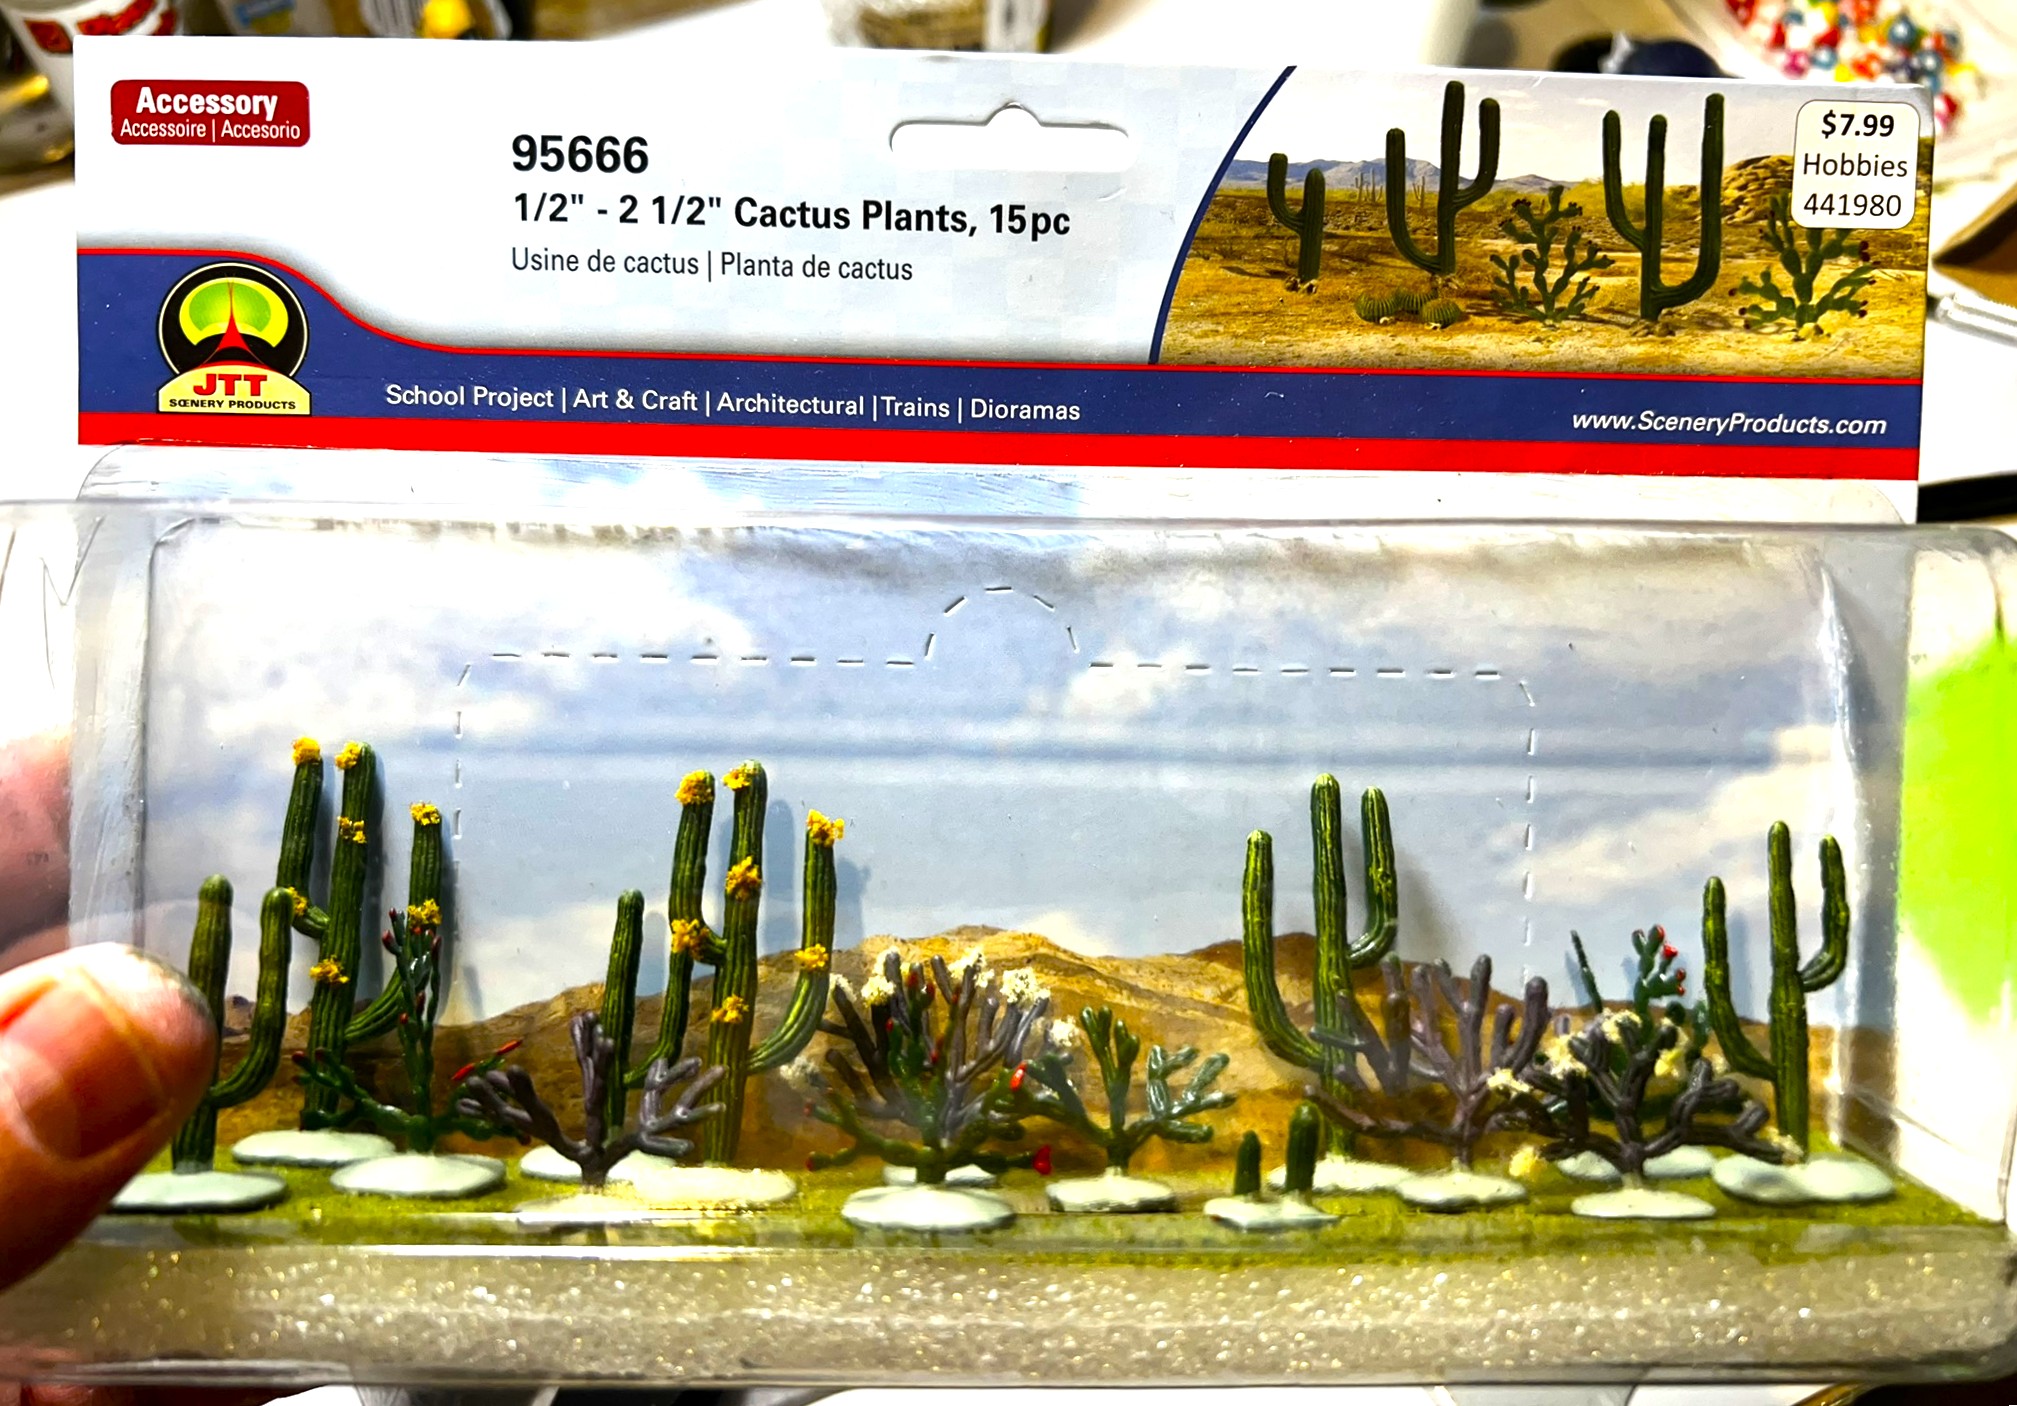
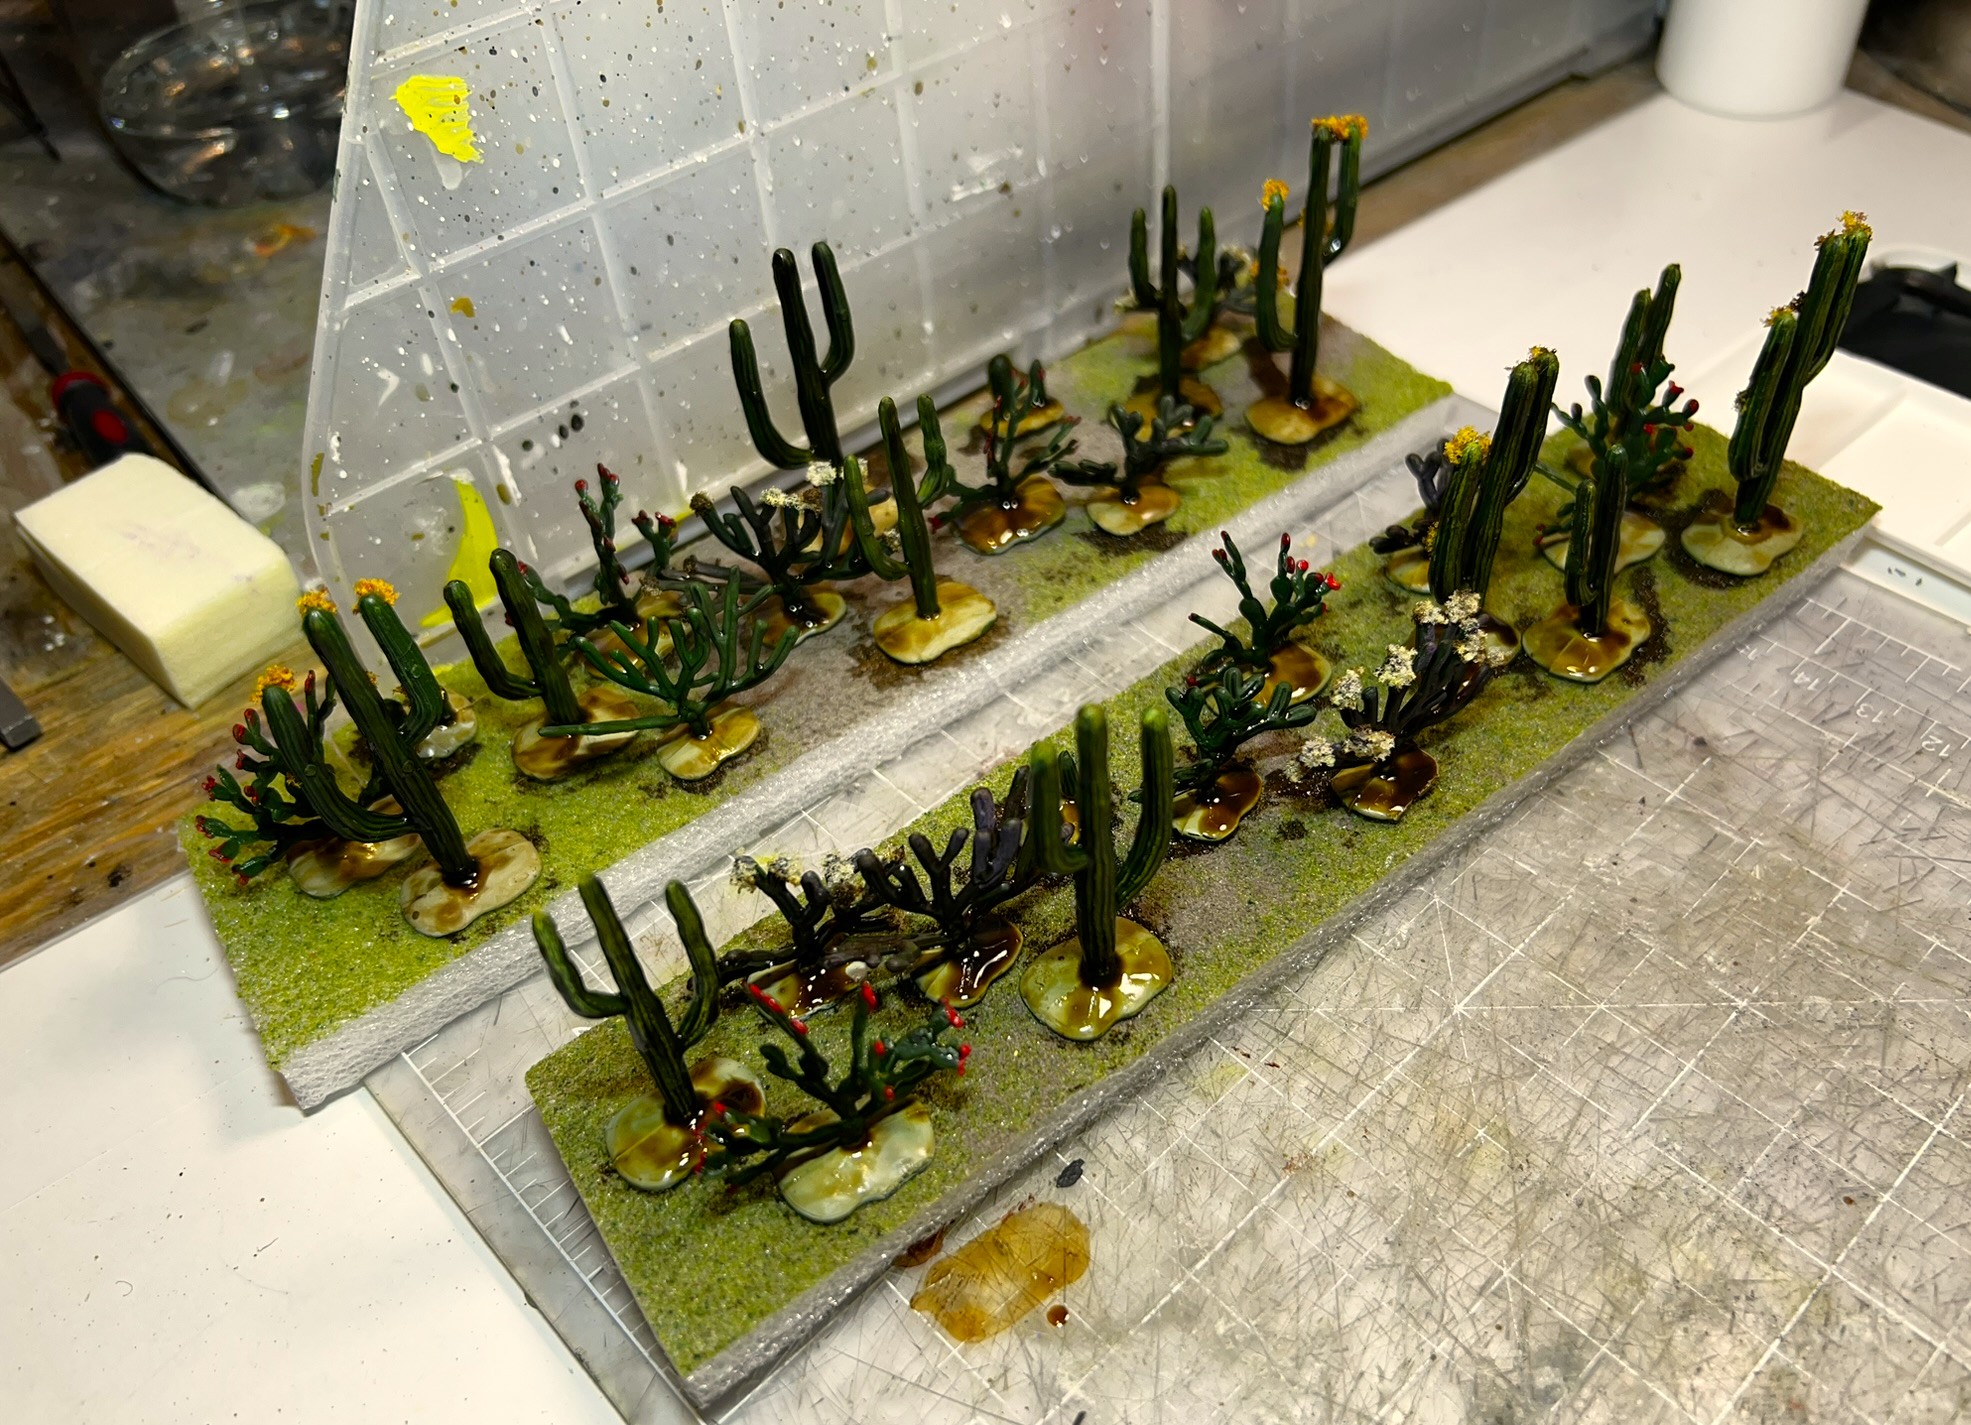
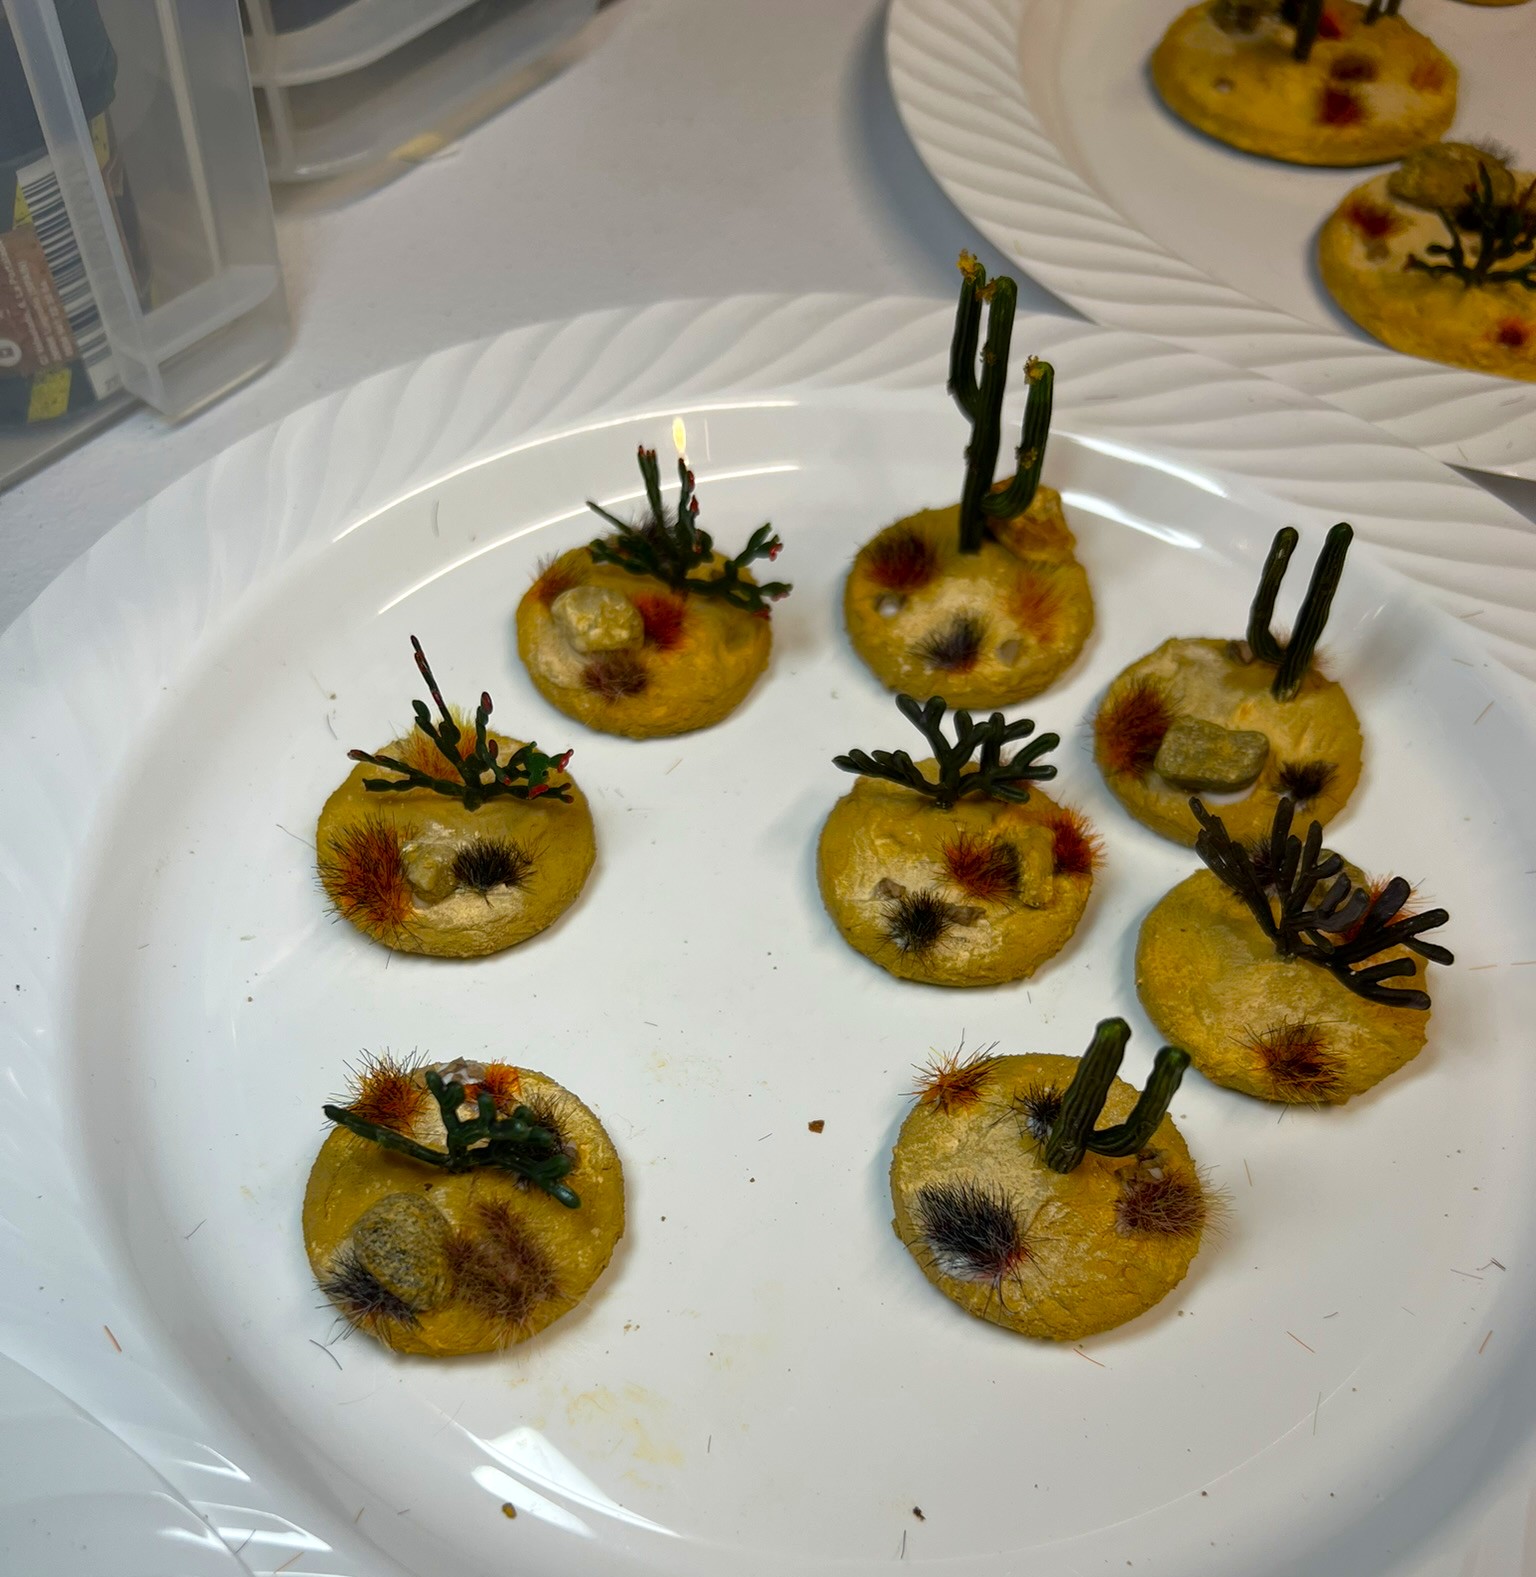
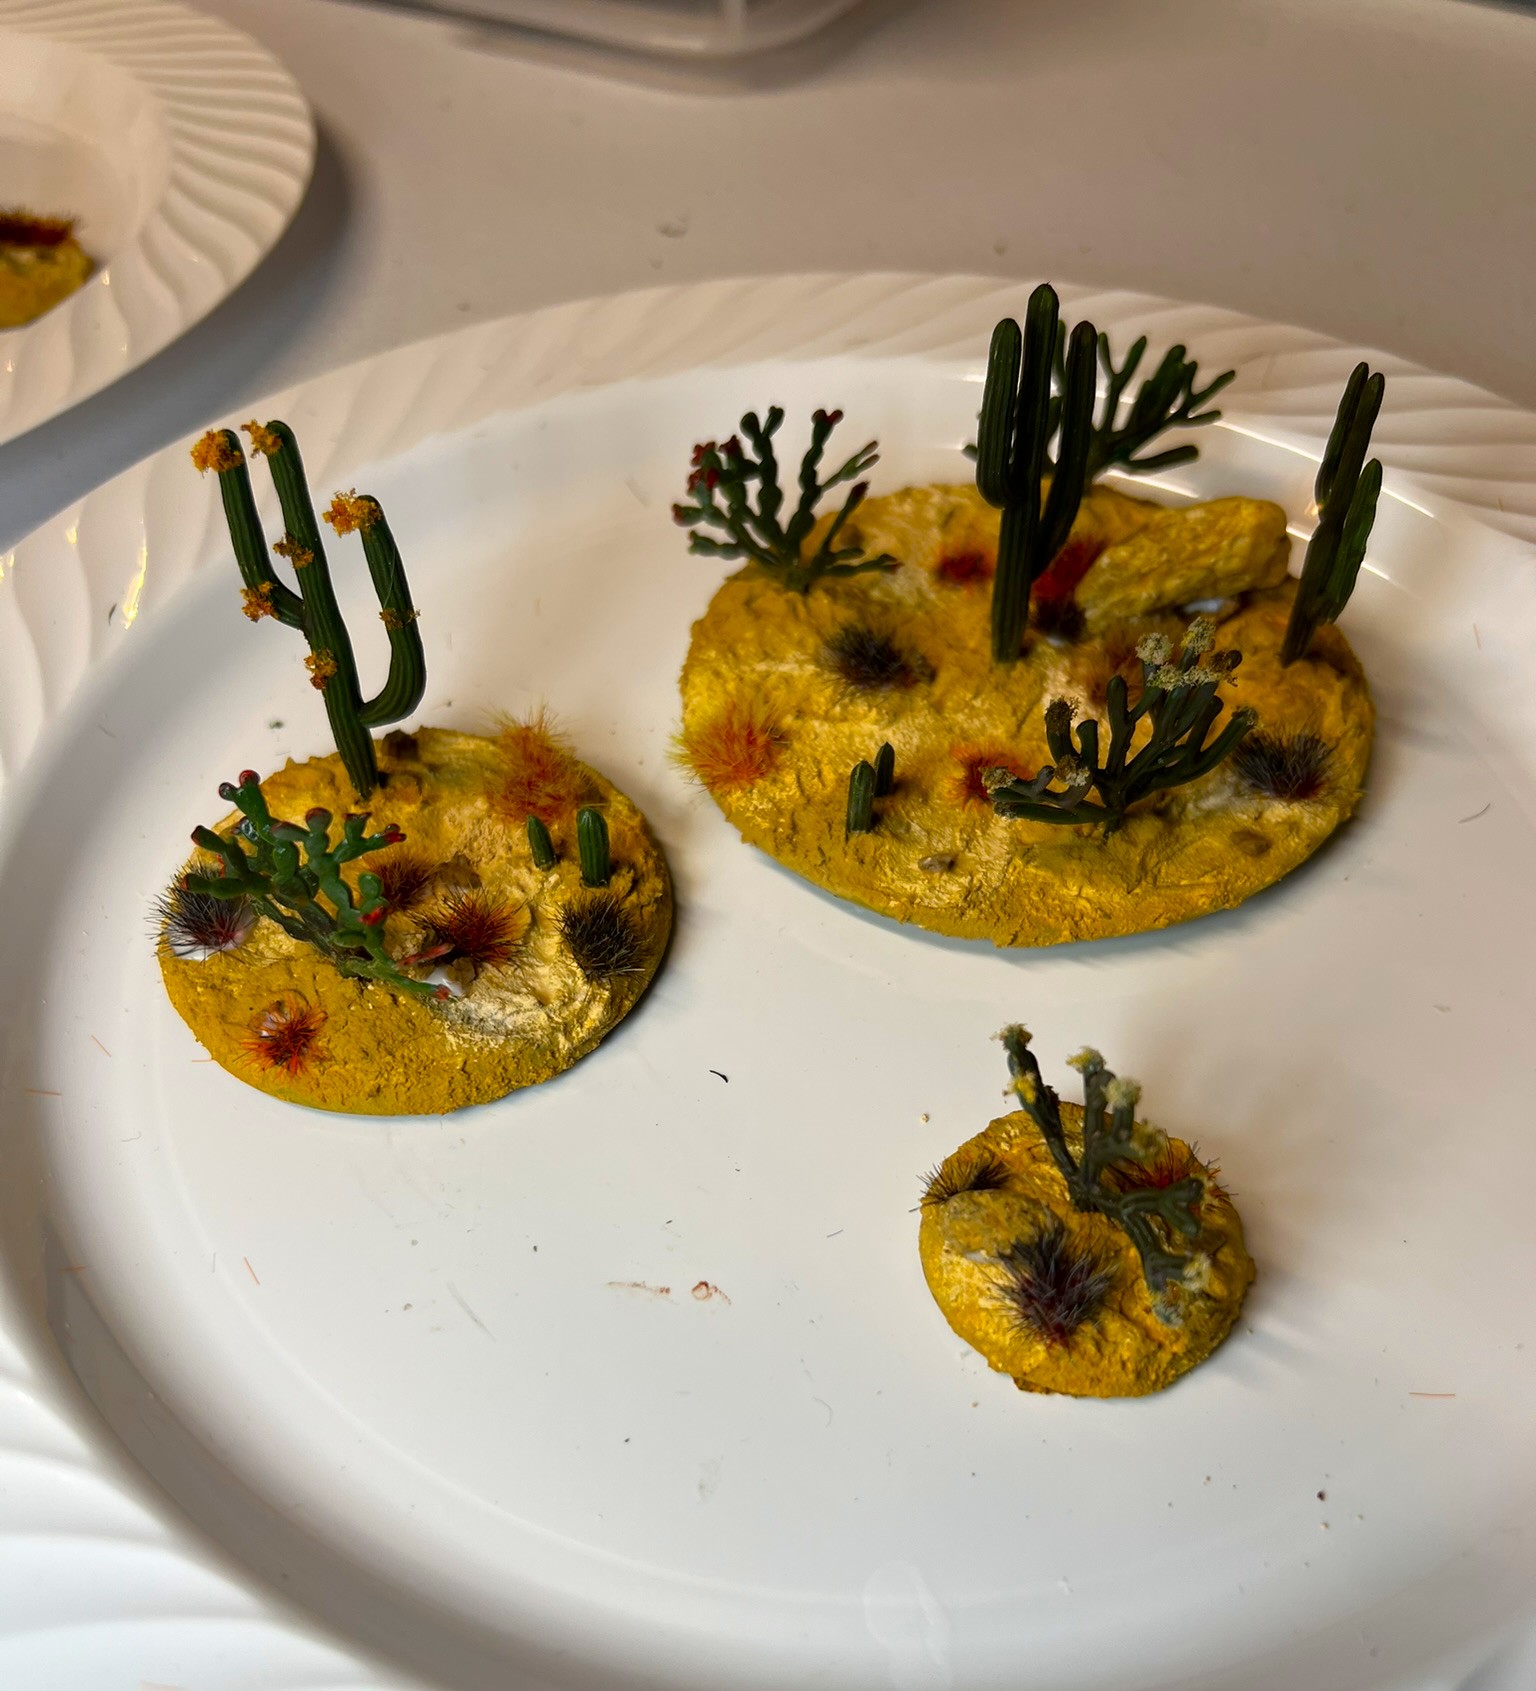
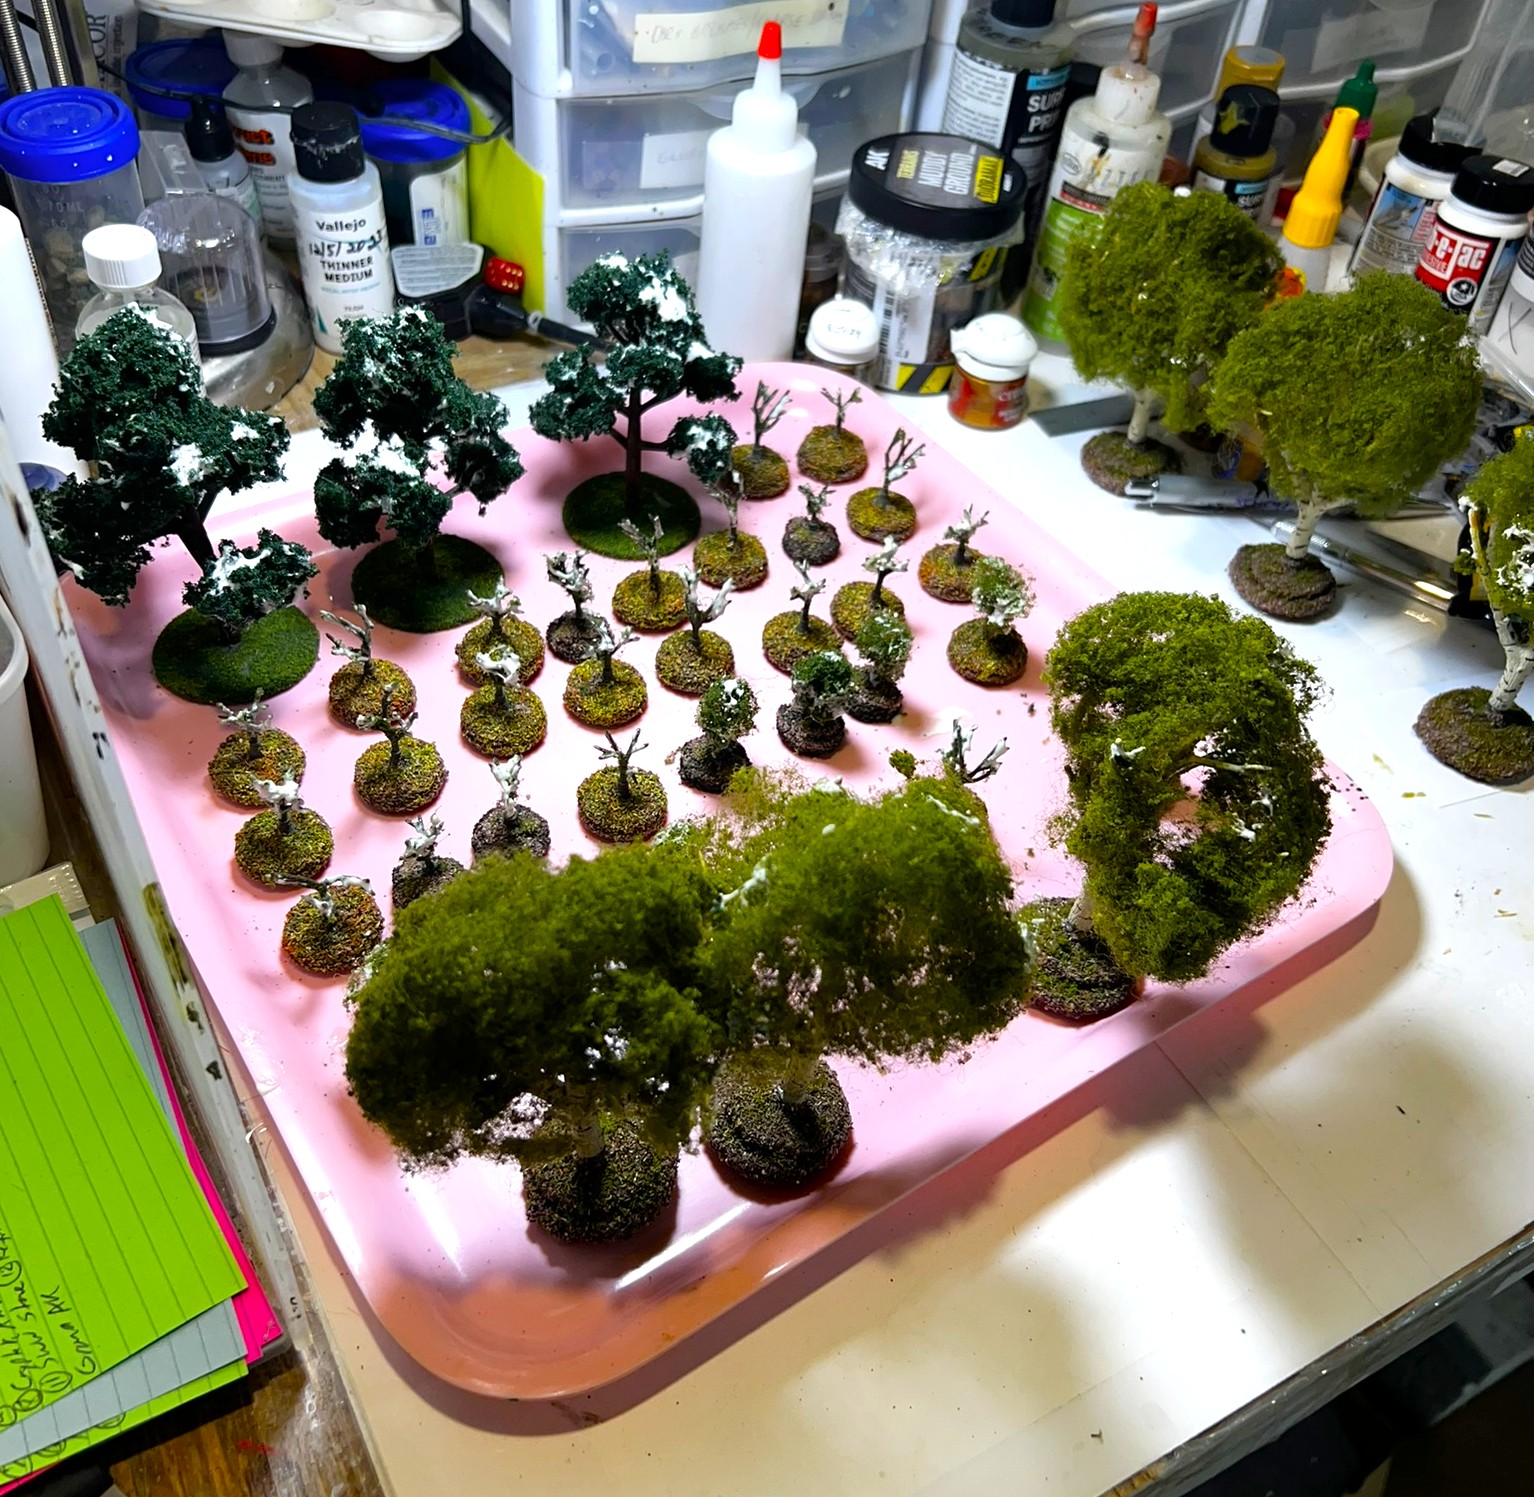
The sand on the islands dried and was ready for adding pigments, so I did that. Meanwhile, I washed my plastic foliage for the islands. This removes any residual oils. This step allows me to throw some brown ink on them as a wash to add realism and some depth.


Here is a short video showing my progress at this stage on Valentine’s Day:
It was time to add the foliage to the pond – as I wanted the water to be added close to the end. The process of adding the foliage was the same as adding the cattails, except that I needed to also go through the sand.


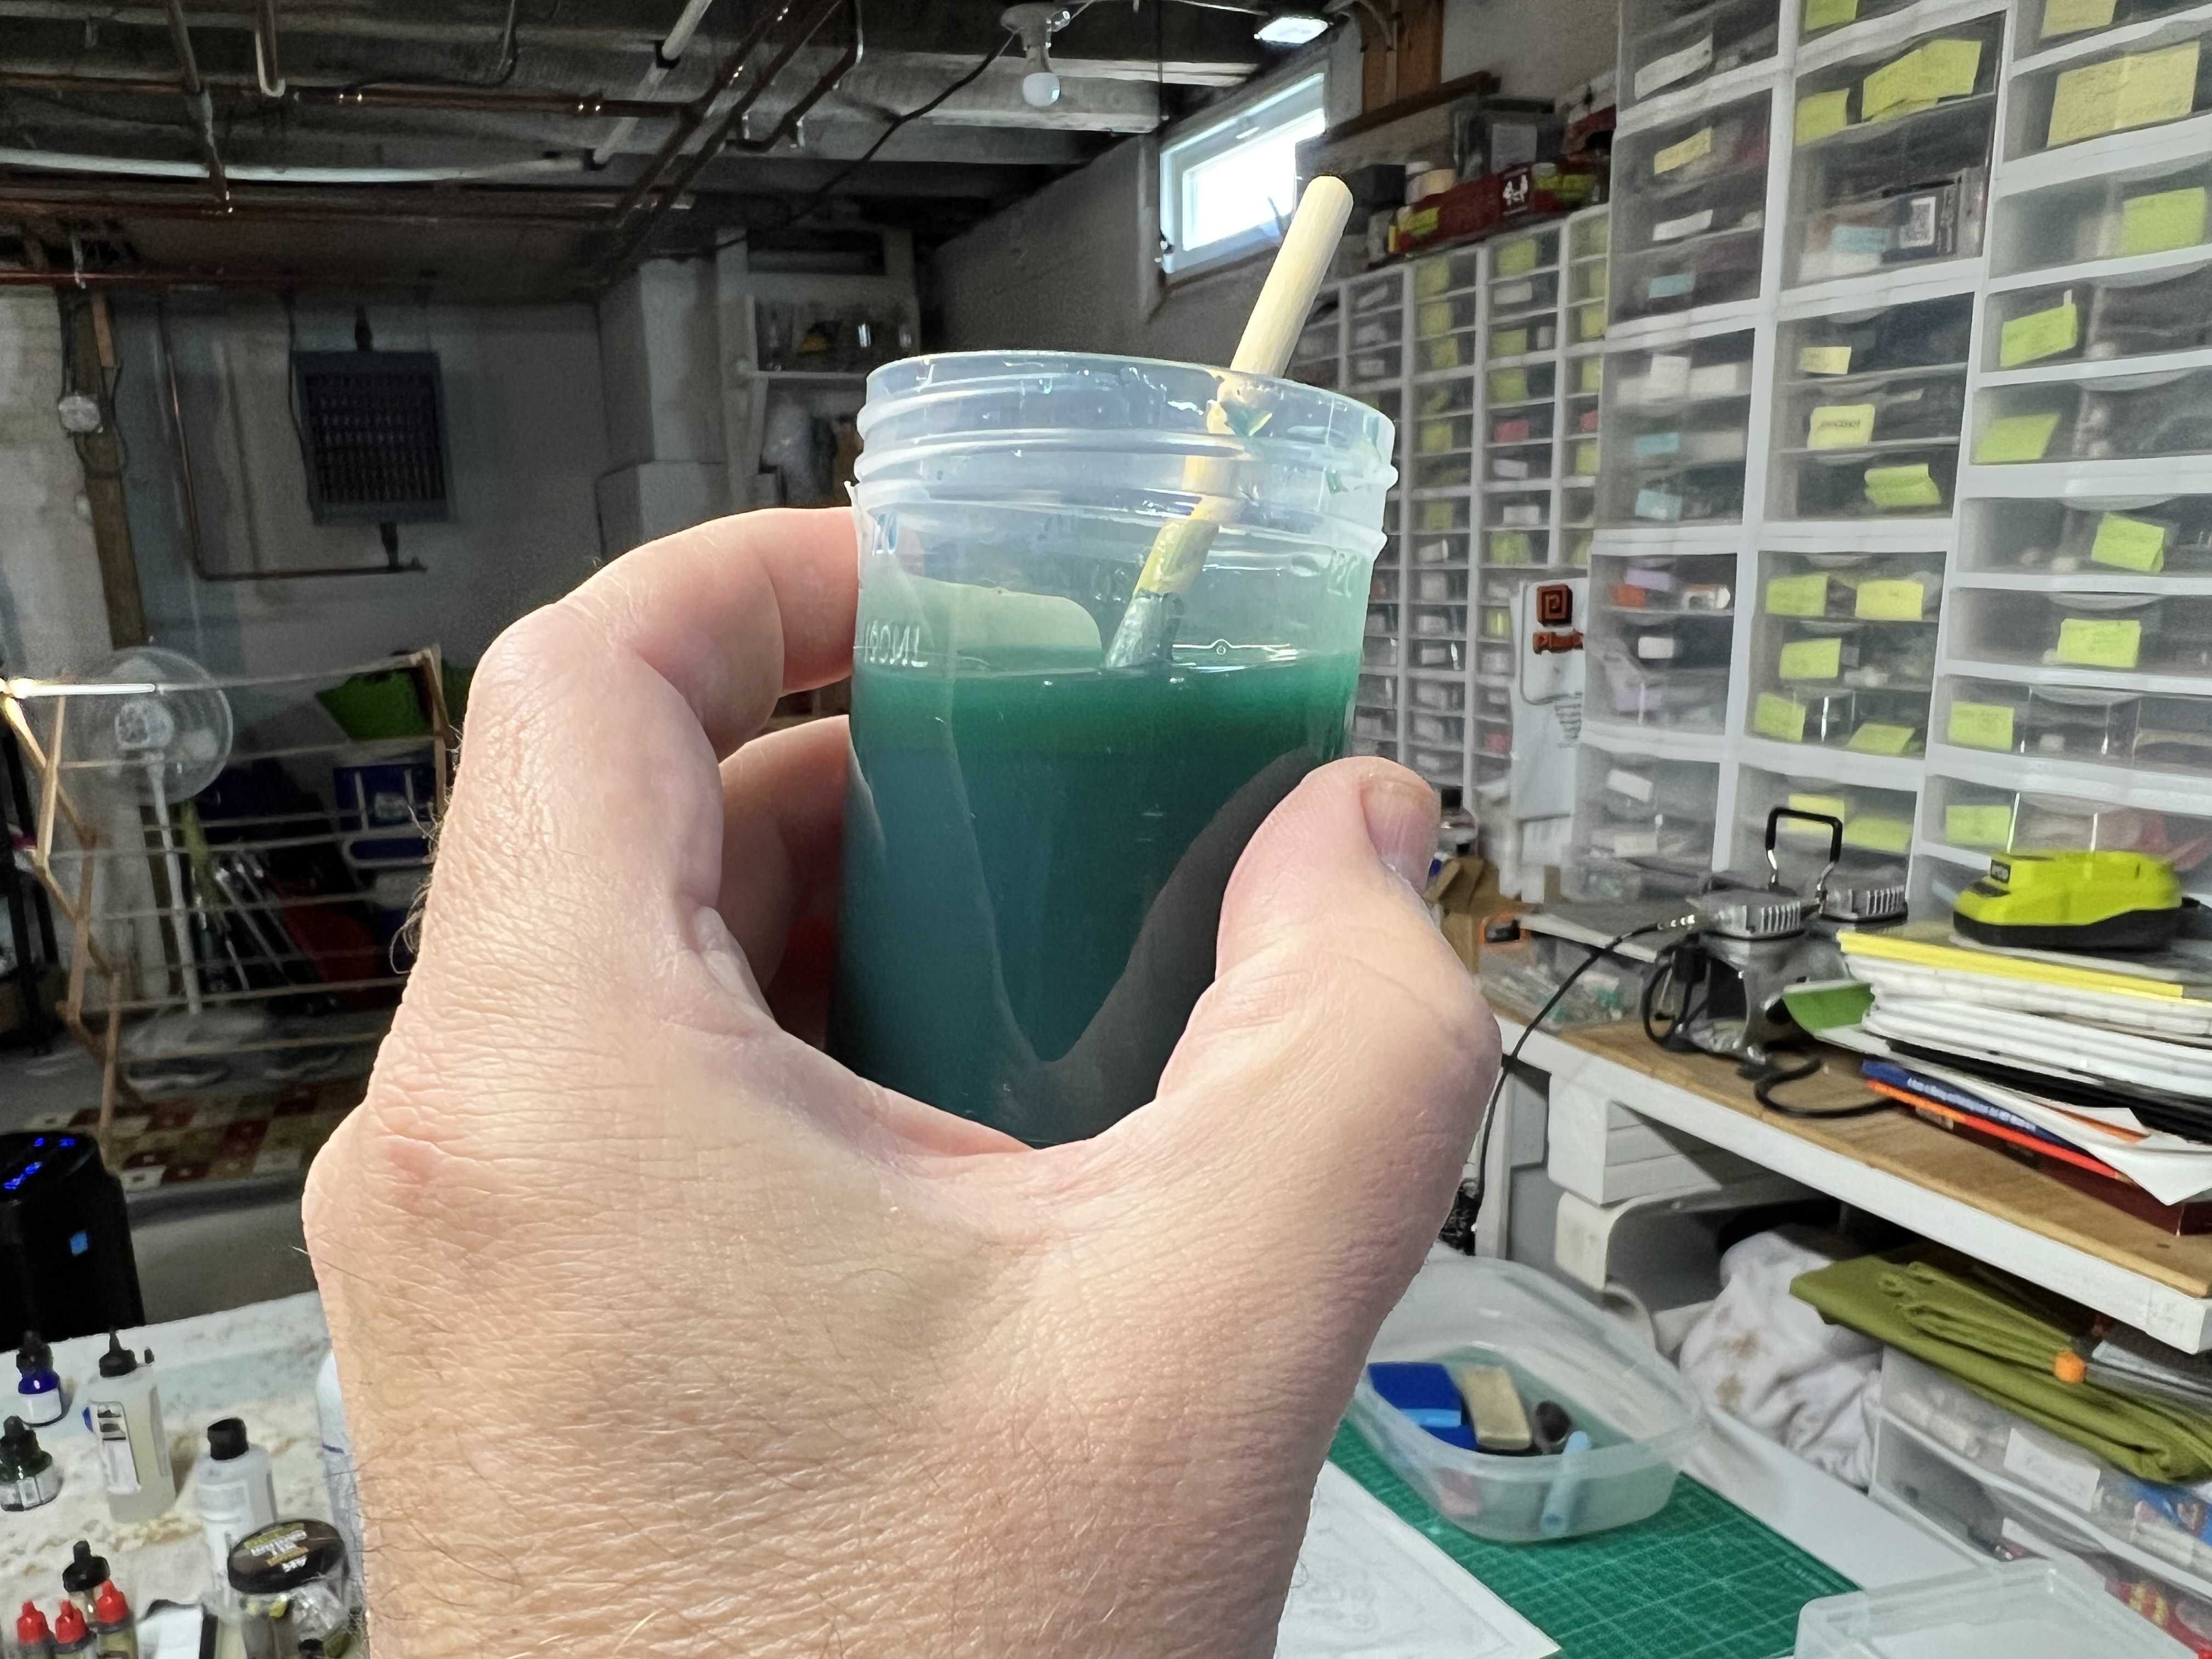
Finally, it was time for the “Still Water”! I mixed it with two different inks. I continued mixing until I got the color that I wanted for a somewhat swampy pond (shown on list at the end of the post). The pond took two full 200 ml bottles of “Still Water” (not including ink). To maneuver it evenly around the pond without swamping the islands was like the ball maze game where you try to get a ball to fall in a hole on a table. Until it dried I was a bit anxious.

Setting up on February 15th!
Concerns #3 and #4 dealt with!

You can see in the next video from February 16th that I needed to ball-maze-move the “Still Water” around. I did this for a while before it finally set. I did look out for bubbles as well and popped the ones I saw.
I did not use the lily pads that you saw in the video. When I tried to drill out to place them, the water surface gripped the bit. It started to torque a bit, so that was a no-go. Besides, these lily pads are basically wound wire and come apart when you try to clip them shorter. Instead, I went with adding some other swampy tufts from Green Stuff World.
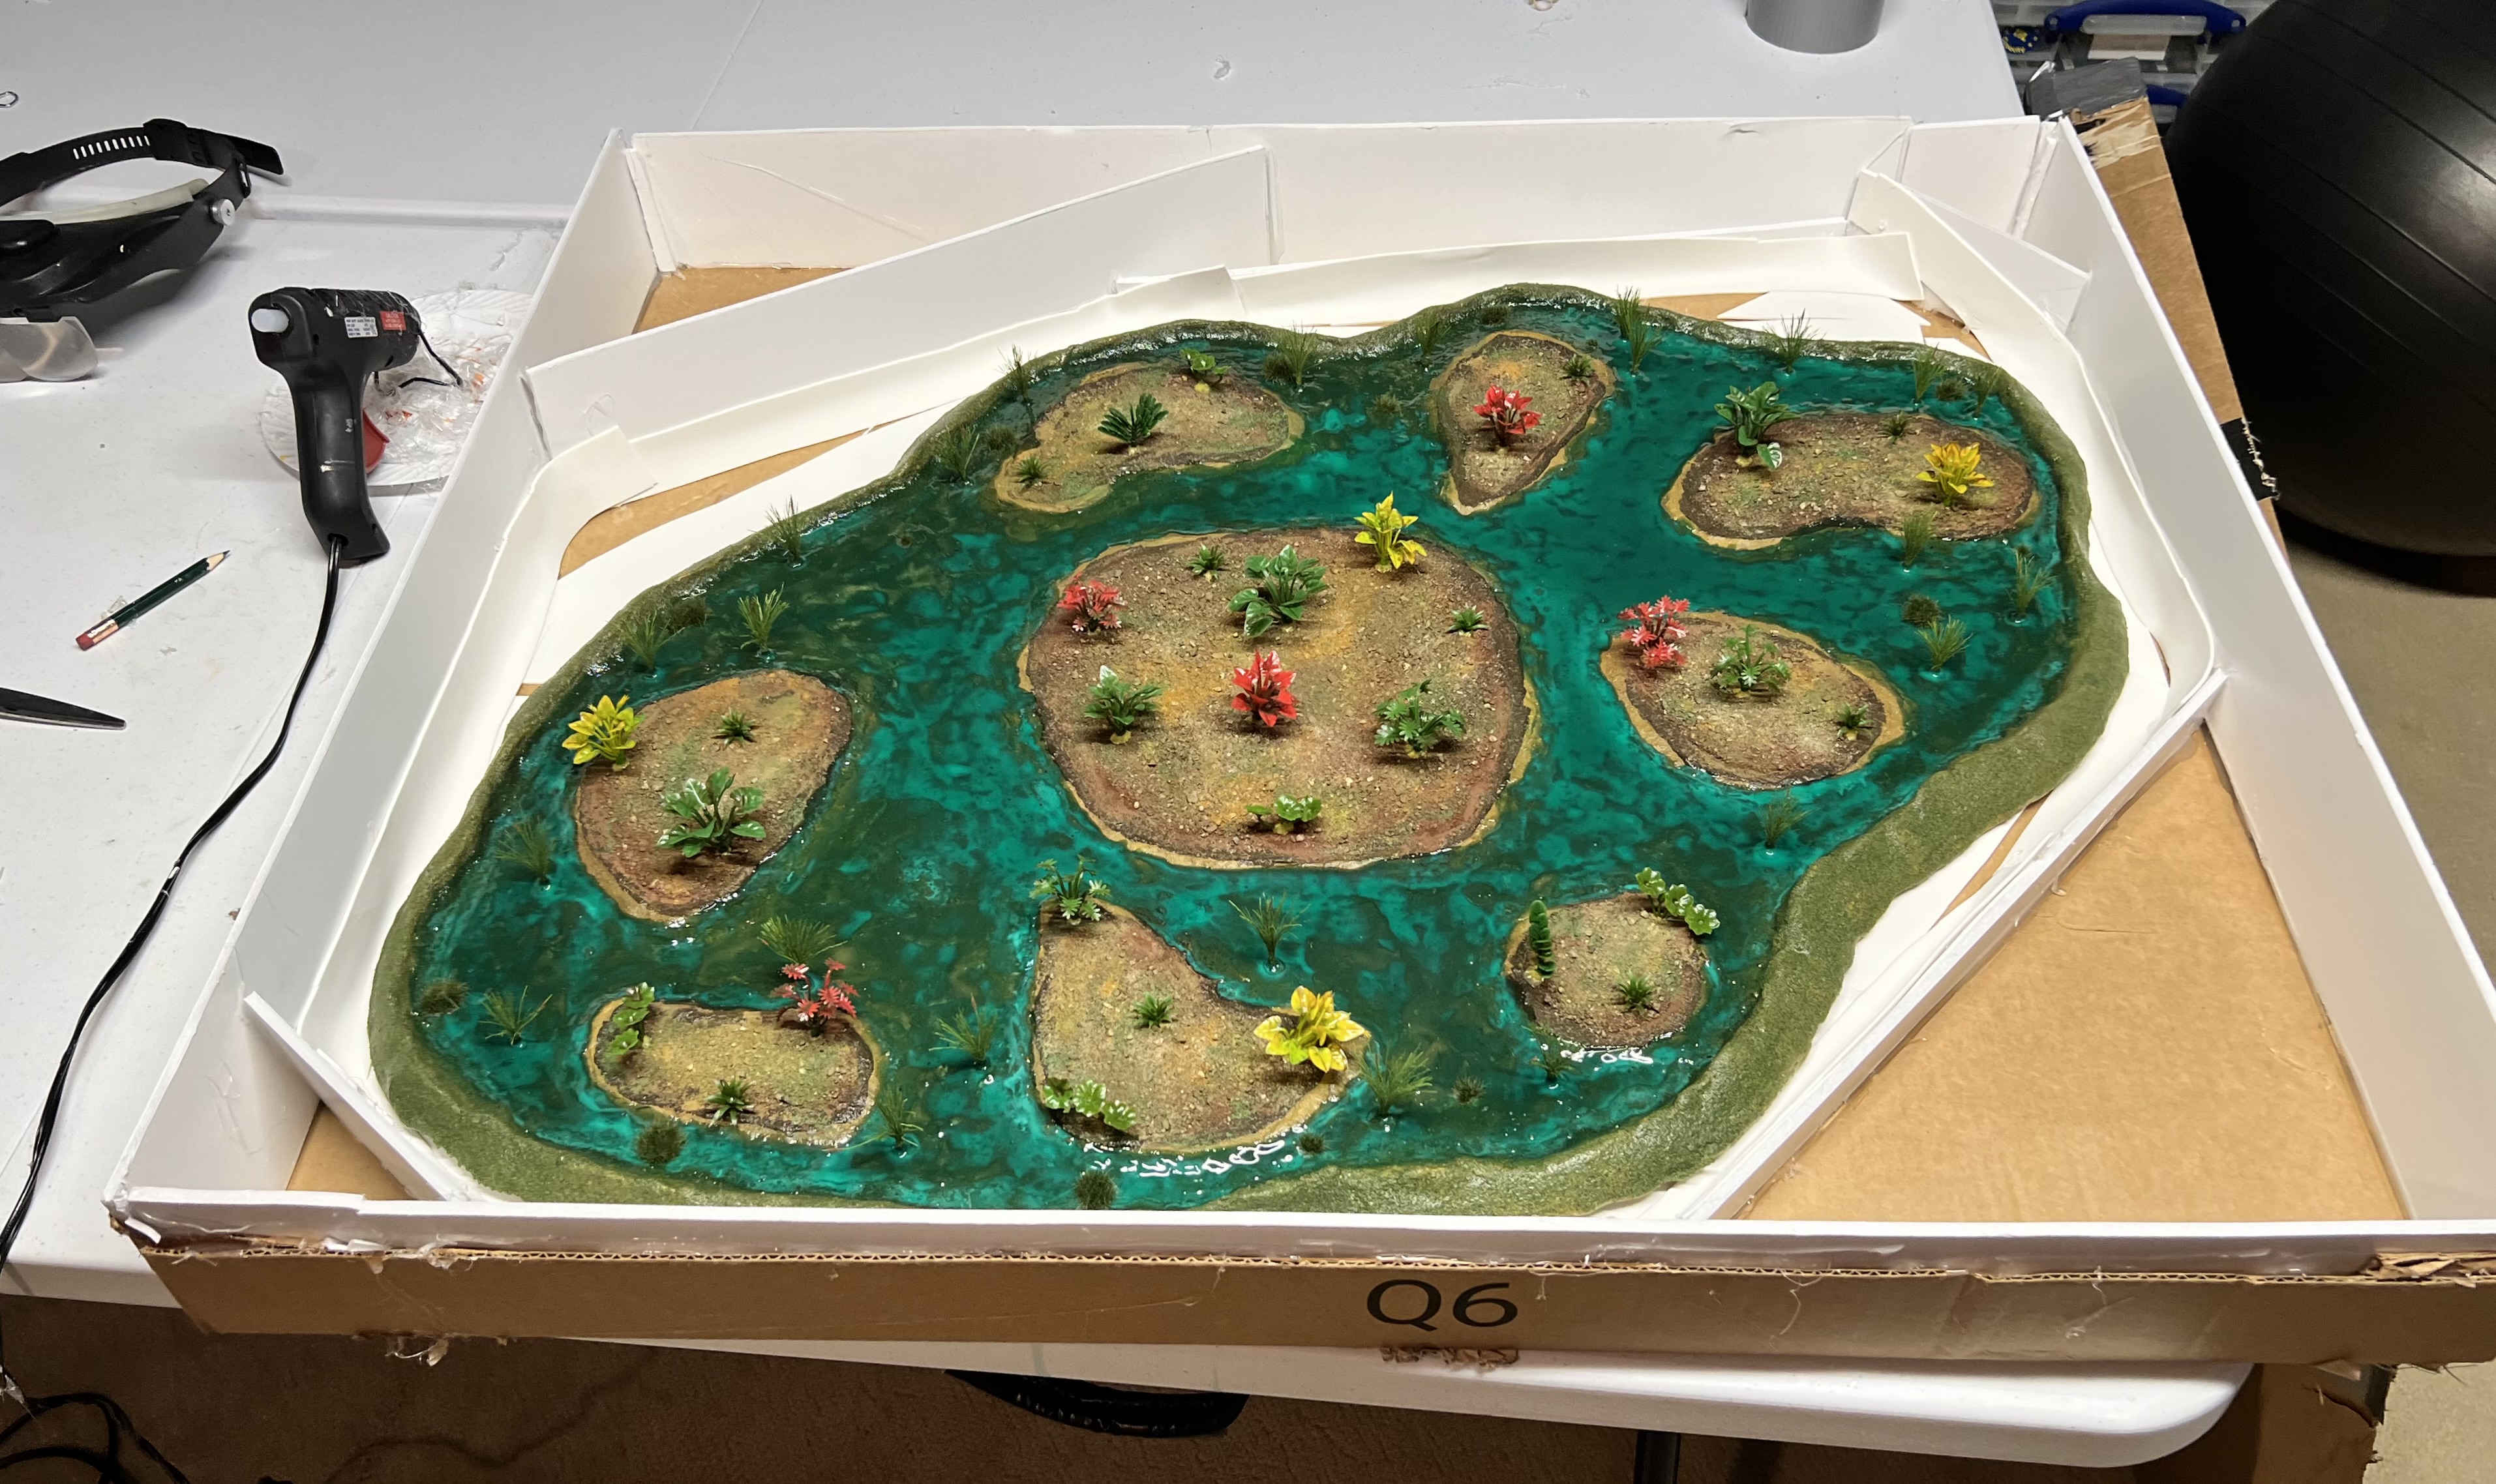
Once this set up on February 17th, I was very happy with the result.
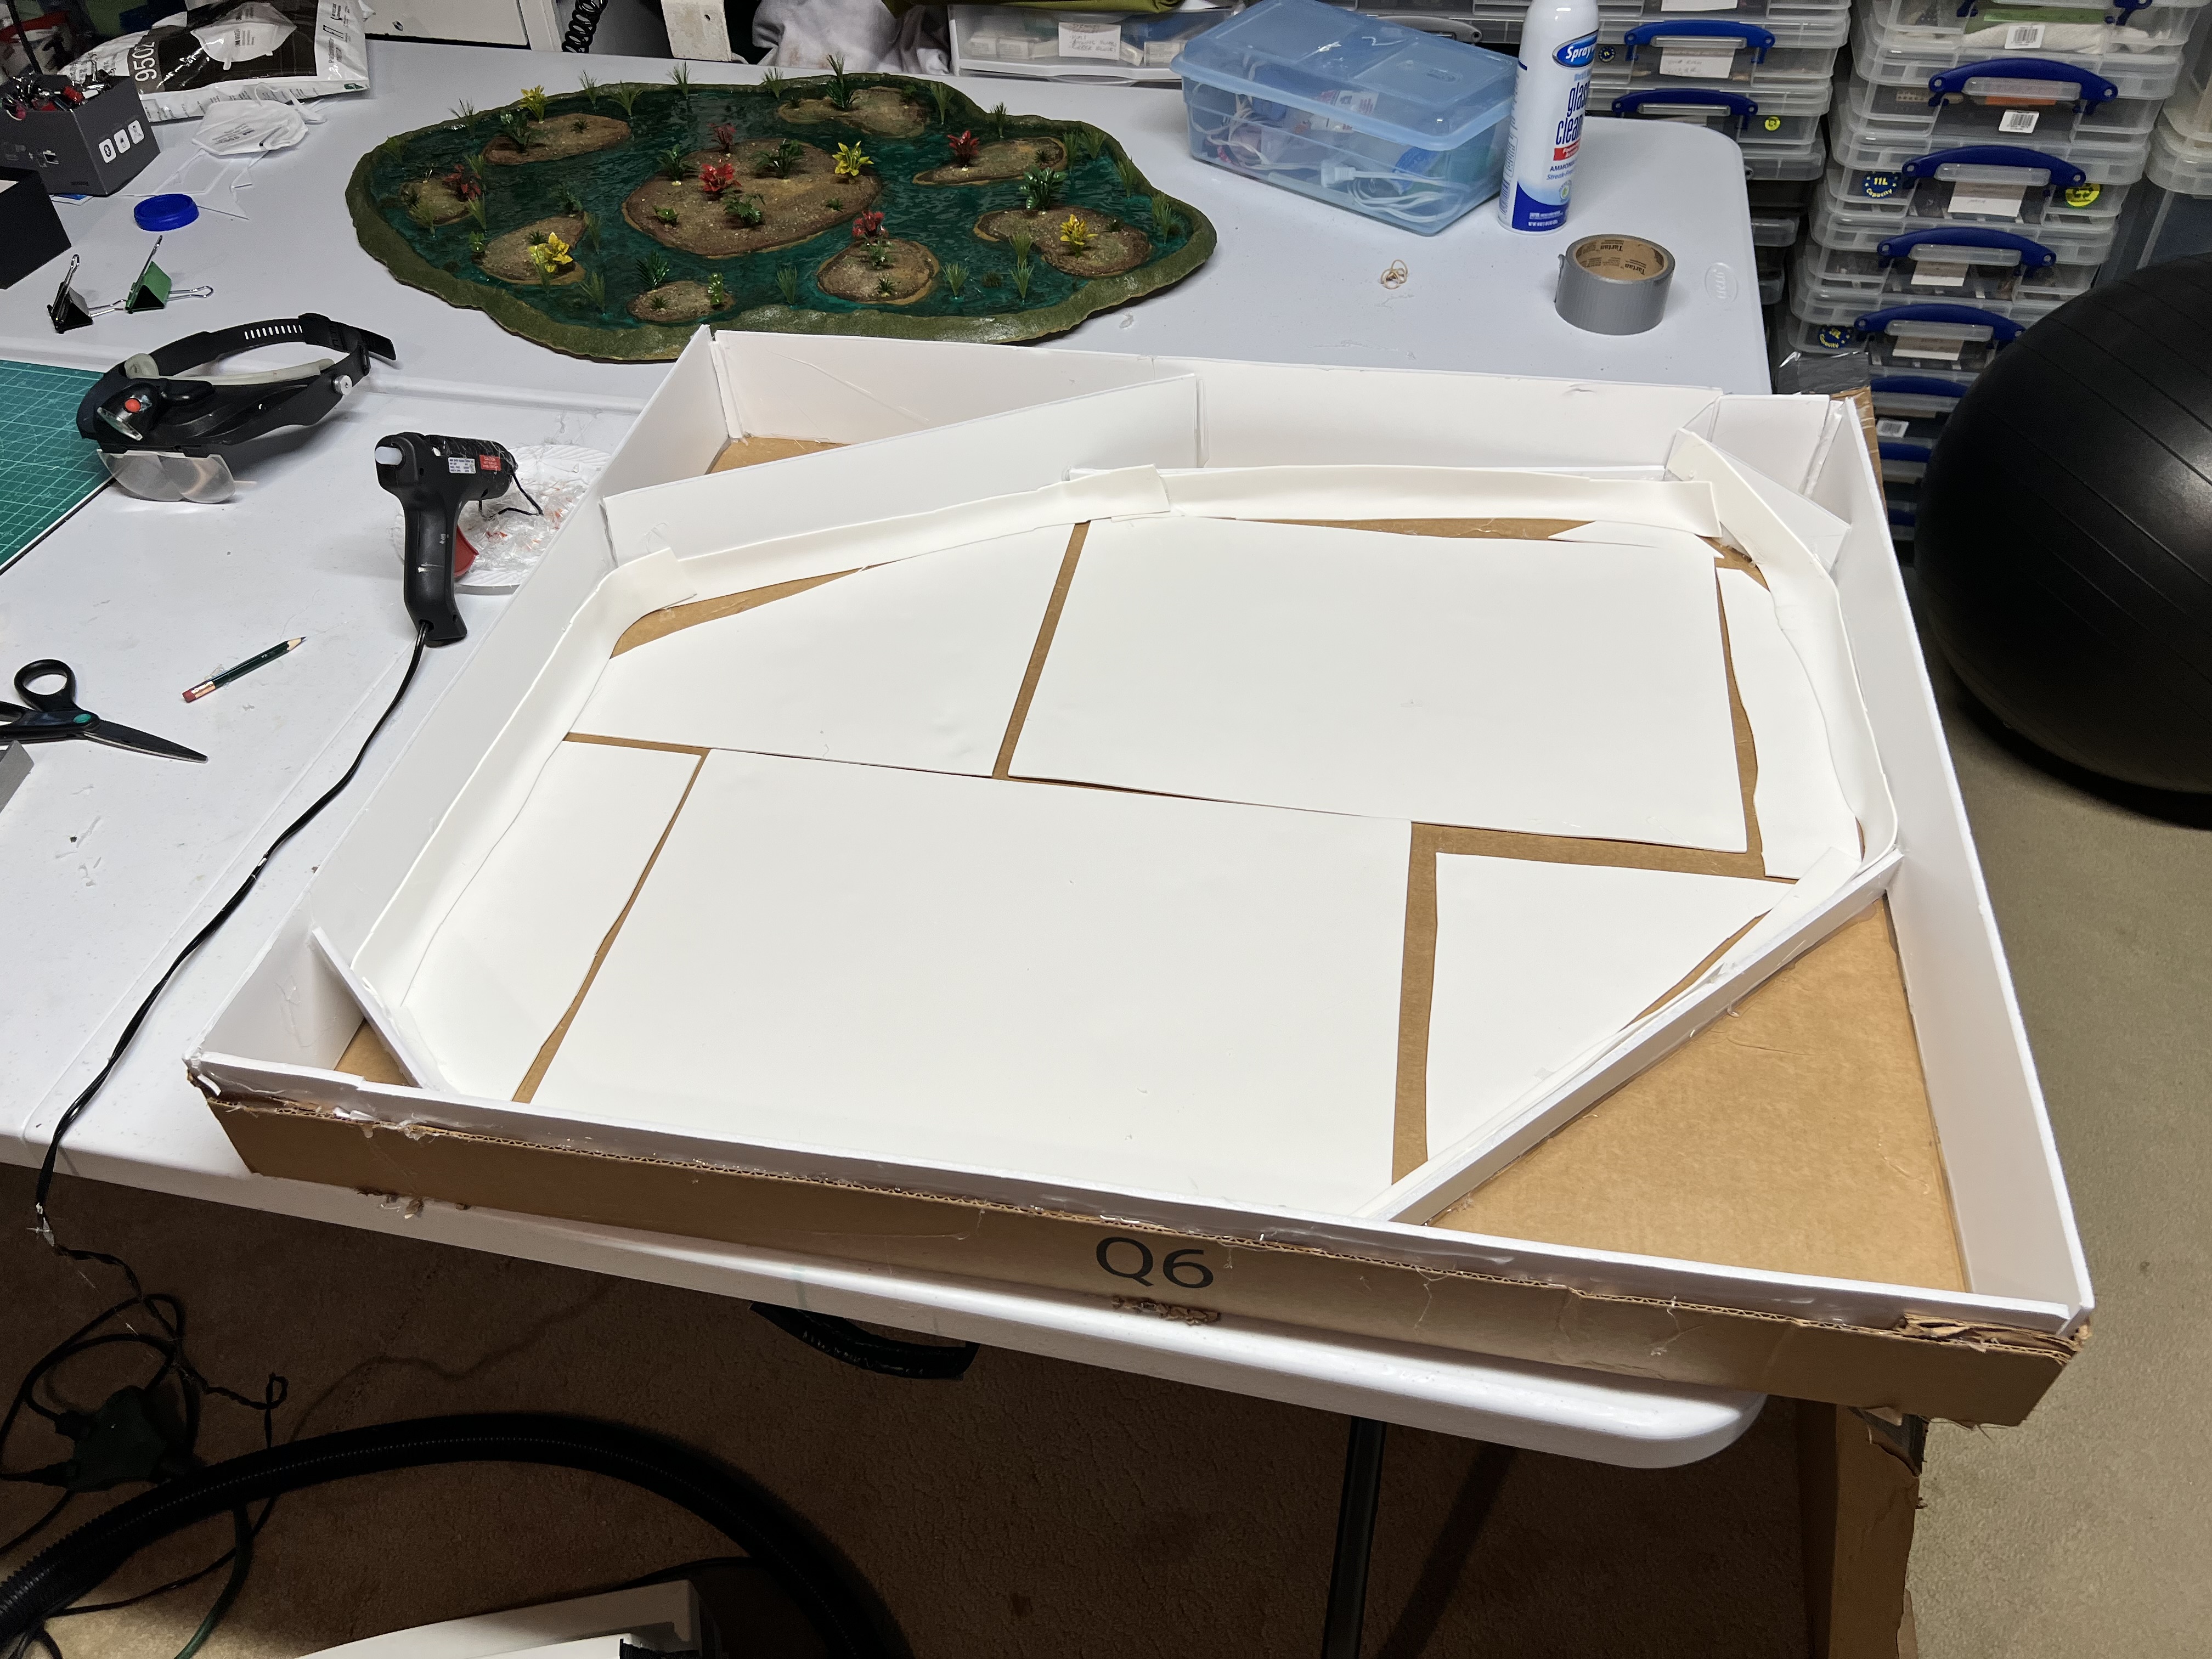
I now needed a box to transport this big piece! Luckily, I had earlier ordered a large rotating cutting mat from Amazon and saved the box that it came in. I used some foam board and hot glue to make a decent travel box that would protect the pond on the way to conventions.
I will be posting about TotalCon soon. Before doing that, I wanted to write this WIP post about the pond. From concept to travel box it took 8 days!
Hopefully, the lessons I shared here will help you if you are considering a similar project. My main takeaways are clear (I hope!).
Below I will list the materials I used in the project as well as some links that you might want to explore, but first a sneak preview of what the pond looked like on the tabletop on a 6′ x 4′ mat:

Next up, hopefully, will be a TotalCon 2026 recap.
References:
Check these out!
For a consolidated list of links for any of my previous scratch-building blog posts, please see this page: https://markamorin.com/scratch-building-projects/
For a consolidated list of links for any of my previous terrain project posts, please see this page: https://markamorin.com/terrain-projects/
For a consolidated list of links for any of my previous sci-fi/retro sci-fi posts, please see this page: https://markamorin.com/sci-fi-retro-sci-fi-projects/
PAINTS, INKS, GLAZES, SHADES, WASHES, PIGMENTS, FLOCKING, GLUES AND MORE THAT I USED ON THIS POND:
- Foam Board – 20″ x 30″ x 3/16″ (50.8 cm x 76.2 cm x 0.47 cm)
- Sibe-R Plastic Supply℠ (10 Pack) .030″ X 8.5″ X 11″ White Styrene Sheets
- Hot Glue
- Apoxie Sculpt “White/Stone White”
- Titebond Wood Glue
- Citadel “Ryza Rust” (Dry)
- Vallejo Surface Primer “German Green Brown”
- Vallejo Surface Primer “Russian Green”
- Vallejo Primers “USA Olive Drab”
- Vallejo Primers “NATO Green”
- PVA Glue
- Gorilla Glue
- Vallejo Surface Primer “German Green Brown”
- Vallejo “Natural Umber” (pigment)
- Vallejo Surface Primer “Leather Brown”
- Woodland Scenics “Blended Turf”
- AK Terrains Muddy Ground Acrylic Diorama
- AK Terrains Wet Ground Acrylic Diorama
- All-purpose sand
- JTT “Cattails”
- Vallejo “Burnt Umber” (pigment)
- Vallejo “Natural Umber” (pigment)
- Vallejo “Light Sienna” (pigment)
- Vallejo “Natural Sienna” (pigment)
- Vallejo “Faded Olive Green” (pigment)
- Vallejo “Green Earth” (pigment)
- Vallejo “Light Yellow Ochre” (pigment)
- Vallejo “Chrome Oxide Green” (pigment)
- Vallejo Thinner
- Secret Weapon Washes “Sewer Water”
- Liquitex “Burnt Umber” (ink)
- Army Painter “Strong Tone” (wash/shade)
- FOIMAS 100 pcs Miniature Plant Set – Mini Trees, Flowers, Shrubs for Fairy Garden, Diorama, Train Scenery, Sand Architecture Model Craft Supply
- Vallejo Diorama FX “Still Water”
- Liquitex Professional Acrylic Ink 30 ml Bottle – Phthalo Blue Green Shade (ink)
- Daler-Rowney® FW Acrylic Artists’ Ink “Sap Green” (ink)
- Gamers Grass “6mm Strong Green Tufts” (flocking)
- Gamers Grass “XL Strong Green Tufts” (flocking)