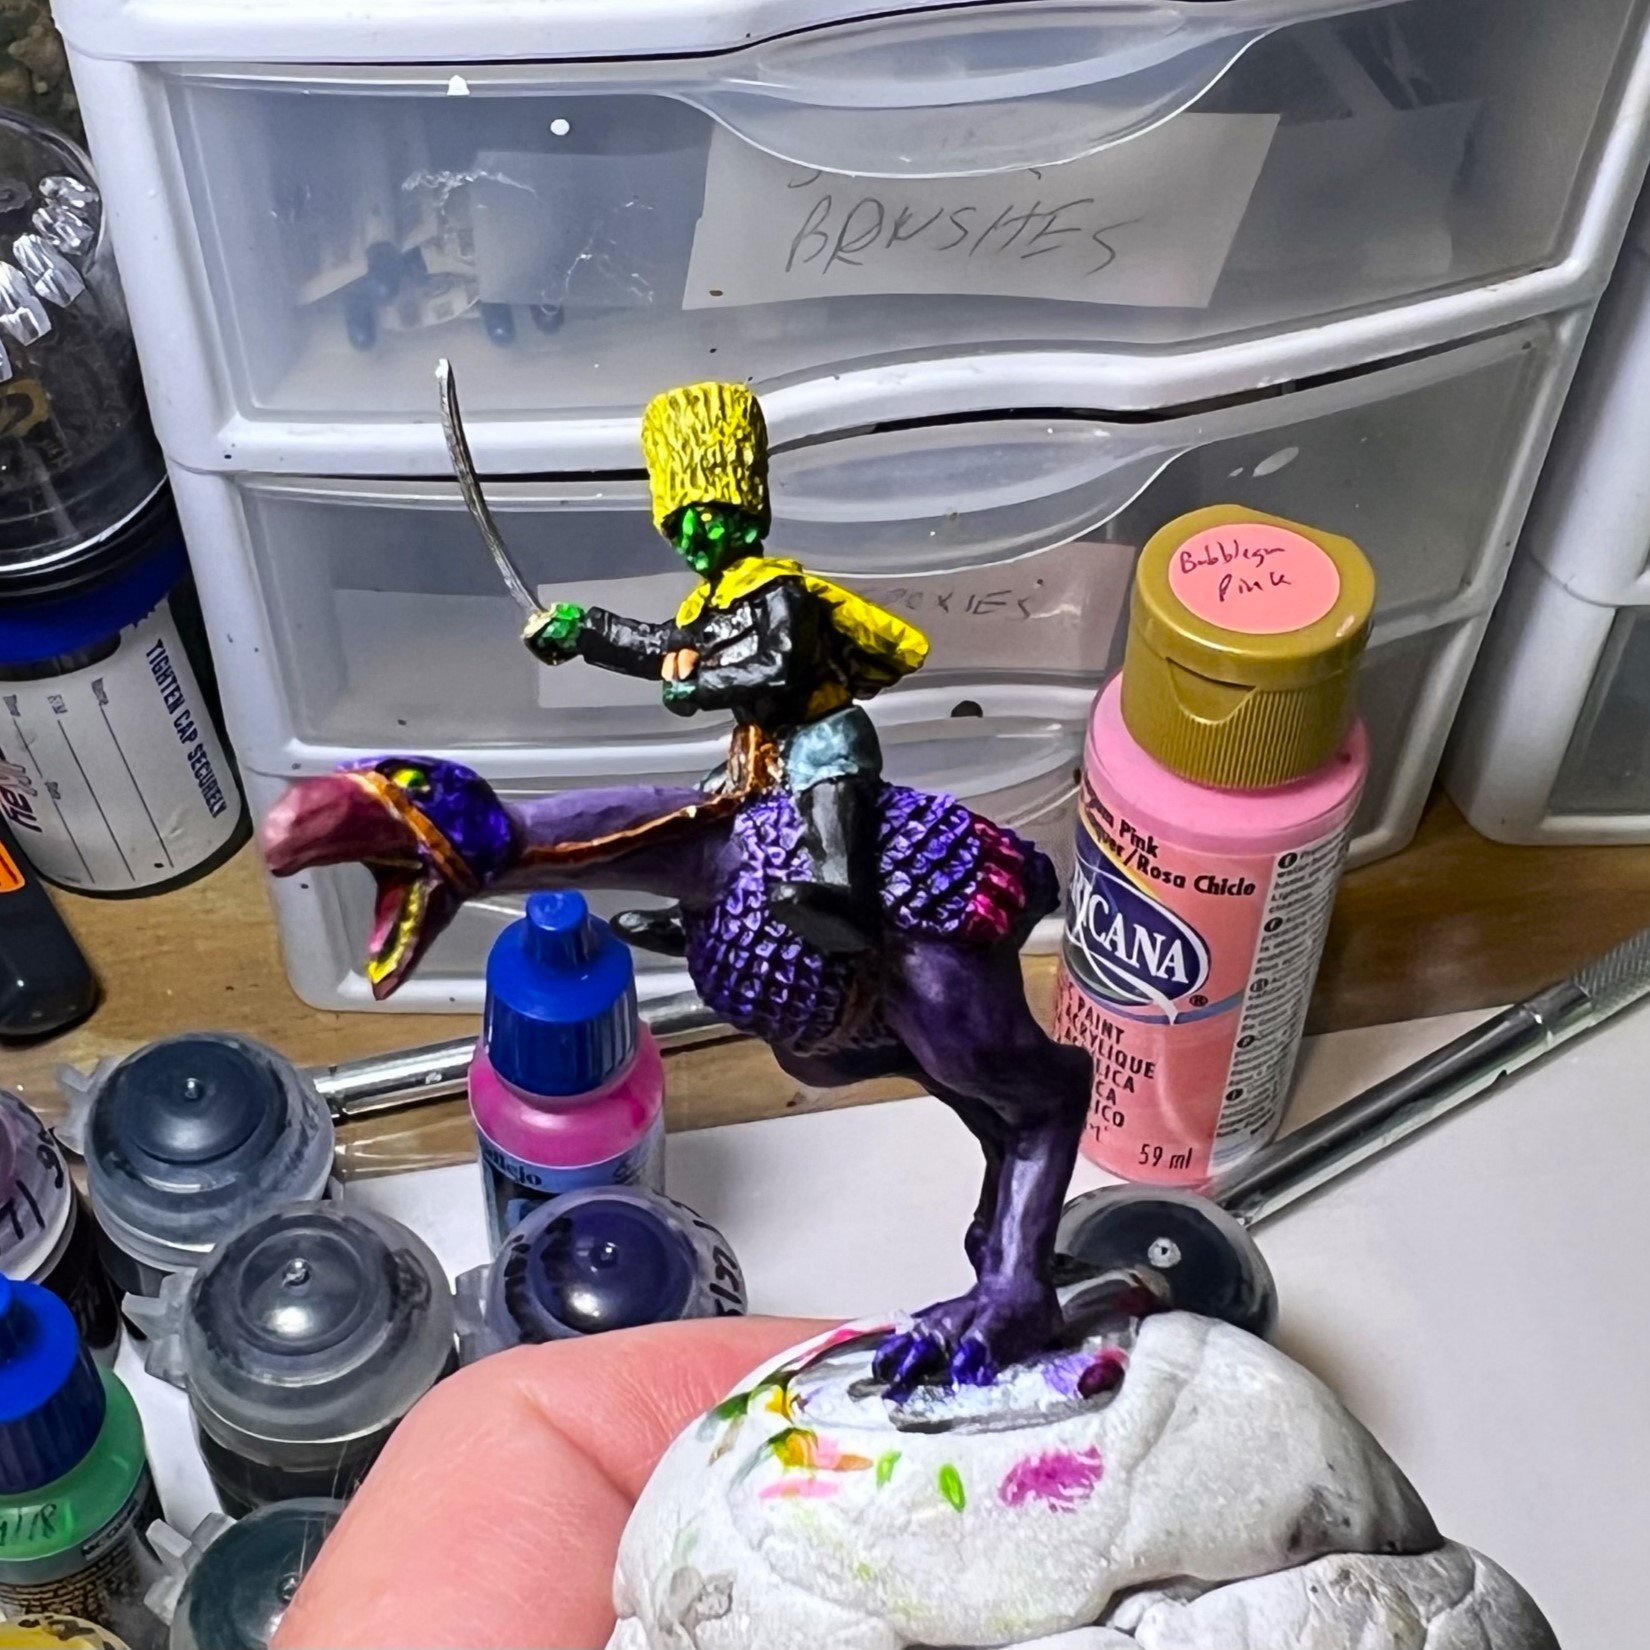
I have been continuing to build and paint up regiments for my Wars of Ozz Great Land of Harvest Army. This time, I might get a bit corny…
Ok, that was really bad. Mea maxima culpa.
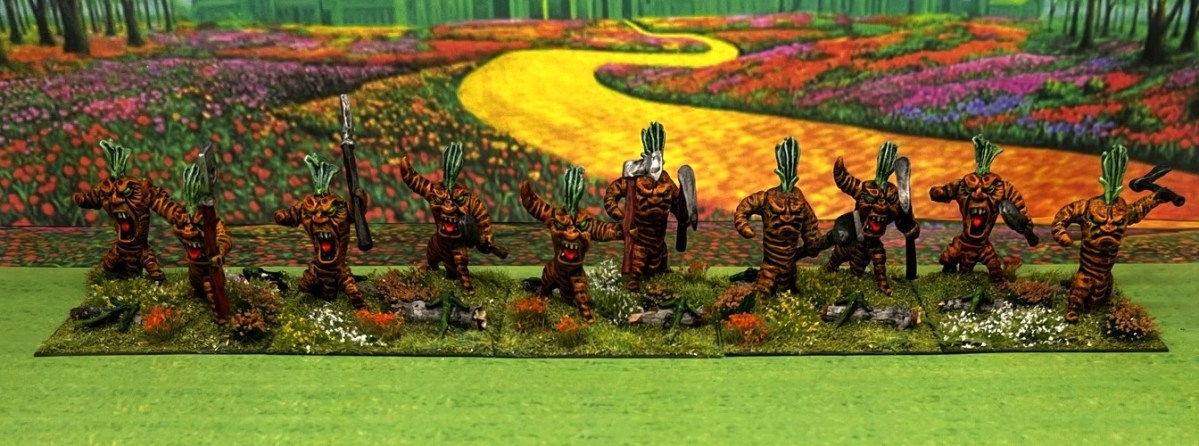
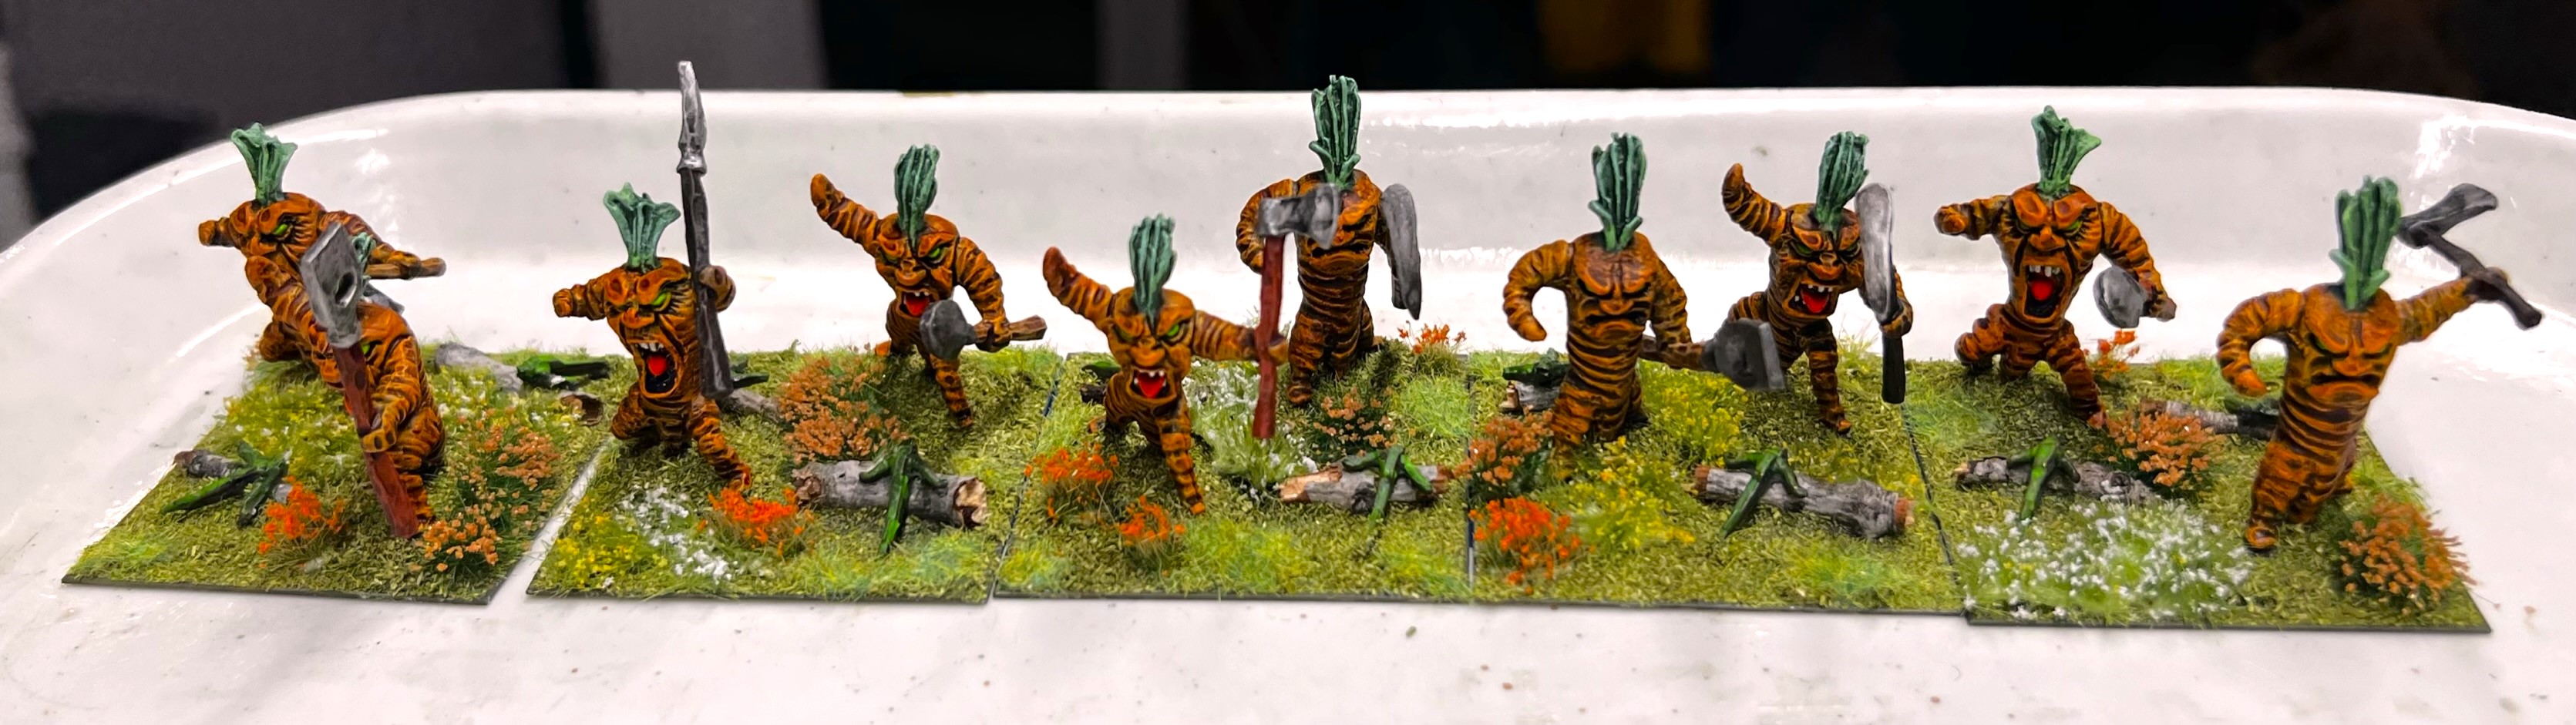
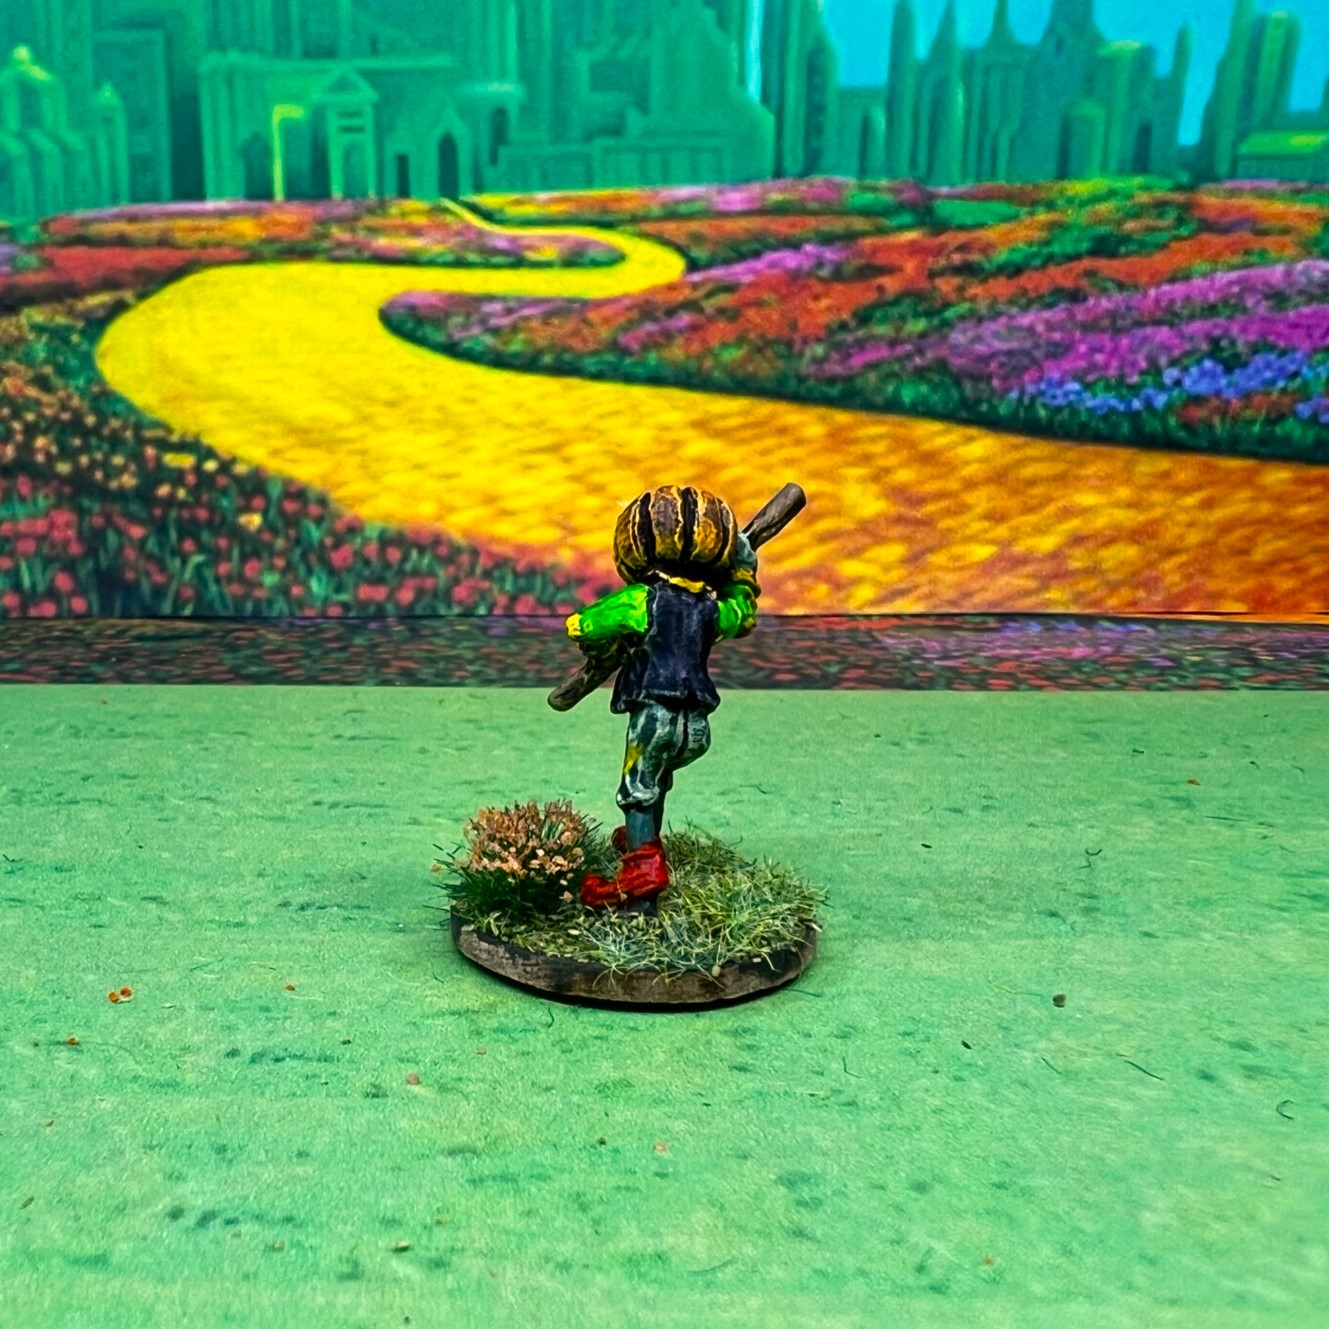
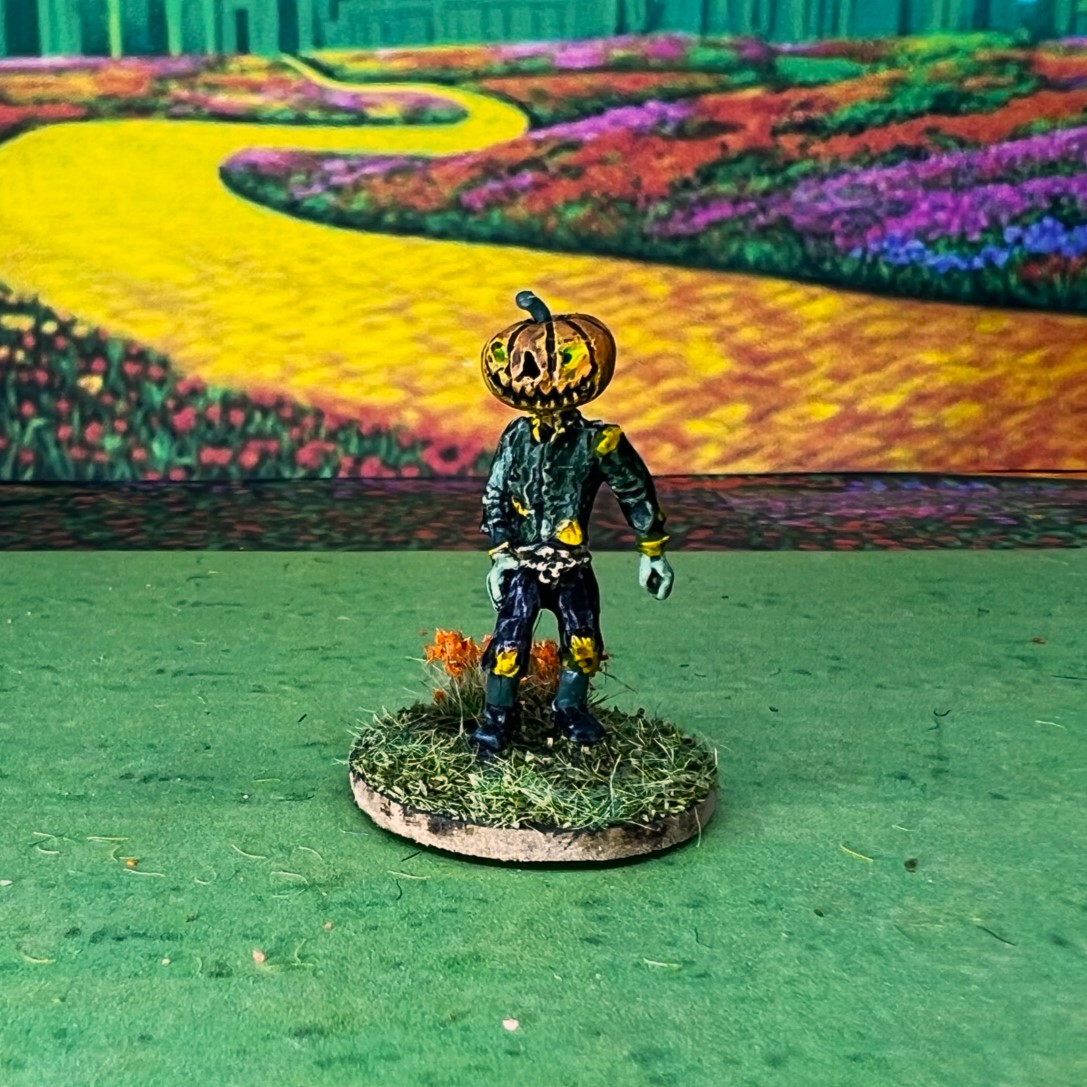
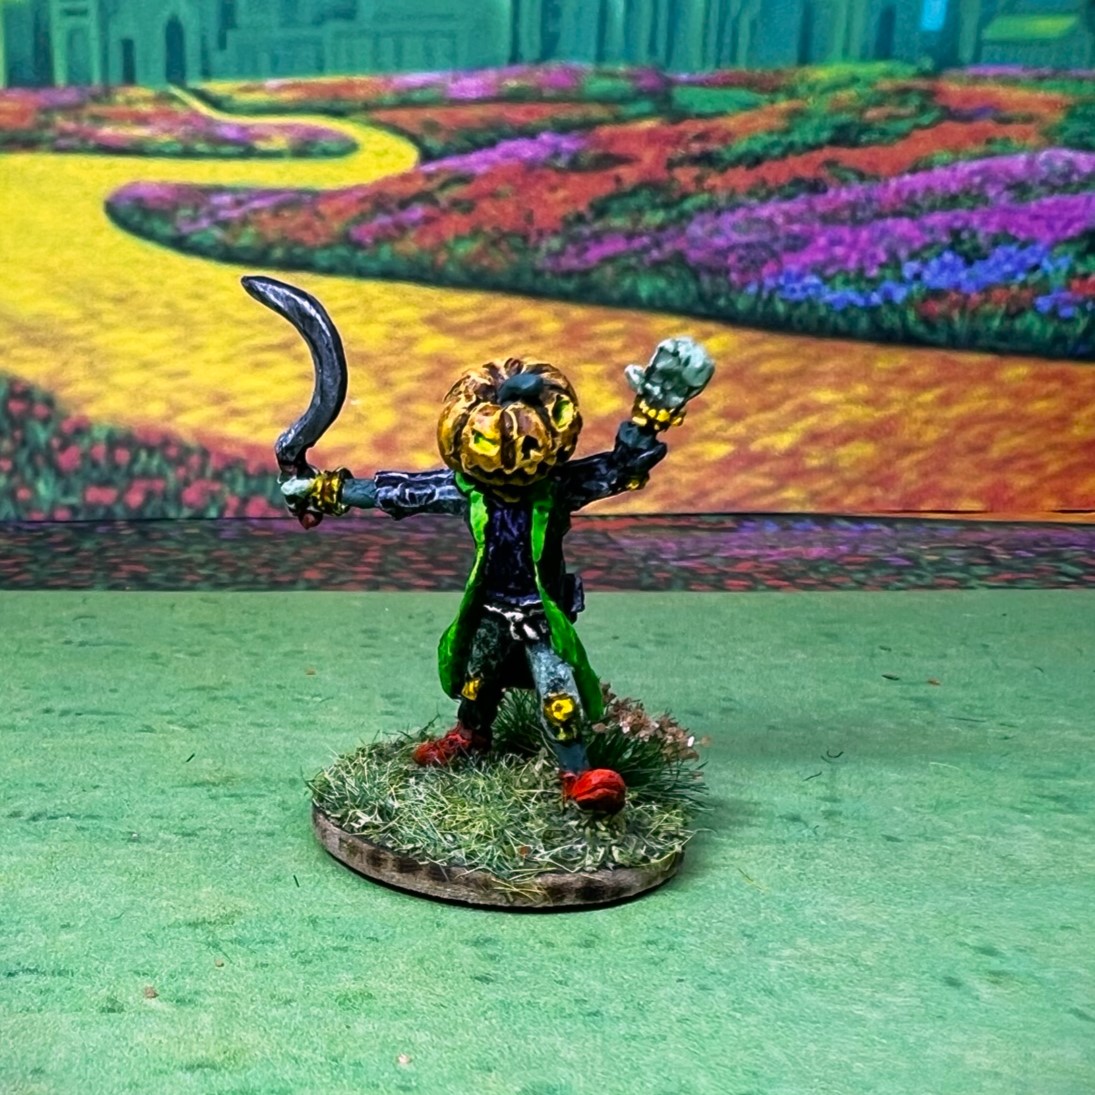
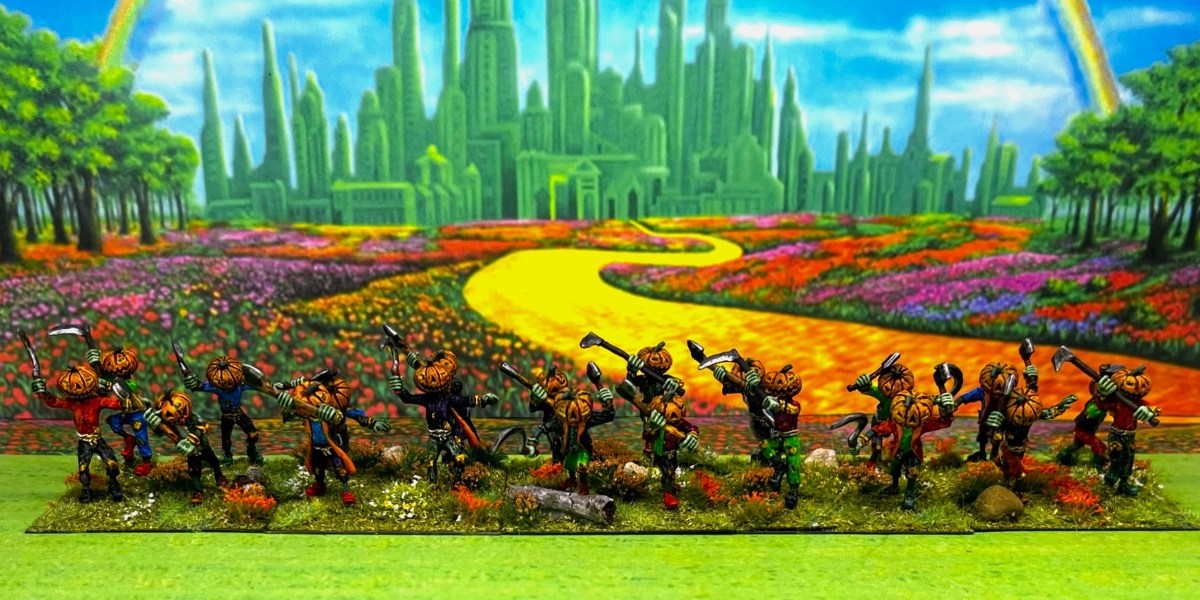
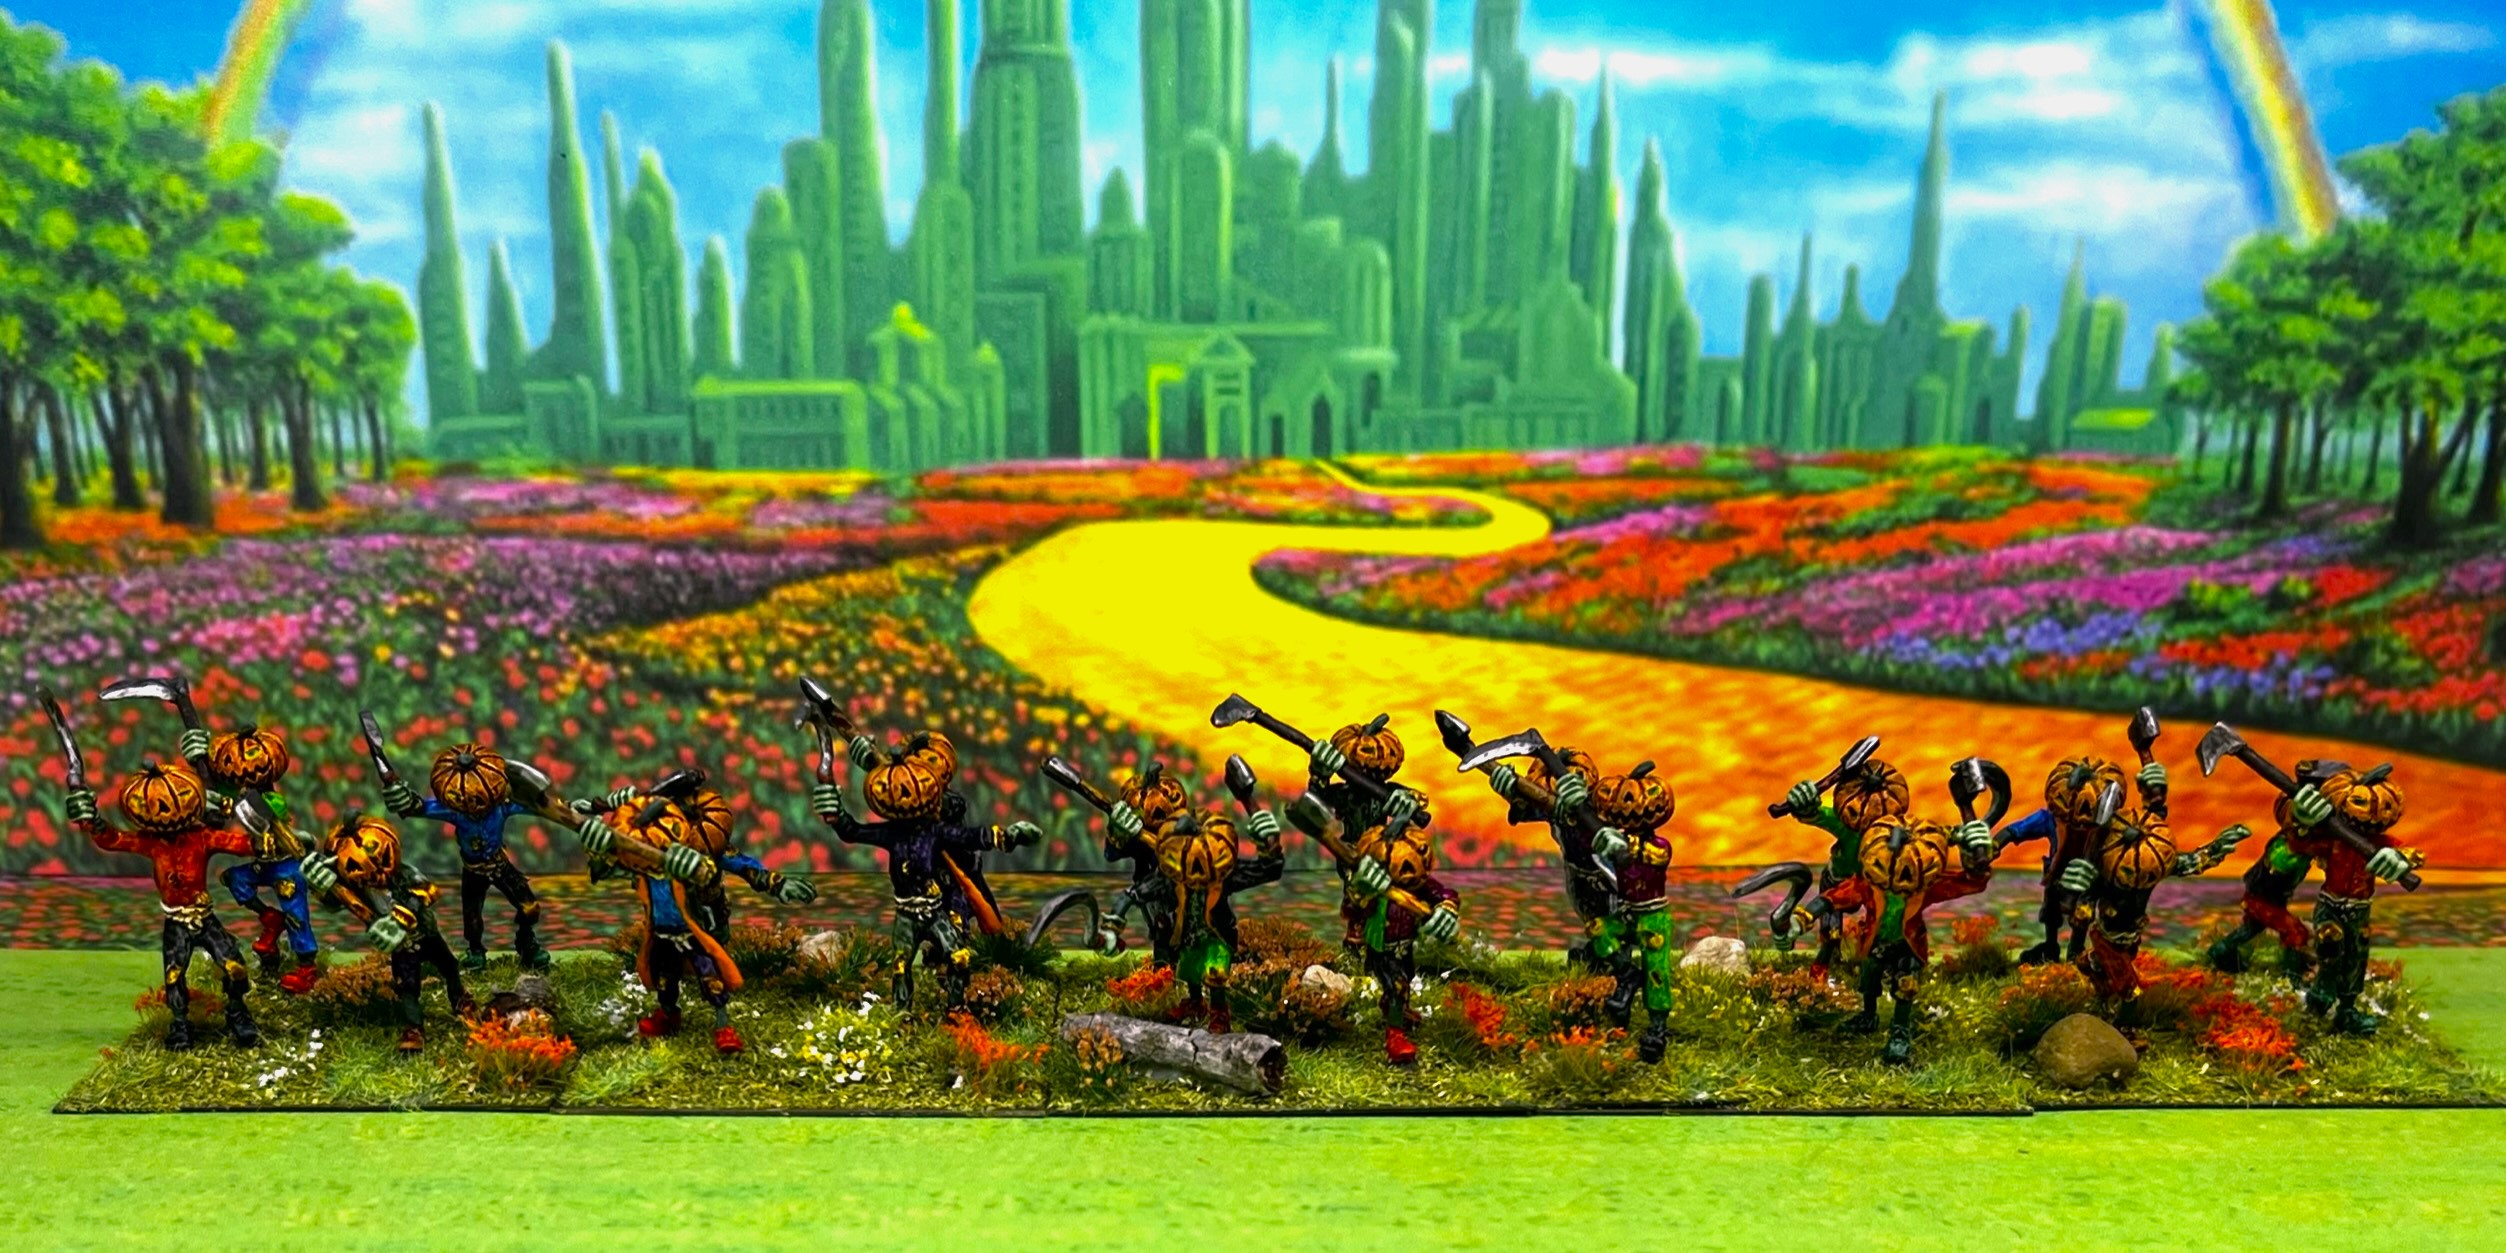
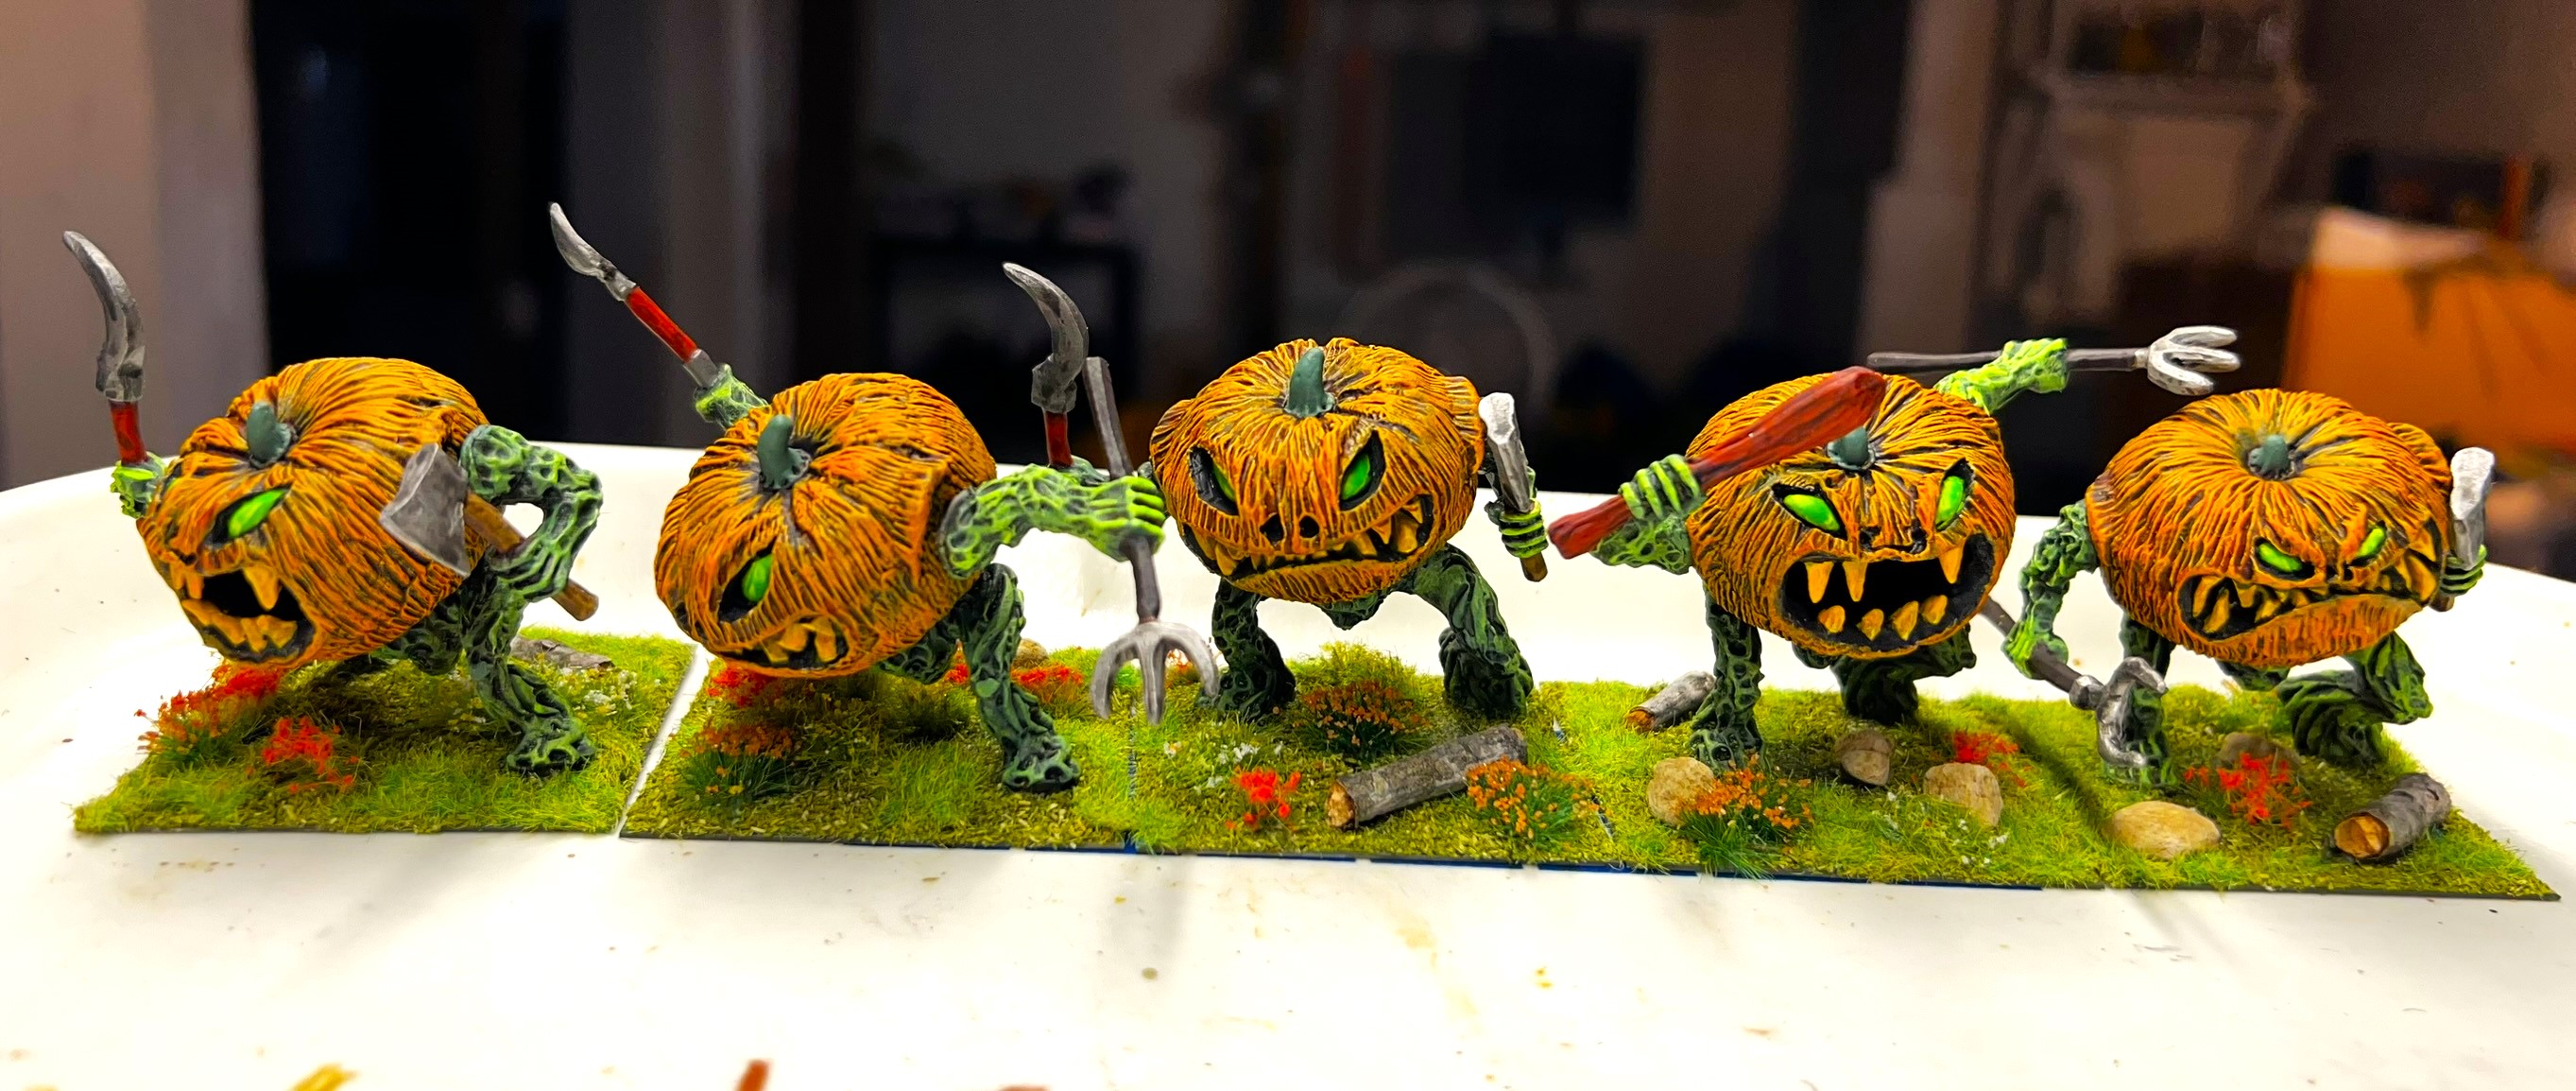
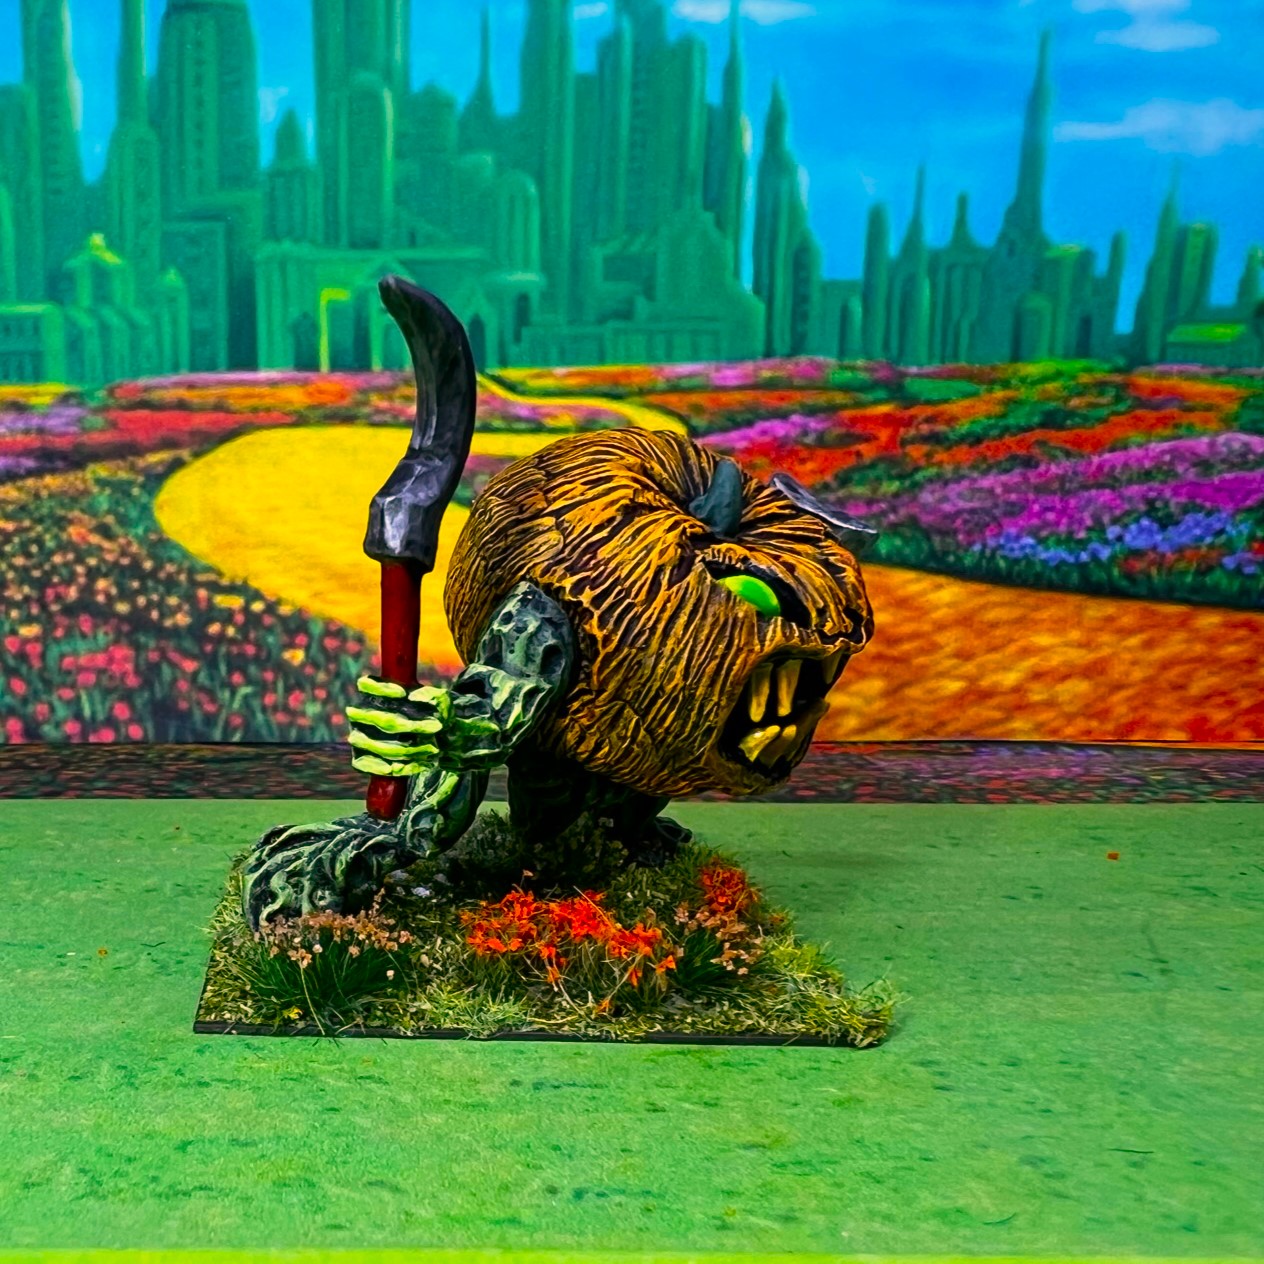
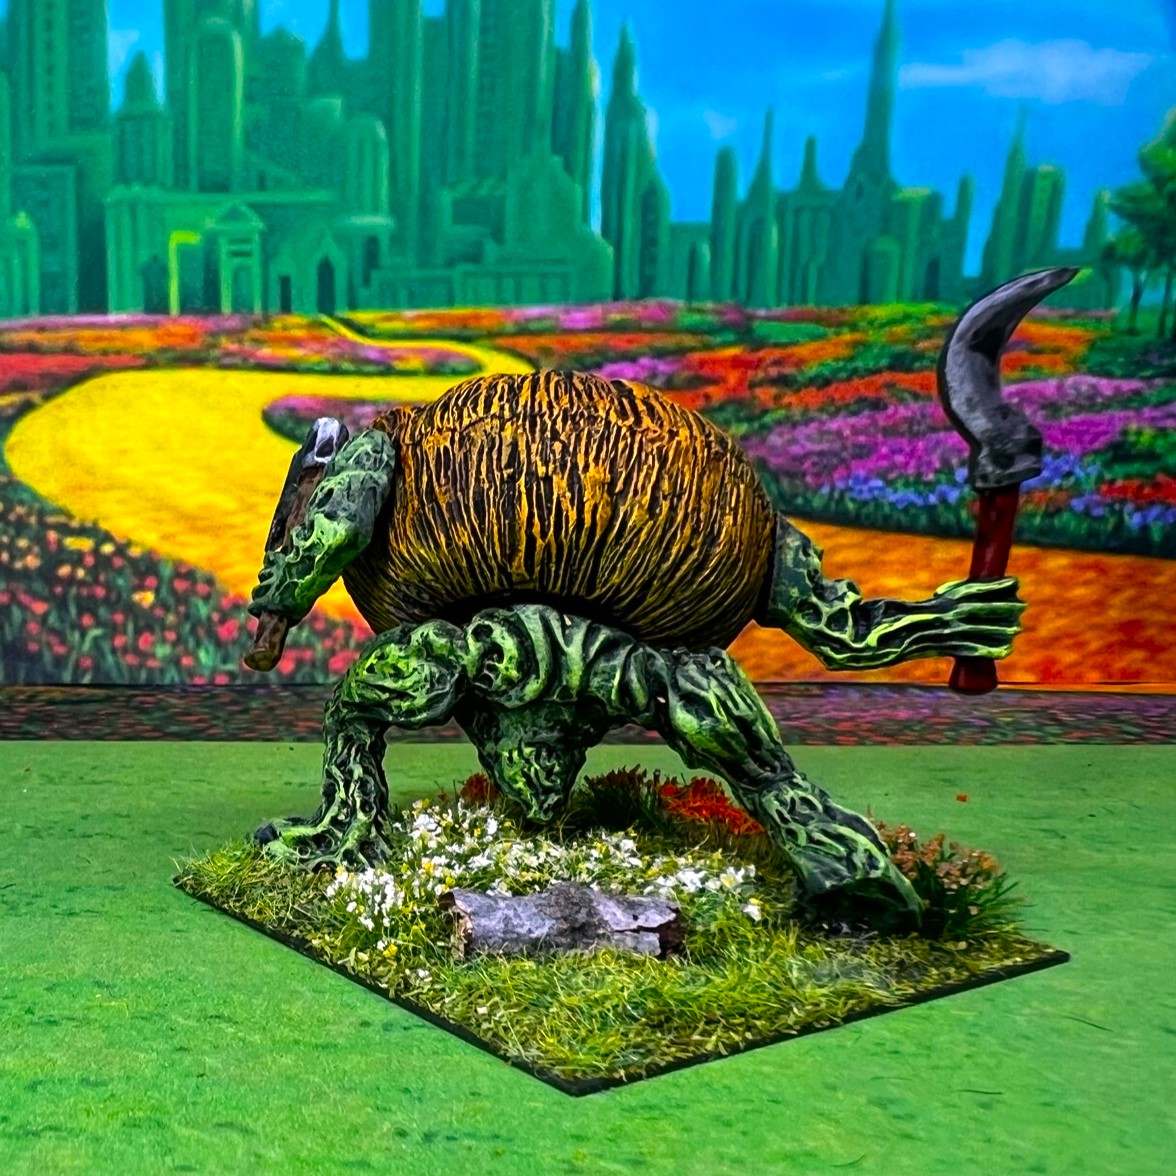
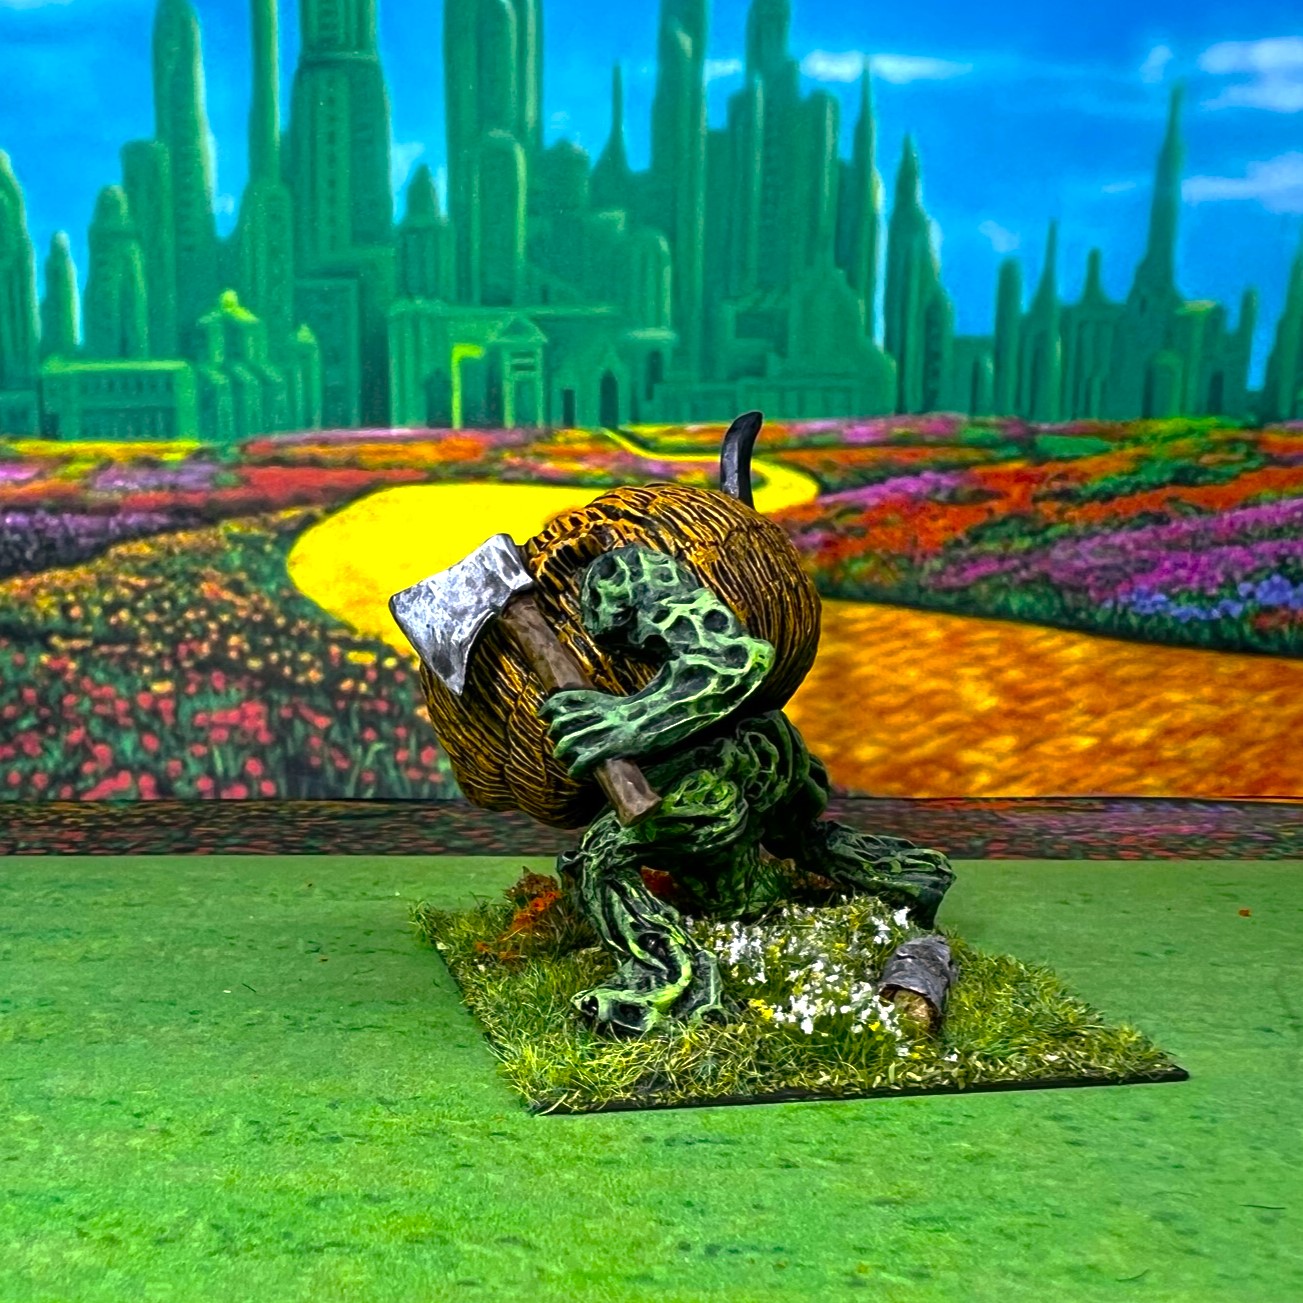
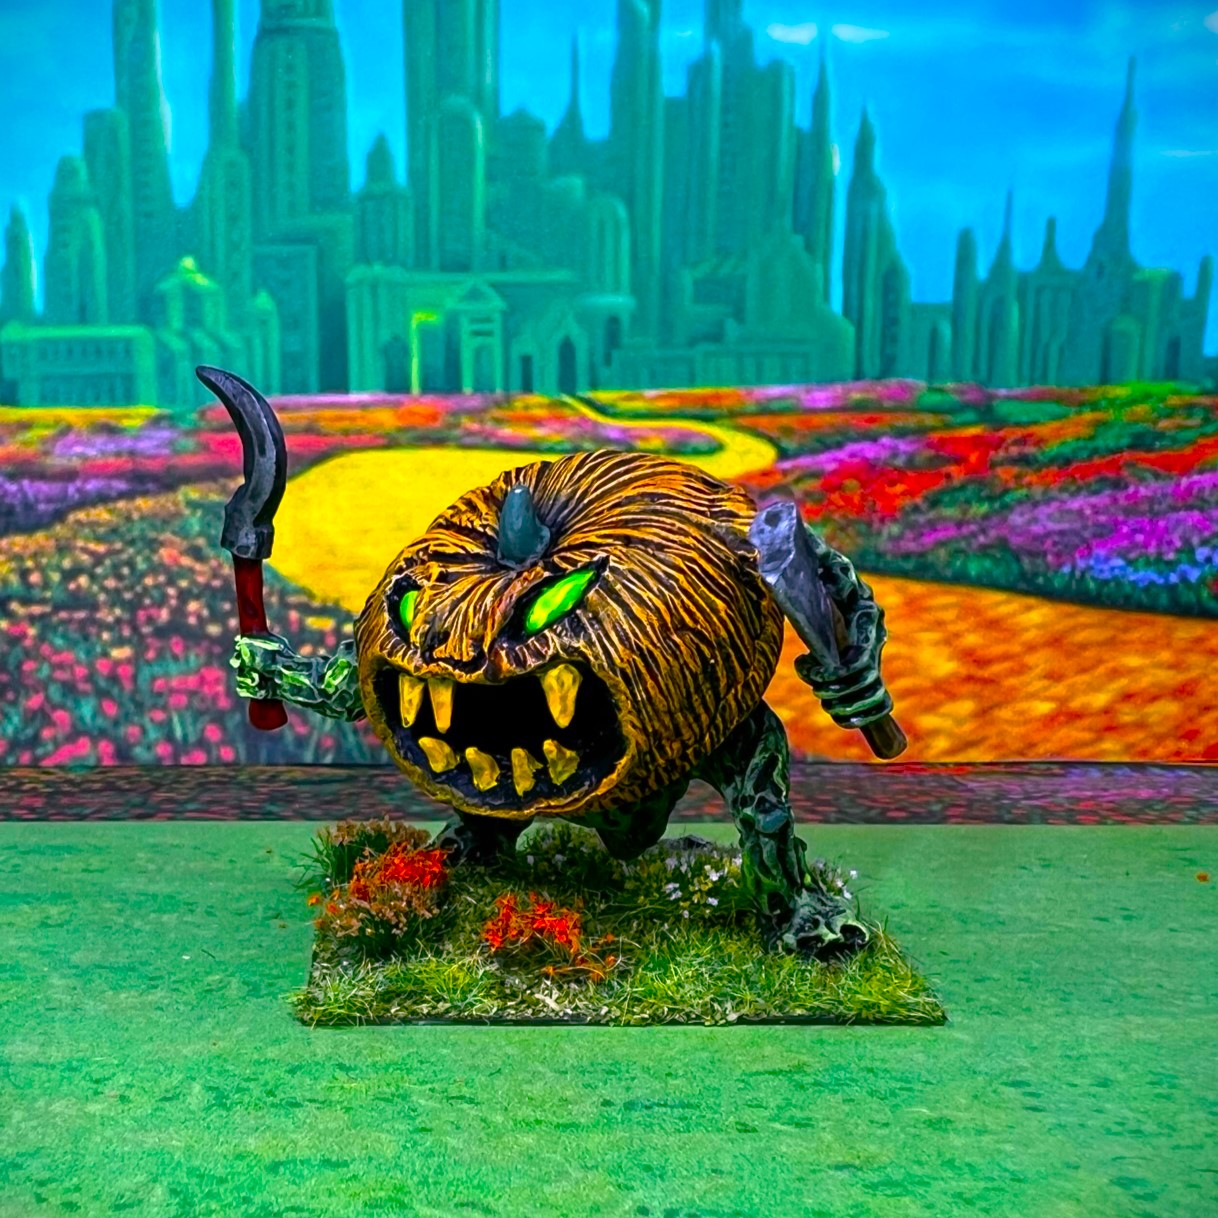
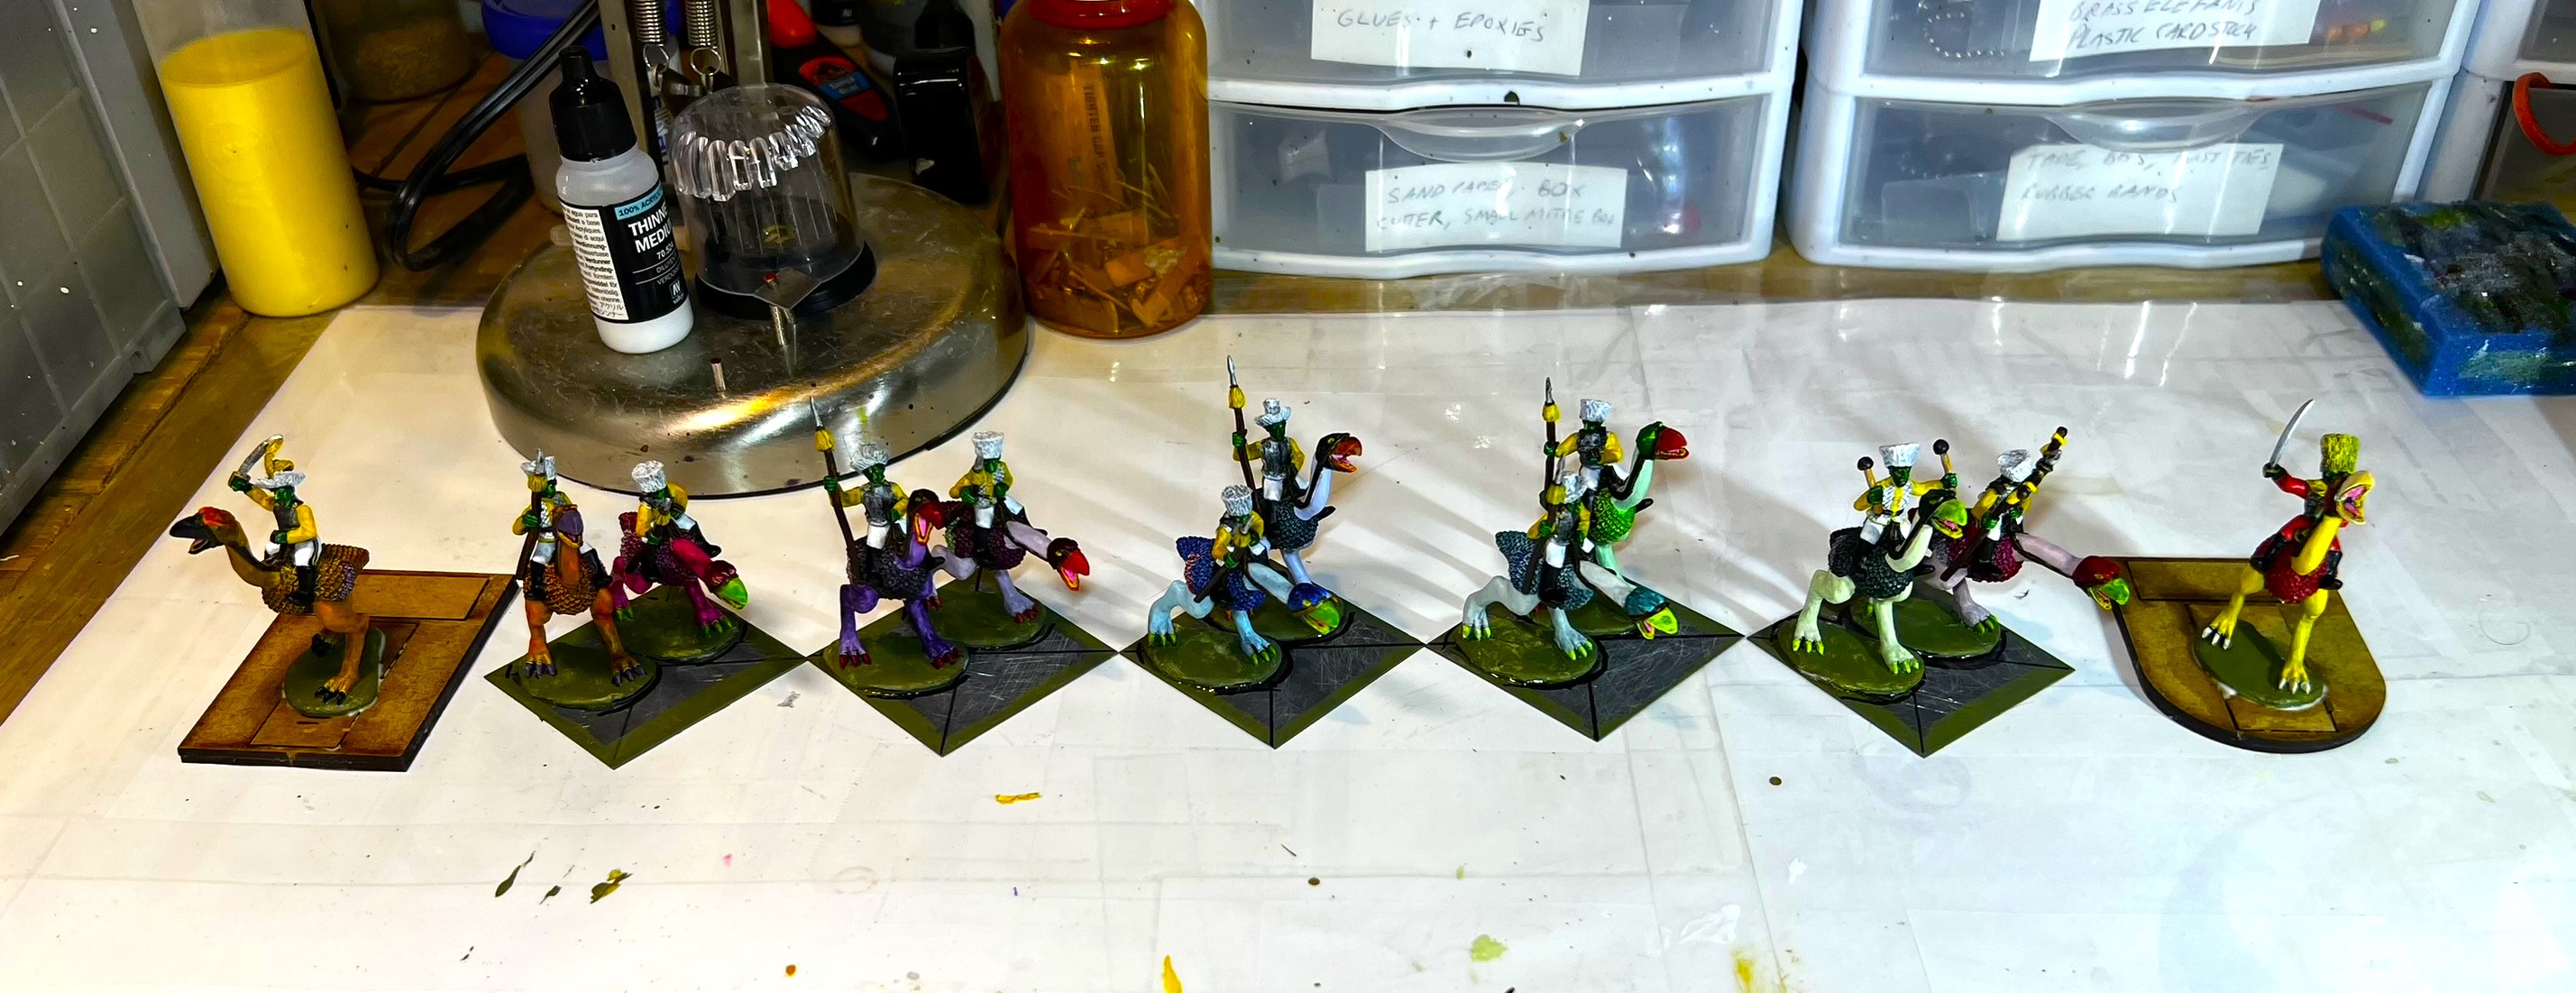
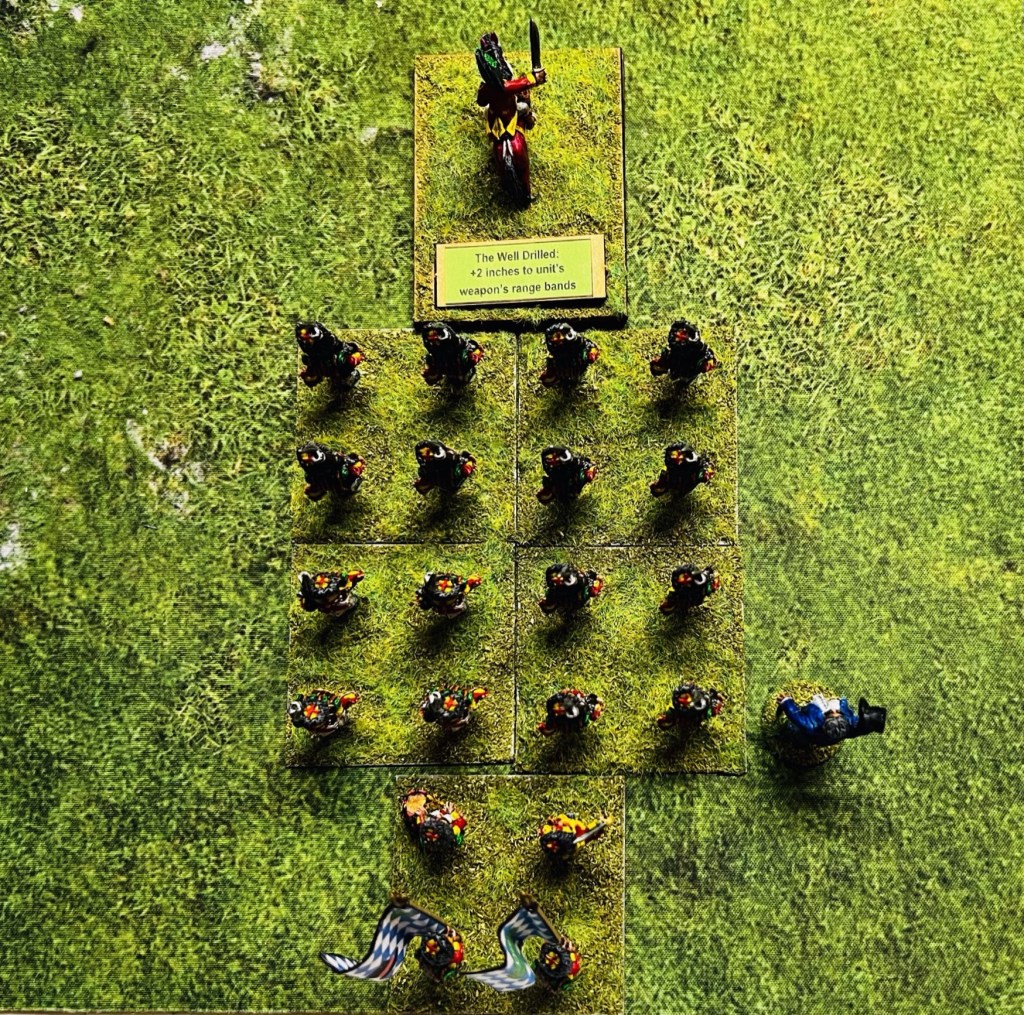
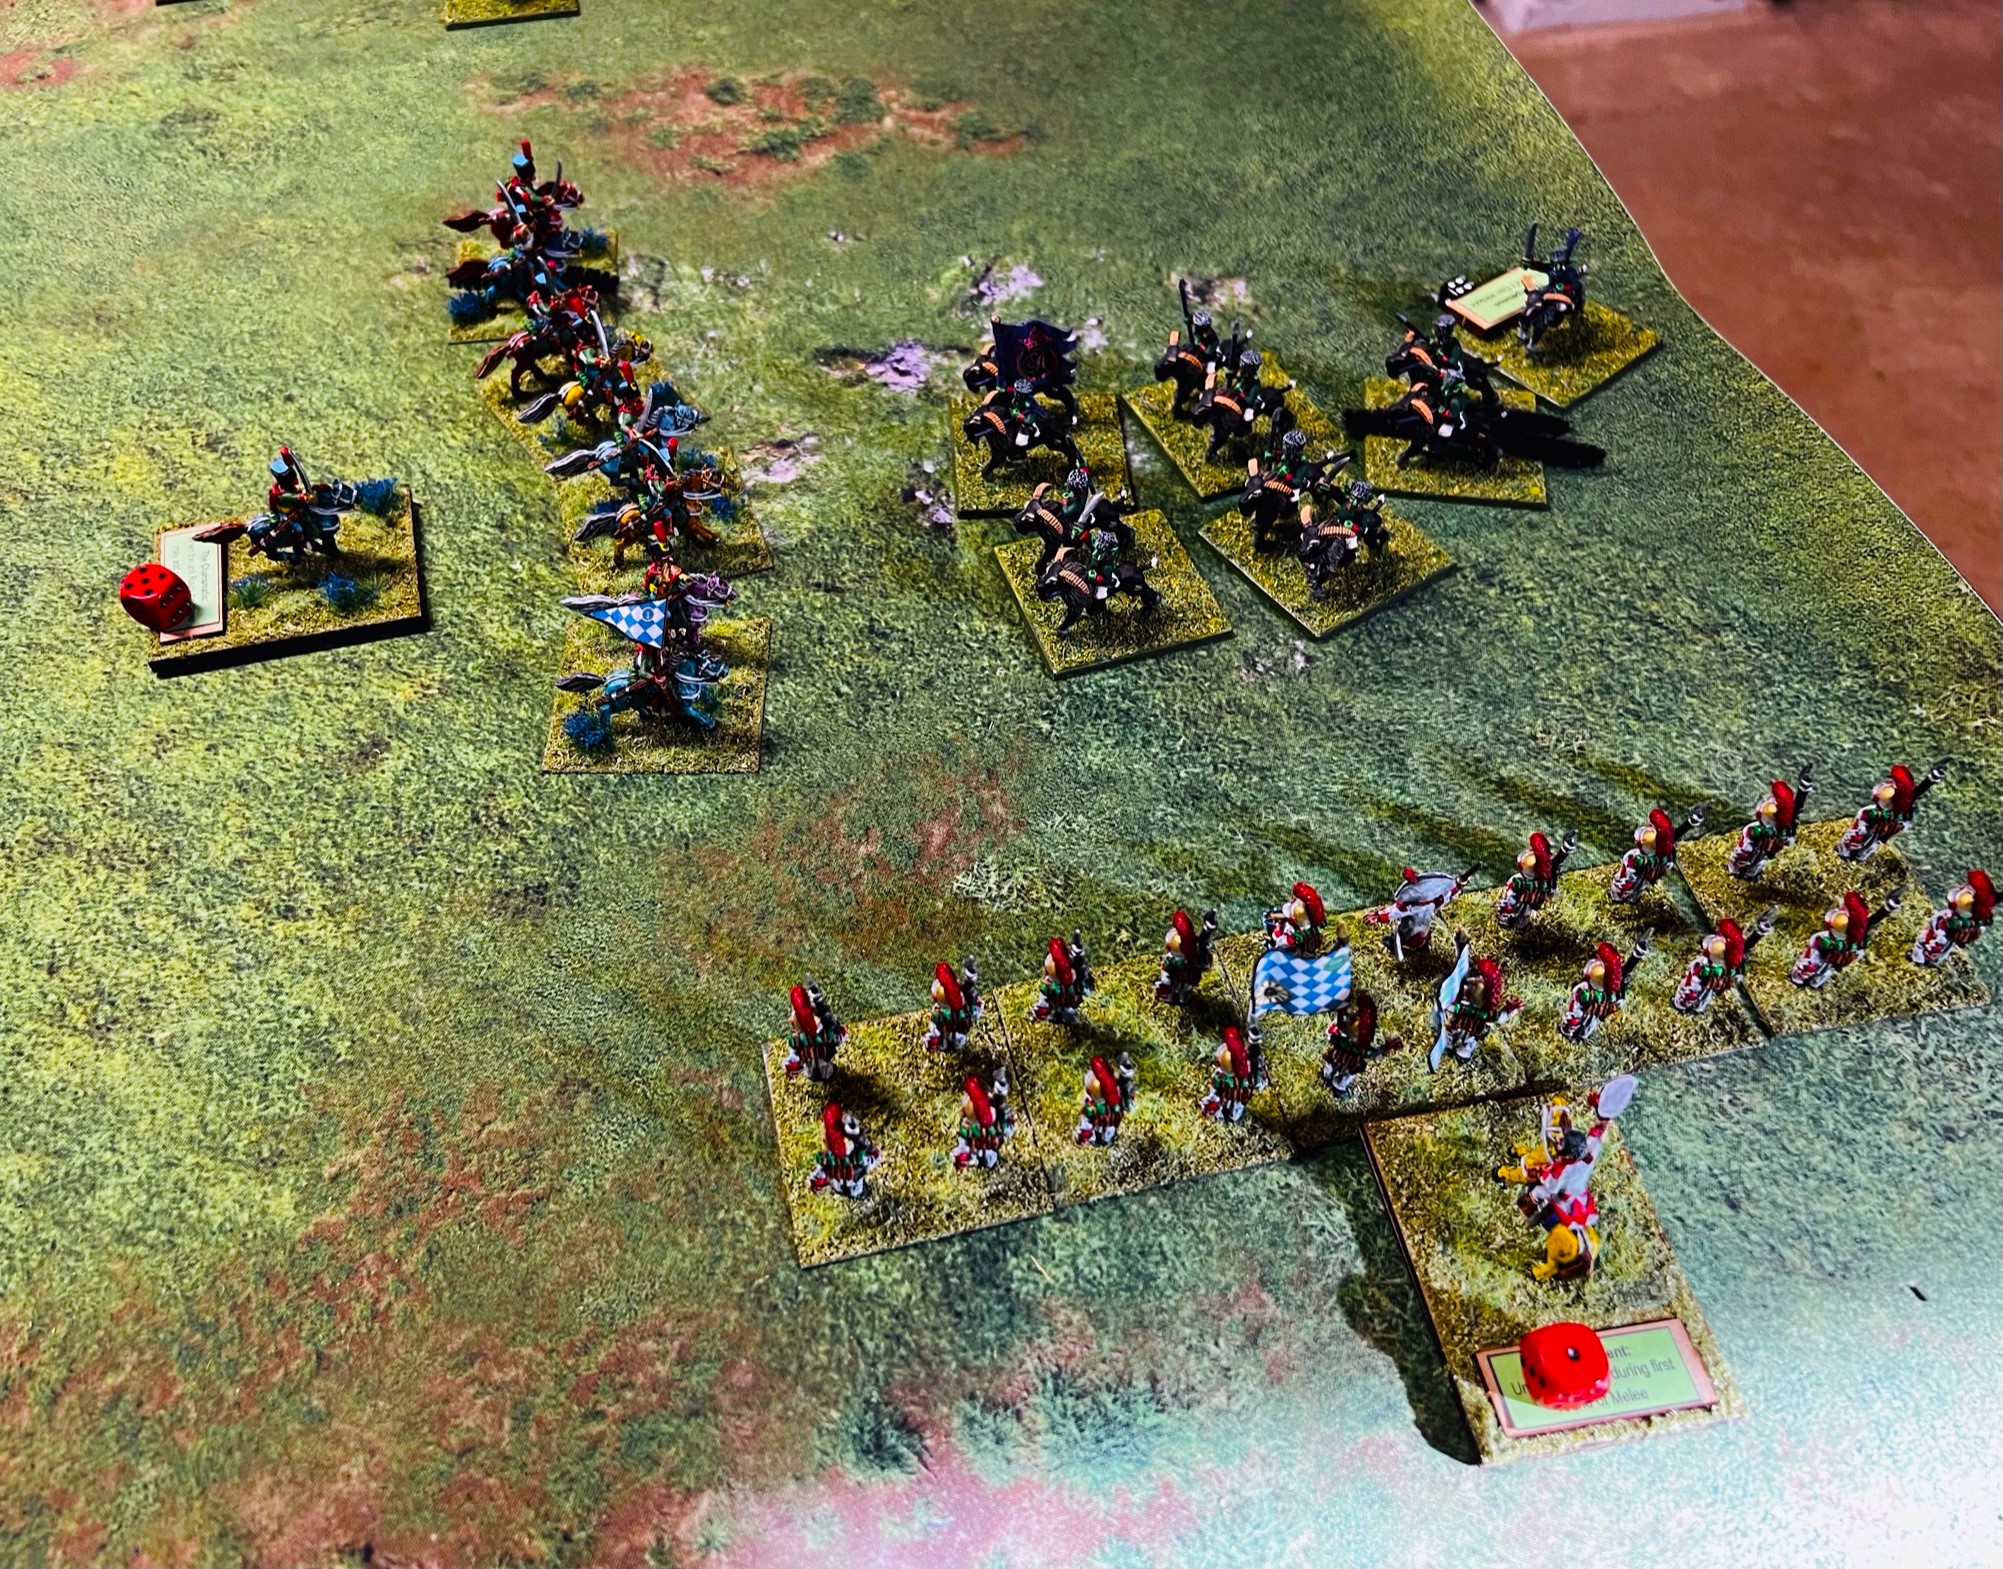
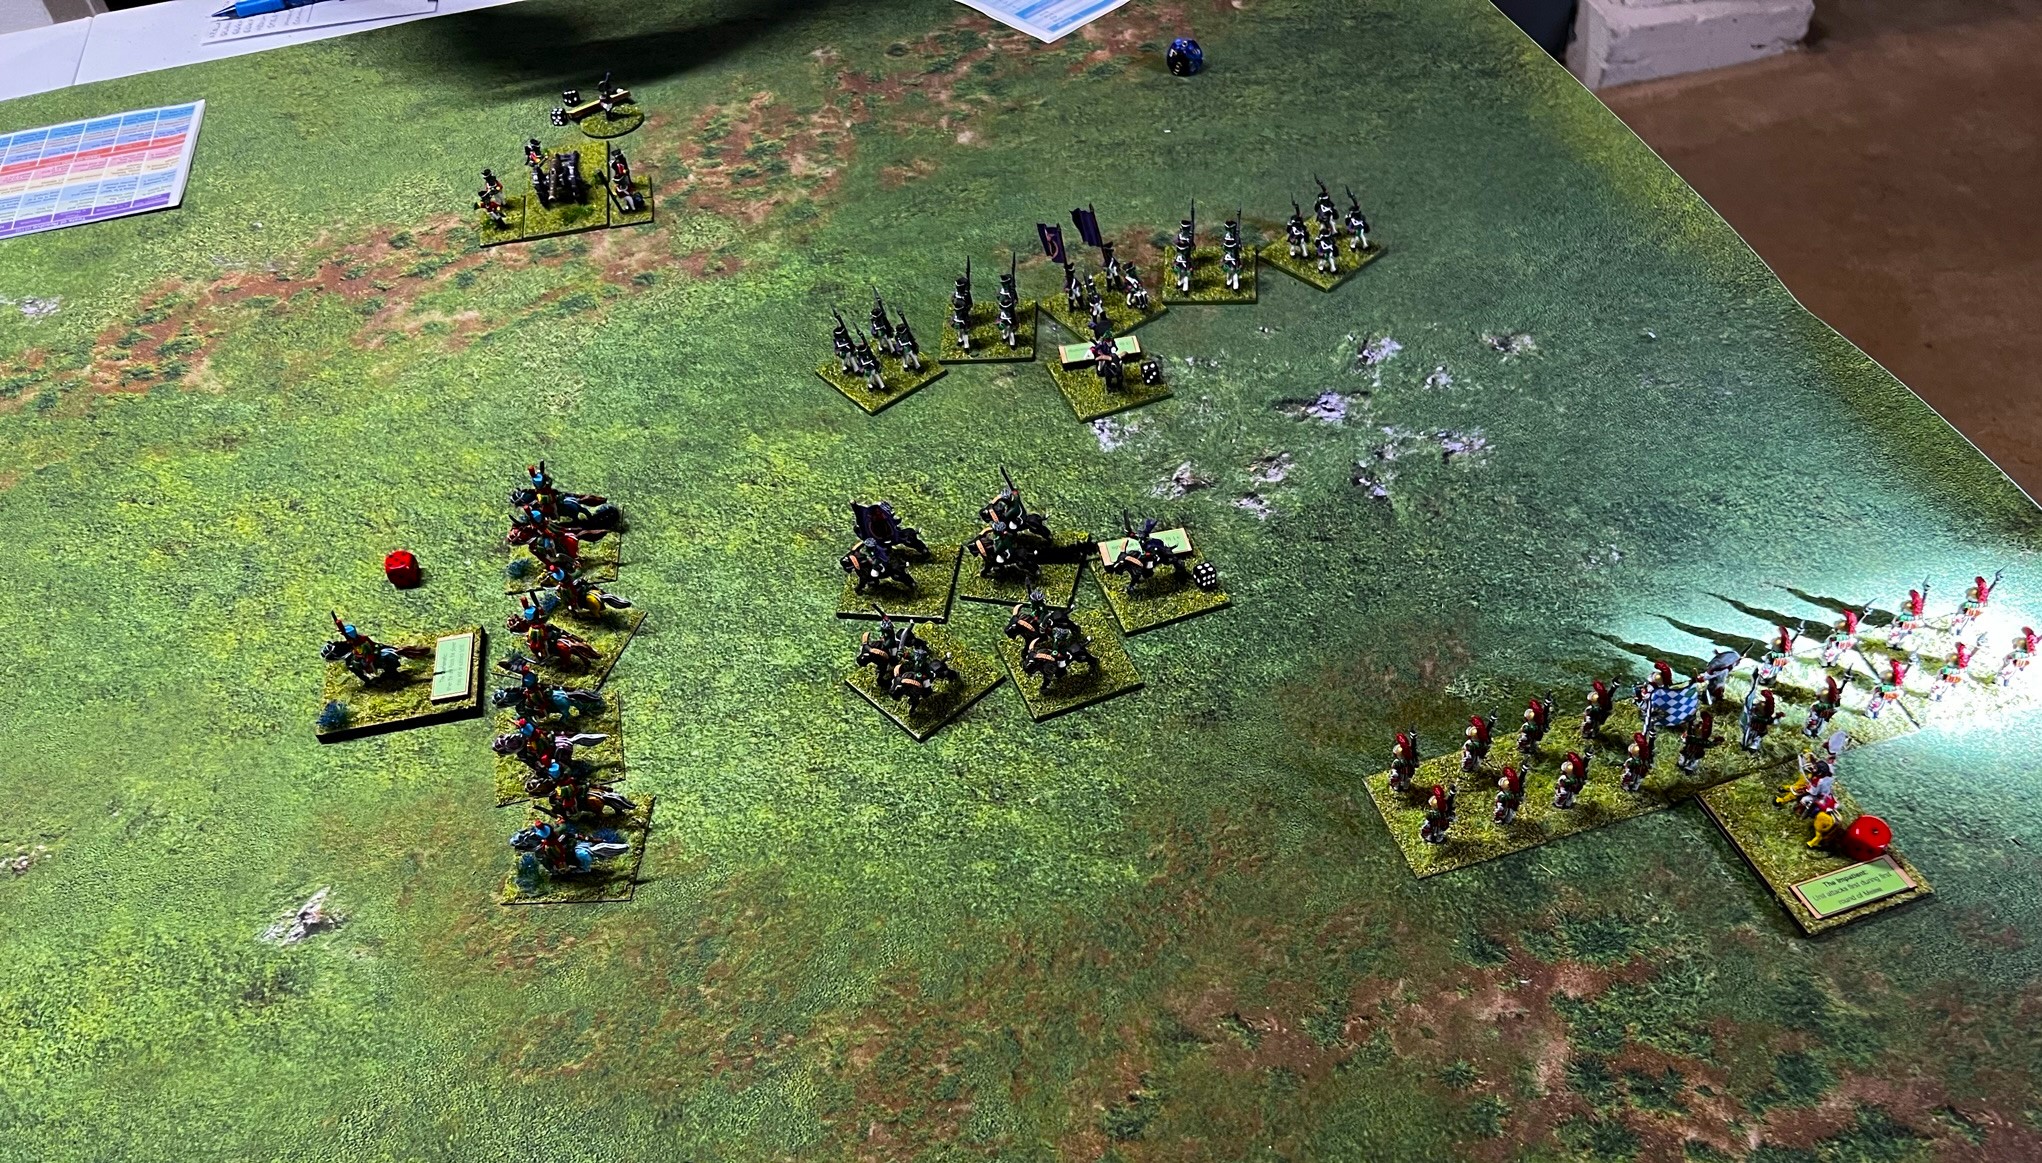
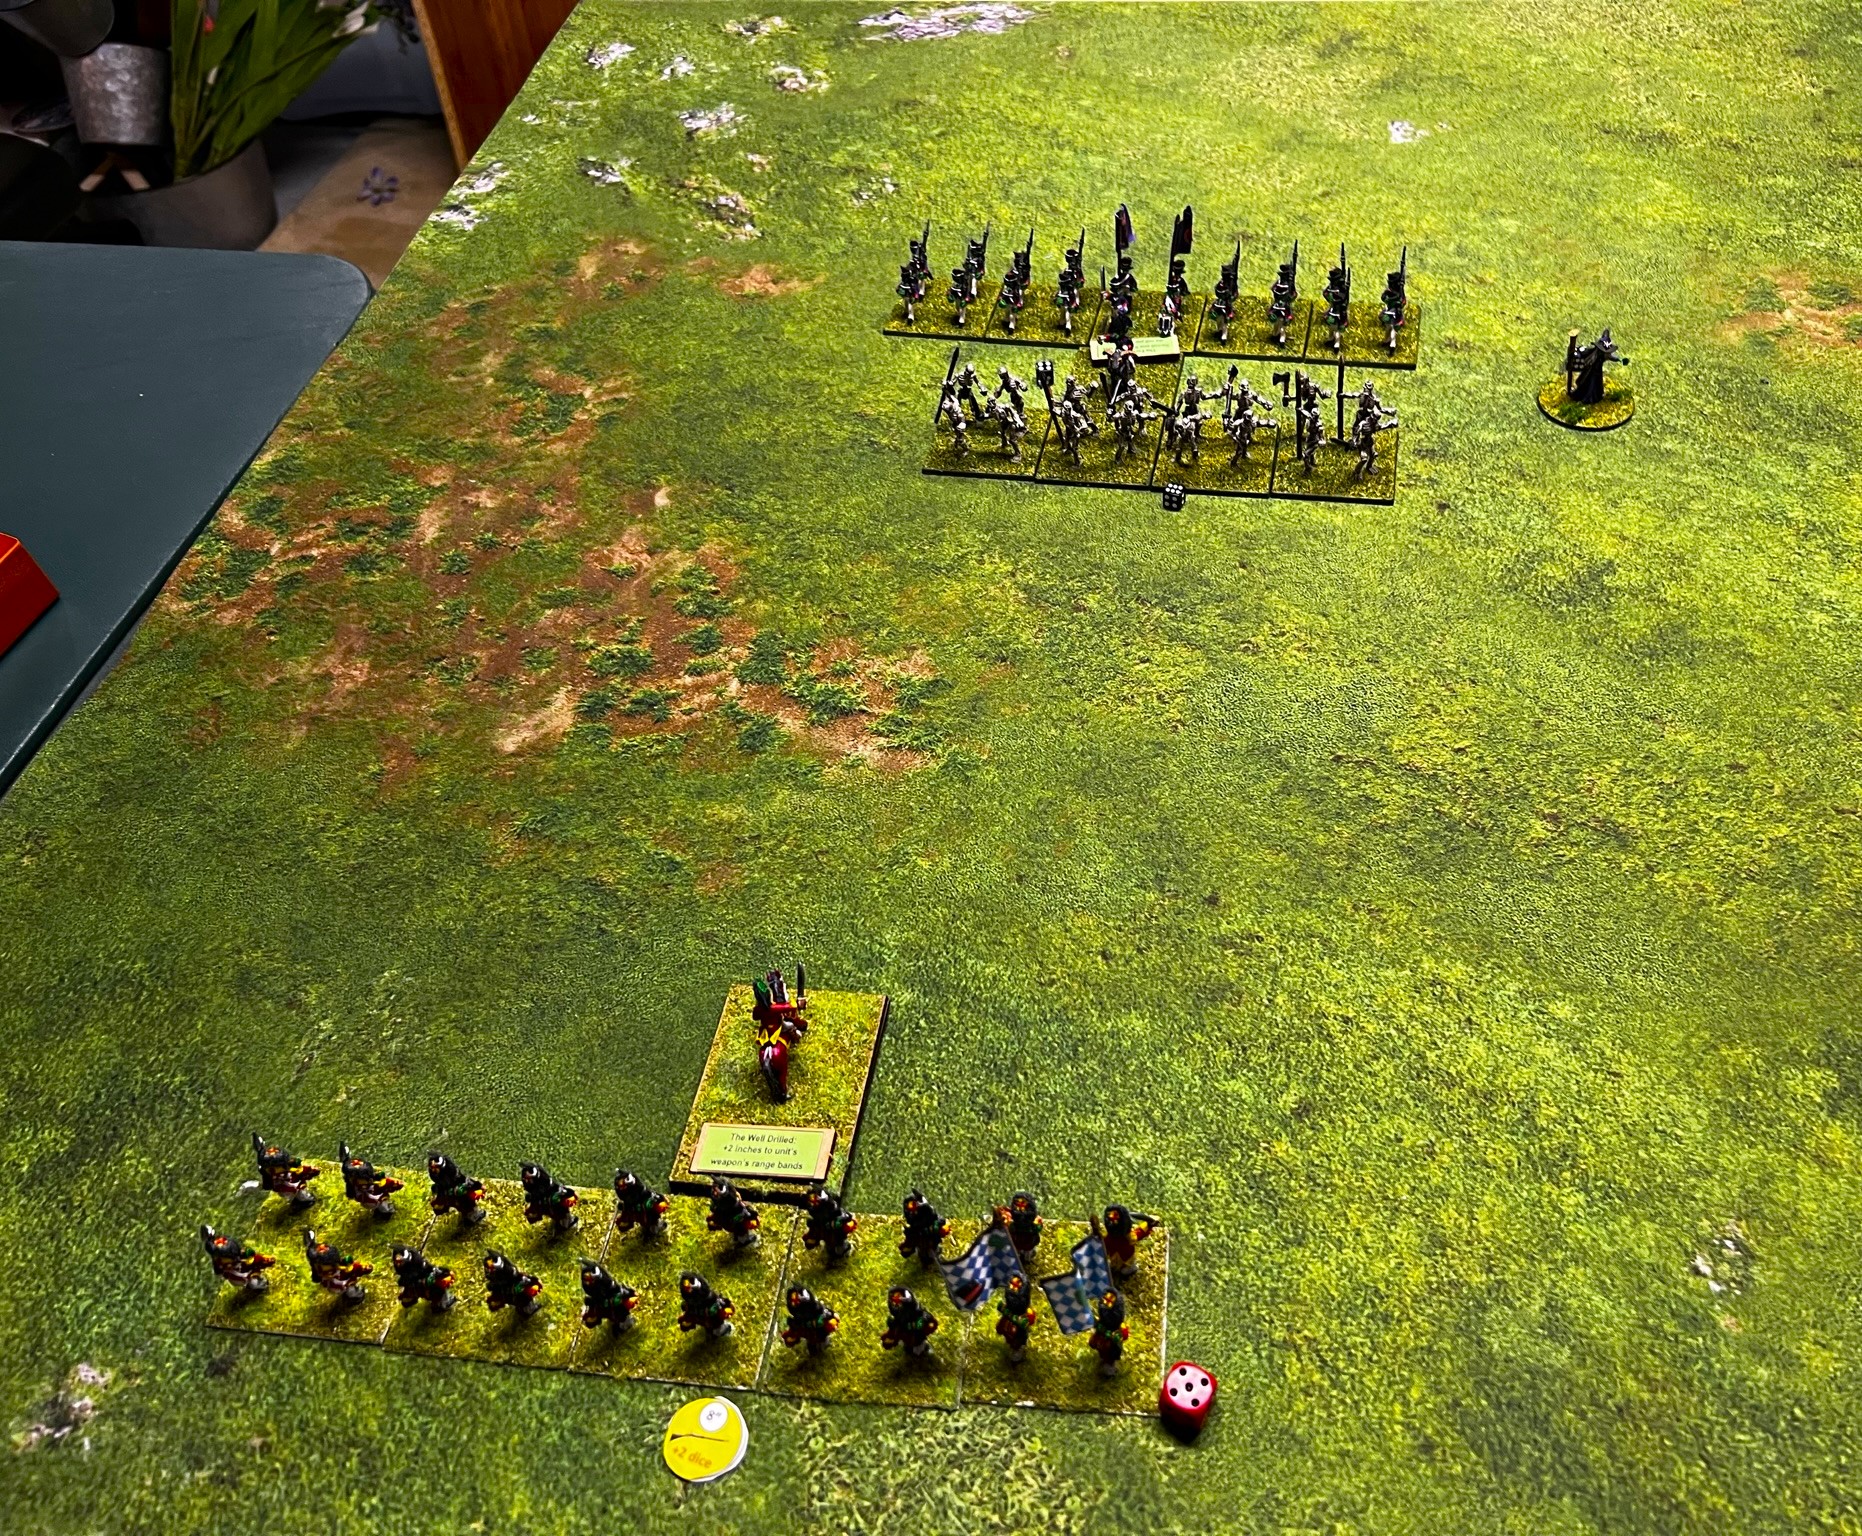
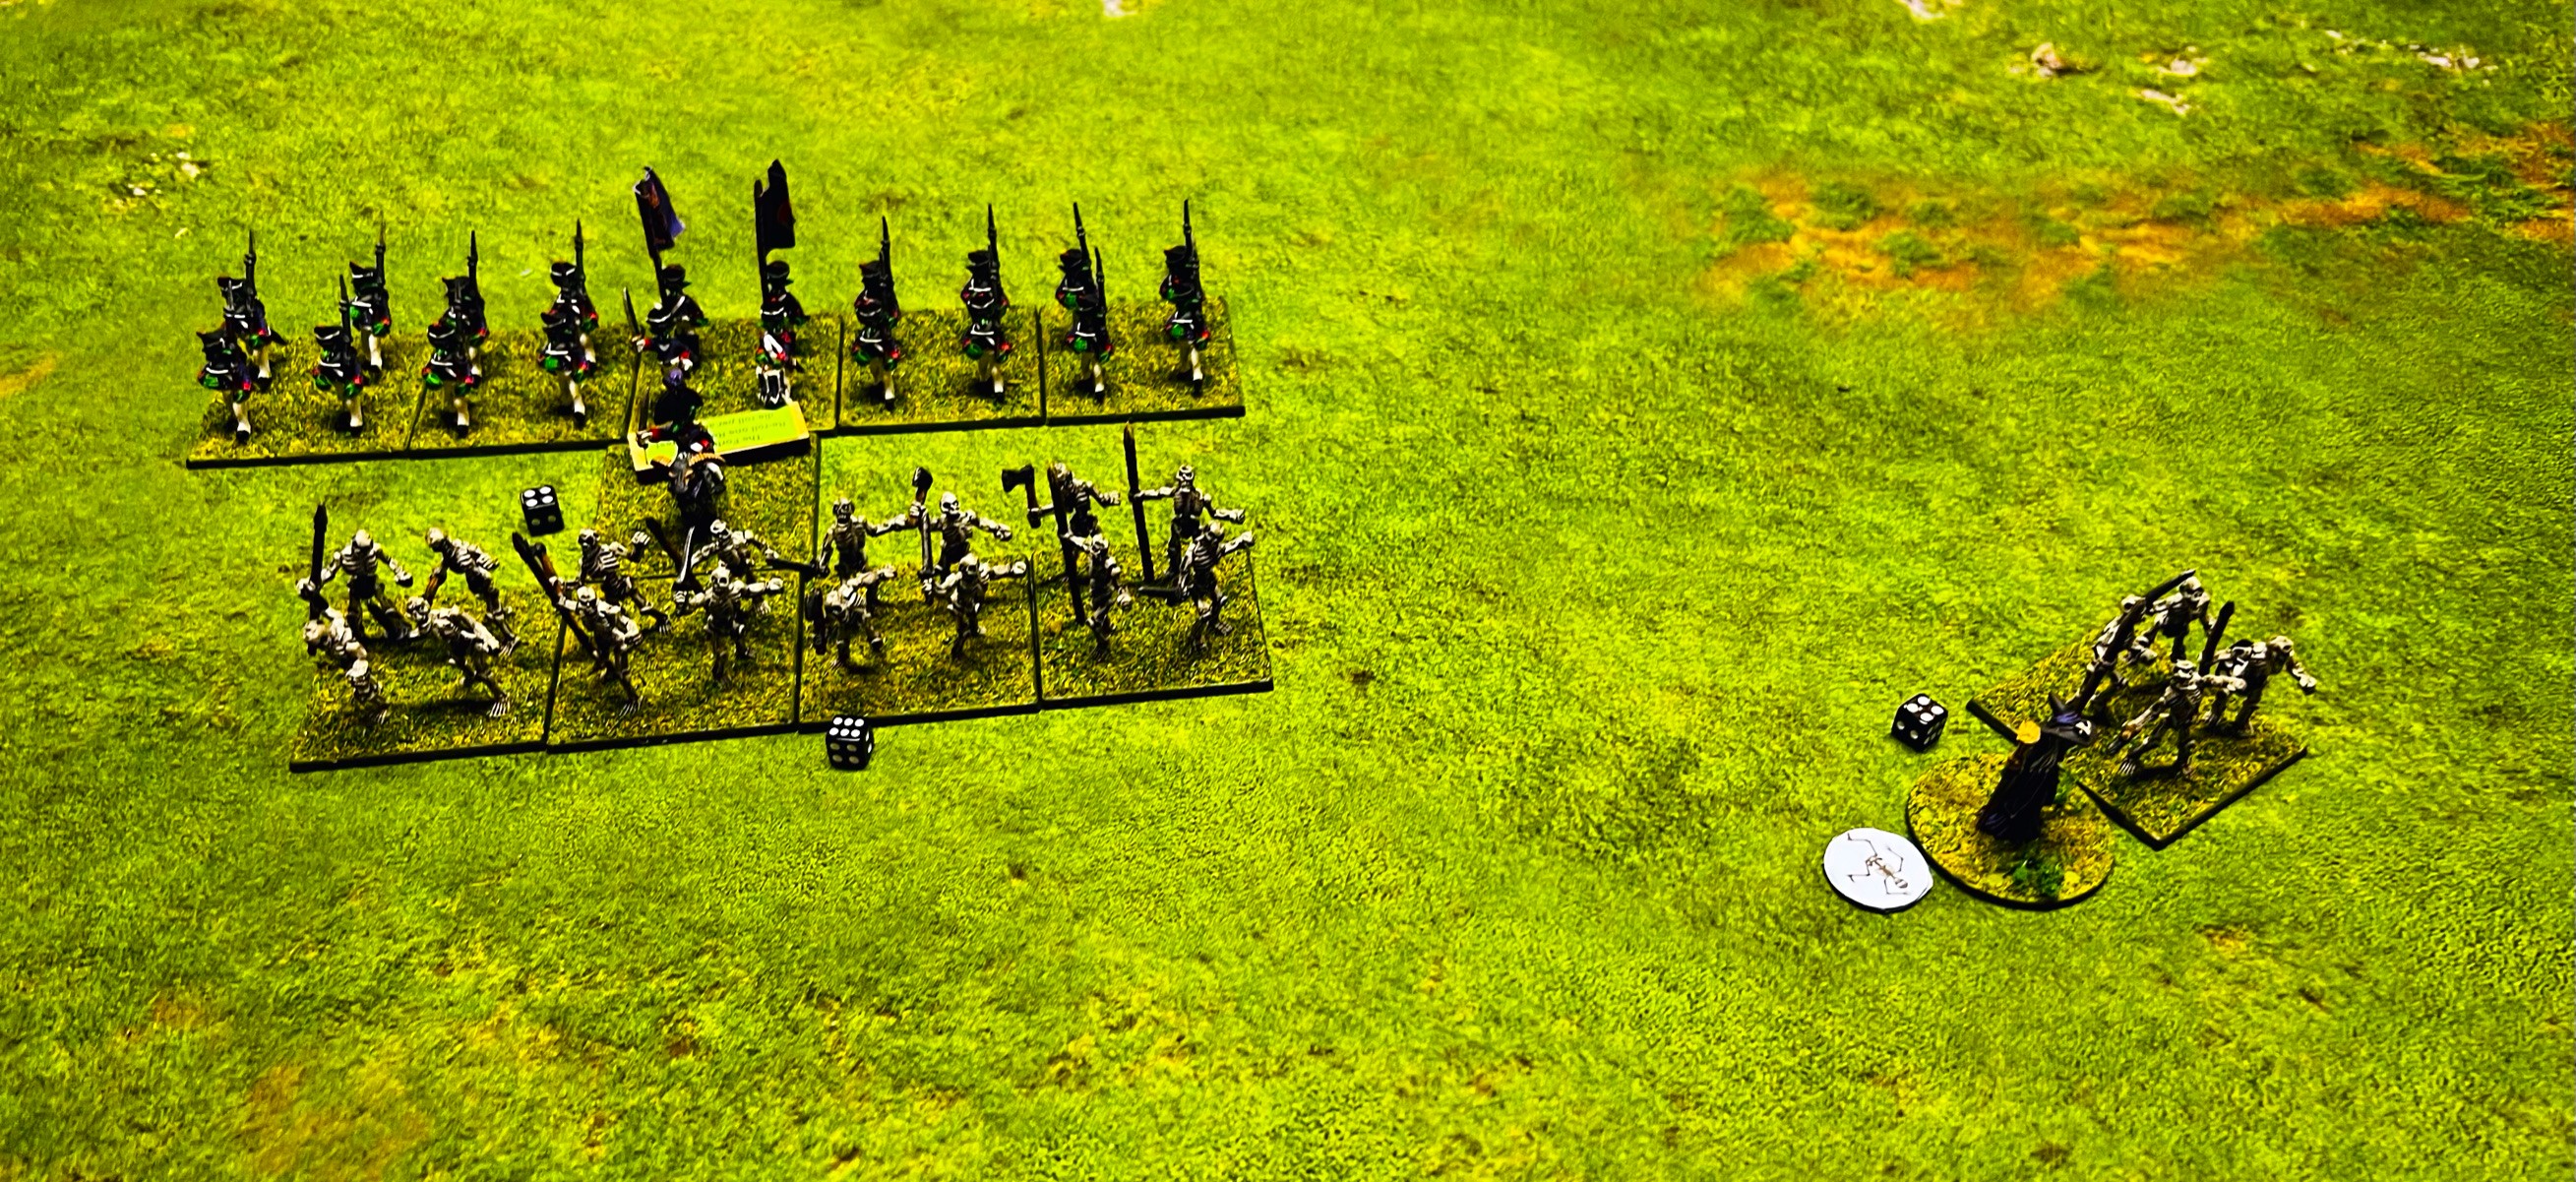
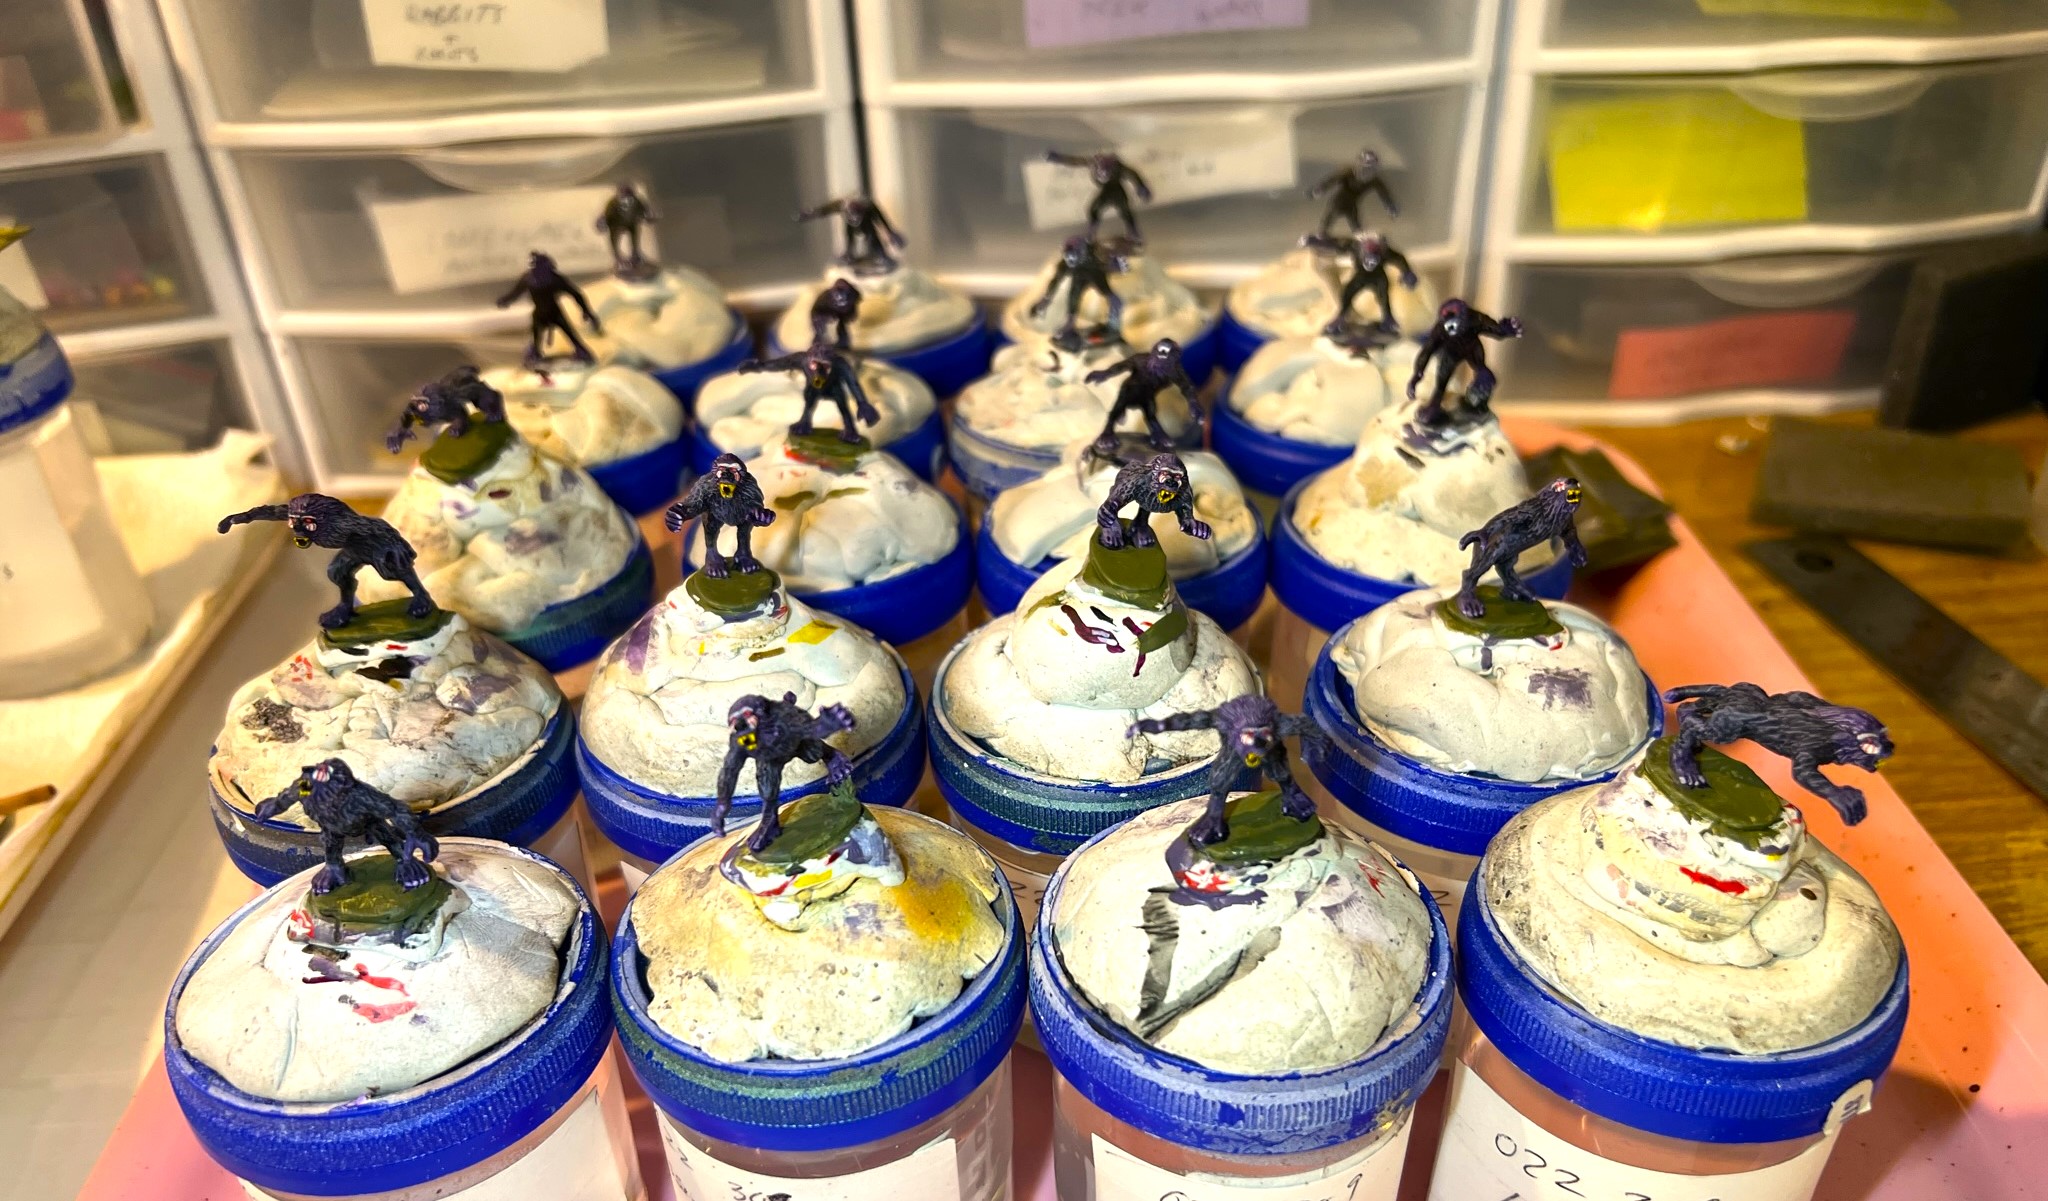
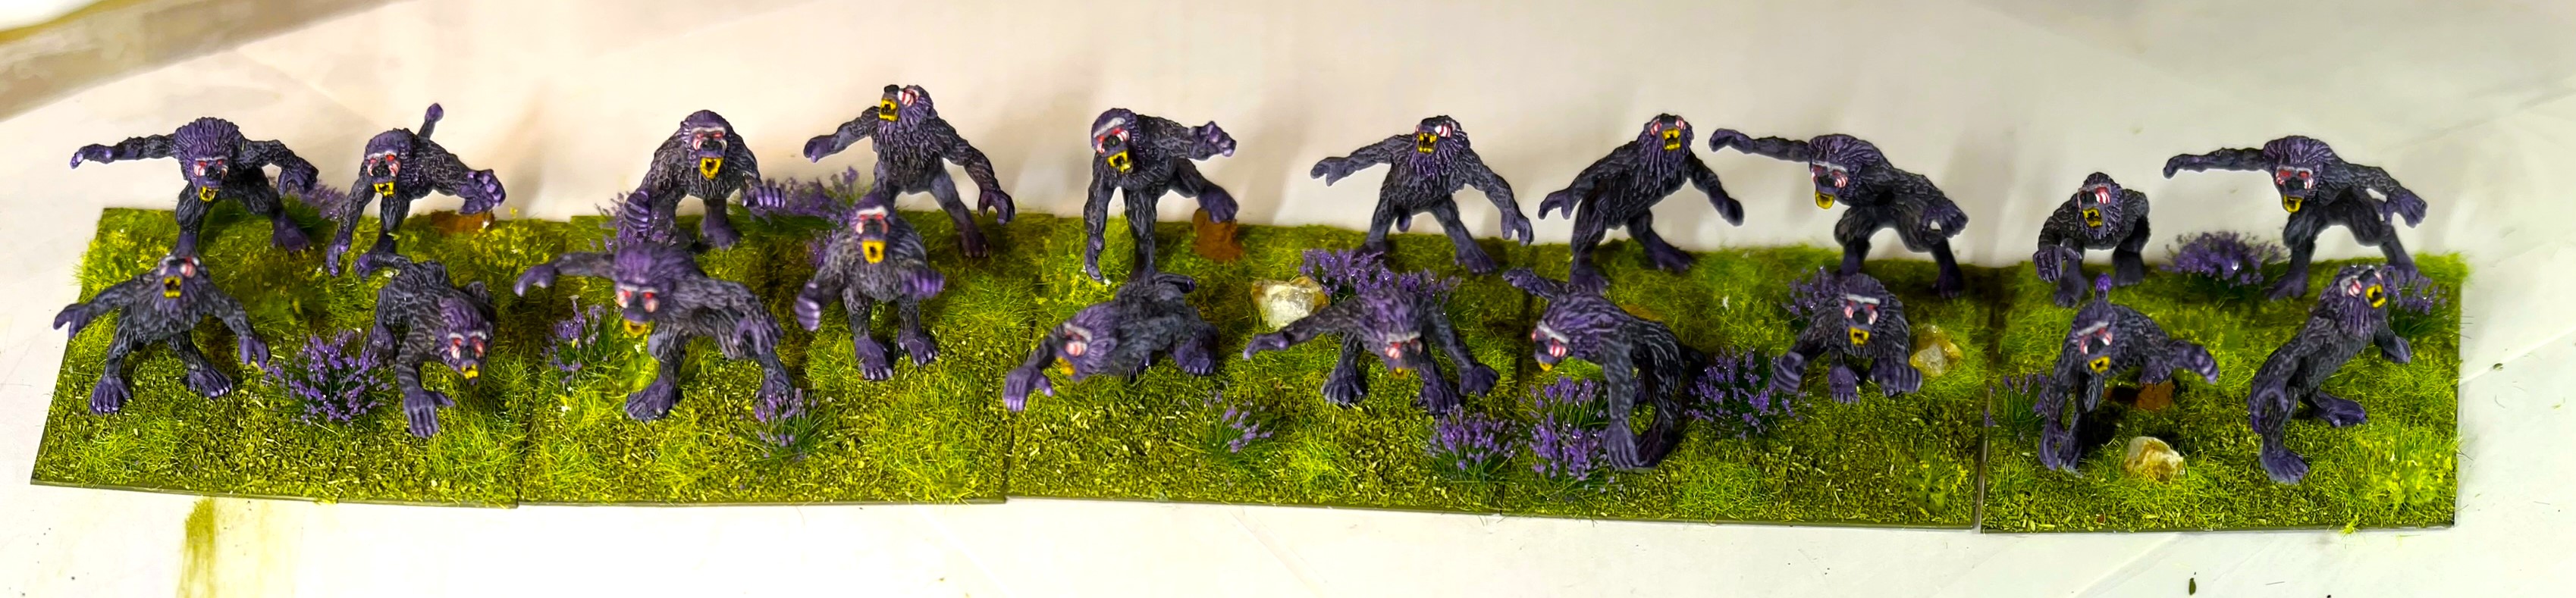
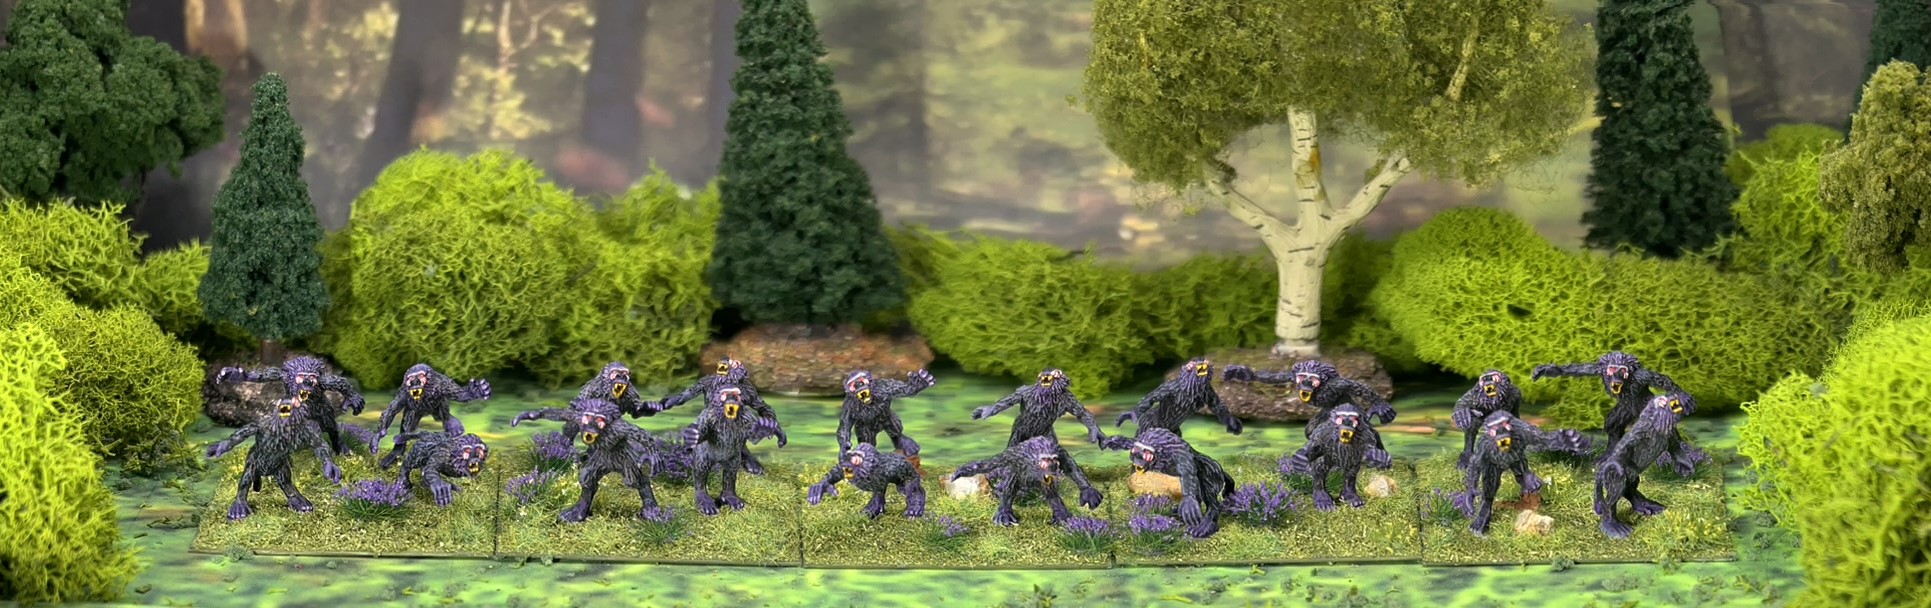
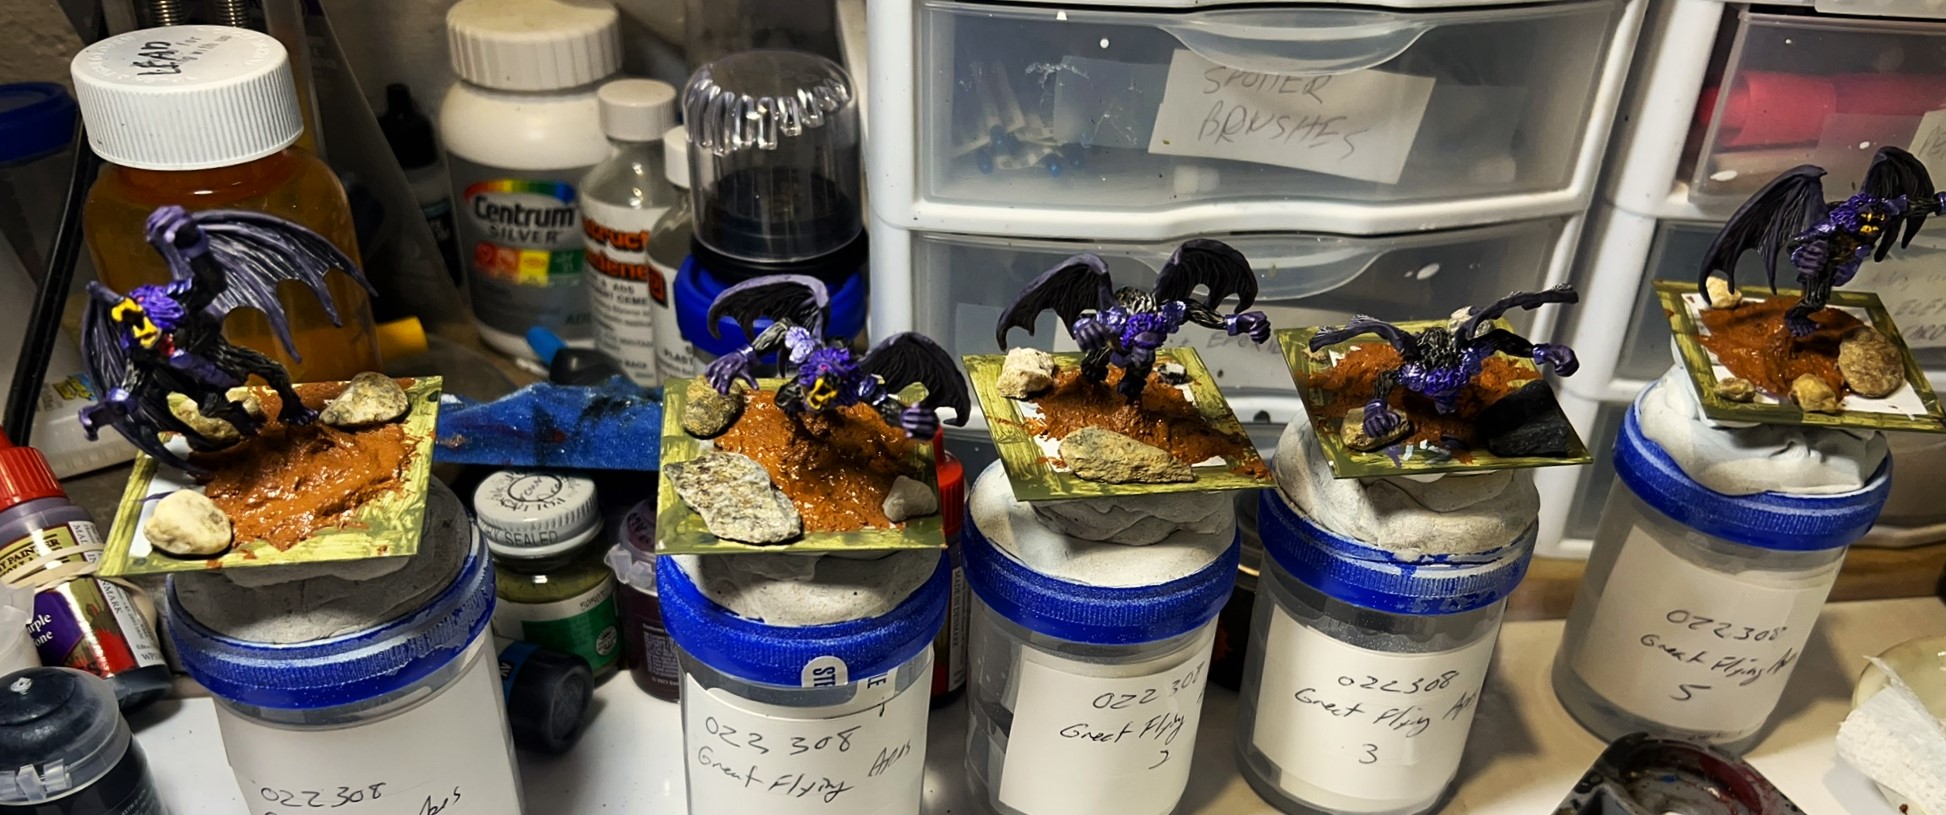
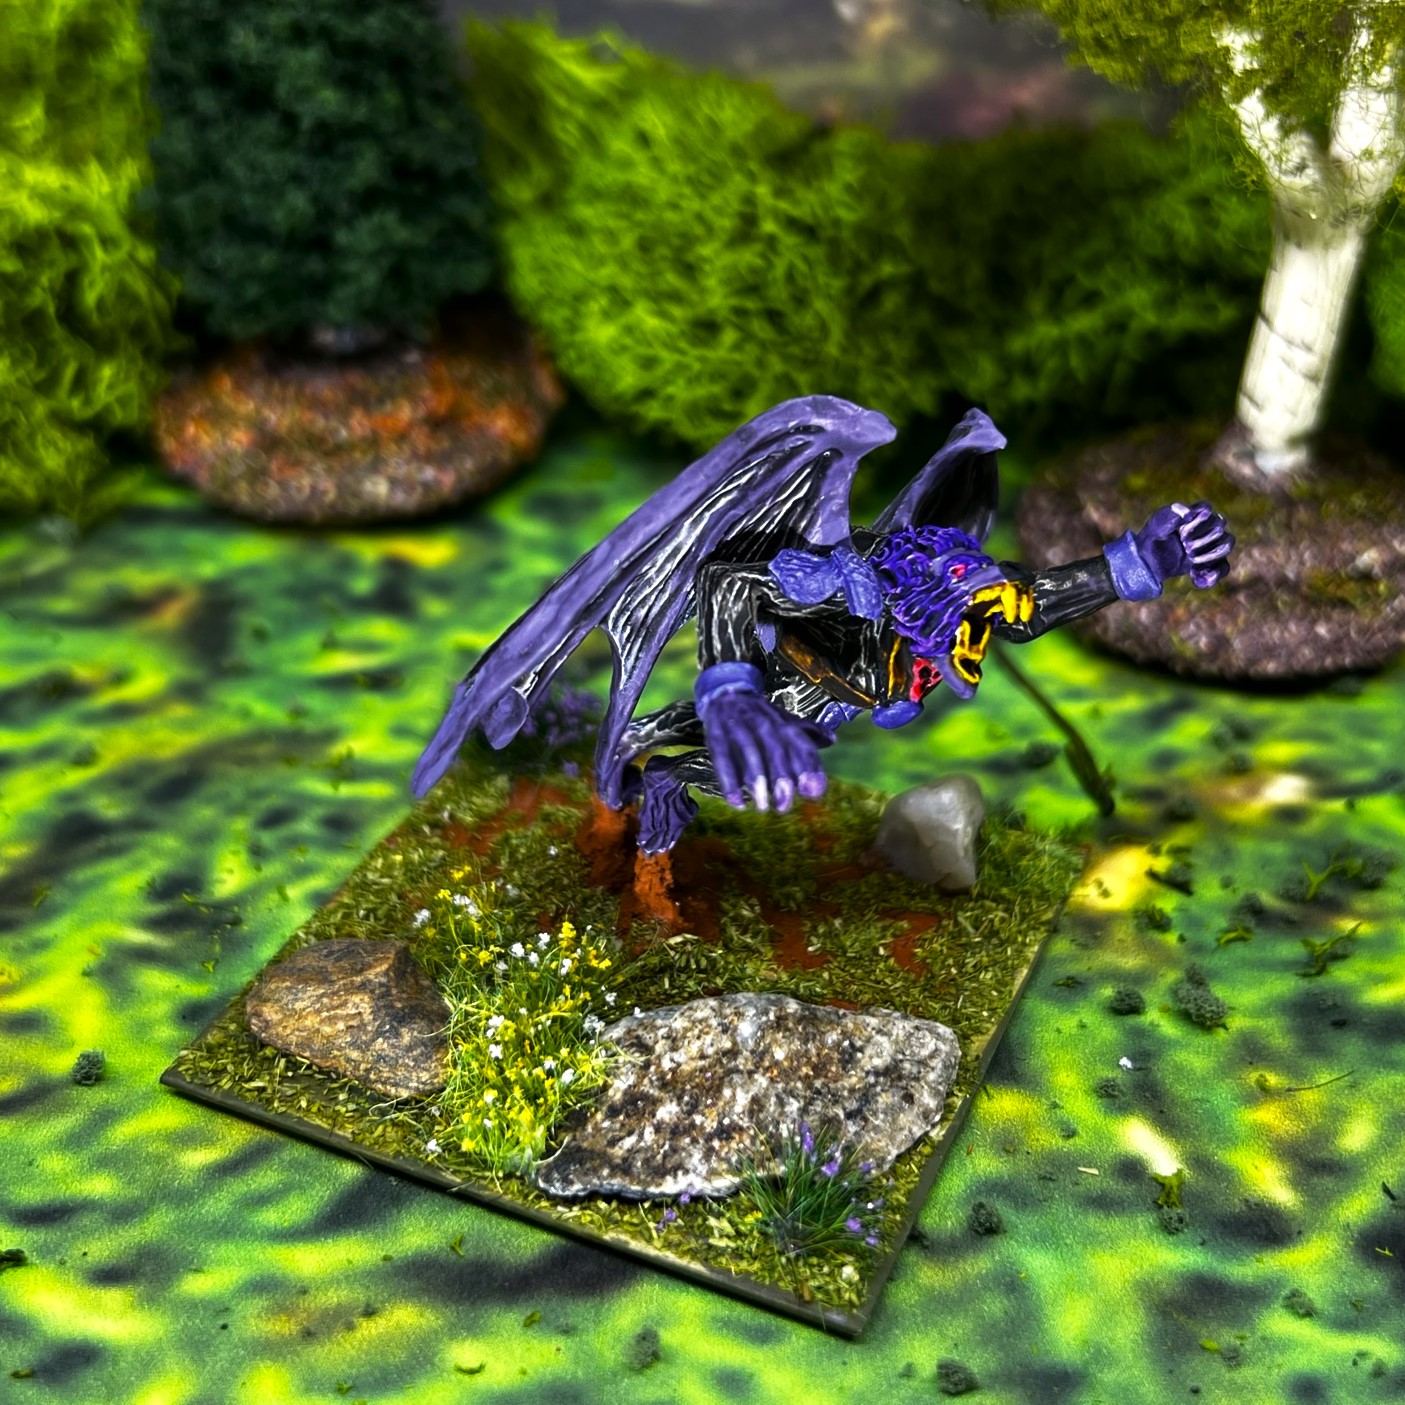
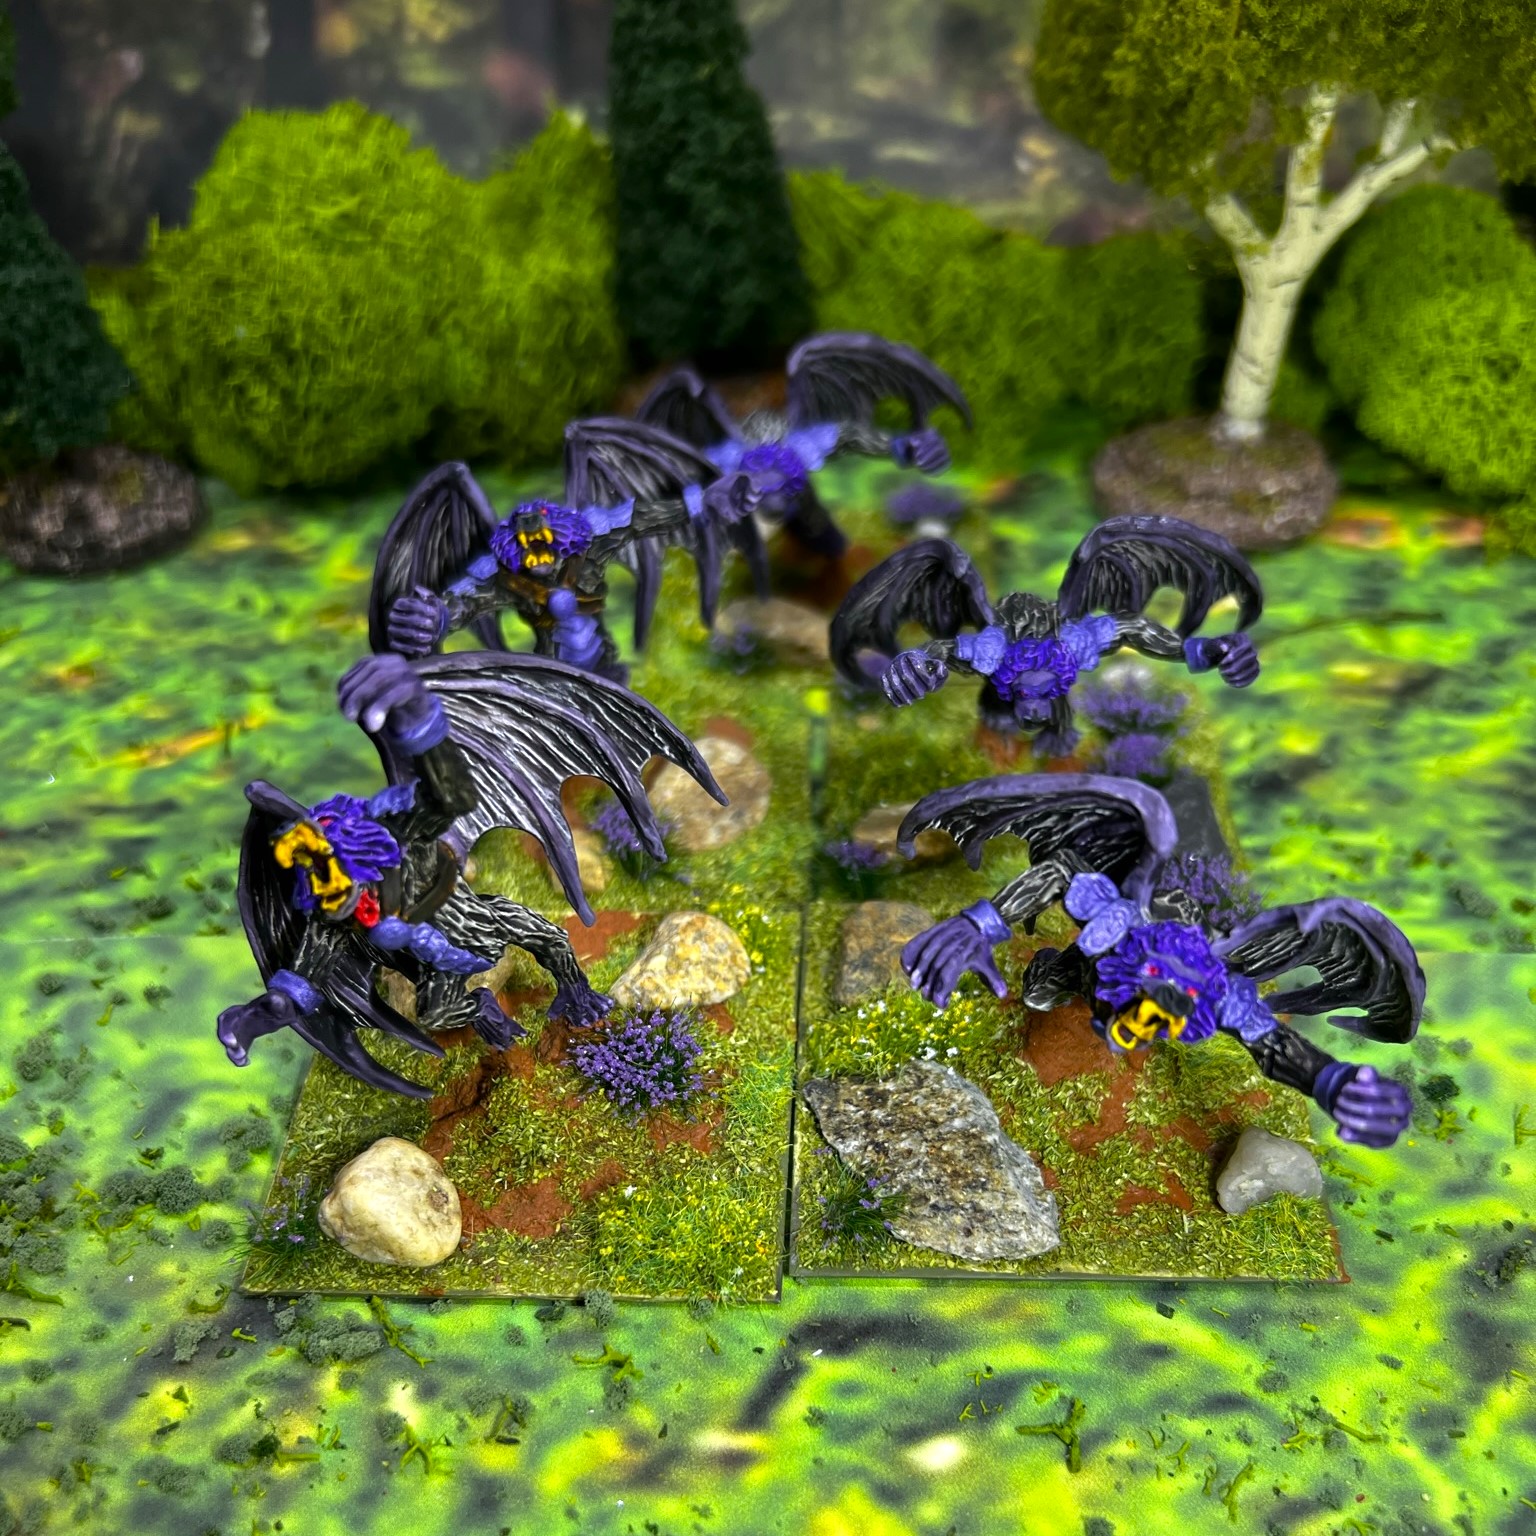
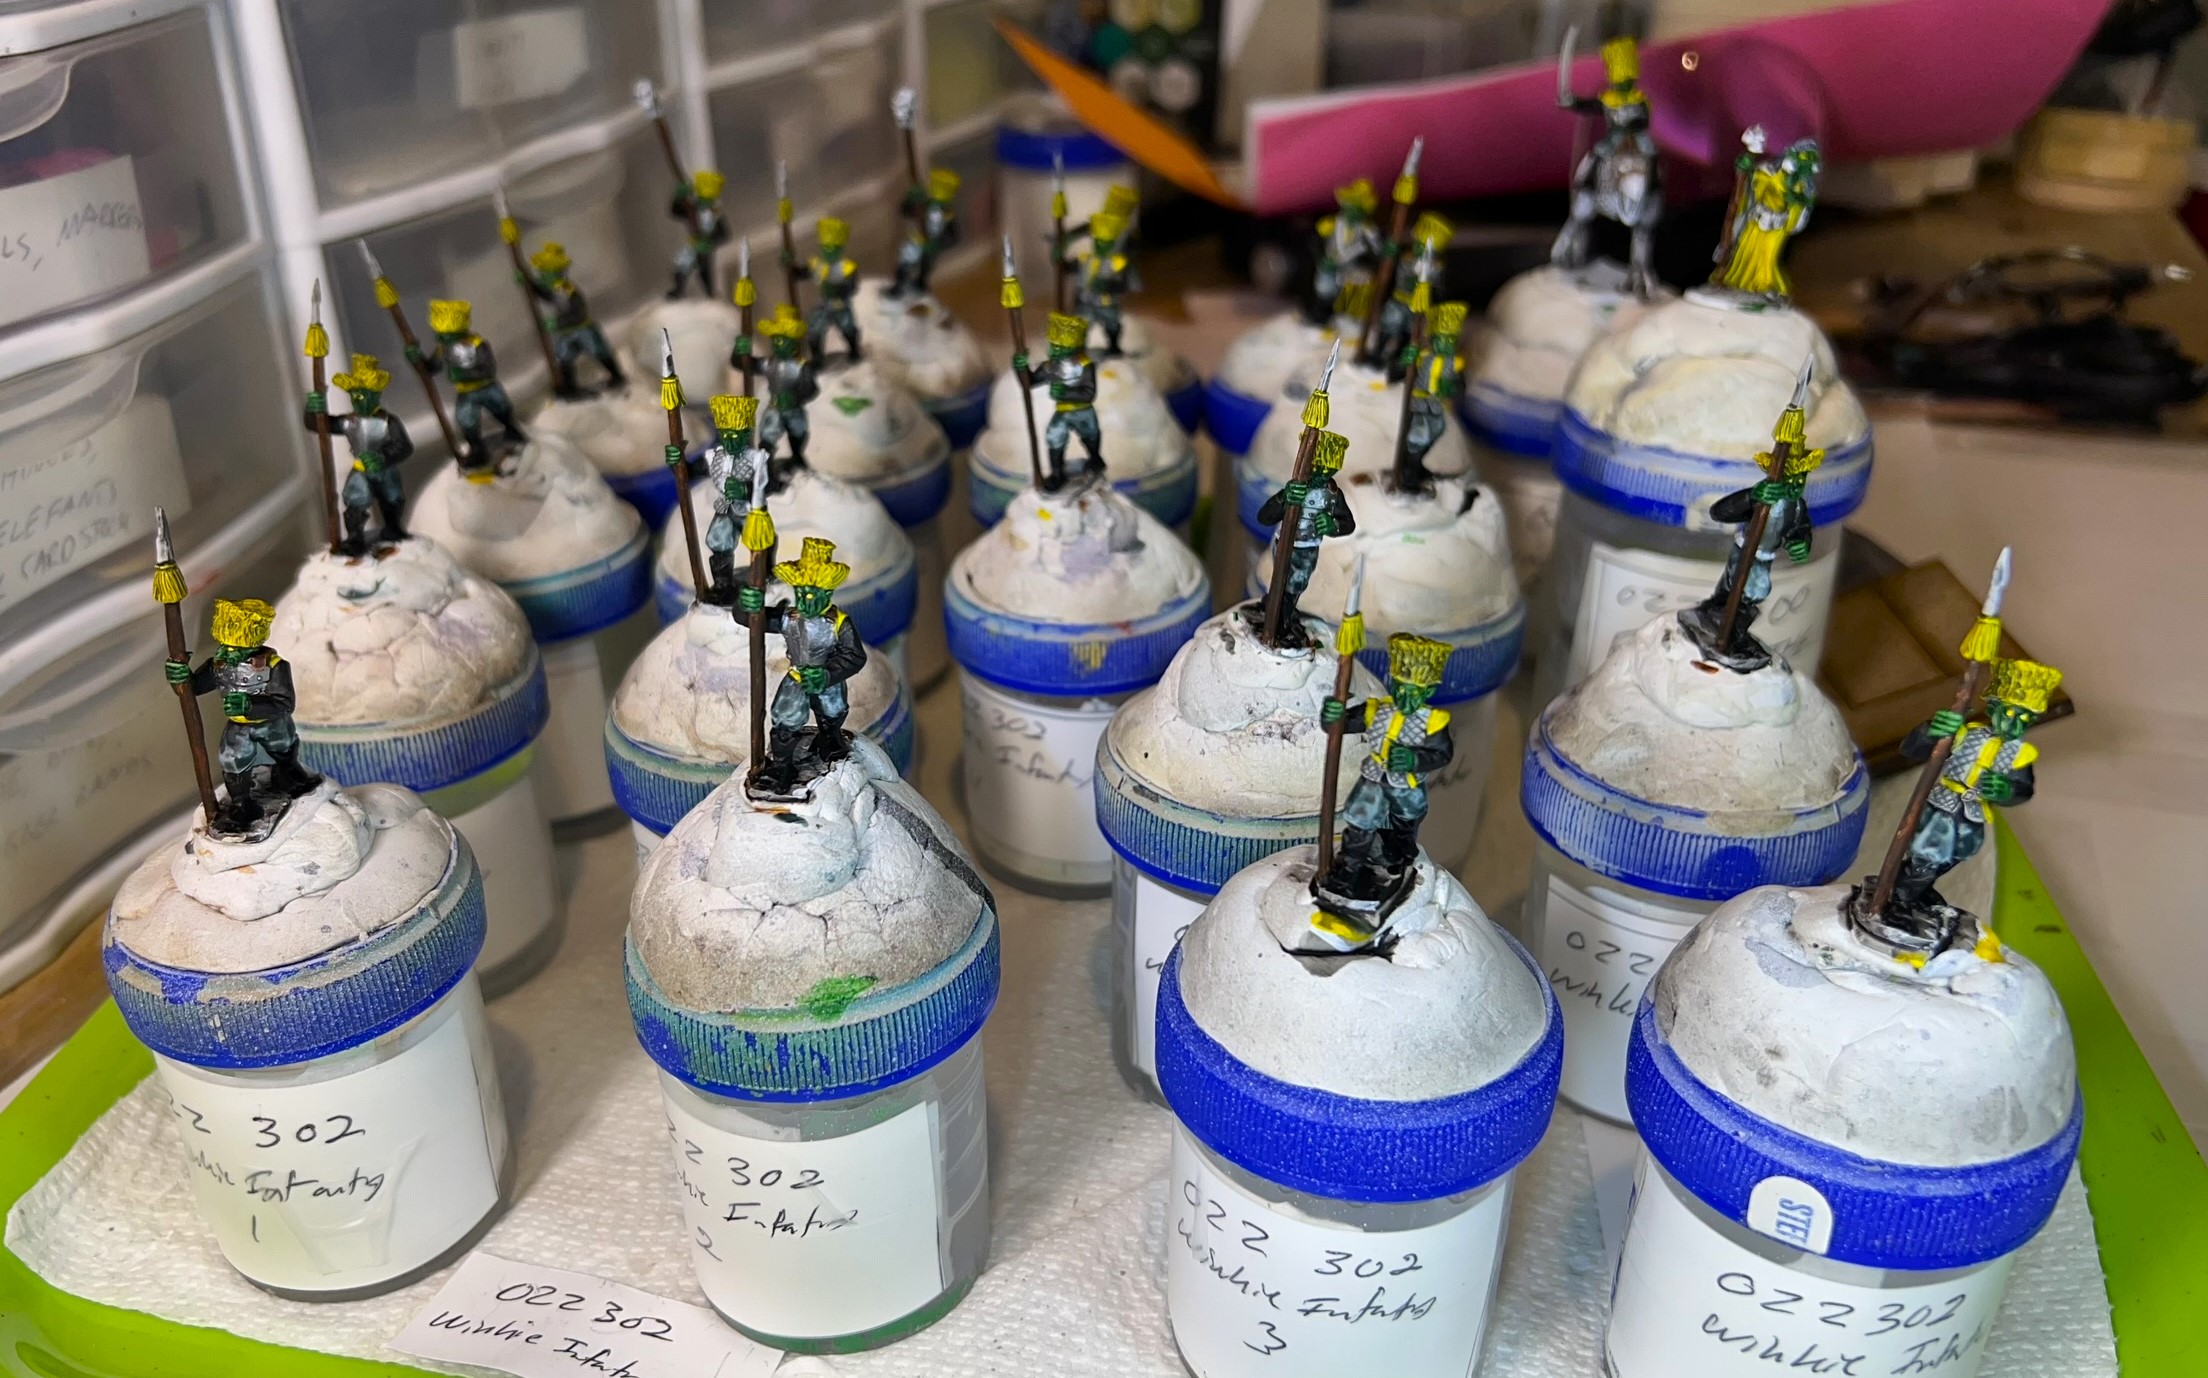
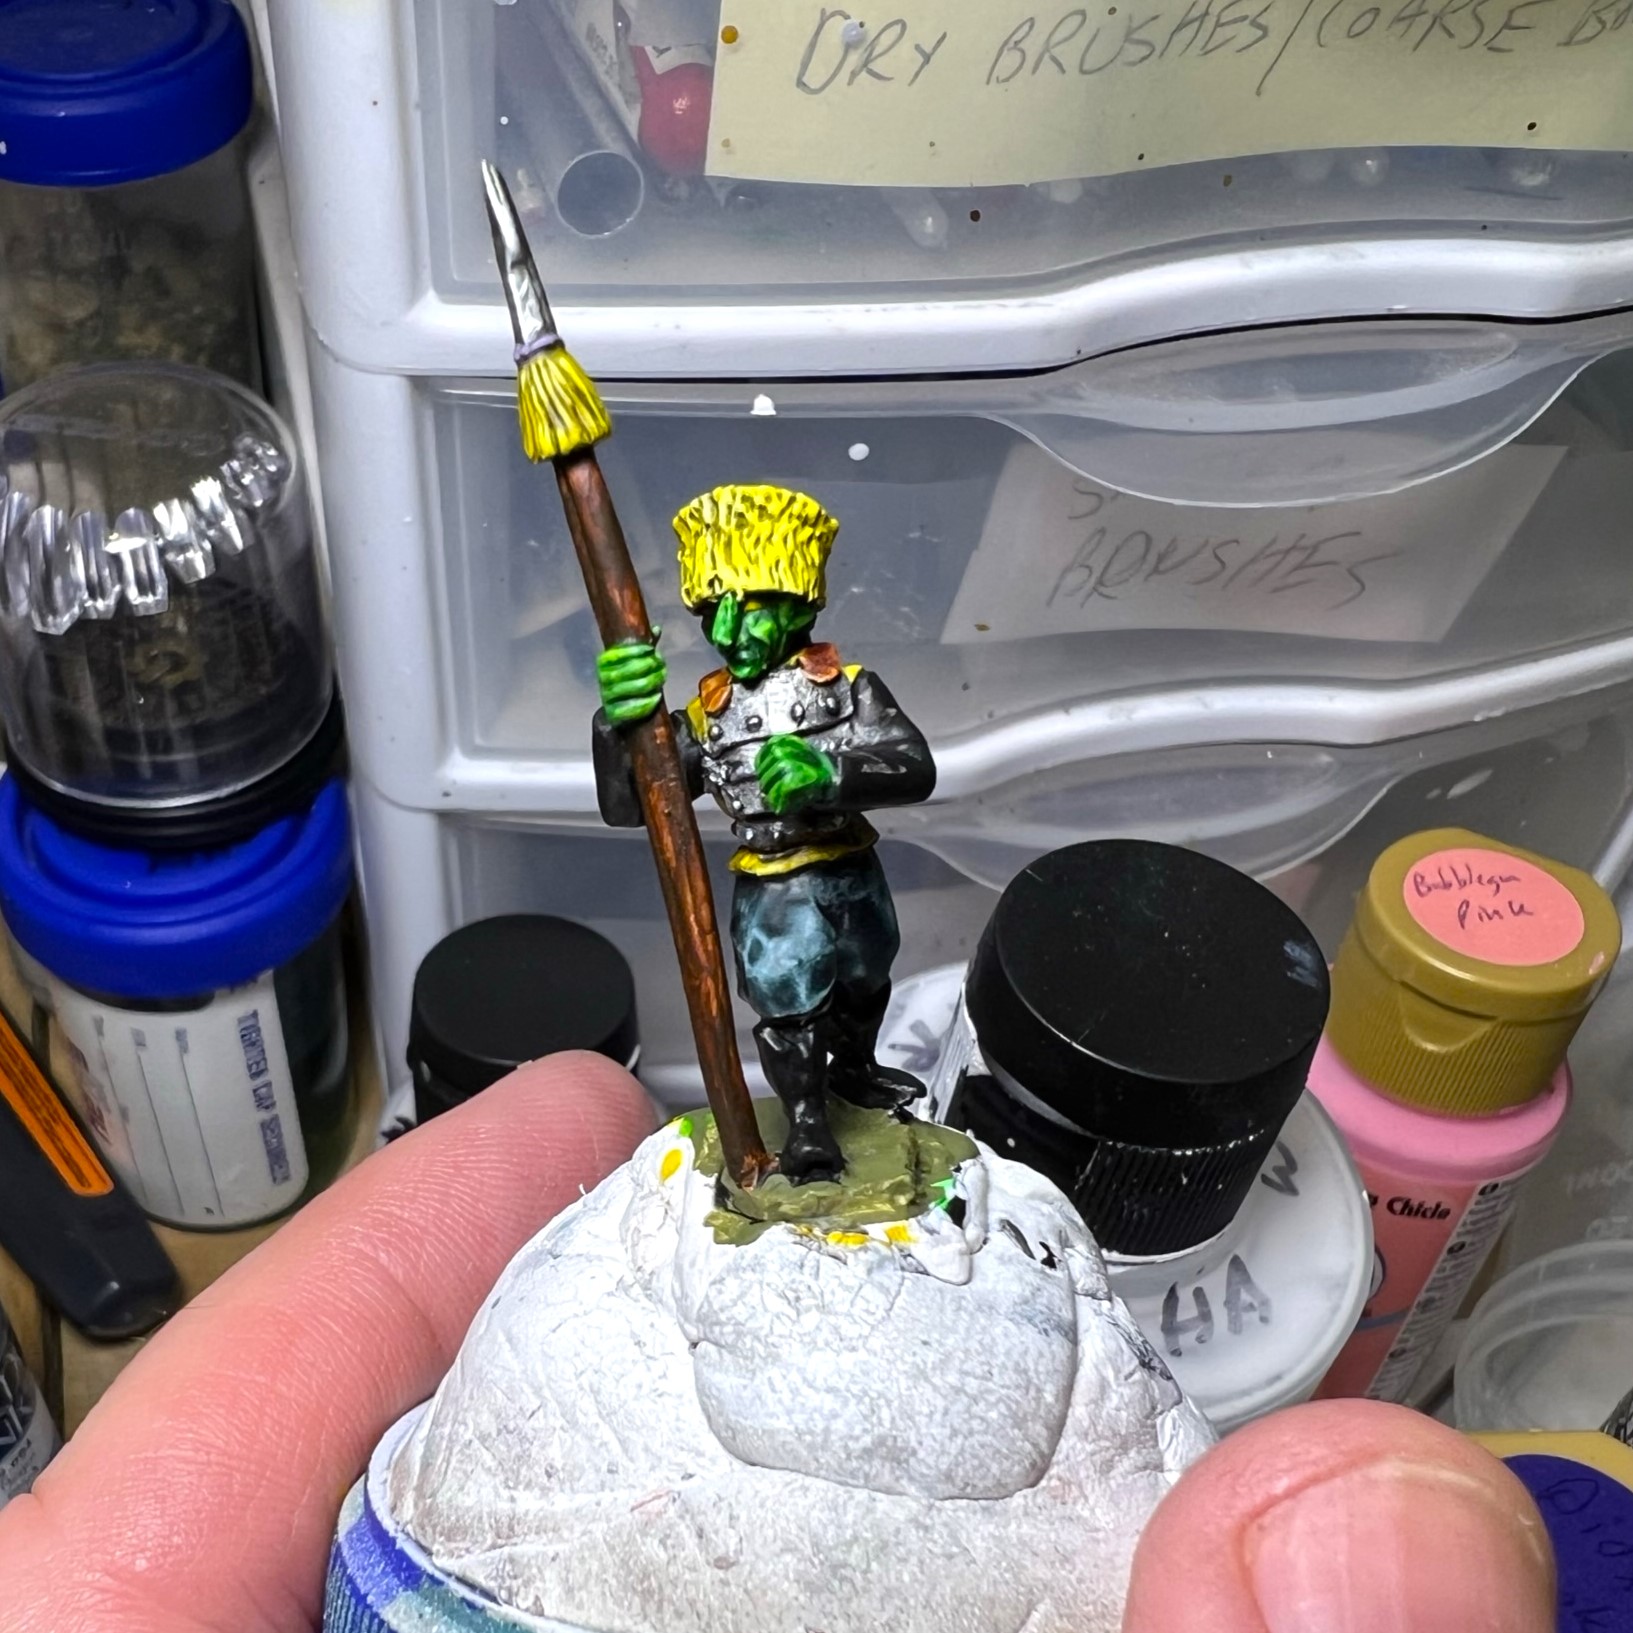
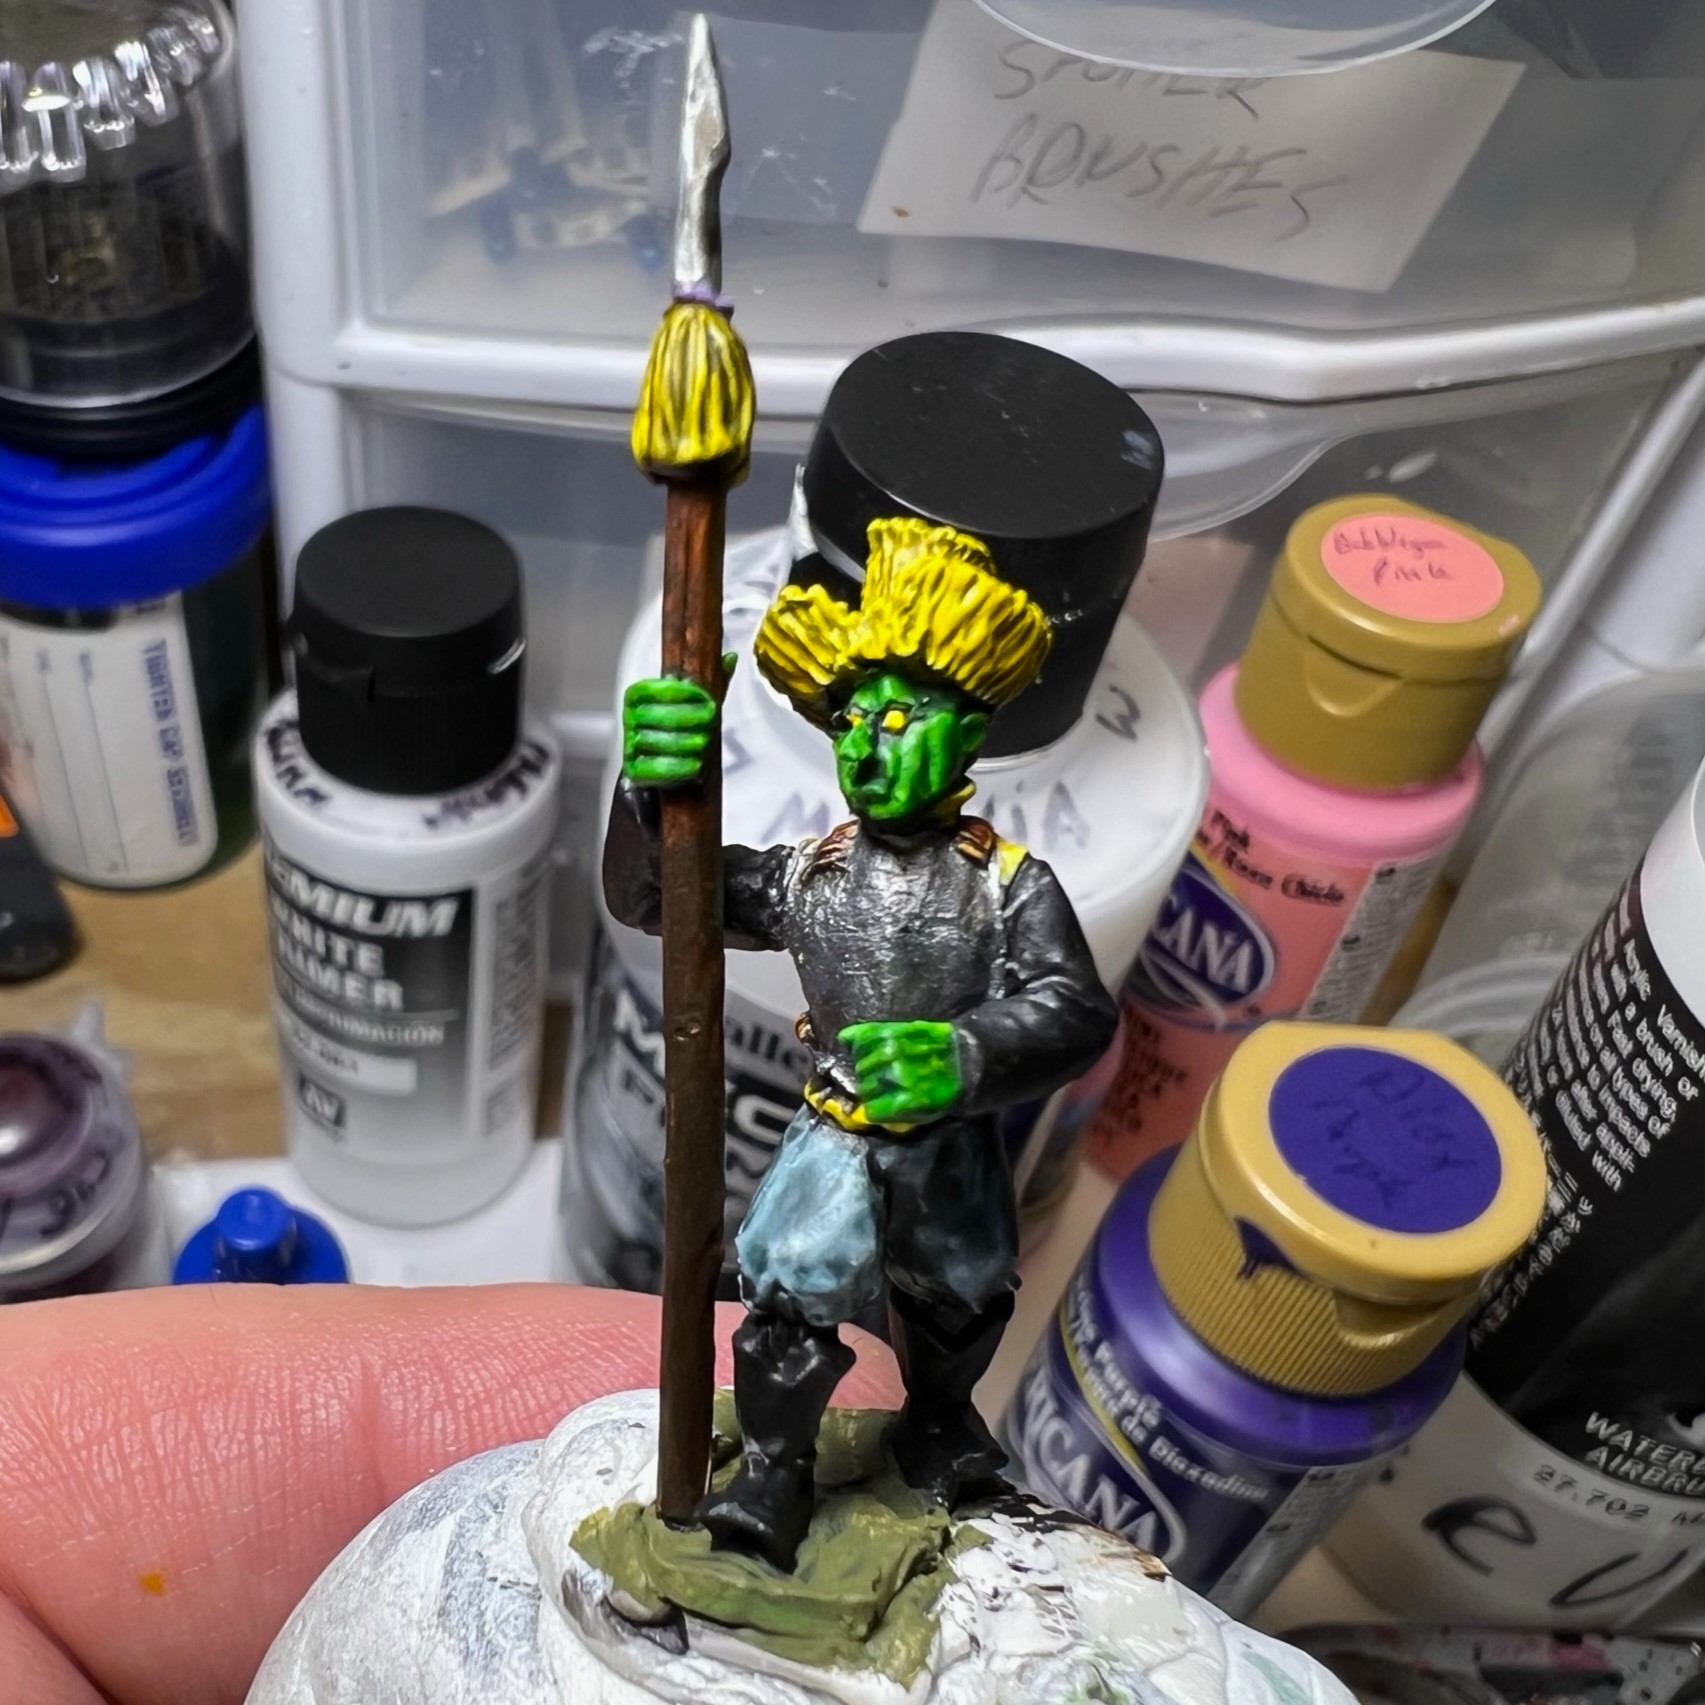
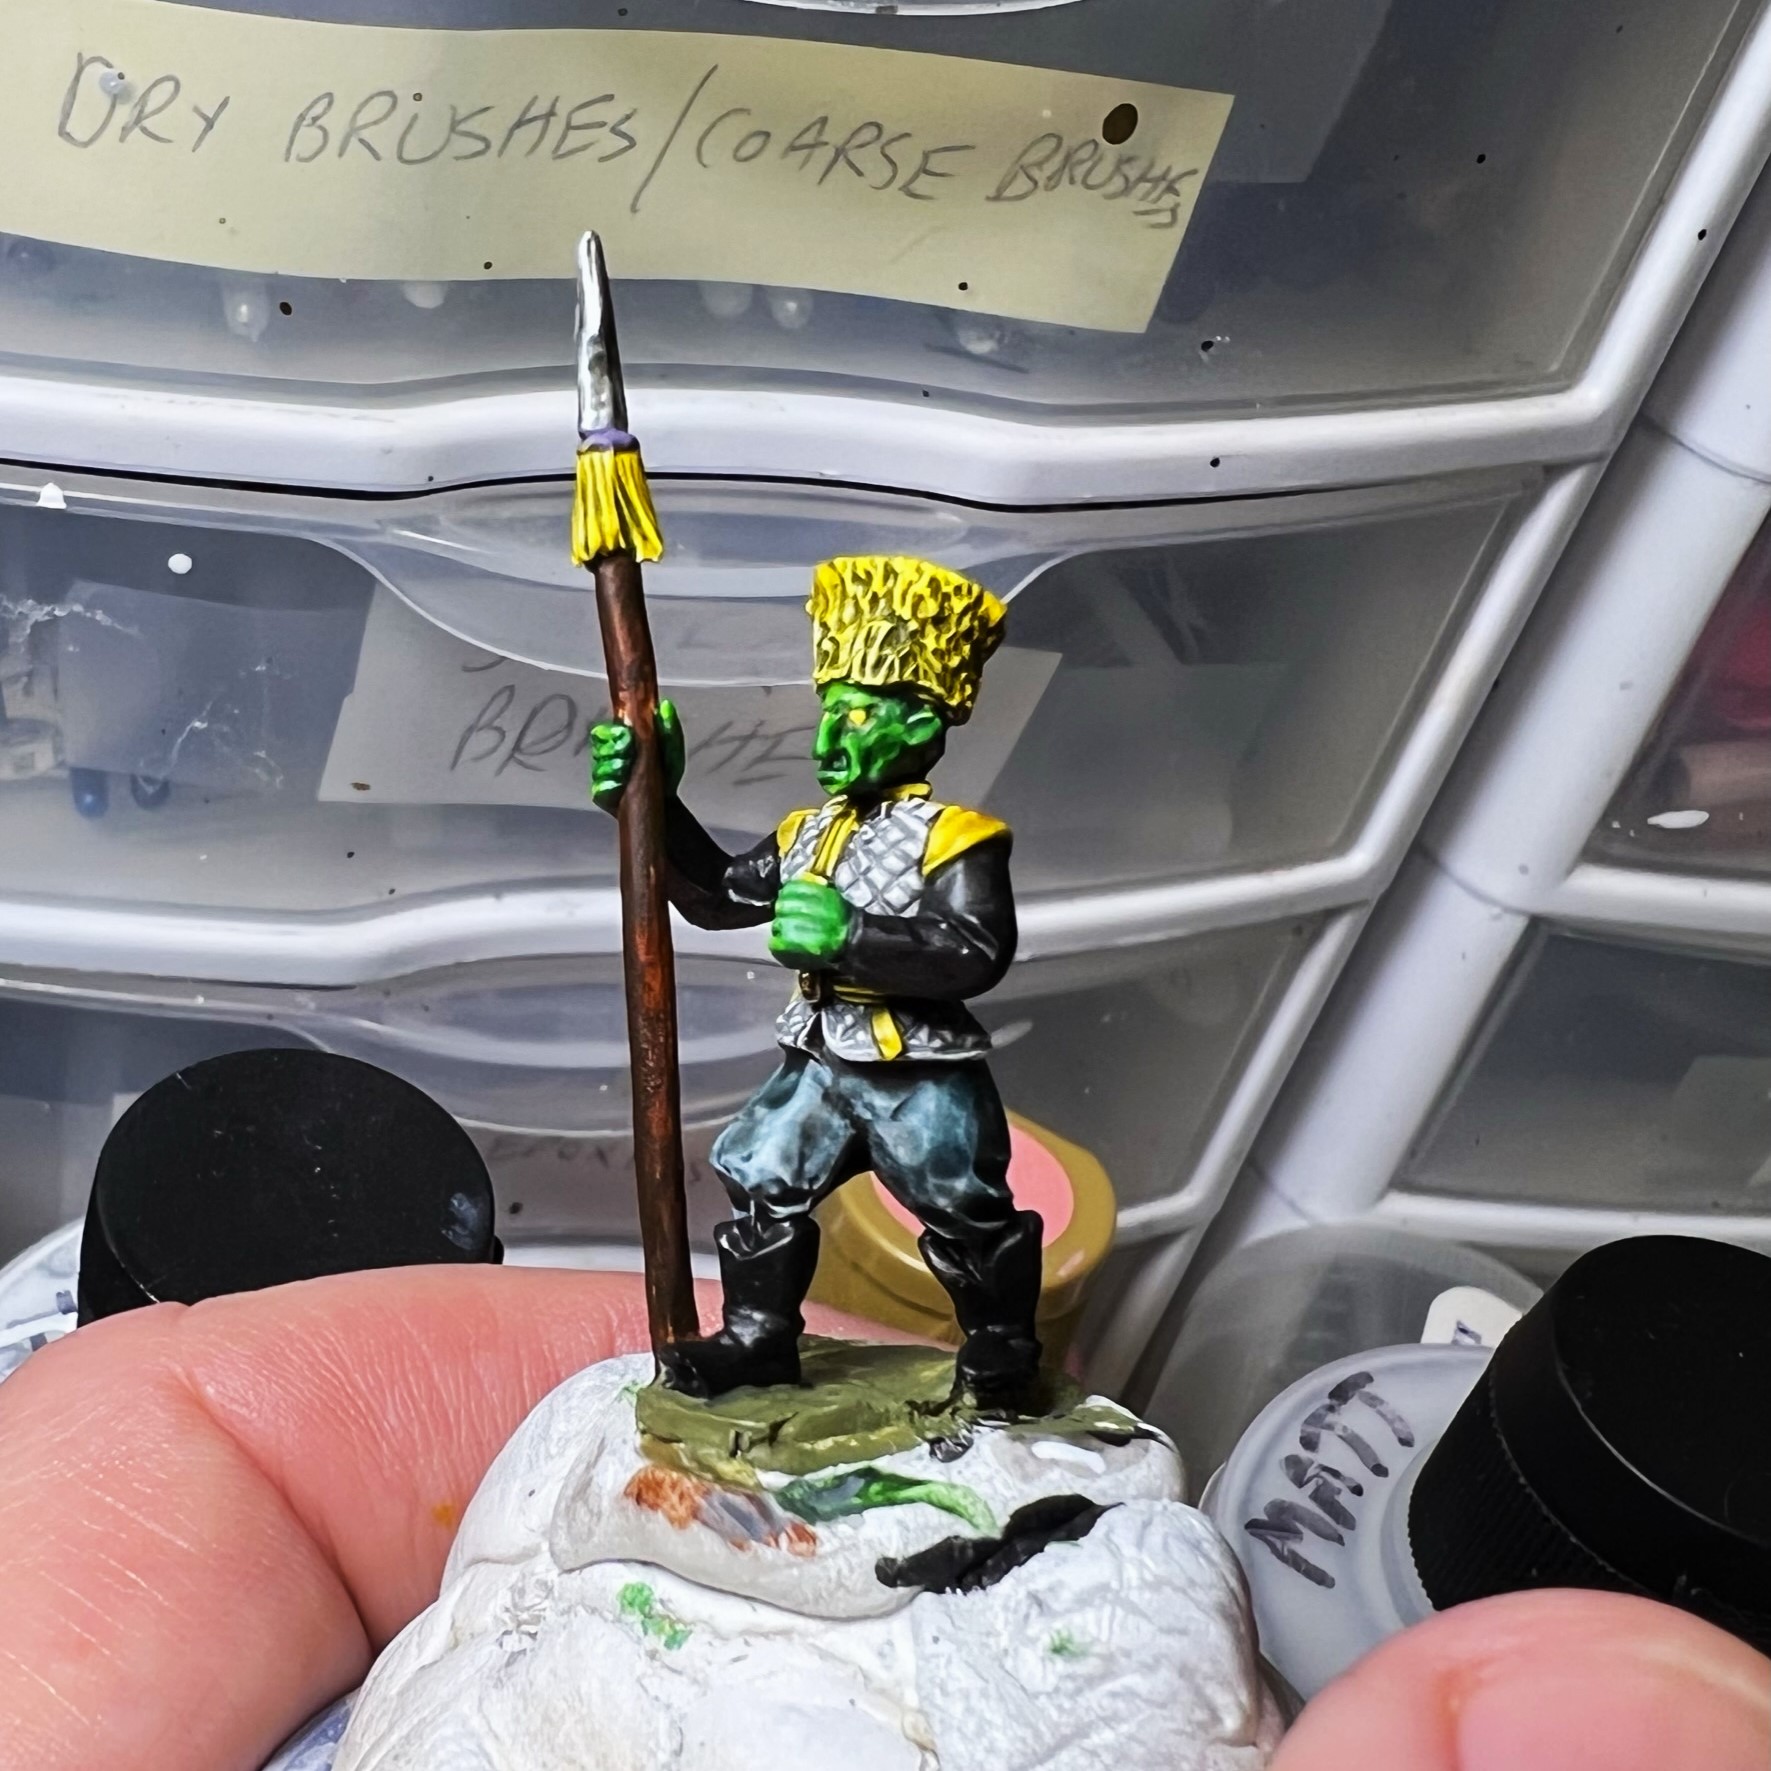
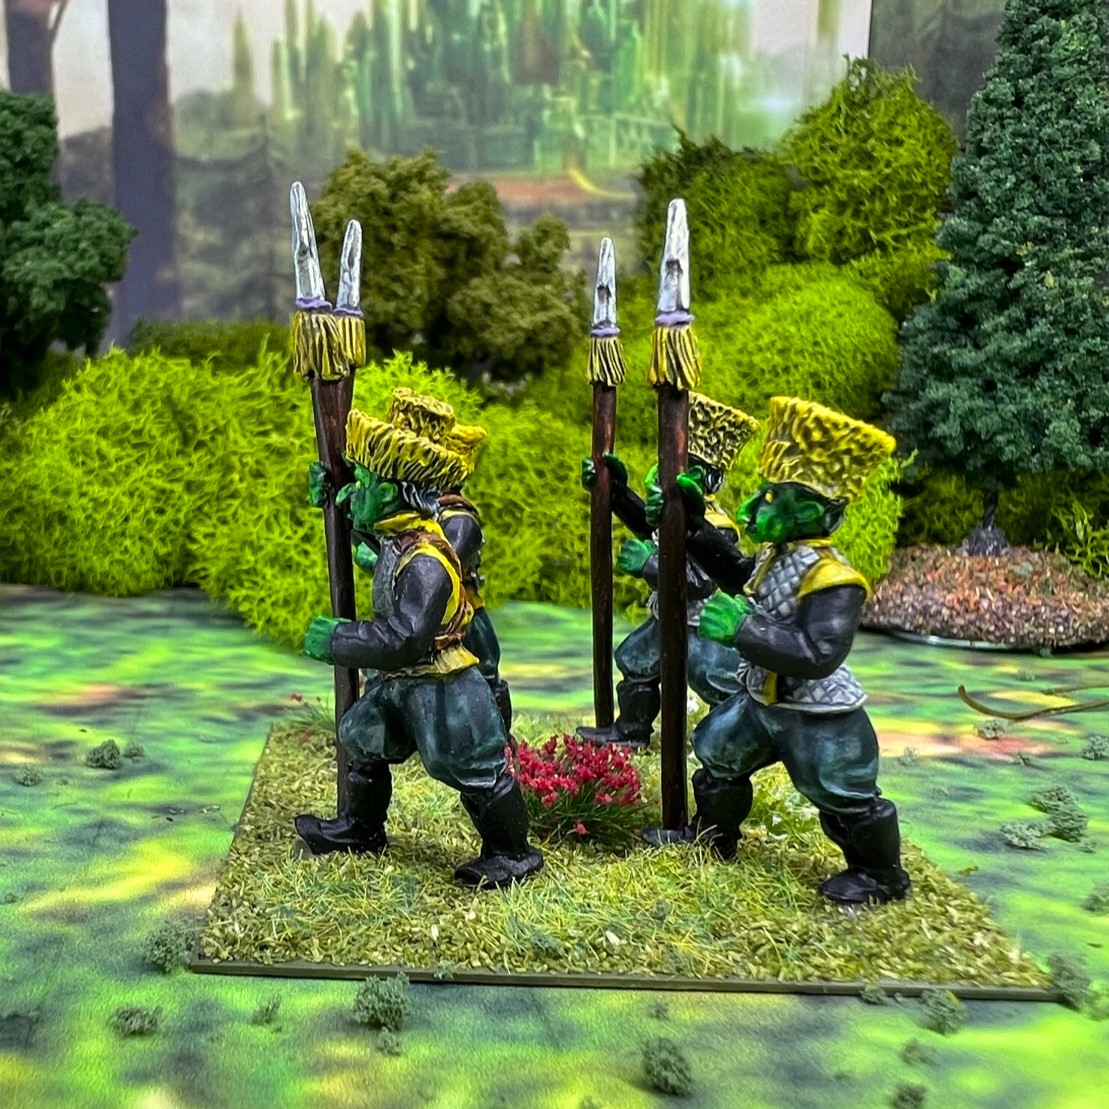
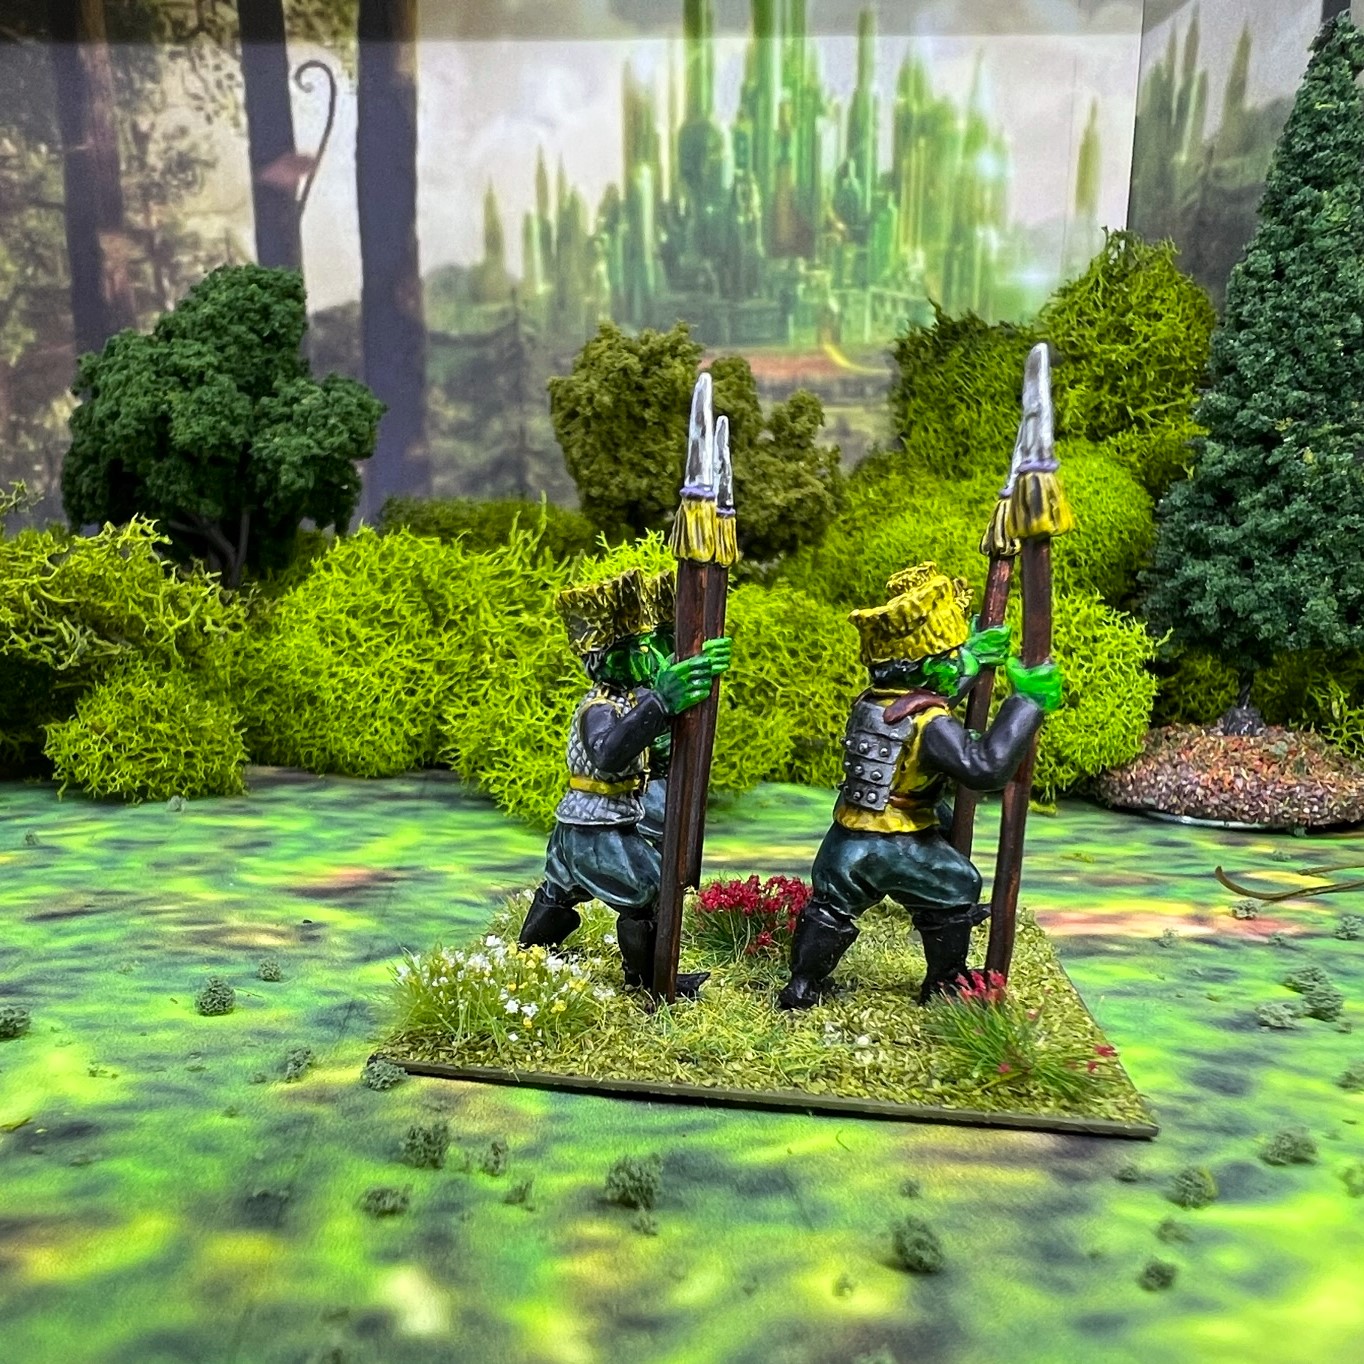
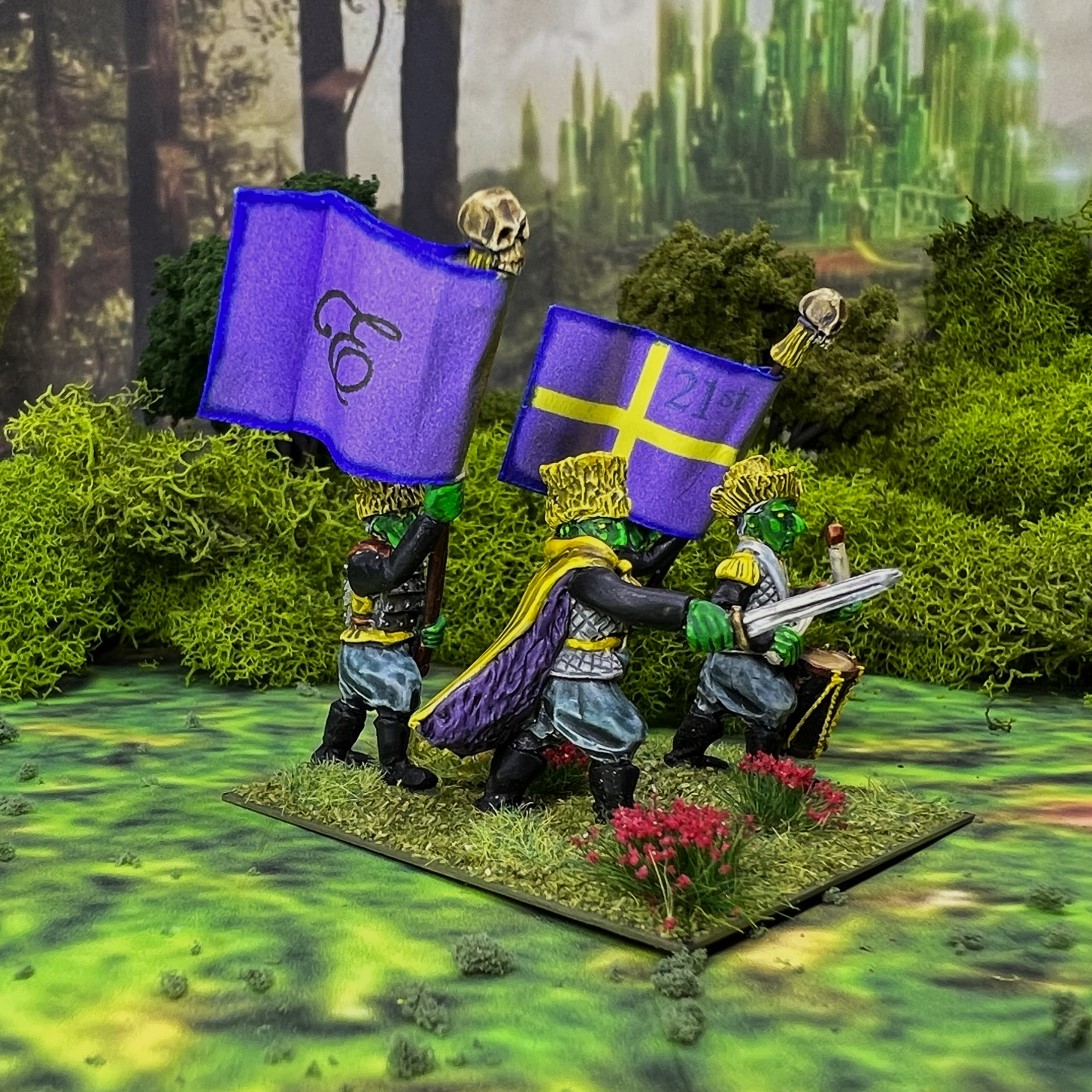
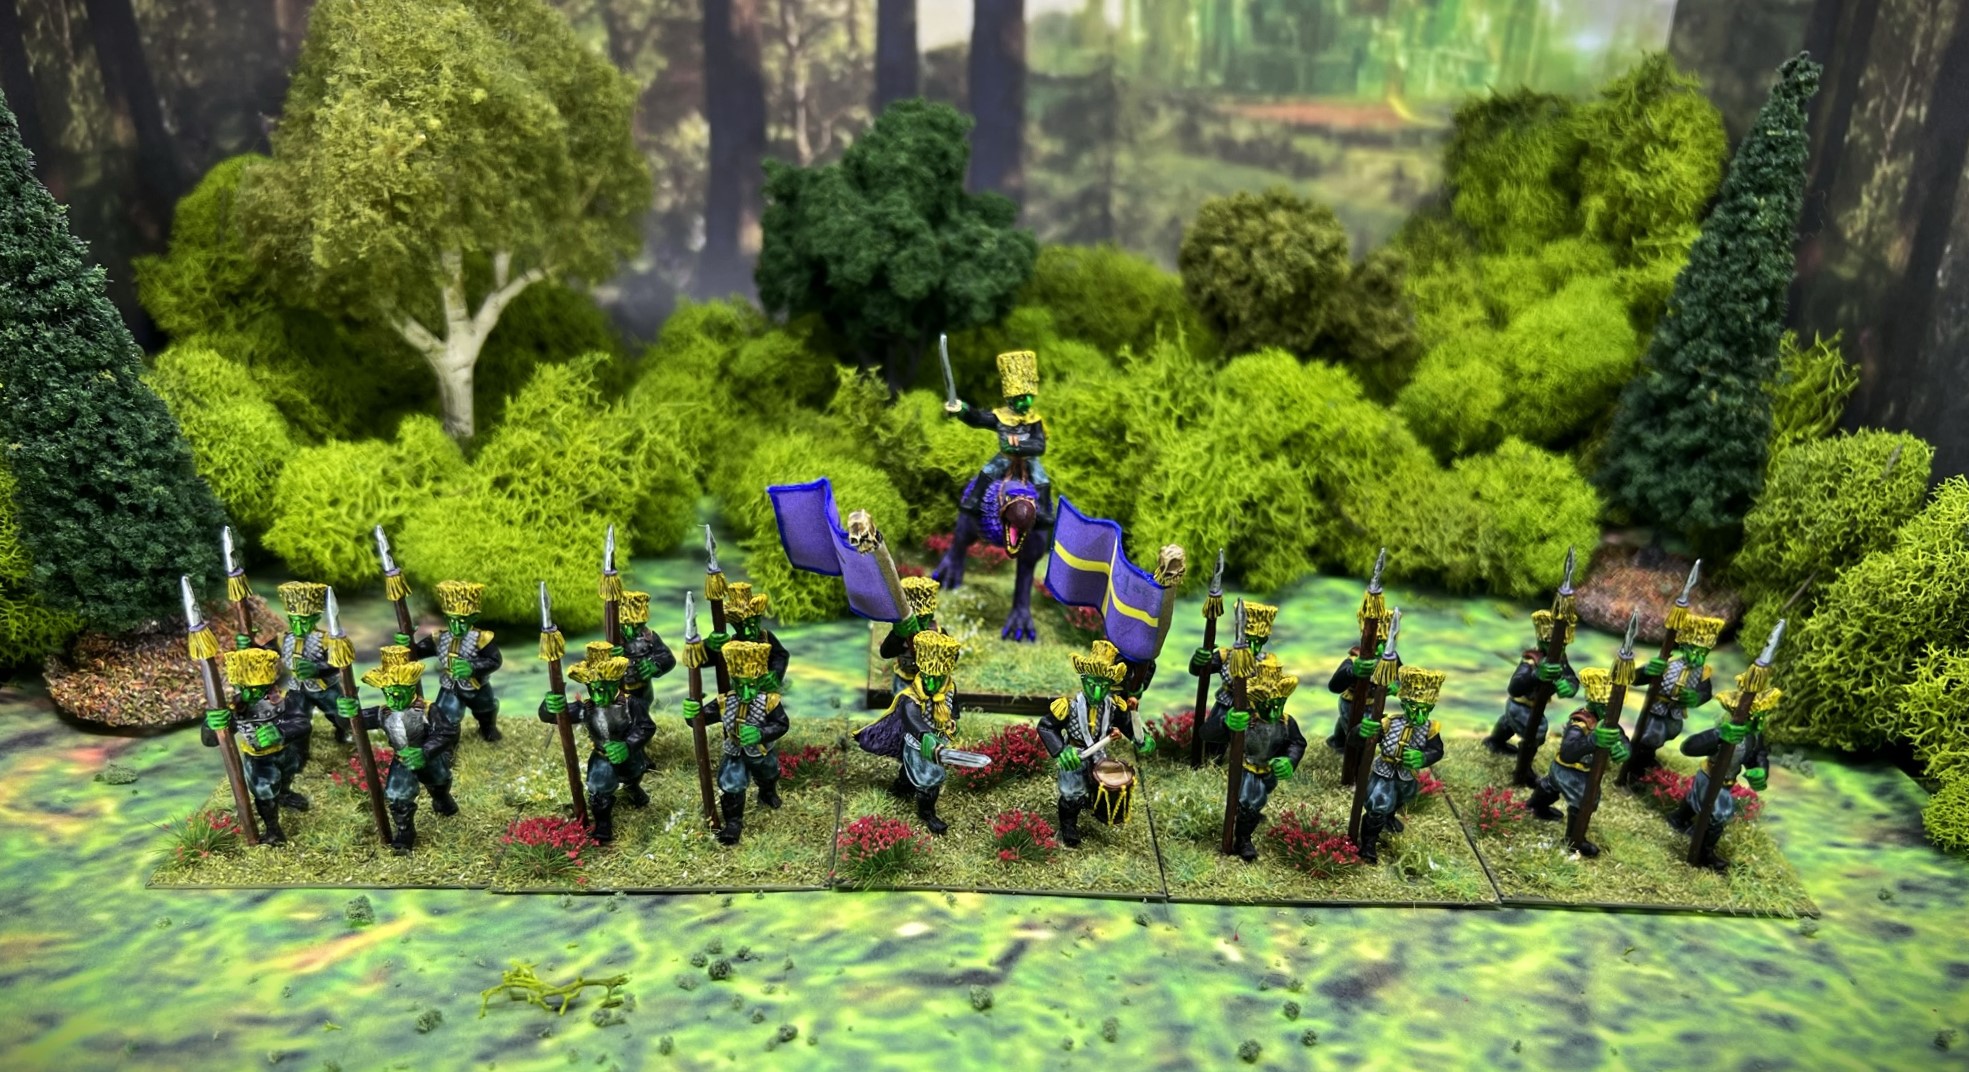
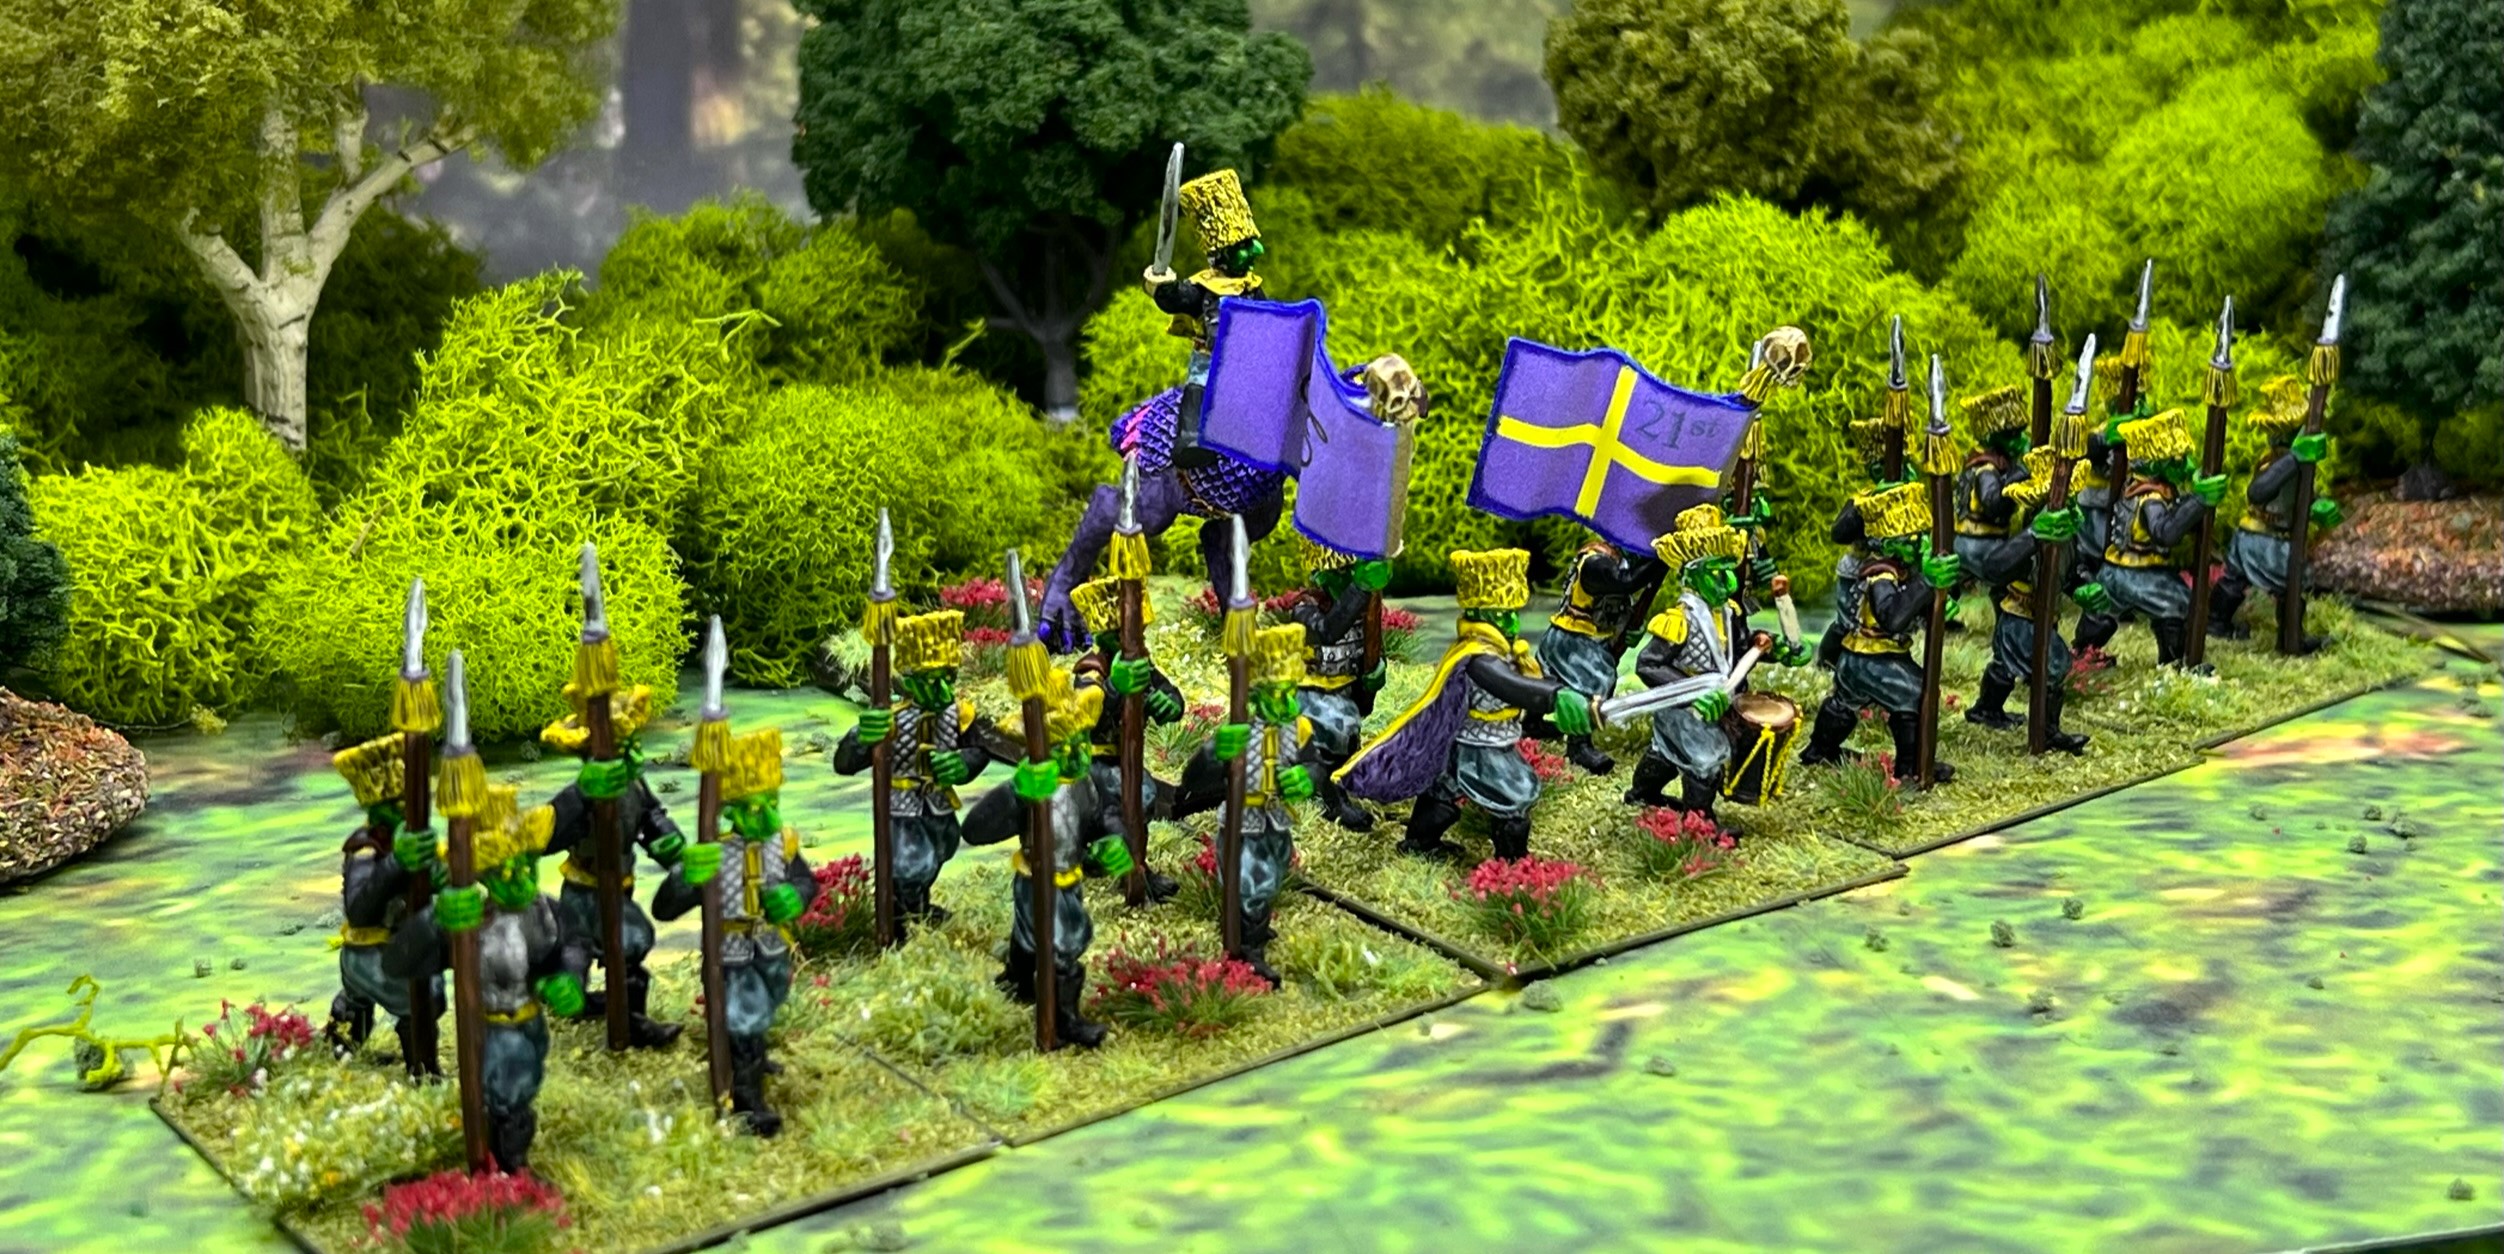
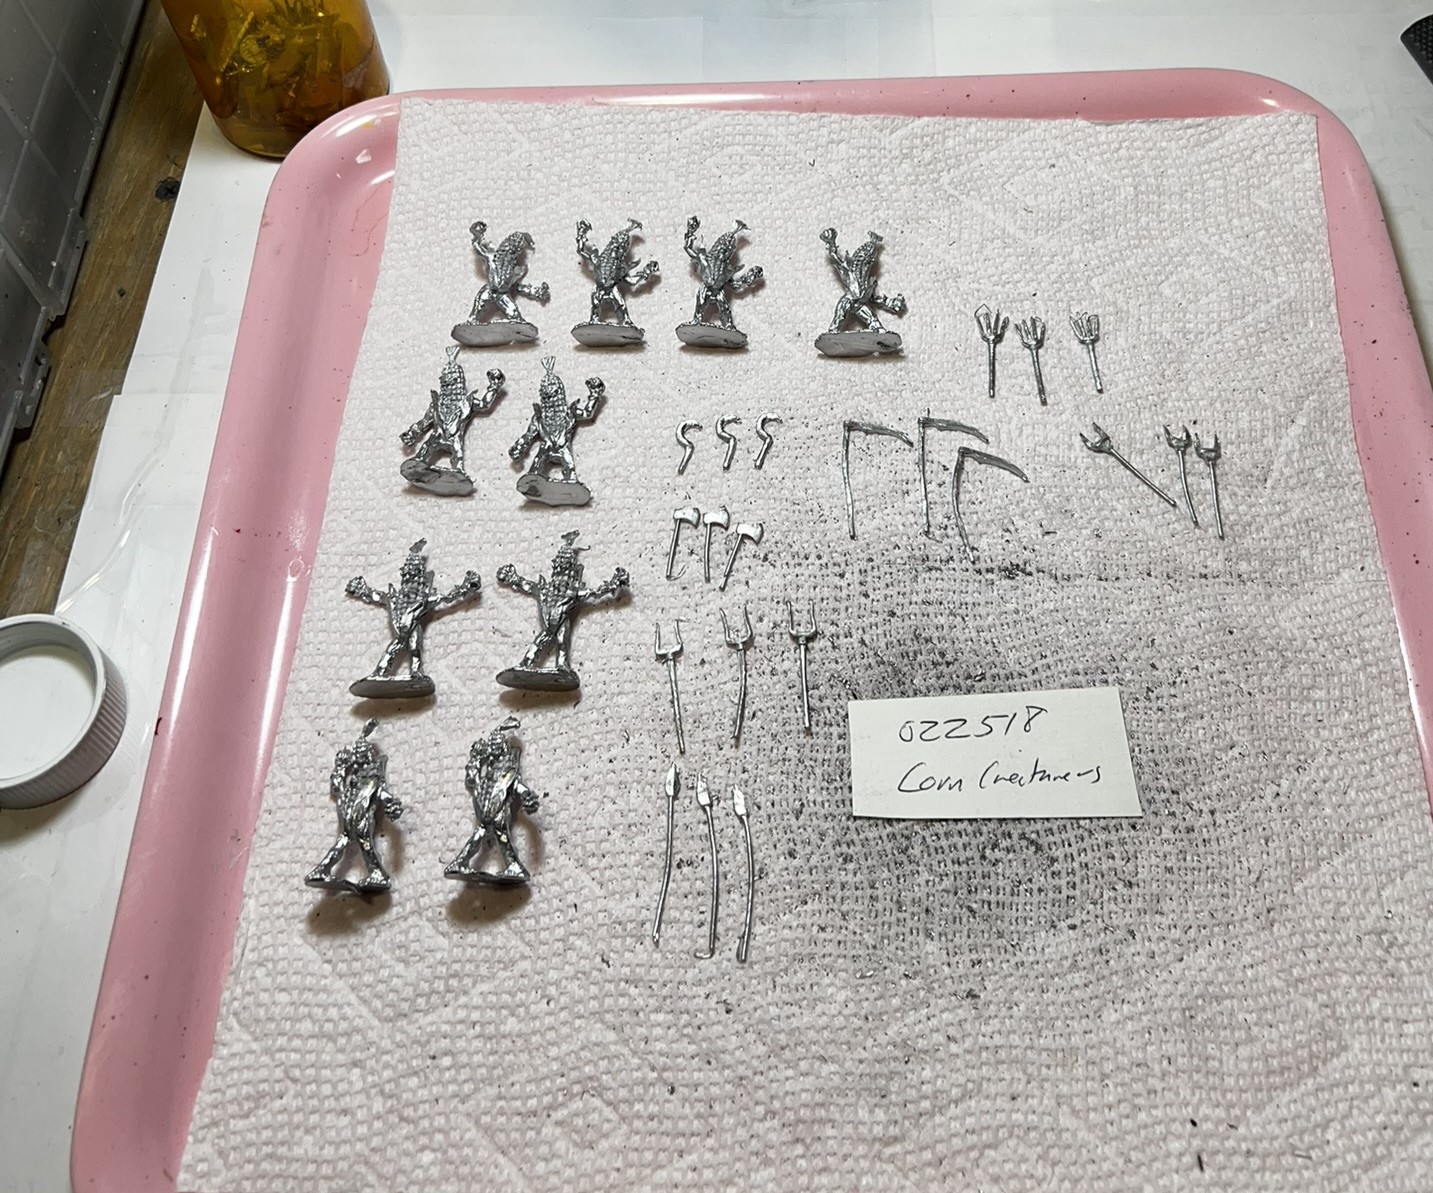
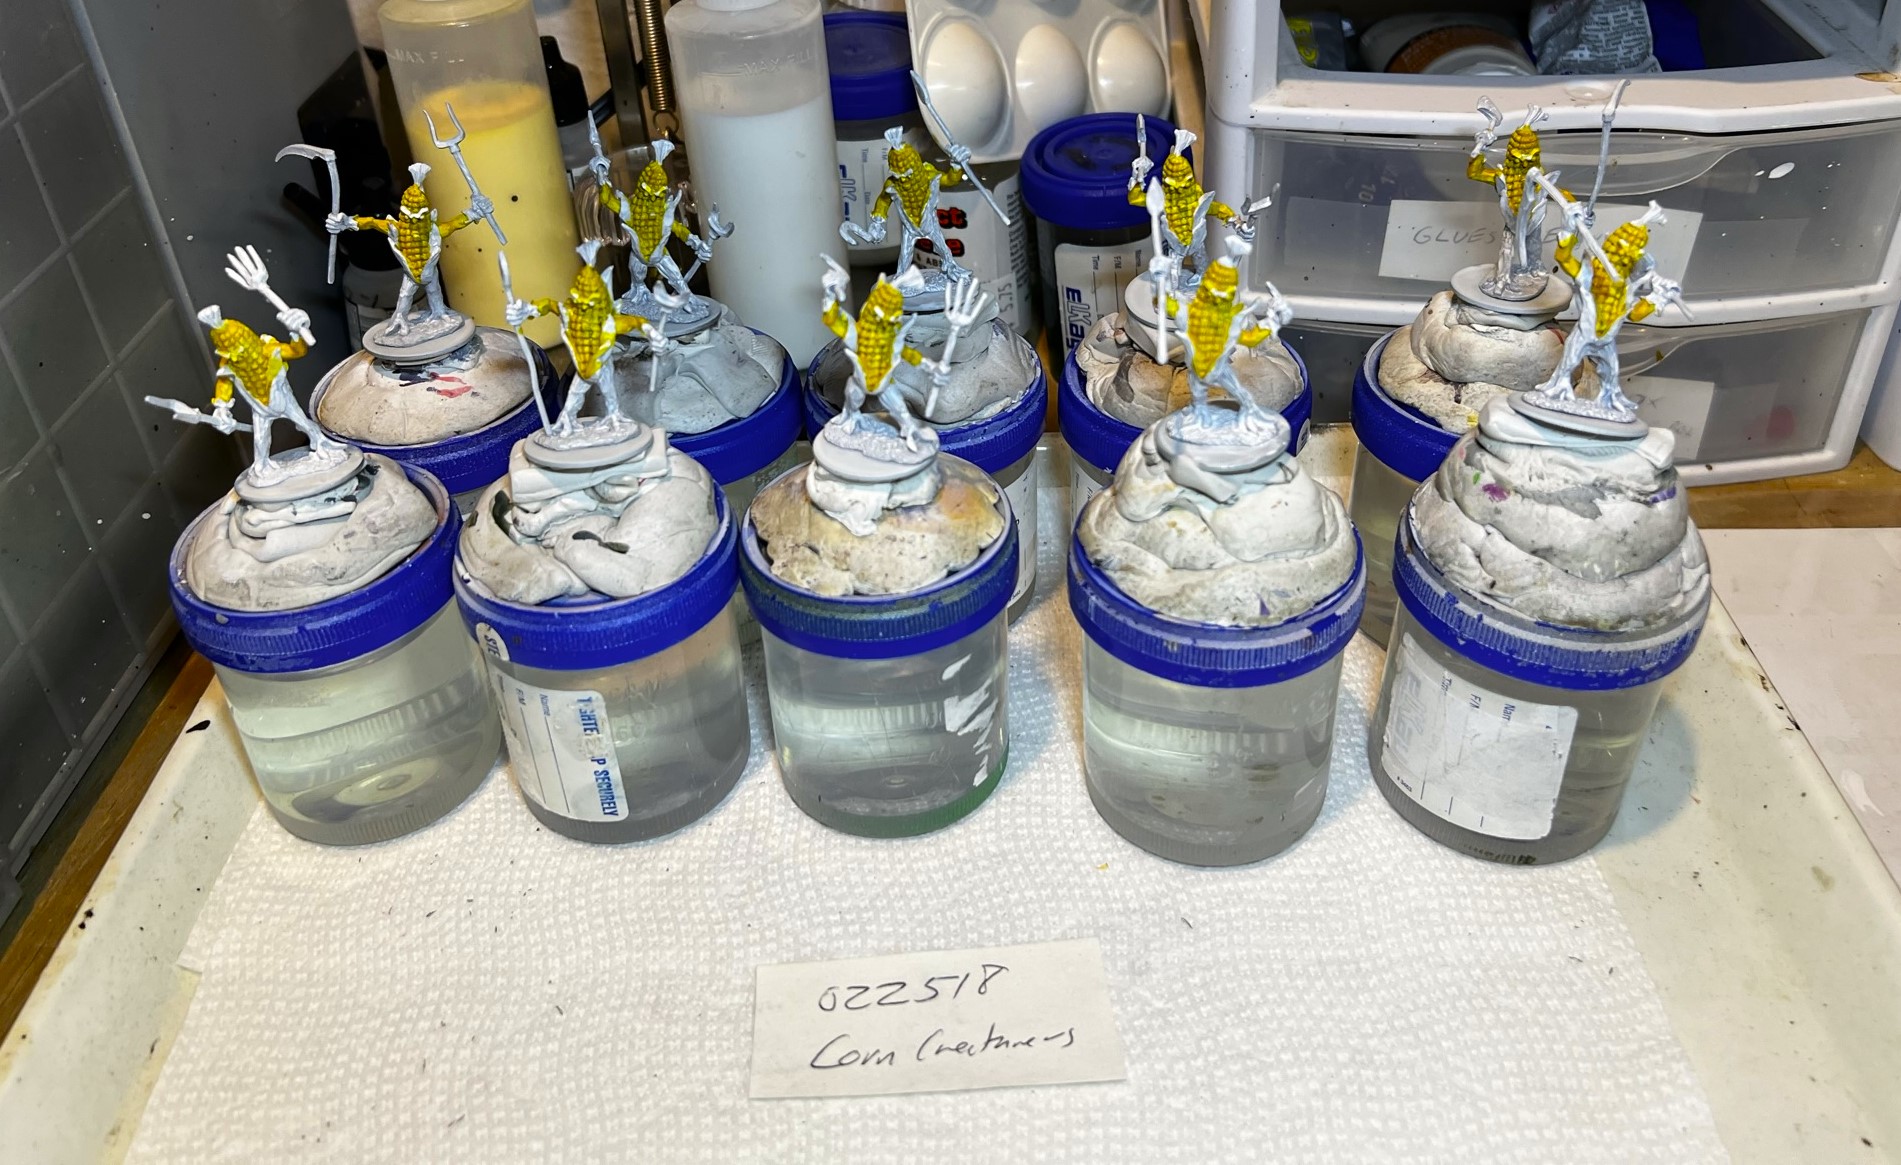
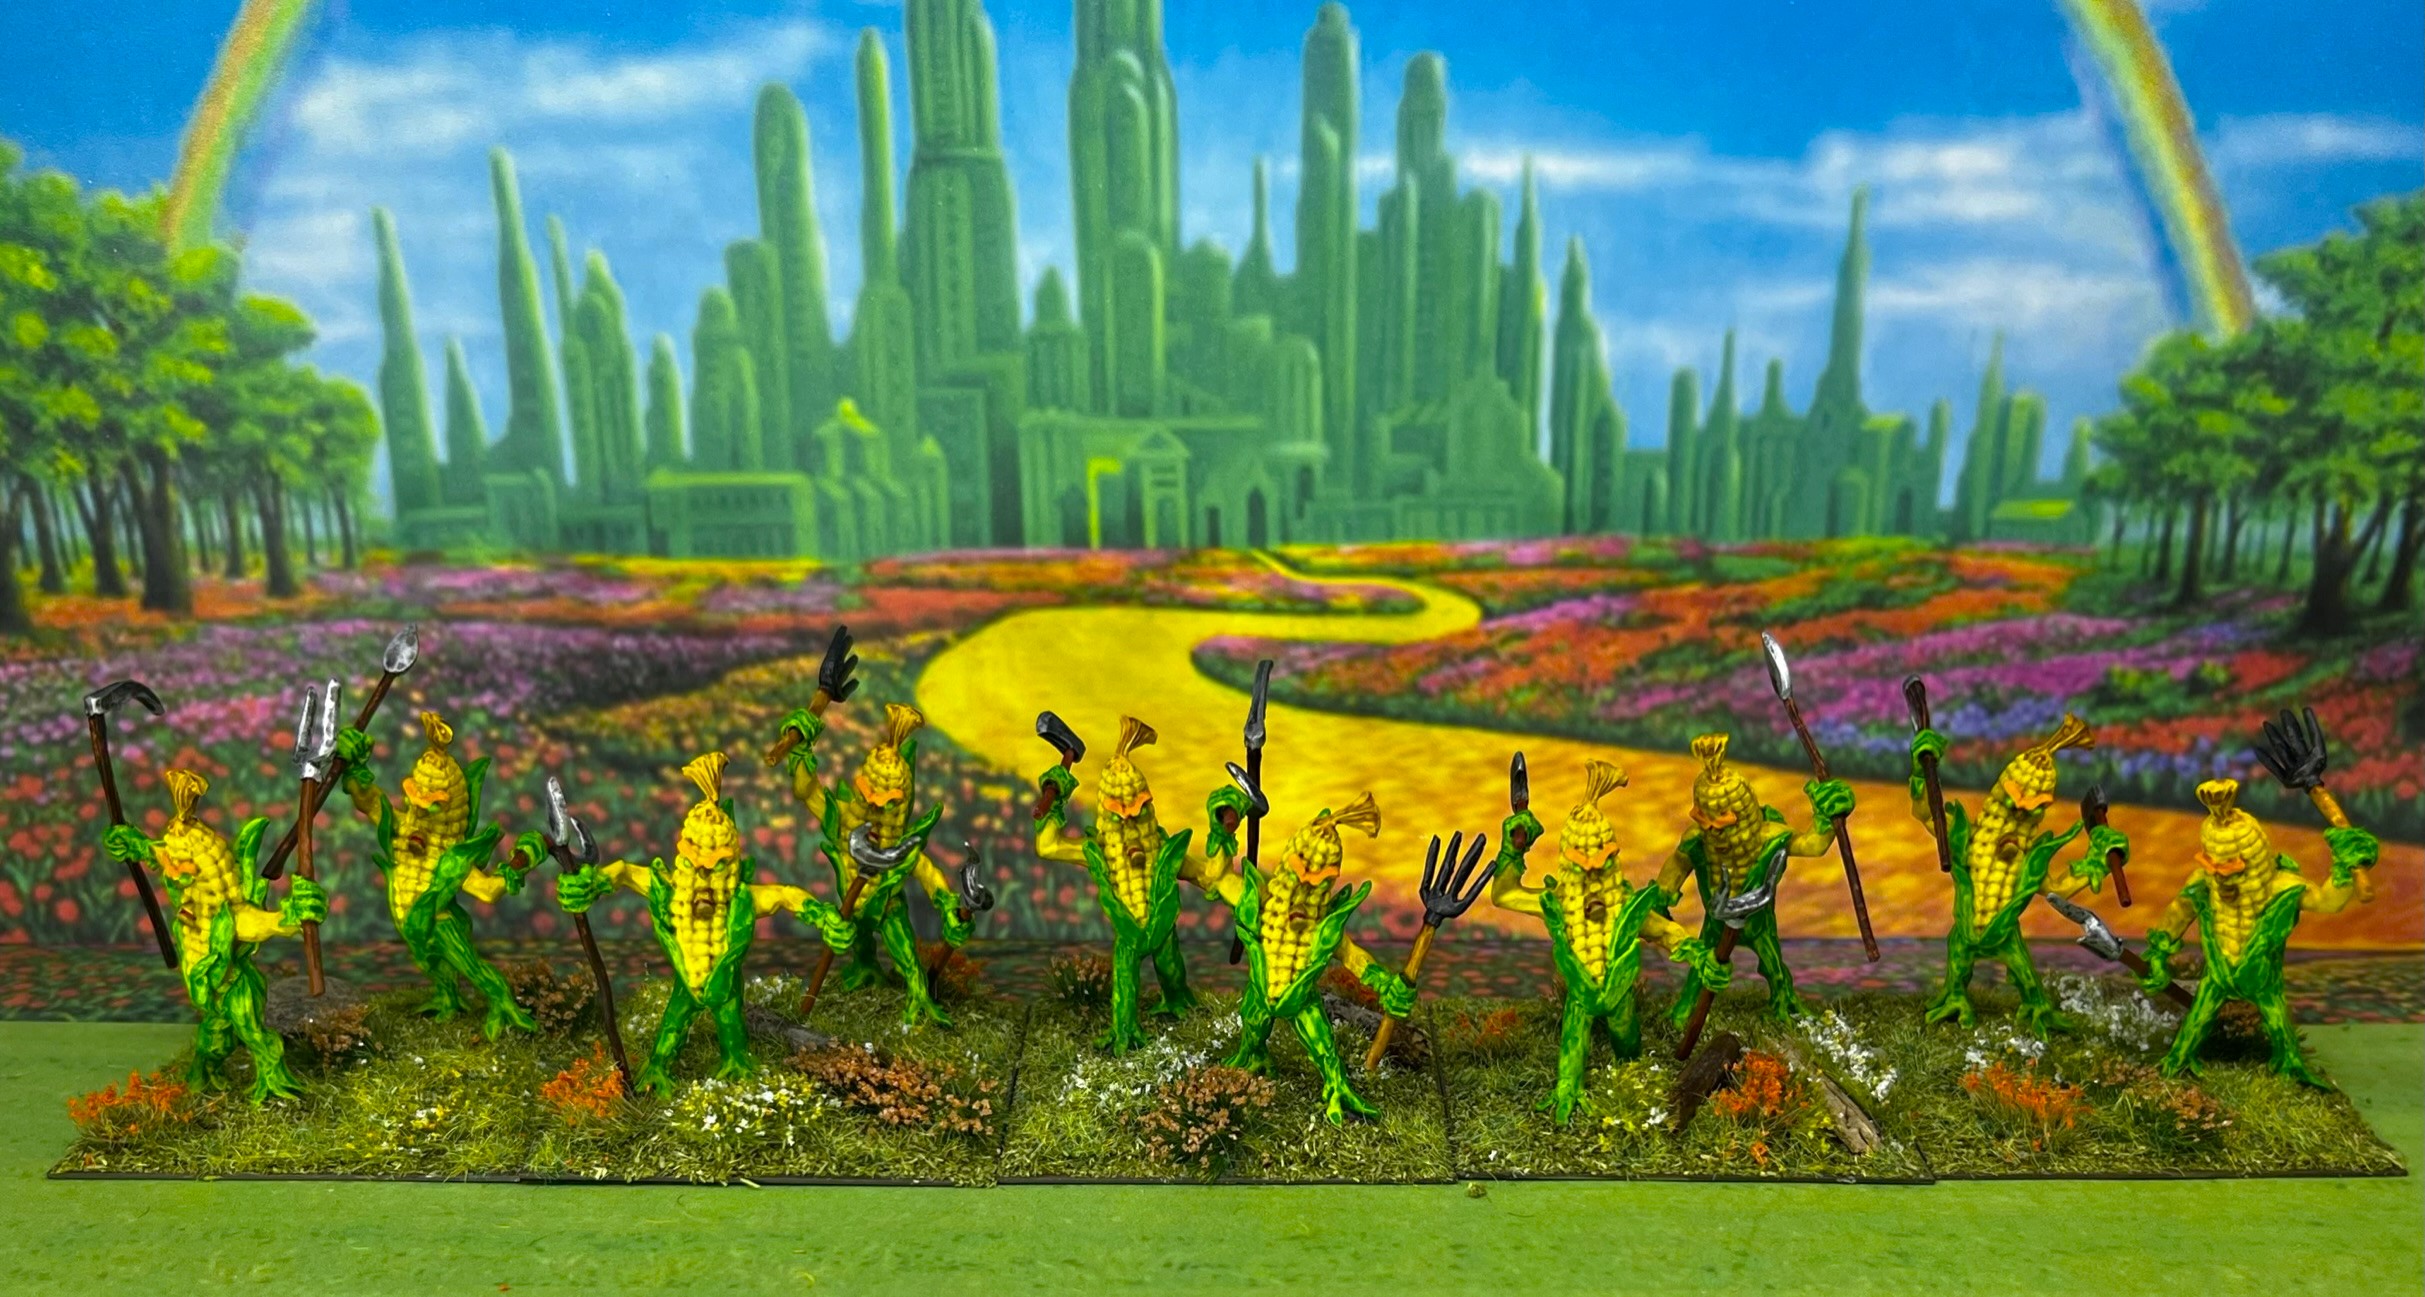
Anyways, in preparation for the upcoming HUZZAH gaming convention in Maine, I have managed to finish off four regiments, plus some leaders and individuals. I will post each group going forward – starting with this one – a regiment of Corn Creatures, yet another anthropomorphic Ozz unit. I already called the Carrot Creatures Regiment the CCR in my last post – so let’s just refer to these as the Corn Creatures, or CC. The CC are part of the forces of the Great Land of Harvest and their SKU# is OZZ518, and can be seen here.
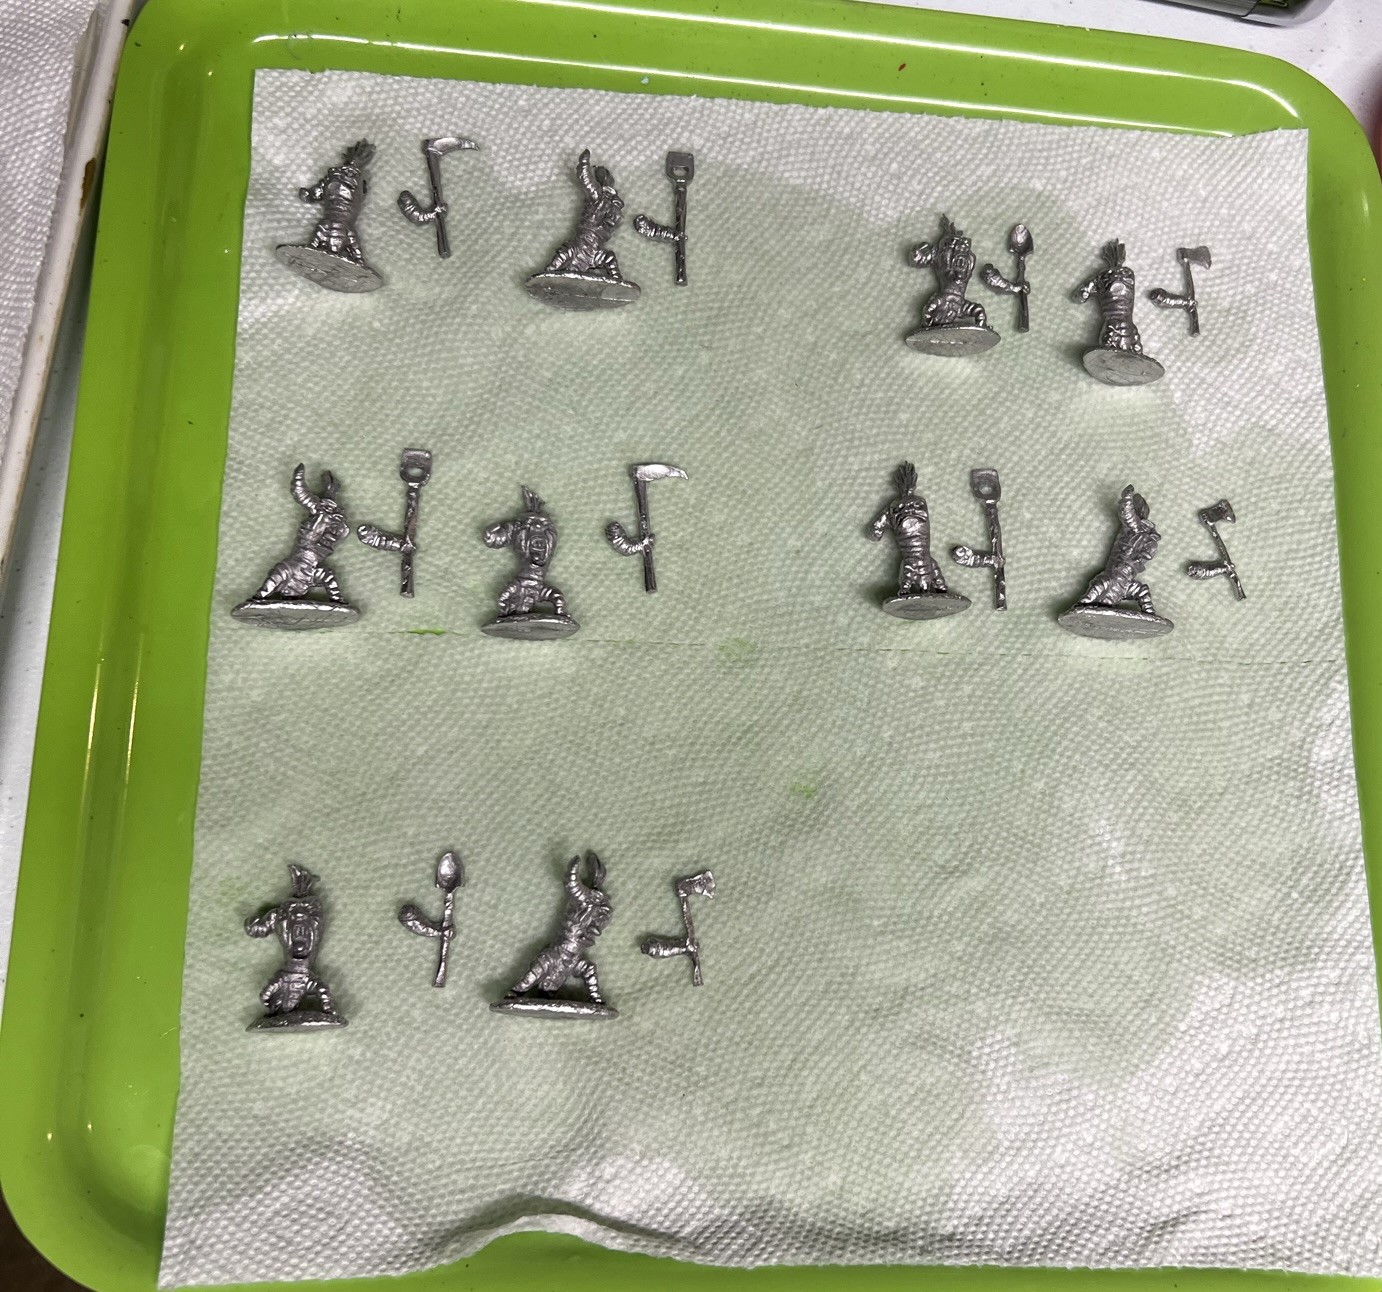
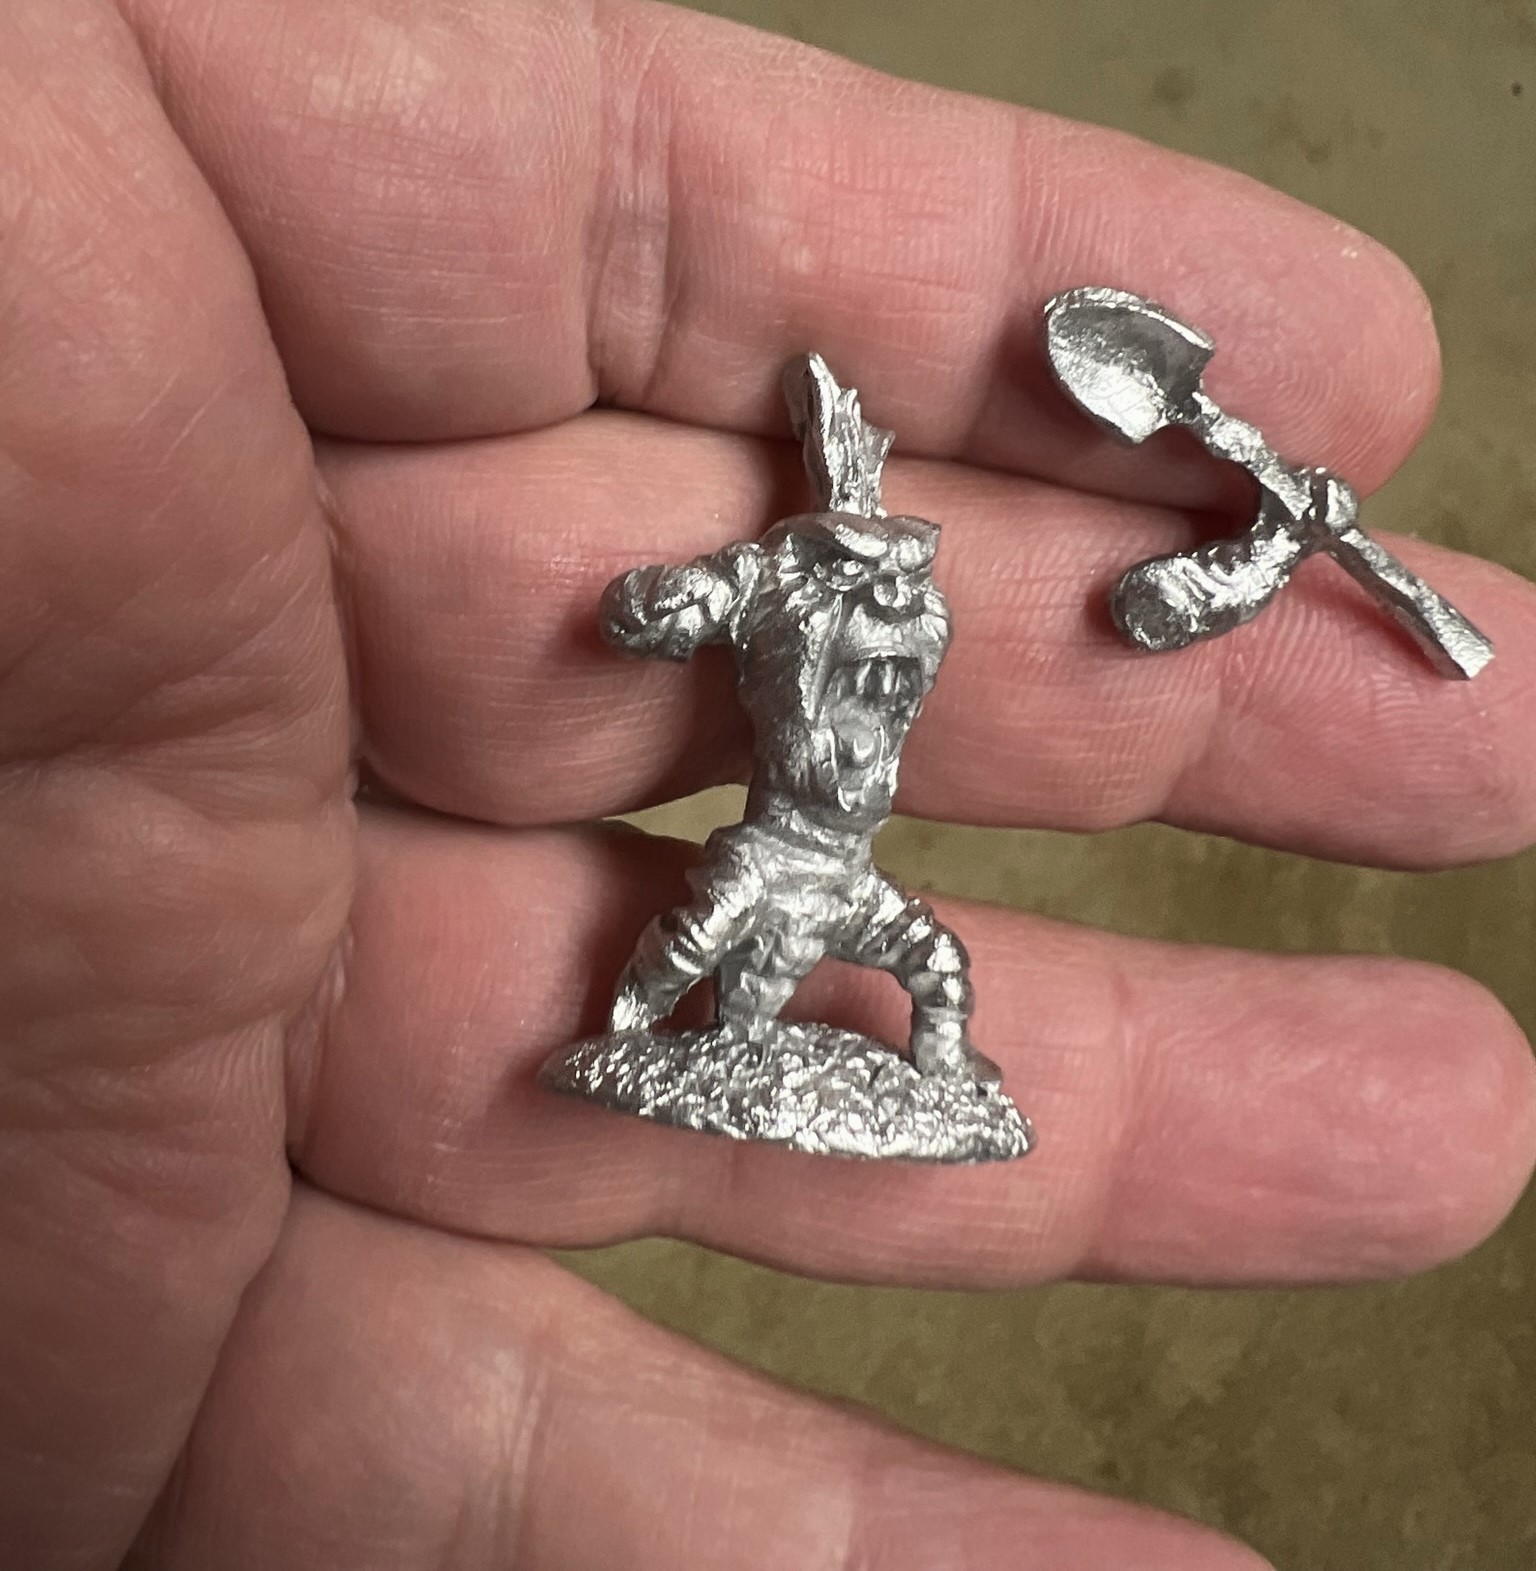
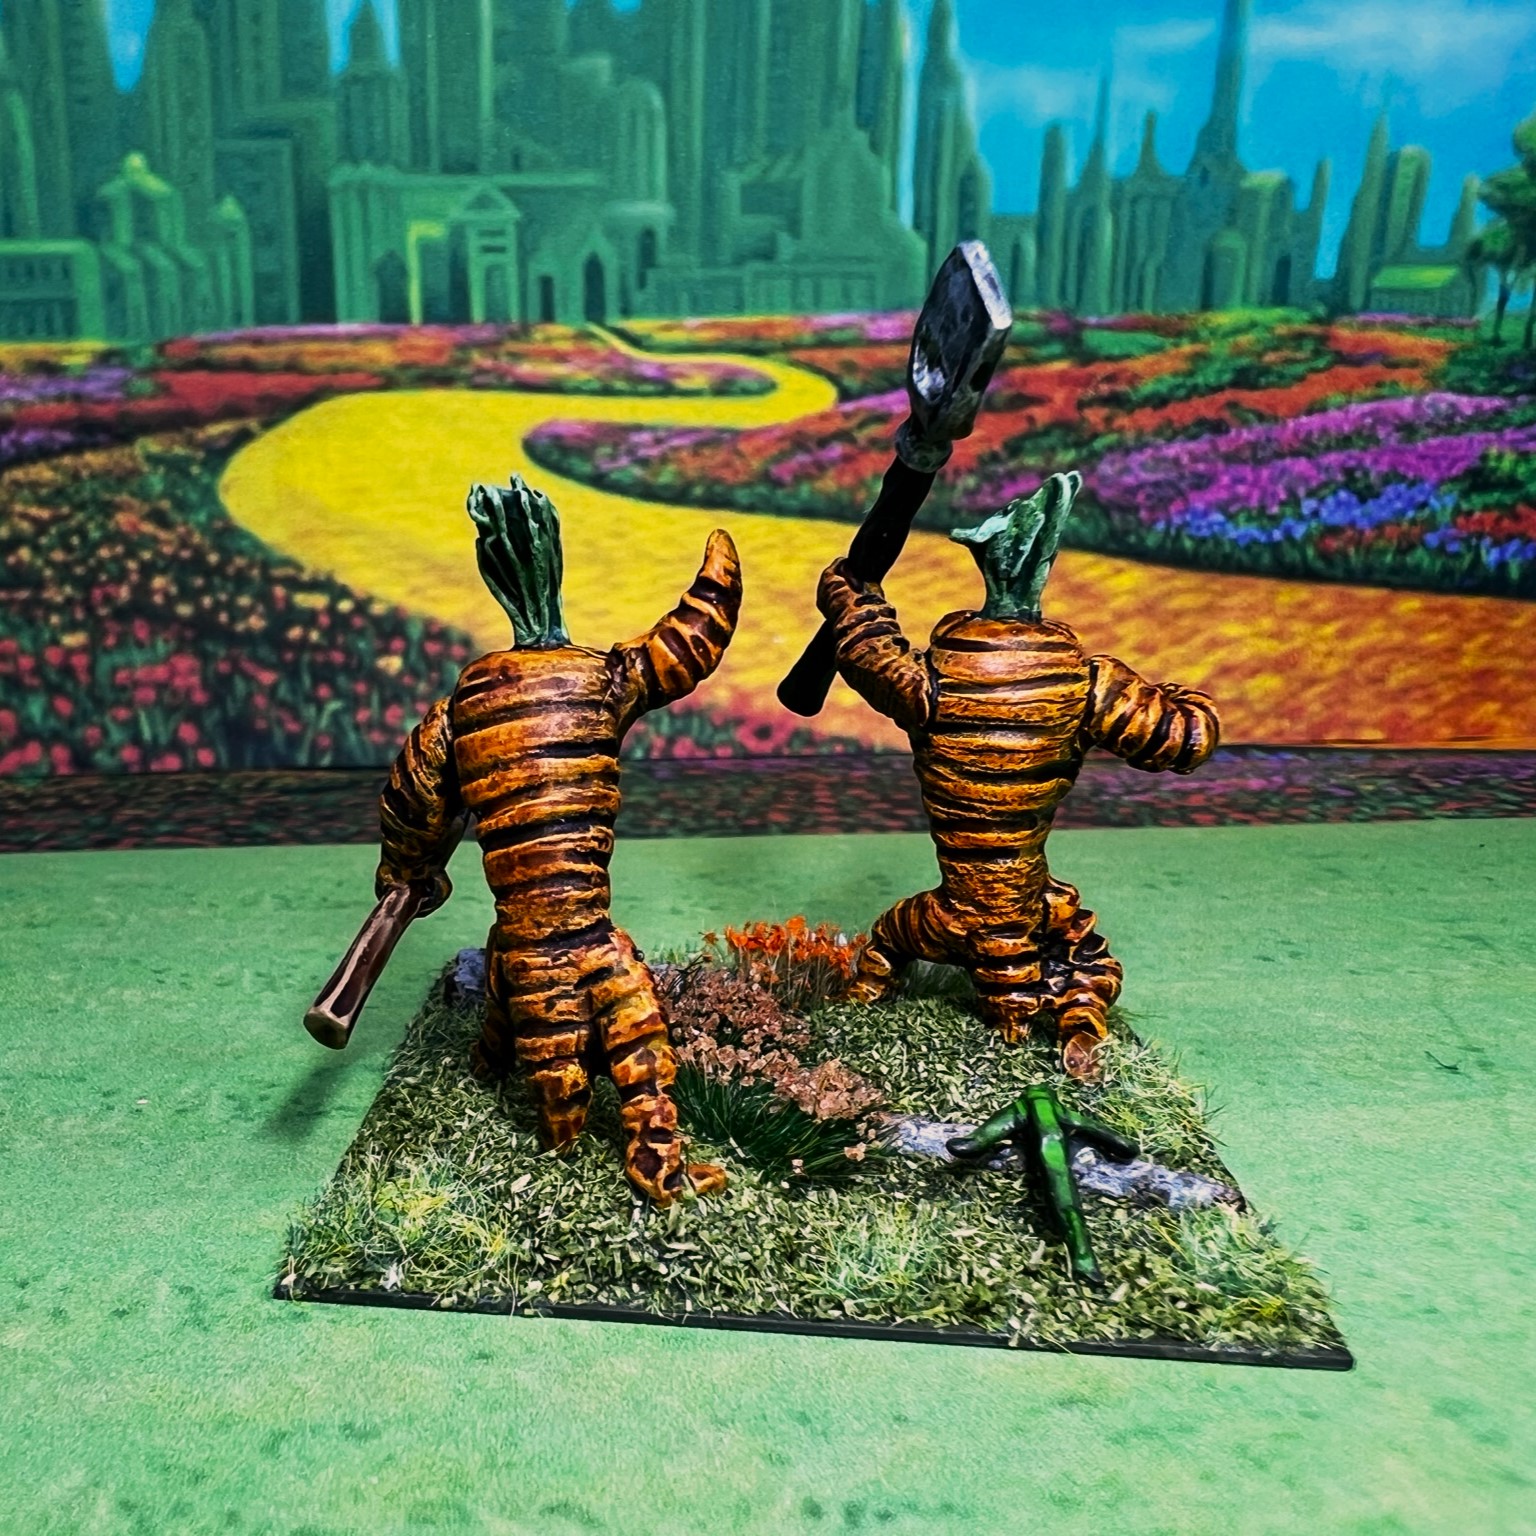
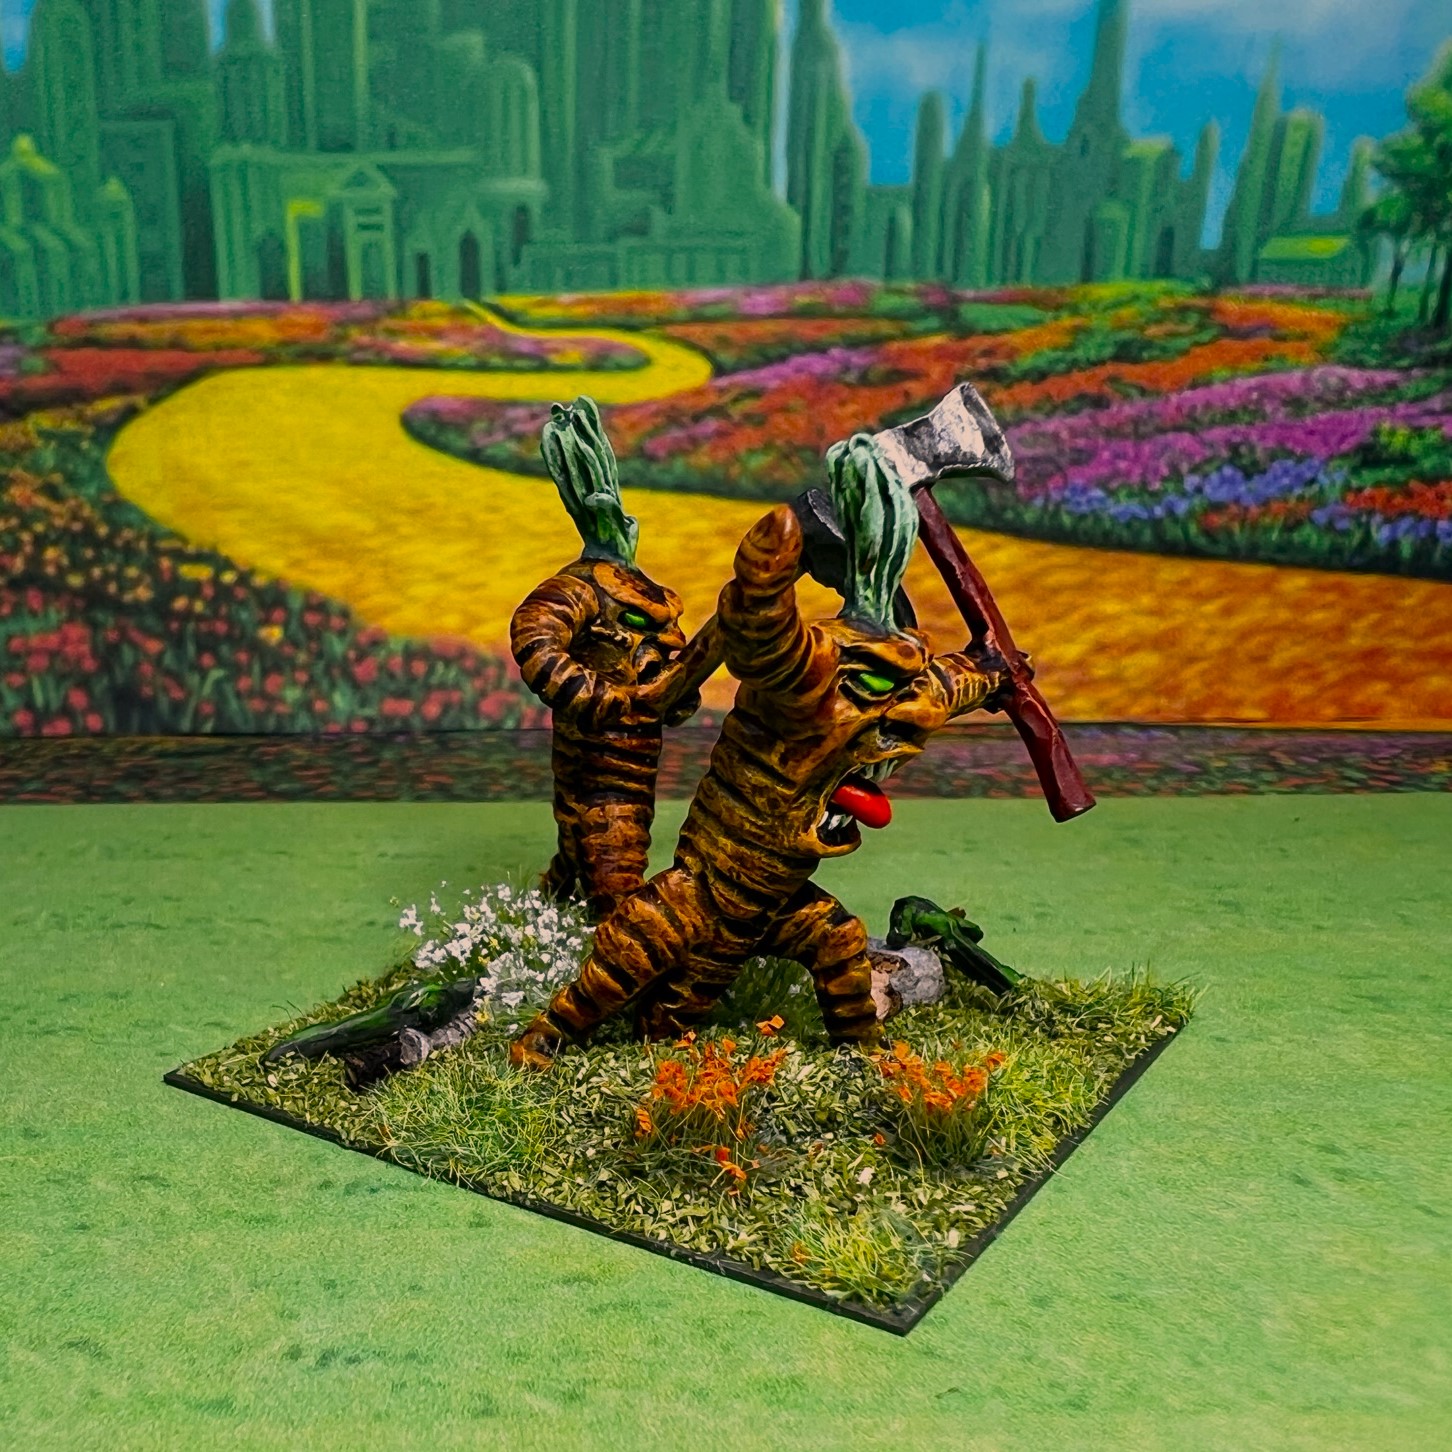
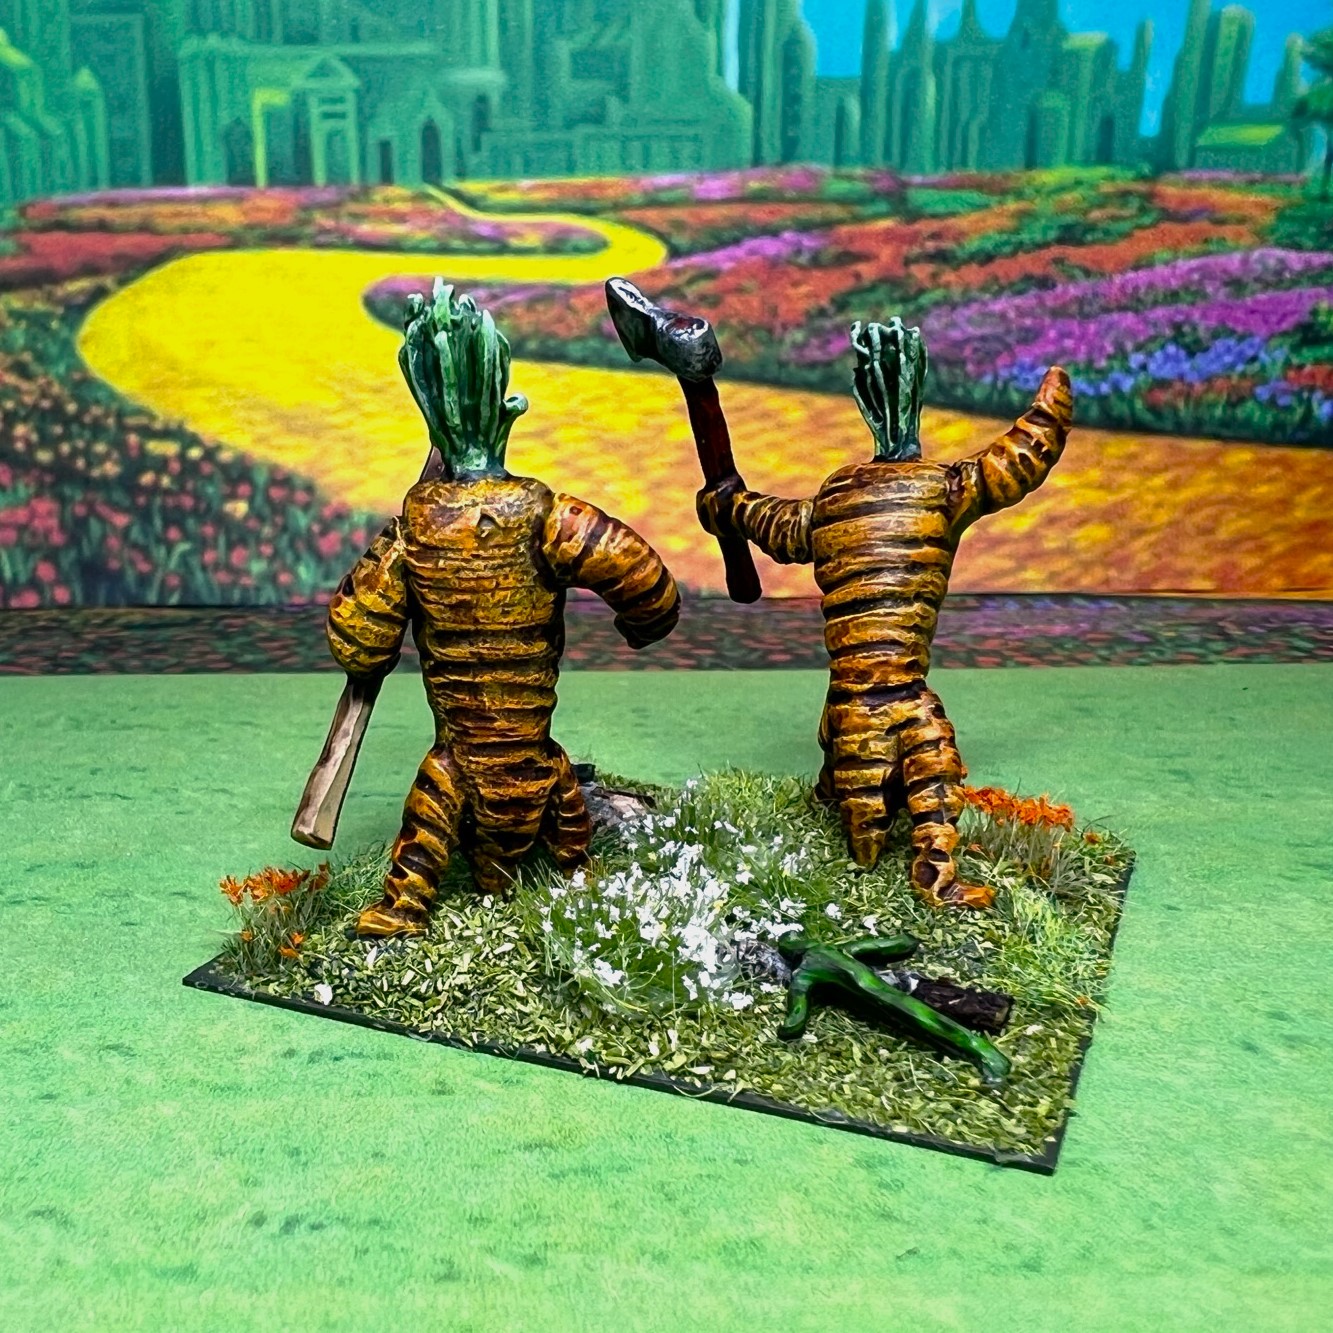
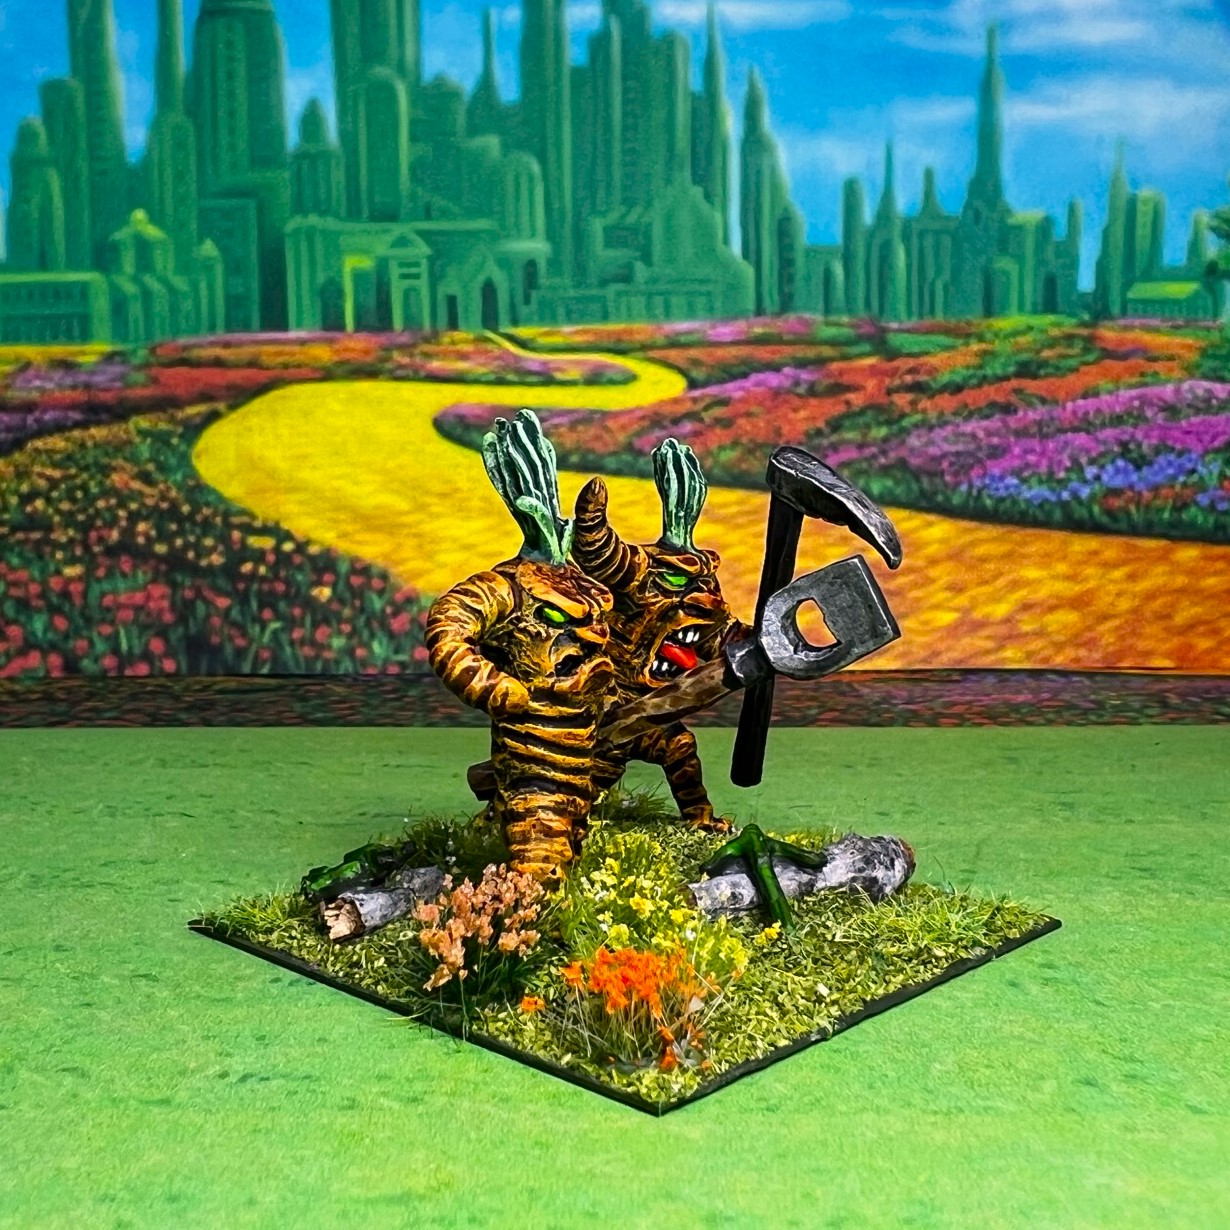
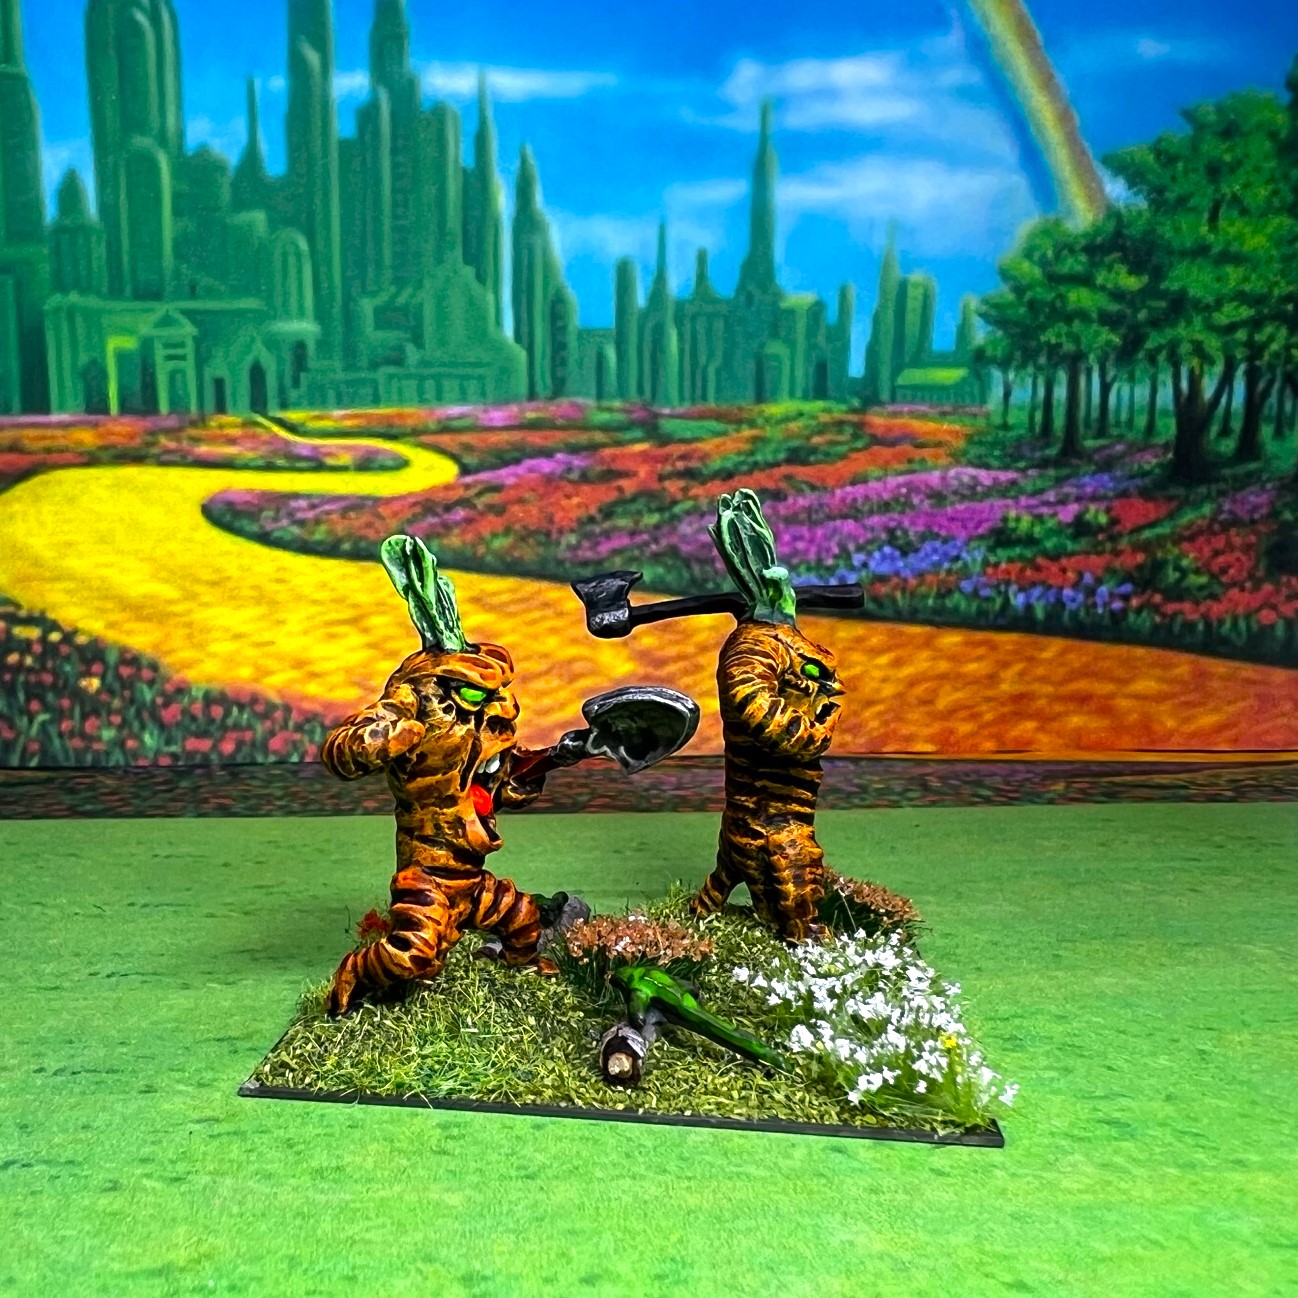
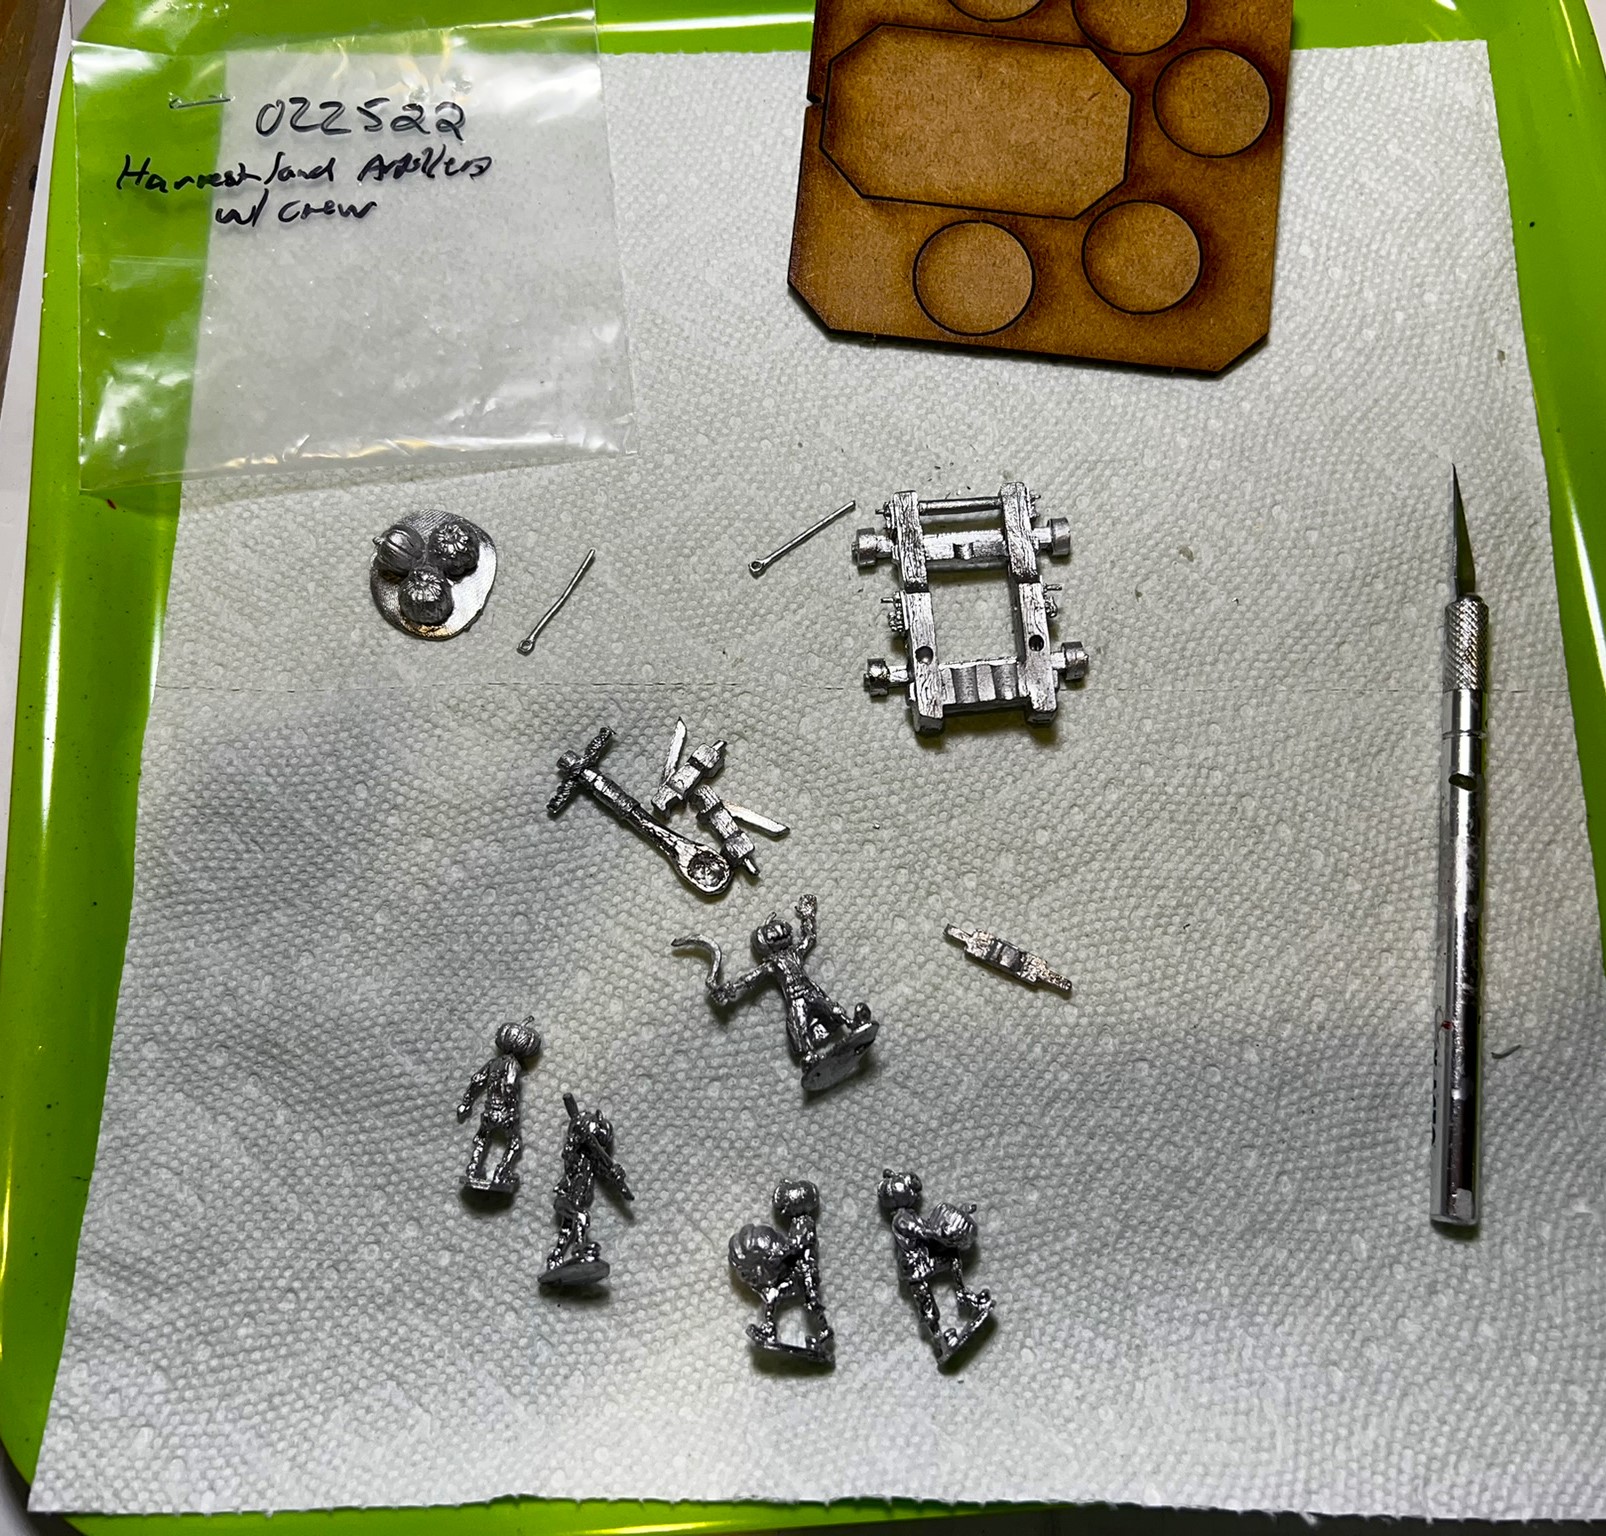
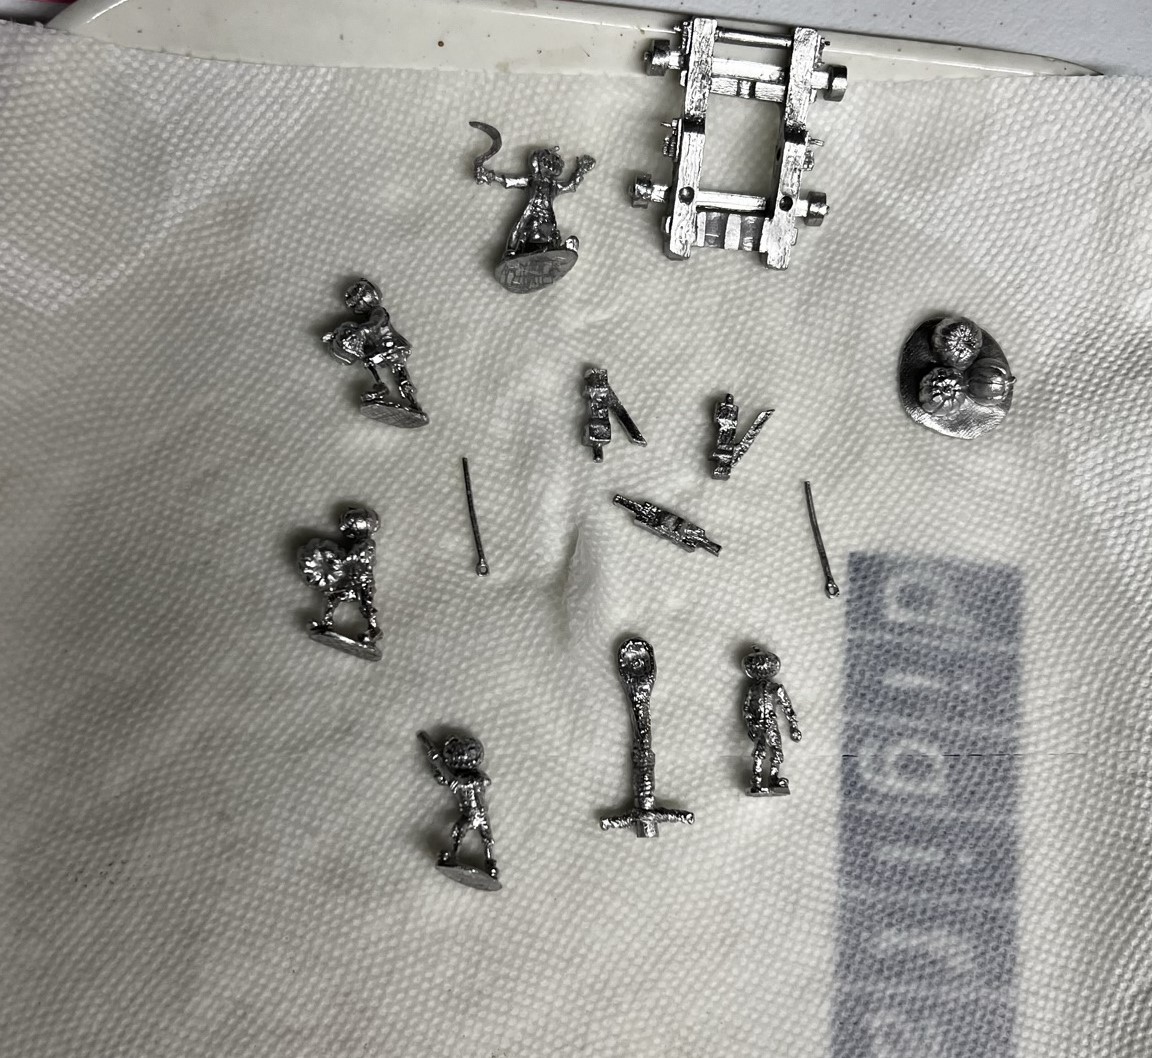
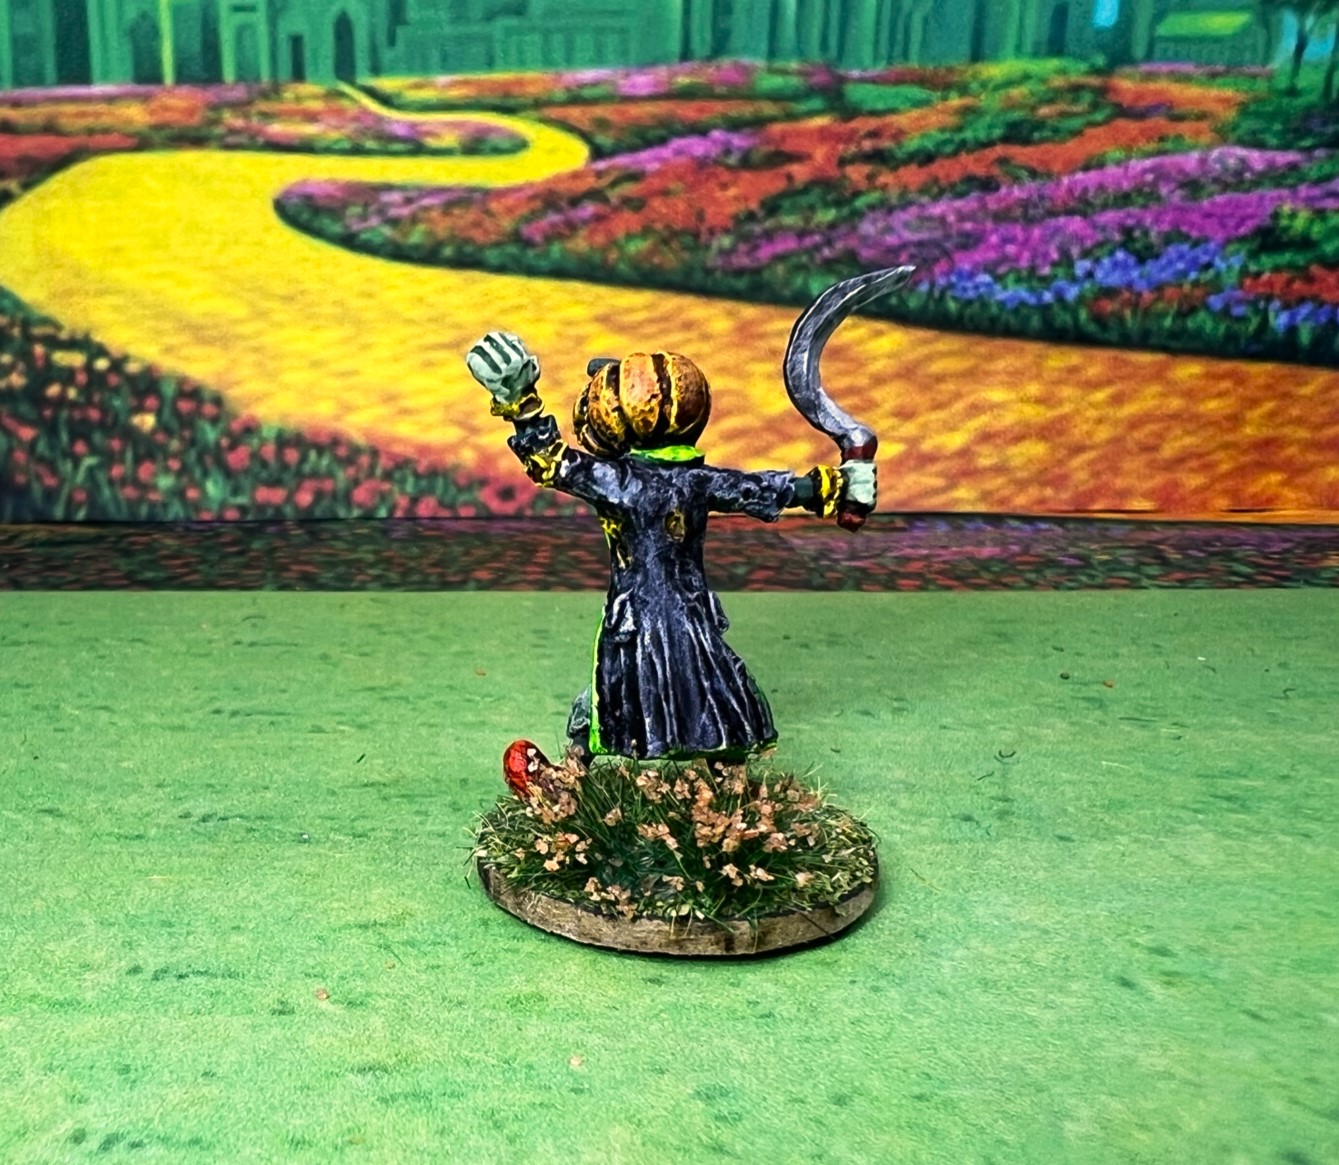
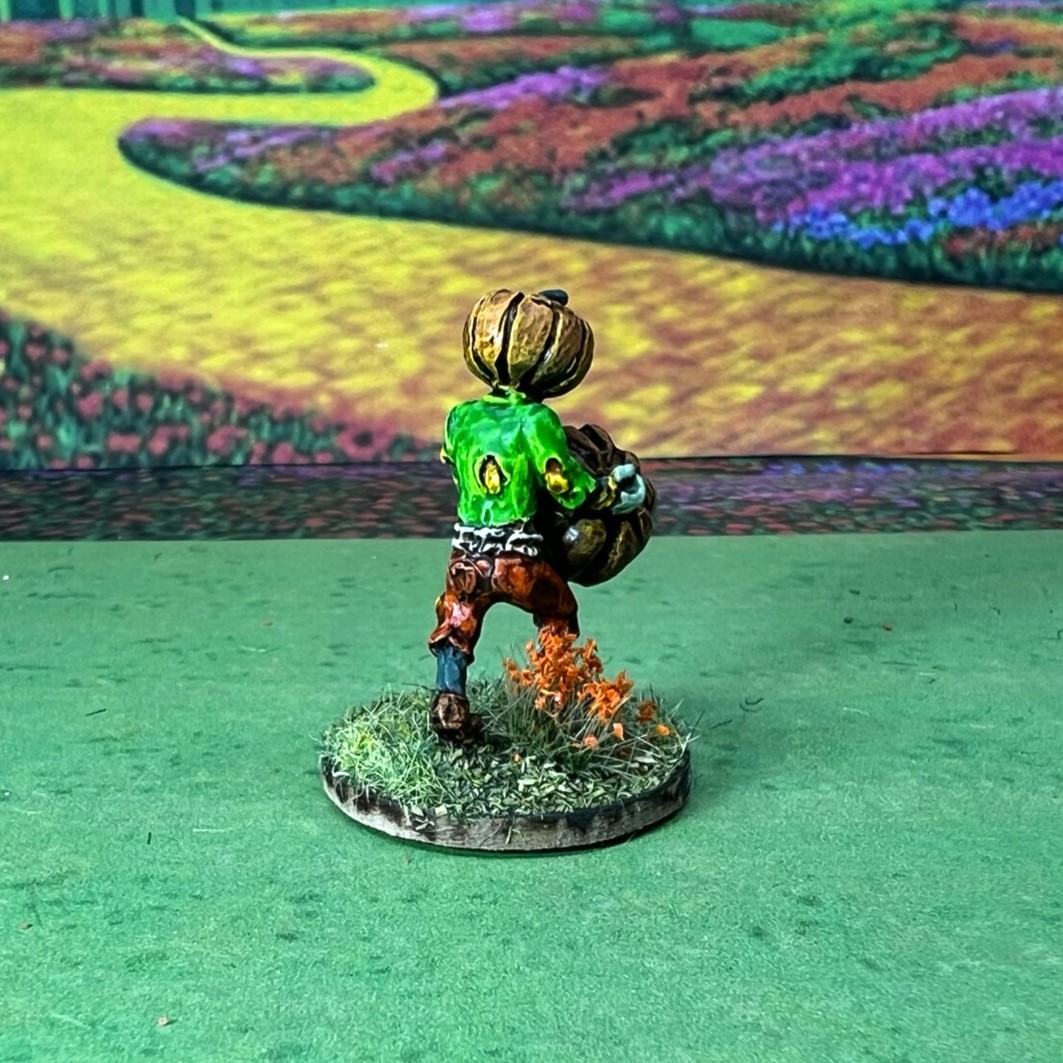
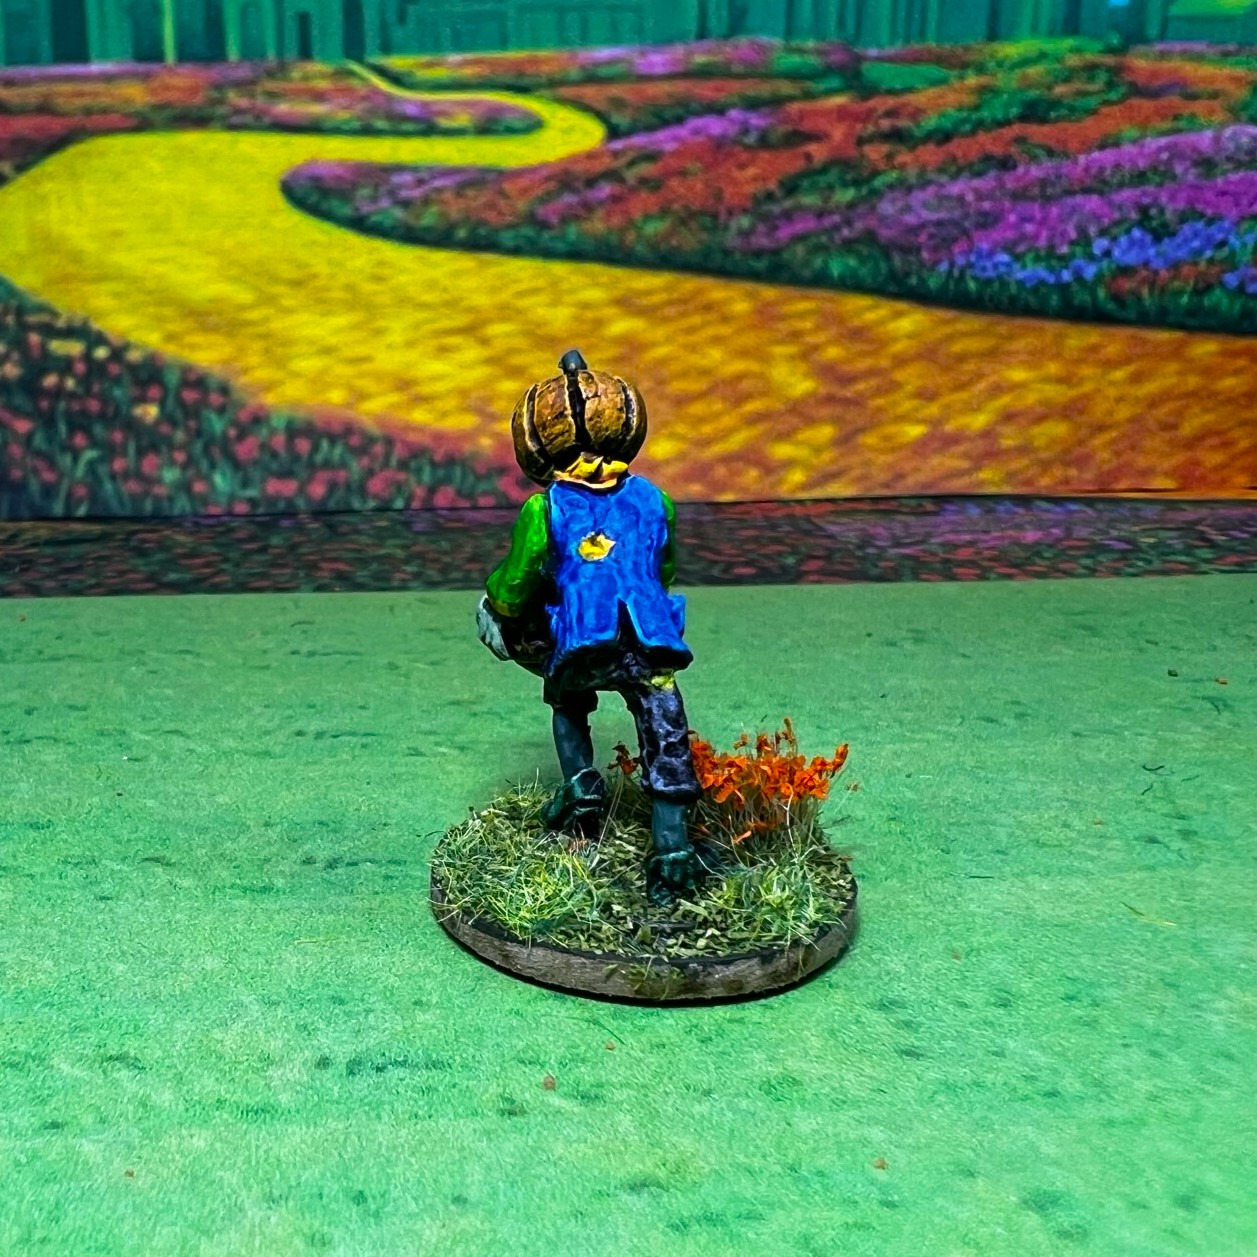
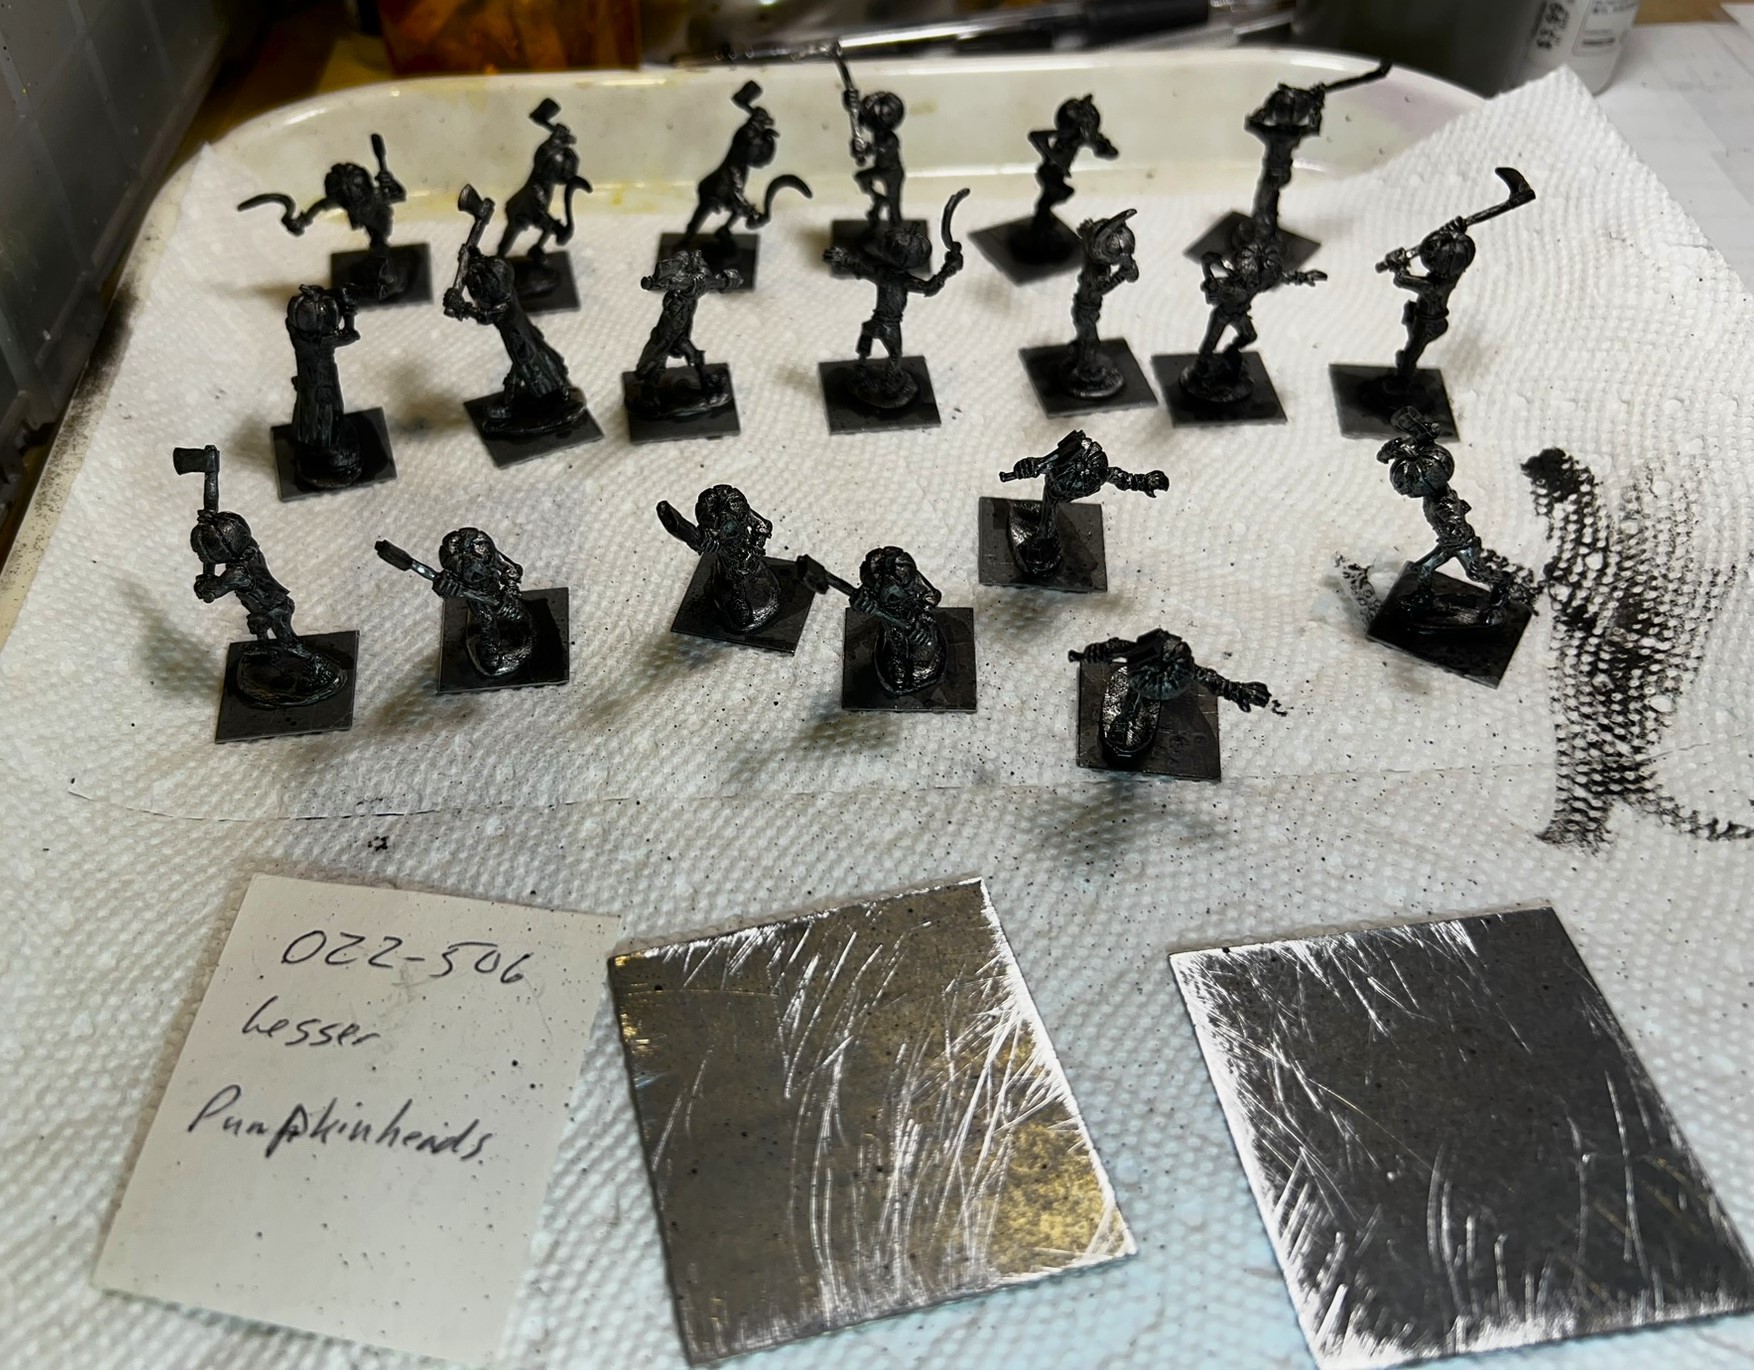
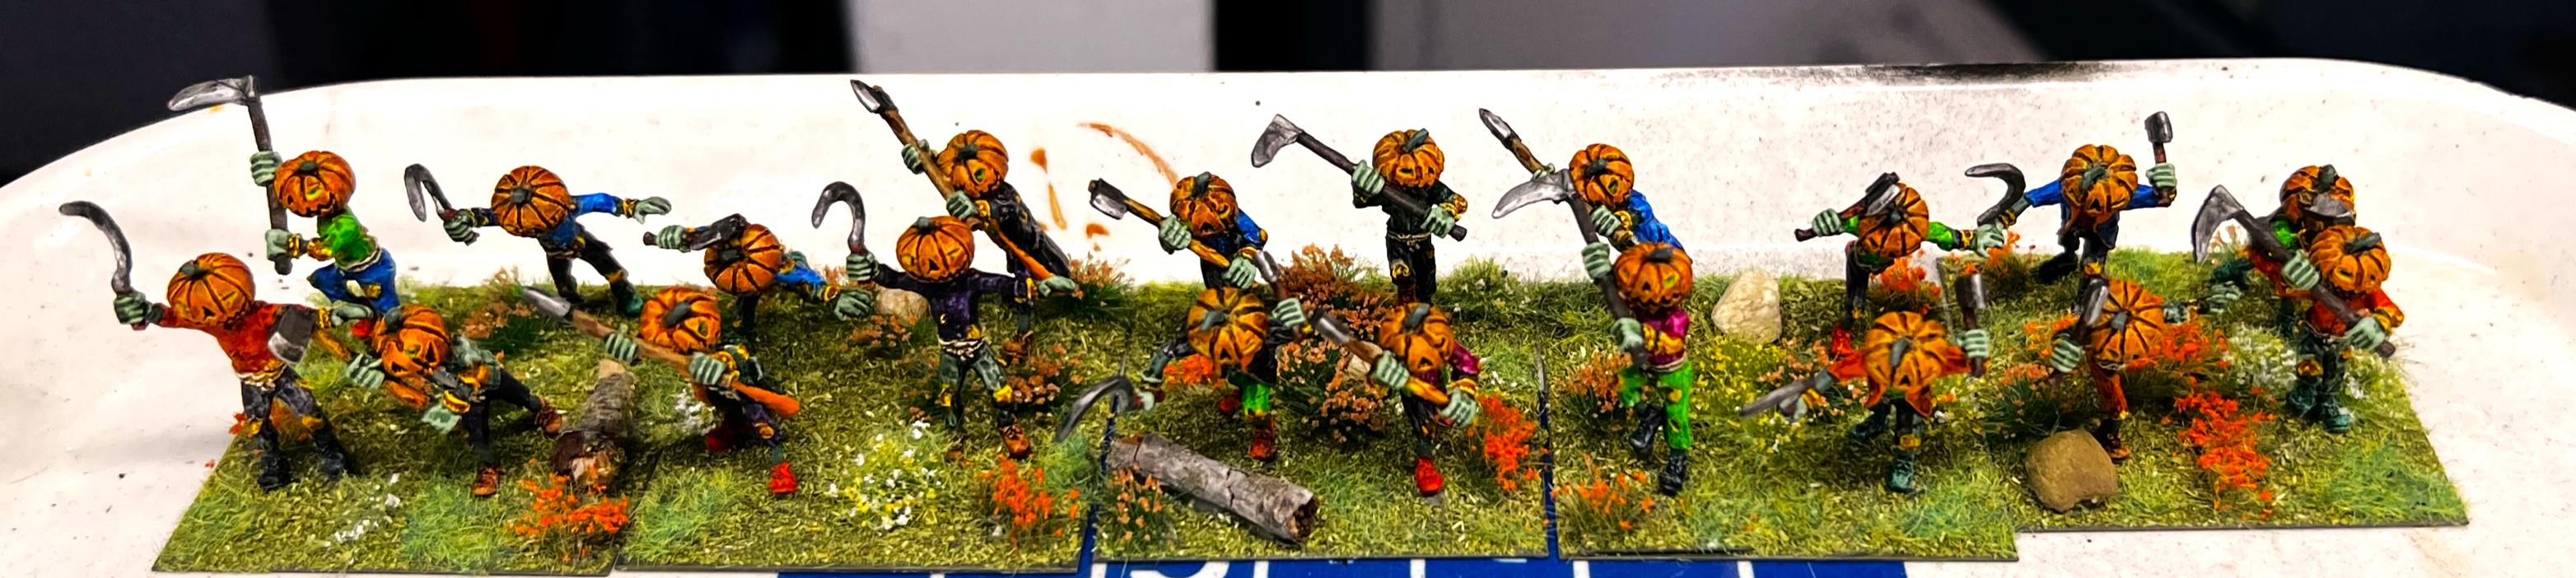
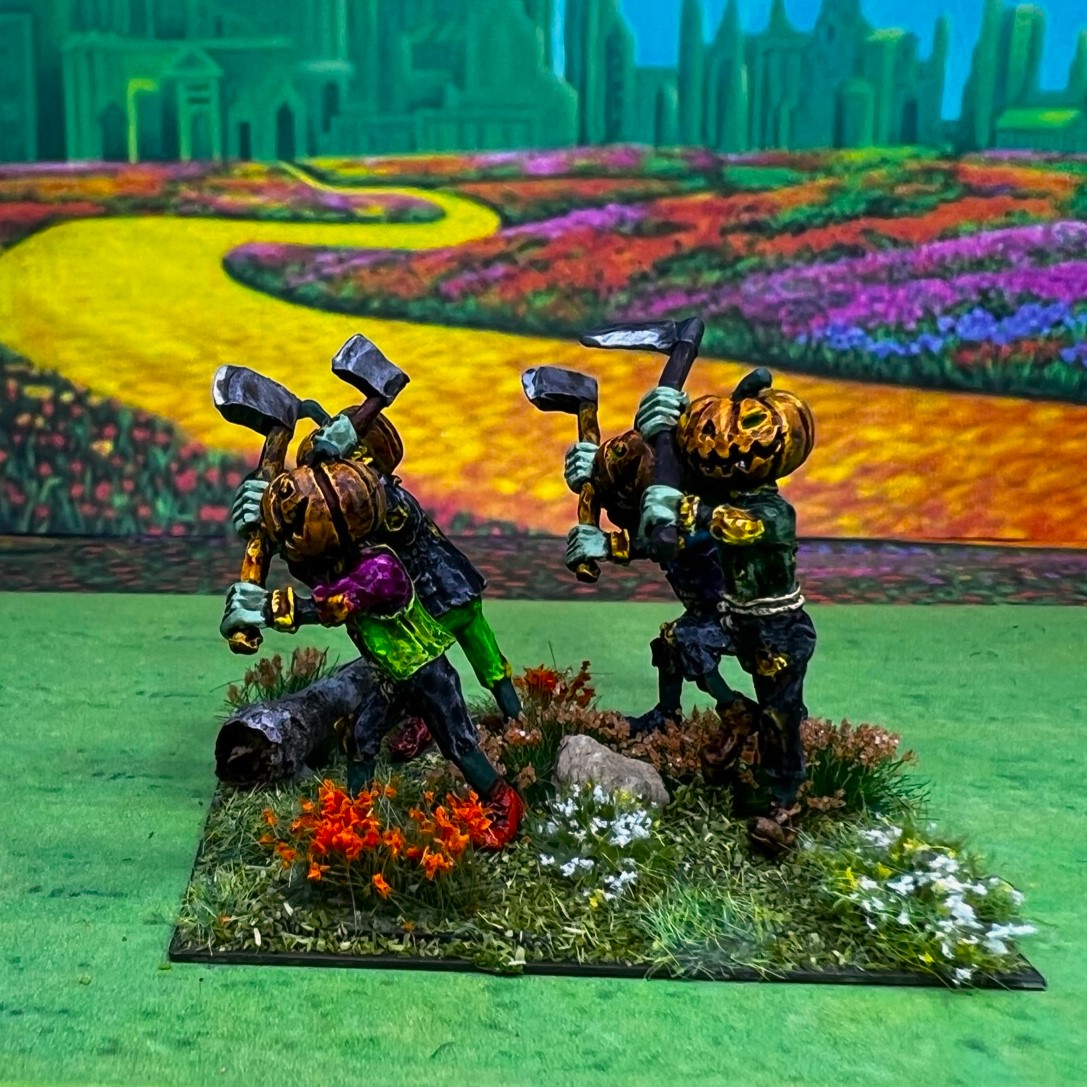
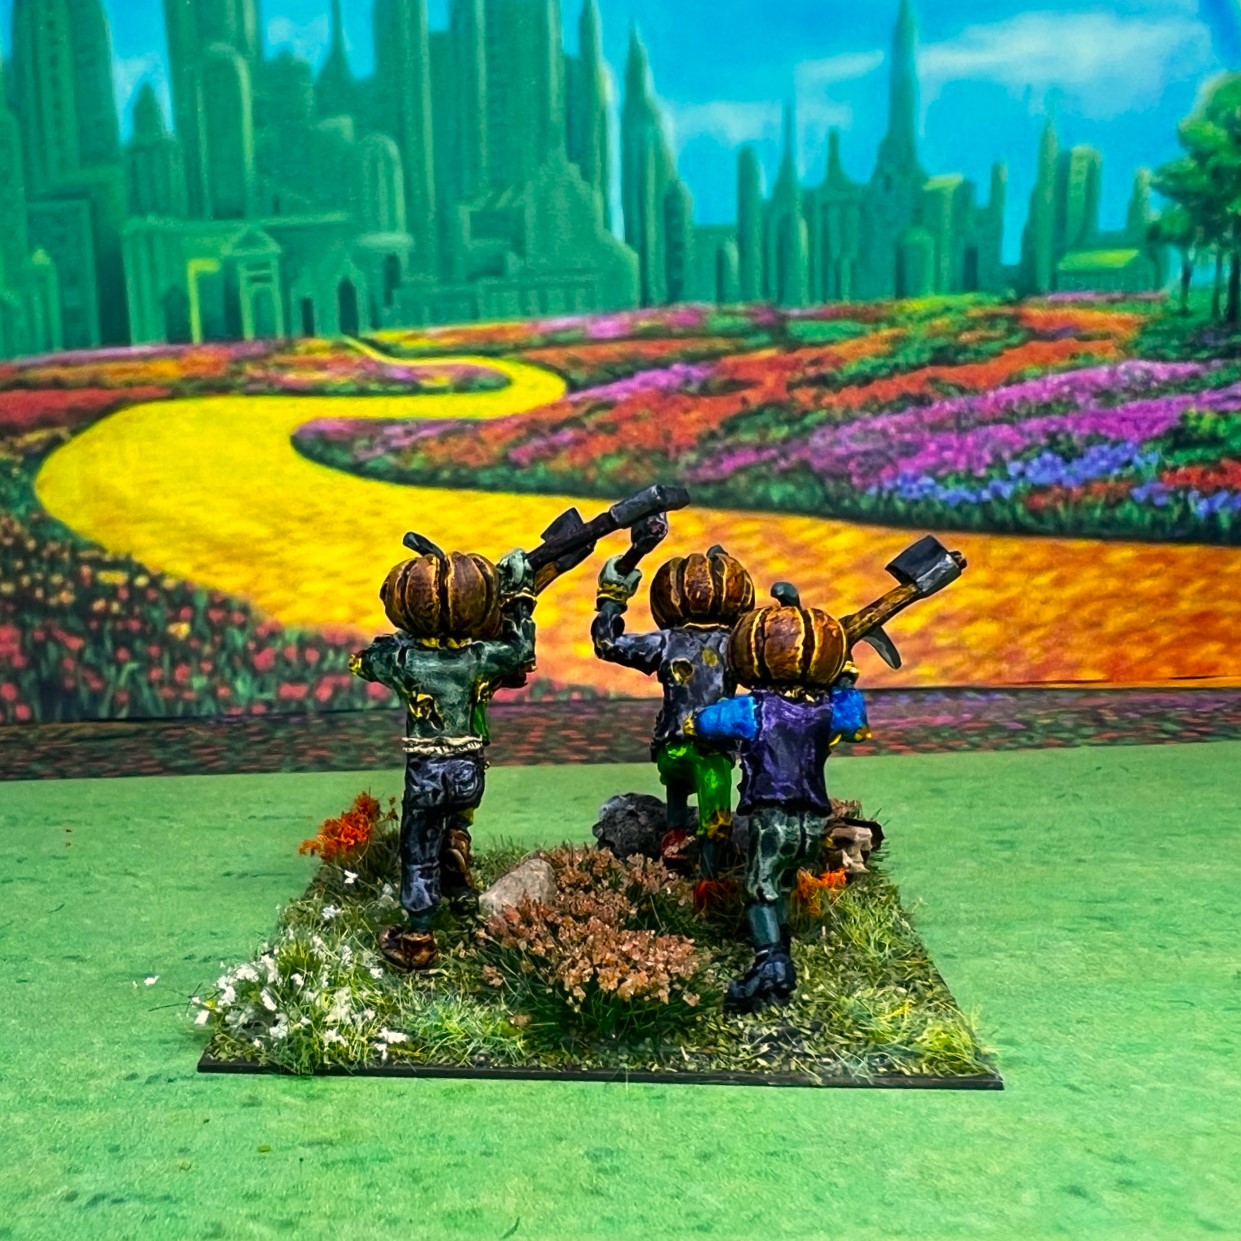
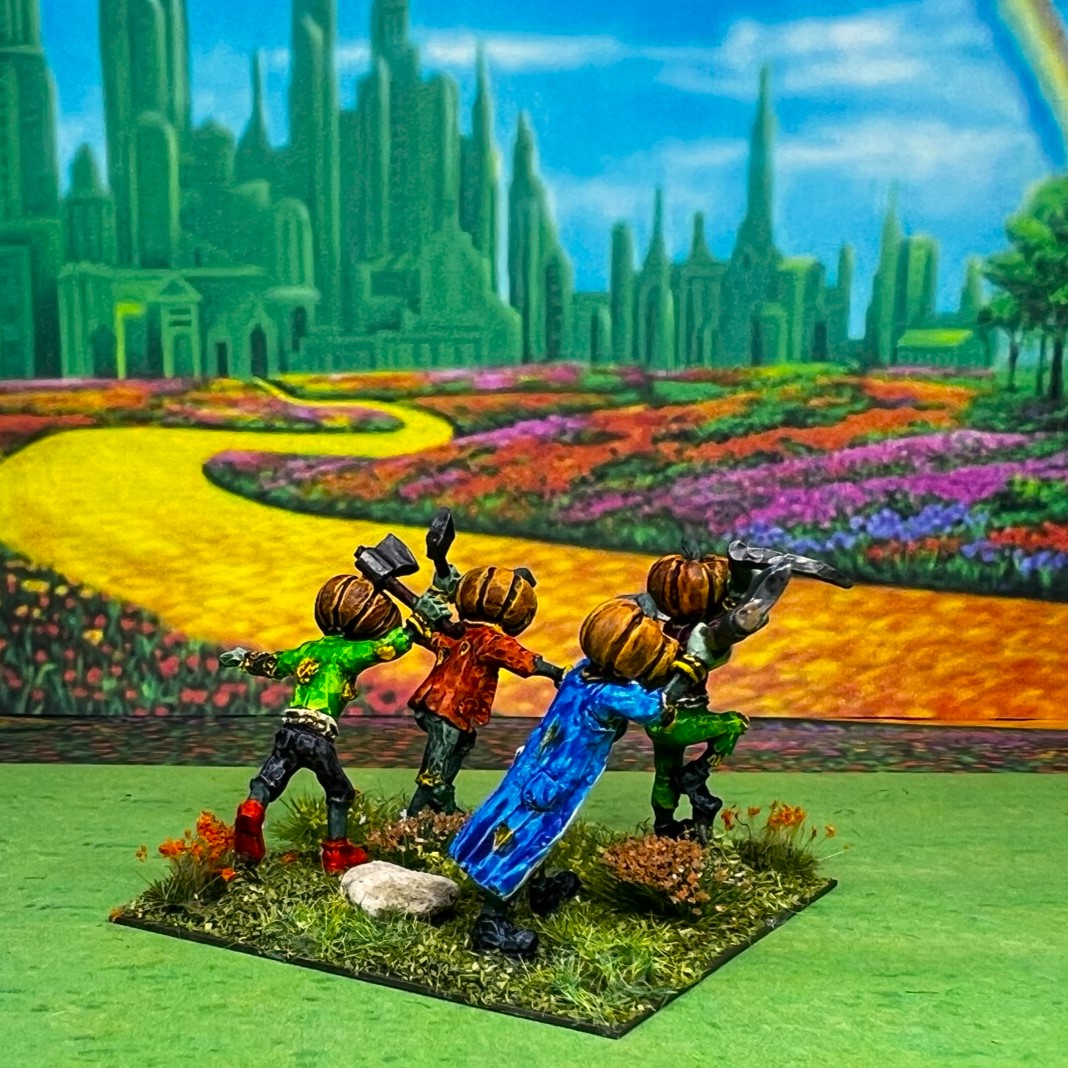
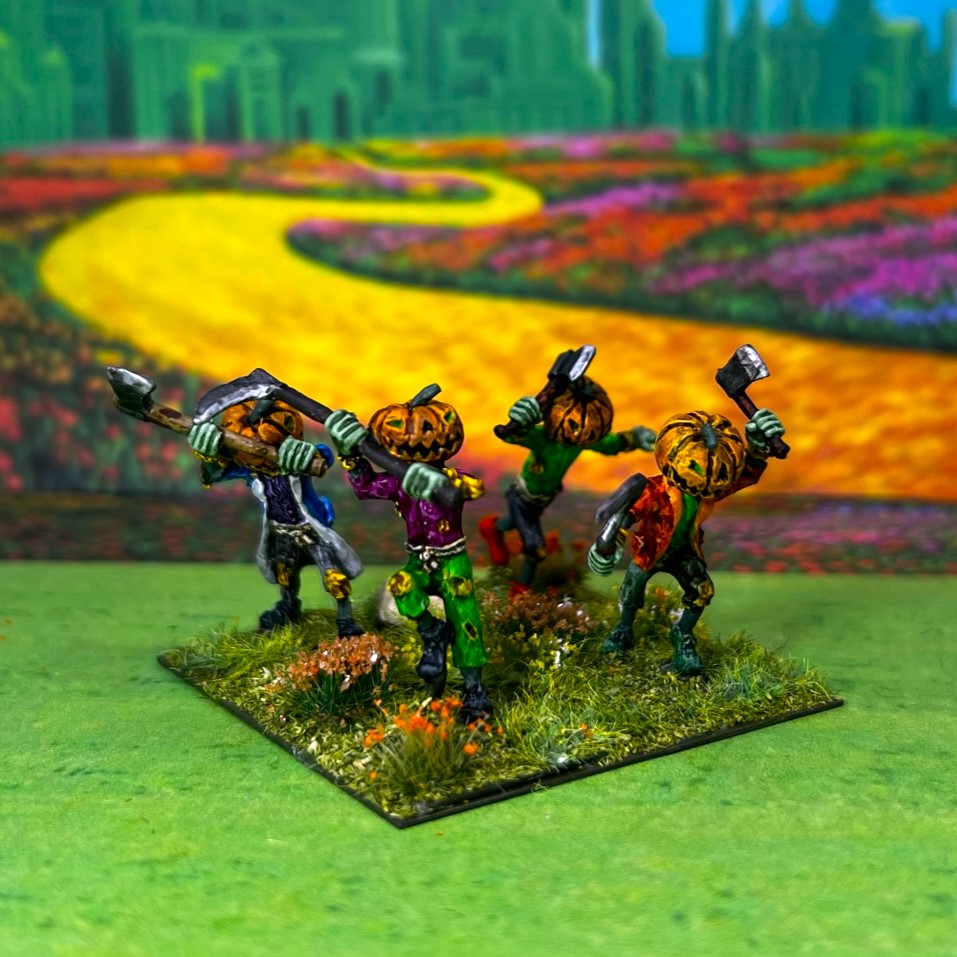
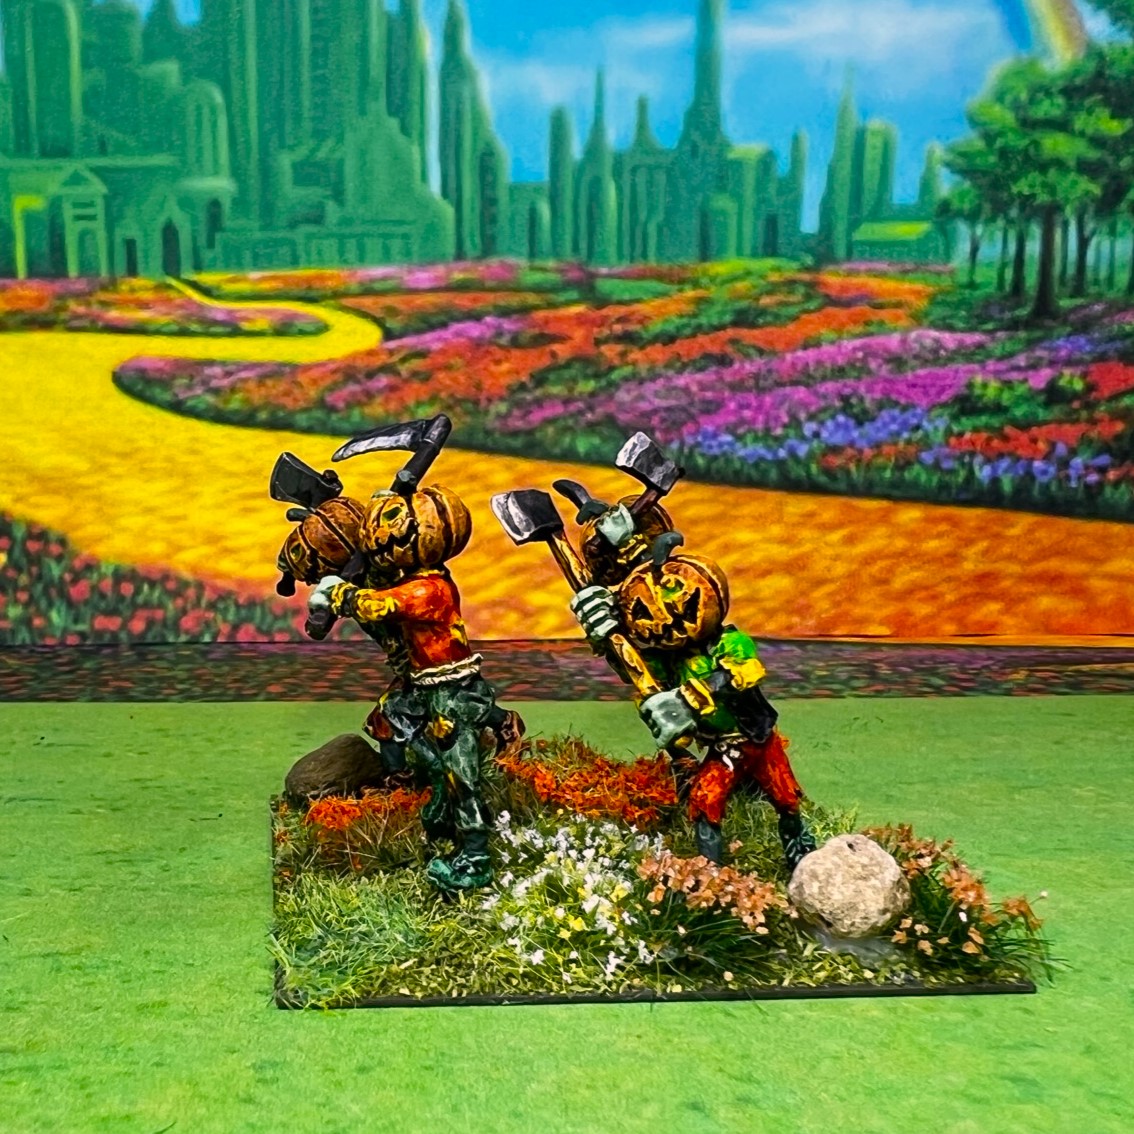
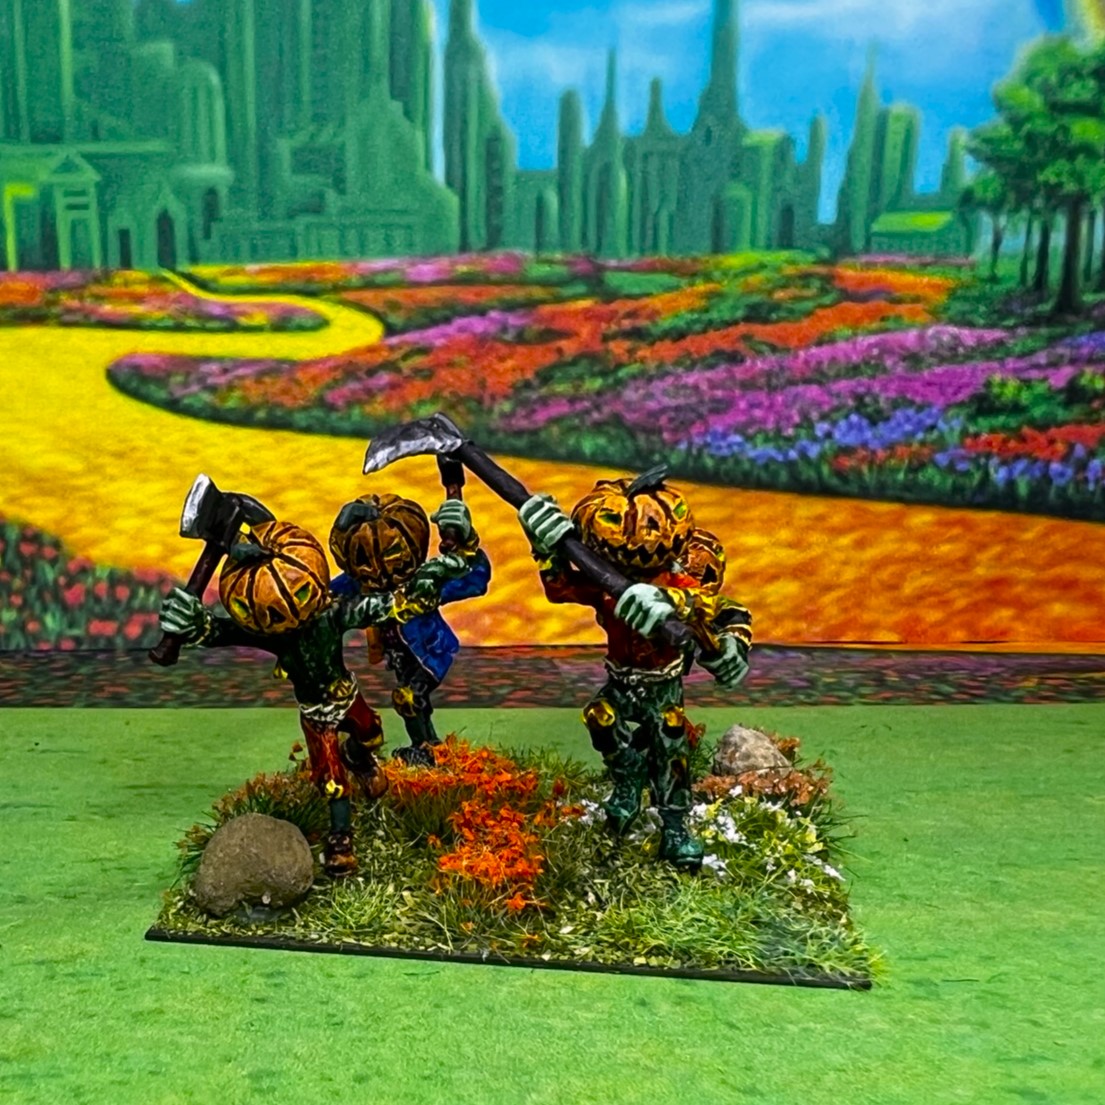
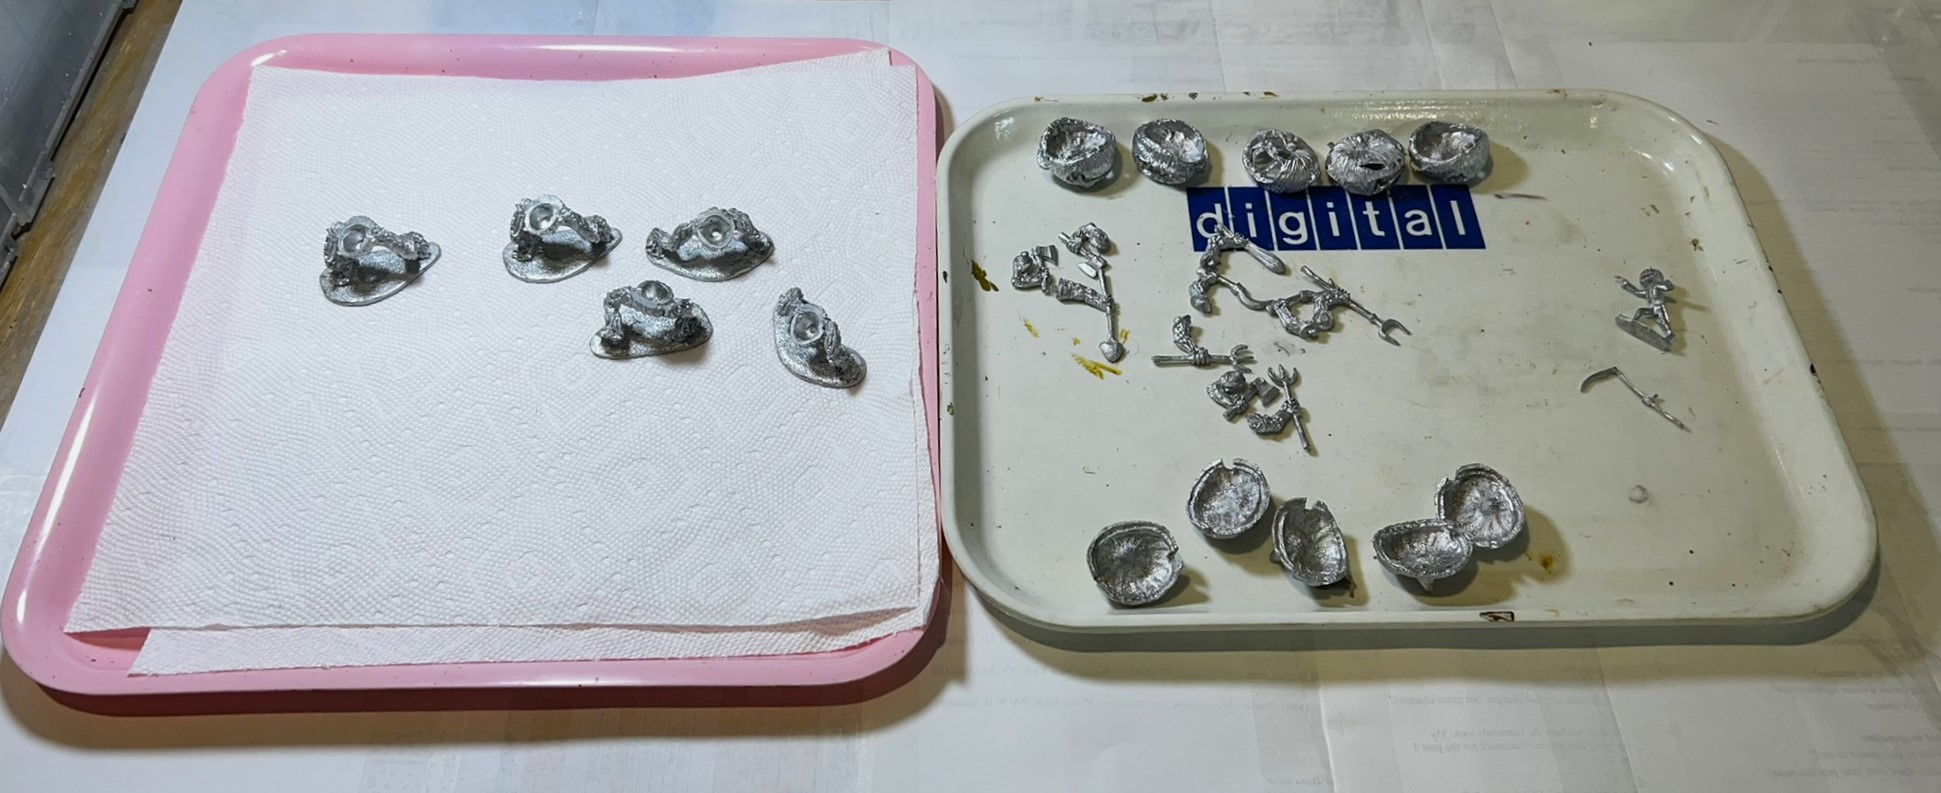
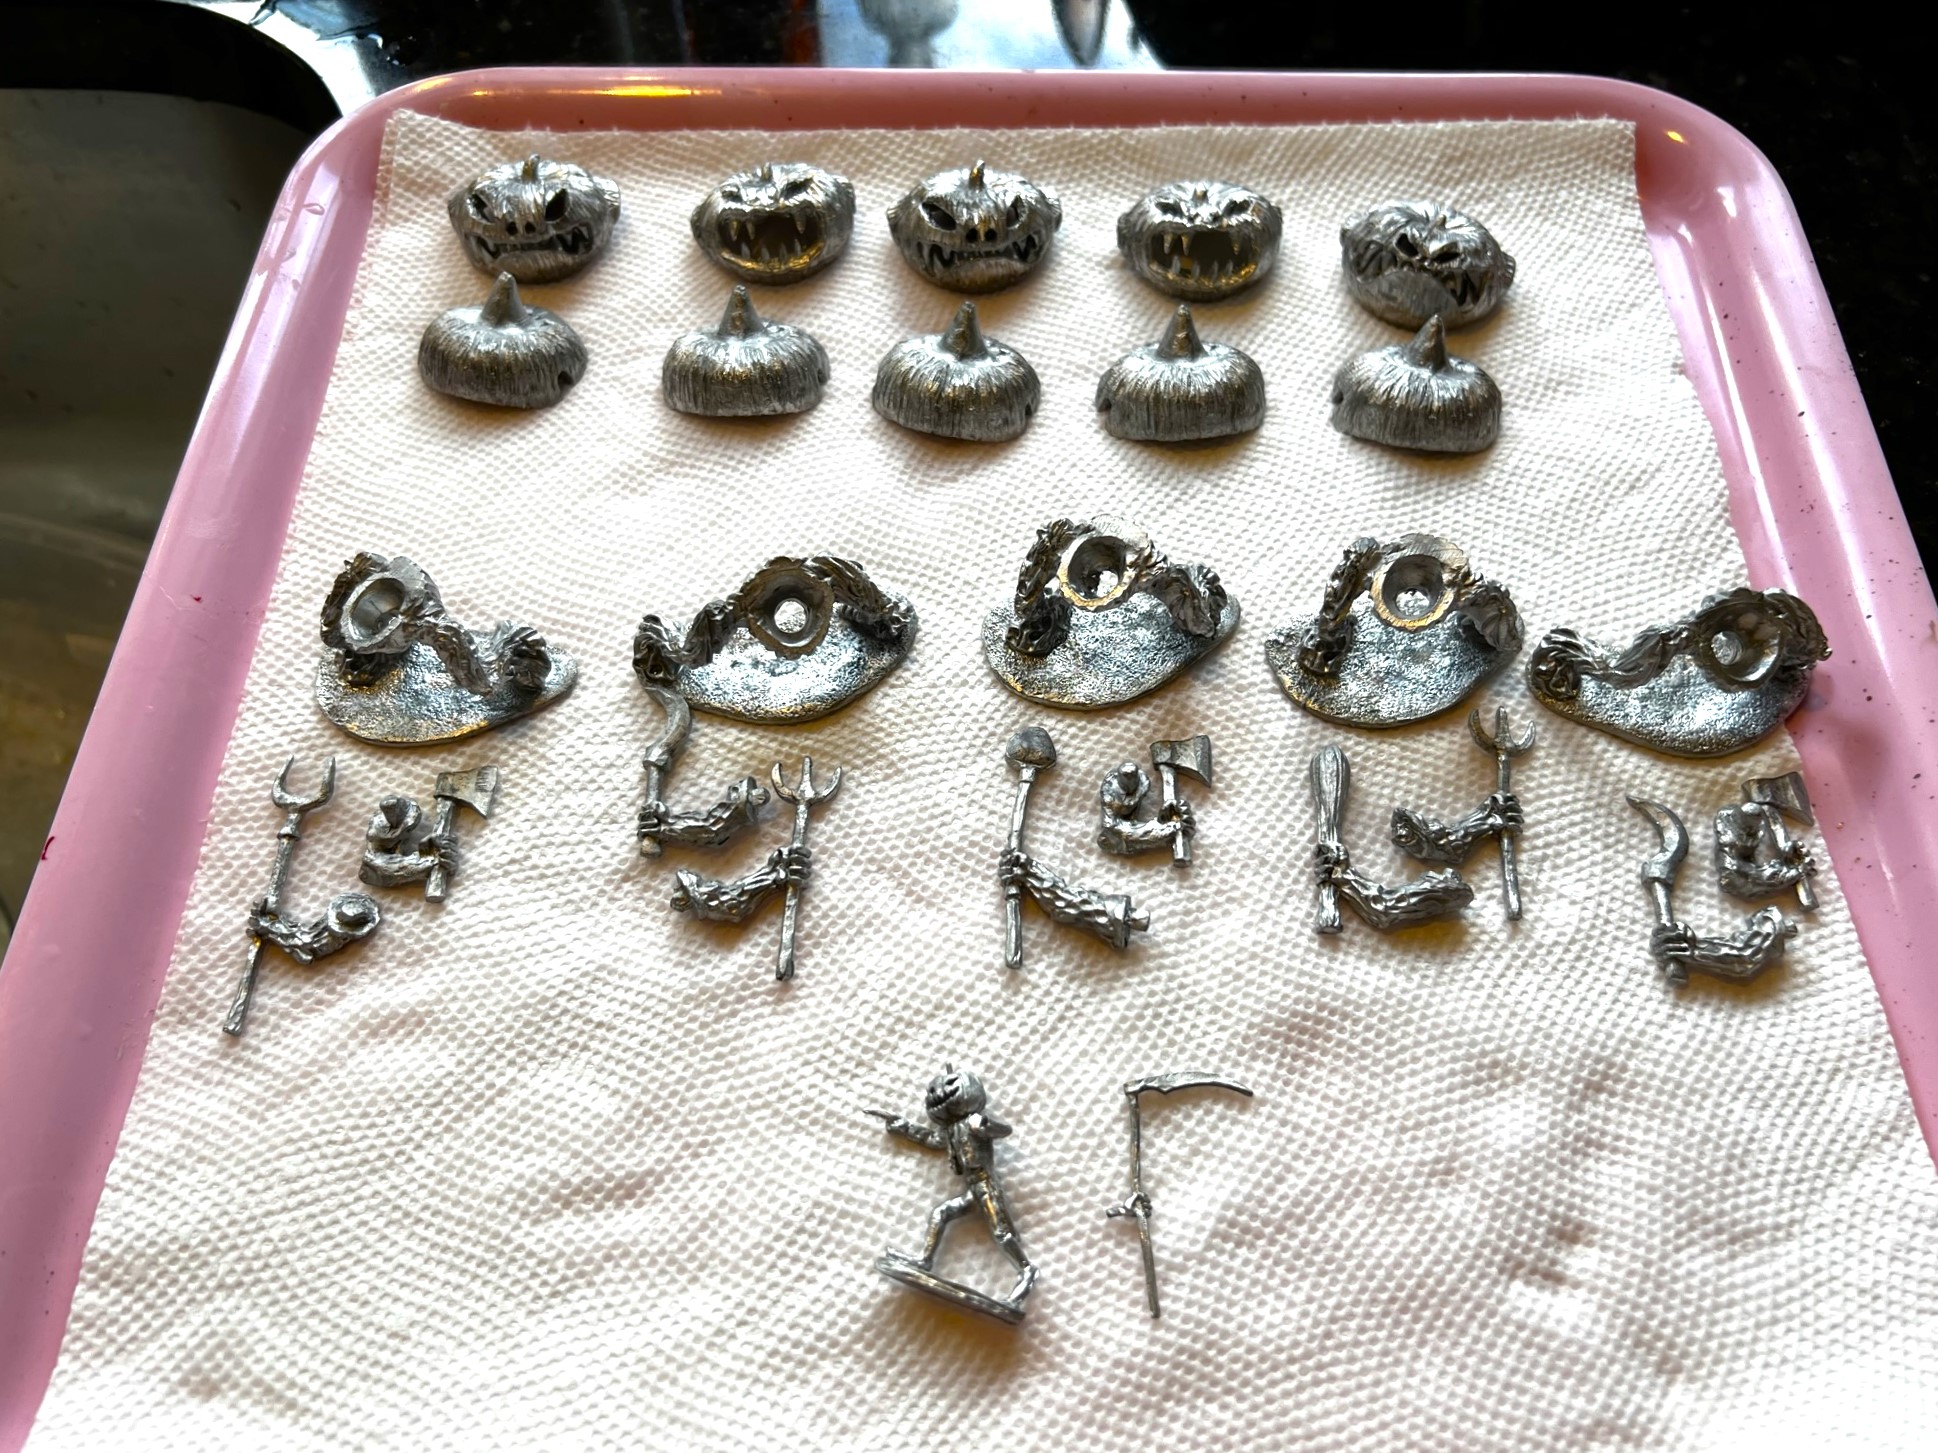
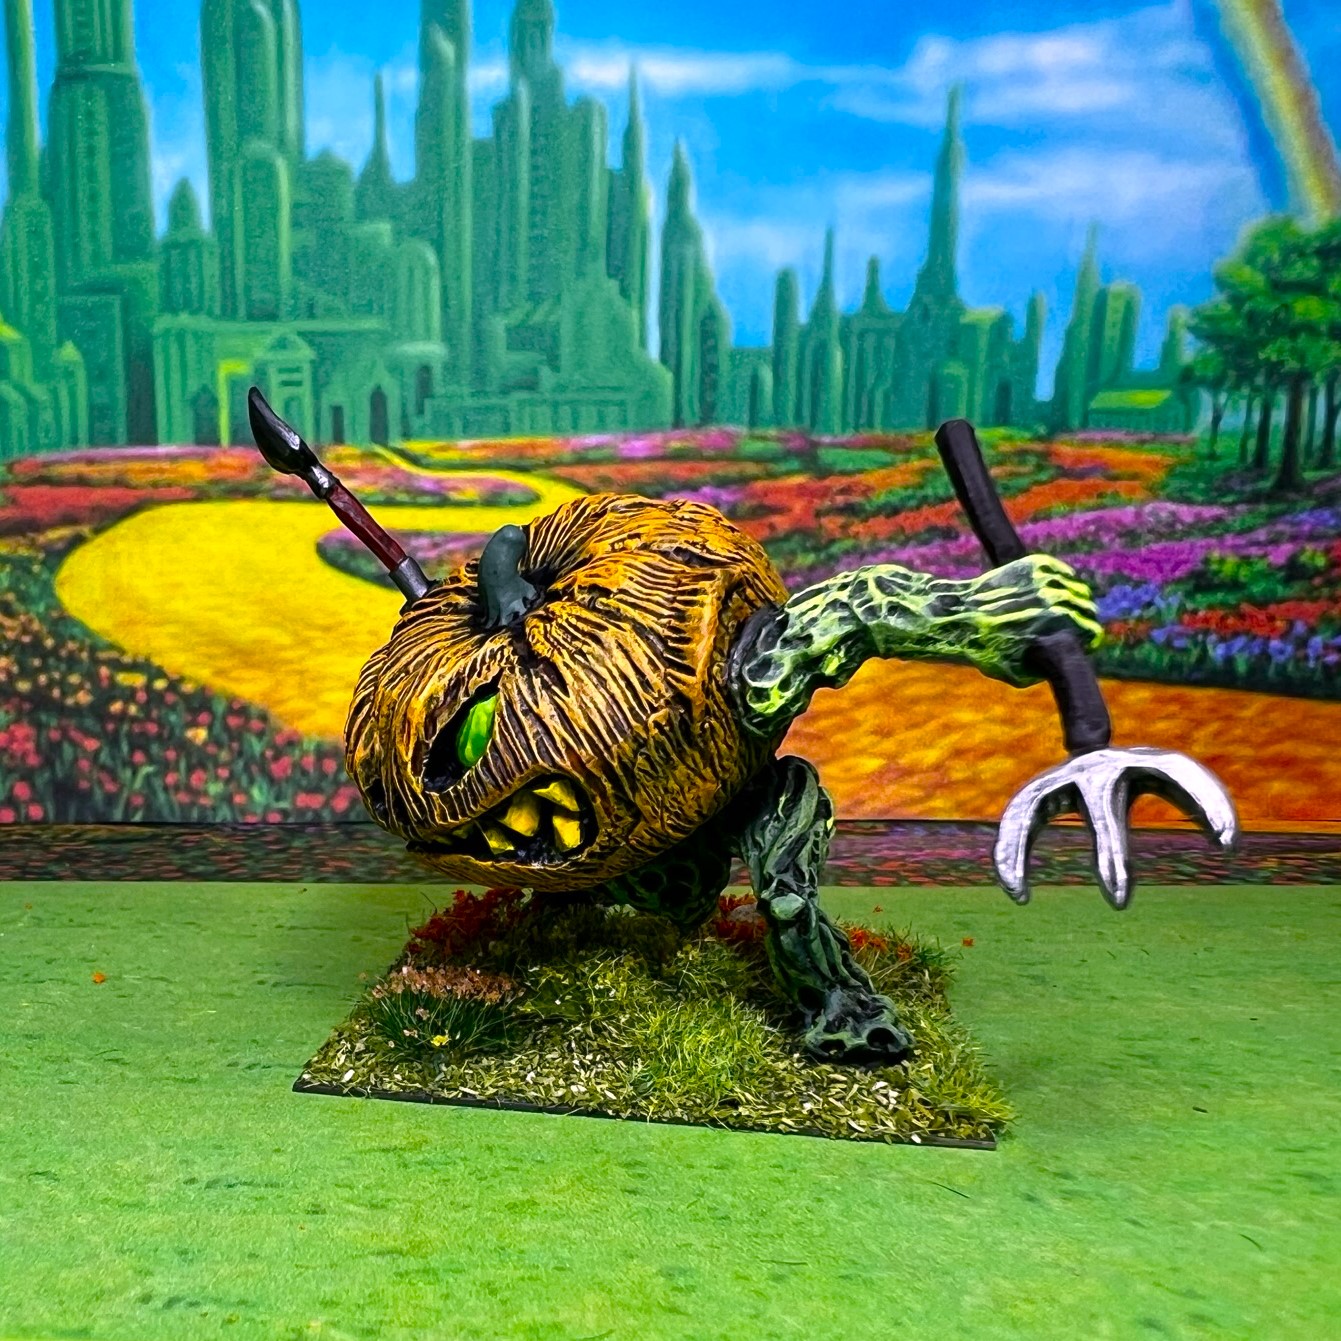
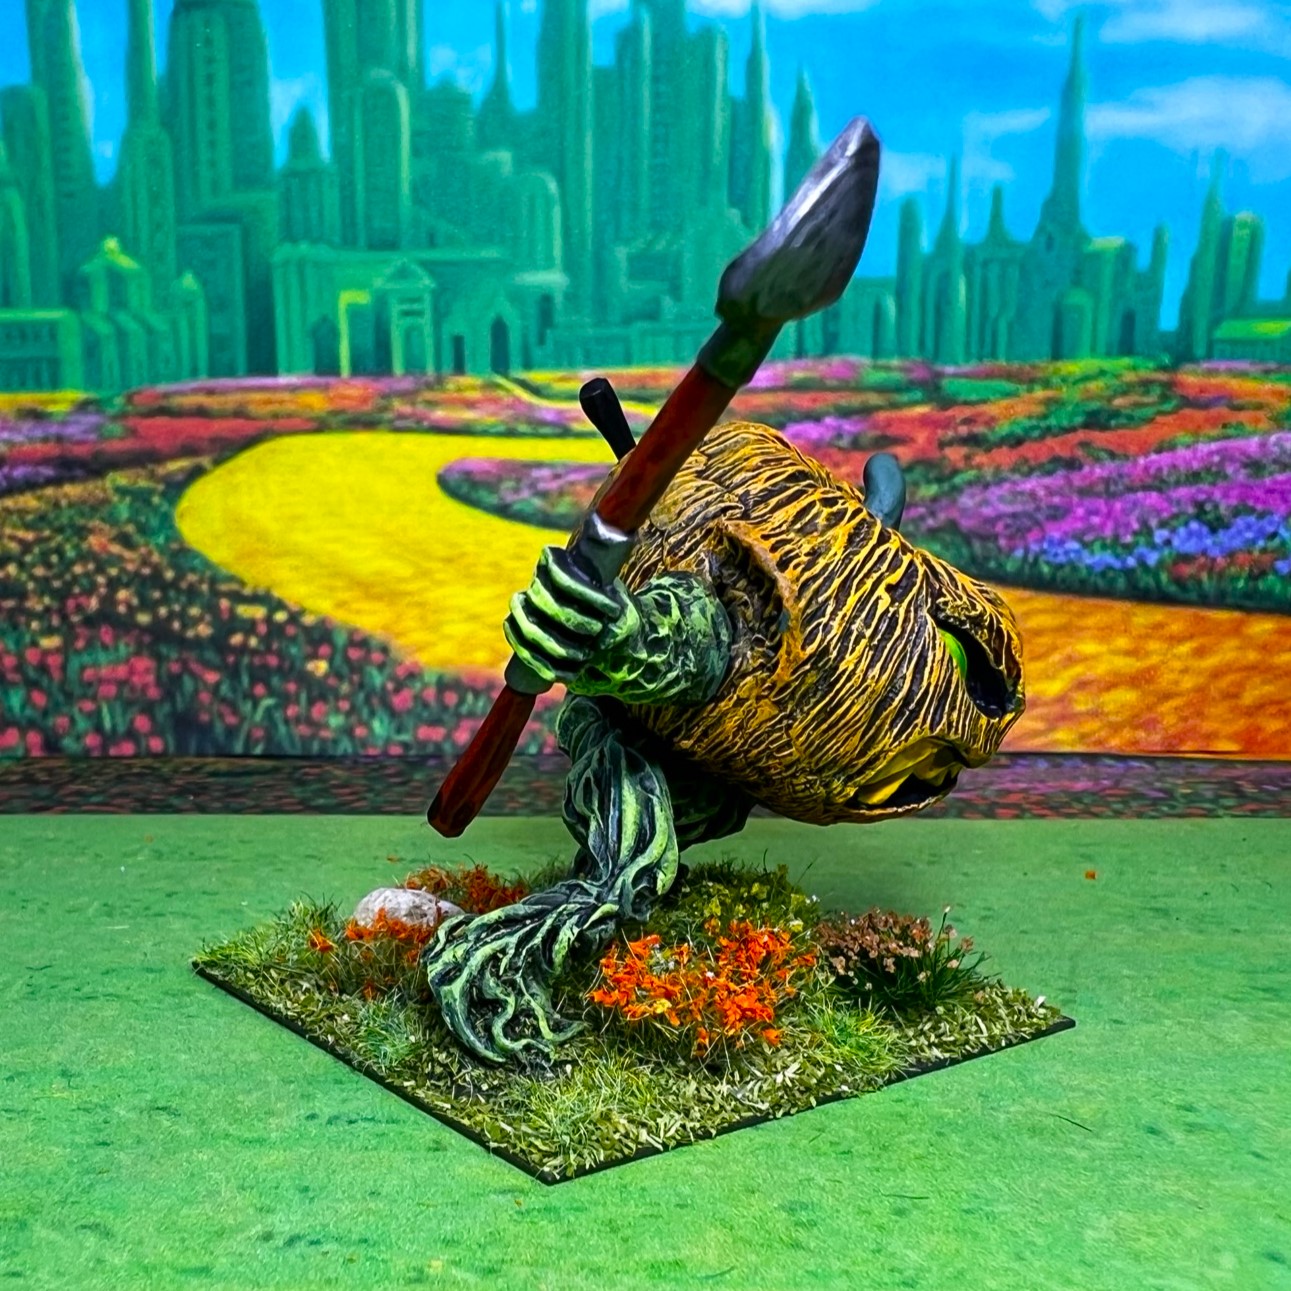
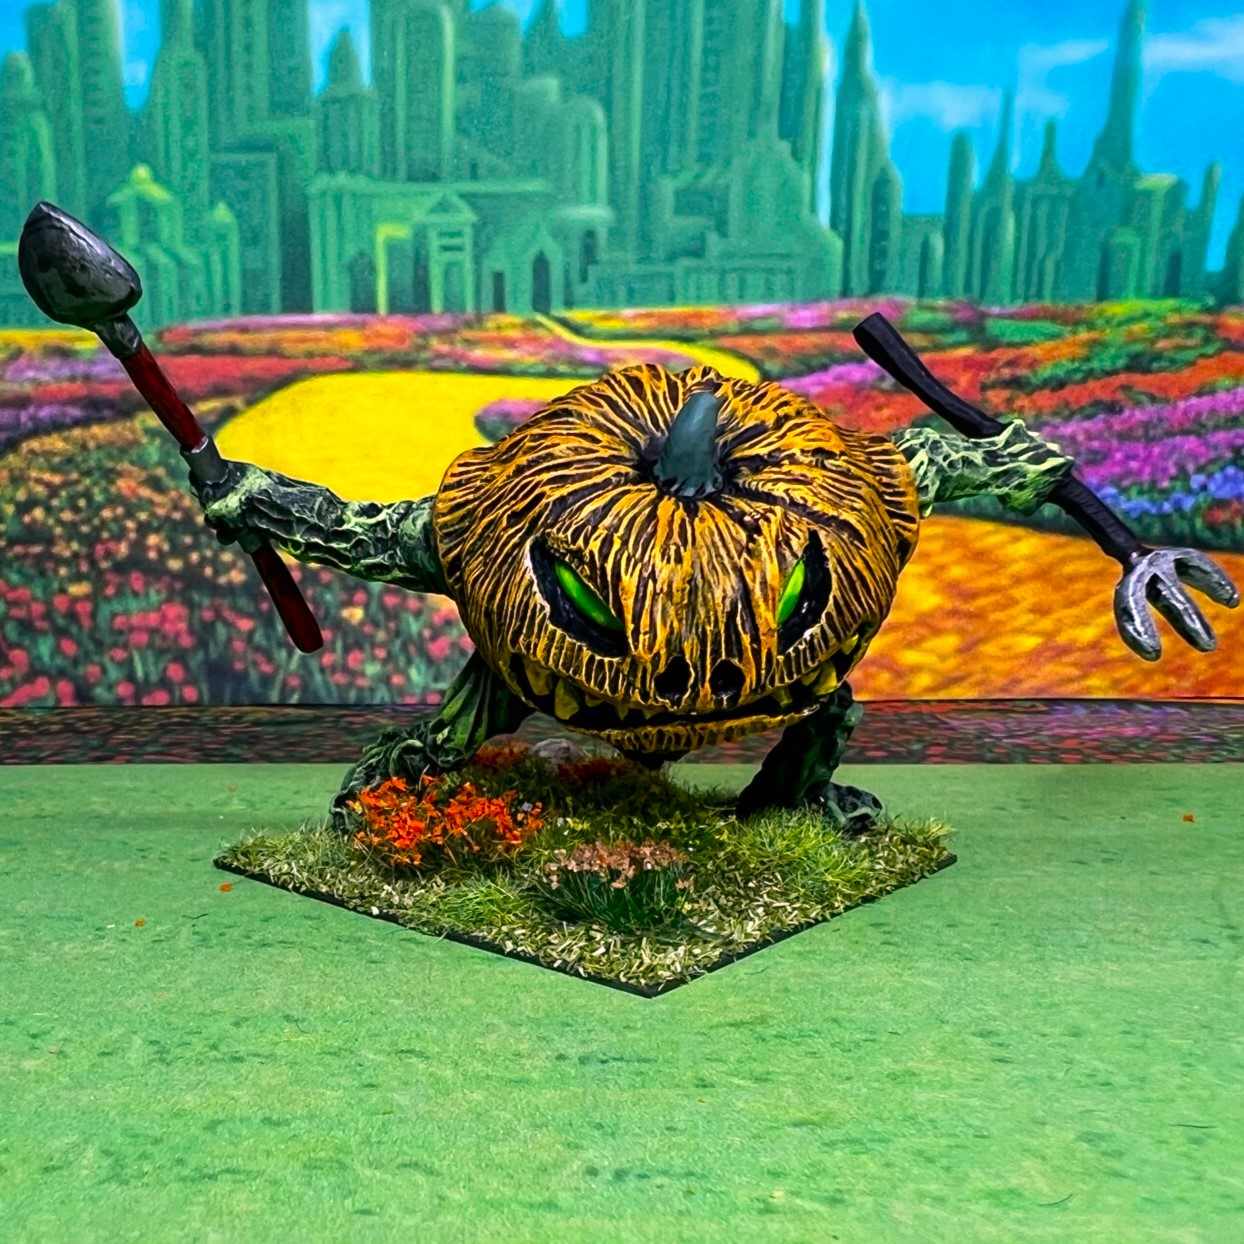
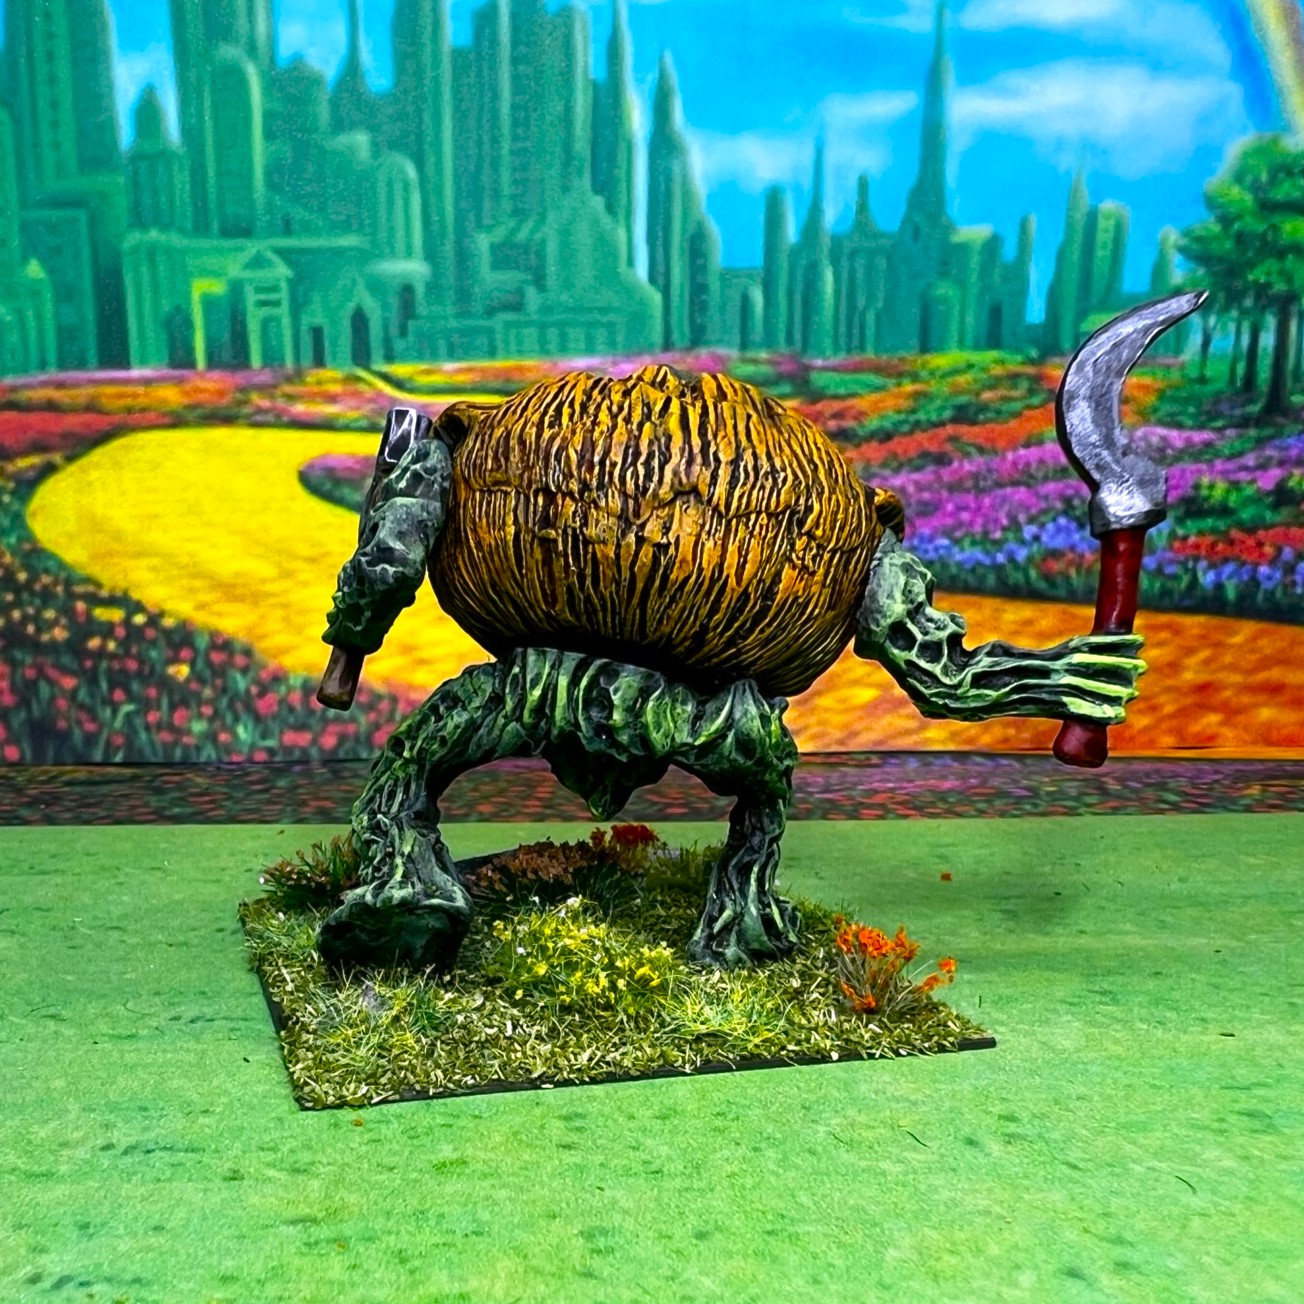
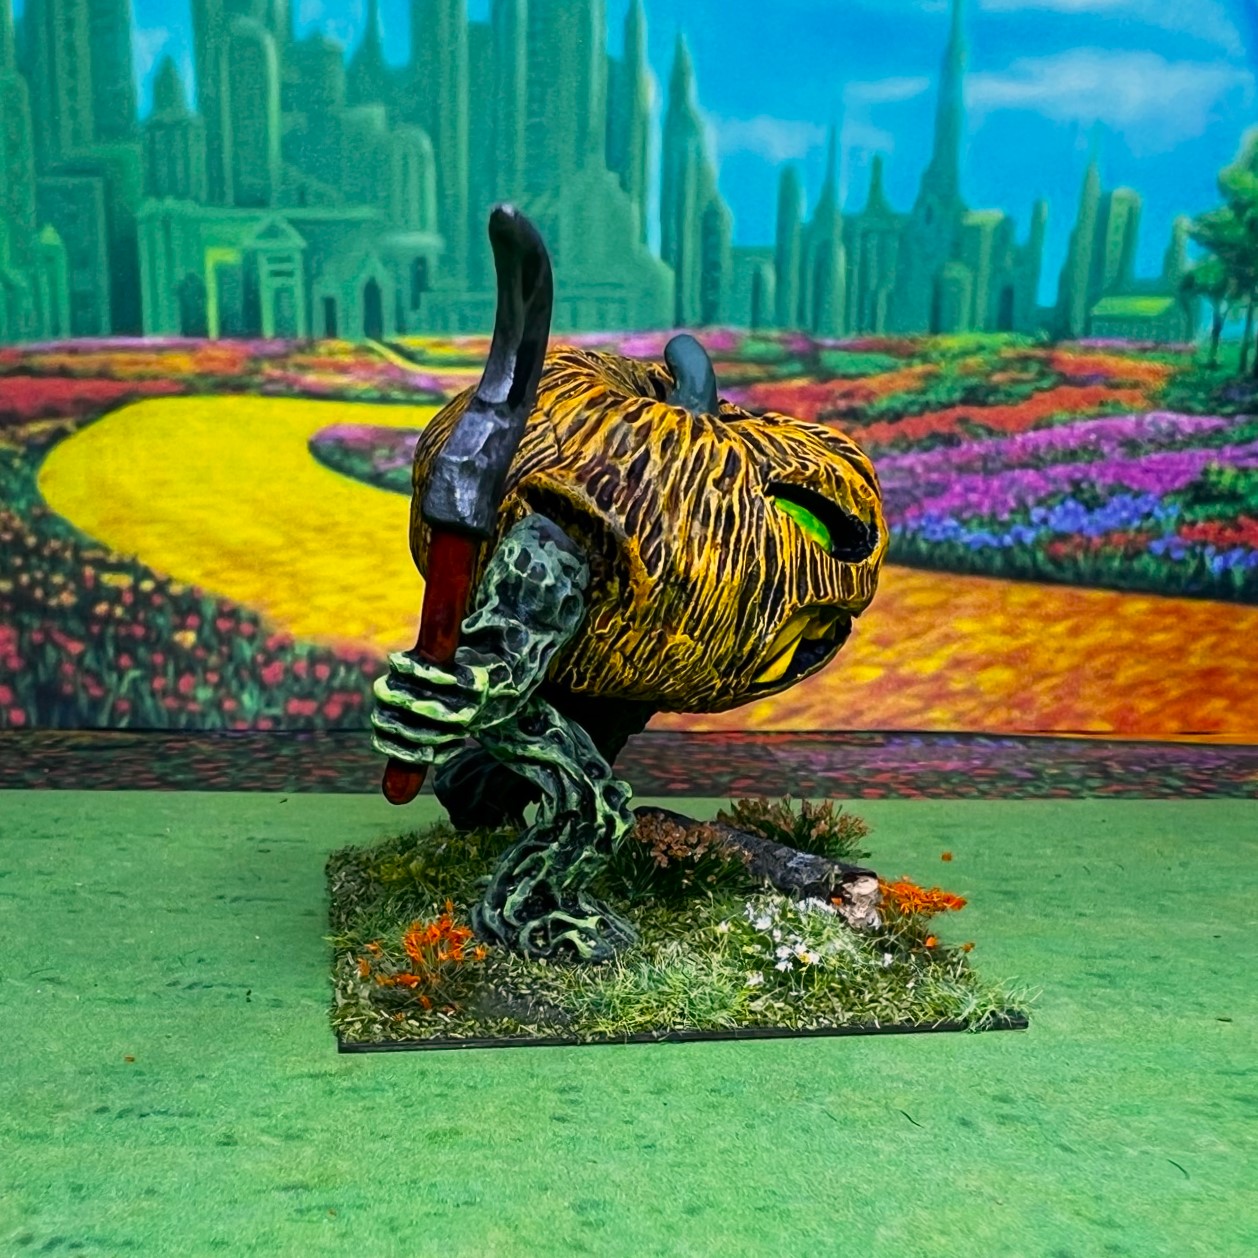
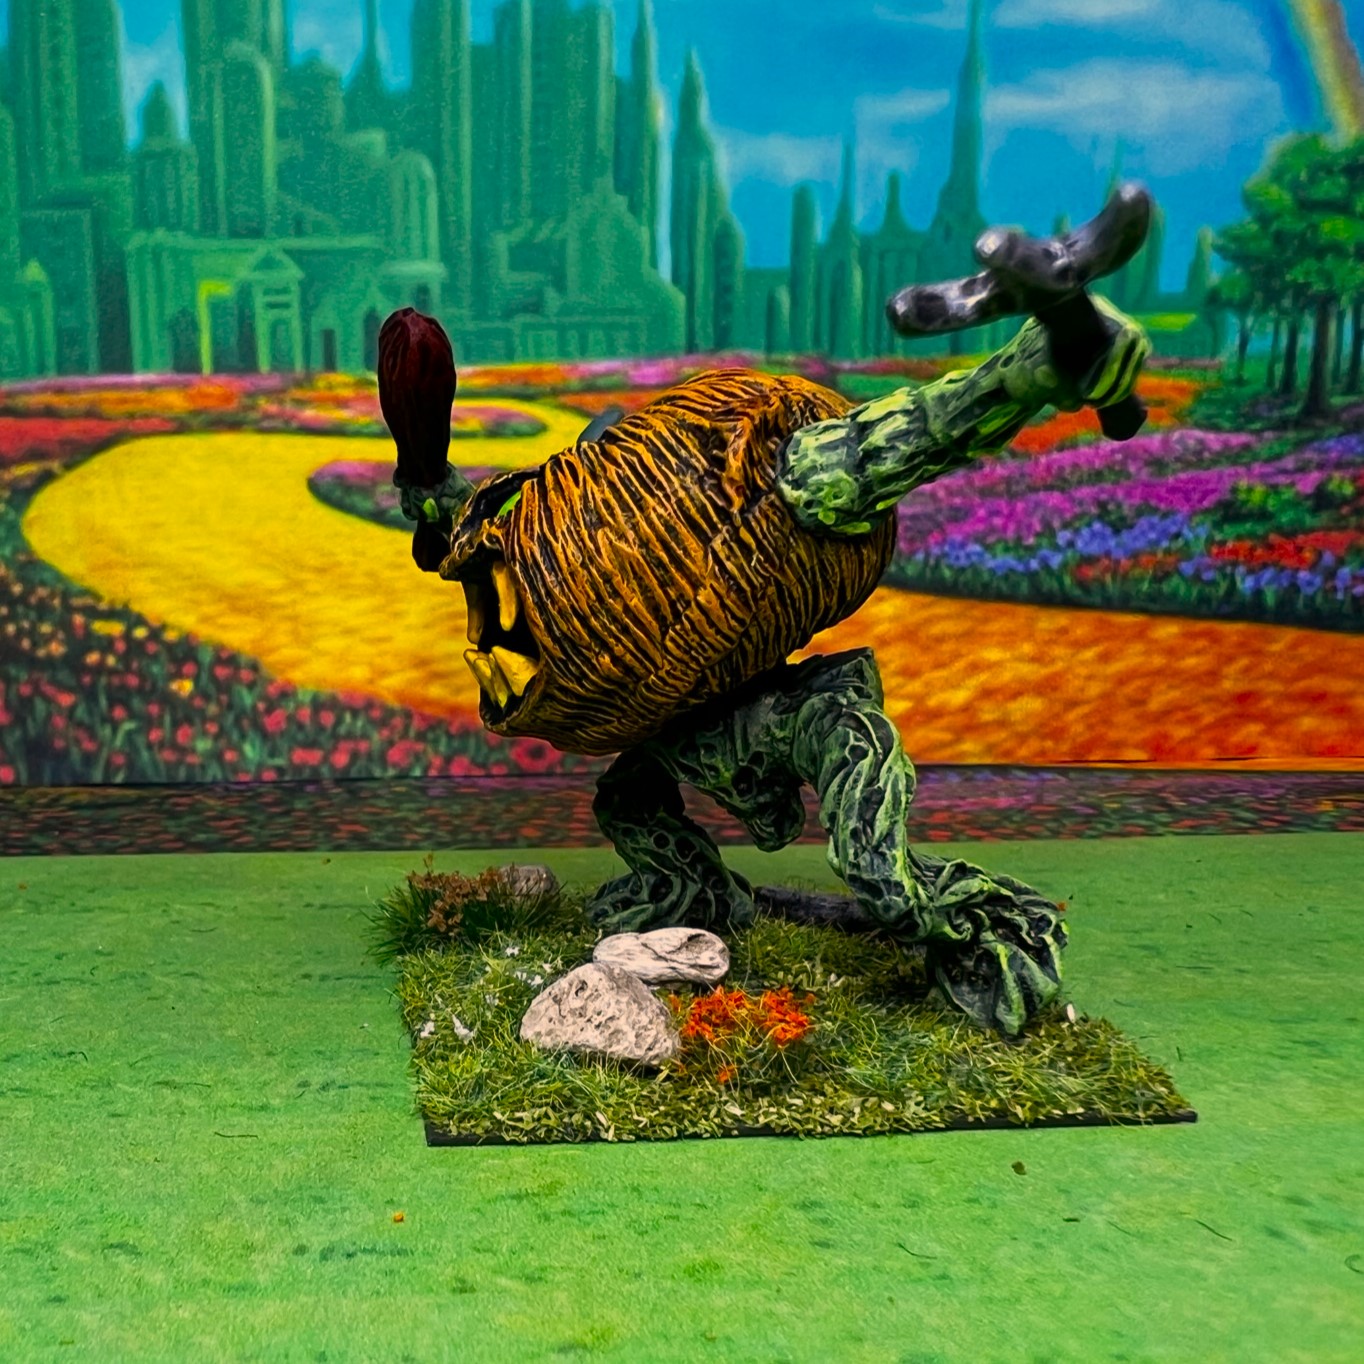
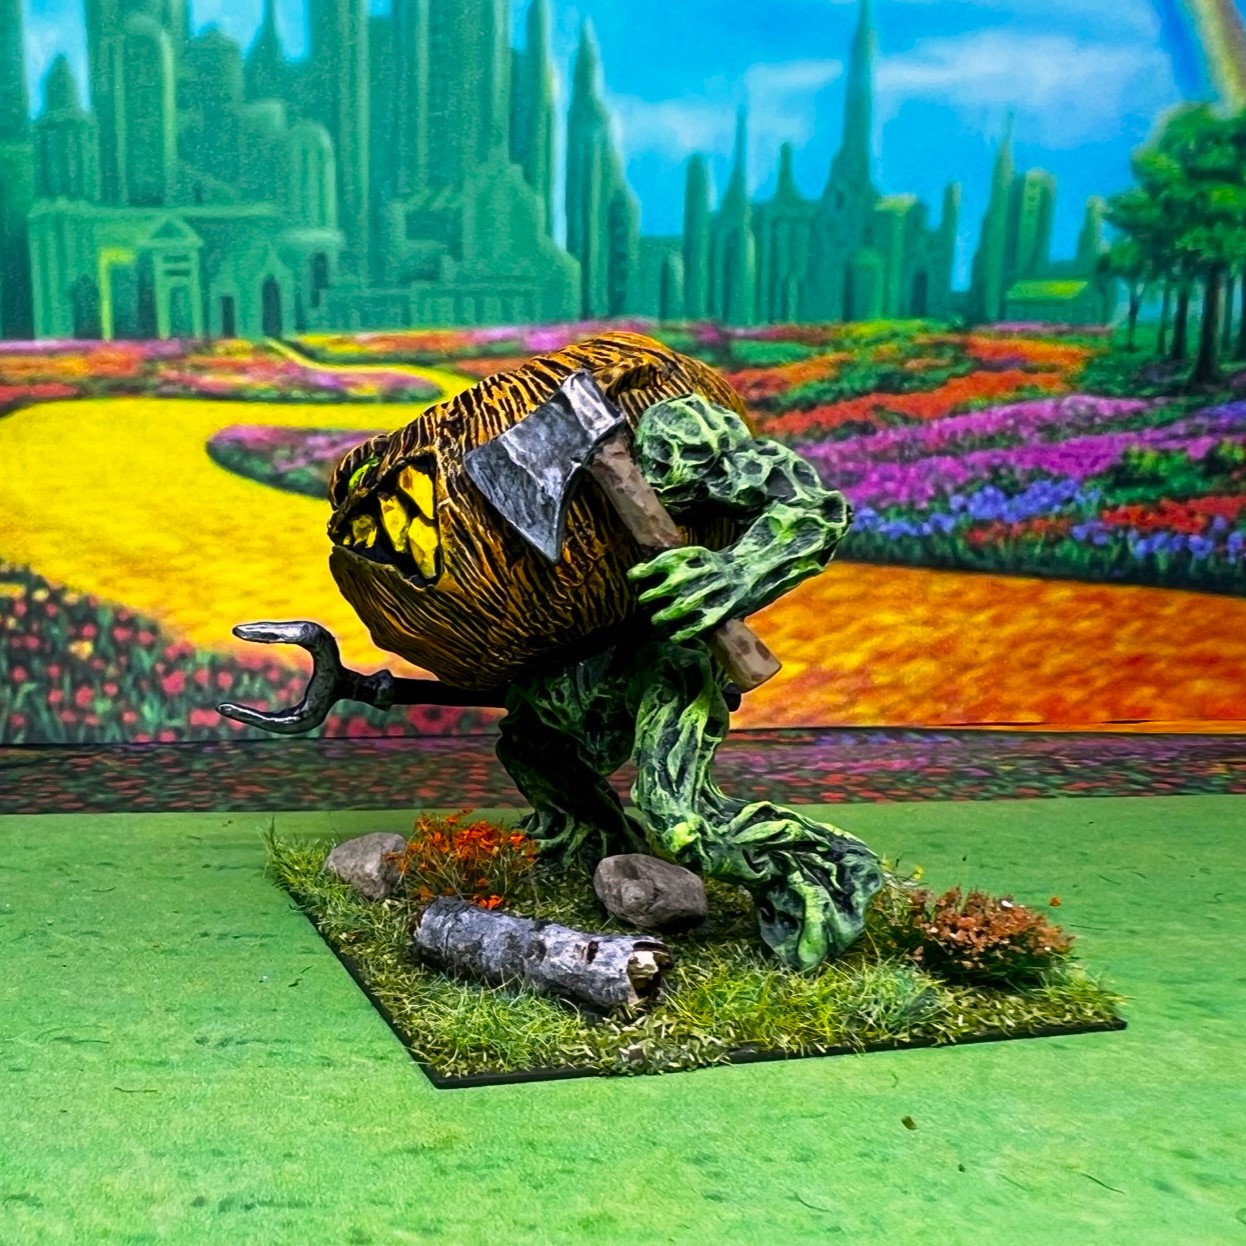
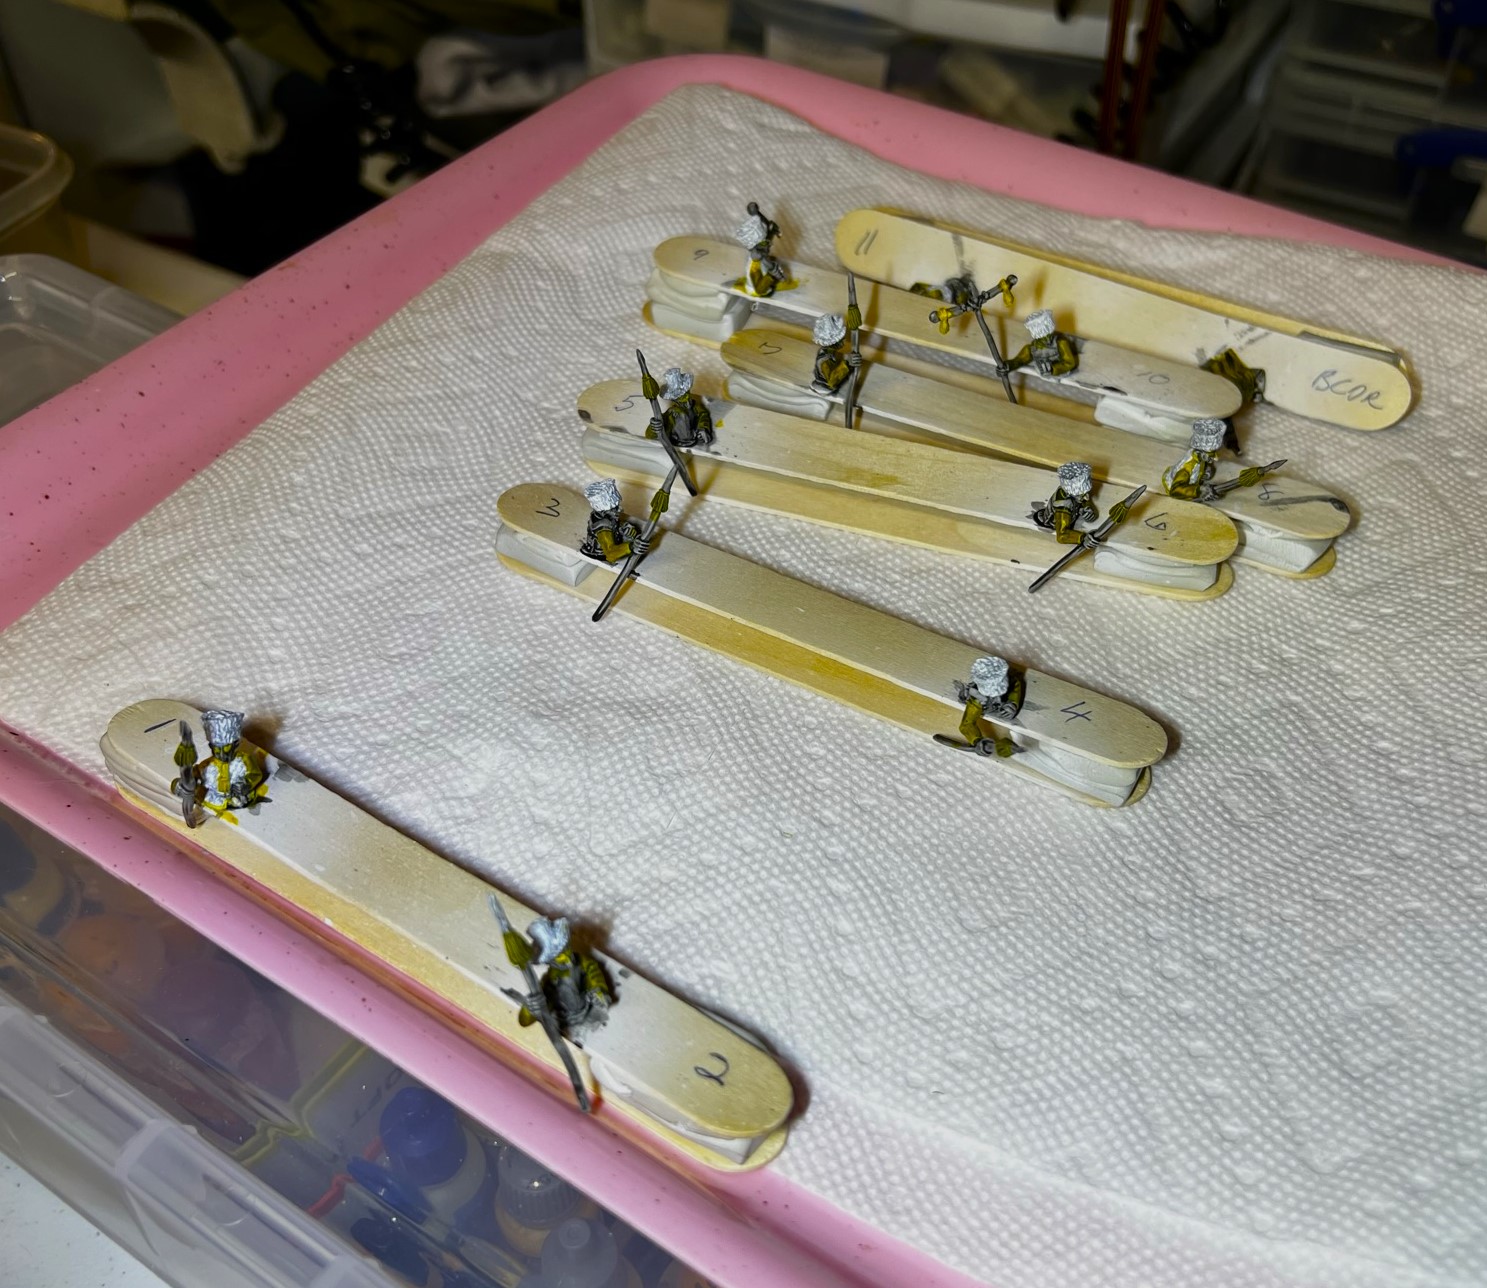
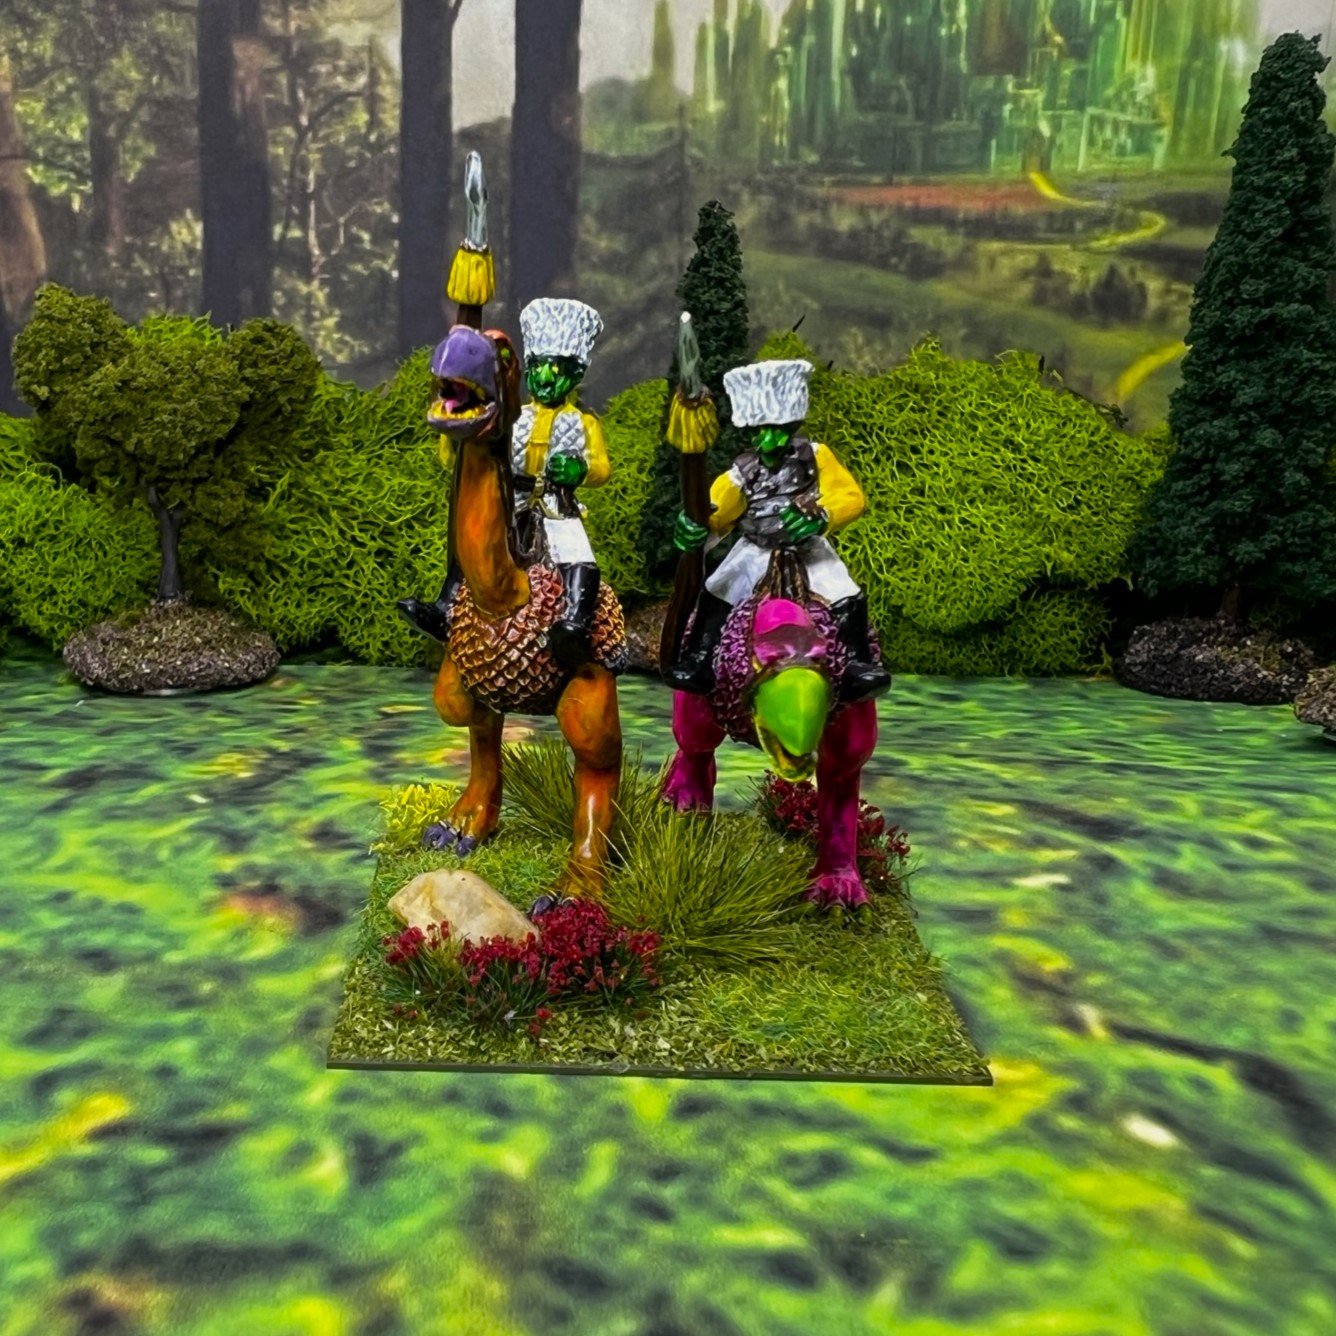
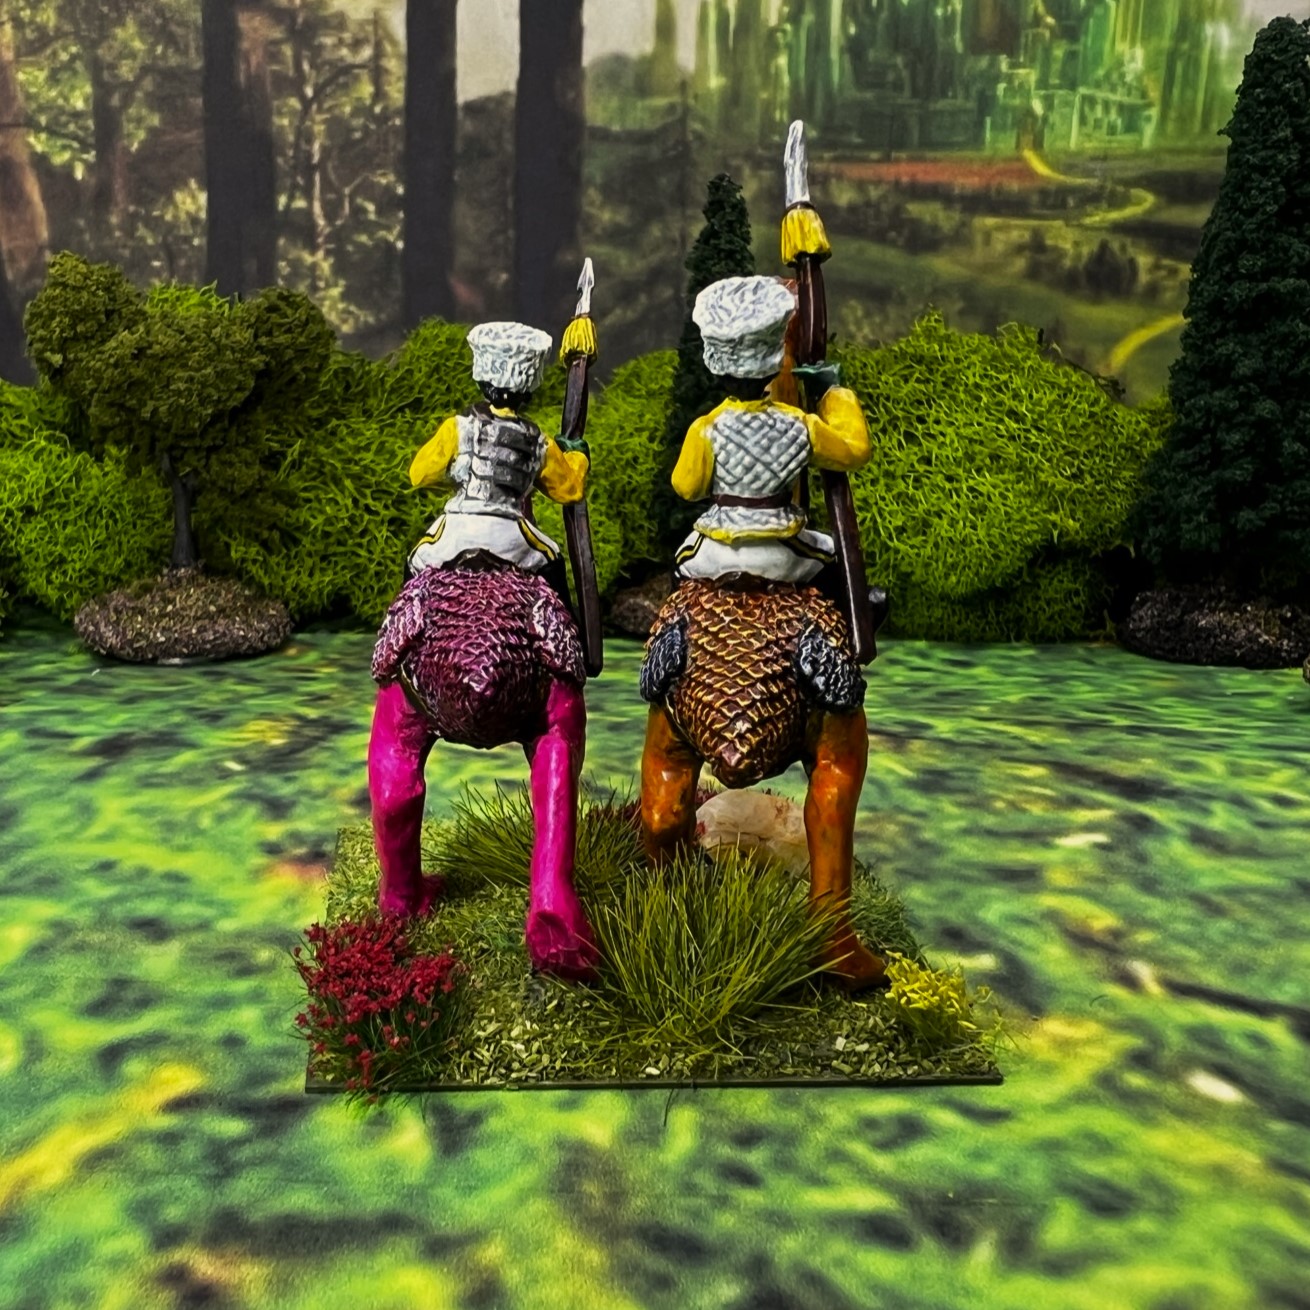
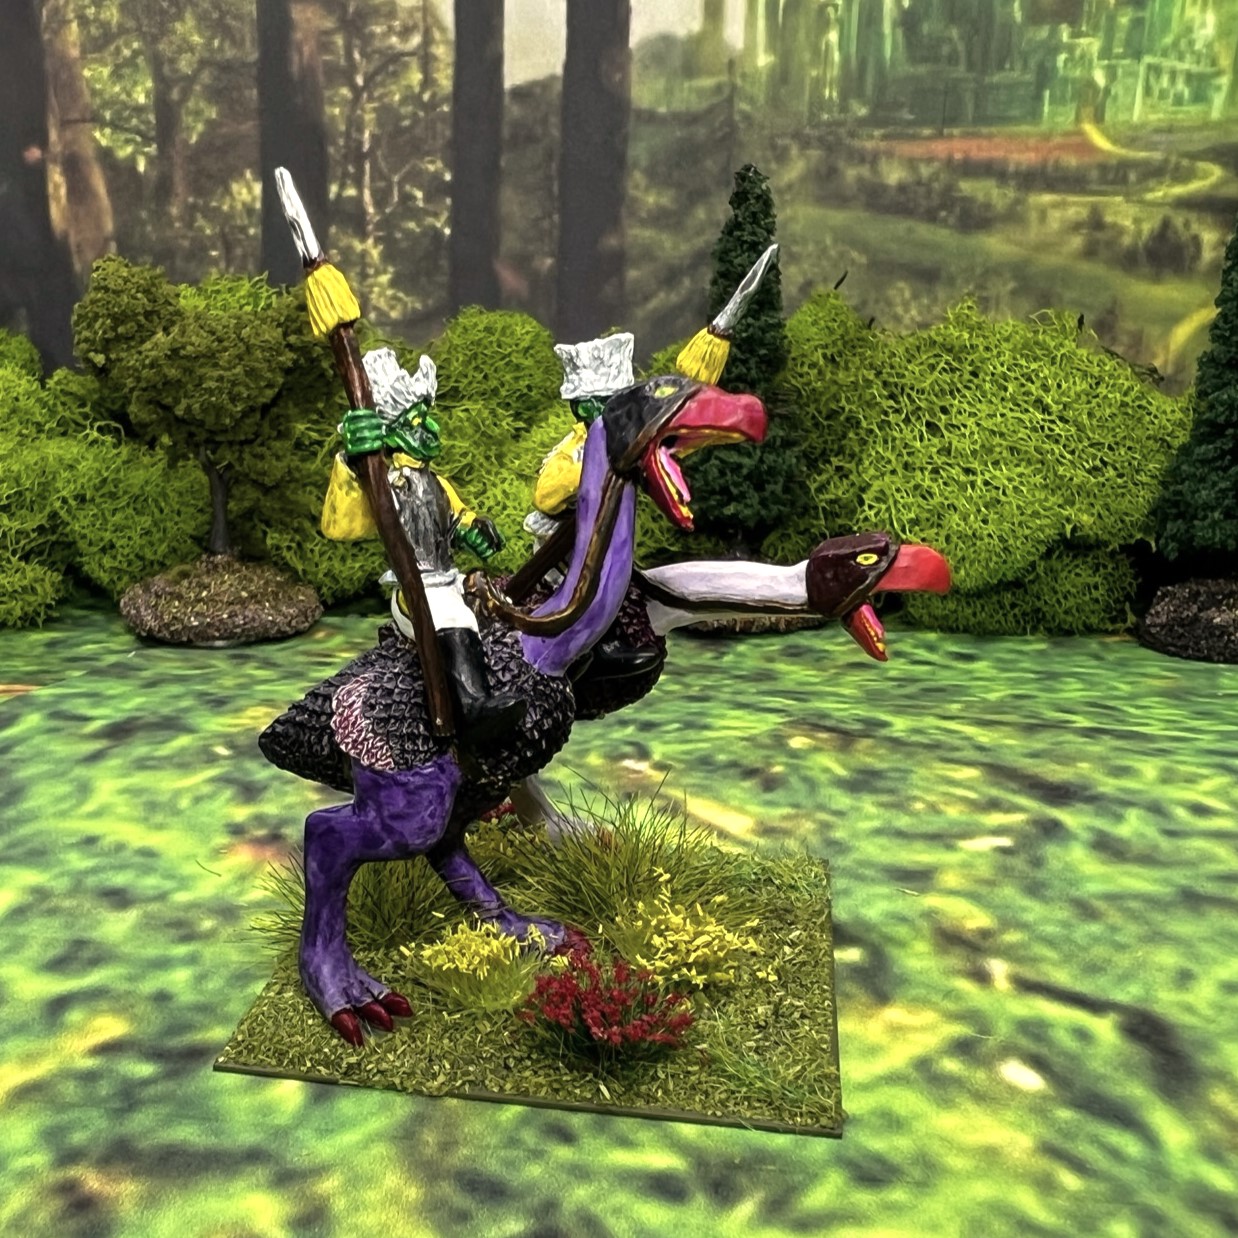
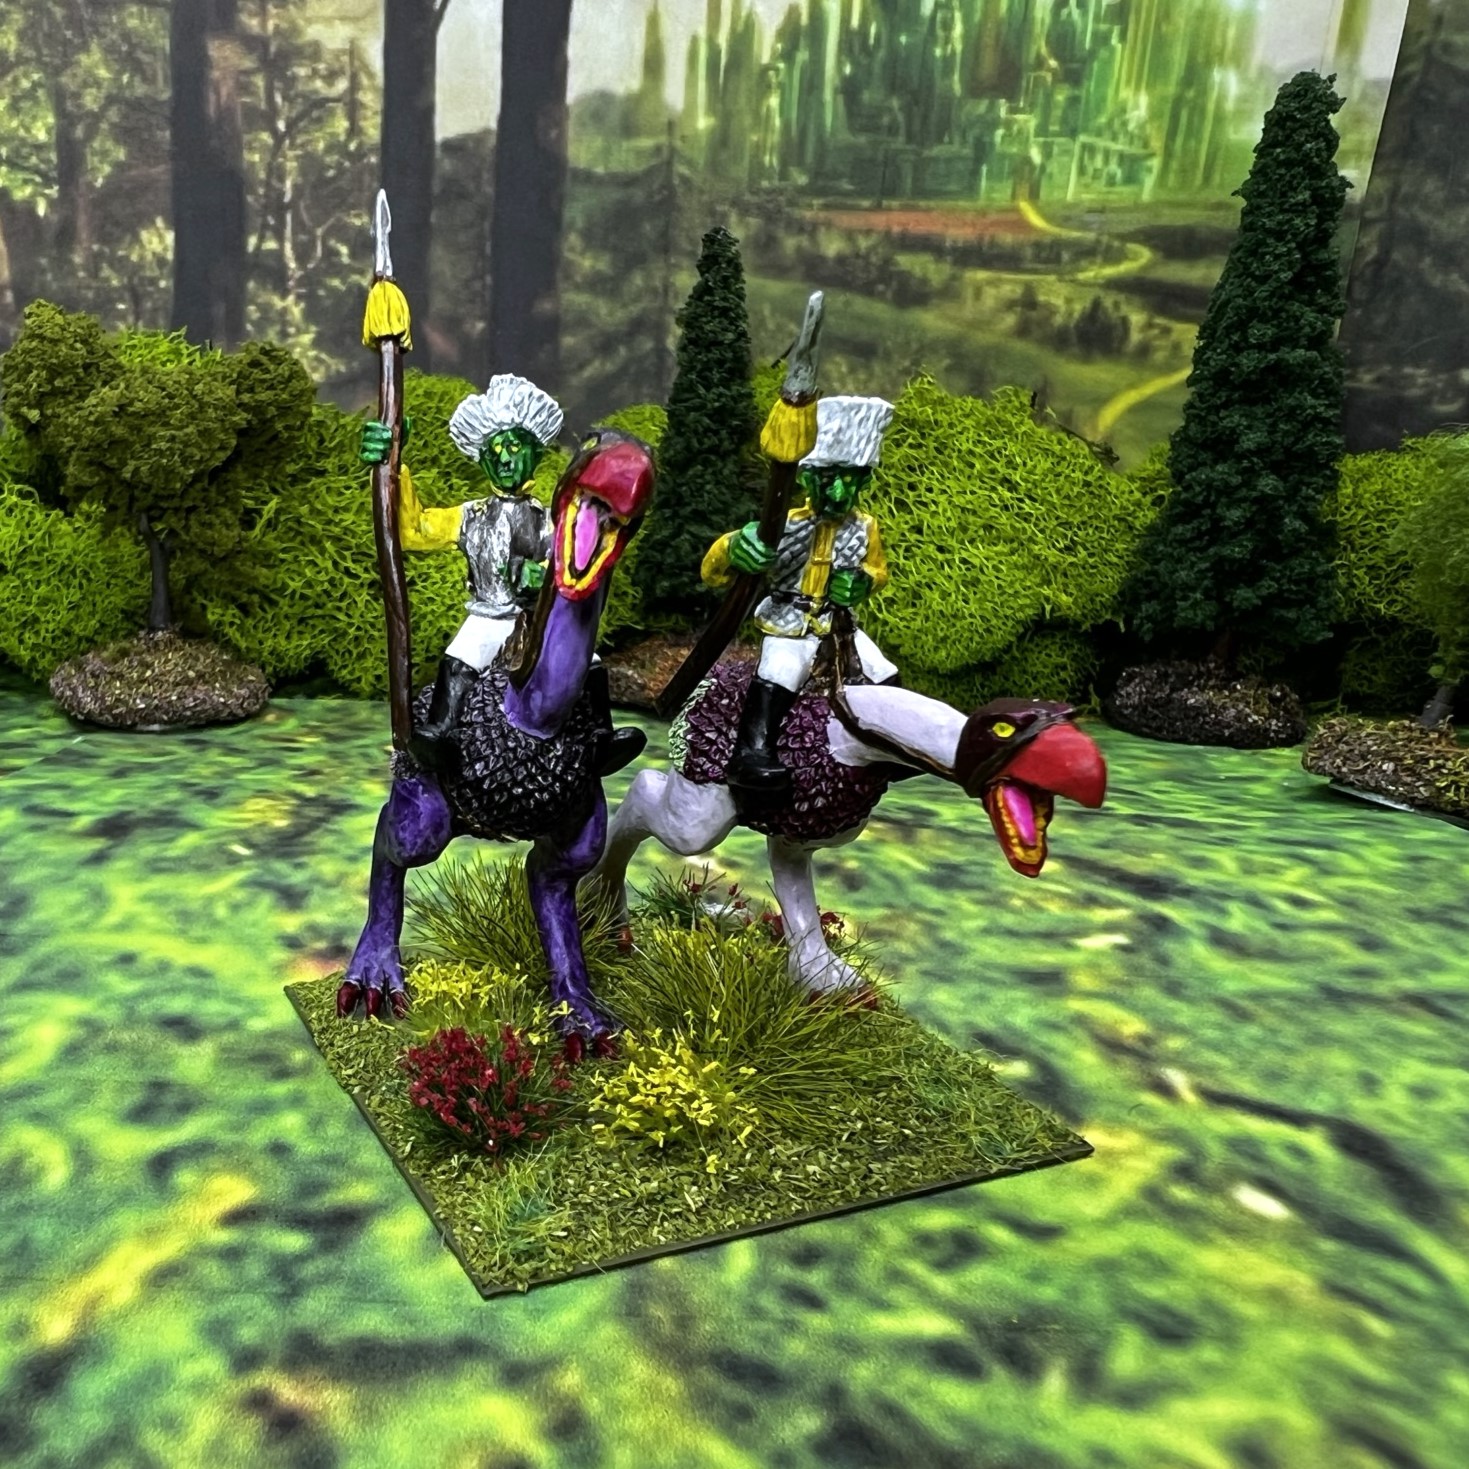
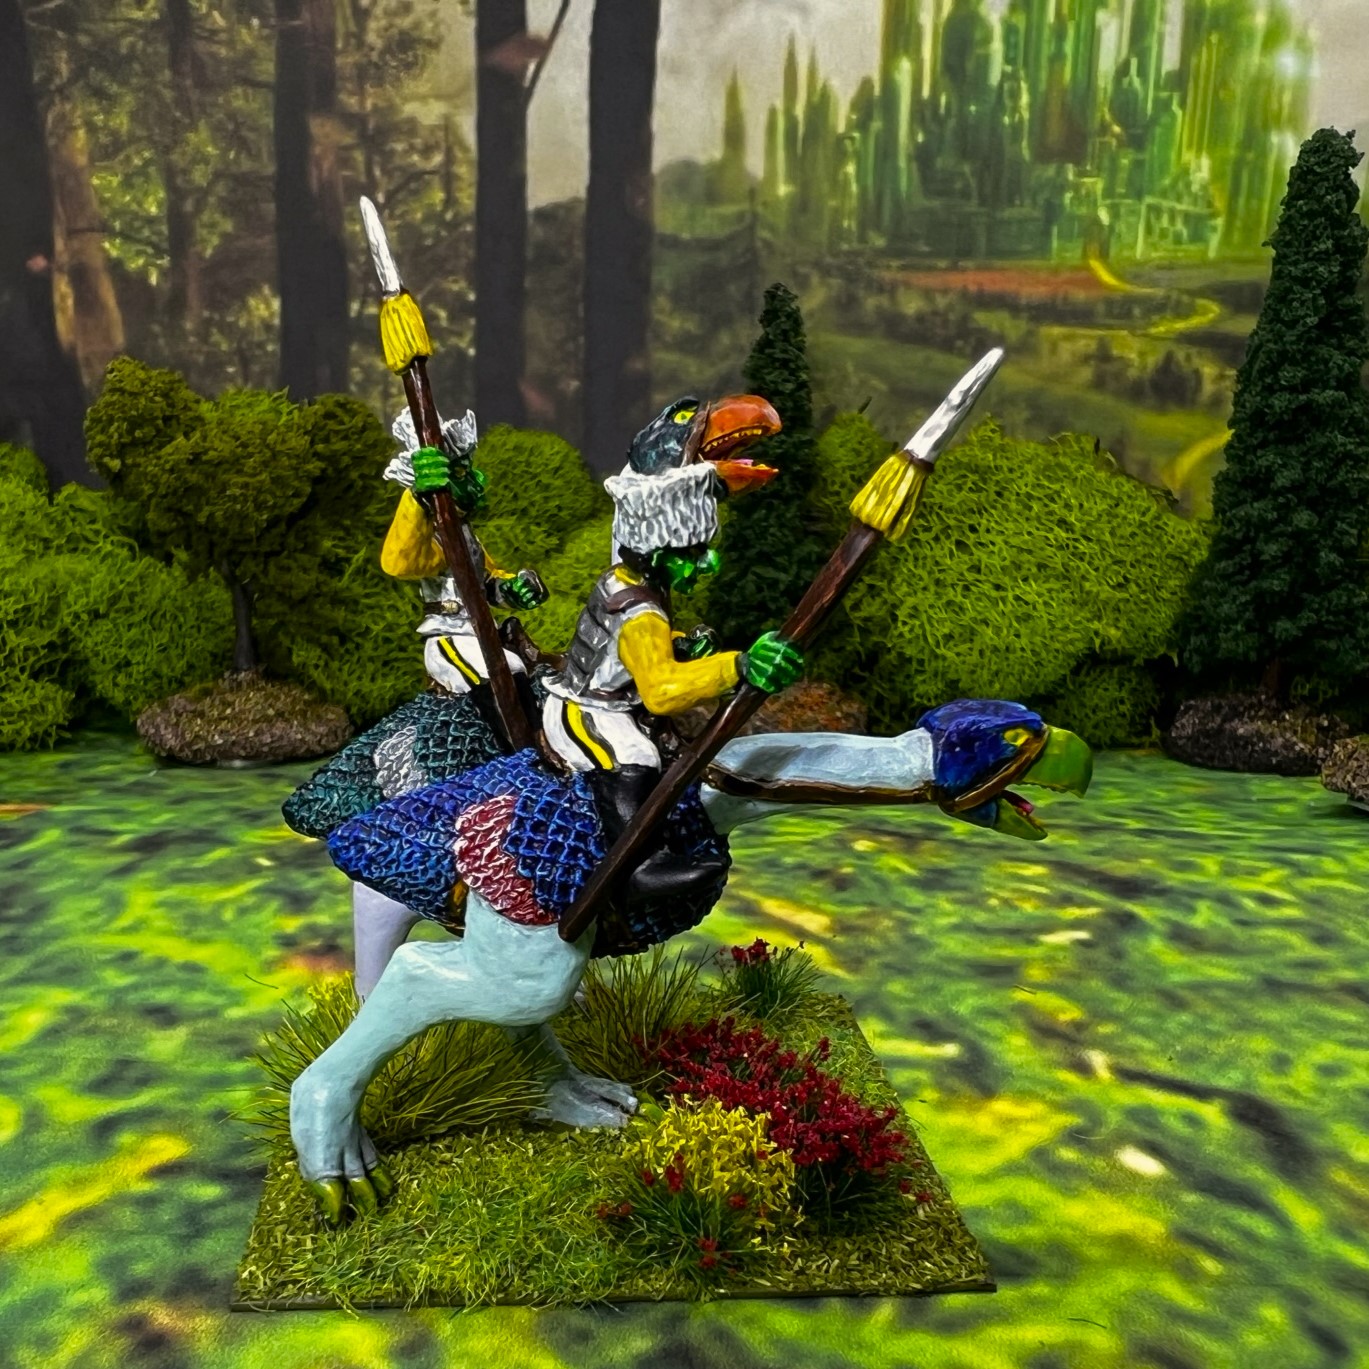
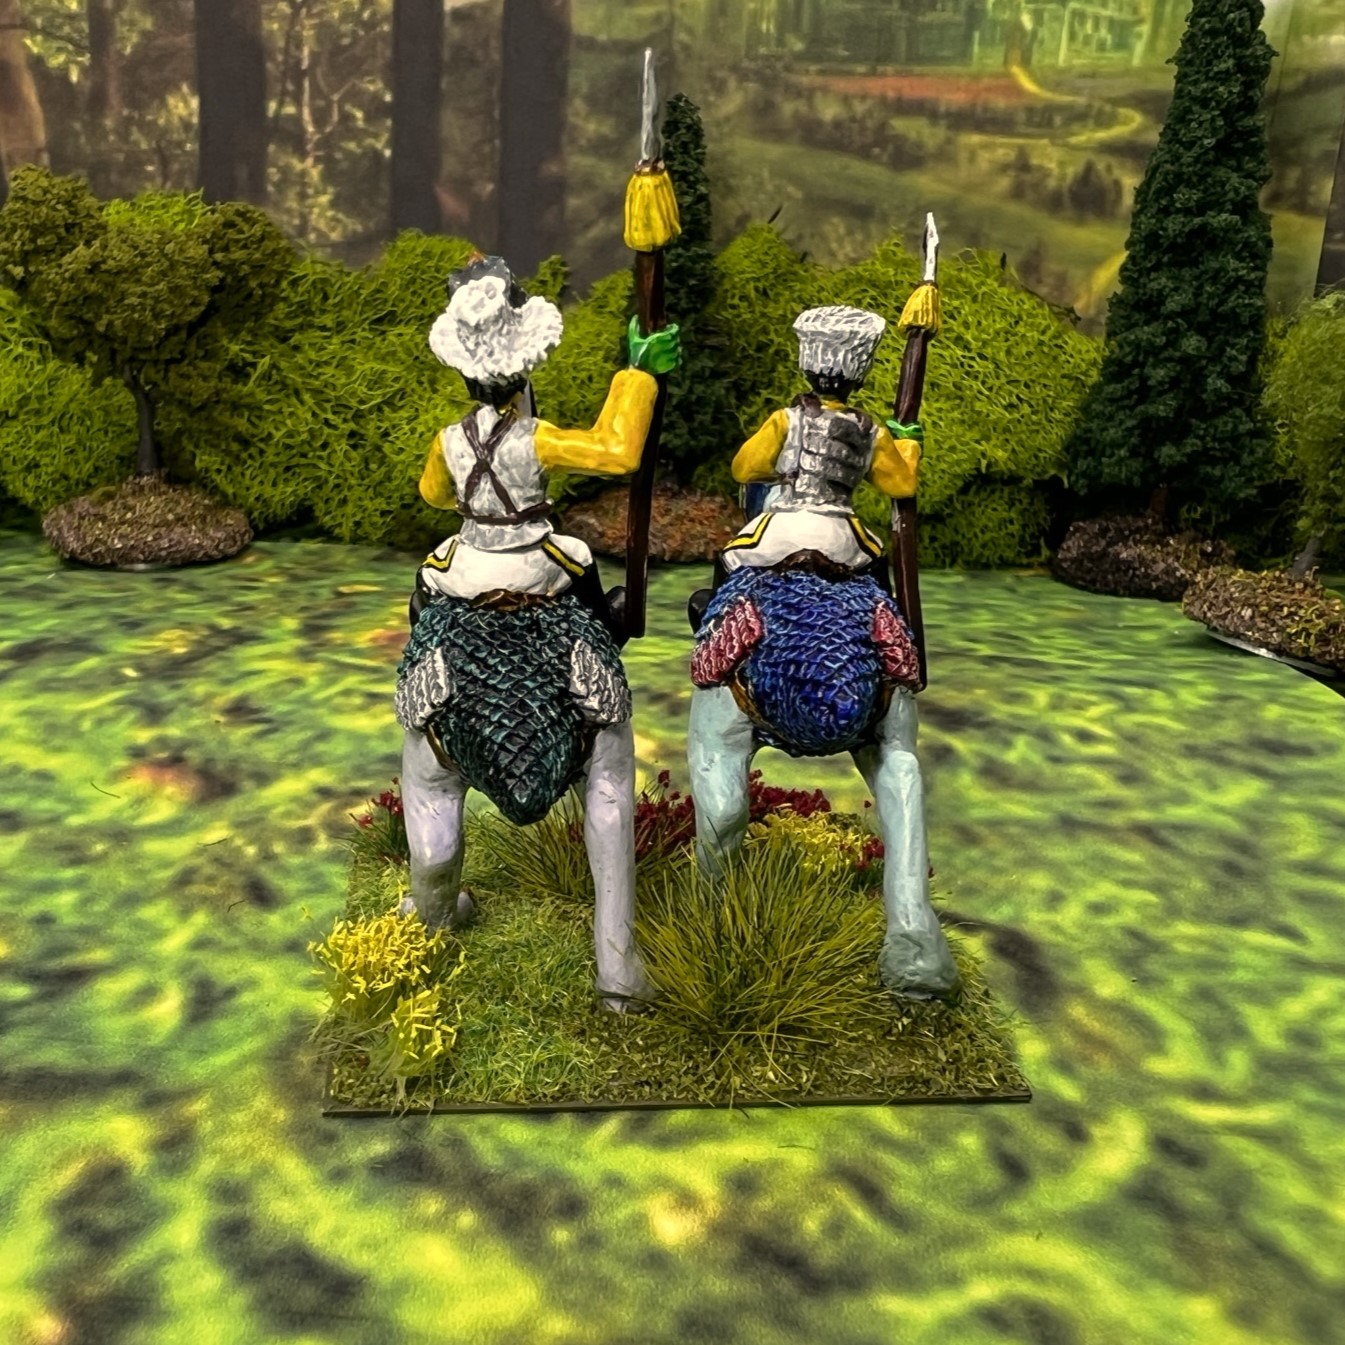
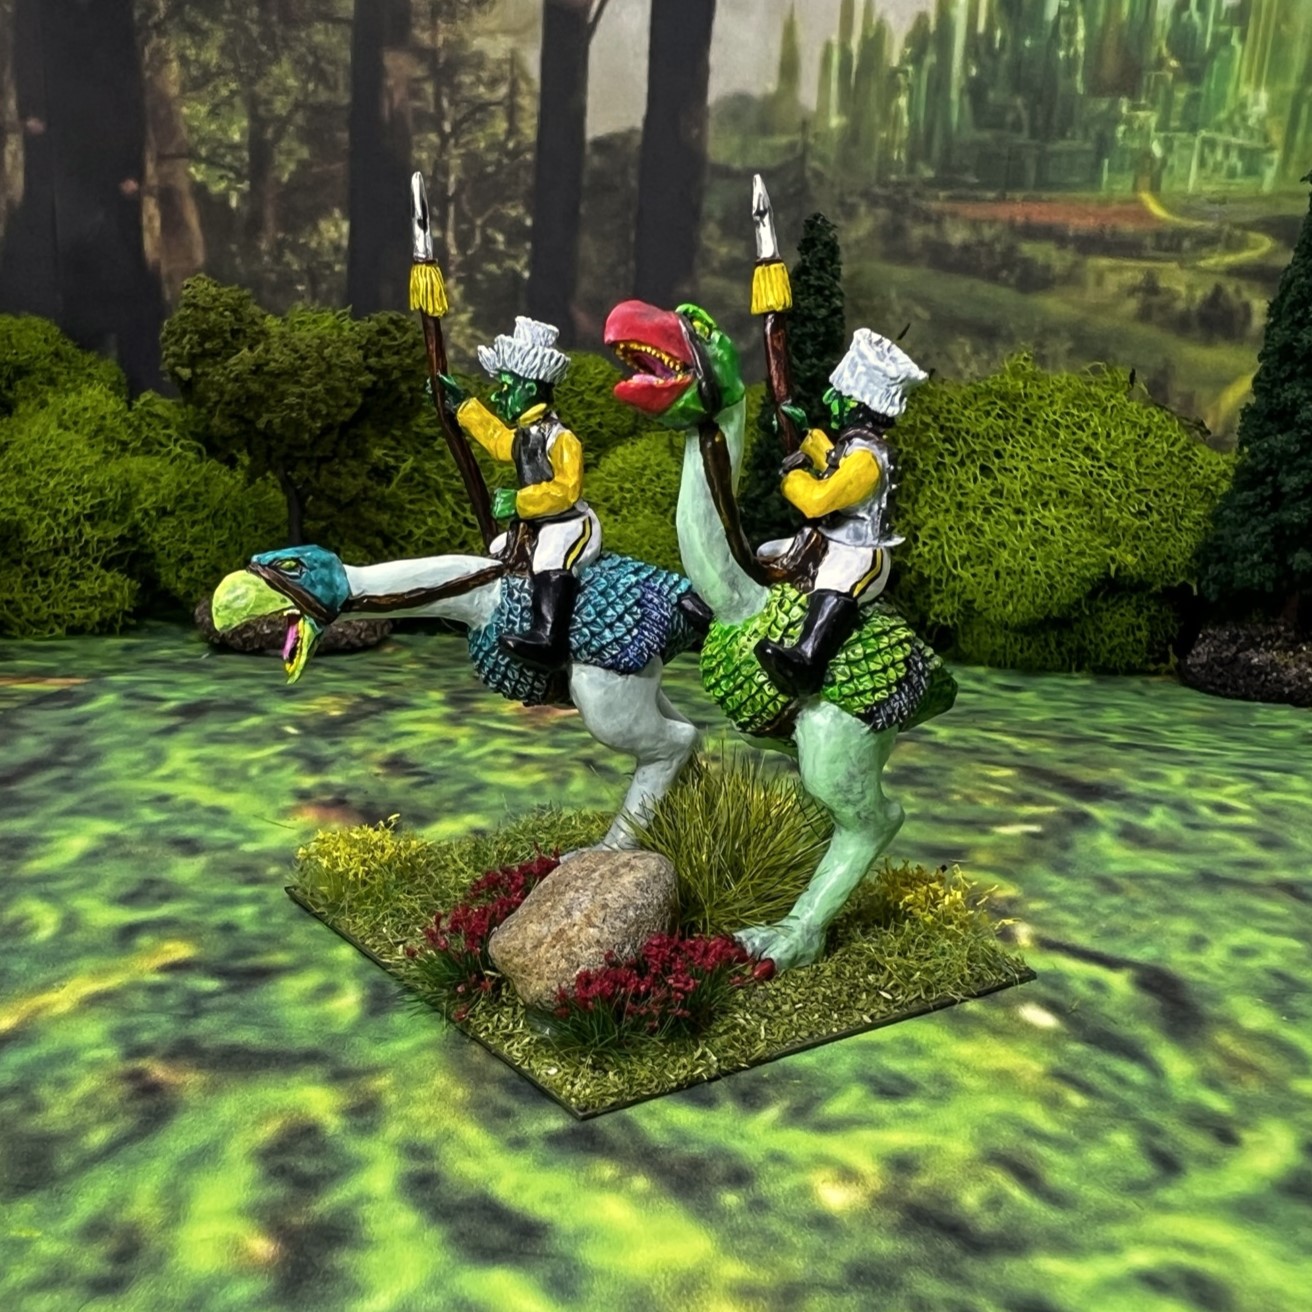
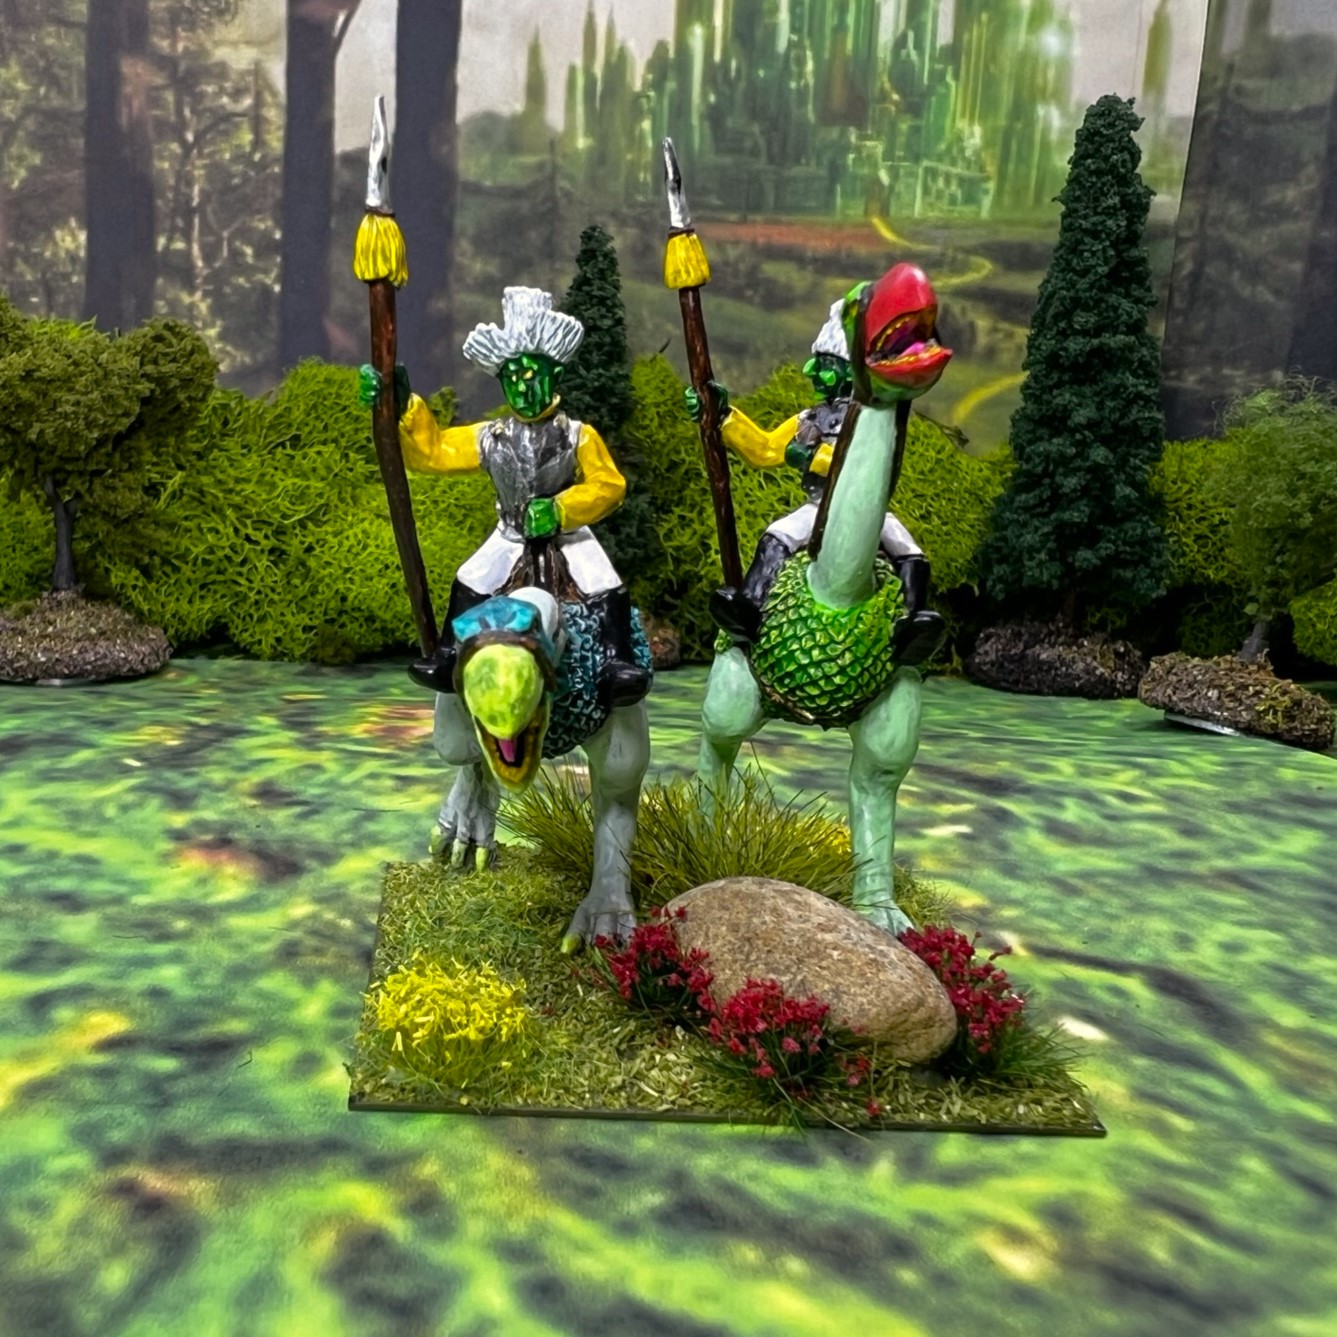
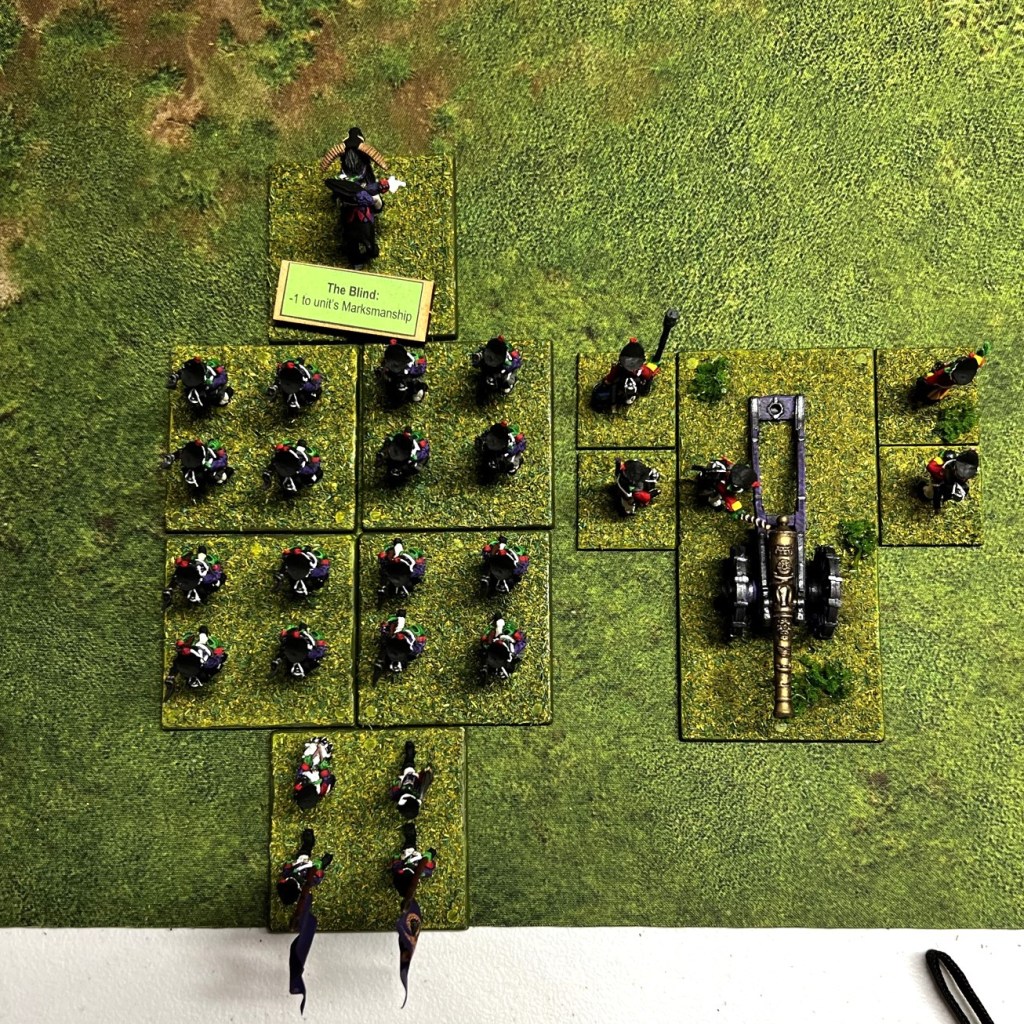
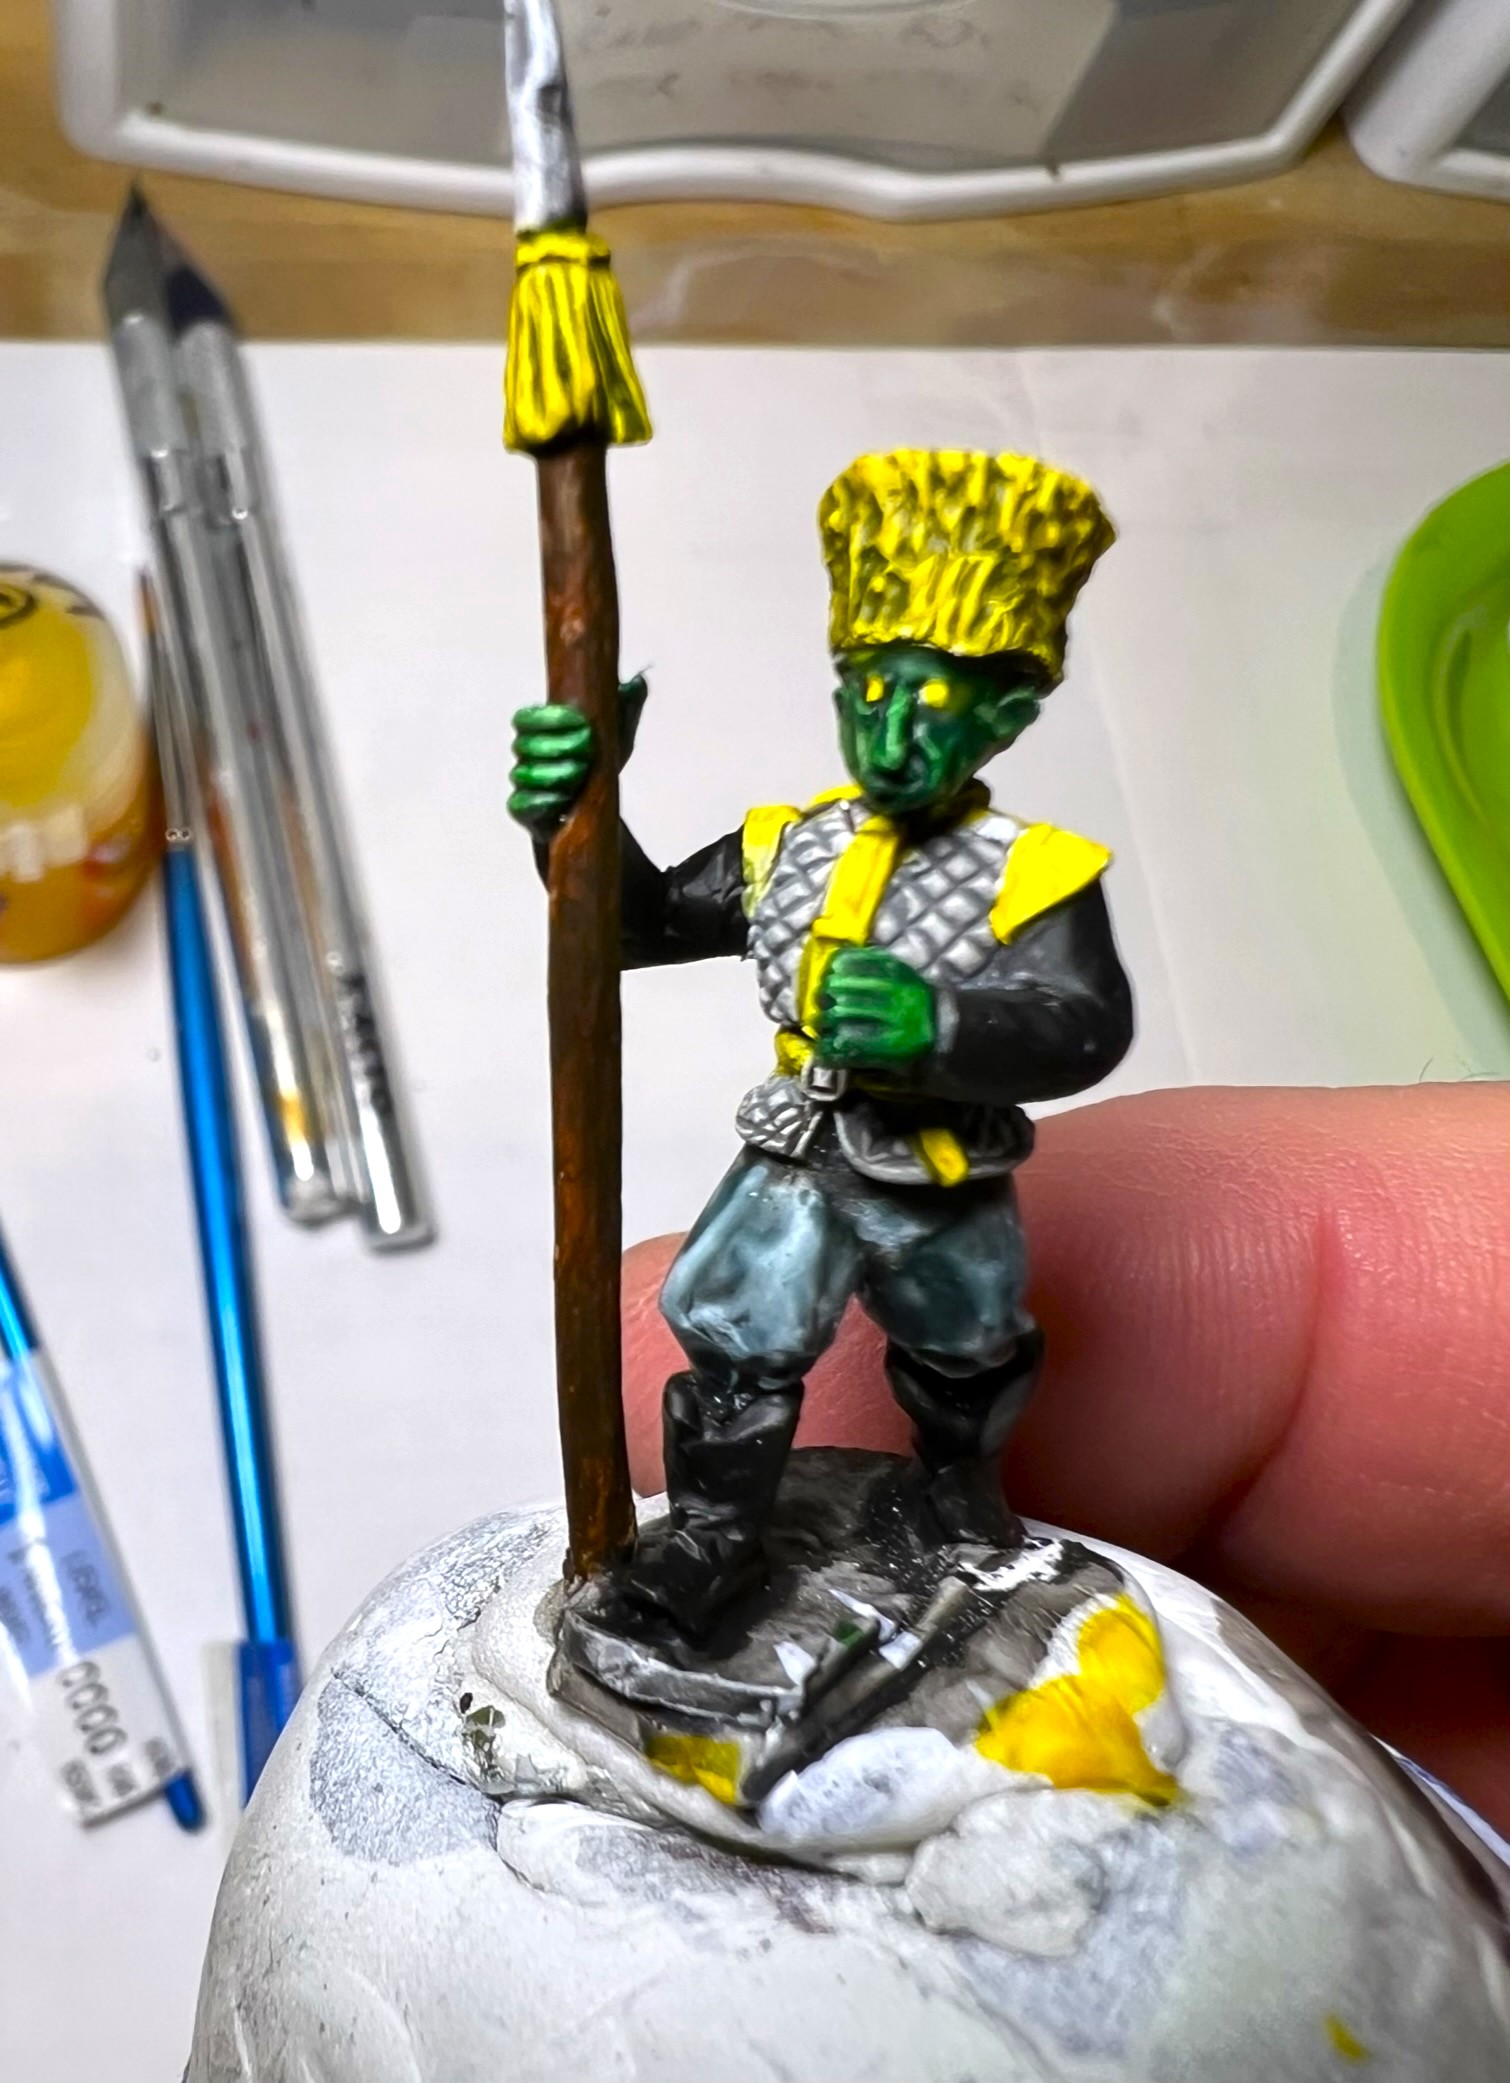
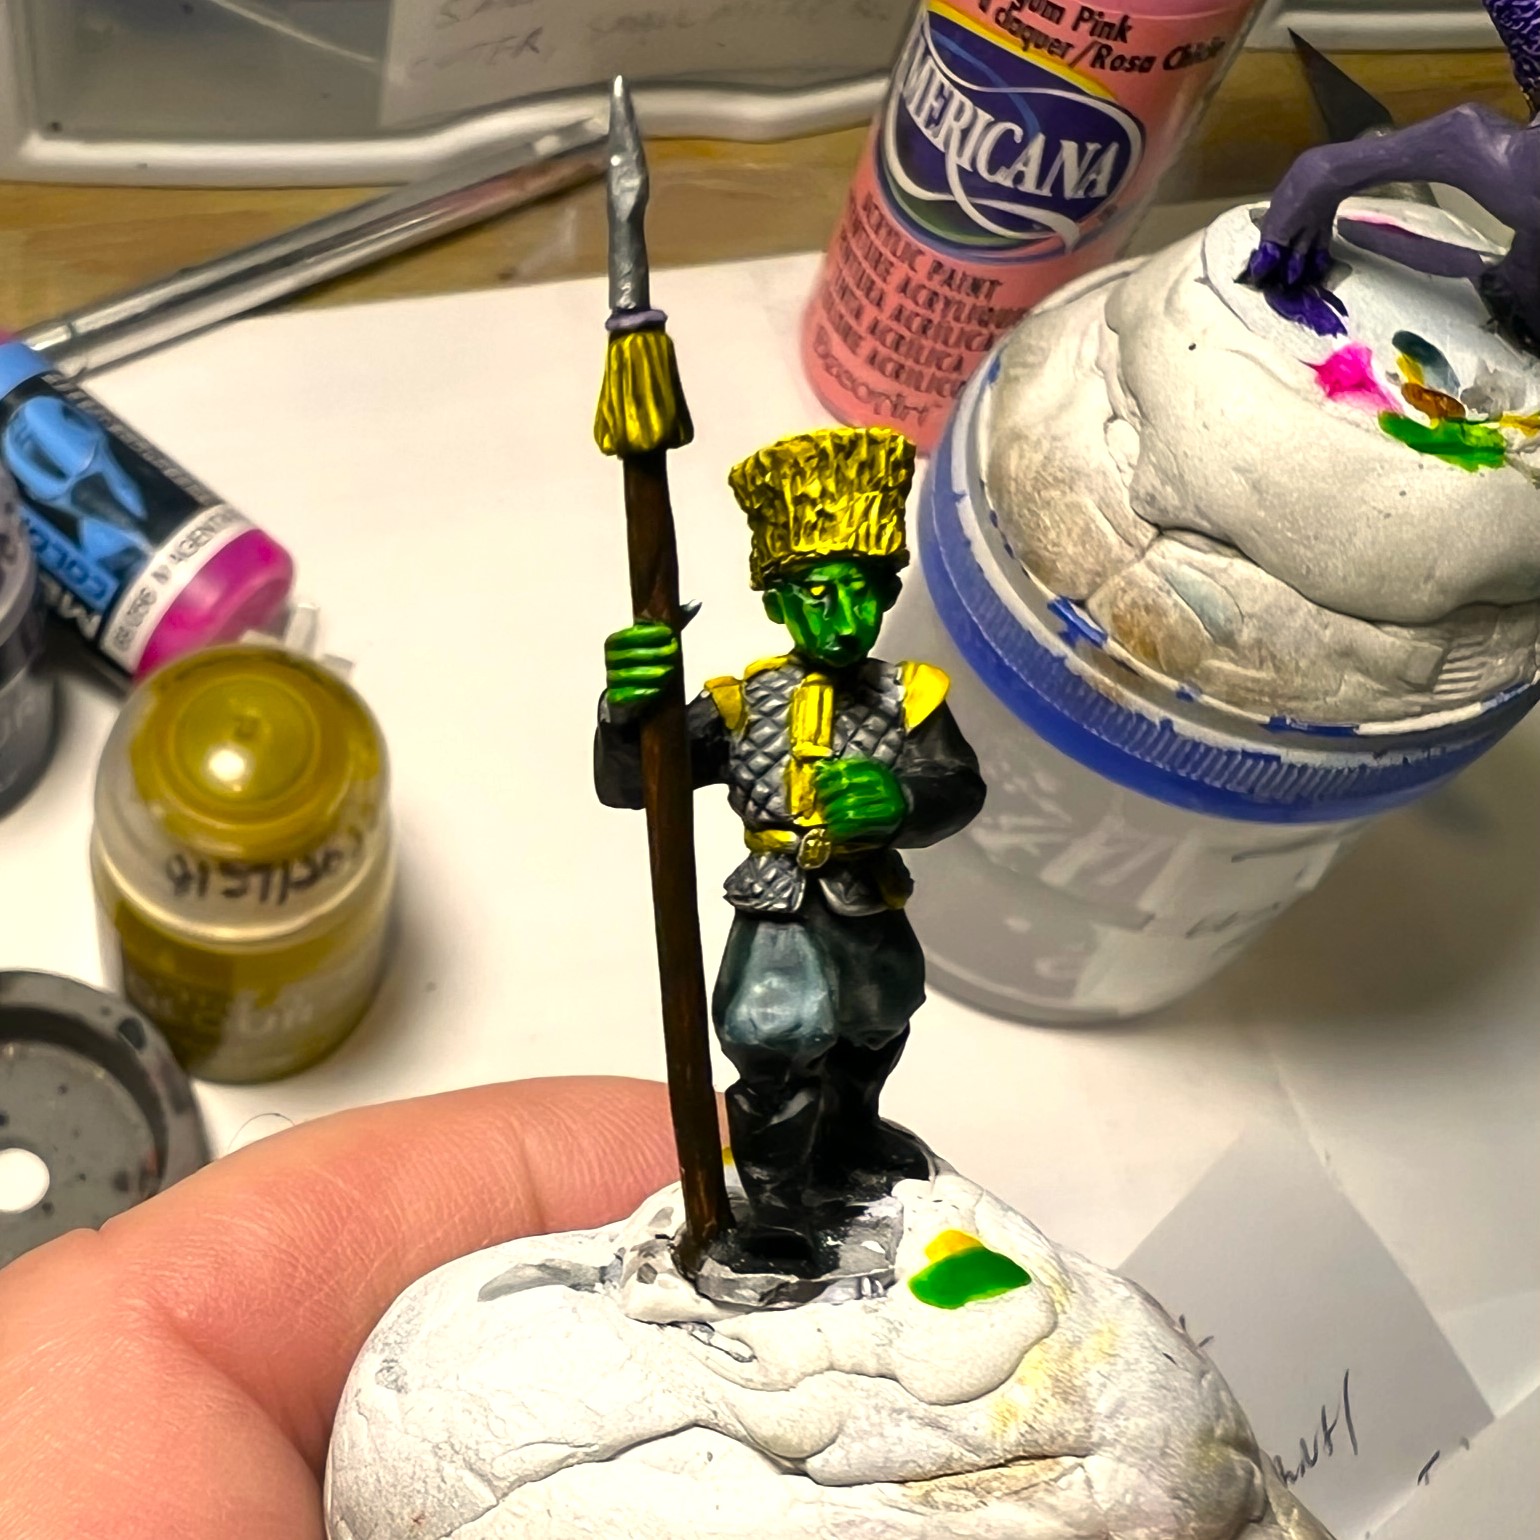
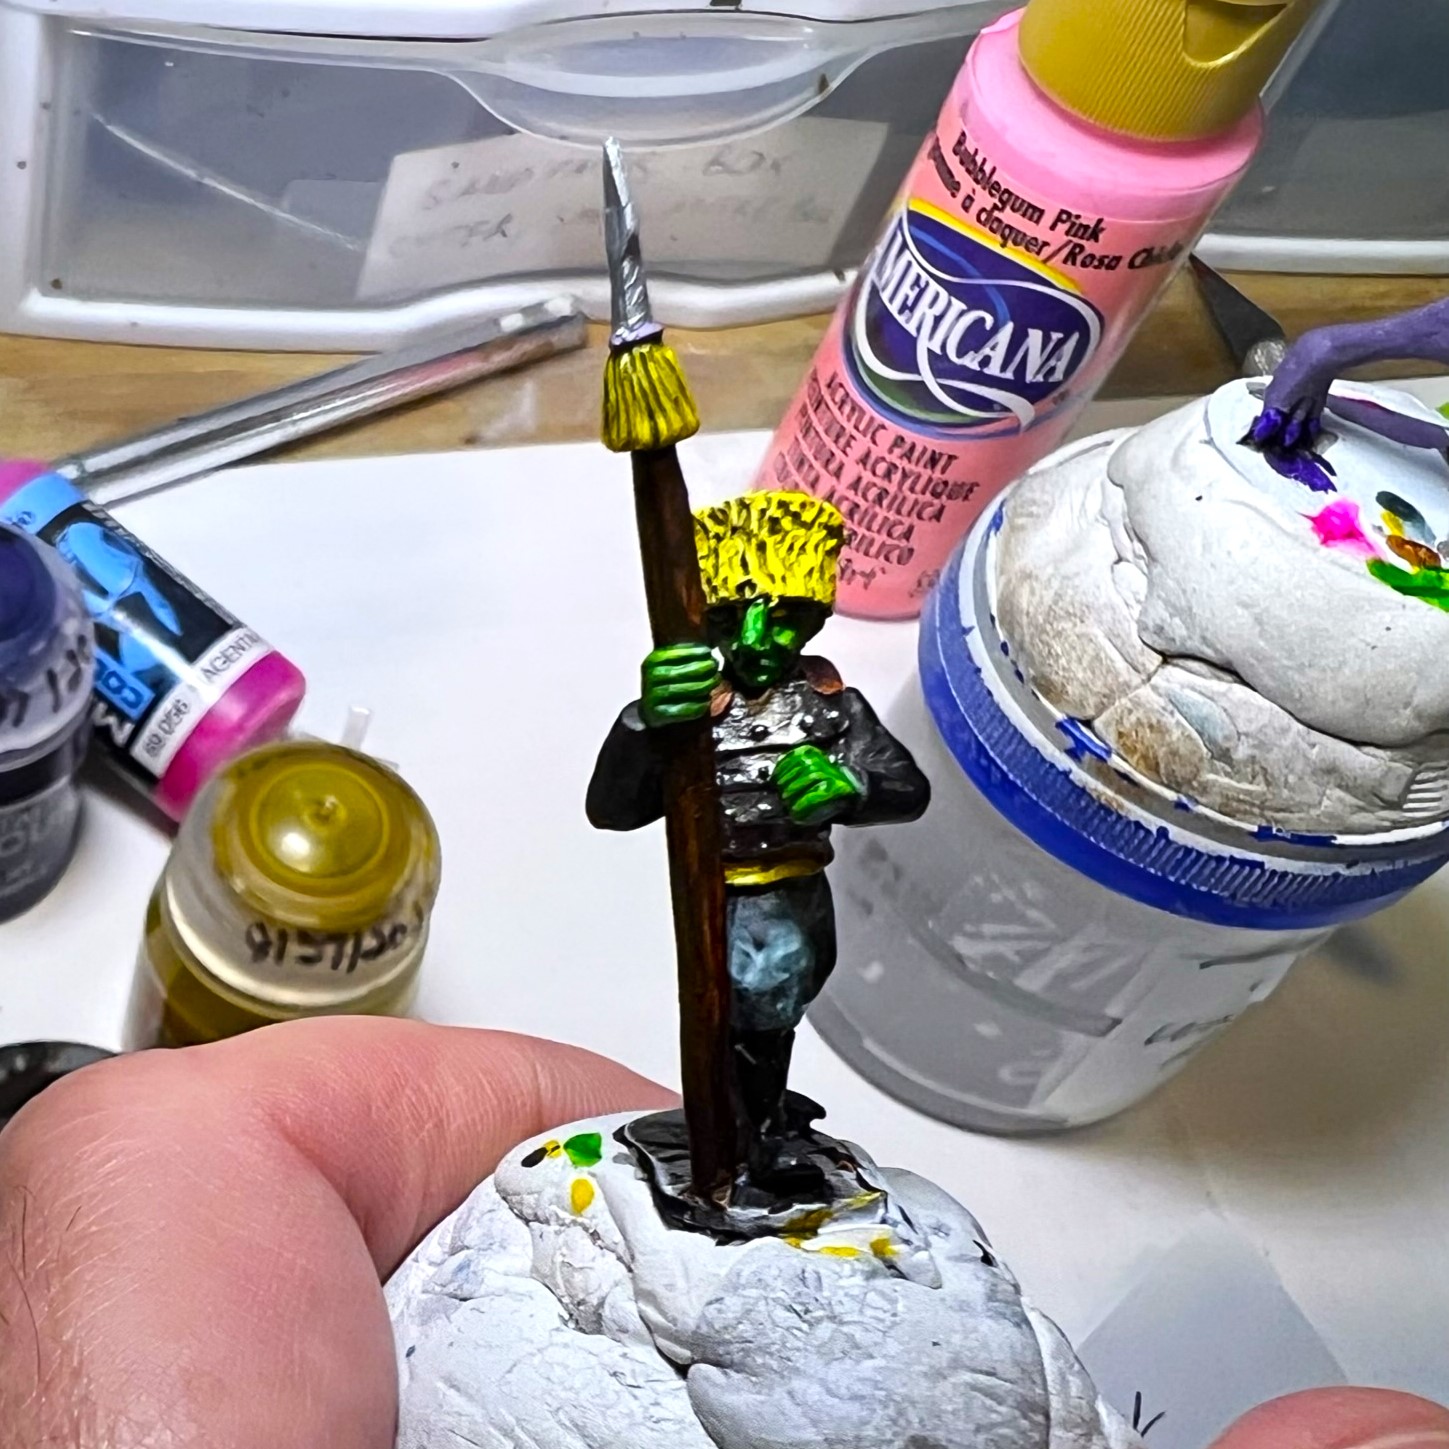
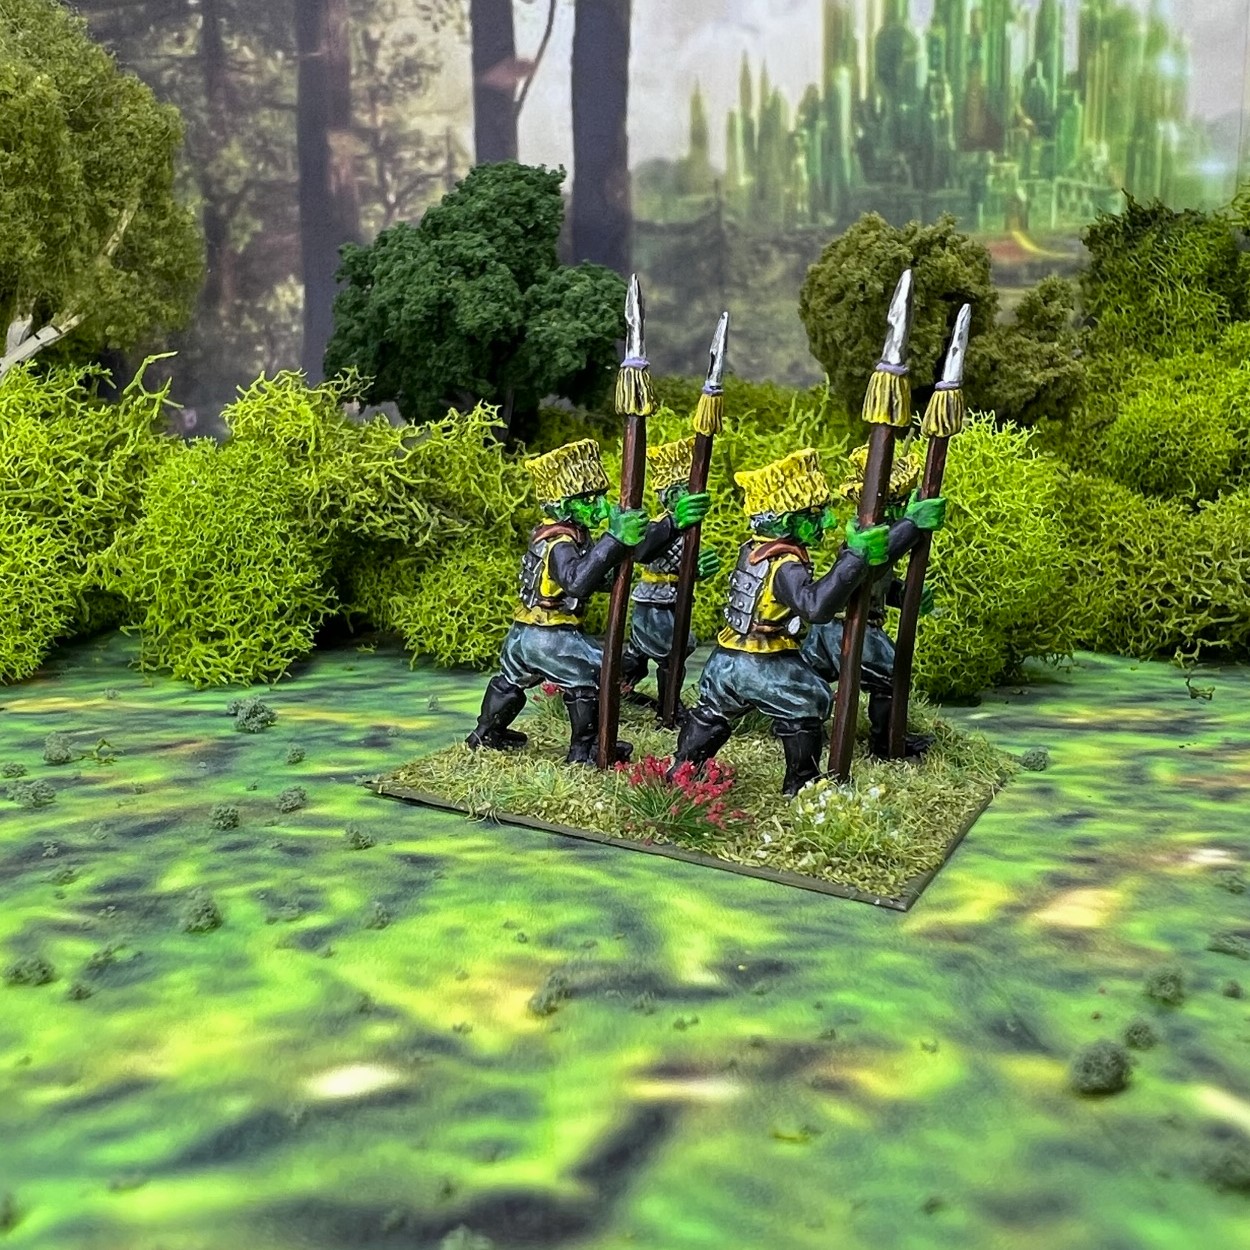
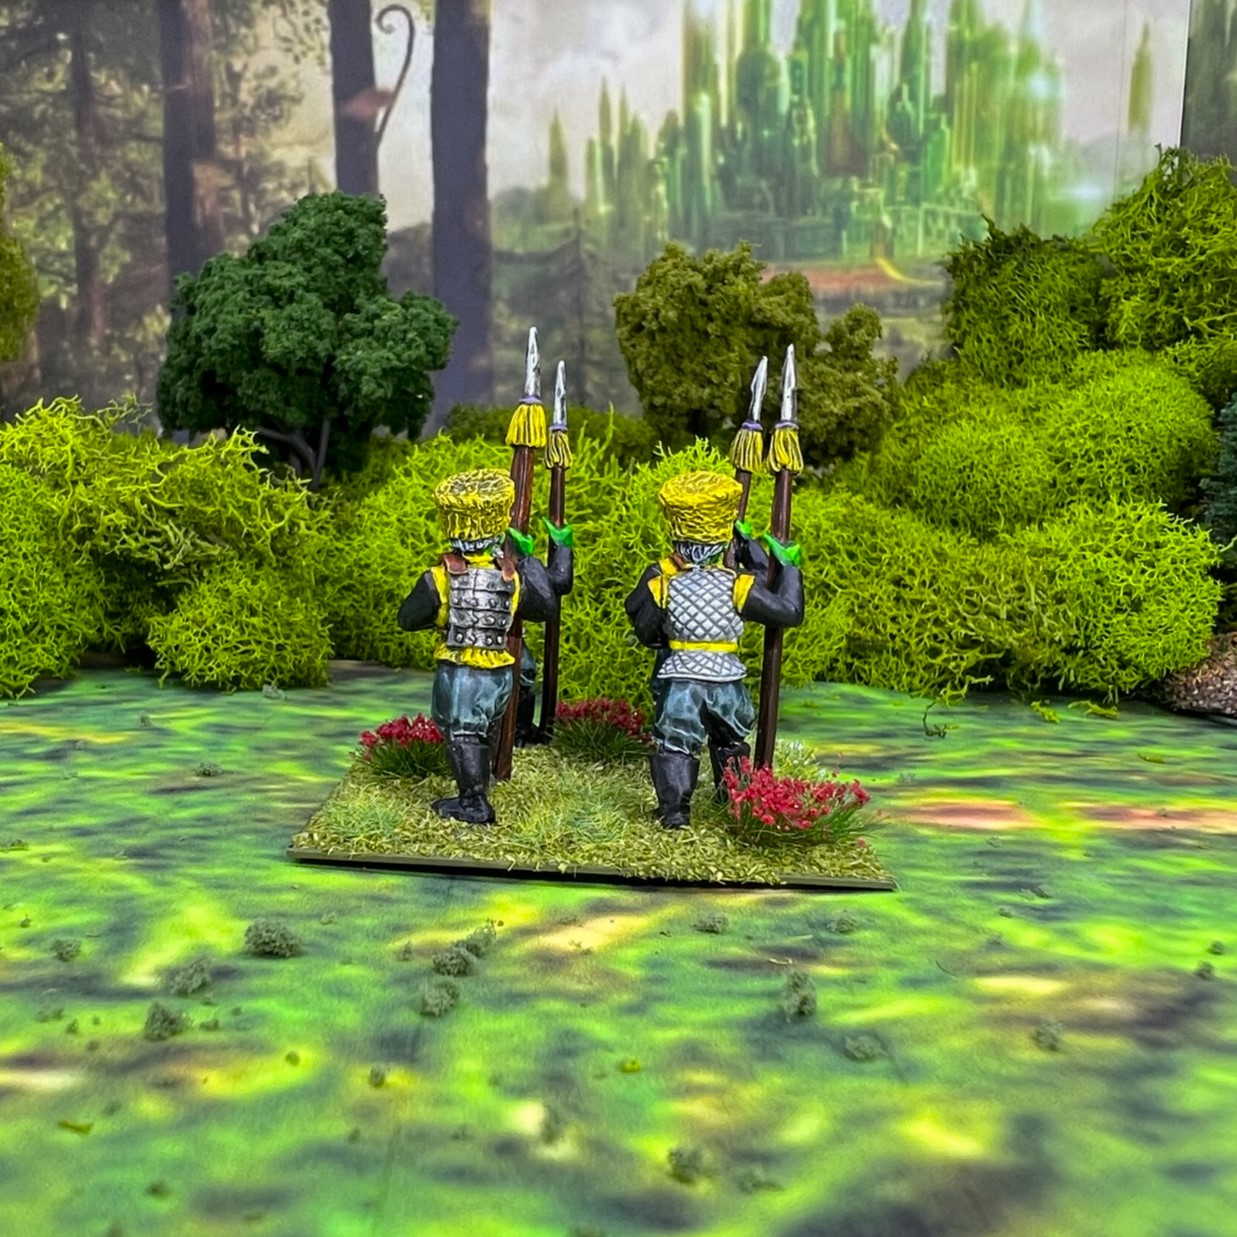
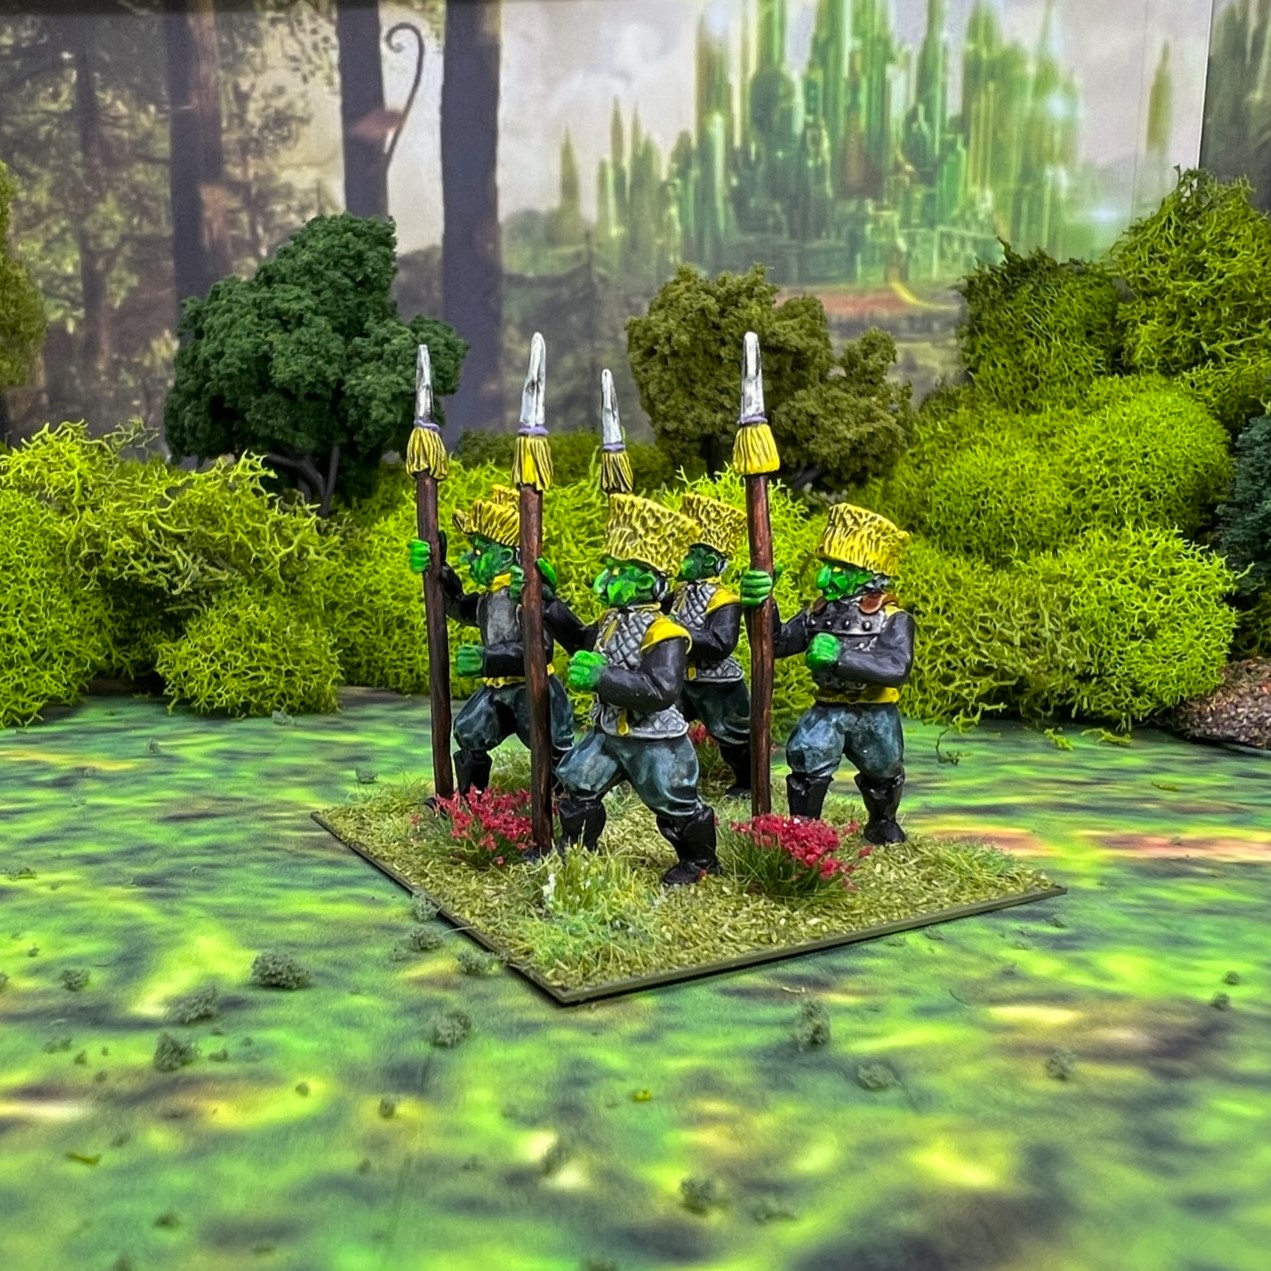
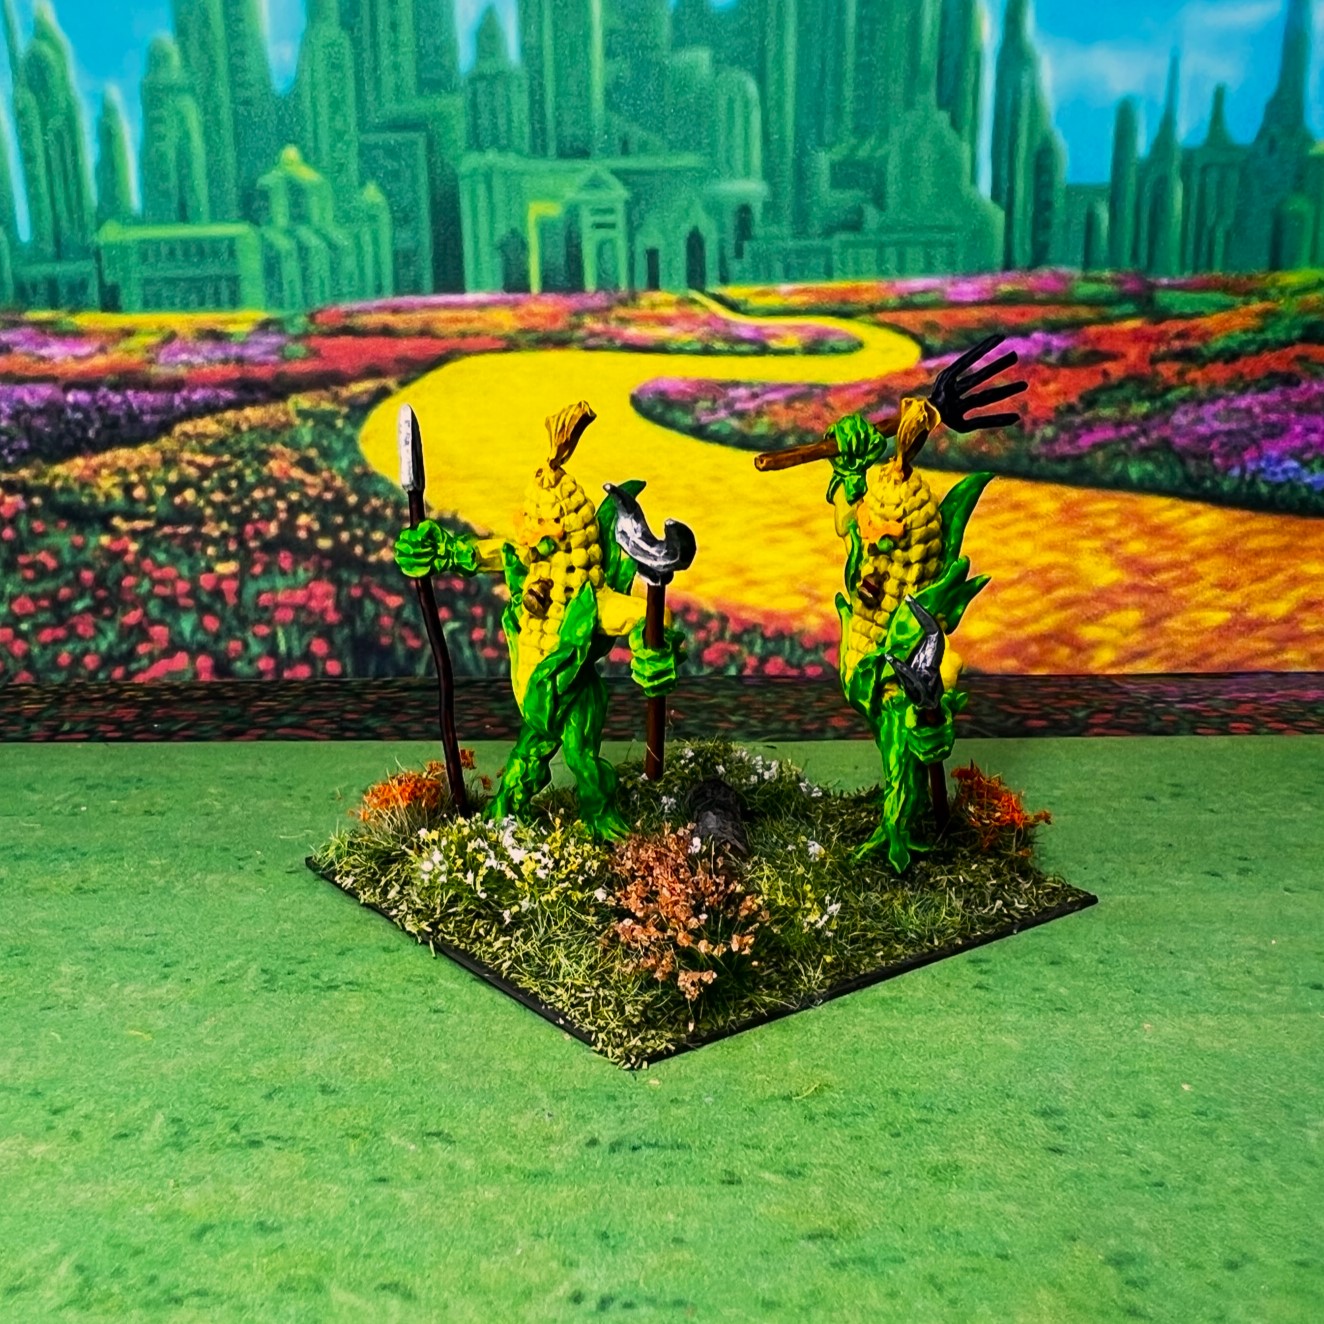
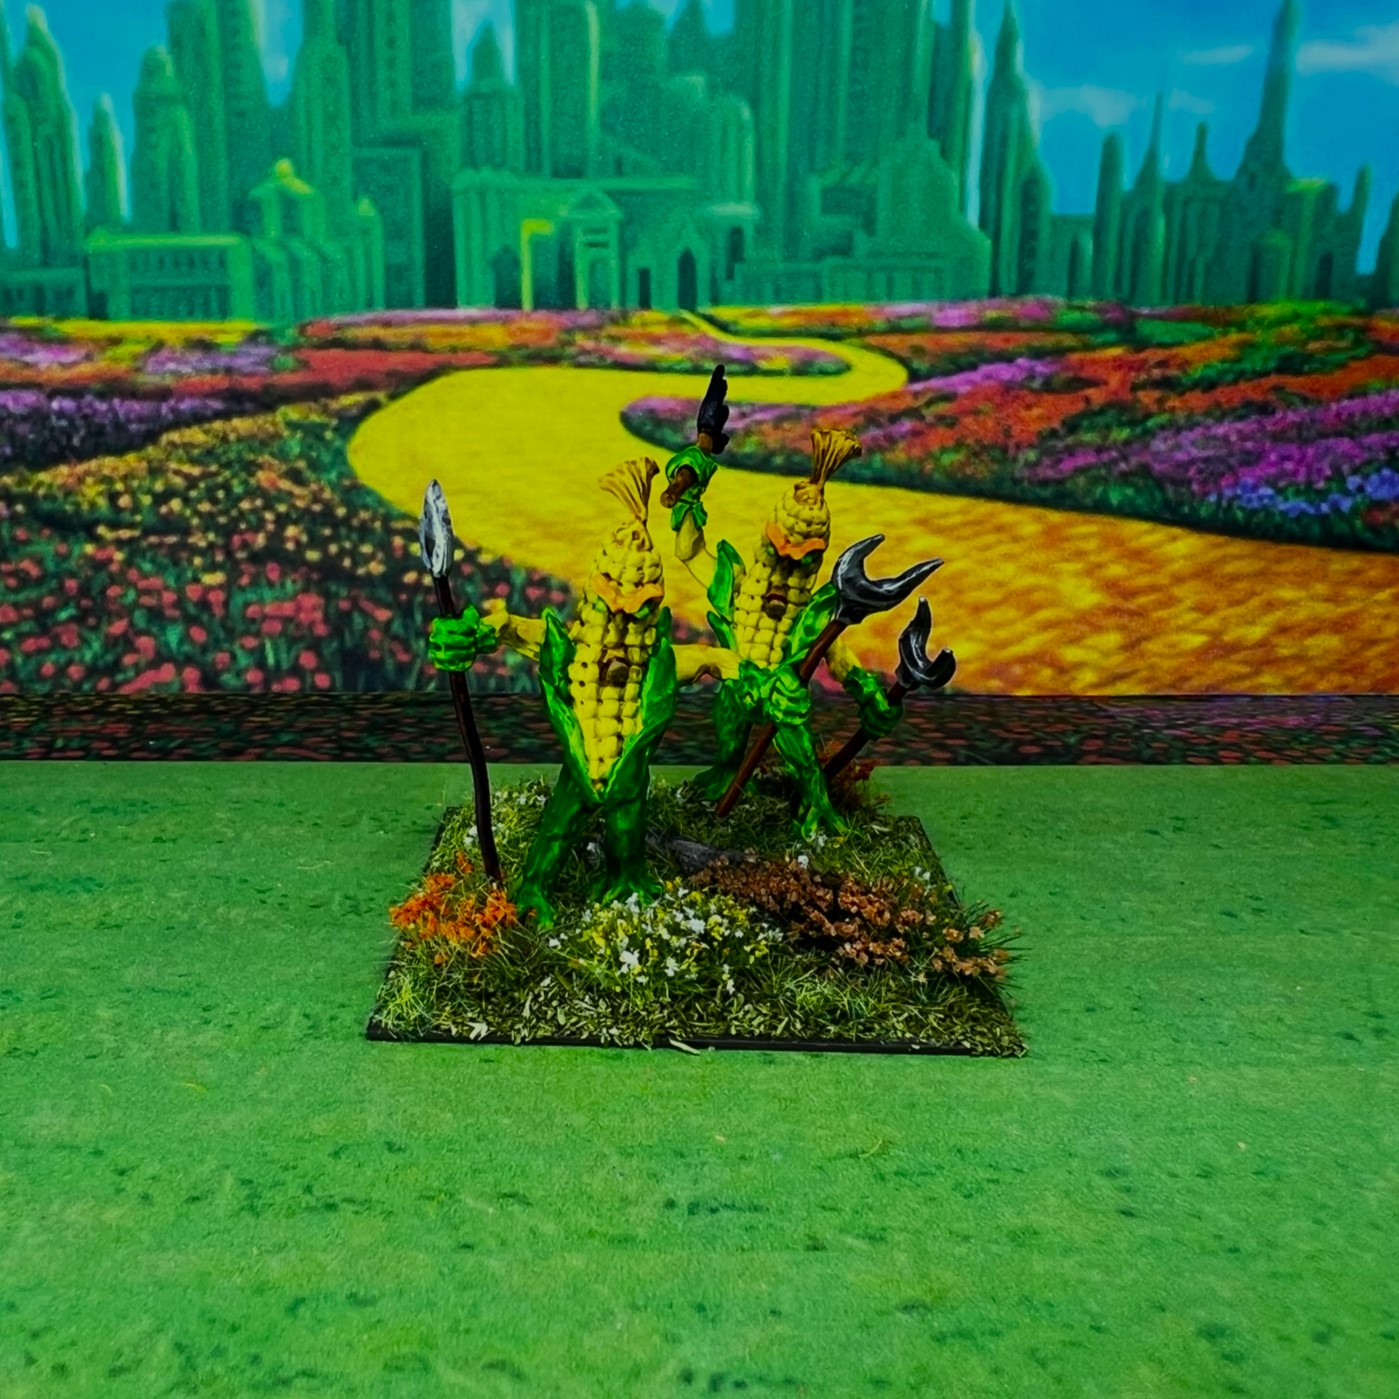
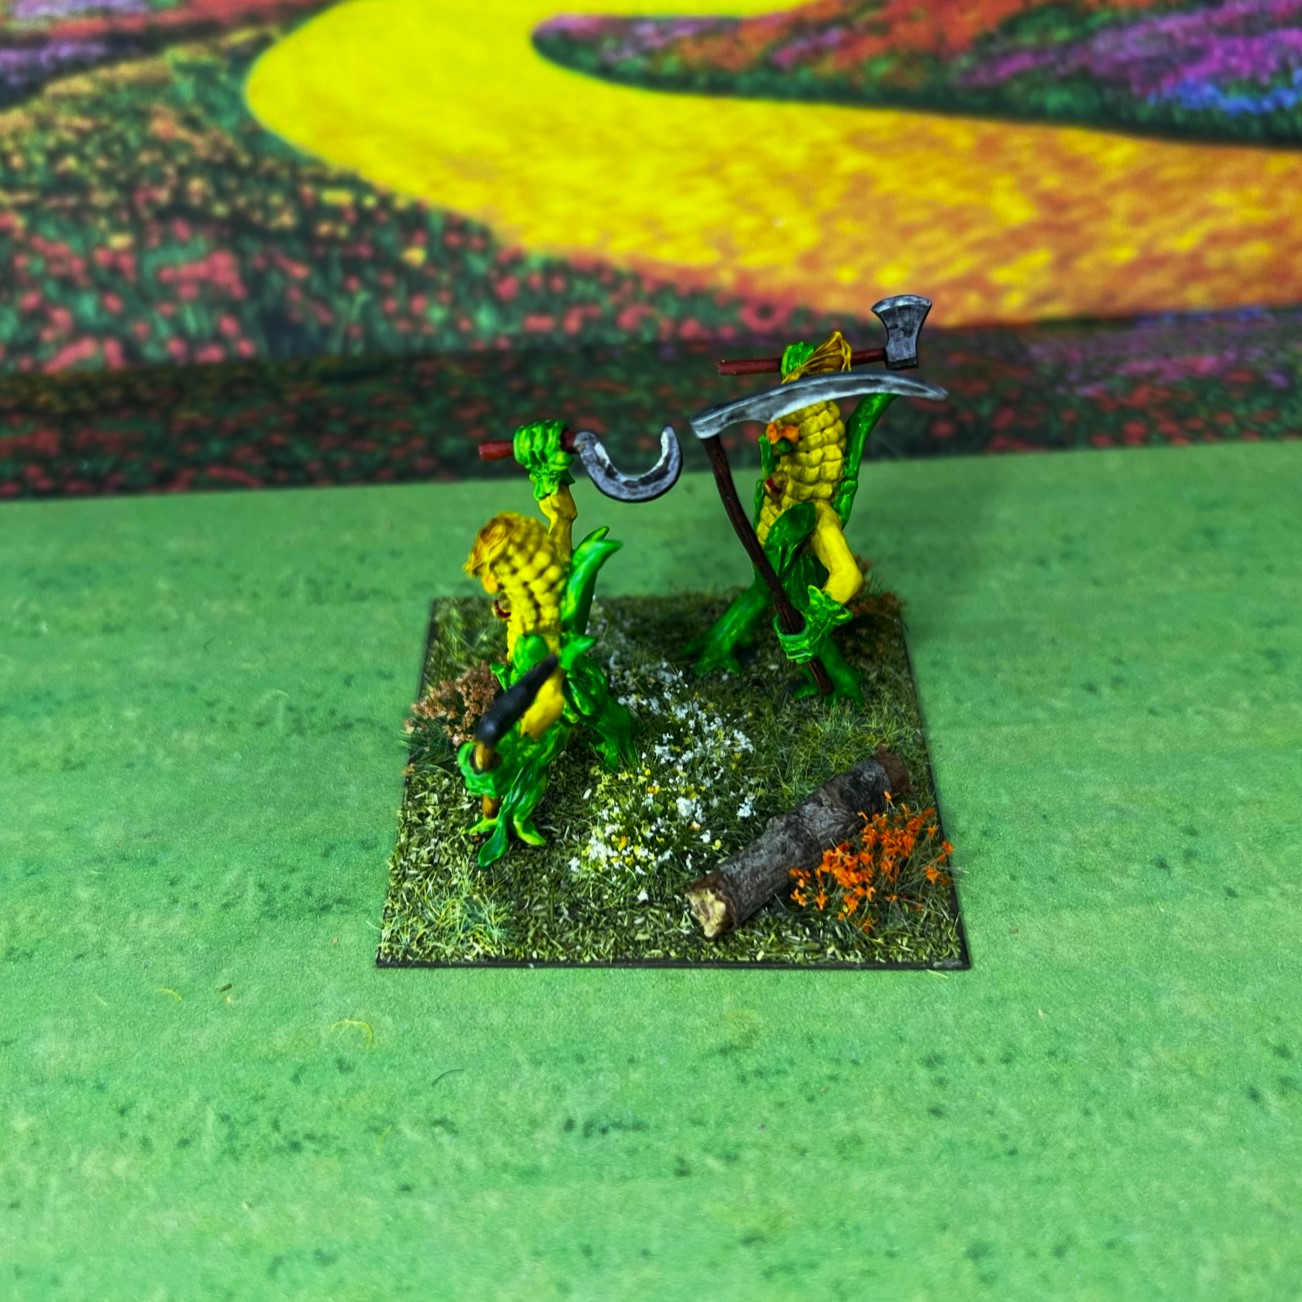
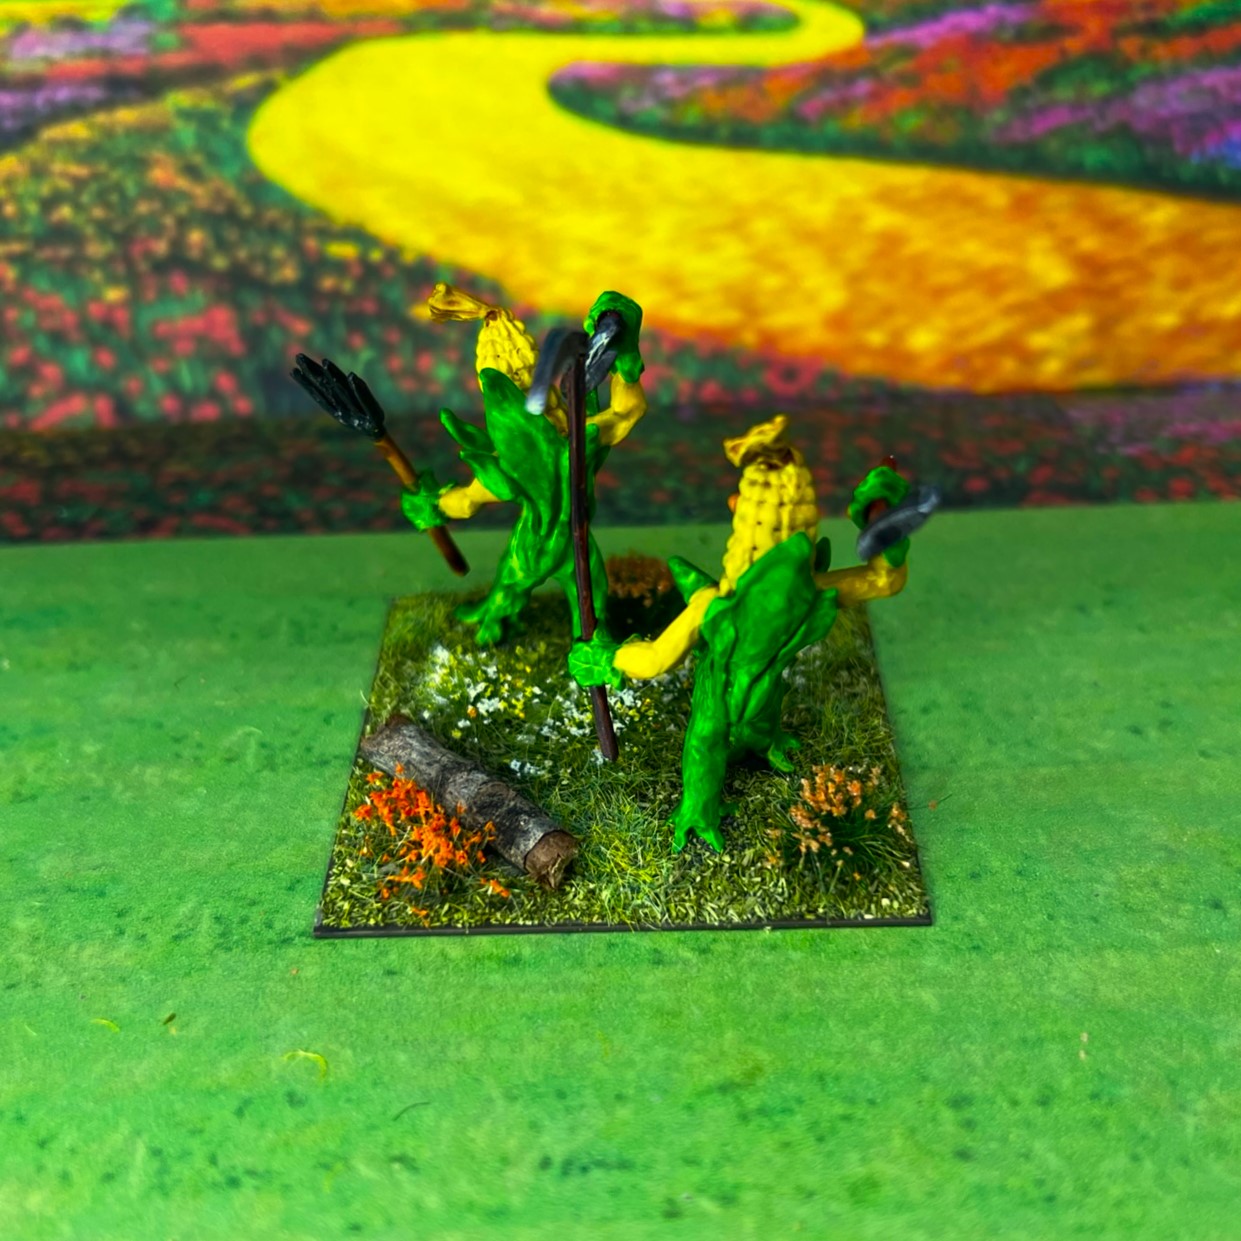
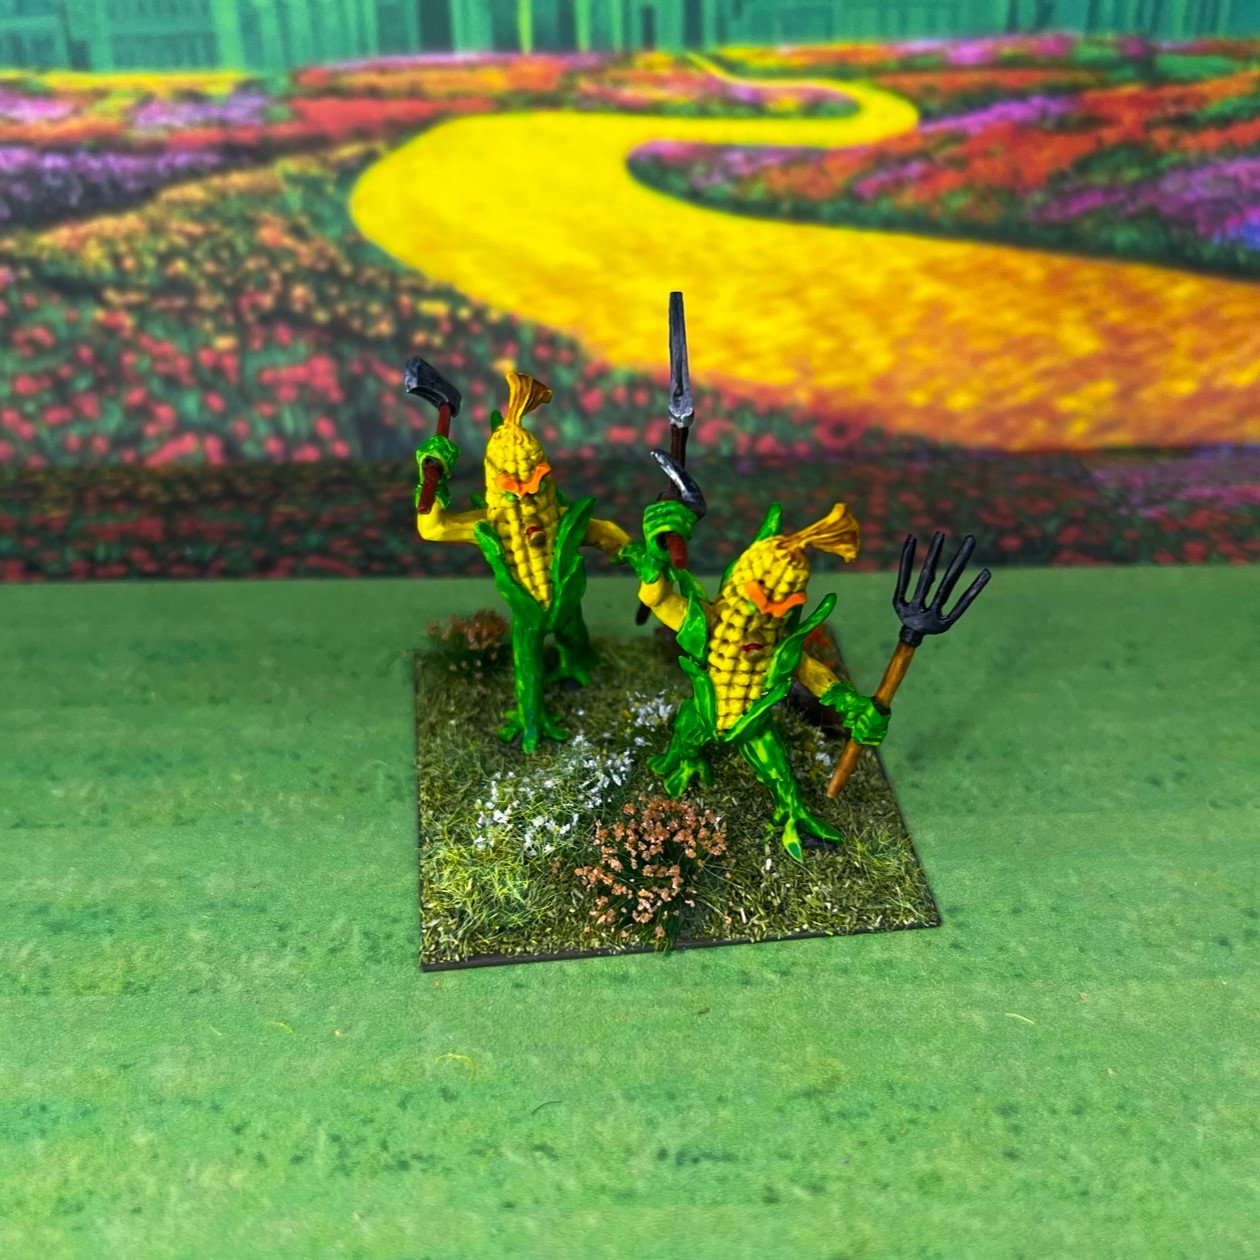
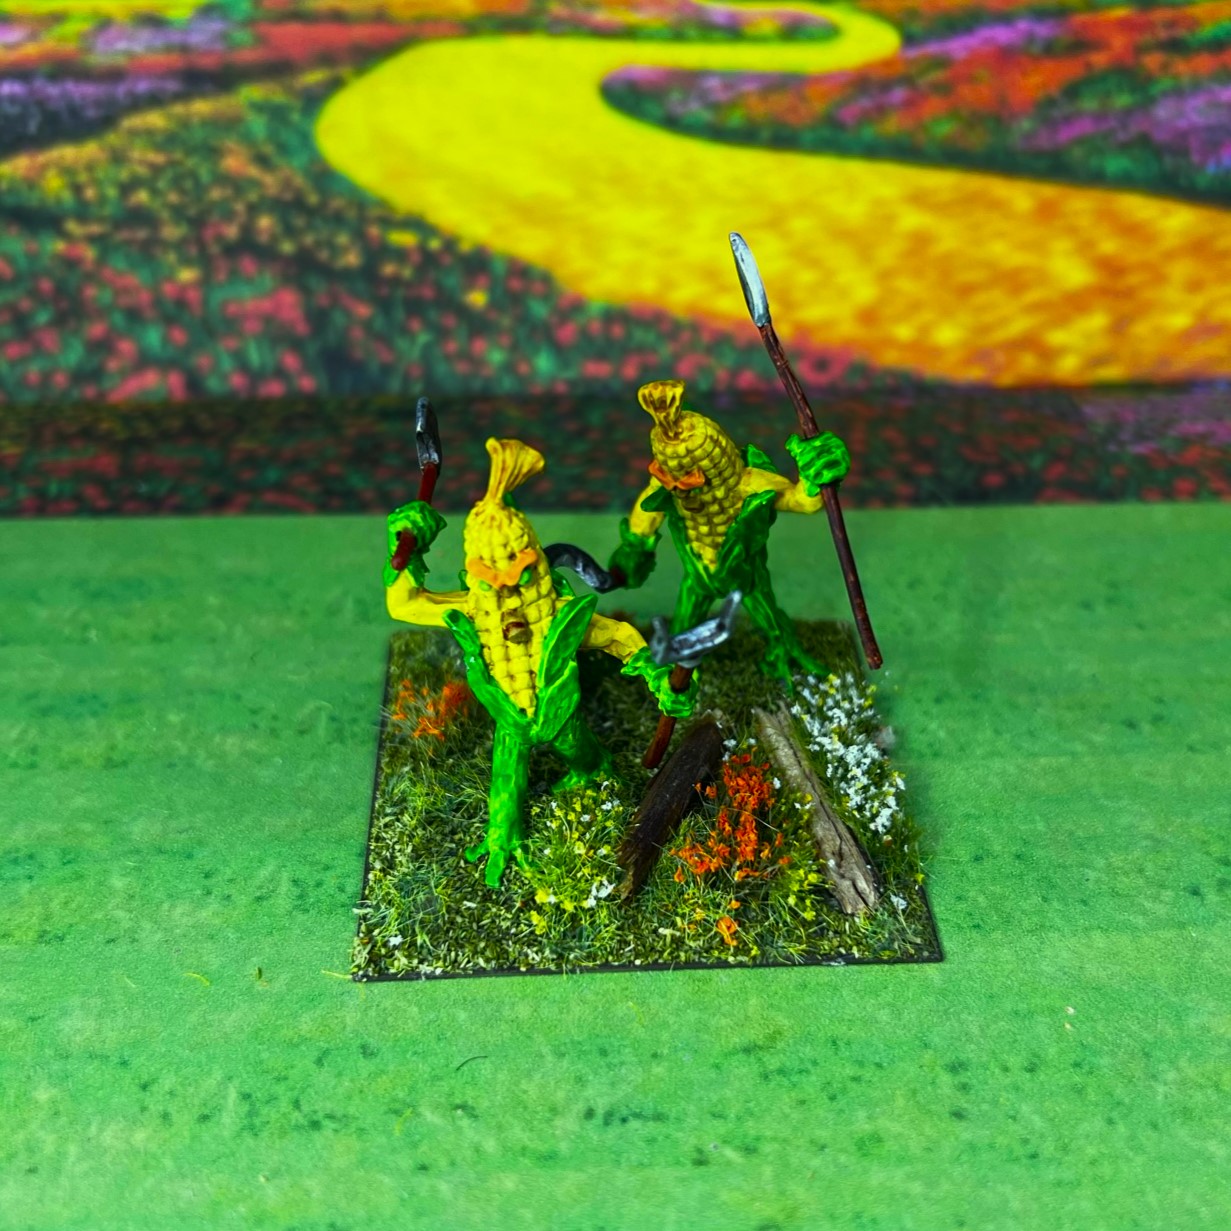
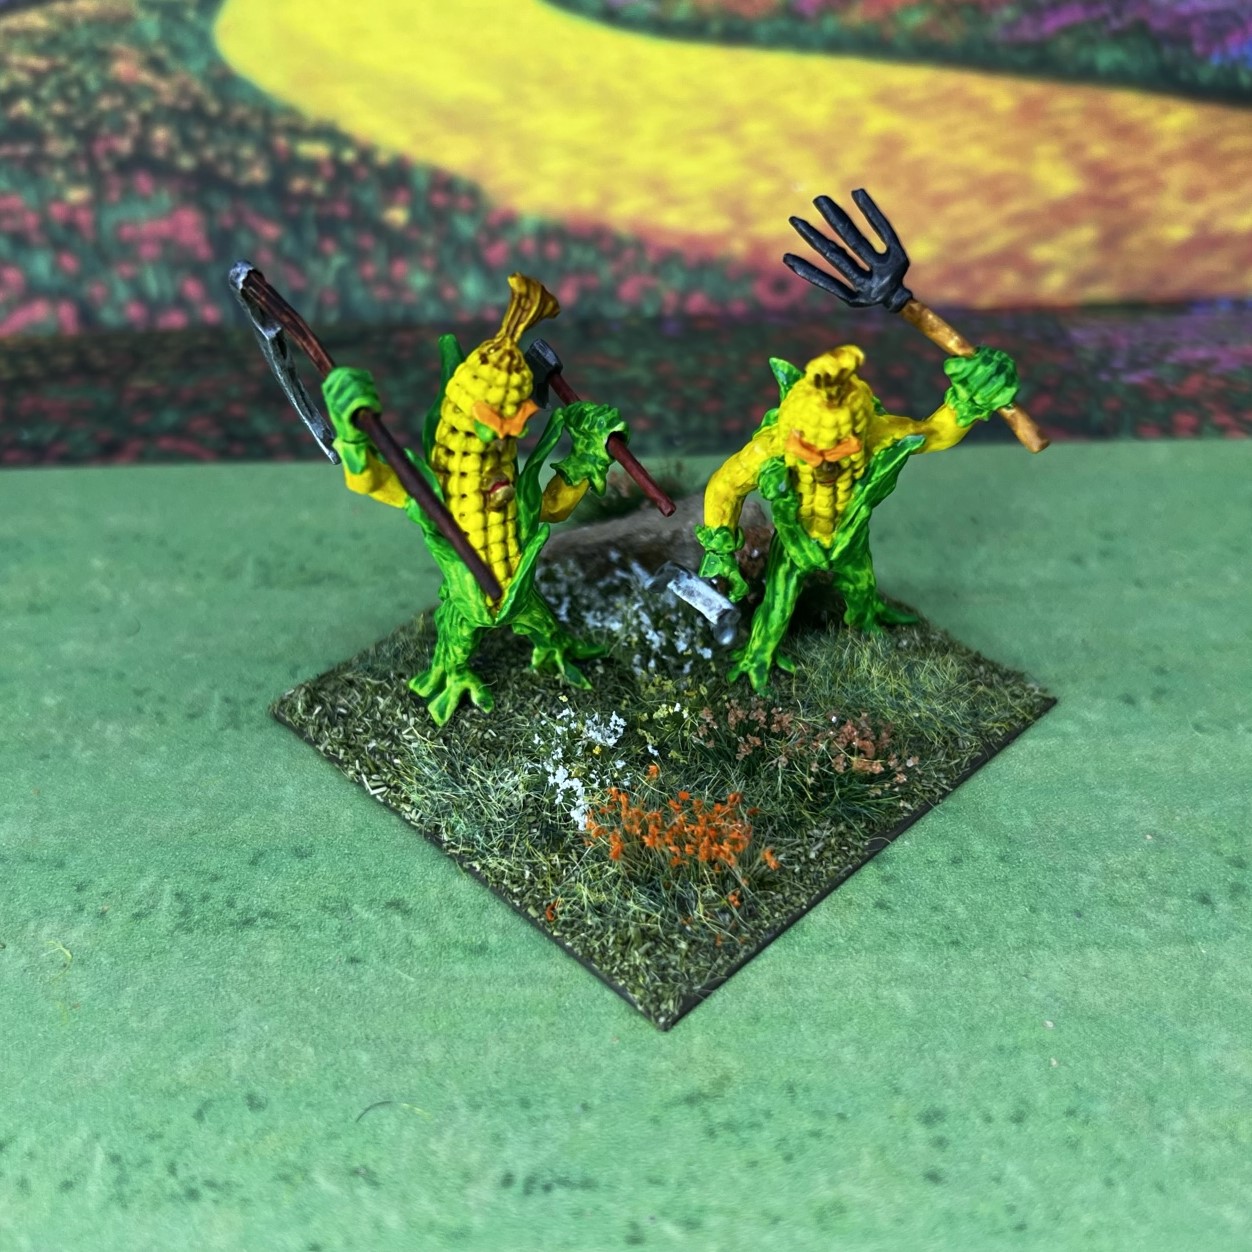
Similar to the Carrot Creatures Regiment, the unit is comprised of 10 metal figures, and each is armed with a combination of two weapons – spears, pitchforks, rakes, axes, sickles, and scythes – but in this case one in each arm. These guys look quite crazy with two weapons (even if one is a rake).
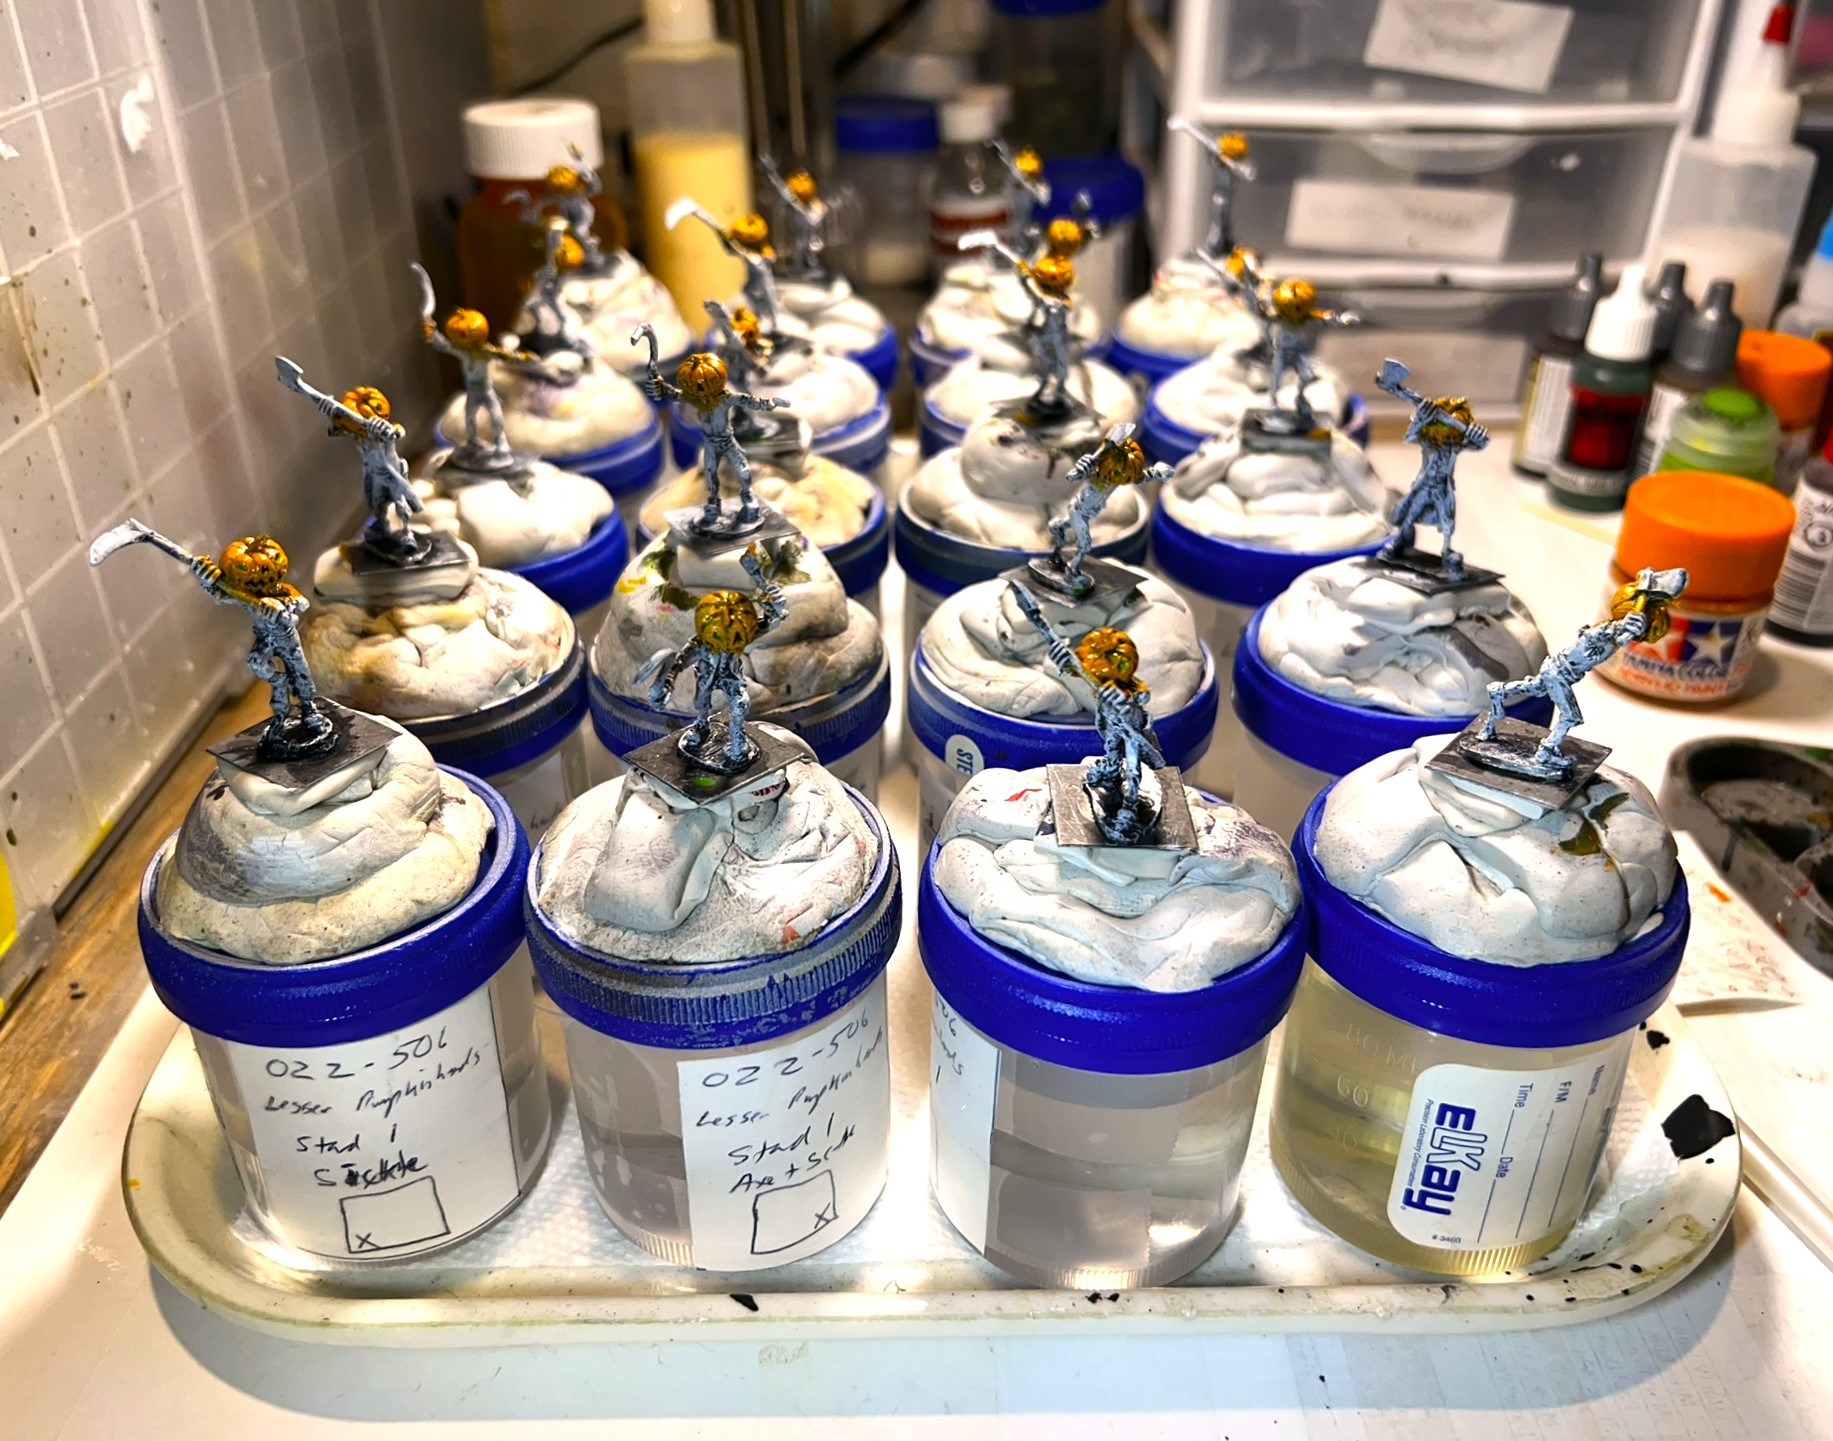
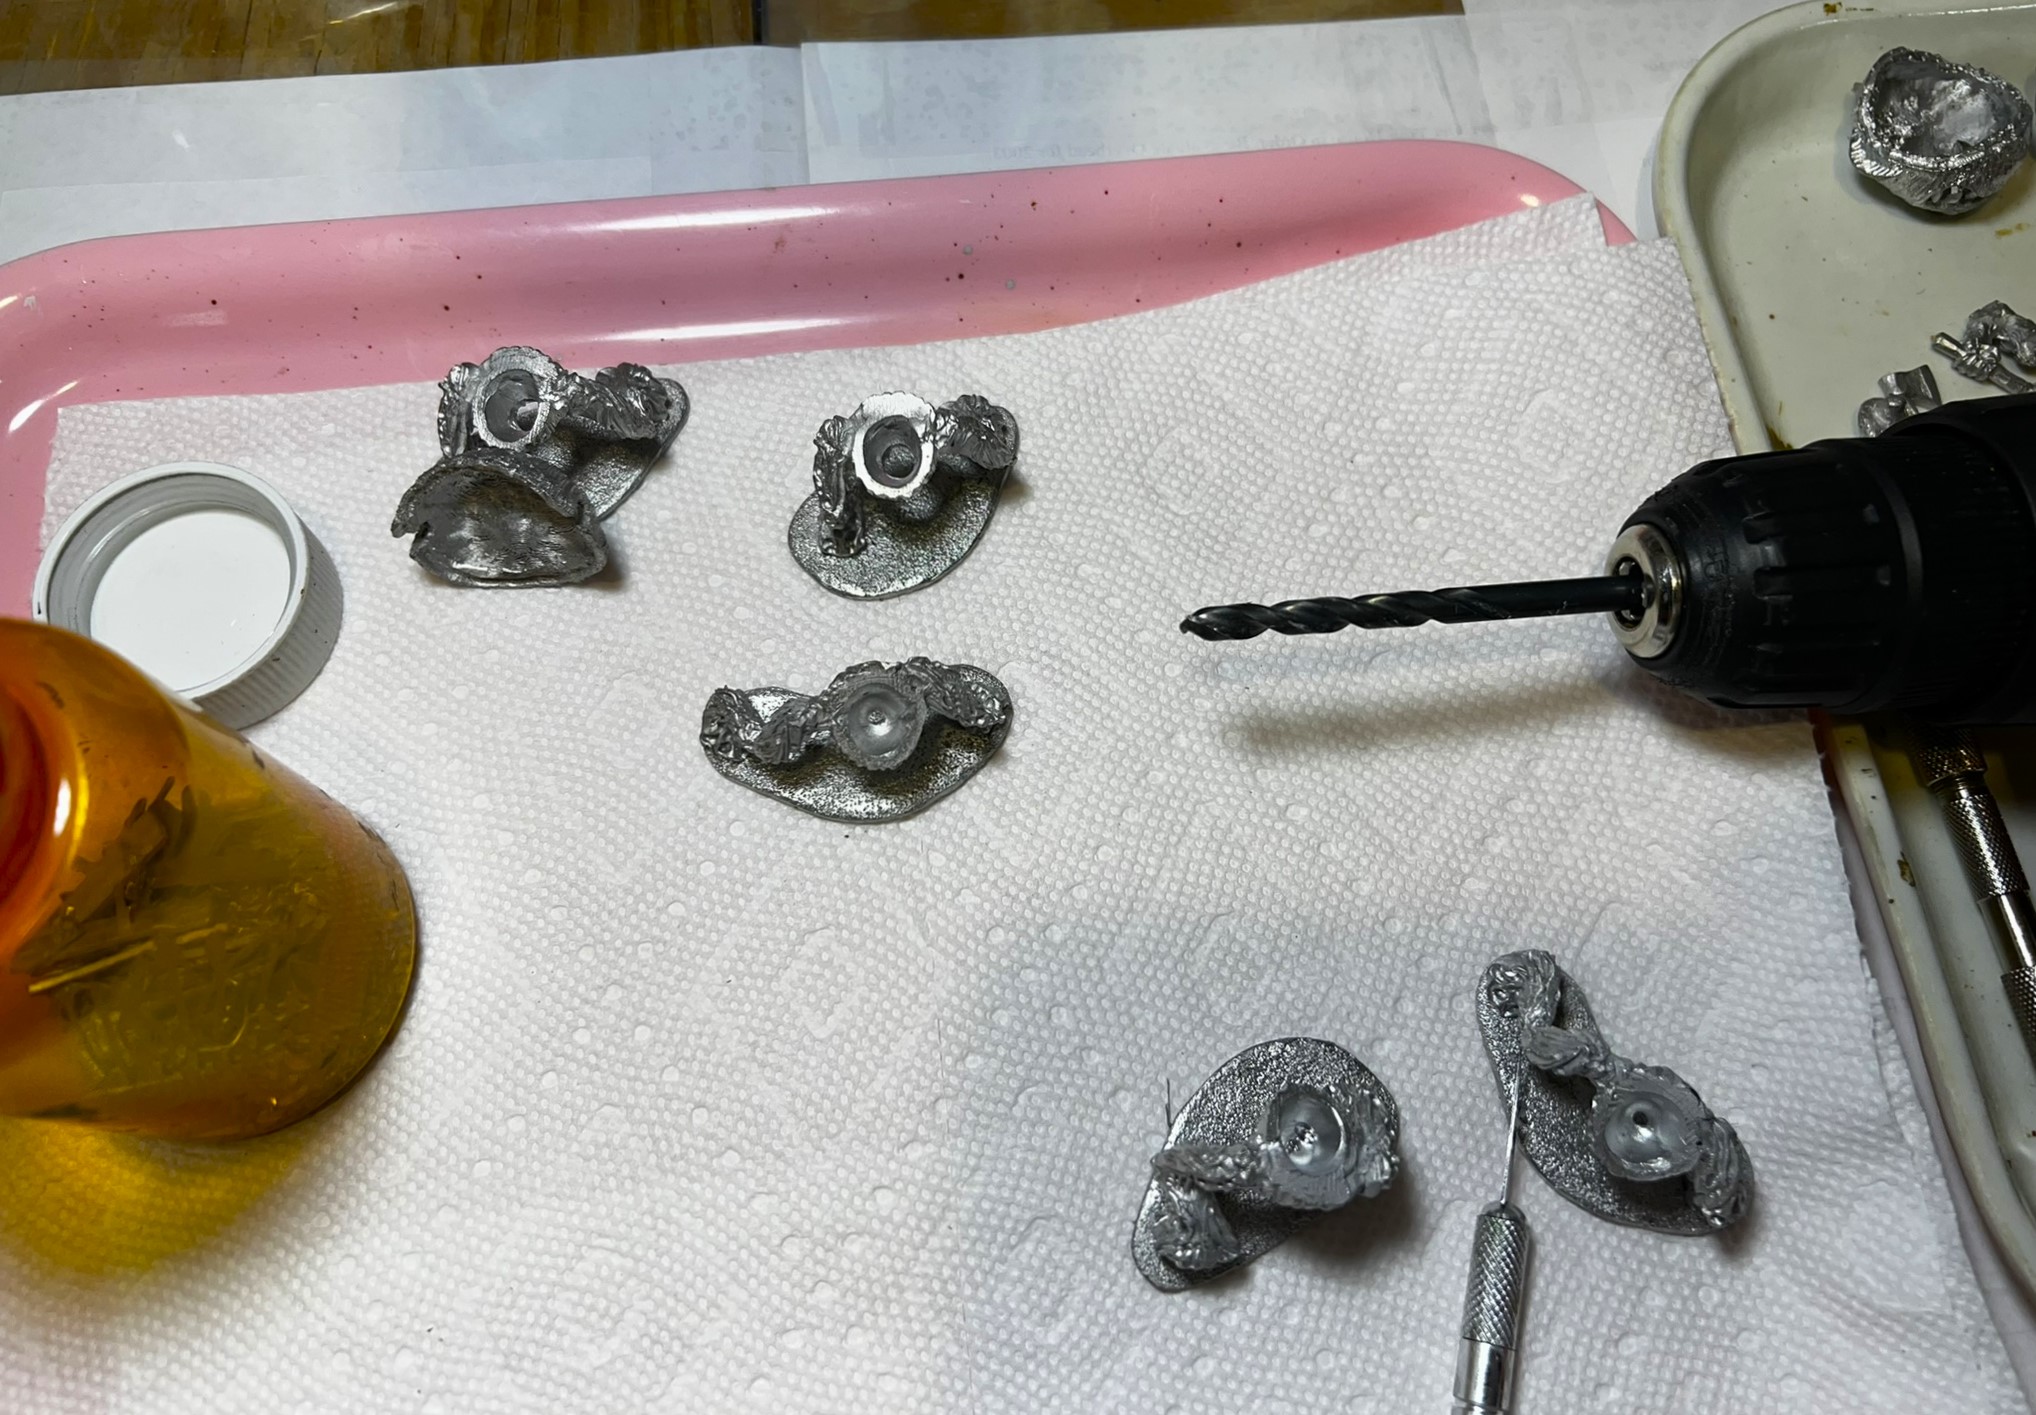
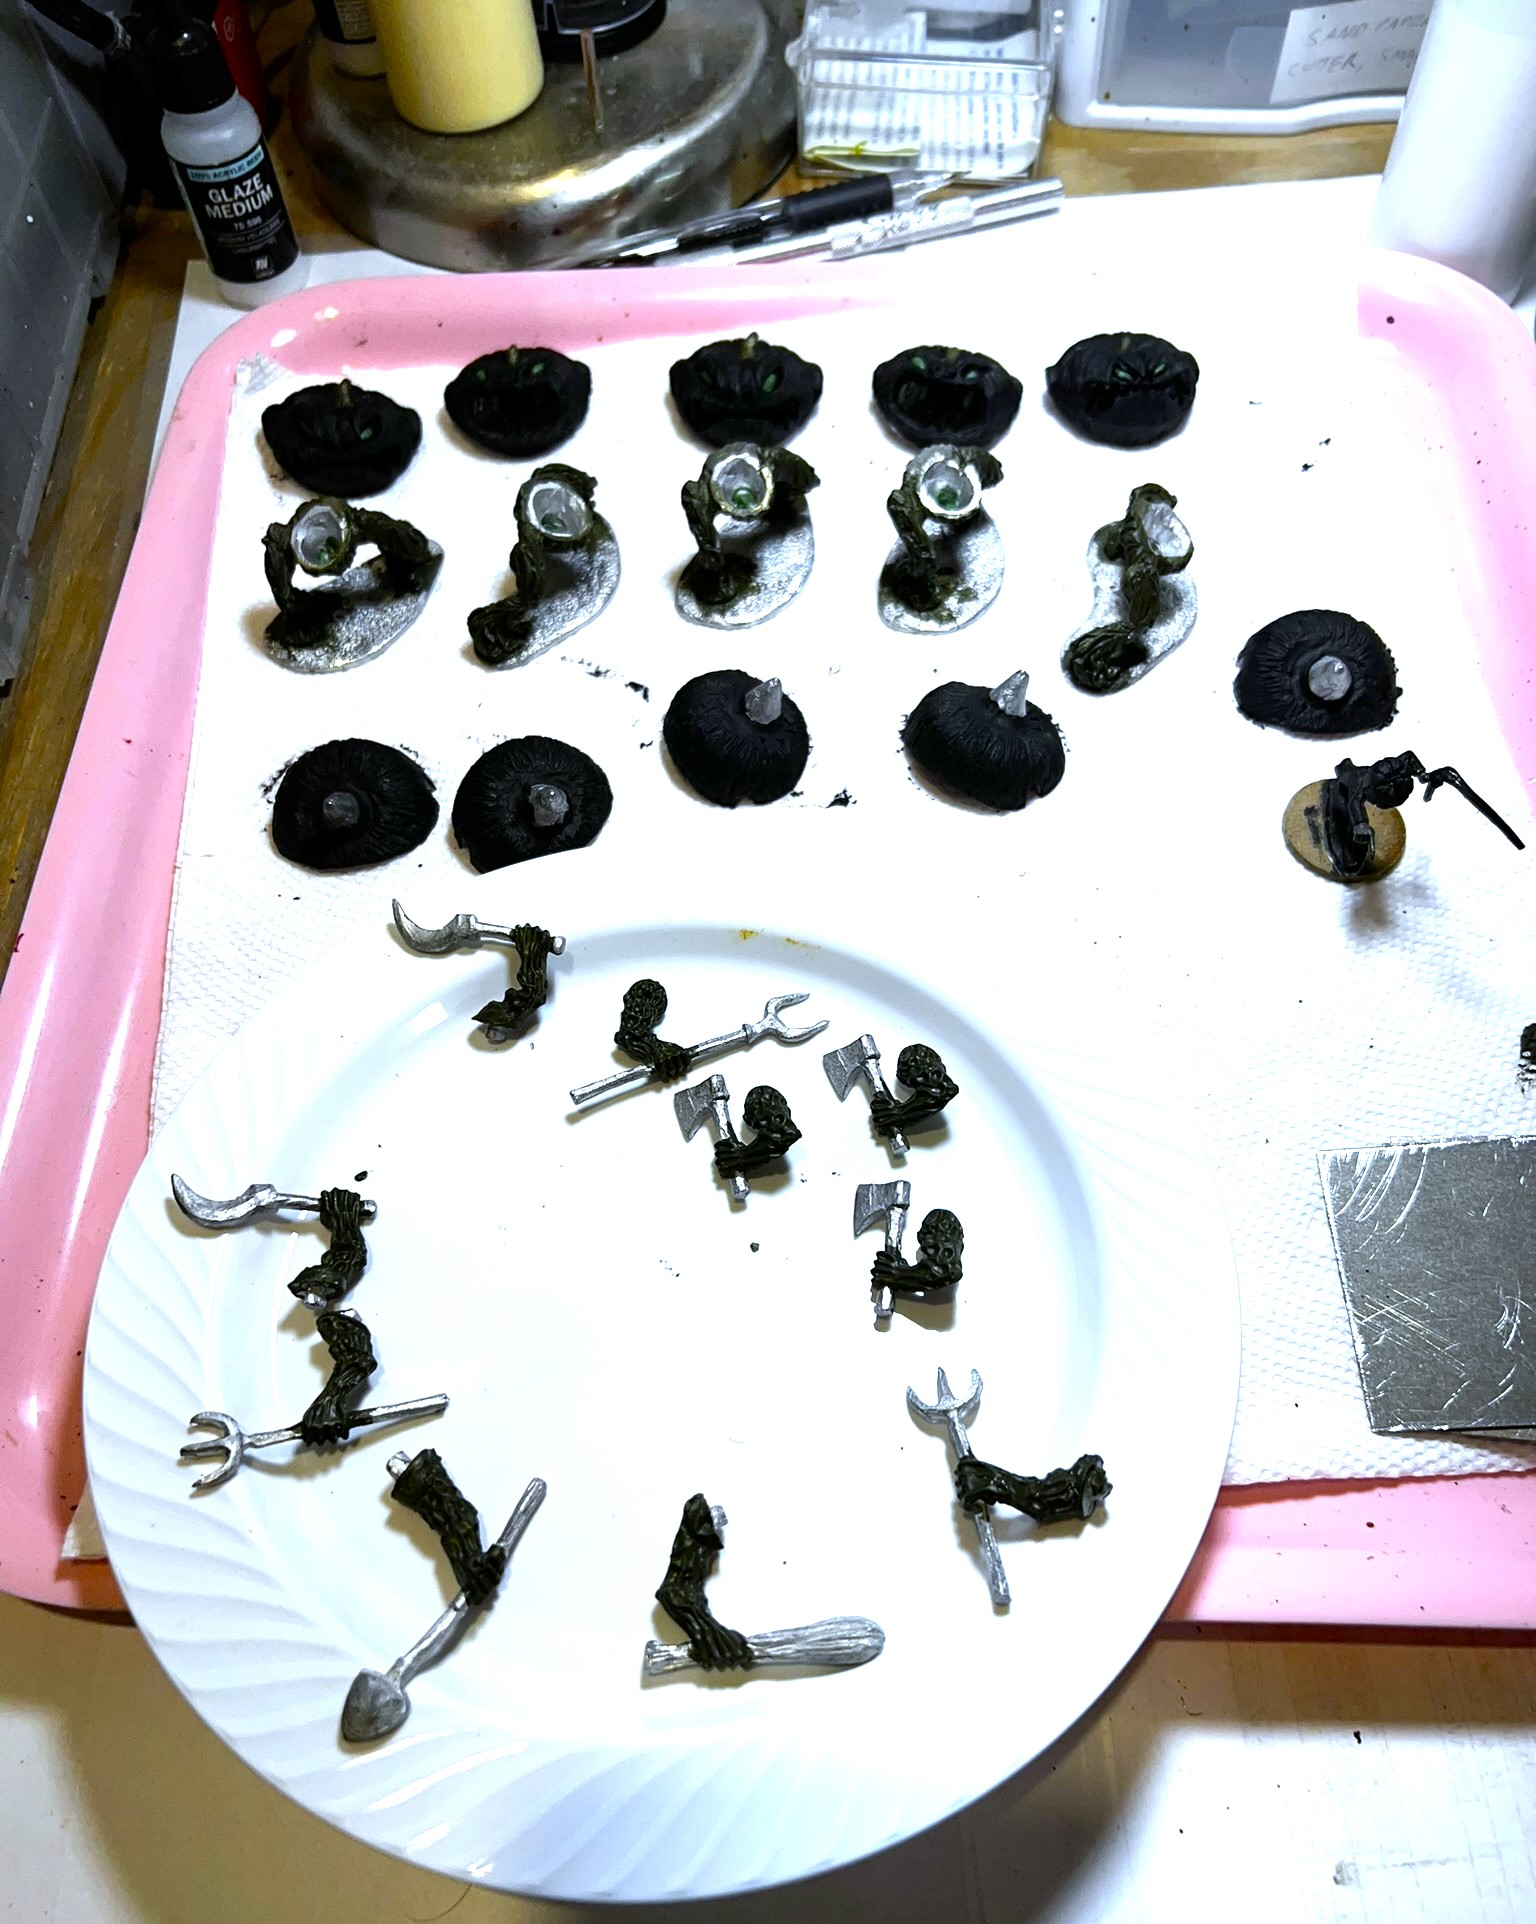
I needed to assemble the unit insofar as assigning a weapon to each of the two arms for Melee.
They also have a “kamikaze”-style missile attack – a “popping” attack:
Popping Attacks:
Wars of Ozz addendum with new factions
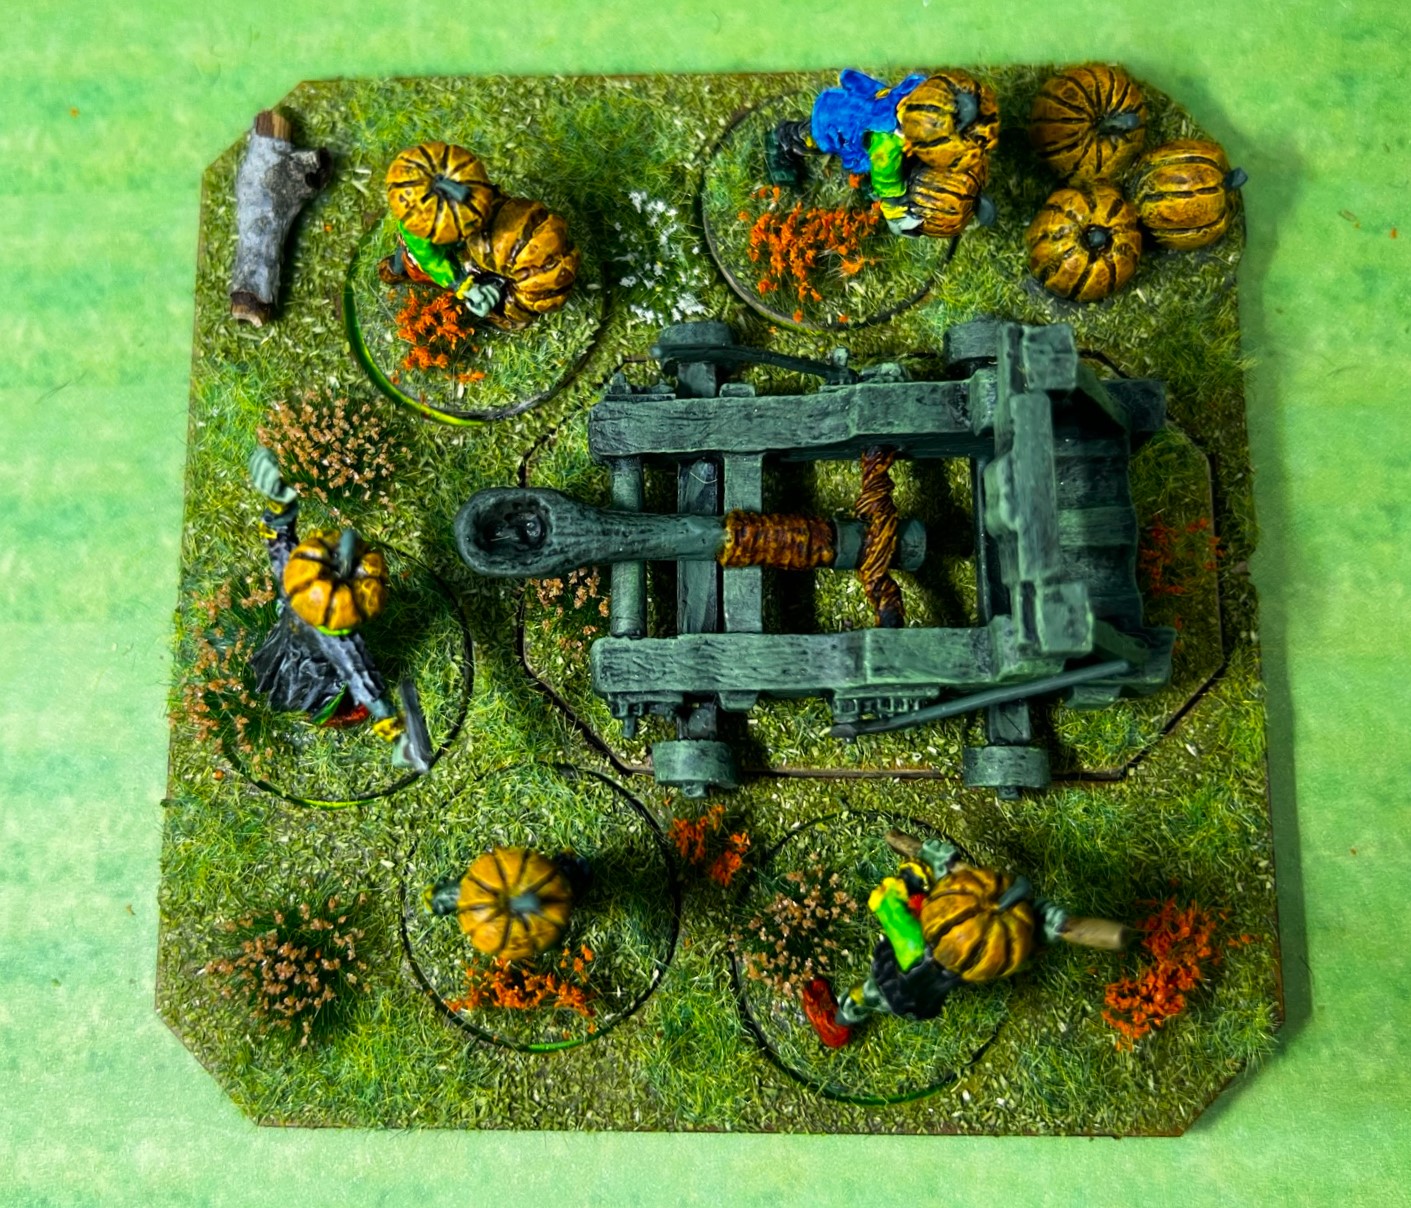
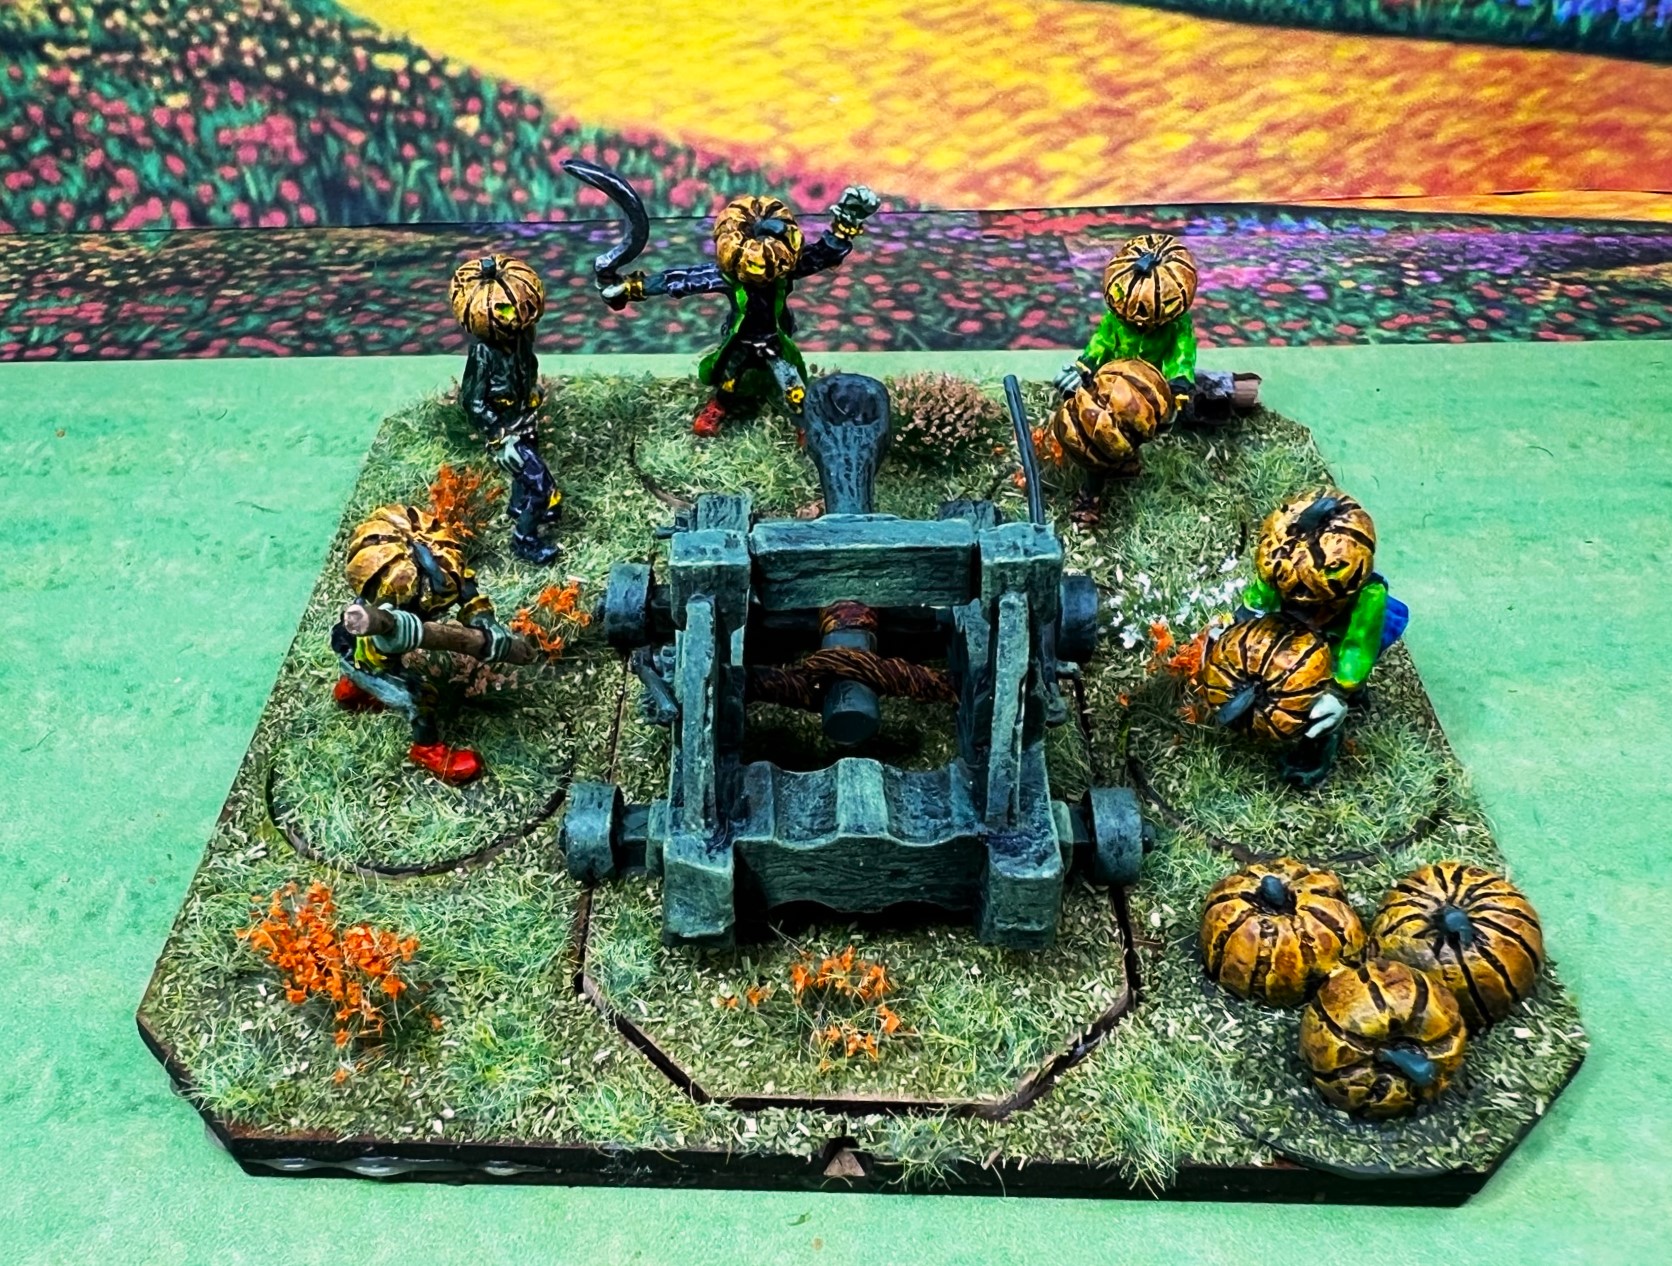
Once per game one unit of corn creatures can conduct a popping attack against an enemy to their front within four inches. The corn unit makes an attack as if firing light artillery at short range. This is the unit’s firing action for the turn. After conducting the popping attack, the corn unit receives two hits (all those popped corn creatures are less effective now). Typically, this is done to pop at the enemy and then either withdraw or charge.
Now that is a different missile attack to be sure – short range artillery fire to boot!
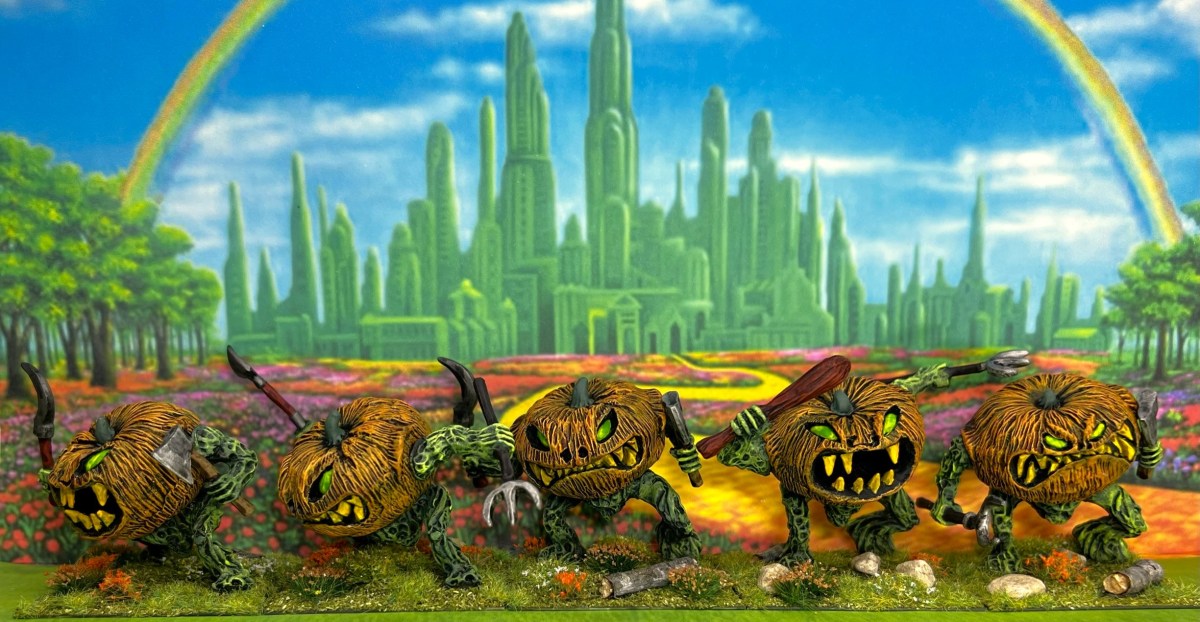
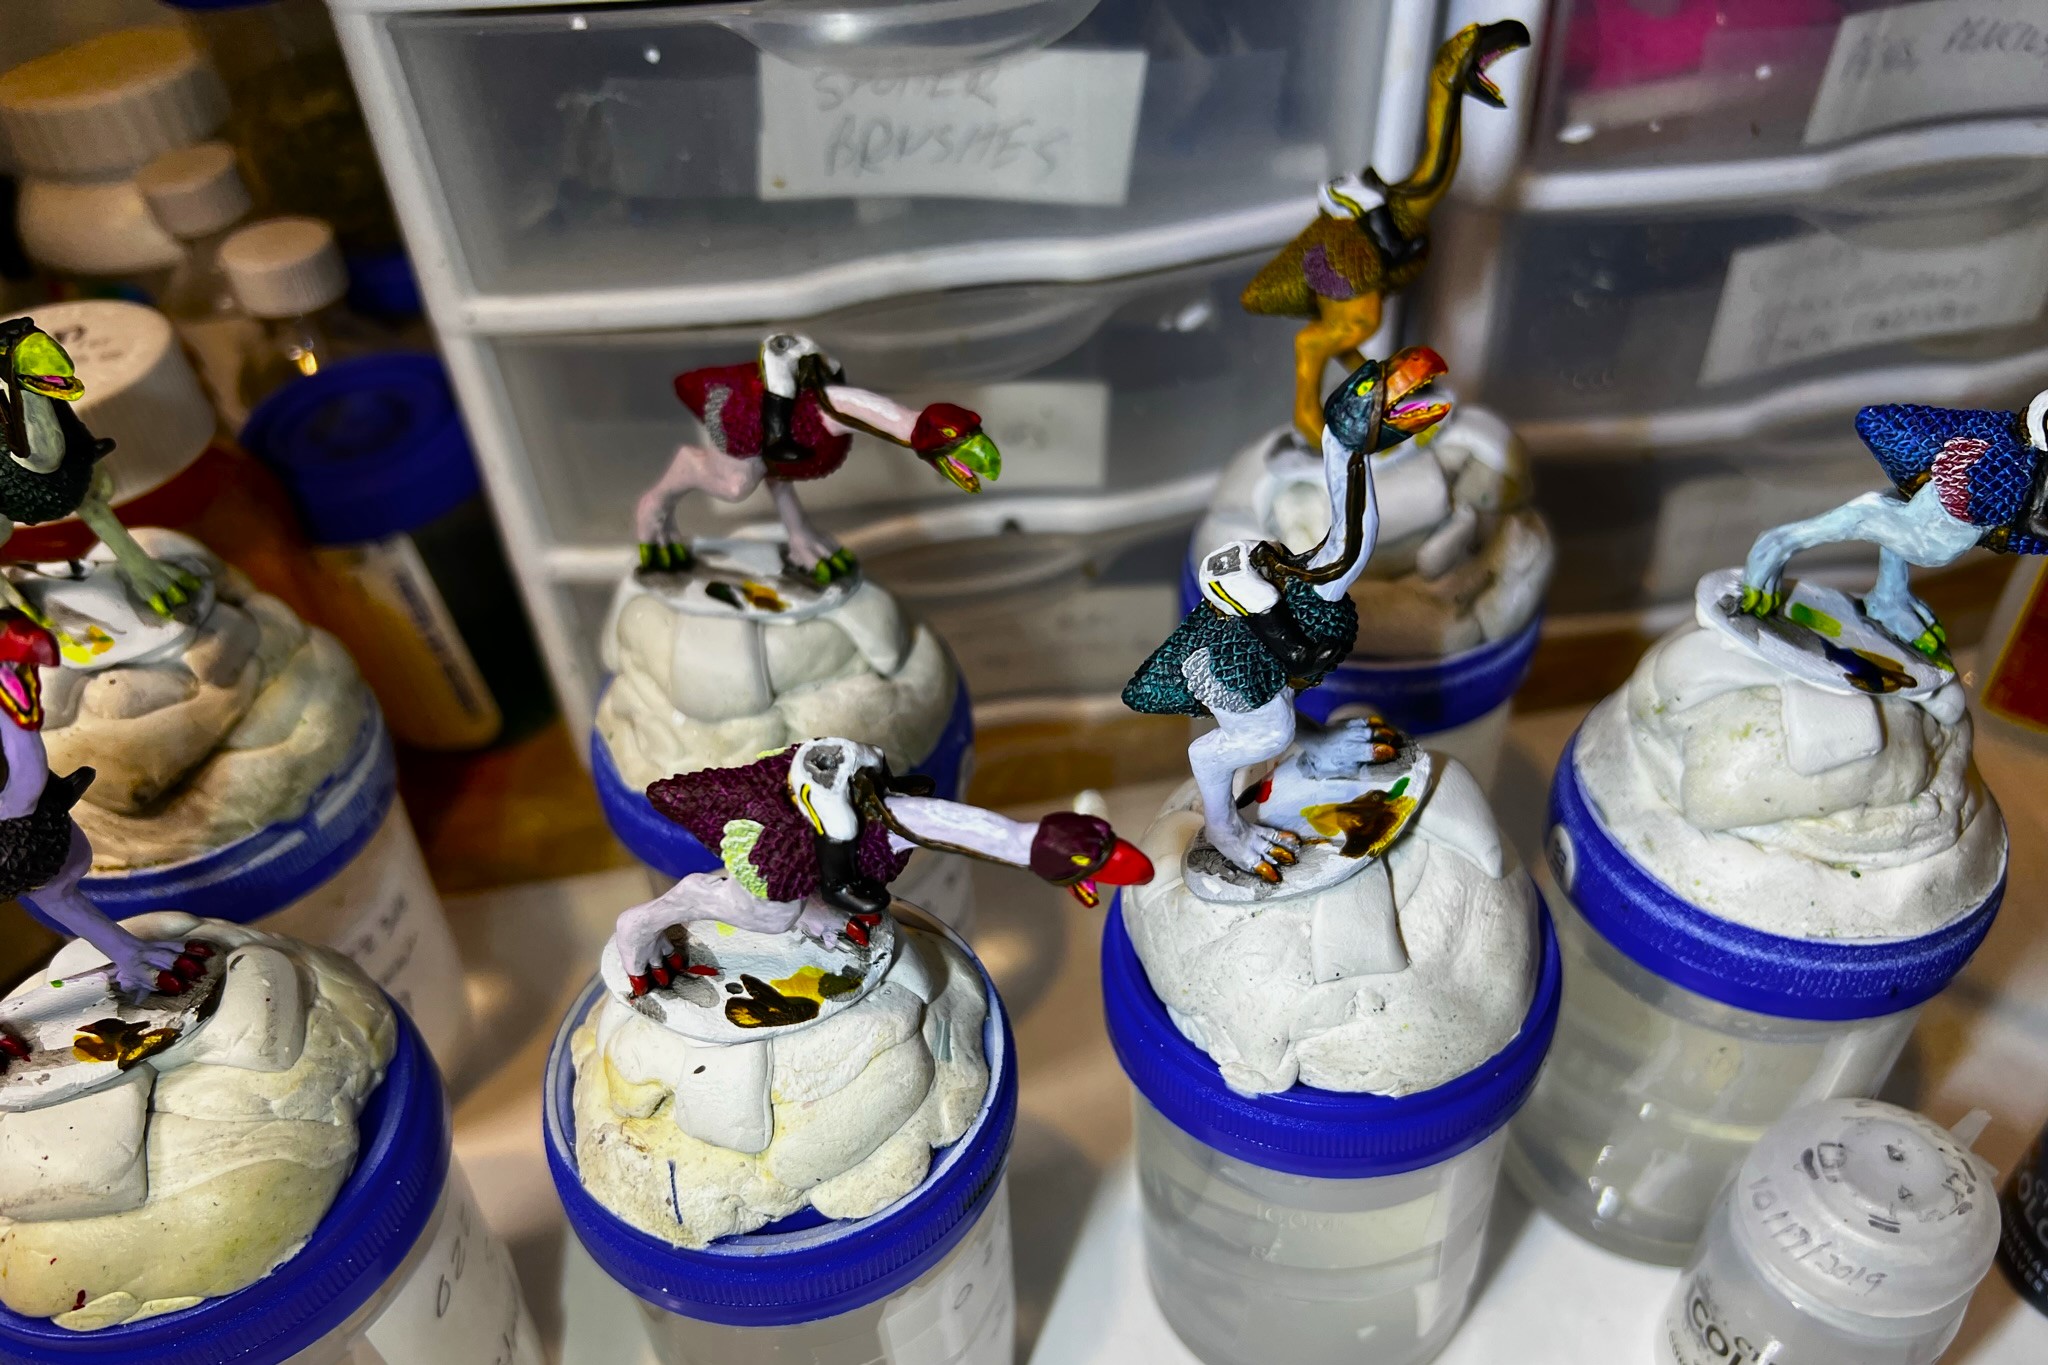
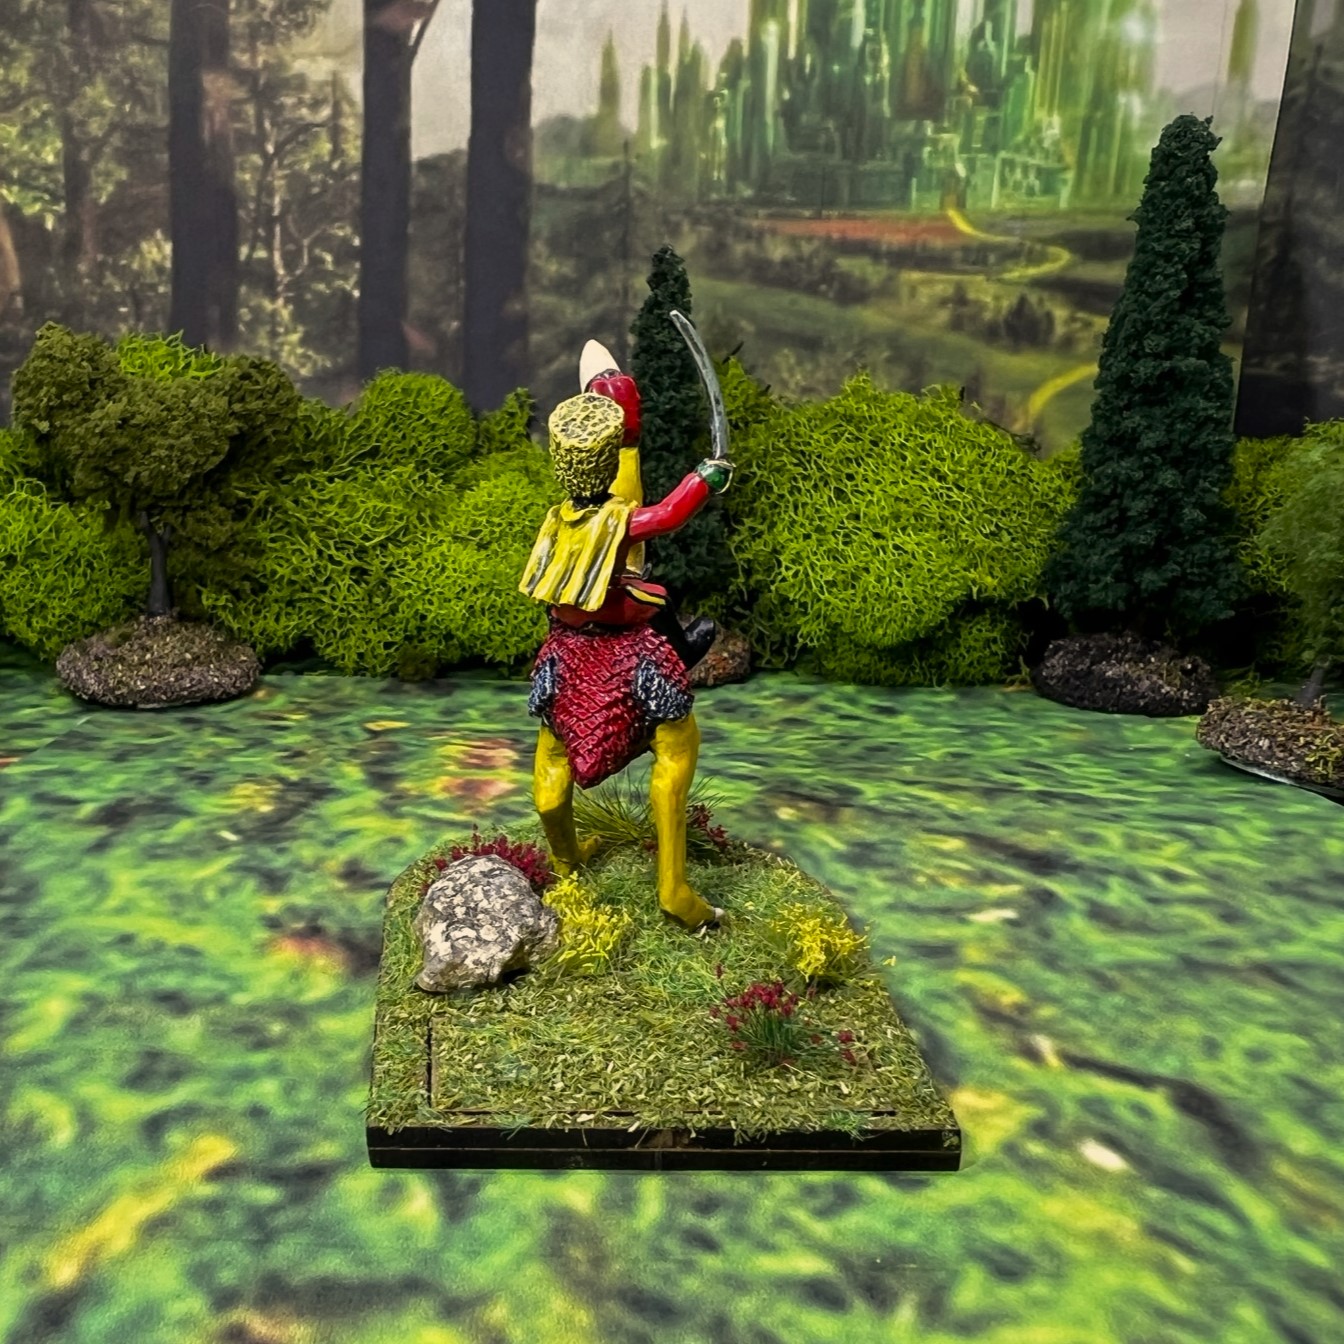
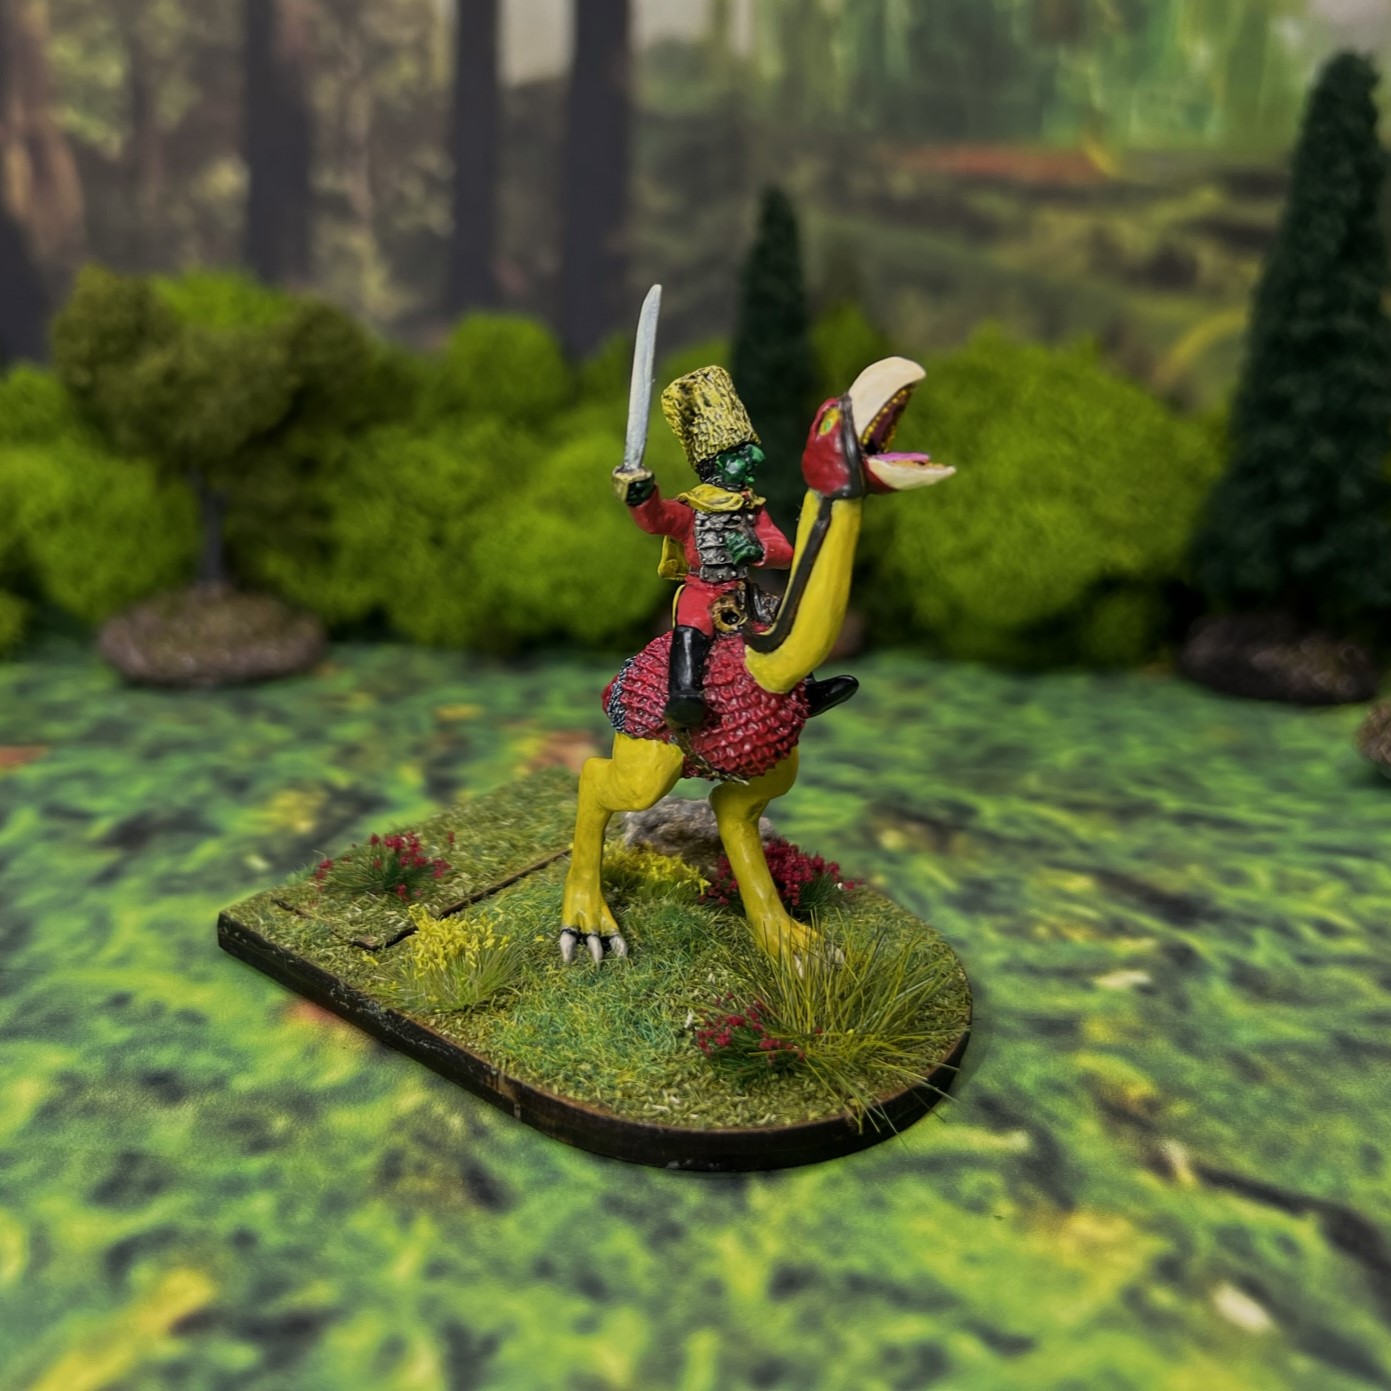
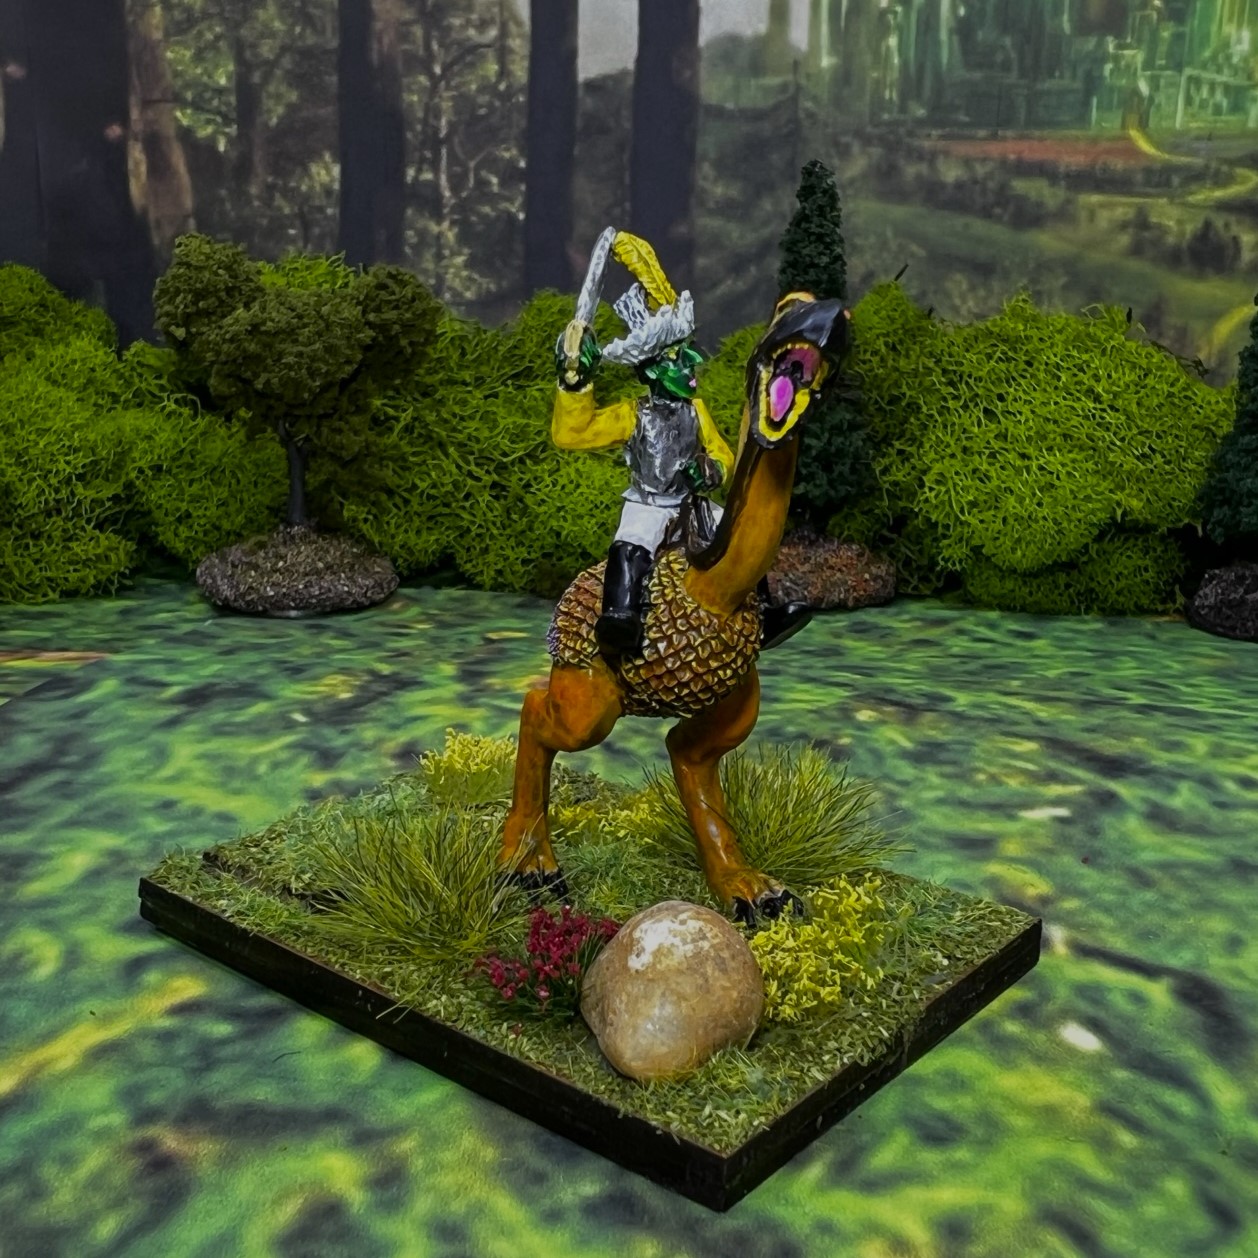
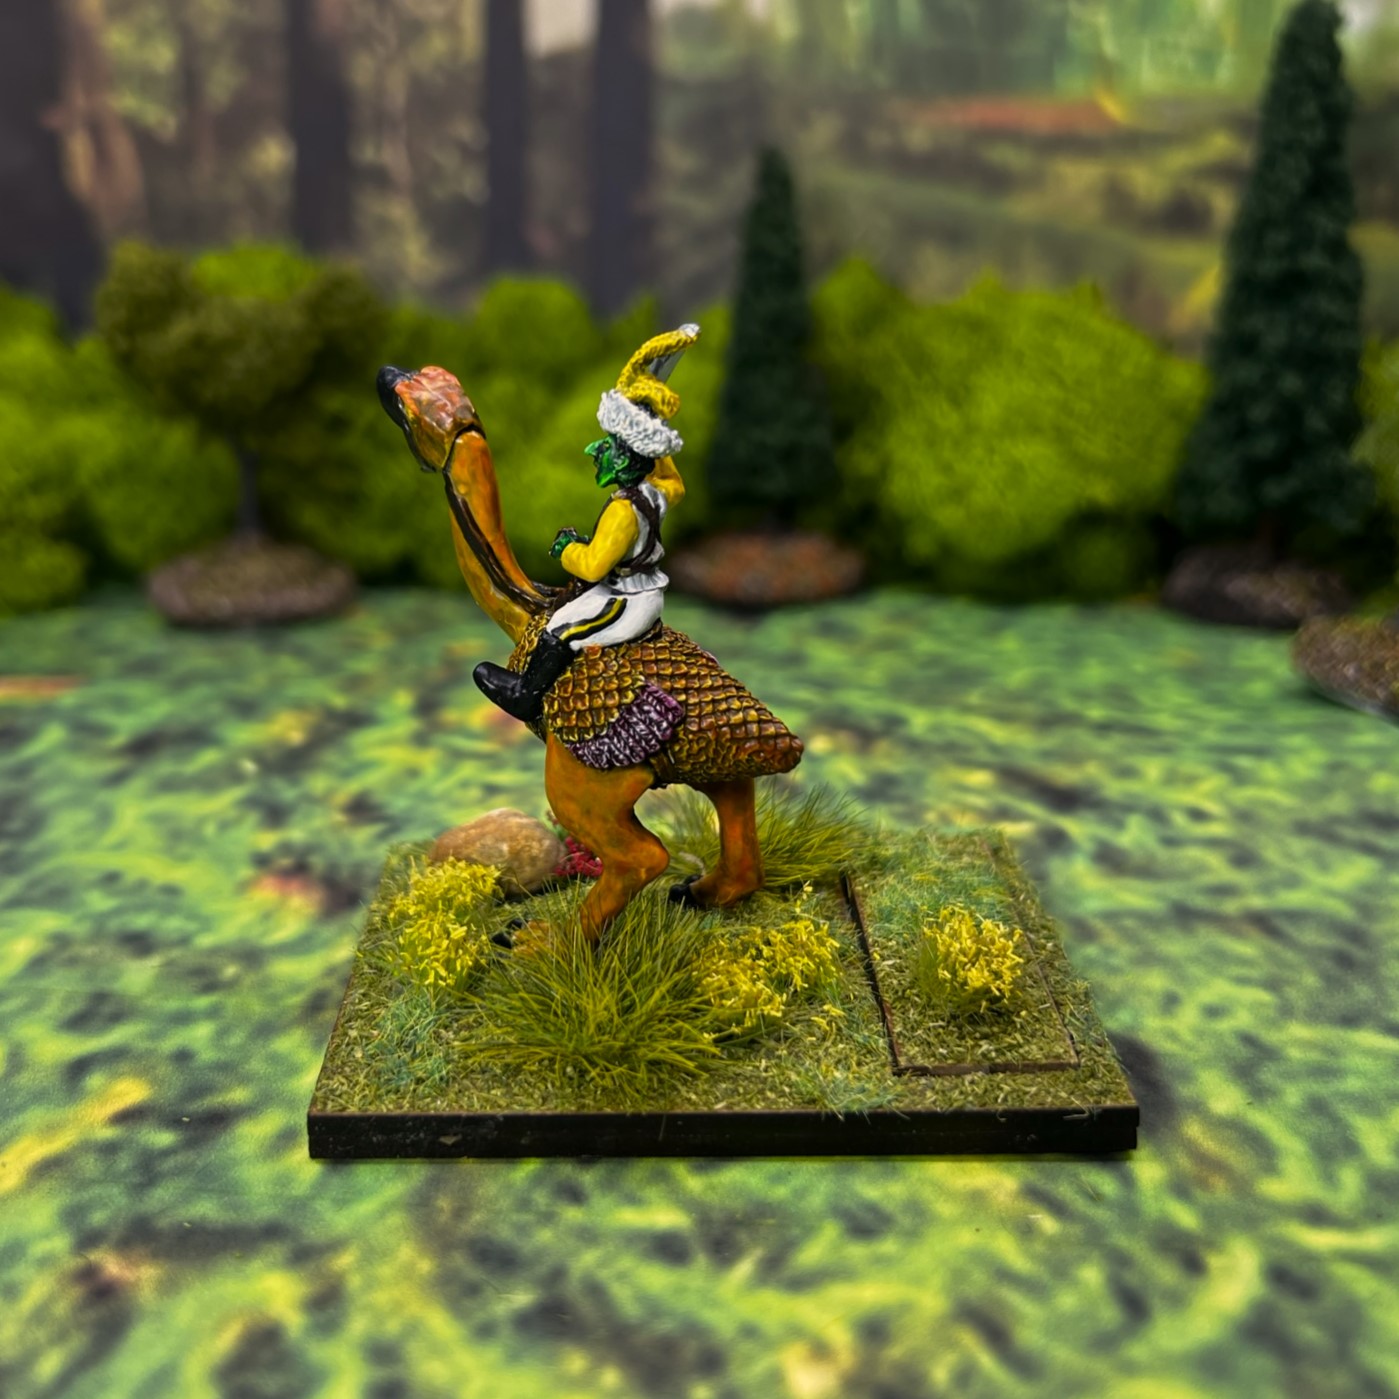
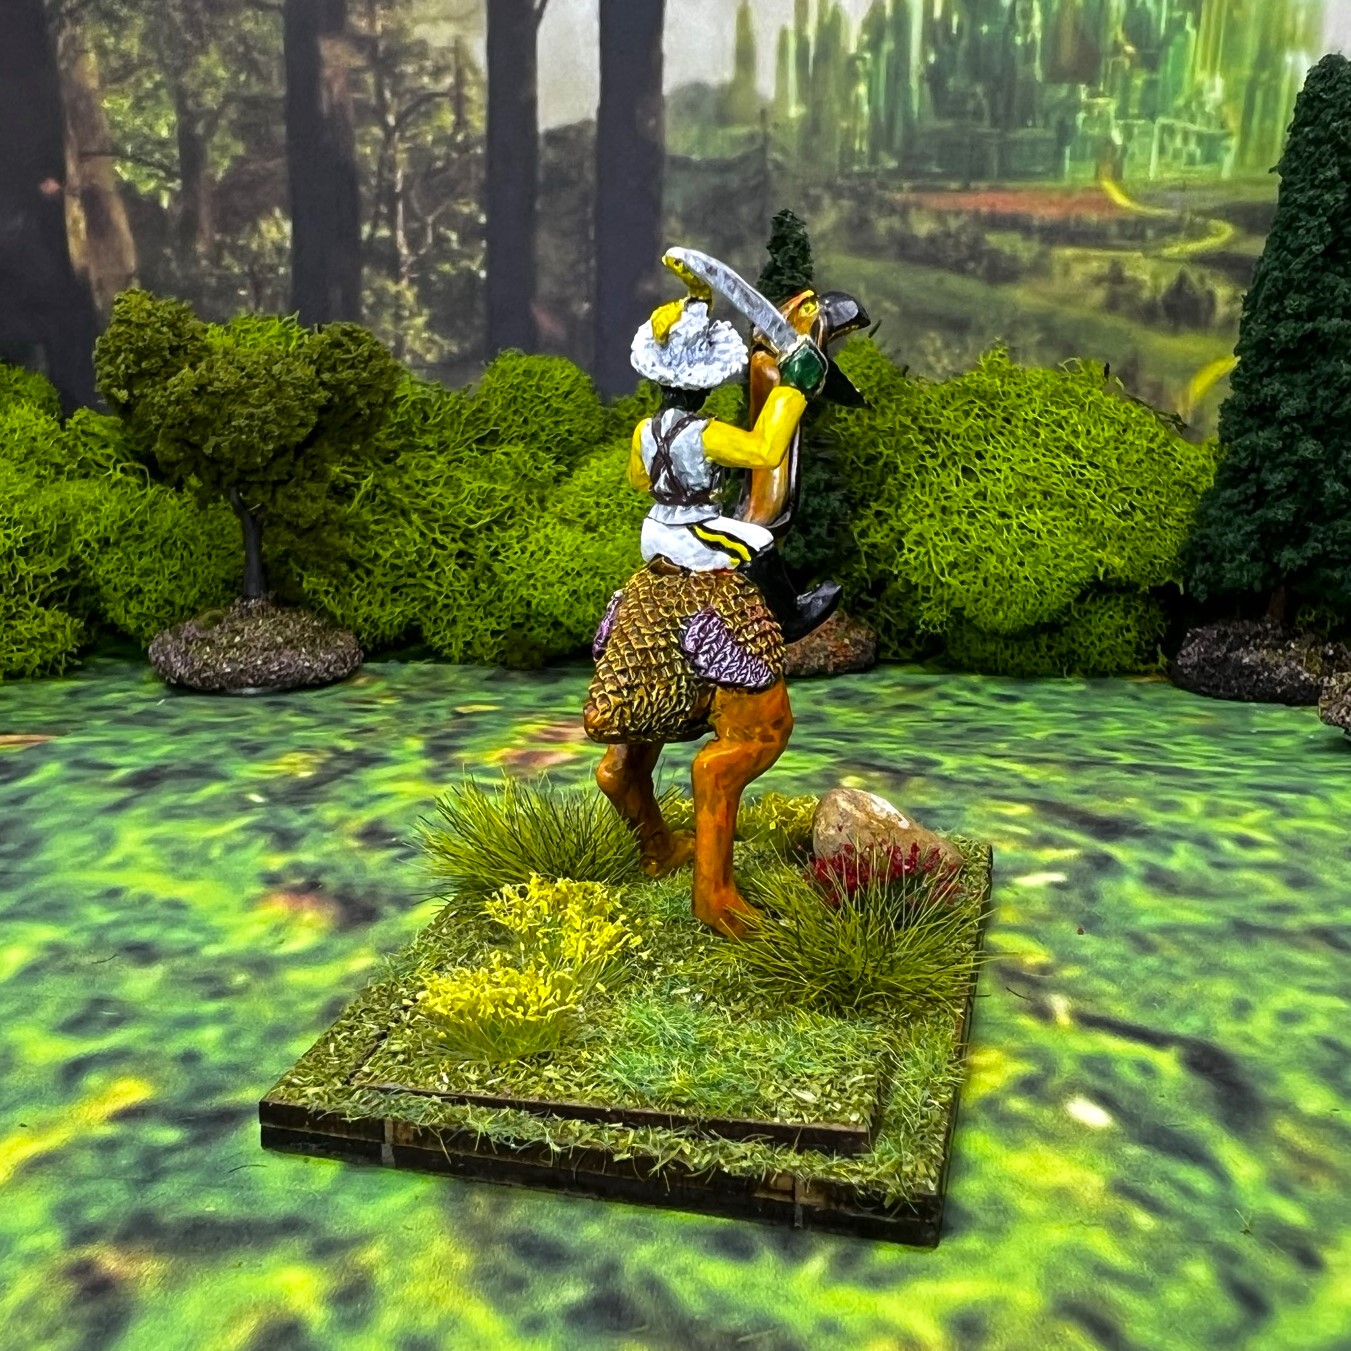
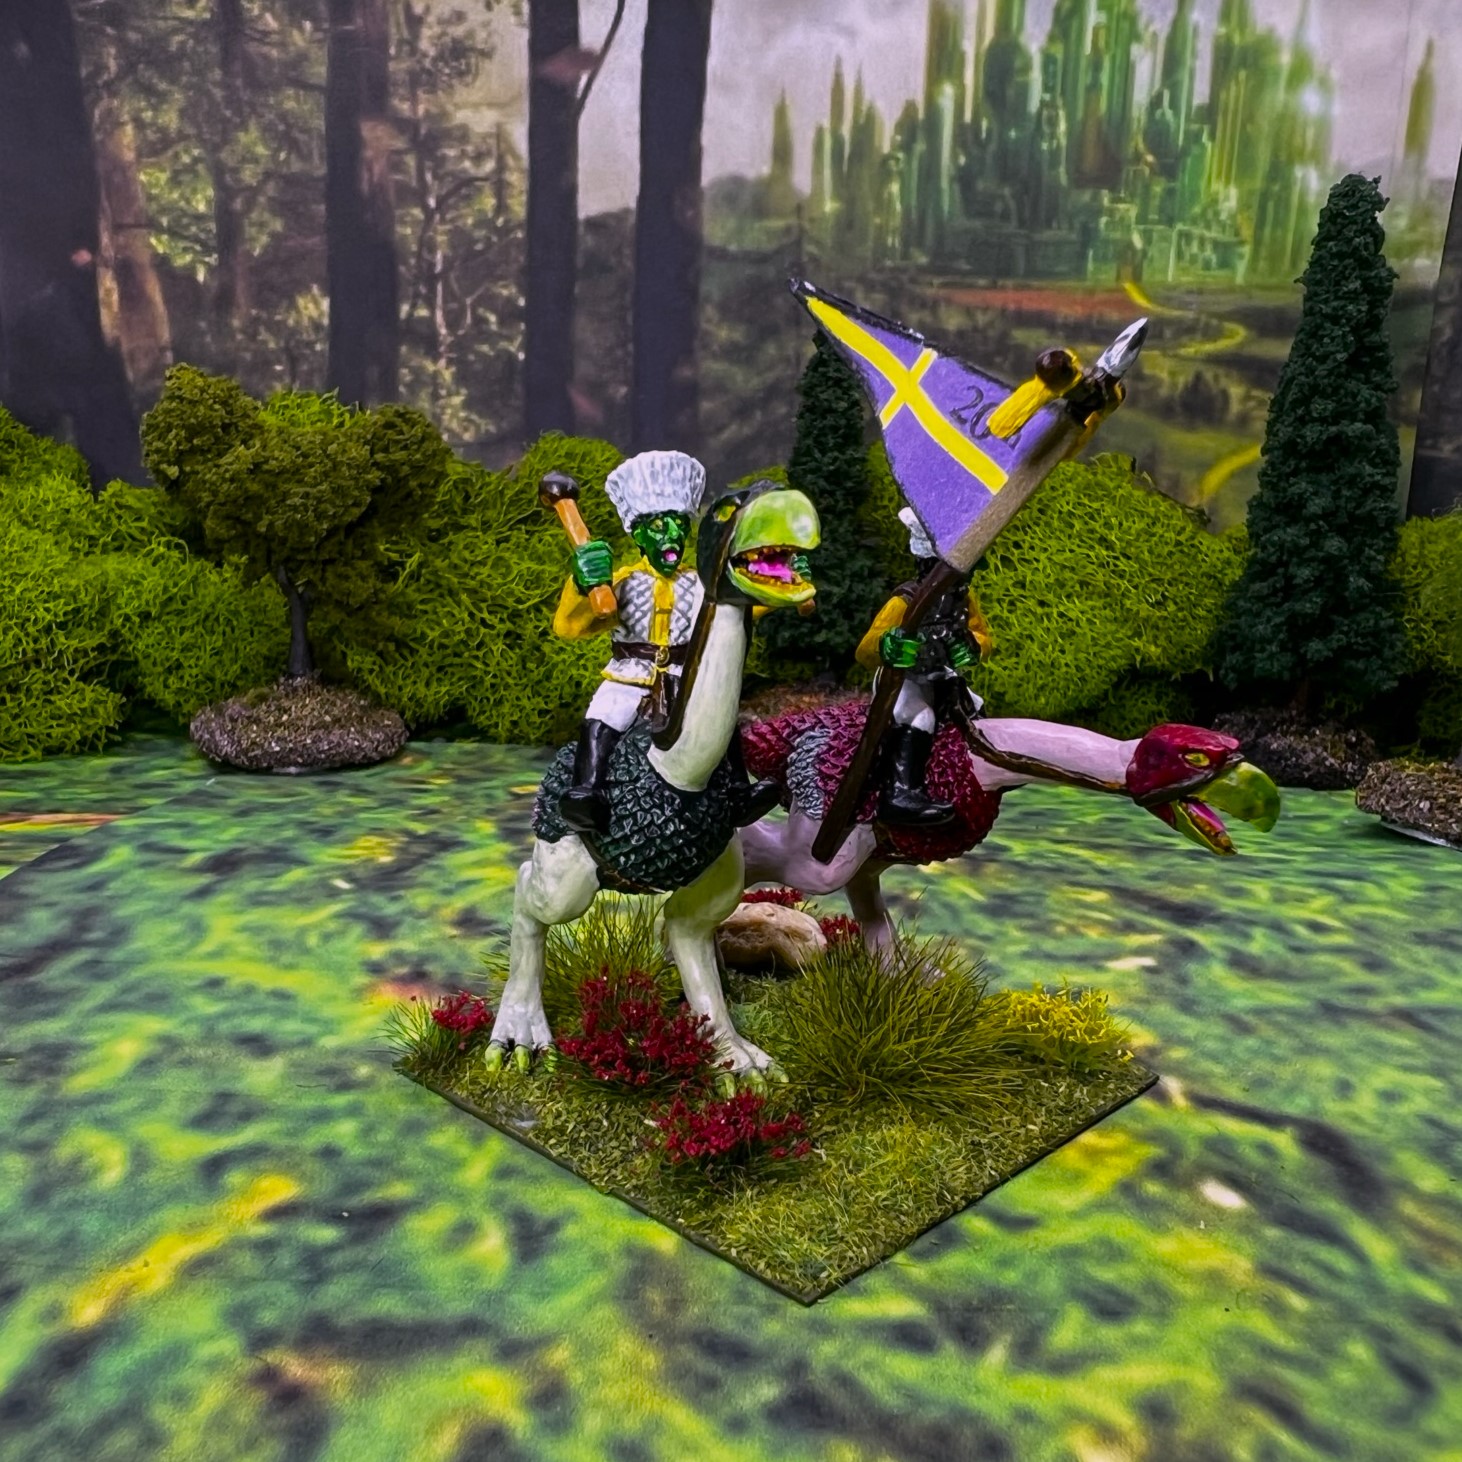
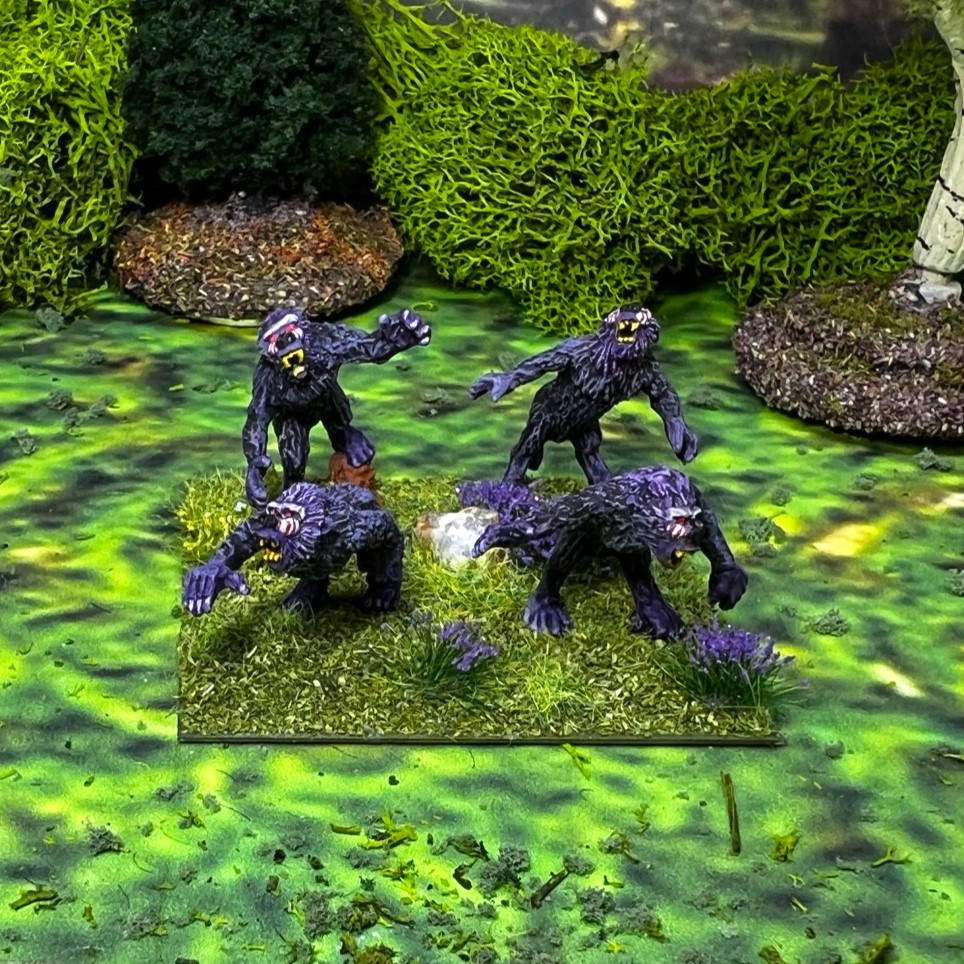
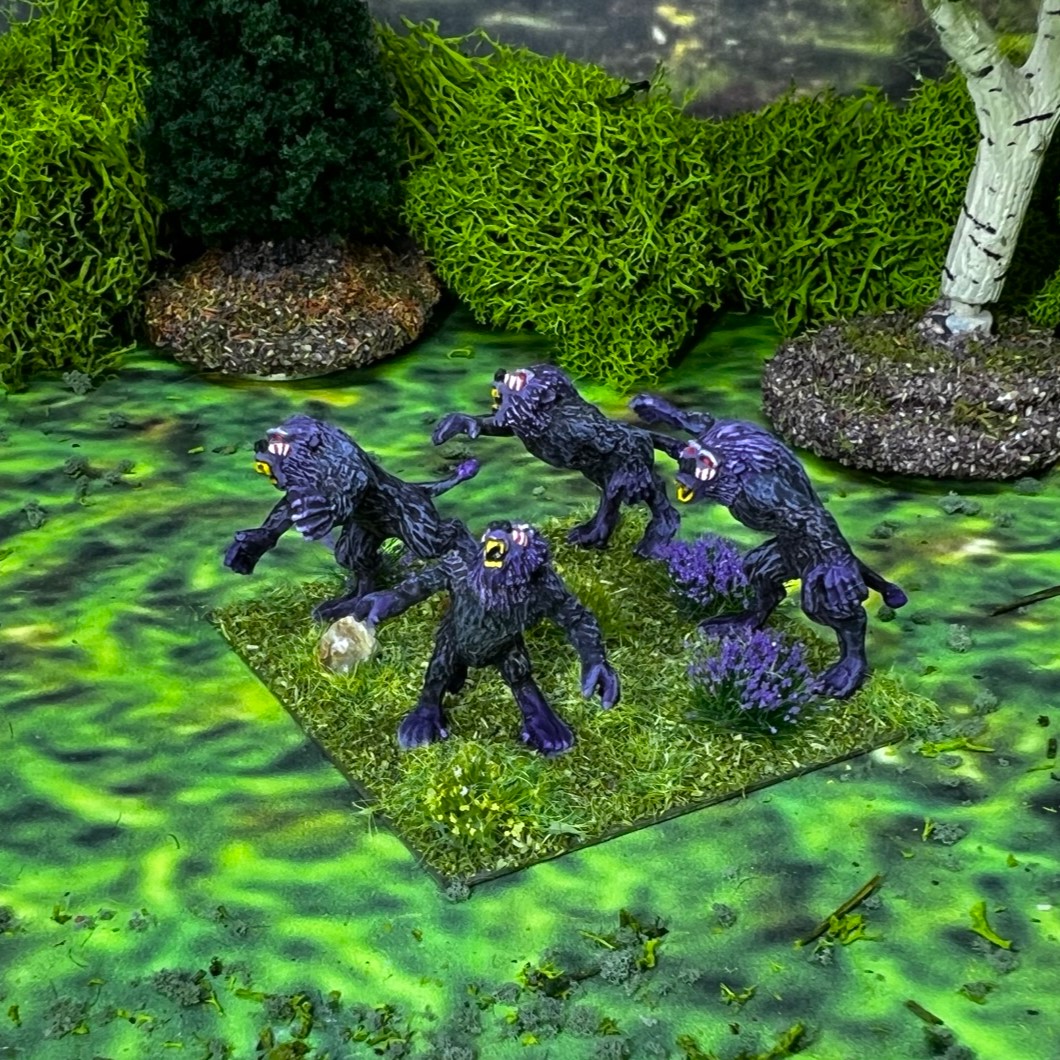
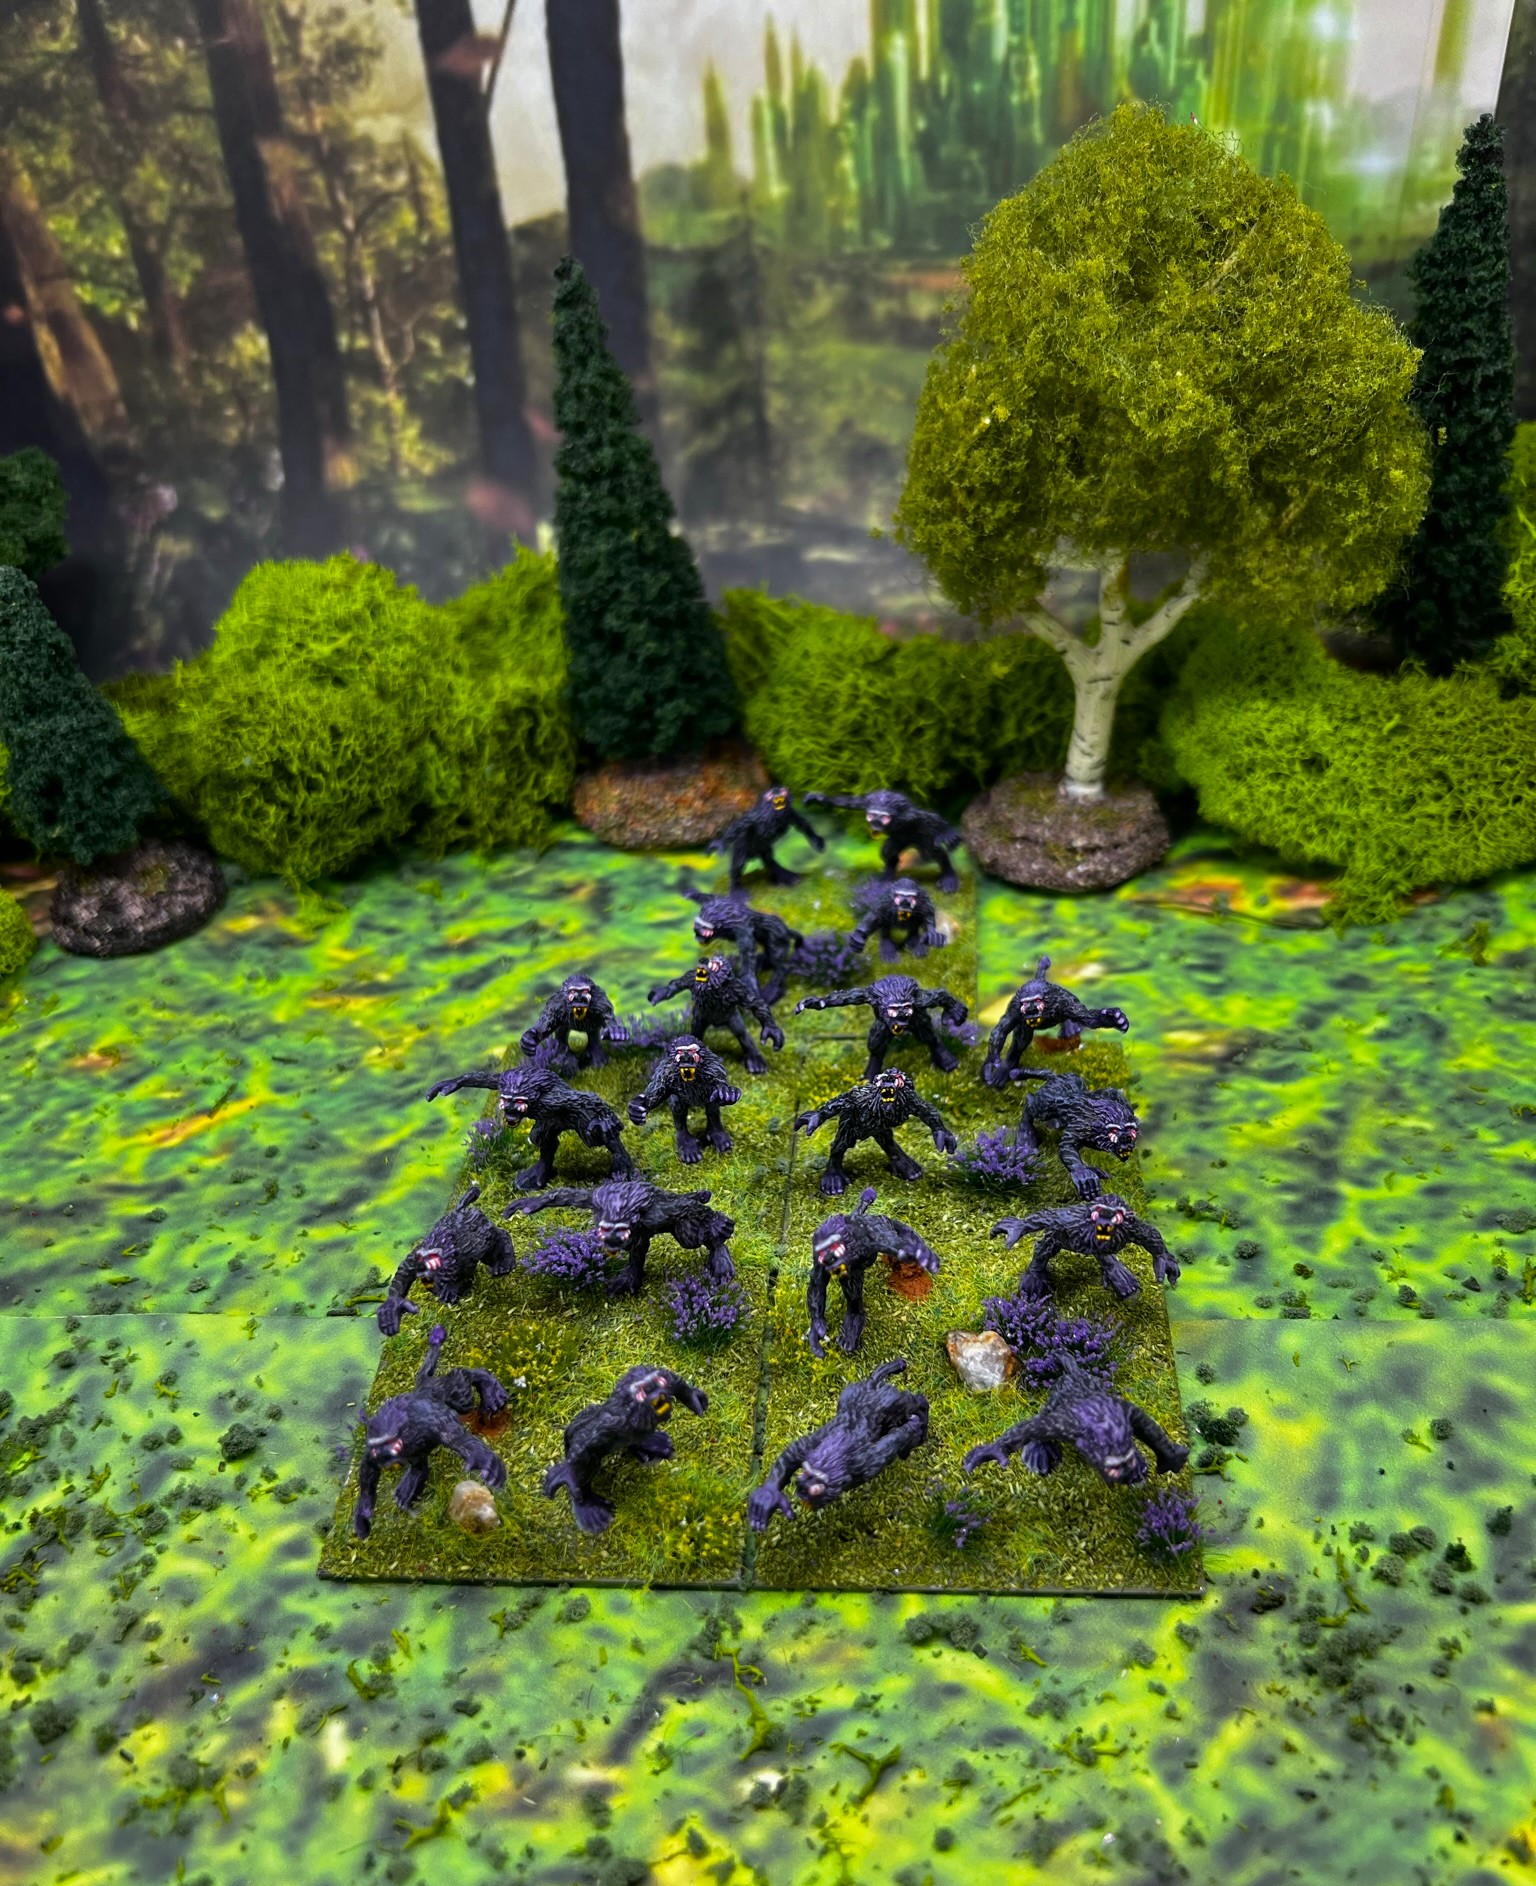
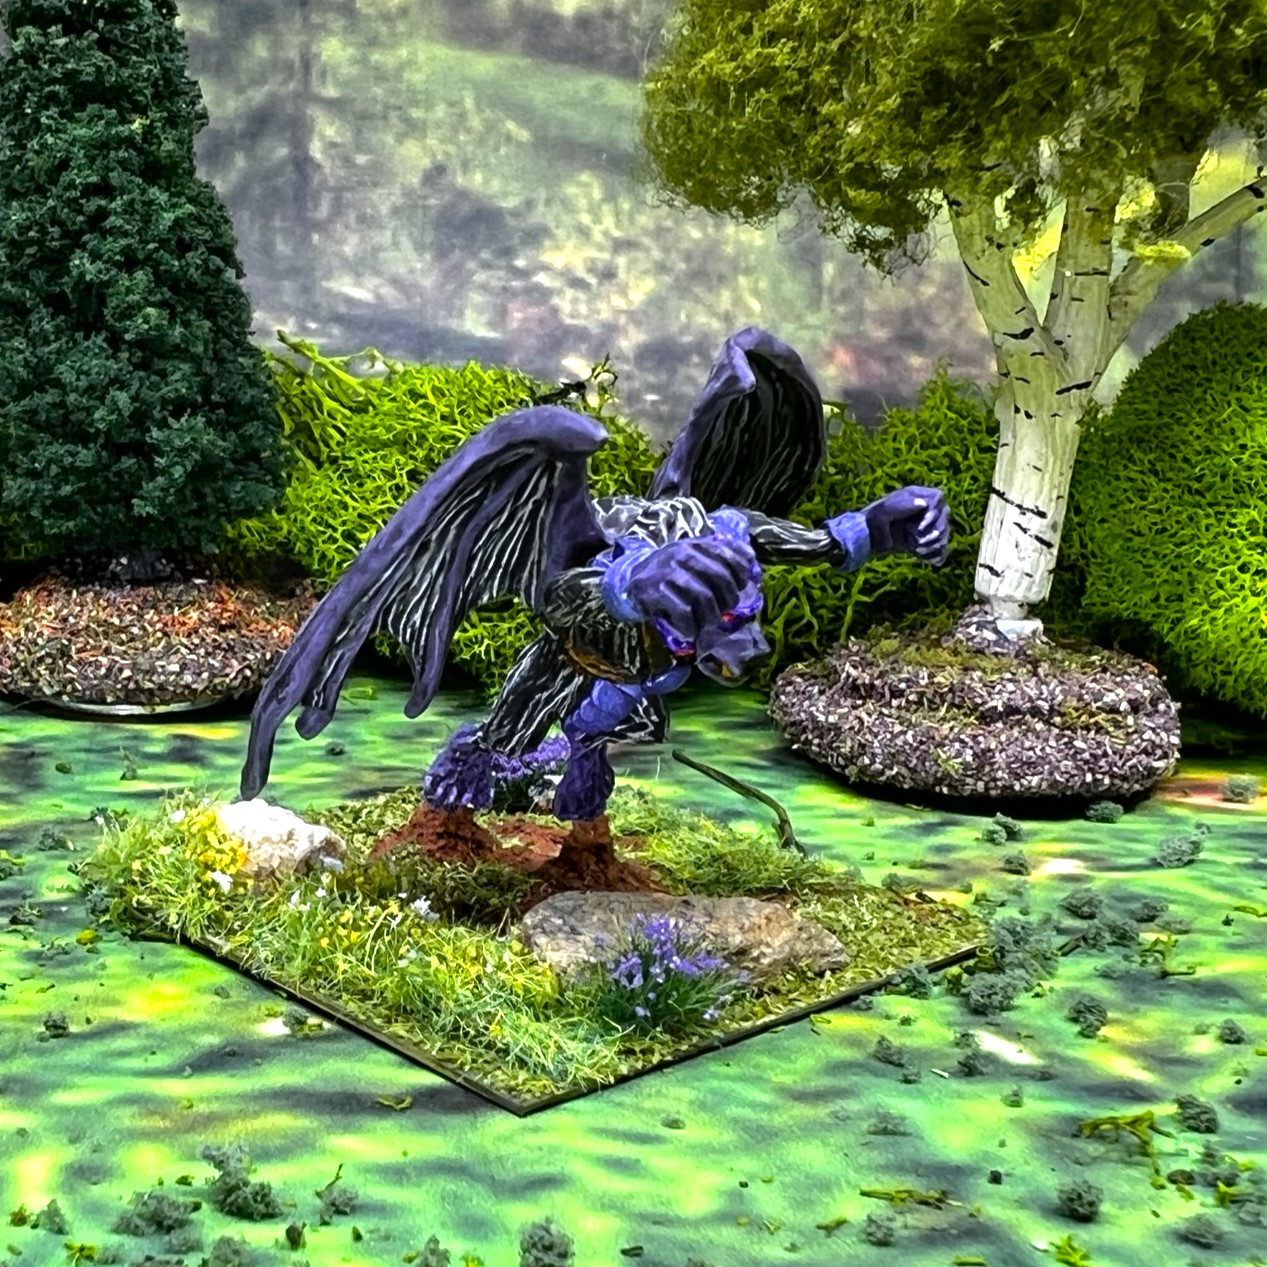
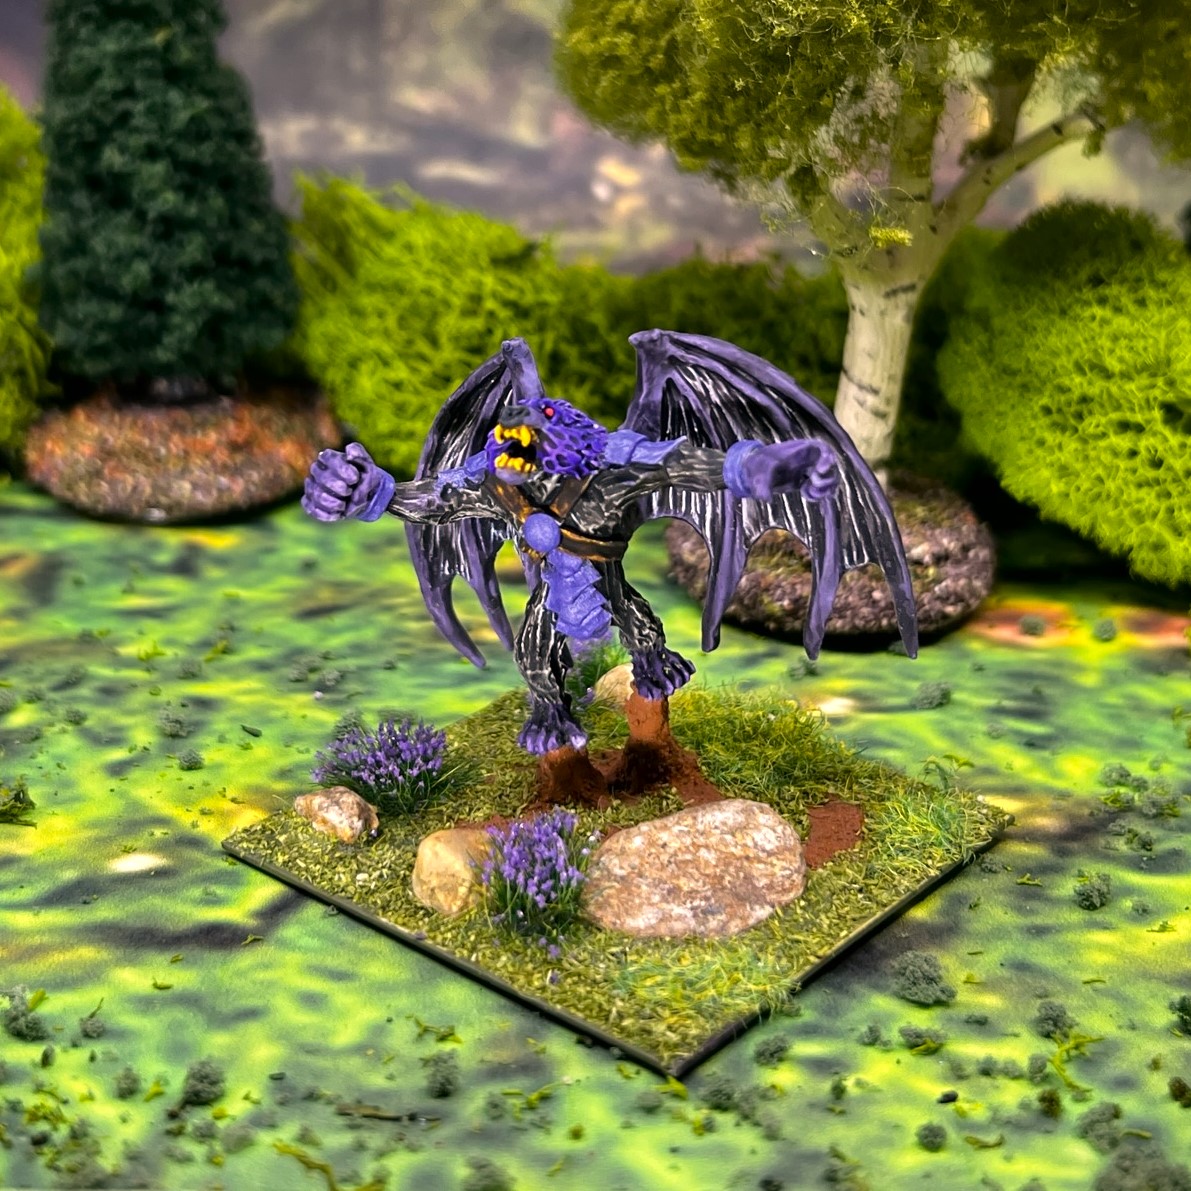
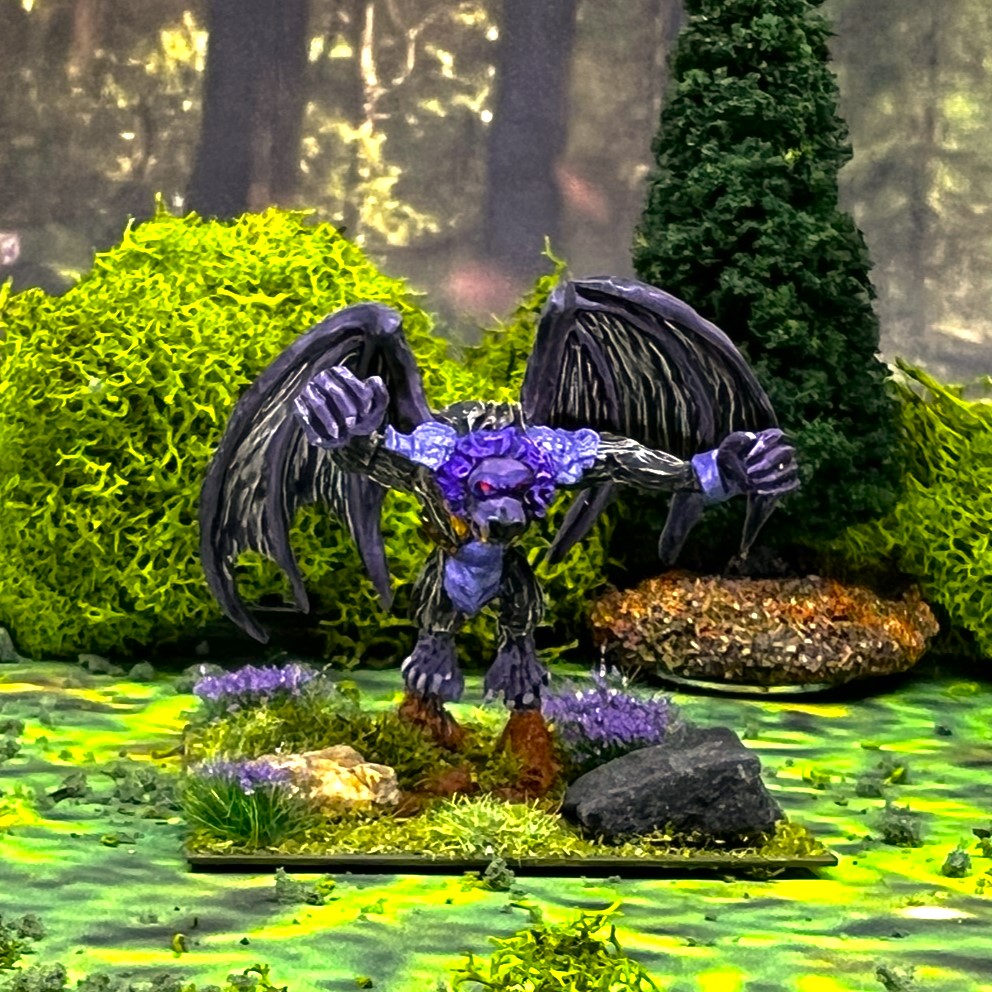
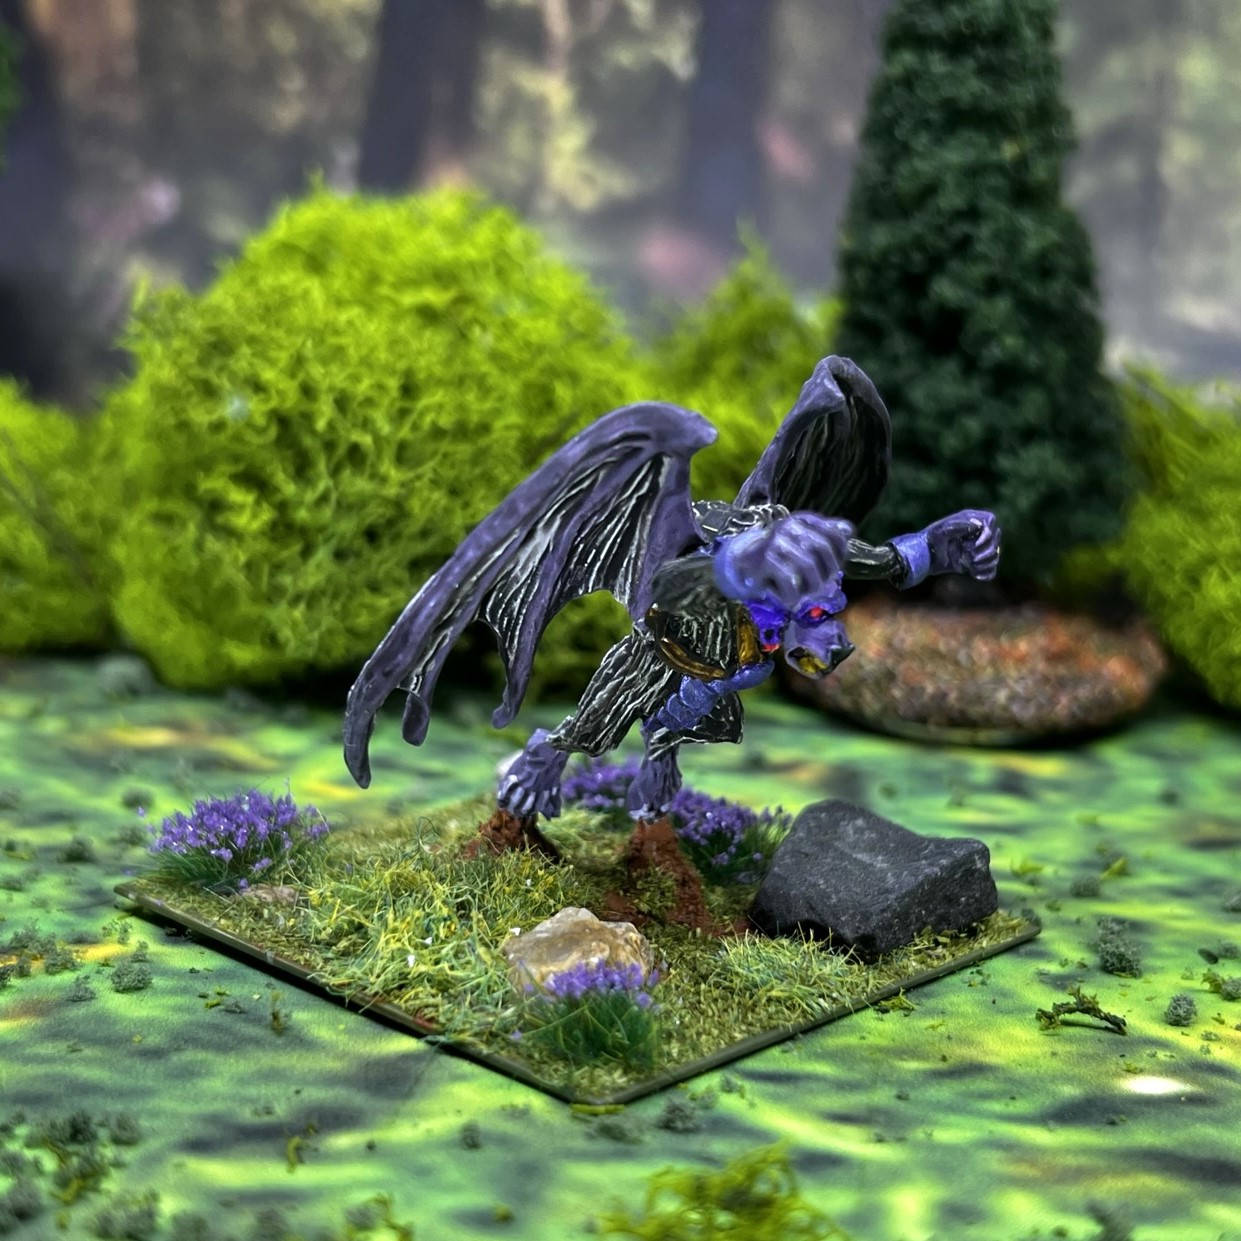
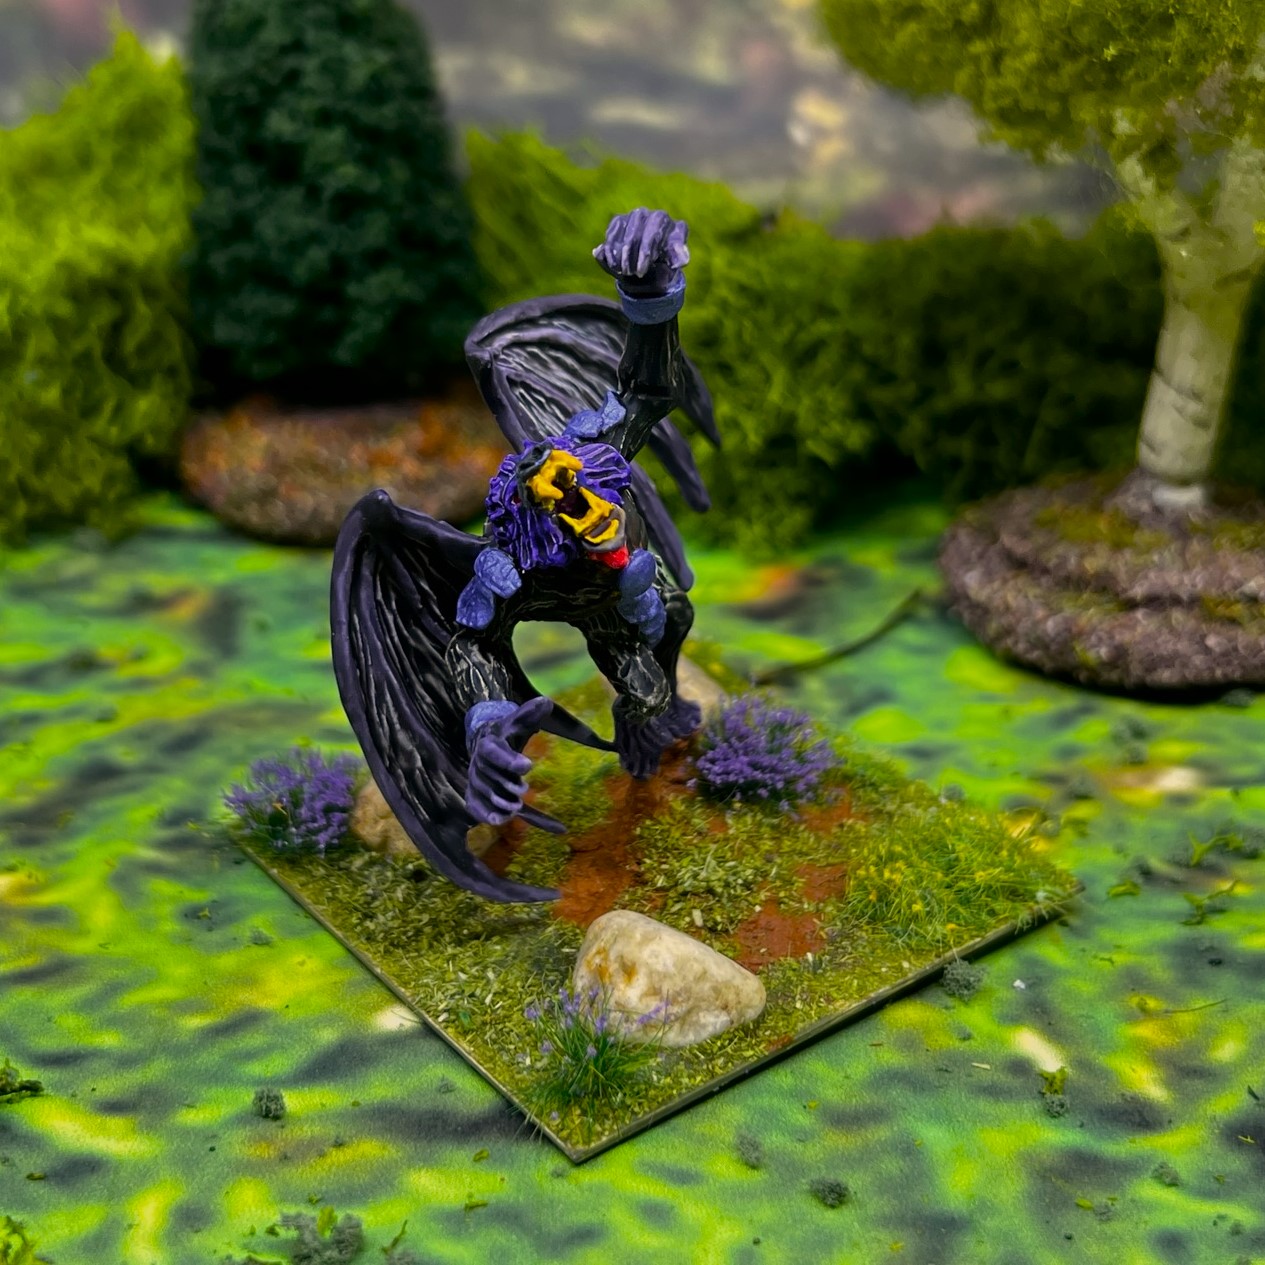
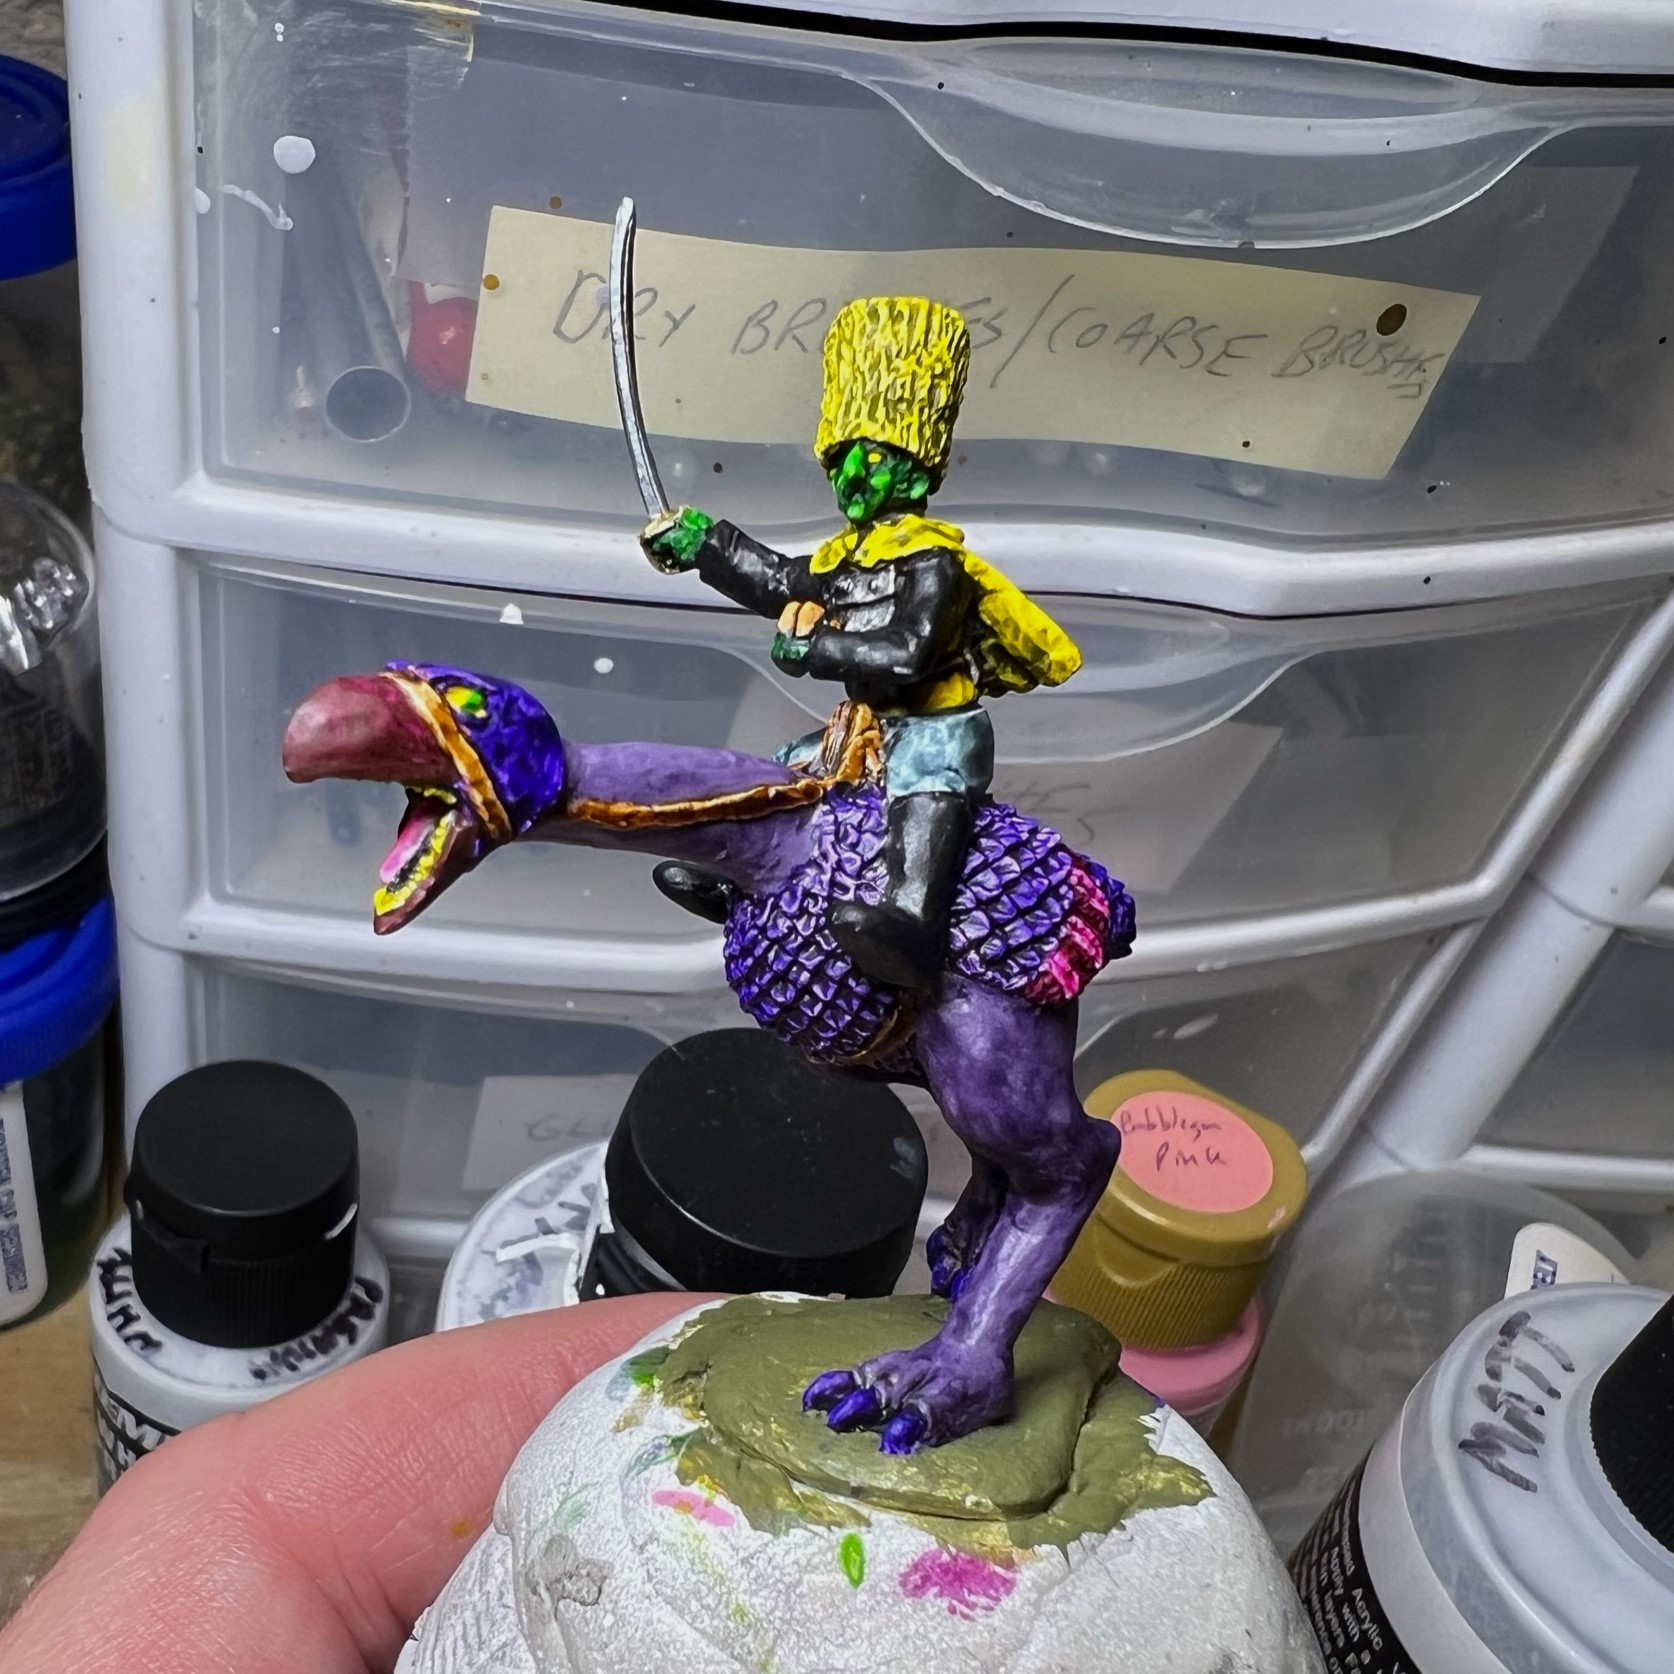
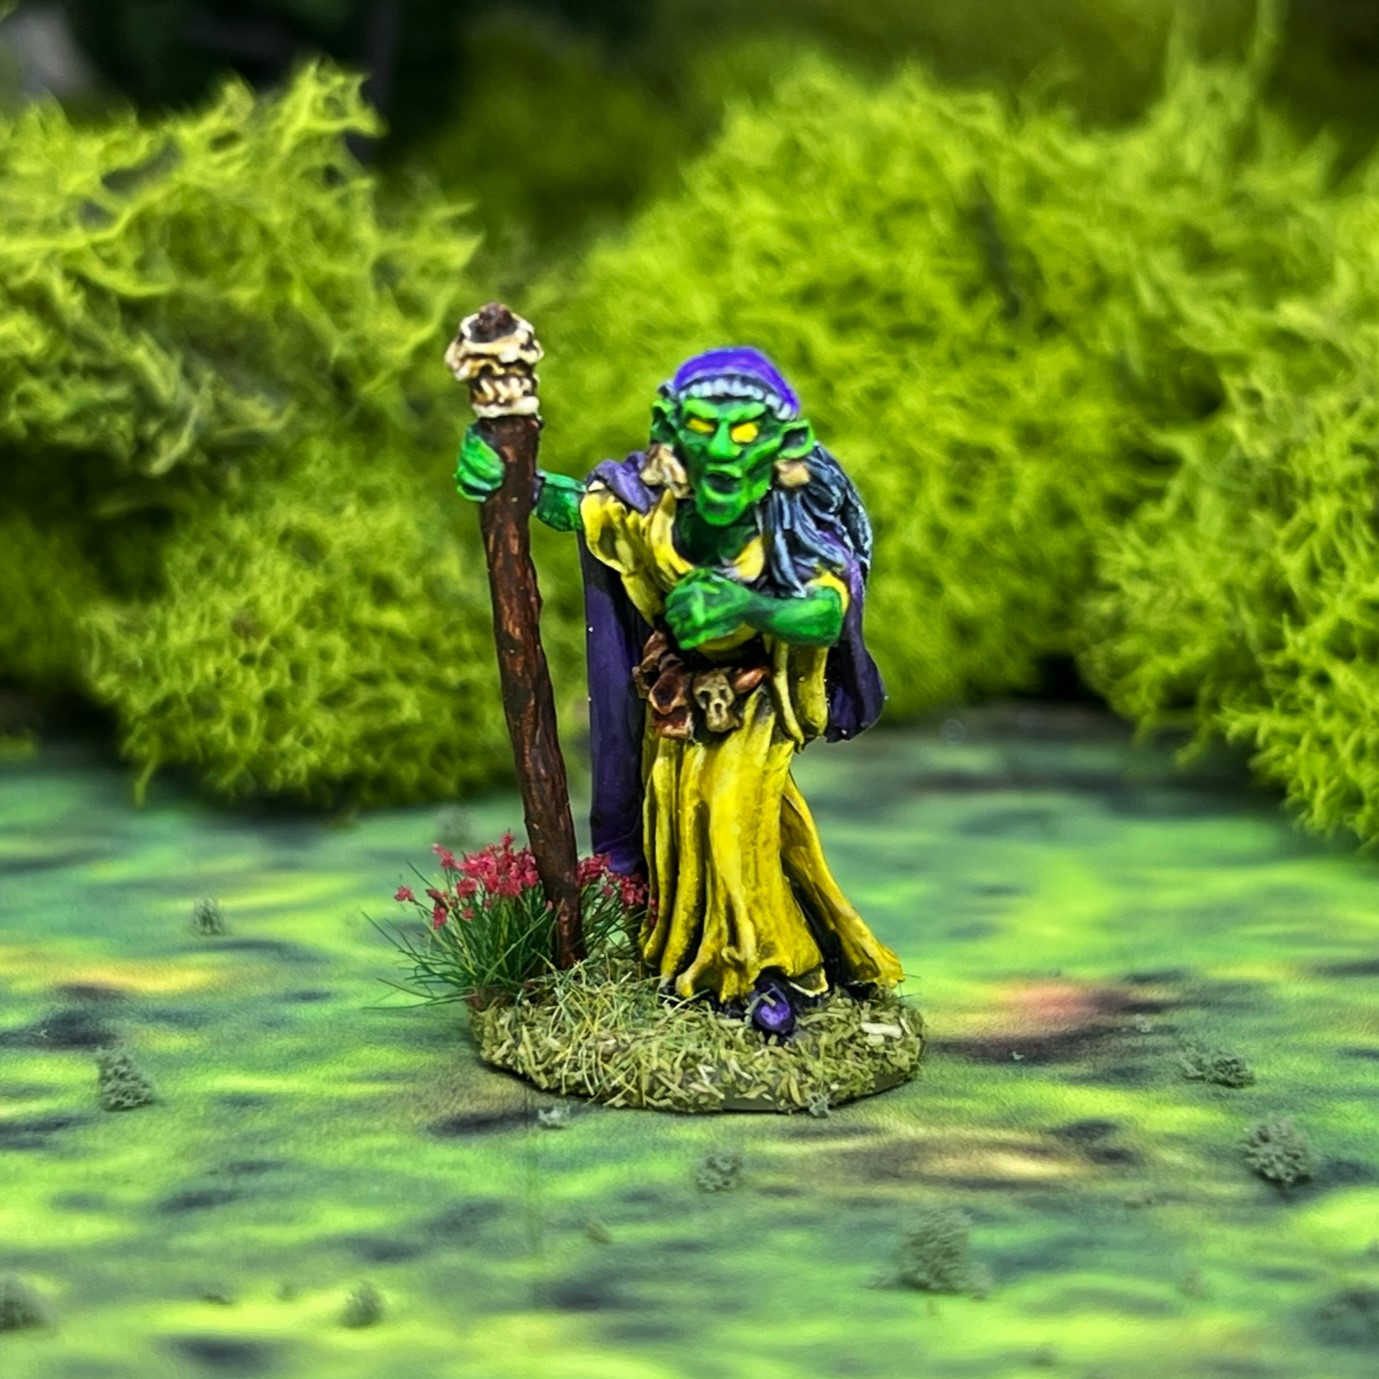
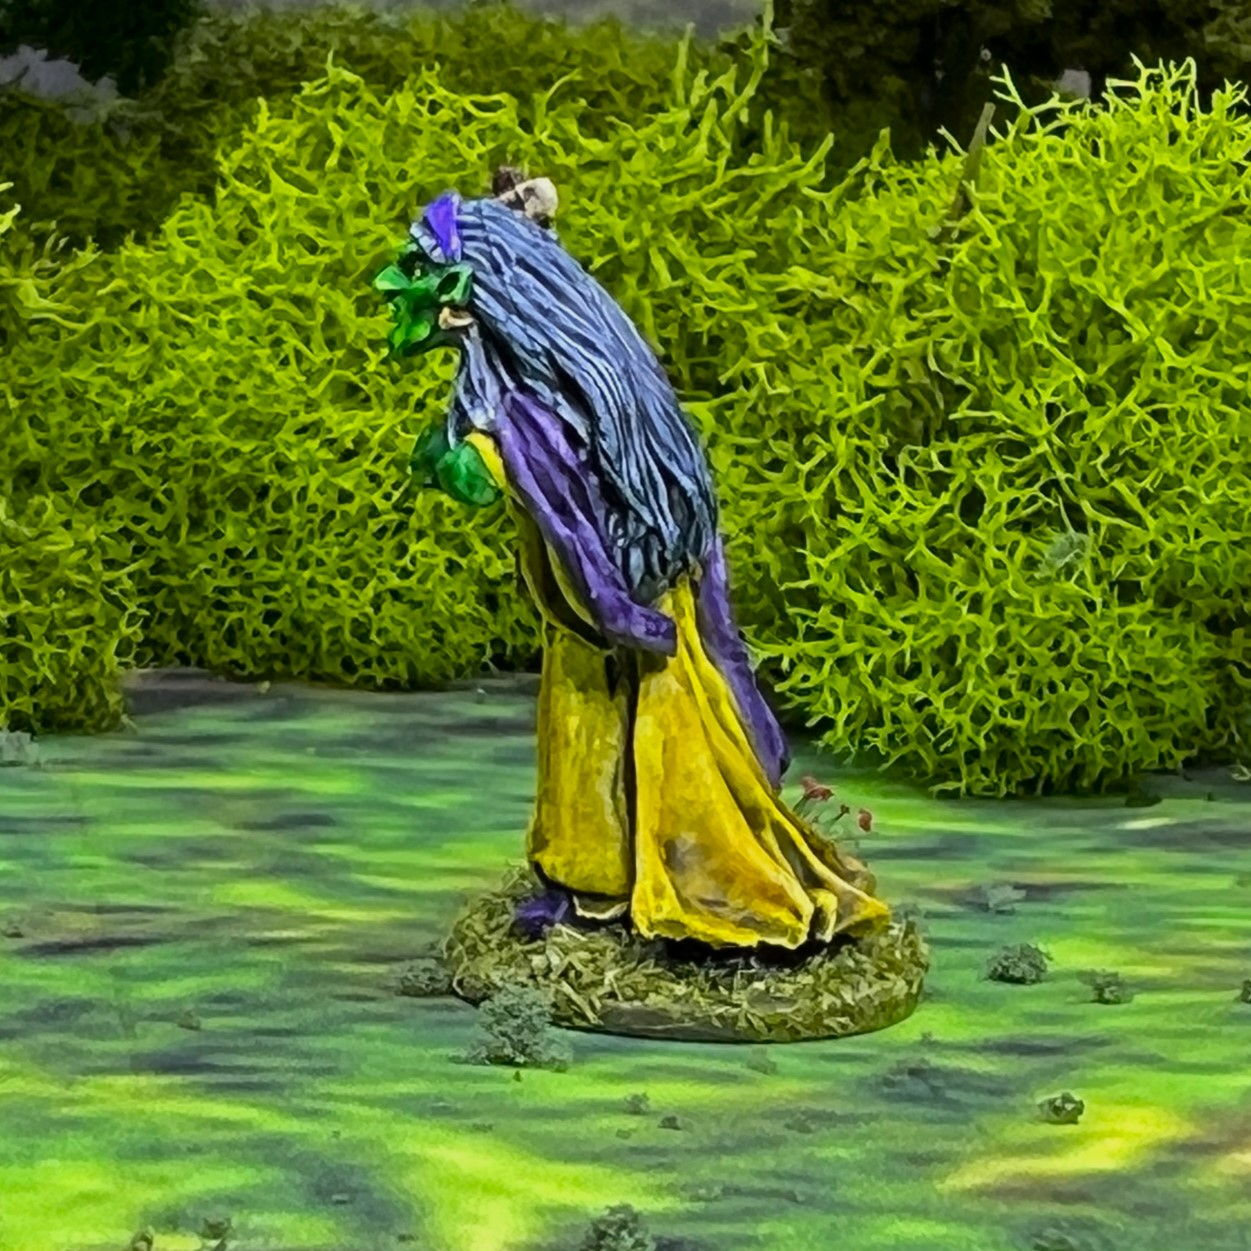
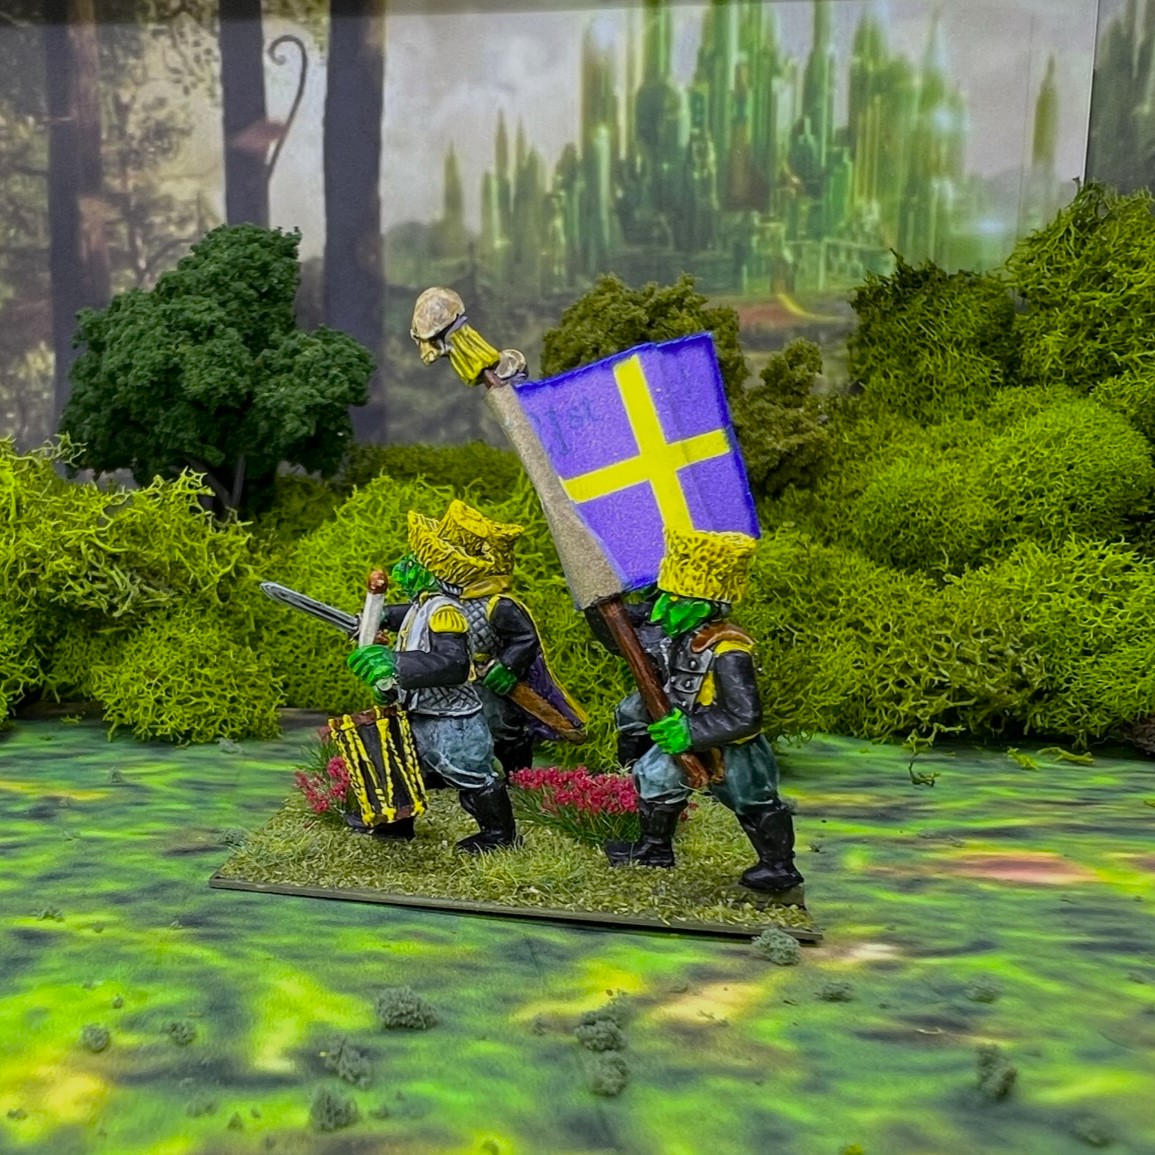
The bigger-than-people figures are just the kind of vegetables to give you nightmares. As with the other 10-figure Harvest regiments, they are based in the game on five 2″ square bases without a Regimental Commander. Their melee value is 5 out of 10, as is their one-time marksmanship rating – so very average. Their Elan and Resolve values are the same as the Carrots at 6 out of 10.
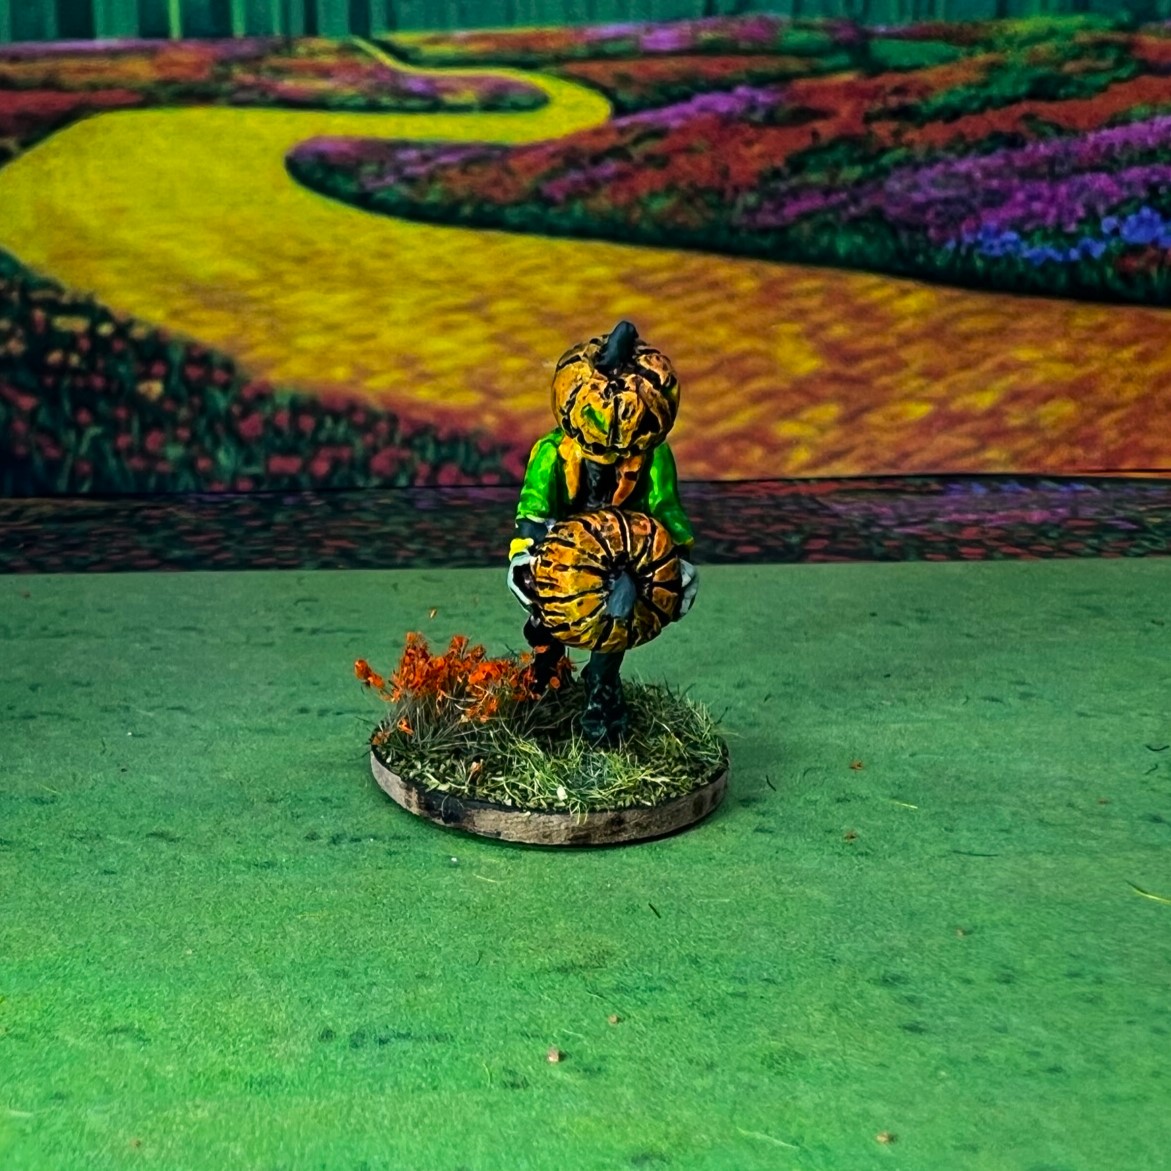
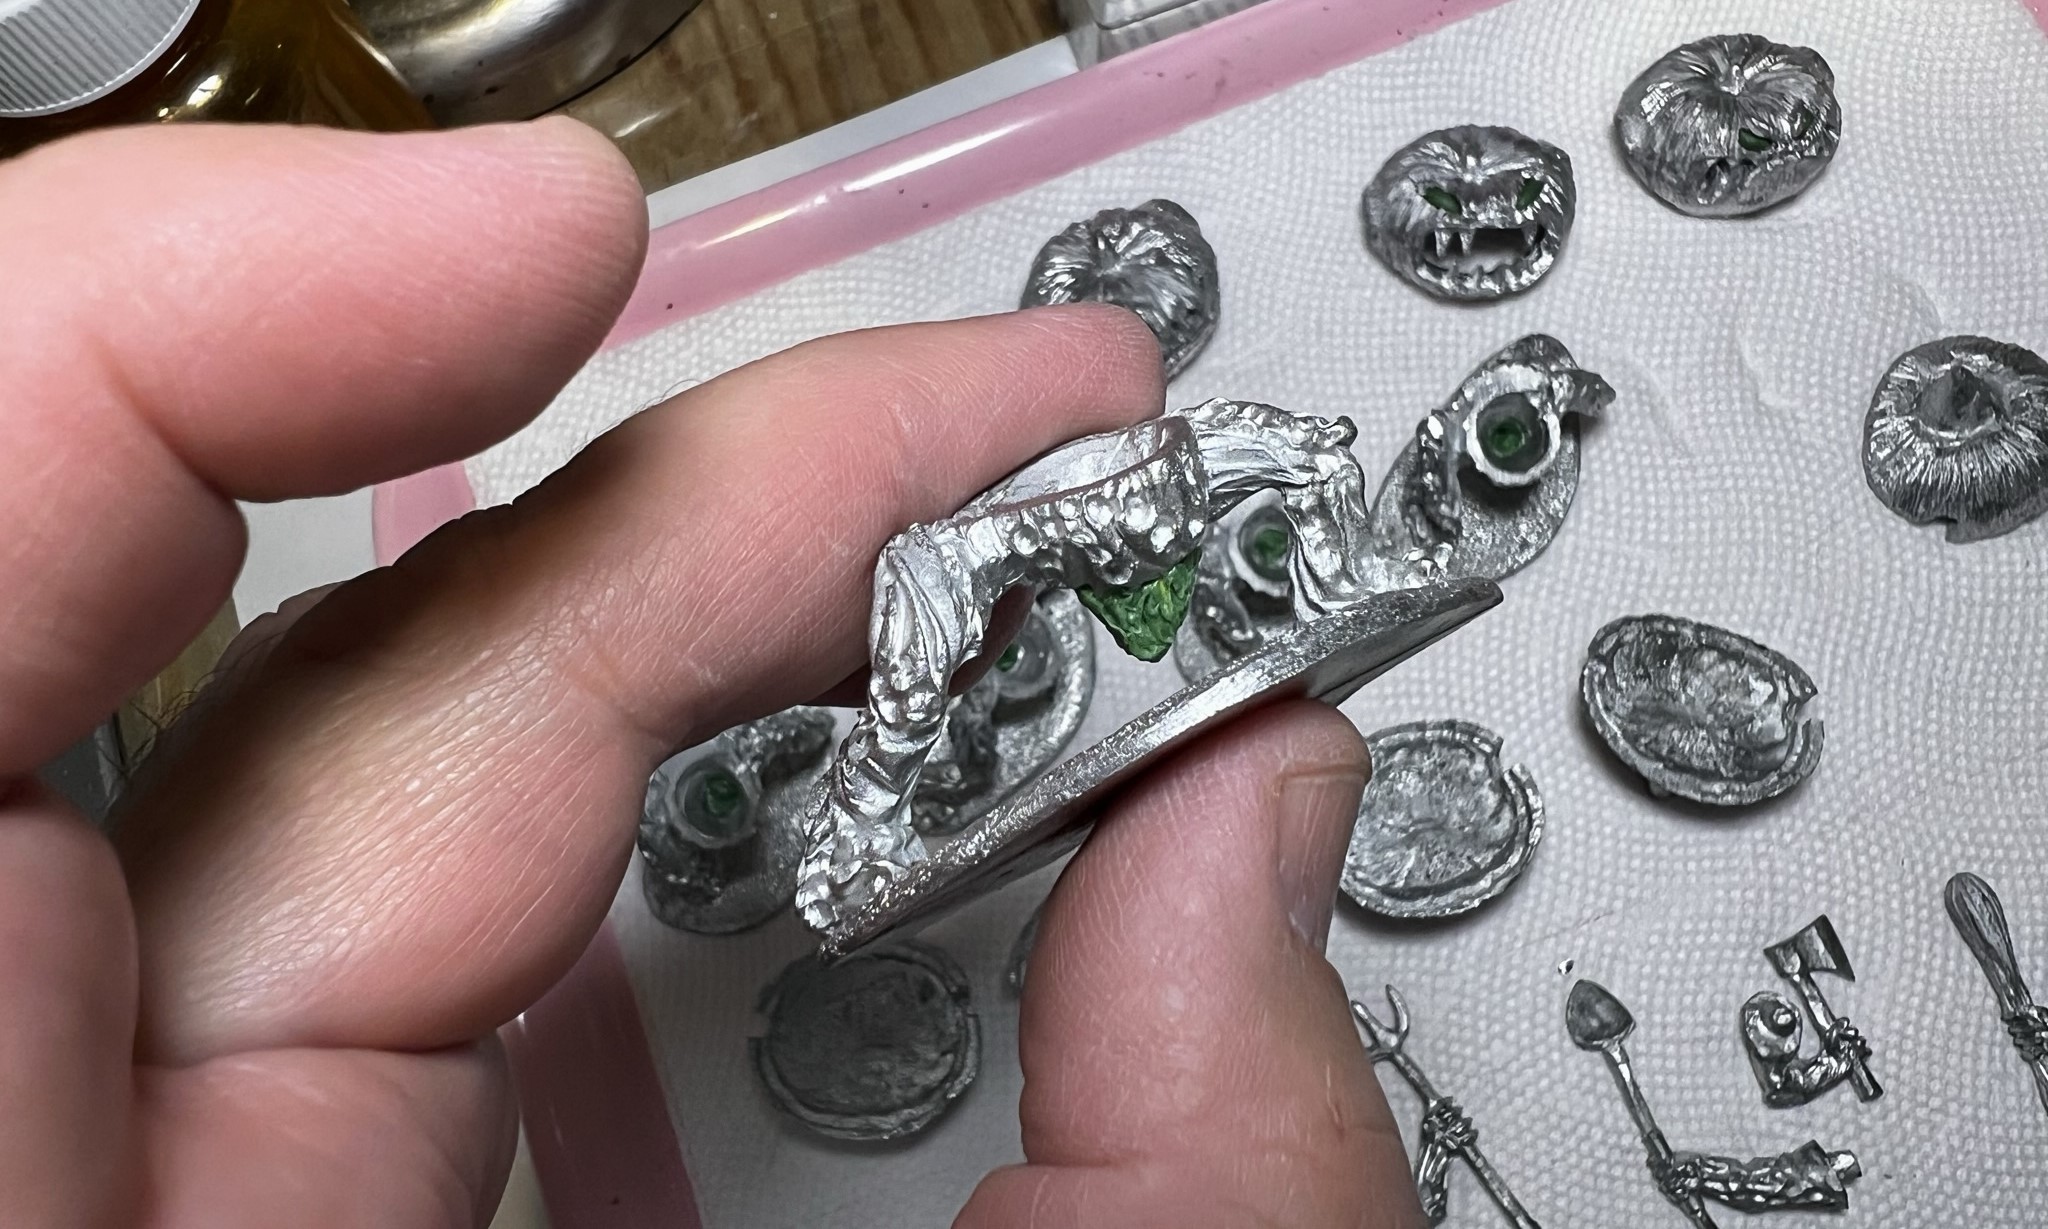
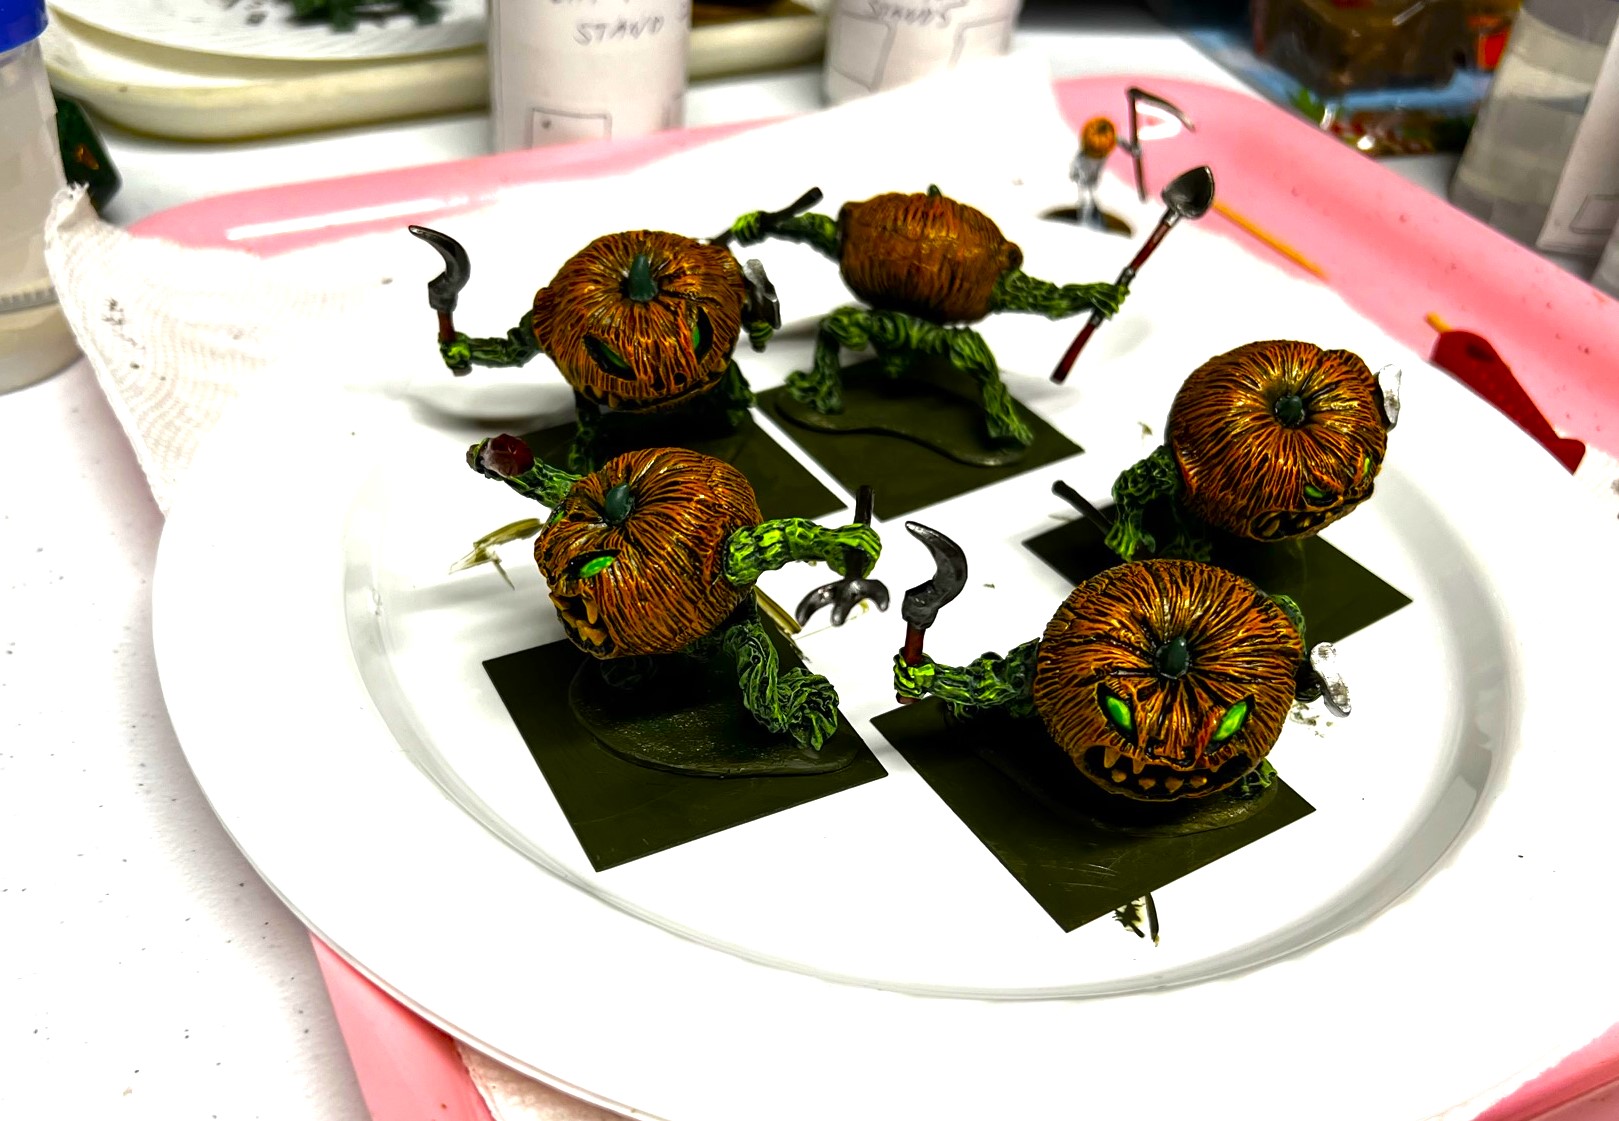
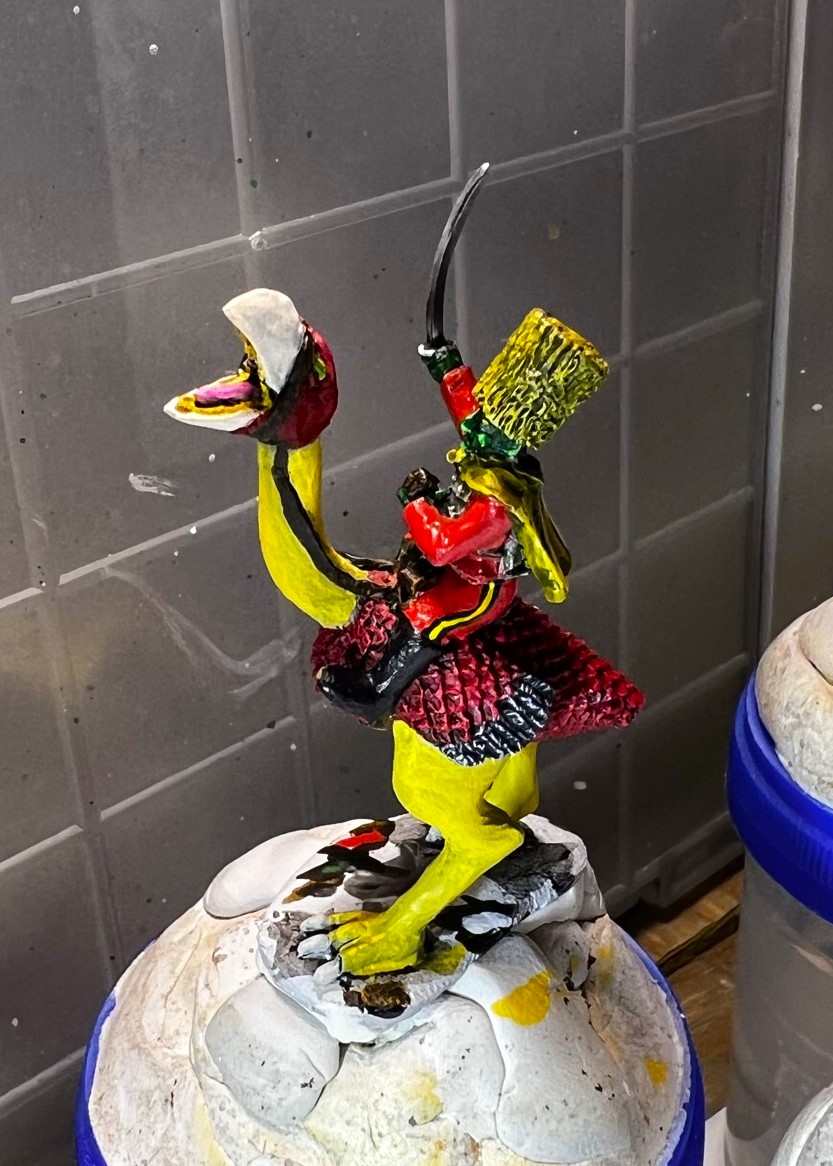
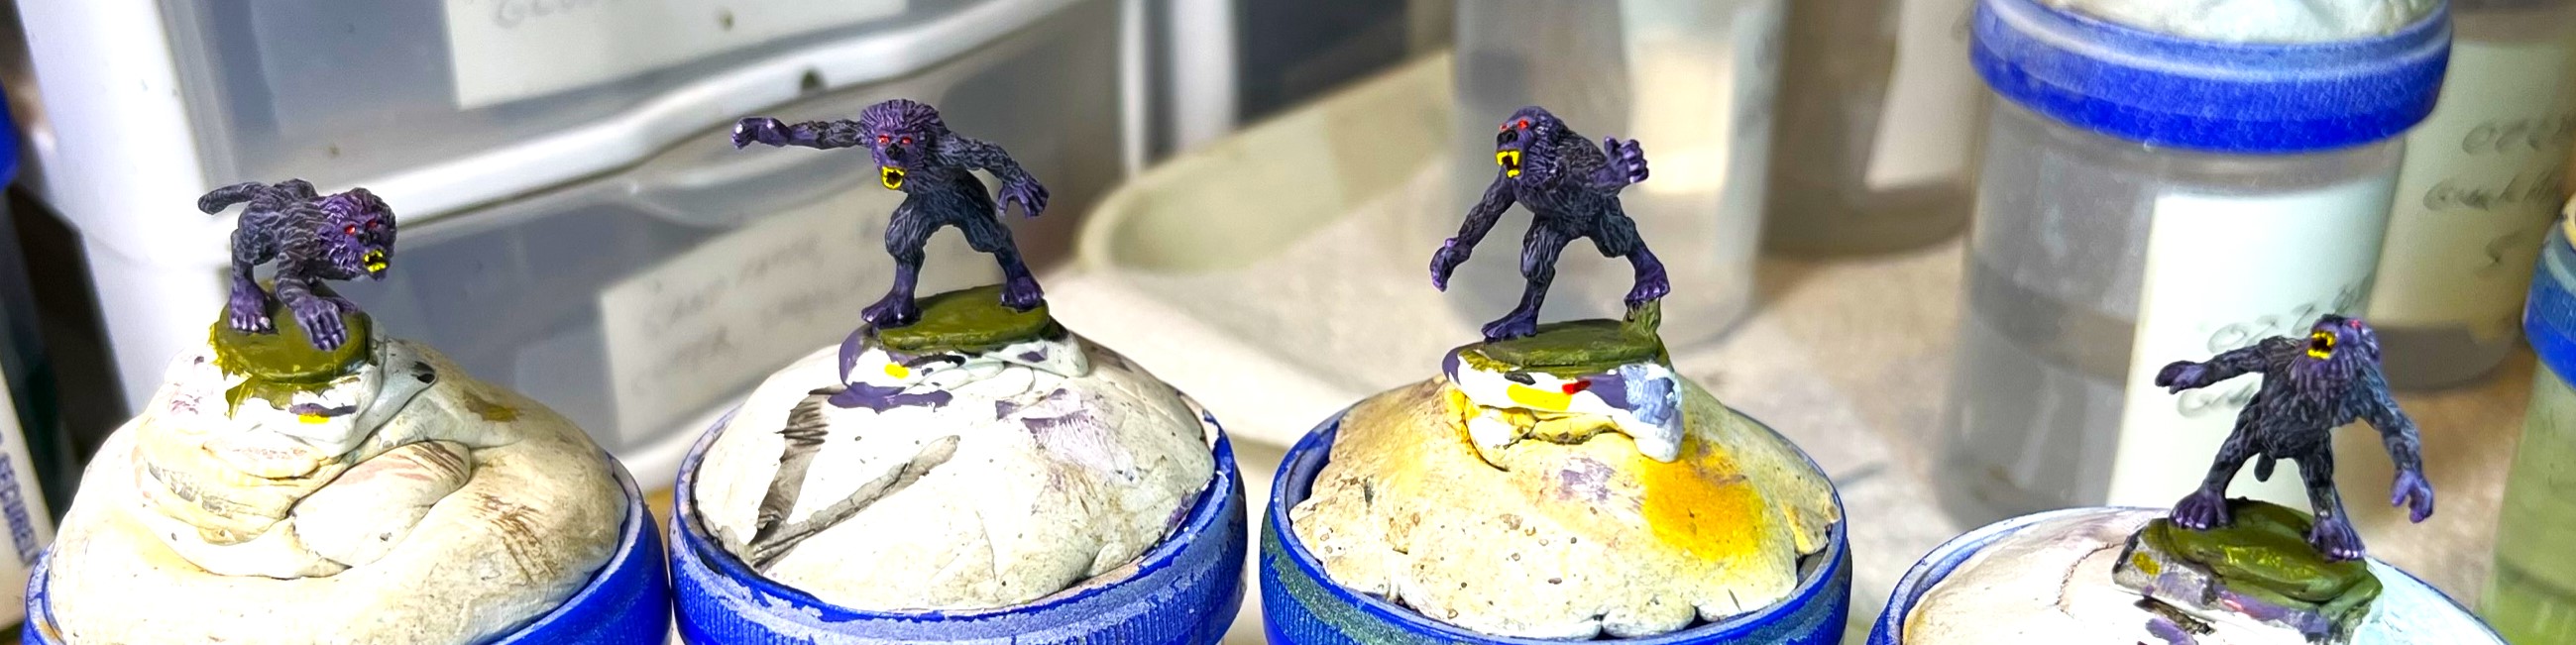
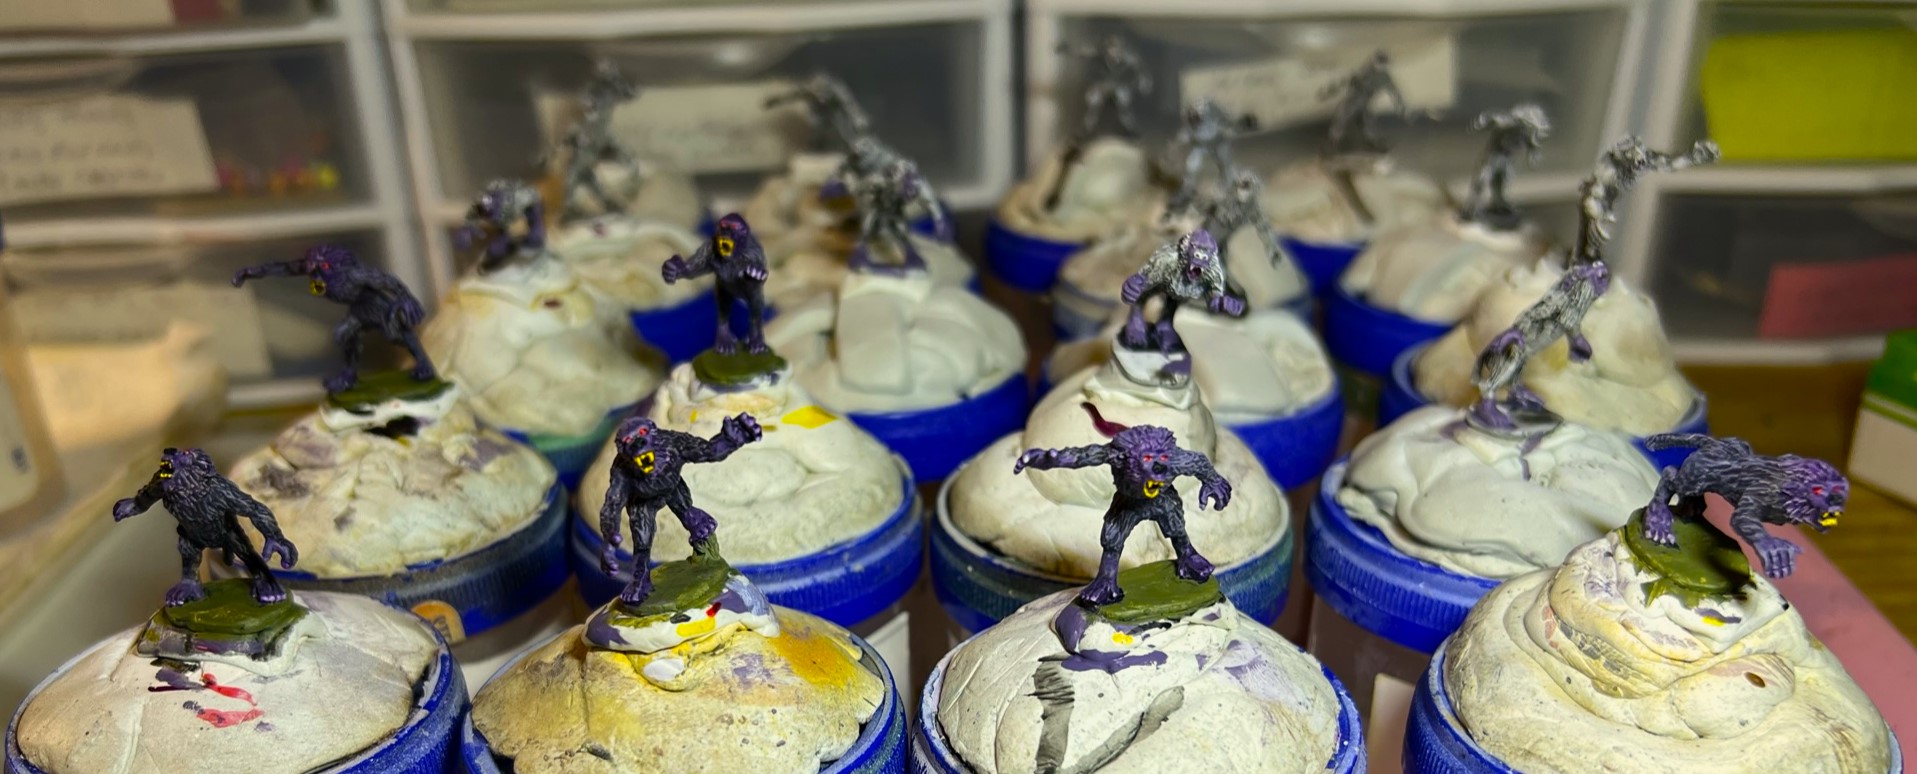
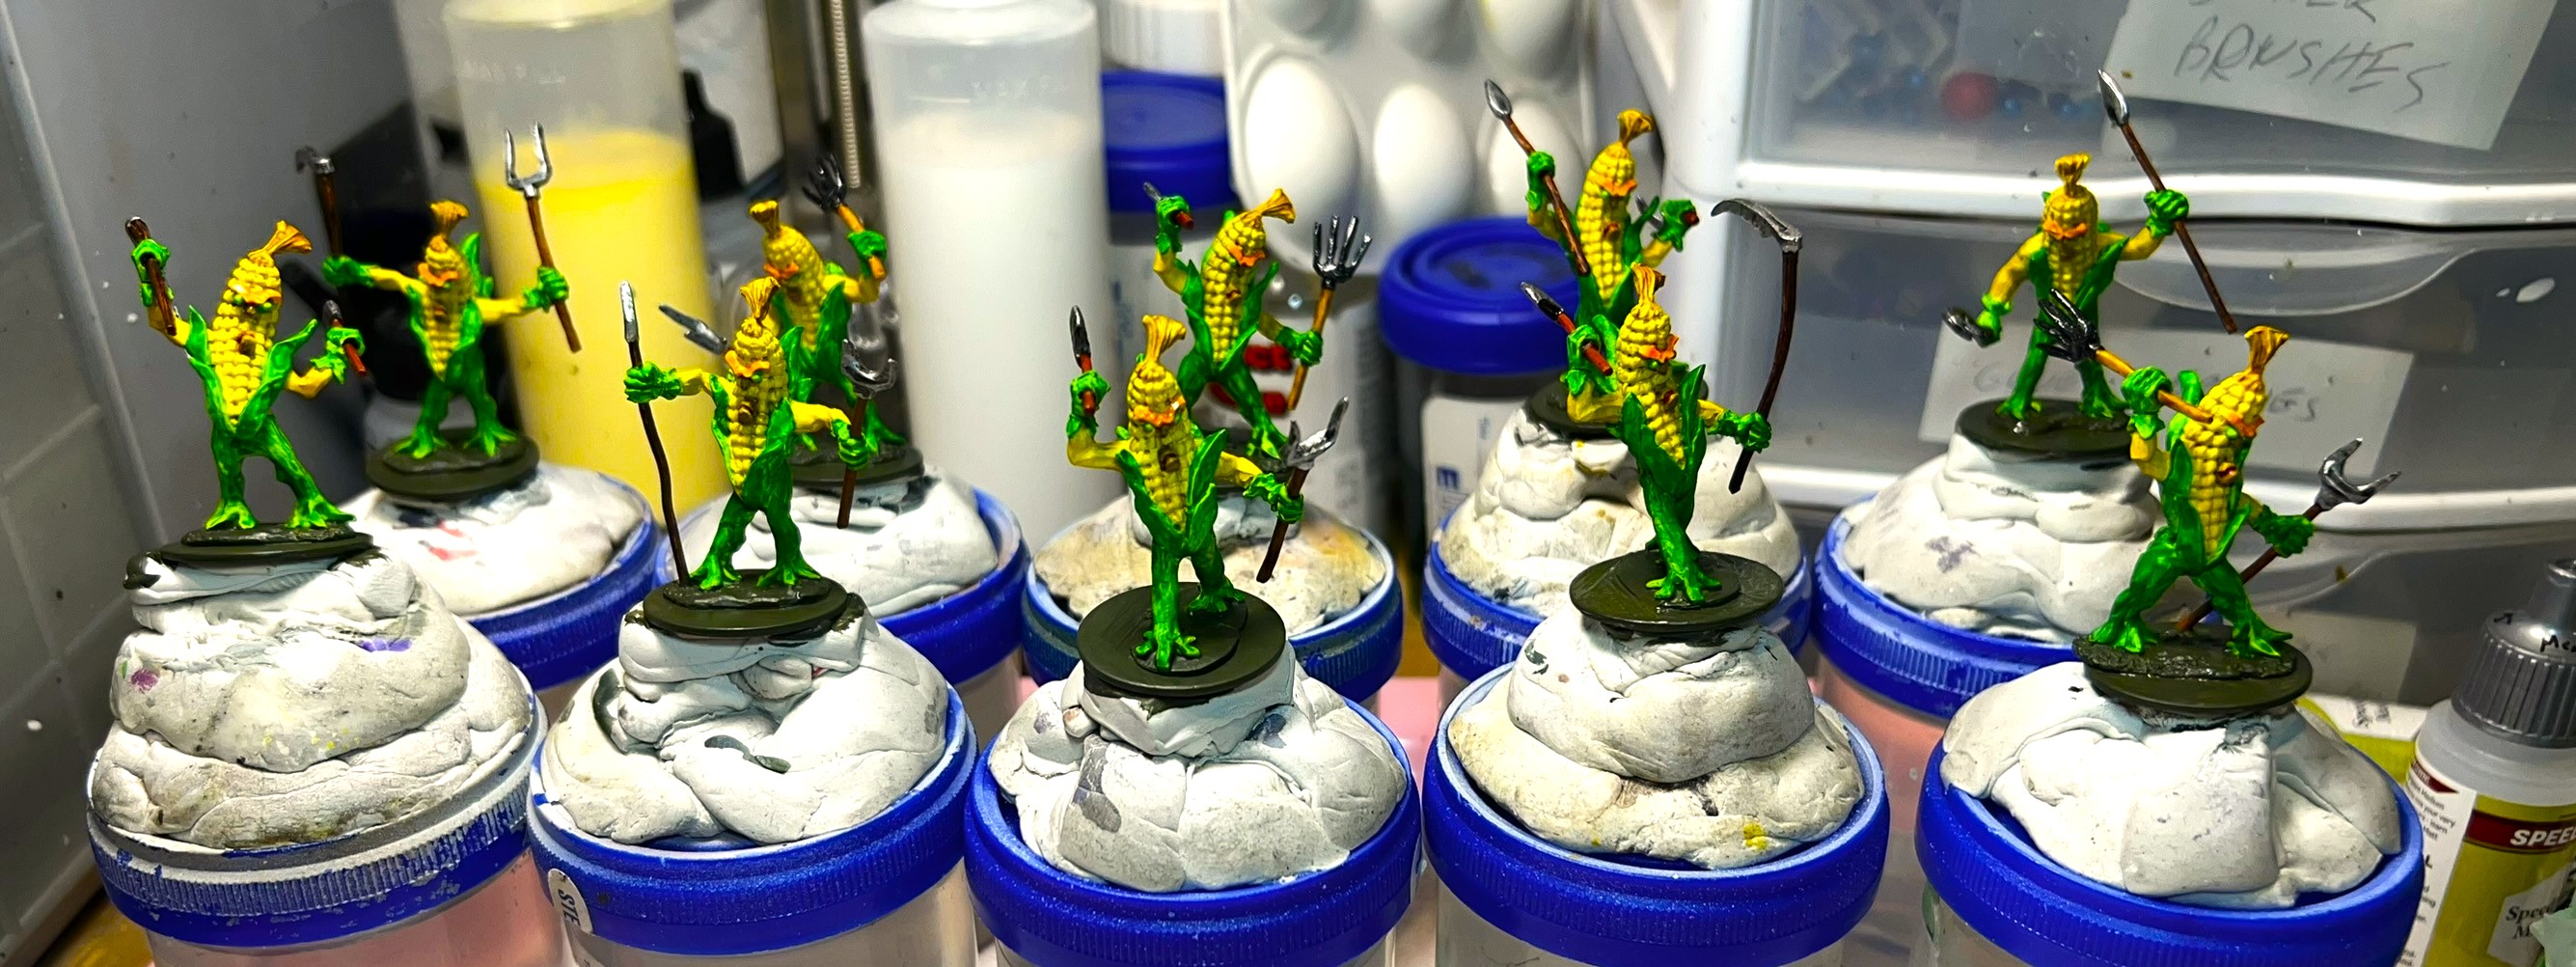
Here, my goal was to get the right shade of yellow on them – and as with orange, most of us understand that this can be difficult. Similar to my other Harvest units, I mixed up their weapons and flocking such that no two of the five bases looked exactly alike – and to match my other Harvest troops, I did paint the eyes with a glowing yellow-green (Tesseract Glow). Like the Carrots, the figures are great – they look like berserking ears of corn to be sure (but you can judge for yourself).
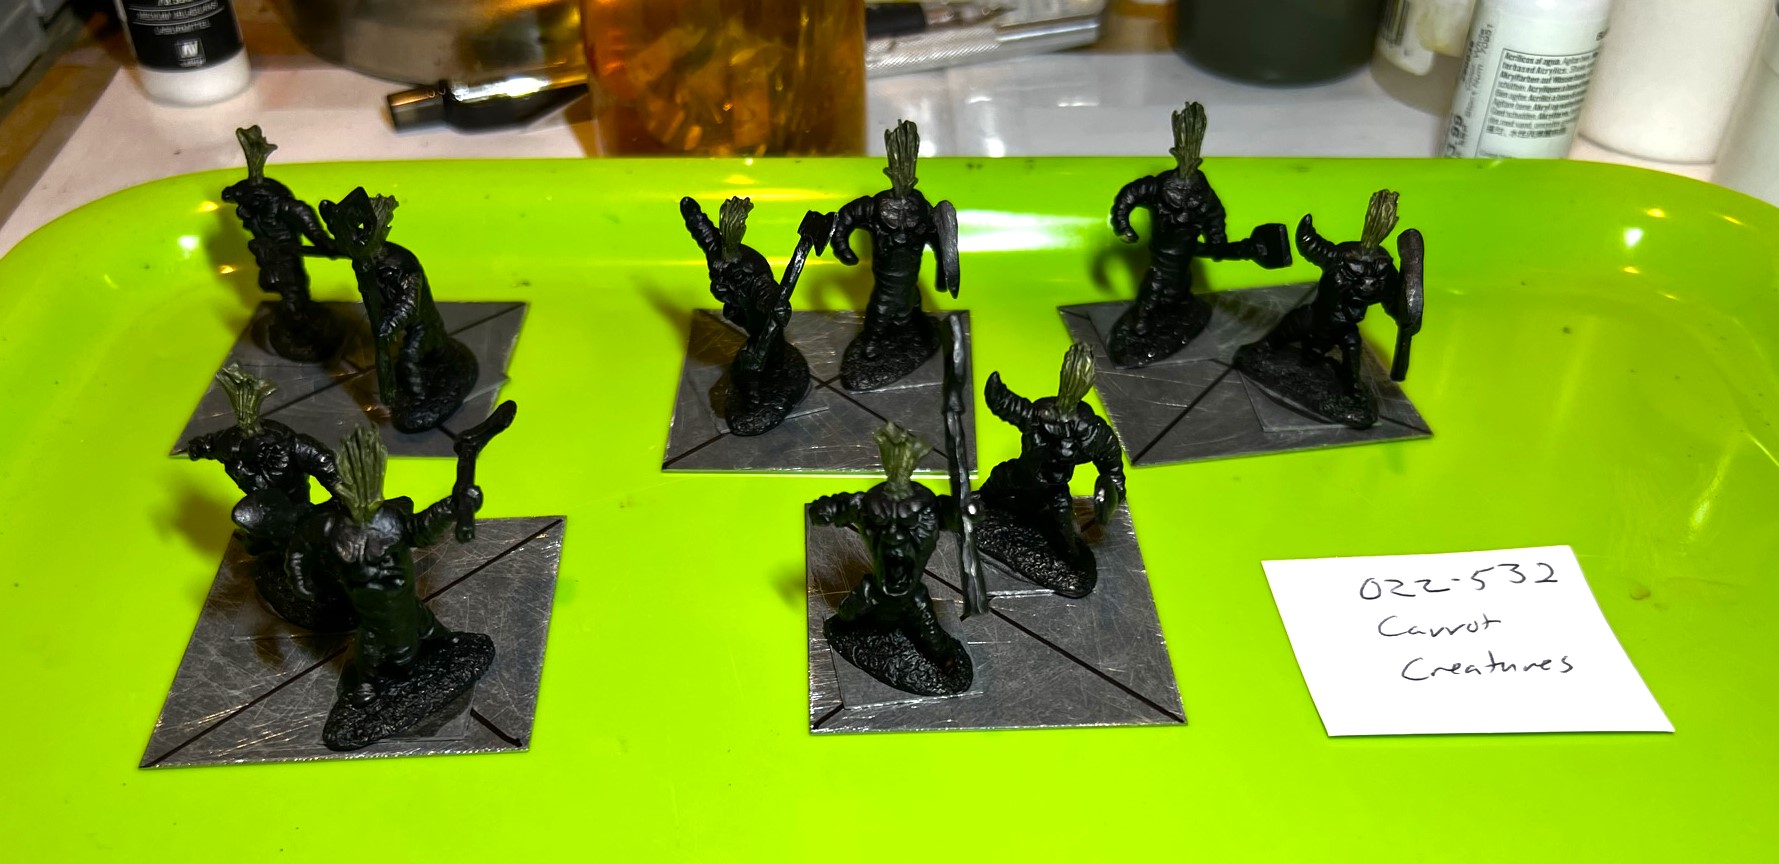
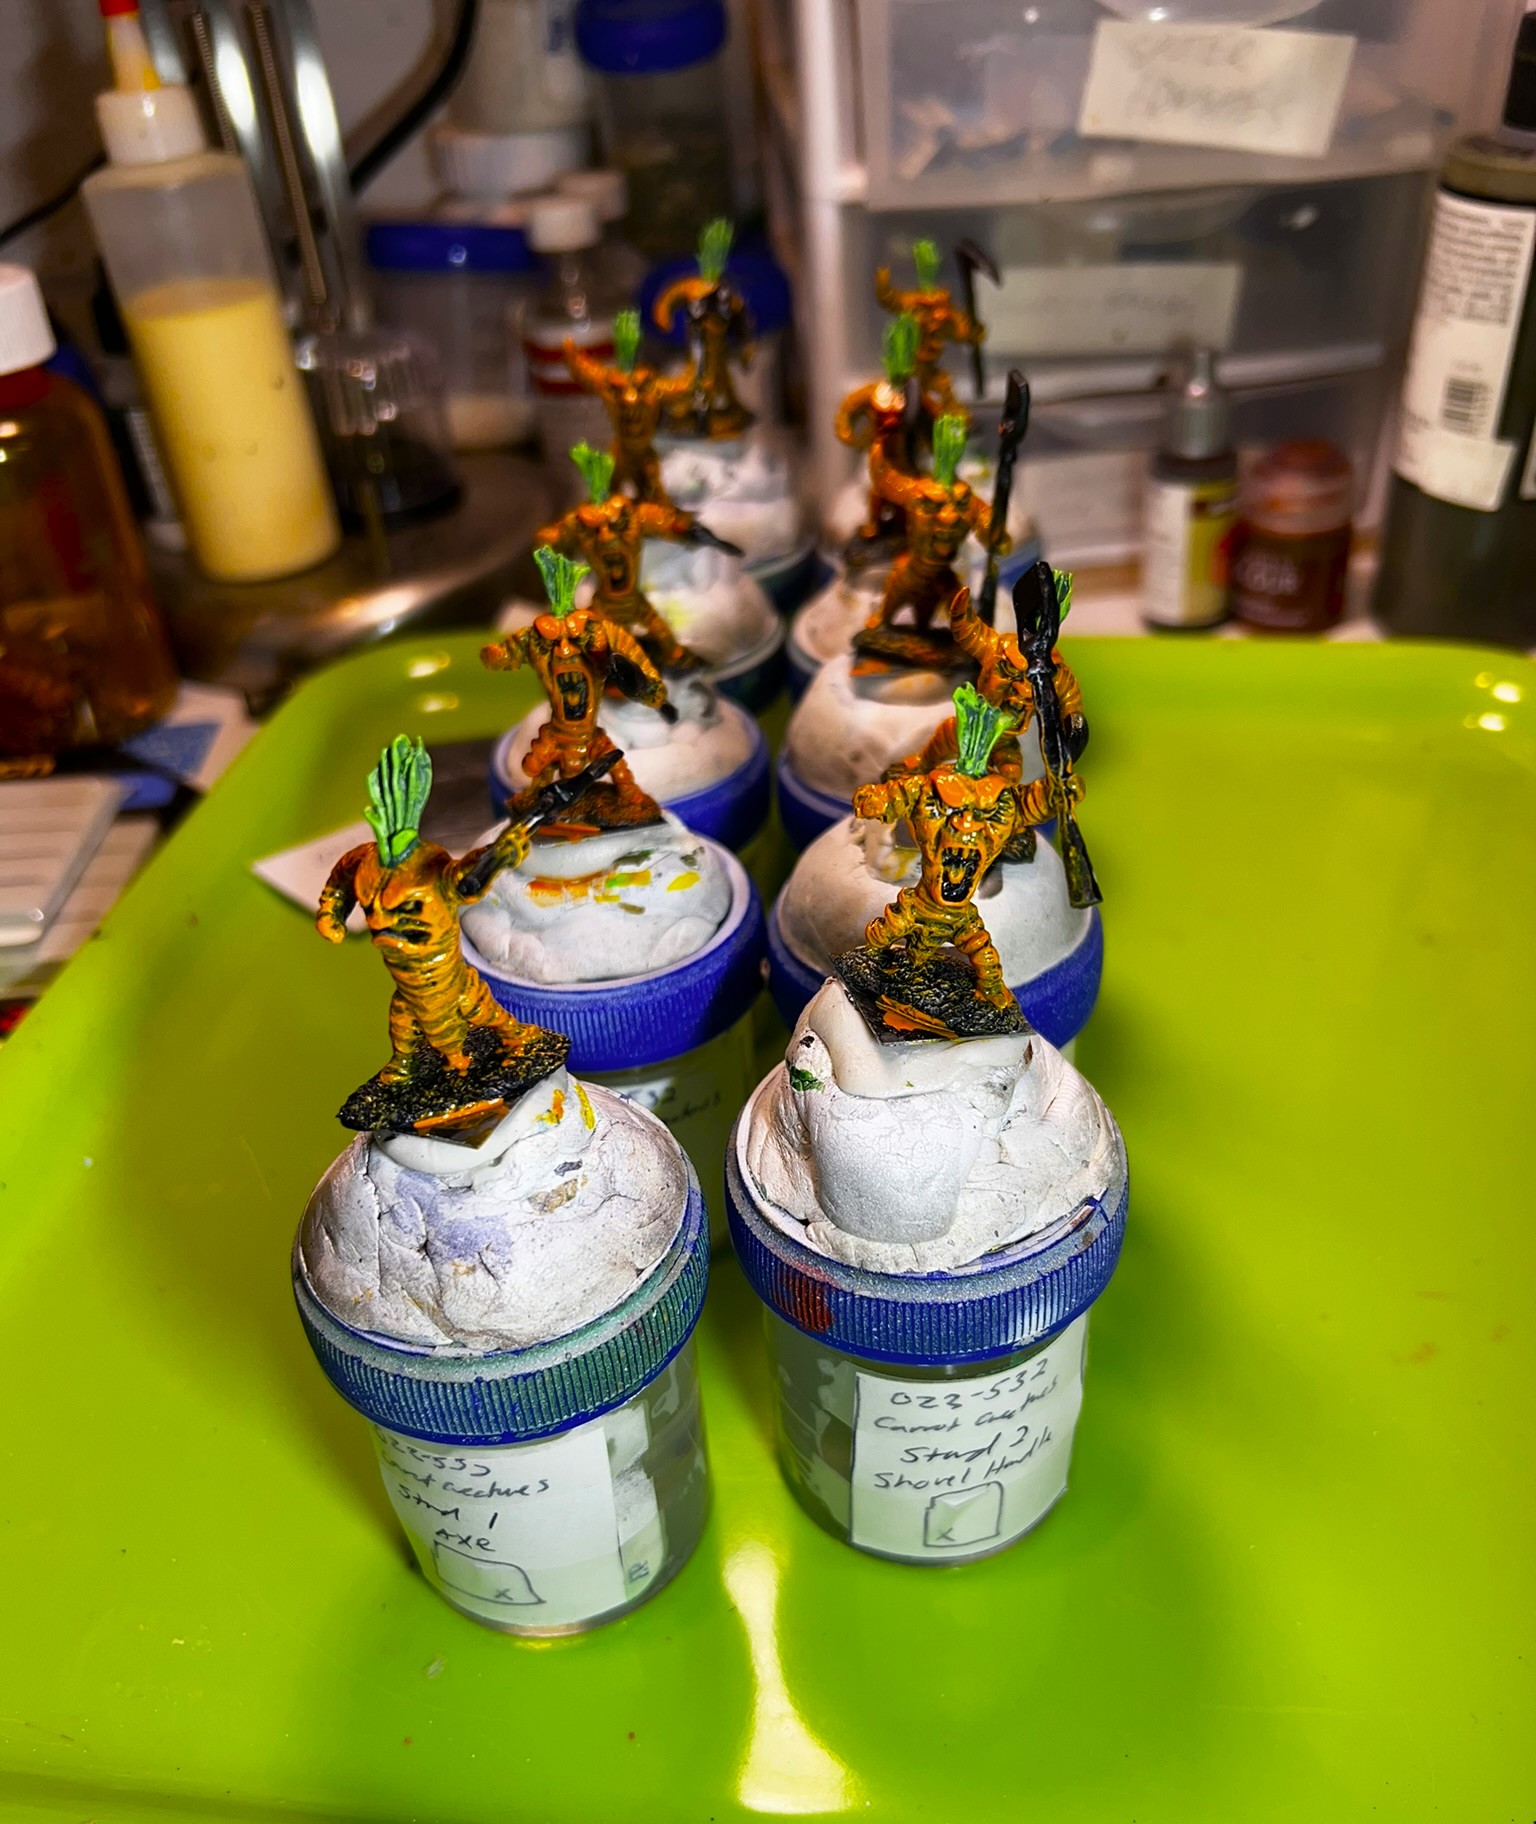
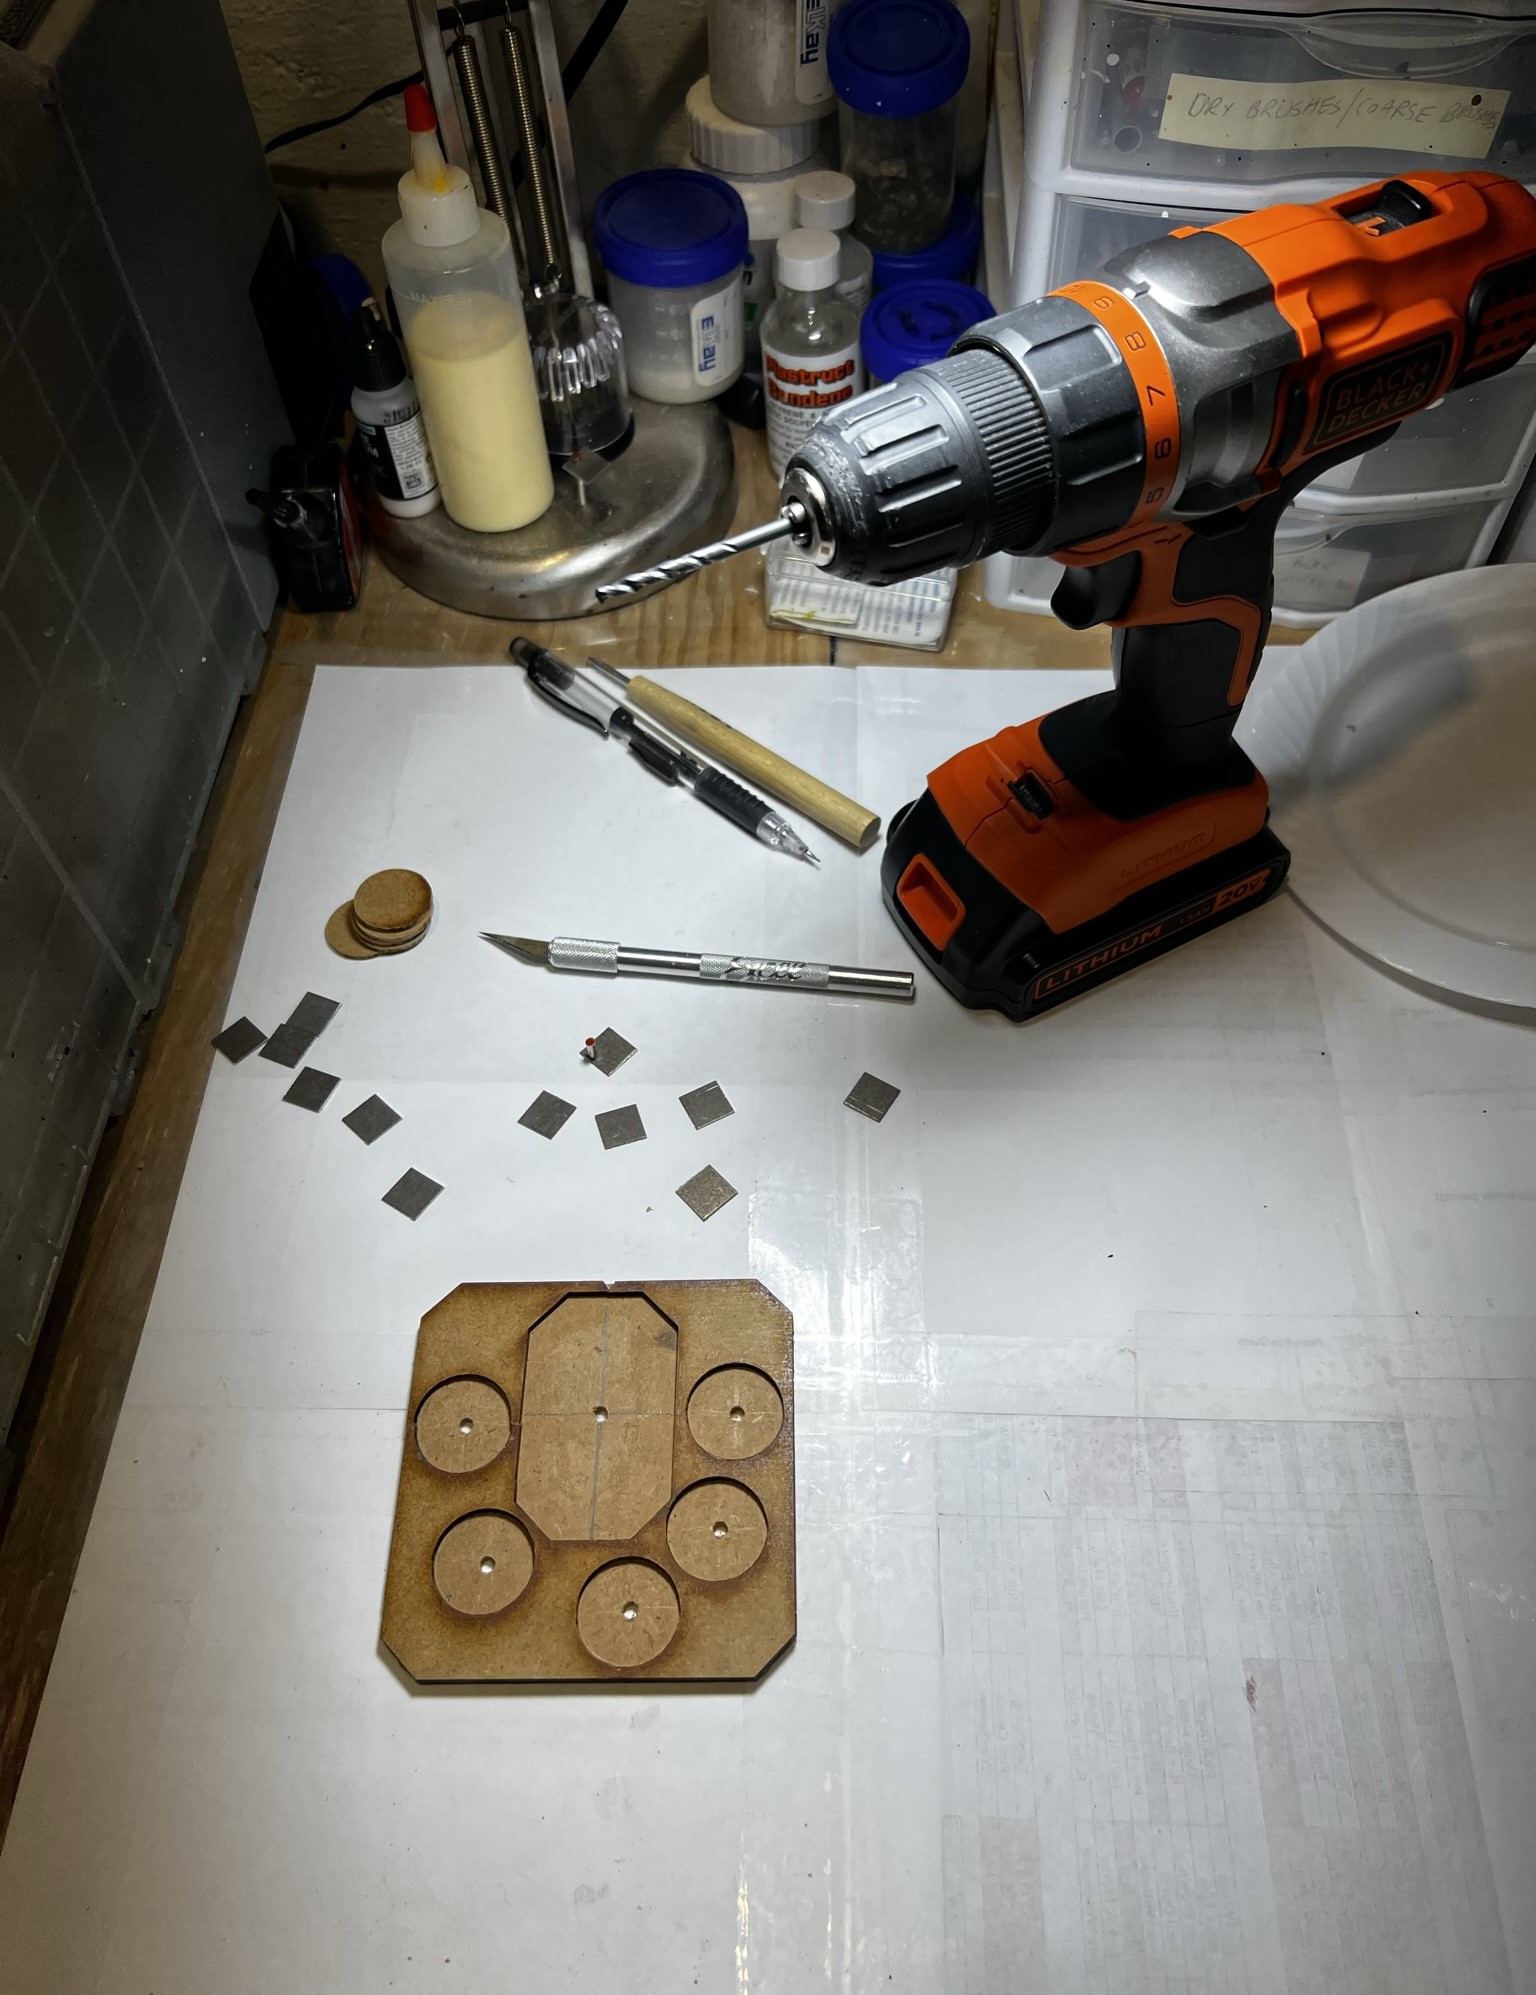
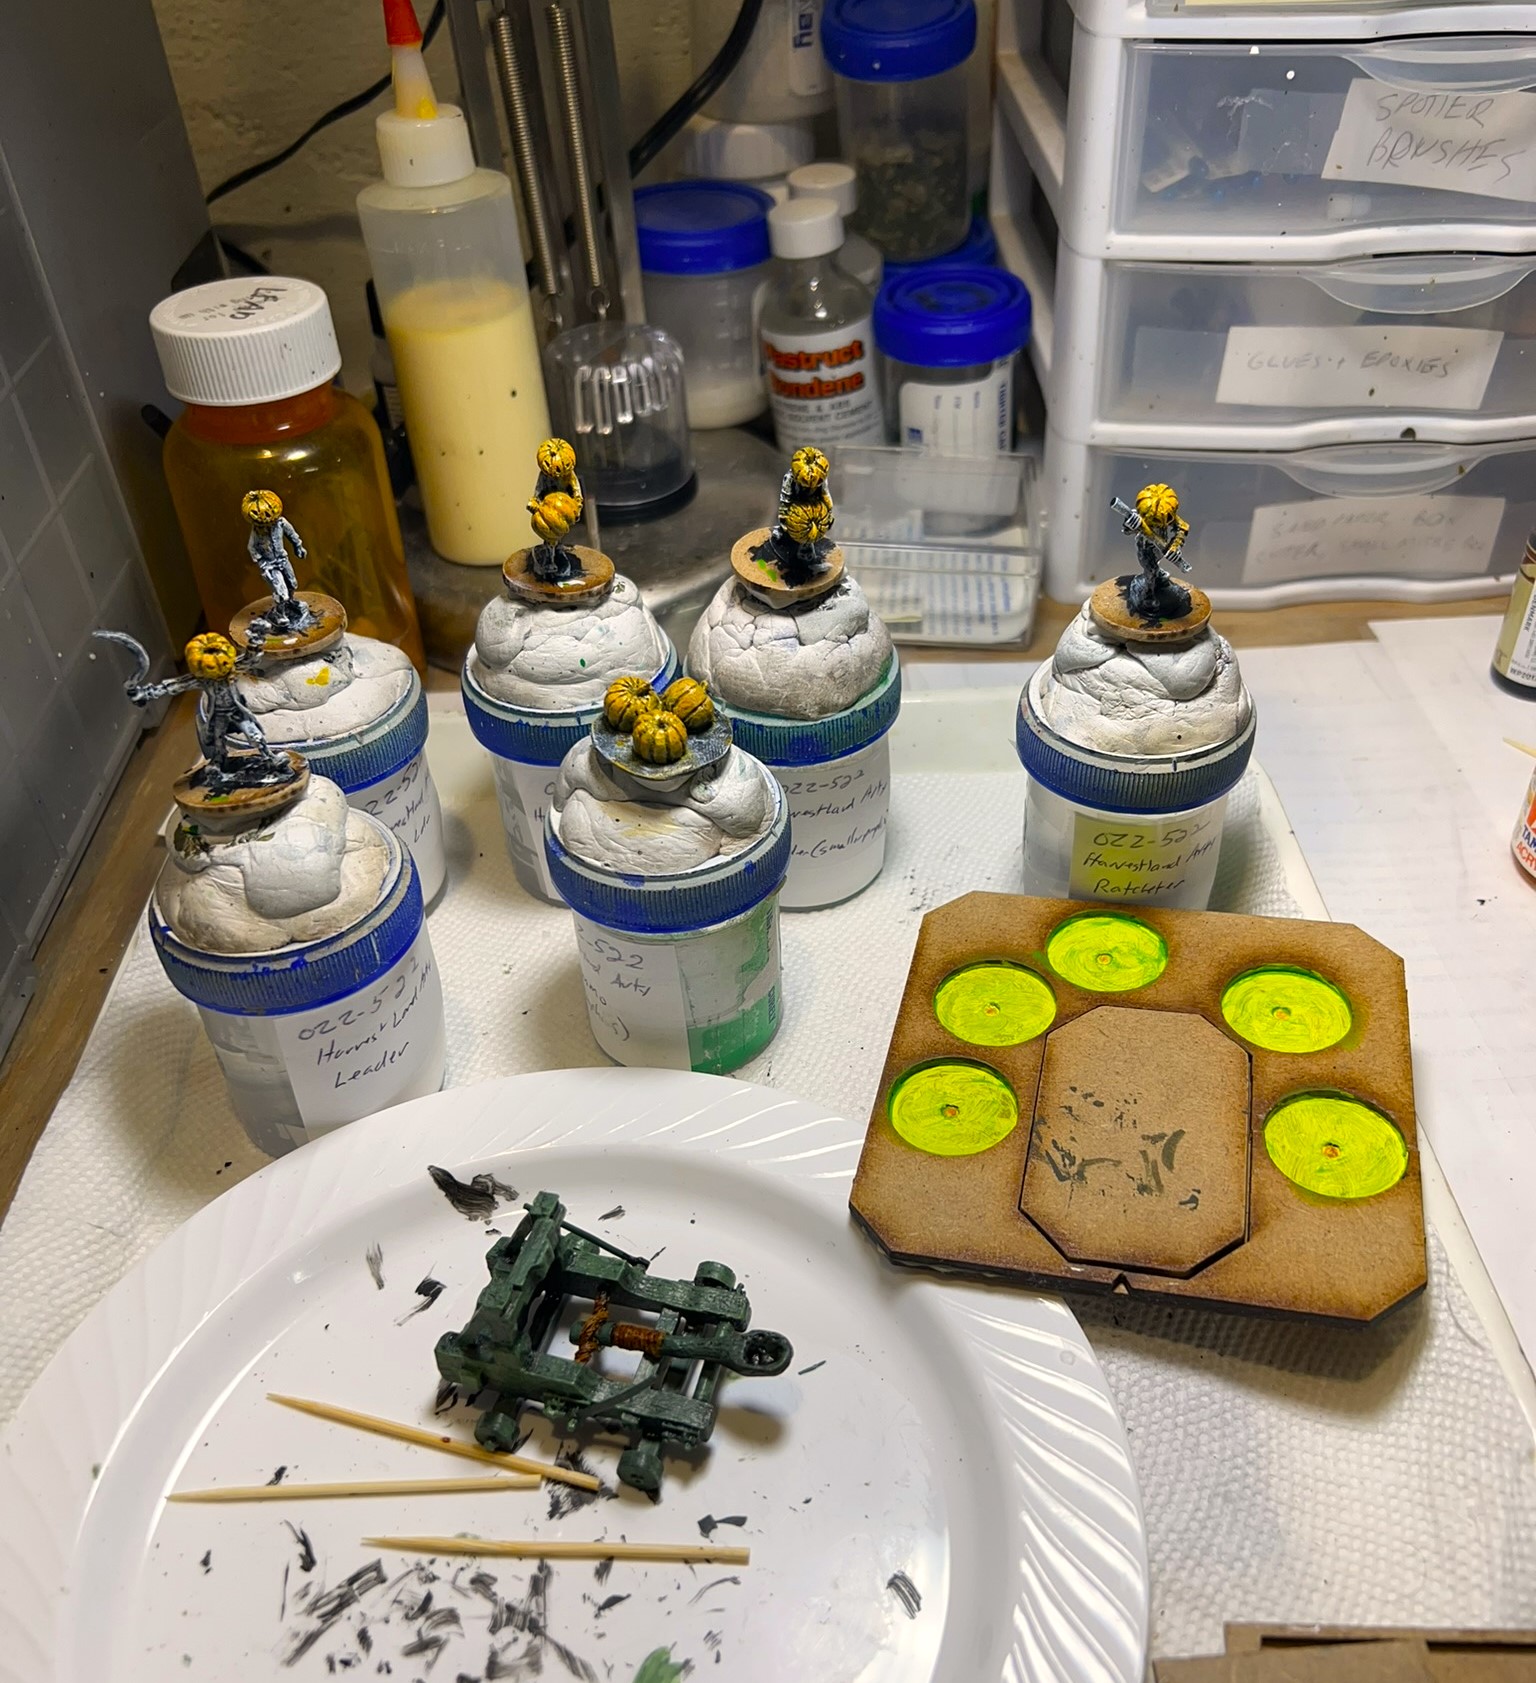
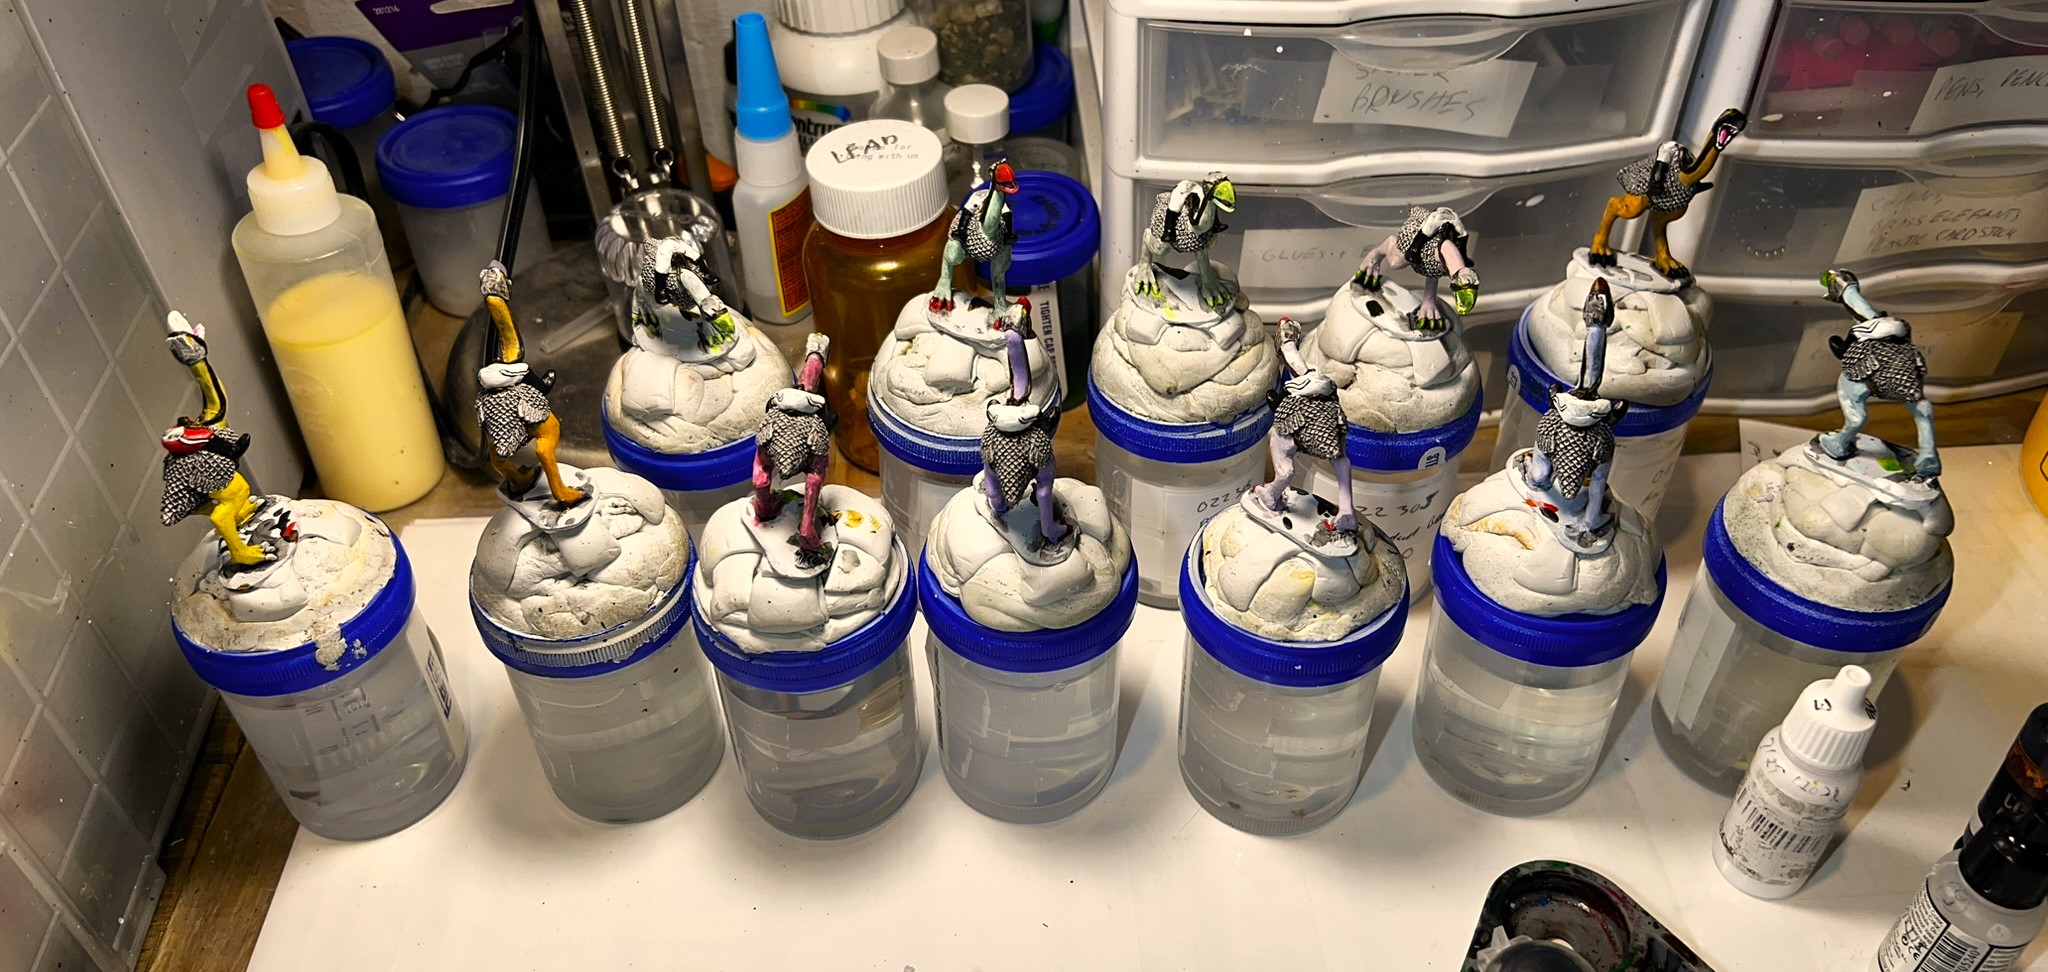
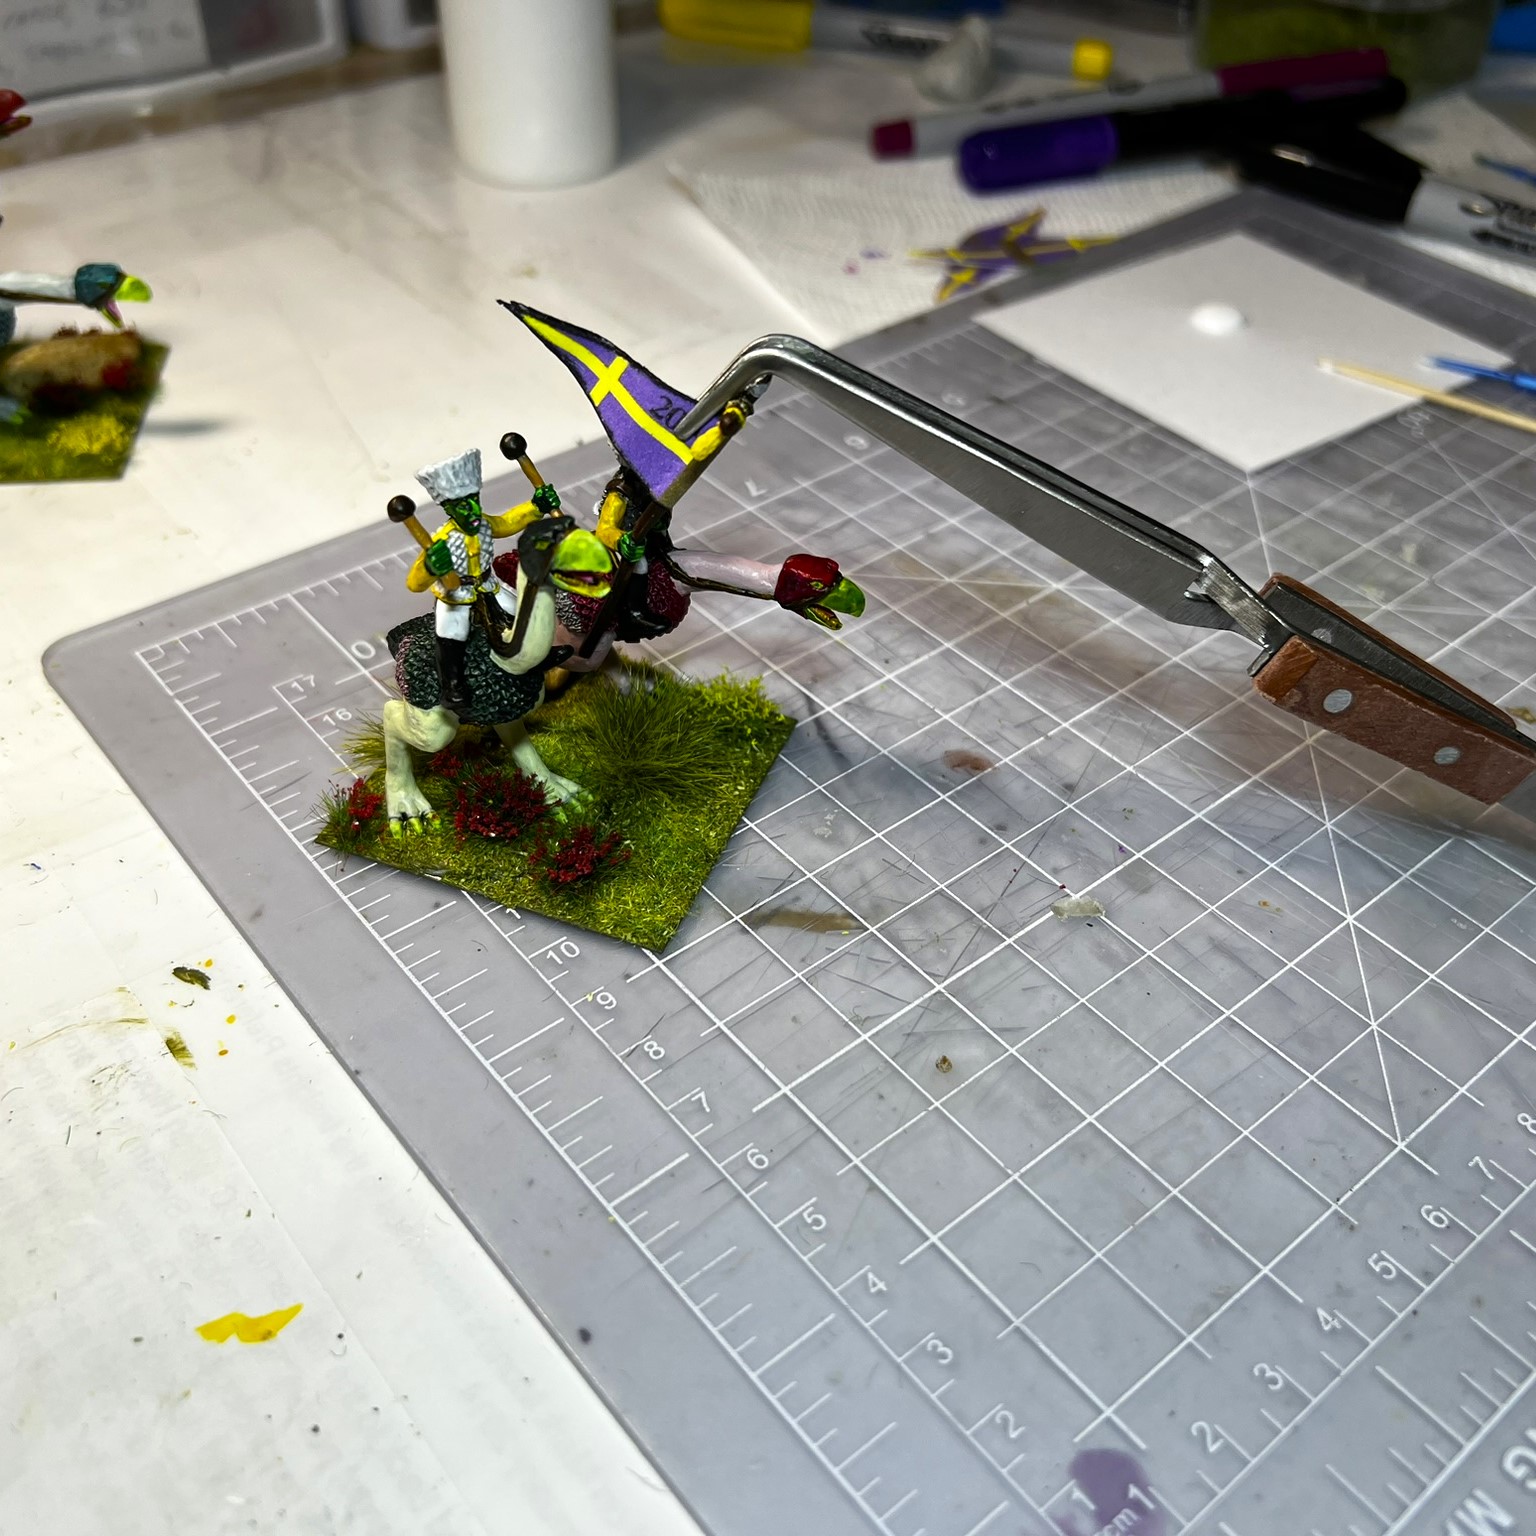
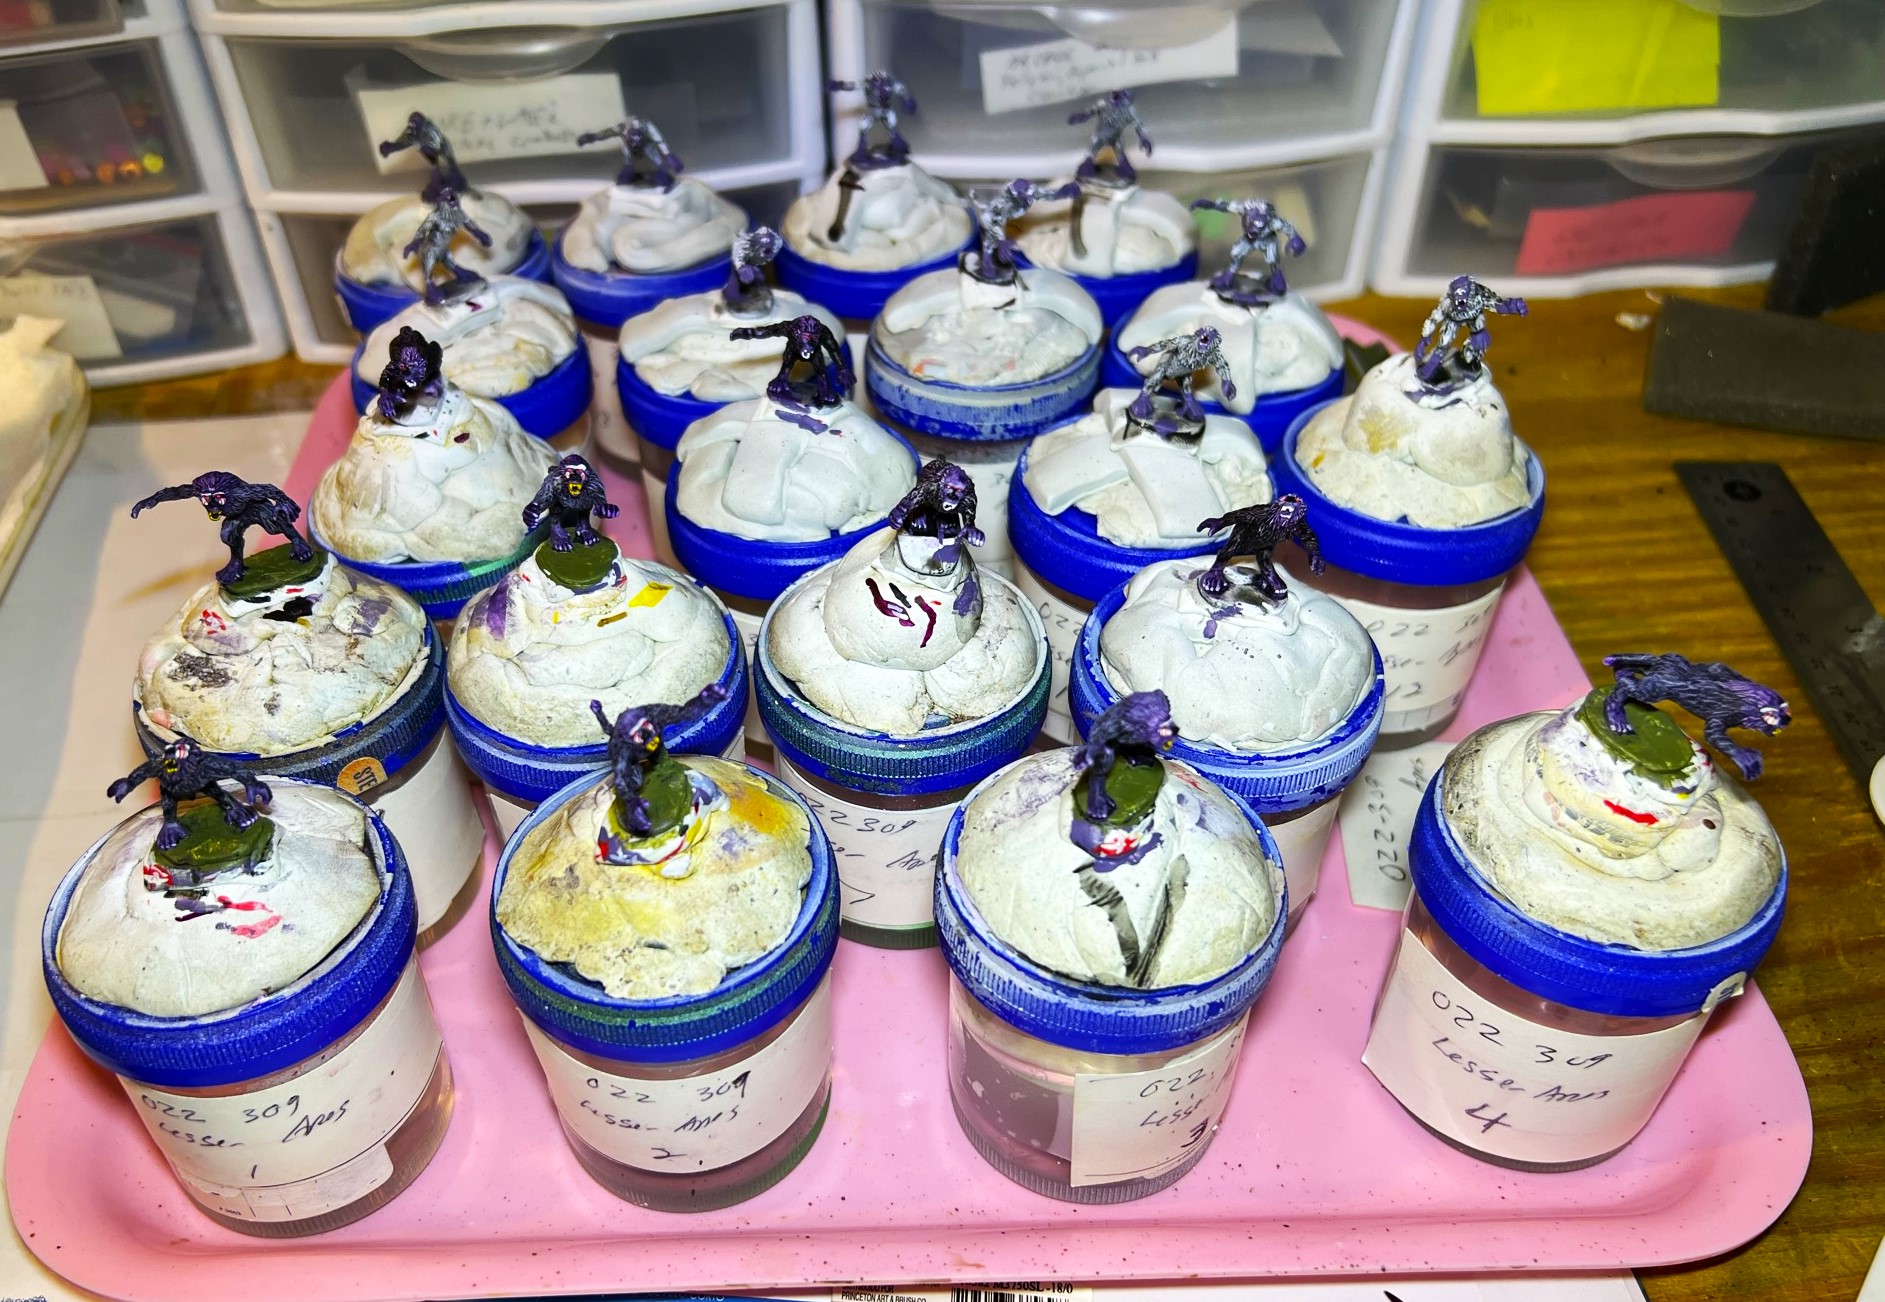
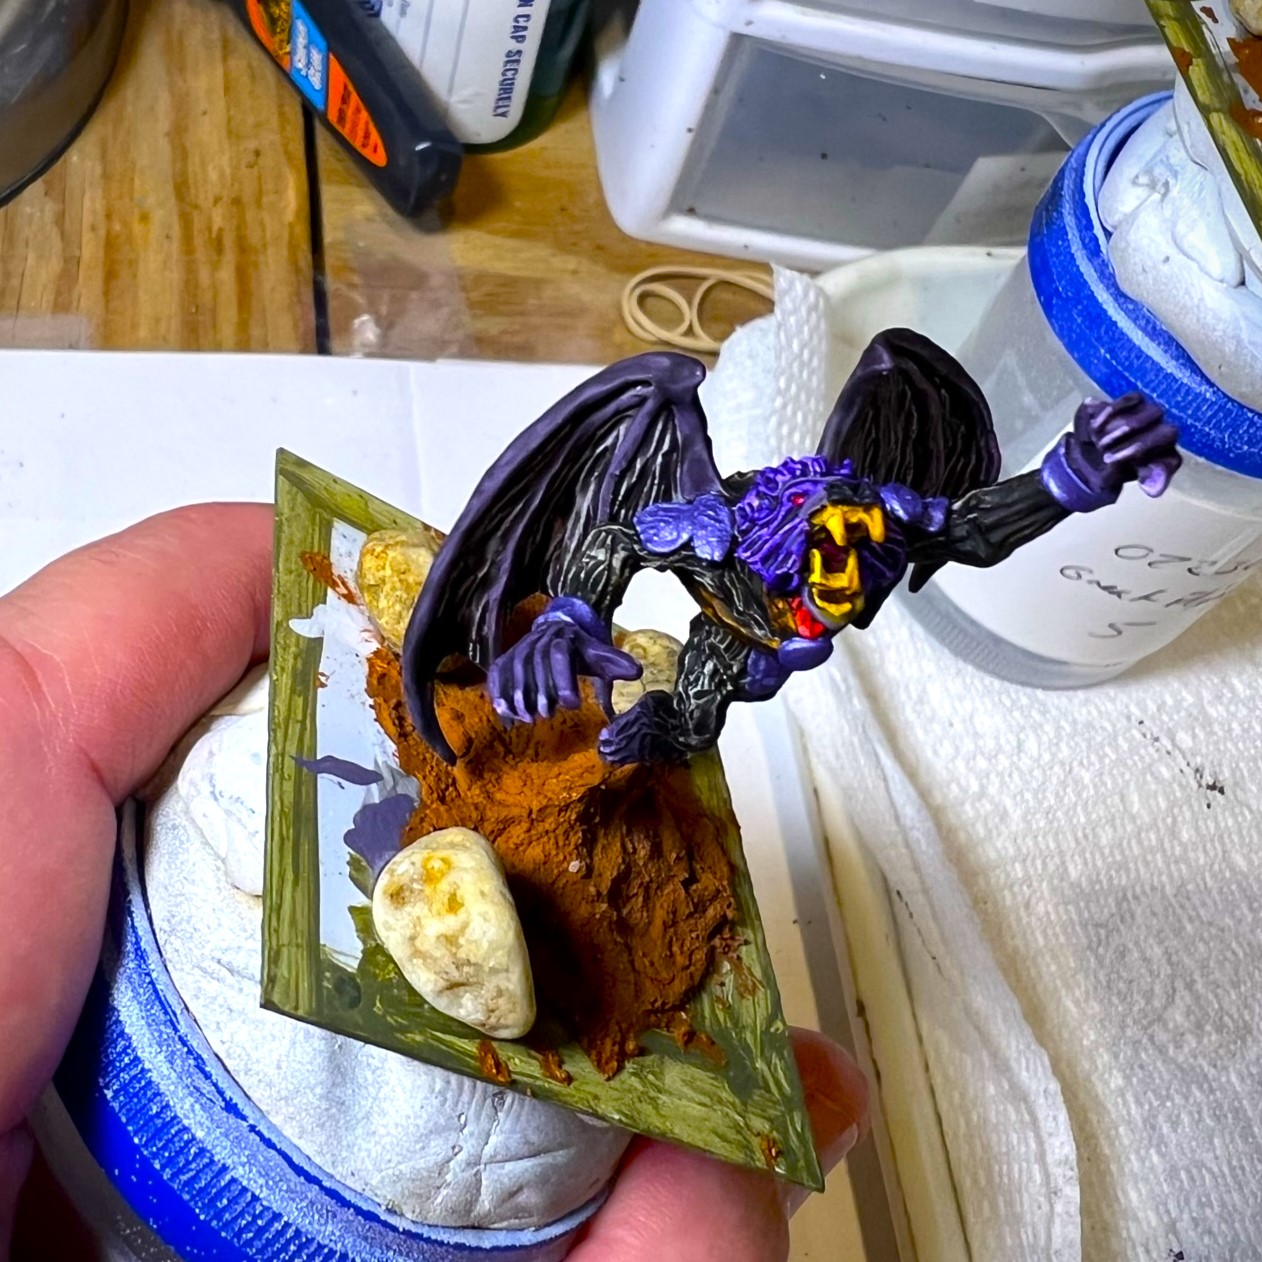
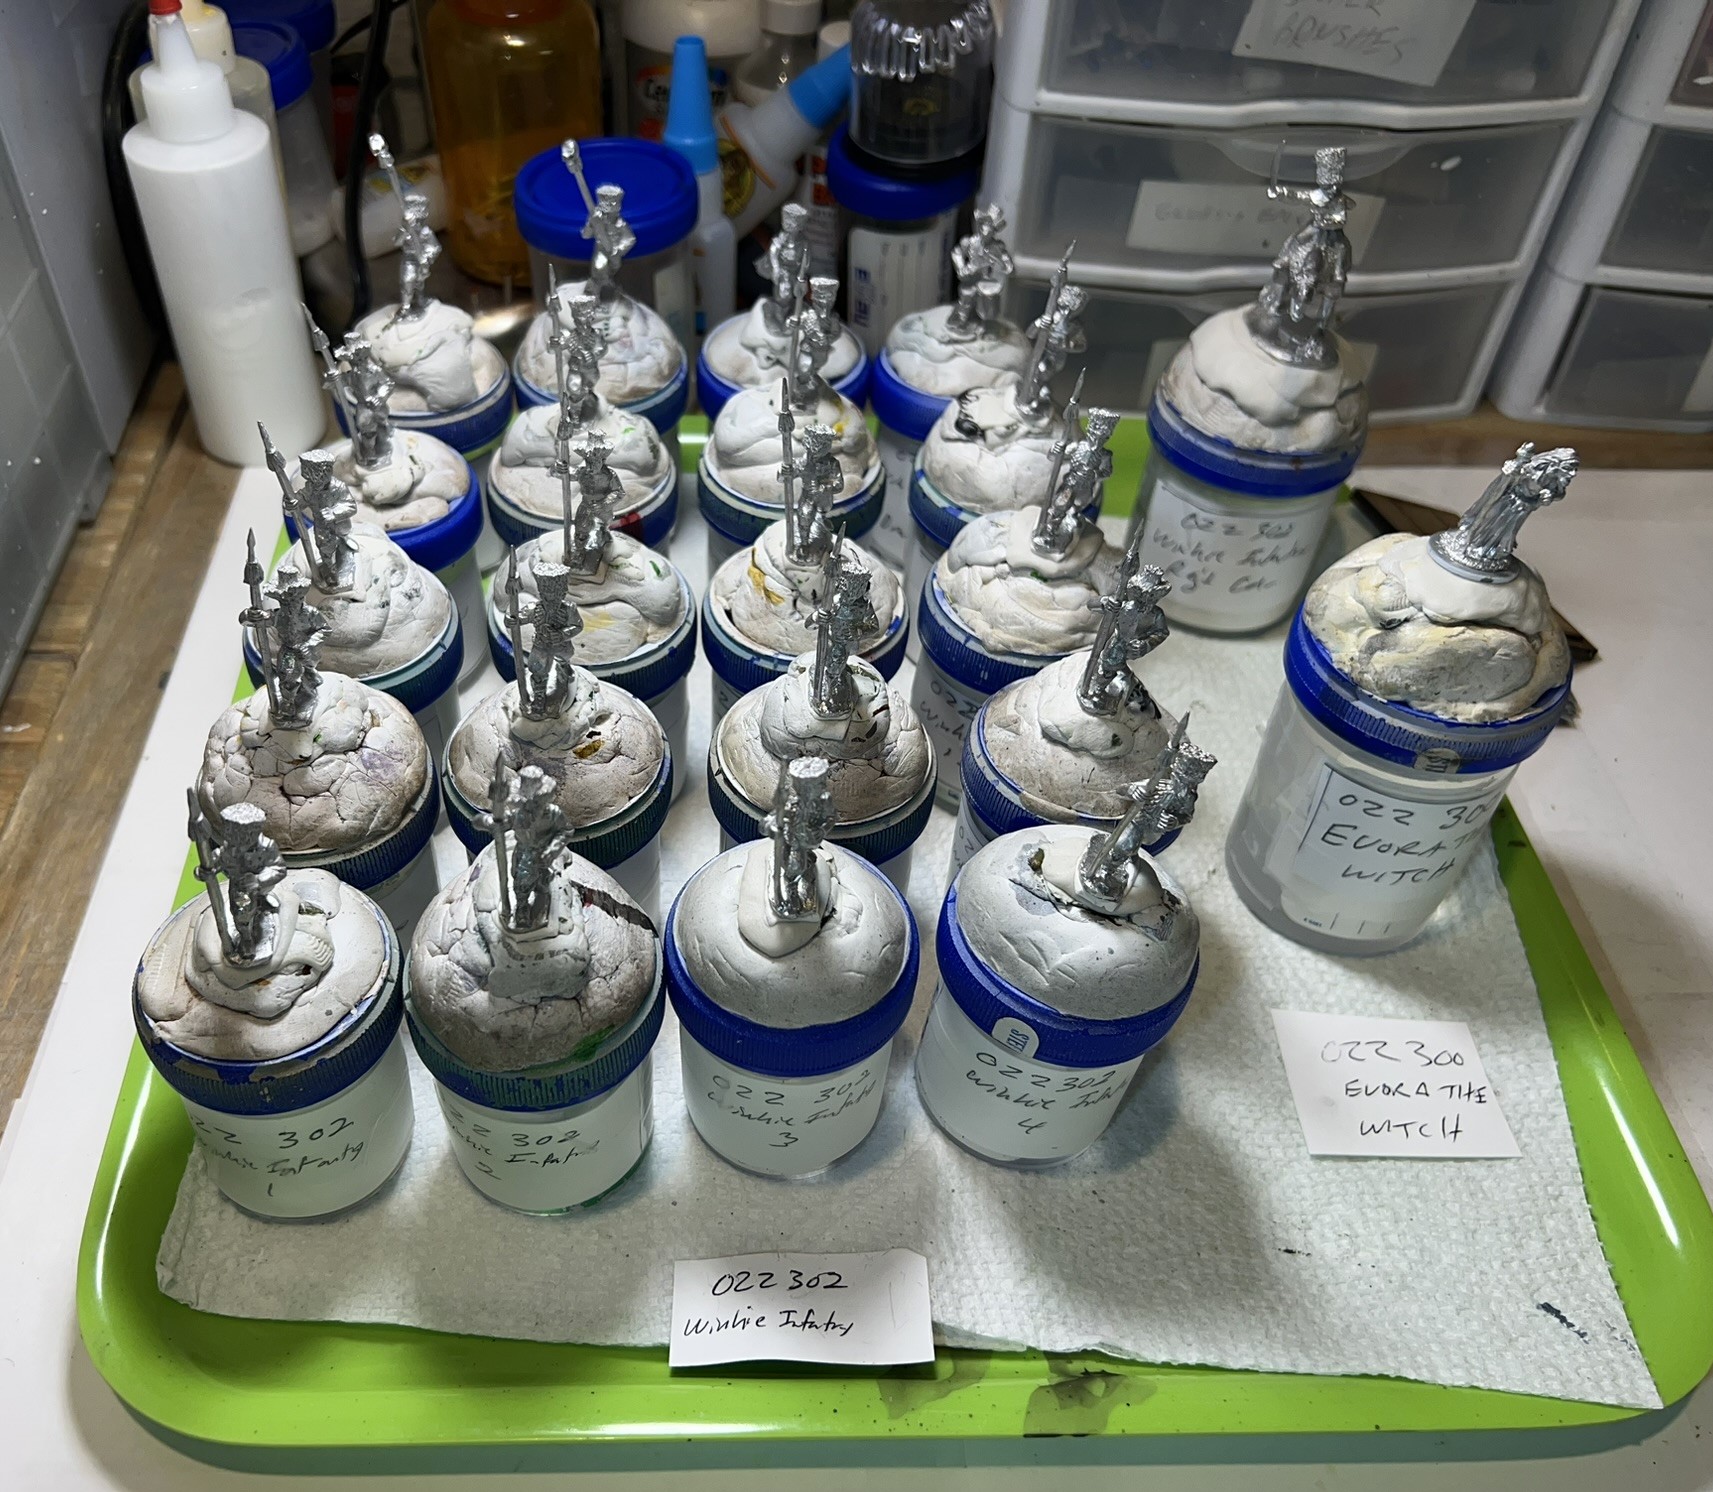
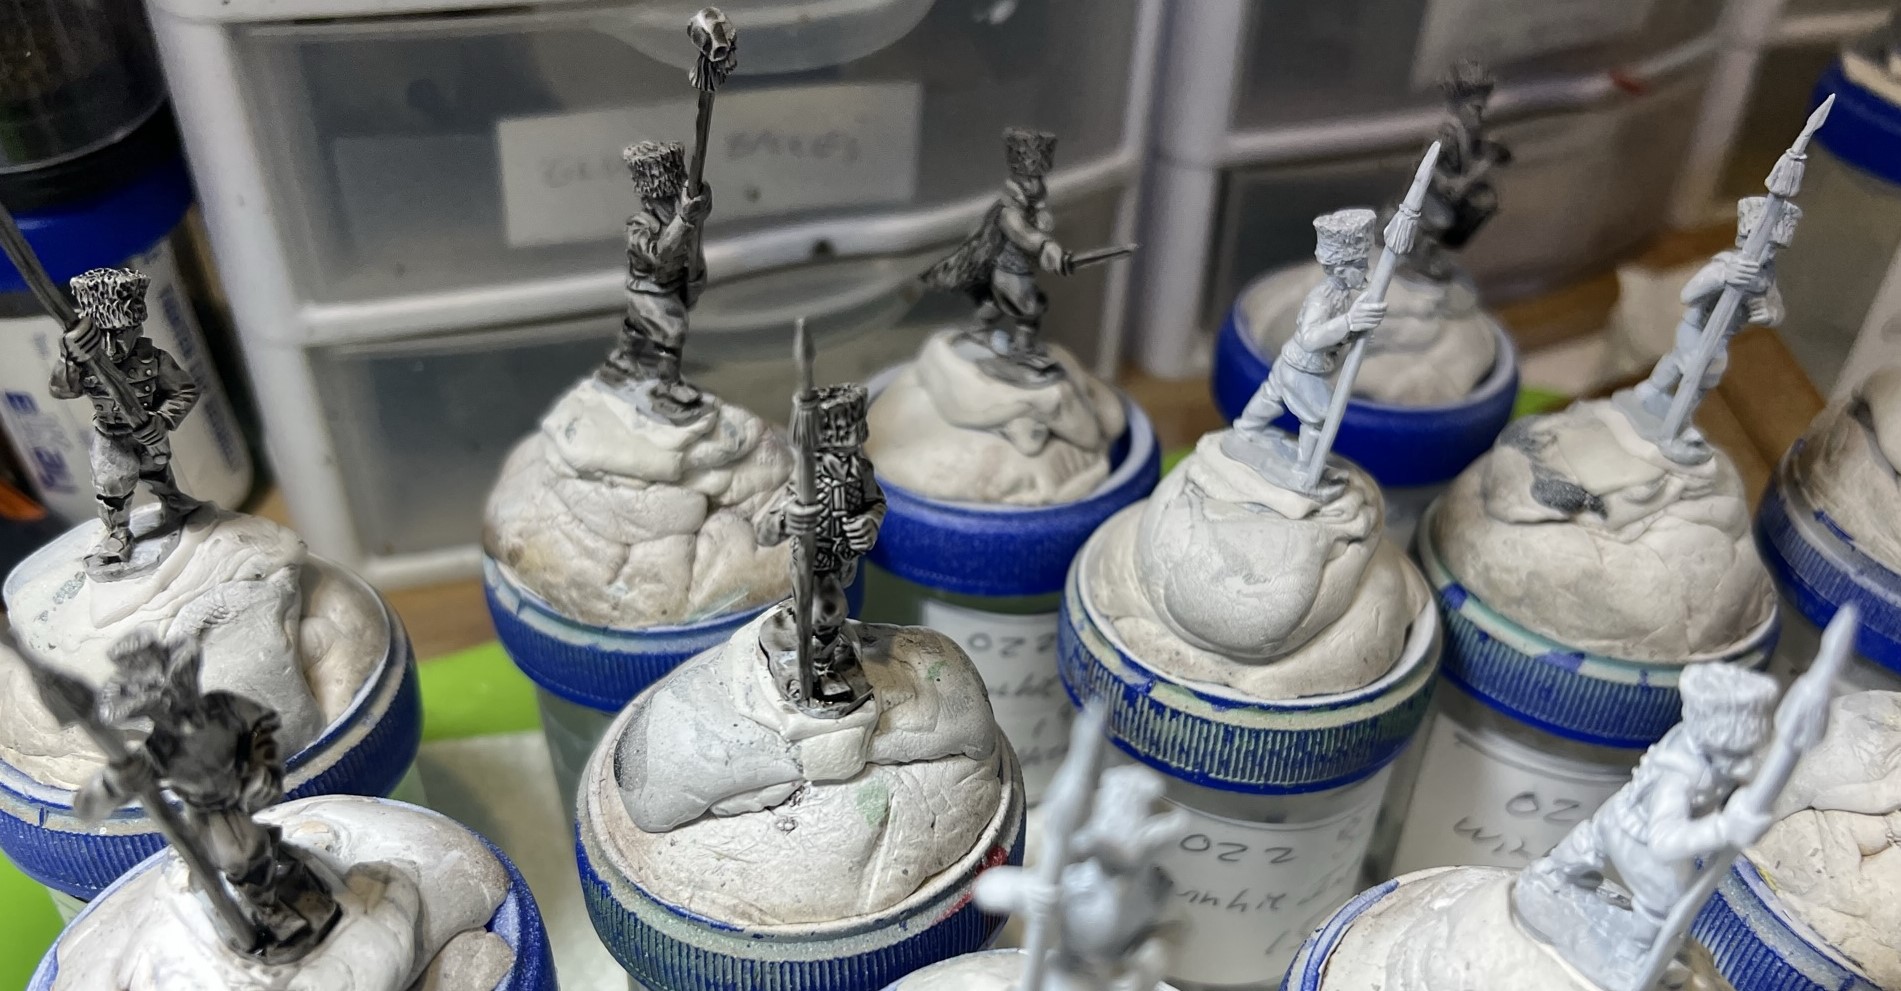
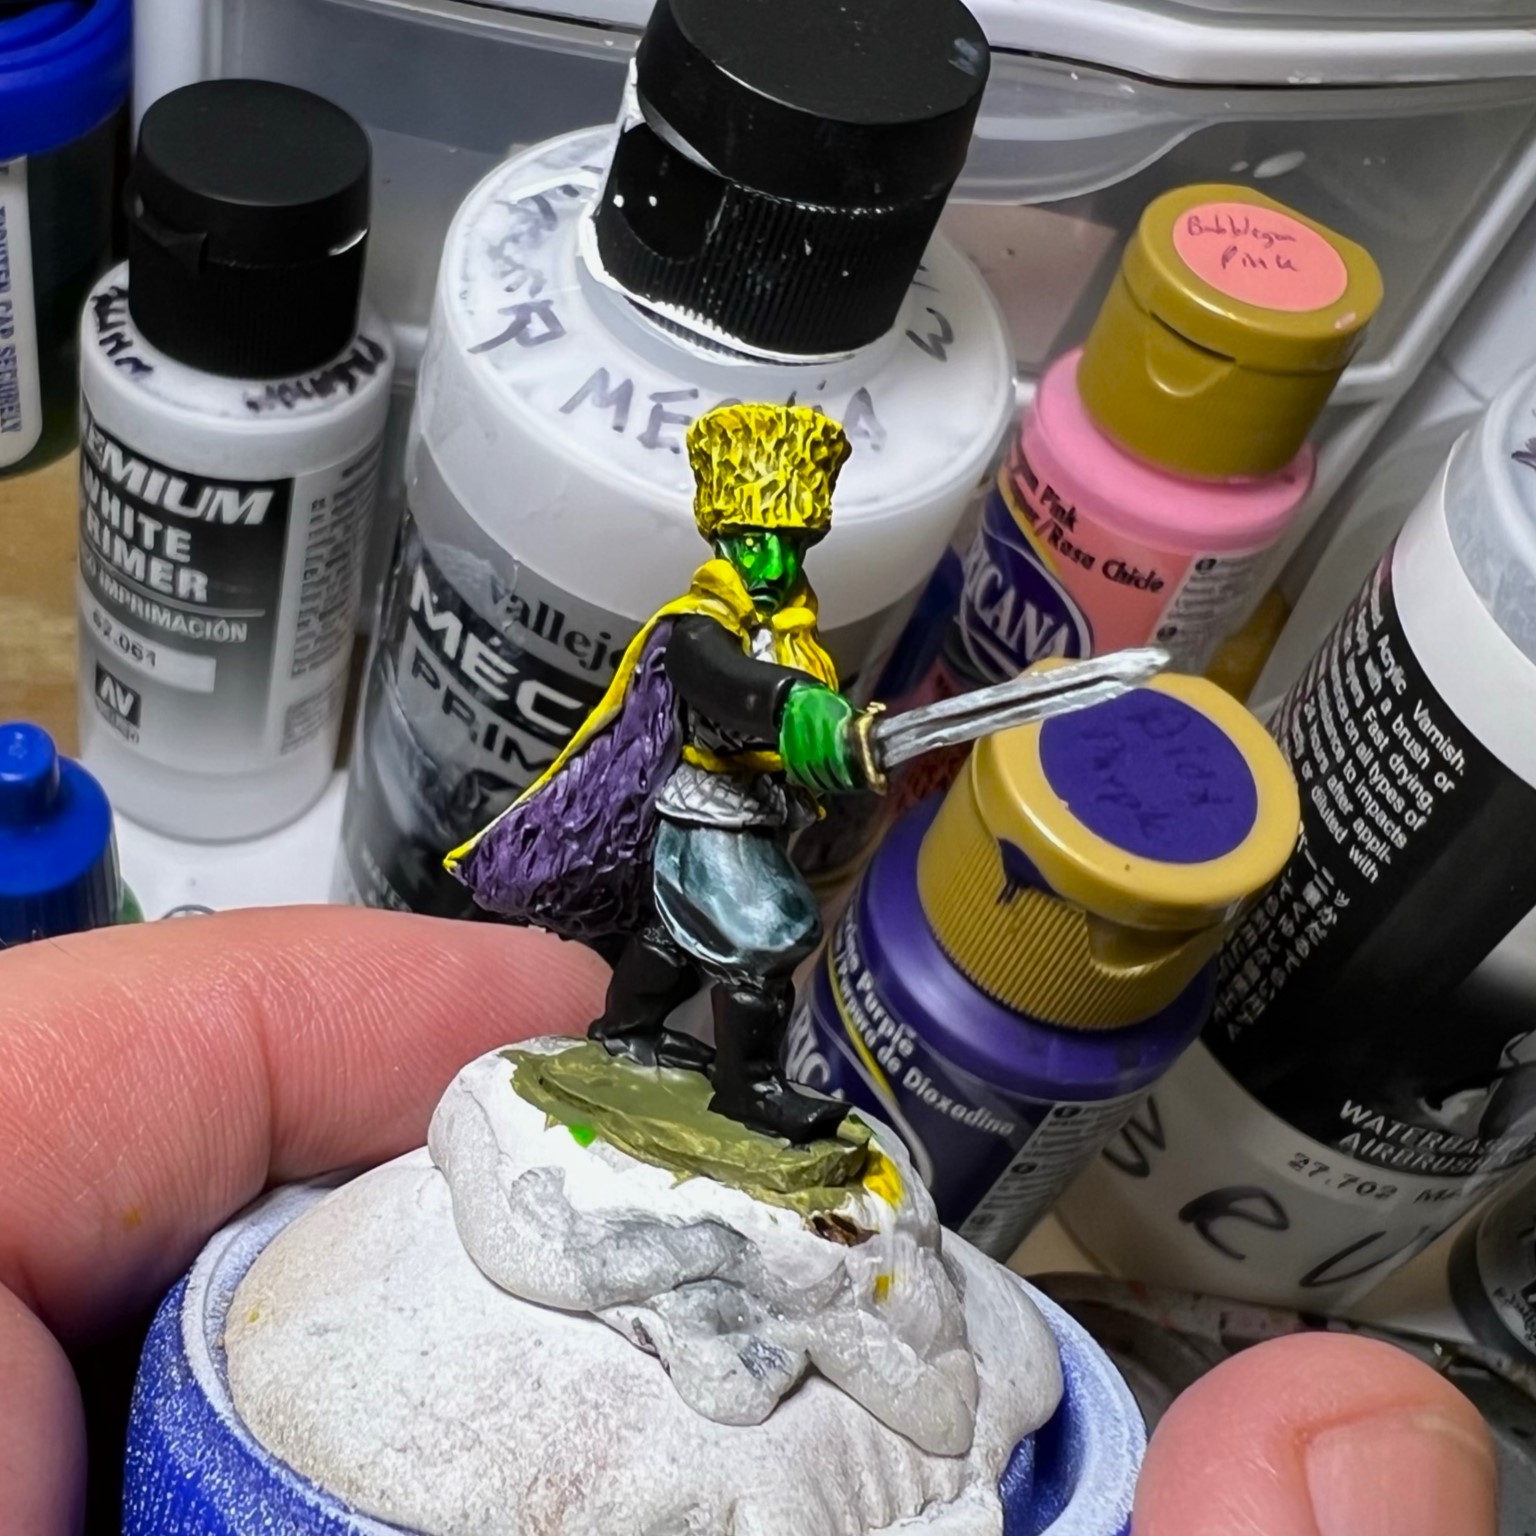
As is my habit, I’ll share a few WIP shots and then some eye candy of the Corn Creature regiment. I’ll start with assembly of the figures and then move to describing the painting process.
Here again I used a number of contrast and speed paints, but did also use highlights and washes. To get the right shades of yellow – and I hope that I did achieve that – took a few iterations. All of the paints that I used will be listed at the end as I normally do for those interested – and selfishly for my own future reference should I need that information – I do forget things!
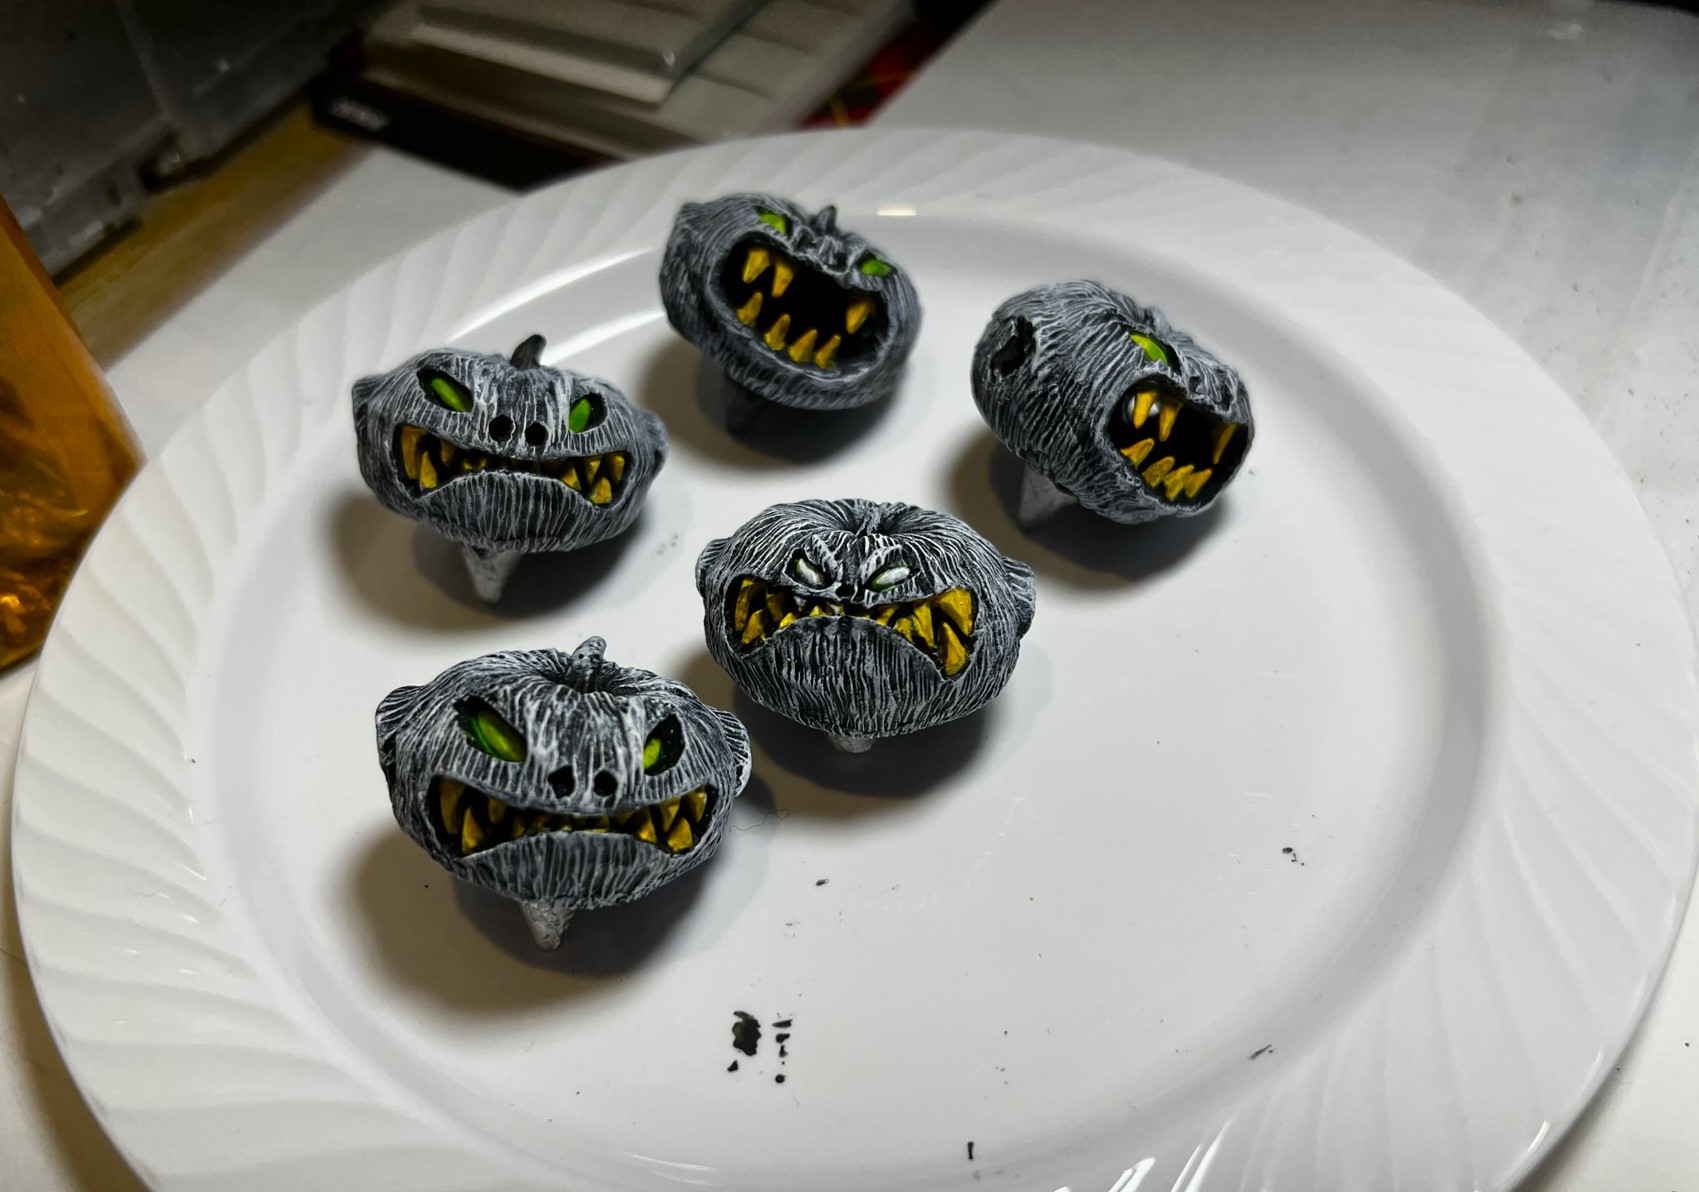
WIP Shots…

I then primed the CC in white and started with working on the yellow. My first try was Army Painter Speed Paint (new version) “Maize Yellow” – which ought to be just perfect – but was a bit too dark for my tastes for the corm kernels (remember I said iterations – plural). It did help as a base with shading for later additions.
The choice that I made for the leafy corn stalks was a yellowy-green Citadel Contrast Paint “Striking Scorpion Green”. I liked it – but in contrast it made me really want to upgrade the corn color.

I also found that highlighting each kernel in white and then adding yellow helped, as did Army Painter washes. To lighten and brighten the yellow on the corn, I went with another Citadel Contrast Paint – “Bad Moon Yellow”. Then I made the eyebrows orange, and the lips “Panther Yellow”. Lastly, it was time to make the eyes glow an evil green.
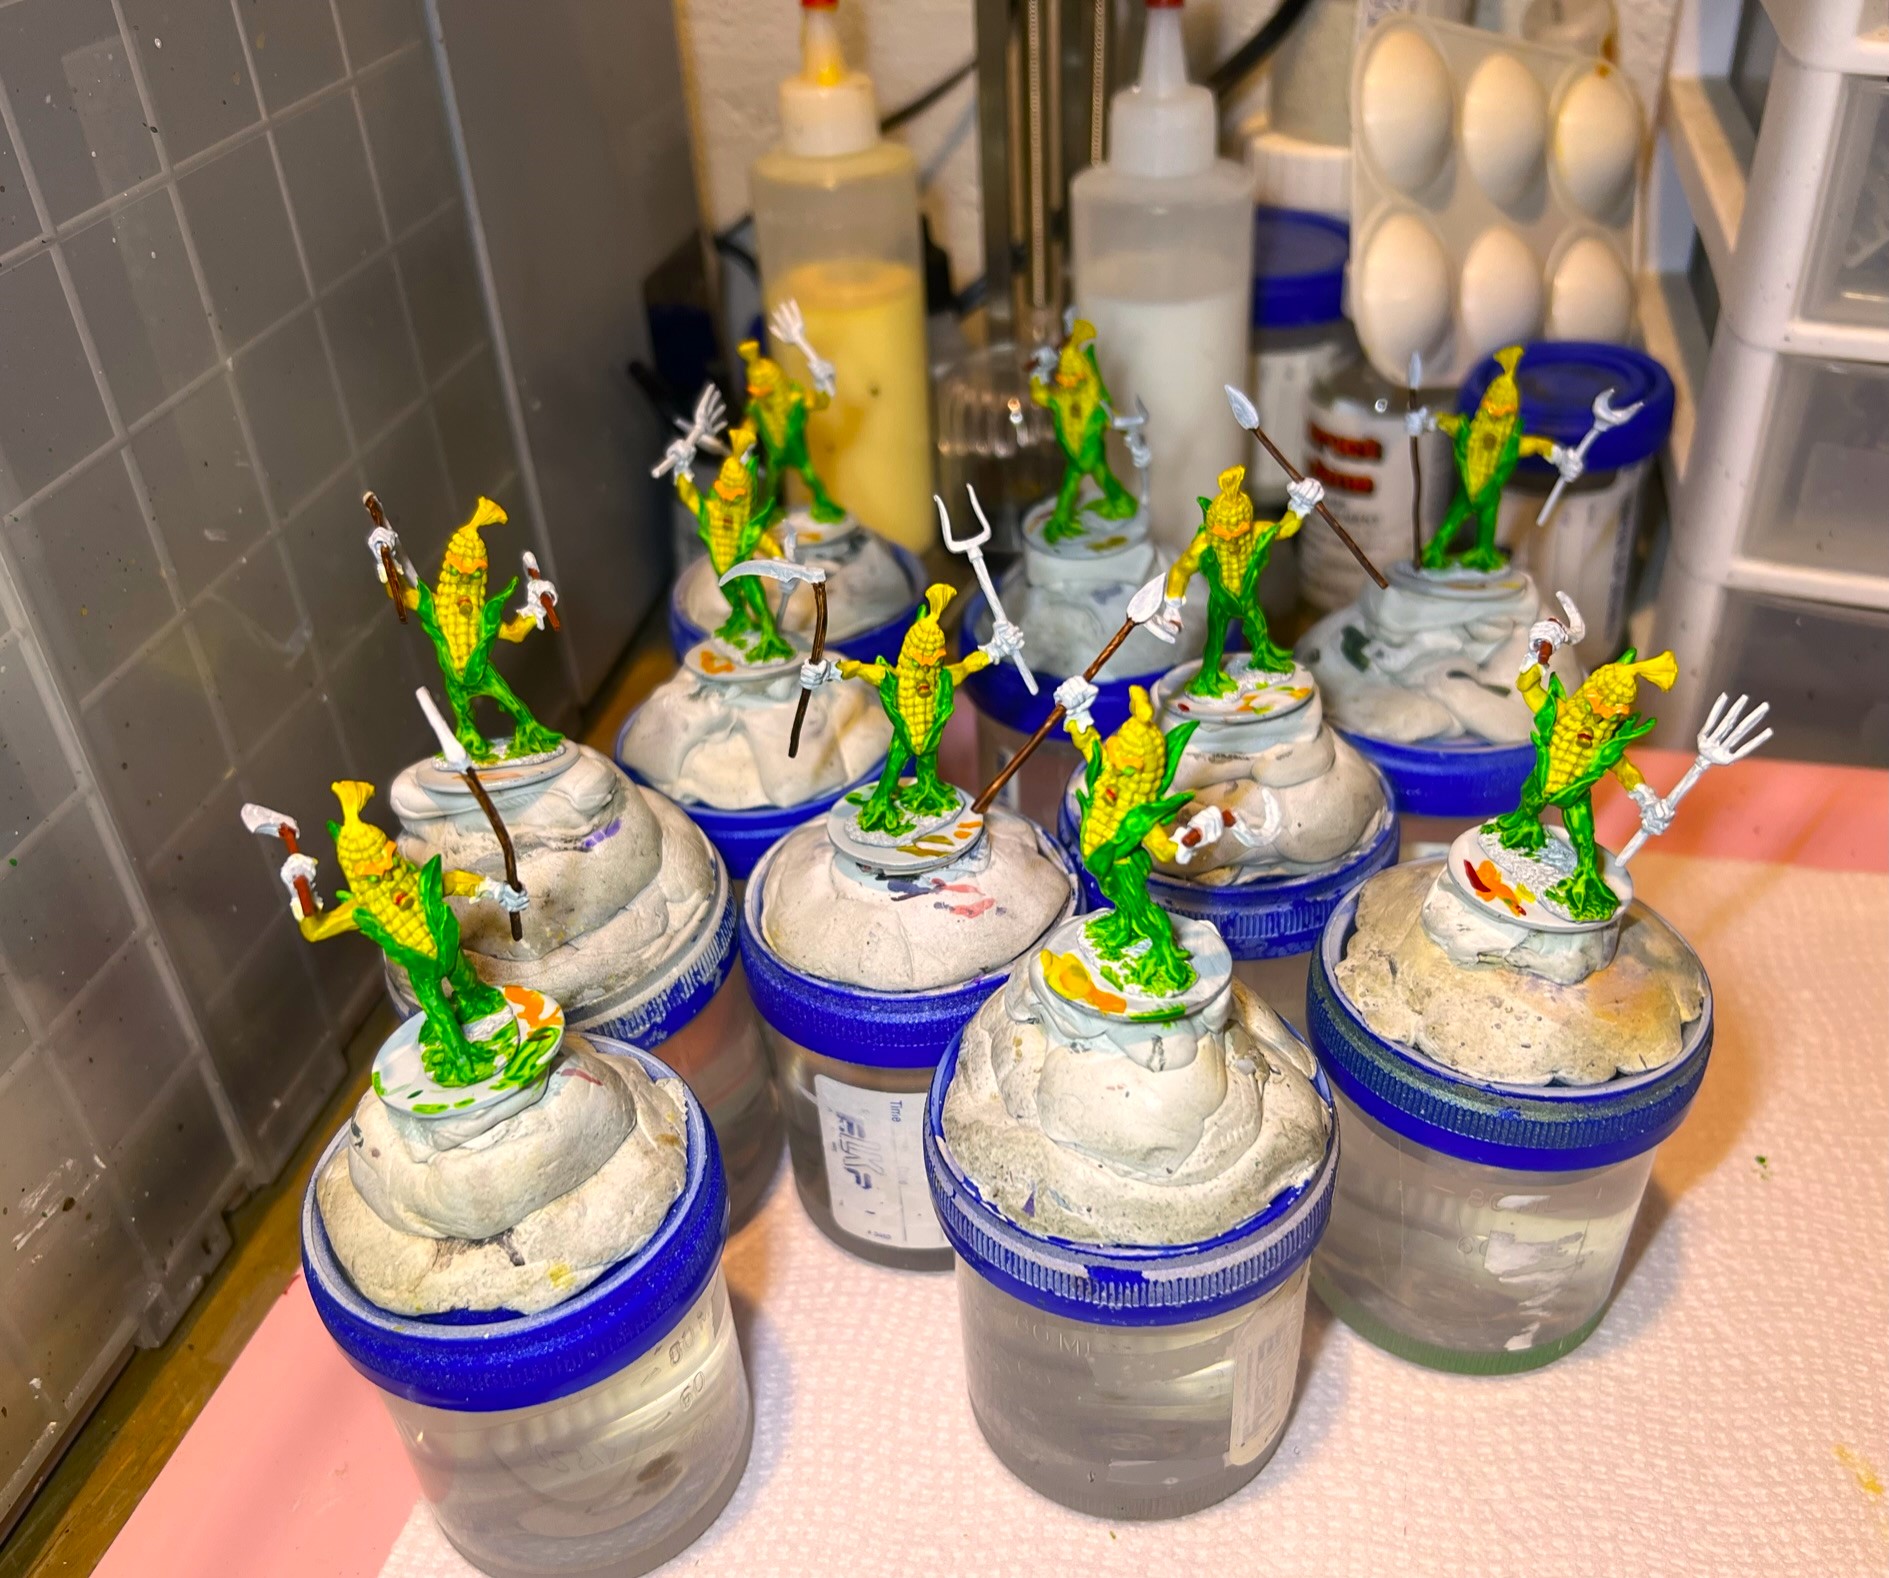
Then it was onto painting the weapons, which I tried to make look a bit varied as well in terms of the handle colors and the metallics. Lastly I did the hands in the same green leafy color as the bodies and made the corn “hair” the original “Maize Yellow” washed with Army Painter “Light Tone”.
I varnished once again with a coat of gloss followed by one of matte. Then I flocked the bases with the same color themes as my other Harvest troops.
Time for some (no, not popcorn) – some…
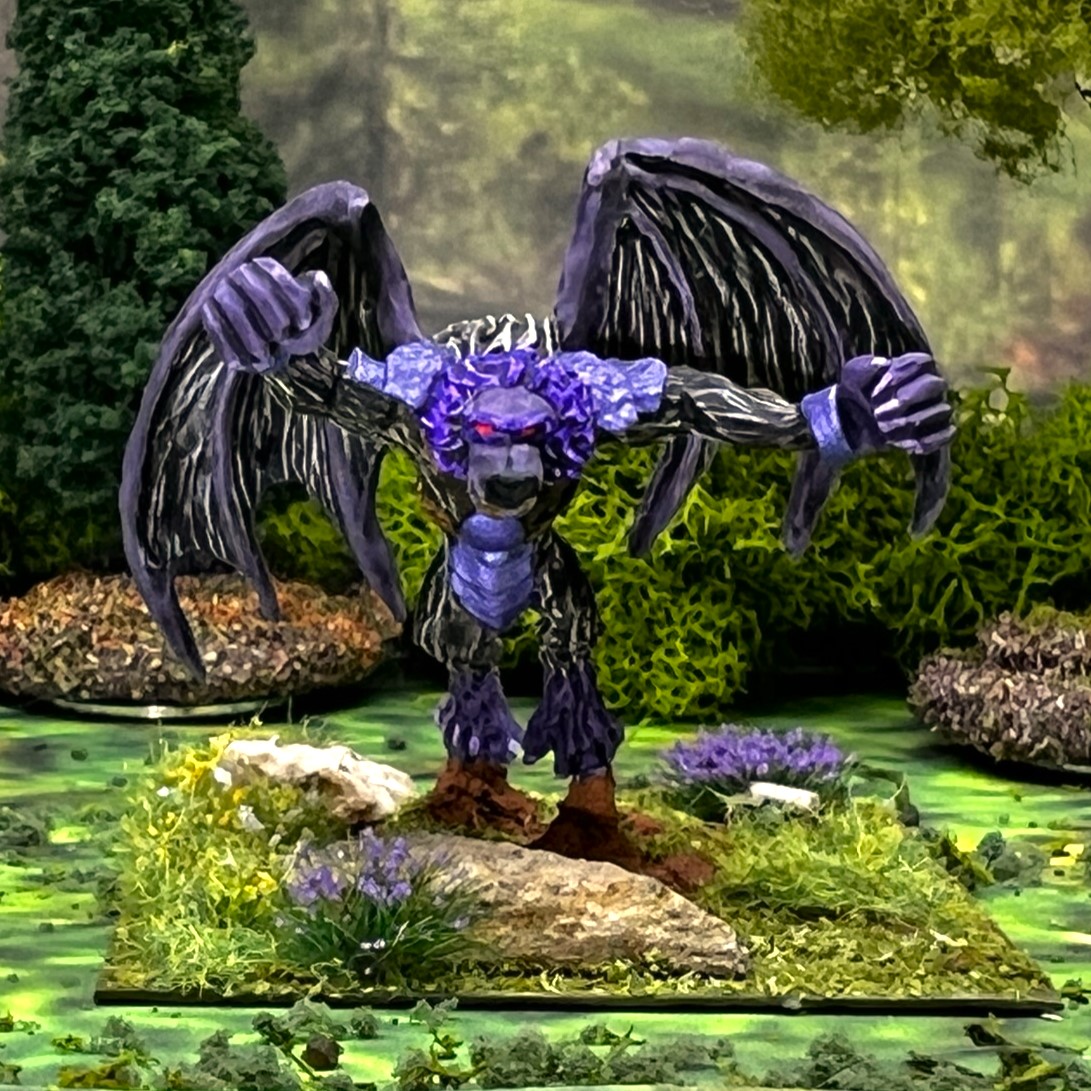
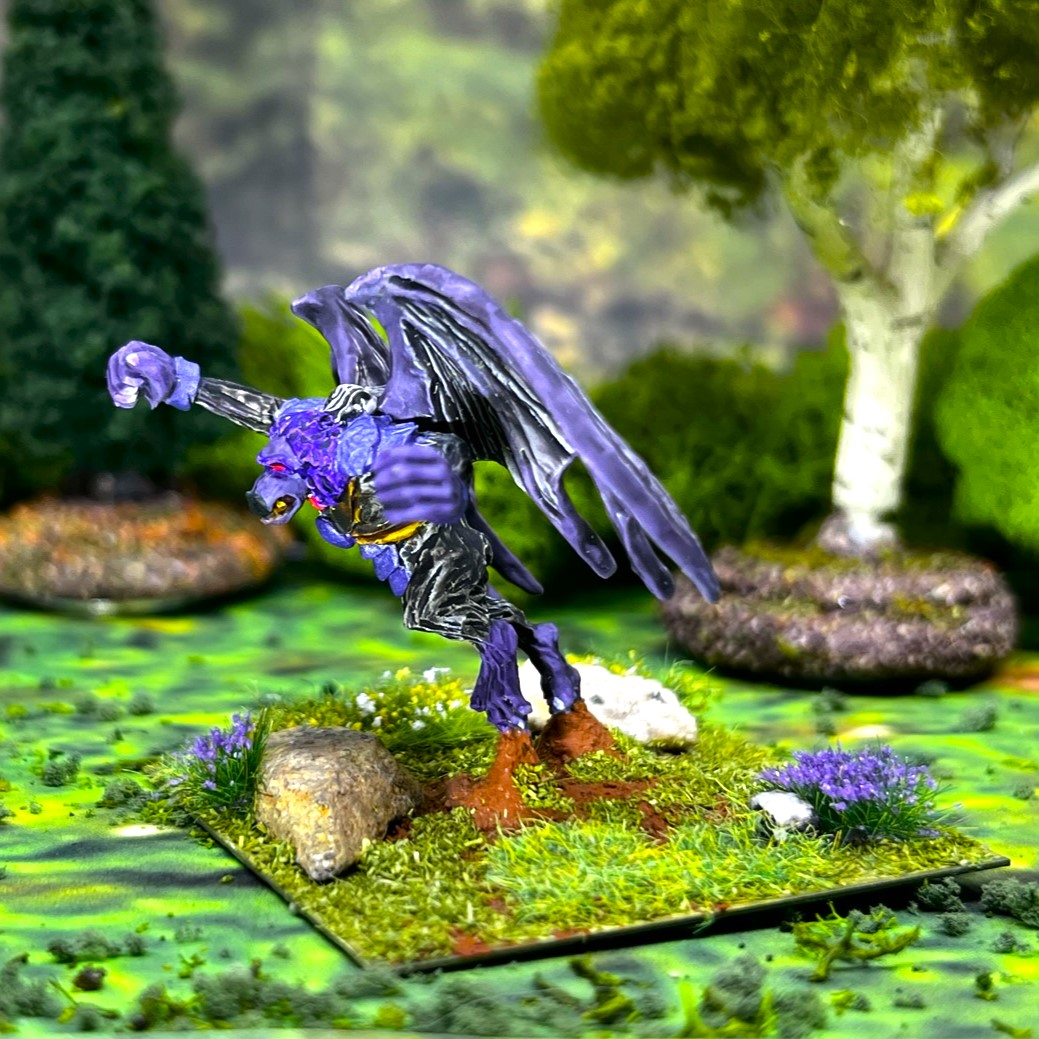
Eye Candy
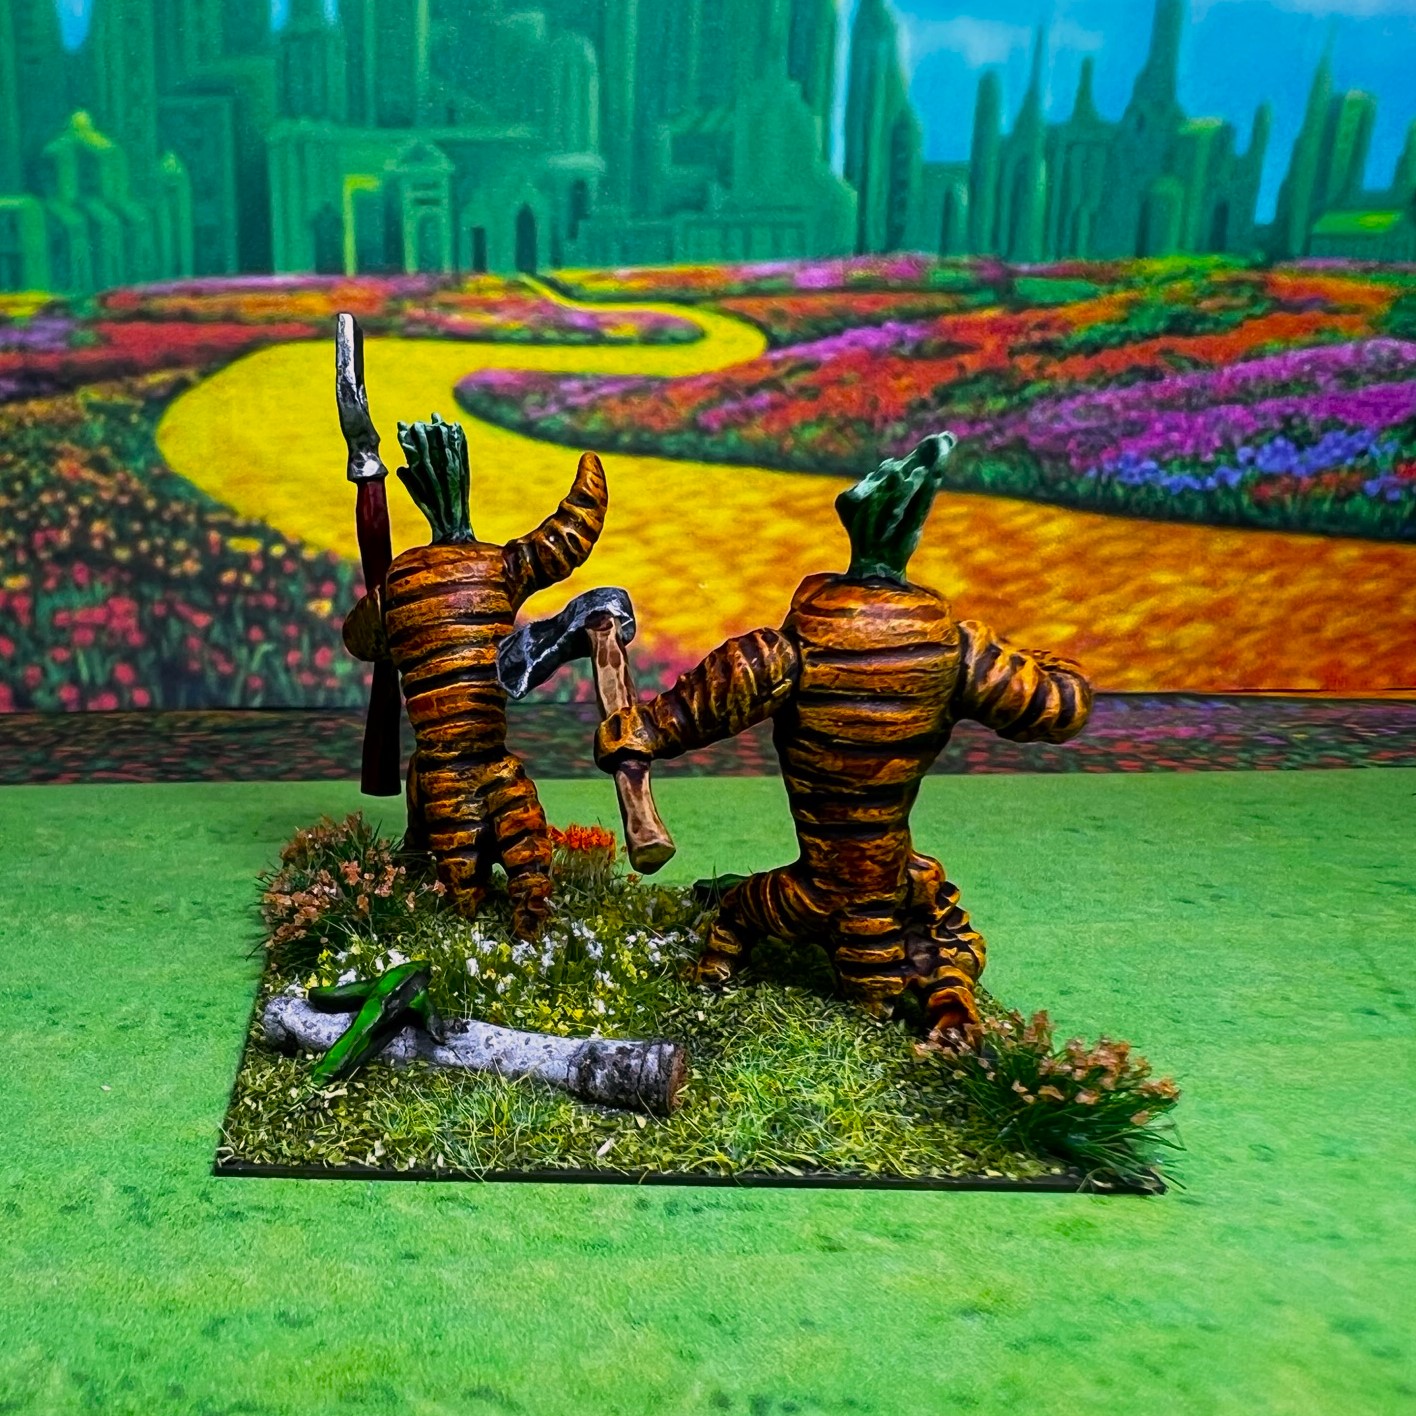
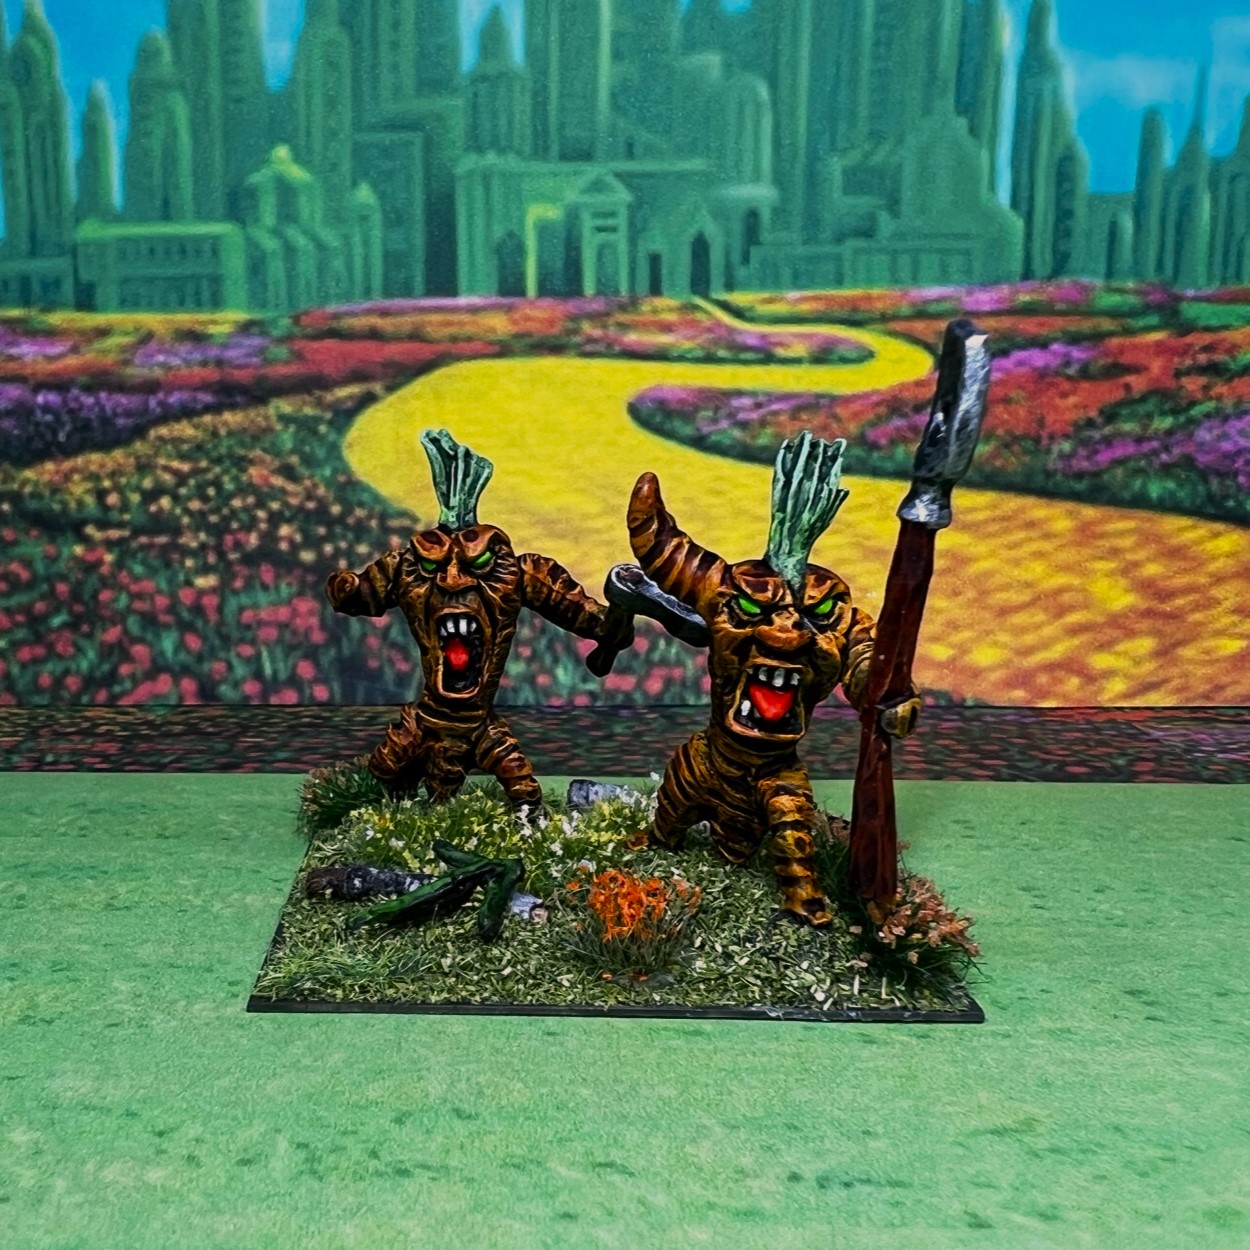
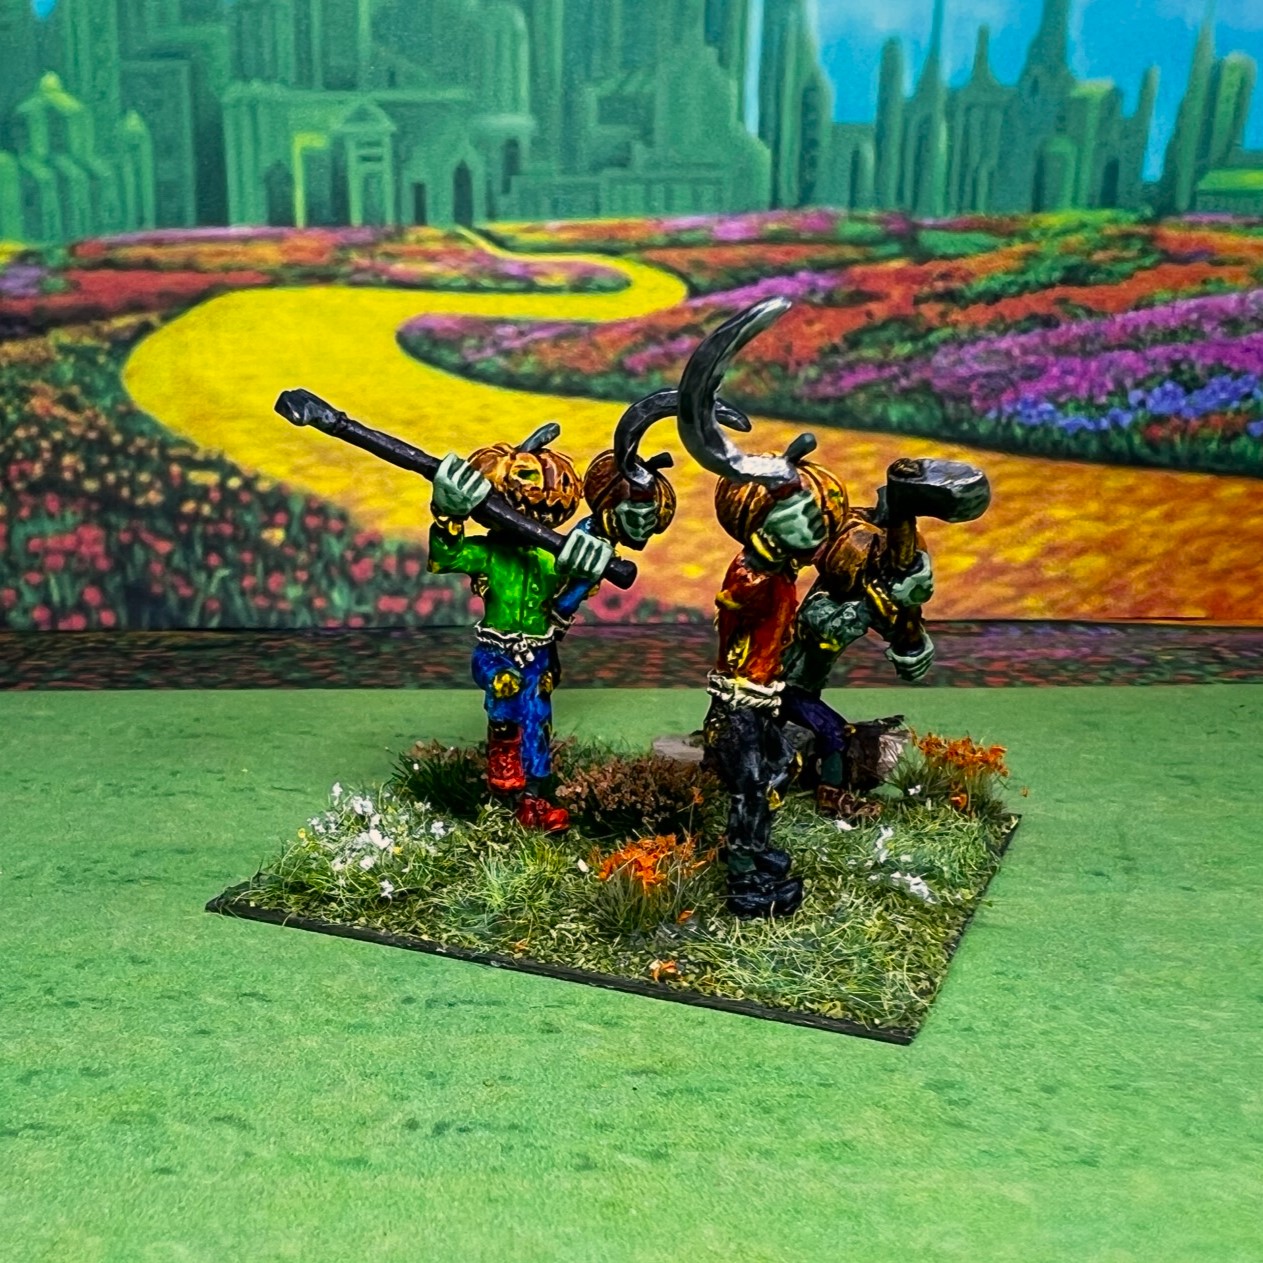
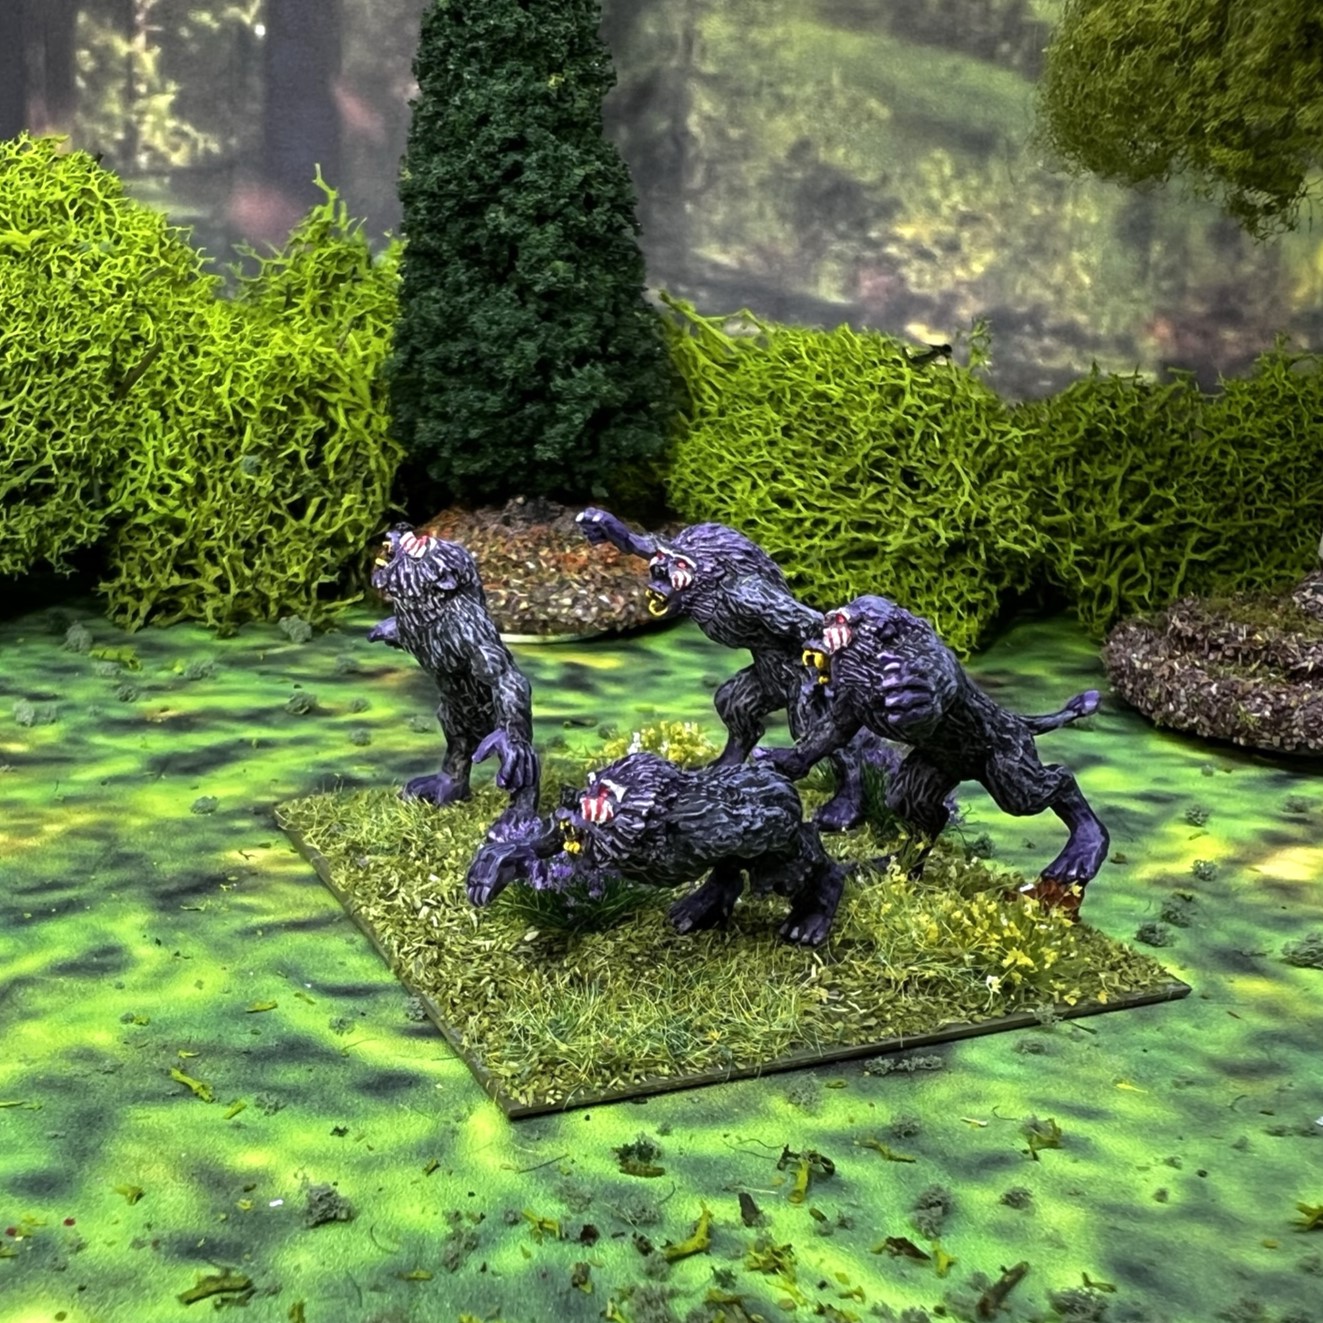
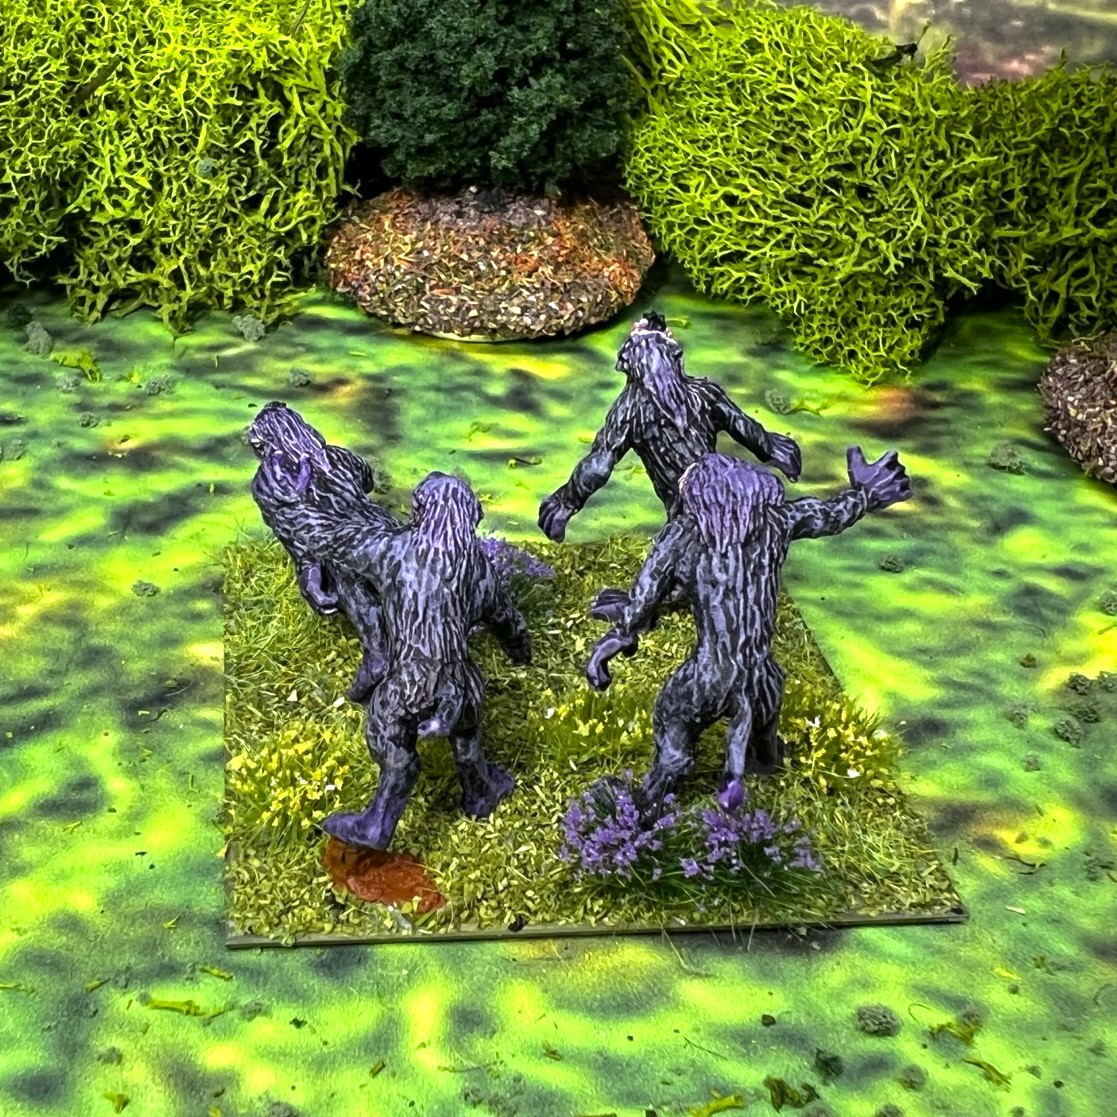
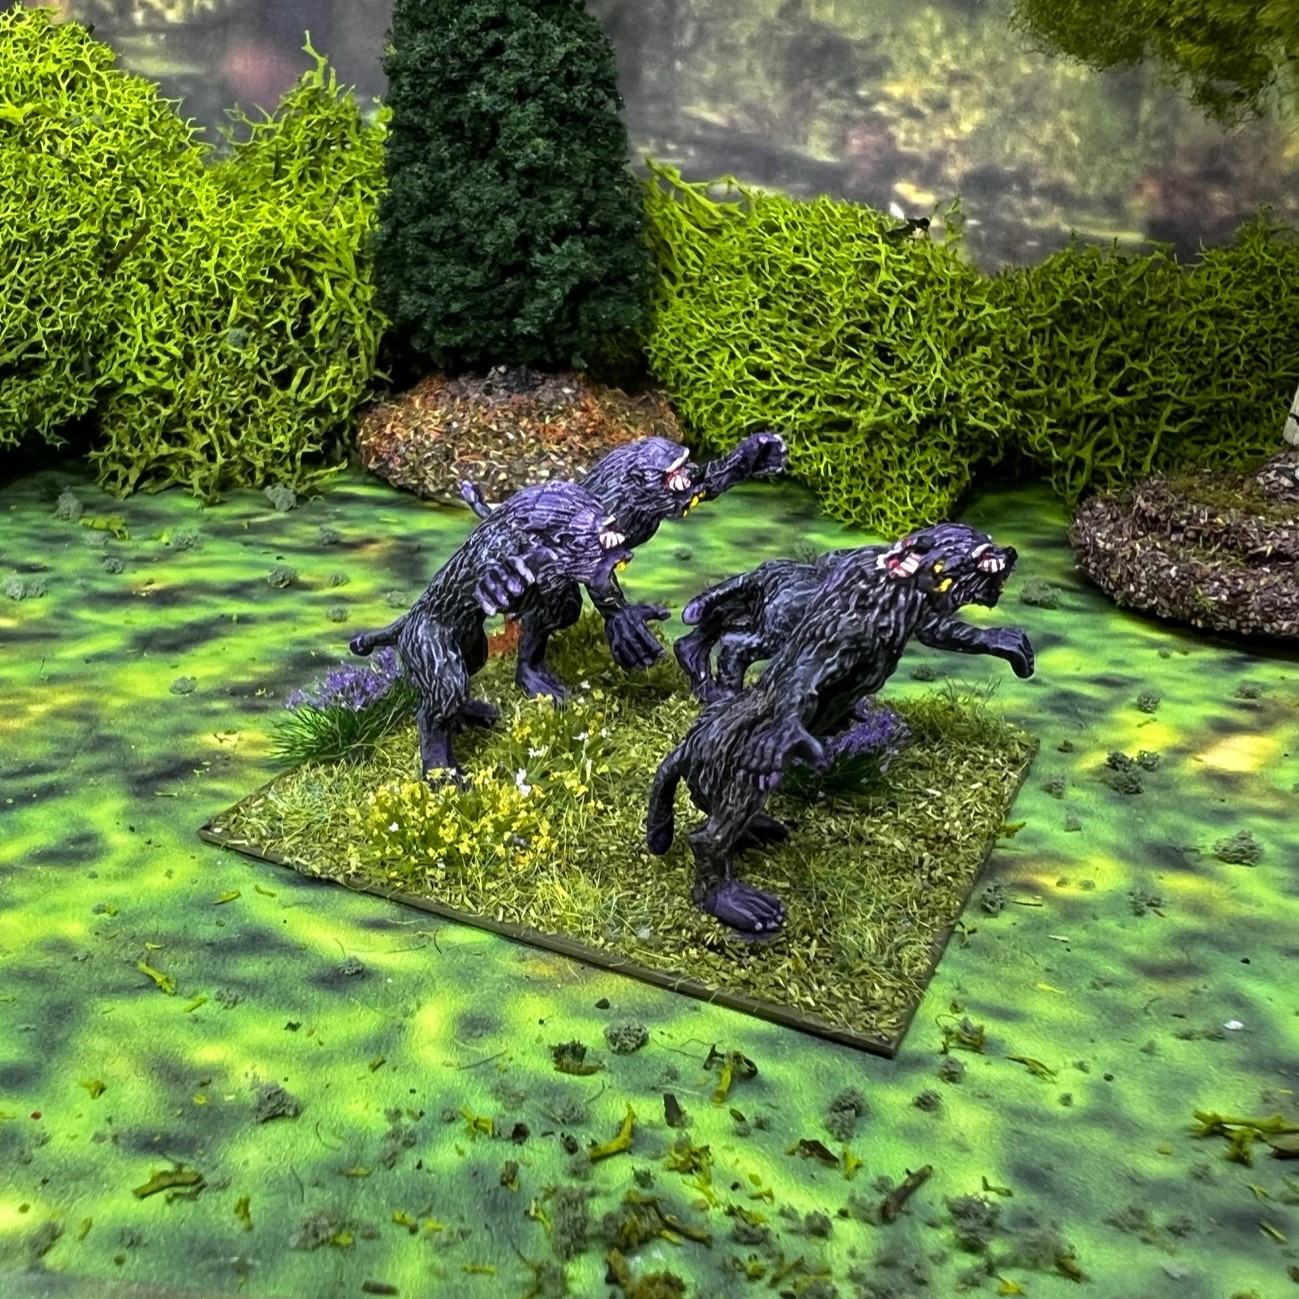
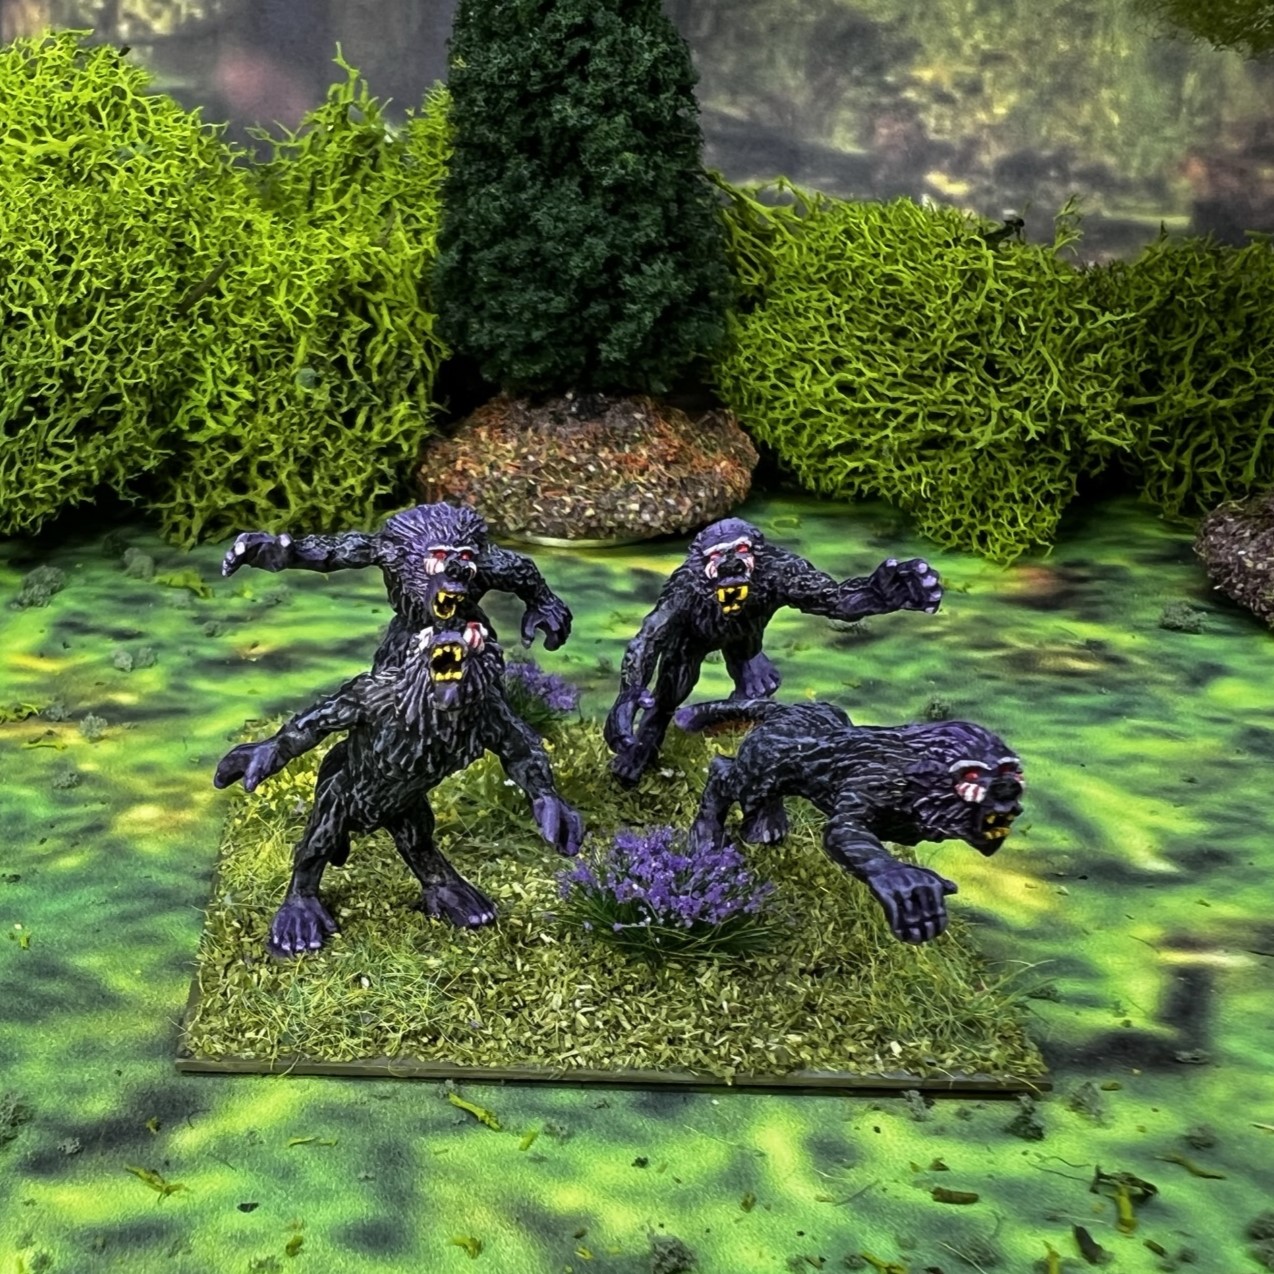
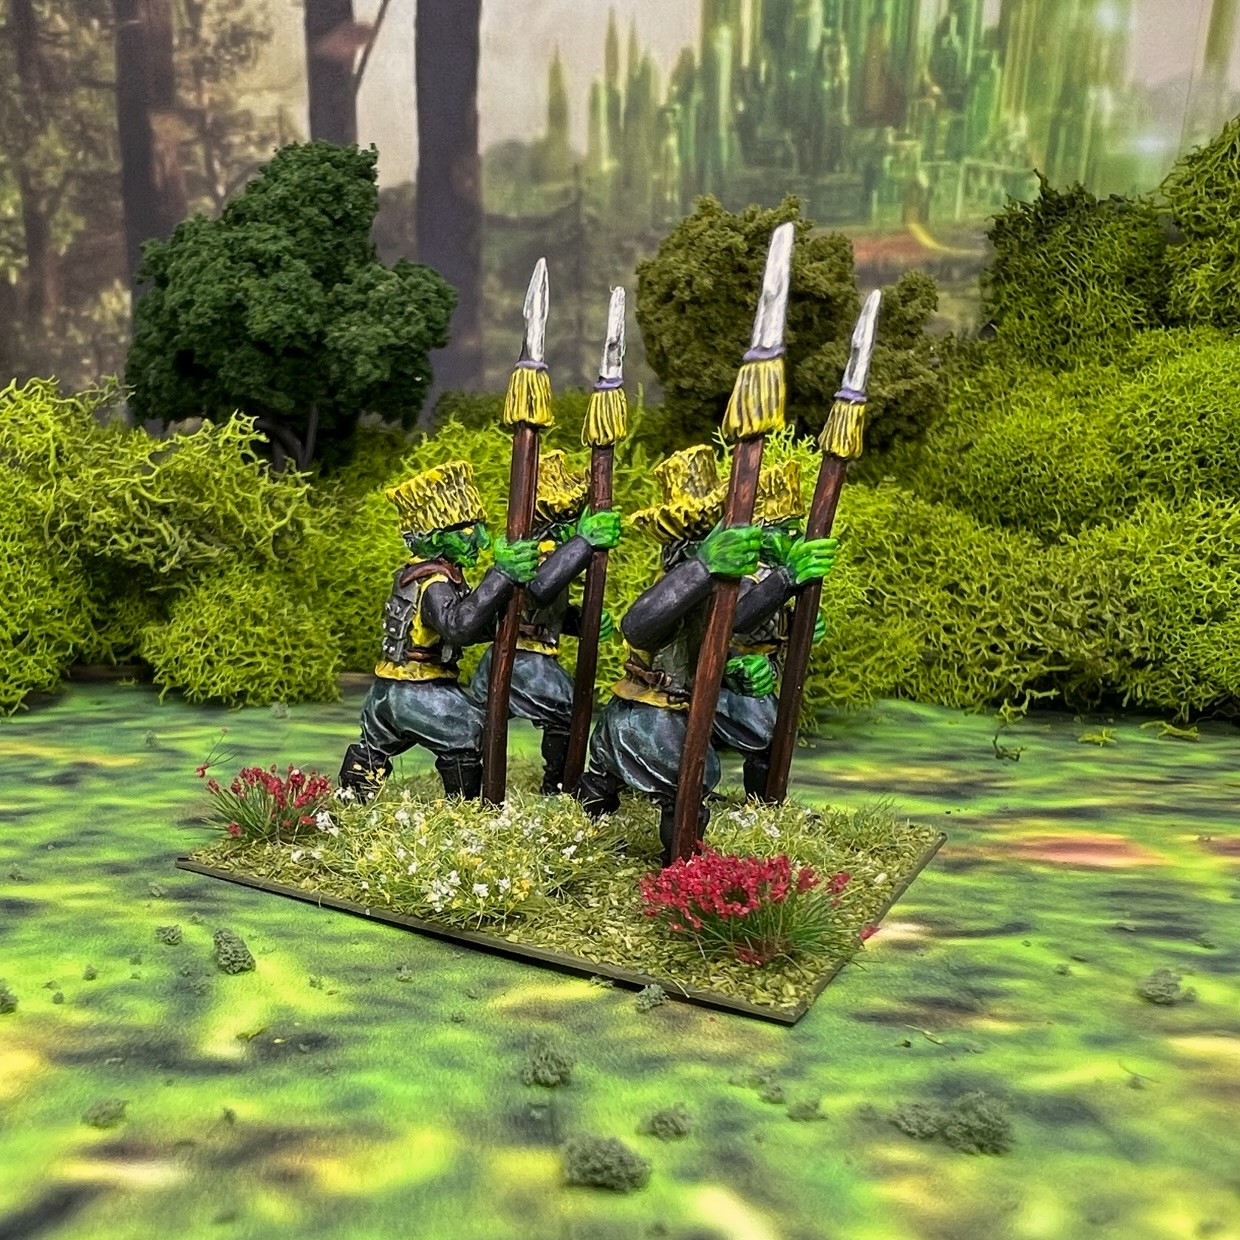
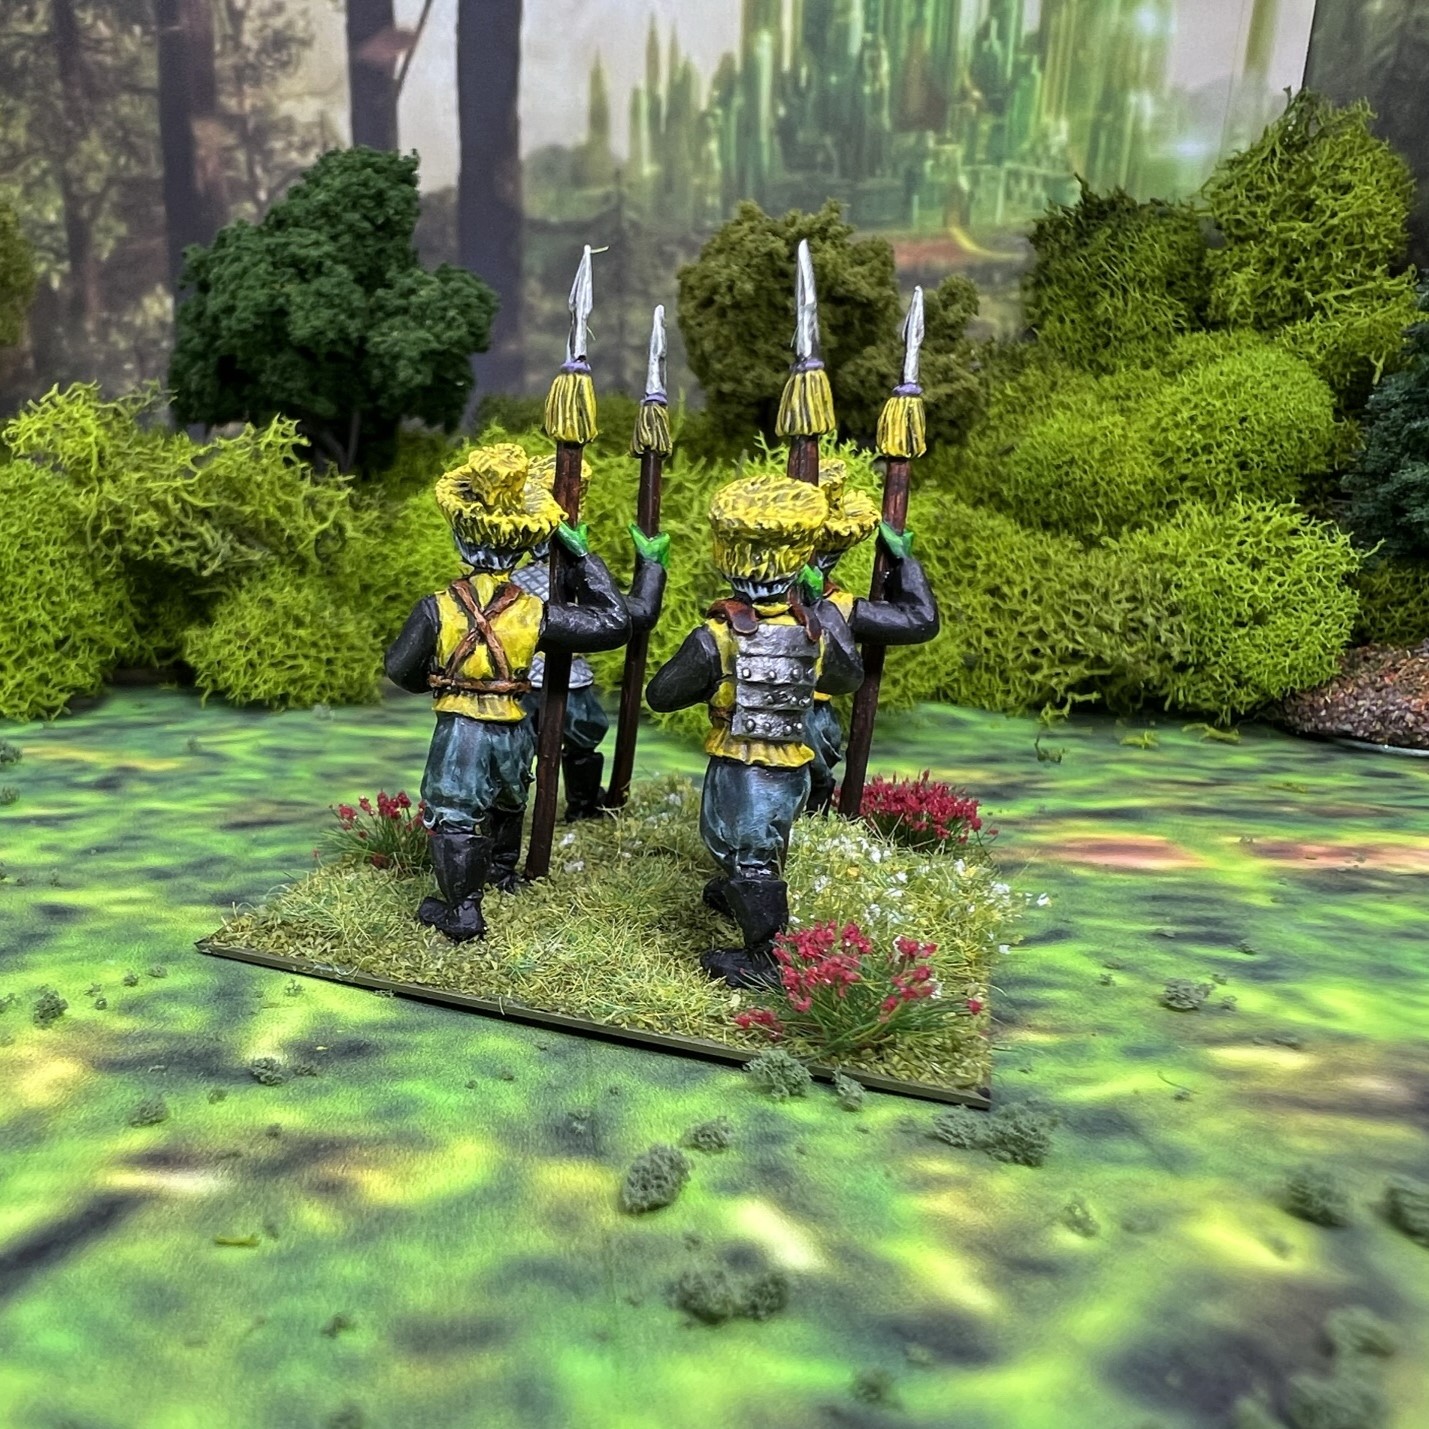
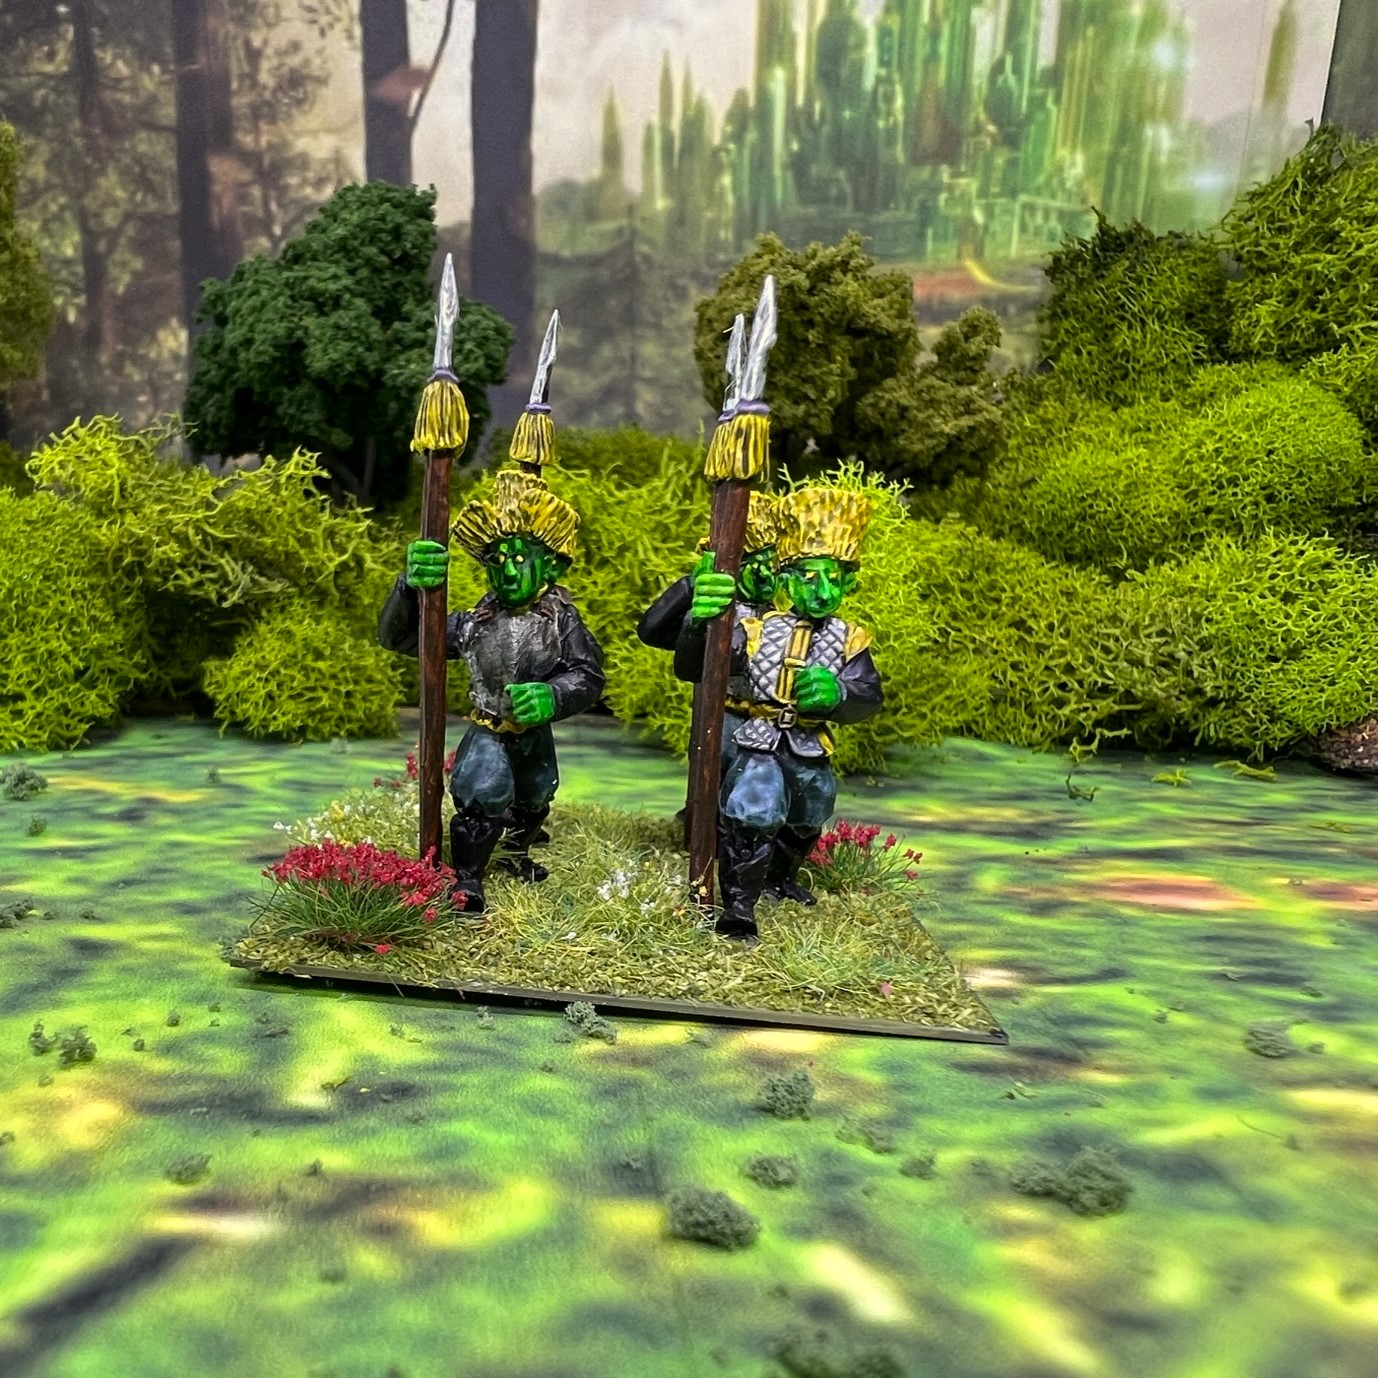
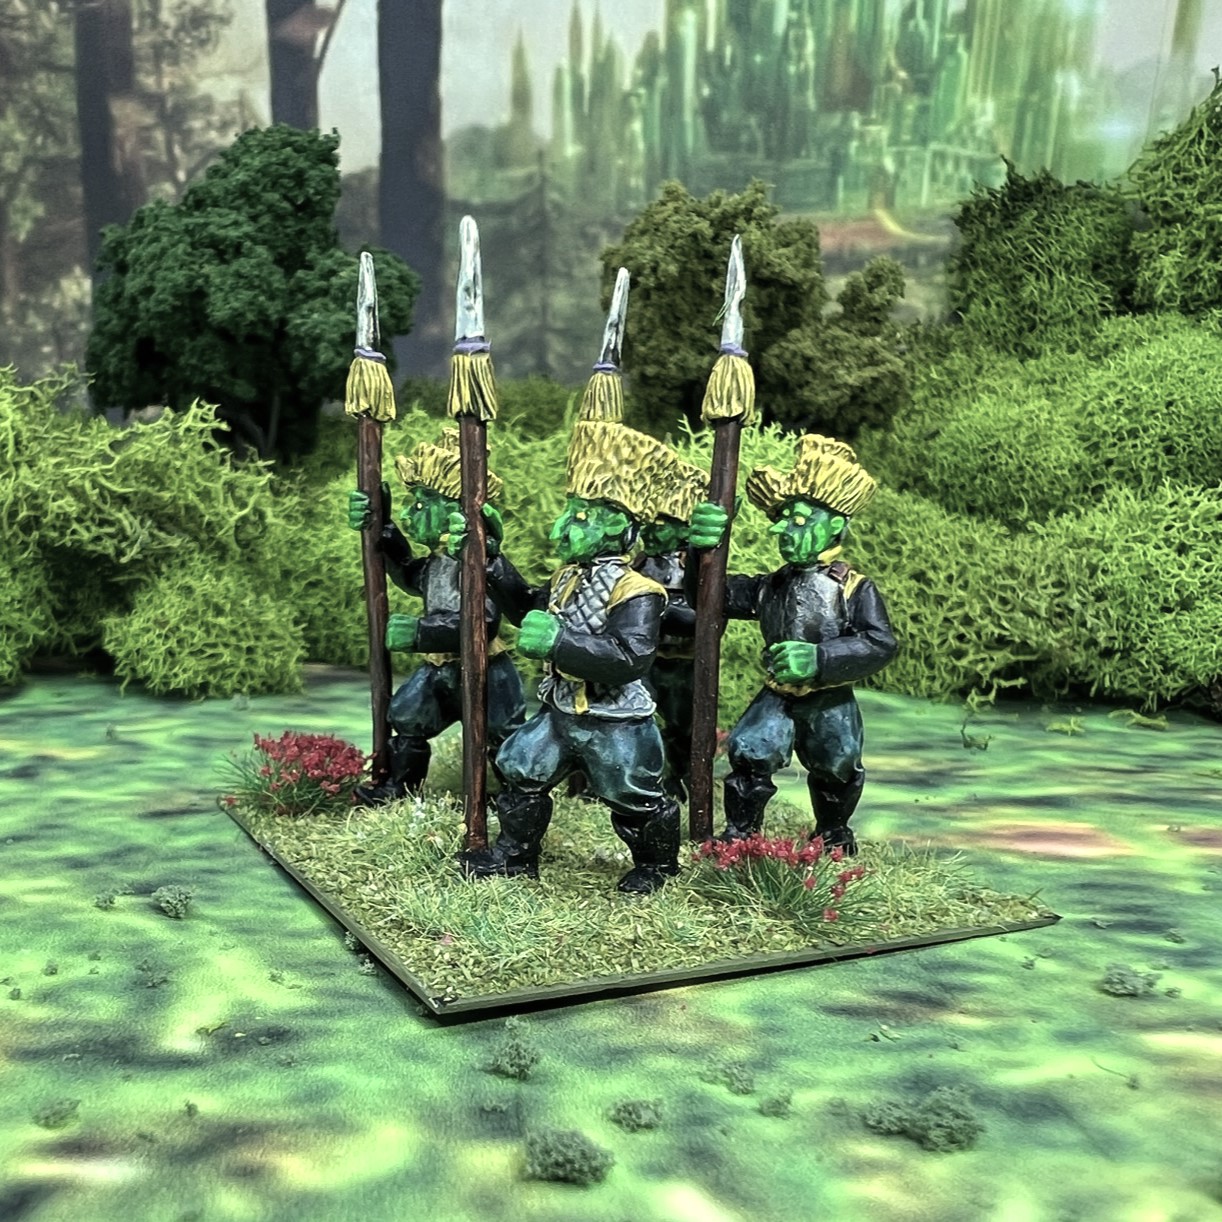
Stand 1


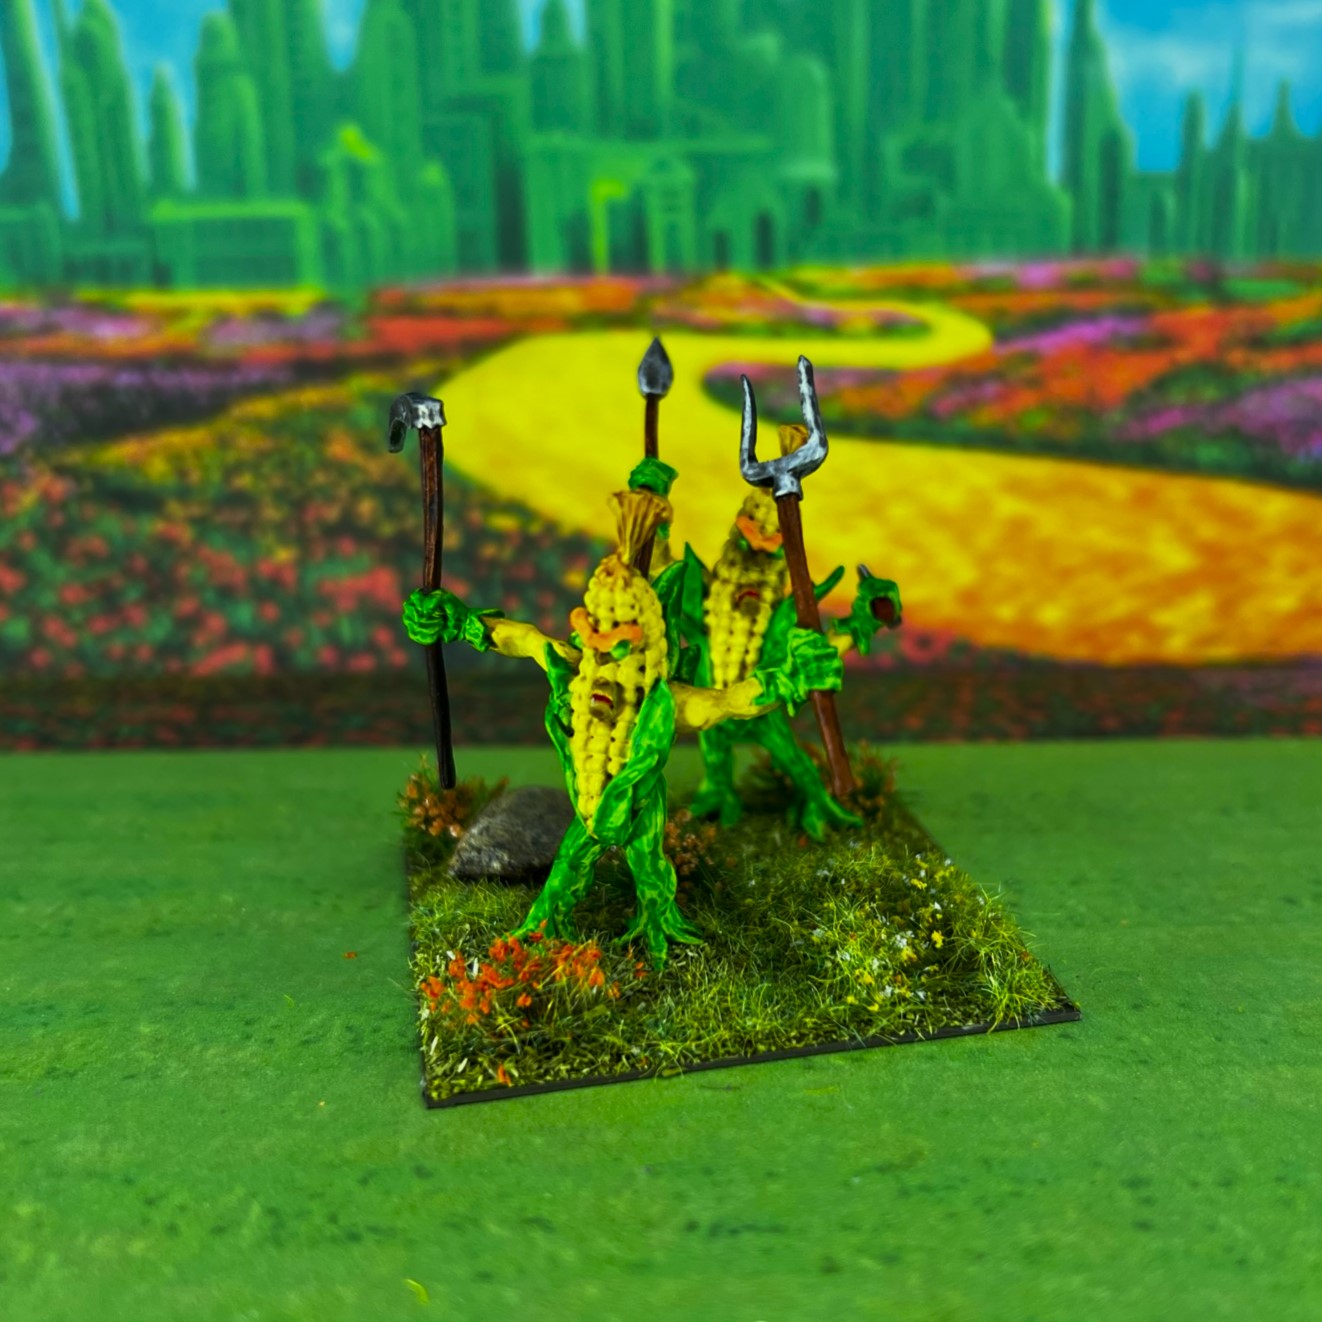
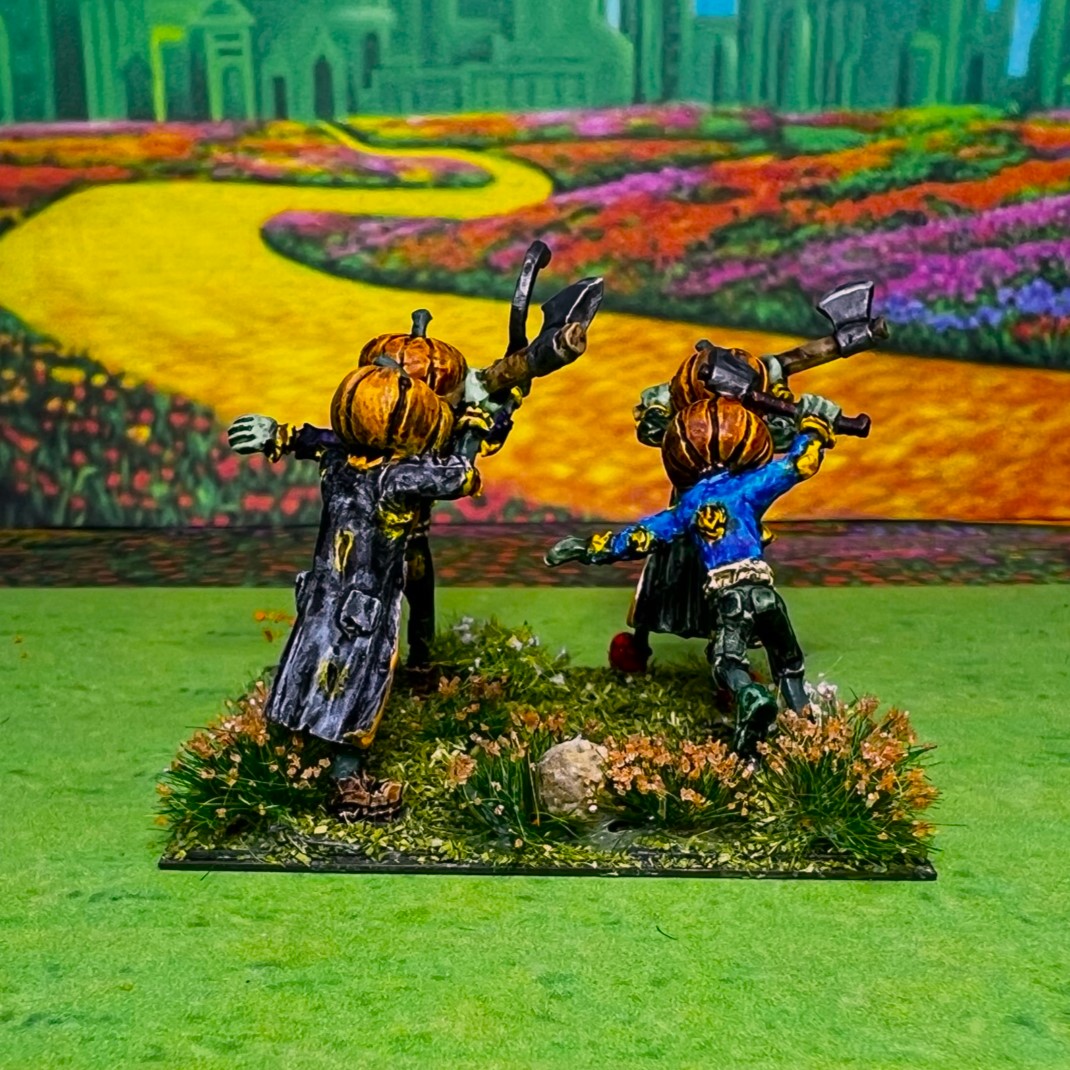
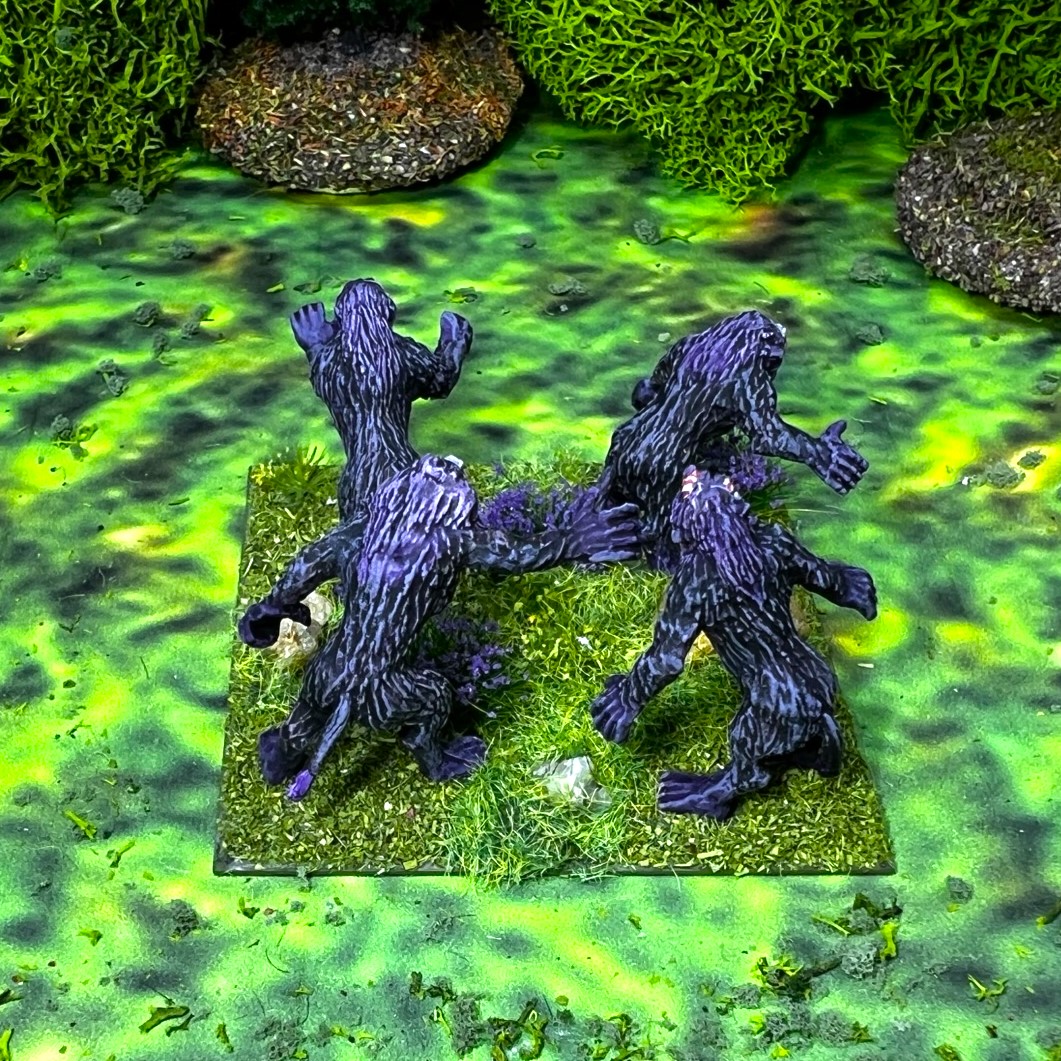
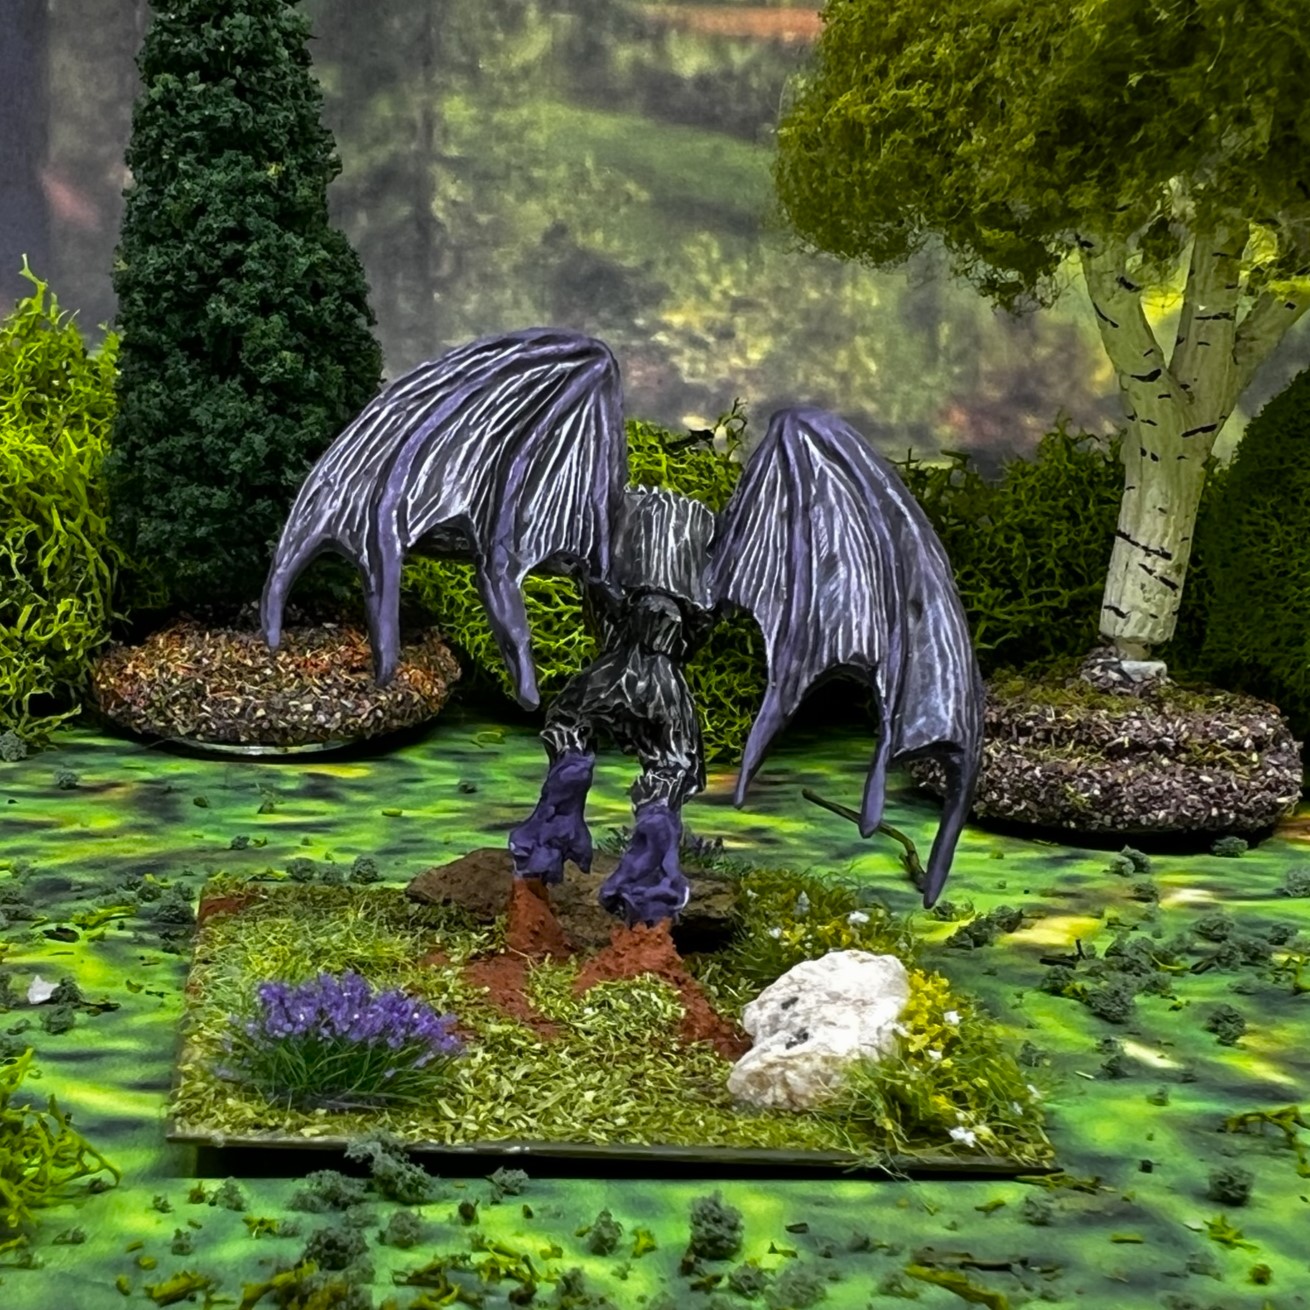
Stand 2

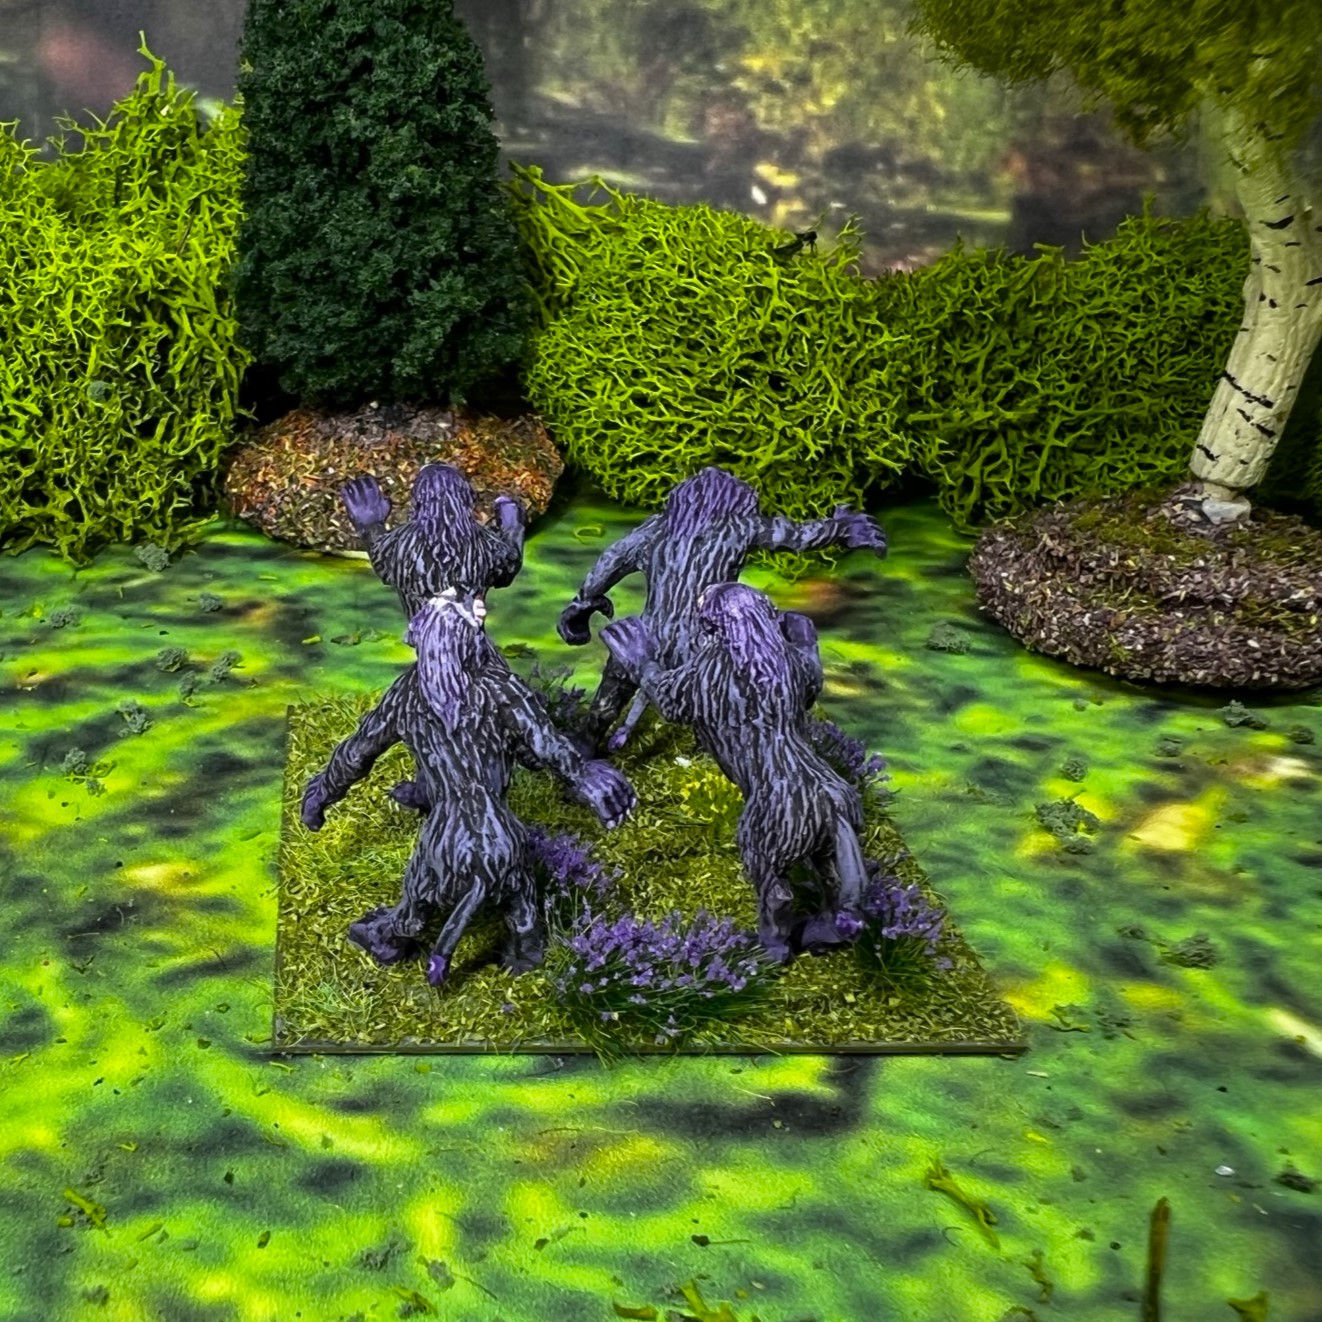
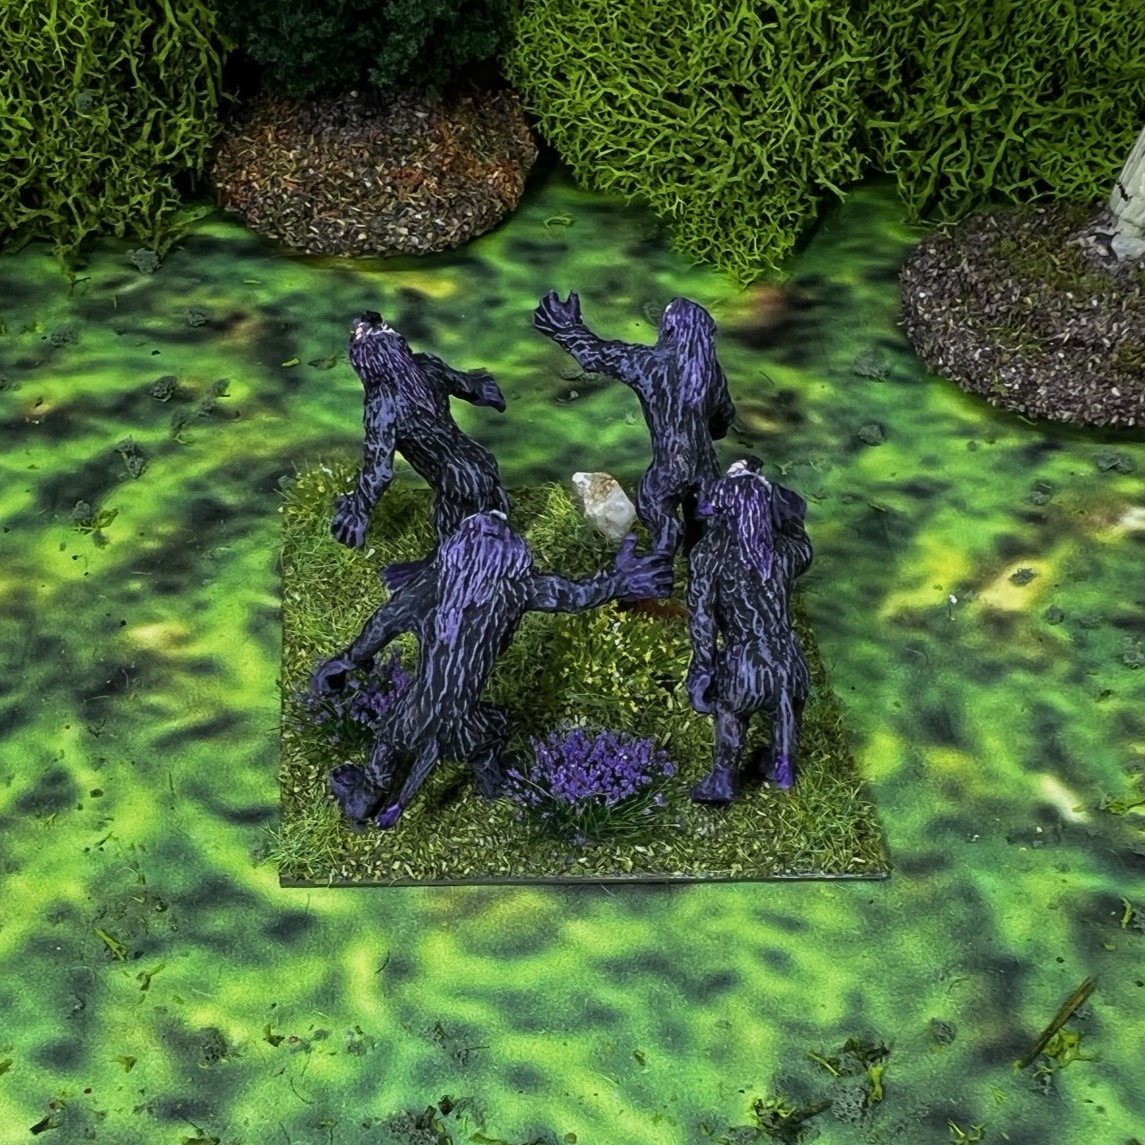
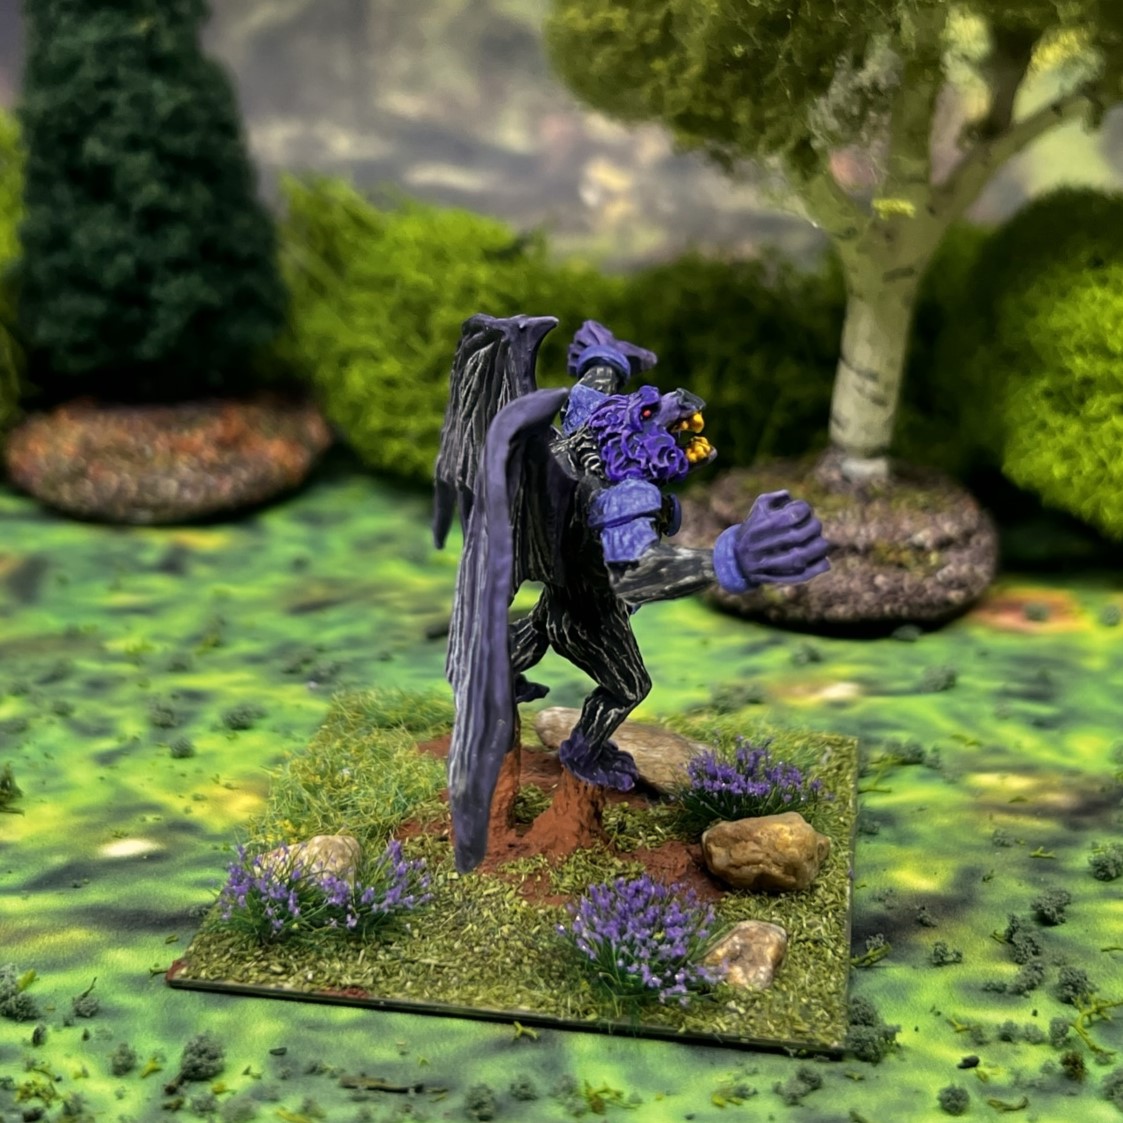
Stand 3
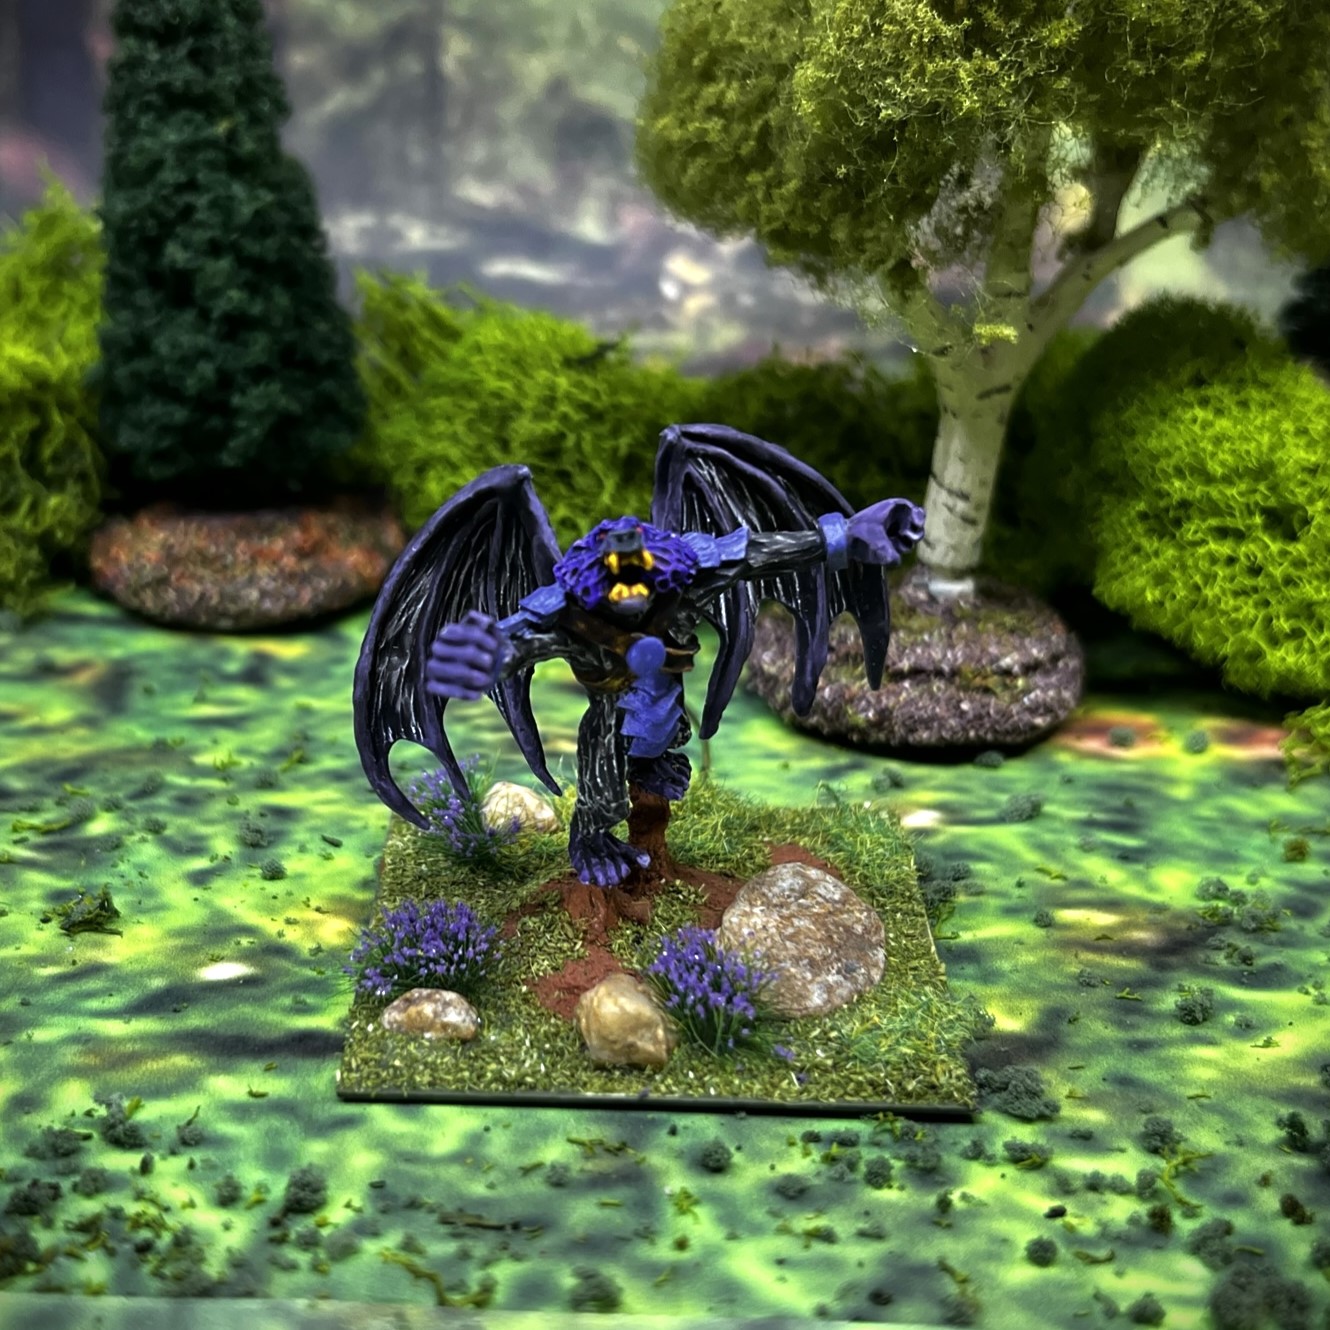
Stand 4


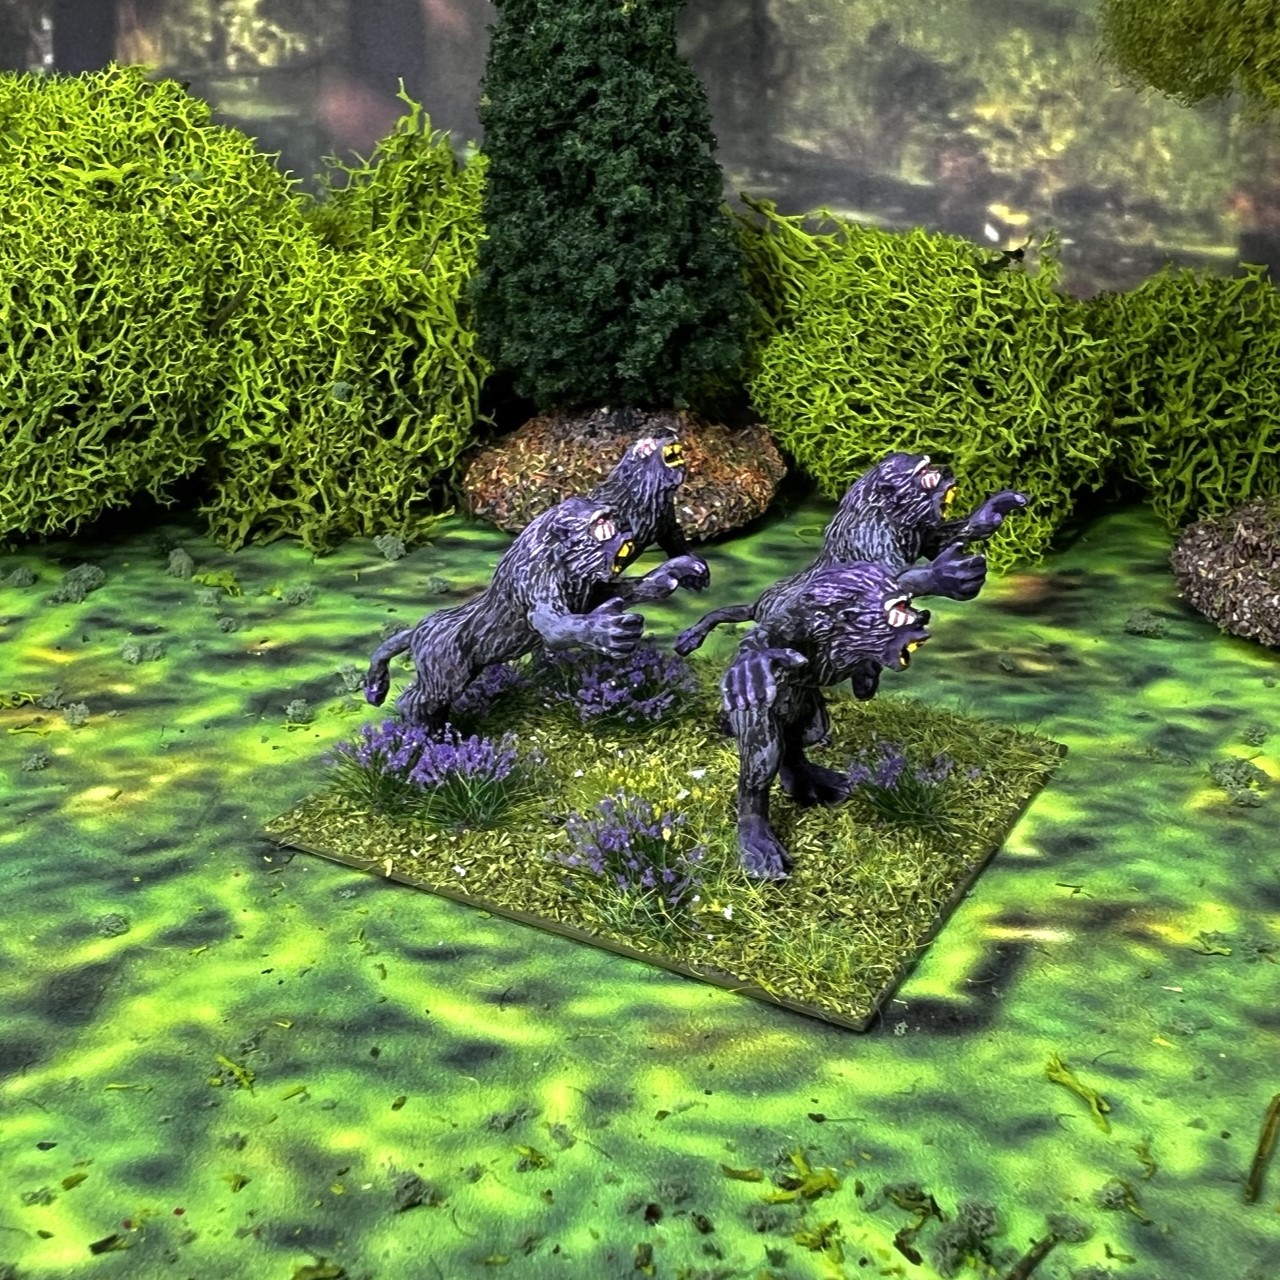
Stand 5


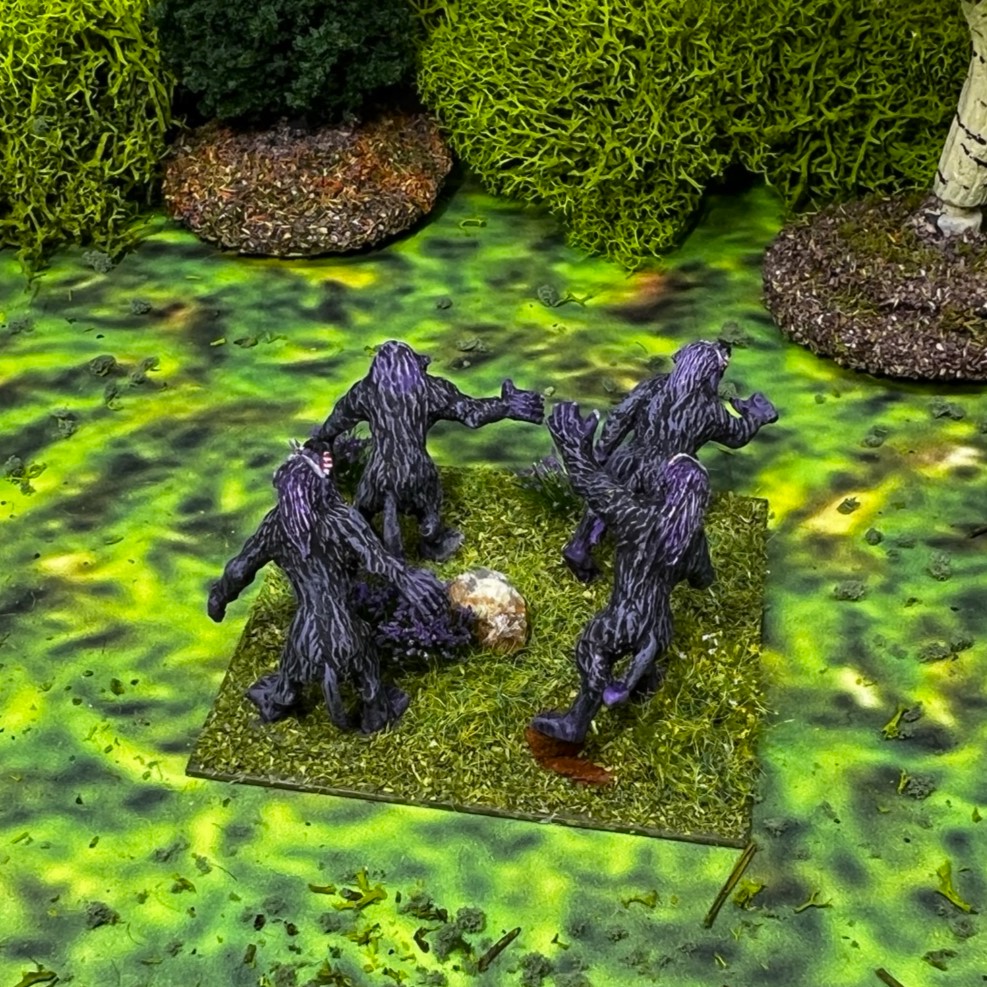
Group Shot
That’s all for the Corn Creatures Infantry Regiment. I hope that you liked their corniness as much as I did. This makes 118 figures that I have painted for Ozz this year!
Thanks for taking a look and any feedback, especially on the yellow colors – I am again curious as to your thoughts.
And yes, I still have more to come…
Miscellaneous details and references for those interested in that sort of thing:
For all of my previous posts on Wars of Ozz games, figures, units, and other related projects – please see this page.
PAINTS, INKS, GLAZES, SHADES, WASHES, PIGMENTS, FLOCKING, GLUES AND MORE THAT I USED ON THIS CORN CREATURES INFANTRY REGIMENT:
- Gorilla Glue
- 1.25″ steel fender washers
- Poster tack
- 2″ square steel base from Wargames Accessories (#21)
- Vallejo “Flow Improver”
- Vallejo “Airbrush Thinner”
- Vallejo Mecha Surface Primer “White”
- Vallejo Premium Surface Primer “White”
- Army Painter Airbrush Primer “White”
- Army Painter “Speed Paint – Maize Yellow”
- Vallejo Model Color “White”
- Citadel “Contrast Paint – Striking Scorpion Green”
- Citadel “Contrast Paint – Bad Moon Yellow”
- Tamiya “Orange”
- Citadel “Contrast Paint – Baal Red”
- Battlefront “Panther Yellow”
- Tamiya “X-20A Thinner”
- Citadel “Tesseract Glow”
- Vallejo Model Air “Brown”
- Vallejo Model Air “Wood”
- Citadel “Skrag Brown”
- Vallejo Model Color “Wood Grain”
- Vallejo Model Air “Steel”
- Vallejo Mecha Color “Dark Steel”
- Citadel “Ironbreaker”
- Vallejo Model Air “Black” (metallic)
- P3 “Blazing Ink”
- Vallejo Model Air “Chrome”
- Citadel “Nuln Oil GLOSS” (wash/shade)
- Army Painter “Light Tone” (wash/shade)
- PS Model Color “British Brown Drab”
- Elmer’s PVA Glue
- Vallejo Mecha Varnish “Gloss Varnish”
- Vallejo Mecha Varnish “Matte Varnish”
- Army Painter “Battlefields Grass Green” (flocking)
- Army Painter “Battlefield Field Grass” (flocking)
- Army Painter “Battlefields Field Grass” (flocking)
- Army Painter “Battlefields Meadow Flowers” (flocking)
- Shadow’s Edge Miniatures “6mm Dark Forest Orange Tufts” (flocking)
- Gamer’s Grass “Orange Flowers” (flocking)
- Small stones (flocking)
- Small oak twigs (flocking)
Again, as you may want to check out the Wars of Ozz figures’ range – there are two places to get them (and I make no money from this btw). The game rules and the figures are available from the following two places:
In the US Old Glory has a site – Wars of Ozz Miniatures.
In the UK go to Sally 4th.