
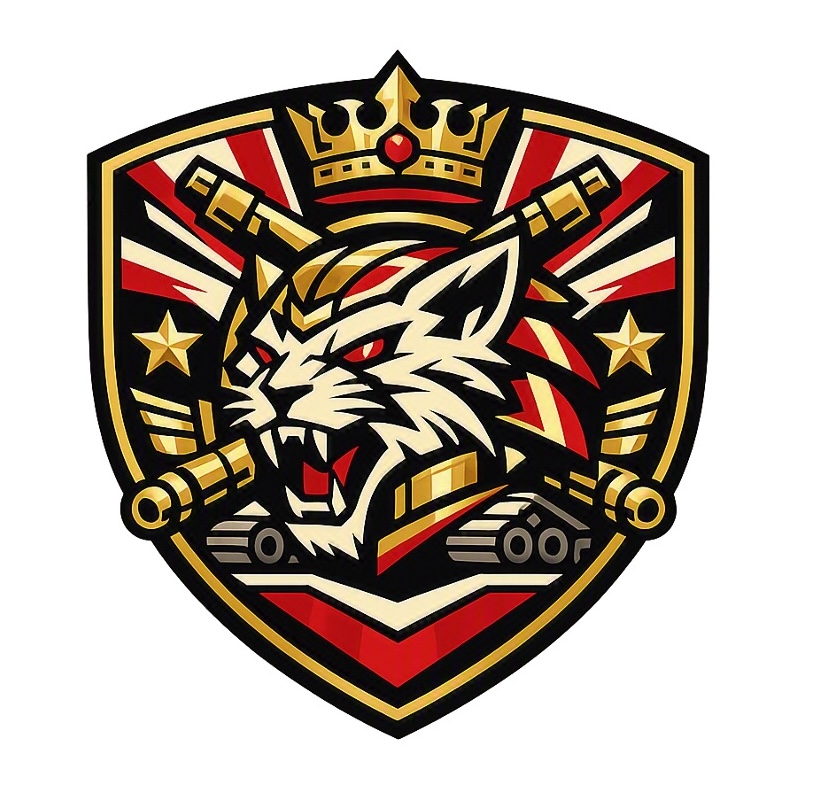
This project was a lot of fun! It allowed me to be creative and model something a bit different than just painting up a standard vehicle or unit of miniature troops. Retro sci-fi is a great genre to do just that.
Infantry need armored support in the retro sci-fi universe! I mentioned in my blog post on the Felynxii Imperial Scouts that I had a concept of adding armor to their force. I use Buck Surdu’s Combat PatrolTM WWII rules with my retro sci-fi modifications for these tabletop games. But, how to add an armored element?
First, let’s look at obvious inspirations – many vehicles have been given cat-like names. The US had the M10 Hellcat tank destroyer, The Germans have had many from the Luchs (lynx), Puma, Leopards, Panther, and … two types of TIGER!
So I began my search for a suitable toy tank or model to use that was of a workable scale. I have read often that some gamers prefer 1:48 scale or 1:56 scale for 28mm game vehicles. I was agnostic on this debate – I just wanted a good feline-inspired tank. Then I saw this old and somewhat beat-up Corgi toy from the 1970’s on eBay.
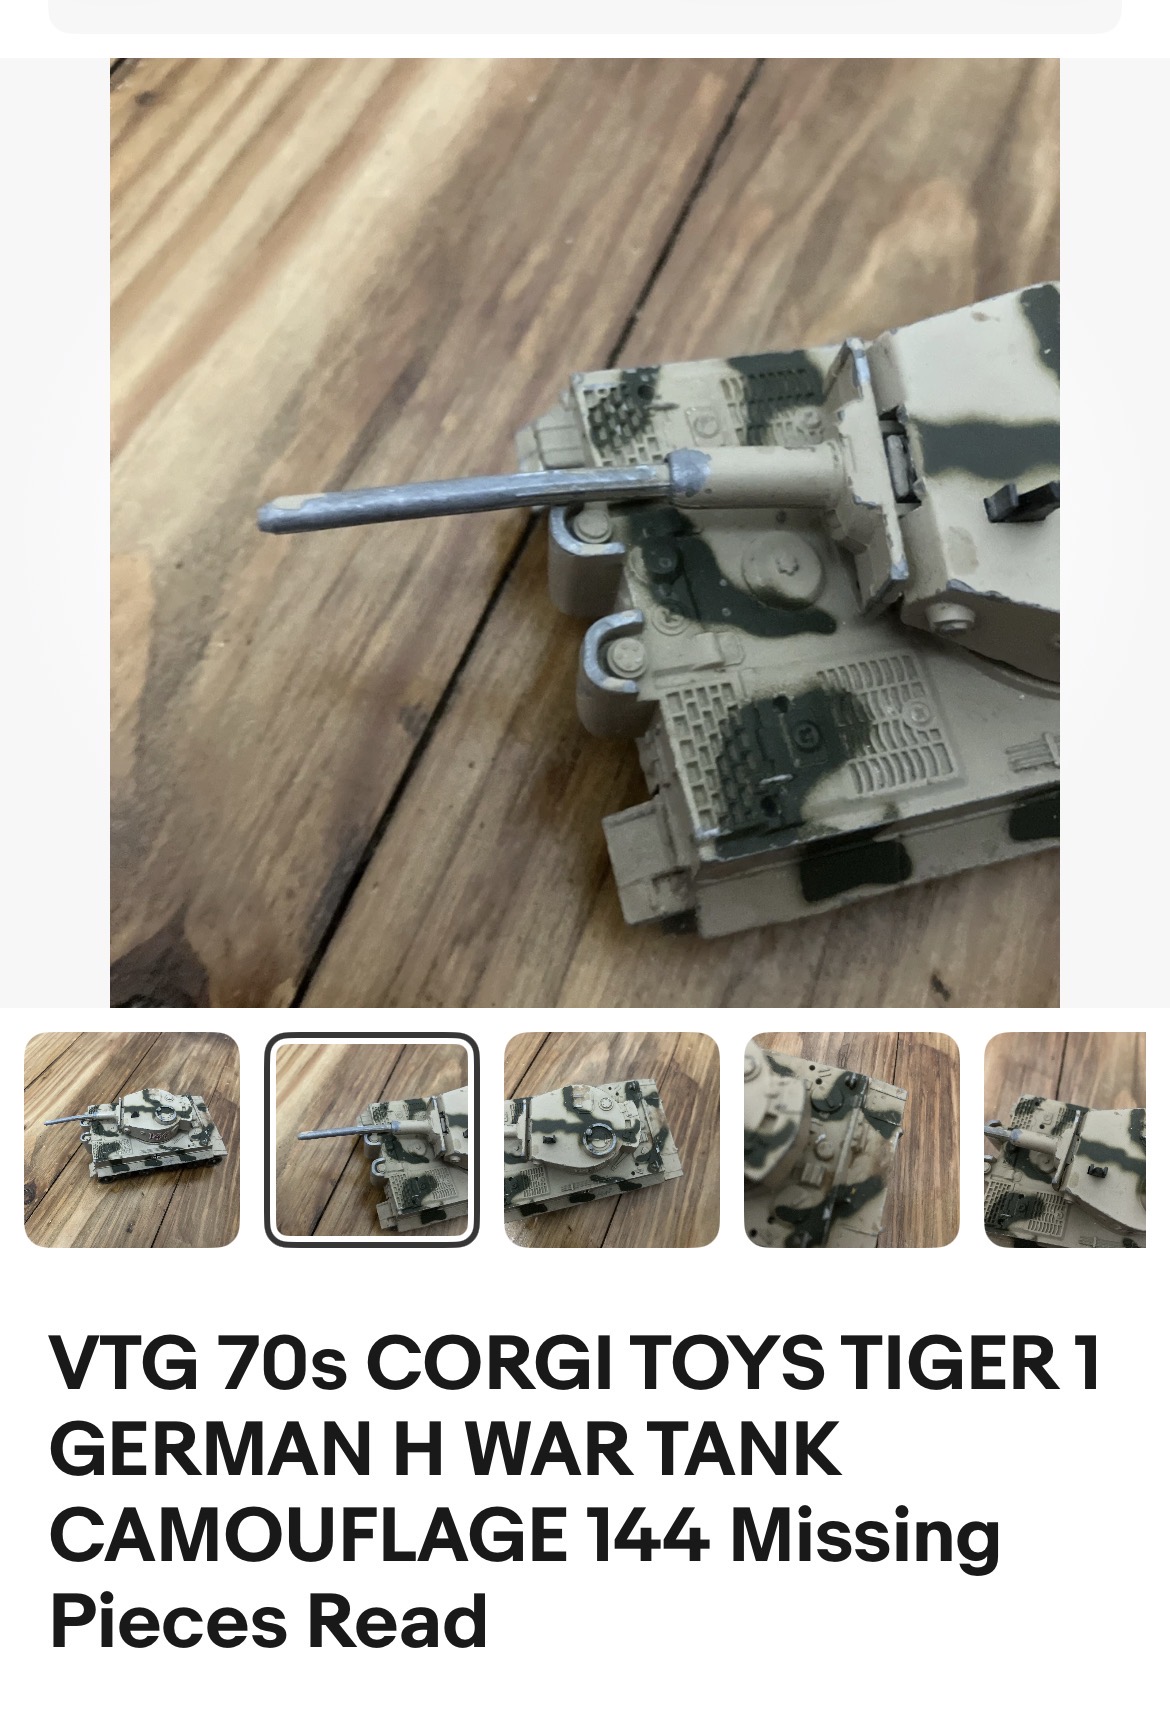
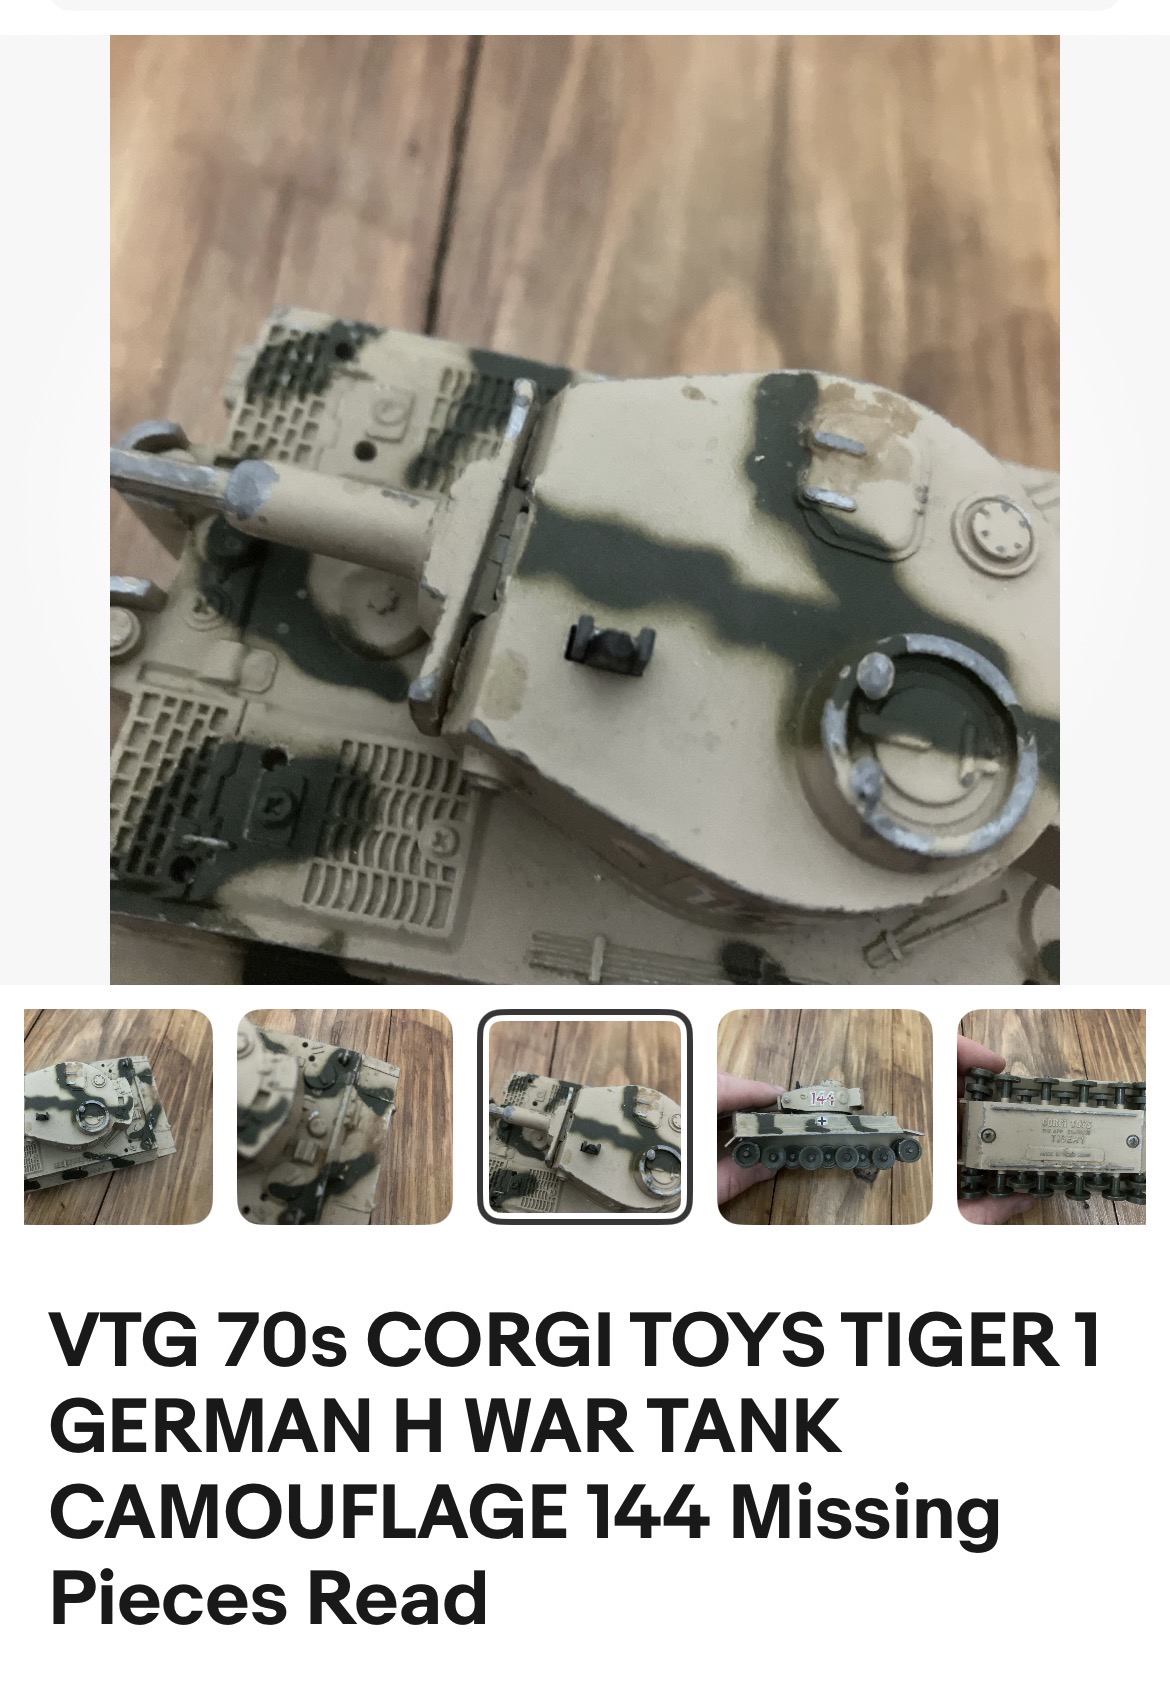
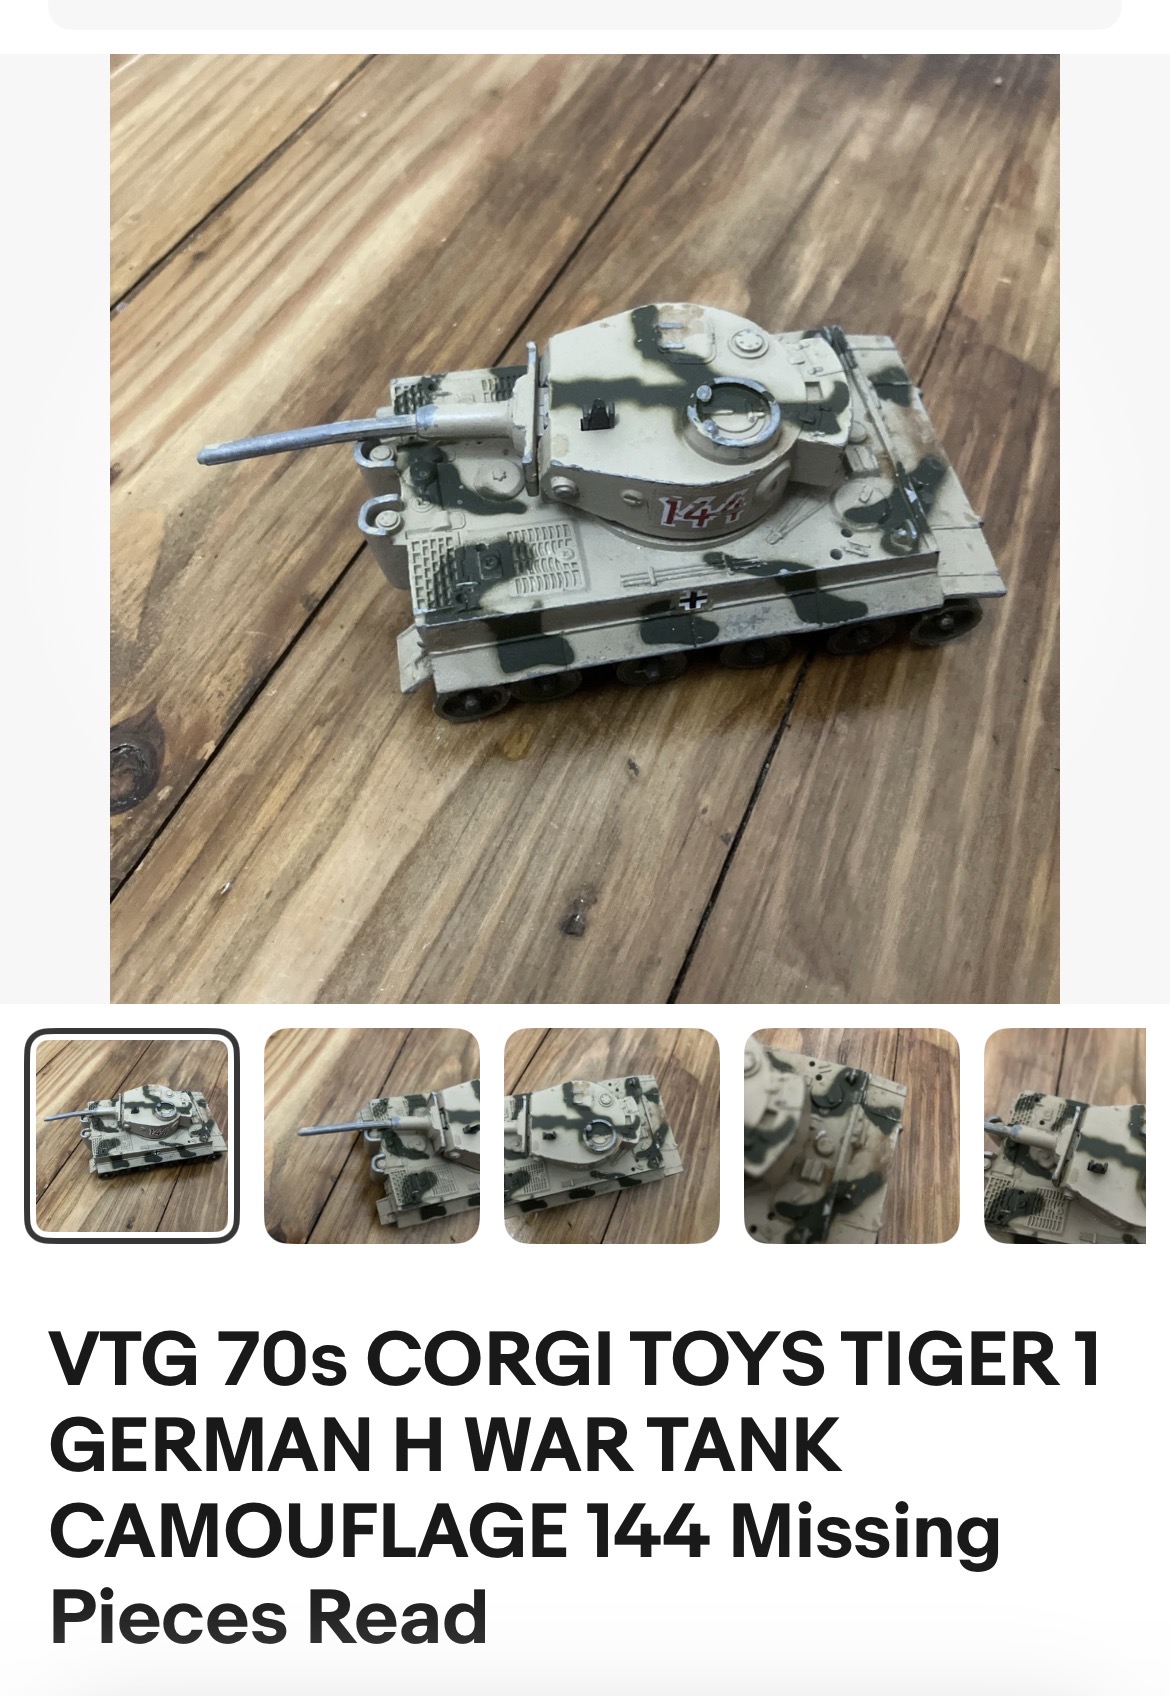
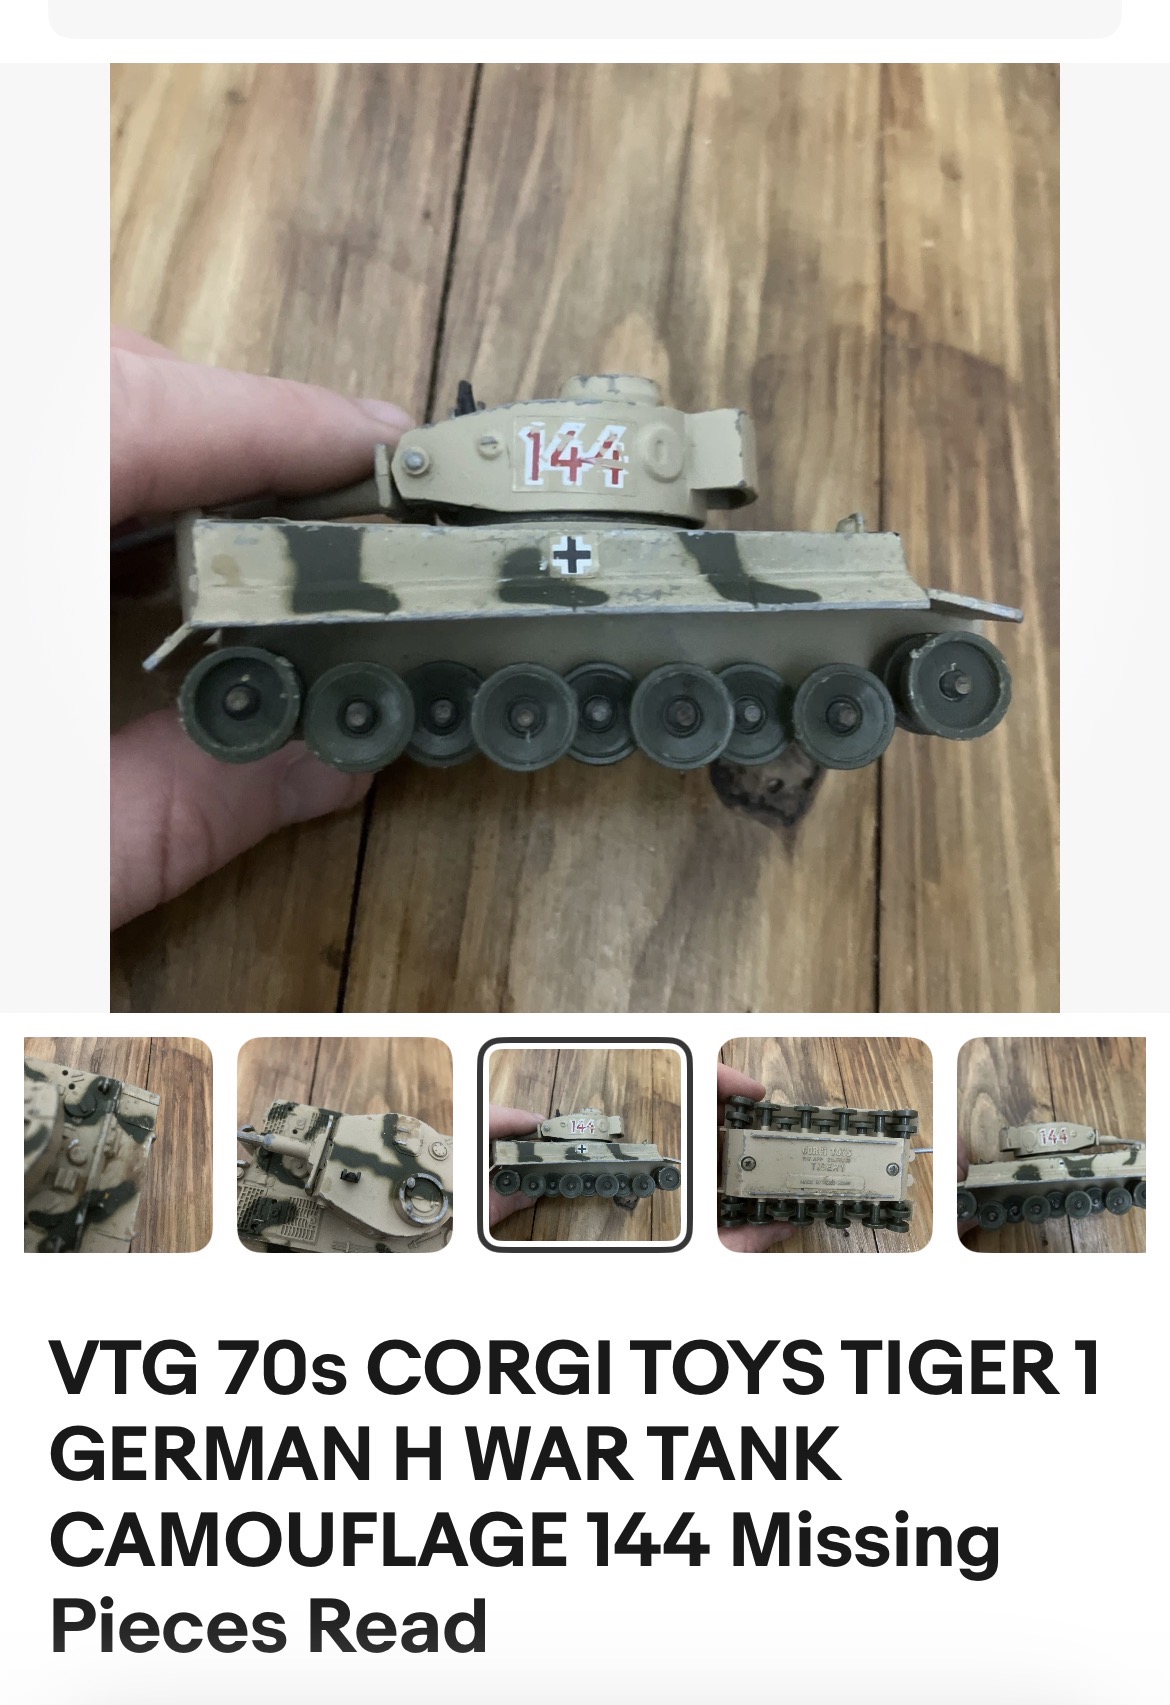
I thought this might work. The Corgi Tiger tank scale was about 1:50 (right in the middle of the two common scales). But I didn’t want to fabricate tracks. Luckily eBay had a seller (apejaycustoms) that 3d-printed tracks for a toy Corgi tank! That’s amazing!
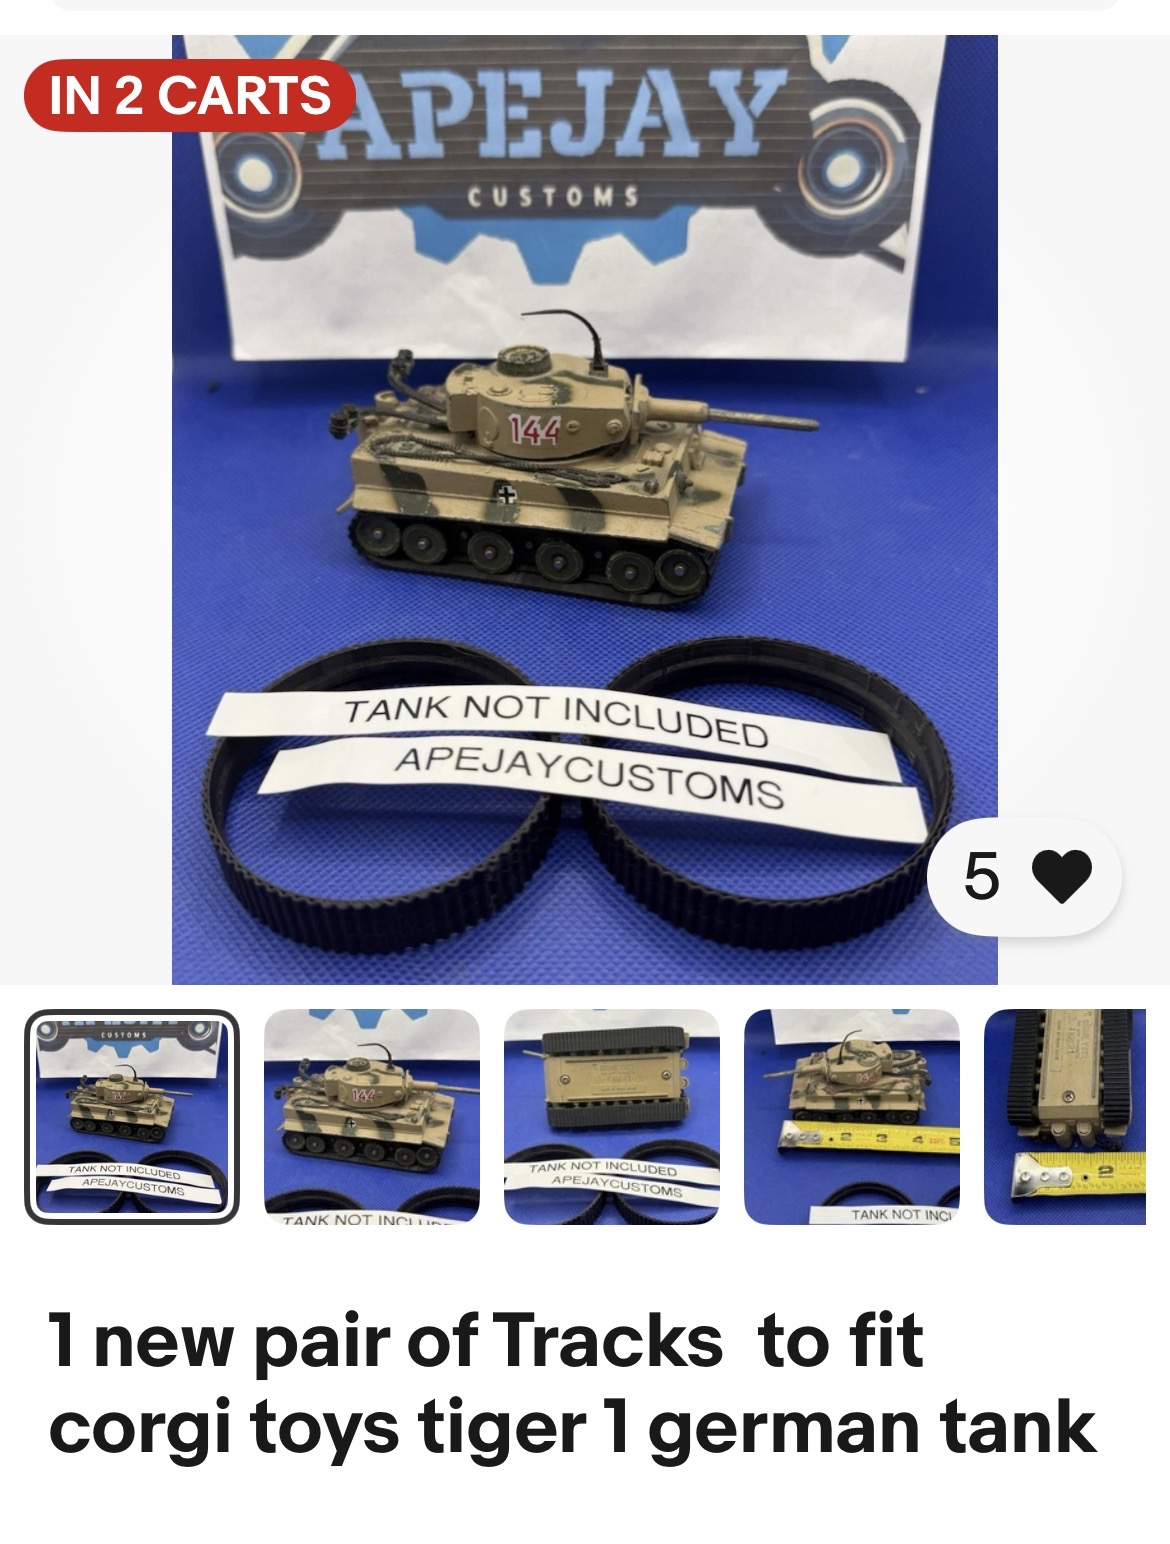
Including shipping, I bought the tank for $12.30 and the tracks for $13.15.
I could have stopped there – but as most of you know that I usually don’t. What if the Tiger could be commanded by – A TIGER! That would certainly mesh with the feline Felynxii army.I looked at a few options on eBay and in local stores – and bought the following options with the idea that I could possible remove the head and put on the top of the tank in the commander’s cupula:
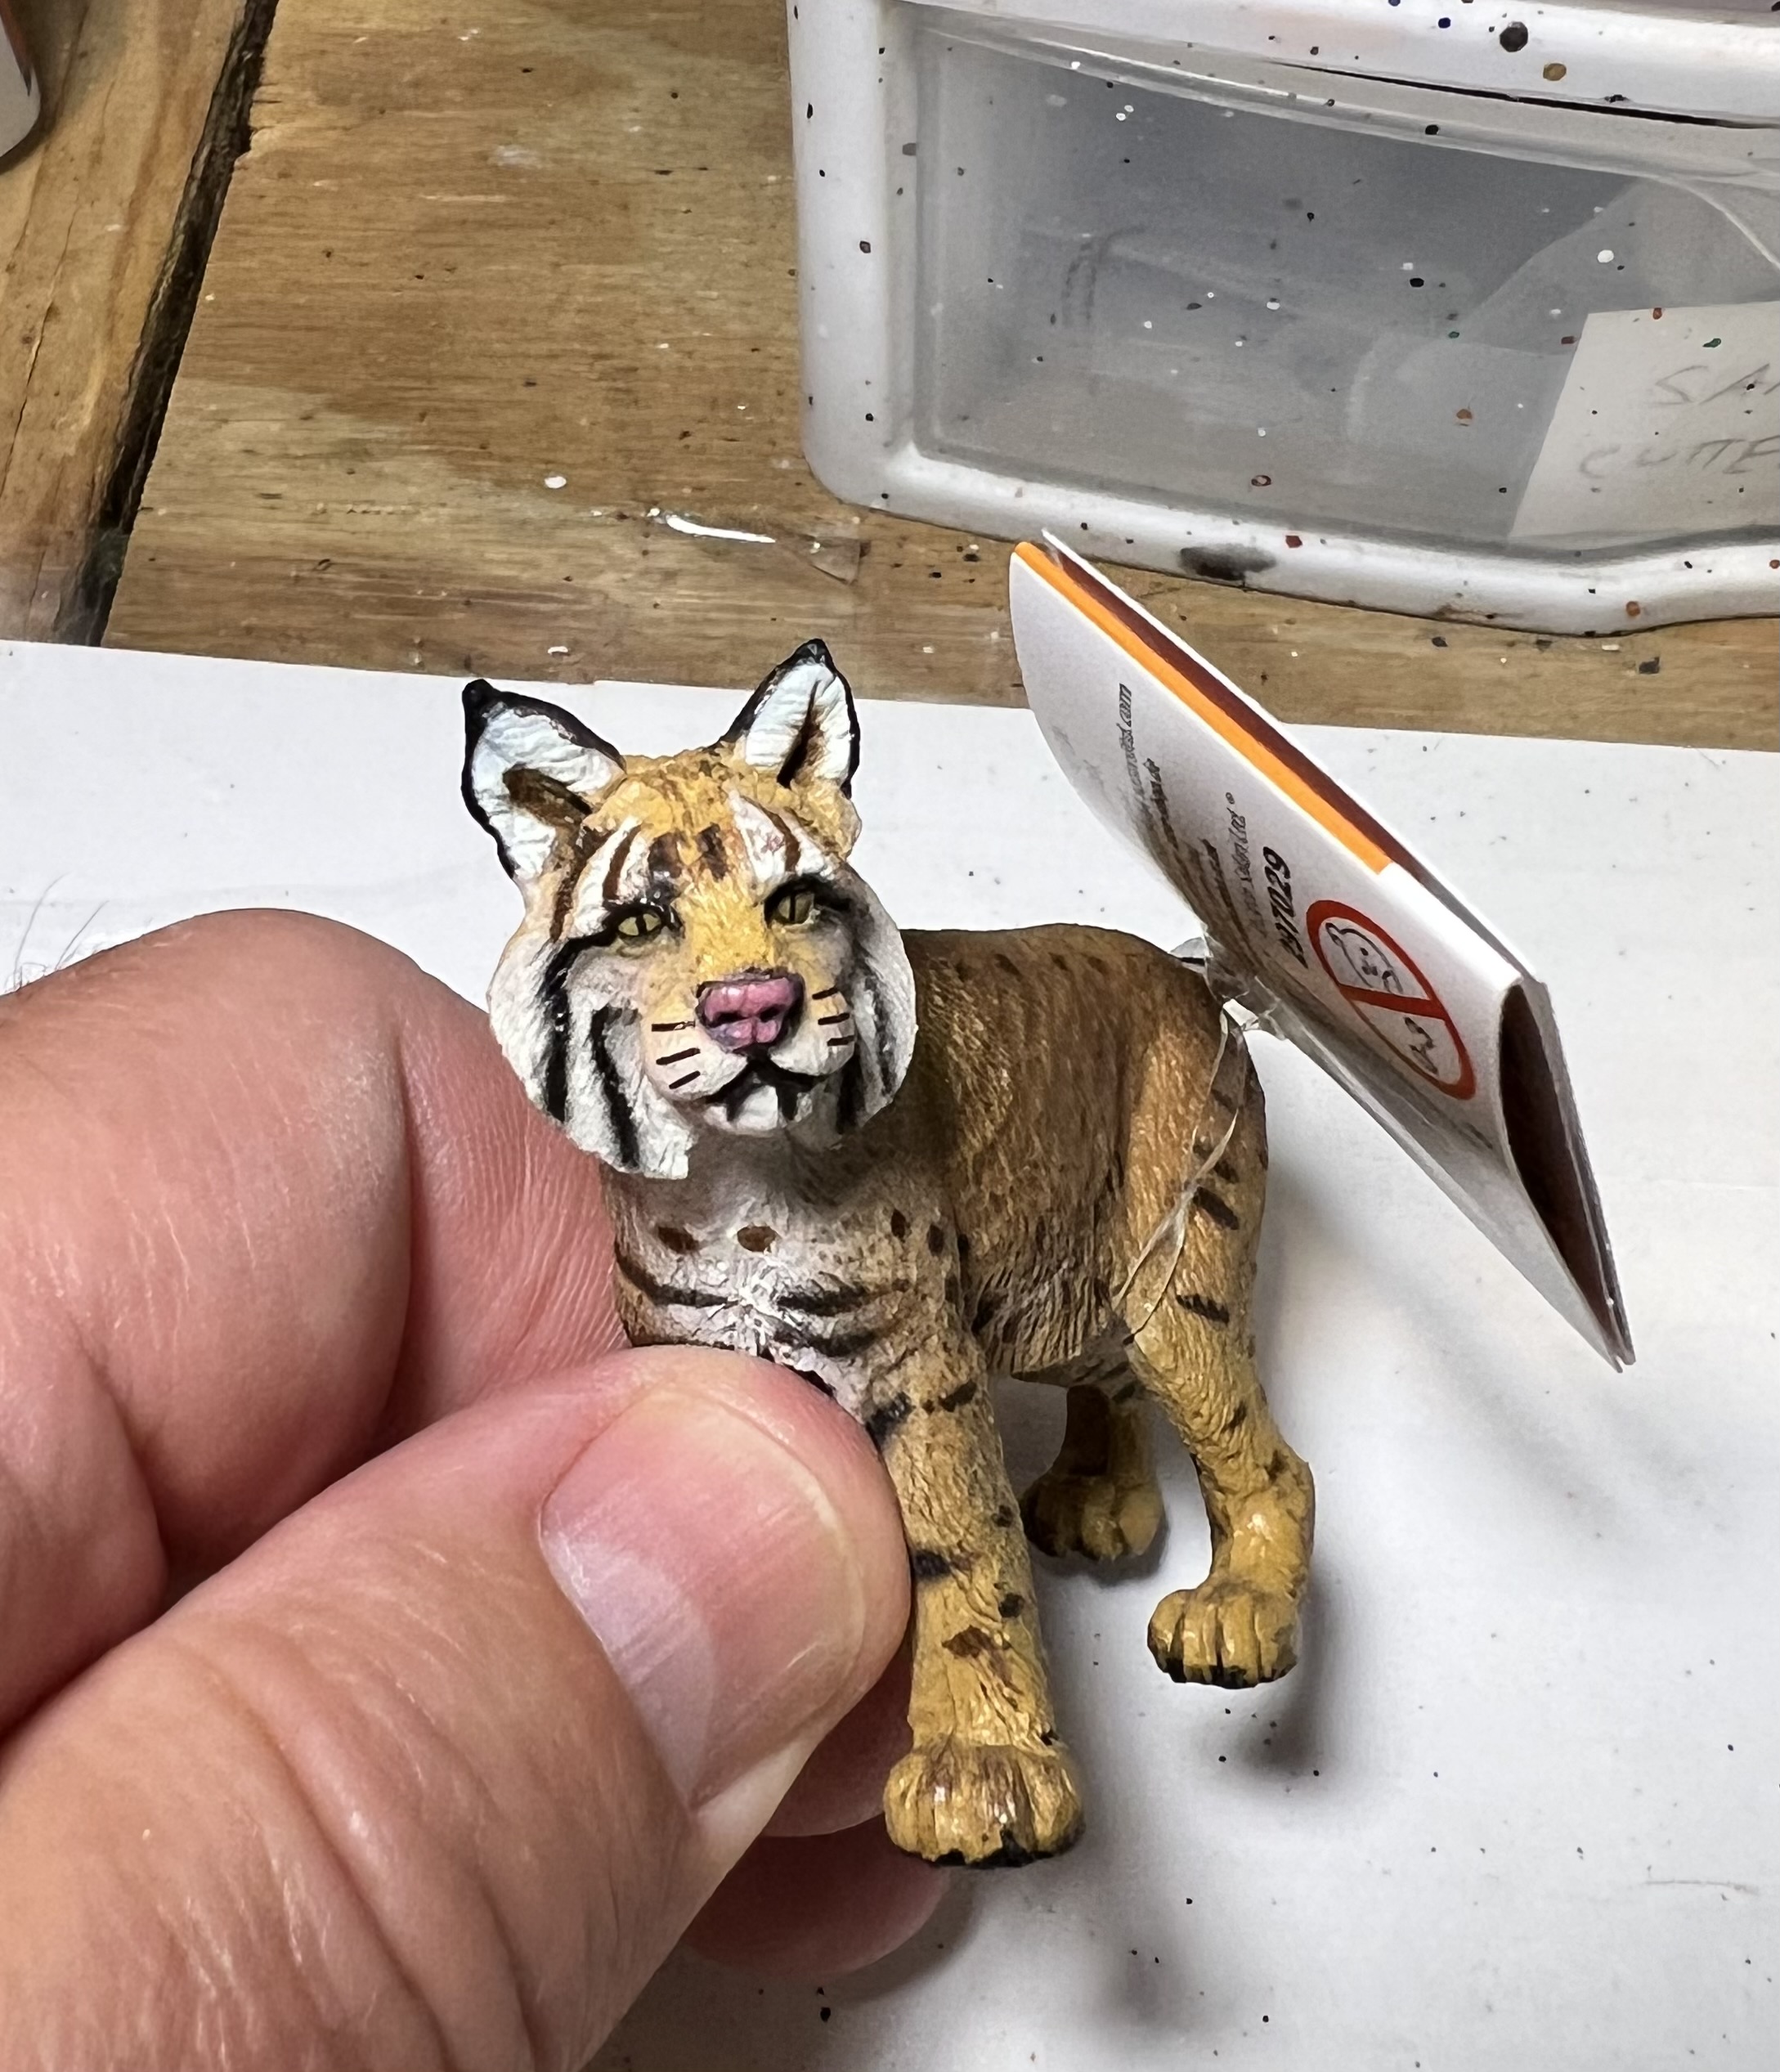
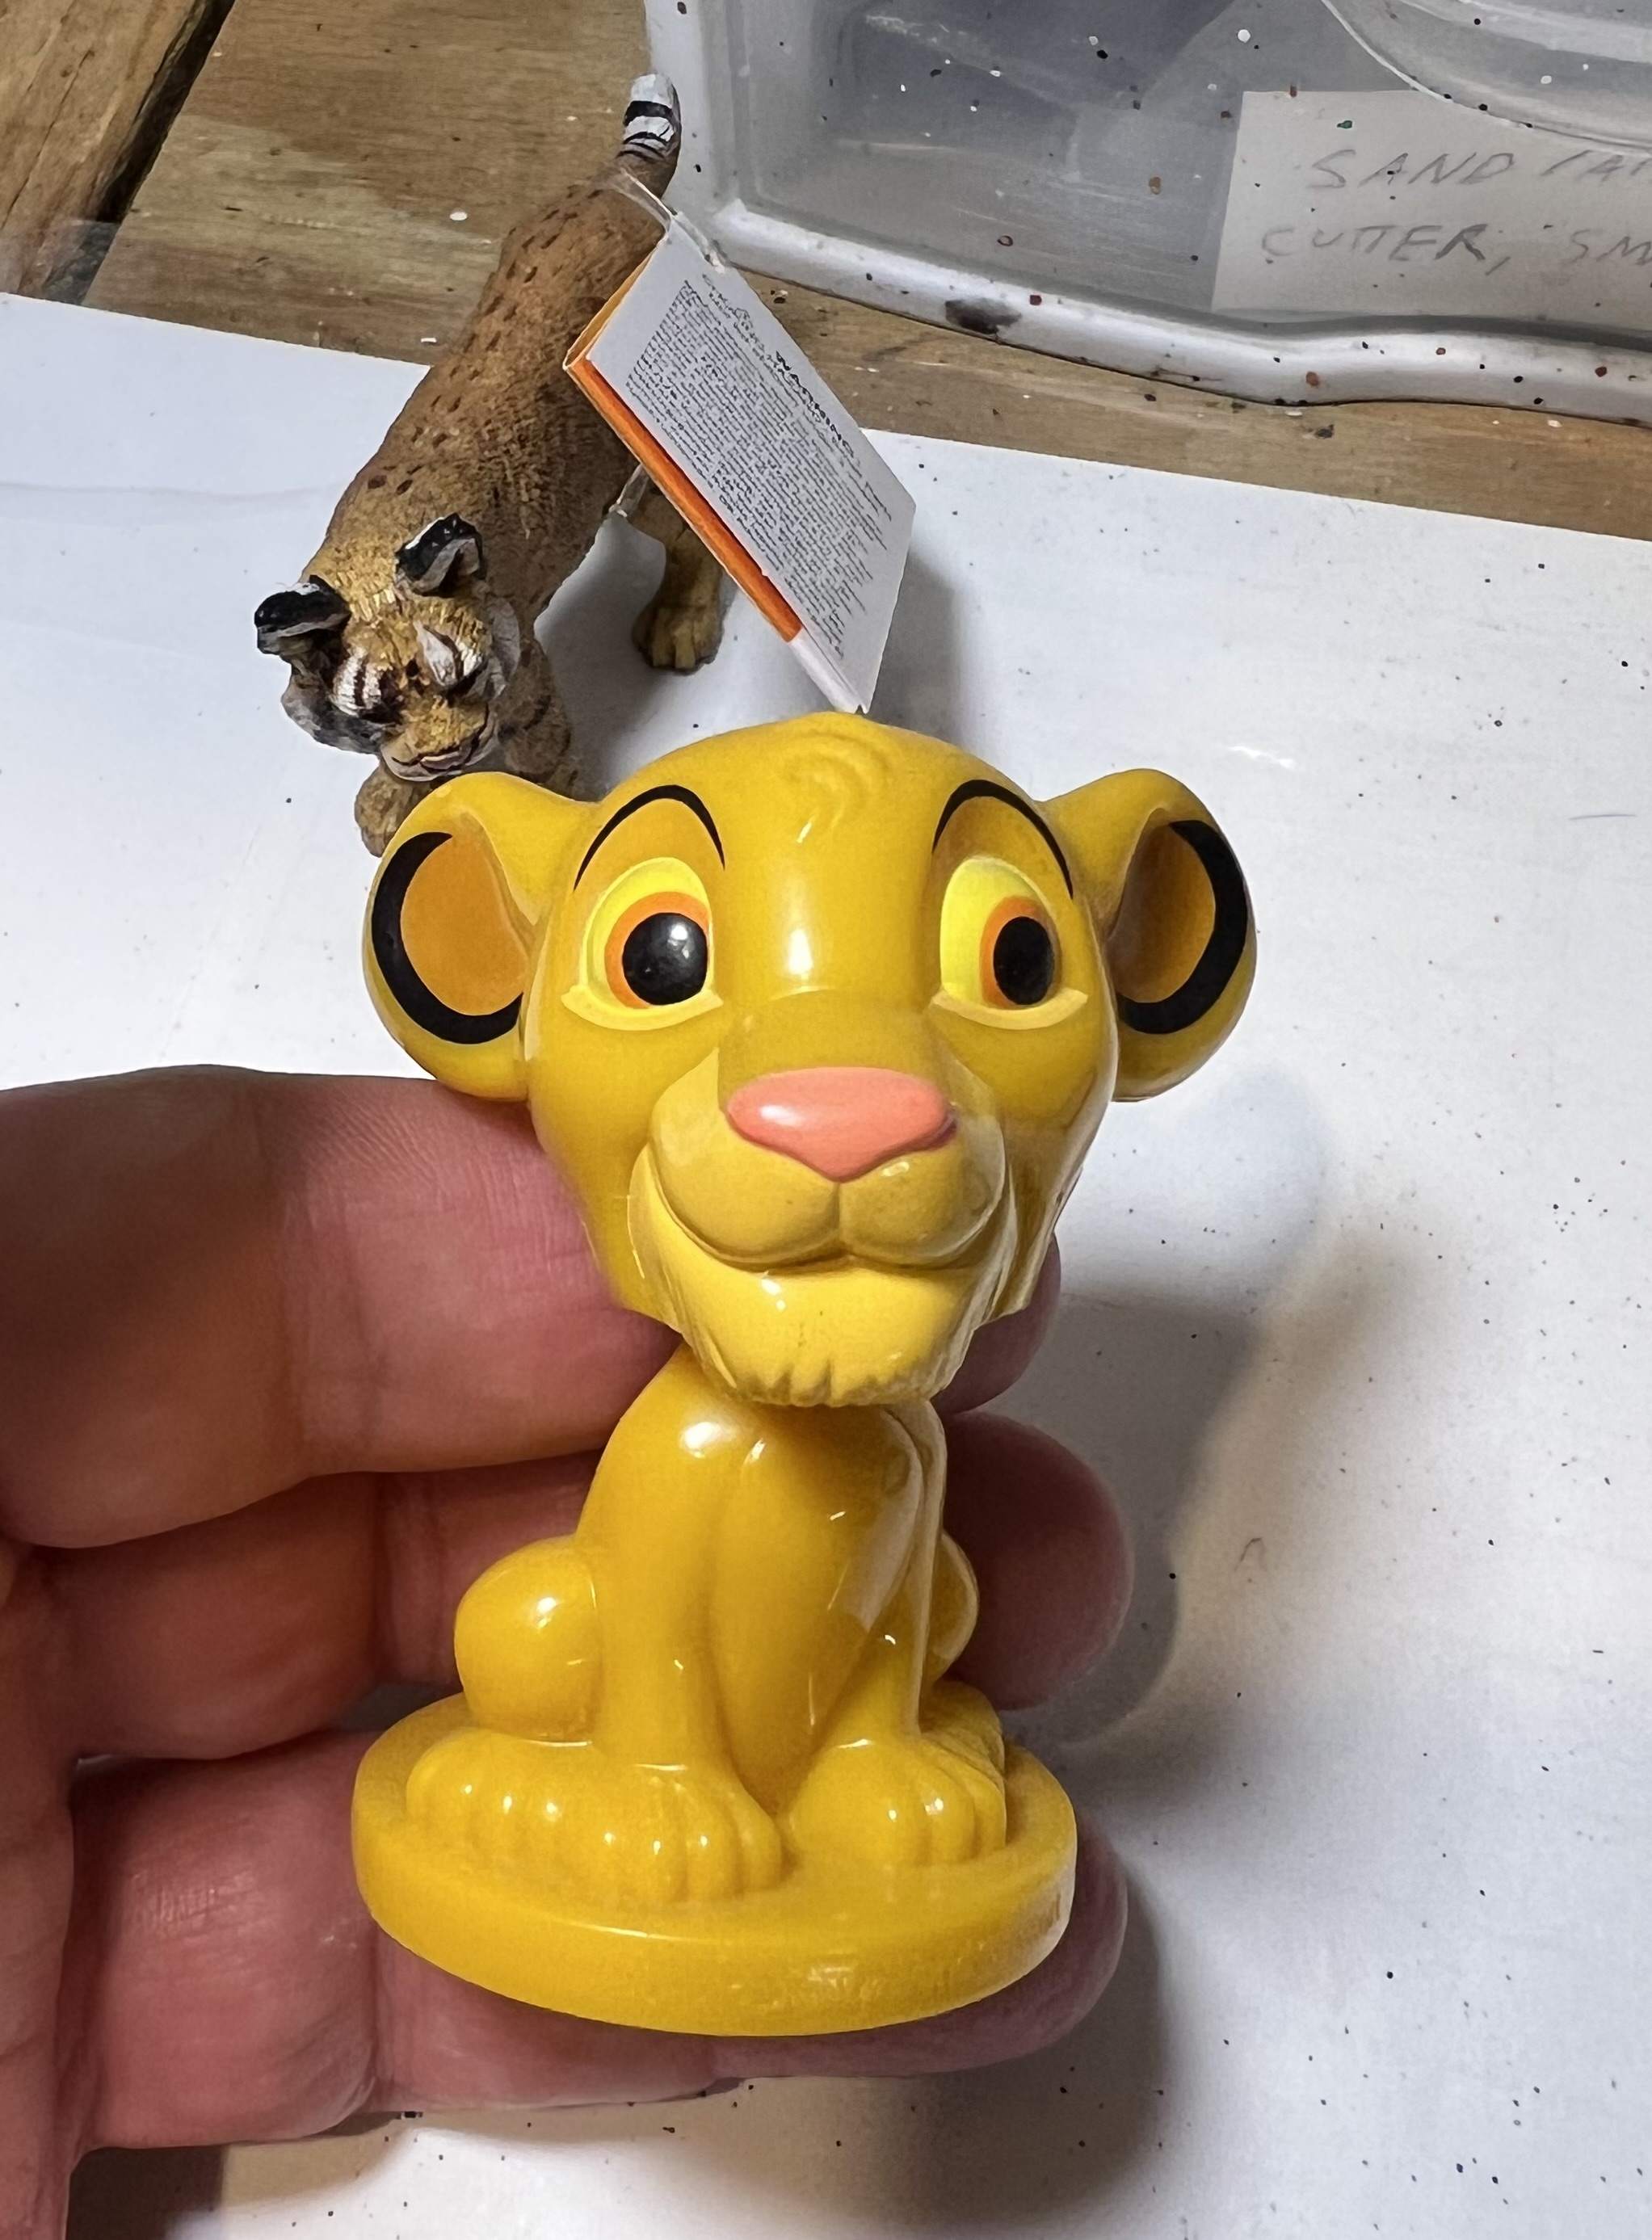

All of these were too big – though the tiger figure was in the end useful to help me pattern tiger stripes. All ended up as gifts to my grandaughter post-project.
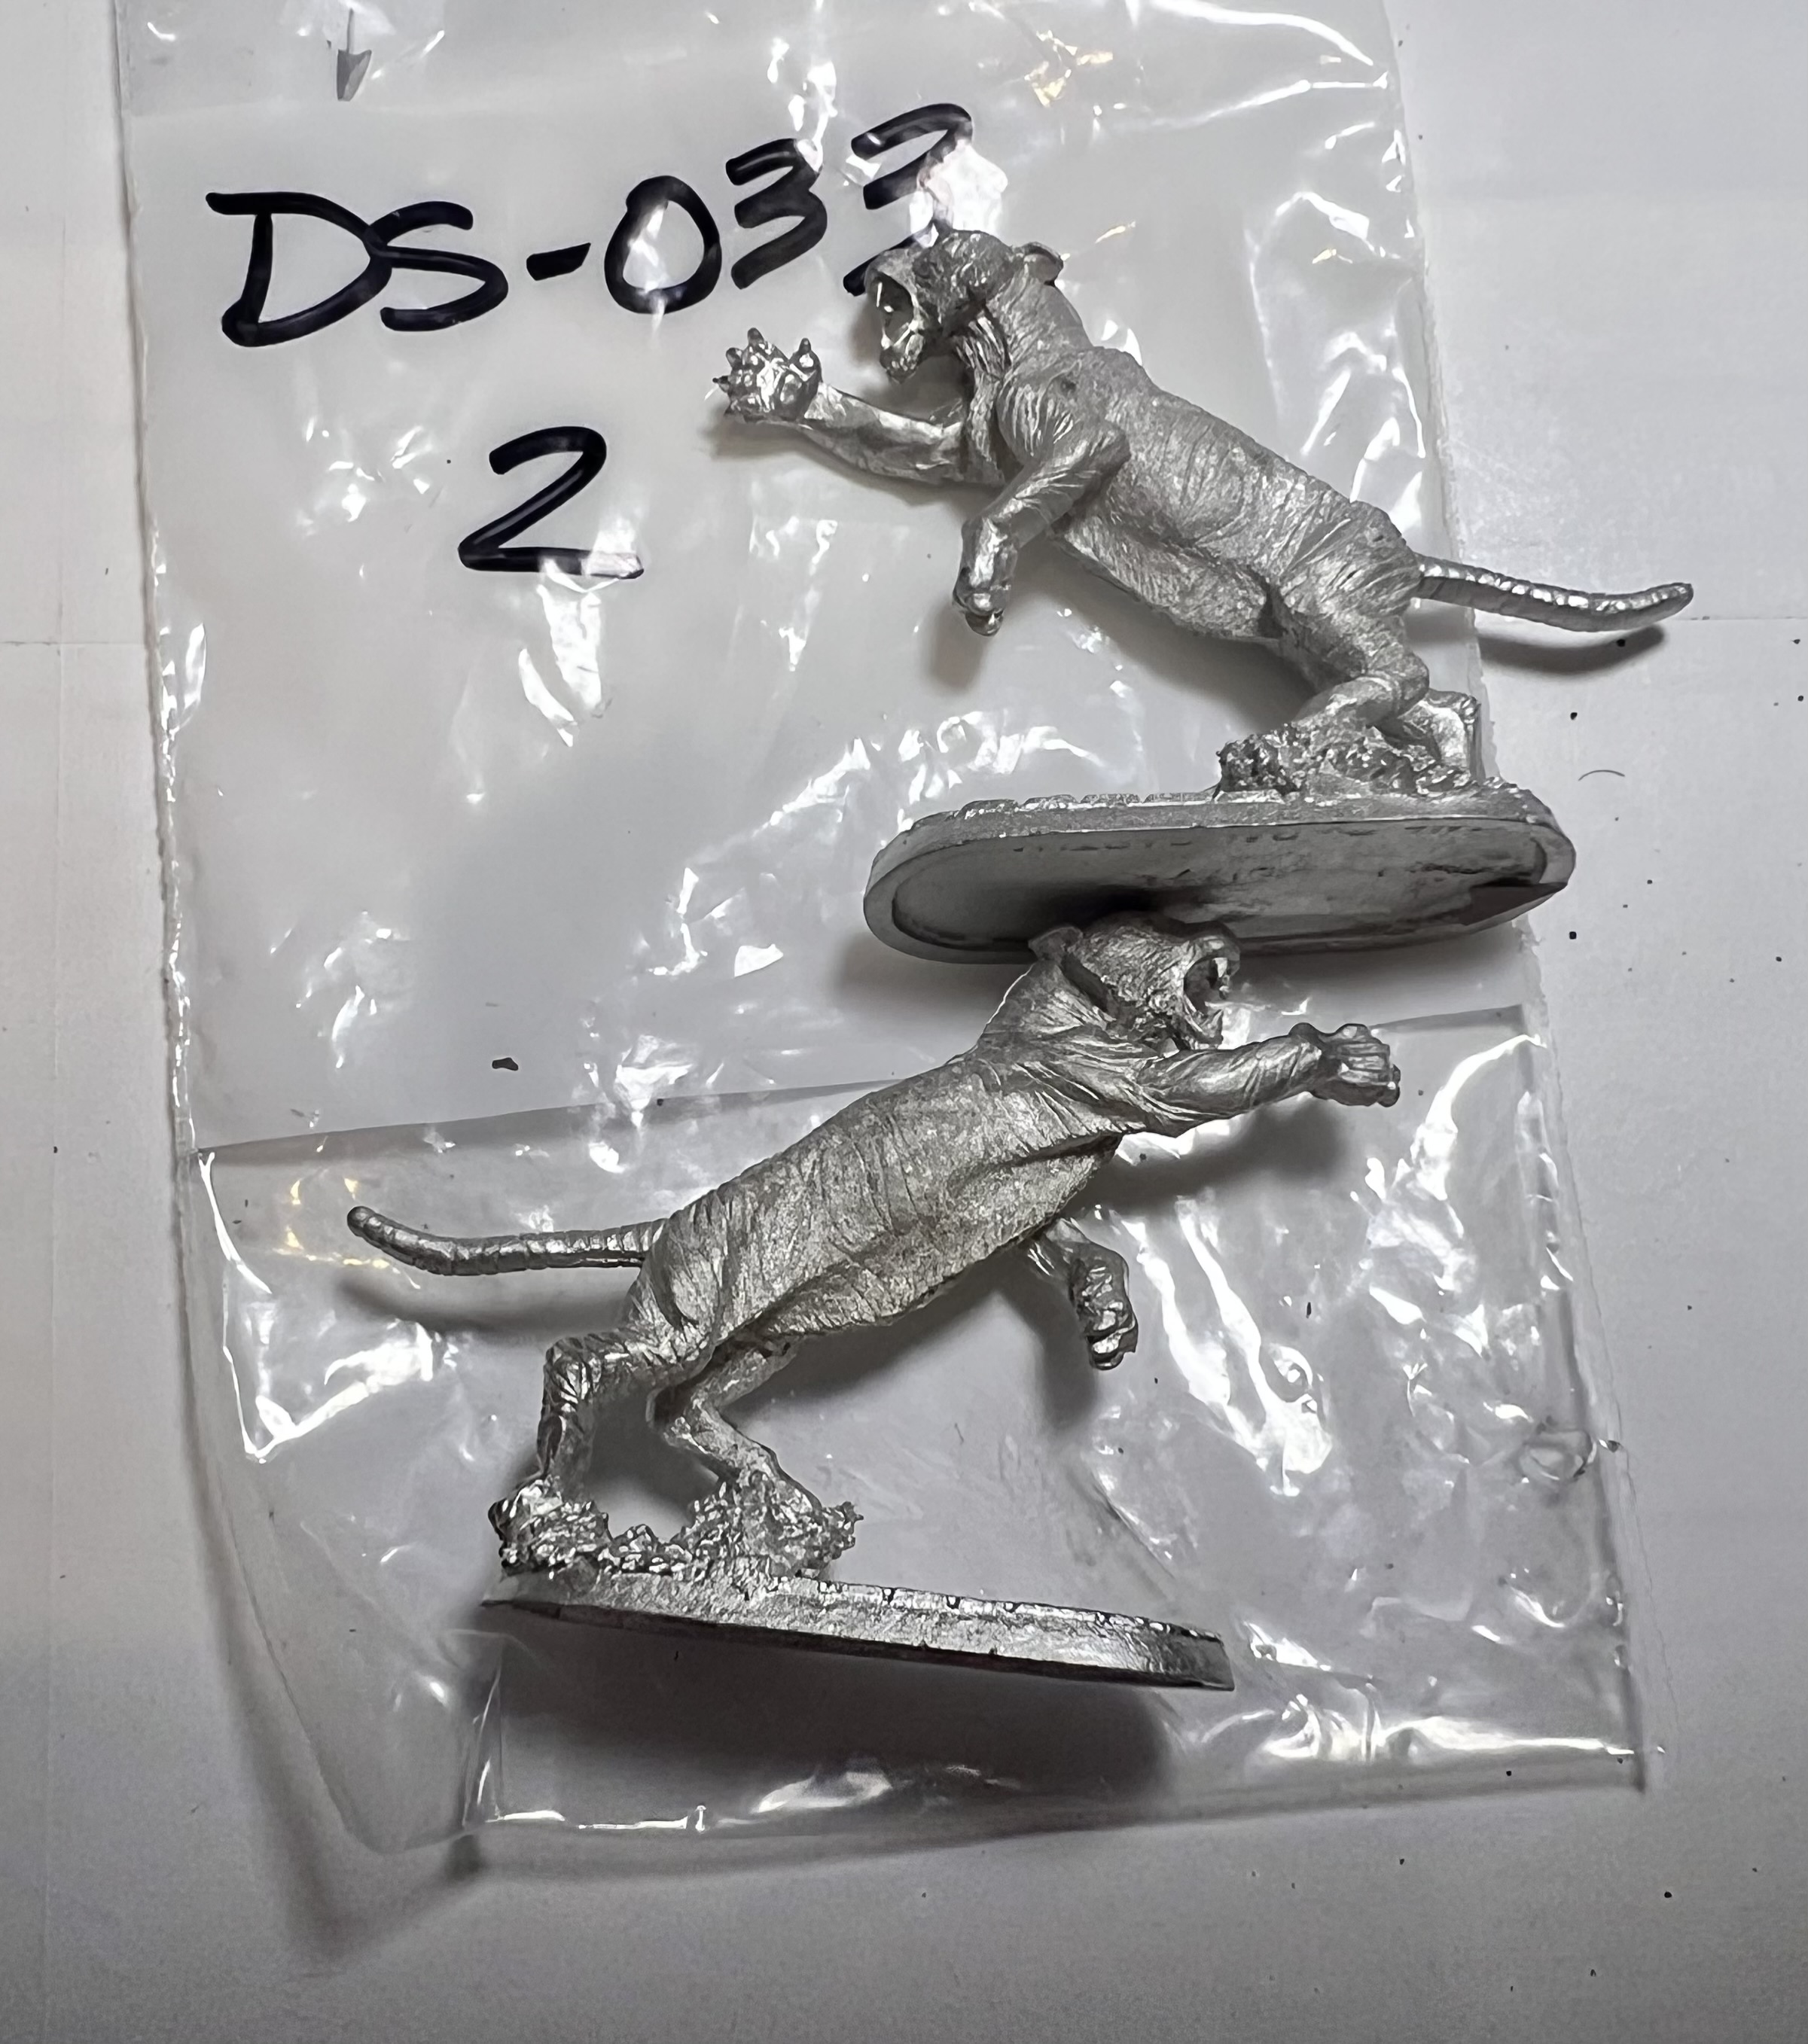
My ultimate tiger solution came with my finding a 25mm scale figure from Iron Wind Metals. It was – “Male Shape Shifter (Tiger Form)”, SKU DS-033. I’m pretty sure it was originally a Ral Partha figure, so in my mind it qualifies as an “Old School Mini”.
I thought I could modify it to work as a tank commander. I ordered two just in case for $28.90 including shipping. While 25mm is a bit smaller than 28mm – it was close in size to the Felynxii infantry from 1977. So all of them are 1970’s-era products.
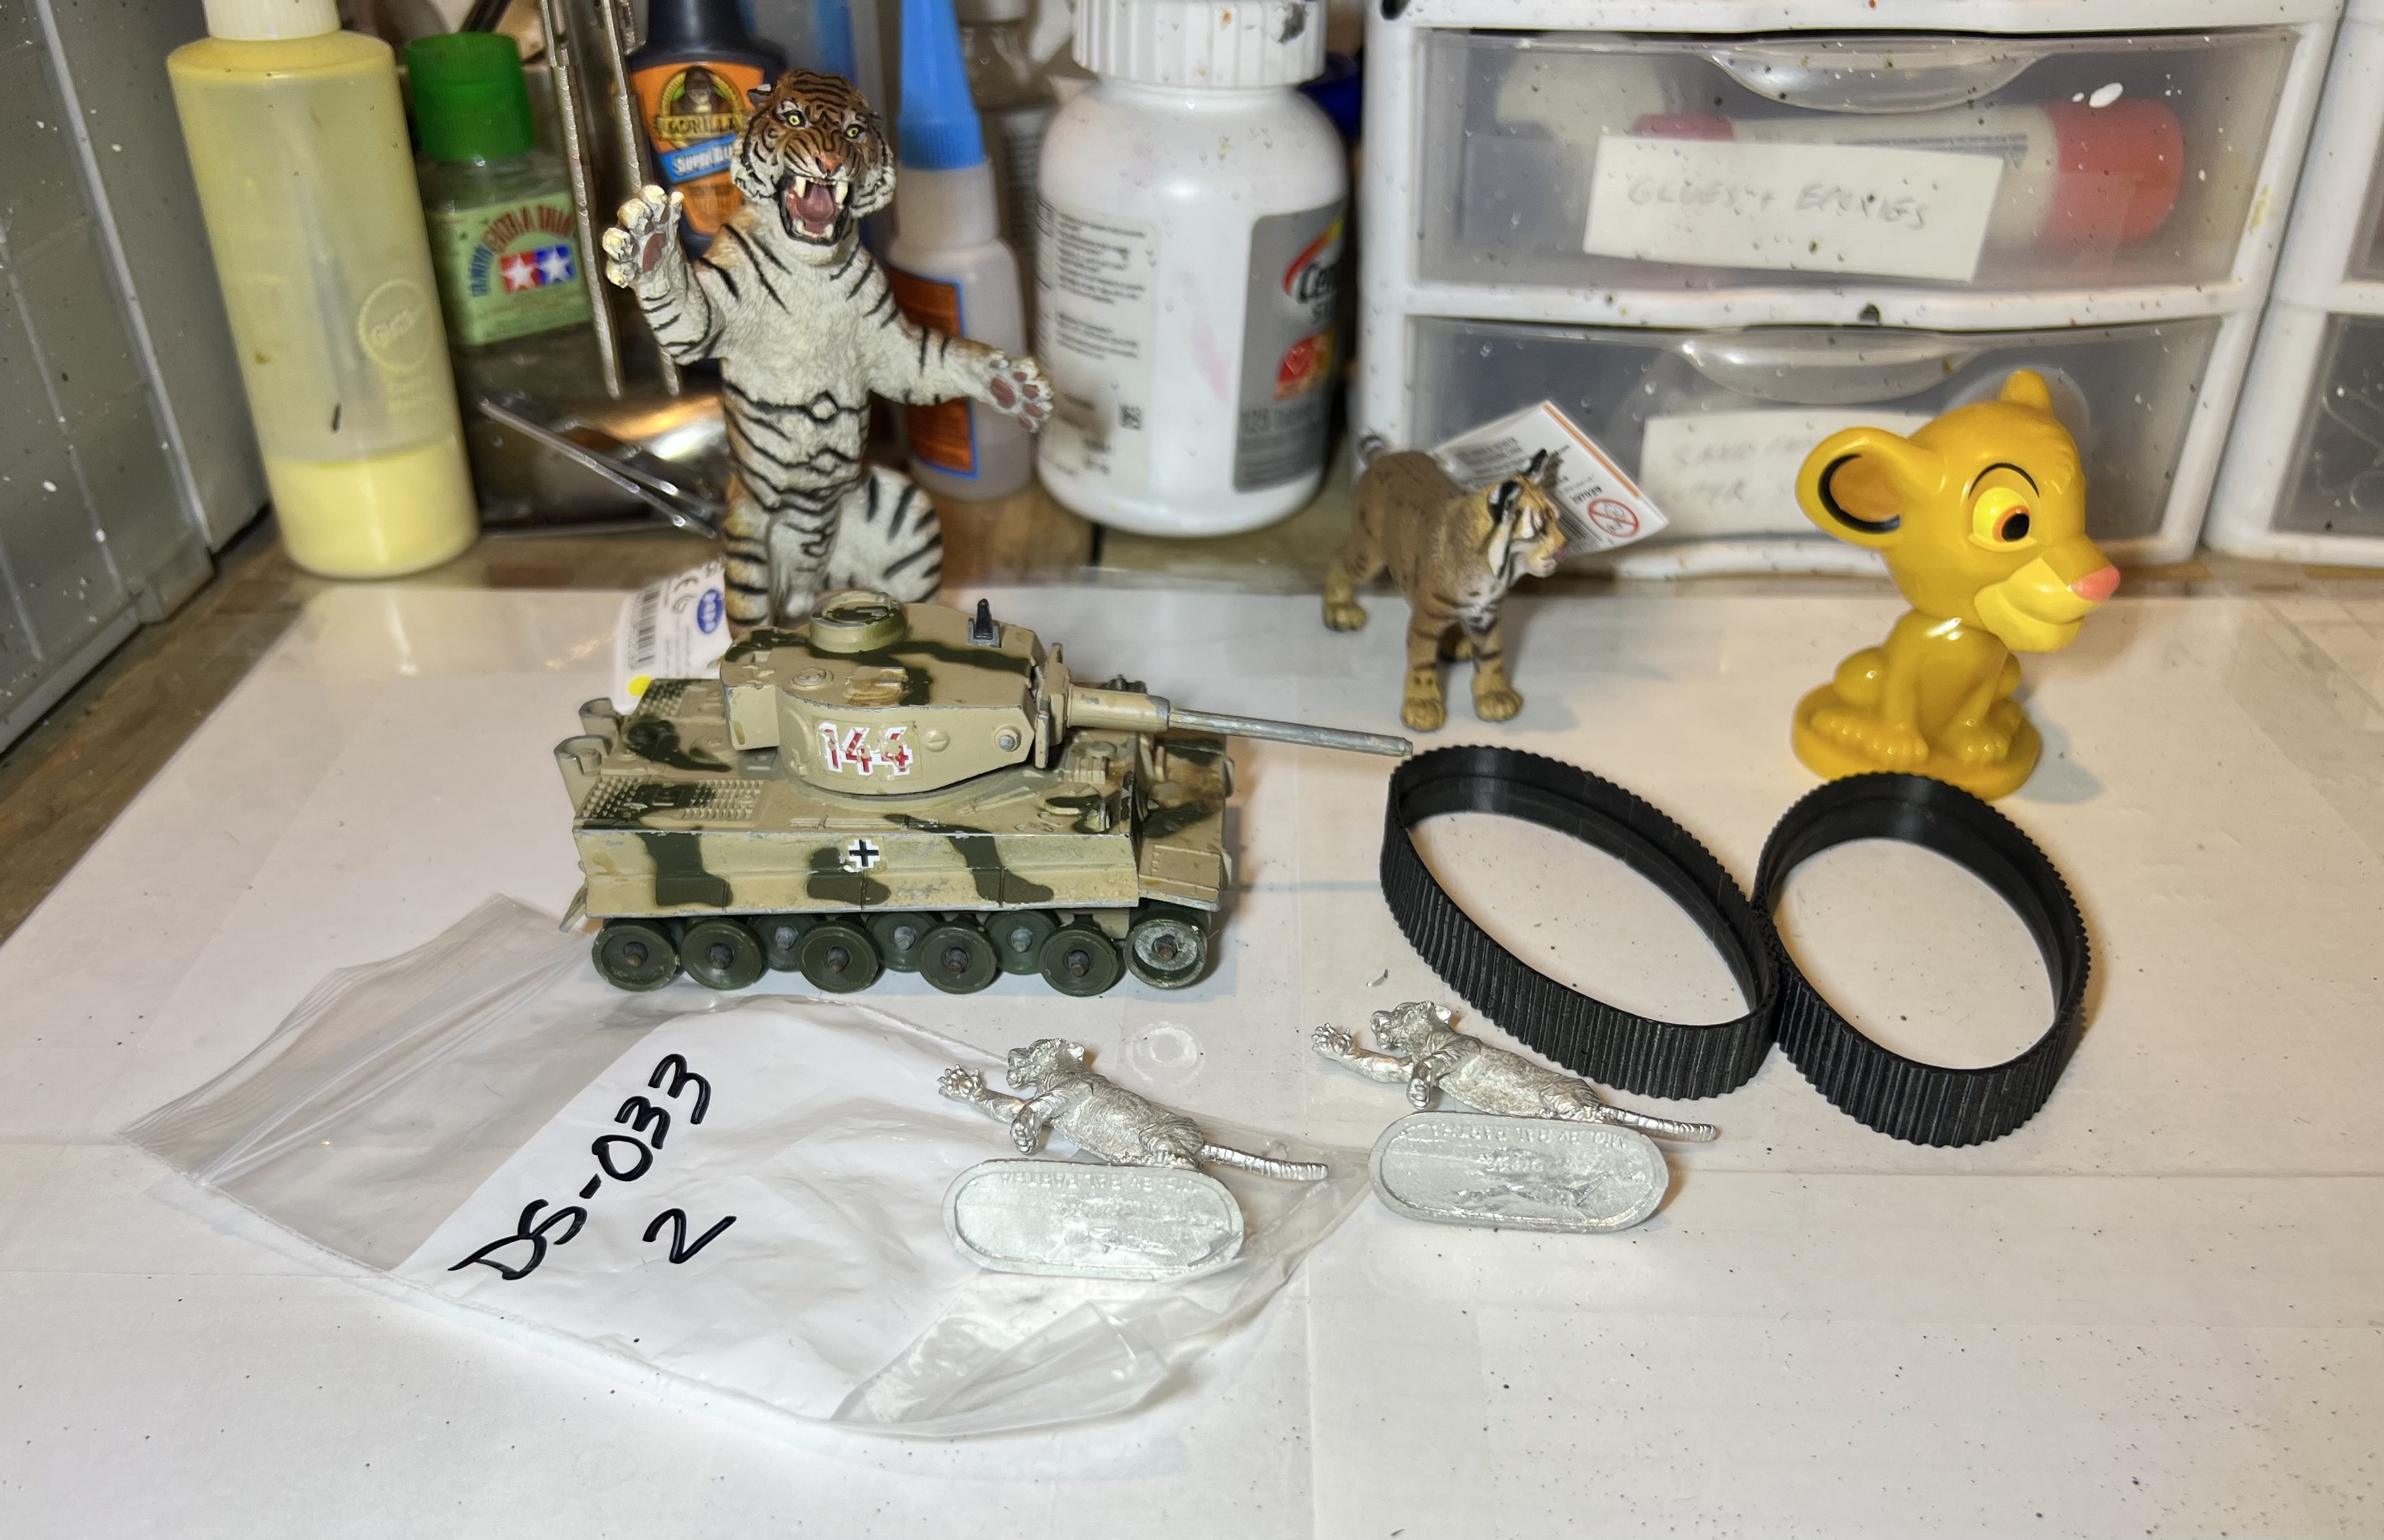
The Corgi tank needed work!
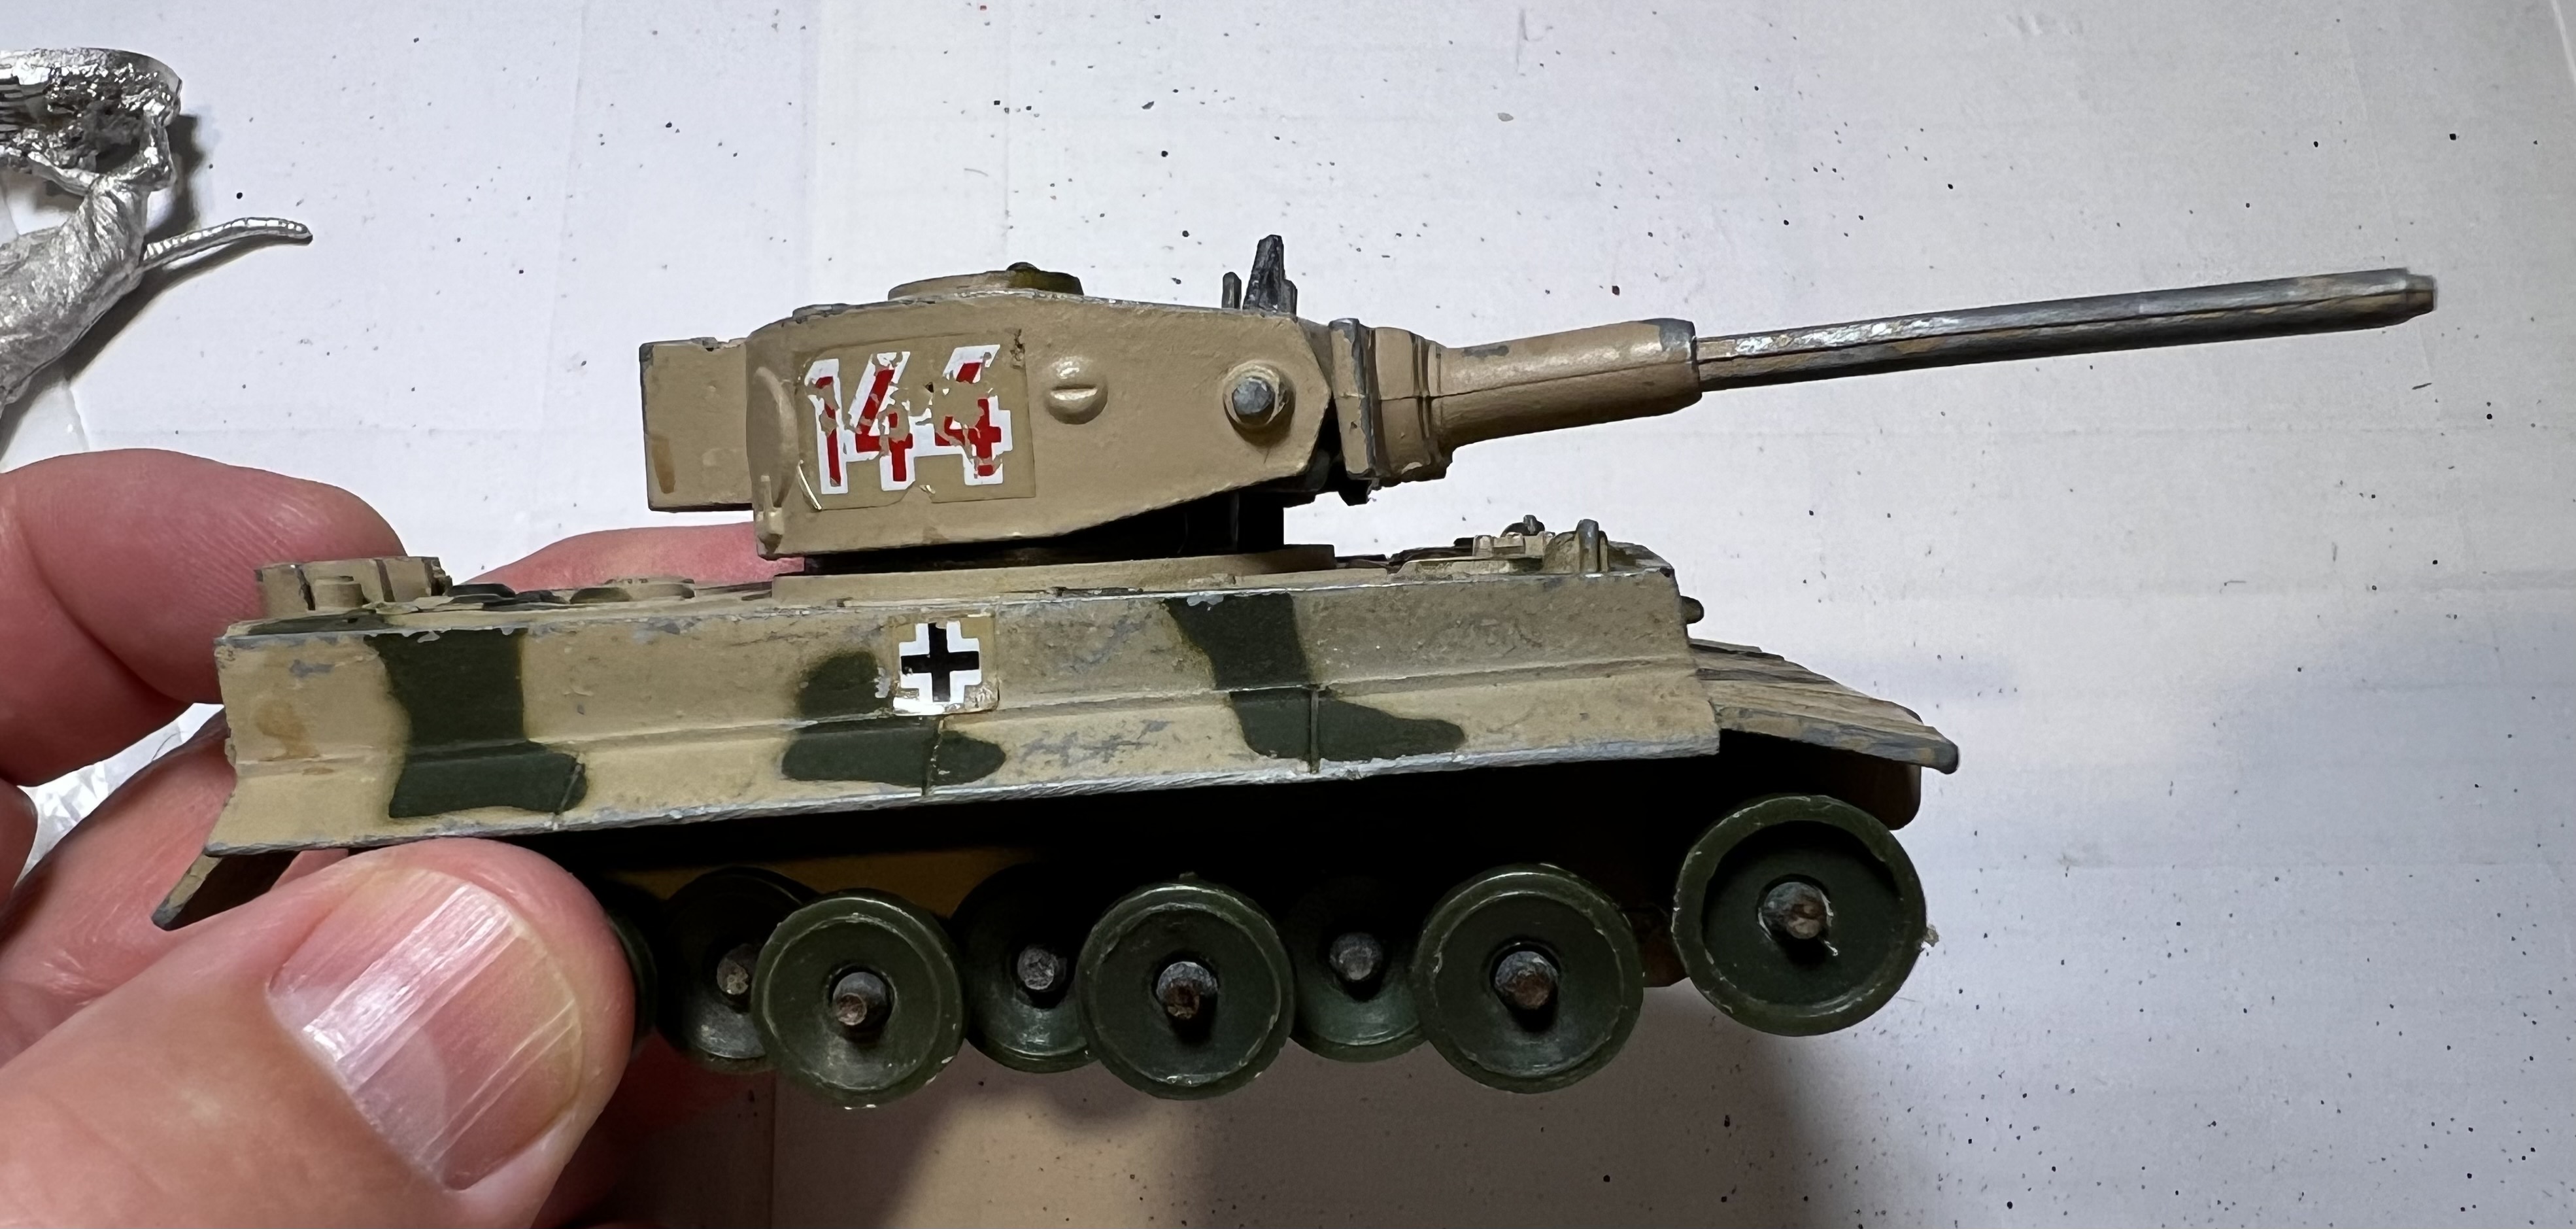
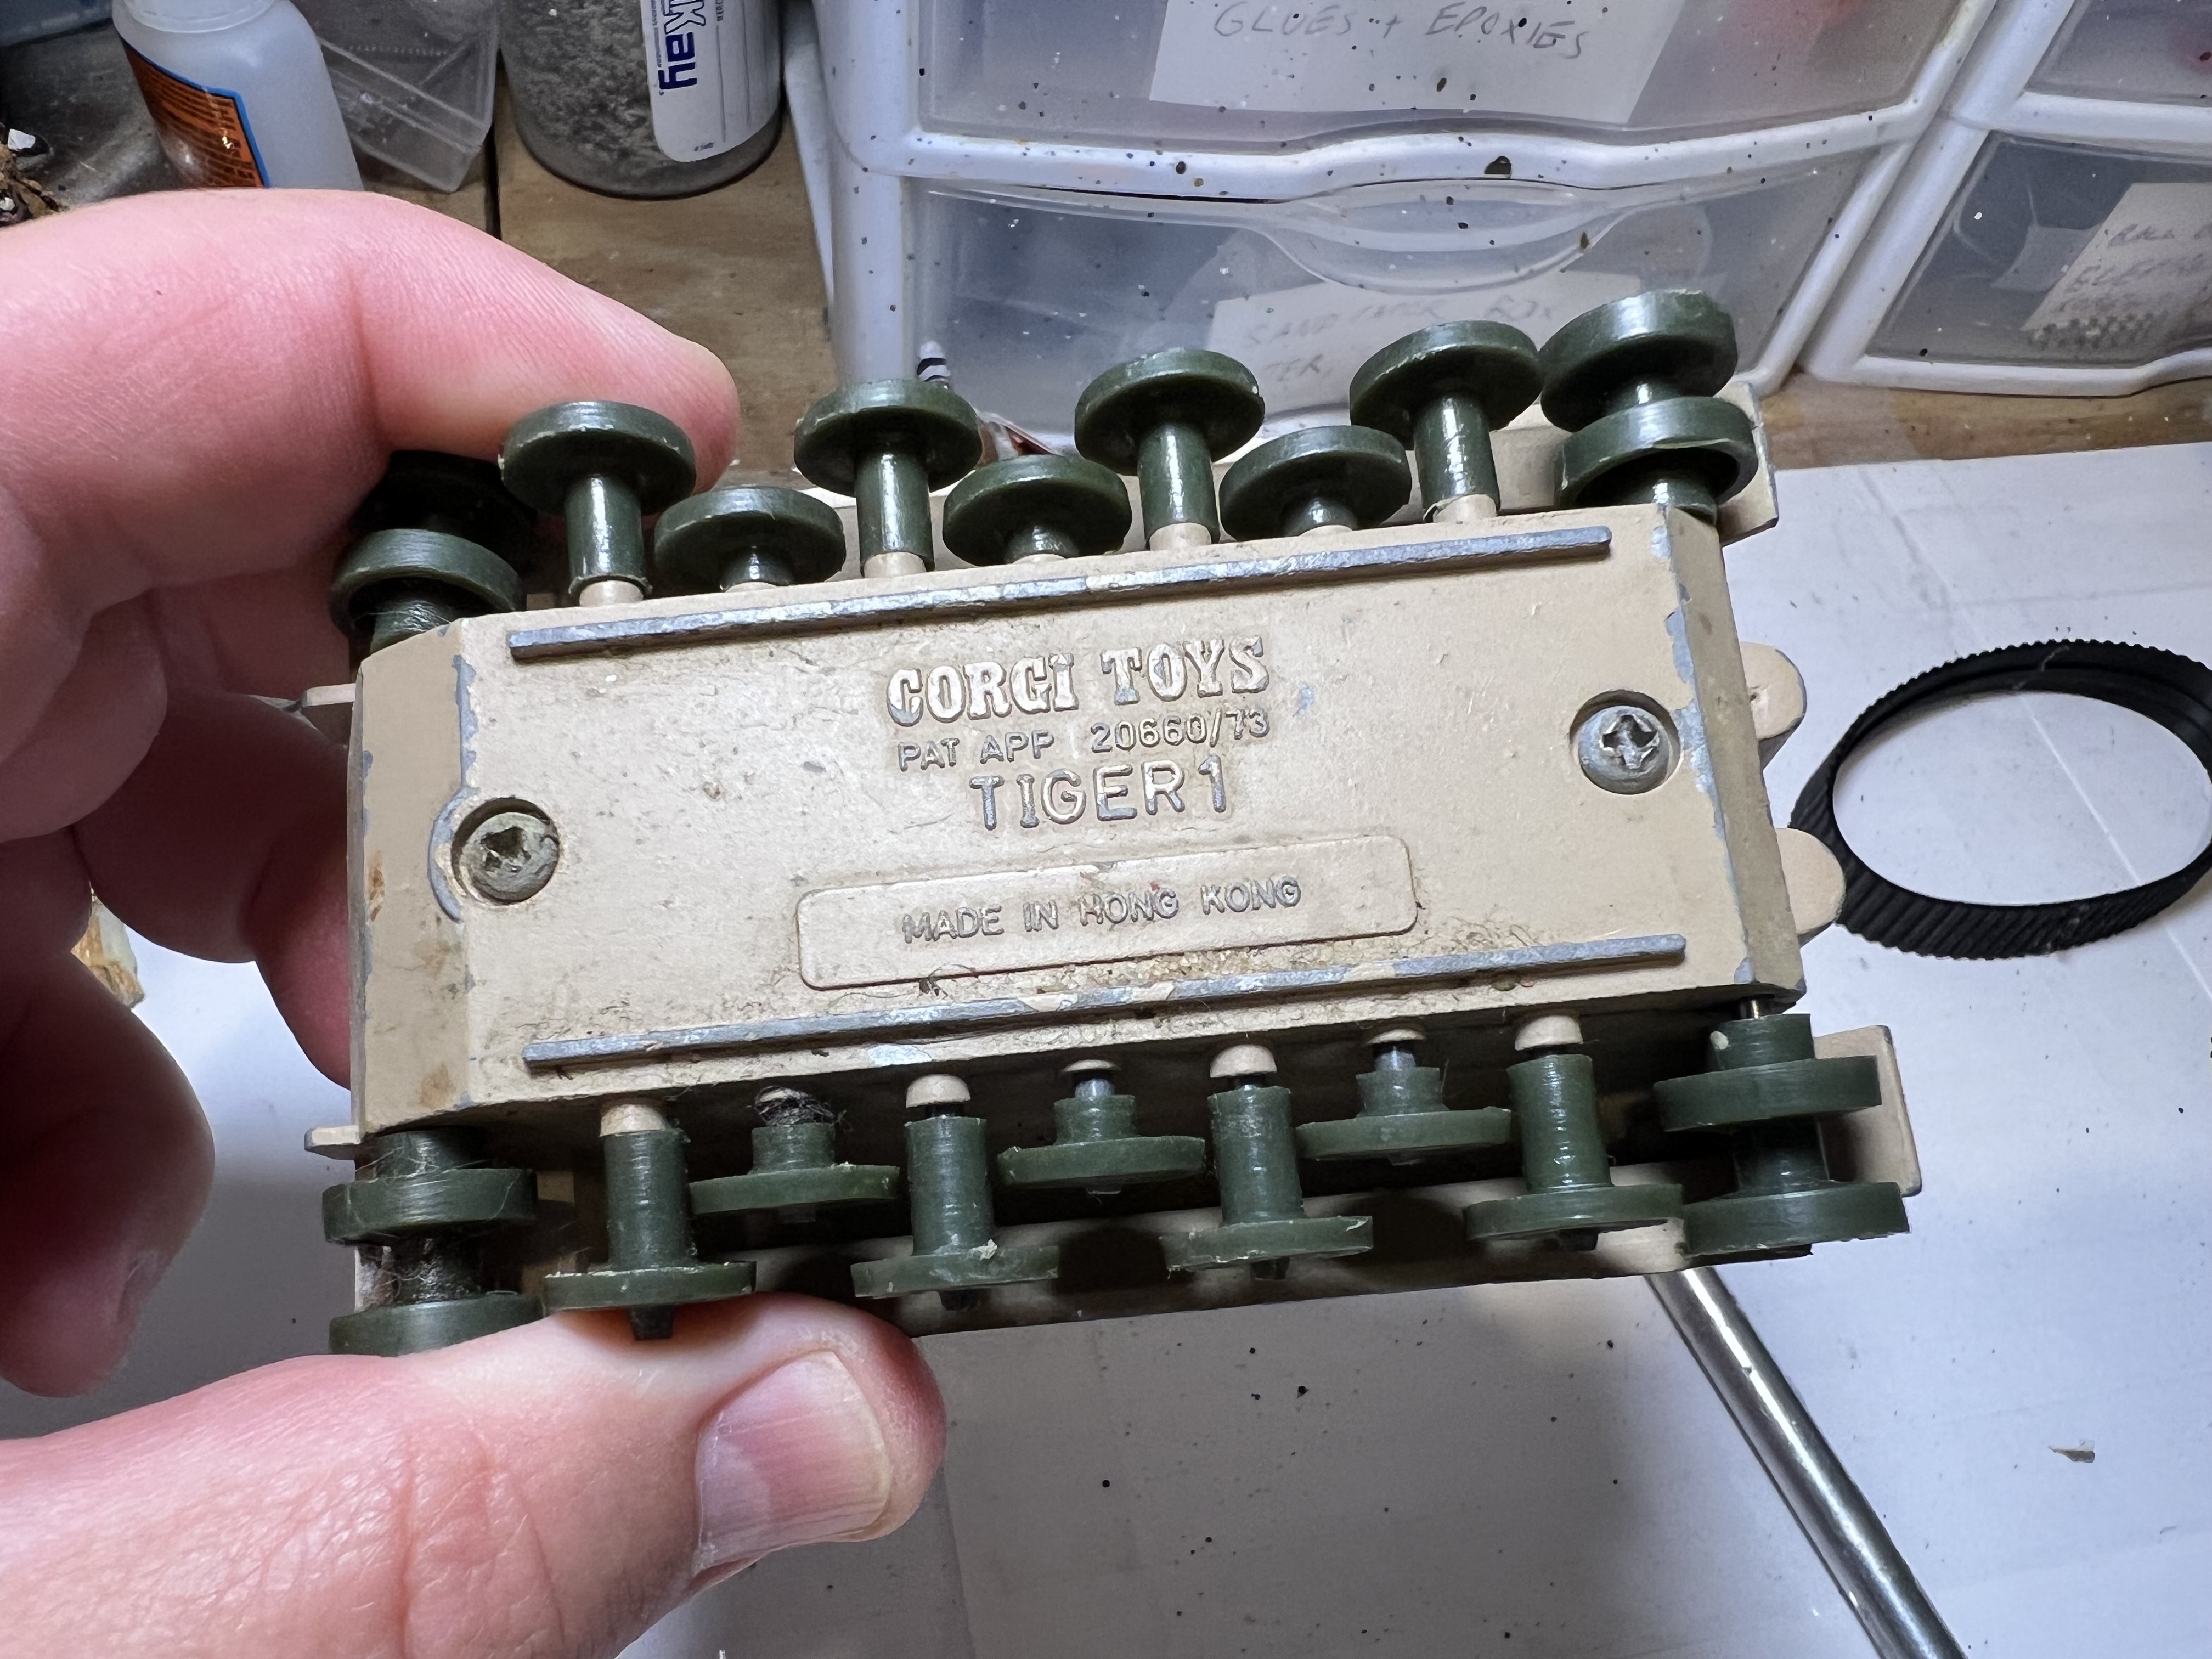
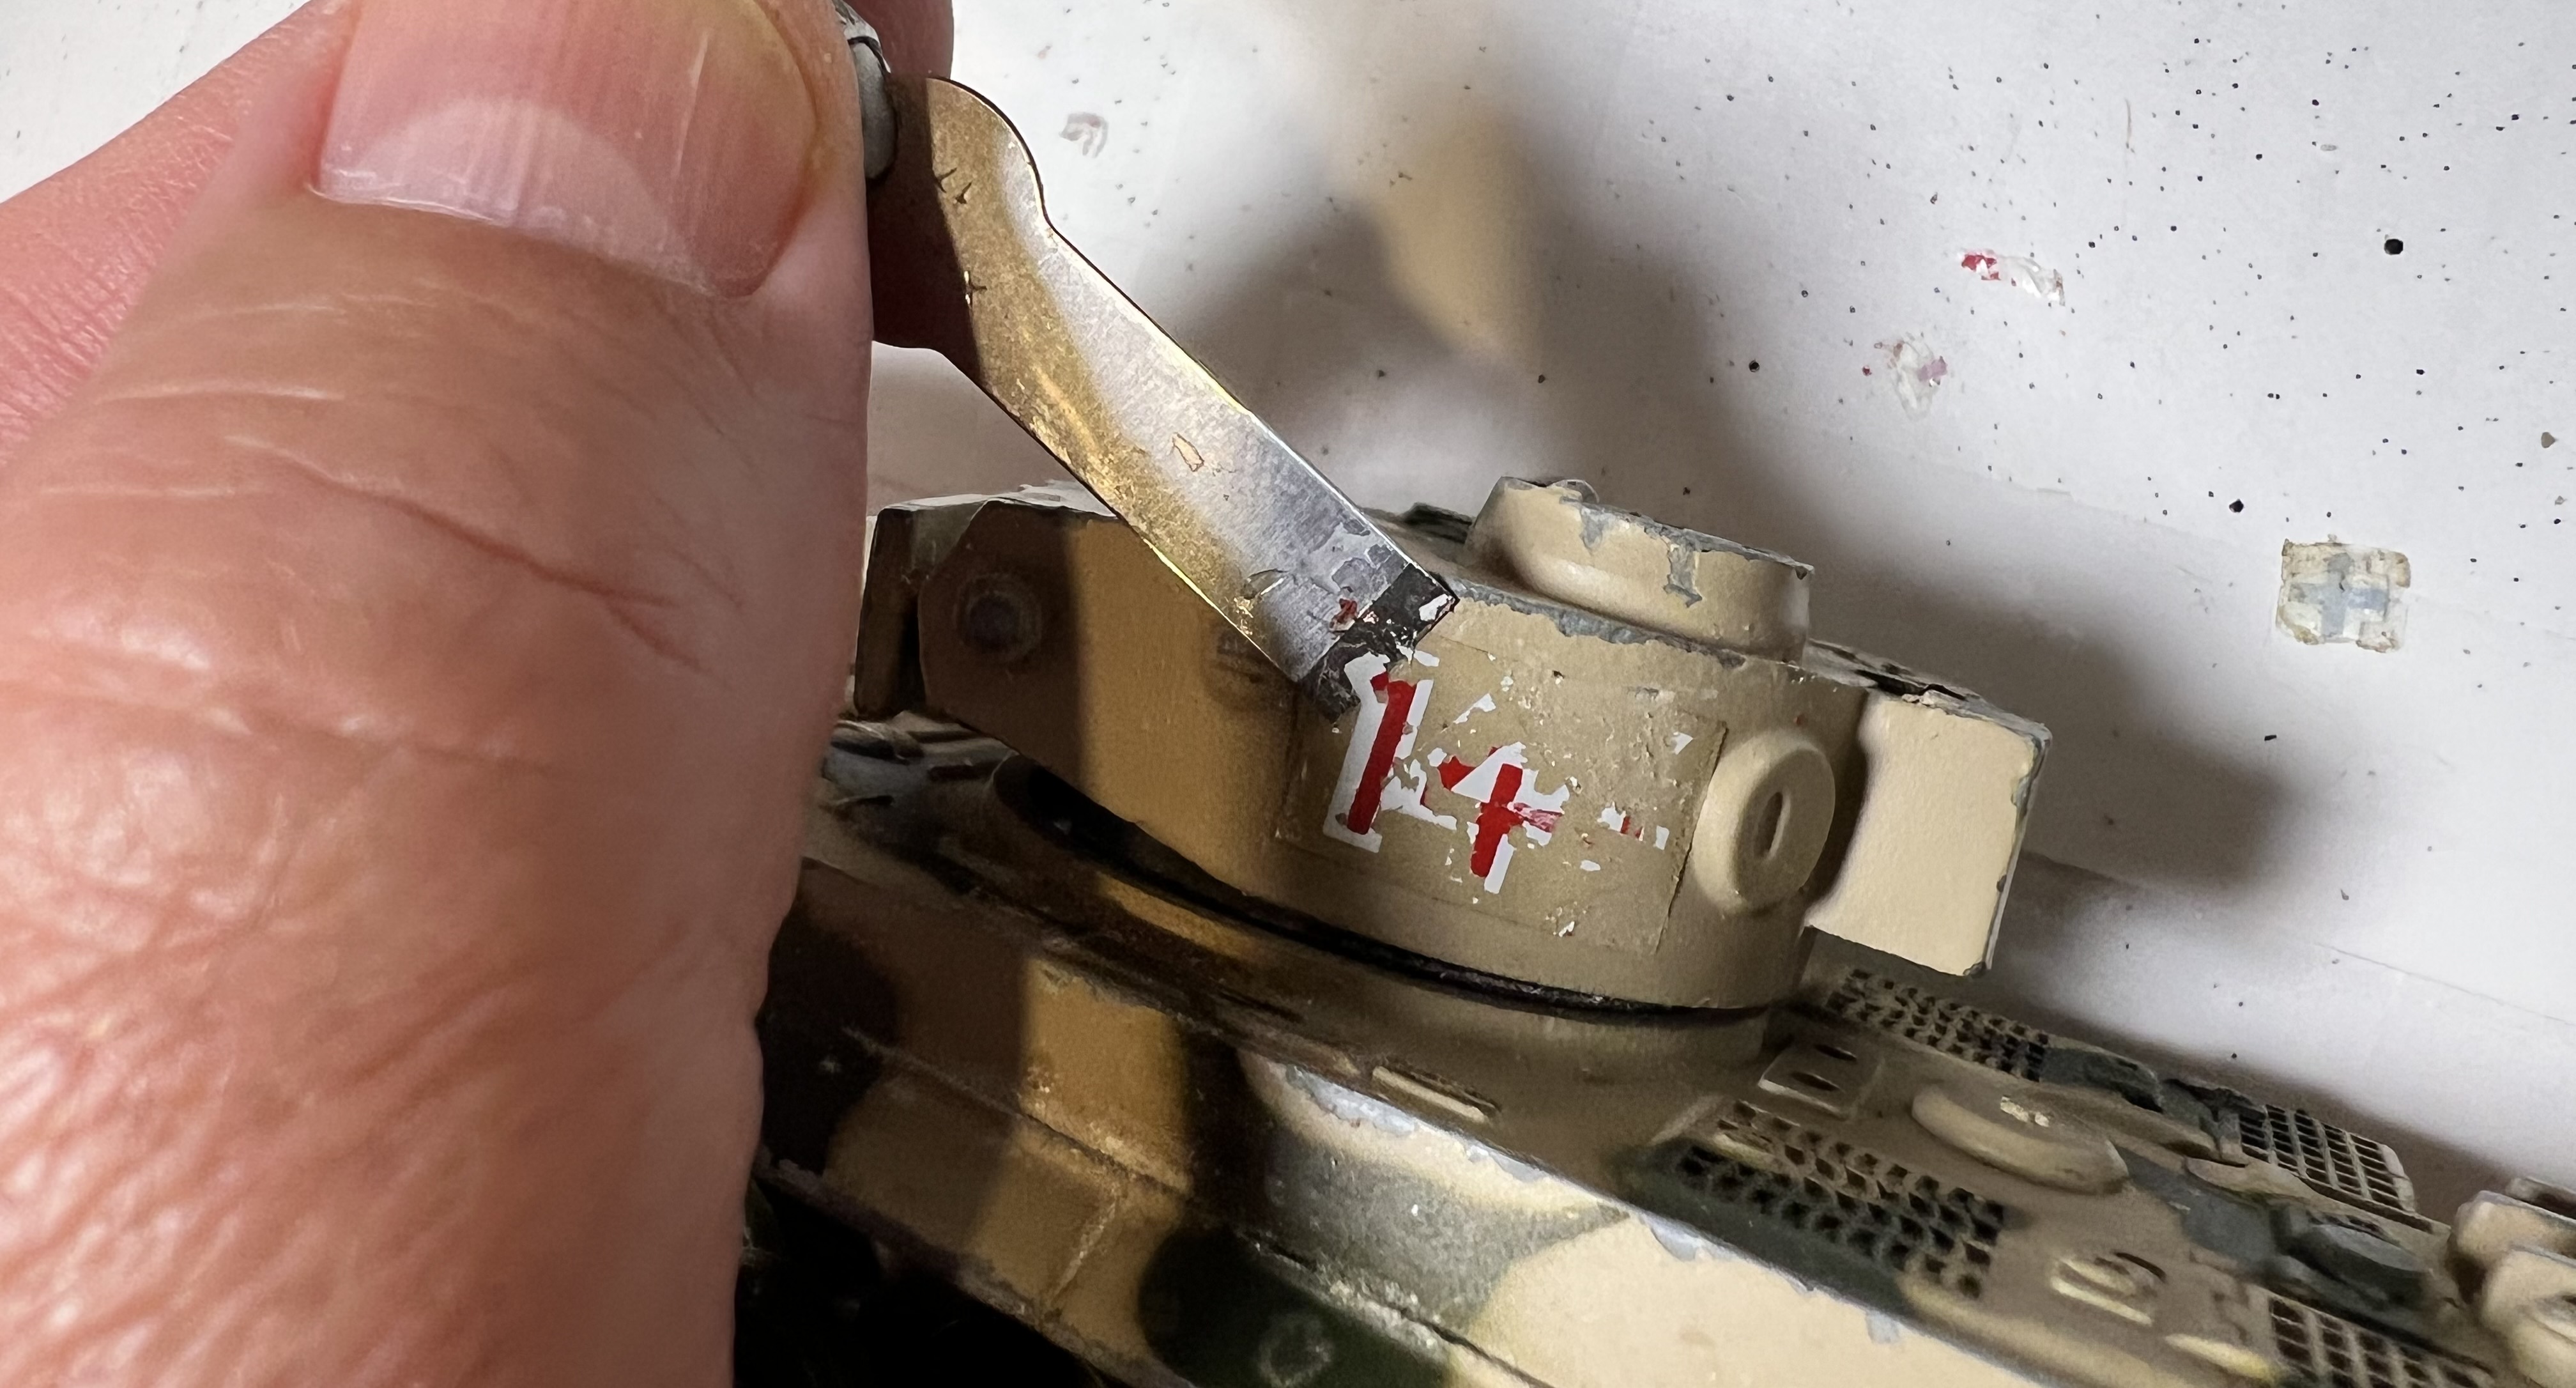
As to making this old toy a retro sci-fi tank, a few additions and modifications were needed. First, some clean up of the old decals and chipped paint.
Of course, I thought it needed a big ray gun. After doing my best to straighten the gun I used a file to remove (as much as possible) its pot metal mold line. Using green stuff I added some number 6 Everbilt steel fender washers to the gun. This step was inspired by the fantastic efforts at kneadatite sculpting shared by two of my blog buddies – Roger (of Rantings from Under the Wargame Table – and Dave Stone of Wargame Terrain Workshop – check them both out). While I could have gone here with the thin look of the washers as they were – looking like a 1960’s TV Lost In Space weapon – I wanted them to be more retro sci-fi looking. Addditionally, I did worry that using the washers as initially secured would not be as secure as tabletop play might demand. That necessitated a two-step sculpt to give the main gun a more hefty look.
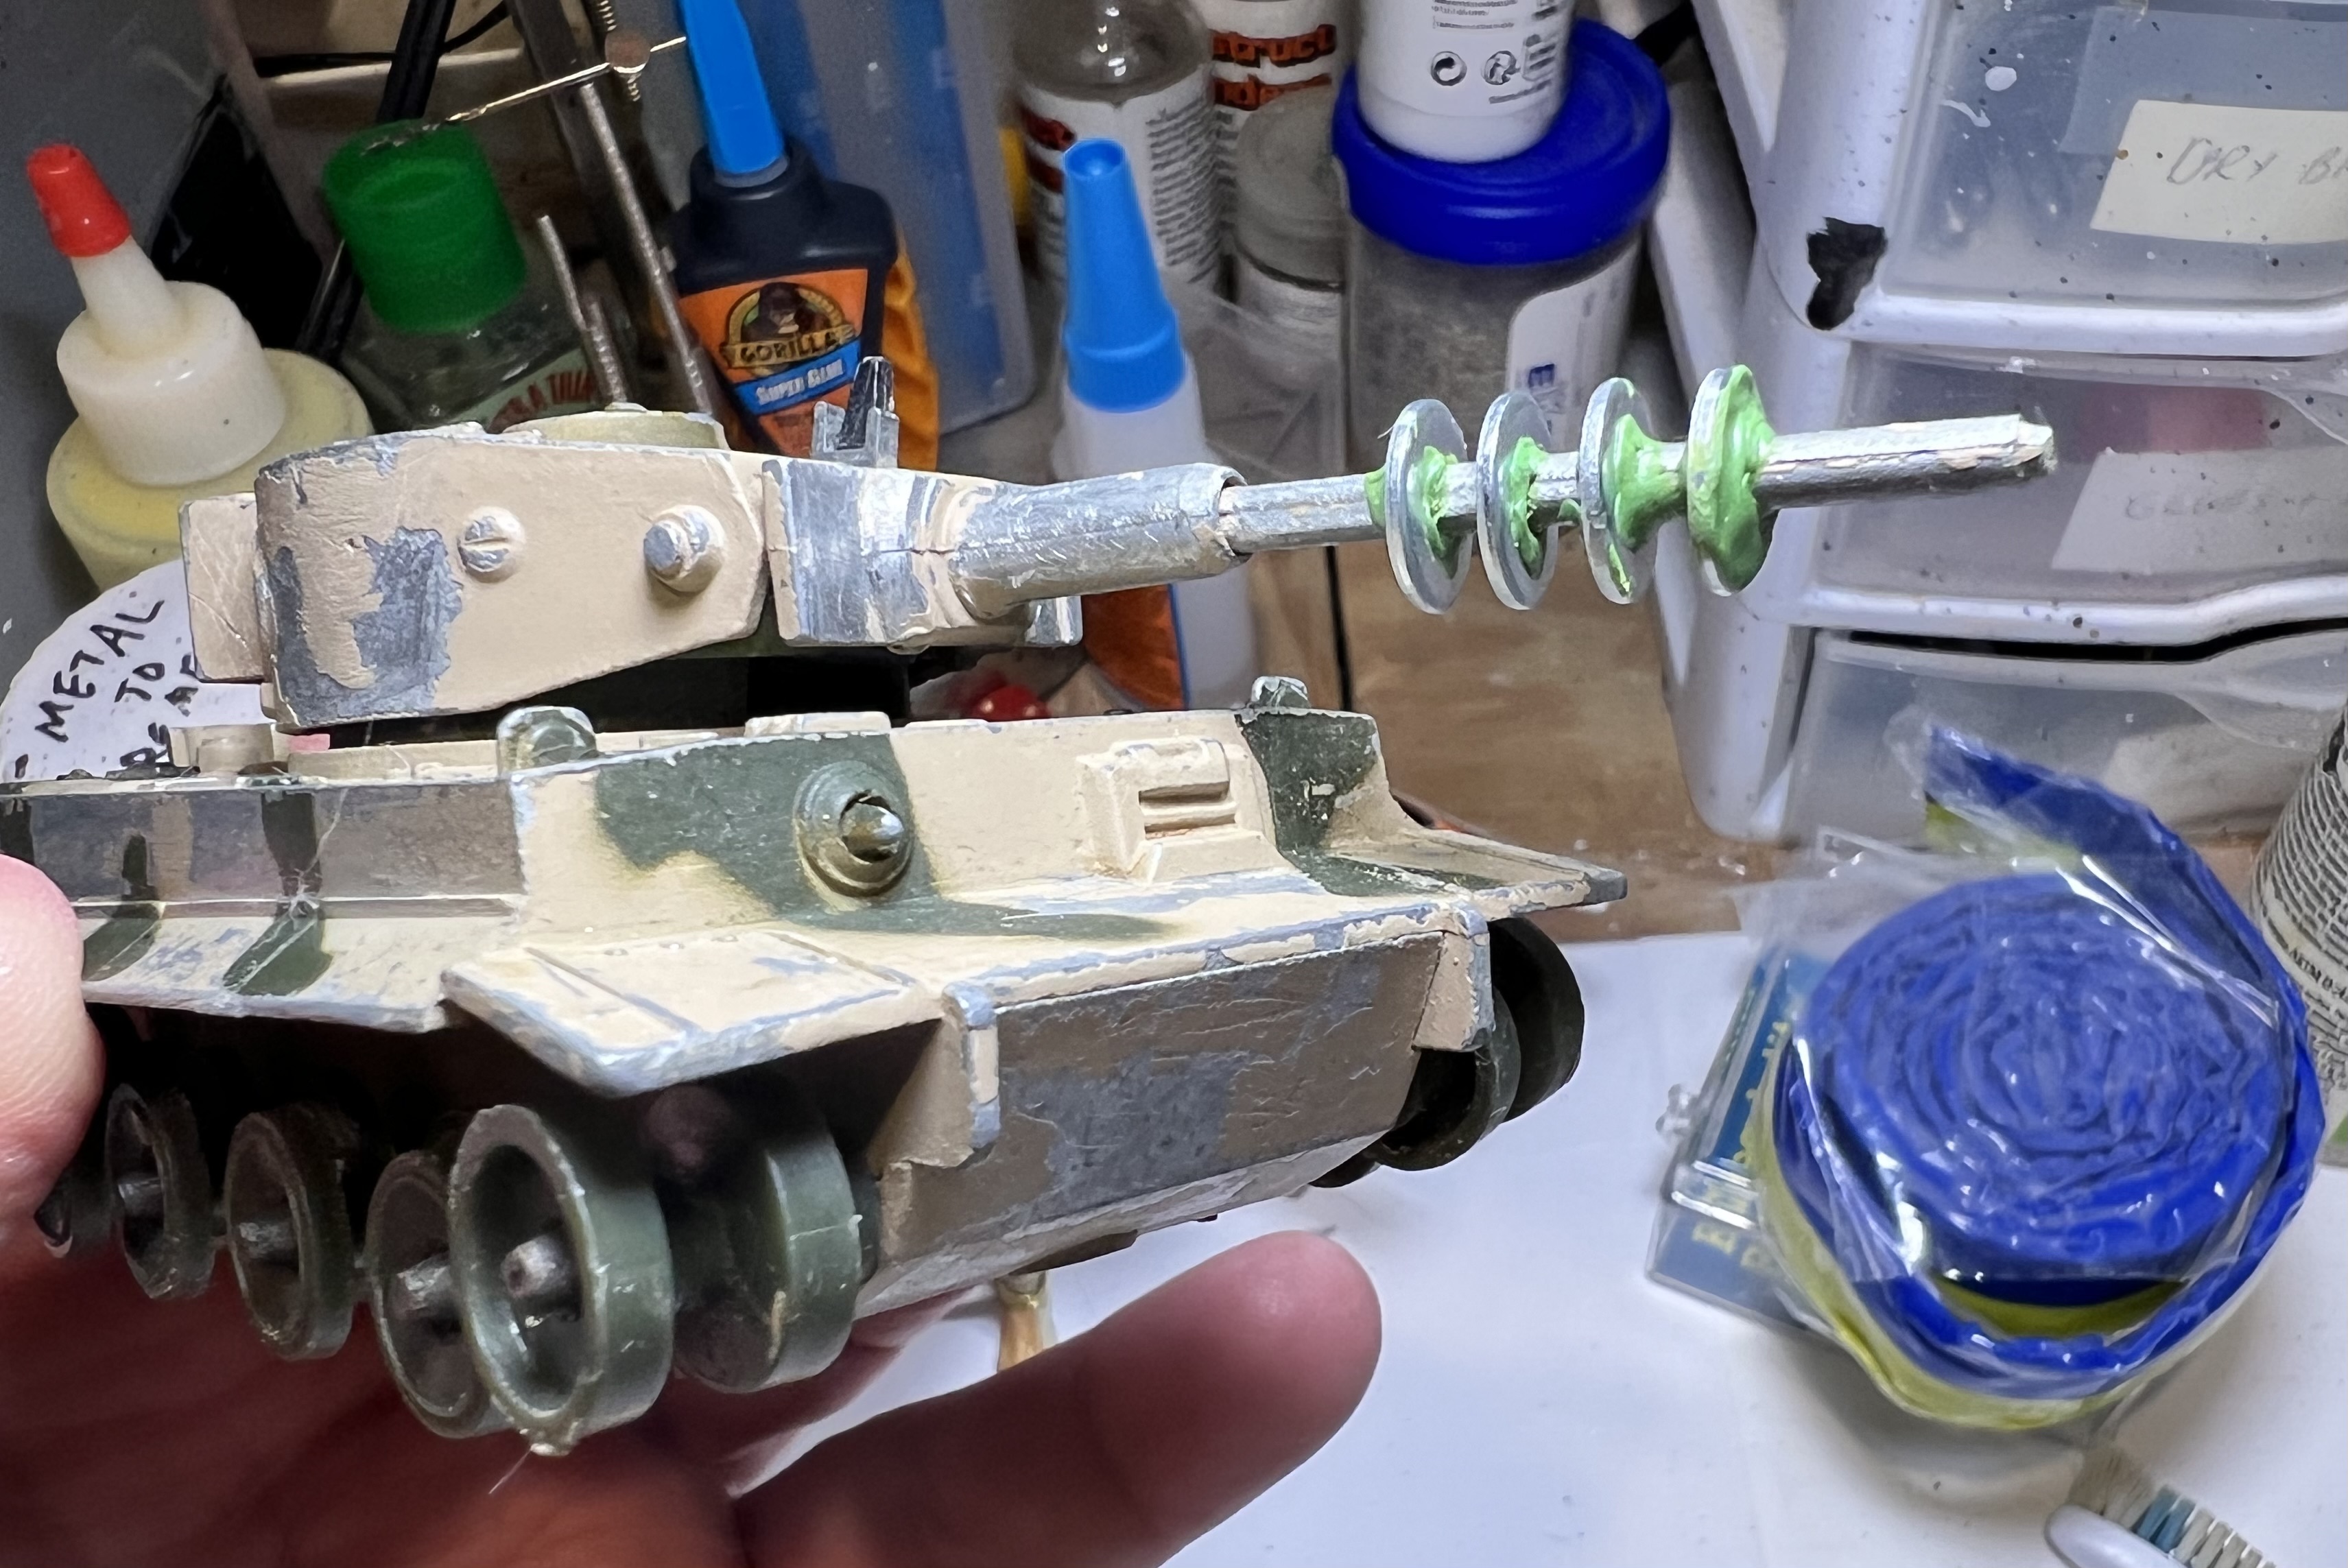
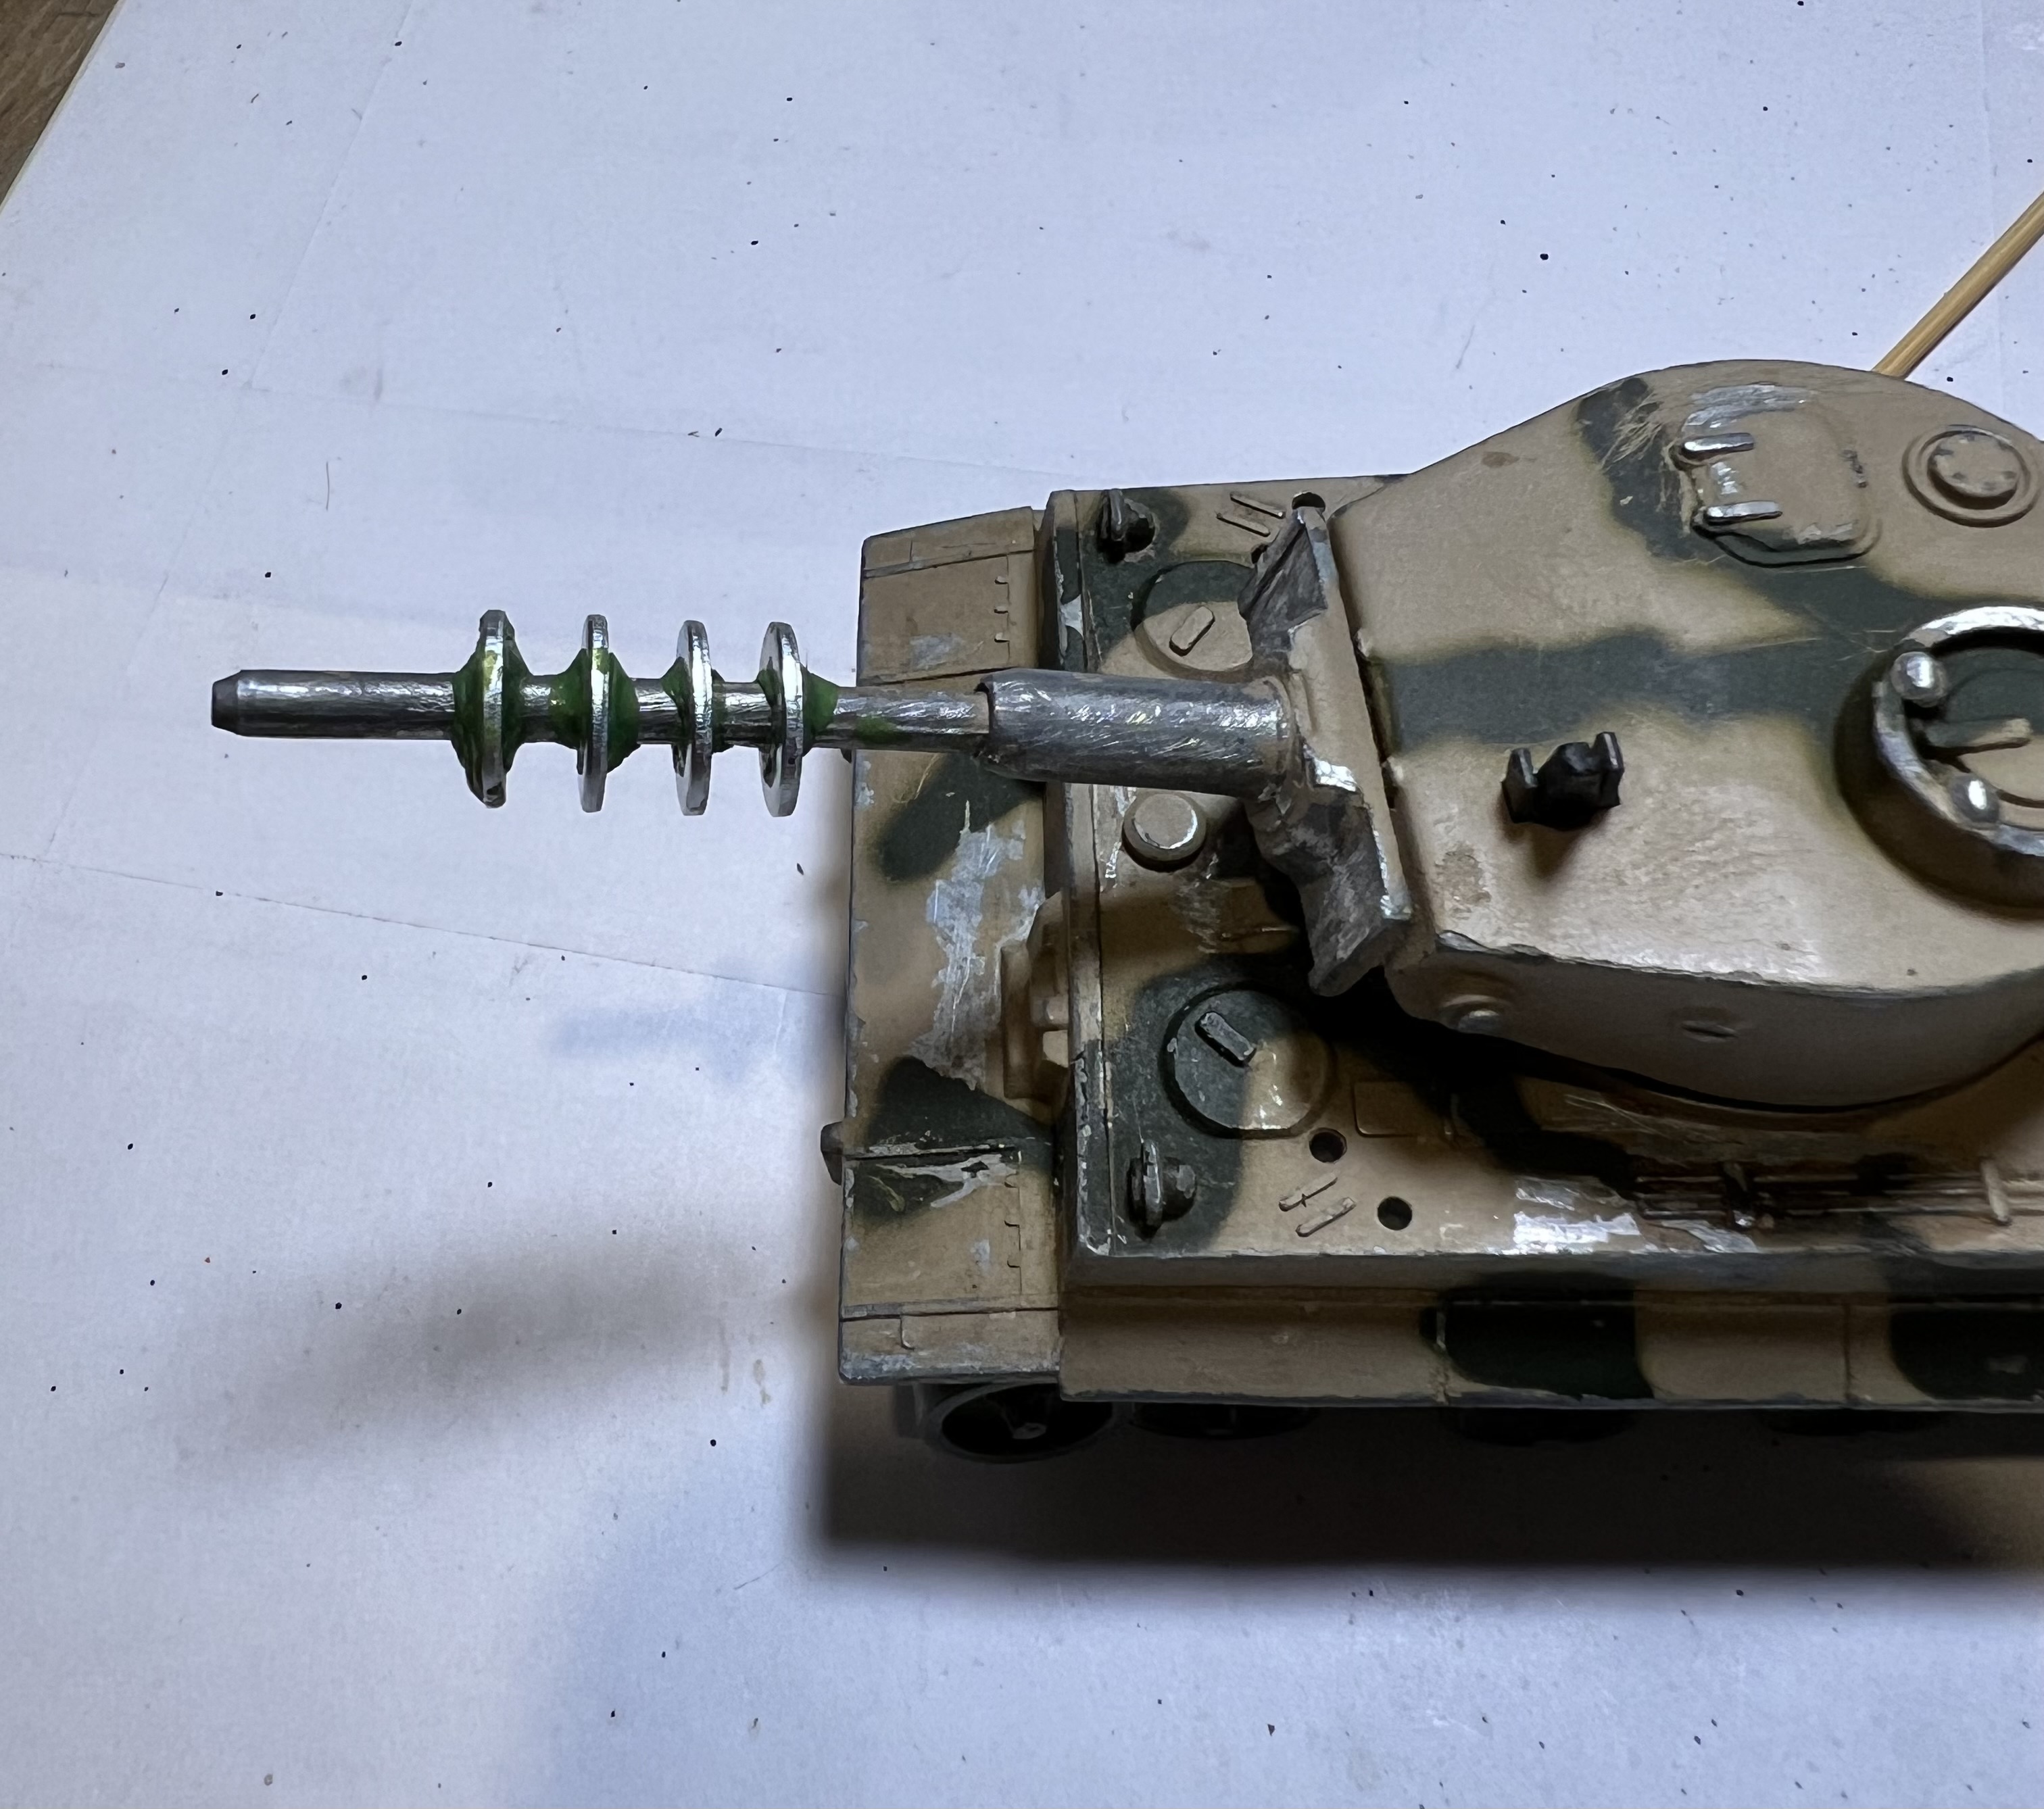
While that cured, I went to work on planning out work on the tiger commander figure. I planned to have the figure’s head – or preferably its torso – coming out of the tank’s hatch. I realized that drilling out the Corgi tank commander’s hatch to insert a figure was impractical due to the thickness of the metal and the size of the hatch.
Doing a bit of research gave me insight into the different types of cupola’s that WWII Tiger I tanks had. One type swung up vertically, while another rorated out on a lateral swing arm. That would be my solution – build a cupola/hatch to mount the commander. It would also enable me to work on the cupola/hatch/tiger assembly separately from the toy tank.
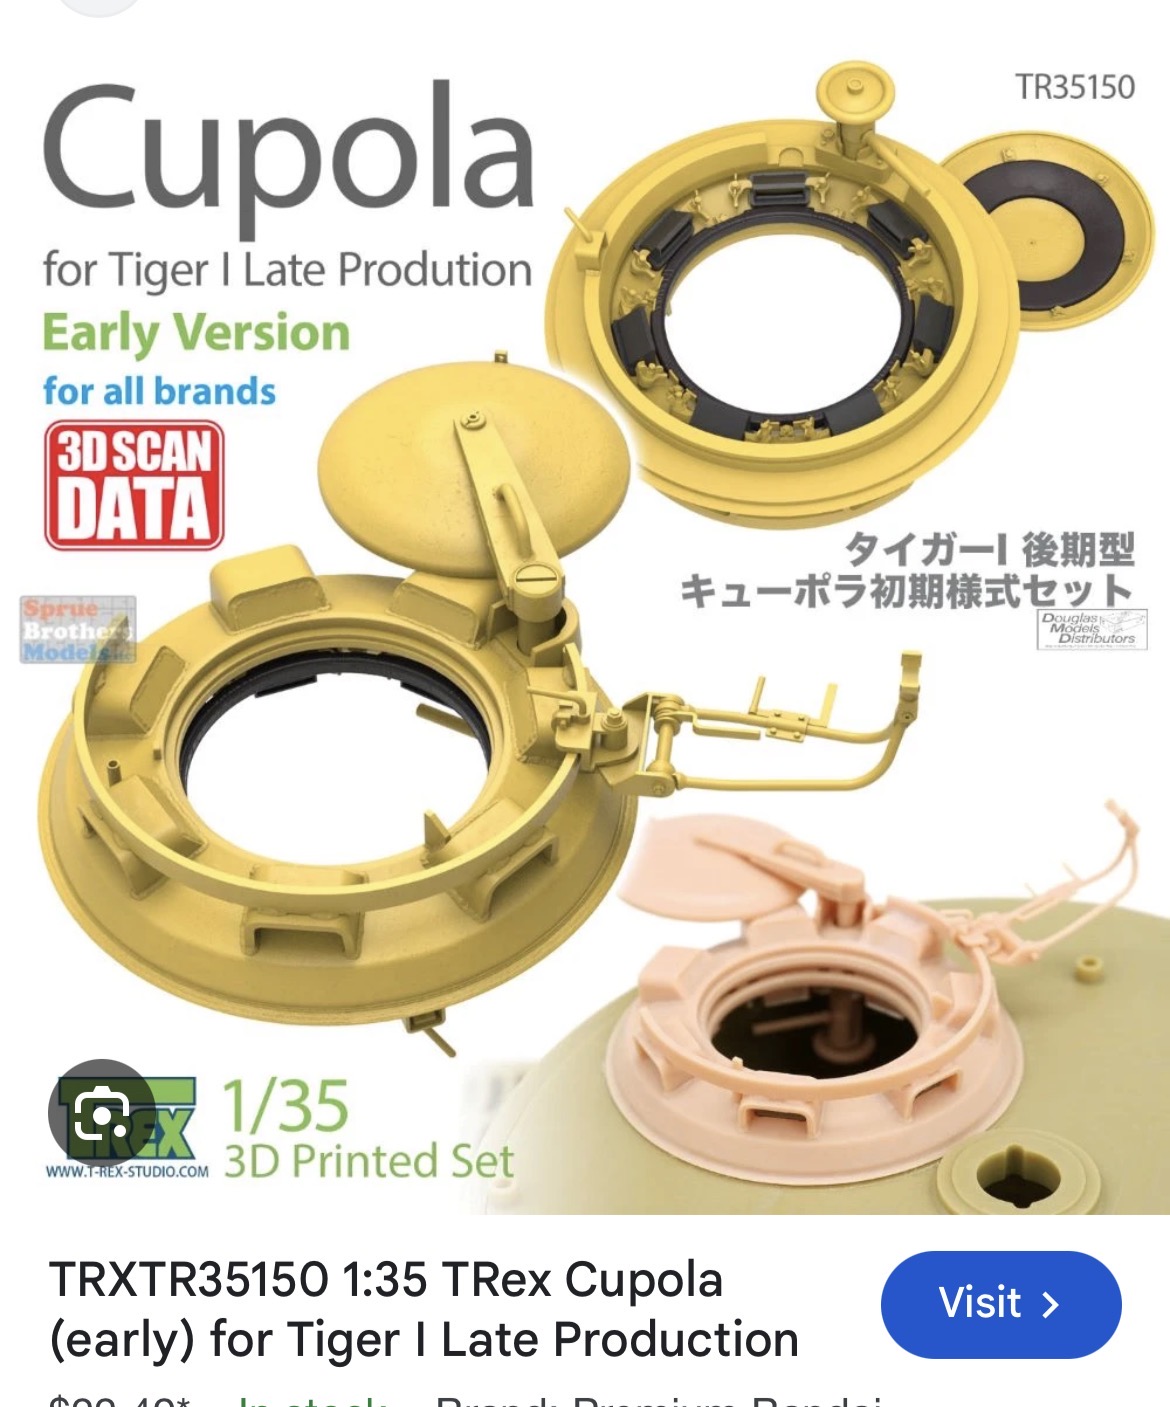
Now that I knew what I would do with the tiger figure, it was time to prime and paint it. However, I before I got to that stage – I chose to modify the figure as a tank commander with a green stuff-sculpted set of headphones and a garrison cap.
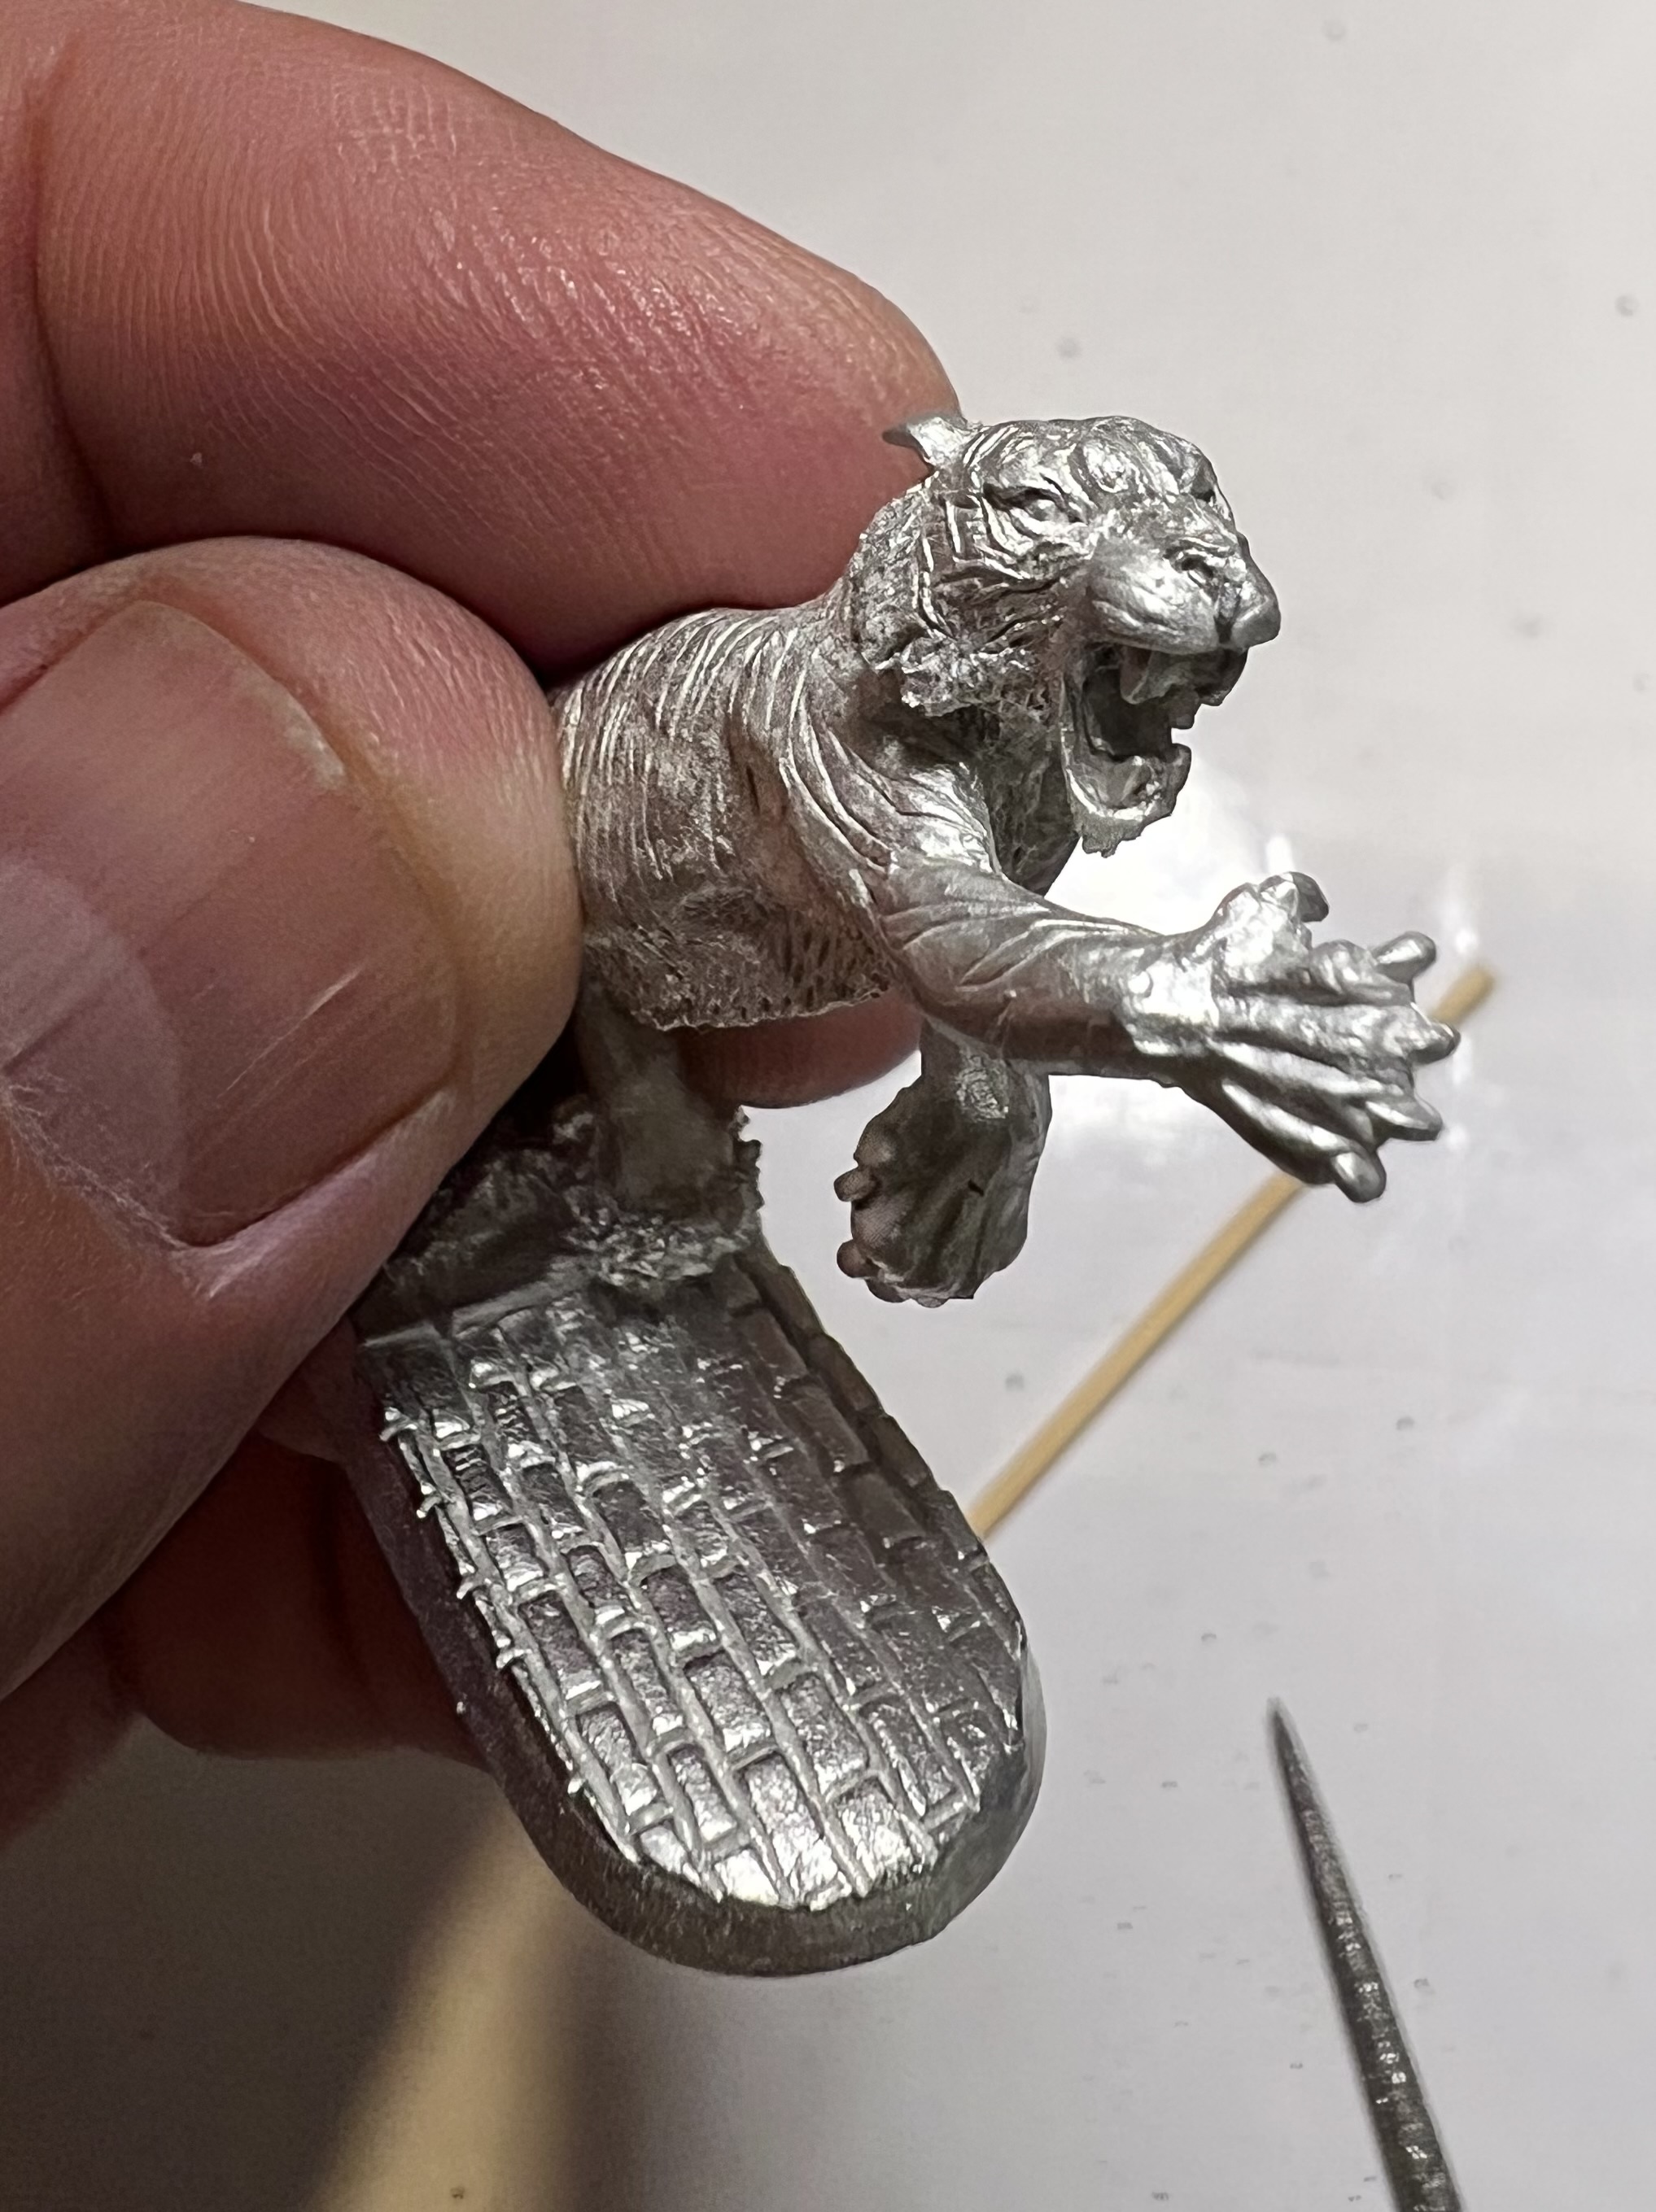
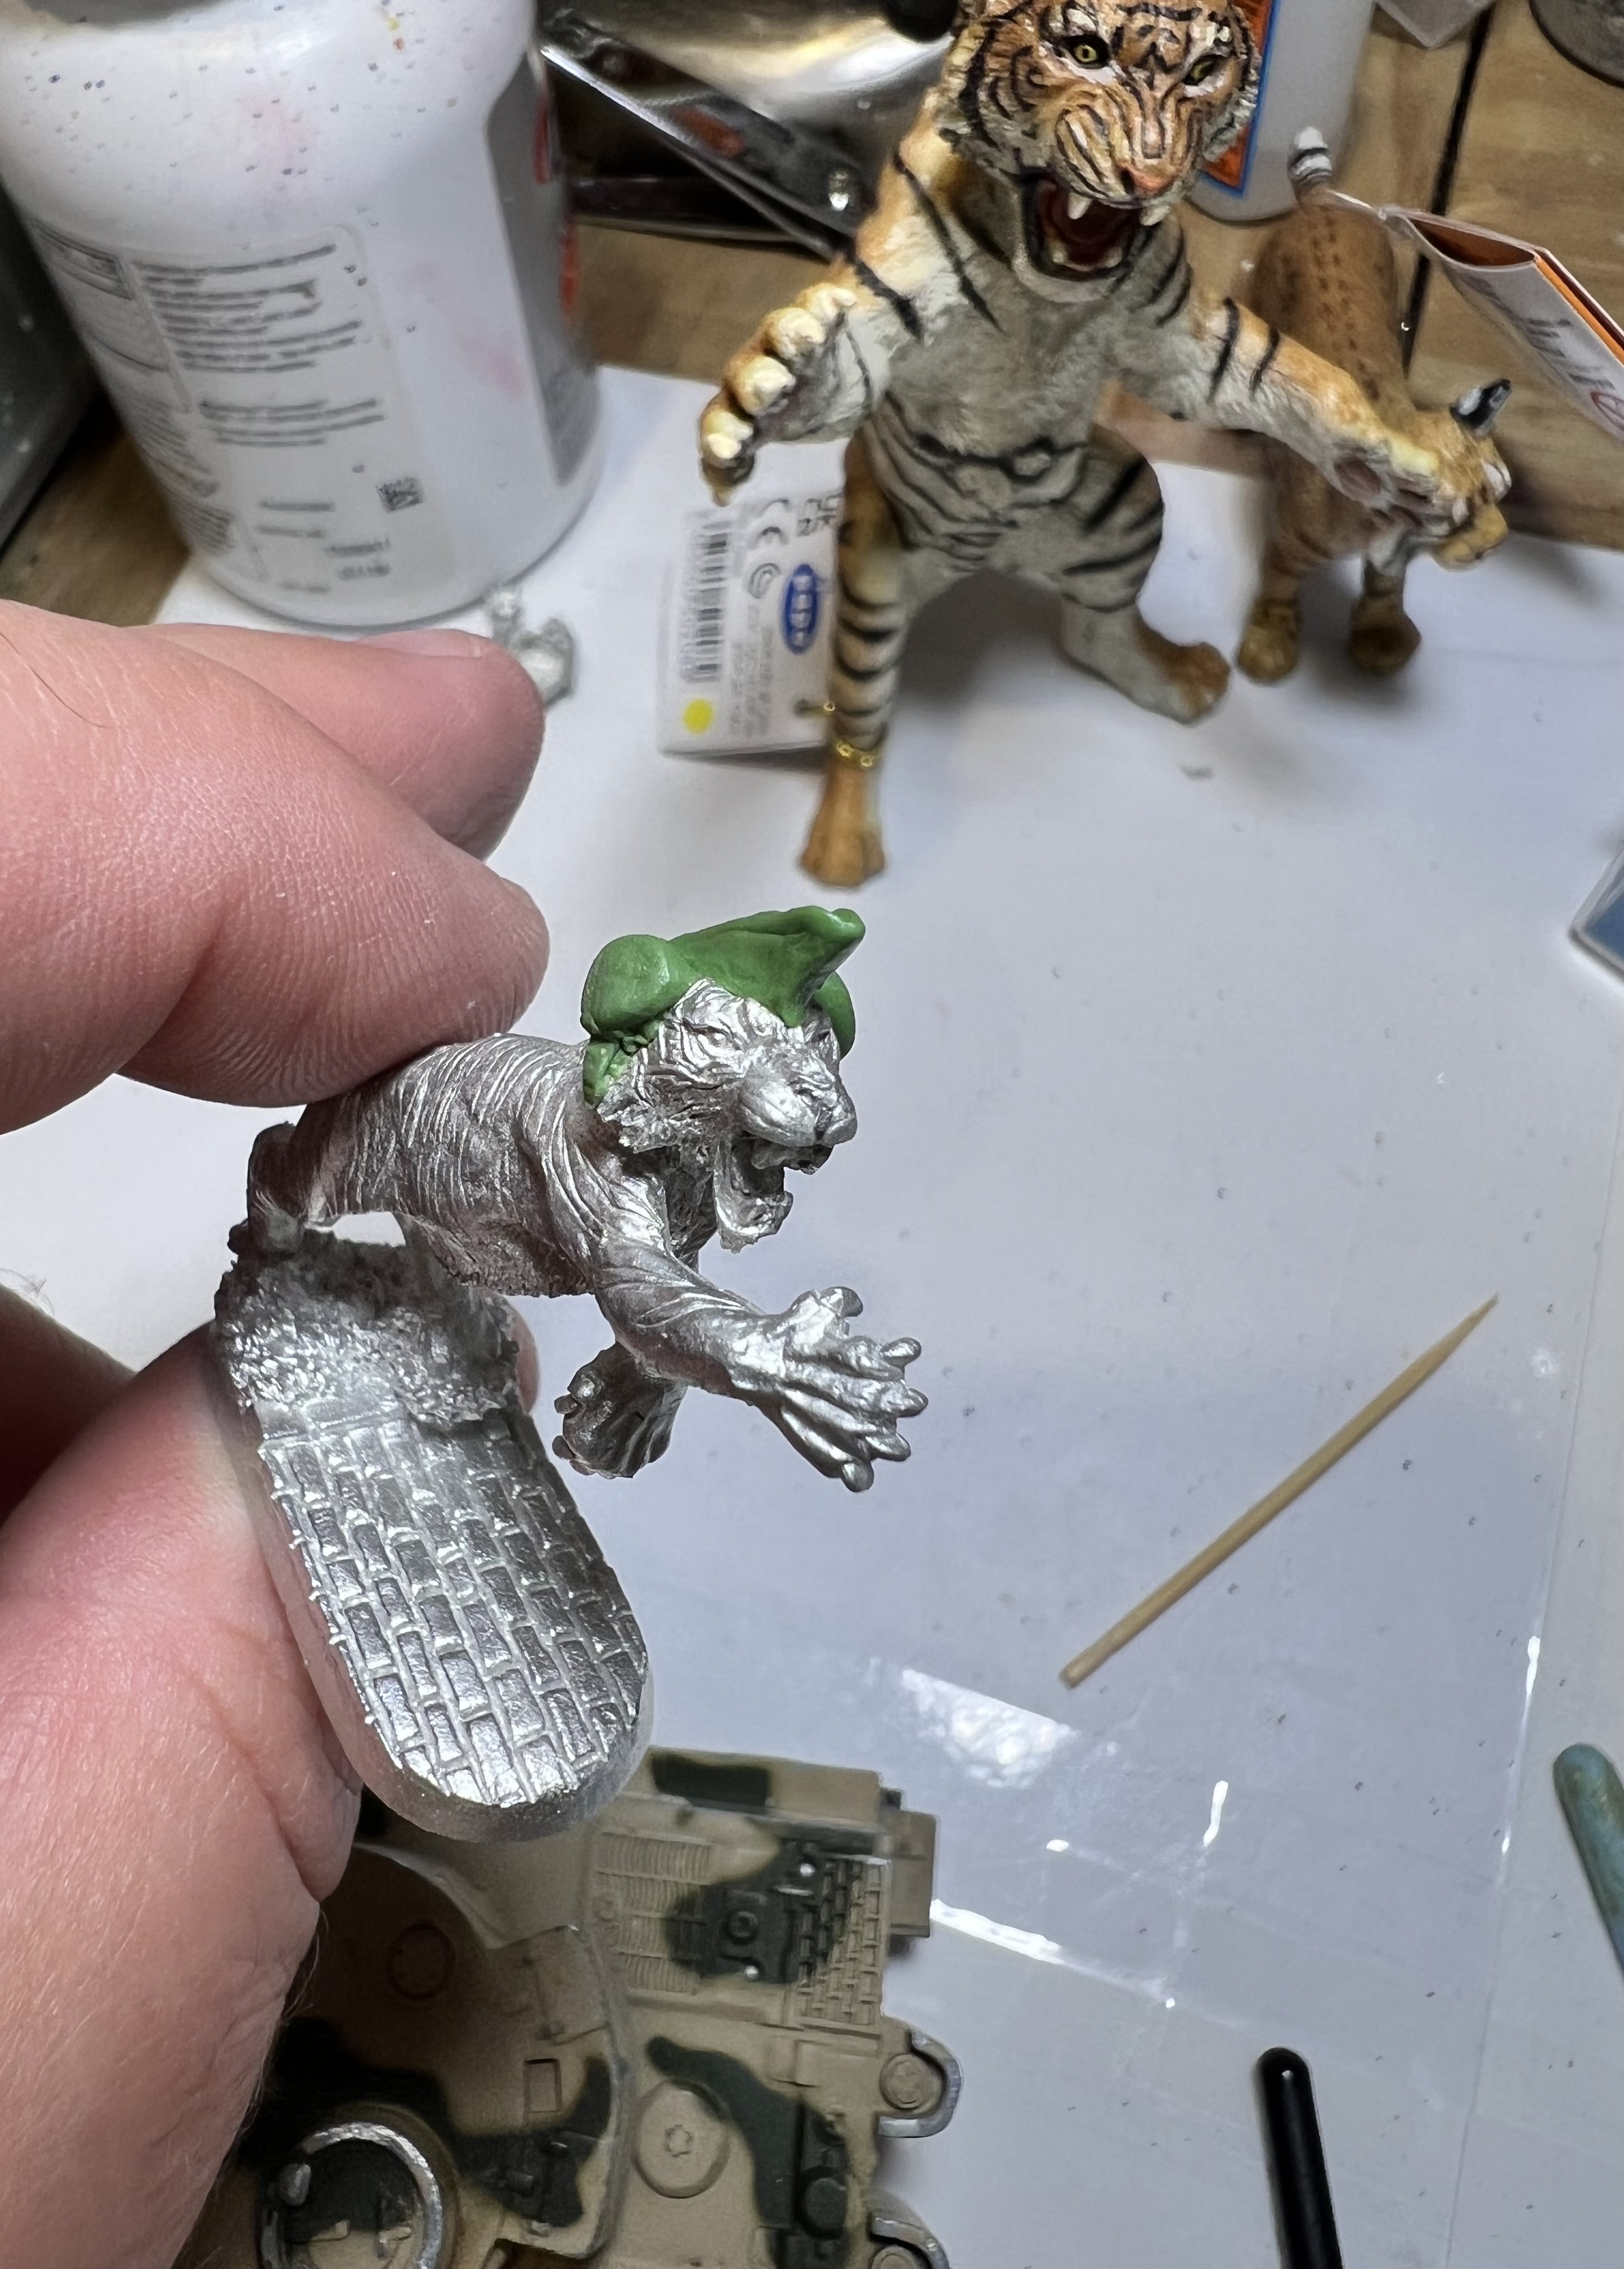
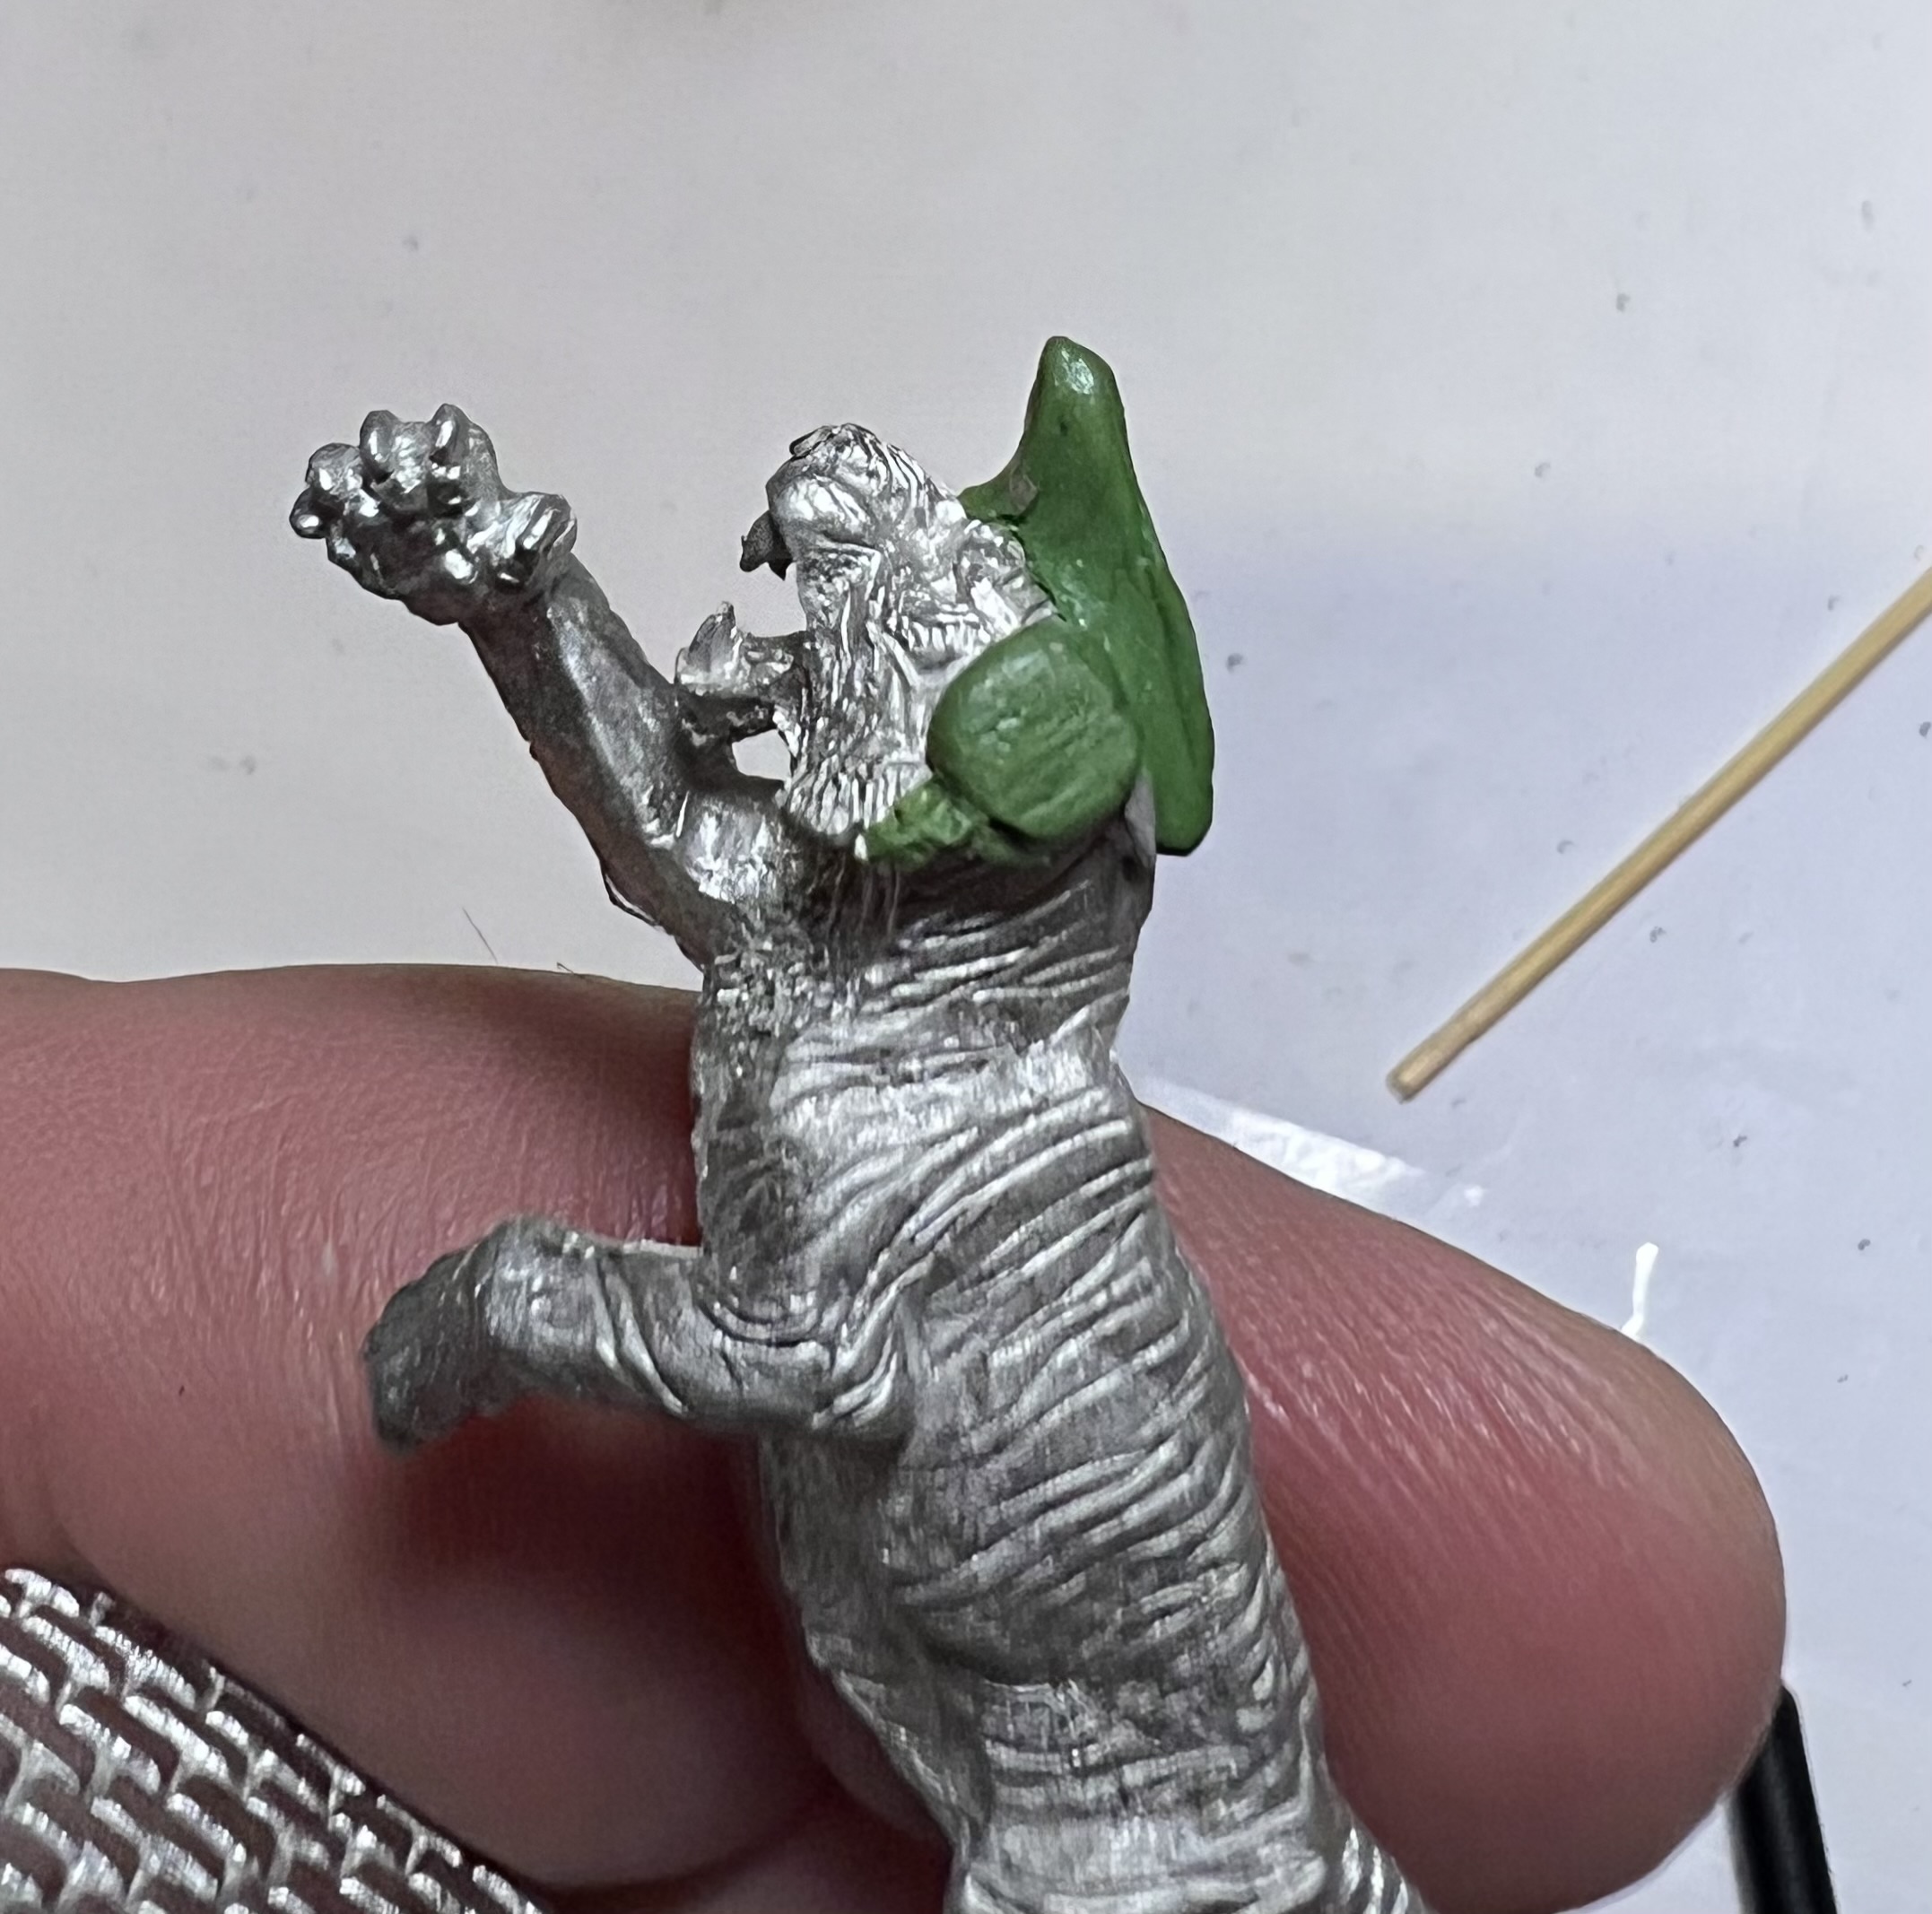
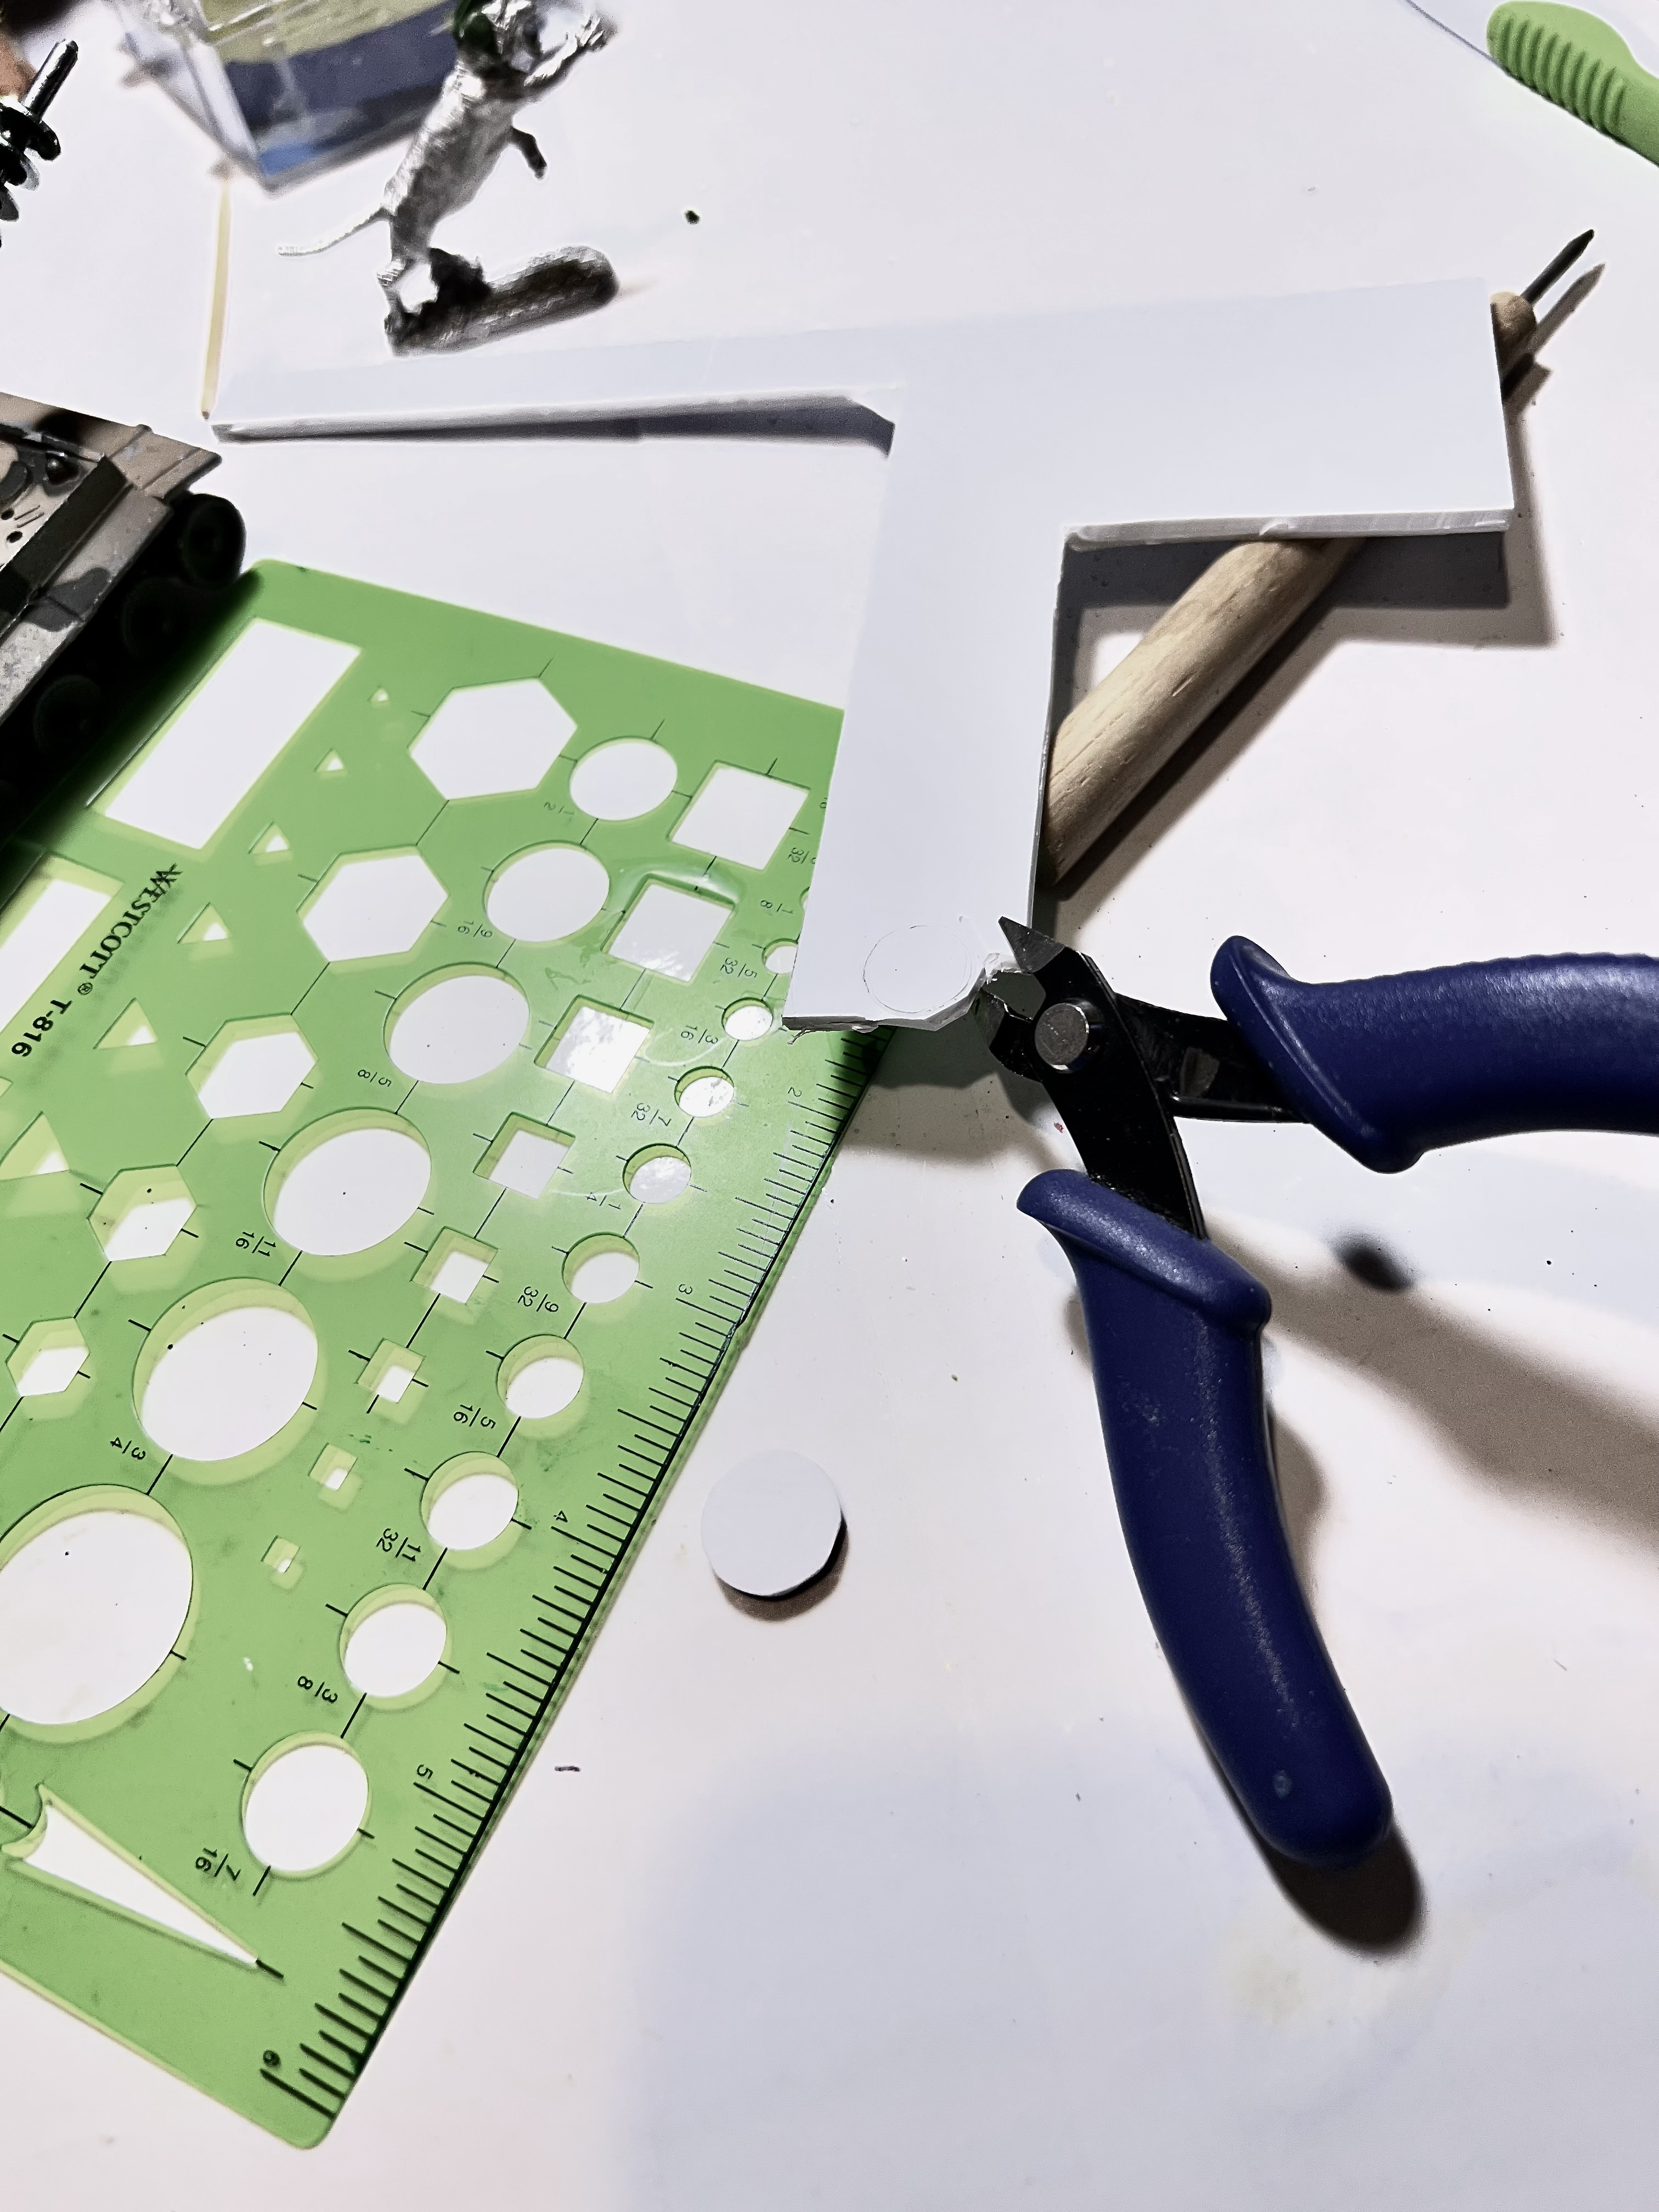
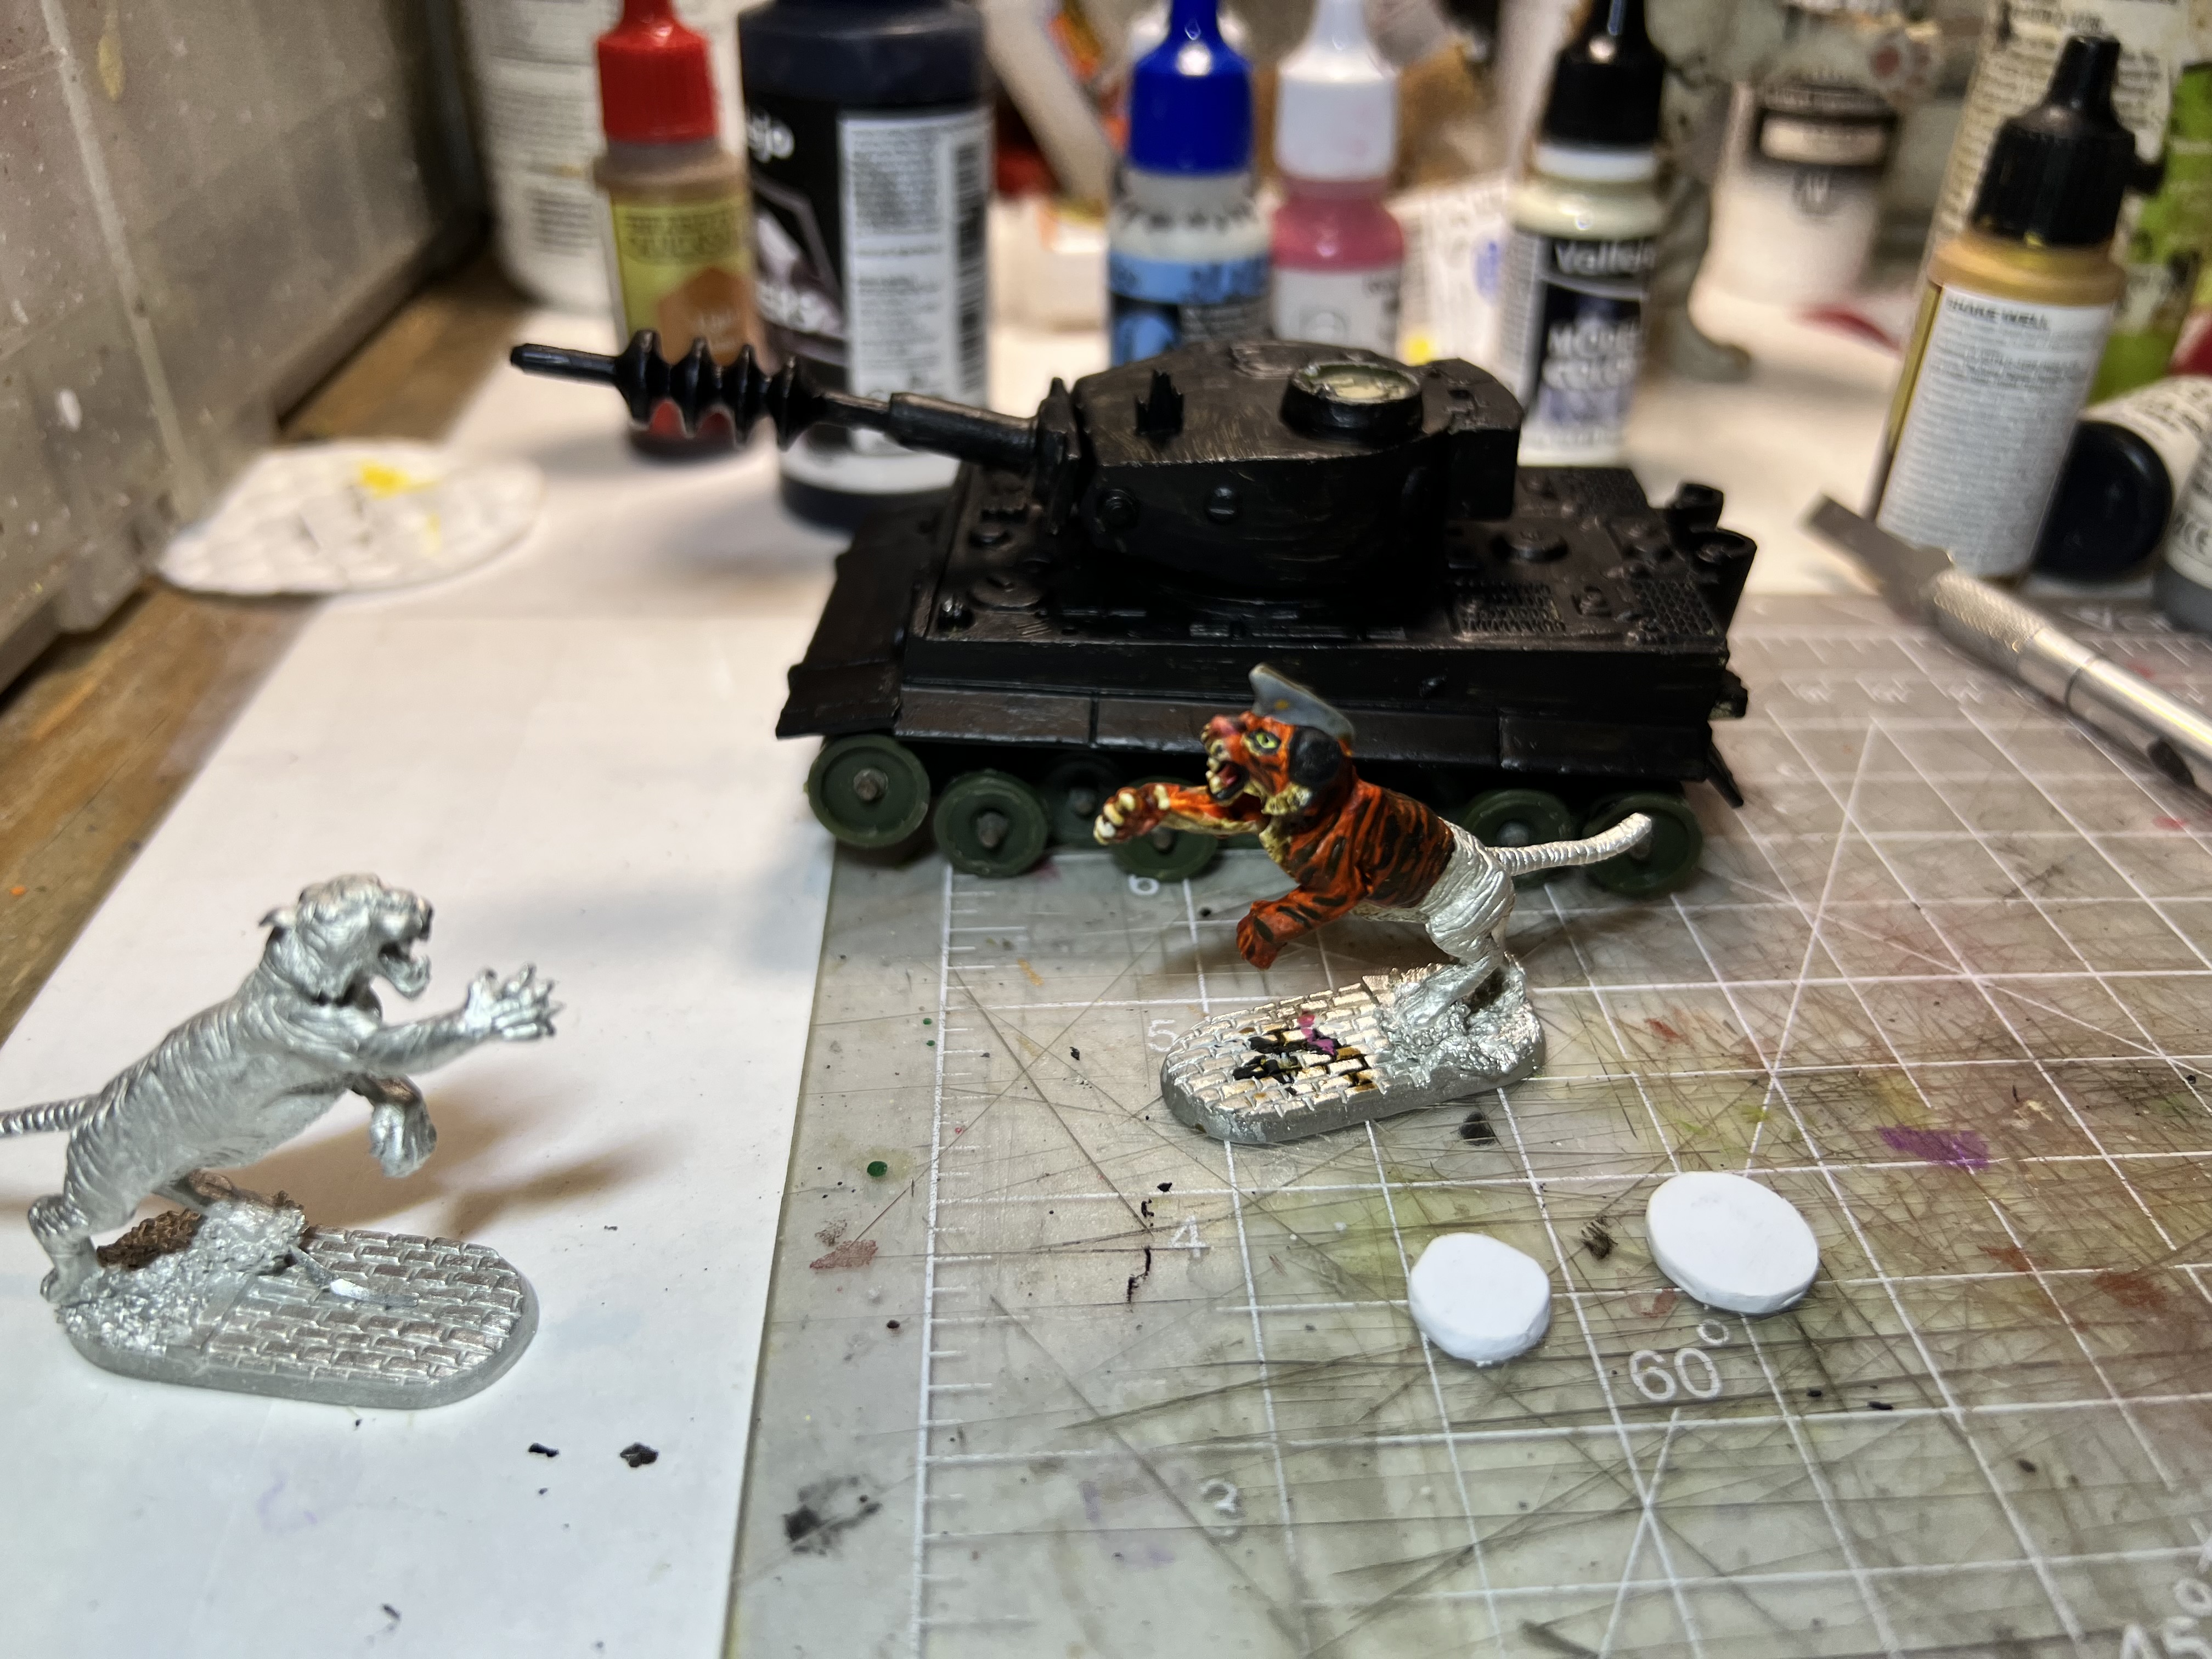
While that green stuff set up, I cut out the cupola/hatch pieces from plasticard. There were 2 differently-sized pieces used. I sized them with a plastic drafting template. Then I cut them with a sprue cutter and sanded them as round as I could. Then I went back to the tiger commander and primed the top half so that it would cure.
The next day I moved on to “Step 2” of the main gun sculpting. This way I could smooth out the “insulator” shapes over the washers on the gun and be assured that they were structurally stable and durable enough for play.
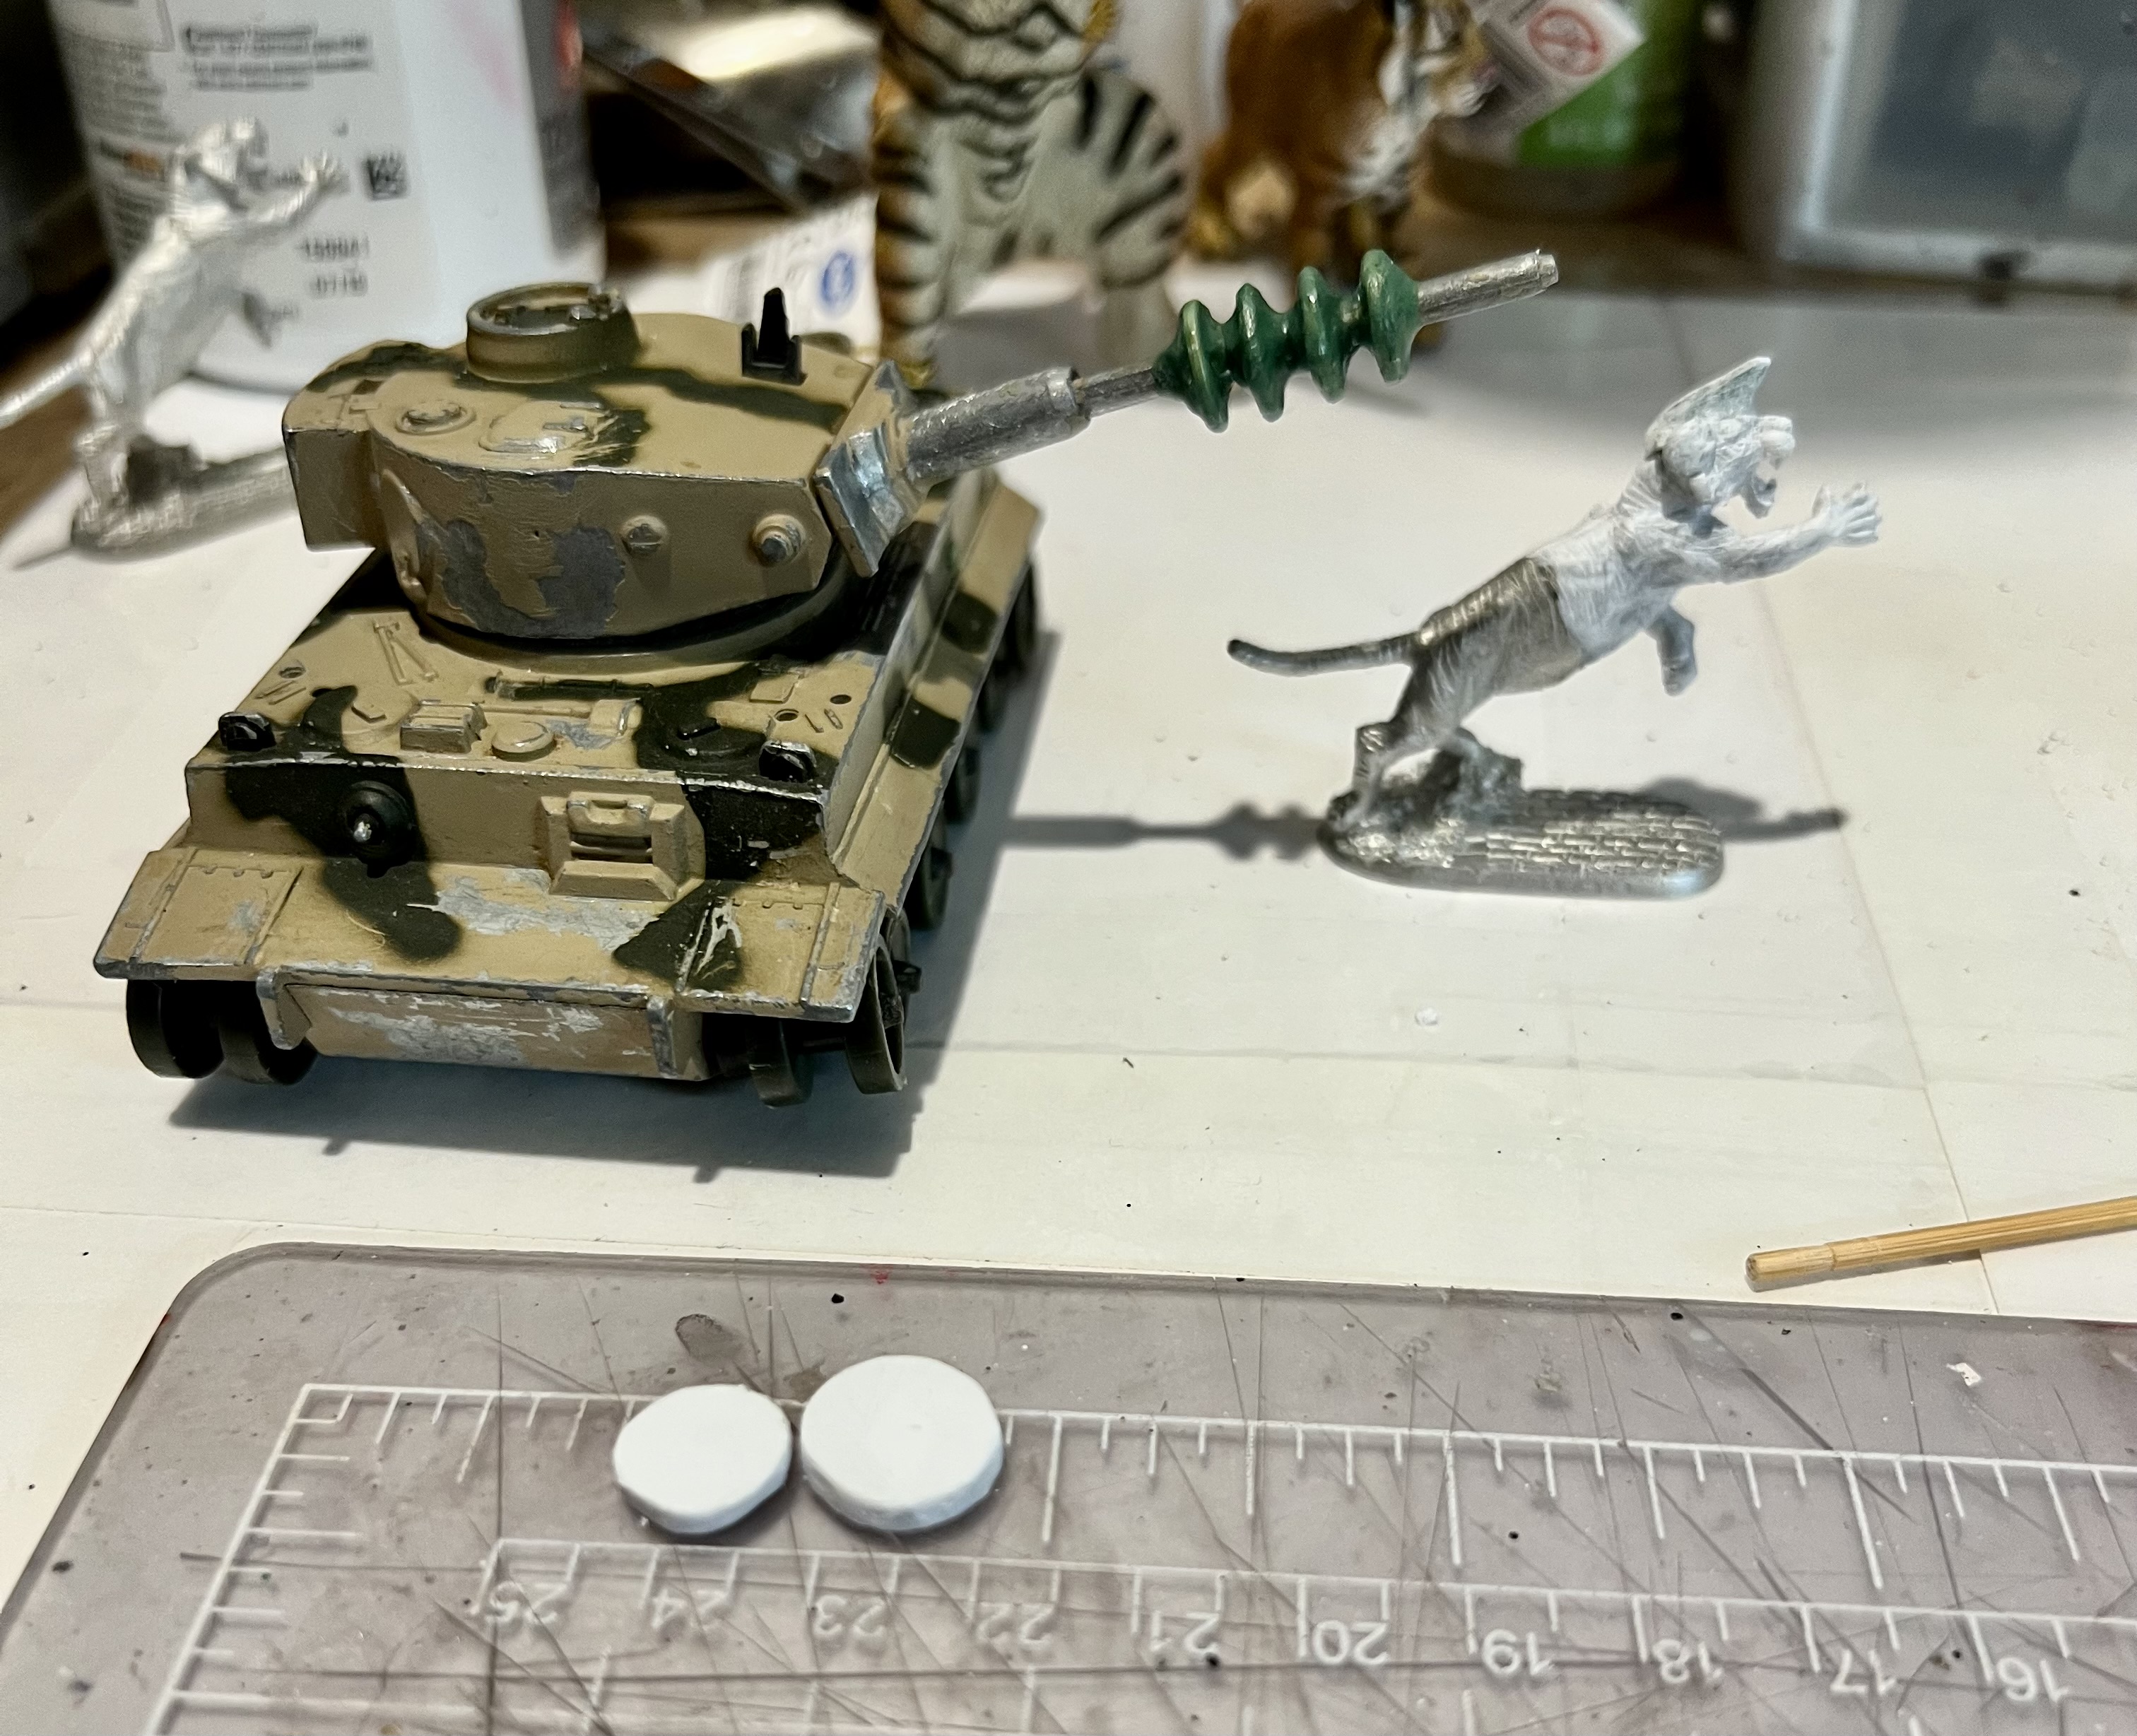
Leaving the bottom half of the figure unpainted helped me with ease of holding it for painting. The big resin tiger figure was a good model for patterning the stripes. Below are some images of how the painting went.
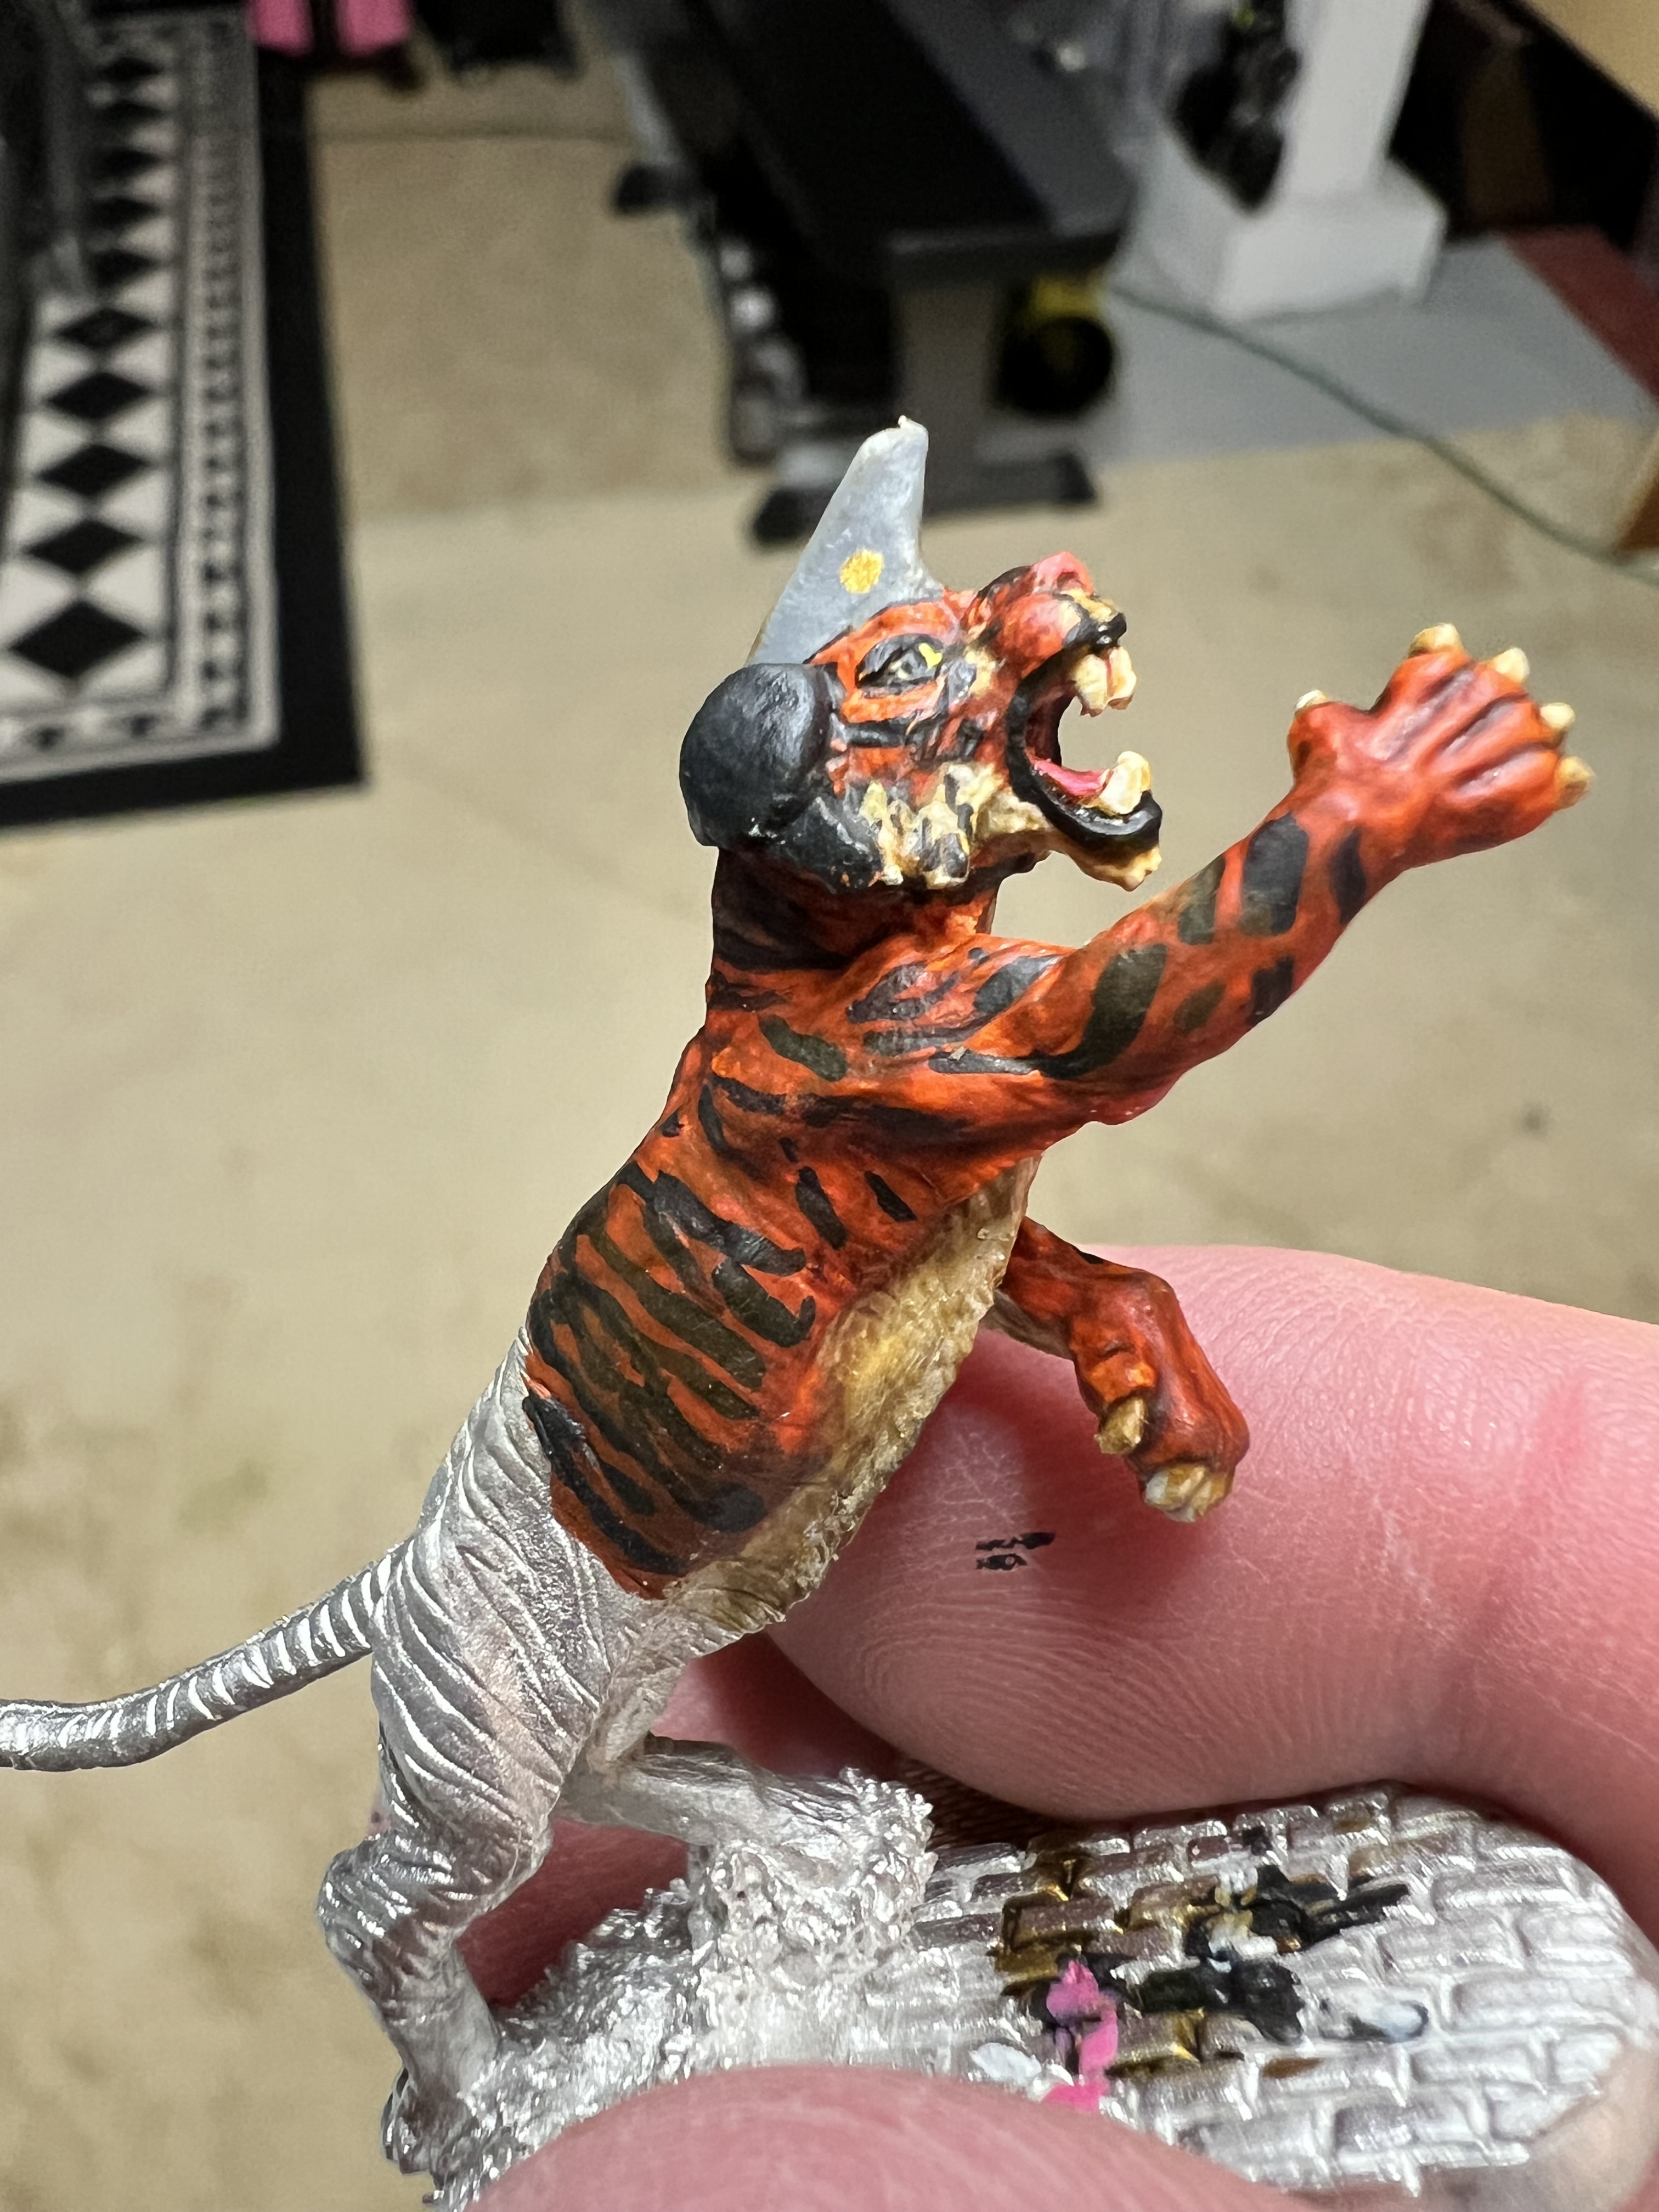
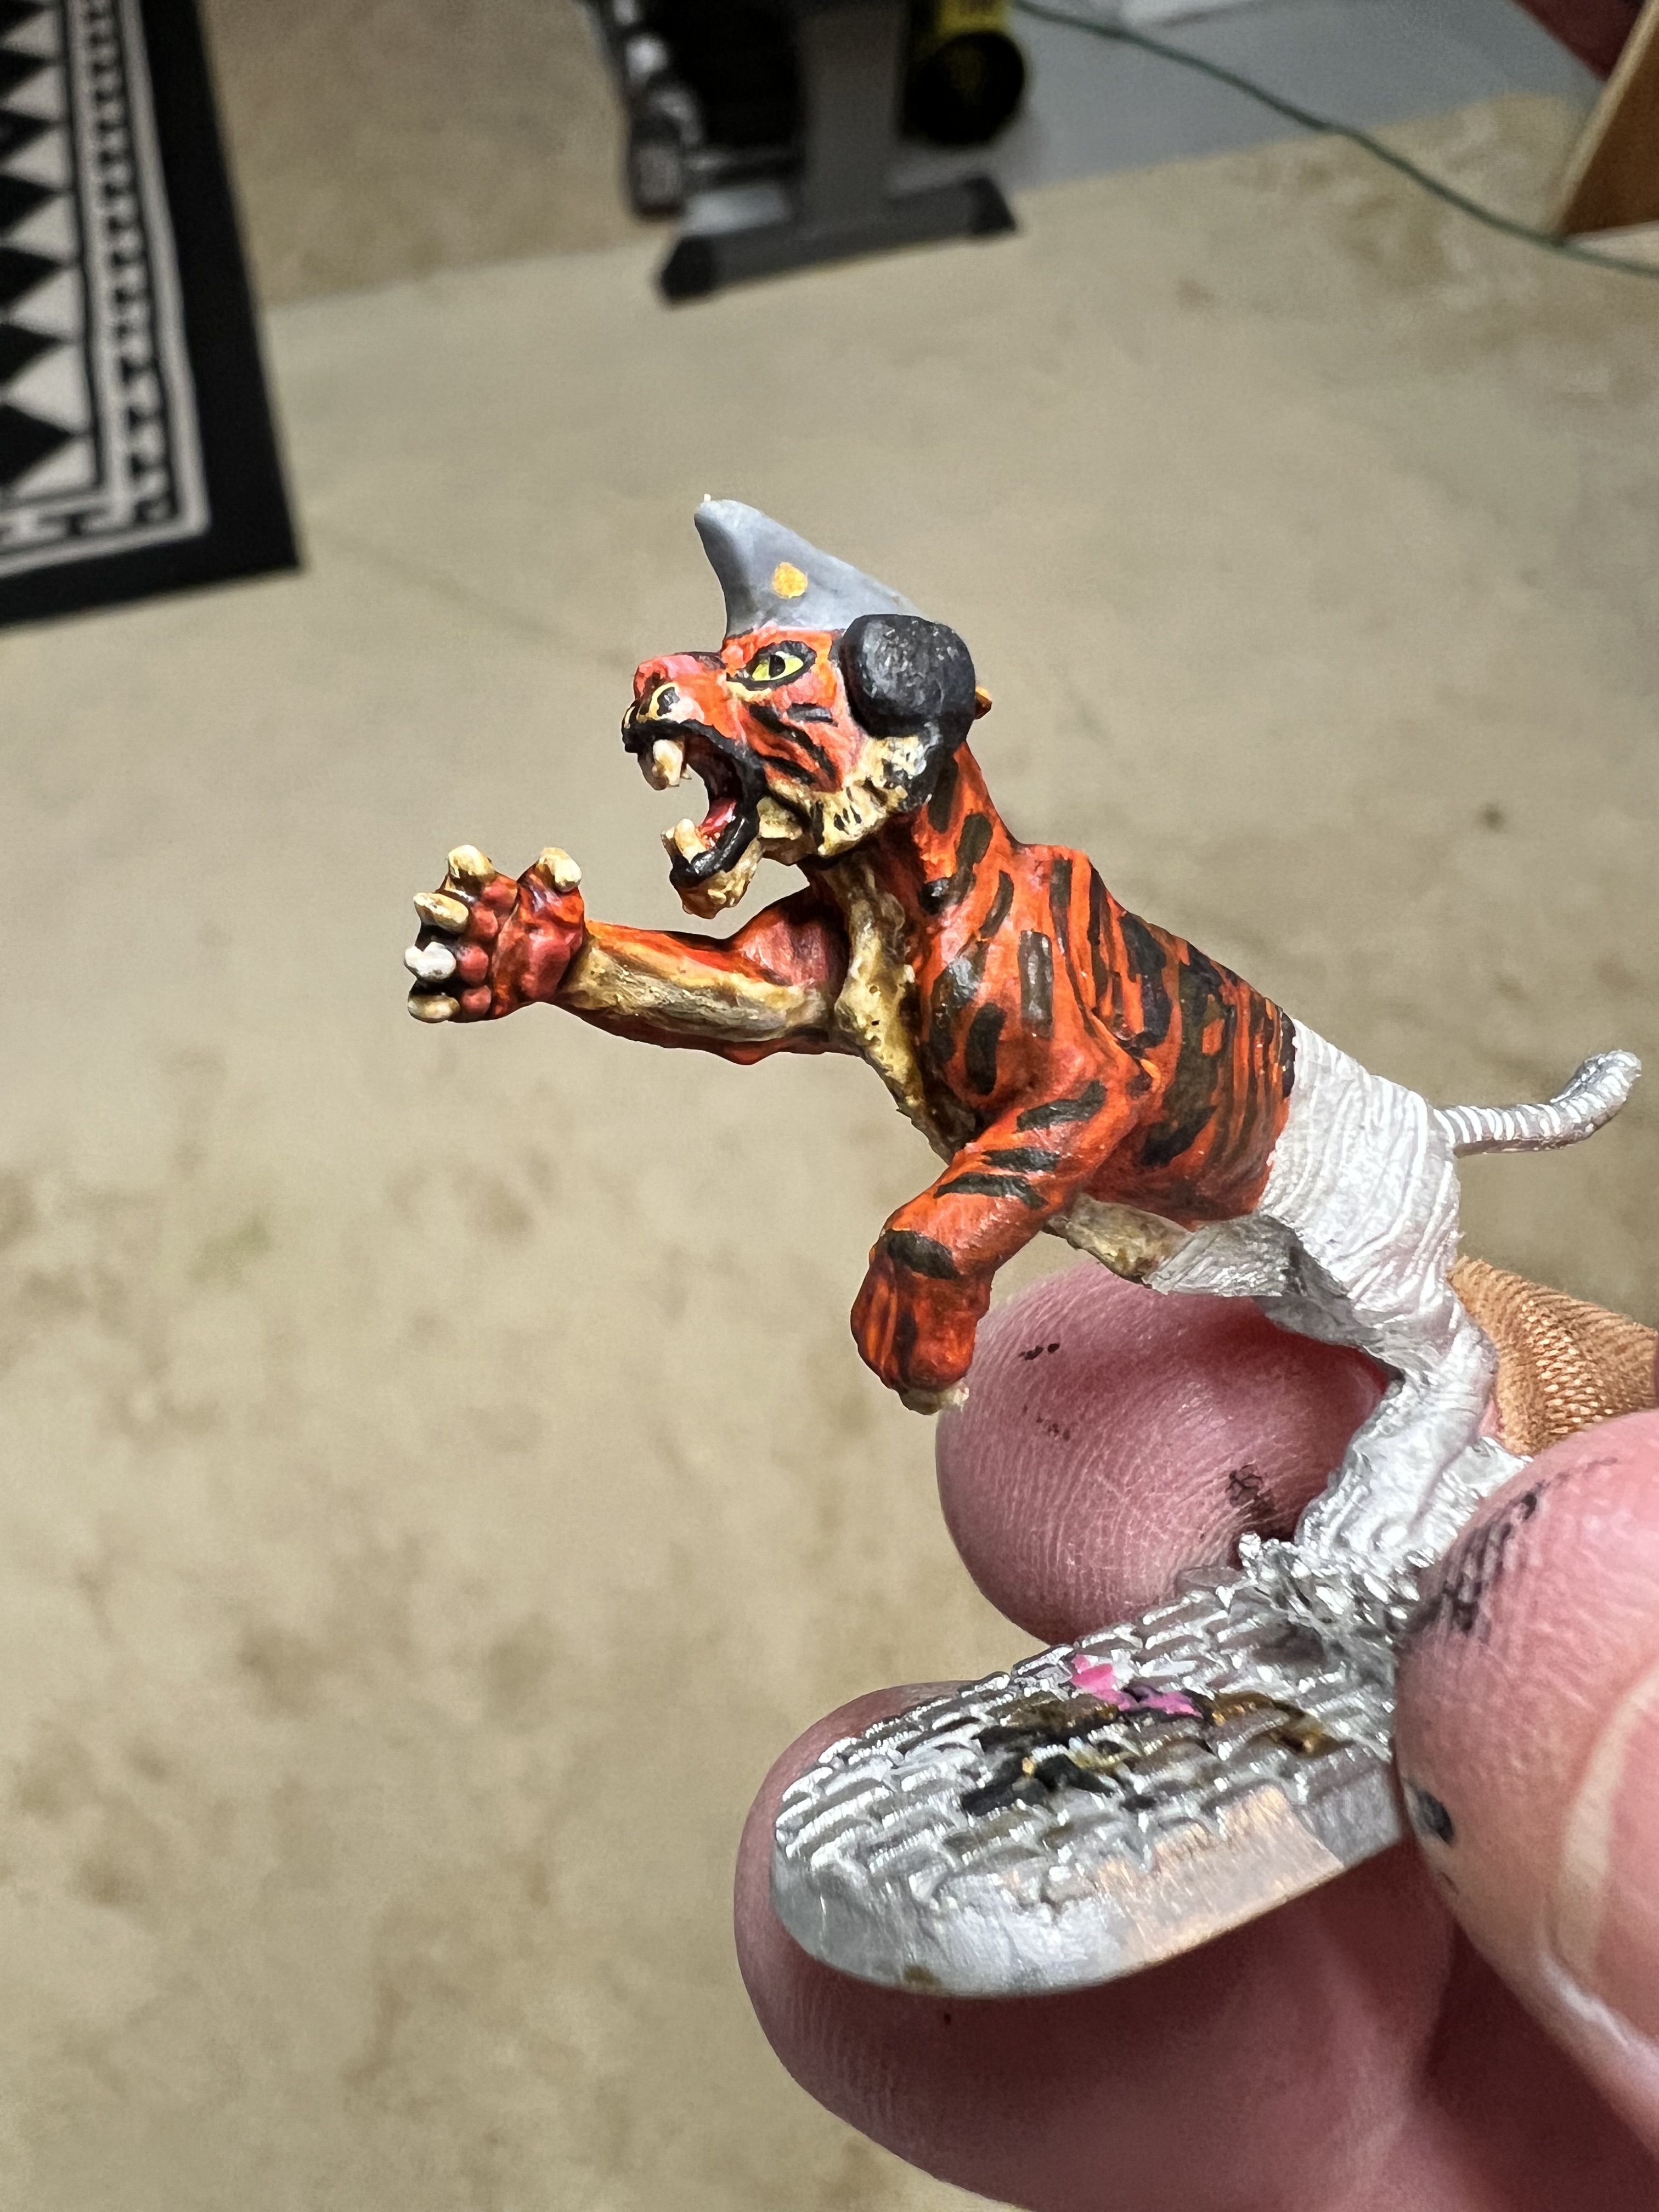
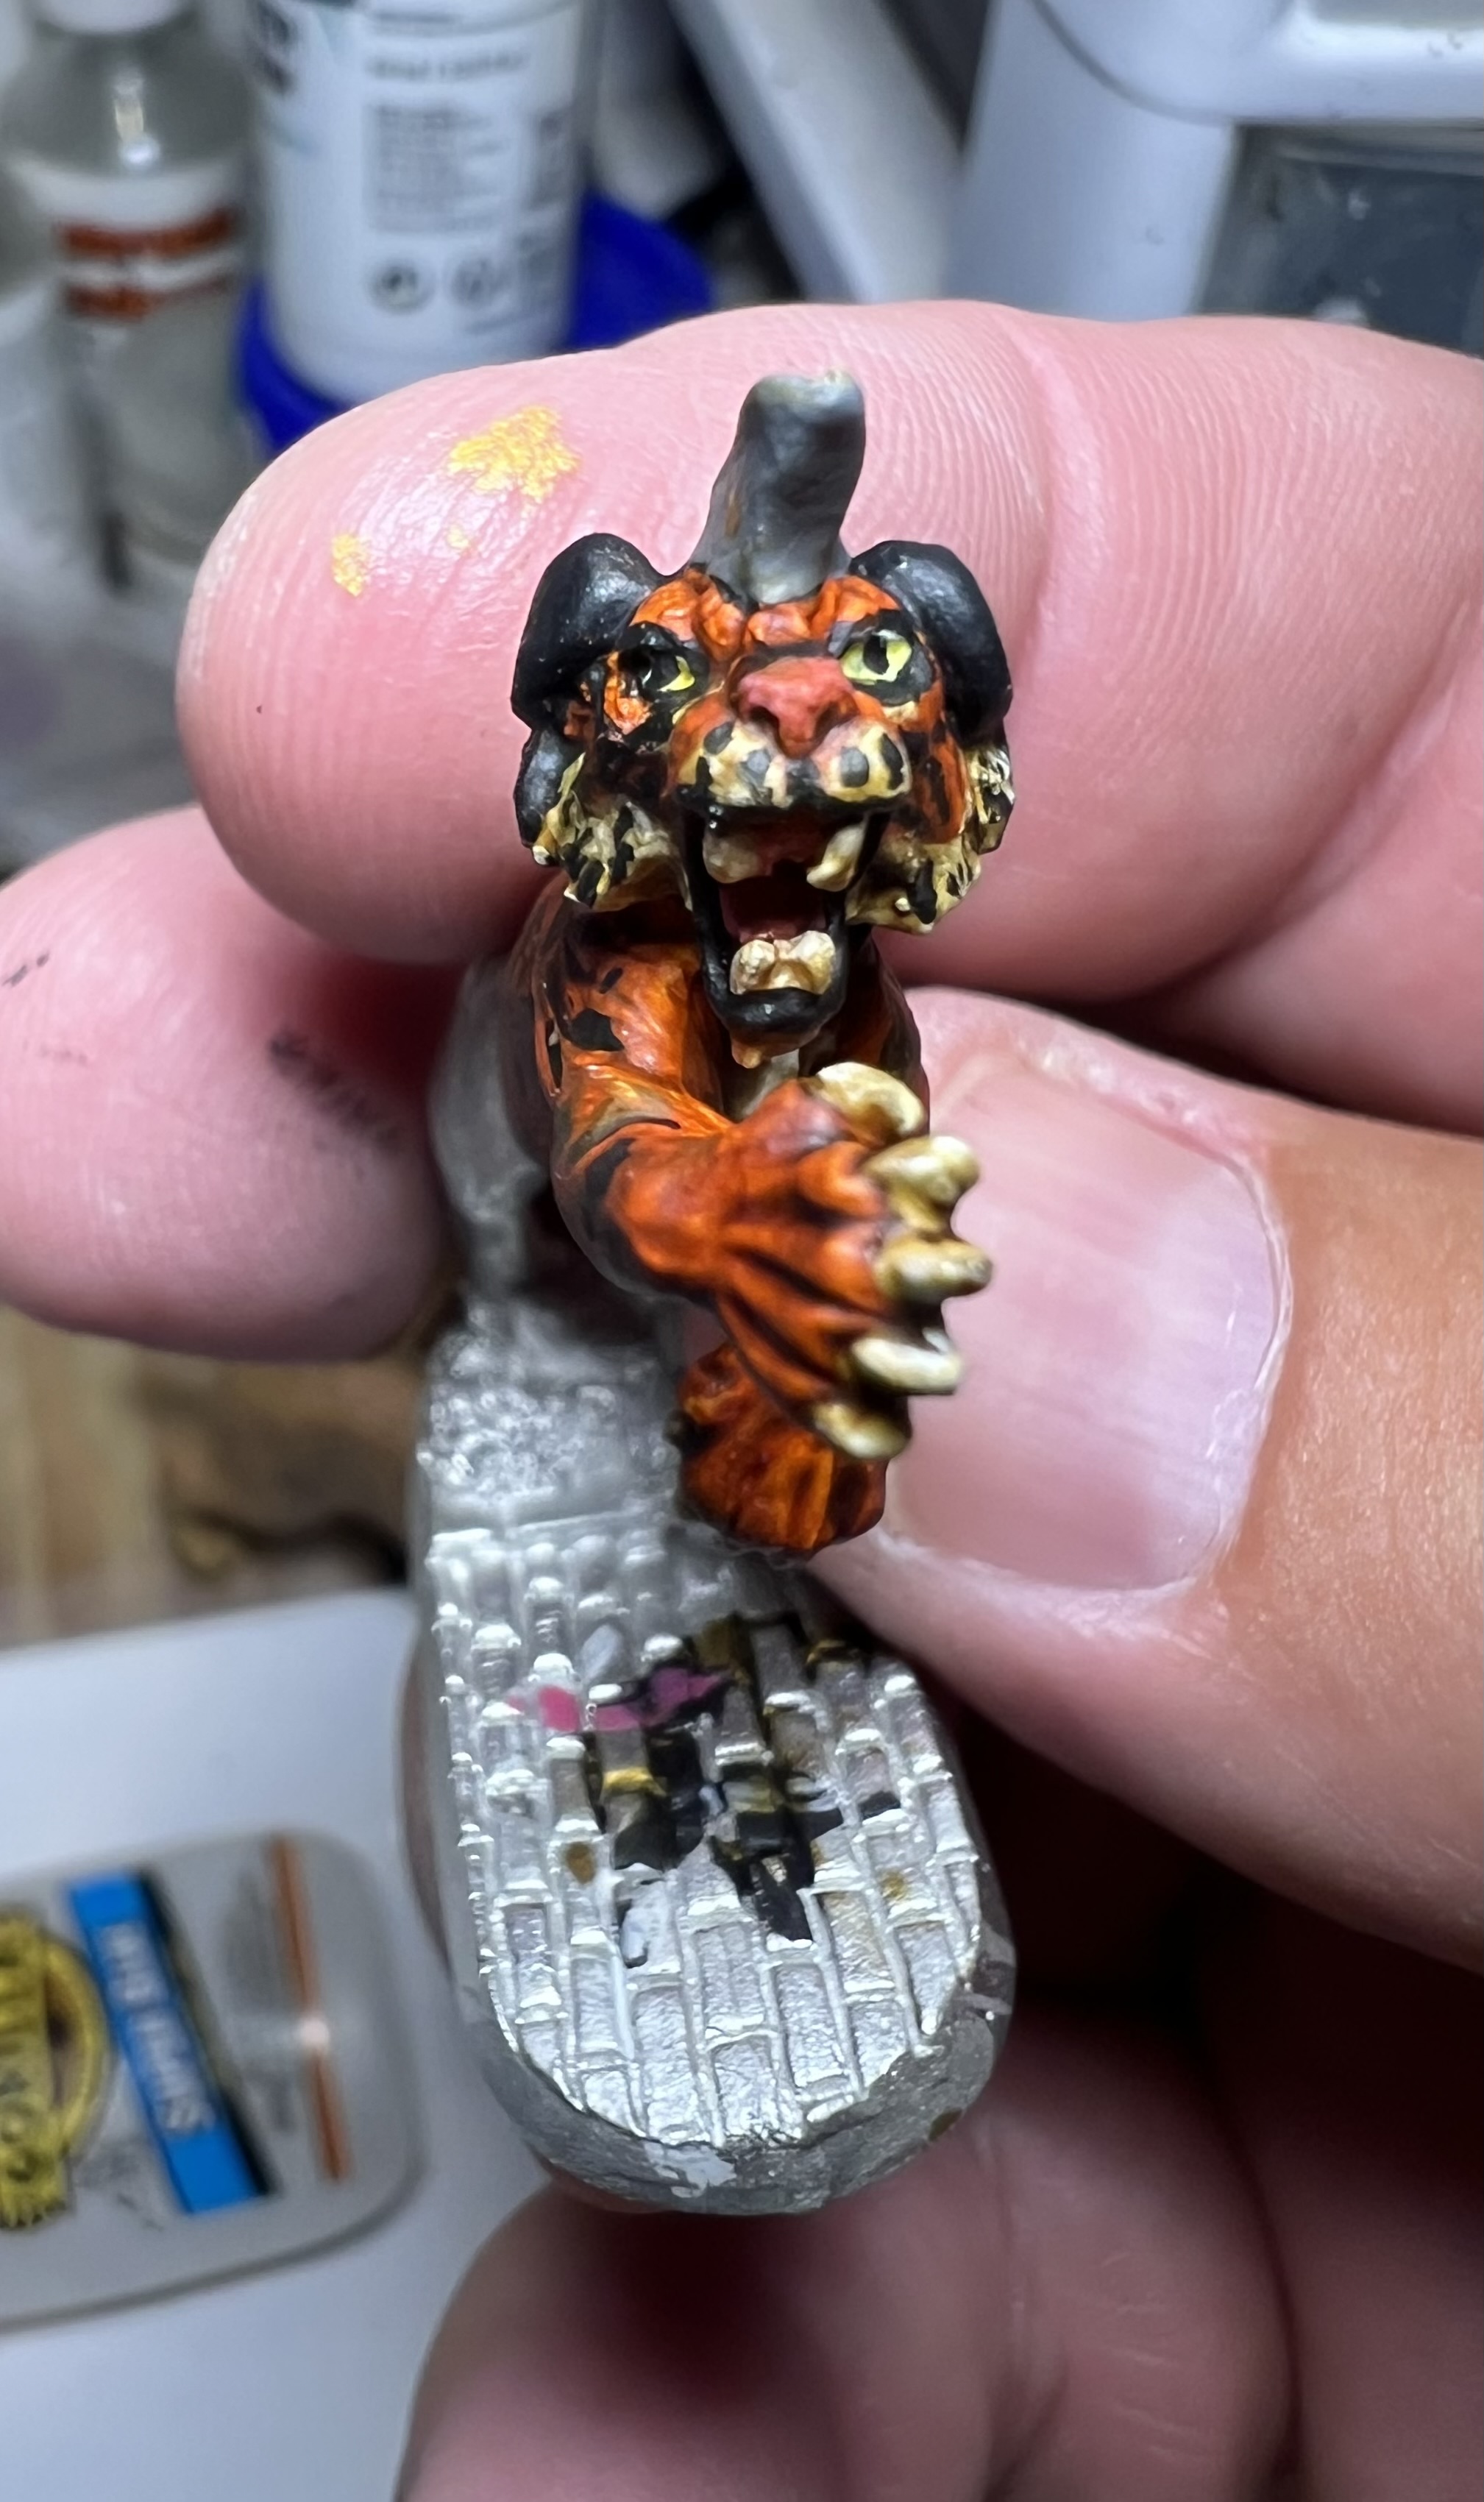
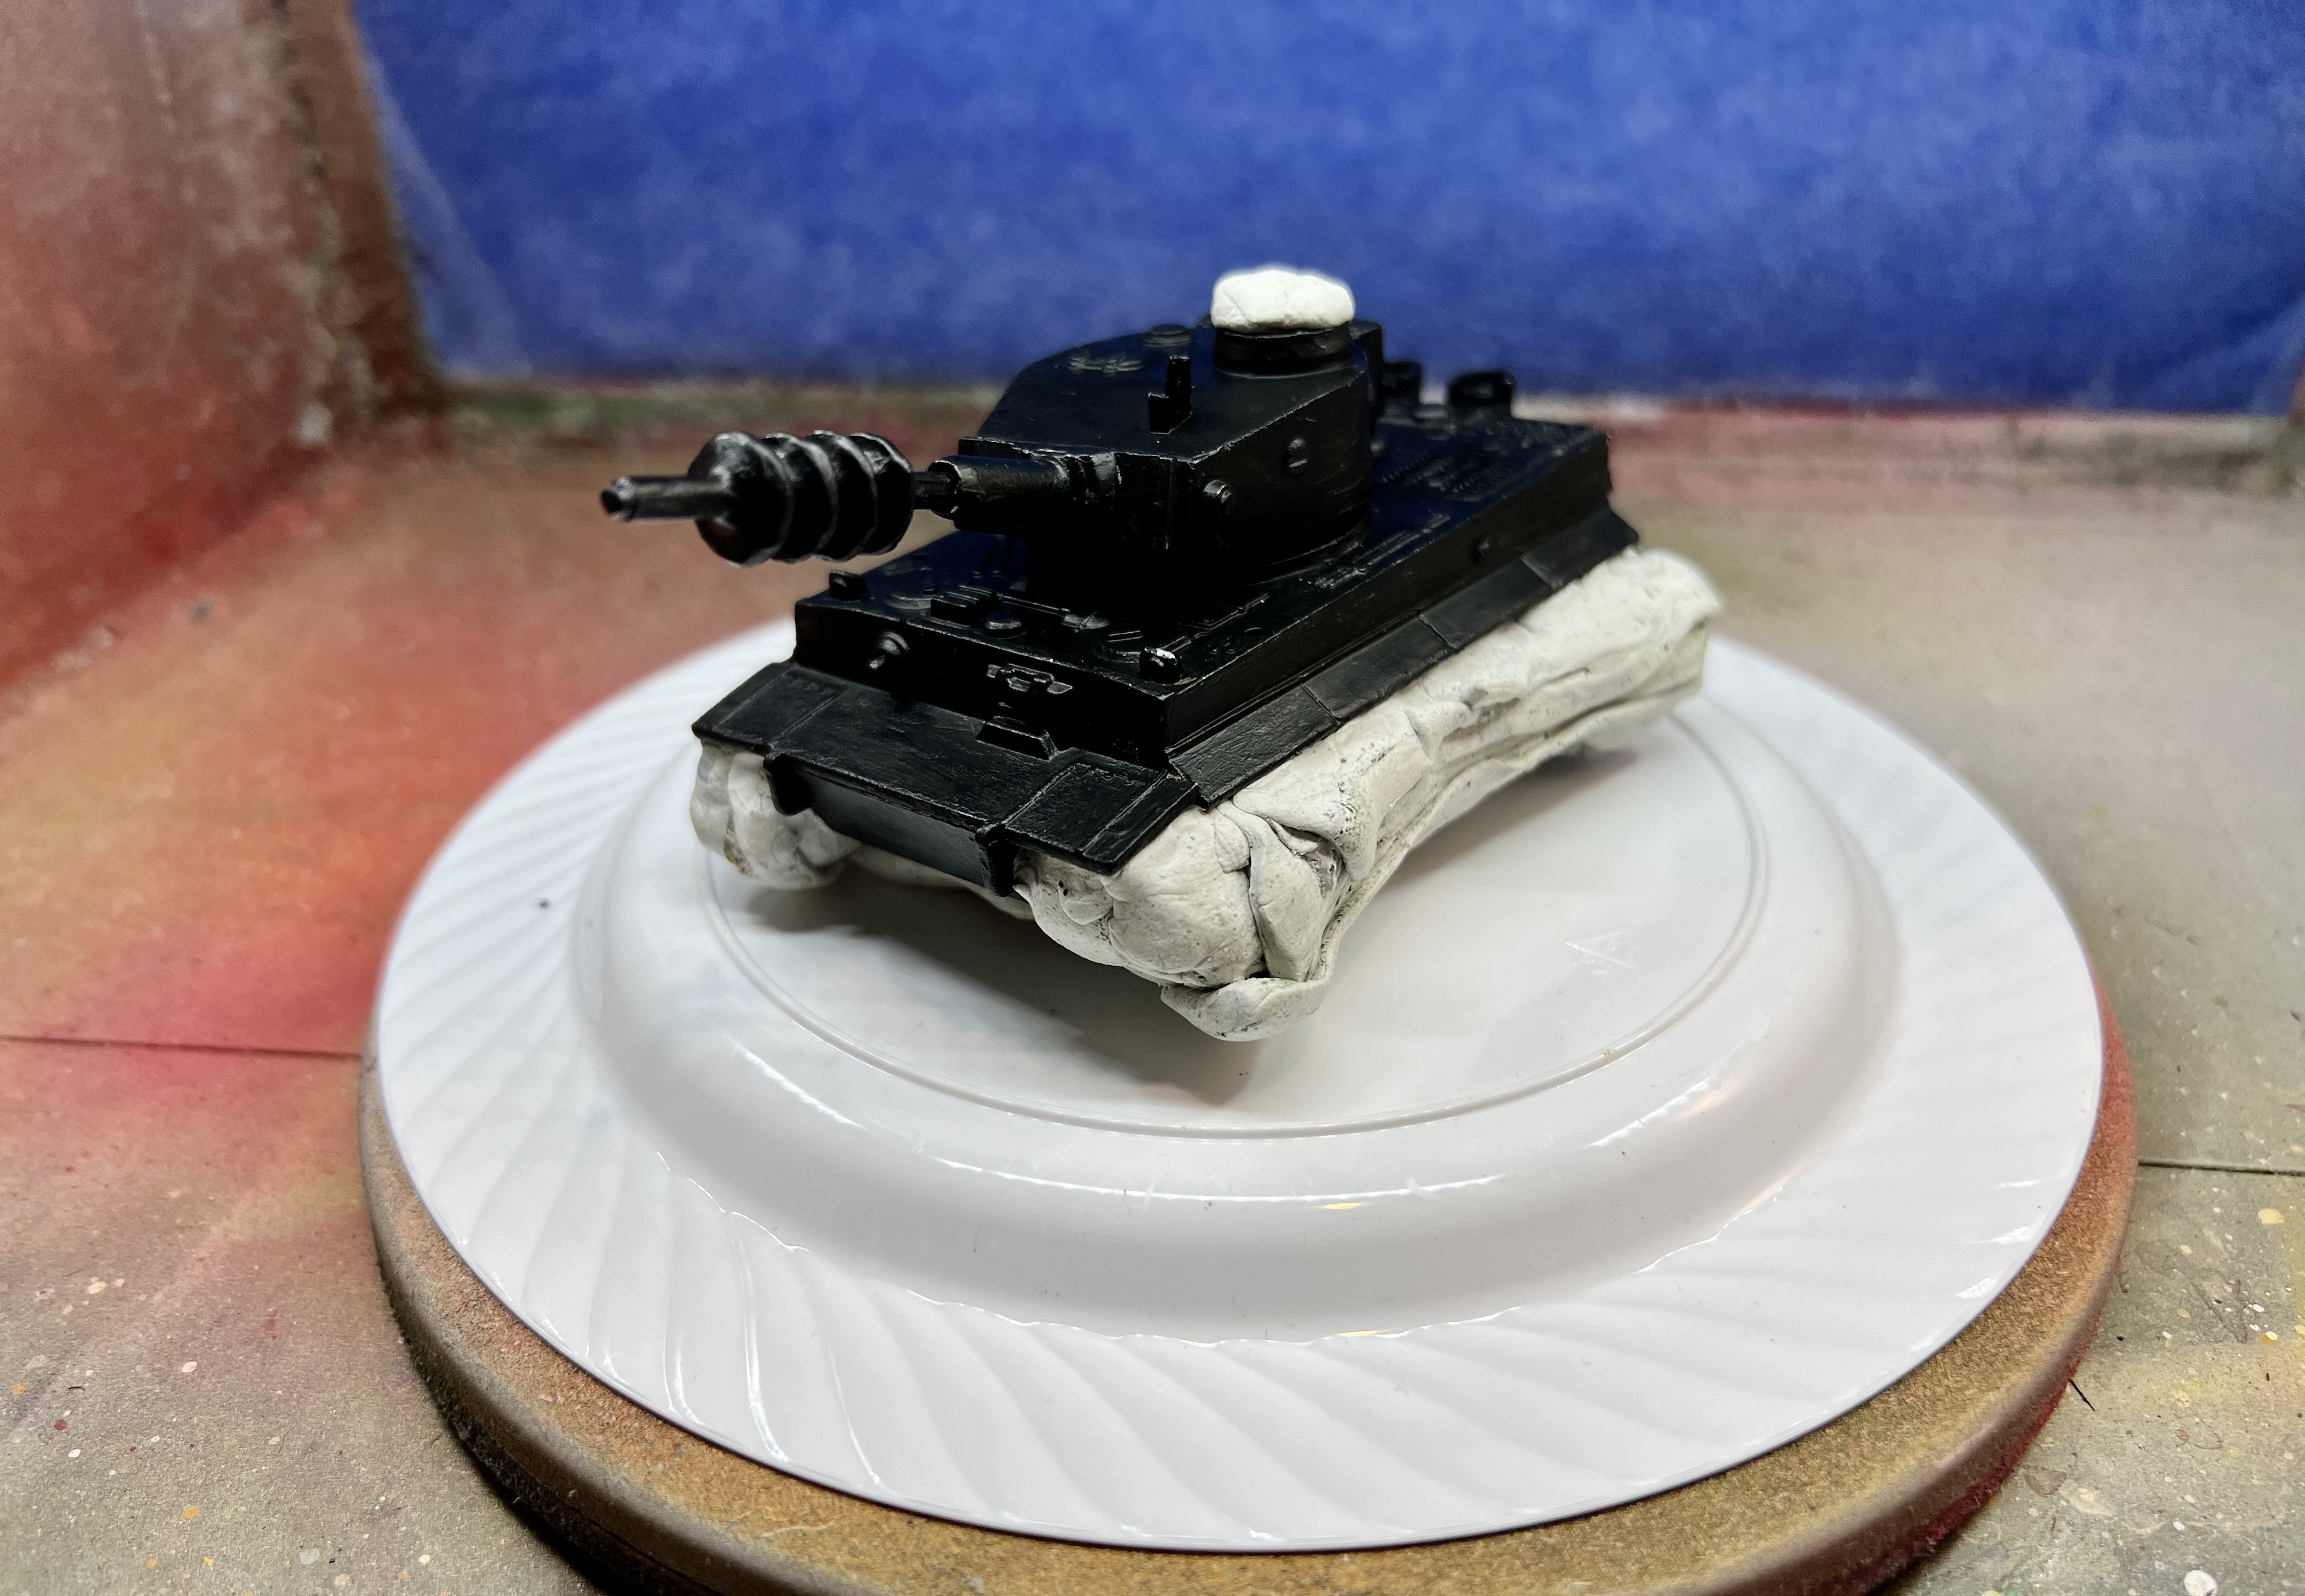
Switching back to the tank, it was time to prime it. Wanting to make sure that it got a good prime over the old factory paint job, I double-primed the tank. First, I applied a black coat, covering everything except the cupola area, the very bottom of the toy tank, and the plastic road wheels. I let it cure for 24 hours.
Then, I needed a second coat of white. Note that after the black coat was brush-applied to the toy tank, I blanked off the road wheels and the top of the existing hatch/cupola with poster tack. I did that for the wheels so as to keep the plastic green color intact – plus I thought that any paint on them would be very fragile and prone to rubbing off easily. For the cupola, I wanted to leave a somewhat bare surface so that the tiger commander assembly (when completed) would be easily attached with green stuff.
It was now time to return to the tiger commander and the hatch/cupola assembly.
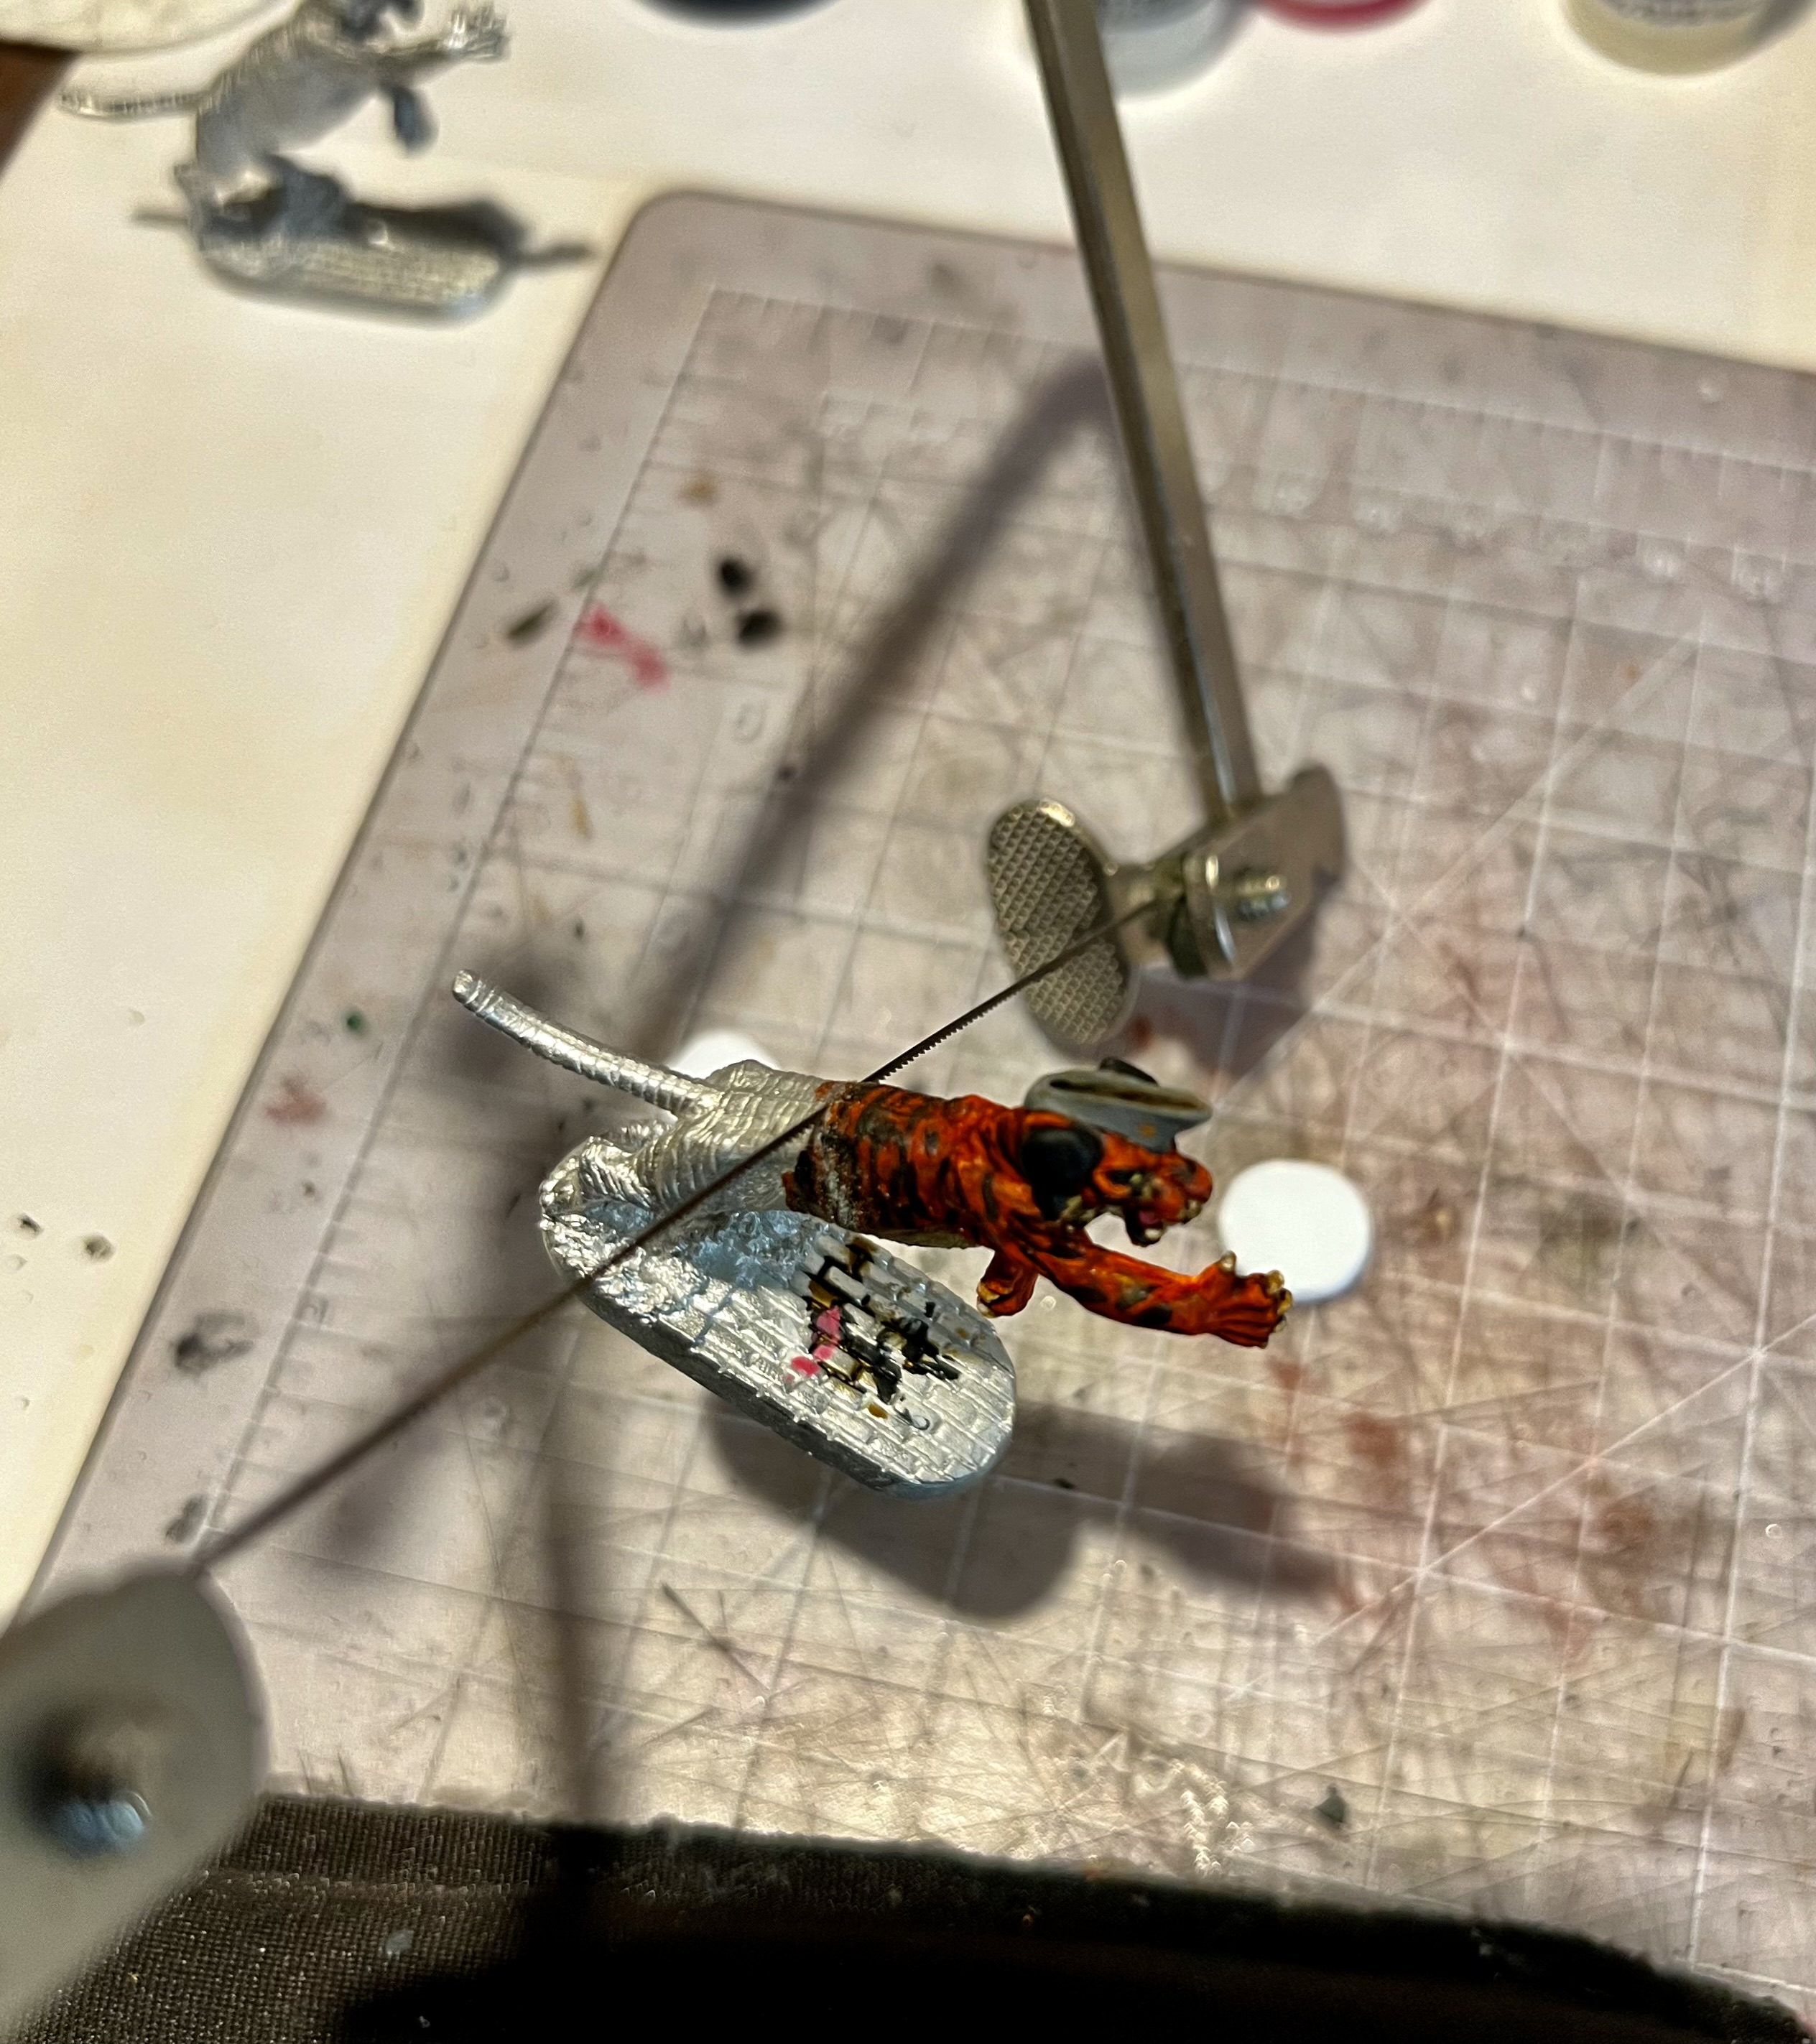
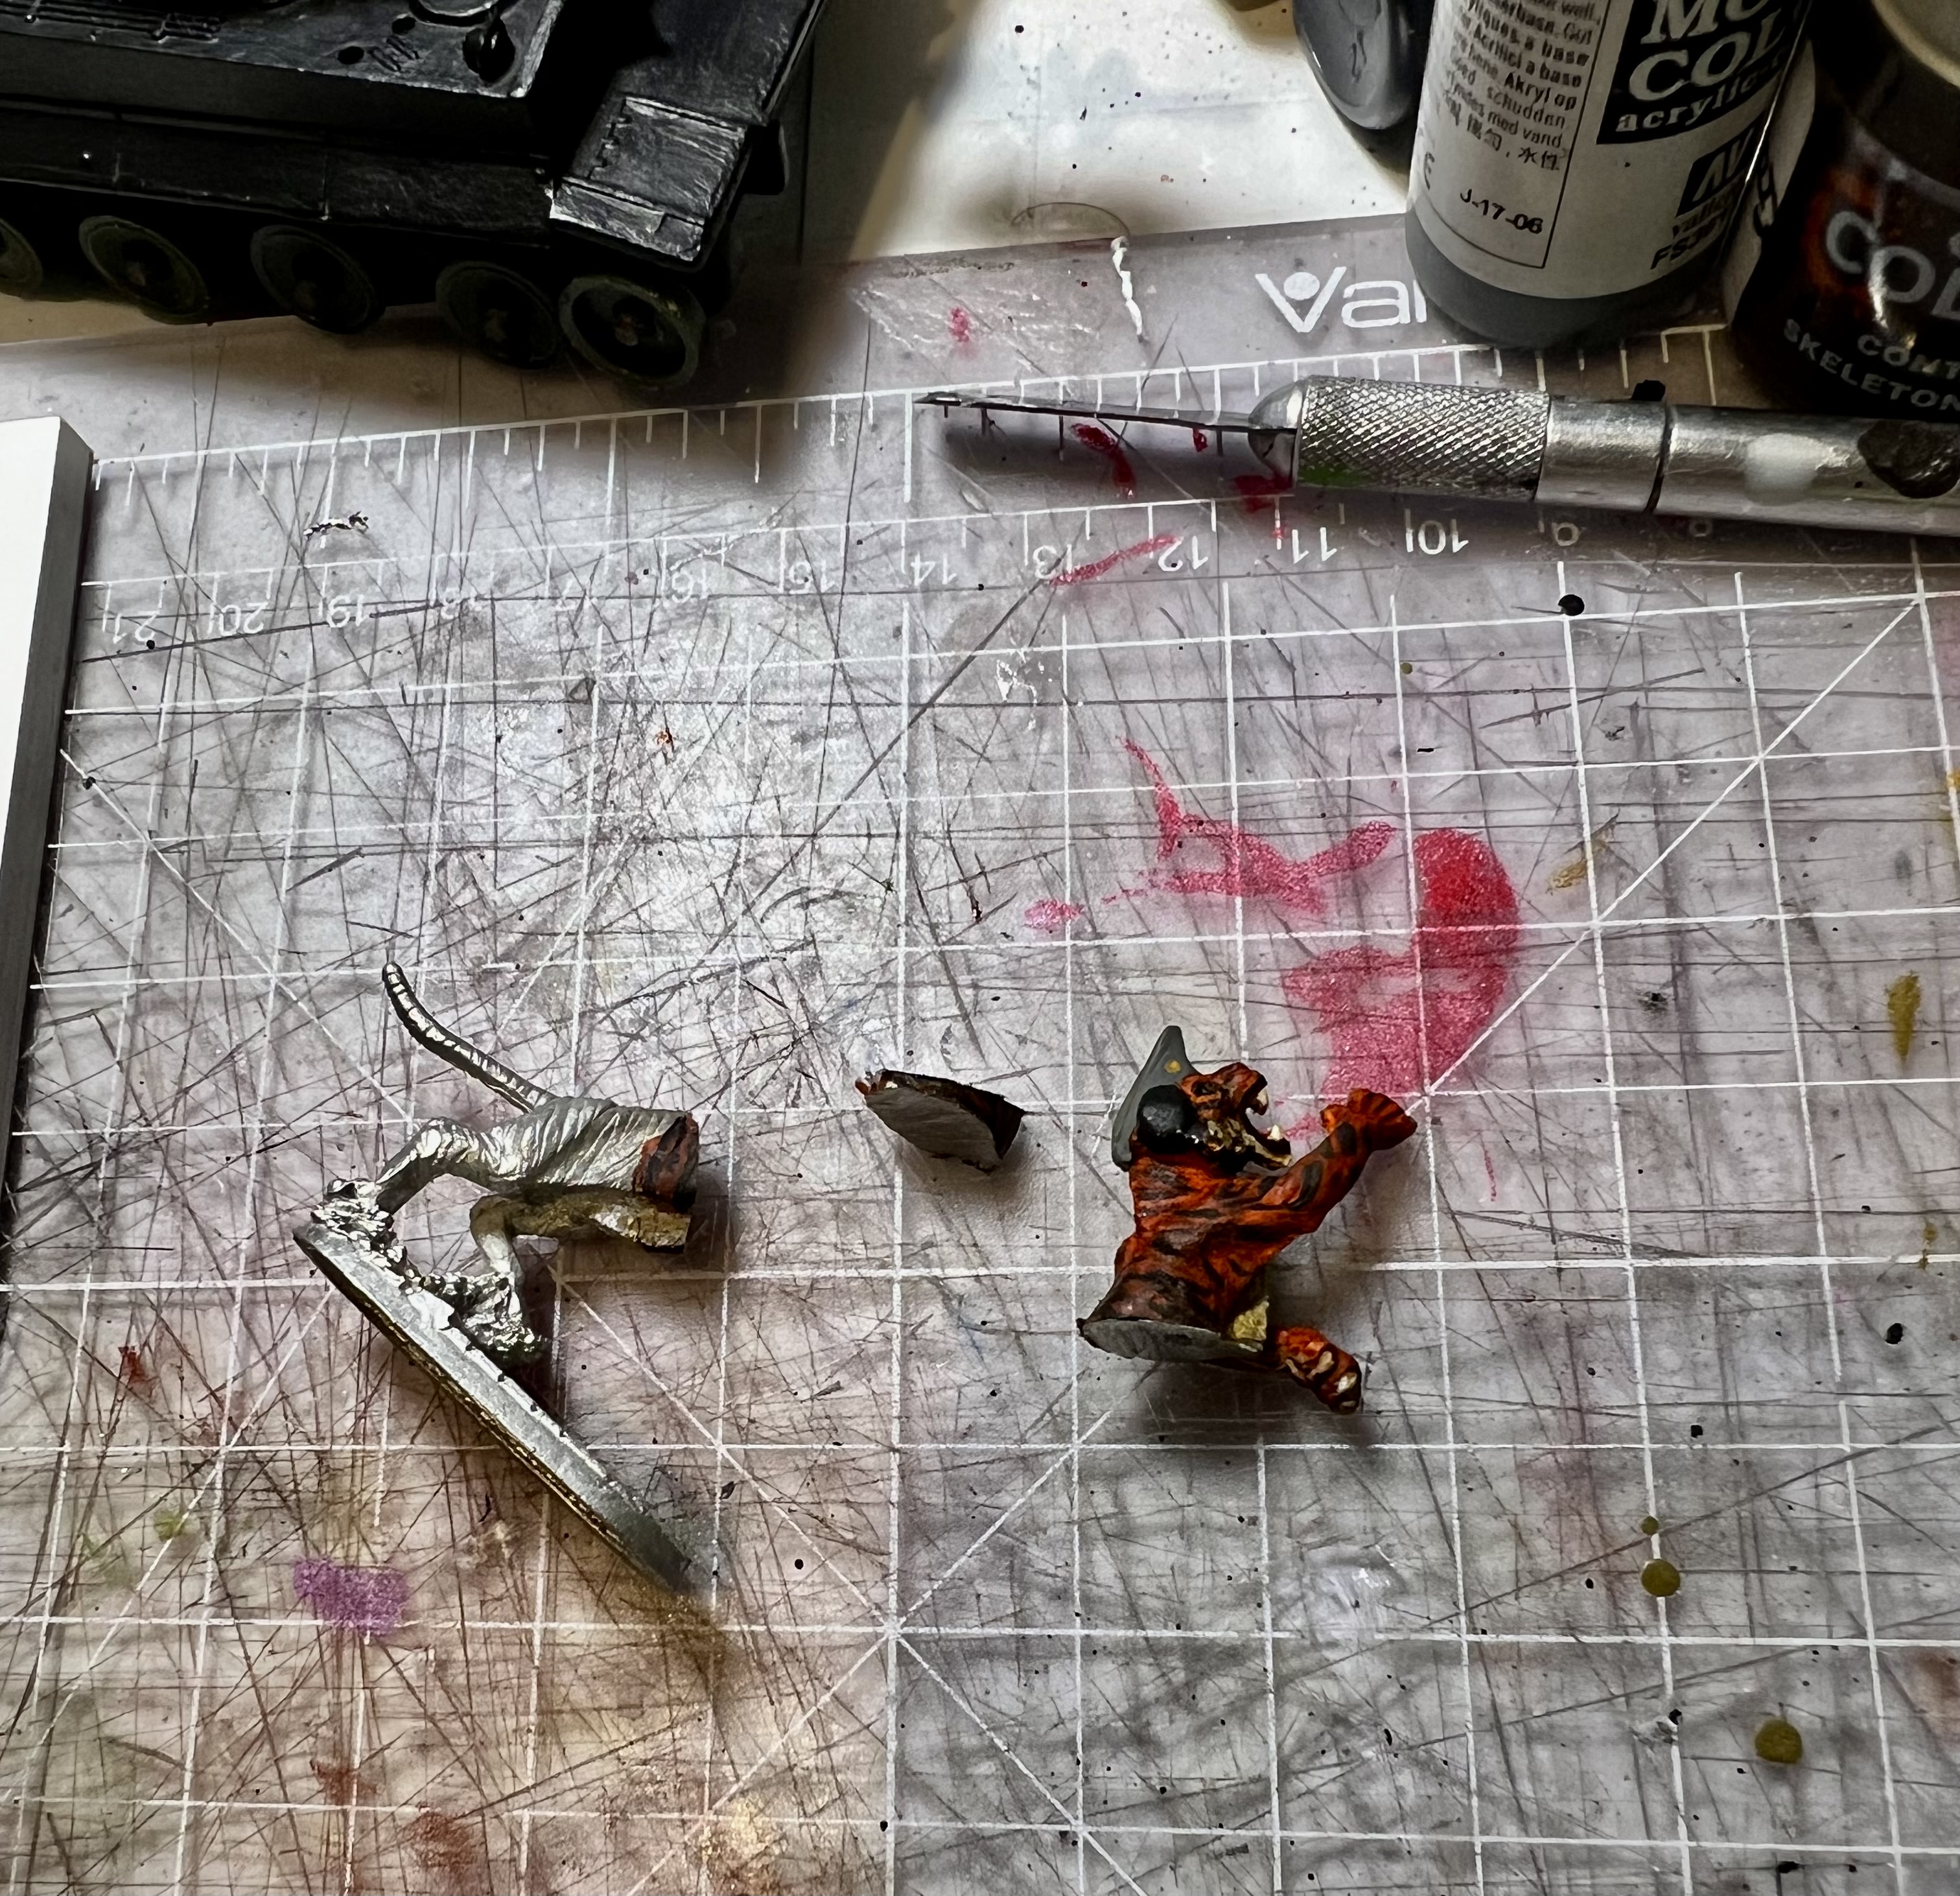
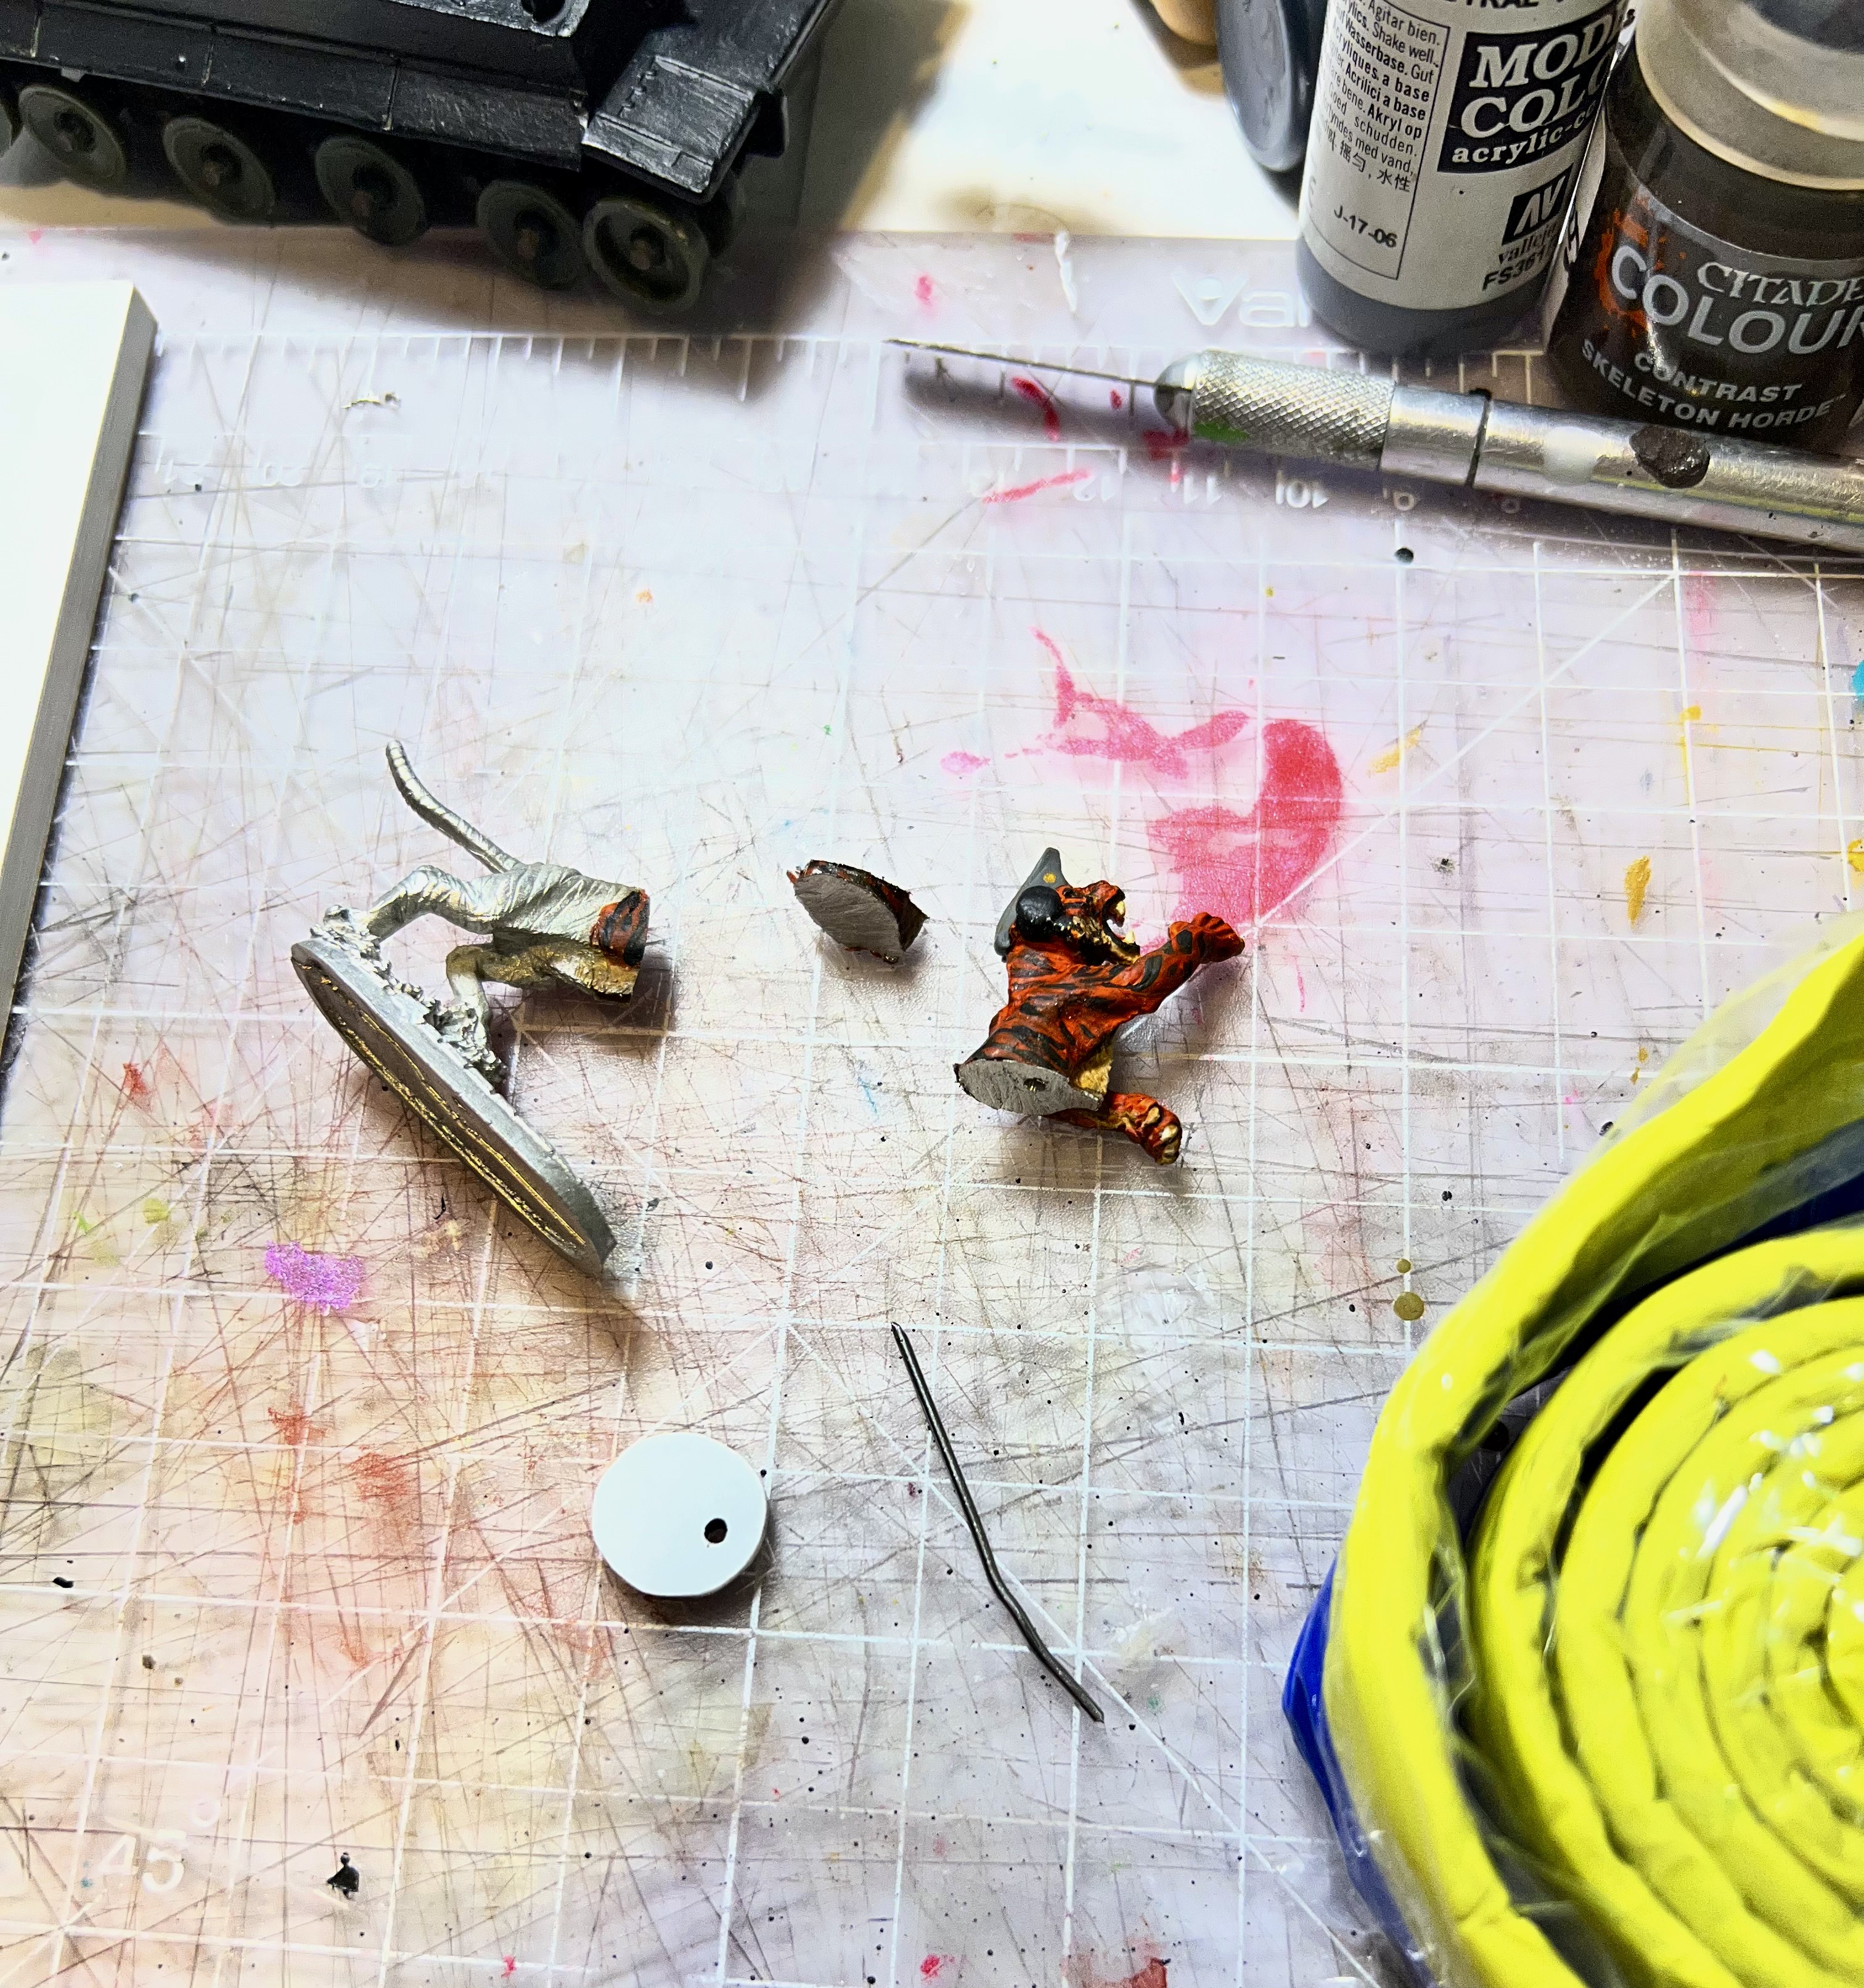
The tiger commander got a coat of varnish which I let cure. Then it was time to saw the figure in half. I was not sure of what angle to take with my jewelry saw. In the end, it took two slow cuts. I needed some minor touch-up work on the figure afterwards.
The larger cupola piece (the base part) was drilled out as was the bottom of the tiger figure. This allowed me to embed a paper clip wire through the bottom of the plastic disc and into the hole I drilled into the base of the figure. I secured this combination with green stuff over both sets of plastic and let it set. By doing this, I was able to do a couple of things. First, this allowed me to construct the hatch top in the swung out position as you will see below. Also, later I did eventually drill more holes into the bottom of the plastic disc in a honeycomb fashion – which provided more surface area when I used green stuff to attach the commander/hatch/cupola assembly to the Corgi tank.
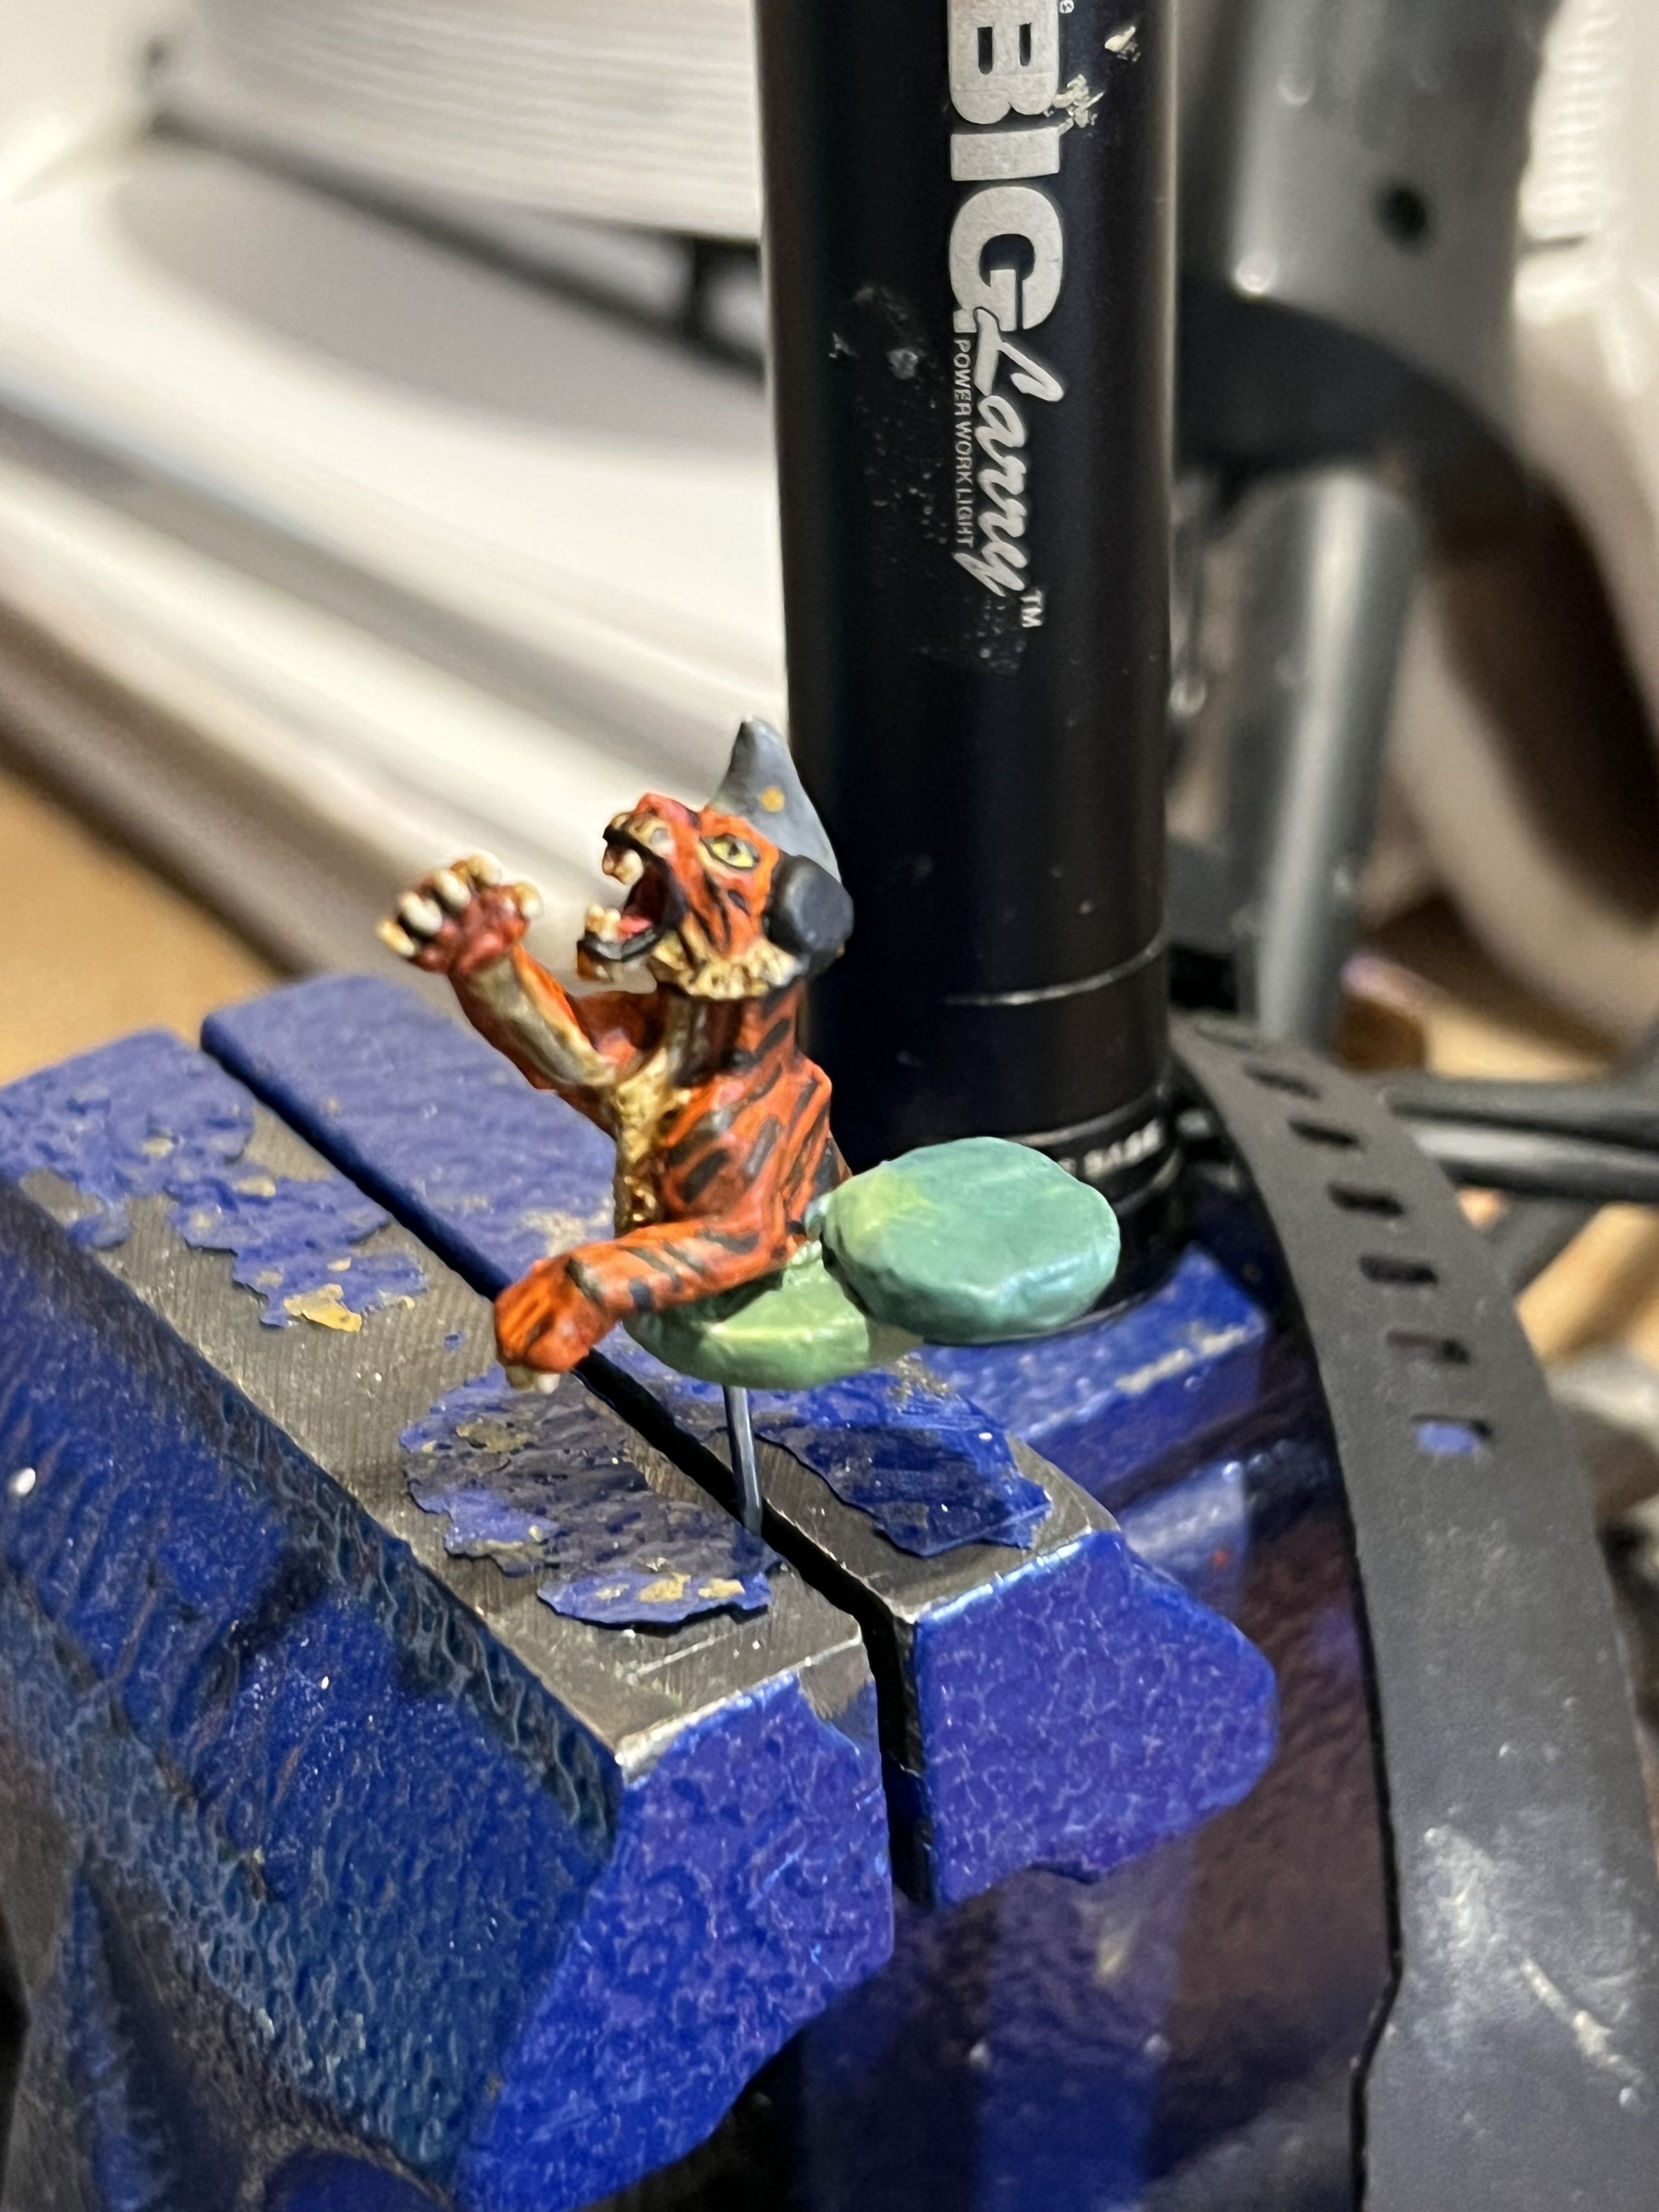
Those details included adding the swing arm (a toothpick shard) and some green stuff detail to the top. After this cured, I primed and painted it.
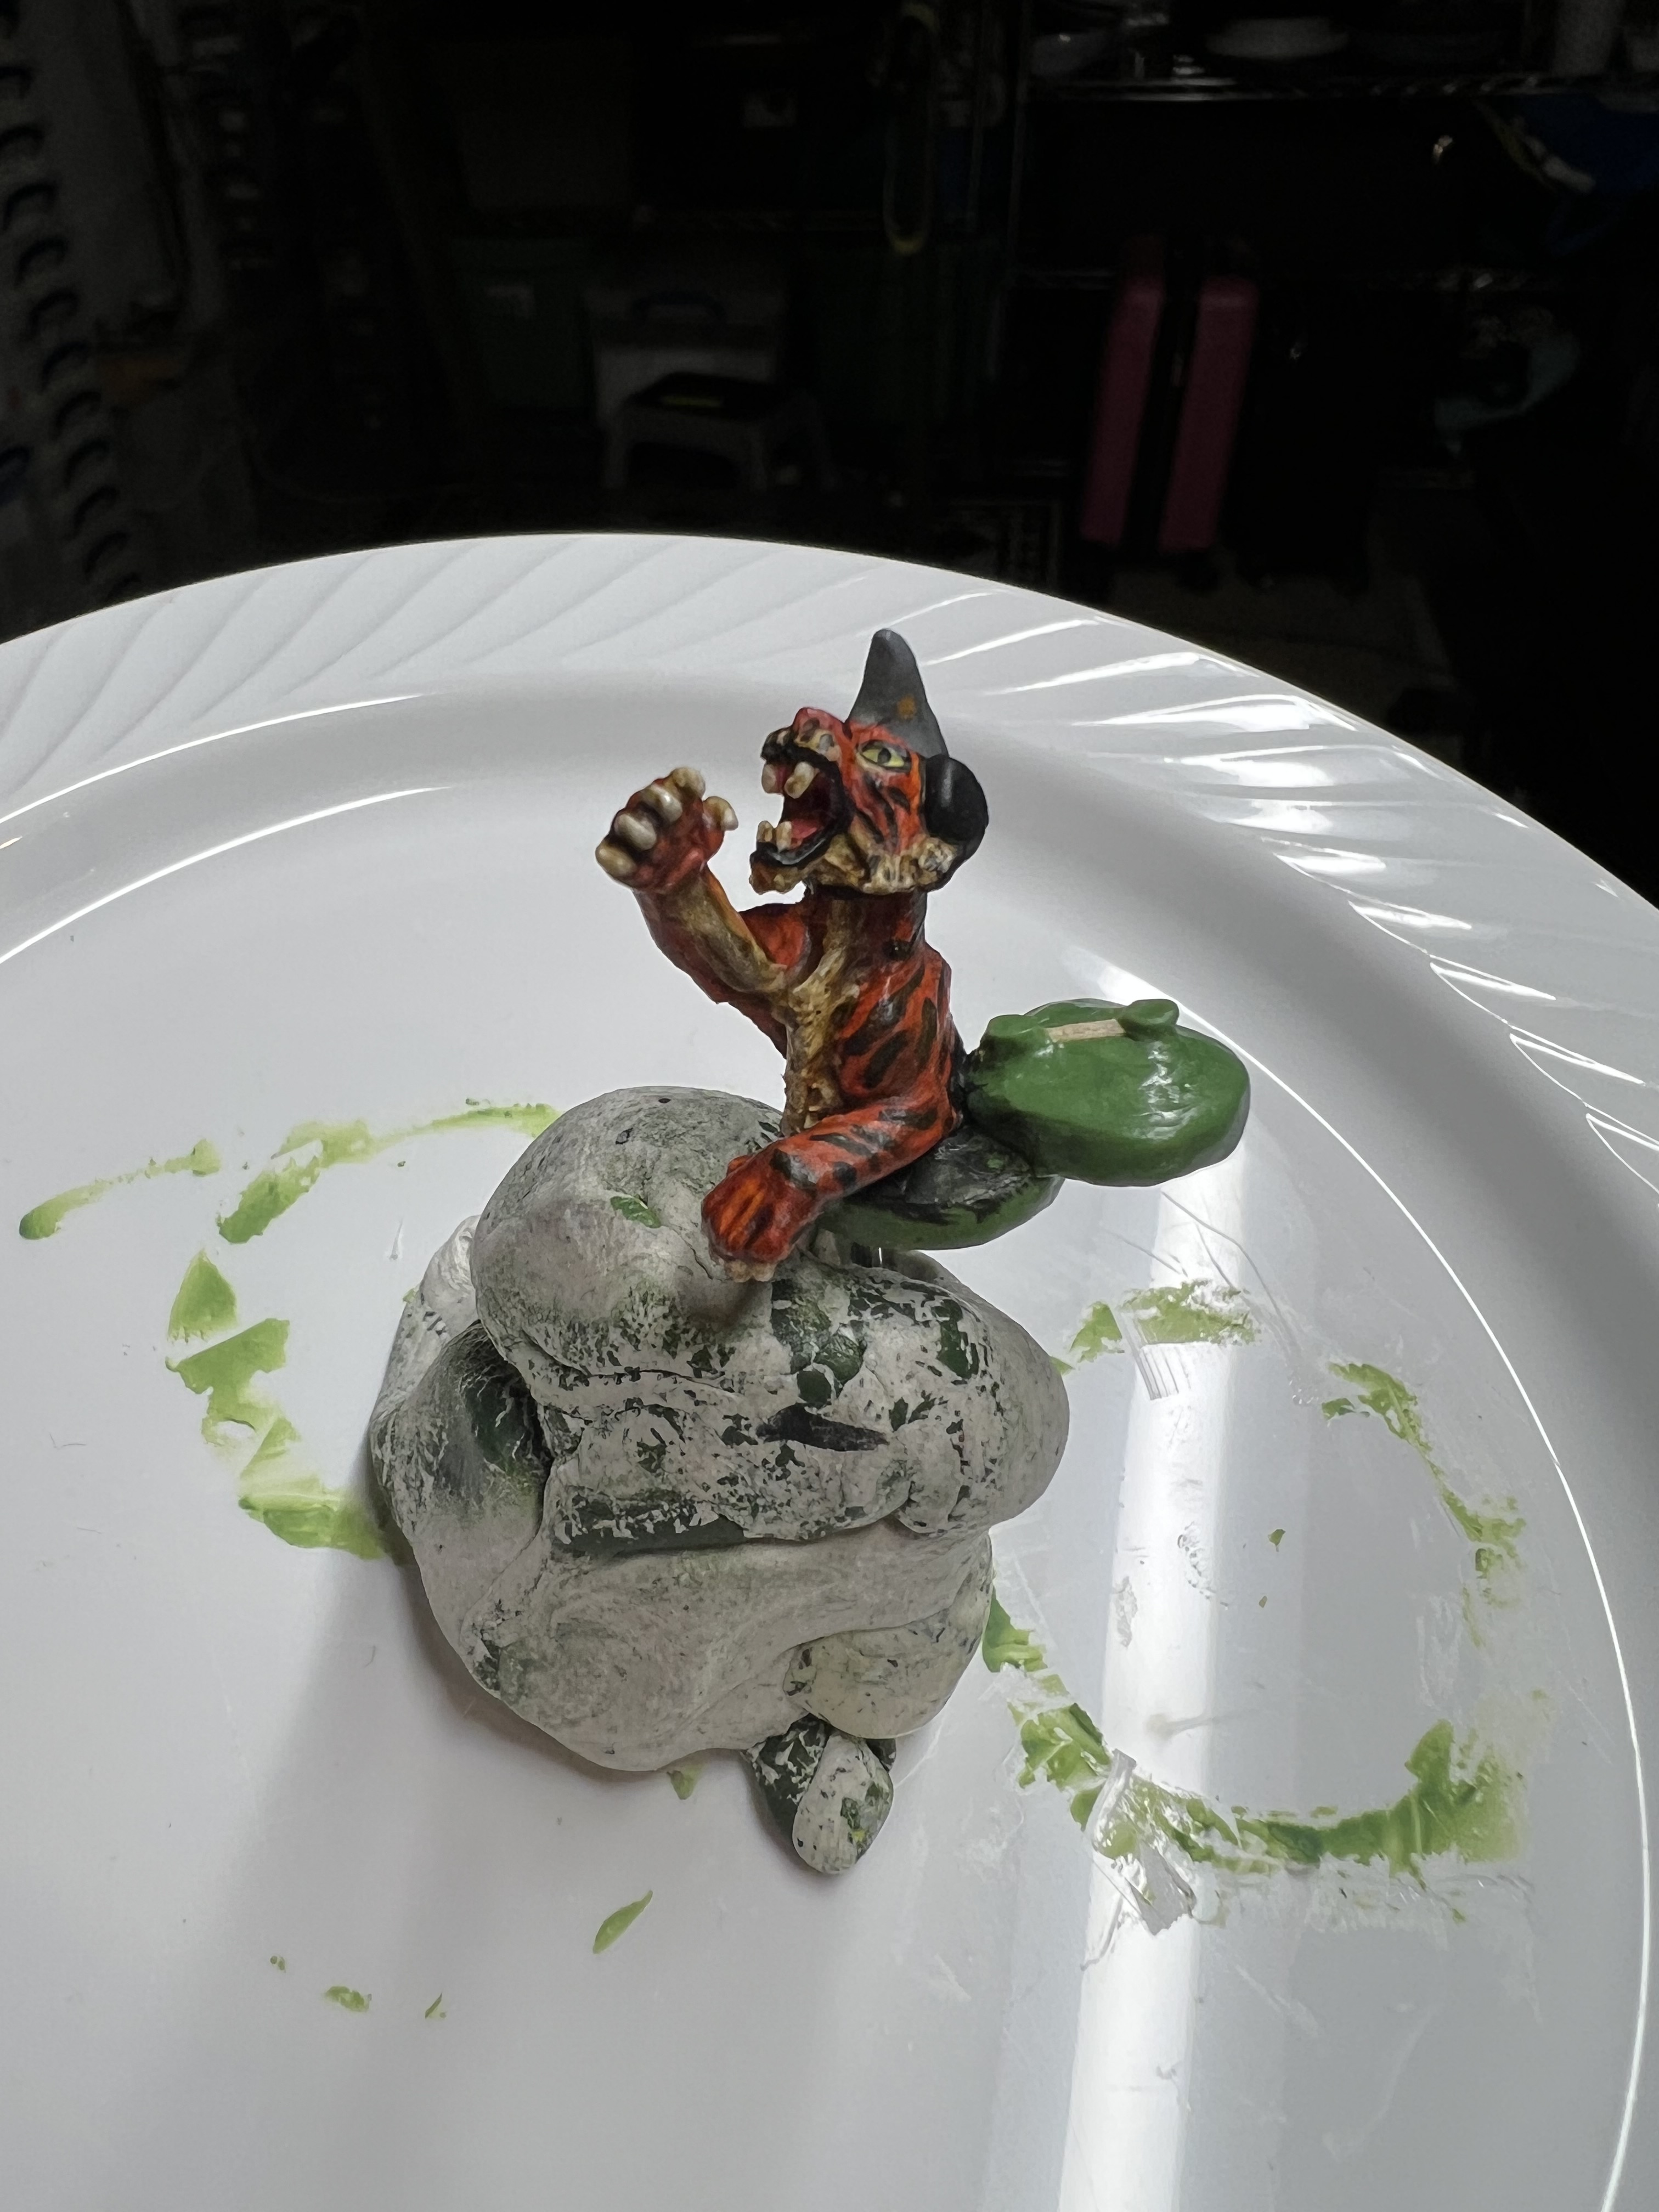
Let’s now go back to my progress on the Corgi tank. I had the priming completed with the tank now primed white.
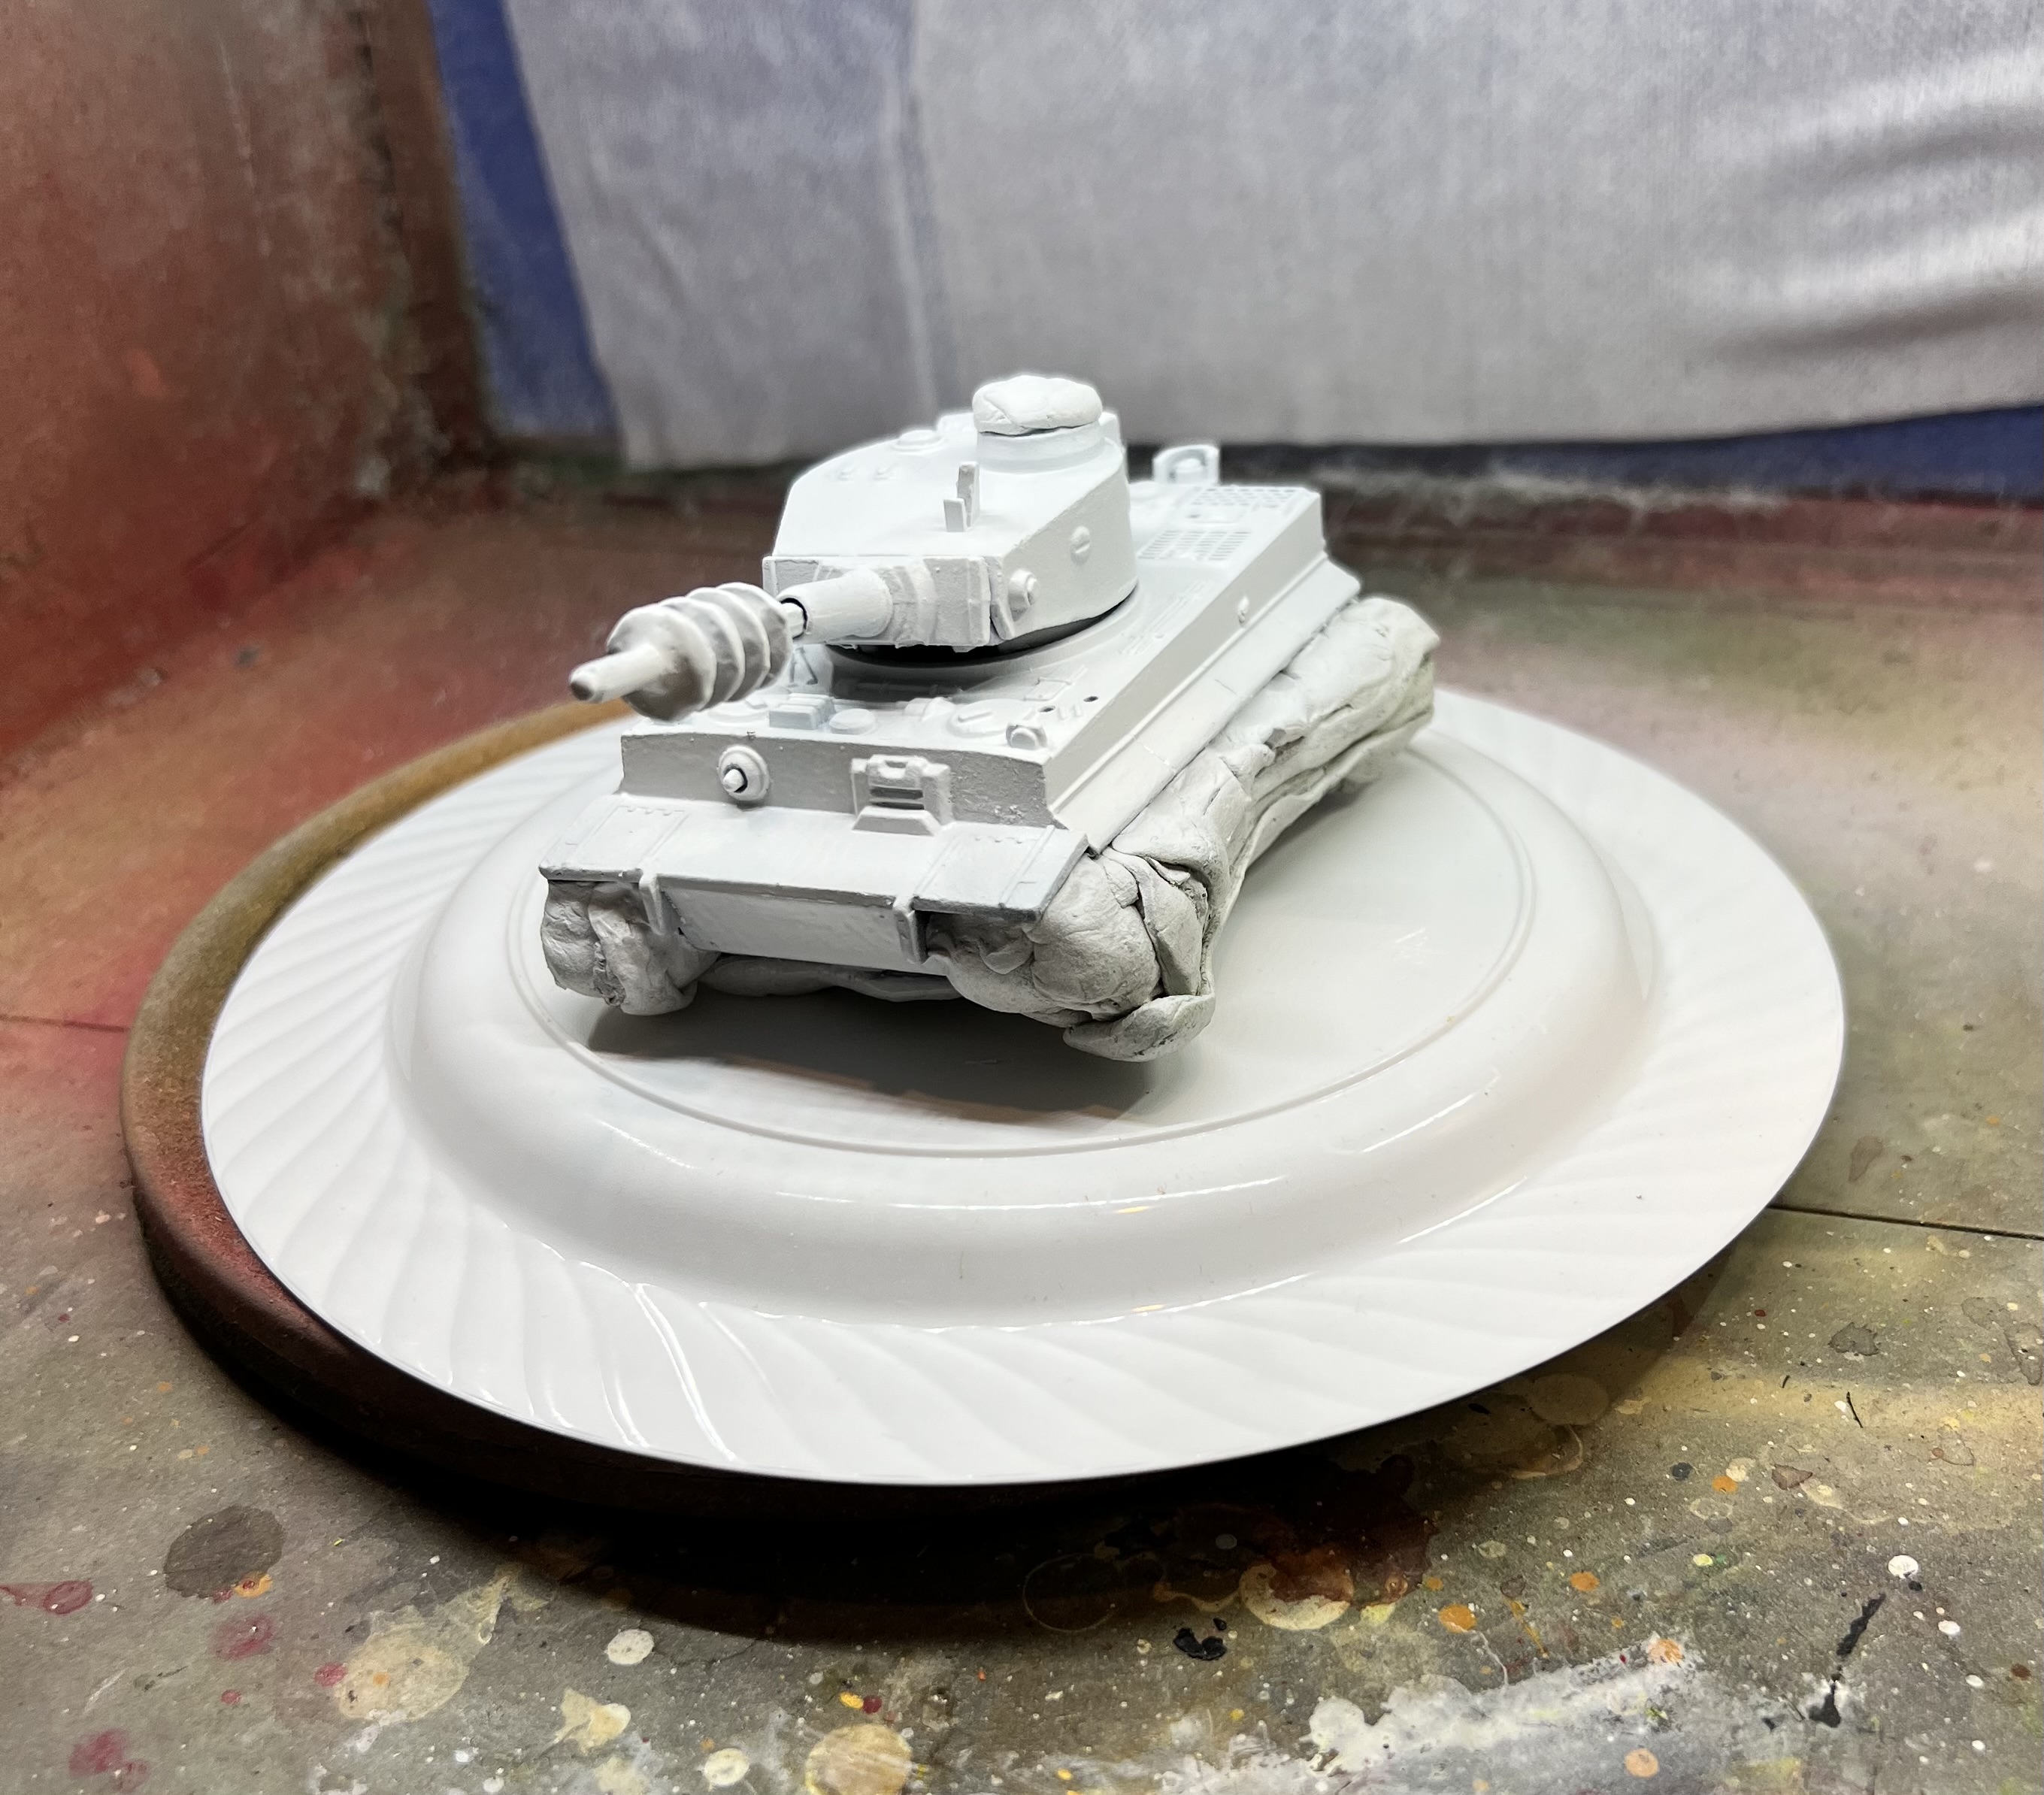
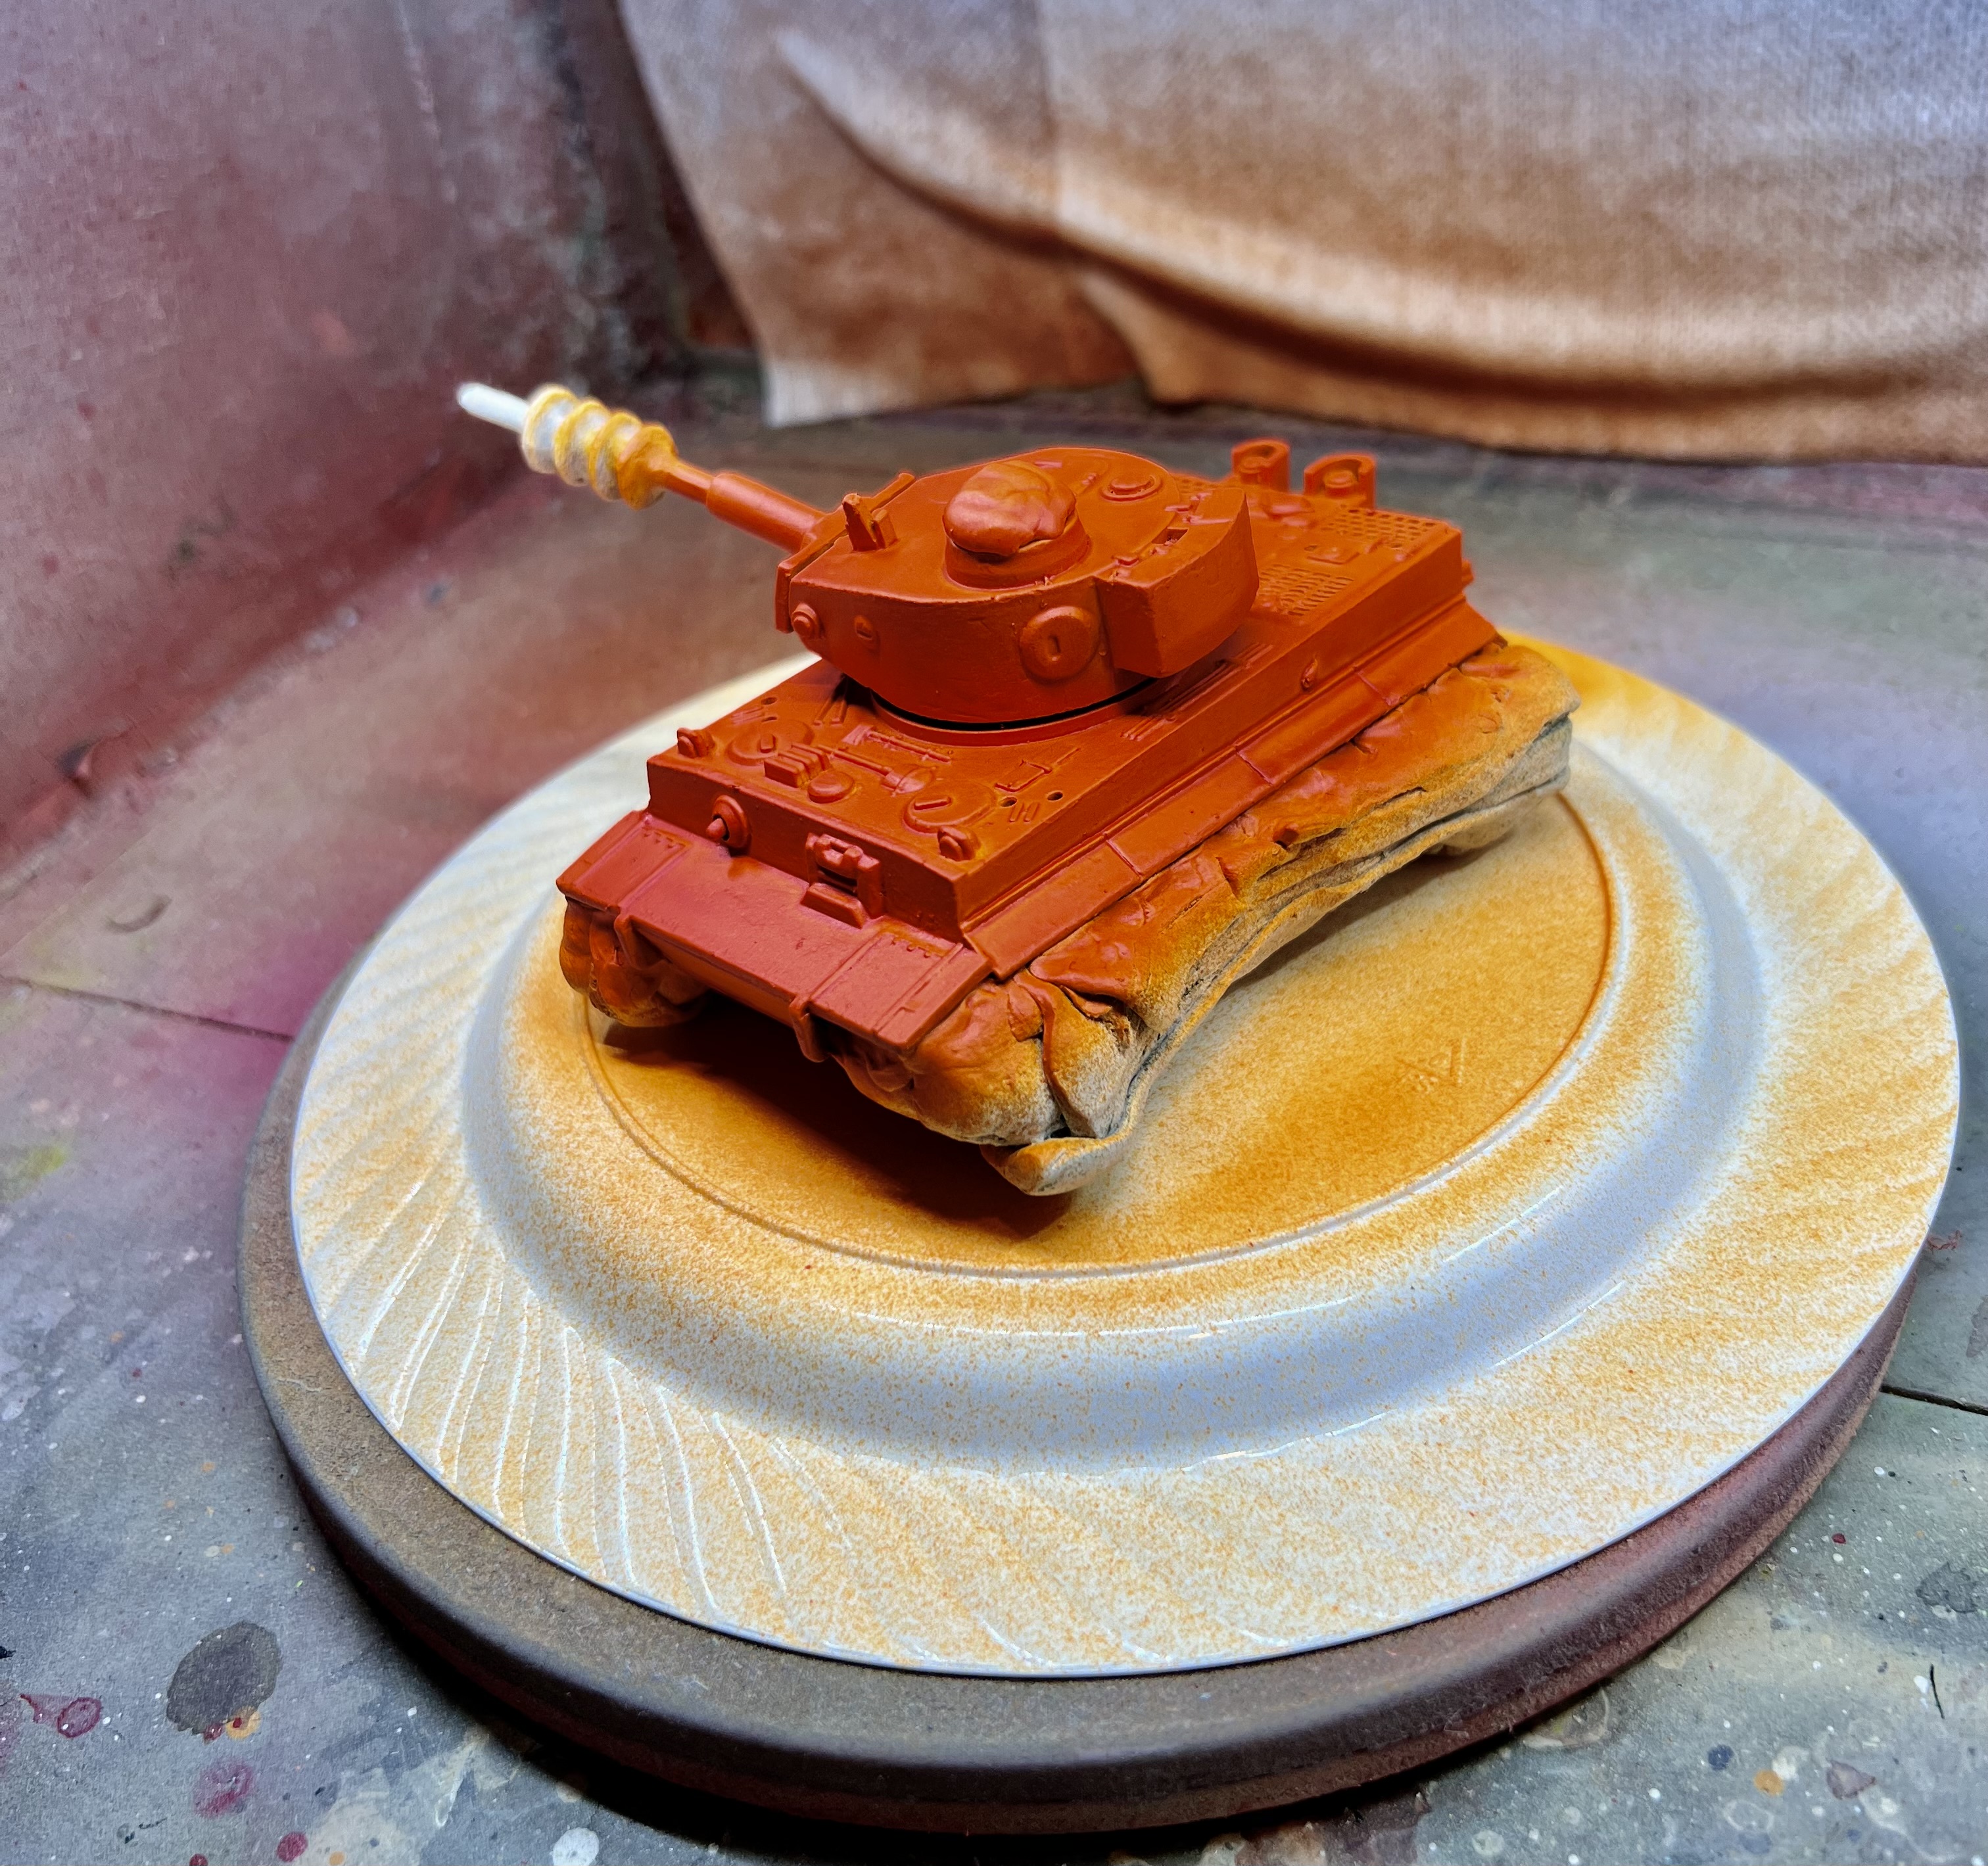
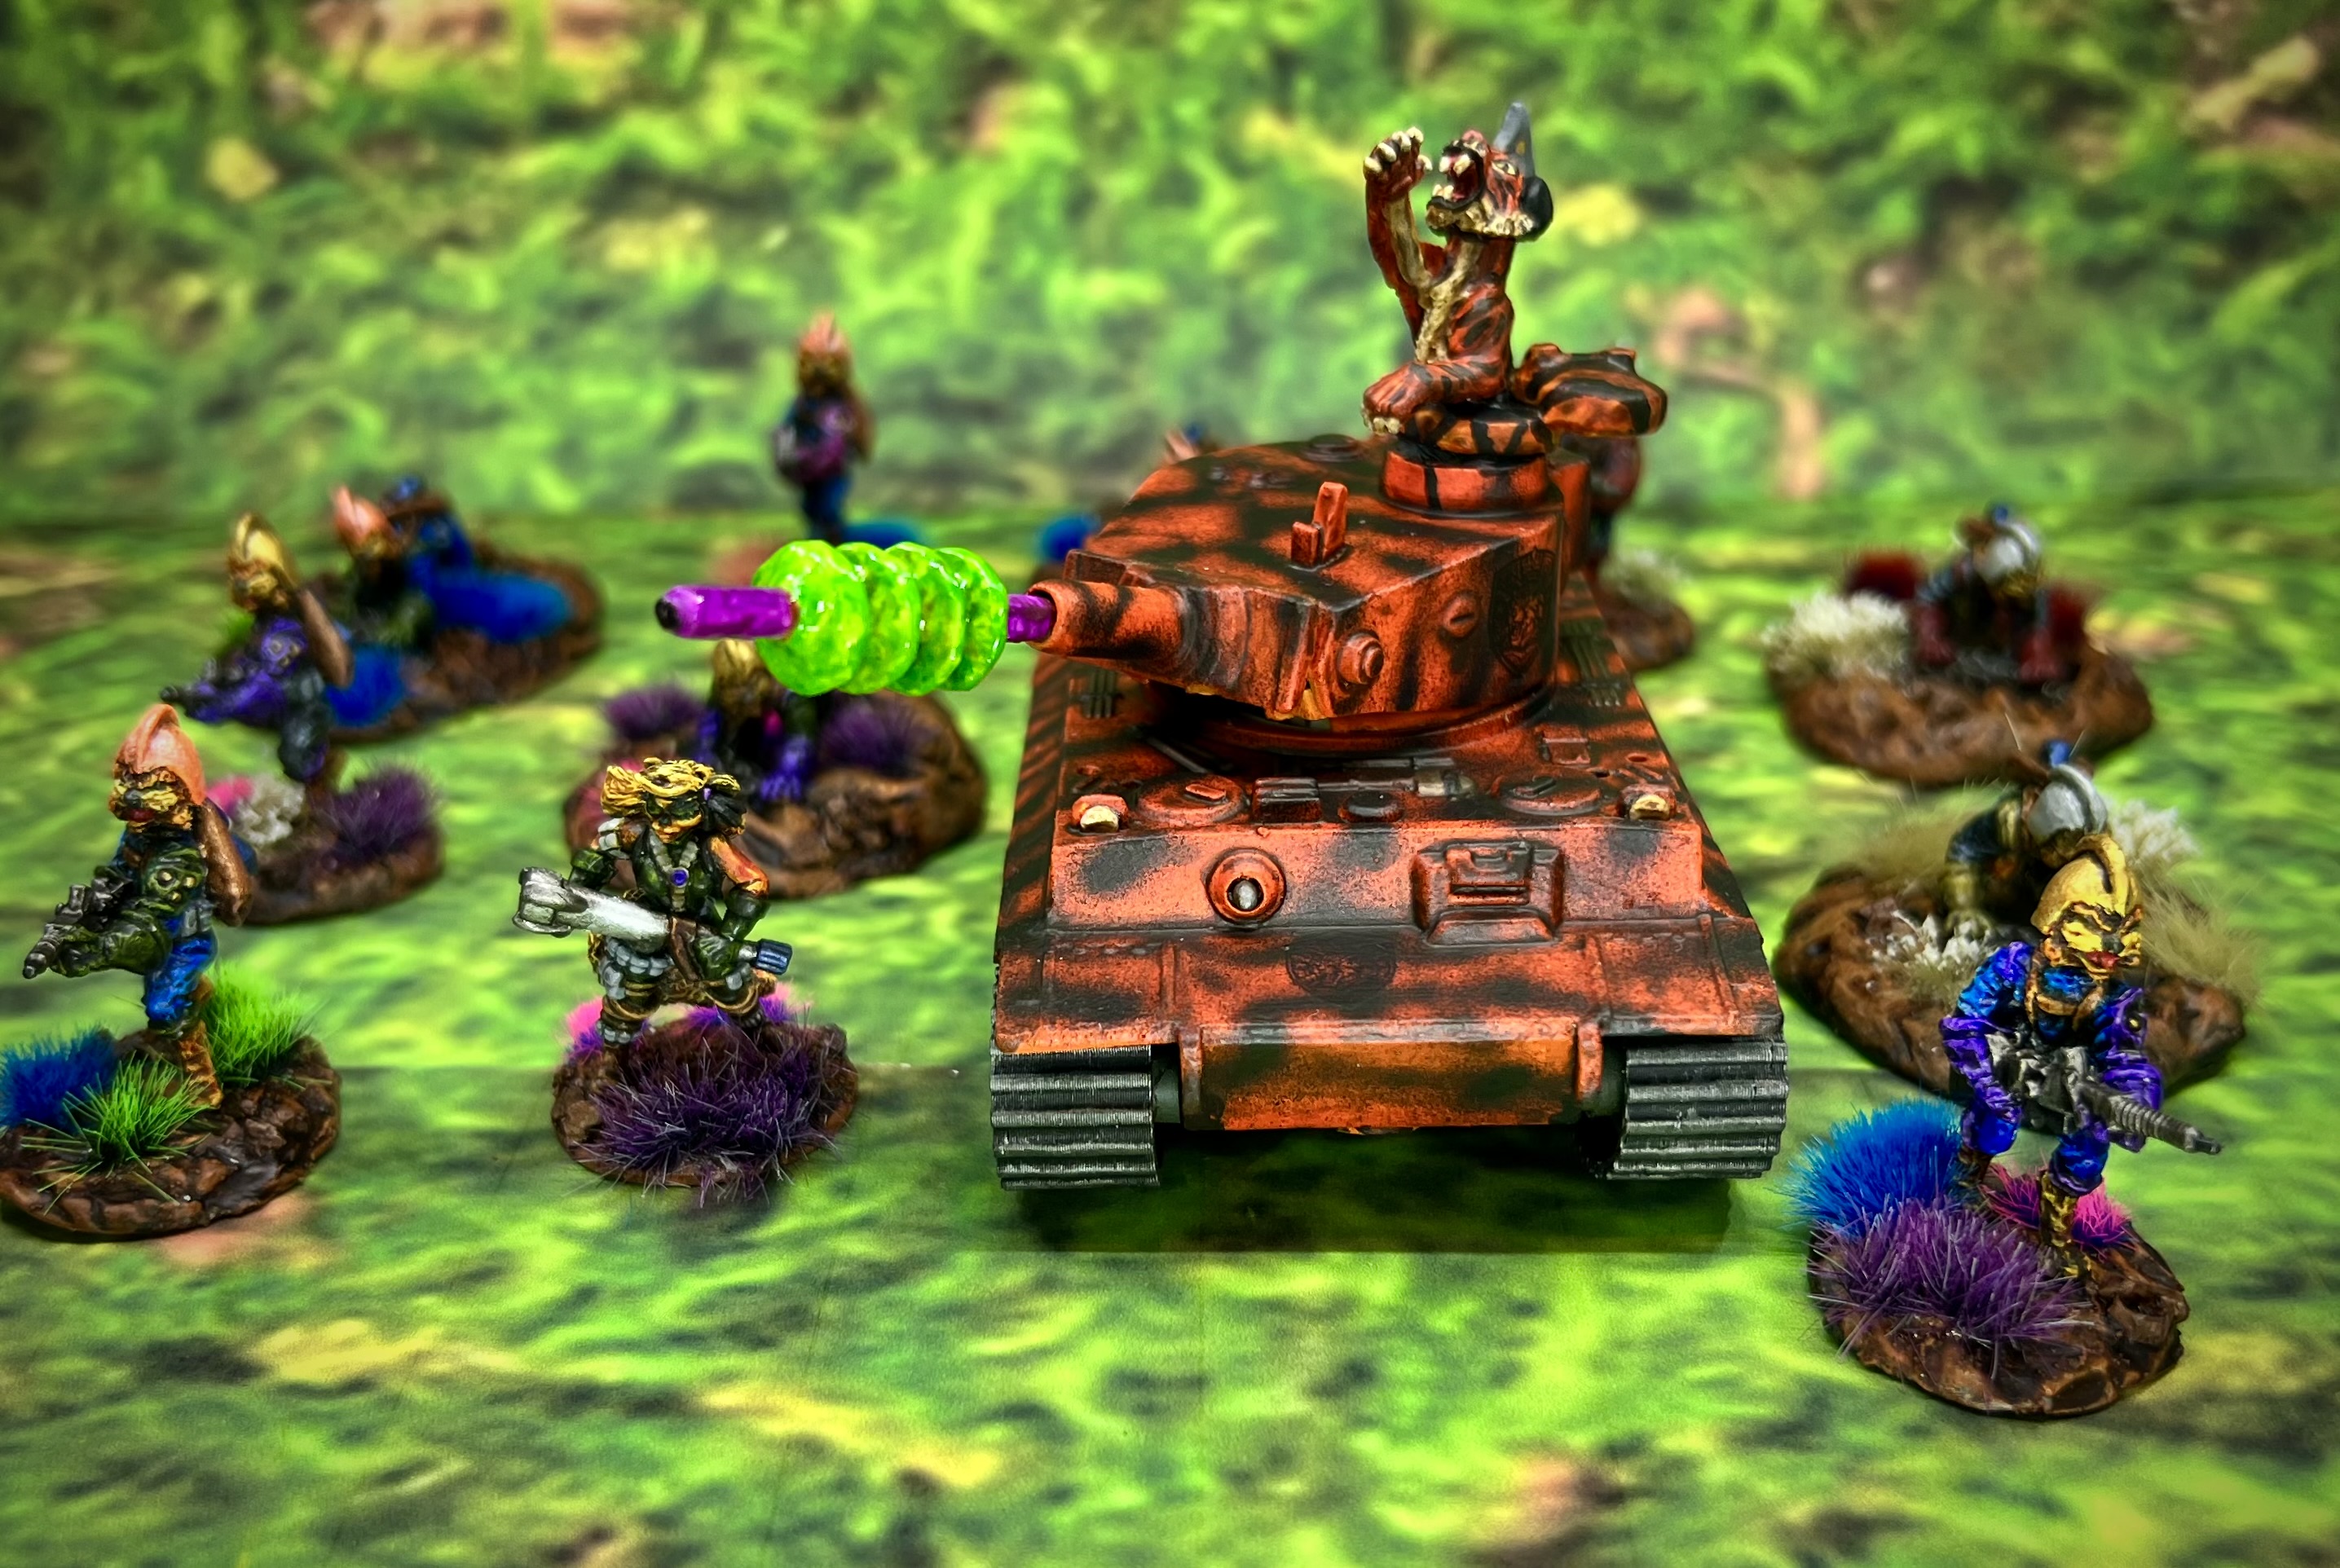
It was now time to make it really a “Tiger”. First some hot orange:
Then airbrushing some black stripes!
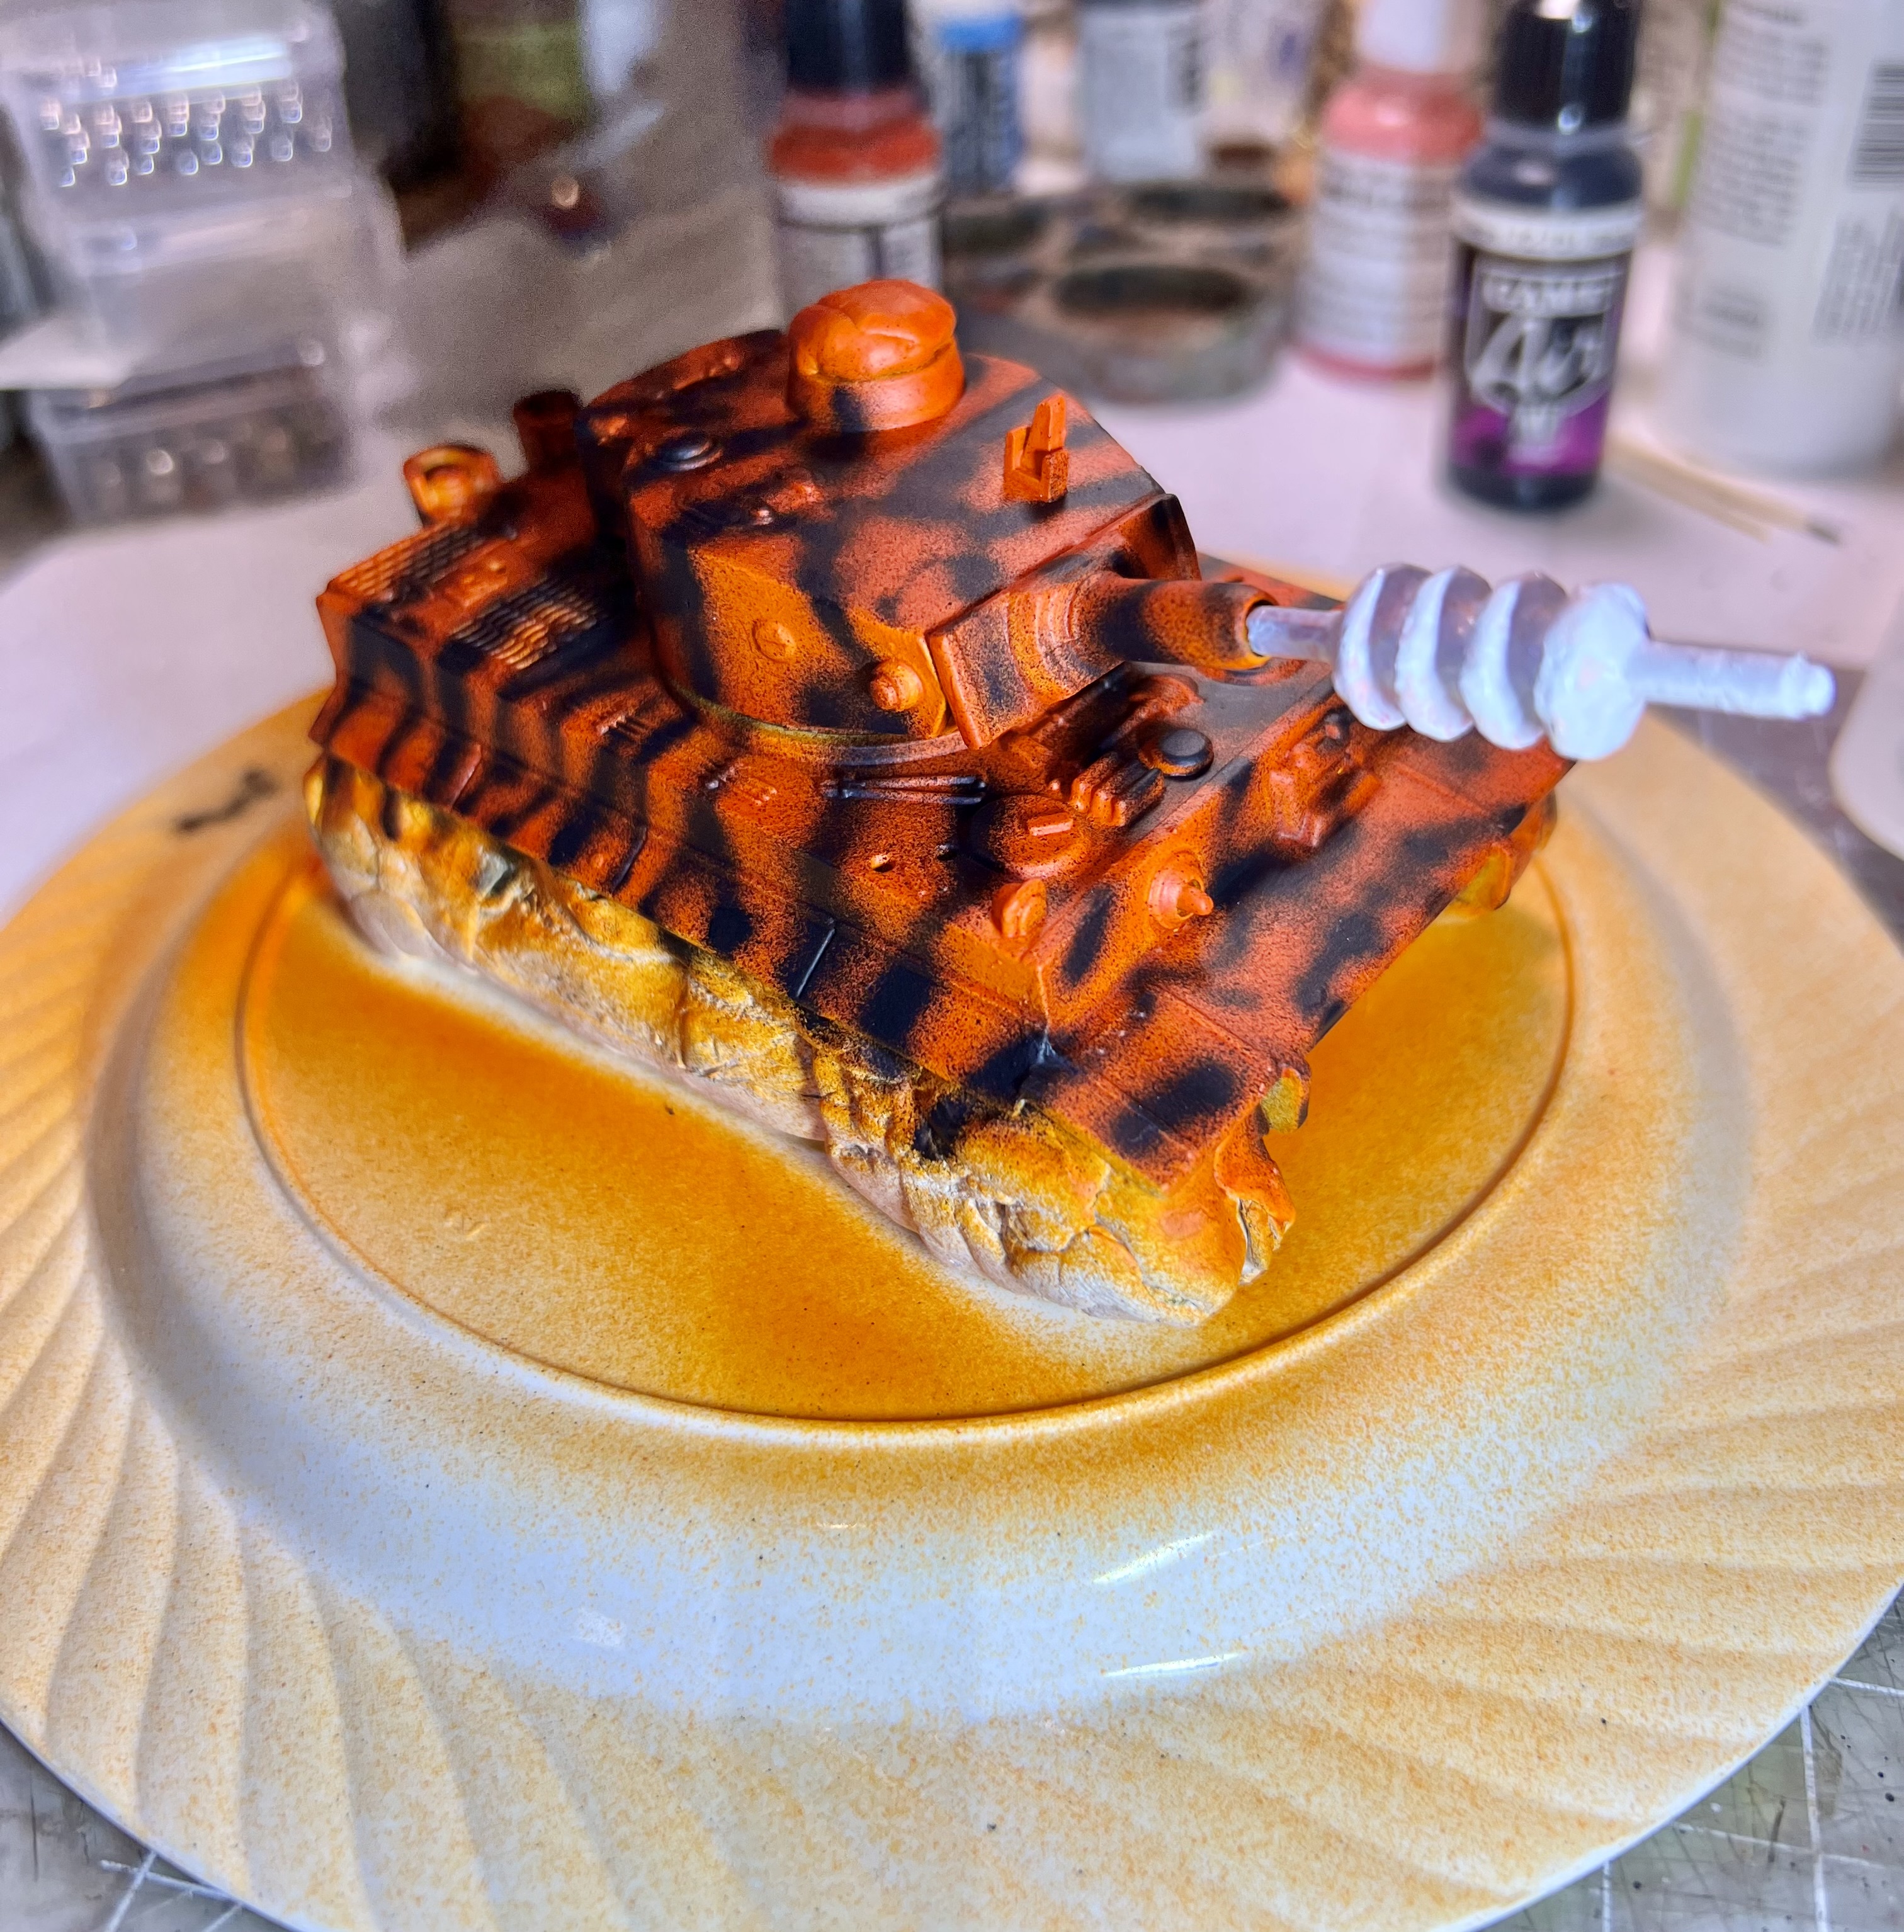
Keeping the tank on the plate, I painted up the detailed parts. The gun I wanted to glow green and purple. After removing the poster tack and more touch up work, I attached the previously dry-brushed tracks.
At this point, I wanted to give the tank a few decals – but what? I told CoPilot what I wanted for a design, and it came out perfect.
It says Imperial Felynxii!
When printed on decal paper, the design is less obvious and more black.
As for the attached decal looking black and less obvious – that frankly helps in my view and not hurts. It blended nicely with the stripes, and is subtly visible. I attached two decals on the side of the turret, one on its back. I also put one on the front of the hull.
The weight of the sci-fi addition to new main gun kept pulling itself down. To remedy this, I secured the gun in the elevated position.
The roadwheels got a light coat of green tone to dull the plastic. Here’s what my work area was looking like:
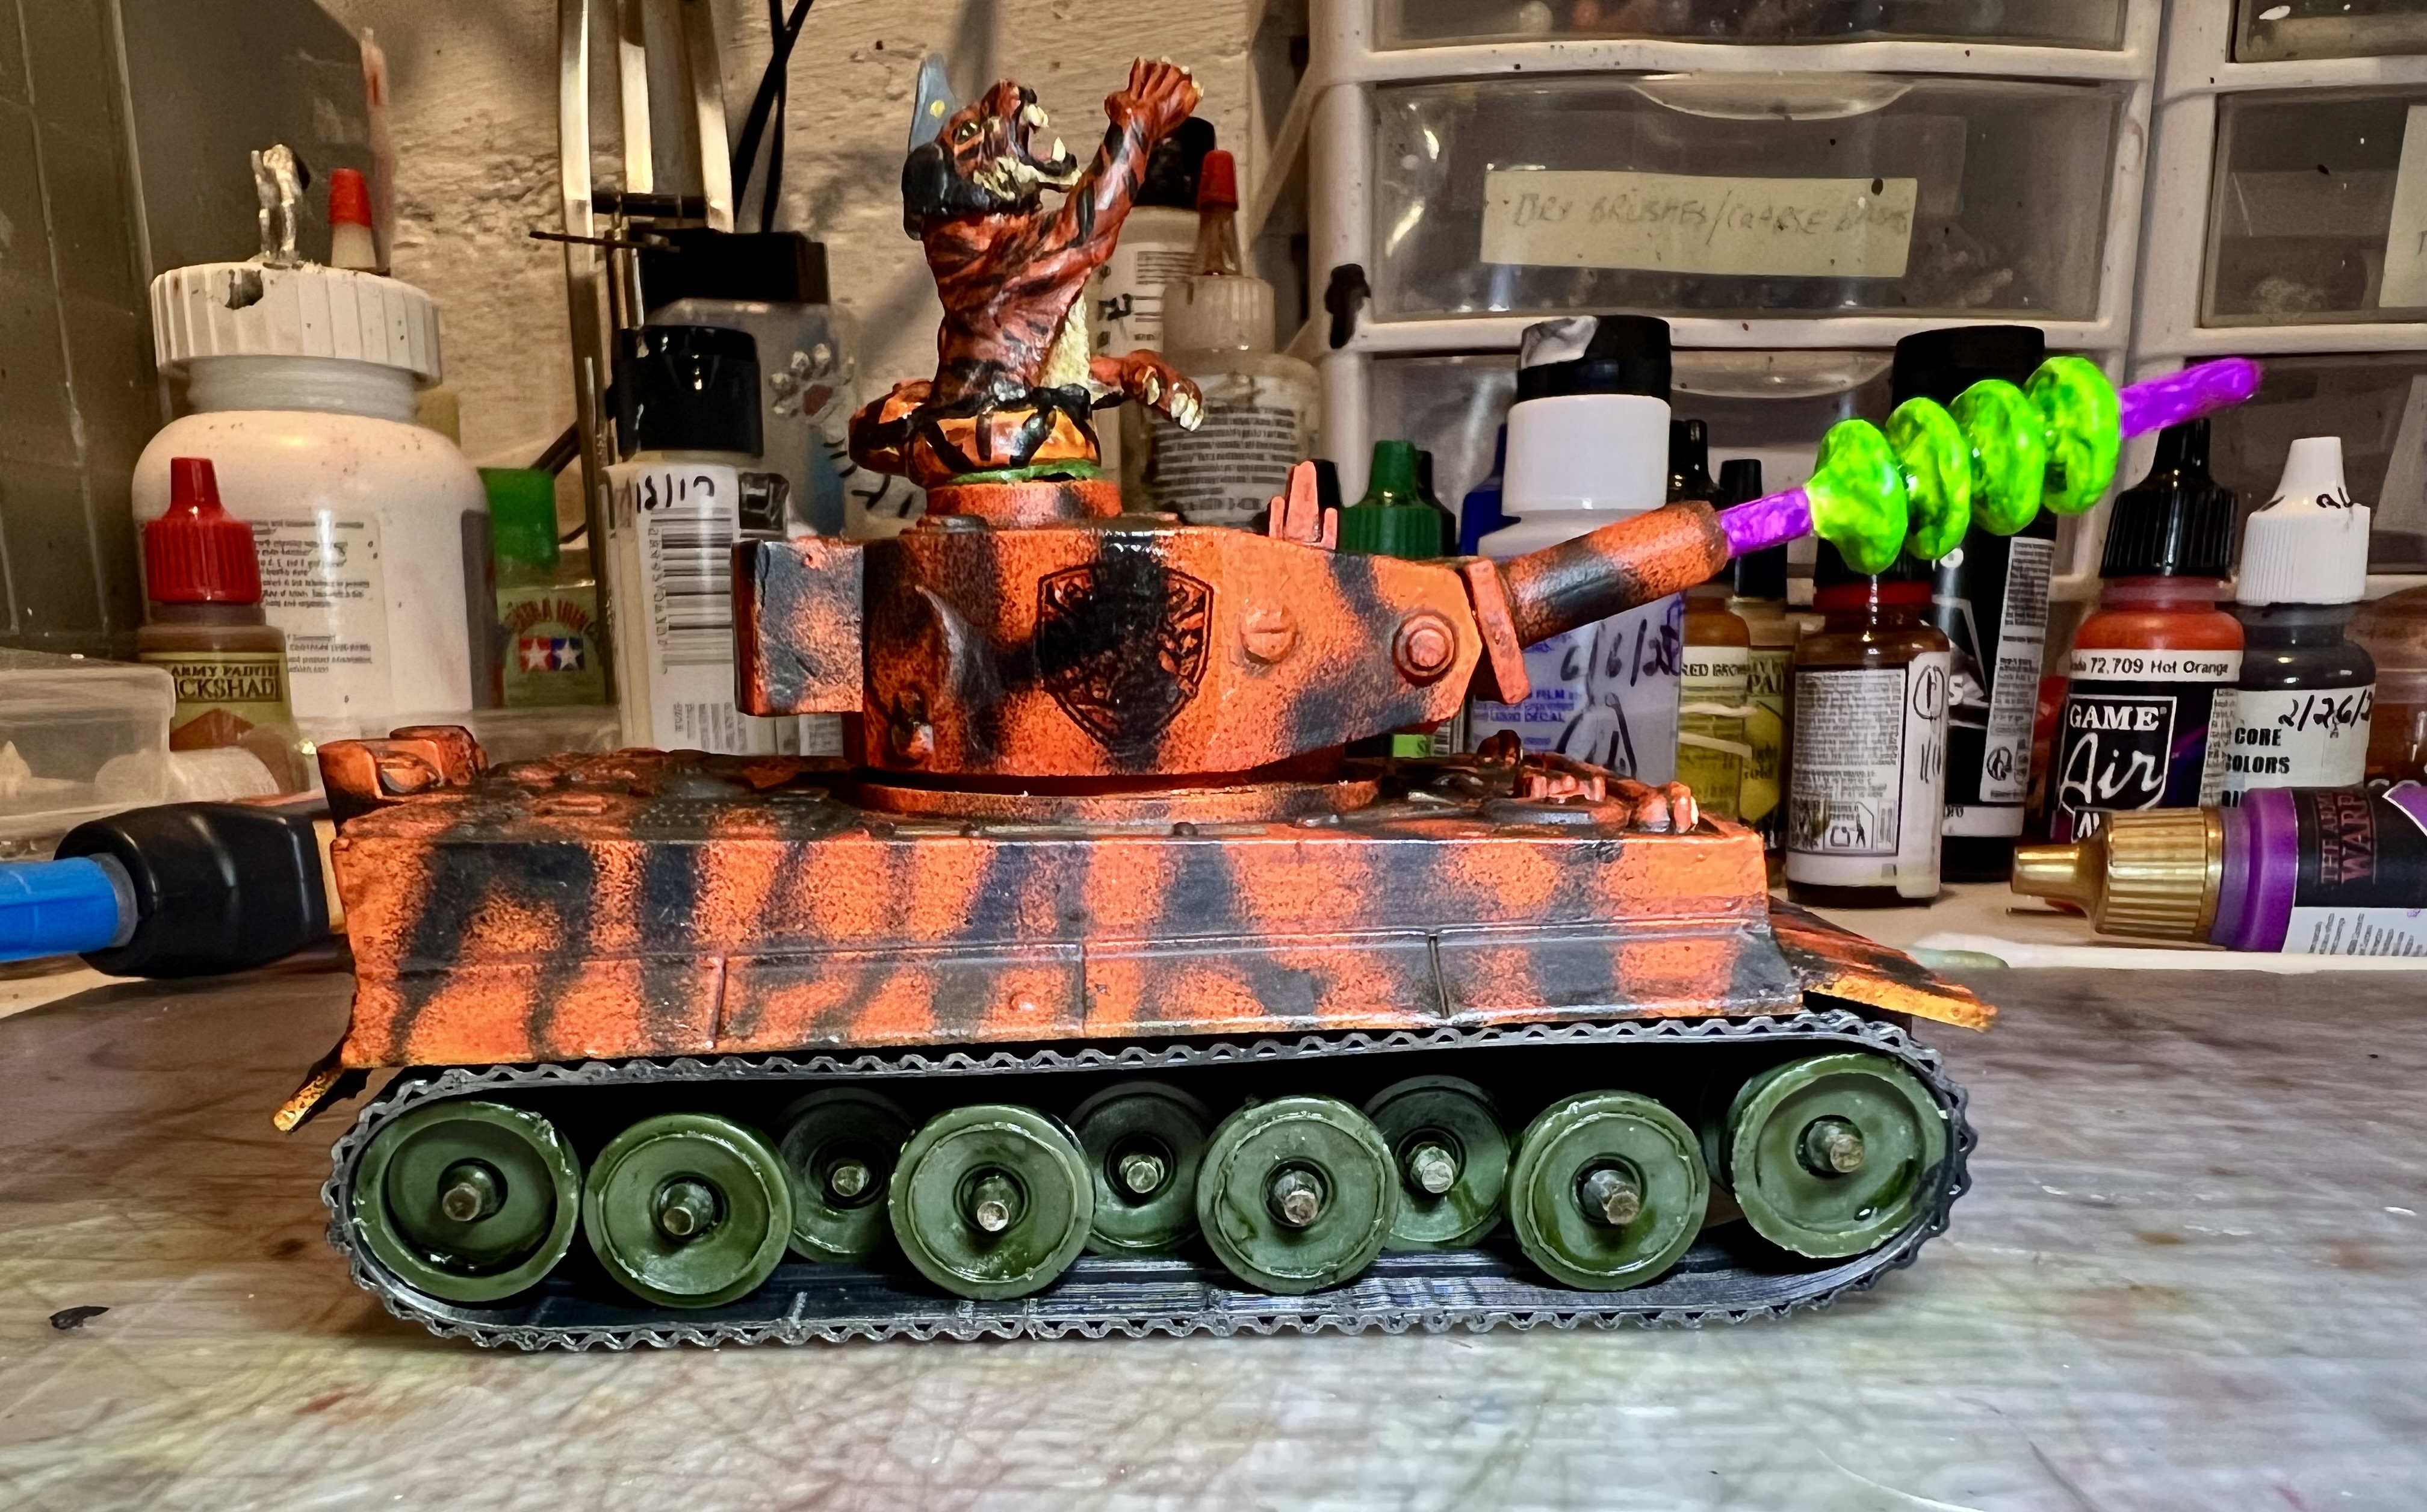
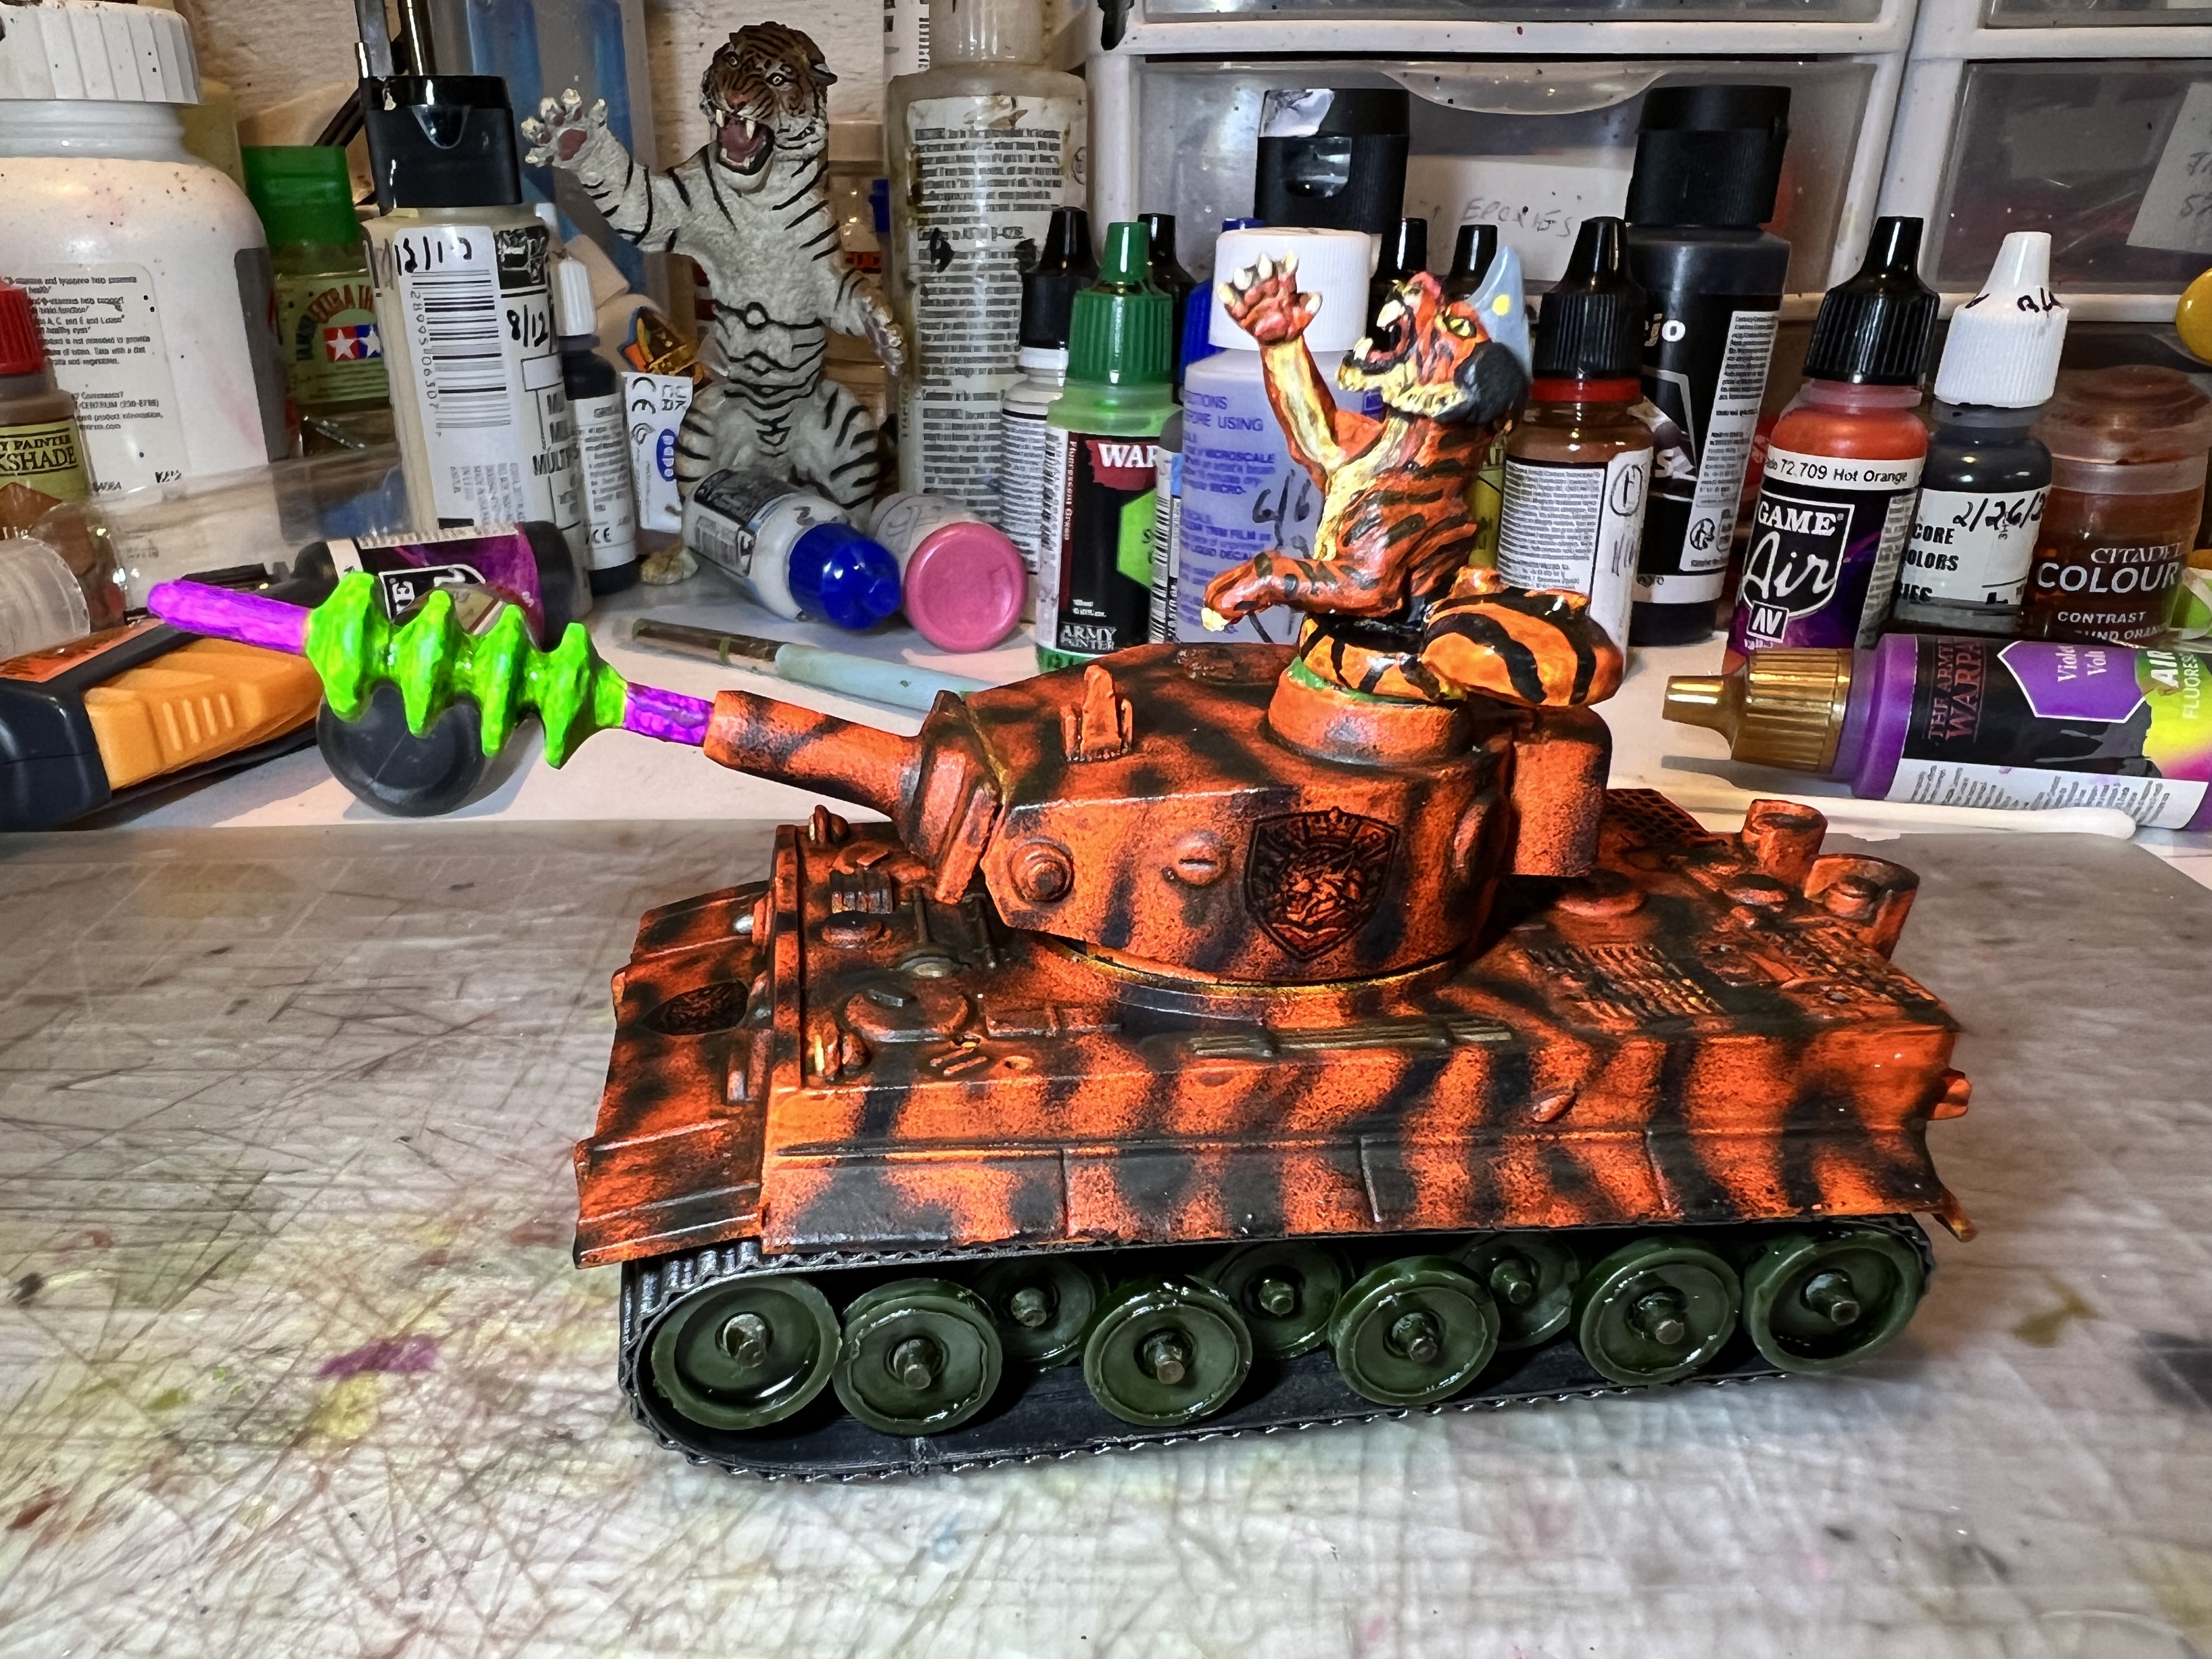
This was one of my more involved projects – and I’m pretty pleased with the result. I am also submitting this to Dave Stone’s “2026 Season of Scenery” annual painting challenge. Thanks for the invitation Dave!
This particular post is just what I did – could I have done something differently? Sure. But, I thought the sequence of events was worthwhile to share. Please let me know what you think in the comments section.
Eye Candy
Last but not least, I’d now be honored to share with you some eye candy – AND my first try at a movie of the finished work that you can check out – with an appropriate sound track. Then I’ll list all the paints etc. that I used here as a reference. The other references will be links to my pages on these types of projects.
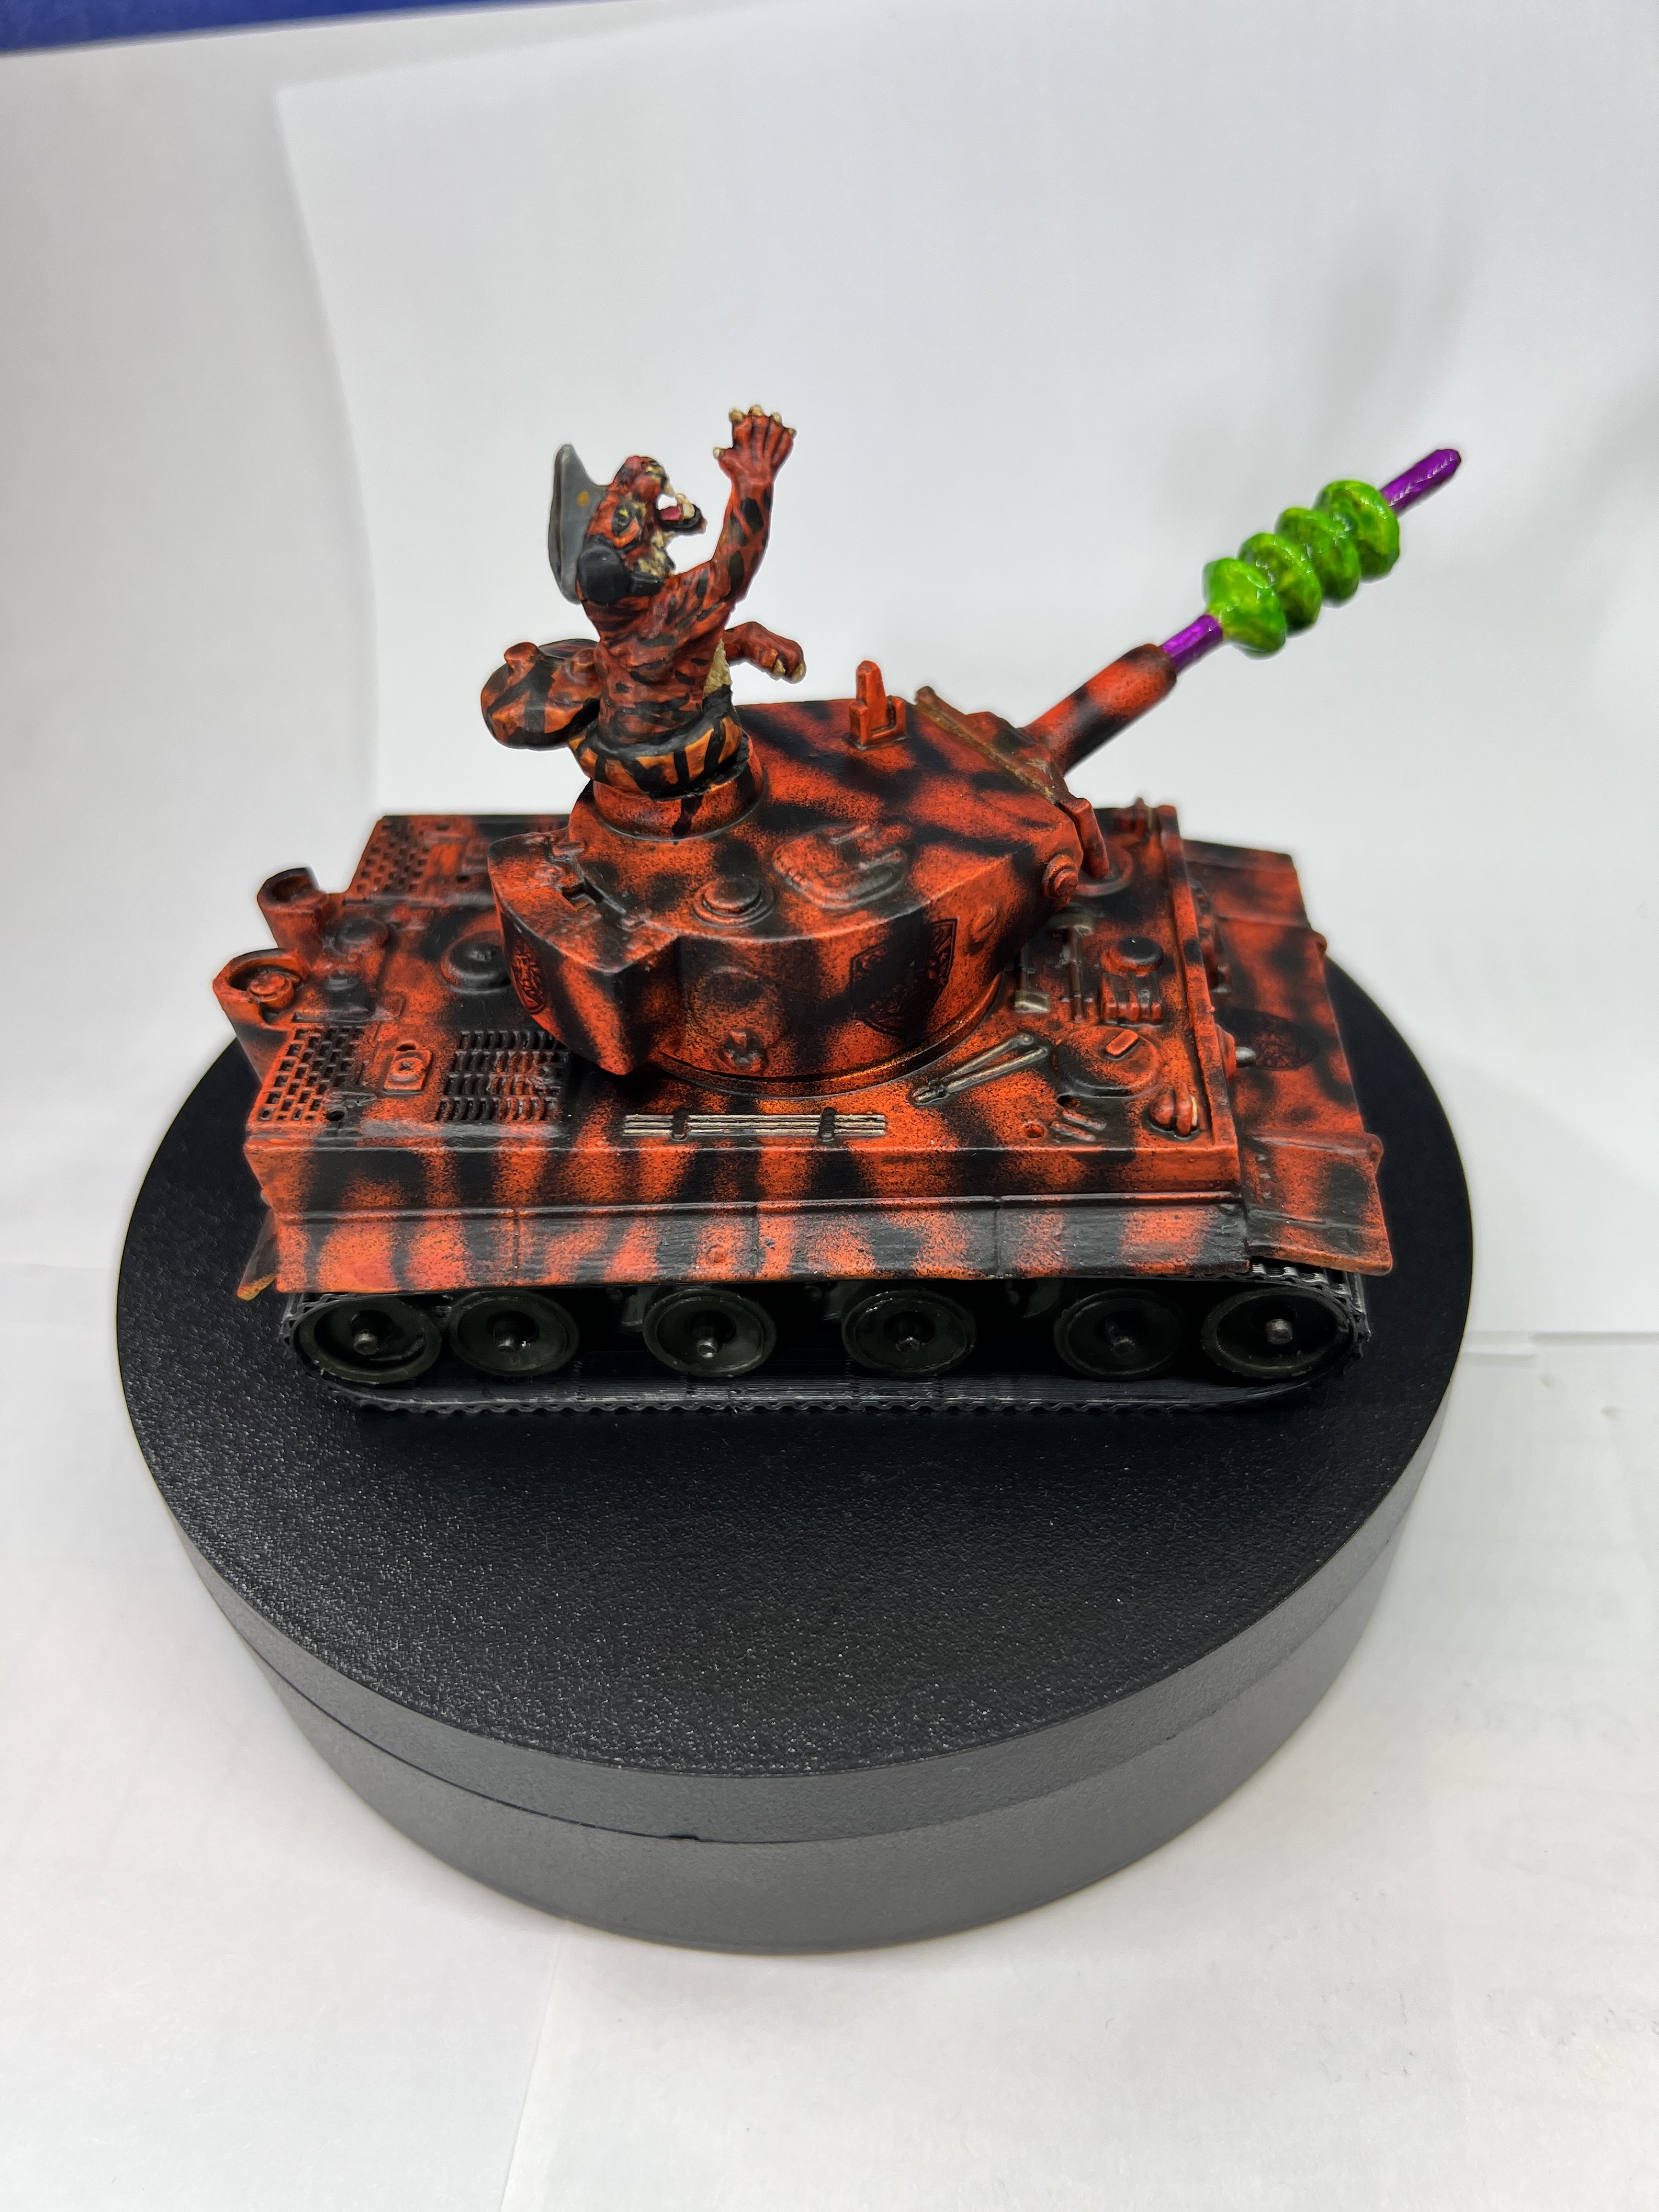
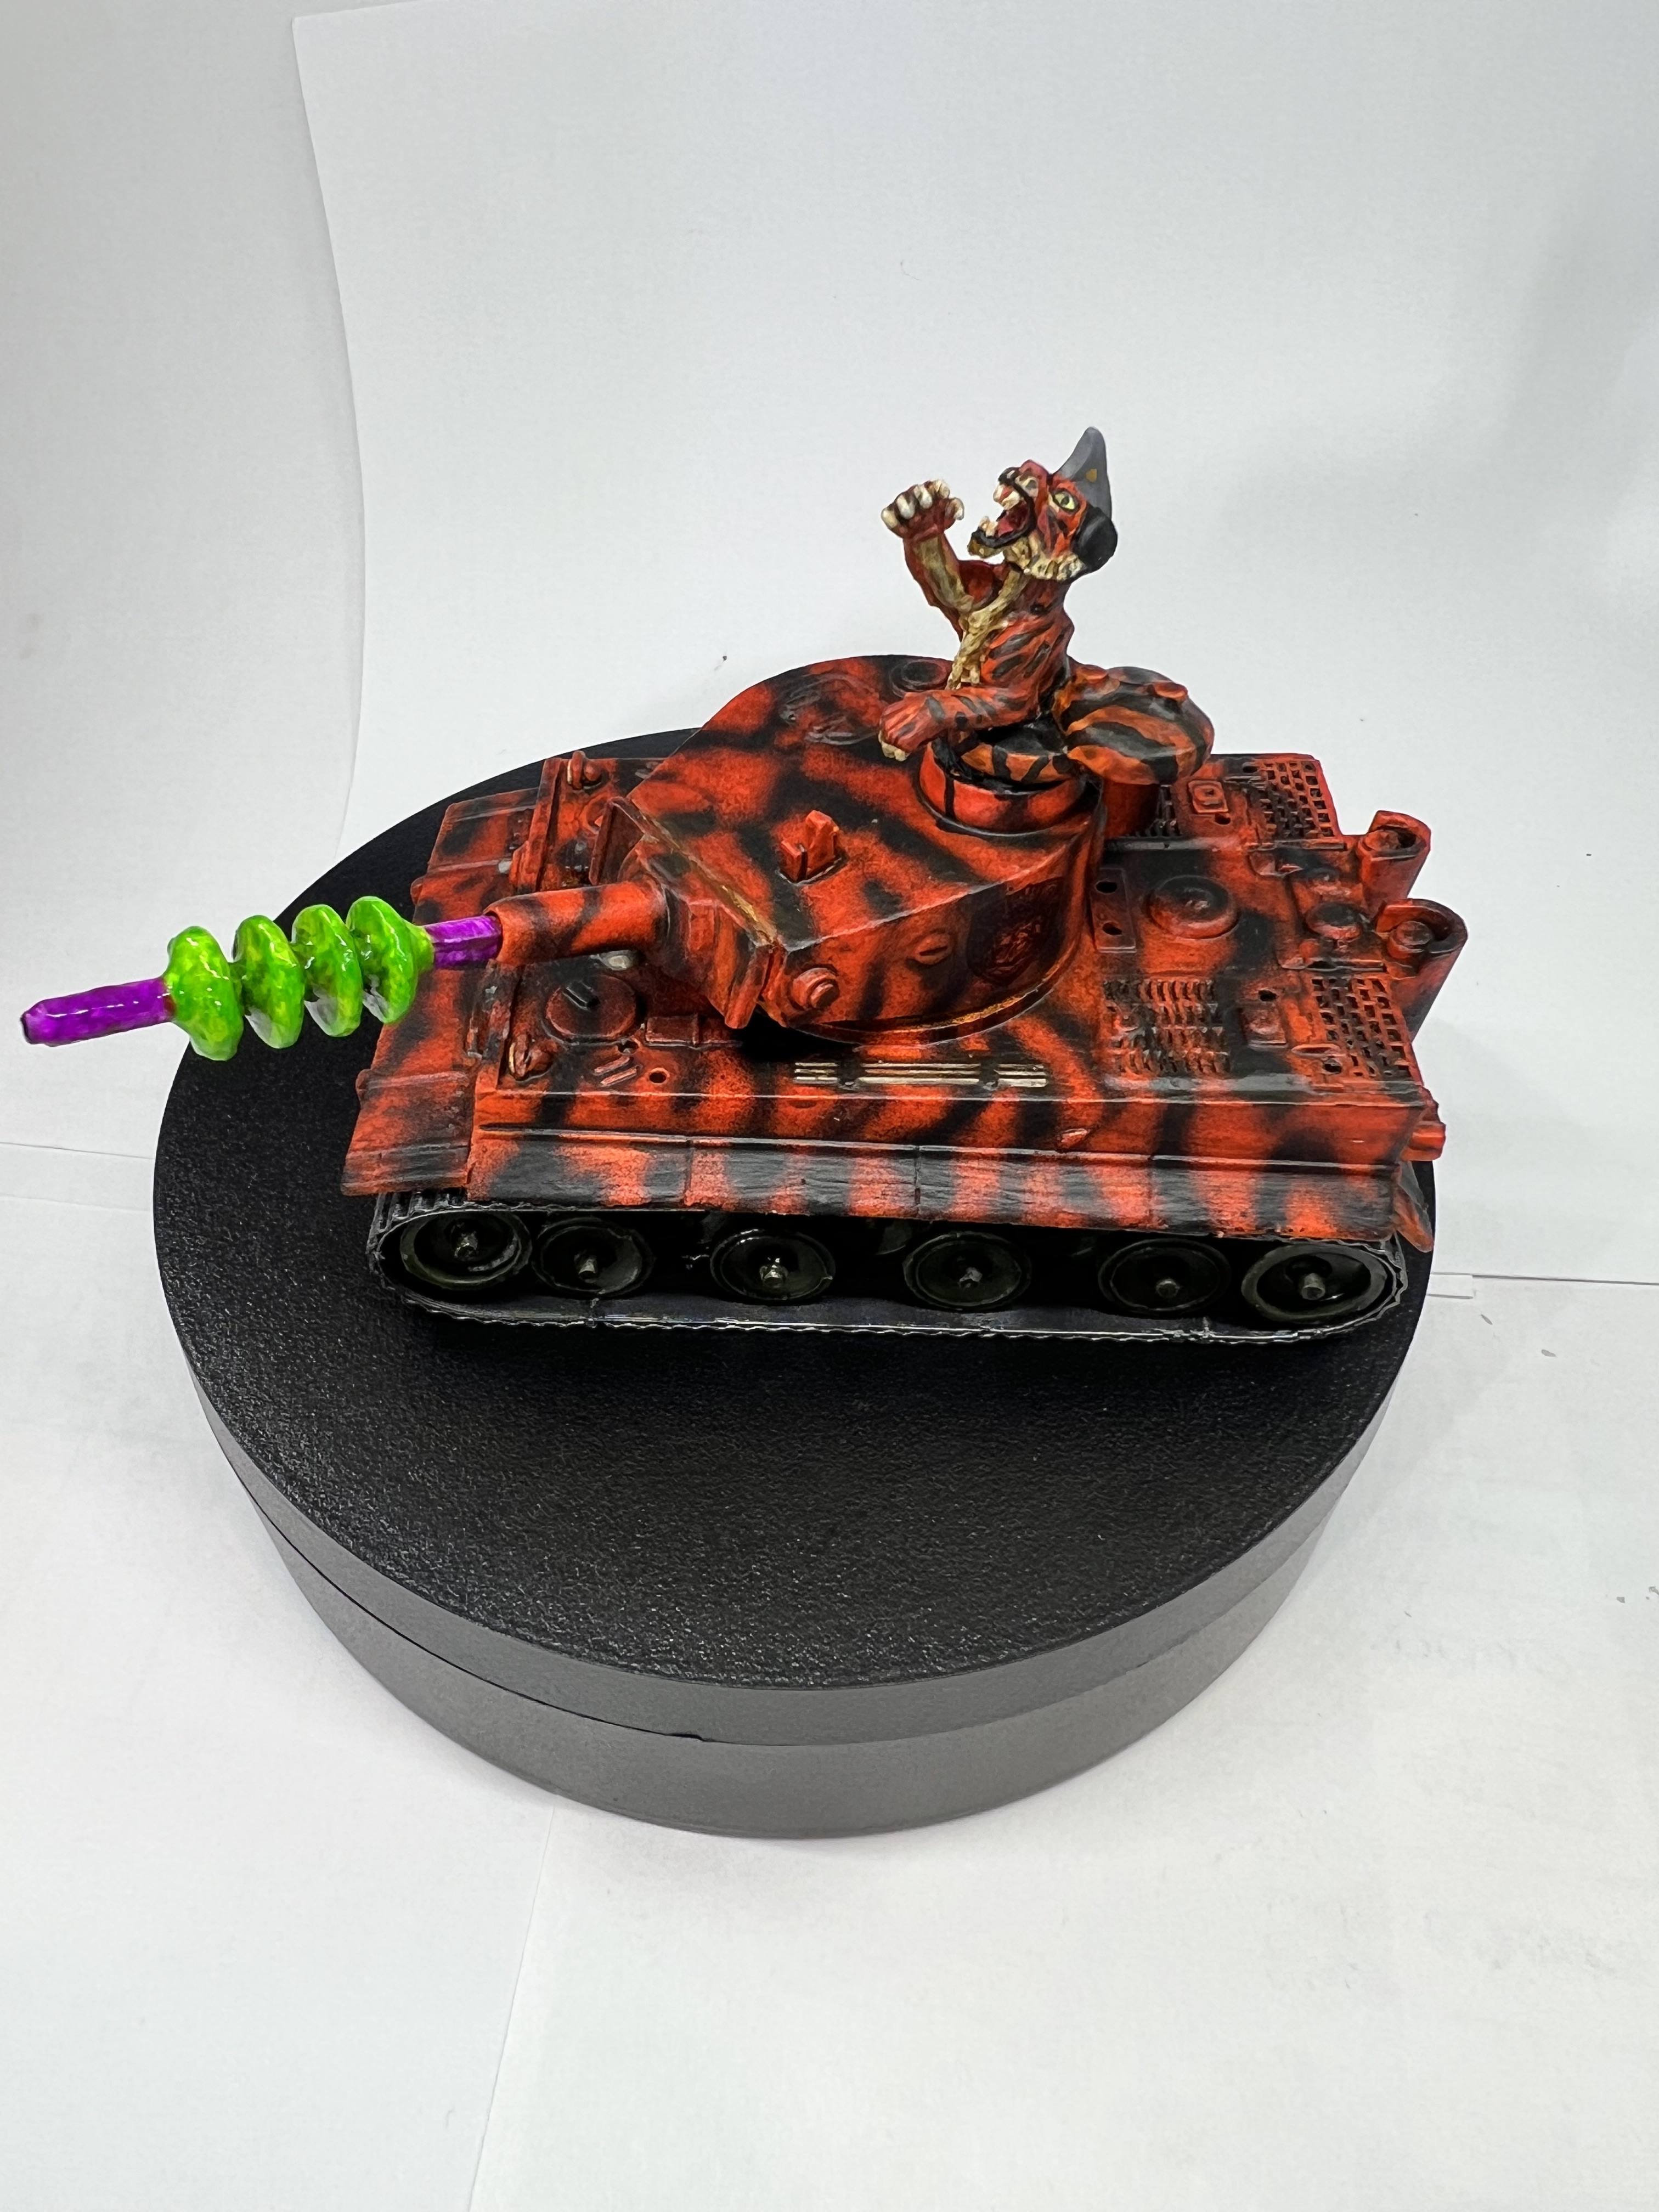
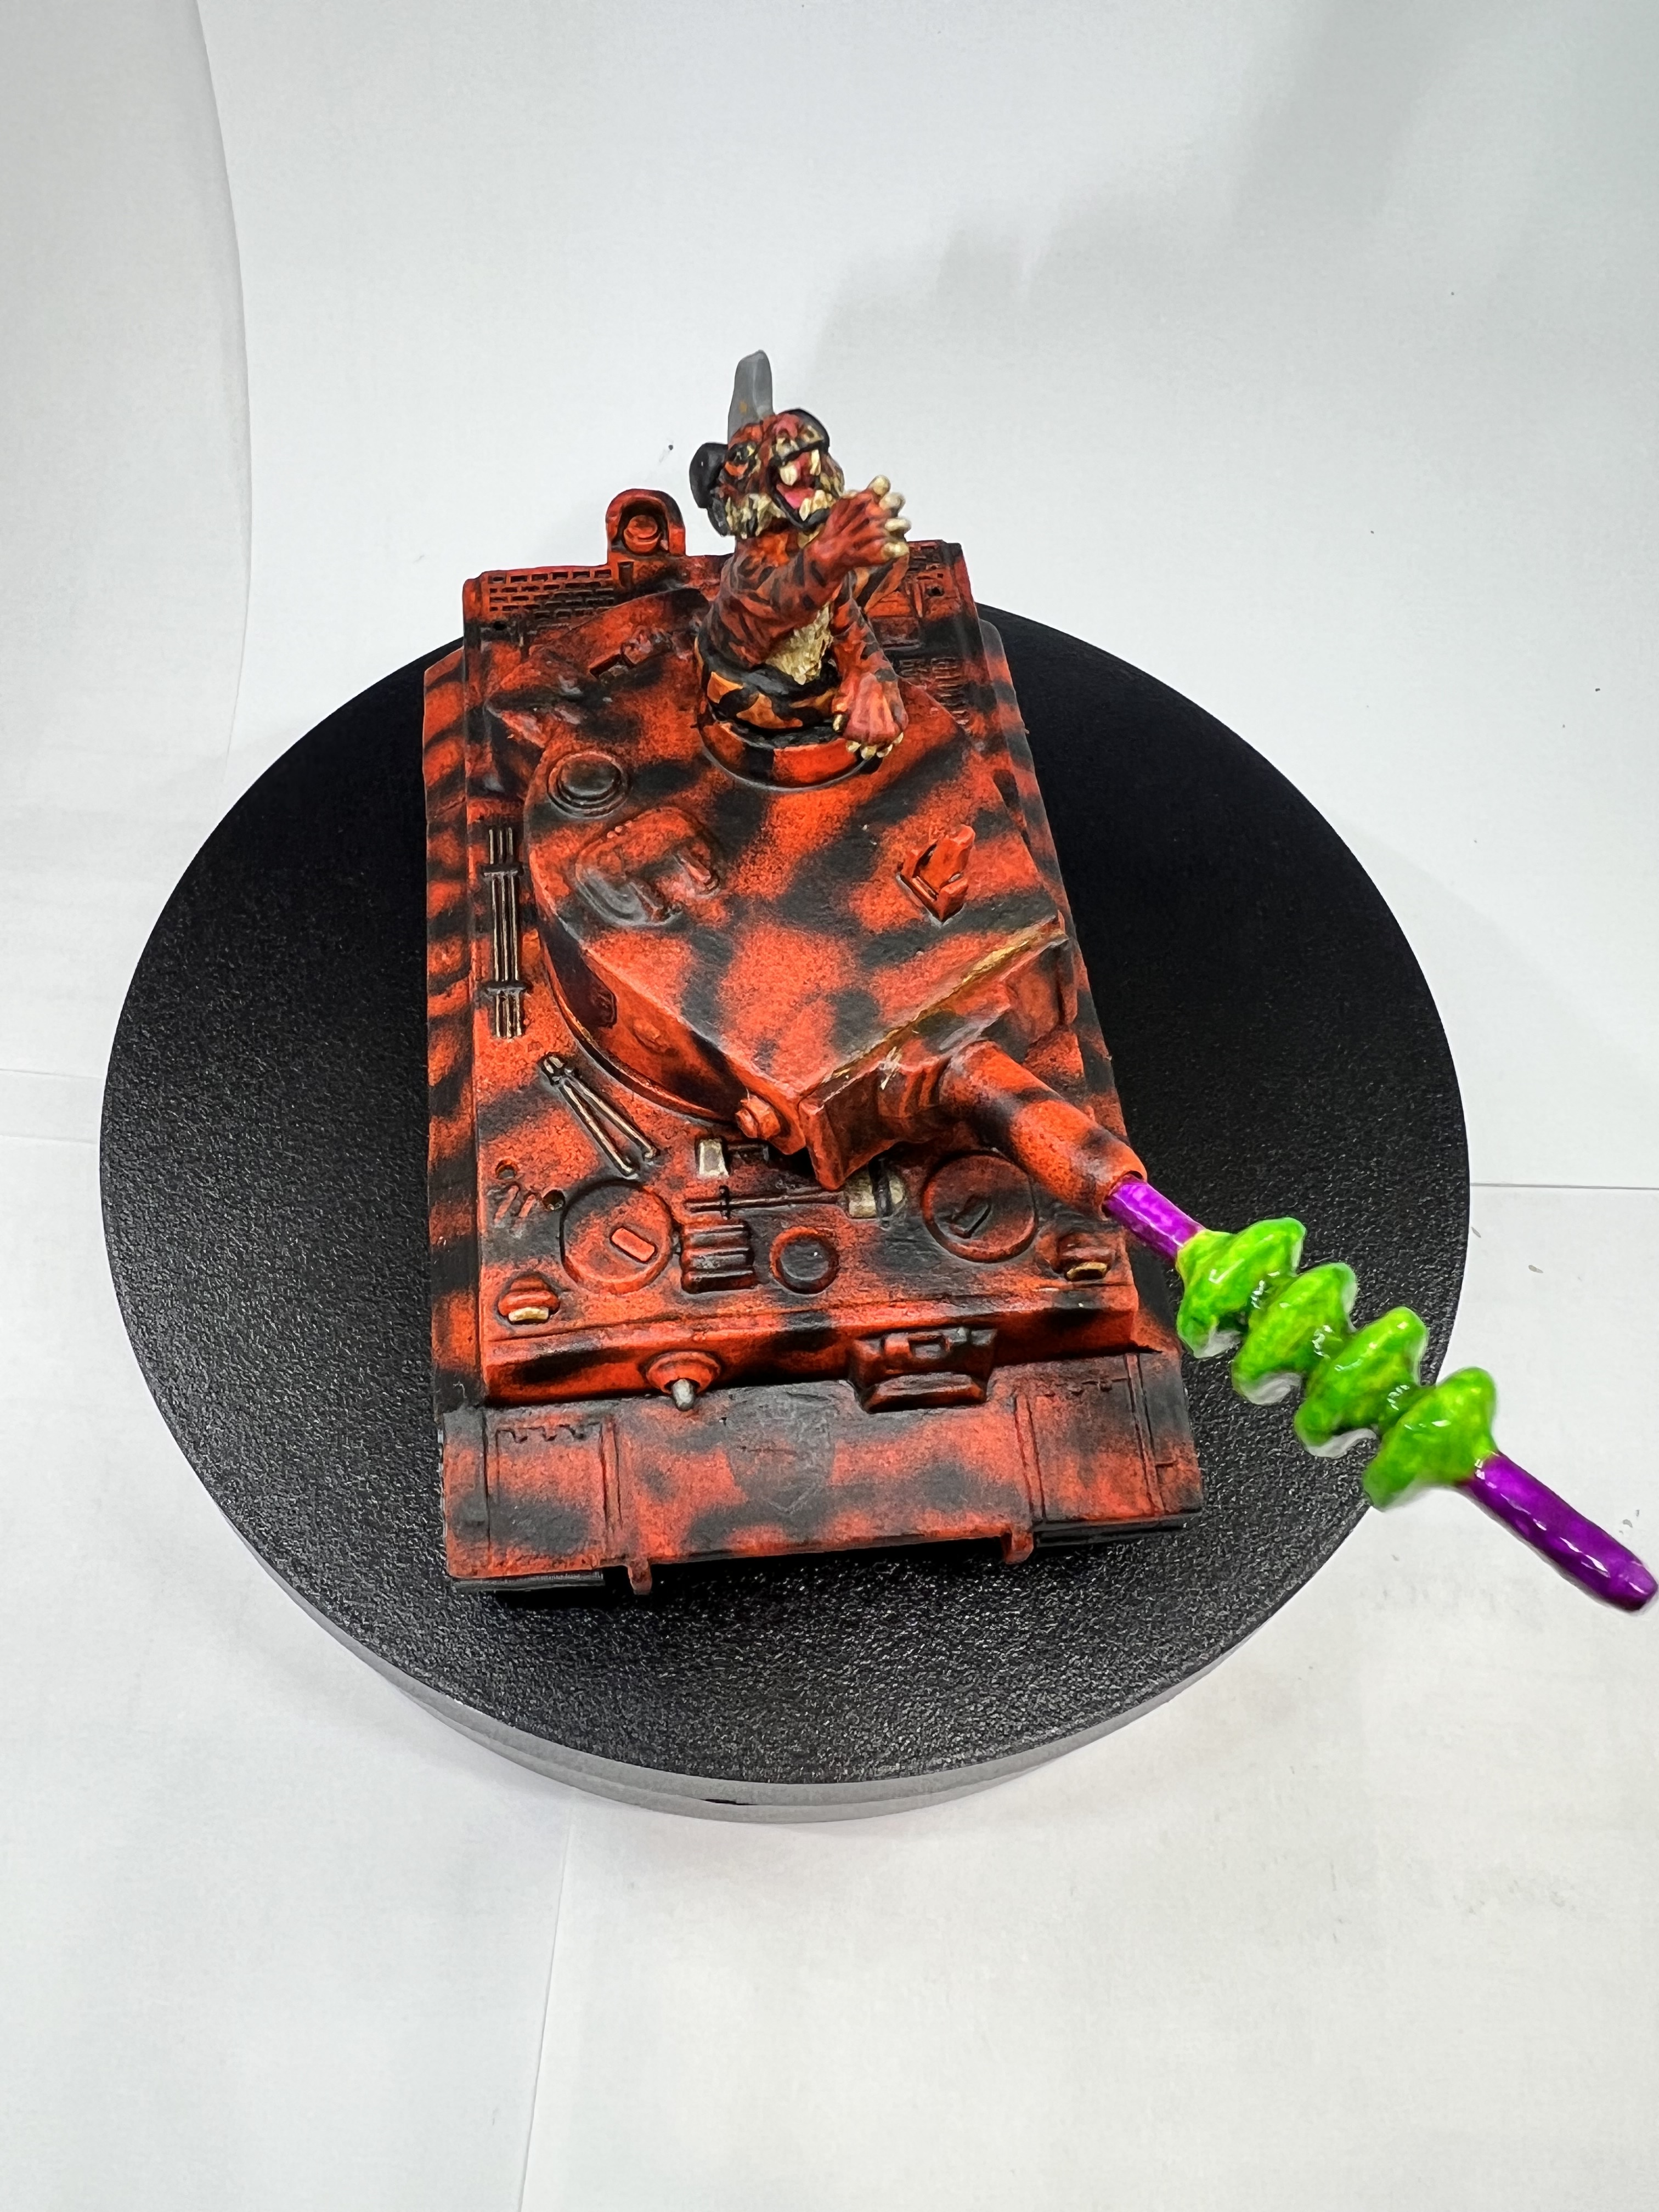
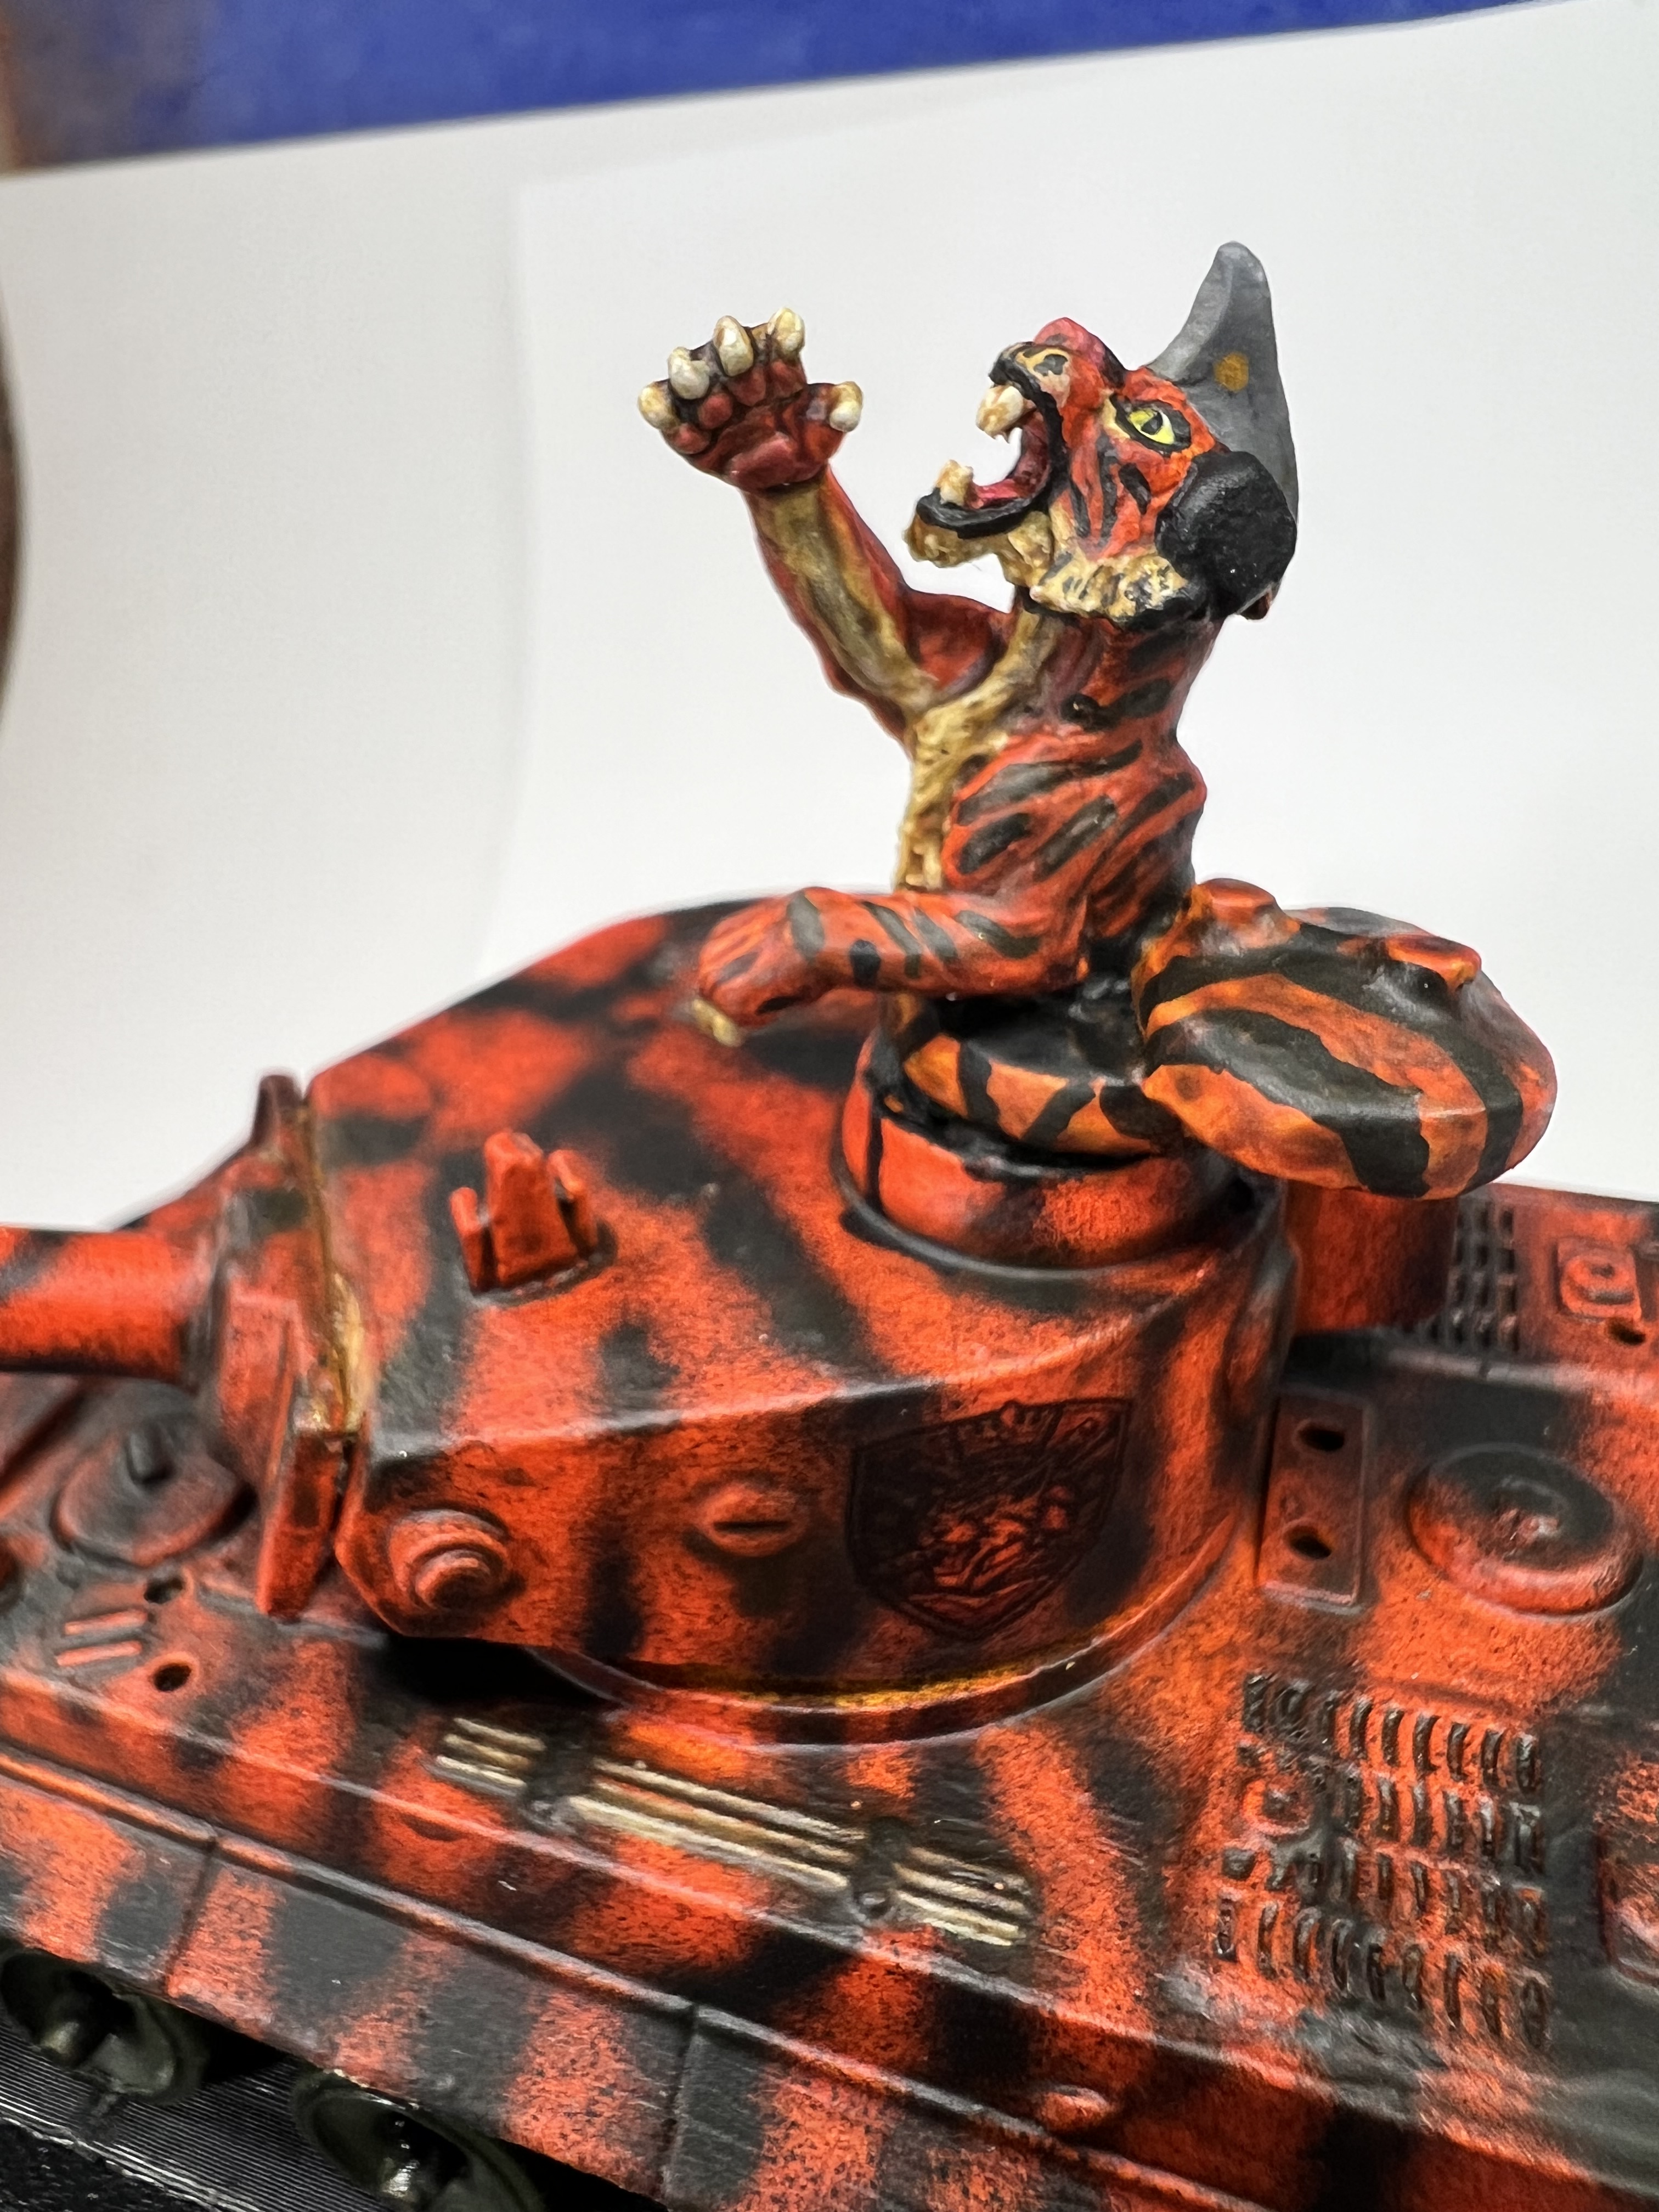
A Movie! Turn up the Volume!
Below are a list of some references and links that might also be of interest. I use them to refer to when I forget painting schemes that I want to replicate.
References:
For a consolidated list of links for any of my previous “Anthropomorphic Figure Project Posts”, please see this page here.
For a consolidated list of links for any of my previous “Old School Miniatures” blog posts, please see this page here.
For a consolidated list of links for any of my previous “Figure Conversions” blog posts, please see this page here.
For a consolidated list of links for any of my previous sci-fi/retro sci-fi blog posts, please see this page.
For a consolidated list of links for any of my previous “Scratch-build Projects” blog posts, please see this page here.
PAINTS, INKS, GLAZES, SHADES, WASHES, PIGMENTS, FLOCKING, GLUES AND MORE THAT I USED ON THIS FELYNXII TIGER TANK:
- Poster tack
- Vallejo Primers “White”
- Corgi Toys Tiger I metal toy tank
- 3D-printed replacement tracks for Corgi Tiger I from eBay
- Everbilt number 6 steel fender washers
- Green stuff (kneadatite)
- Plastruct Plasticard (91108 SSS-125), 7/16″ thick Plastruct Plasticard (91108 SSS-125), 7/16″ thick
- Vallejo “Premium White Primer”
- Vallejo Game Air “Hot Orange”
- Citadel Contrast Paint “Gryph-Hound Orange”
- Vallejo Mecha Color “Off White”
- Reaper MSP Core Colors “Pure Black”
- Vallejo Primers “White”
- Citadel Contrast Paint “Skeleton Horde”
- Vallejo Model Color “German Grey”
- Reaper MSP “Pink”
- Vallejo Model Color “Neutral Grey”
- Vallejo Model Color “Ivory”
- Army Painter Warpaints Metallics “Bright Gold”
- Secret Weapon Washes “Sunshine” (wash/shade)
- Army Painter “Light Tone” (wash/shade)
- Vallejo Primers “Black”
- Jewelry coping saw
- Paper clip wire
- Toothpick
- Plastic plates
- Vallejo Flow Improver
- Vallejo Thinner
- Vallejo Mecha Color “Dark Steel”
- Vallejo Model Air “German Red Brown”
- Folkart “Champagne”
- Army Painter Warpaints Fanatic Effects “Data System Glow”
- Citadel “Tesseract Glow” (Technical)
- Army Painter Warpaints Air Fluorescent “Violet Volt”
- Vallejo Game Color “Sepia Wash” (wash/shade)
- Vallejo “Gloss Acrylic Varnish”
- Army Painter “Green Tone” (wash/shade)
- Experts Choice Clear Decal Film
- Microscale “Liquid Decal Film”
- Microscale “Microsol” (decal softening fluid)
- Vallejo “Matte Premium Varnish”
Thanks for looking!

 Mark A. Morin
That looks awesome or as it is said where I originally come from ‘Eeeh that is Geet Mint!’ Aka…awesome
LikeLiked by 1 person
Thanks and thanks for the translation!!
LikeLike