

Hmm…that title sounded very ominous…are the Whim Whim, wiped out, a dead faction, lost forever in the sands of time, or at least the sands of the deserts of Ozz?
Well, the Whim Whim are still around! After 215 figures, I have just finished painting up this faction of nomadic desert-dwelling tribesmen! And before I moved on, I wanted to document the last few pieces of the Whim Whim faction that I have completed.
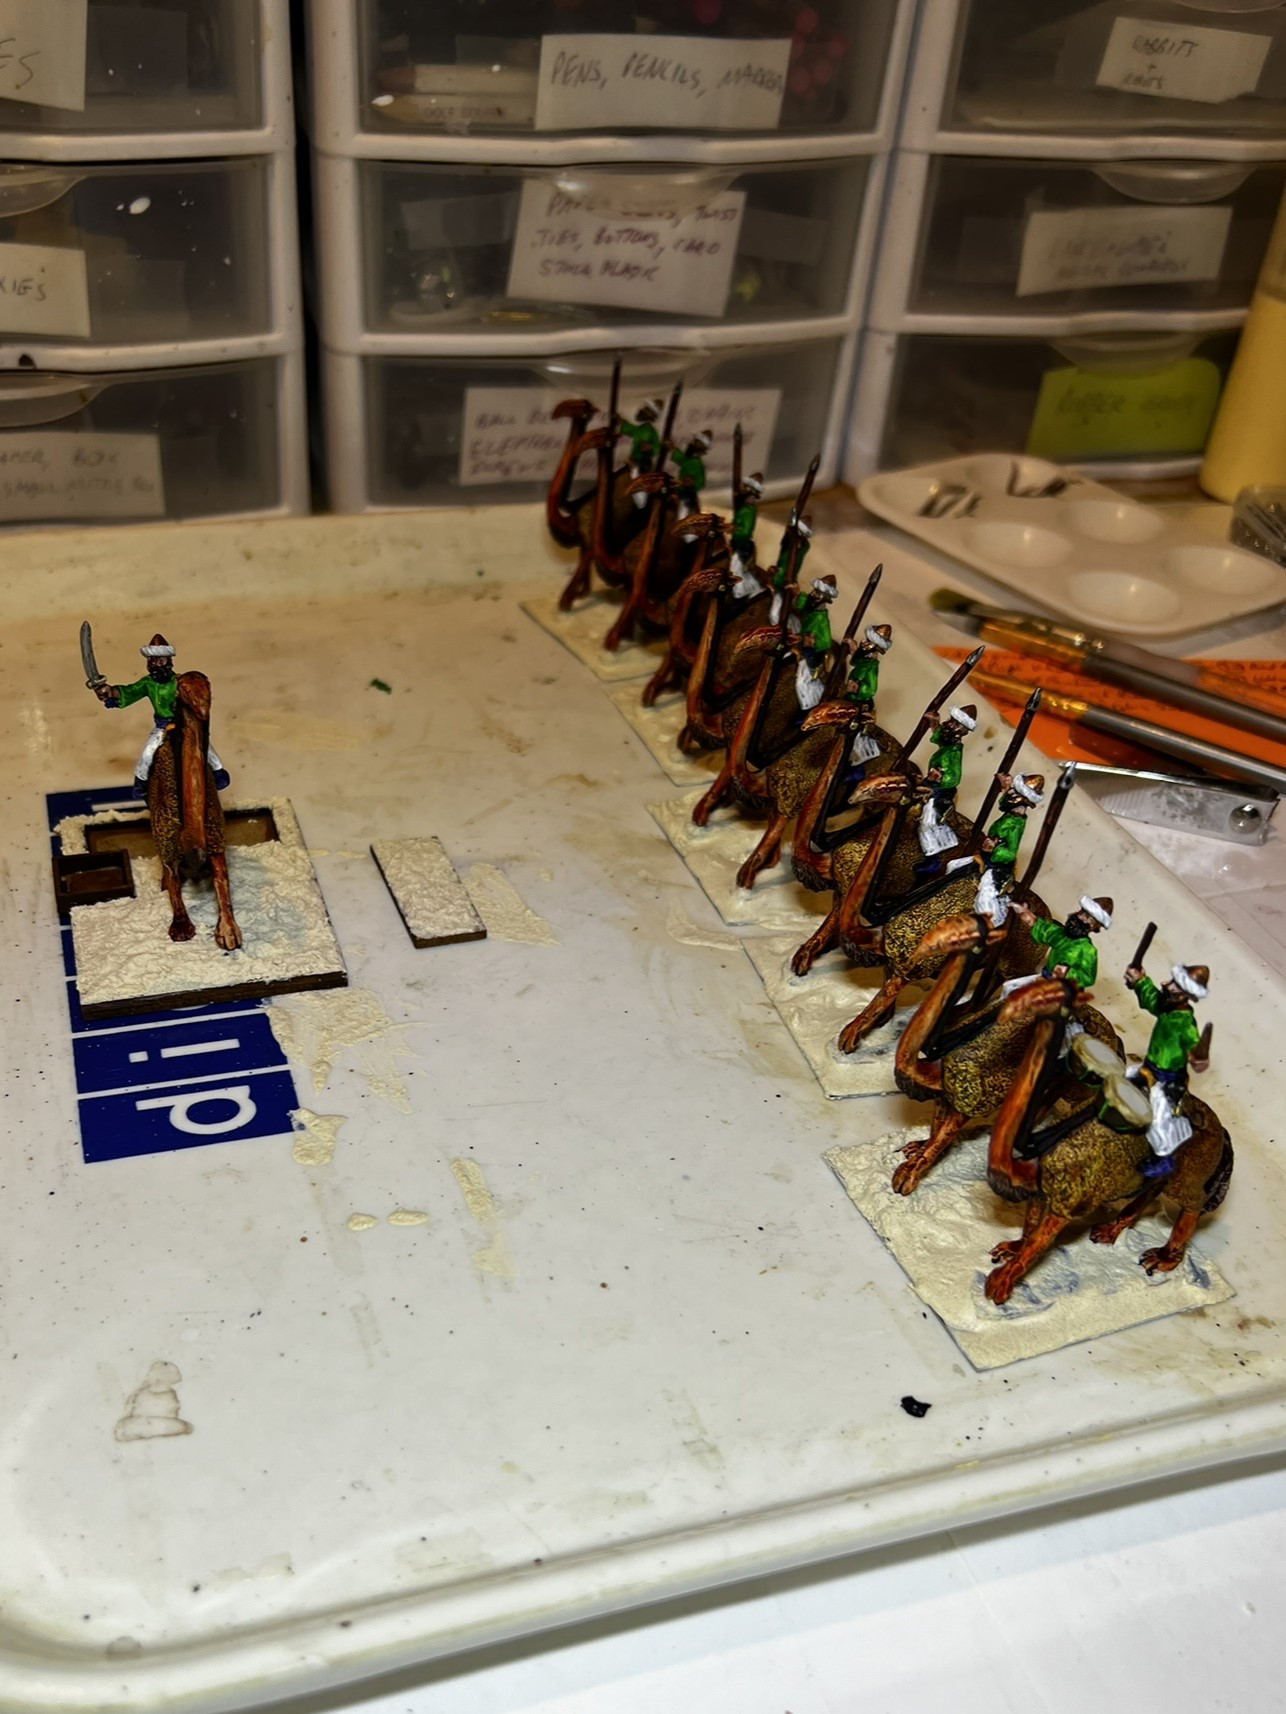
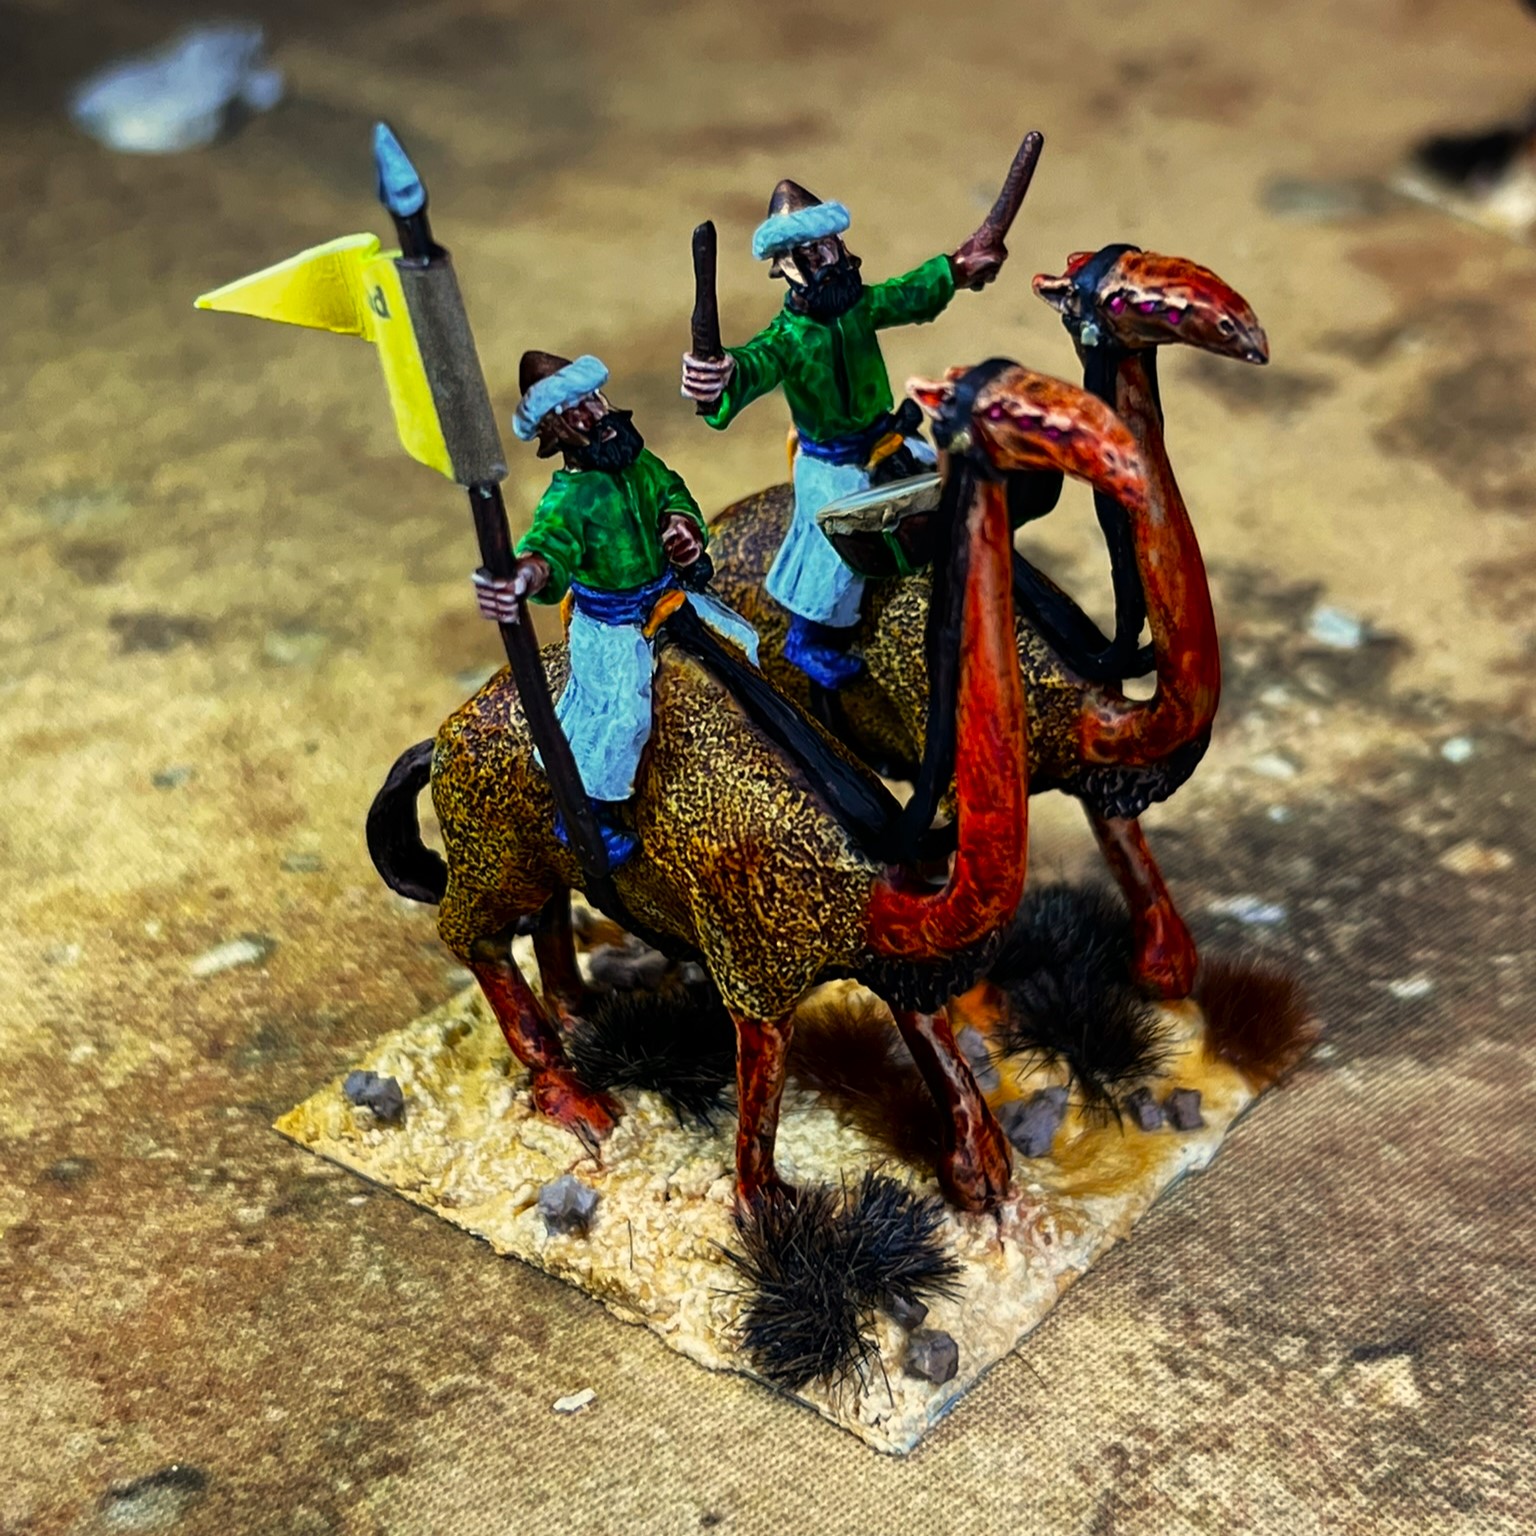
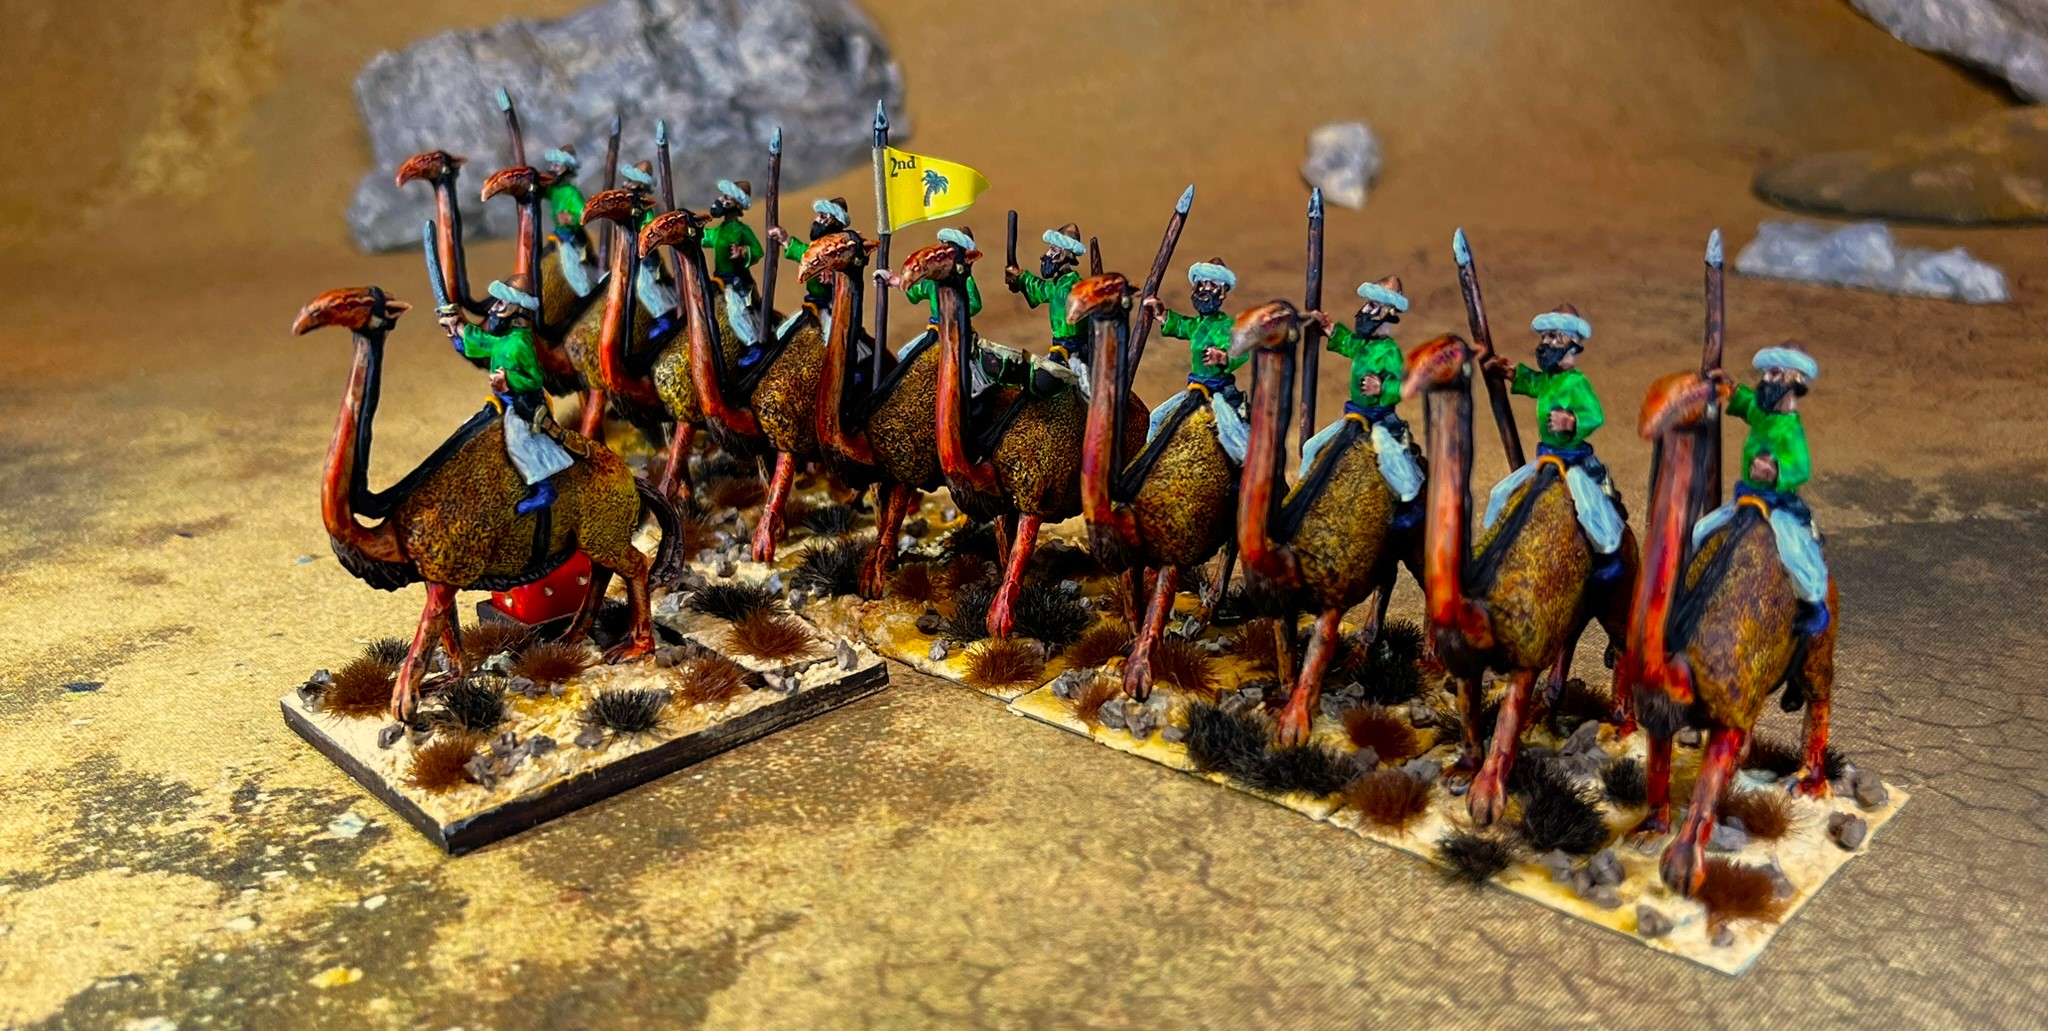
In a bit, you’ll get to see a video of the entire faction on the tabletop. But for now, what this post will cover are the last three SKU’s that I finished up. One SKU is the elite regiment of Whim Whim Janissaries (OZZ-1400), another is Sultan Whim himself (OZZ-1406), and the last one is the faction’s wizard, The Ancient Mystical One (OZZ-1405). The Janissaries are the same figures as the Whim Whim Spearmen I painted before, just with different colors. I will include some select WIP photos, as well as eye candy.
One reason for my relative photographic laxness is that I finished these off while fighting off COVID in early October! That was a bit of a struggle, but nothing I couldn’t overcome…eventually. Thus, my photography took a back seat to getting these figures done.
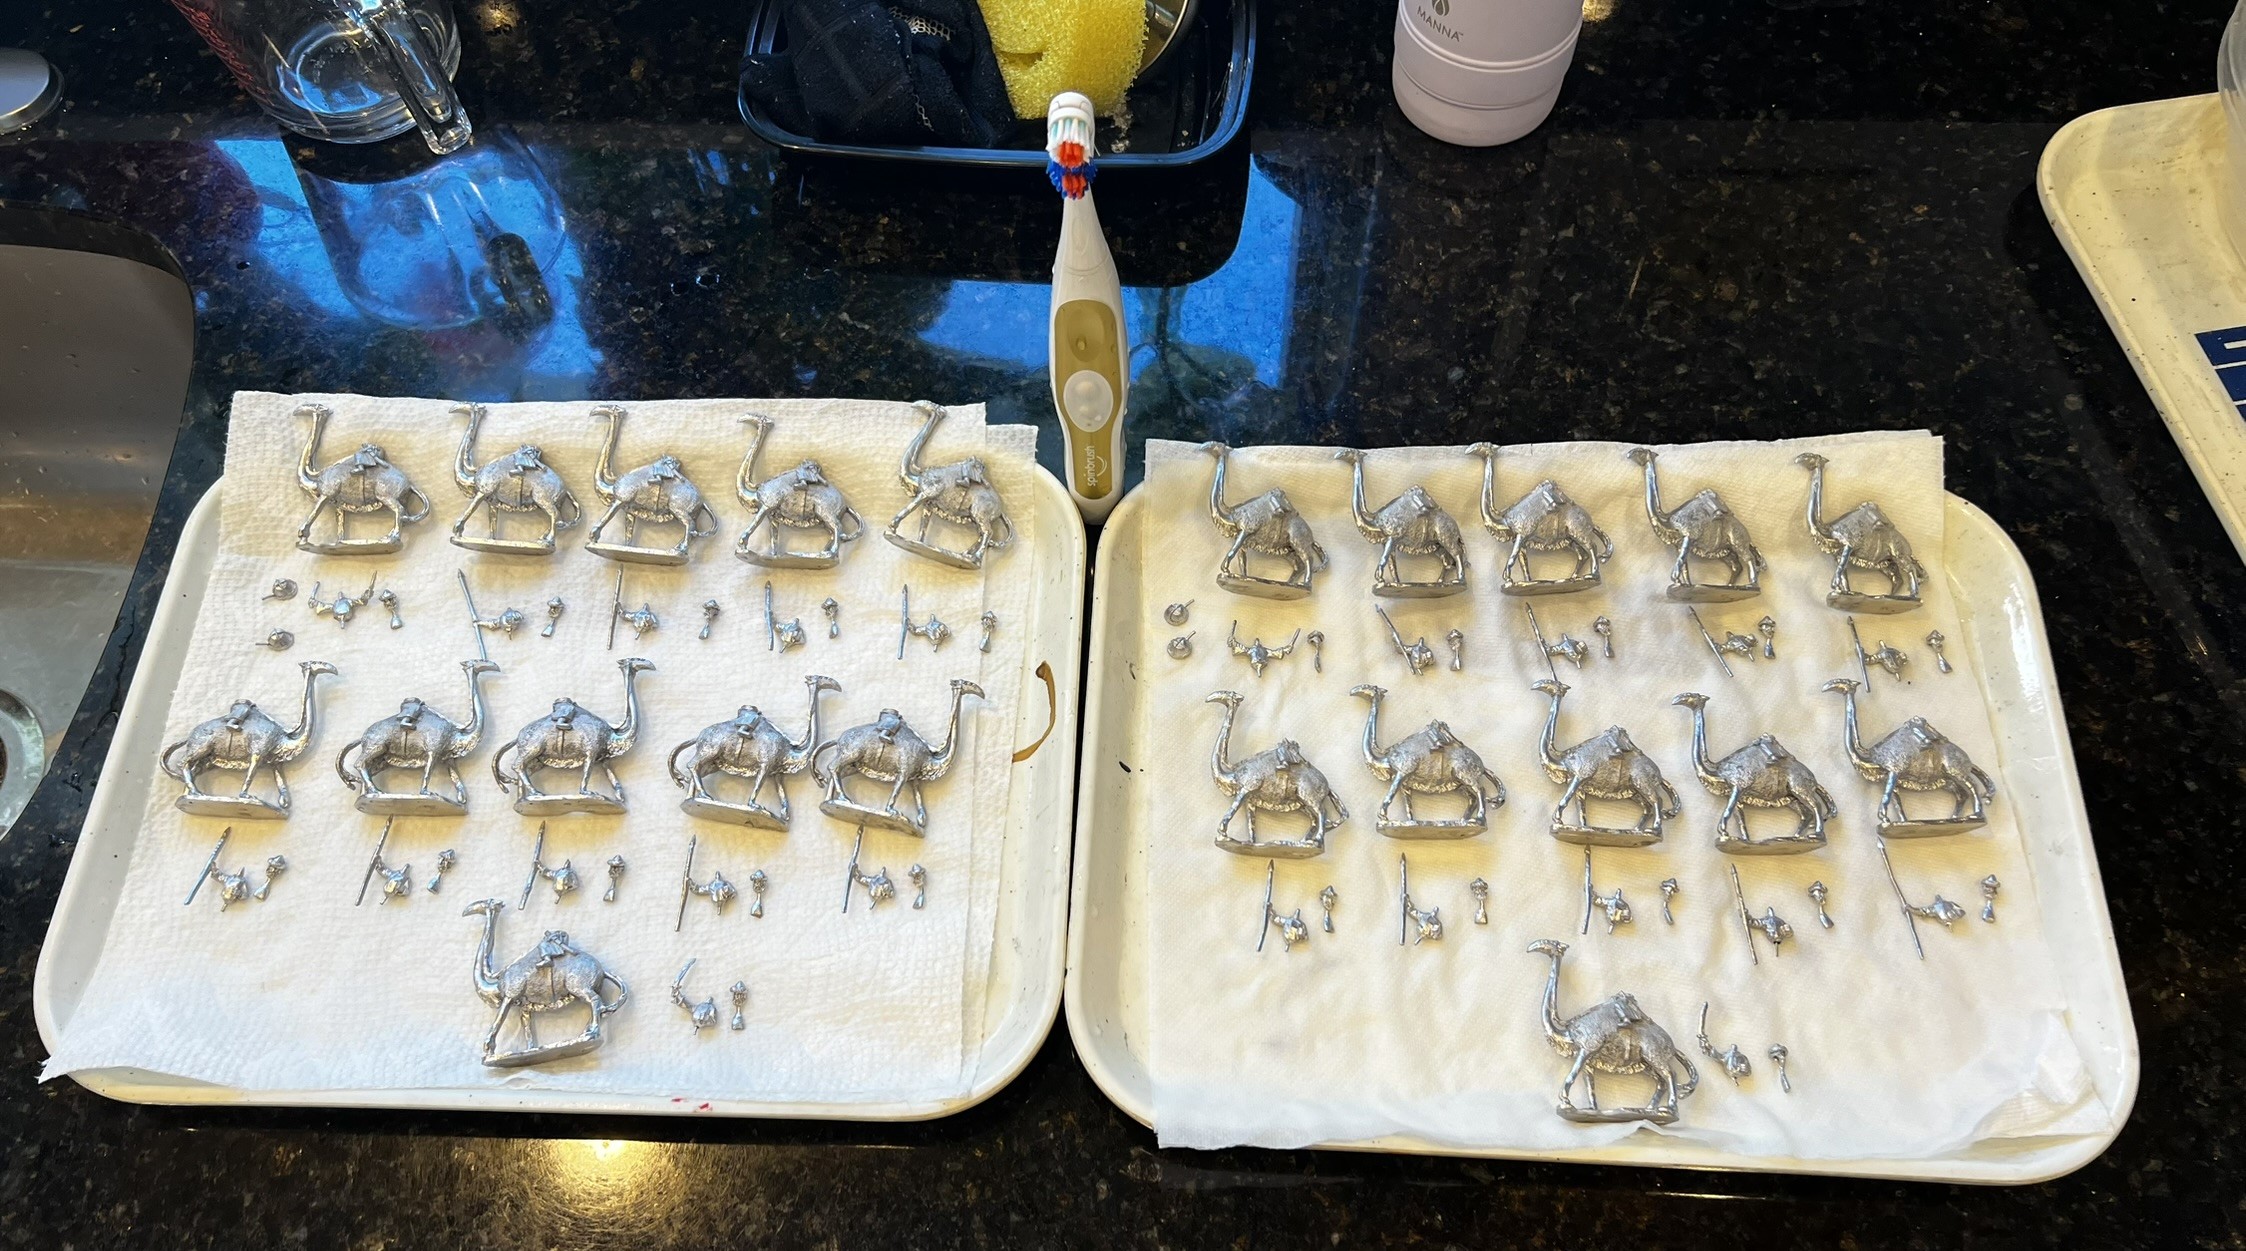
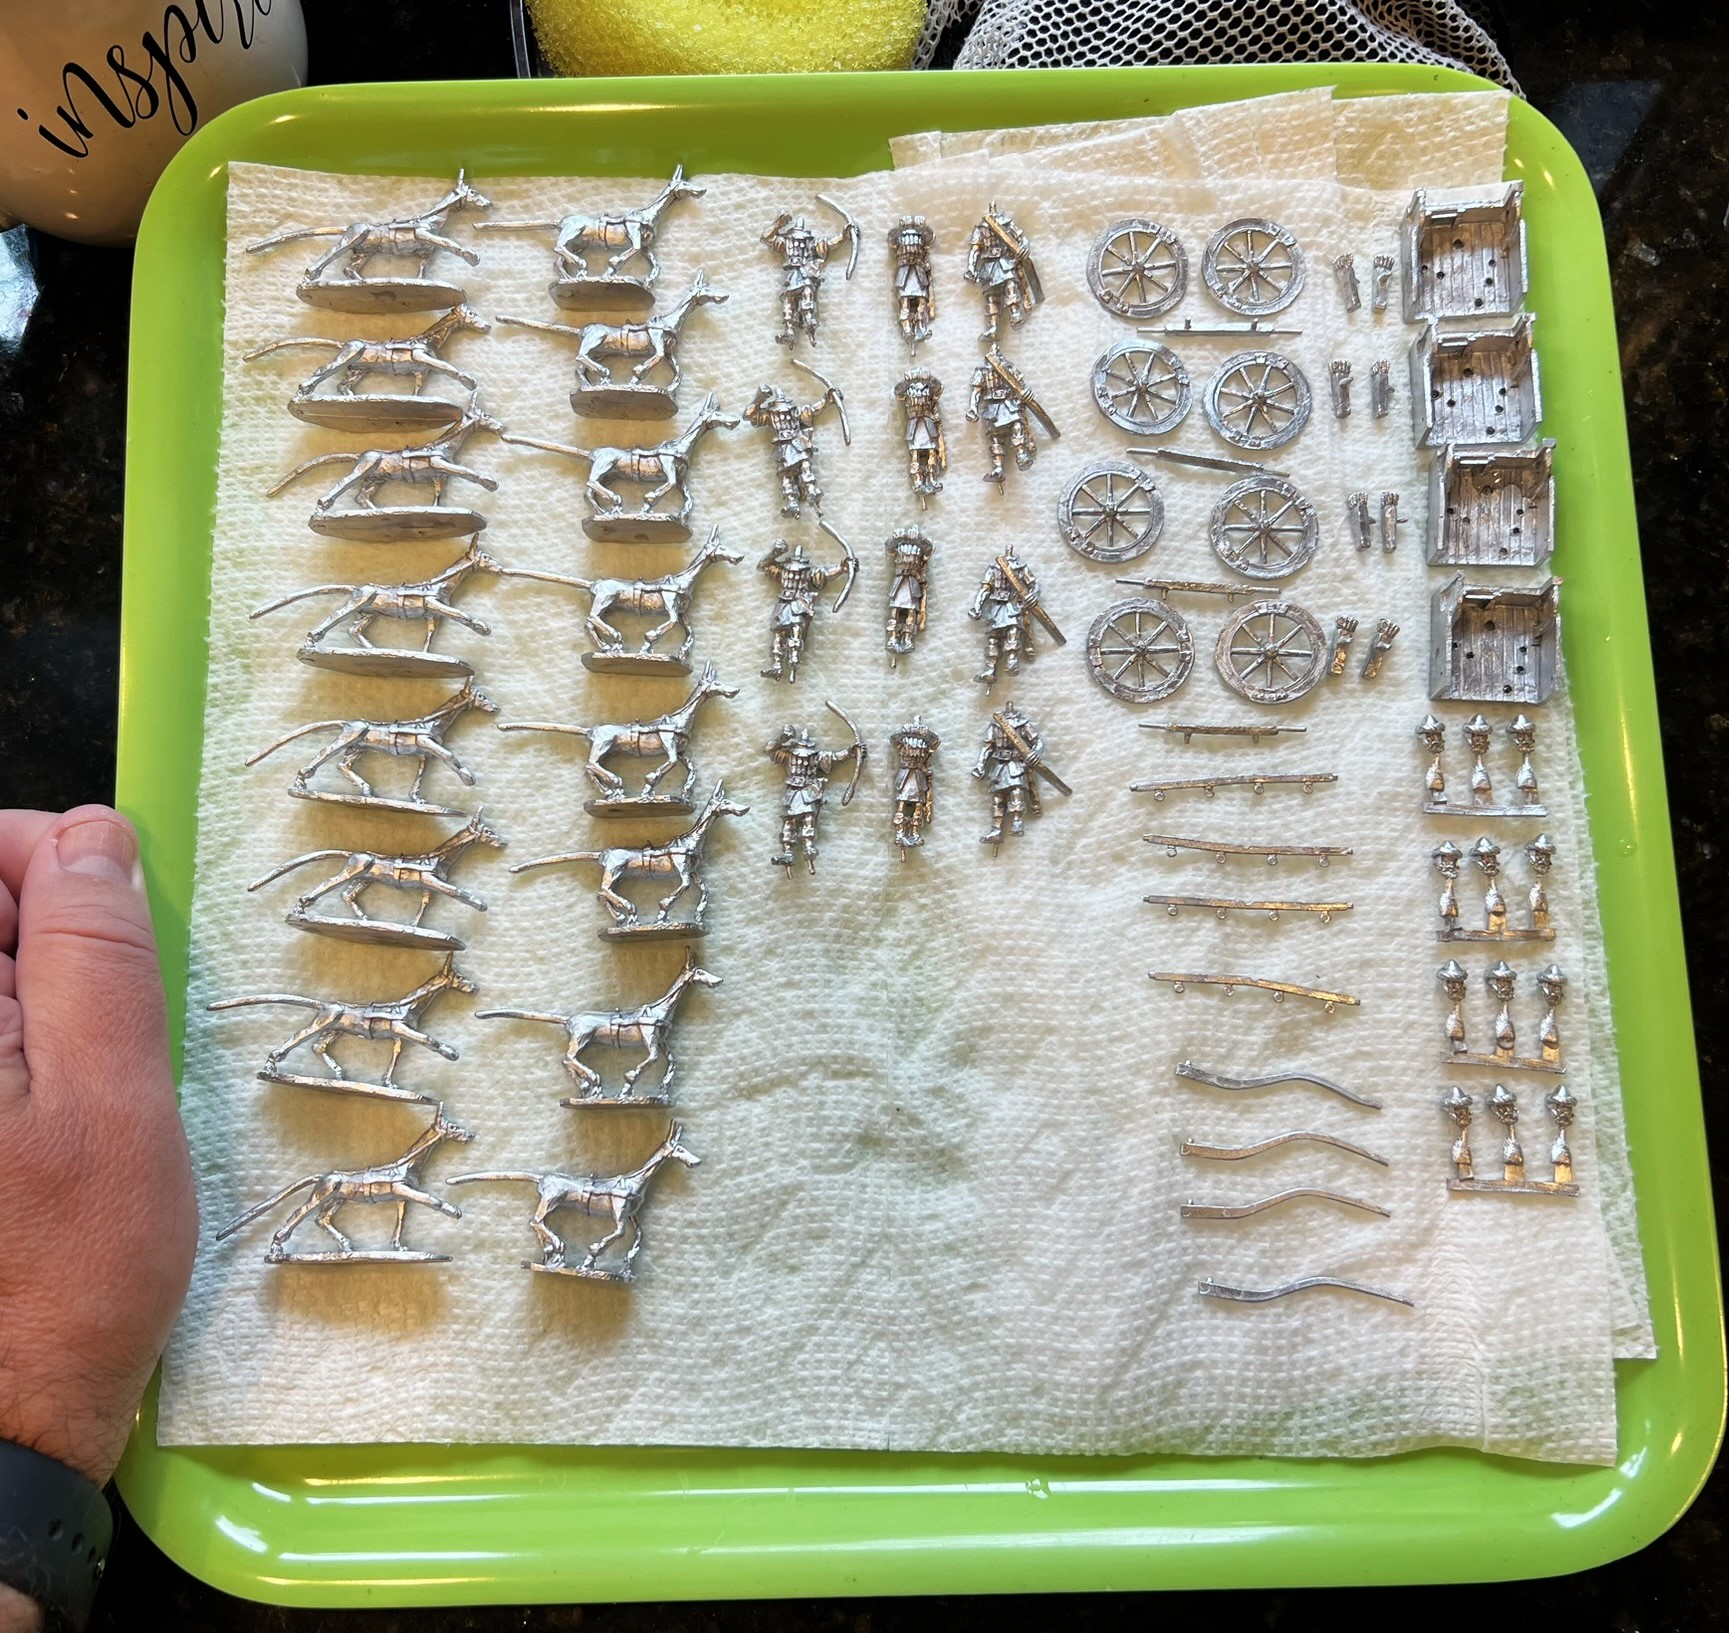
All of the figures are metal and 28mm in size. Let’s look at each in turn.
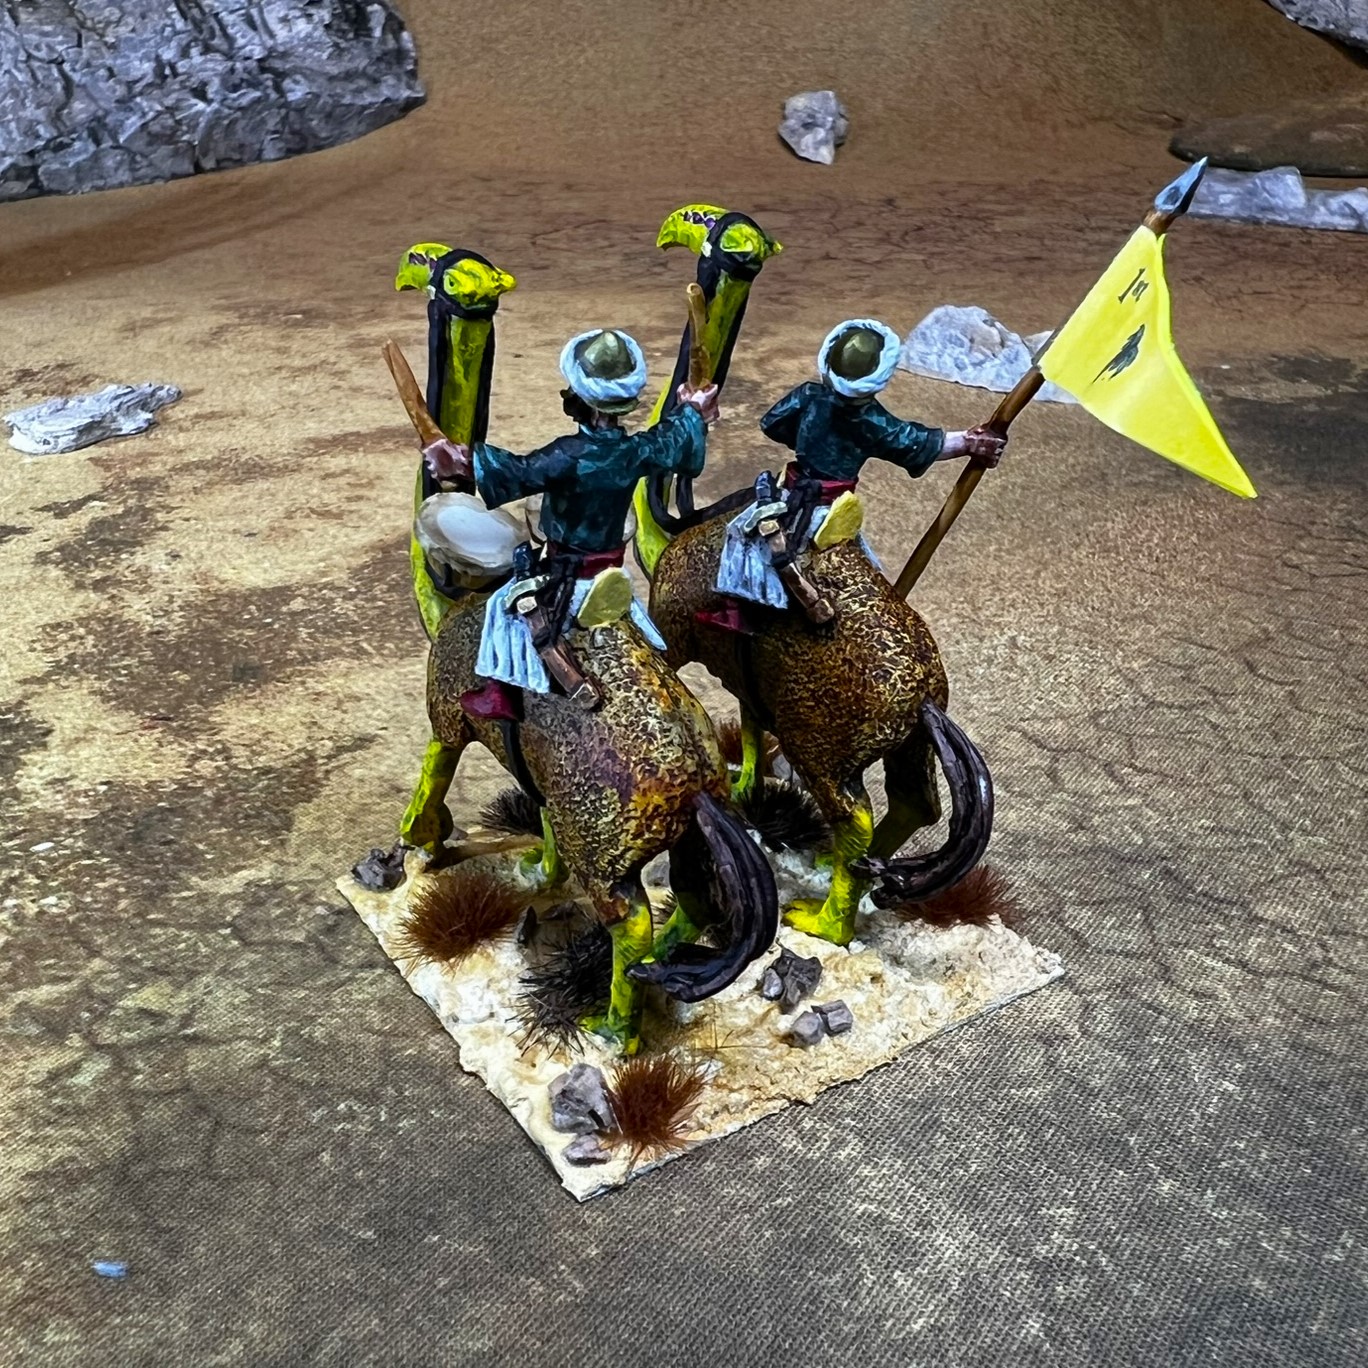
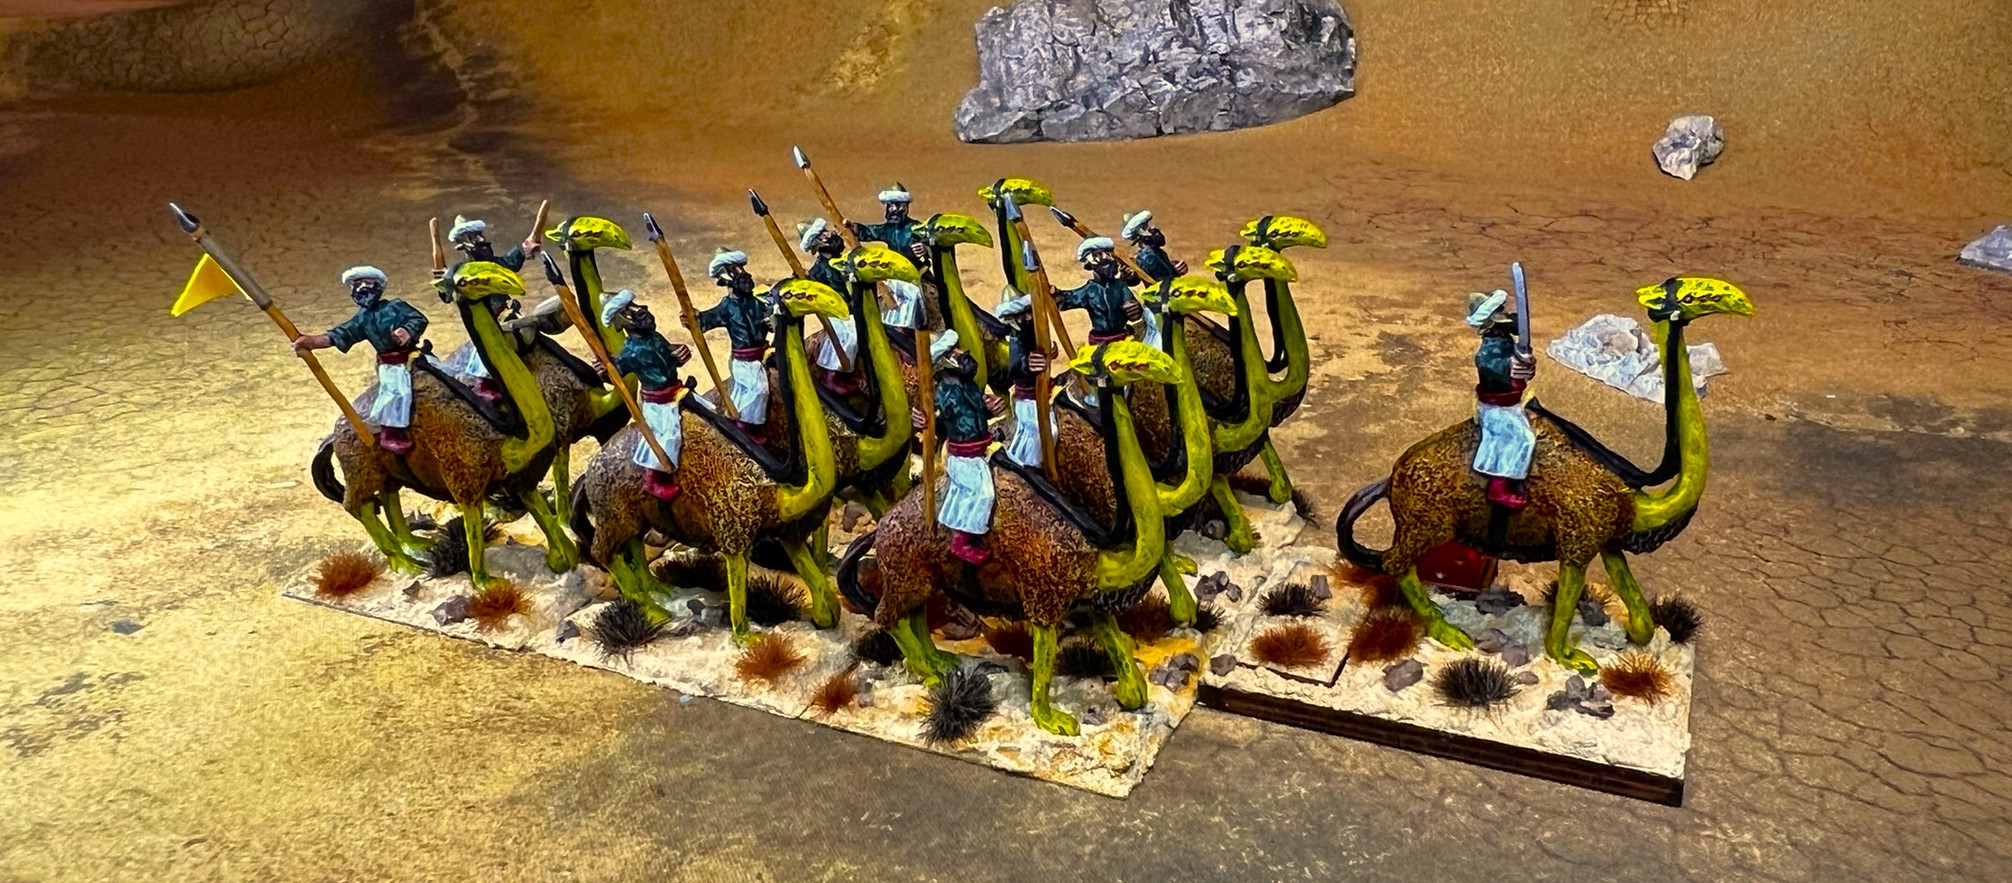
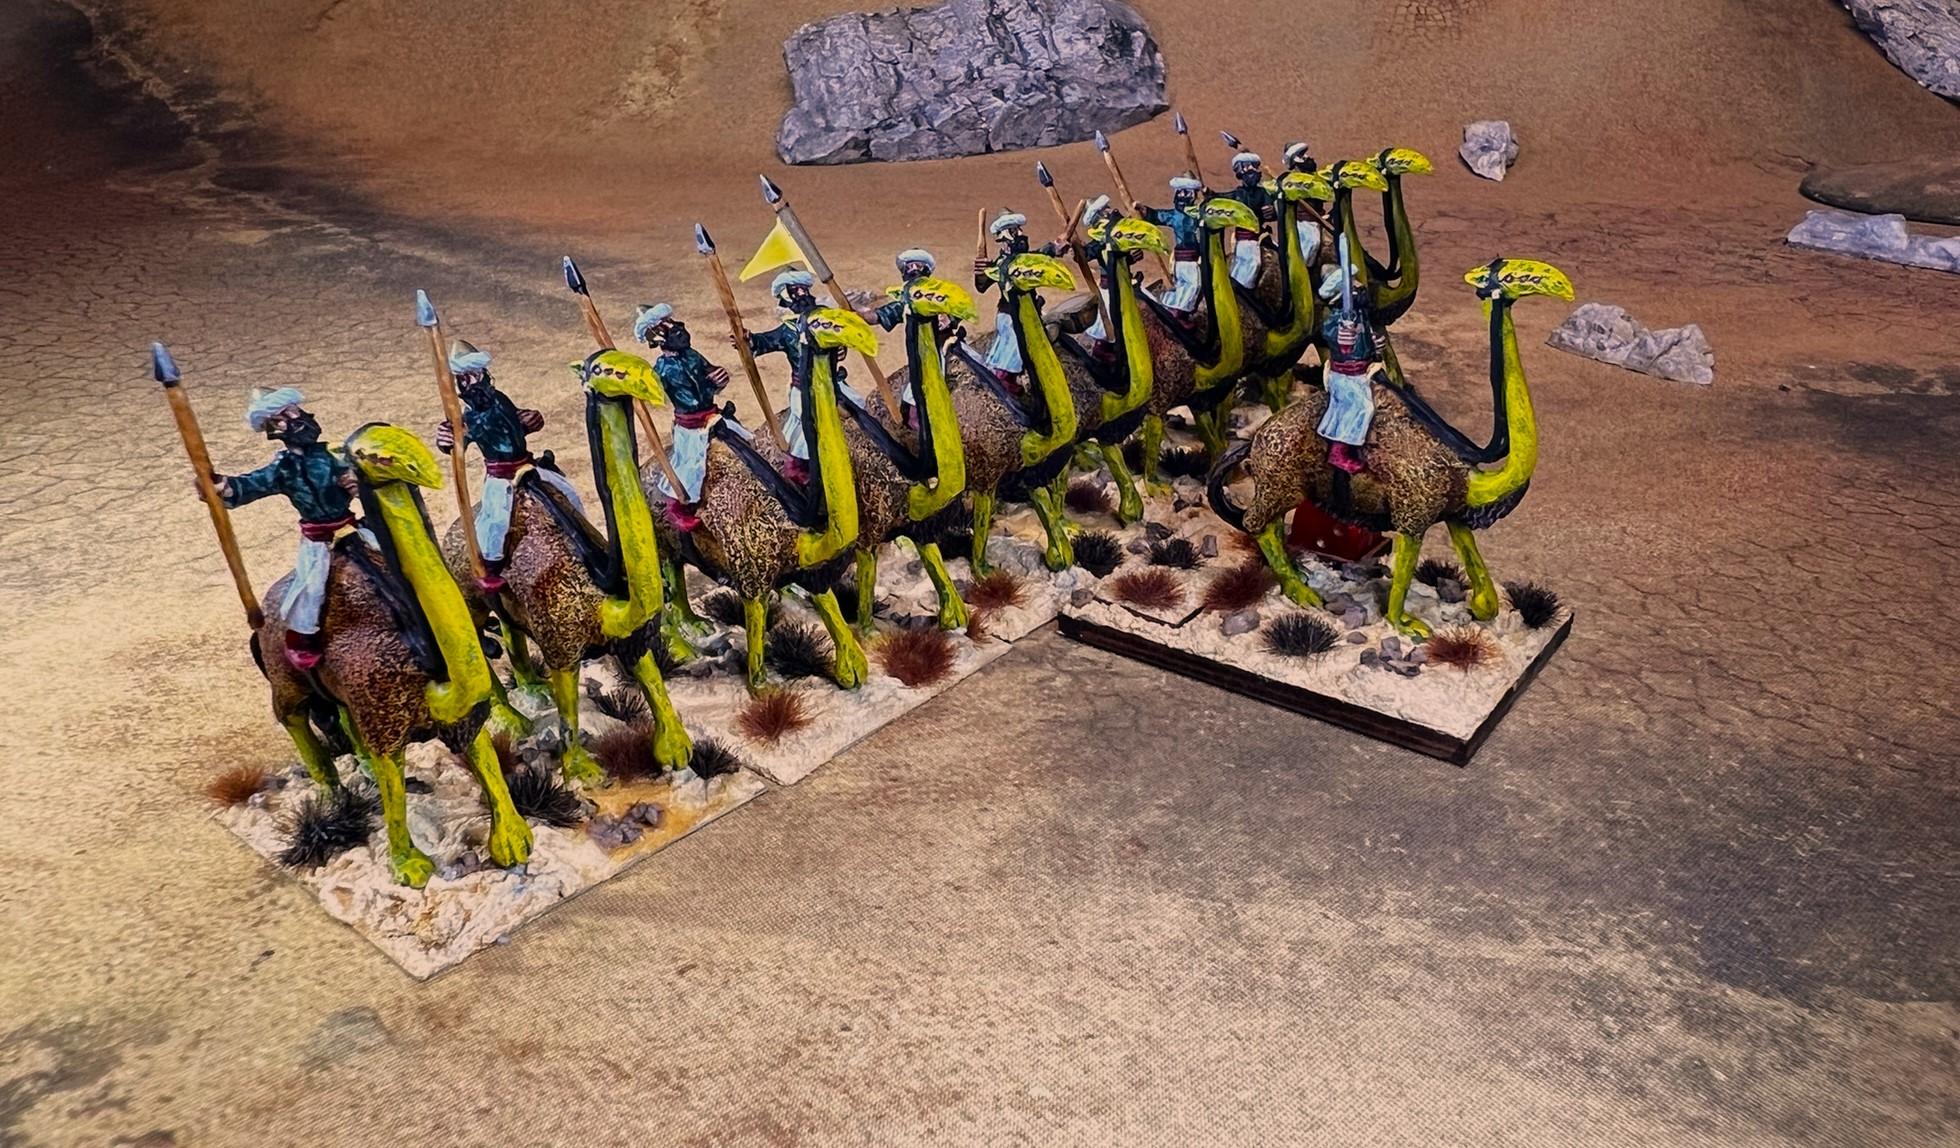
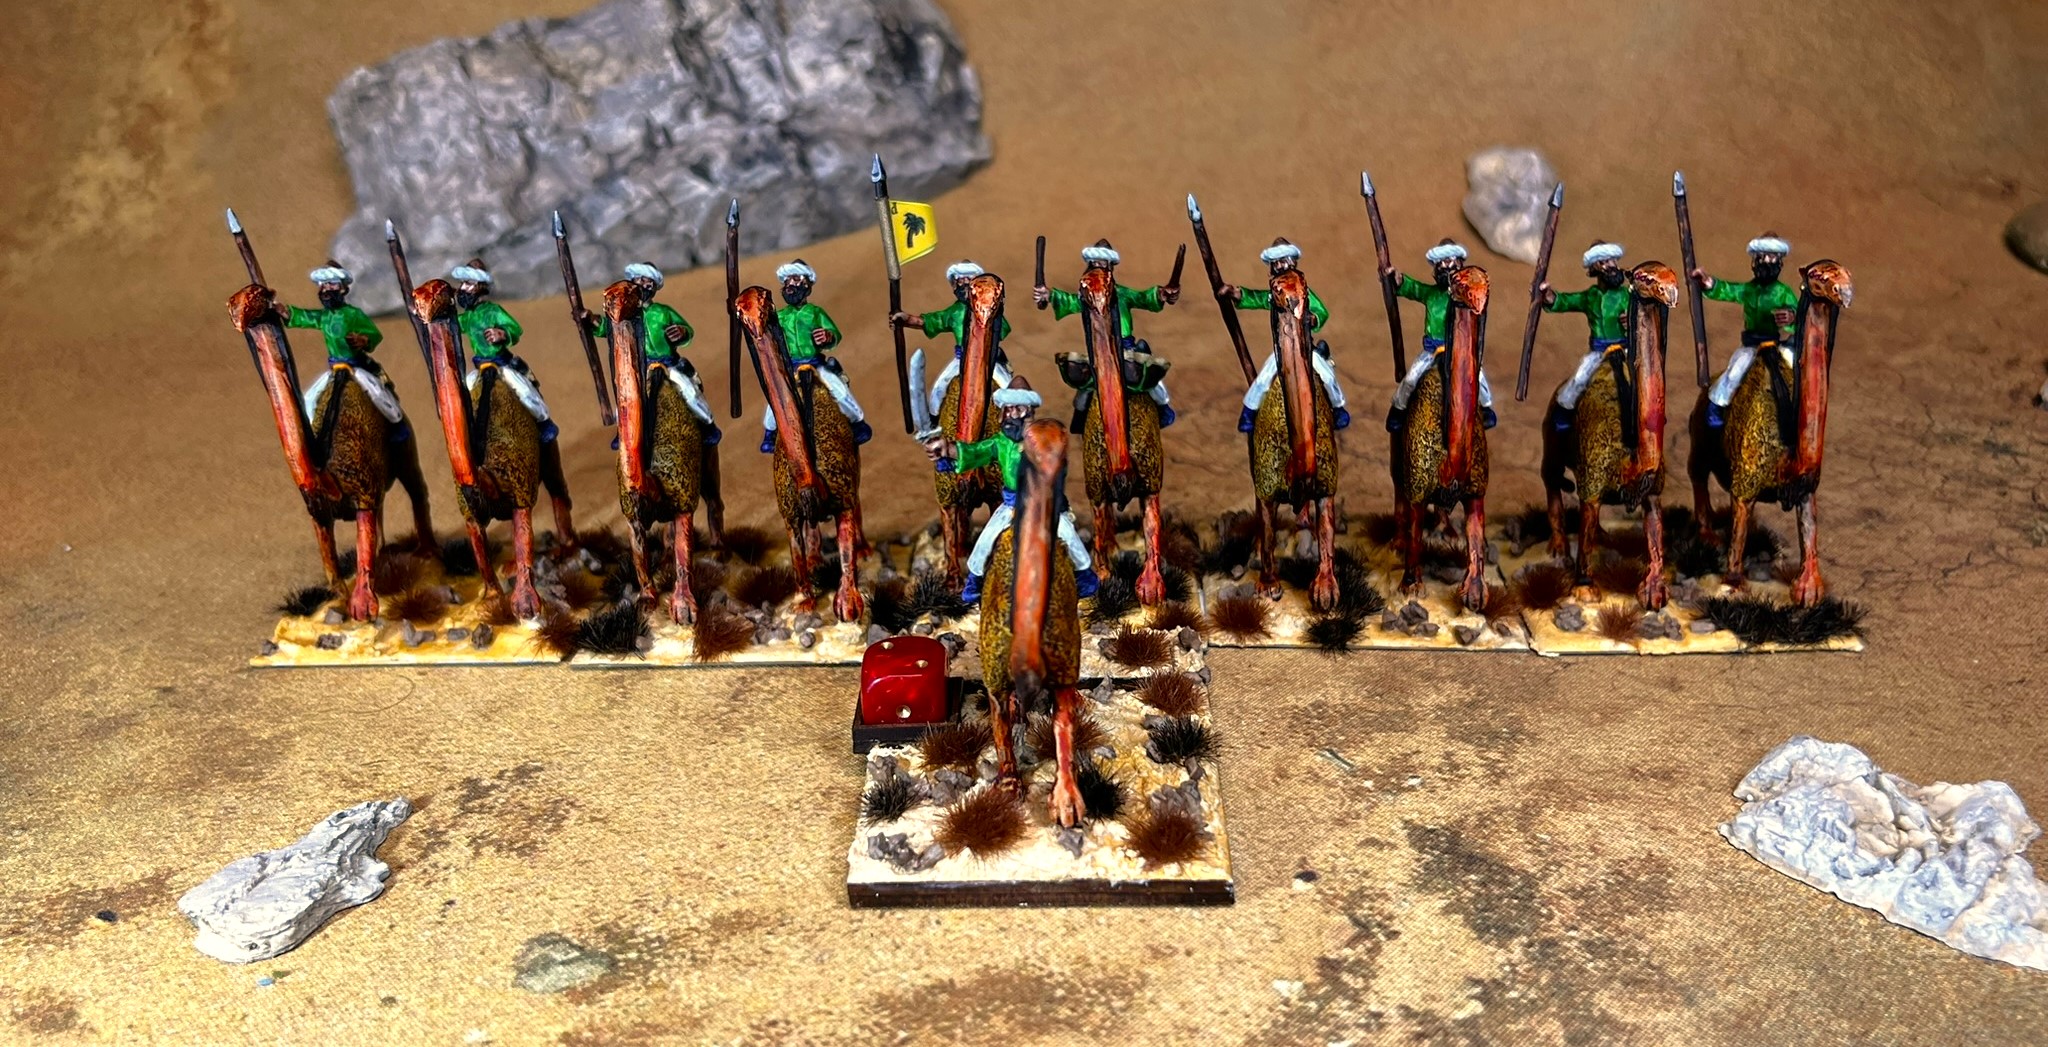
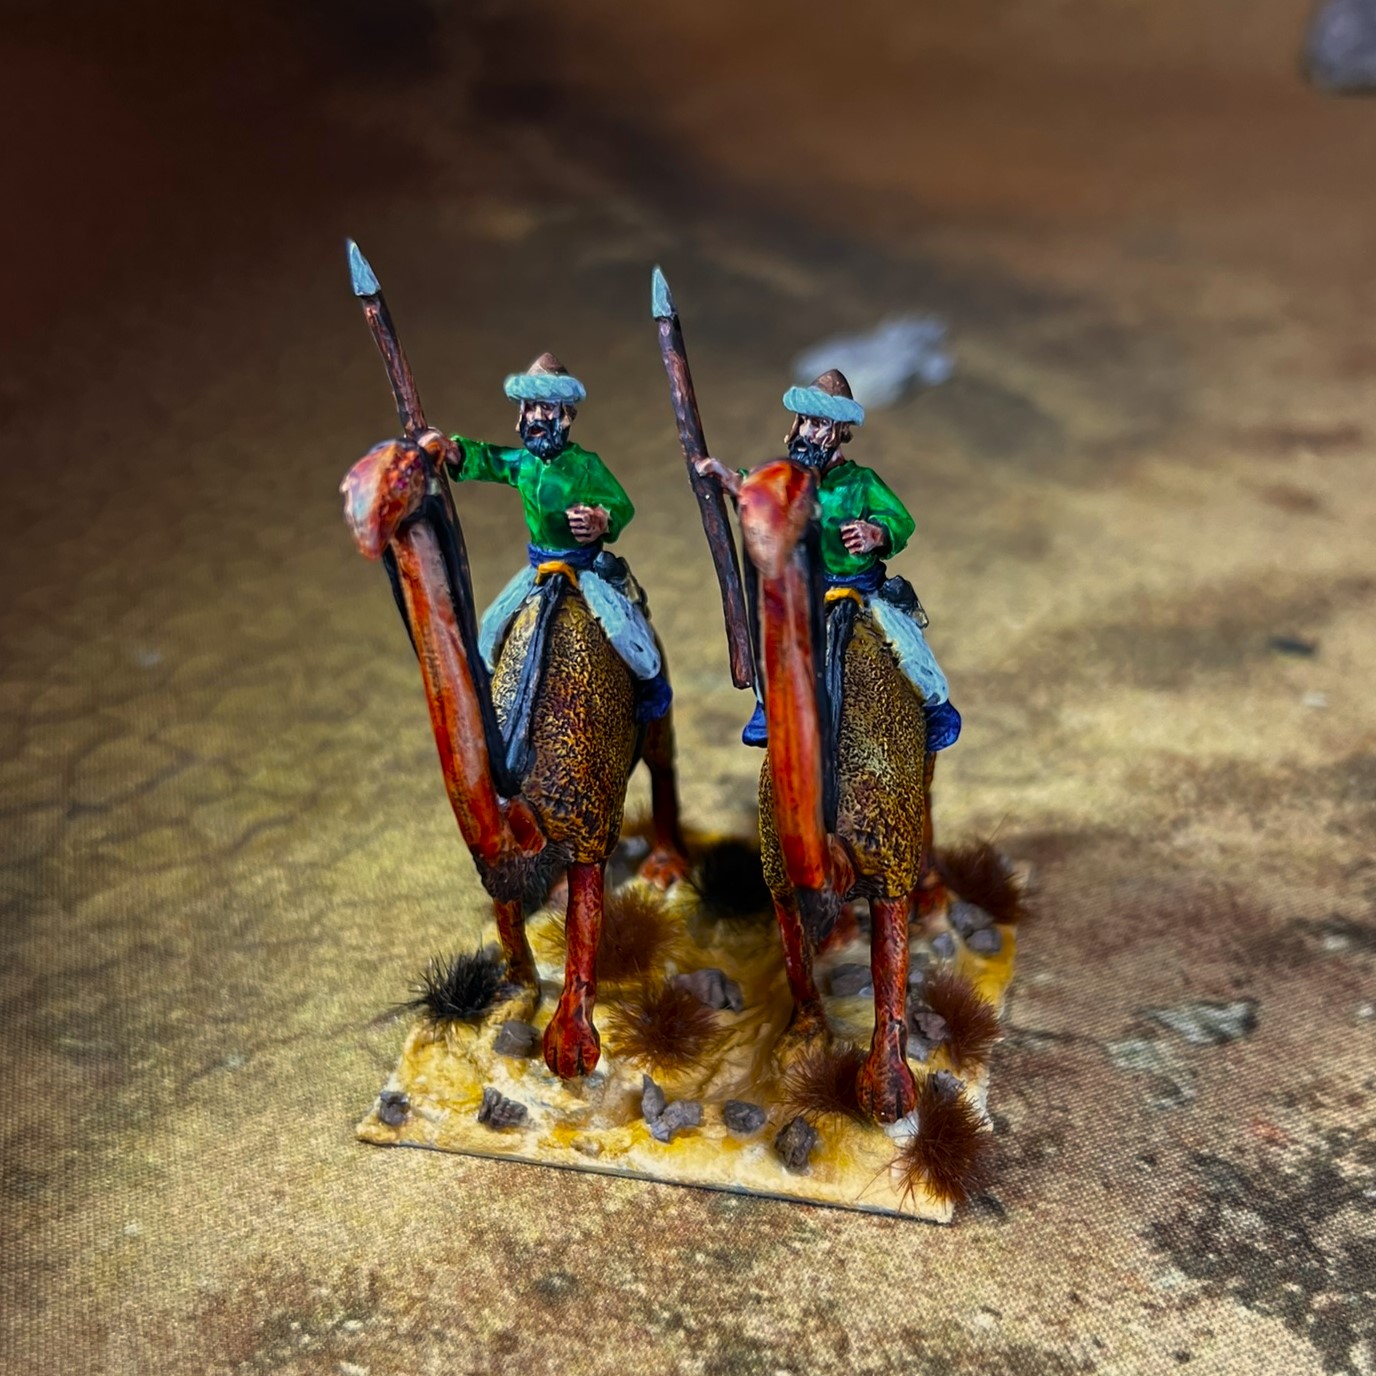
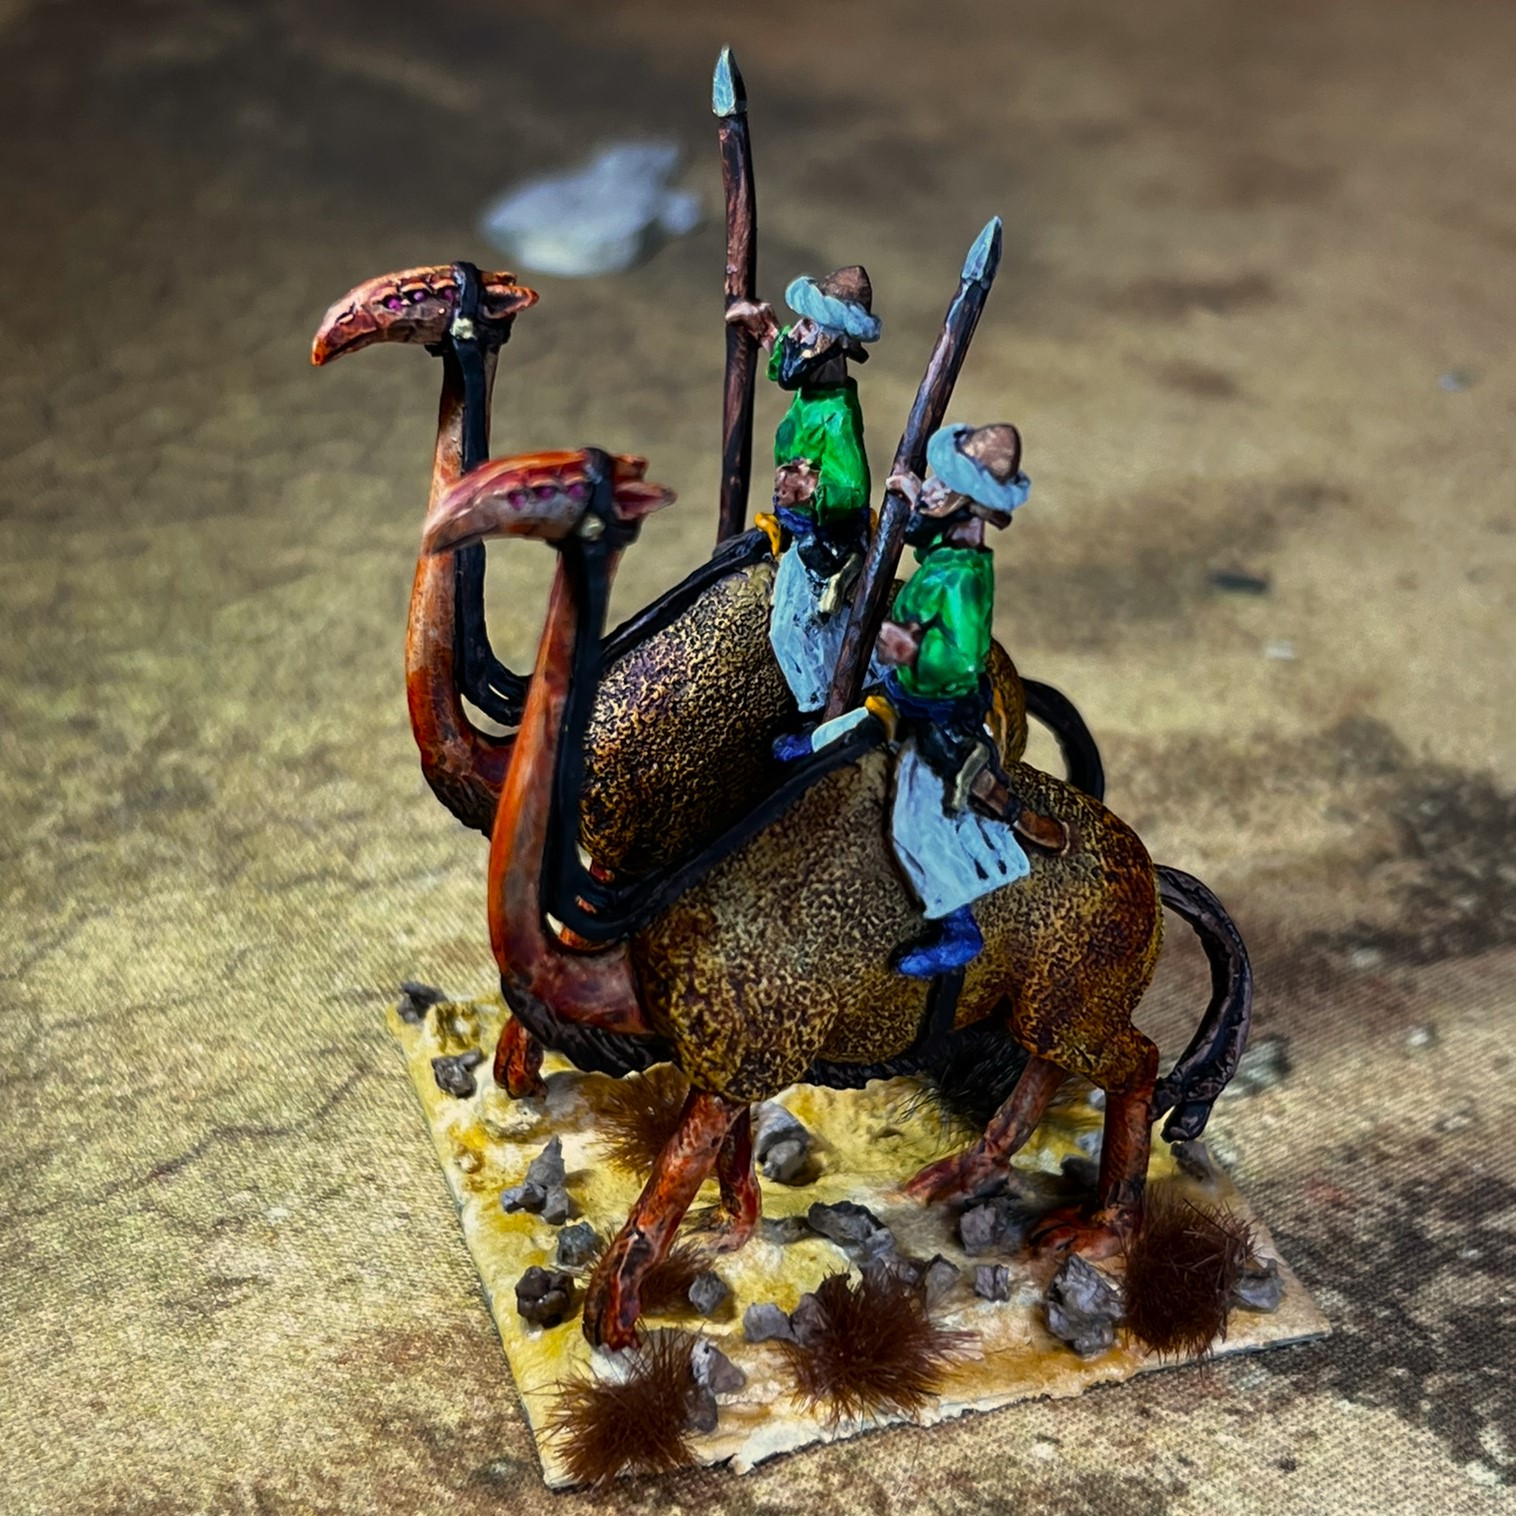
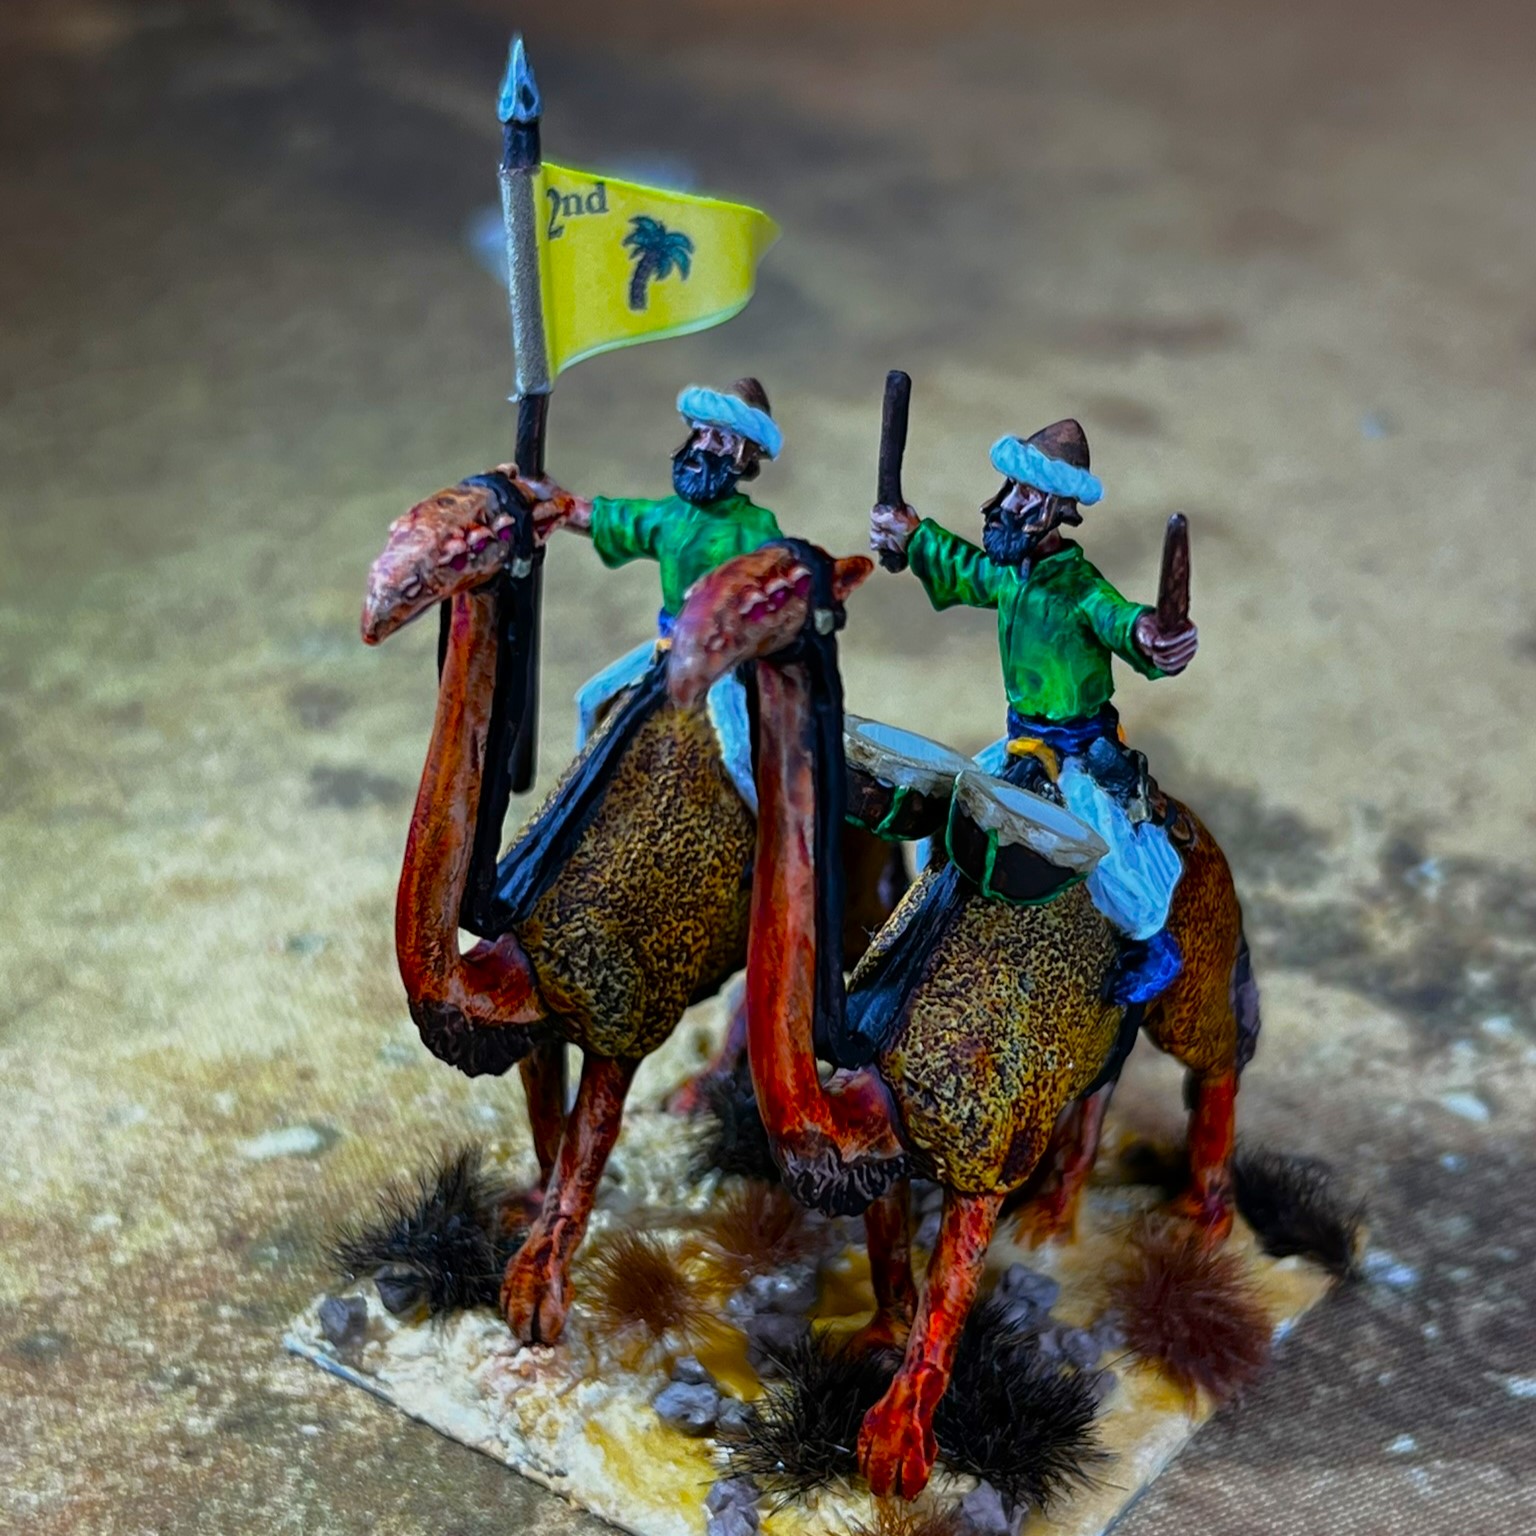
The Whim Whim Janissaries Regiment
The Whim Whim Janissaries Regiment (WWJR) is similarly-armed like the other spearmen. The difference is that their attributes are better. Neither type have missile weapons, and both have Melee values of 7/10 with a first-strike bonus. The WWJR has a Resolve value of 9/10 (50% higher than a regular spearmen regiment’s 6/10), and an Elan value of 10/10 (versus 8/10 for the regular spearmen). The WWJR costs 1 point more at 6 points. However, a Whim Whim brigade can only have one of them.
I decided that, like my previous spearmen, the WWJR needed a similar addition to the front of the shields to cover the little holes – but a different style.
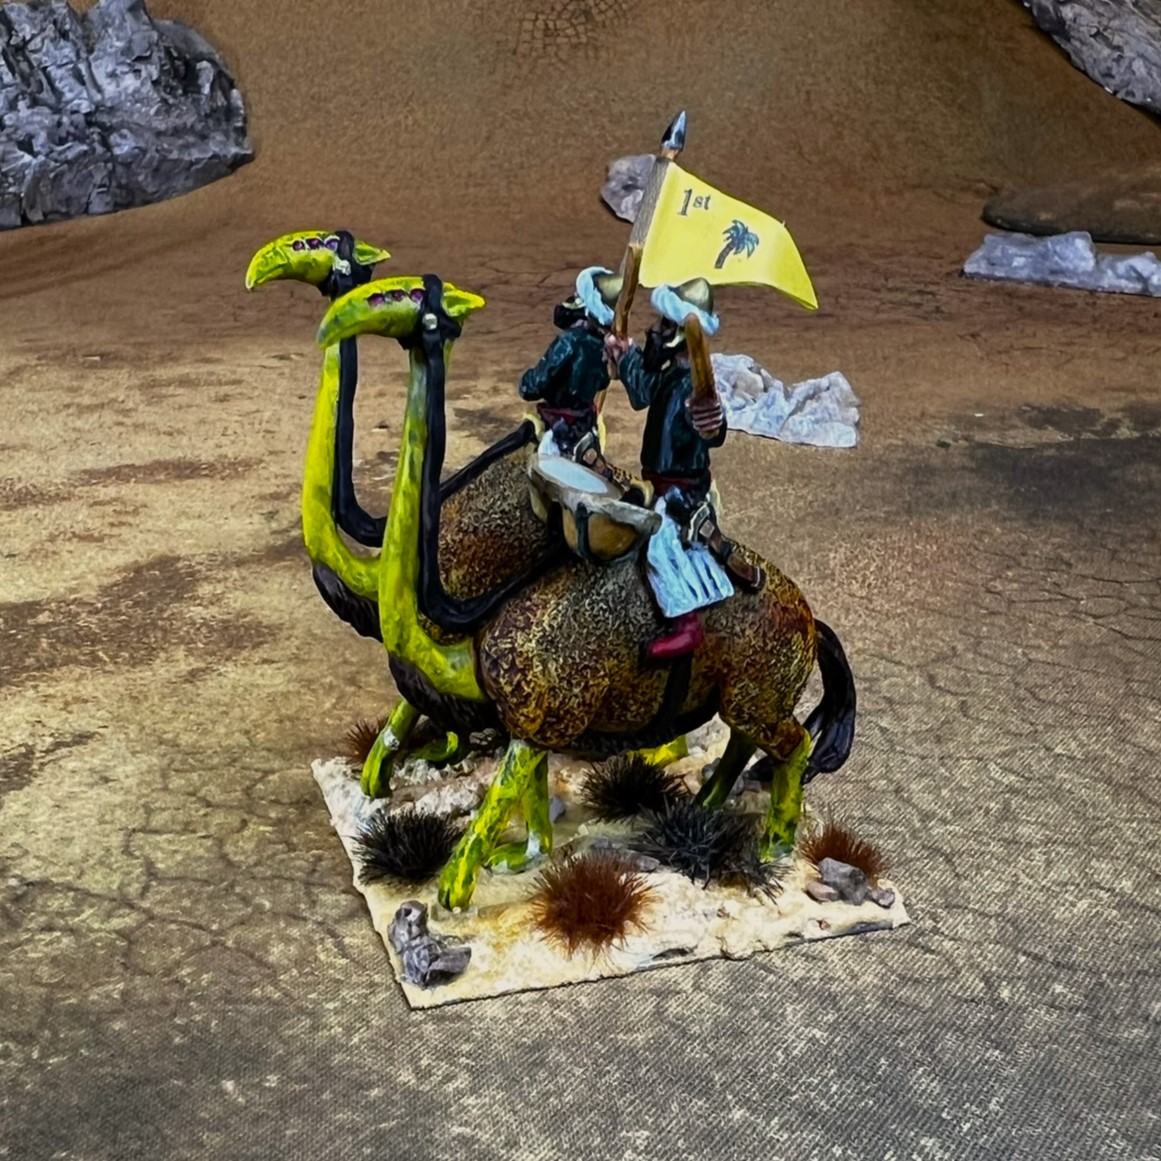
I found some terracotta stars that fit perfectly on the head of a number 18 flat nail. With some really careful drilling, I managed to add the stars/nail combos to the shields and use them to support their mounting. I also used the DH-507 spear tip pennons again from Iron Winds Metals to jazz up the spears.
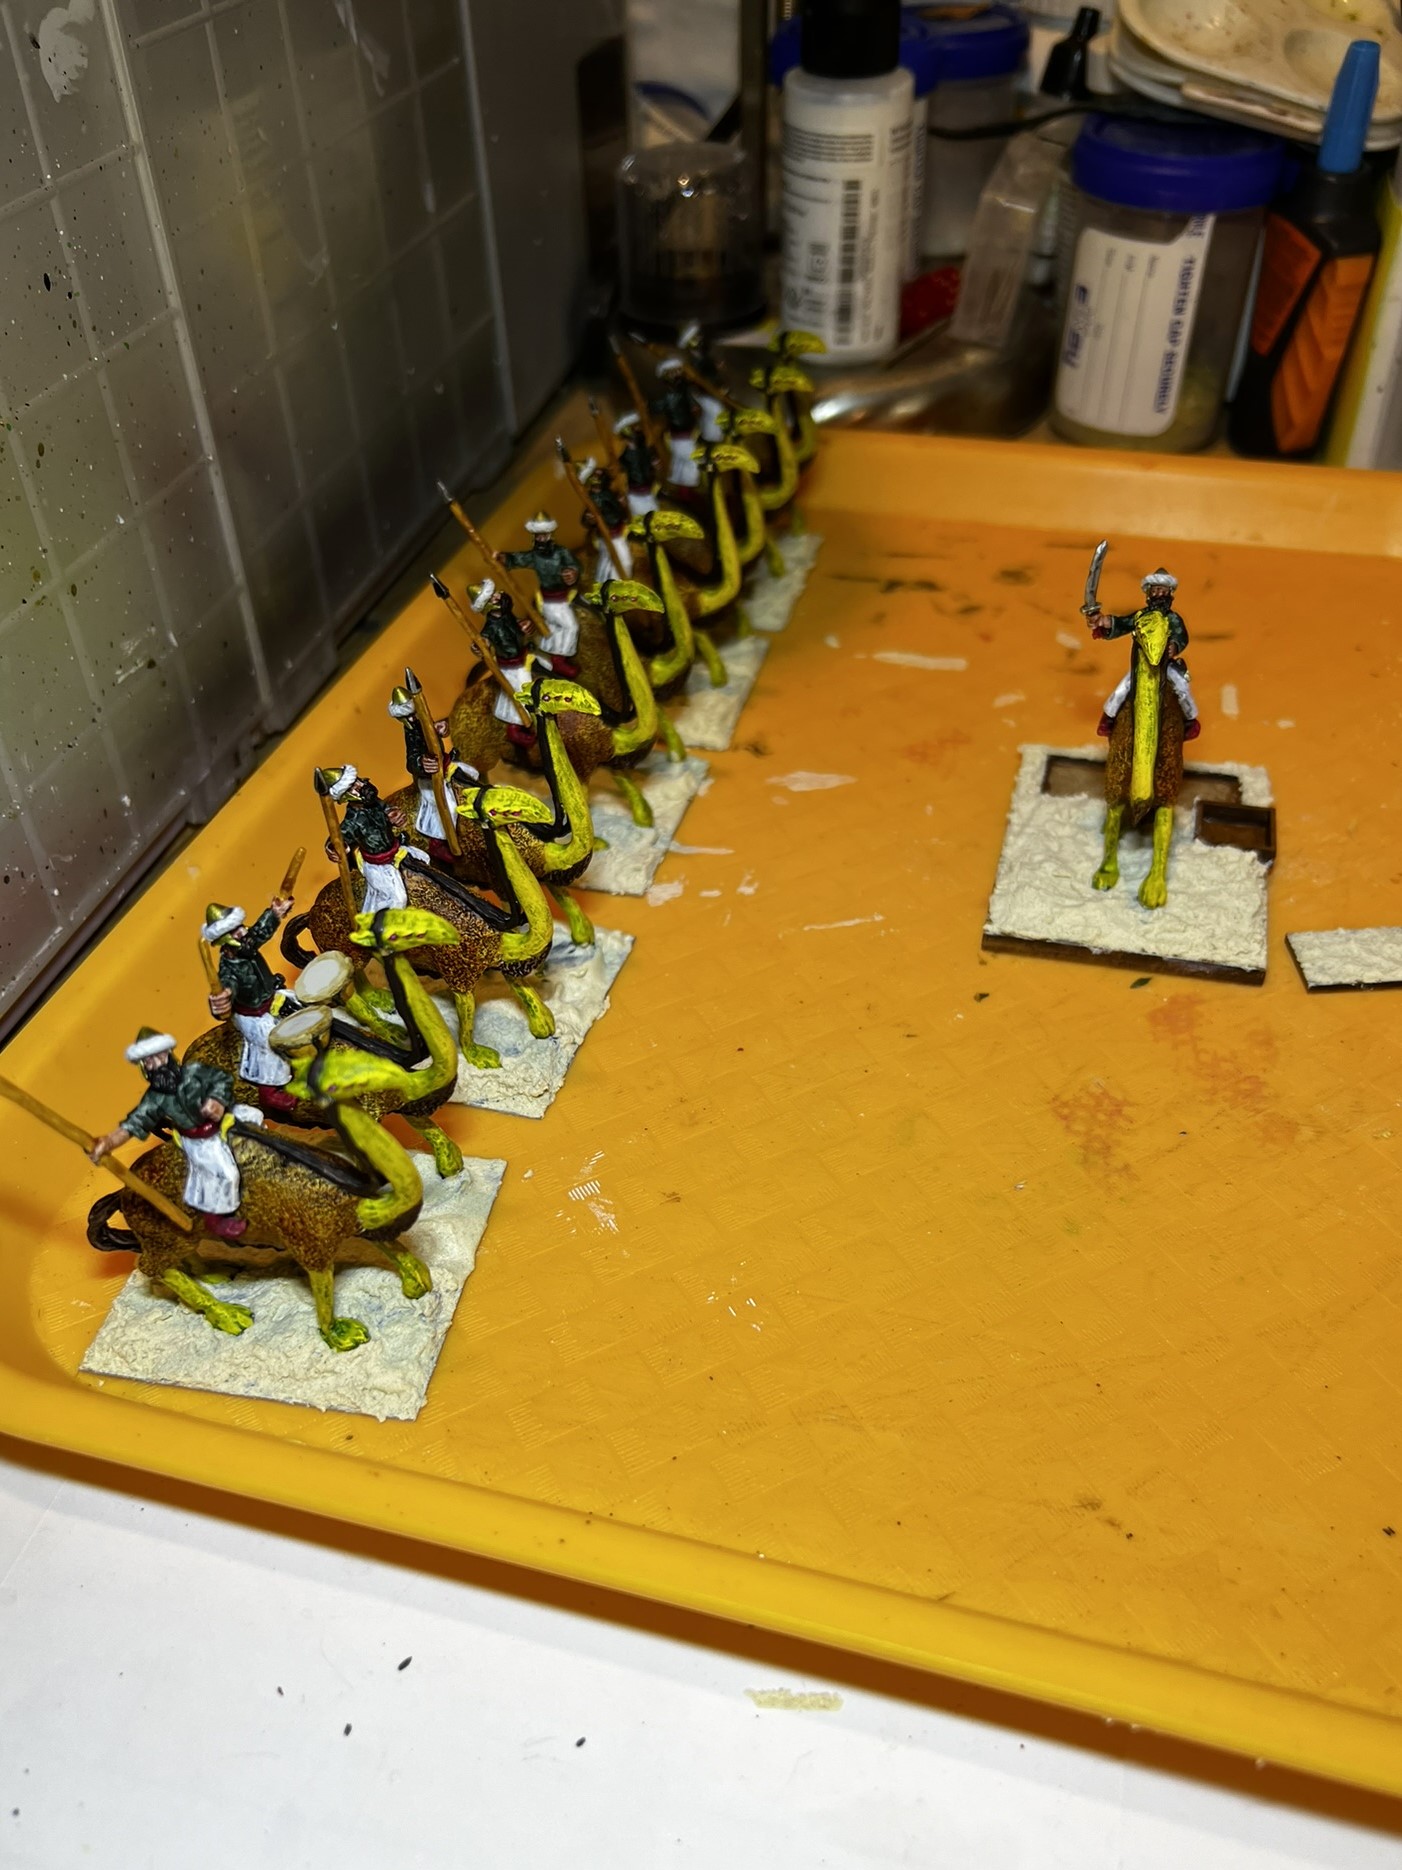
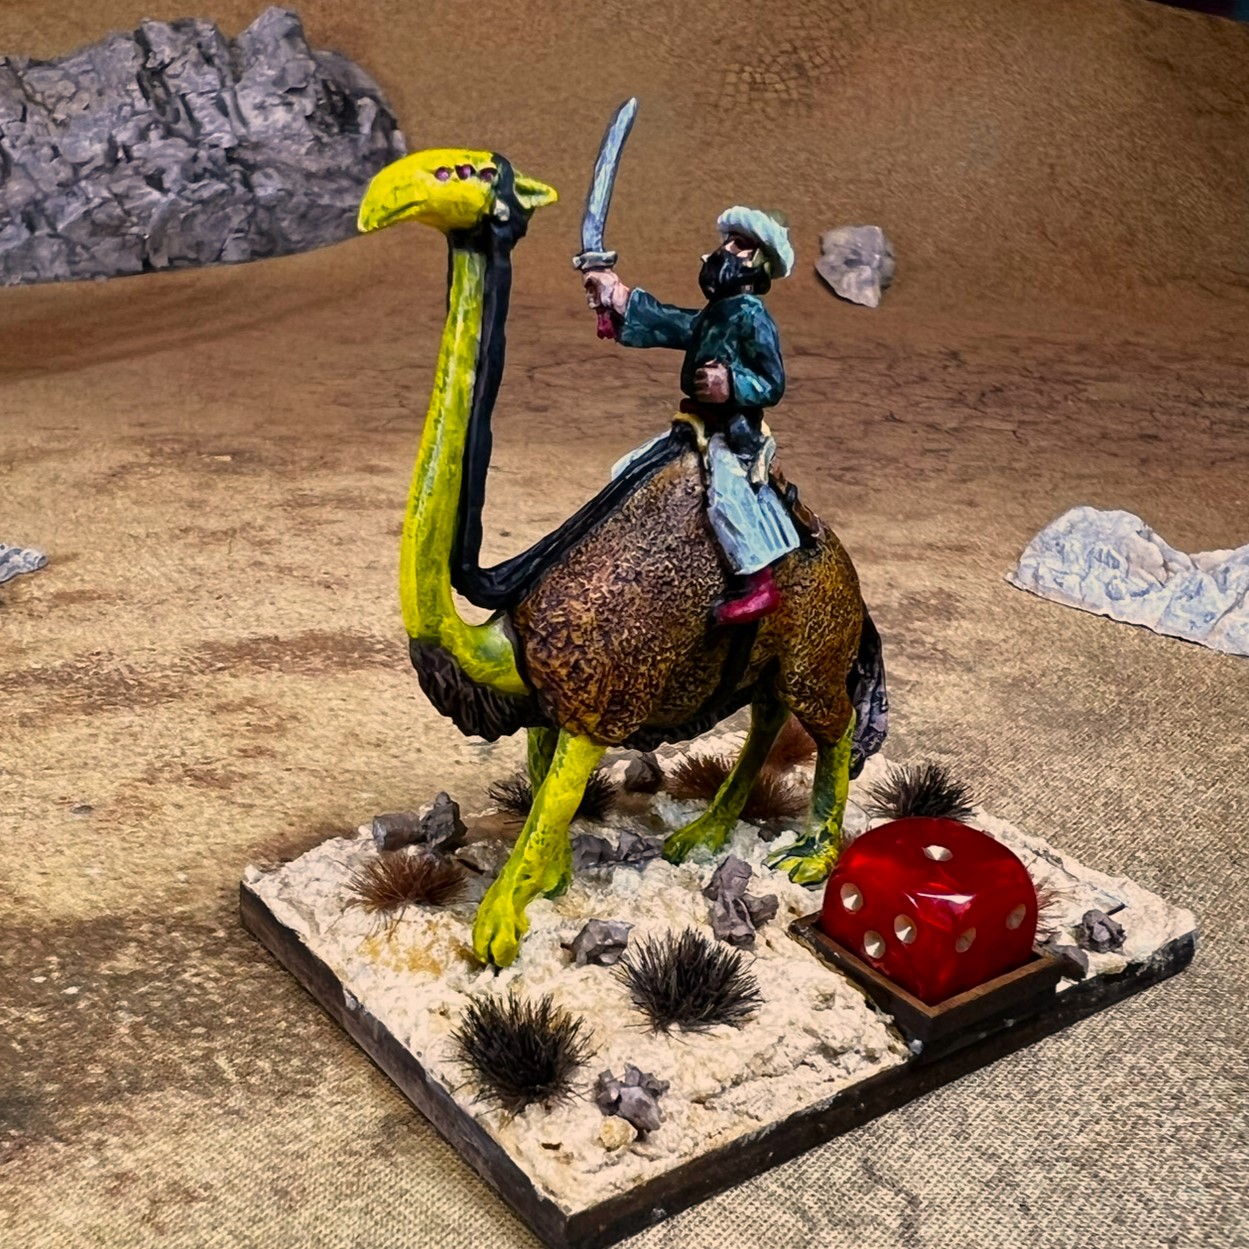
Additionally, as the elite infantry unit of the Whim Whim, I armed them with golden weapons. Yes, gold’s impractical in such a use, but it looks good! I also gave the regimental commander a rare albino siliyiplix as a mount. The Army List canon for them says:
Red armor and uniforms, brown boots. Turbans are white. Shields red with white trim. Spears have red pennons.
I used a metallic craft paint on the armor to decent effect. To offset so much red, I gave them white kilts. In the end, they do look a bit Santa-like with all the red. All the paints I used are listed at the end of this post for each project. Mainly for me as I often need to recreate a look!
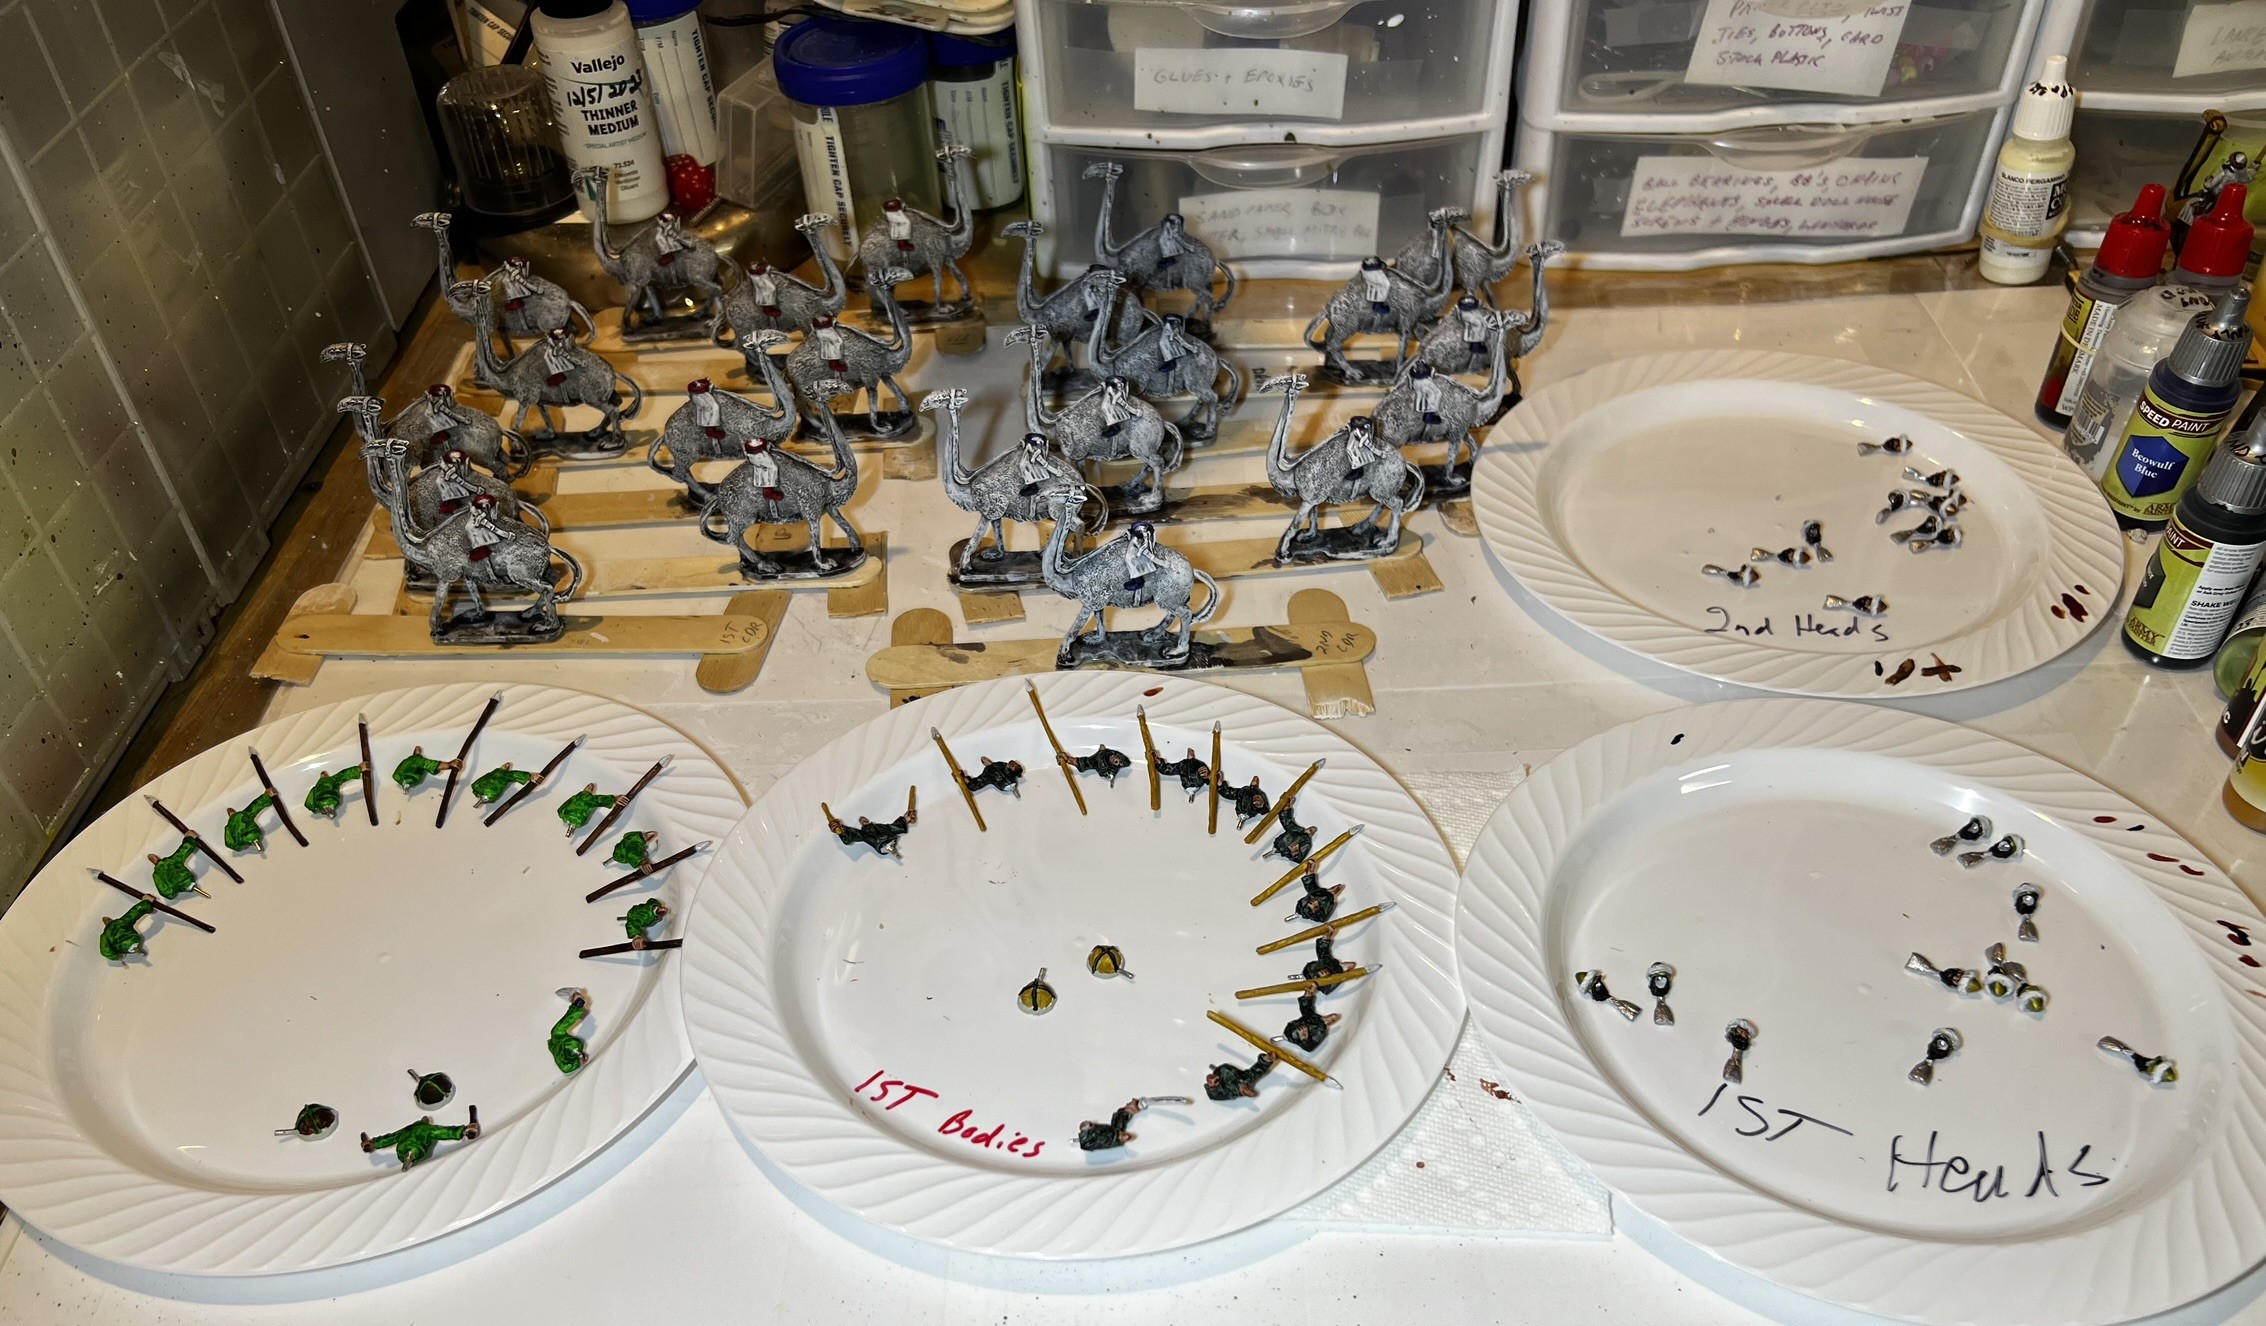
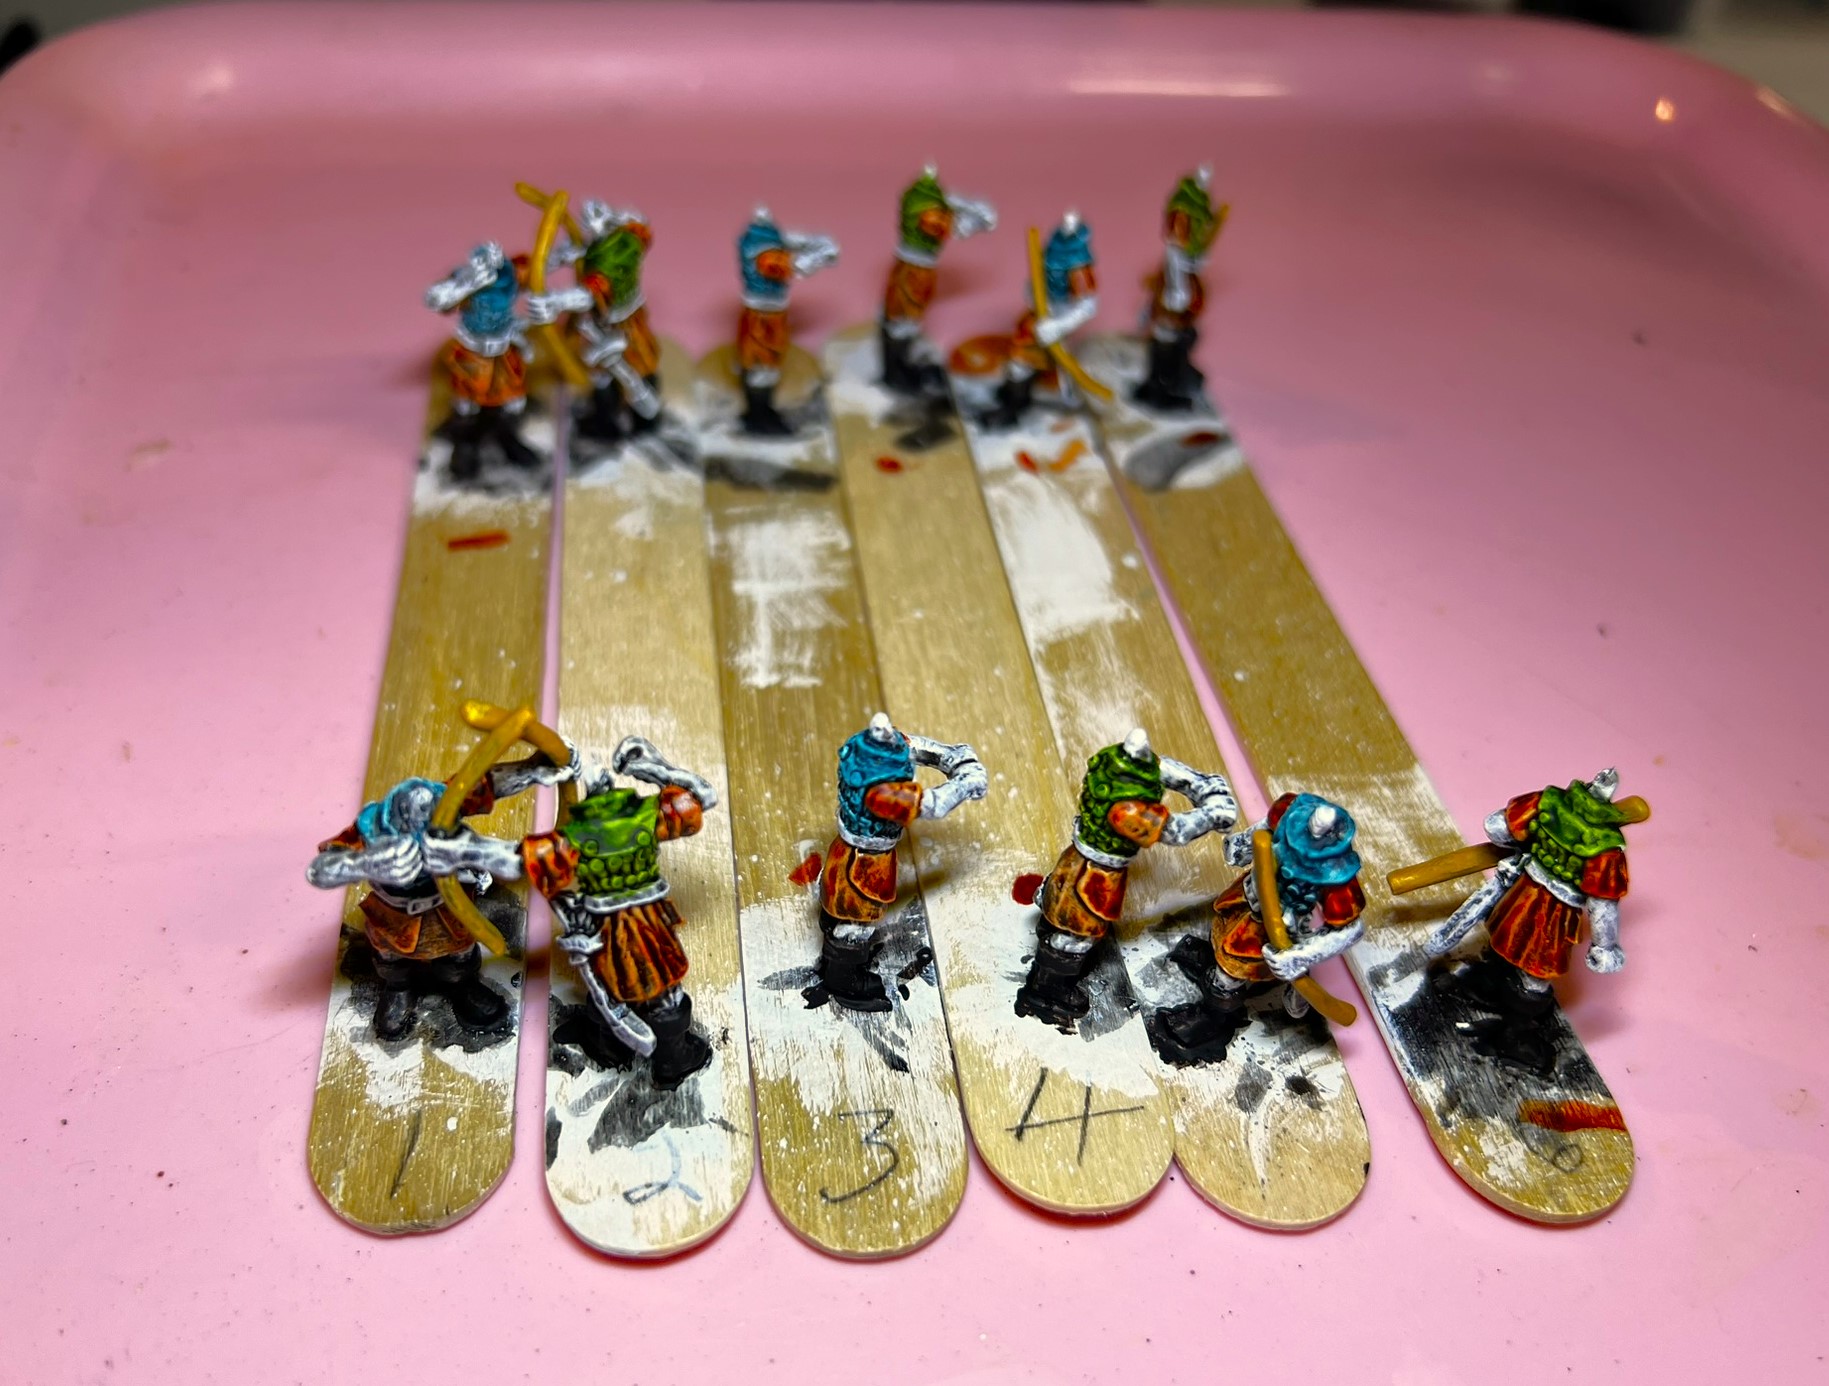
Whim Whim Janissaries Regiment WIP Shots
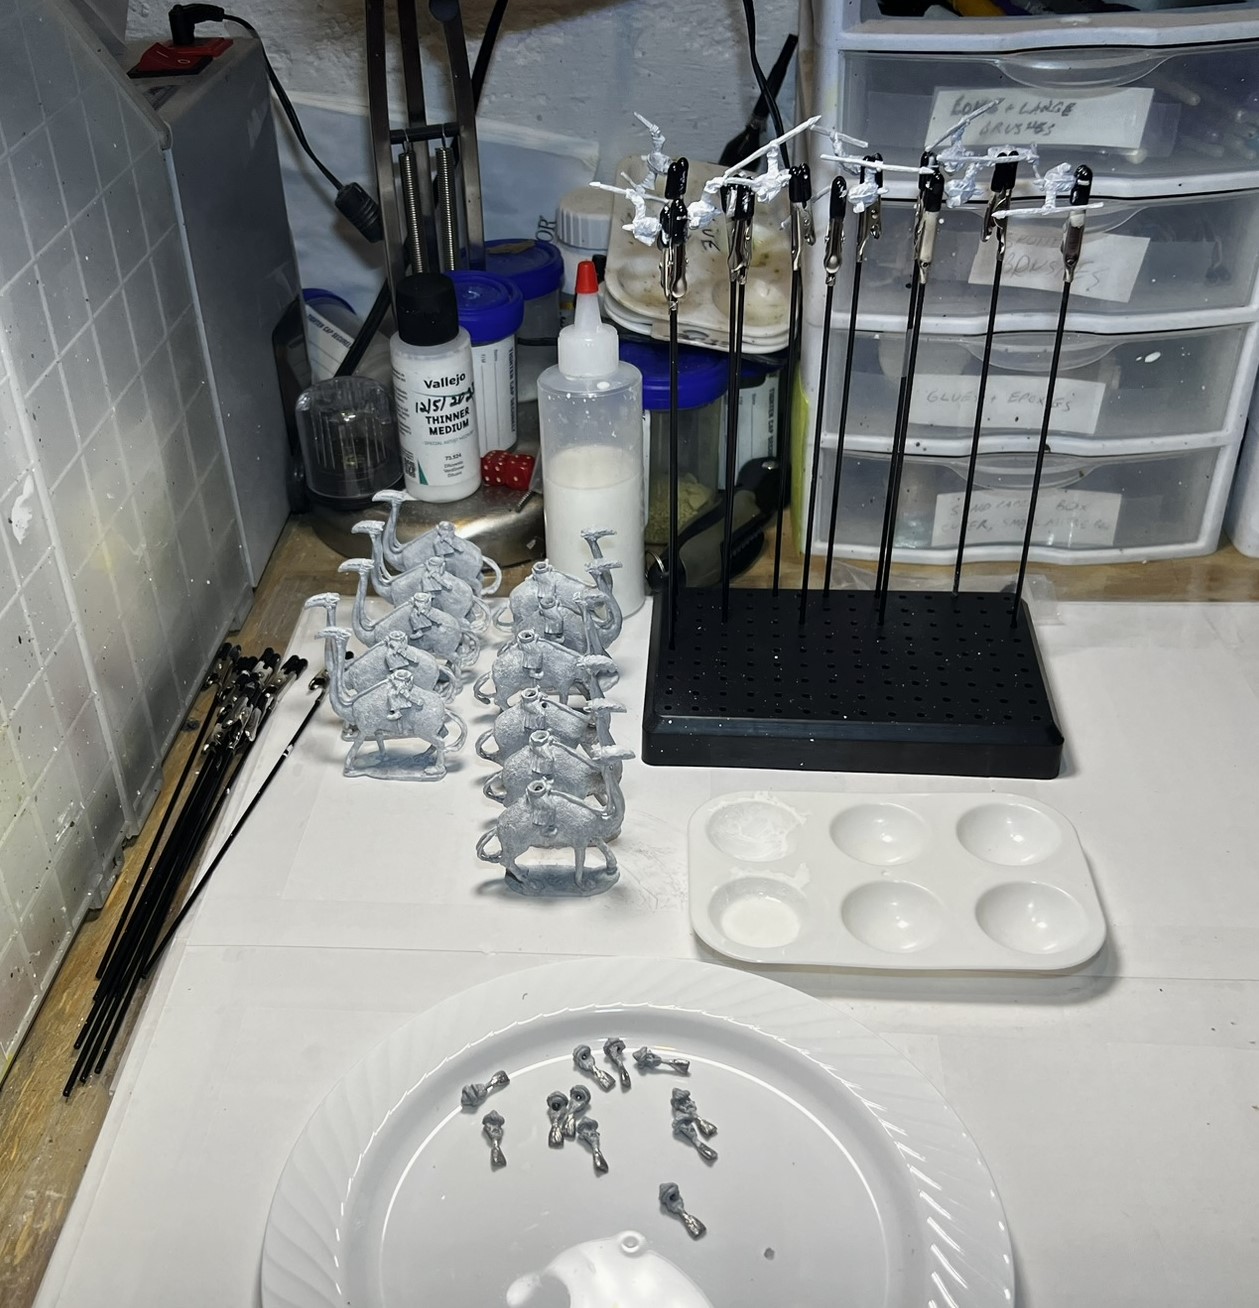
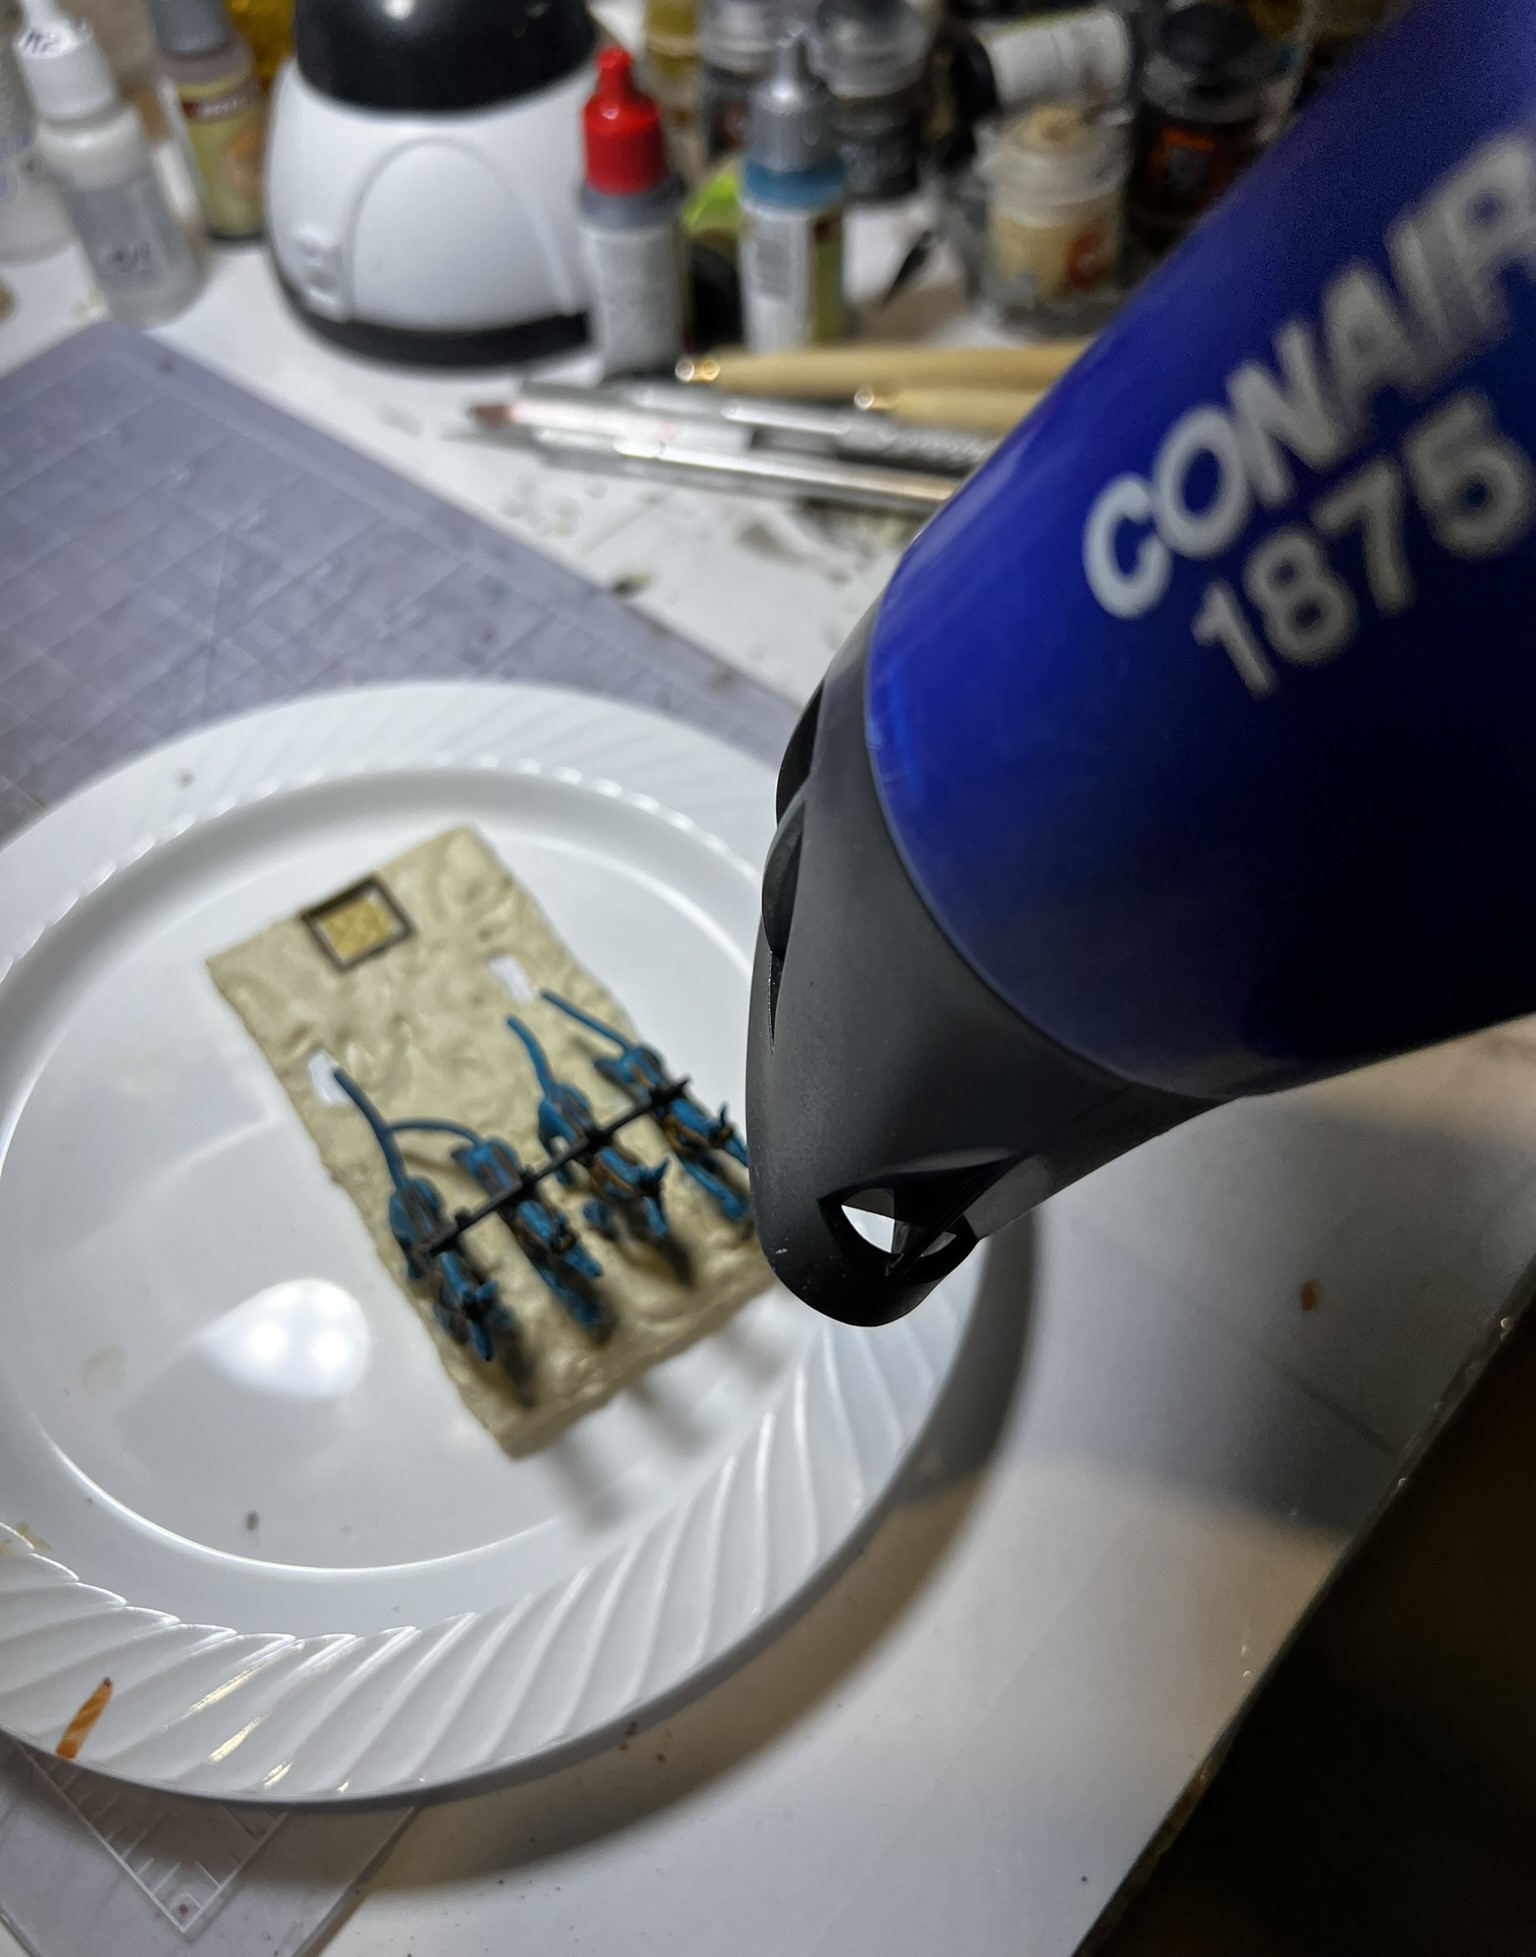
I started these on September 22nd and finished them on October 7th. The key WIP I want to share is the star additions. I’ll share some shots below.


I used the alligator clip base for painting the shields. Once it was time to mount them into the holes that I had drilled into the wrists and hands of the Janissaries, I individually sized the cut needed on each nail.

Now for the finished regiment!
Whim Whim Janissaries Eye Candy


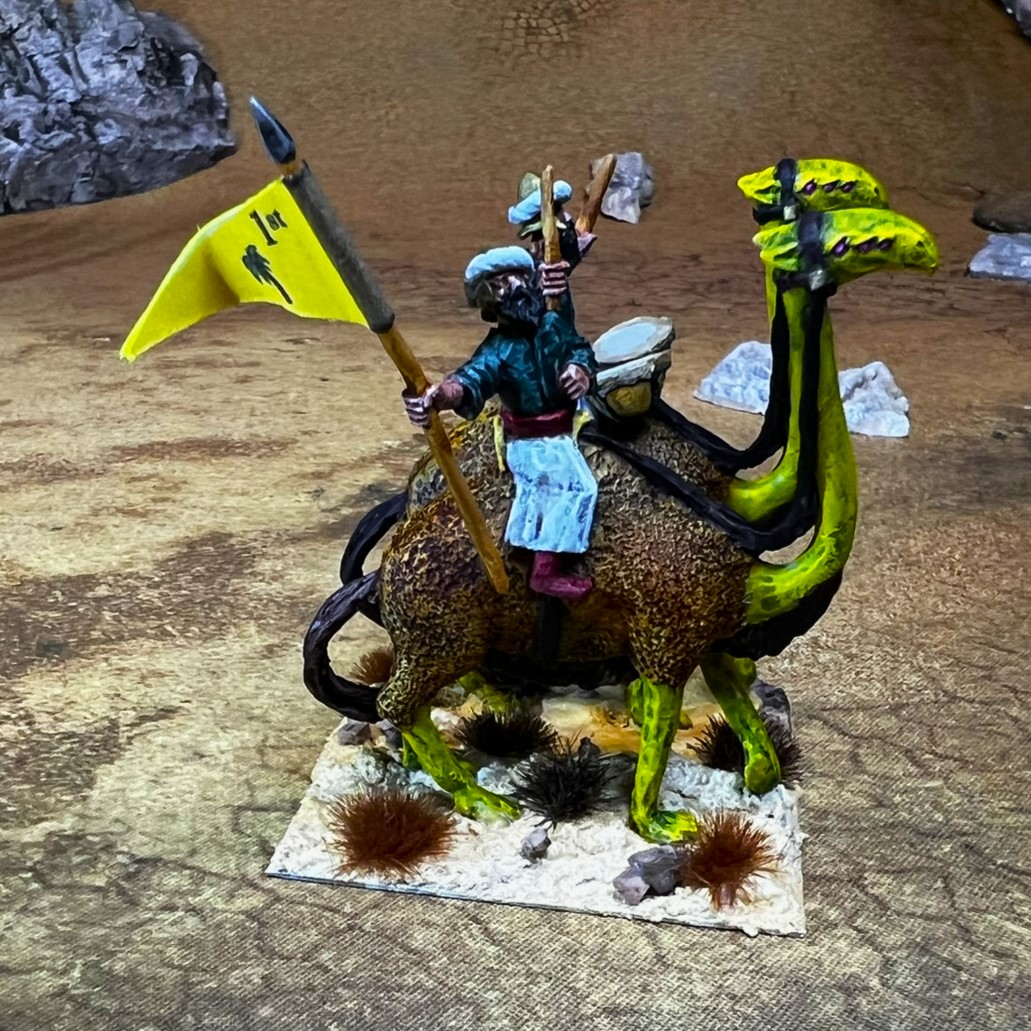
Sultan Whim
The Sultan Whim figure comes listed as OZZ-1406 “Sulton Whim Carried on a Palanguin”. I will refer to him as “Sultan”. Also, technically a “palanquin” has a covered box – and he is on a litter with blankets and an umbrella. No worries, I just had to look up a few words to be sure myself. Litter, palanquin, call it what you want.

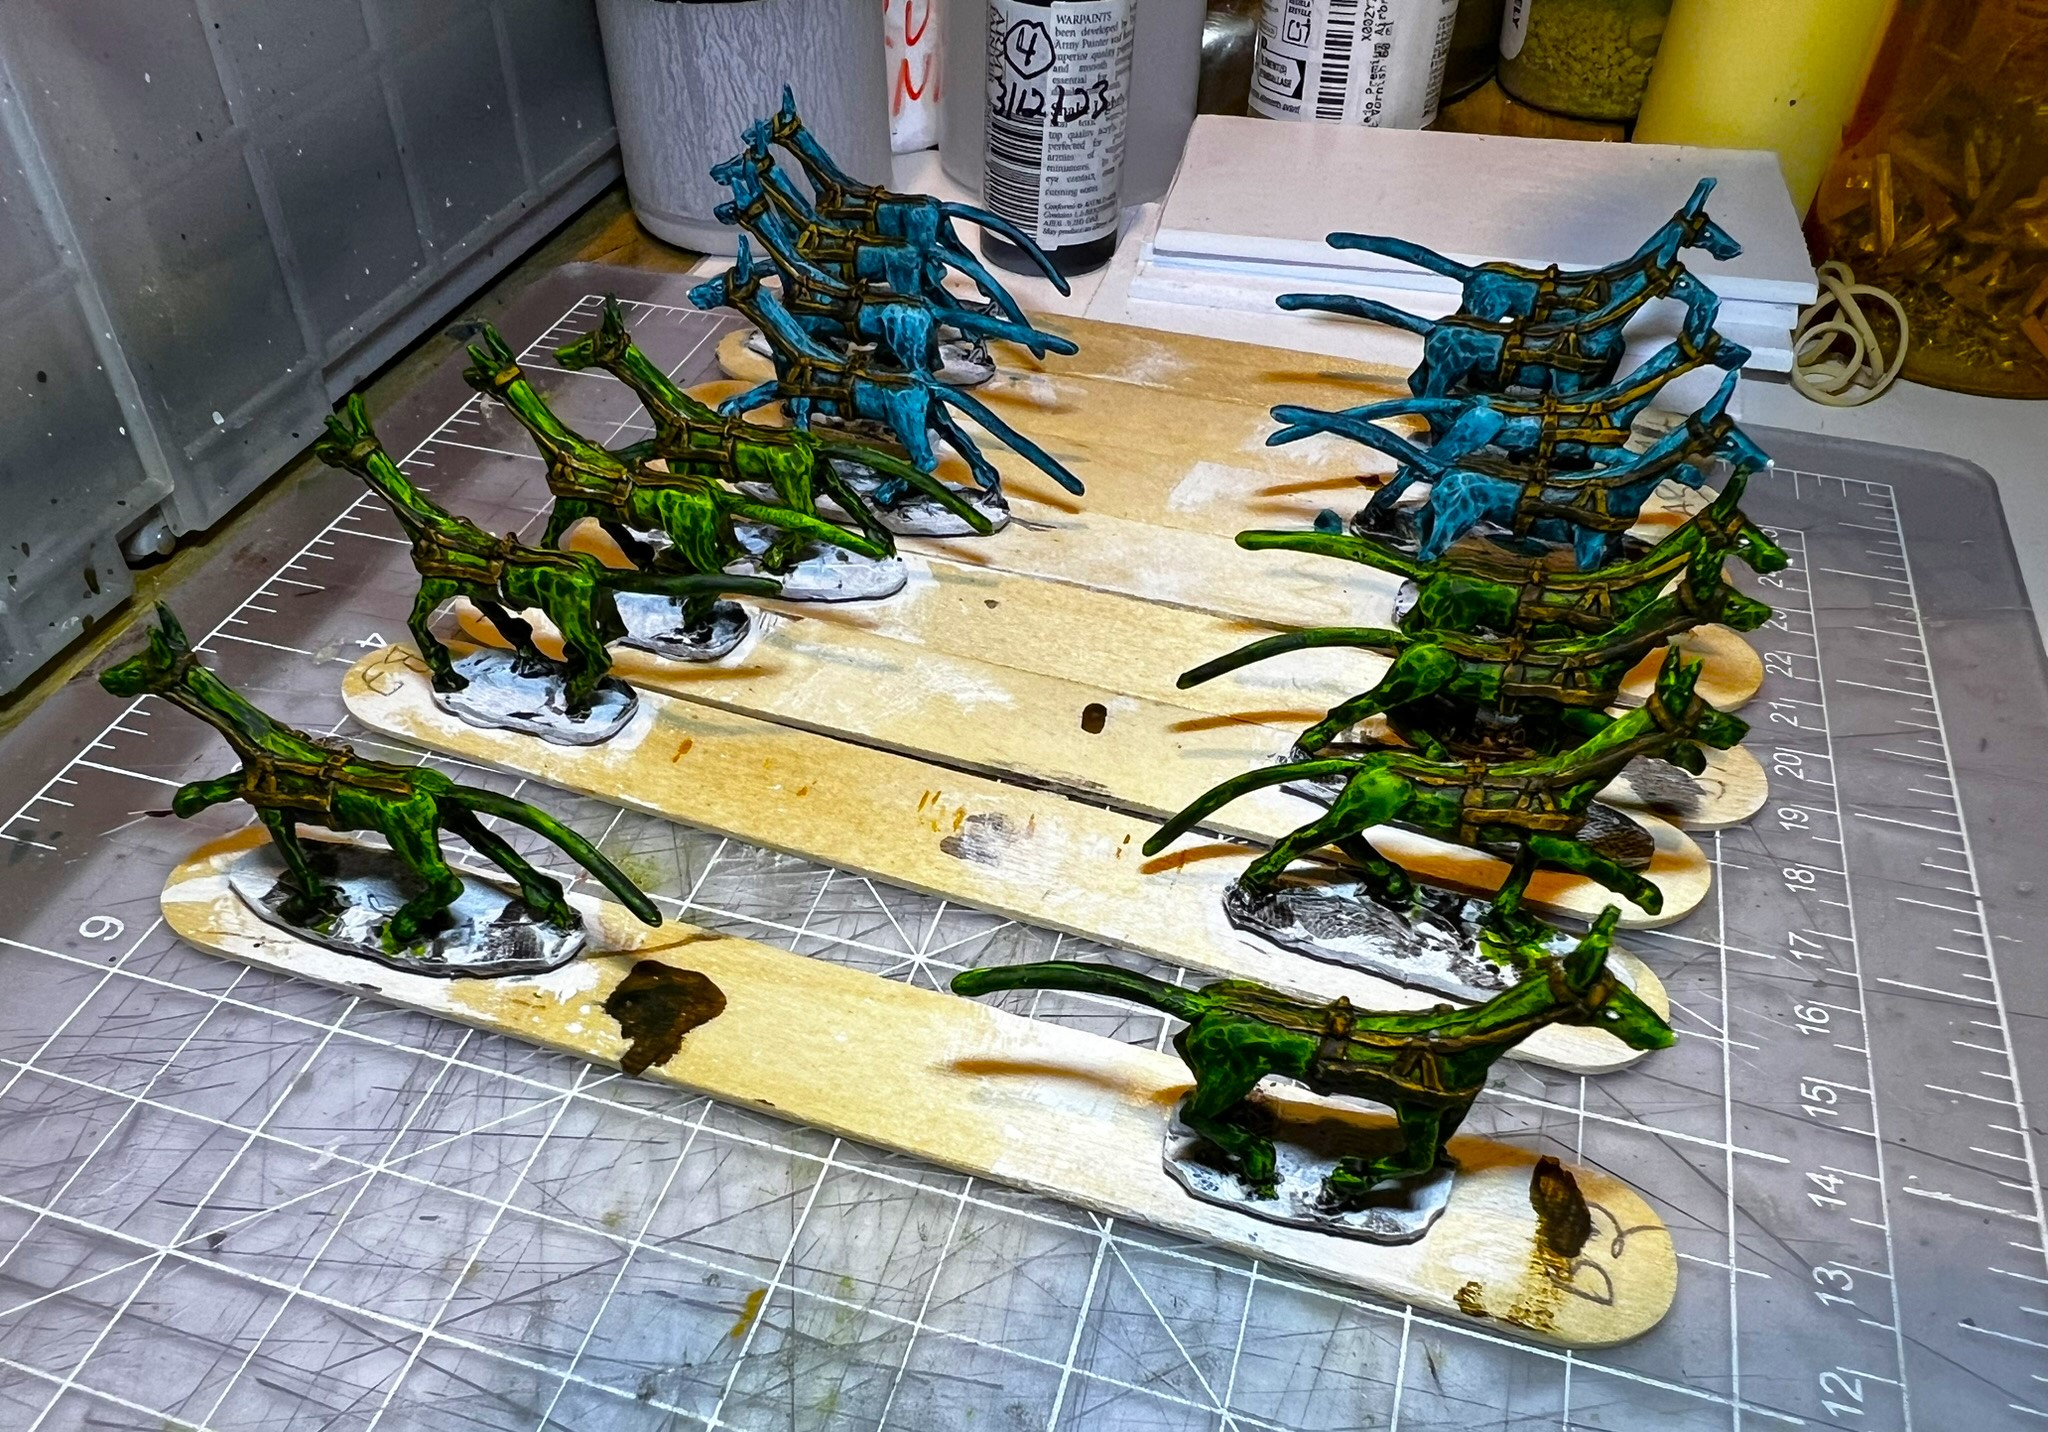
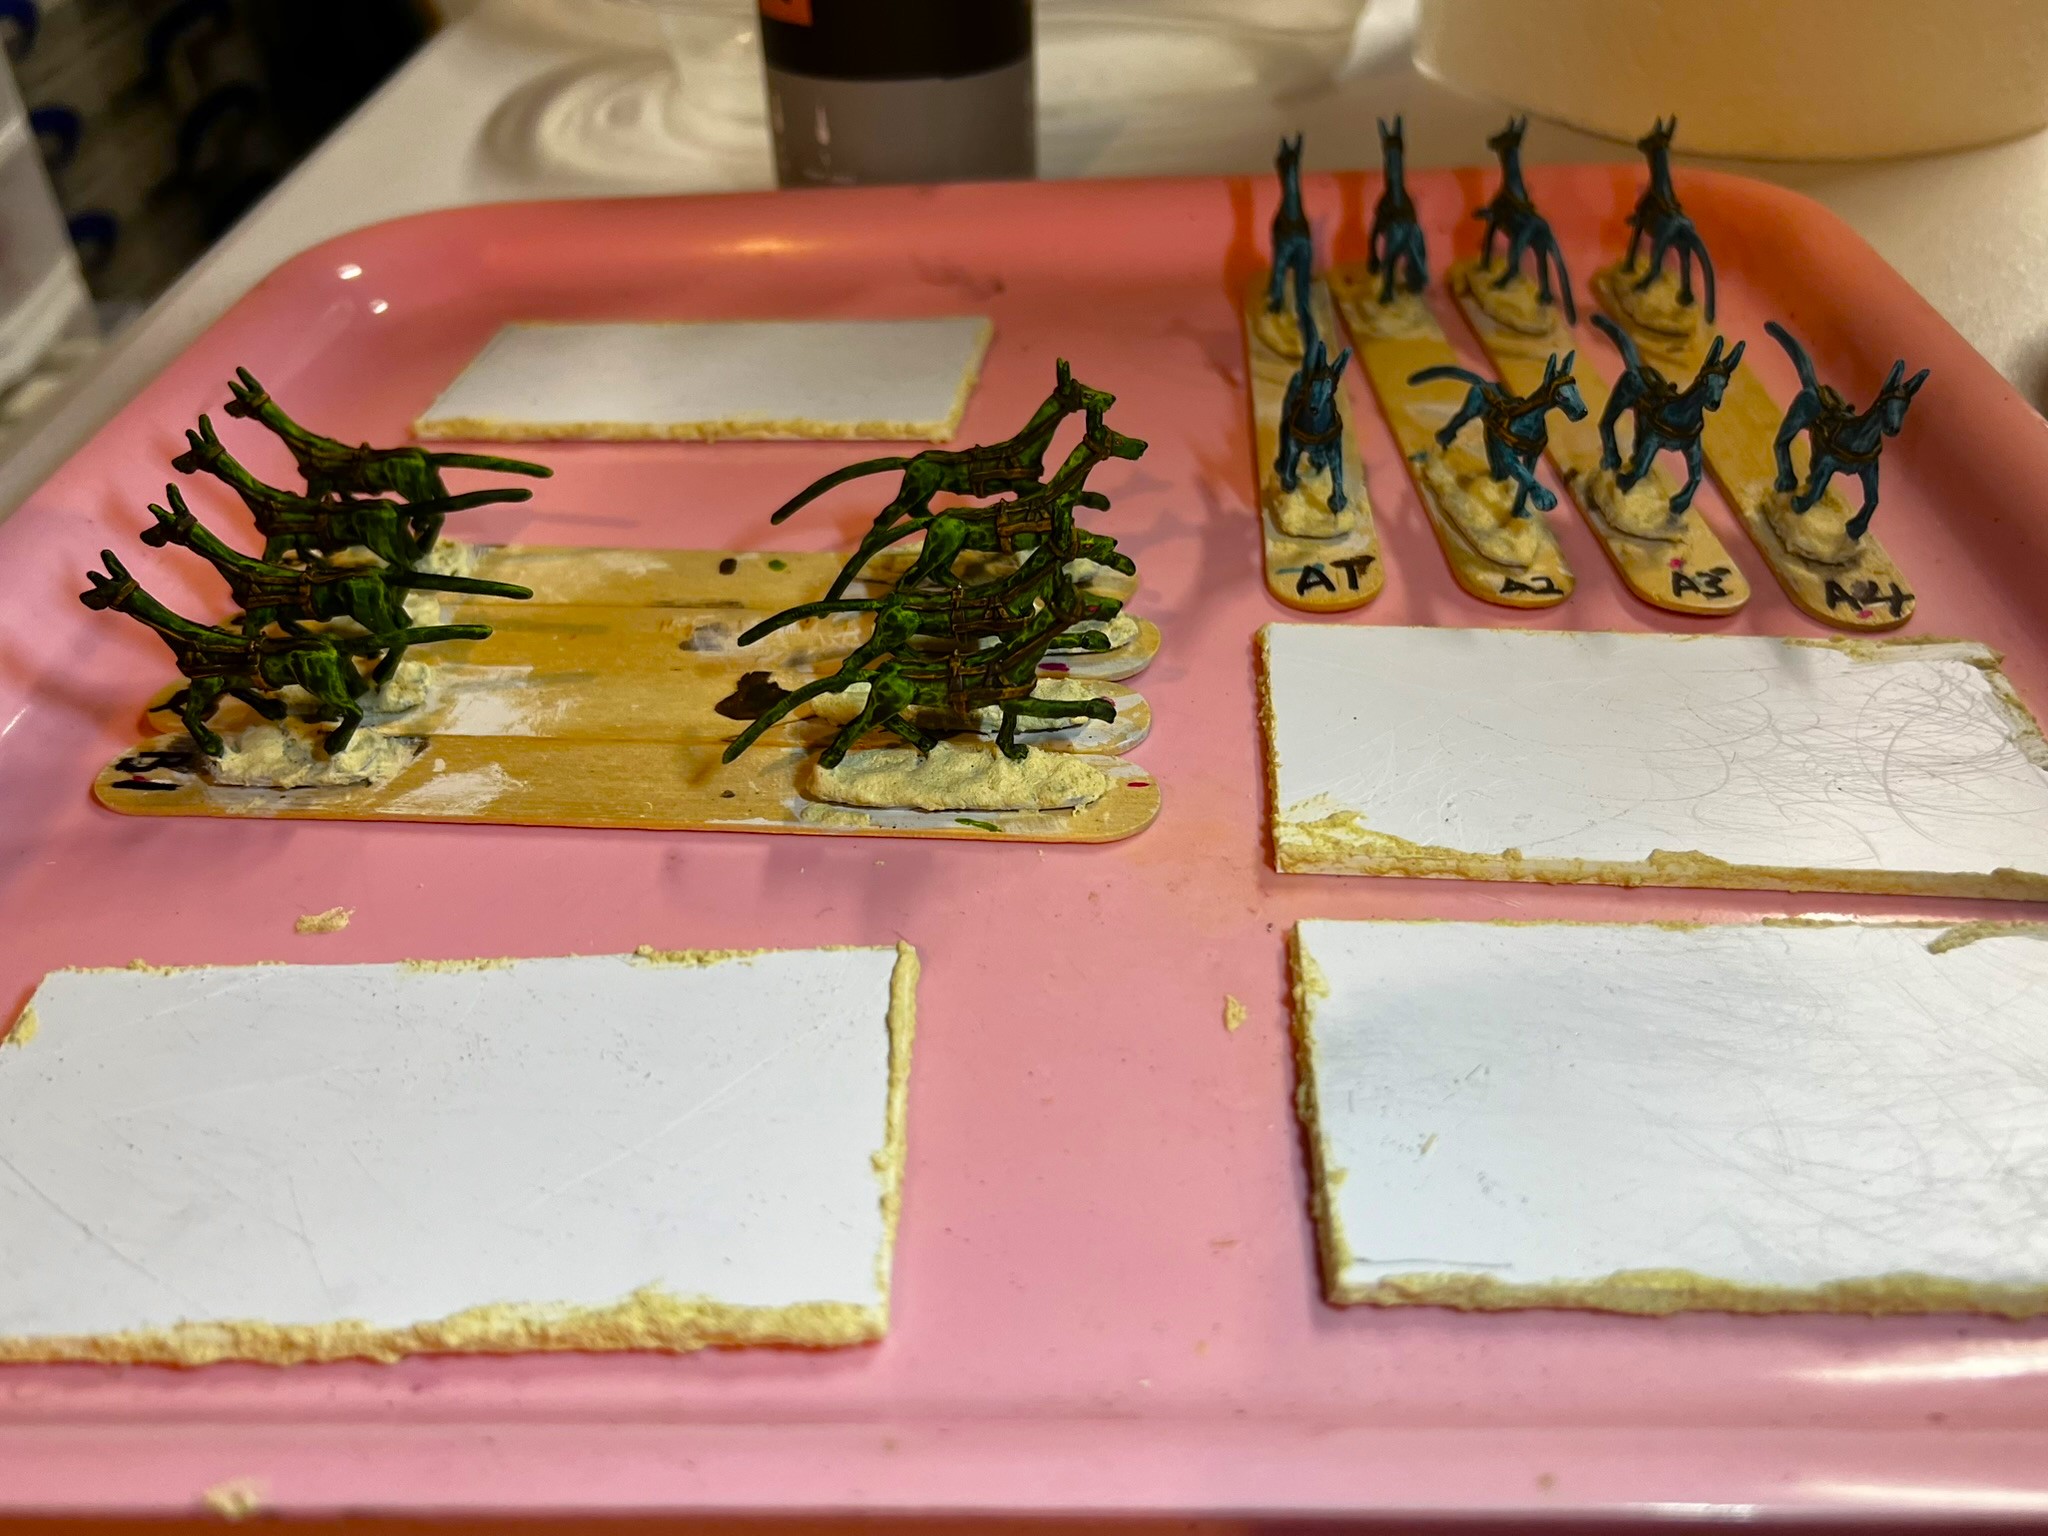
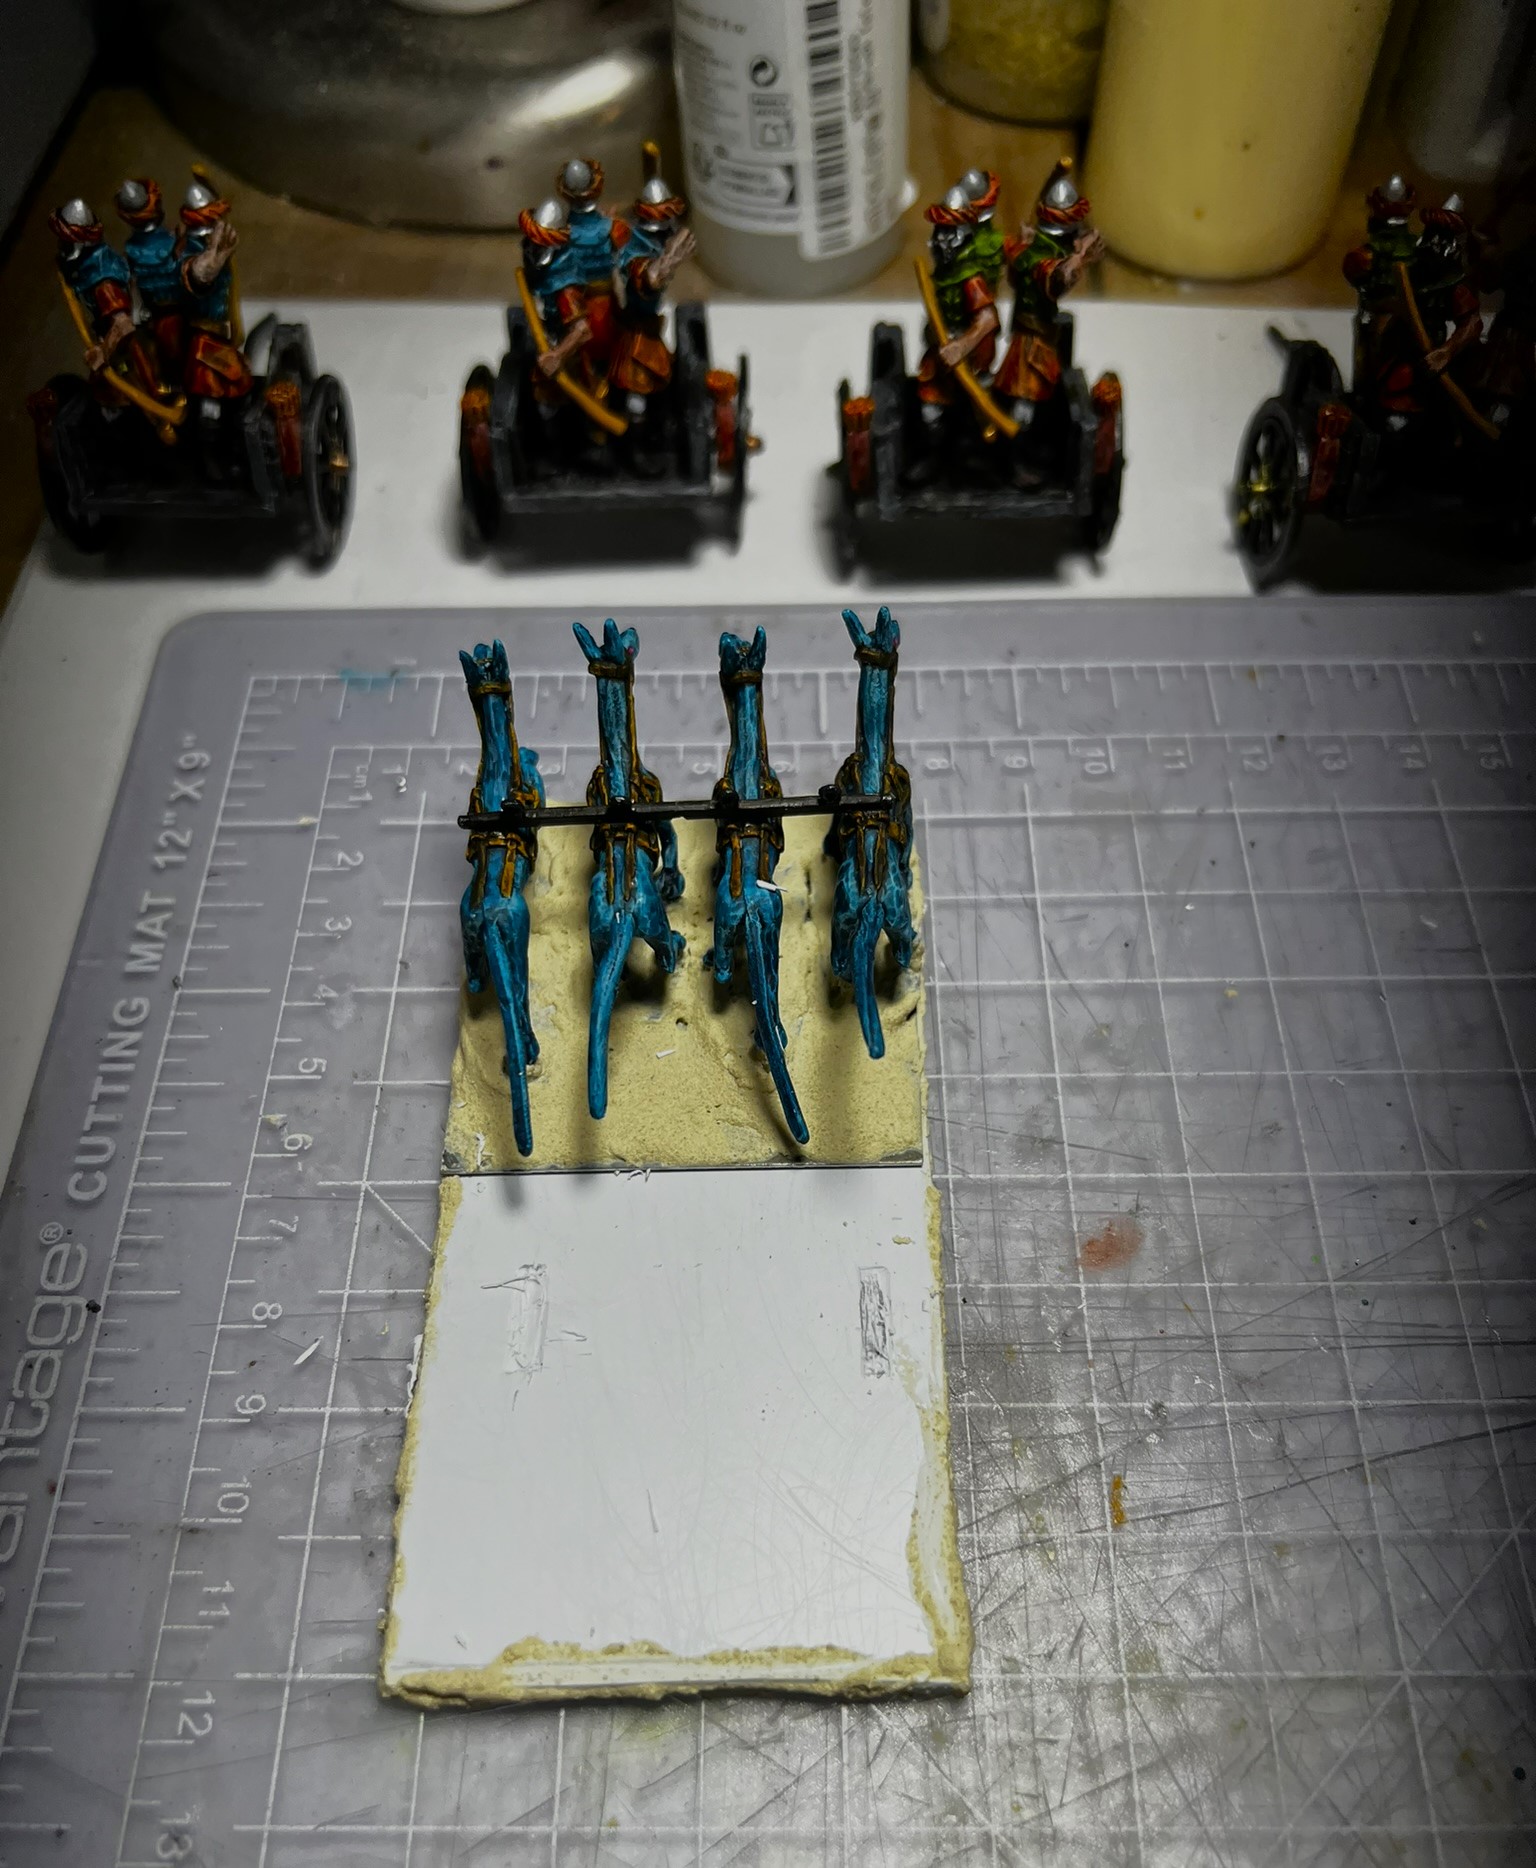
Sultan Whim WIP Shots
This project went pretty fast as far as assembly and painting goes. I made a small 3″ by 5.75″ styrene base for him, with steel bases underneath for magnetic storage and travel. I also built a placard holder on the back end. I mounted the bearers on it first and made sure that the litter would fit by manipulating and bending the arms, then lining them up with a steel ruler. The bearers were easy to paint this way – and I ended up using my alligator clip modeling base to hold the litter for painting. I drilled out Sultan’s – um posterior – and put a screw in there to allow painting him to be easy as well. The umbrella was treated similarly.


For painting, I tried to incorporate purples, oranges, and golds, as those were dominant colors I used in the different regiments of the same type. My concept was to give Sultan Whim a luxurious bed on his litter/palanquin to travel the desert while consuming a large turkey leg! In the game, the Sultan can give an attached unit Superior Fighting skills, and as an overall commander has the “Legendary” ability.
I started the model on October 8th, finishing it on October 10th.
Sultan Whim Eye Candy


The Ancient Mystical One
This painted up very easily in one day as you can see. Skulls make painting so much easier!
The Ancient Mystical One has Spell and luck values of both 6/10. He does get three spells, at a cost of 2 points.
The Ancient Mystical One WIP Shots

The Ancient Mystical One Eye Candy


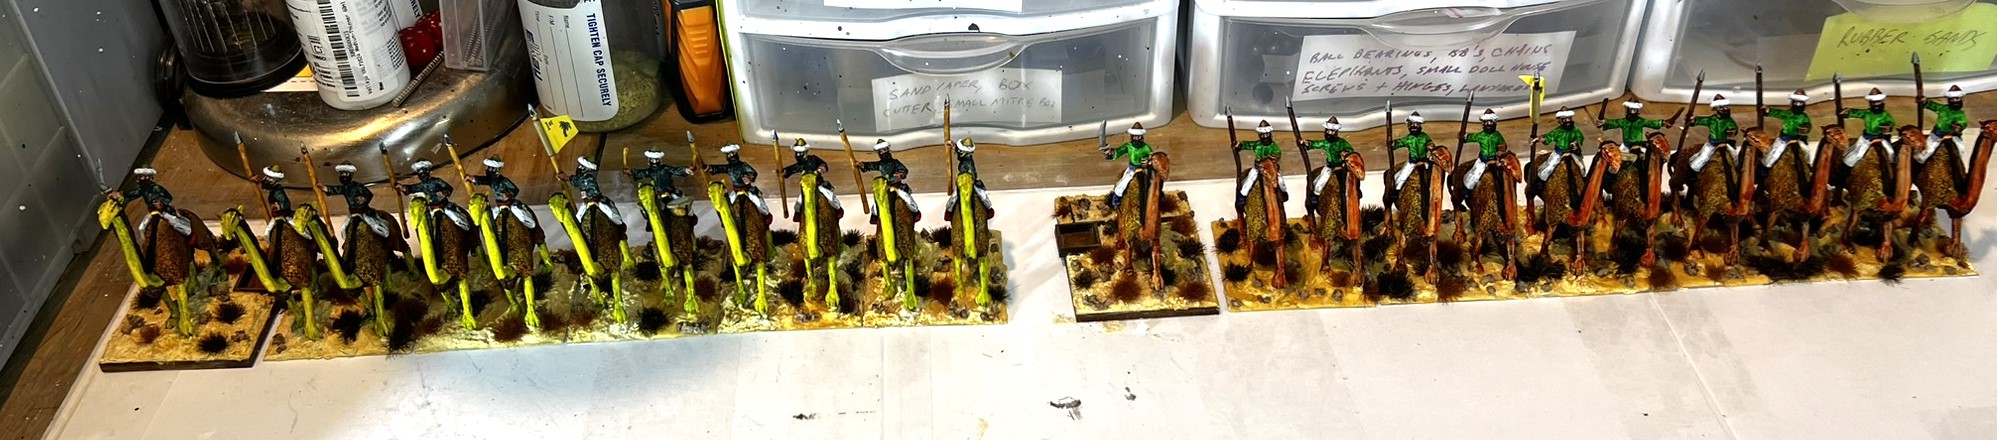
Lastly, I promised a video of all of the Whim Whim faction on the table. It consists of 11 regiments plus individuals:
- Two Noobi Blowgun Regiments (40 figures)
- Two Noobi Leader bases (4 figures)
- Two Noobi Witch Doctors (2 figures)
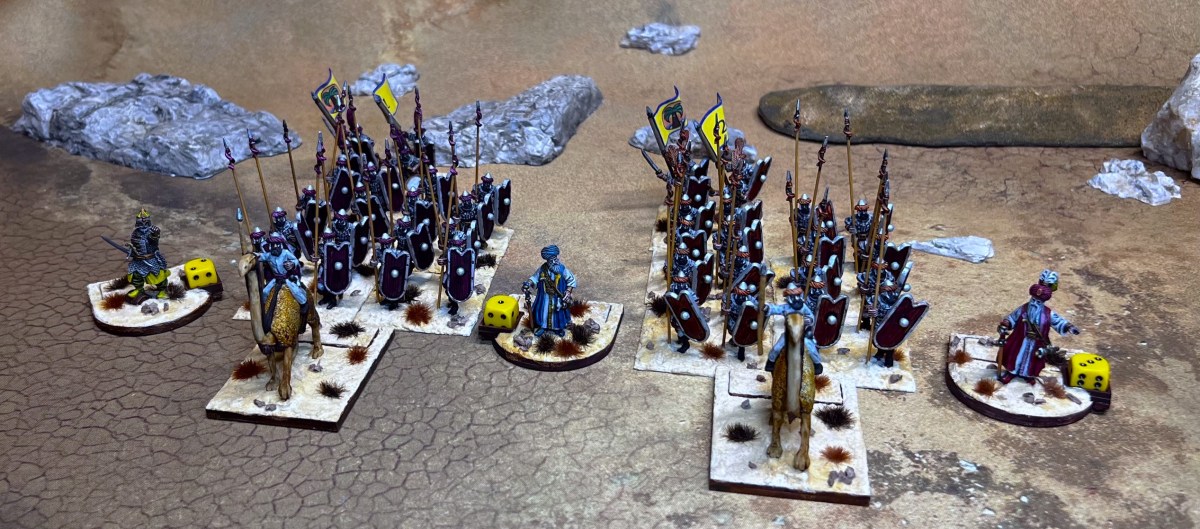
- Two Whim Whim Spearmen Regiments (42 figures)
- Three Brigade Commanders (3 figures)
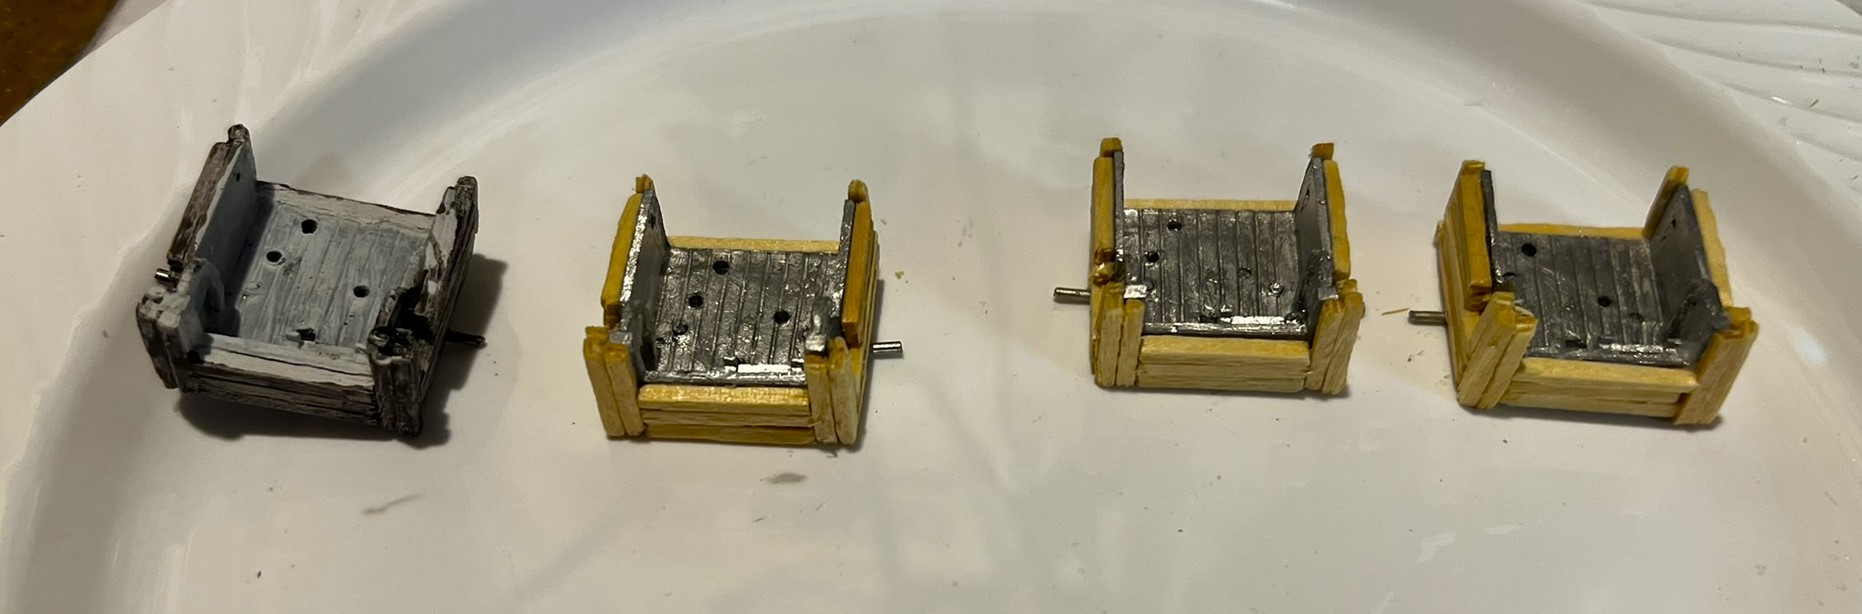
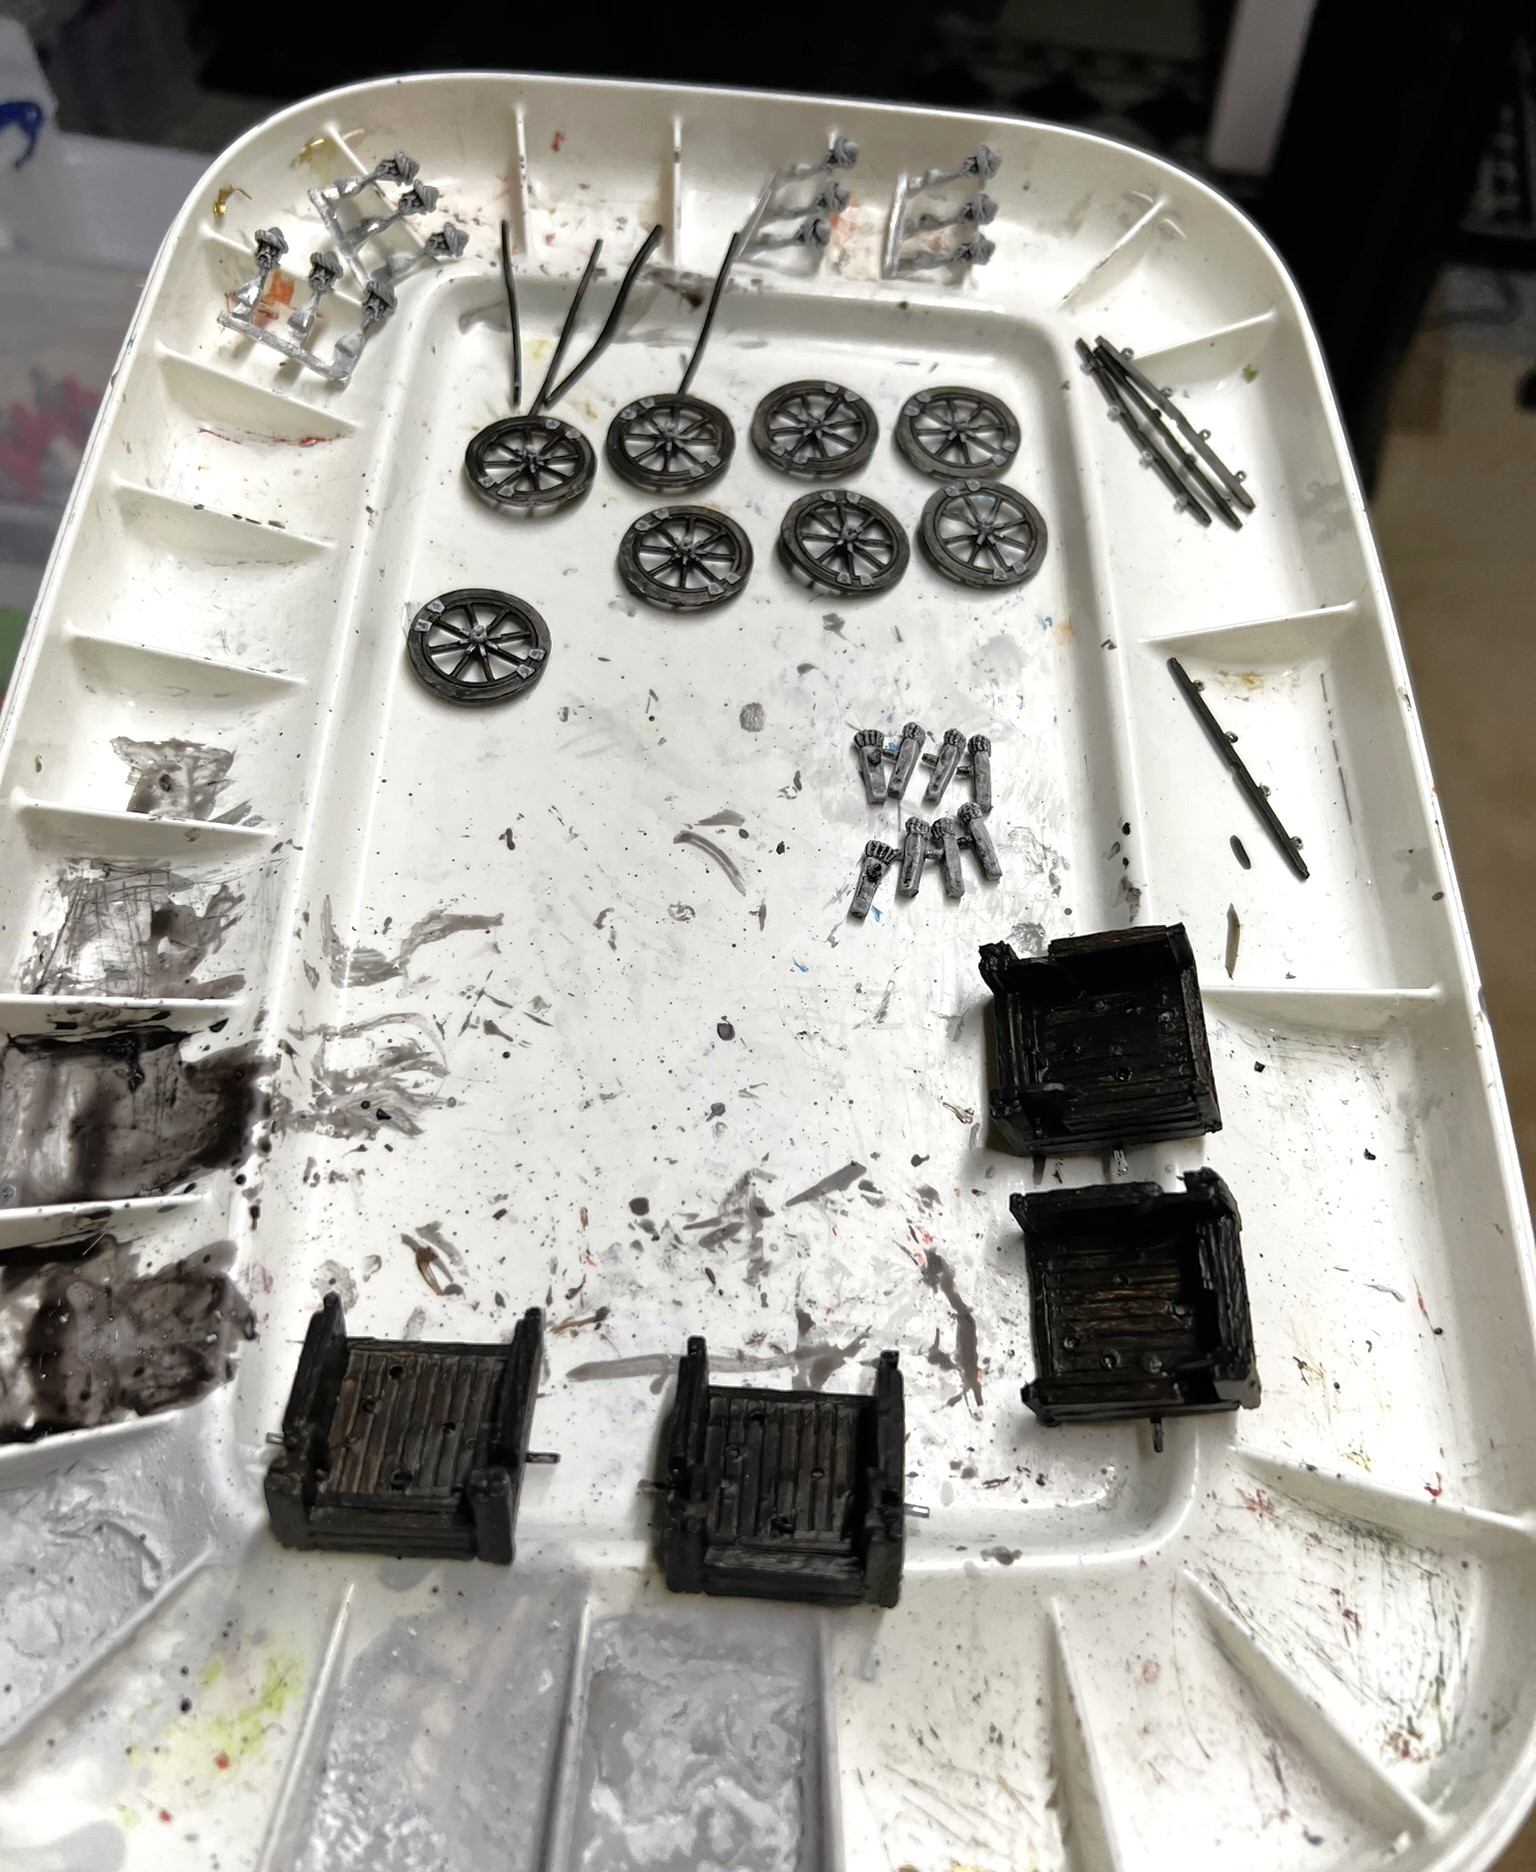
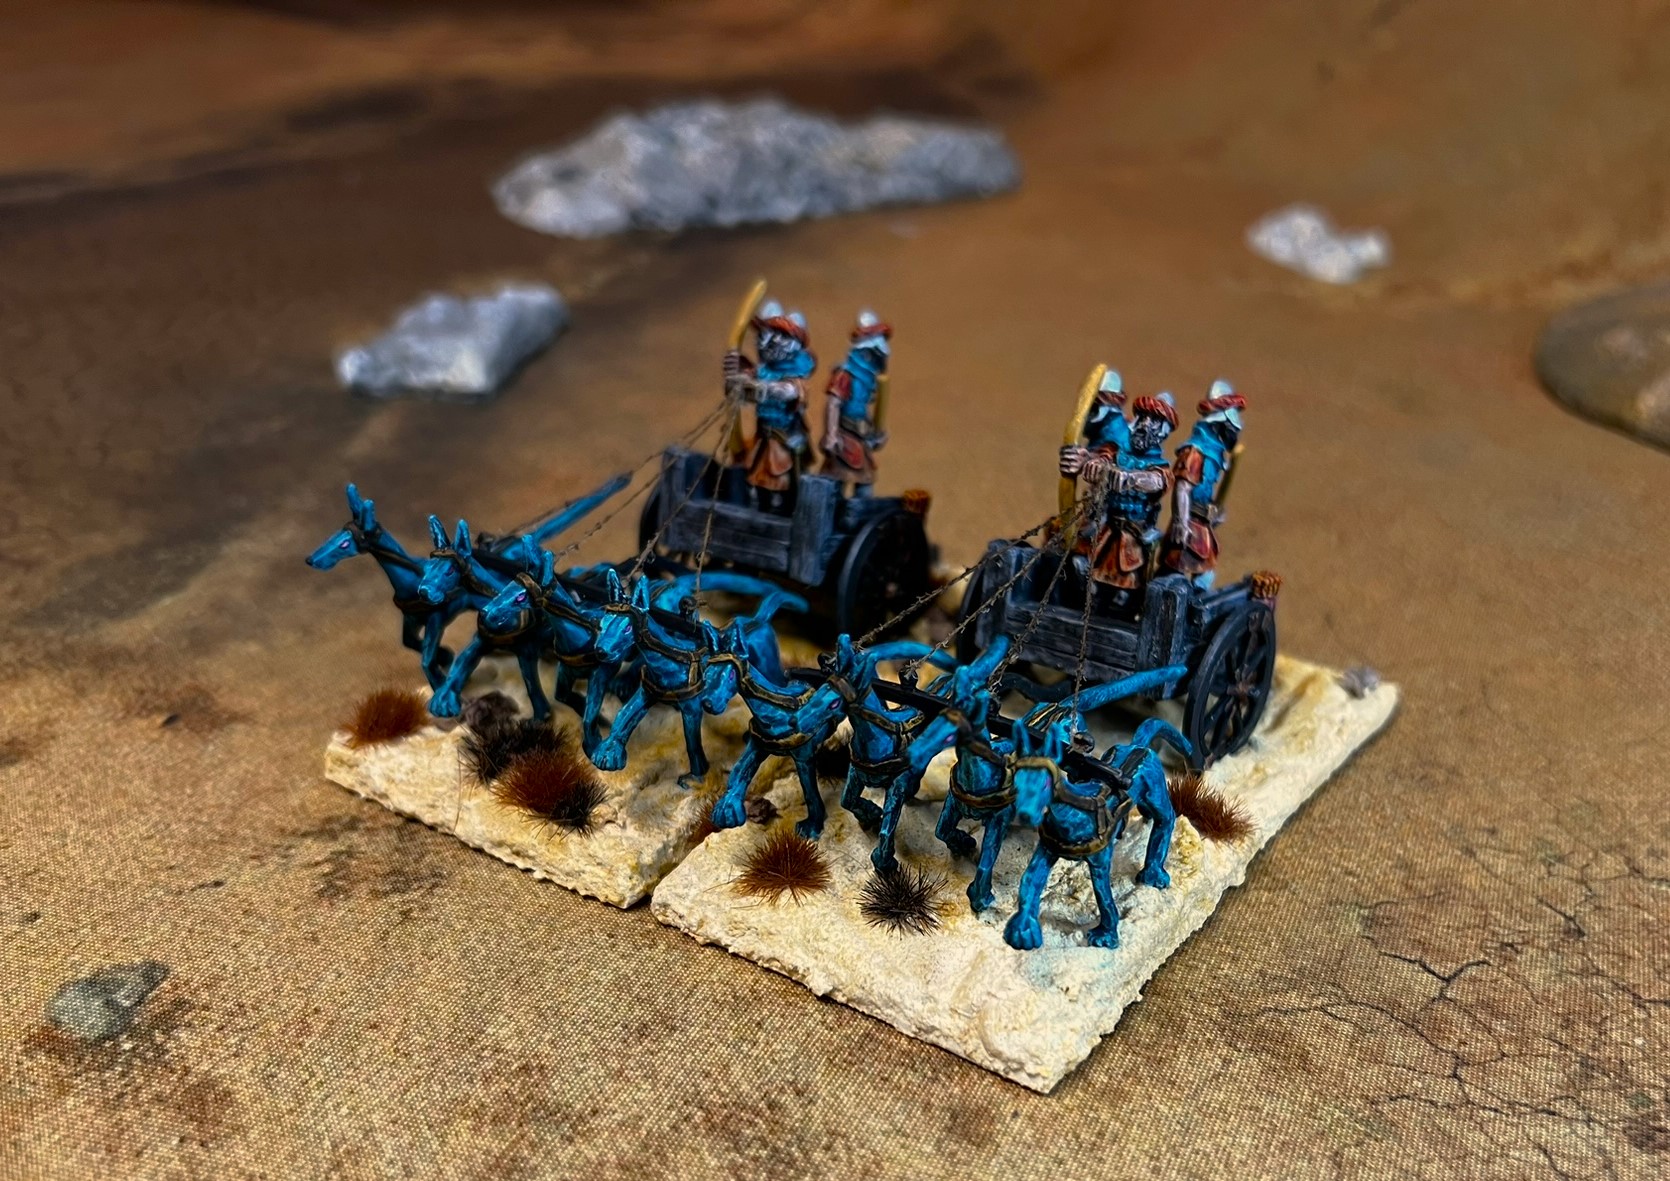
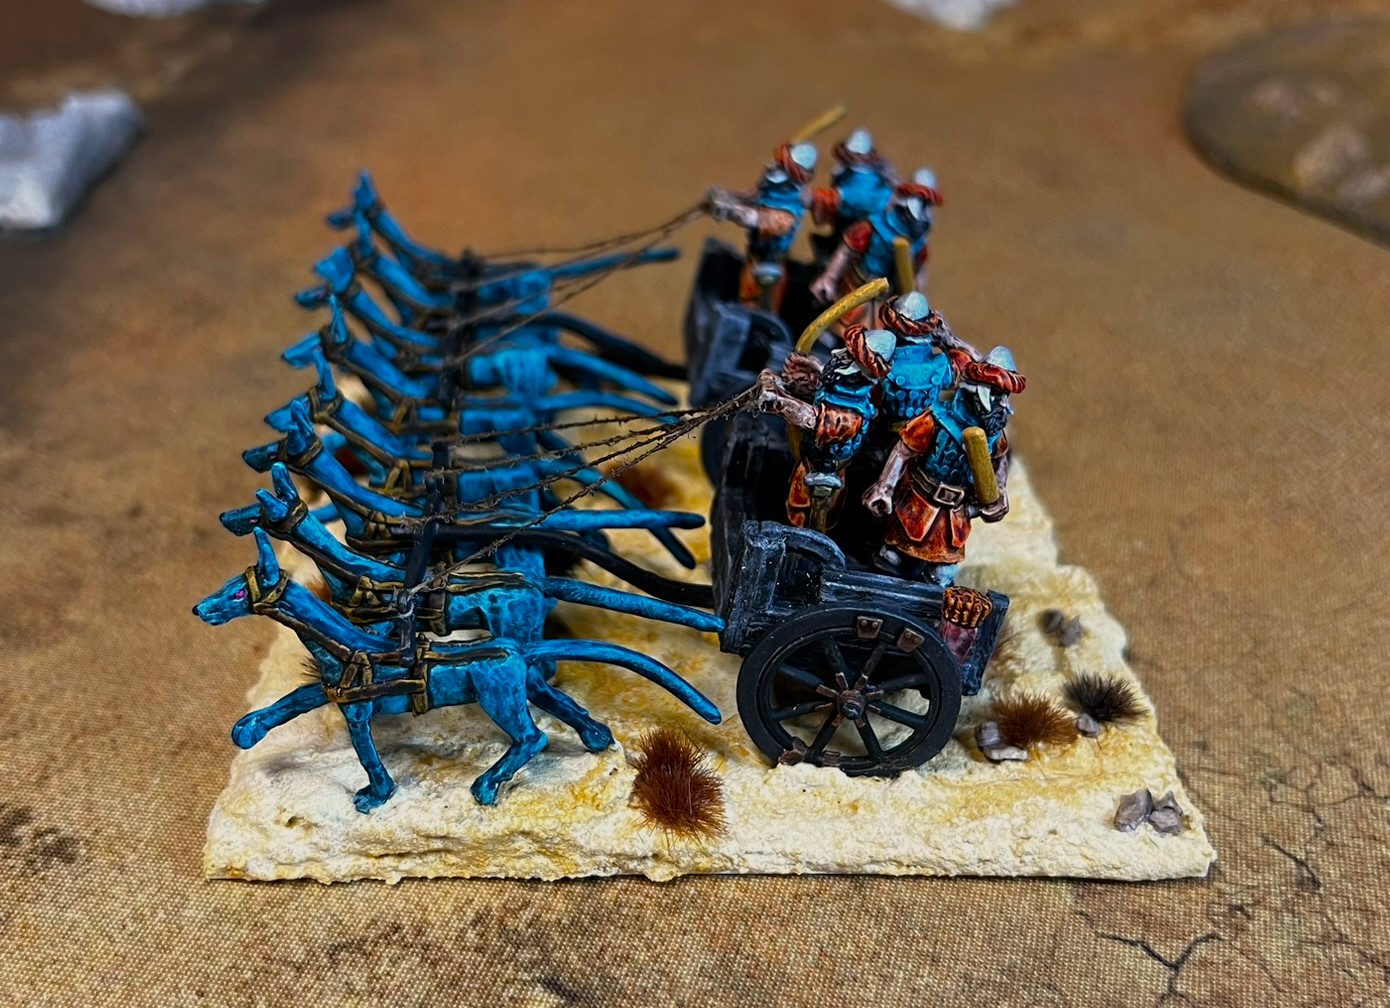
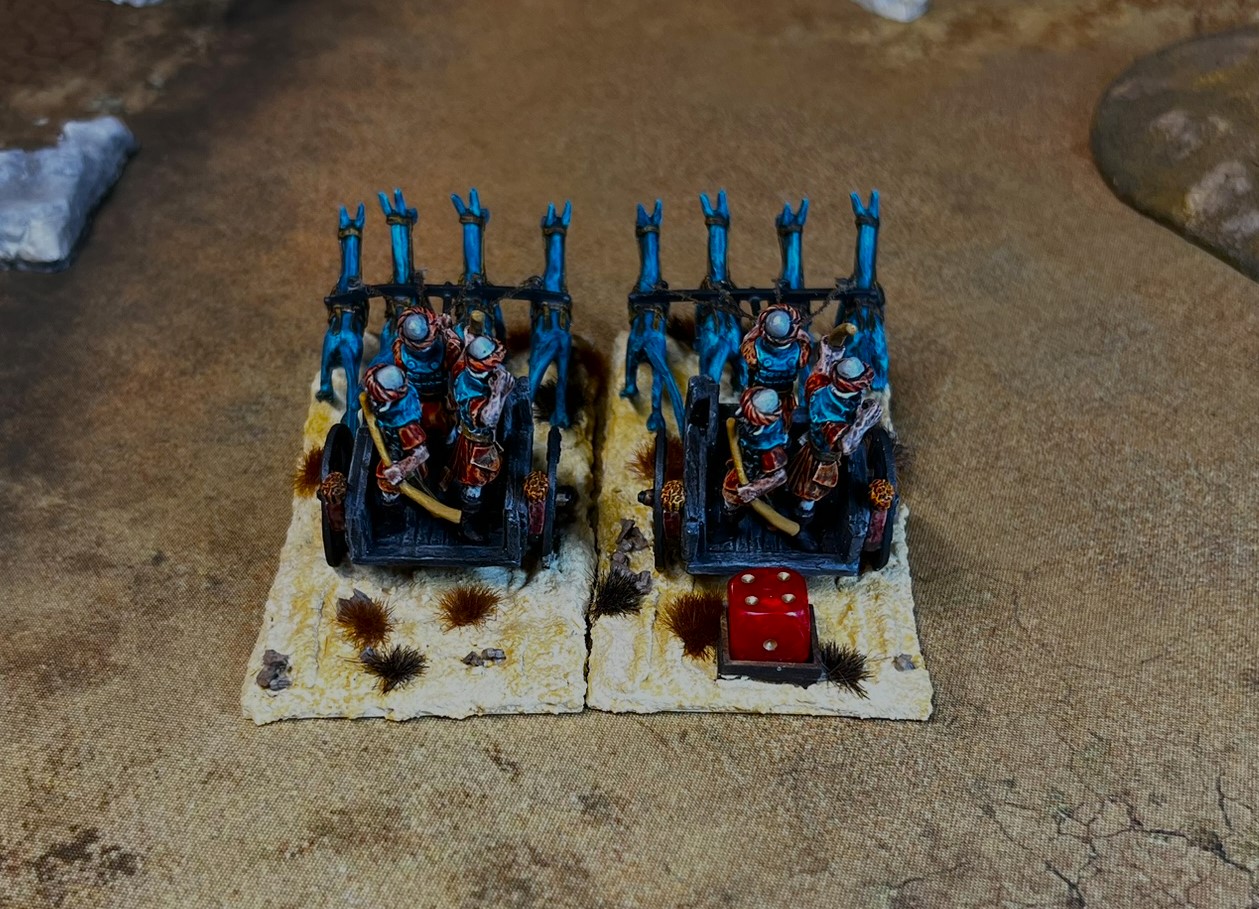
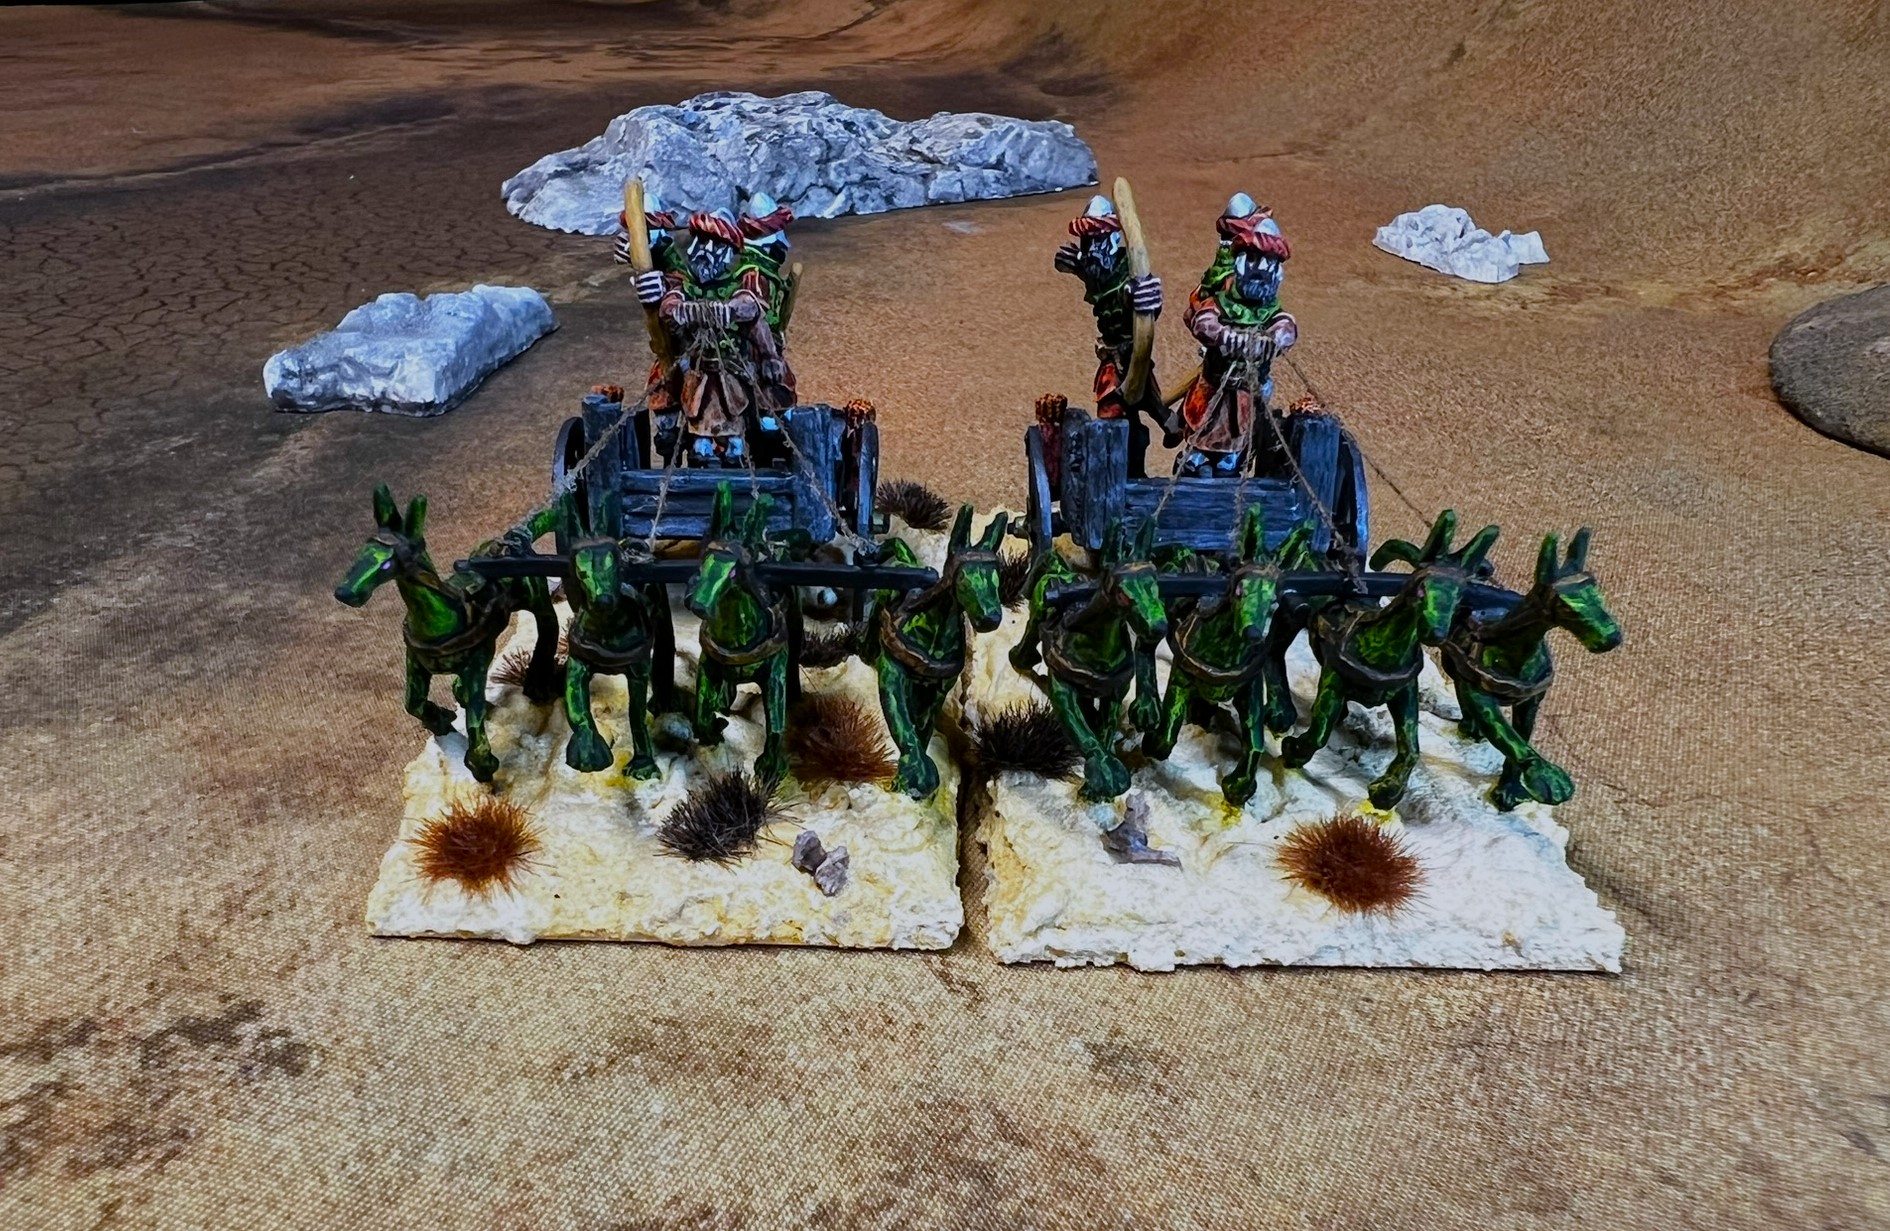
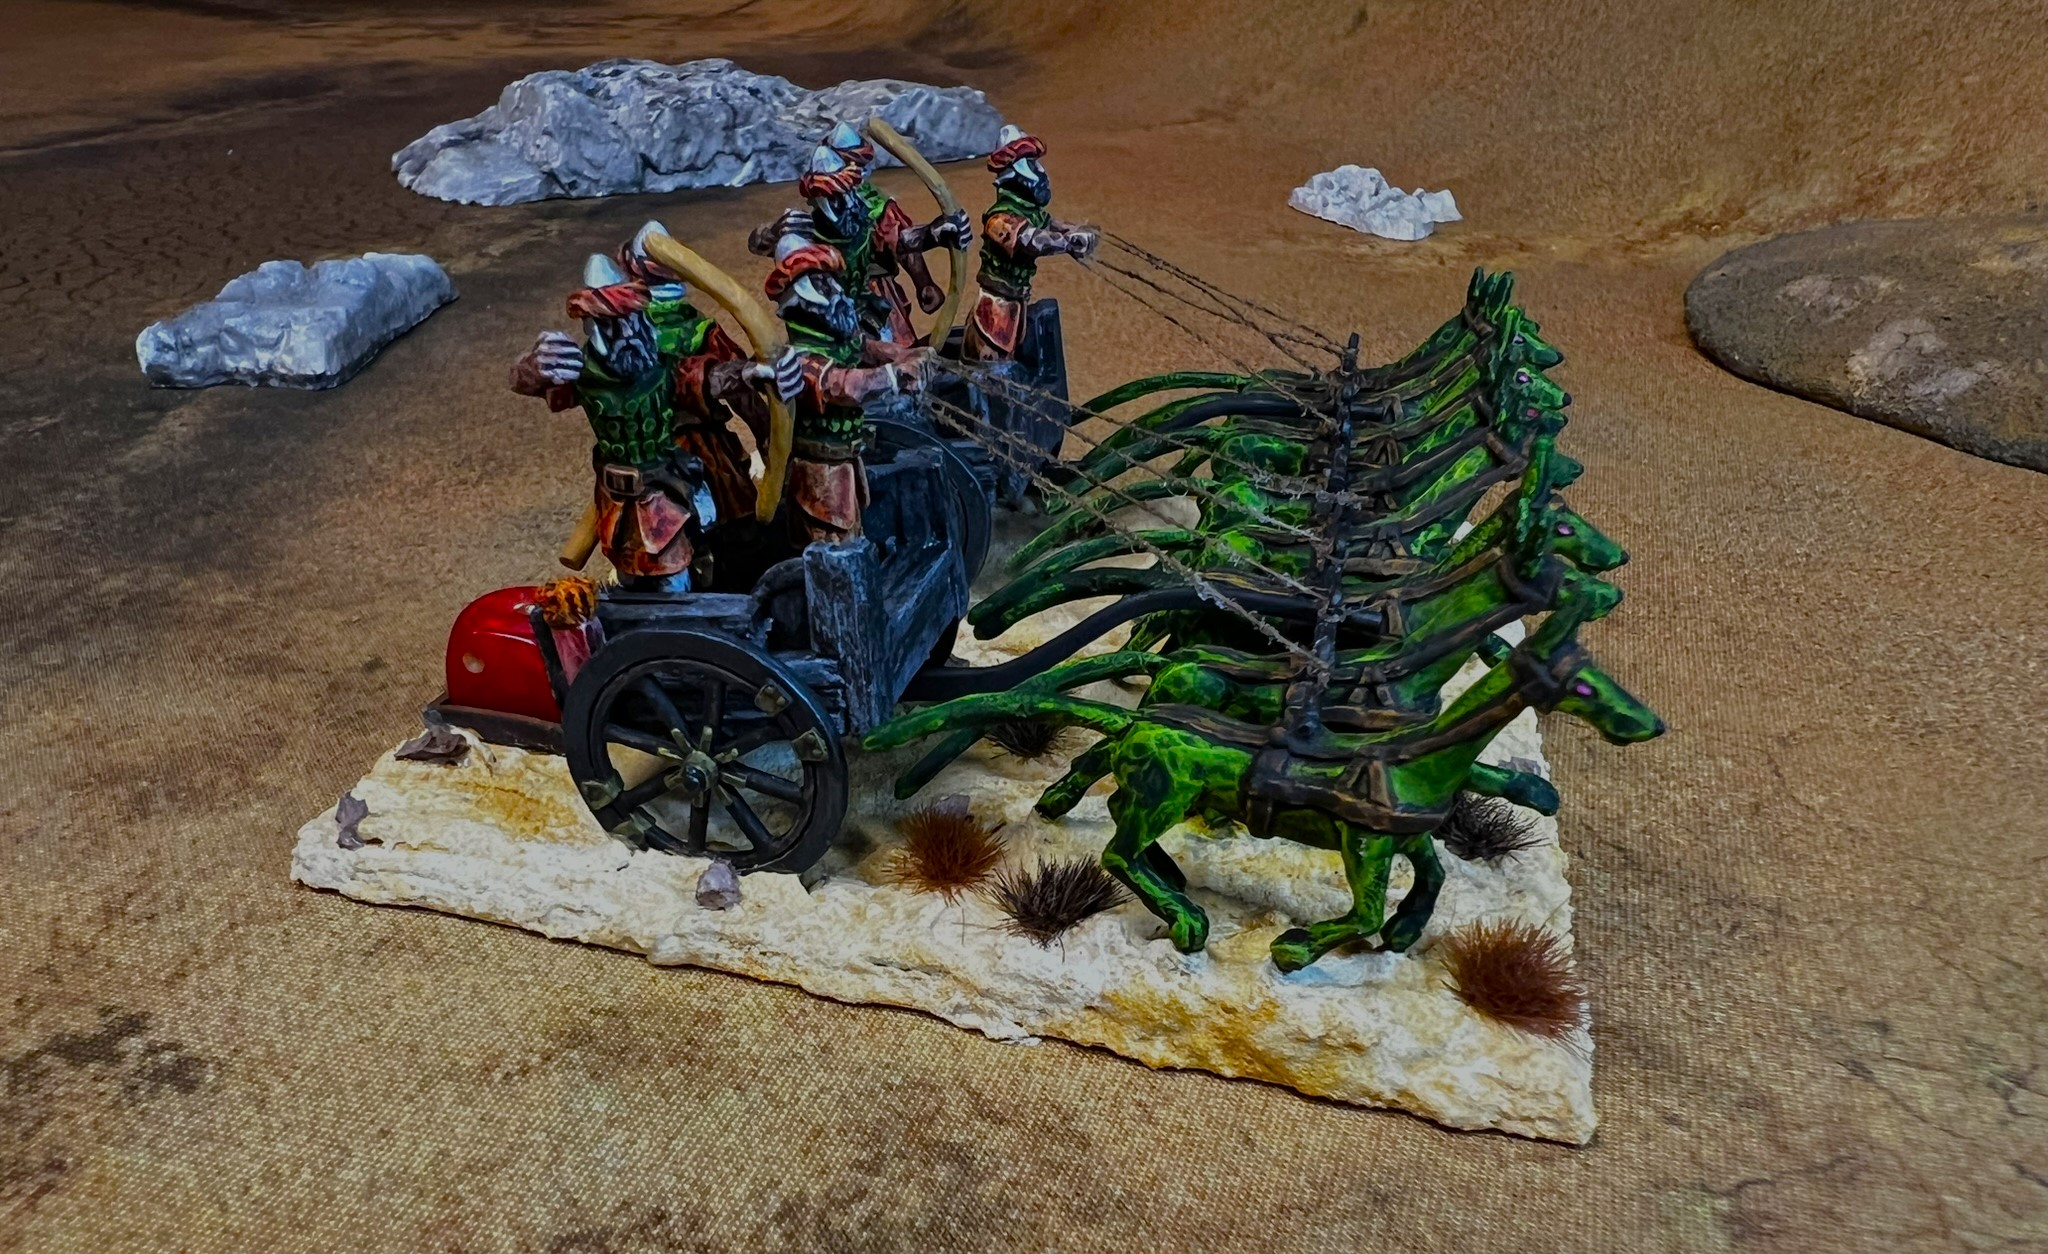
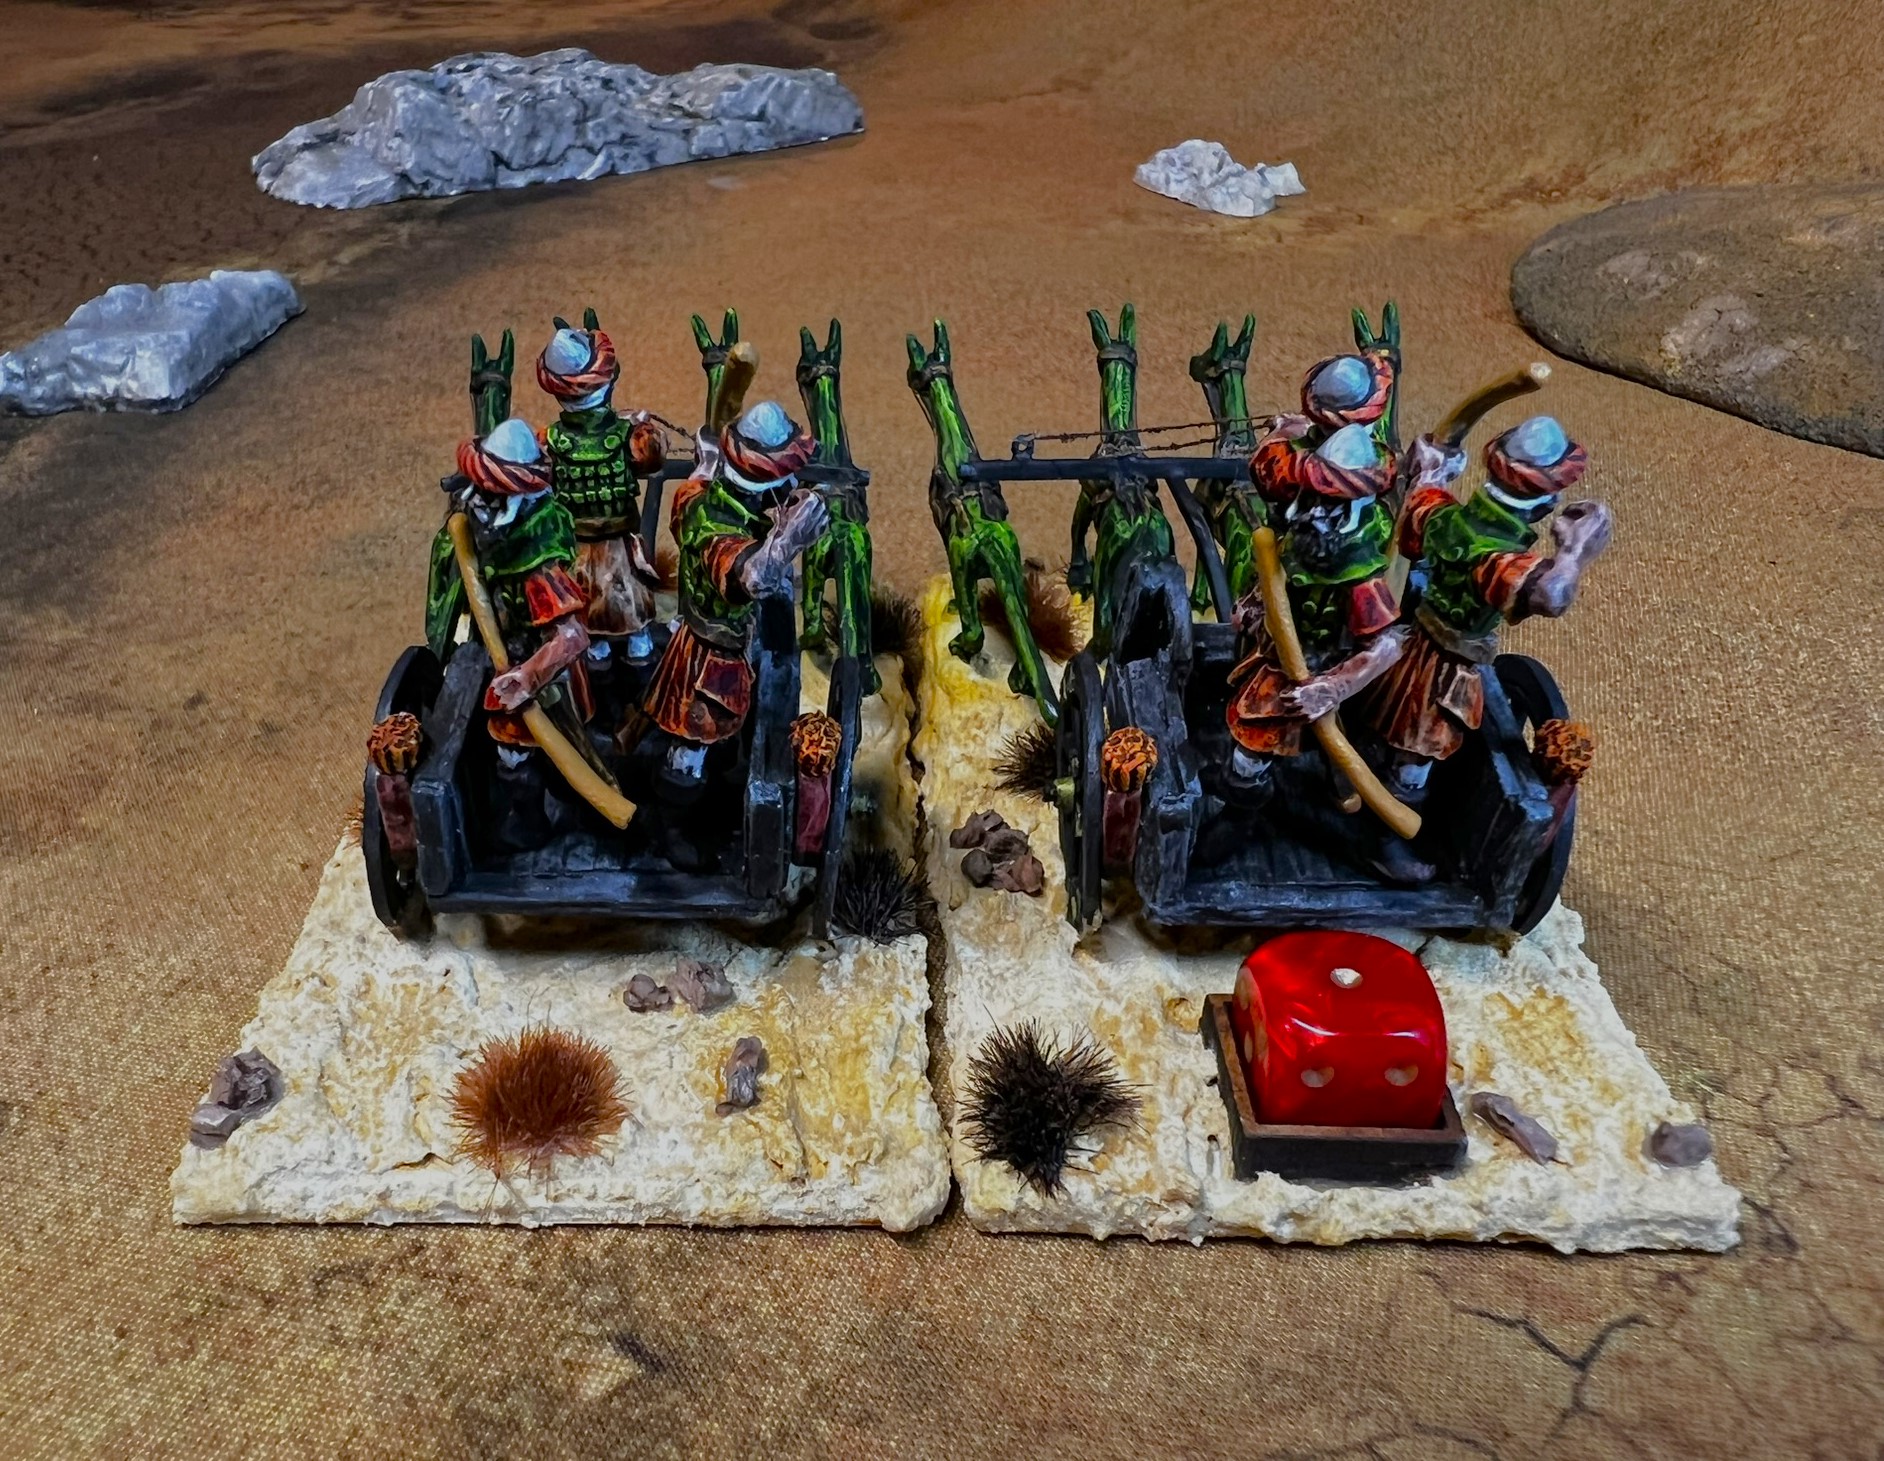
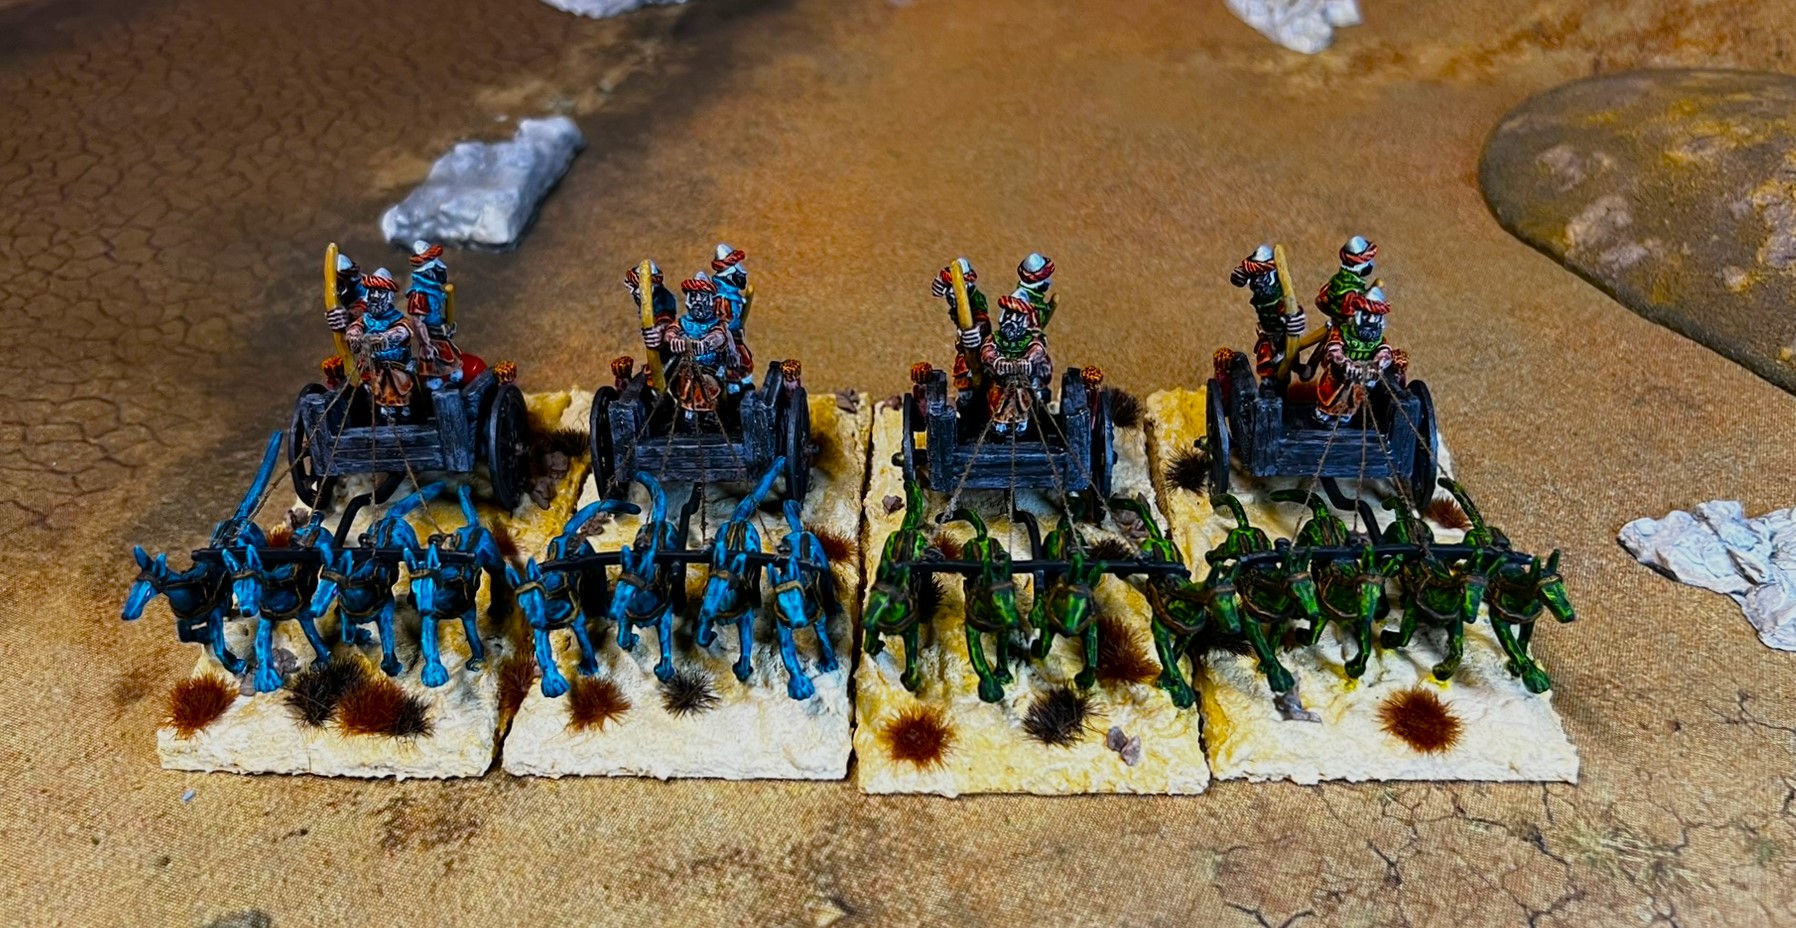
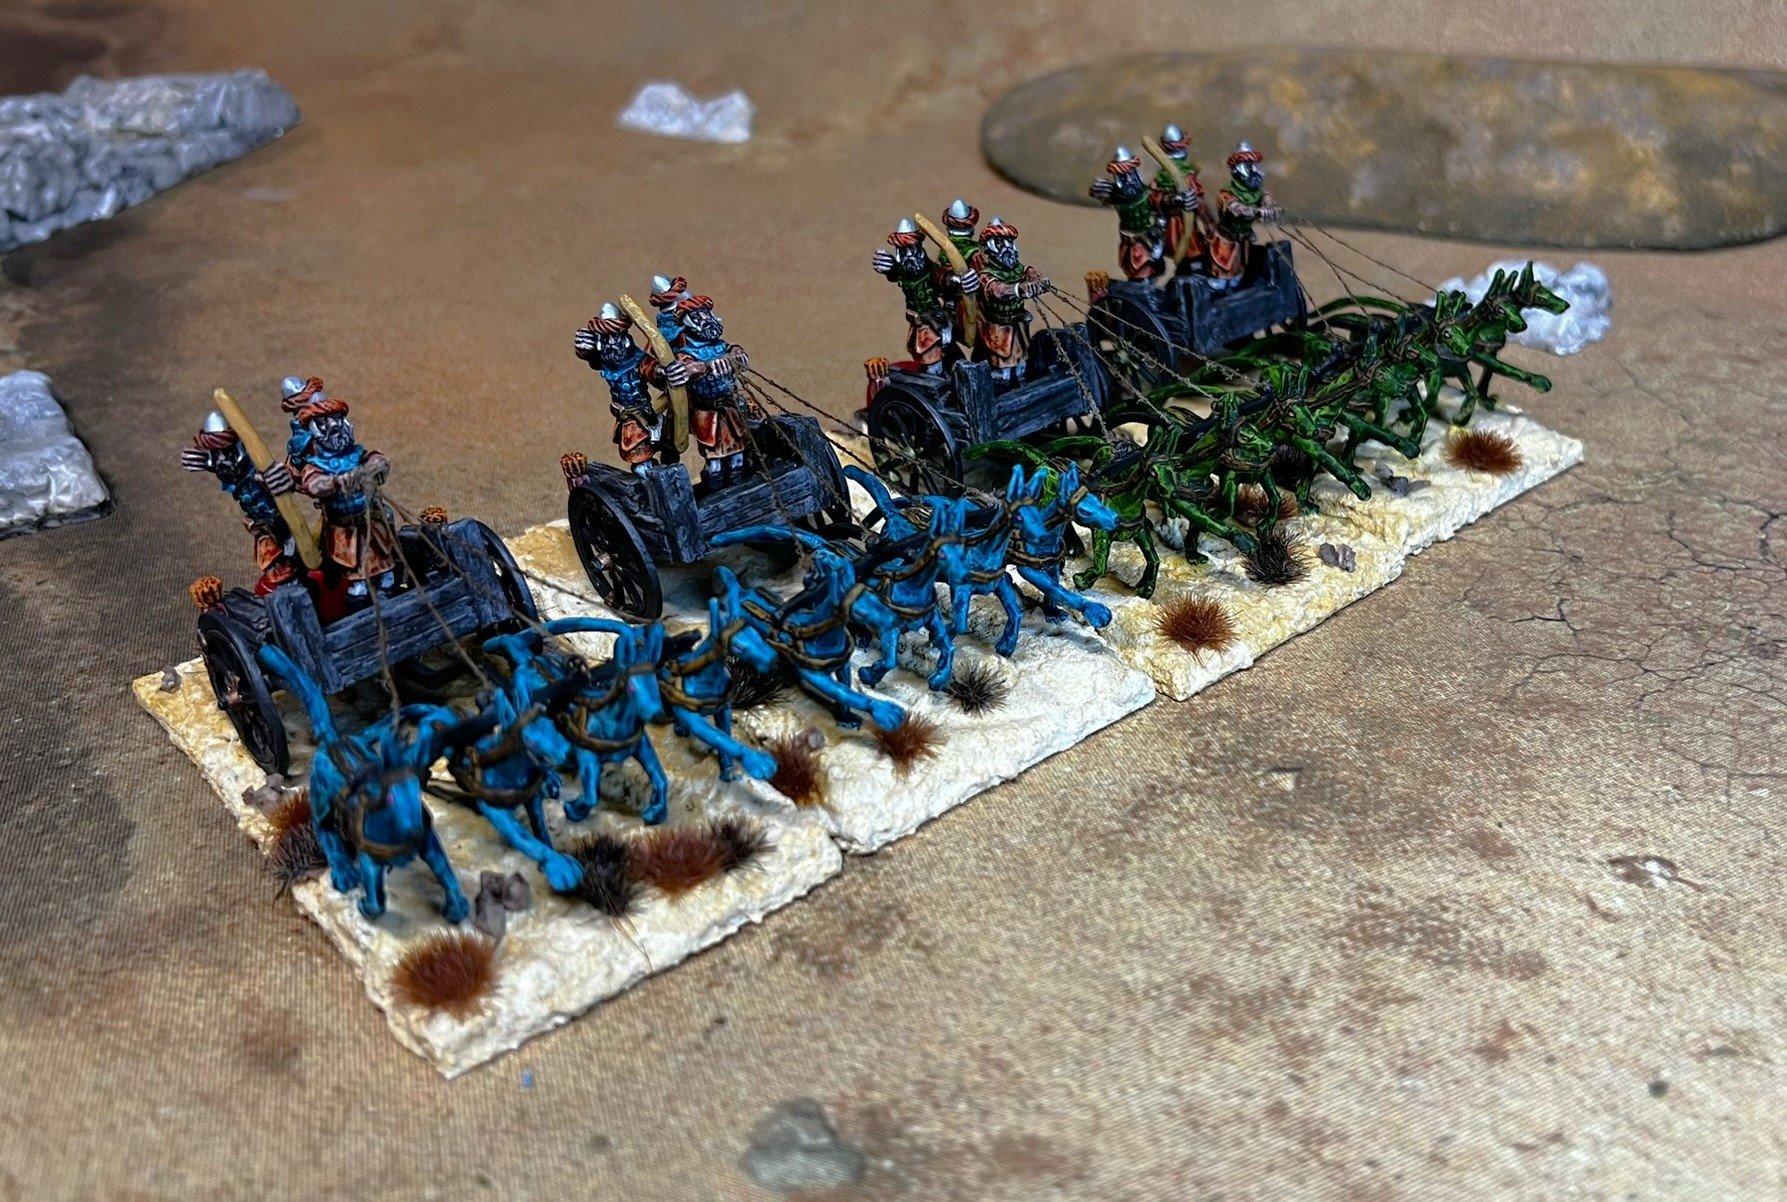
- Two Whim Whim Chariot Squadrons (4 chariots of 8 figures each)
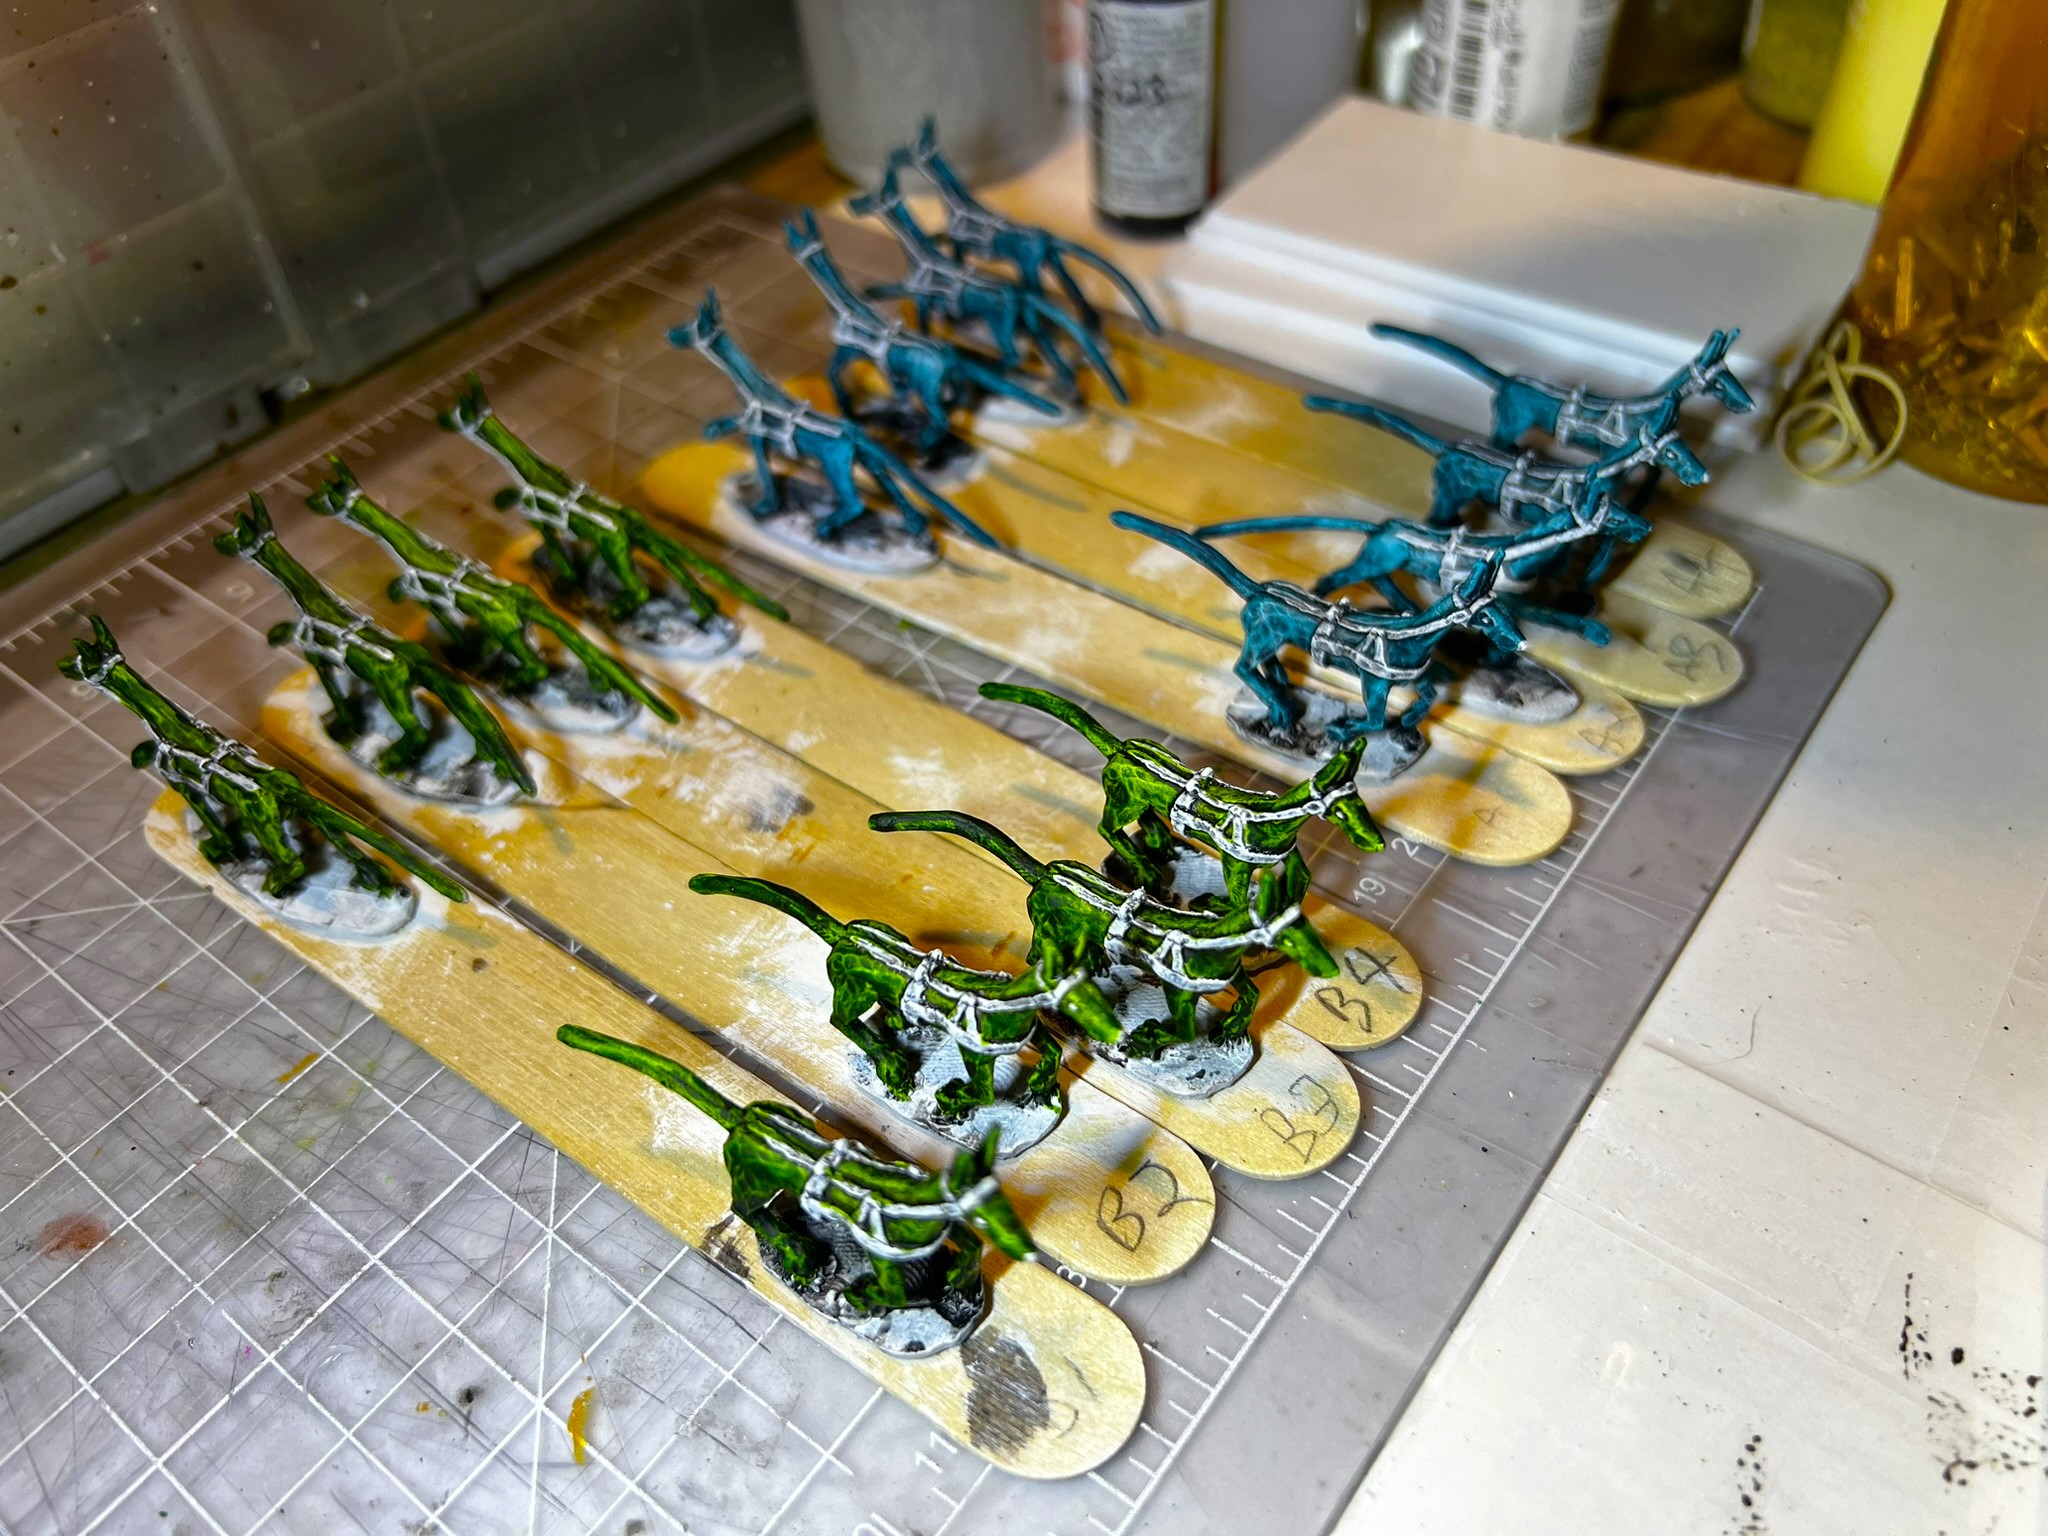
- Two Regiments of Whim Whim Cavalry
- Two Regiments of Whim Whim Bowmen (42 figures)
- One Whim Whim Janissaries Regiment (21 figures)
- One Sultan Whim base (6 figures)
- The Ancient Mystical One (1 figure)
Here is an overall view of the faction:

Here is the video:
I hope that you have enjoyed this Whim Whim journey with me. As the Wars of Ozz is a post-apocalyptic world, the Whim Whim Janissaries, Sultan Whim, and The Ancient Mystical One you have seen here are eligible for Dave Stone’s recent painting challenge, “APOCALYPSE ME 2024”. It might not be the apocalypse many of you envisioned, but it is in Ozz!
Thanks for looking – and now on to the Temujicans – sworn enemies of the Whim Whim!
Miscellaneous details and references for those interested in that sort of thing:
For all of my earlier posts on Wars of Ozz games, figures, units, and other related projects – please see this page.
PAINTS, INKS, GLAZES, SHADES, WASHES, PIGMENTS, FLOCKING, GLUES AND MORE THAT I USED ON THE REGIMENT OF WHIM WHIM JANISSARIES:
- Iron Wind Metals Banner Spear Head Sprues SKU #DH507
- MDF Brigade Leader bases from Wars of Ozz Miniatures (used as regimental commander bases)
- Vallejo Game Ink “Brown”
- Pendraken 12mm dice frames
- Elmer’s PVA Glue
- Wargames Accessories #21 bases (2″ square steel bases)
- Wargames Accessories FOW #1 (1.25″ X 1″ steel bases)
- 18-gauge flat head nails
- Popsicle sticks
- Alligator clip painting base
- Gorilla Glue
- Creatology “Shaped Clay Glitter”
- Vallejo Mecha Primer “White”
- Vallejo “Airbrush Thinner”
- Secret Weapon Washes “Sewer Water”
- Army Painter “Dark Tone” (wash)
- Citadel “Contrast Paint – Baal Red”
- Vallejo Model Color “Glossy White”
- Vallejo Model Color “Wood Grain”
- Vallejo Mecha Color “Off White”
- Army Painter “Speed Paint – Satchel Brown 2.0”
- Citadel “Contrast Paint – Imperial Fist”
- Craftsmart “Festive Red” (metallic)
- Citadel “Contrast Paint – Contrast Medium”
- Citadel “Contrast Paint – Apothecary White”
- Citadel “Gehenna’s Gold”
- Vallejo Model Air “Brown”
- Army Painter “Speed Paint – Hardened Leather 1.0”
- Vallejo Model Air “Bright Brass”
- Vallejo Model Air “Black” (metallic)
- Battlefront “Worn Canvas”
- Vallejo “Thinner Medium”
- Vallejo Model Air “Wood”
- Citadel “Contrast Paint – Blood Angels Red”
- Citadel “Contrast Paint – Sigvald Burgundy”
- Army Painter “Speed Paint – Battleship Grey 2.0”
- Citadel “Contrast Paint – Black Templar”
- Citadel “Contrast Paint – Basilicanum Grey”
- Vallejo Mecha Color “Magenta Fluorescent”
- Army Painter “Speed Paint – Crusader Skin 1.0”
- Citadel “Morghast Bone”
- Citadel “Seraphim Sepia” (wash/shade)
- Citadel “Cryptek Armourshade” (wash/shade)
- Army Painter “Mid Brown” (wash/shade)
- Green Sharpie pen
- Poster tack
- Shadow’s Edge Miniatures Earth Works Dirt Colors “Sand Dust” (texture/basing paste)
- Vallejo “Dark Yellow Ochre” (pigment)
- Vallejo “Light Yellow Ochre” (pigment)
- Vallejo “Desert Dust” (pigment)
- Vallejo Mecha Varnish “Gloss Varnish”
- Vallejo “Flow Improver”
- Vallejo Premium Color Airbrush Varnish “Matte”
- Army Painter “Battlefield Rocks” (flocking)
- Shadow’s Edge Miniatures “4mm Badlands Tufts” (flocking)
- Shadow’s Edge Miniatures “6mm Scorched Earth Tufts” (flocking)
- Shadow’s Edge Miniatures “6mm Nightmare Tufts” (flocking)
- Brown Sharpie pen
- Blue Sharpie pen
- Whim Whim flag design from Wars of Ozz Facebook page (printed on card stock)
- Card stock
PAINTS, INKS, GLAZES, SHADES, WASHES, PIGMENTS, FLOCKING, GLUES AND MORE THAT I USED ON SULTAN WHIM:
- Styrene plastic sheet as a base
- Bass wood
- Frame from Ozz placards
- Ozz MDF placard
- Adhesive printed label
- Pendraken 12mm dice frames
- Elmer’s PVA Glue
- Wargames Accessories #21 bases (2″ square steel bases)
- Alligator clip painting base
- Gorilla Glue
- Vallejo Mecha Primer “White”
- Vallejo “Airbrush Thinner”
- Army Painter “Dark Tone” (wash)
- Vallejo Mecha Color “Off White”
- Army Painter “Speed Paint – Glittering Loot 2.0”
- Army Painter “Warpaint Air – Blue Flux”
- Vallejo Game Color “Scarlet Red”
- Vallejo Model Color “Black”
- Army Painter “Speed Paint – Familiar Pink 2.0”
- Citadel “Contrast Paint – Luxion Purple”
- Vallejo Model Color “Wood Grain”
- Army Painter “Speed Paint – Royal Robes 2.0”
- Citadel “Contrast Paint – Basilicanum Grey”
- Craftsmart “Pearl White” (metallic)
- Army Painter “Speed Paint – Satchel Brown 2.0”
- Citadel “Contrast Paint – Snakebite Leather”
- Army Painter “Speed Paint – Poppy Red 2.0”
- Citadel “Contrast Paint – Contrast Medium”
- Citadel “Contrast Paint – Apothecary White”
- Army Painter “Speed Paint – Fire Giant Orange 1.0”
- Army Painter “Speed Paint – Crusader Skin 1.0”
- Vallejo Model Air “Bright Brass”
- Vallejo Model Air “Black” (metallic)
- Citadel “Gehenna’s Gold”
- Citadel “Spritstone Red” (technical)
- Citadel “Cryptek Armourshade” (wash/shade)
- Vallejo Game Ink “Brown”
- Vallejo “Thinner Medium”
- Citadel “Morghast Bone”
- Citadel “Seraphim Sepia” (wash/shade)
- Shadow’s Edge Miniatures Earth Works Dirt Colors “Sand Dust” (texture/basing paste)
- Vallejo “Dark Yellow Ochre” (pigment)
- Vallejo “Light Yellow Ochre” (pigment)
- Vallejo “Desert Dust” (pigment)
- Vallejo Mecha Varnish “Gloss Varnish”
- Vallejo “Flow Improver”
- Vallejo Premium Color Airbrush Varnish “Matte”
- Army Painter “Battlefield Rocks” (flocking)
- Shadow’s Edge Miniatures “4mm Badlands Tufts” (flocking)
- Shadow’s Edge Miniatures “6mm Scorched Earth Tufts” (flocking)
- Shadow’s Edge Miniatures “6mm Nightmare Tufts” (flocking)
PAINTS, INKS, GLAZES, SHADES, WASHES, PIGMENTS, FLOCKING, GLUES AND MORE THAT I USED ON THE ANCIENT MYSTICAL ONE:
- Wars of Ozz MDF base
- Pendraken 12mm dice frames
- Elmer’s PVA Glue
- Wargames Accessories FOW1 base
- Vallejo Mecha Primer “White”
- Vallejo “Airbrush Thinner”
- Army Painter “Dark Tone” (wash)
- Vallejo Mecha Color “Off White”
- Vallejo Model Color “Wood Grain”
- Citadel “Contrast Paint – Basilicanum Grey”
- Citadel “Contrast Paint – Snakebite Leather”
- Army Painter “Speed Paint – Aged Hide 2.0”
- Army Painter “Speed Paint – Satchel Brown 2.0”
- Vallejo Model Air “Black” (metallic)
- Citadel “Morghast Bone”
- Citadel “Contrast Paint – Skeleton Horde”
- Army Painter “Speed Paint – Bony Matter 2.0”
- Citadel “Contrast Paint – Gryph Charger Grey”
- Vallejo Game Color “Scarlet Red”
- Citadel “Contrast Paint – Magmadroth Flame”
- Vallejo Game Air “Sun Yellow”
- Citadel “Contrast Paint – Luxion Purple”
- Adhesive printed label
- Vallejo Game Ink “Brown”
- Citadel “Seraphim Sepia” (wash/shade)
- Shadow’s Edge Miniatures Earth Works Dirt Colors “Sand Dust” (texture/basing paste)
- Vallejo “Dark Yellow Ochre” (pigment)
- Vallejo “Light Yellow Ochre” (pigment)
- Vallejo “Desert Dust” (pigment)
- Vallejo Mecha Varnish “Gloss Varnish”
- Vallejo “Flow Improver”
- Vallejo Premium Color Airbrush Varnish “Matte”
- Army Painter “Battlefield Rocks” (flocking)
- Shadow’s Edge Miniatures “4mm Badlands Tufts” (flocking)
- Shadow’s Edge Miniatures “6mm Scorched Earth Tufts” (flocking)
- Shadow’s Edge Miniatures “6mm Nightmare Tufts” (flocking)
As you may want to check out the excellent Wars of Ozz figures’ range – there are two places to get them and to get the rules (and I make no money from this btw). The game rules and the figures are available from the next two places:
In the US Old Glory has a site – Wars of Ozz Miniatures.
In the UK go to Sally 4th.
Thanks again for looking and hope to get some feedback!


