

Sounds like a good concept for a reality show doesn’t it? Circa 1520 or so…
Actually, it’s my latest attempt at adding another structure to my Aztec terrain/buildings for games of Feudal Patrol™ in Mesoamerica (using my Civilizations Collide supplement). There have been a good number of buildings from me lately (which is why I did my contest). There is also a link at the end of this post on all of my project terrain and miniature builds for it.
And this particular post is dedicated to Ryan MacRae and Chris Rett. Why?
Well, this temple piece has a somewhat unclear past. It was given to me by Ryan MacRae and Christopher Rett. It was left over from their back room cleanout at the Great Stories store in Uxbridge, MA. Ryan said it was maybe originally found in his dad’s garage? Was it a souvenir? A kit project? A piece for a terrarium or even an aquarium? Who knows. All I saw in it was potential as a reasonable secondary temple-type building for Tenochtitlan. It was in two unconnected pieces, had a few cracks, and seemed to be somewhat ceramic. Obviously, I needed to have it match my other pieces. I was not thrilled with the stairs and their alignment, and it was mostly (but not totally) symmetrical. Though I believe something is either symmetrical or its not right? The top would not stay on the top if bumped. Anyways, I thought I could try to make something more useful out of it gaming-wise.
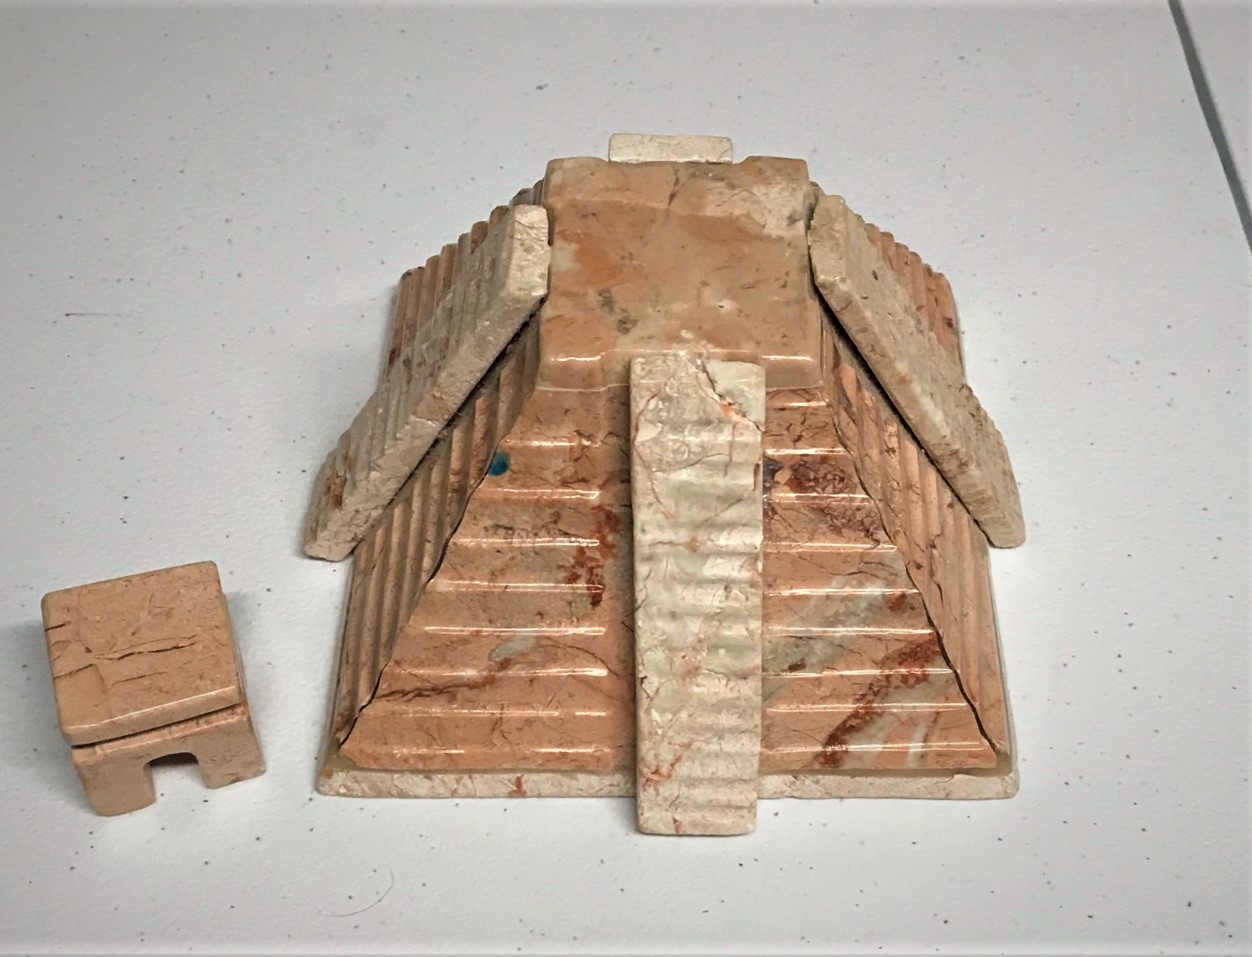
The first thing I did was to drill and install 1/8″ neodymium magnets to secure the top. 
The next step was to pry off the old stairs, which I did with a screwdriver and nearly hitting myself in the eye with broken ceramic shards – I should have been more careful.
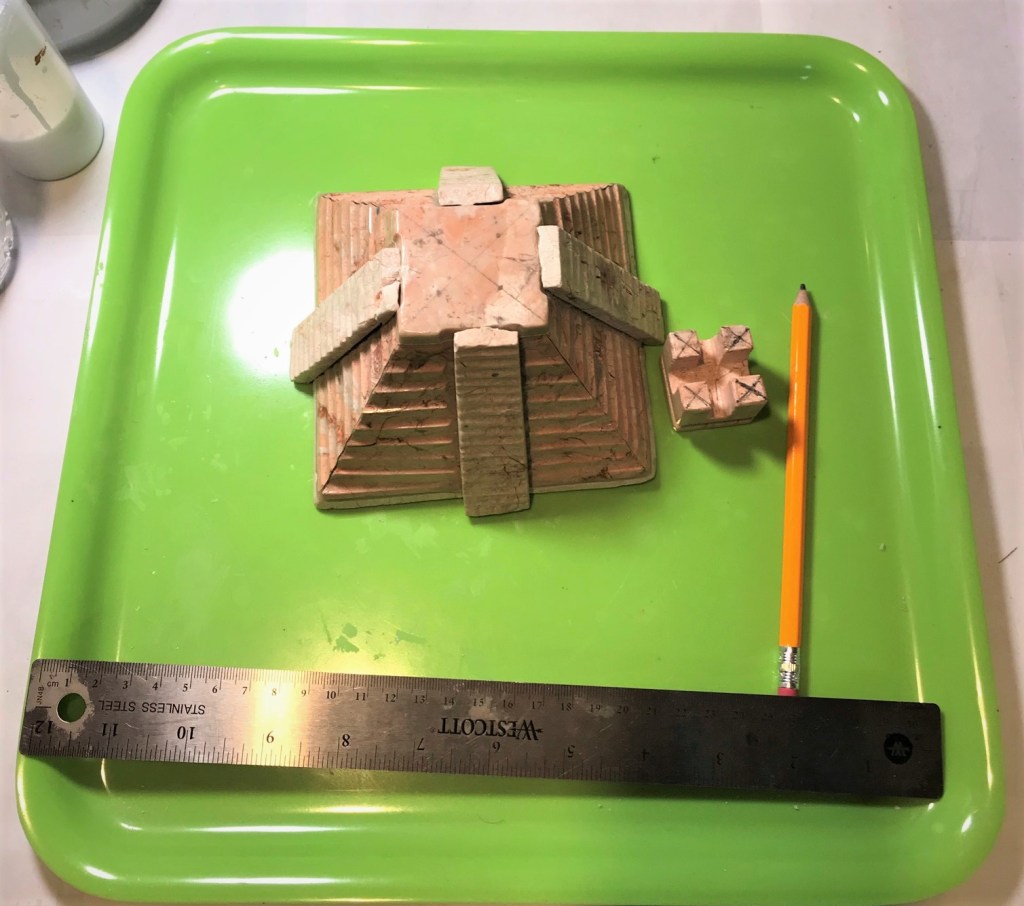
I thought it needed a base, and I did have an spare piece of Revell plywood that I cut to size up to the piece – as symmetrically as possible.
I debated about whether to use balsa or plywood, and went with the latter 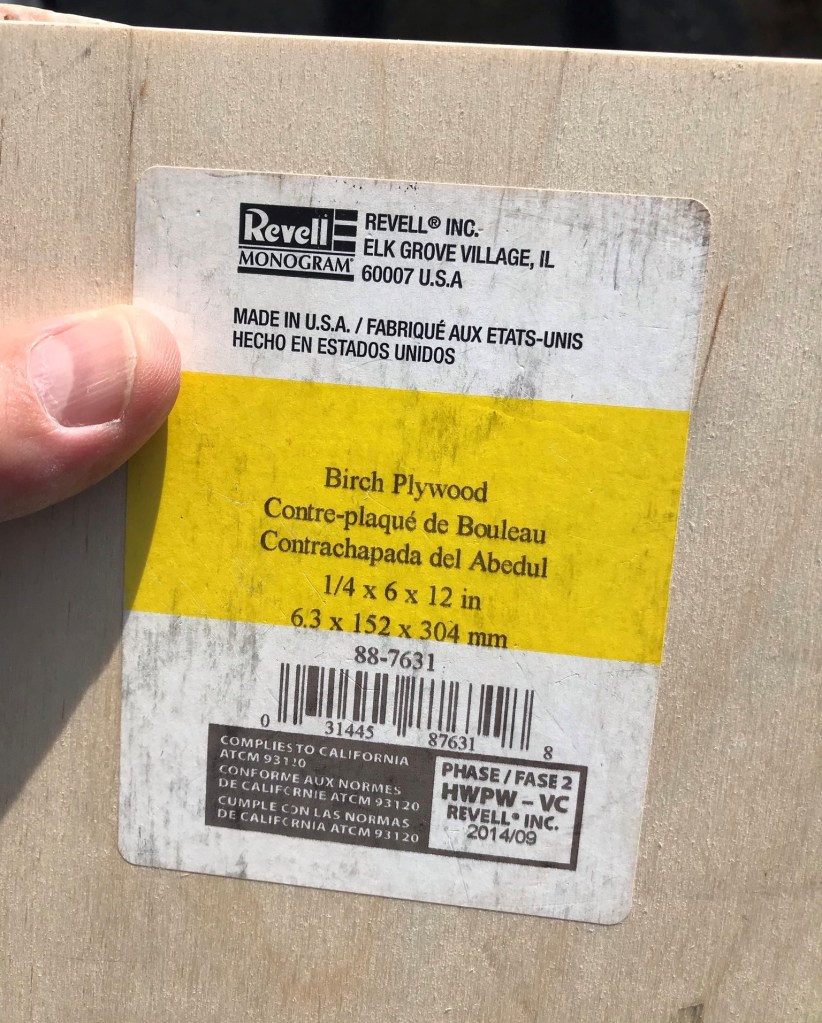
Good quality hobby stuff 
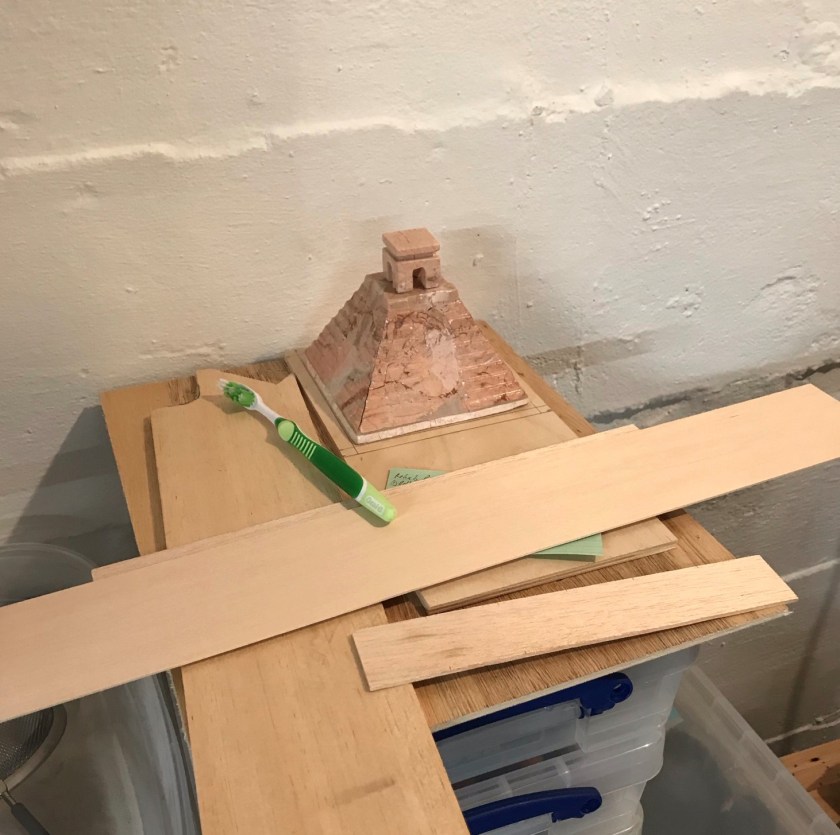
This mess shows my outdoor wood cutting setup – a Black and Decker cordless circular saw and my Craftsman workbench I bought in 1988.
I then sanded the edges of the plywood and the bottom of the piece, and attached the two with wood glue. As you can see, I found a way to compress the two while the glue set!

Lots of wood glue 
As symmetrical as I could get it to be on the base. 
Add an MBA reference book and a hematology textbook as weights and let dry overnight.
I then decided to use black Milliput to construct the stairs. Why black? It was what was available! I don’t have a lot of experience with it, and I chose it due to being cheaper than green stuff. I did not expect to get great sculpted details on the stairs – I just wanted something that would be aesthetically ok on the tabletop. I did consider using square wood dowels, but the work involved in sizing them seemed disproportionate to the needs of this project. I also would make the steps wider and more visible – but still they would not useable by a figure on a base.

I traced out the stairs – note I made them wider as the original piece’s slots for stairs was both irregular and not quite centered. 
I drilled two 1/8″ holes per stair for paper clip wires. These were at the bottom of the stairs to help with mounting. Note the asymmetry on this side.
As for the sculpting – it was a bit more difficult than I had imagined beforehand. I tried to use the existing lines on the piece as guidelines, and was successful for the most part. It’s not Michelangelo, that’s for sure. I actually was a little disappointed at this point, but I pressed on thinking the rest of the rehab may go better, and let the Milliput cure.

The sculpted stairs in black milliput. 
Getting ready to dust the piece with chinchilla dust.
The dusting process was similar to my previous efforts with MDF – that being painting the model with a PVA/water slurry and dusting with a salt shaker containing the dust. I did add (temporarily) extra neodymium magnets so as to prevent the dust from blocking the installed ones.

I then moved on to painting it. I dry brushed it and then painted it in the same color schemes as my MDF.

I then used Army Painter “Light Tone” on it and let it dry. Once dry, I added more highlights.
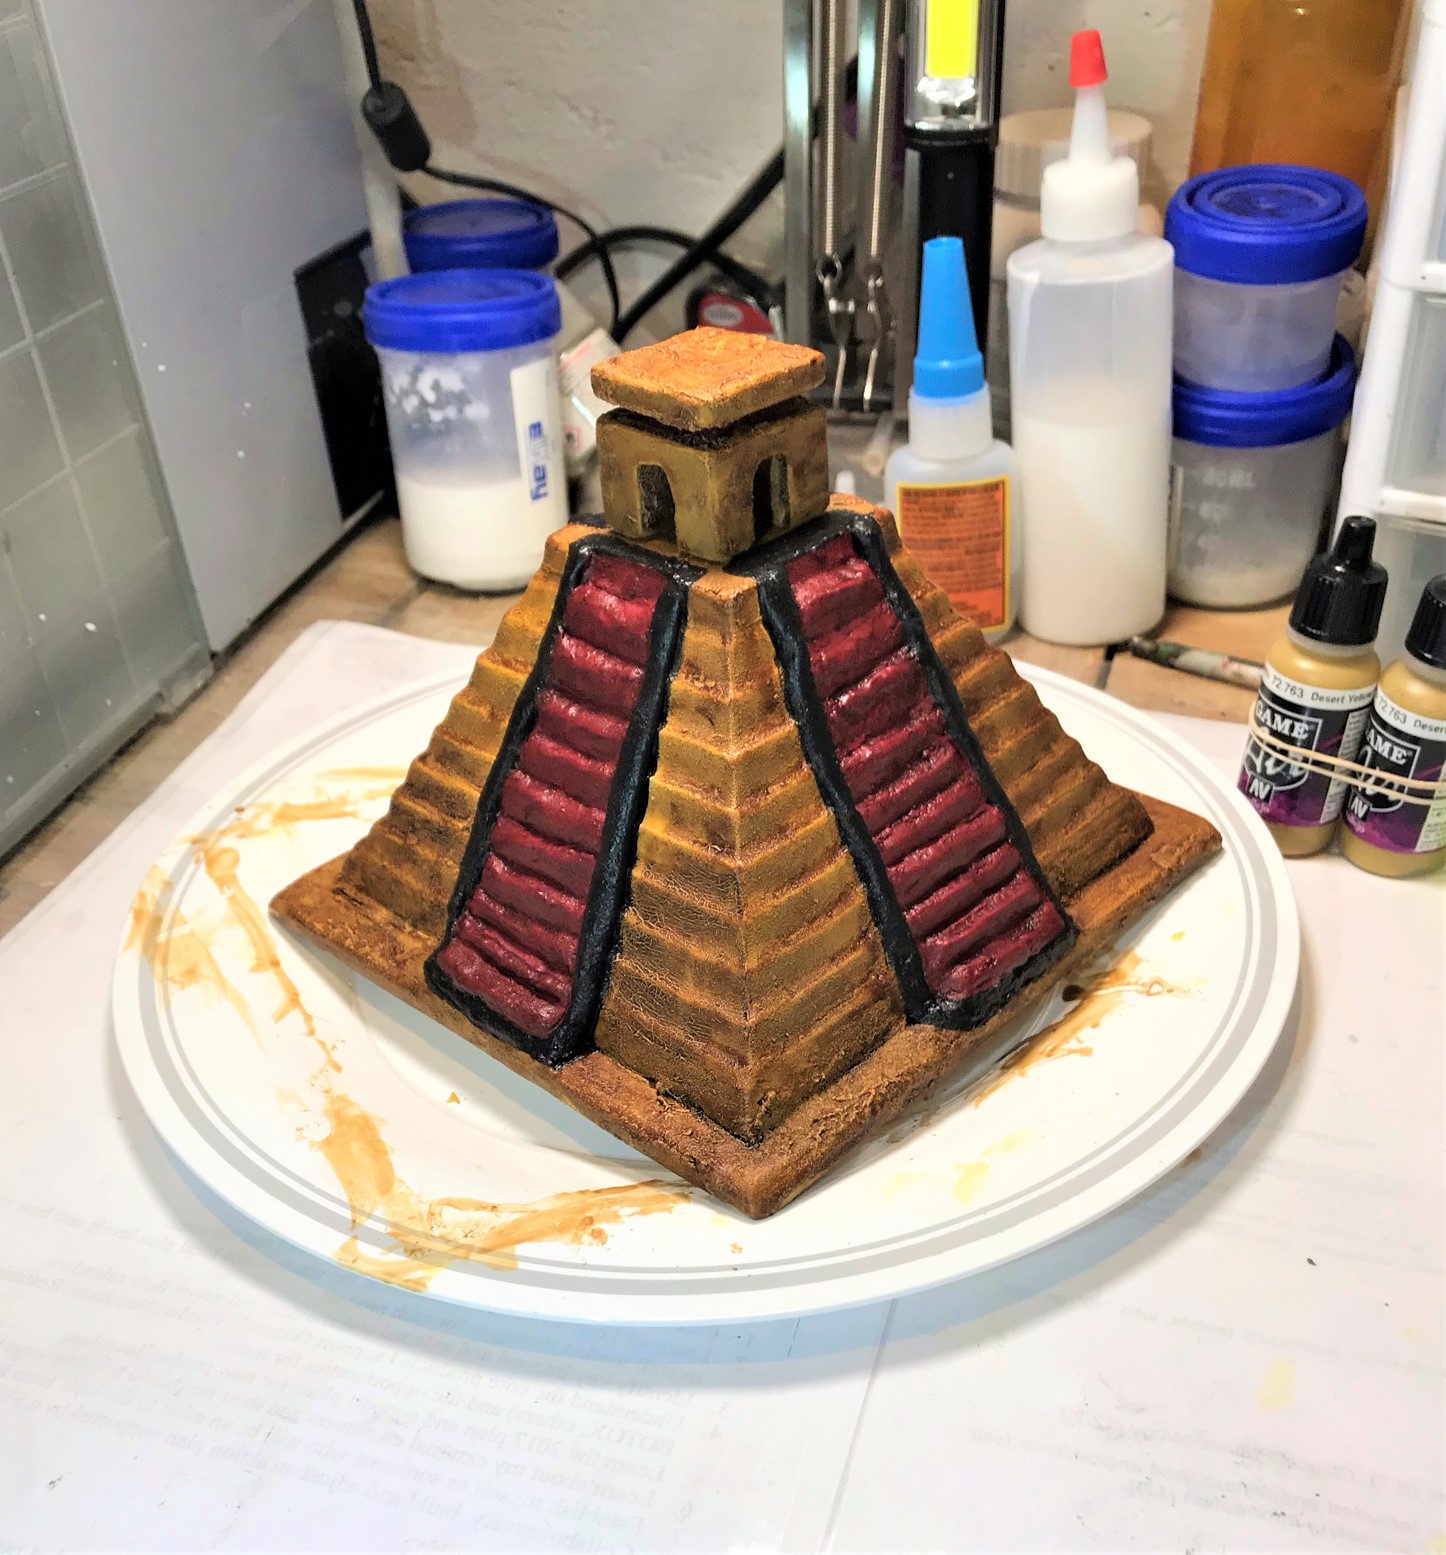

To get a feel for the model, here are some eye candy shots.


I learned a bit during the processes of this project. I’m on the fence on Milliput as an architectural sculpting agent – it was not easy to sculpt into the stairs and I did face a challenge with regards to the Milliput’s “slump” (a term used to describe how wet concrete settles and does not hold a shape). Though, the extreme slope of the stairs (as is found with the actual ones) made gravity NOT my friend in this aspect. Maybe green stuff or Apoxie Sculpt would have been easier but more expensive. I am unsure. I think my approach in the end worked out ok, and the painting helped I think – and you, dear reader, can let me know your assessments.
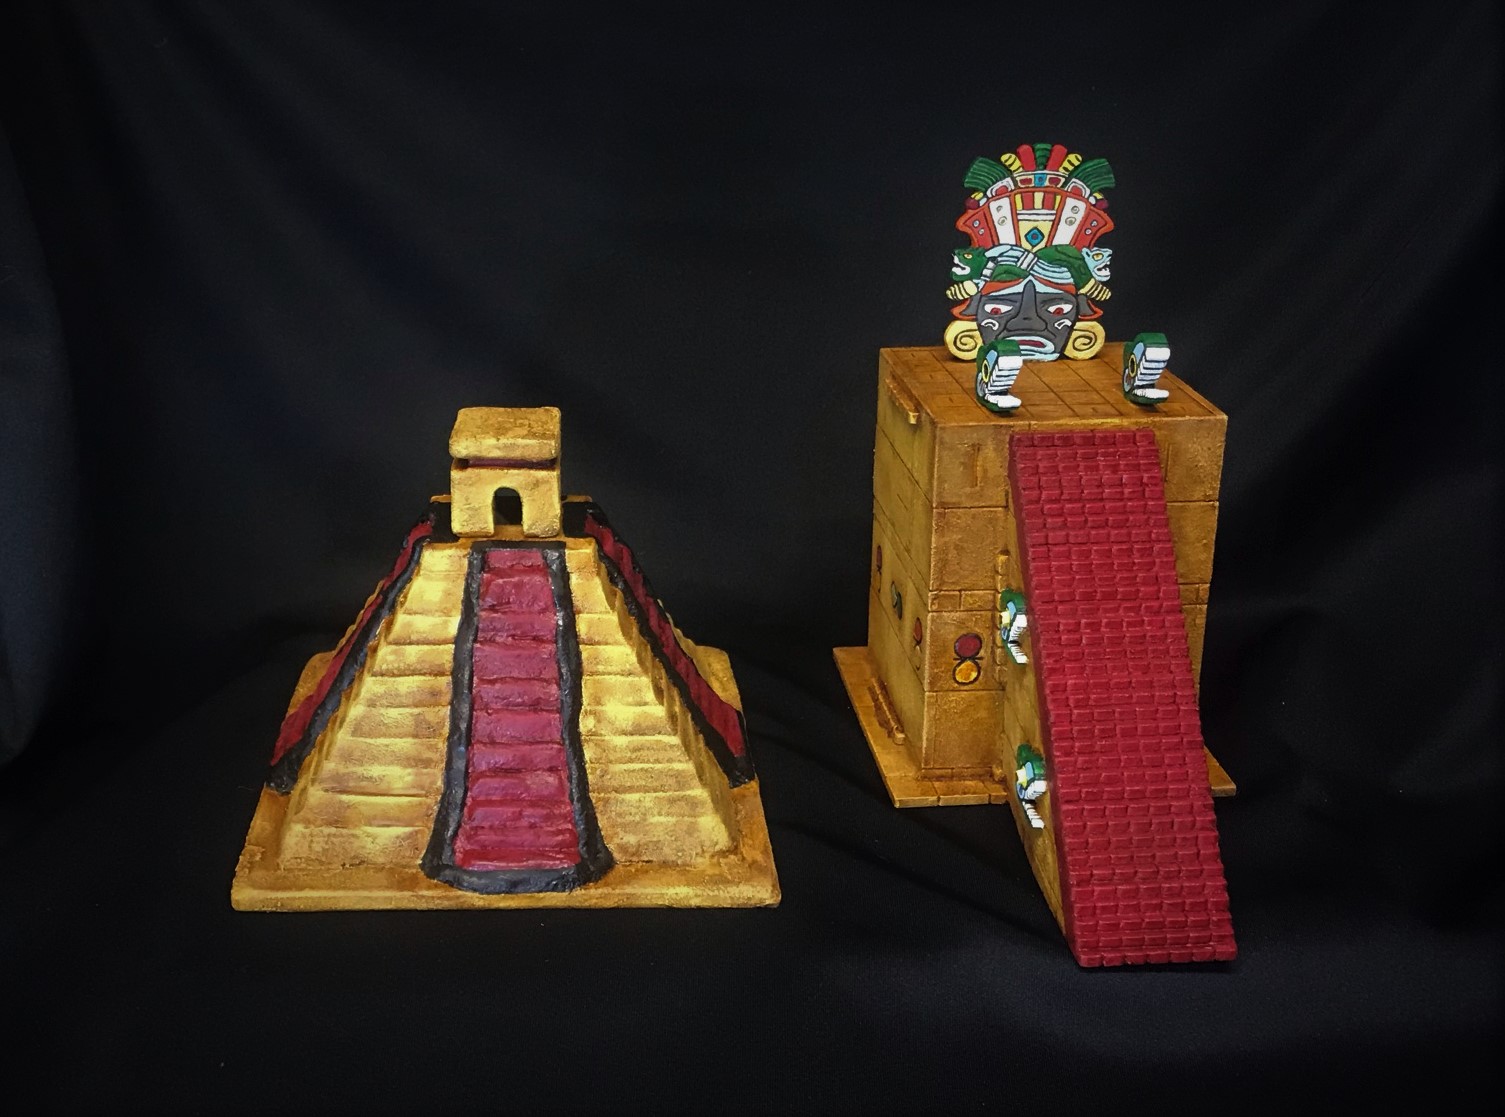
My biggest goal was for this piece to be a good add to my little mini Tenochtitlan tabletop. The next two pics are good comparisons. I think it succeeded. Not my finest work, but it is acceptable.

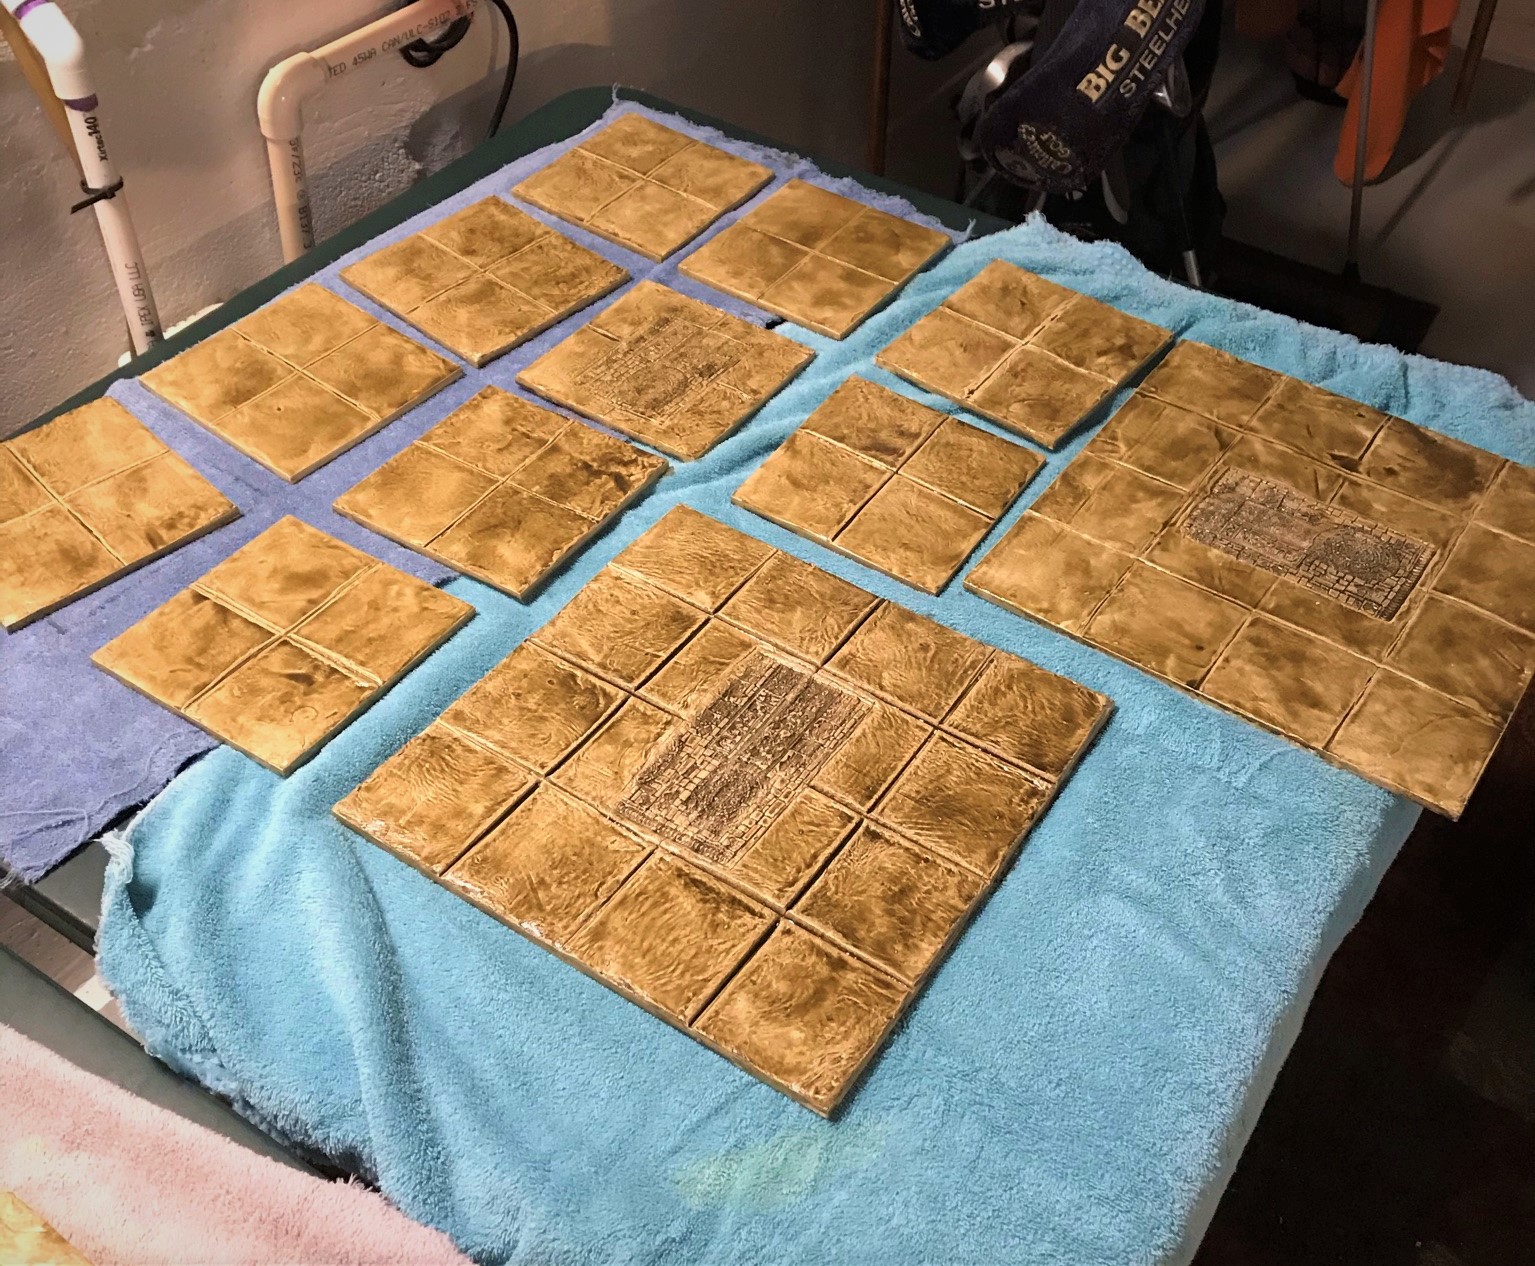
I think now my terrain just needs pavement and some causeways – I already have a working concept (below) and I will be making the surrounding lake swampy with some neat floating flora. More on this when I’m done with that!

The pavement is in WIP. I used MDF with sculpted DAS clay (including a Green stuff Aztec roller in judicious spots). It needs to set and get matte varnished, but I’m excited on the potential. I also need to build the causeways.
So that’s it for now – hope you enjoyed this post – let me know your thoughts – good, bad, or otherwise – in the comments section. Thanks for looking!
For all of my previous posts on games, units, and other projects for my 16th Century Spanish Conquest supplement for Feudal Patrol™ – “Civilizations Collide” – please see this page.
PAINTS, INKS, GLAZES, SHADES, WASHES, PIGMENTS, FLOCKING, GLUES AND MORE THAT I USED ON THIS MODEL
- Wood Glue
- Plastic Plates
- 1/8″ neodymium magnets
- Gorilla Glue
- Revell Birch plywood (1/4″ x 6″ x 12″)
- Paper clip wire
- Black Milliput
- All Living Things Dry Dust Bath (chinchilla dust)
- Vallejo “Flow Improver”
- Vallejo “Airbrush Thinner”
- Vallejo Model Air “Sand (Ivory)”
- Vallejo Model Color “Dark Sand”
- FolkArt “Yellow Ochre”
- Vallejo Model Color “Black”
- Vallejo Model Color “Red”
- Army Painter “Light Tone” (wash)
