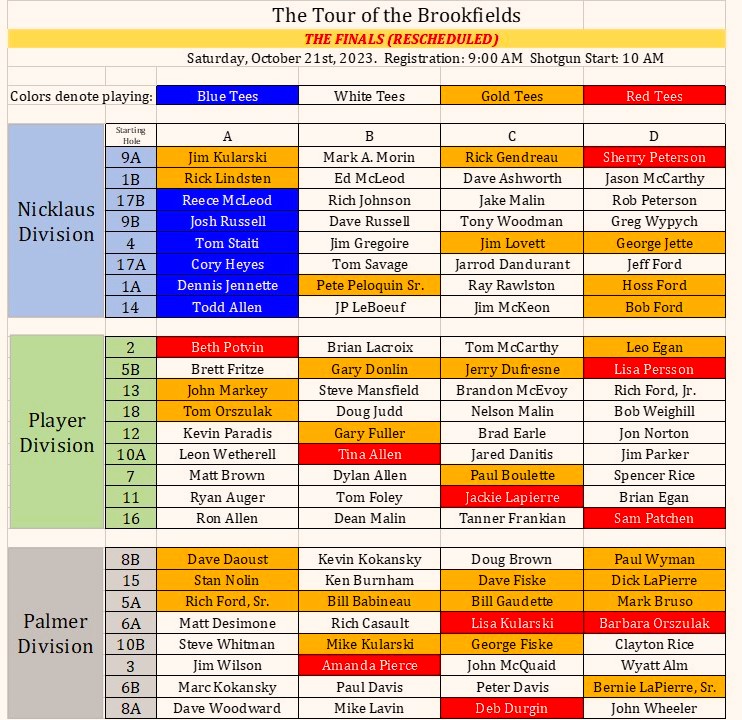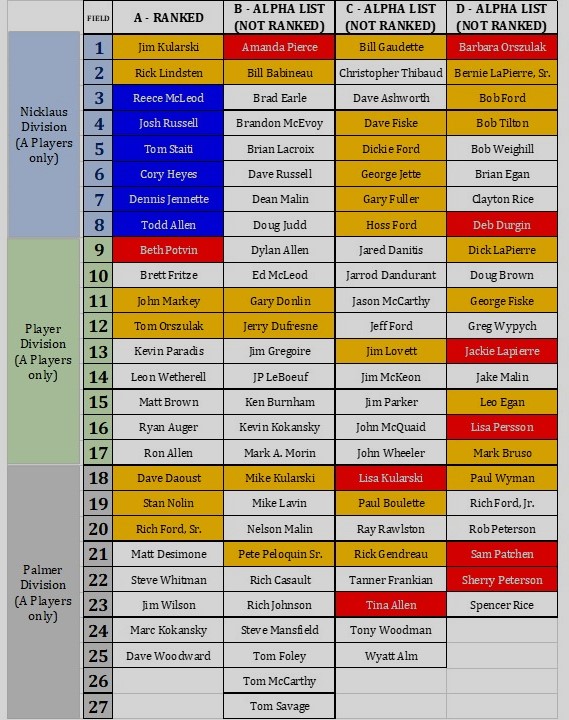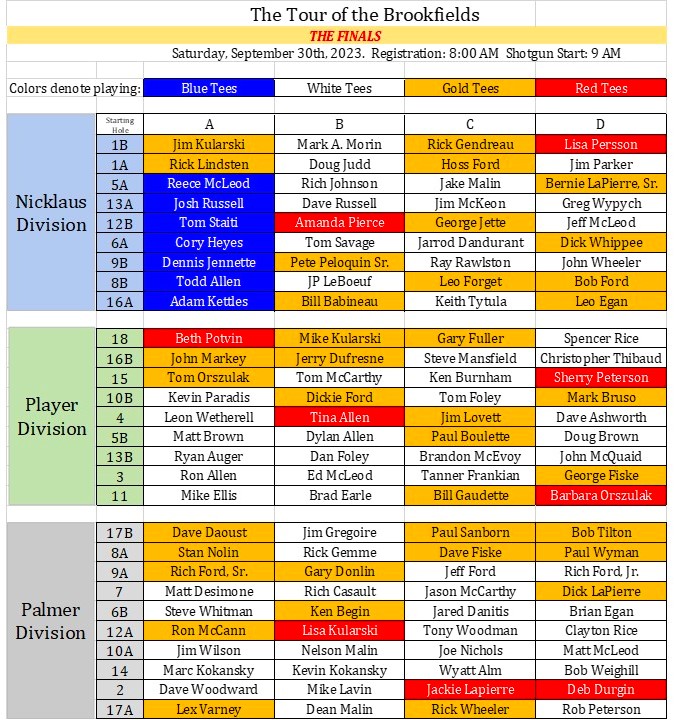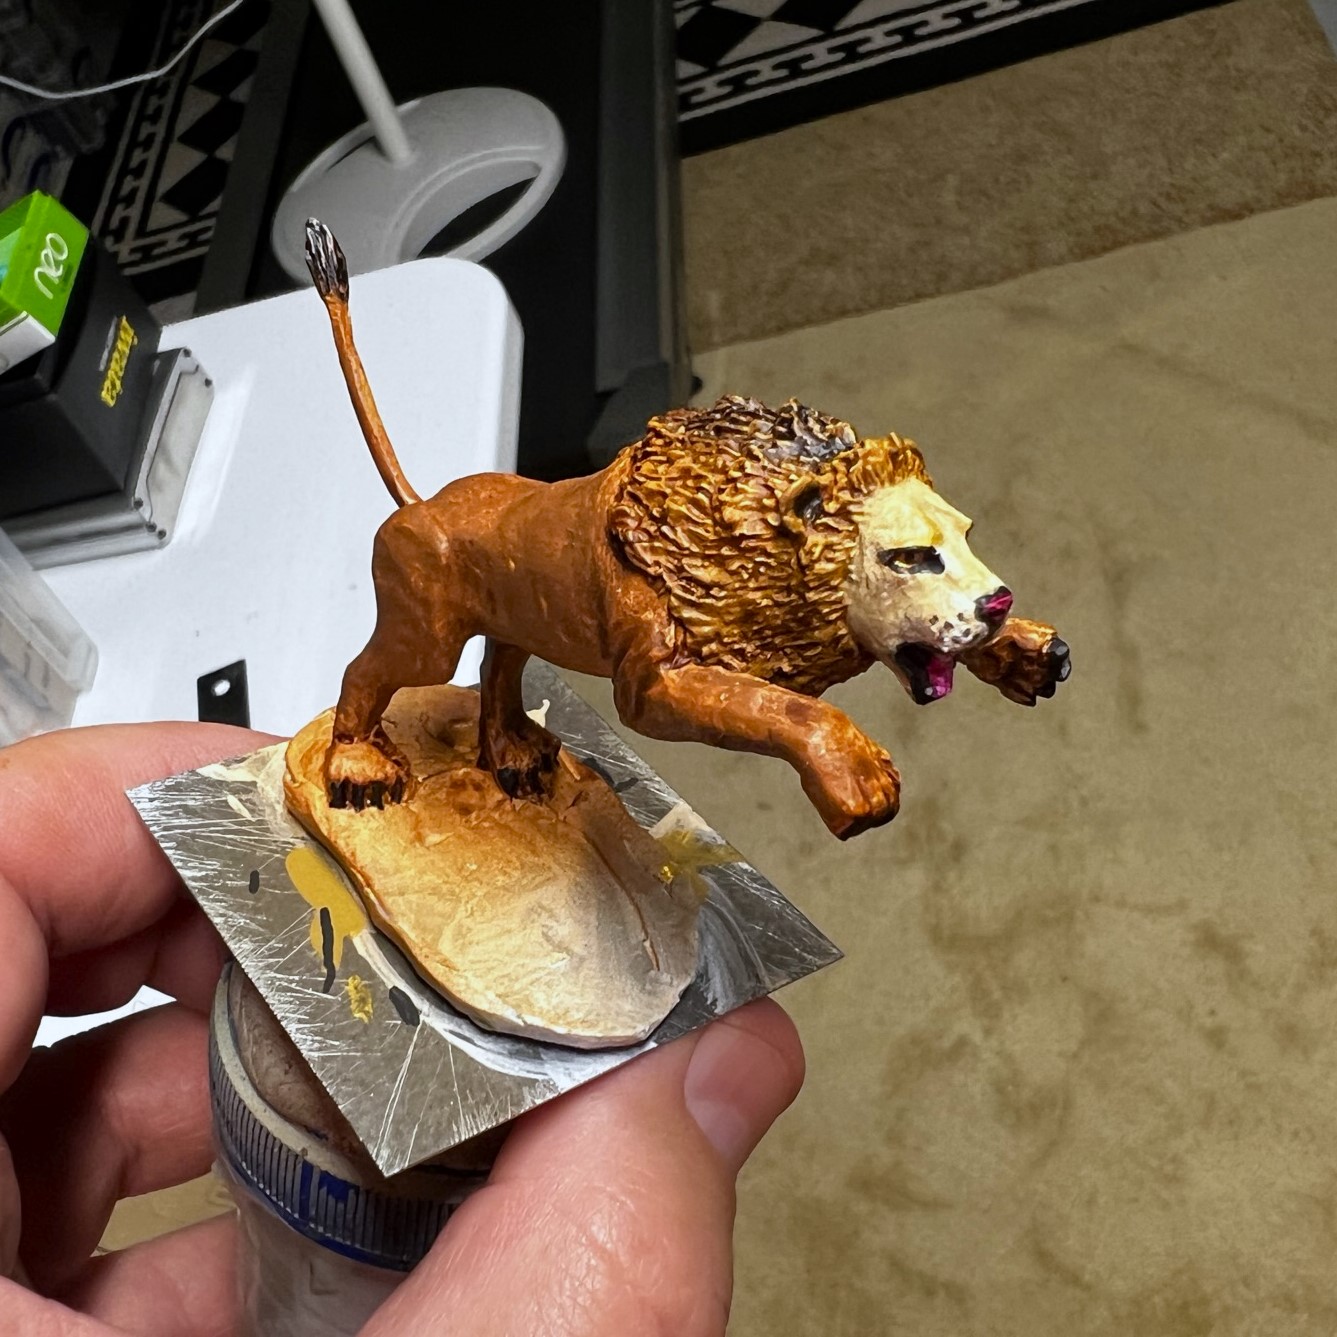
Here, as promised in my last post, is the second Wars of Ozz unit that I finished in October 2023 in preparation for HMGS Fall In!®. It is OZZ-511, Professor Nitpick & His Mechanical Tin Axemen. According to the Wars of Ozz rulebook, in the world of Ozz, there is the “Industrial City”, a “haunted ruin”, inhabited by one man – Professor Nitpick. The section from the rules that describe him and the Industrial City are superb – just a short excerpt:
Before…this unnamed city was a powerhouse of production, one of the last great cities of the world. Now it is an unknown ruin, bombed into ruins…no building remains untouched, the result of a terrible vengeance for a crime of the citizens here. Some claim they started the Last Great War, others claim they invented the Madness bombs that stilll infect the land…no historical mention of the city survives…only one person…might know the crime that earned the city such punishment – the reclusive Professor Nitpick…
The Professor is a legend. According to him, he was born before the Last Great War, more than 300 years ago…the witches suspect Nitpick was actually created by the science-wizards of that time, an experiment to create a superman…(but) Nitpick is frail and certainly no superman…
…he is, however, a mad and ruthless genius…(who) remembers the old technology and…has created…his Auto-Mechanical Axemen. With them as his army, he has claimed the Industrial City as his private estate…
Wars of Ozz rulebook, section 2.6.2, page 43
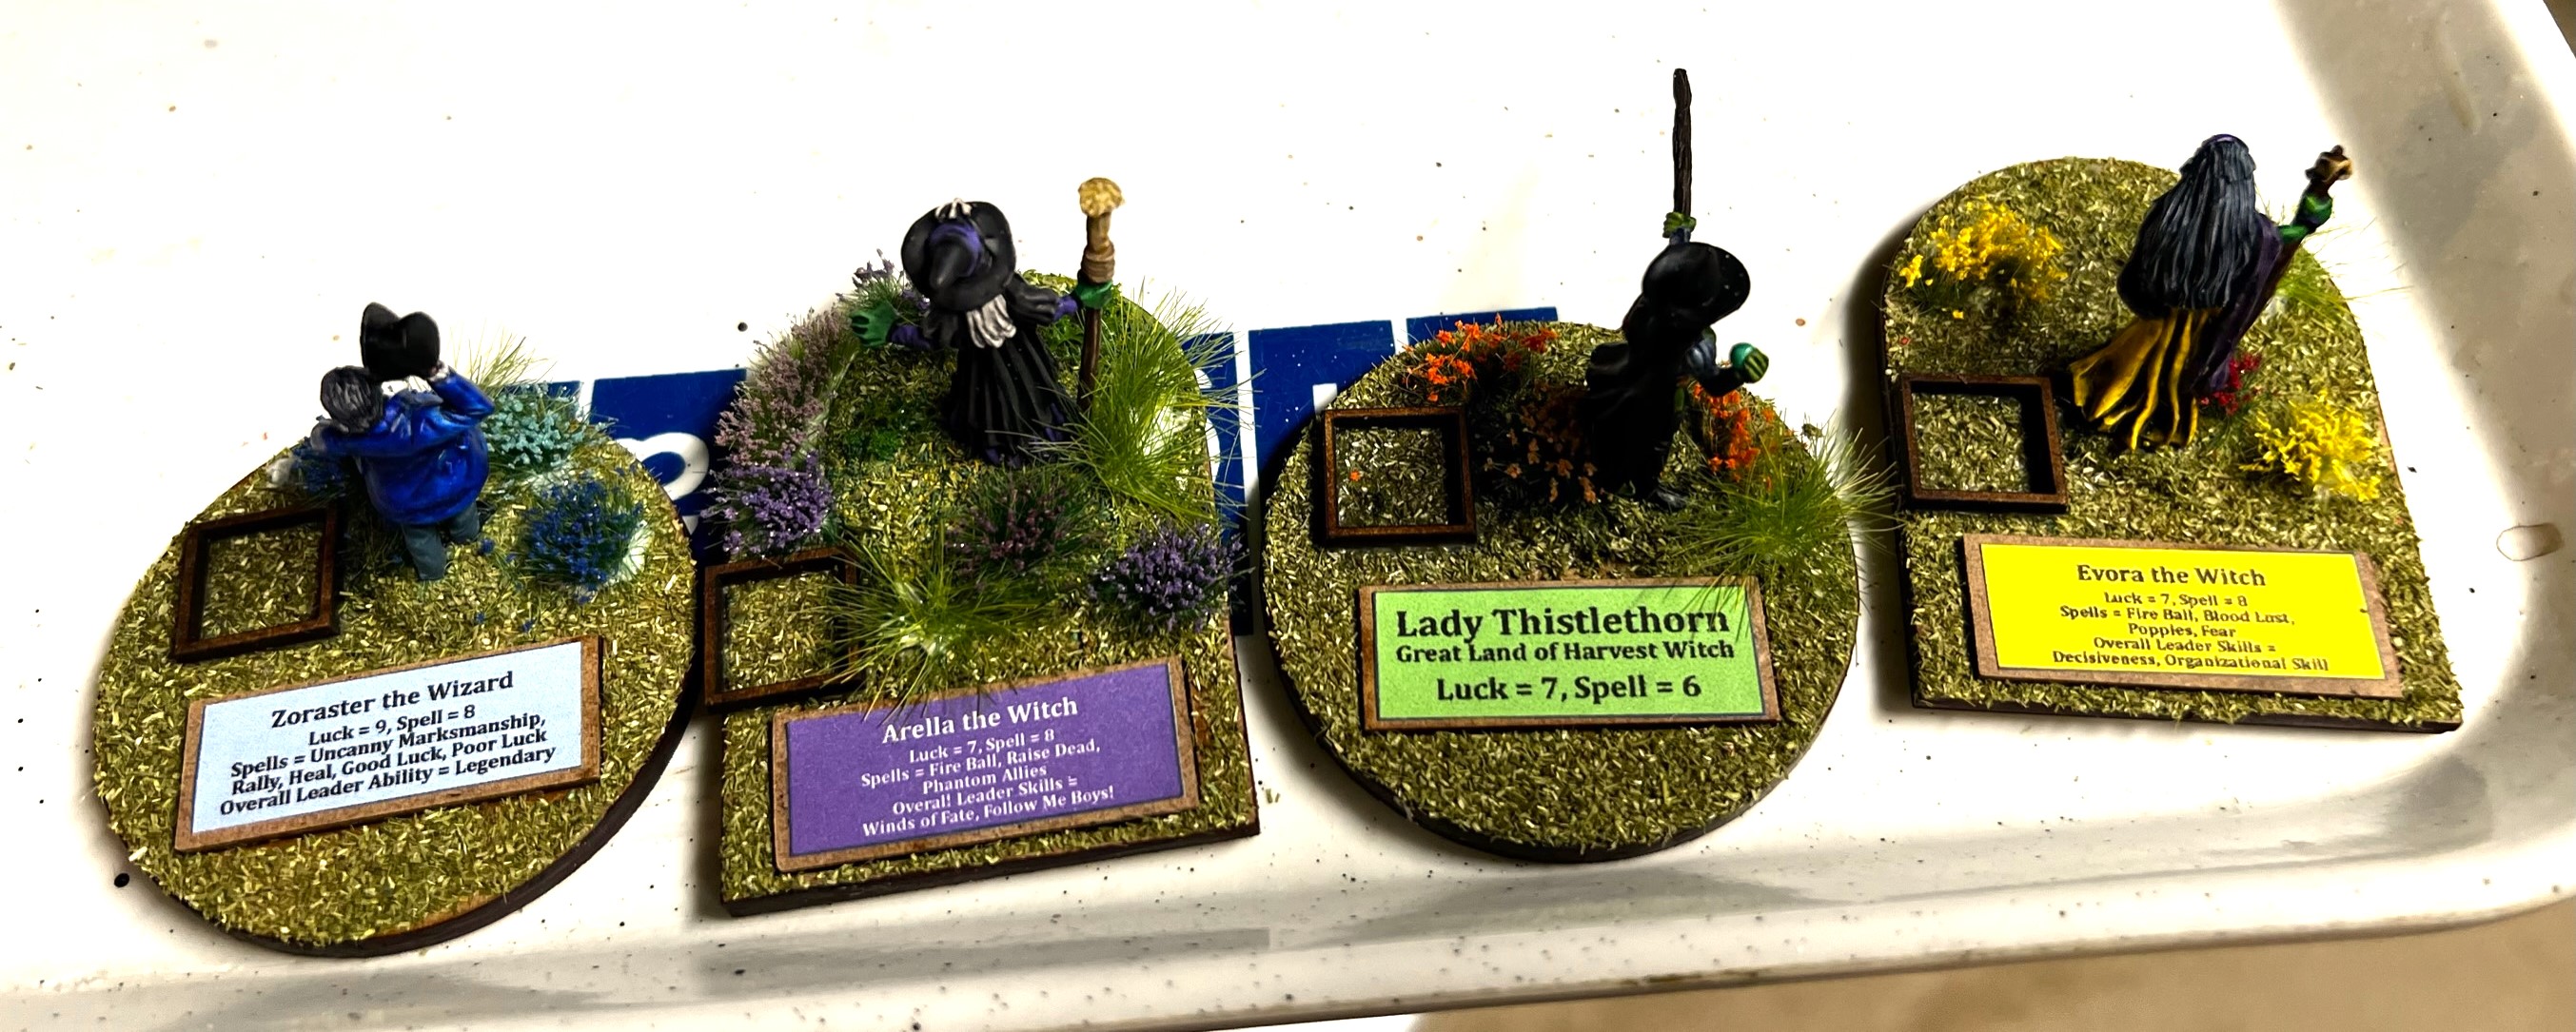
The section goes on to describe how Professor Nitpick has been previously attacked by Evora the Witch, the Empress of the Winkies. Despite their martial prowess, her Winkies were trounced by Nitpick’s forces. Since then, no one has dared to approach the Industrial City to steal its secrets while Nitpick has his army on guard. Yet, in exchange for devices or artifacts, the Professor can be persuaded to join other armies in Ozz with his Mechanical Tin Axemen.
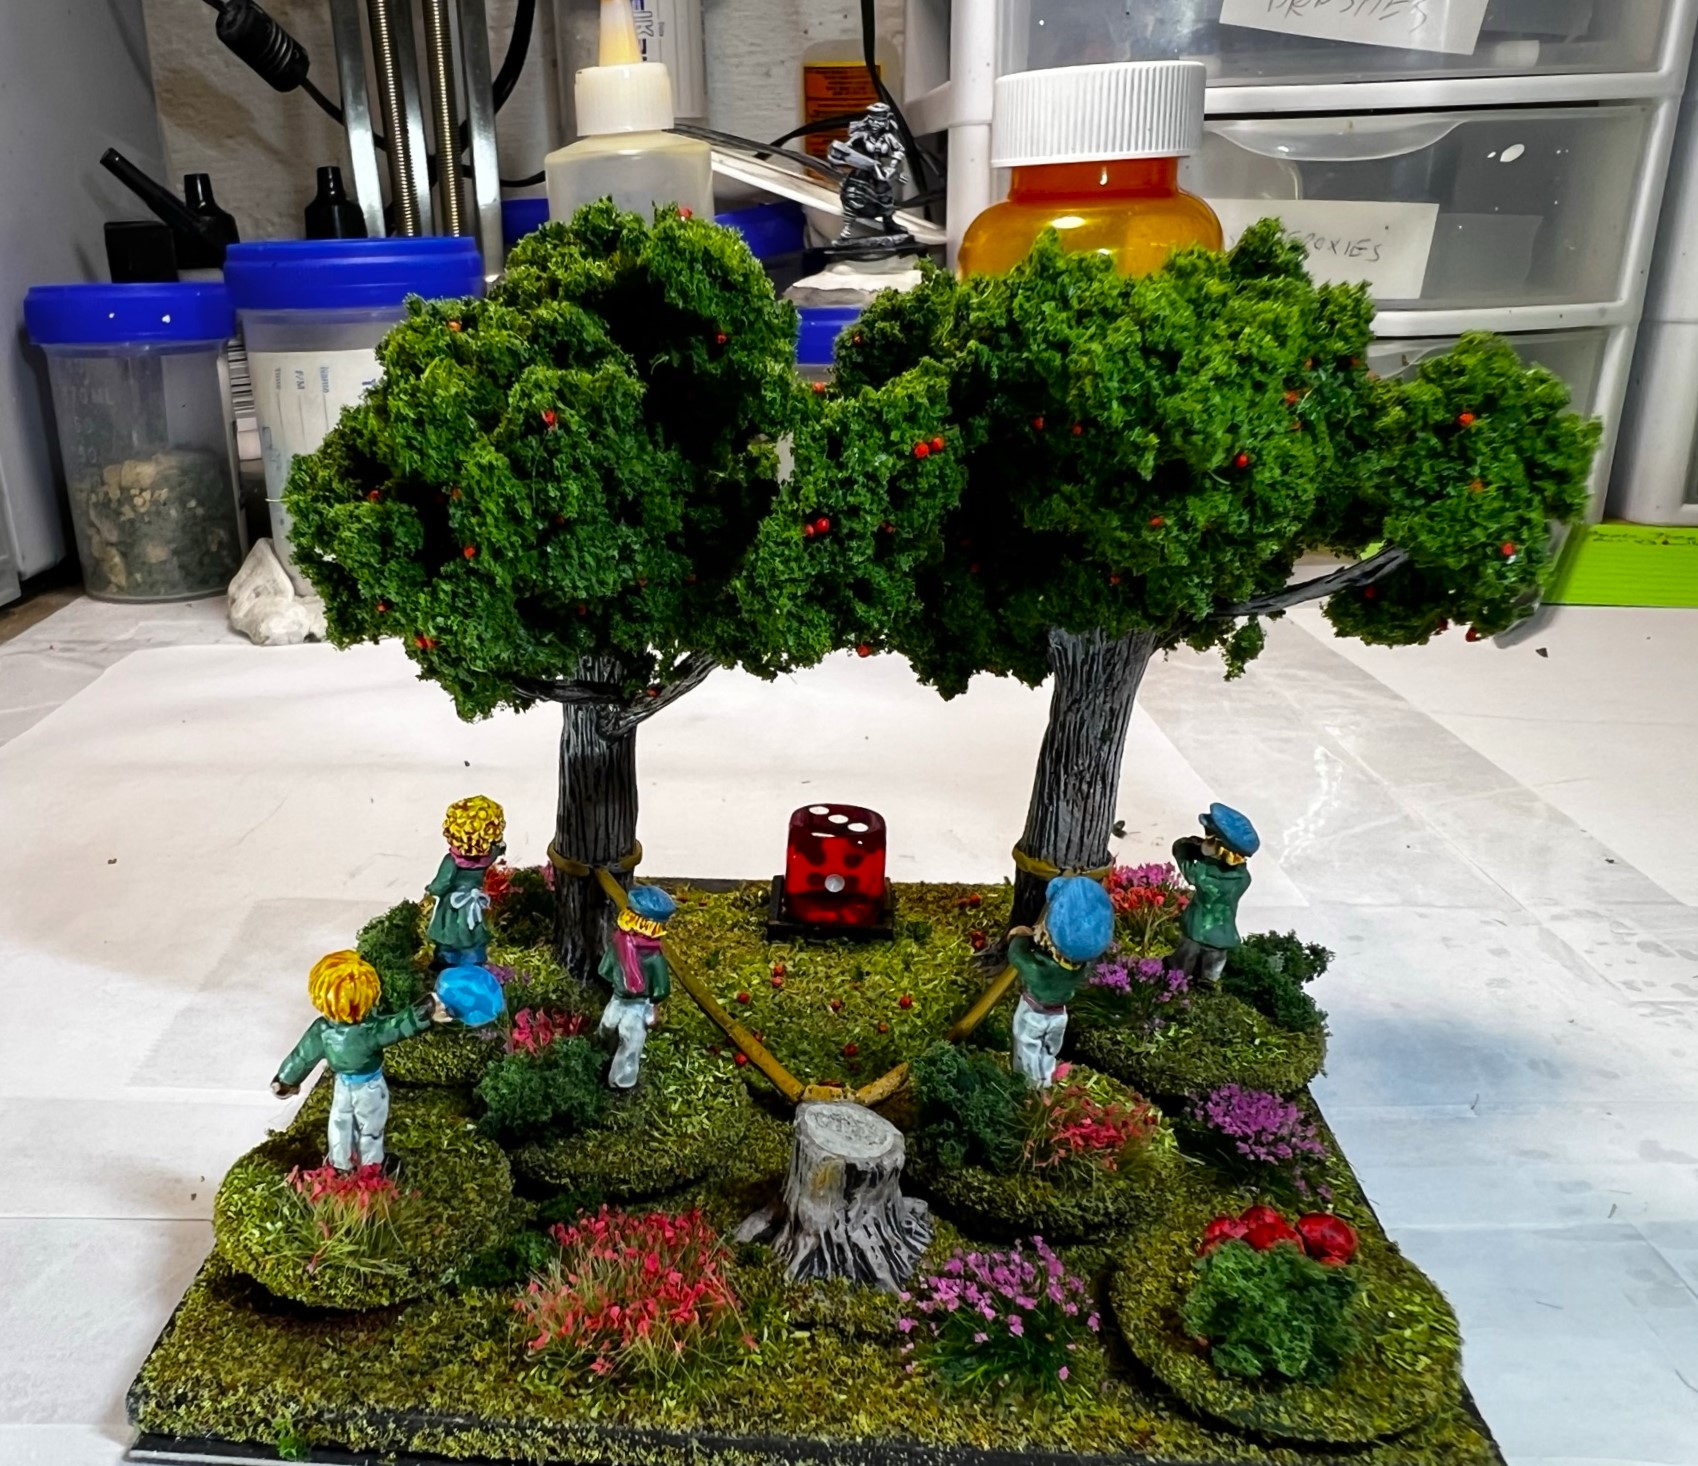
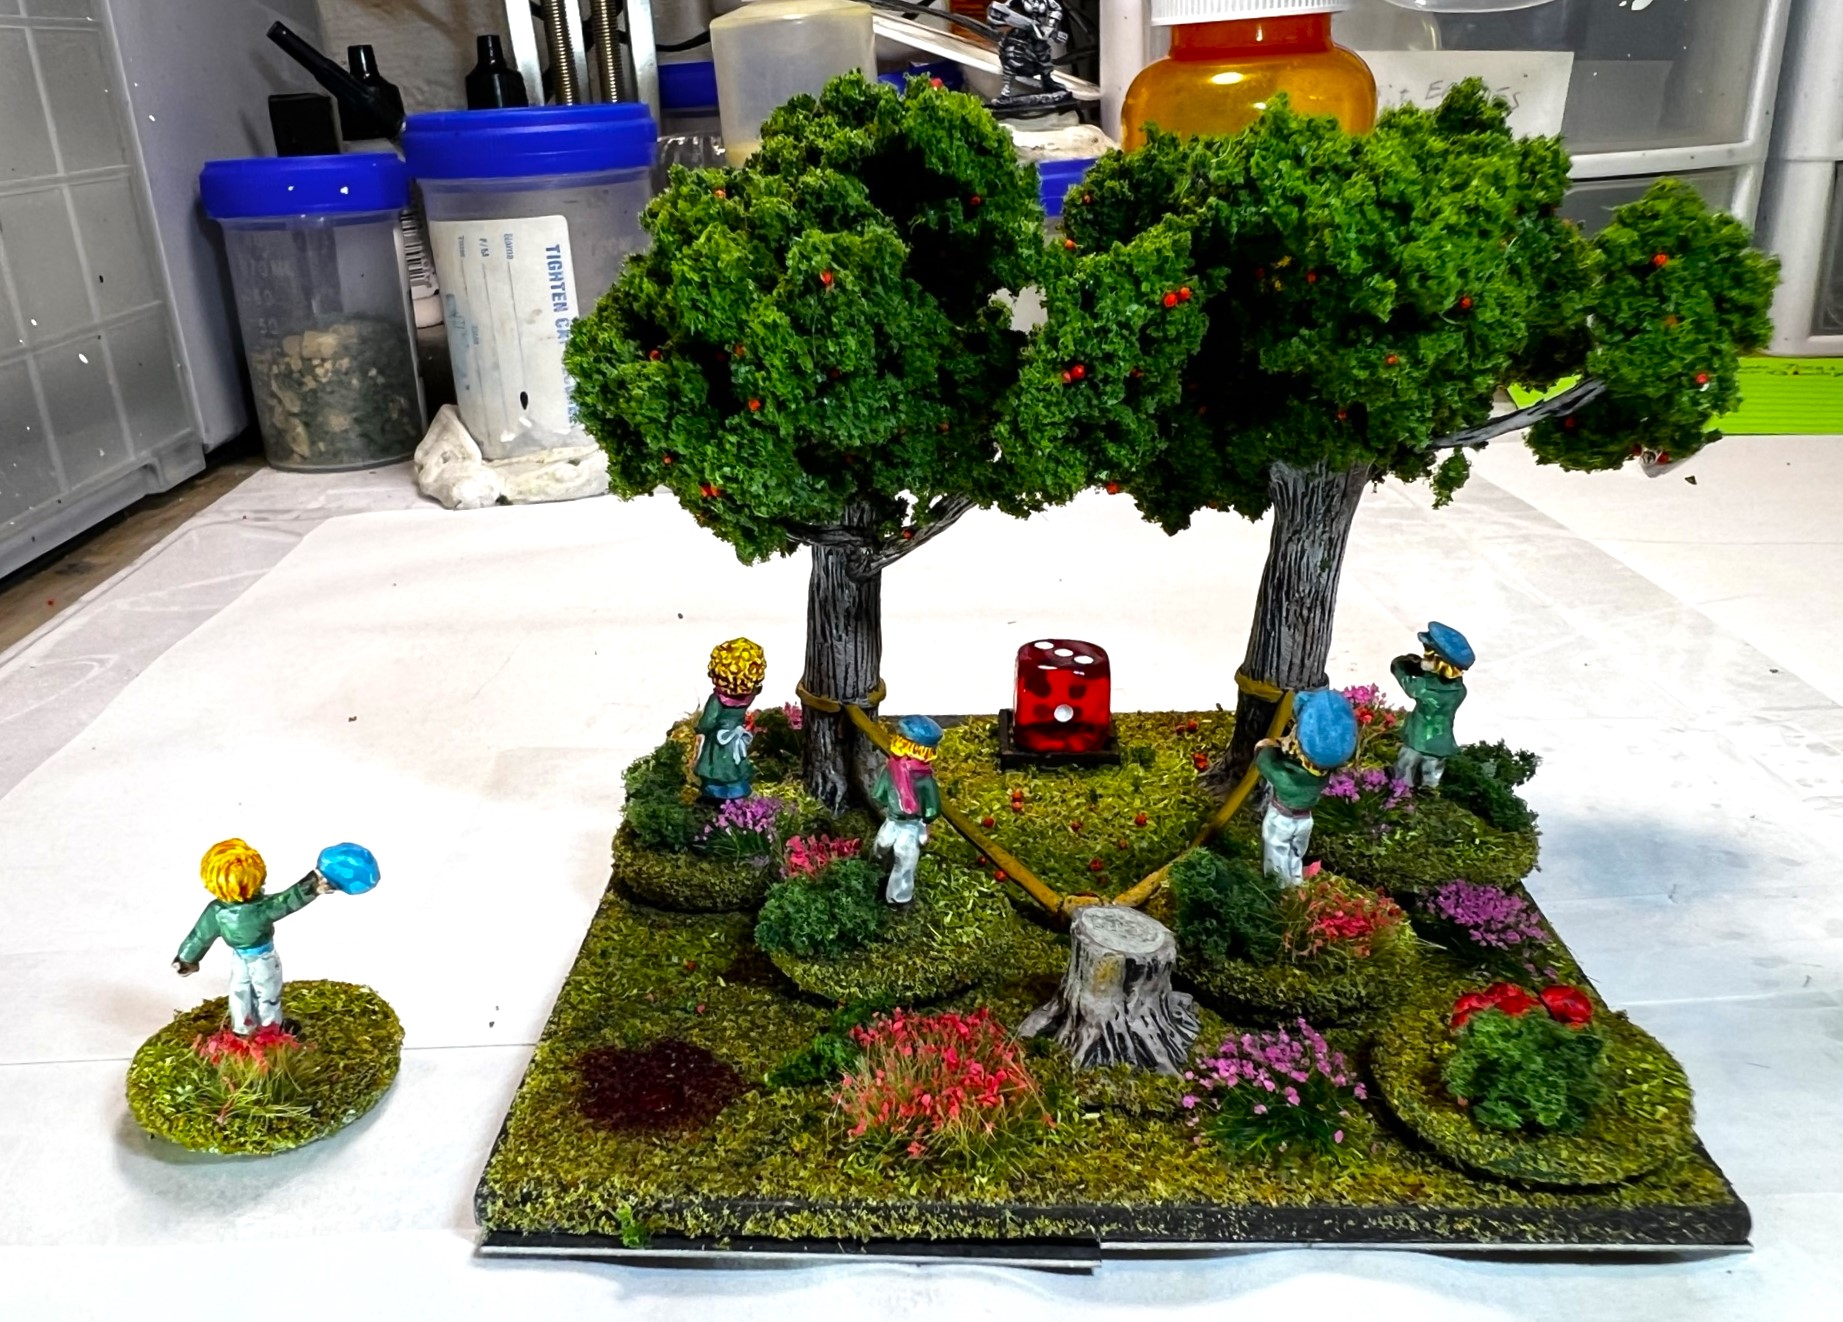
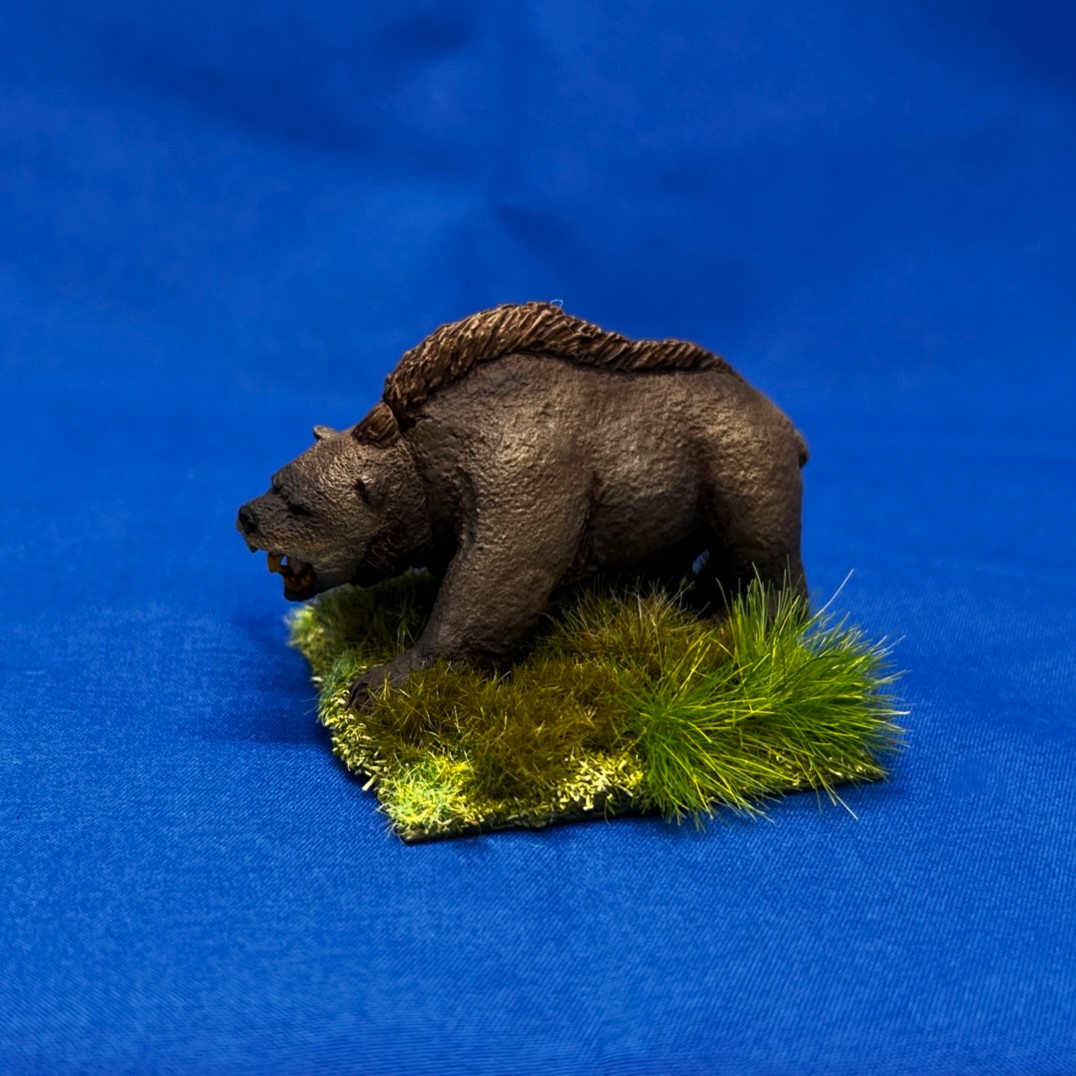
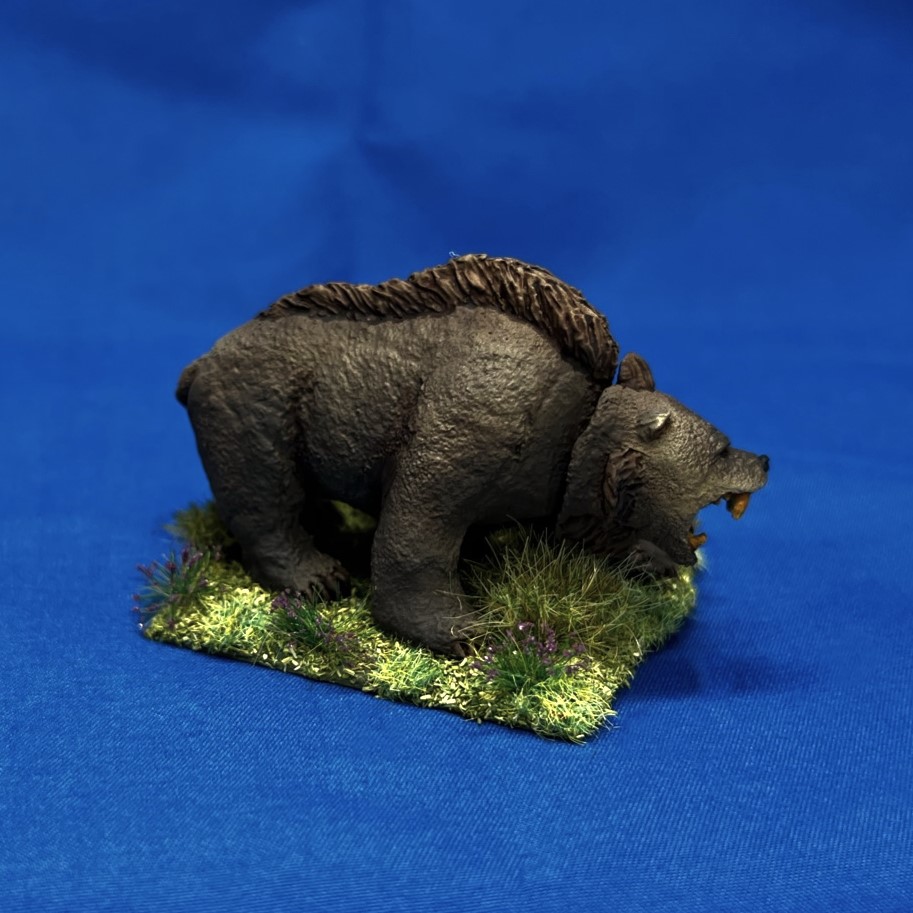
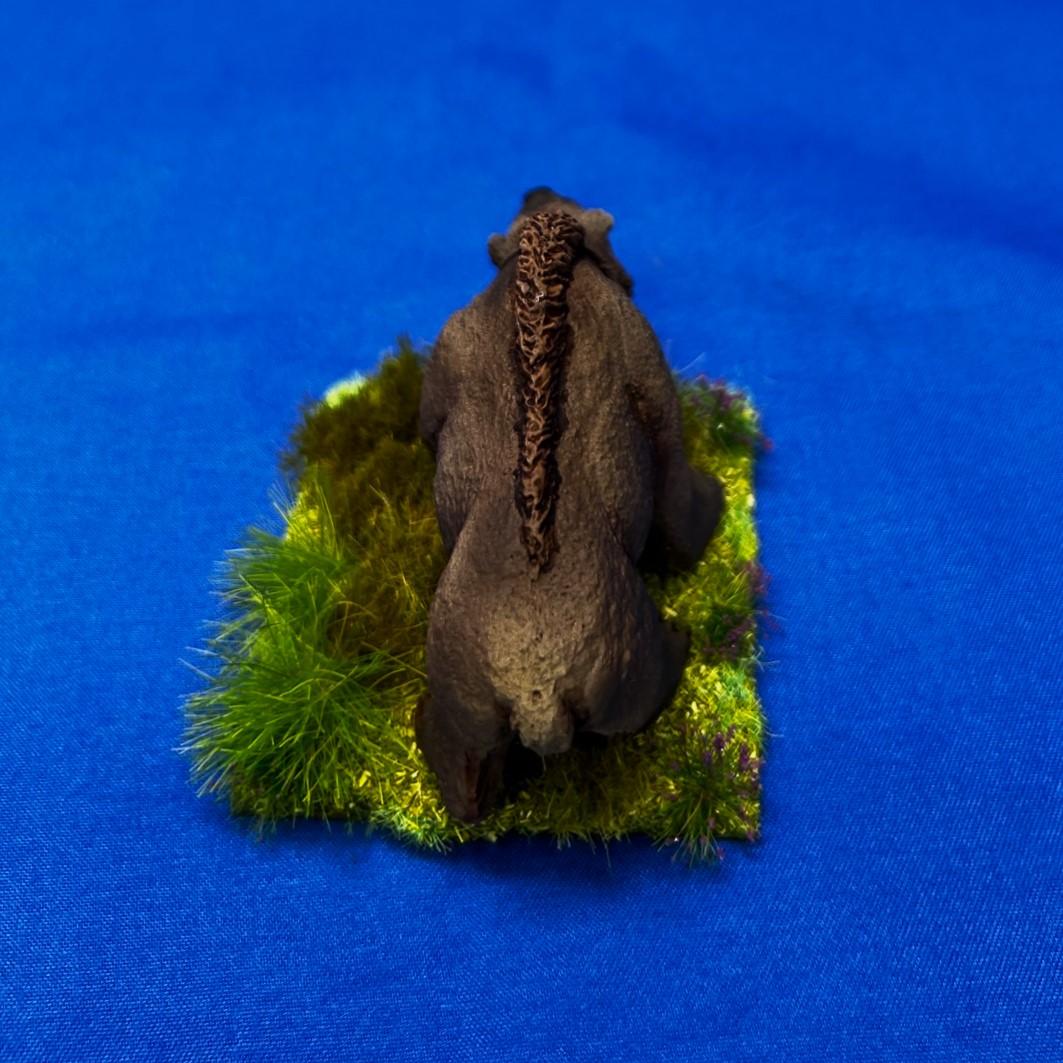
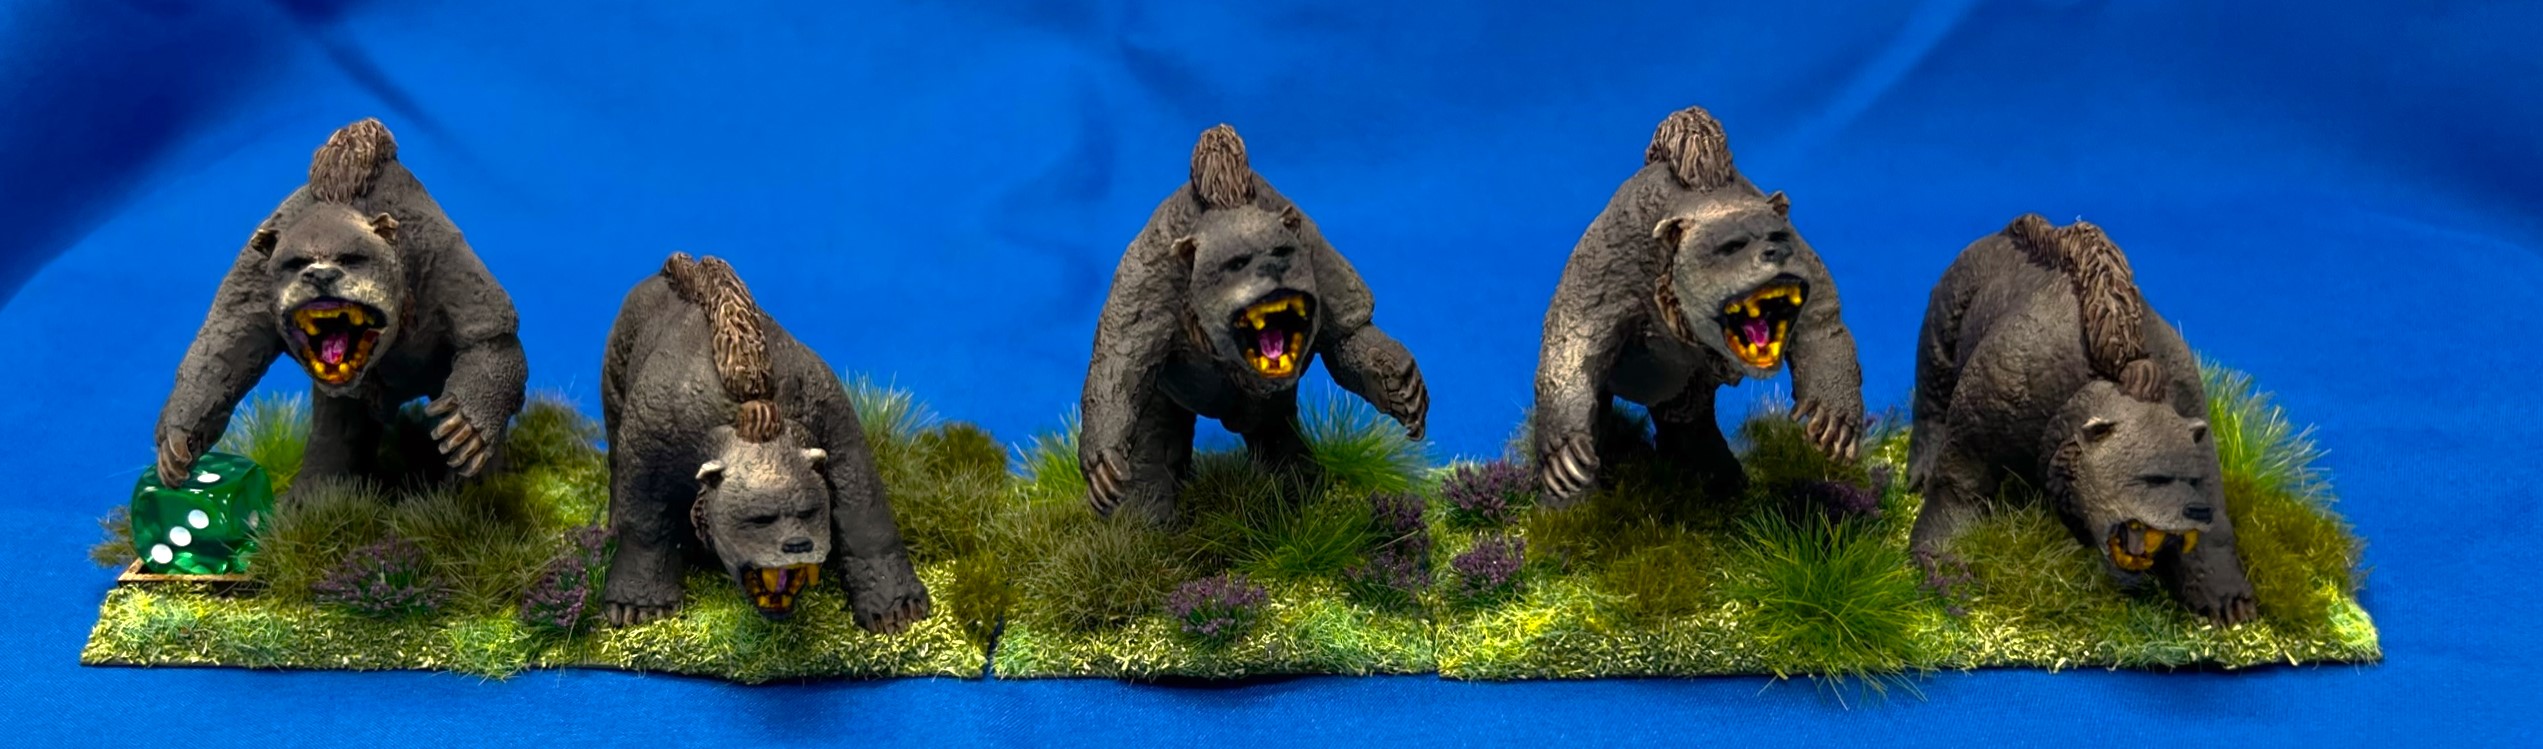
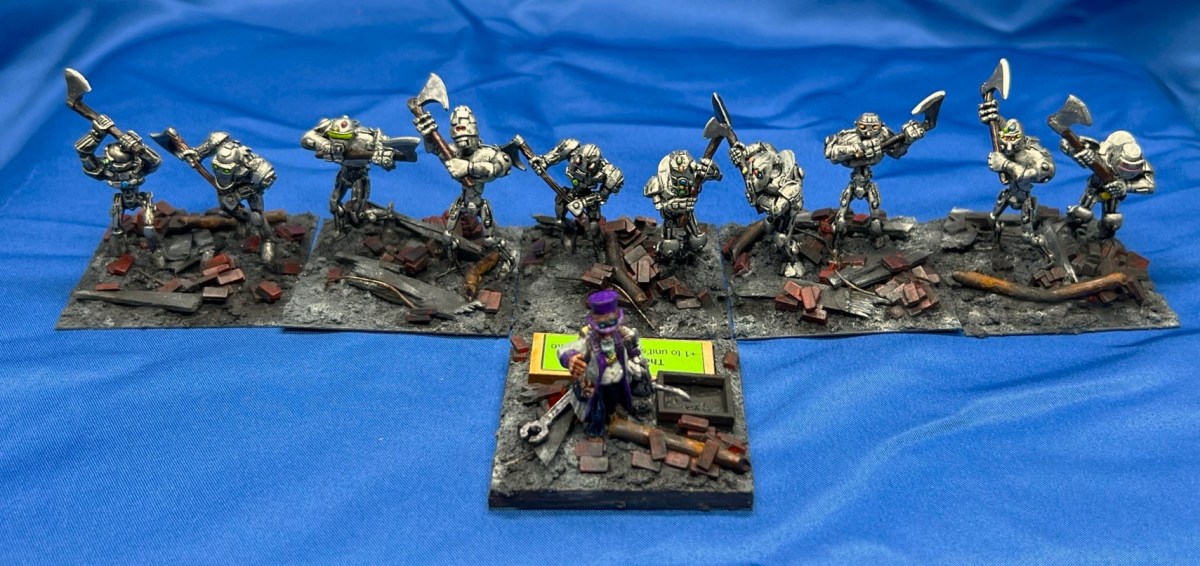
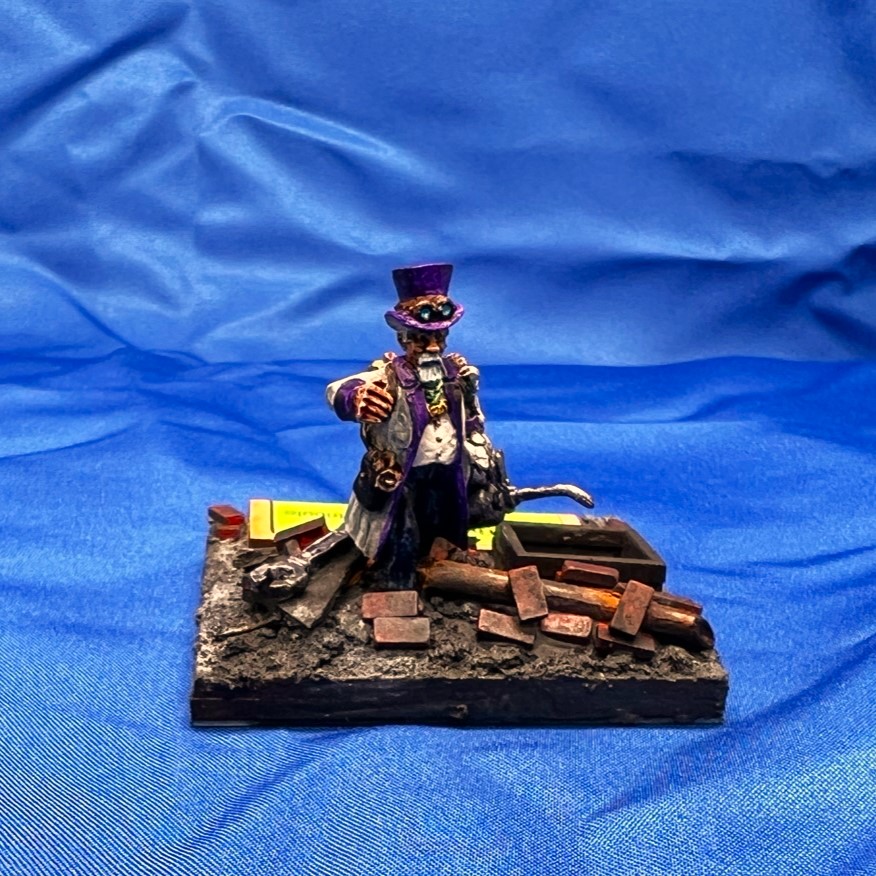
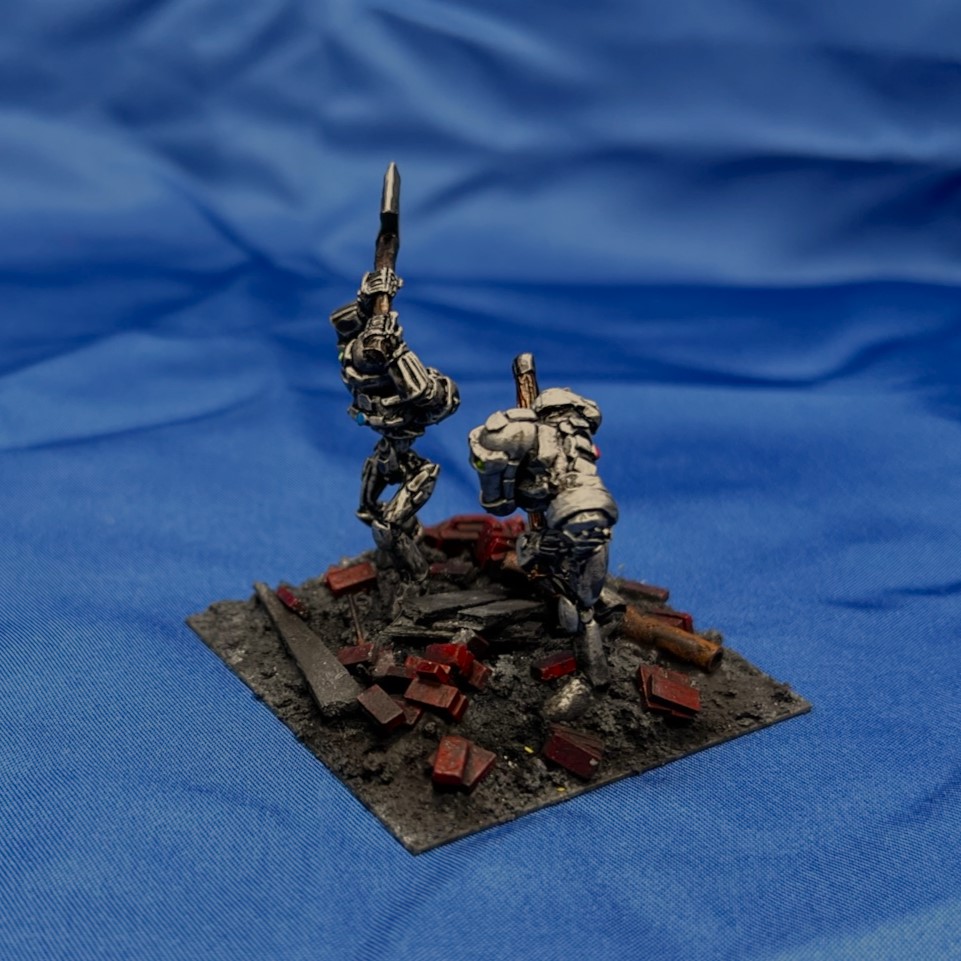
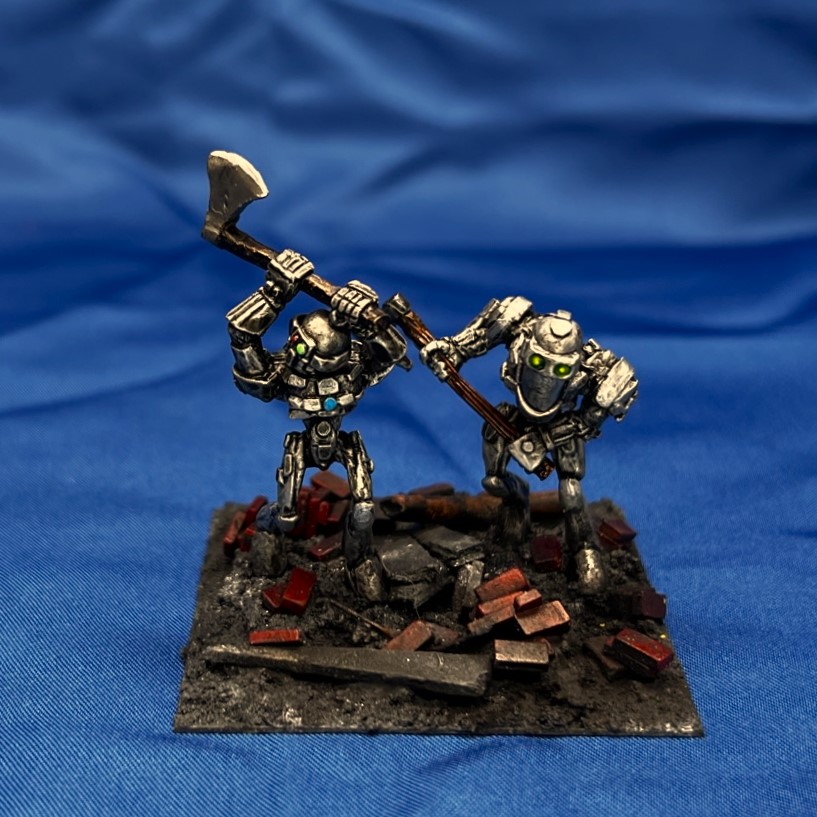
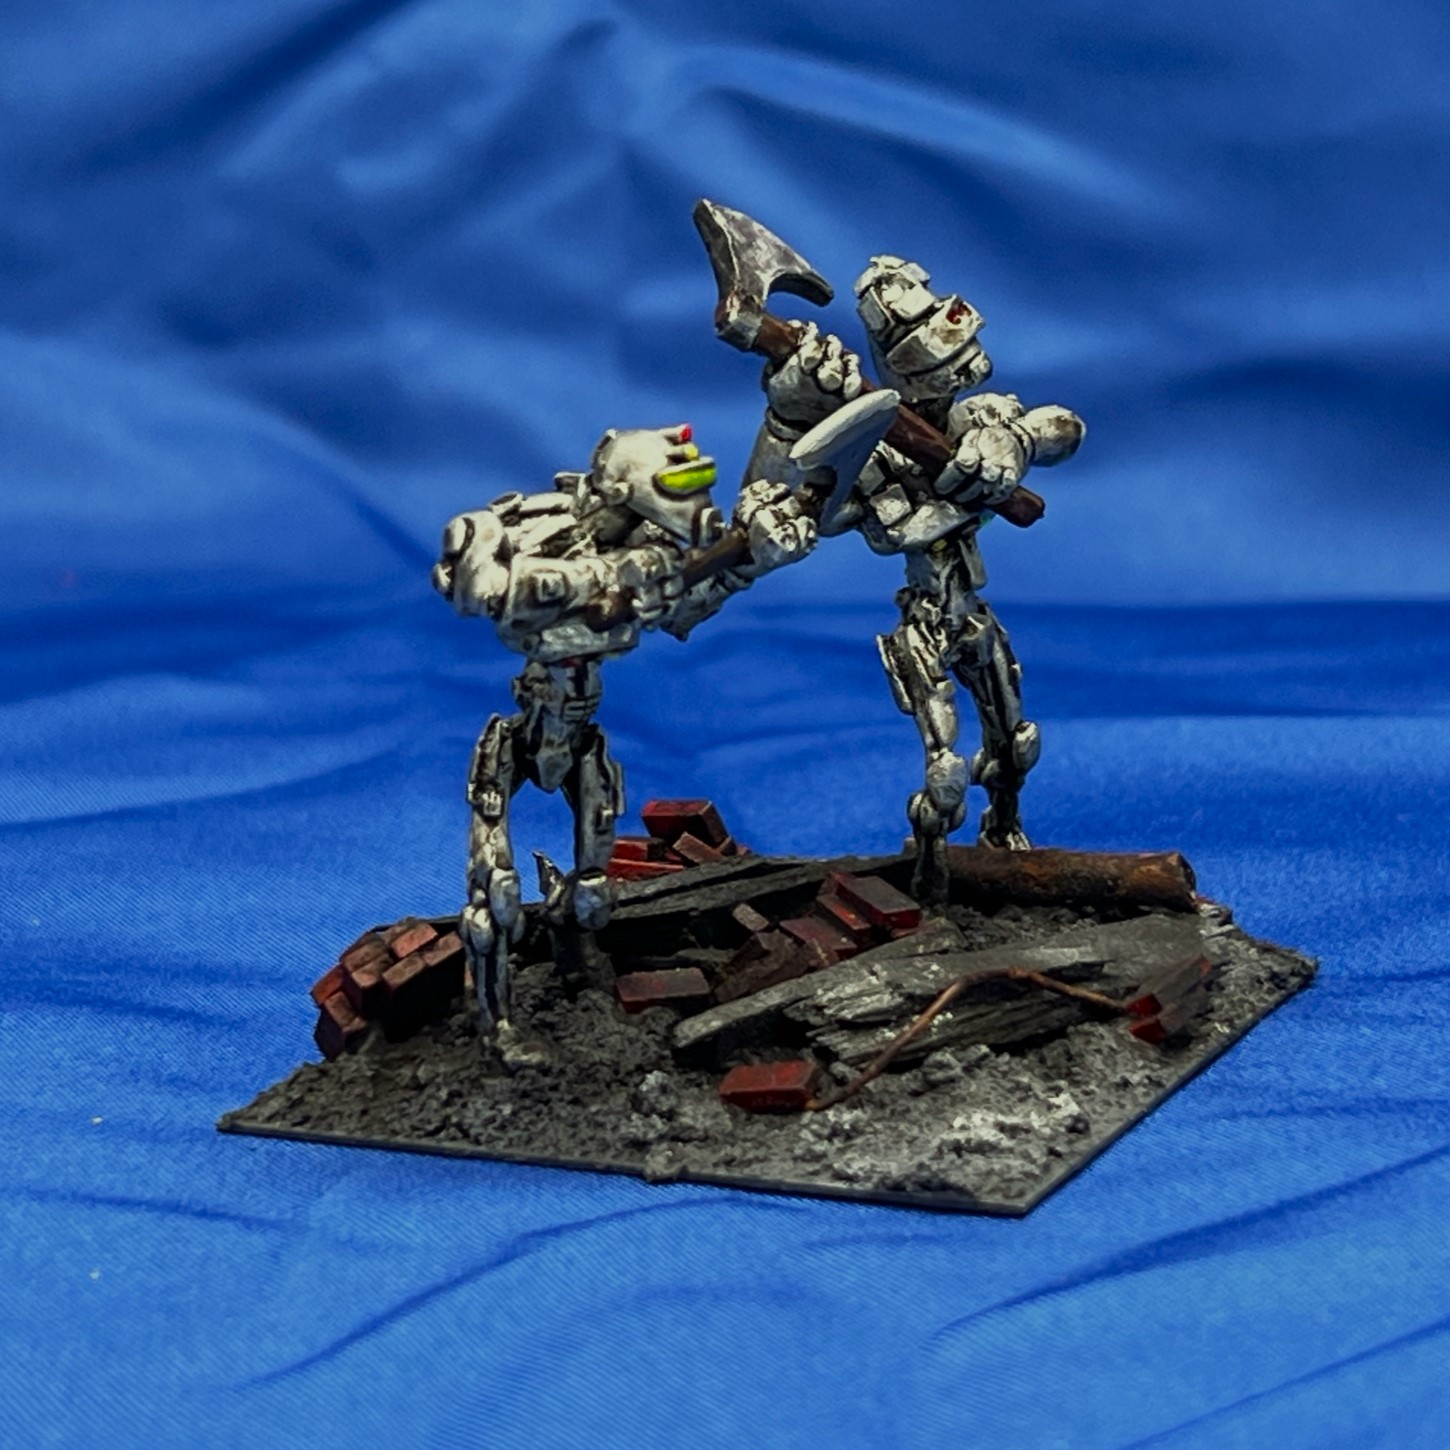
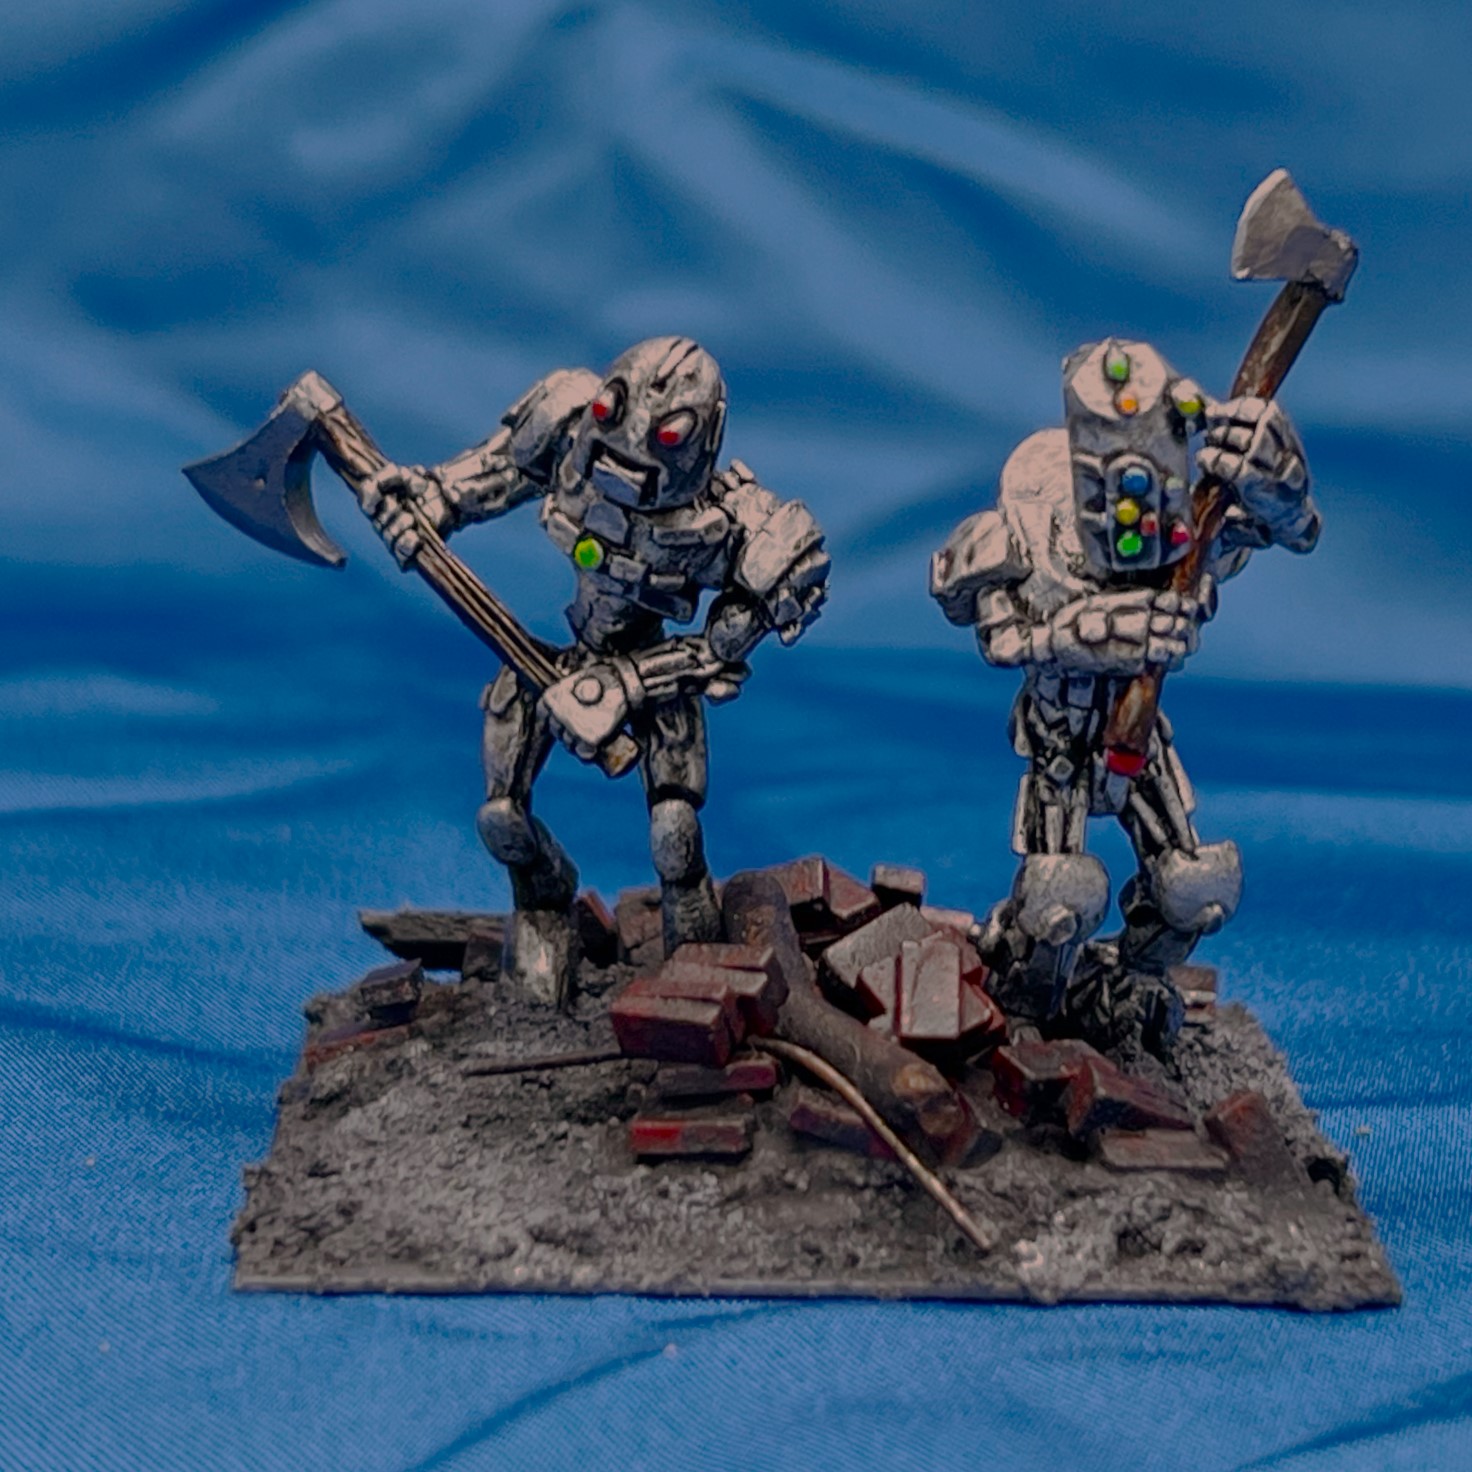
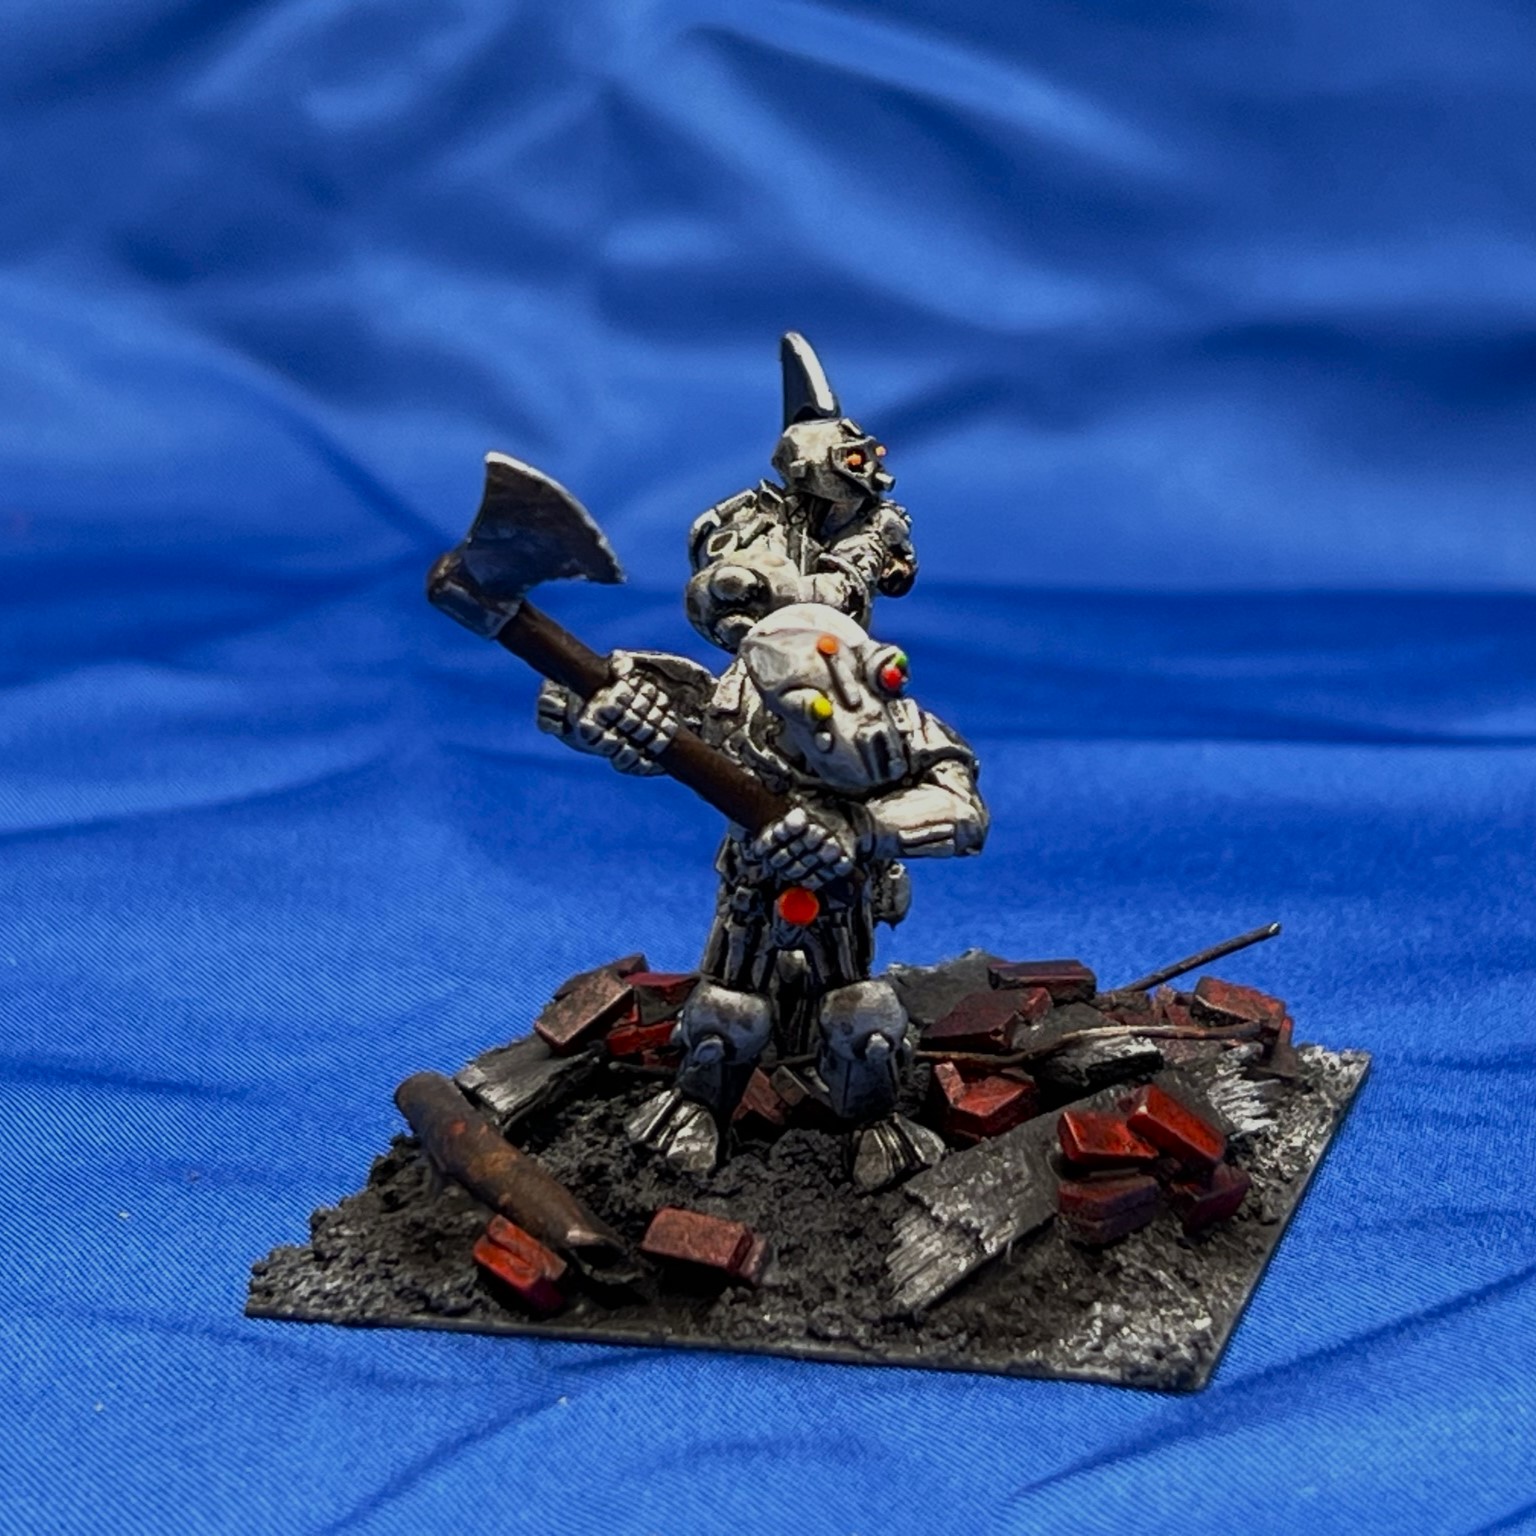
For the SKU Ozz-511, there are 11 figures – with Professor Nitpick as the regimental commander and 10 Axemen. All are metal and 28mm in size. The axemen look like very cool steampunk robots. In the game, they are infantry that, due to their sturdiness, lowers an attacking unit’s melee value by one – reflecting their armored nature.
In the game, the axemen are based 2 apiece to a 2″ square base – so five bases for the Mechanical Tin Axemen regiment plus Nitpick on his own regimental commander MDF base. Some minor assembly was required for the unit other than the basing – such as choosing and affixing which heads you prefer for the axemen (and there are several extra in the kit). The Professor Nitpick figure has an oil can and an oversized wrench. The regiment is exceptionally superb at combat with their axes – with a Melee value of 8/10, a Resolve value of 8/10, and an Elan value of 8/10 as well. The unit costs 6 points.
They are armed with a motley assortment of axes. As I have with other units, I based them so as to mix and match the poses and the figure types such that no two bases of the five were identical. I gave the Axemen the shaded metallic look similar to my Archive Warbots.
I definitely wanted them to appear as if they were truly in the ruined Industrial City in accordance with the Ozz canon (as opposed to the Oz of Baum). While that means that their bases will differ visually on the tabletop from grassland terrain and other typical Ozz terrain, I thought it appropriate to their origin and nature. To that end, as shown below, I added broken bricks, wooden debris, rusted pipes, and twisted rebar to this regiment’s bases. It was fun to do these bases with this theme as it’s been a while since I painted anything even close to it.
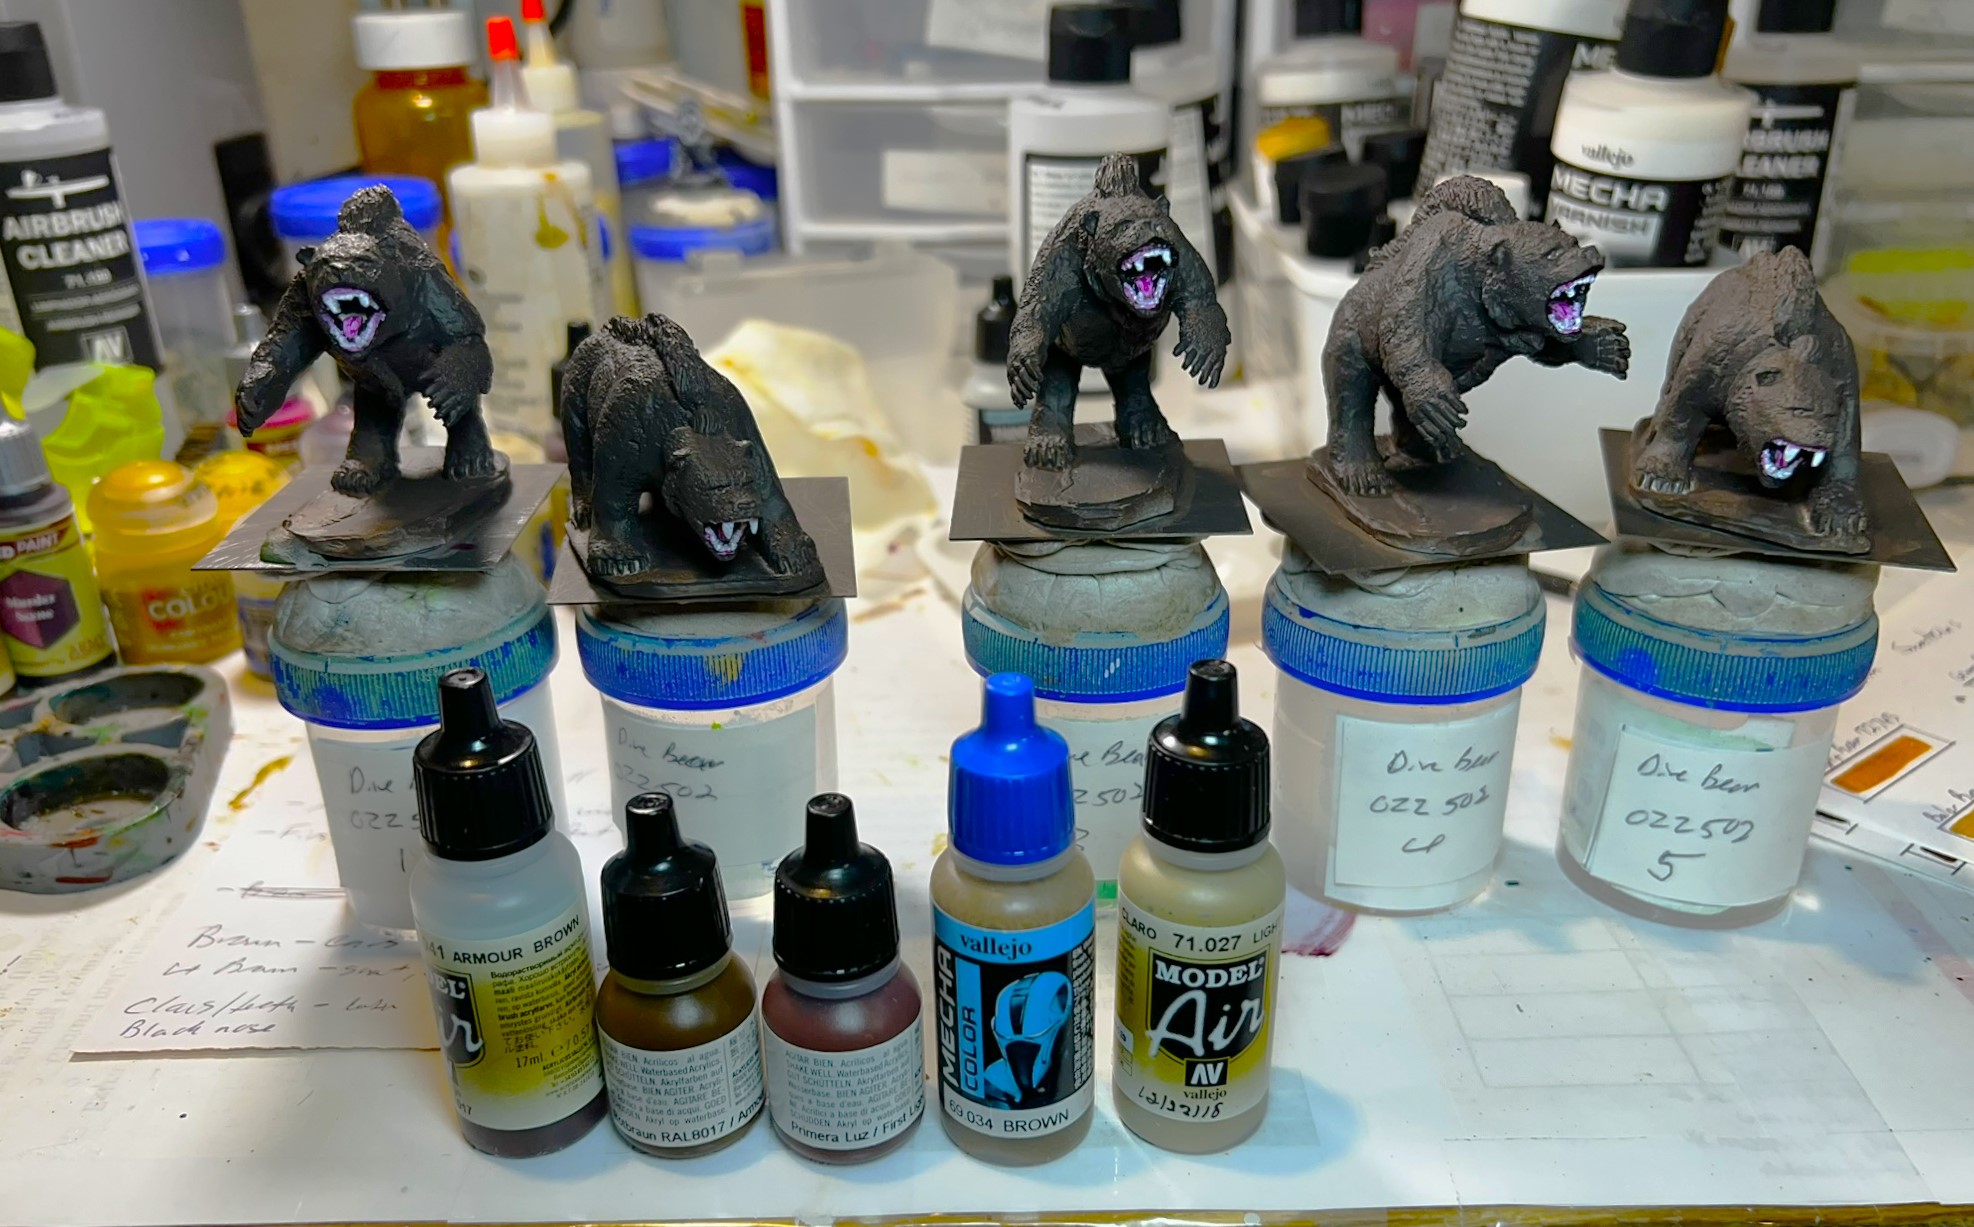
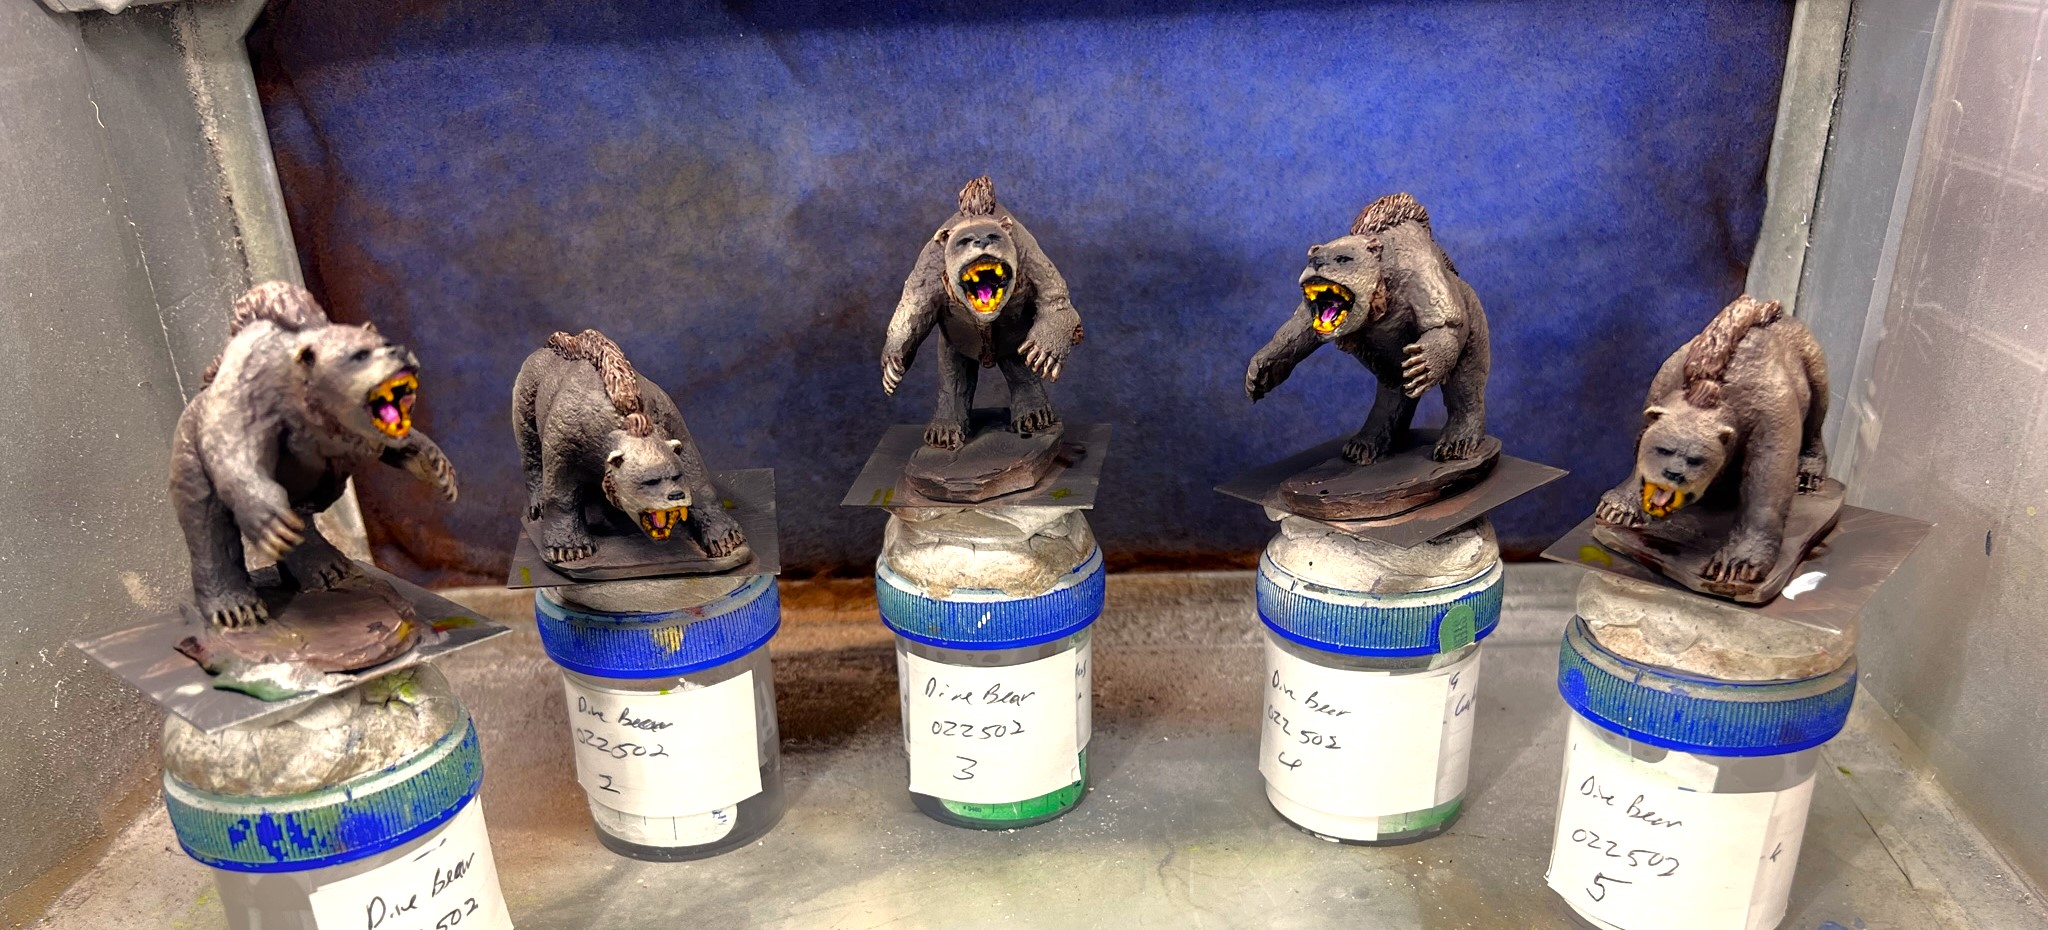
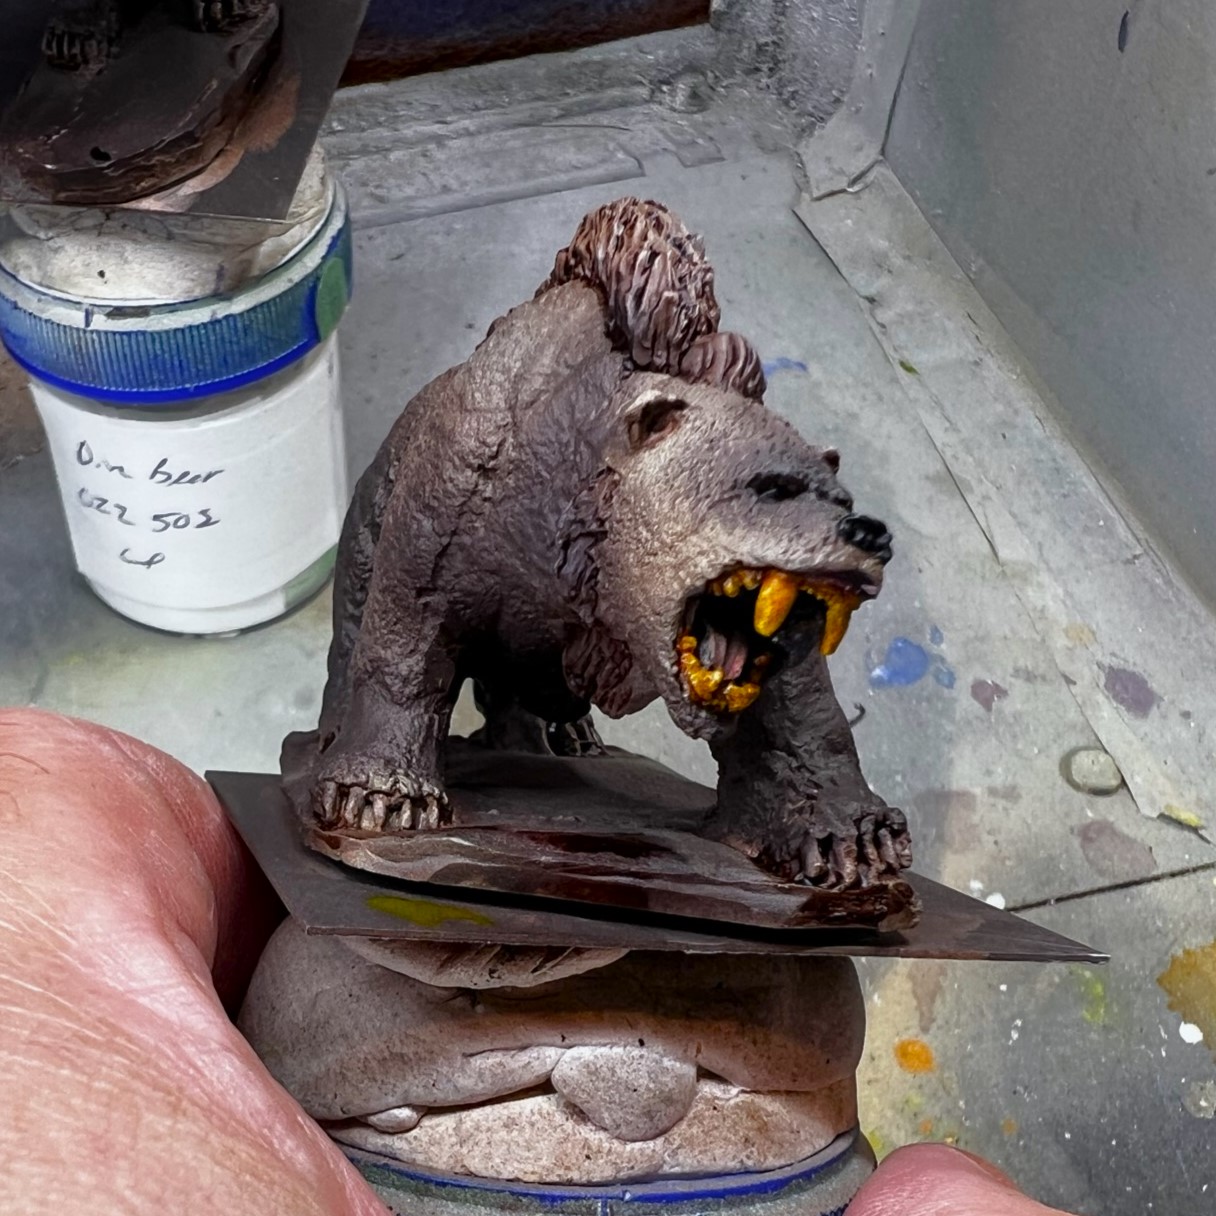
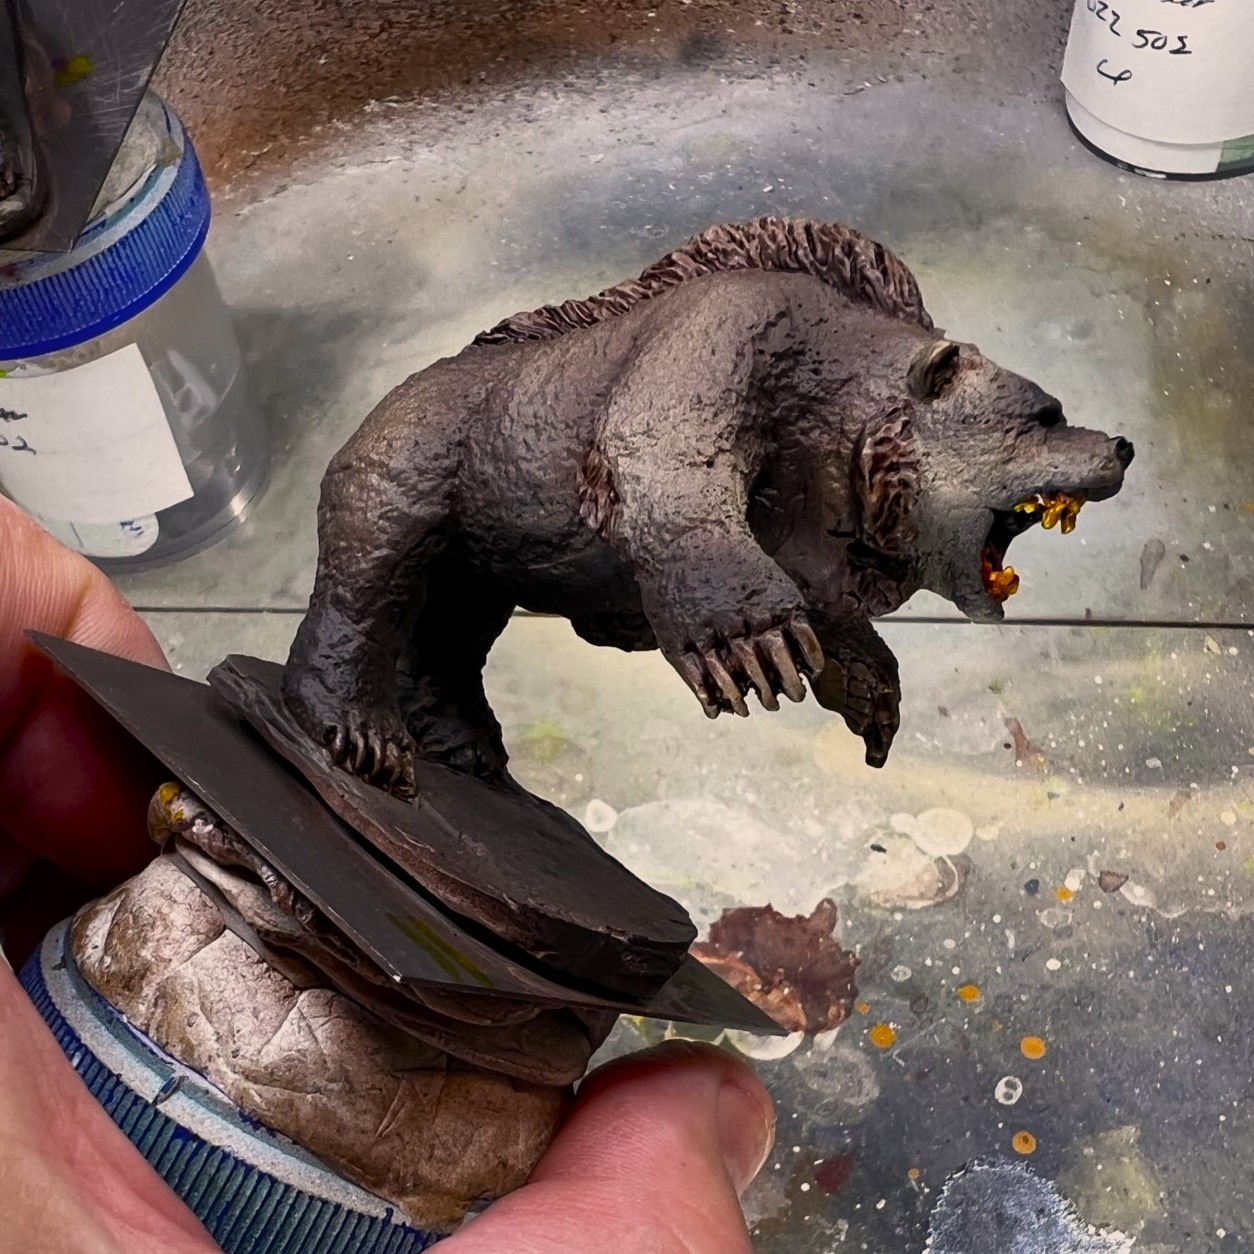
Let’s see some WIP shots and some more pics below!
WIP shots…


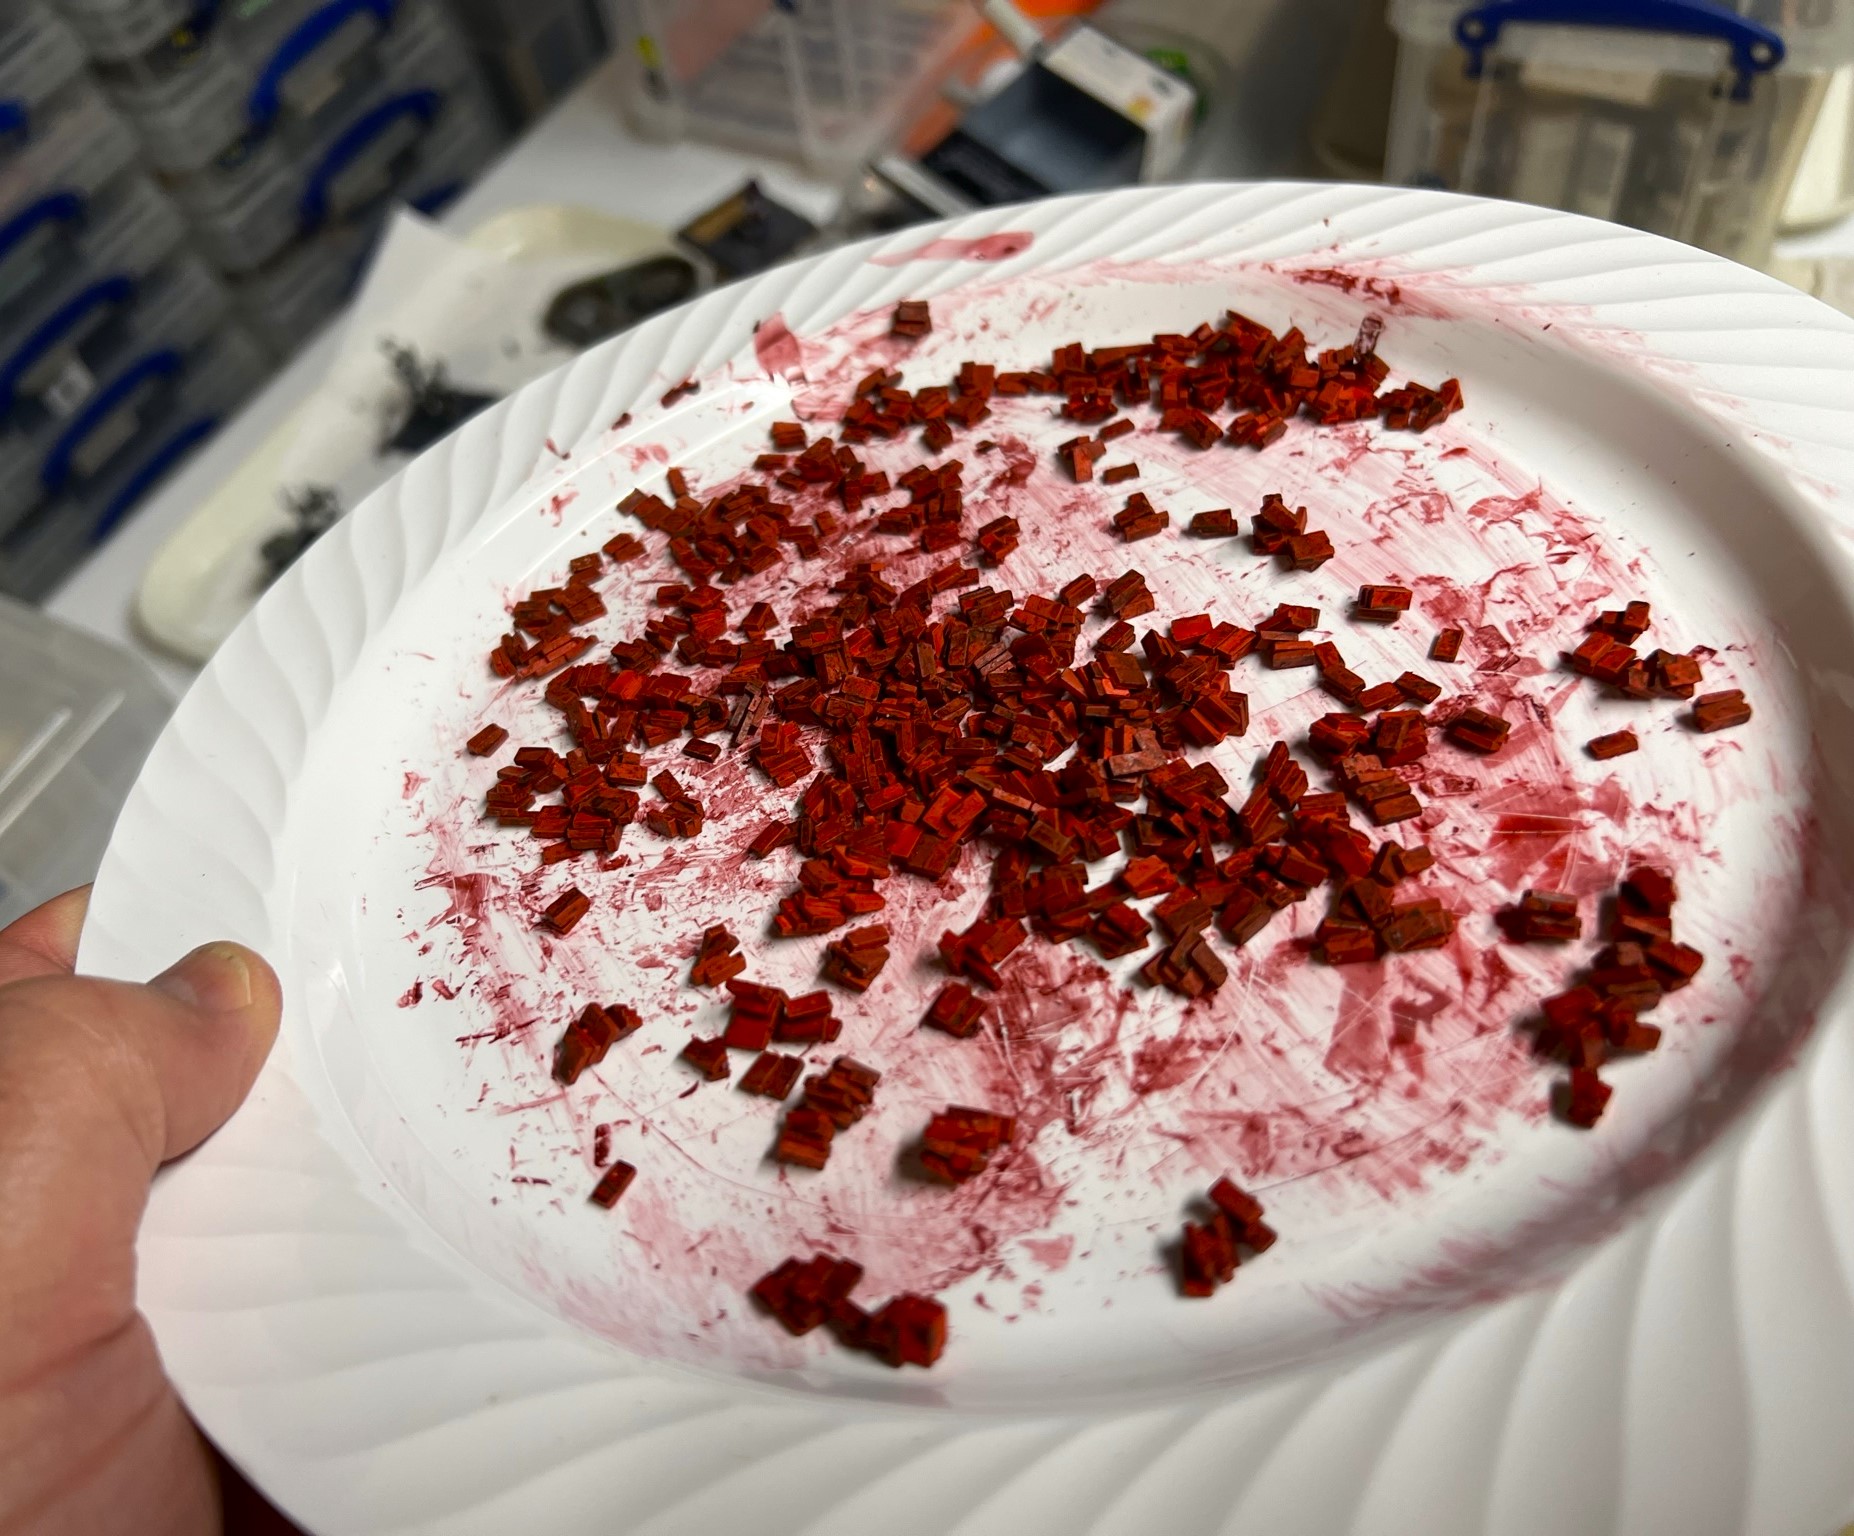
As for the bases, I had some bricks that I saw on The Imperfect Modeller’s blog. At least that is my memory – Dave may have just told me about them at some point. I bought some of these Juweela® 1:48/1:50 scale terracotta bricks a few years ago on Noble Knight games – in anticipation of a future need that I might have for rubble. And here the need for rubble had indeed arrived!

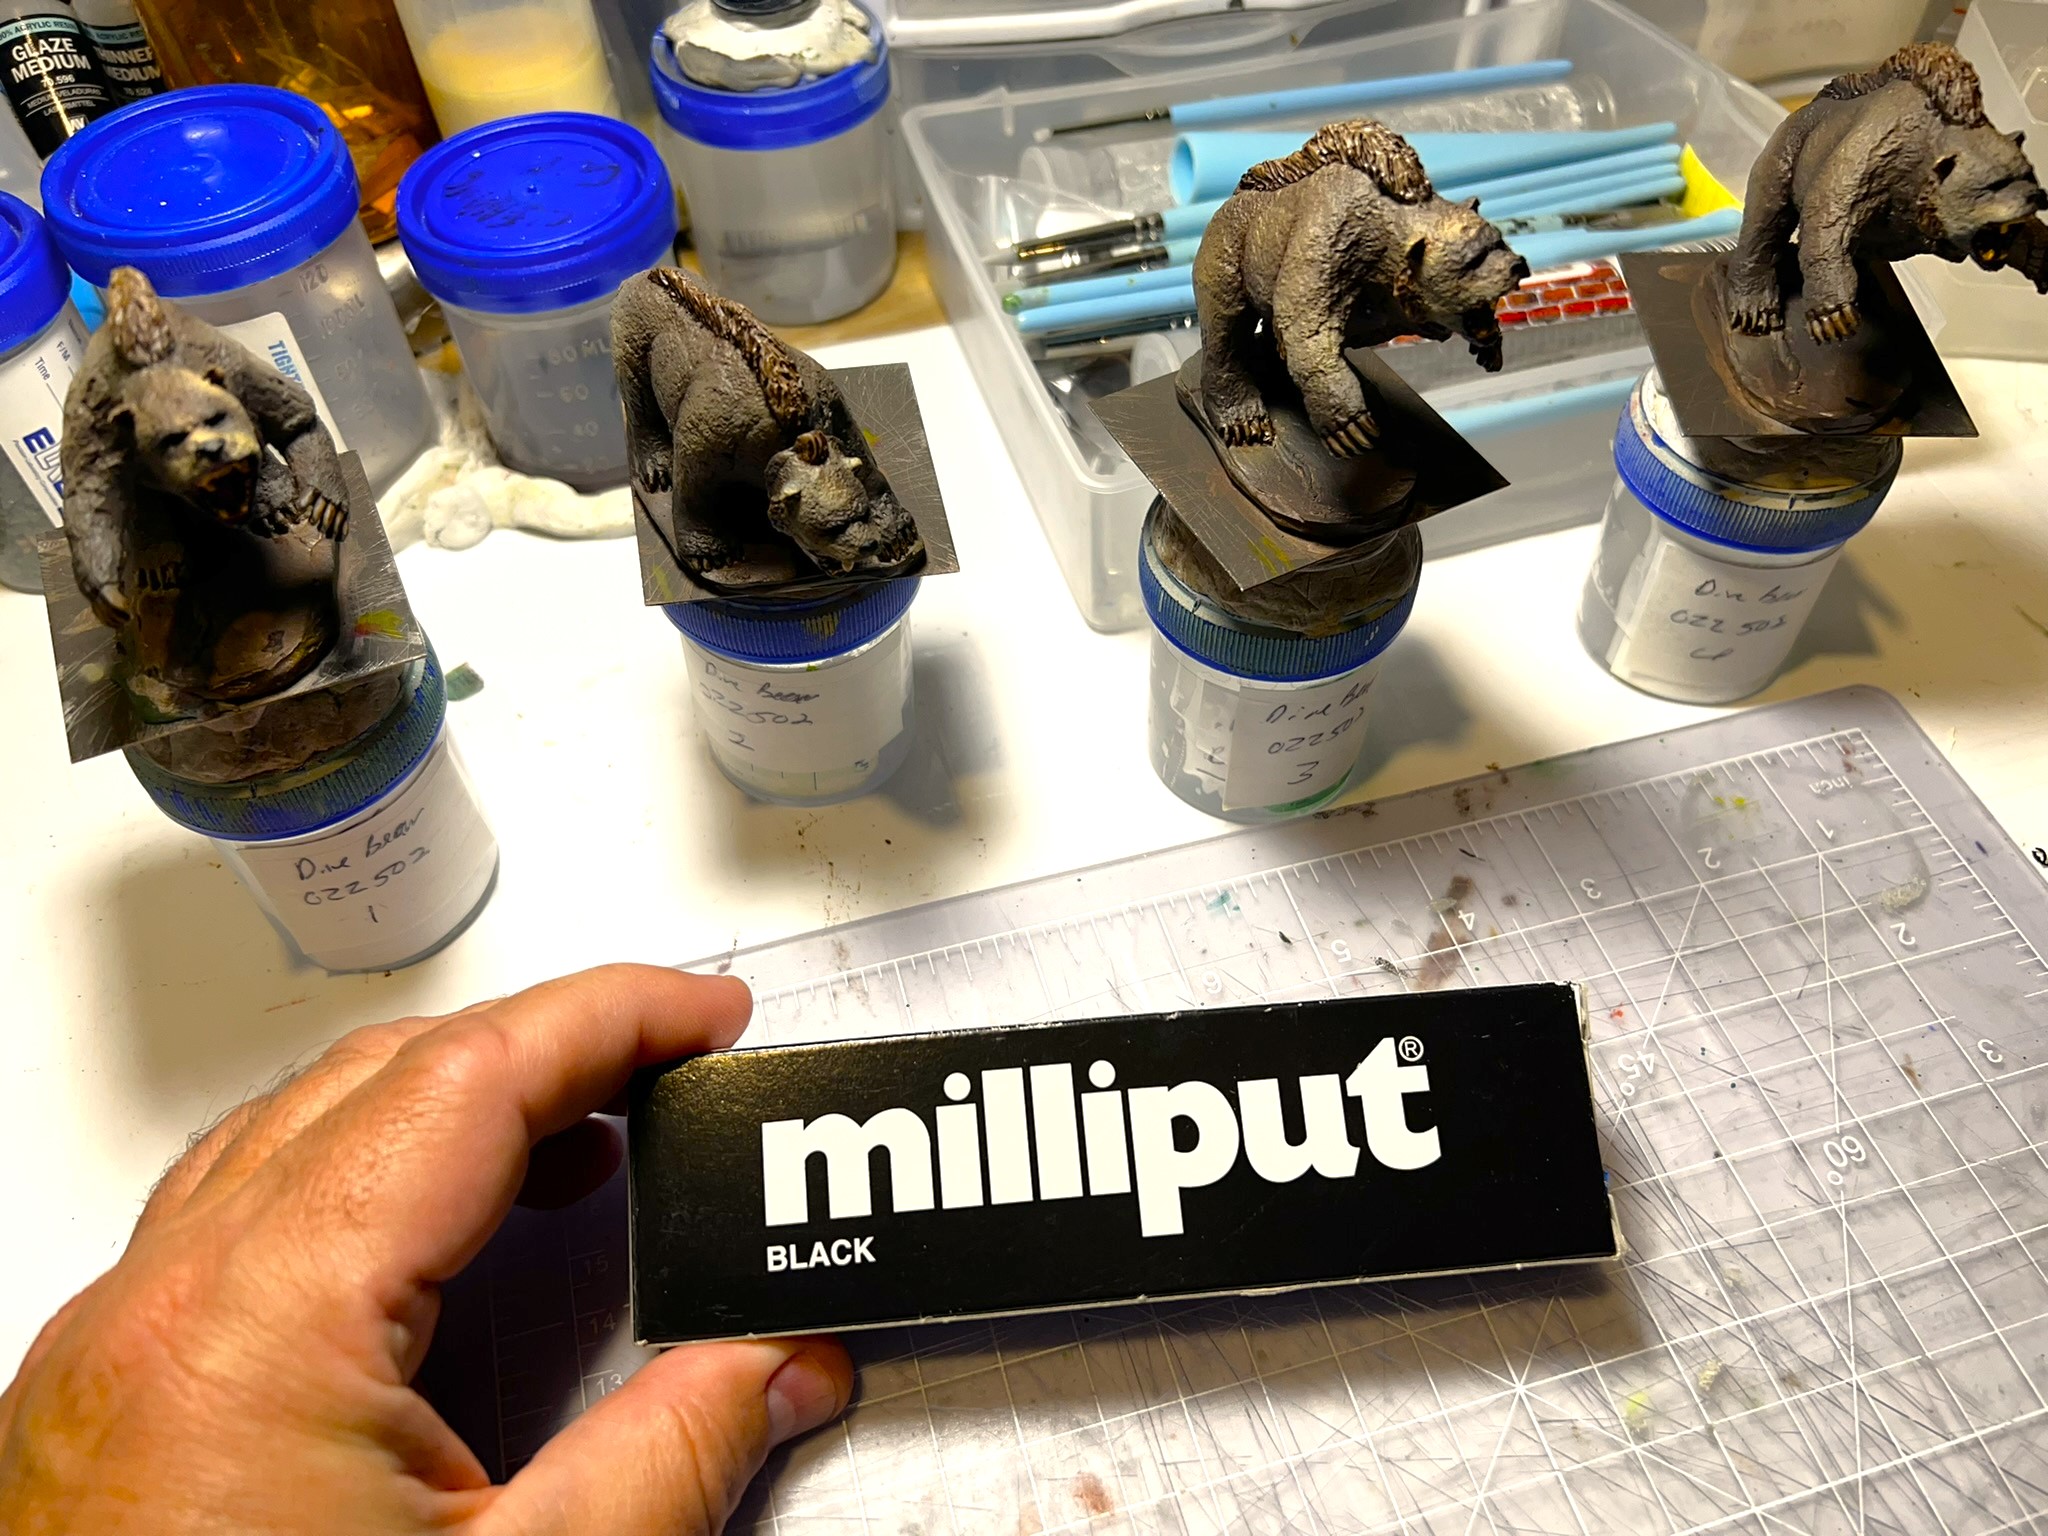
I took one of my old specimen jars that I use for mounting figures to paint the bricks (and btw contrary to any other assertions (Guru), my specimen jars are never used for actual specimens!!).
I dumped all of the 1,000 bricks in (no I did not count them) and added in red ink. I then swirled the bricks around in the jar before dumping them all out helter skelter on plastic plates. After having spread the bricks out, I let them dry – and they were indeed clumped together in a very rubble-like fashion. Perfect – and later I would give them a red-black ink treatment to boot to age the bricks and vary their color a bit.

Then, I moved onto making some twisted rusty rebar and crushed and rusty pipes. I took some paper clip wire for the former and some plastic tubing for the latter, bending aand crushing both as needed. I then swirled the both of them in a specimen jar with some iron paint (Army Painter Warpaints “Rough Iron”) and some rust washes (Vallejo Mecha Weathering “Rust Texture” and Vallejo Mecha Weathering “Dark Rust Wash”). As with the bricks, I dumped them out on a plastic plate to dry – moving them around so that they did not stick to the plate. As before, pigment additions would come later. For those interested, I do list all of the paints and more that I used on this project at the end of the post.

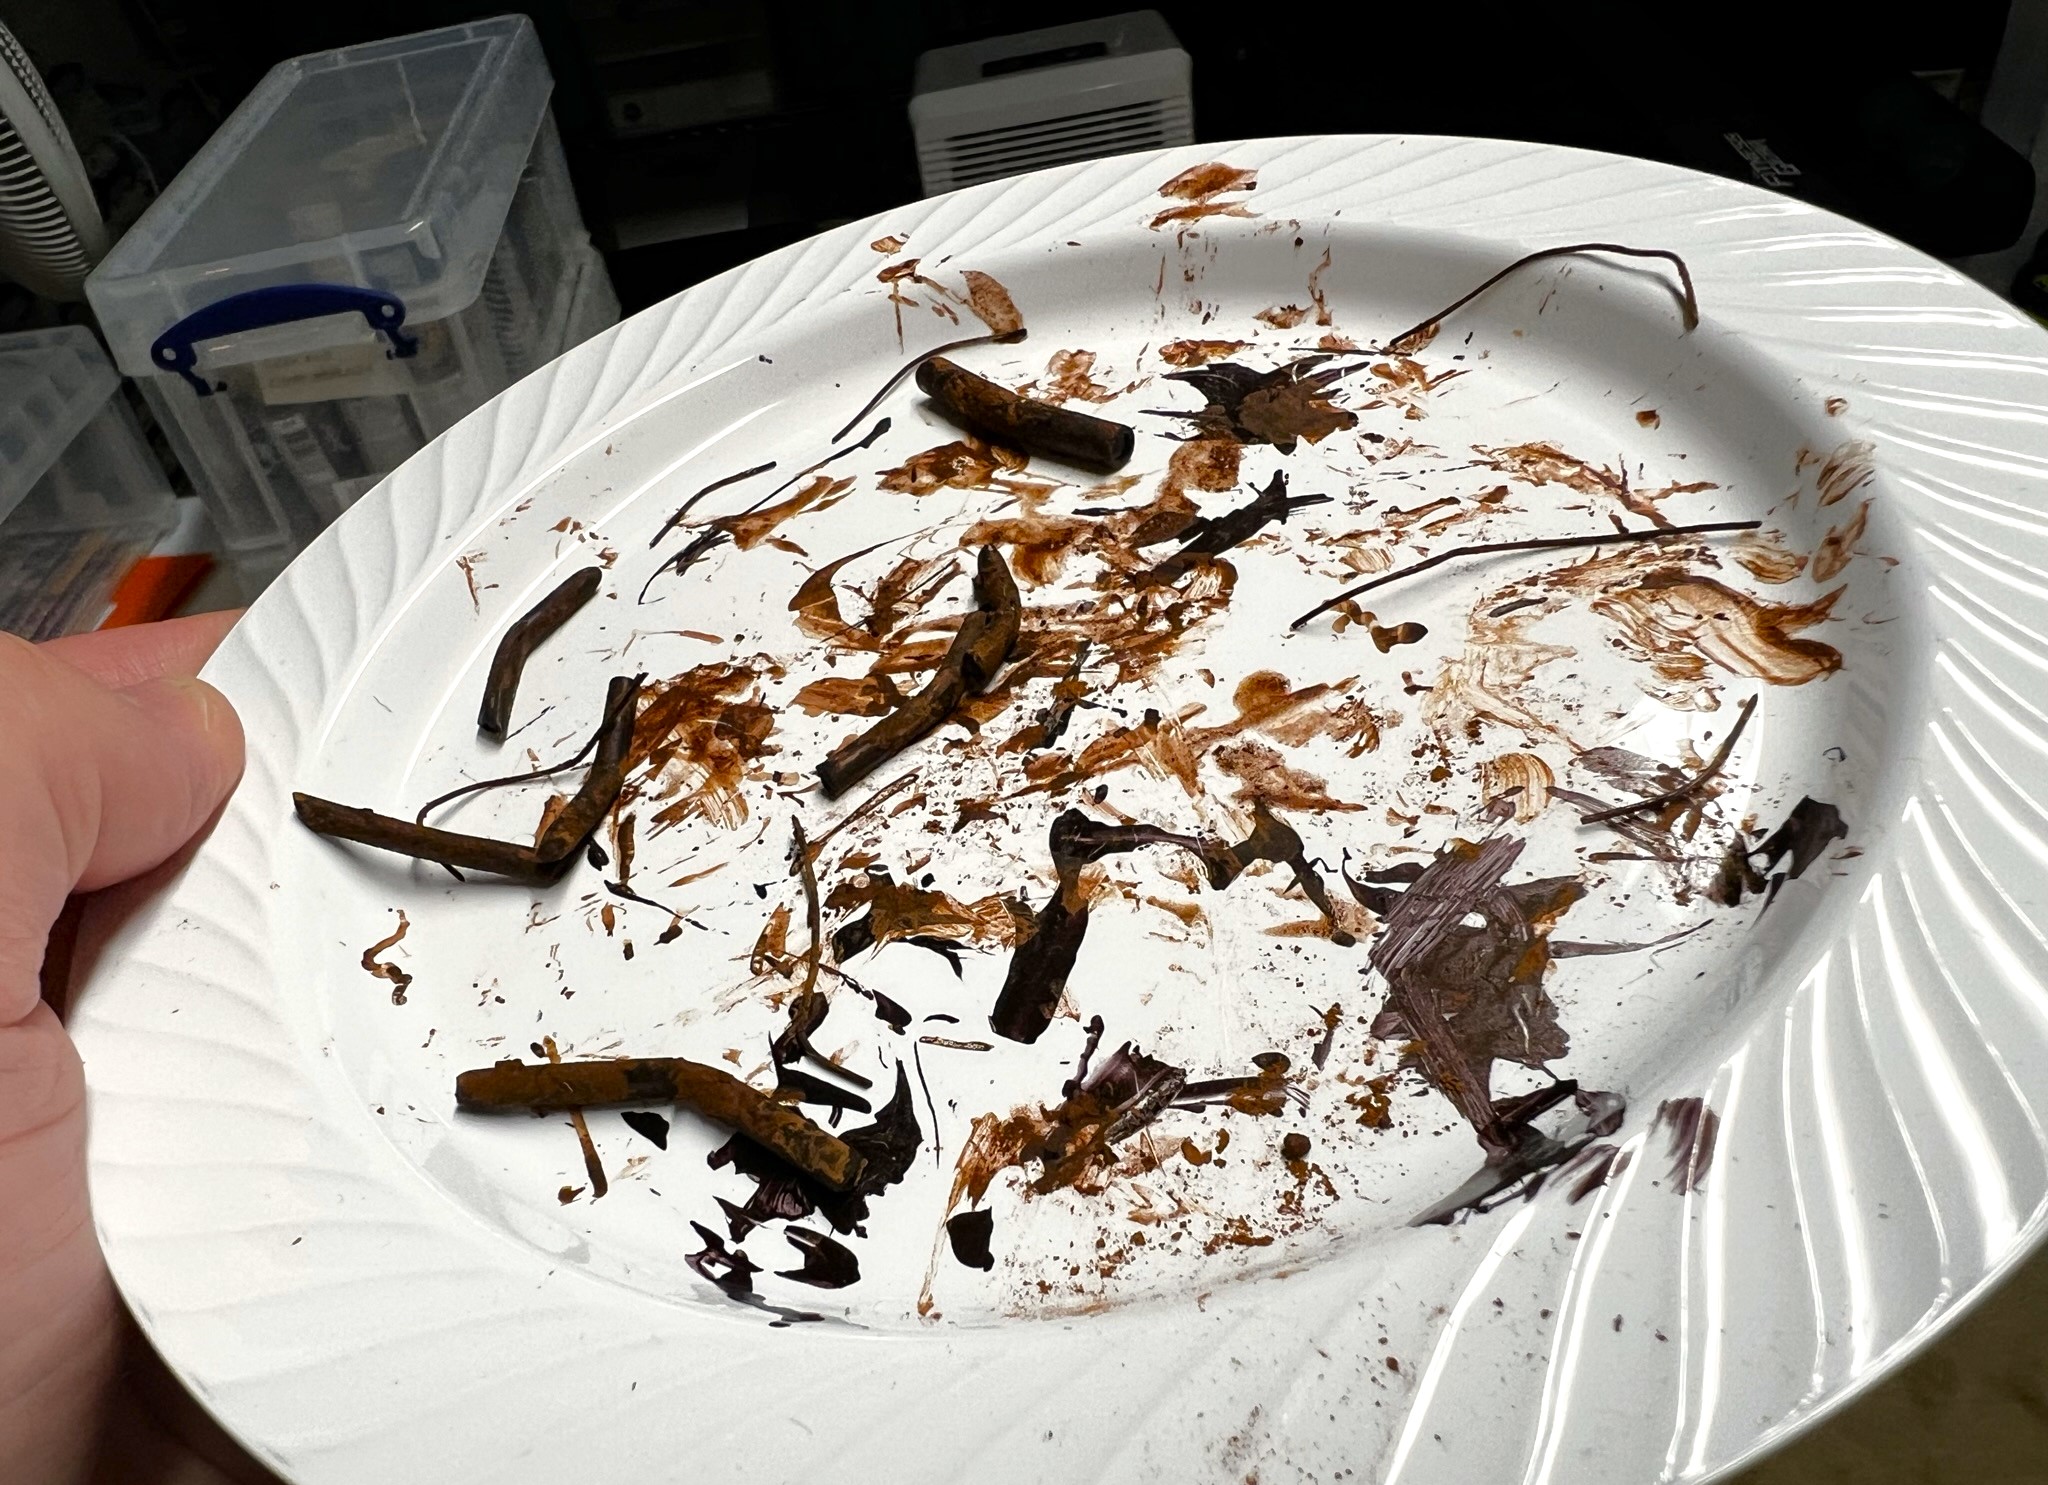
The last materials I wanted to add to my bases were pieces of broken and burned wood. For this I went with shards cut from popsicle sticks. Yet another swirl was done with a dark grey ink (Secret Weapon Washes “Stone”). I let these dry and again, pigments would come later, mainly soot and ash.

During this process, I continued to paint the figures – adding various lights and LED-like buttons to the axemen. I did not want to overwhelm the axemen figures with color – so the little lights were nice highlights. I gave Nitpick a somewhat “Willy Wonka” look with a white lab coat. For the bases, I used Citadel “Astrogranite Debris” on them as a base for the addition of all of the rubble in the future.


Now it was time to add the rubble in a haphazard way – as ruined-looking as possible. I did this by adding and gluing the brick clumps, individual bricks, wood shards, rebar, and rusty crushed pipes sequentially with PVA and letting them dry. I subsequently used pigments to make the wood look burned and ashy, as well as adding ashes and soot on the base with attention to the rubble of bricks, wood, pipes, and rebar.


Now, I can’t wait to share…
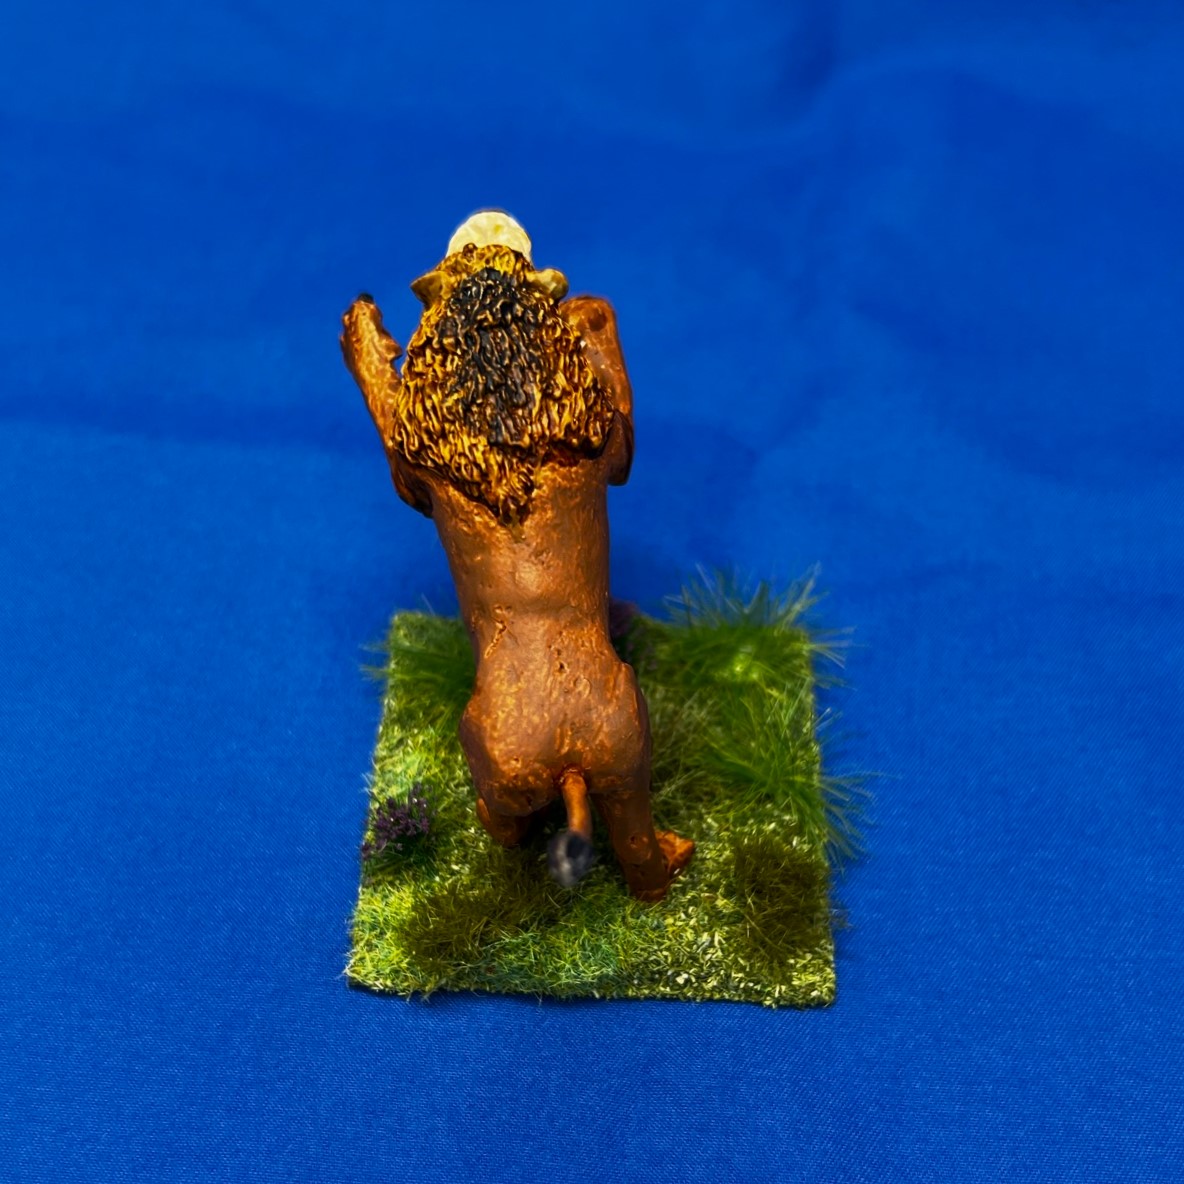
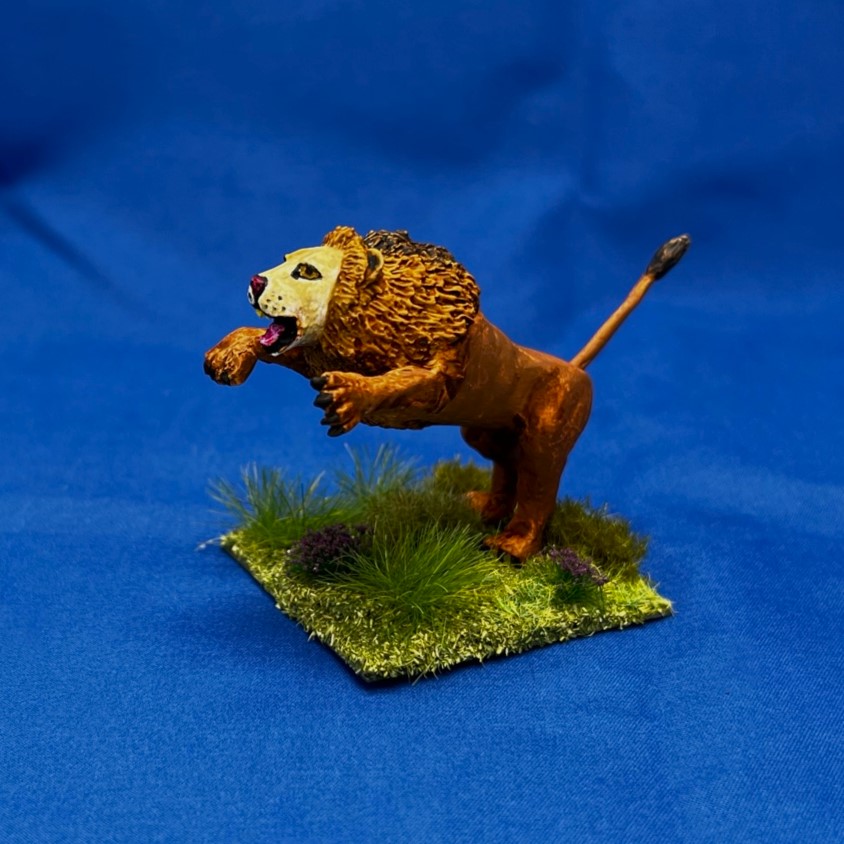
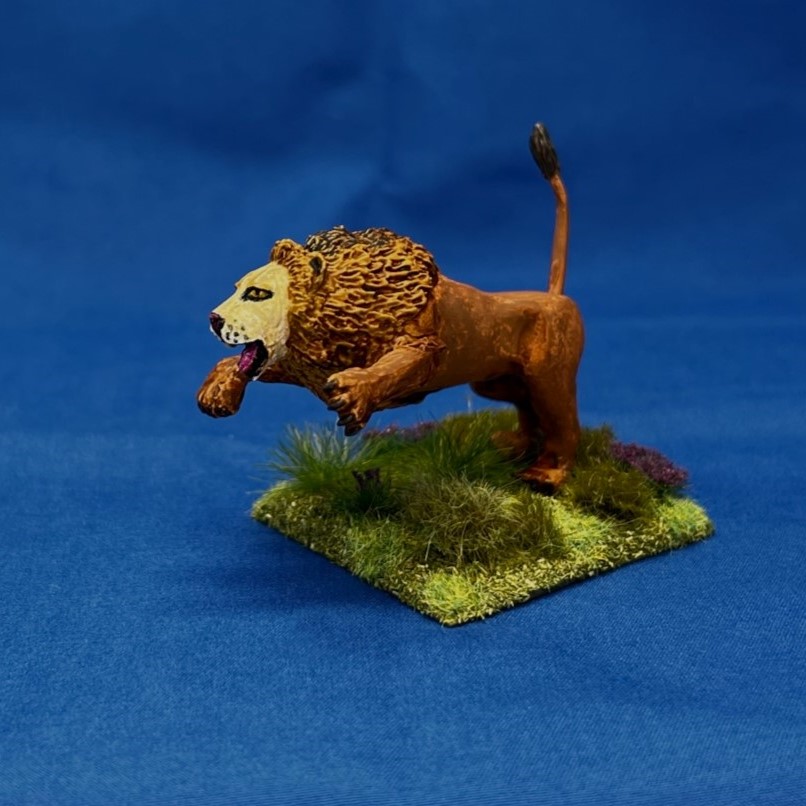
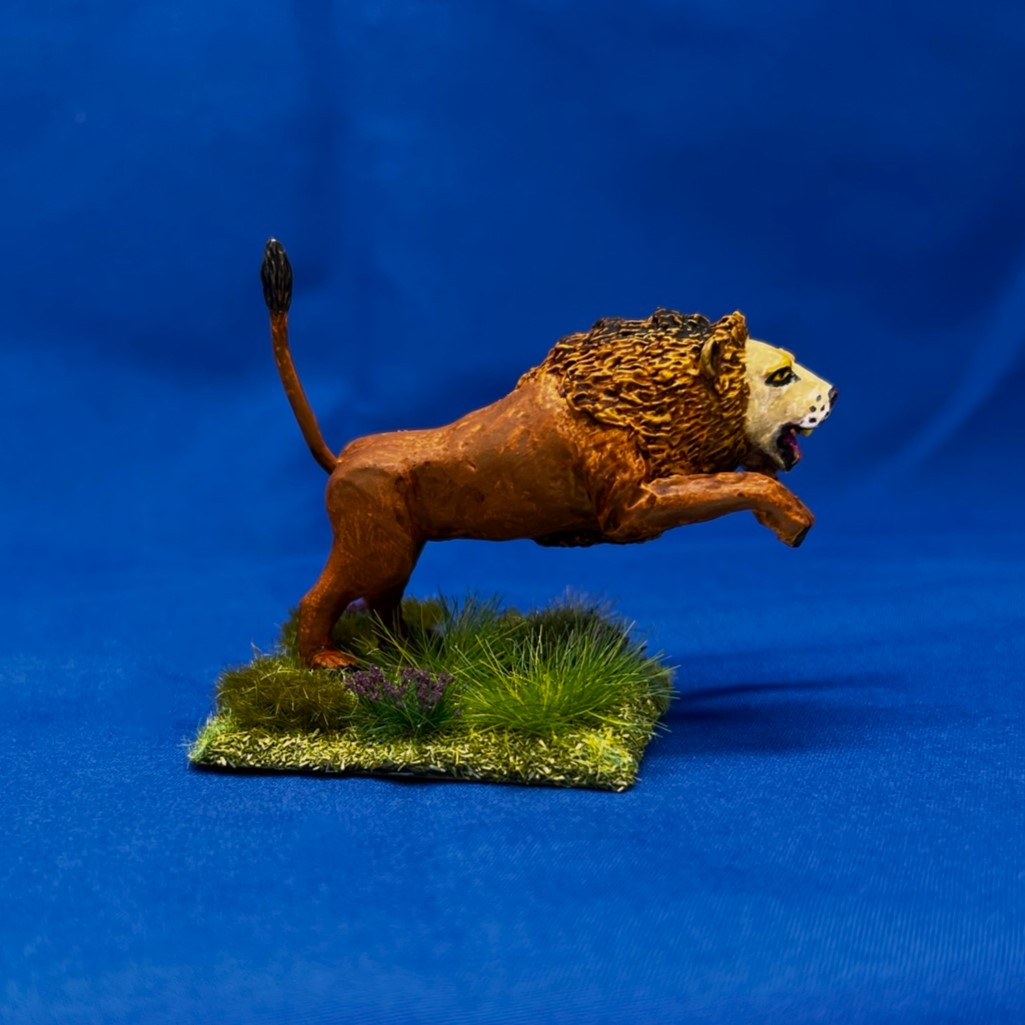
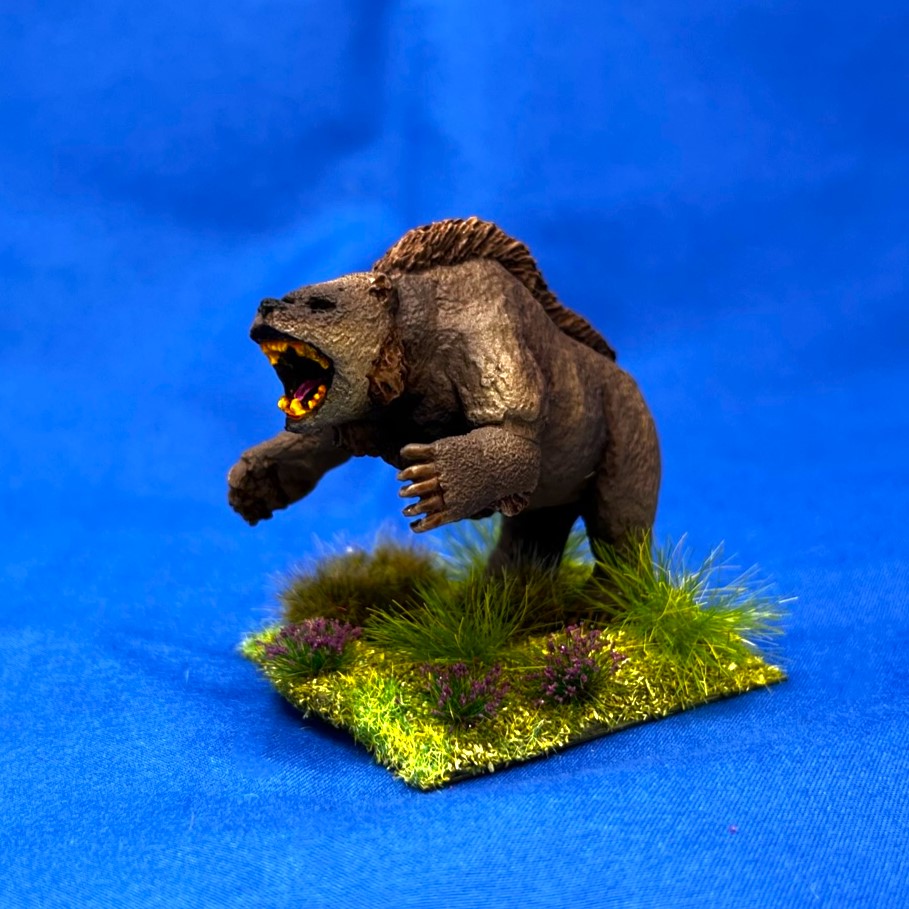
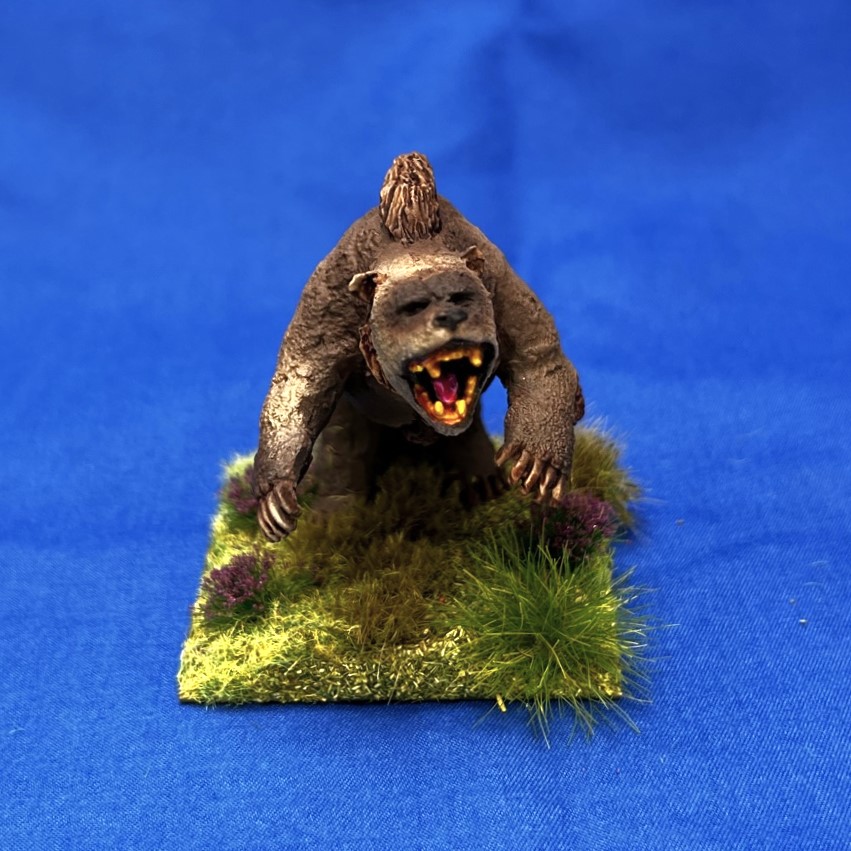
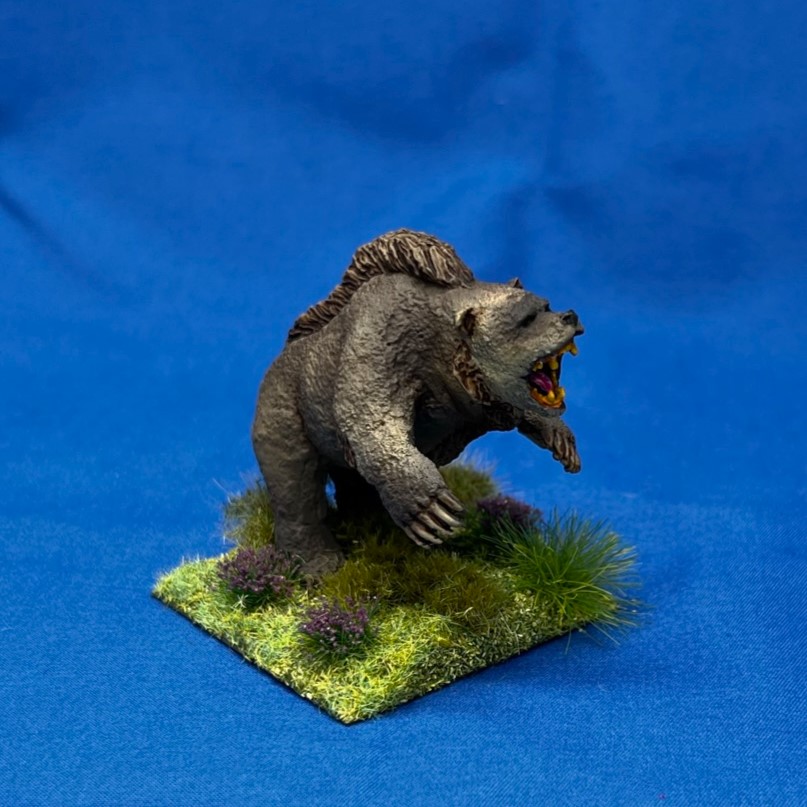
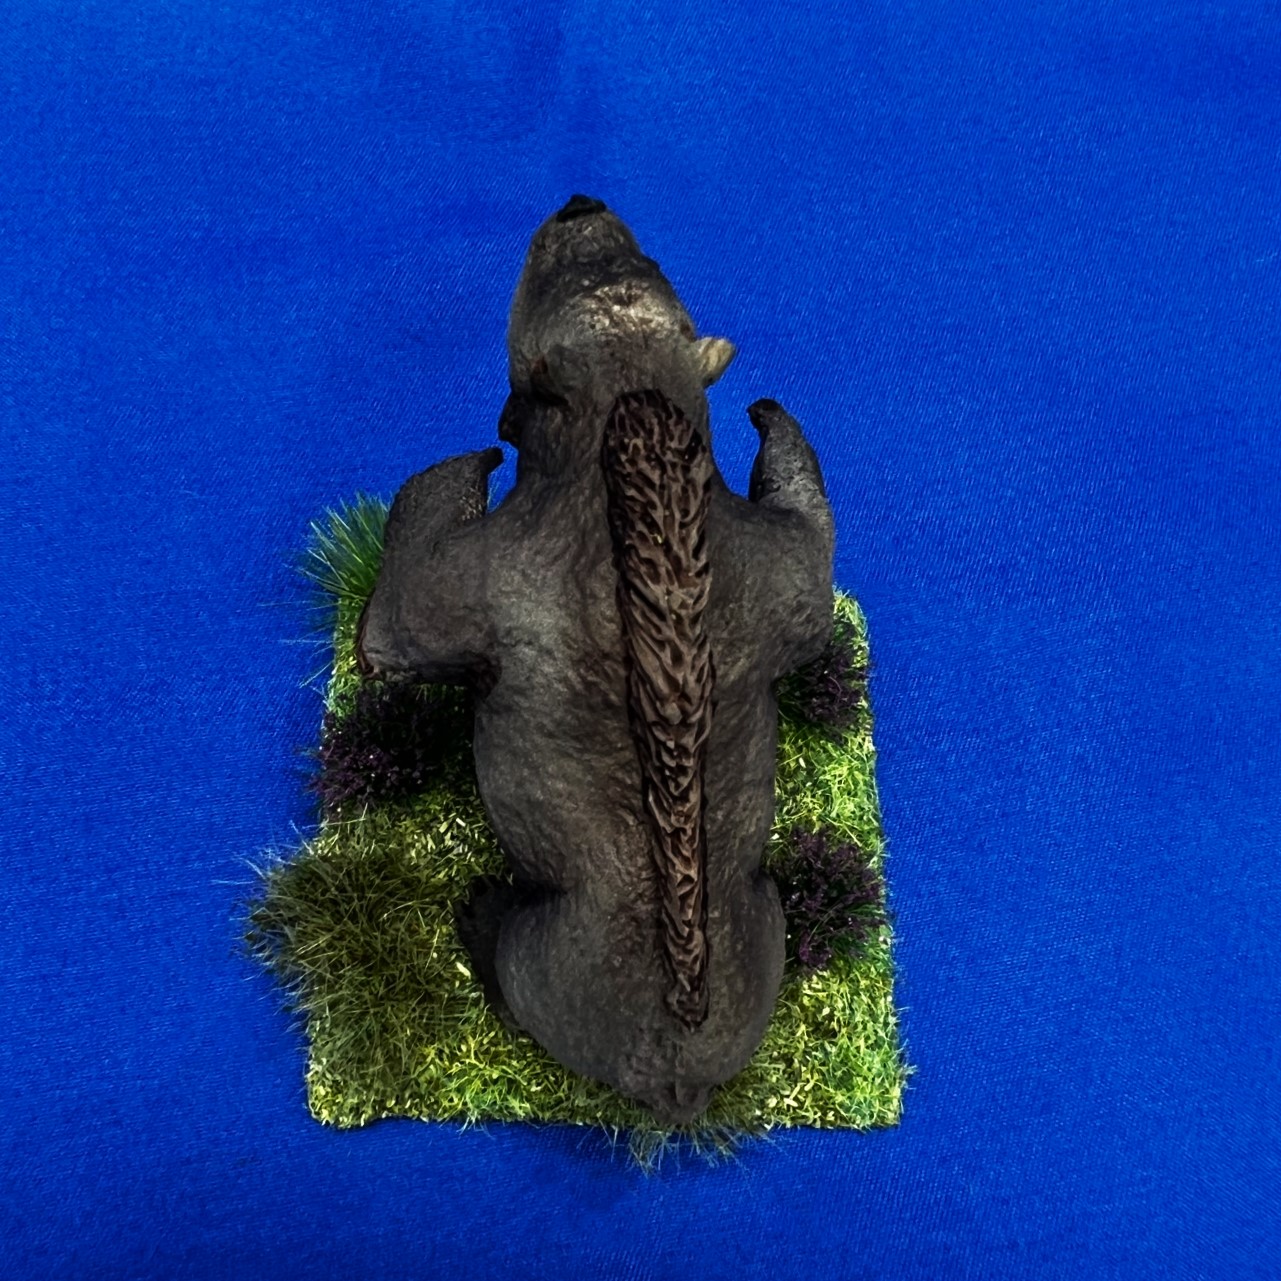
Eye Candy
Professor Nitpick


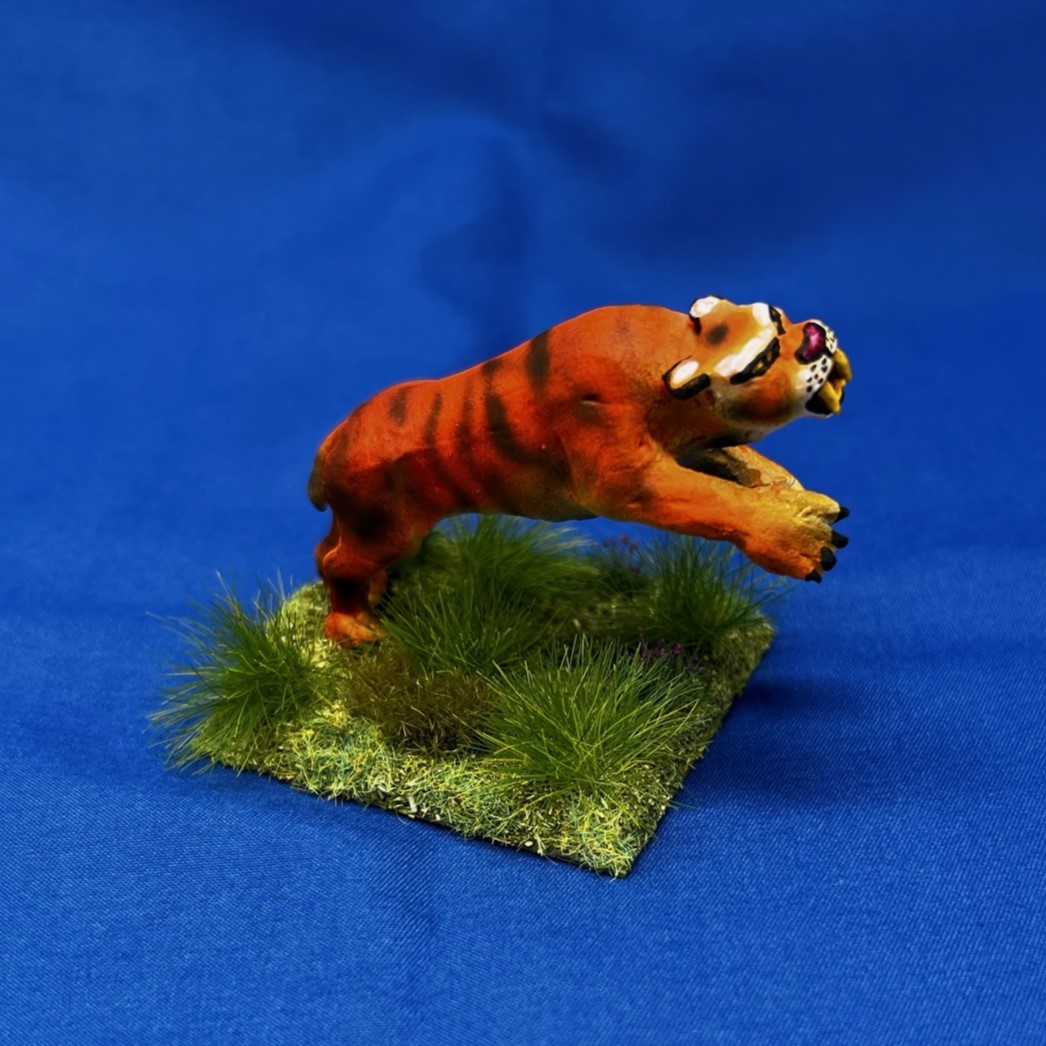
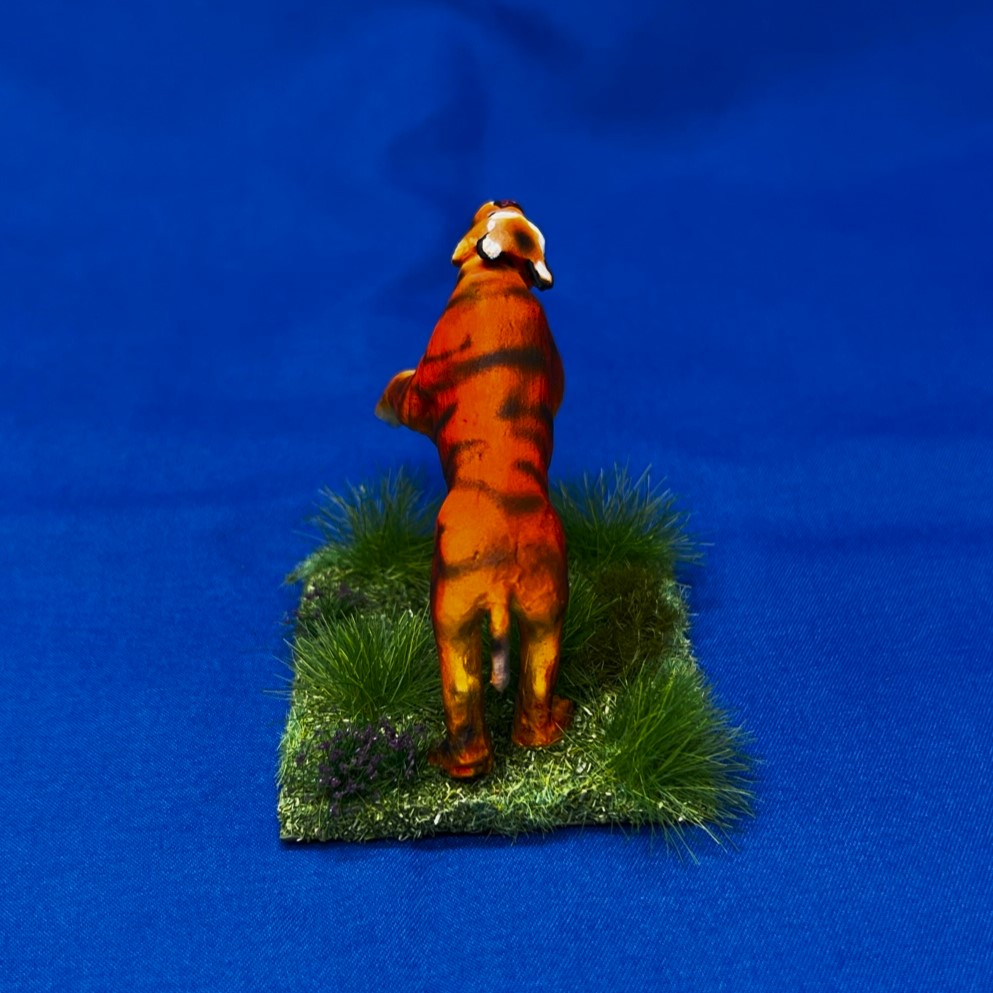
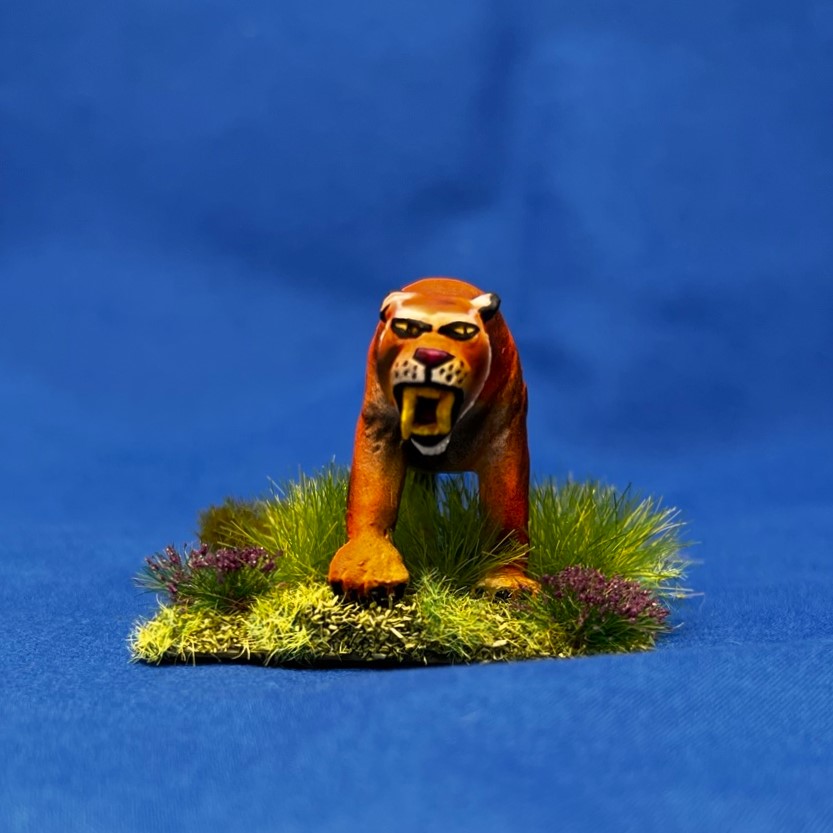
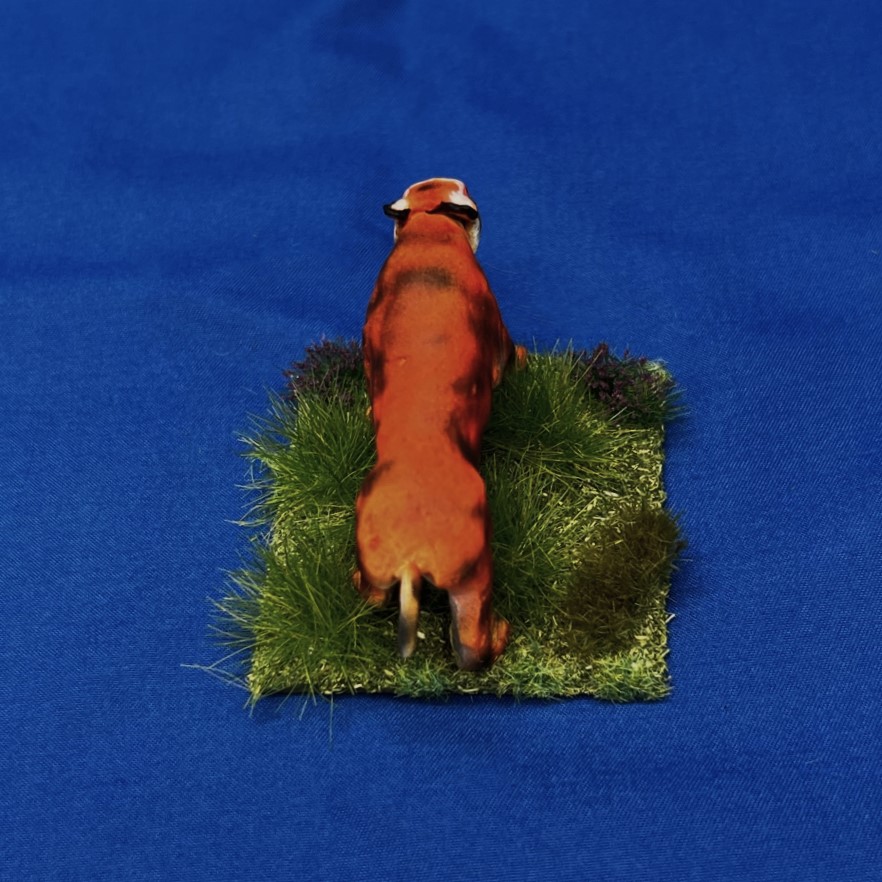
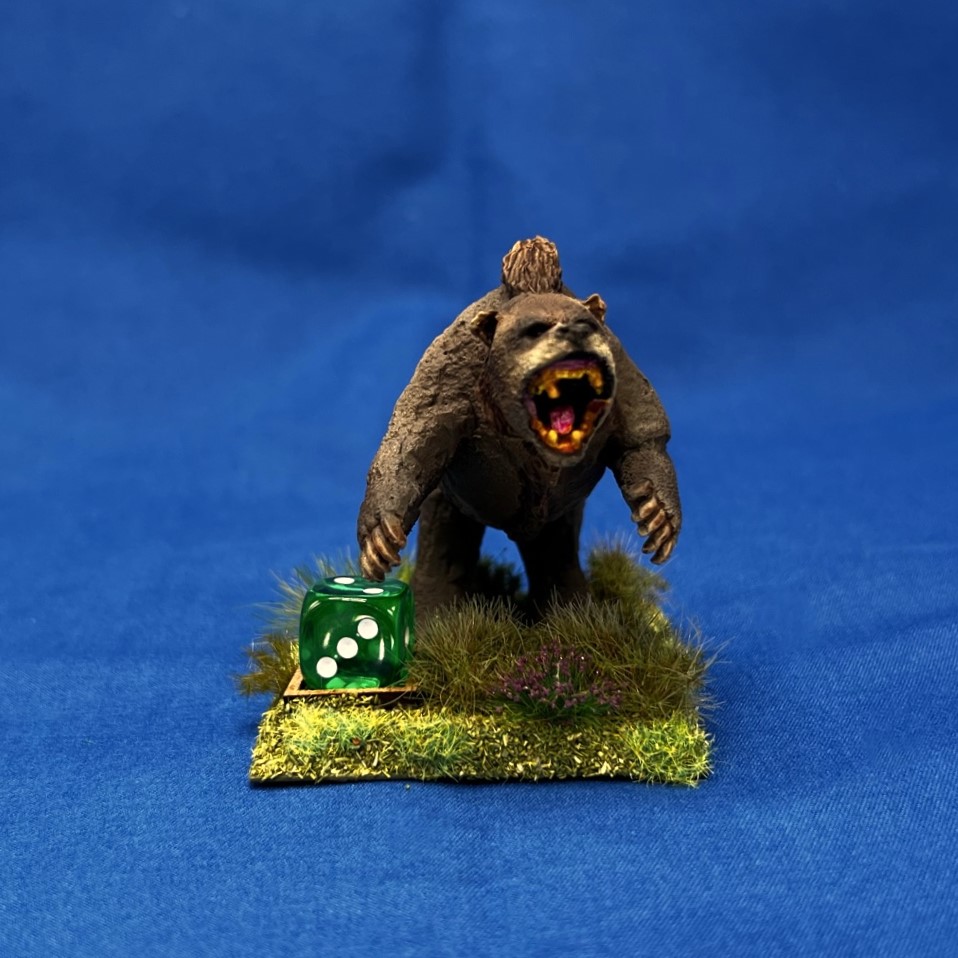
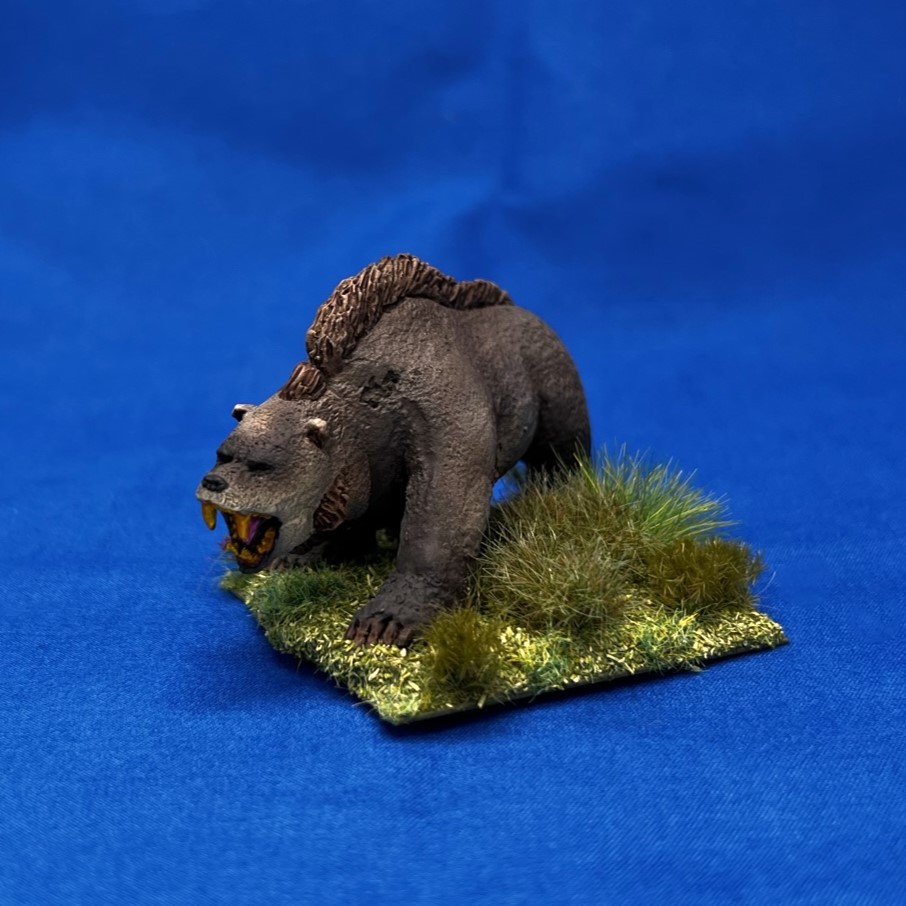
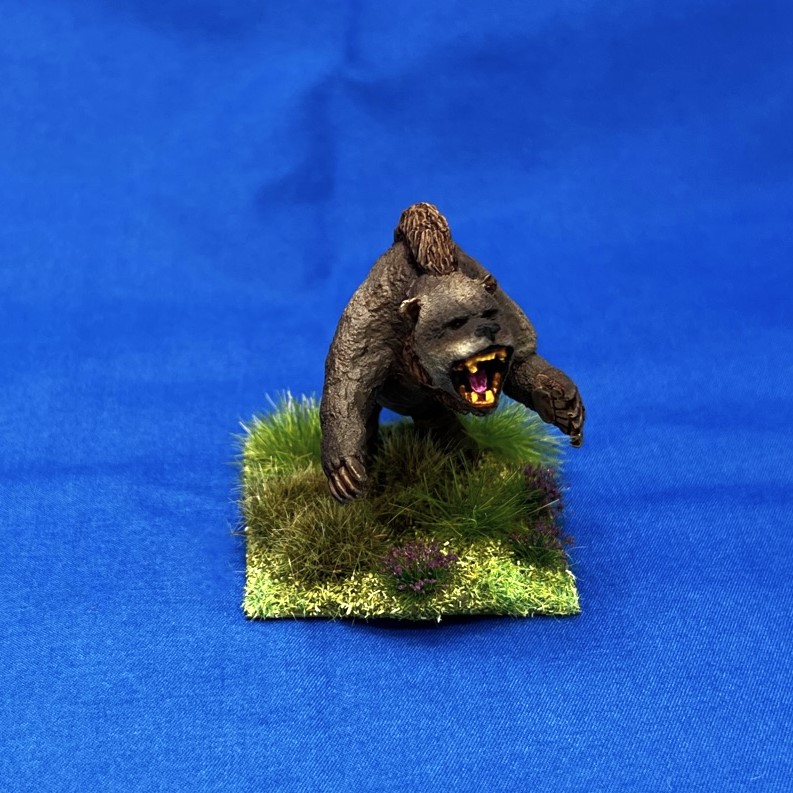
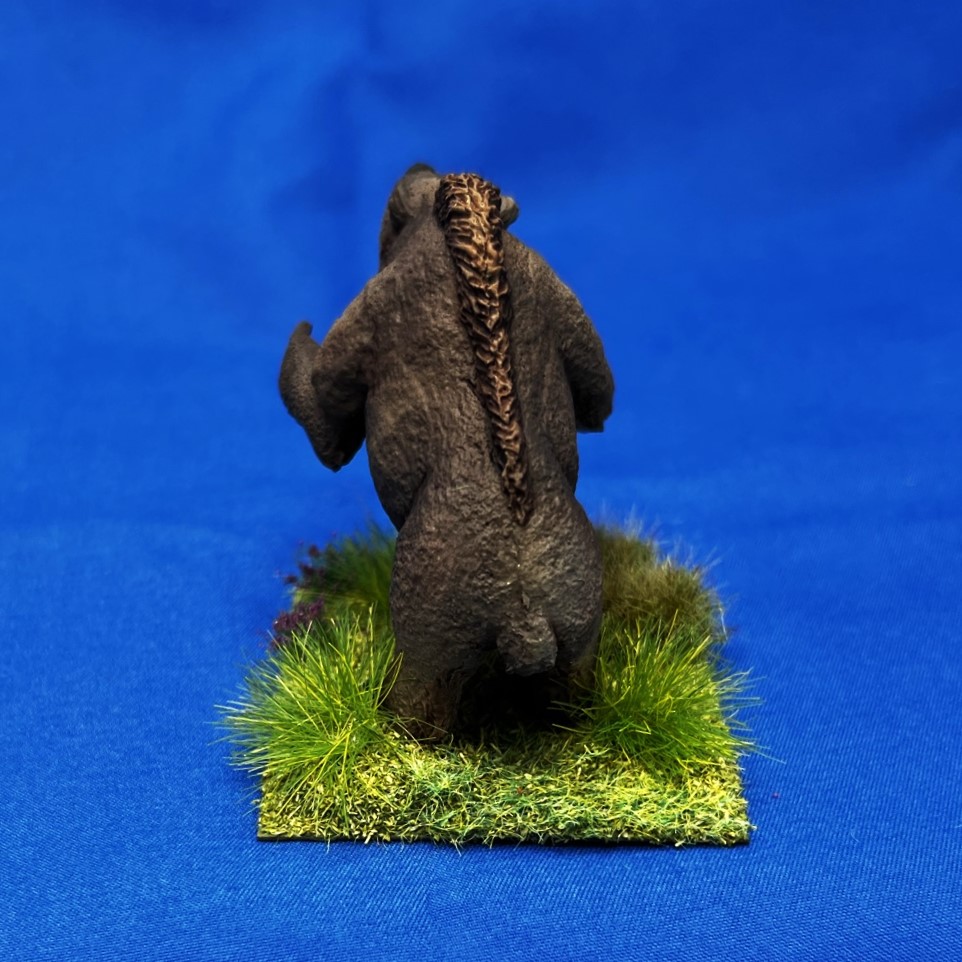
Base 1


Base 2


Base 3

Base 4


Base 5


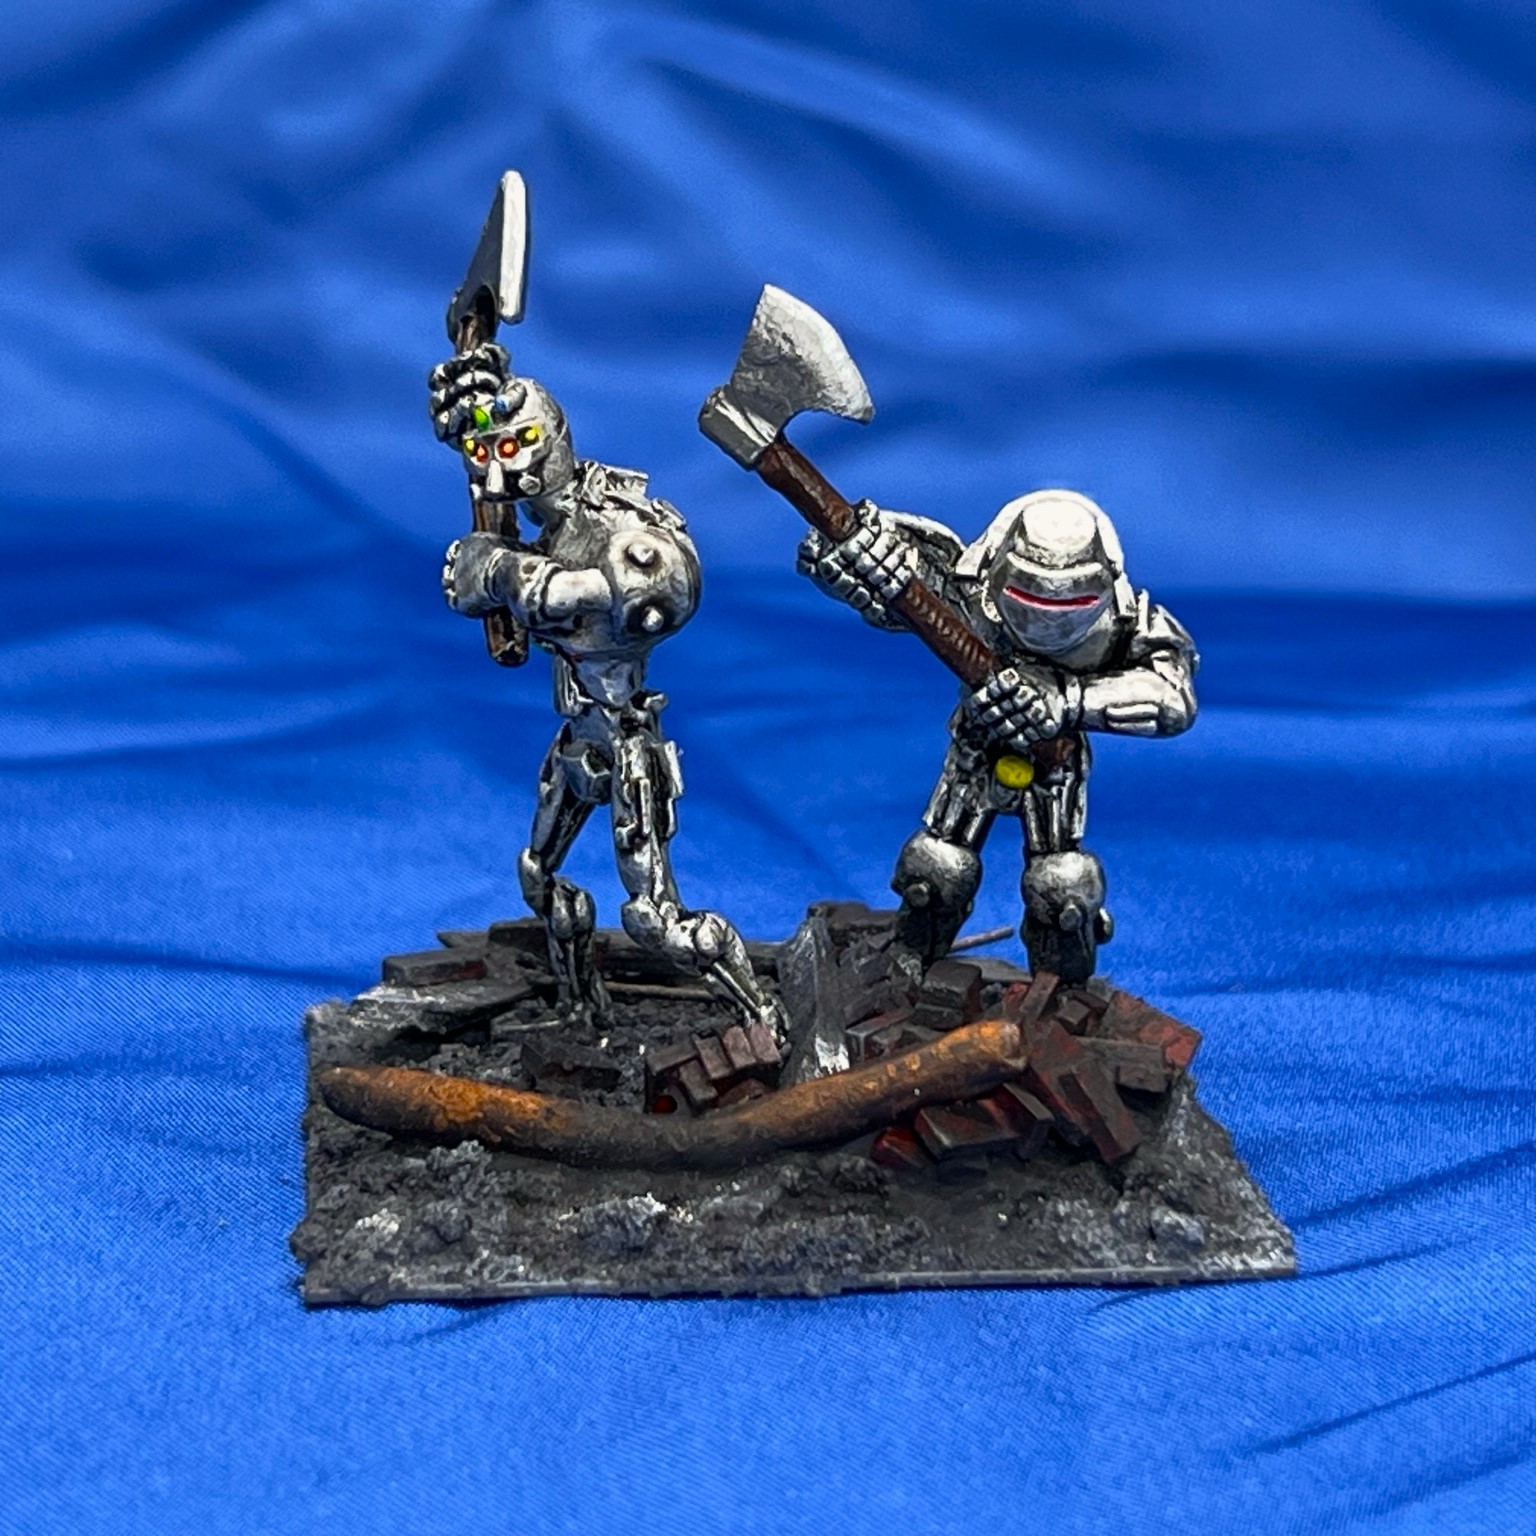
Group Shots


I enjoyed painting and building this unit a lot – and am hopeful that more will be coming for Professor Nitpick’s forces in the future – perhaps even enough to be a faction in and of themselves. In the meantime, the regiment will make excellent allies to other brigades on the tabletop.
My next post will cover some photos from my games and experiences at HMGS Fall In!®.
And yes, I still have more Ozz to come…
Miscellaneous details and references for those interested in that sort of thing:
For all of my previous posts on Wars of Ozz games, figures, units, and other related projects – please see this page.
PAINTS, INKS, GLAZES, SHADES, WASHES, PIGMENTS, FLOCKING, GLUES AND MORE THAT I USED ON THE FIGURES FOR PROFESSOR NITPICK AND HIS MECHANICAL TIN AXEMEN REGIMENT:
- Gorilla Glue
- 3/4″ steel washers
- Poster tack
- Vallejo White Surface Primer
- Vallejo Black Surface Primer
- Vallejo “Flow Improver”
- Vallejo “Airbrush Thinner”
- Vallejo Model Air “Steel”
- Vallejo Model Air “Armour Brown”
- Reaper MSP Core Colors “Blackened Brown”
- Vallejo Model Color “Wood Grain”
- Army Painter “Speed Paint – Dark Wood”
- Army Painter “Speed Paint – Enchanted Steel”
- Vallejo Mecha Color “Dark Steel”
- Army Painter “Speed Paint – Broadsword Silver”
- Vallejo Model Air “Gun Metal”
- Citadel “Nuln Oil GLOSS” (wash)
- Vallejo Game Air “Dead White”
- Secret Weapon Washes “Blue” (ink)
- Secret Weapon Washes “Just Red” (ink)
- Vallejo Mecha Color “Green Fluorescent”
- Secret Weapon Washes “Sunshine” (ink)
- Vallejo Model Air “Fluorescent Red”
- Vallejo Game Ink “Red” (ink)
- Citadel Technical “Tesseract Glow”
- 2″ square steel bases from Wargames Accessories (#21)
- MDF base from Wars of Ozz miniatures
- Citadel “Astrogranite Debris” (texture)
- Pendraken 12mm dice frame
- P3 “Brown” (ink)
- Secret Weapon Washes “Heavy Body Black” (wash)
- Paper clip wire
- Small polystyrene tubing pieces
- Popsicle stick shards
- Juweela® 1:48/1:50 terracotta bricks
- Army Painter Warpaints “Rough Iron”
- Vallejo Mecha Weathering “Rust Texture”
- Vallejo Mecha Weathering “Dark Rust Wash”
- Secret Weapon Washes “Stone” (wash)
- Elmer’s PVA Glue
- Vallejo “Pigment Binder”
- Vallejo “Carbon Black” (pigment)
- Vallejo “Old Rust” (pigment)
- Vallejo Model Color “Black”
- Battlefront “Dark Leather”
- Army Painter “Speed Paint – Battleship Grey”
- Army Painter “Speed Paint – Crusader Skin”
- Army Painter “Speed Paint – Brazen Copper”
- Army Painter “Speed Paint – Purple Swarm”
- Army Painter “Speed Paint – Satchel Brown”
- Army Painter “Speed Paint – Holy White”
- Army Painter “Speed Paint – Cloudburst Blue”
- Army Painter “Speed Paint – Aztec Gold”
- Army Painter “Speed Paint – Hoplite Gold”
- Vallejo “Titanium White” (pigment)
- Vallejo Mecha Varnish “Matte Varnish”
Again, as you may want to check out the Wars of Ozz figures’ range – there are two places to get them (and I make no money from this btw). The game rules and the figures are available from the following two places:
In the US Old Glory has a site – Wars of Ozz Miniatures.
In the UK go to Sally 4th.