After I finished my Scarecrow Girl statue, I was motivated to make some more as gifts for my fellow Wars of Ozz game masters. Those would be Buck Surdu, Chris Palmer, Greg Priebe, and Dave Wood. As we are collaborating on a massive “Ozzaganza” game at Cold Wars, I thought that was worth a go.
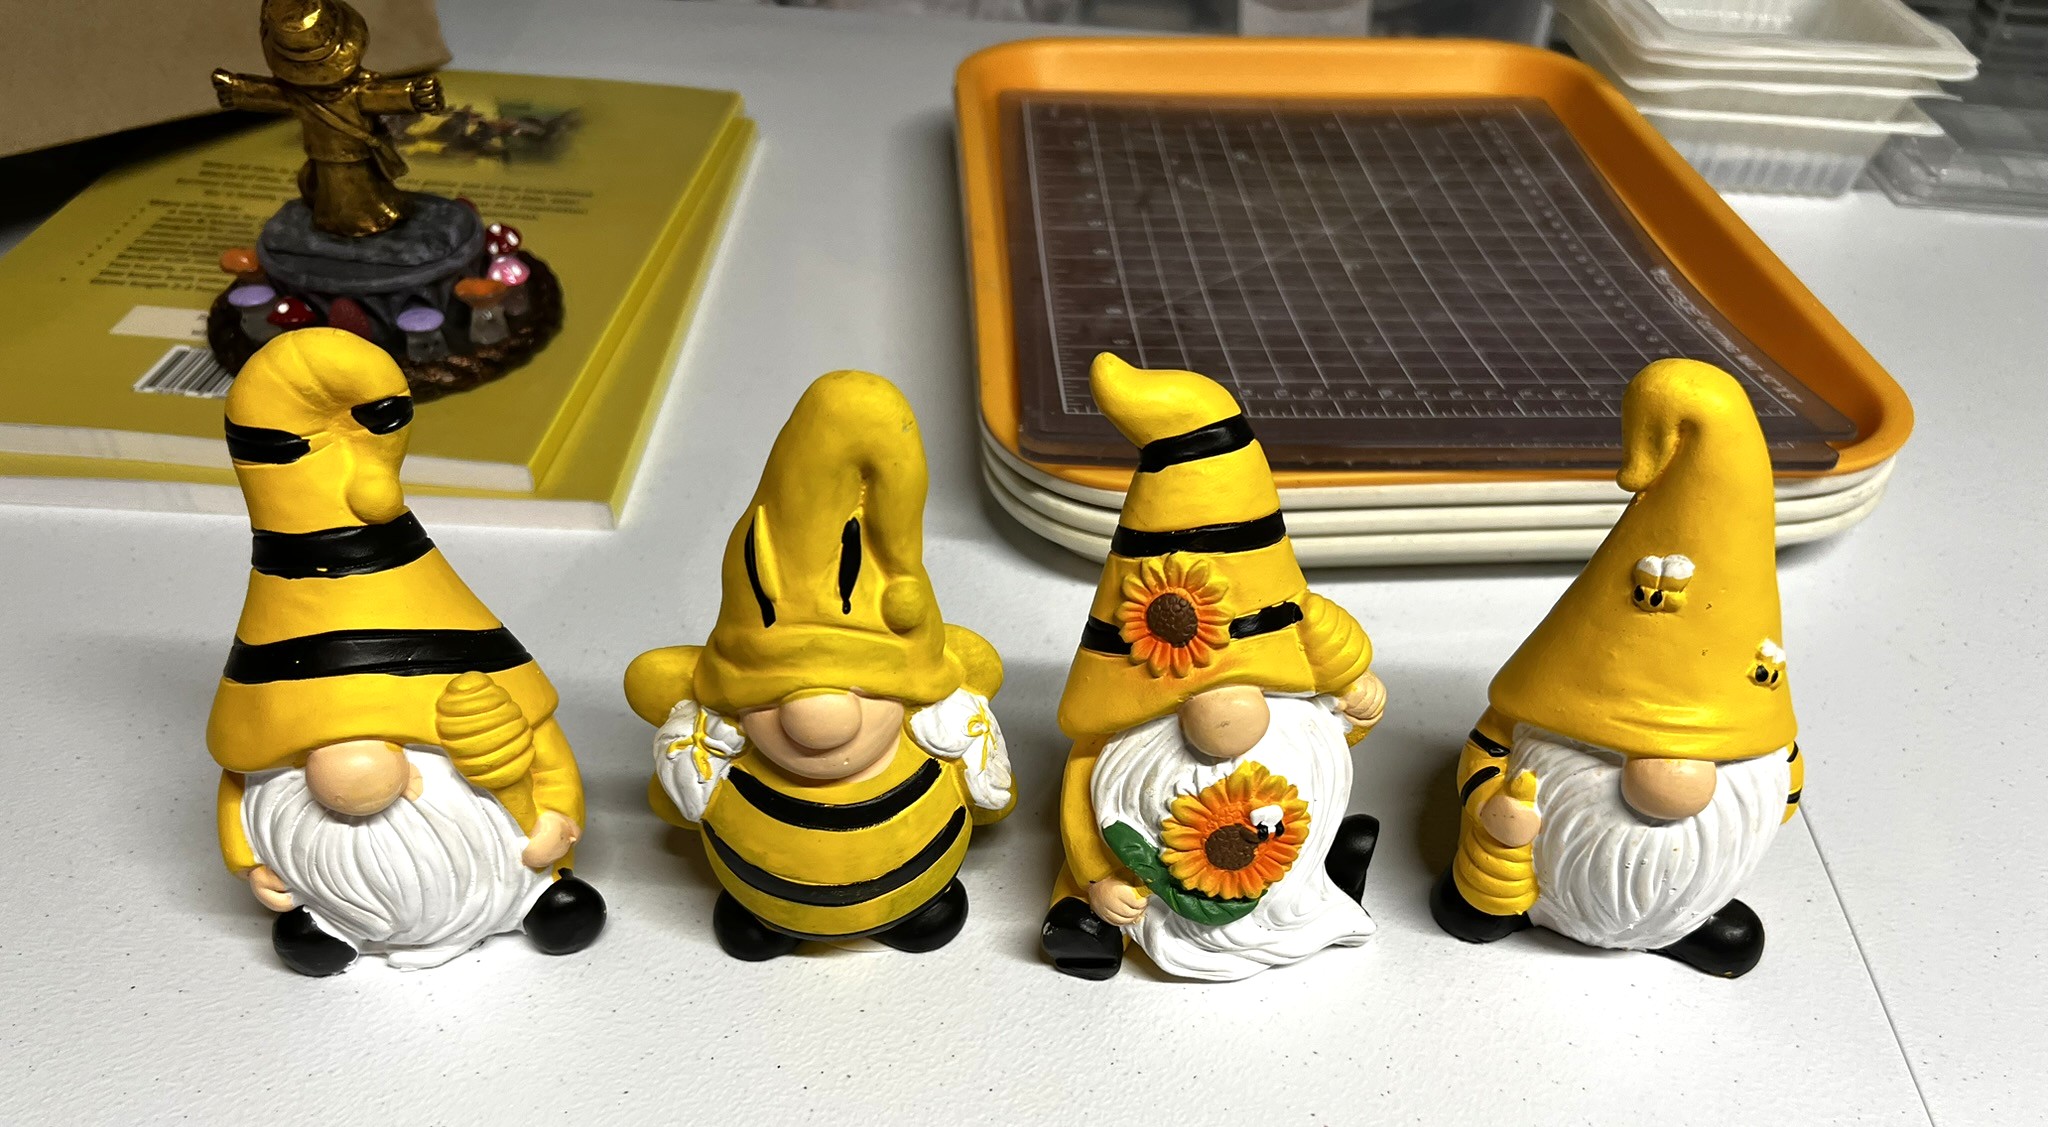
As it turned out, I could not reasonably source another scarecrow girl, so I hit my local Dollar store to see what I could find – and there were some beekeeper gnome statues. As in Ozz there are “Nomes”, I got 4 (at $1.25 each). These were prepainted as you see, and made out of plaster of Paris I believe.
The Nomes as purchased from the Dollar Store. My Scarecrow Girl statue is in the background.
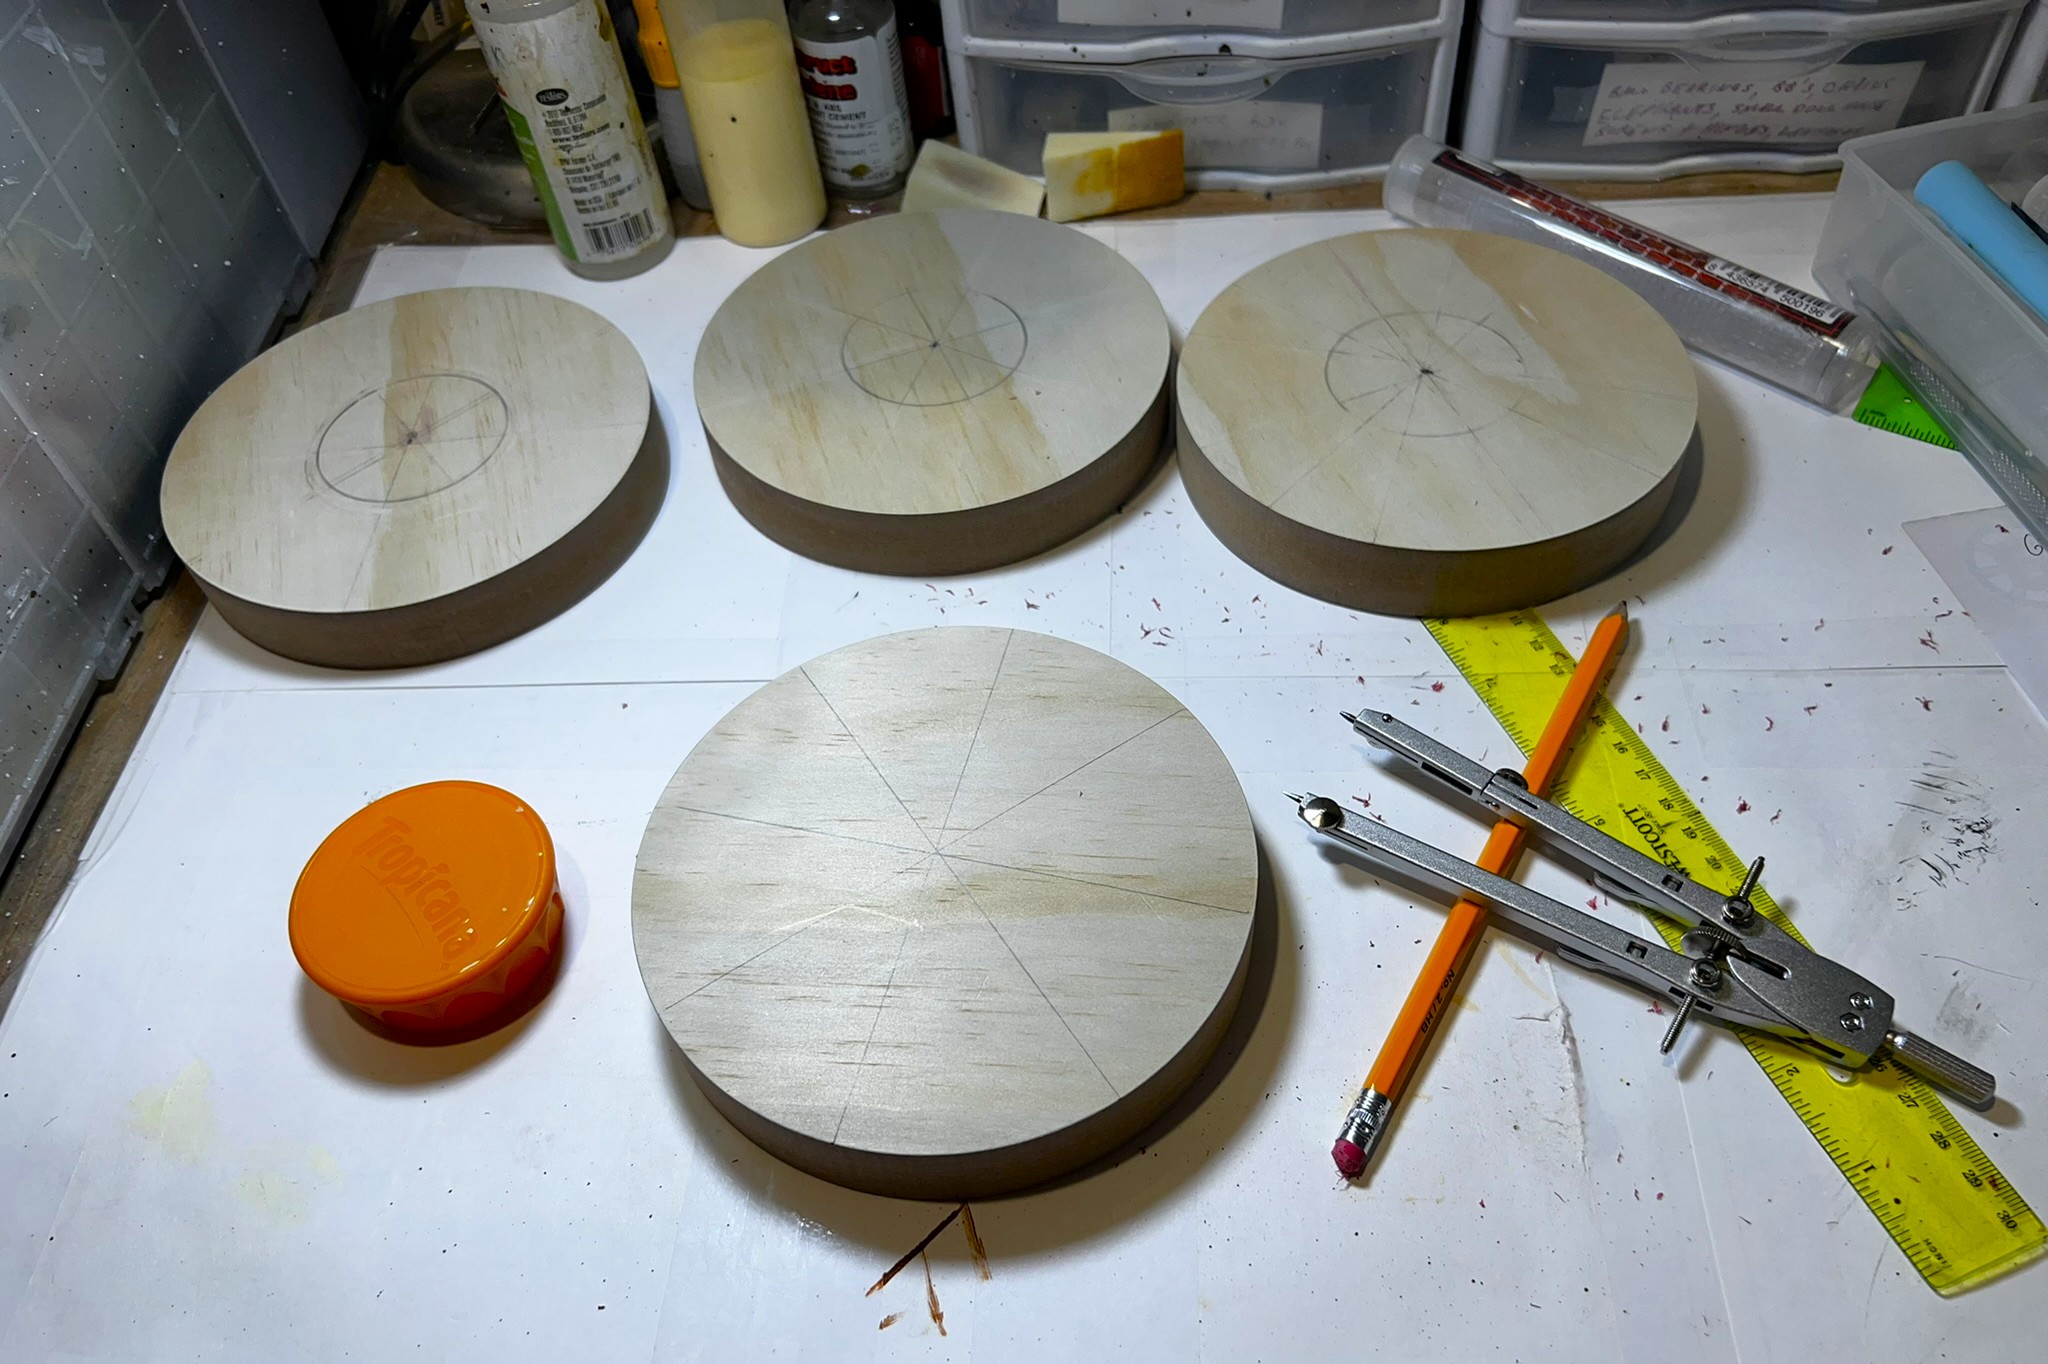
As for bases, I found a packet of 6″ wooden disks on Amazon. As these were much bigger than my previous build’s base, I chose to make a statue/fountain combination for these. Luckily I still had some more Tropicana Orange Juice lids to use as plinths.
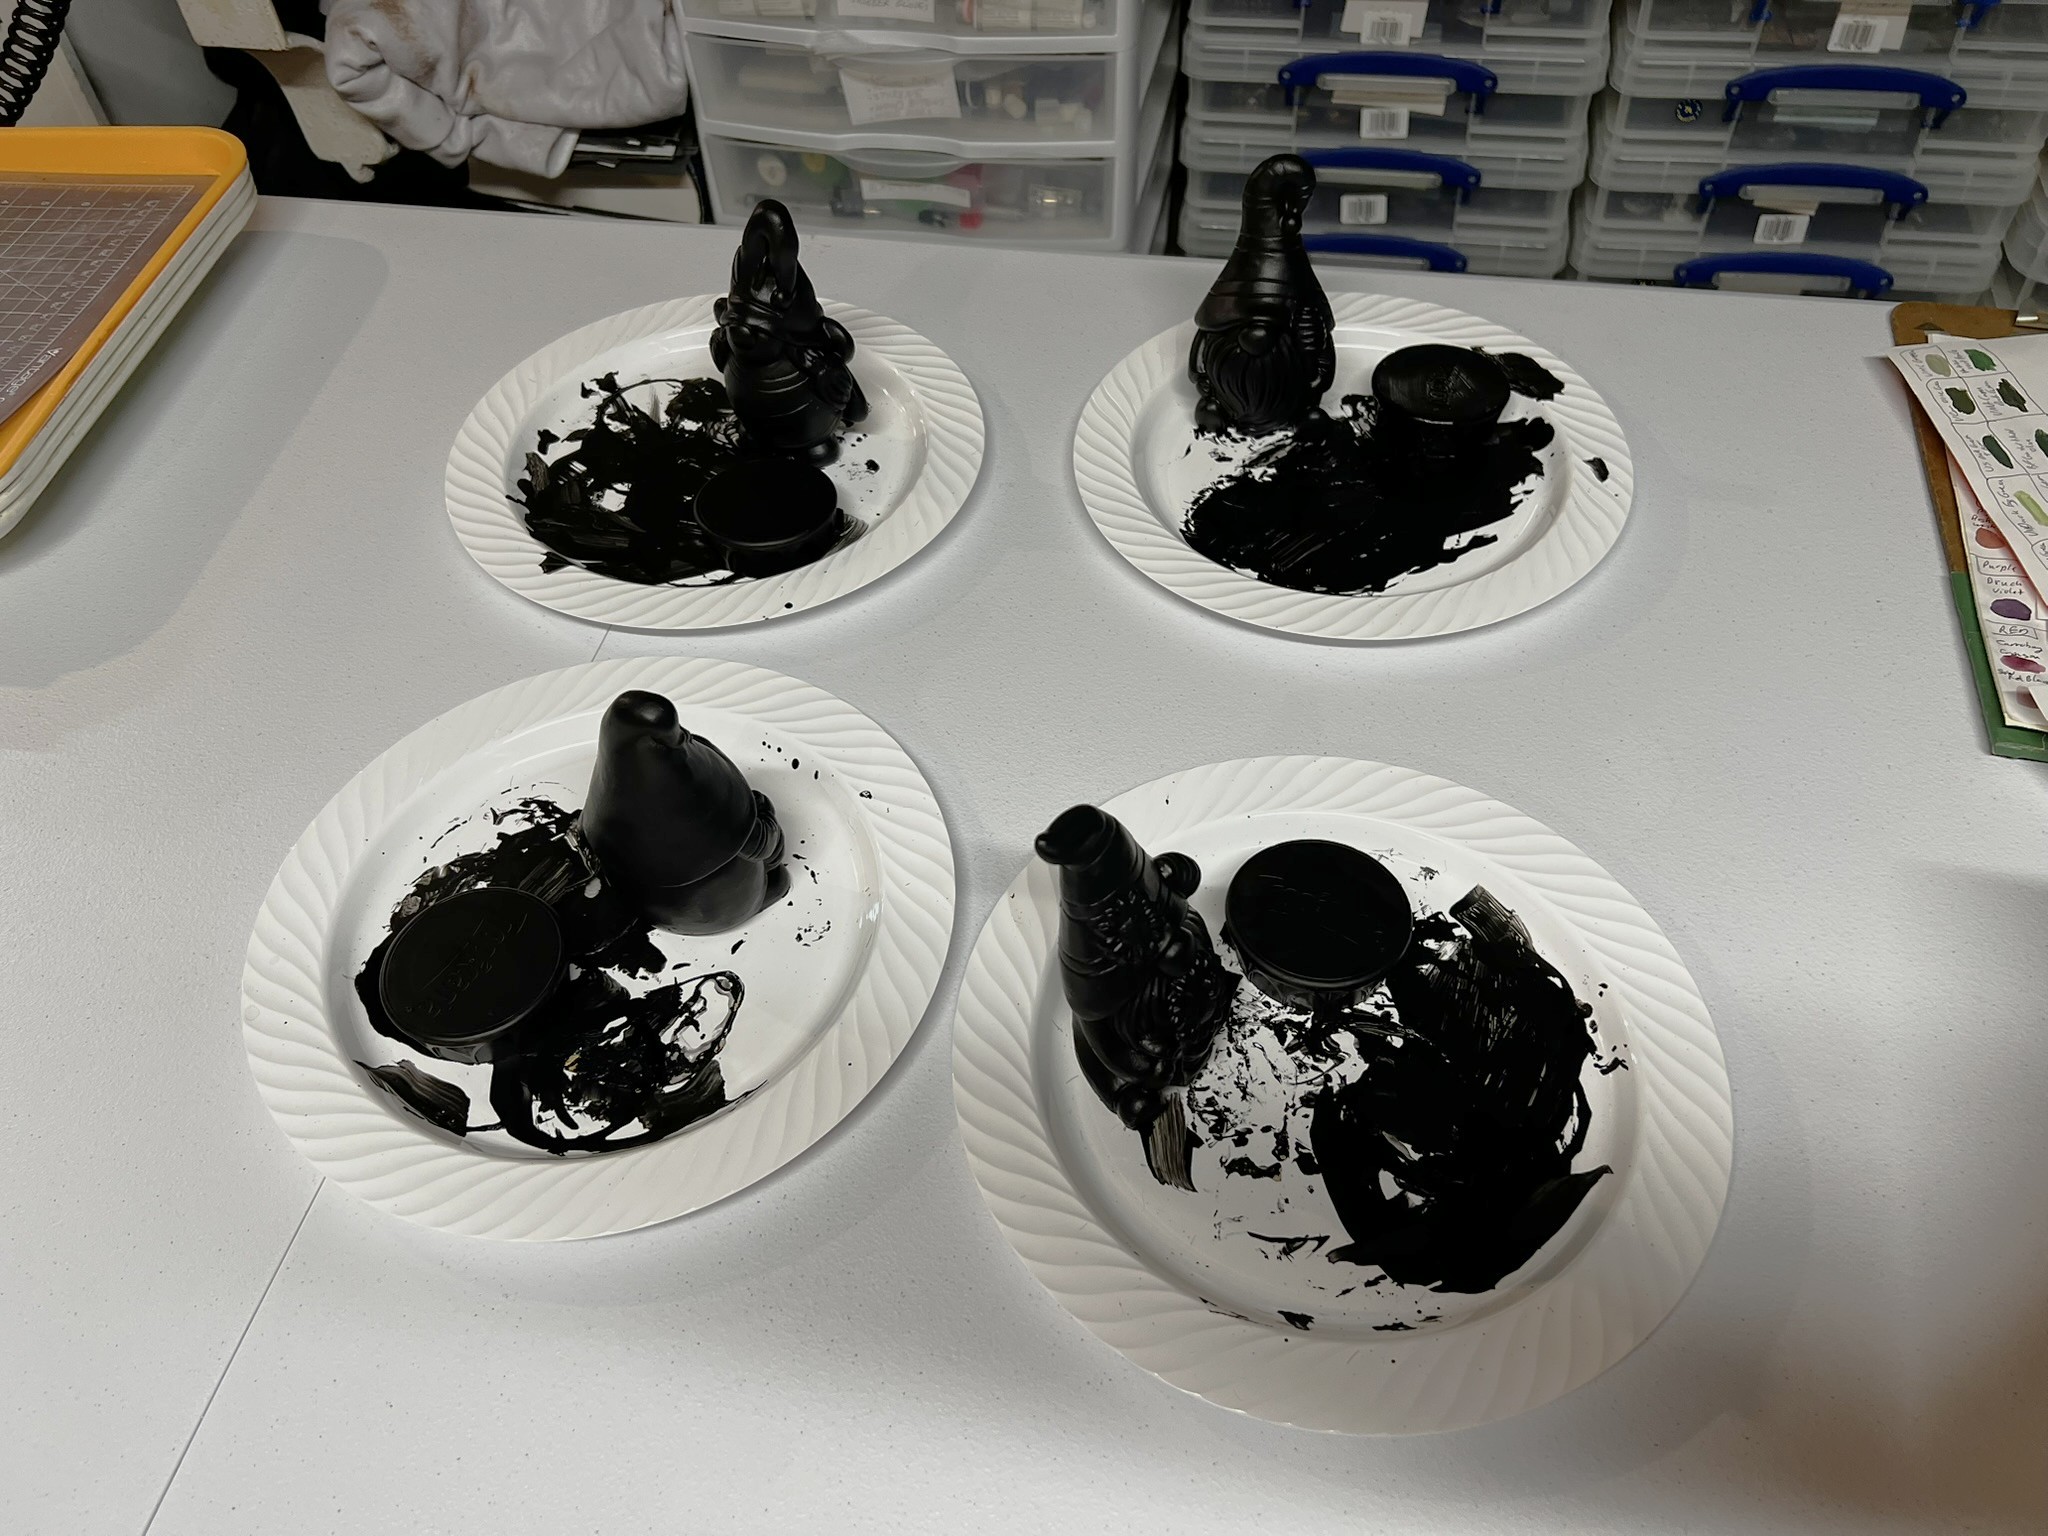
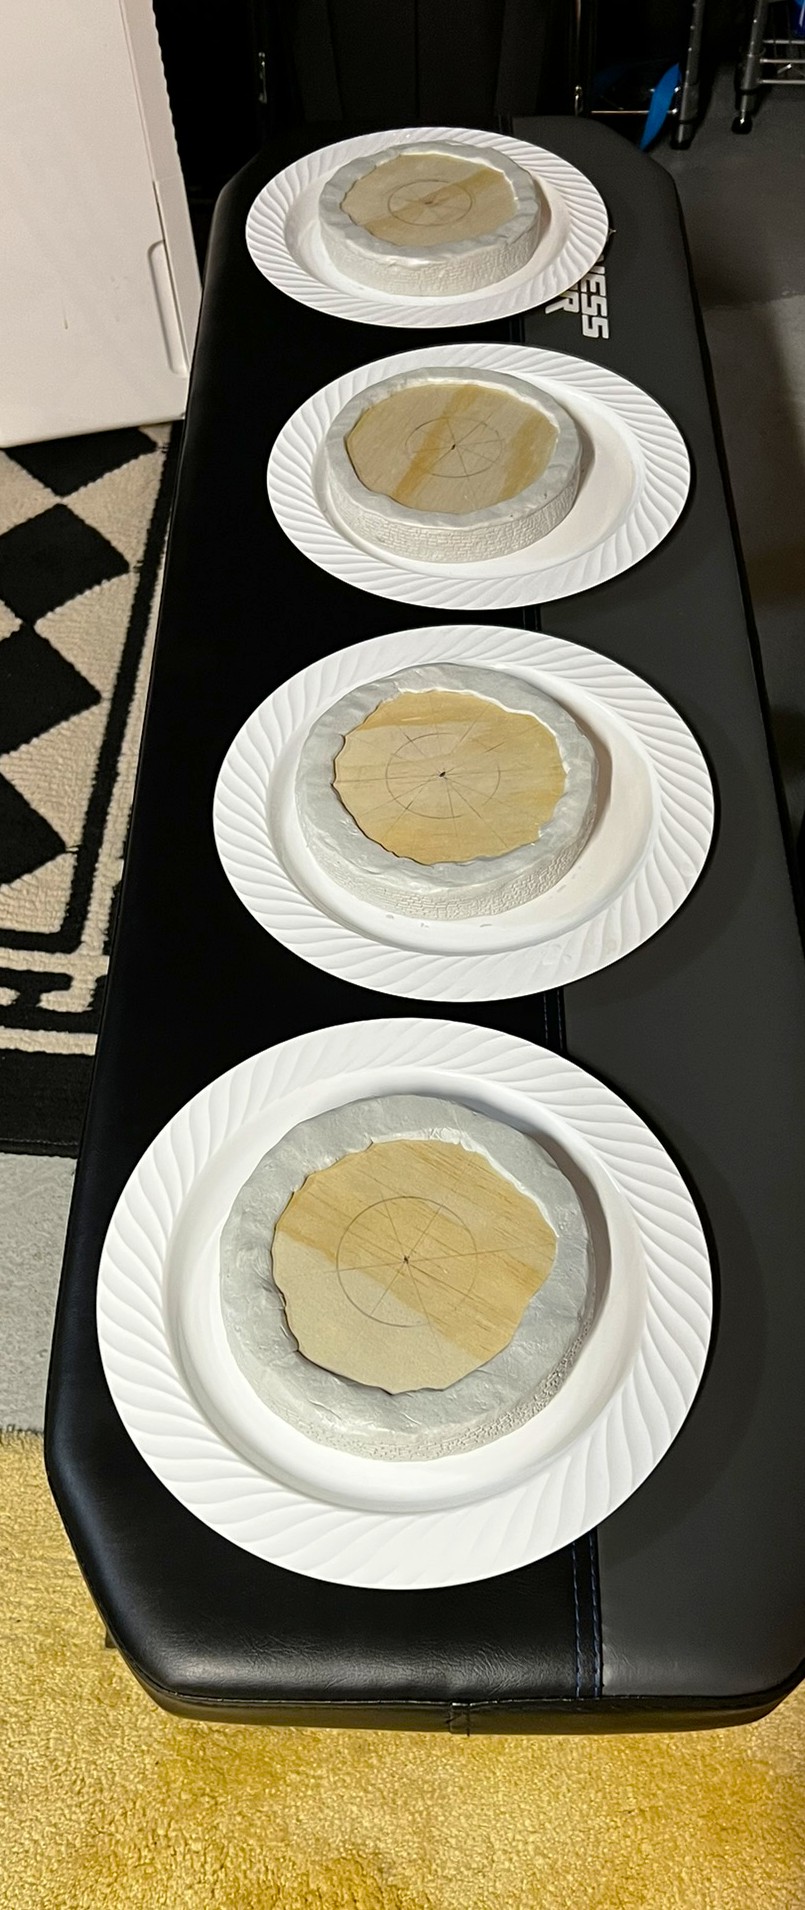
Nomes and plinths primed.Getting the disk centers just right with a Tropicana orange juice lid, a ruler, and a compass.
Applied Apoxie Sculpt and used Green Stuff World Dutch Brick roller on outside rims, while leaving the top to look like a concrete rim.
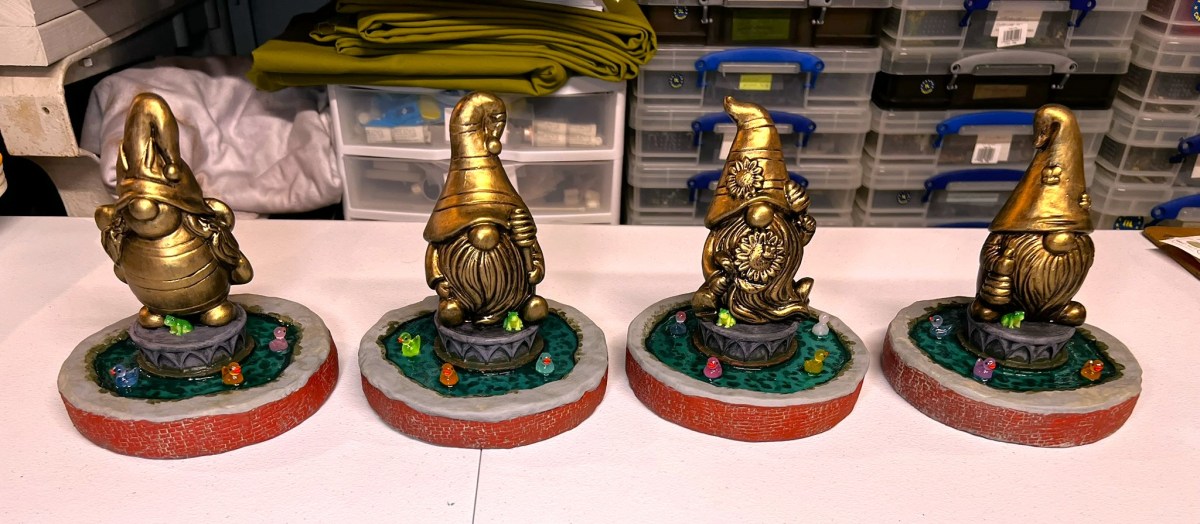
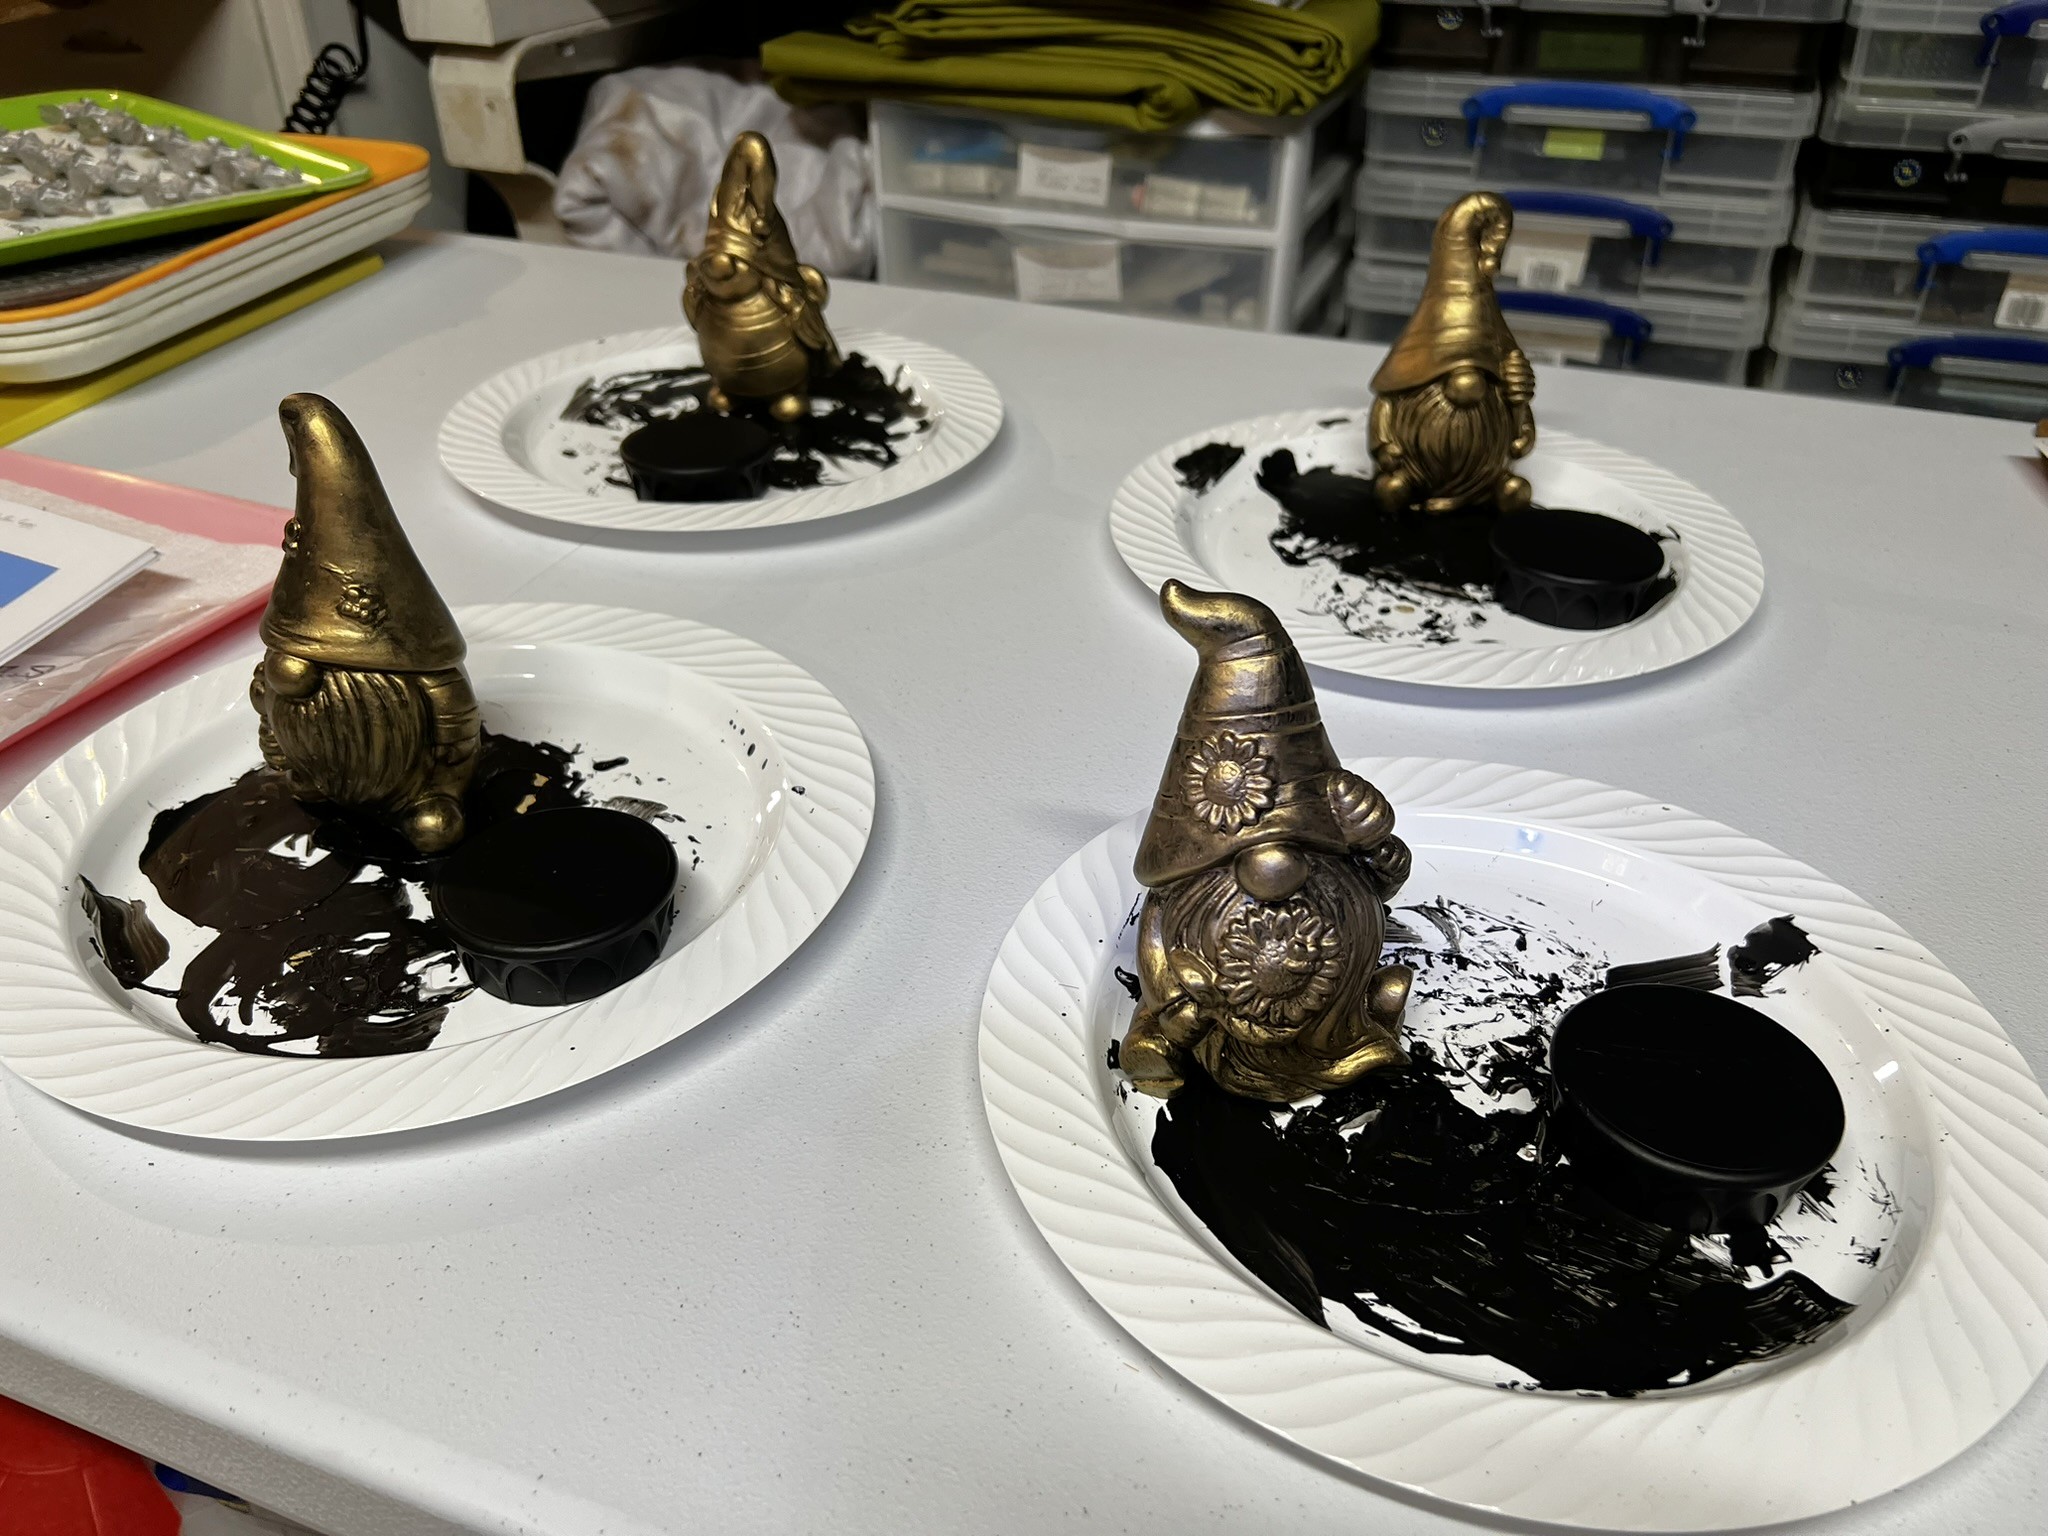
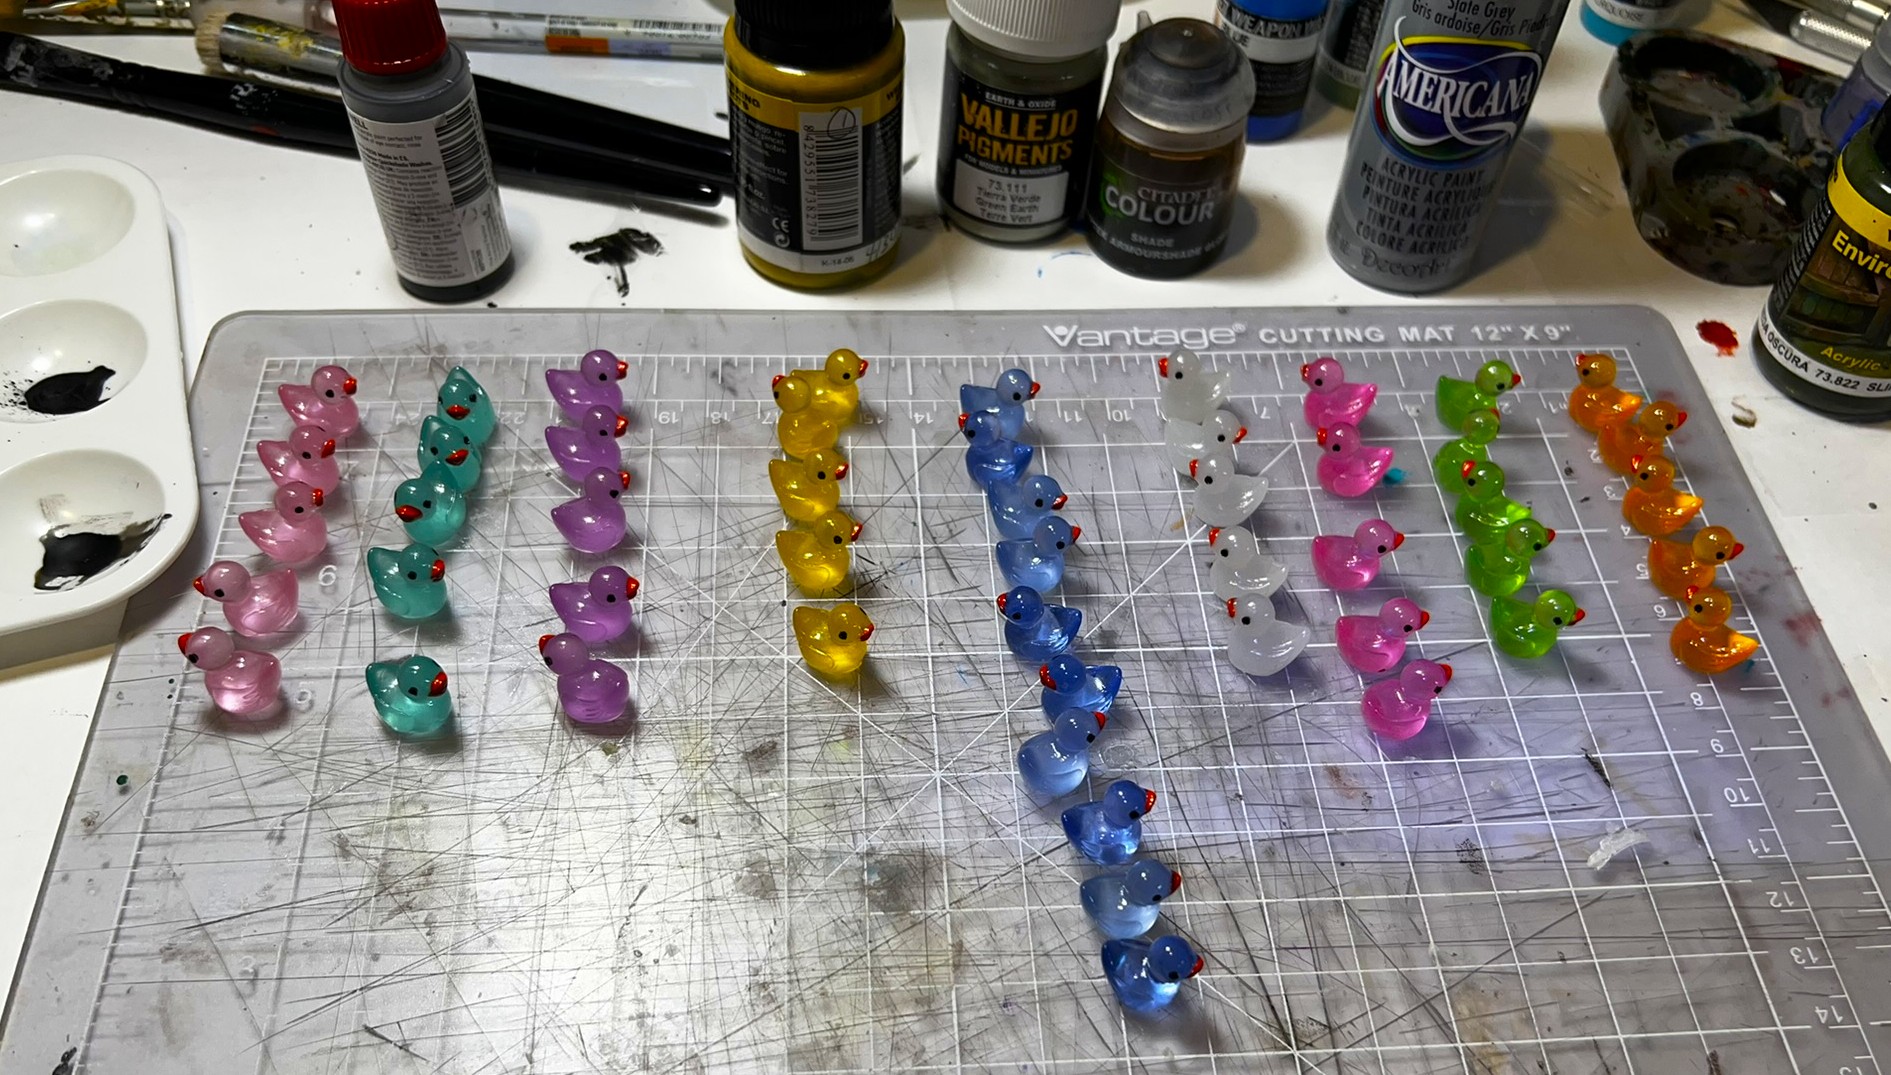
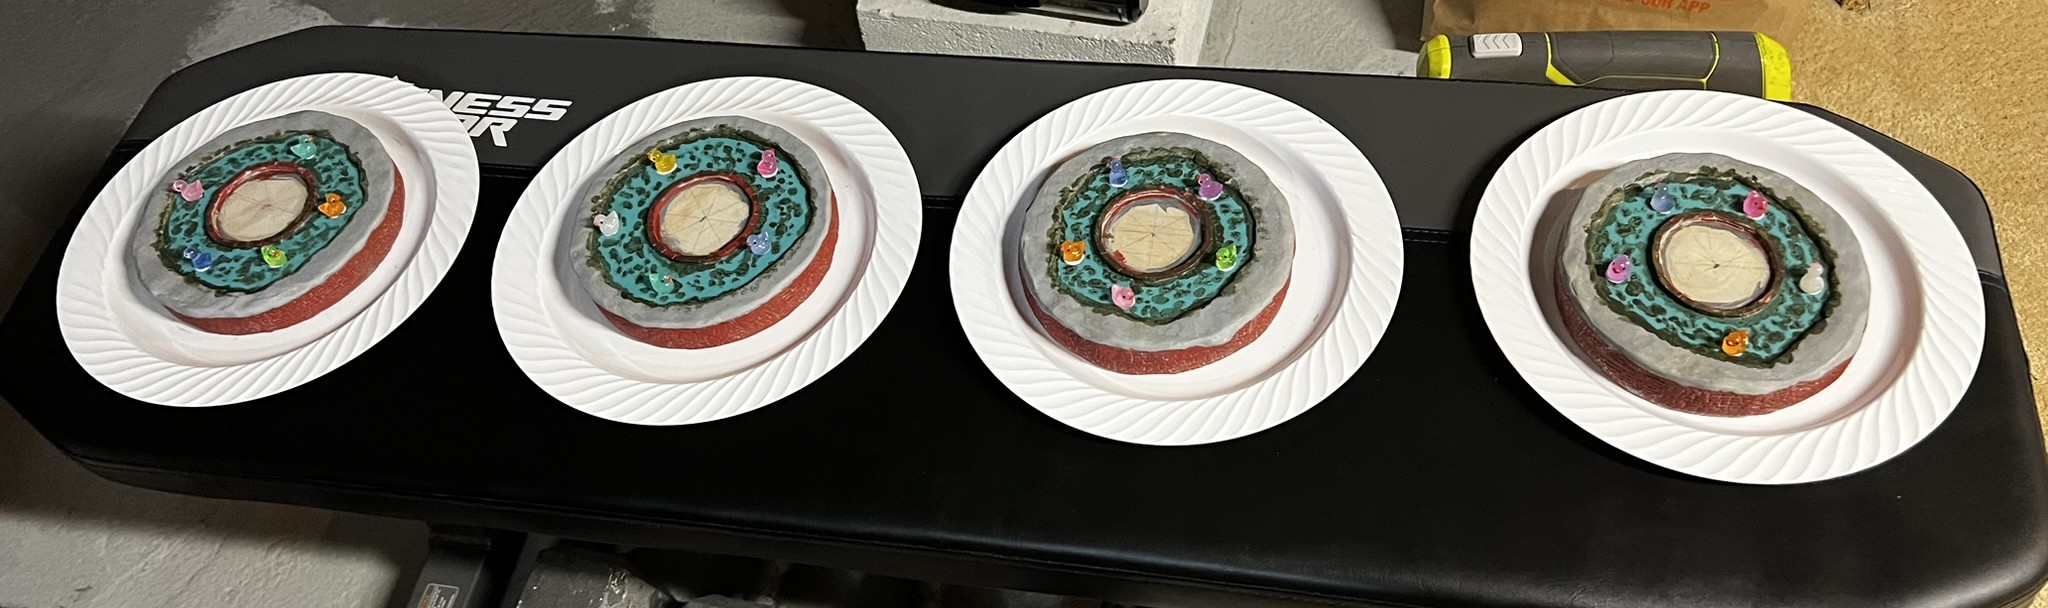
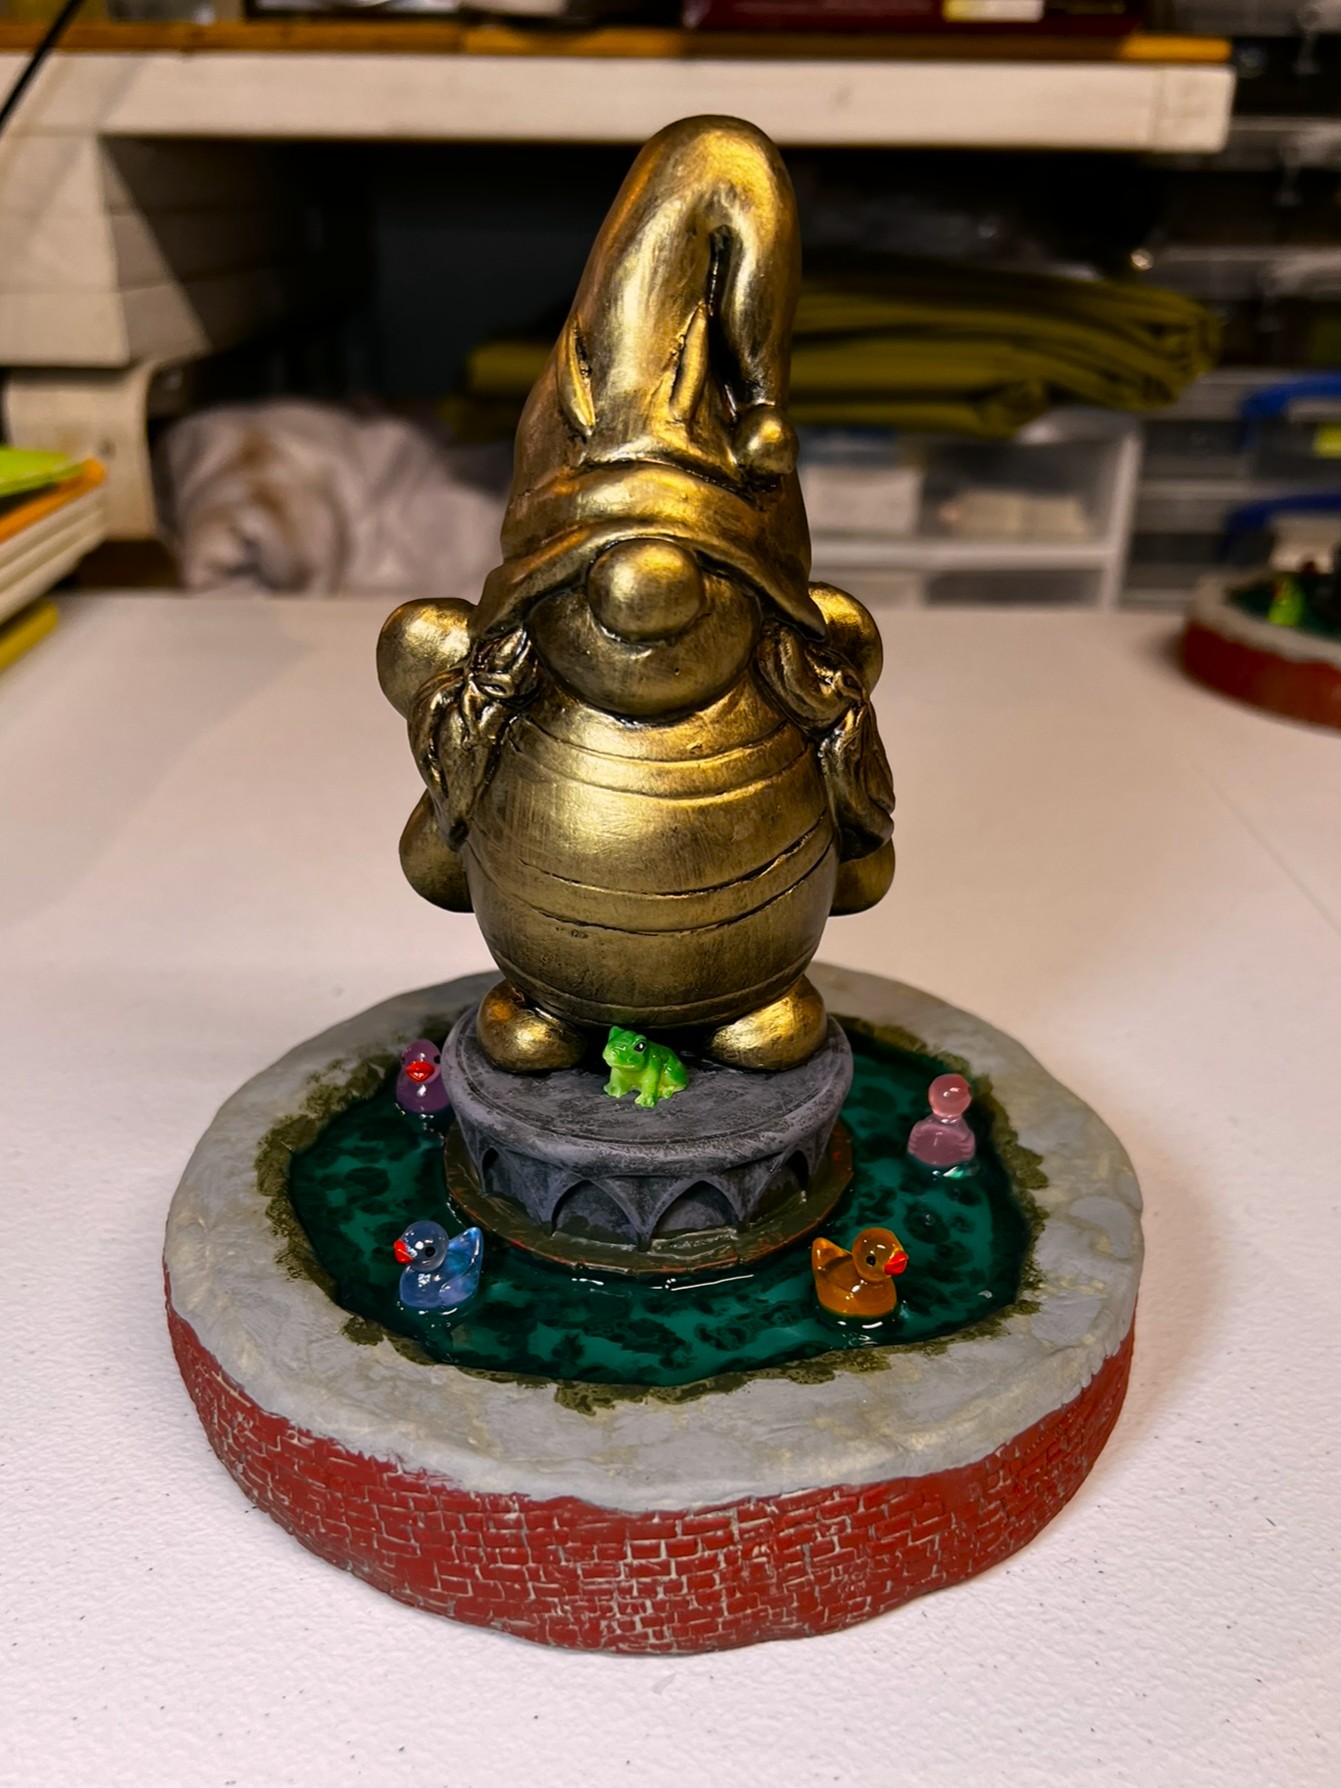
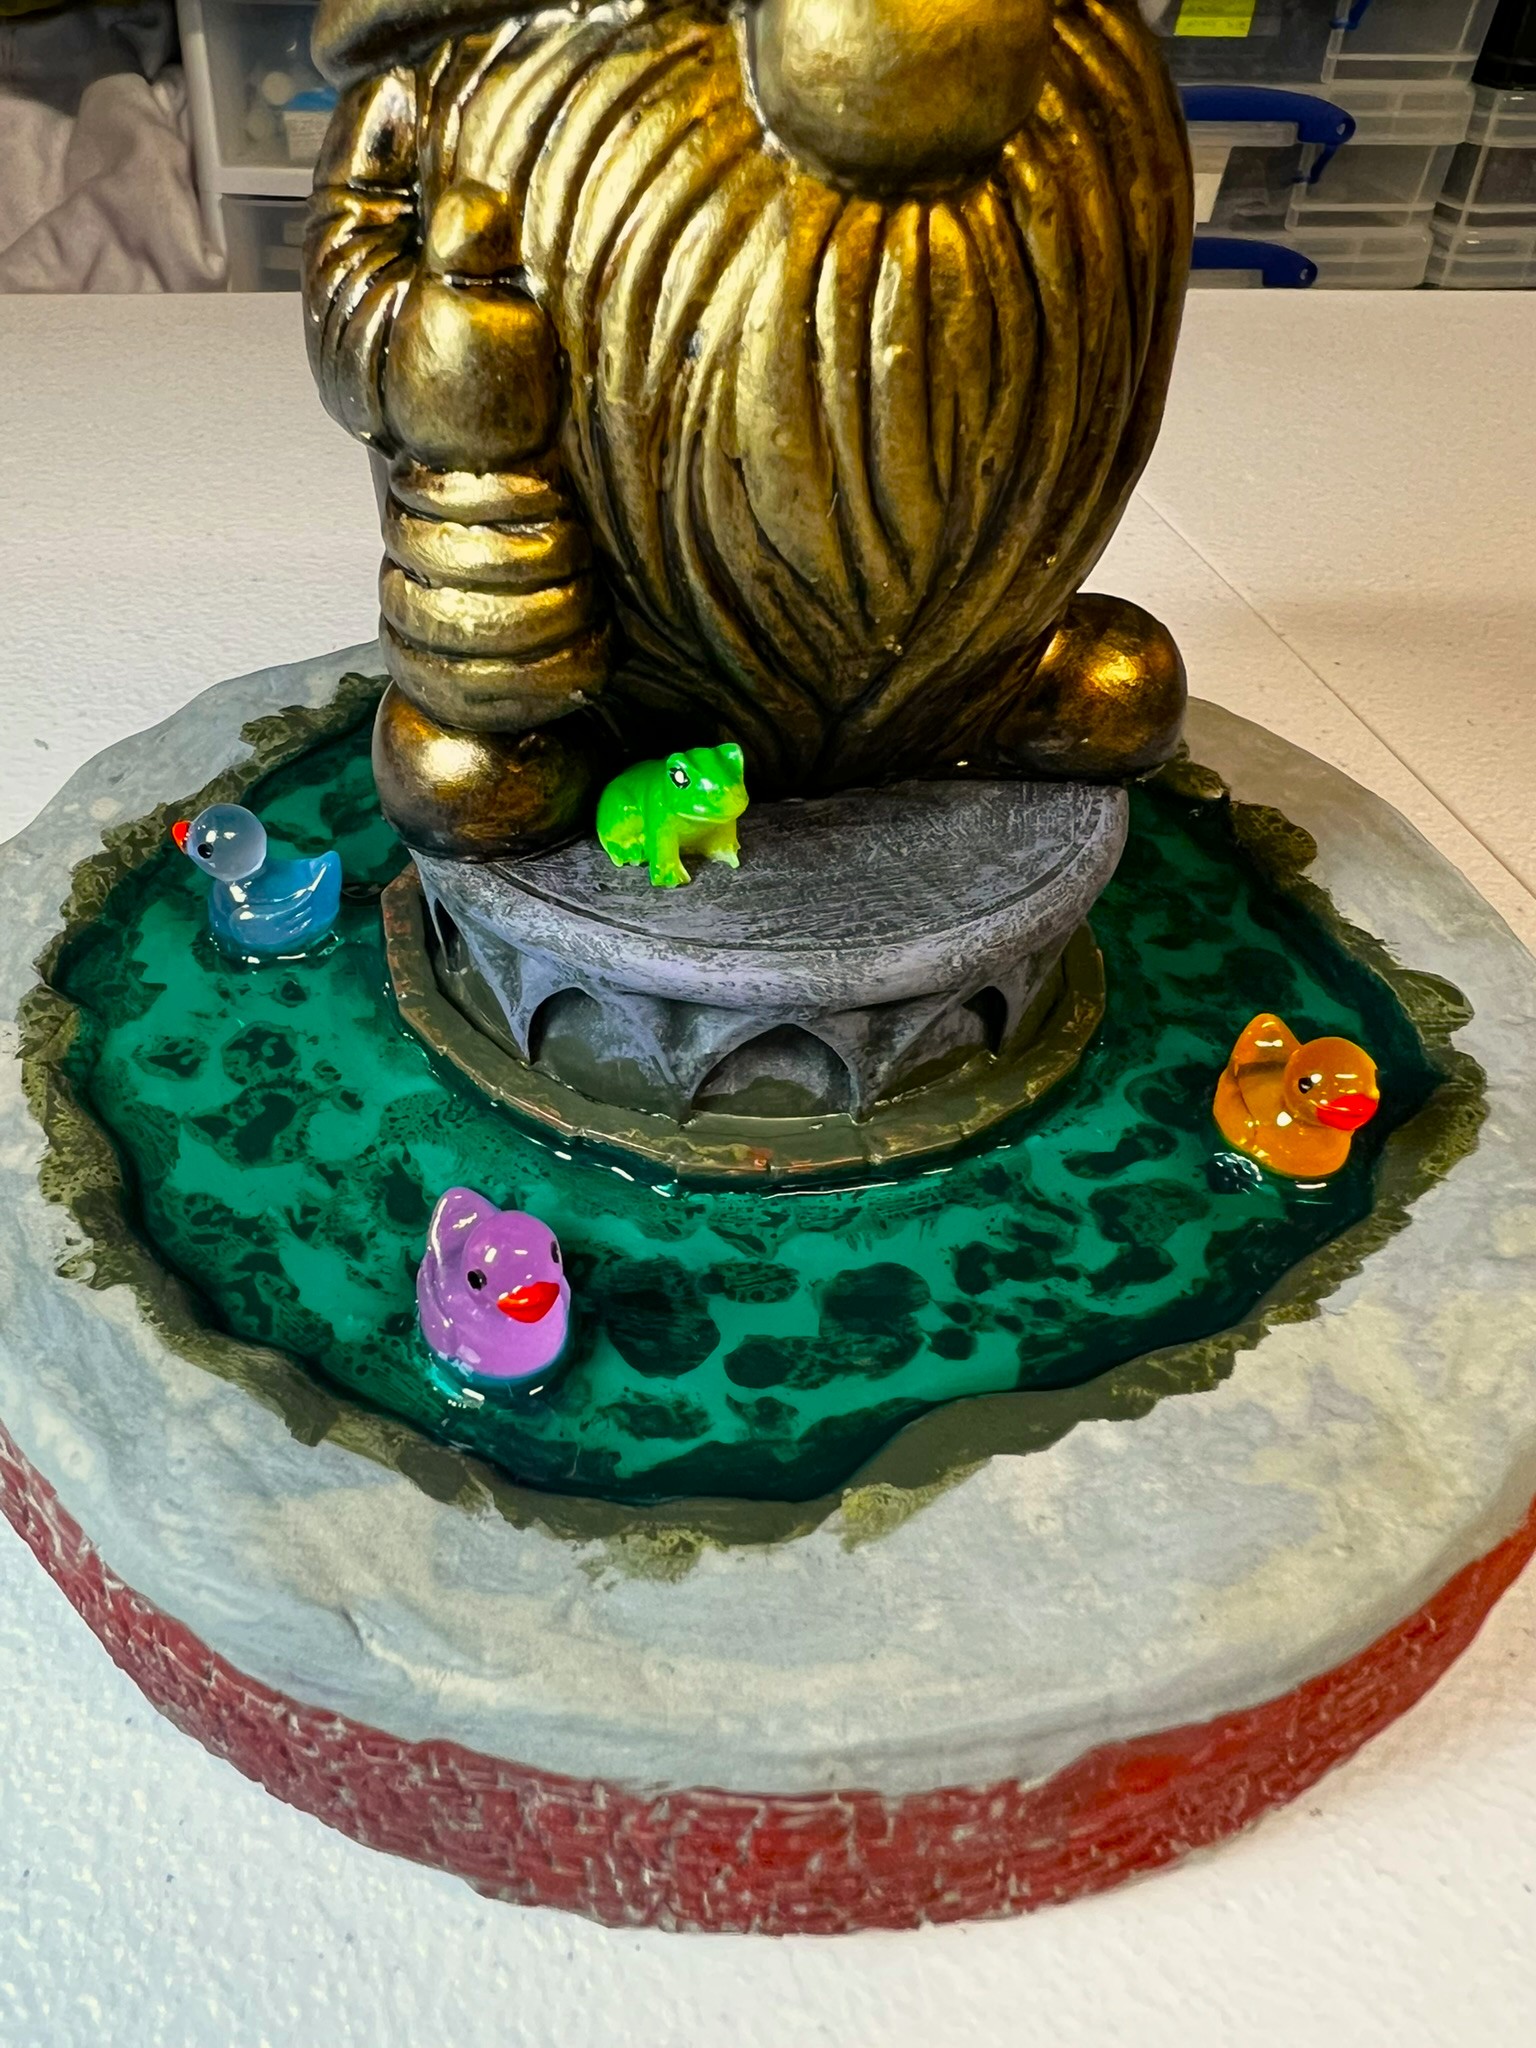
Laid little tiny Juweela 1:32 terracotta bricks in two courses with PVA to surround the orange juice lid plinths. The bricks would be painted red.Used bronze paint to change the Nomes to statues.Painted the fountain bottom blue using a mix of colors. Then stippled Vallejo “Slime Green” around the structures and on the fountain’s bottom.Got my ducks in a row! The set comes with multiple colored ducks that actually will glow in the dark.Dry brushed the plinths to resemble aged granite, then added a dark wash to the Nomes. Mounted the Nomes on the plinths and added a tiny frog.Mounted 5 ducks with PVA to each fountain, and then let dry. After that, I added the still water blended with inks to the fountains.The brick rims got a treatment of pigments to fill in and give a better look to the mortar. The Nomes and plinths then were set into the middle and I filled the little gap with PVA. Later I would reapply the slime to the water’s edge and hide any remaining gaps, and varnish the brick rim.
That would finish the project. Now…
Eye Candy
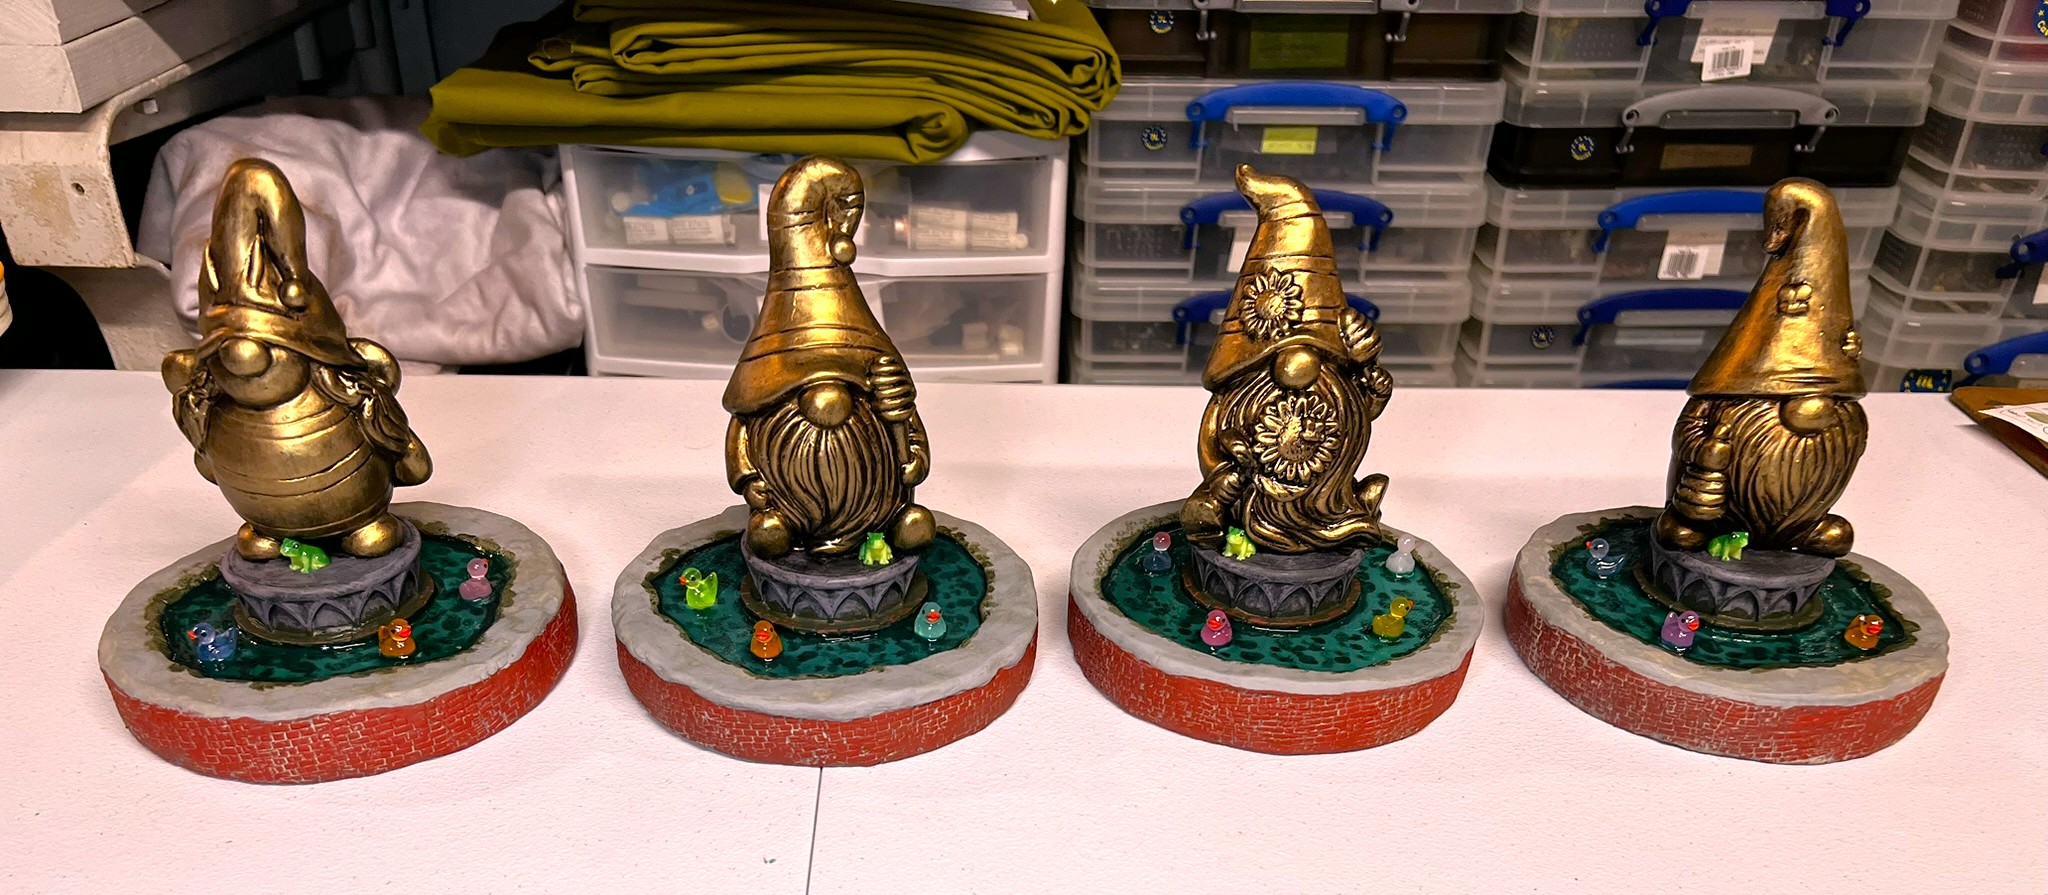
I was able to to present three of these at Cold Barrage in Havre de Grace Maryland to Greg Priebe, Chris Palmer and Buck Surdu. The fourth will go to Dave Wood at Cold Wars and take prominent places of the Ozzaganza tabletop.
Next up (hopefully shortly) the only figures that I finished for February…
Final Note
Want to learn more about Ozz? If you want to check out the excellent Wars of Ozz figures’ range, there are two places to get them. You can also get the rules there. (I make no money from this.) The game rules and the figures are available from the next two places:
Below you’ll see the list of paints and the like that I used on this project. They are more useful for me when I need to recreate a color scheme in the future. They might not be as useful for you. In any case, that’s why I post them.
Miscellaneous details and references for those interested in that sort of thing:
For my earlier posts on Wars of Ozz games, view this page. It includes figures, units, and other related projects.
PAINTS, INKS, GLAZES, SHADES, WASHES, PIGMENTS, FLOCKING, GLUES AND MORE THAT I USED ON THESE NOME BEEKEEPER STATUES/ “OZZCARS”:
Several upcoming wargame conventions are looming on my horizon, so I needed to get going on adding some new terrain and game markers for my Wars of Ozz games. I will be posting about these three parts for ease of reading. I have been (as you will see) very engaged with multiple terrain projects. Luckily, I was able to get all of them completed in early January after finishing my brigade of Pollywomps. At Christmas, I received several cool gifts that would be useful to convert or build as terrain pieces. This post will cover the first one I finished, a Scarecrow Girl statue.
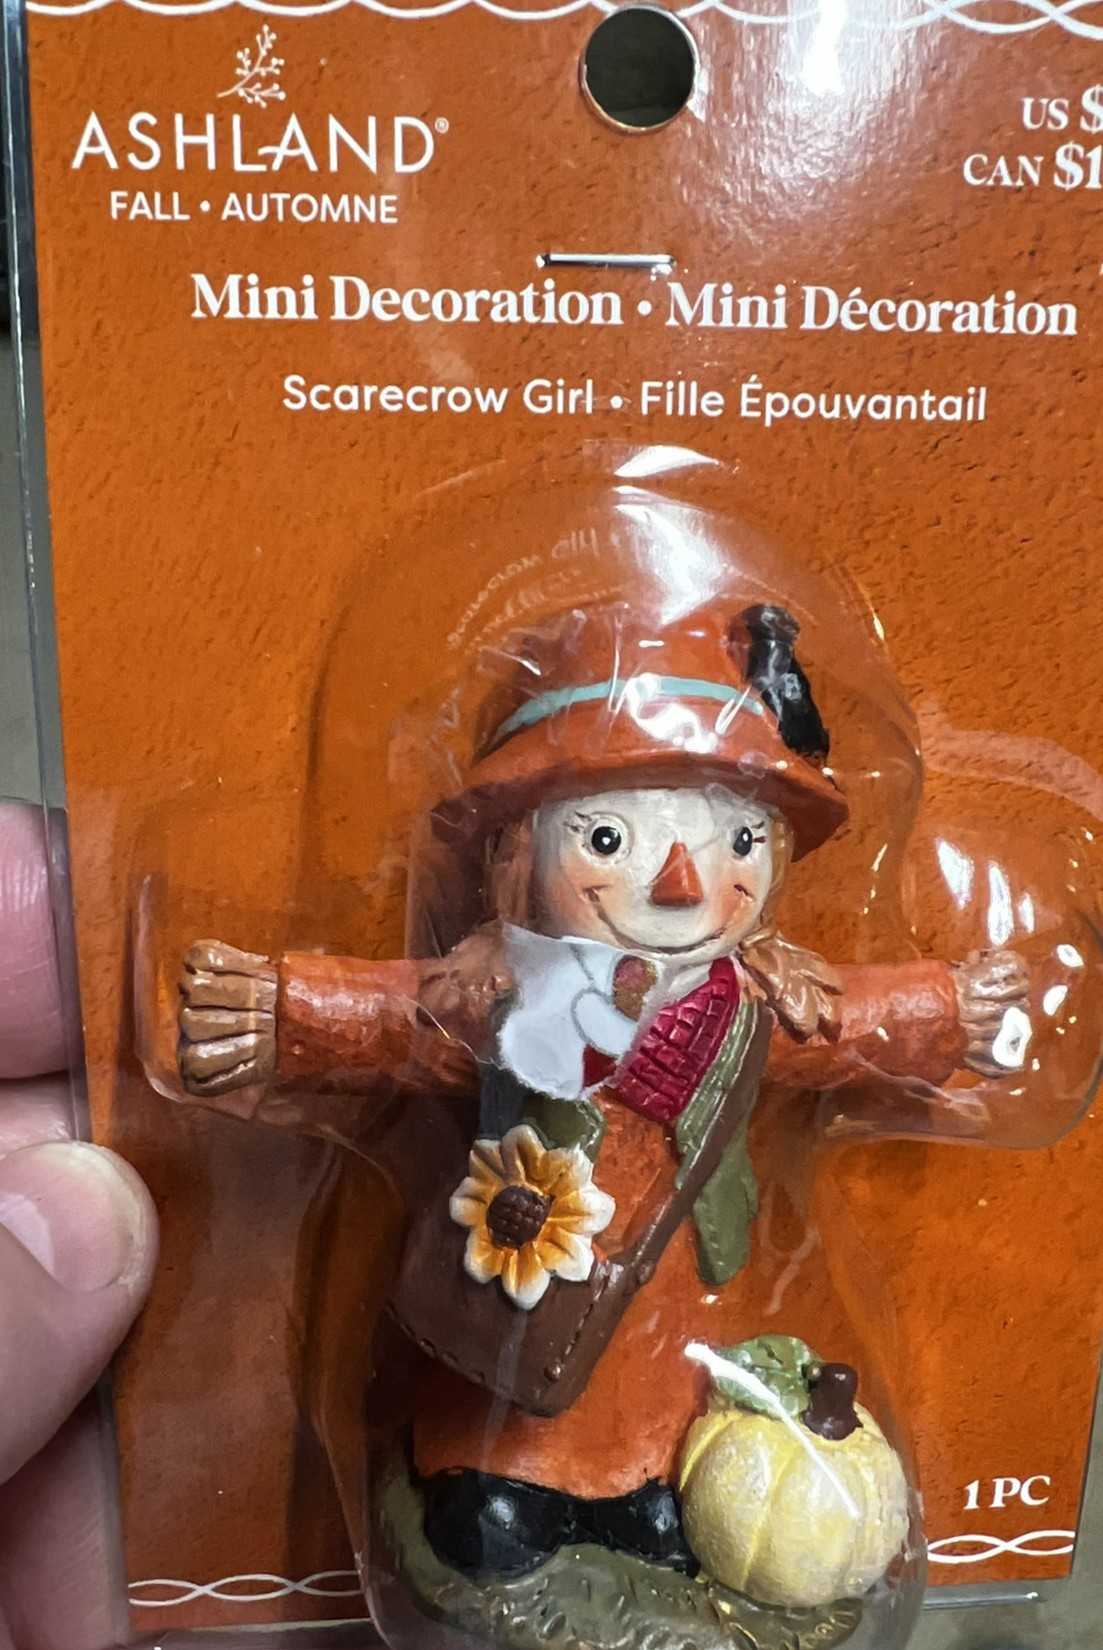
My wife Lynn saw a 3″ tall resin figurine of a scarecrow girl at the Dollar Store – and got it for me. It was factory-painted. When I saw it, ideas in my brain began to churn. I thought with the statue’s size she would make a nice centerpiece as a statue. I’ll share how I worked on it and then some shots of the finished product.
WIP Shots of the Project
The figurine in its package with wrapping paper shard still attached!
My plan was to build the terrain piece as a metal statue on a granite plinth. I had various plastic bases that I had not been using – and I selected one that was not originally even designed as a base for figures. It was probably came from something household-like that I assembled years ago and came as an extra piece. I saved it as I thought someday I could use it. I sanded off its shiny surface for better primer adhesion. Also, I had saved a plastic lid from a Tropicana orange juice bottle that had a nice shapes on its outside surface. Lastly, I added a heavy large steel fender washer underneath the plastic base for stability and adhesion to a magnetic sheet in a storage box.
The Tropicana lid, steel fender washer, sanded and repurposed base, and the Scarecrow Girl shown here at the start.
The steel washer was glued to the underside of the plastic base. I primed the lid and base all black, except where I was to glue the lid to the base, and let that cure. Then I affixed the lid to the base with PVA and let that set up.
Primed lid and base that would serve as the plinth
For the figure, I just overlaid the factory paint with gold paint in a dry-brushing fashion. Then I built out the Scarecrow Girl’s base with enough green stuff that it would cover the “Tropicana” logo. to do that, I had cut a piece of card stock to determine the size and shape that I would need to obscure the logo. After gluing that card stock to the statue, it was a lot easier to shape the green stuff perfectly.
Primed plinth and statue with enlarged base
I washed the statue down with a metal wash to give better definition. and added another dry-brush application of gold.
Statue after adding the dark wash and more gold. I also painted the green stuff as granite to match what I wanted for the plinth.
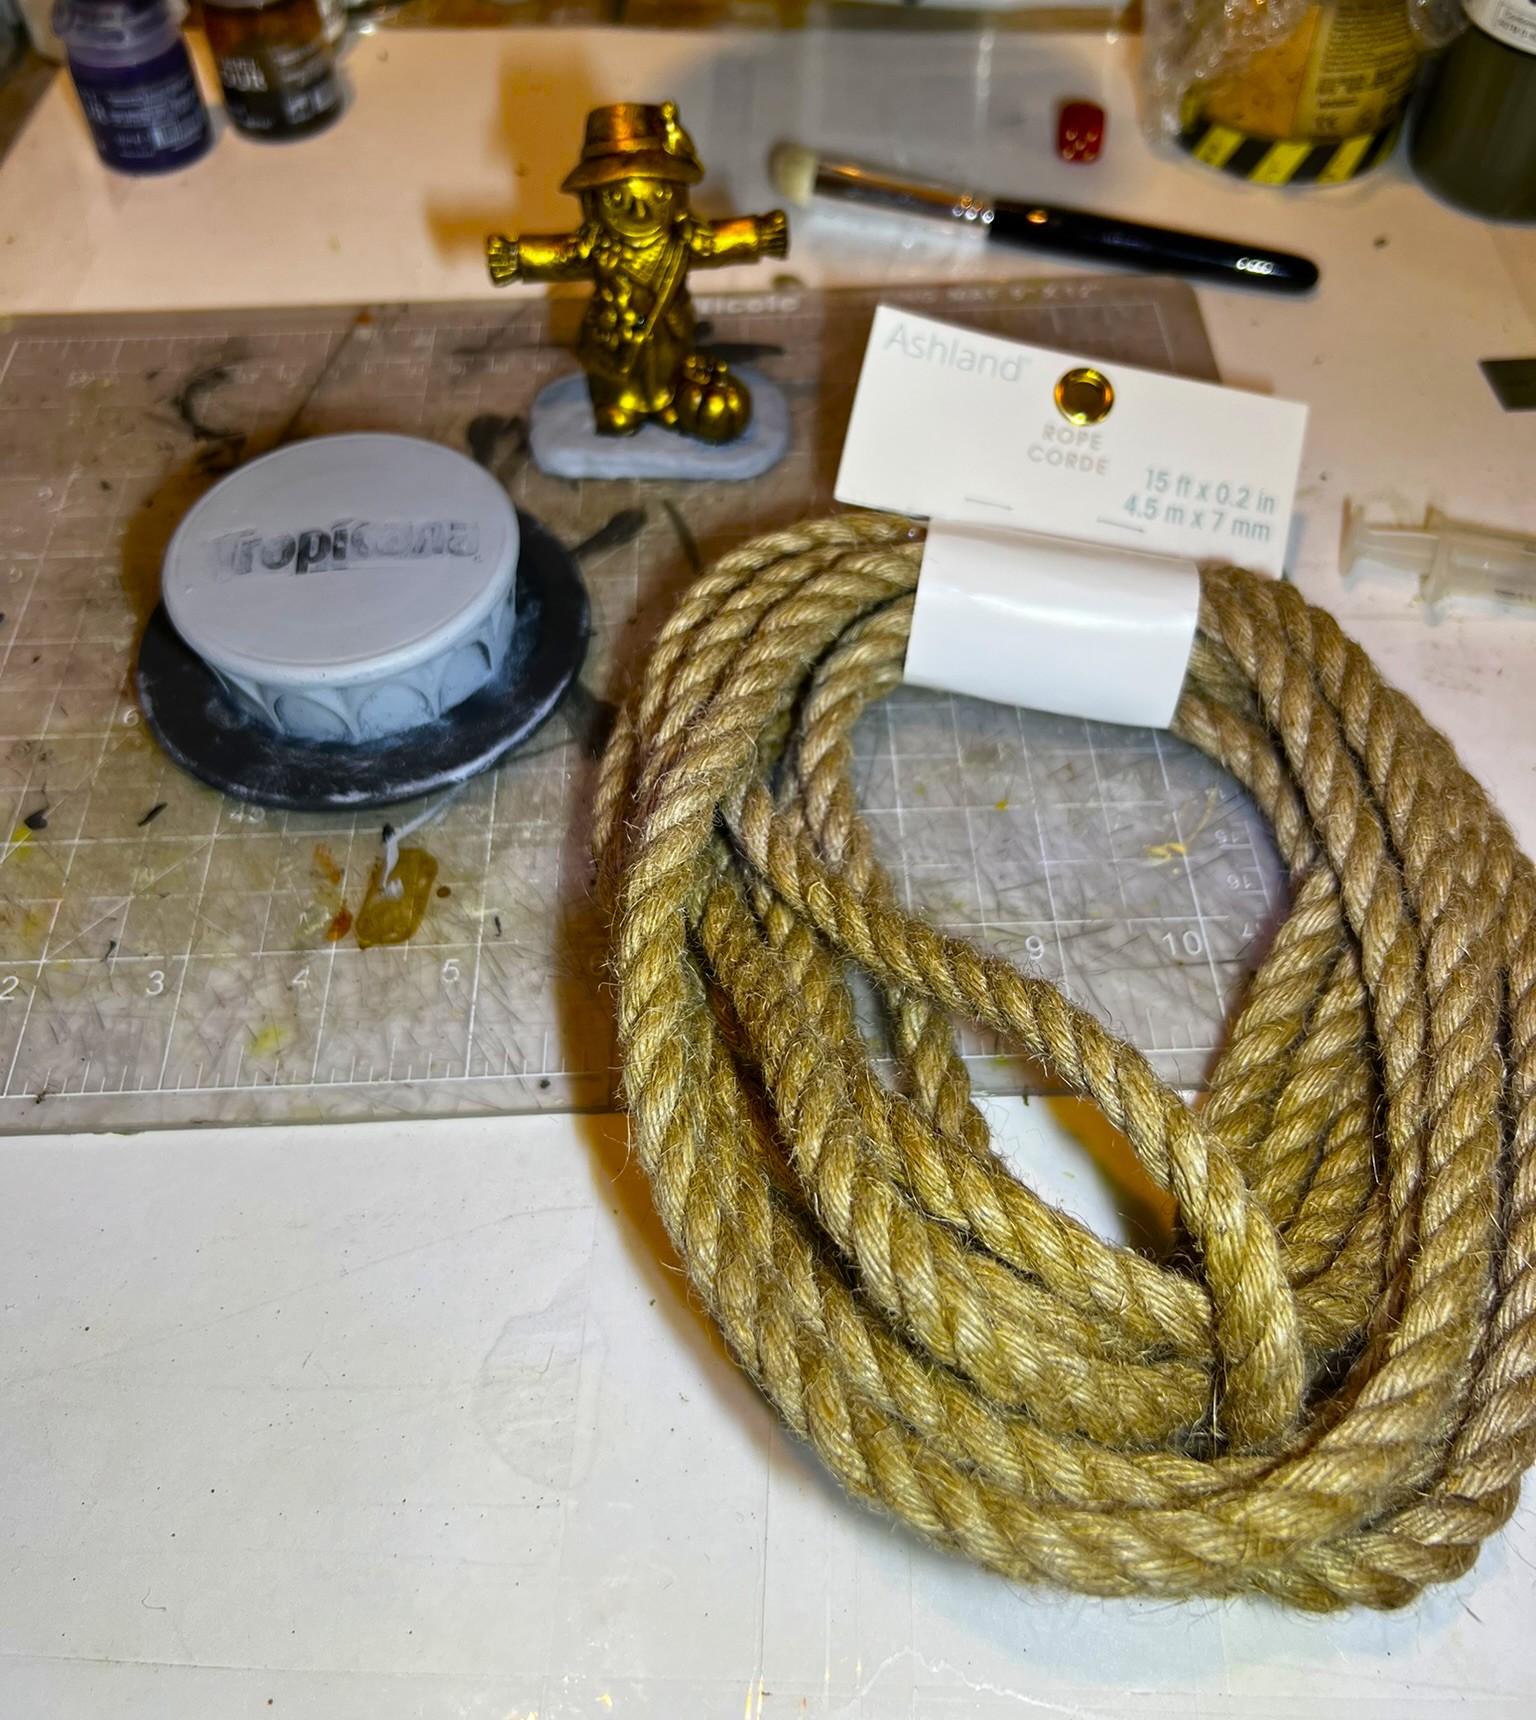
Then, I started to dry-bush the plinth to look like stone, but I saw that it had a small gap underneath. The steel washer was just thick enough to make the plinth seem to hover over the ground. I visited Michael’s store for inspiration, and saw a rope for decorative hobby projects – and voila – solution!
The plinth , statue, and rope
I cut the rope such that it would be the same circumference as the plinth. I then massively saturated the rope and where it touched the plinth with PVA glue. I drove the ends of the rope together where they met with a combination of toothpicks and small-gauge steel needles, and let it dry – hoping that approach would work.
The plinth and rope with the PVA drying
It worked well as you can see below. All I needed to do was remove the needles and clip off the toothpicks flush with the rope.
Fry and before removing toothpicks
I had also tried to use toothpicks underneath as “bridges” to hold the rope ends together. PVA is great here as the rope and toothpicks are porous enough to make great bonds.
Underneath view of the plinth showing the steel washer thickness that caused the gap. You can also see the toothpicks used both in the rope and as bridges.
Then I glued the statue to the plinth. Having previously applied the card stock that the green stuff rested on to the underside of the statue – I got a great bond to the plinth with PVA.
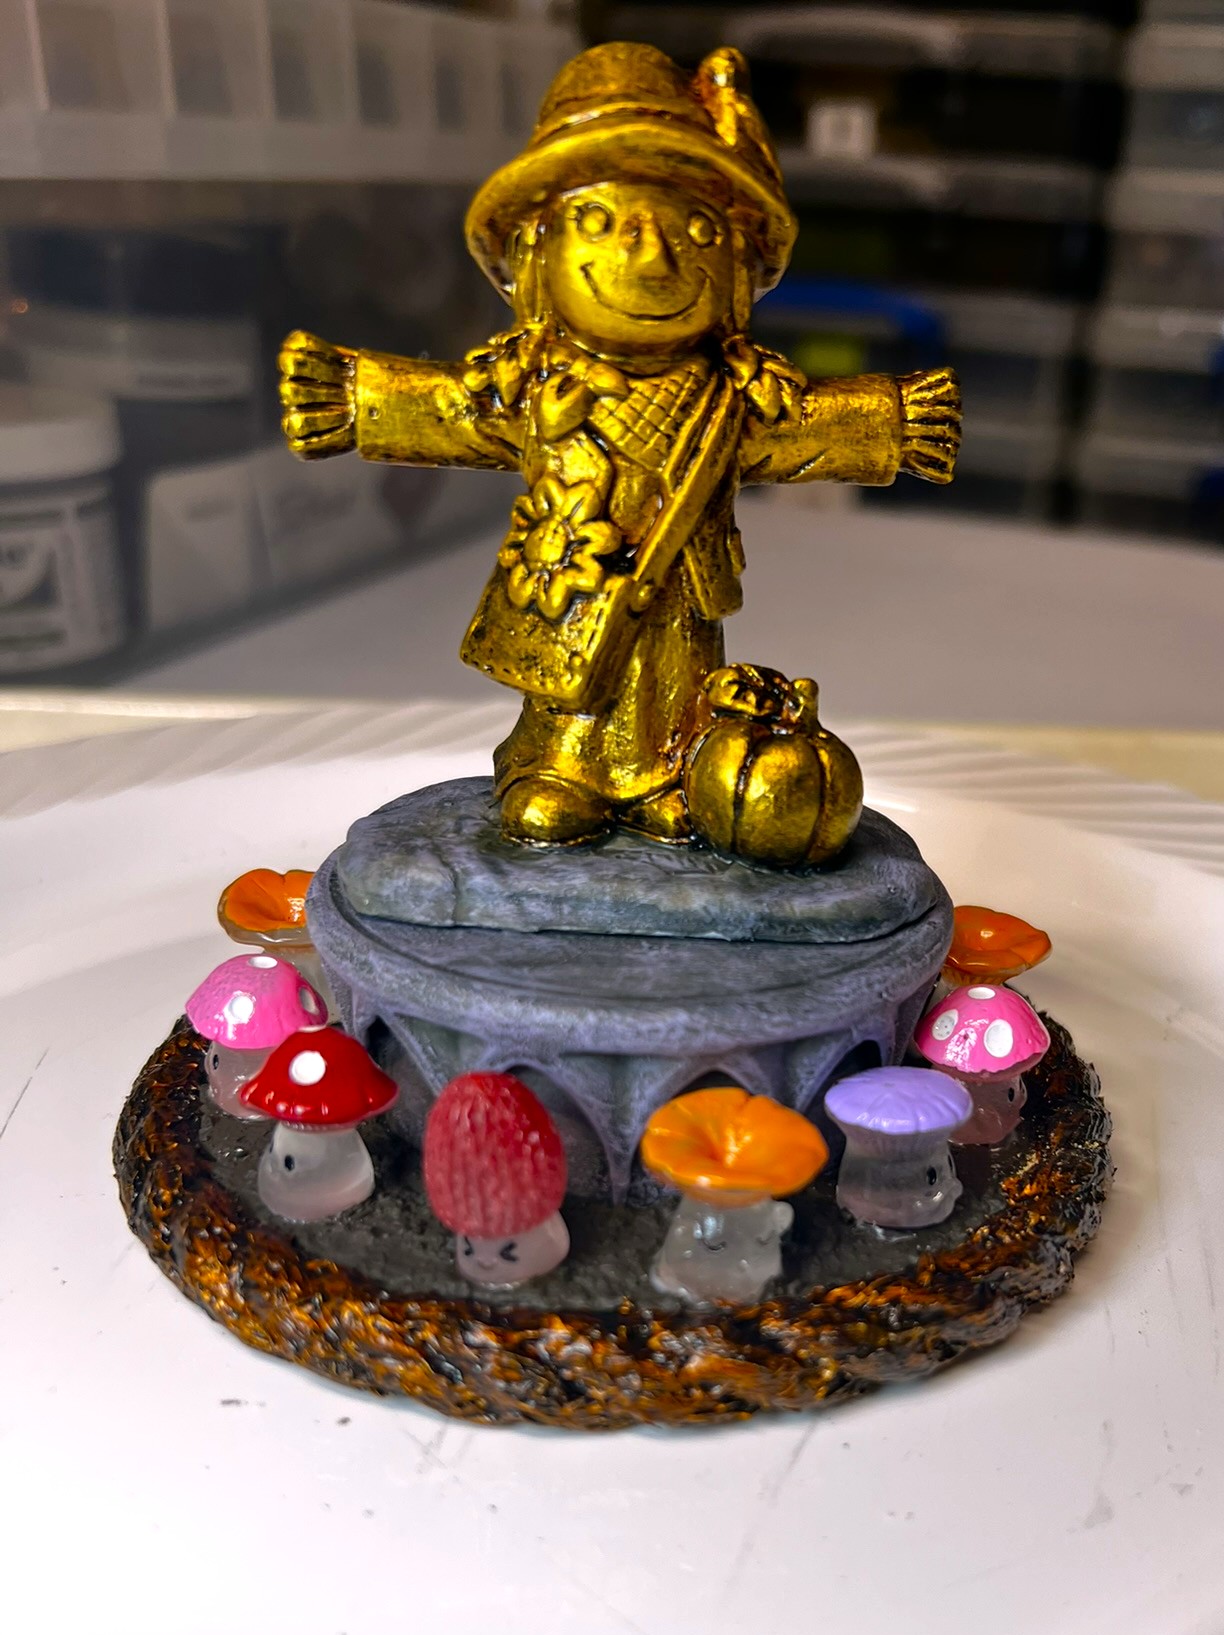
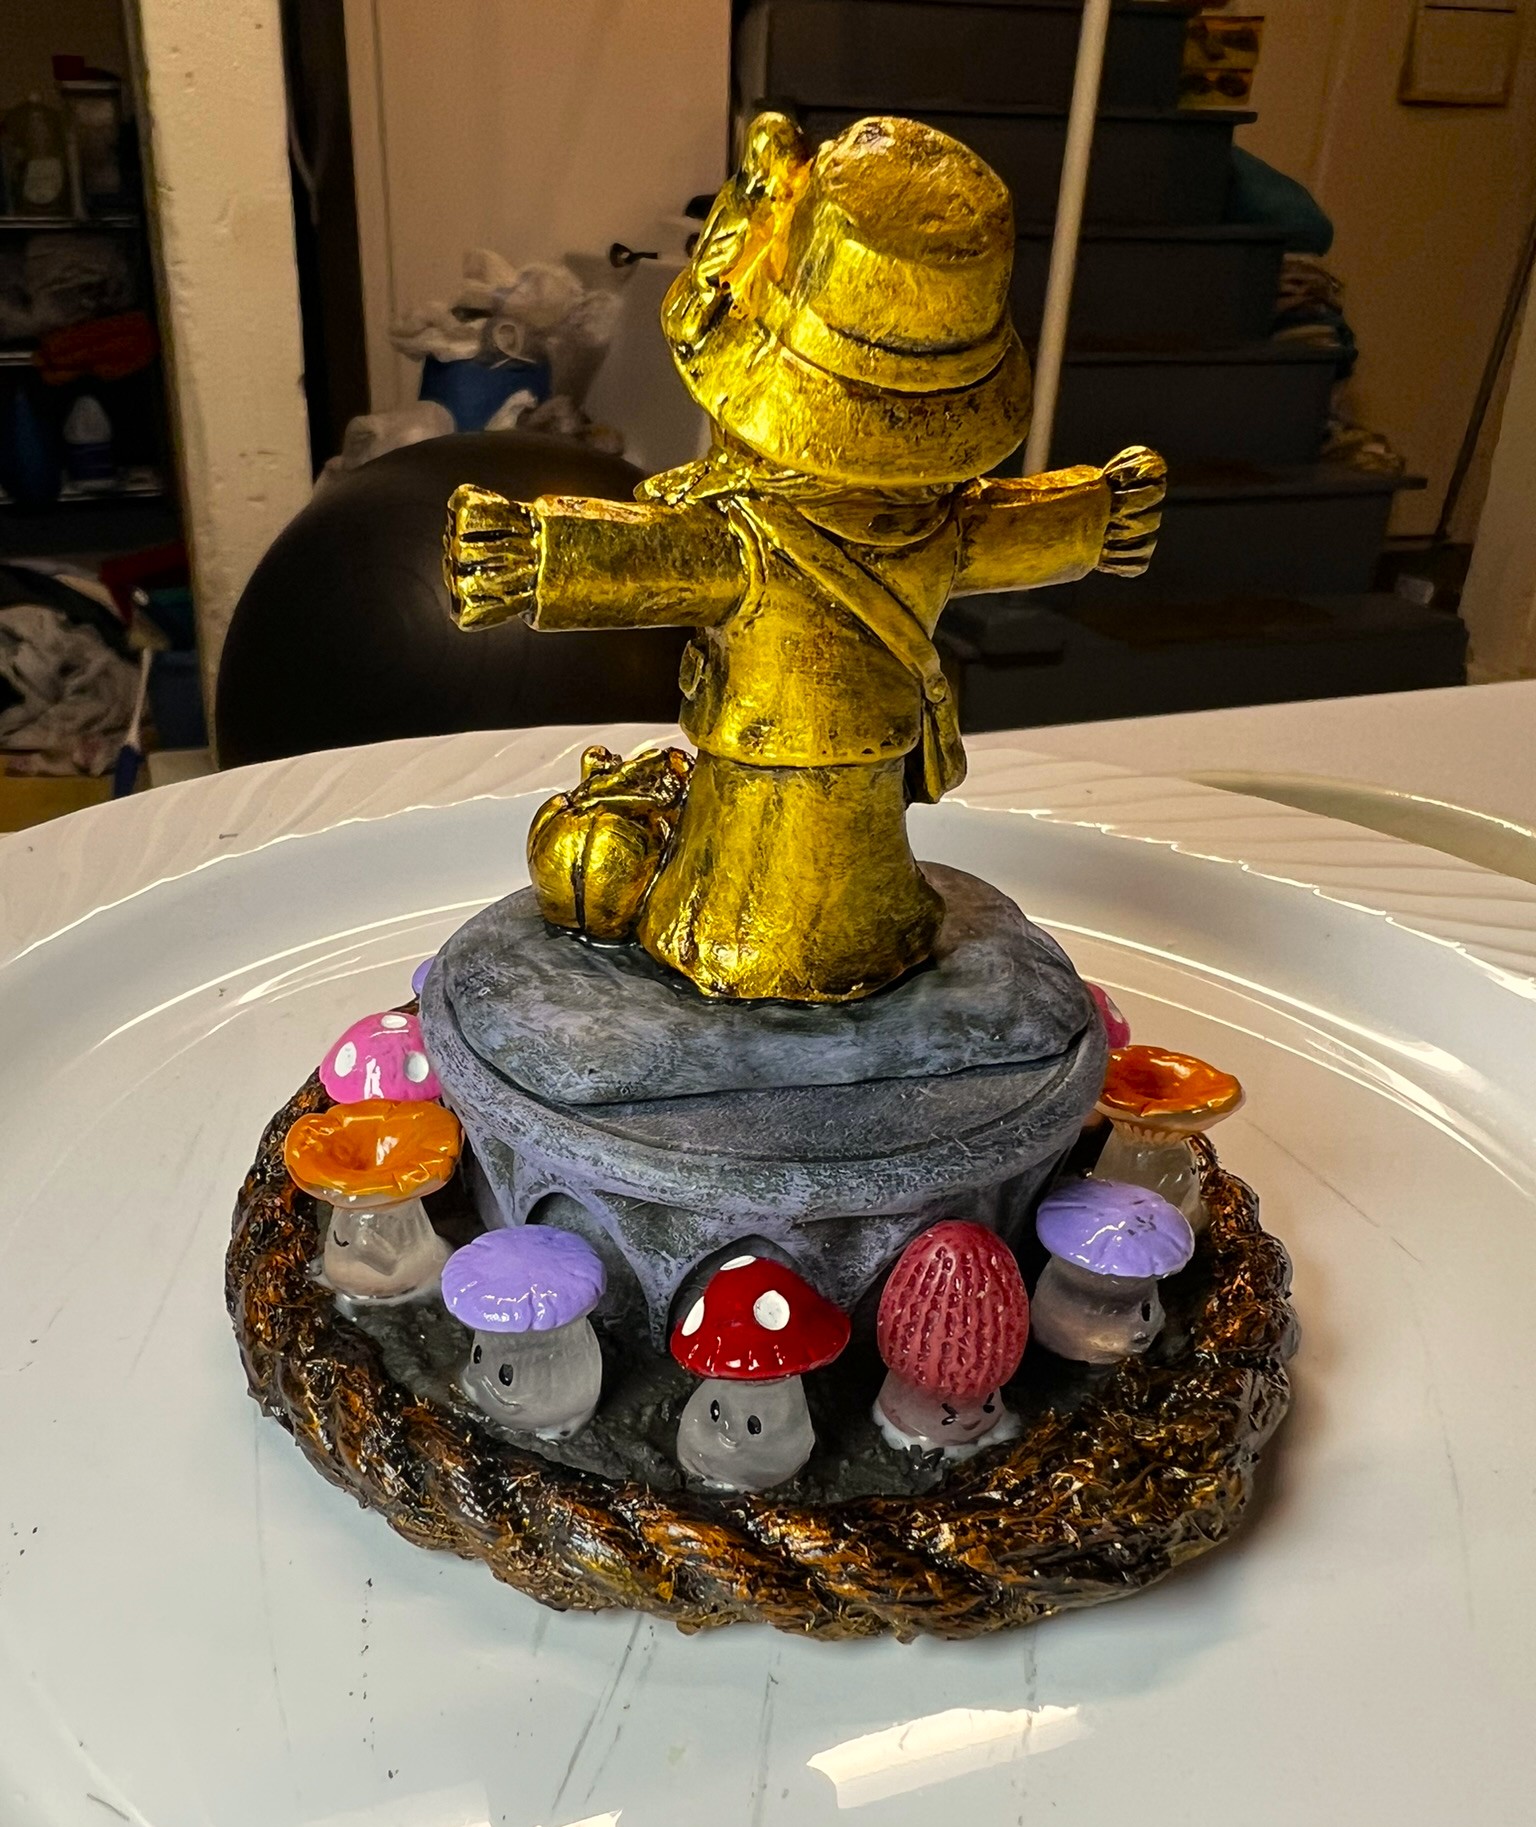
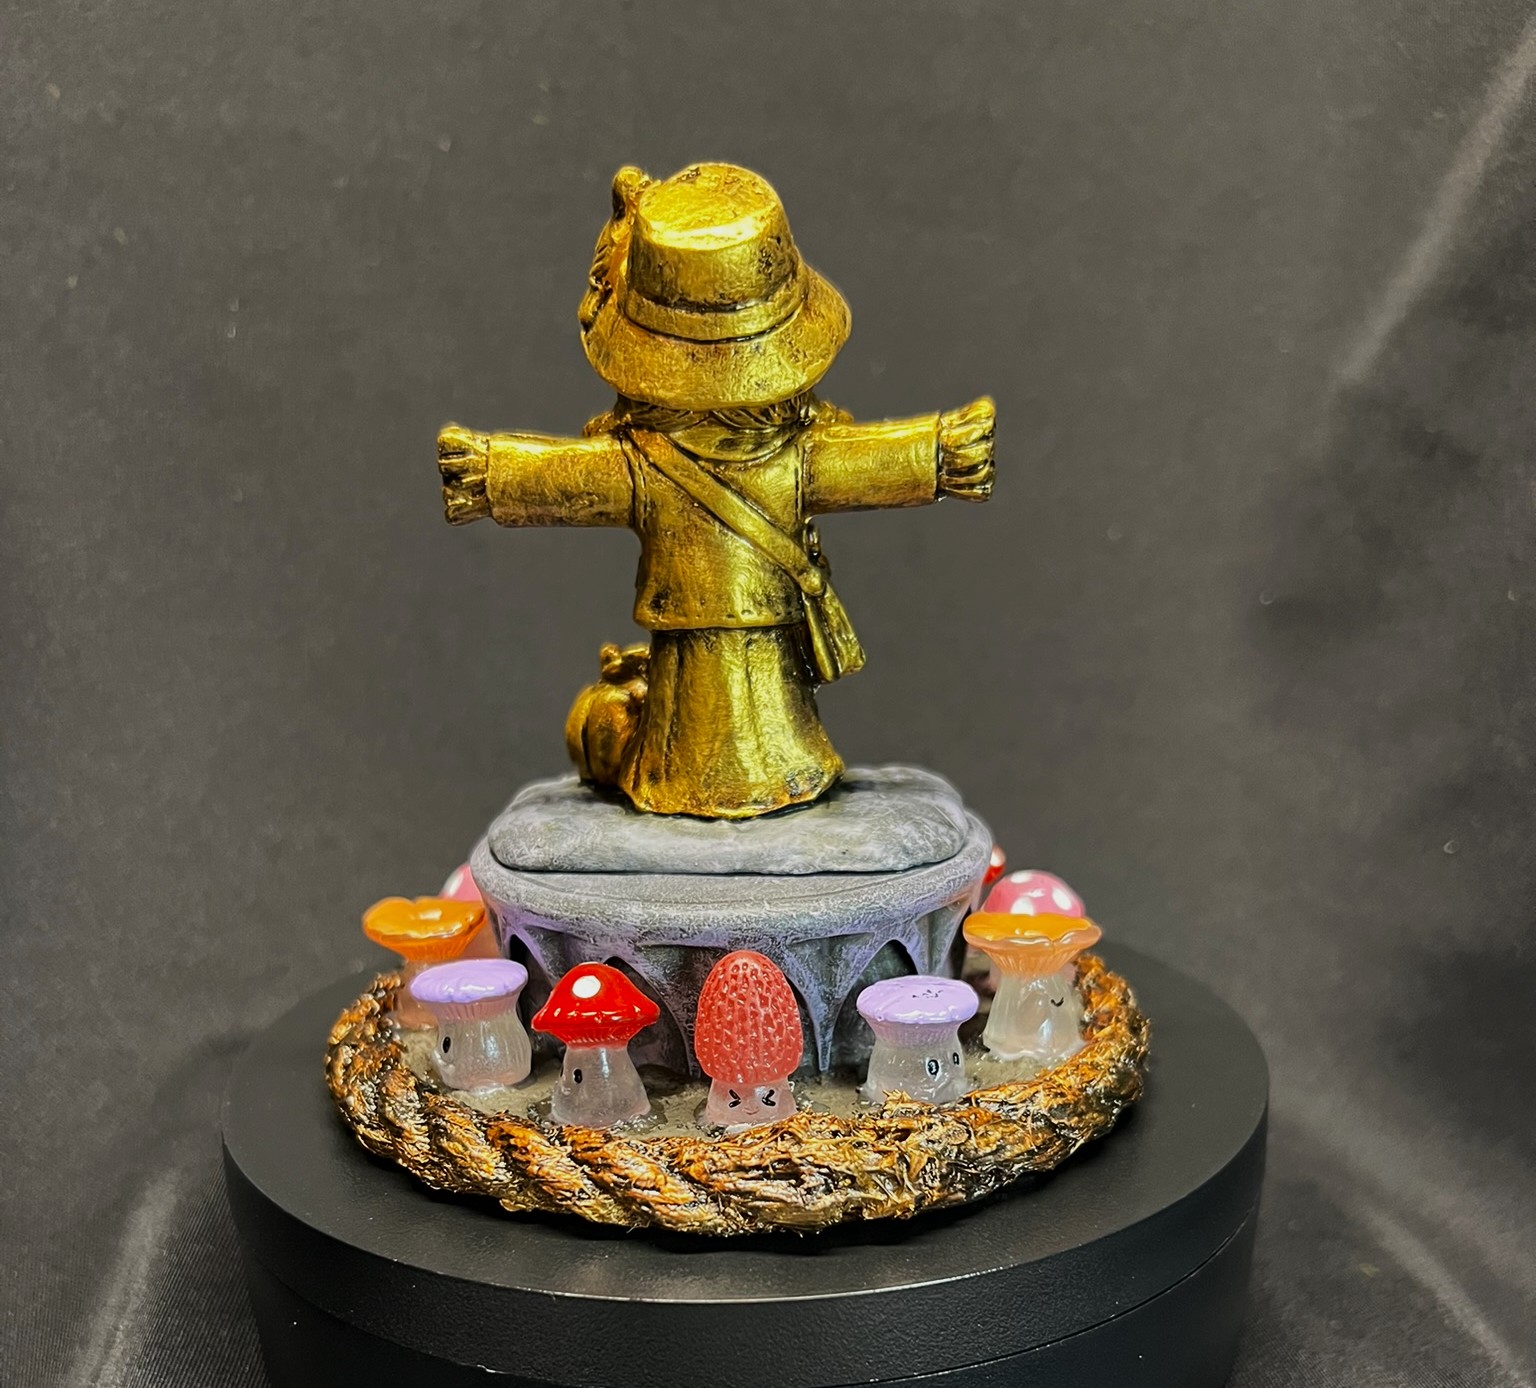
I used a different (darker) metallic gold color on the rope to simulate it as part of the entire work, then applied a dark wash. Lastly, I decided that there would be a “garden of guardian mushrooms” protecting here around the plinth. I did not paint them as this would allow me to treat the little guys as either carved or anthropomorphic!
Finished Scarecrow girl with little miushrooms’s glue drying (front)……and back
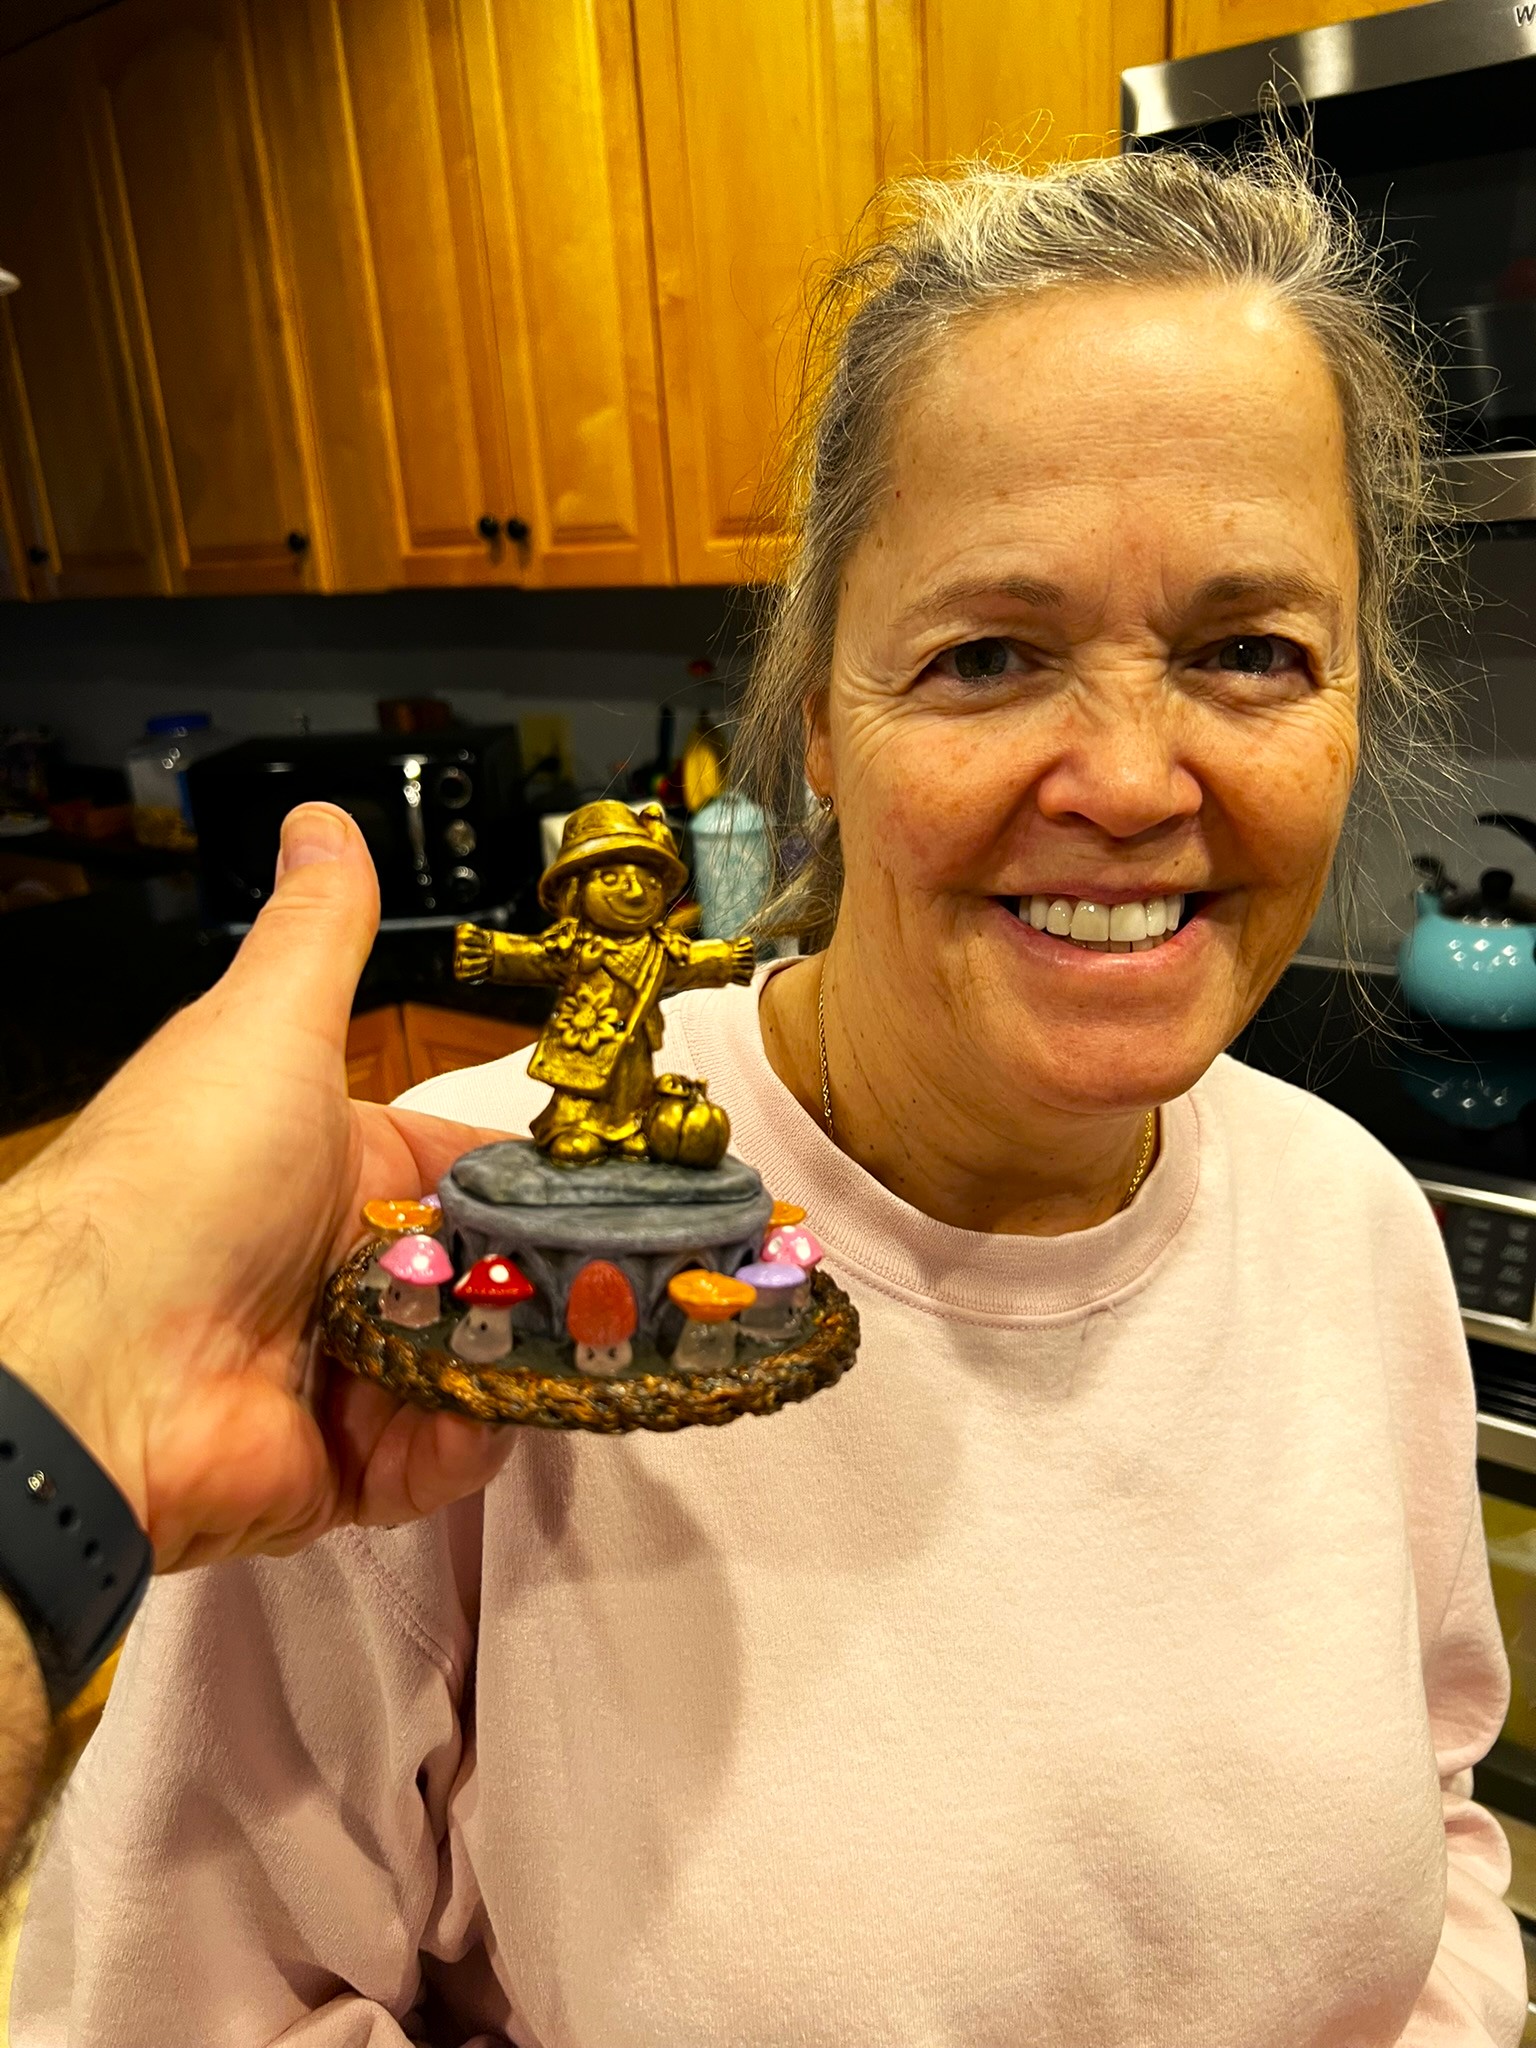
I of course had to show my lovely bride how much I appreciated her gift and what I had done with it! I think she liked it.
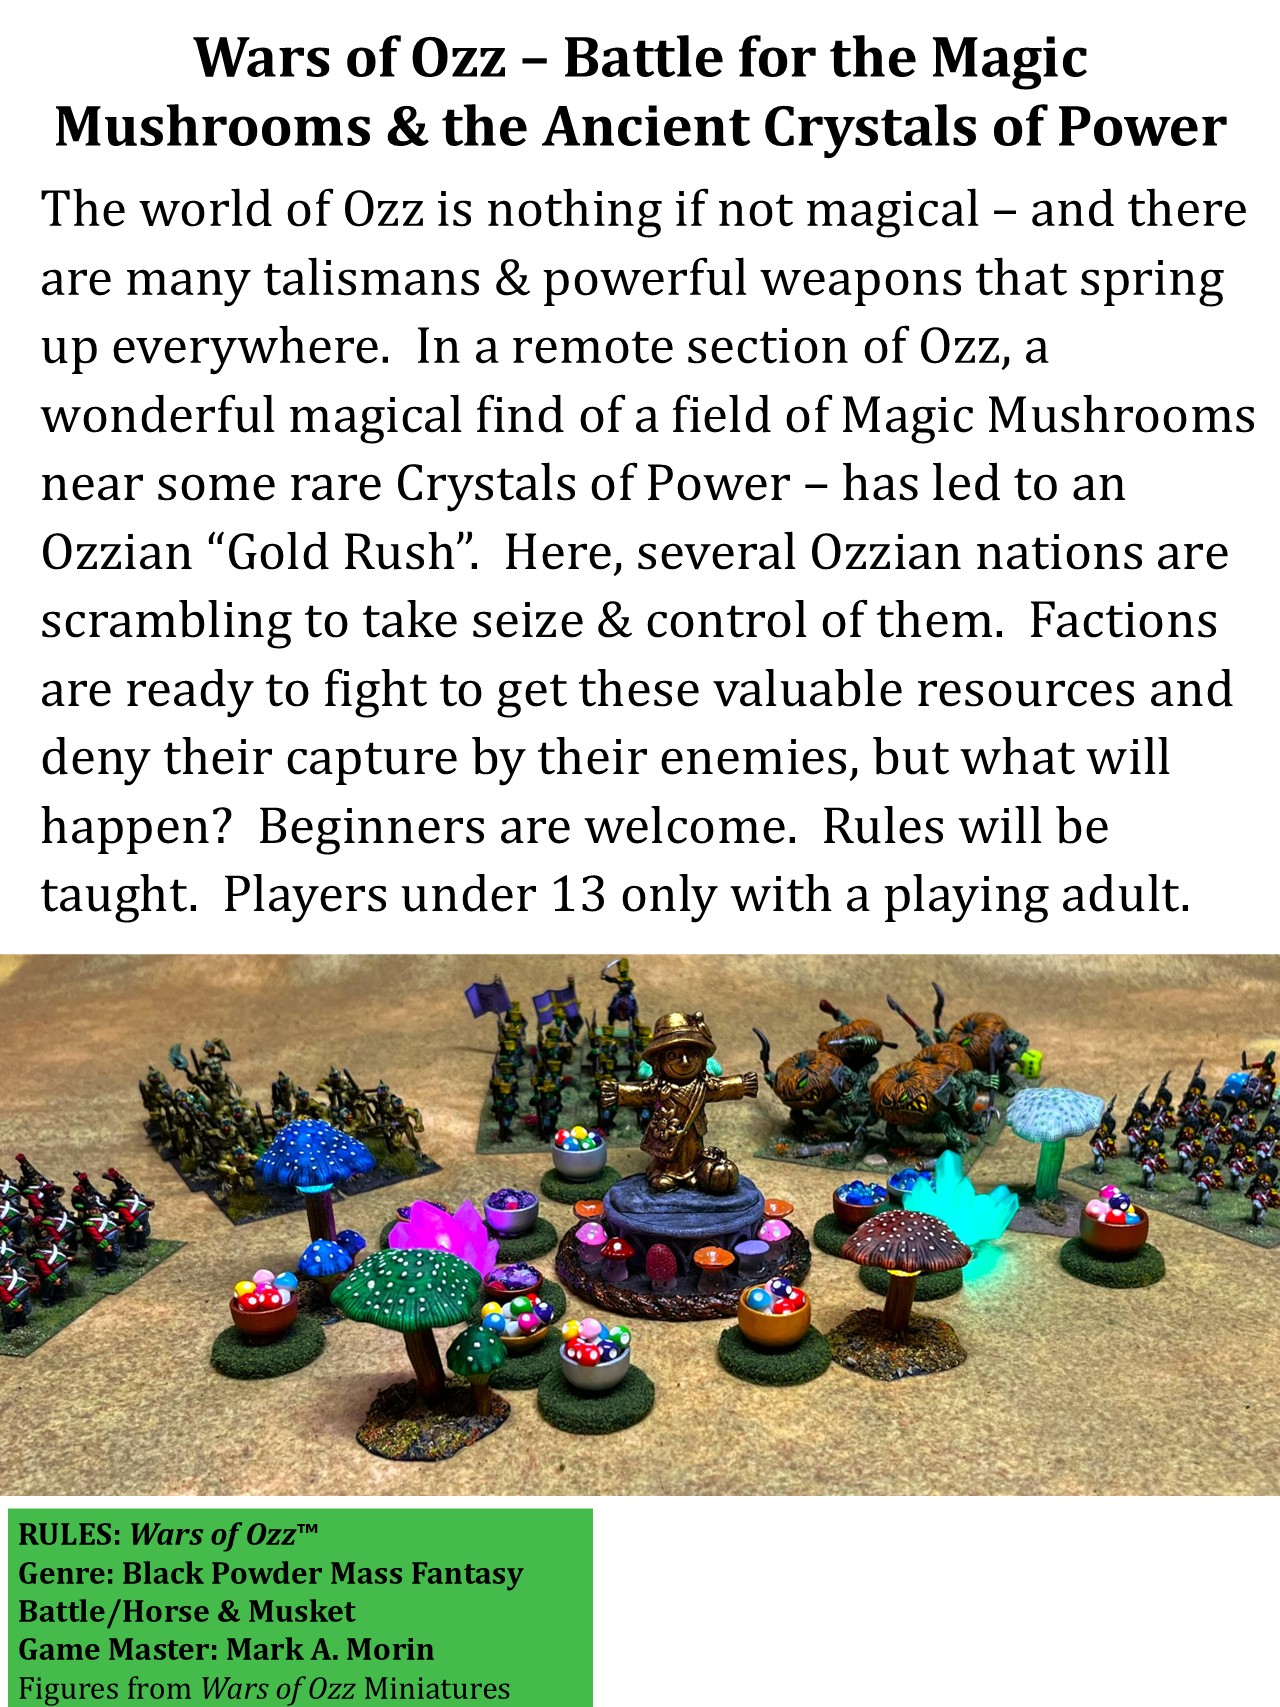
In the video I mention that I did not have a game for it – well, I decided that she will be the centerpiece on the tabletop for my “Wars of Ozz – Battle for the Magic Mushrooms & the Ancient Crystals of Power” game, described as follows:
The world of Ozz is nothing if not magical – and there are many talismans & powerful weapons that spring up everywhere. In a remote section of Ozz, a wonderful magical find of a field of Magic Mushrooms near some rare Crystals of Power – has led to an Ozzian “Gold Rush”. Here, several Ozzian nations are scrambling to take seize & control of them. Factions have teamed up & are ready to fight to get these valuable resources and deny their capture by their enemies, but what will happen?
Here is the flyer for that game – and you can see some game markers that will be fully shared in part 3 of this series.
Game Flyer
Thanks for looking – this was a fun change of pace. It also qualifies for Dave Stone’s annual “Paint What You Got Challenge”. It’s a fun and global challenge to paint up figures between Christmas and the end of February, check it out!
I’d be interested in hearing your feedback on this – thanks in advance for any sharing!
And part 2 in this series will be coming soon…
Final Note
While this figure is NOT official, if you do want to check out the excellent Wars of Ozz figures’ range – there are two places to get them and to get the rules (and I make no money from this). The game rules and the figures are available from the next two places:
Below you’ll see the list of paints and the like that I used on these – and they are more useful for me when I need to recreate a color scheme in the future than maybe you – but in any case that’s why I post them.
Miscellaneous details and references for those interested in that sort of thing:
For all of my earlier posts on Wars of Ozz games, figures, units, and other related projects – please see this page.
PAINTS, INKS, GLAZES, SHADES, WASHES, PIGMENTS, FLOCKING, GLUES AND MORE THAT I USED ON THIS SCARECROW GIRL STATUE:
Ashland “Scarecrow Girl Mini Decoration” statue
Black plastic disk
Plastic Tropicana Orange Juice lid
2″ Square War Games Accessories Steel Bases (21)
PVA Glue
Card stock
Green stuff
Ashland 7mm Rope Cord
Vallejo Surface Primer “German Panzer Grey”
Citadel “Liberator Gold”
Citadel “Retributor Armour”
Citadel “Cryptek Armourshade” (wash)
Americana “Slate Gray”
Toothpicks
Secret Weapon Washes “Stone”
Citadel “Slaneesh Grey”
AK Terrains Diorama Series “Muddy Ground” (texture/basing paste)